


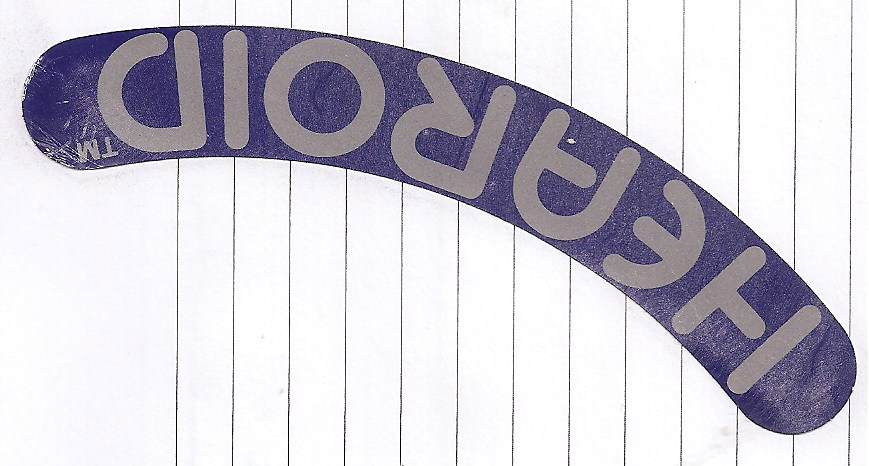


Now I have the EZ-B kit and the Hearoid it's time to start my Showcase thread.
I still haven't decided on a name for him yet, all suggestions are welcome.
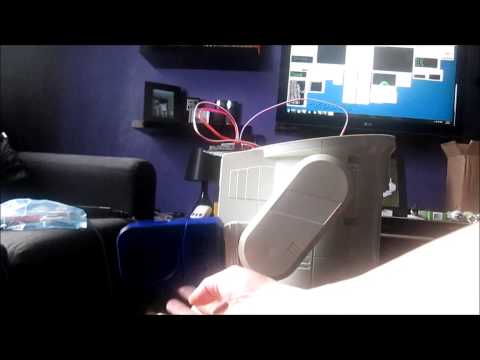
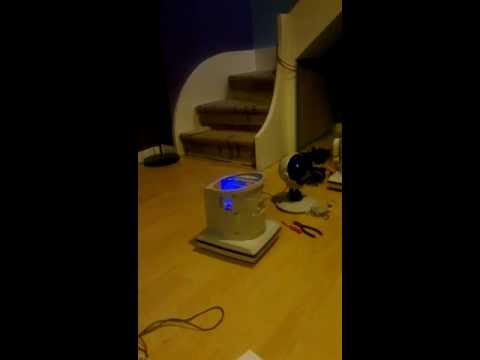
I won this robot on ebay weeks ago, for the past 2 weeks he has been waiting for me to collect him...
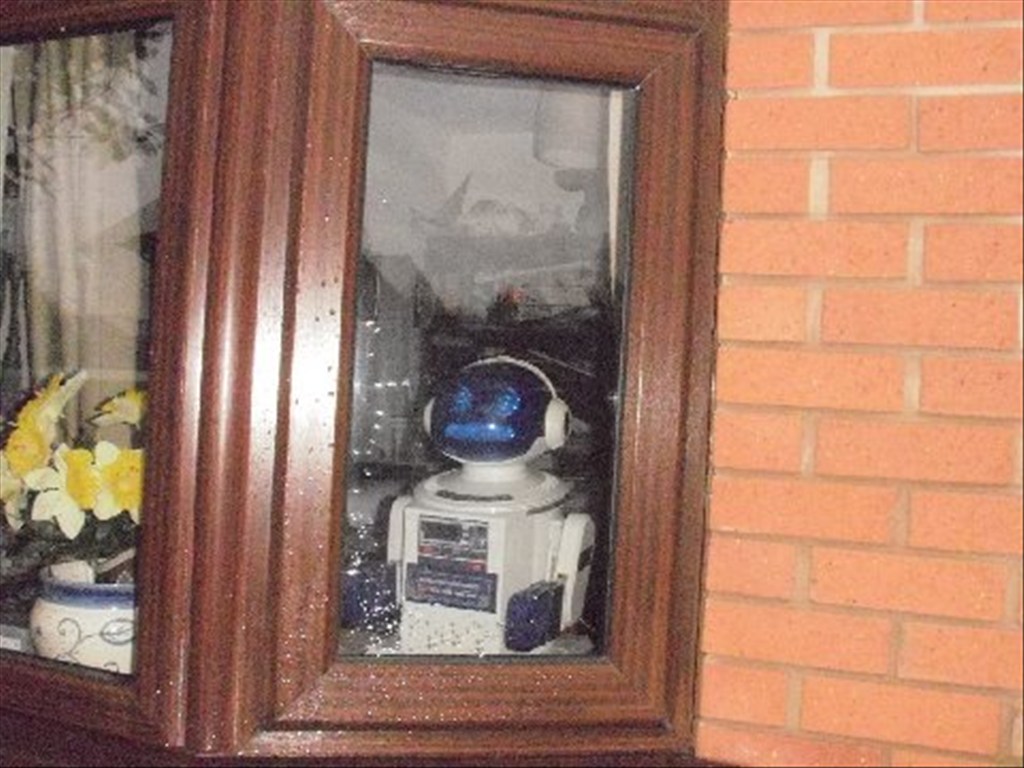
Today was the day, a road trip to pick him up and bring him back to his new home...
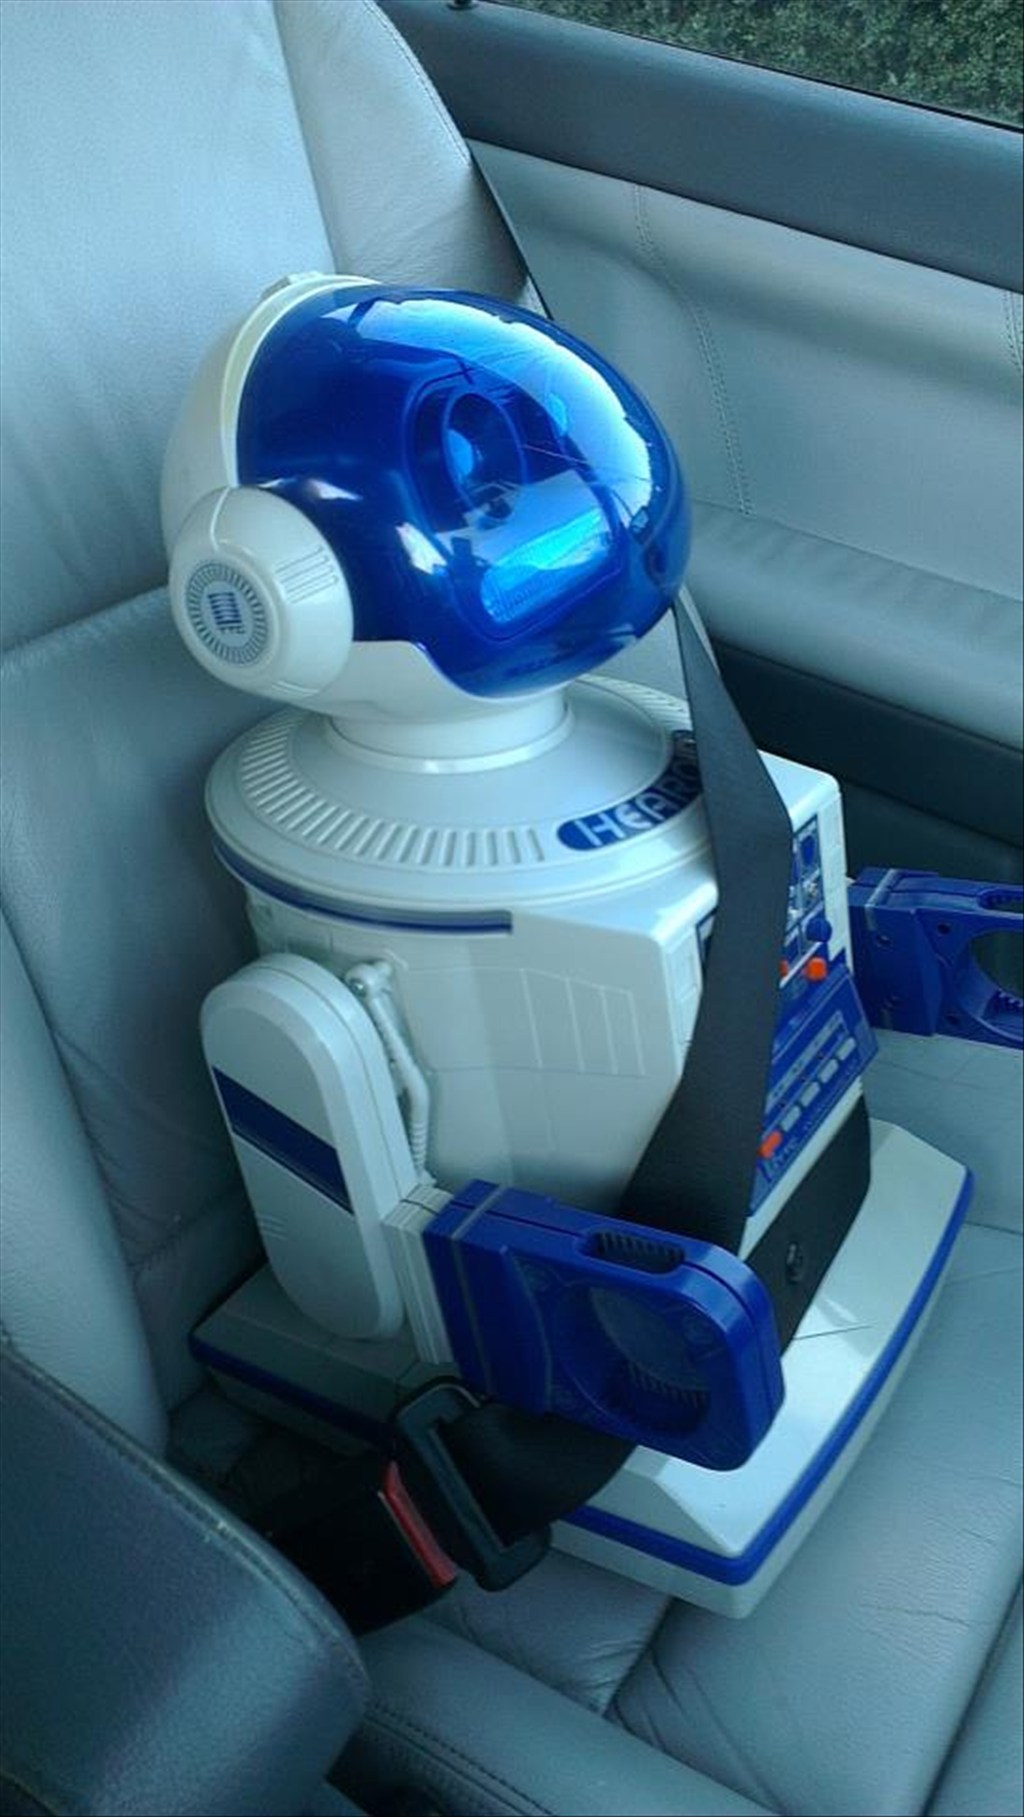
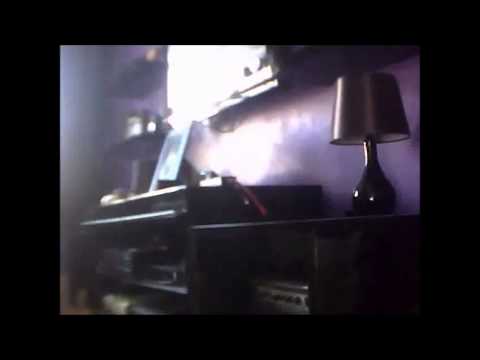
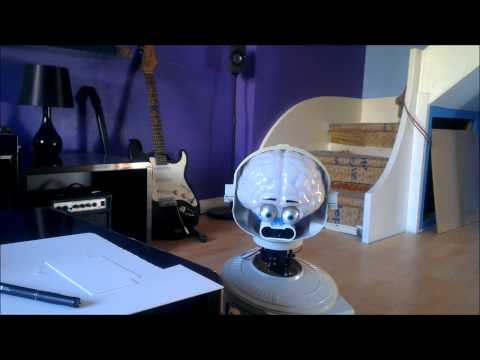
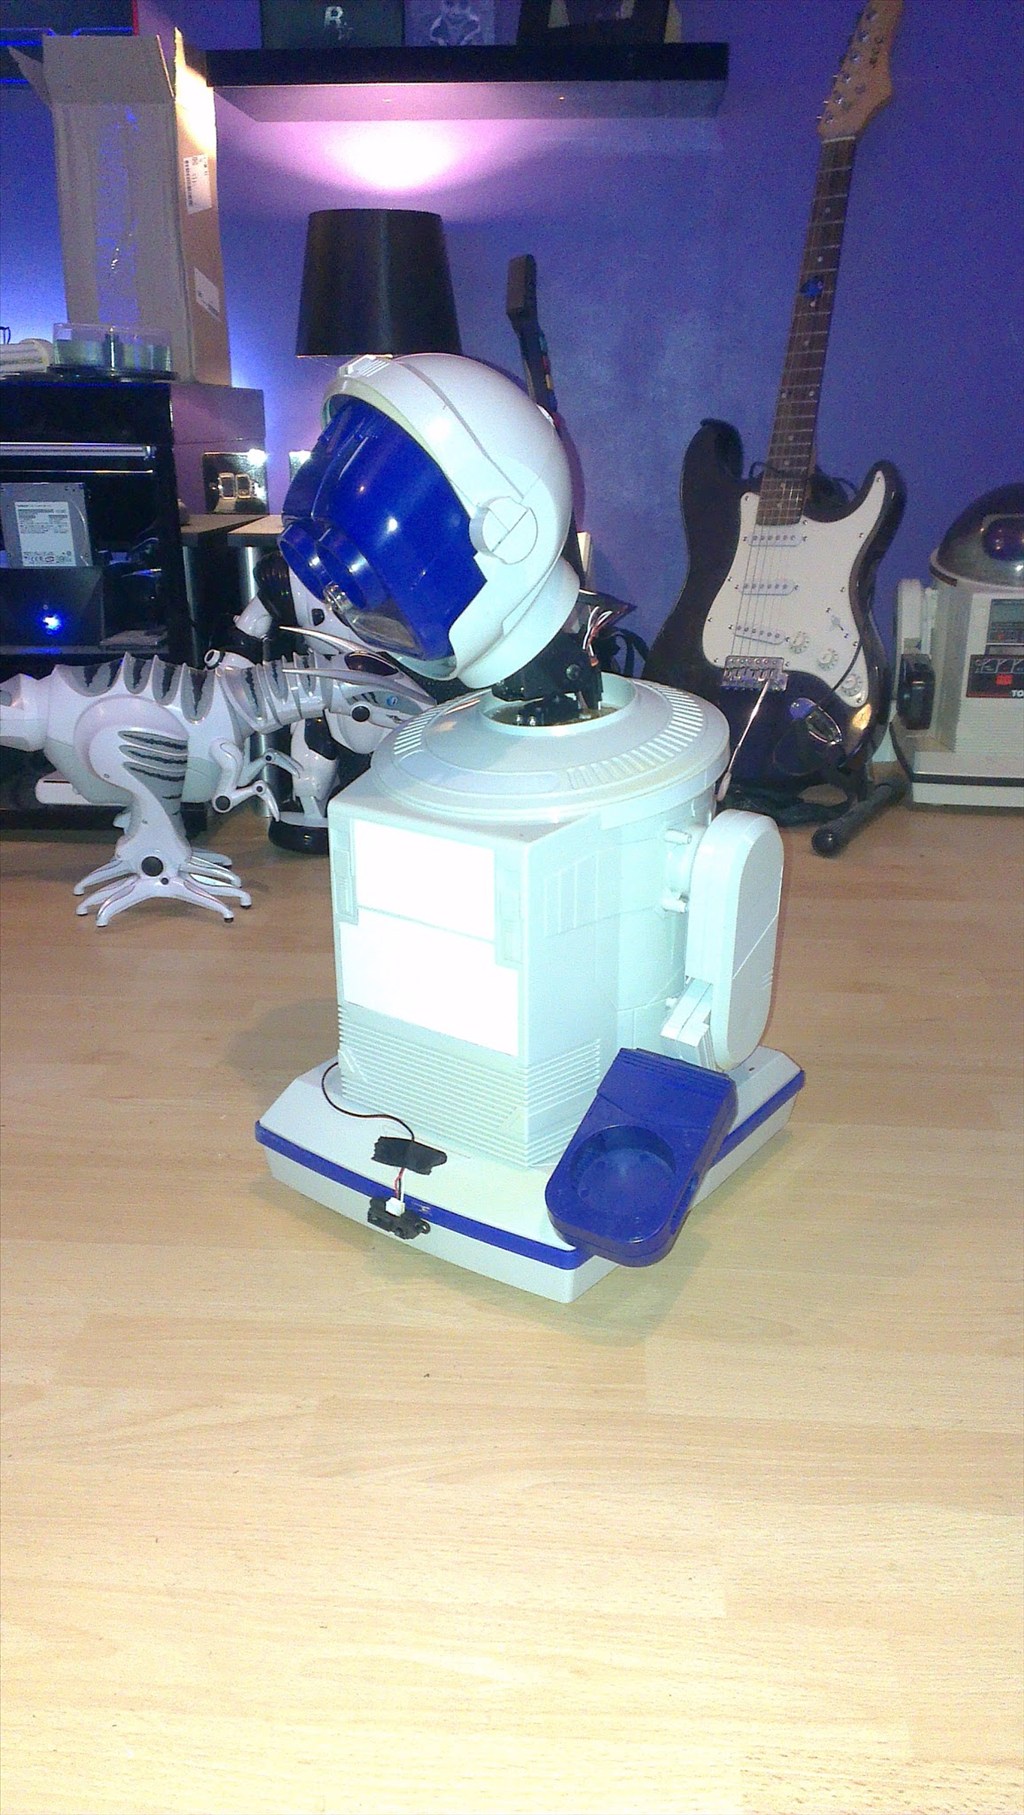
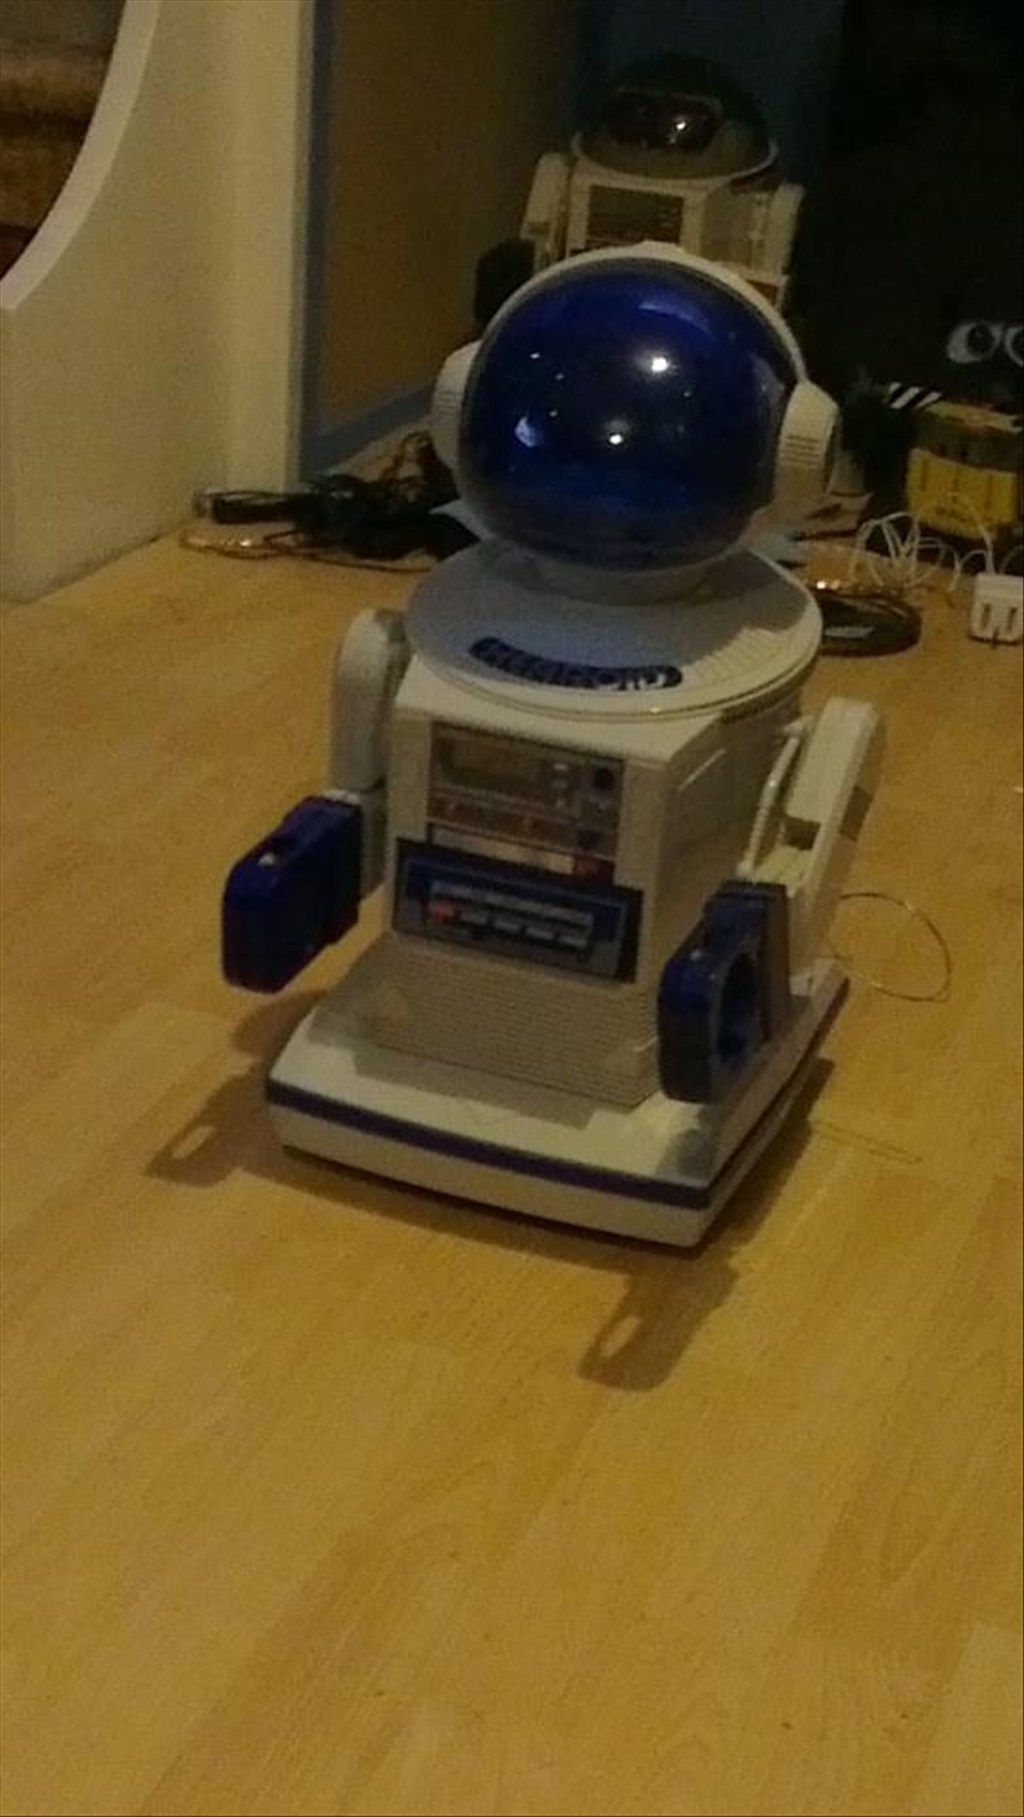
In his new home (with Omnibot and Wall-e in the background totally unaware they are next in line to be opened up)
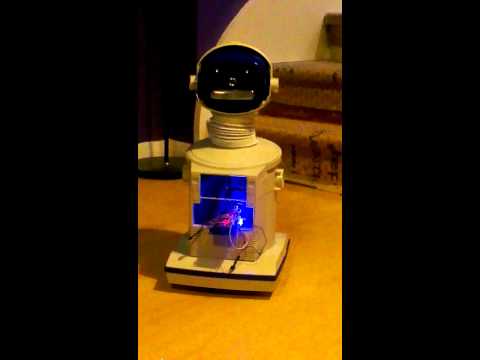
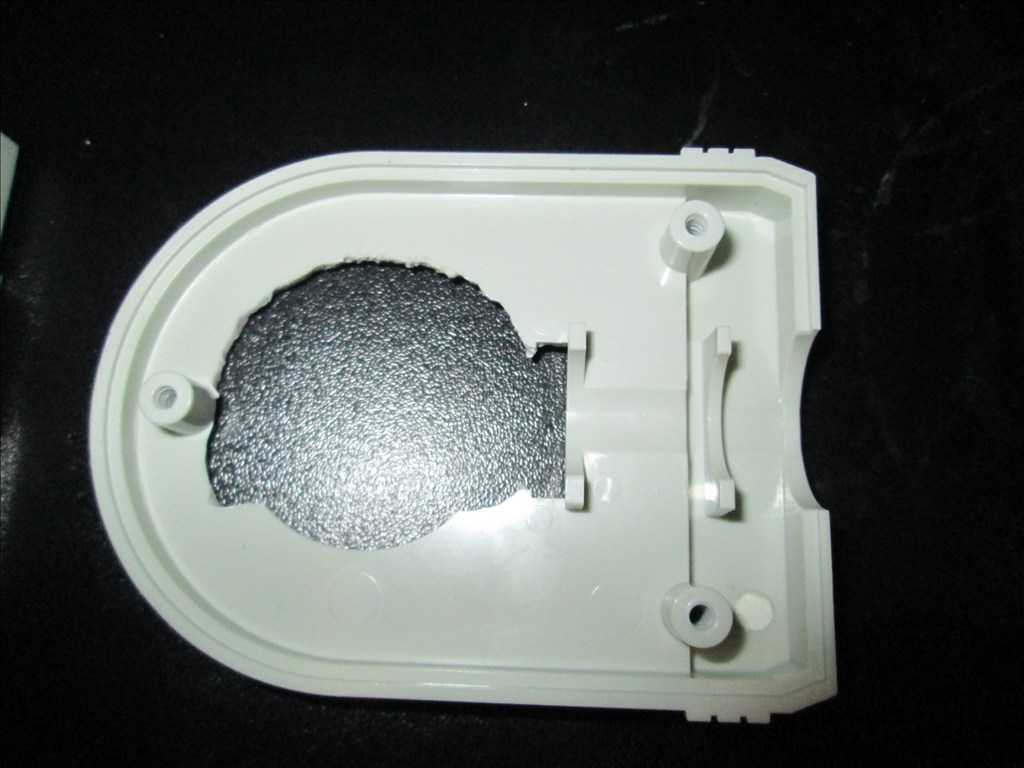
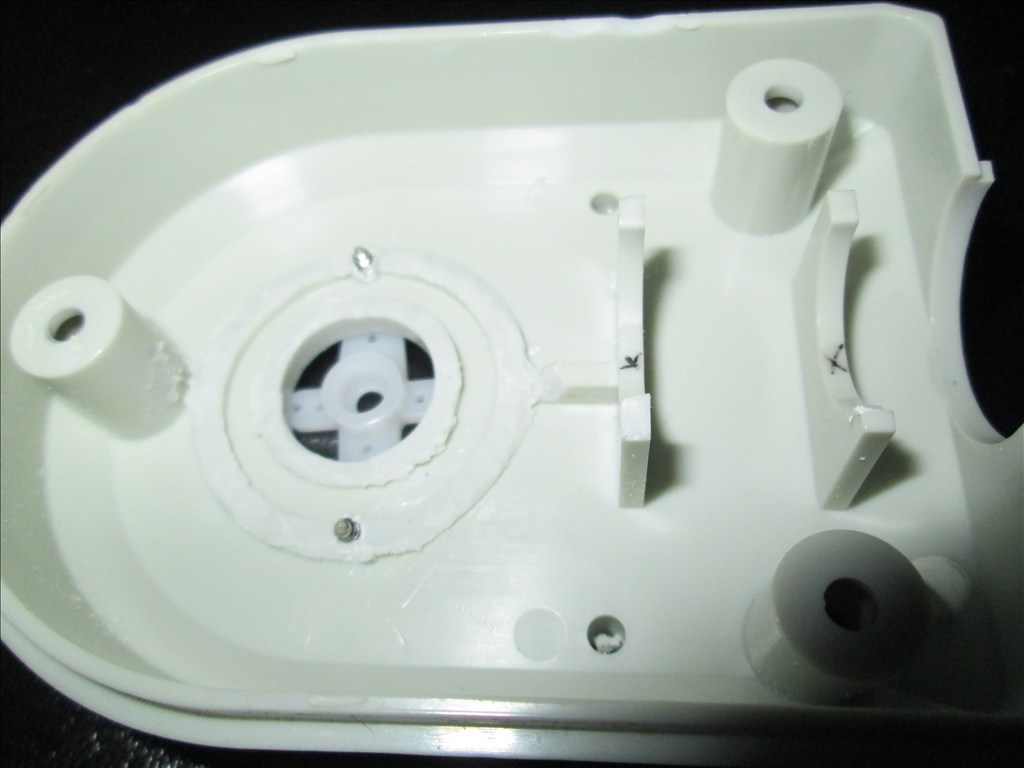
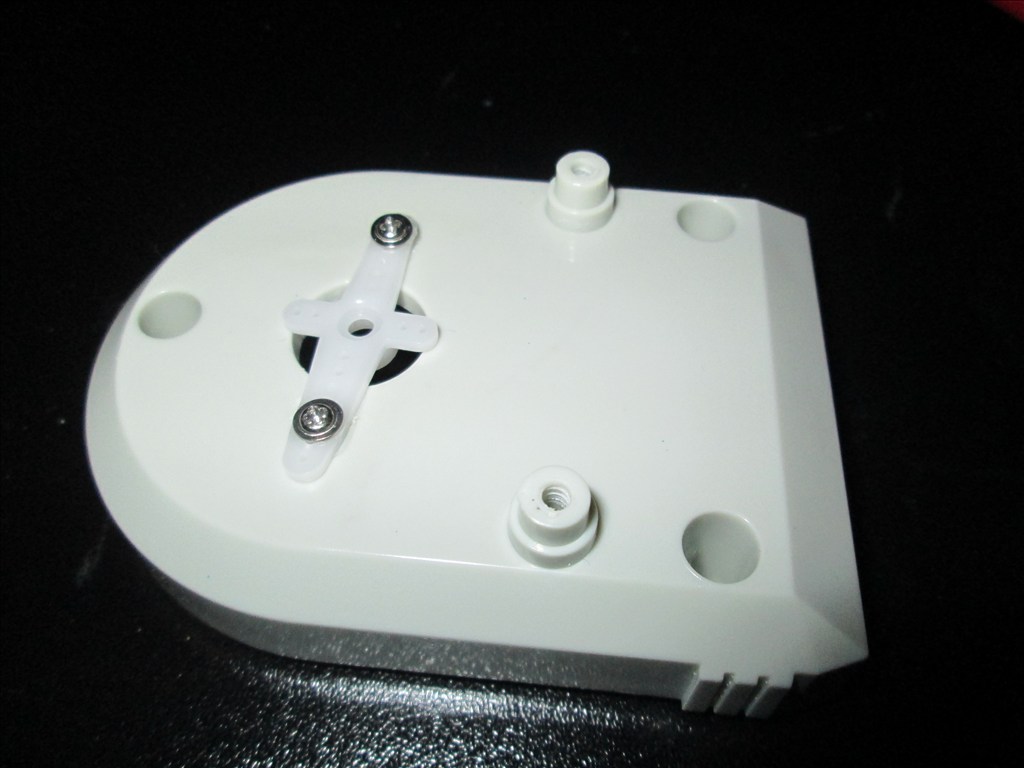
It wasn't long before this happened...
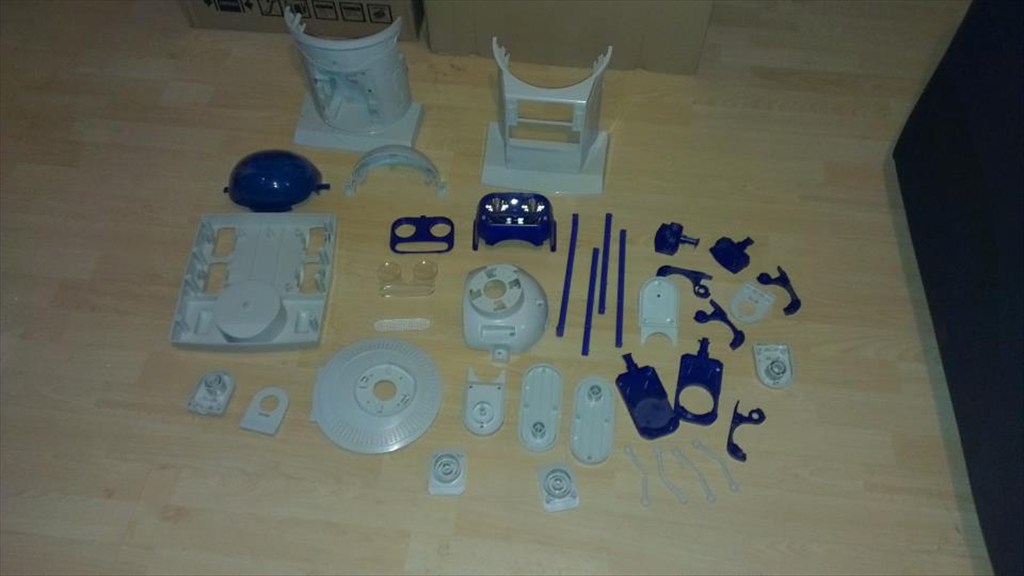
Now waiting to go in the dishwasher to get nice and clean.
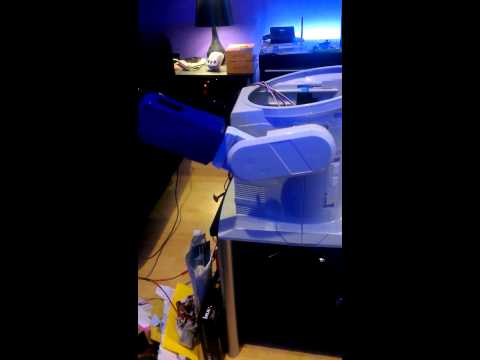
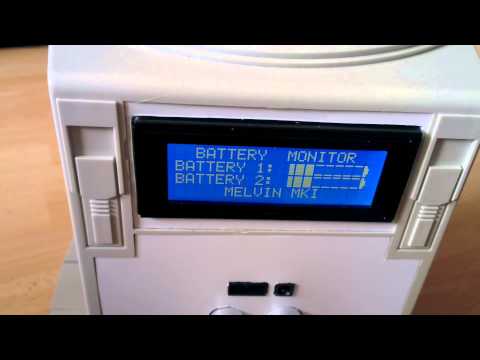
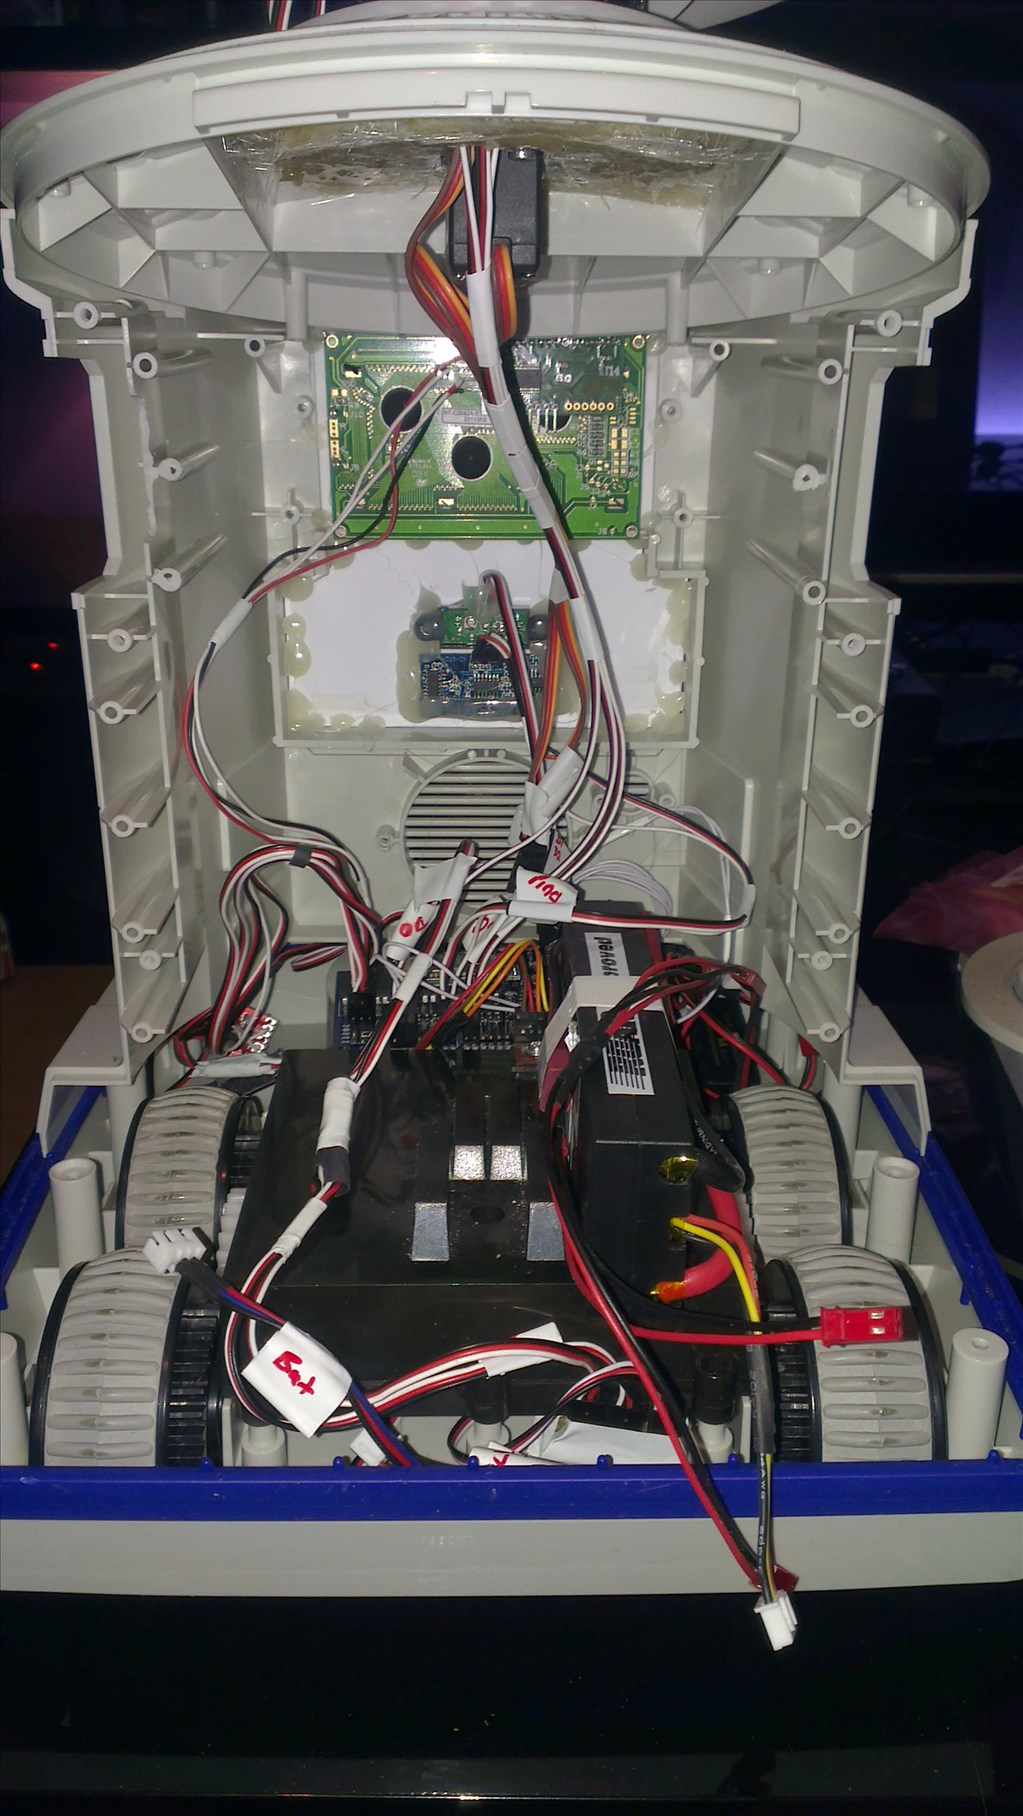
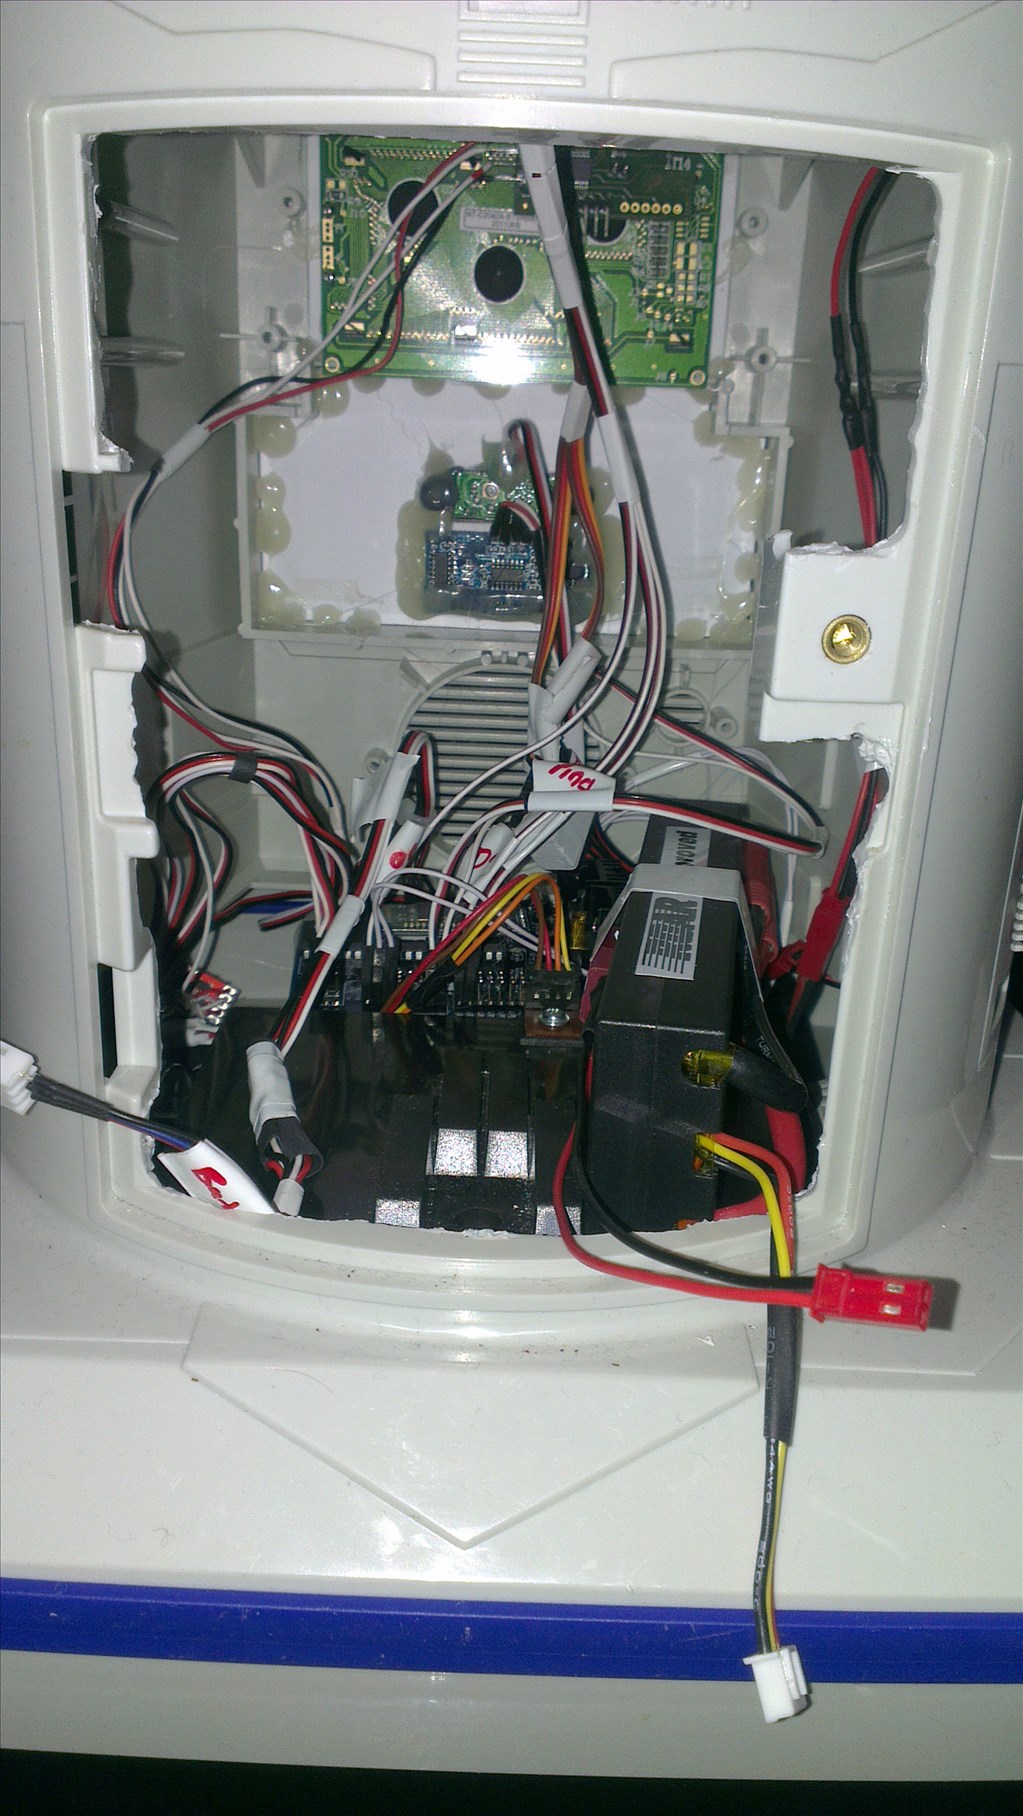
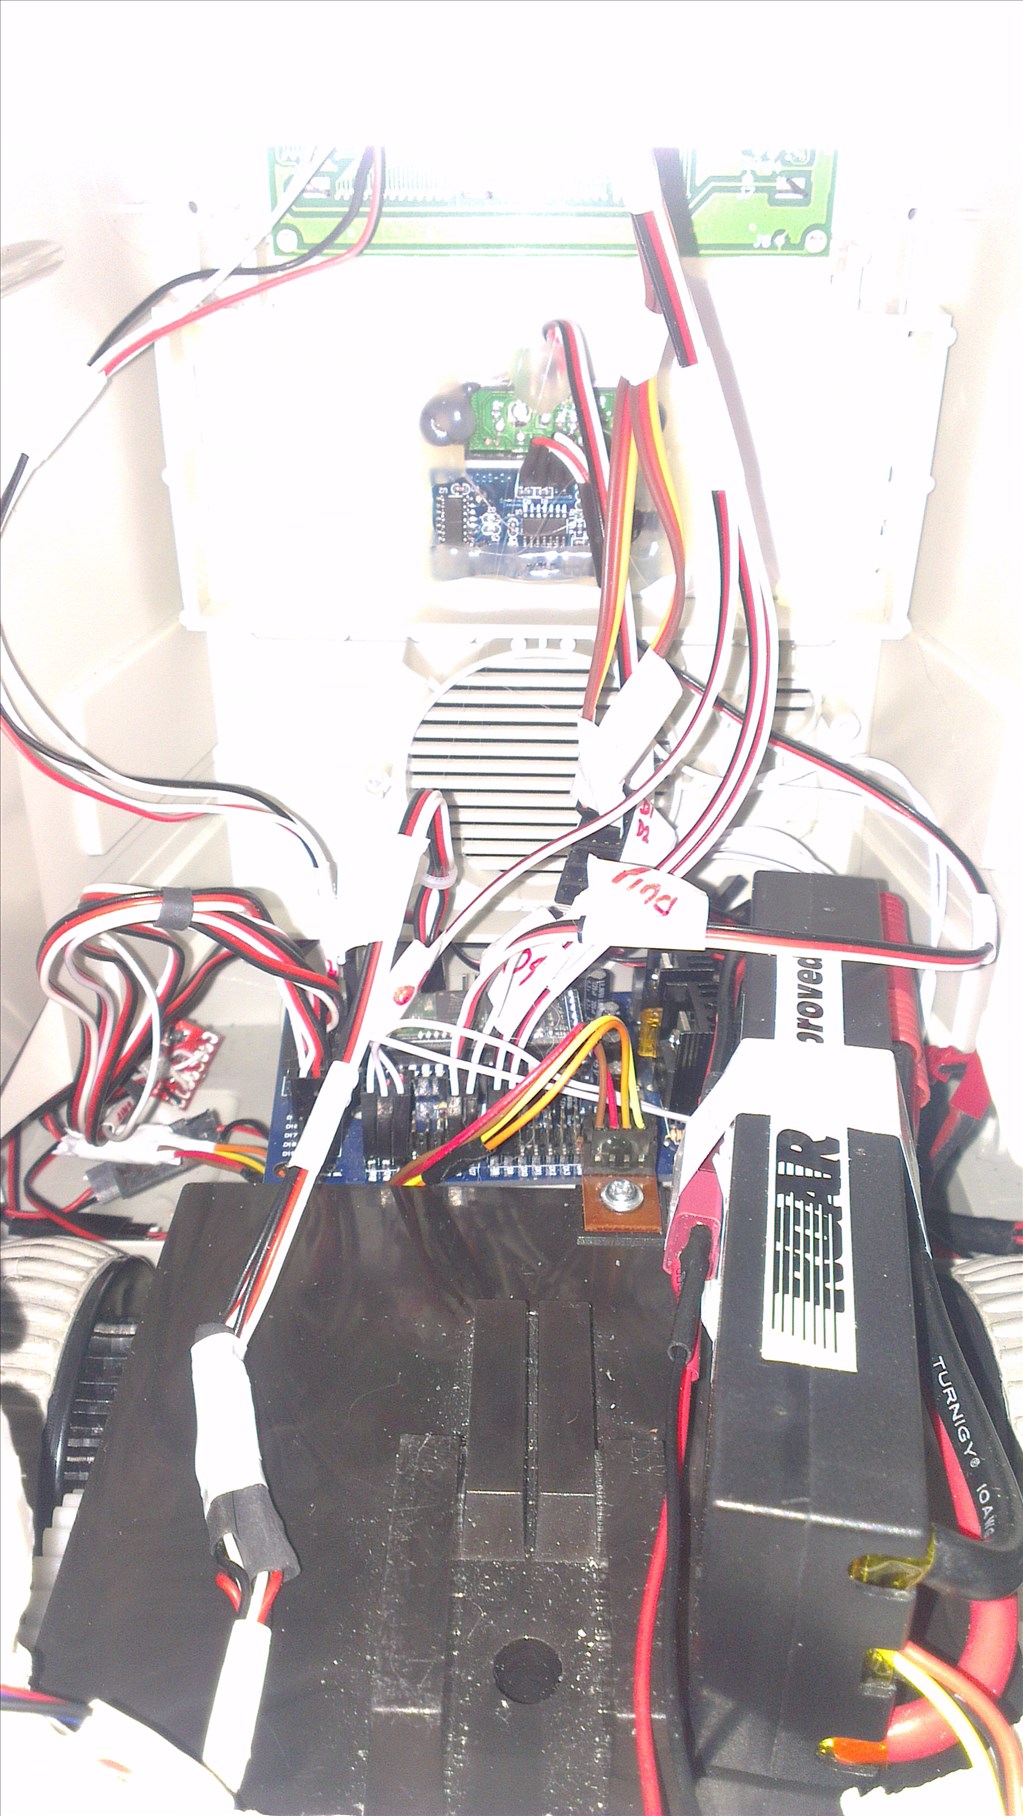
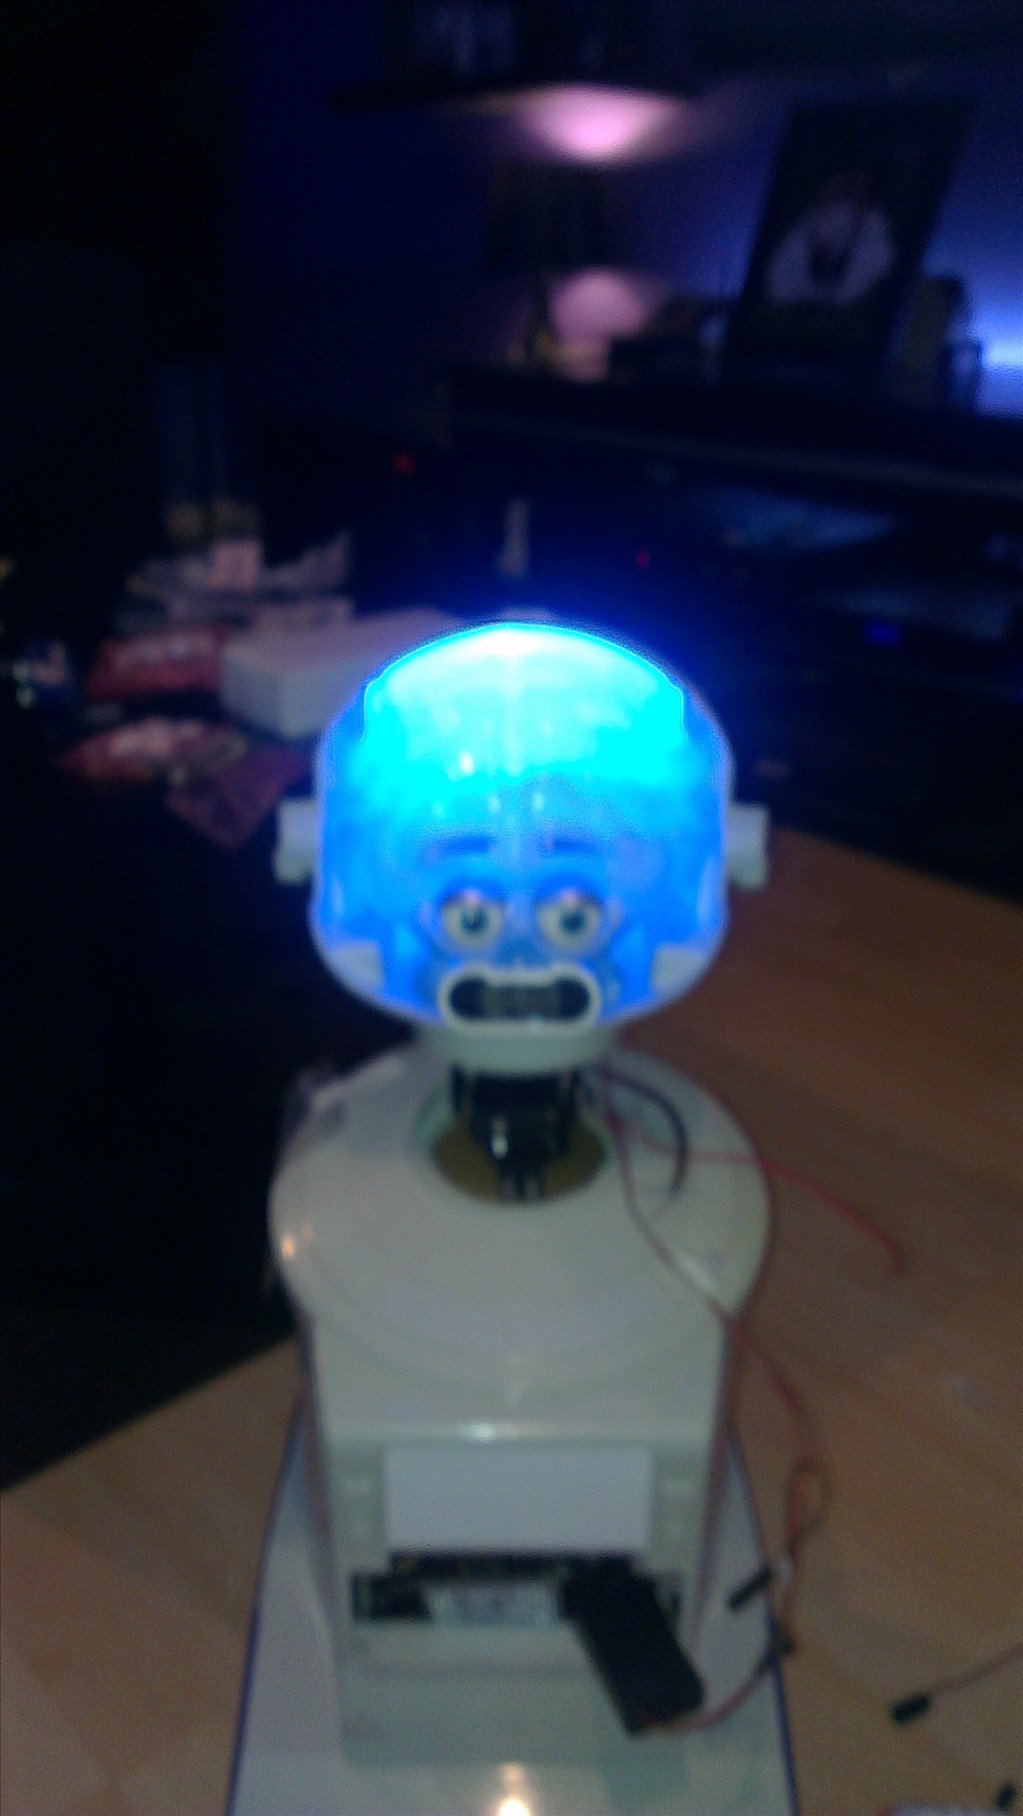
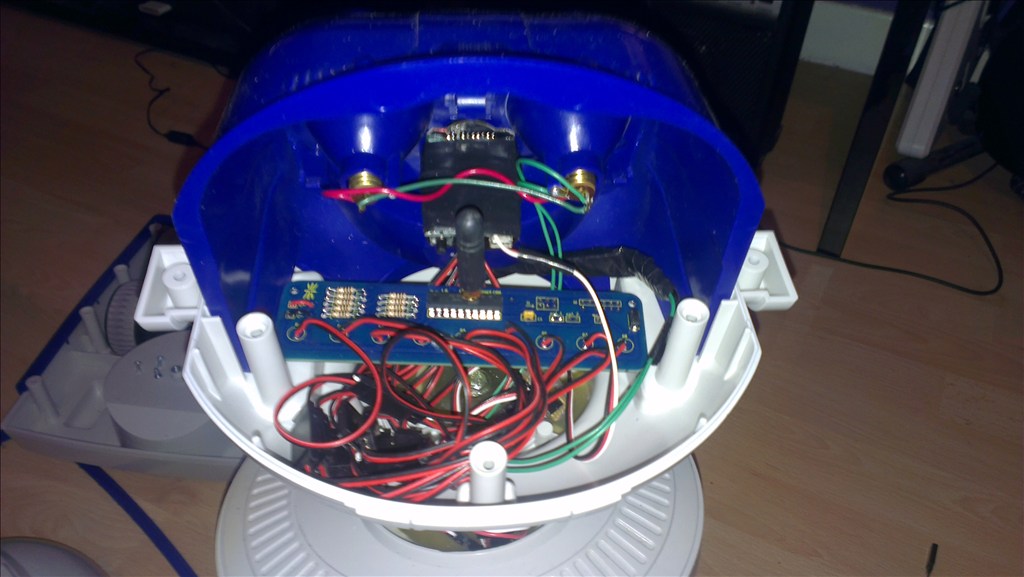
The plan is to make him autonomous, running 24/7 (except for when he knows to go charge himself up) but will also be adding in the various image tracking options.
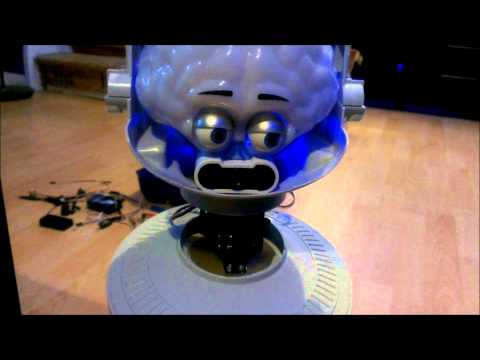
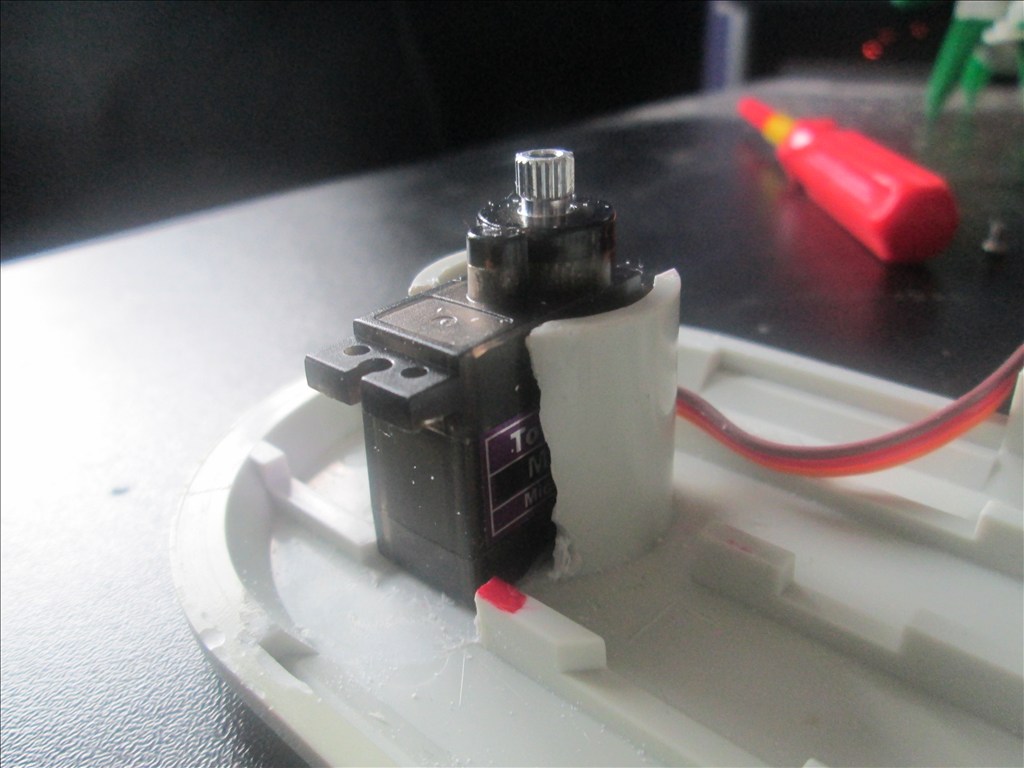
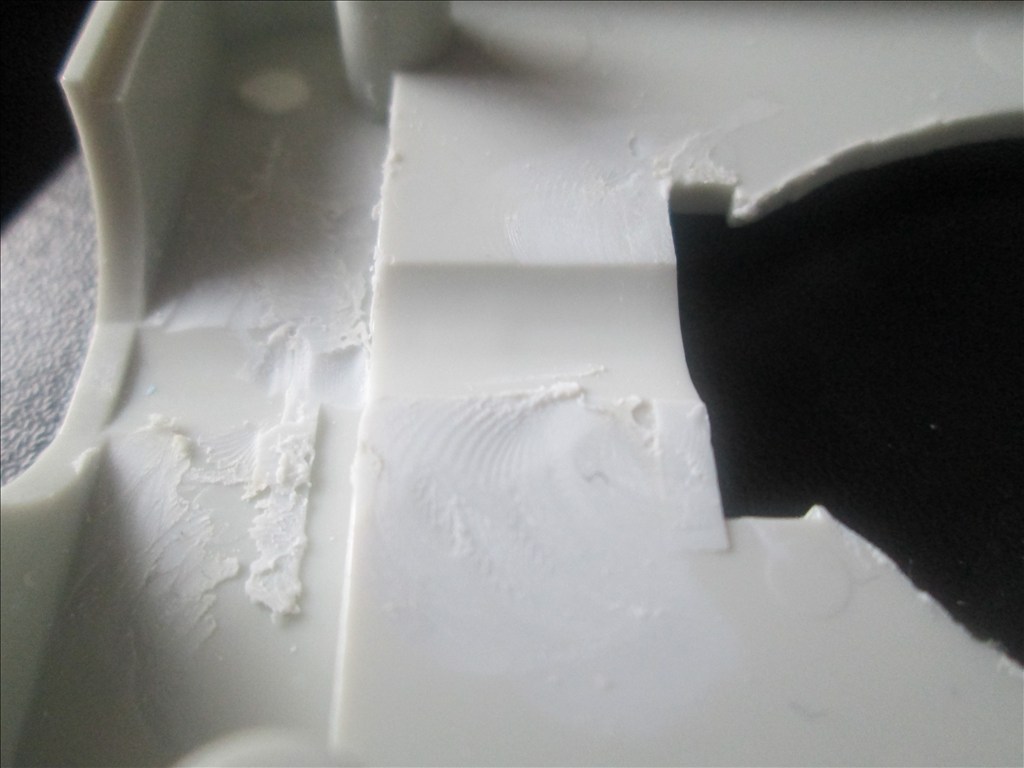
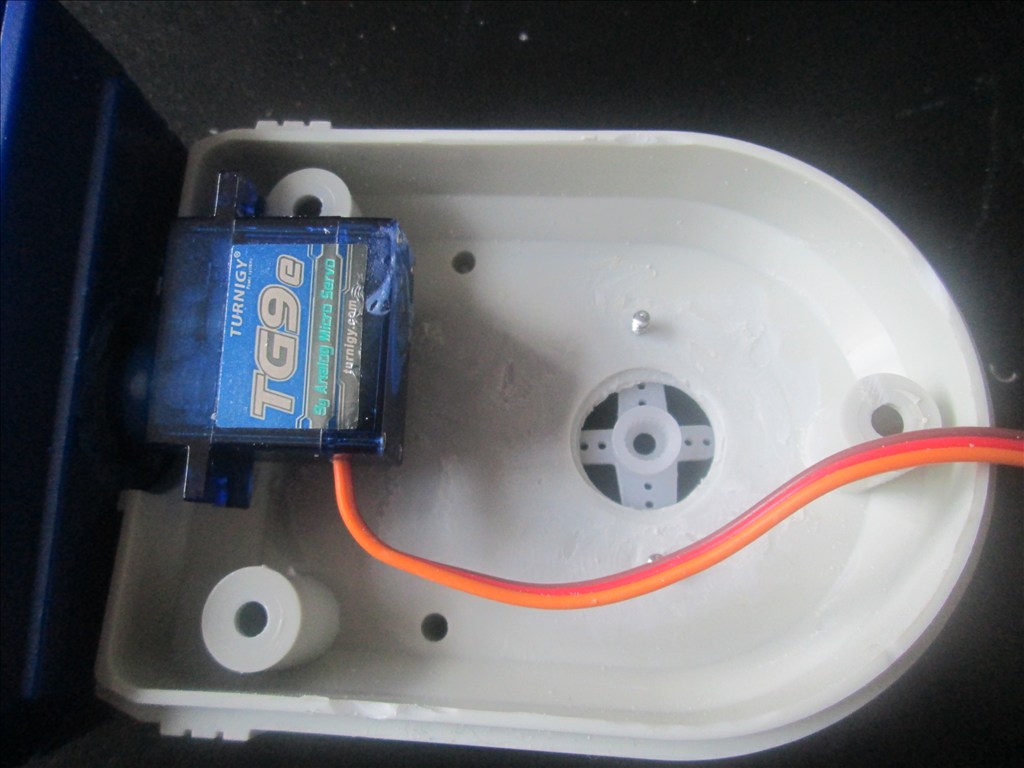
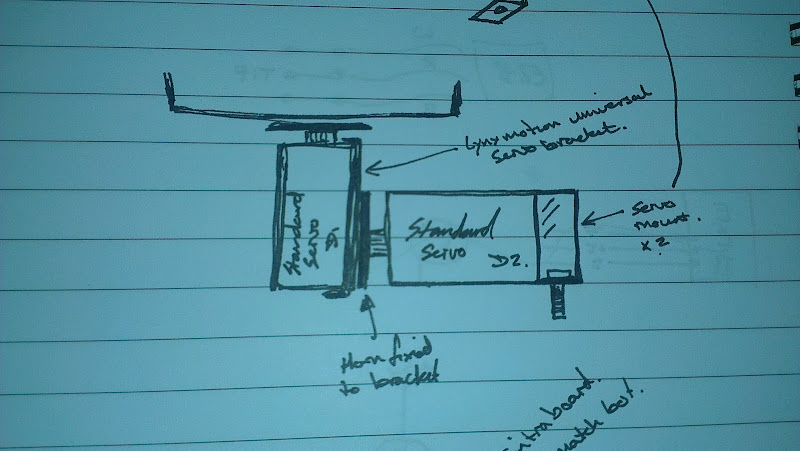
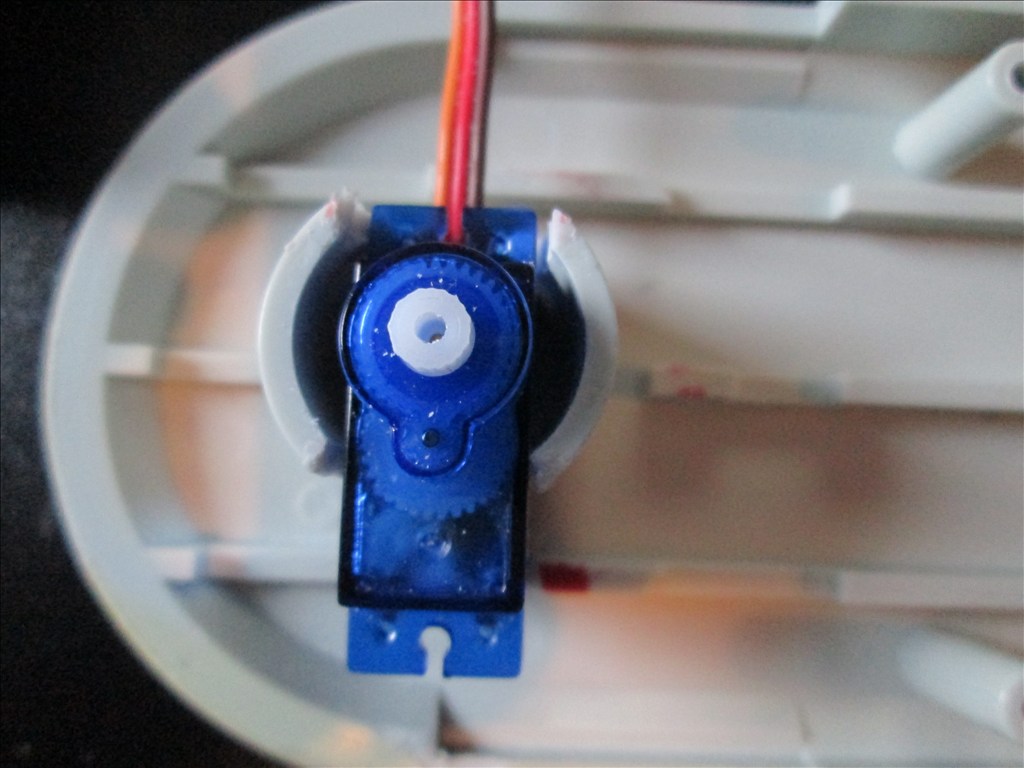
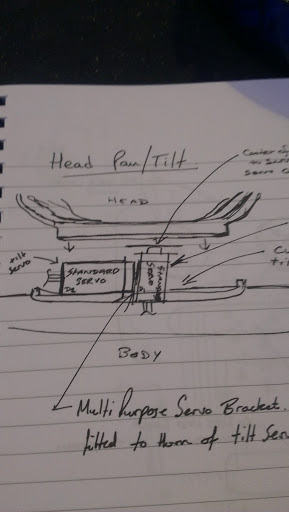
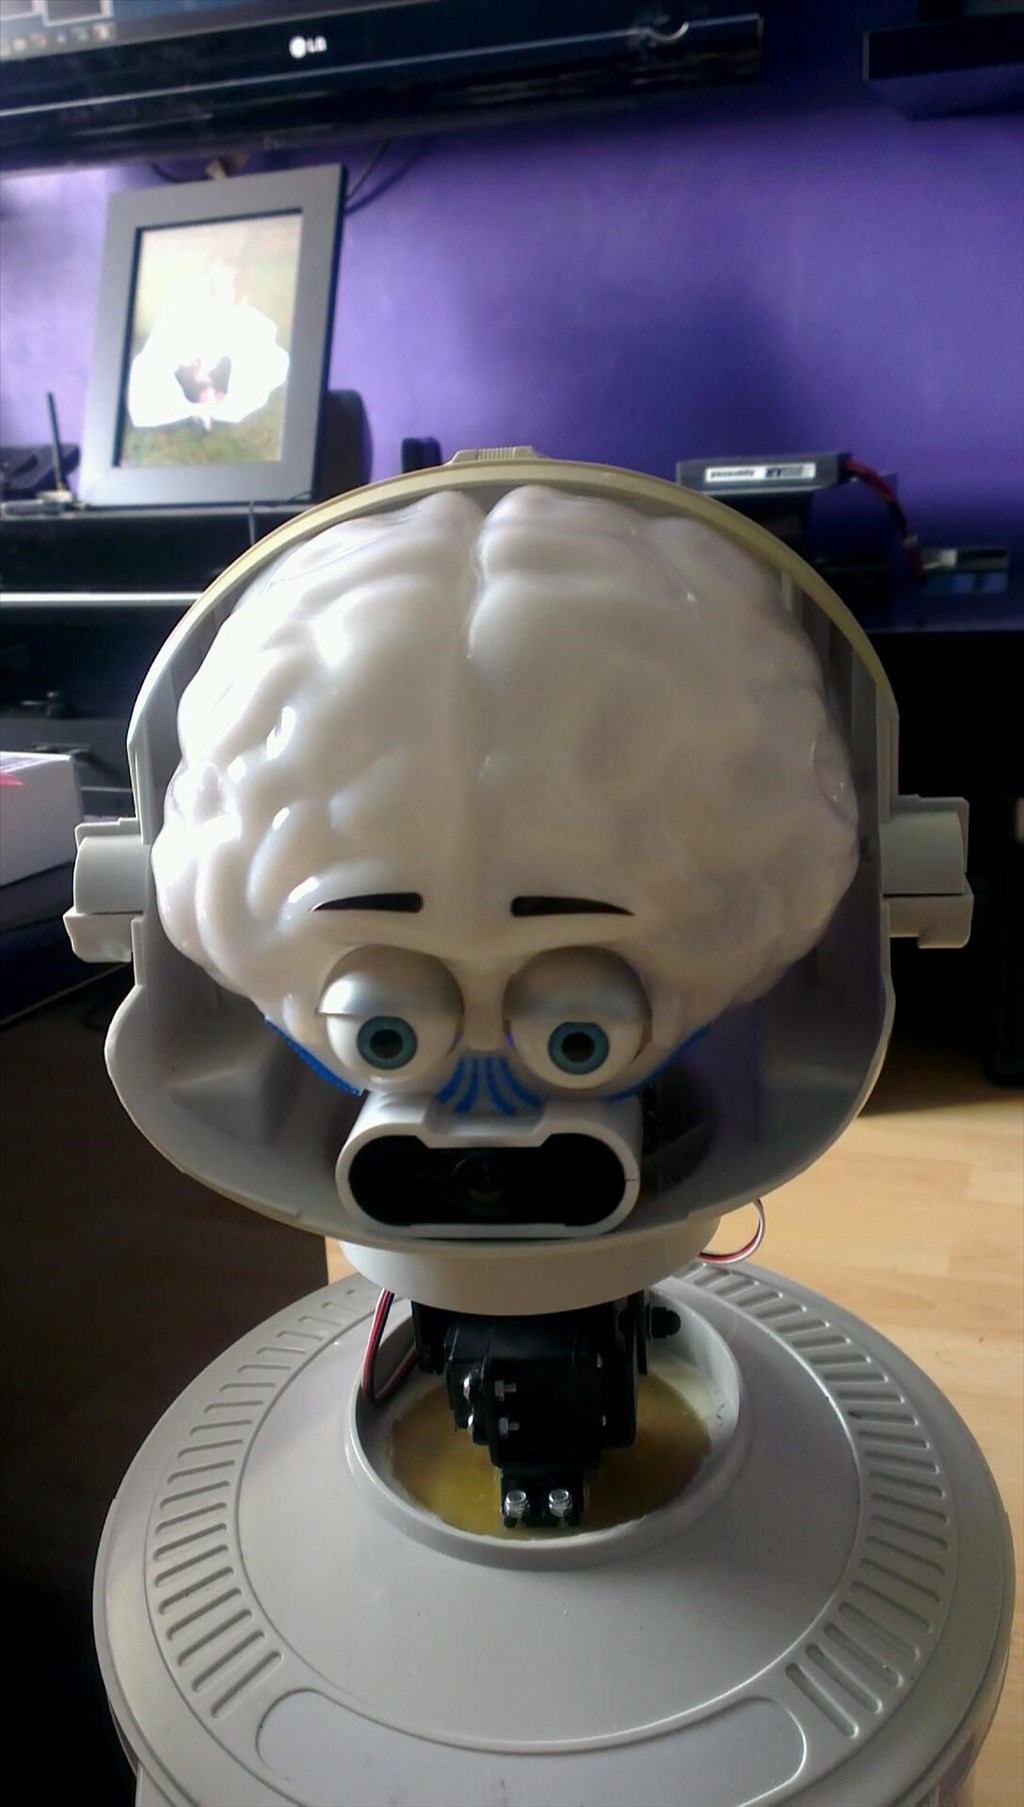
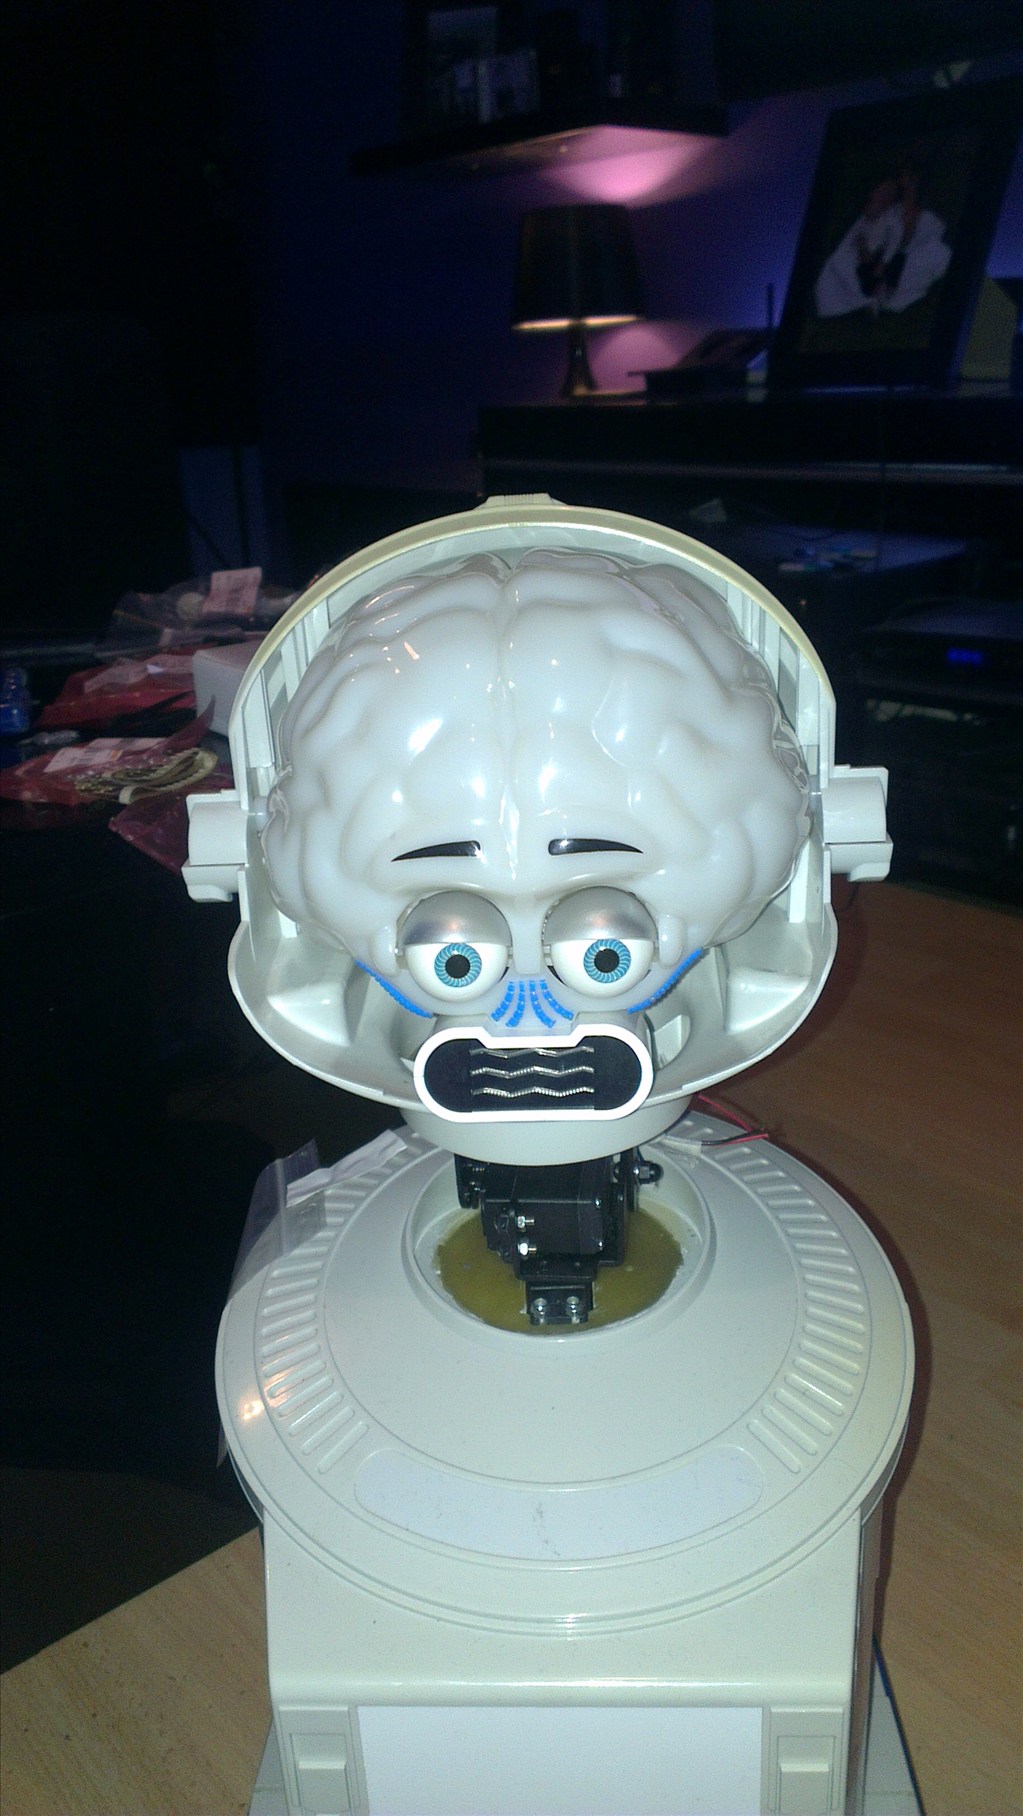
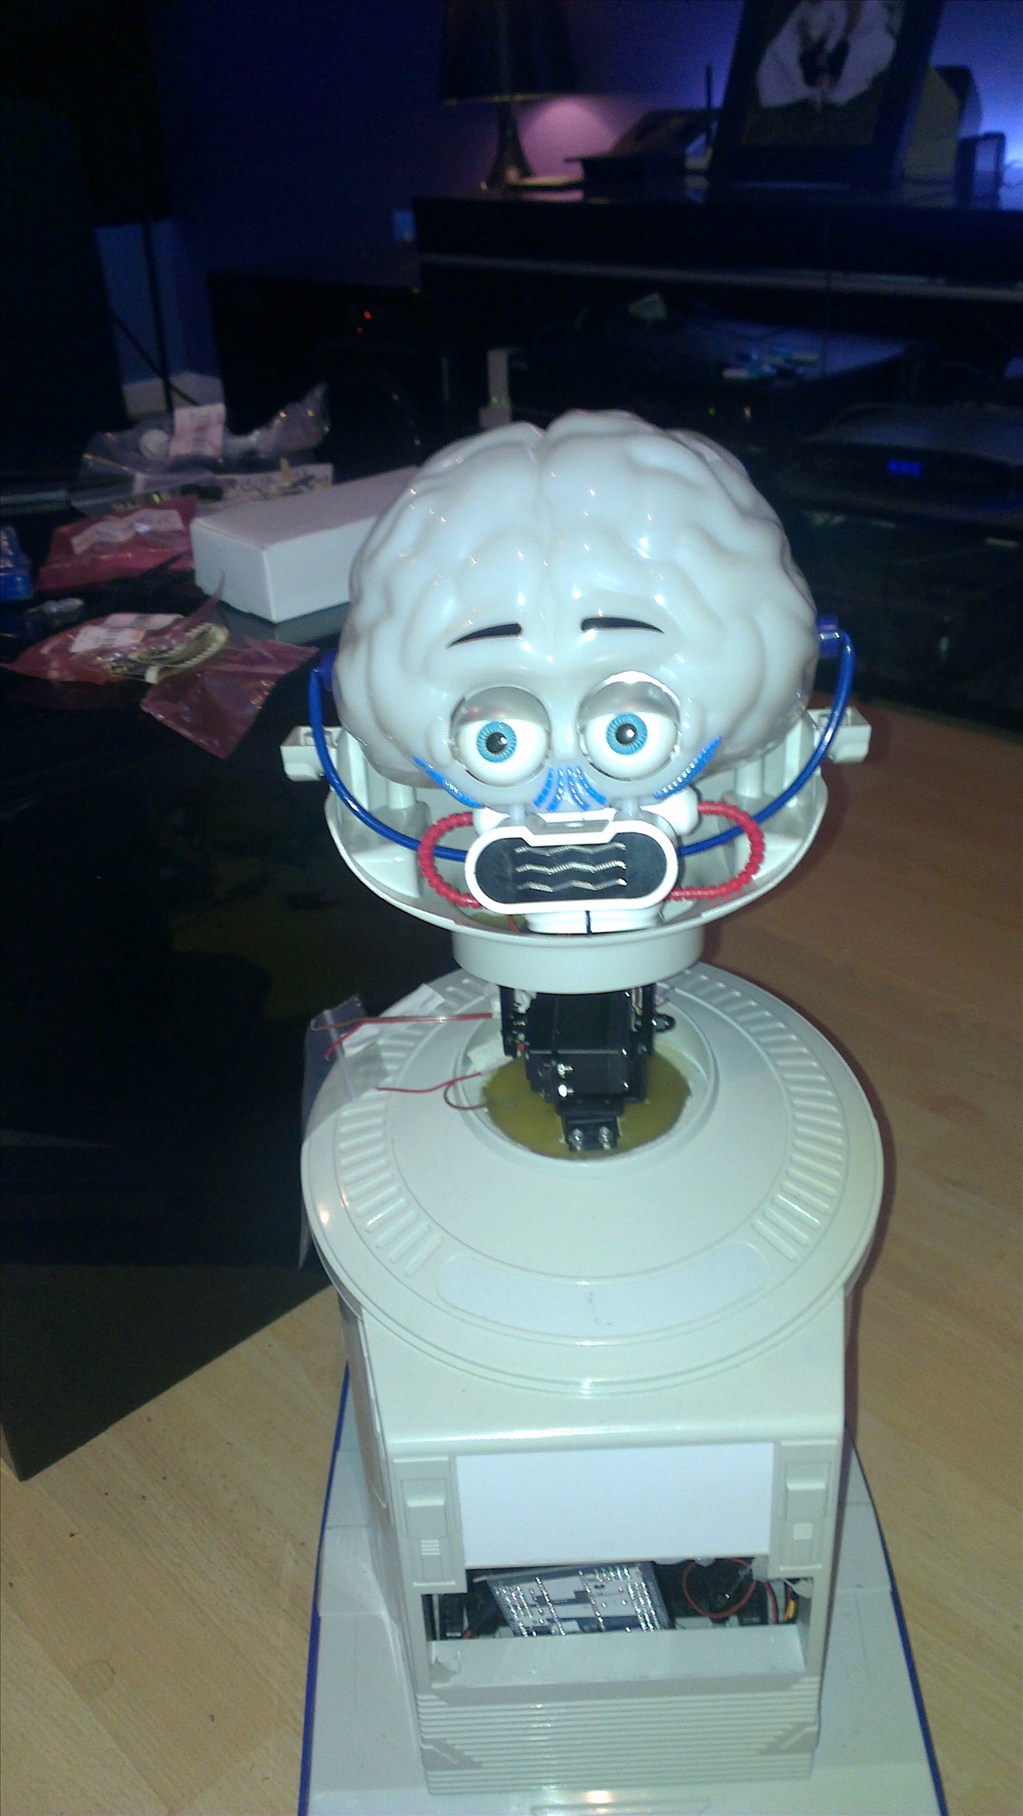
The only other slight modifications to be made to him are to convert the head to tilt & pan which will involve having to give him a small neck.
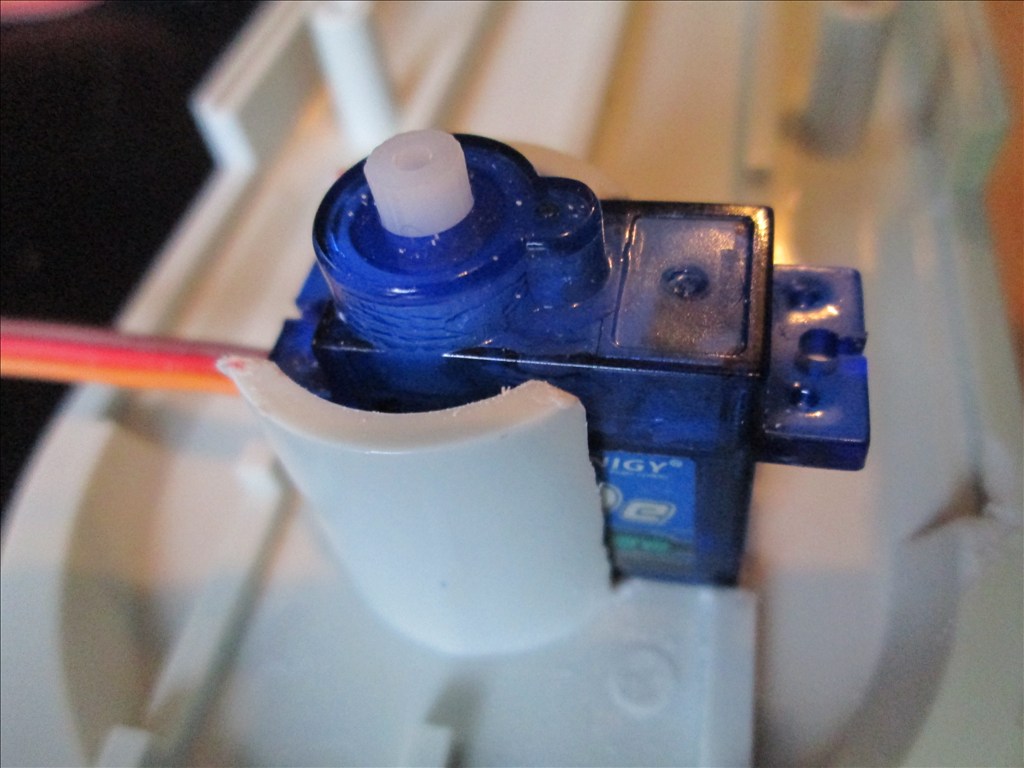
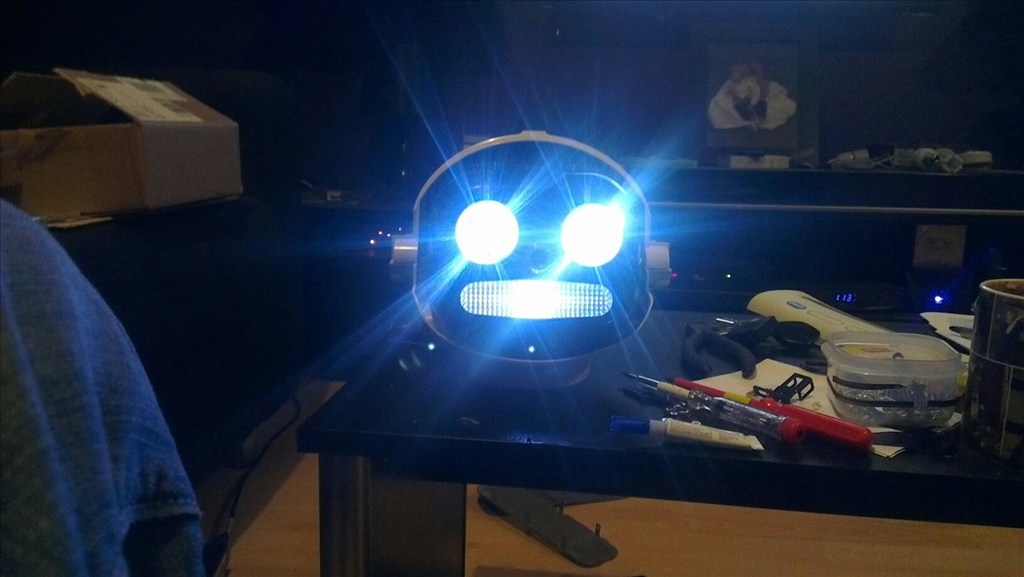
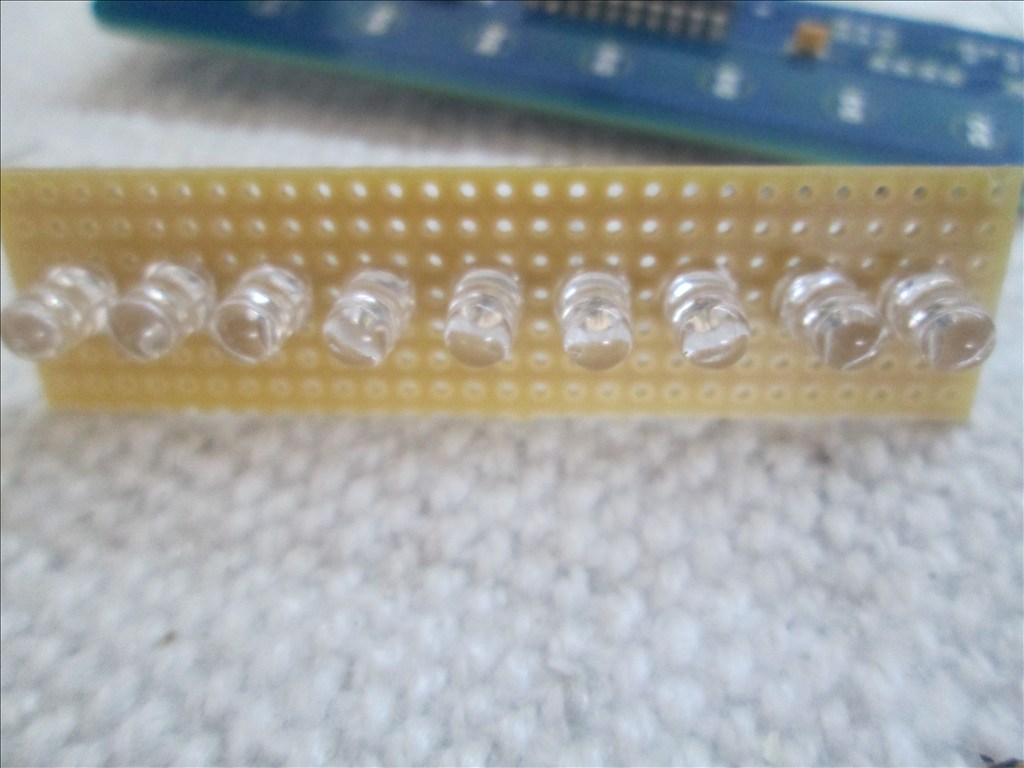
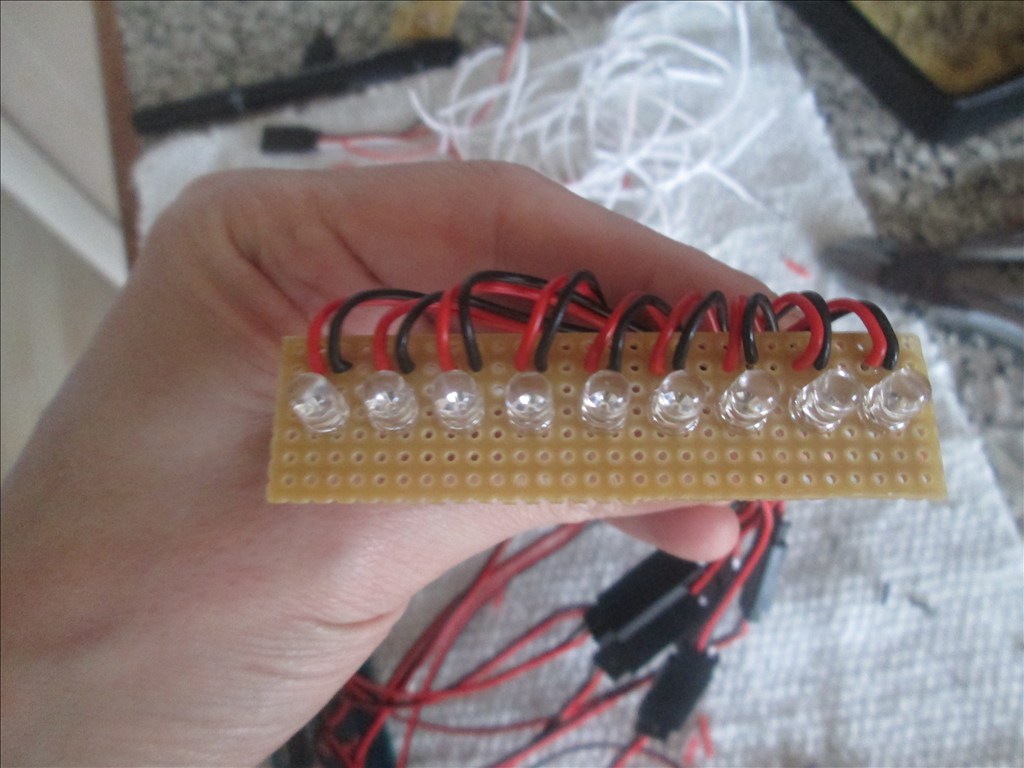
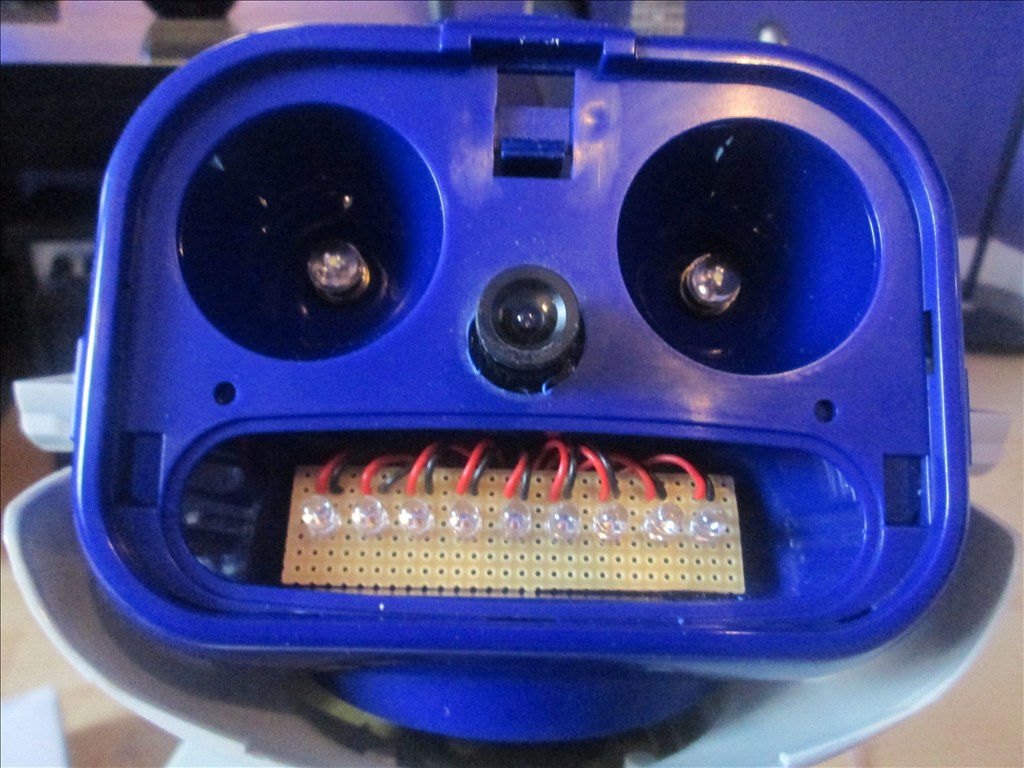
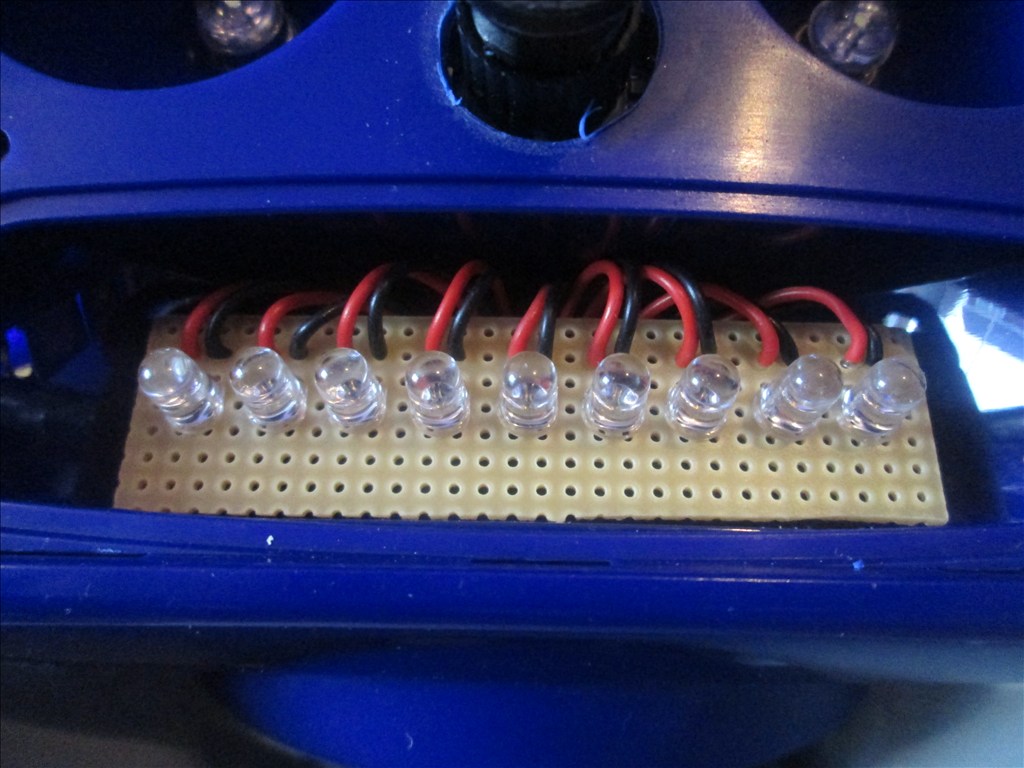
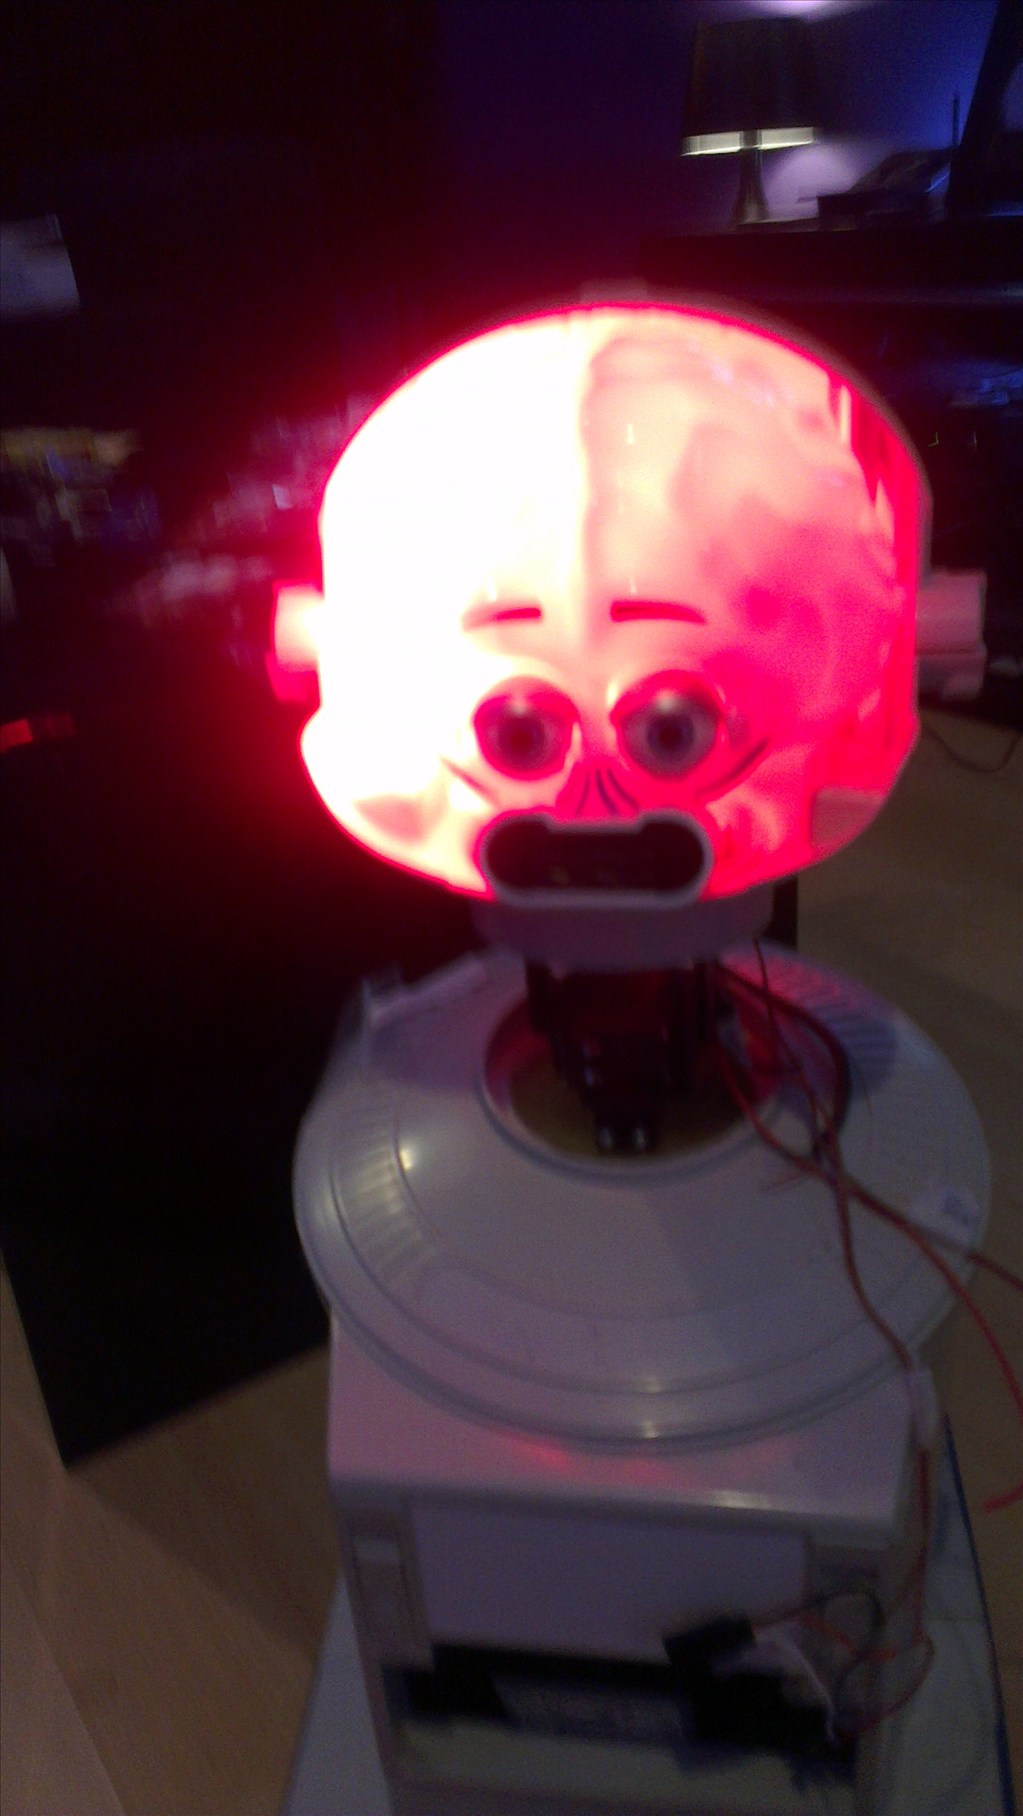
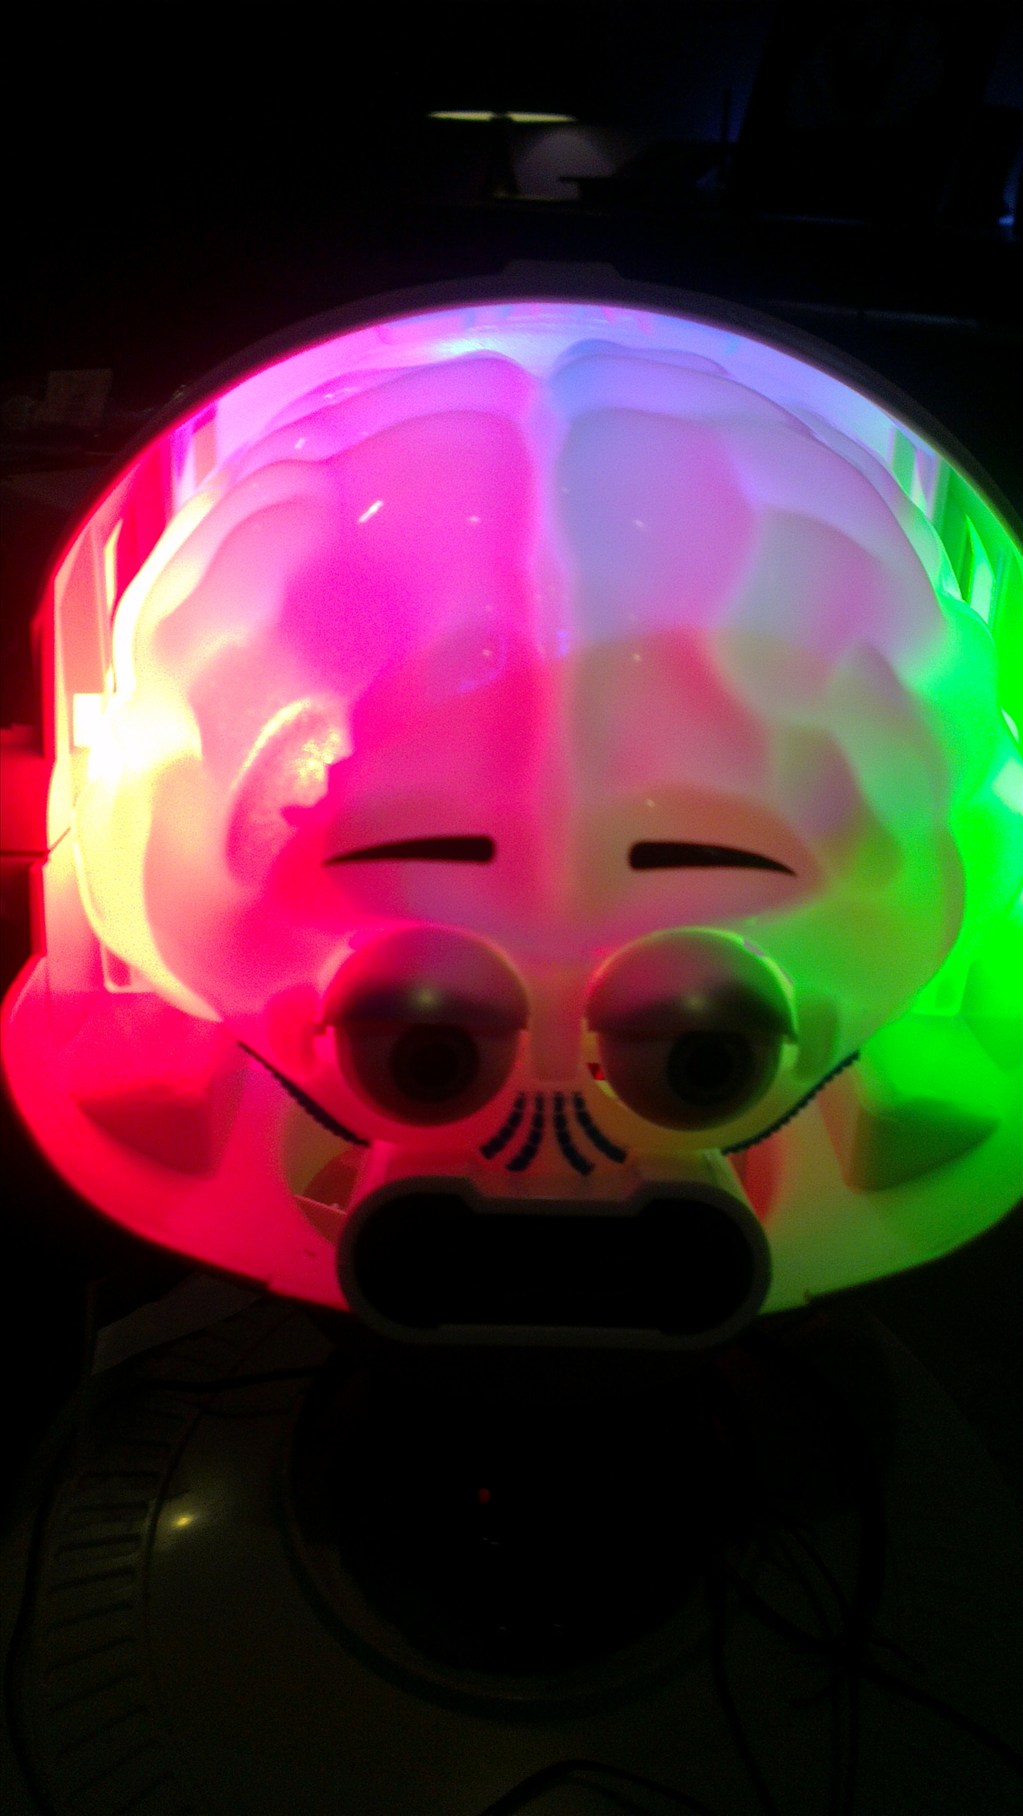
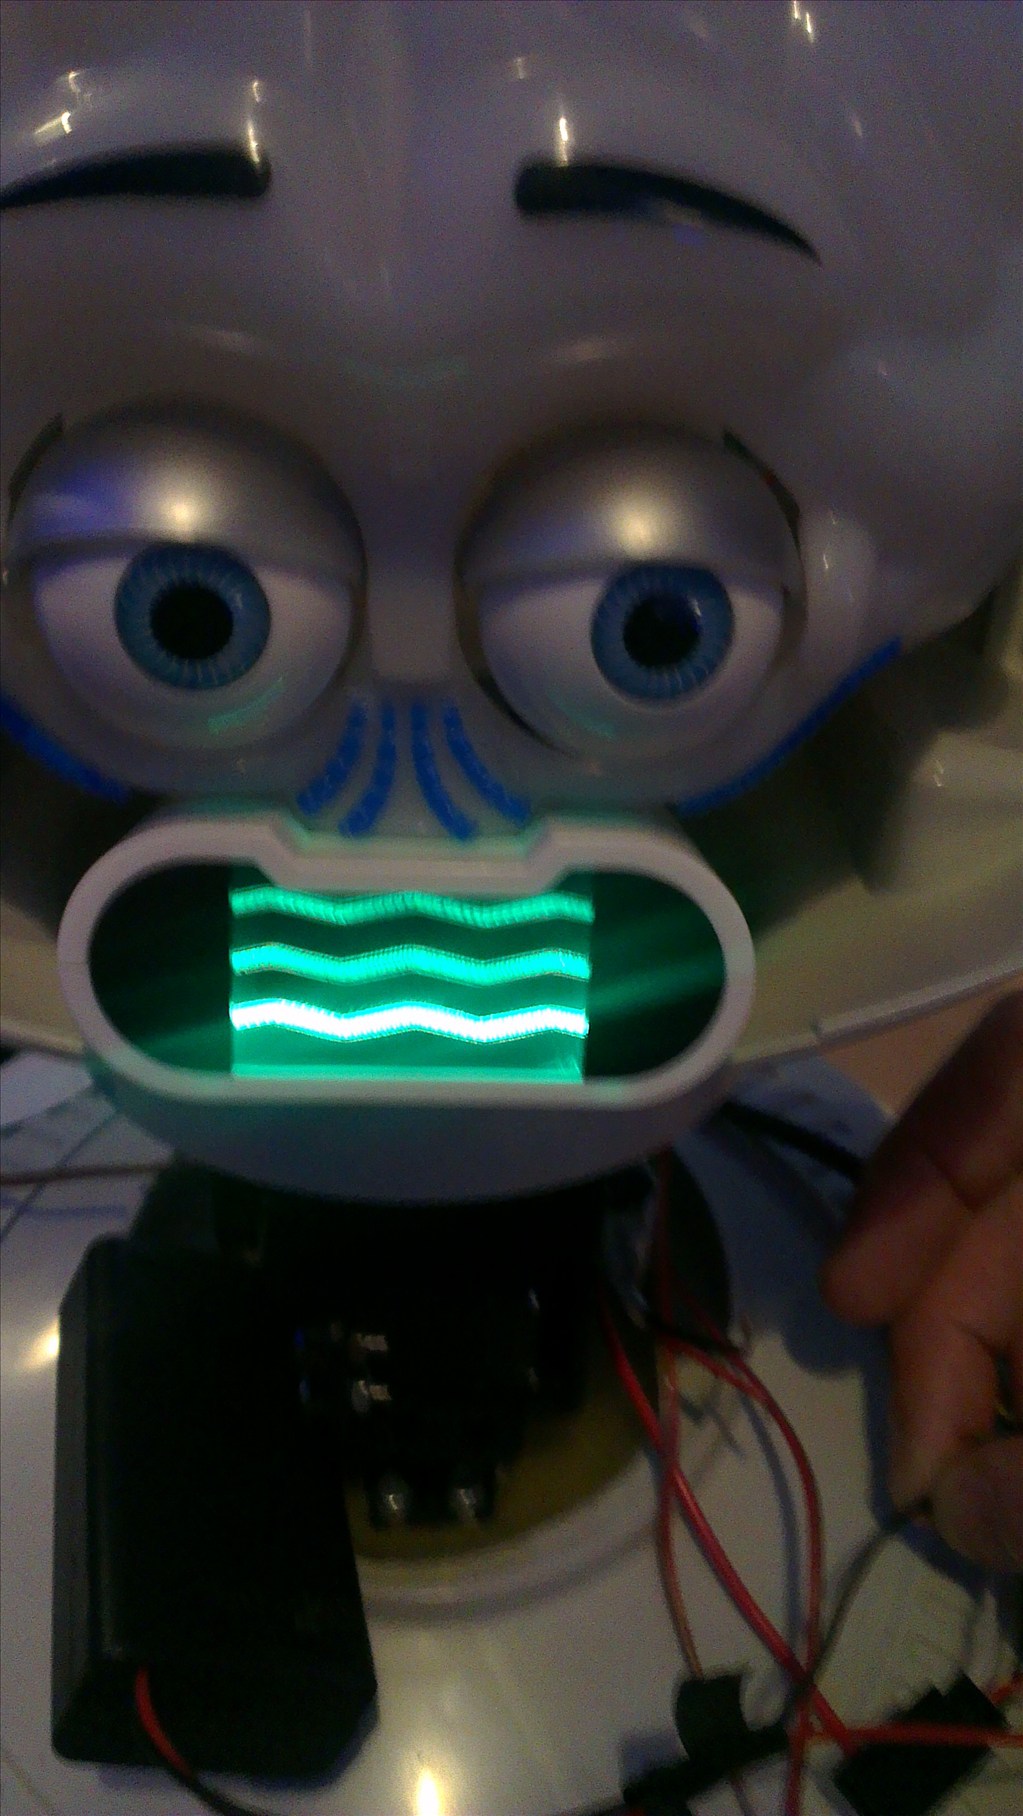
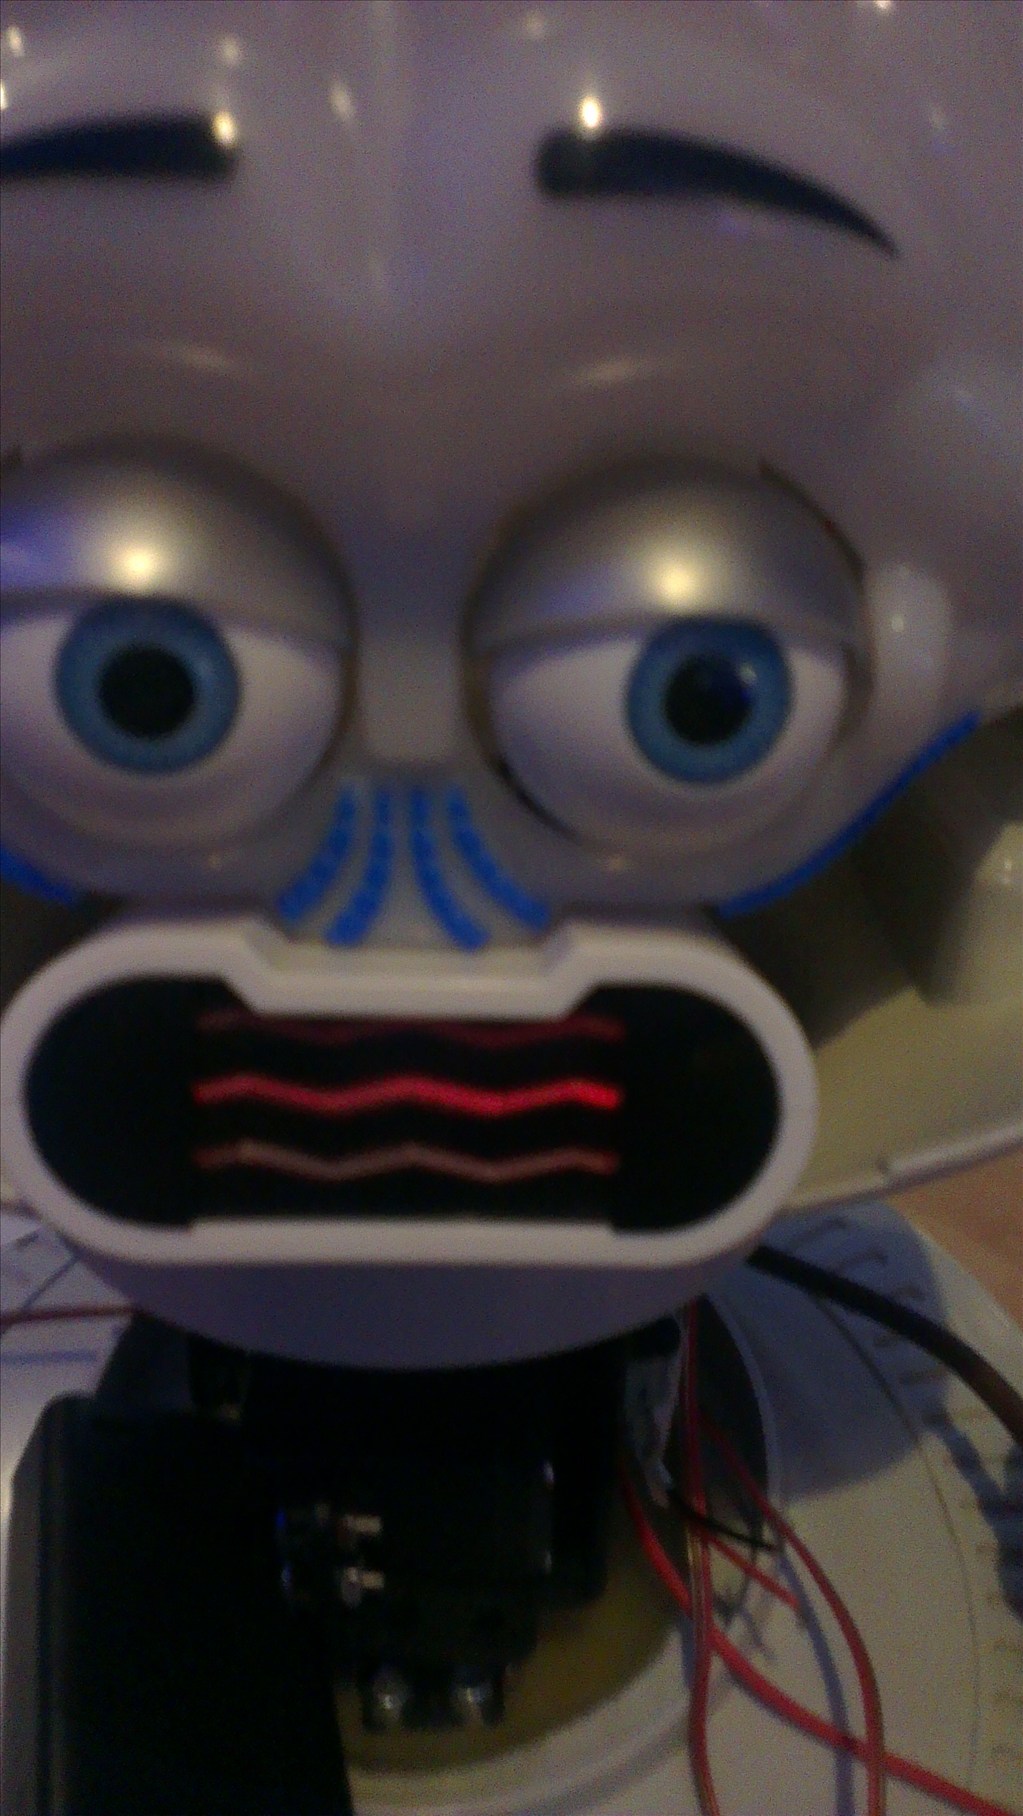
The head will include the camera. I haven't yet decided to fit it in one of his eyes or to make it his nose. The issue to overcome with this is the blue tint on the bubble head. The mouth will have a light or some lights in which flicker when he speaks.
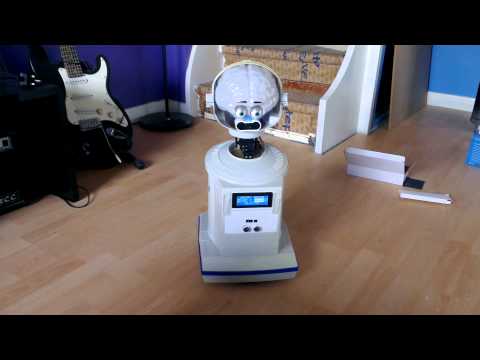
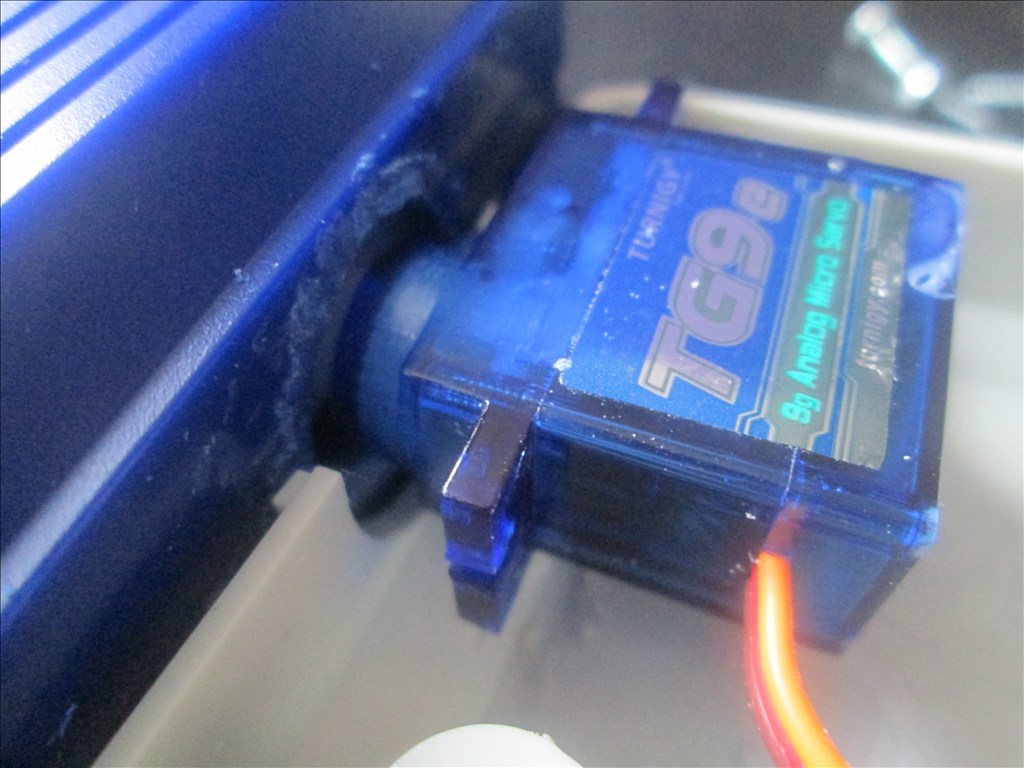
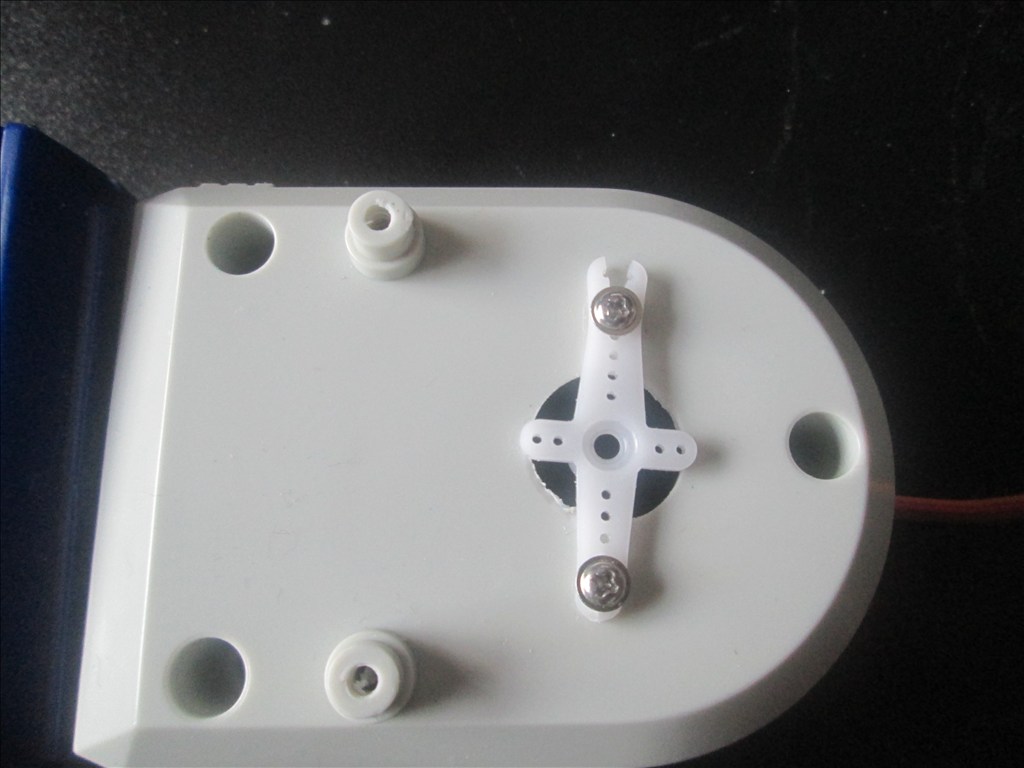
The arms will be given some life with servos at the shoulder joints and the elbows provided I can get them to fit in there nicely.
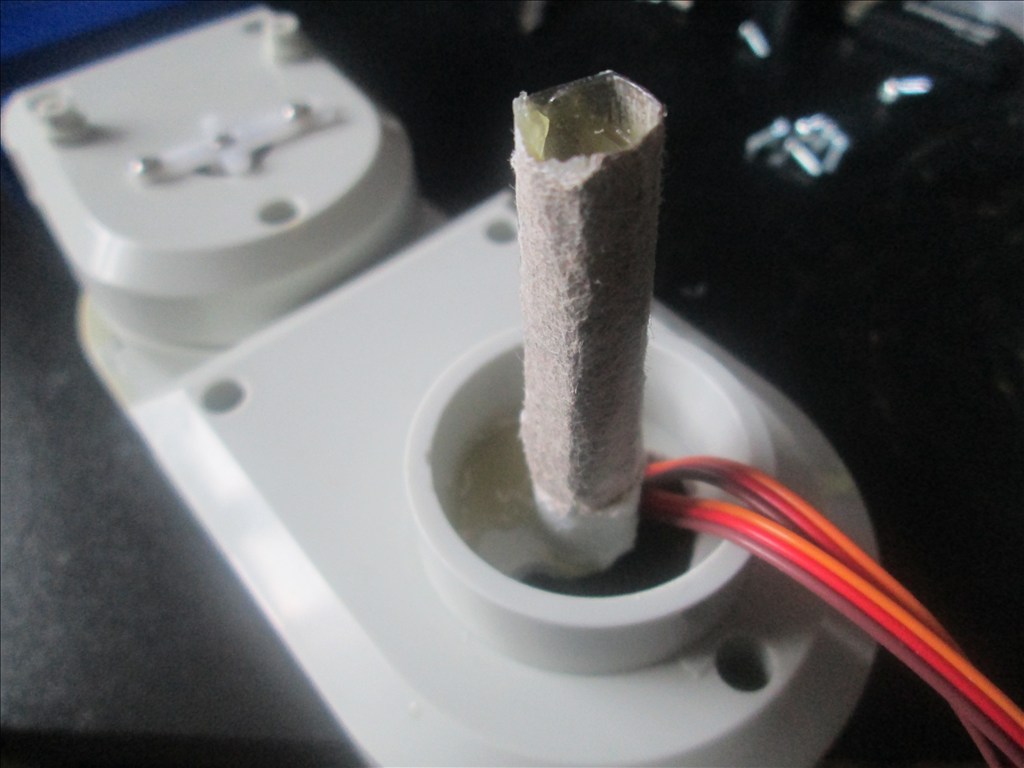
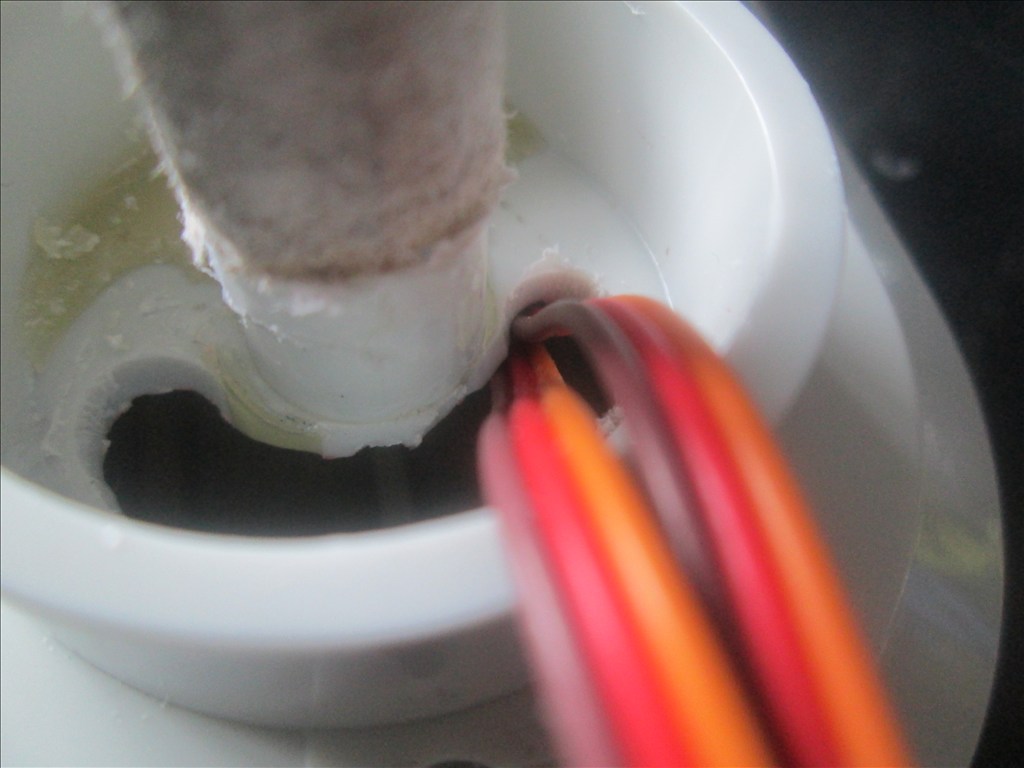
Ultrasonic sensor will be in his chest, probably on a servo to give a wider view.
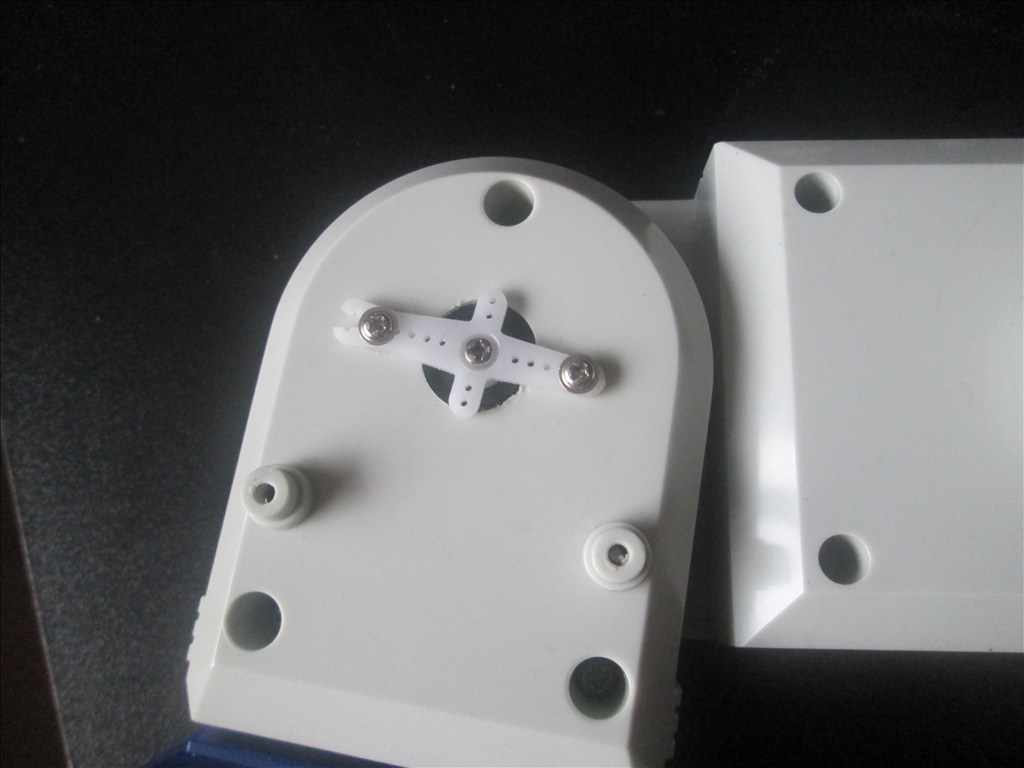
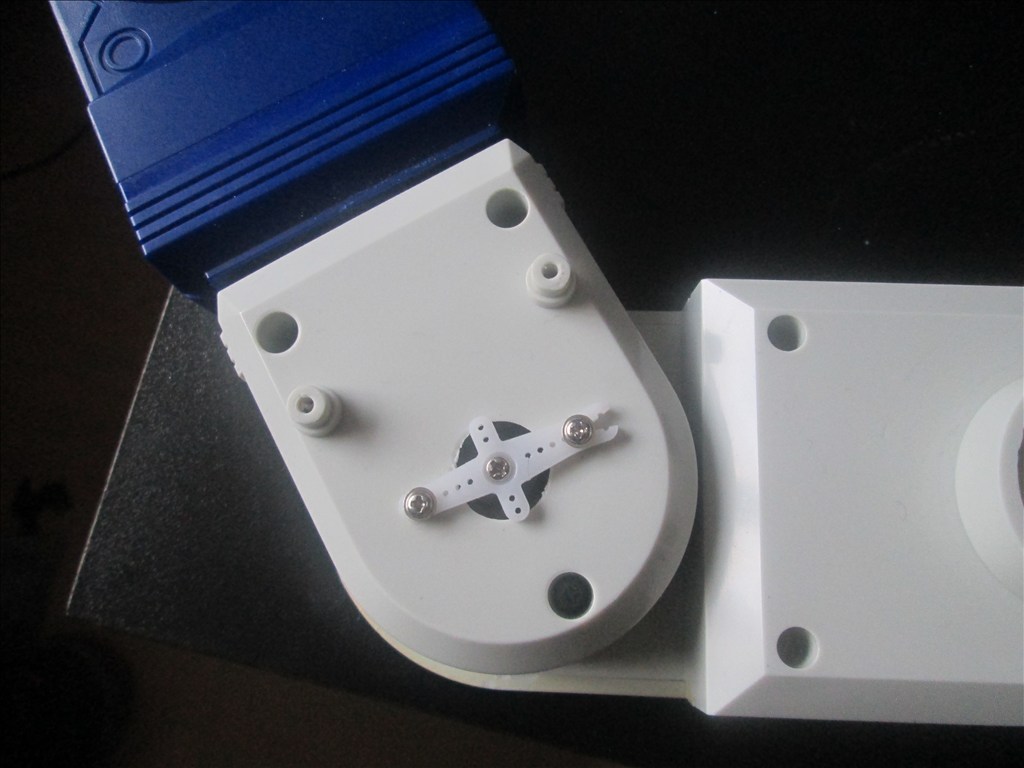
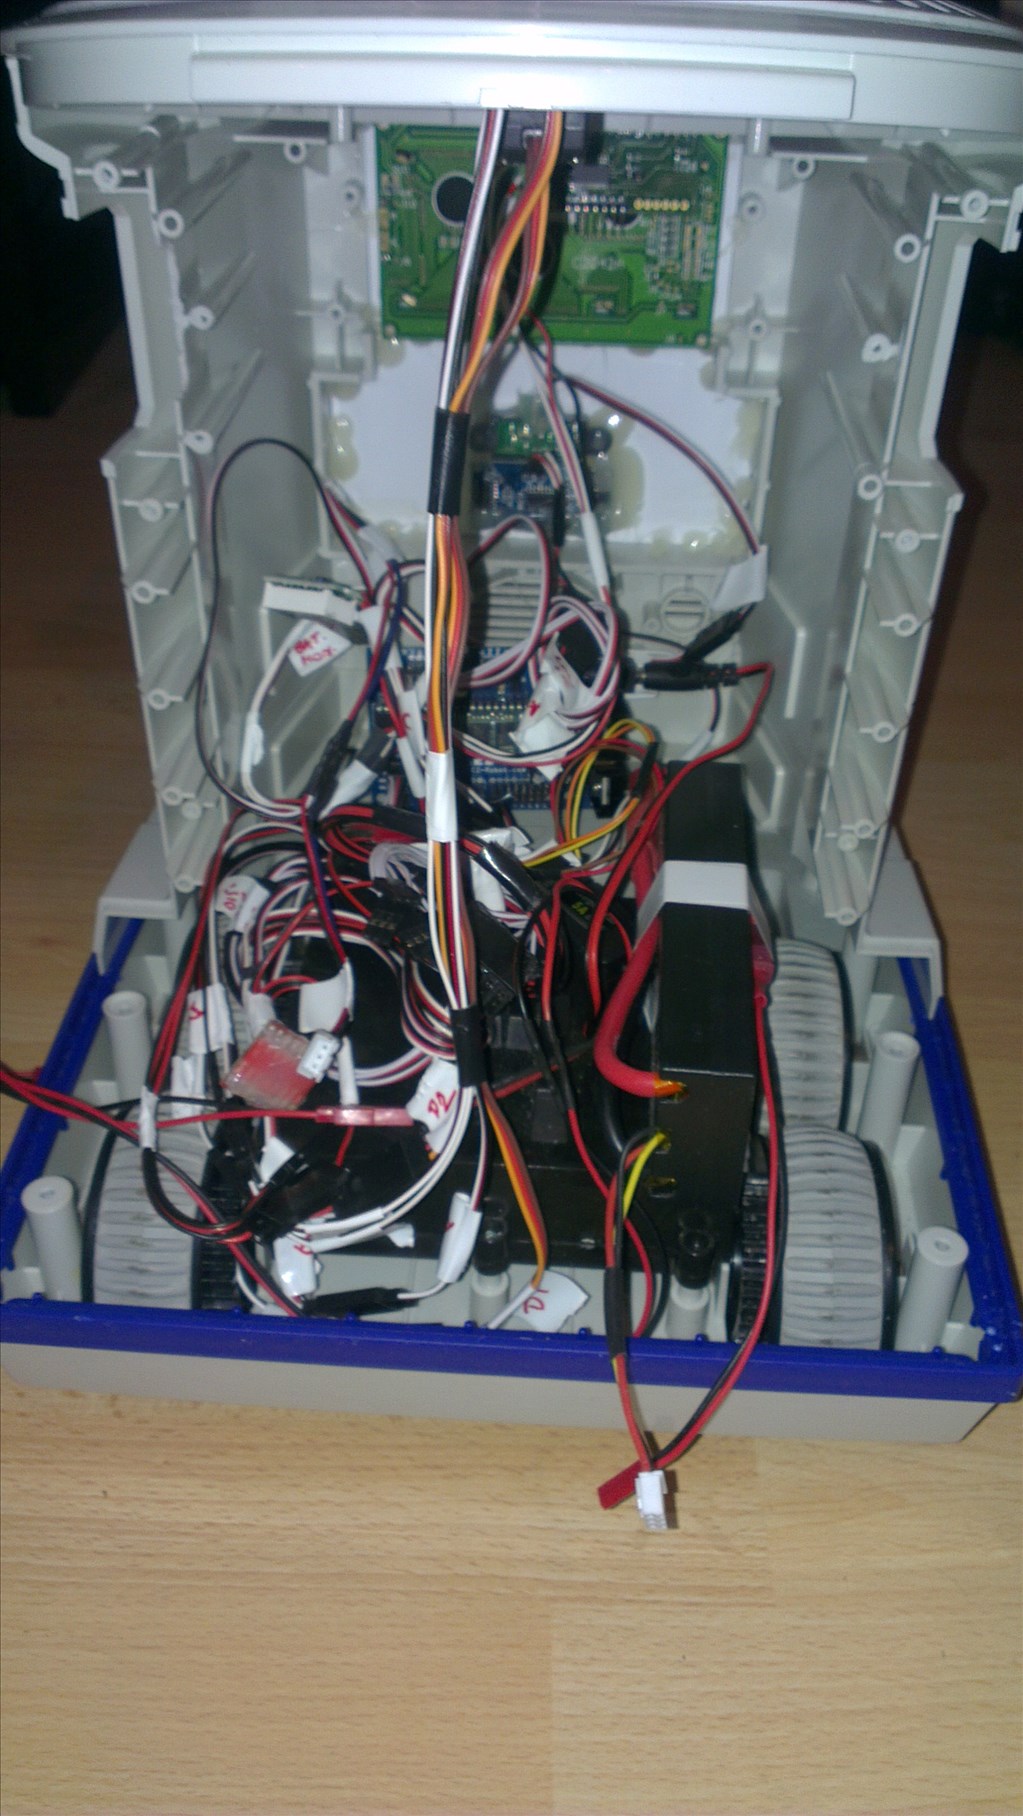
Original drive wheels and gearbox seem to be in very good shape so will plan to reuse those and just replace the existing motors for the modified servos if they can manage the task.
Speaker and microphone will be in the original positions - if it's not broke why fix it?
Not too big a project but enough to give me a test, help me learn and bring an old robot back to life.
Discover more robots
Zxen's My First Robot: Eve
Jdebay's Garden-Bot Aka Gb Robot


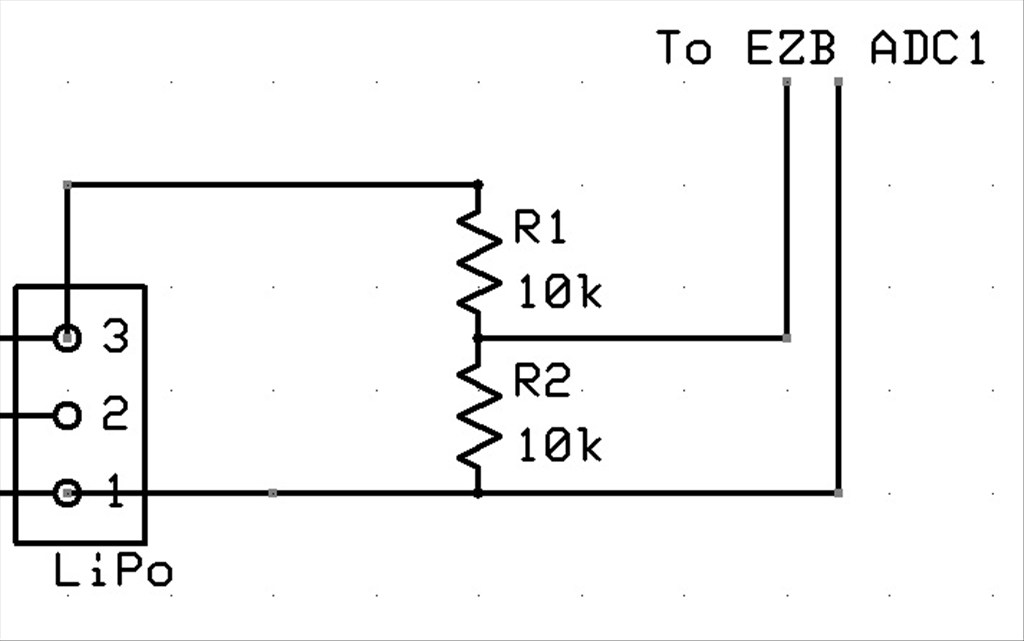
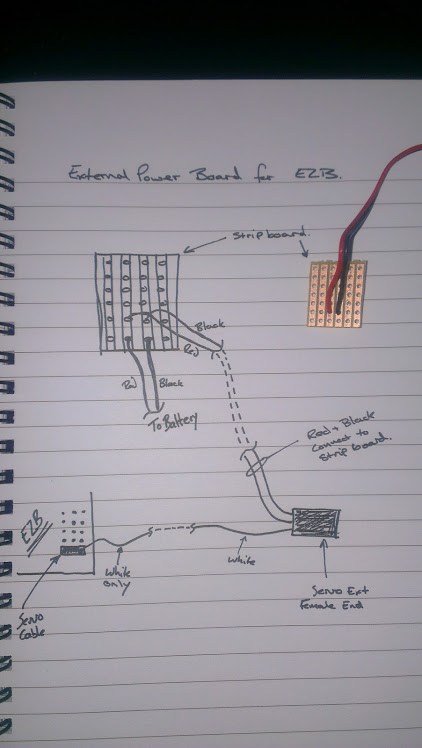
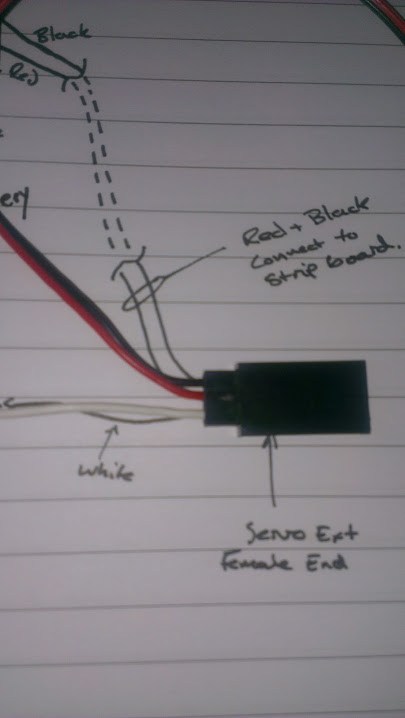
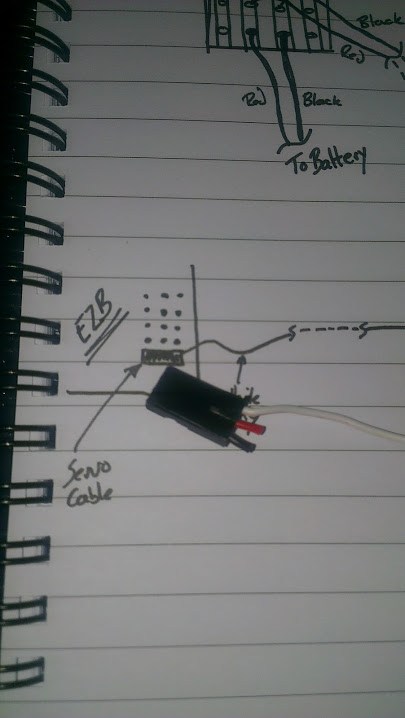
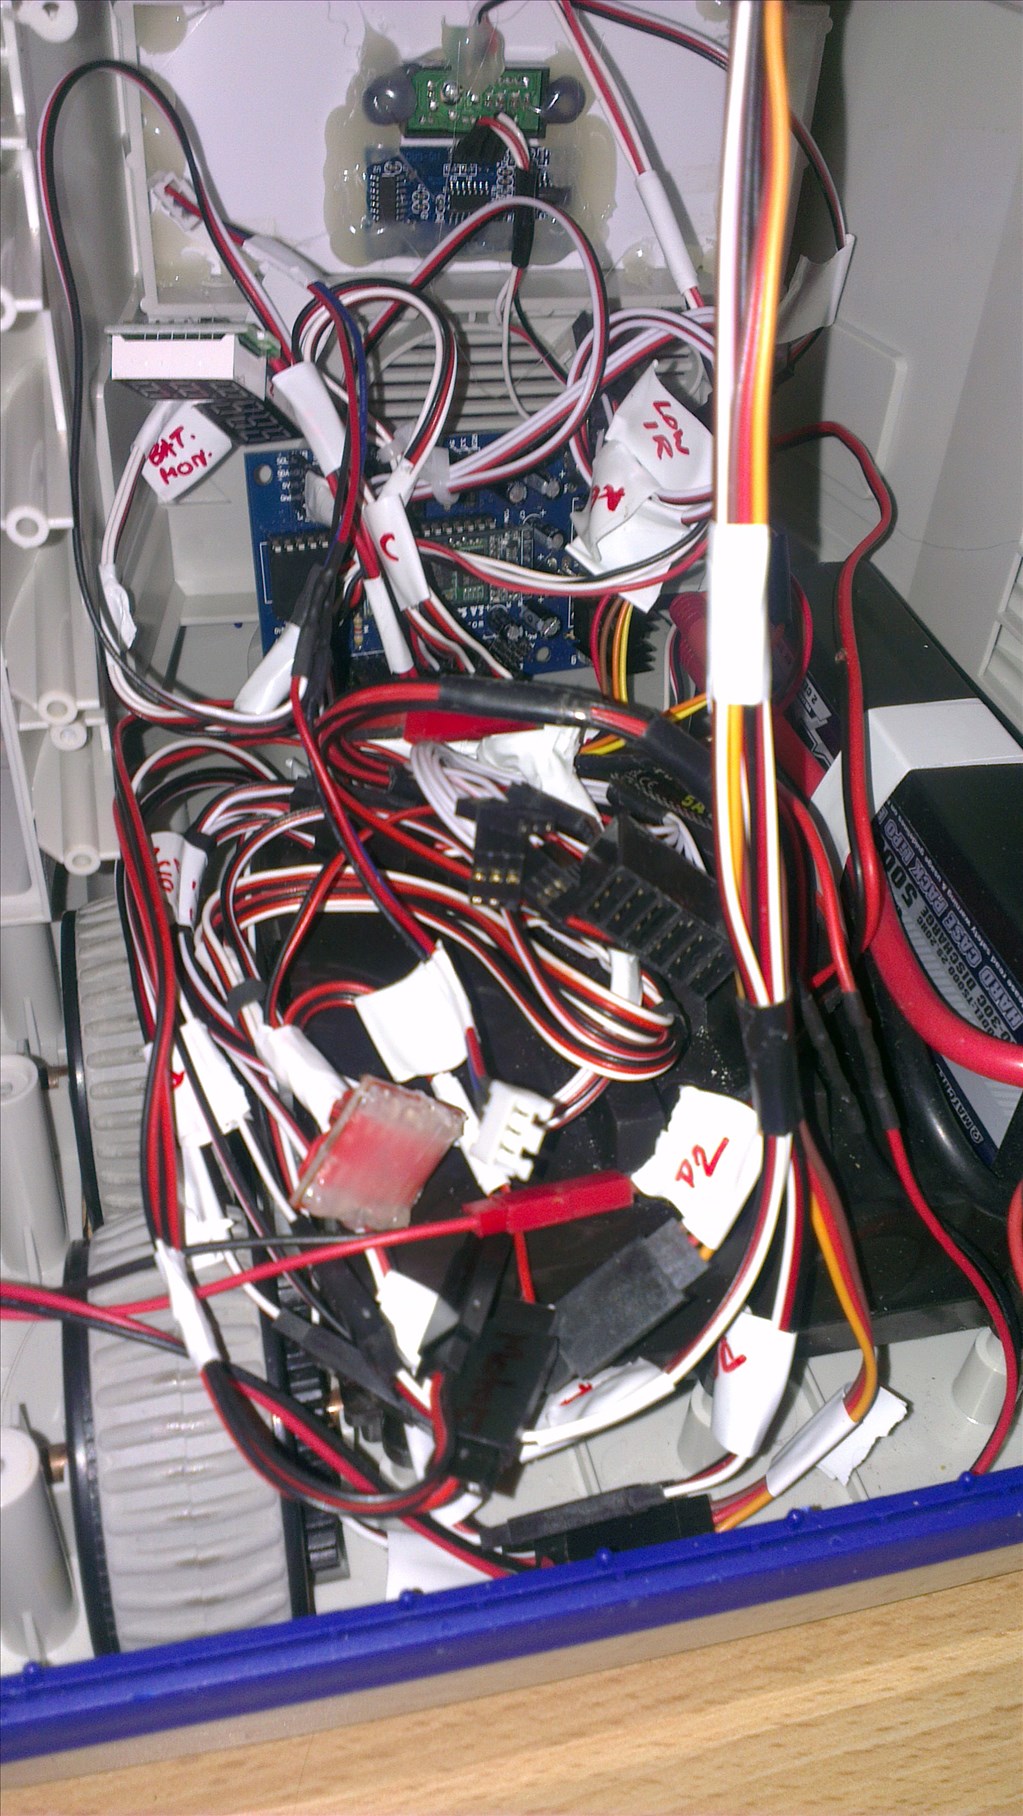
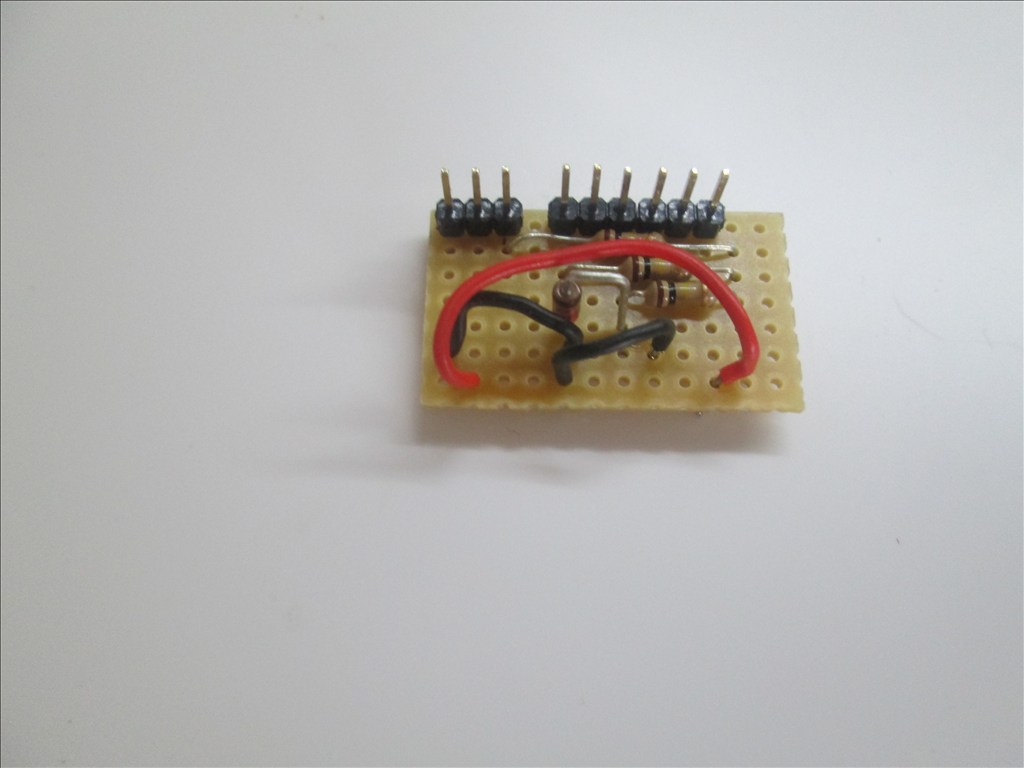
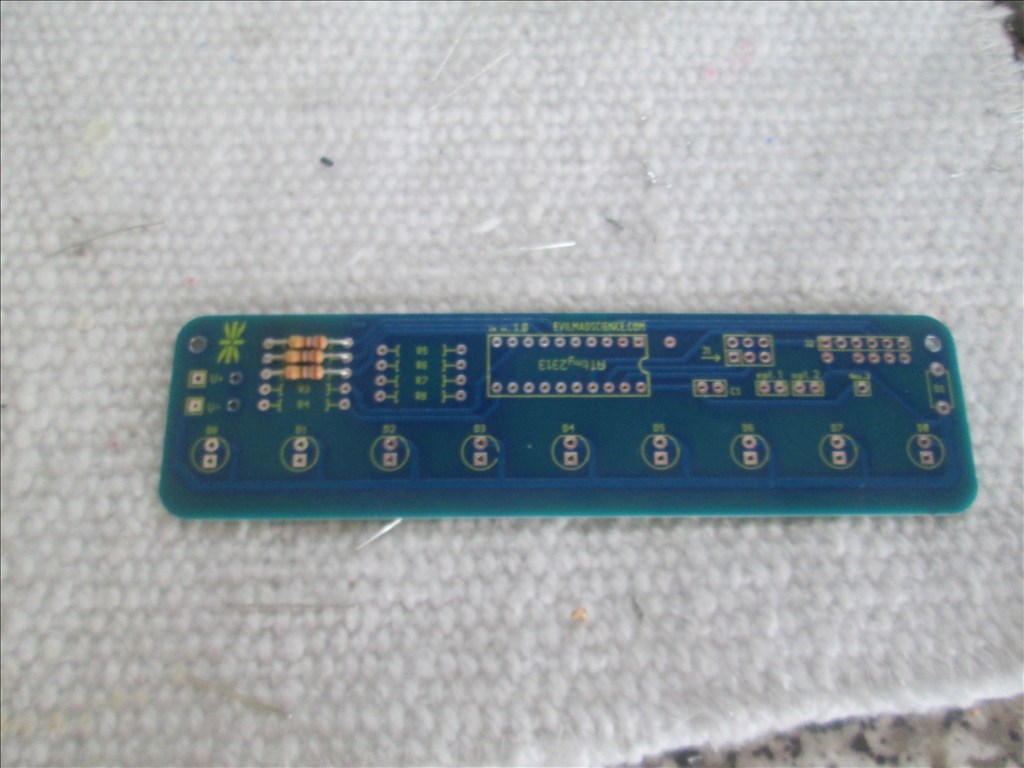
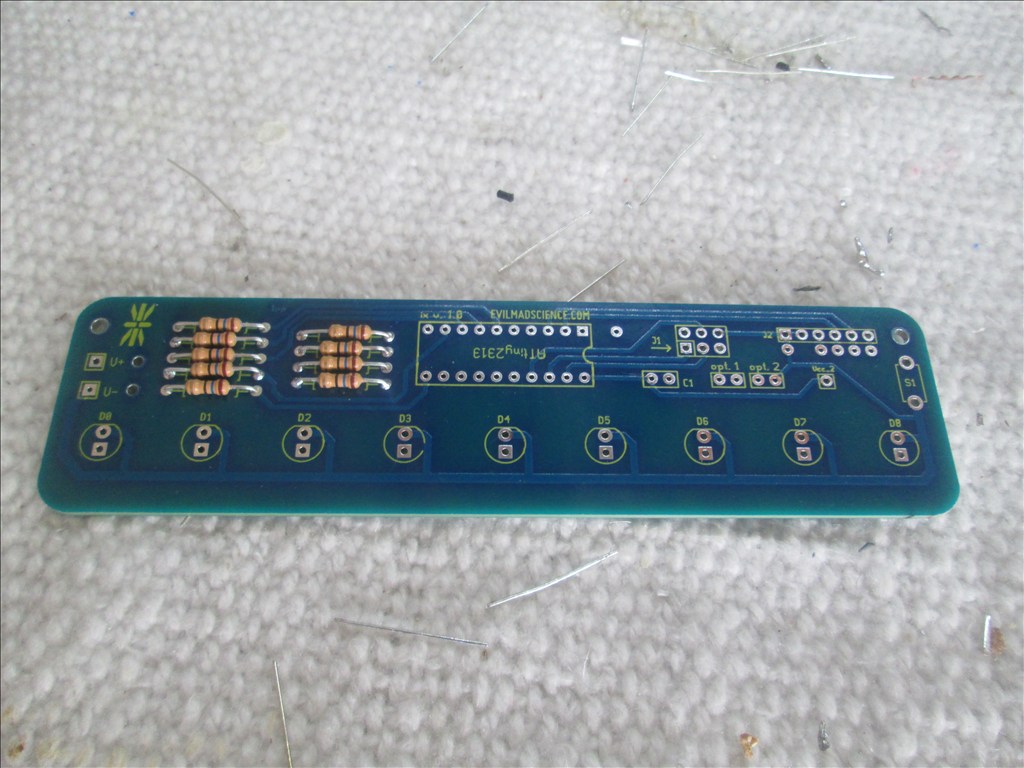
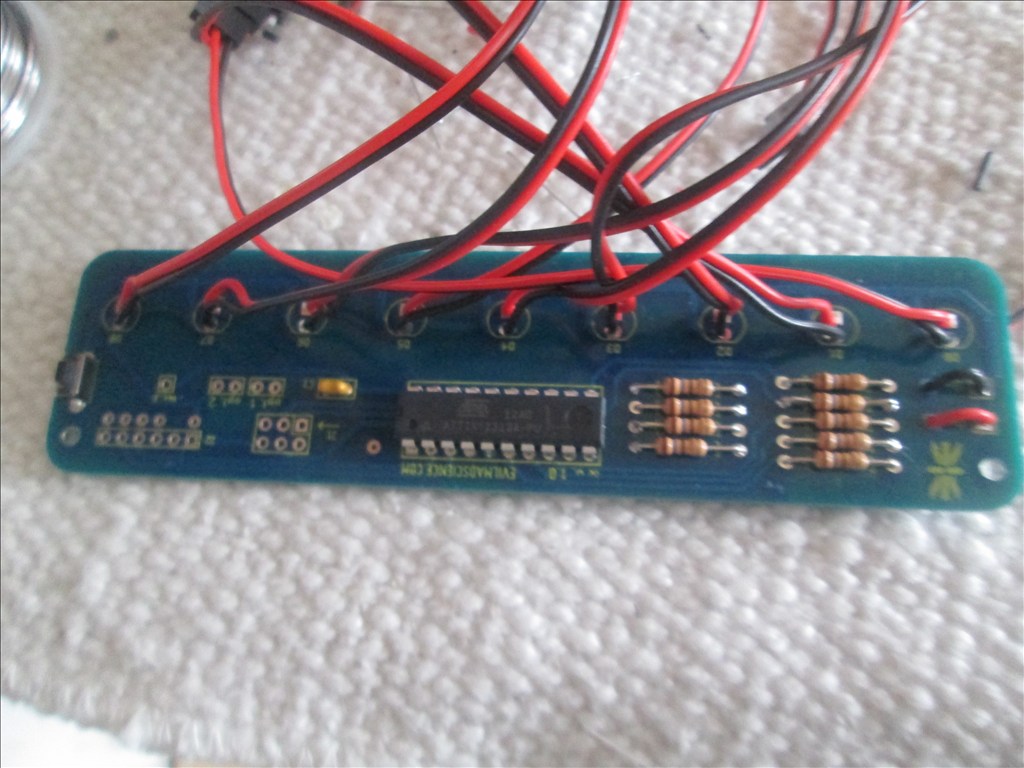
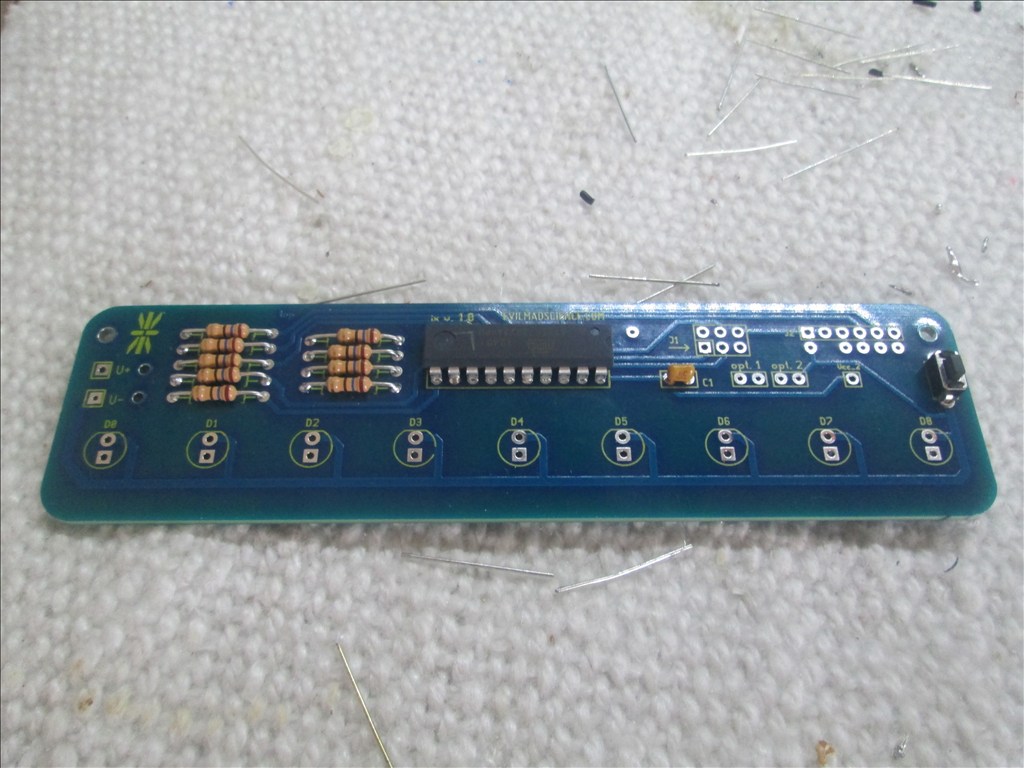
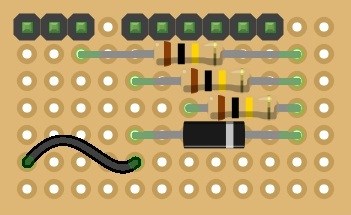
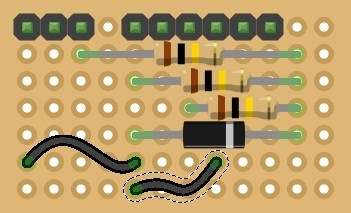
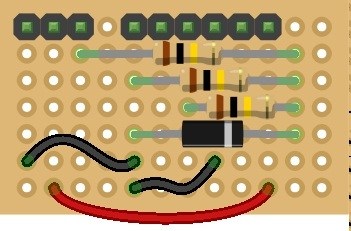
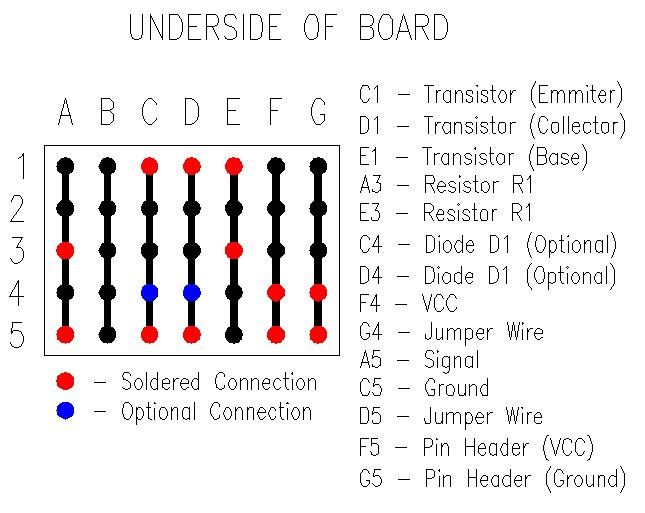
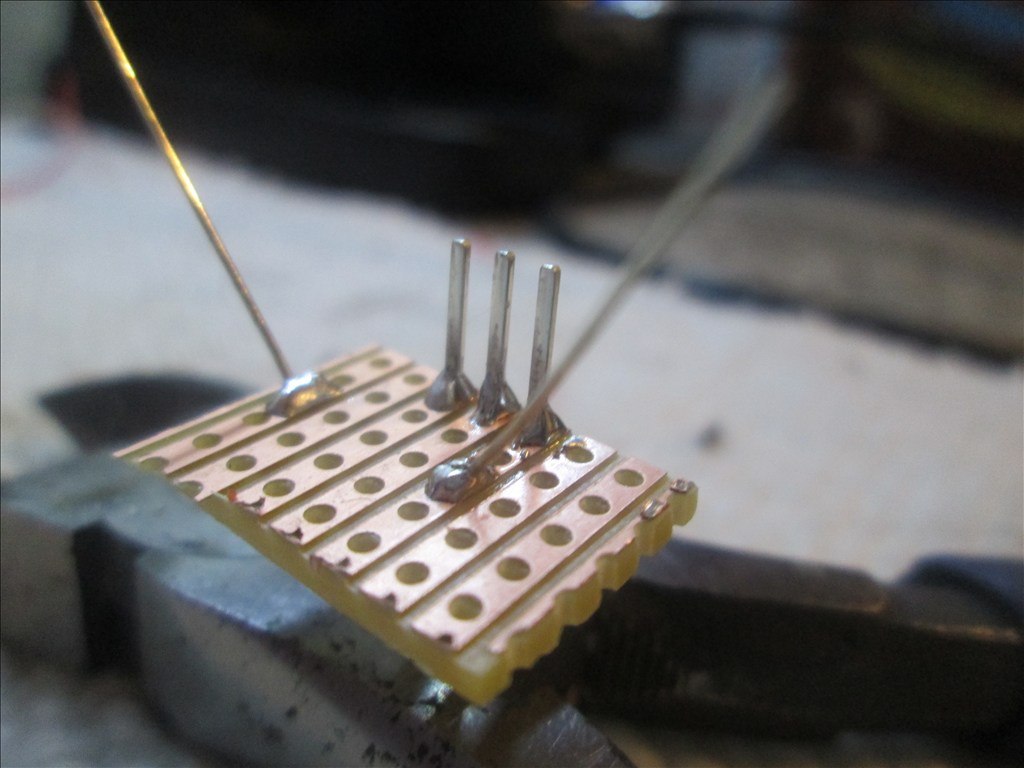
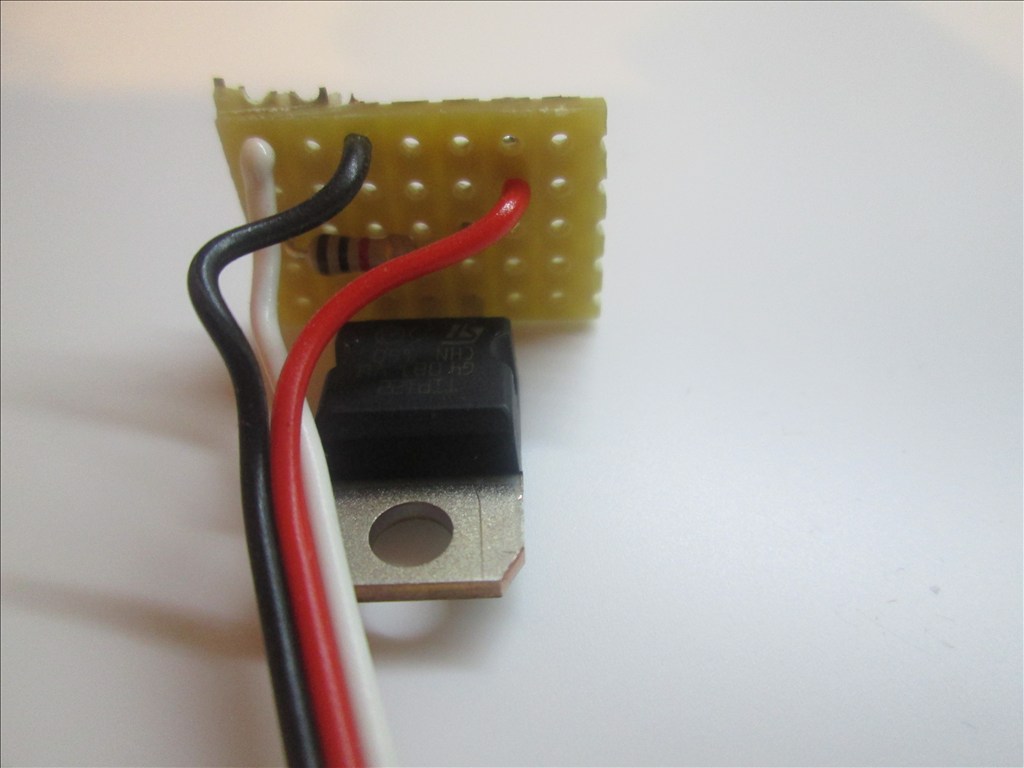
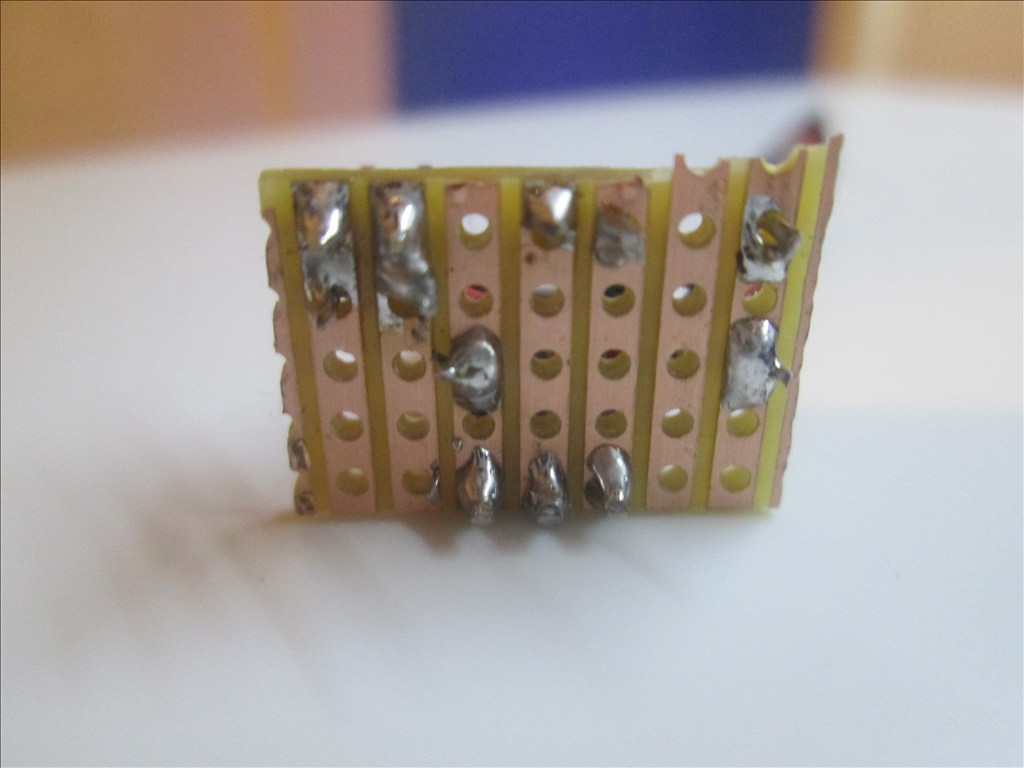
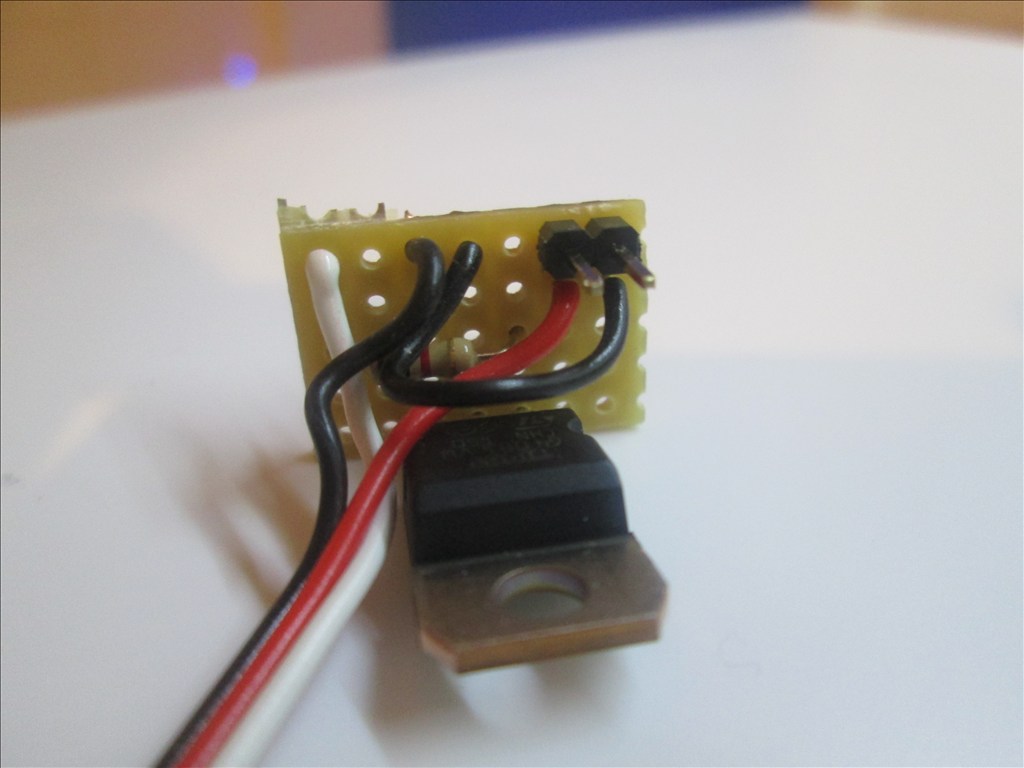
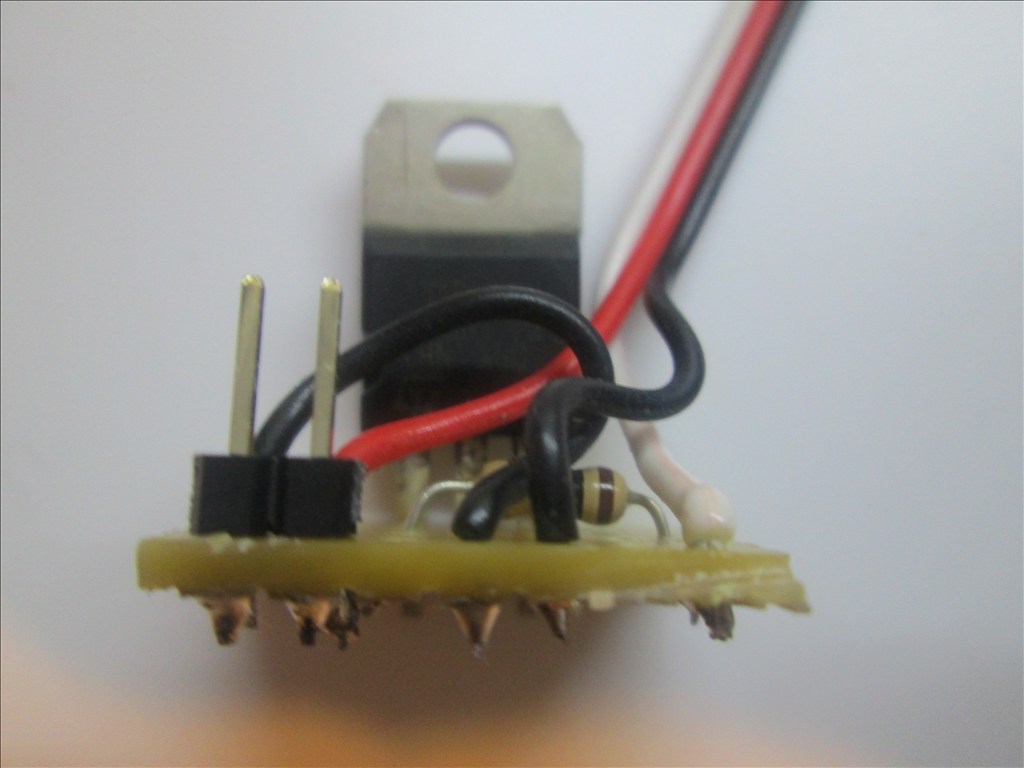
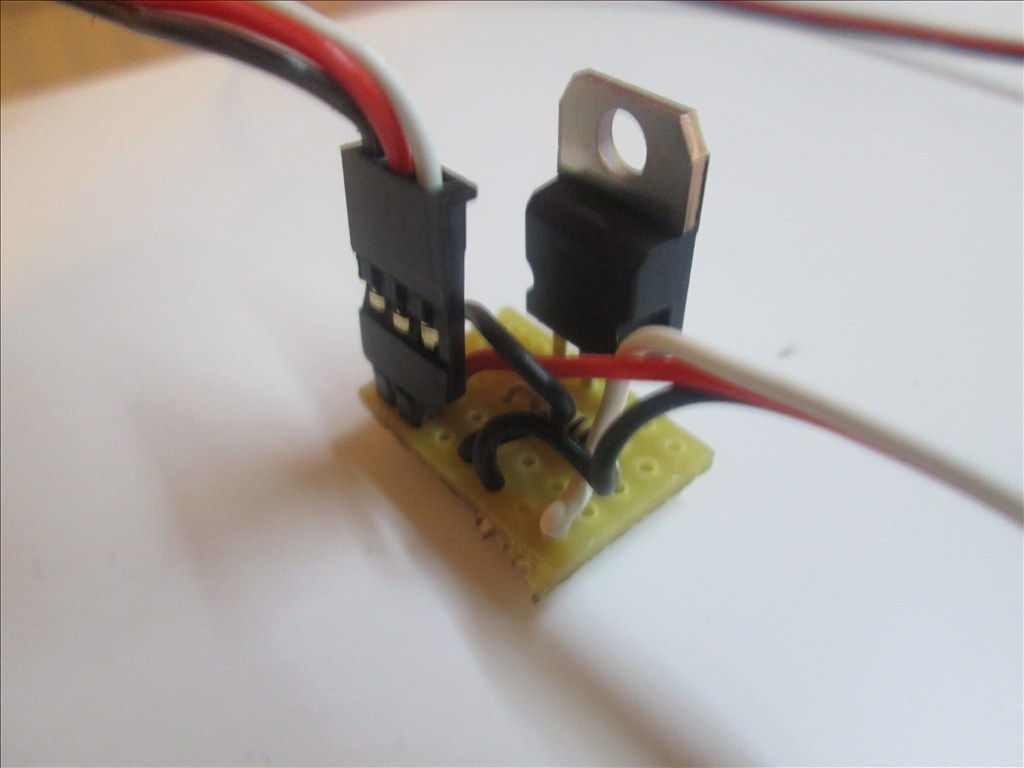
I will need to do the same thing you are due to all the high torque servos and the voltages from the battery being so much higher than needed. I'm using a perf board and making a central Voltage drop for all the servos in one place to simplify the wiring.
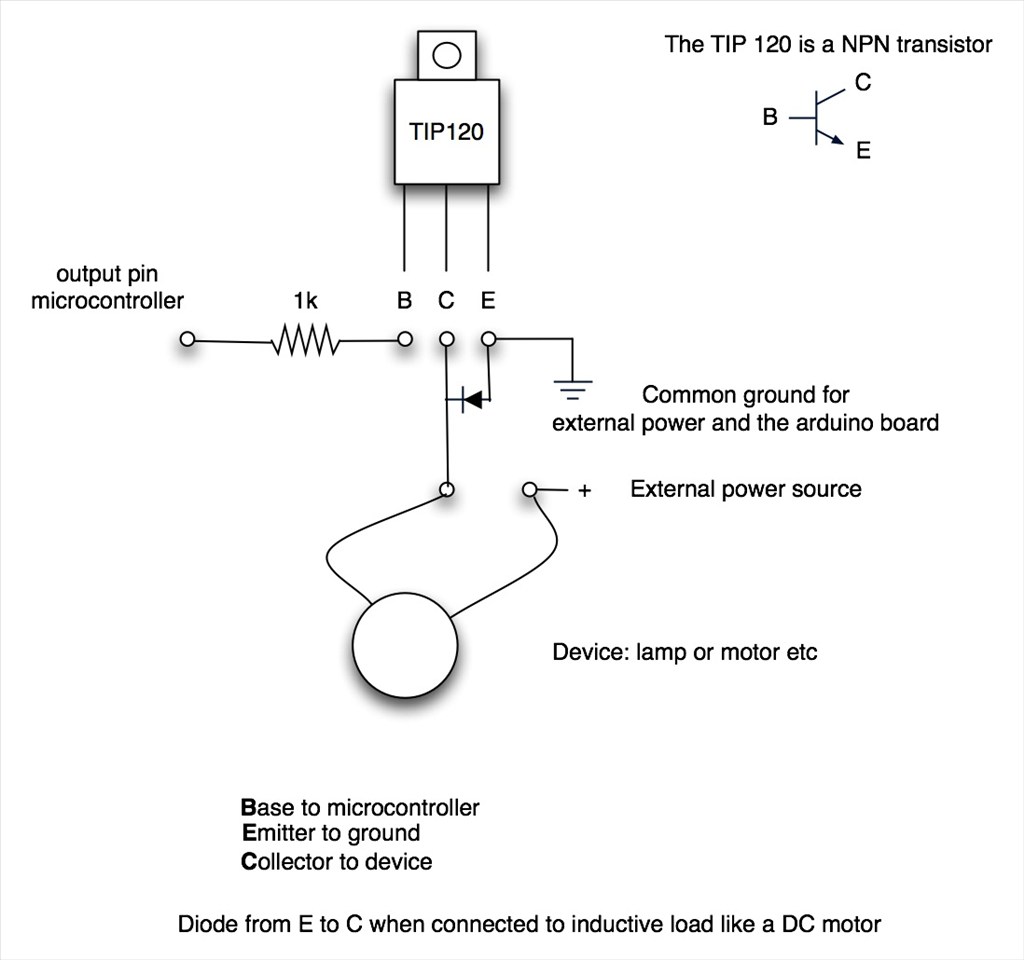
Rich, You may want to look at this link about connecting regulators in parallel. Some additional components may be needed. See the part about Parallel Connecting Multiple Voltage Regulators. I have not tried this yet but will probably need it later on. So I will be watching your progress closely. Your build is coming along very nicely. I really like Melvin.
High-Current-Voltage-Regulation
LOOK at the datasheet it always tells you the correct way to parallel regulators. When i design anything i always check the datasheets.
Thanks Rex.
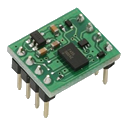
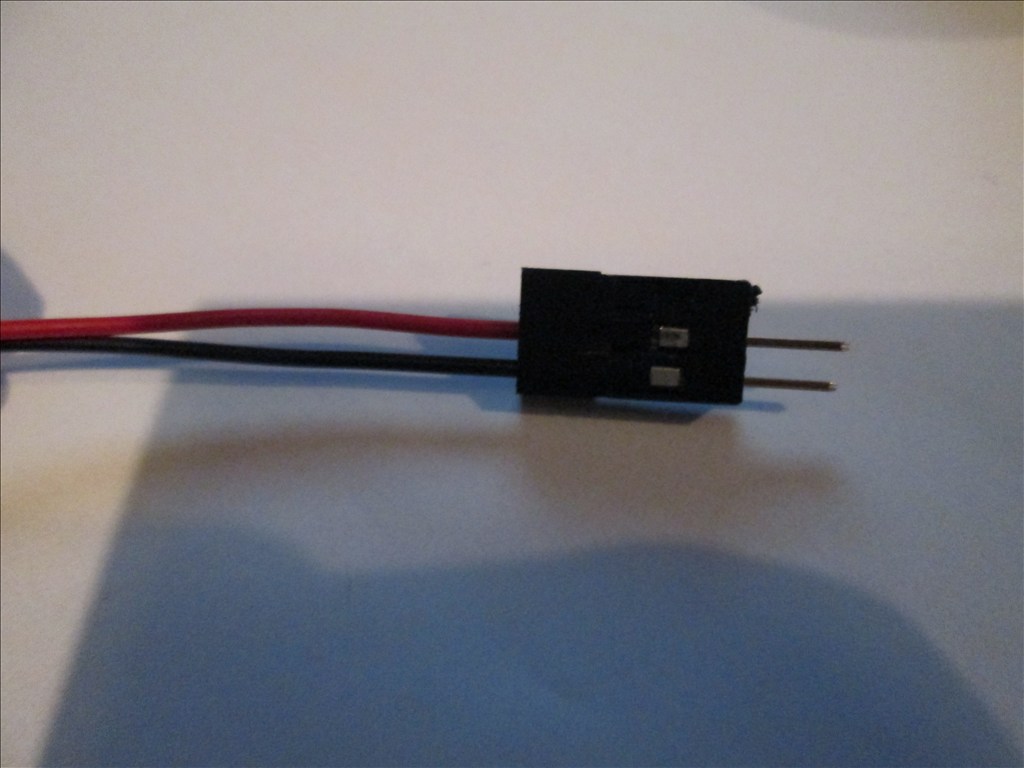
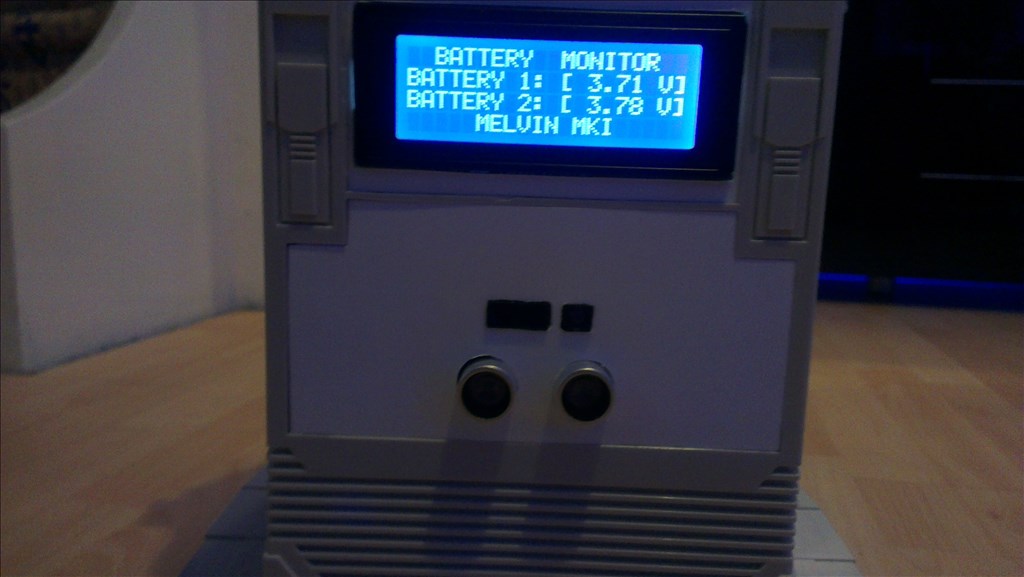
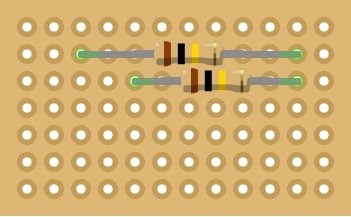
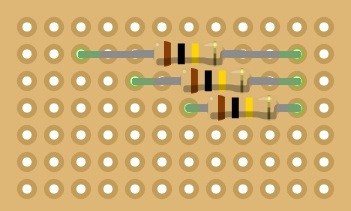
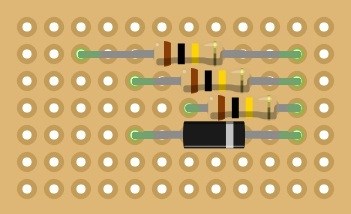
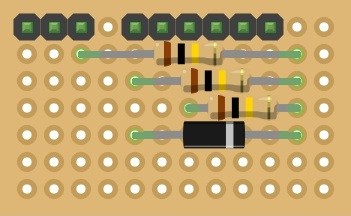
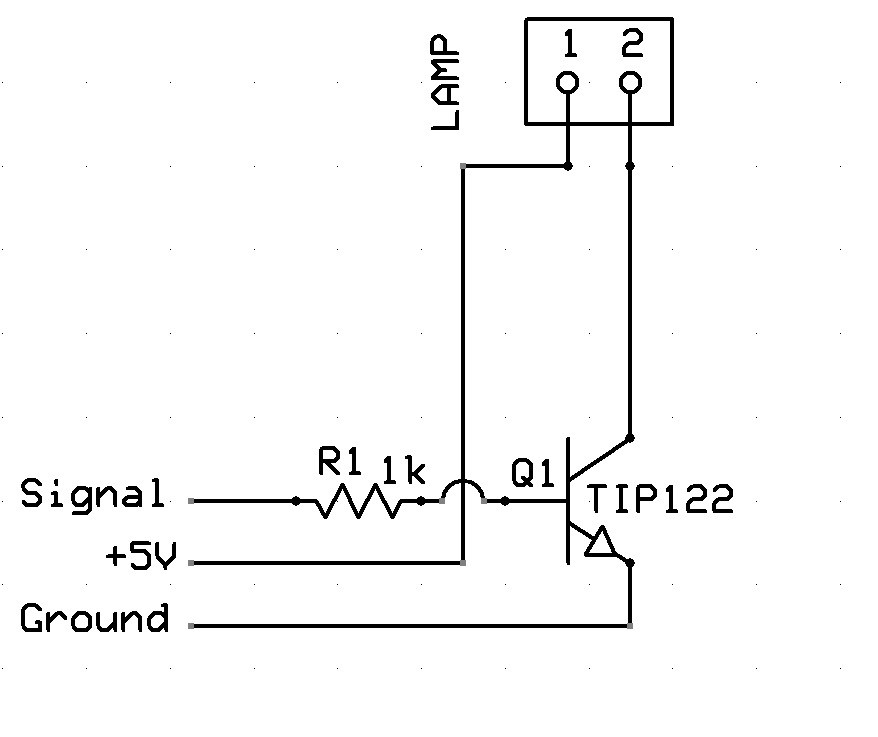
I will be using these regulators and just taping 2 of them together for each circuit (3 in total, one for head, one for each arm) and connecting up each of the +VIn and each +Vout together. Nice and simple and should keep it neat in there. Although they will work out more expensive than making up a circuit it's just easier and keeps everything modular so one thing can be changed with minimum fuss, the current limit can be adjusted by either adding another or removing one etc.
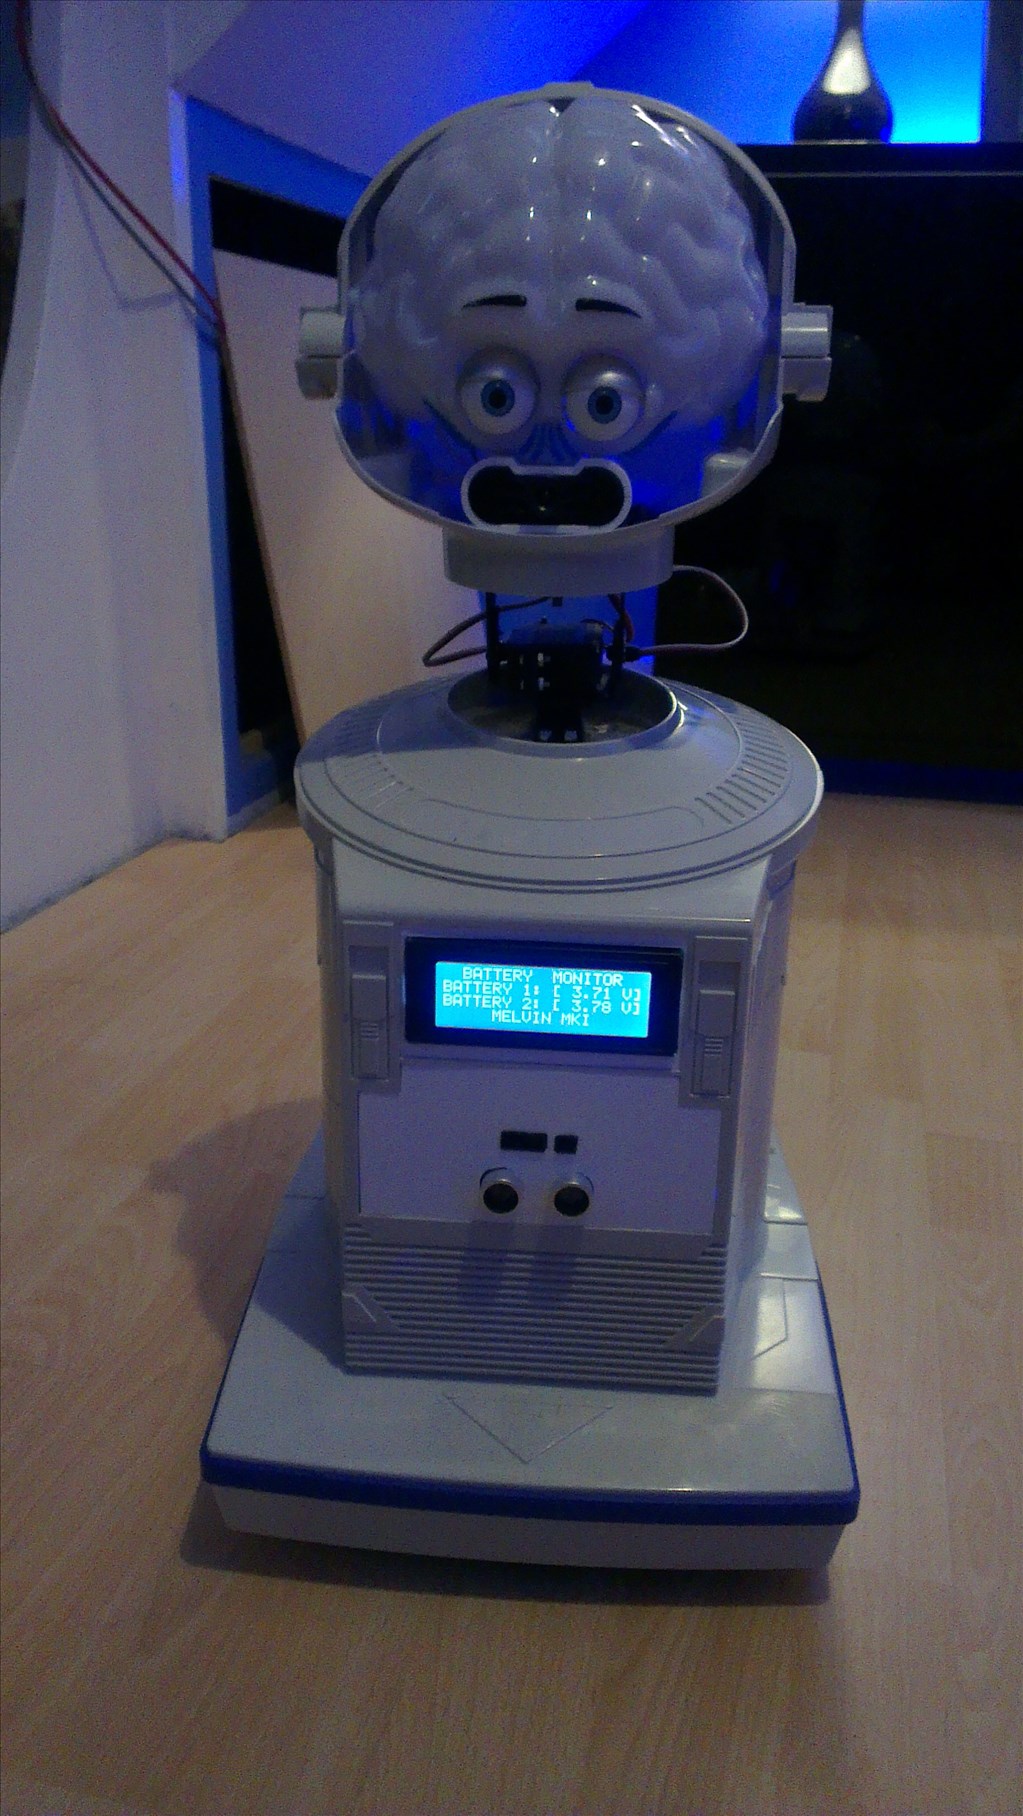
Since Melvin has gone from being a budget "just to see what I can do with it" robot to something totally different cost is no longer much of an issue, it's already way over budget.
Good find on the regulators.
I was worried about what the link said about how... tiny differences in output voltage could have the disastrous consequence of making the regulator with the lowest output voltage try to carry all of the current. This would cause it's internal thermal protection to trigger (as the regulator overheats) effectively removing that regulator from the circuit and kicking off a chain reaction up through the remaining parallel-connected regulators.
I have lost track on how much I have spent on my small robot. I am hoping to have him ready to take to the Maker Fair in June. The auto battery charger project is still going to have to wait until I get him better able to navigate. I will post the project- build thread soon.
Budgets just are not for robots , I remember having like a 600 dollar budget for Jarvis lol. Are you keeping Melvin's original base / drive system?
@rgordon its true that impedance differences mean one regulator can be drawing more juice than another because electricity follows the path of least resistance first. However you would need to be very close to maxing out the thermal capability of the regulators before that could be an issue. Its best to "overpower" having plenty of wiggle room for spikes in current draw and you will never see that happen. Its called thermal run away. So if you expect a peak of 2.5 amps then have a regulator that handles 5 amps and its never a problem. Does this make sense?
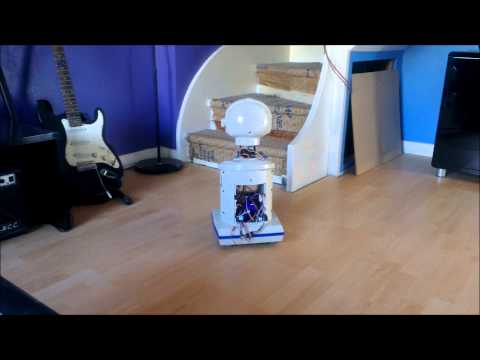
Funny you should ask that Josh. Currently yes but... I've been toying with the idea of an onboard PC... Just ideas at the moment. The drive system, if the onboard PC is fitted would also need looking at but I have ideas for that too... All future upgrades at the moment though so currently Melvin MK I will keep the original drive system and base.
I was naive when I set the budget, I thought the robot + EZ-B and a handful of servos and voila, done and dusted for a 200-300... Not a chance!
And I've not even started on getting him set for painting, although that'll be done myself but paint isn't cheap!