
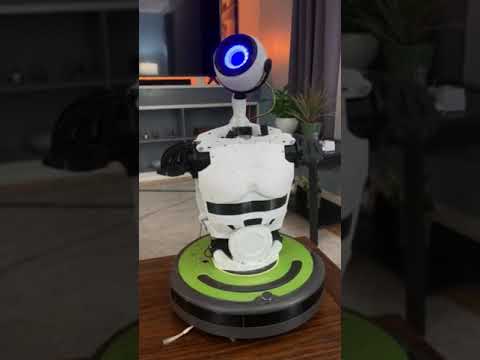


I am really excited about the new Synthiam mapping/nav functions as well as the additions to the Roomba movement panels. I needed a new bot to play with so I am making............"something."
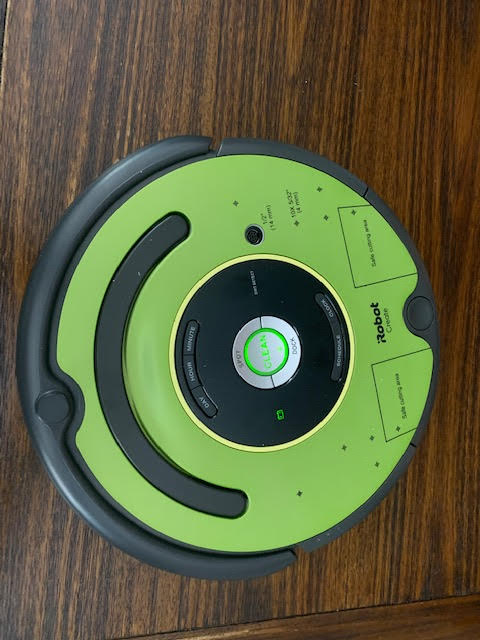
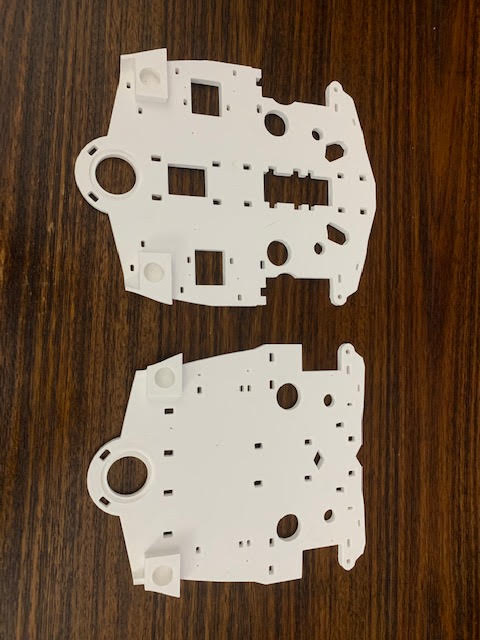
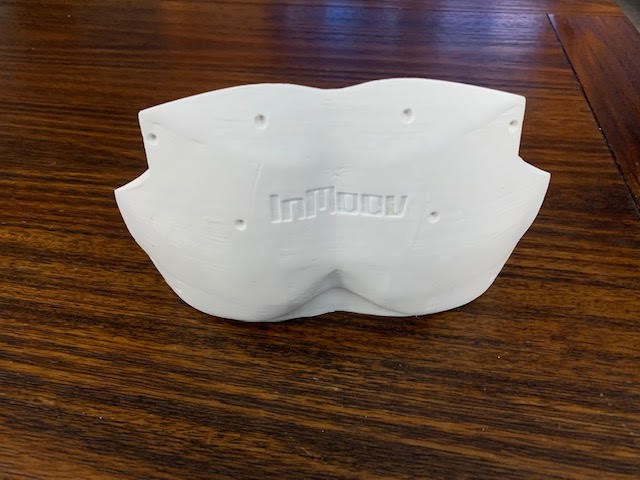
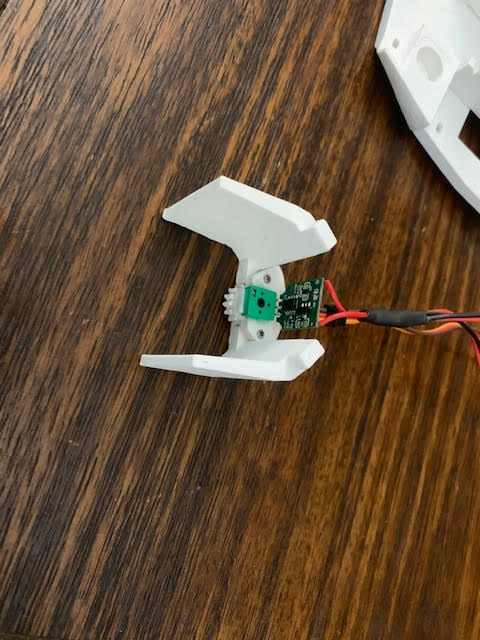
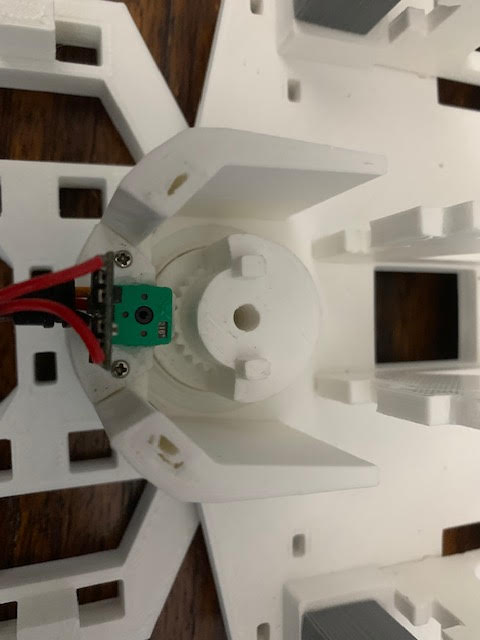
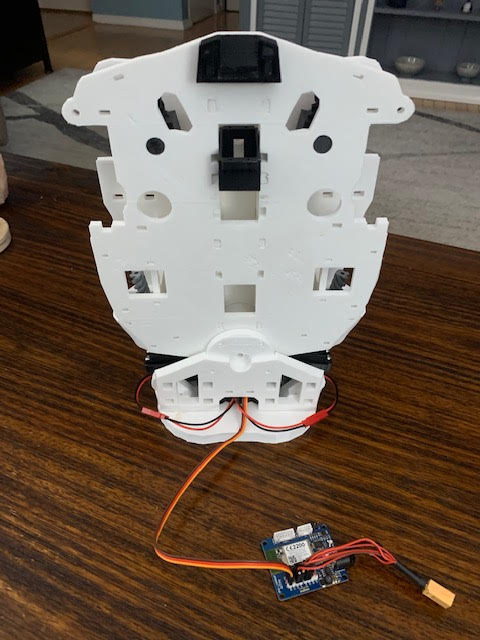
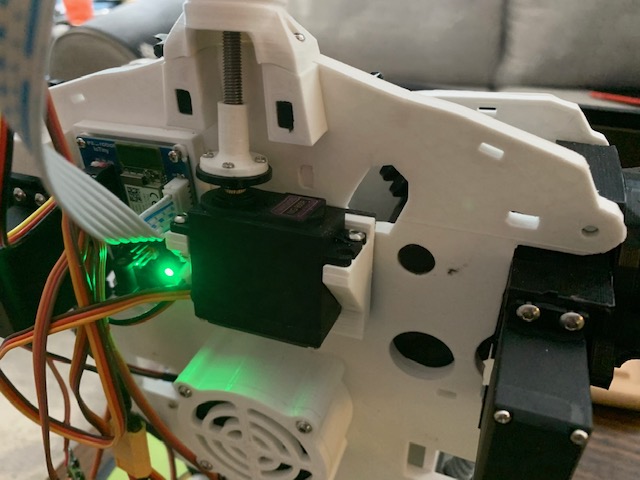
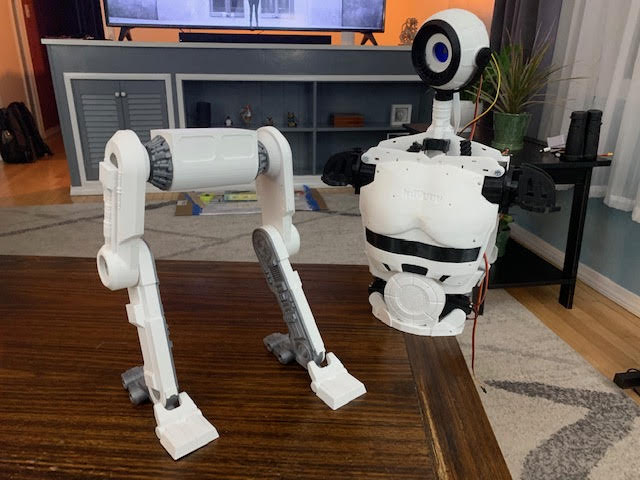
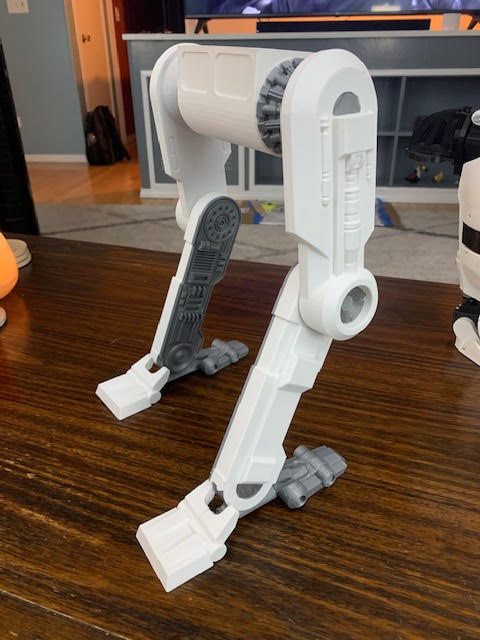
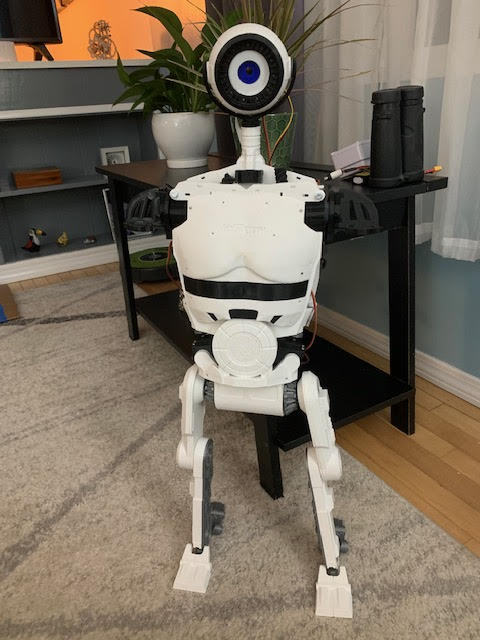
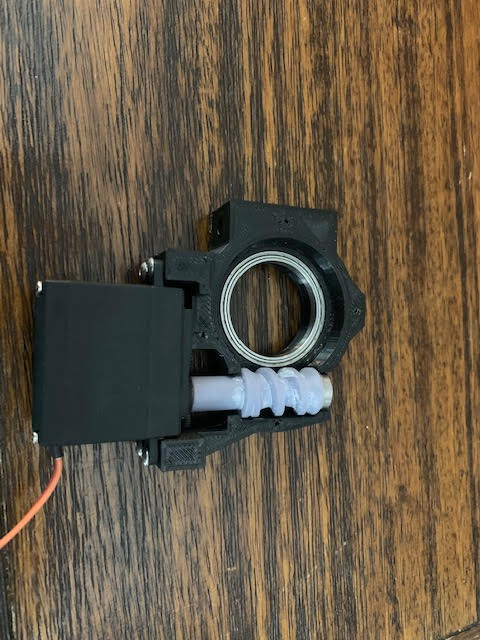
Not quite sure what this will be but I am using an inmoov body printed at .64 scale along with my eyepod design for a head. This is on a new Create 2. I spent a lot of CAD time scaling the inmoov and making sure servos fit and all the functions were preserved. If you scale the inmoov down .64 then the large servos it uses become roughly the size of standard servos, that is why this size was chosen.
Since he is a small inmoov that moves I have named him Mini-Move

By Perry_S
— Last update
Discover more robots

Cardboardhacker's Rover Ad
Dewy, a tall robot built from RAD parts modeled after an Omnibot, showcasing teardown steps and rebuild photos.

Joseph4760's Wall-E To Wall-E-Nator
Wall-E-Nator custom build: Wall-E U-Command fused with Terminator parts, mid-build, adding LEDs, camera and painting...
Imrisaac's Ez-B Project V3.0
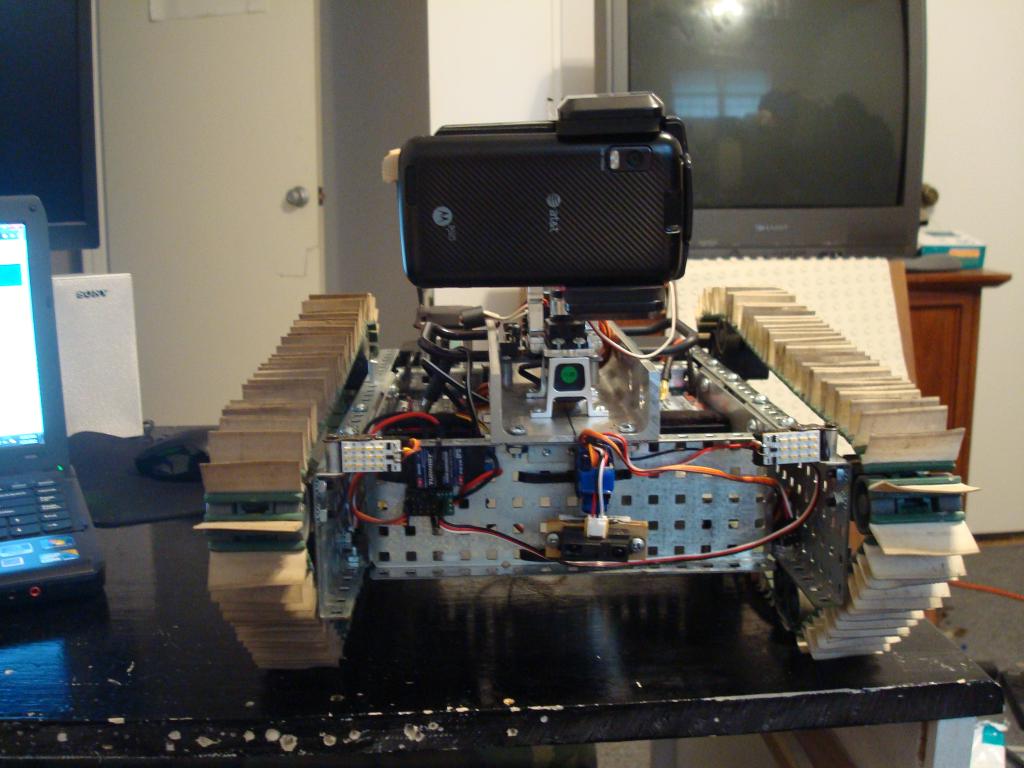
Surveillance tank with EZ-B and XBee XSC900 for long-range control, Android IP camera streaming video, Vex treads,...

very nice, any videos yet?
Perry S, That is very unique and interesting. I really like the scaled down size to use standard size servos. I have been real happy with the EZ Robot HDD servos because they are strong and will reset if needed. What are your plans for the head, maybe some special effects? The new Create has more sensor feedback than the 1st Gen units that I use. It is a great platform. Will be following your build. Thank you sharing. Steve S
That’s a great use of the eye! I like it
very nice .looks very robotic.
Love the idea of using your eyepod design for the head.
Very cool concept.
Seems like the perfect size to be quick and avoid objects!
hi perry S
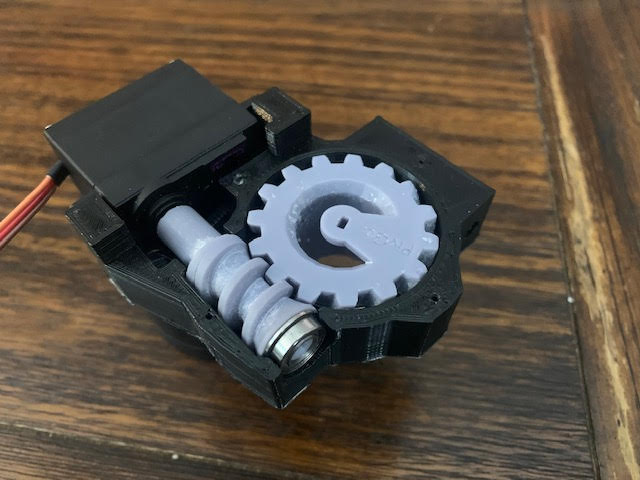
may i ask where did you get the stl from this part . the black parts .
roborad
i can hear your gears thinking .xD