


Now I have the EZ-B kit and the Hearoid it's time to start my Showcase thread.
I still haven't decided on a name for him yet, all suggestions are welcome.
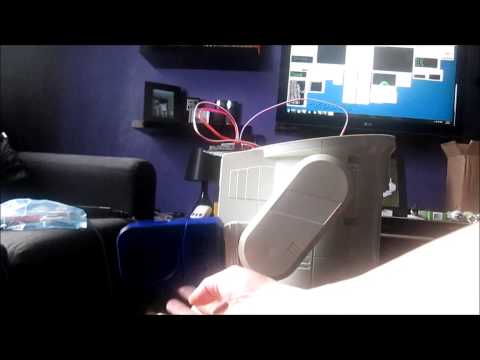
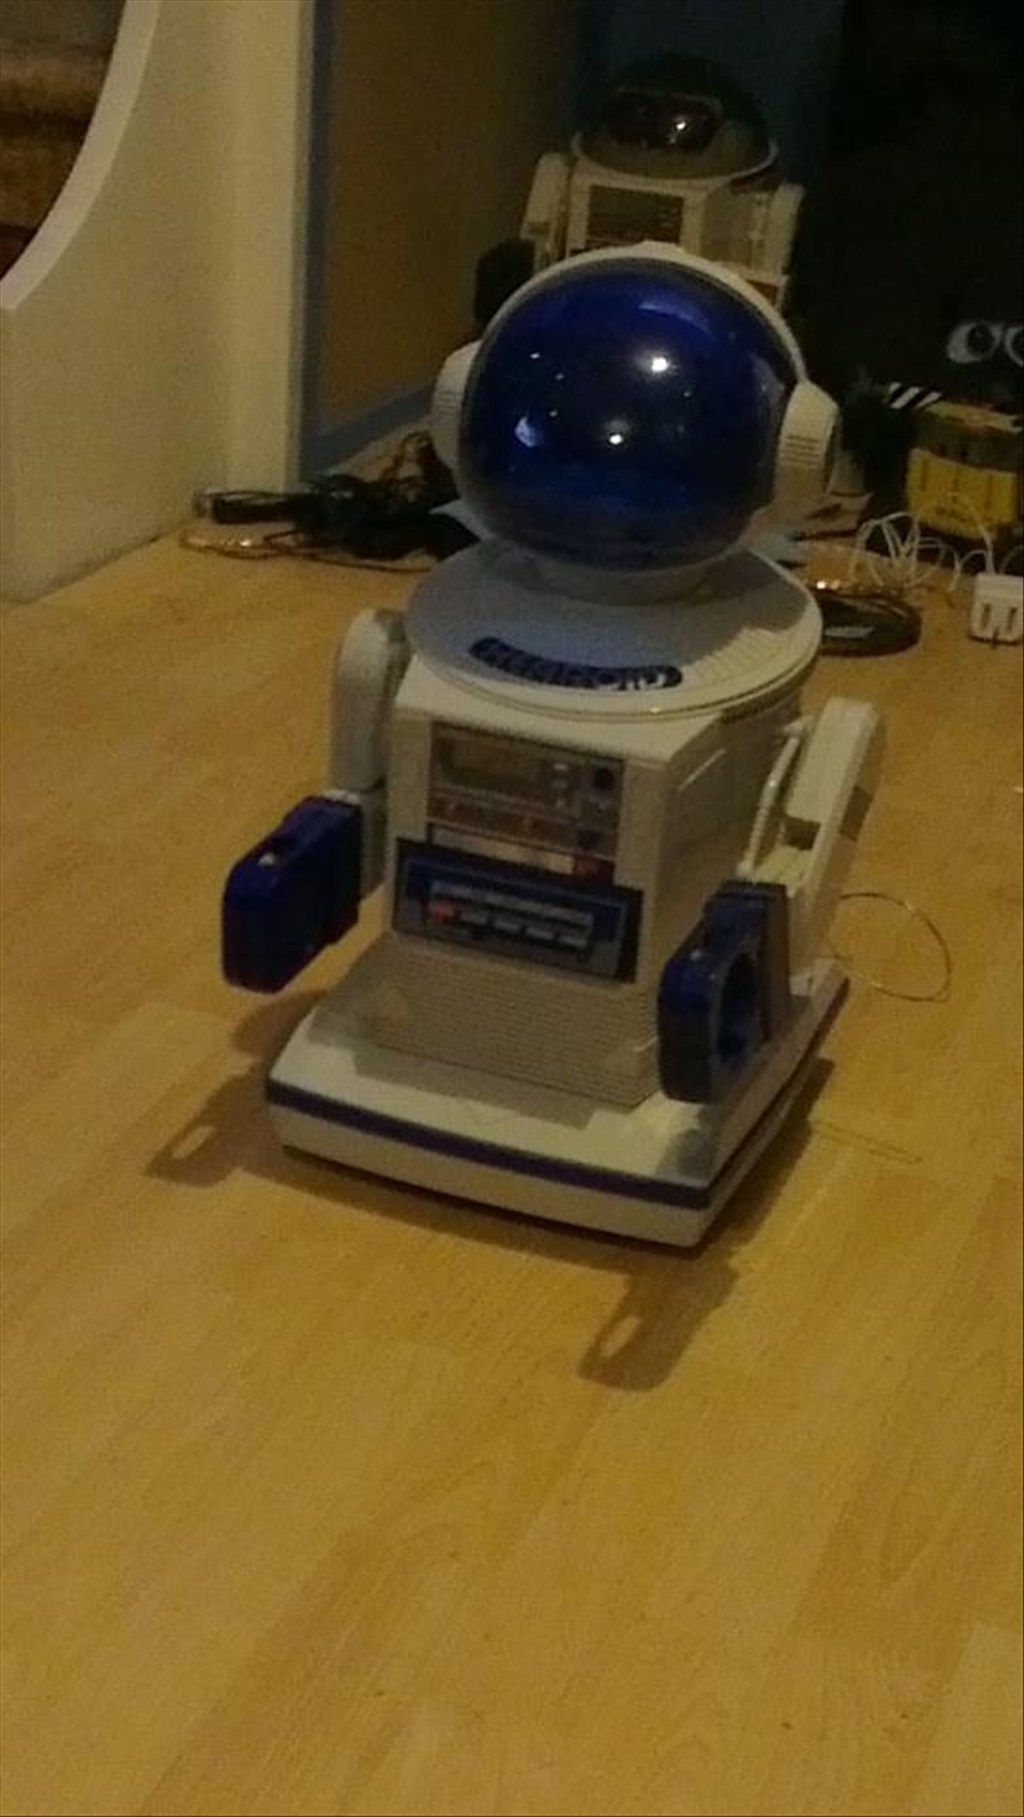
I won this robot on ebay weeks ago, for the past 2 weeks he has been waiting for me to collect him...
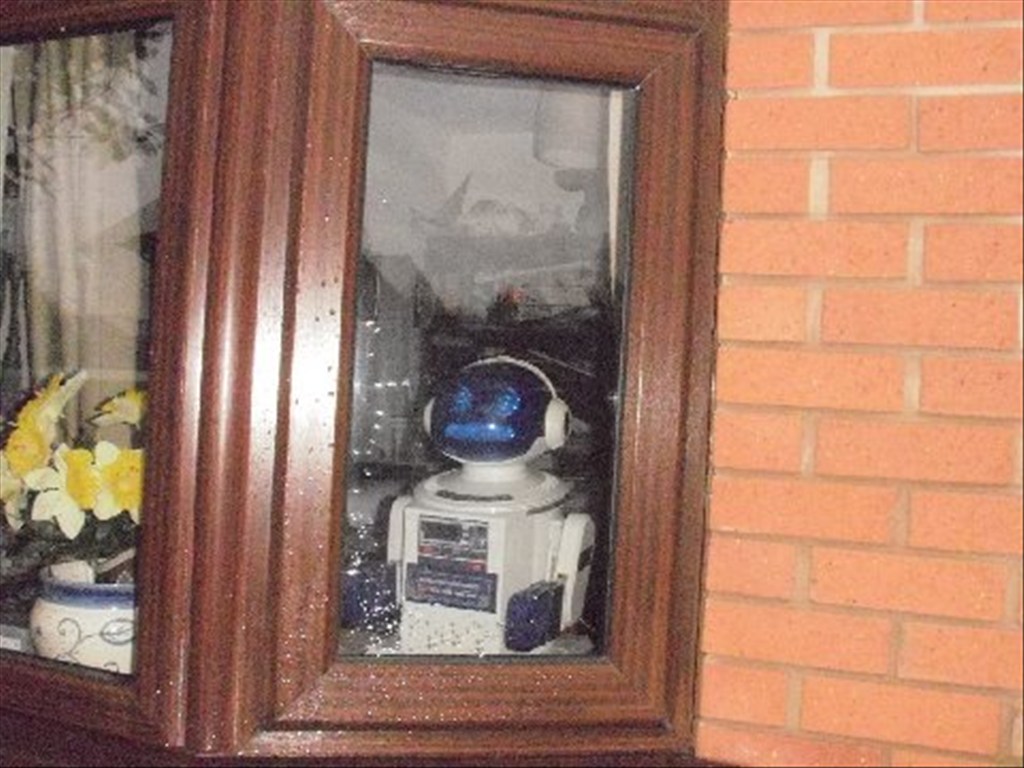
Today was the day, a road trip to pick him up and bring him back to his new home...
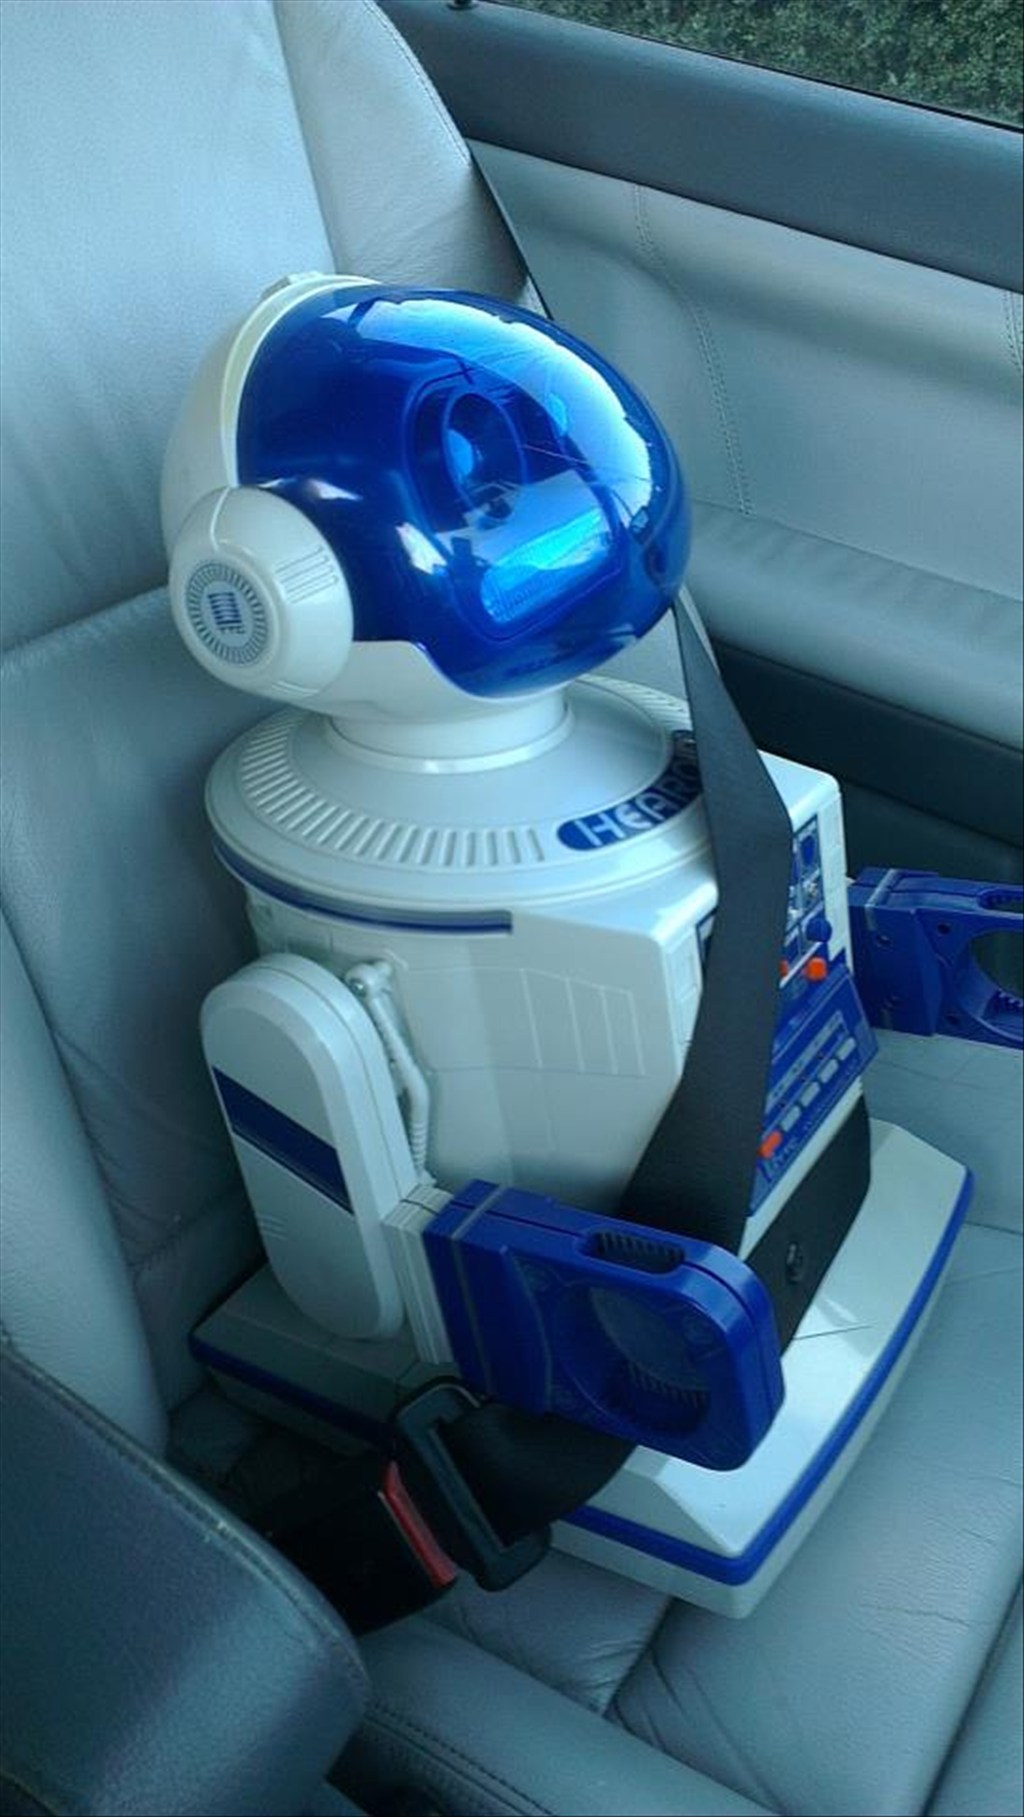
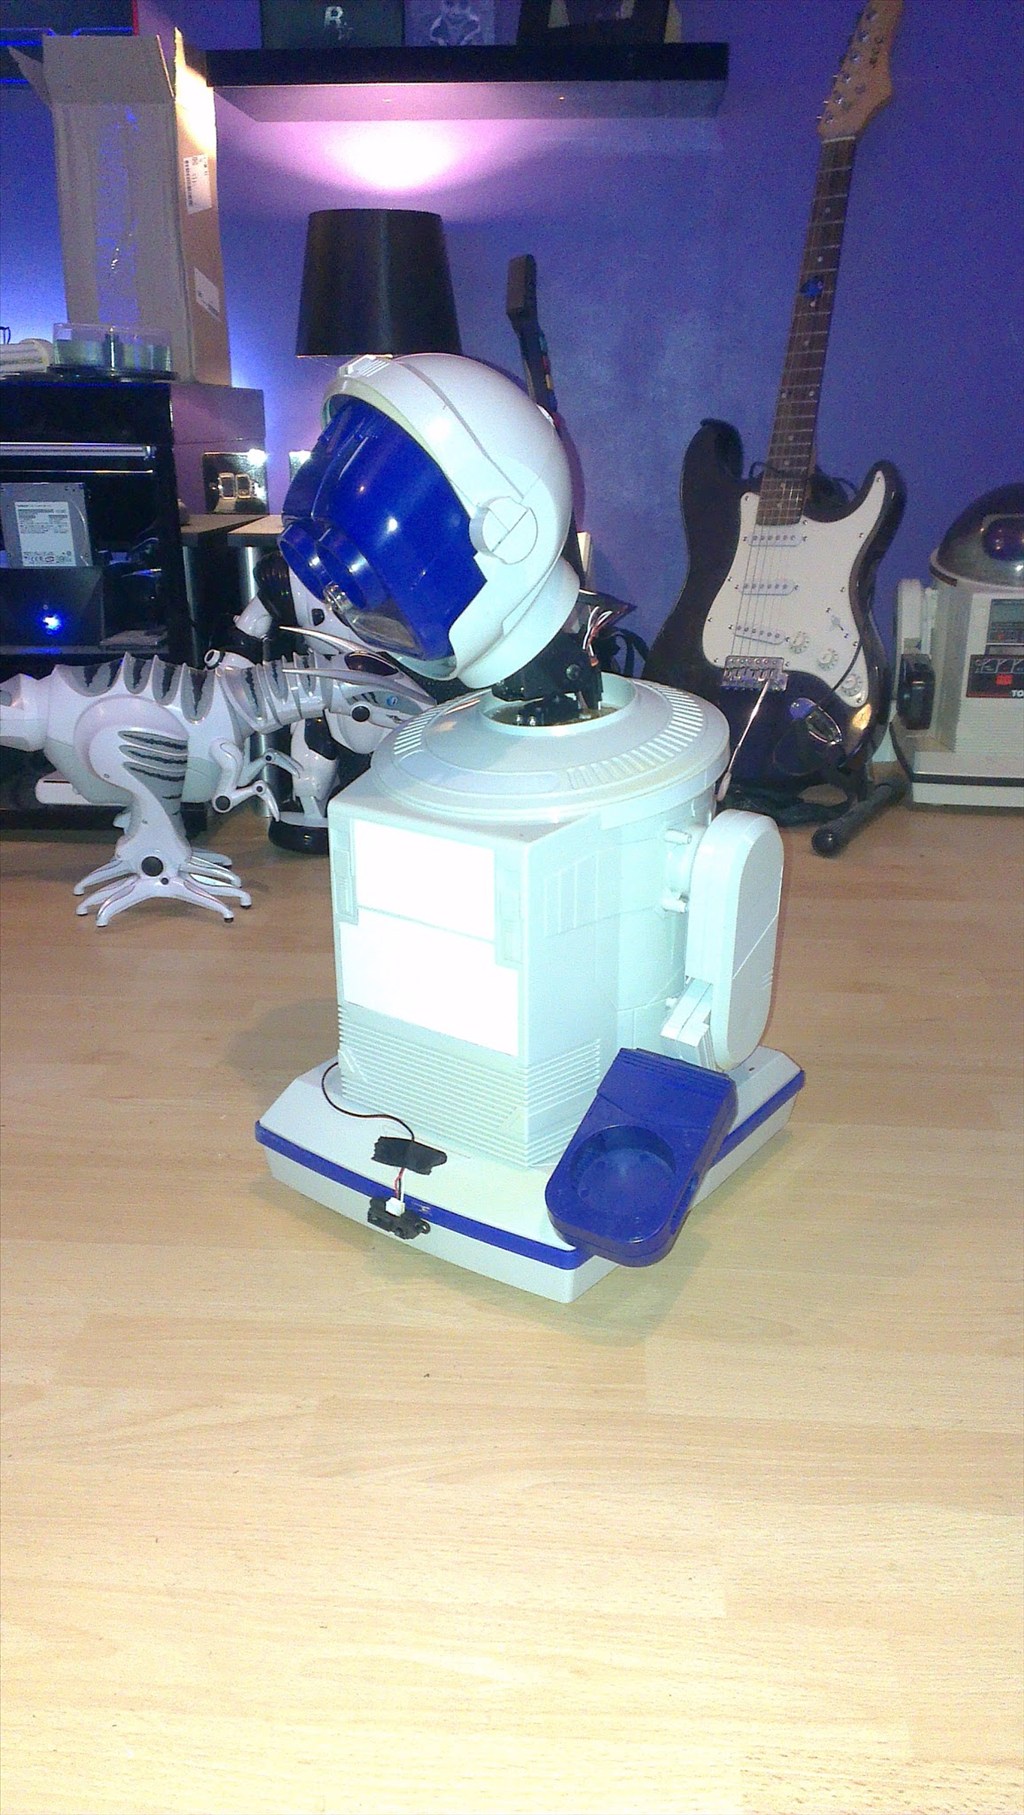
In his new home (with Omnibot and Wall-e in the background totally unaware they are next in line to be opened up)
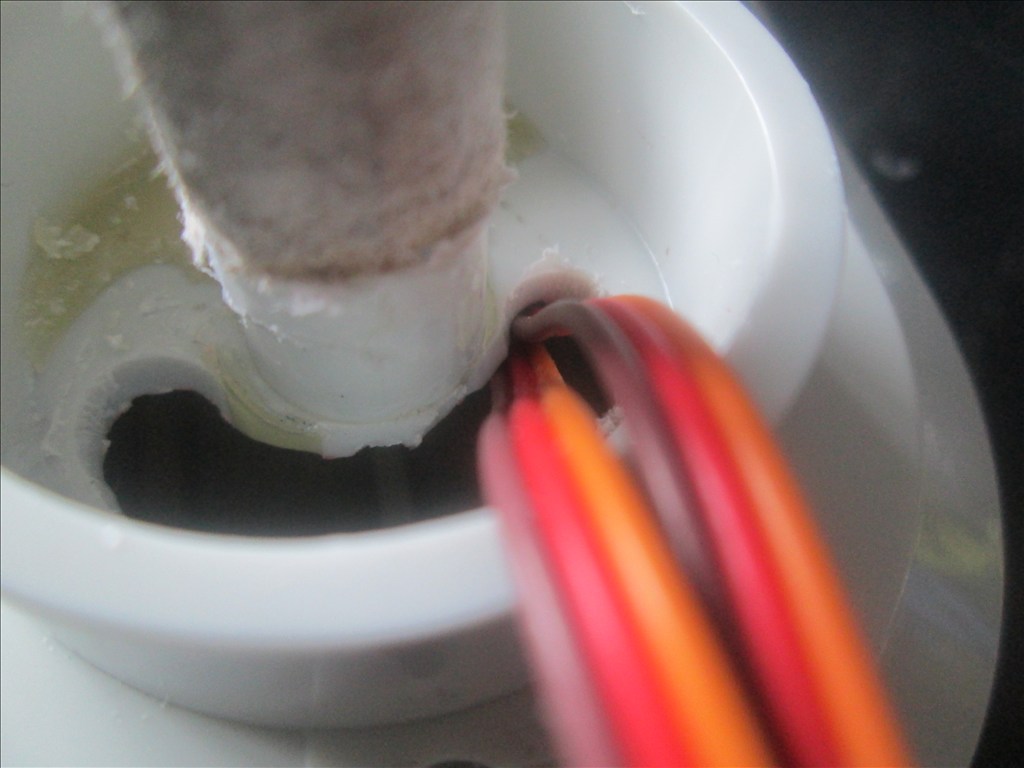
It wasn't long before this happened...
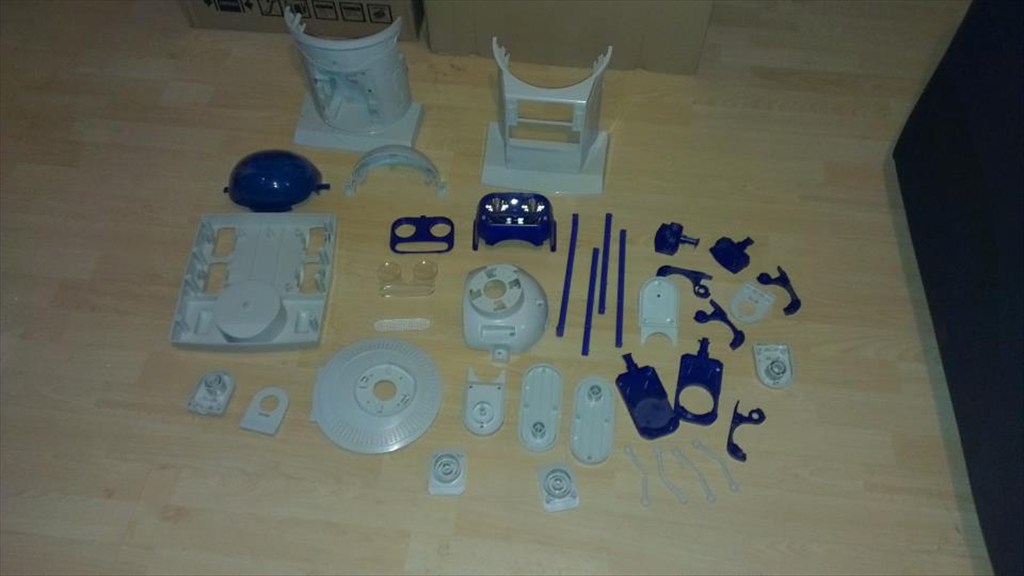
Now waiting to go in the dishwasher to get nice and clean.
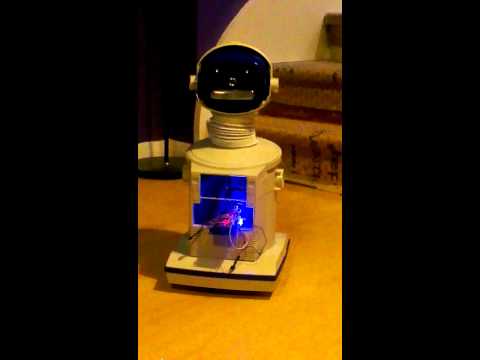
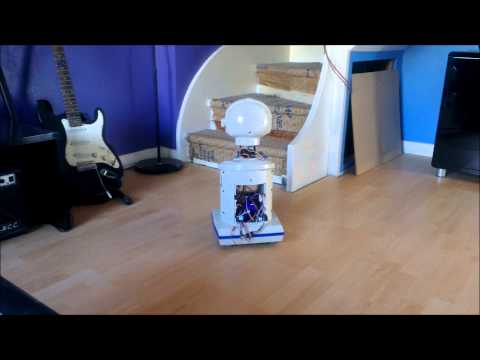
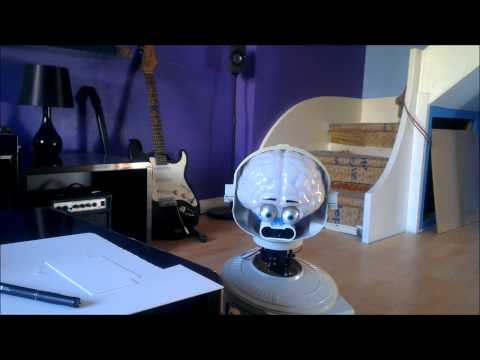
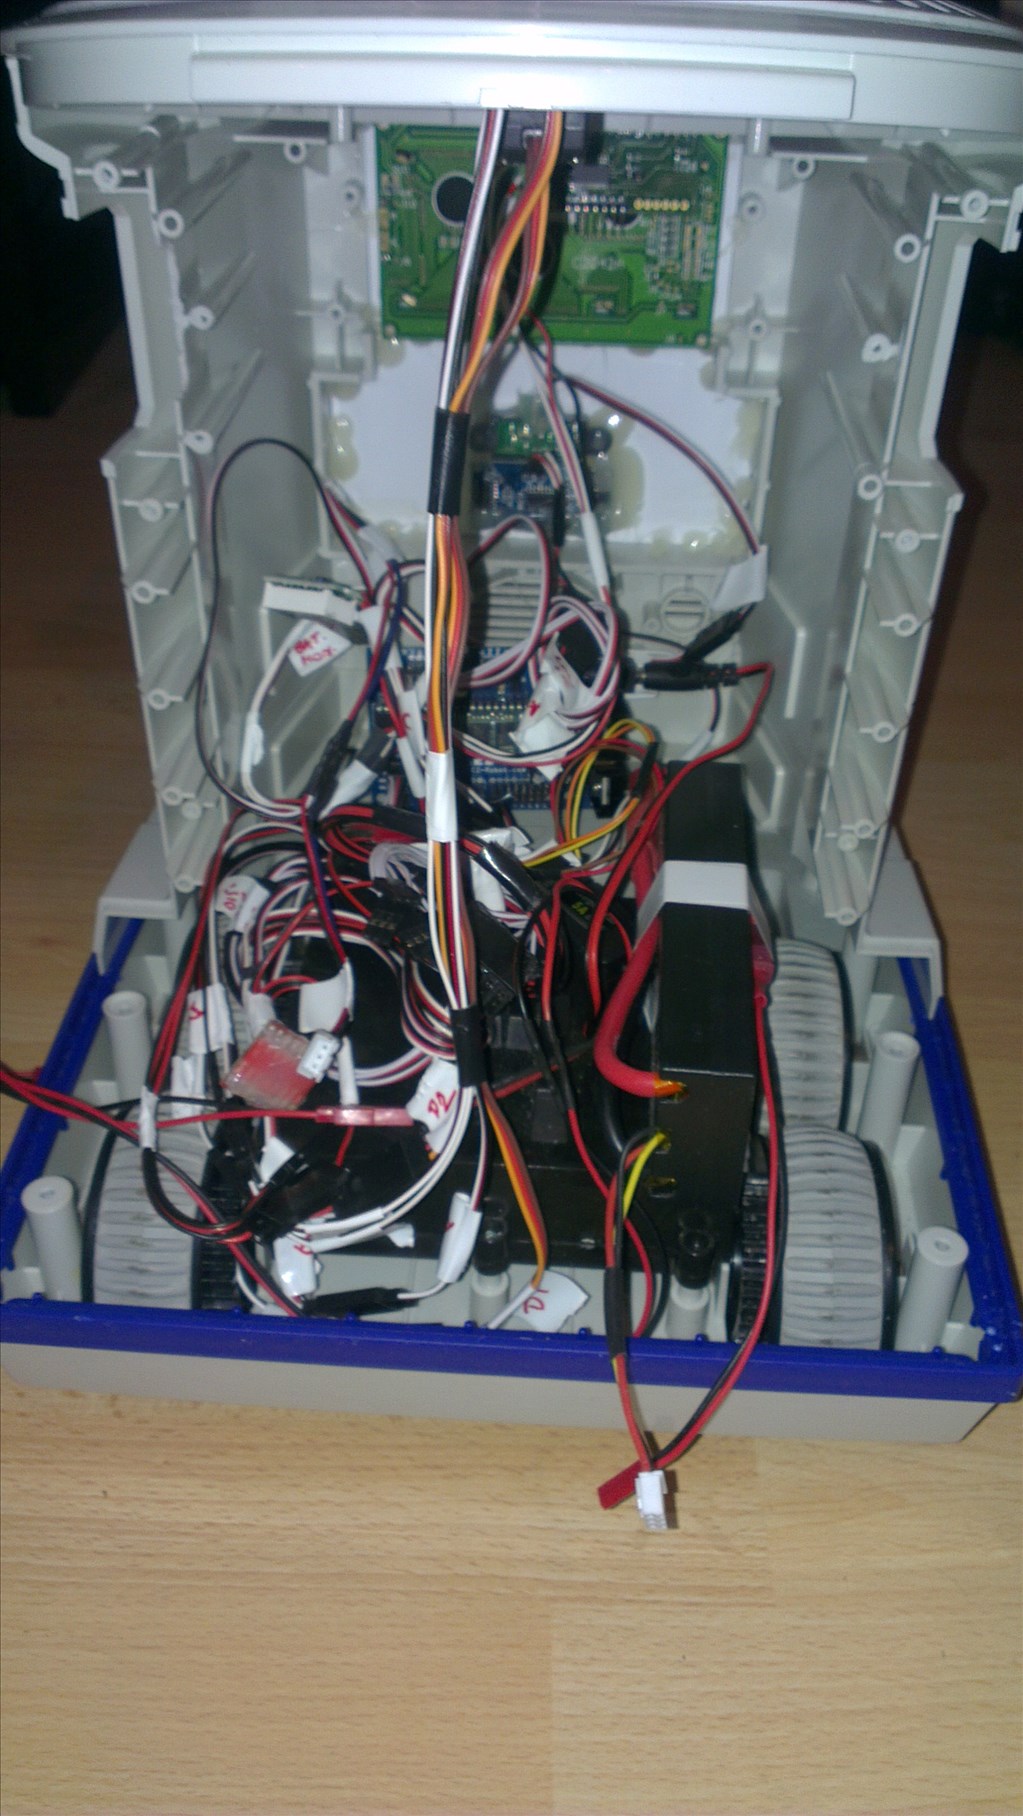
The plan is to make him autonomous, running 24/7 (except for when he knows to go charge himself up) but will also be adding in the various image tracking options.
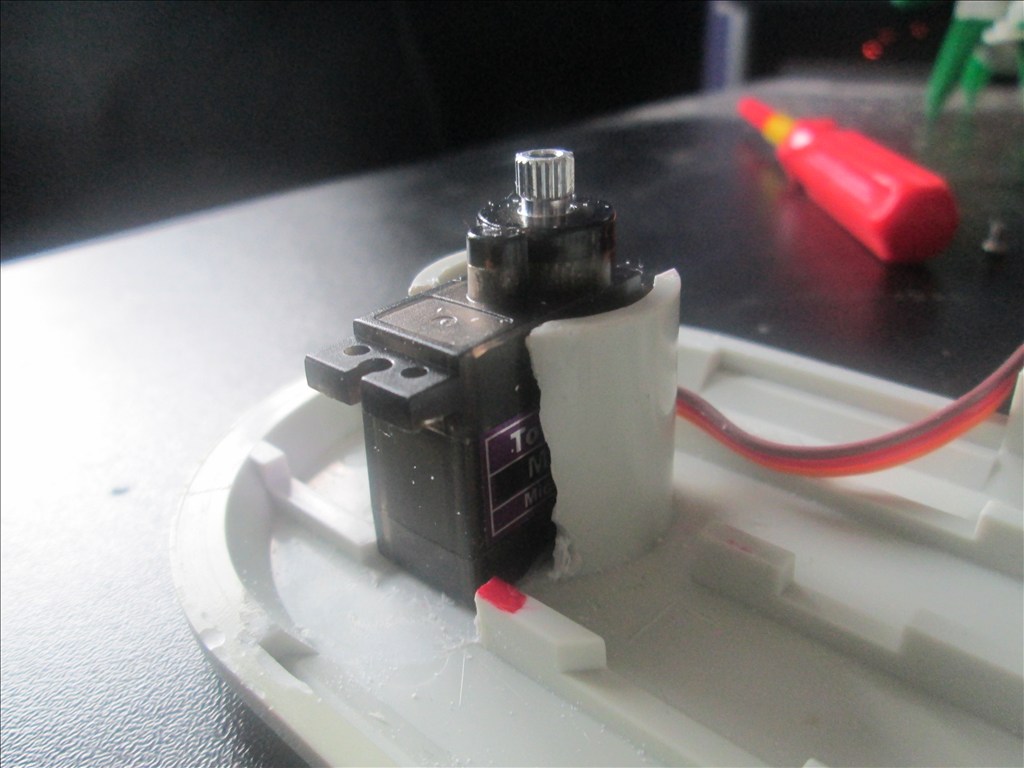
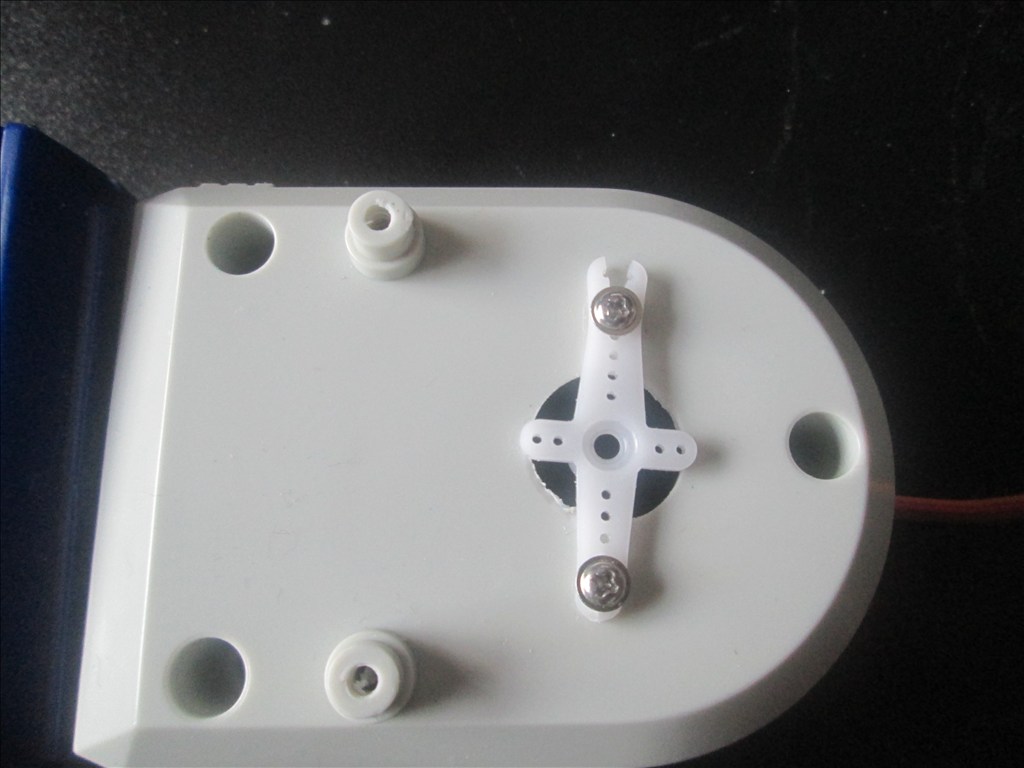
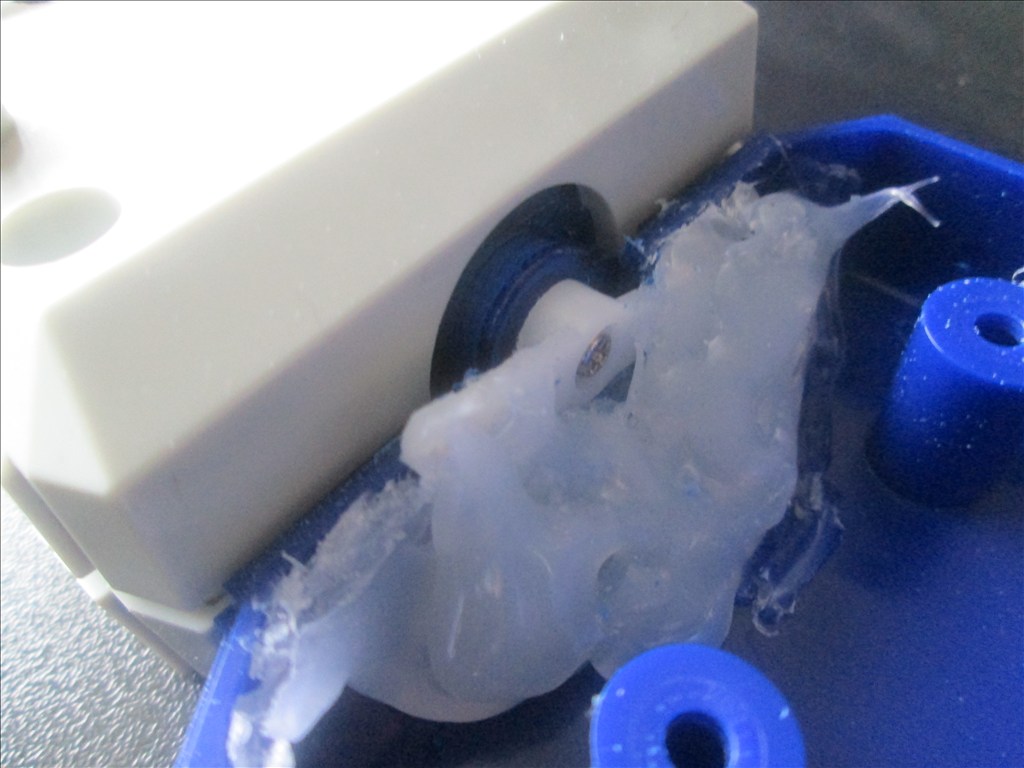
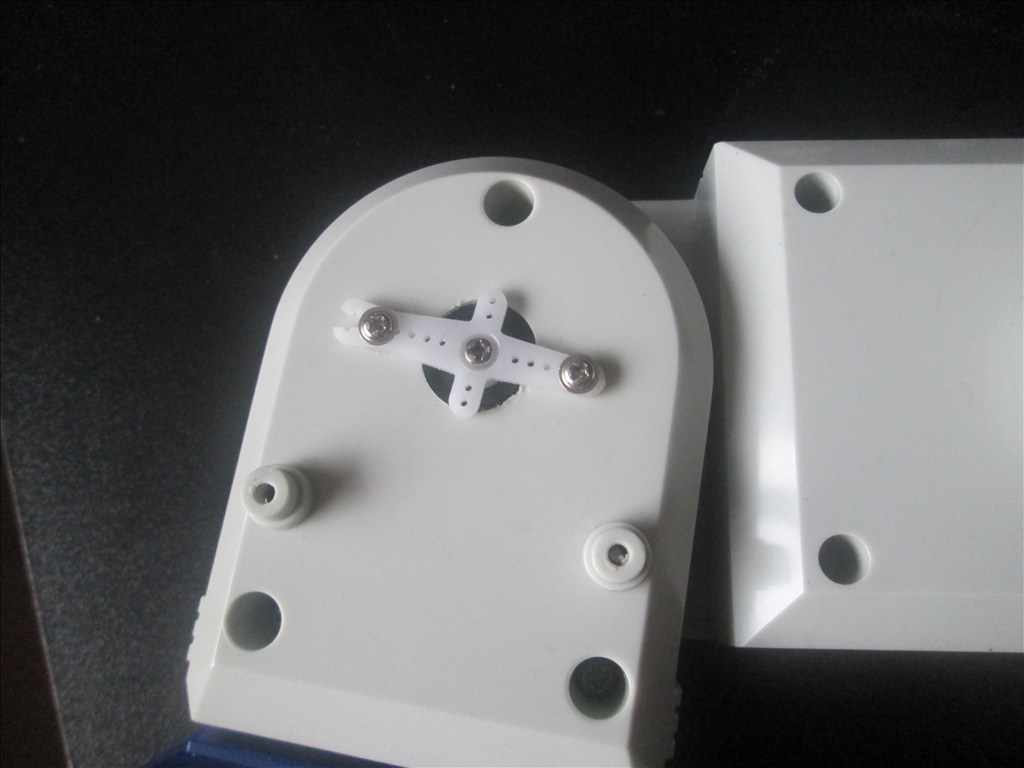
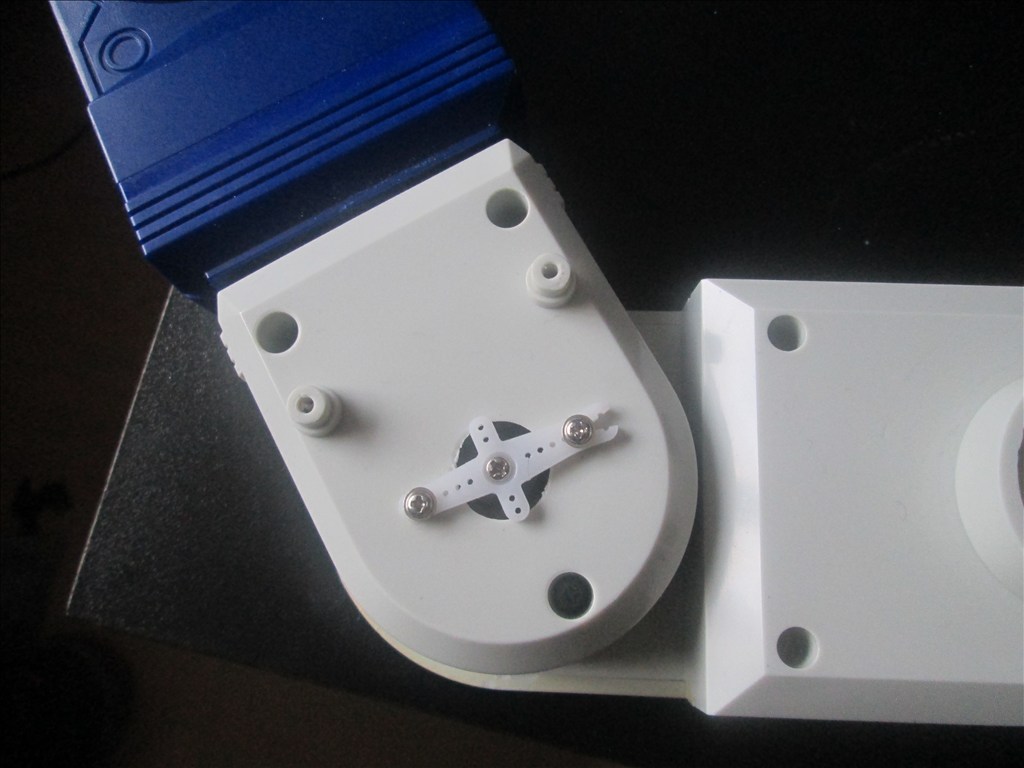
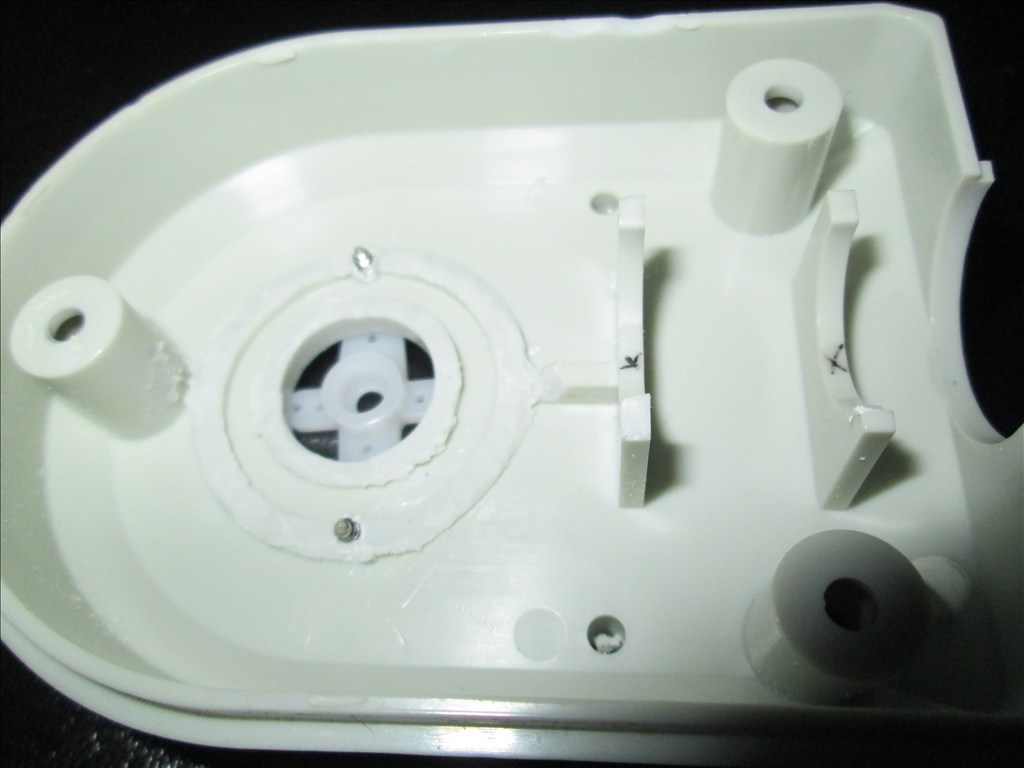
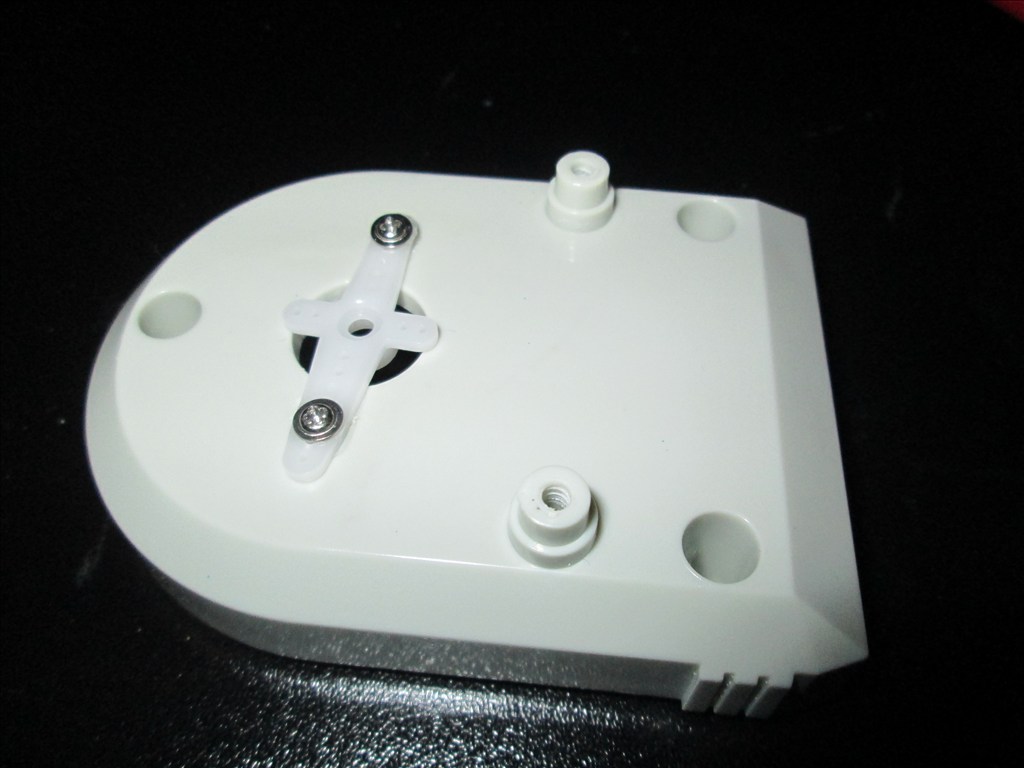
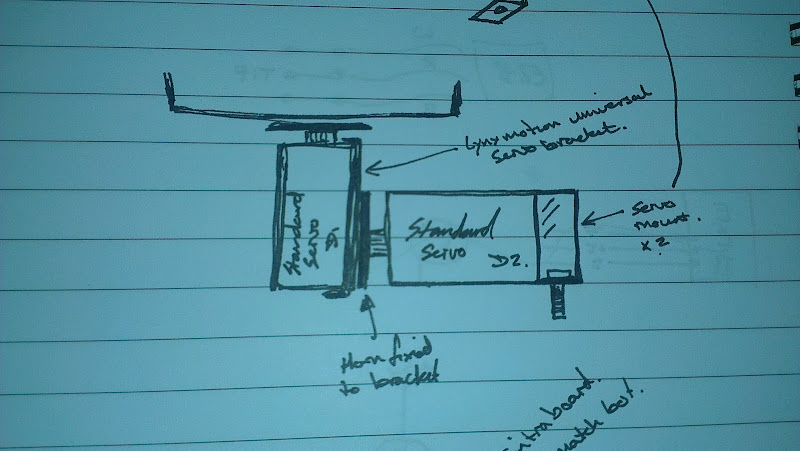
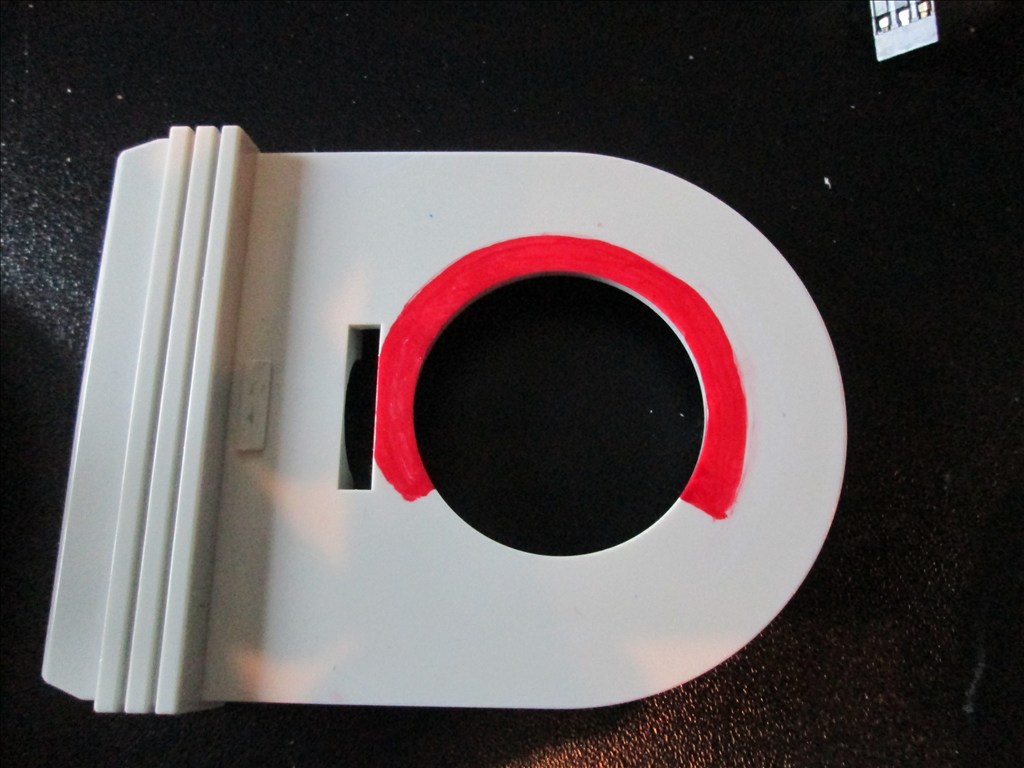
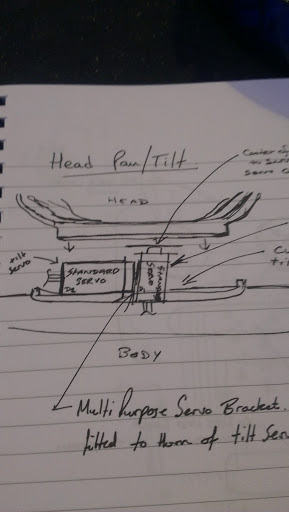
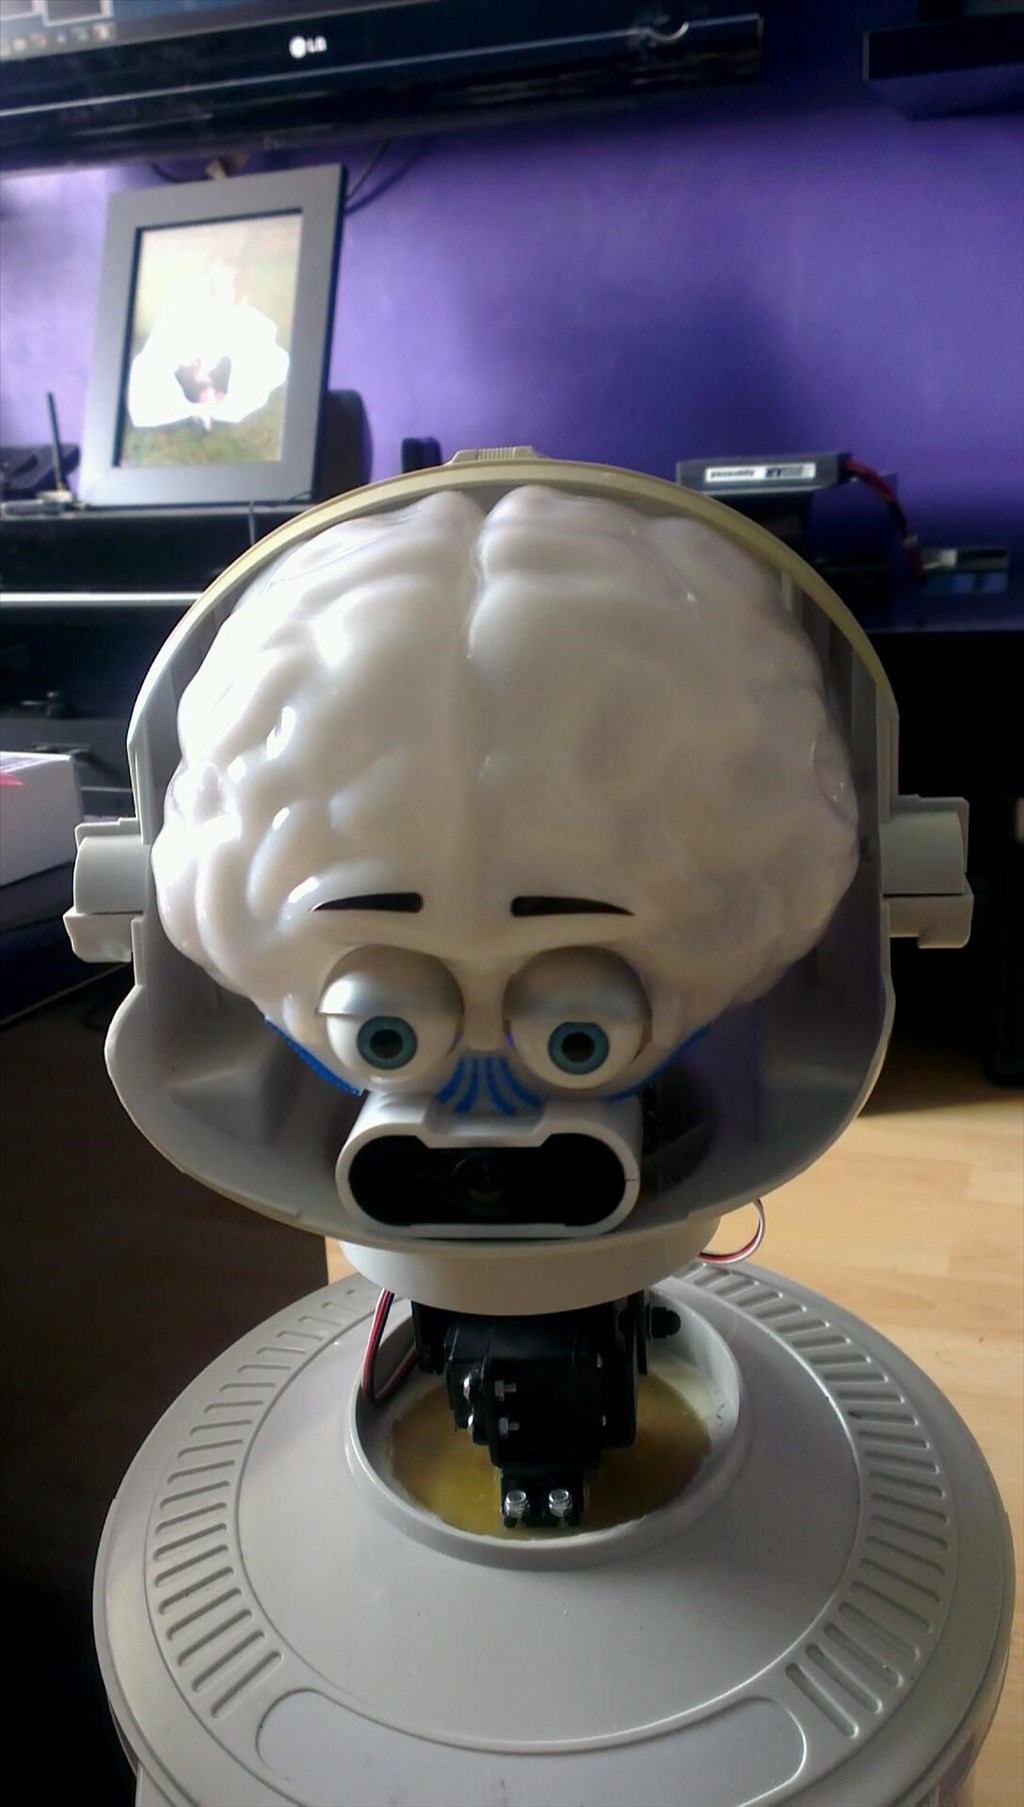
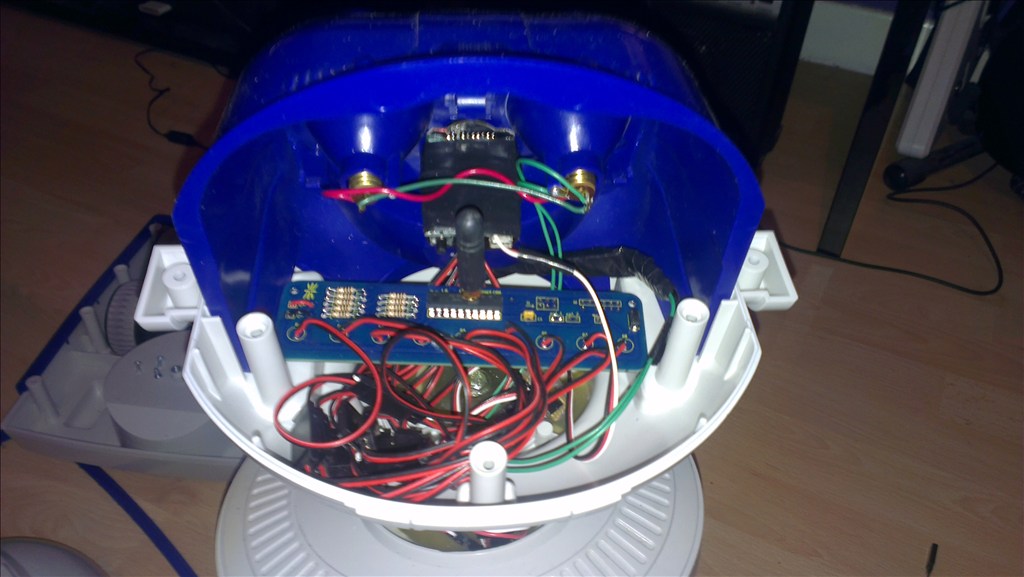
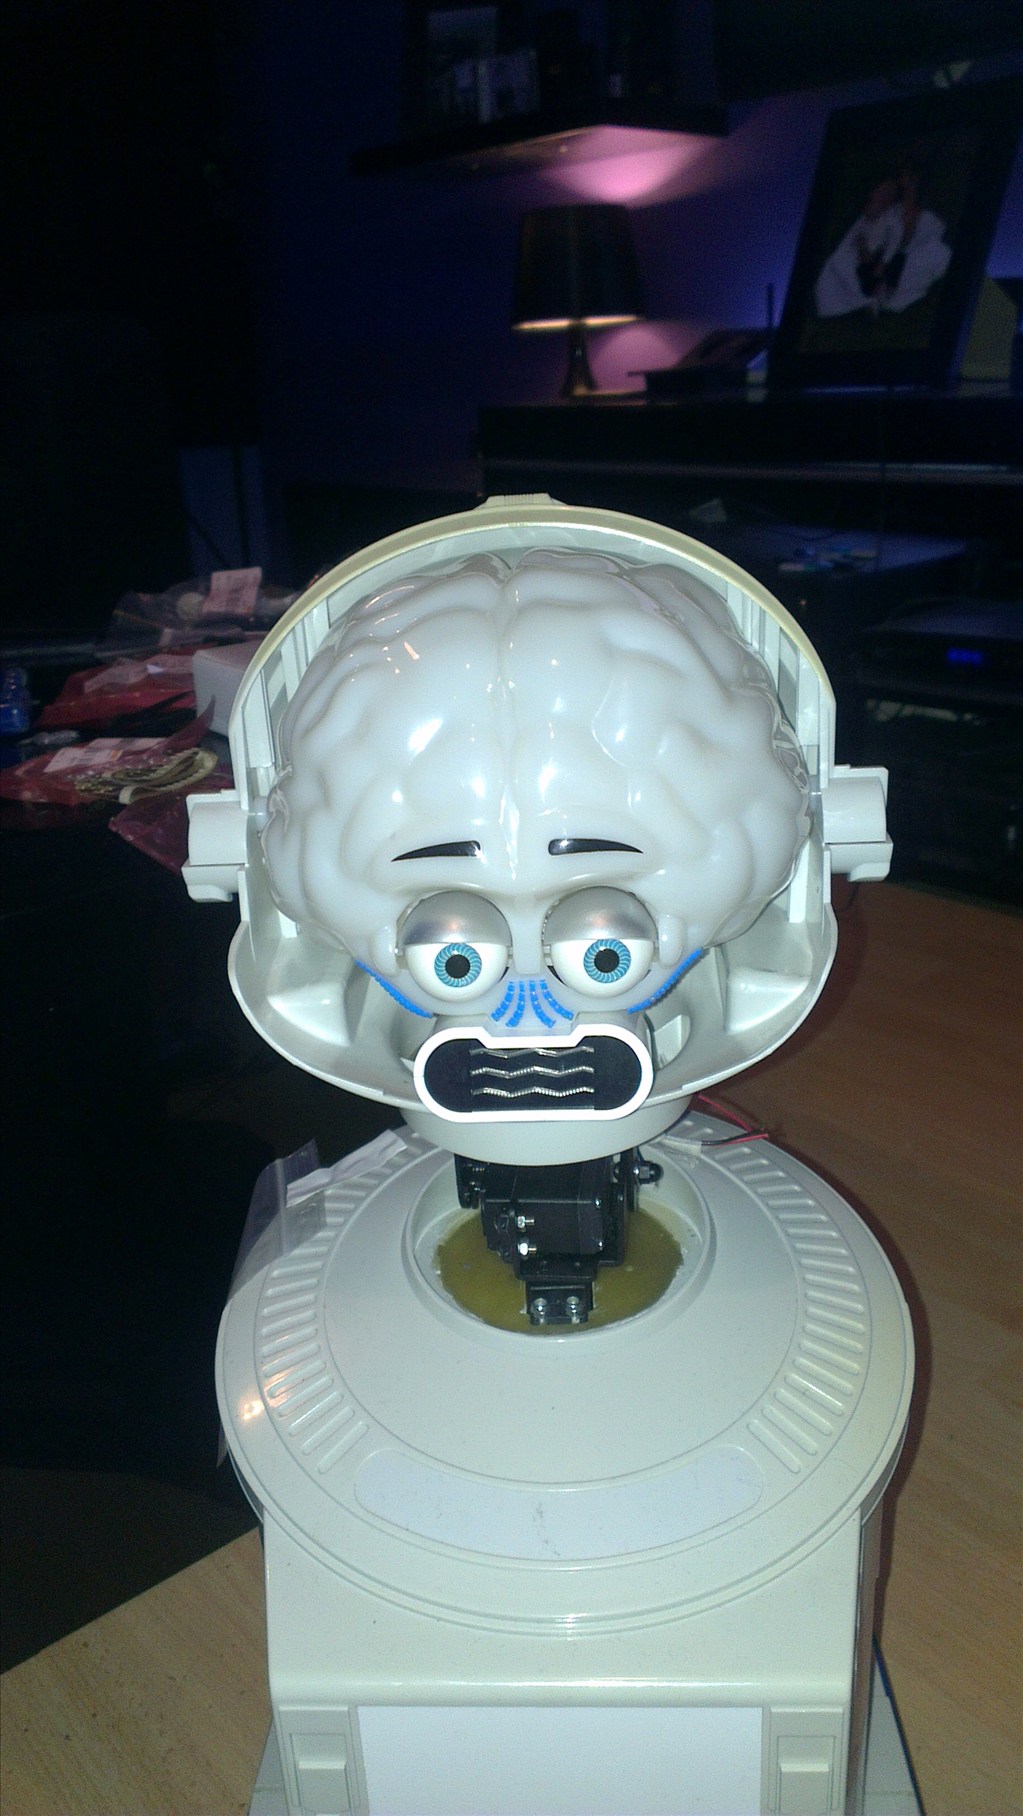
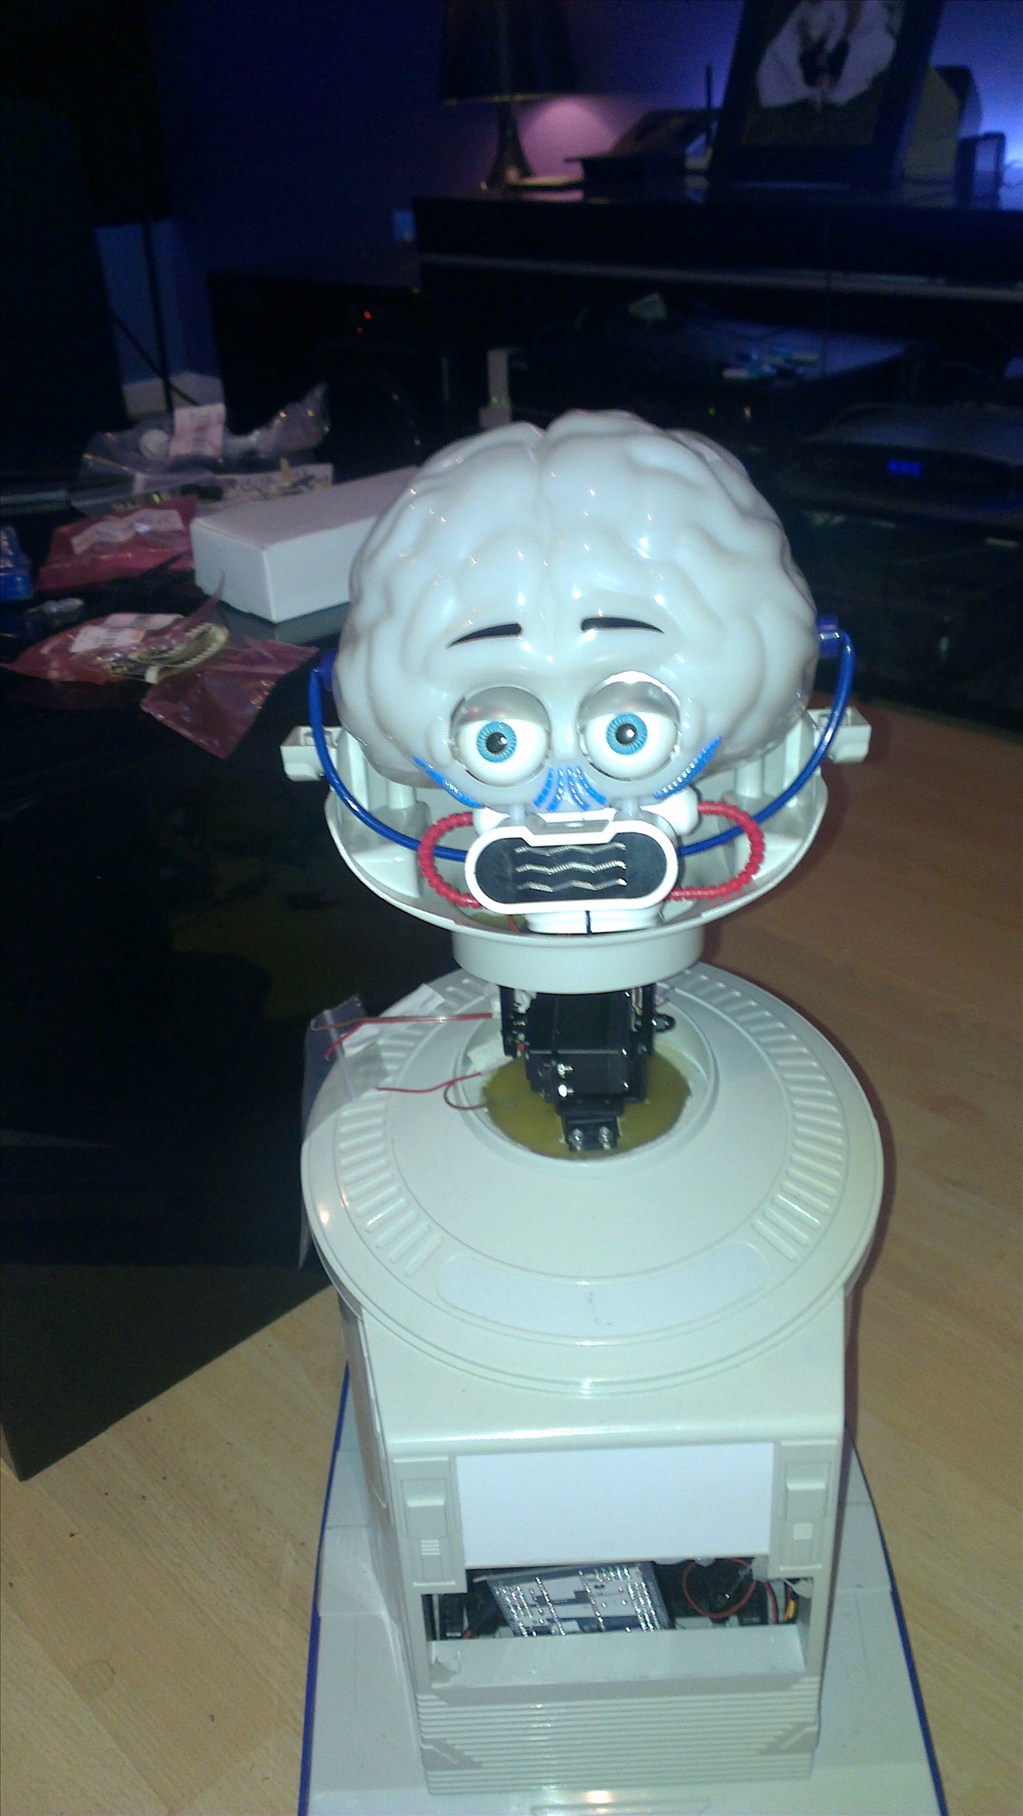
The only other slight modifications to be made to him are to convert the head to tilt & pan which will involve having to give him a small neck.
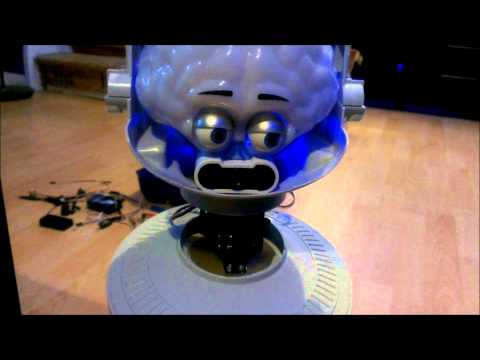
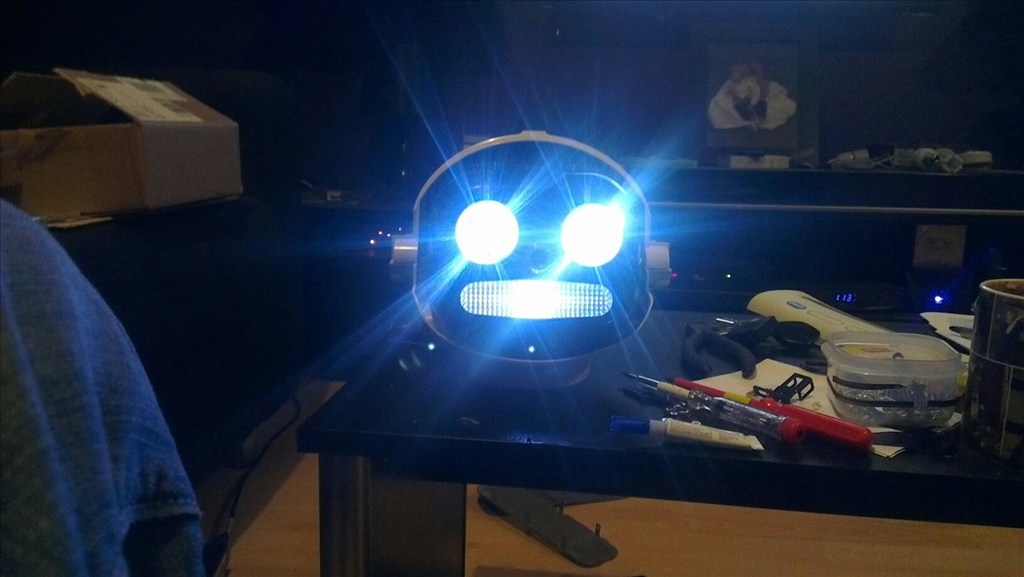
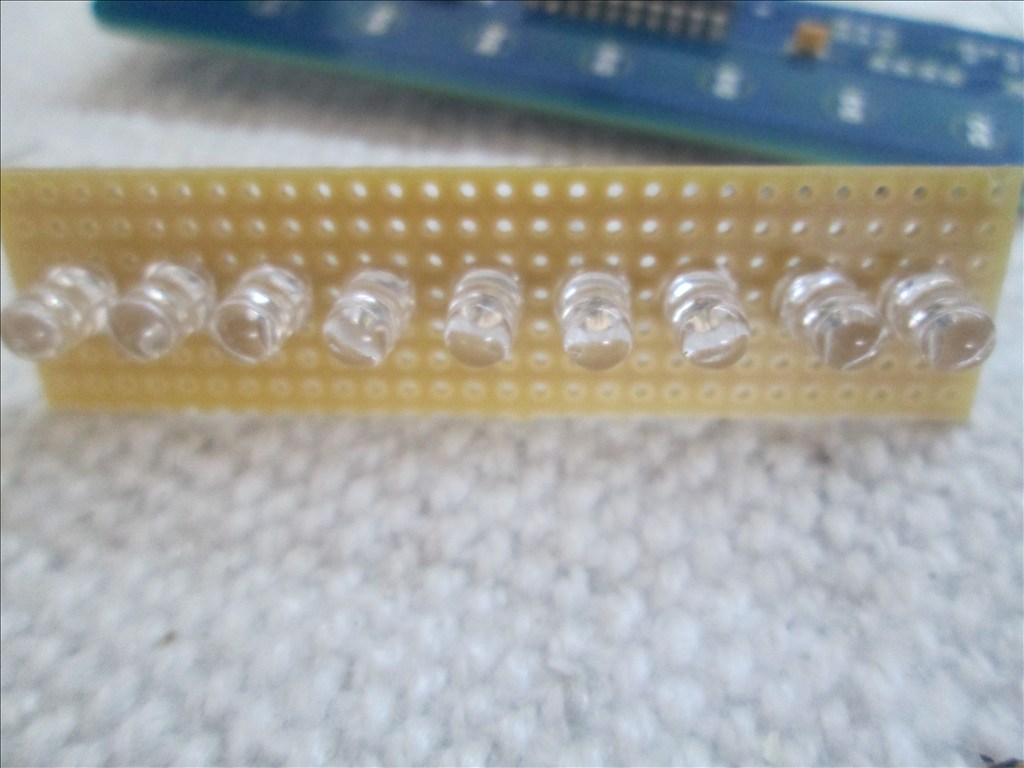
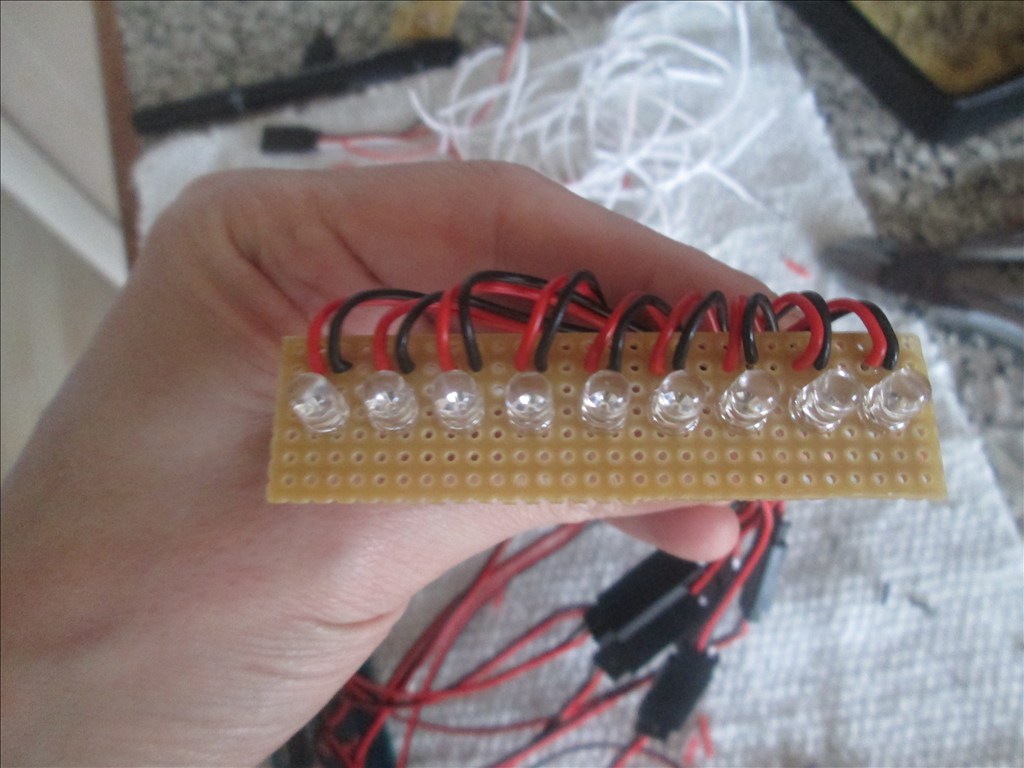
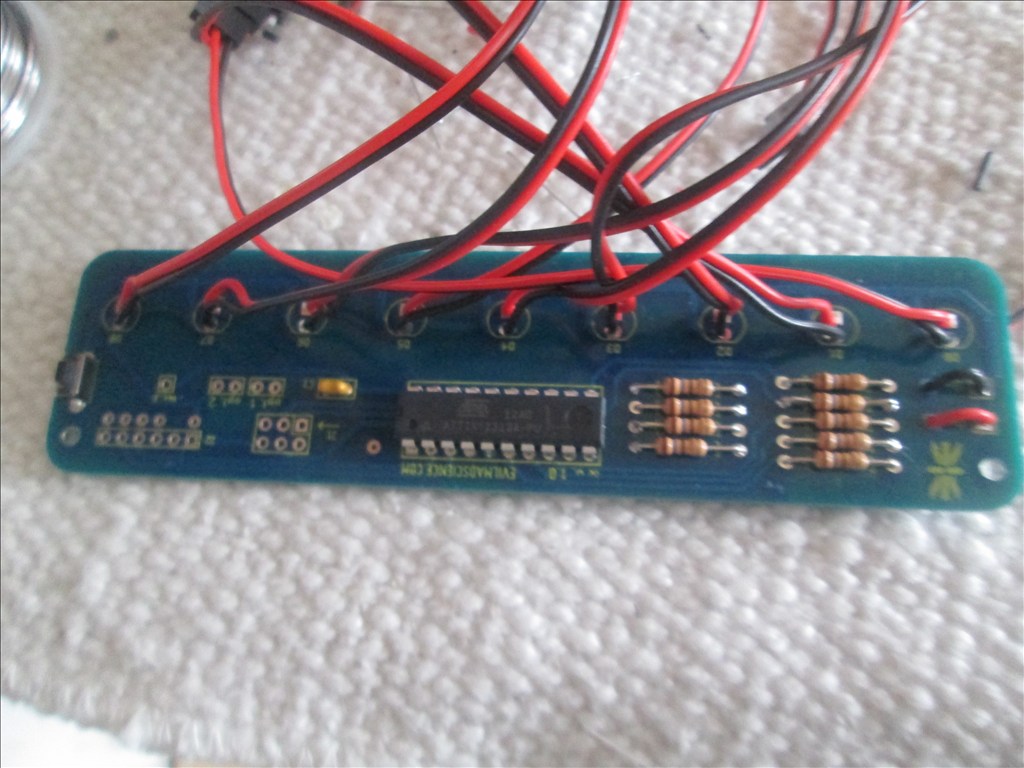
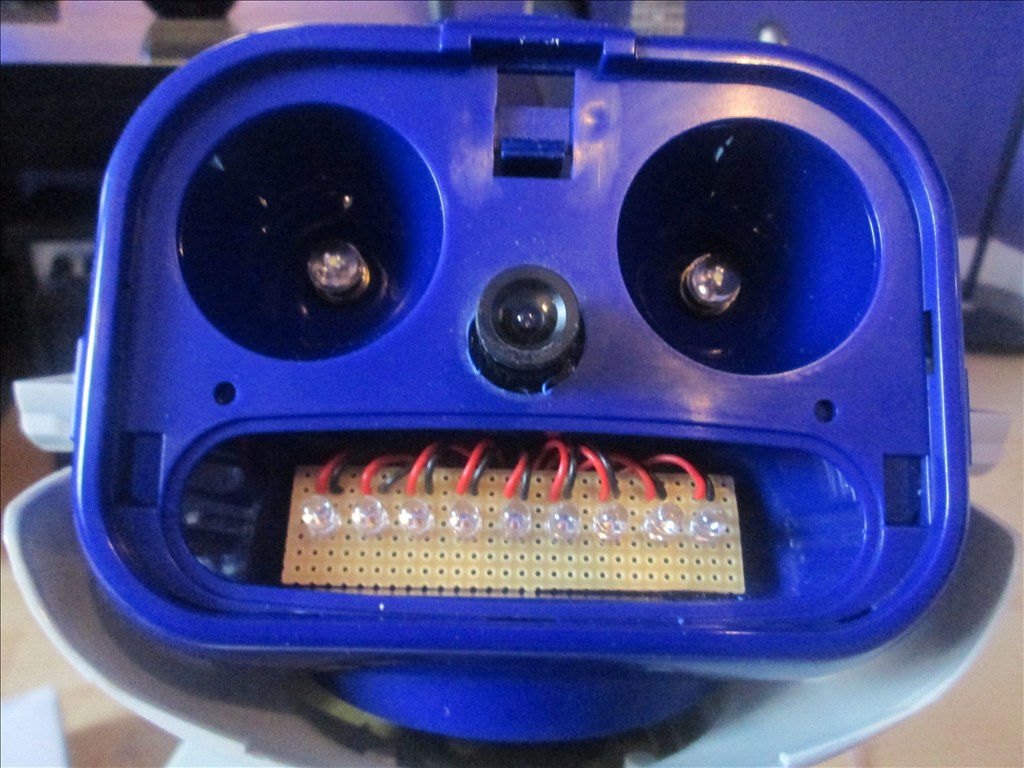
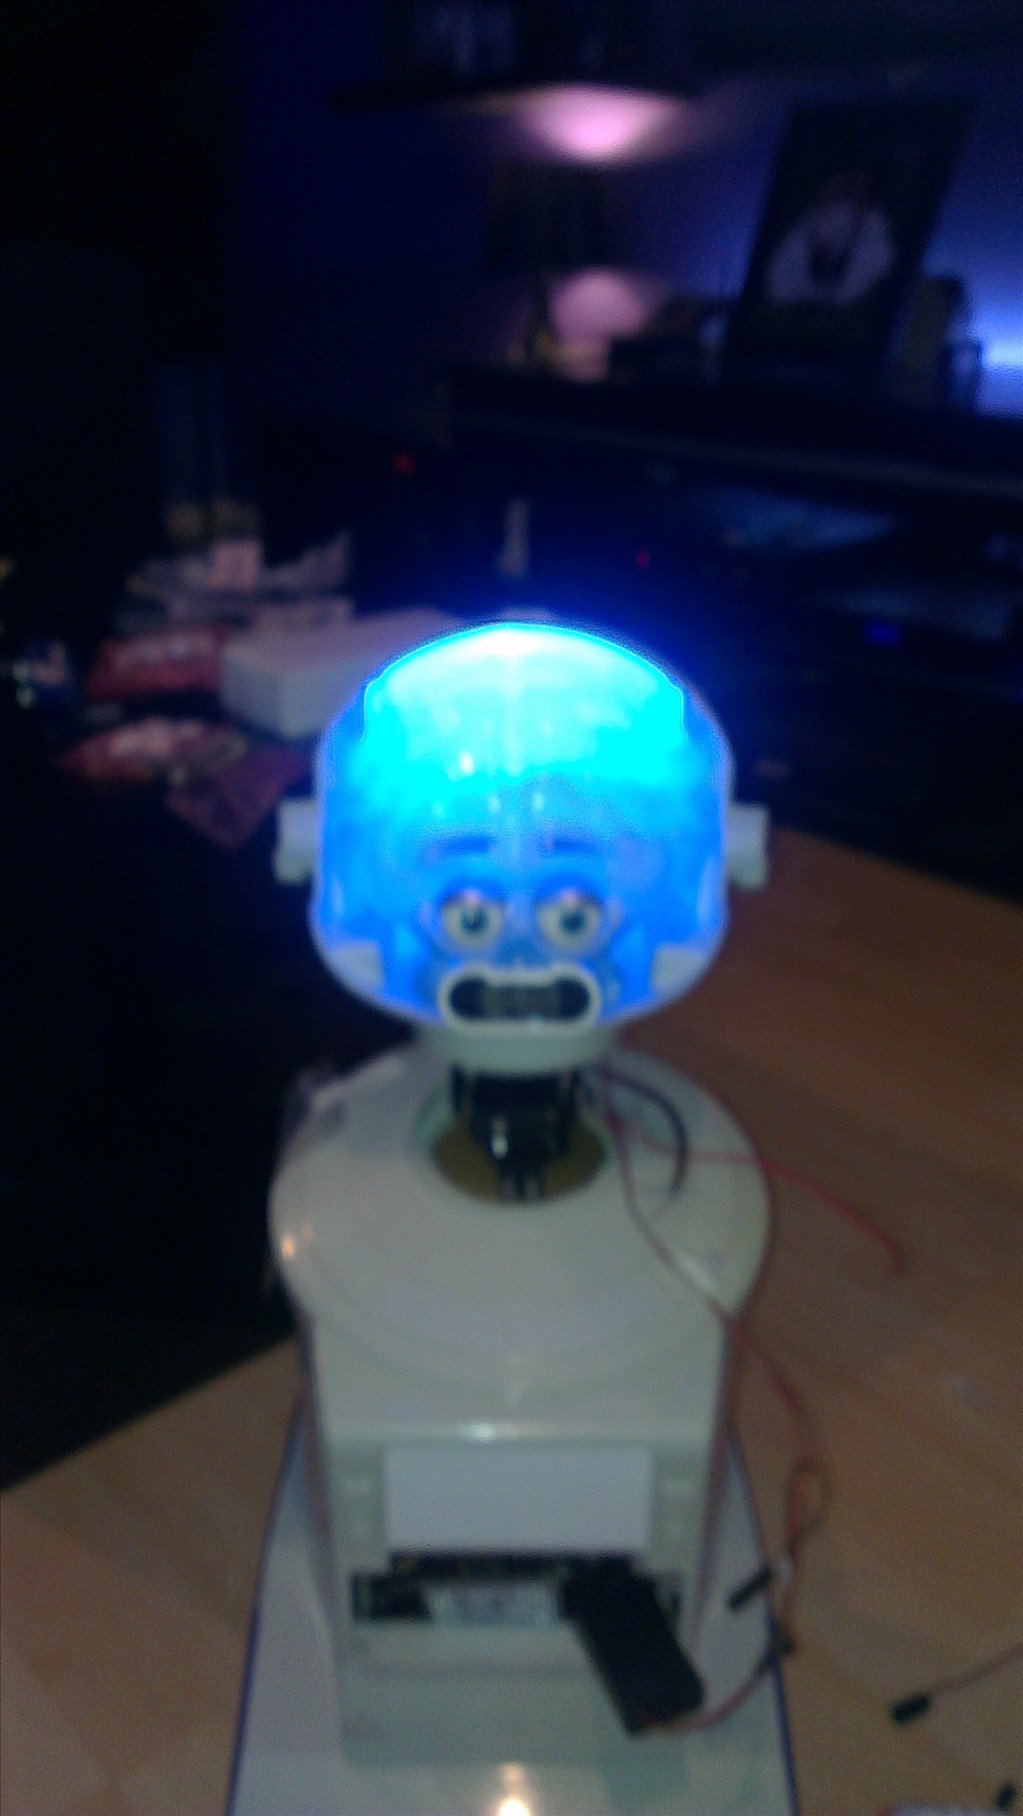
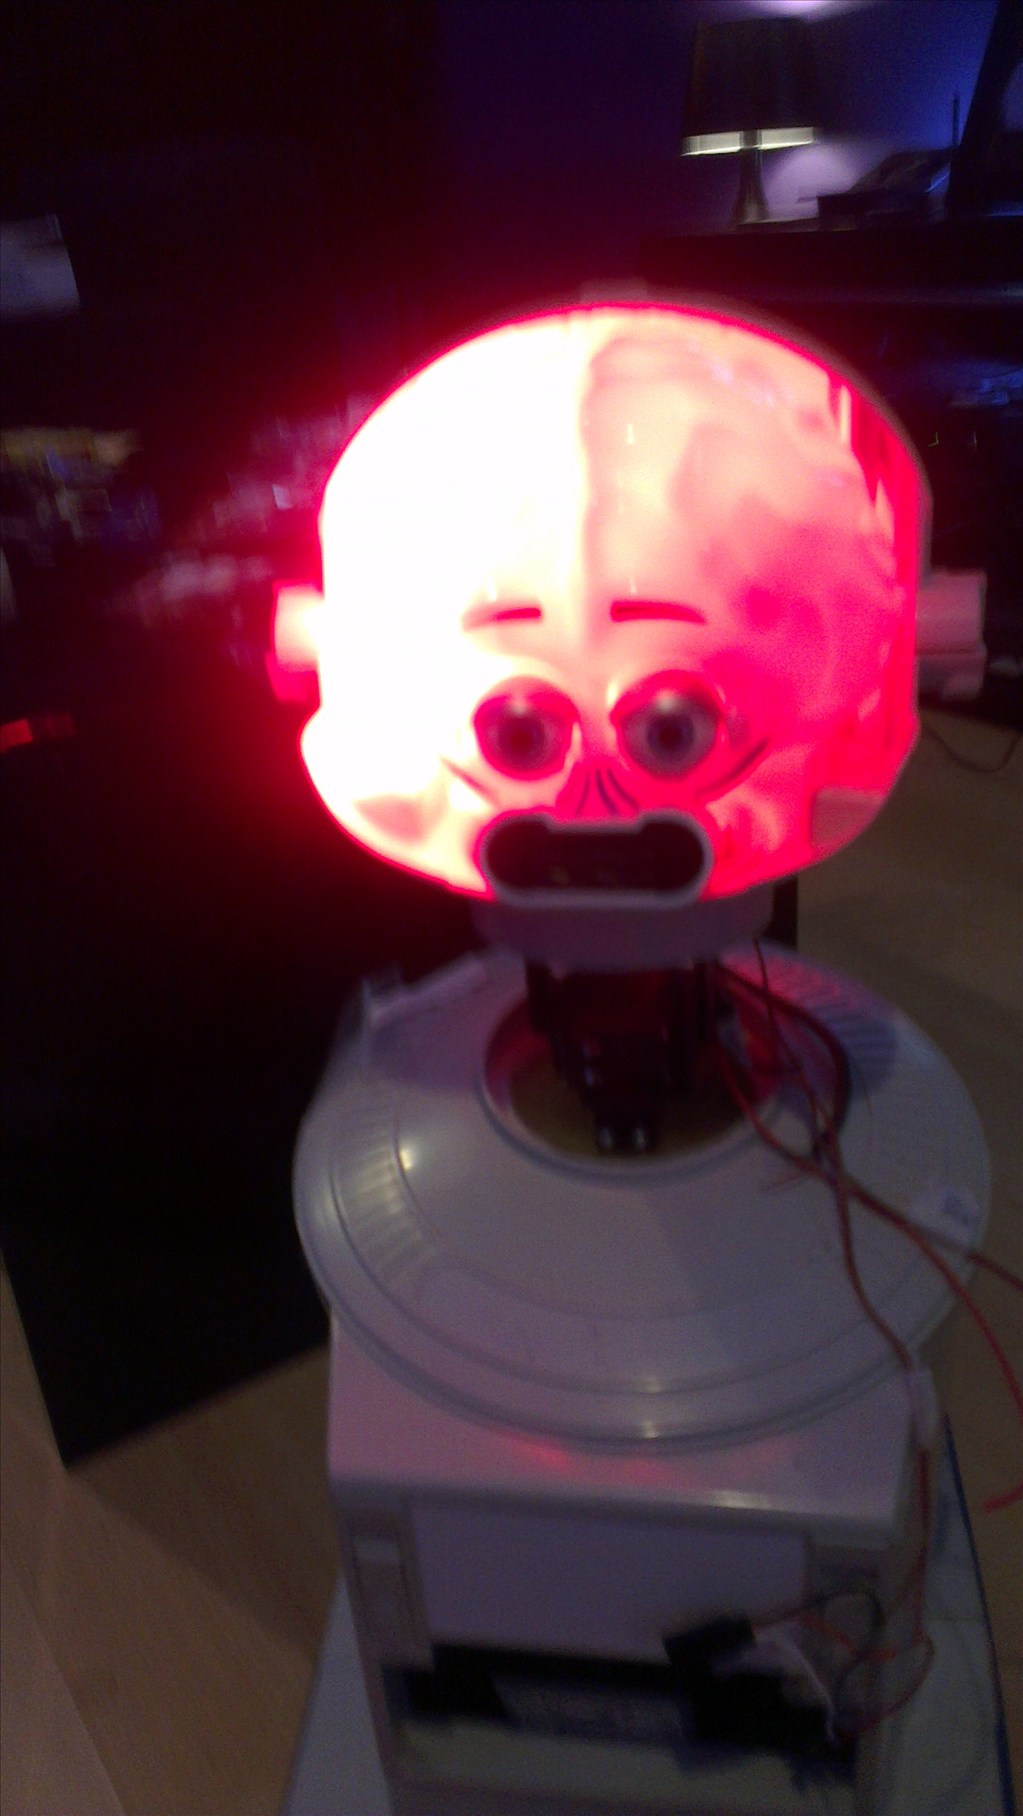
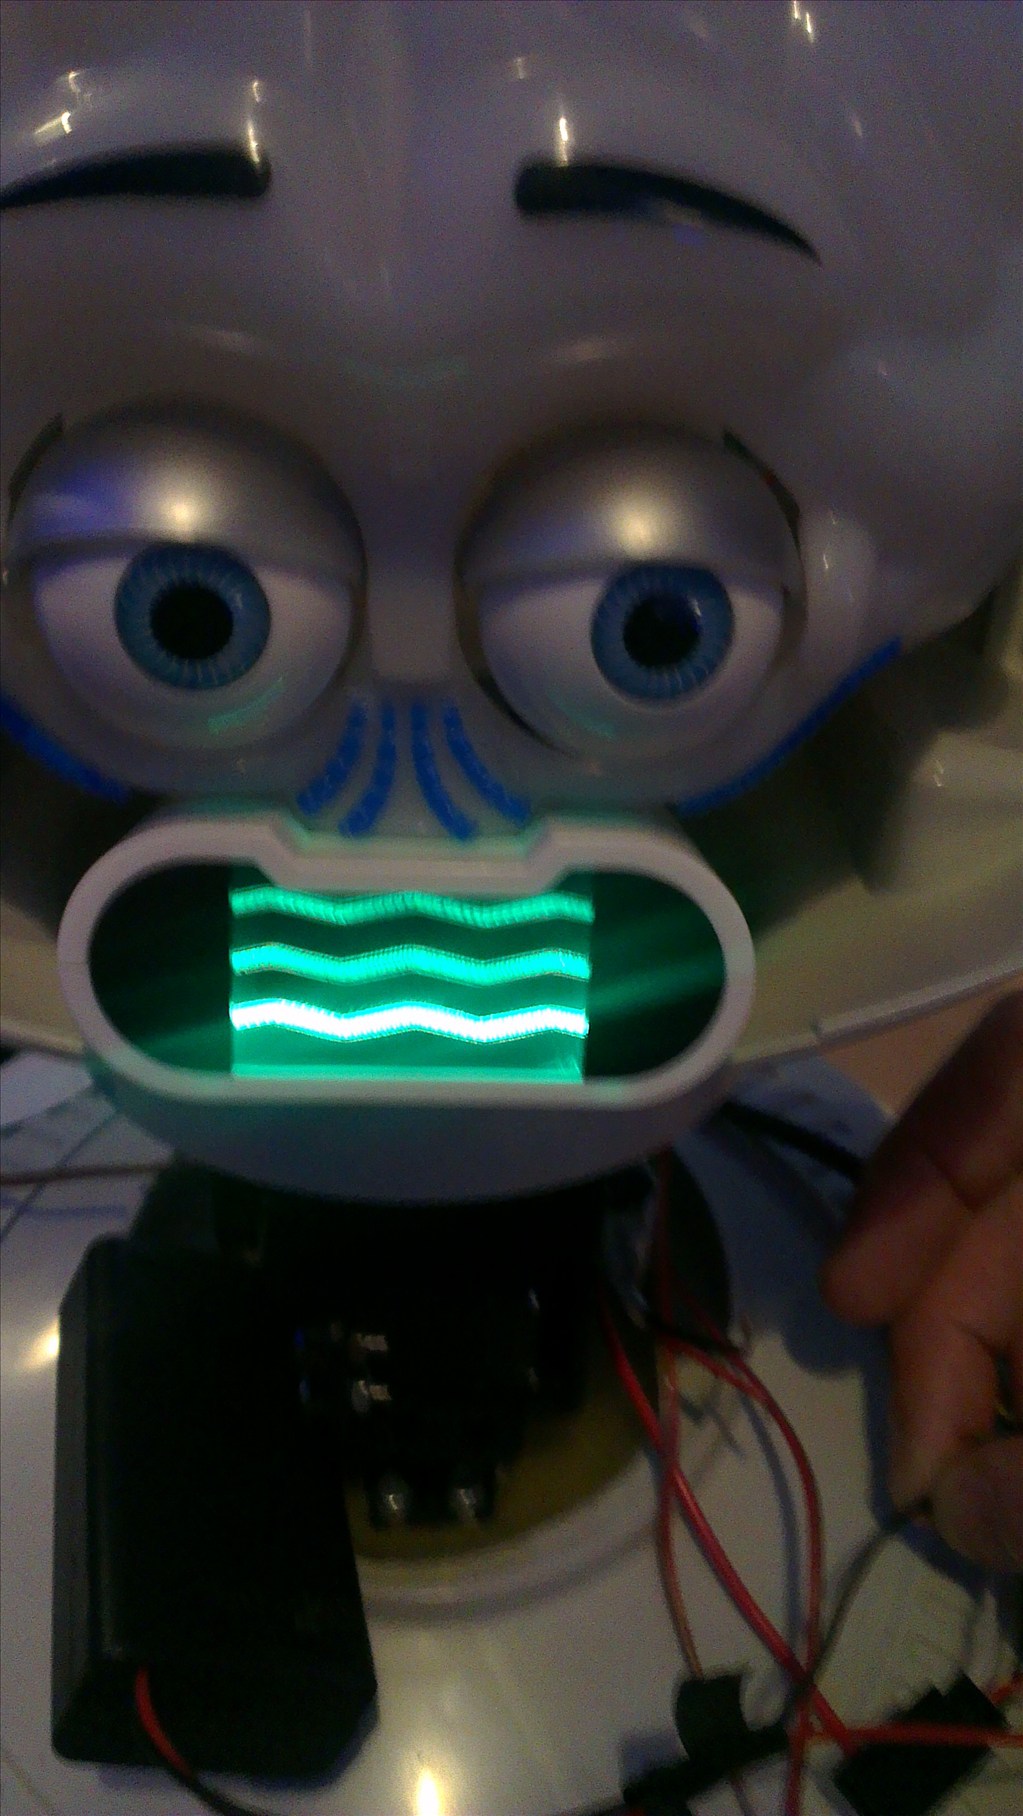
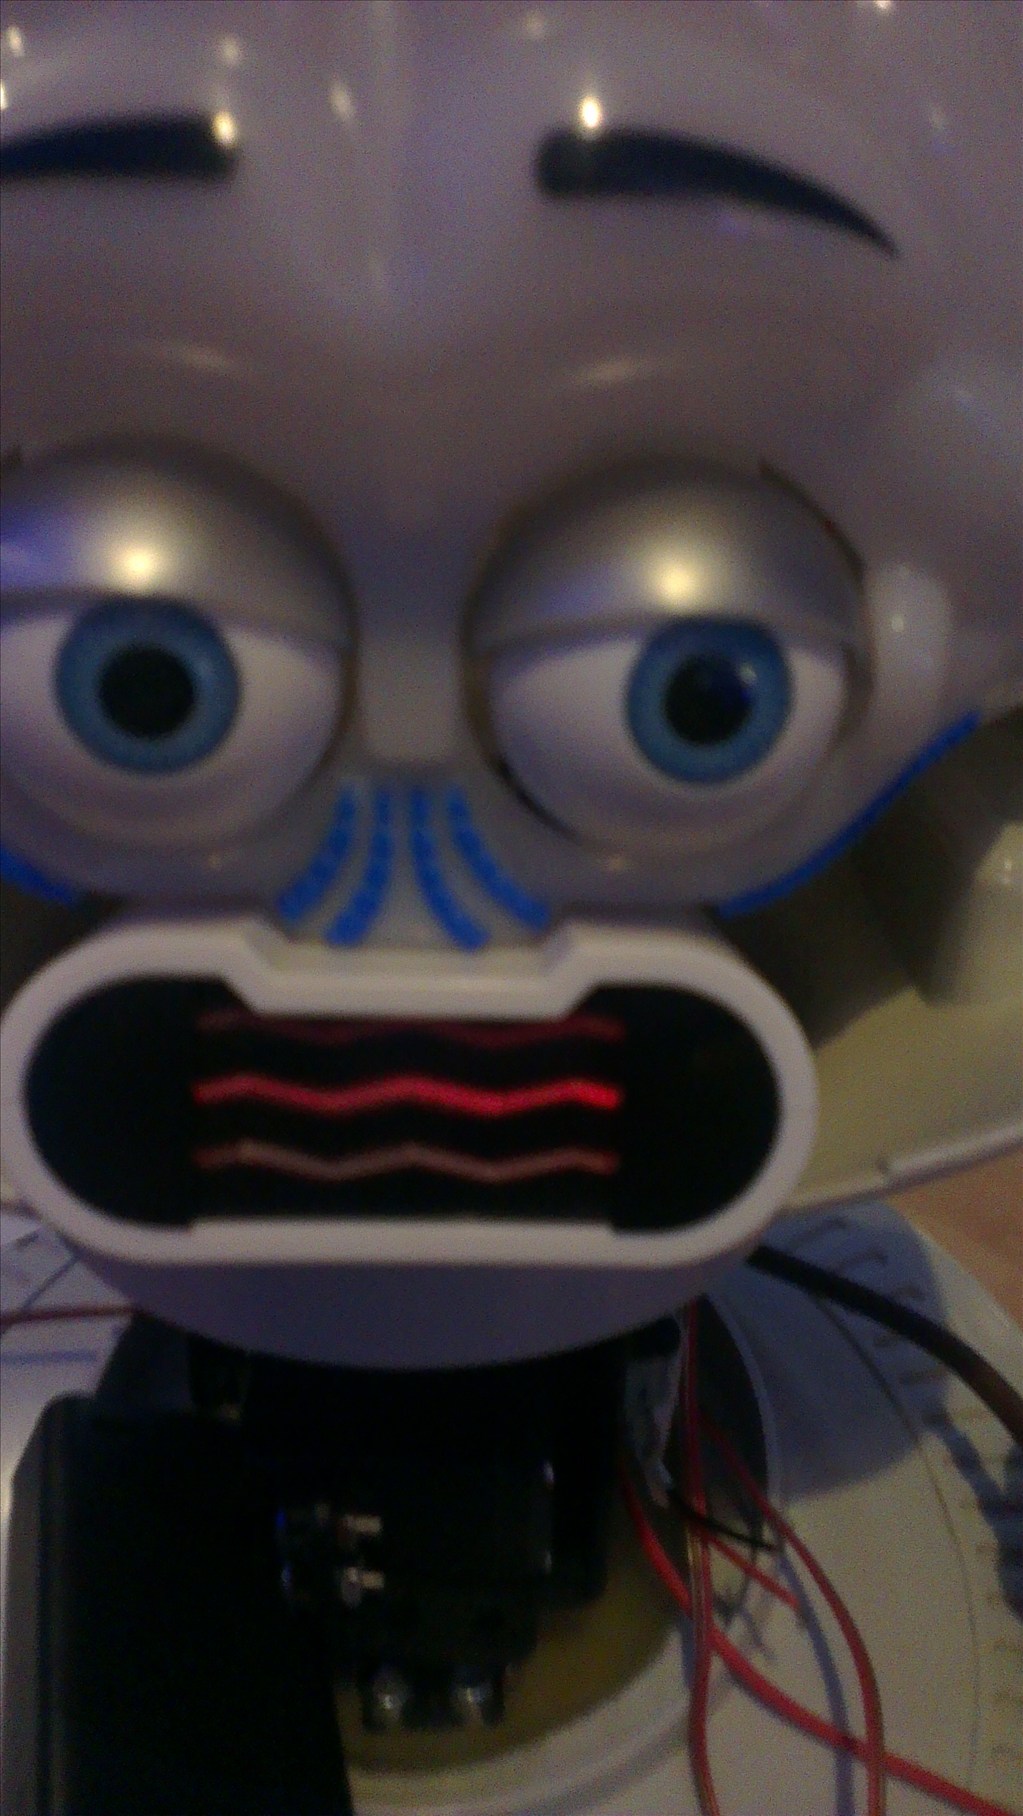
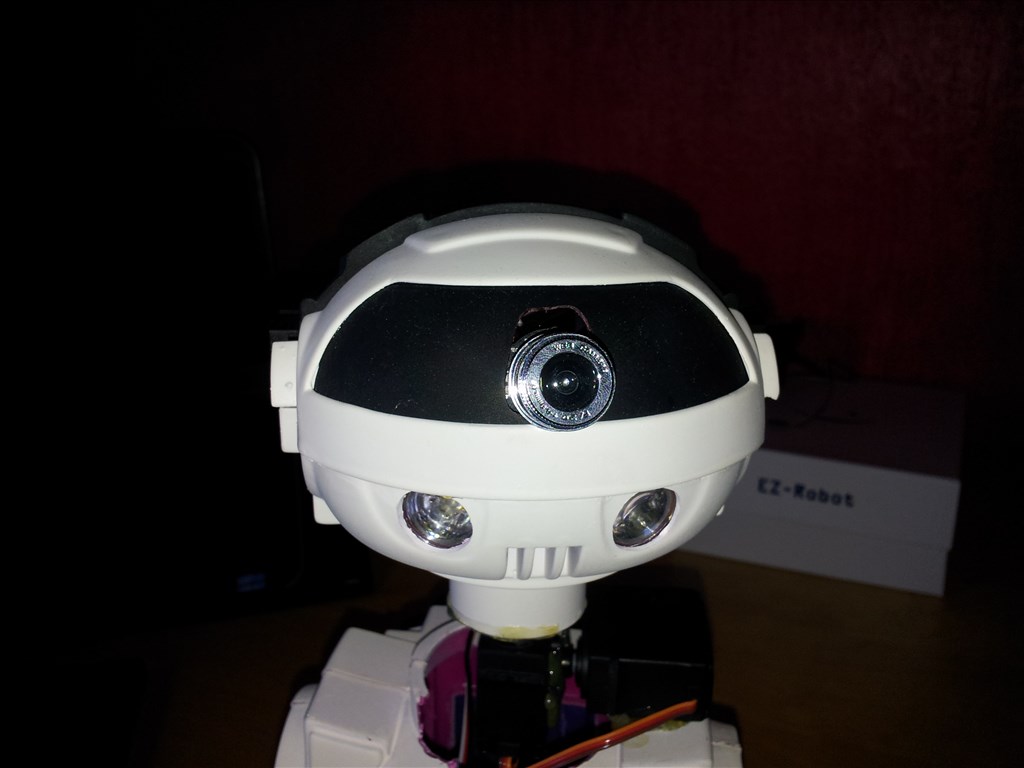
The head will include the camera. I haven't yet decided to fit it in one of his eyes or to make it his nose. The issue to overcome with this is the blue tint on the bubble head. The mouth will have a light or some lights in which flicker when he speaks.
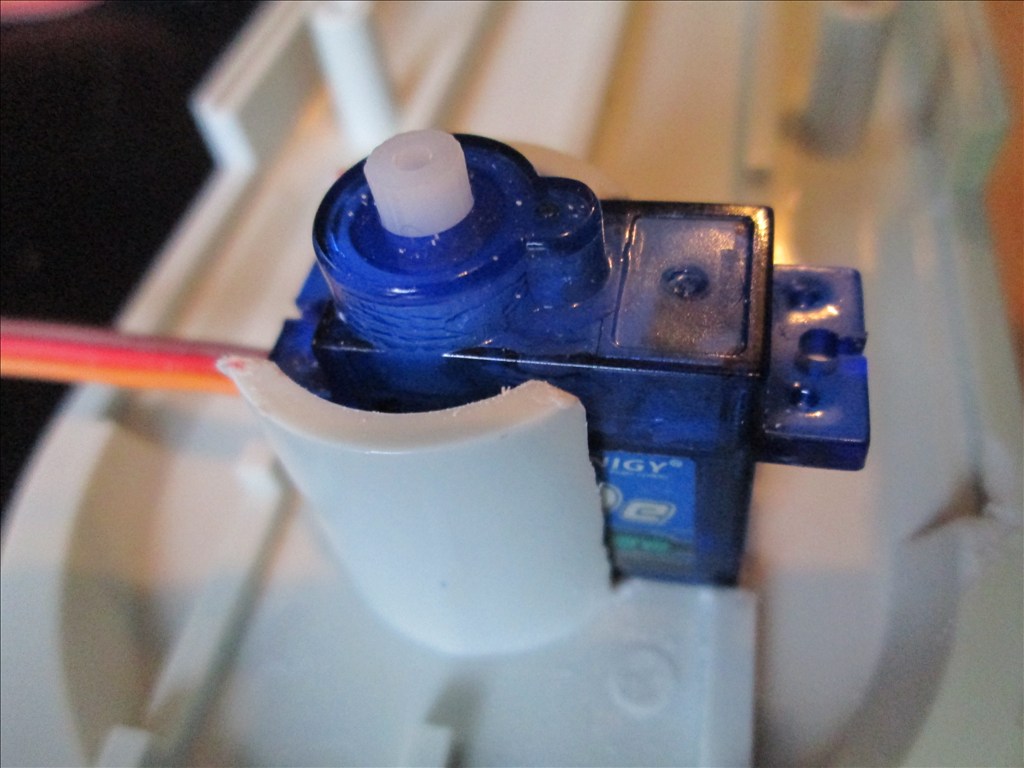
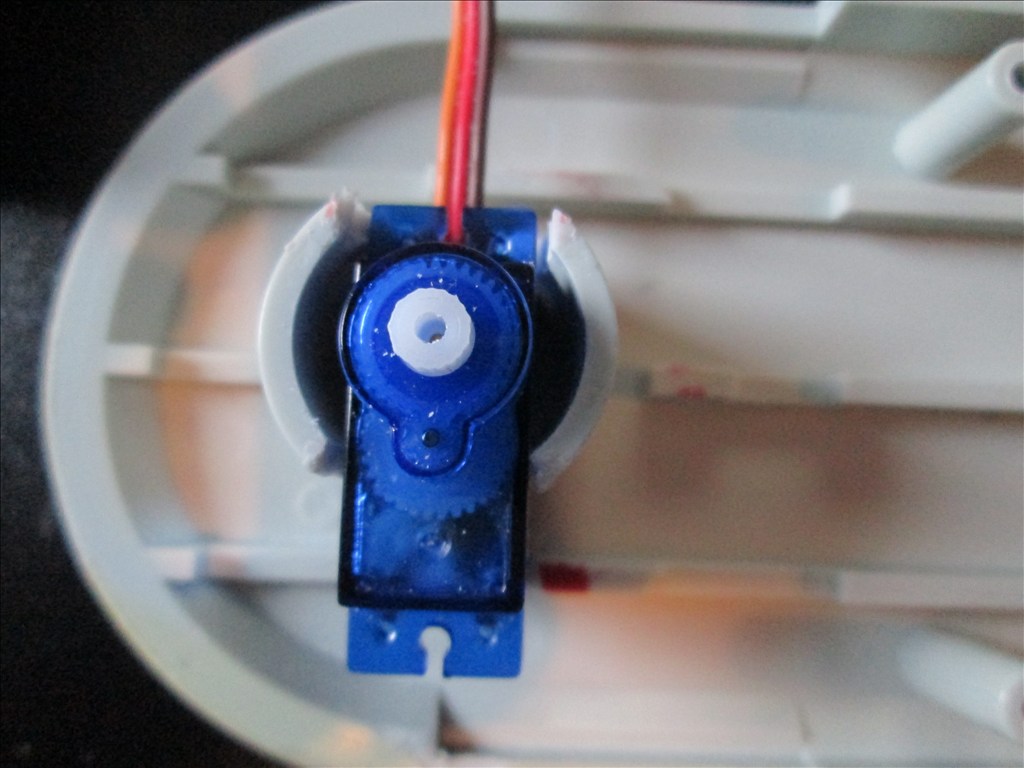
The arms will be given some life with servos at the shoulder joints and the elbows provided I can get them to fit in there nicely.
Ultrasonic sensor will be in his chest, probably on a servo to give a wider view.
Original drive wheels and gearbox seem to be in very good shape so will plan to reuse those and just replace the existing motors for the modified servos if they can manage the task.
Speaker and microphone will be in the original positions - if it's not broke why fix it?
Not too big a project but enough to give me a test, help me learn and bring an old robot back to life.
Discover more robots
DJ's Robot Head

Bhouston's Bob's Inmoov

I'll have to watch that film then Always looking for new robot films to watch...
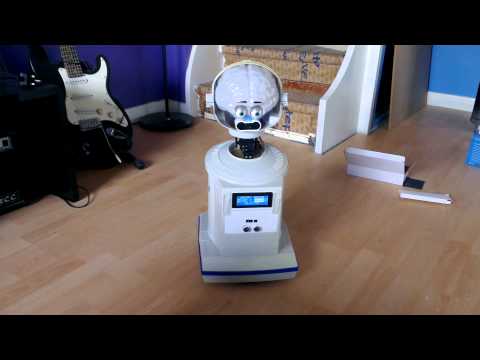
This is my first project of many and really a test of what I can and can't achieve with the EZB and ARC, and testing my construction skills - especially with the stealth servos, not a single servo, cable or extra screw (to original Hearoid screws) externally but servo powered hands, arms and neck (so far so good).
I have plans for helper bots in the future, one being a life size android version of Iron Man, War Machine or possibly C-3PO built totally from scratch using Papakura, card, eva foam, fibre glass etc. (cosplay costume maker methods) for the outer shell and an aluminium or carbon fibre inner frame - that will be quite some build I'm sure but a long way off.
Besides, I already have a helper bot named JARVIS who runs my house (yes, JARVIS from Iron Man was the inspiration for it, mine is a dumbed down, more domestic version) but it doesn't use EZB as he is not a physical robot but a more virtual one, running inside the wiring of the house, inside all PCs through a combination of bespoke software and specialist software - all of which can be interacted with via ARC and the SDK through the HTTPGet function, TCP and Telnet
Lol and im making the physical version of Jarvis
My main robot project is JOHNNY FIVE from short circuit movie got some parts so far,thinking total build is near $500 ,like the R2-D2 project like many others working on and made them already i bought while back the wooden prop from the first short circuit movie AND WEBSITE input-inc.com almost has the plans ready for full detail and full size johnny five
I am more of a robot NERD collecting every type of robots and movies
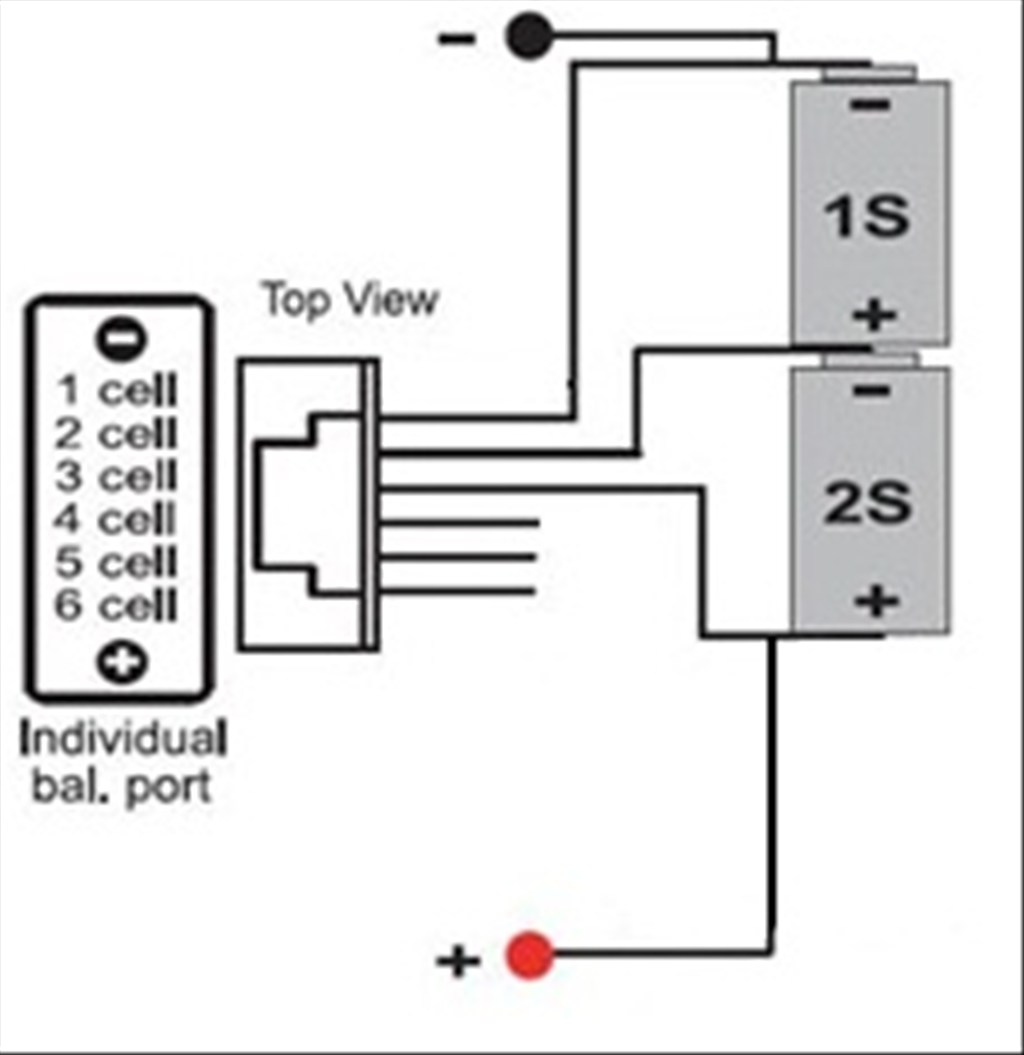
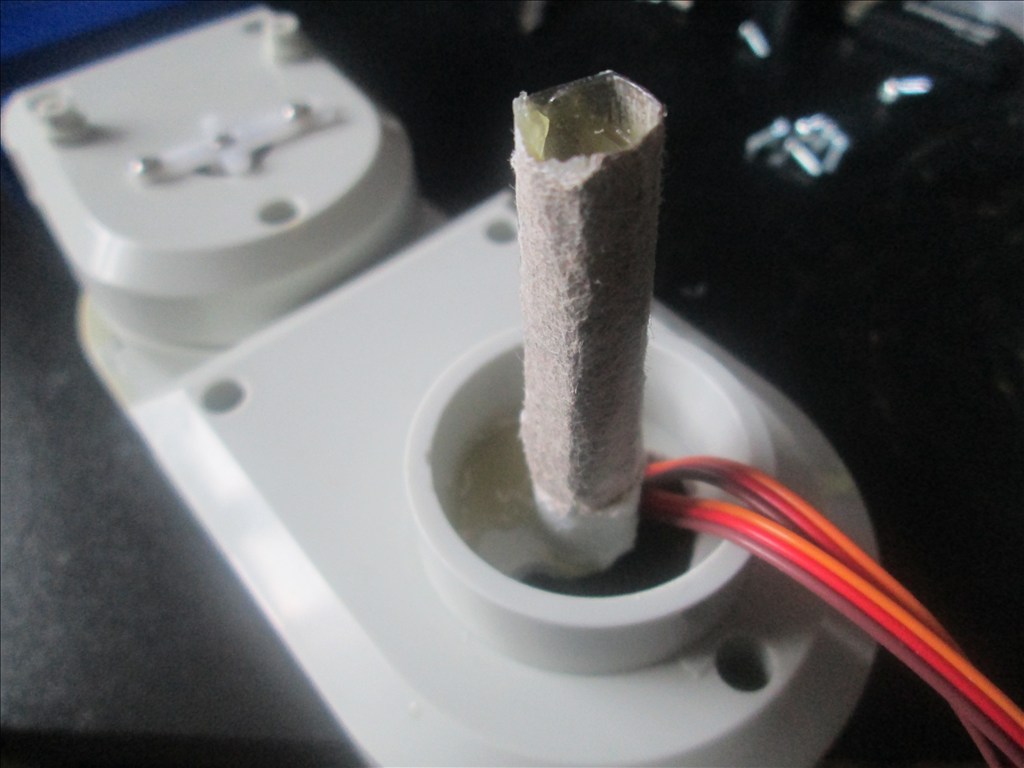
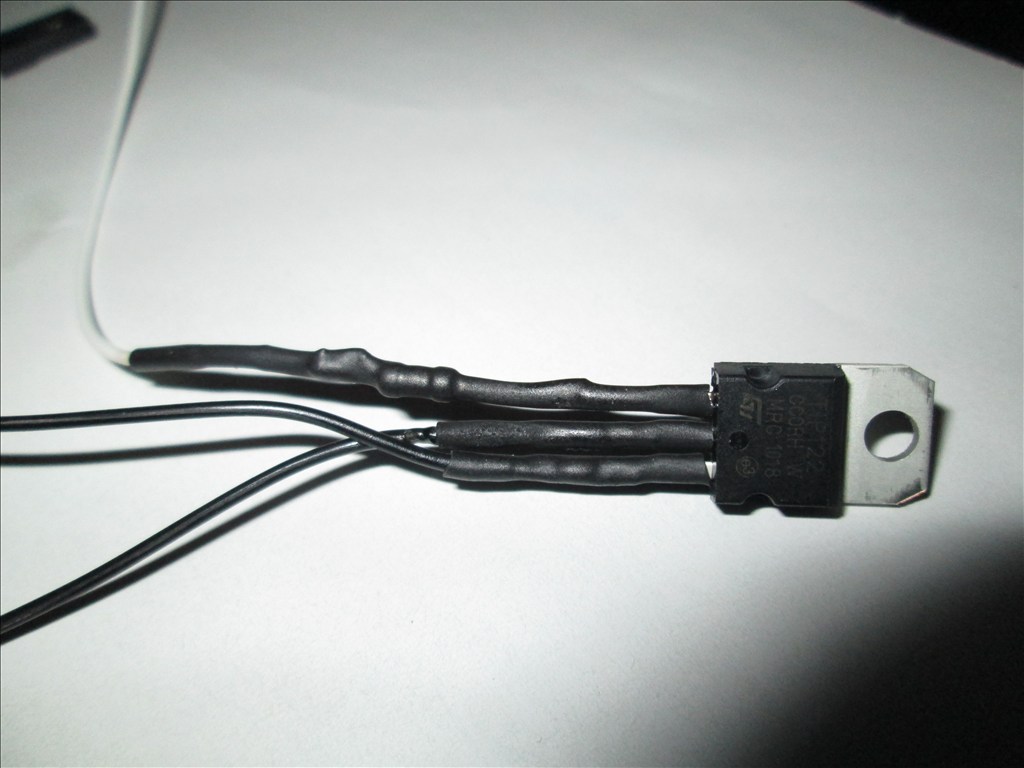
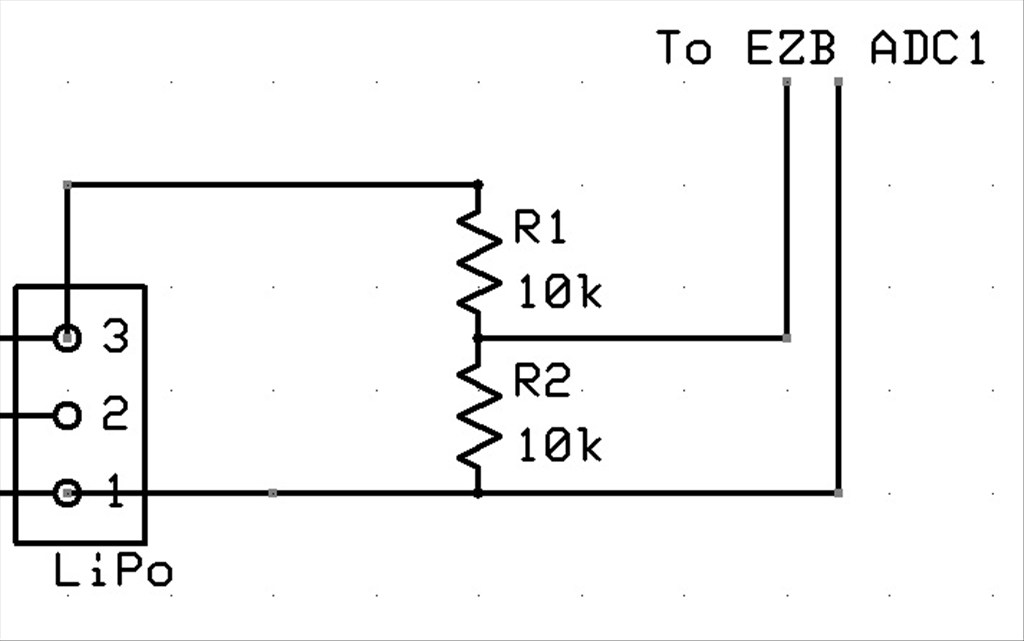
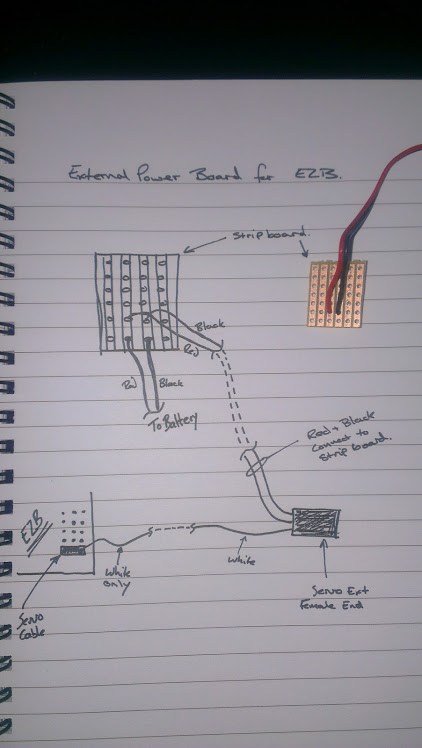
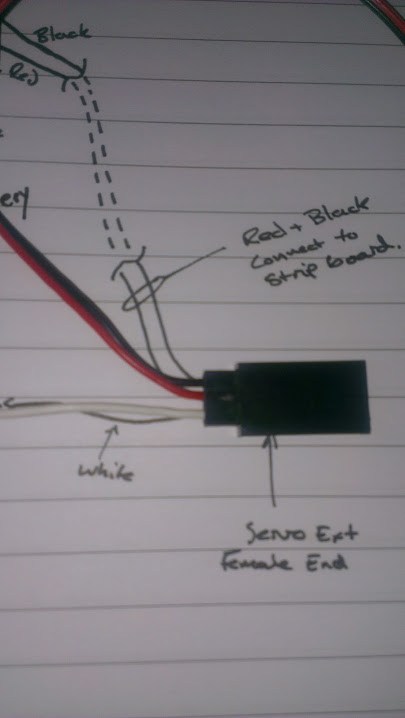
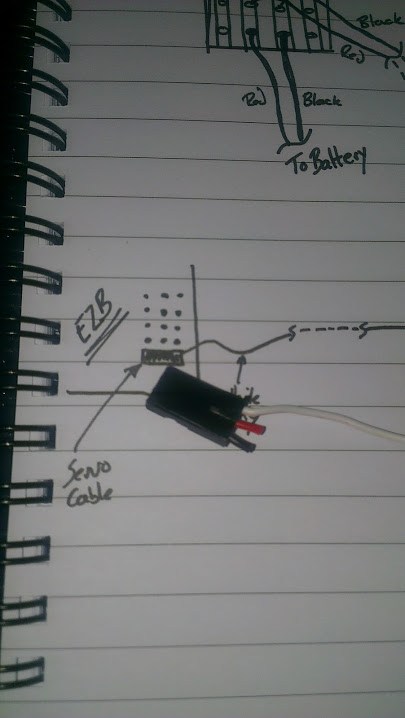
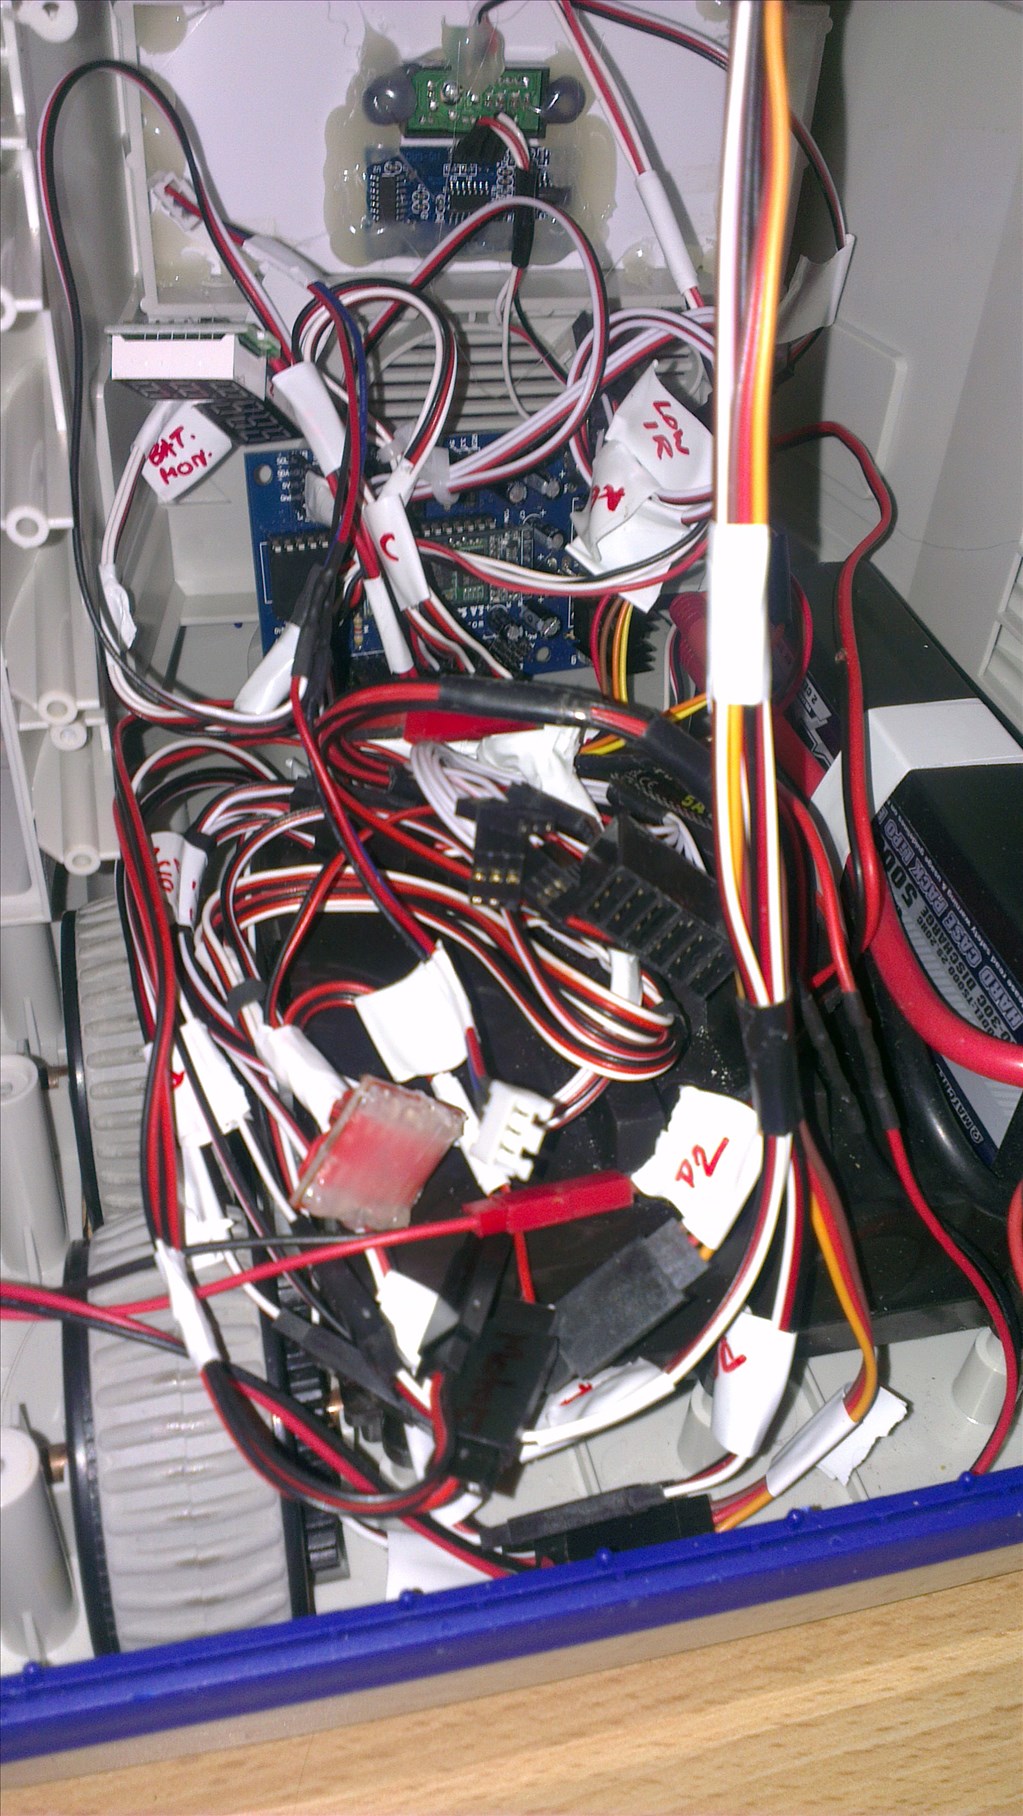
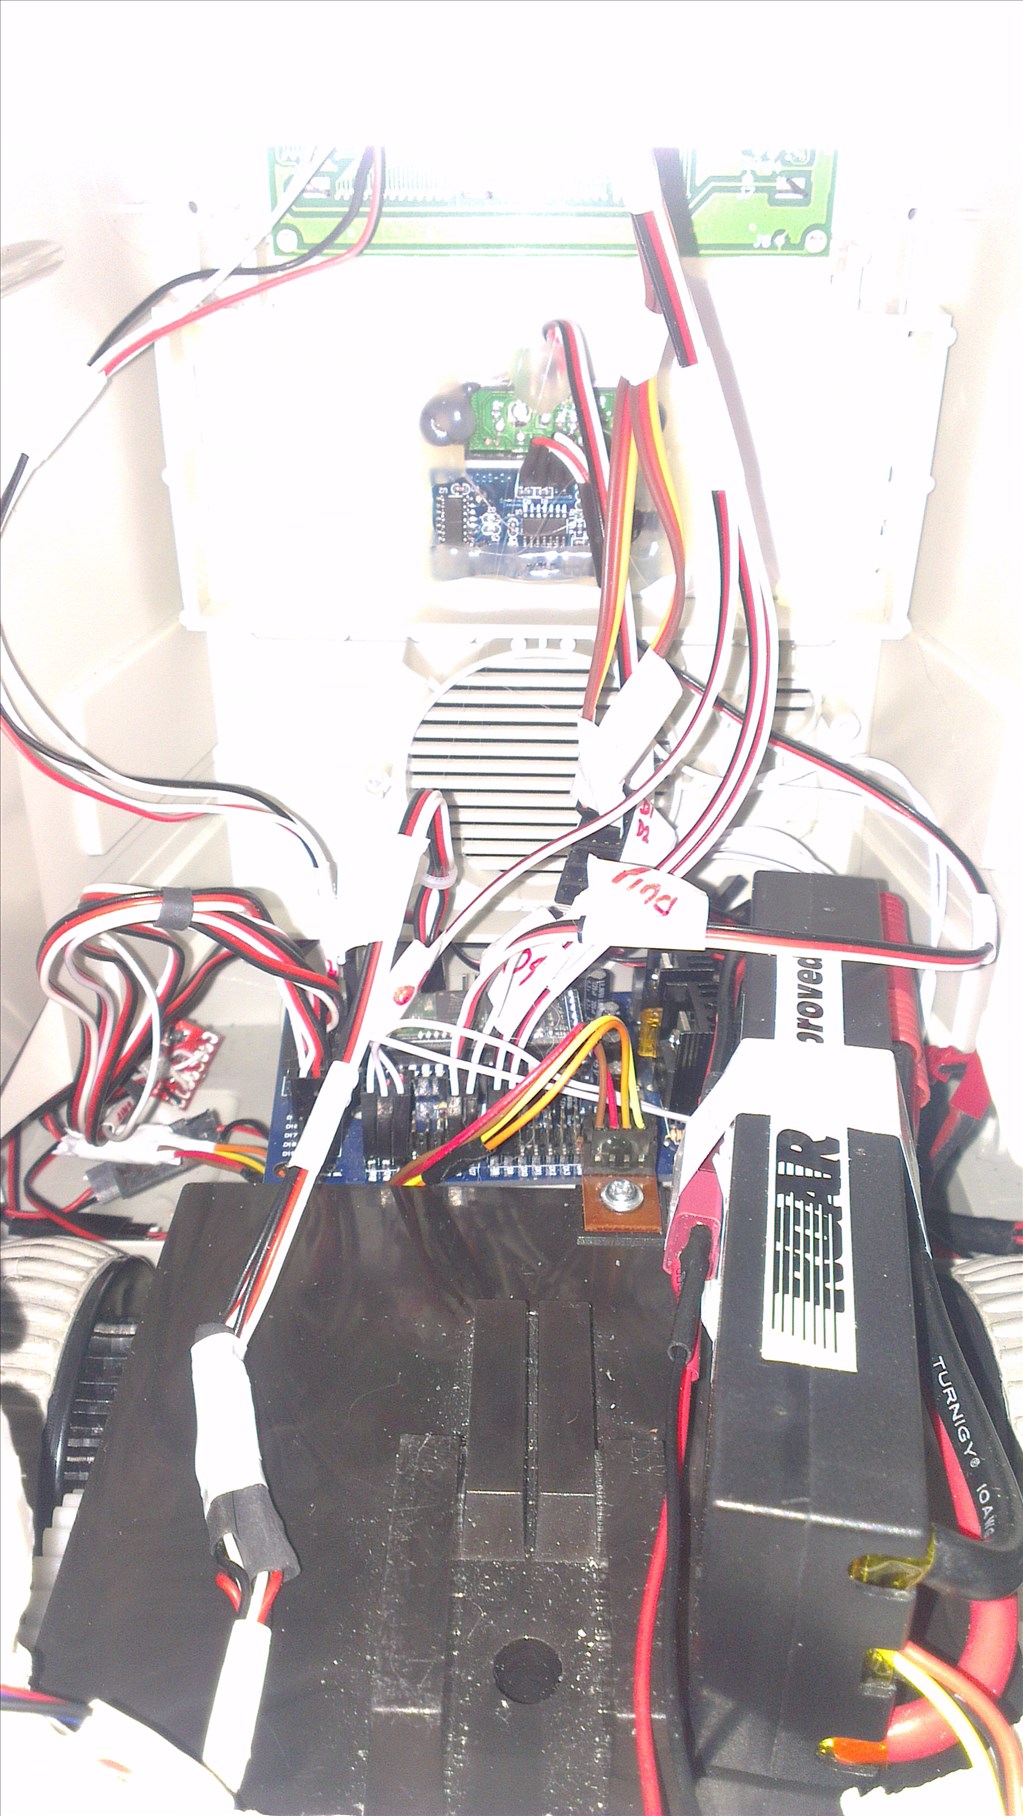
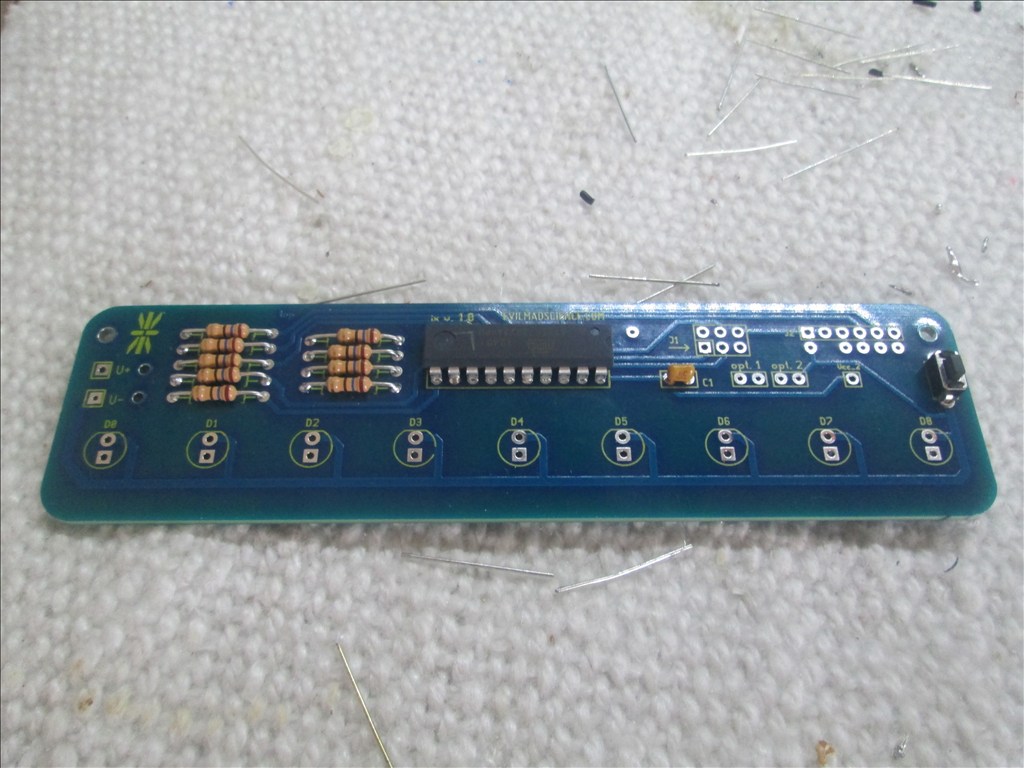
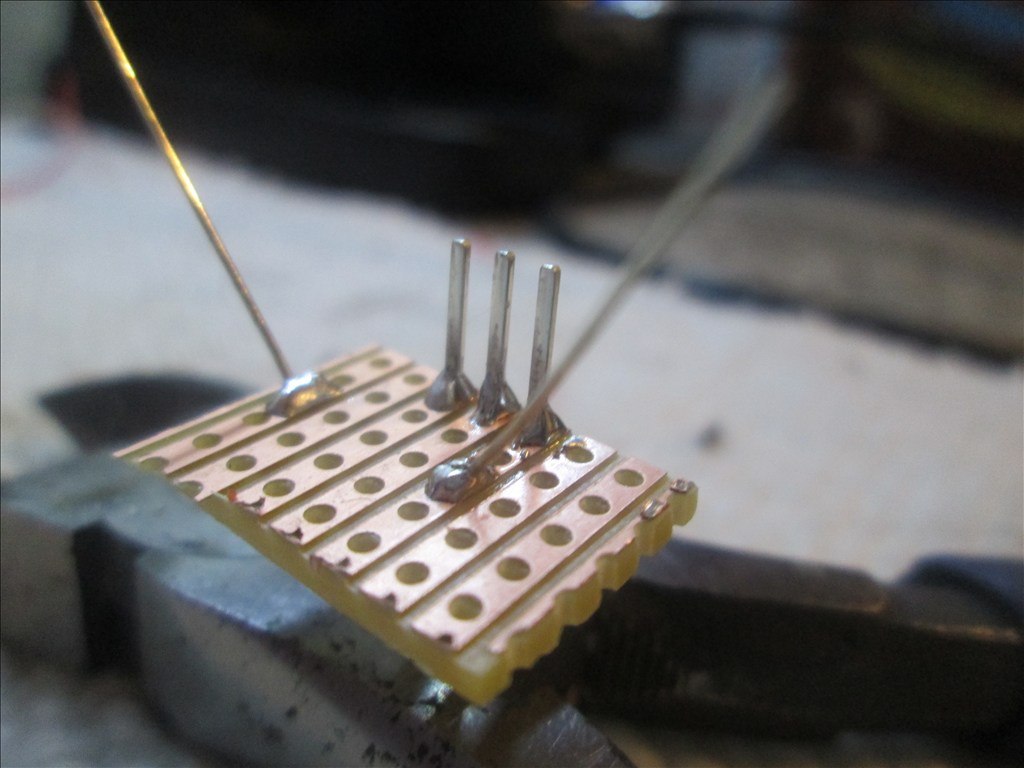
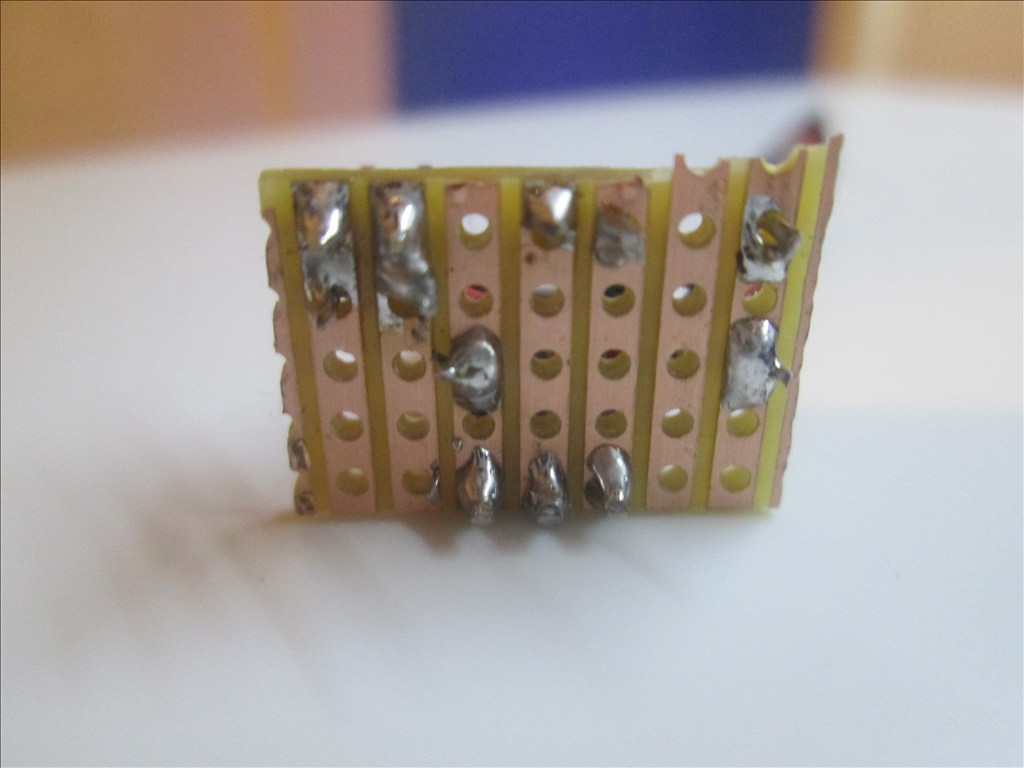
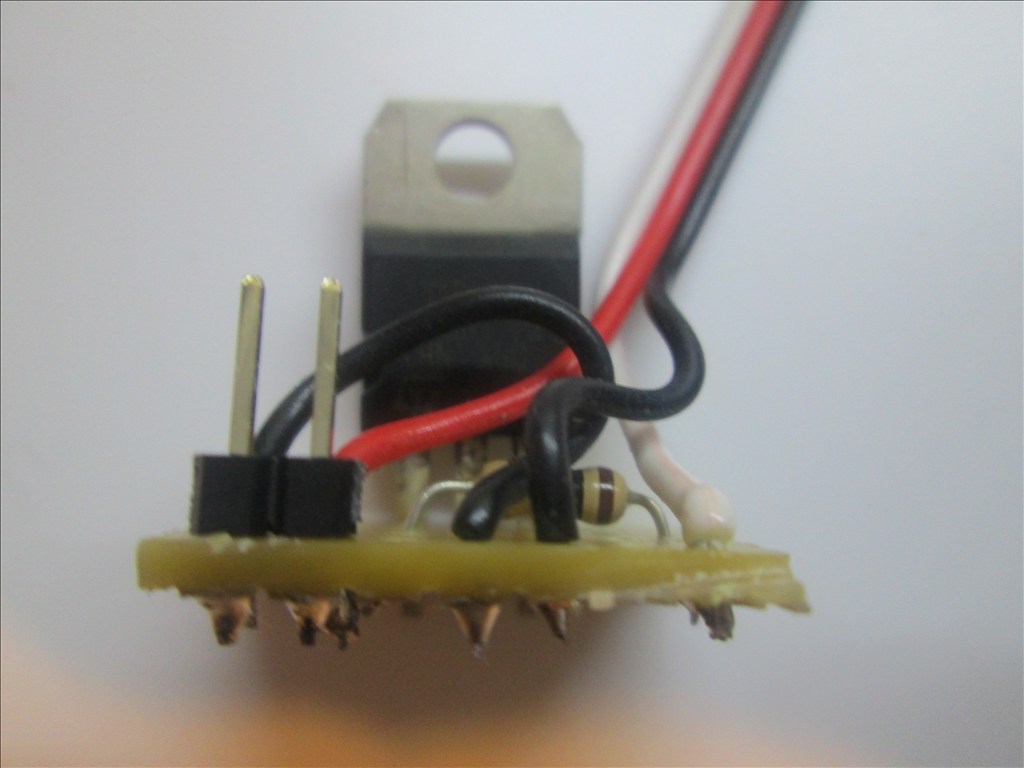
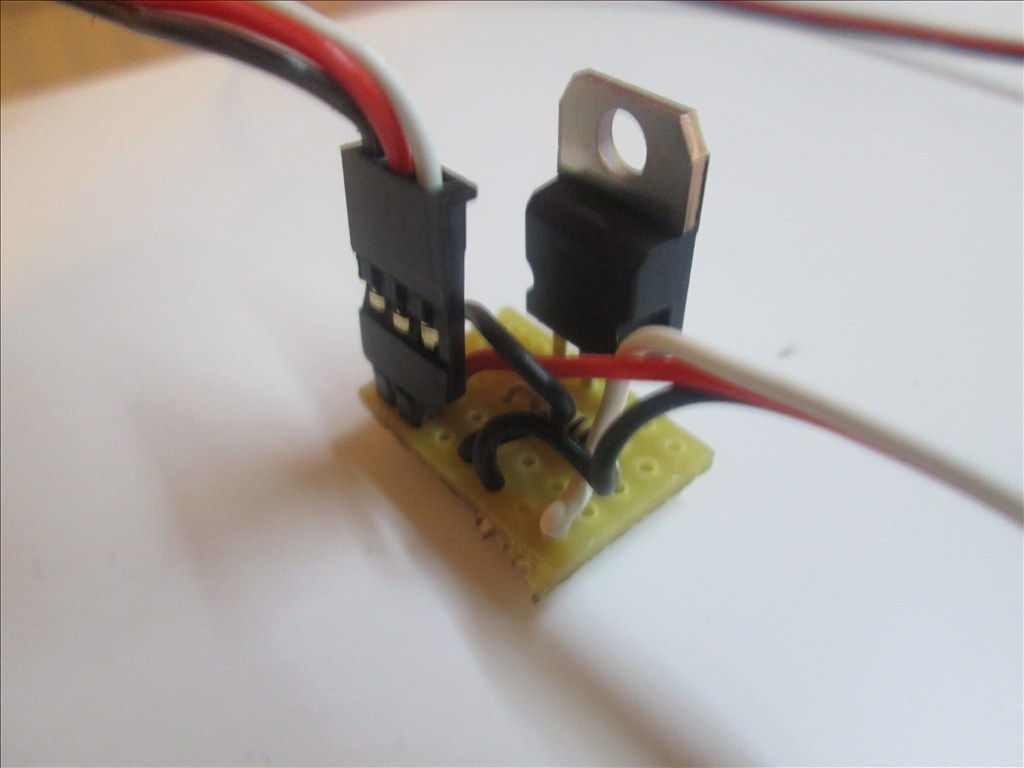
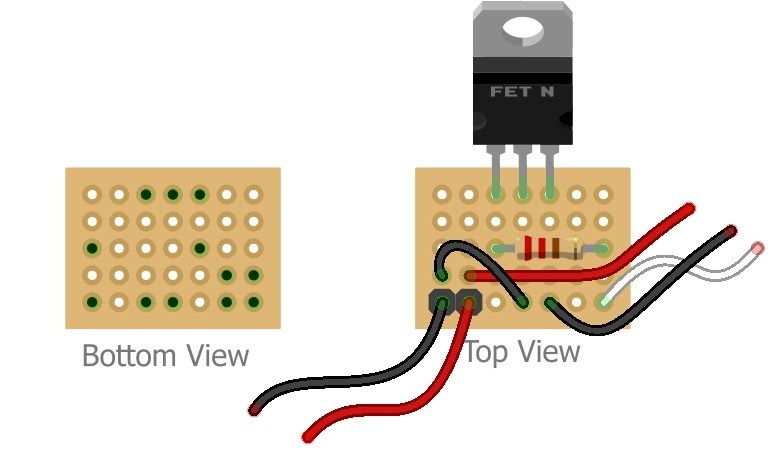
Just tested my LiPo charging circuit and it works great, if not slowly, but that's fine for this application... I guess charging at 0.2c (or 1/5c) isn't the fastest way to charge but it gives a very balanced charge with next to no heat given off (so little heat that I'm not at all worried about the fire hazard of charging a LiPo and will use it unattended without any fire containment precautions).
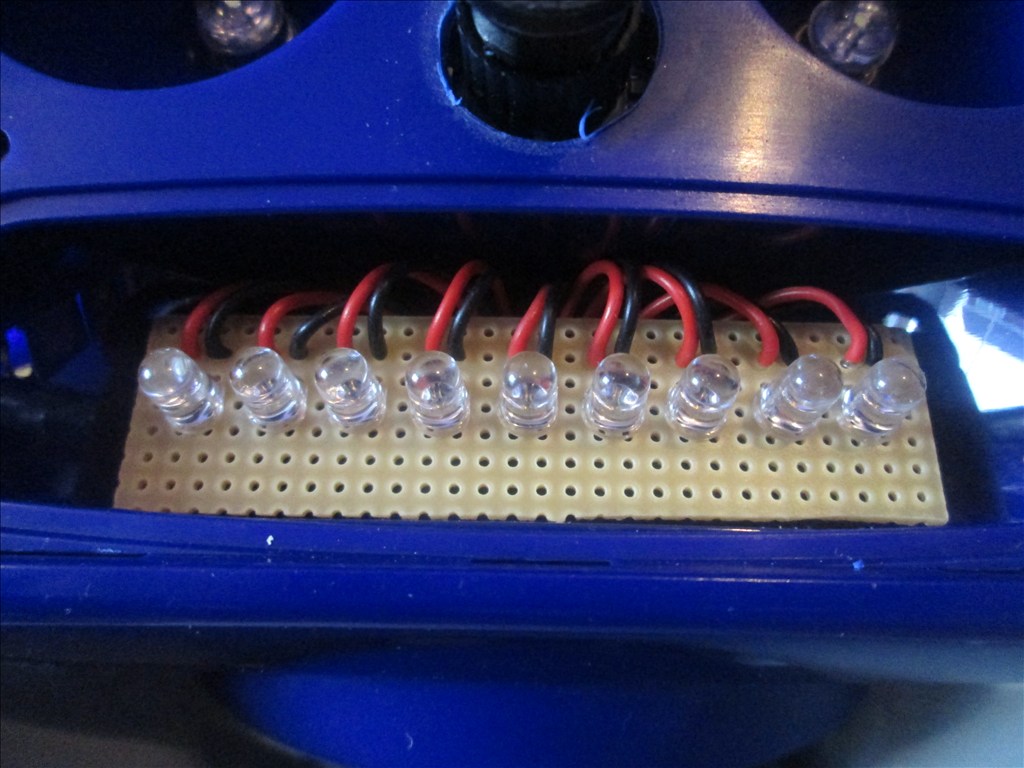
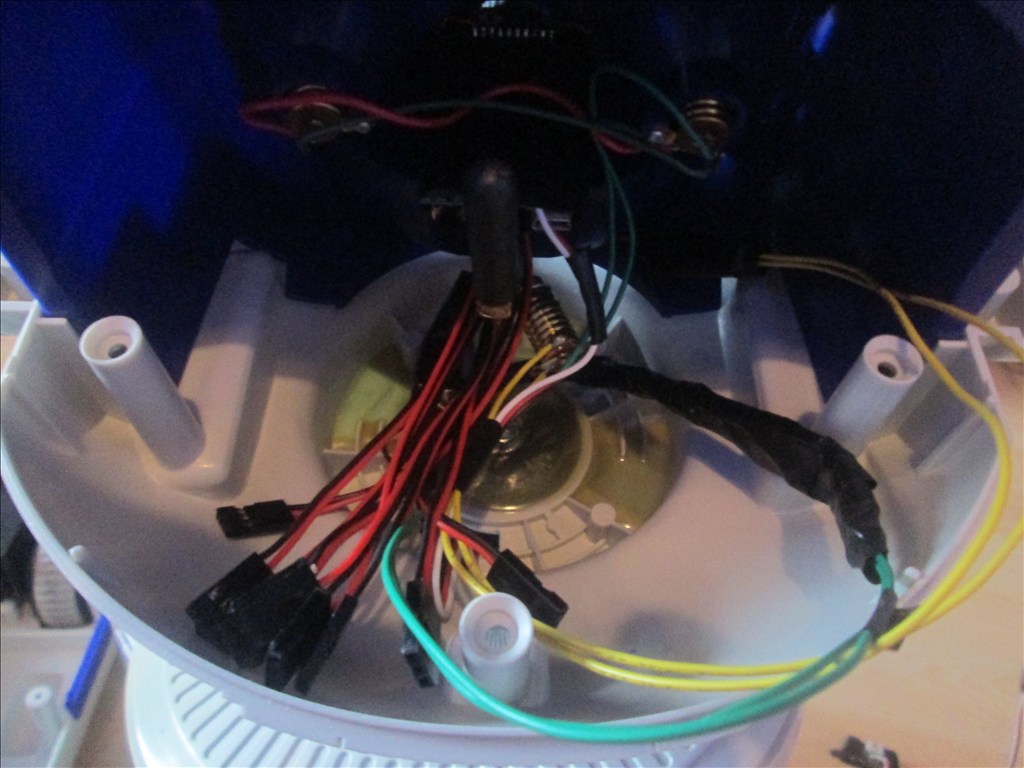
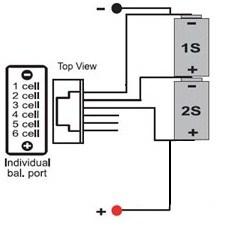
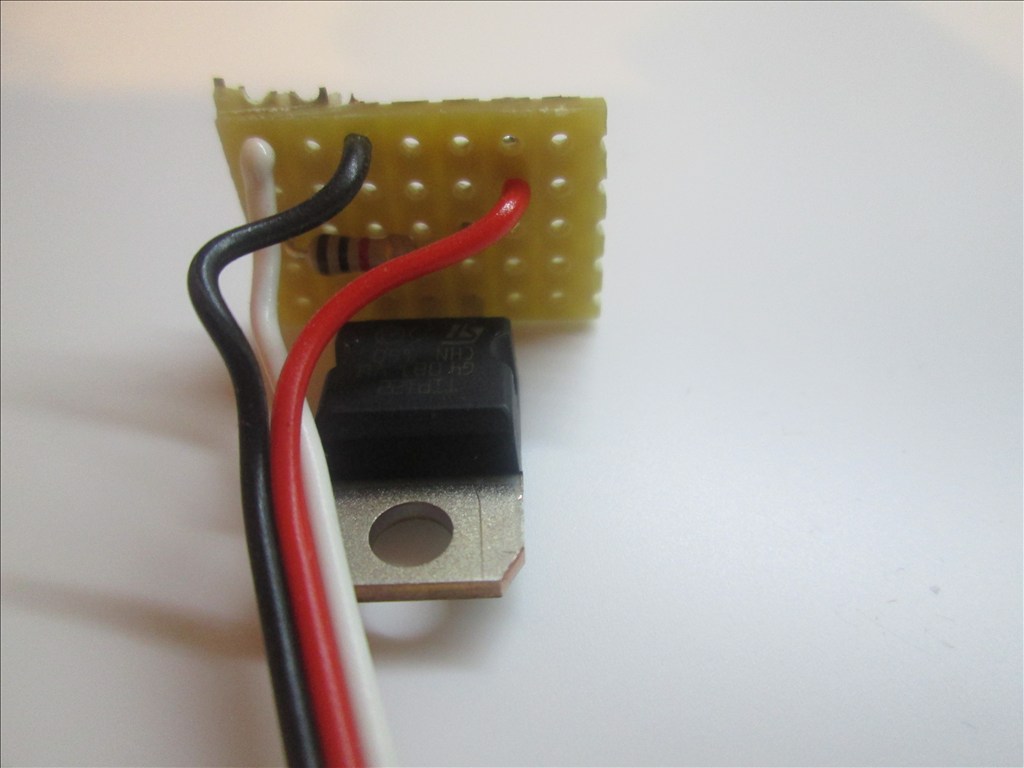
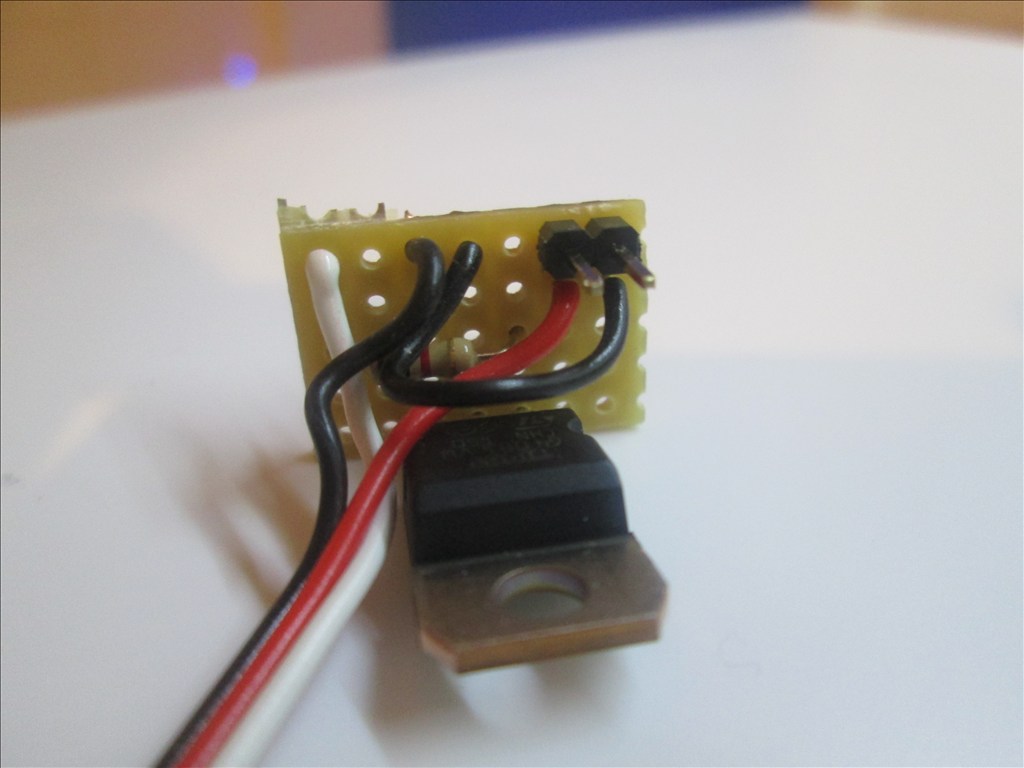
Basically what I've done is used the Turnigy 2S/3S charger which feeds, via a 2S balance plug extension, the 5000mAh battery. I cut the balance plug extension and soldered in a servo extension, 1 wire from each of the balance plug wires, this then feeds the cheapo LiPo voltage alarm/tester to save having to change over from charger to tester manually. Eventually this will change to feed two 3 digit 7 segment volt meters, one for each cell, which will be fitted in the instrument cluster on the robots front (where the tape deck once was).
All of this will be fitted inside the robot once it's ready and an extension wired from the 12v barrel jack of the charger up to the original Omnibot/Hearoid charging barrel jack so the 12V 1A power supply plugs in like the original charger would have (and eventually the robot will back on to this when it triggers the low power alert in ARC).
It's late now so it'll be tomorrow (if not later) than I get some photos of this put up.
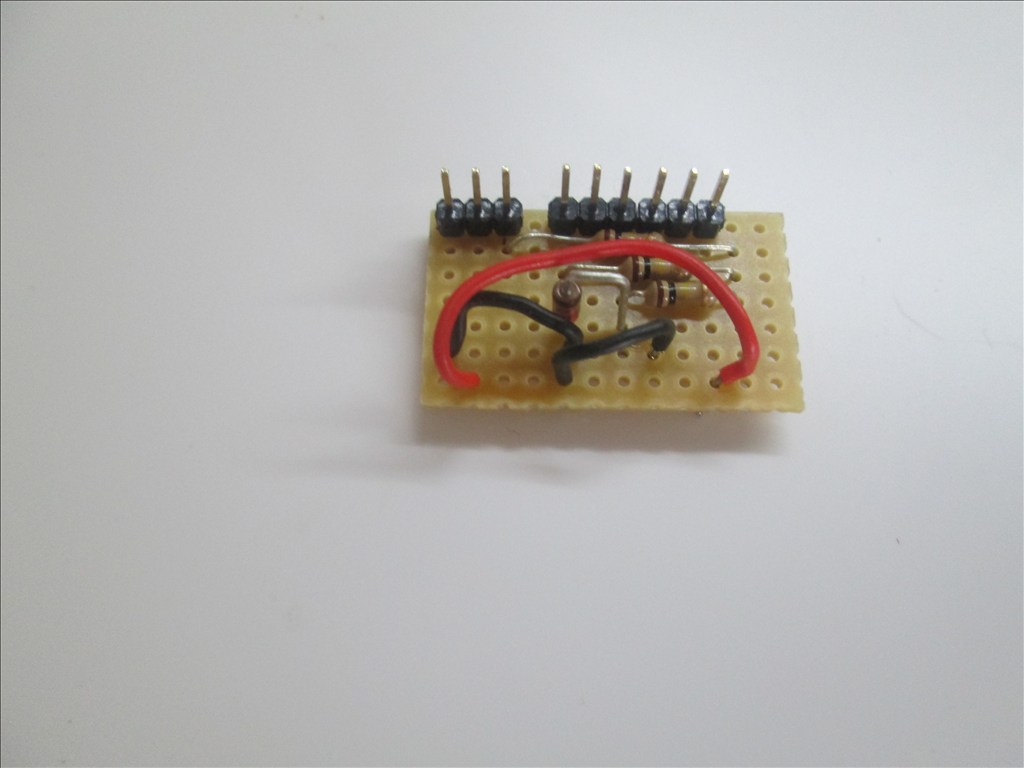
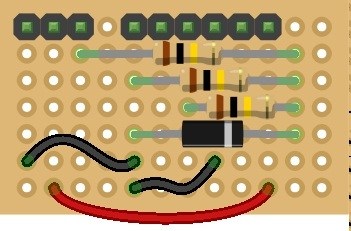
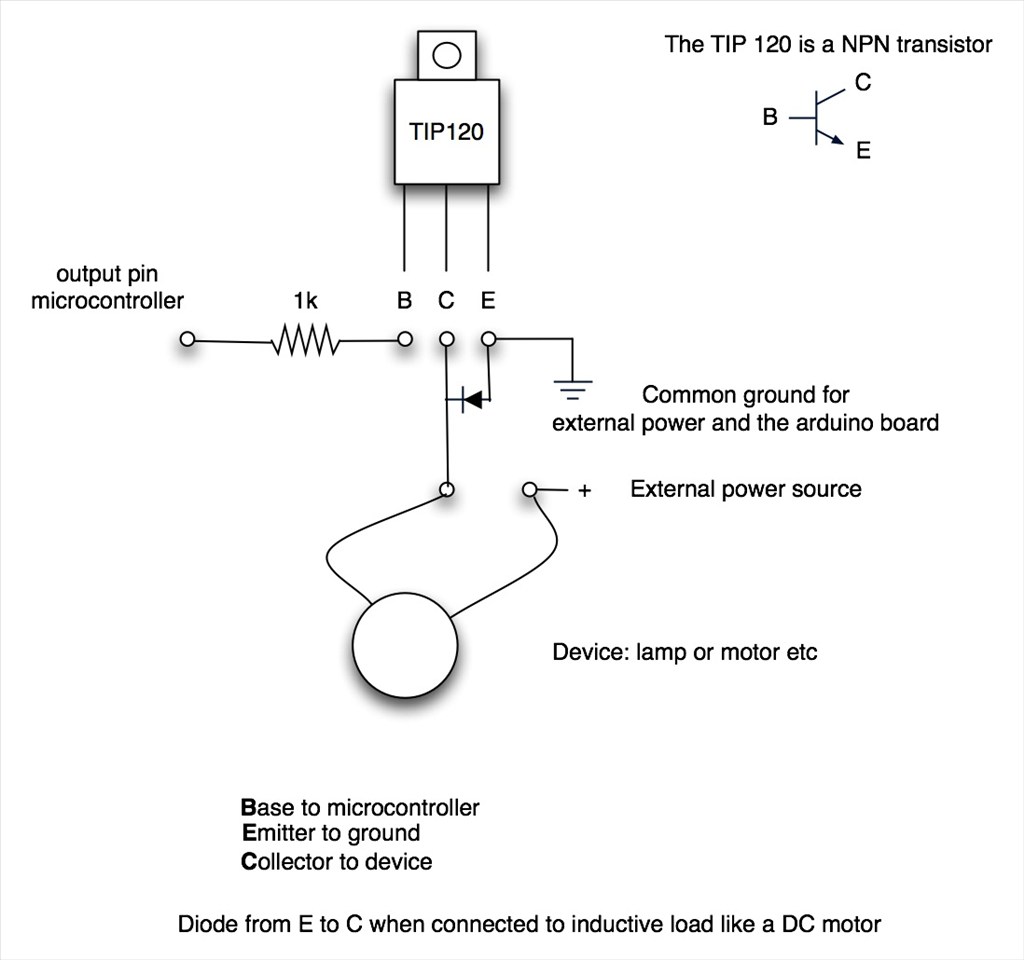
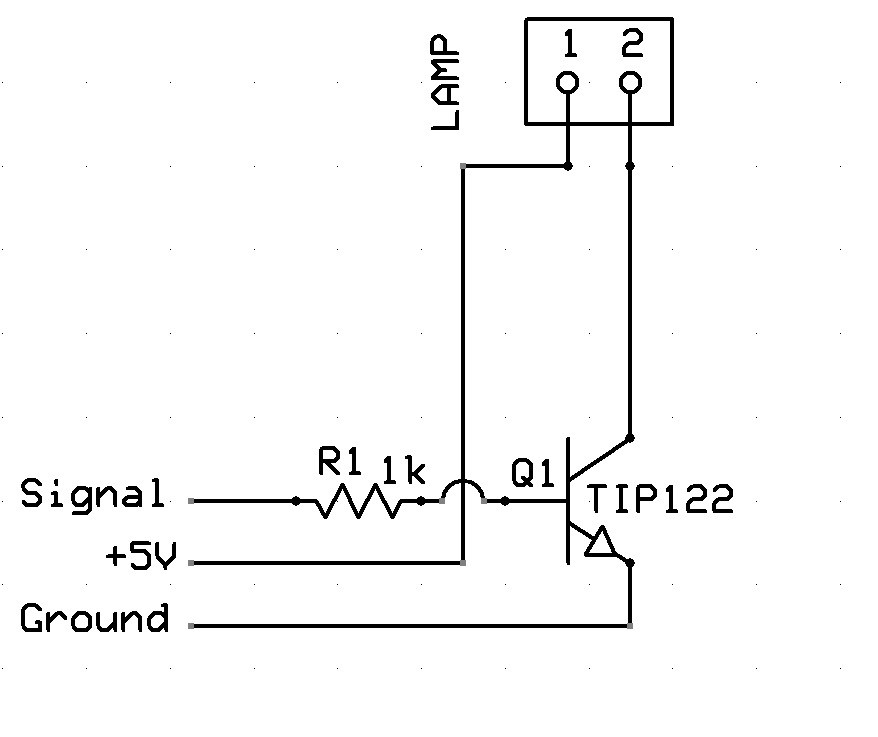
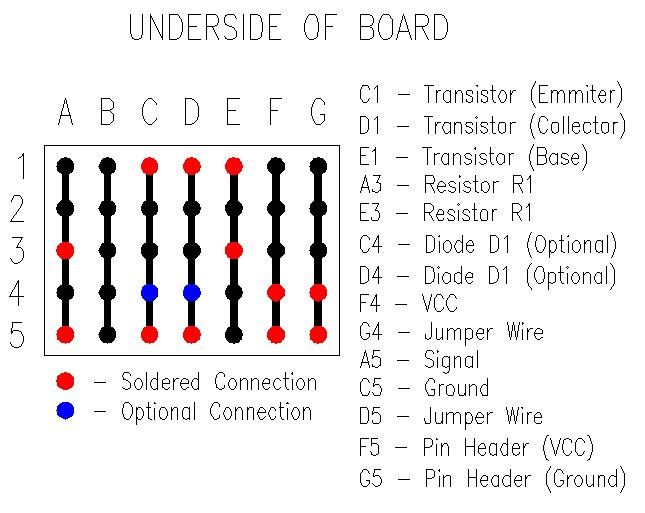
The next challenge is to move the two LEDs from the charger to the front of the robot so they are in his instrument cluster. And also figure out a way for the EZB to know that the charger has completed (green LED turns off when done, thinking a simple transistor circuit, LED +ve to base, so when it turns off it stops current flow through collector/emitter andt he EZB detects a 0v on an ADC port)
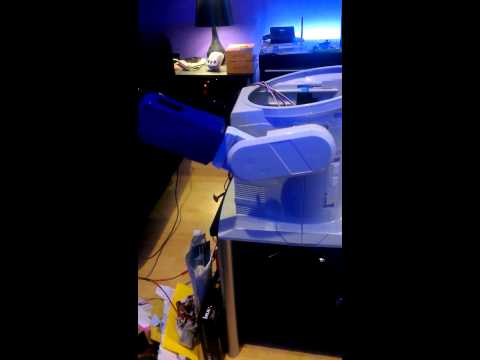
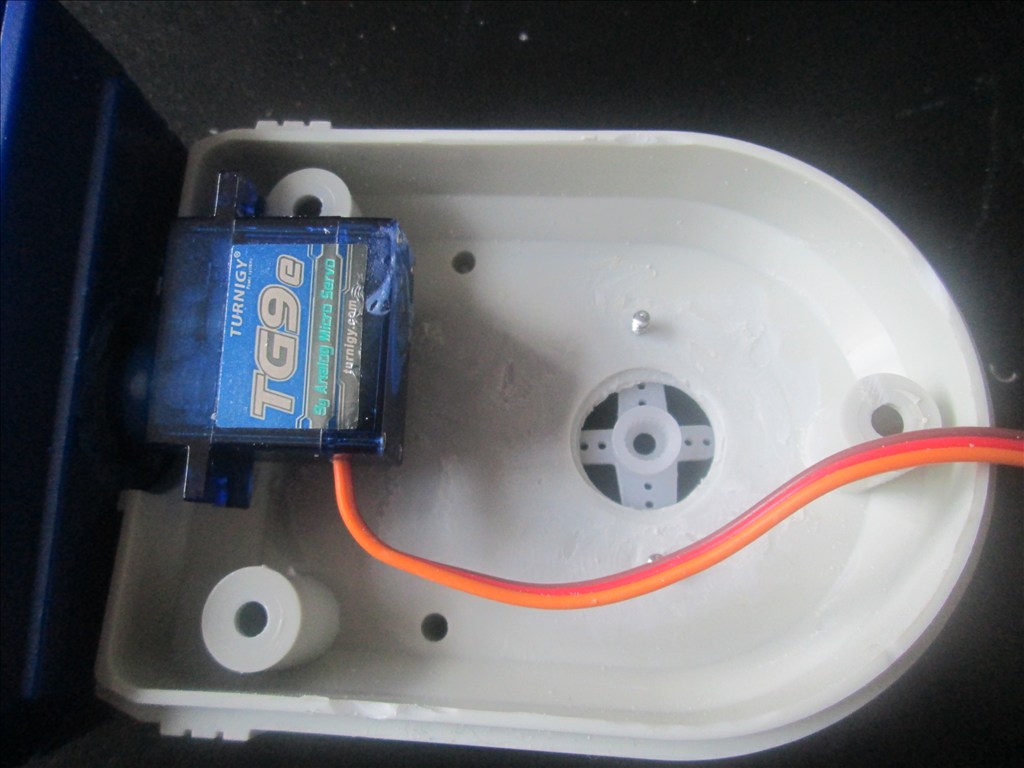
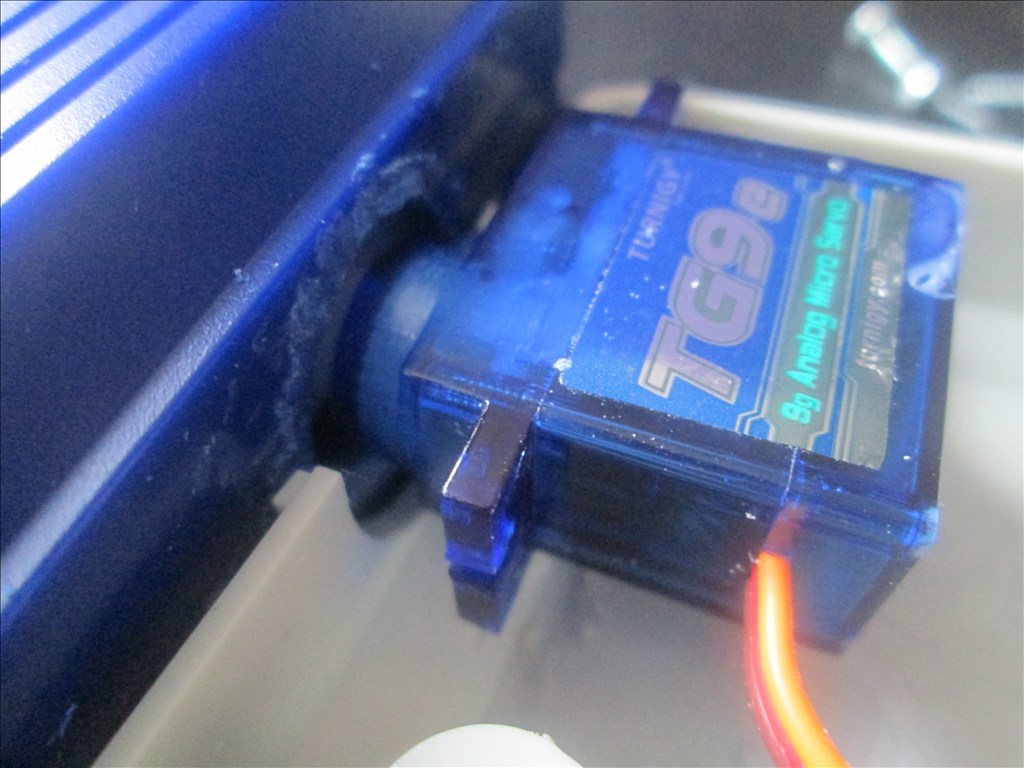
I've taken the advice of 6v to the servos for the arms and it works great now.
It's a bit fast now and needs setting up correctly in ARC but there is enough torque in the elbow servos now.
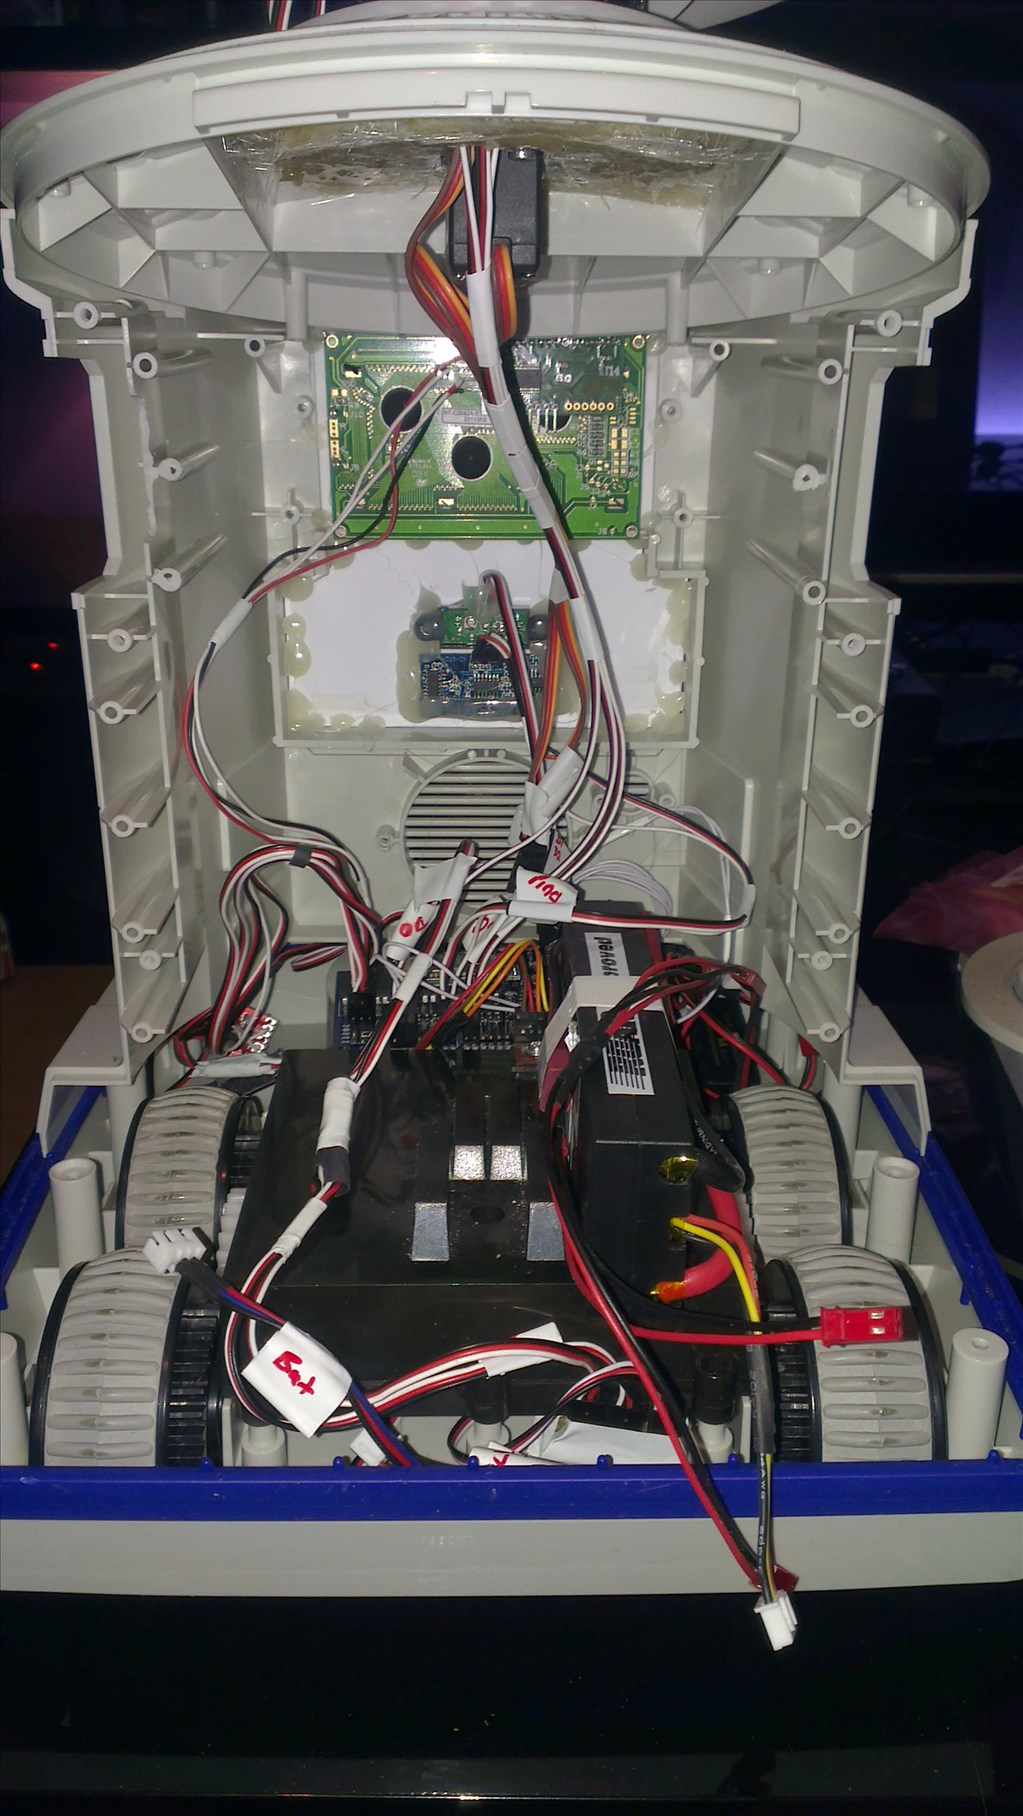
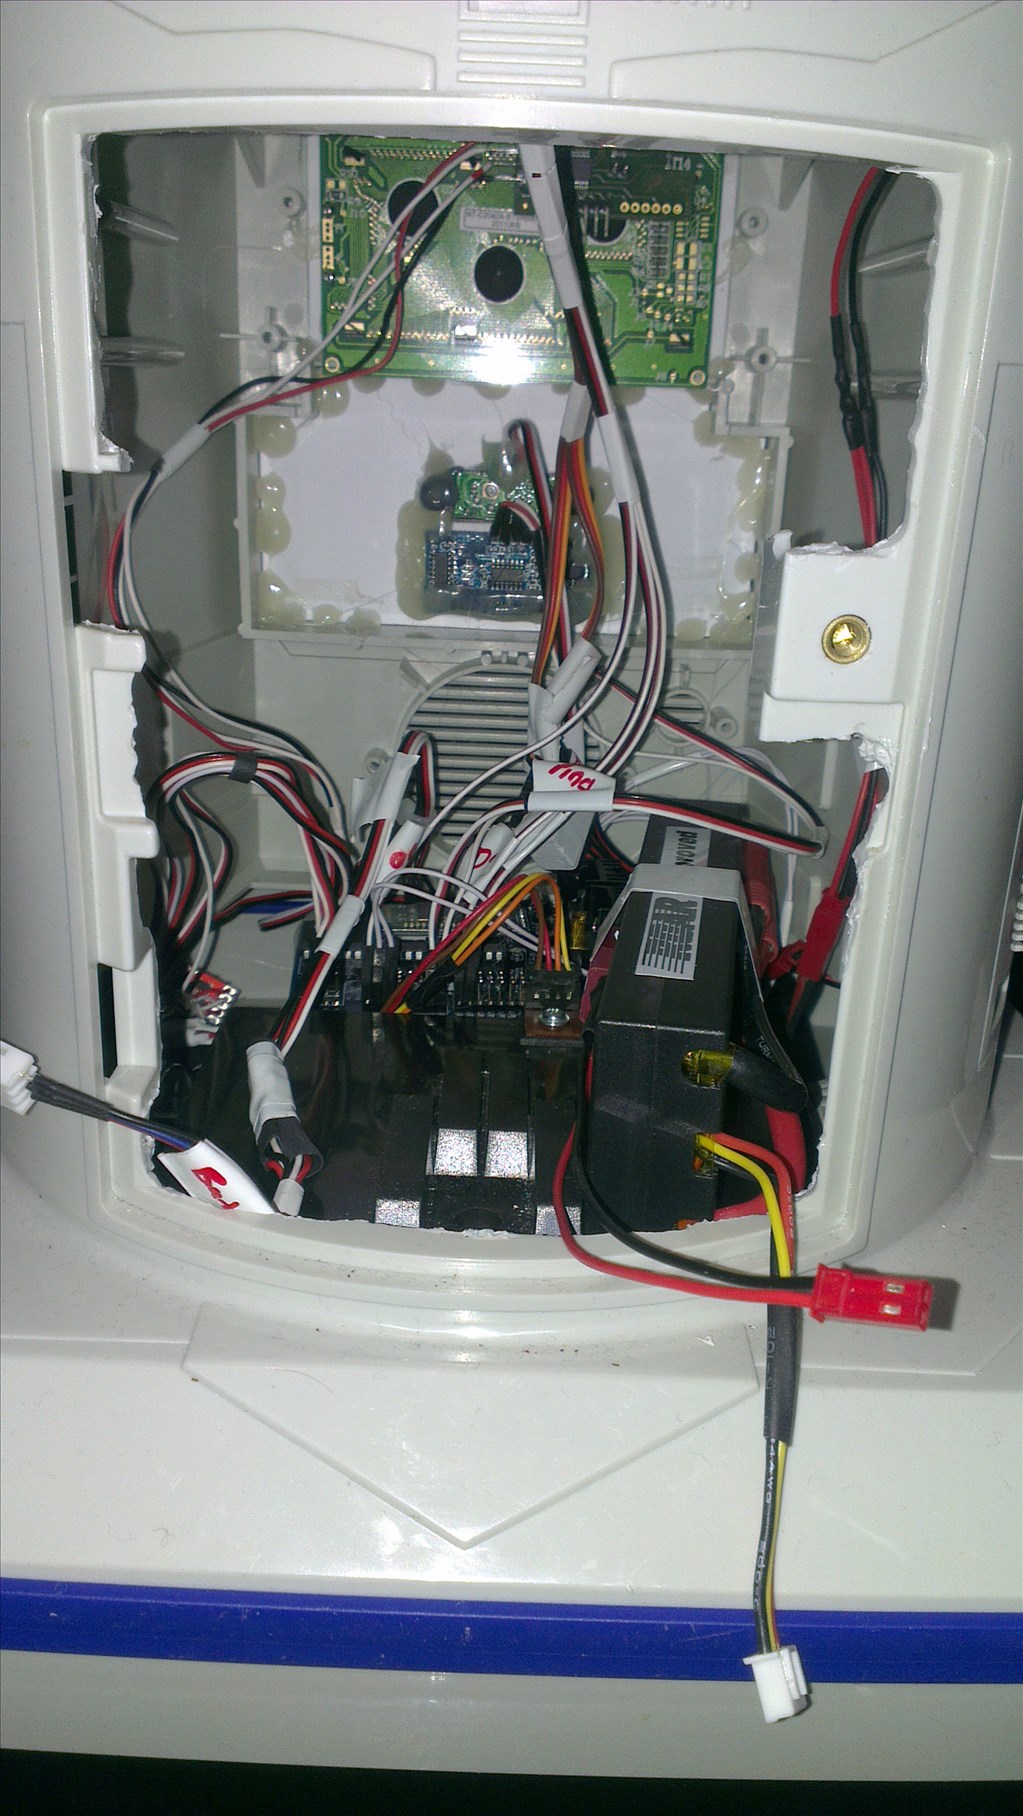
The top of the arm servos are still going to be changed for some higher torque, metal gear ones too once they turn up but this means I can get on with the other arm and that'll pretty much be him done other than the LCD and volt meters in his chest, and paint of course.
I'm torn on whether to put 6v to the drive motors or go for the full 7v-8.4v of the LiPo, 6v sounds safer as they are fine at 6v, speed is good, noise isn't too bad and I know the motors can safely take 6v.
Thanks for sharing Rich,robotmaker, and Josh, your projects/visions are great! Since just receiving my EZ-Board I hope to reveal FRED as parts come together.....in the Project Showcase(thanks Josh)
You name your robot FRED,thats my name
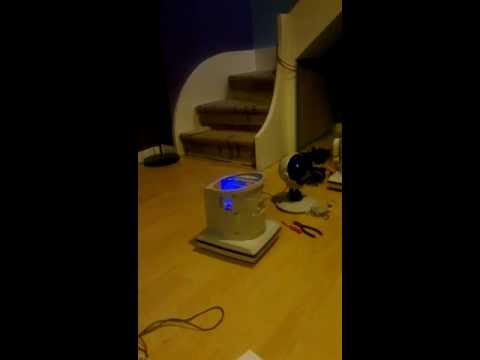
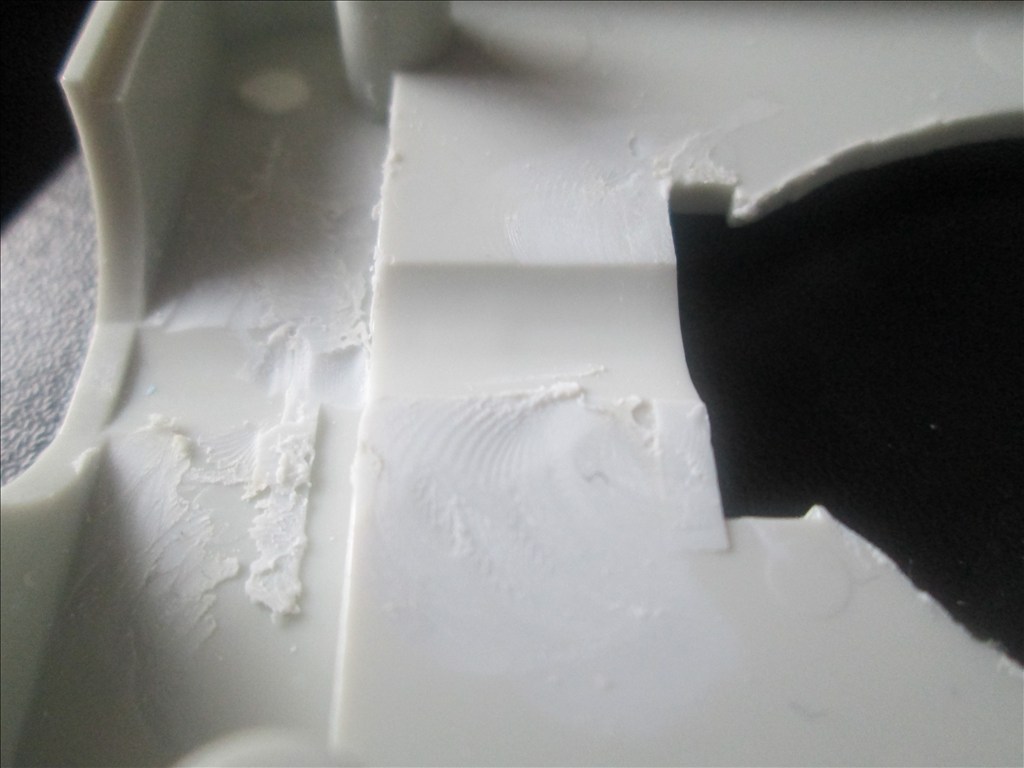
I've just put him all back together, hidden everything inside and given it a good test and, well, I'm not happy with both how the arm looks and the constant servo buzz coming from one (or more) of the servos.
It may be another story once I firm up the mountings for the servos etc. I've not permanently fixed anything yet as it's all coming apart again when he gets painted so that explains some of the flimsiness that is happening. At least I have spare arms from an omnibot if I need them (although I'll probably just fit the connecting rods on and disconnect the elbow servos as it would be a shame to strip down a perfectly good Omnibot just to take it's arms).
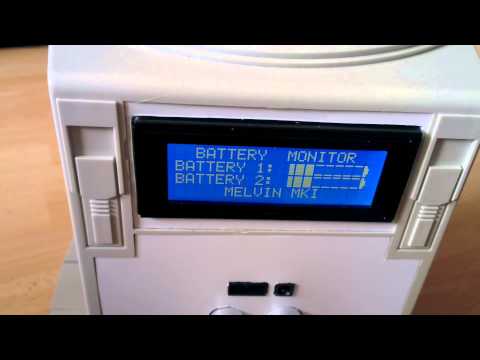
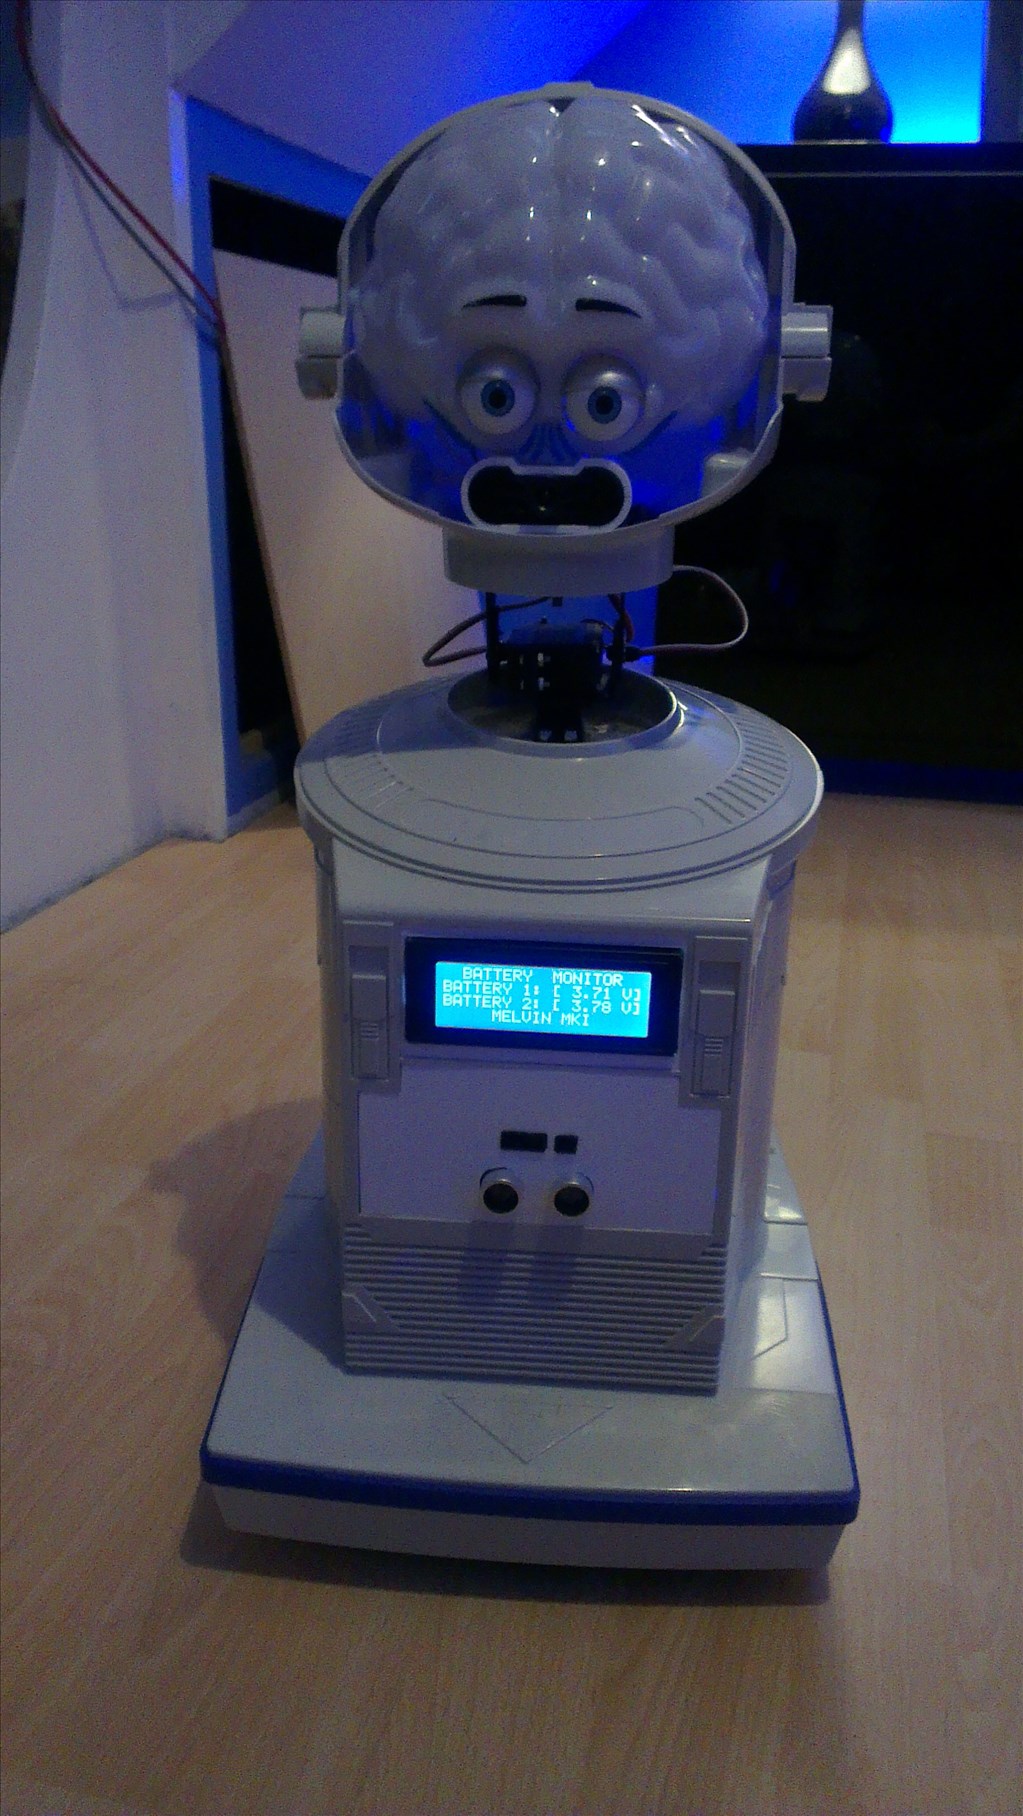
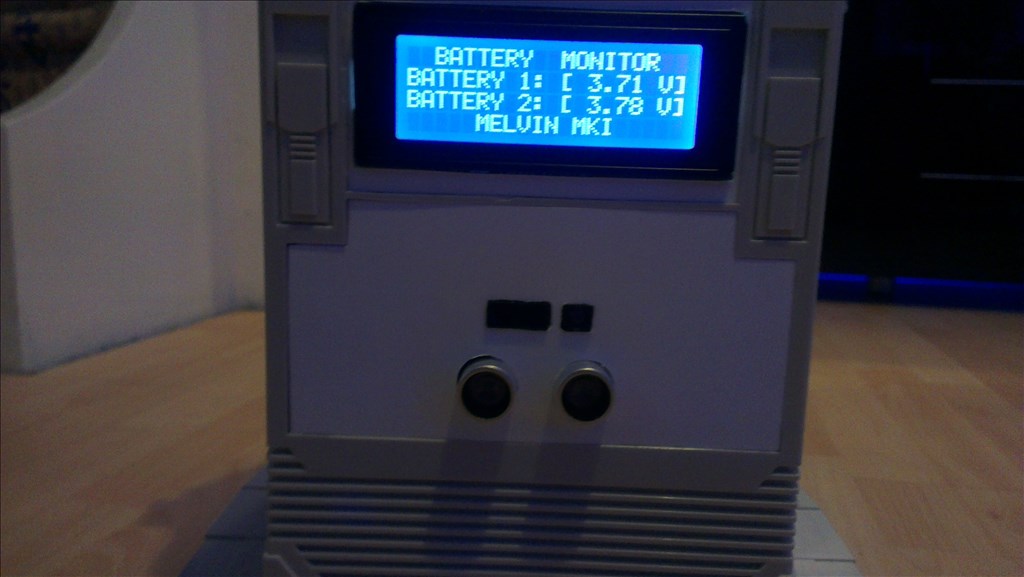
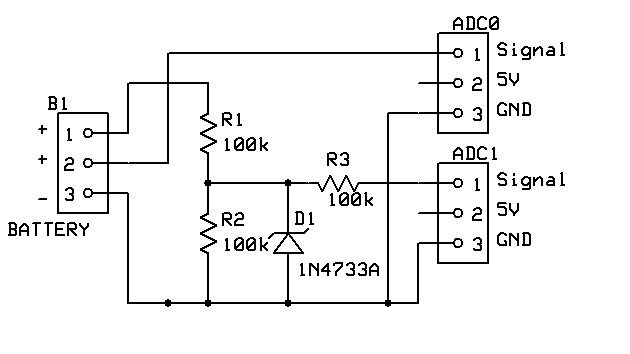
I'm probably also going to do away with the volt meters from his chest area and opt for the simpler and cleaner approach of using the ADC ports to monitor each cell of the battery, which I have to do anyway for the auto charging function I plan to do. He has an LCD display coming anyway which can display those values.
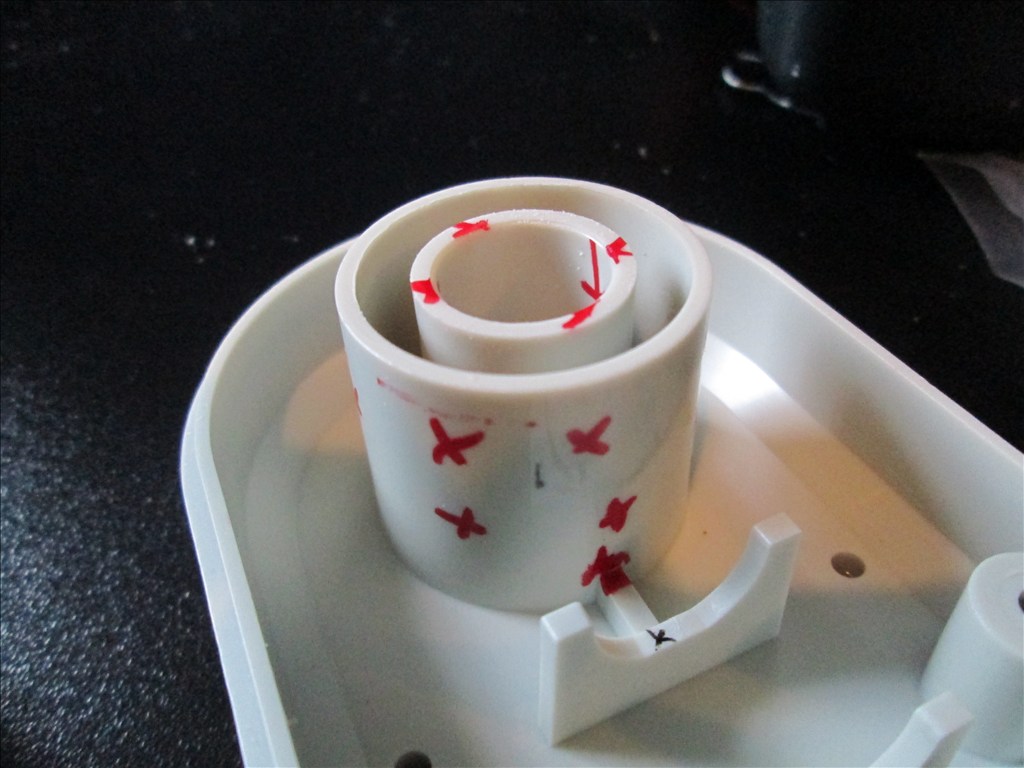
On the plus side, I've now changed the pan/tilt bracket for his neck for a sturdier bracket so it doesn't flop from side to side now.
Anyway, time for bed, I've stayed up far too late working on him again!..