


-634700966886250000.jpg)
-634700967015000000.jpg)
-634700967157968750.jpg)
-634702814800312500.jpg)
-634702600865468750.jpg)
-634702601116718750.jpg)
-634702602252031250.jpg)
-634702602665625000.jpg)
-634702602851875000.jpg)
-634694134410000000.jpg)
-634693960892812500.jpg)
-634693961752343750.jpg)
-634693953179375000.jpg)
-634693953336093750.jpg)
-634693164809062500.jpg)
-634693165327500000.jpg)
-634693165925625000.jpg)
-634693166147343750.jpg)
-634786542943876953.jpg)
-634796120303593750.jpg)
-634796120470312500.jpg)
-634812479455986328.jpg)
-634812479726035156.jpg)
-634812480620283203.jpg)
-634812481334052734.jpg)
-634812482341699218.jpg)
-634822681001005859.jpg)
-634822681580644531.jpg)
-634822681777470703.jpg)
-634821106166250000.jpg)
-634821106572812500.jpg)
-634821106815625000.jpg)
-634814909605058593.jpg)
-634814909850224609.jpg)
-634814910193212890.jpg)
-634814910596445312.jpg)
-634820188048437500.jpg)
-634820188647187500.jpg)
-634820189032656250.jpg)
-634718079154687500.jpg)
-634718080622031250.jpg)
-634714909191250000.jpg)
-634714909644843750.jpg)
-634713078392031250.jpg)
-634713078781250000.jpg)

-634720009877968750.jpg)
-634749341545937500.jpg)
-634749341951406250.jpg)
-634732946203437500.jpg)
-634708797562402343.jpg)
-634706000248750000.jpg)
-634705927185312500.jpg)
-634705927626406250.jpg)
-634705928146250000.jpg)
-634705929045781250.jpg)
-634705929717812500.jpg)
-634705930336093750.jpg)
-634705930540468750.jpg)
-634705931037812500.jpg)
-634709695807265625.jpg)
-634709696076181640.jpg)
-634711364771718750.jpg)
-634711364485781250.jpg)
-634712172318906250.jpg)
-634771897291406250.jpg)
-634771897466093750.jpg)
-634771897849687500.jpg)
-634771898236093750.jpg)
-634771898712187500.jpg)
-634771899102656250.jpg)
-634771899822656250.jpg)
-634771900771562500.jpg)
-634771901301875000.jpg)
-634768466924746093.jpg)
-634768467383681640.jpg)
-634772580489218750.jpg)
-634772581075781250.jpg)
-634772581532343750.jpg)
-634772581721718750.jpg)
-634773400815625000.jpg)
-634773401032187500.jpg)
-634781365777988281.jpg)
-634781366040302734.jpg)
-634781366299042968.jpg)
-634766553798554687.jpg)
-634766556025839843.jpg)
-634759732245312500.jpg)
-634765021896093750.jpg)
-634765022115000000.jpg)
-634765022326562500.jpg)
-634765023386093750.jpg)
-634765855550937500.jpg)
-634765856533437500.jpg)
-634765856756250000.jpg)
-634845177217089843.jpg)
-634845177425585937.jpg)
-634857207521406250.jpg)
-634857208212500000.jpg)
-634857208786718750.jpg)
-634826982093593750.jpg)
-634838602835000000.jpg)
-634838603089687500.jpg)
-634838603585312500.jpg)
-634871181815468750.jpg)
-634871183099531250.jpg)
-634871128238750000.jpg)
-634870976497031250.jpg)
-634870976894687500.jpg)
-634880528374375000.jpg)
-634880528707656250.jpg)
-634880529073593750.jpg)
-634892824736386719.jpg)
-634892824903066406.jpg)
-634892825090117187.jpg)
-634892825255283203.jpg)
-634880812756406250.jpg)
-634870194470625000.jpg)
-634870194829687500.jpg)
-634865232676250000.jpg)
-634863402043750000.jpg)
-634863402351562500.jpg)
-634863402584218750.jpg)
-634863404238125000.jpg)
-634869405242656250.jpg)
-634869405424687500.jpg)
-634869405586562500.jpg)
-634869405943906250.jpg)
-634869406072656250.jpg)
-634869404353281250.jpg)
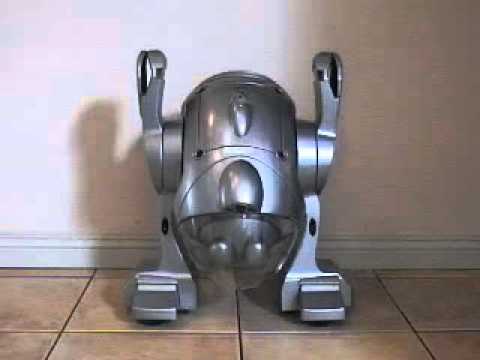
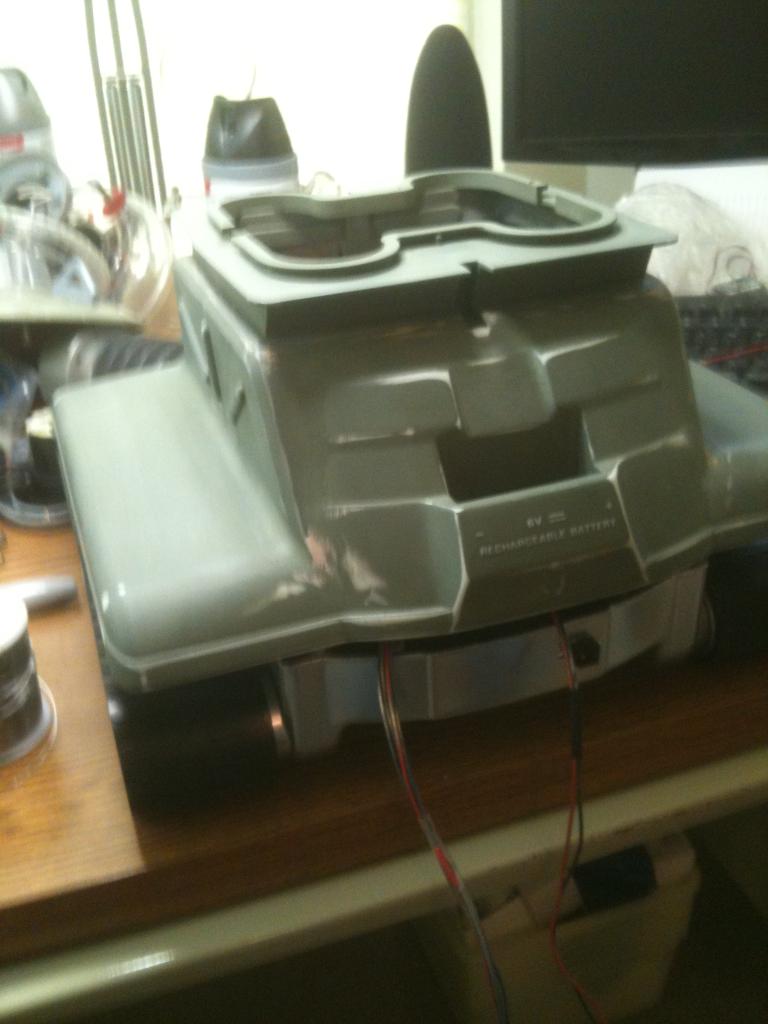
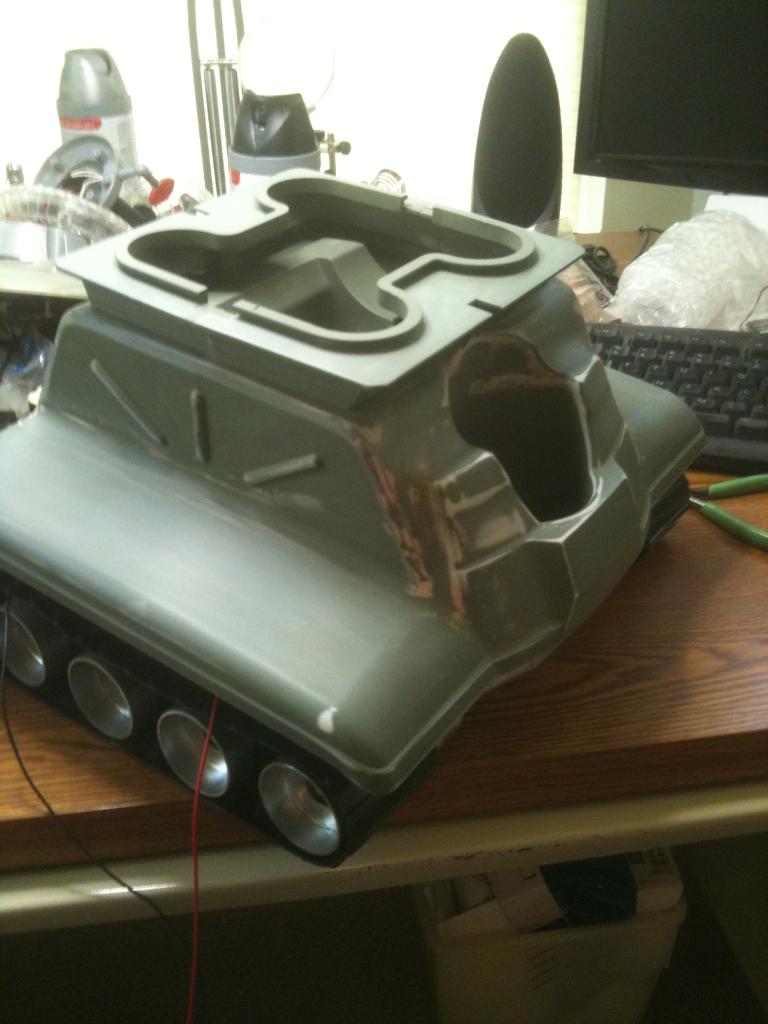
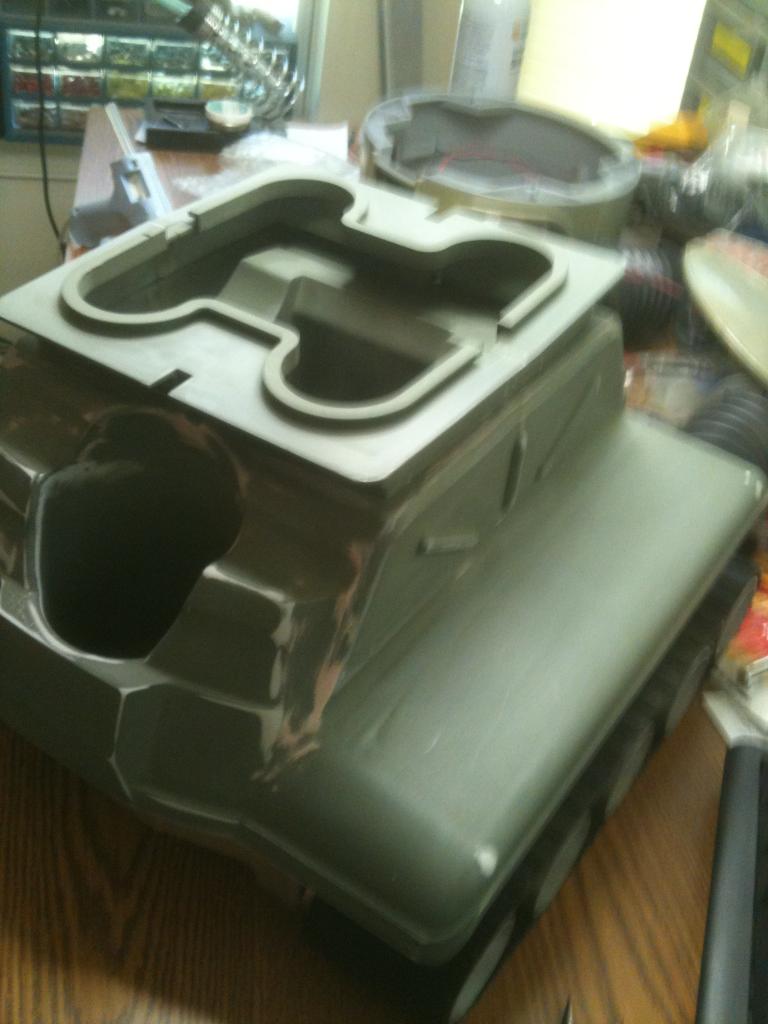
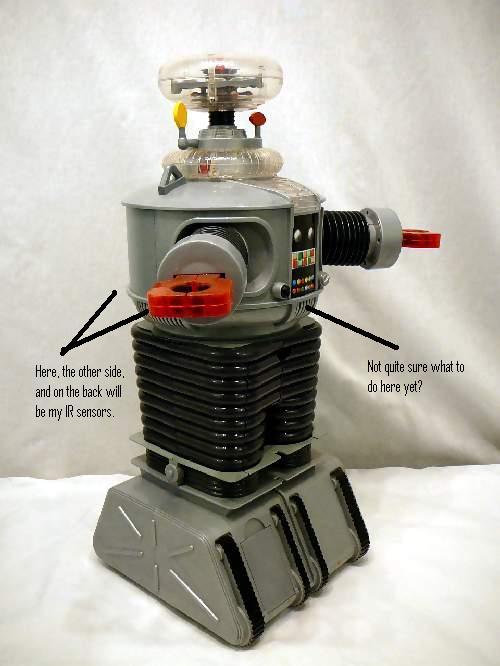
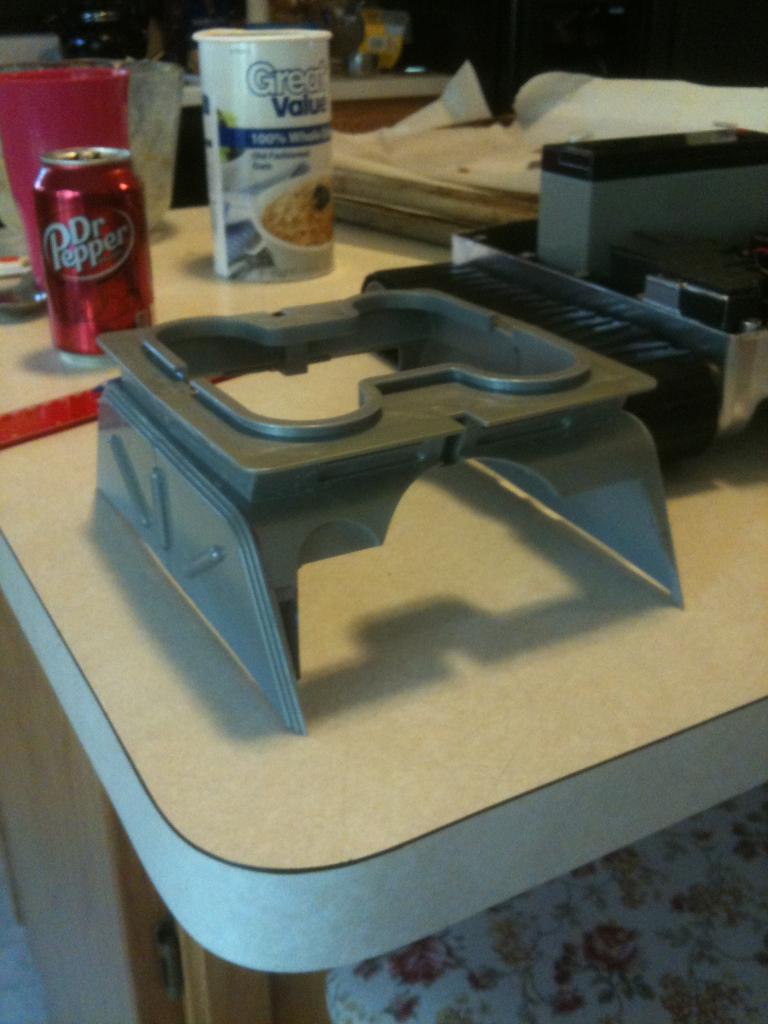
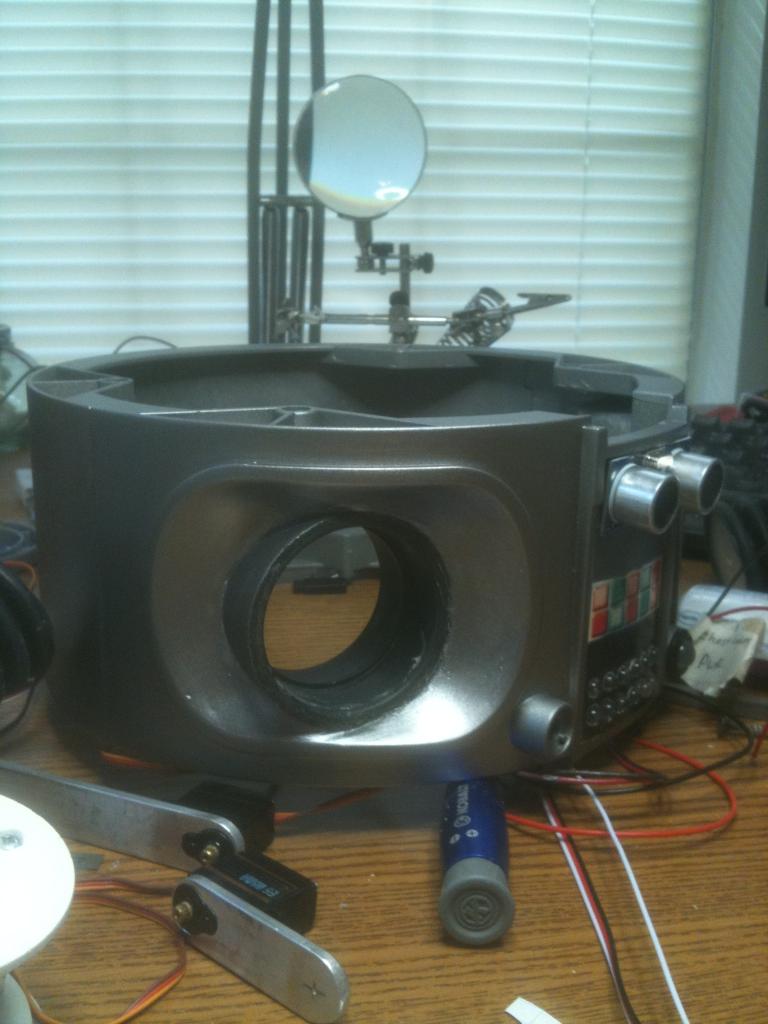
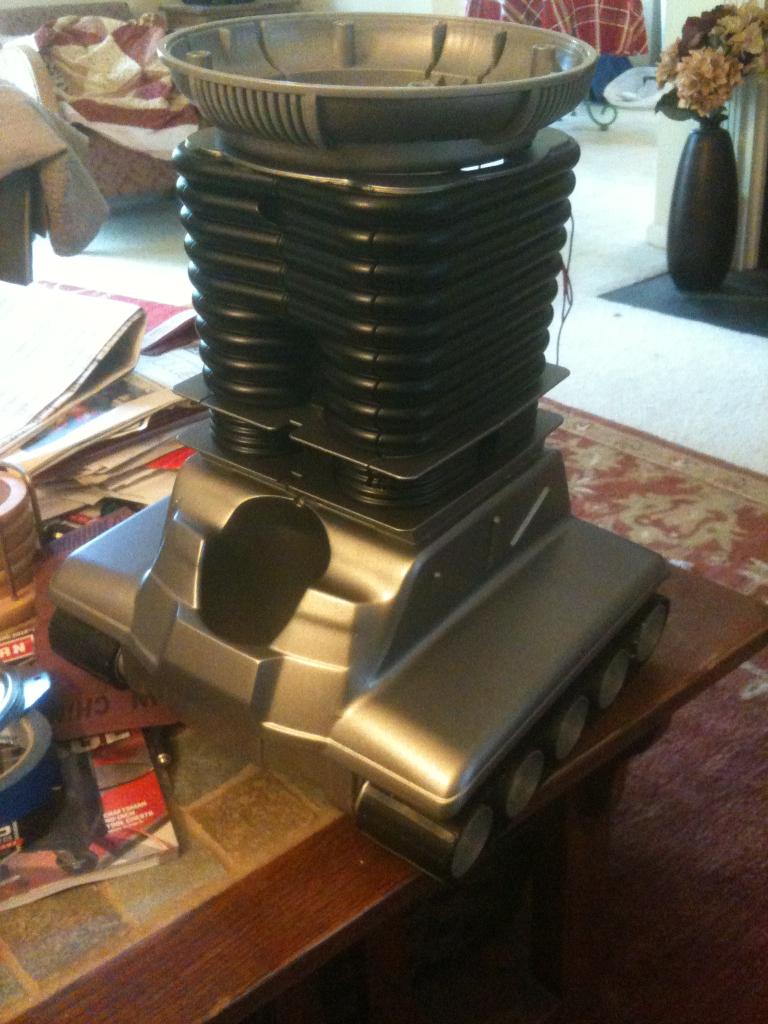
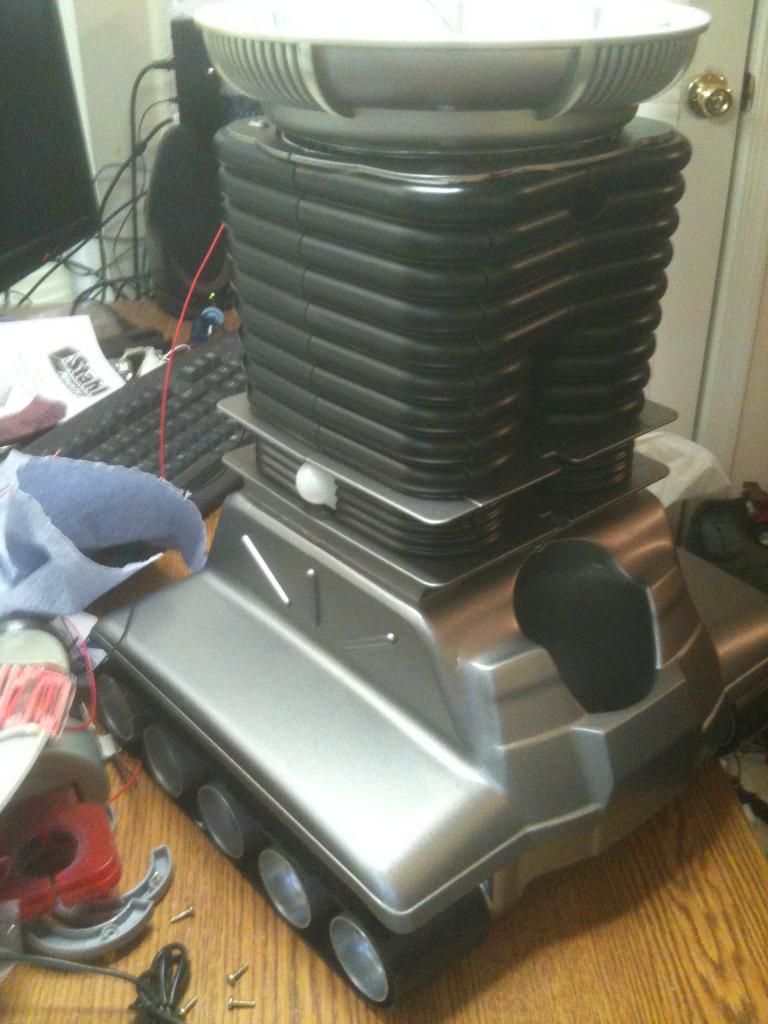
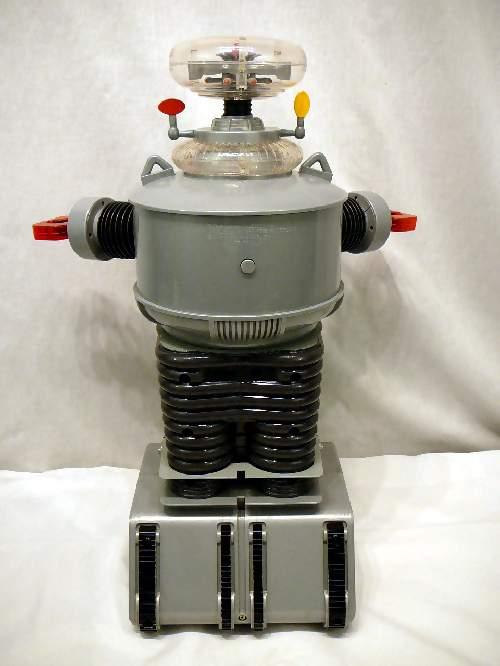
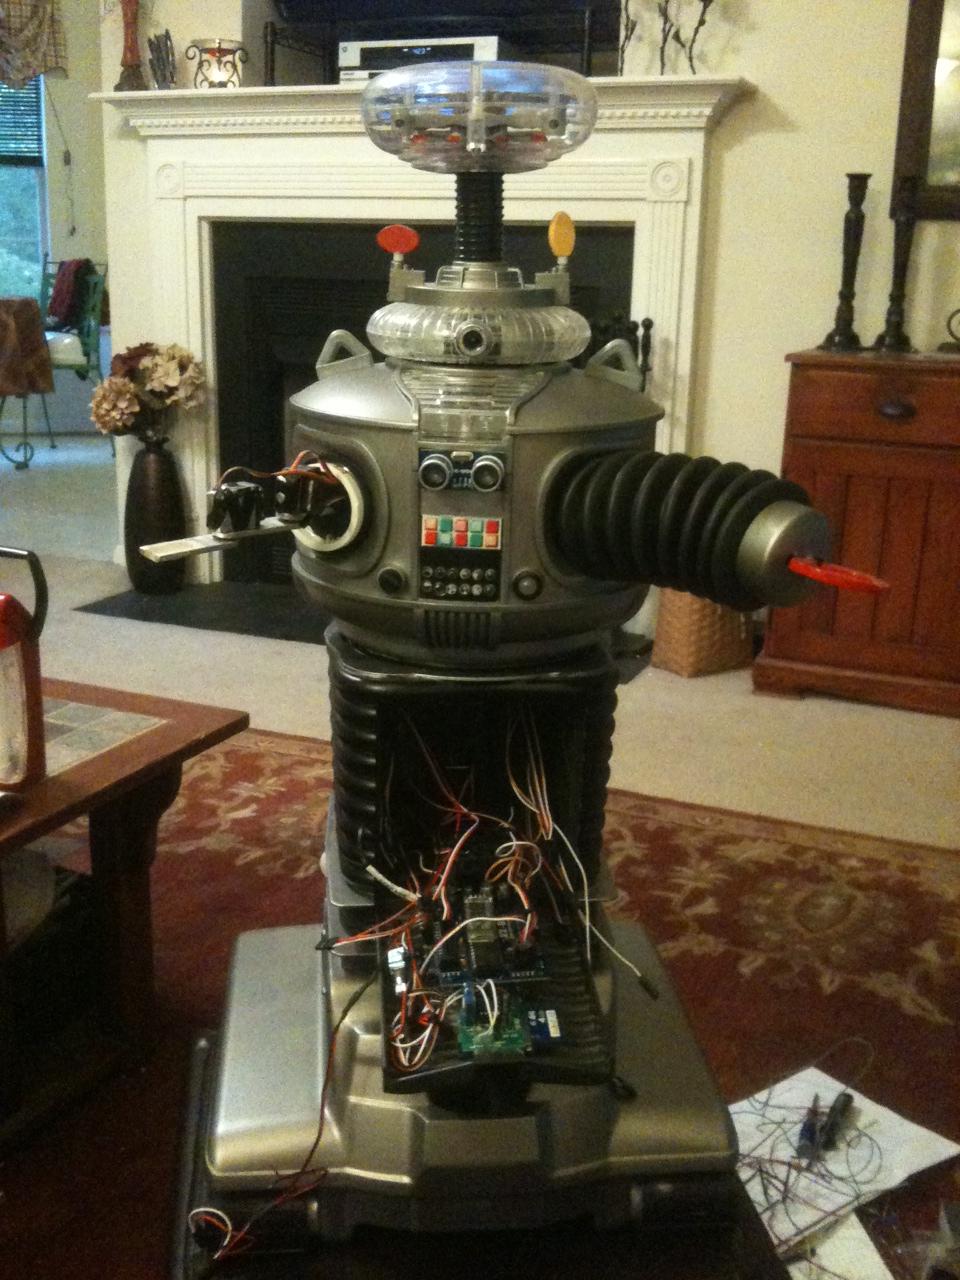
Now that I have finished B.O.B., my get your feet wet bot, I have begun my next hack. This next robot will bridge the gap between Bob and my ultimate big robot. I am starting with a remote controlled B9 toy from Trendmasters. It was very limited in what it did, and the drive section was pathetic, but it was B9!
Before Pics:
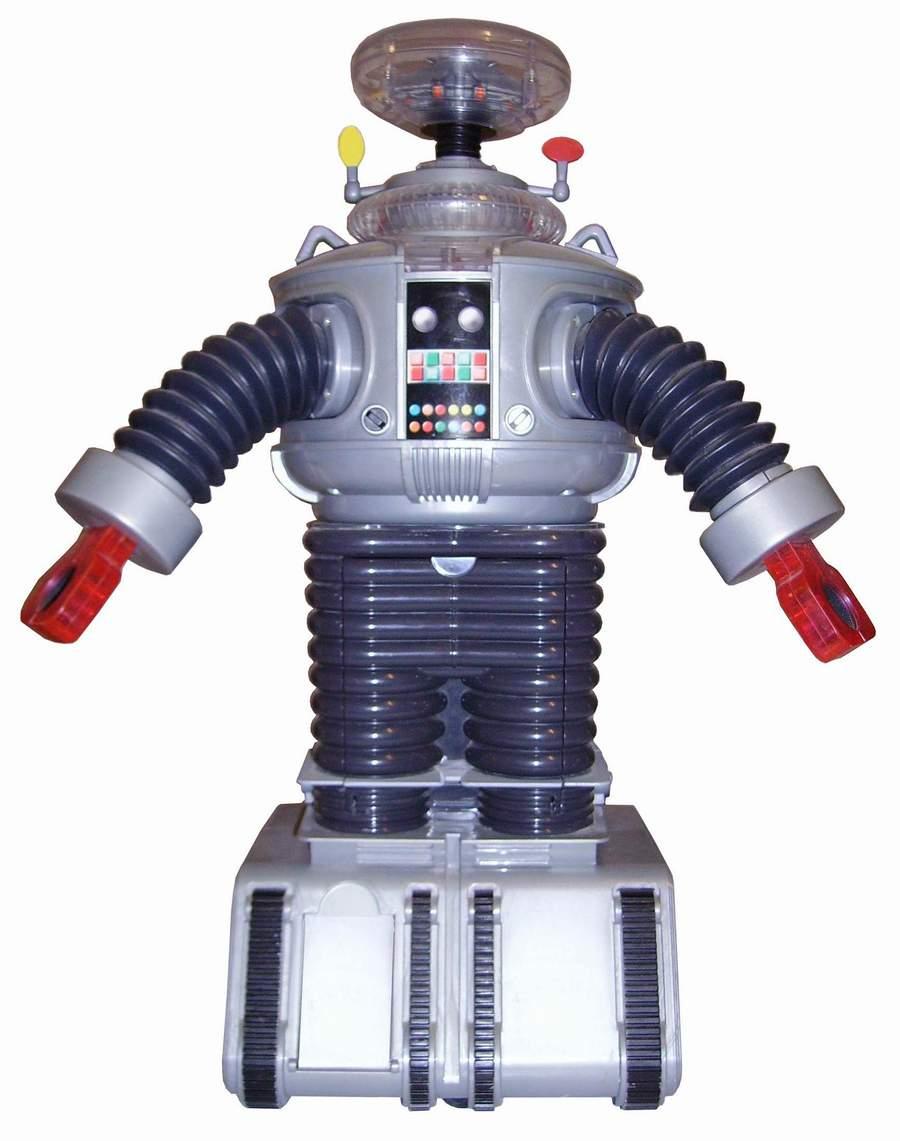
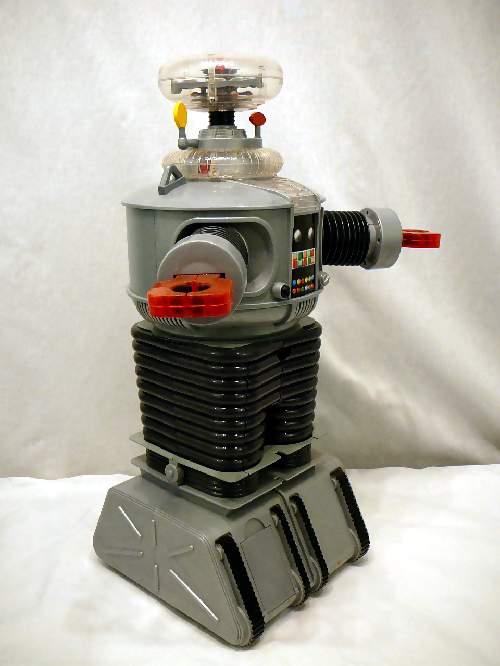
Here is what B9 looks like now:
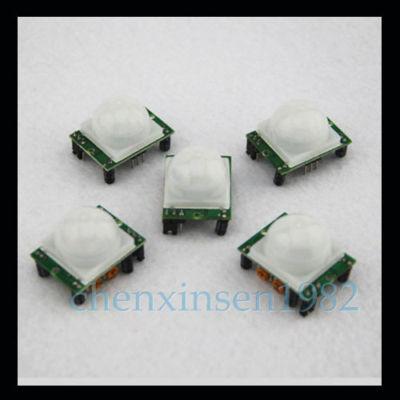
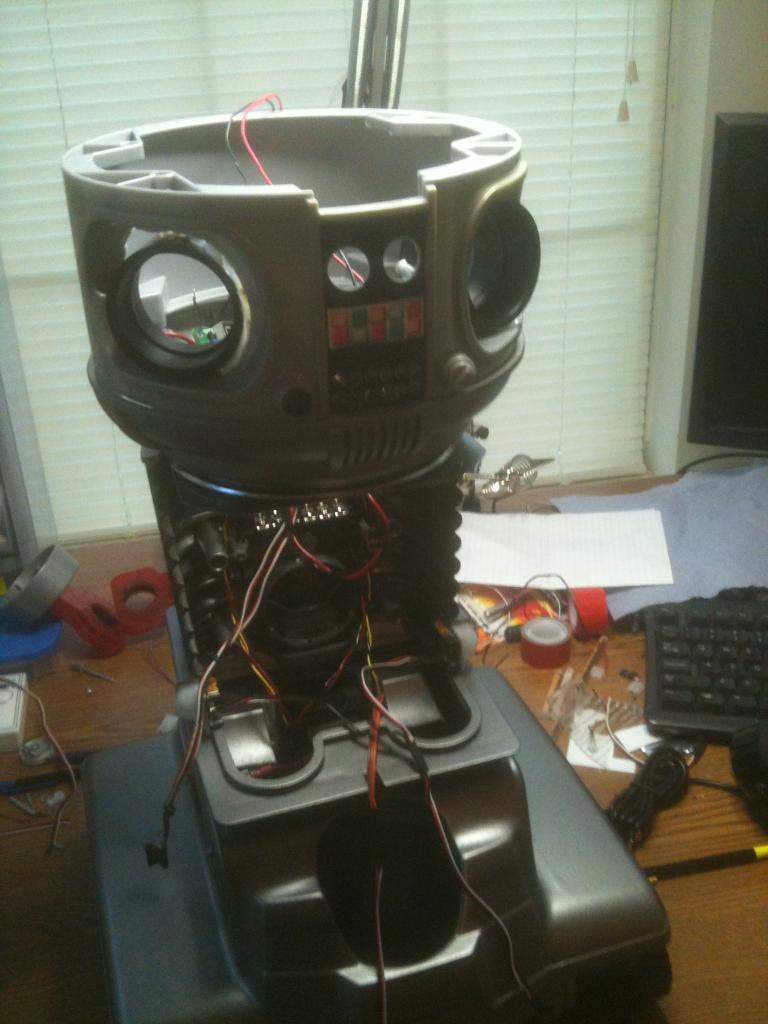
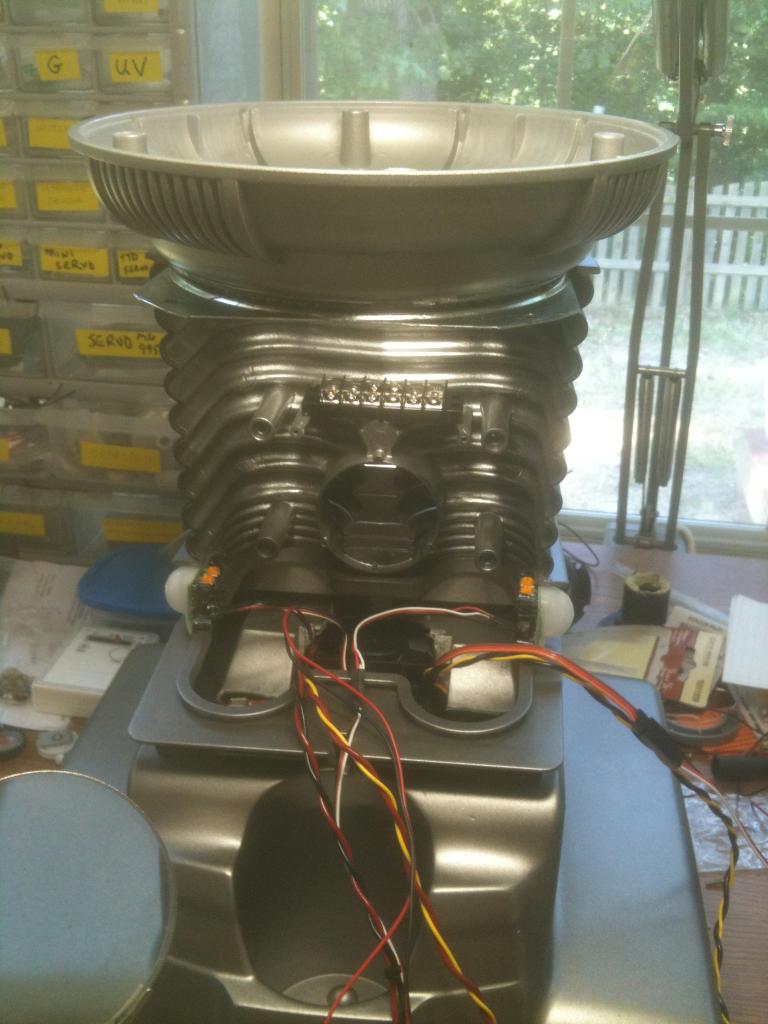
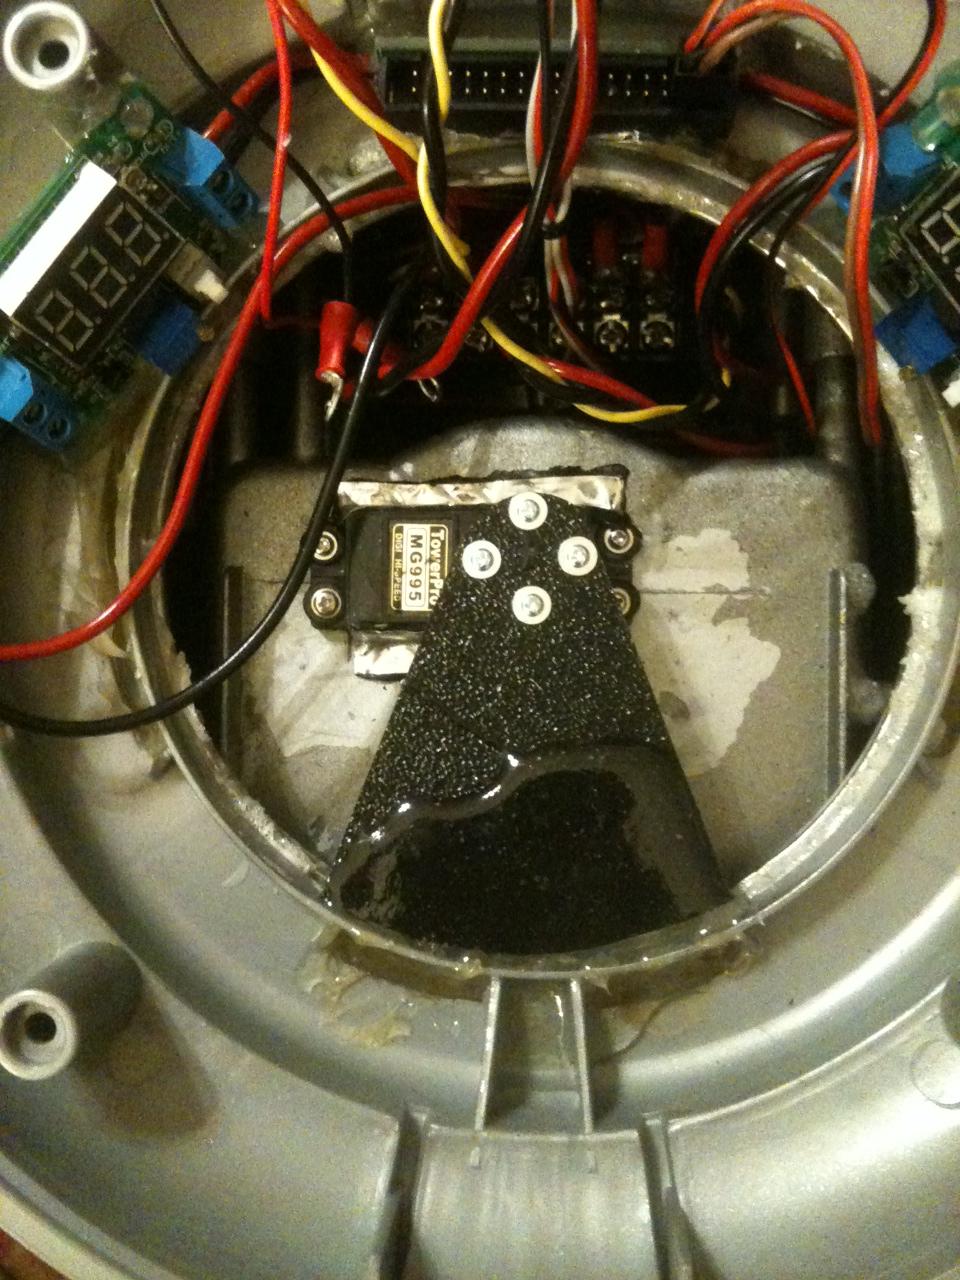
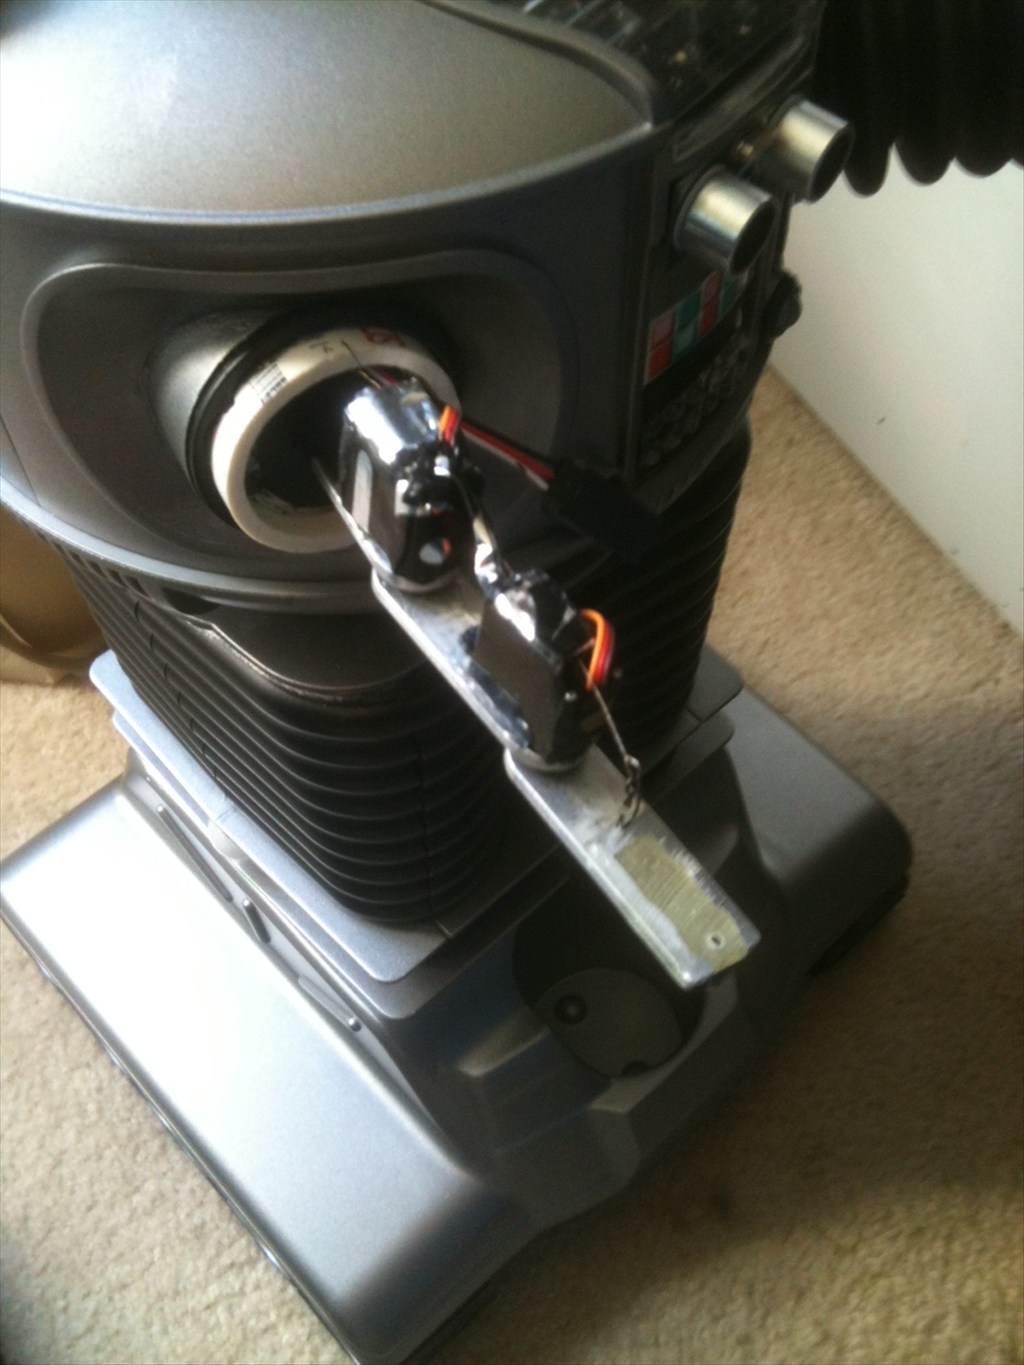
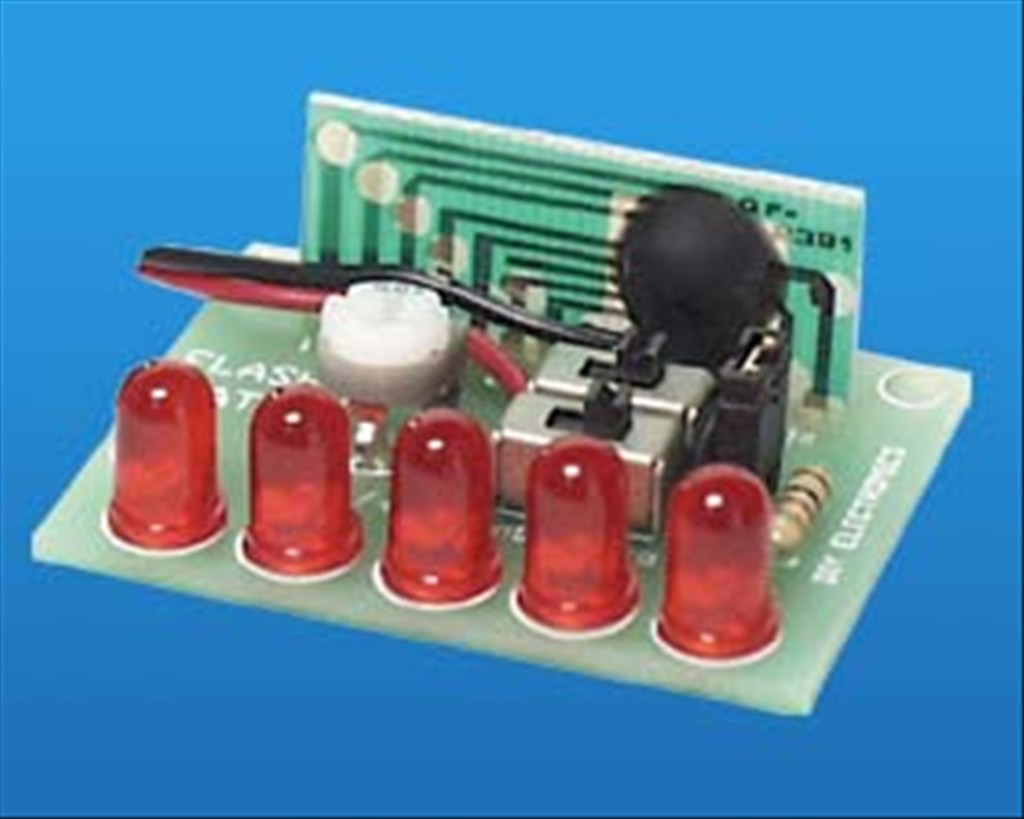
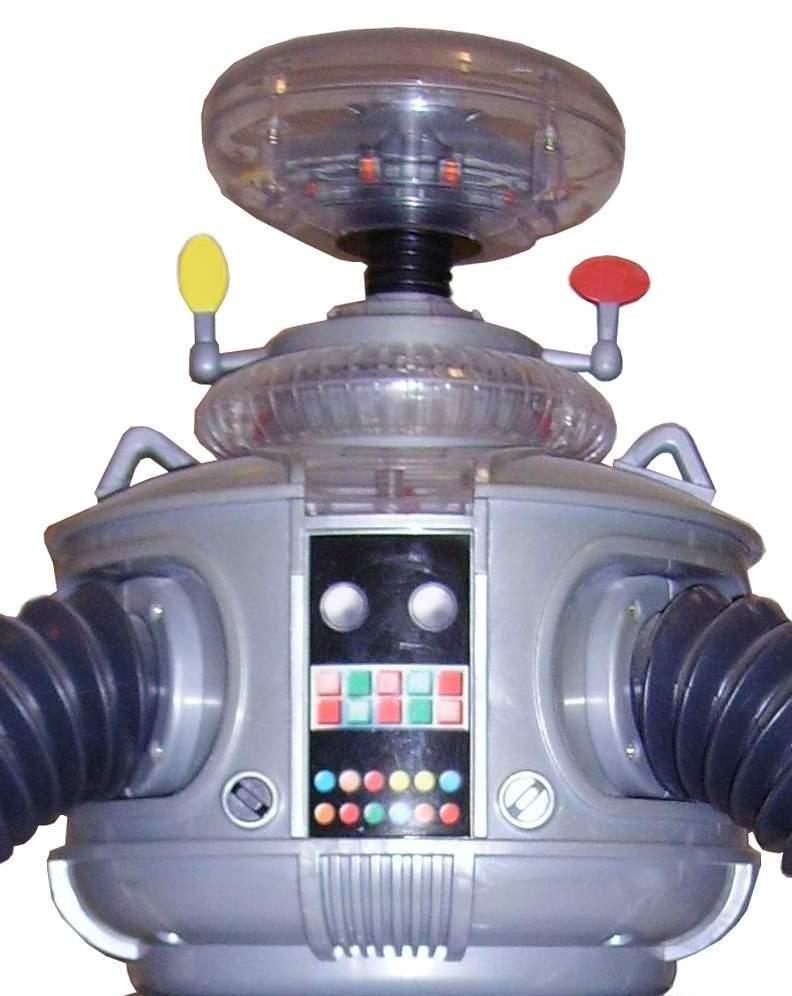
I have mounted clear LEDs in the appropriate colors in the chest at the bottom of the decal and have a flashing circuit that will blink them in the combination as seen on the series. Where the two large round circles are (white domes on the big guy) I will have my ping sensor. I have mounted pager motors in the antenna housings to turn the "sensors" as seen in the TV version. I have mounted red El Wire to his voice plate to emulate the original as well. I have also mounted a series of blinking LEDs to the "brain" section in the bubble.
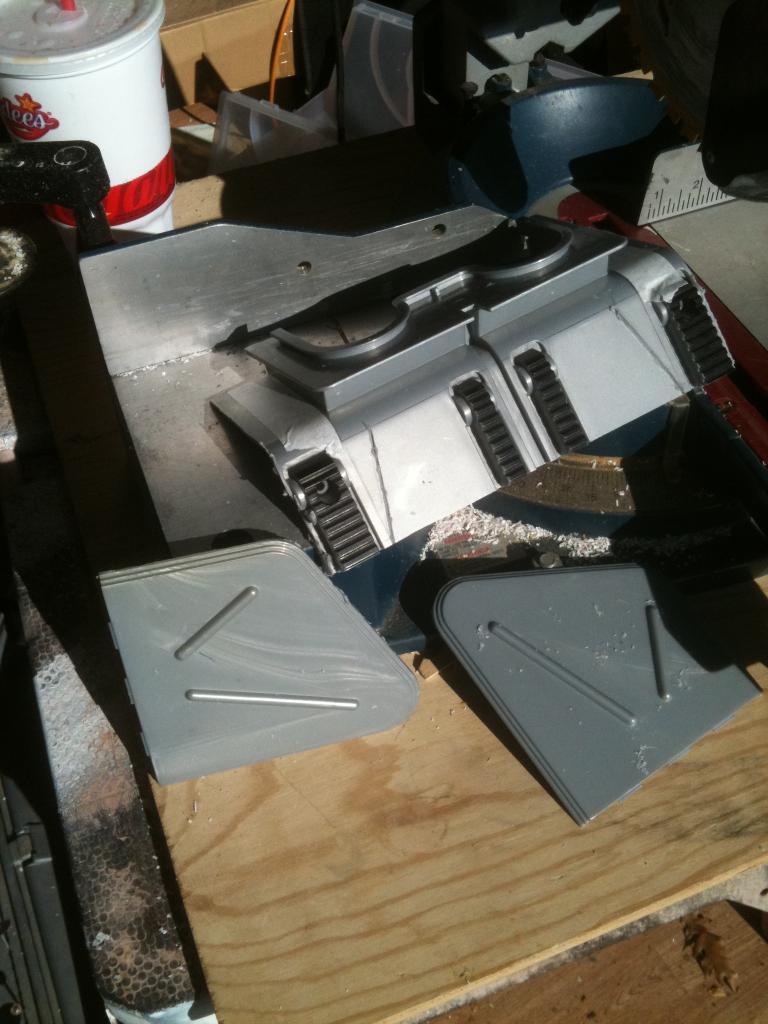
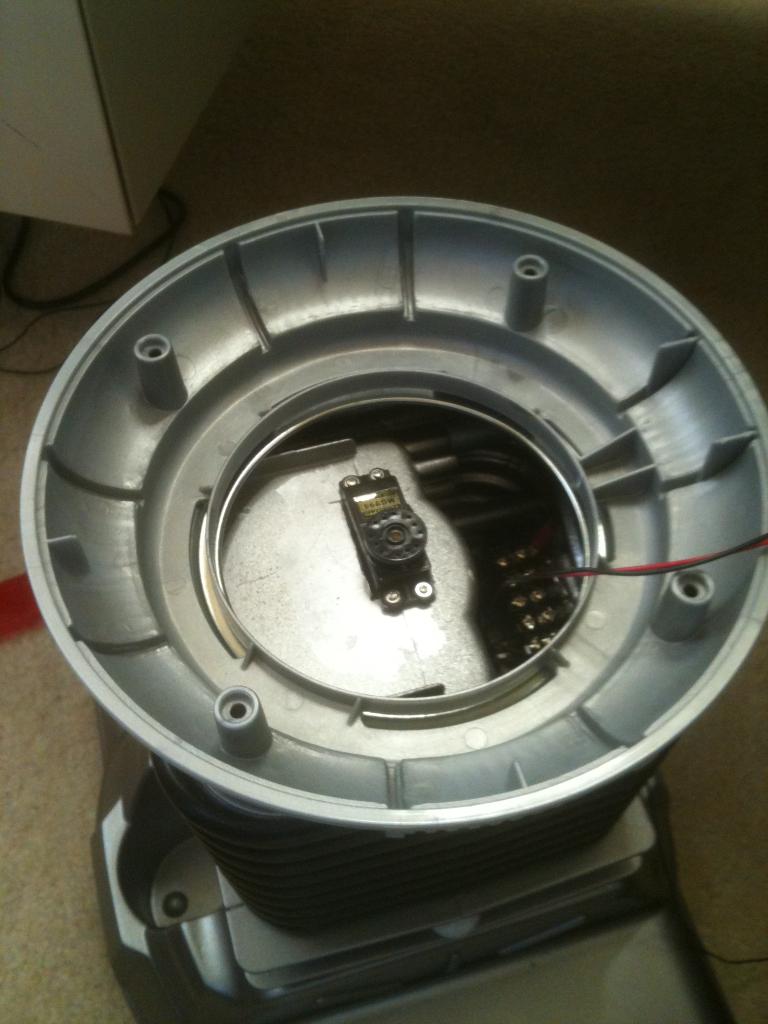
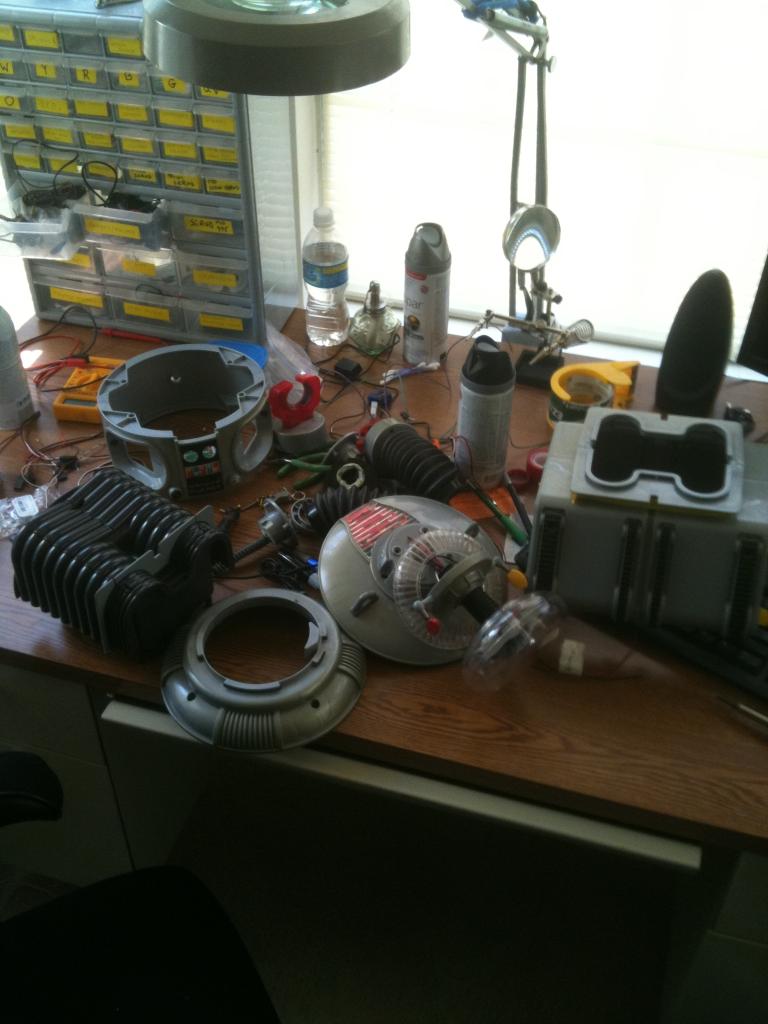
Next is to work on the rotation of the bubble and torso, articulate the arms and claws, and make a real functioning tread section. For the tread section I am adapting the base from my RAD robot. I will keep you posted with pics as I proceed.
Thanks,
Bret
Discover more robots
Mickey666maus's Spot Mini On Steroids
DJ's The Real Wall-E

The arm looks great and bends very well. I need the same shock boots. His claw opens plenty far too. Looks like he is ready for his EZ-B and the new servo AutoPosition script. Hope to see him all together and yelling danger as he waves his arms and drives around not crashing because he has sonar. I need to download some B9 sound clips. Nothing adds more life to an animated robot than good sound.
Honesty your arms put the original B9 to.shame!
Thank you everyone!
Way to go, Bret!
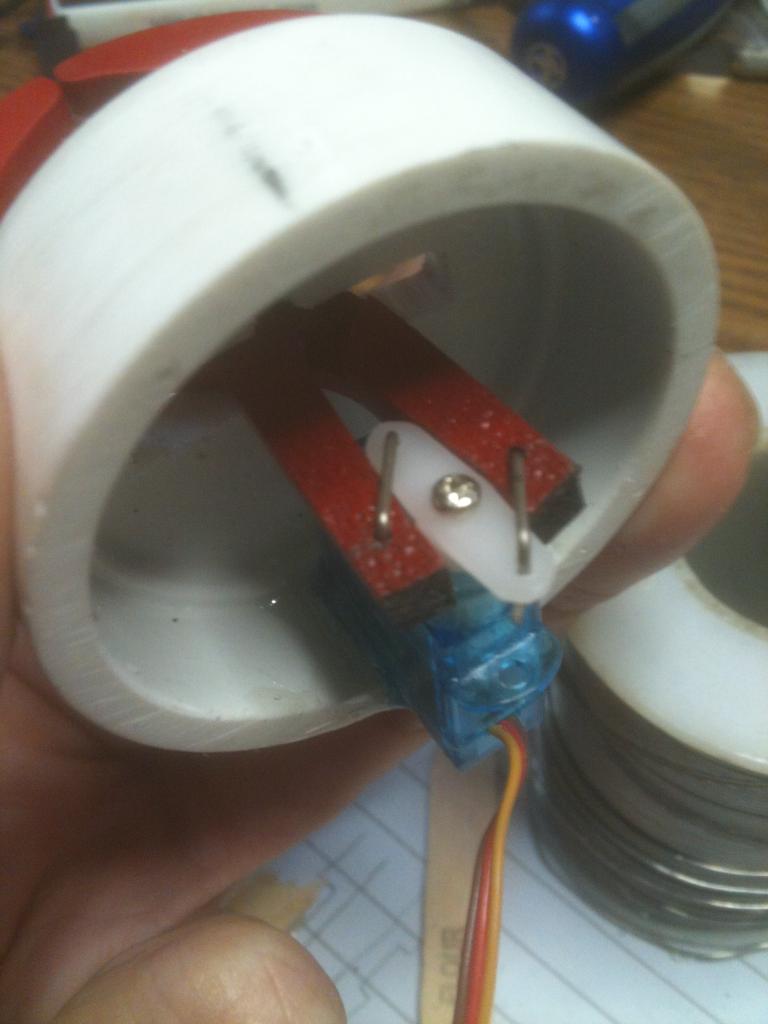
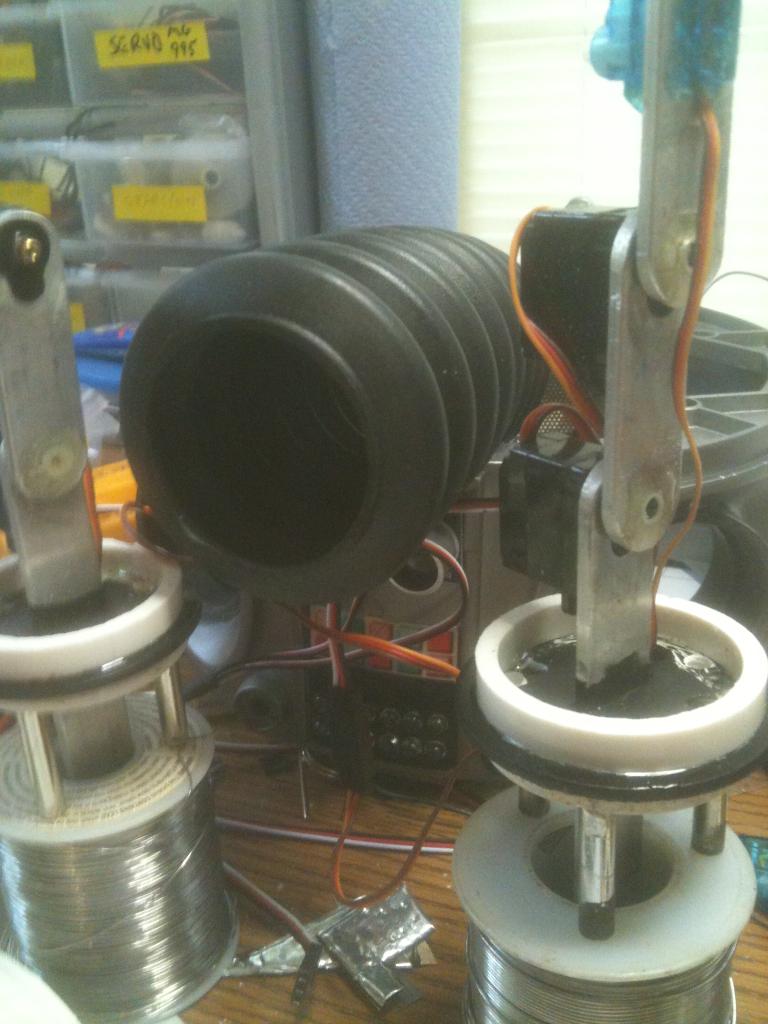
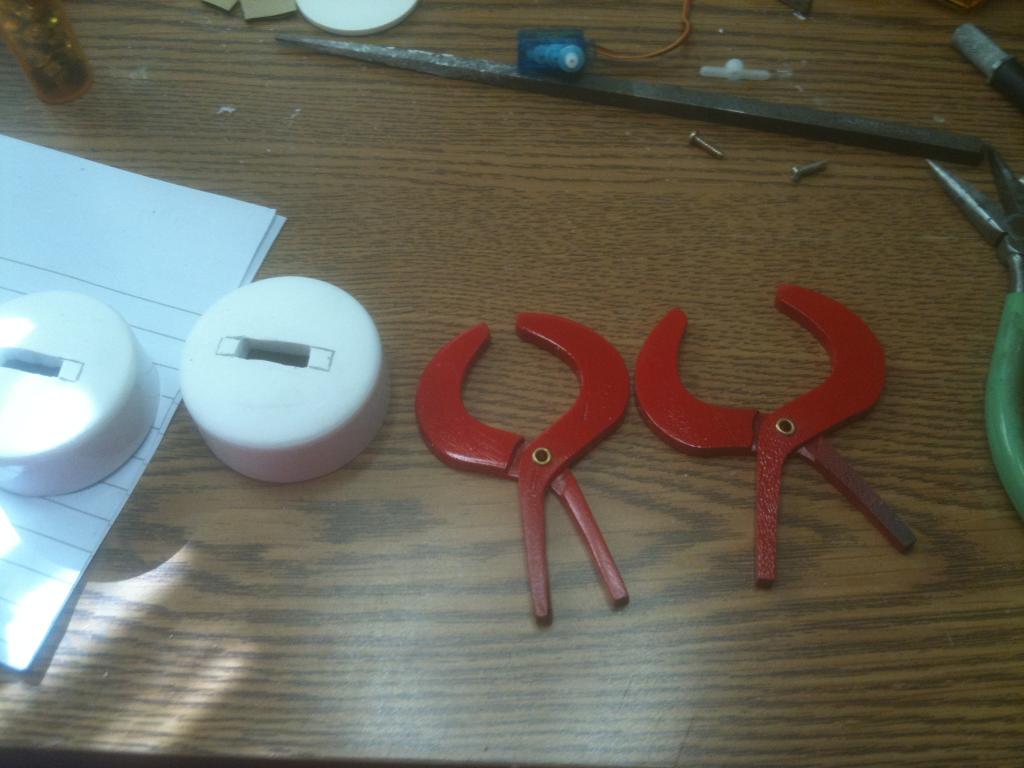
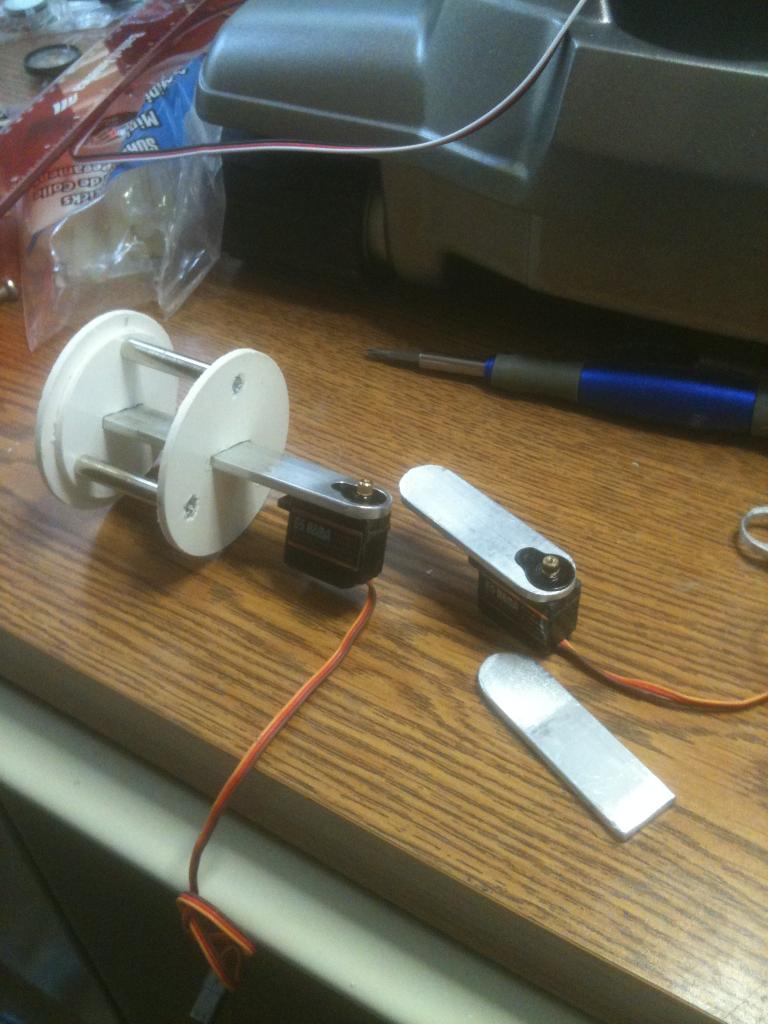
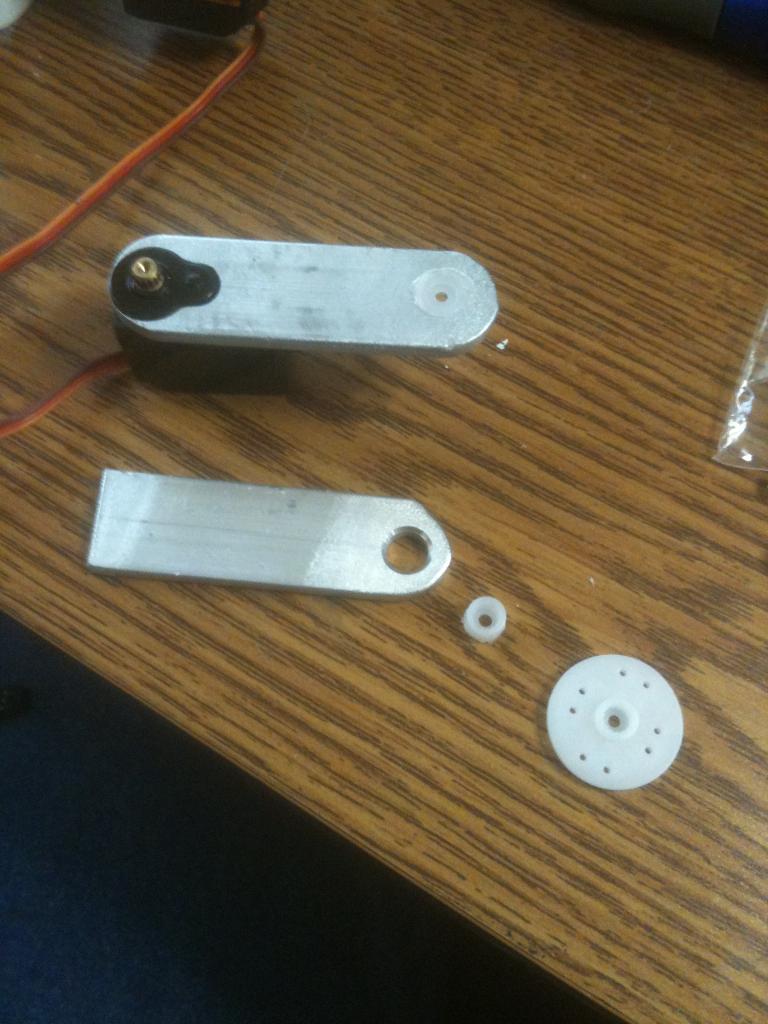
So here is a pic of the old arm off the toy compared to my new arm.
So much better looking and they work too. Great job on everything you have done with your B9.
Hi Bret
B9's got a mean chop there , I hope he dont run amok , that would be worrying .
Getting better all the time , Nicely done.
Steve_C.
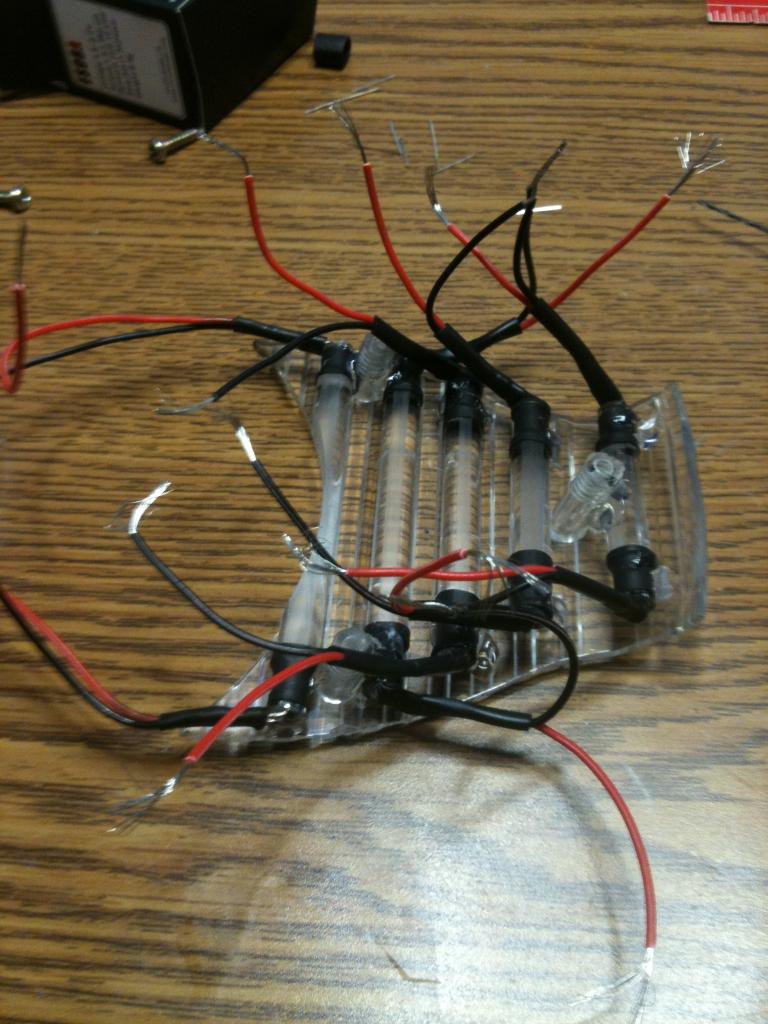
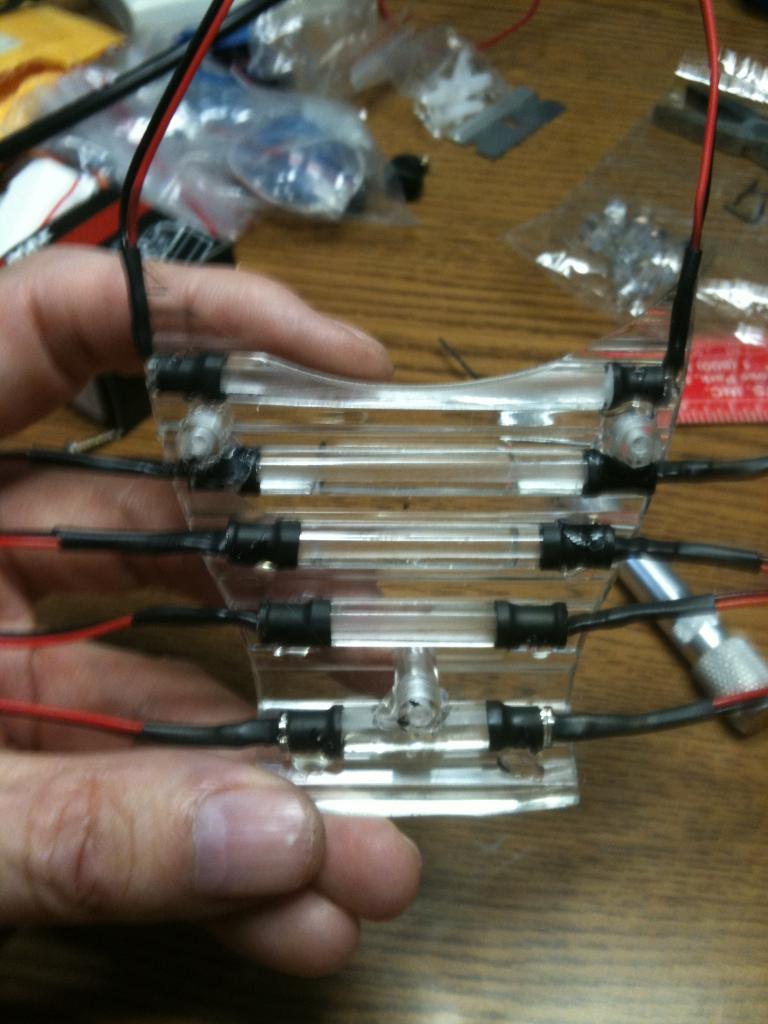
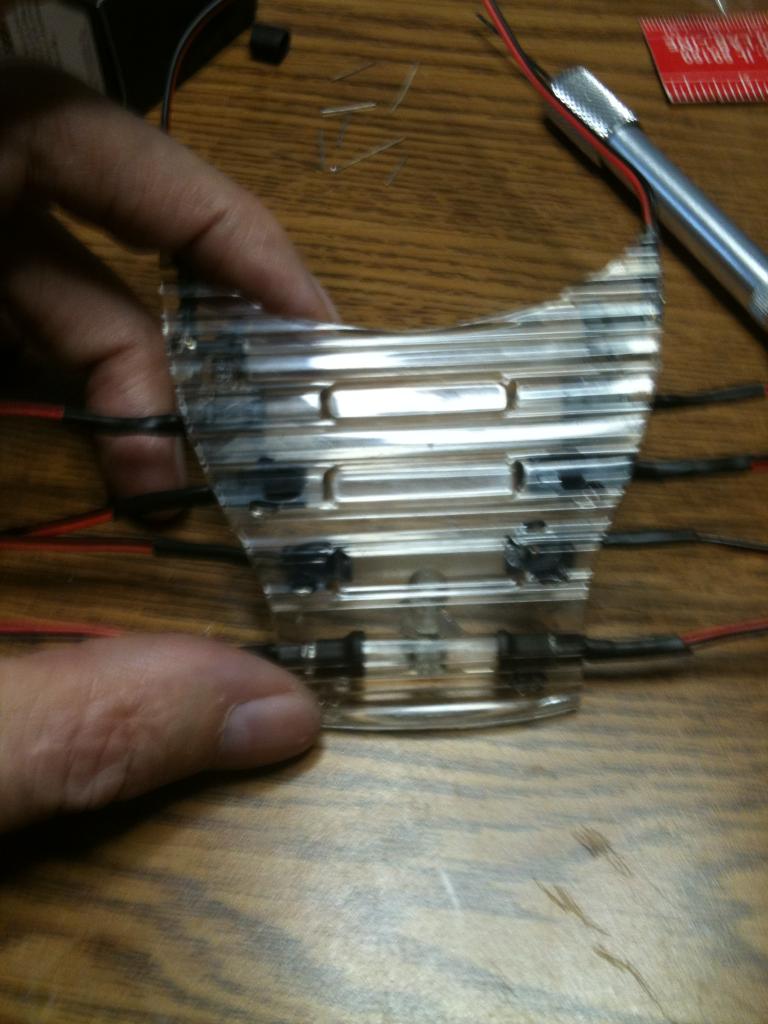
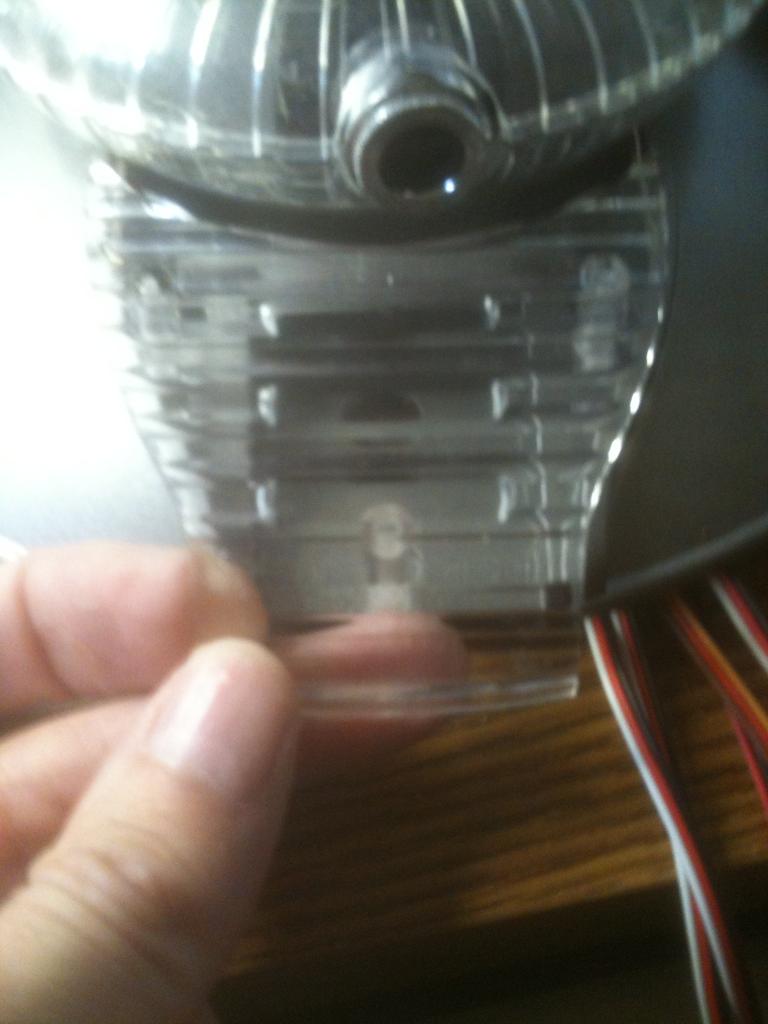
Thanks All! I have done some trial and error and finally have my lighting worked out for the voice box. I am going to attach my lights to the underside of the toy's original chest plate.

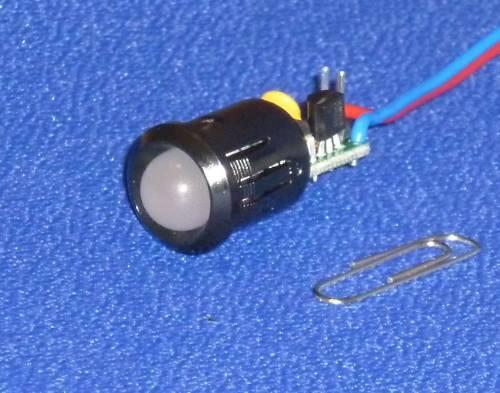
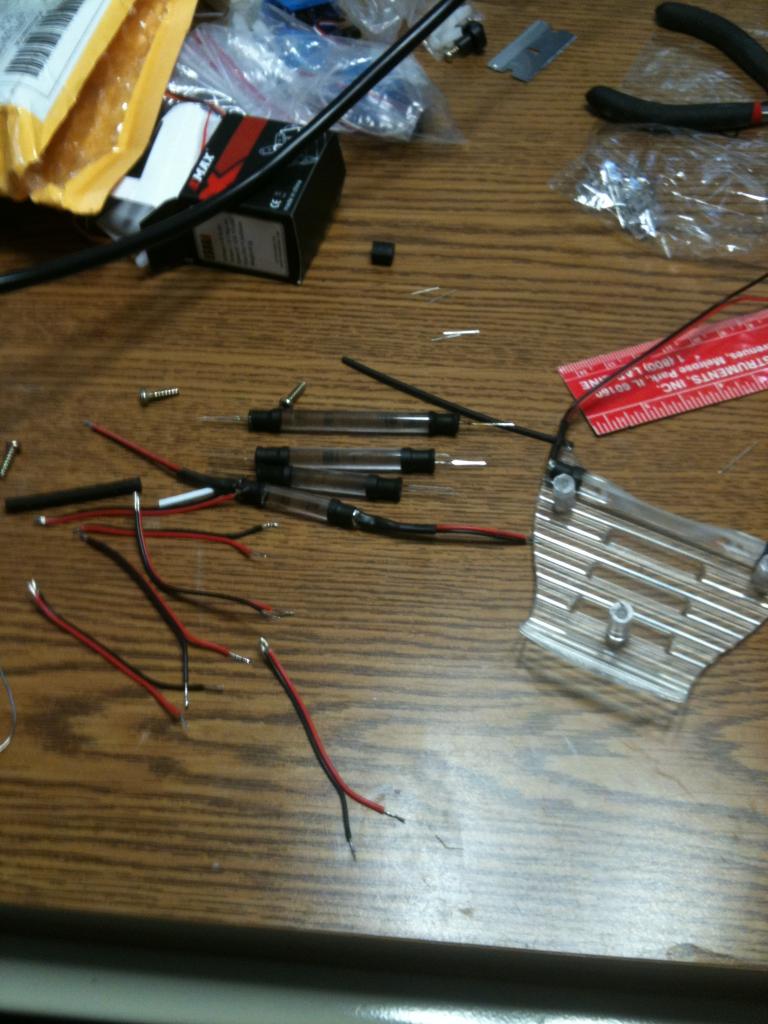
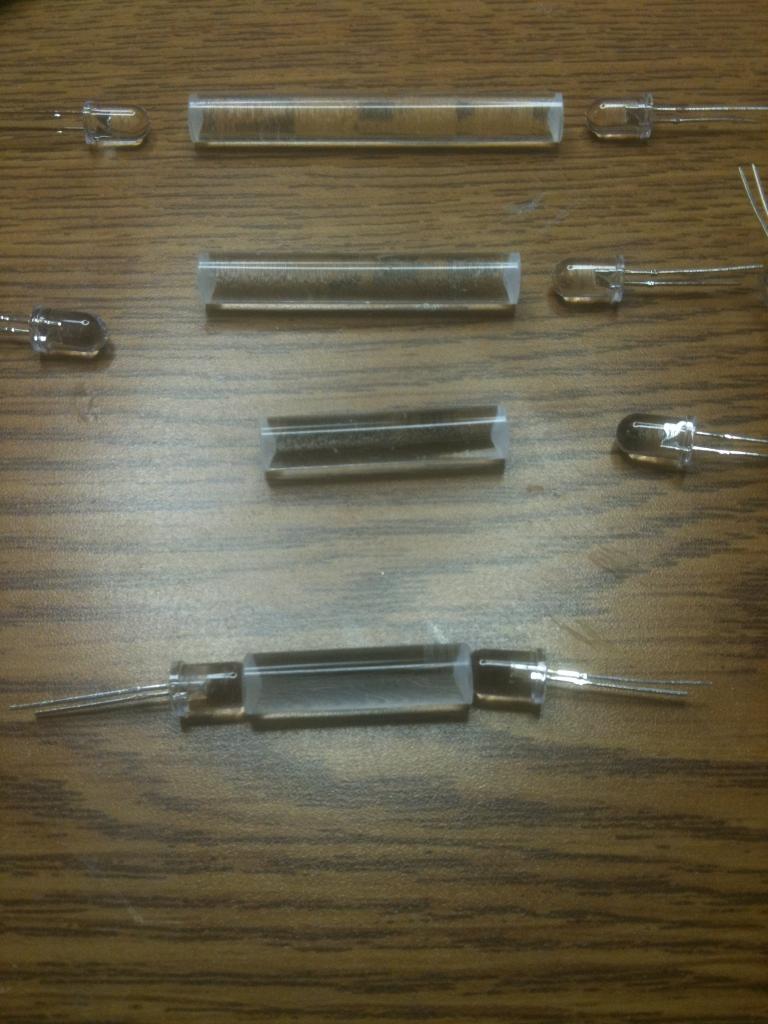
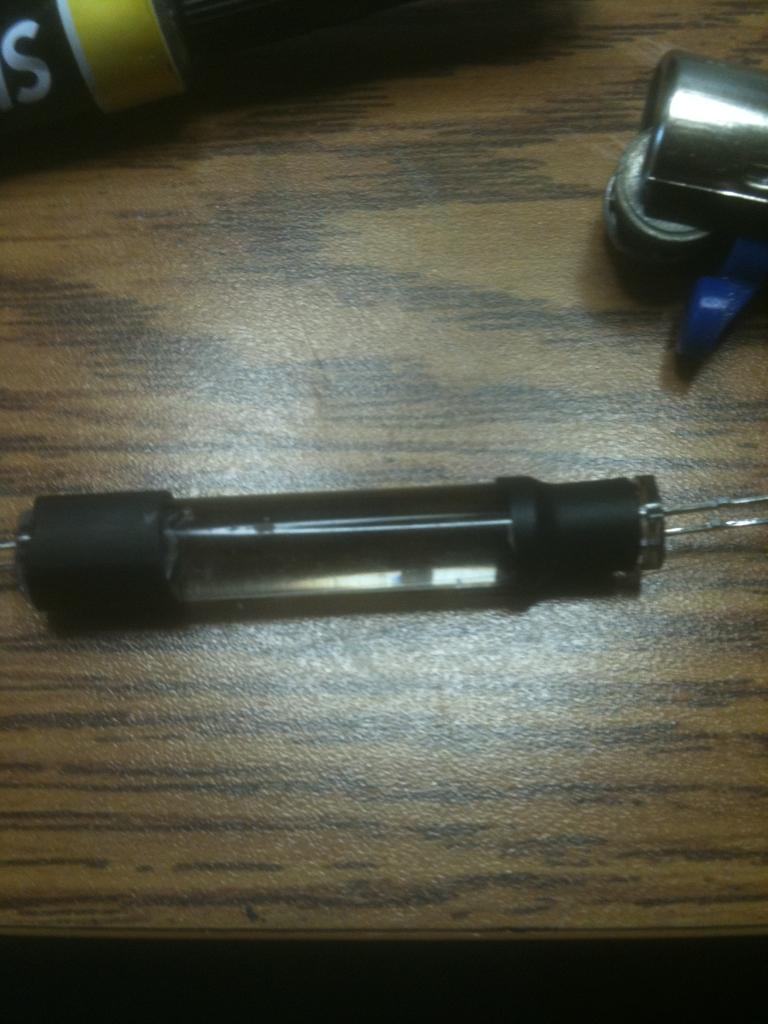
For the lights I am using clear/red LEDs and solid plexiglass rod. I cut the pieces to length and made a divot in each end with a drill bit. Then I filed a flat spot on one side - this helps to make the rod glow when seen from the other side.
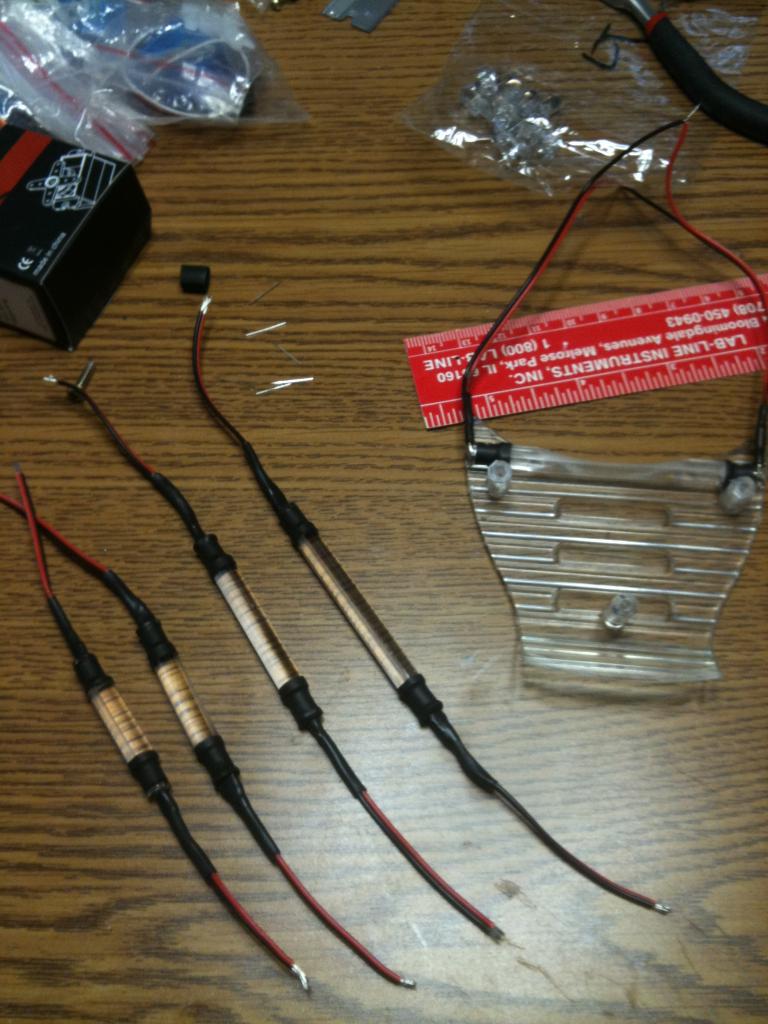
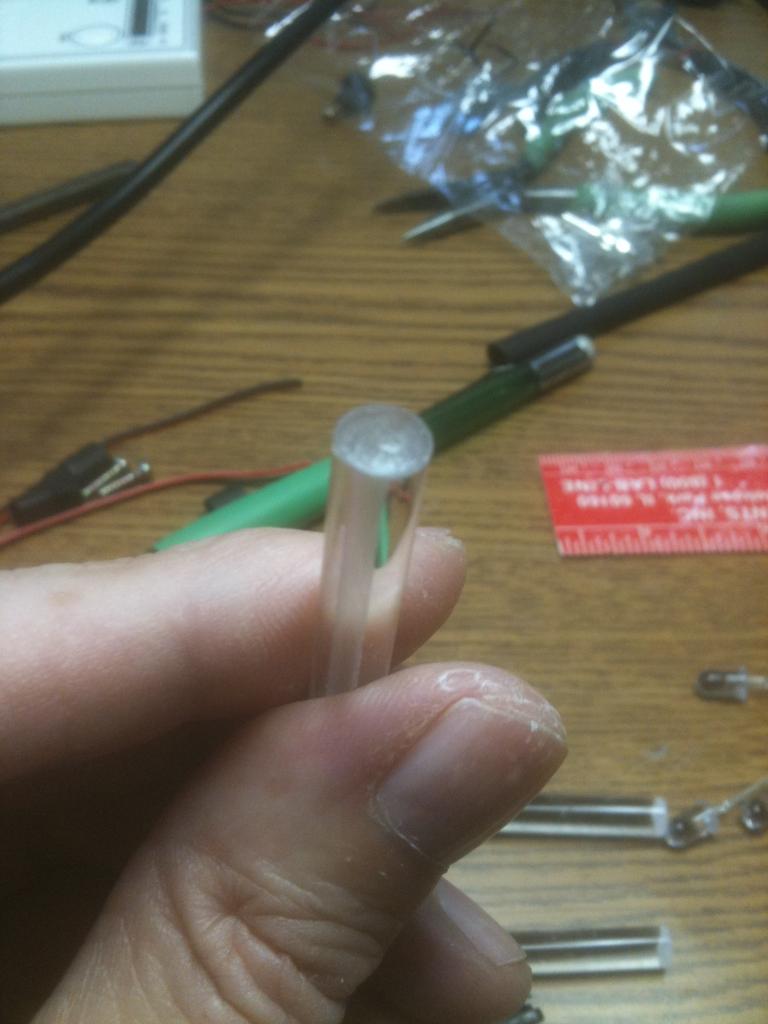
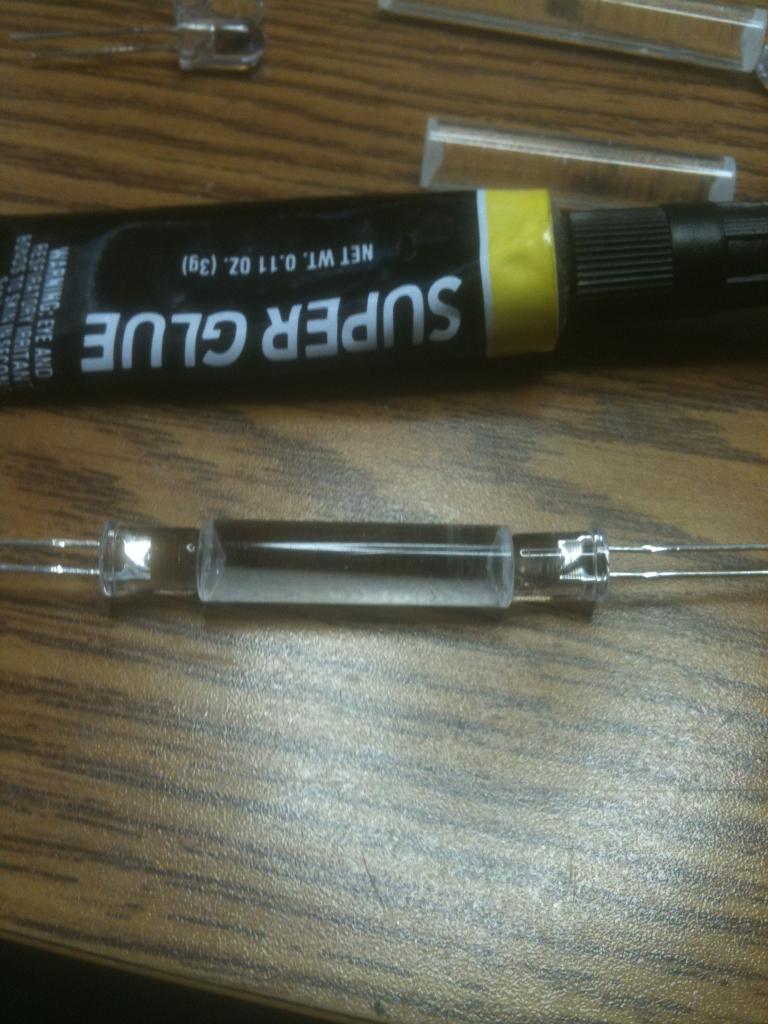
Then I super glued the head of the LED into the divot of the rod.
A little heat shrink tubing and I have a light bulb.
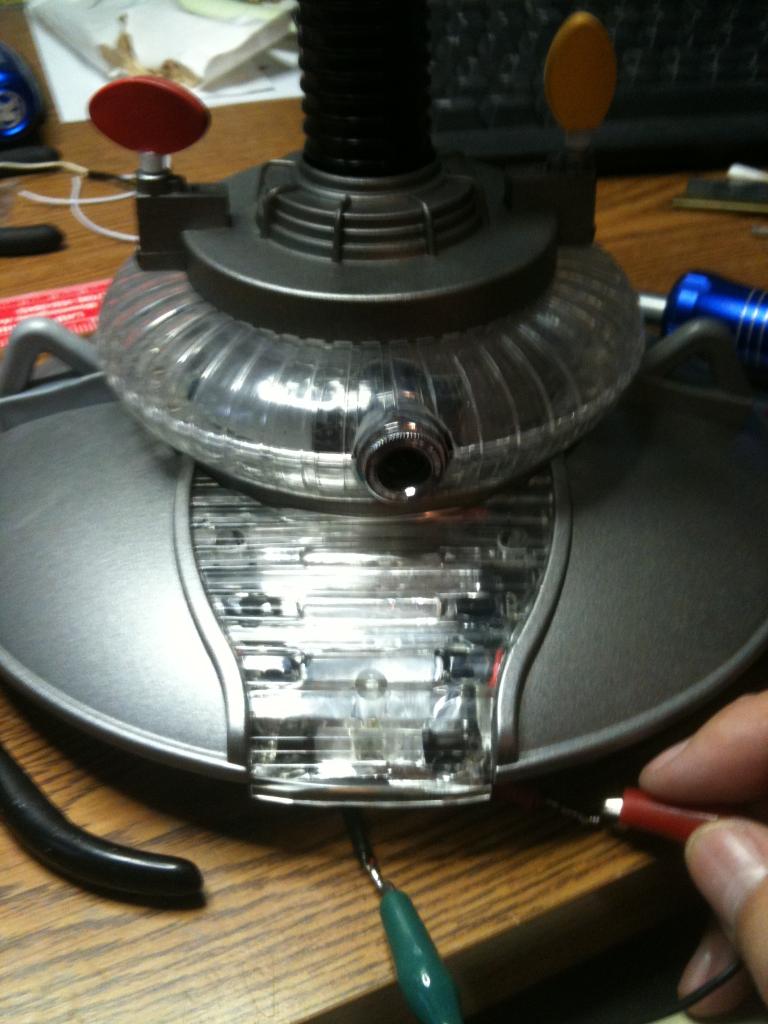
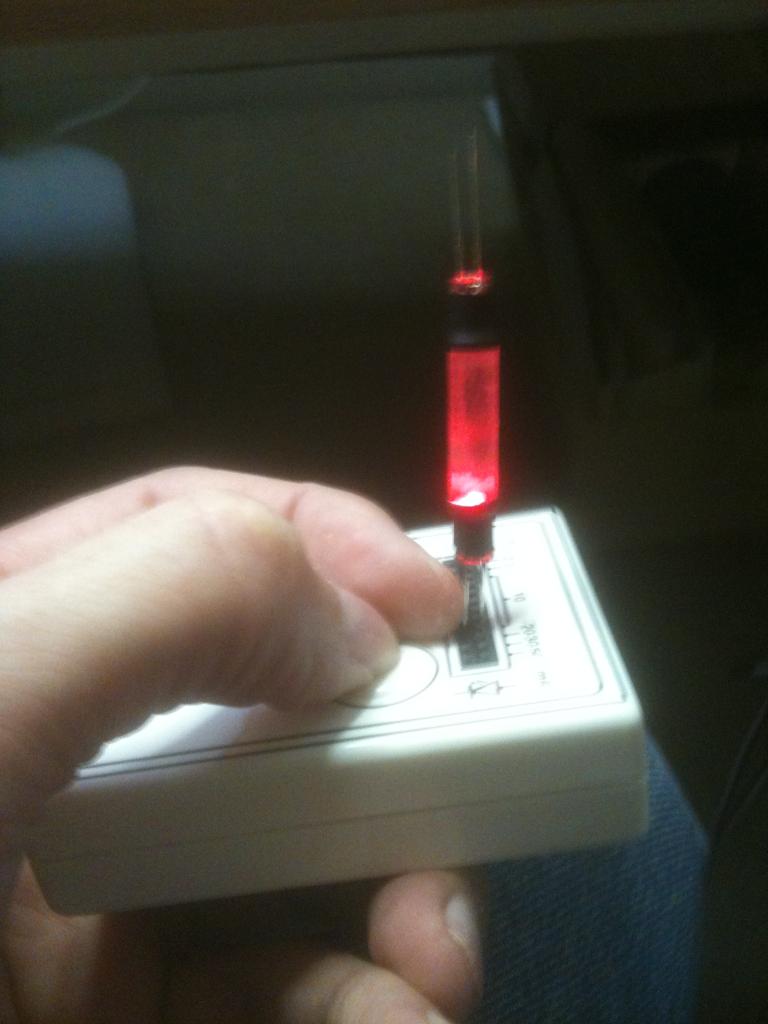
Then I put one LED in my tester and got my light. Note this is only one of the LEDs lit up. With both it should be fairly bright.