

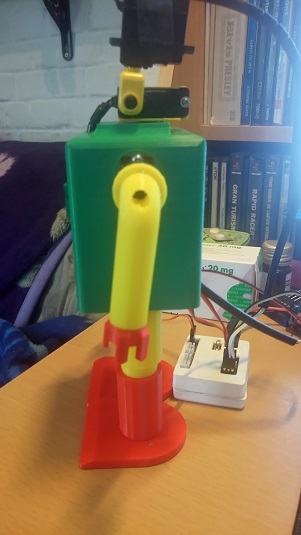


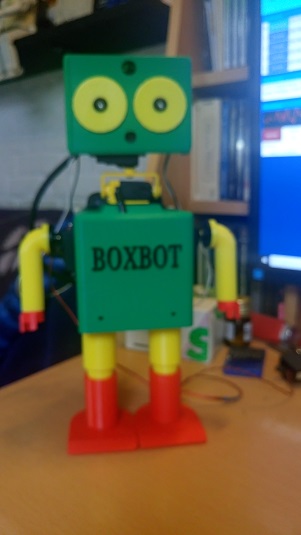
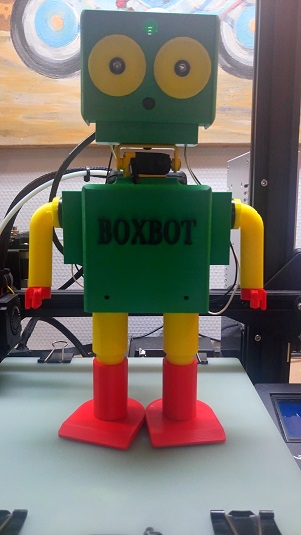
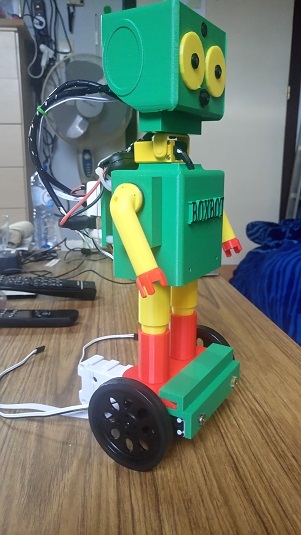

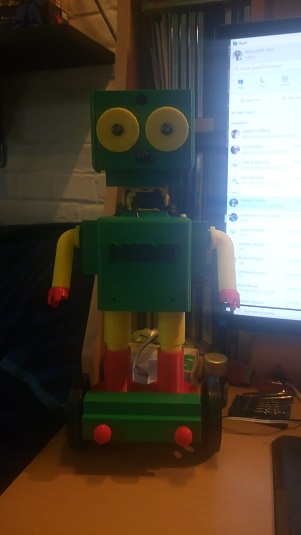
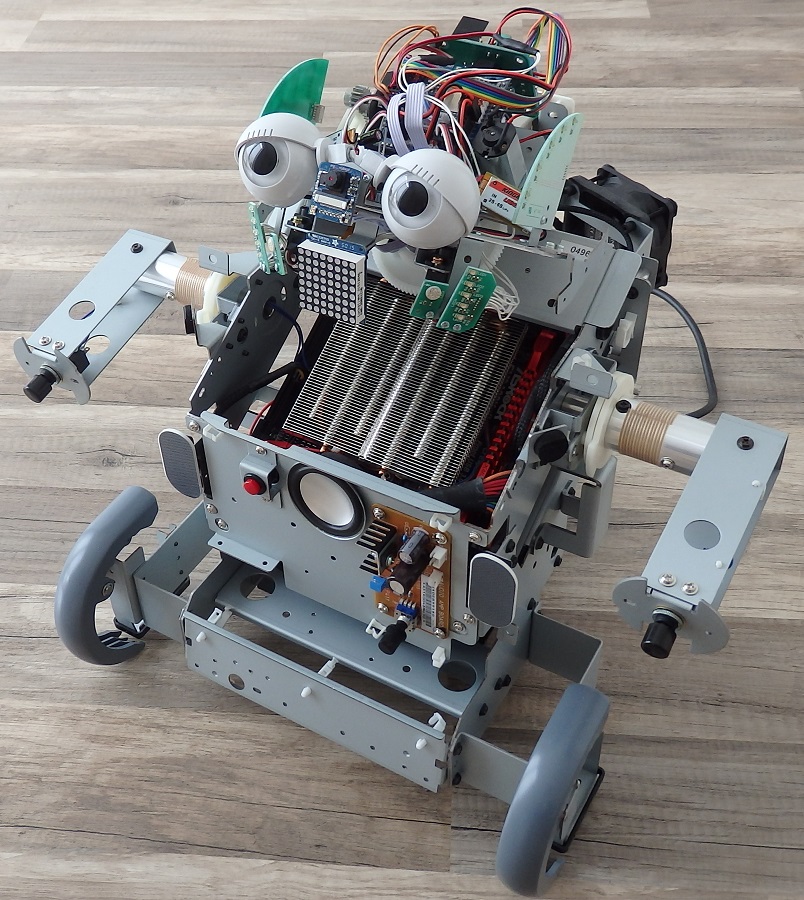
P2 stands for printed second version boxbot.cause dj made the first boxbot. the V1 stands for version 1.version V2 will get some wheels. this robot is a desk robot to train excample camera /position movements and more. it has 4 micro servo's camera still to come ,two flat eye LED blue. the red covers lowerlegs are changeble i, other colors. still need to do .head to print/camera /choulder covers (servo's )
By Nomad 6R
— Last update
Discover more robots
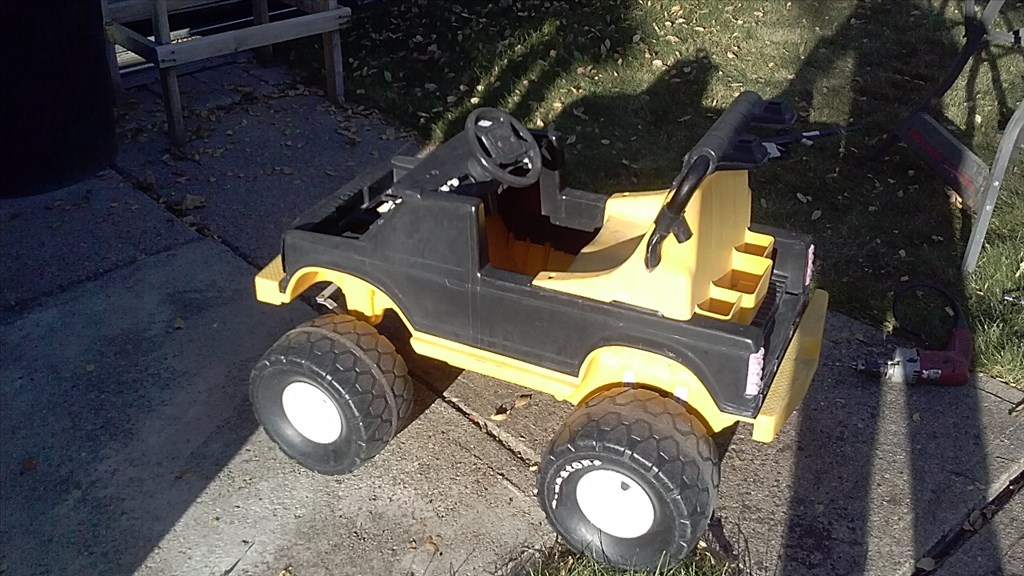
J's My New Toy I'm Building
Power Wheels converted with a paintball turret on bike forks, actuator for vertical control, drive speed controller and...
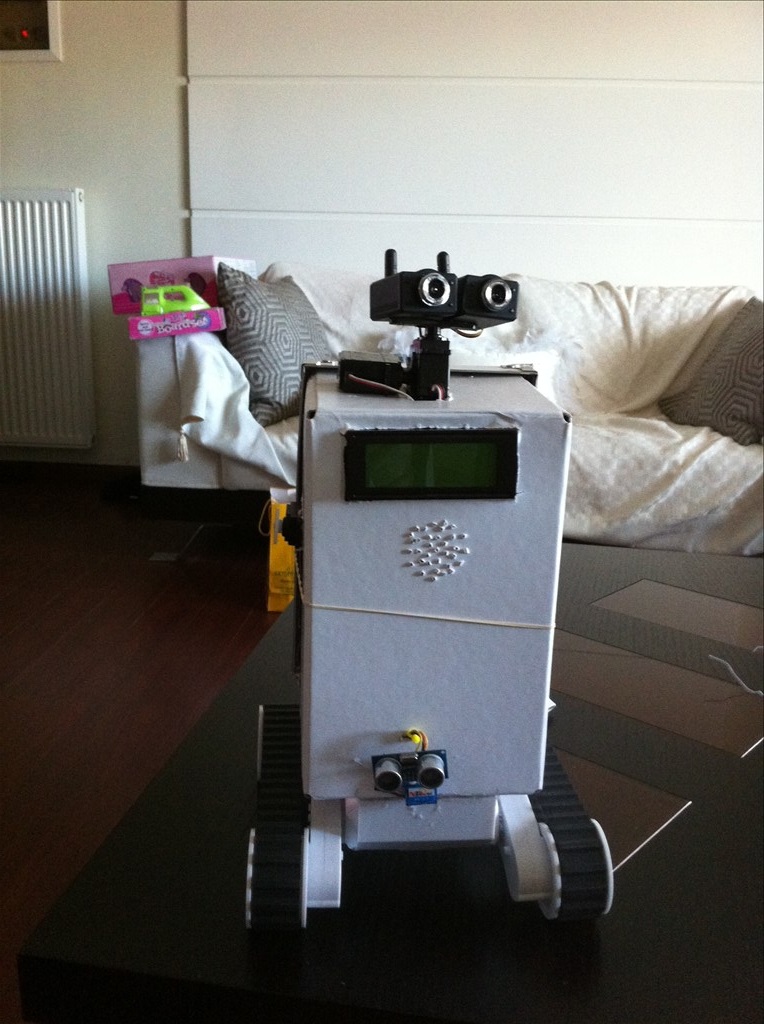
Sakis33's New Project Wall -E
Presenting my project and thanking Dj Sures for inspiring a new, engaging and rewarding hobby
Smarty's Combot - The Ez-Robot Computer System
Combot 8-core 4.00GHz Windows 10 home-computer and EZ-Robot house-robot with 16GB RAM, SSD, LEDs, motors, sensors,...

Nomad, looking good,
all your plans above look good, will wait to see them, send more pics when finished.
I have not had a chance to figure out and use my 3d printer :-(
I am at the farm again - no robot stuff out here, only hard physical work :-(
Hope to be back in city life soon.
be well
EzAng
hi ezang
i hope you get your printer going soon.
thanks
Nomad, thats looking great. Well done with the 3D printed body. Im just starting to get back into printing with my new printer. Cant wait to see whats next
Supercute!!!
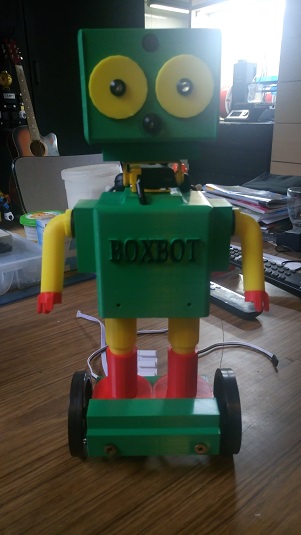
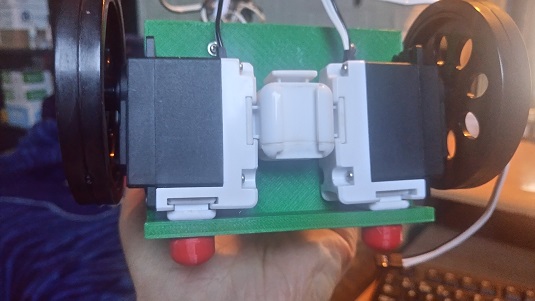
thanks guys.next will be some wheels.:D
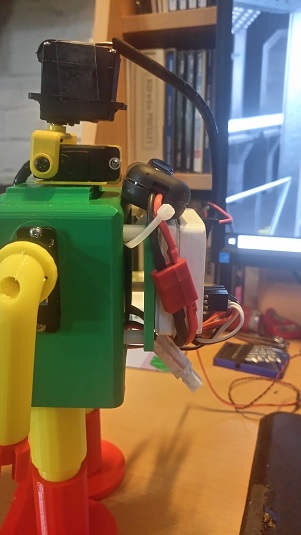
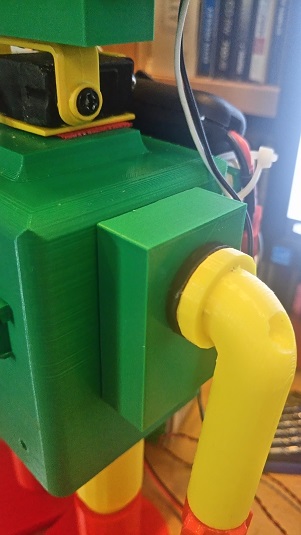
here are some pics how to ad the horn on the arm. also i made a hole in front neck servo to let the wire into chest.
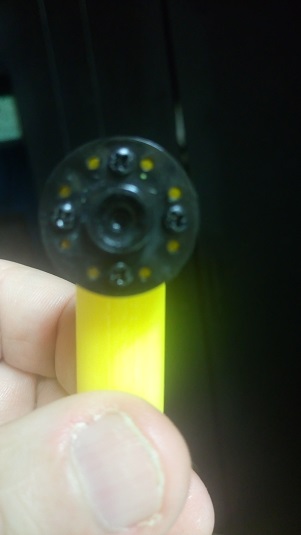
the eye disc go's half in the holes of the head.the LED has a flat head 3.3 volt (for pwm ).
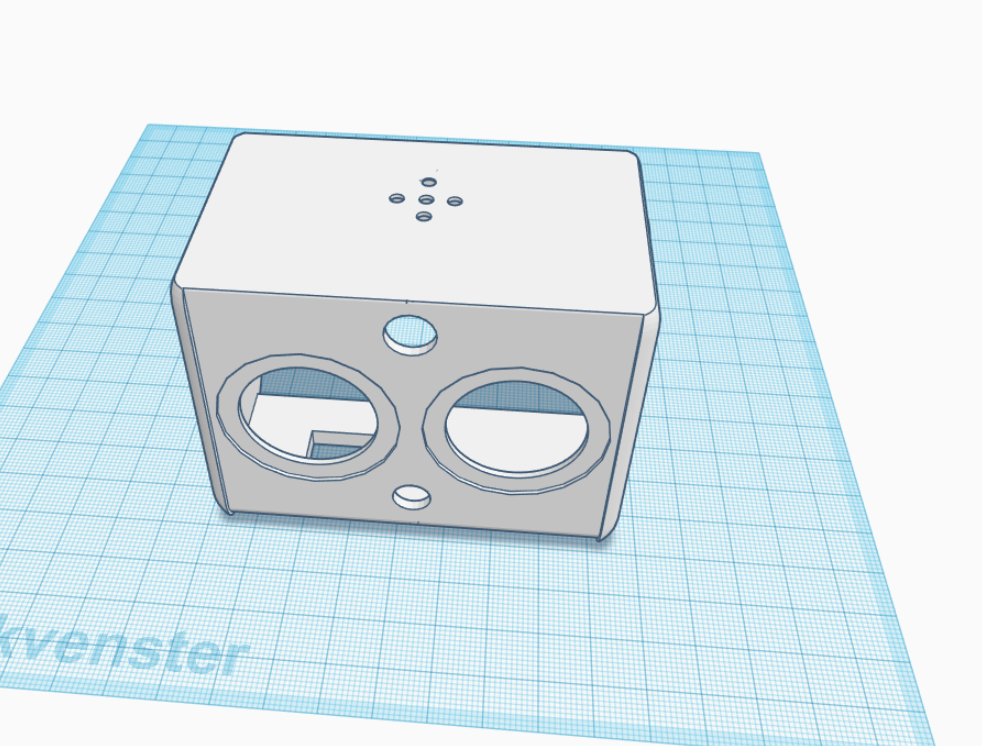
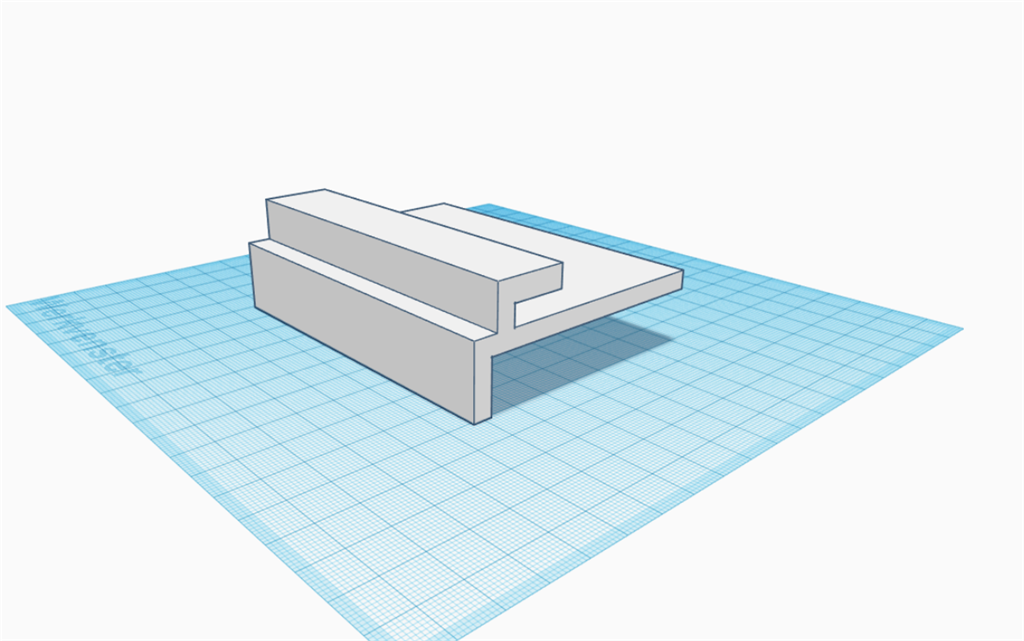
head is reddy for printing.it has room for camera/two eye LED and mouth LED /speaker.
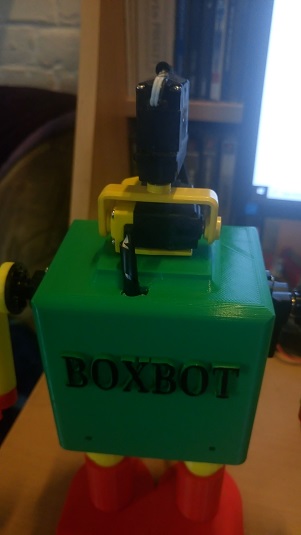
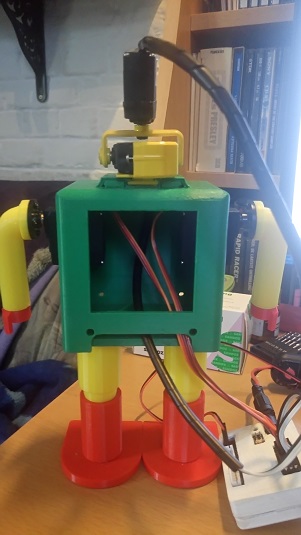
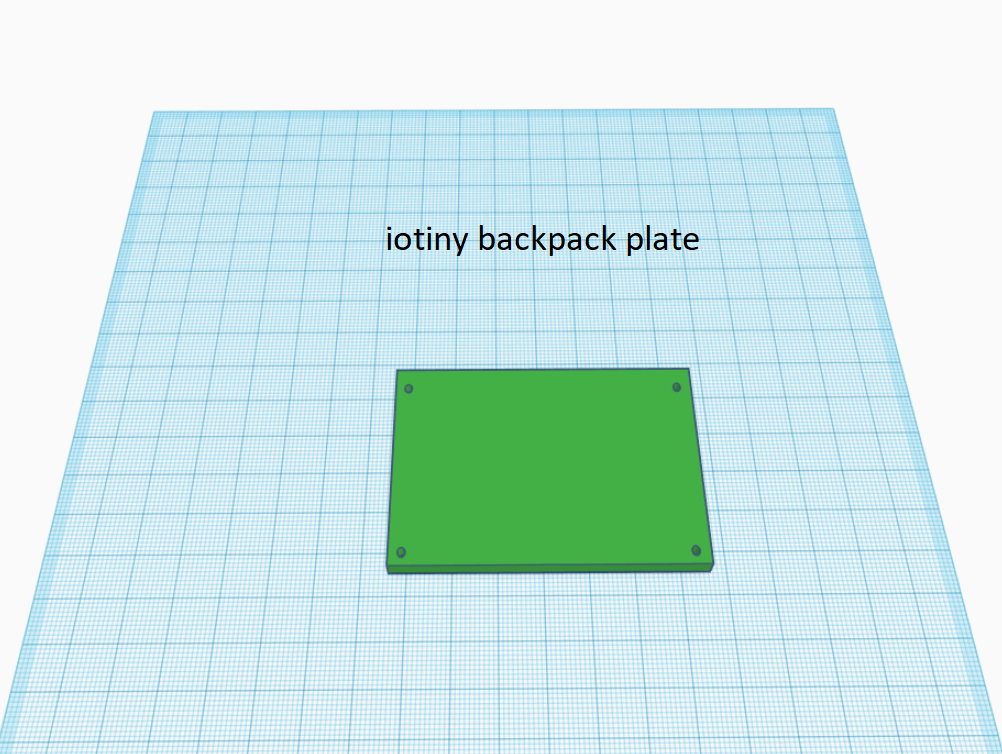
the micro servo in head needs to be mounted side ways. backpack plate for iotiny can be screwed on the chest. i used spacers for now.you can use screws or glue the iotiny in place. make sure to use tiny screws,cause off the wirering inside the chest.
Nomad, are you using ABS, or what?
EzAng