
-636348381130562972.jpg)

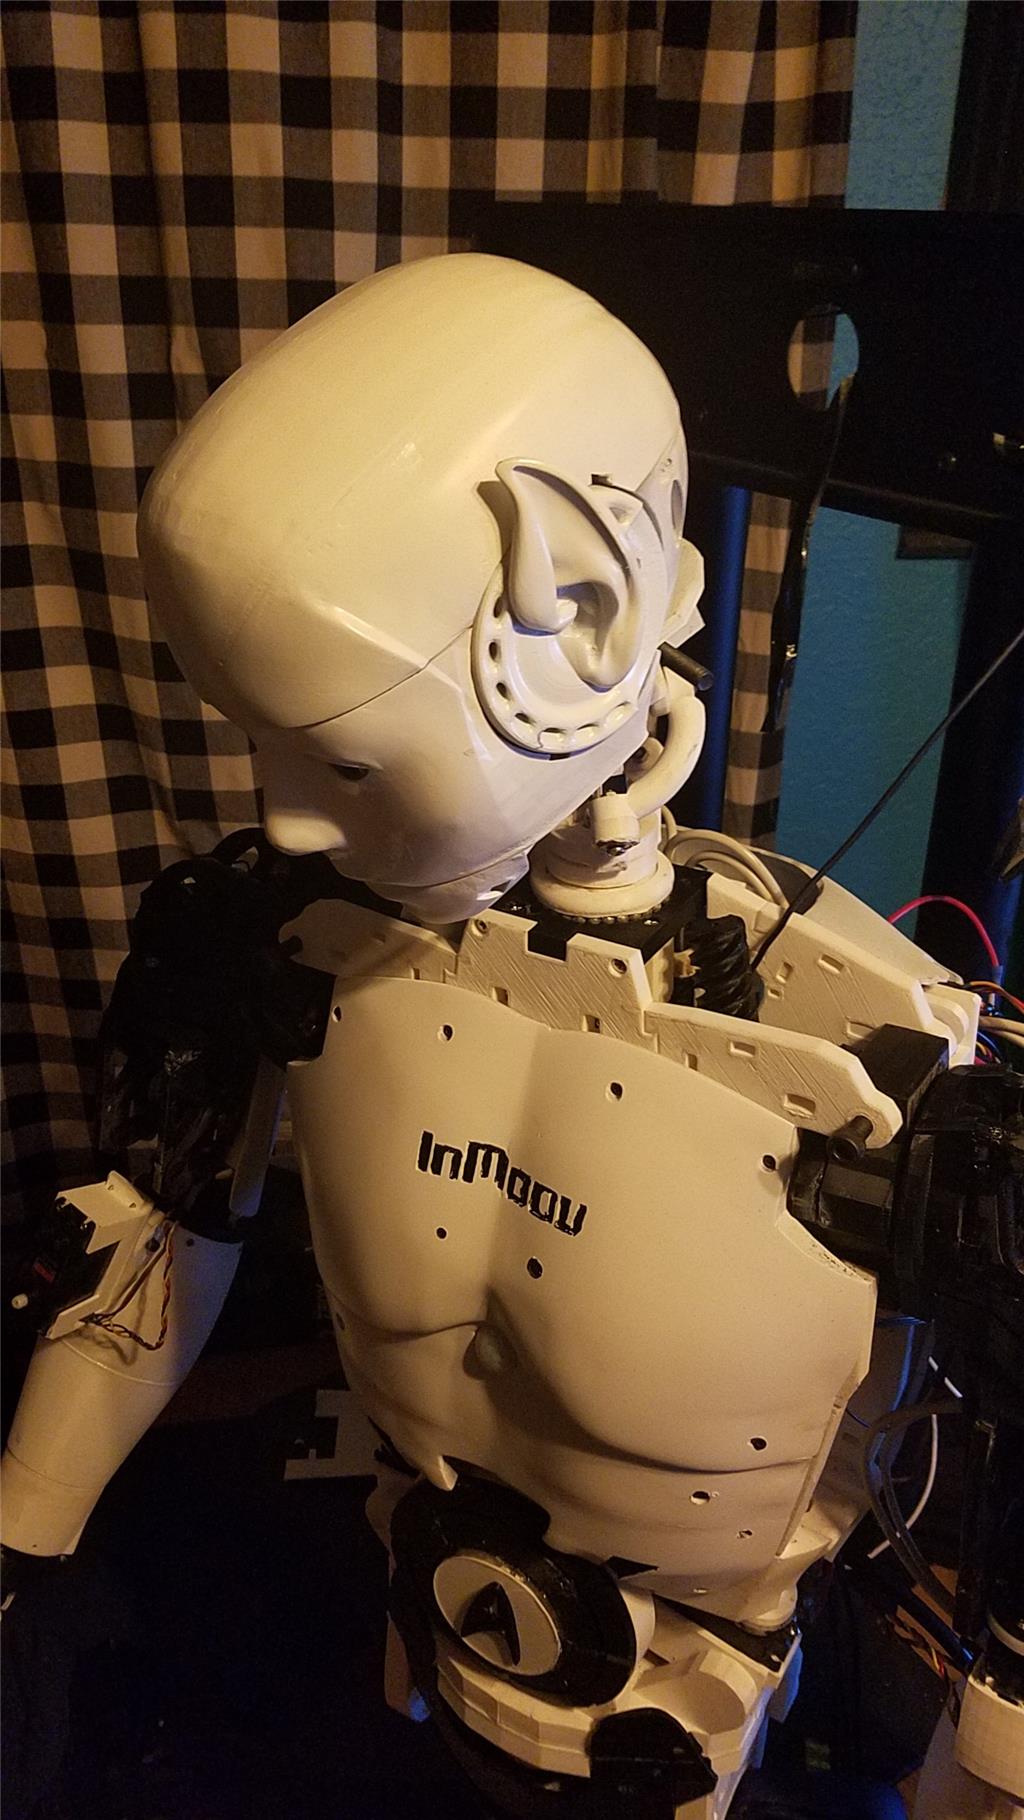
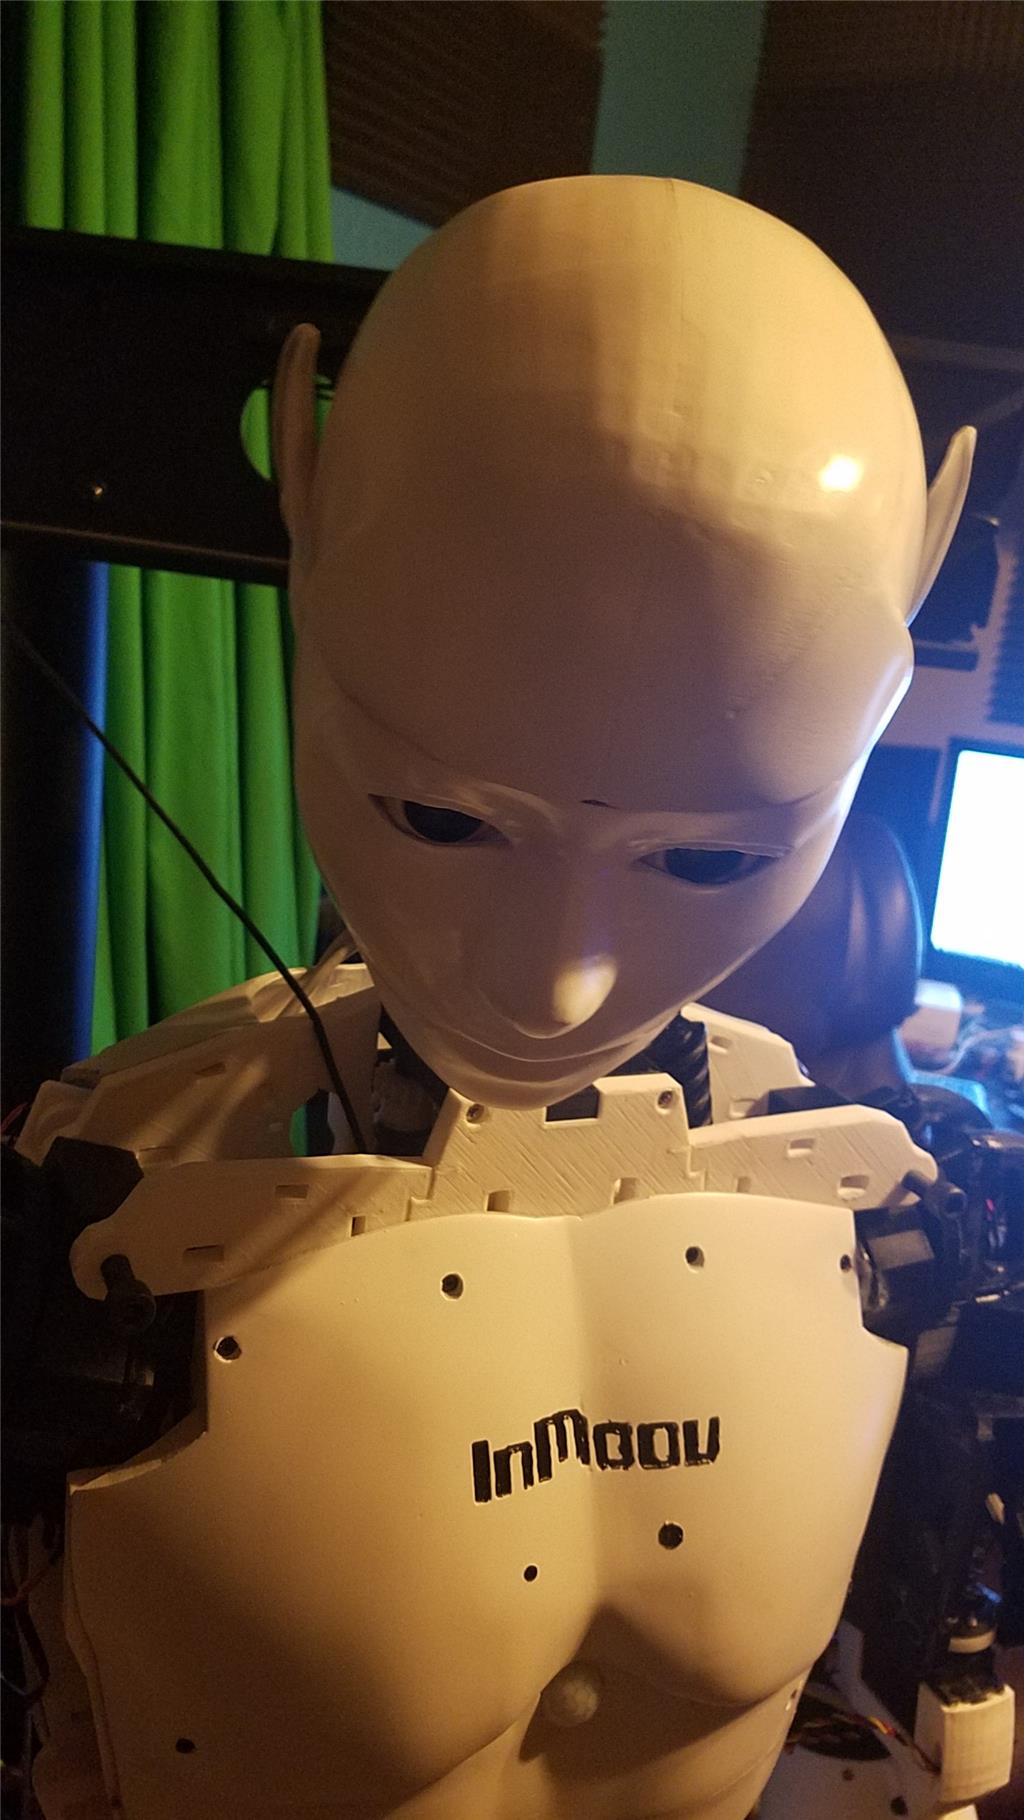


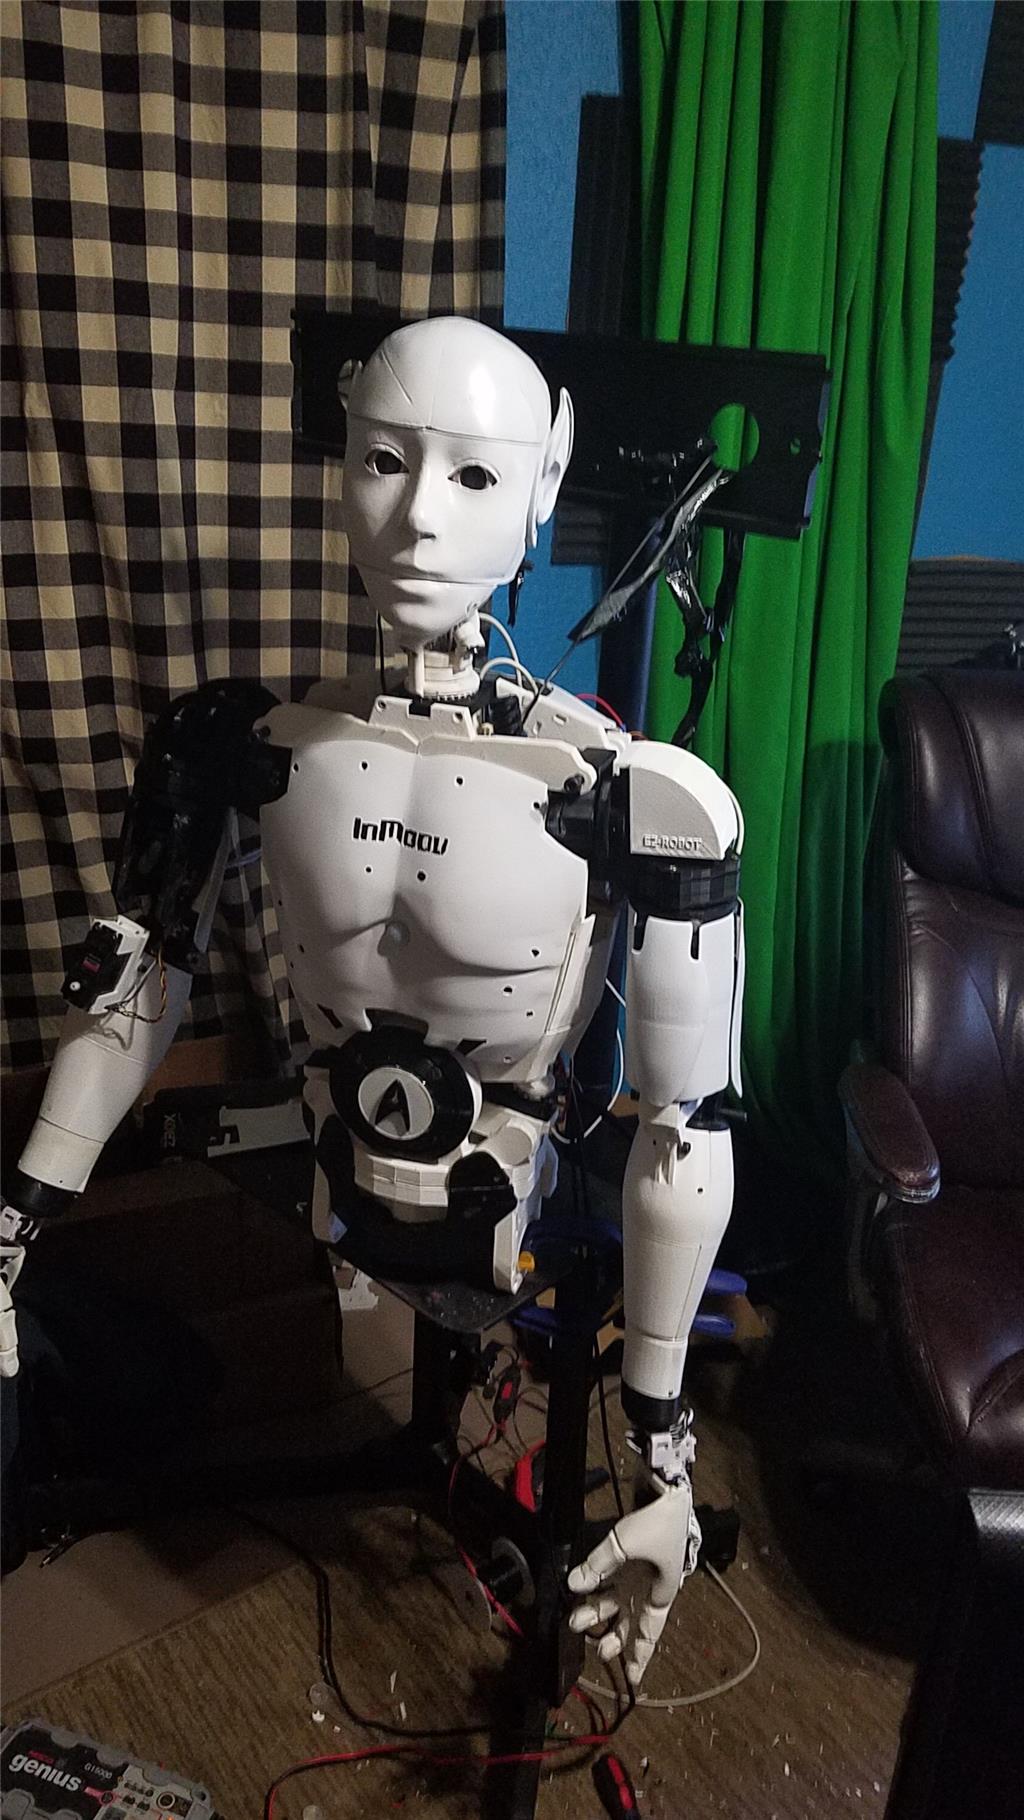
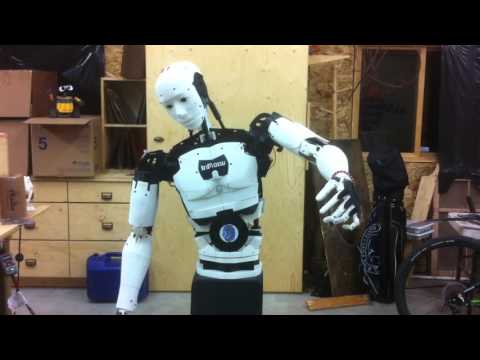
I have decided to start my InMoov project. I think I will call him Spock out of respect to Leonard Nimoy who passed away on the day that I started this project.
I am editing this post so as not to confuse people with the current configuration. I continue to update this post with the latest photos. If you are reading this for the first time, don't be confused. There have been a lot of changes to the InMoov over the past couple of years including starting over.
https://synthiam.com/Community/Questions/7398&page=21 Post 203 starts the rebuild of the InMoov.
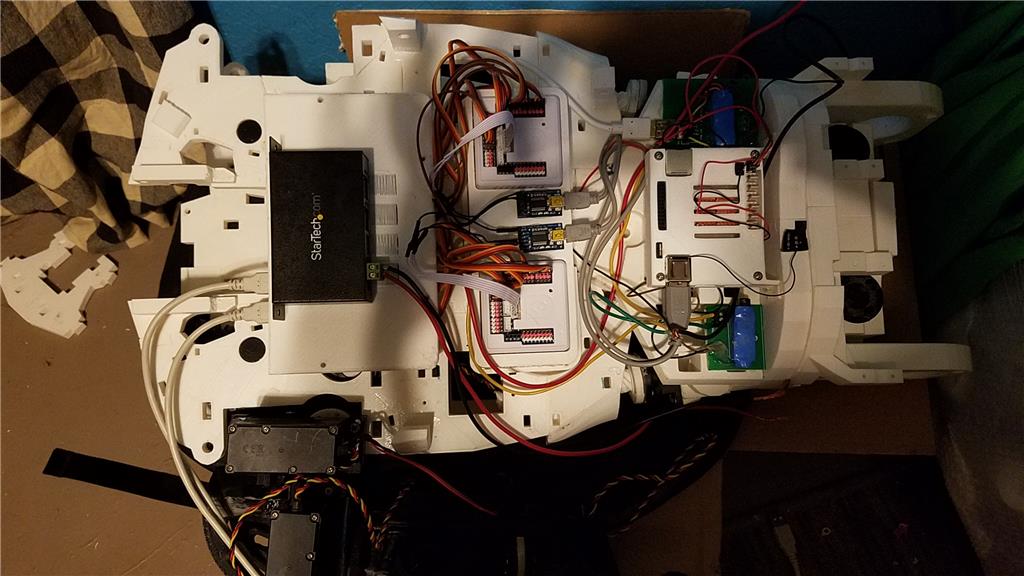
I have decided to use an onboard computer. I chose the Latte Panda due to it having an onboard arduino Leonardo and also because it uses little power.
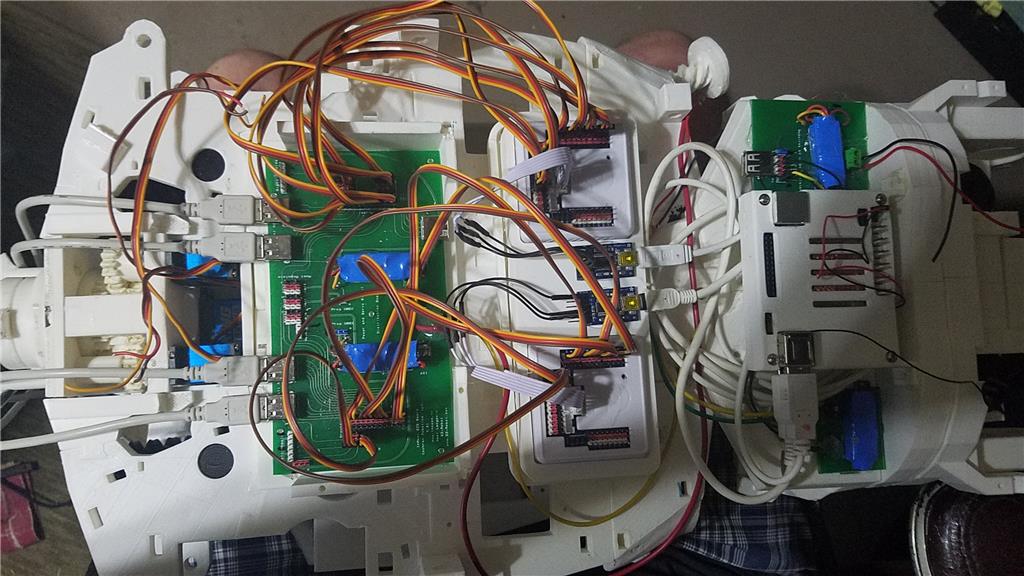
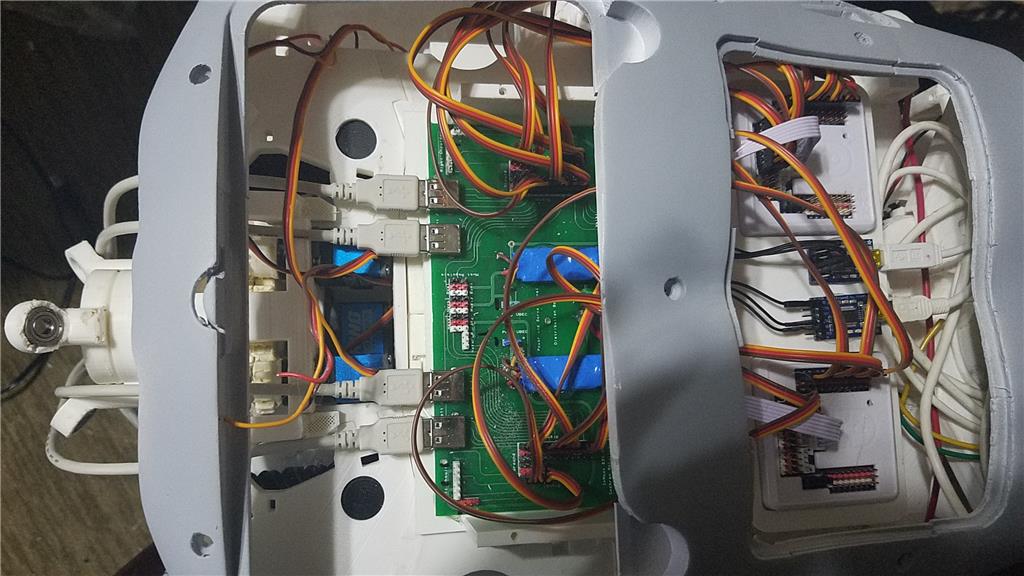
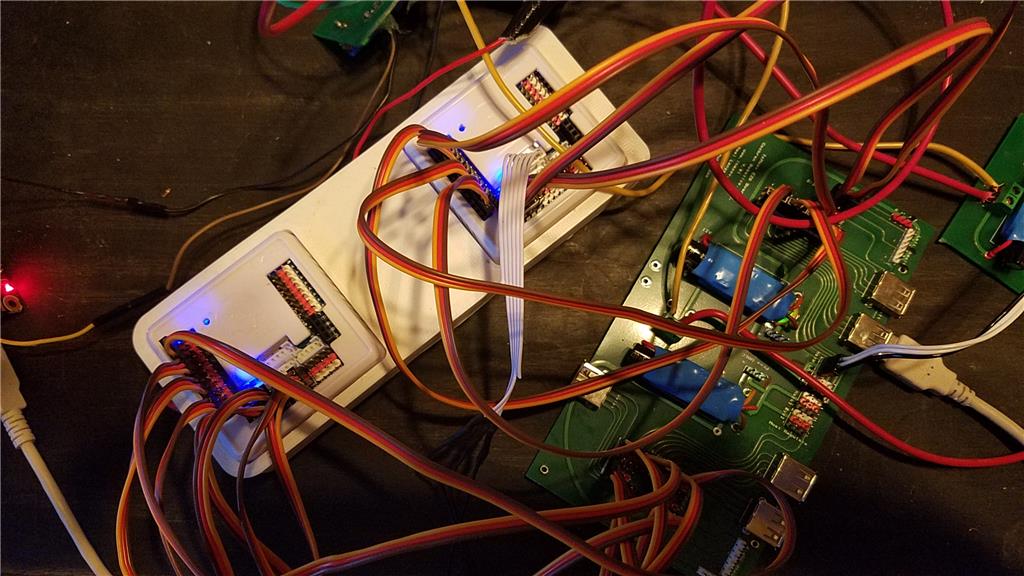
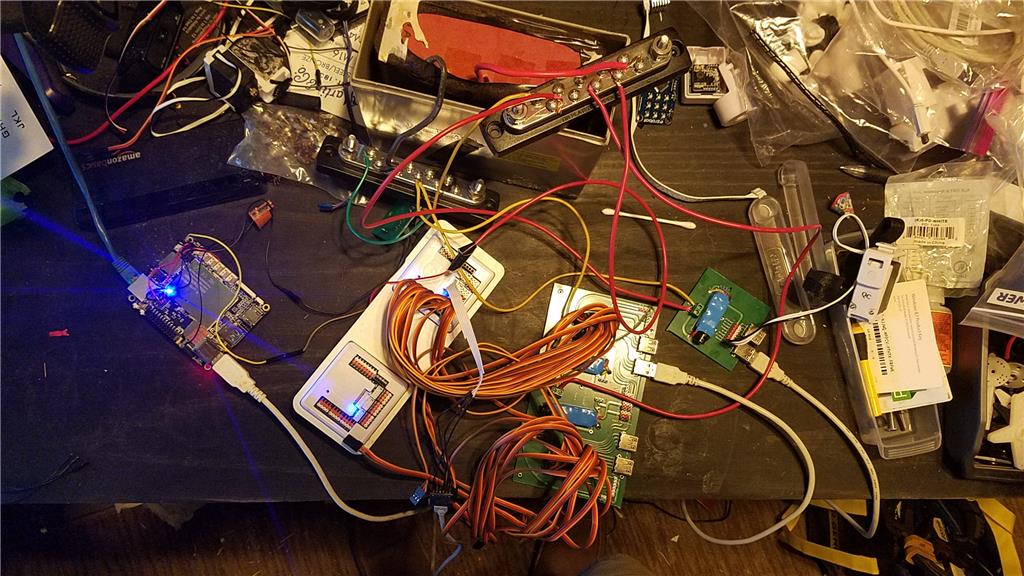
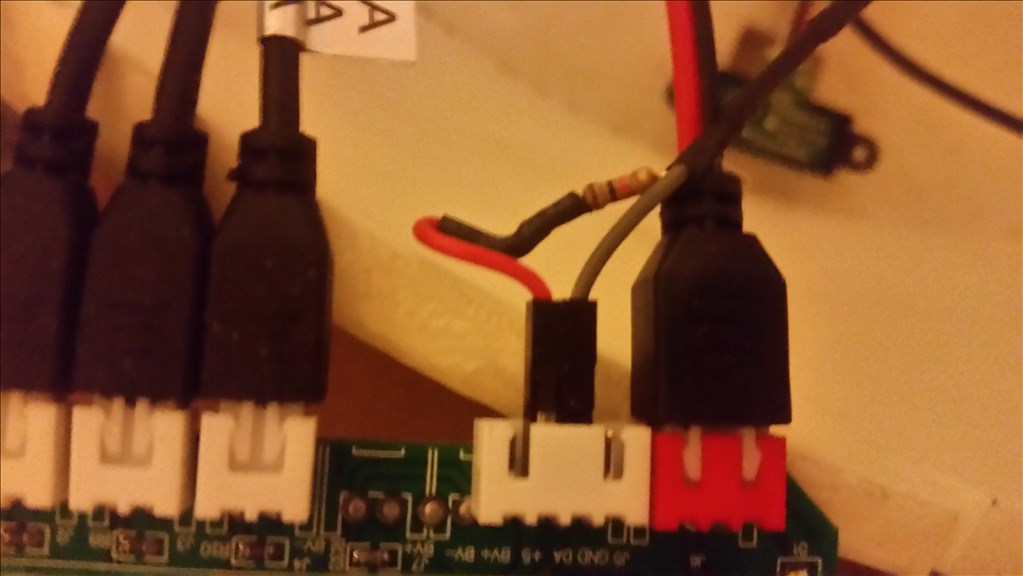
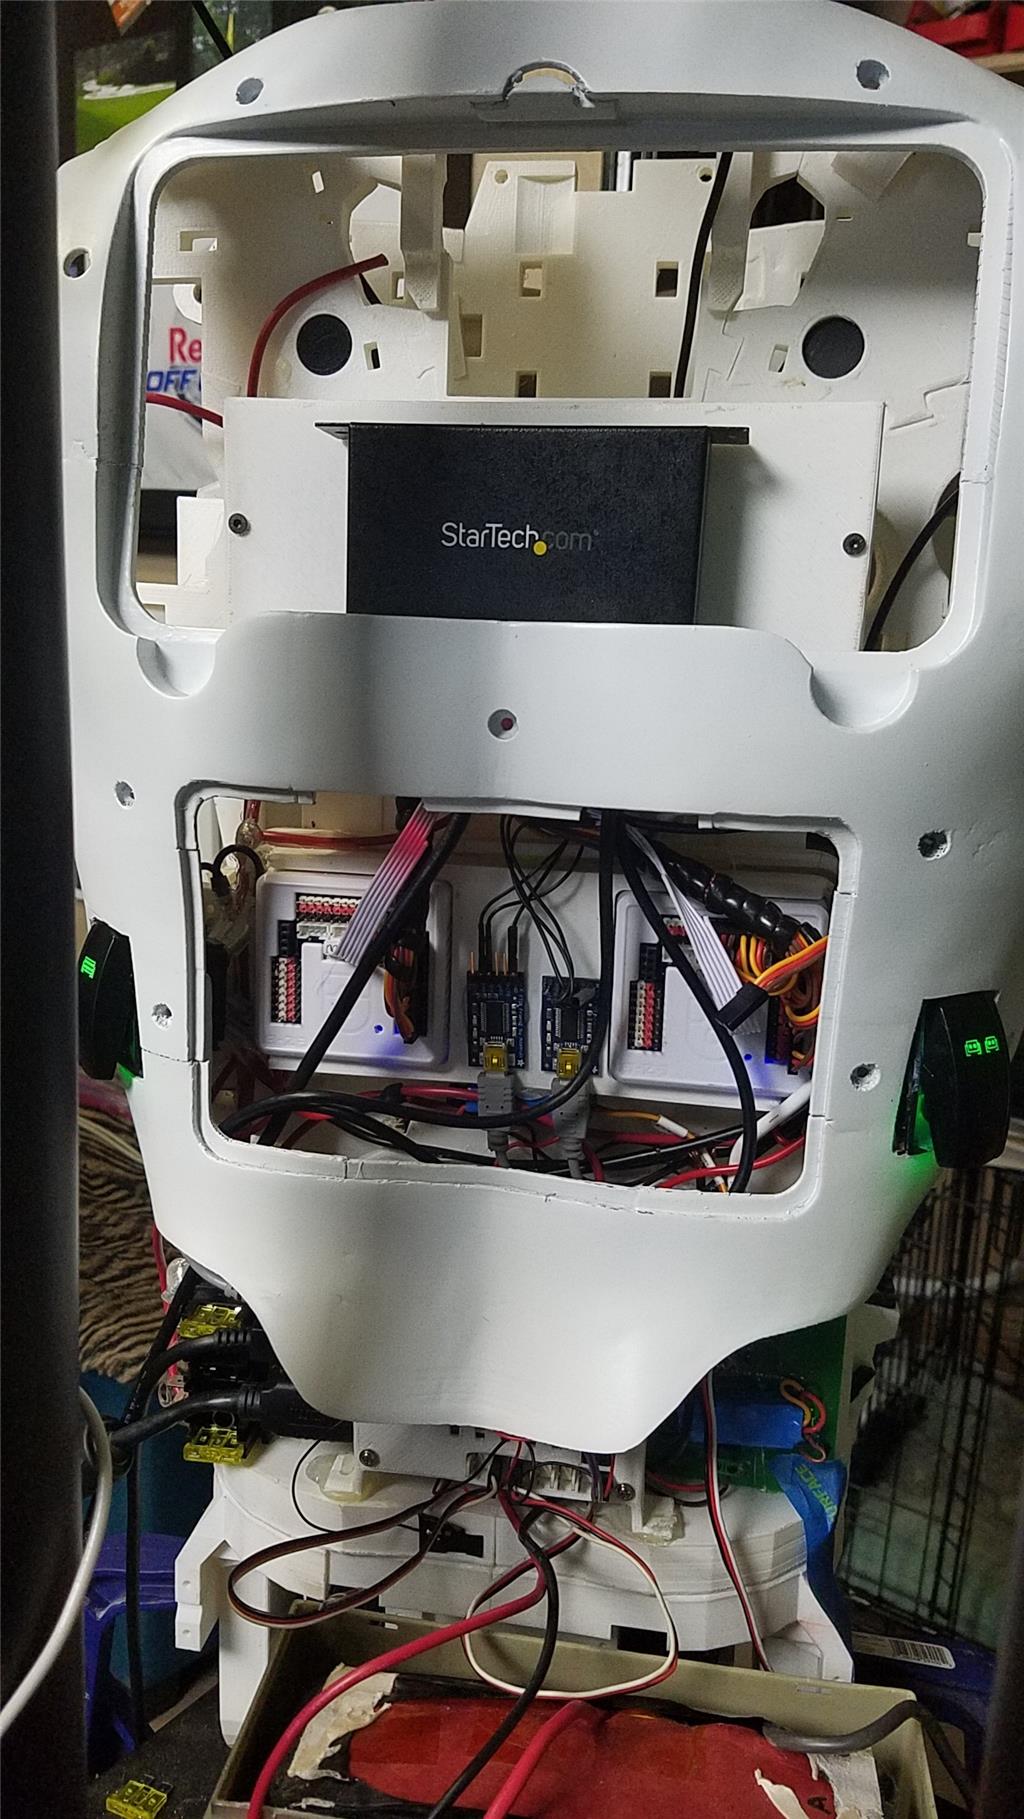
I used 2 EZ-B controllers connected via the camera port to Adafruit FTDI friend boards. This allows the Latte Panda to have a non-wifi dependent connection to the EZ-B's. I use a powered USB hub connected to the USB3 port on the Latte Panda to attach other items.
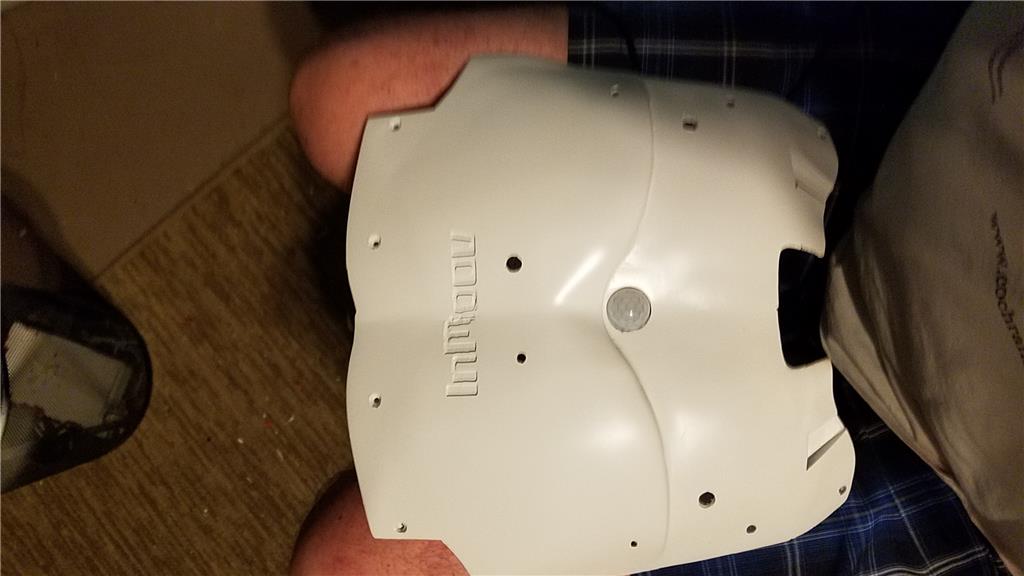
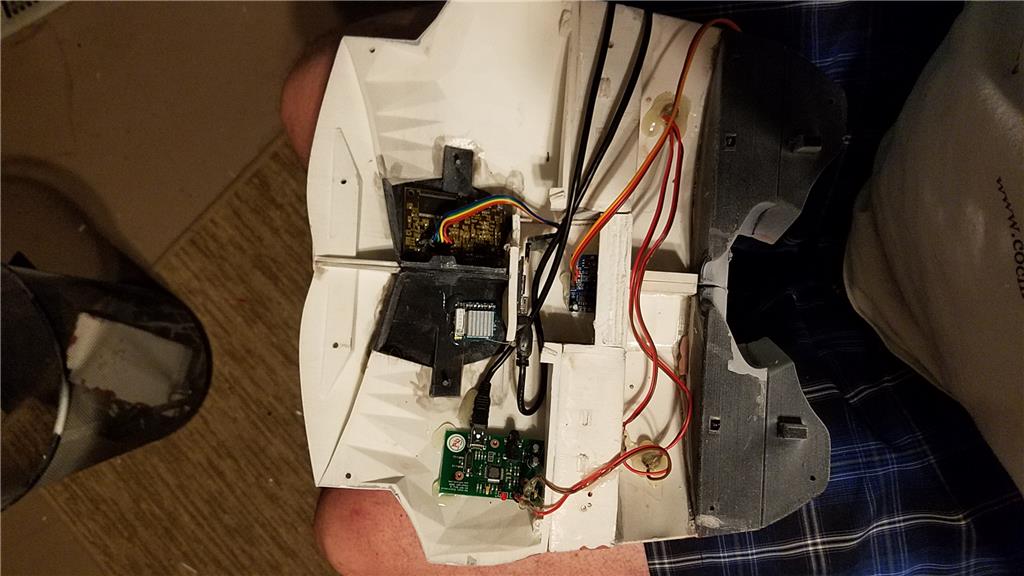
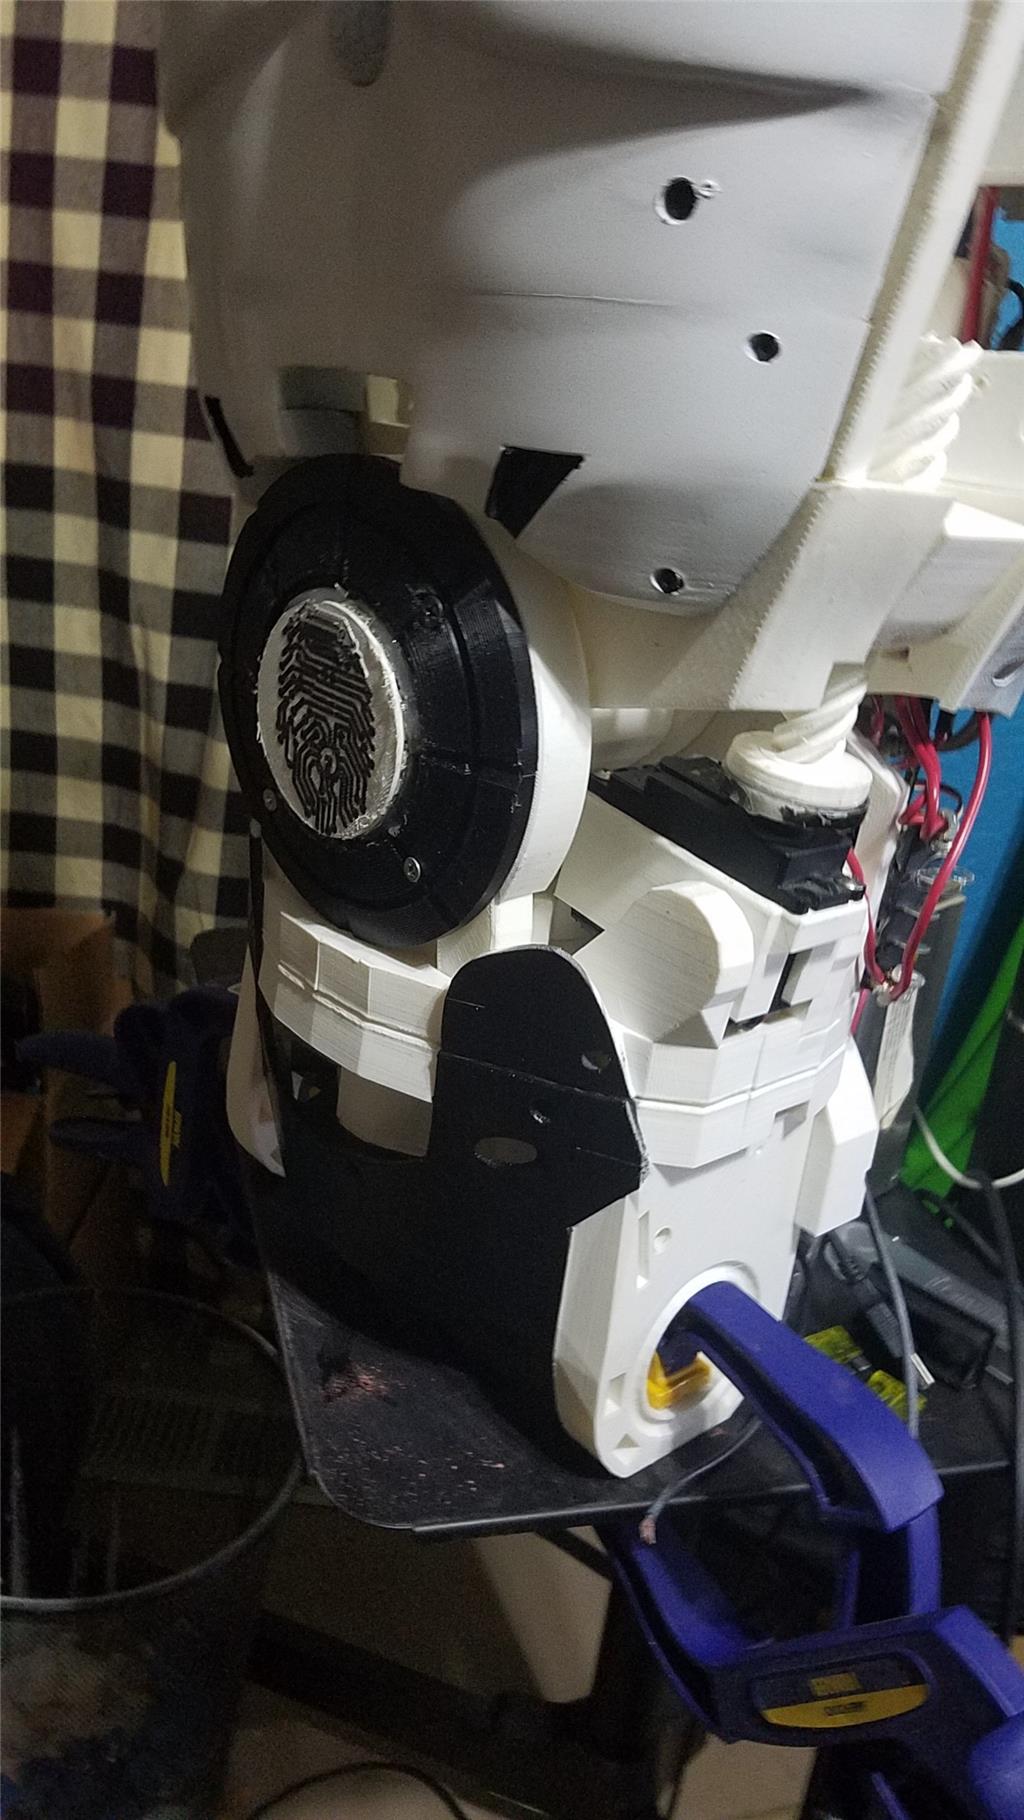
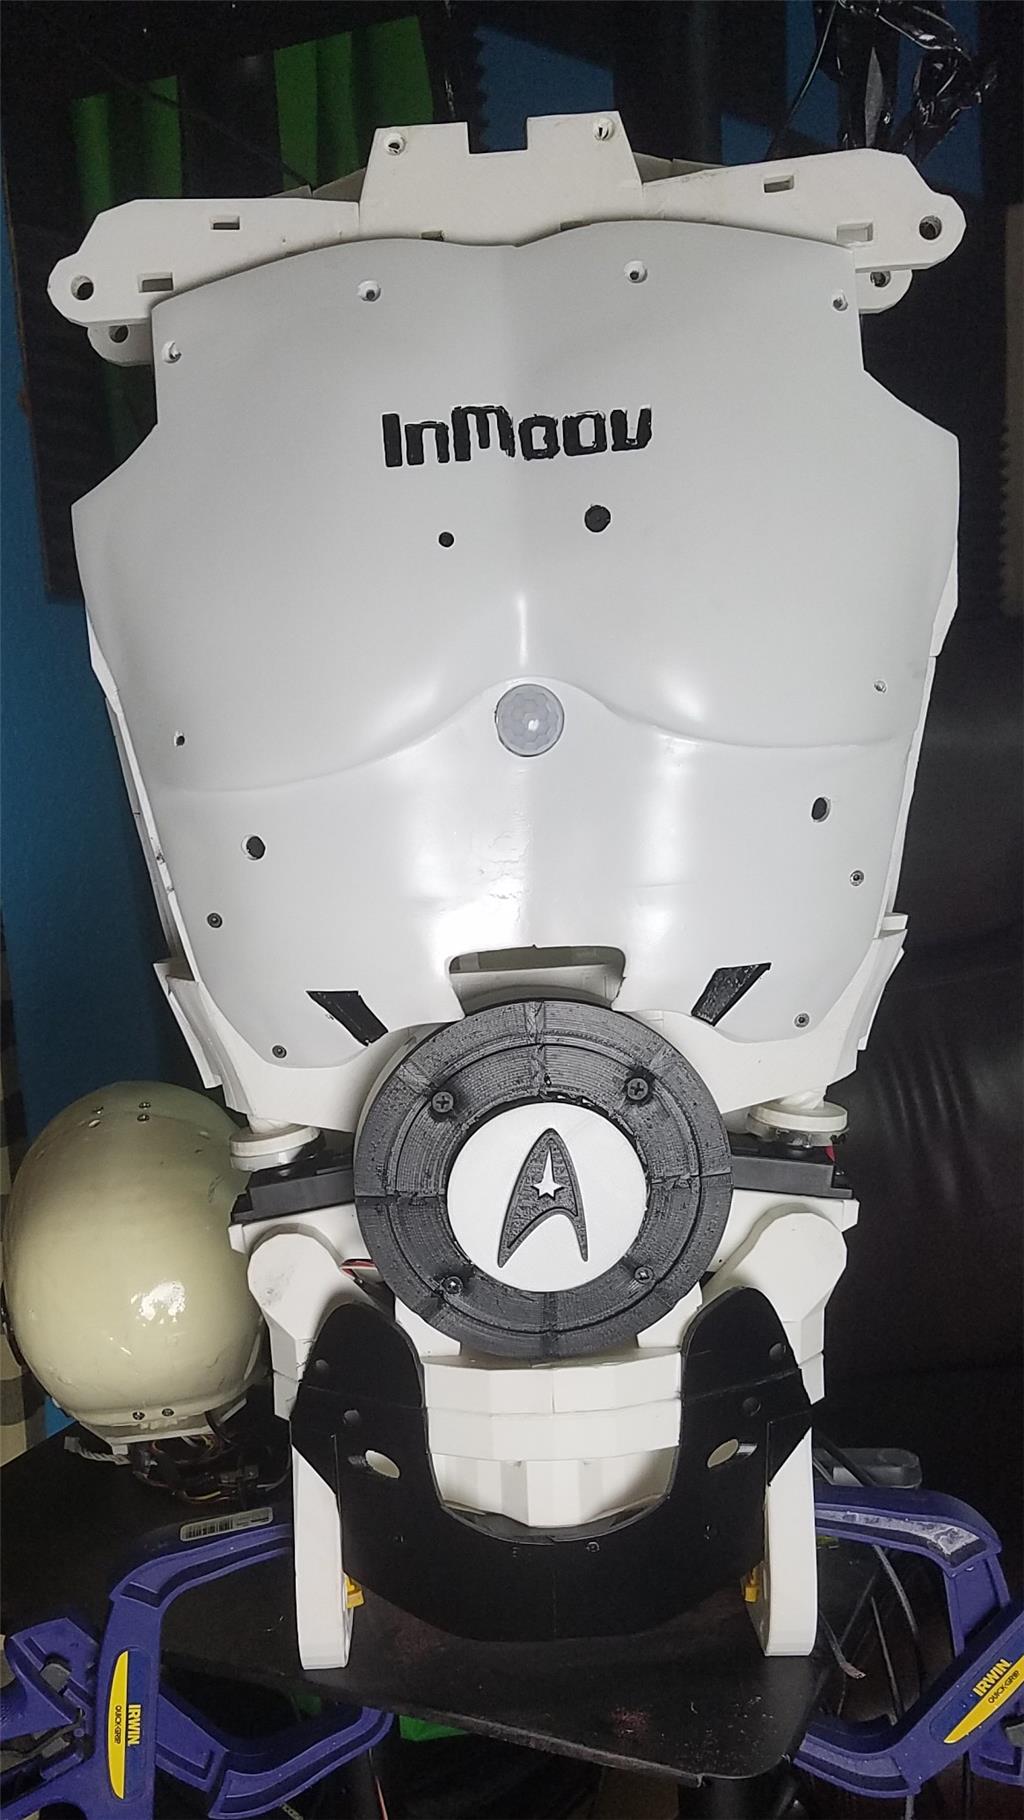
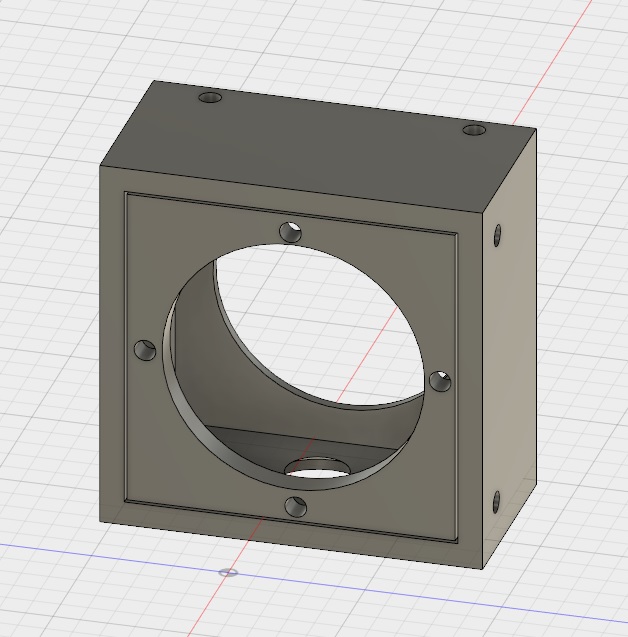
The Omron HVC-P is used to identify people, emotions, human bodies, hands, age and gender. It is attached to the Latte Panda via an FTDI friend which is then connected to the powered USB hub. It is mounted in the chest of the InMoov. I also use a 3 element microphone which is a MXL AC-404 microphone. It is disassembled and the board and microphone elements are mounted in the chest of the InMoov. This mic board is connected to the Latte Panda via a usb cable which is attached to the powered USB hub. There is a USB camera in the eye of the InMoov which is connected to the Latte Panda via the powered USB hub.
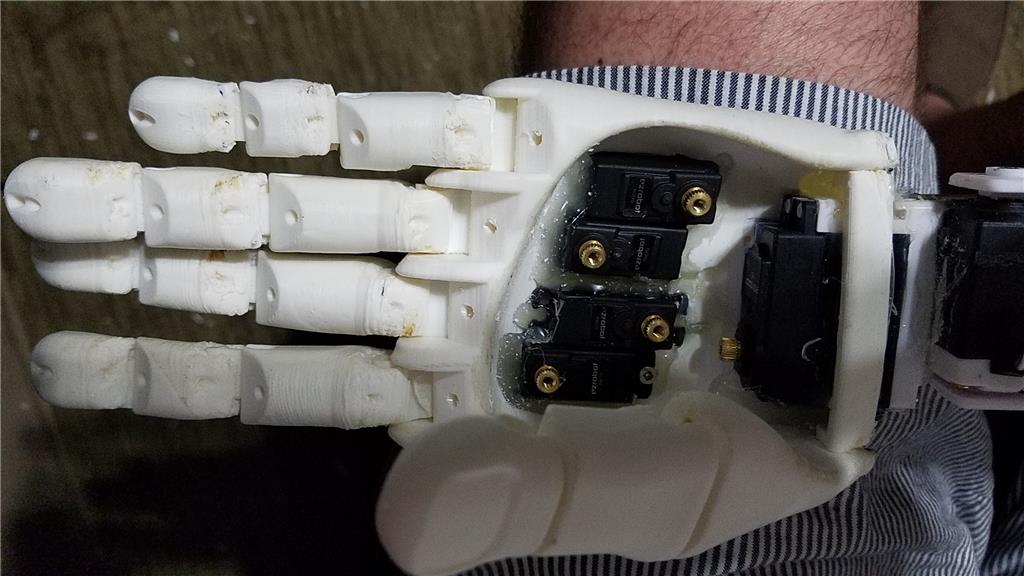
I chose to use the Flexy hand with the InMoov. The design is far more rugged than the original hand and works very well. There are 4 EZ-Robot Micro Servos in the palm of each hand which controls the main fingers. The thumb is controlled by an EZ-Robot HD servo. The wrist waves and uses an EZ-Robot HD servo to do this motion. I use the standard Rotational wrist.
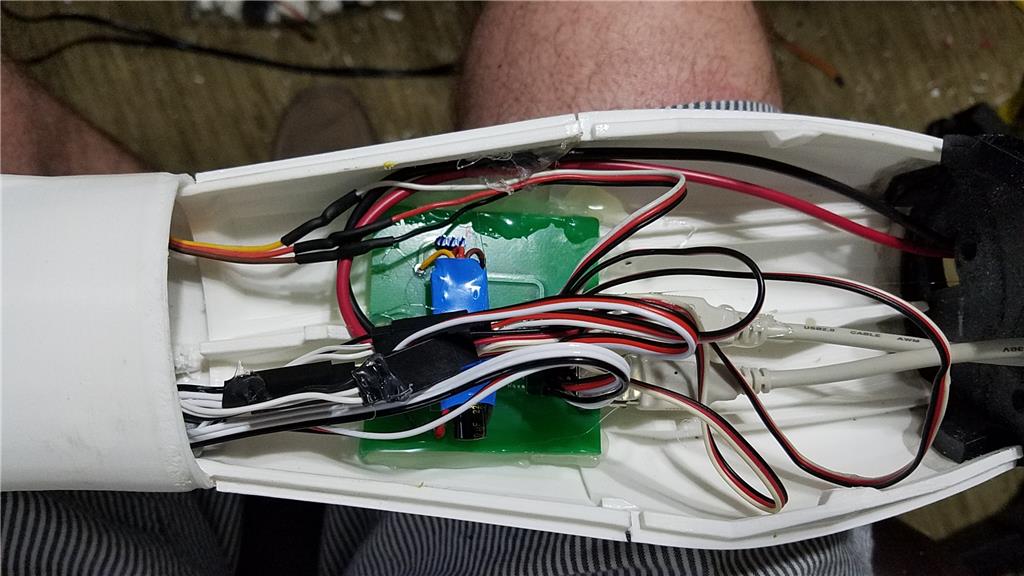
I have castle BEC's for power in the following locations set to the following voltages. Forearm's - 6.2 V - Controls fingers, wrist and elbows Custom power distribution board (2) set to 6.2 V controlling head, neck and Shoulder servos. EZ-B's - set to 6.1 V - it is mounted in the controller mounting plate and connects to the EZ-B fused power boards from a power base. Latte Panda - Set to 5.1 V and is mounted to the EZ-B controller mounting plate. Waist - set to 6.2 V and is mounted in the lower right side of the back. This provides power to the lean and pivot waist motors..
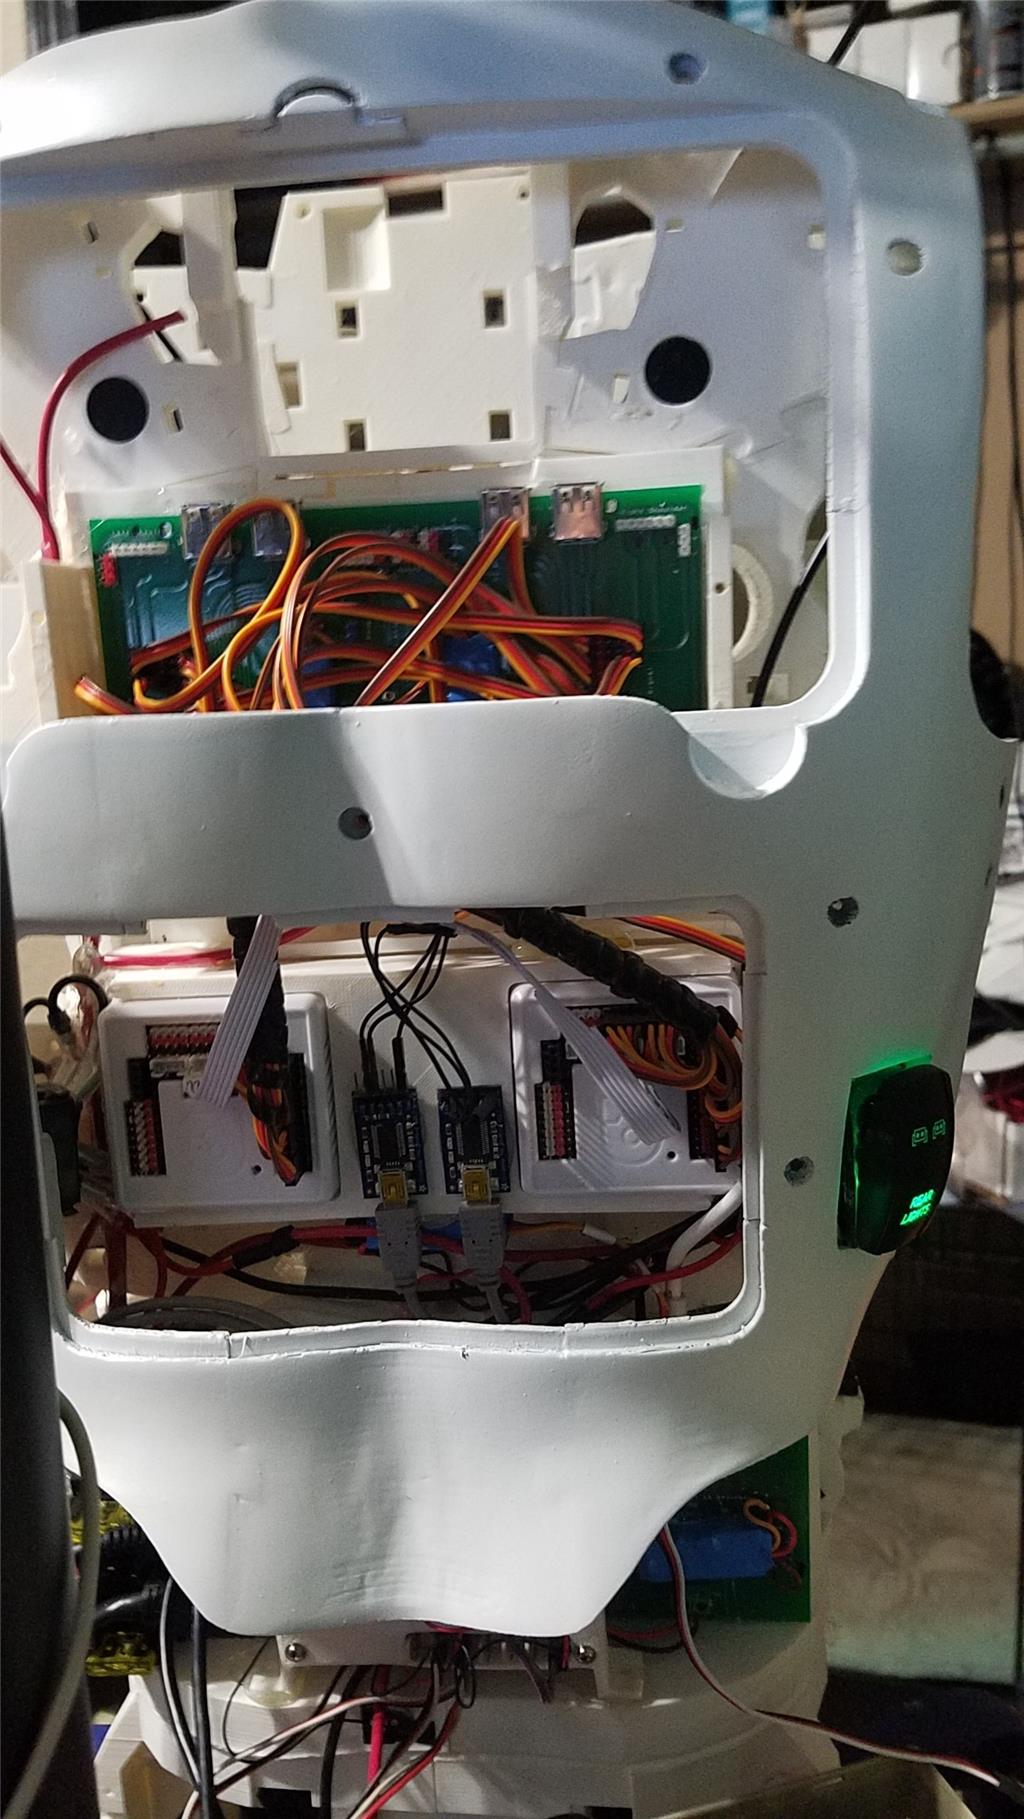
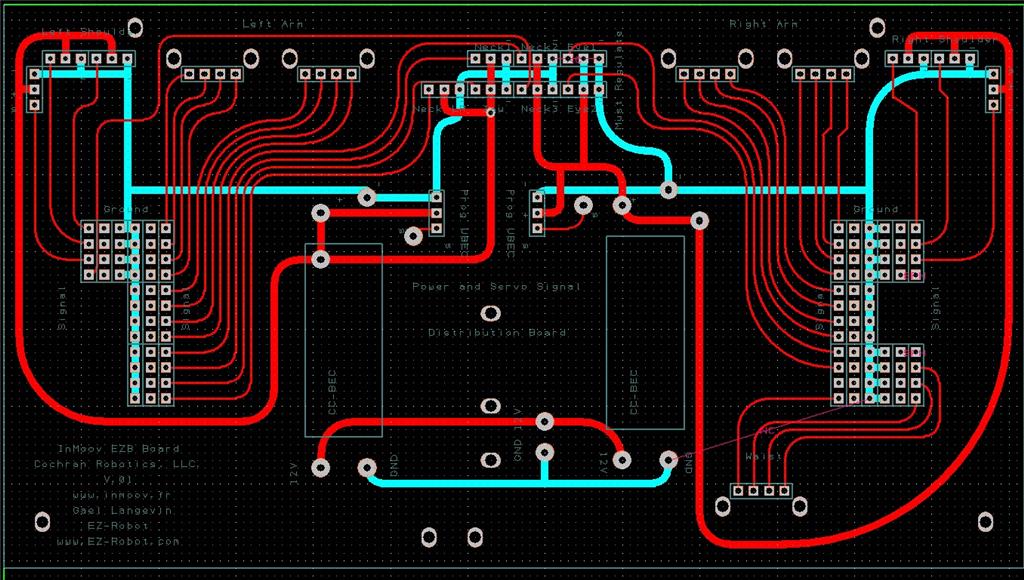
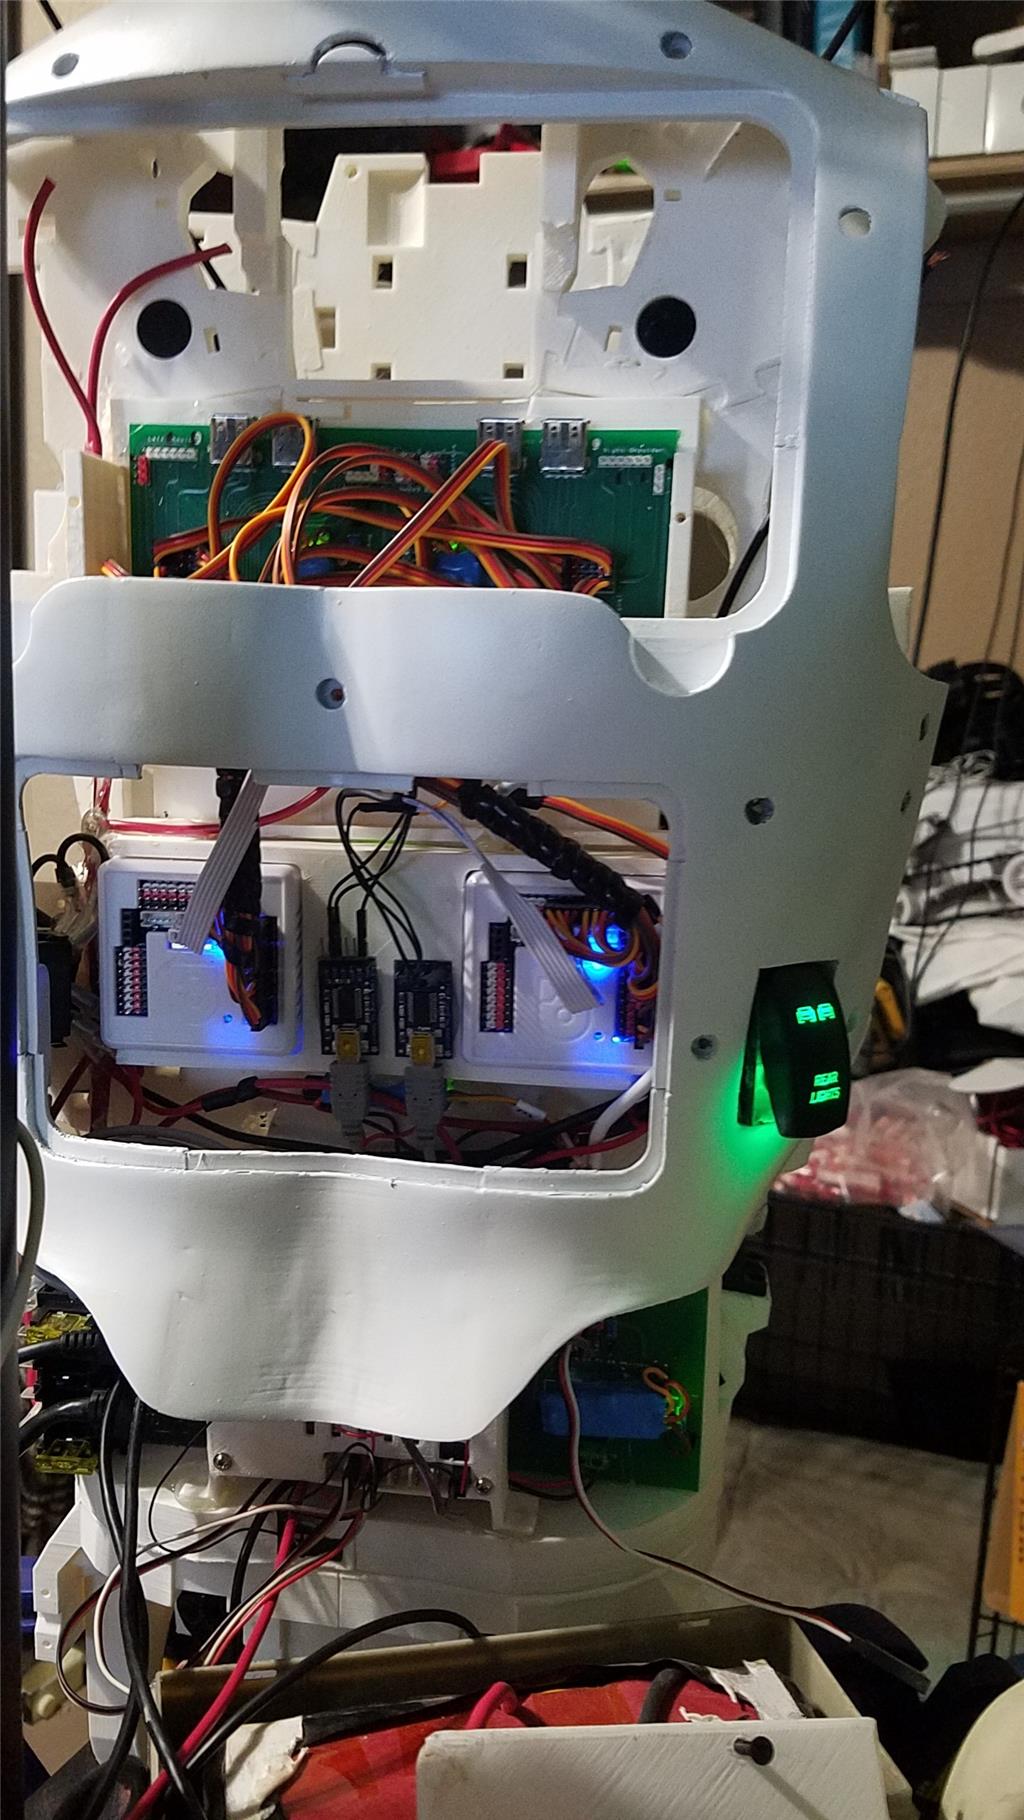
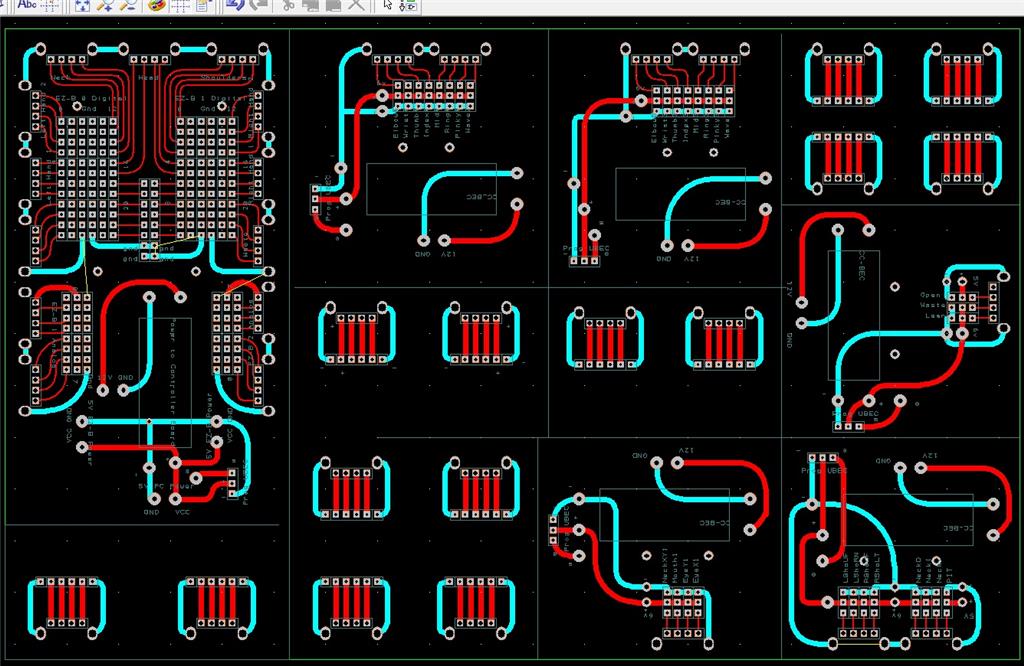
There are some custom power and signal distribution boards. These are in the forearms, lower back and in the upper back. The upper back or main board connects to these distribution points via USB cables to provide signal to the other boards for servos. The main board also has servo connector pins that are for the neck, head and shoulders. This allows the power to be distributed between multiple BEC's and also allows the servo signal cables to be shorter and more protected via the USB cables.
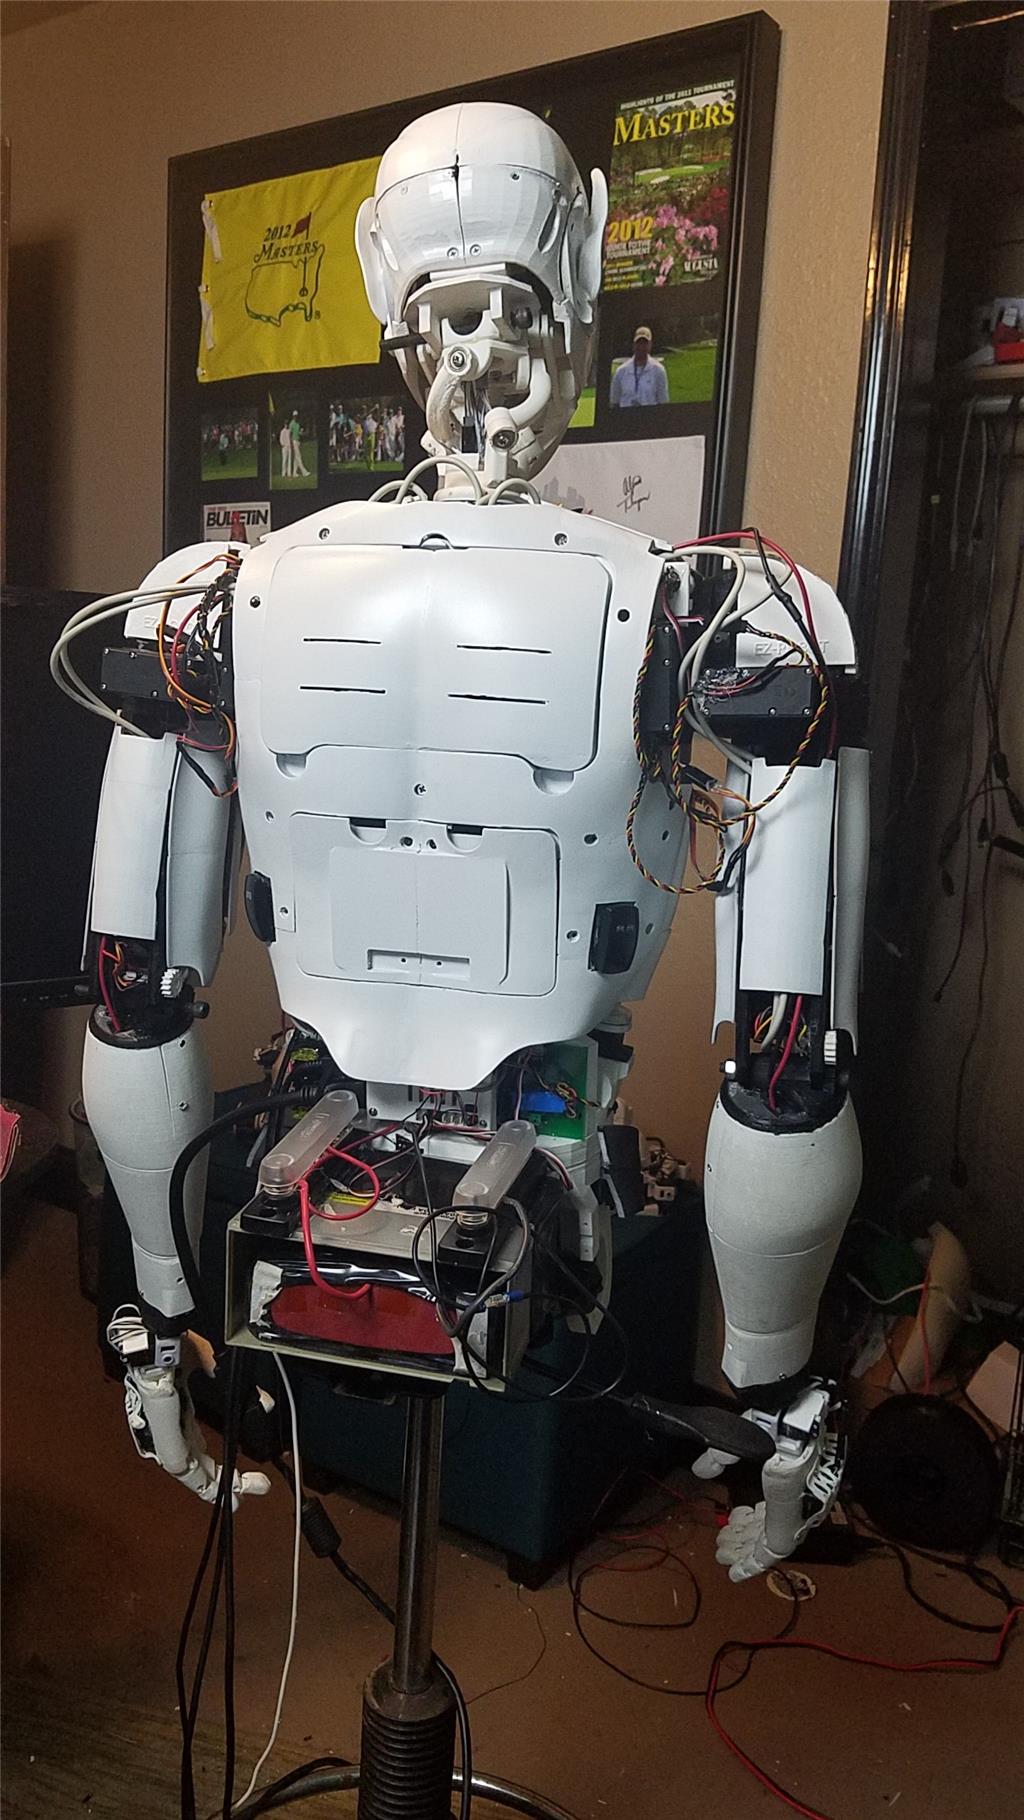
For power I use a LiFePo4 battery that is rated at 30 amps. It has the balanced charging circuit built into the battery and also has a low voltage shutoff built into the battery. This protects the battery and allows the battery to be charged with standard car chargers.
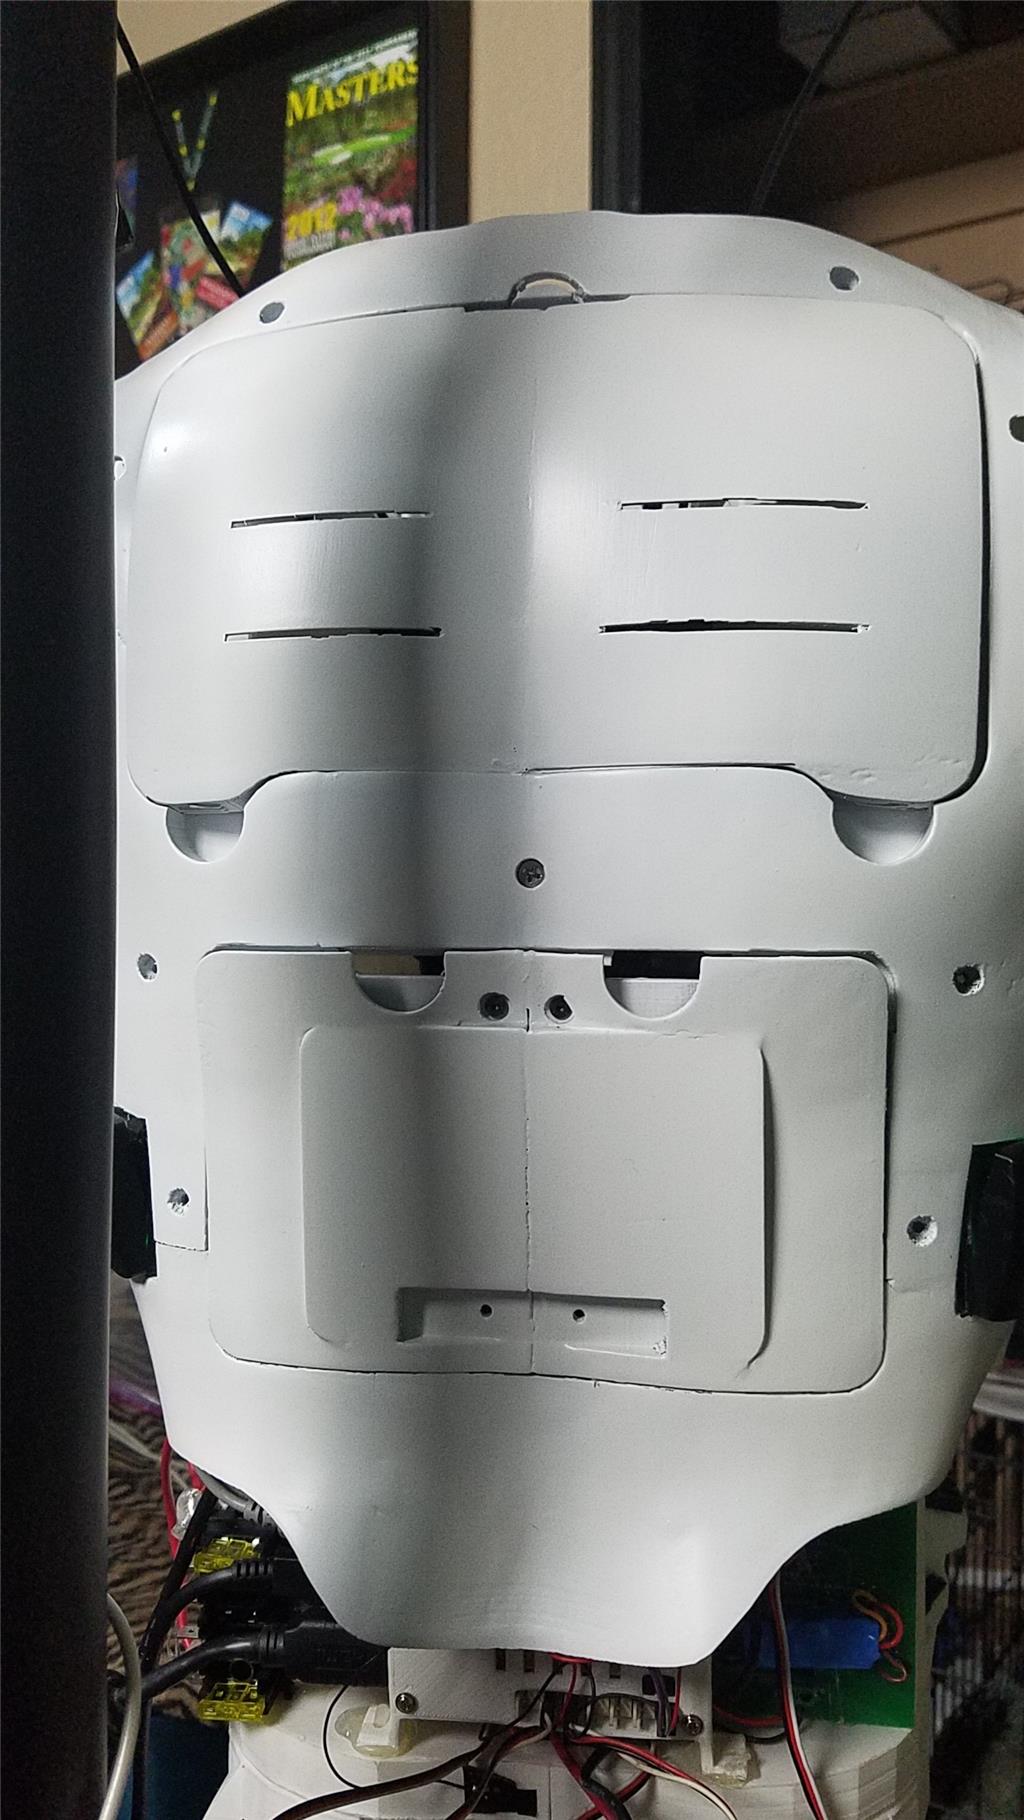
I put switches on the back on the InMoov which are rated at 20 amps at 12 volts. These are rocker switches that allow the user to pretty much slap the switch to turn it off. There are two of these switches. The servos for the elbows and fingers are on one switch. The latte panda, neck, shoulders, EZ-B's, waist motors and some lighting is on the other switch.
I also added a fuse block. This allows 20 amp fuses to be put in line to help protect things. The switches above drive the fuses for each of of the motors listed in that section.

-636348716348649435.jpg)

Discover more robots
Bhouston's Another Inmoov Modification
Rentaprinta's First Real Video Of Hansi - Inmoov With...

Clean up images
You're almost done. It looks just great. I am still impressed how quickly your project goes. I am still working on the 3 piston neck mechanism, due to the extra weight brought by the EZB installed in the head, the front attachment tends to pop out too easily.
@Aerius, Post any questions or problems you have with my neck mechanism on this thread https://synthiam.com/Community/Questions/7787, and I'll answer them there. That way other people that are building it and not following this thread, can benefit from it.
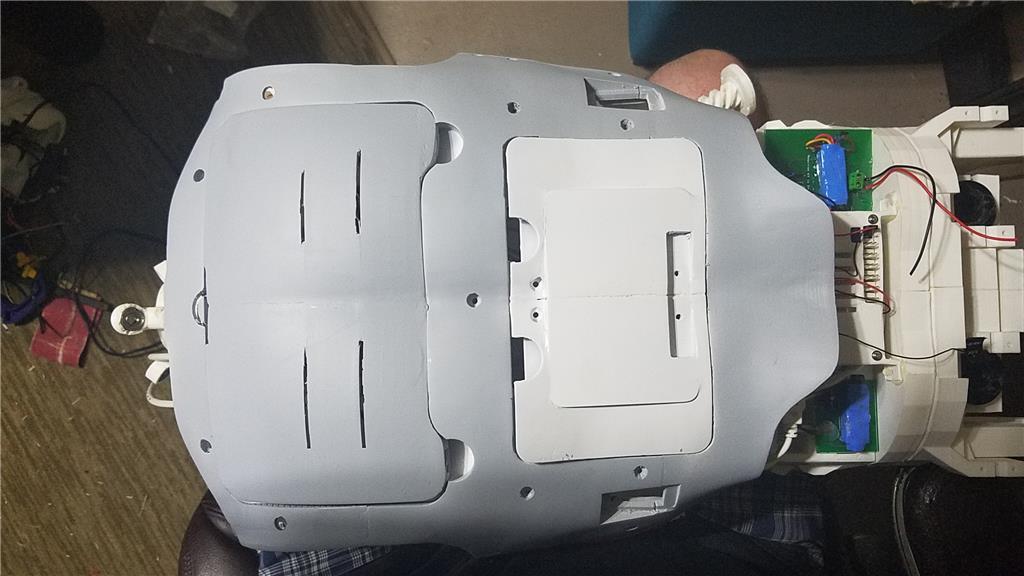
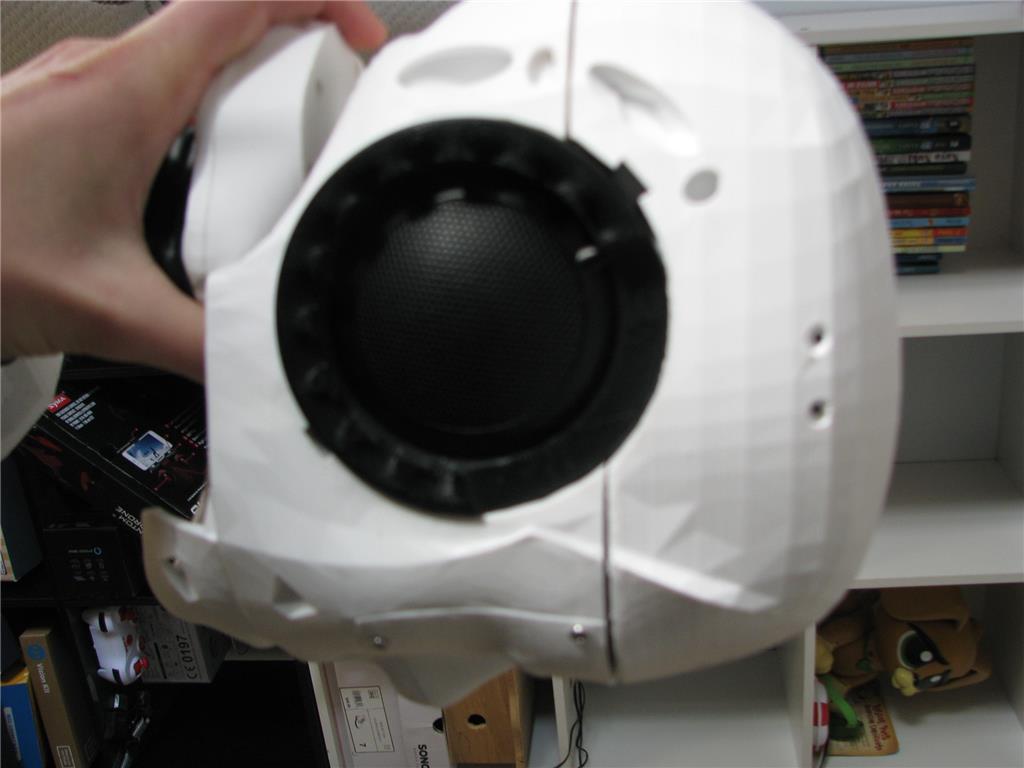
I am reprinting the chest in ABS so that it will look like one solid piece while I work on the face and head fit. I dont like the lines around the eyeglass piece so I am building up and sanding down the eyeglasses so that they fit really well. The main focus is the top and bottom of this piece so that when it is finished, it still can be removed, but will have very minimal lines.
tonight I will start wiring up the v4's and testing some things out. I did have one of my large shoulder servos bind and burn up. I guess I didn't realize when it happened that it did happen because I haven't have this guy plugged up to power in weeks and just discovered the locked up servo yesterday.
There is still some finish work and polish to the paint on the bumper that needs to be done but I have been painting and sanding for a week and am ready to do something else. I will come back and finish this up in about a week which will let the paint get good and cured before I start my final sanding.
Will post a video when he is all functioning.
I will be taking a step back from this project for a couple of weeks. I will do some small things here and there, but I have taken off work the week of the 22nd to focus on completing him (the top half anyway).
In getting the servos running through ARC, I ran into a couple of snags and wiring issues. All of them are minor but I want to have some dedicated time to work on him without work getting in the way. Also, a couple of small parts broke when first moving them and I am out of filament again until Tuesday.
On a side note, my wife started taking a furniture upholstery class and is pretty darn good at it. It looks like I may putting air conditioning in my garage so that she can work on her projects .
.
I have a question though... What are you guys using for a stand at this point? I assume you are using an aluminum pole attached to some sort of tripod base. The table that I am working on doesn't allow me to work with the arms much, so any suggestions of what works well for you would be appreciated.
An old milk crate and some zip ties seems to do the trick of getting my upper body high enough to work on the arm servos. I will worry about pretty later but this gets me moving forward.
I have been thinking about what I am going to do for a mobile base for the Inmoov.
I am thinking that I will buy this set table and chair set
I would put wood between the legs and strengthen the structure with Fiberglass. From there, I would use this as a supporting structure, and wrap it in fiberglass. I would cut the top wood piece to then be the same or similar shape to my inmoov base, and add the parts needed for the inmoov to turn left and right (lower stomach) under the table top. I would leave 2 openings in the back which I would make doors for so that I could access the internal components in the base. From there, I would add the final bottom part of the inmoov and mount the motors and such to the base for mobility.
This structure would allow me to build multiple levels in it. The thought is that the bottom would contain the power components such as batteries, Charger, regulators and motors for mobility. There would be a shelf that would house my computer and a few other components. A steel pipe would go up the center of the structure to mount the Inmoov to and also provide a protected path for wiring to get from the base of the inmoov to the upper section of the inmoov. The fiberglass structure would also provide more stability for the base and be able to be sanded and painted as needed to make it look good. I may do Carbon Fiber on the exterior for looks, but I think I will just go with Fiberglass for now.
The upper structure of the inmoov matches my body dimensions pretty well. The table comes up to my hips so it should be a pretty good size match for the inmoov. I might use one of the chairs for additional internal support if needed. I dont know yet if I will need to do so or not, but worst case, I could use the wood from the chairs for the shelves in the InMoov.
Thoughts are welcome if you would like to share.