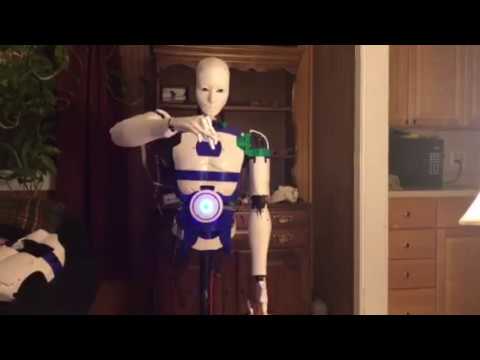


Hello all, I wanted to start my own thread to discuss my Inmoov and my conversion to EZ Robot. I appreciate all the work by the MRL guys but I struggle with it. I am indebted to the help they gave me but I needed something a little more along in development with some documentation.
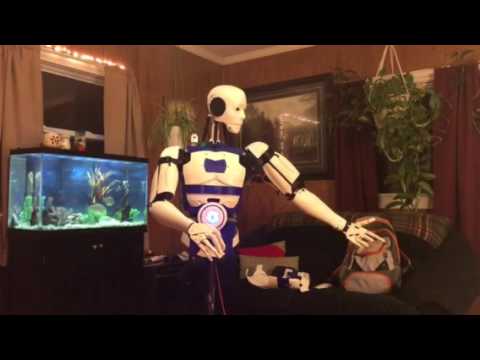
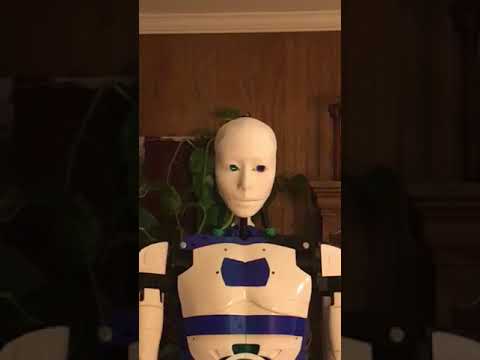
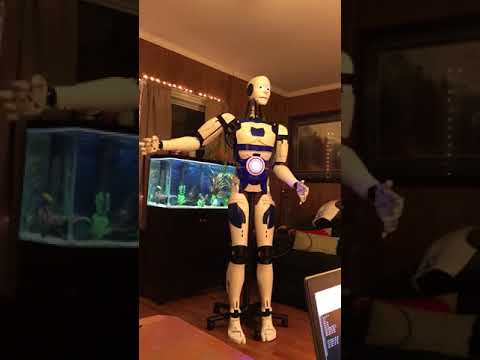
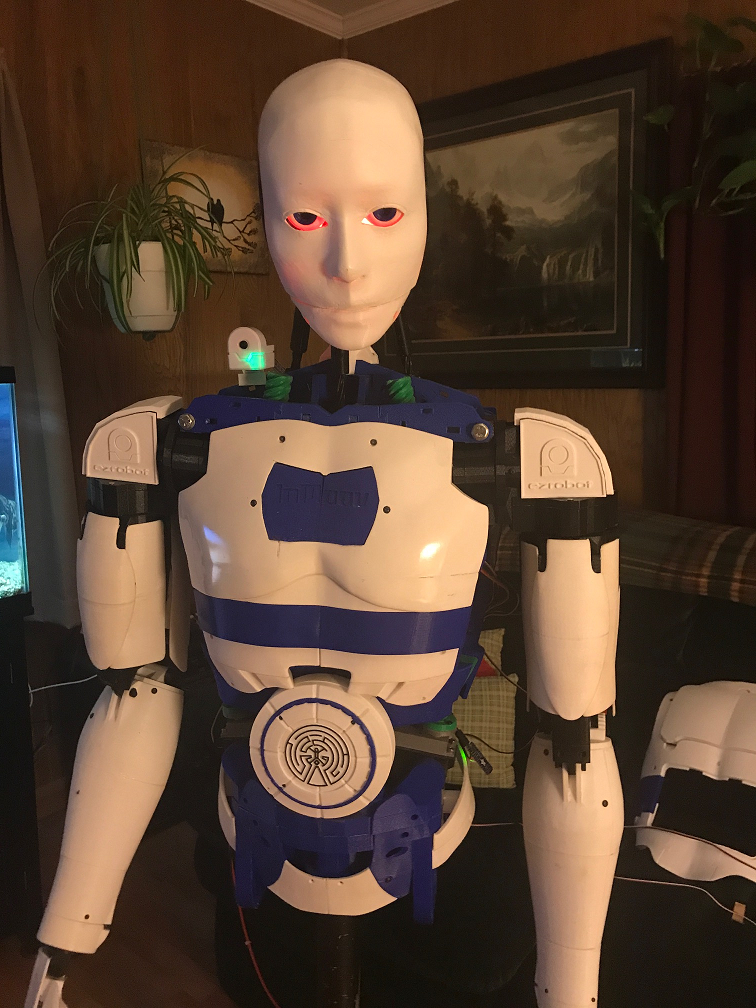
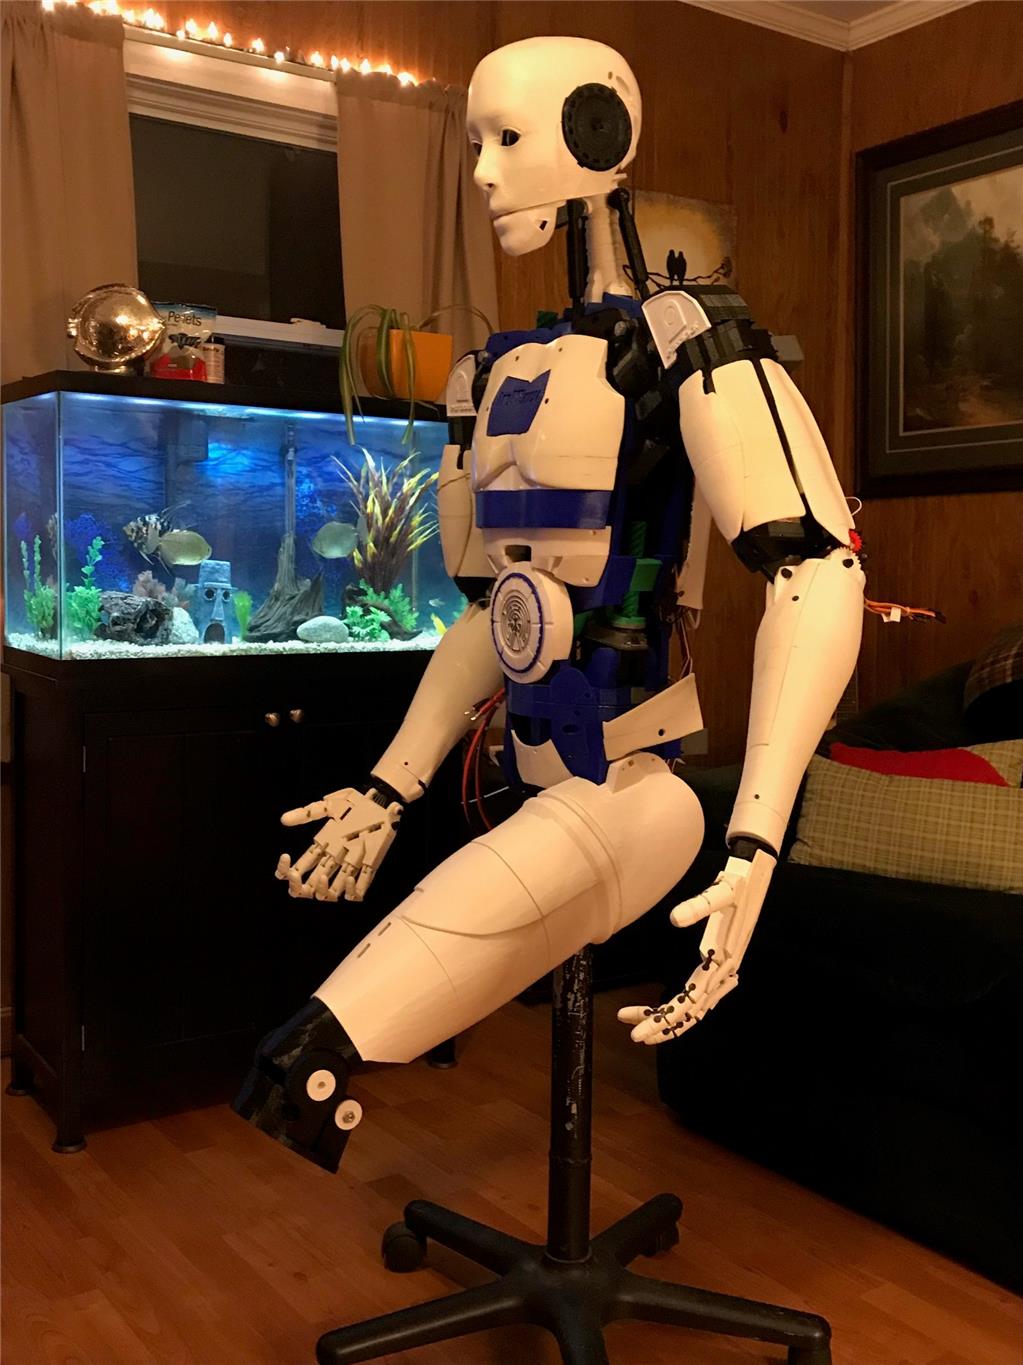
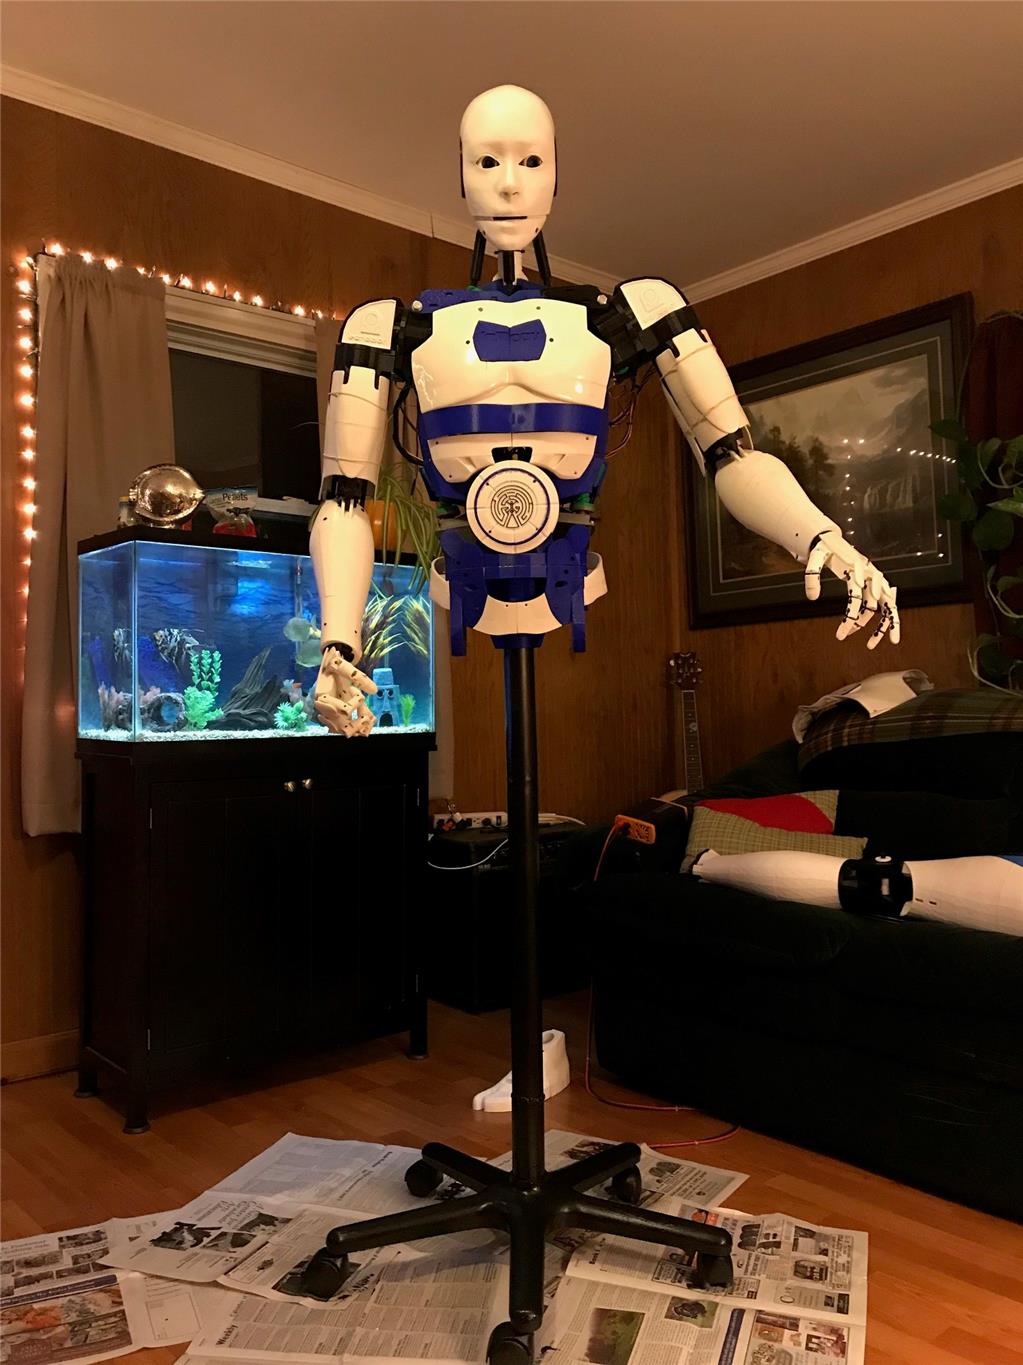
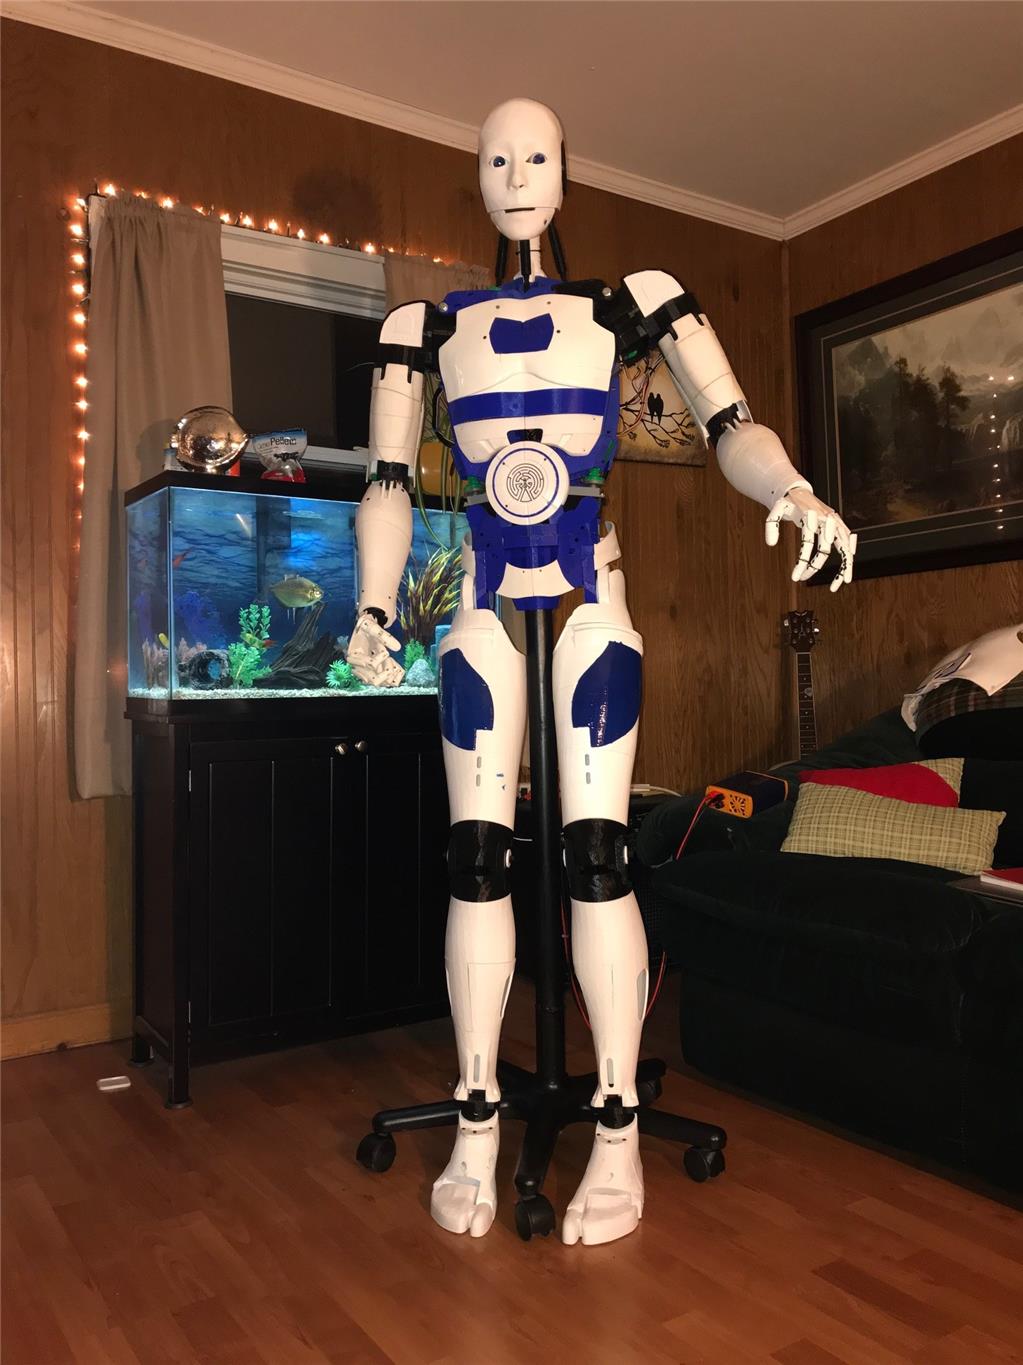
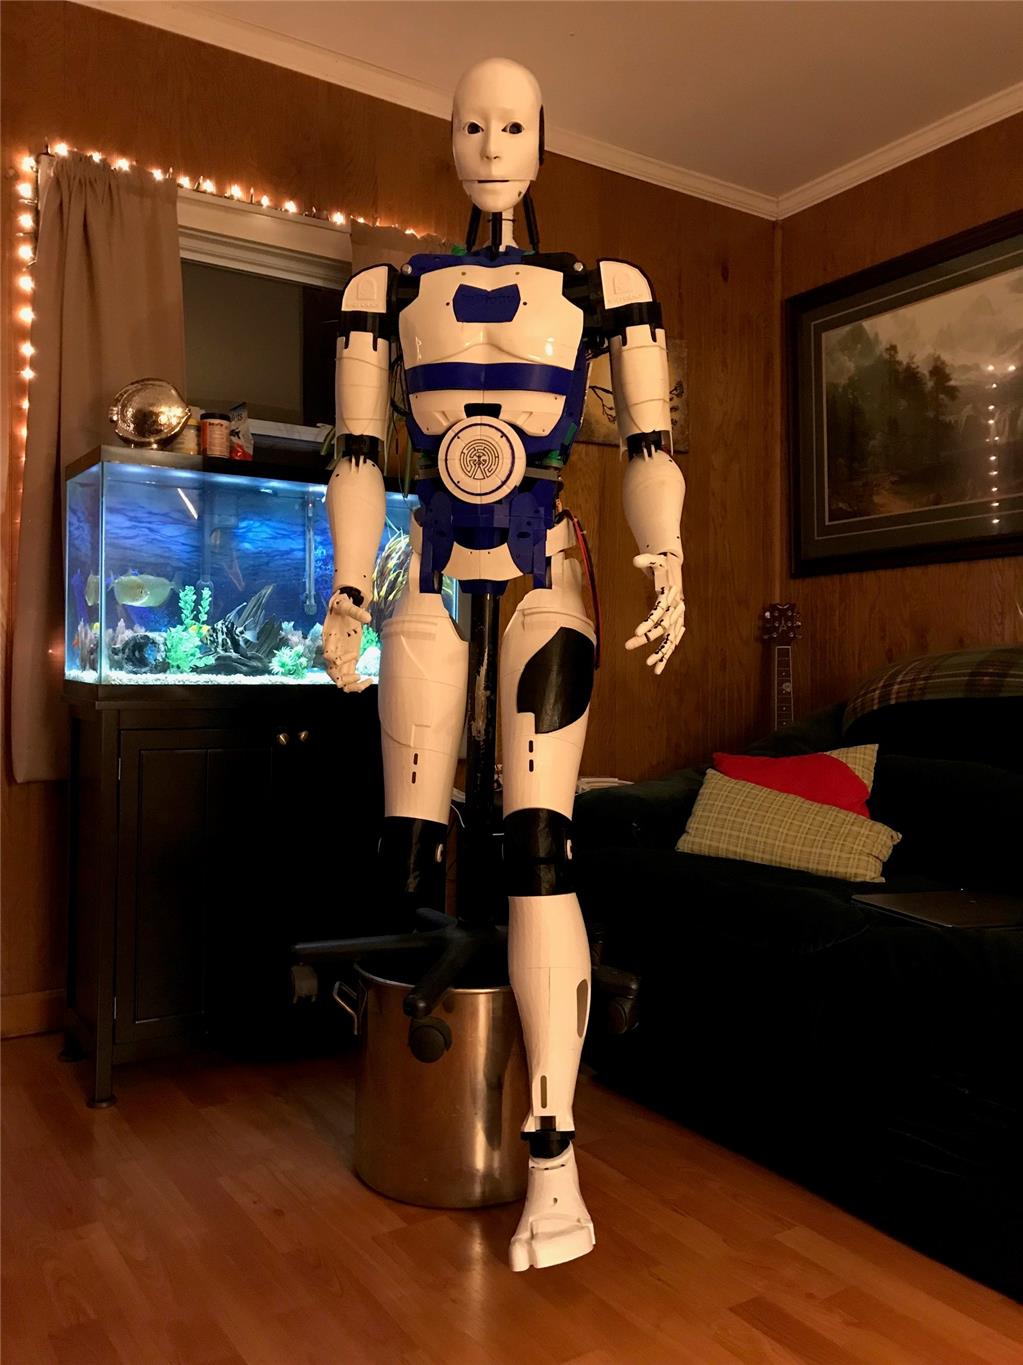
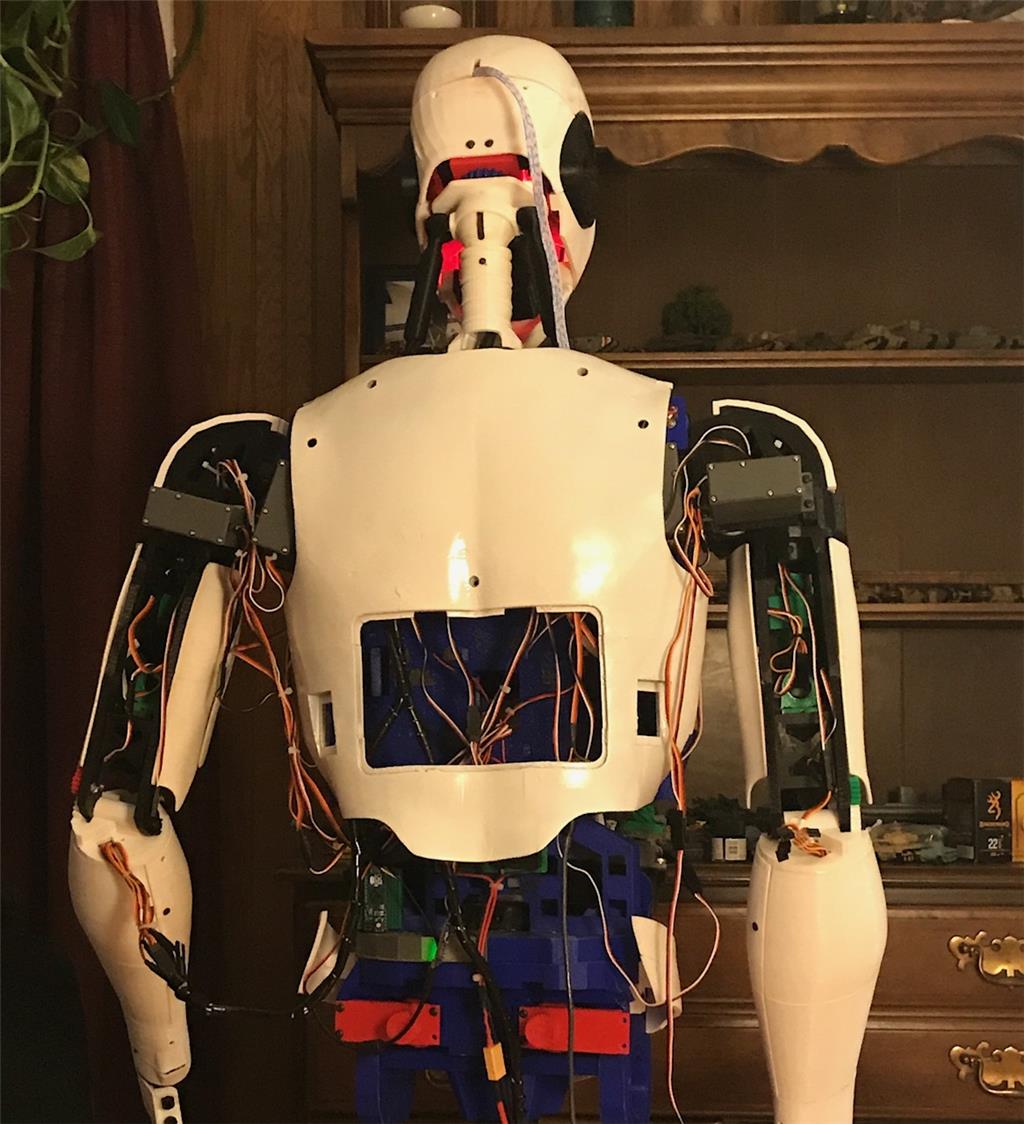
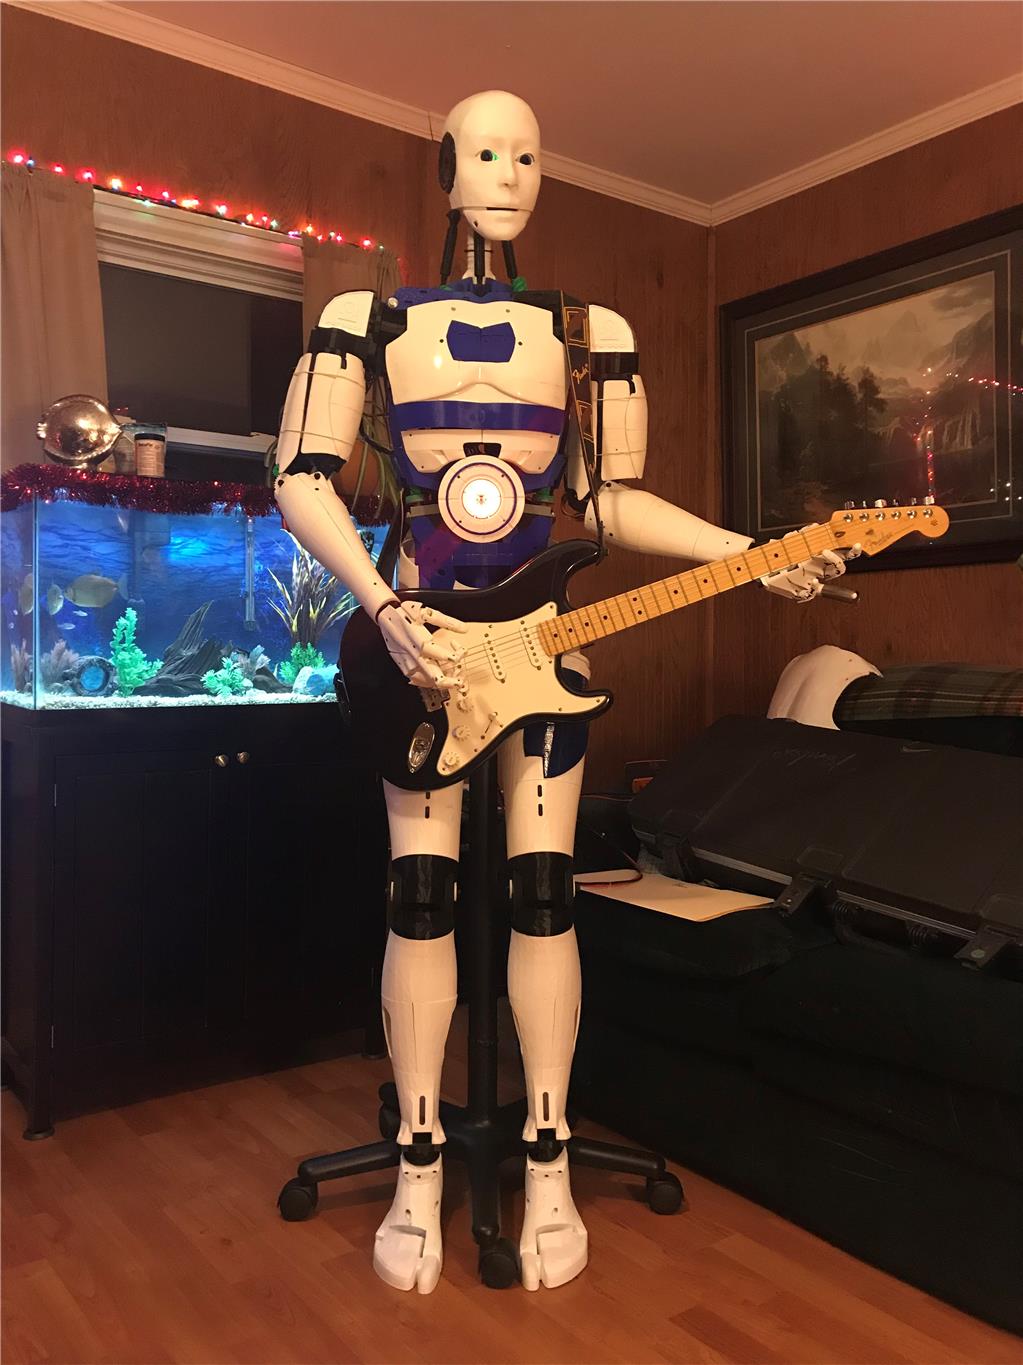
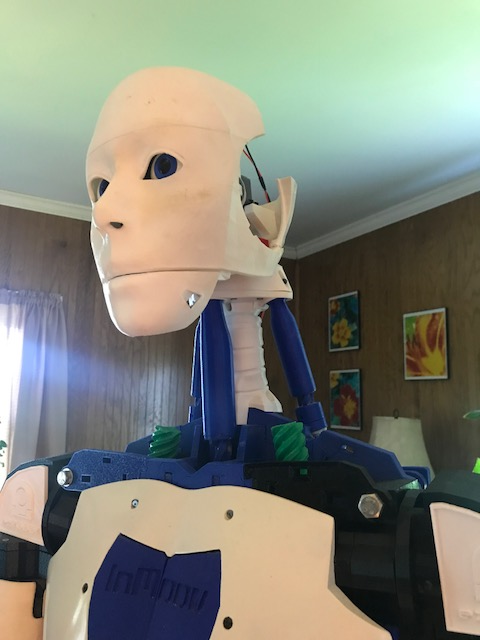
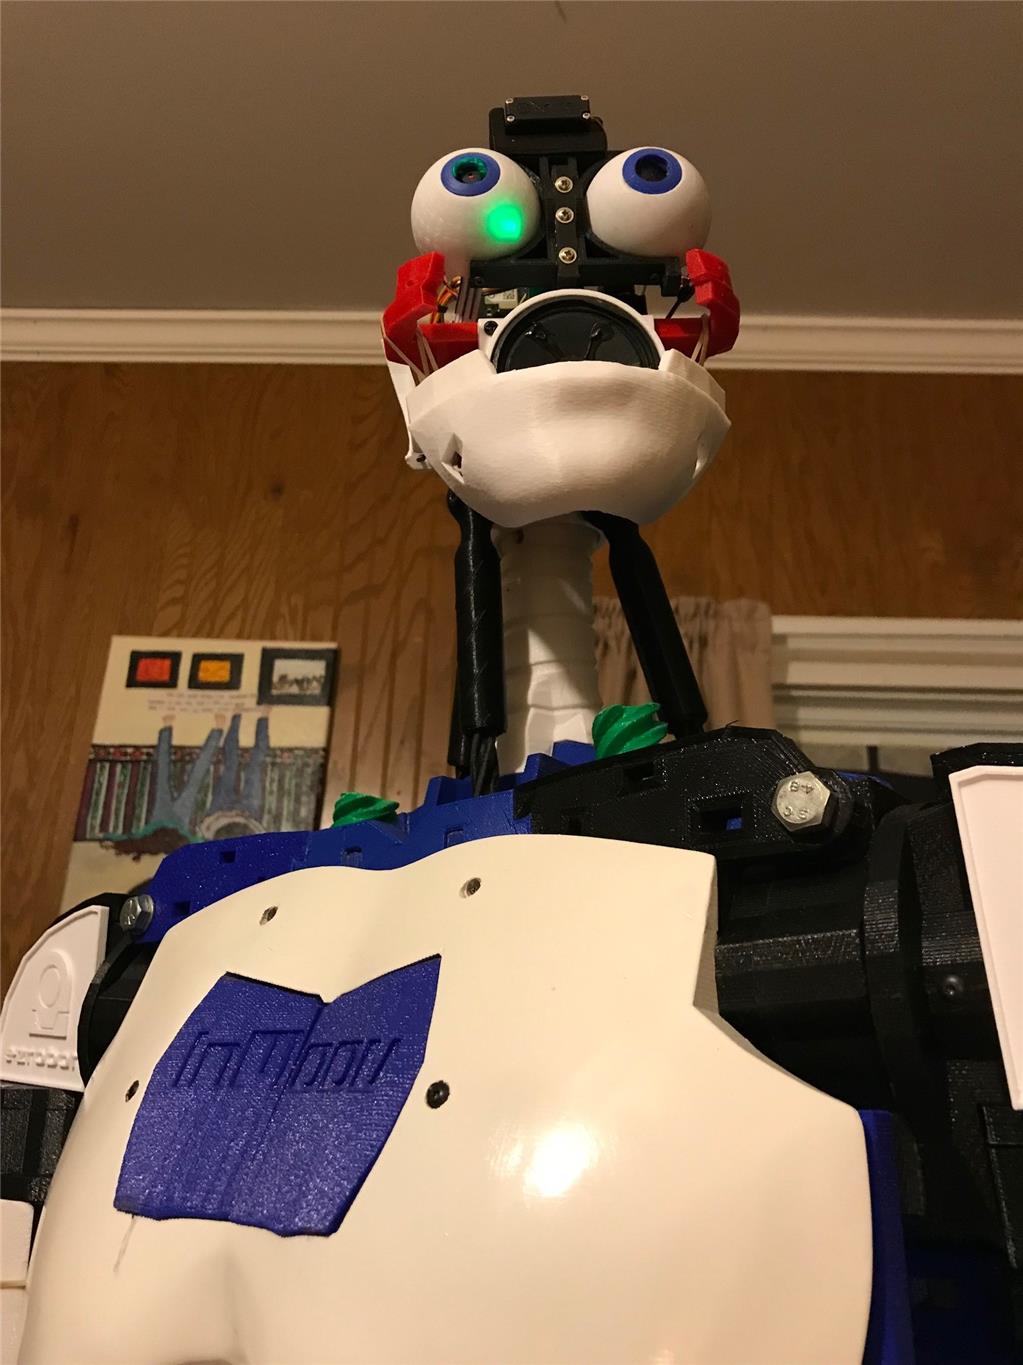
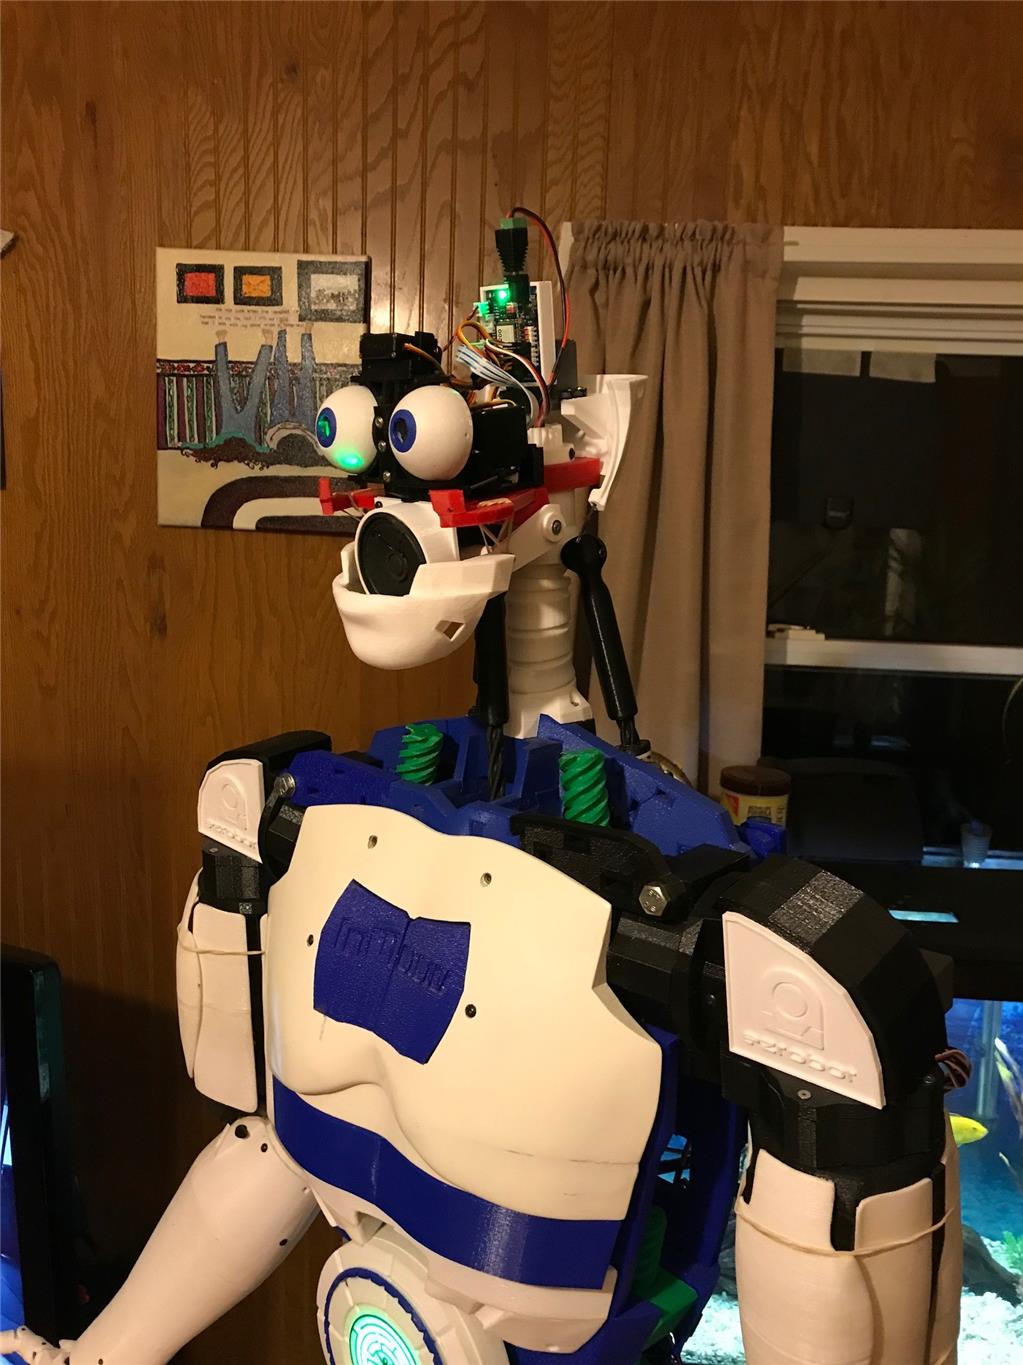
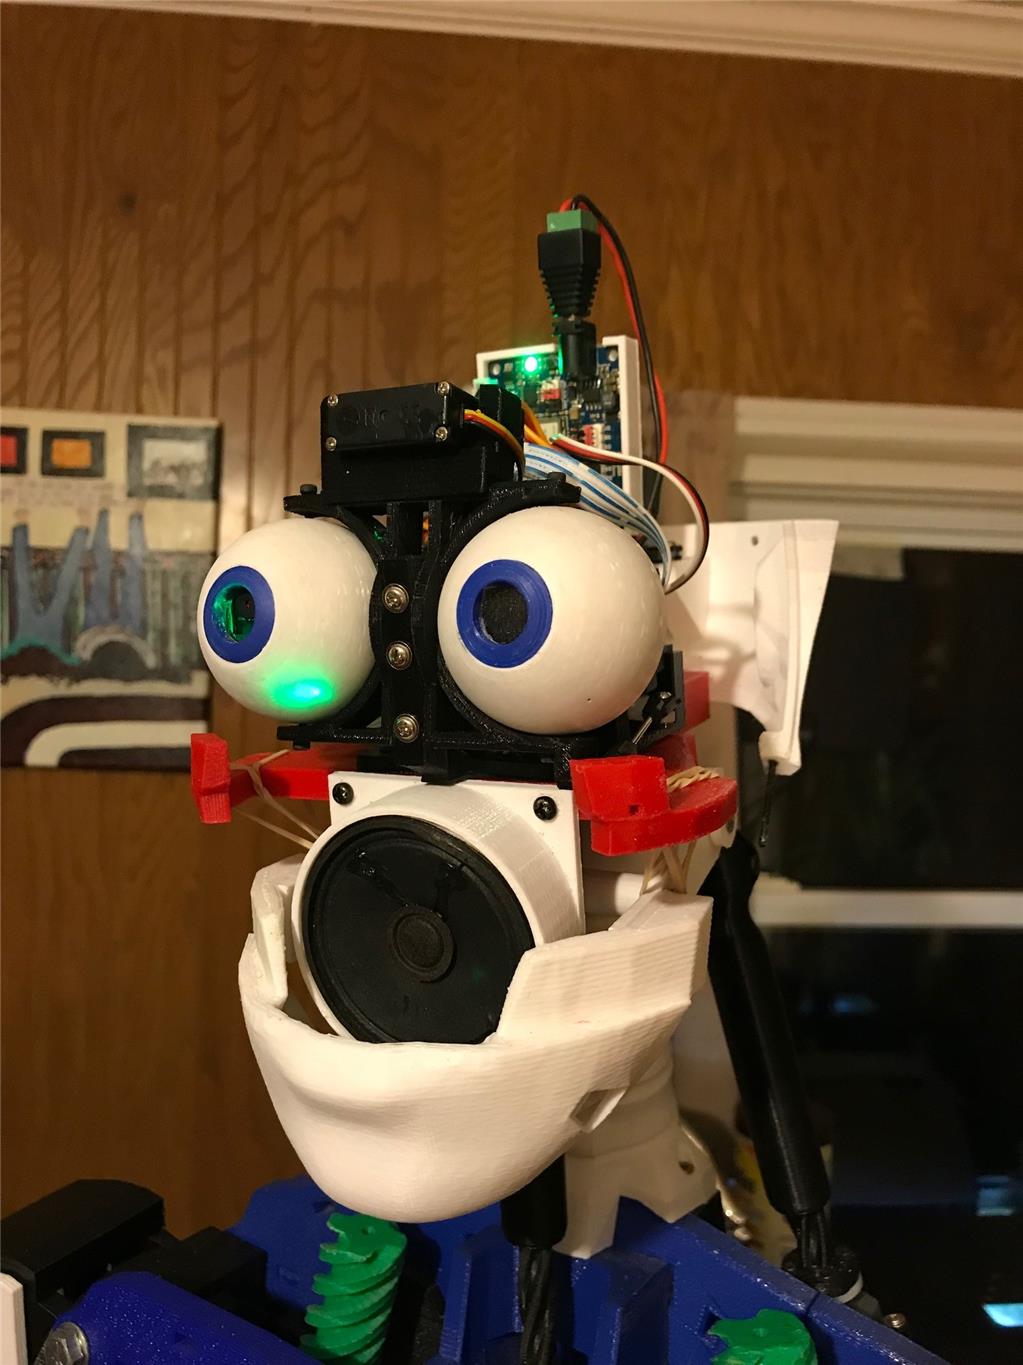
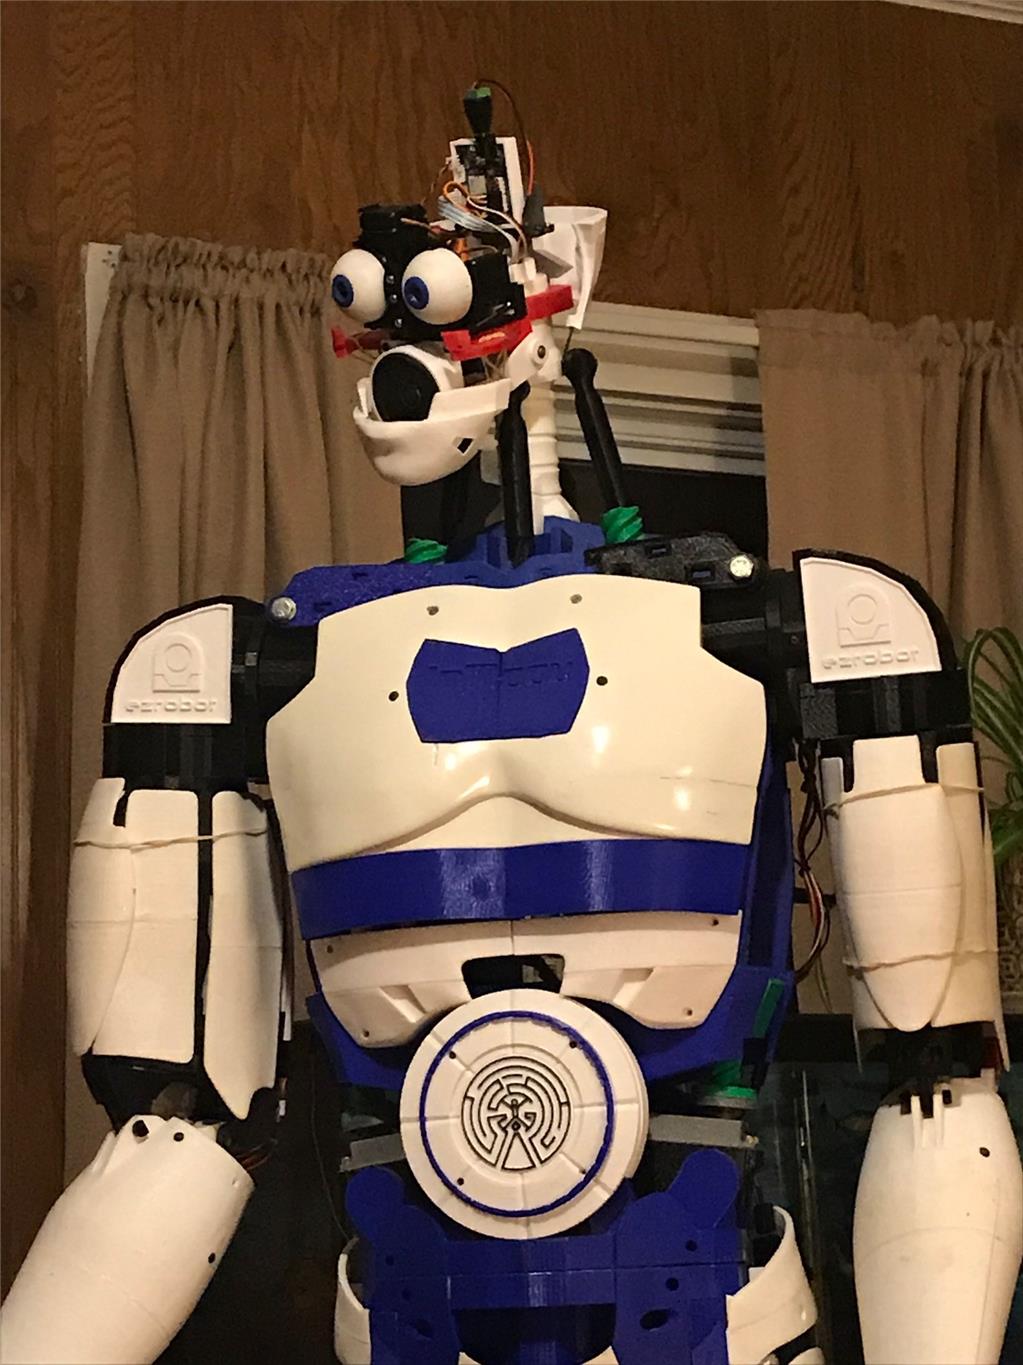
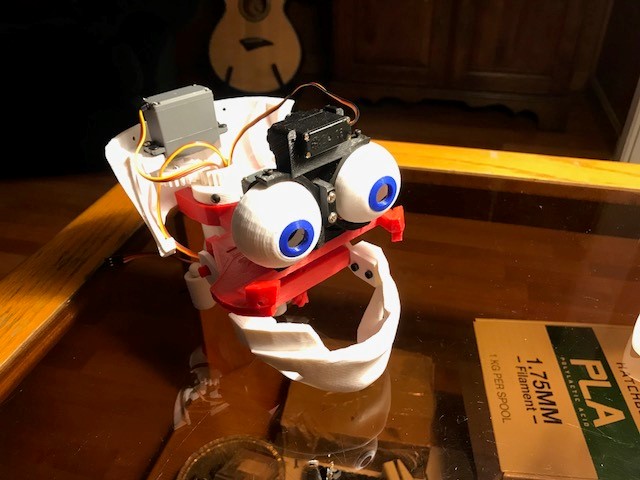
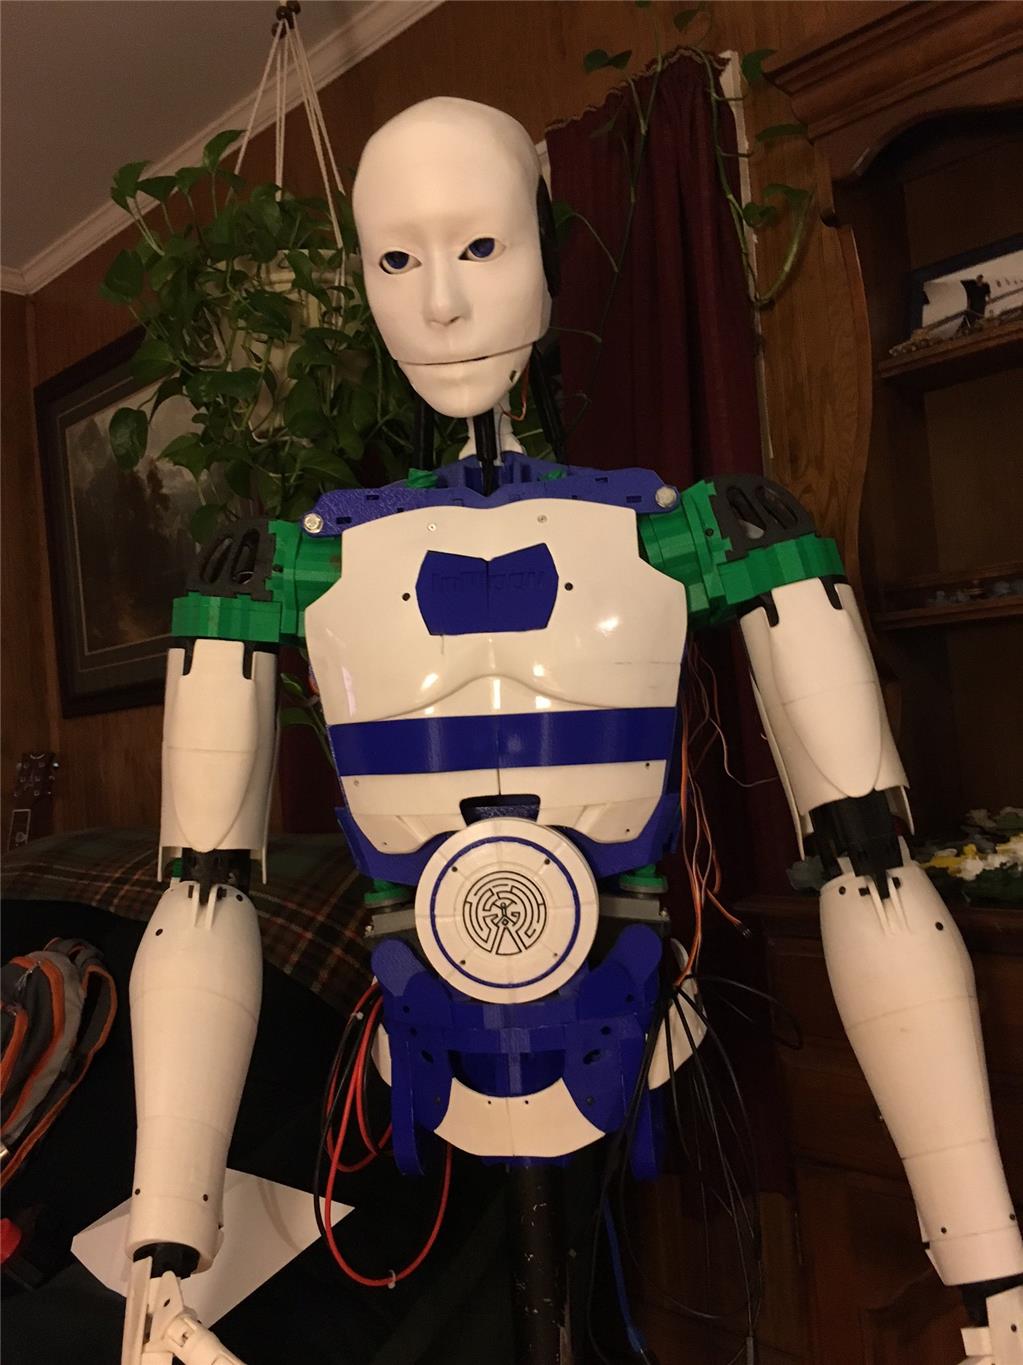
So here is my guy. Pretty standard build as far as inmoov's go.
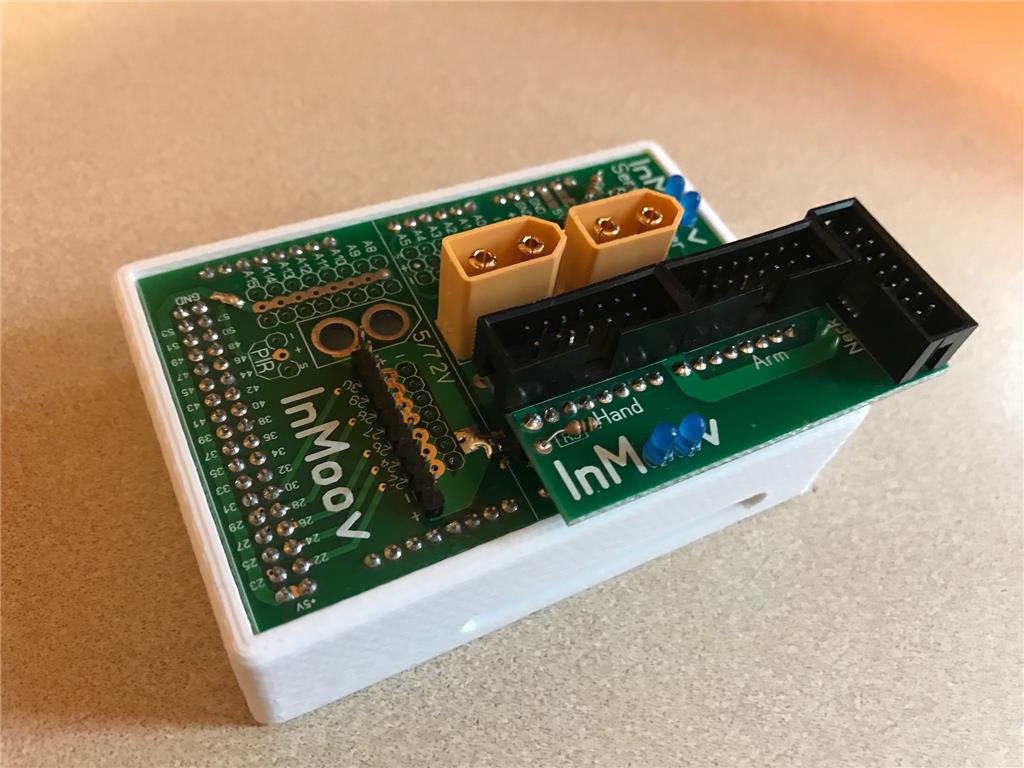
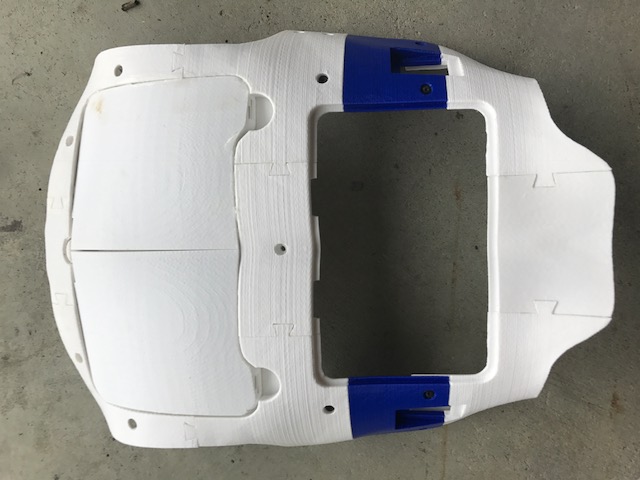
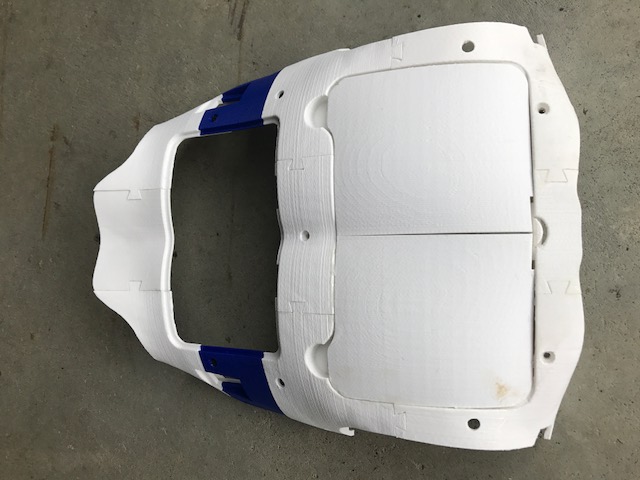
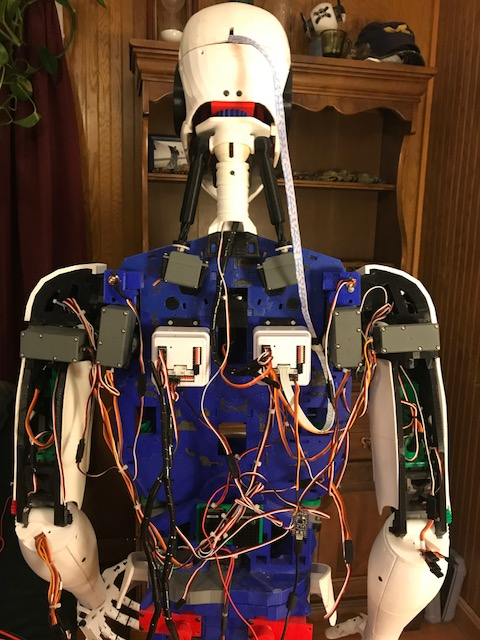
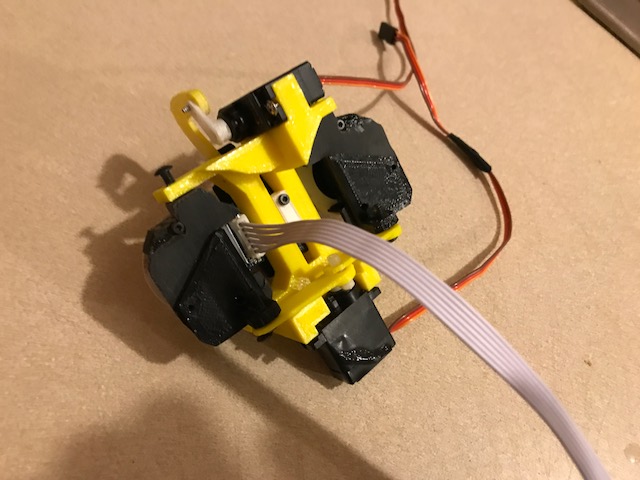
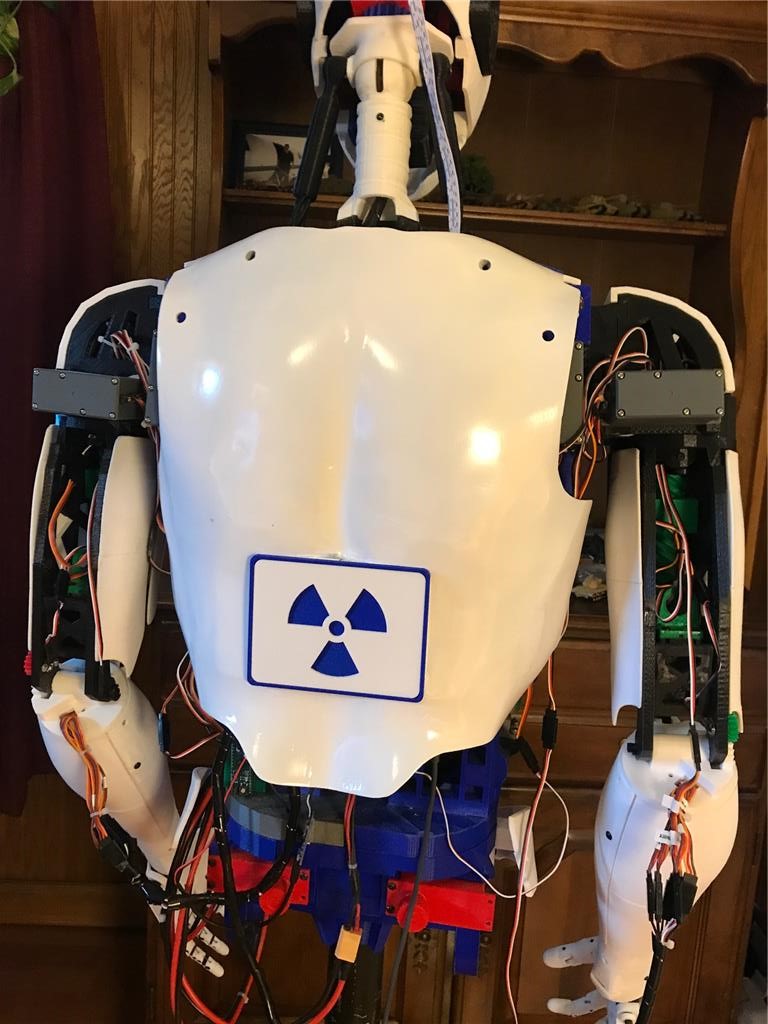
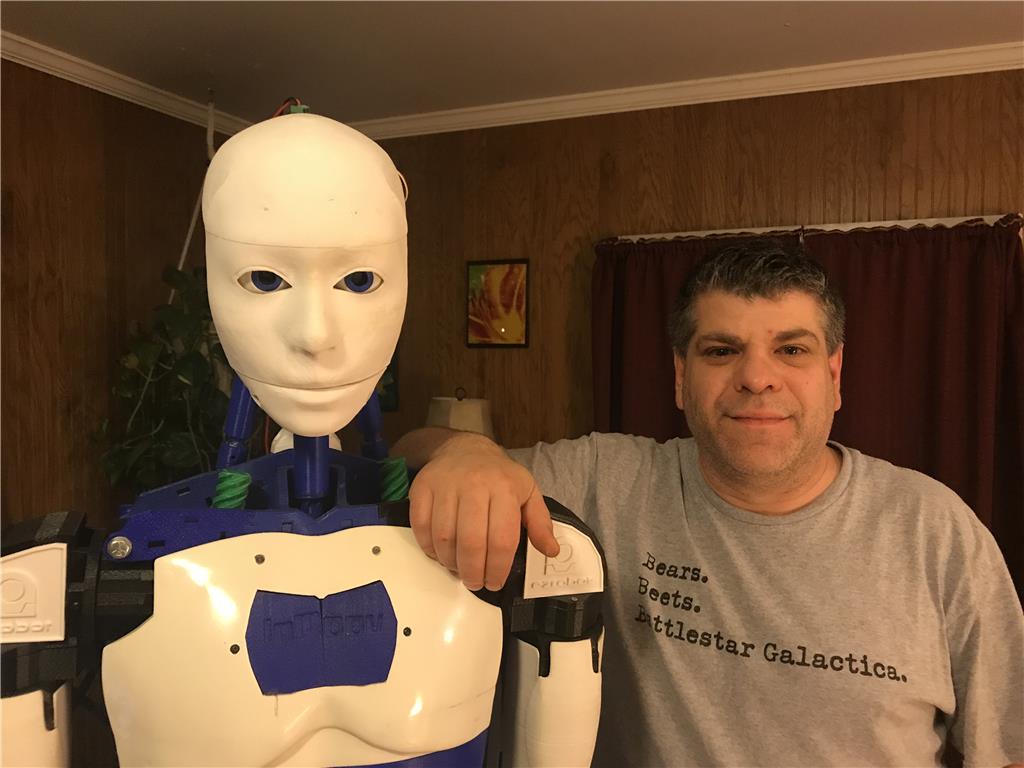
Here's the back. All the standard inmoov components. Dual 256 Megas, Nervo boards USB hub, Power supplys etc.
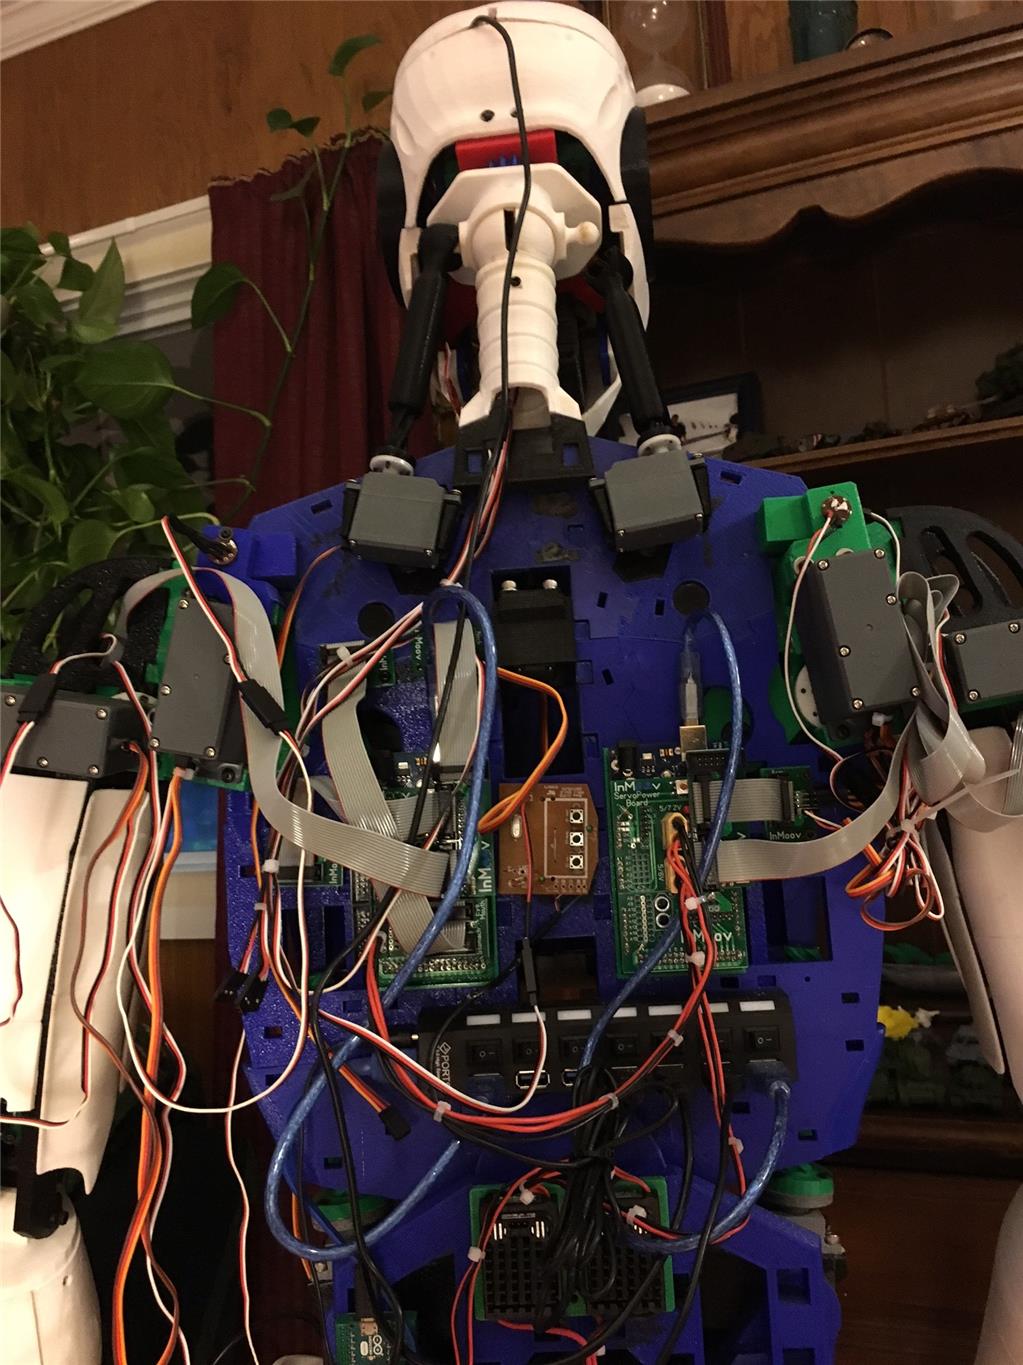
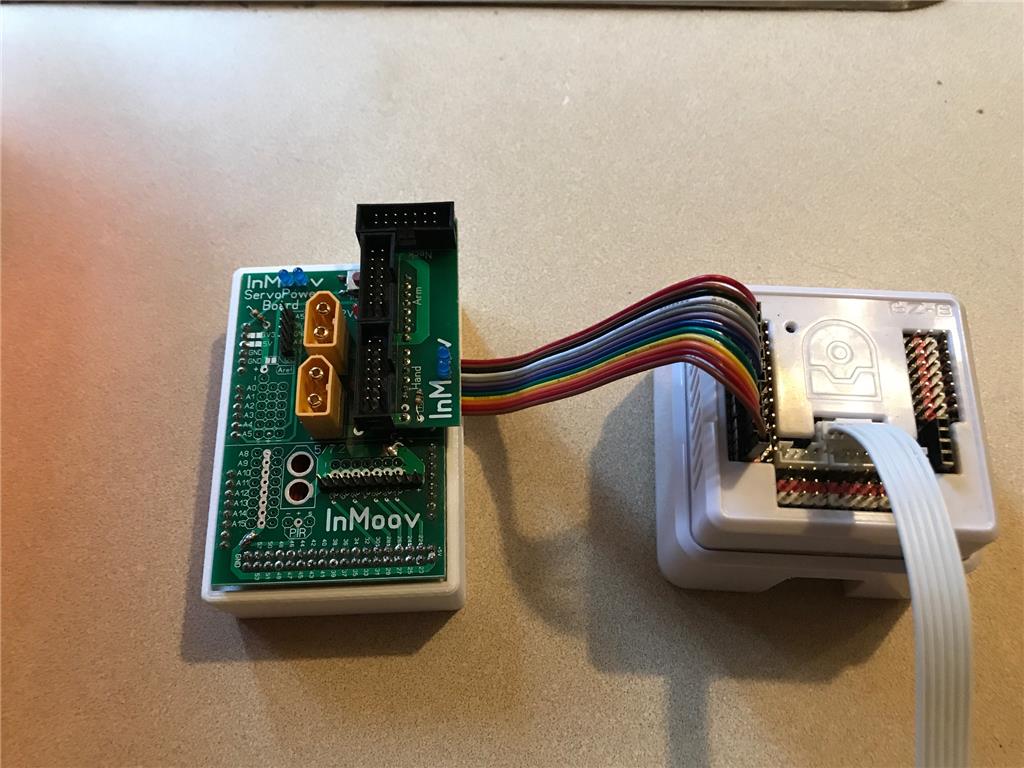
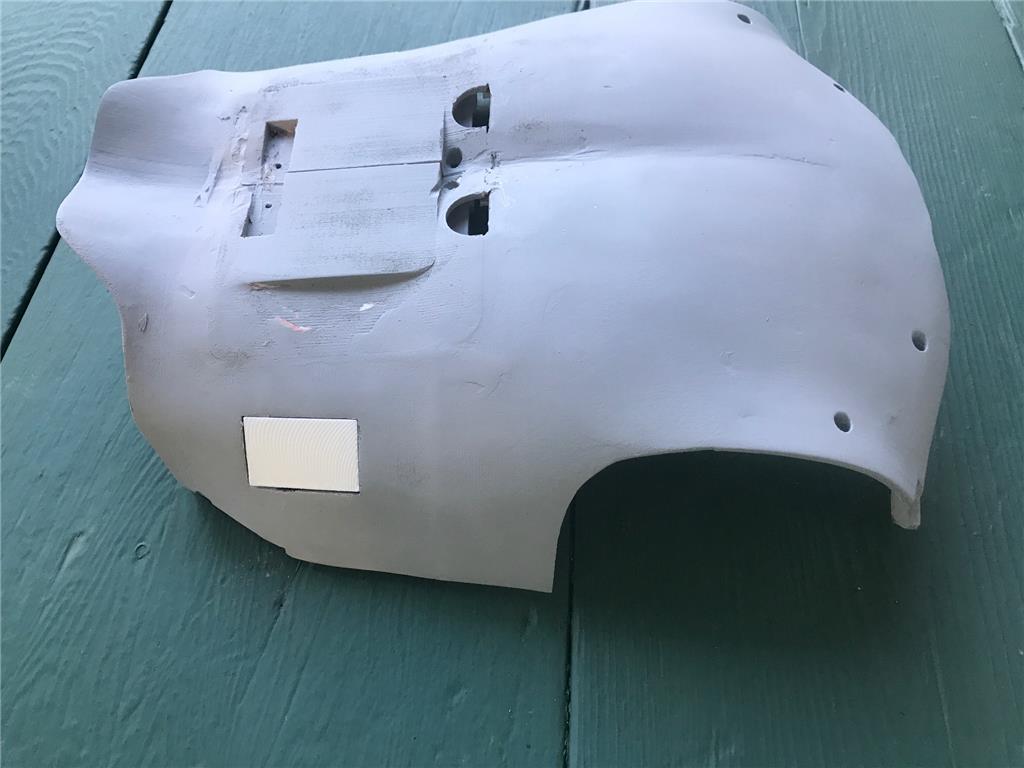
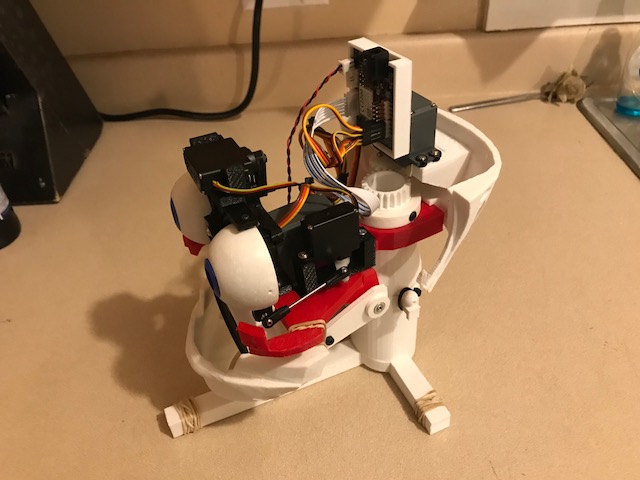
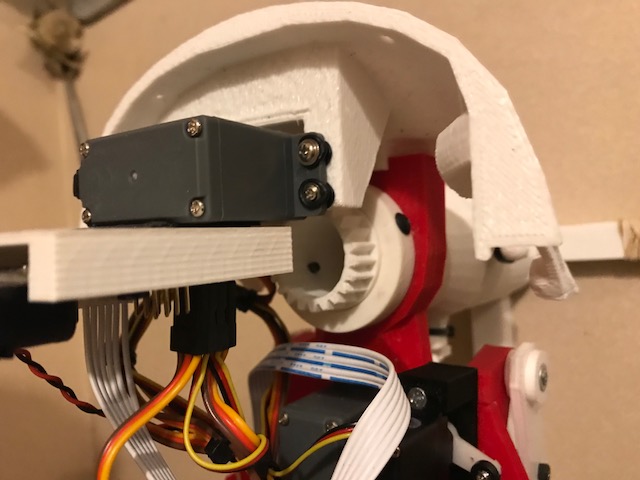
So the tear down begins. I need to clean up that wiring too. What a rats nest!
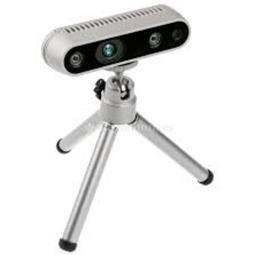
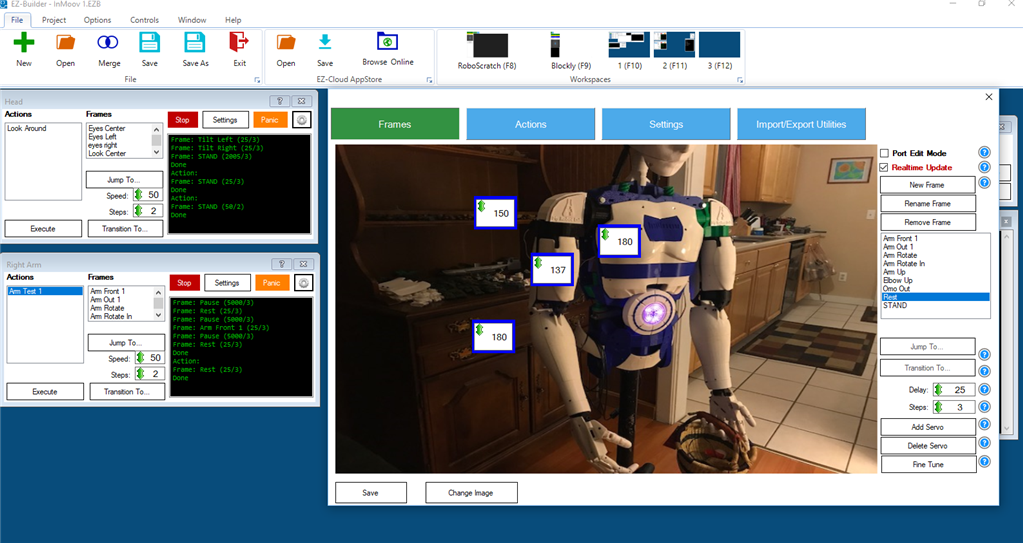
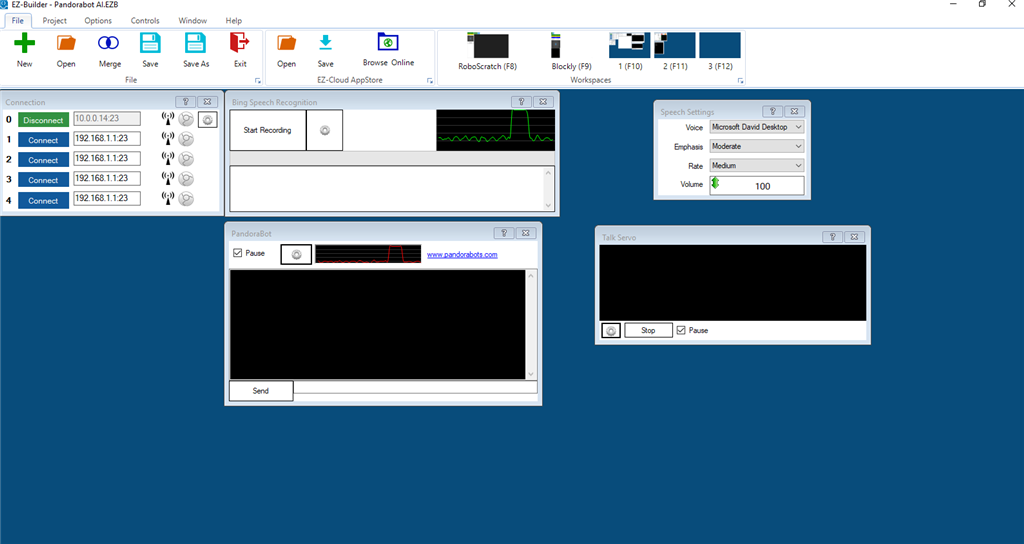
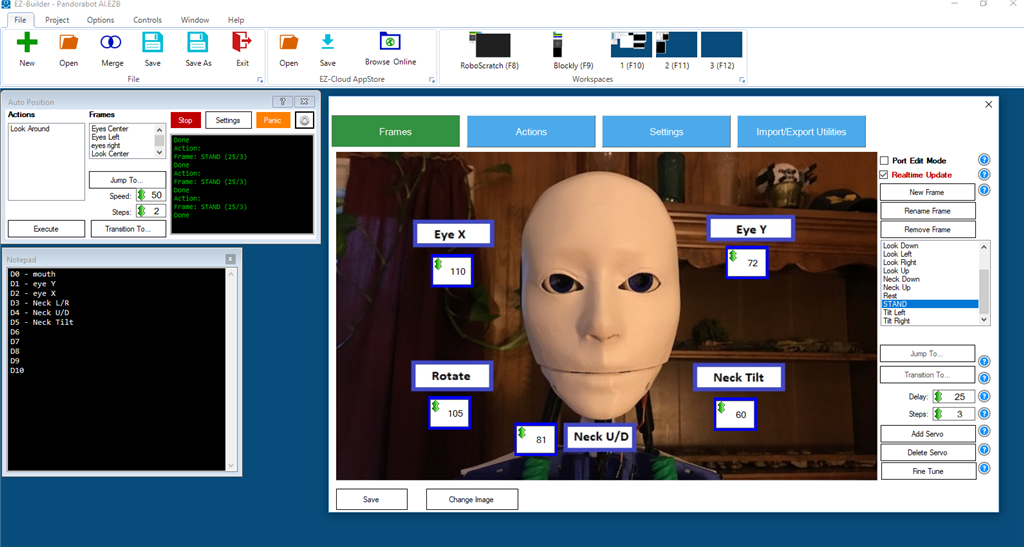
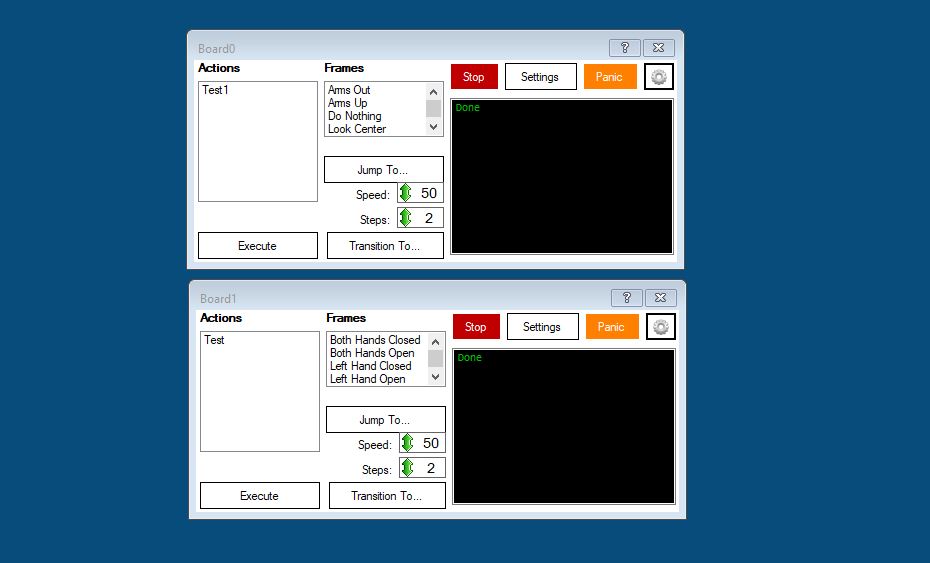
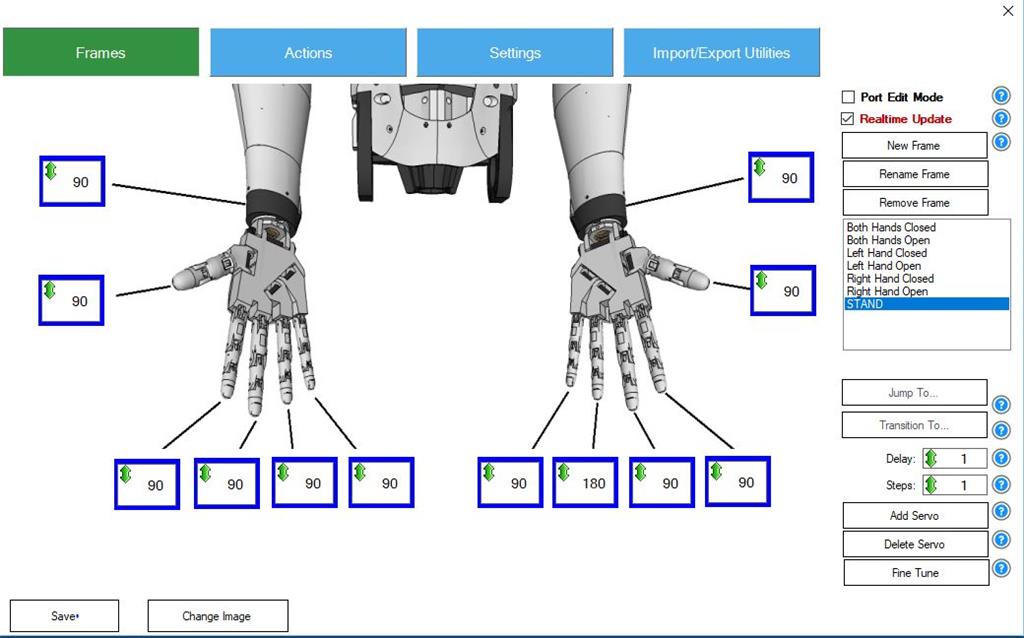
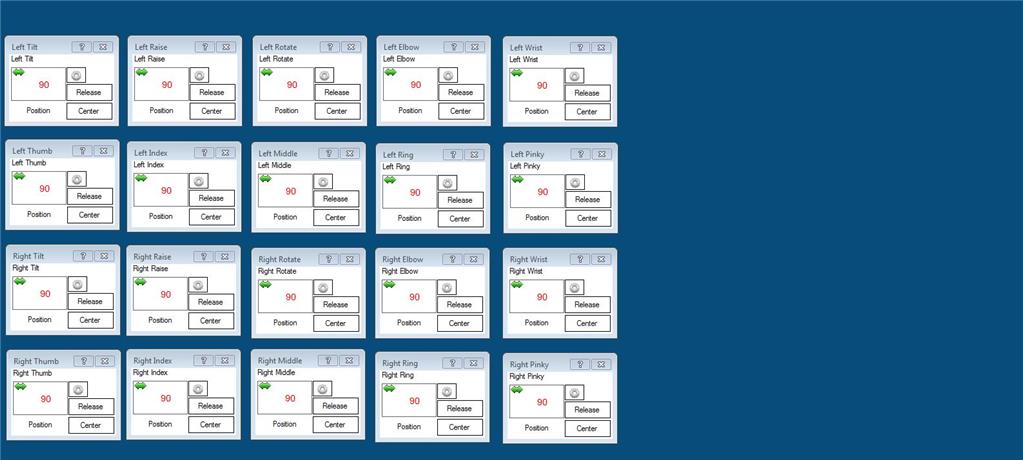
I just received my EZR controller and camera so I have no idea how to program it yet. I figured I would at least try to set up a GUI that allows me to manually move the servos like the MRL swing GUI. Five or six hours later and a few tutorials and I have this three screen model. I was easily able to add way more than basic servo control.
Here is the main control screen. Contains the face tracking speech functions and a custom Pandorabot for AI. Some MS cognitive stuff as well.
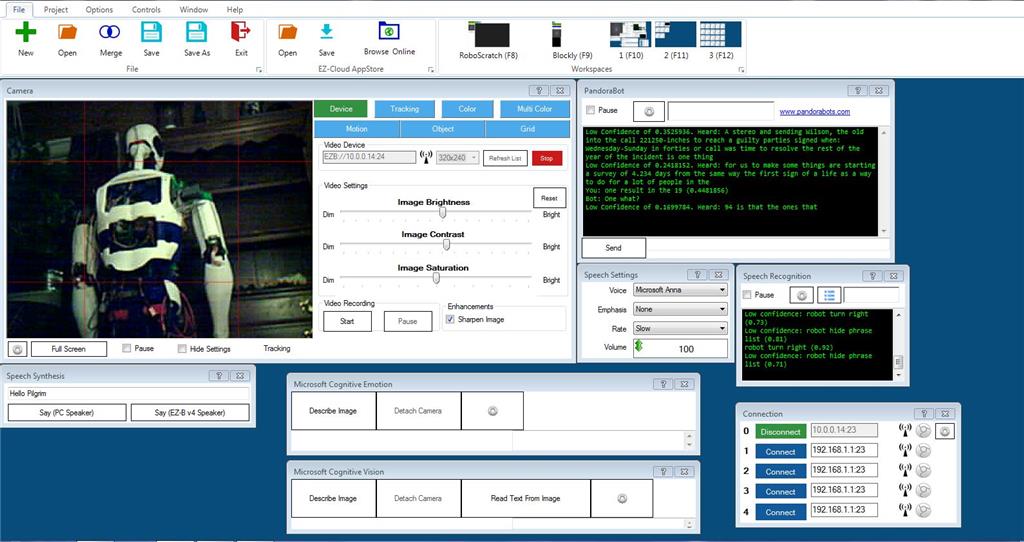
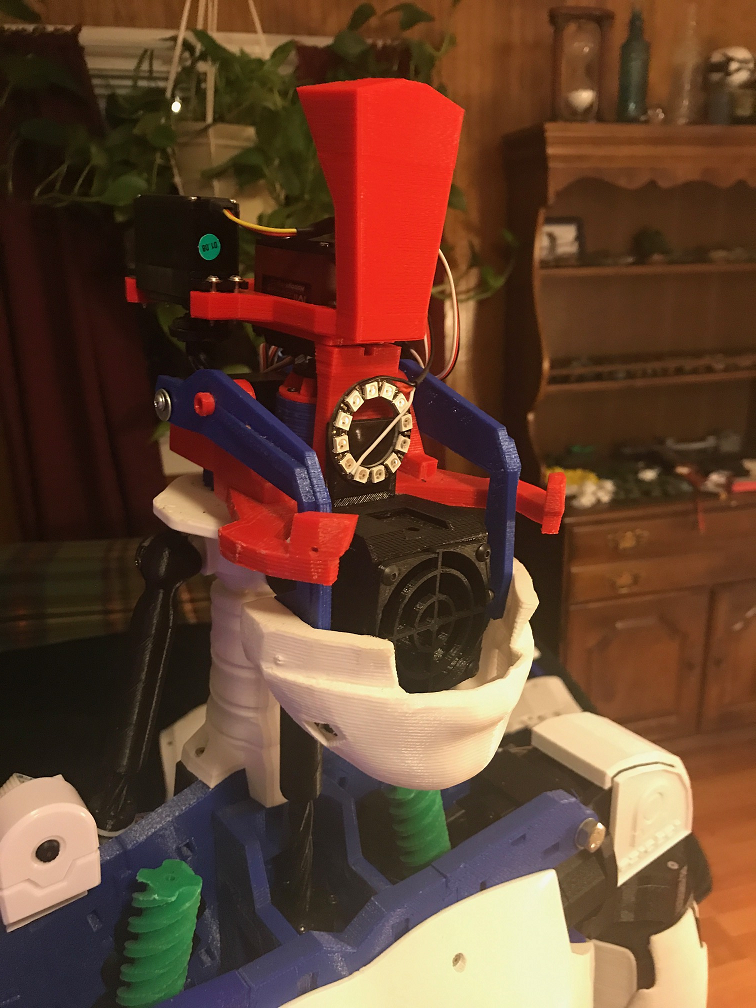
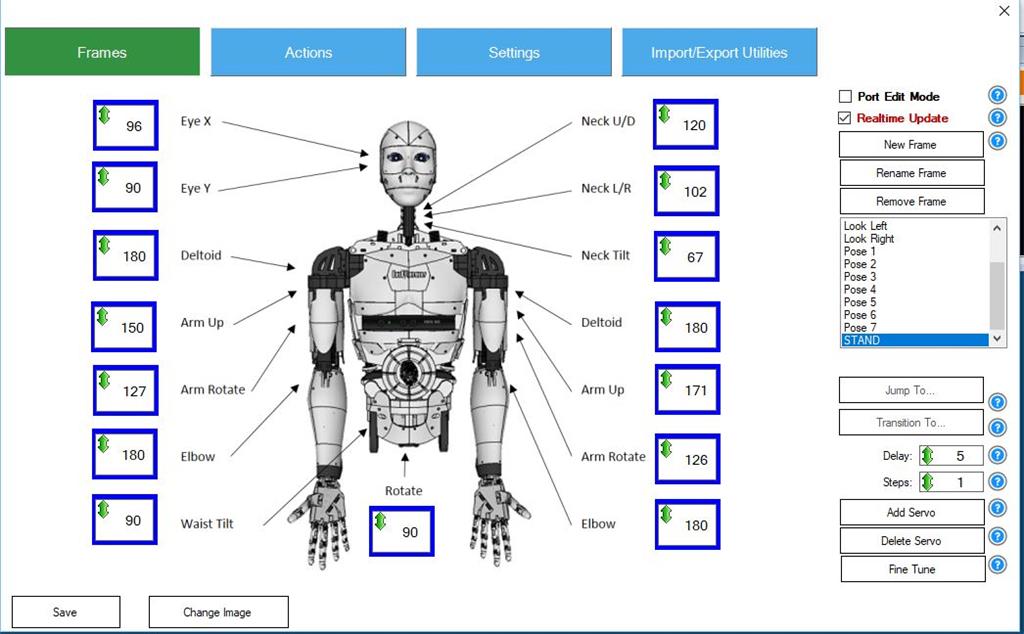
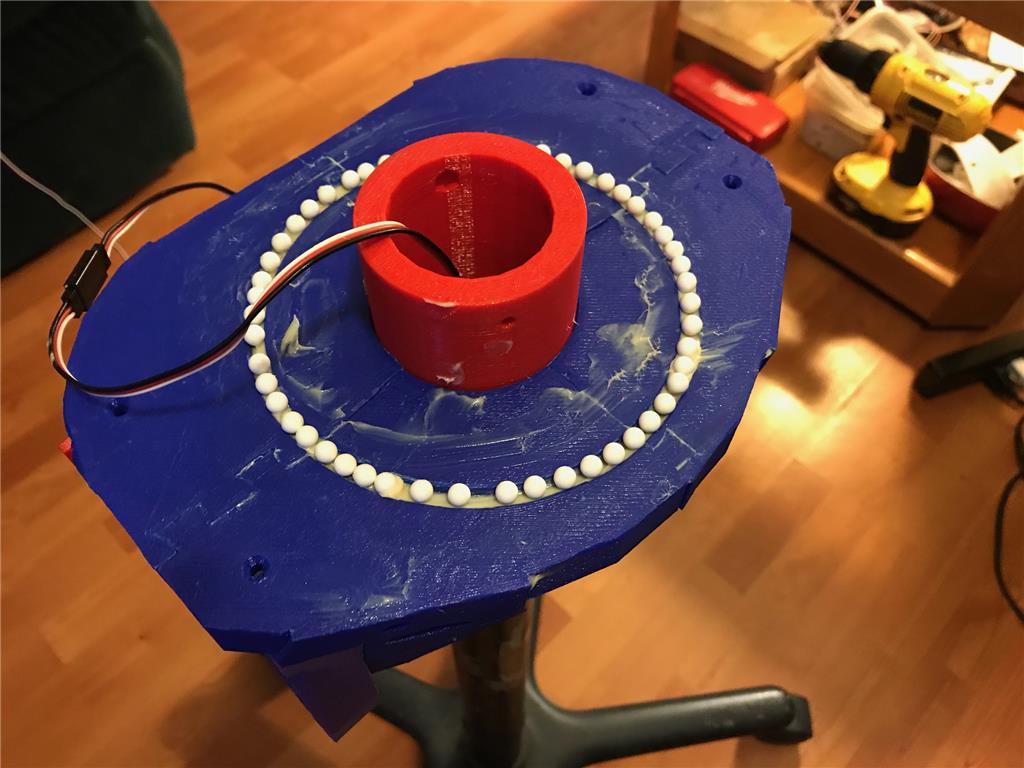
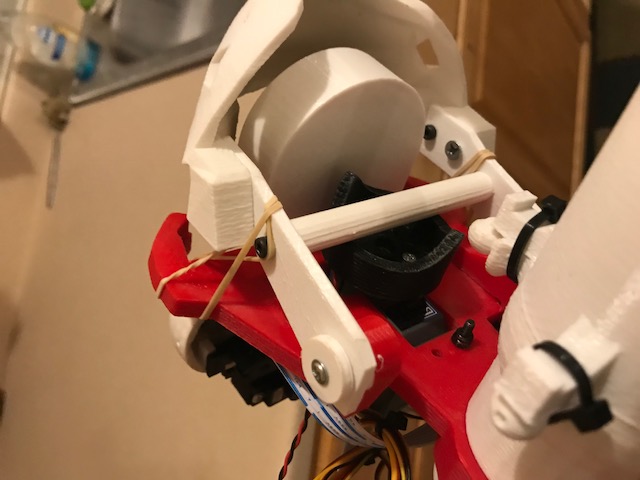
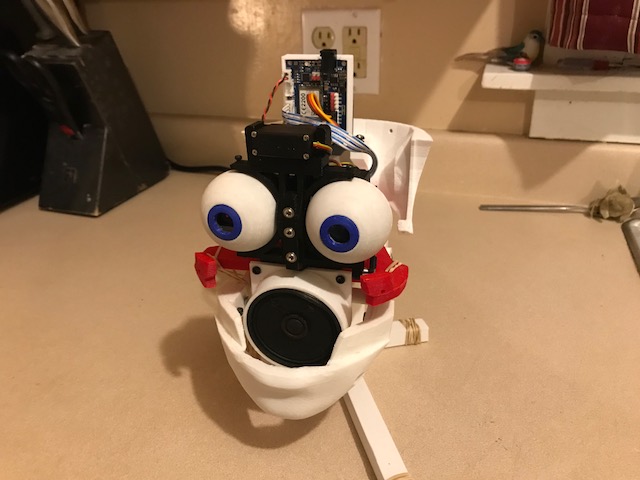
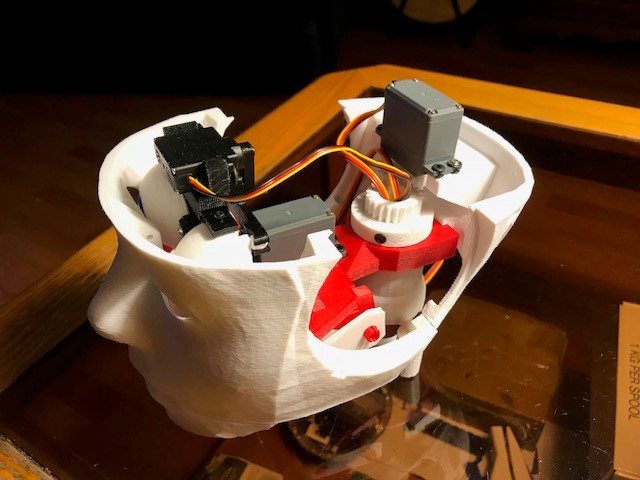
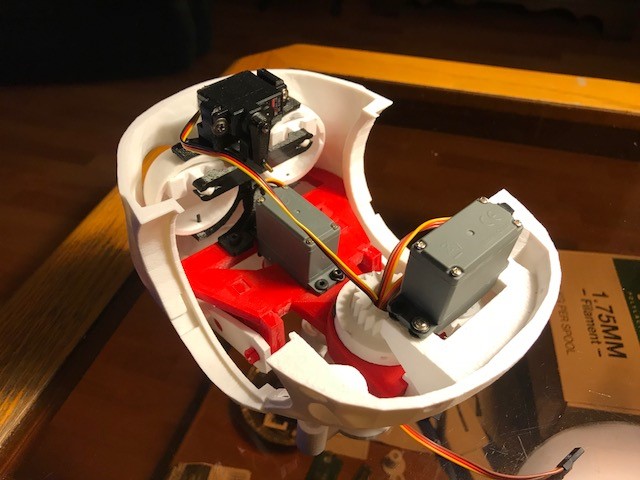
Here is the second screen. Head functions with a mouth control servo, neck, torso, and the 2 neopixel rings I have.

Third screen is for the arms and hands
So now I pretty much have all the same functionality I had in MRL give or take. I am pretty sure I am not doing this entirely correctly but it will come with time. Need to get into the scripting. I guess there are some tutorials to watch. So far my experience has been pretty good and in a day eclipsed my MRL progress of the last 6 months.
I'll update this thread with my progress and appreciate any feedback.
Discover more robots

DJ's Robot Dog Chases Ball
DJ's Robot Head

@overserved Thanks! I've been pecking away at them for a couple of winters now... (robot time - in the summer we sail and garden and...) There are leg systems that use springs to store and return energy to make ambulation more efficient - our muscles and connective tissue do this as well (try tearing apart a roasting chicken with just your hands.) Worth thinking about... You are referring to tenodesis: "Tenodesis grasp and release is an orthopedic observation of a passive hand grasp and release mechanism, effected by wrist extension or flexion, respectively. ... Moving the wrist into extension will cause the fingers to curl or grip when the wrist is extended, and to straighten or release when the wrist is flexed." (Because the tendons are not long enough to go the distance in extension so the fingers curl to make up the shortage.)
RE: Finger Sensors I've built a capacity operated relay system before which would trigger when your brought your finger or hand close to the sensing surface. This is a great idea for detecting close proximity to a surface by an organic form.
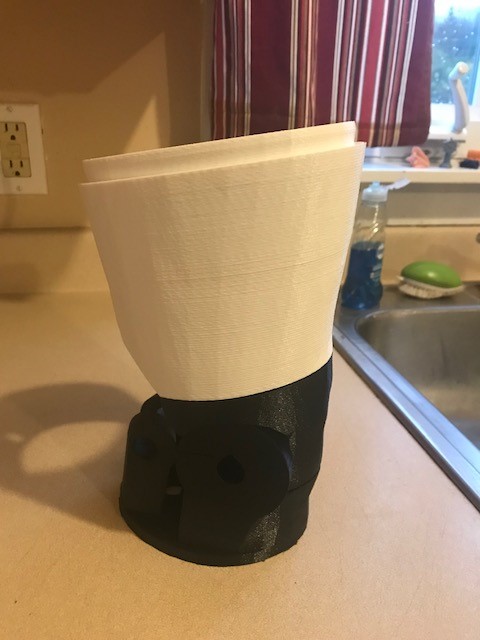
More recently for proof of concept, I simply took #2 Pencil and scrubbed a dime sized dot on two pieces of paper. Then overlaid a separate piece of stained glass copper foil facing each dot. Then stacked the two dots on top of each other with one copper foil strip above and one below. Put an ohm-meter across the foil 'leads' and see the change in resistance with even slight pressure on the graphite dot area! Here's the foil: https://www.amazon.com/Stained-Glass-Copper-Conductive-Adhesive/dp/B01C55MI98/ref=asc_df_B01C55MI98/?tag=hyprod-20&linkCode=df0&hvadid=198129370765&hvpos=1o1&hvnetw=g&hvrand=10058145657167053097&hvpone=&hvptwo=&hvqmt=&hvdev=c&hvdvcmdl=&hvlocint=&hvlocphy=9002578&hvtargid=pla-318026027027&psc=1
Awesome Ideas and application. That adhesive backed copper foil is awesome for many things. I use it to repair cut or damaged traces, through holes and solder pads on circuit boards. Easy to cut to any size, stays where you stick it and stands up the heat of the soldering iron (as long as you don't keep the iron on it overly long or the adhesive will melt away. Works perfect if you are soldering properly). Thanks for the tip!
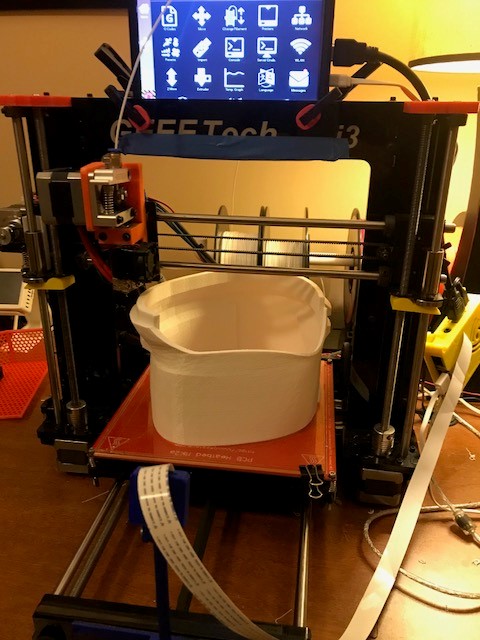
I've got a question here as Inmoov is a big robot and as such I'm asking for recommendations of a 3D printer that basically works out of the box for printing such a large sized robot? Can I please get a couple from you guys?
I'm willing to even open a new forum question about this, but wanted to at least start here where Inmoov is actually being used.
We had a friend let us use his FLsun 3d but honestly its a piece of.... eyeroll eyeroll and he honestly chuckled when I told him the same thing.
@mtwannabe I bought this MakerFarm Pegasus 8" Kit: https://www.makerfarm.com/index.php/3d-printer-kits/pegasus-series-latest-printer-model/pegasus-8-kit.html
I've had the best luck with Hatchbox filament.
Gael designed the original InMoov so it can be printed on any printer with a 20cm cube build space. The smaller pieces glue/snap/screw together to make the bigger pieces...
@mayaway
very interesting to know as the information we knew about was taken from here https://inmoov.fr/build-yours/ and it suggested a size of at least 12x12x12 Thanks and I'll start by taking a look at the above printer
The decorative legs he's designed do take a larger platform. The upper body may still use the old format but I'm not sure...
ok so I've also started the conversation here synthiam.com/Community/Questions/11659
so as to NOT take away from this forum thread. Please add to it, if you have experience in the 3d printing arena. Thanks
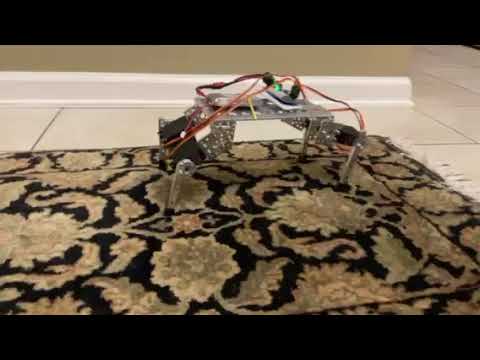
Just so everyone is aware here is another open source robot that walks. In fact, they show in the video of them kicking it over and it getting back up.
Darwin-OP