


-635353562186322812.png)


Hi all,
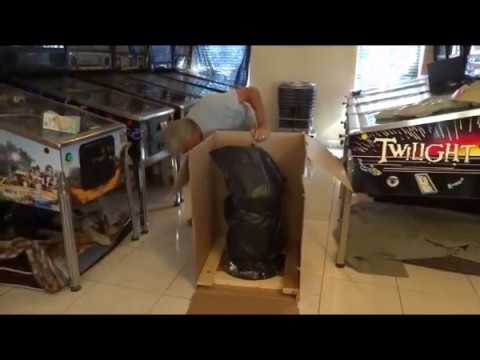
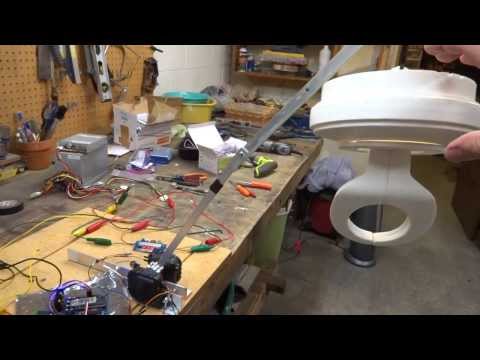
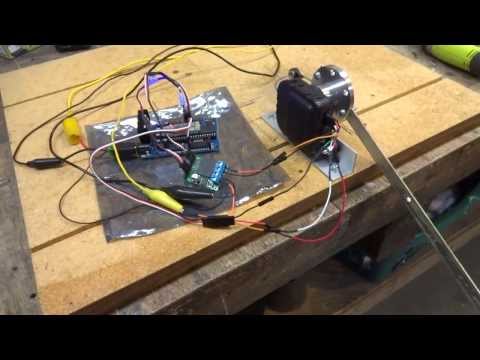
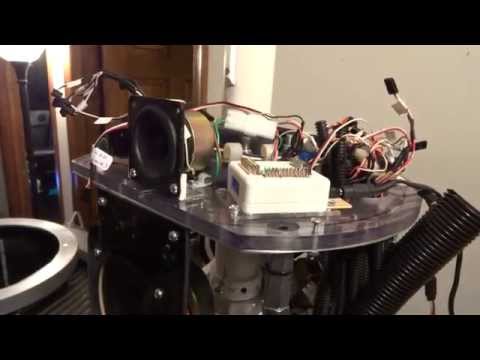
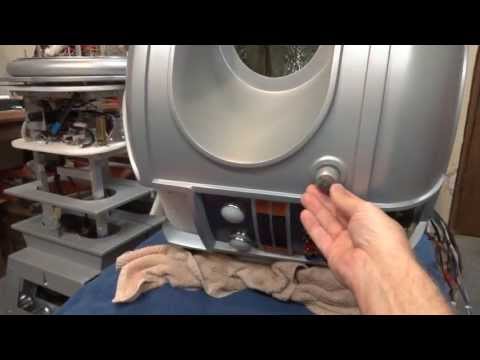
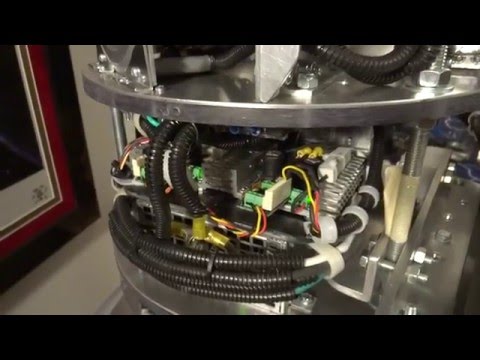
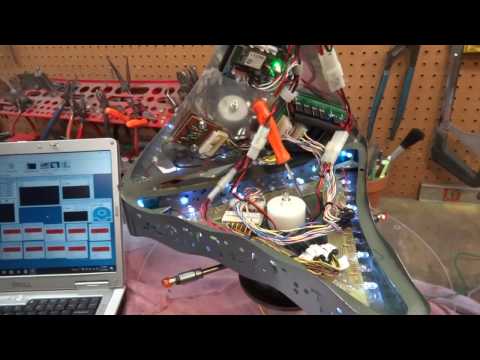
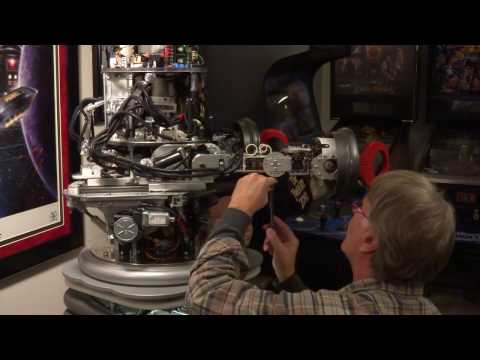
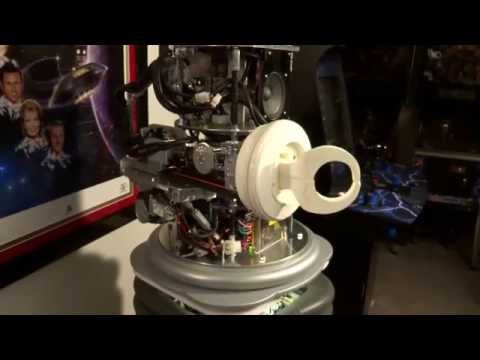
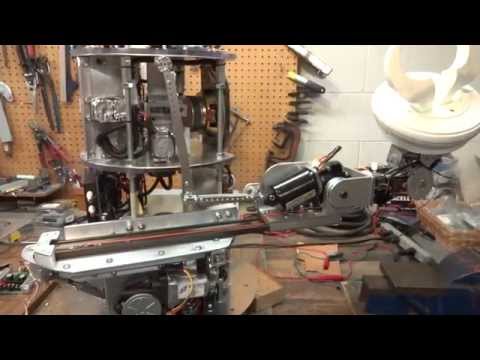
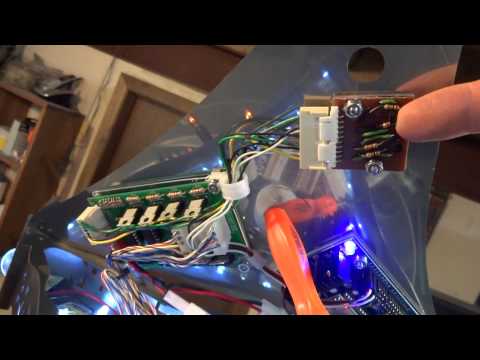
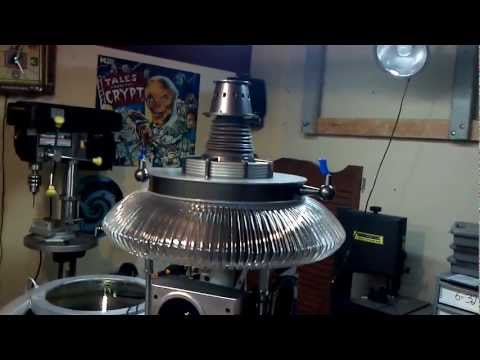
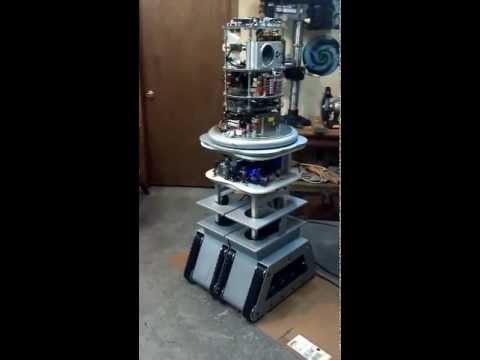
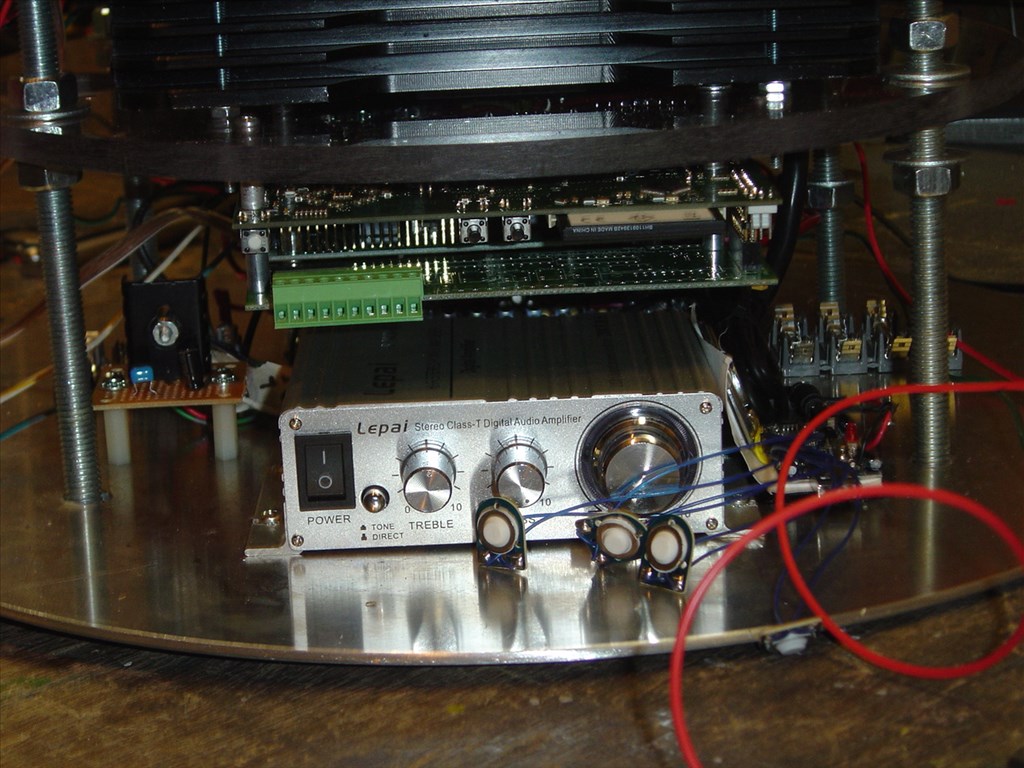
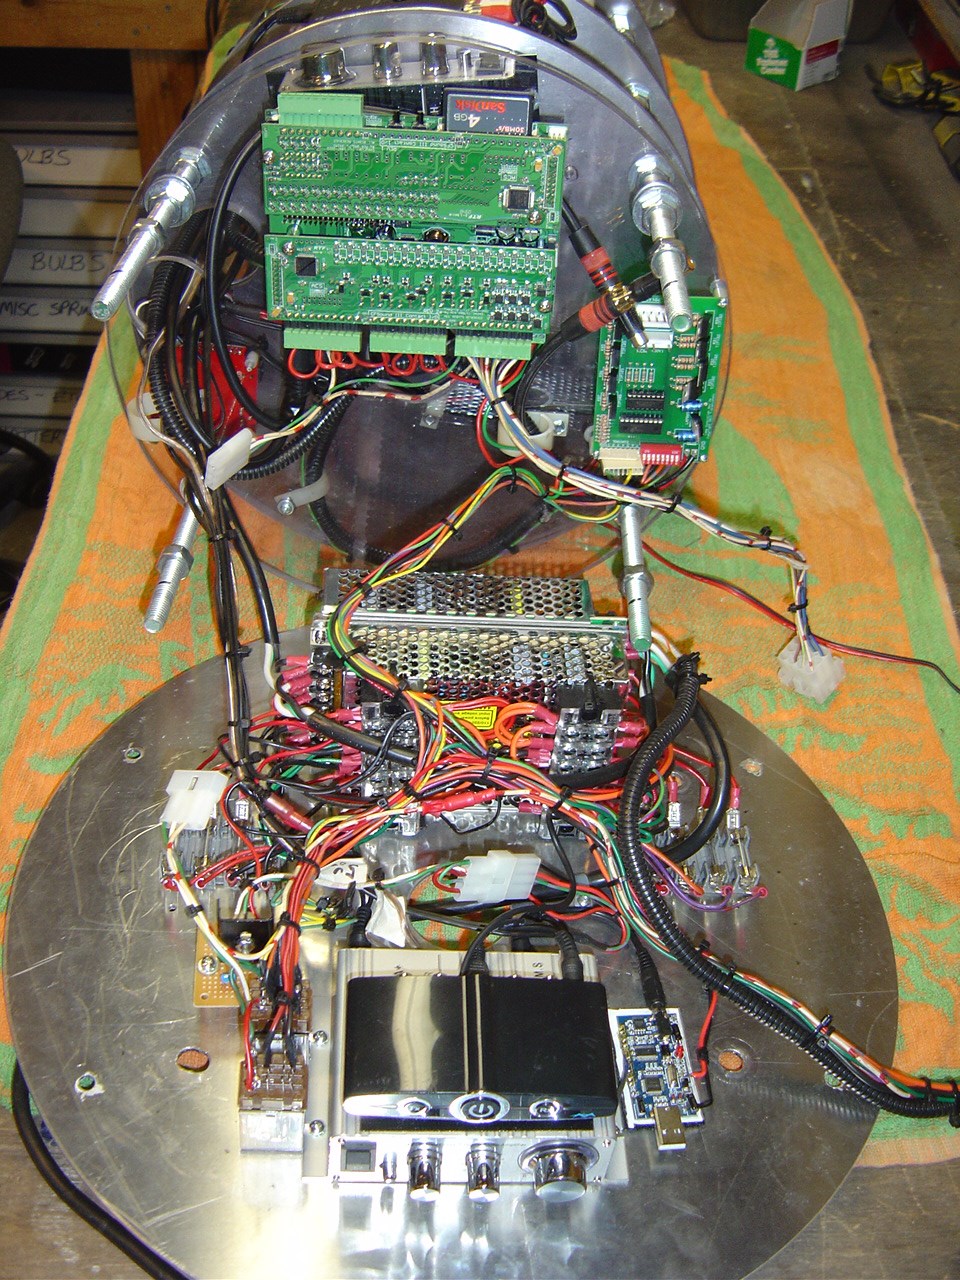
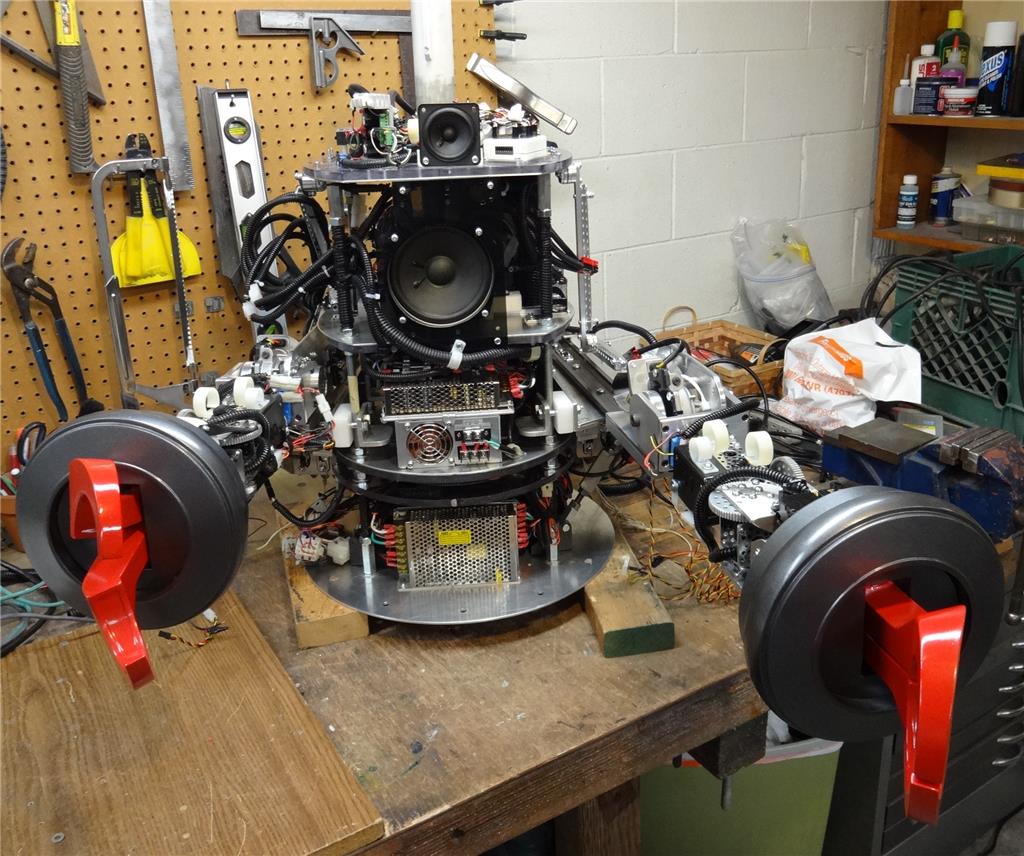
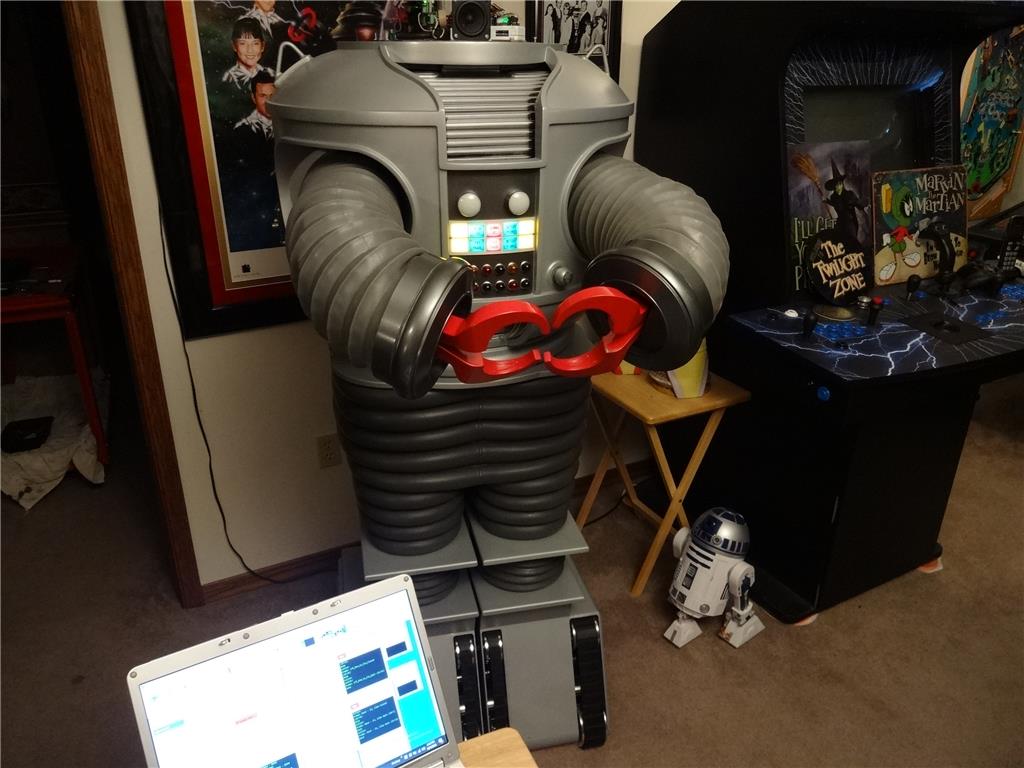
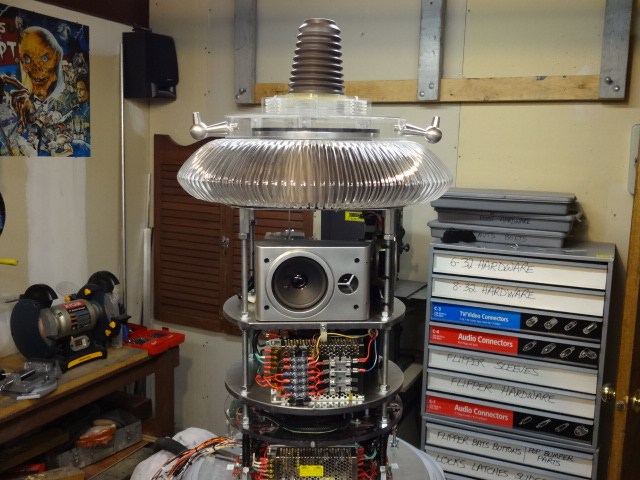
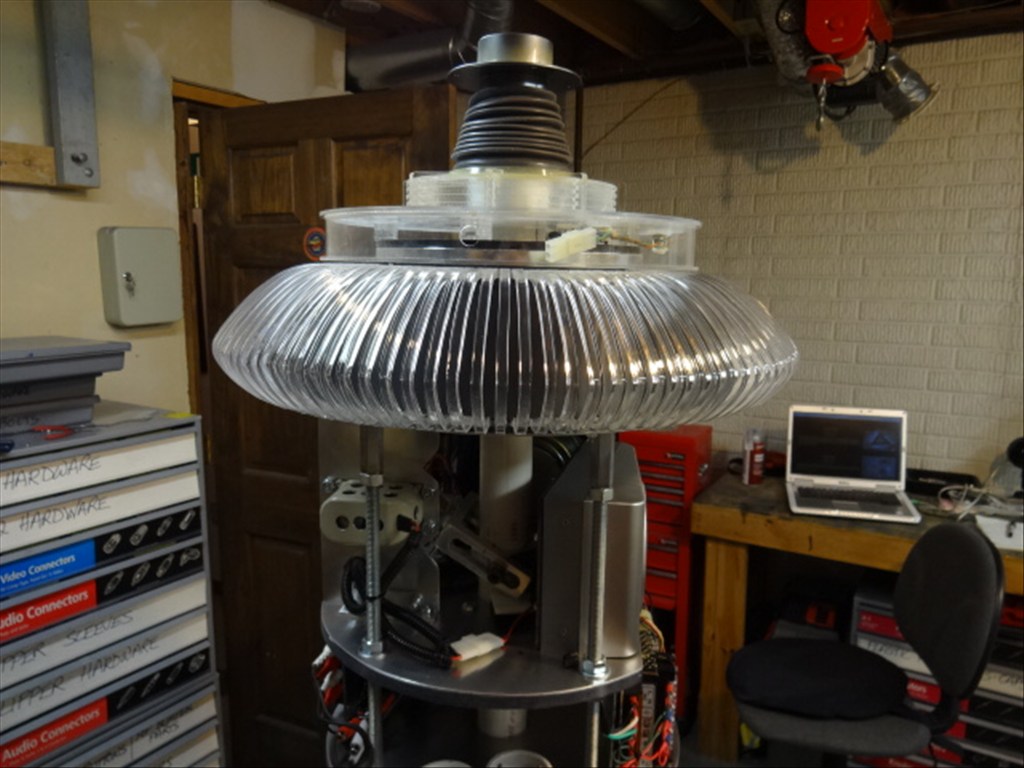
I'd like to share a video I just took of my full size Lost in Space B9 robot that's controlled by two EZ-B controller boards. Right now they are controlling limited movement and voice response of a few motors, lights and sound files played from a Sparkfun MP3 Trigger board. Although I'm just starting with the animation and have more building on the actual robot the result (mostly thanks to the EZ Robot controller board) is shocking. Please have a look at this (4 minute) You Tube vid and enjoy.
Please excuse some Technical camera lighting and sound issues. This is the first time I'd made and posted a vid online.
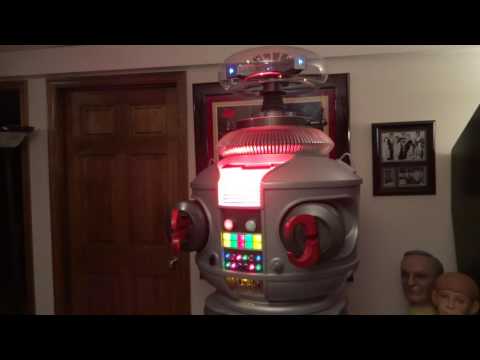
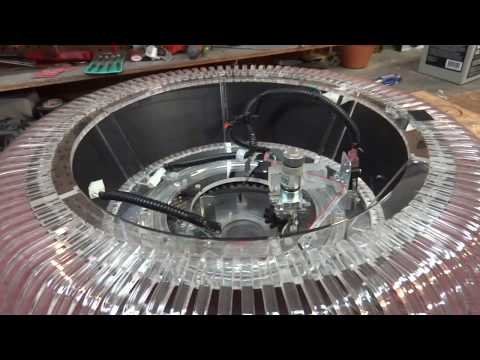
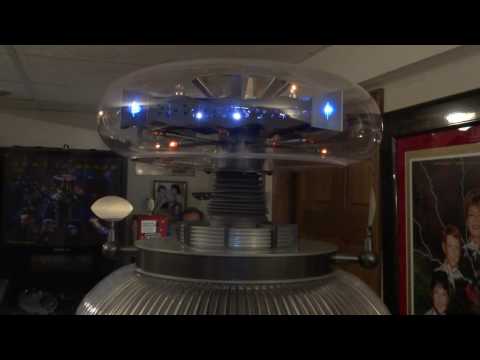
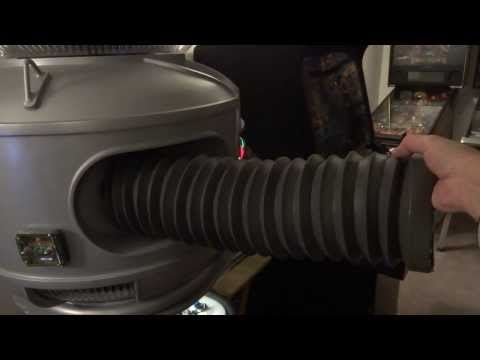
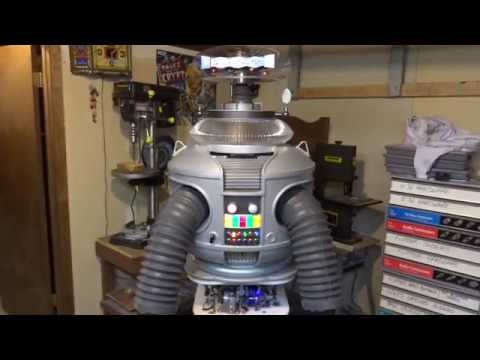
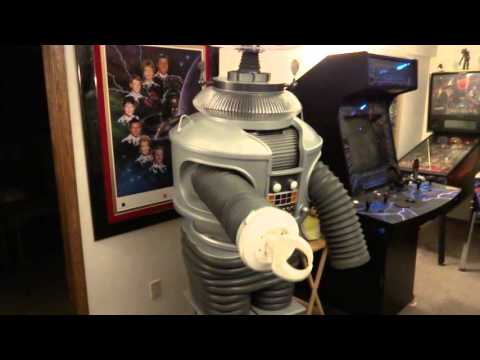
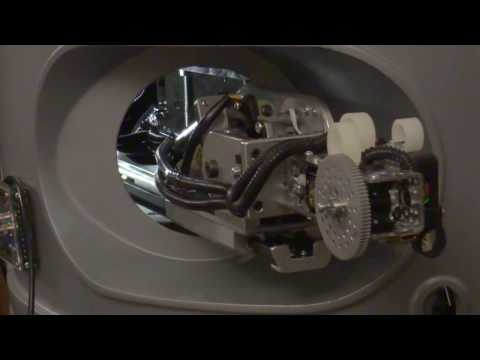
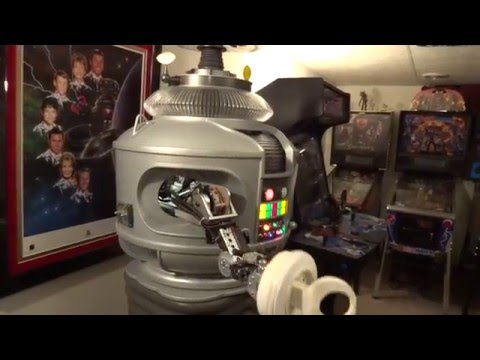
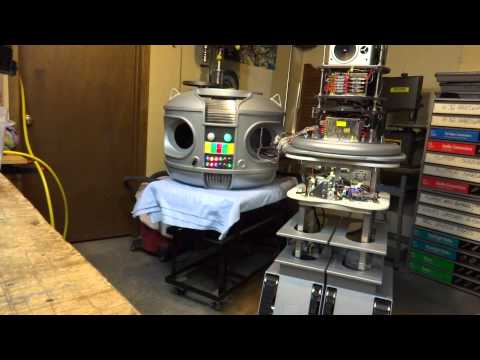
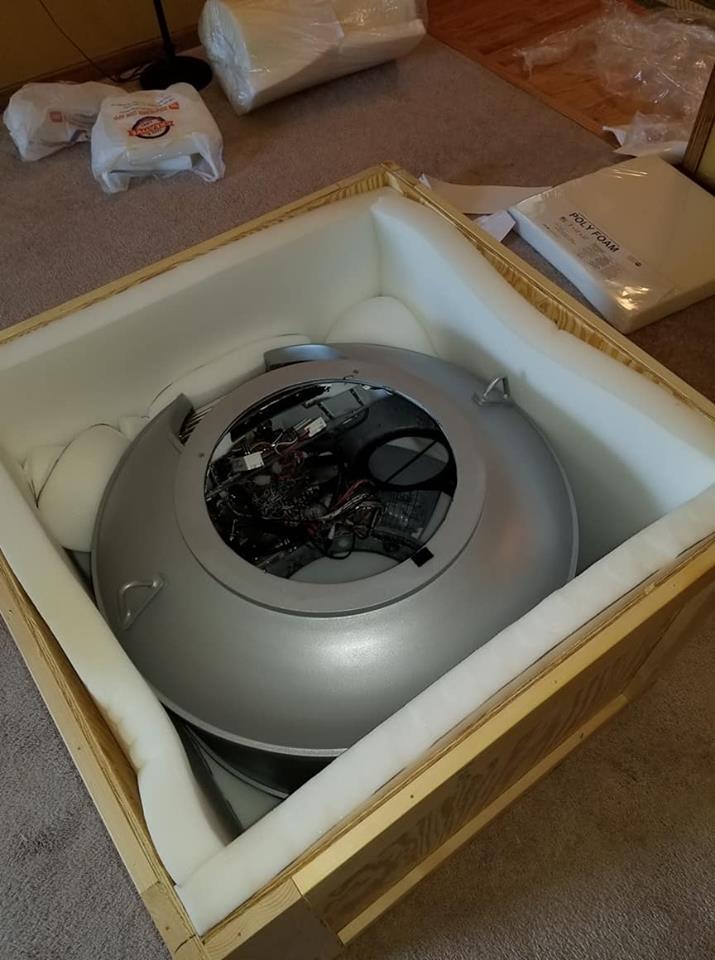
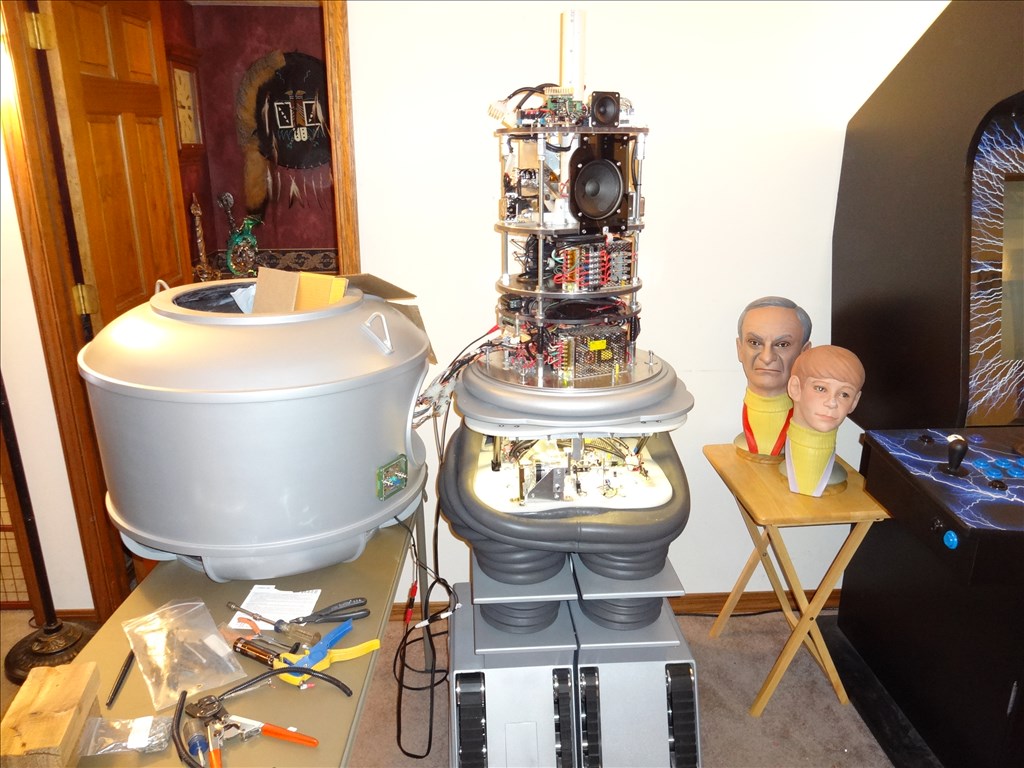
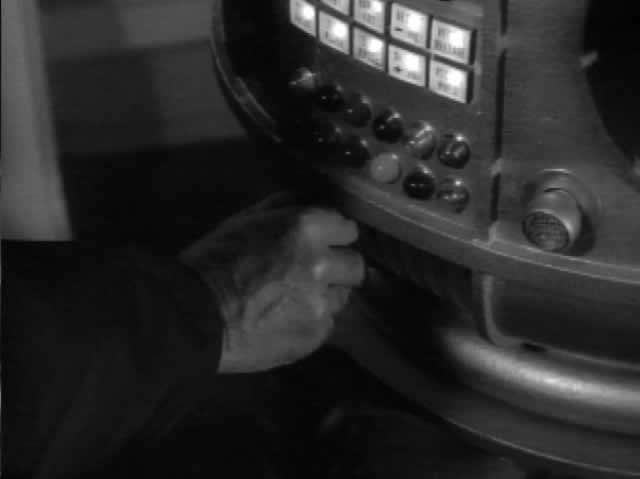
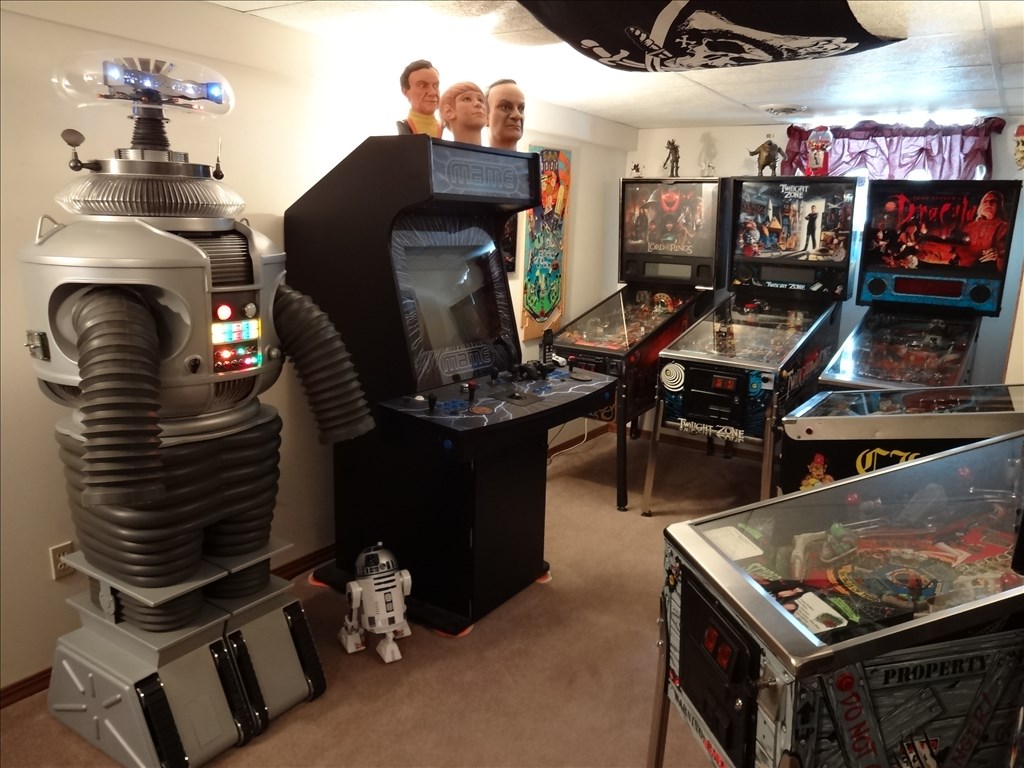
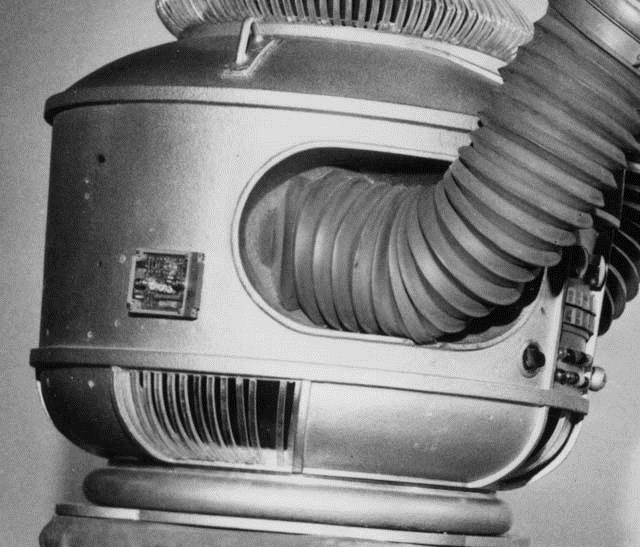
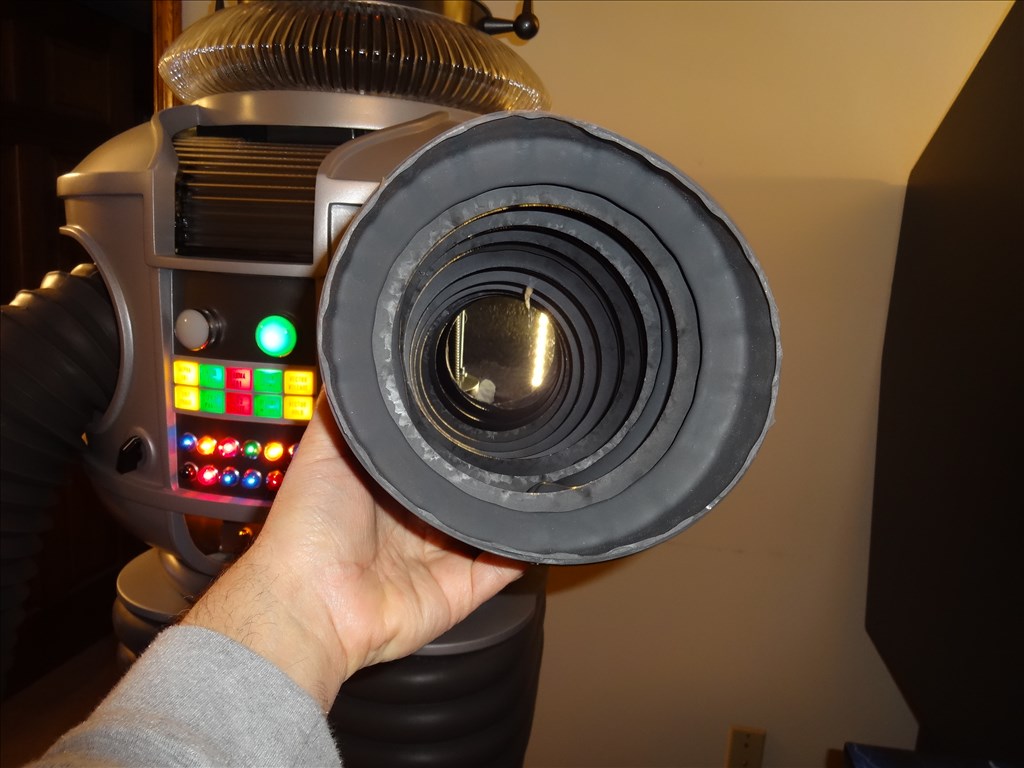
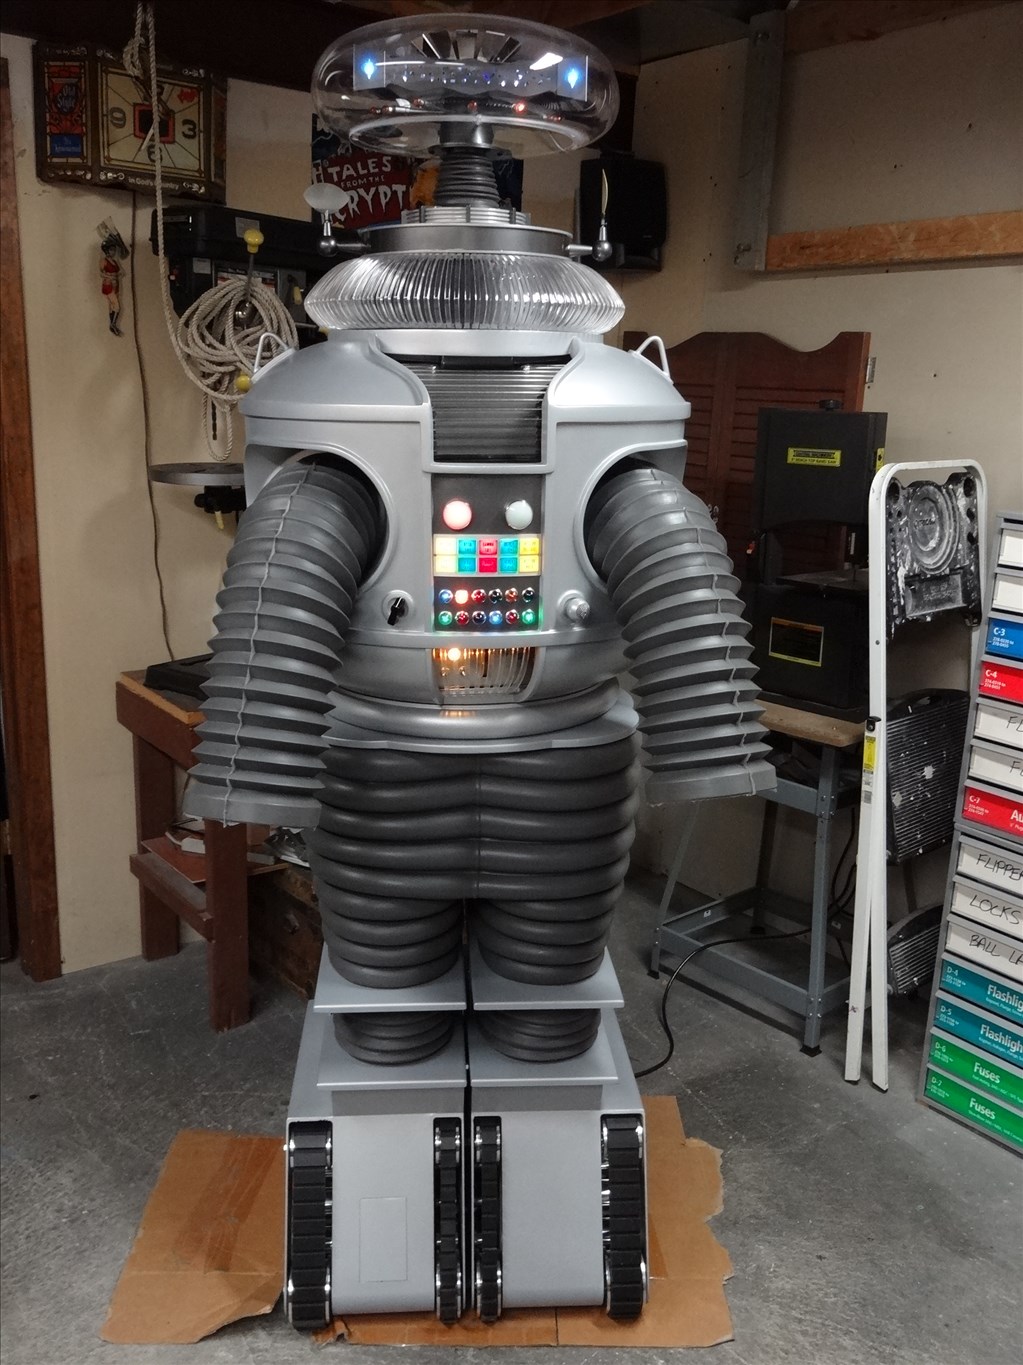
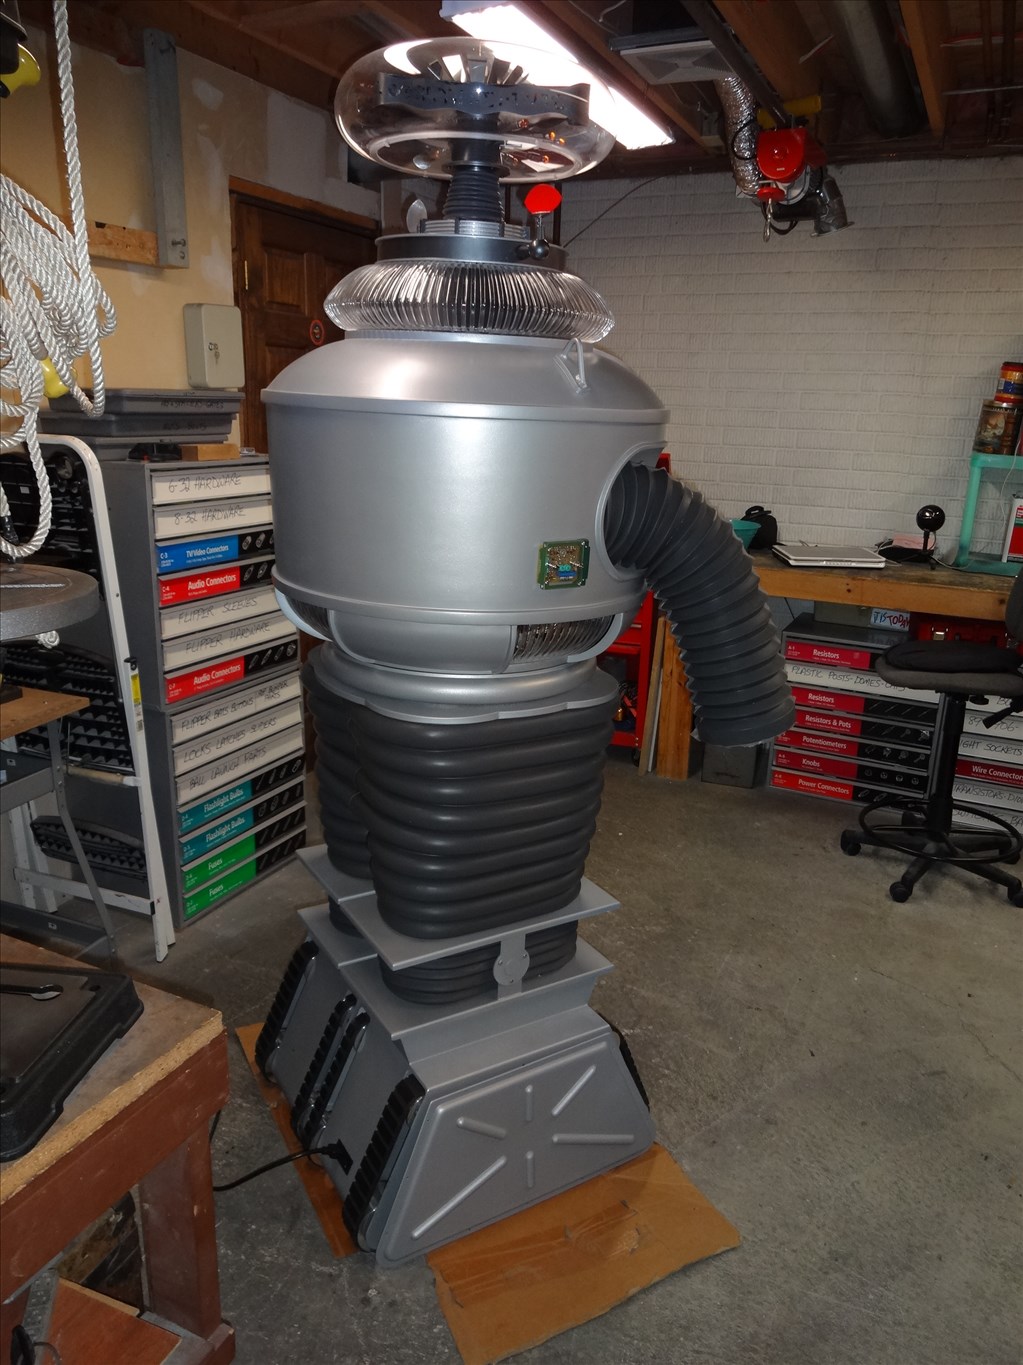
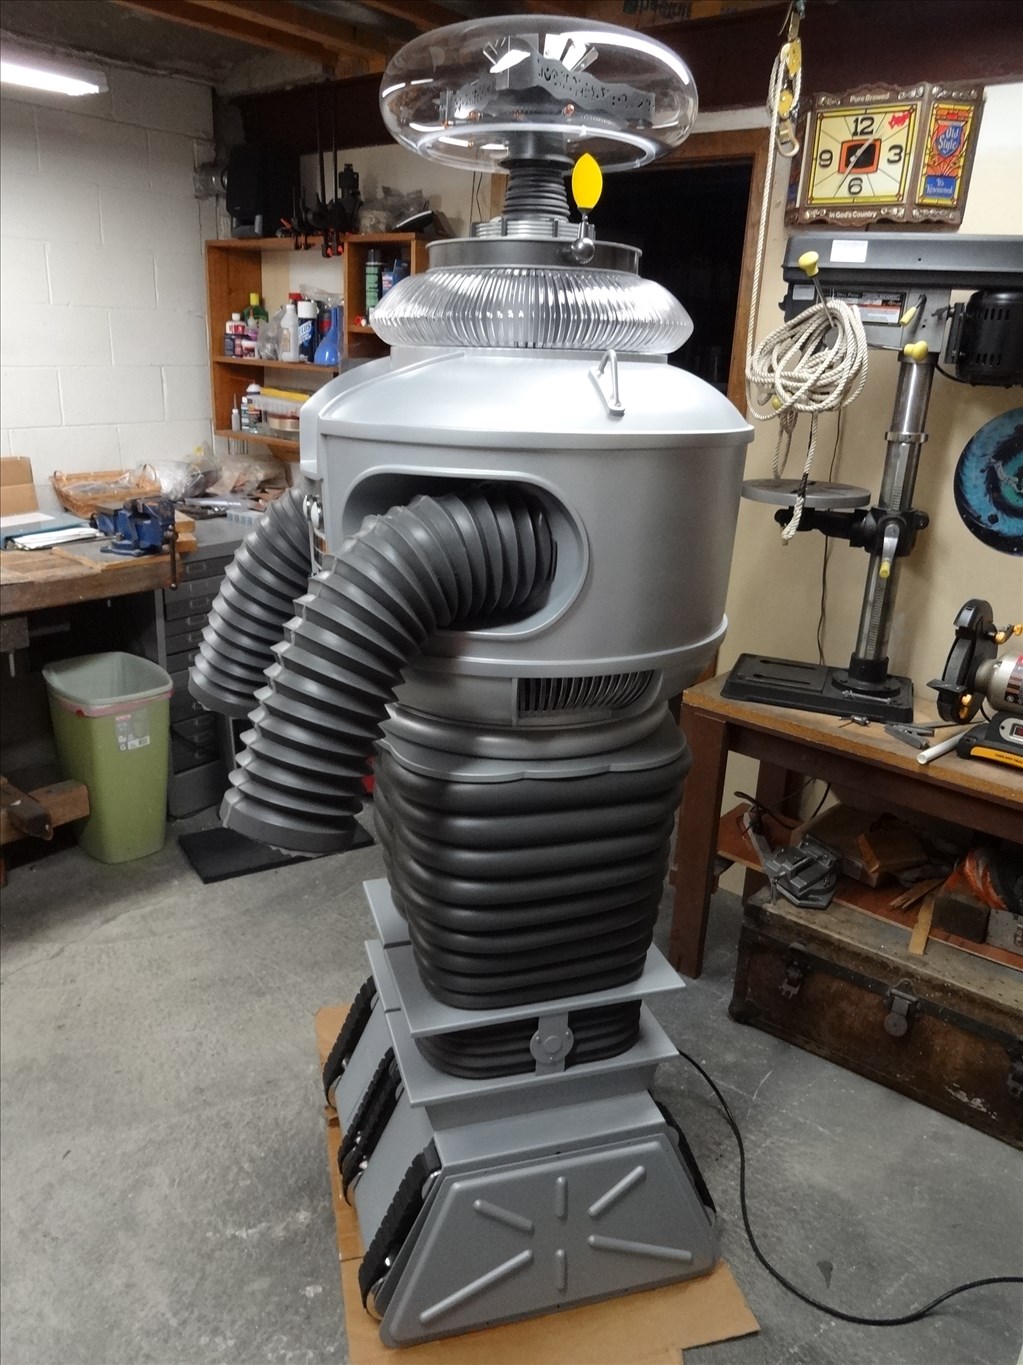
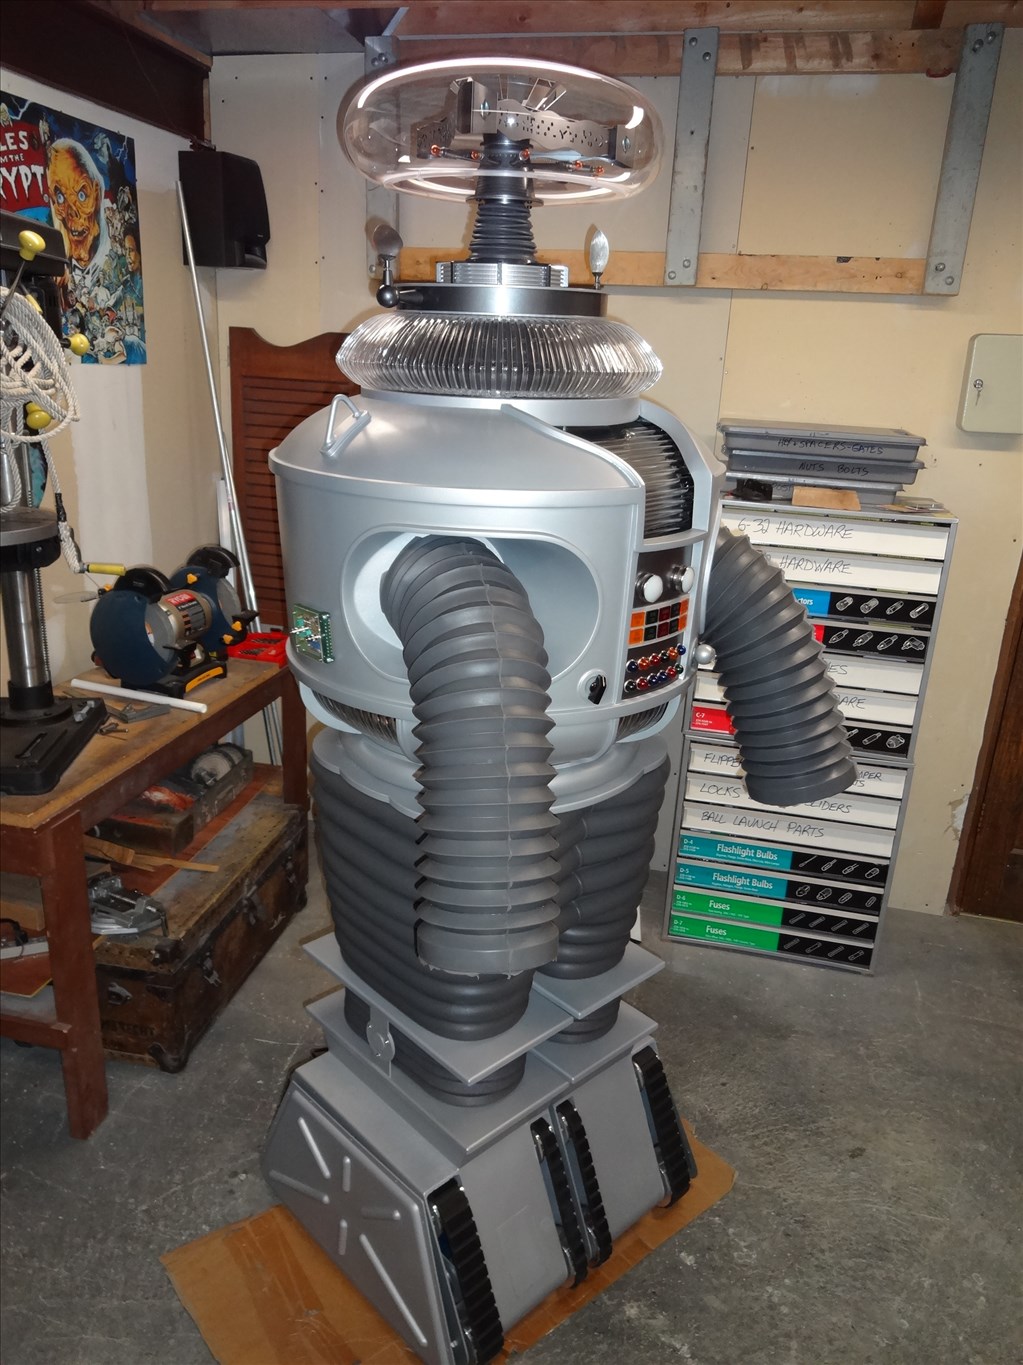
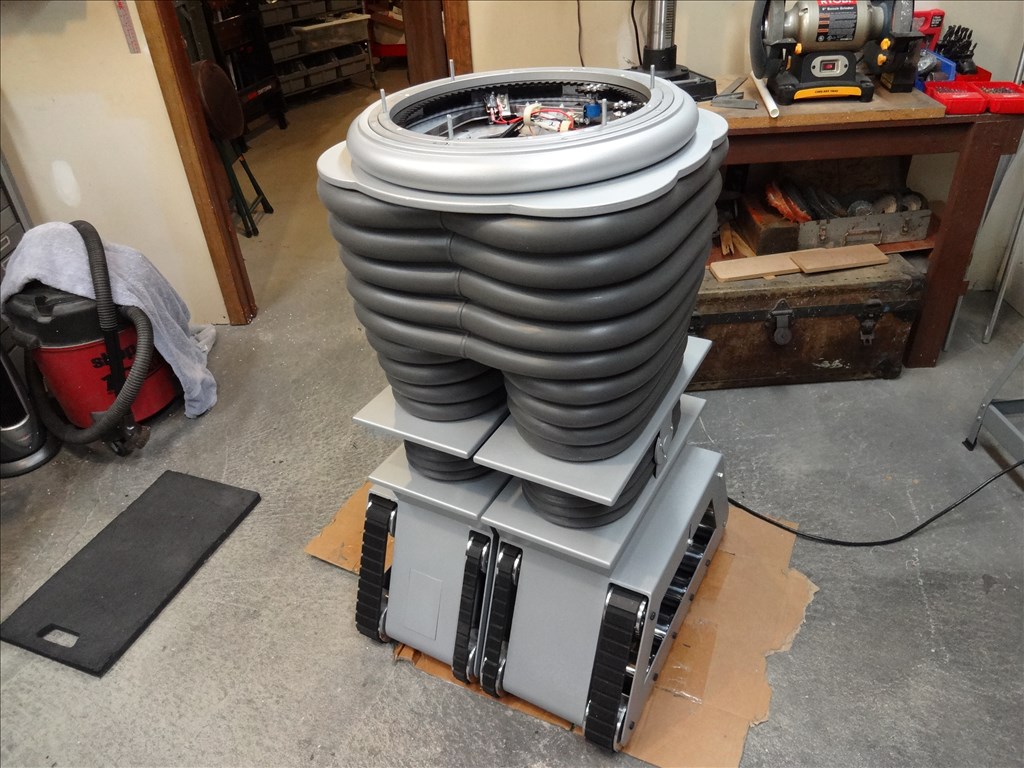
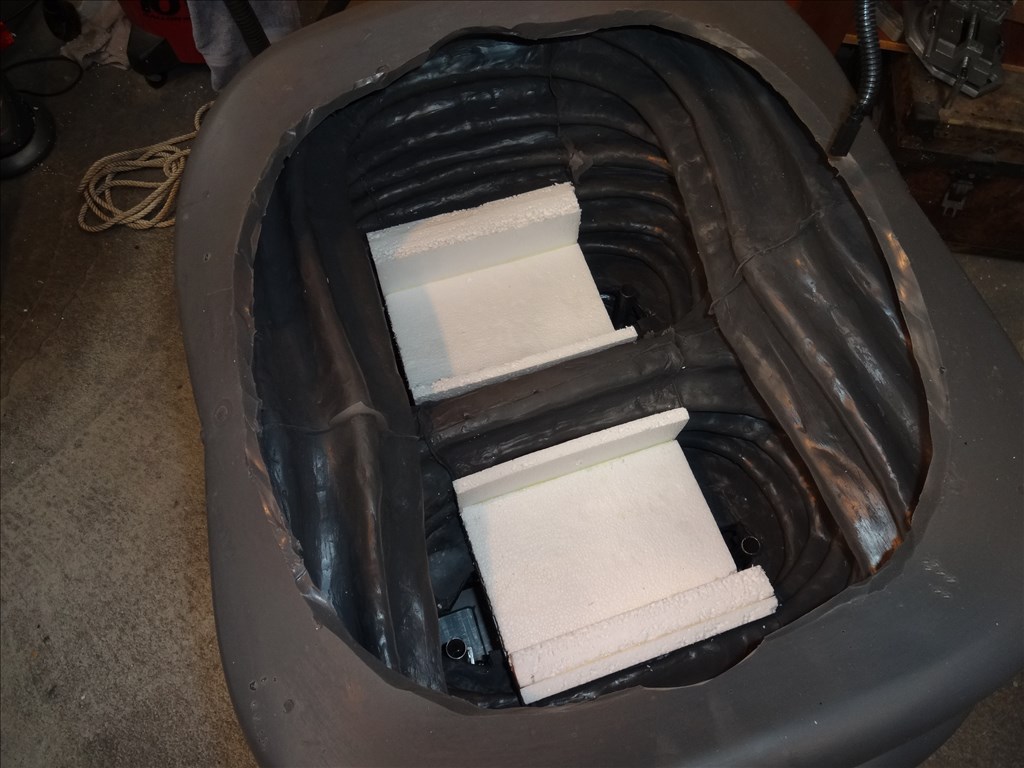
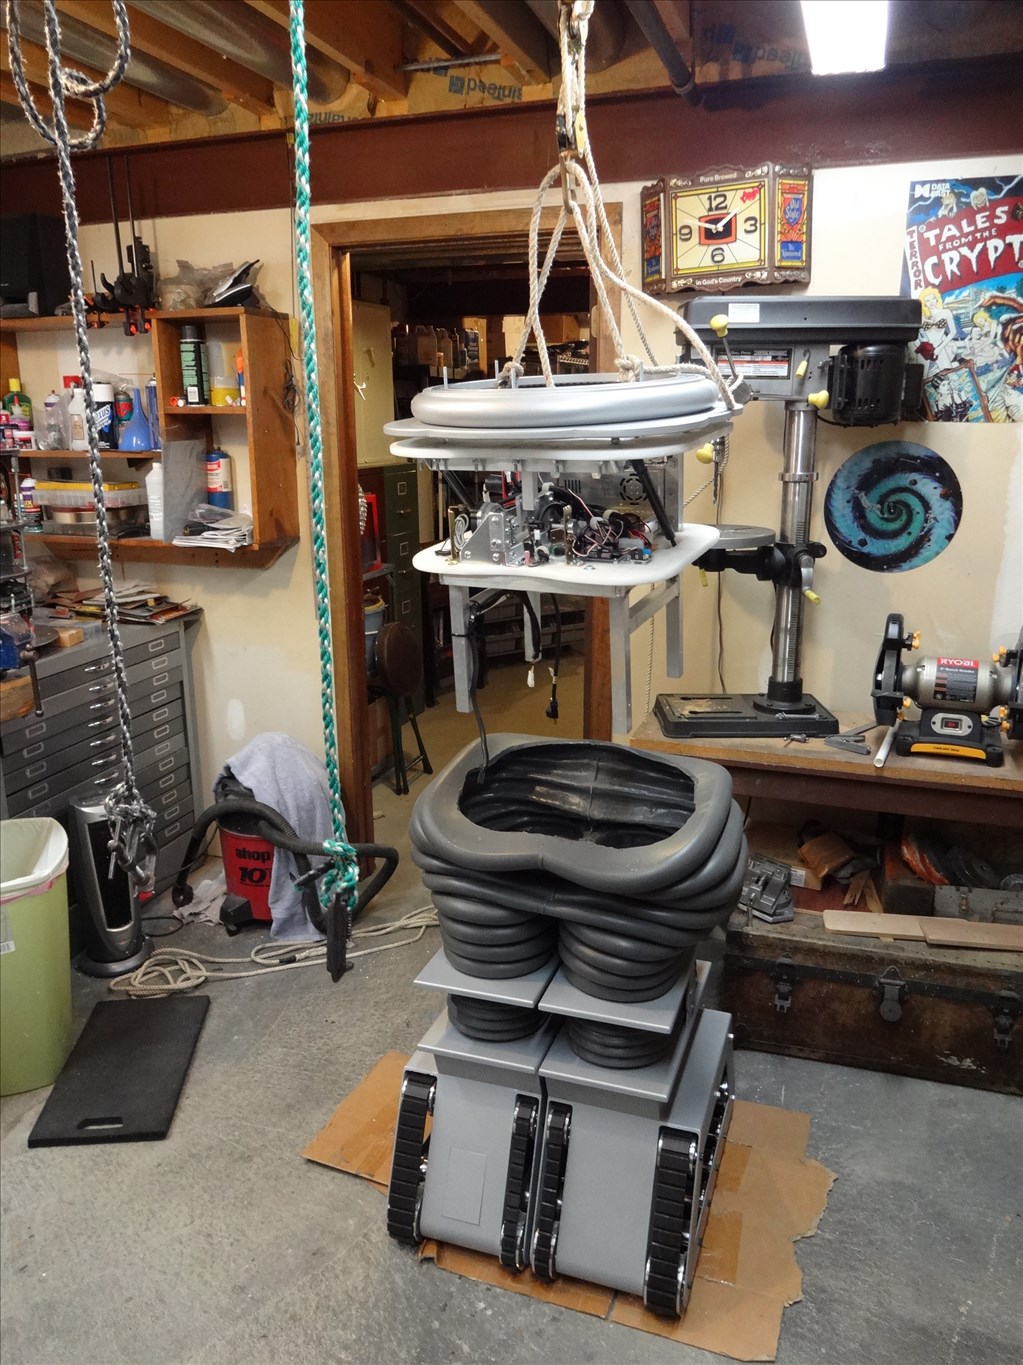
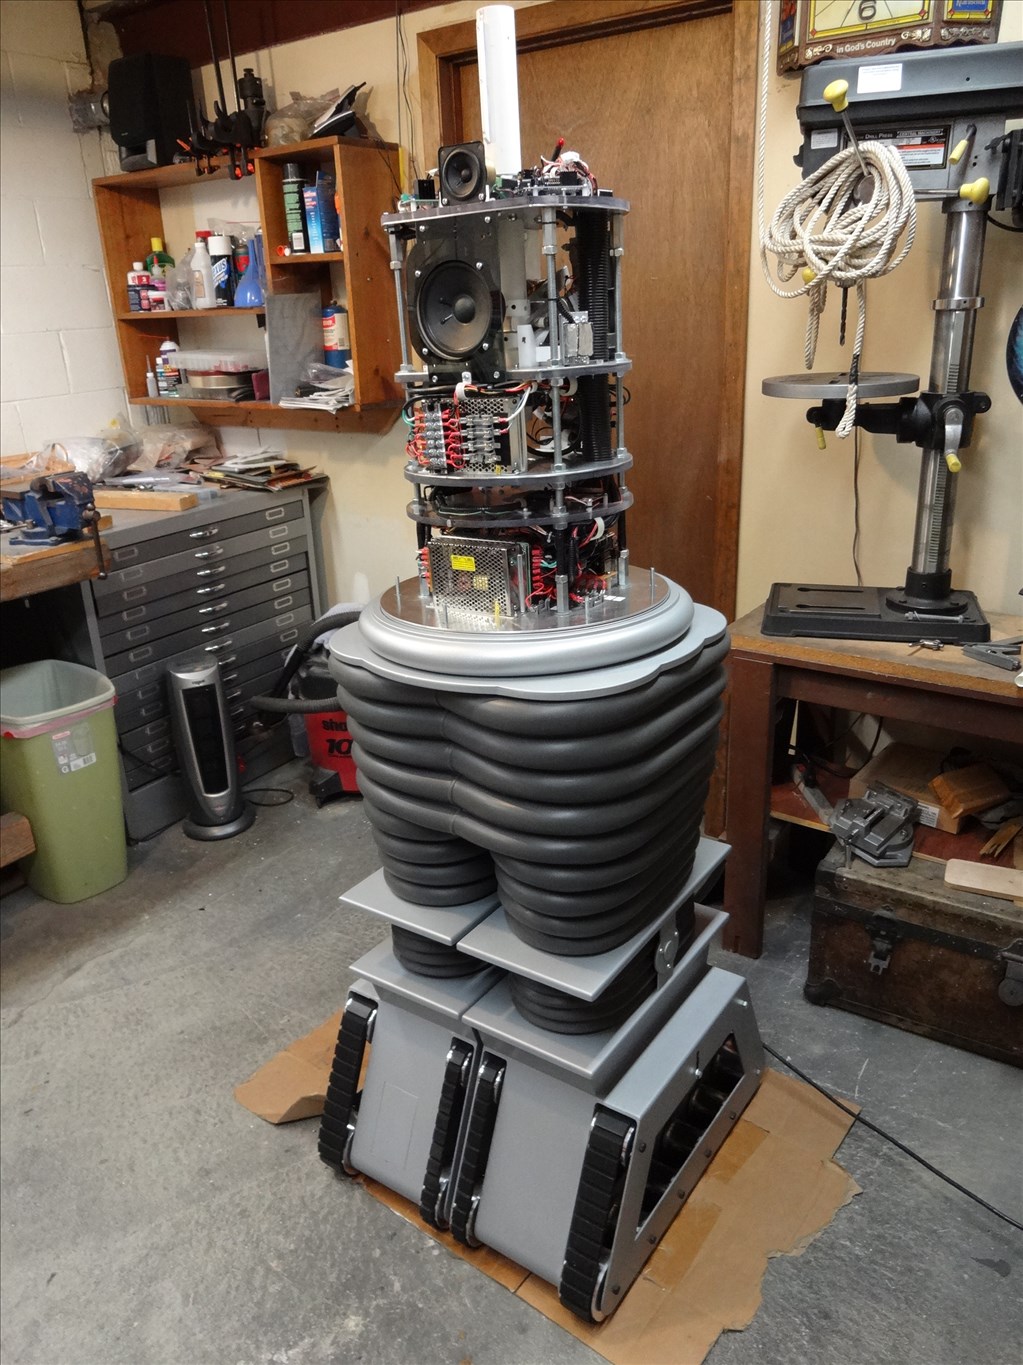
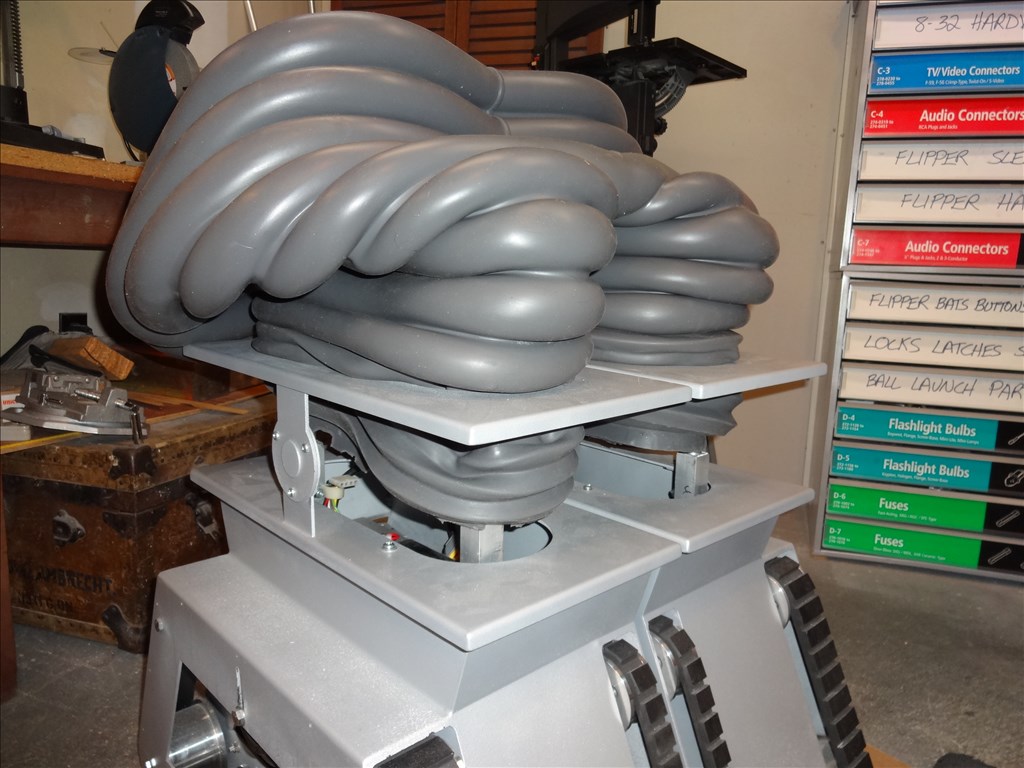
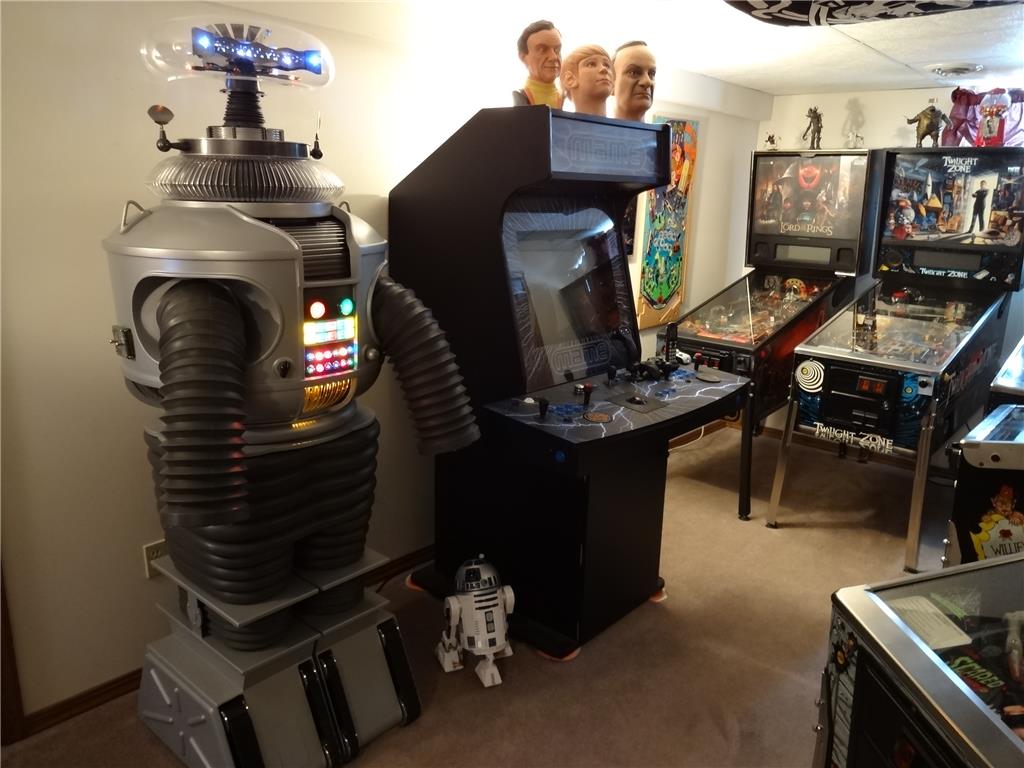
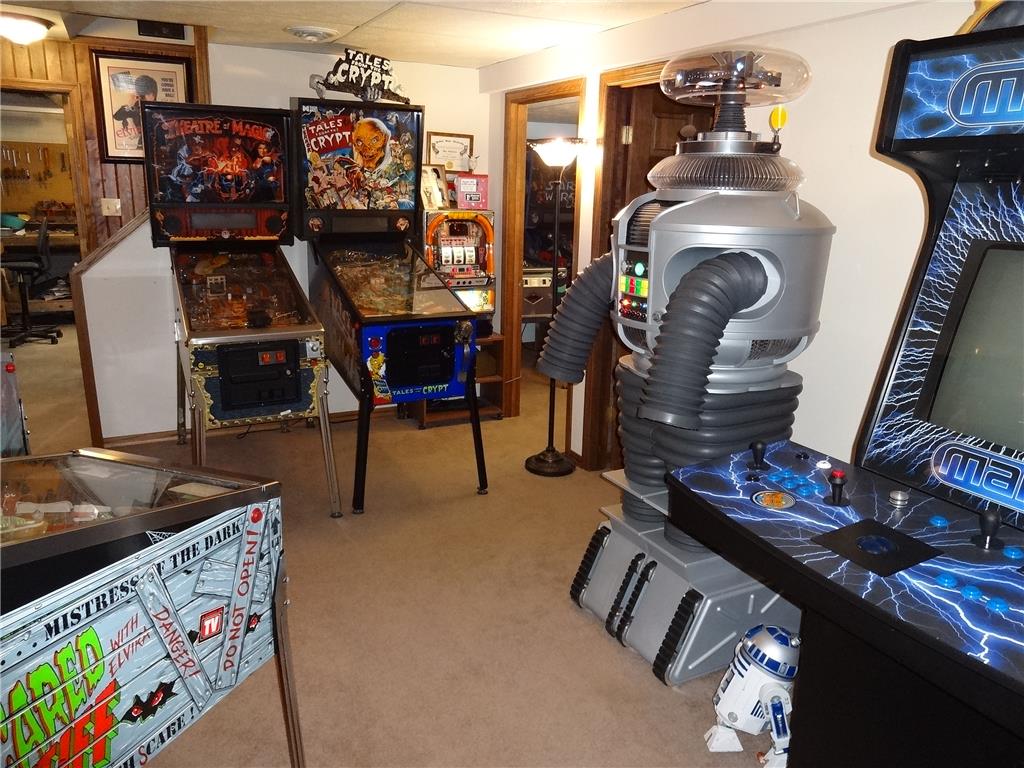
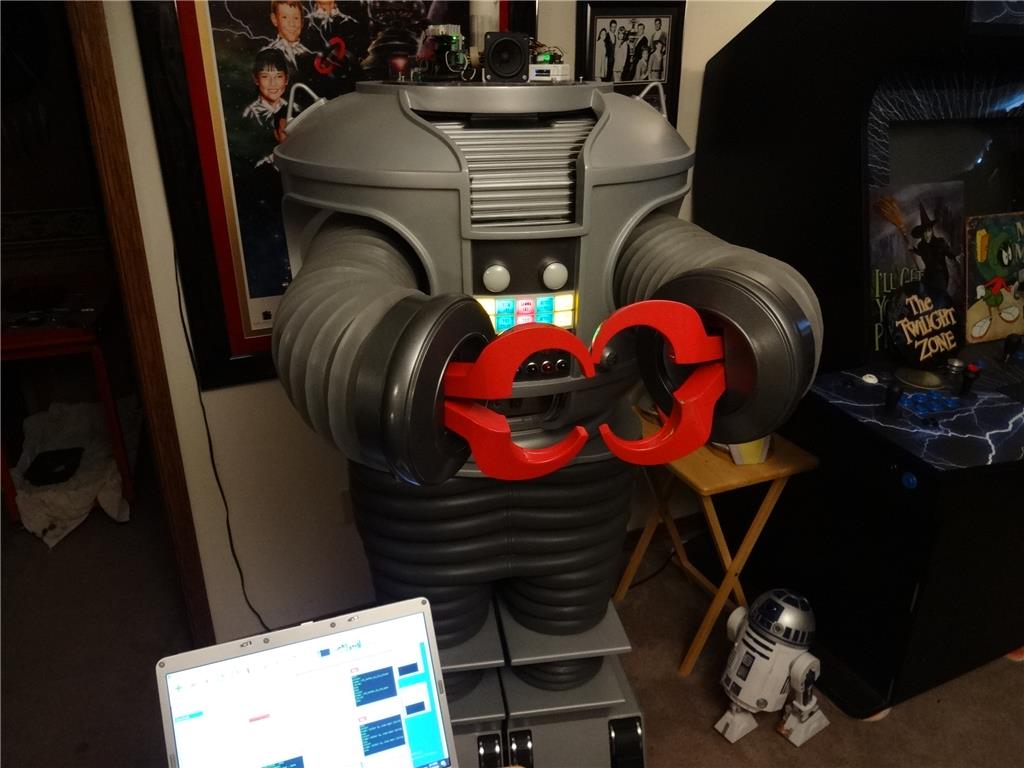
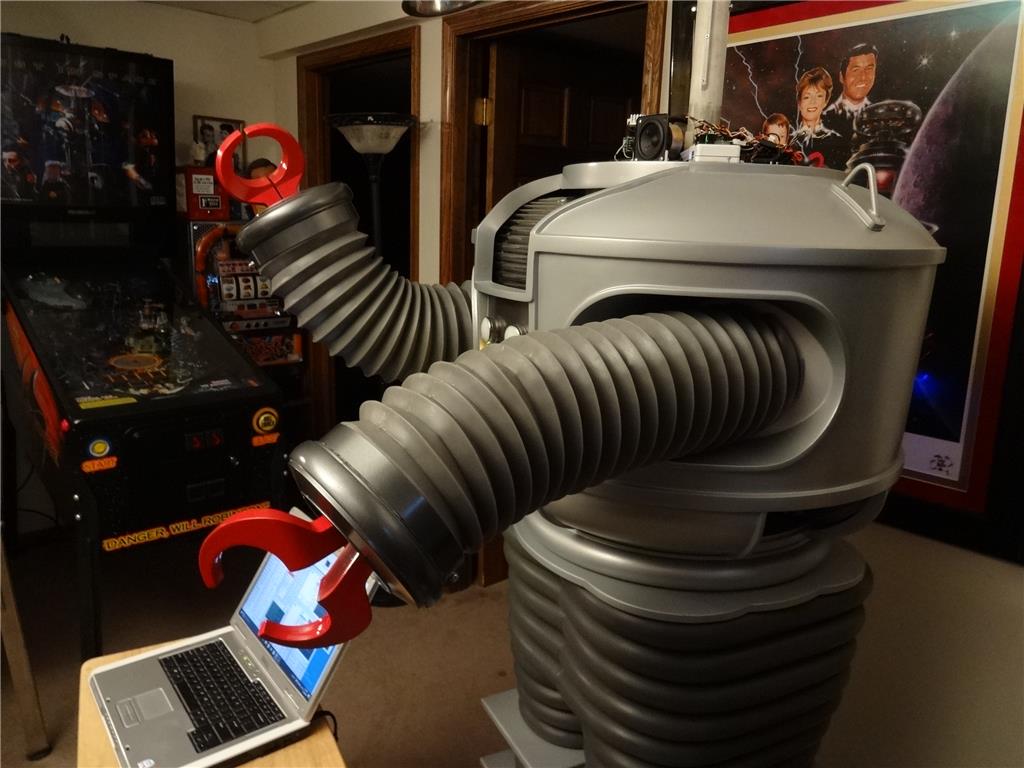
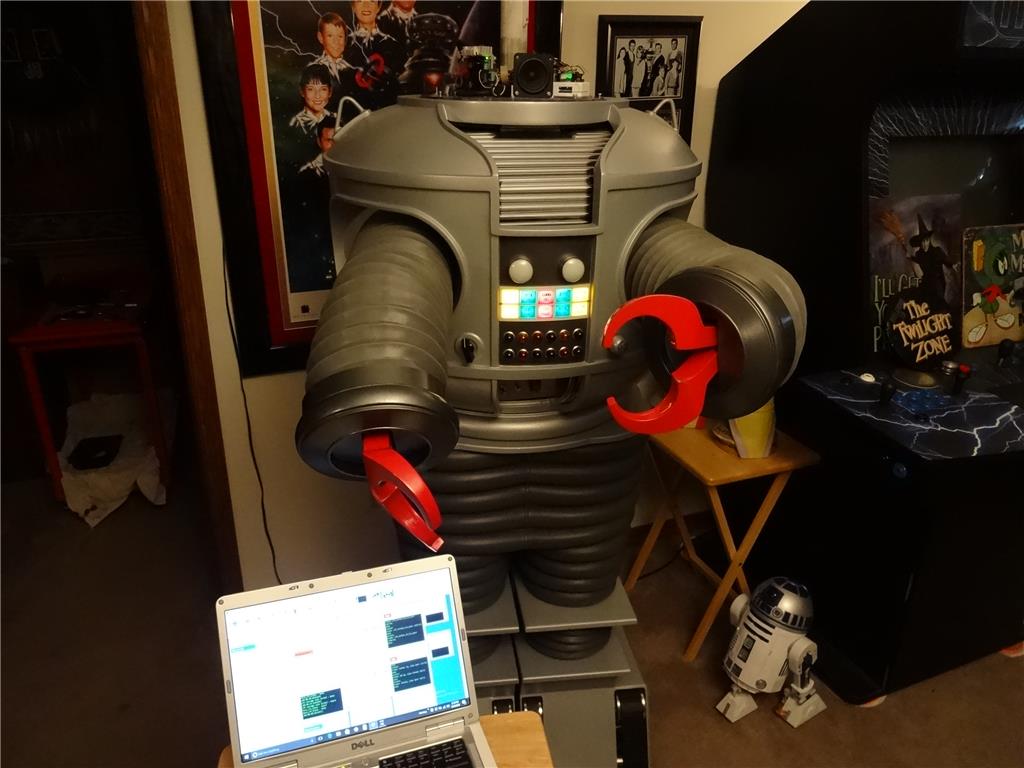
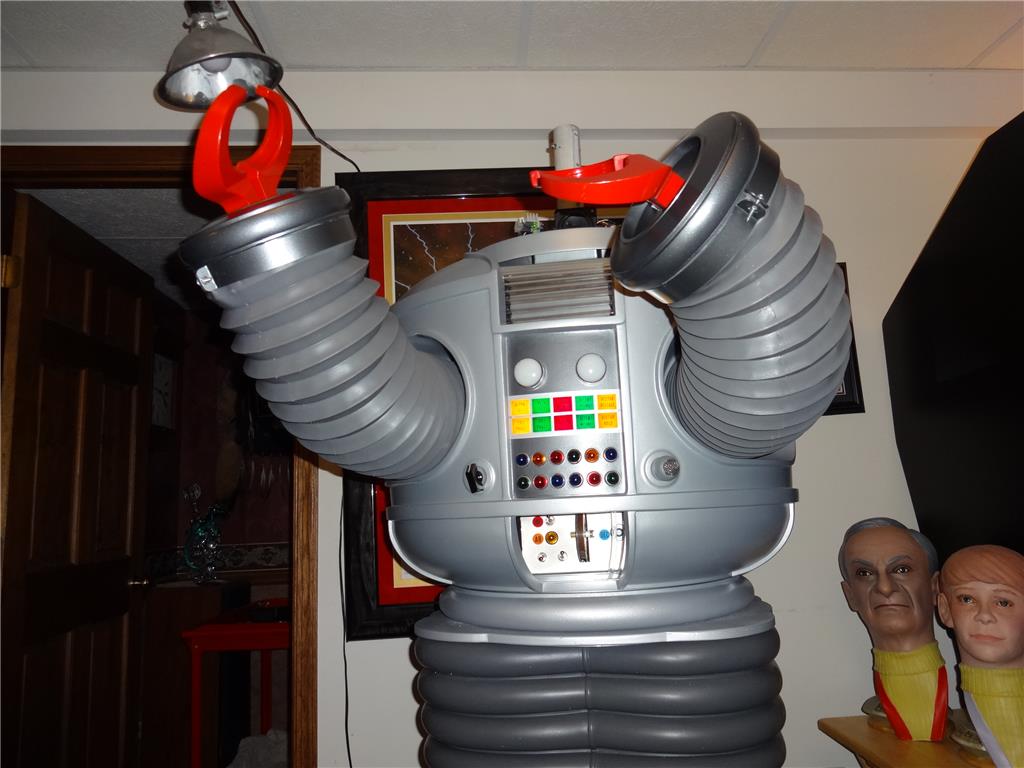
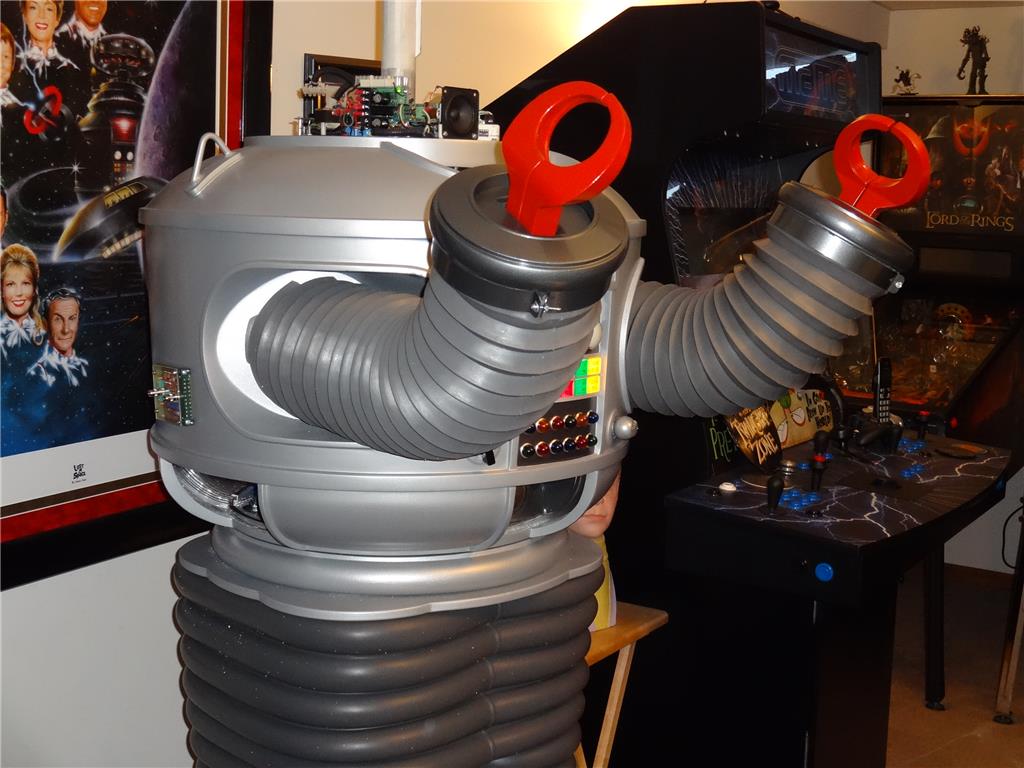
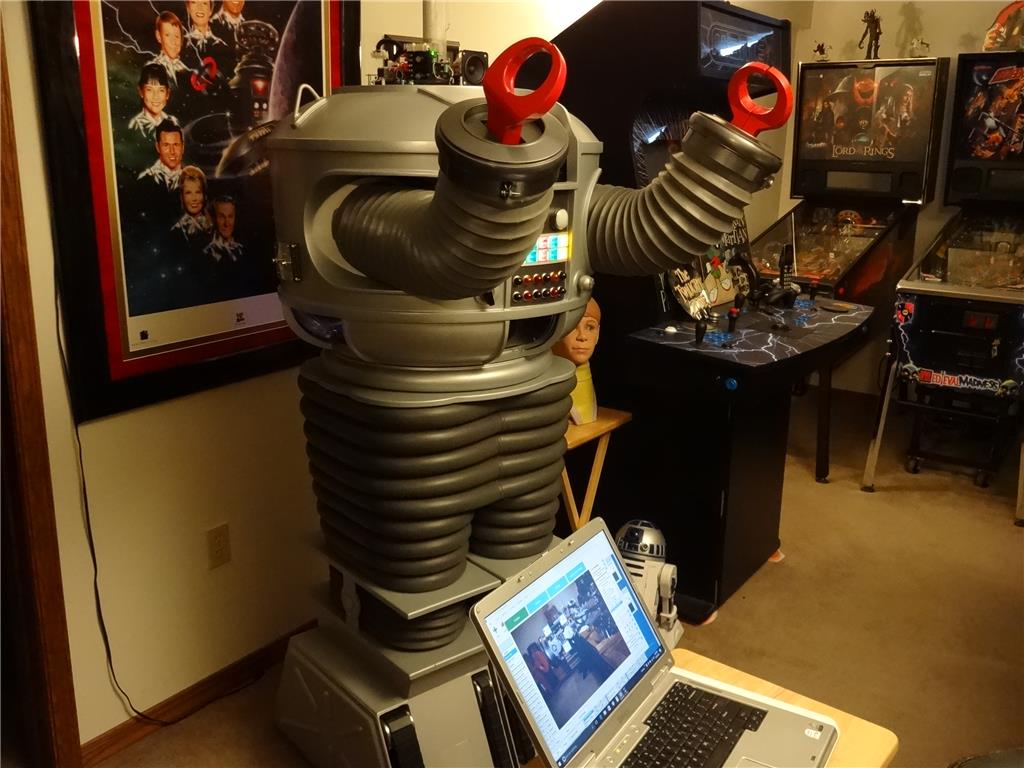
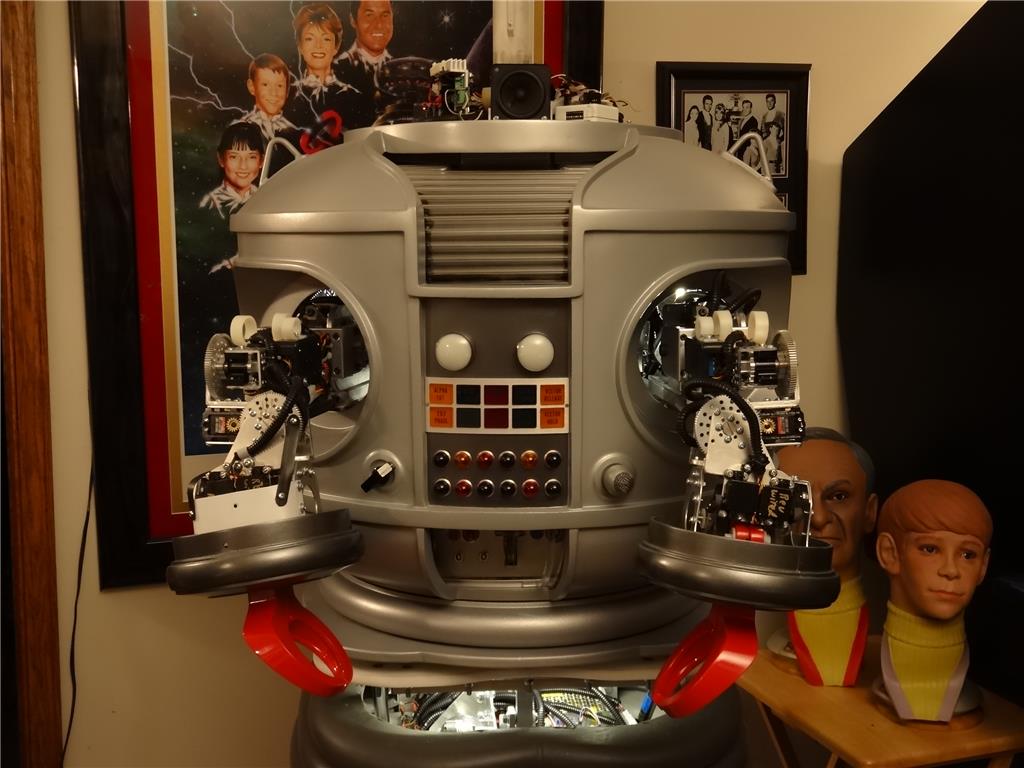
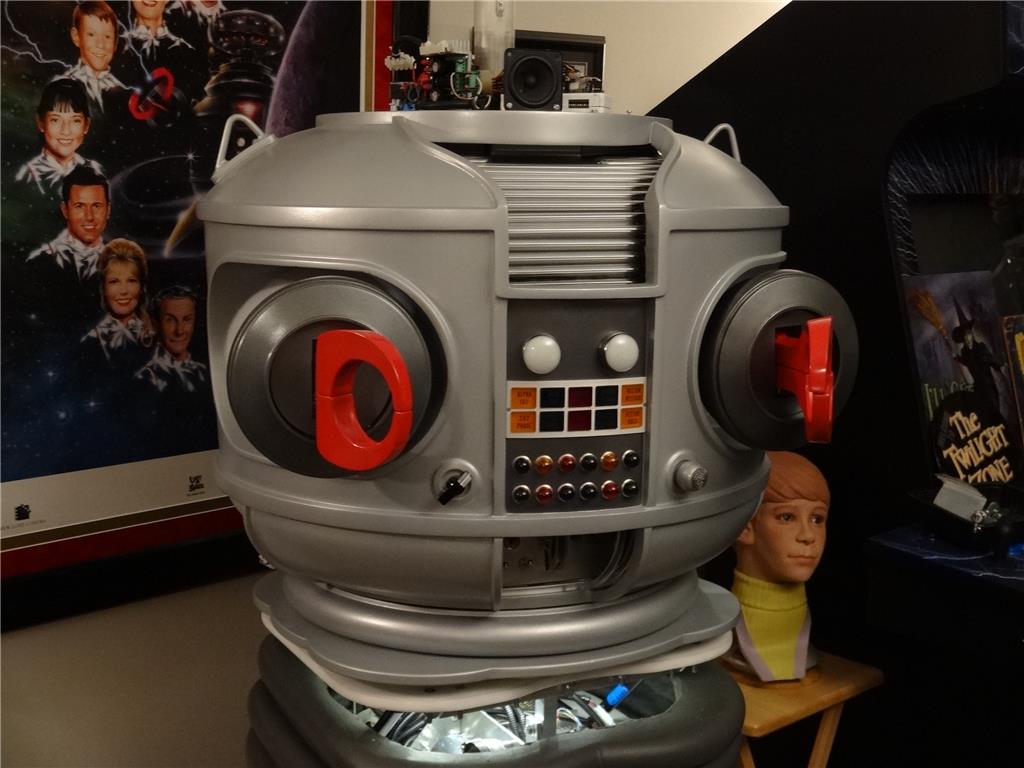
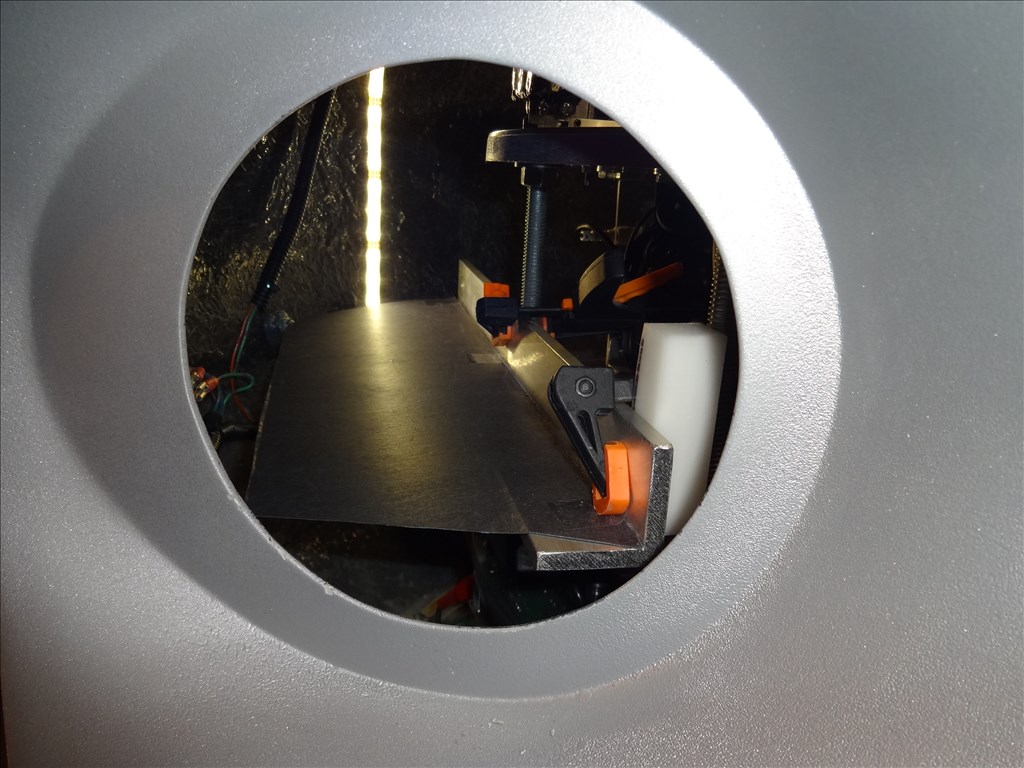
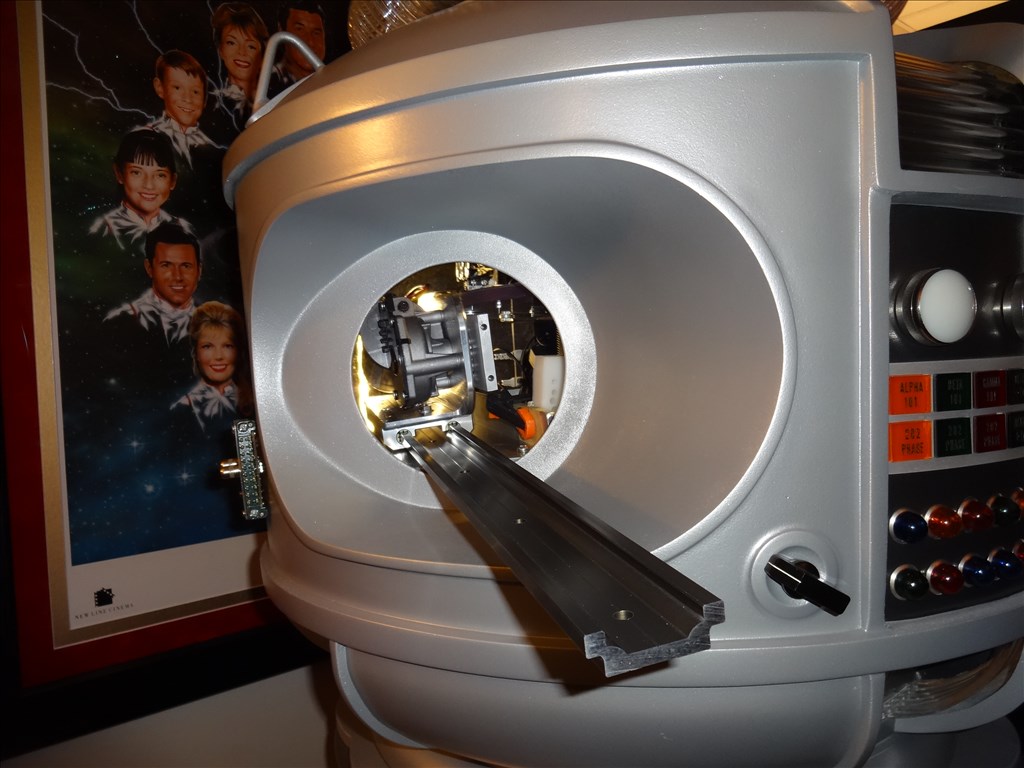
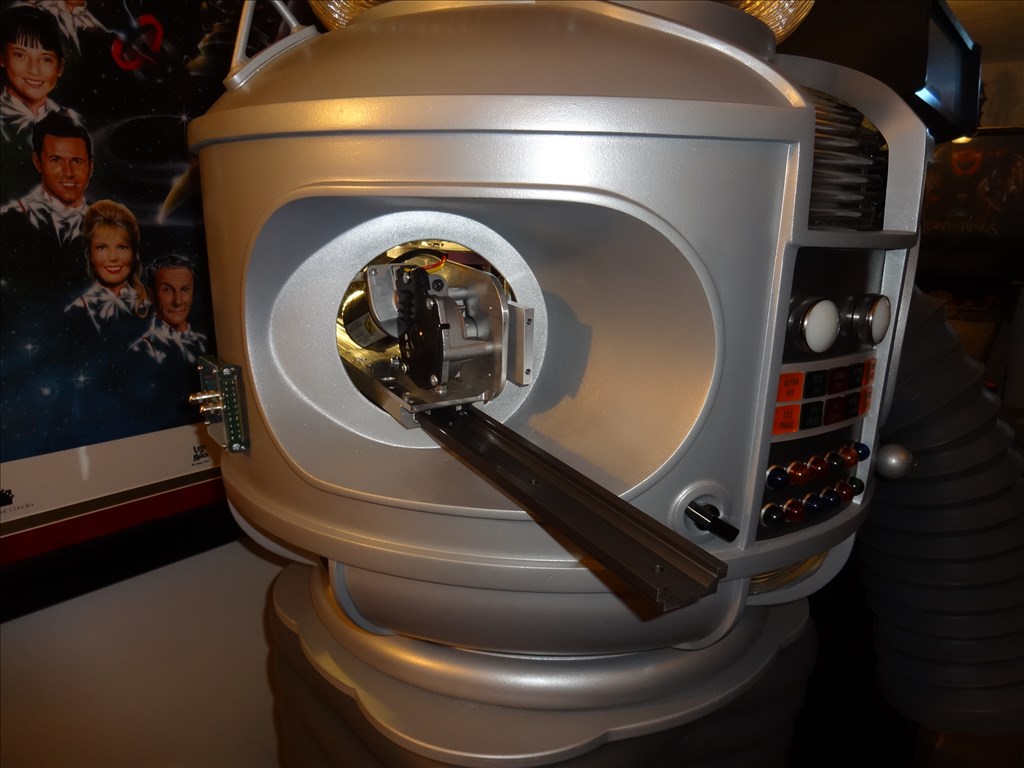
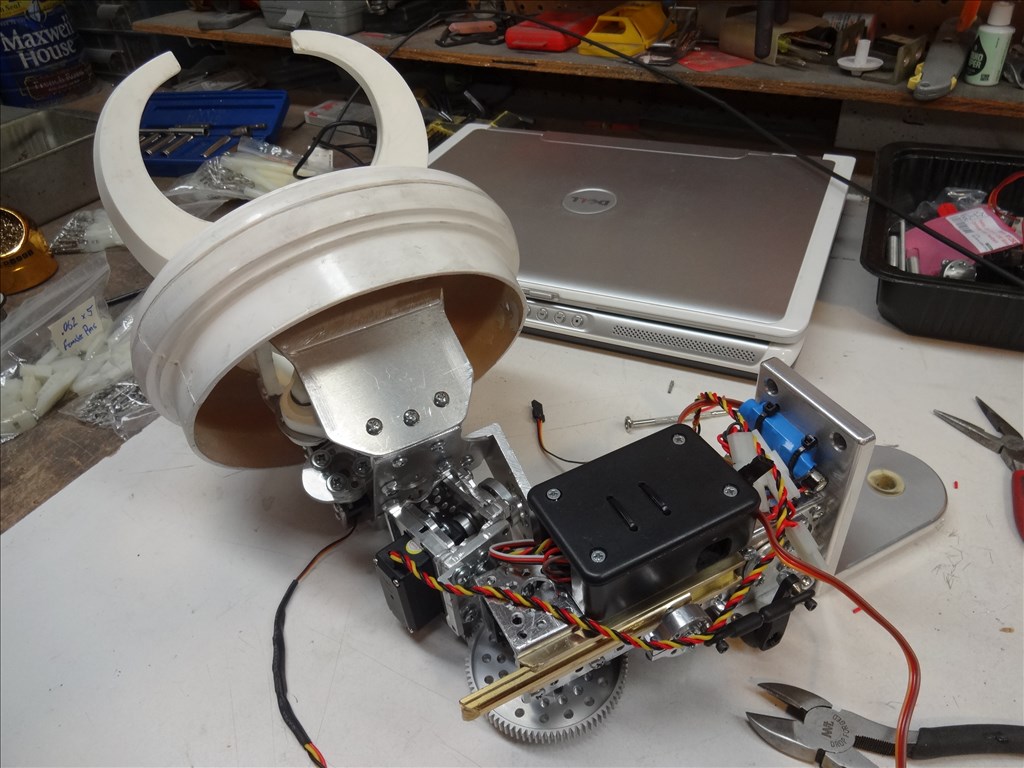
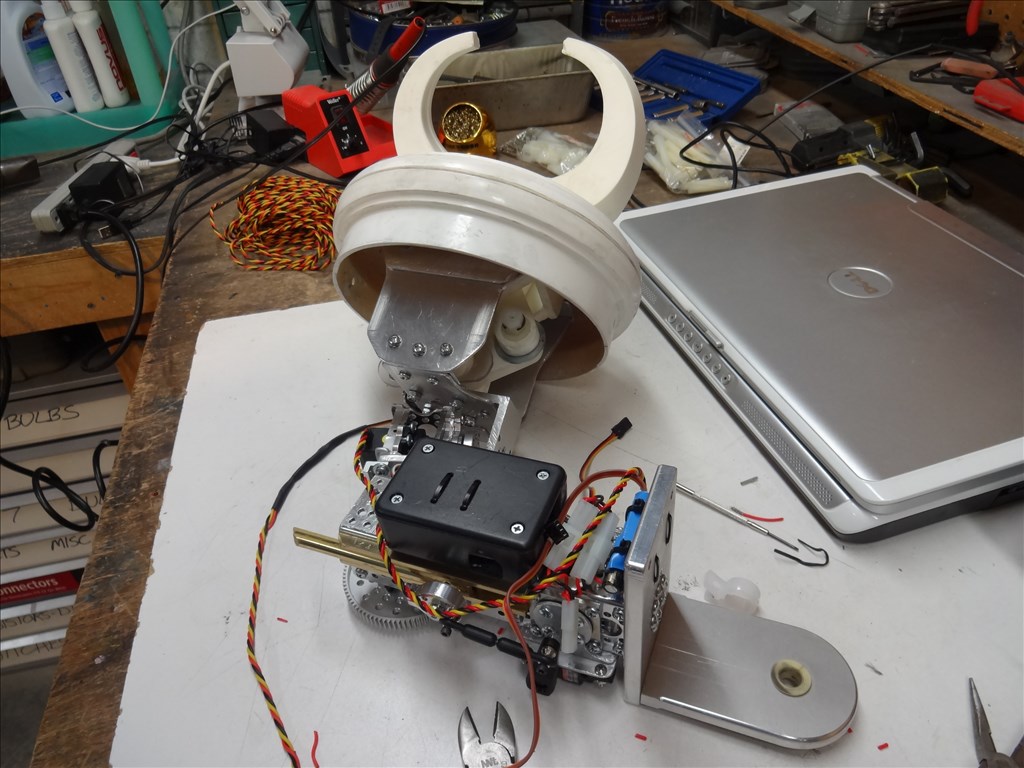
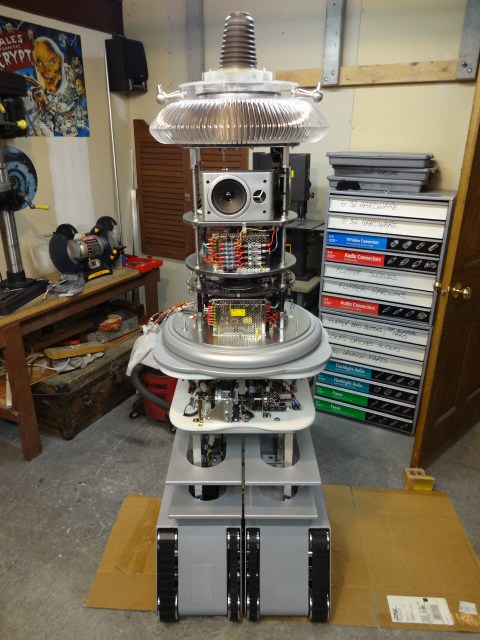
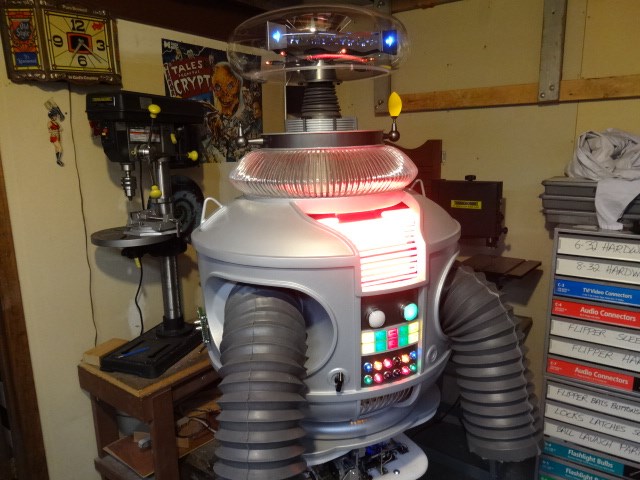
EDIT 8/2/13: Just realized I have no good pictures of how my B9 will look when complete. Here's one of the actual TV robots from the 60's TZ show Lost in Space and one recent shot of where I'm at with my build over 1 1/2 year after I started. Enjoy:


Thanks, Dave Schulpius
Discover more robots
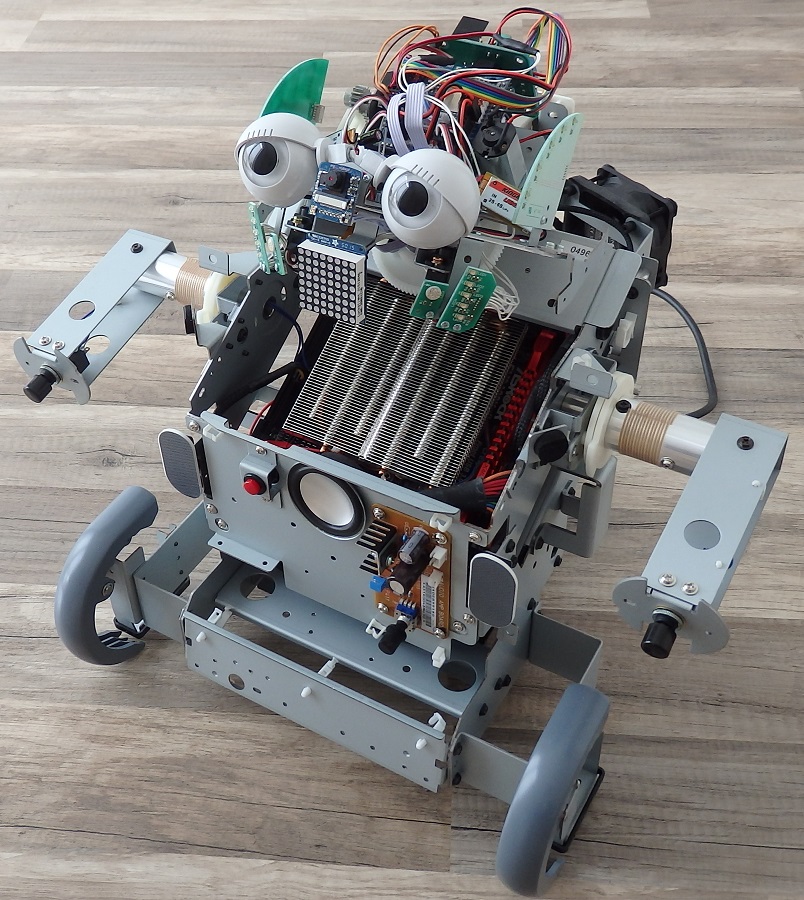
Smarty's Combot - The Ez-Robot Computer System
Buratino's Basilio

@Dave,
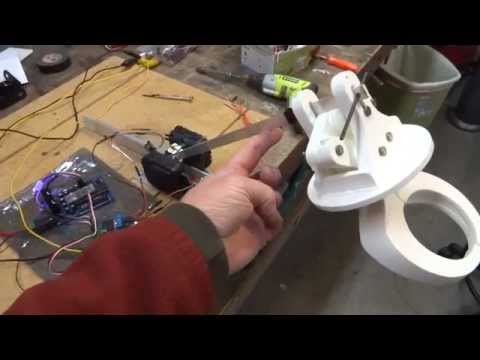
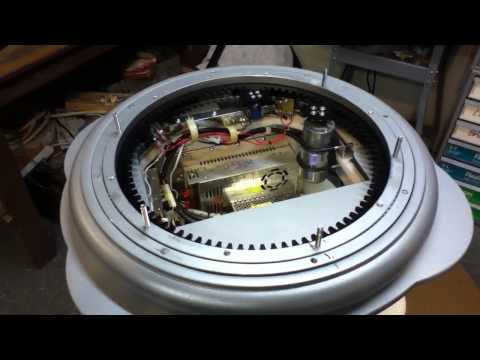
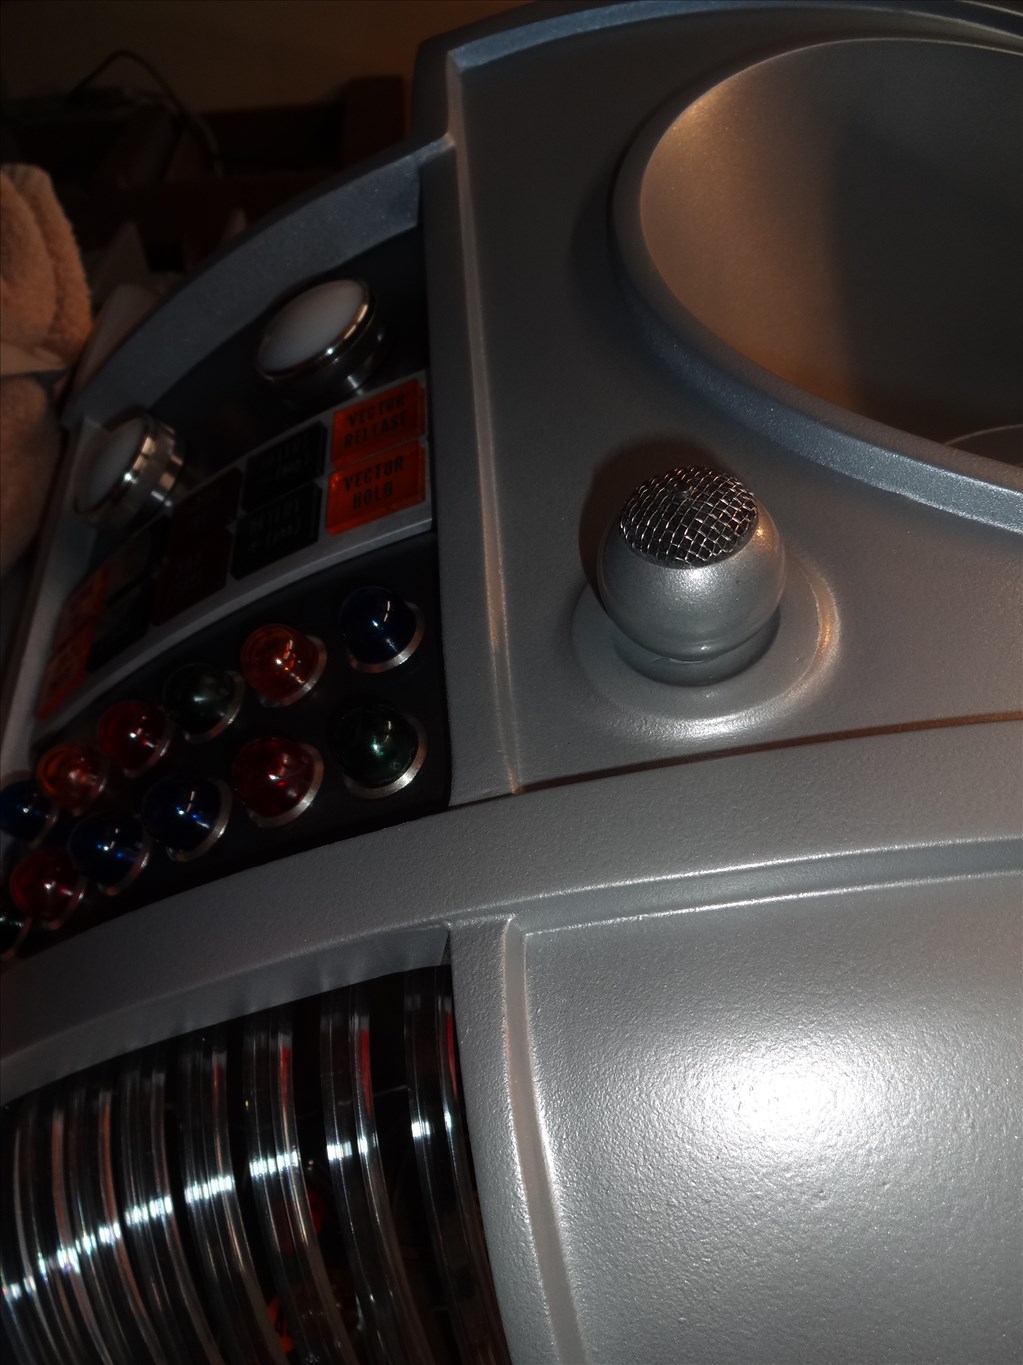
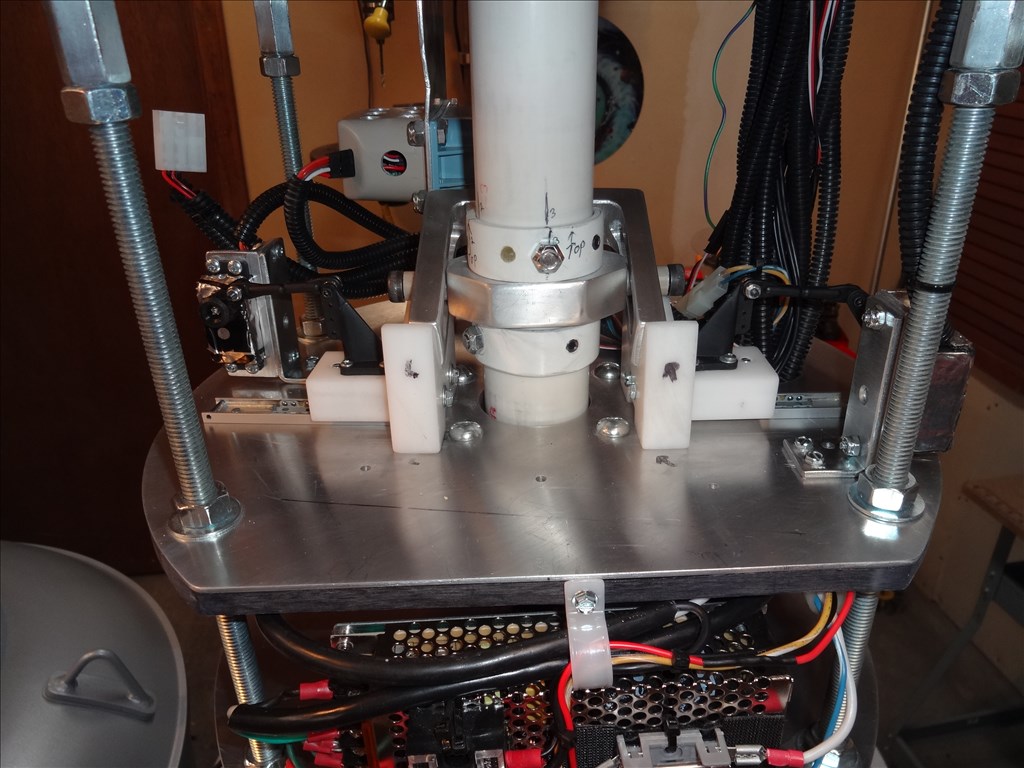
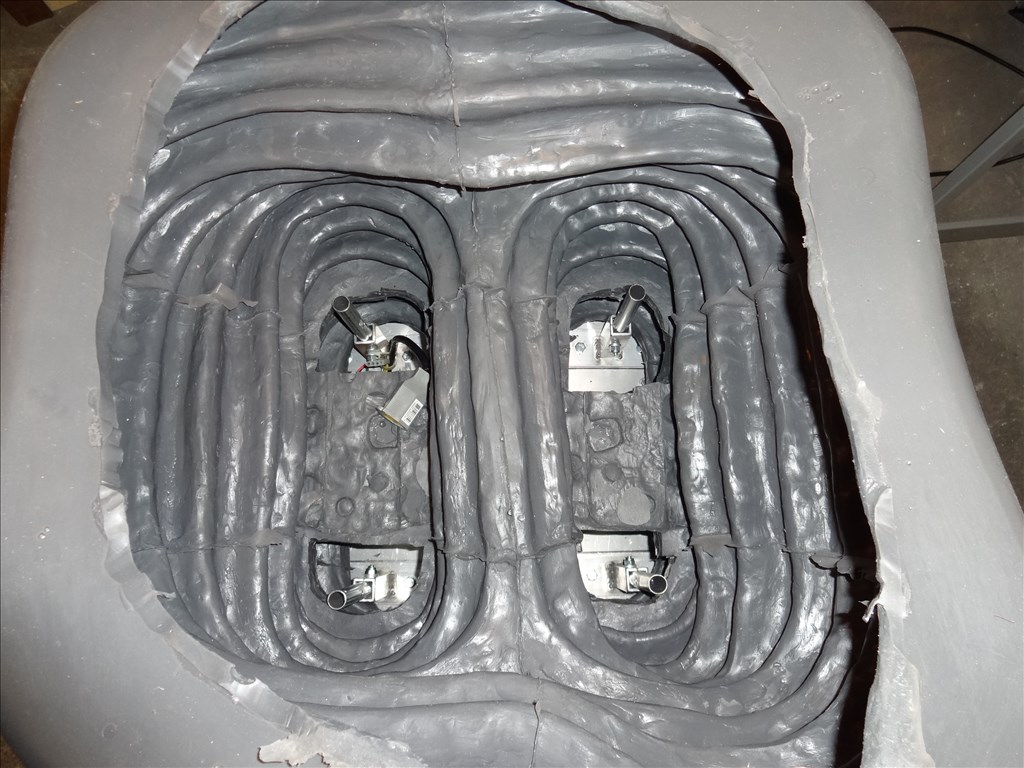
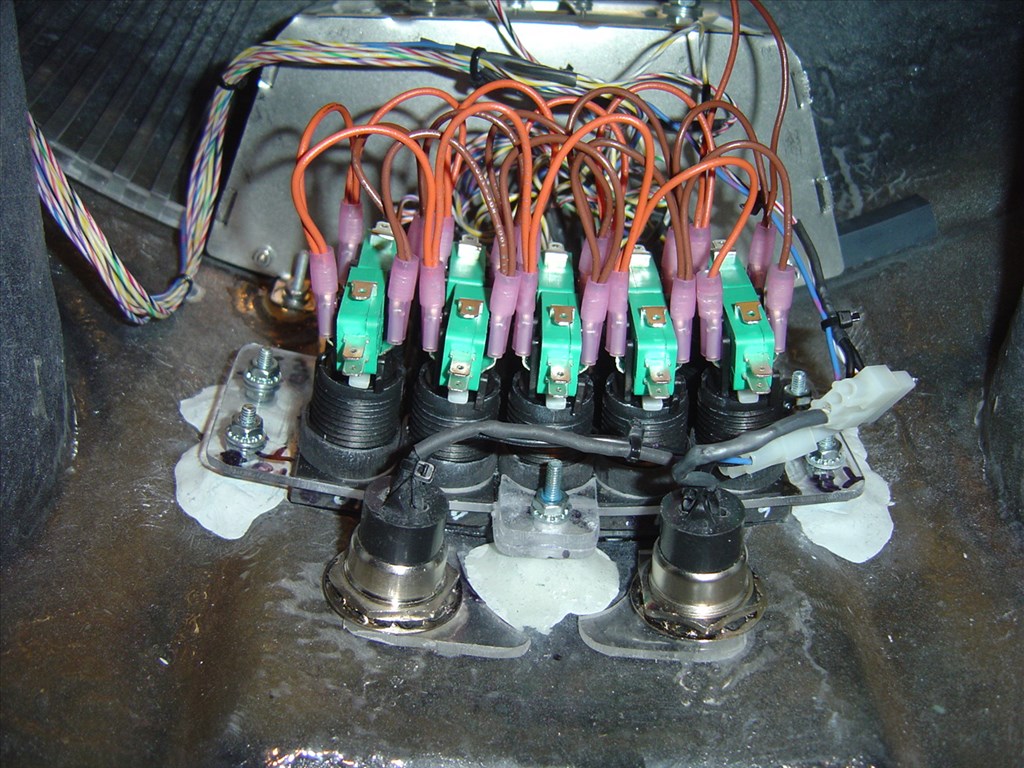
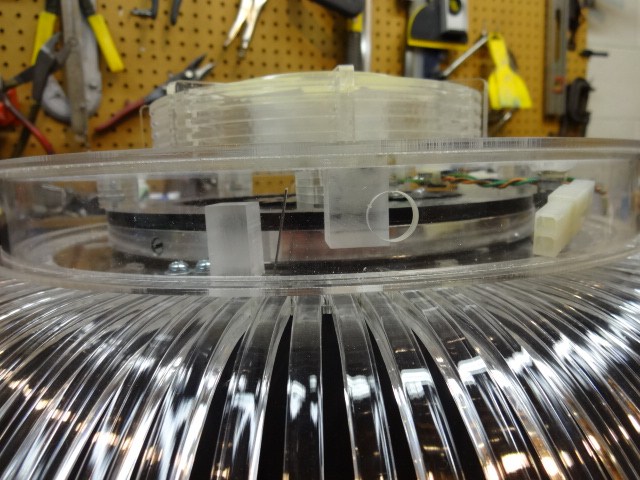
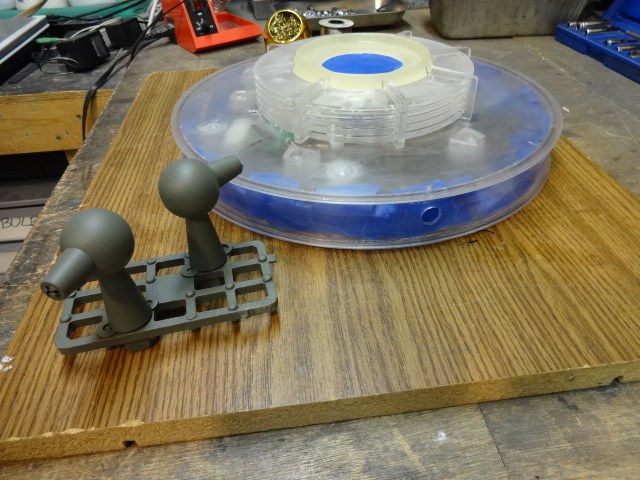
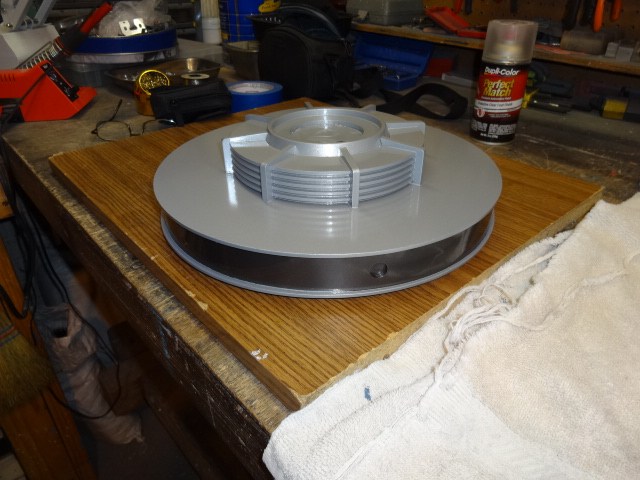
I love it! And those are some of the cool panel sections of your B9. I love those incandescent lights and tactile switches. I like the idea of gluing bolt heads down like that and am surprised that it will hold well enough for that application.
Thanks you for the advice on plumbers epoxy.
Thank you for the ongoing inspiration and ideas.
~Mike
No problem @Walunit. I'm glad you find this robot so cool. I fell in love with him when I was a child back in the mid 60's when the show was in it's first run. I was about 8 years old. I even remember my Dad reading a review for Lost in Space to me out of the newspaper before the show aired saying it would be a light hearted comedy like family show. My Dad said this would be a great show for me to watch and something I would really like. I remember thinking after finally watching the show that it didn't seem like a funny show to my young self. I thought it was kinda scary. However that ominous robot going mad and trying to kill everyone while they were just standing there in those tubes in suspended animation was just so stunning I was hooked right there. Later in the season it lightened up quite a bit for us younger viewers. For the rest of my life till now I have always wanted this robot for my own.
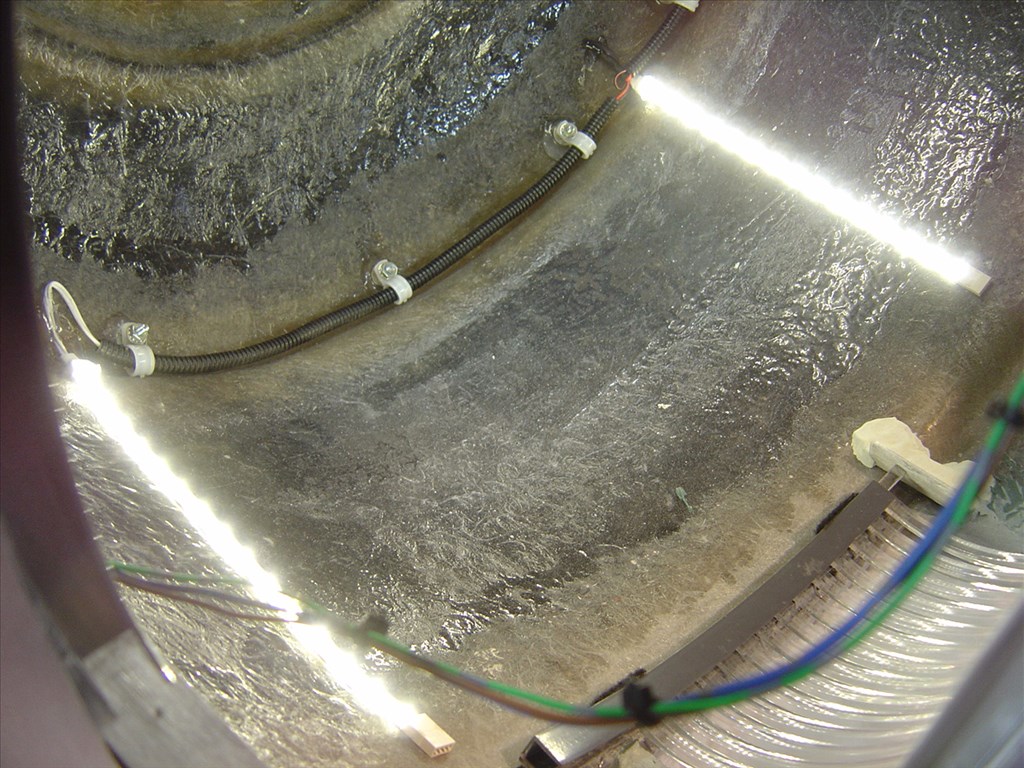
As far as the lights and panels; this architecture is so classic with the lines, curves and edges. Straight from the era of the early 1900's through the 60's. Kinda Art deco'ish. Also there is nothing like incandescent white and colored lights and neon! You just don't see this style anymore now-a-days in the way we build things. Everything is flat, square or round and LED's.
Hey @WBS00001, Thanks for the insight. They are very wise words. I have been doing a lot of hand sketches. Mostly wiring schematics because without some type of map I'd be lost trying to find a problem. Maybe after the build I'll take some time to learn CAD and document this that way. There are lot's of people asking for drawings of this thing.
Dave, I also enjoy your attention to detail and very good explanation of your designs, issues you run into and solutions. Right now I'm also looking into the Plumbers Epoxy as something to add to my toolbox.
Wow, I'm glad you all find this little tip on epoxy putty and hot glue useful. I just added it to my post as an afterthought.
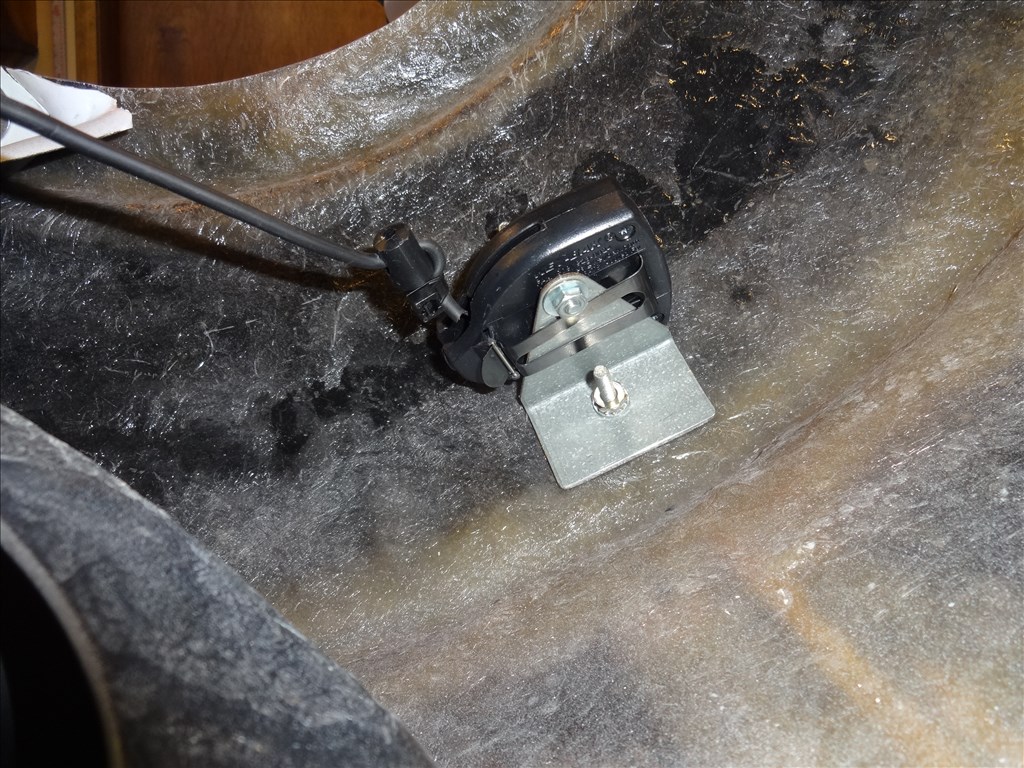
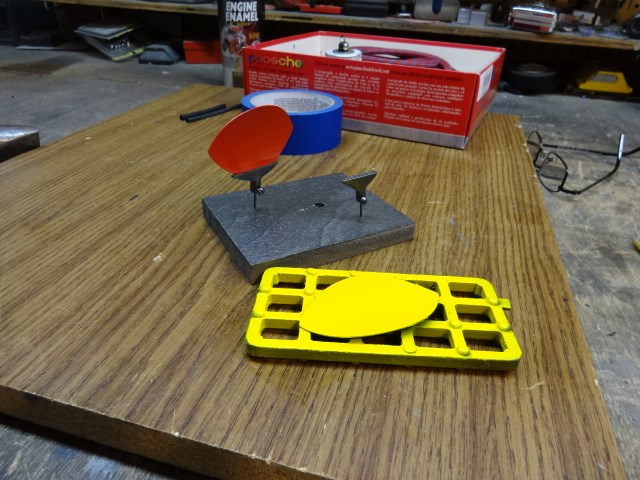
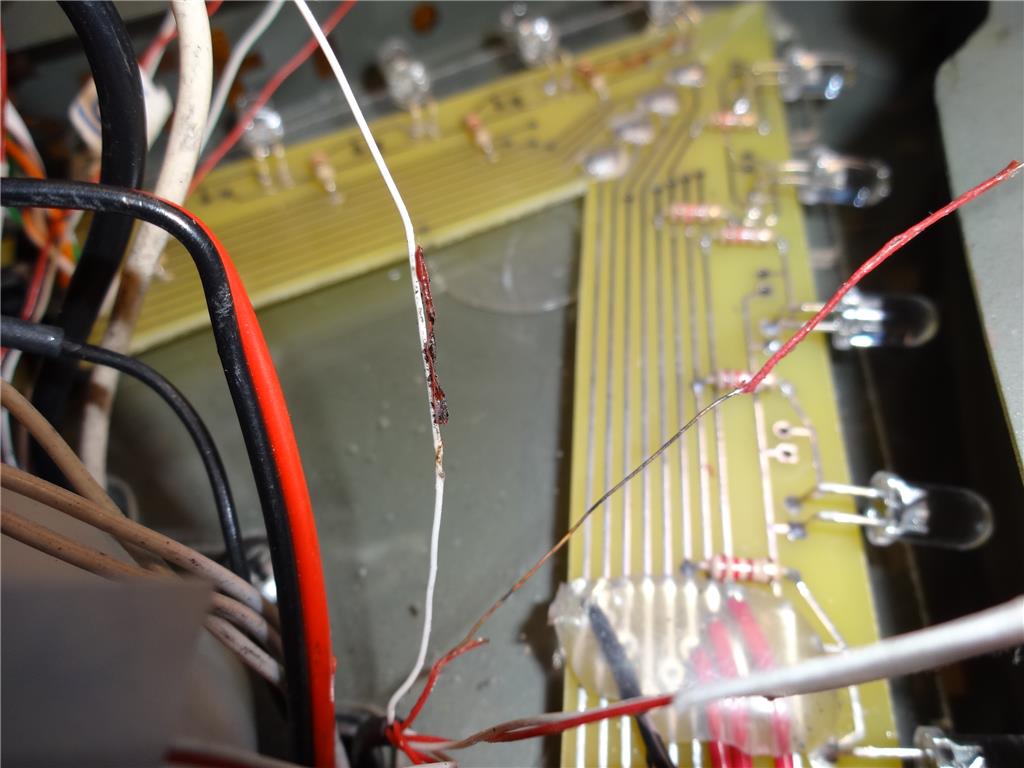
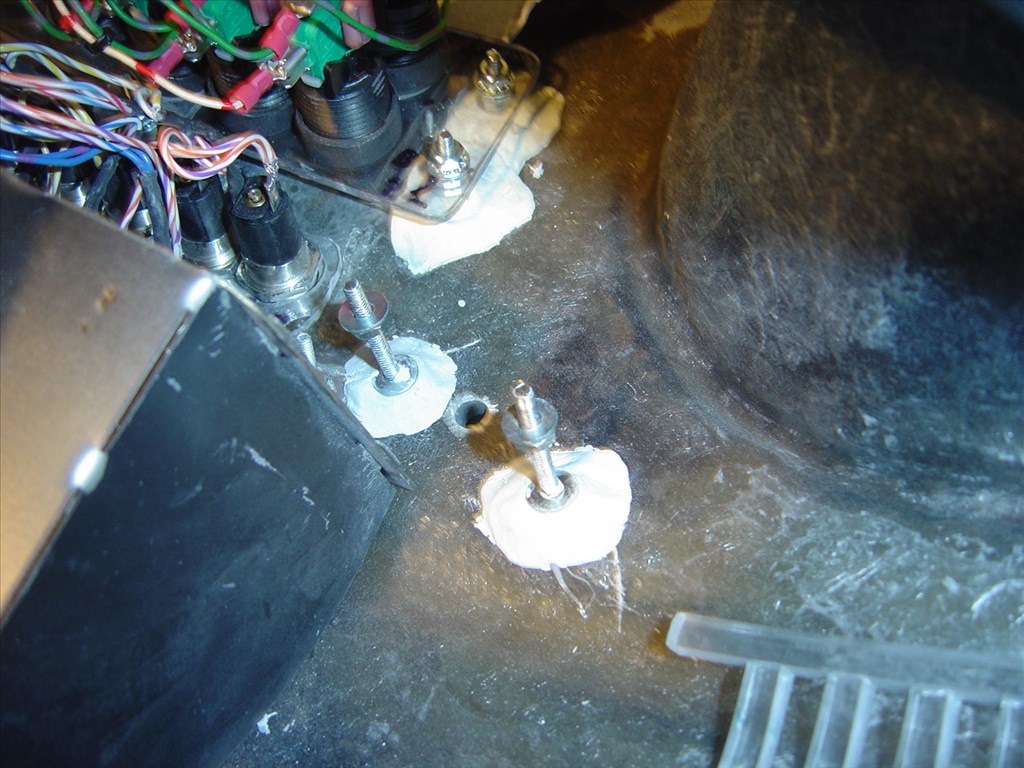
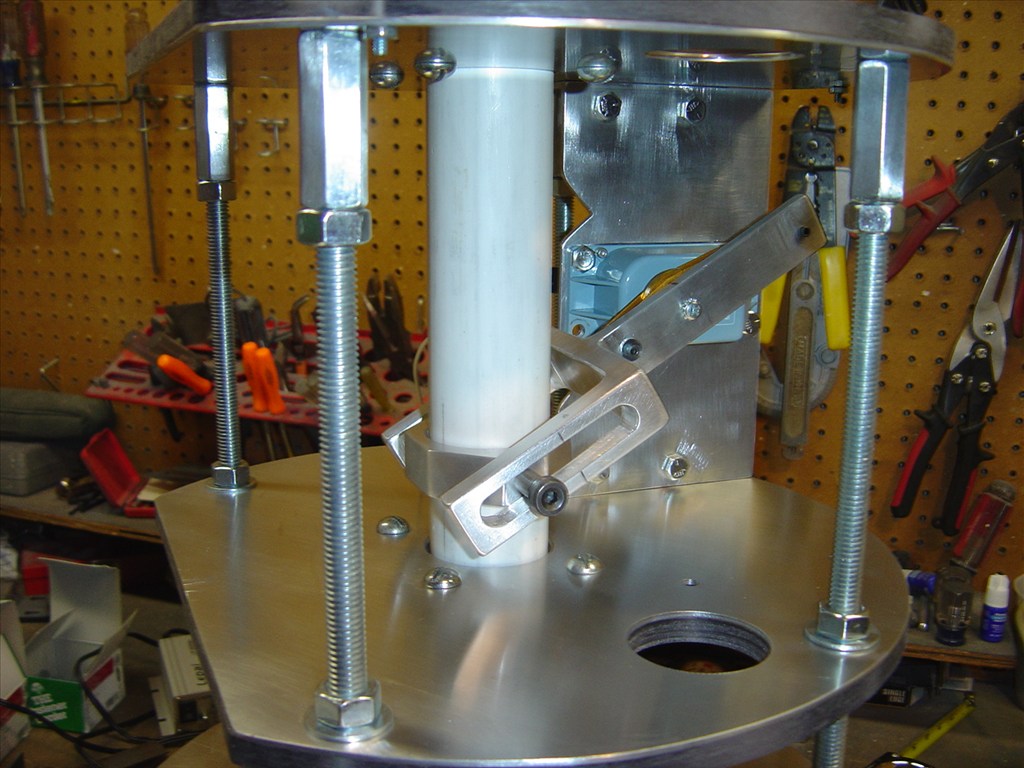
This method of attaching bolt head to flat surfaces has really helped me mount things in odd places where I couldn't drill mounting holes. I also was surprised how strong the bond of both the hot glue (Heavy Duty). and the Plumbers Epoxy Putty are. They wont hold up a car but I haven't had any of the bolts come loose that are holding in the brackets I made for the lights and other light duty equipment like I show above in my pictures.
There are other types of Epoxy Putty that will work. Devcon makes all sorts of epoxy putty that will work best in different applications like titanium, aluminum, stainless steel, plastic, bronze, ceramic reinforced epoxy puttys . You don't have to use the Plumbers type. Actually I think Devcon discontinued the name of Plumbers and rolled it into one of the others I mentioned. I've used several types I found at a local stores and they seem to all apply the same and hold great for my light applications. Most have Adhesive Tensile Shear of around 2,200 psi or more and bonds to a wide range of material like steel, iron, aluminum, ceramic, concrete, brass, and some plastics. I'd advice if you have a special application that you visit their web site, do a product search for Epoxy Putty and choose the best one for you. They have a spec sheet on each one: Devcon.com
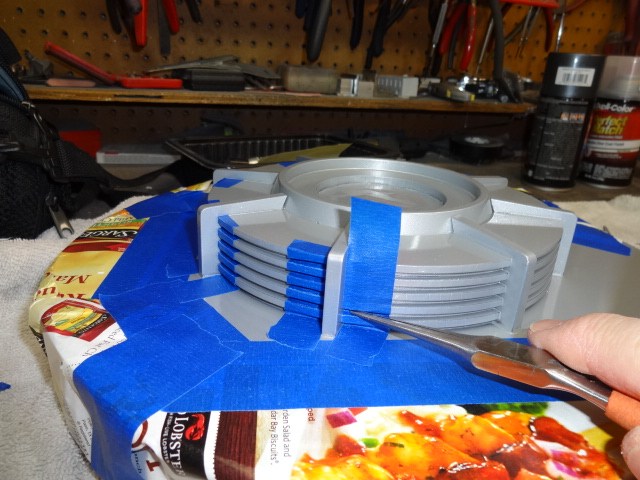
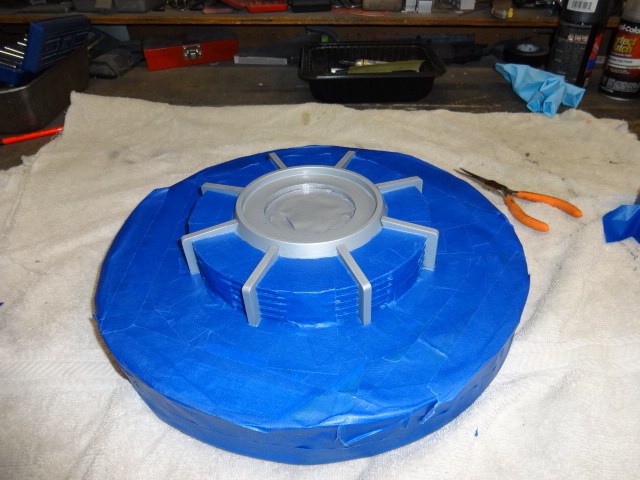
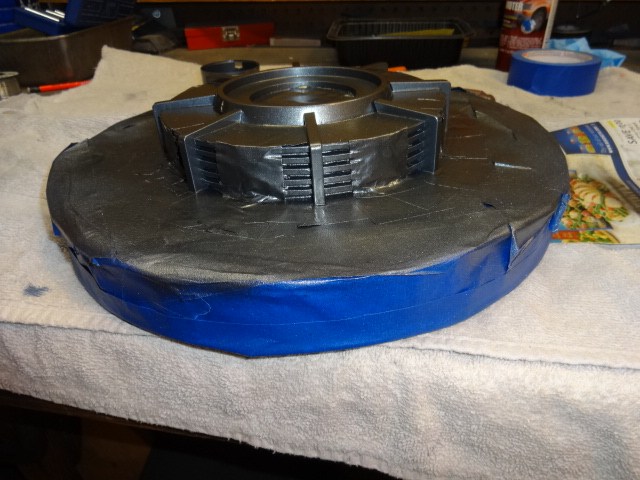
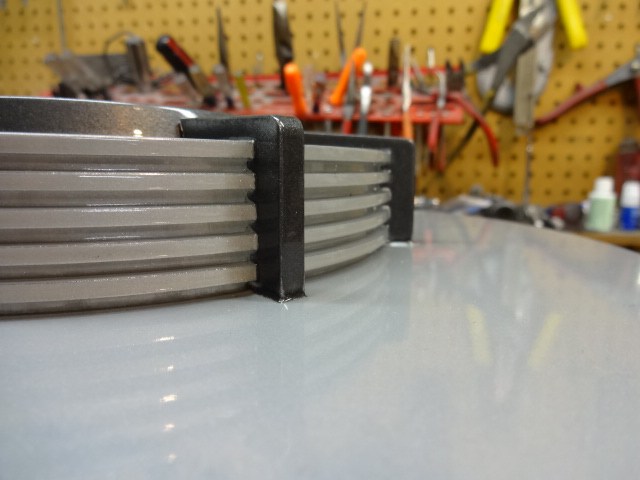
Here are a few tips for attaching the flat head of a bolt to a serface:
*Ruff up the area with sand paper if possible and clean well with alcohol. Let the area dry a minuet or two.
*Apply a small dab of hot glue on the surface on the exact point where the bolt will be placed. *Quickly before the glue cools stick you bolt into it and make sure it's in the exact spot you want and is straight. Be quick, the glue will cool and go hard within seconds. *If your going to continue to use hot glue; full around the bolt head with more hot glue. Hold the bolt in place because the new hot glue will soften the already hardened glue you used to hold it in place and you'll loose your bolt position. Don't use to much and don't get any glue into the bolt threads. *While the glue is still soft take a washer and slide down over the bolt and lightly push it down into your glue mound and leave it there. This will give you a nice flat and hard surface to attach to. *If your going to use Epoxy Putty follow the same directions as above with a dab of hot glue to hold the bolt in place. *Epoxy Putty sticks to everything like crazy including your fingers and tools. Have a open bowl of alcohol ready to use on your fingers and tools to aid in working with this amazing material. Once placed you can wet your tools or fingers with the alcohol to help smooth and work the putty. You can even add alcohol to the putty and turn it into a kind of a slurry or mud to flatten it out if you wish. Once the alcohol evaporates in a few seconds or minutes your back to the putty state. *Be quick, most types of epoxy putty sets up and cant be worked anymore within 5 to 15 minutes. After a half hour to hour most types can be drilled, sanded, filed tapped or painted. Some types can even be machined (check the spec sheet of your chosen epoxy).
*Use the alcohol to clean your tools and hands then wash up with warm water and soap. *Have fun!
I have also had great success using hot glue and epoxy putty. It sure helps when you just can't get at something to drill or make a hole or especially when you don't want a bolt head or screw showing on the outside of something. A small dab of hot glue is also good for holding things temporarily when you need that extra hand to keep a part in a certain position long enough for you to mark or drill holes.
As for the CAD drawings....no pressure my friend. I also find it hard to take the time to document the things I make. I was just thinking about all those other B9'ers out there that will be drooling over these magnificent arm designs! You could make a small fortune just selling the "how to" plans I'd bet.
Waiting for that next cool "Dave video" good sir
@Rex, you're a true craftsmen! Using tools to help you use tools is a mark of a master artisan.
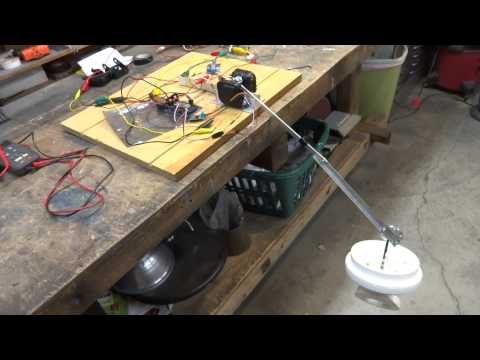
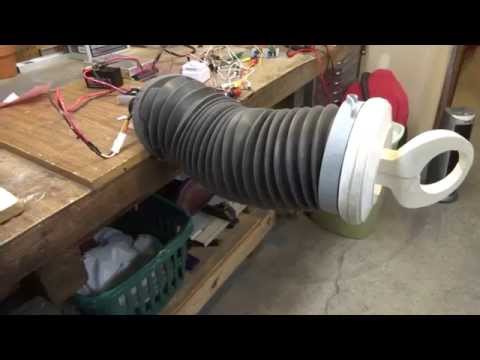
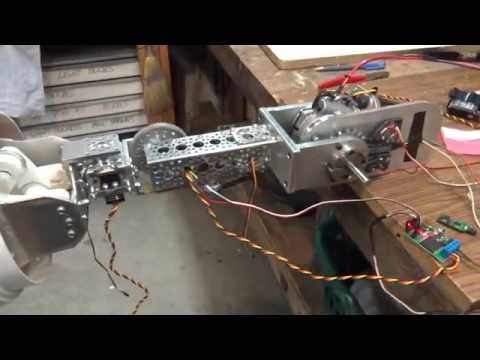
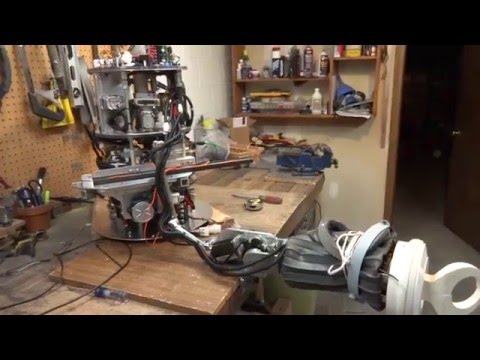
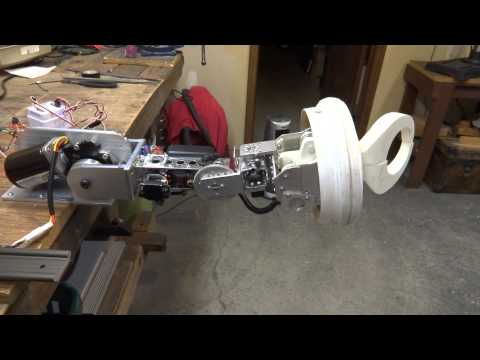
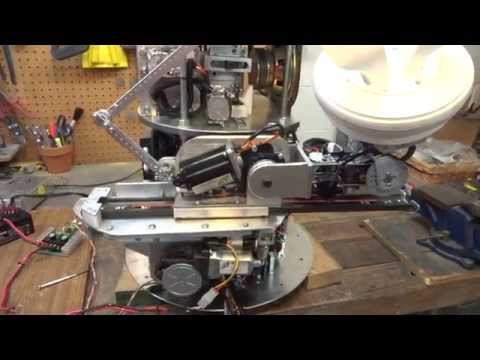
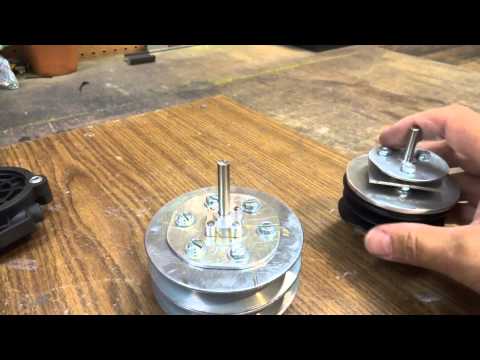
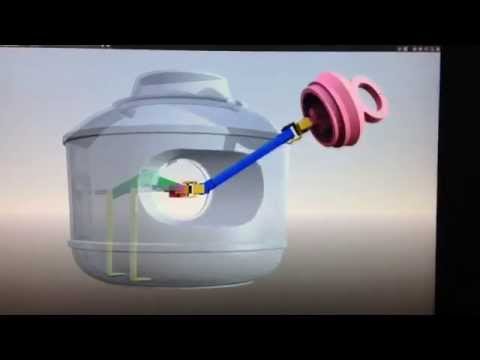
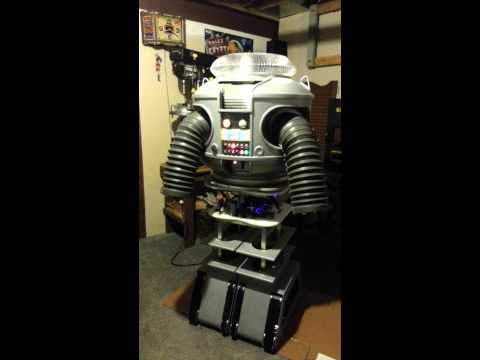
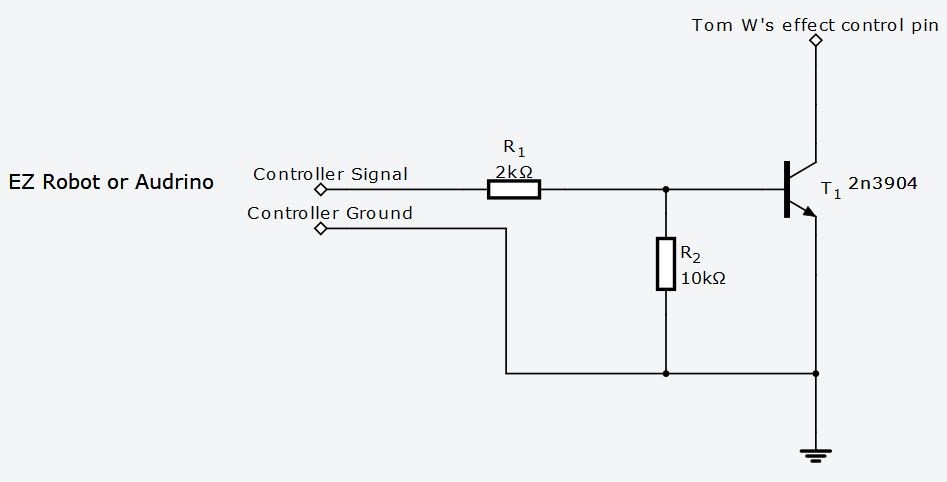
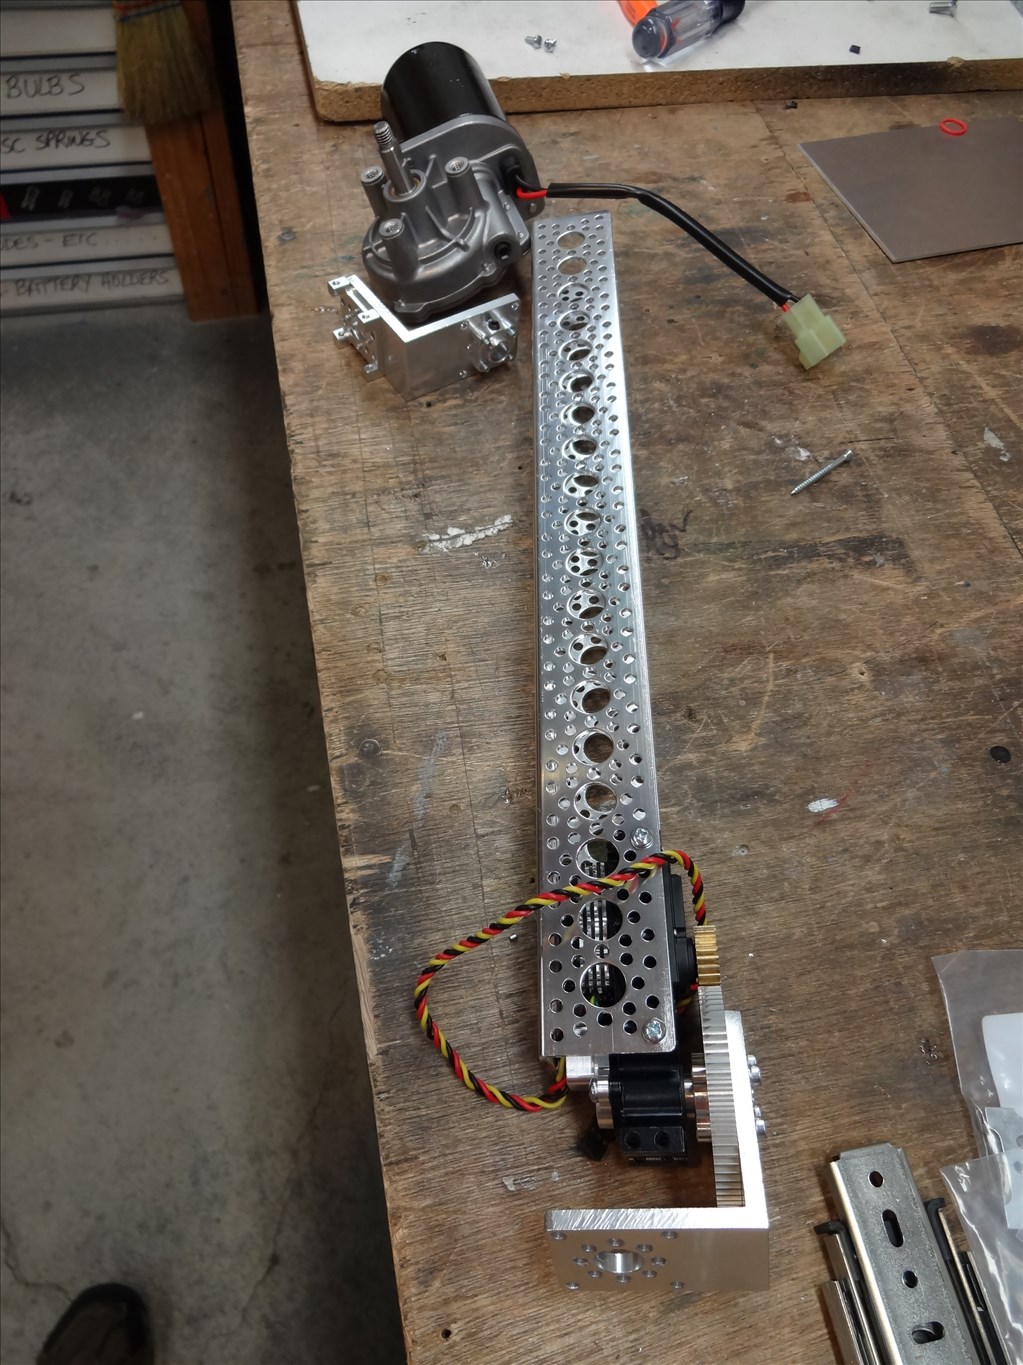
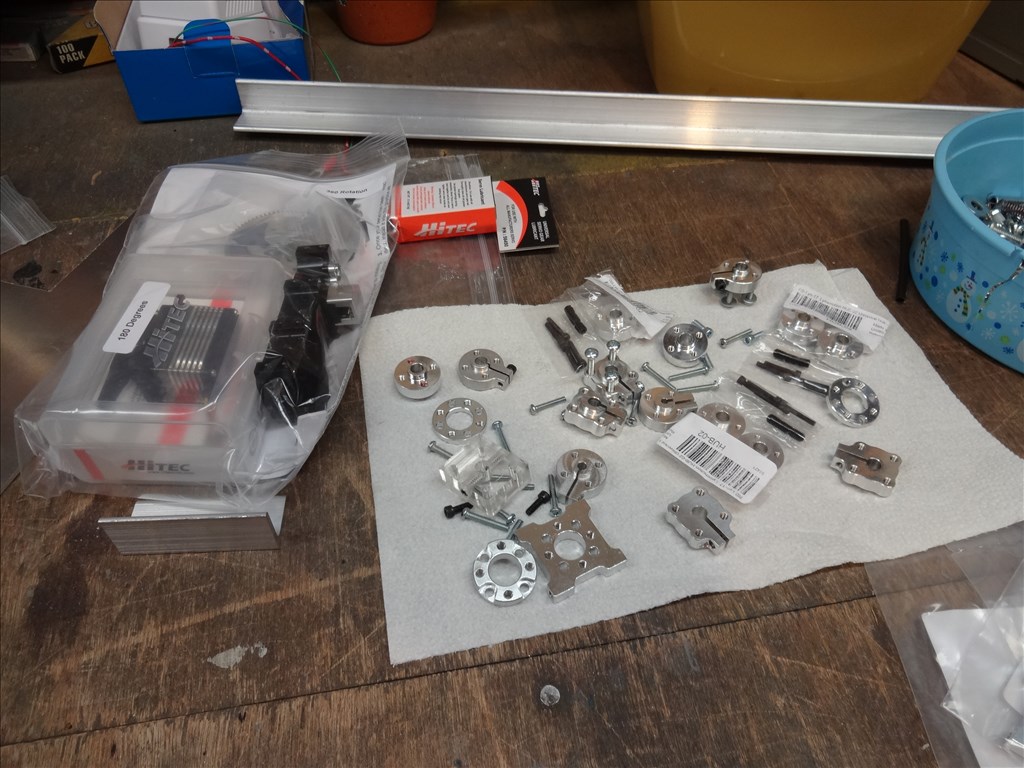
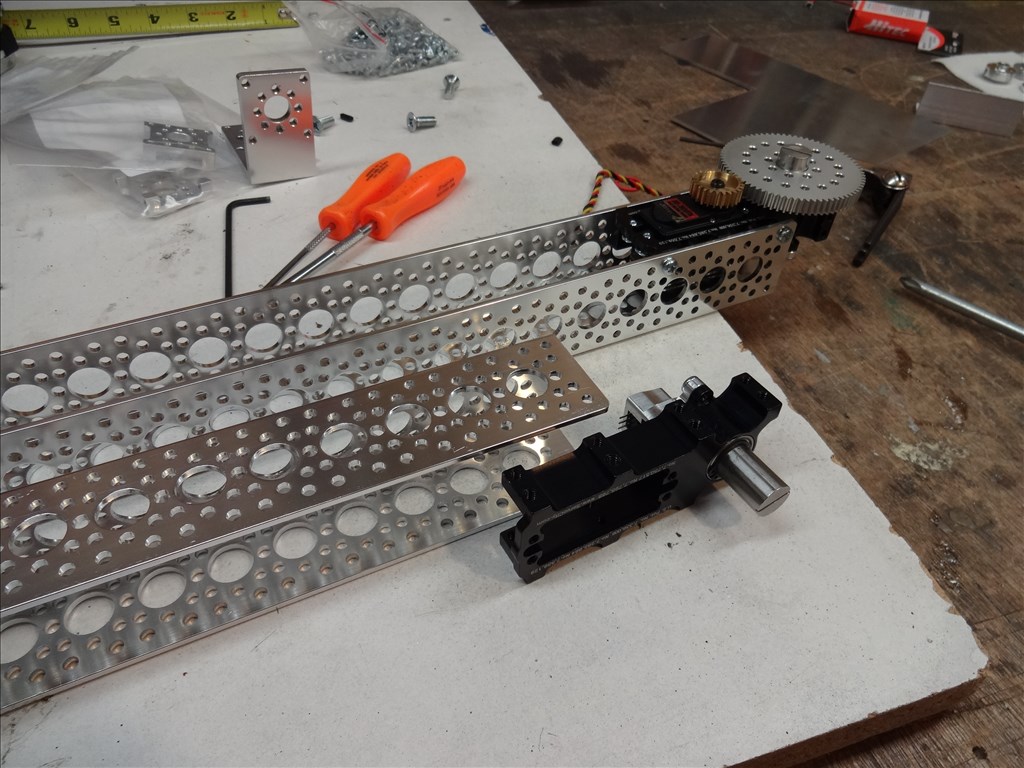
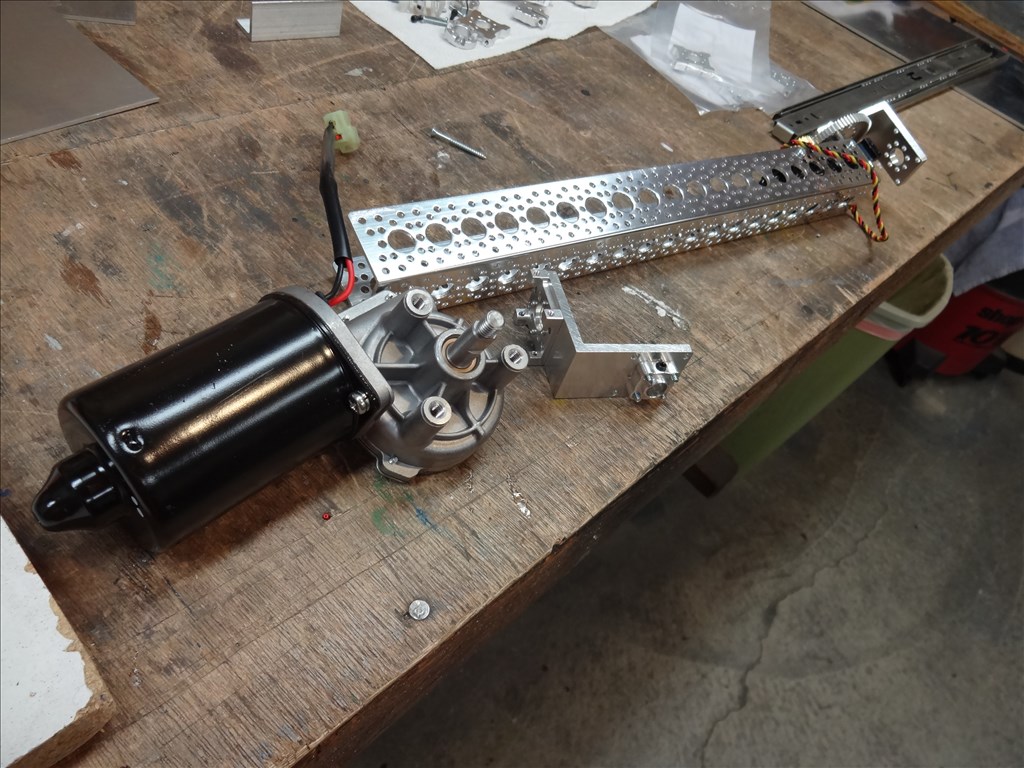
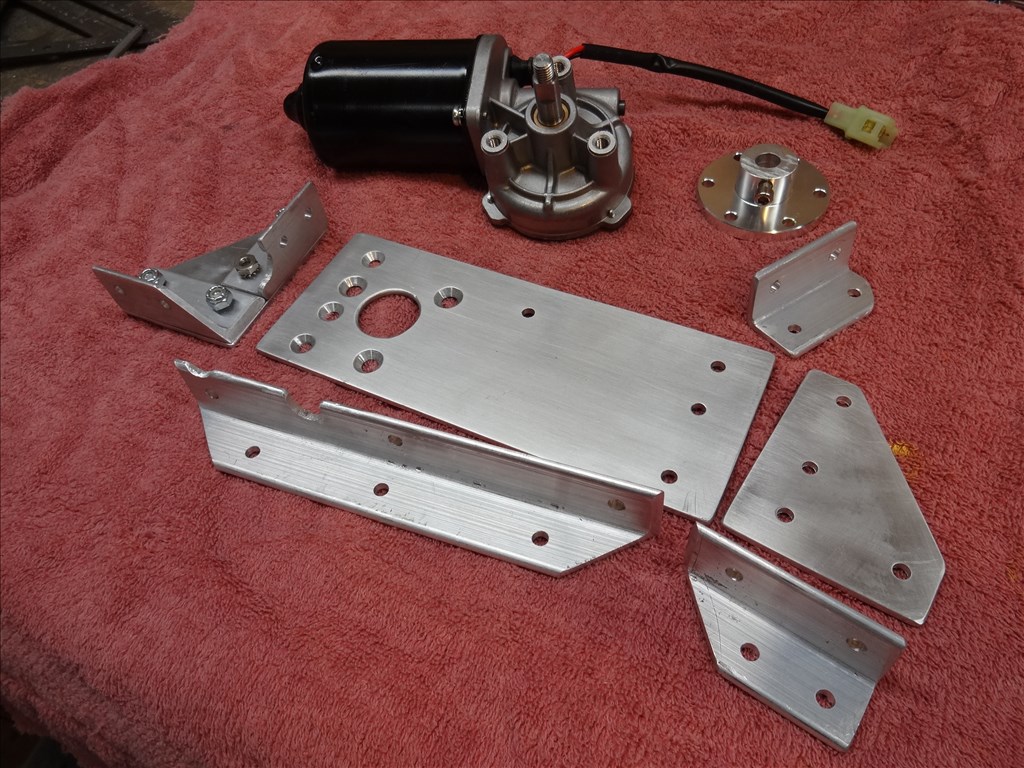
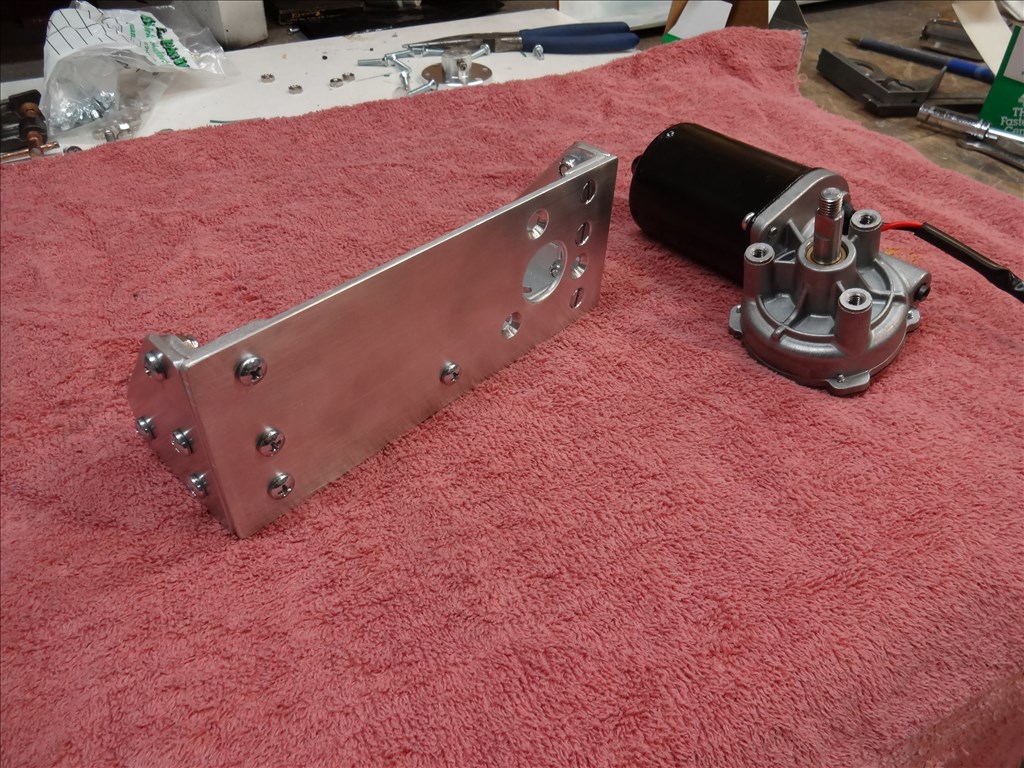
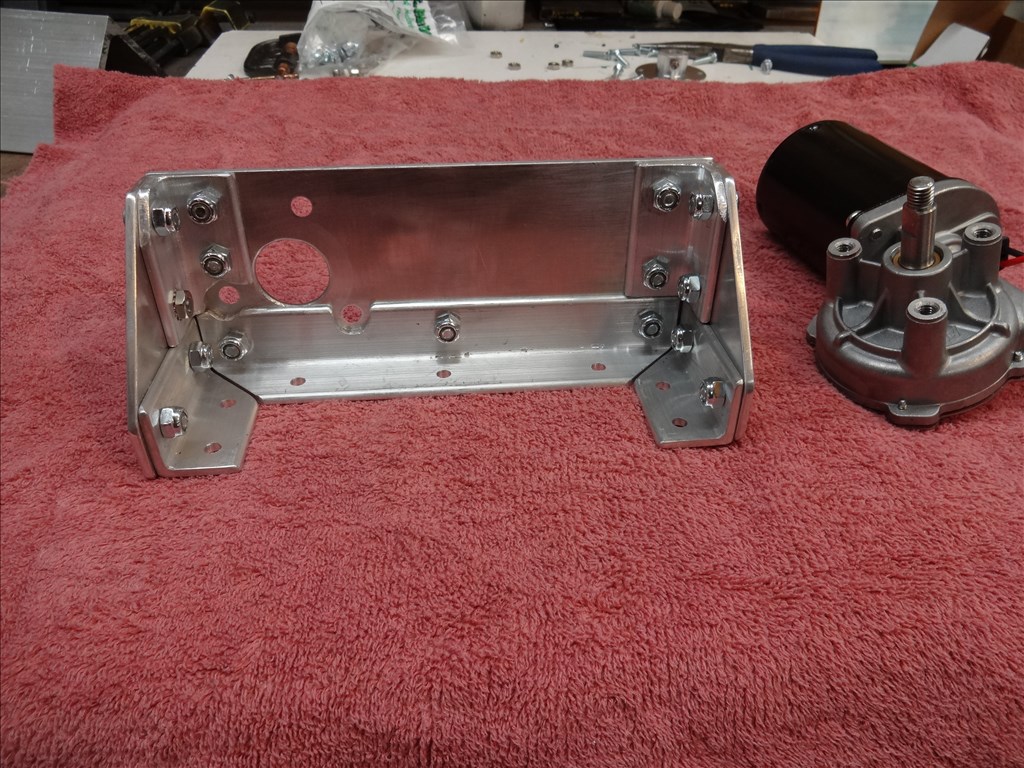
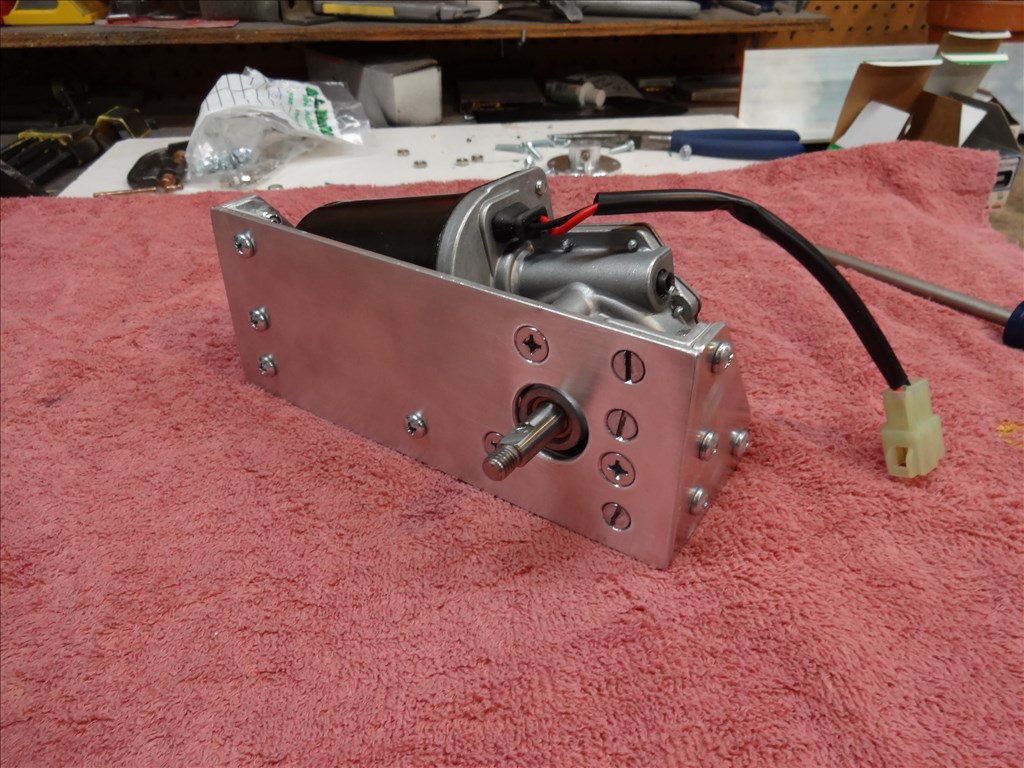
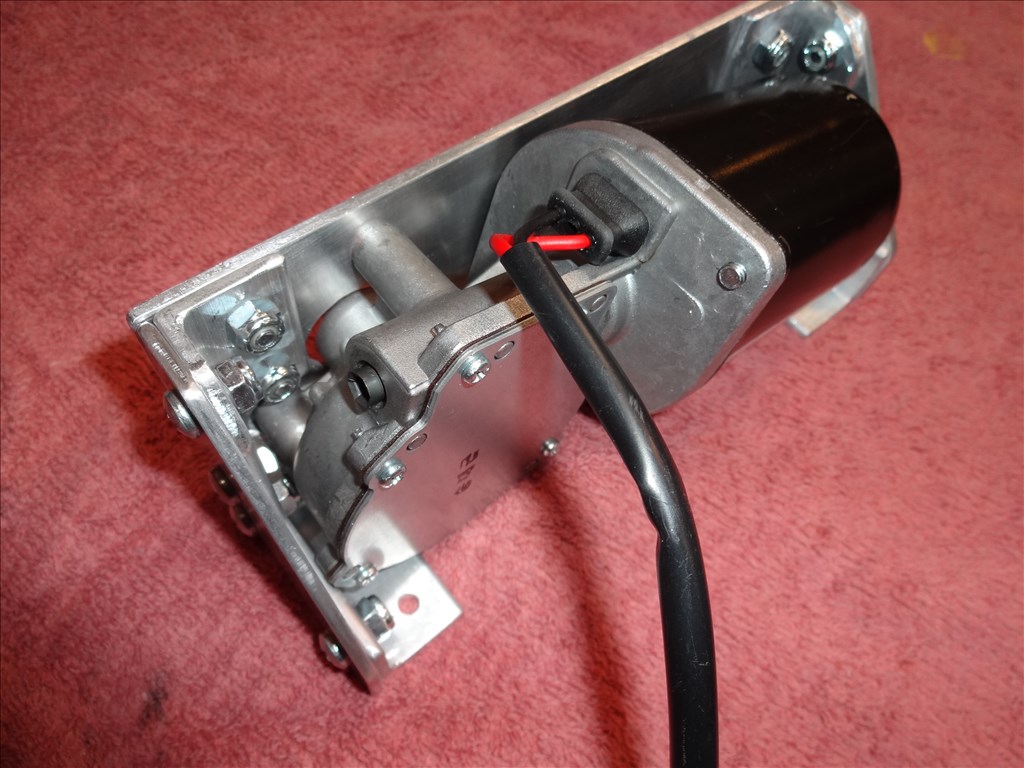
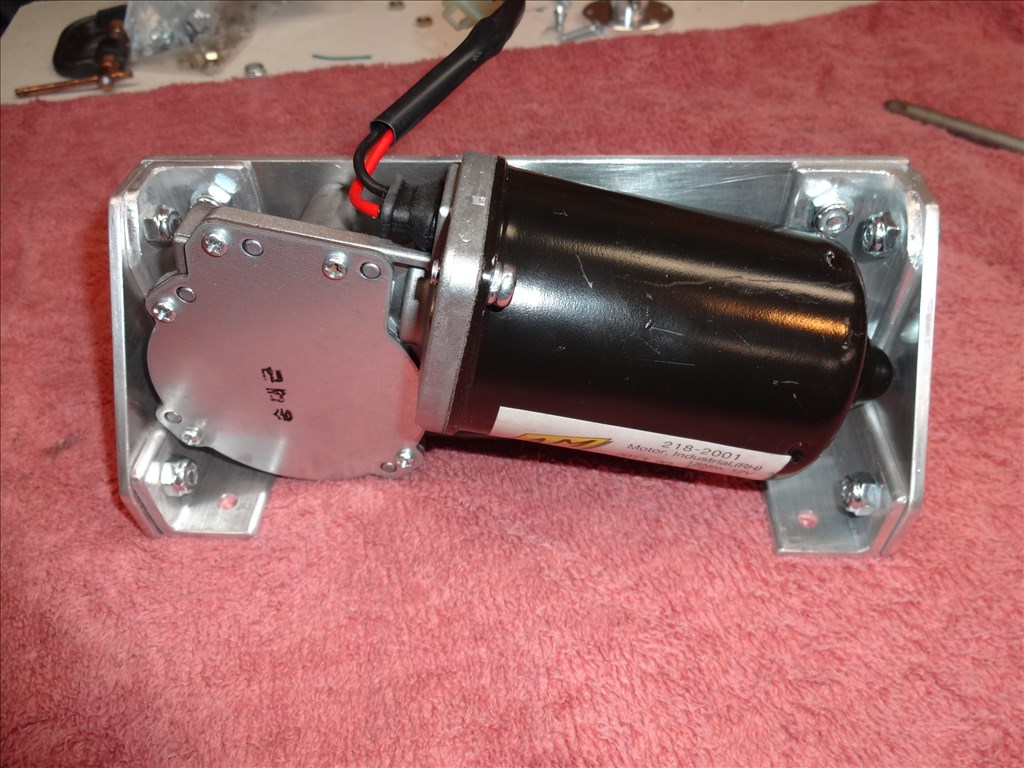
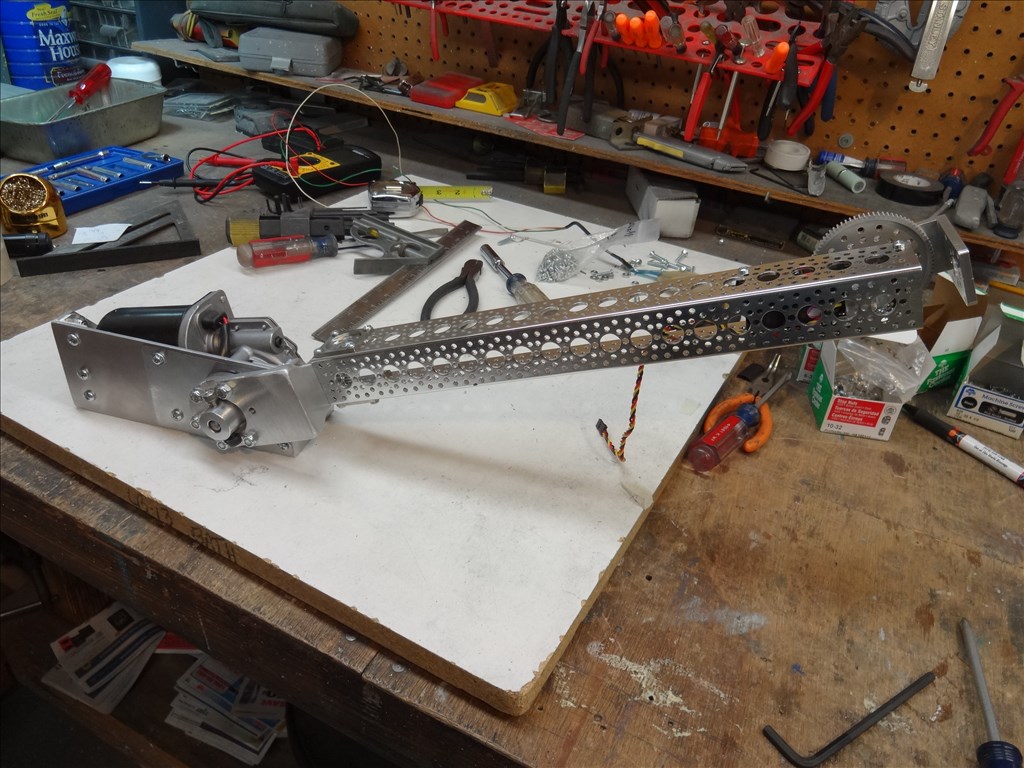
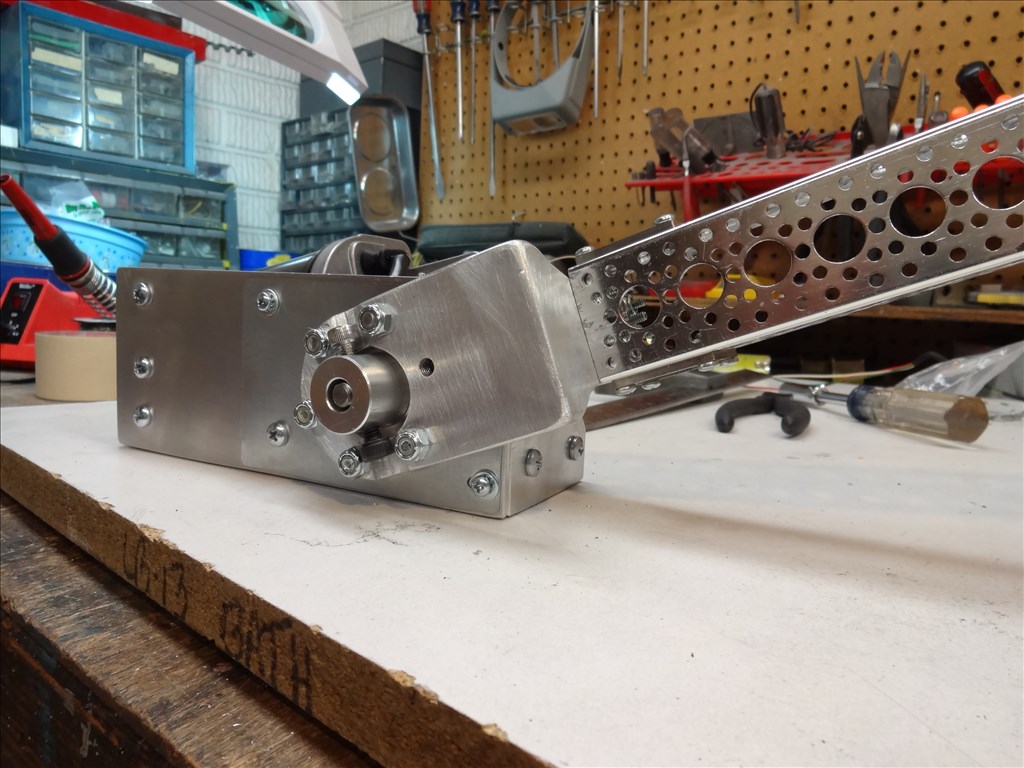
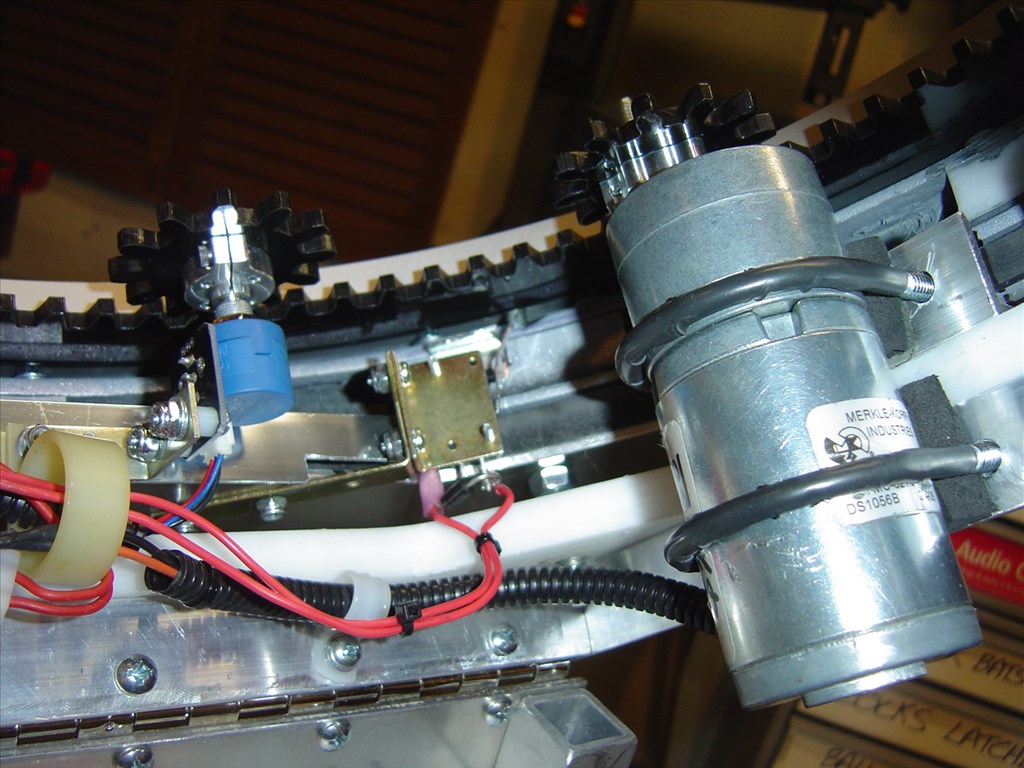
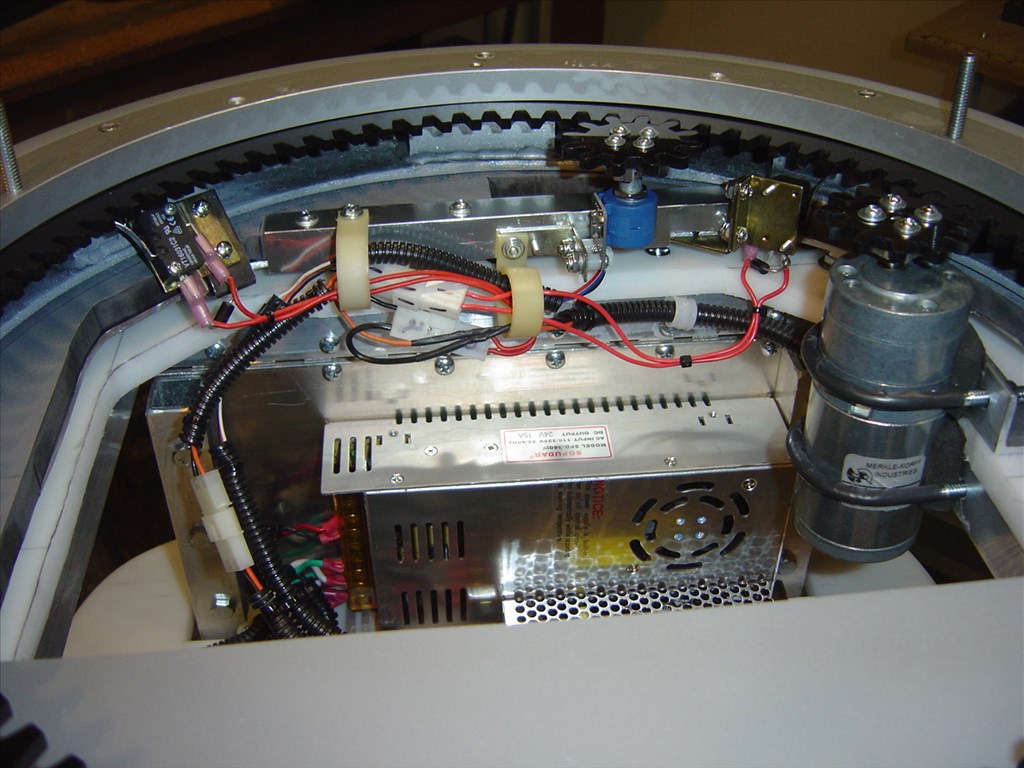
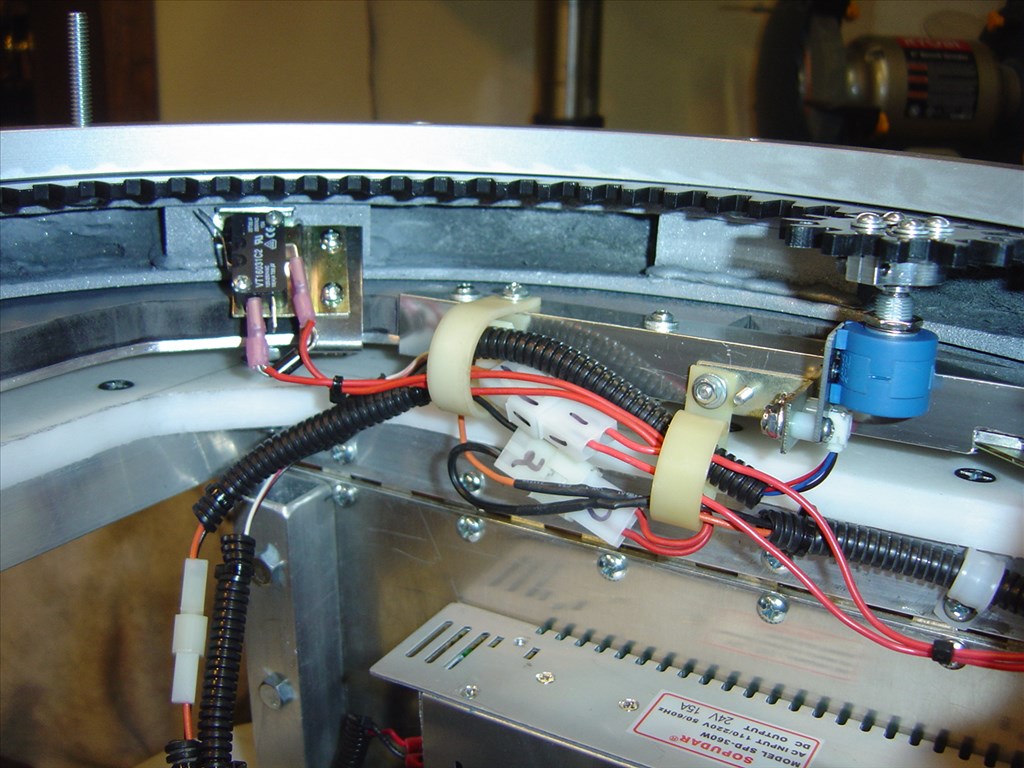
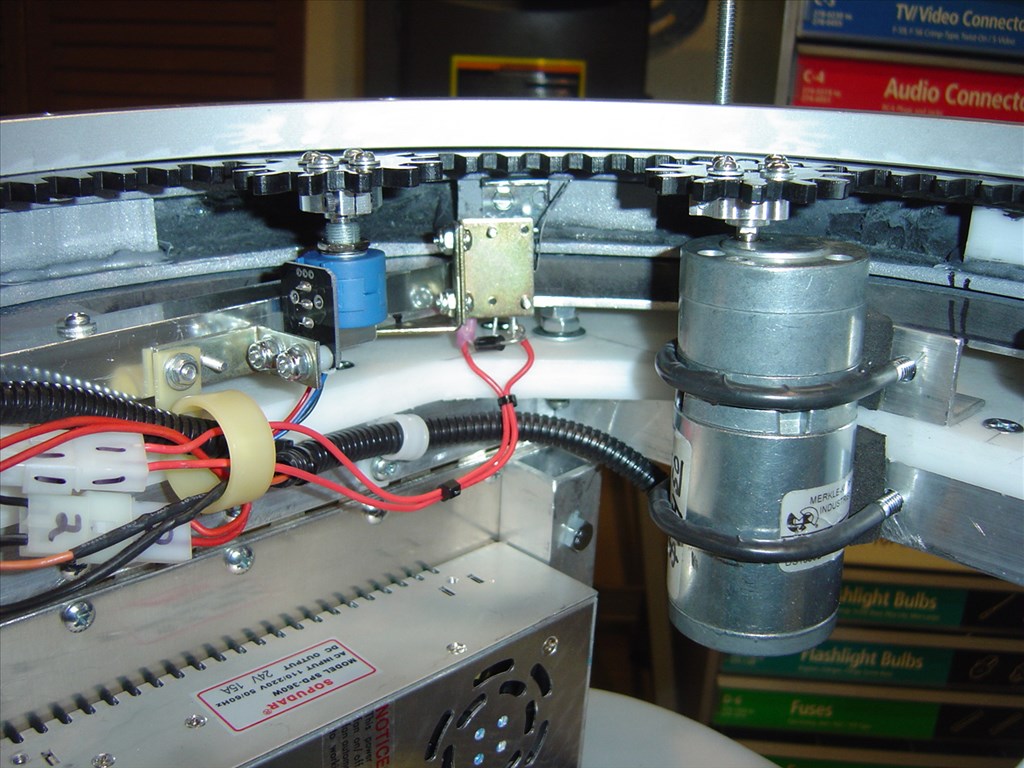
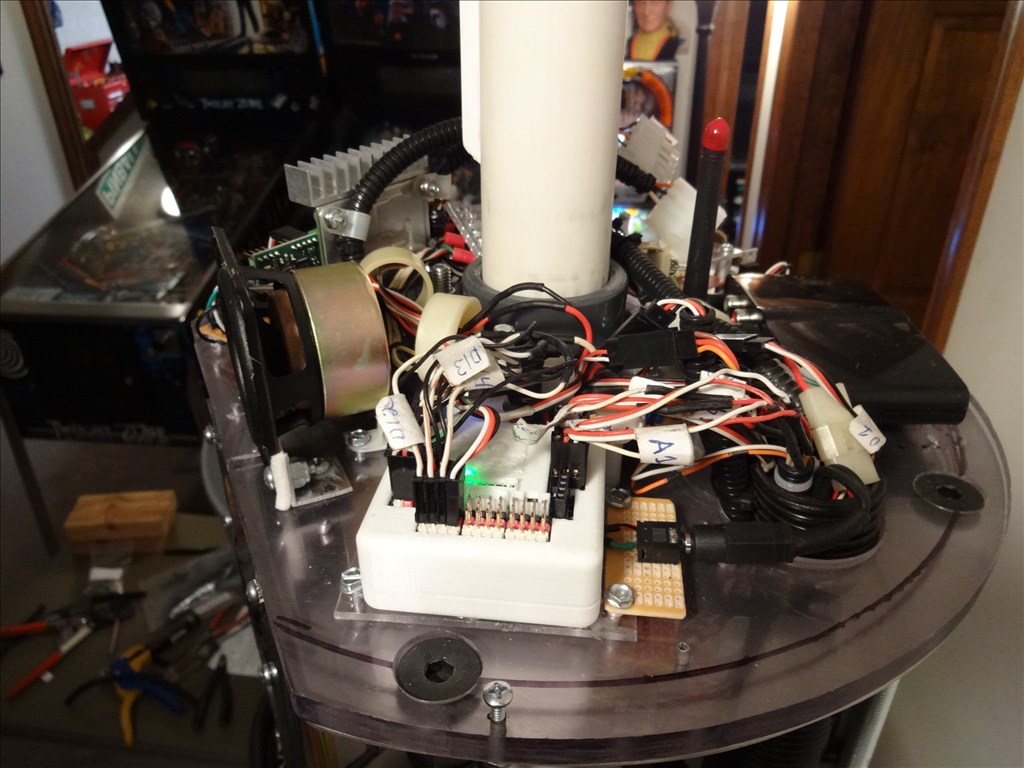
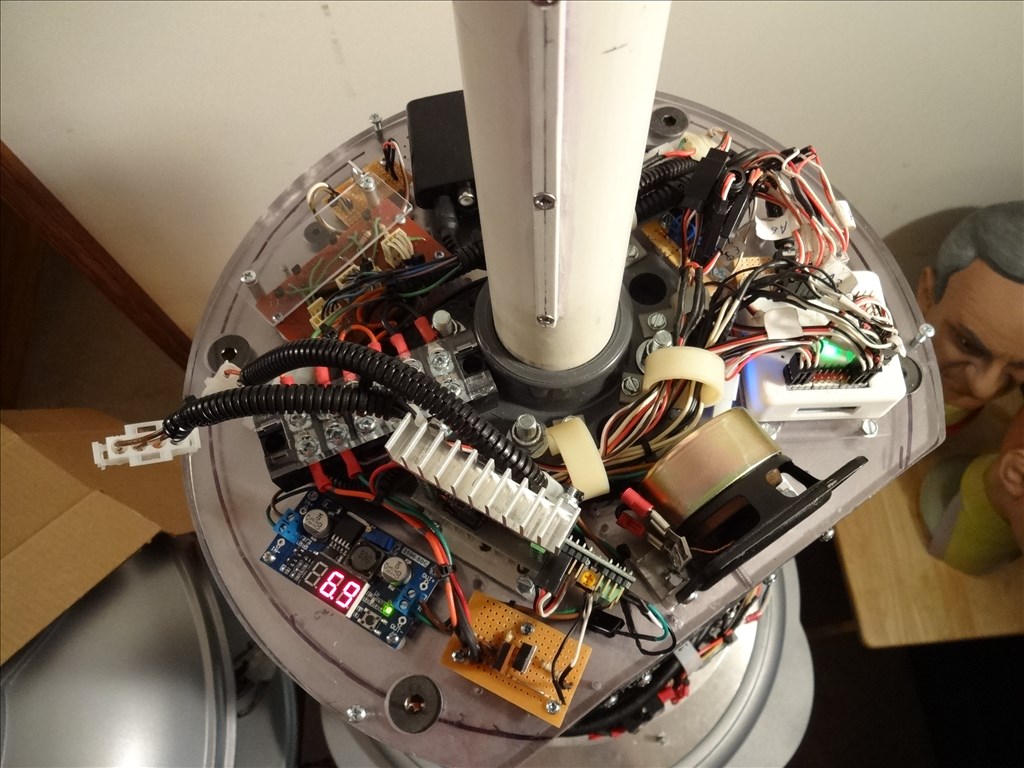
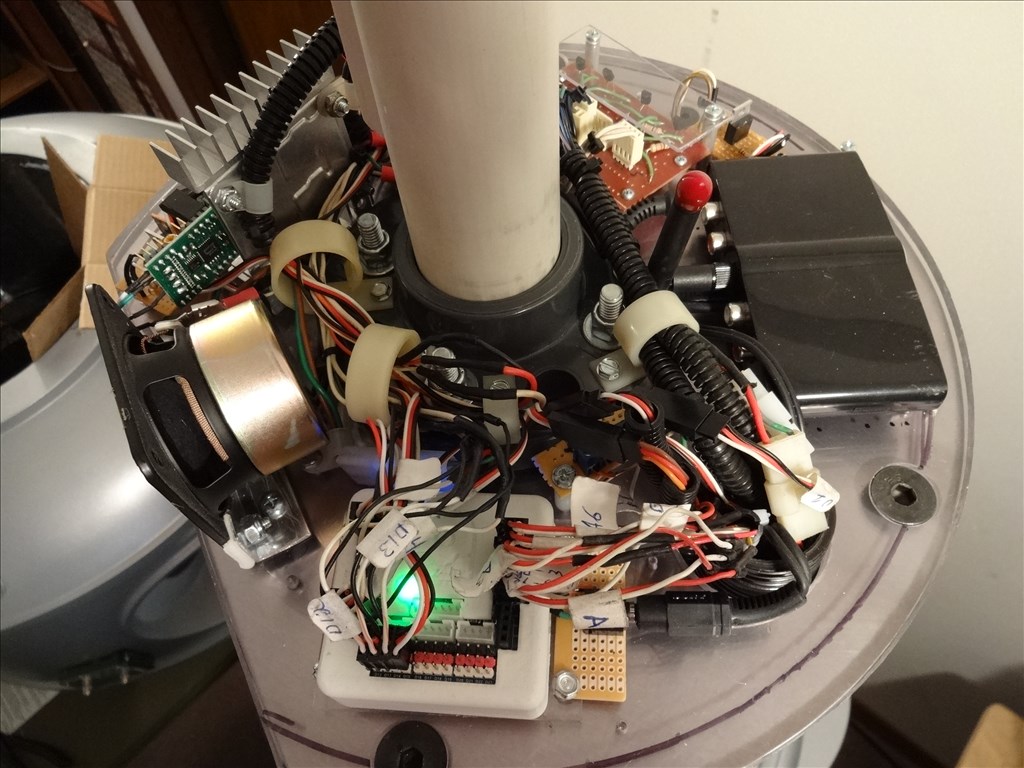
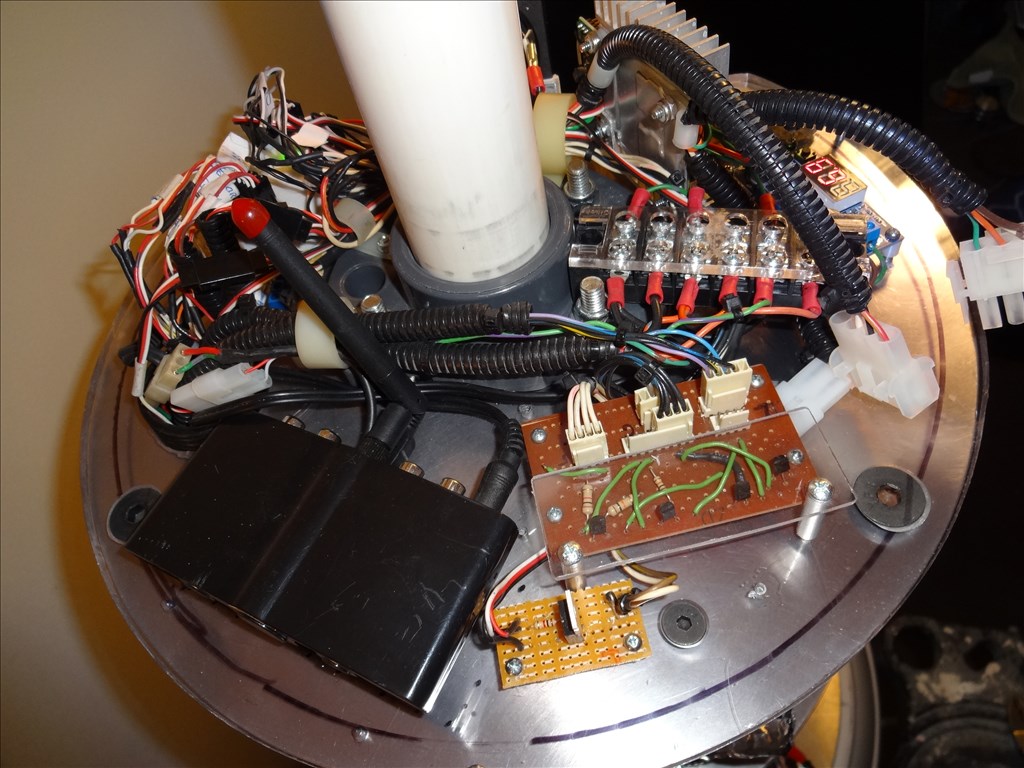
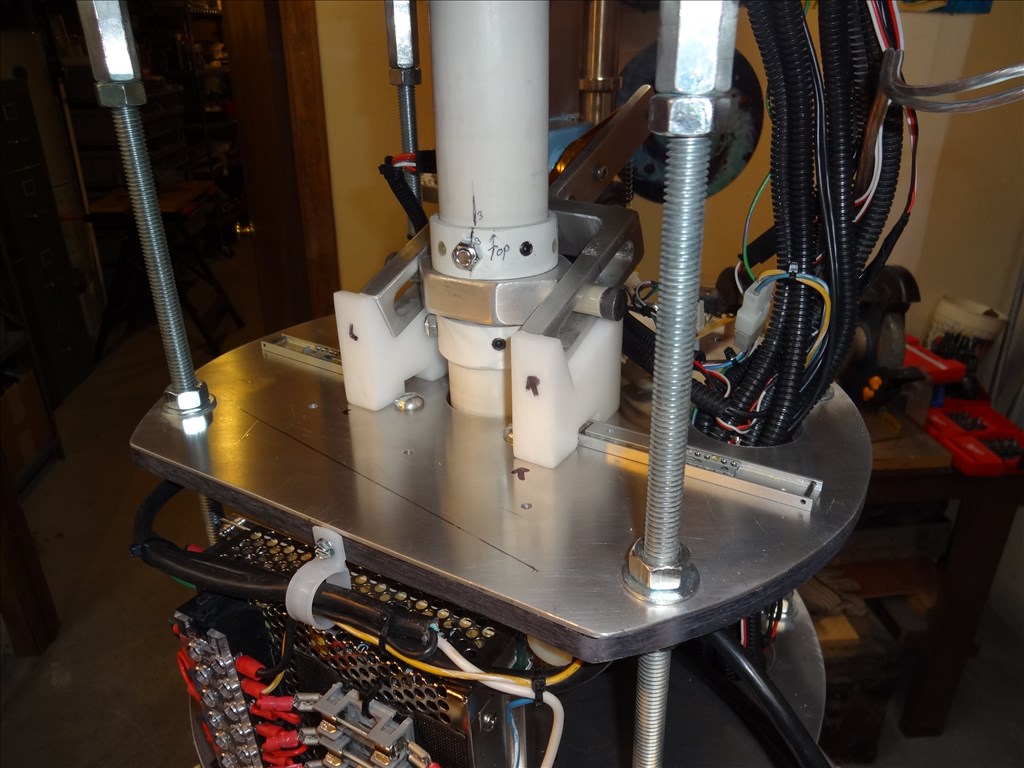
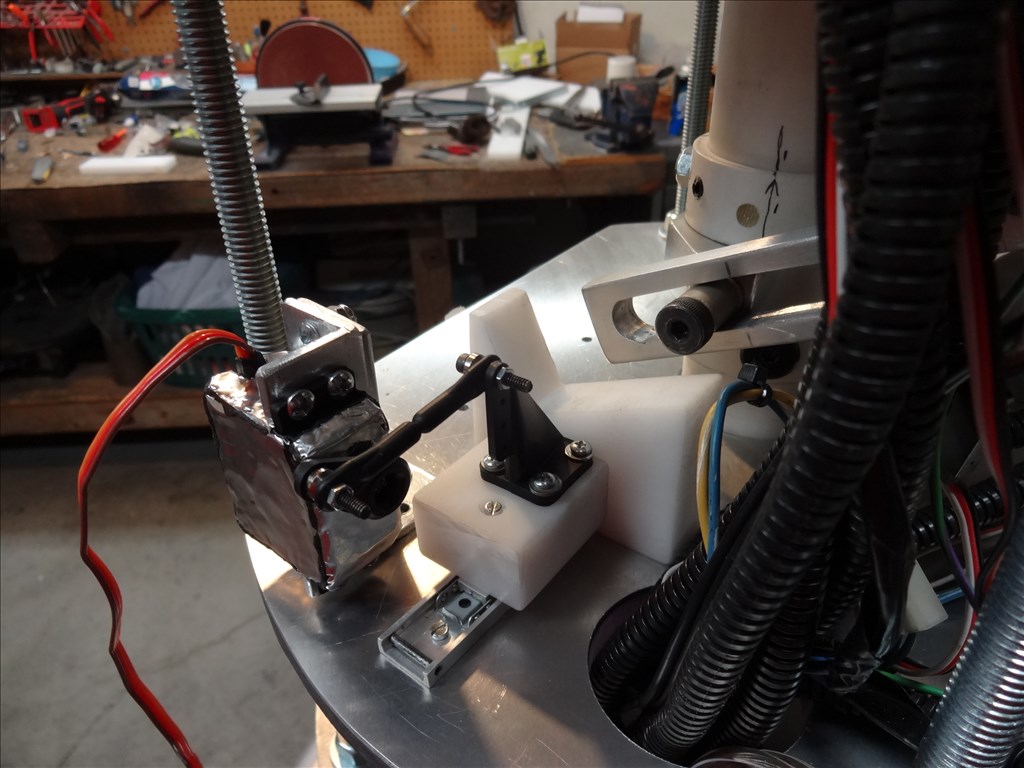
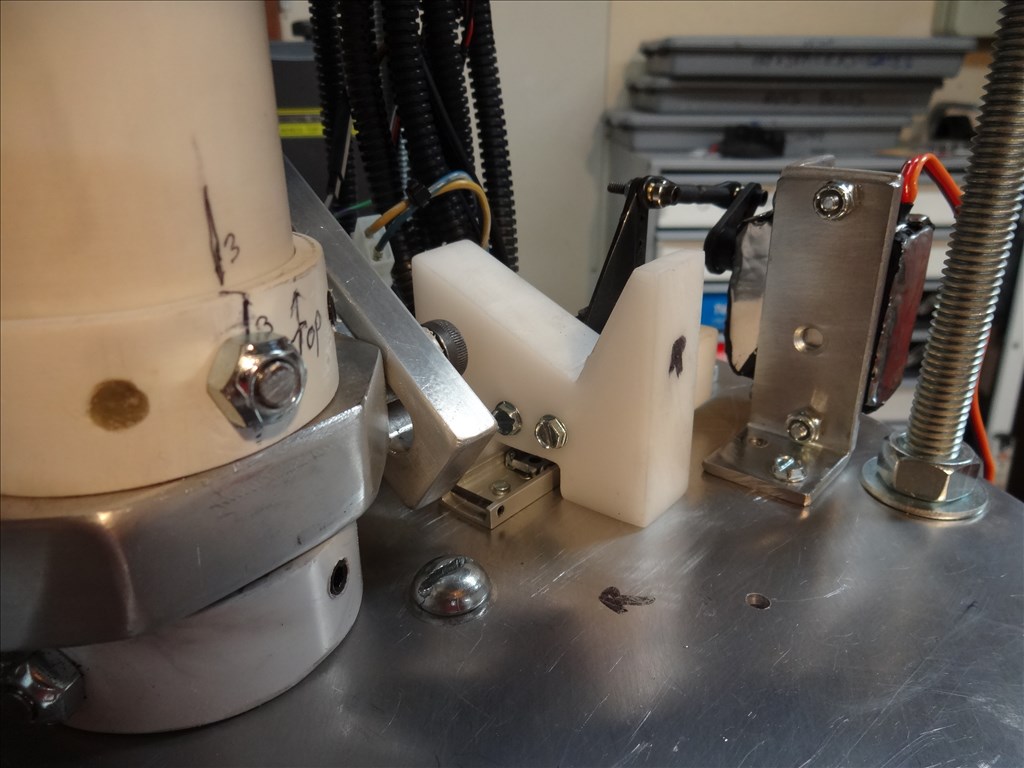
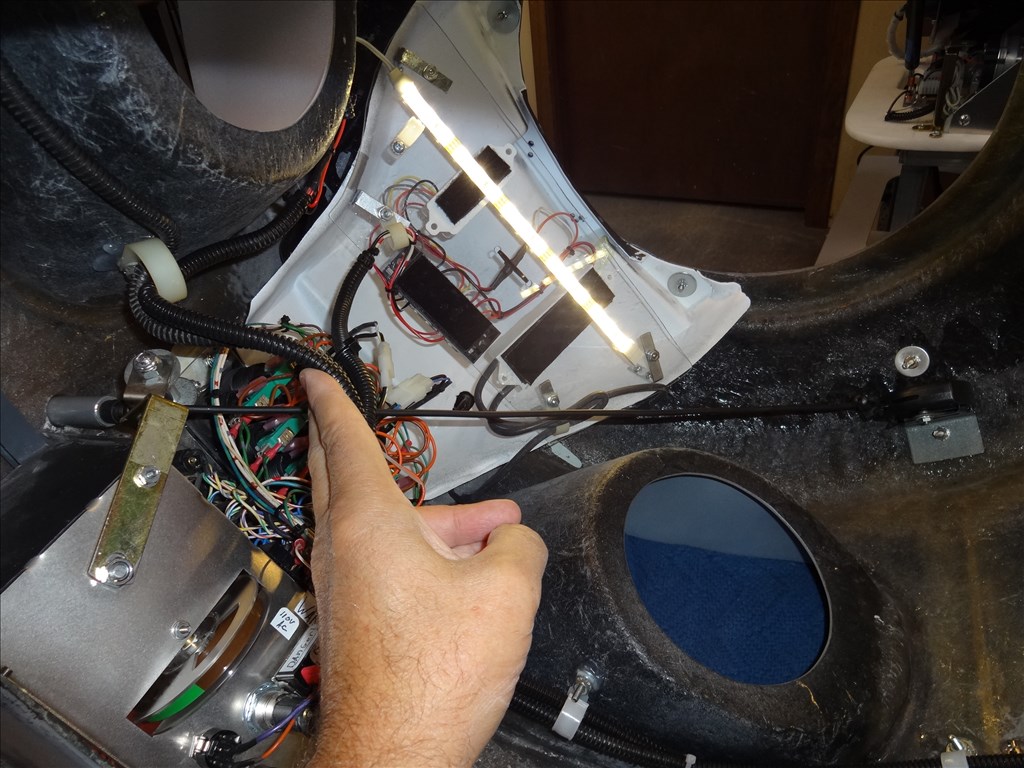
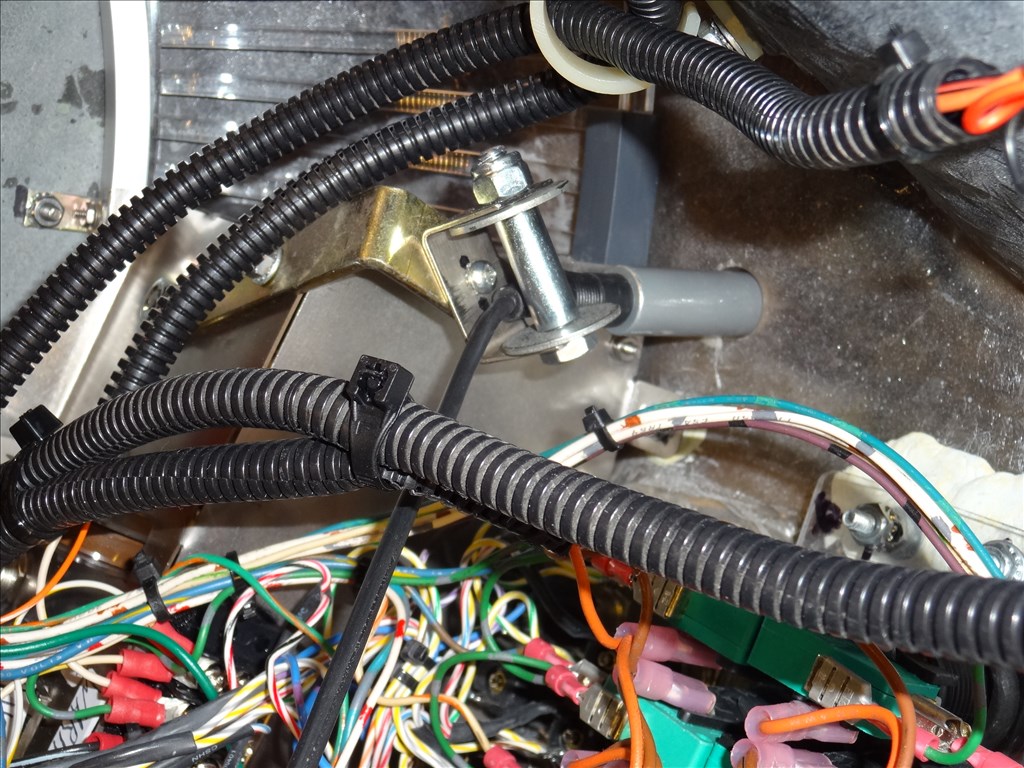
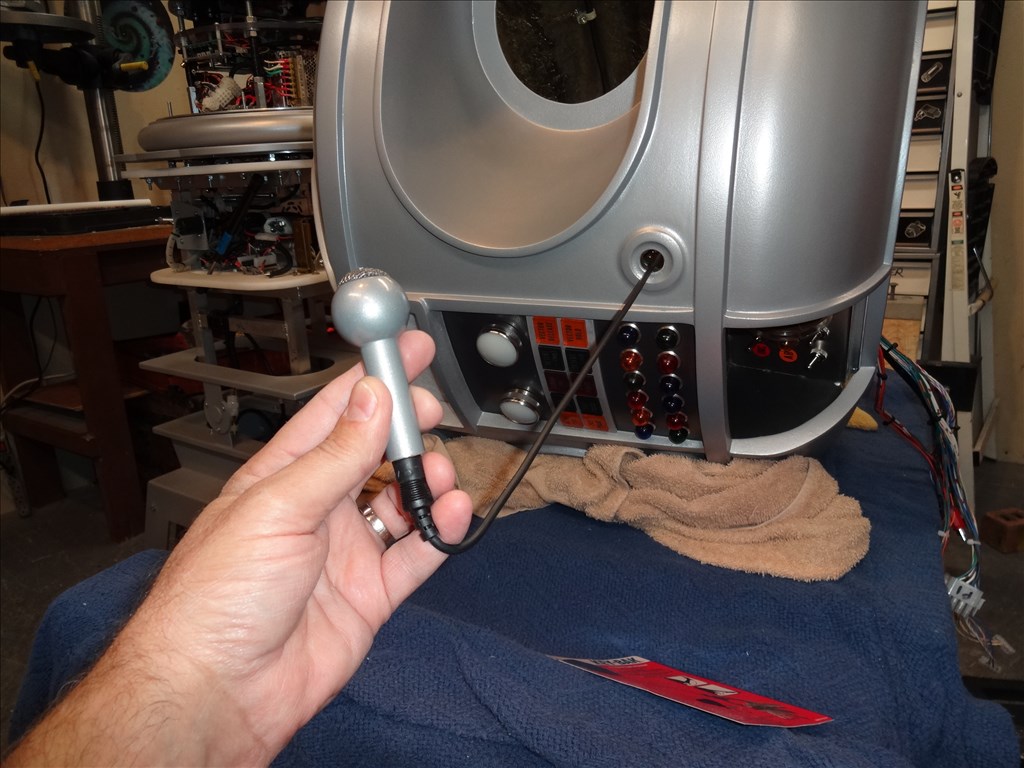
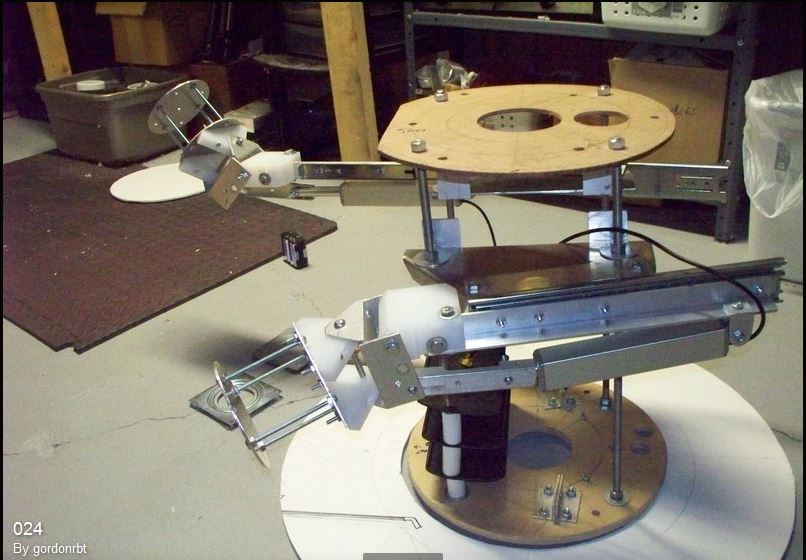
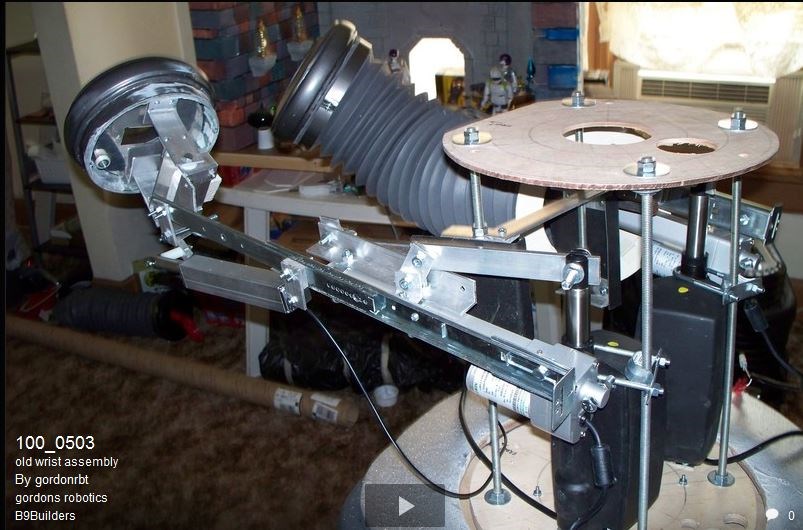
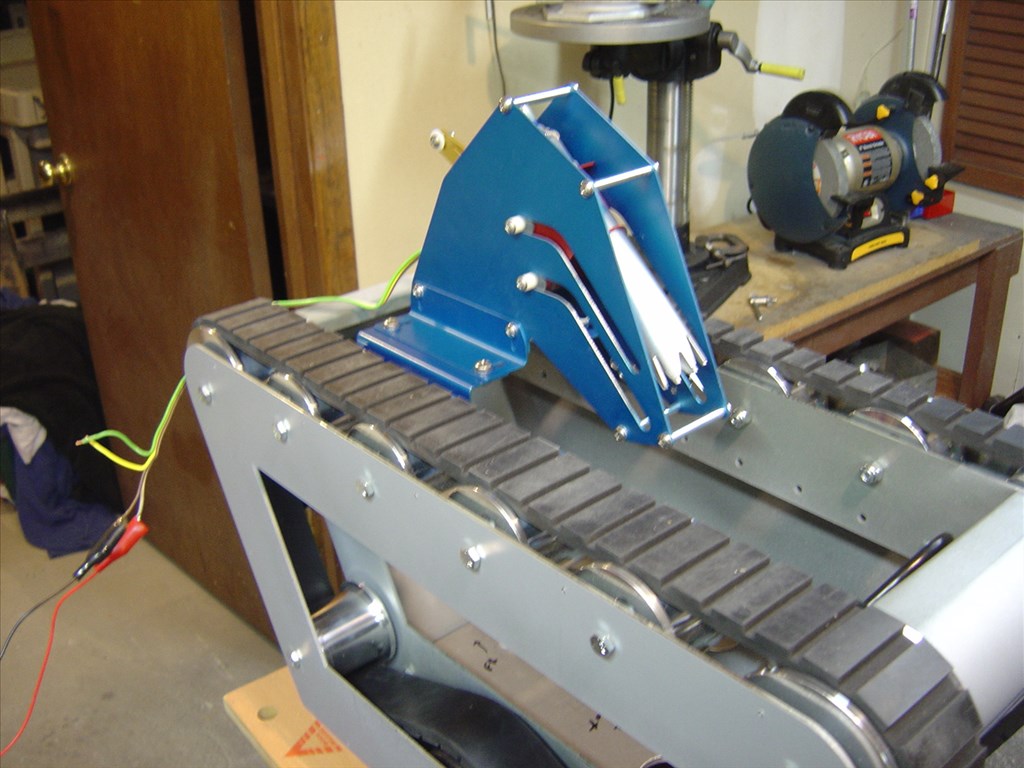
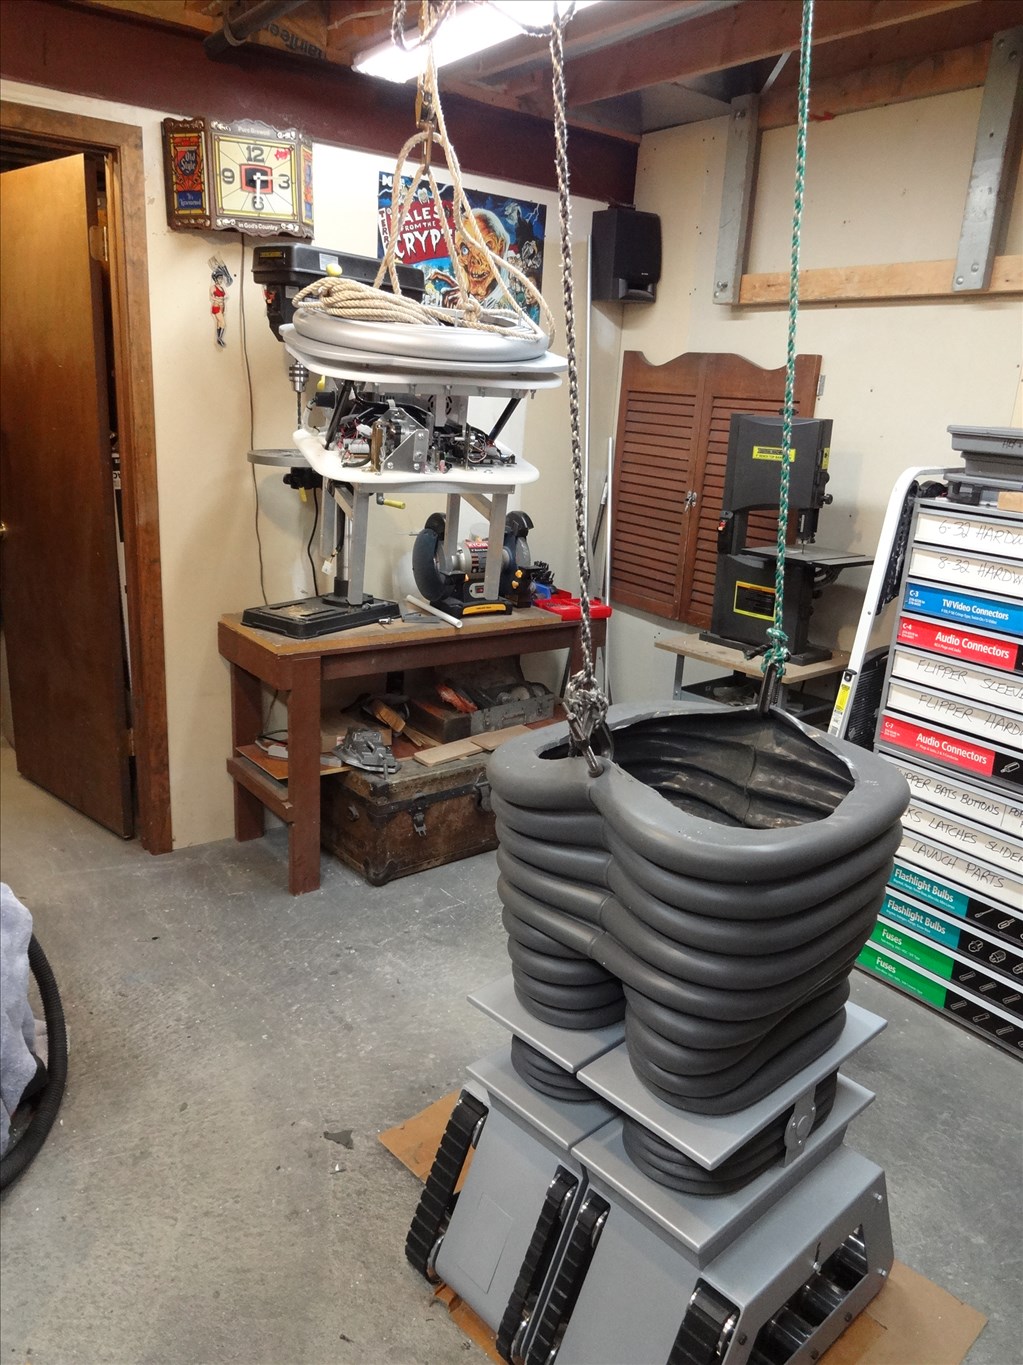
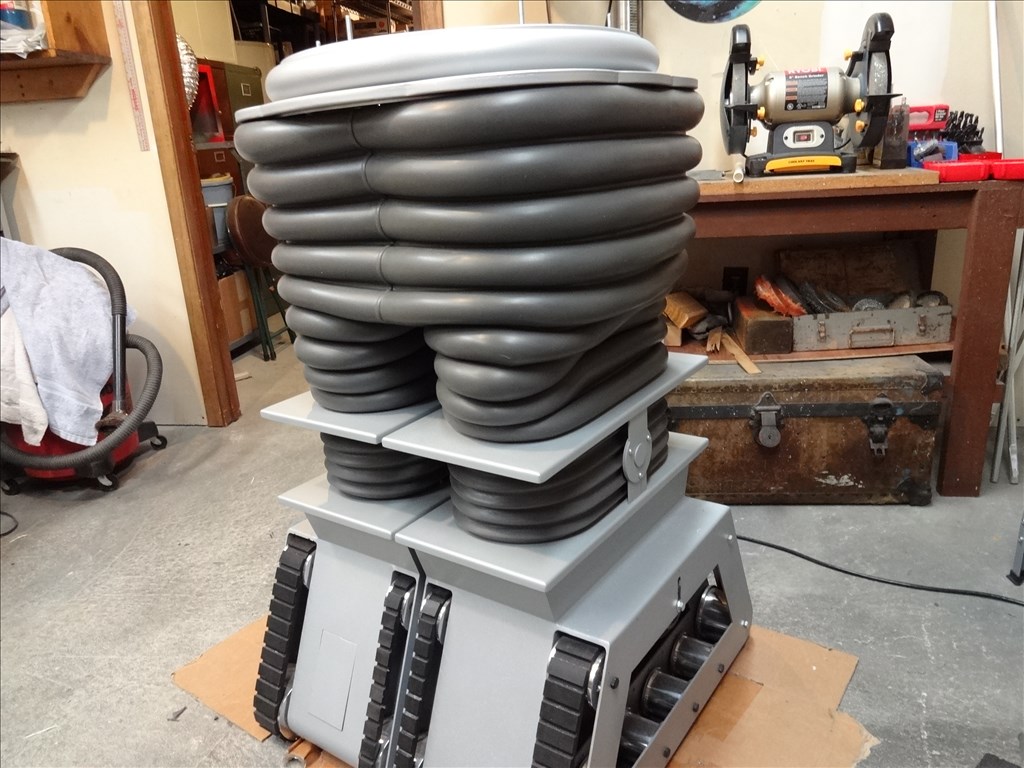
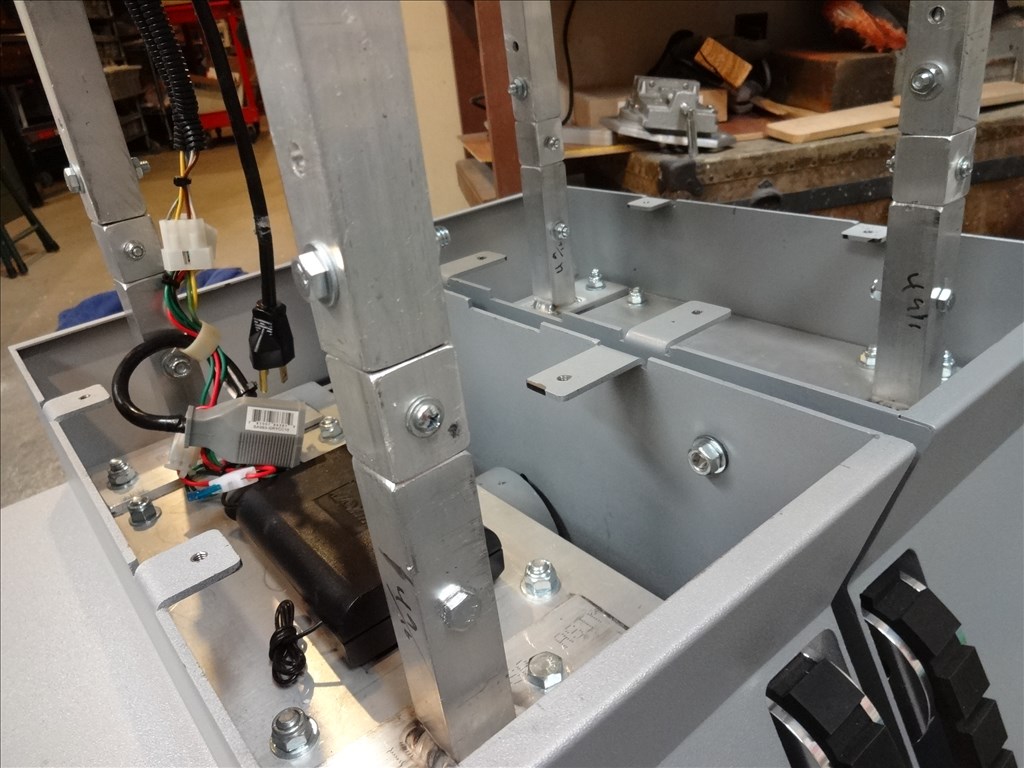
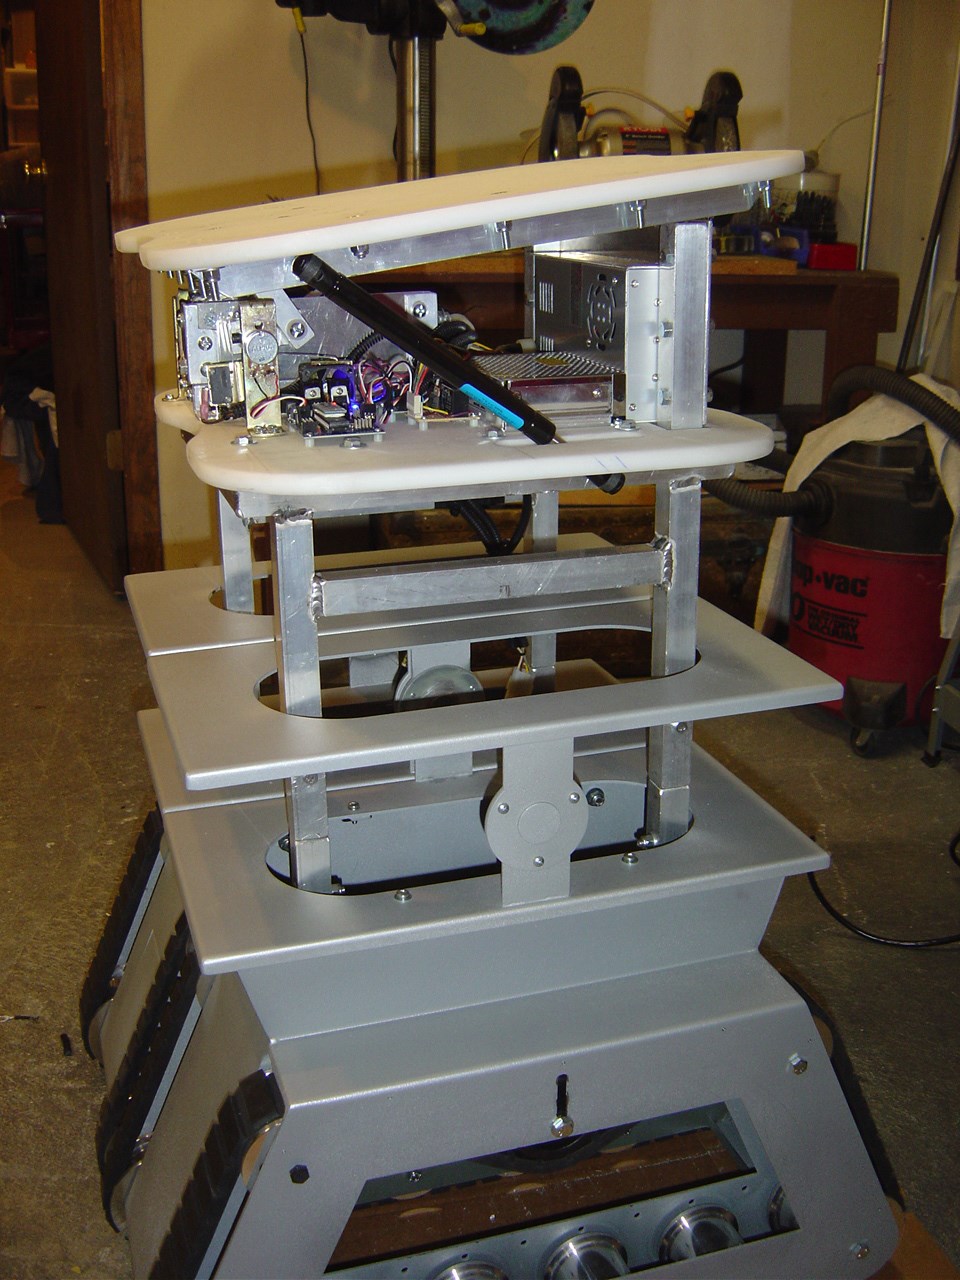
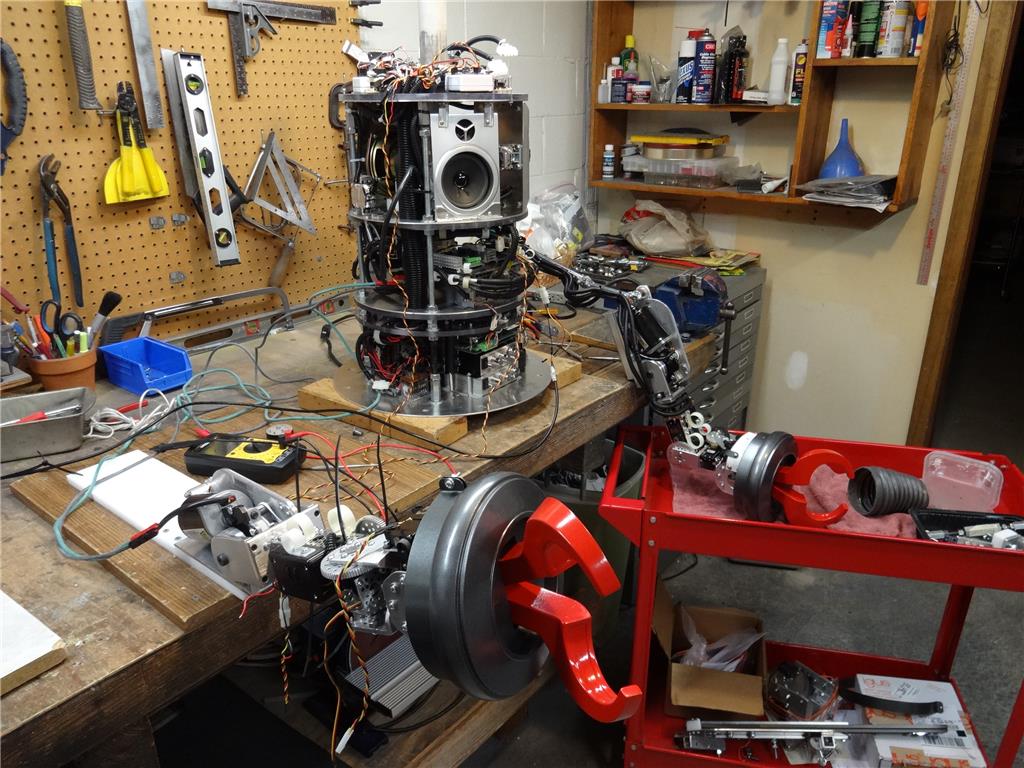
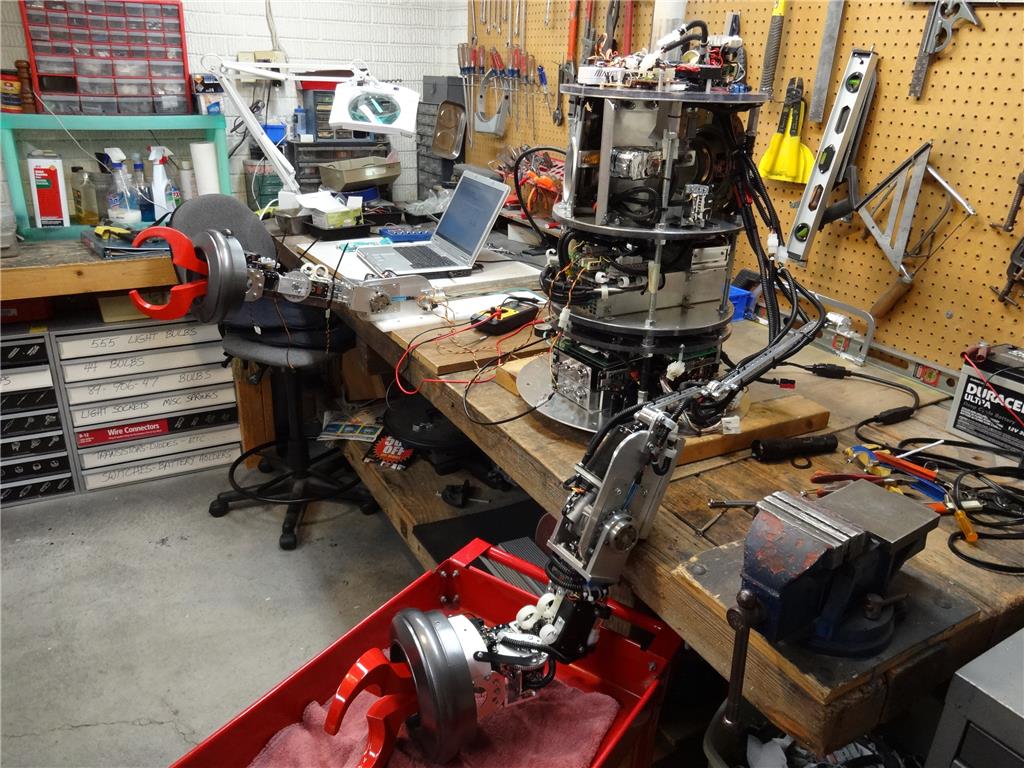
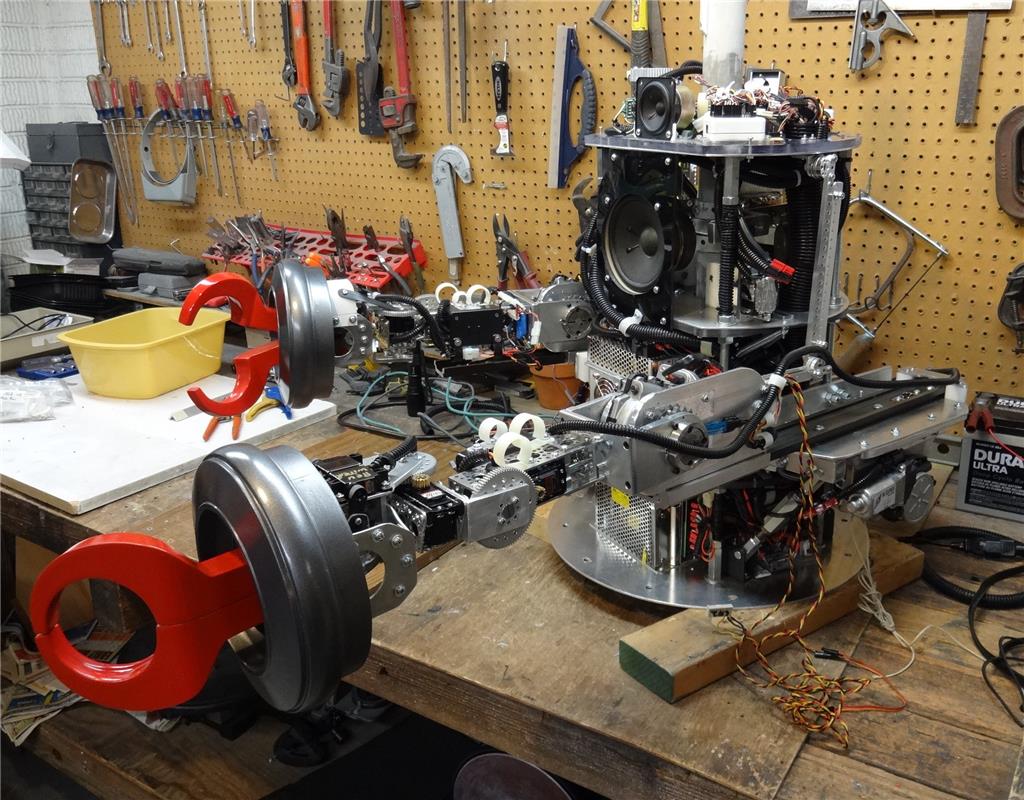
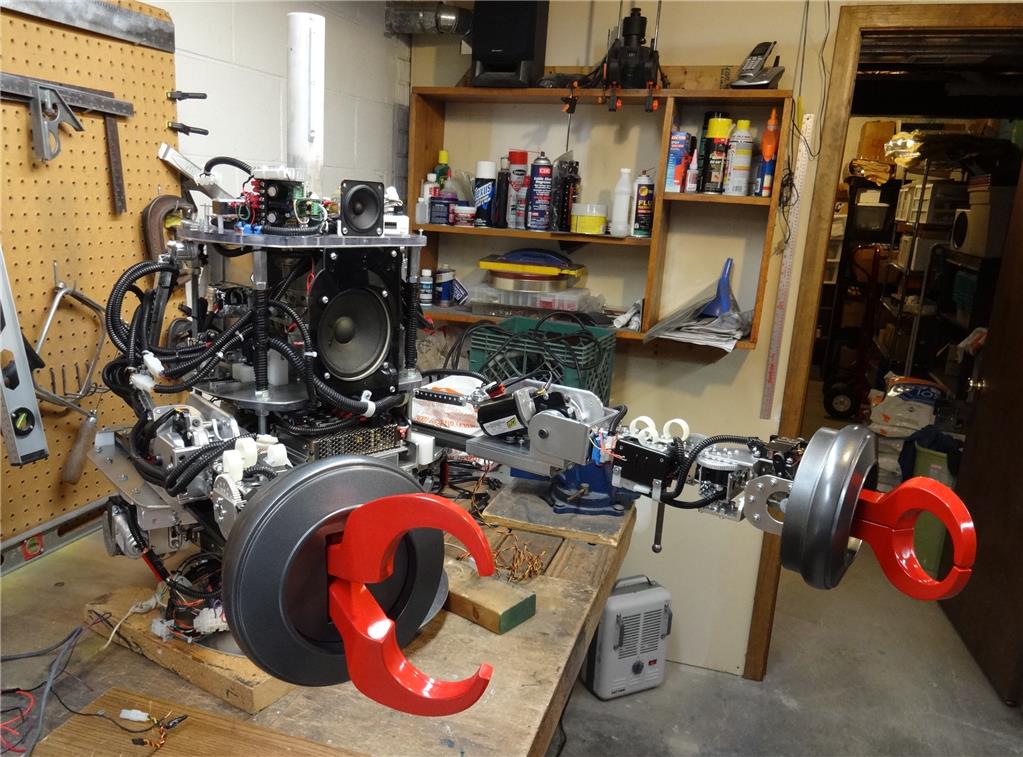
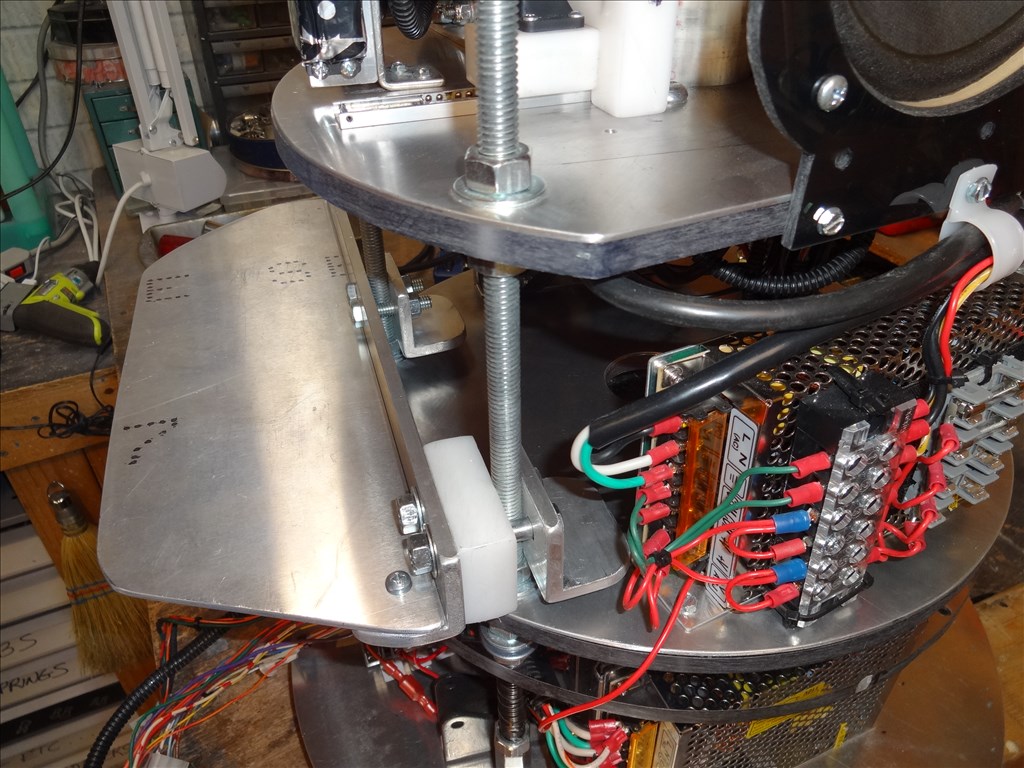
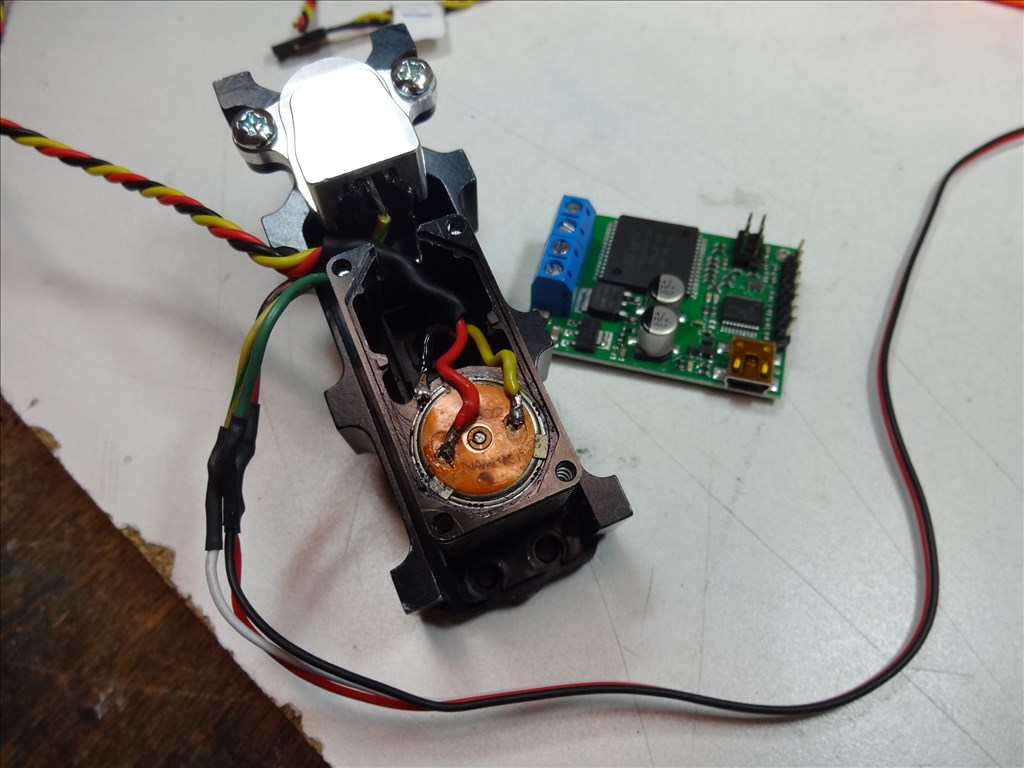
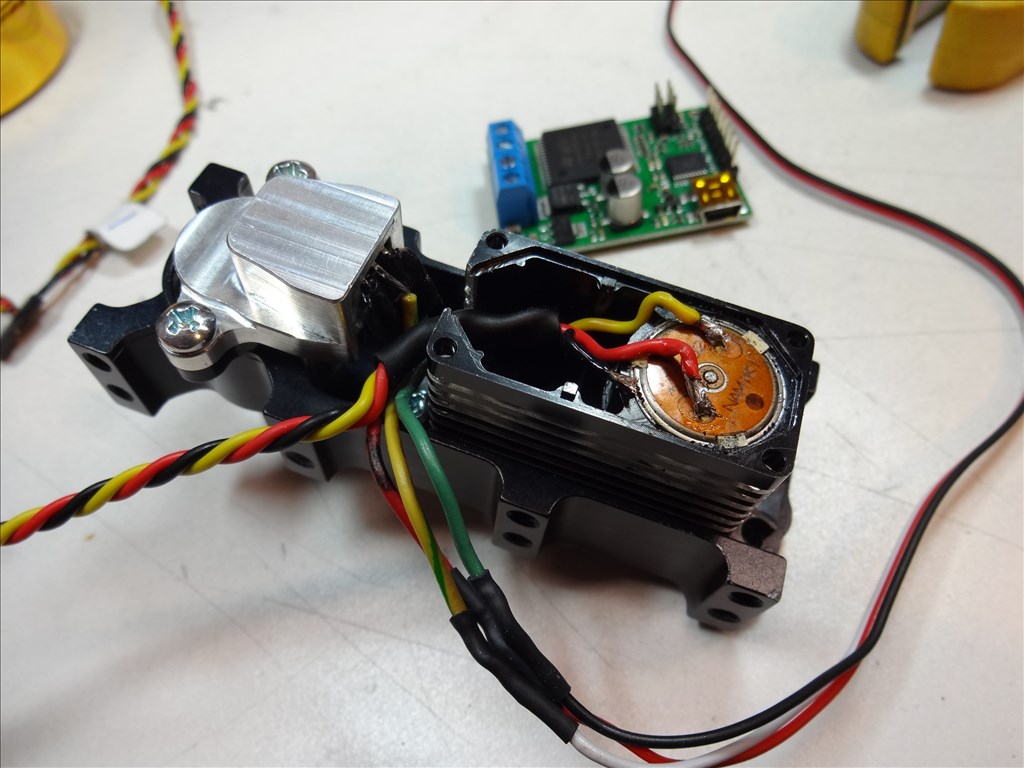
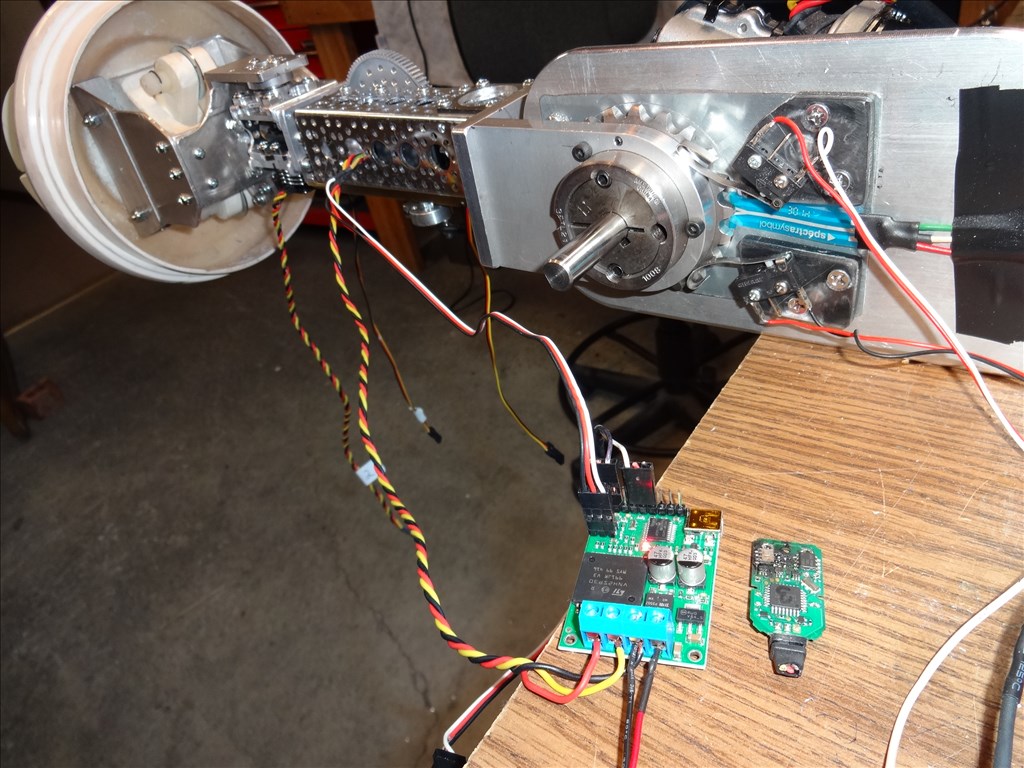
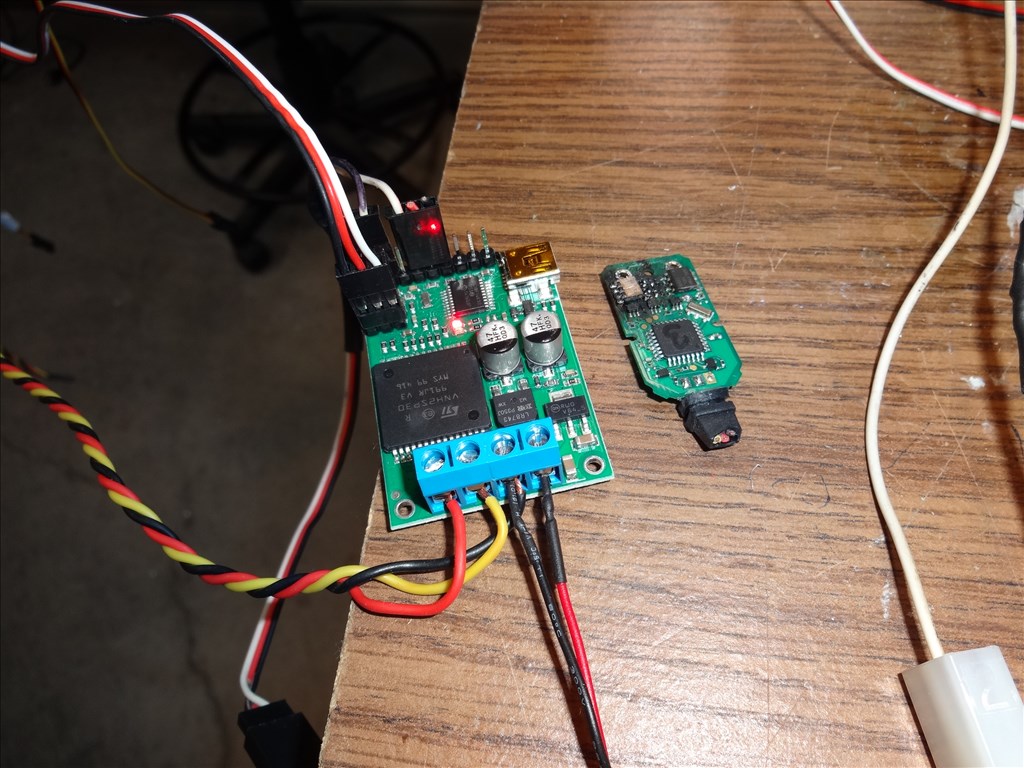
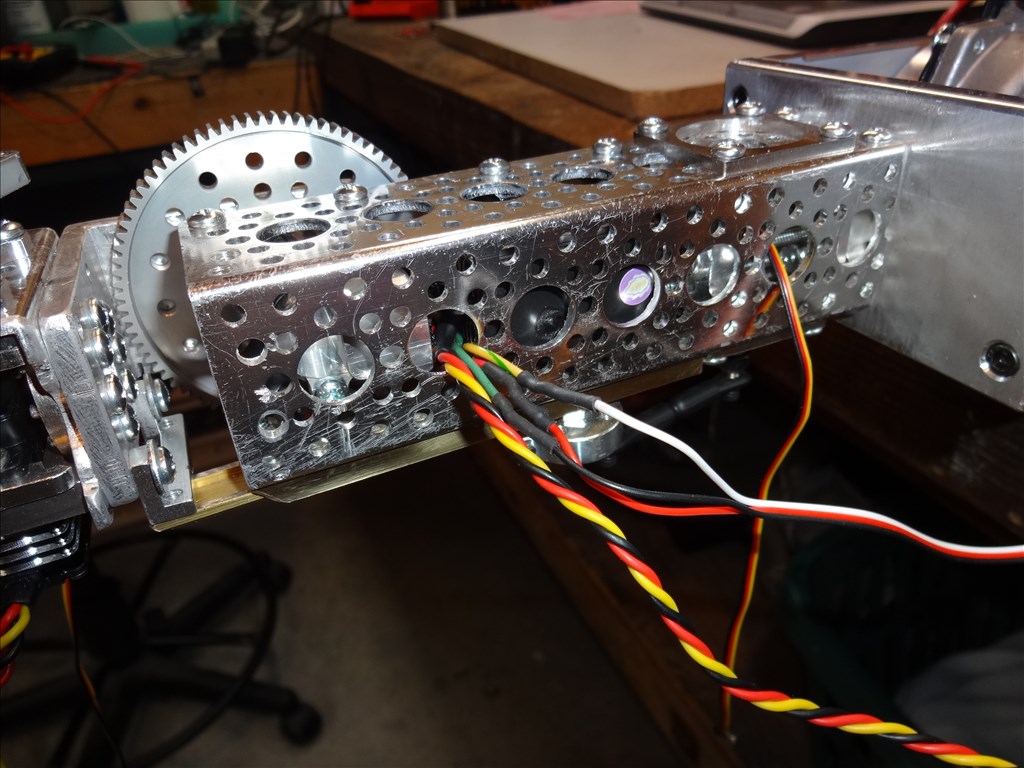
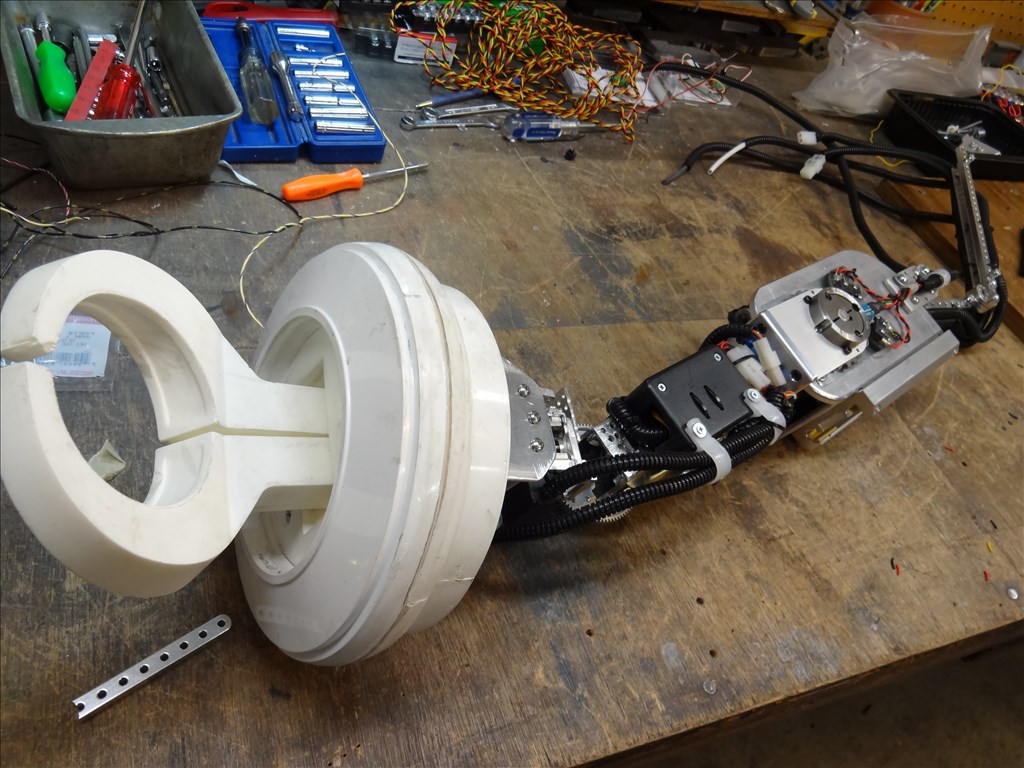
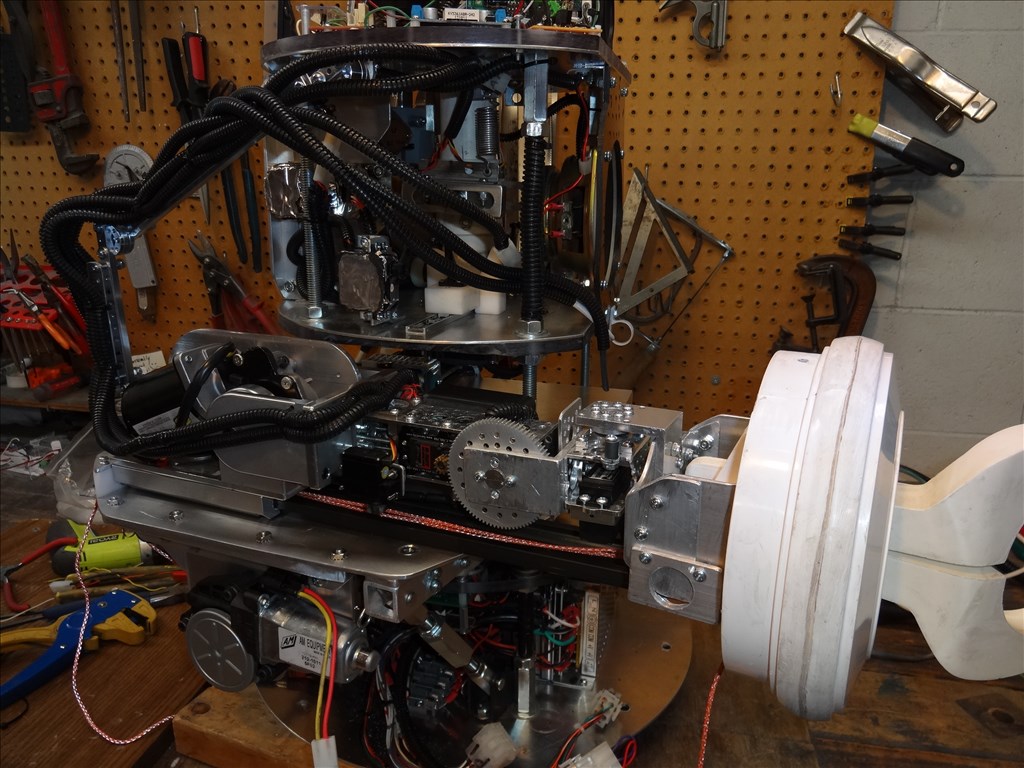
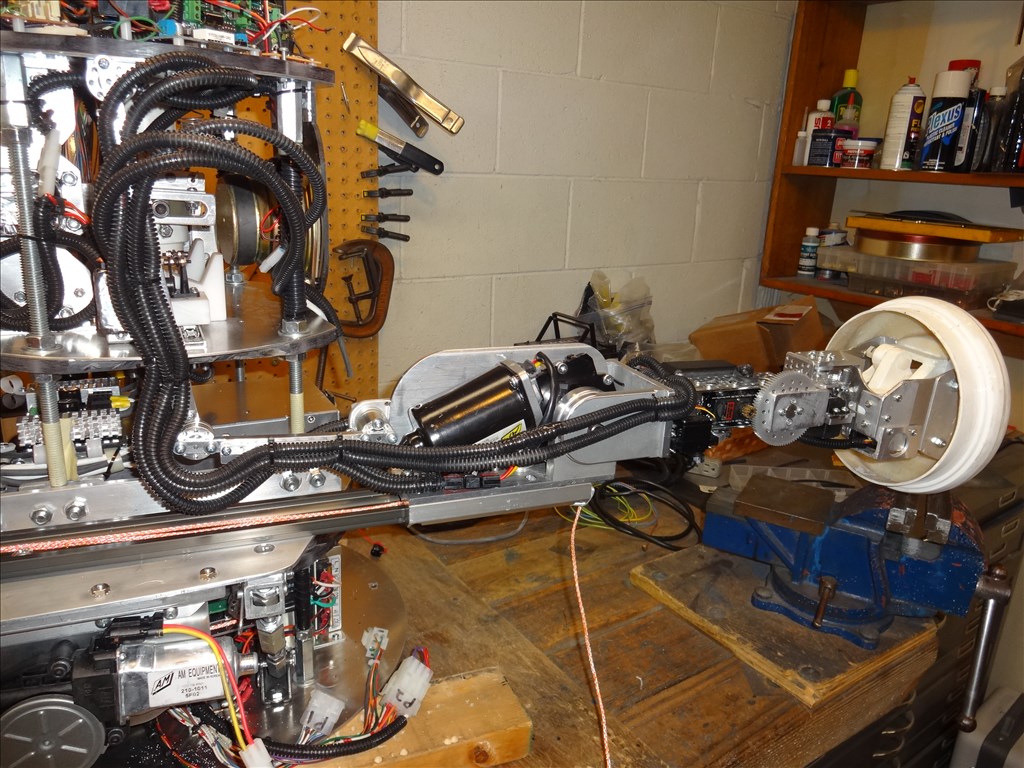
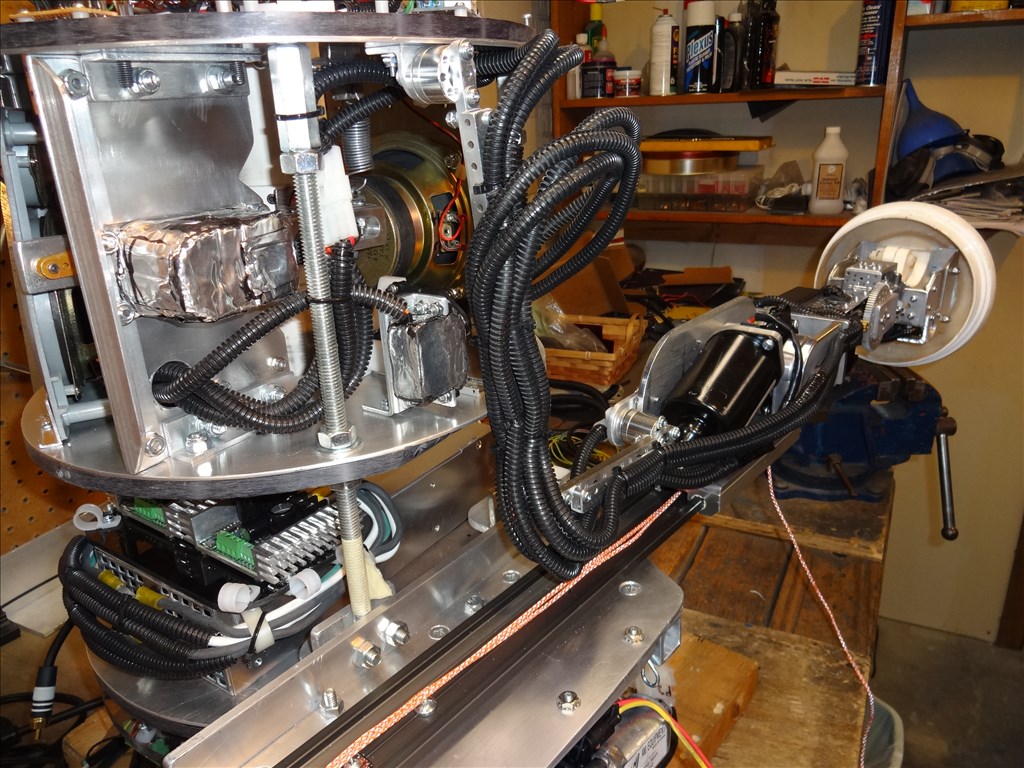
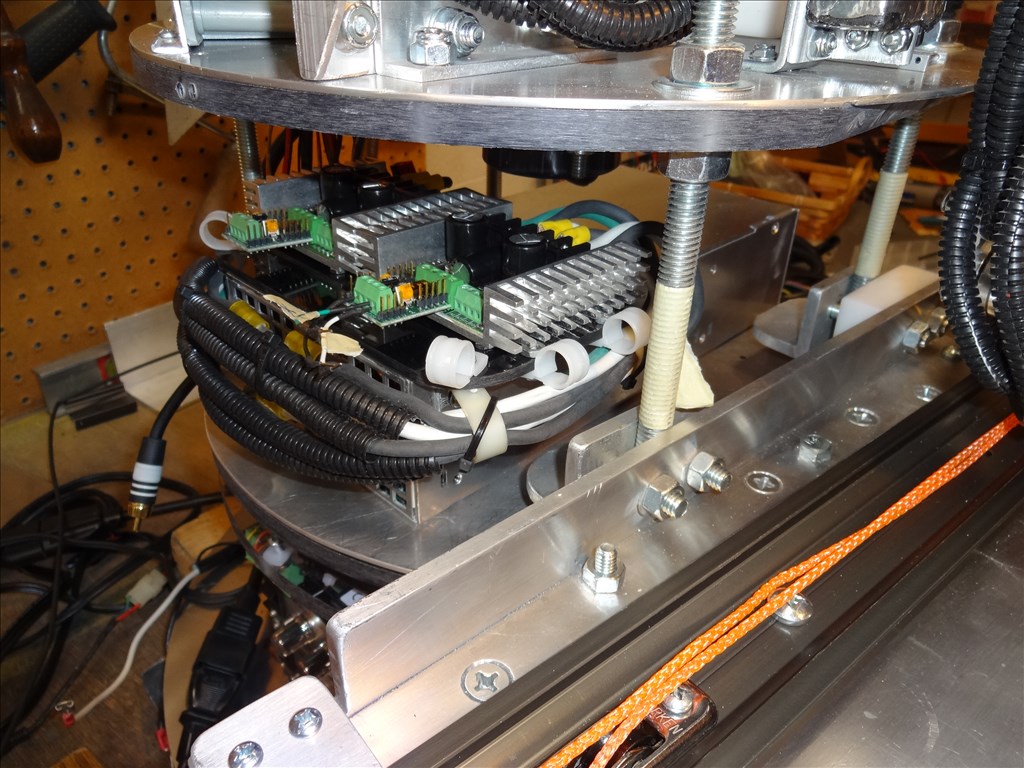
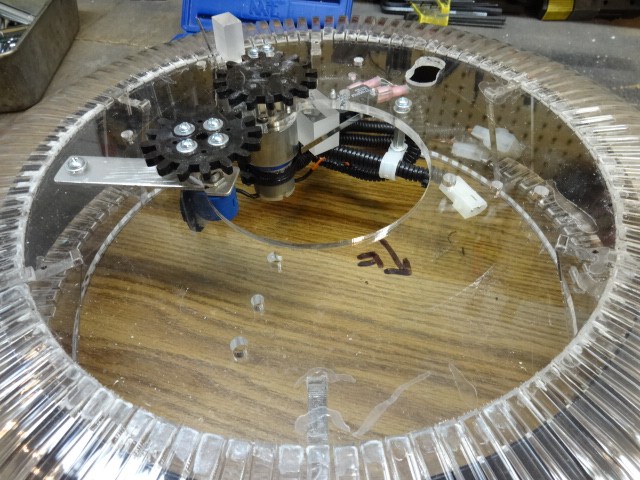
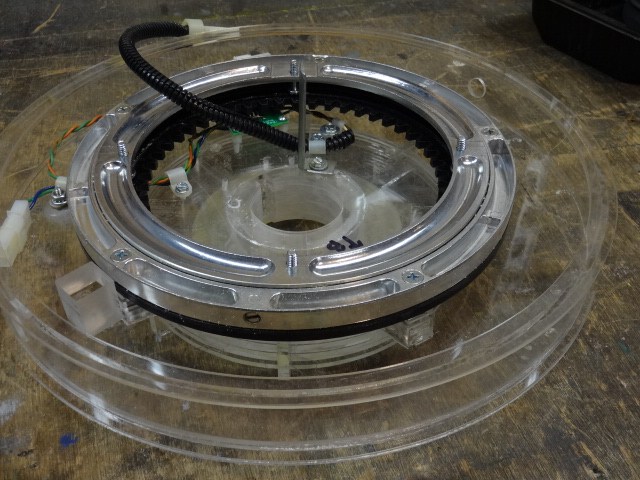
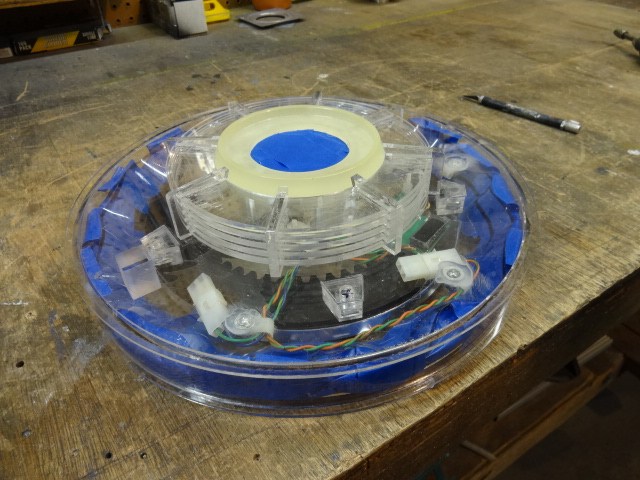
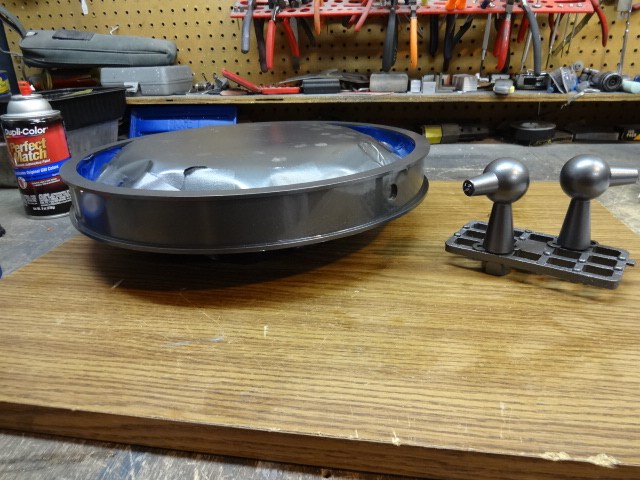
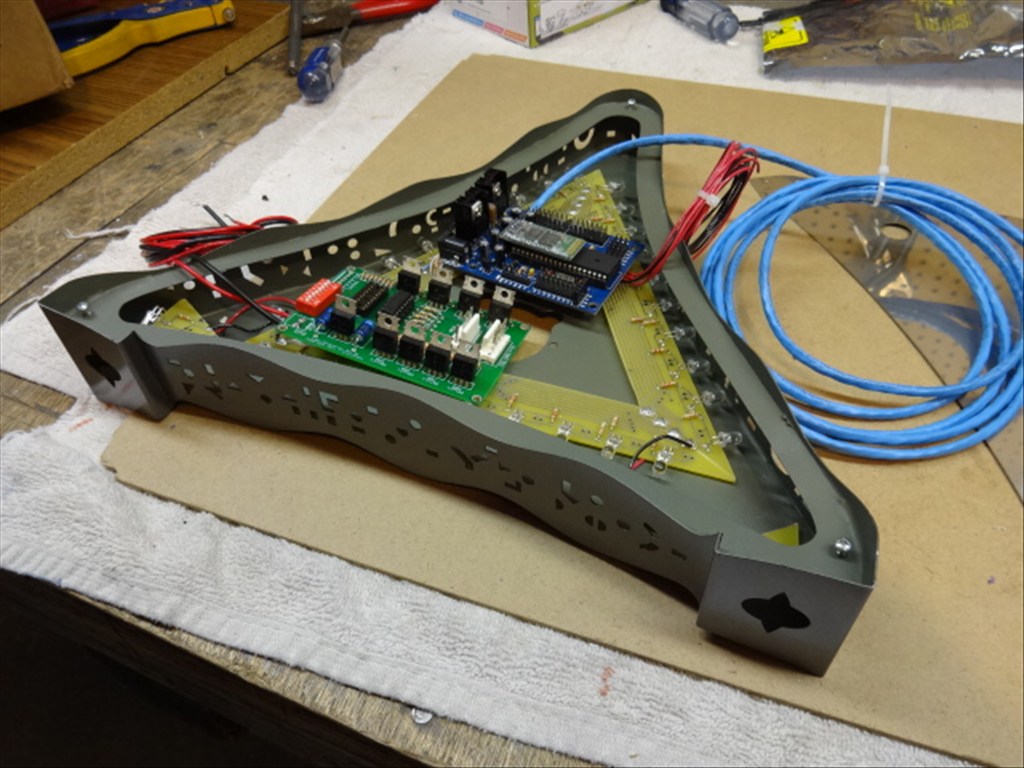
I made a huge step forward today in my Arm Delivery System. It may sound like a small thing but I figured out how to attach my synthetic cable to the carriage that slides on the rails that the arm is mounted to. Without this method I'd have a system designed to fail and in need of continued maintenance. In my last vid you can see this orange cable just tied to the elbow motor. My problem is that every method I tried I would end up with cable damage. The inner Vectran fiber was unaffected but the outside 3M Scotchlite orange sleeve would get snagged, squashed and cut. The threads of the bolt I am using to clamp the cable between two washers was destroying jacketing because of the stresses applied. After a week of trial and error and lots of deep thought I had an epiphany. I simply ran it past the washers and around a round post and back through the washers. I also exchanged the steel washers with ones that have rubber grommets attached. The cable simply gets squished between rubber rather then steel. I'll post another video in a week or so showing this and more after I get the motor controllers and the EZB wired in.
A cable sandwich.....cool!
@Dave.
I wrote you a reply the other day but it's disappeared (I think the website went down at the time I posted it).
Anyway, what I said was... Great update and really enjoyed the video demo. I didn't realise you spent 2 years working on the arm. I really shows though as you demo showed, it works so smoothly. Your work and dedication really shows with what you have achieved. Another step BIG step closer to reaching the end goal. Great stuff, and keep up the great work.
Steve.