


-635353562186322812.png)


Hi all,
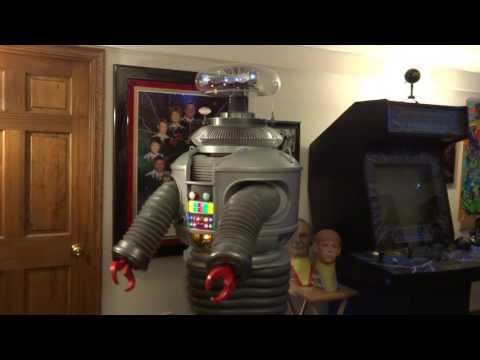
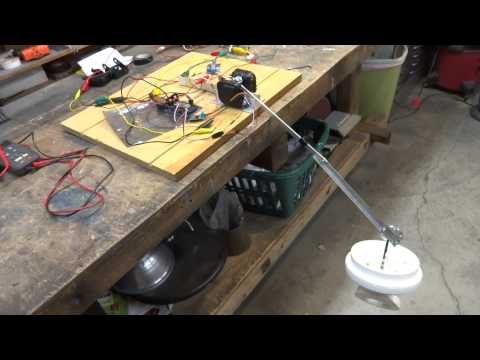
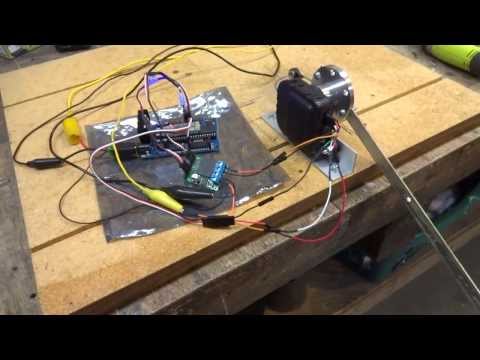
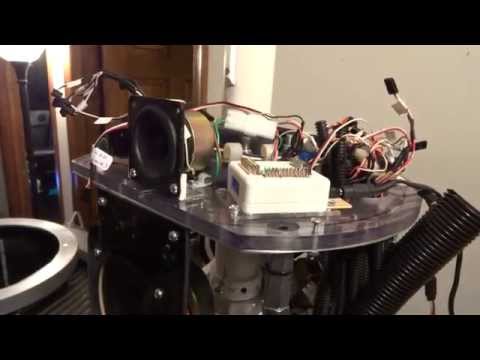
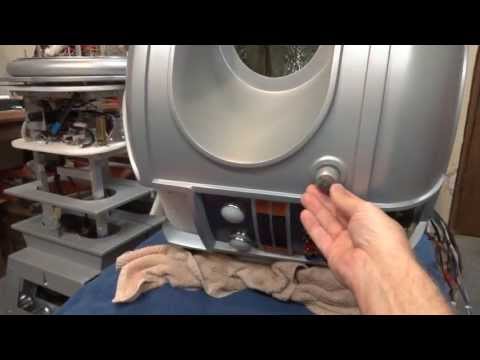
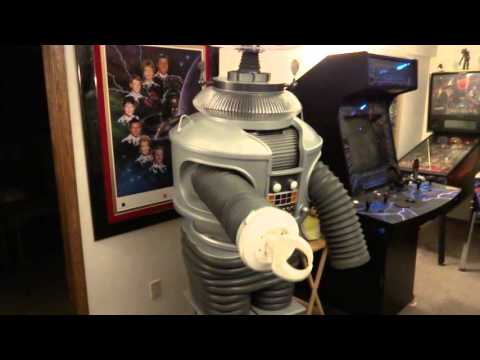
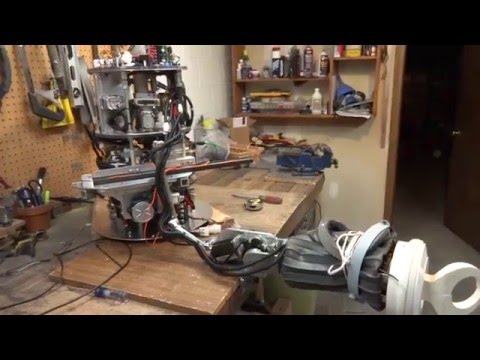
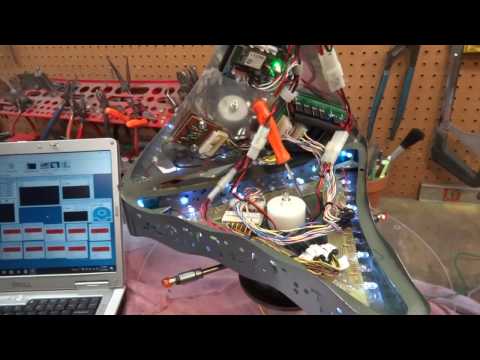
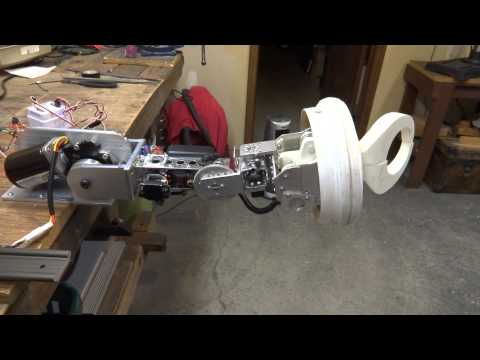
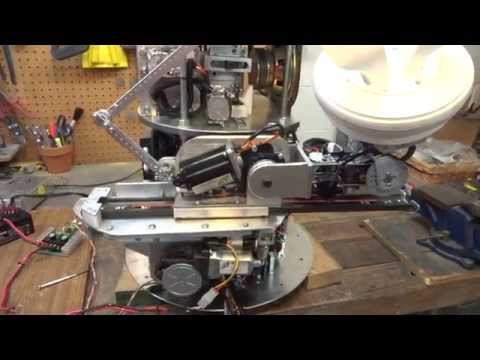
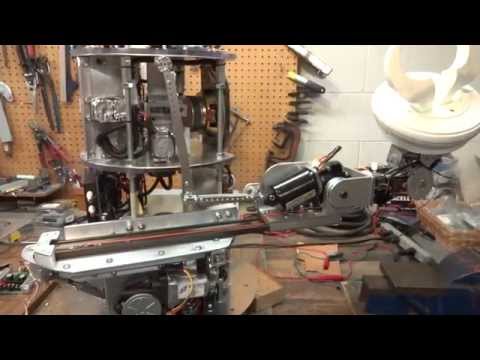
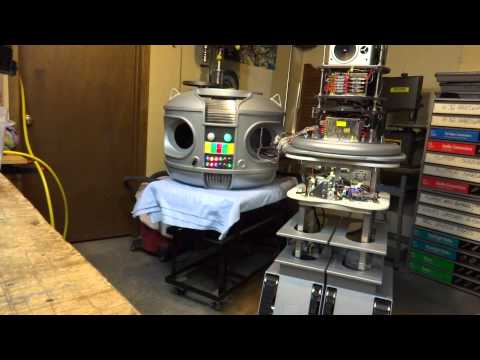
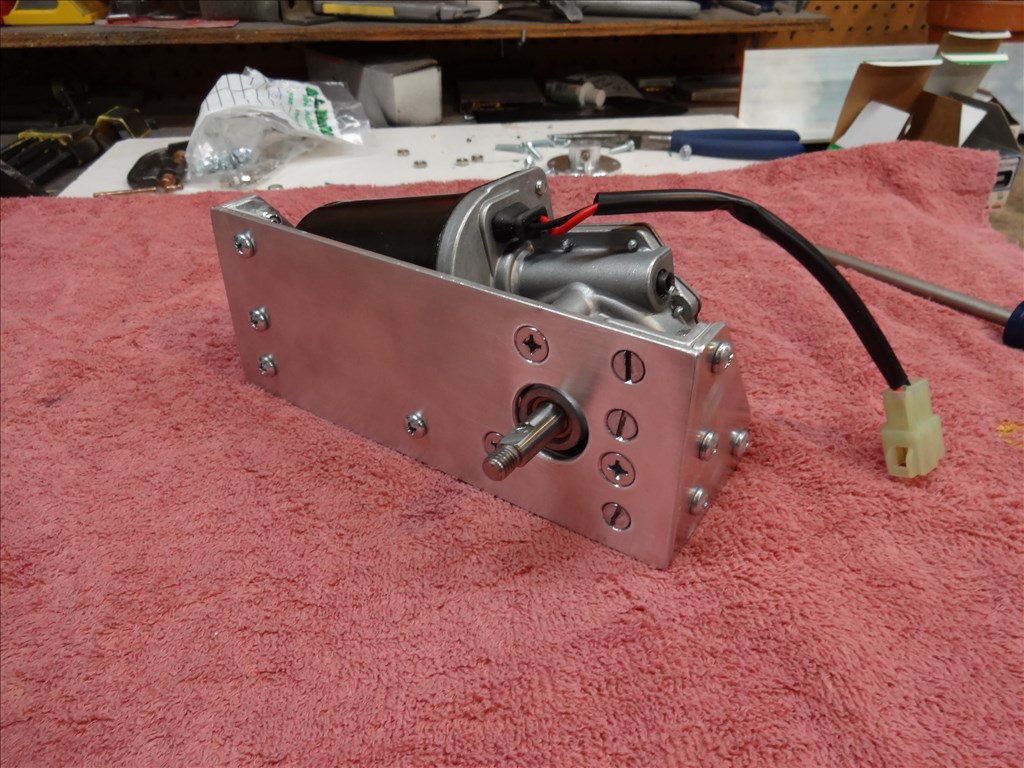
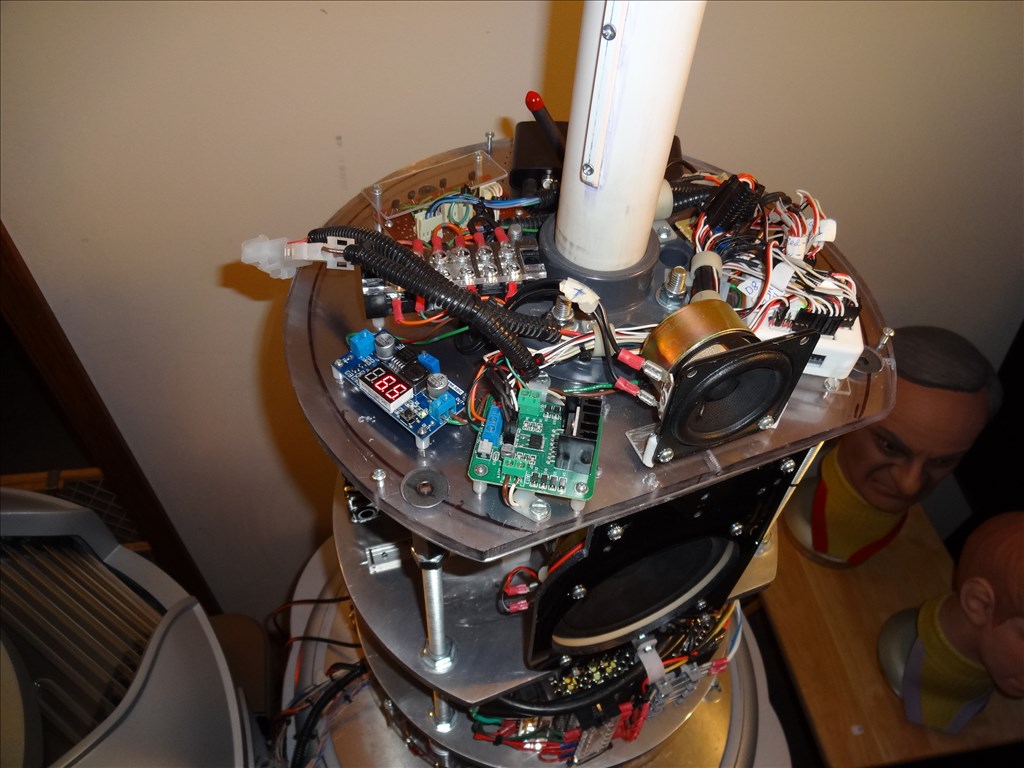
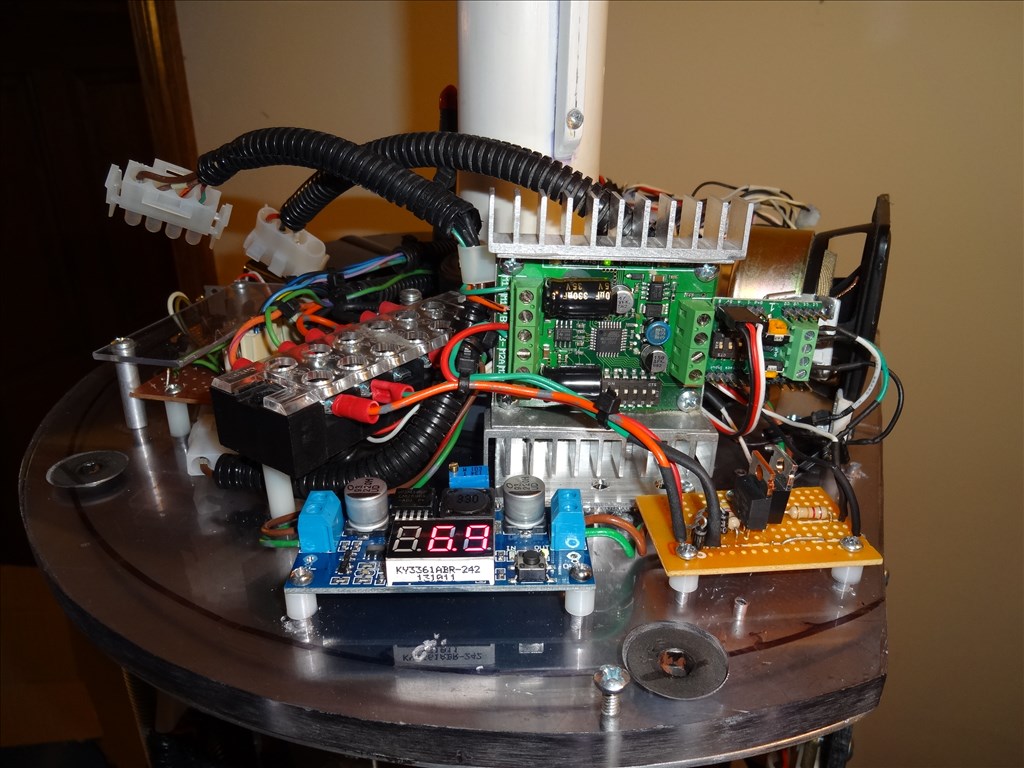
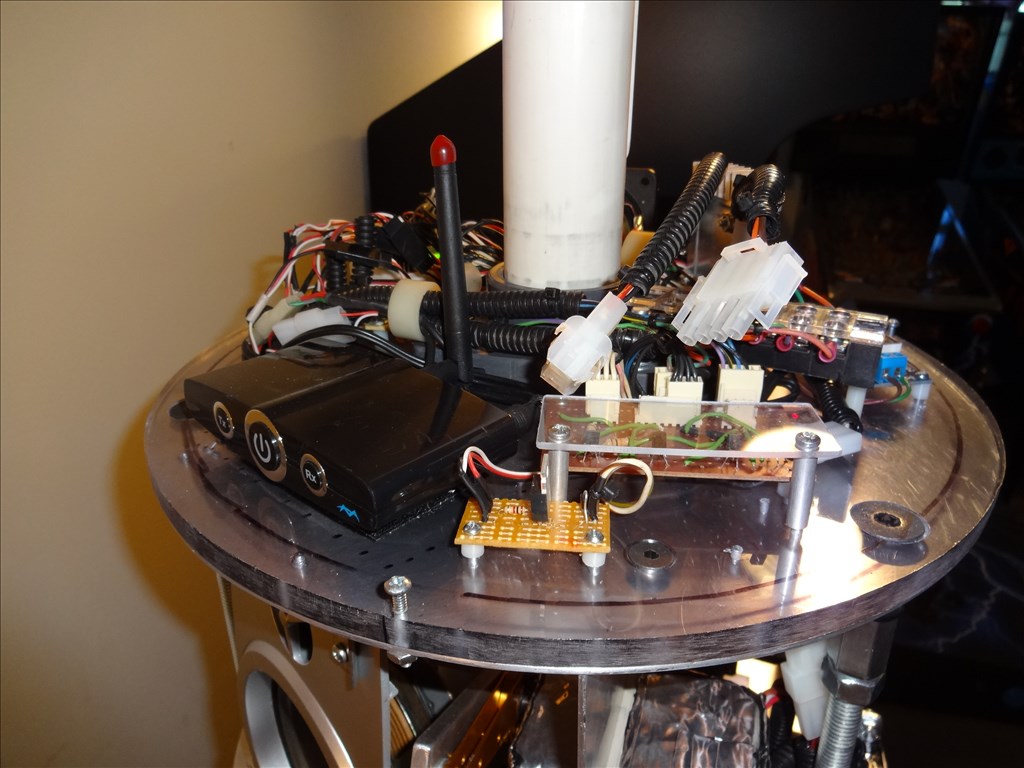
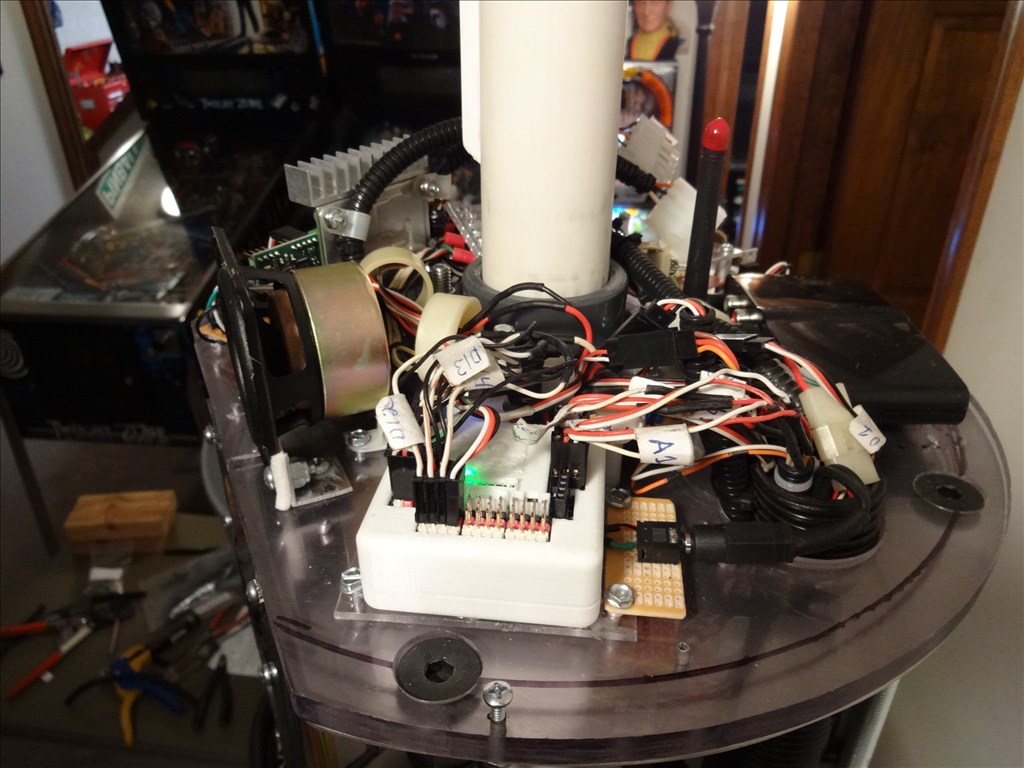
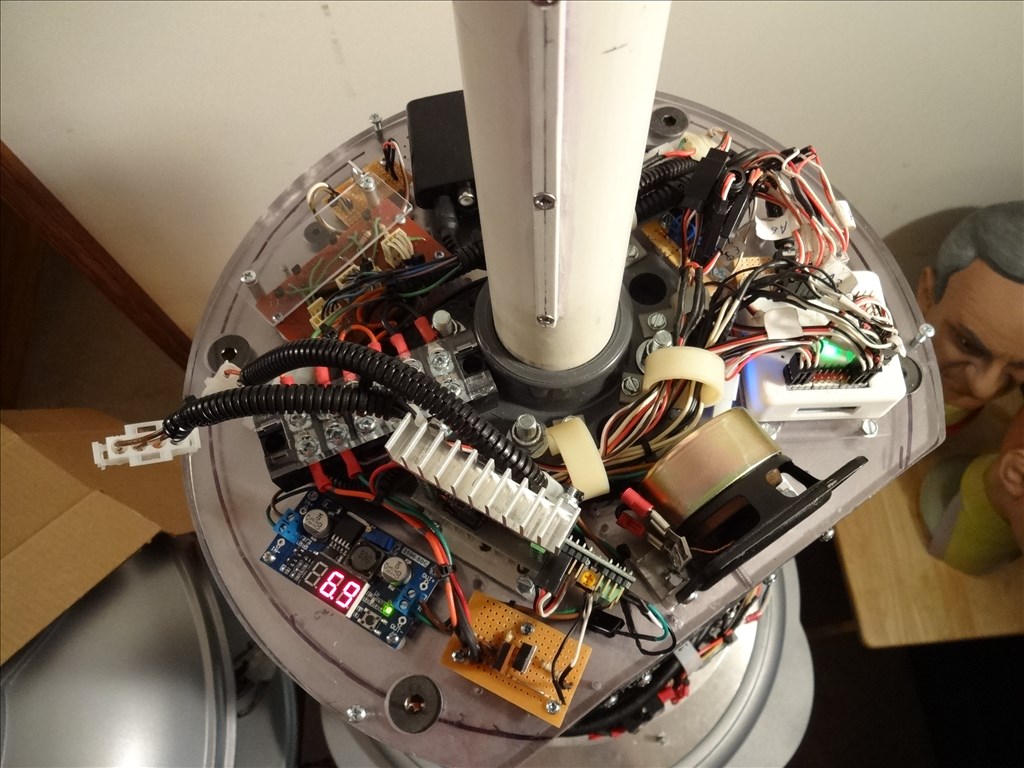
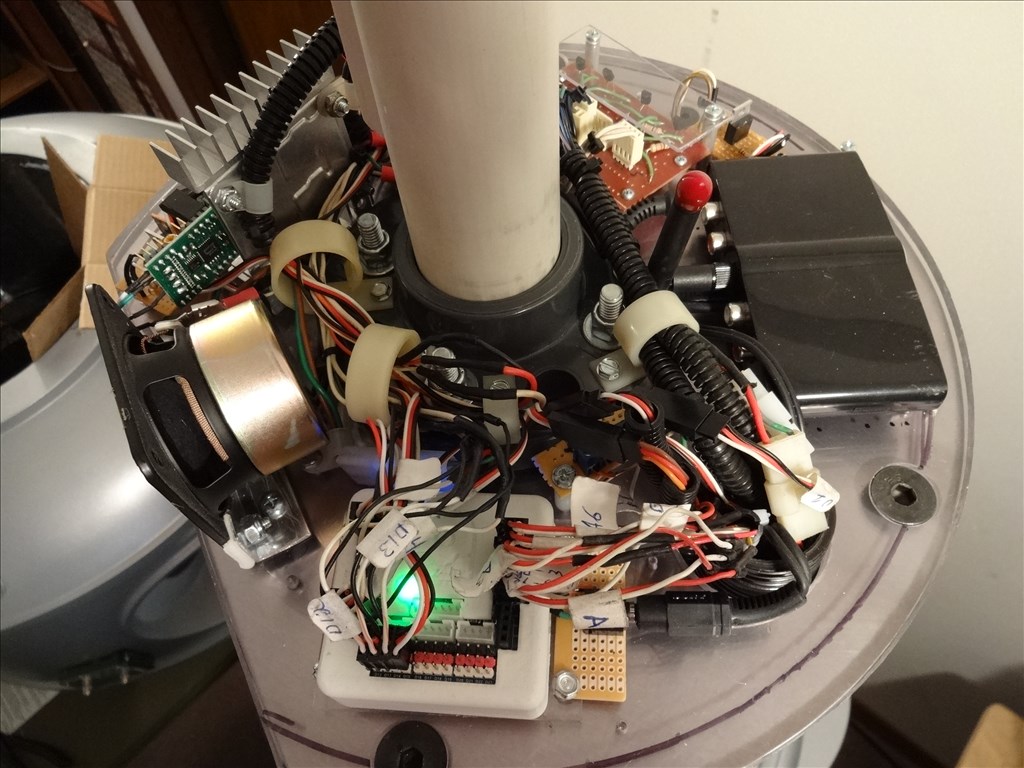
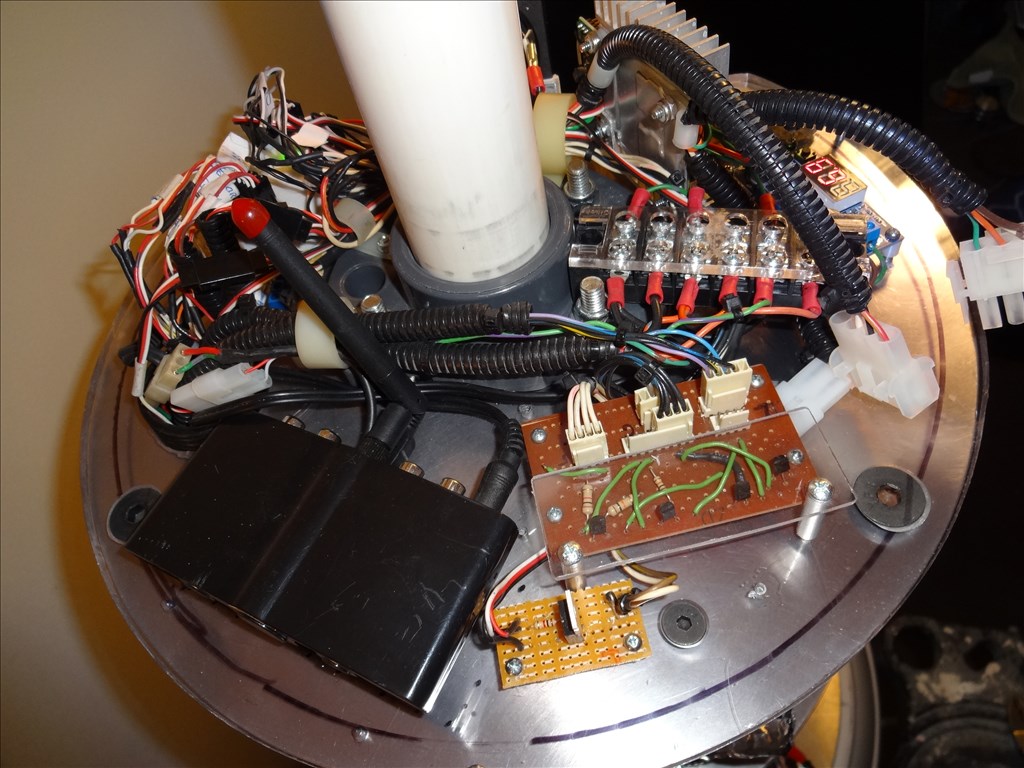
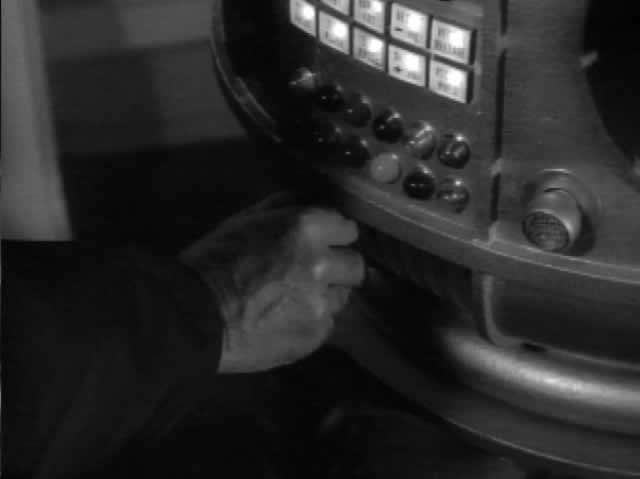
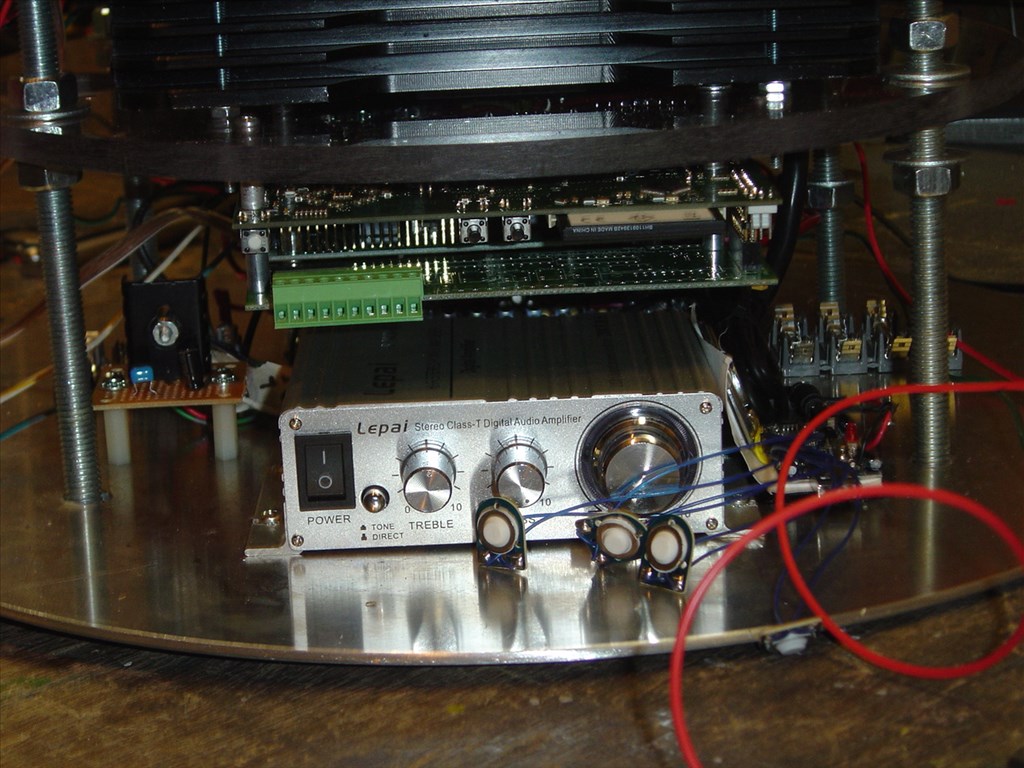
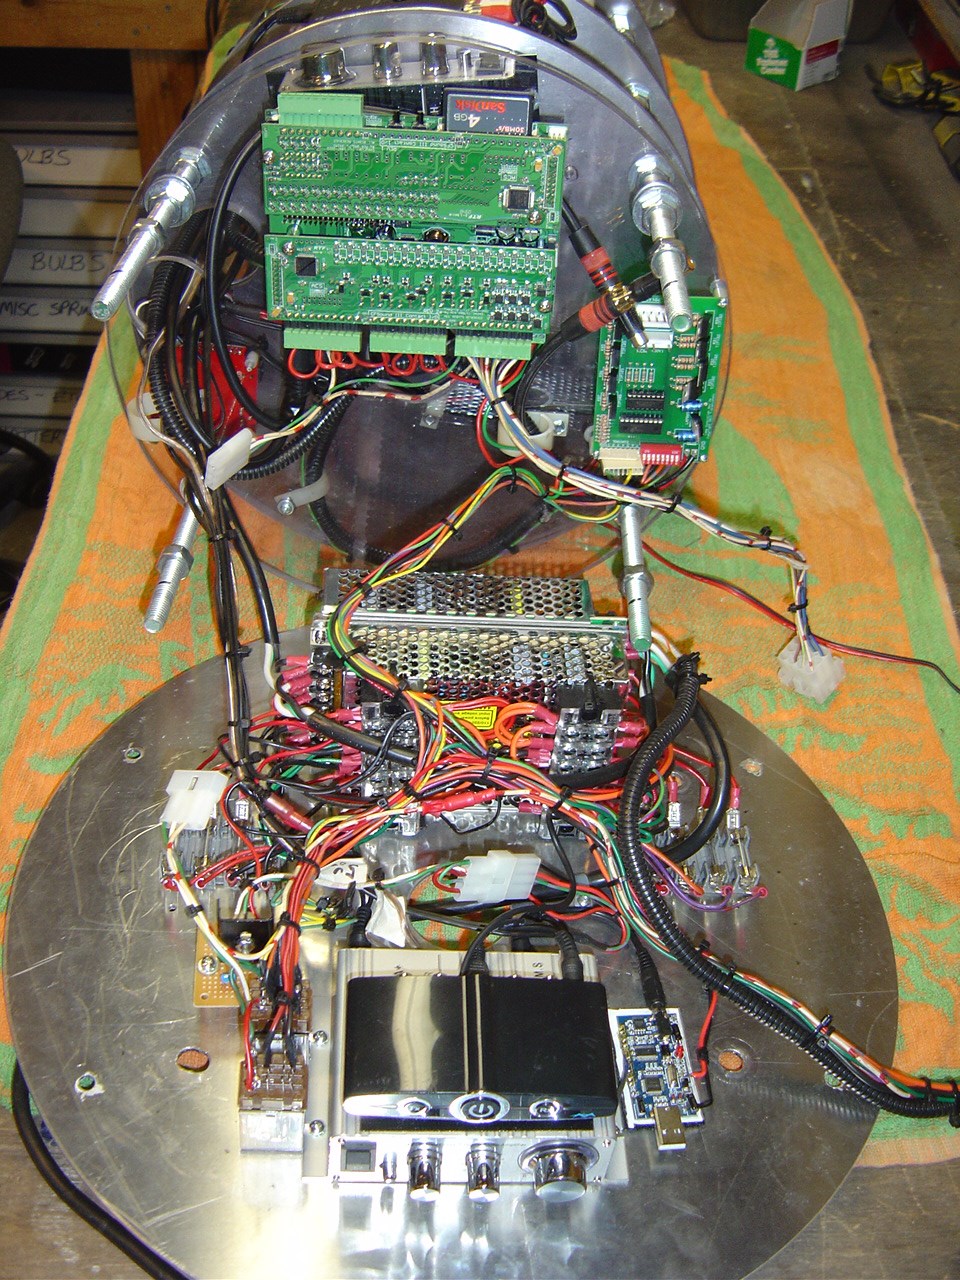
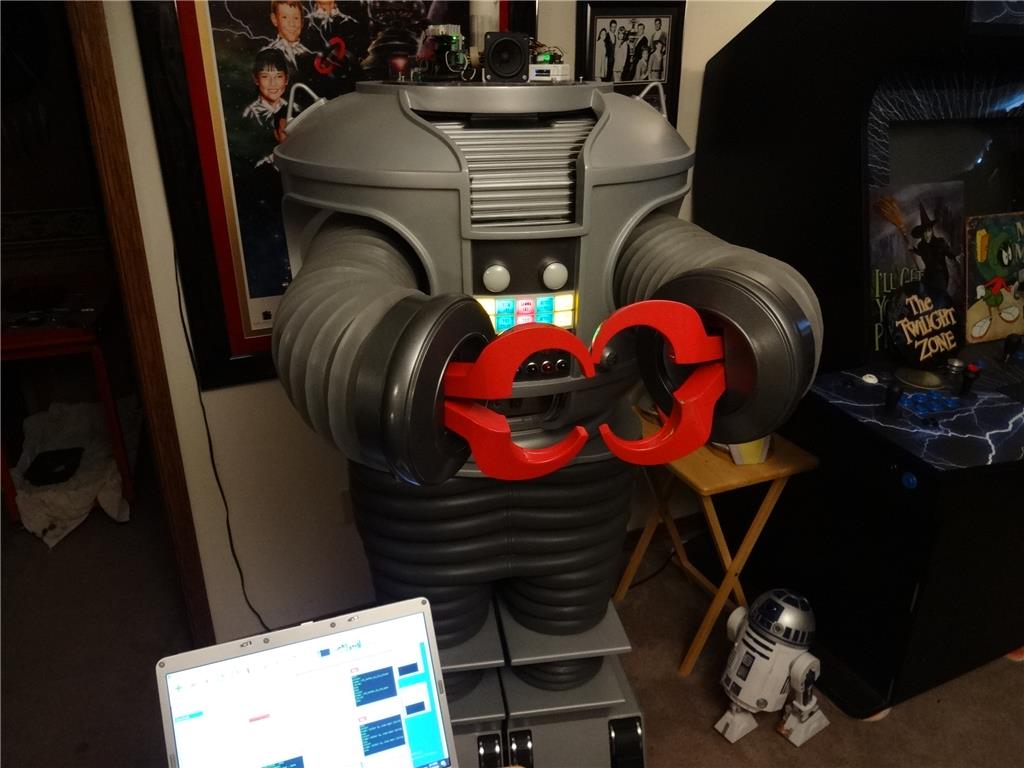
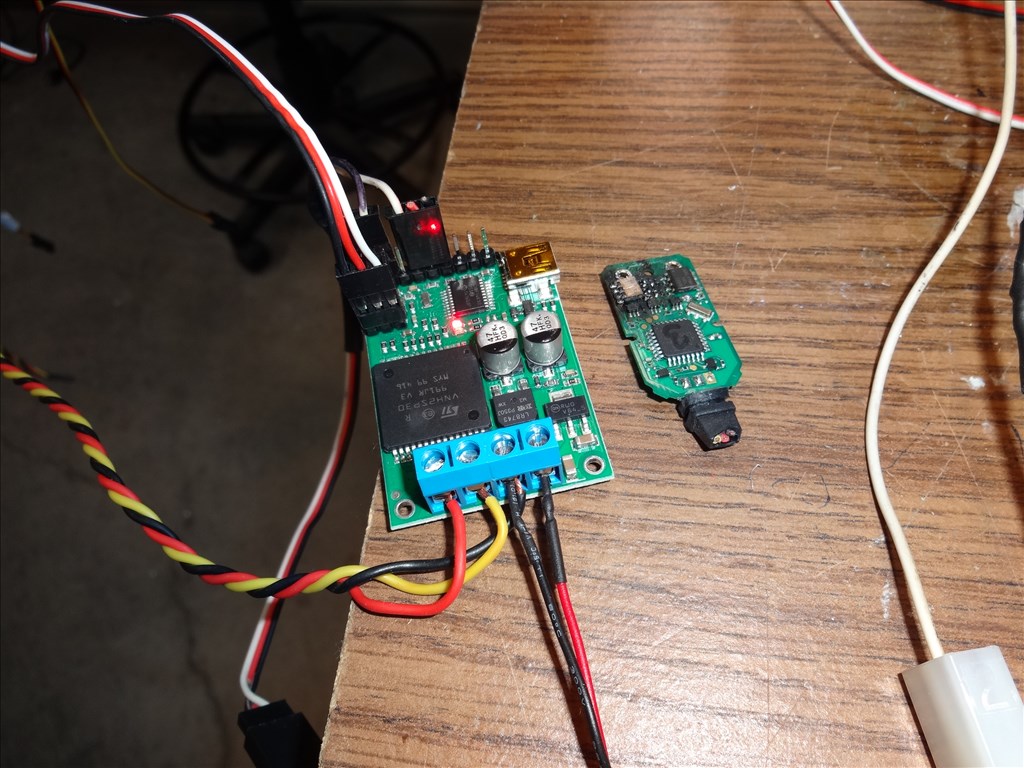
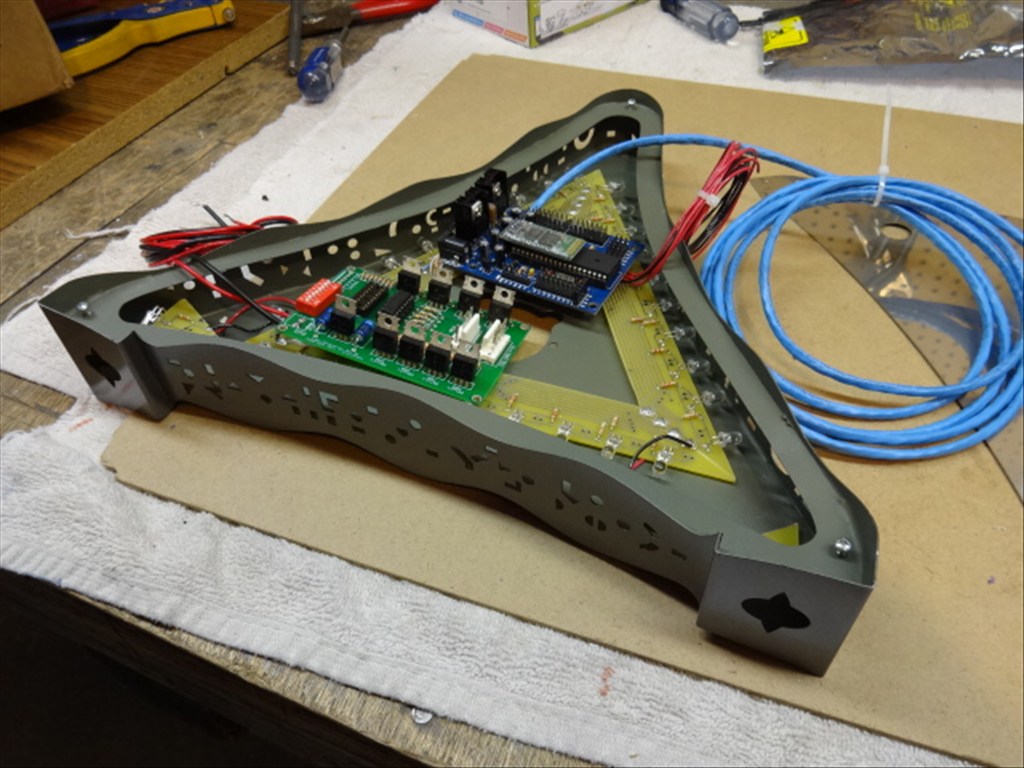
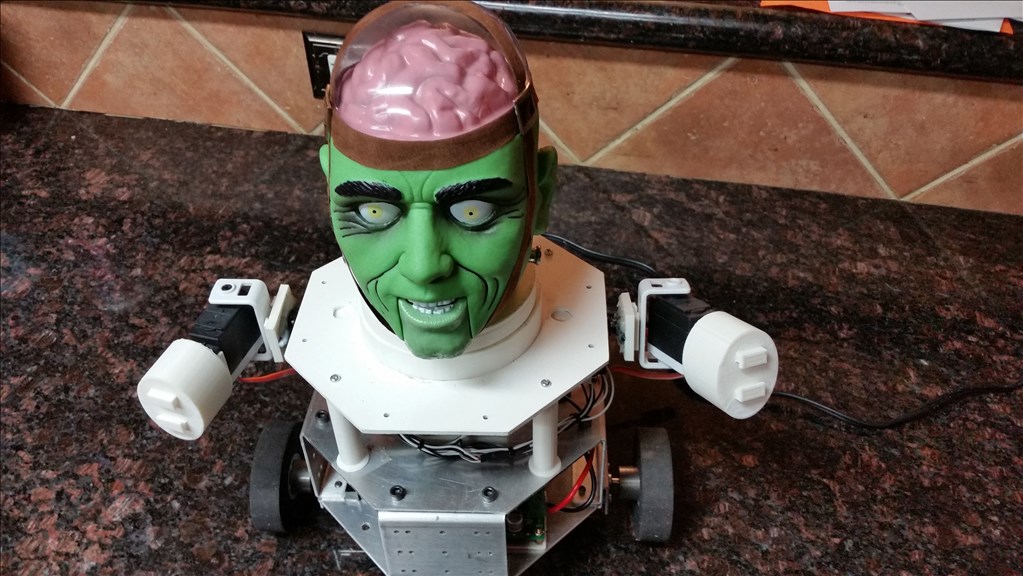
I'd like to share a video I just took of my full size Lost in Space B9 robot that's controlled by two EZ-B controller boards. Right now they are controlling limited movement and voice response of a few motors, lights and sound files played from a Sparkfun MP3 Trigger board. Although I'm just starting with the animation and have more building on the actual robot the result (mostly thanks to the EZ Robot controller board) is shocking. Please have a look at this (4 minute) You Tube vid and enjoy.
Please excuse some Technical camera lighting and sound issues. This is the first time I'd made and posted a vid online.
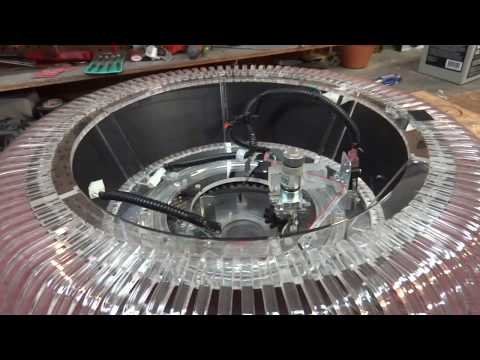
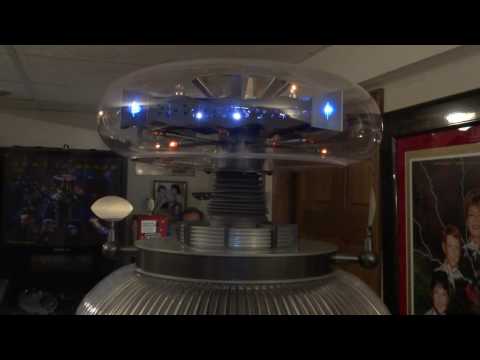
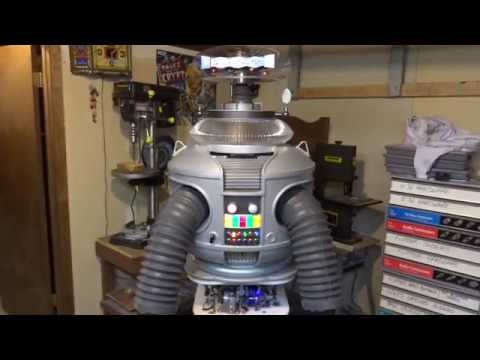
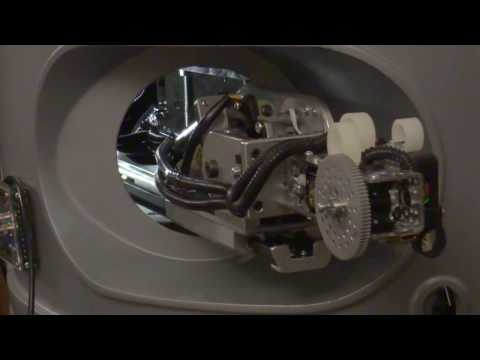
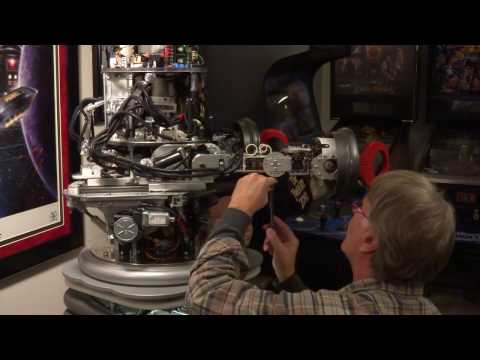
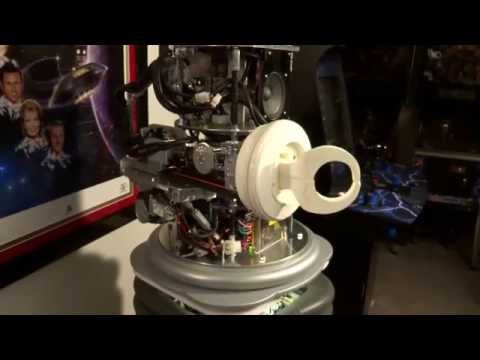
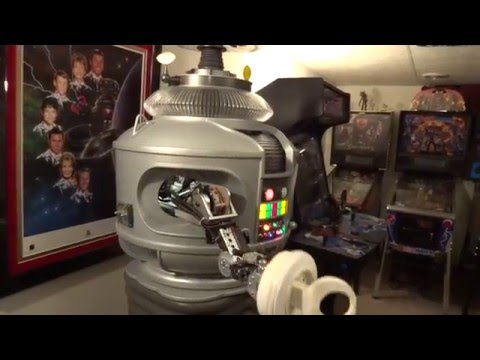
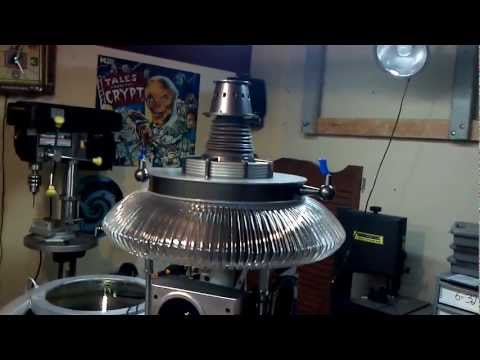
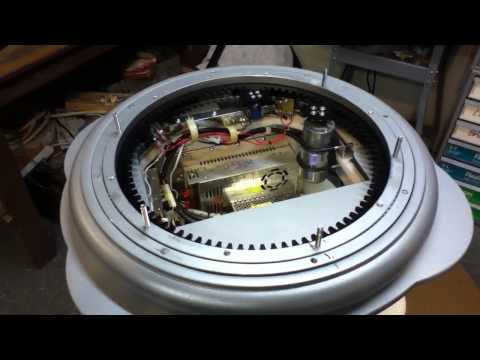
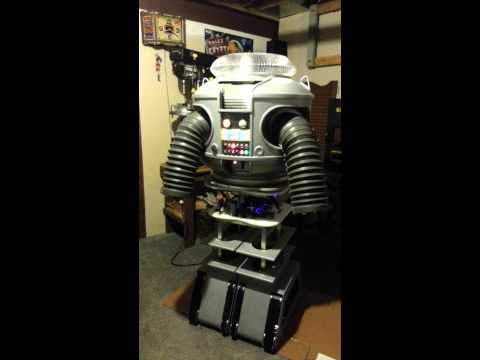
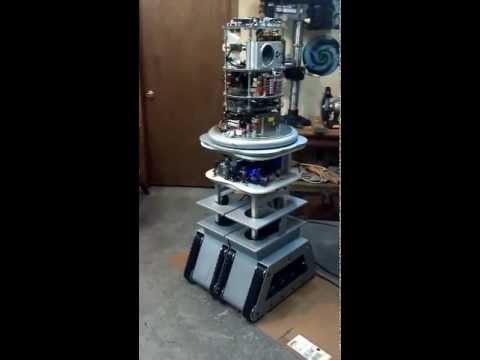
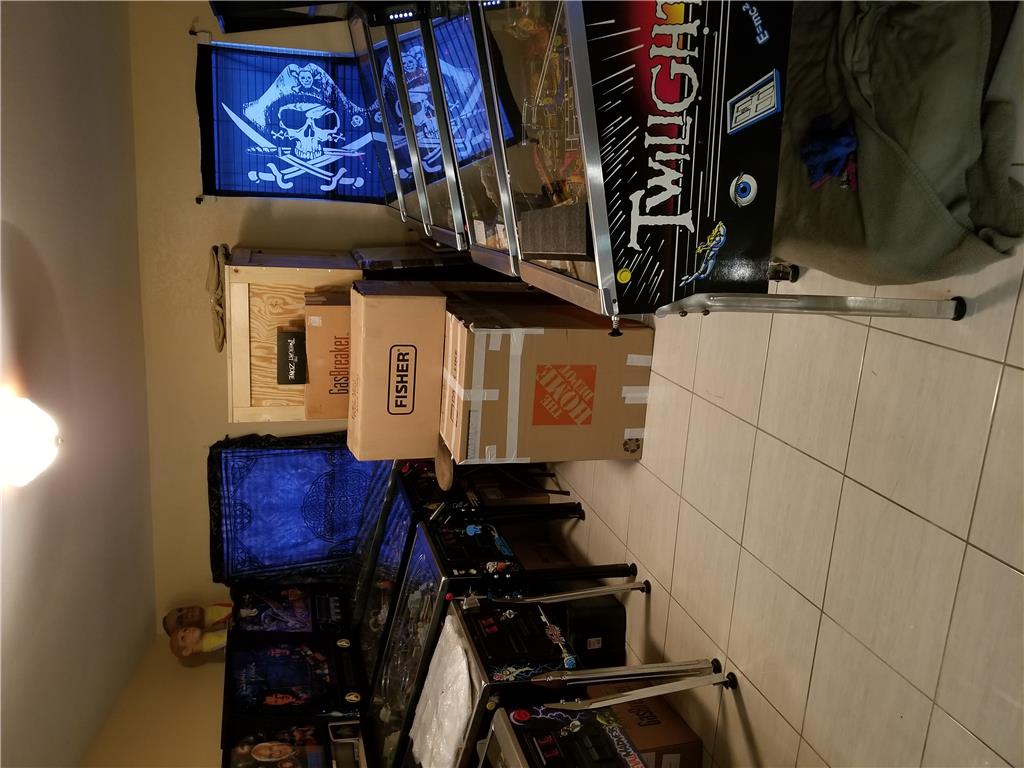
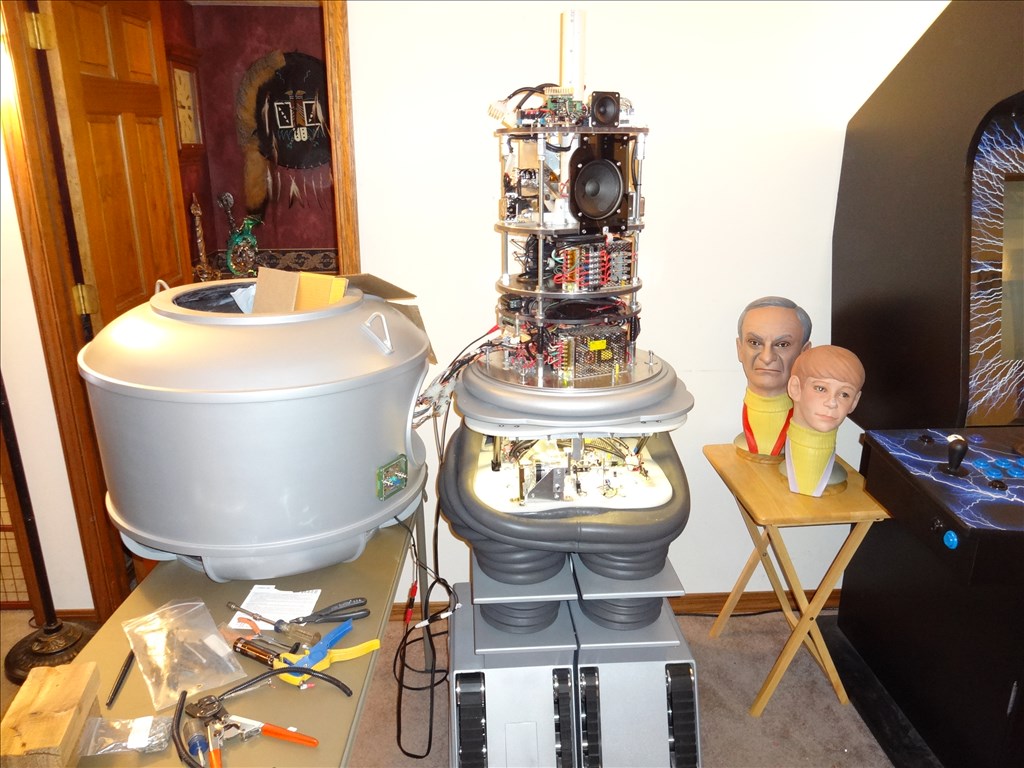
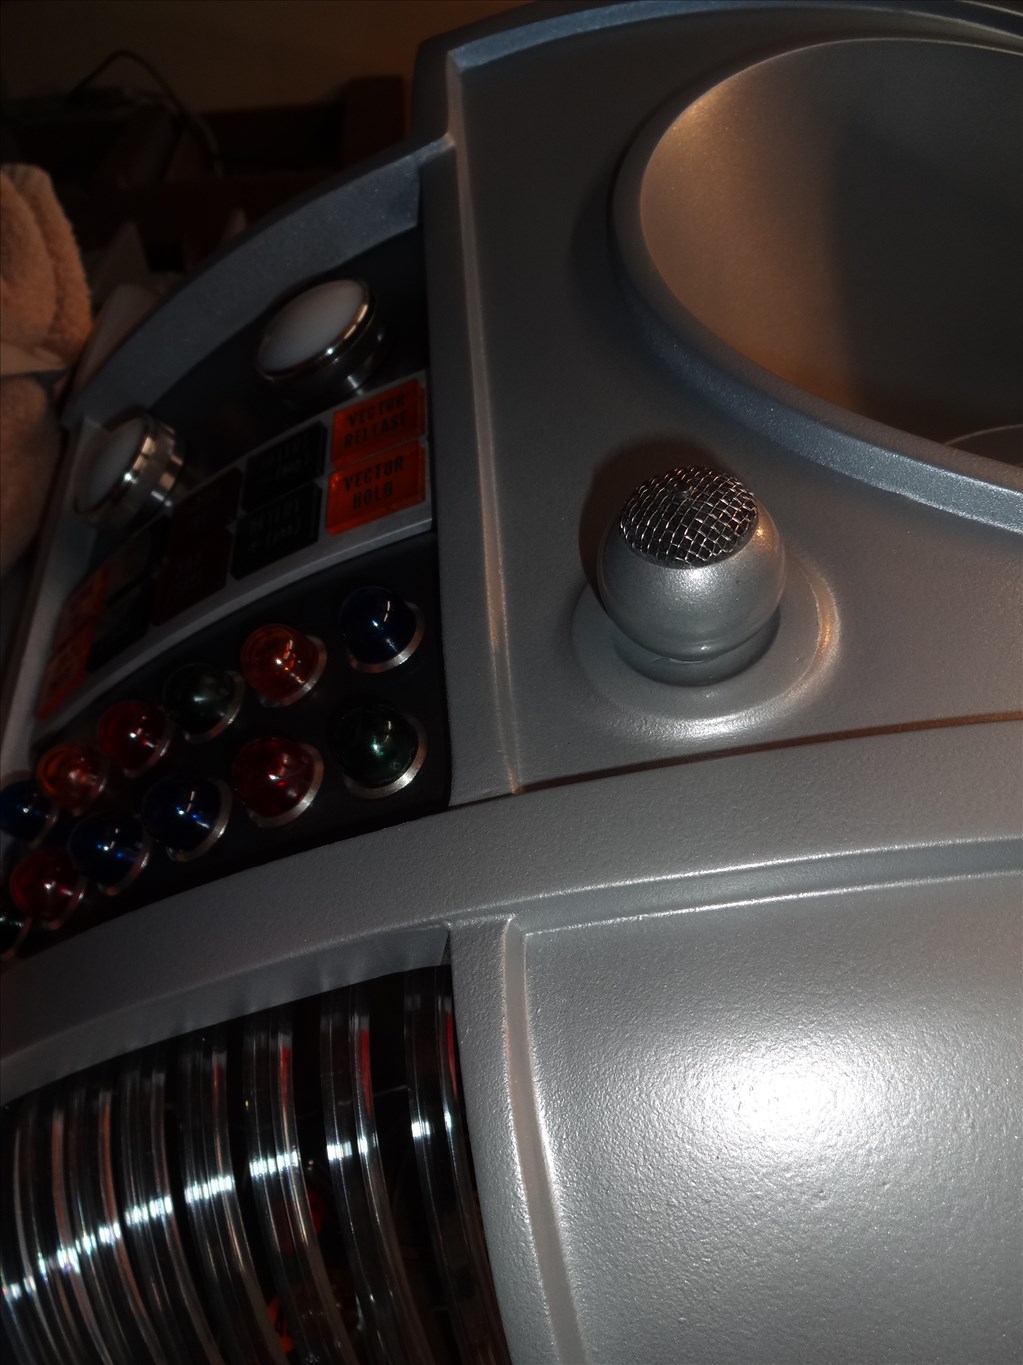
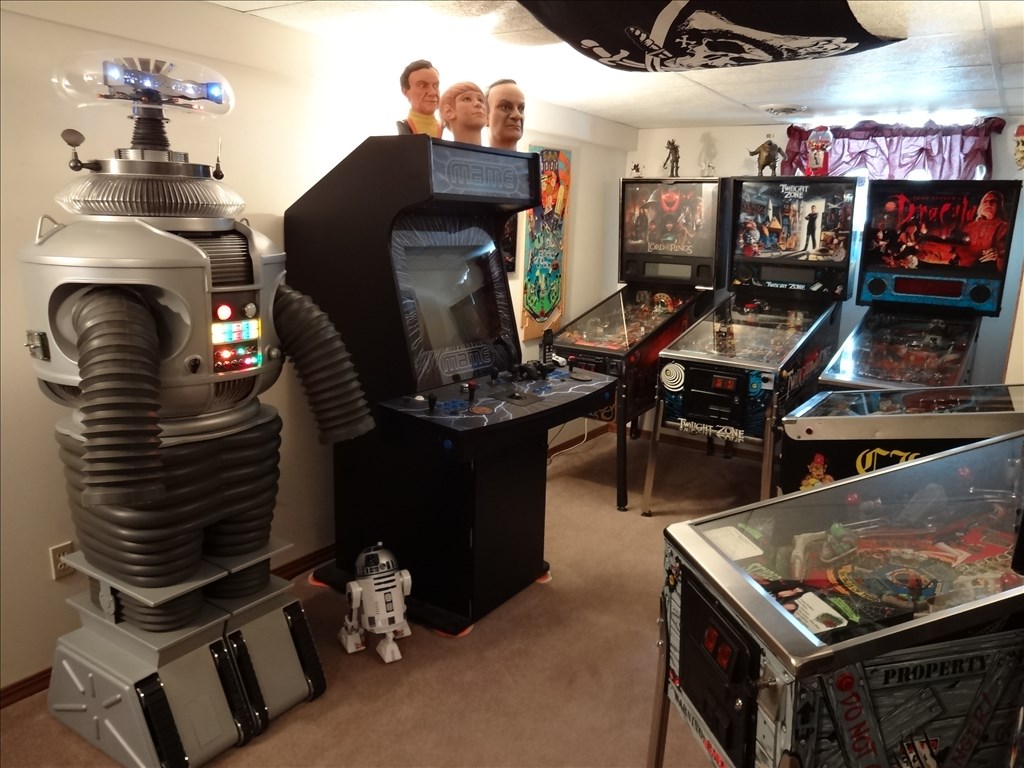
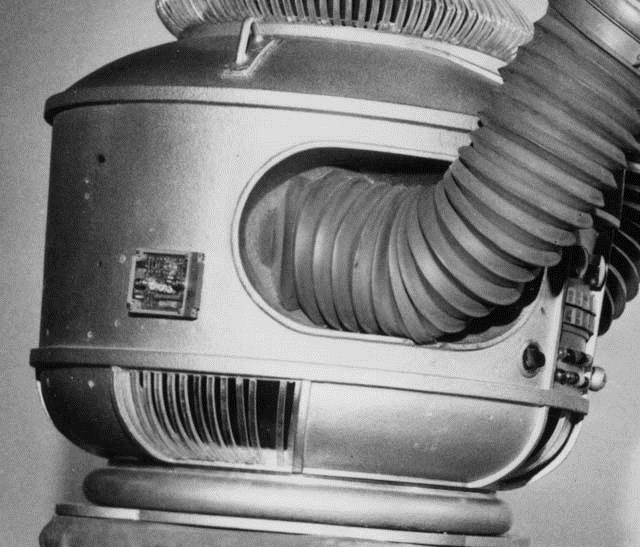
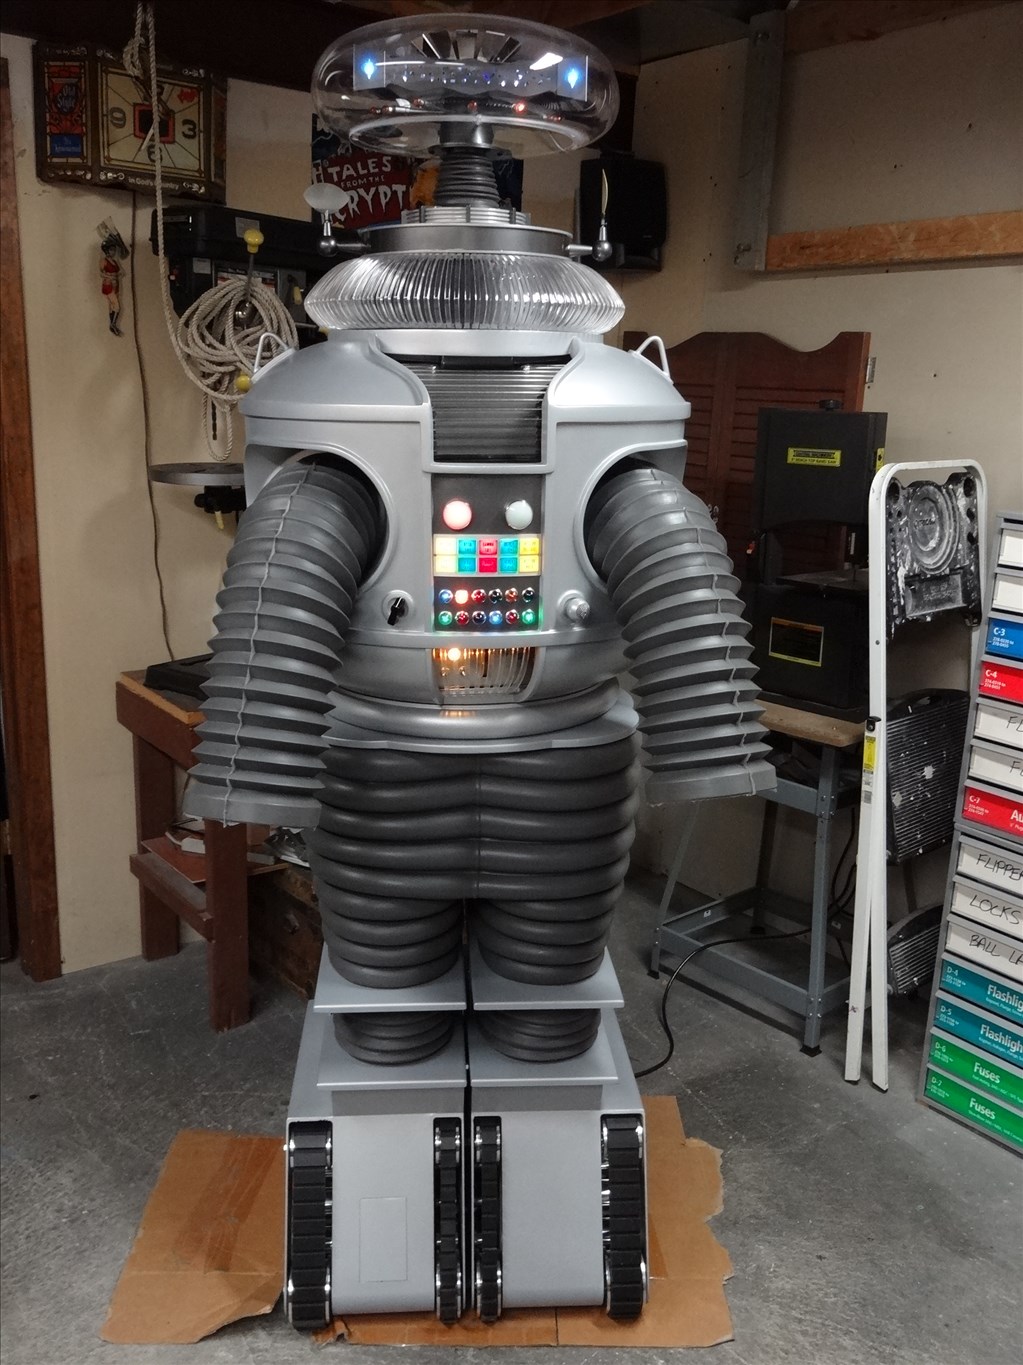
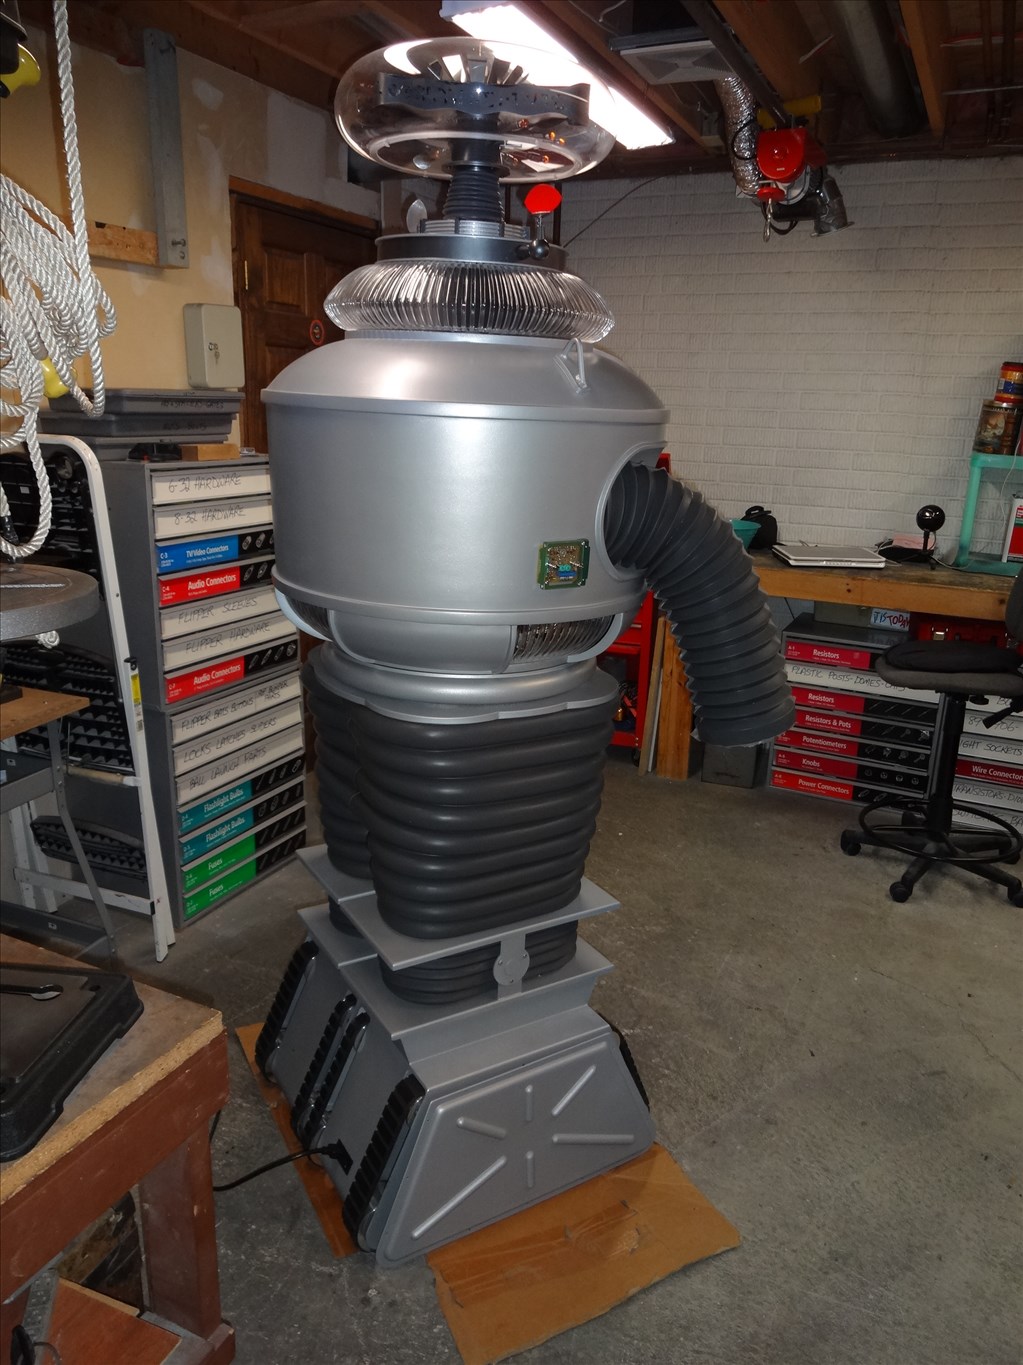
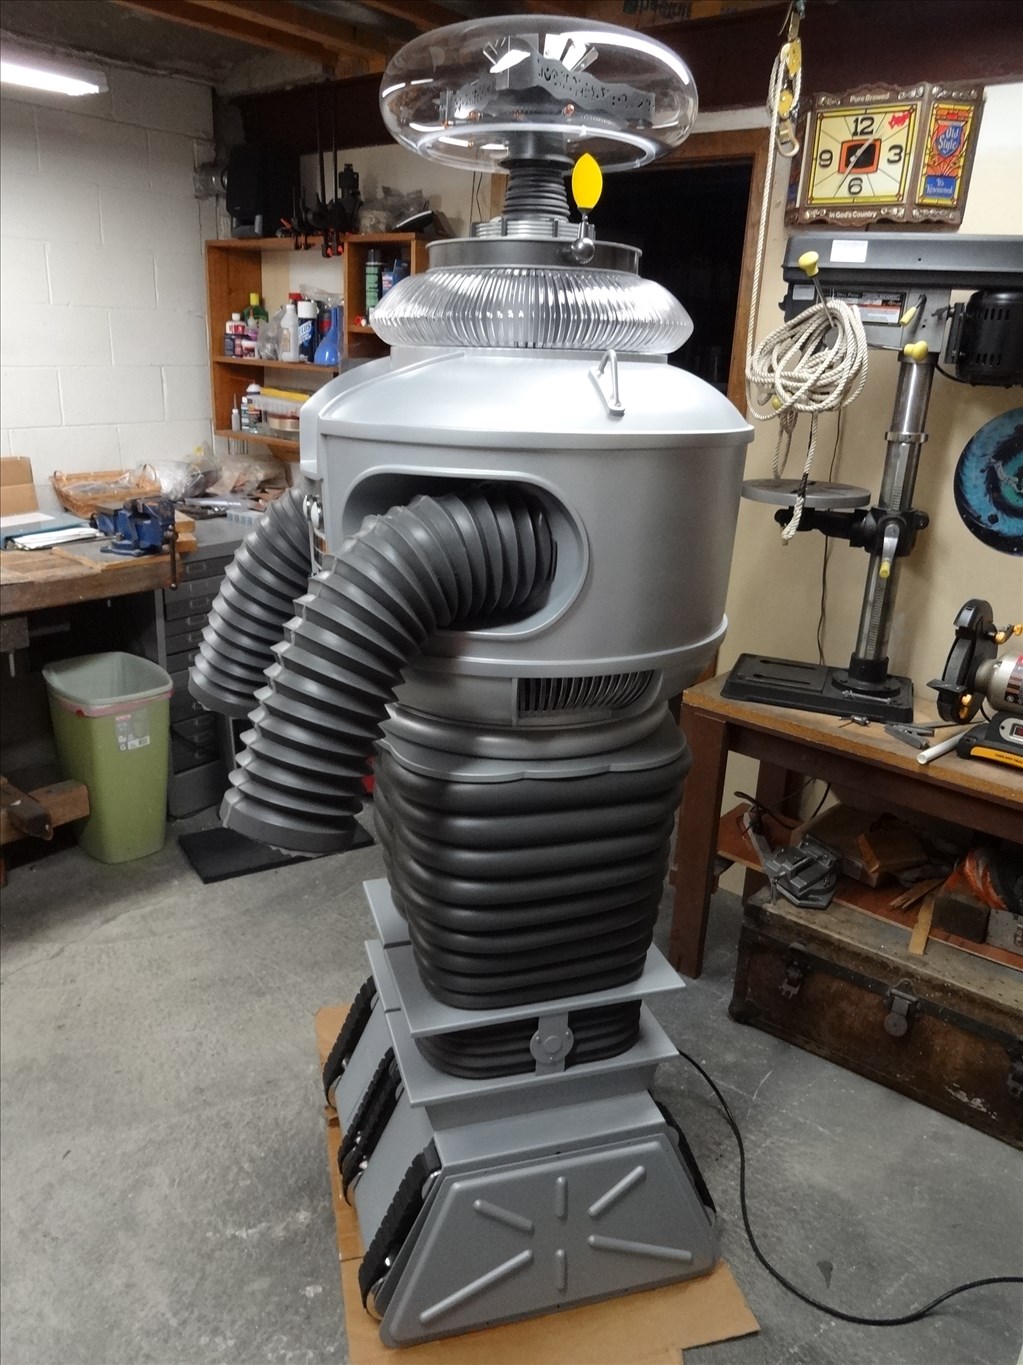
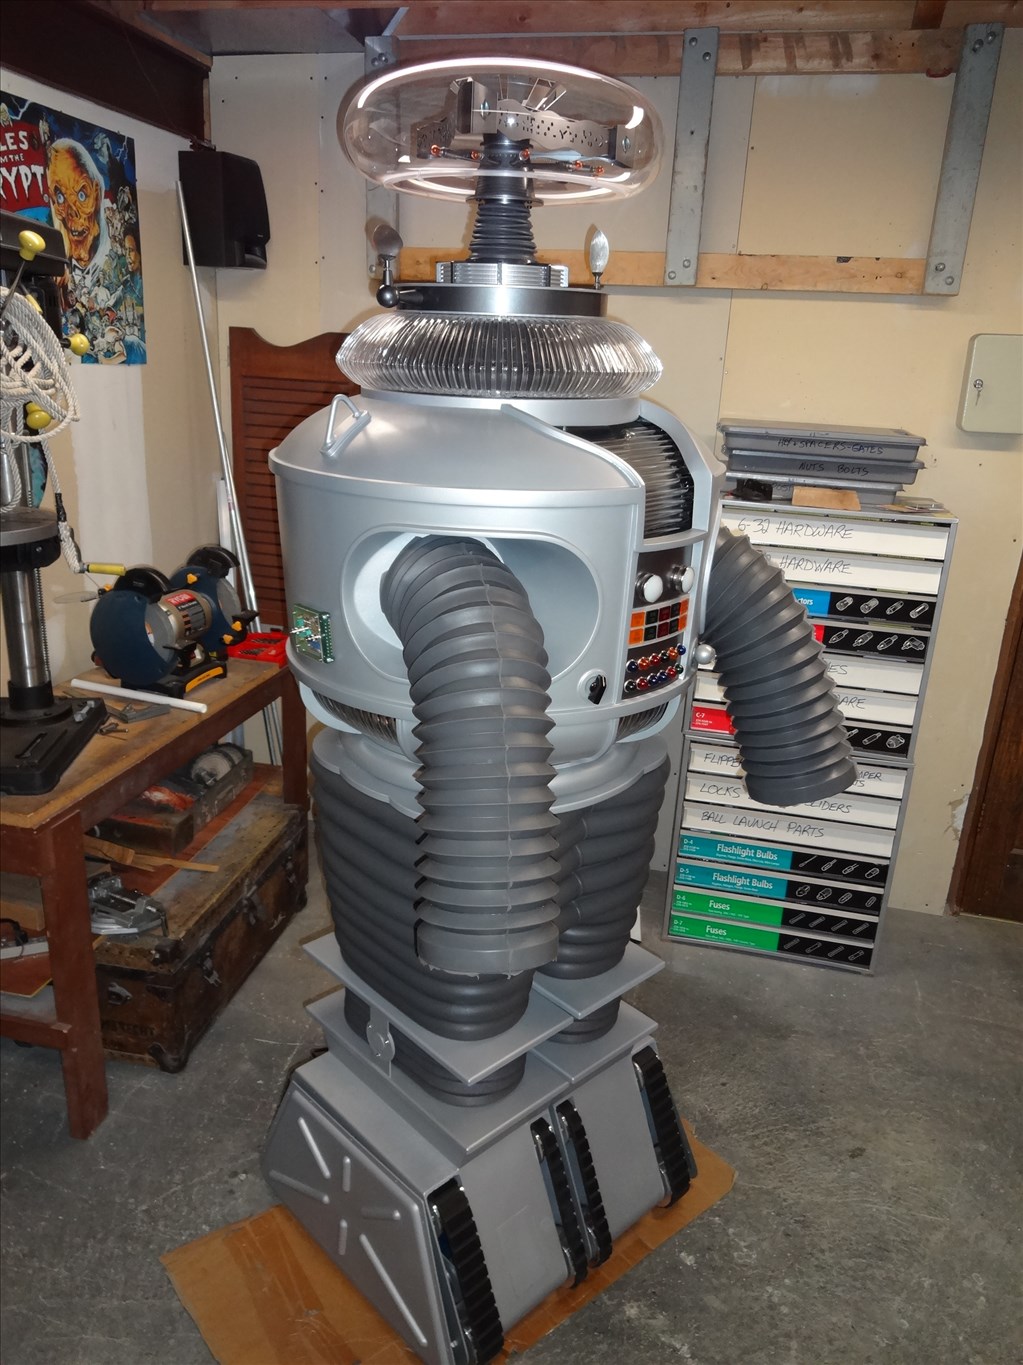
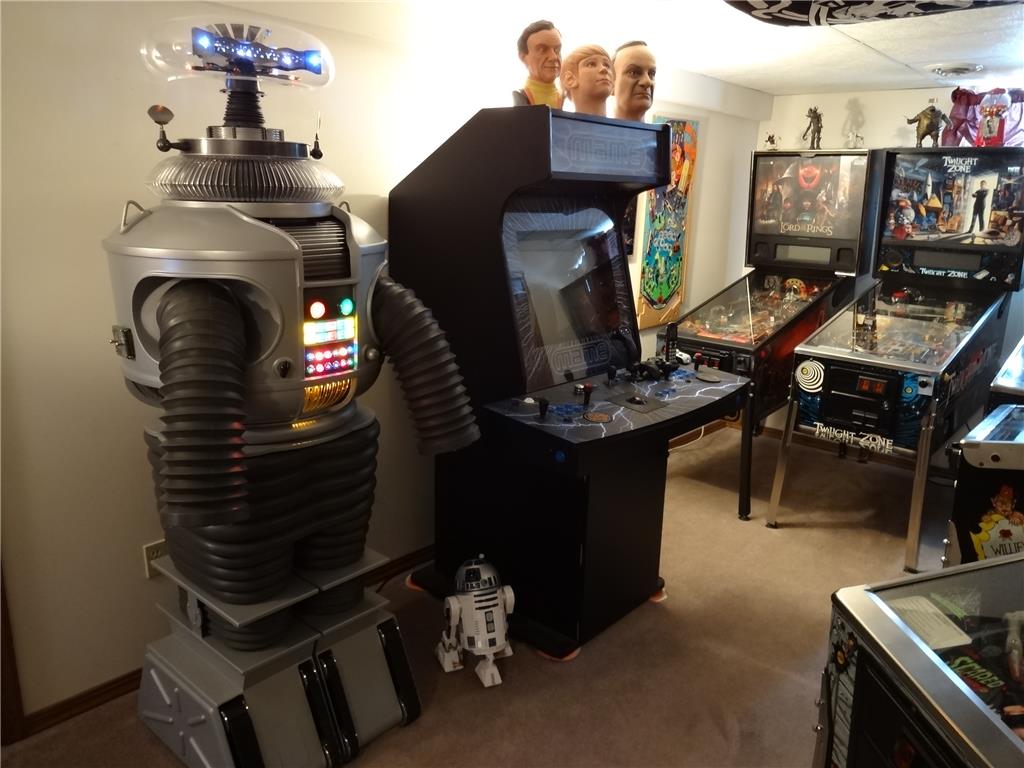
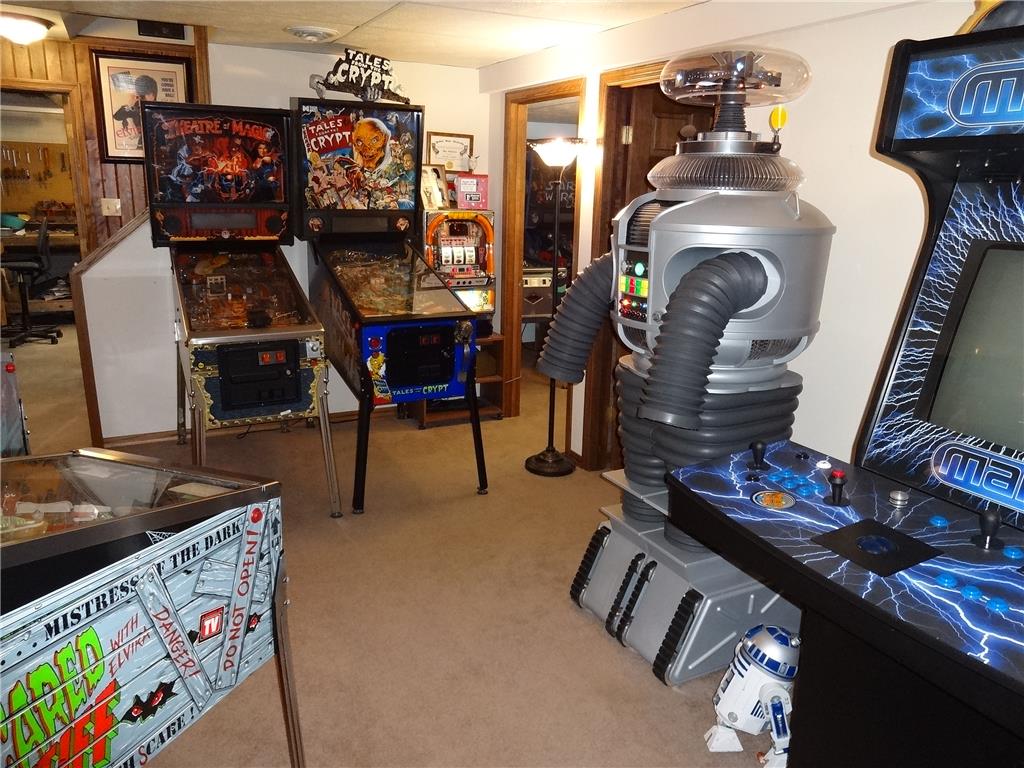
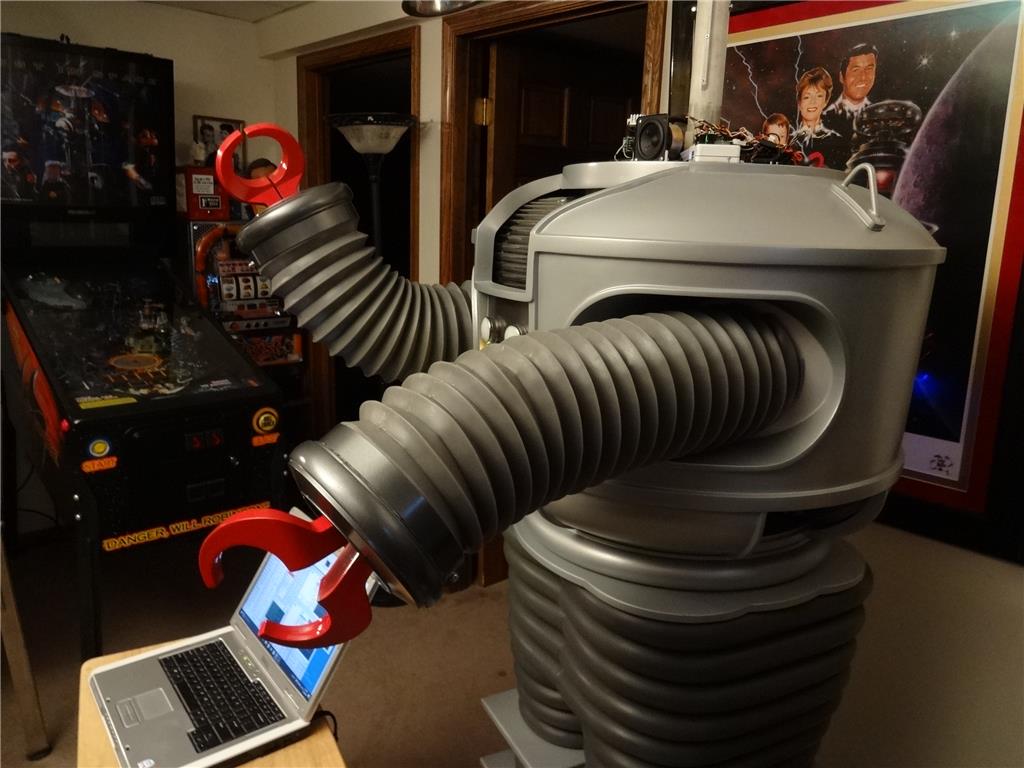
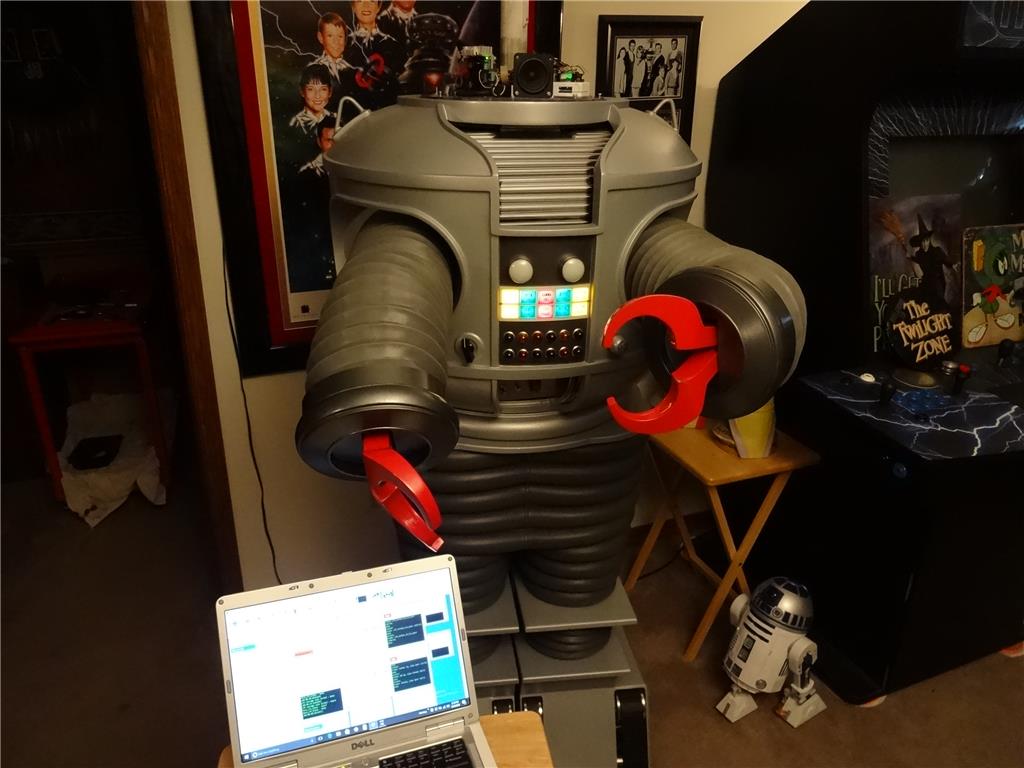
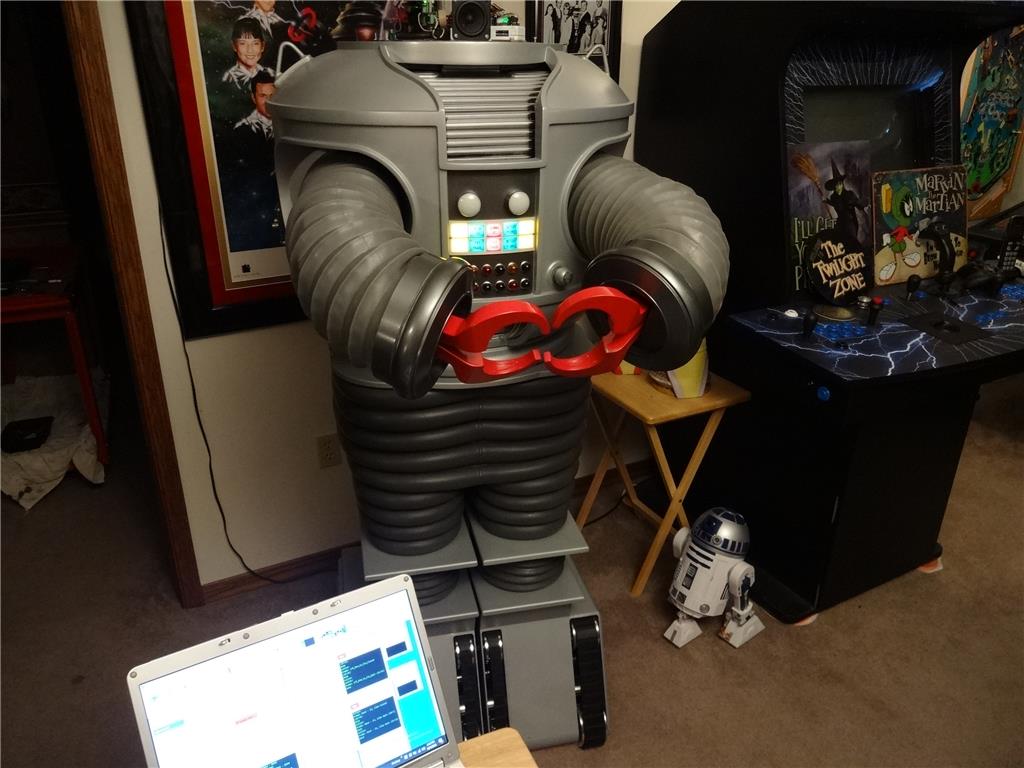
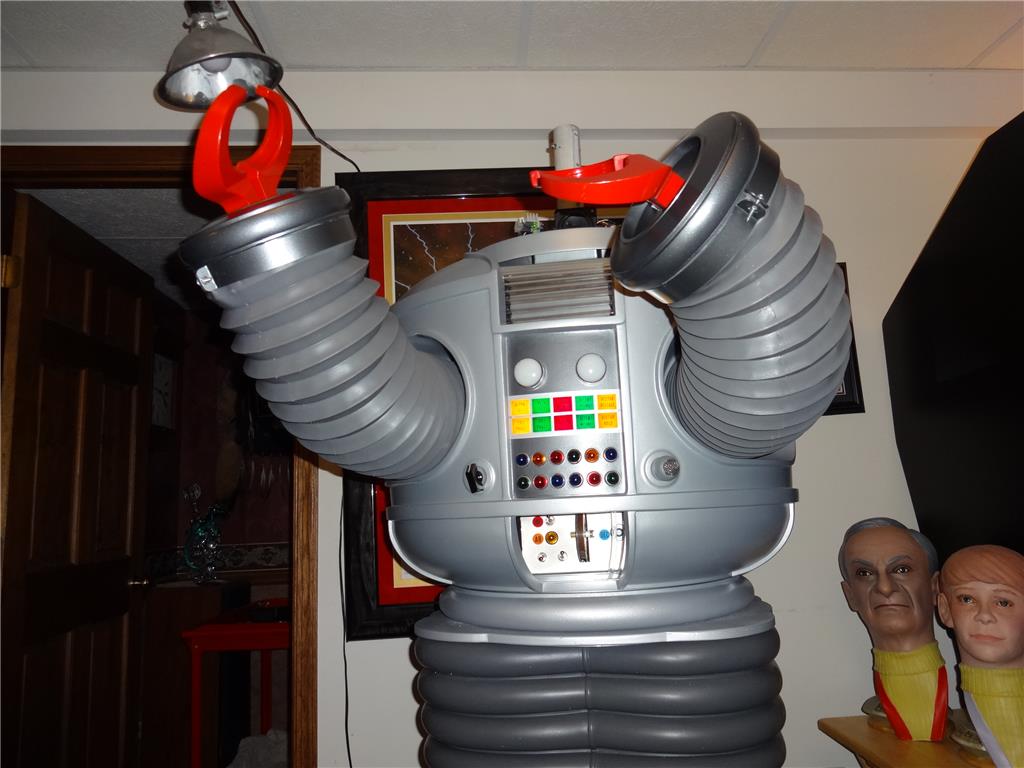
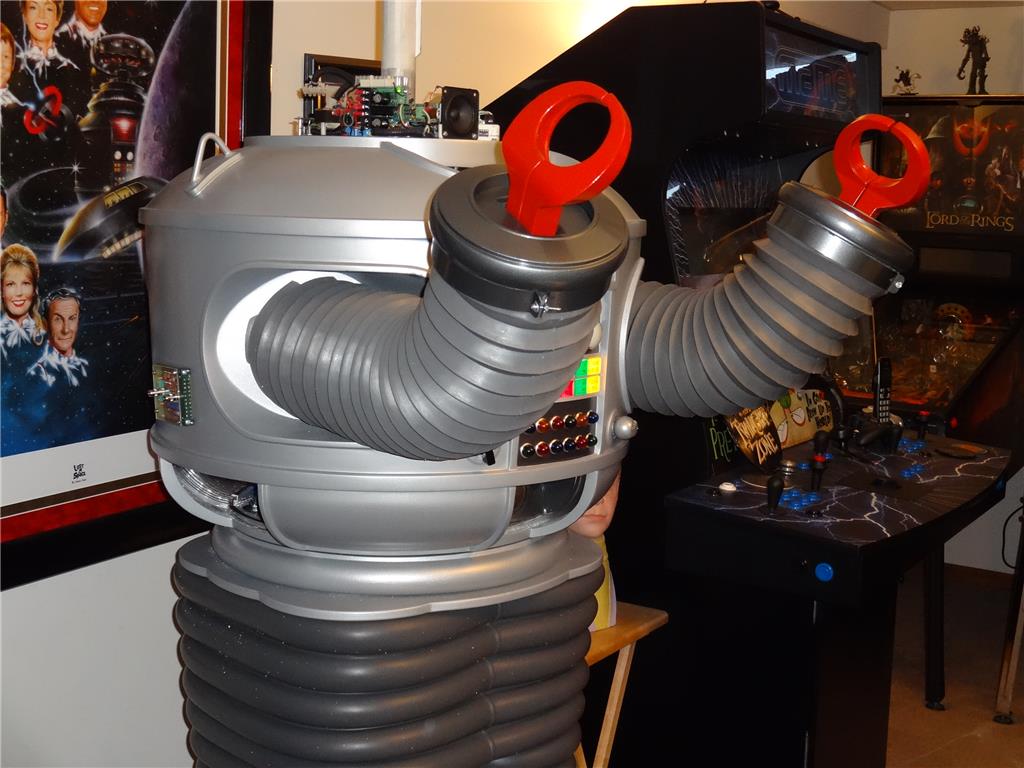
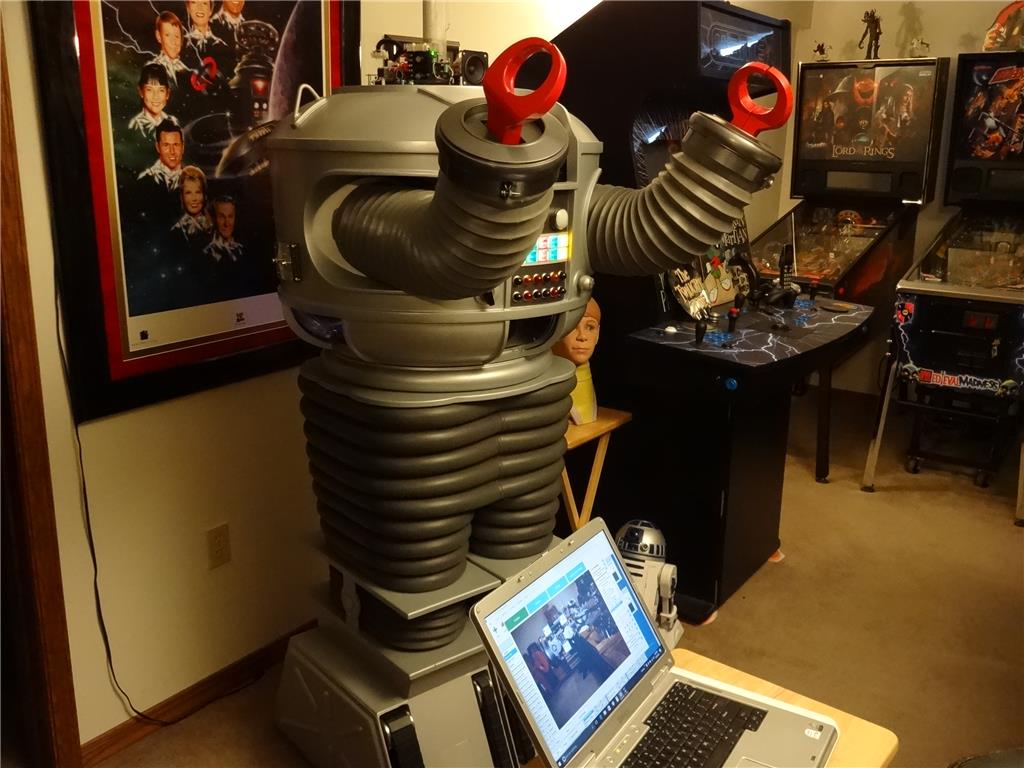
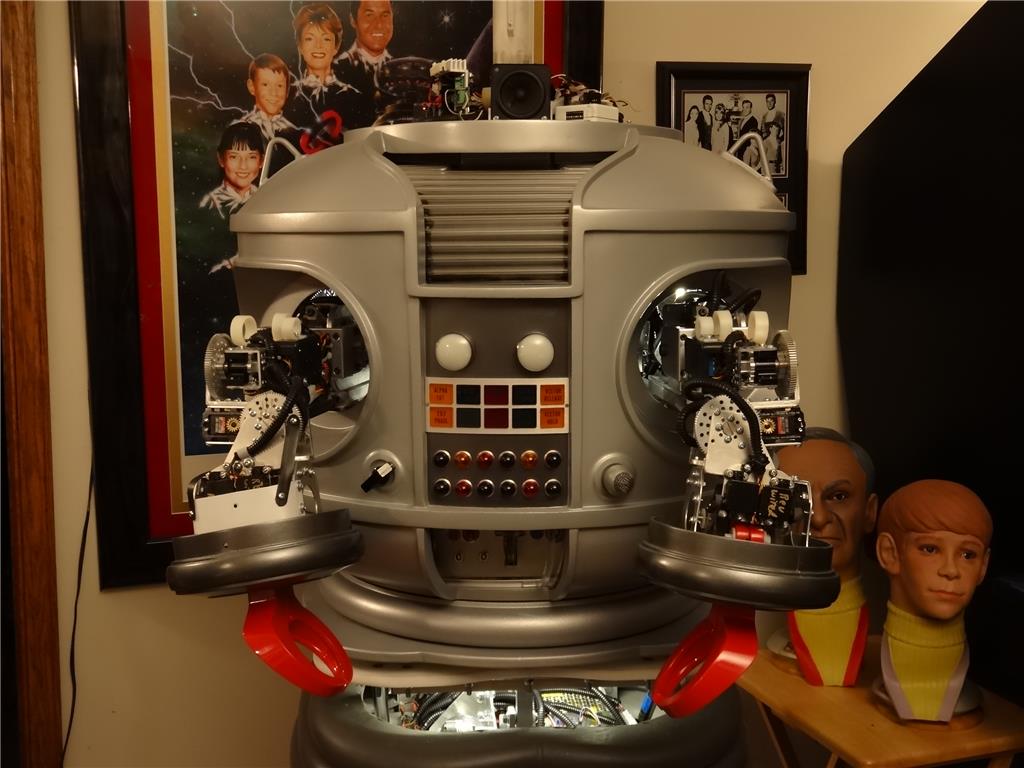
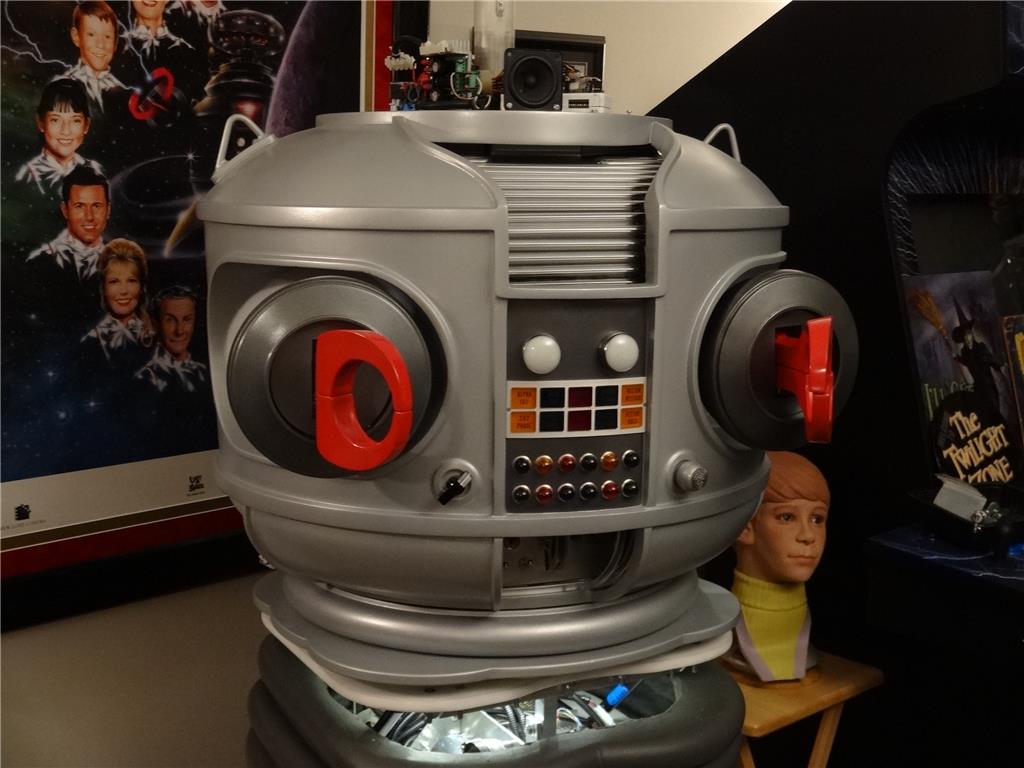
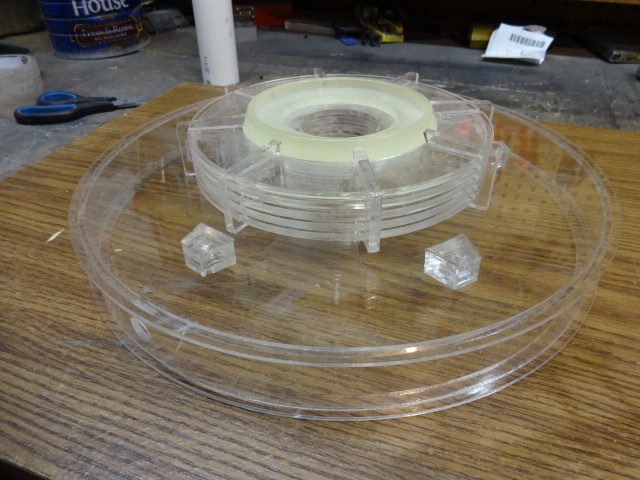
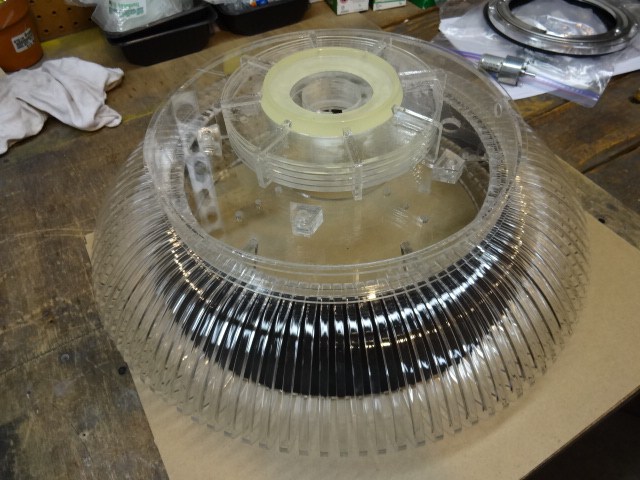
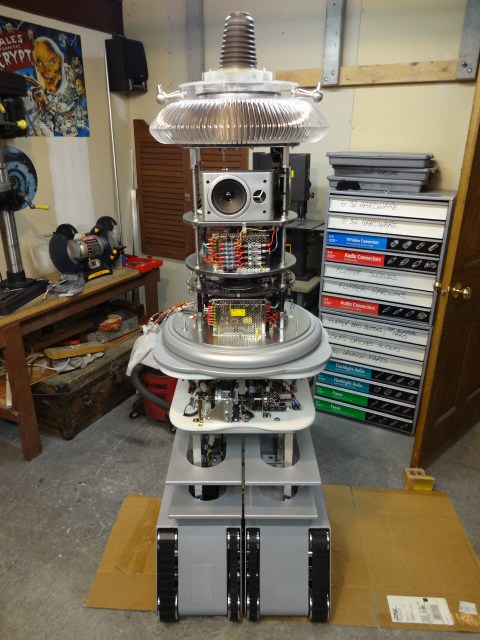
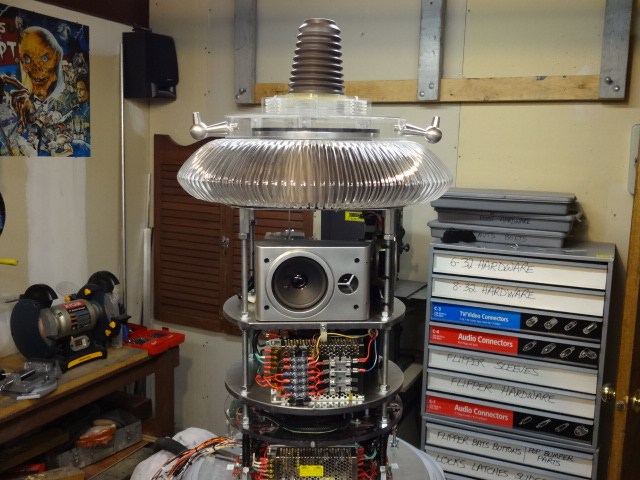
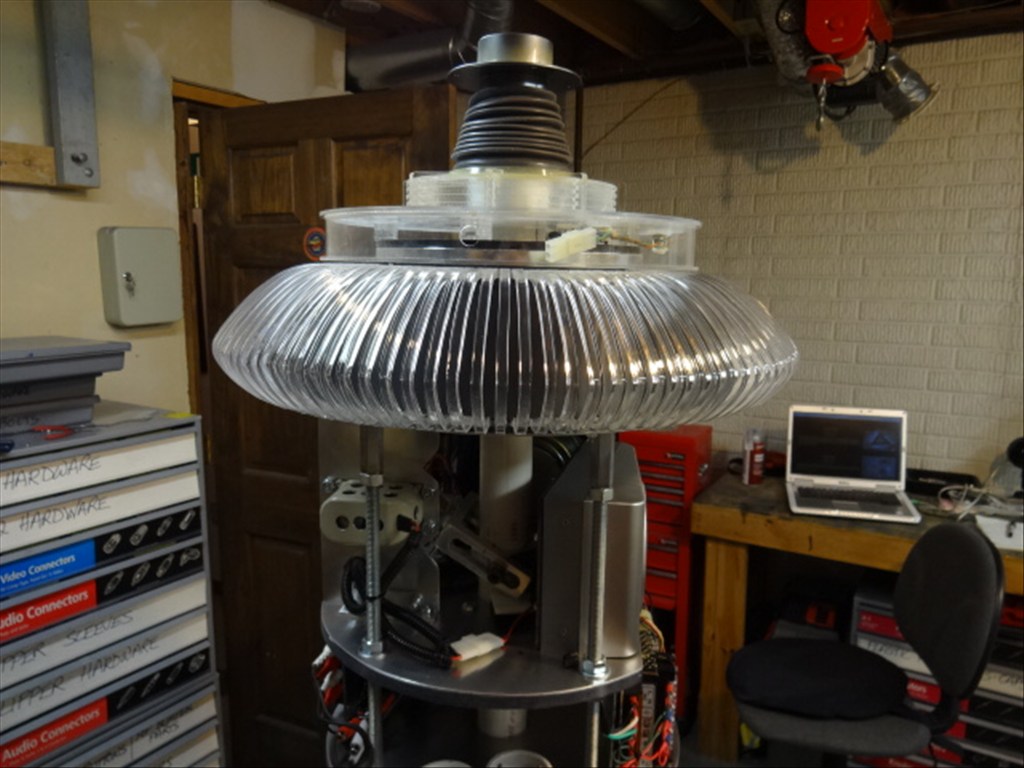
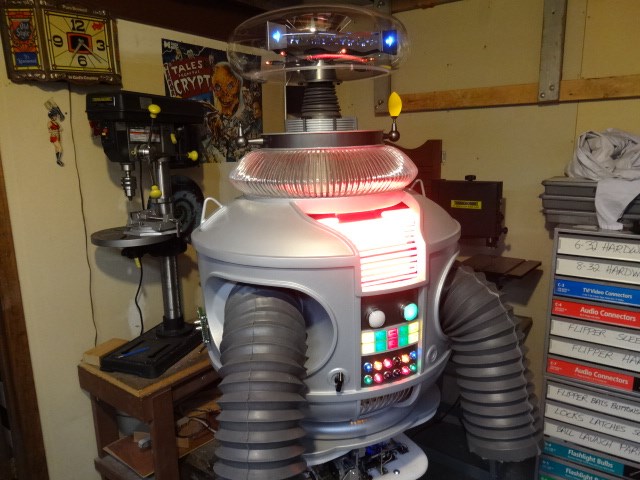
EDIT 8/2/13: Just realized I have no good pictures of how my B9 will look when complete. Here's one of the actual TV robots from the 60's TZ show Lost in Space and one recent shot of where I'm at with my build over 1 1/2 year after I started. Enjoy:


Thanks, Dave Schulpius
Discover more robots
Bhouston's My New Robot
Putt's Shorty

Ya, I've loved the stuff ever since I found out girls weren't boys.
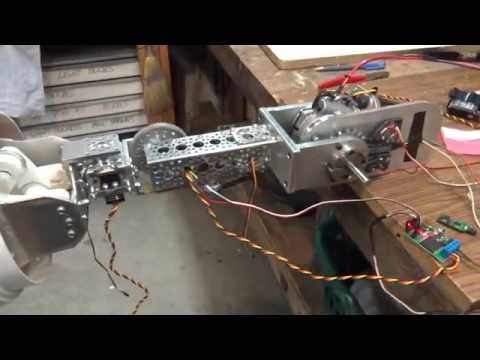
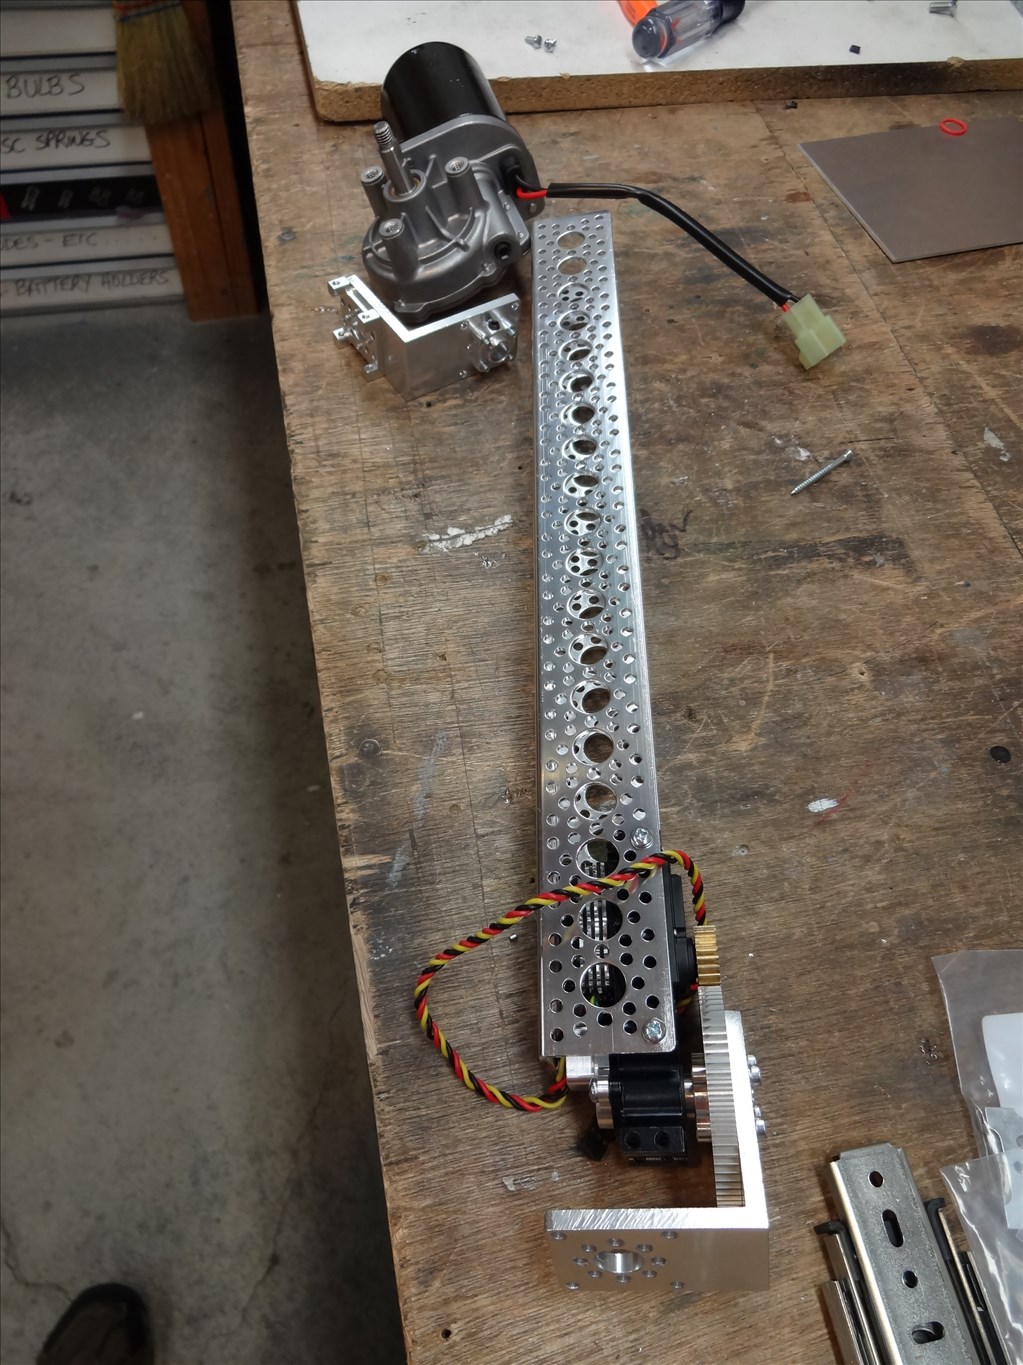
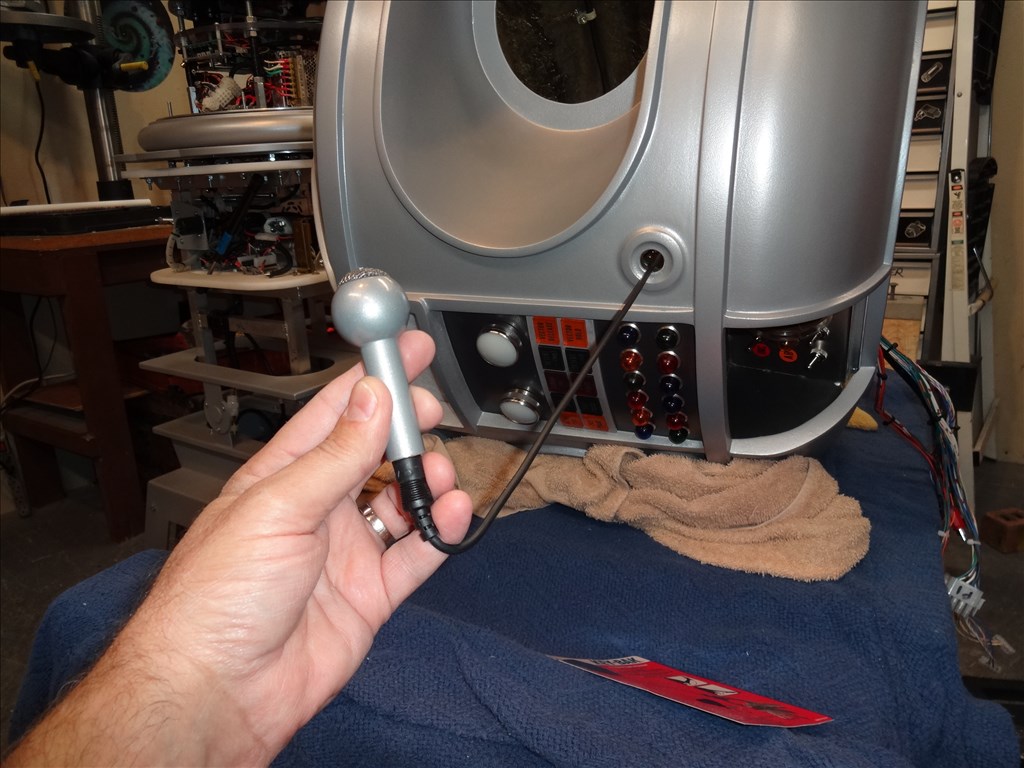
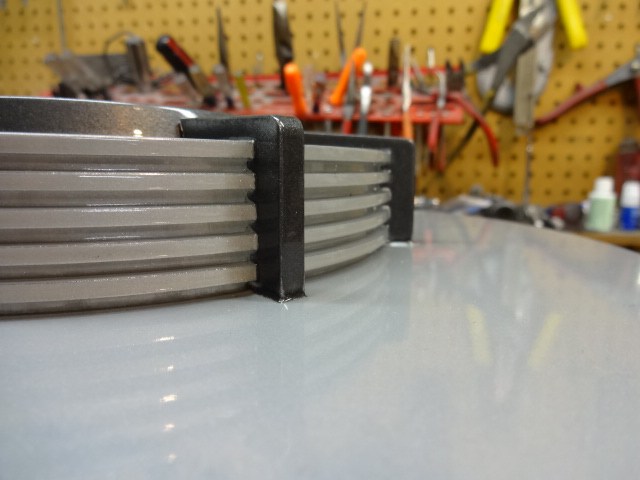
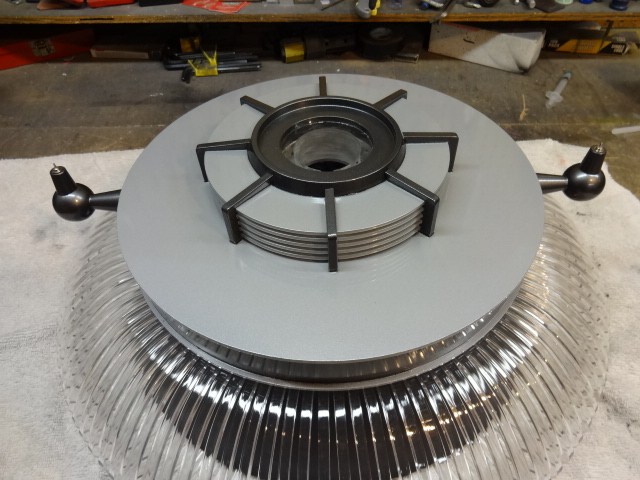
Dave, The arm retraction system is sweet. Love that smooth movement. It's alive, indeed! Your attention to detail is incredible. I love the cable management mechanism. Thank you for sharing your work along this journey. ~Mike
Thanks Walunit. I'm really excited about how well it's turning out. I couldn't have gotten this far without help from my friends here on this forum and the B9 Builders Club.
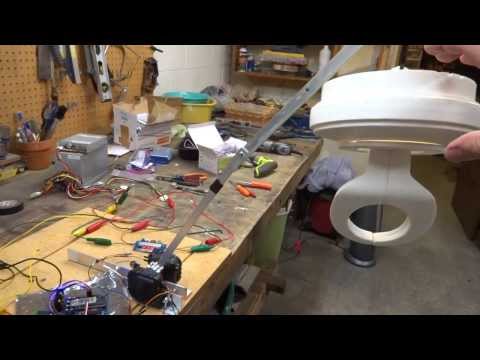
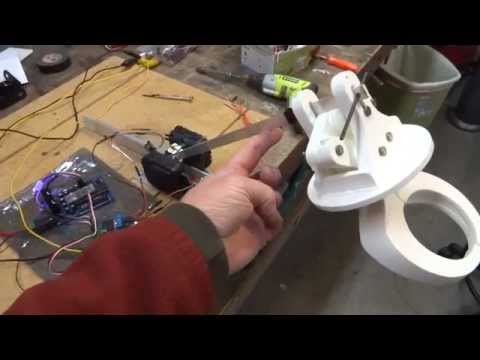
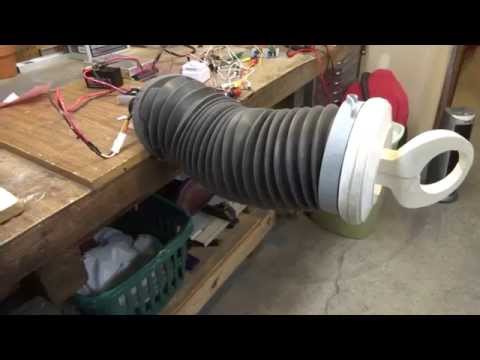
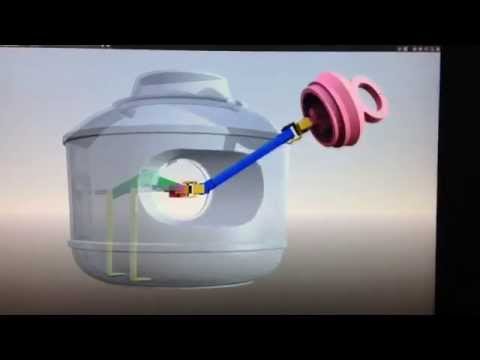
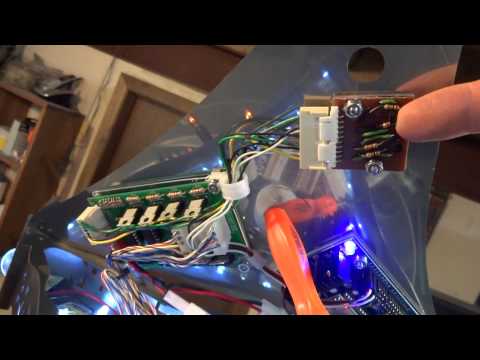
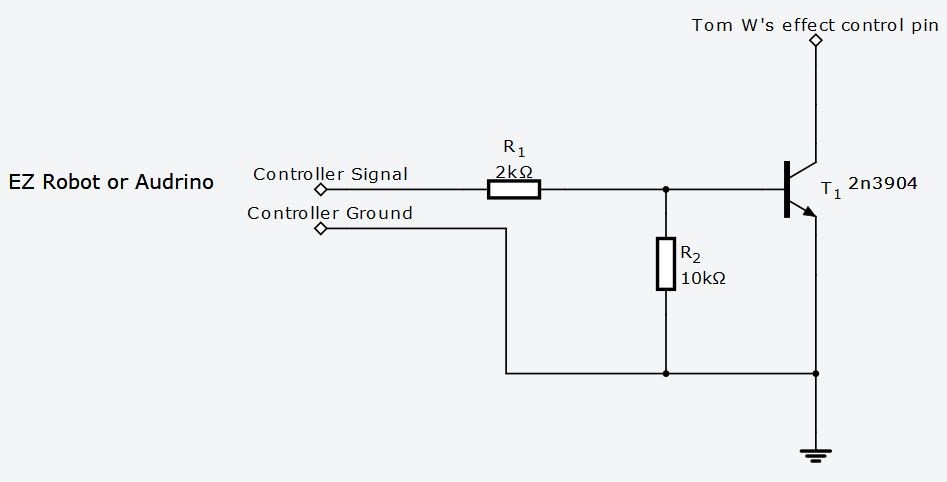
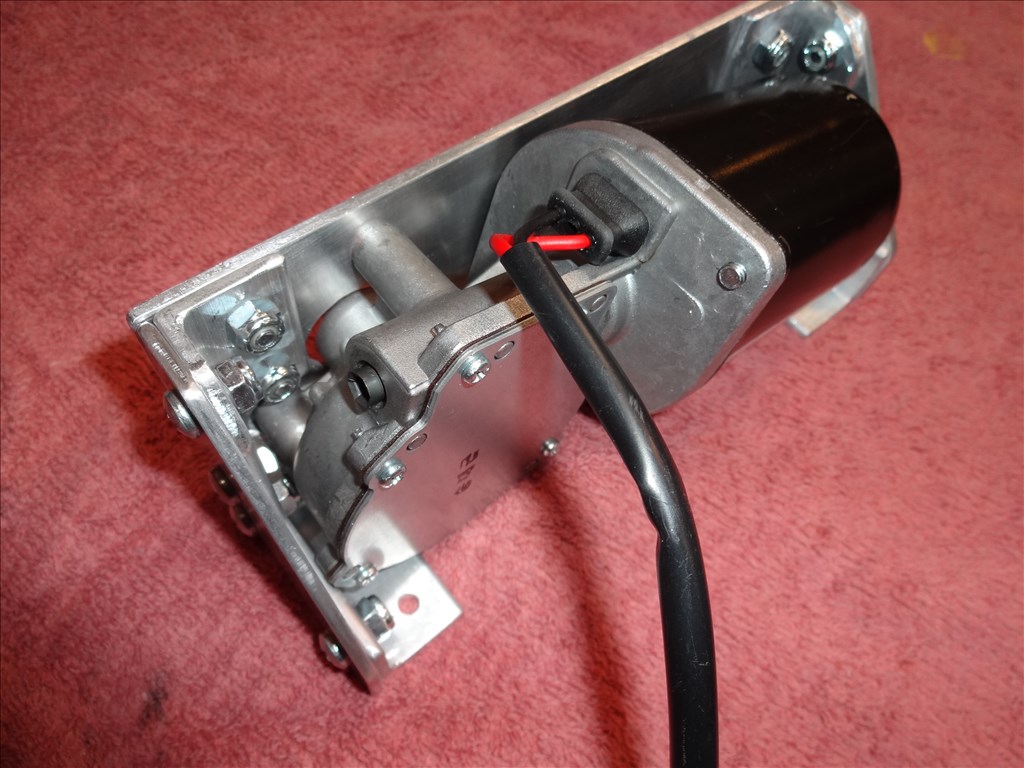
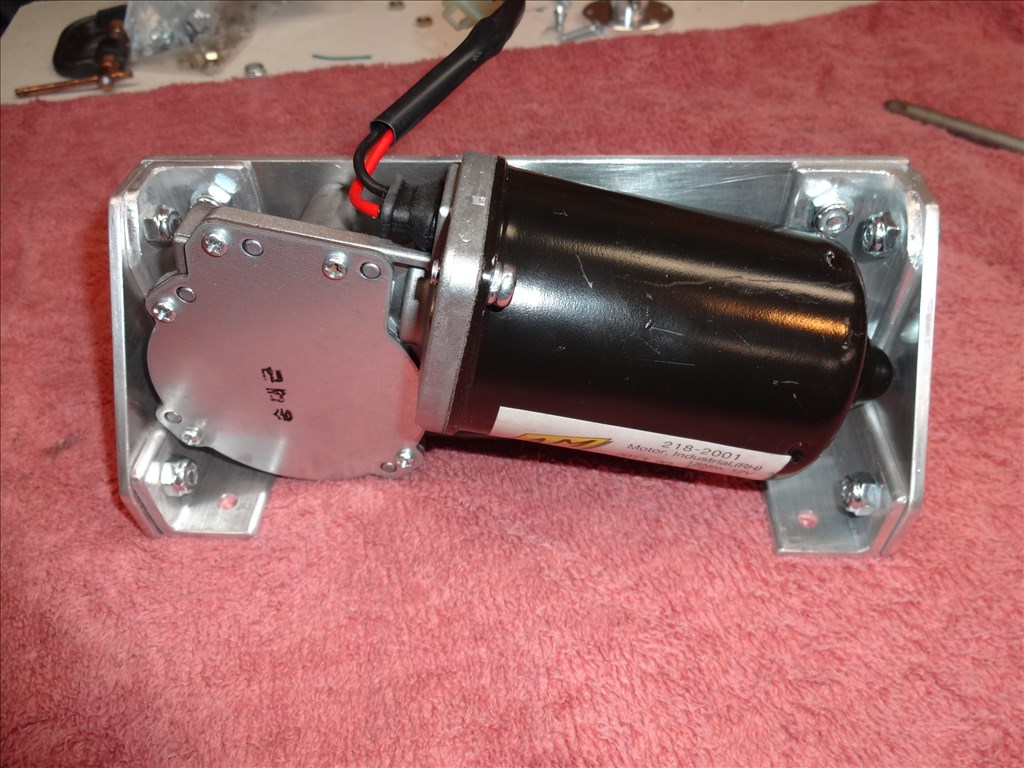
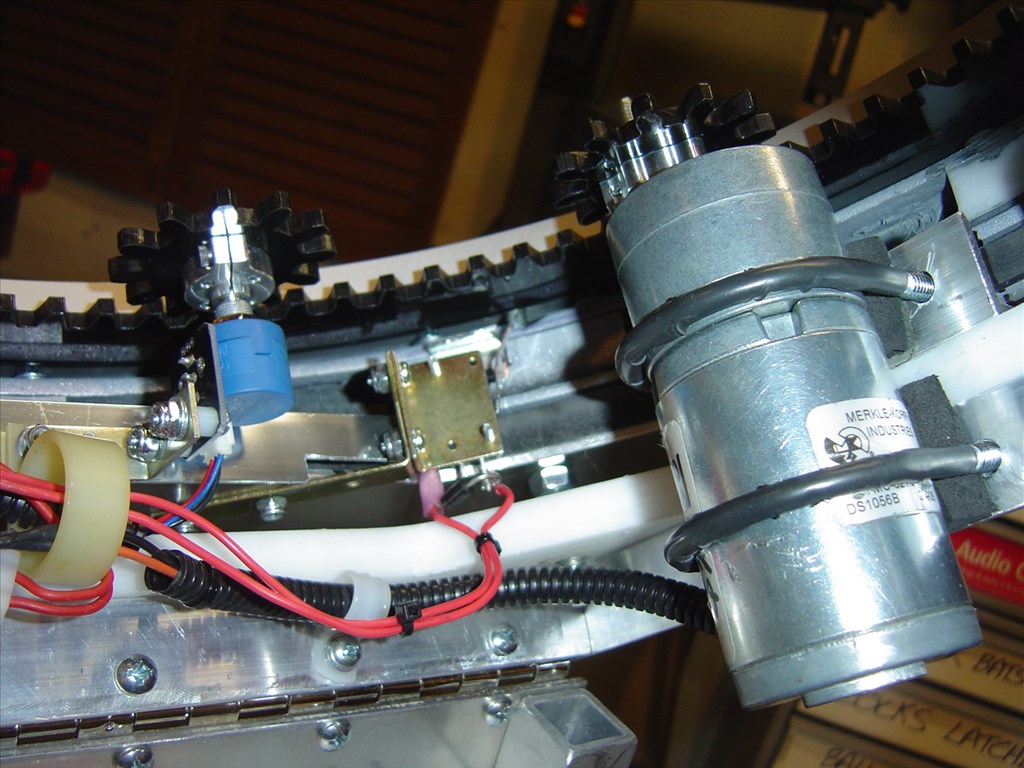
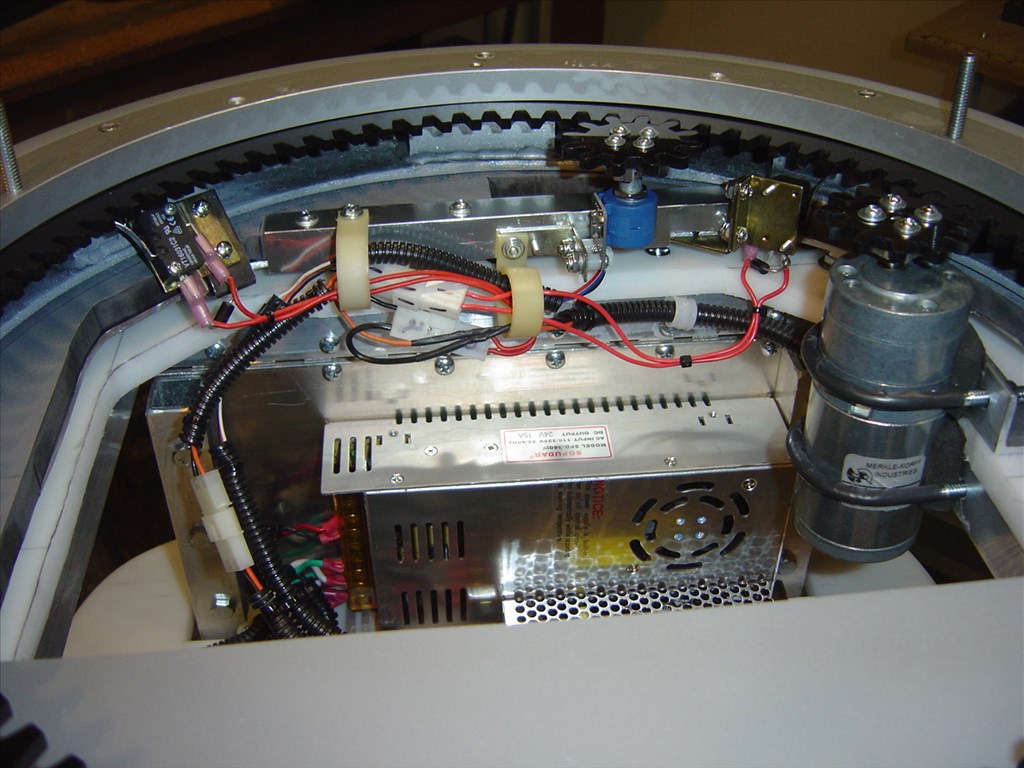
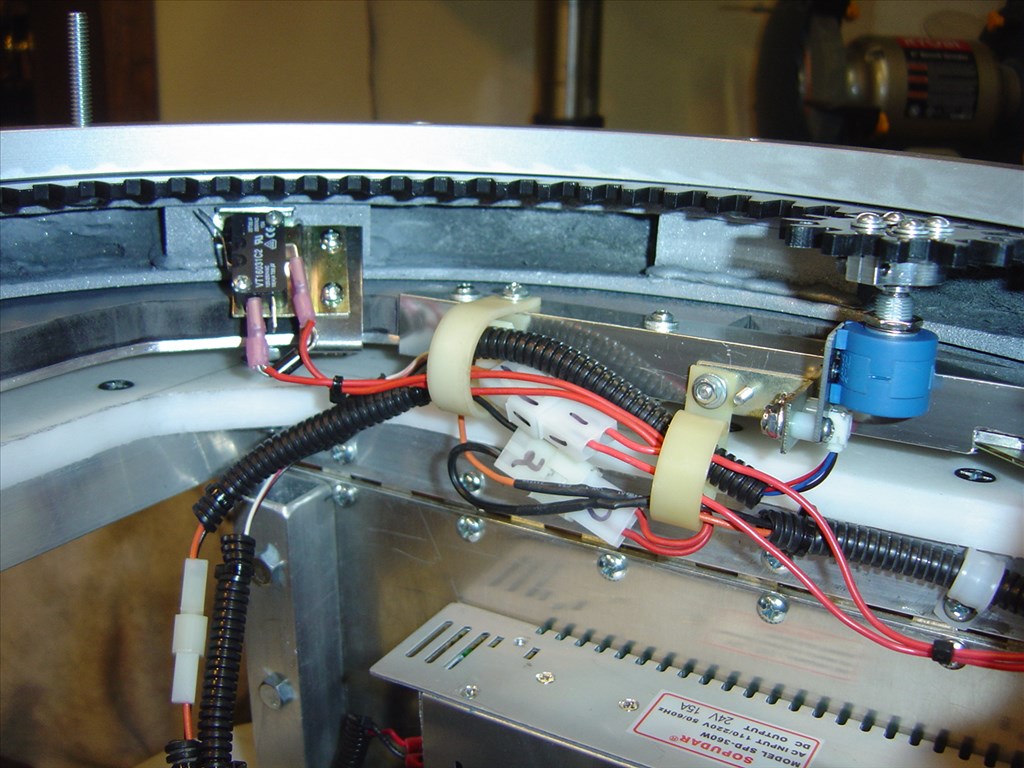
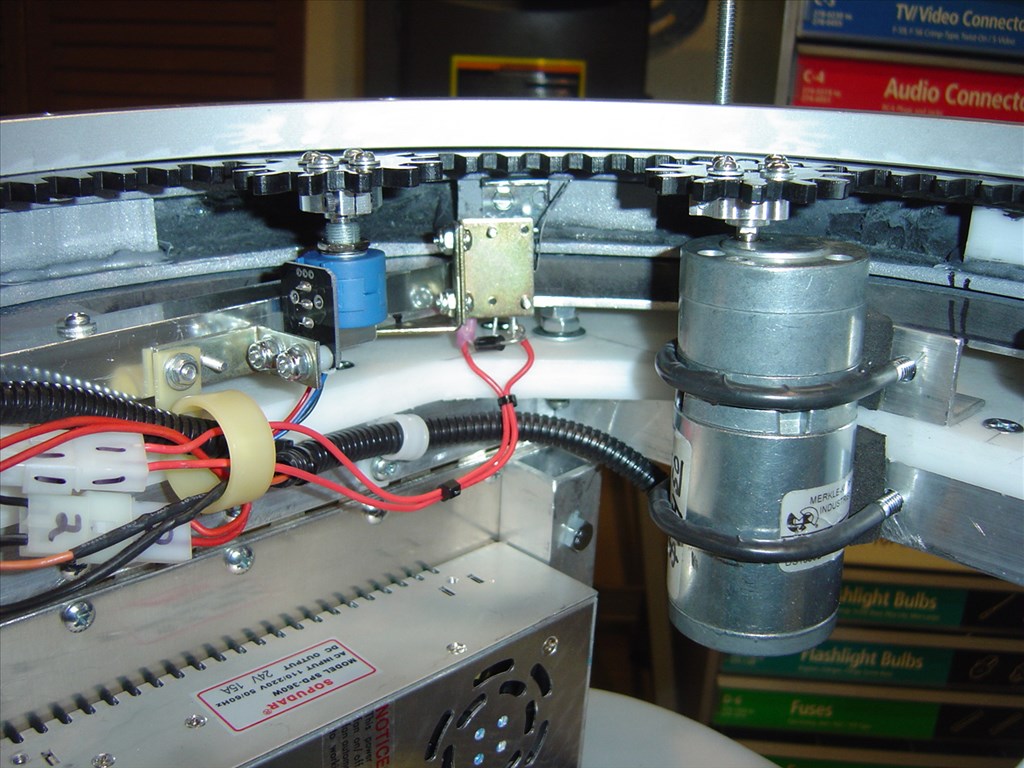
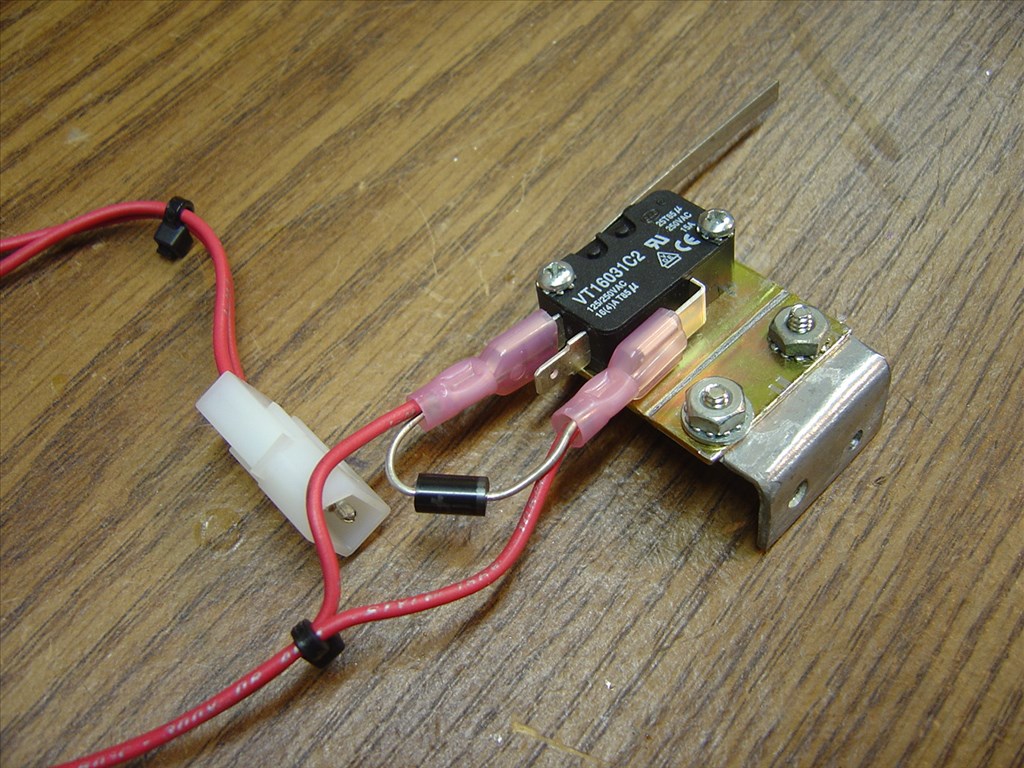
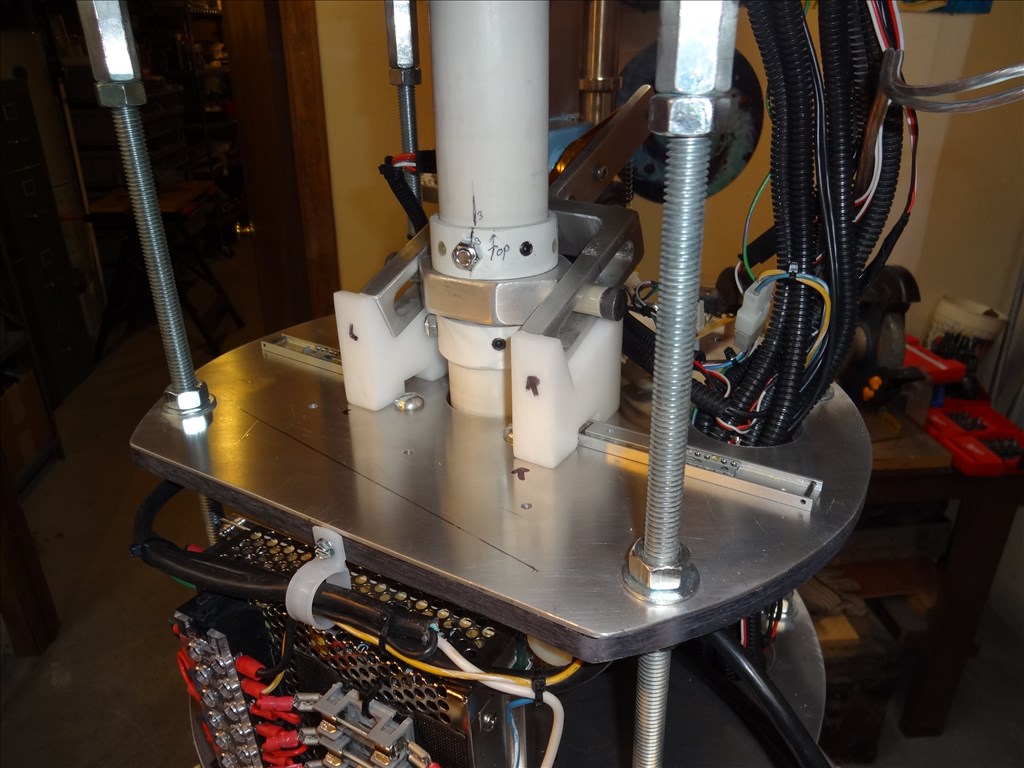
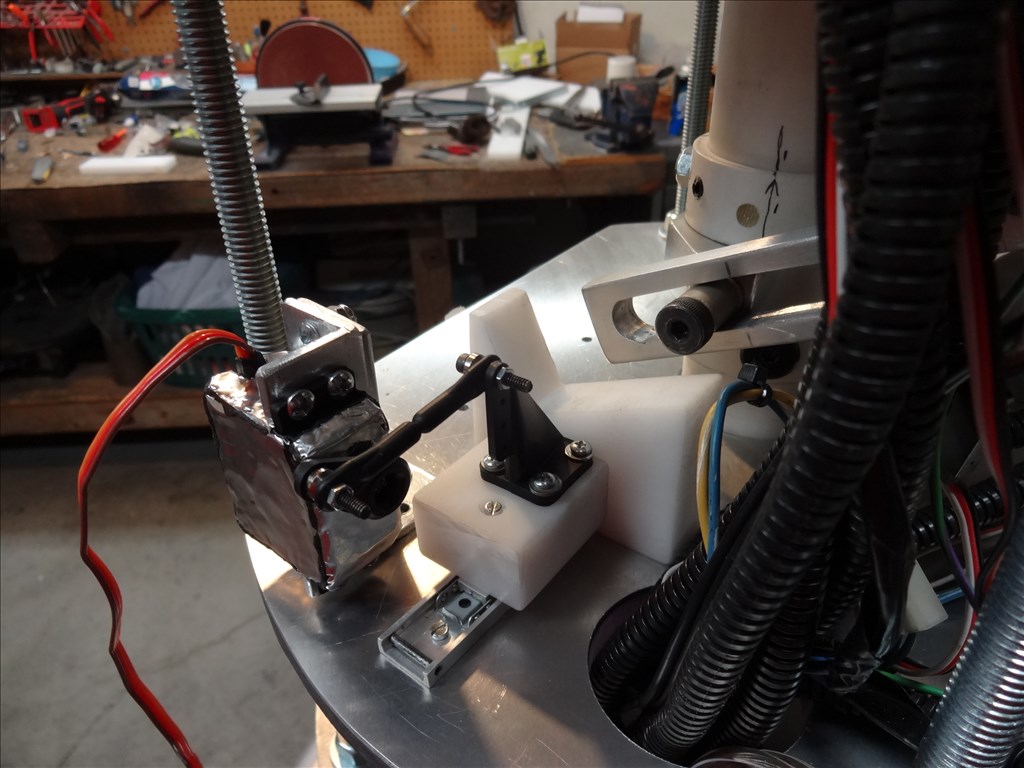
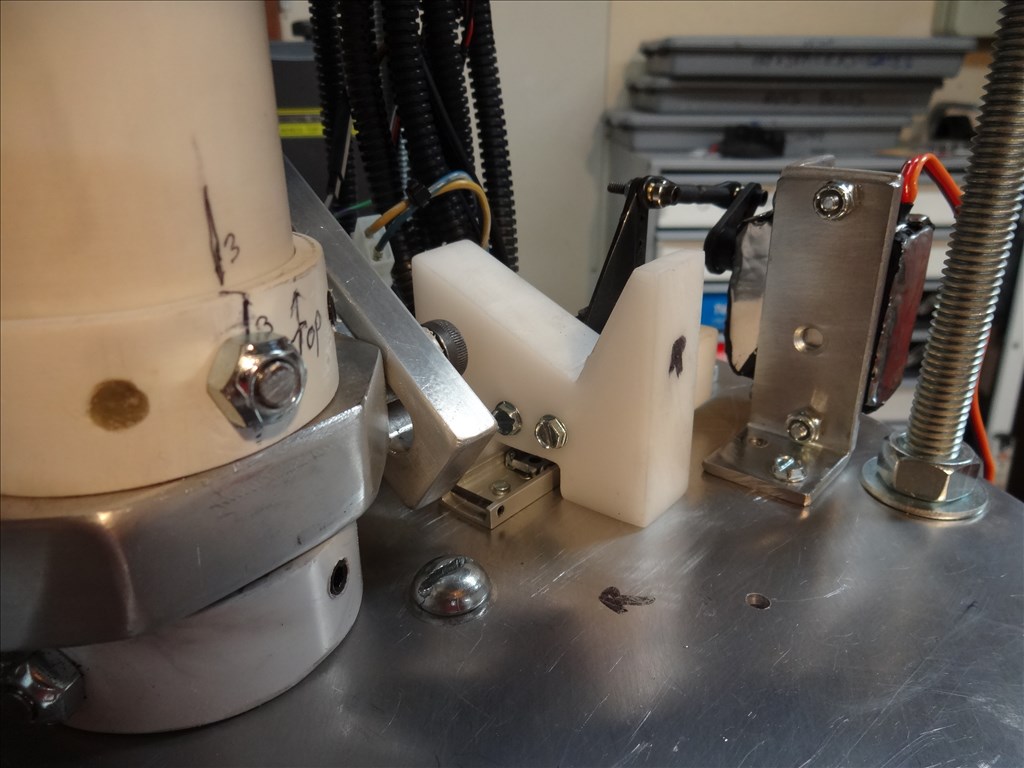
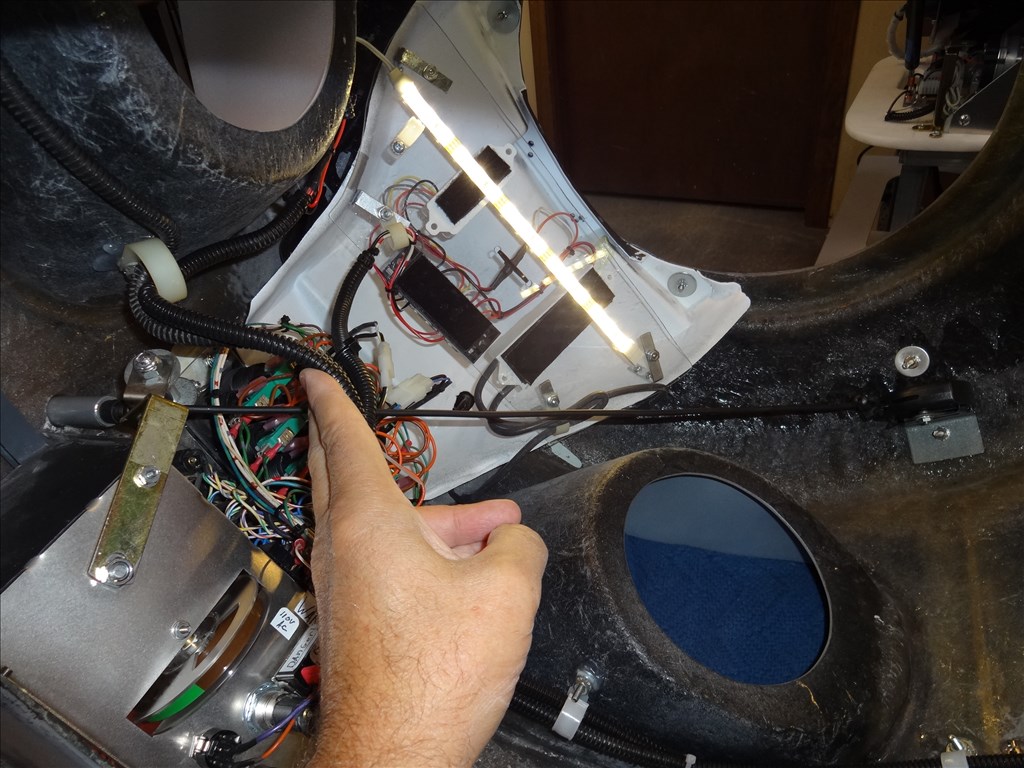
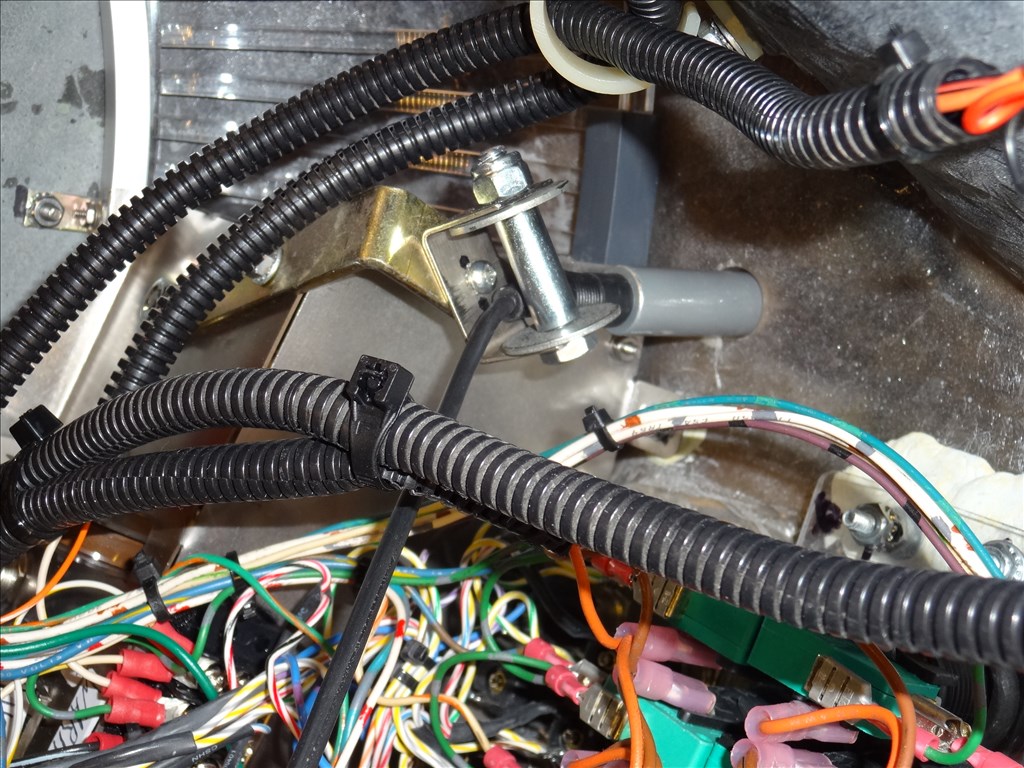
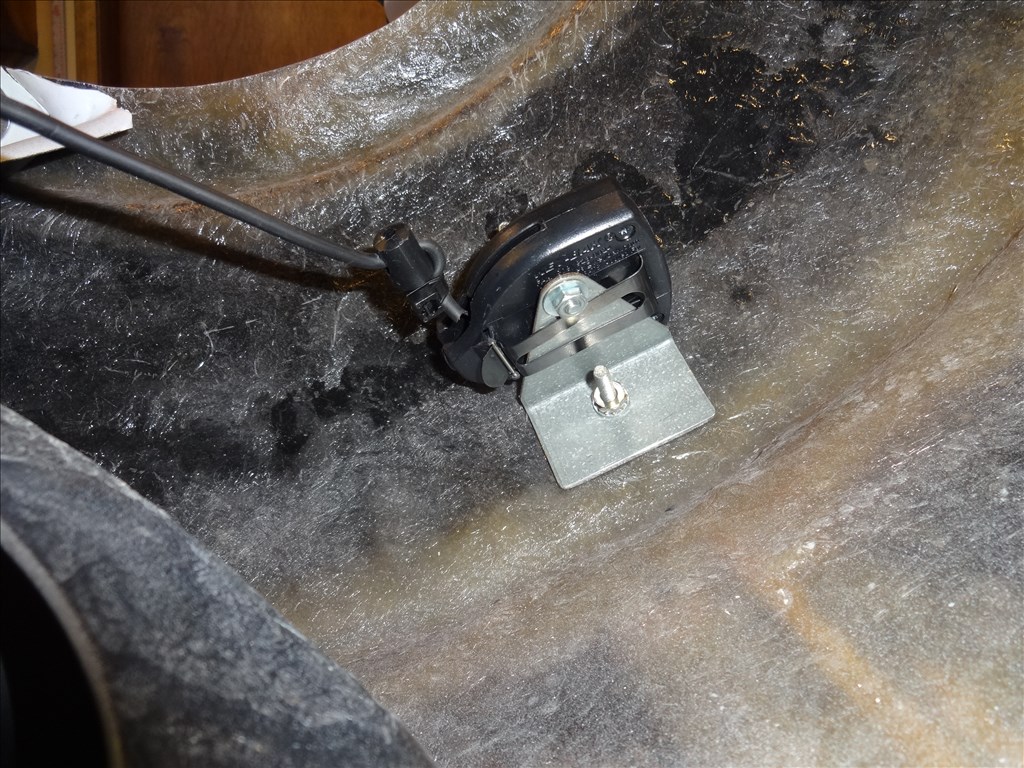
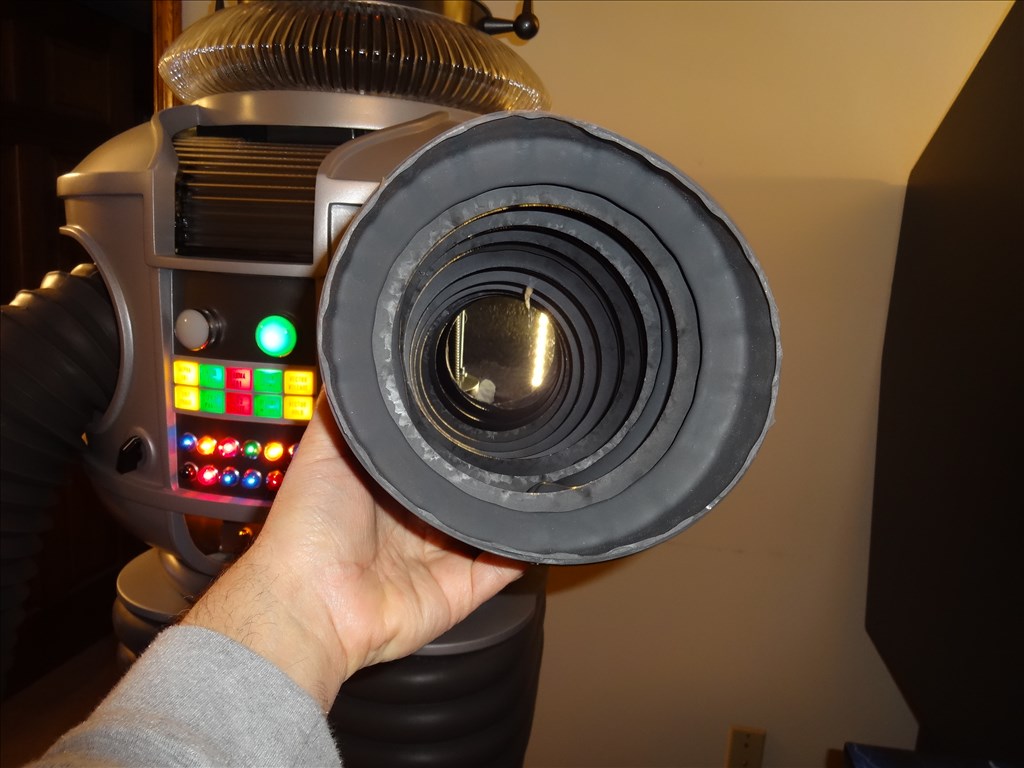
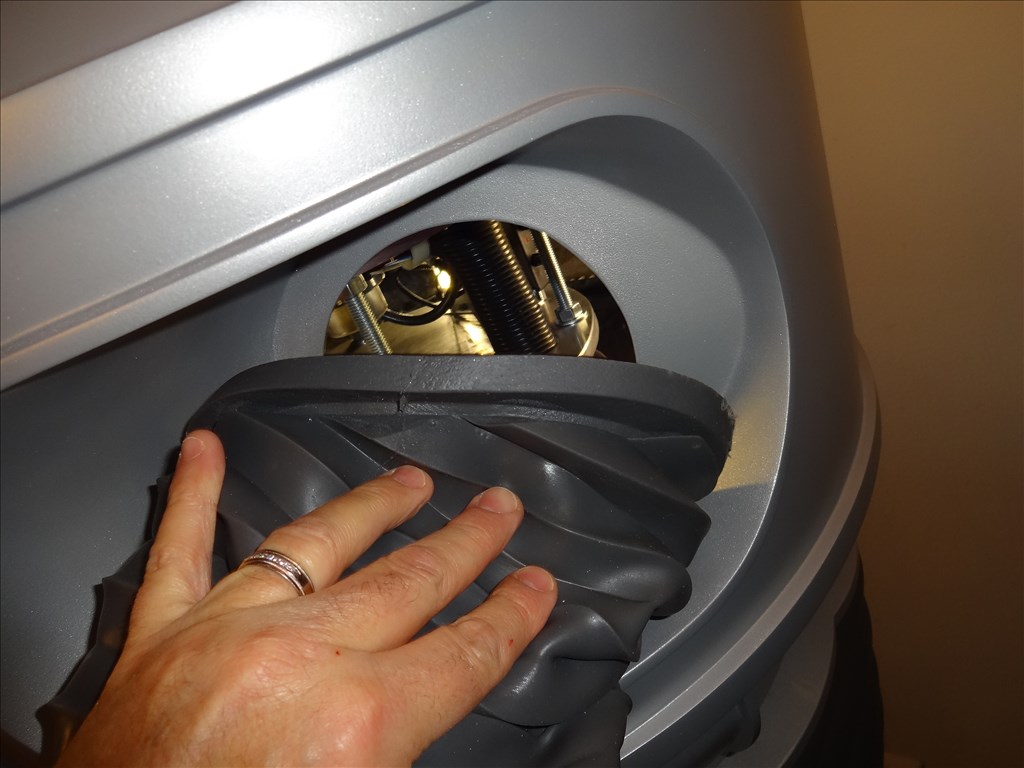
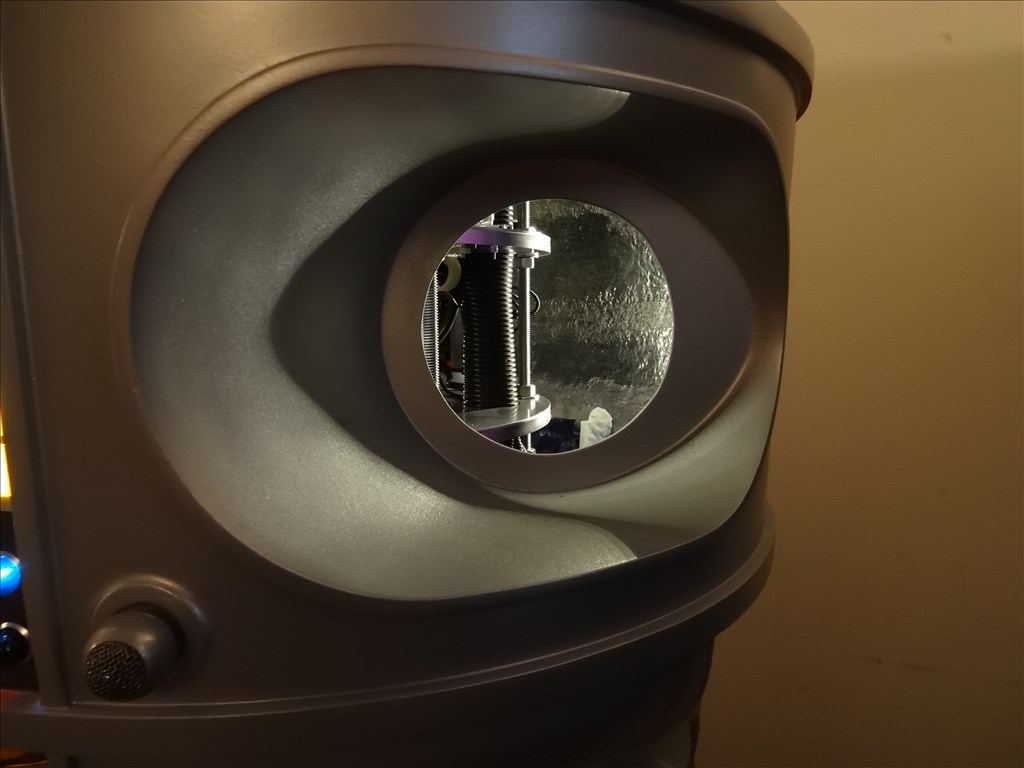
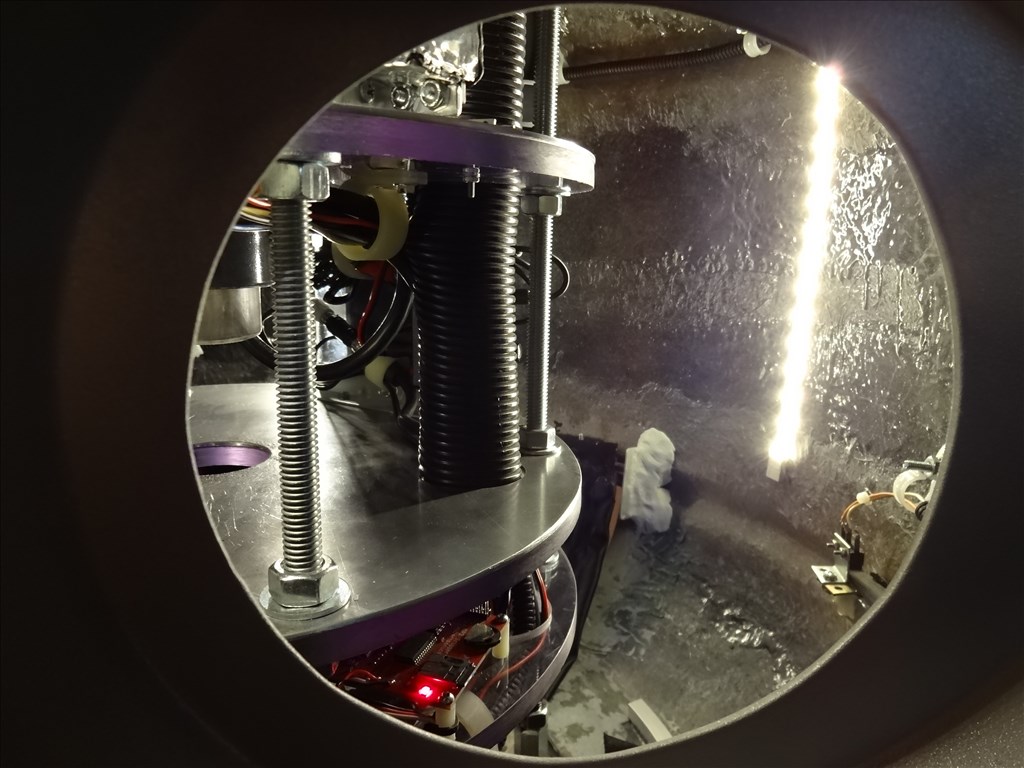
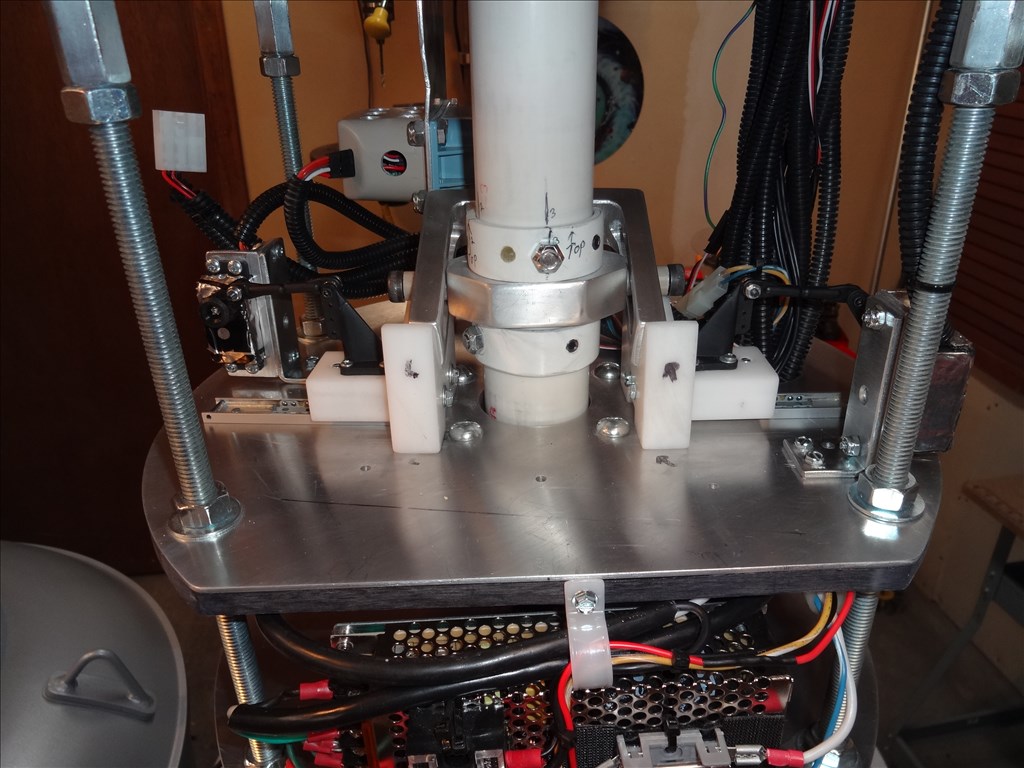
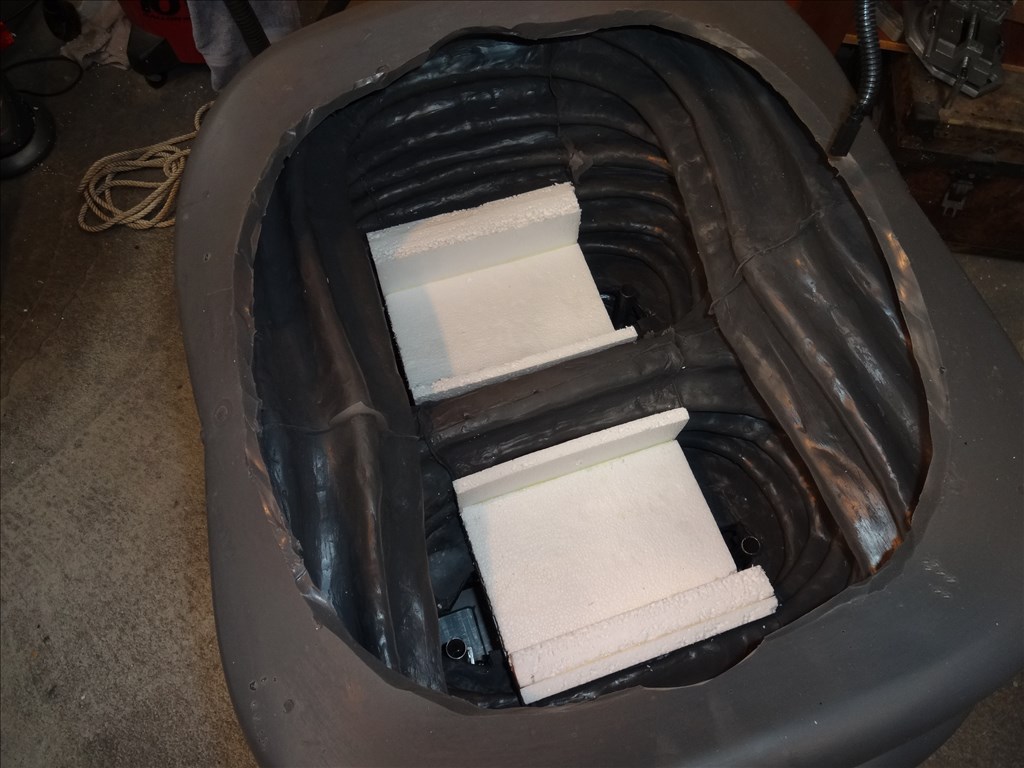
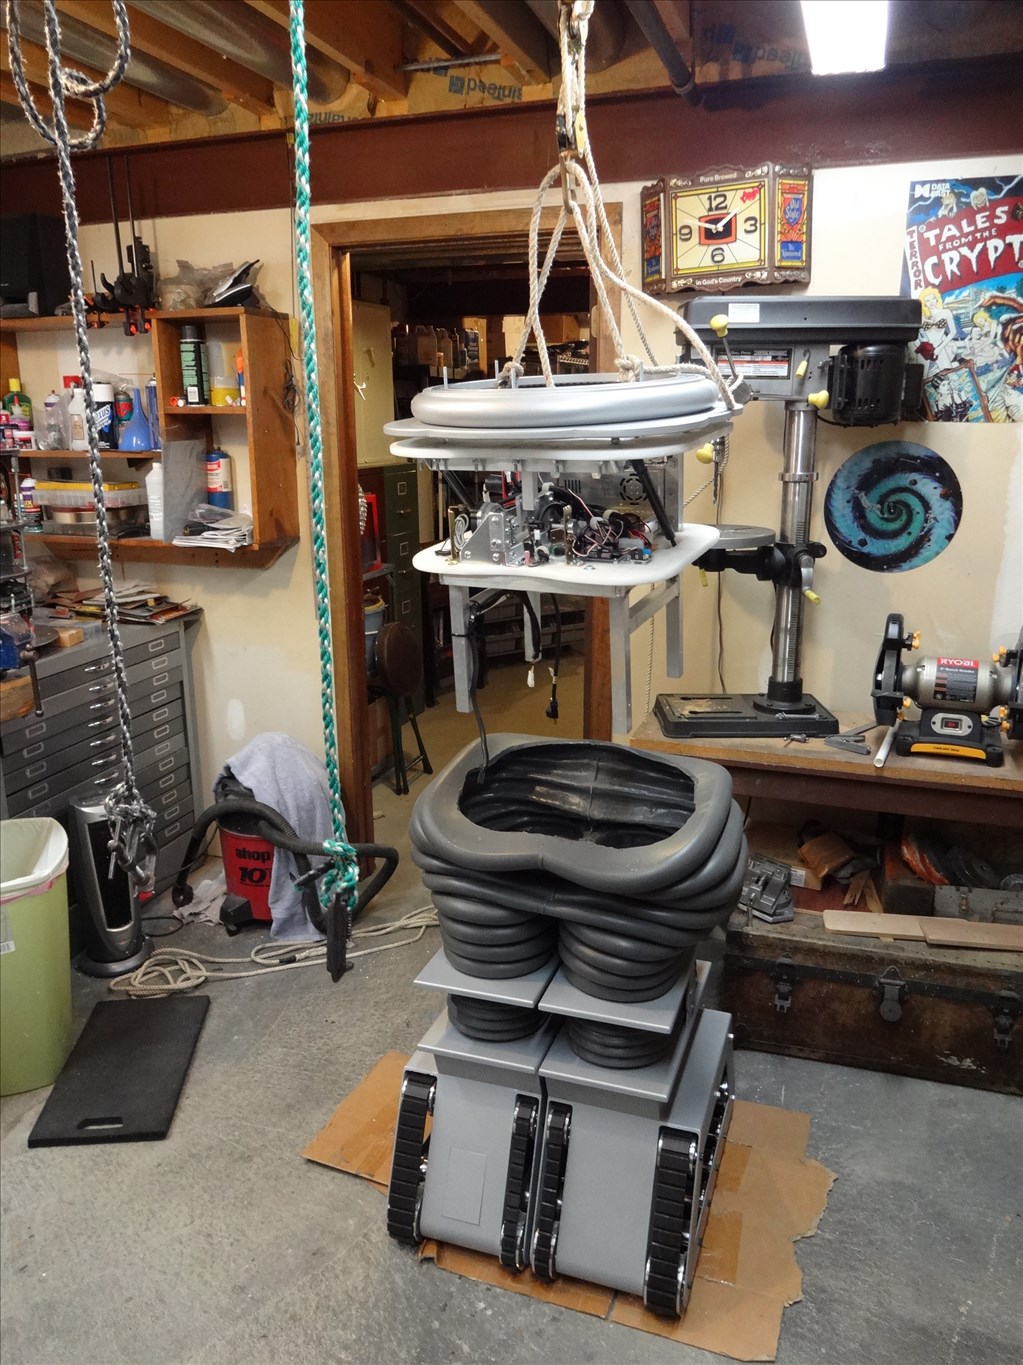
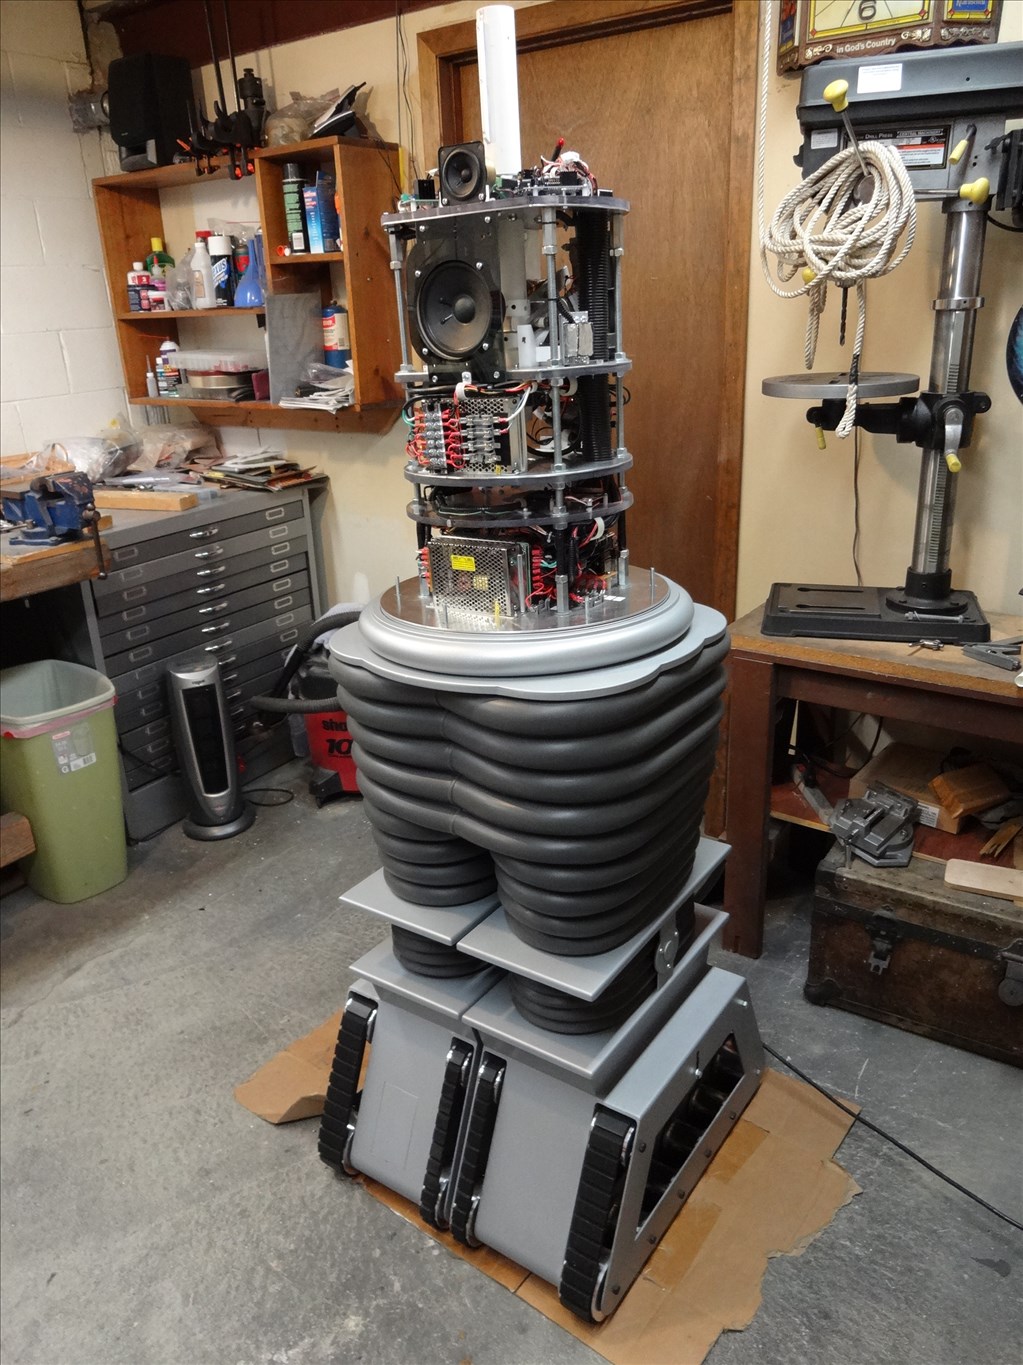
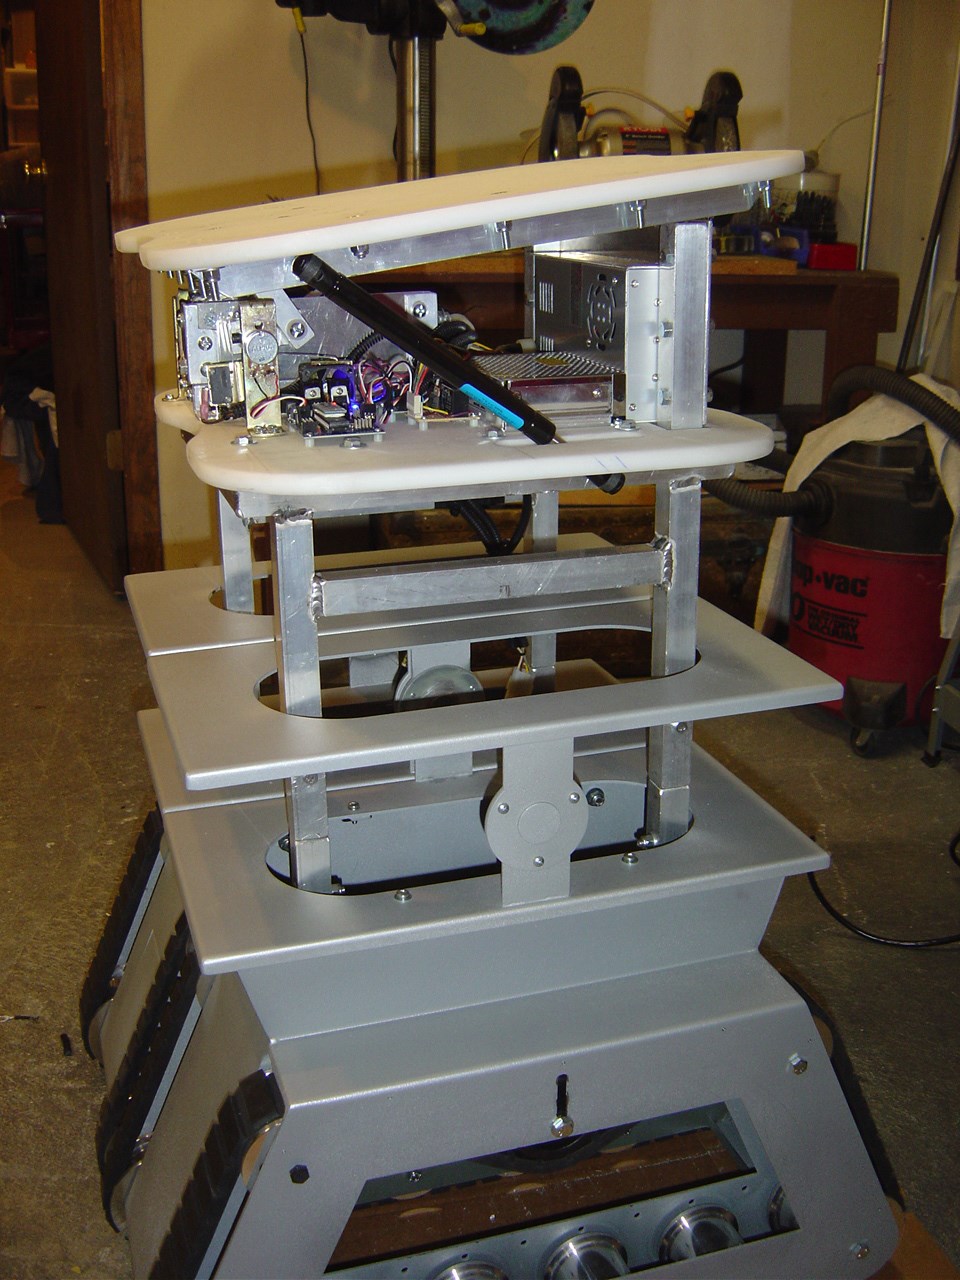
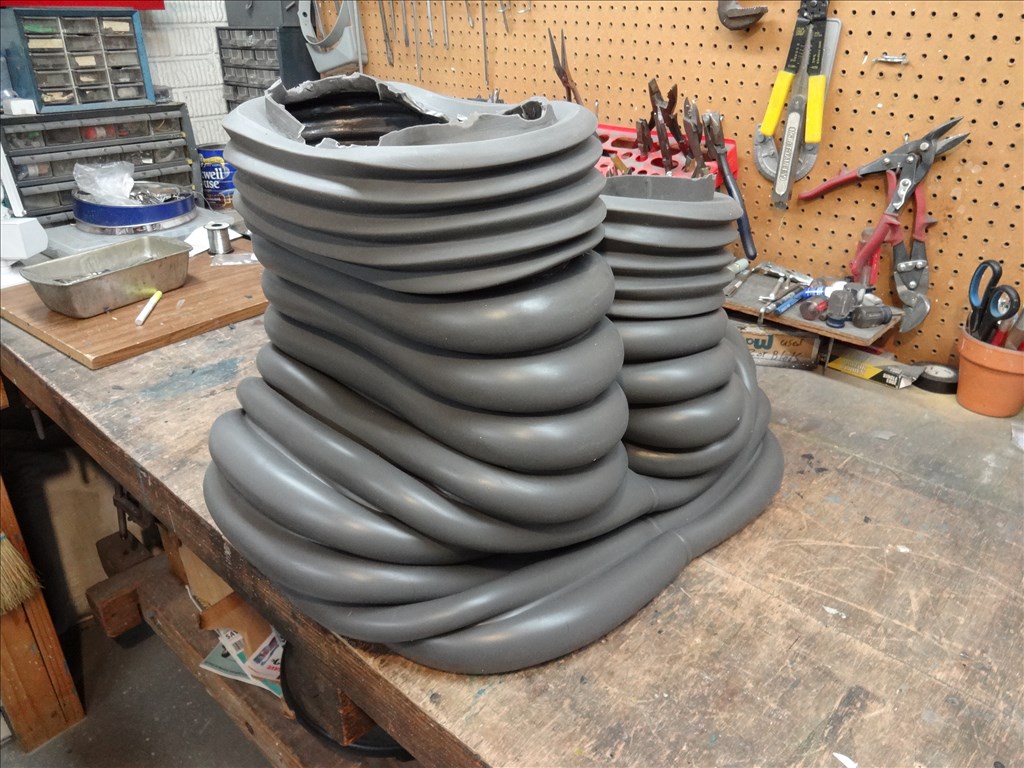
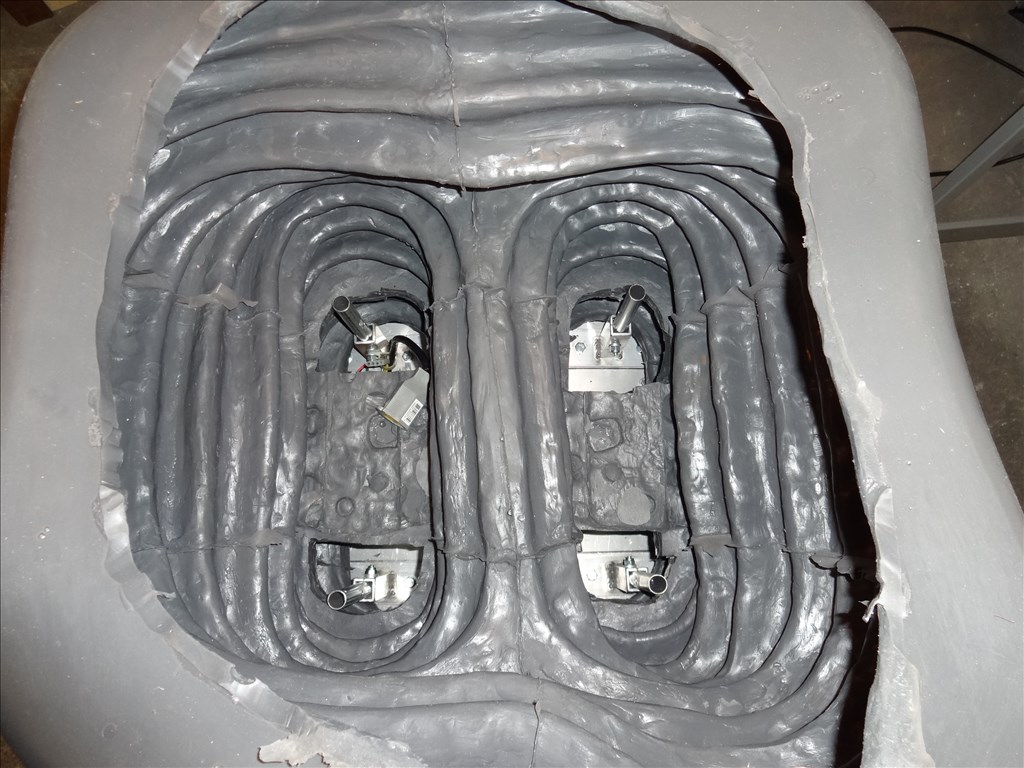
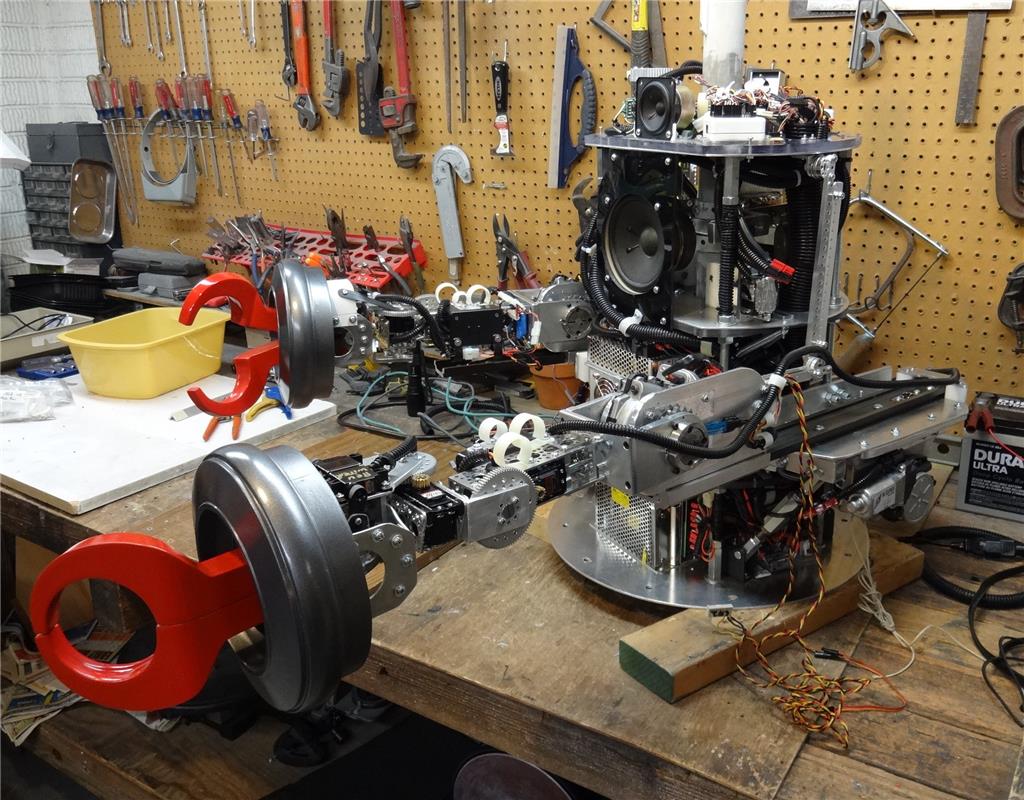
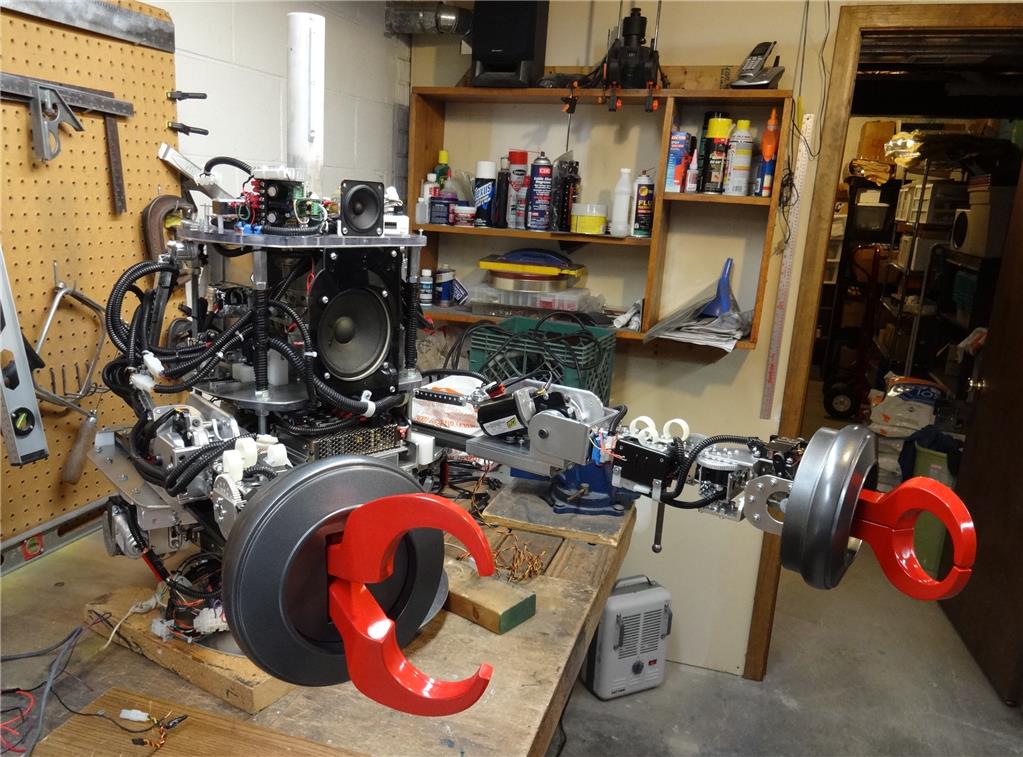
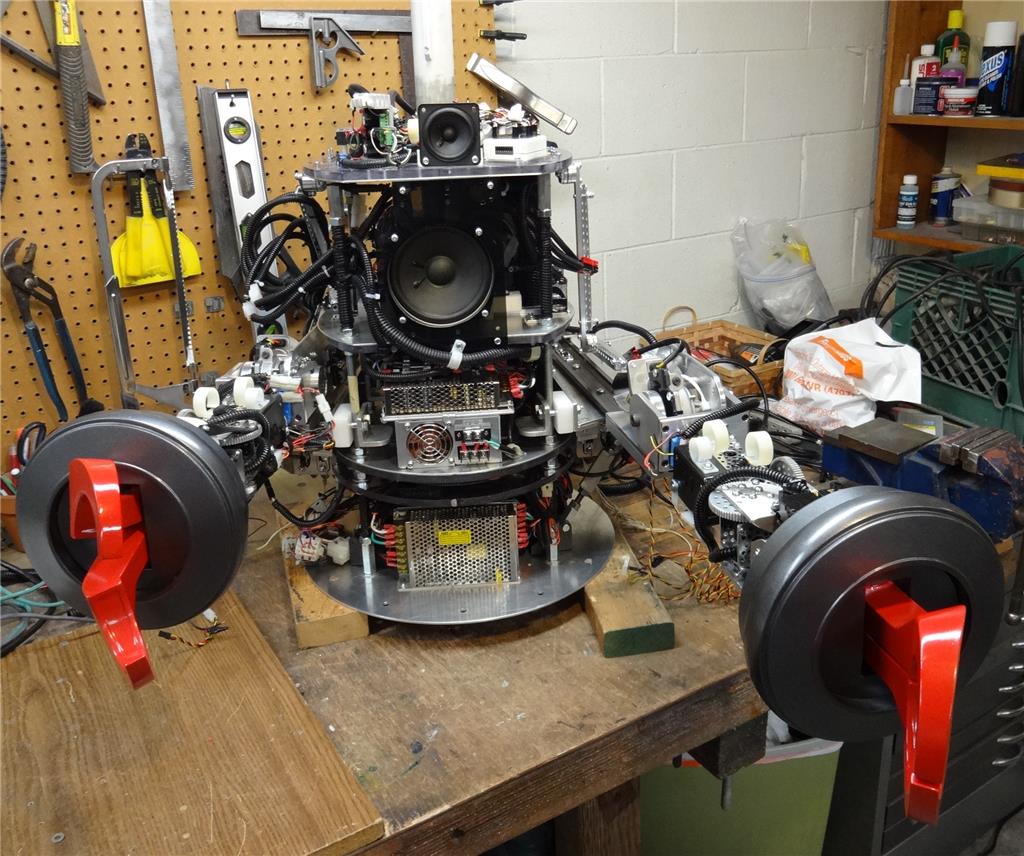
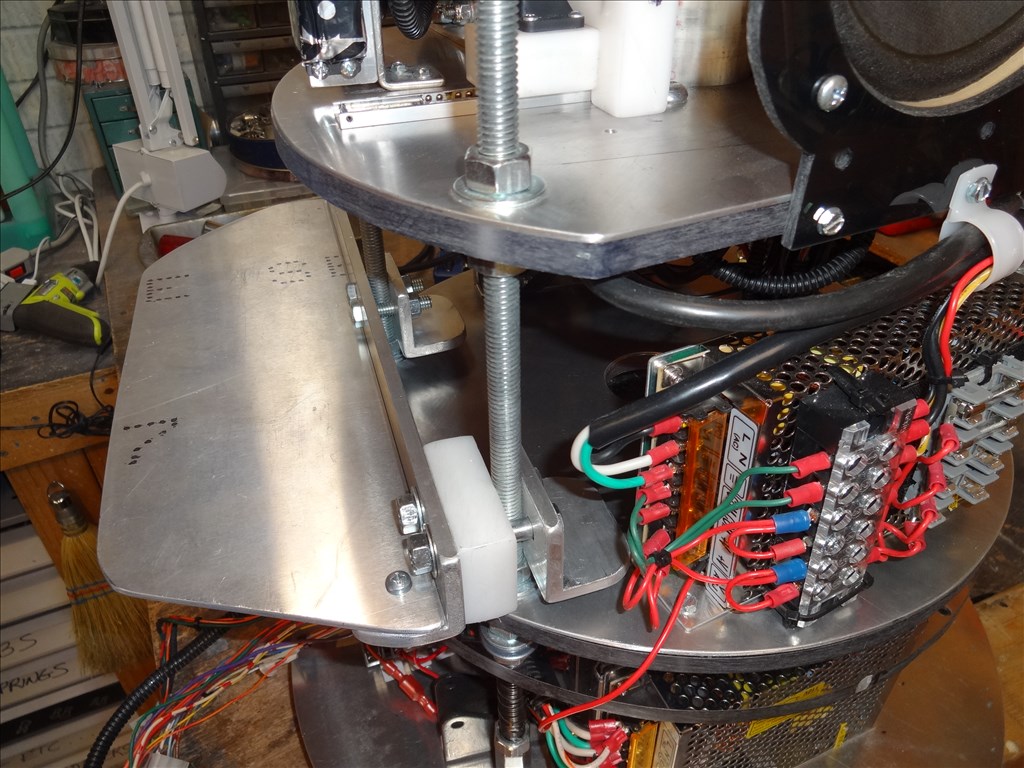
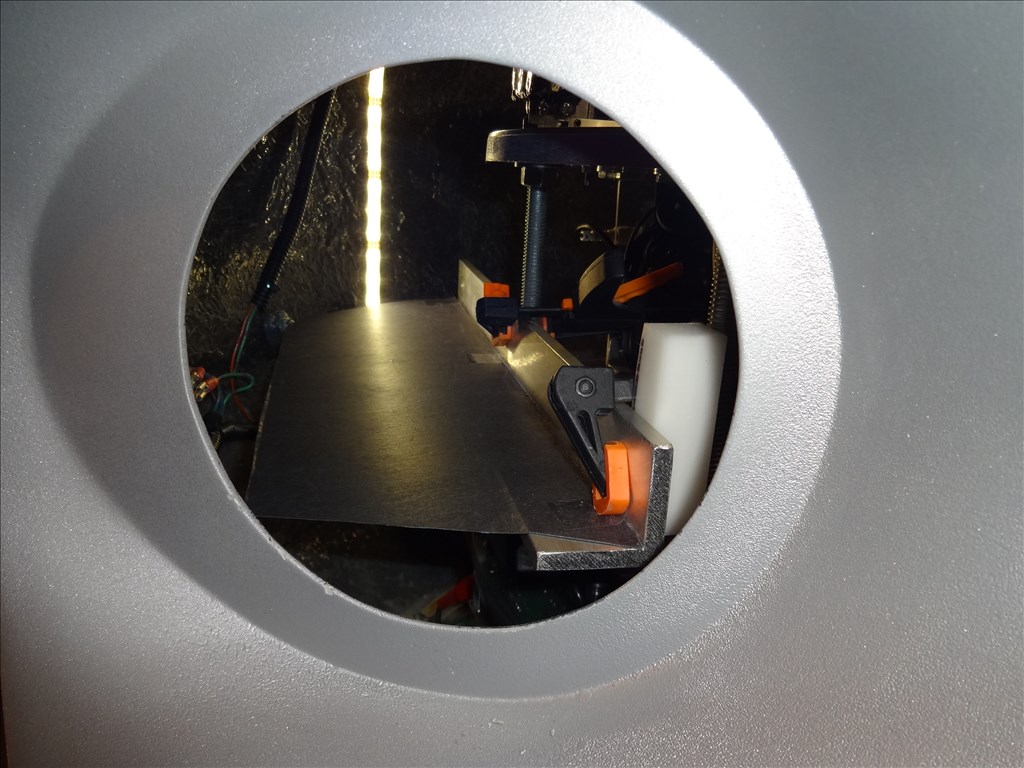
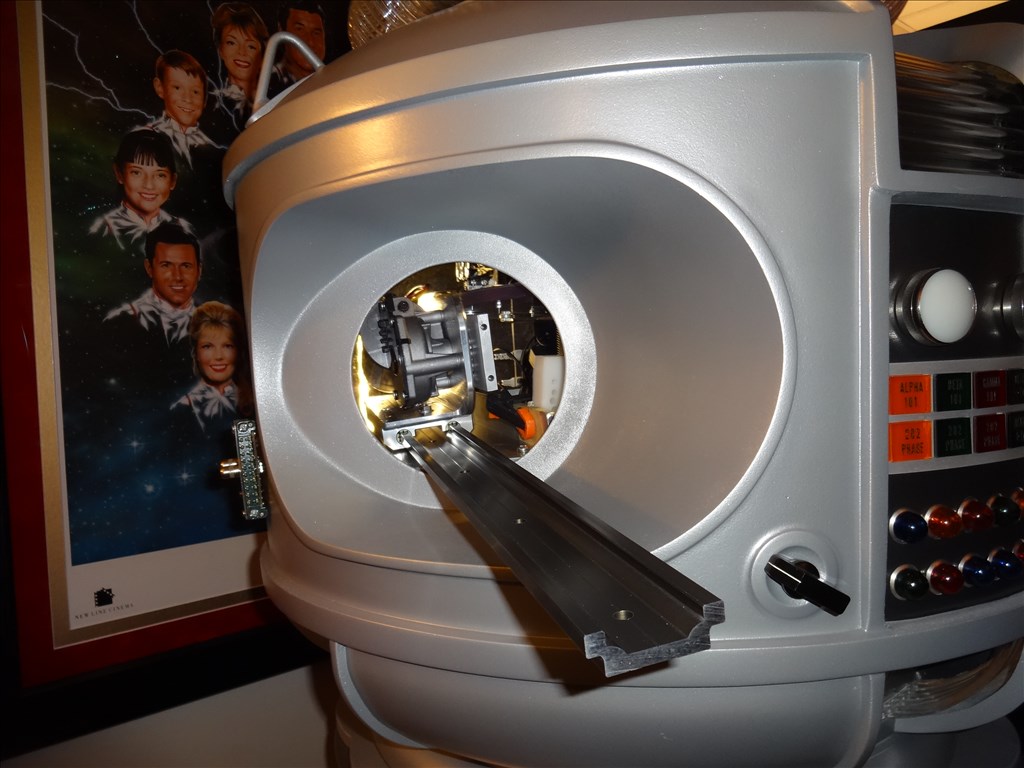
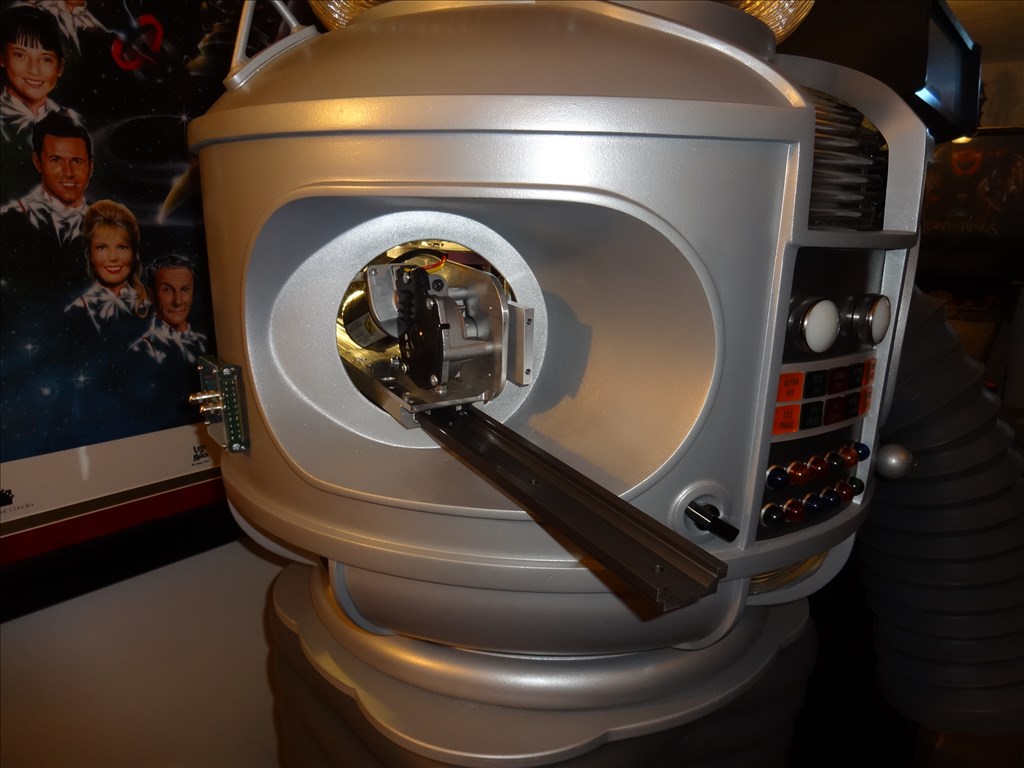
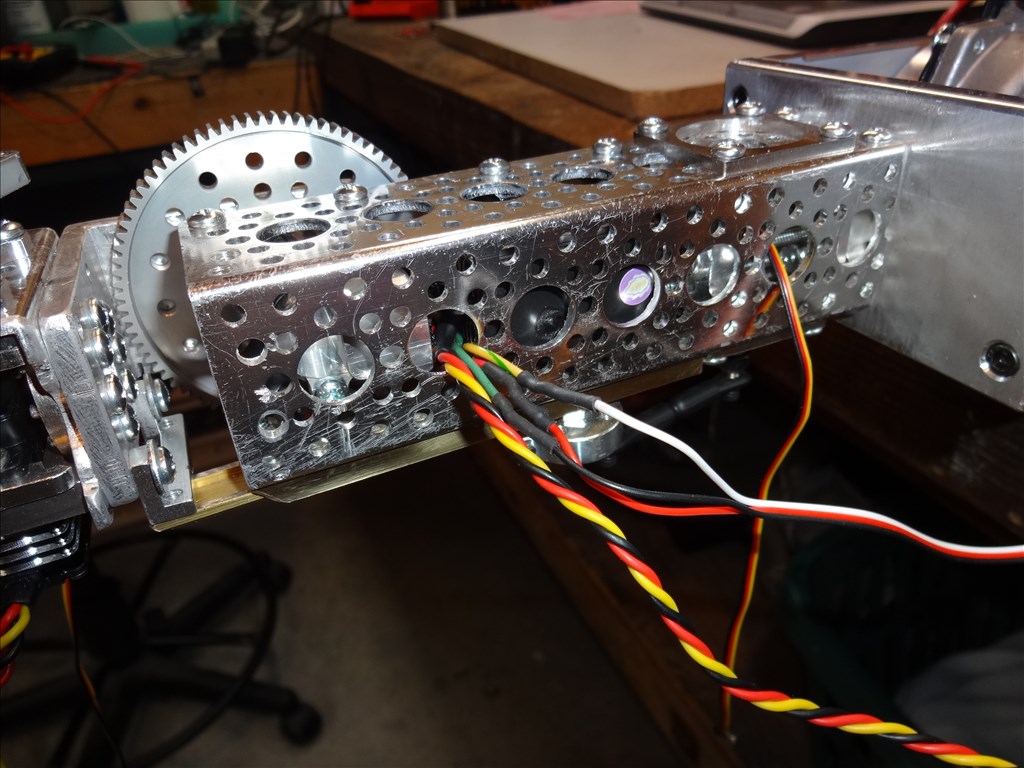
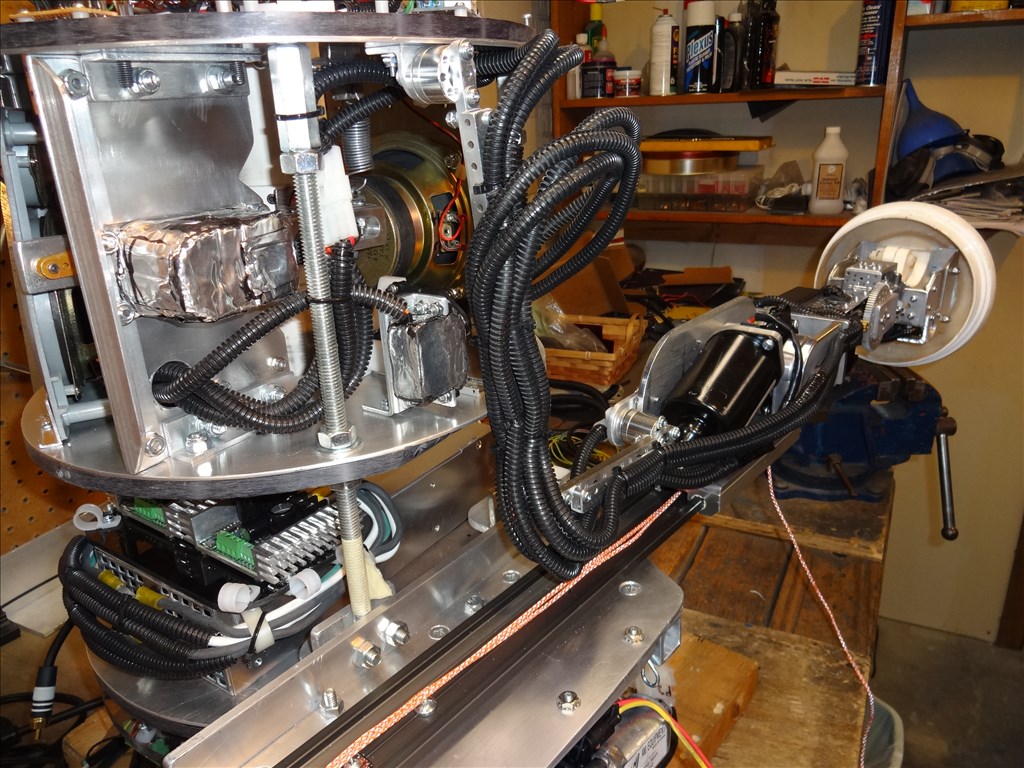
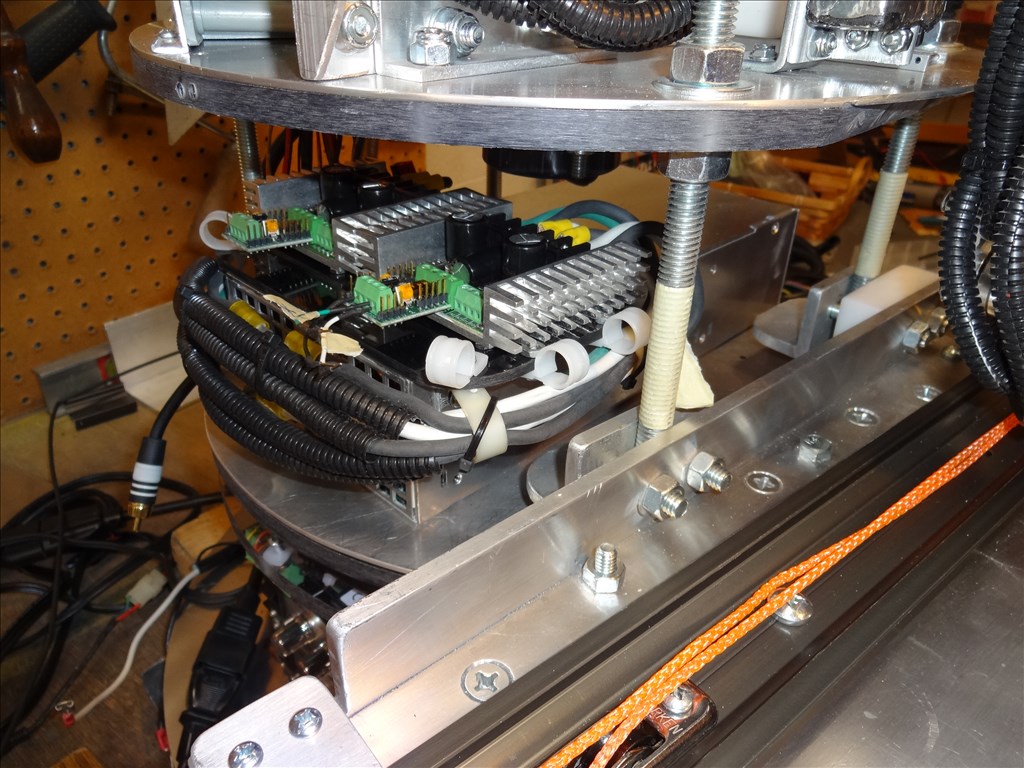
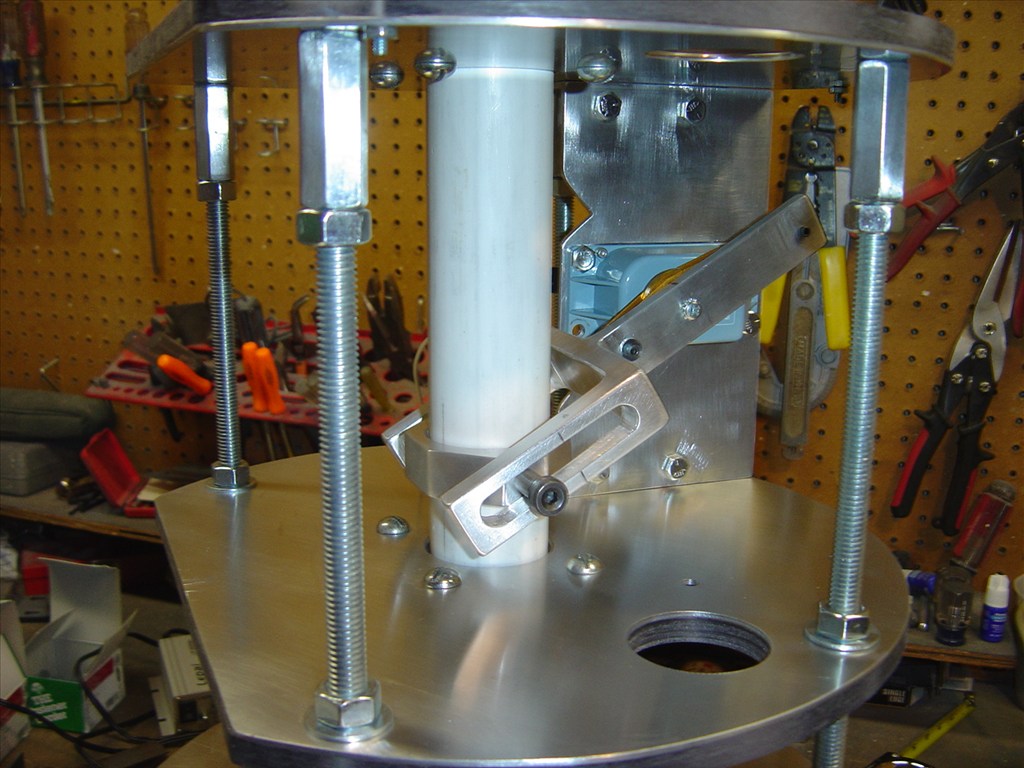
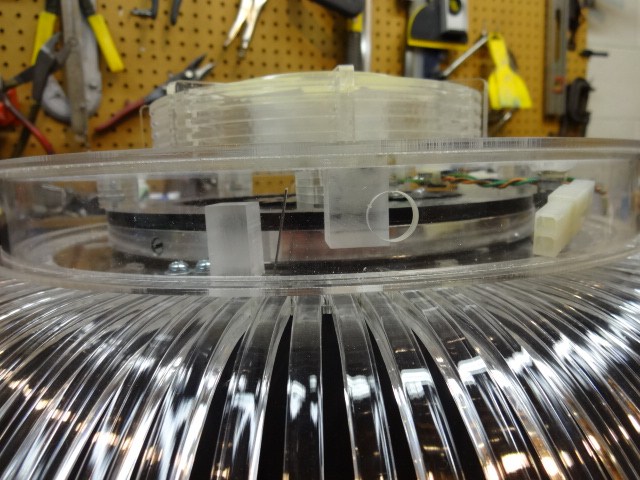
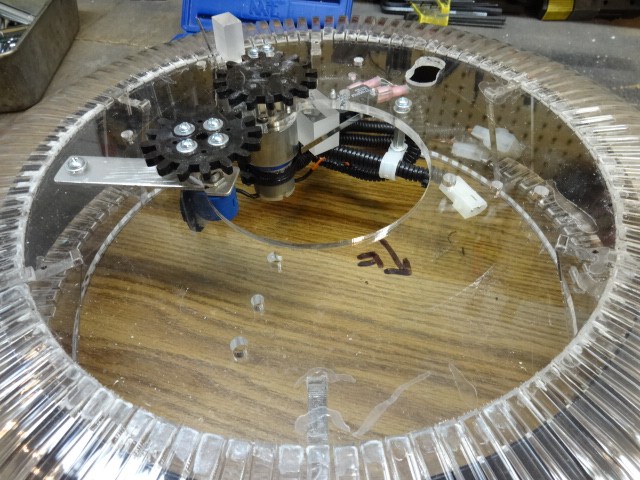
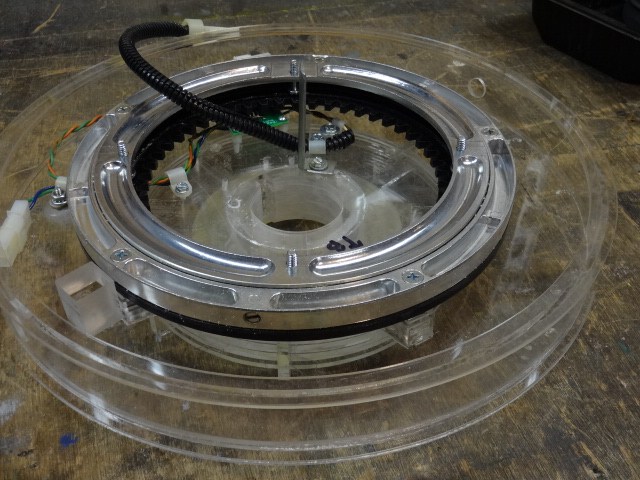
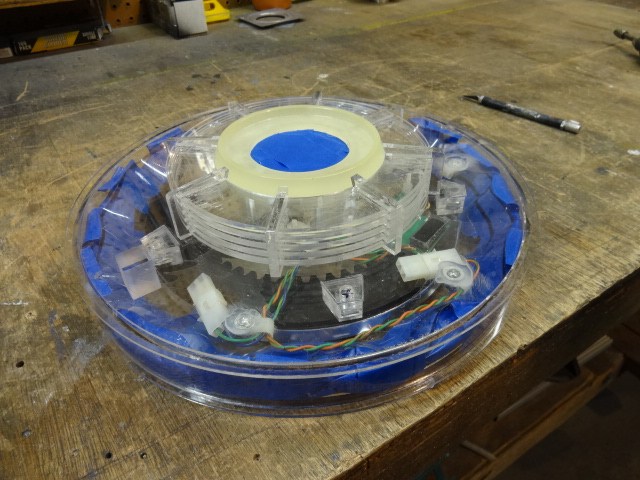
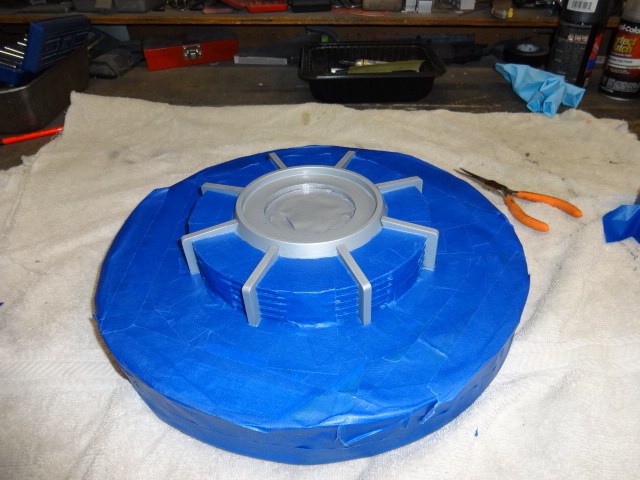
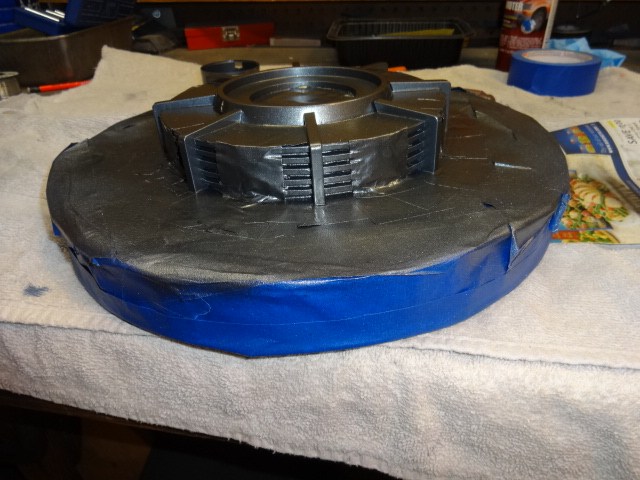
With that said; The Cable Management System seems to be getting a lot of attention. It's unproven but I'm sure it's going to work like planned. I have to admit something. One night not too long ago I was trying to think of some way to keep the cables in place and safe while the carriage moves in and out along the rails. Then this design just kind of hit me in the face and I was real proud of myself. I thought I was pretty smart and got kinda smug about it. Then just last night figured out why this design came to me so easily.
Here' the story; I was chatting through Email with my friend (I hope he doesn't mind me calling him that) Will Huff about one and a half years ago. You all know him here as fxrtst. He suggested this design to me. Only his vision was to use it as a way to move the arm, not manage cables. He was even kind enough to mock up an animated MP4 of the design. It was wonderful but as much as I tried I couldn't wrap my mind around how to motorize it. I soon thought I had moved on and dismissed it. Well apparently not. I guess my subconscious pulled it out of the dusty corners of my memory and used it for the Cable Management design.
Sadly now that I have it built and can visually see it work I can see how I could by just adding one good motor, feedback and more sturdy struts I could have used Will's design as he meant me to use it.
@Will, I'm grateful you were kind enough to share this with me early last year. Thanks for the inspiration. Without your help I would not have had as nice of a design to manage my cables.
In fact I gotta also admit the basic design of my arm was inspired by a different Youtube video @Will made back in 2005 ( I think that's the year). I saw his work and said "That's how I want my arm to look and work!" Again, Thanks Will!
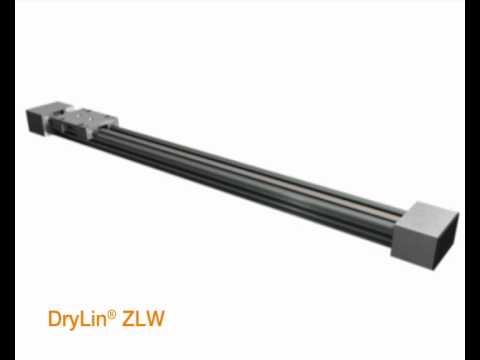
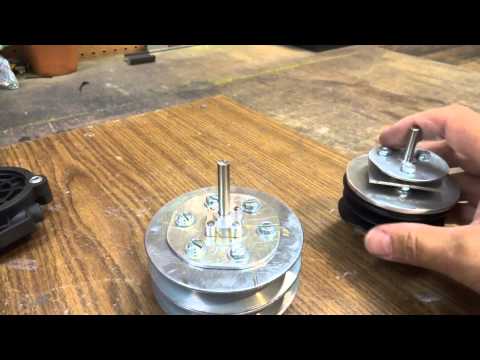
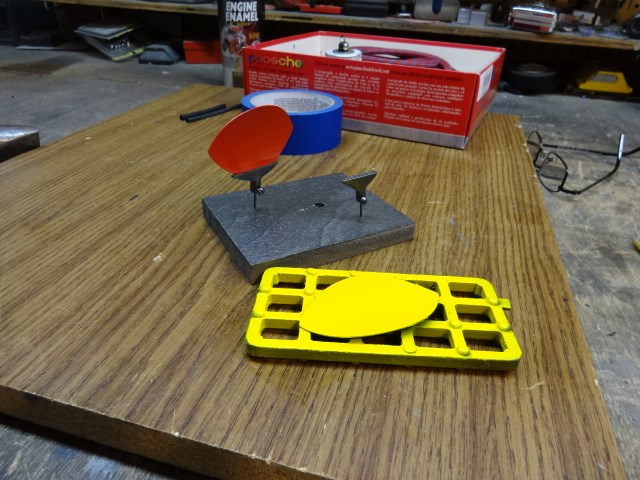
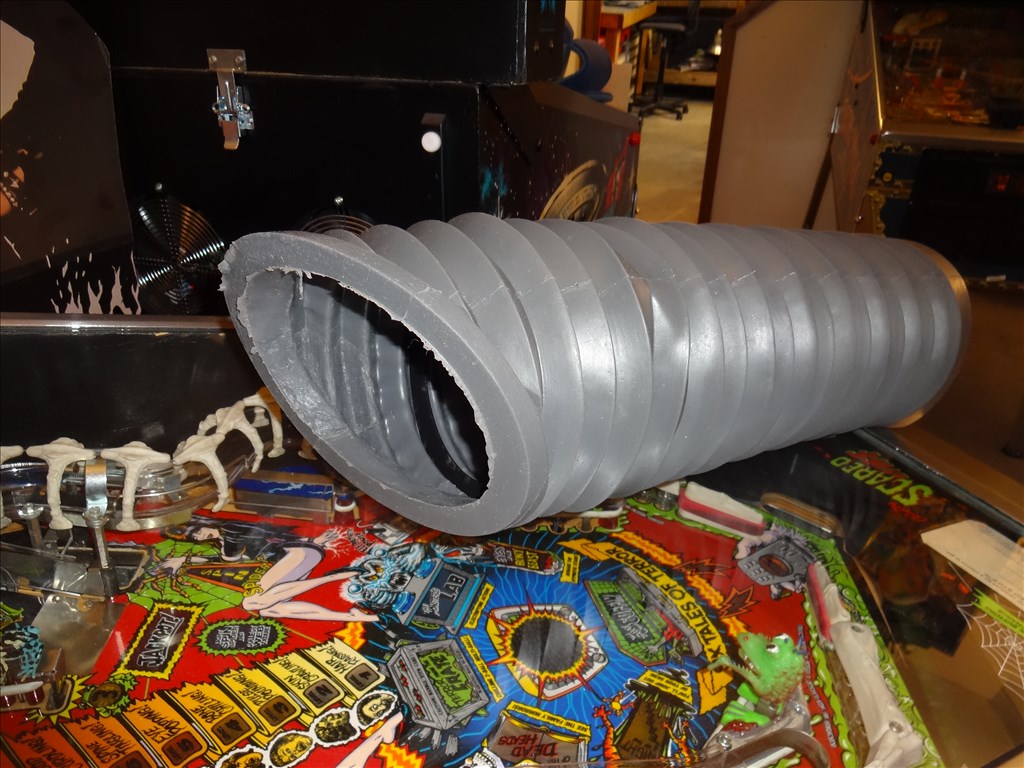
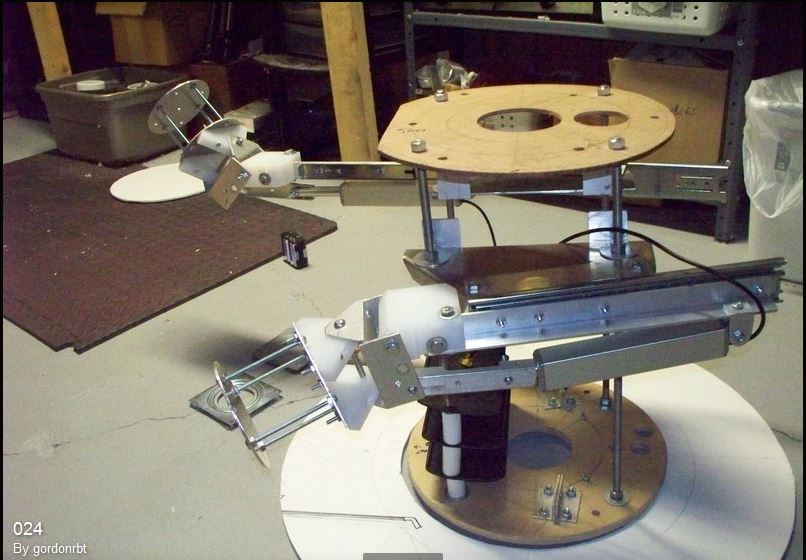
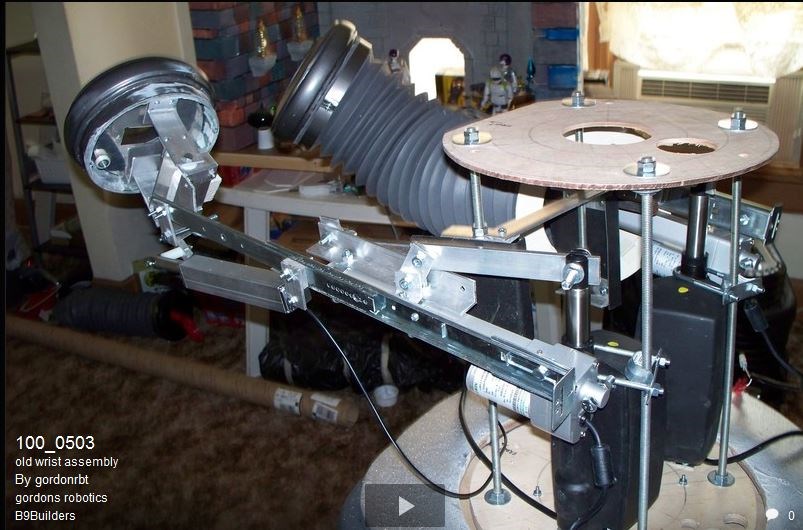
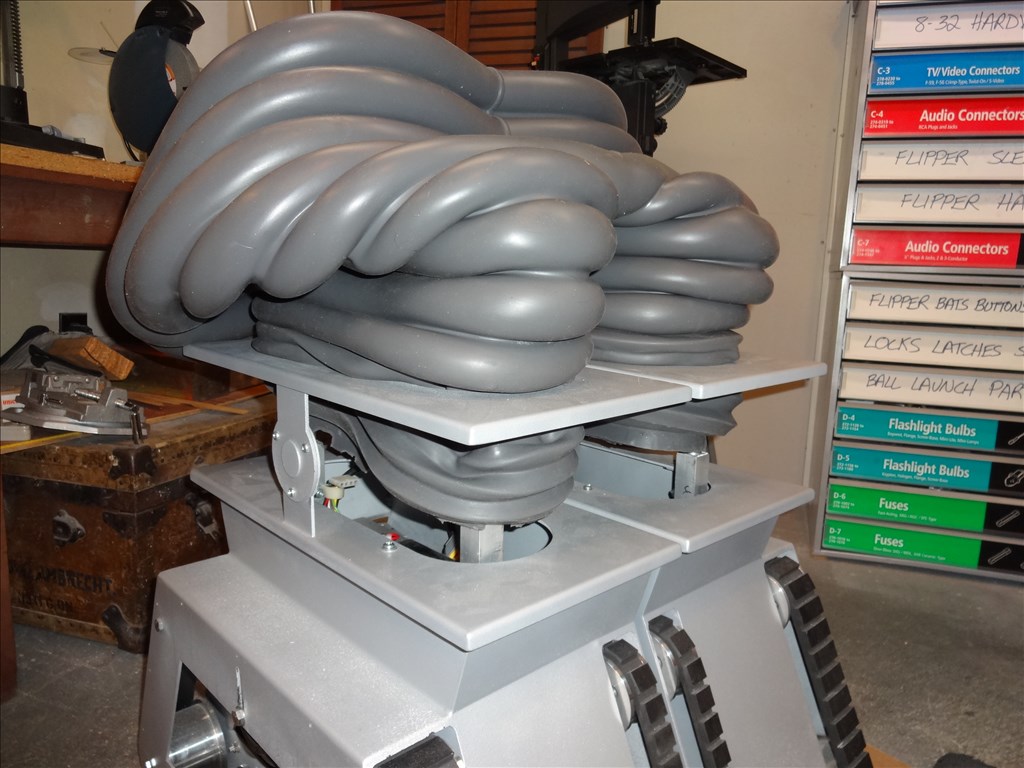
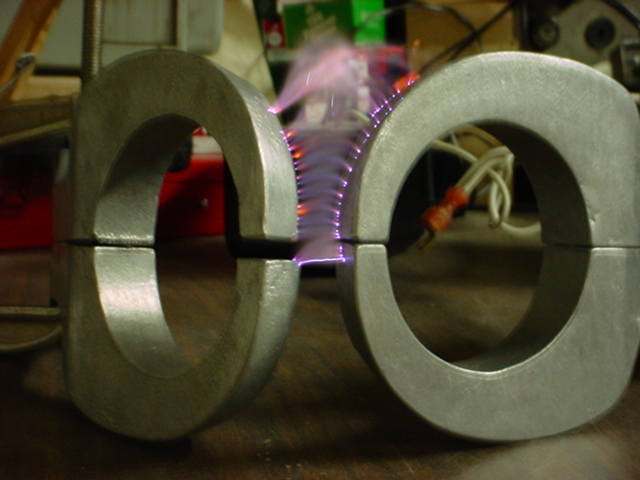
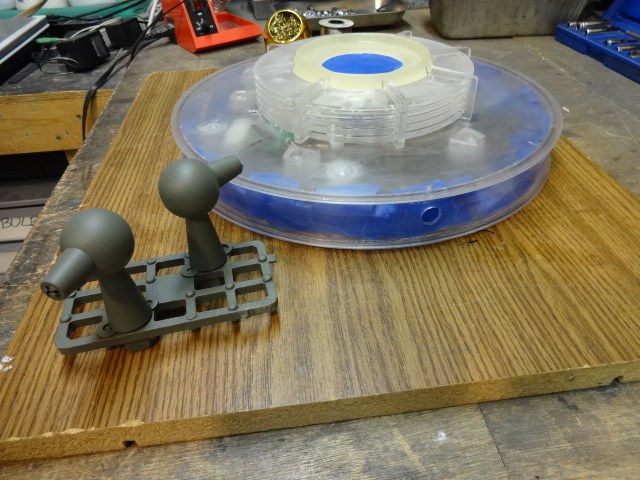
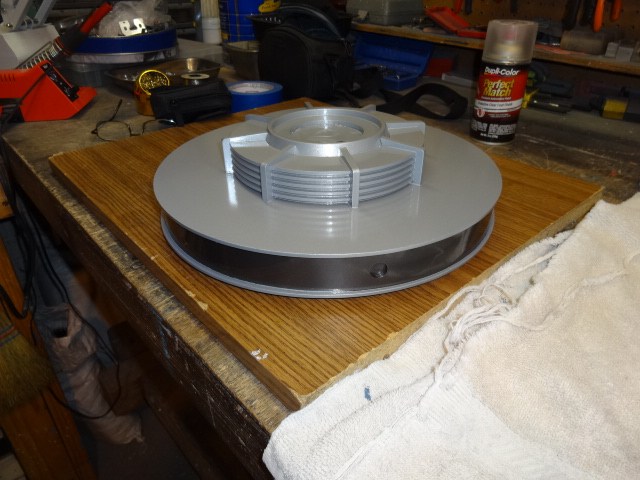
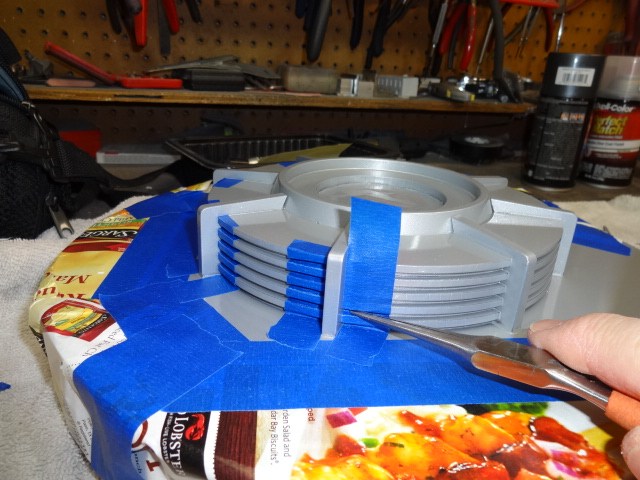
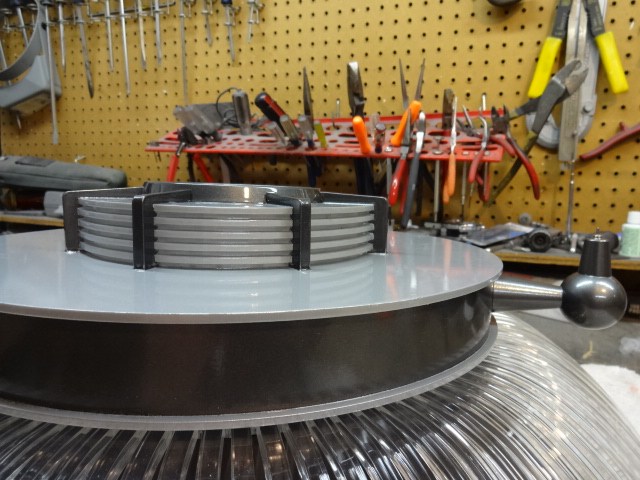
Here's the design Will shared with me that inspired my CMS. Hope this is OK to share Will. If not I'll take it down. Just say the word.
@dave! Yes there is more silicone in Hollywood than you can shake a stick at, and not all just in Beverly Hills
I saw the cable system and had a great epiphany , in my design I had another idea about where the extension motor should go, but it was clear that the motor can be mounted on the CSS. Great to see it. Sparked all kinds of new ideas. I've starter a poor mans version of this that I'm going to try and offer to the club and you just took a lot of the problem solving out, so hats off.
Ps if you took the video down put it back up!
No, Your Vid is still up there in my last post. Thanks for the support.
Hopefully you will have success with your "poor man's" B9 arm design. An affordable B9 arm that looks like the real thing has been needed for a long time. Hopefully you can deliver and EZ Robot can be part of it. It's an honor being part of this process. I know my design is a very expensive solution and a lot of people don't have the disposable cash to replicate it. If I can be of any help in your process please let me know.
Viva la silicone!
Dave
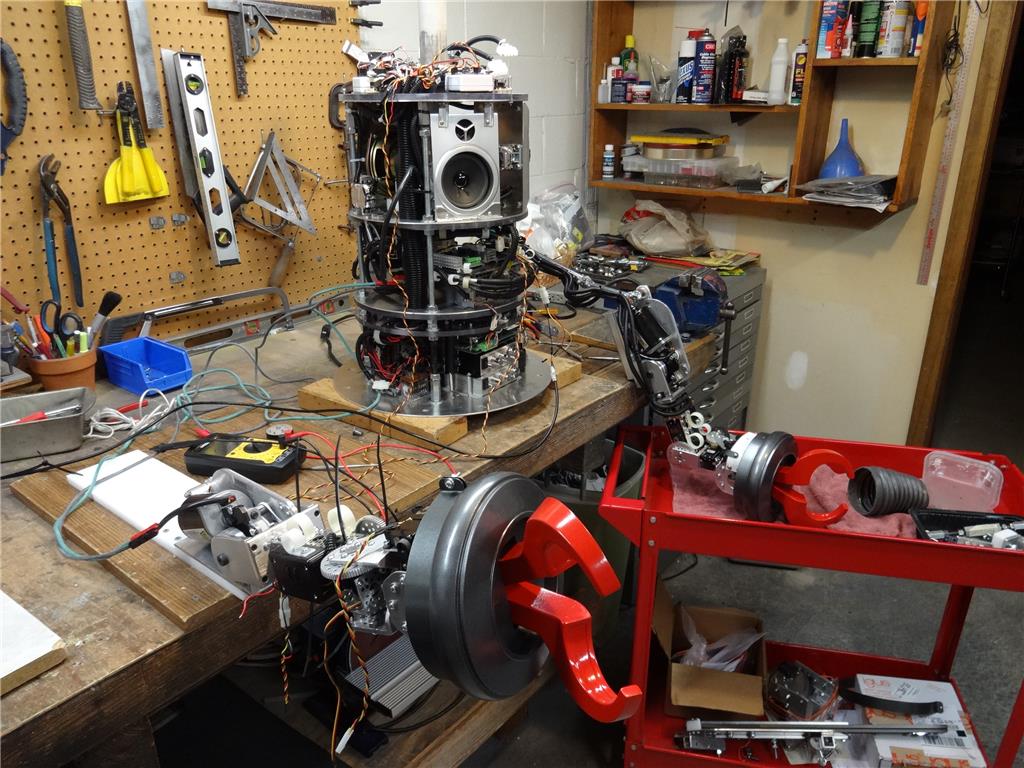
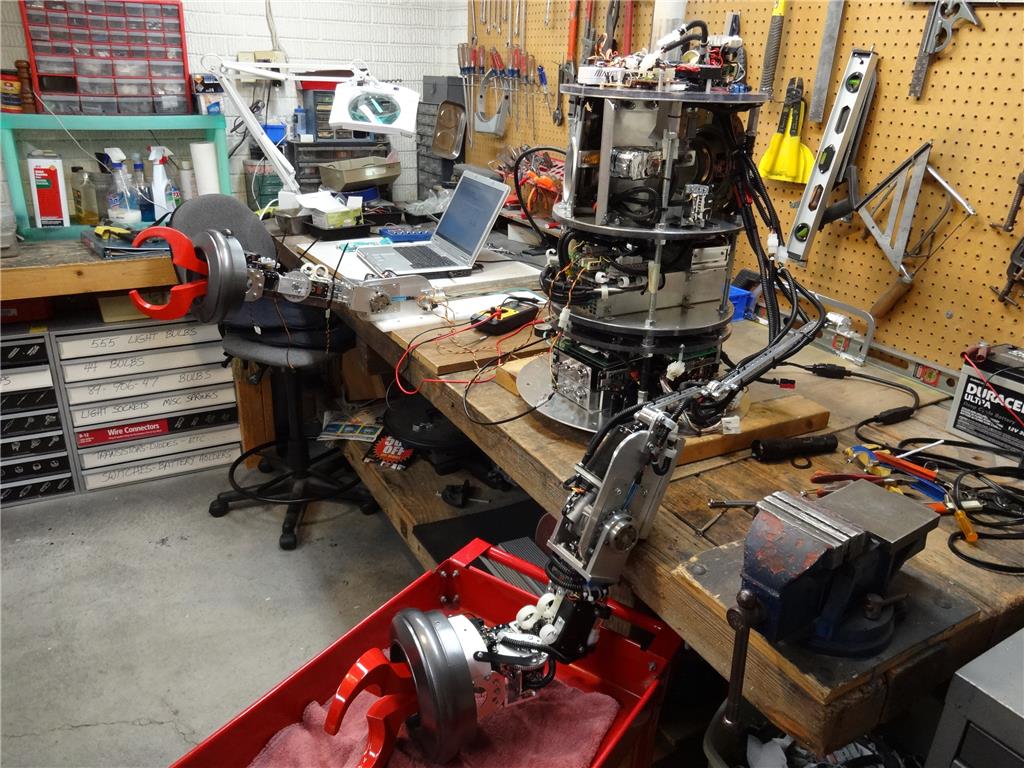
You've built a truely amazing and professional robot! I'm amazed at what you've built without a CNC machine. Proves that shopping around pays off! You have a job good sir if you leave the power company business!
My hands are full with ALAN but once an evening I'll build a part in the computer to be eventually printed. I keep simplifying it over and over. We will see what's left when the dust clears
Praise coming from someone I respect as much as you @Will means more to me then you know. Thanks once more for the kind words.
I'm not really sure what you mean by "shopping around". A lot of times meanings are lost in forum posts like this. However, .....
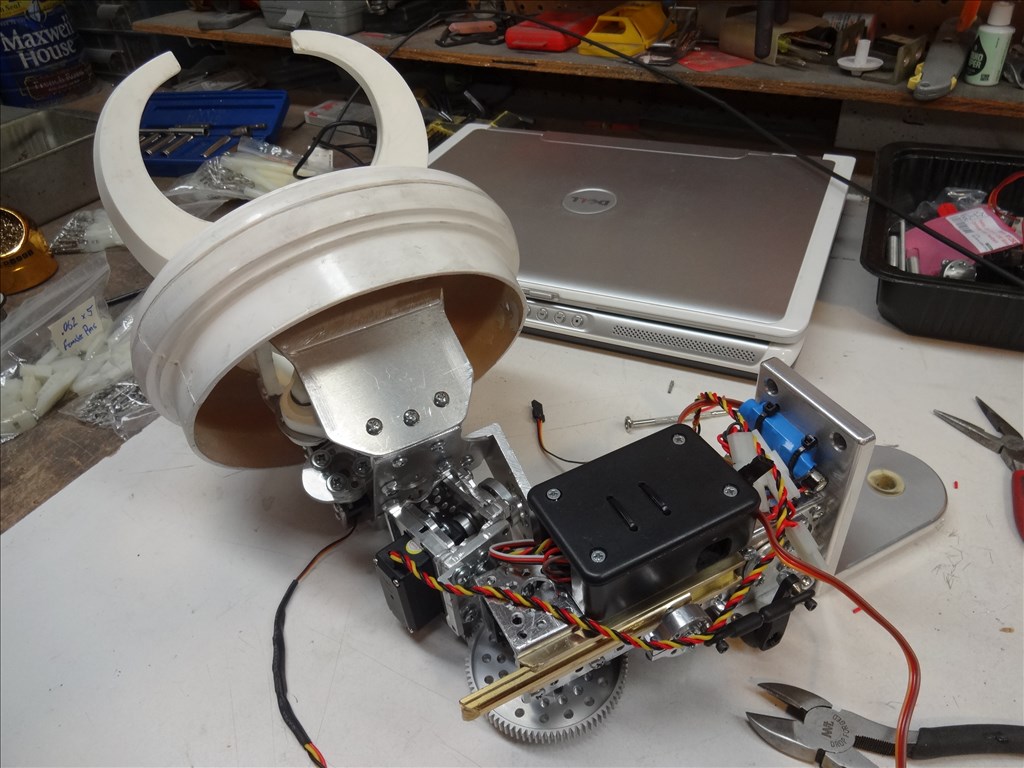
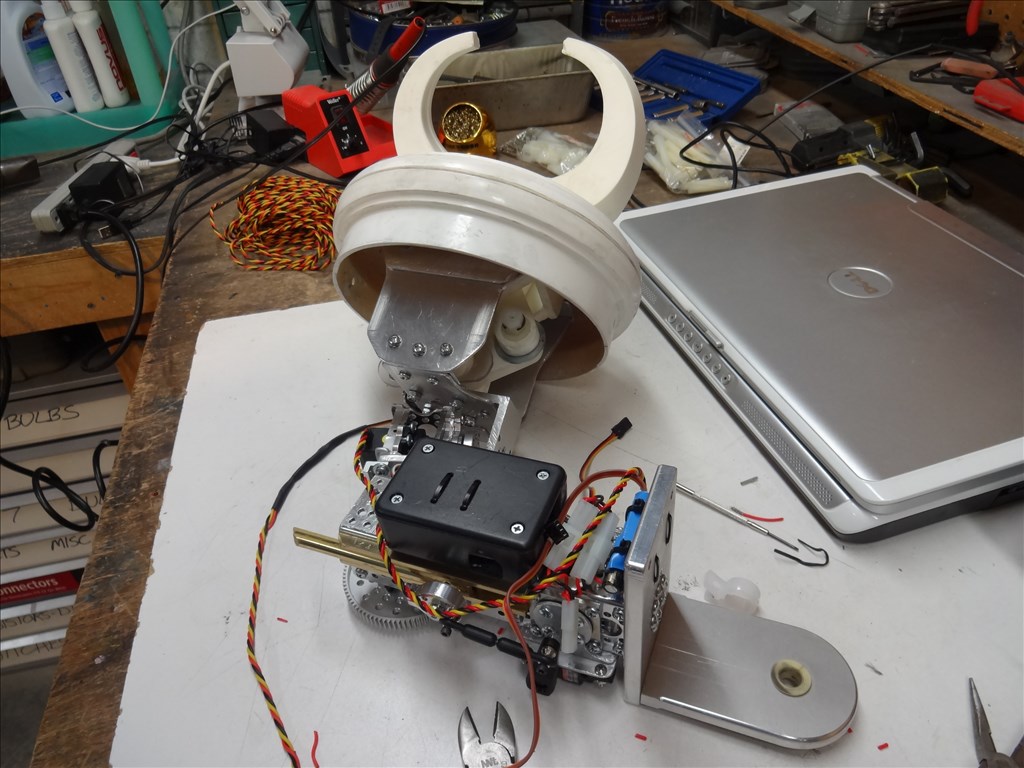
I was very lucky to be able to attain most of the major parts from quality B9 Club vendors I needed three years ago when I started building B9. These were the parts I had no idea of how to or have any way of making myself. They were parts that I thought needed to be replicated by "Masters of the Trade" that had access to the original robot or original plans. I figured these parts were the bubble, Torso, buttons and lights, Claws and Wrists, Brain parts and your fabulous silicone arms and legs. I wanted my B9 to be a close to the real robot as possible or at least look like it was.
At that time I just wanted a static "model" that would stand there, twist at the waist and randomly speak sound clips by itself. I have to admit that when I invested in your silicone arms and legs and saw the quality and how real they were going to make my B9 look, I decided right then that I needed to find a way for him act more real also. At first I was going to learn how to use and program Arduino but then EZ Robot popped up and I knew then I could have a "real" acting B9 that could respond to me, move and even look around like the original one.
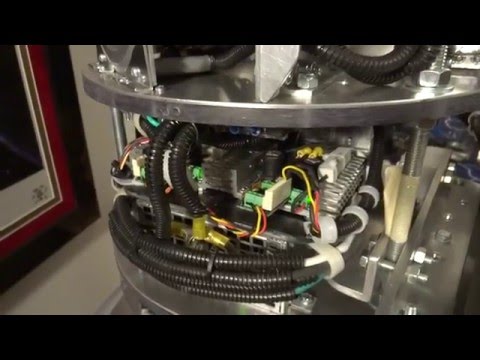
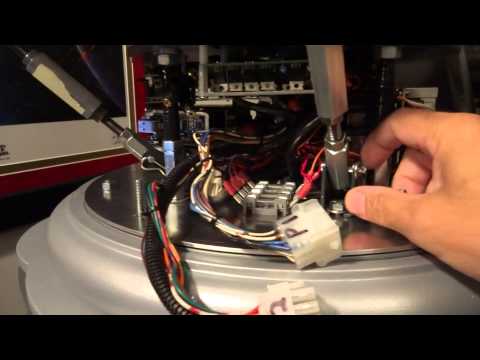
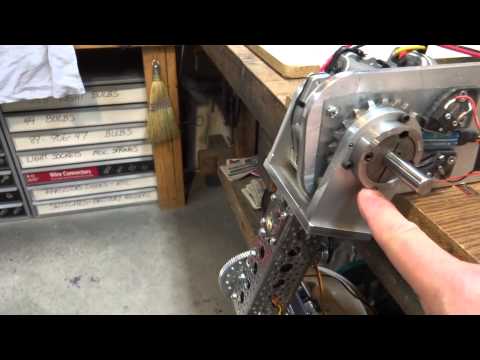
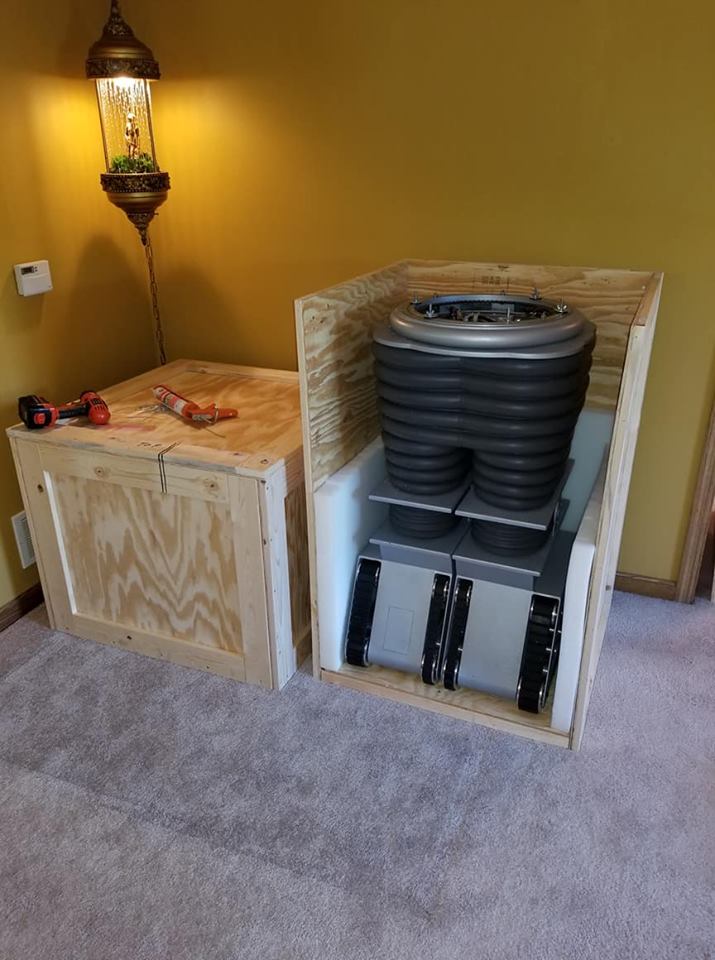
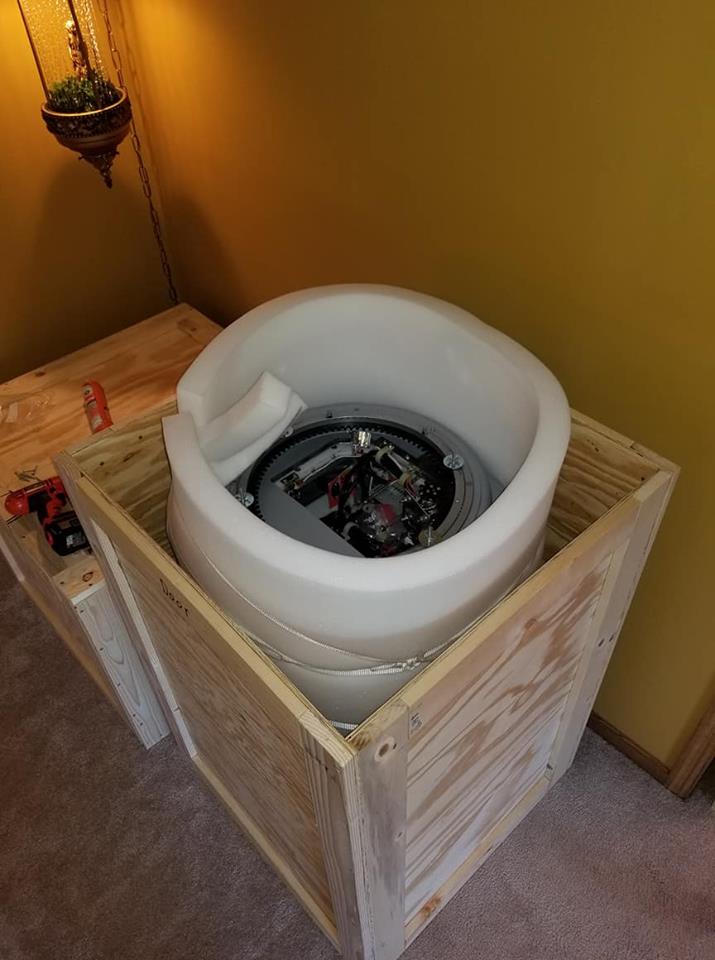
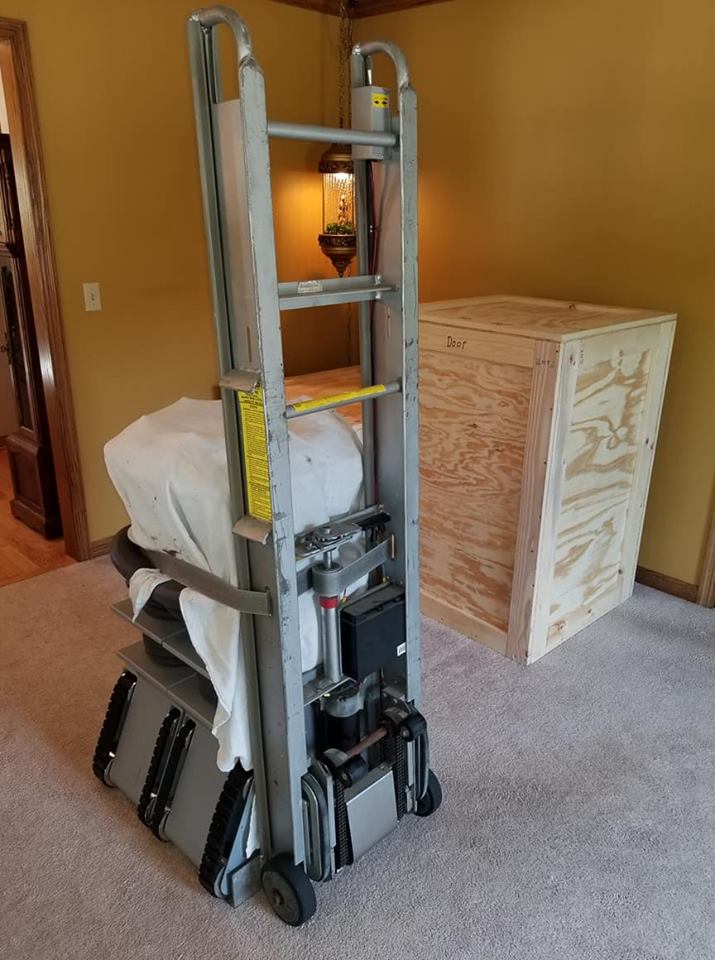
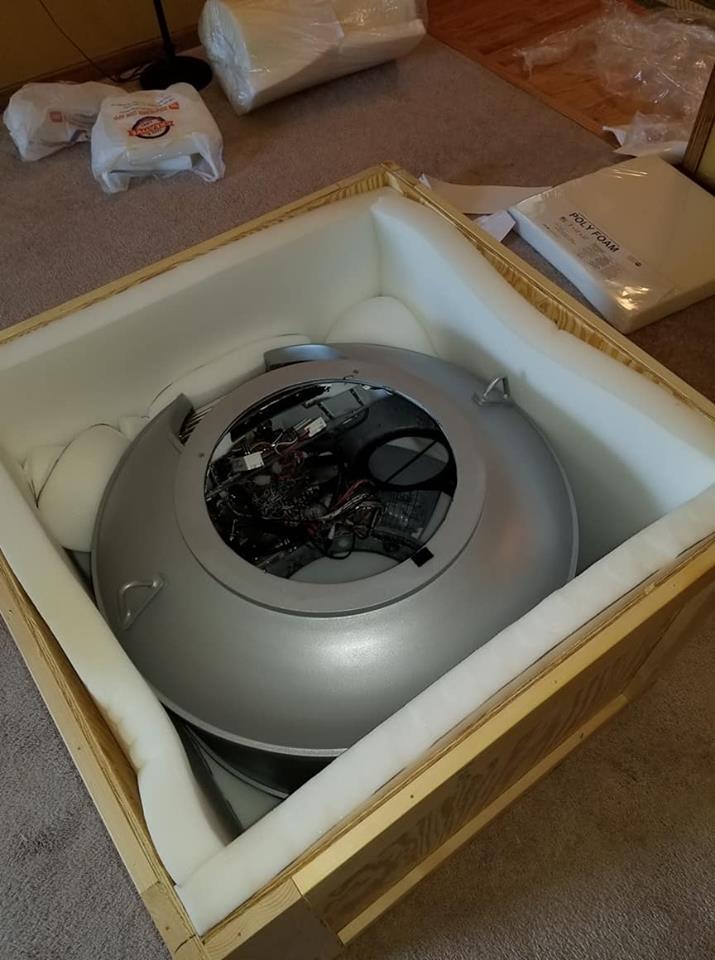
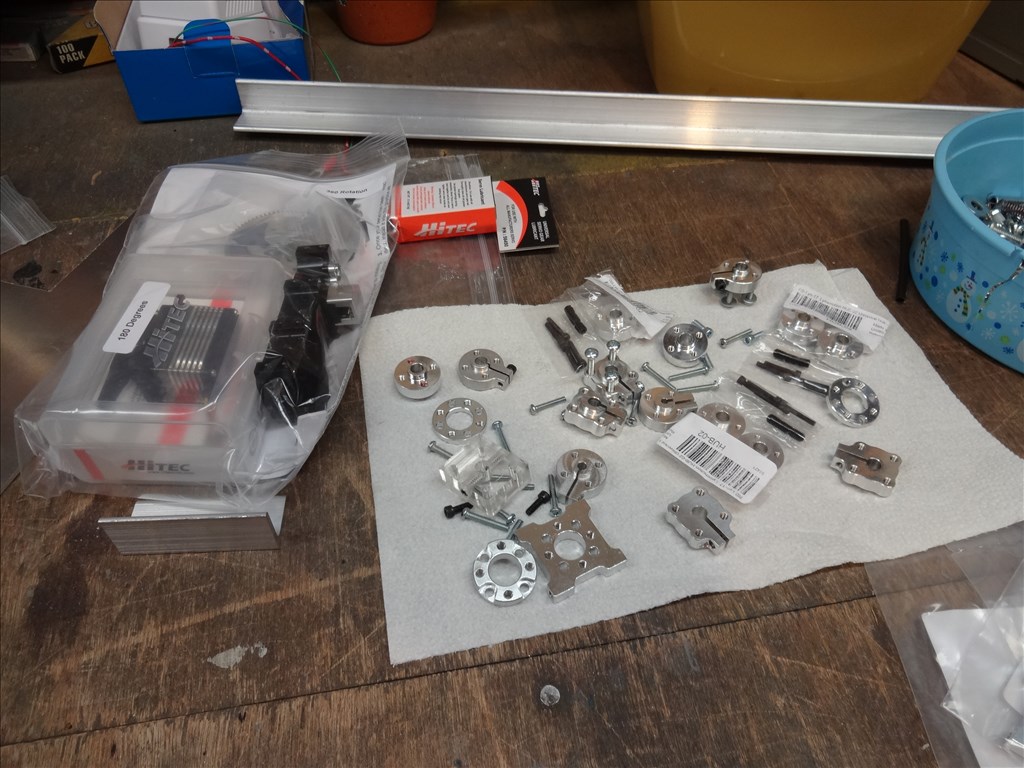
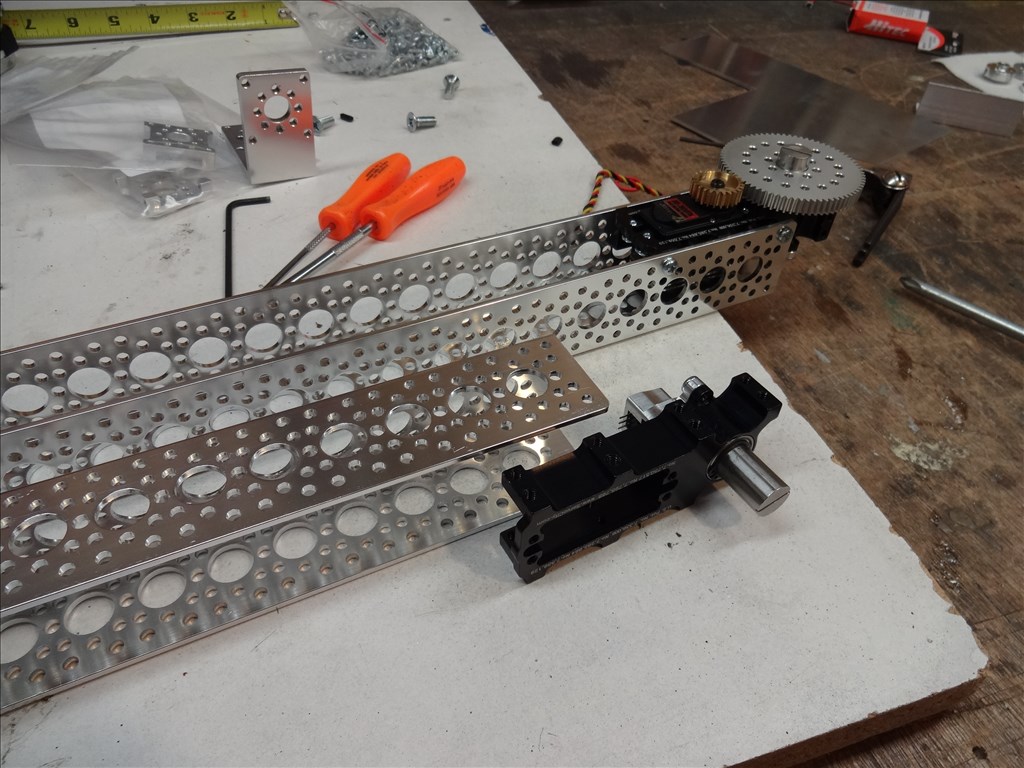
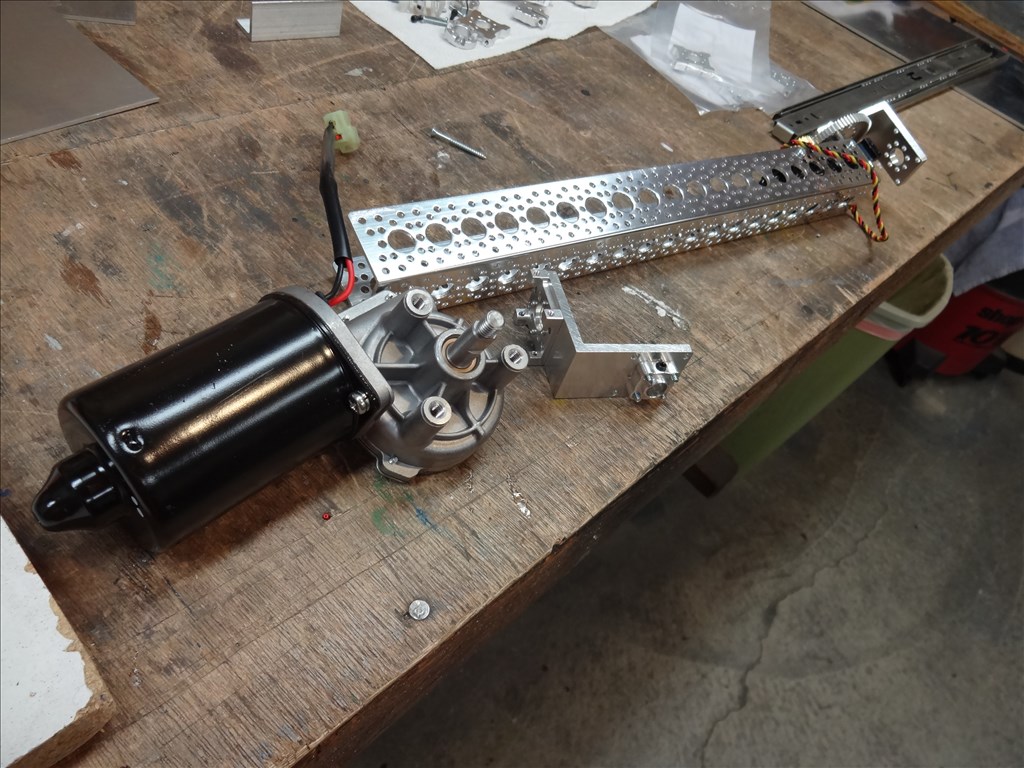
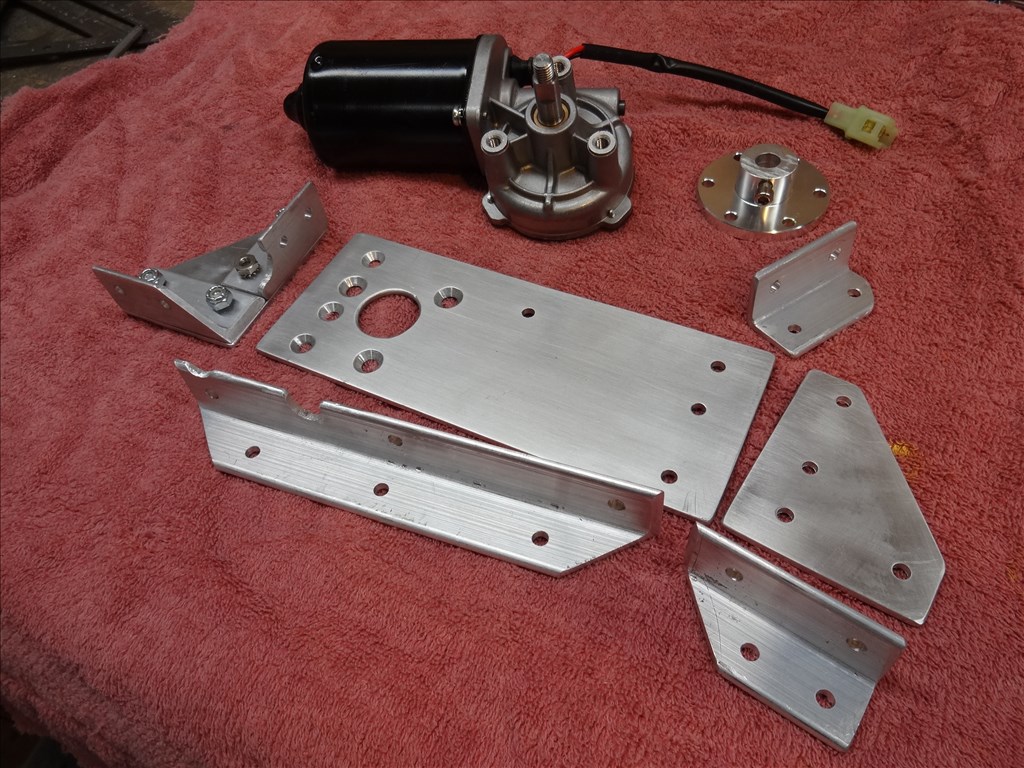
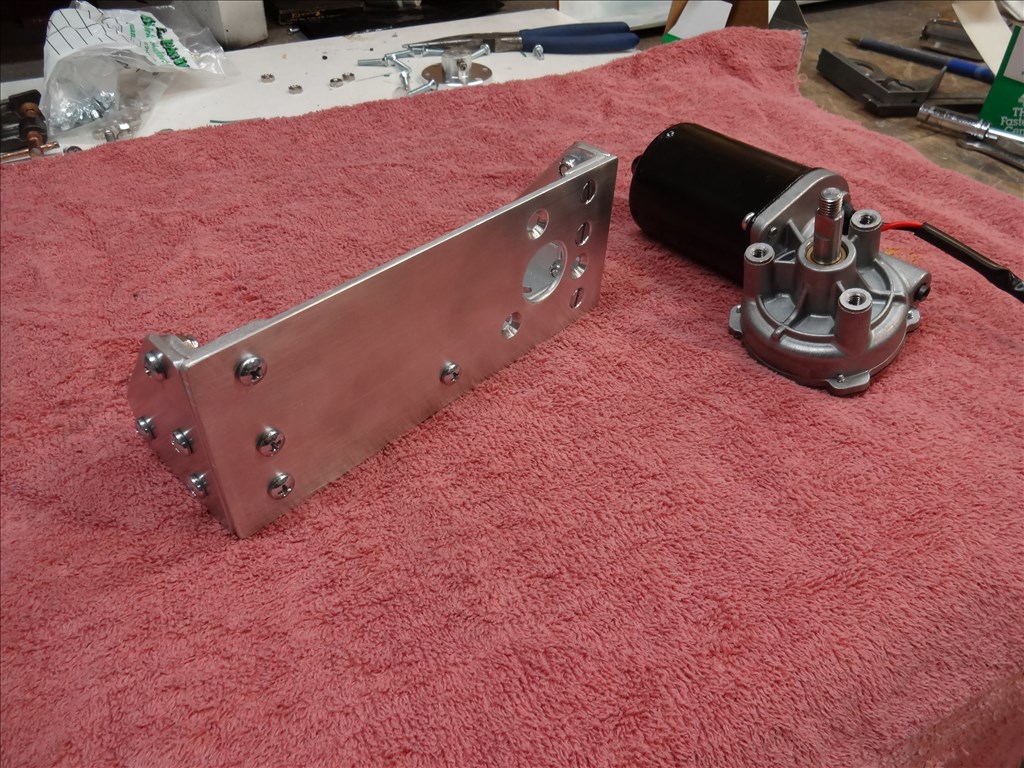
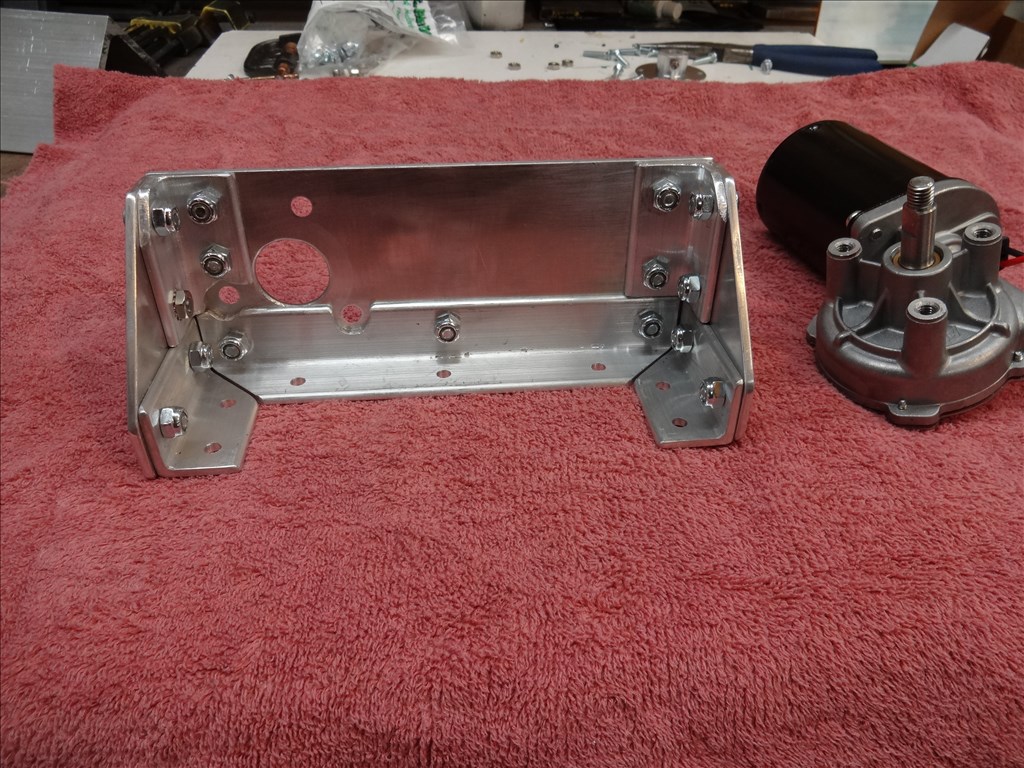
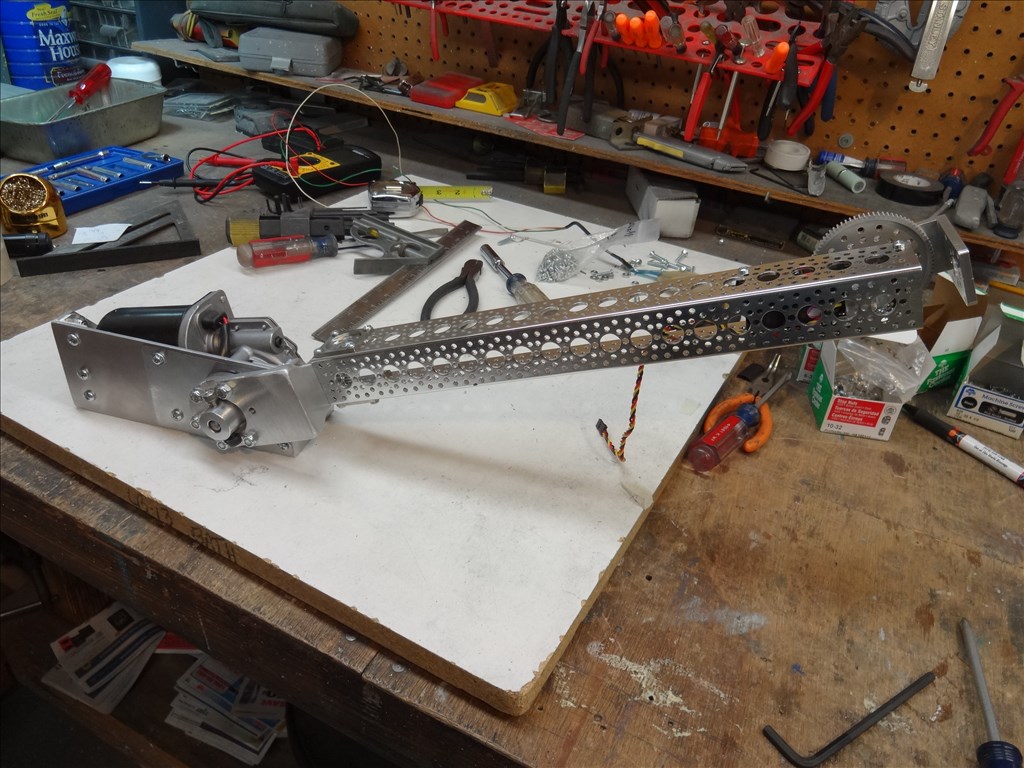
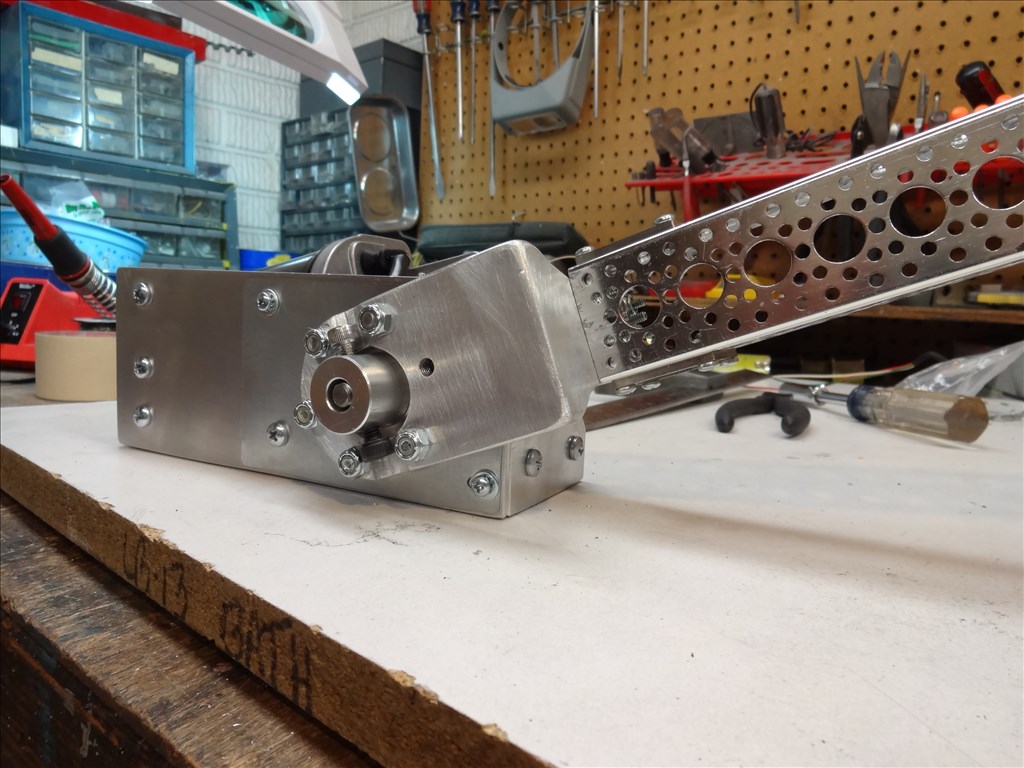
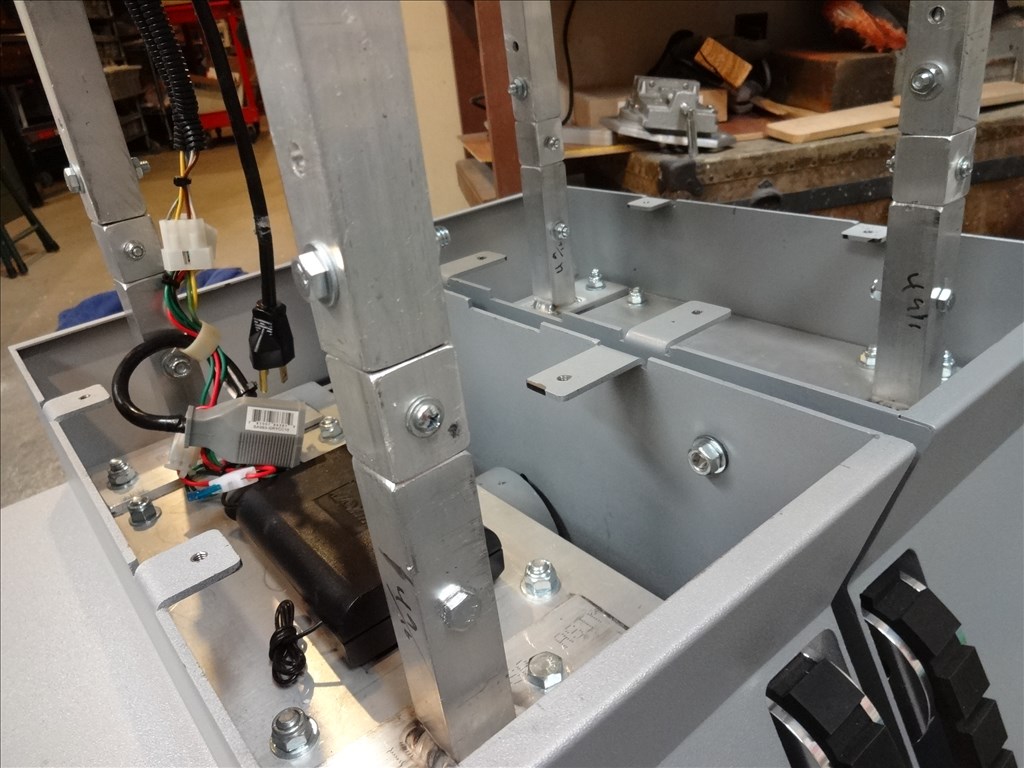
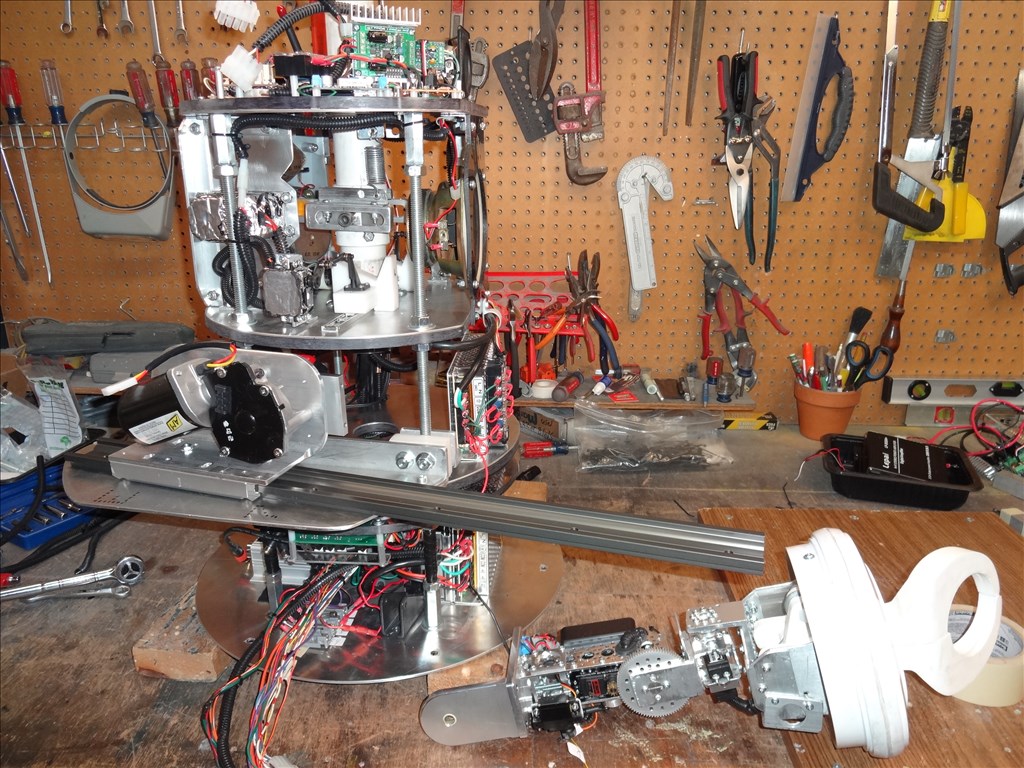
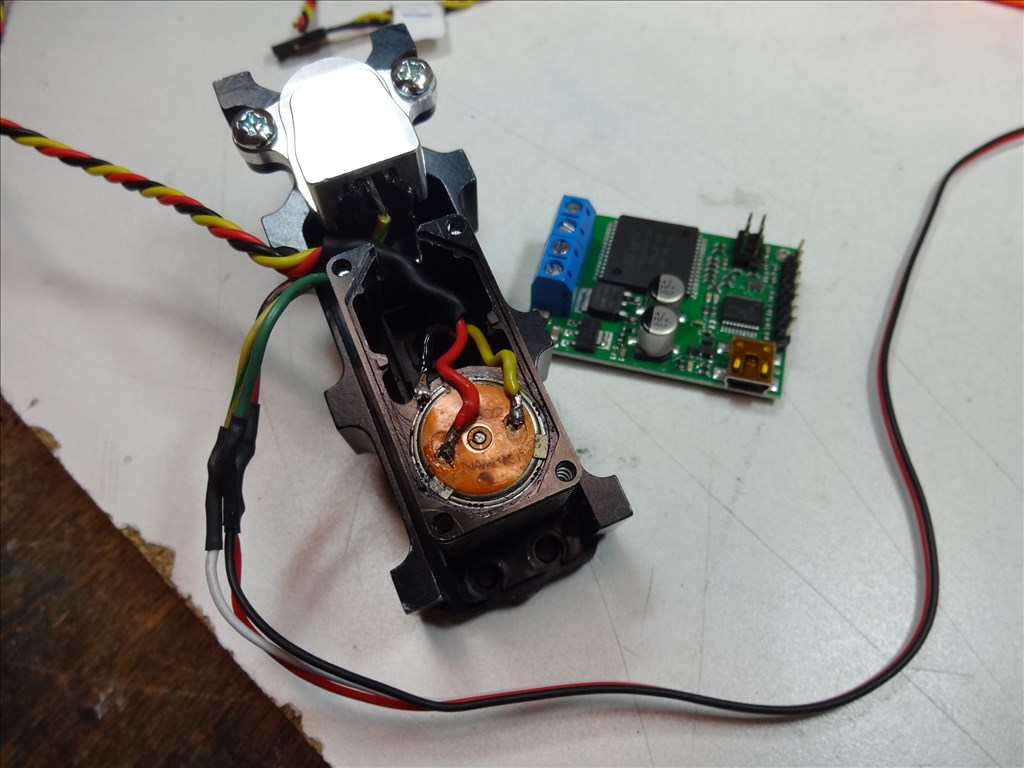
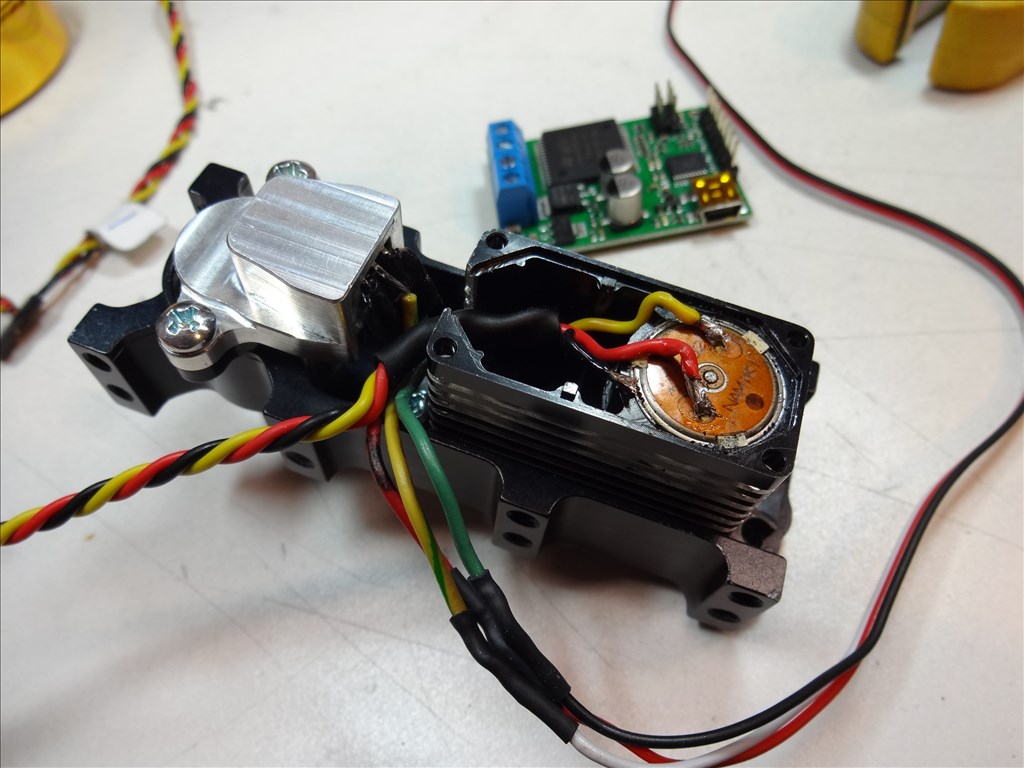
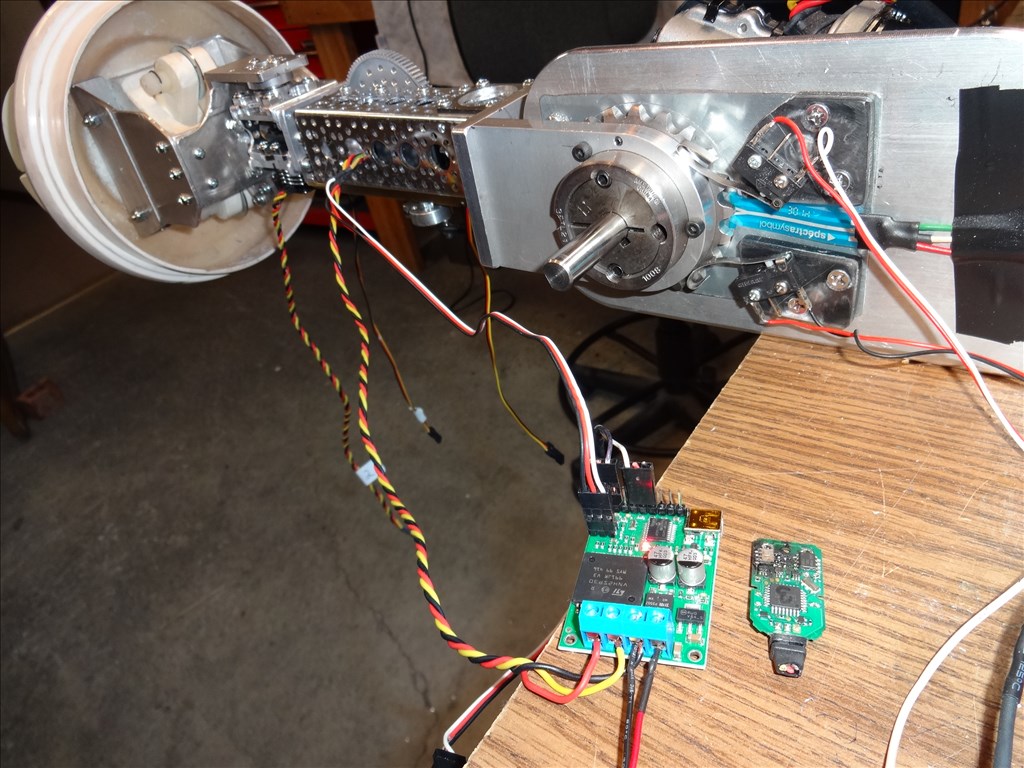
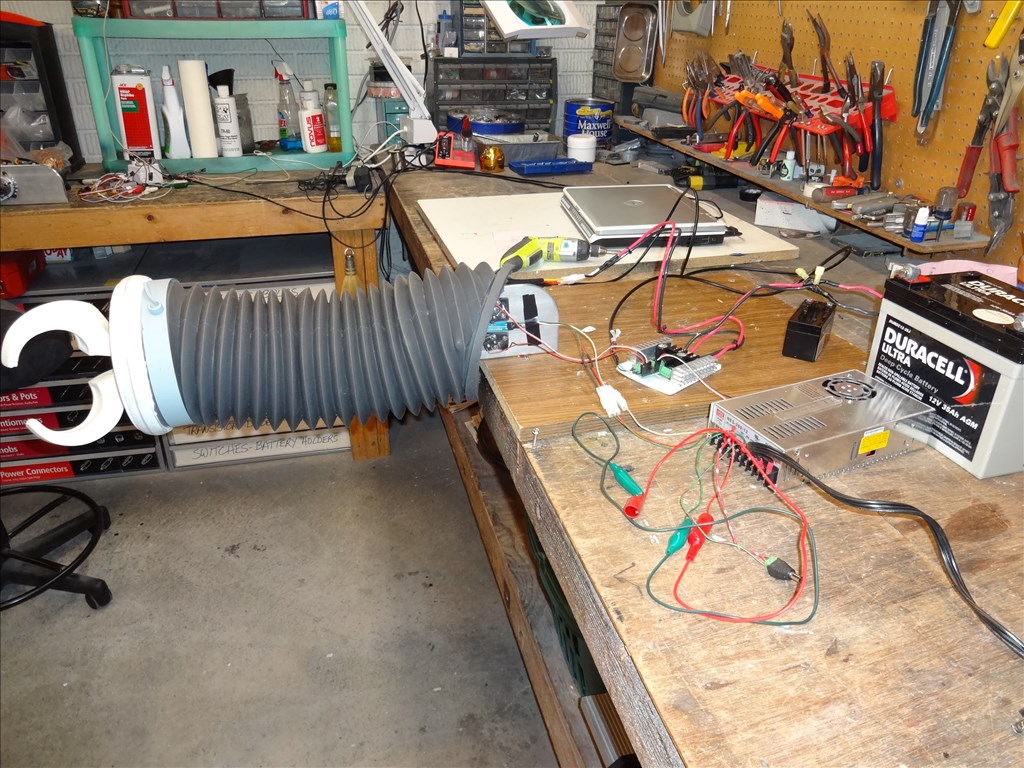
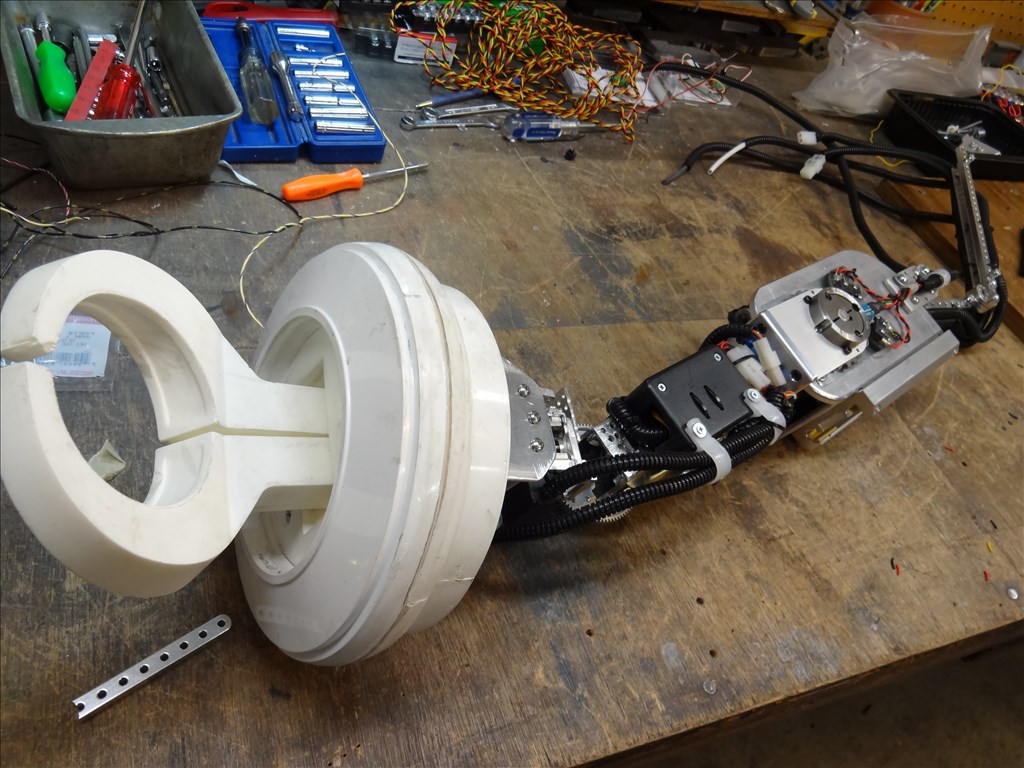
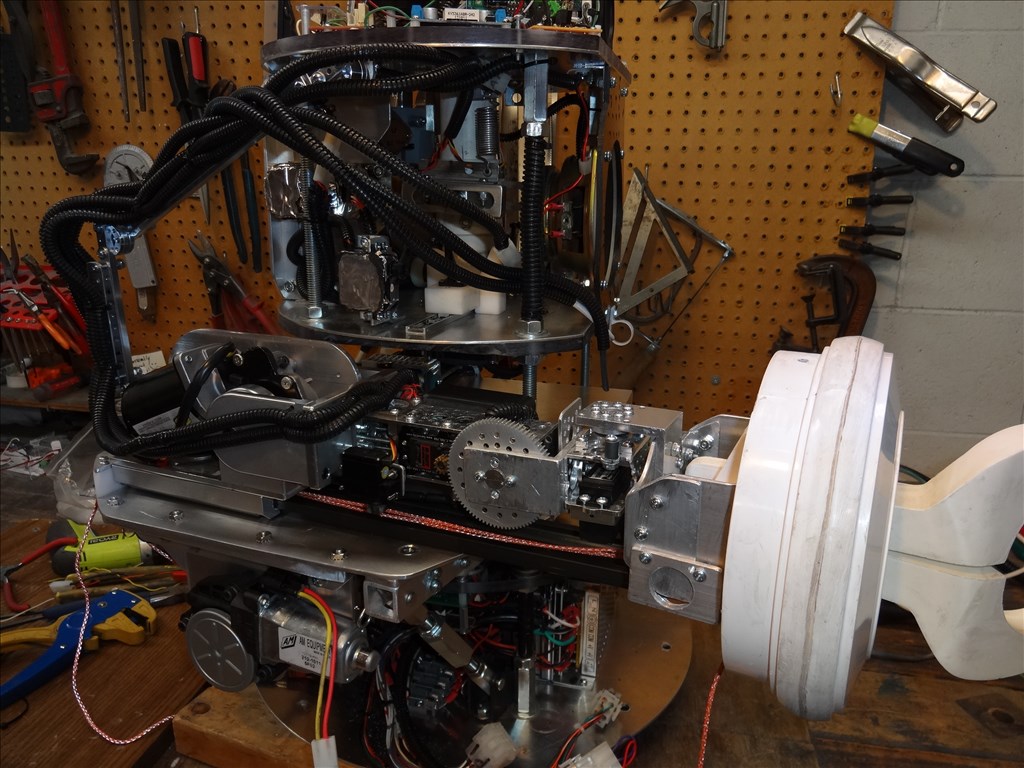
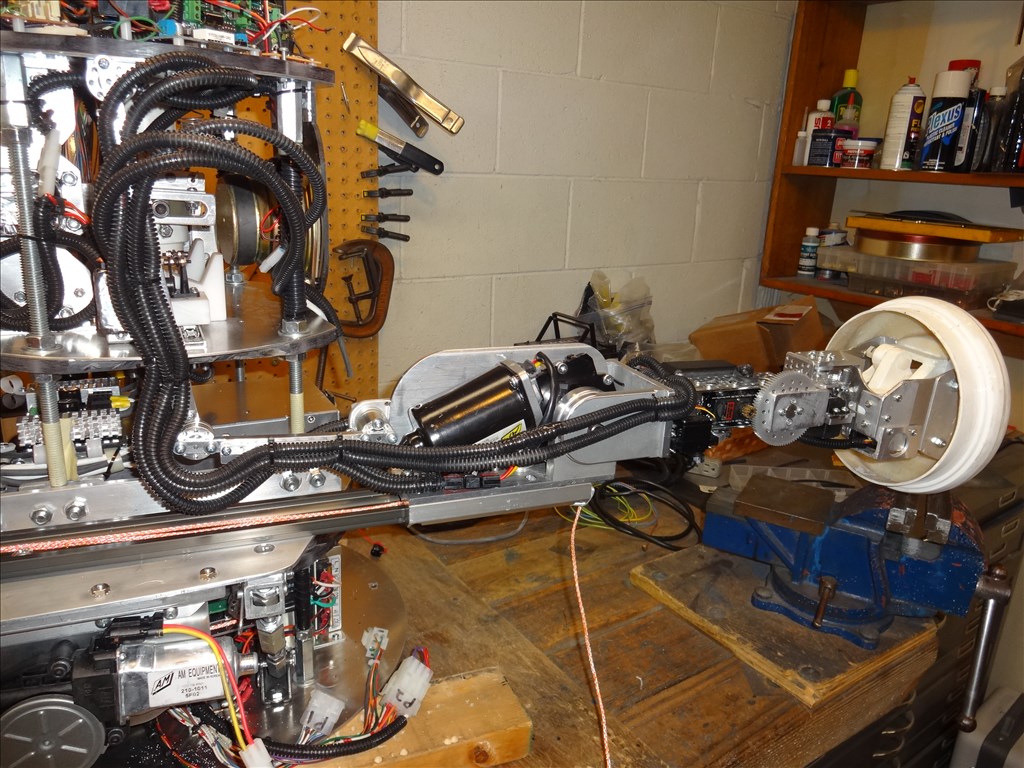
After getting your arms & legs and the EZ Robot's EZB it was all or nothing for me. I had everything to make this dream of mine come true. Everything that is except a machine shop or the money to spend on one. So everything else inside the robot was built by me in my little basement shop. All the tools I use are a tape measure, square, hand tools, a small bandsaw, drill press and a bunch of sharp hand files and sandpaper. Thank God aluminum is such a soft, light but strong metal. I can easily get close to professional results by using woodworking skills and shop tools on it. Heck I can even cut aluminum plate and stock on my table saw with a carbide tipped blade. There have been a few things I've hired out to have made that were more then my skills could handle. The aluminum leg supports I had a welding shop cut and weld per Mike Joyce's Schematics with a few tweaks to fit my build, the arm elbow motor mounts were done in a machine shop and critical to have the B9 arm work per my design. In fact my machinist is the one who pointed me in the direction of the rail and carriage system I use on the Arm Rail System. Igus supplies this rail and carriage the arm slides in and out of the troso on. I can't forget good old McMaster Curr for all the odd nuts and bolts I need.
Shopping? Yes, I guess I did a bunch of that. Besides buying through B9 club vendors there are places that had just what I needed like ServoCity, The Robot Shop, The Robot Marketplace and lots of miscellaneous parts through Amazon. I saved a ton of shipping charges through the free 2 day shipping feature on Amazon Prime!
I just realized I've been rambling way to long. Sorry for the length of this post. Cheers and have fun. Keep simplifying your designs Will. I think it's the secret to success and I cant seem to do it very easily. Everything I end up with seems to be a "Mechanical Nightmare" (as Dr Smith would call it). sick
Haha, yes shopping referring to researching and researching and looking for the puzzle piece that fits! I like to look over the choices that you pick for off the shelf componients. And as you said your aluminum skills are top notch. I think you arms could nearly flip a car!
Anyways looking forward to the next update!
Ps I'll have to look into Amazon prime a bit more.. Free shipping sounds great!