


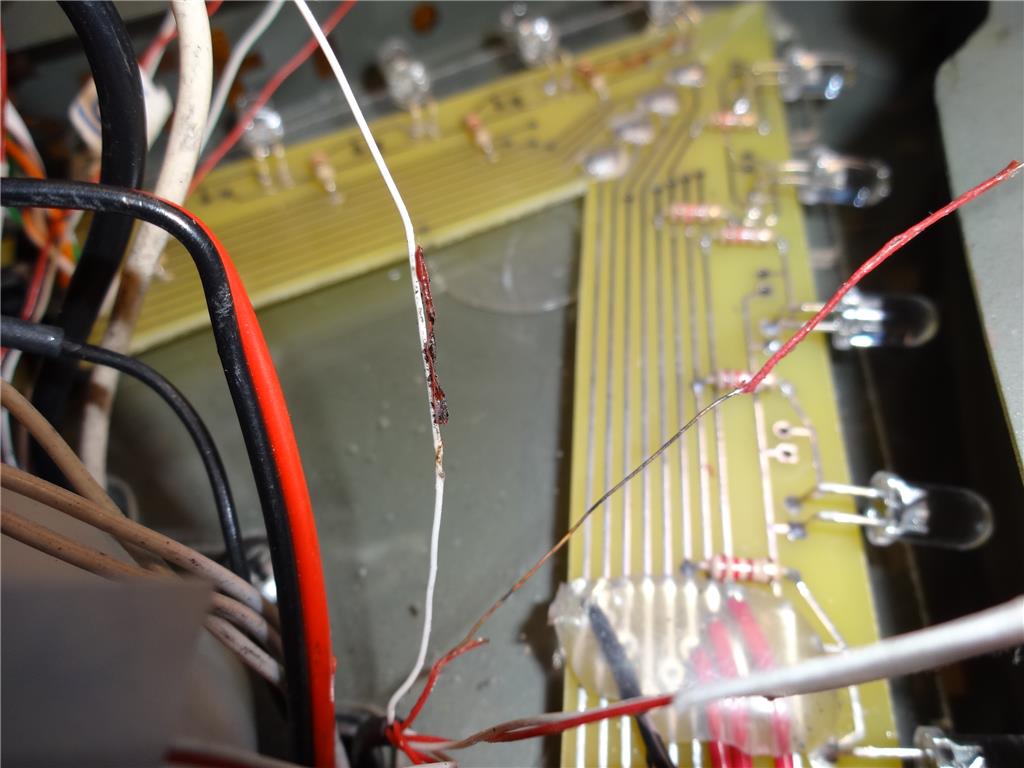
-635353562186322812.png)


Hi all,
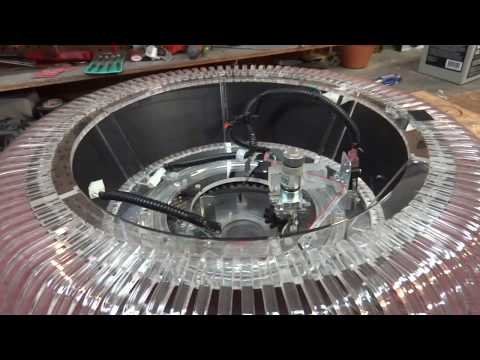
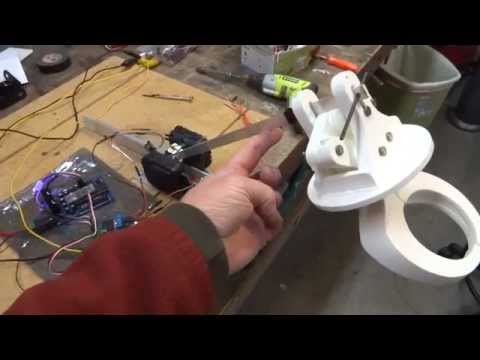
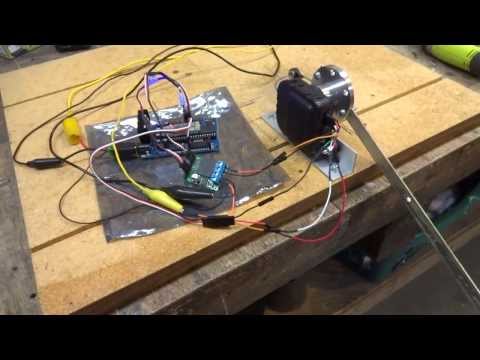
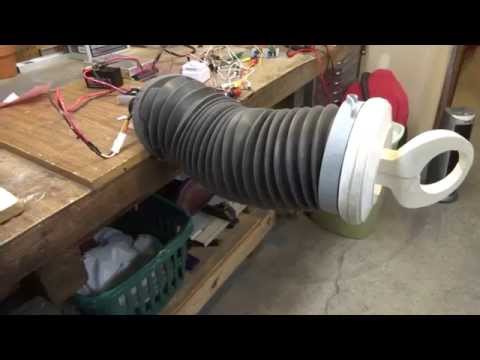
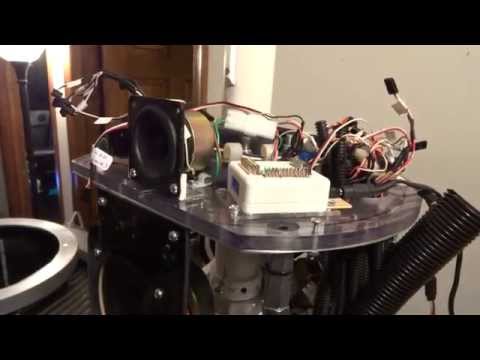
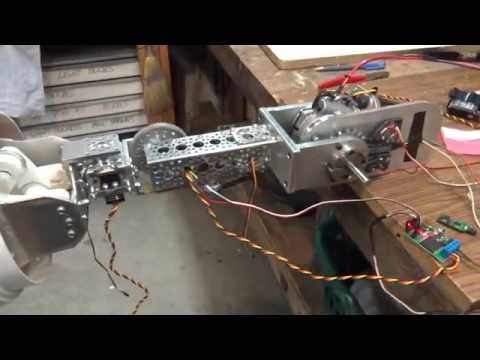
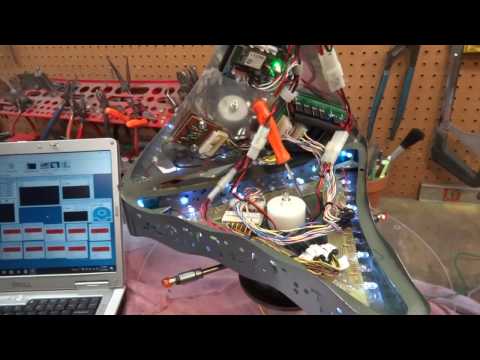
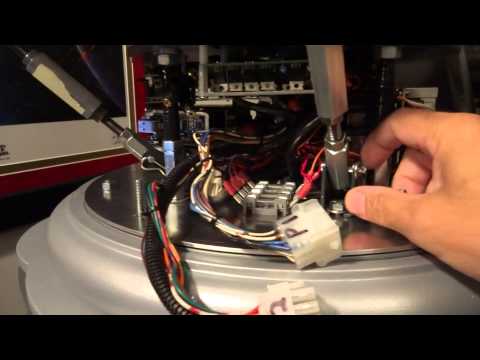
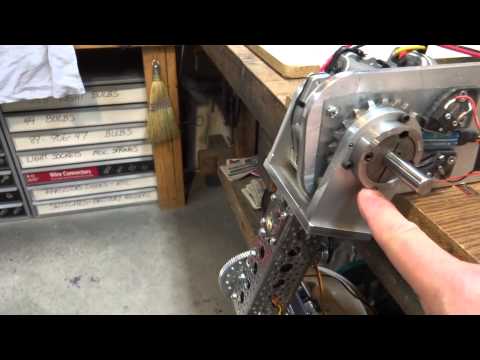
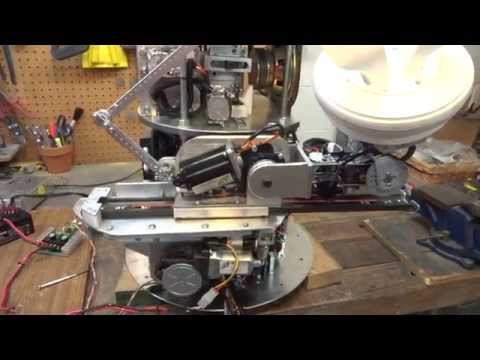
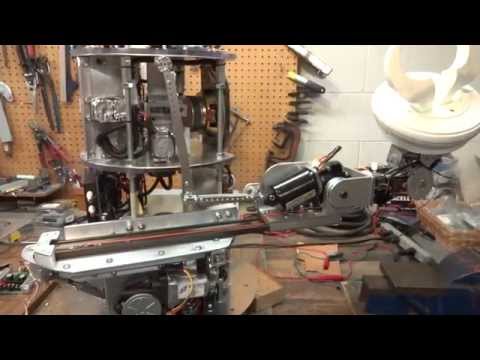
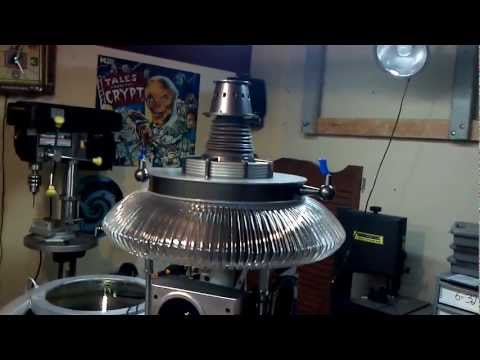
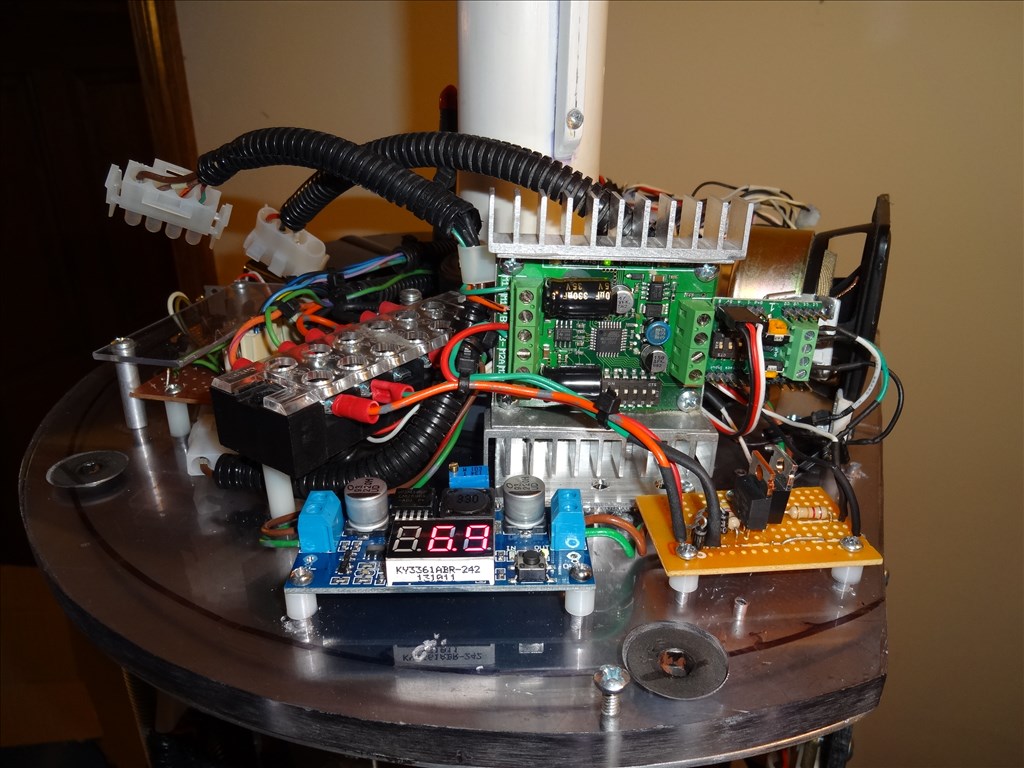
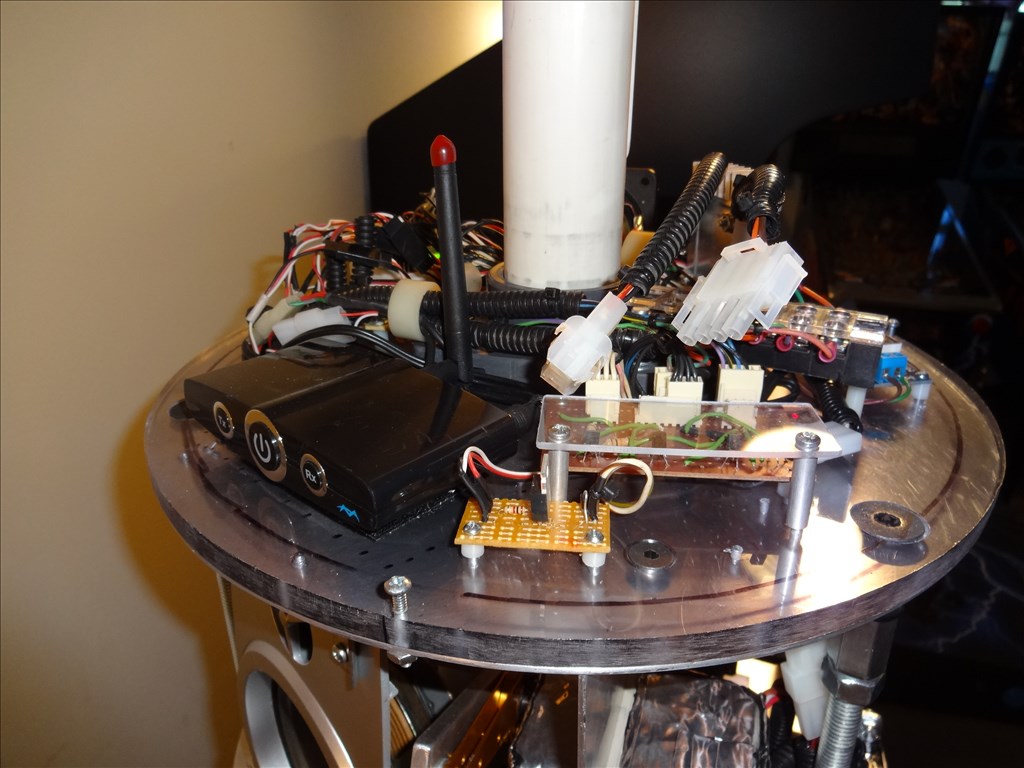
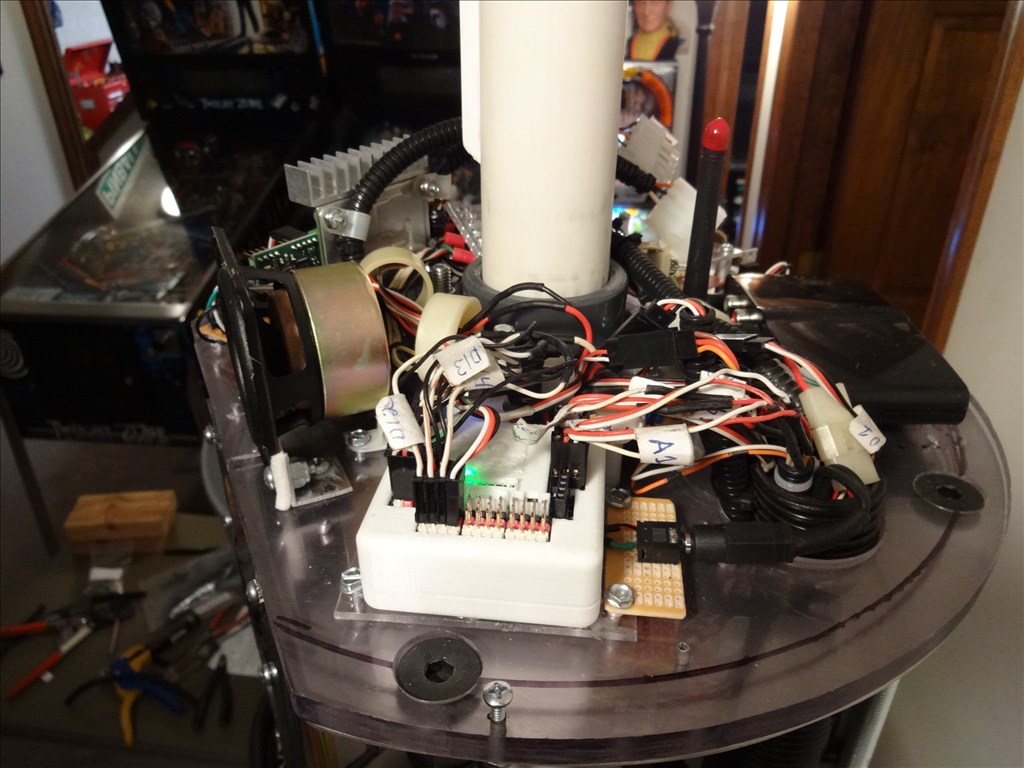
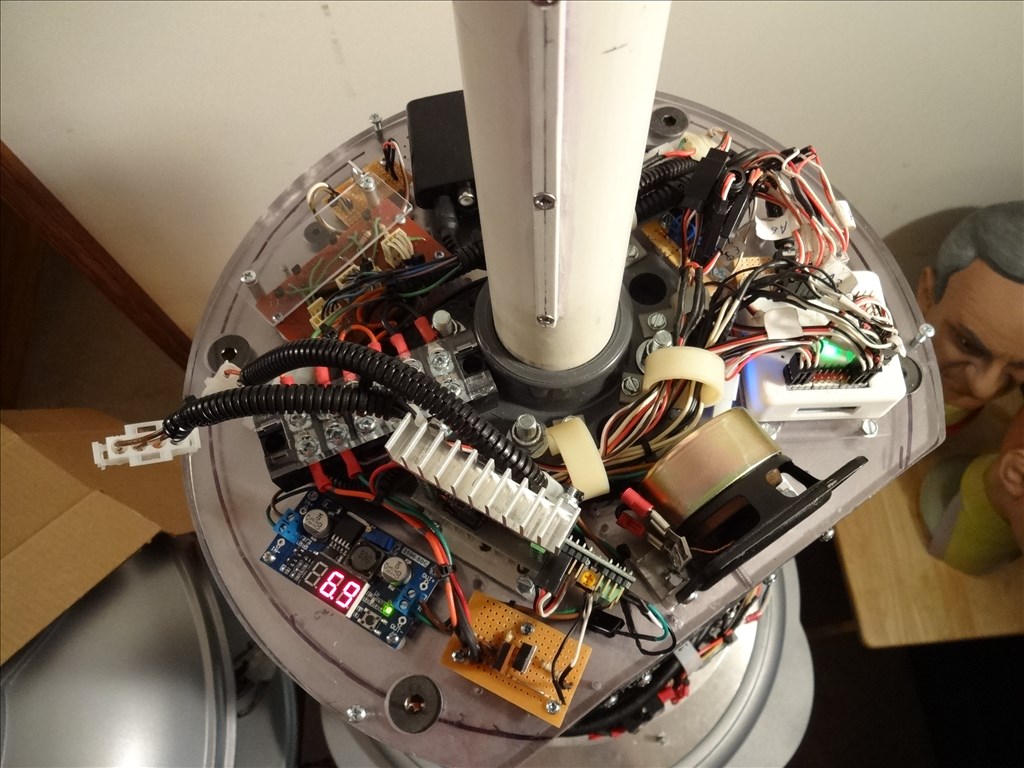
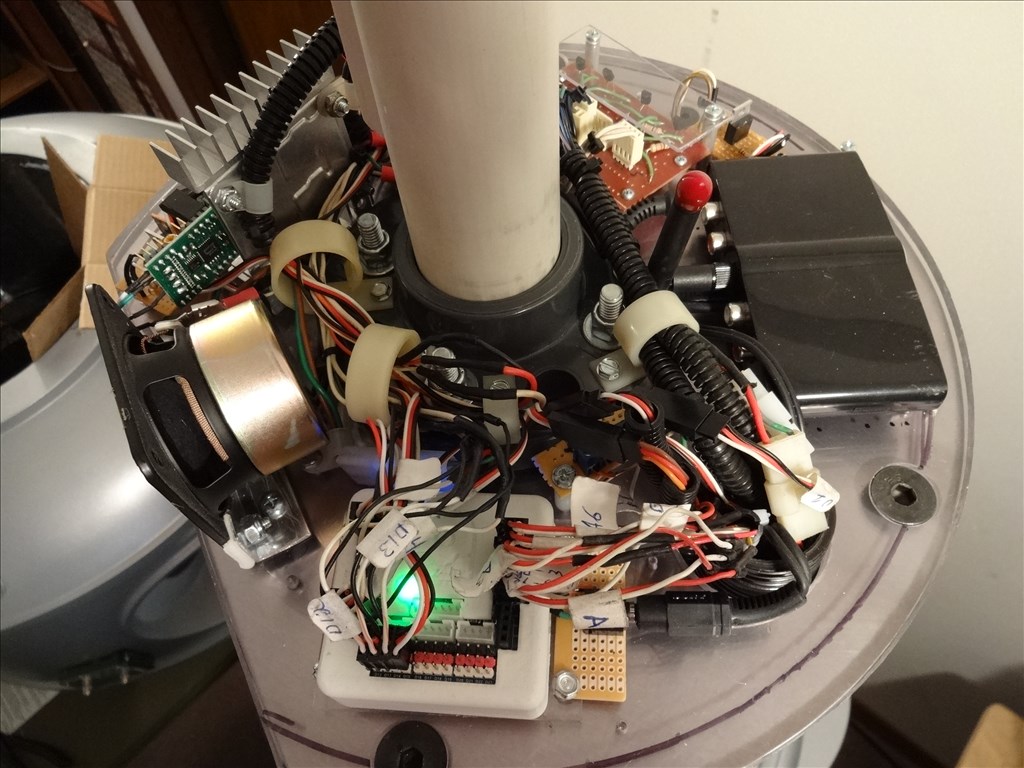
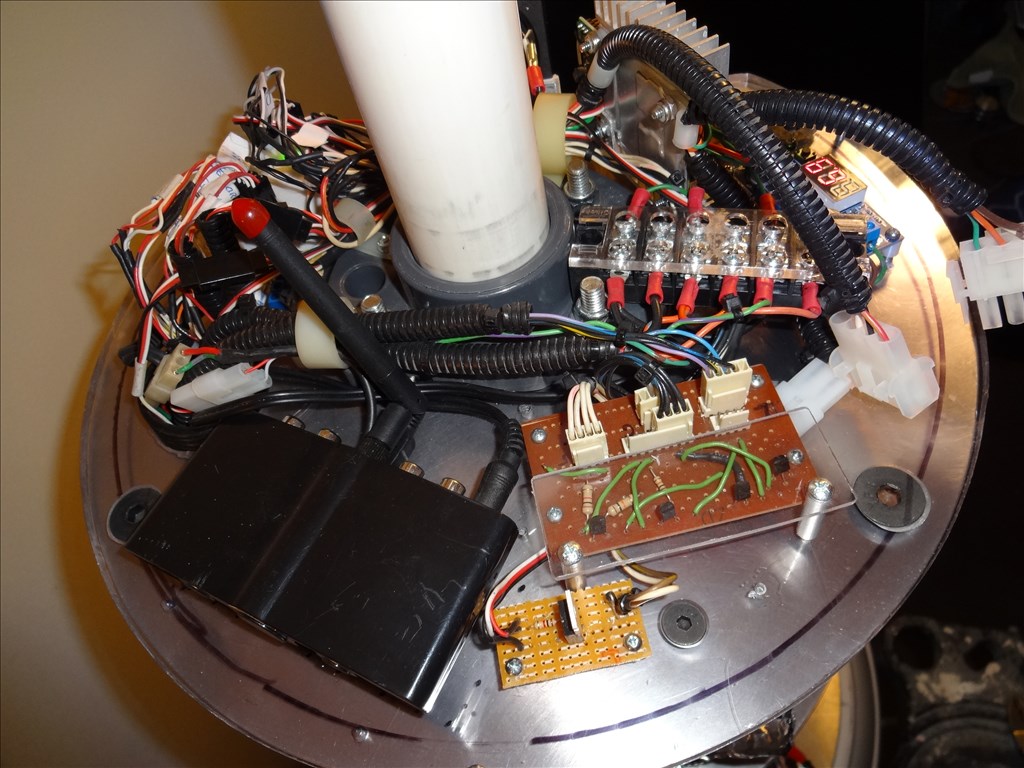
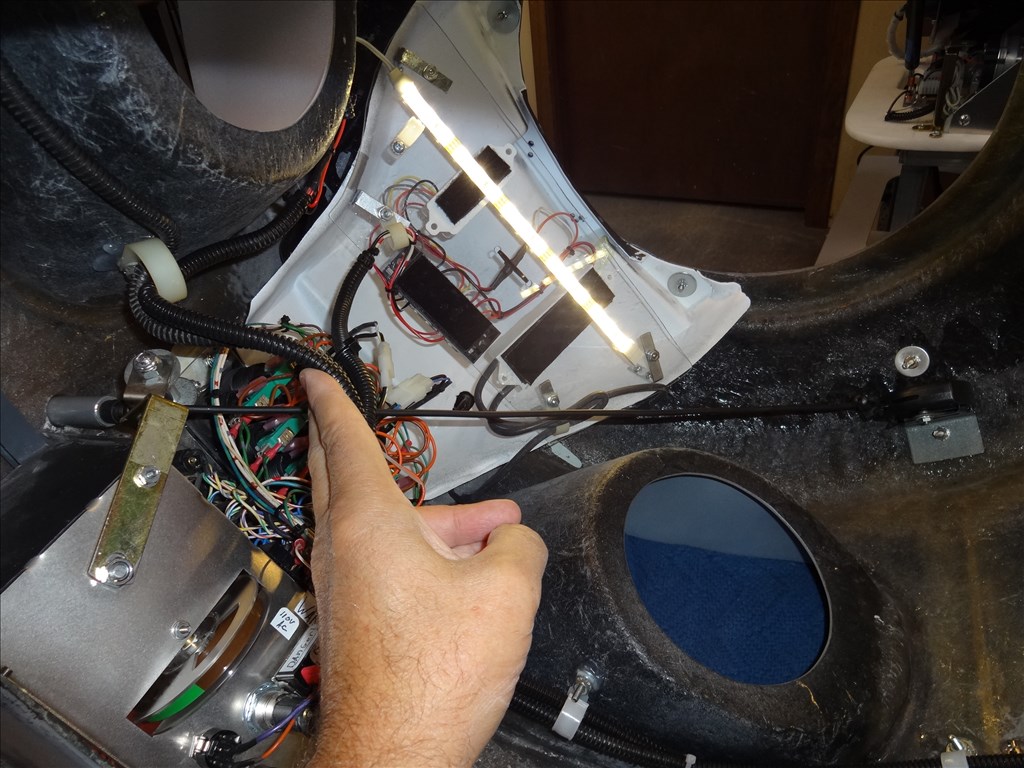
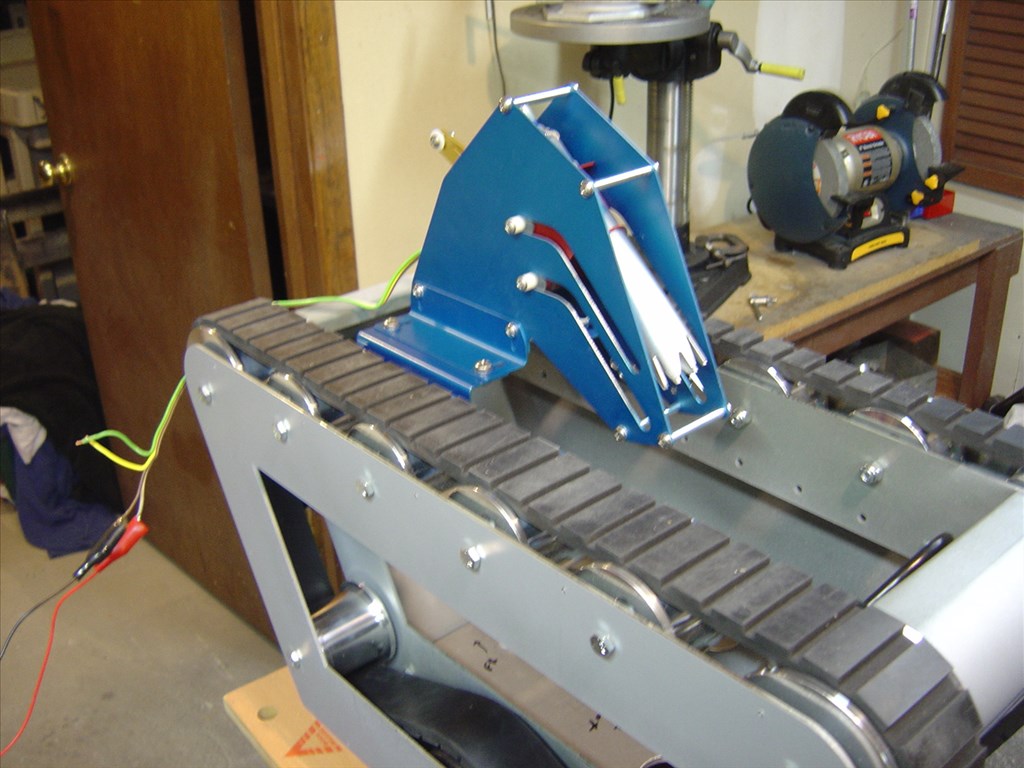
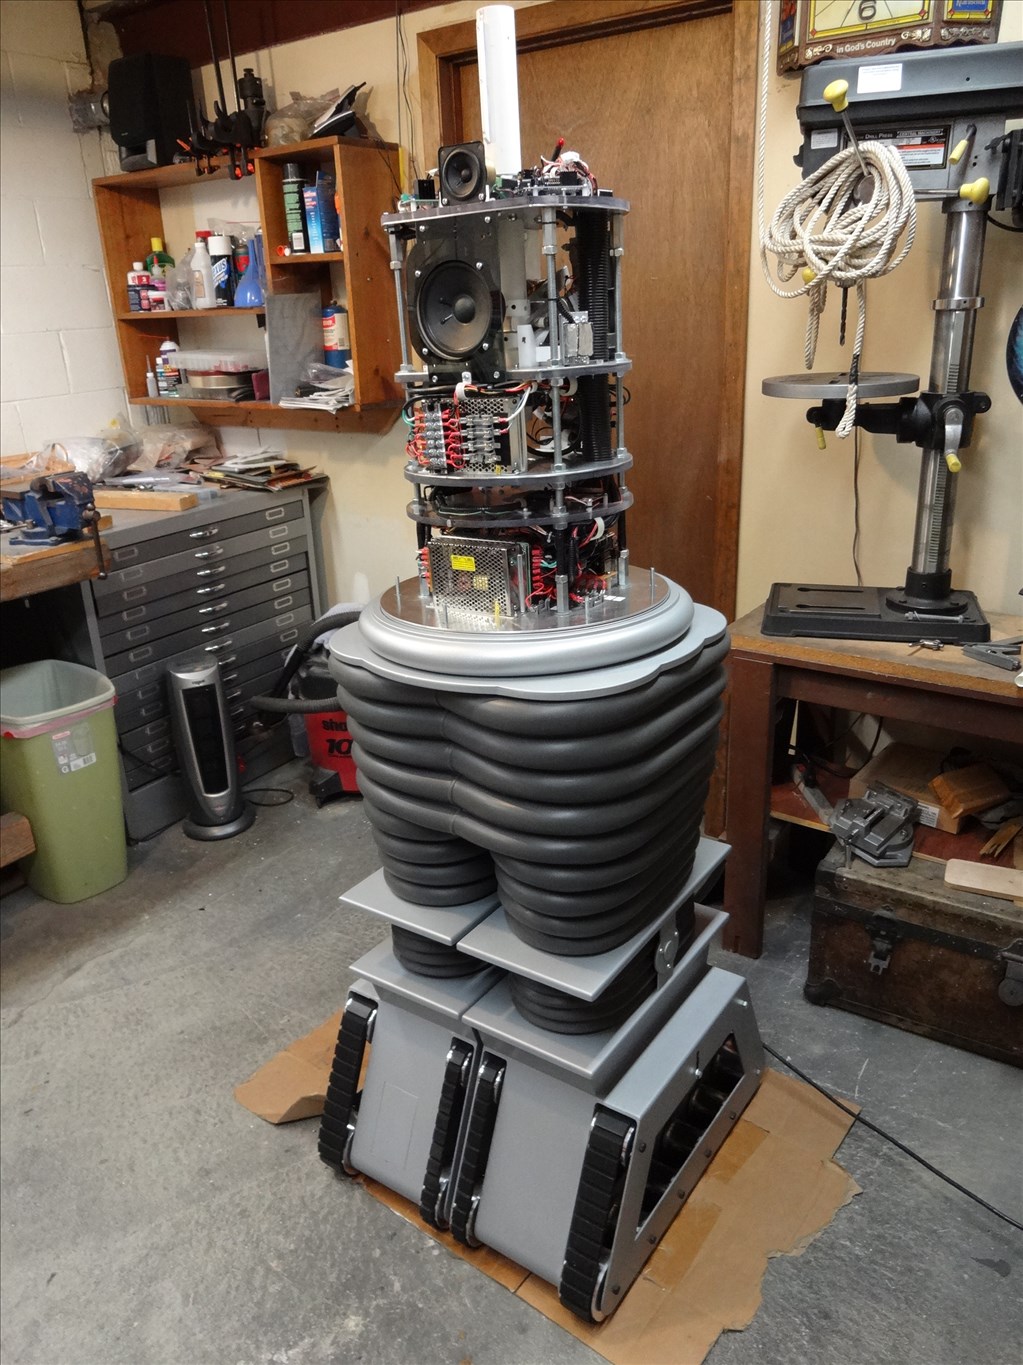
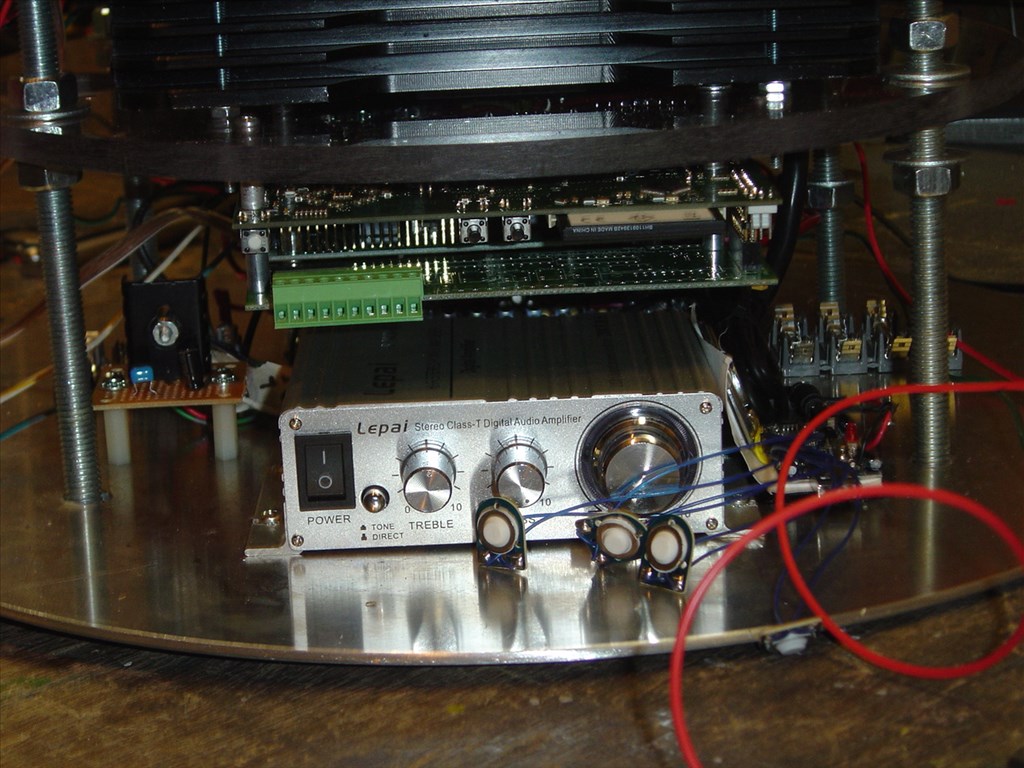
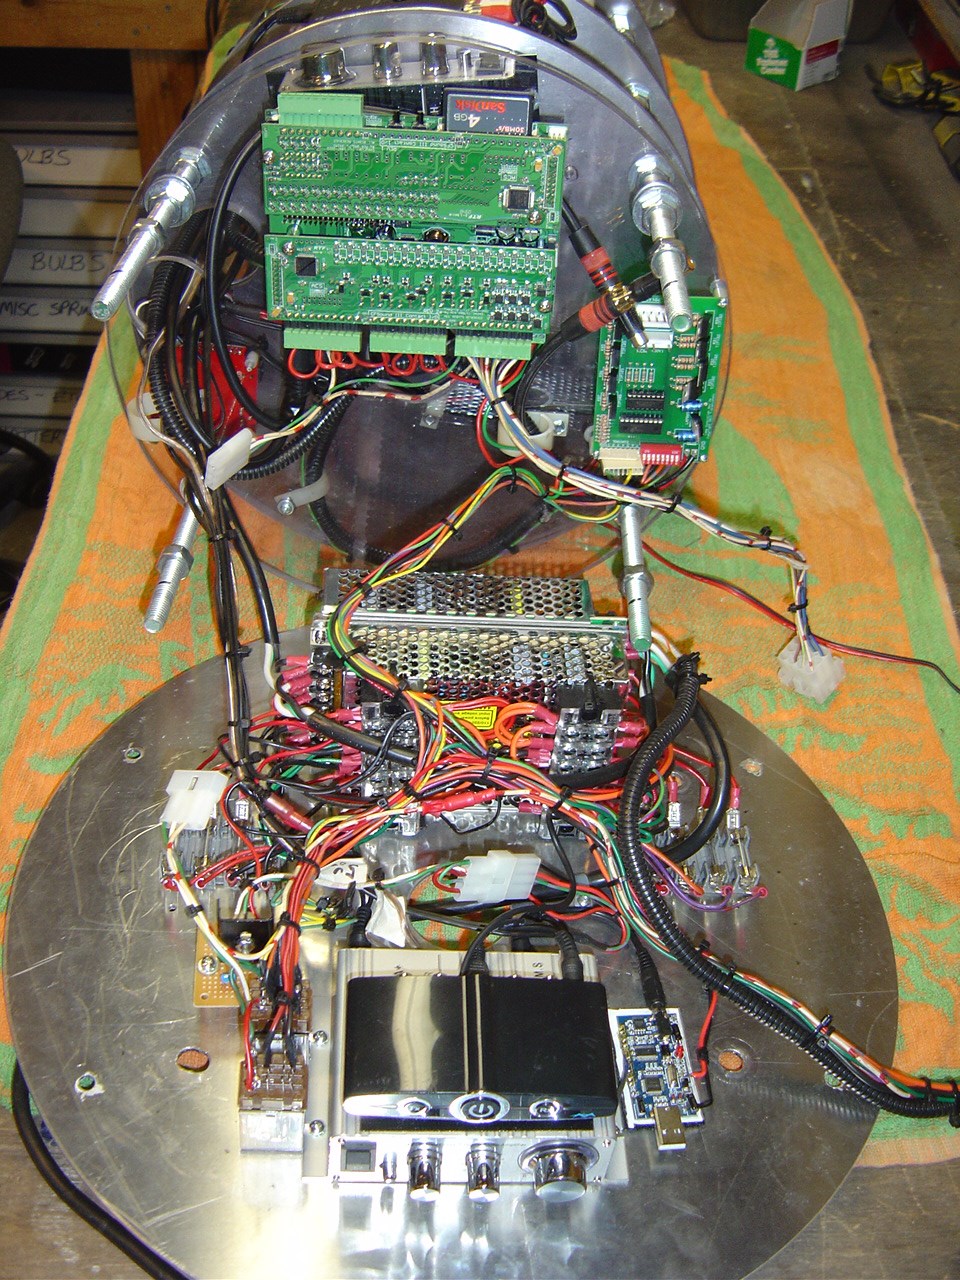
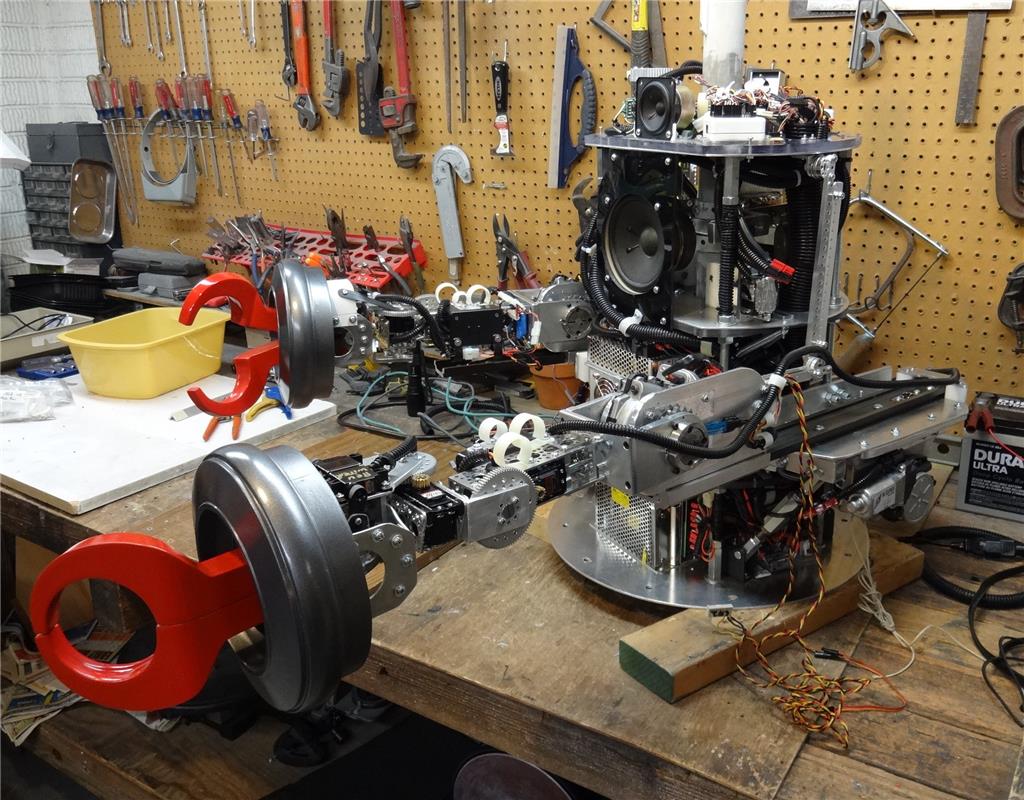
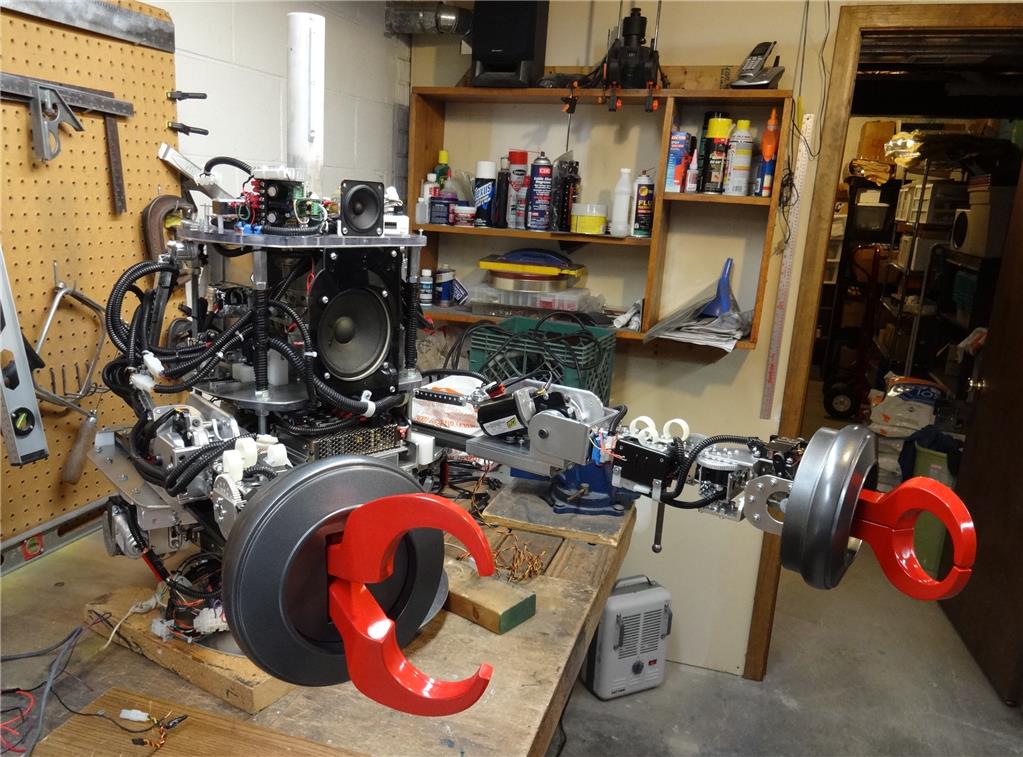
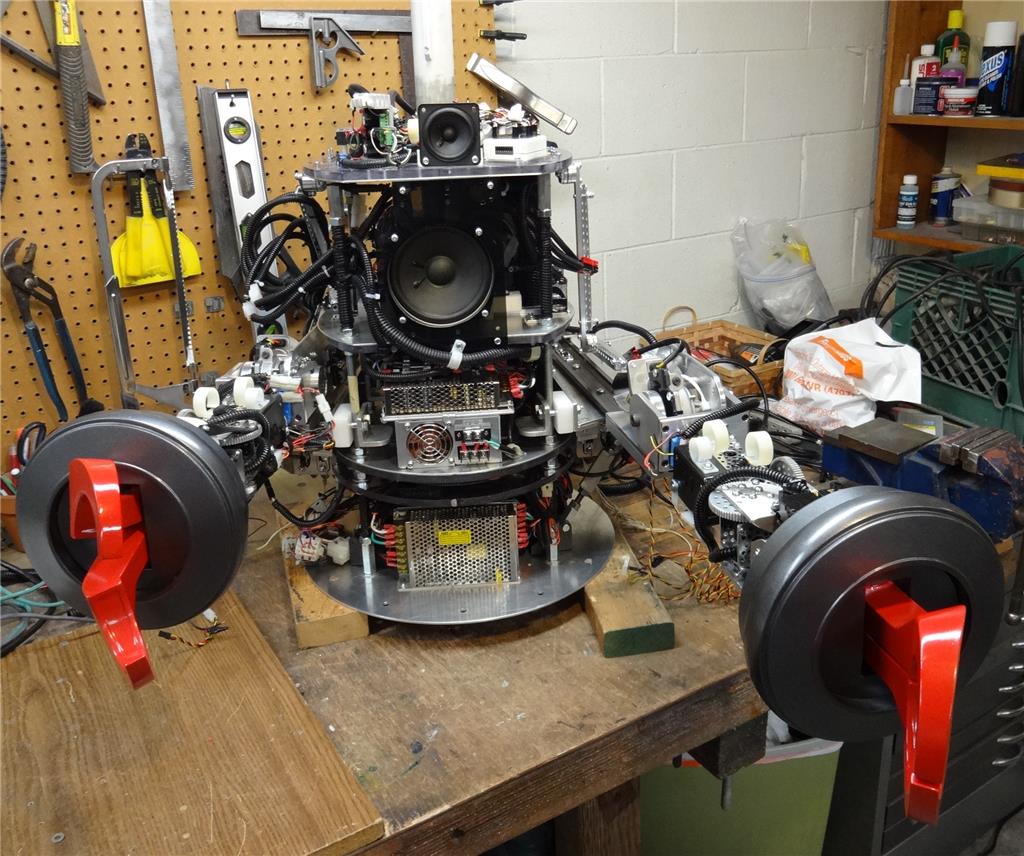
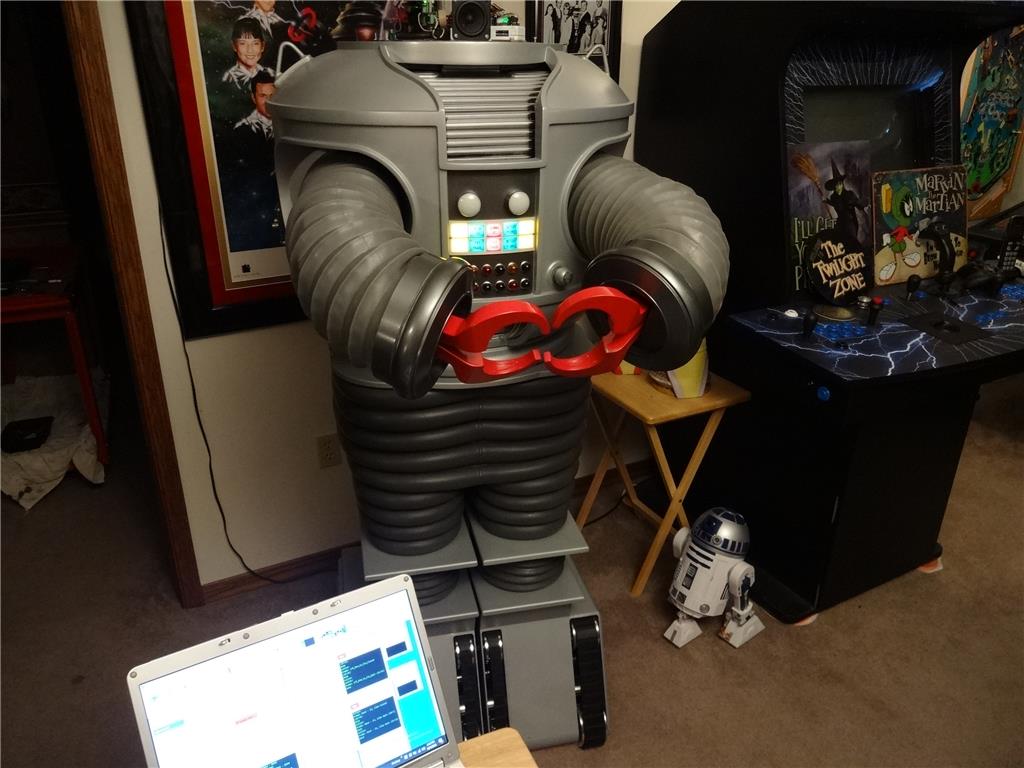
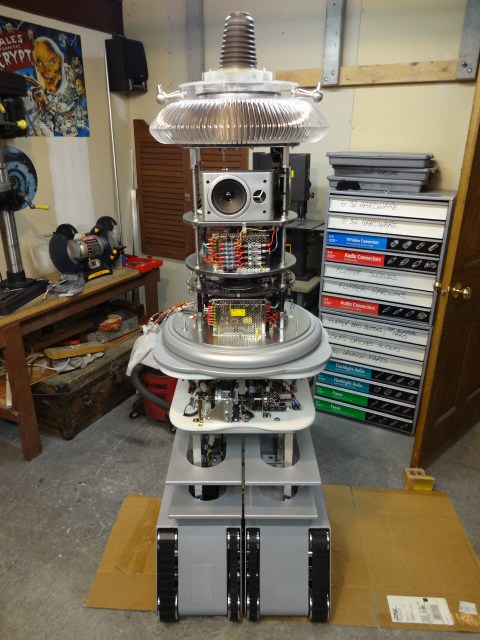
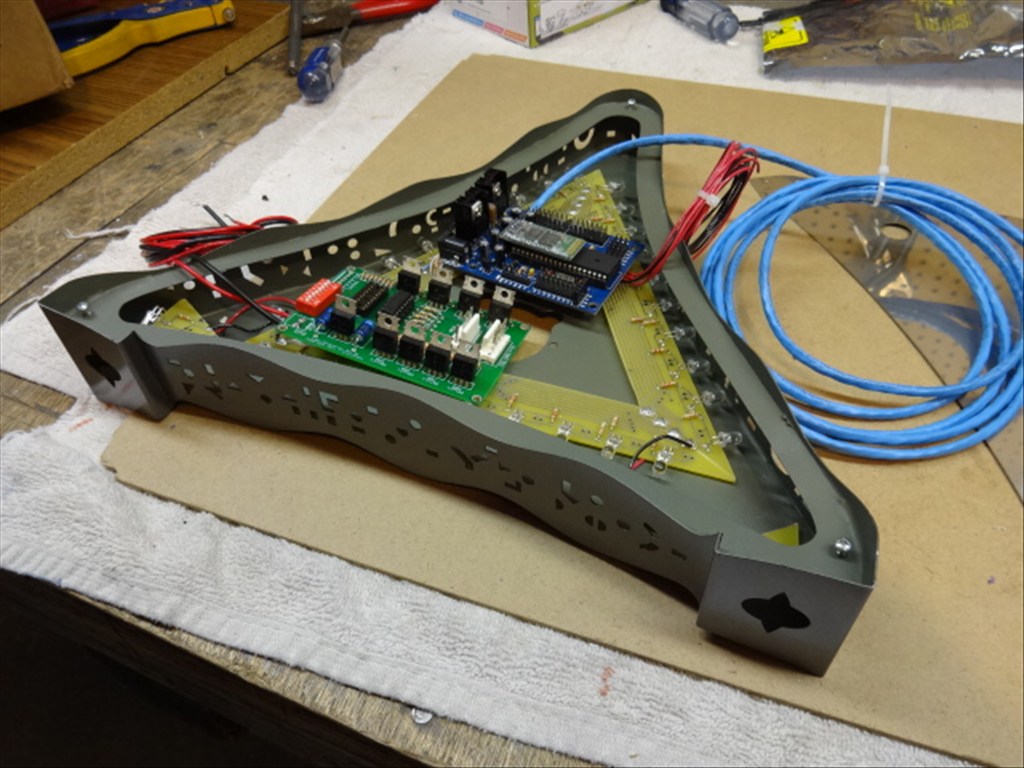
I'd like to share a video I just took of my full size Lost in Space B9 robot that's controlled by two EZ-B controller boards. Right now they are controlling limited movement and voice response of a few motors, lights and sound files played from a Sparkfun MP3 Trigger board. Although I'm just starting with the animation and have more building on the actual robot the result (mostly thanks to the EZ Robot controller board) is shocking. Please have a look at this (4 minute) You Tube vid and enjoy.
Please excuse some Technical camera lighting and sound issues. This is the first time I'd made and posted a vid online.
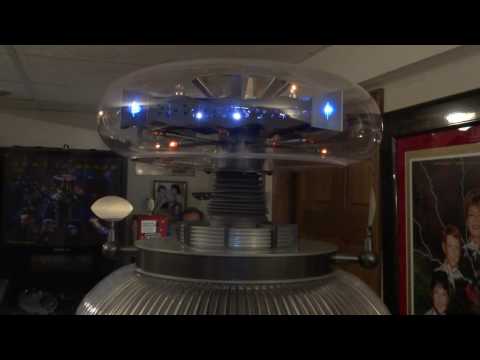
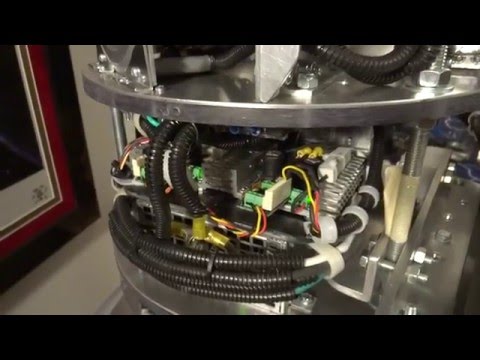
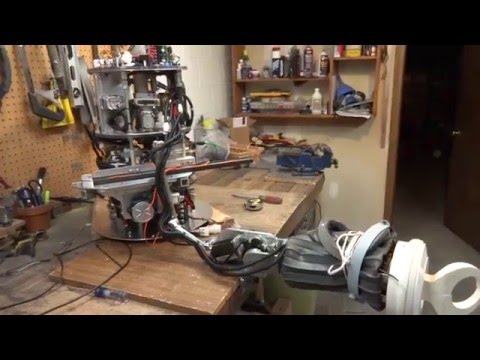
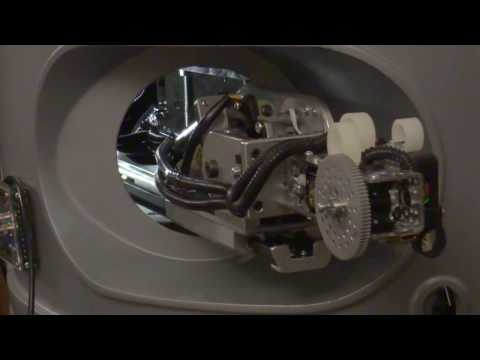
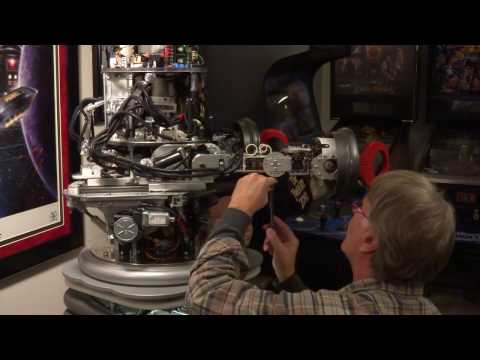
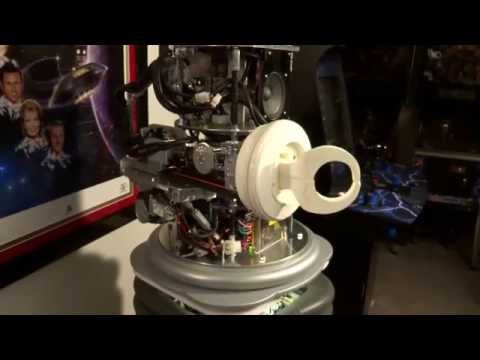
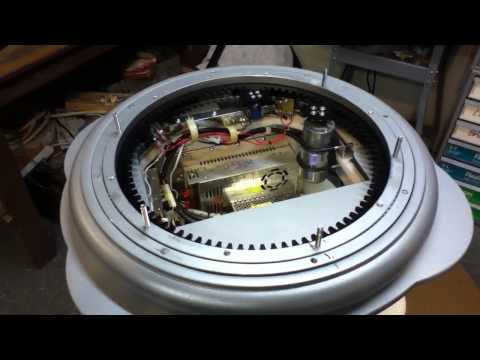
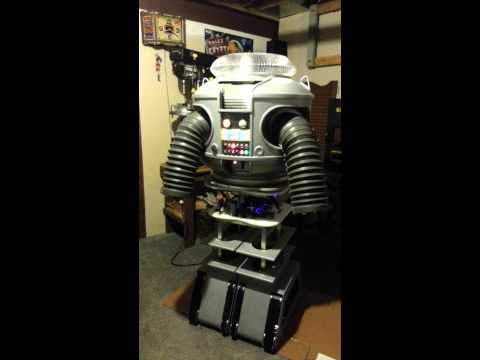
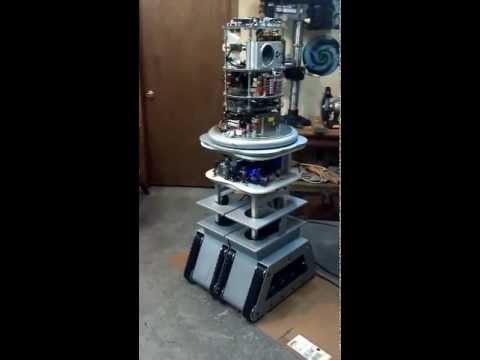
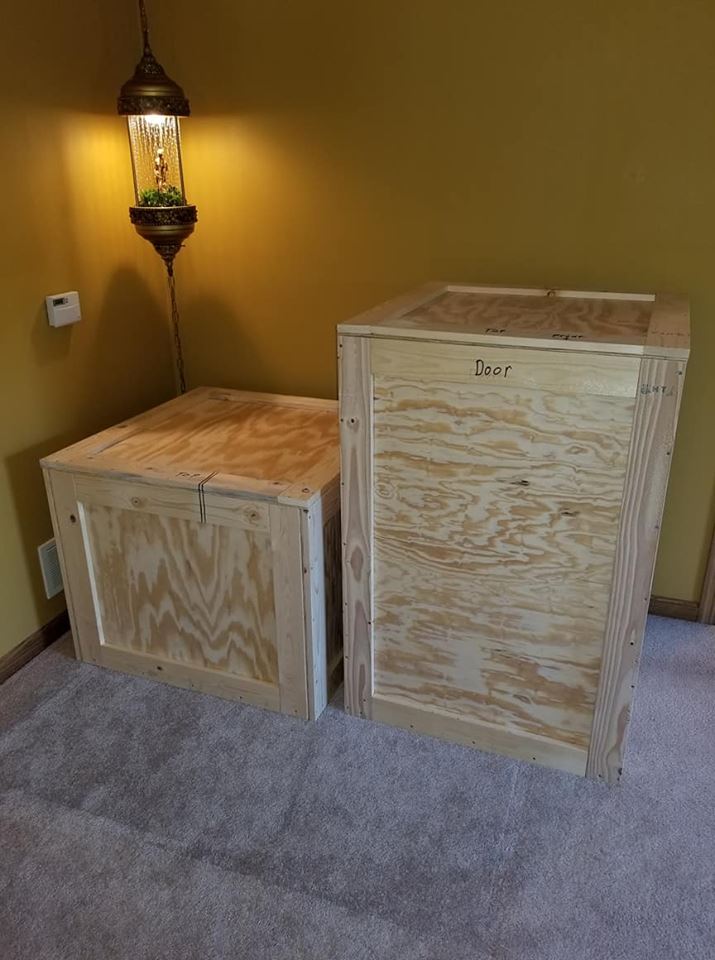
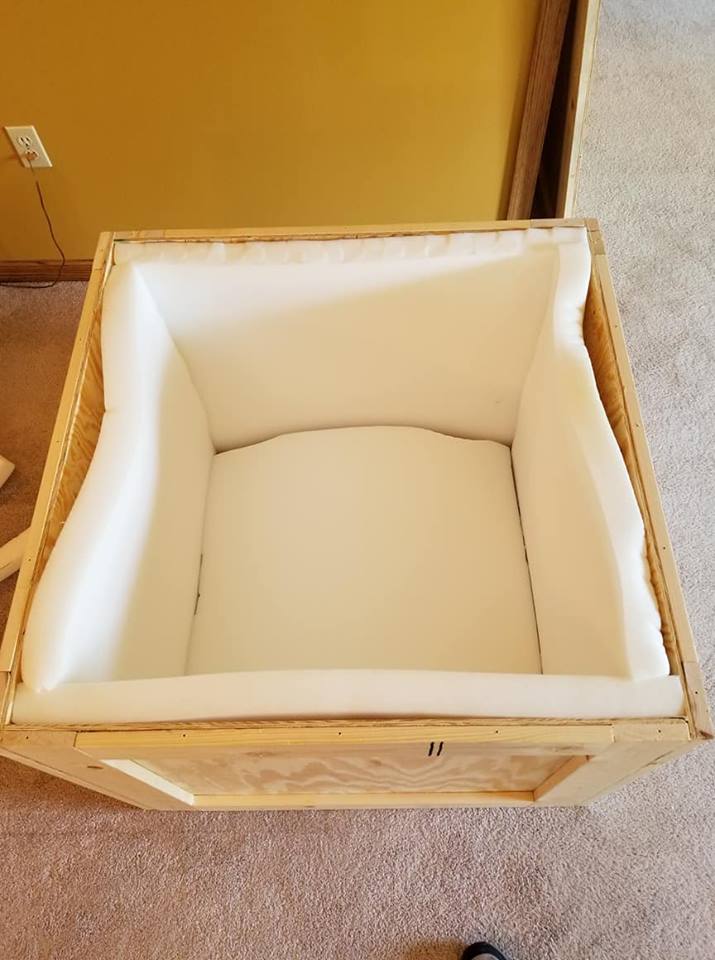
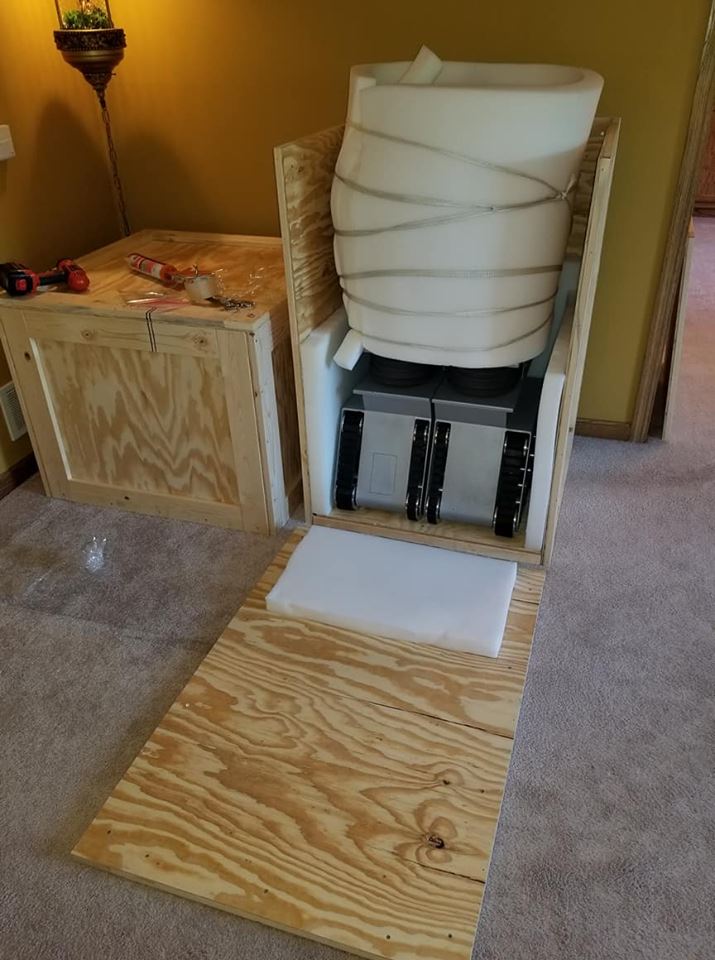
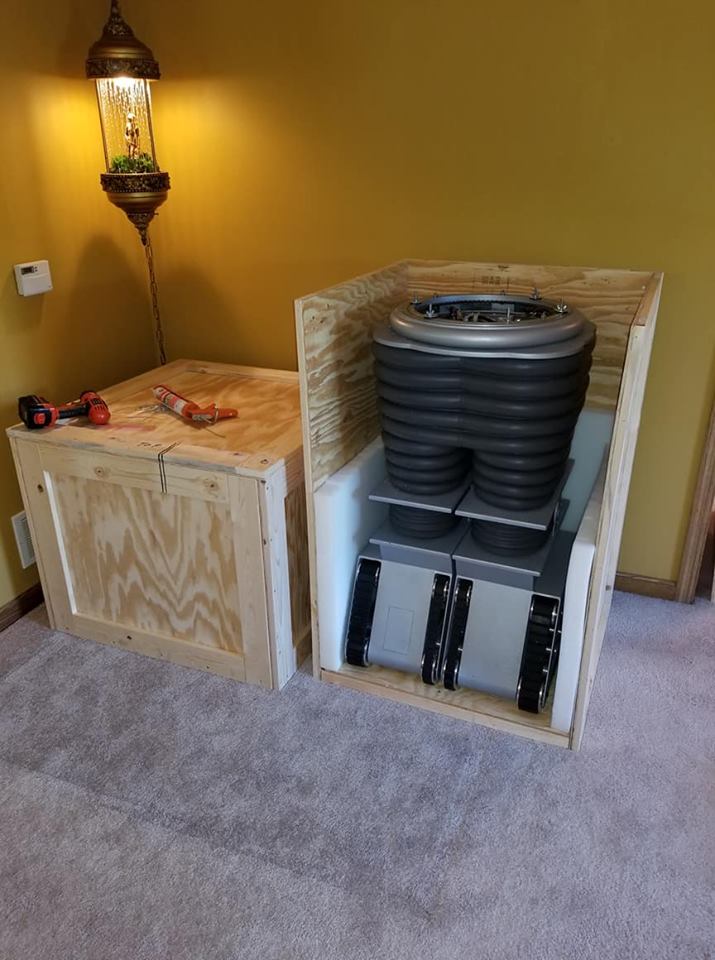
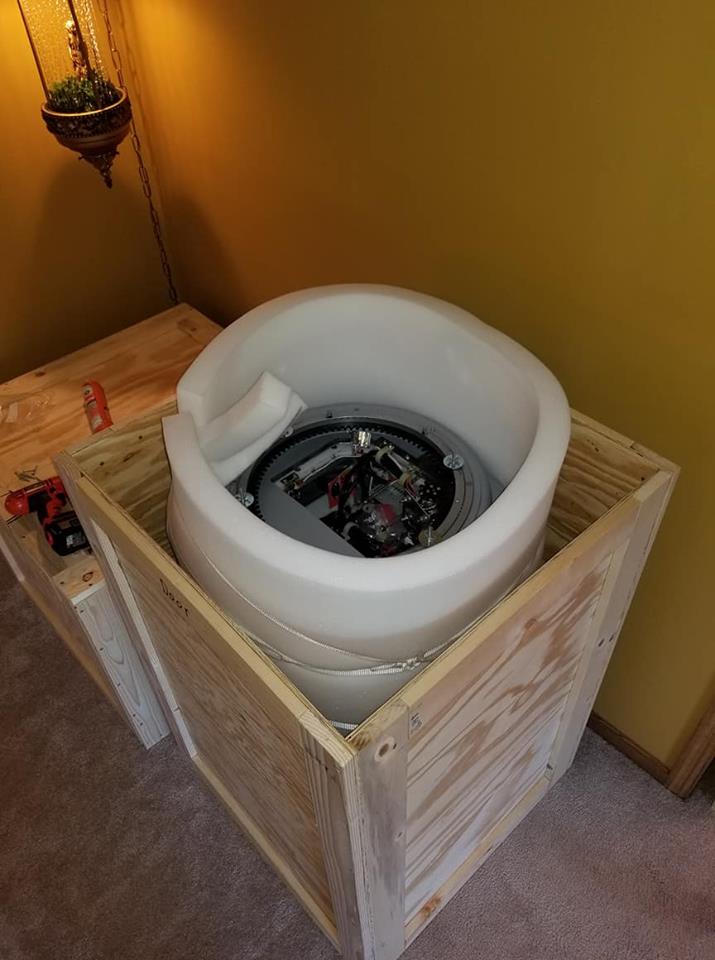
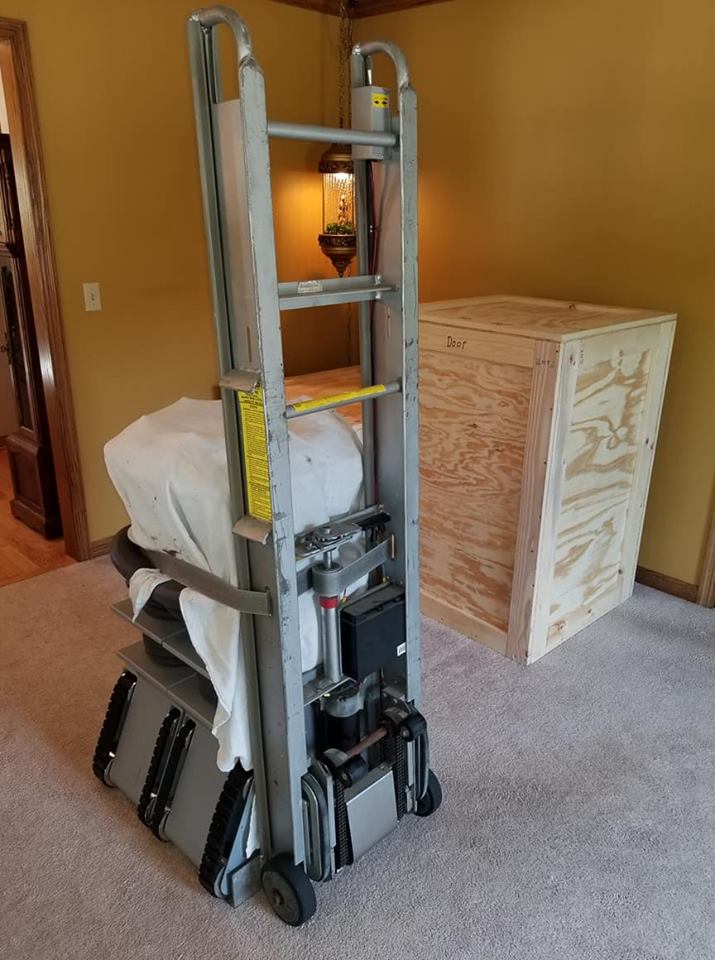
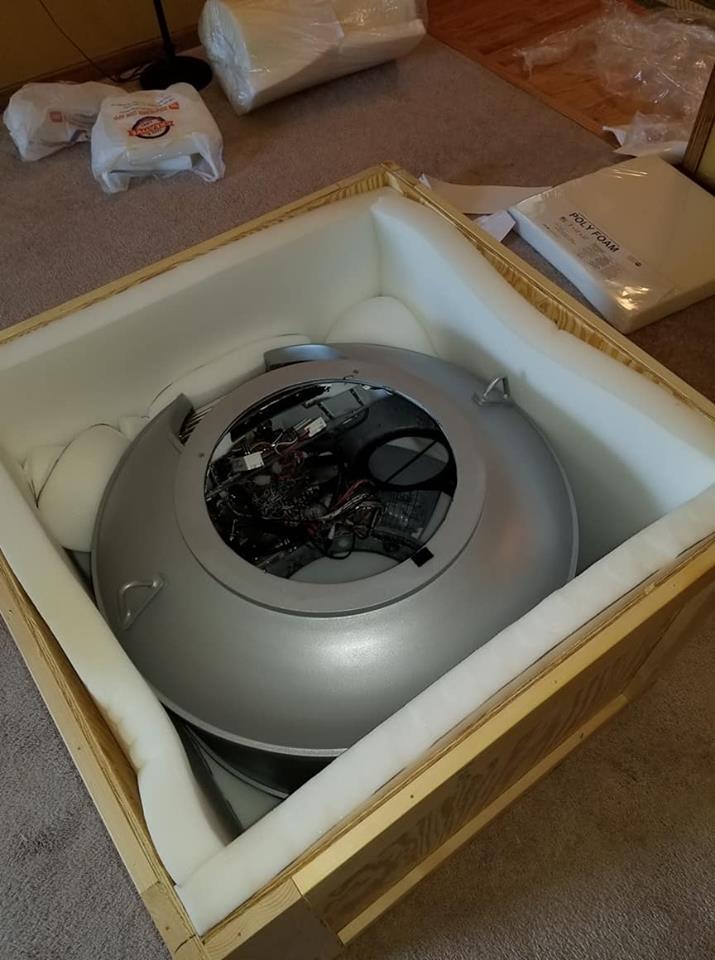
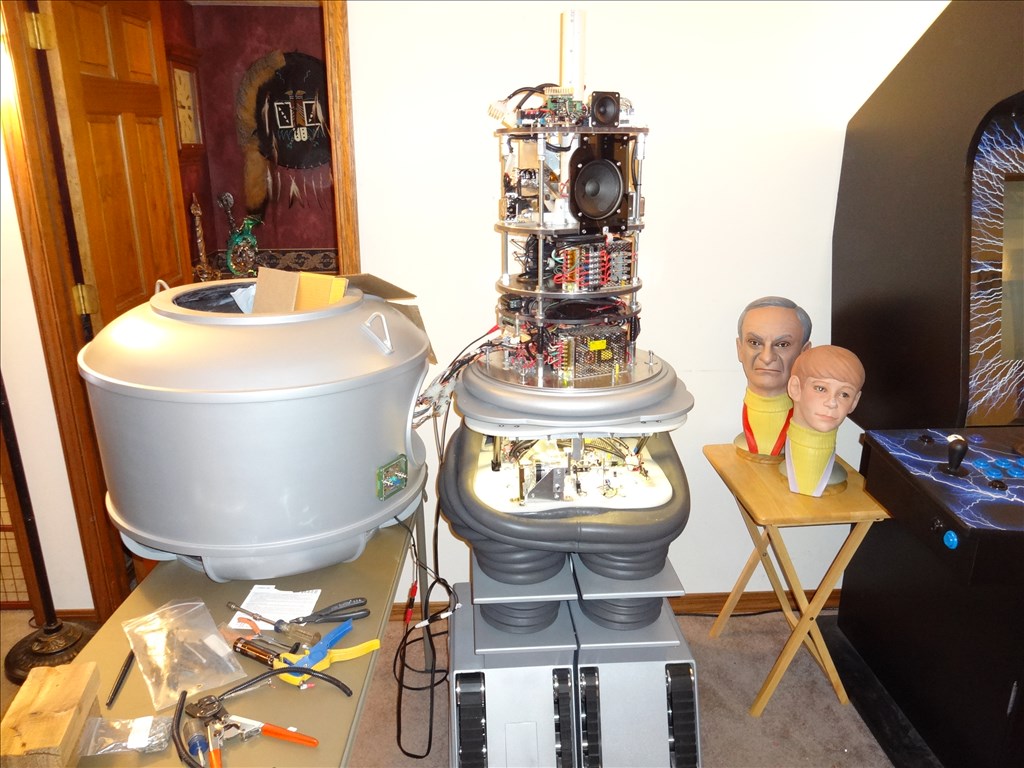
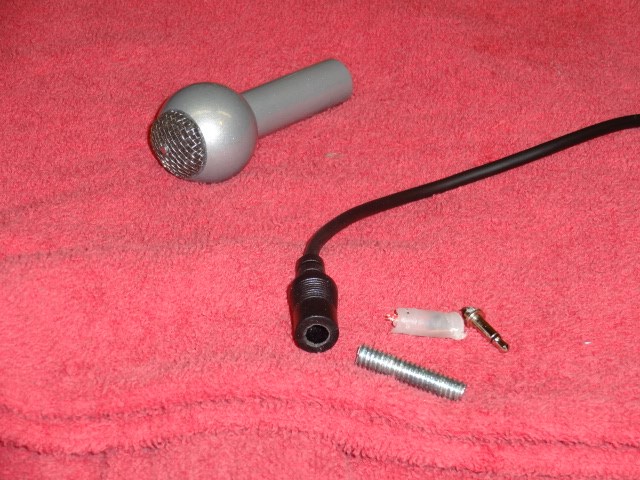
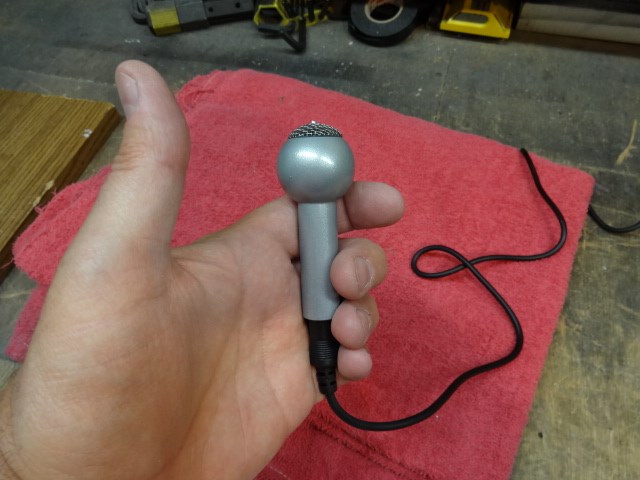
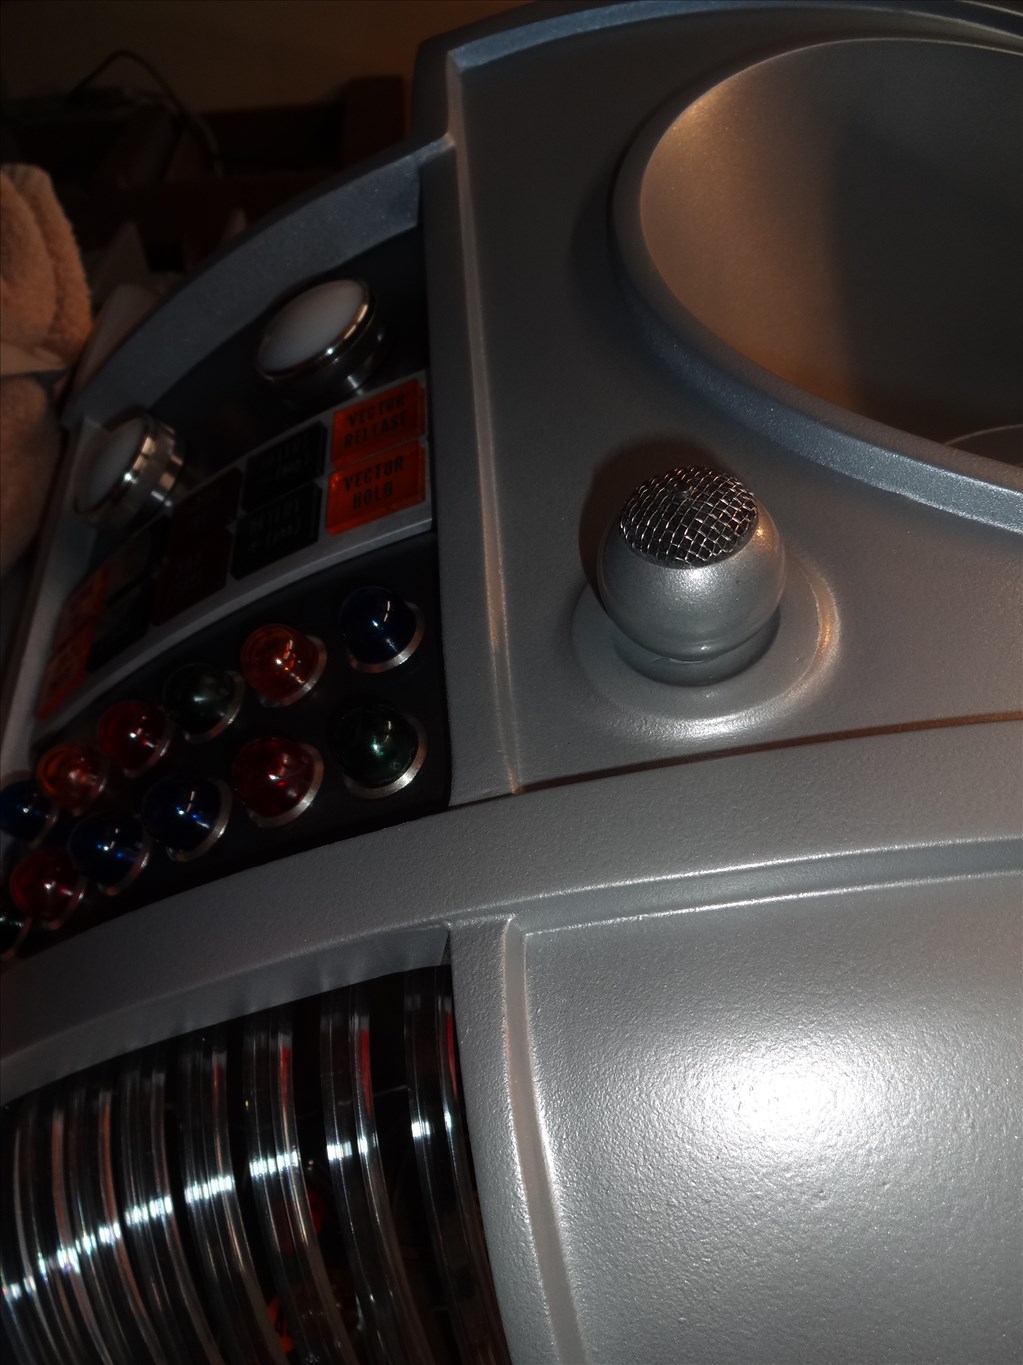
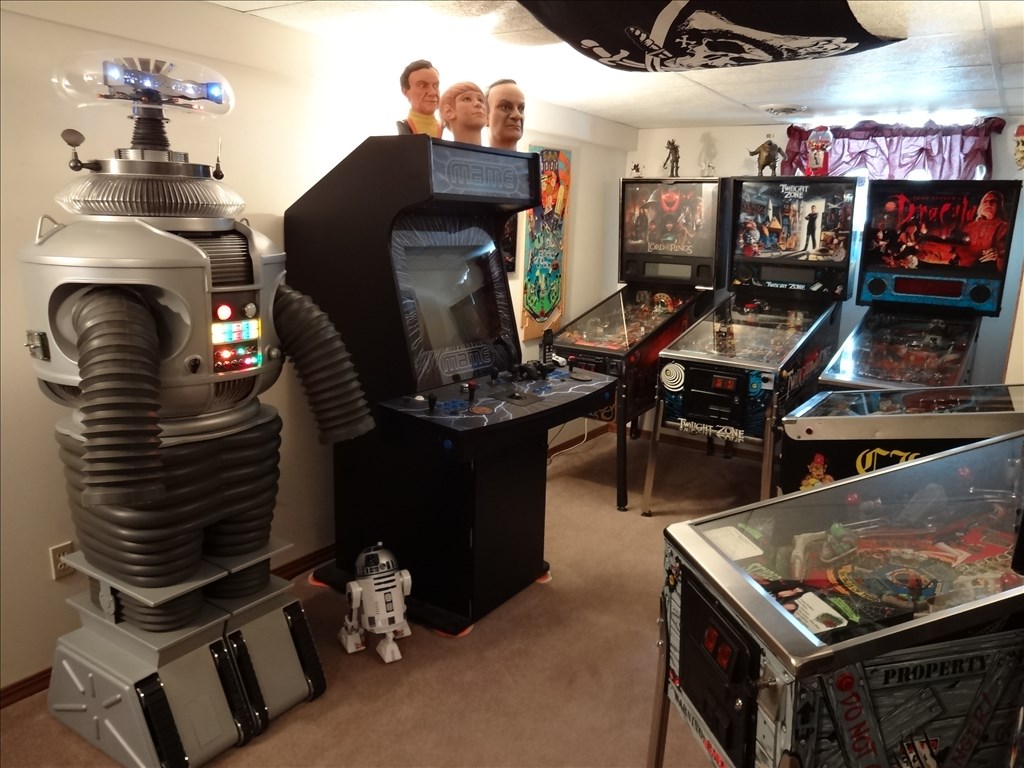
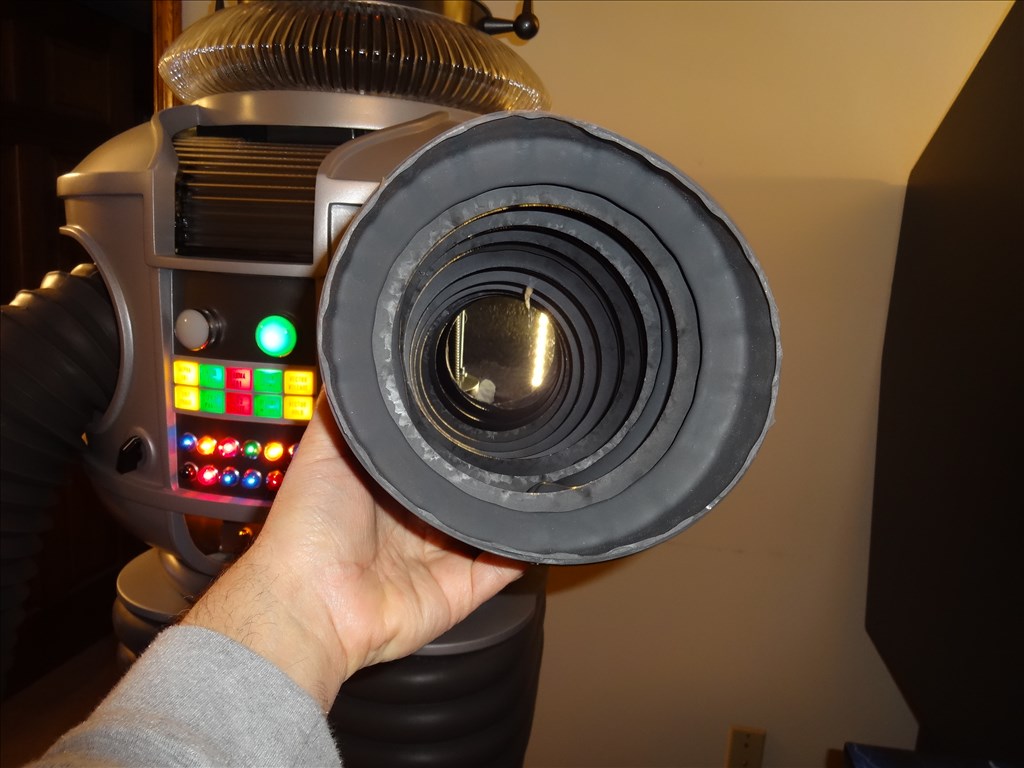
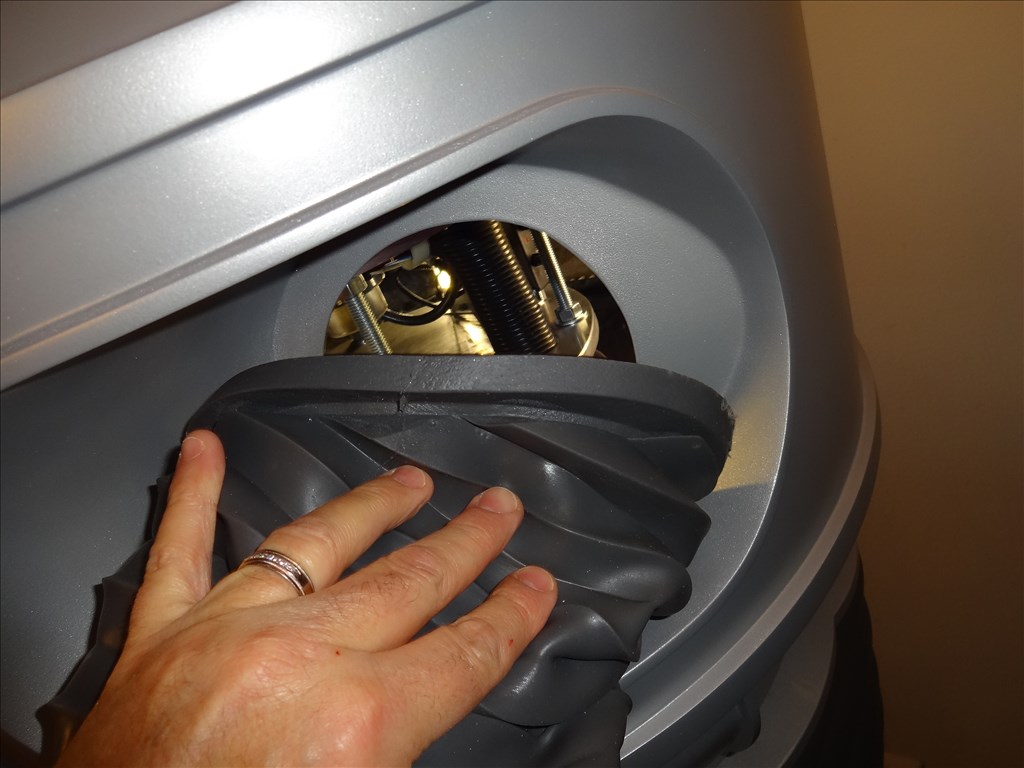
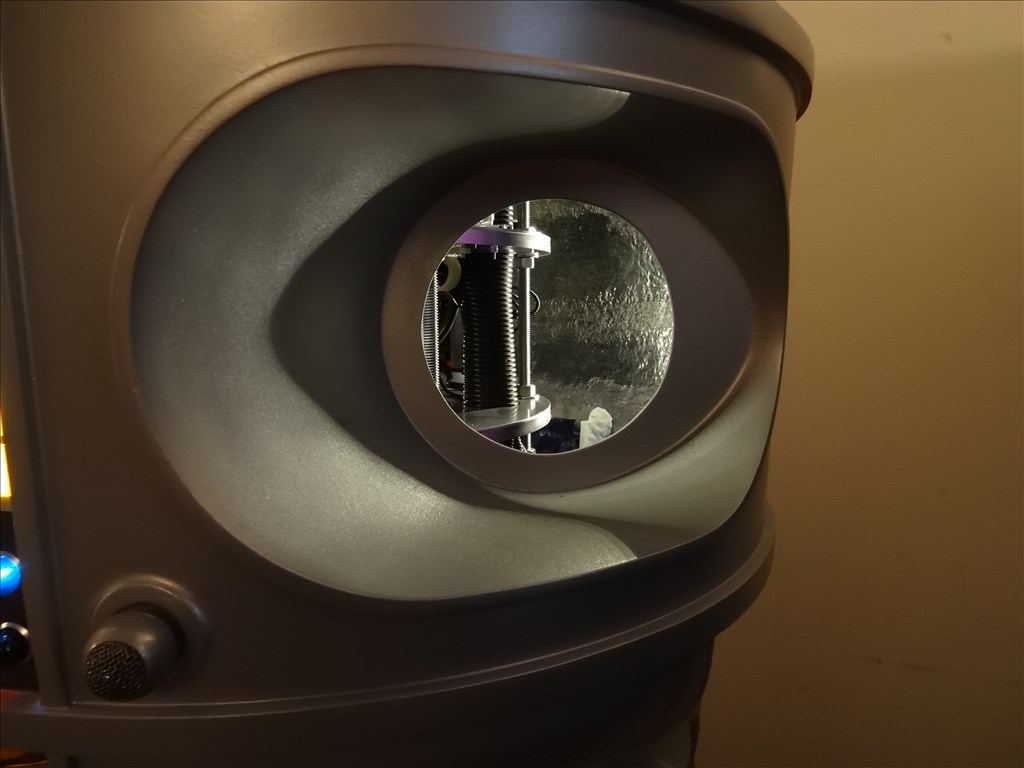
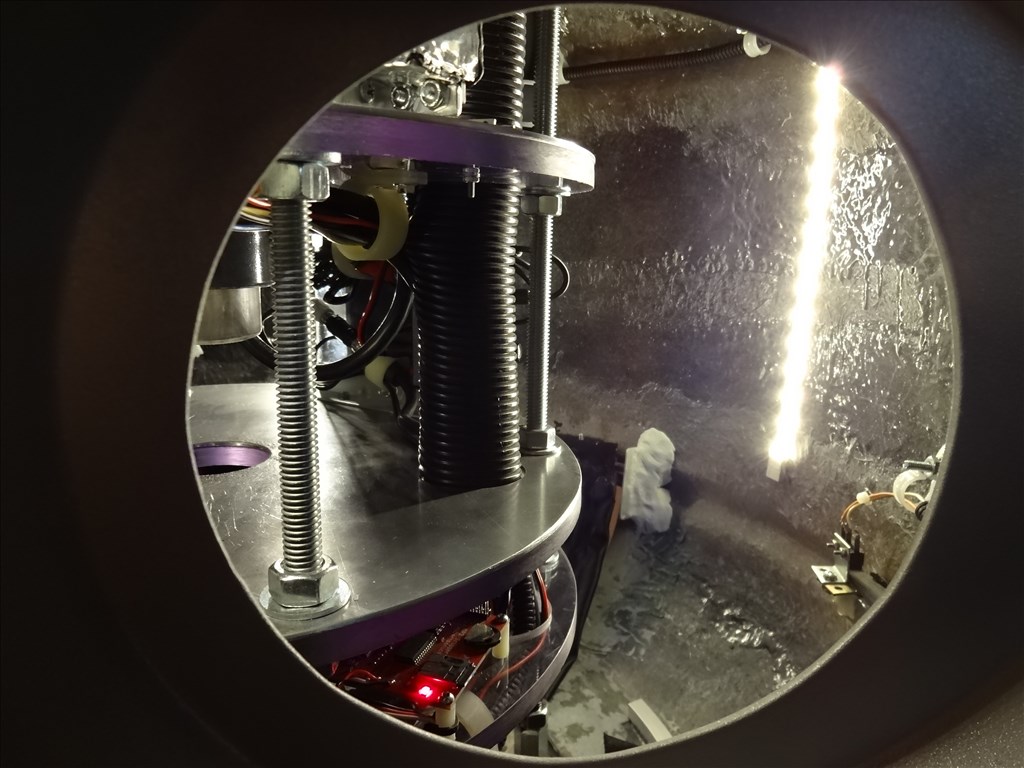
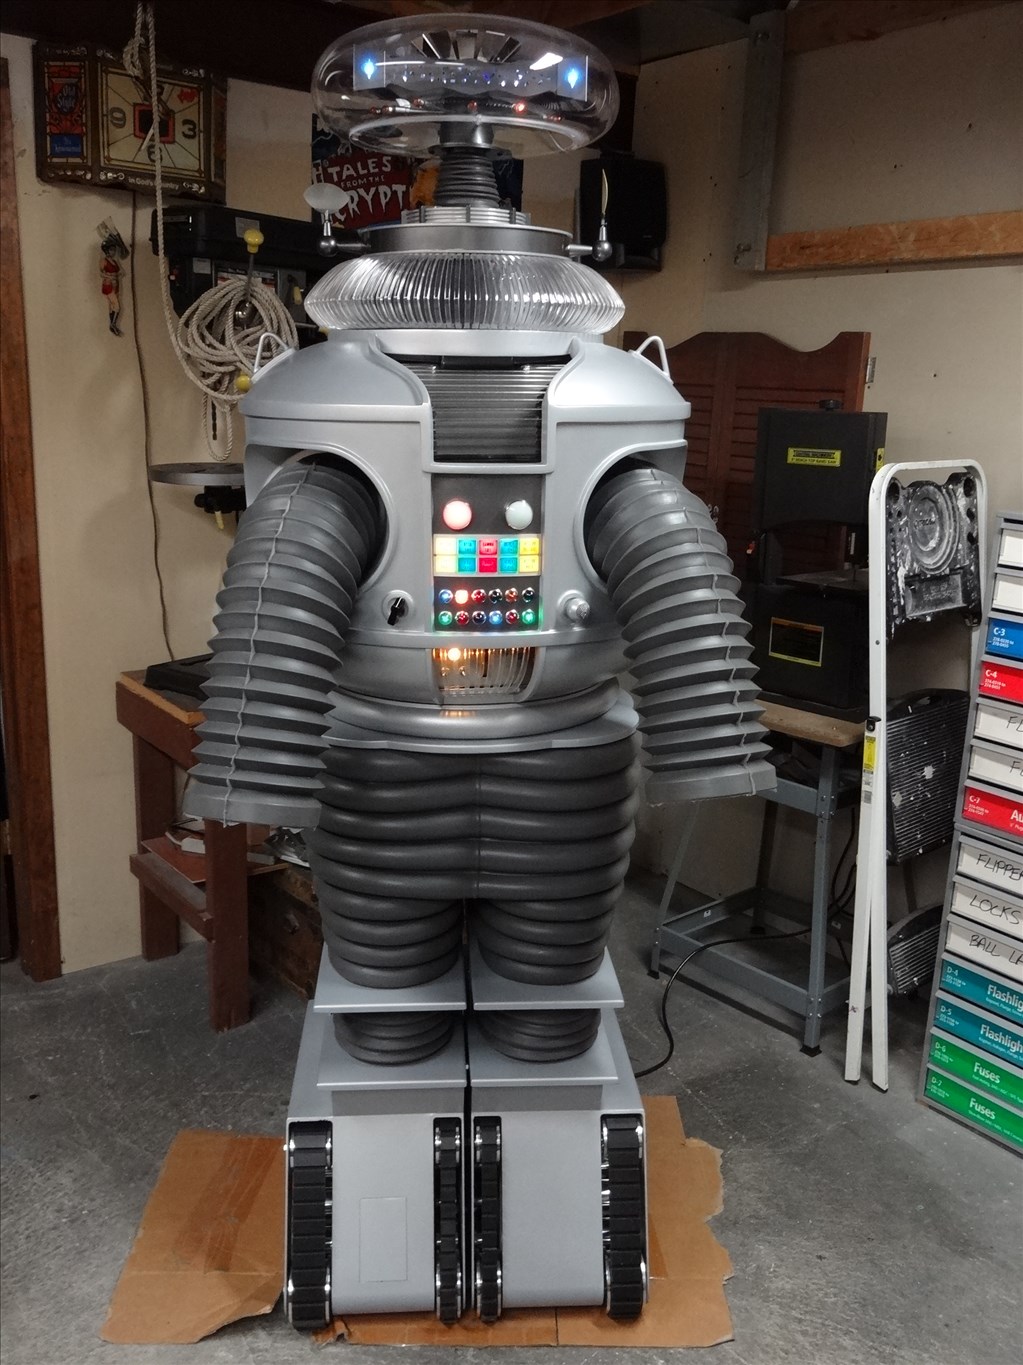
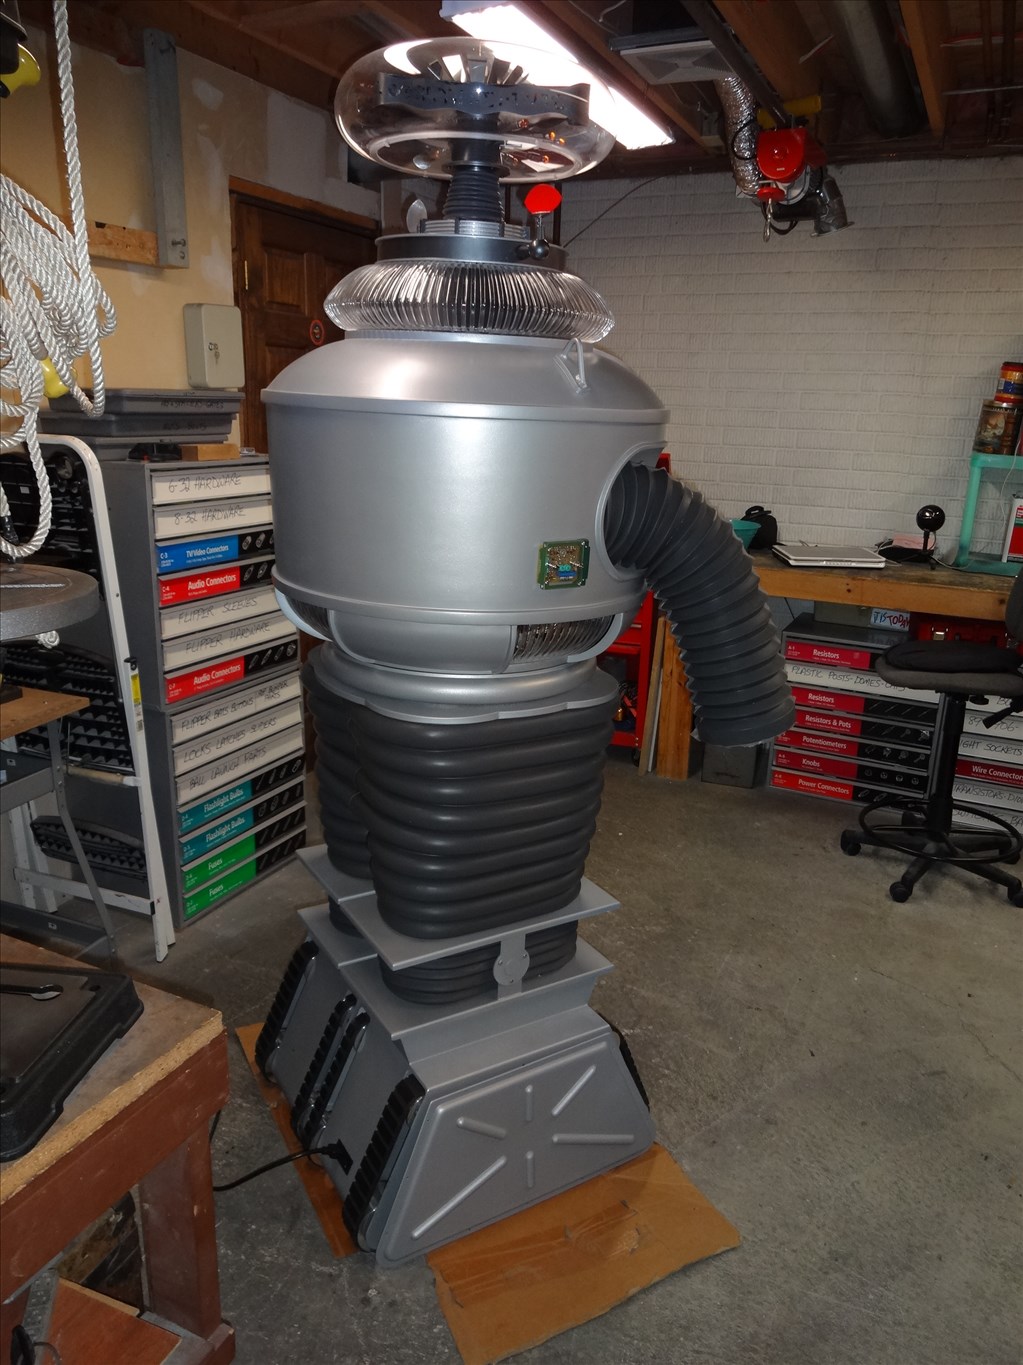
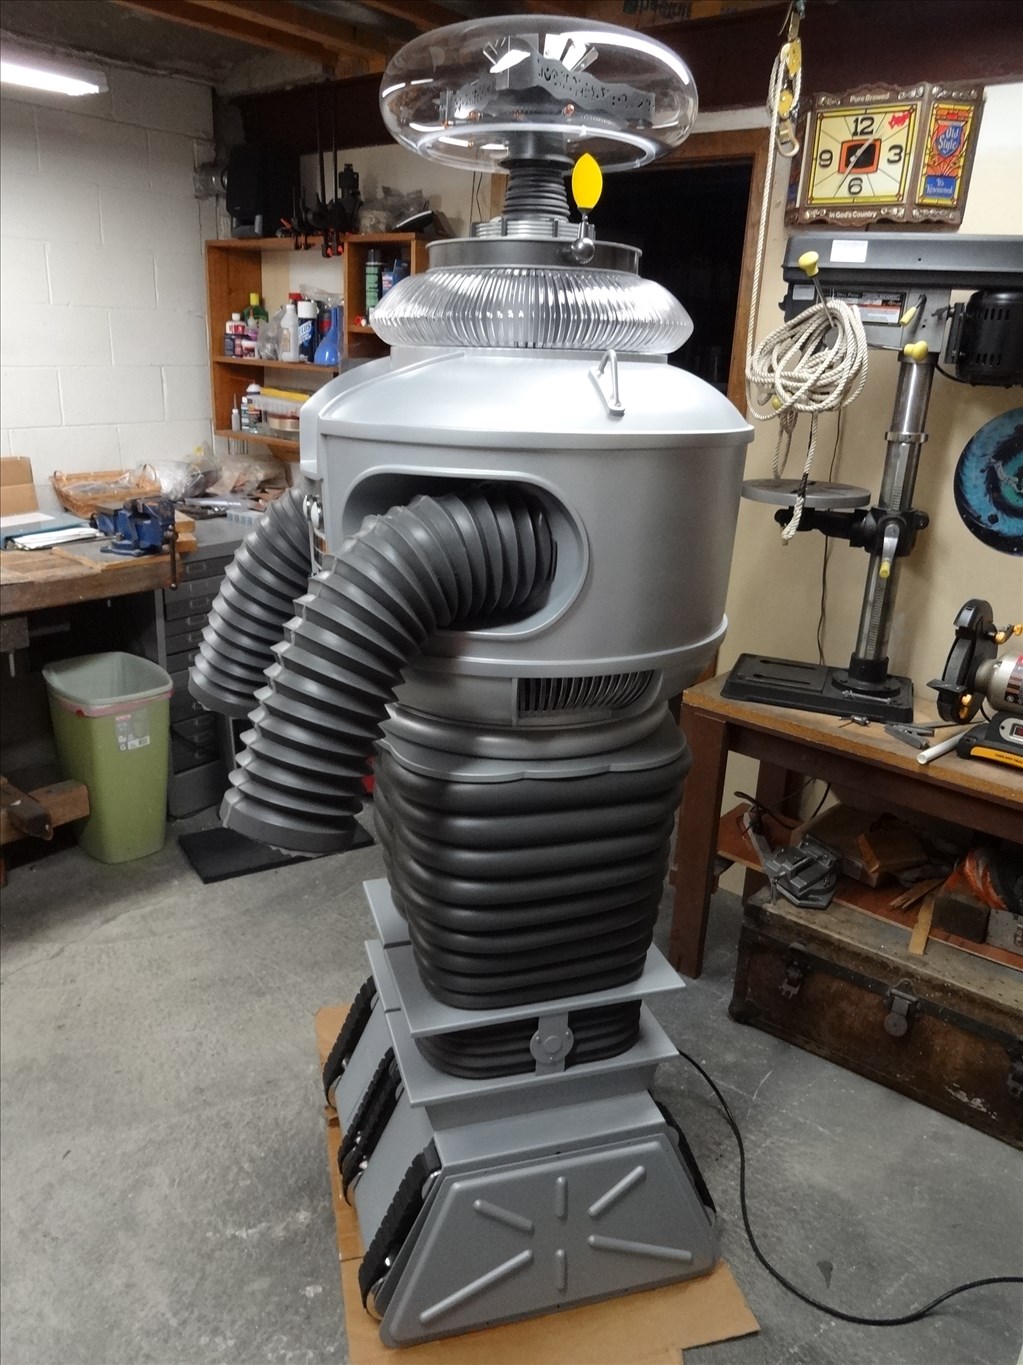
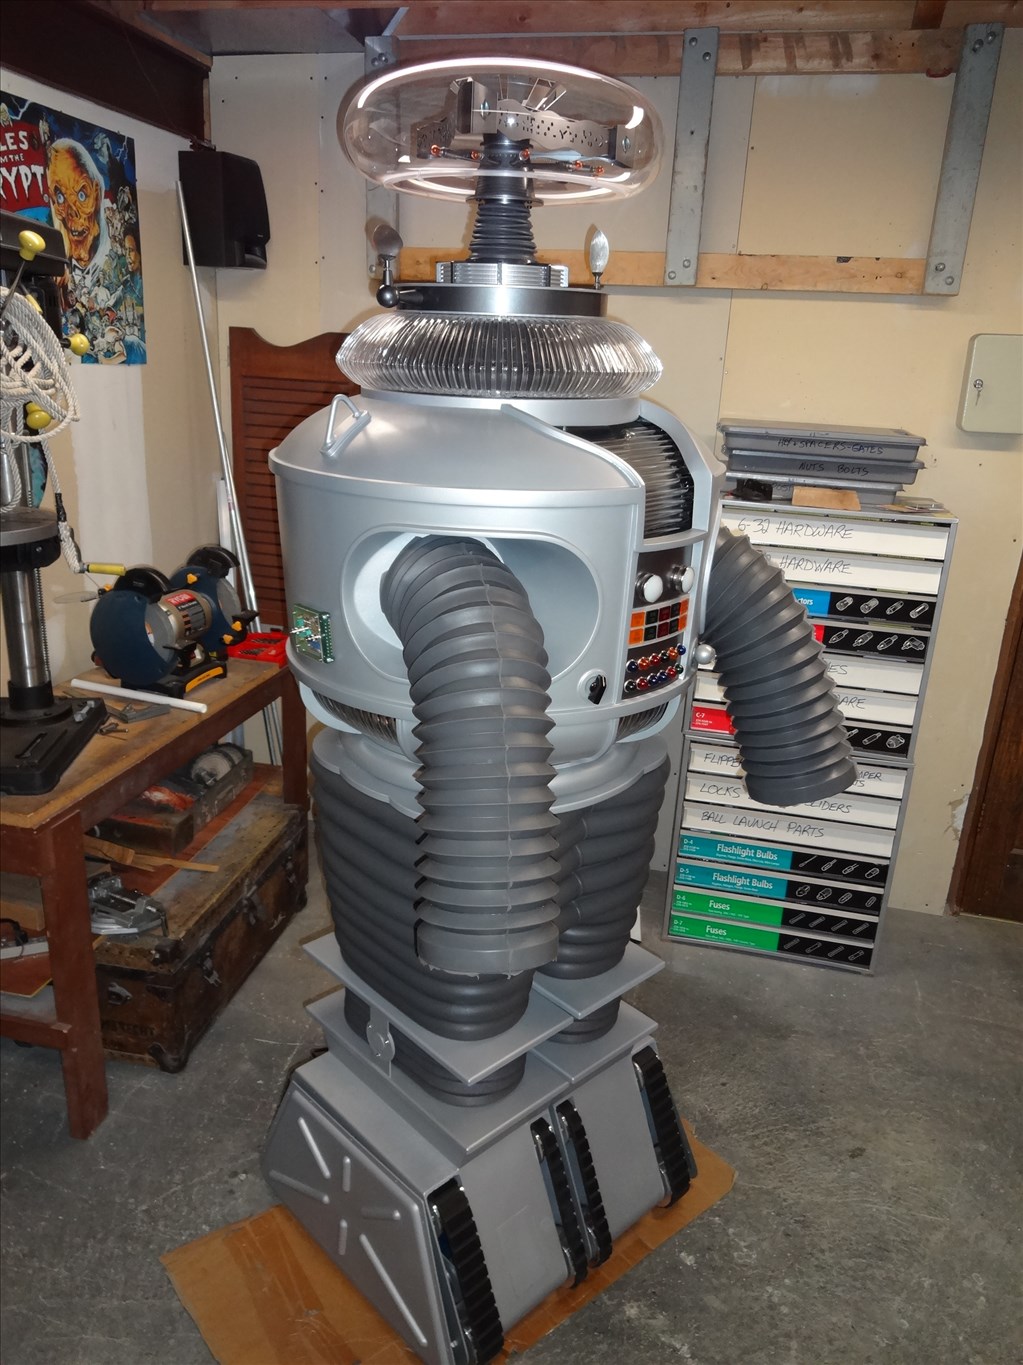
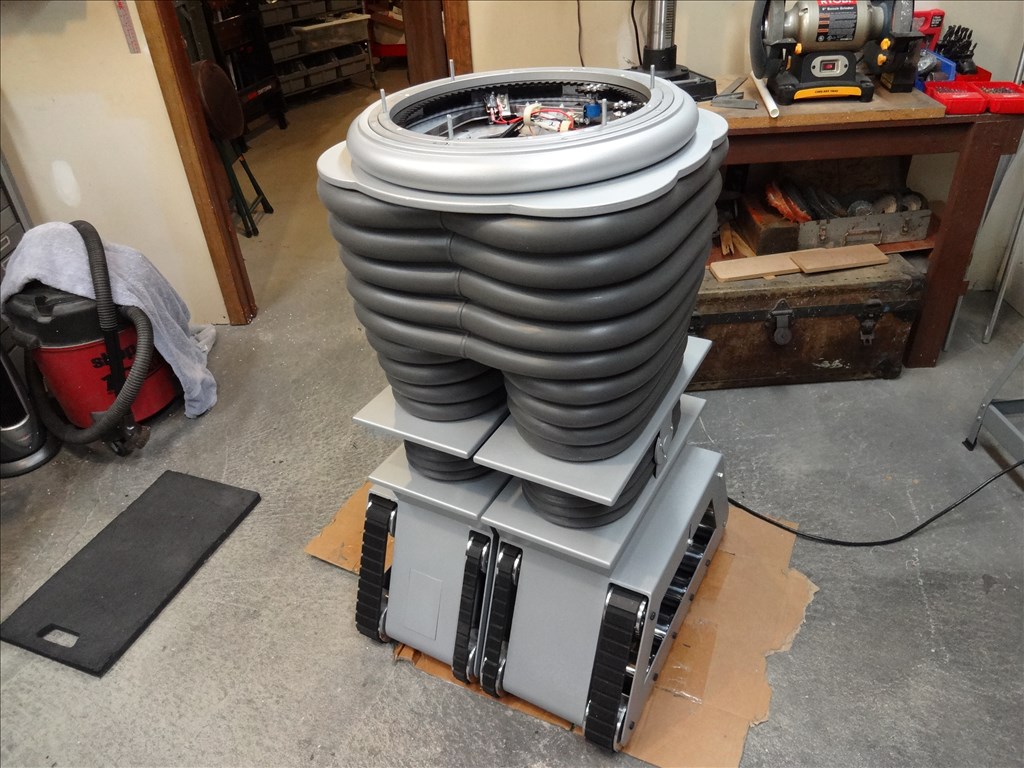
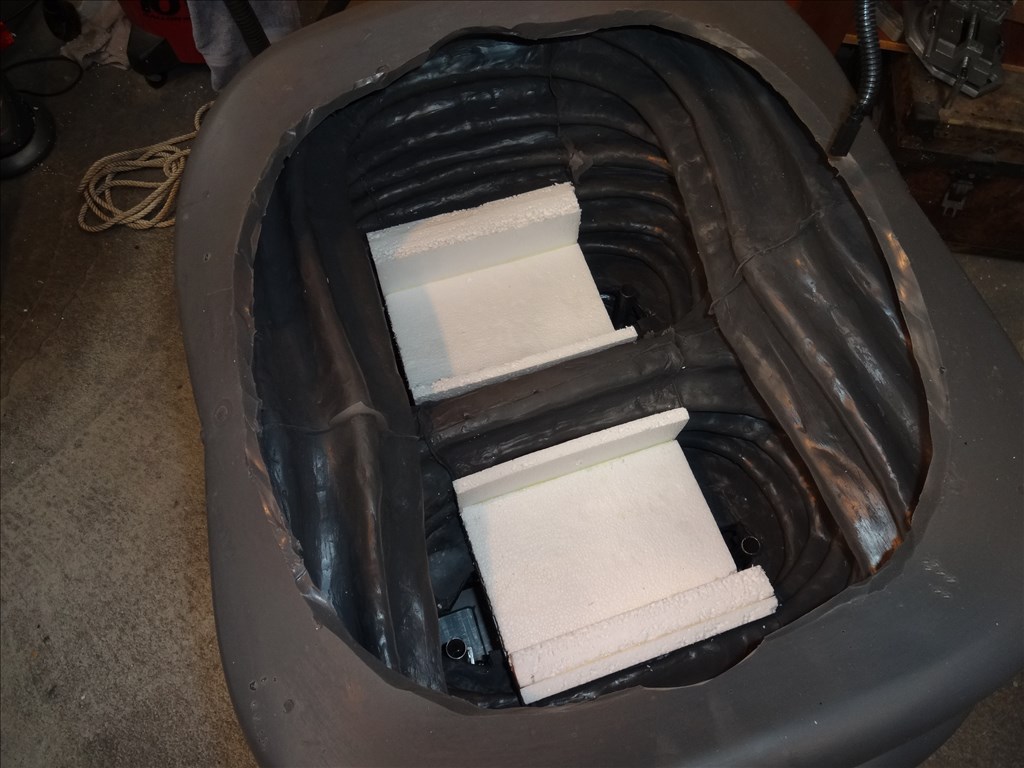
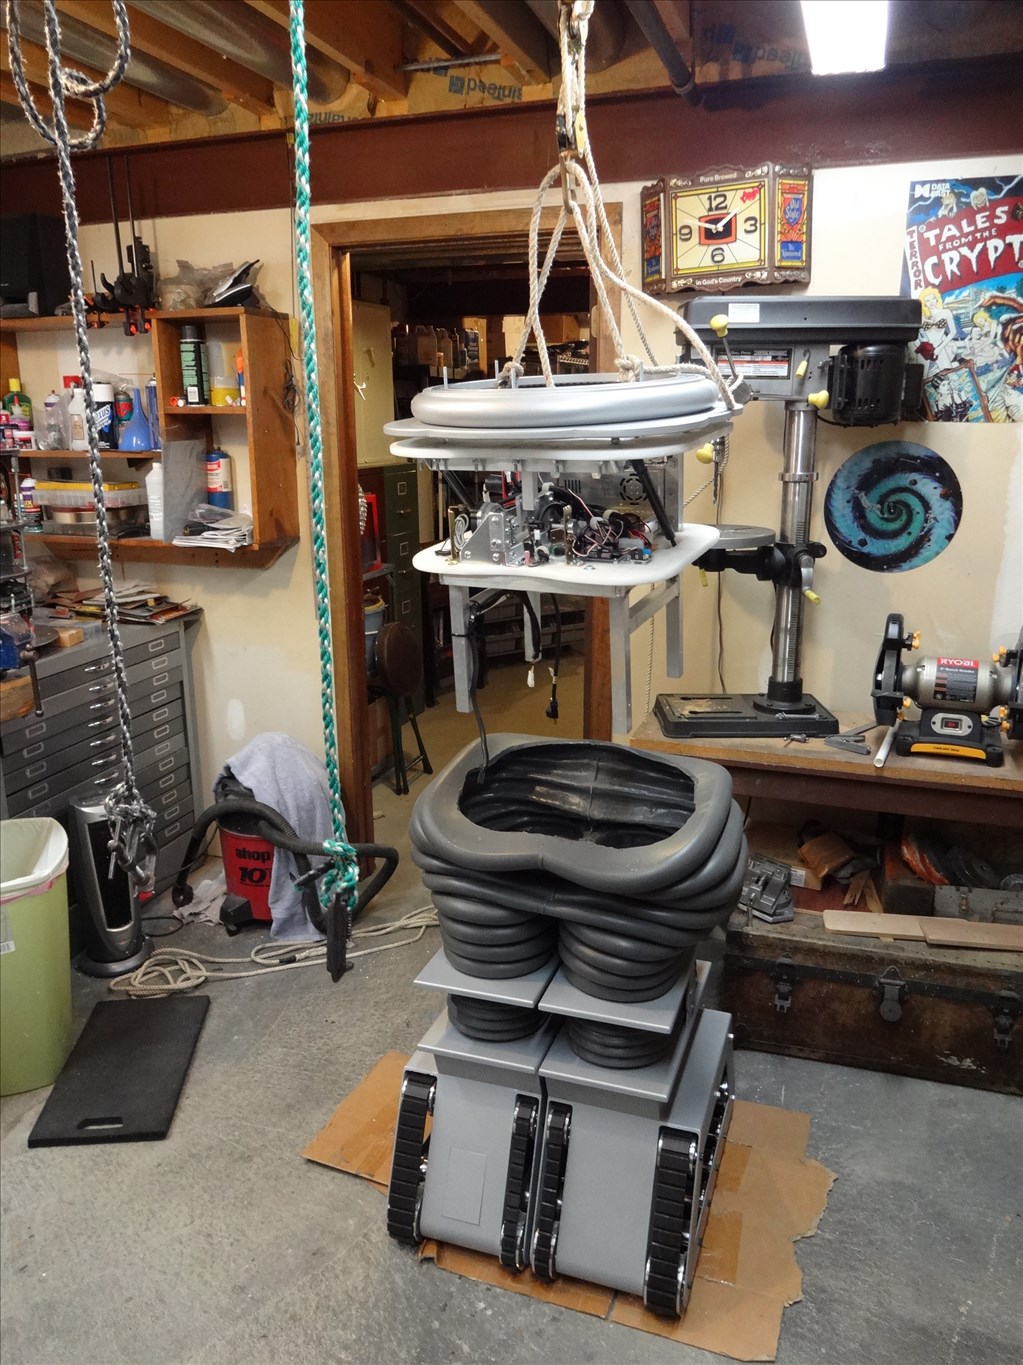
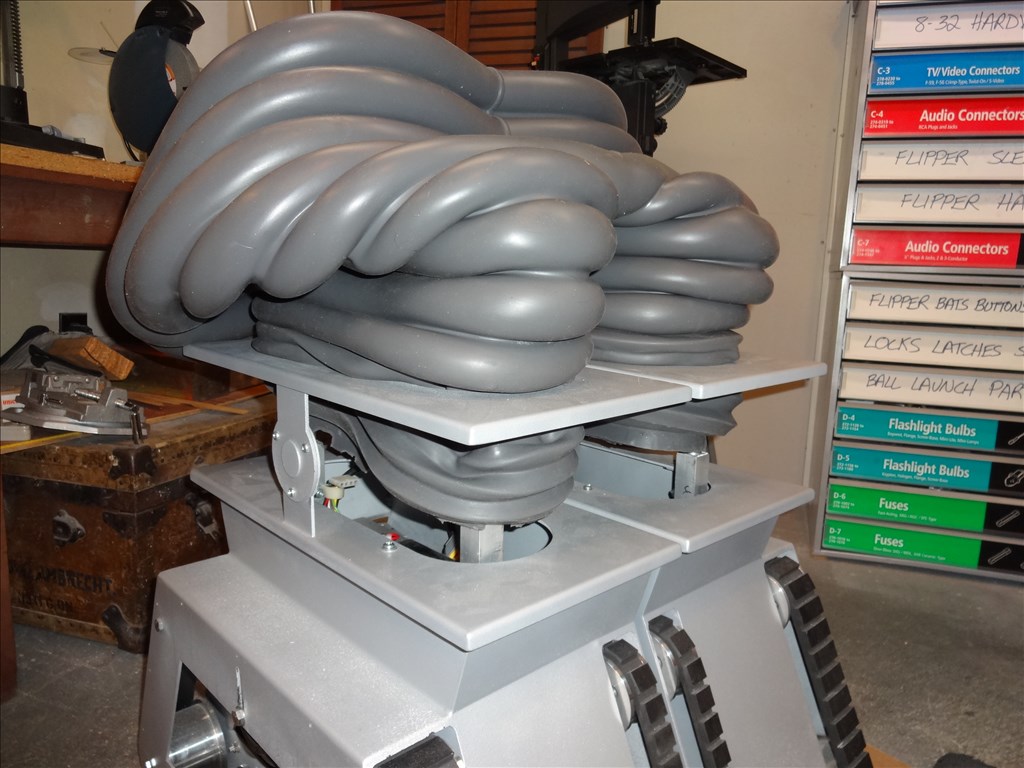
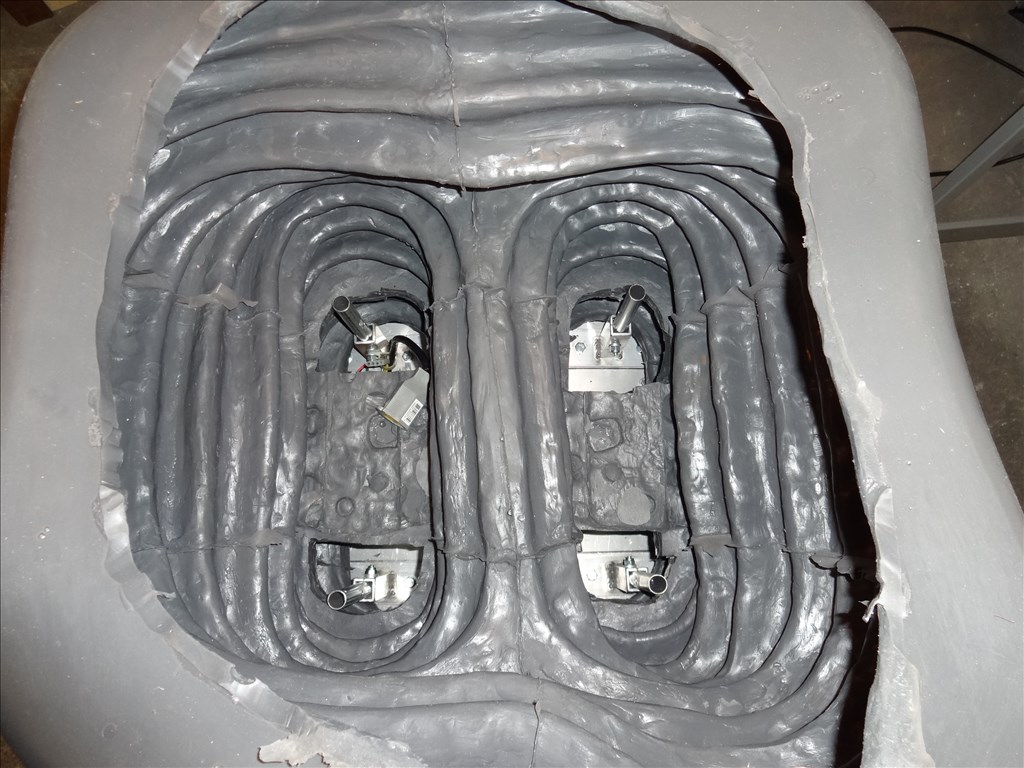
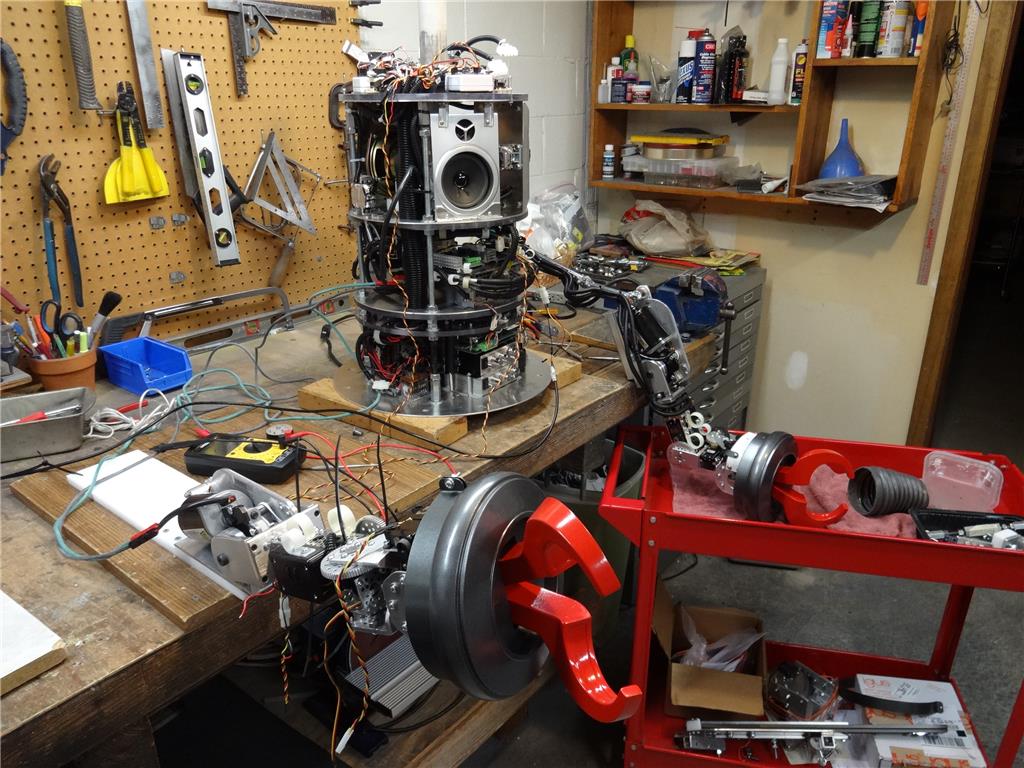
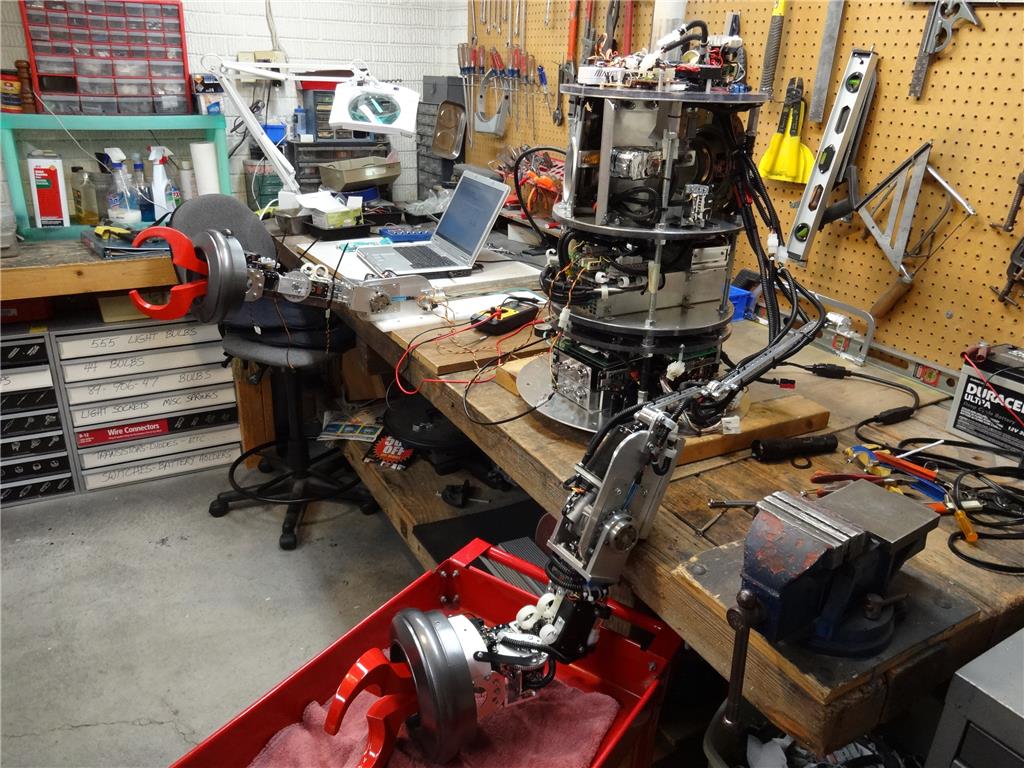
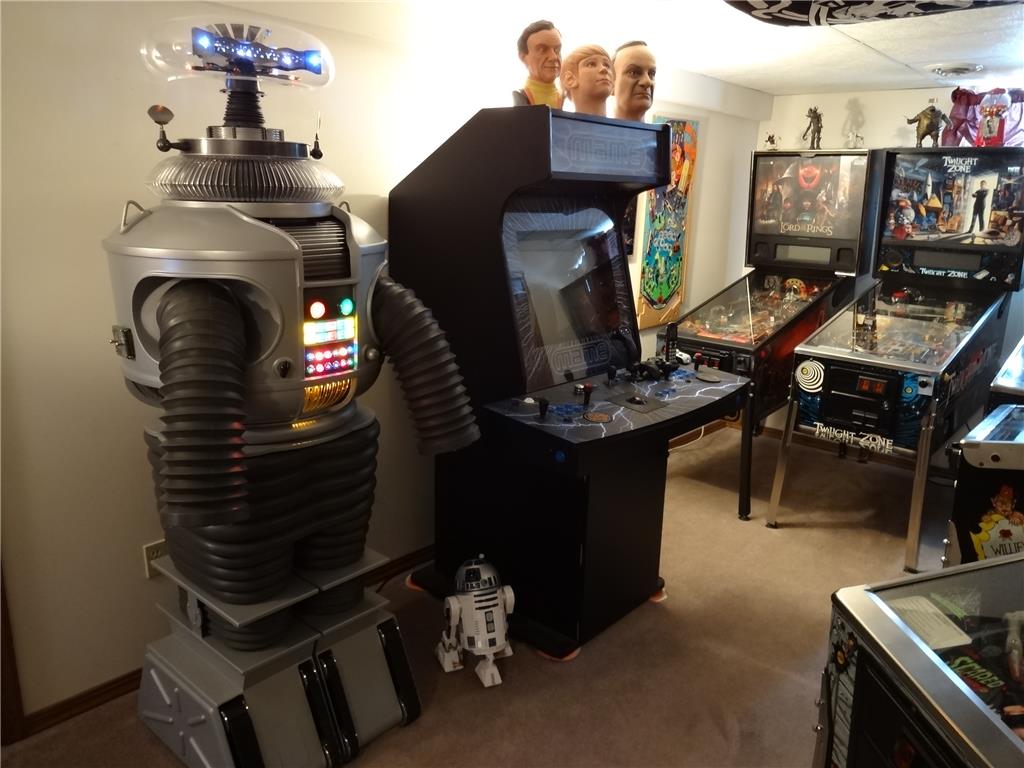
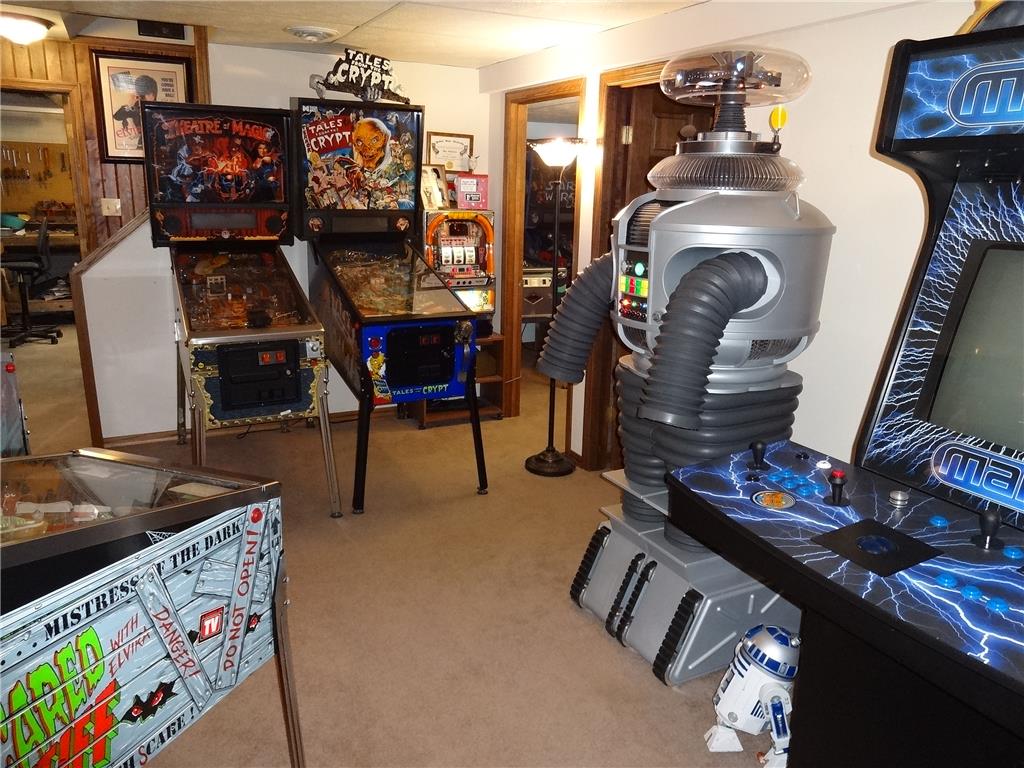
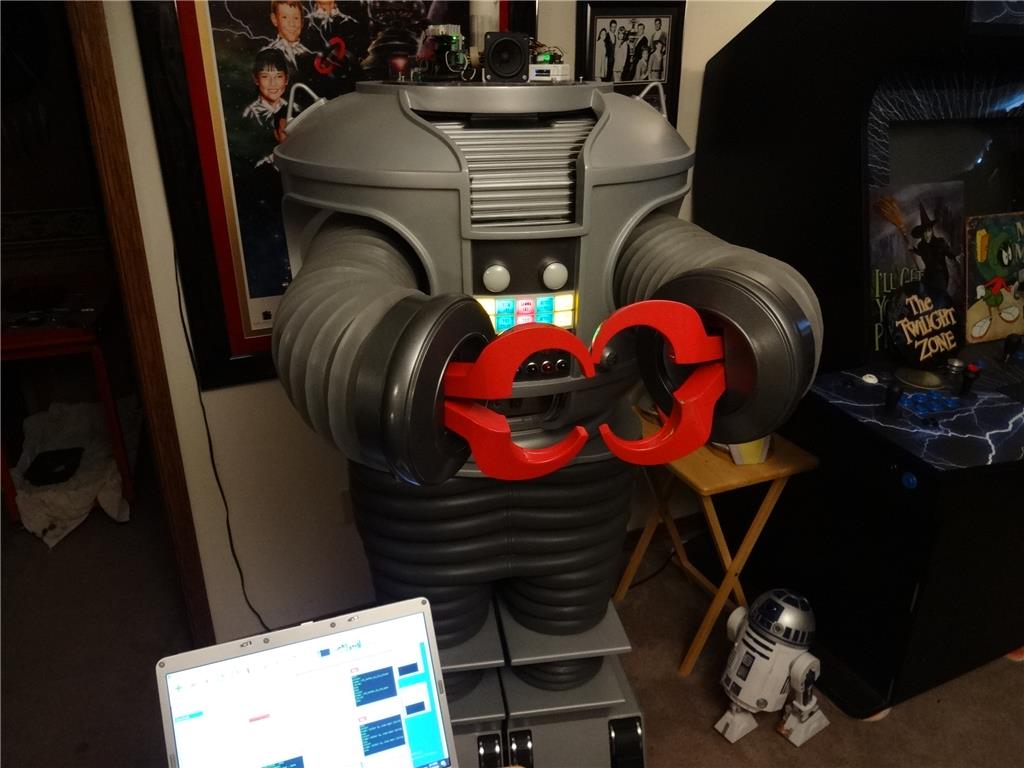
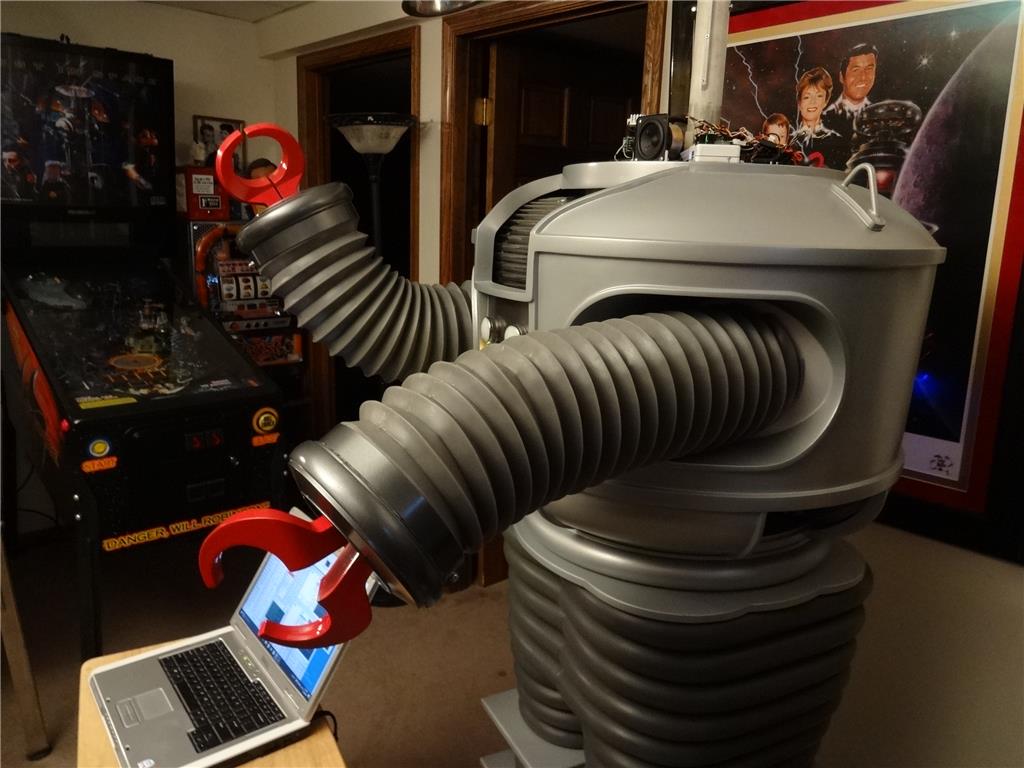
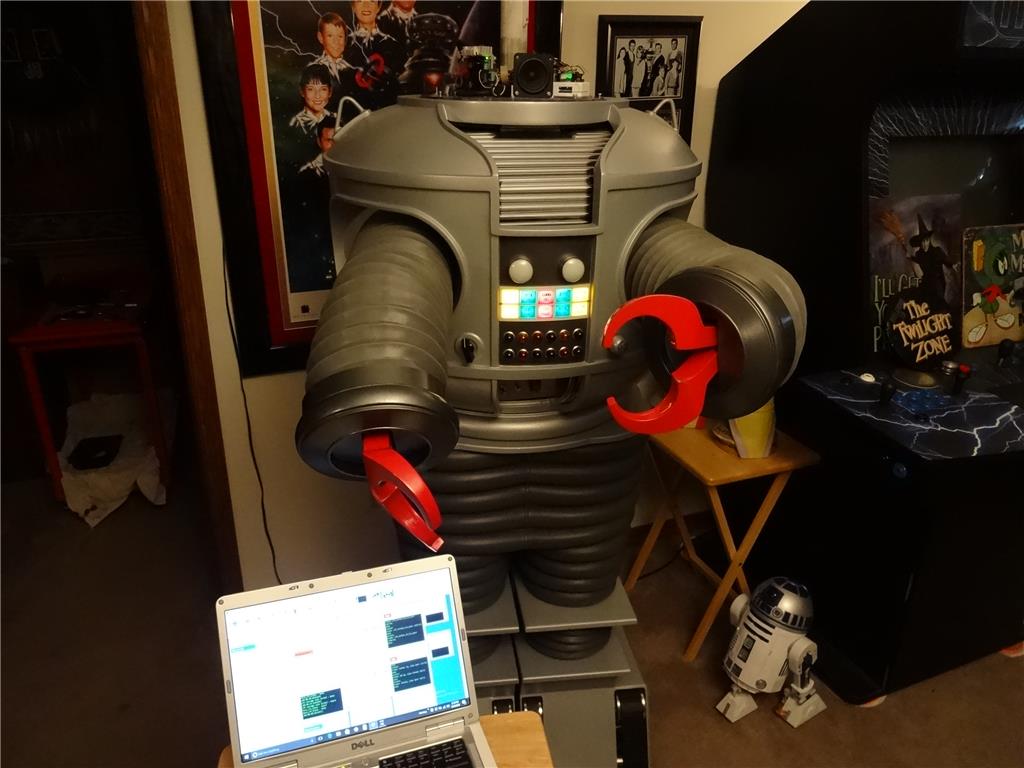
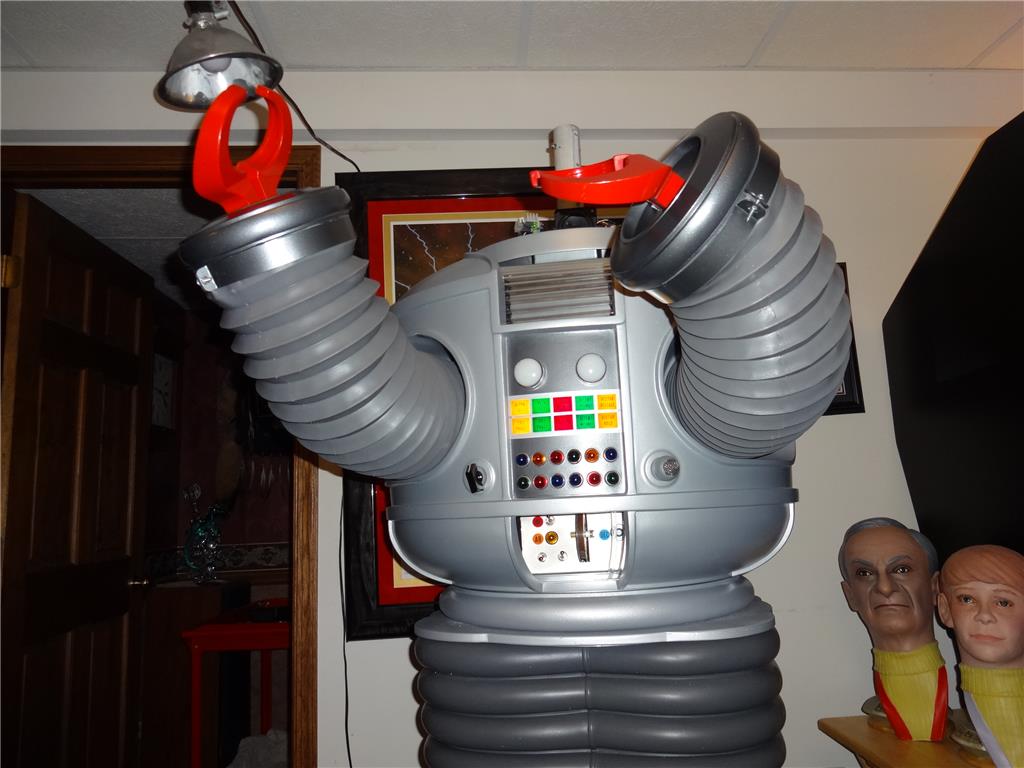
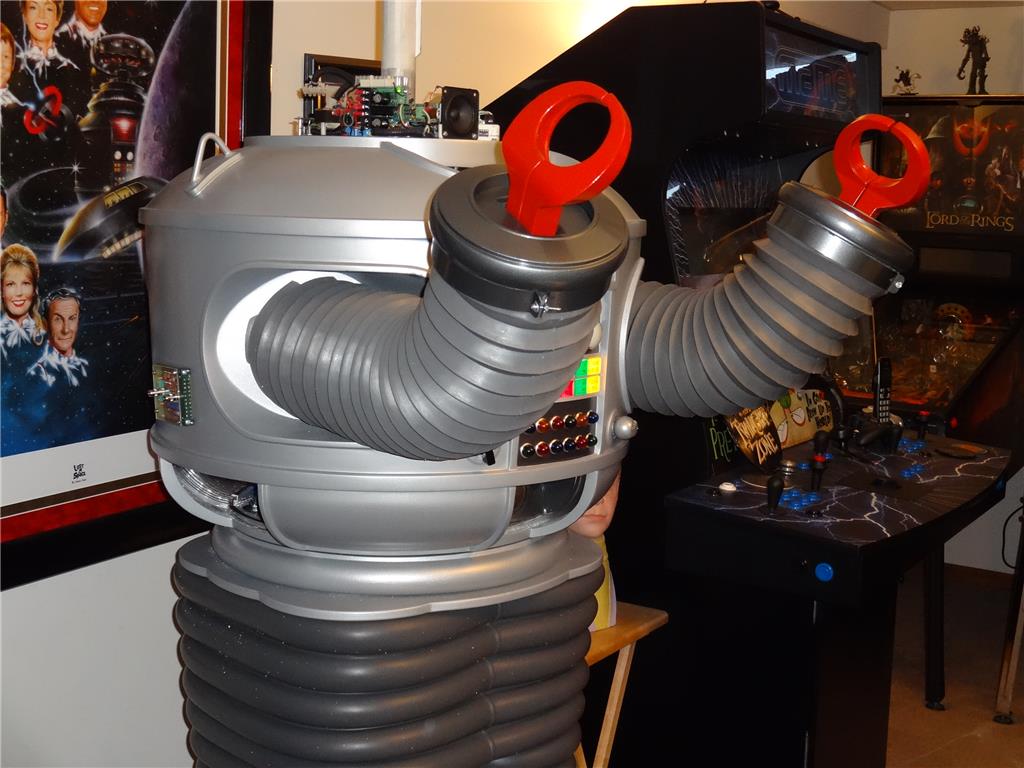
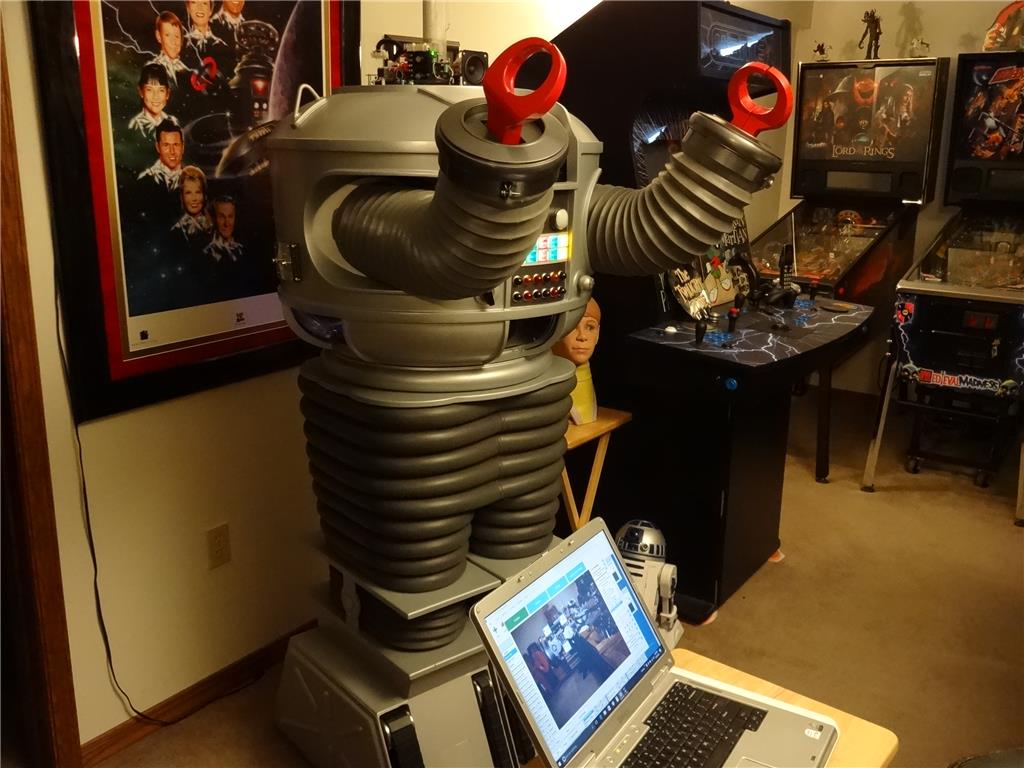
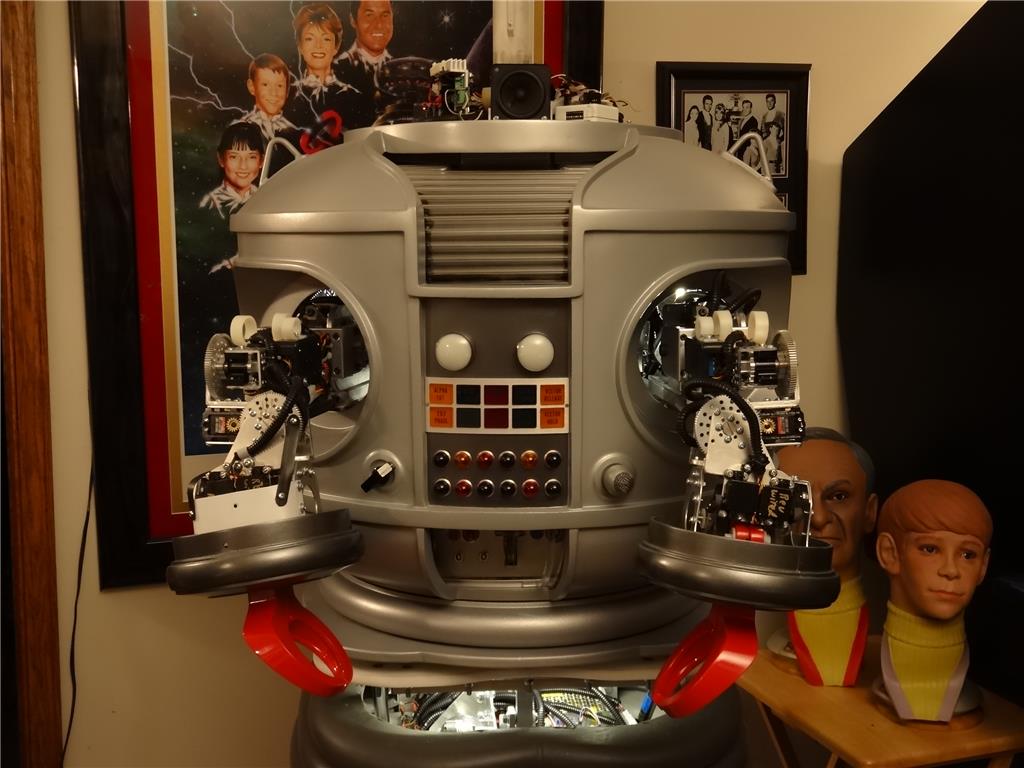
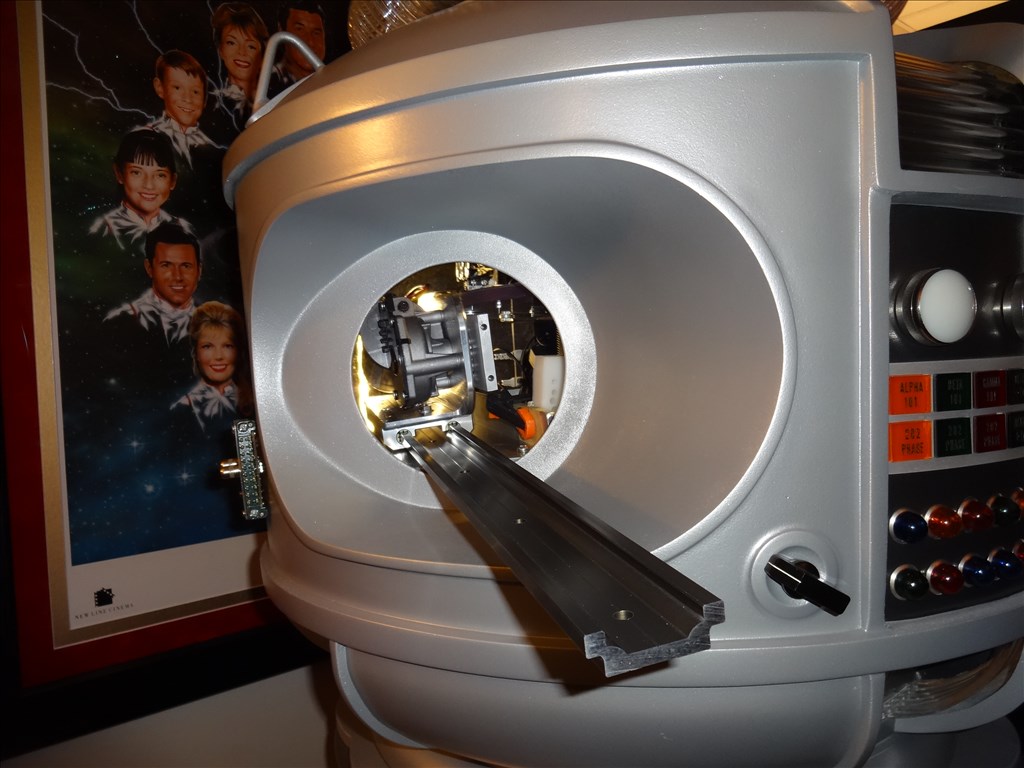
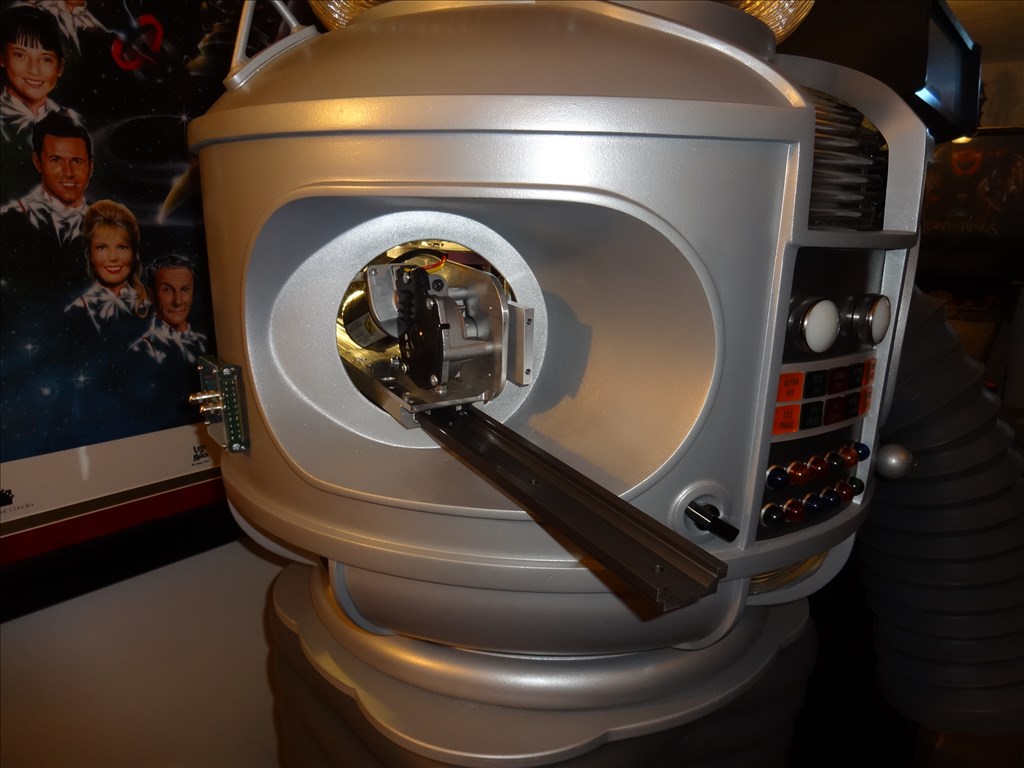
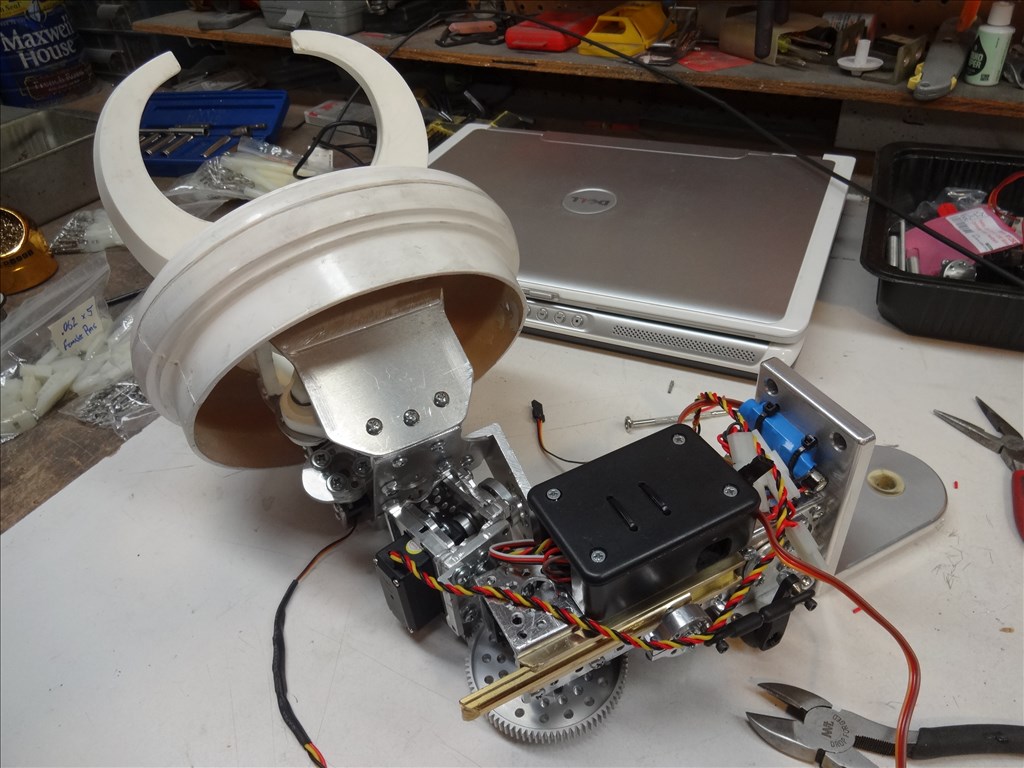
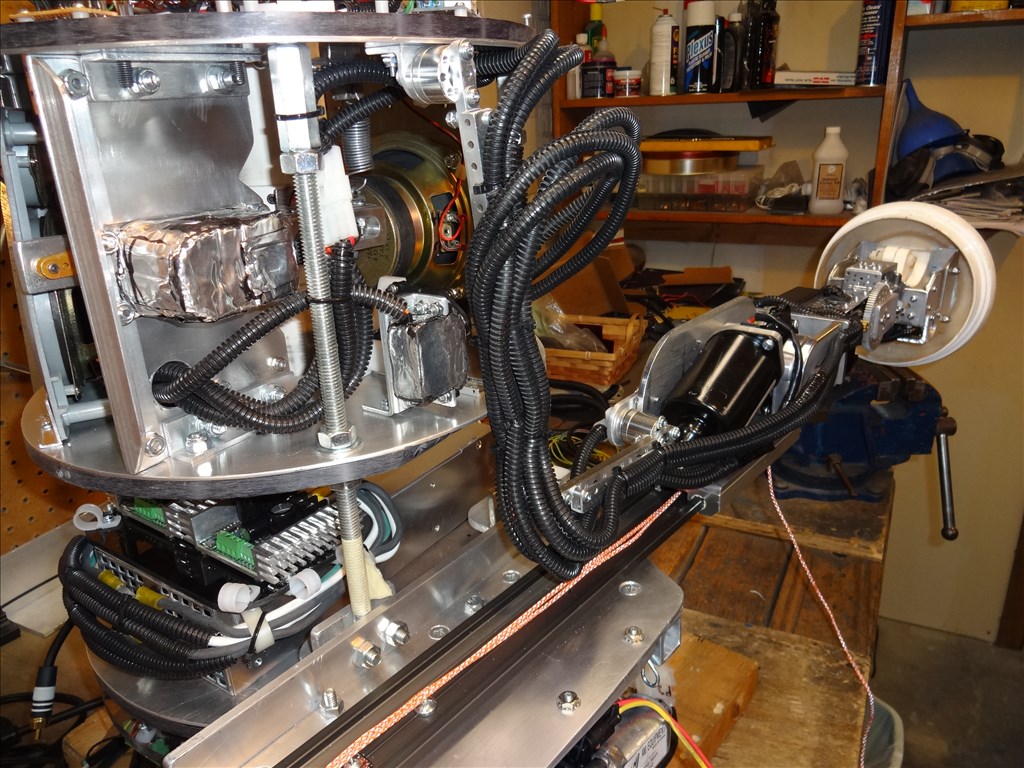
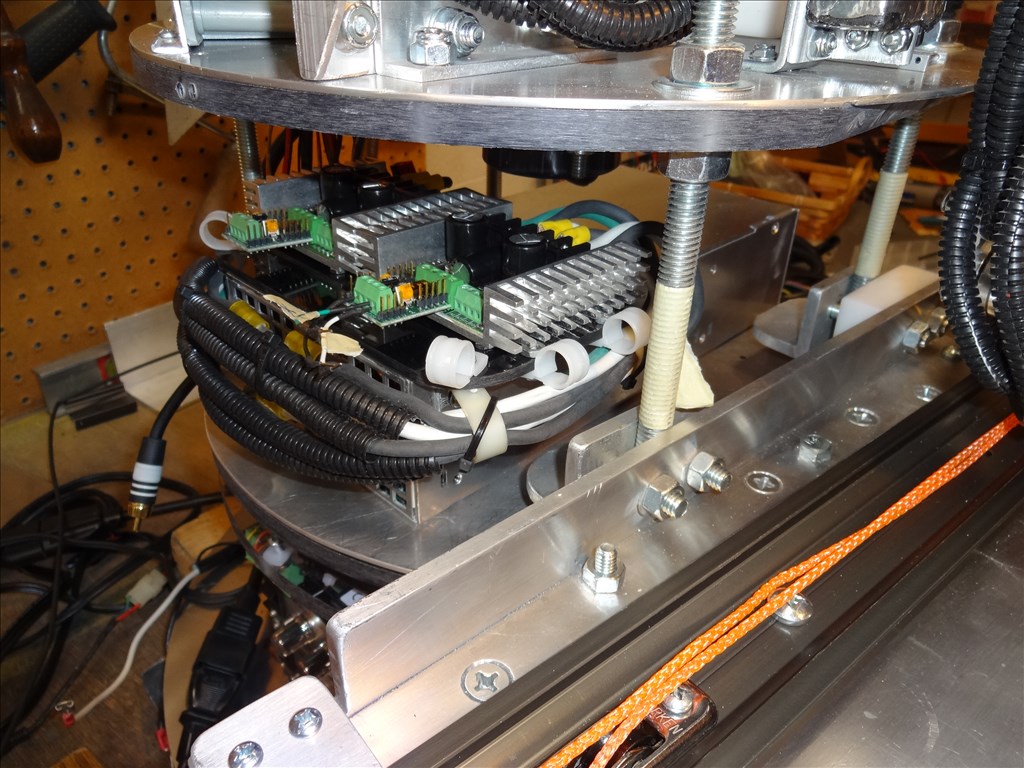
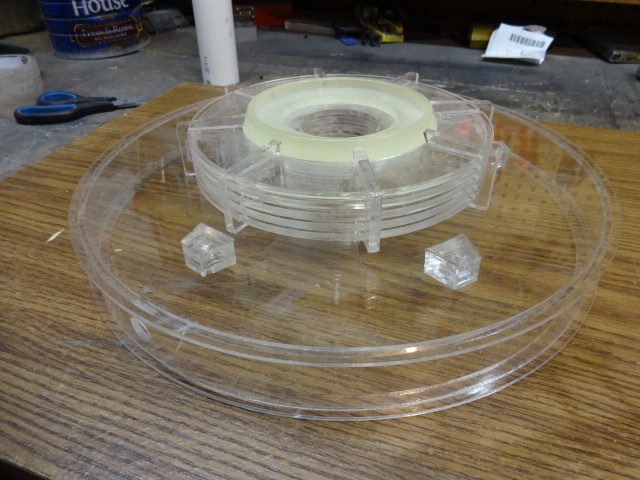
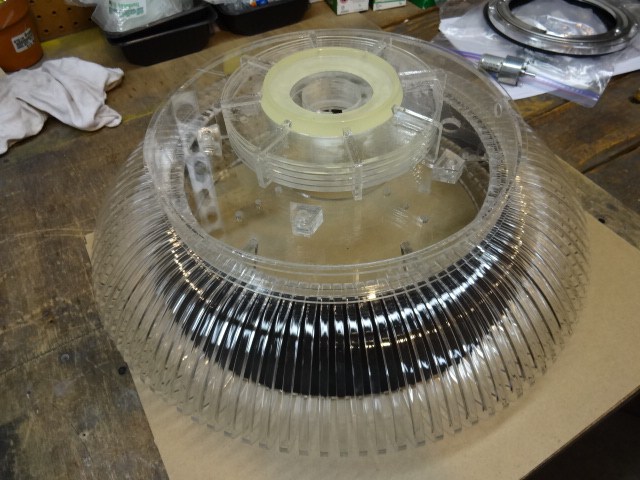
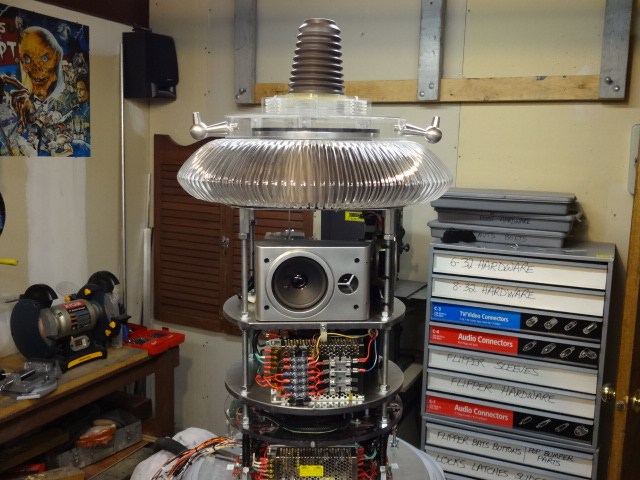
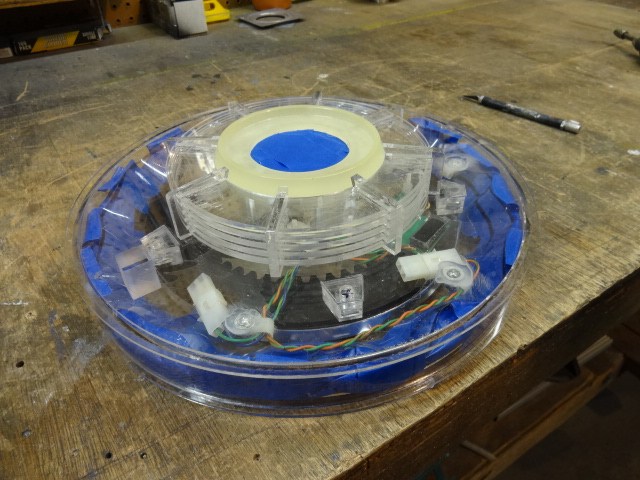
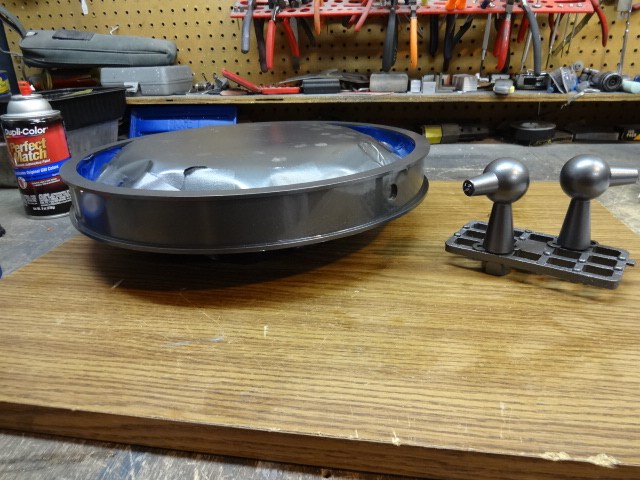
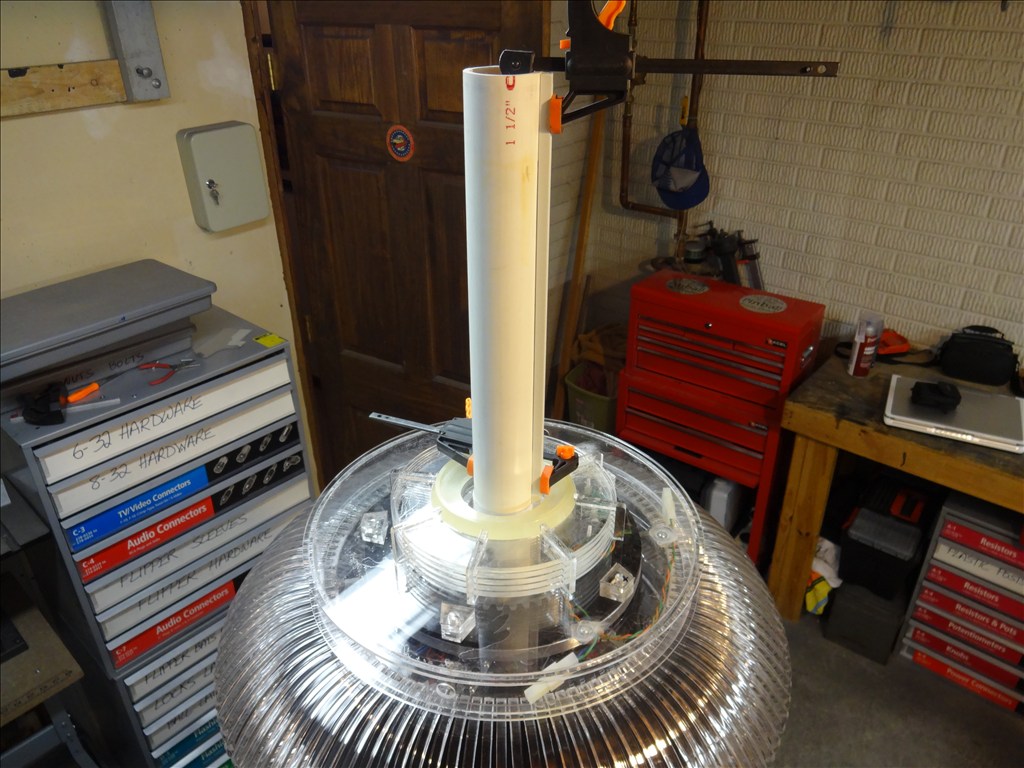
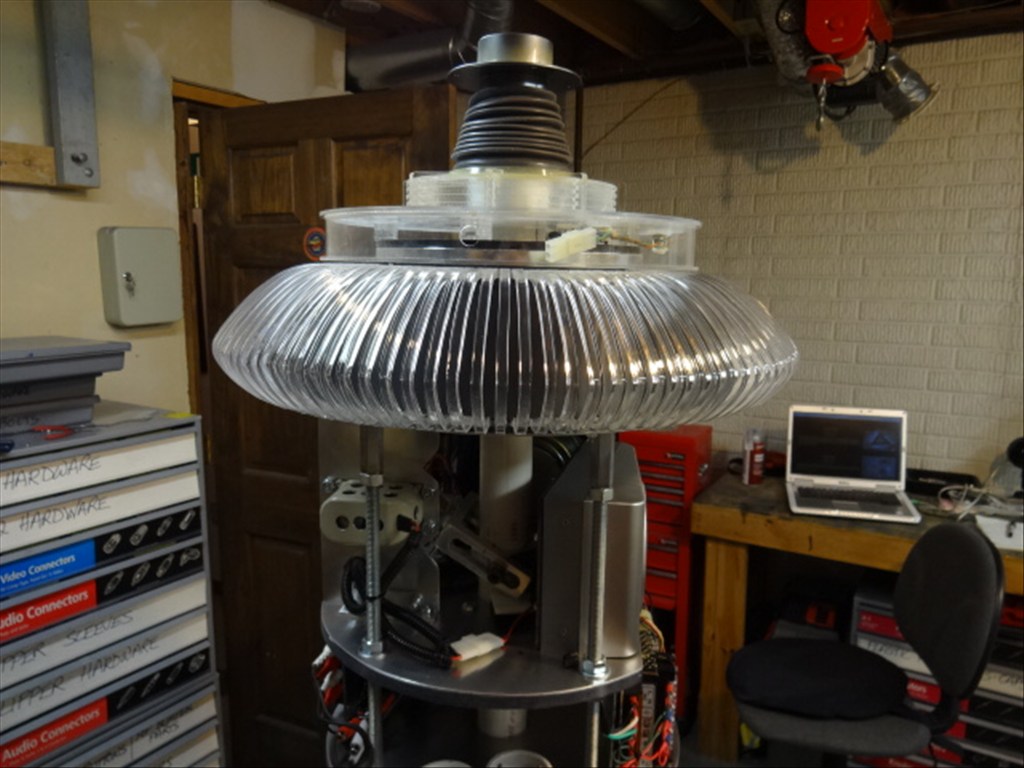
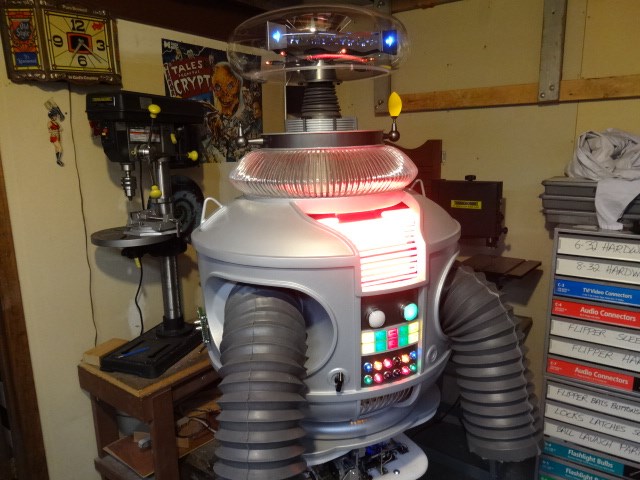
EDIT 8/2/13: Just realized I have no good pictures of how my B9 will look when complete. Here's one of the actual TV robots from the 60's TZ show Lost in Space and one recent shot of where I'm at with my build over 1 1/2 year after I started. Enjoy:


Thanks, Dave Schulpius
Discover more robots

Hstud's Hunters1st Robot Sam
Ezang's Here Is A Picture Of The Hand I Am Practicing With

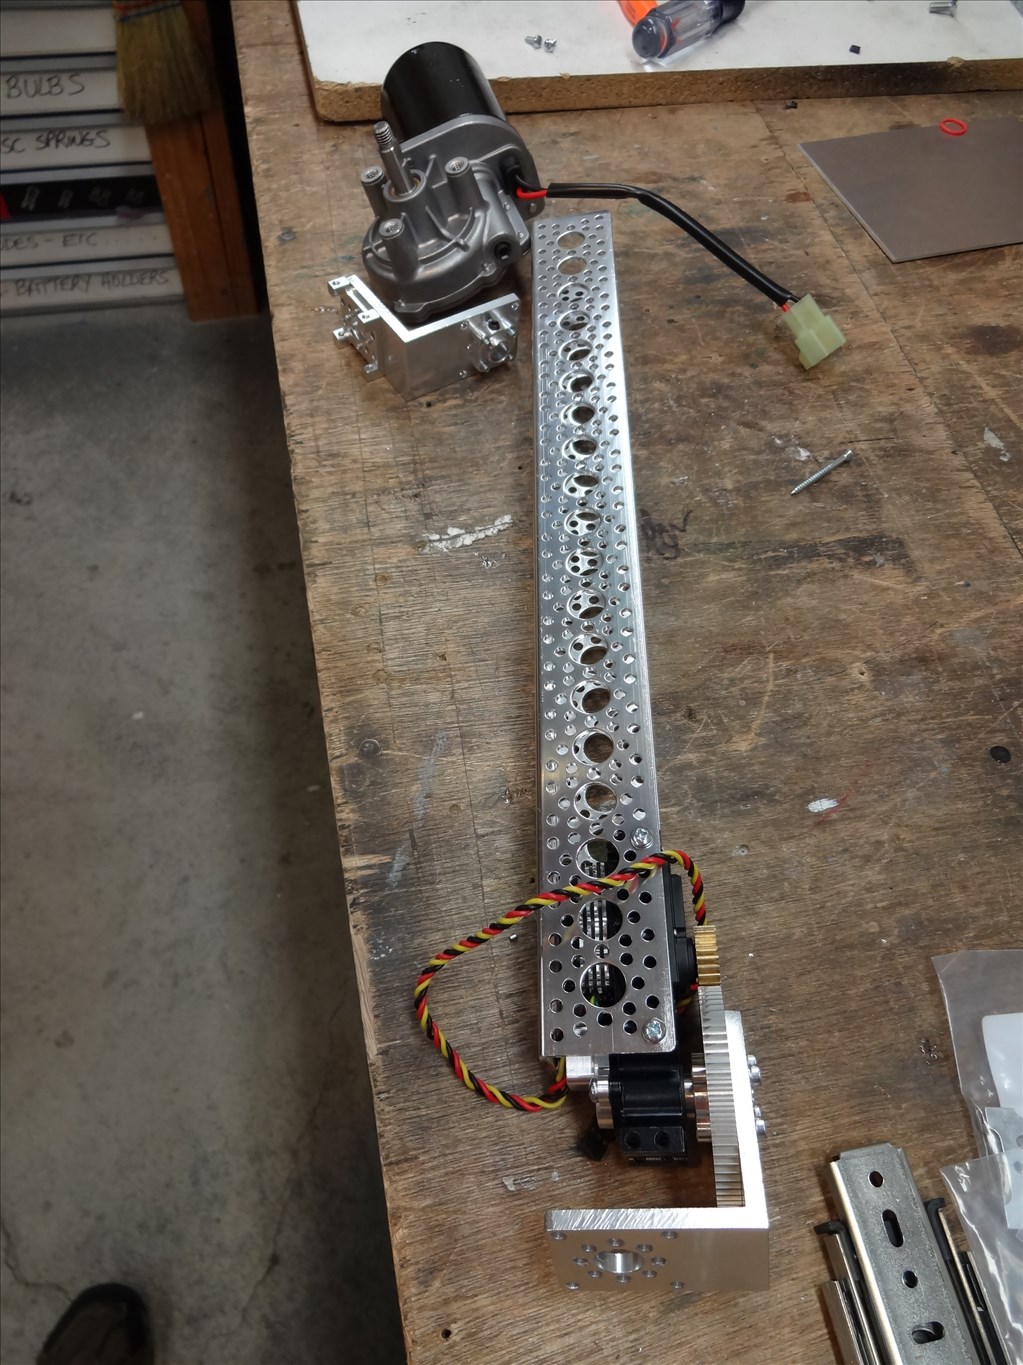
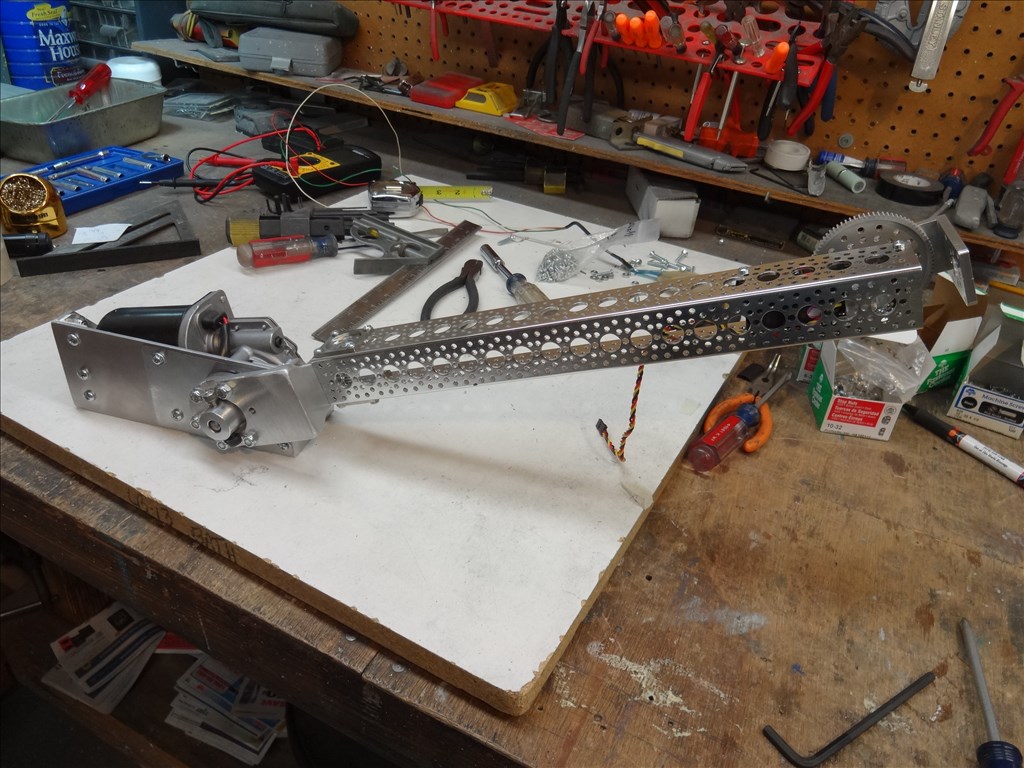
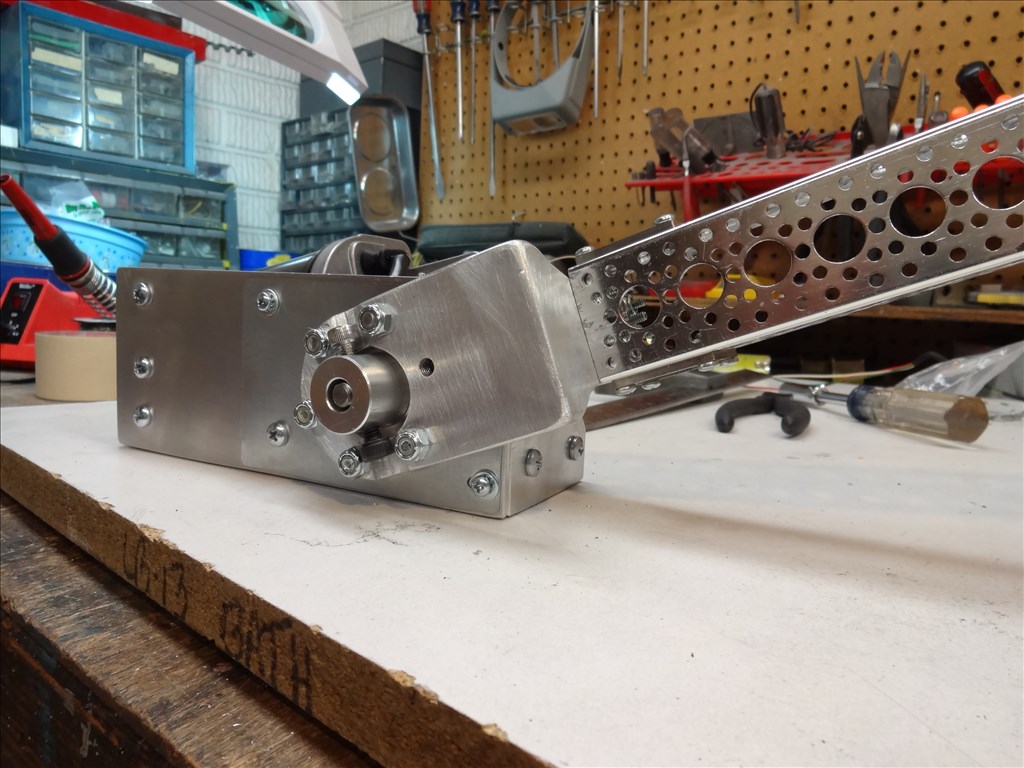
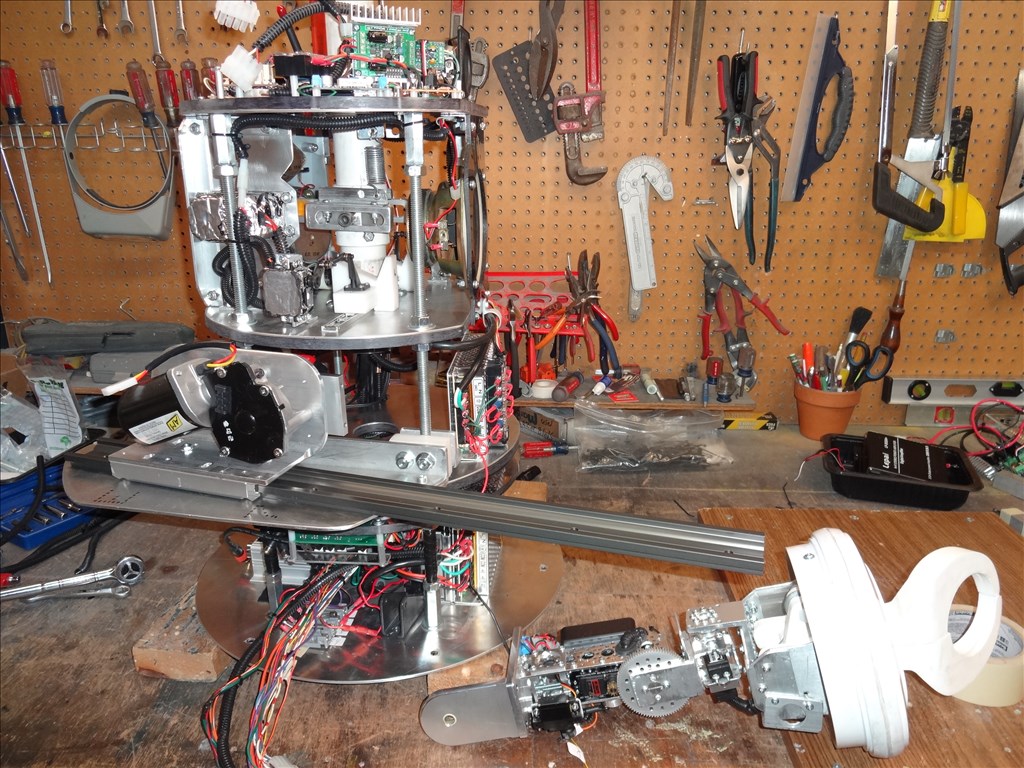
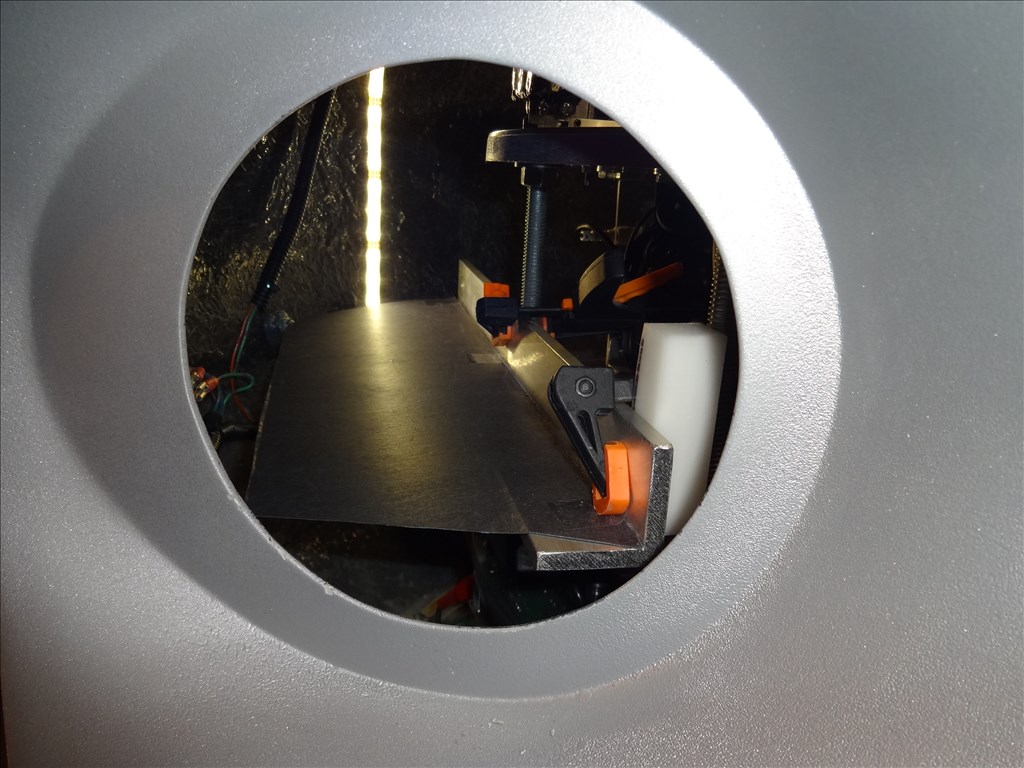
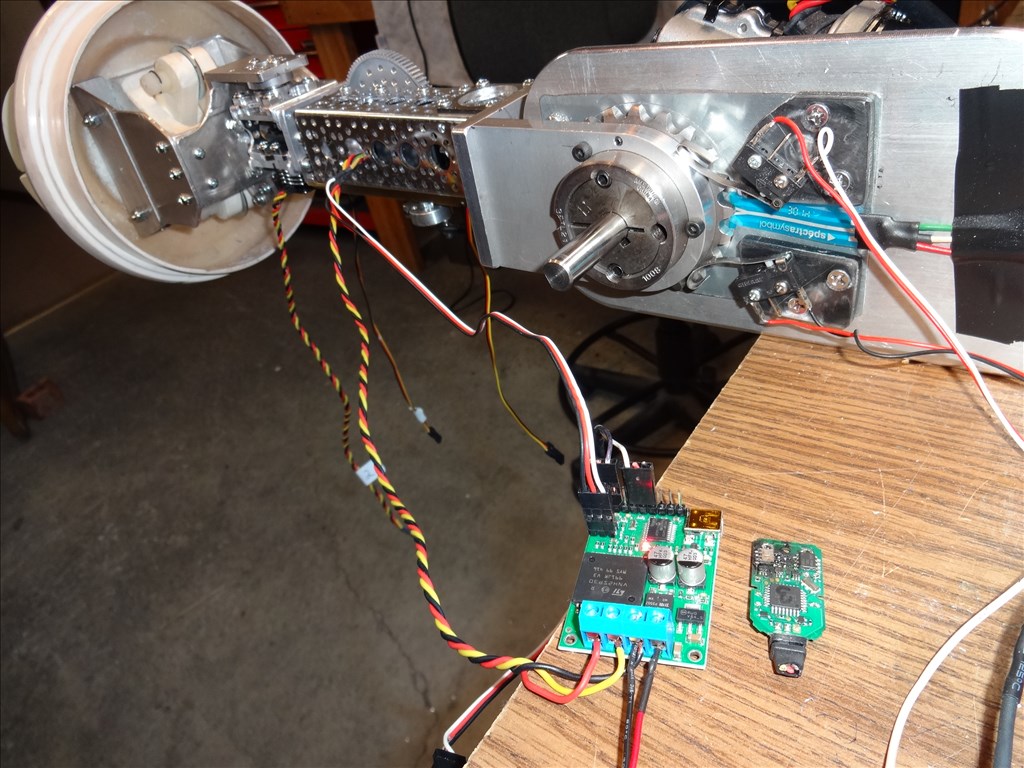
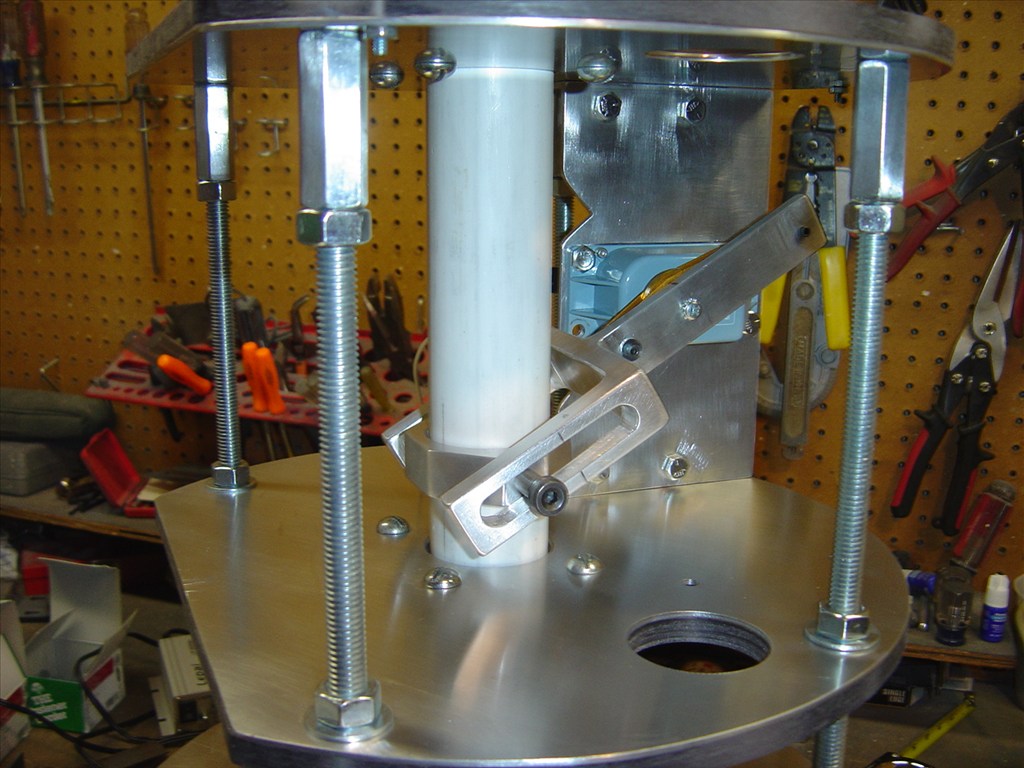
Thanks for all the motor ideas everyone. I really like the idea of a linear actuator however the one listed here moves really slow. It looks like it has the right length but it will take almost a half of a minutes to move all the way out. If I go this route I need to find one that is faster. Also I could only use it at the first joint to lift my arms. I want them to also wave back and forth and have another joint farther up were the wrist would be. I have also considered a pulley system but I can't figure out the way to flex the joints inside of the rubber arm. If they were moving in and out only that would be fine but I don't want the robot standing there like Frankenstein. I'm probably going to use some kind of gear motor that the first joint to lift the load then maybe use Super servos above that.
Again, thanks for all the ideas. Please keep them coming. :-)
On second thought maybe linear actuators at each joint would be a workable idea. I could use smaller faster actuators for each direction.Hummmmmmmm........ Kinda like C3PO. cool
Could work. Keep an eye on the rate of extension. It can be slow but if you have the attachment point on the elbow close to the pivot point then the rate of bend is faster. However try to calculate a workable load because the closer you get to the pivot point the more load there is on the motor due to mechanical disadvantage.
Dave here is something that may help with the calculations.
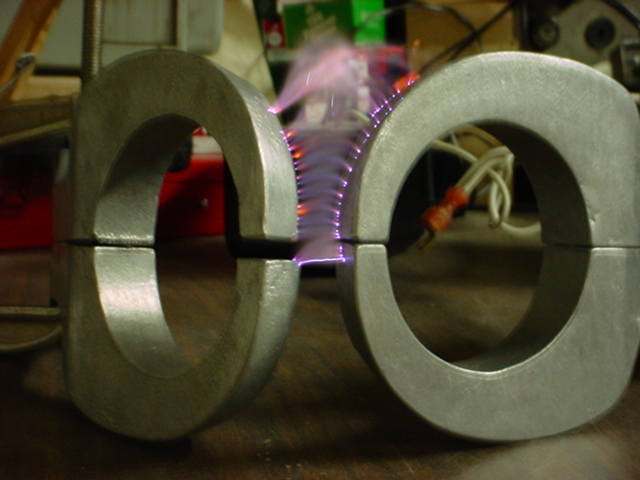
arm_calculator
Thanks again for the tips. Rex, I'll surly use this calculator.
Troy here's the links I promised: Here is a link to a Google search with many results: tiny.cc/8peuax
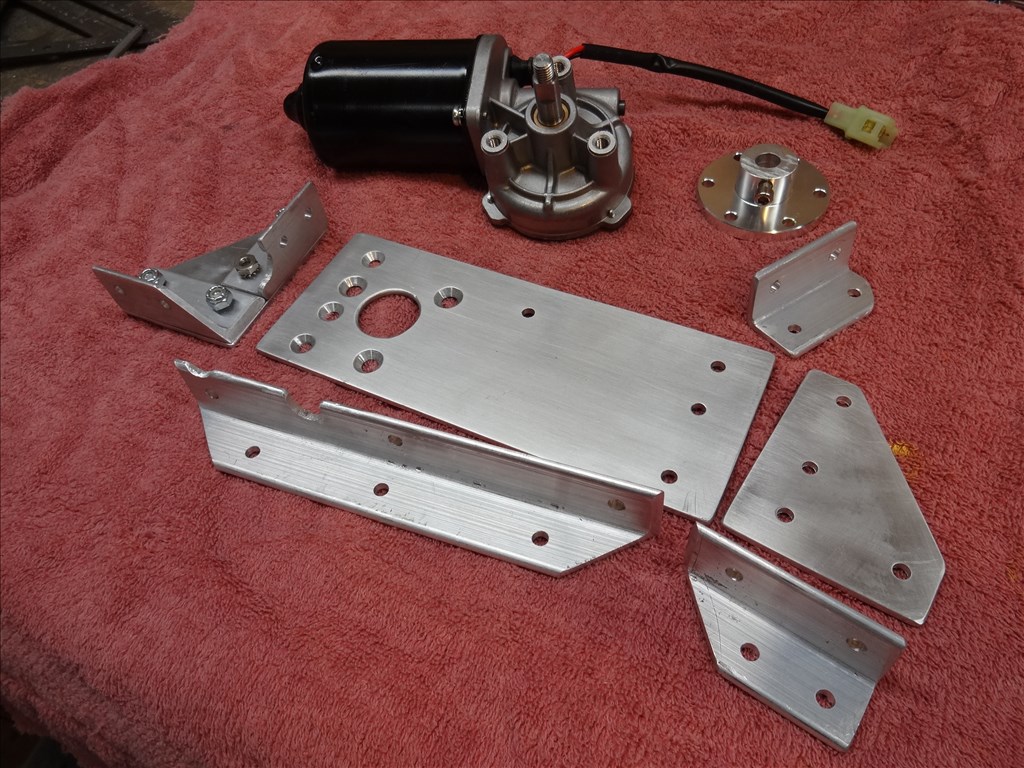
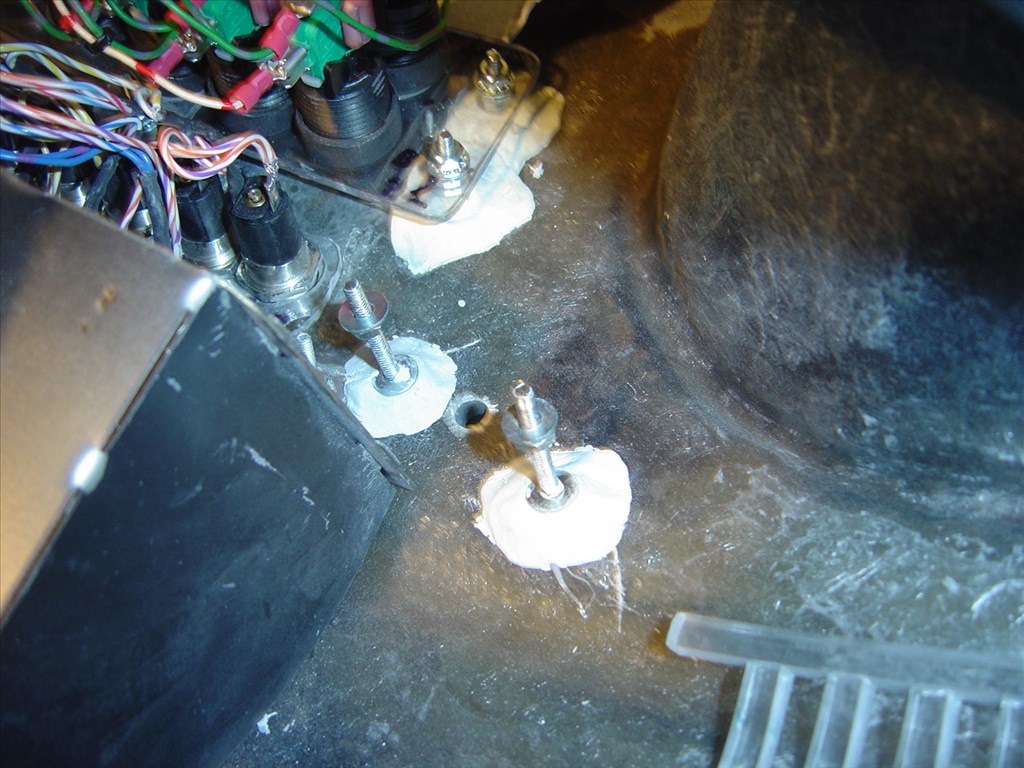
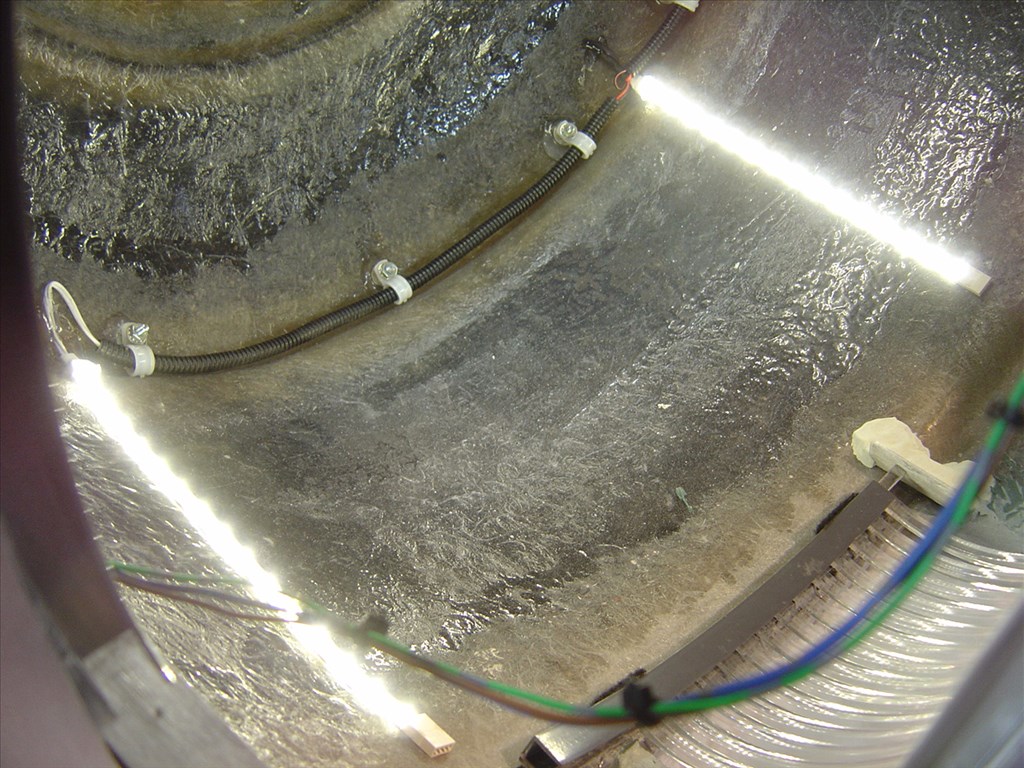
If you want to do a Google of your own, search useing this info: Heater A/C Air Flap Control Motor - 4B1 820 511 K 98-05 Audi A6 S6 RS6 Allroad
Cheers!
Thanks Dave for showing Troy where to search. Sorry Troy. I totally missed that you asked for this info. My bad.
Thanks Dave and no worries Rex!
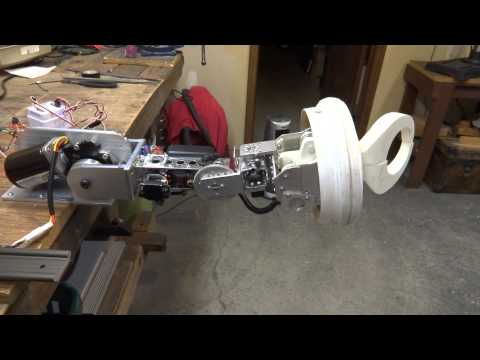
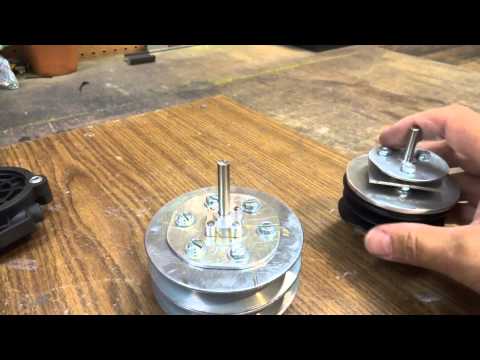
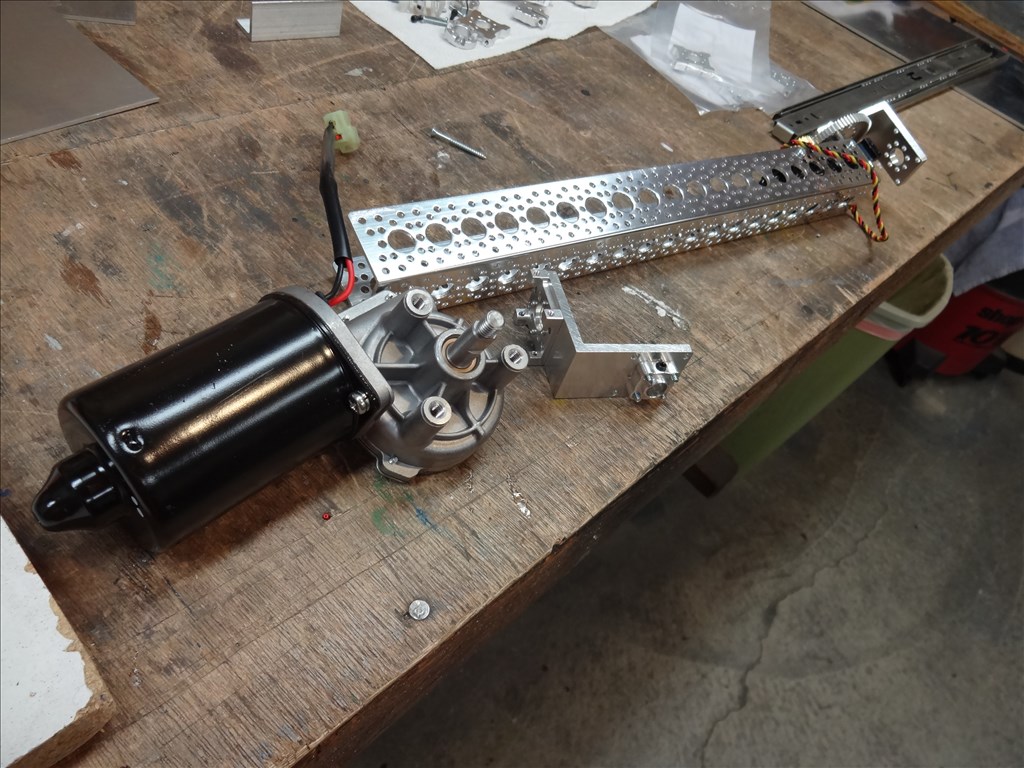
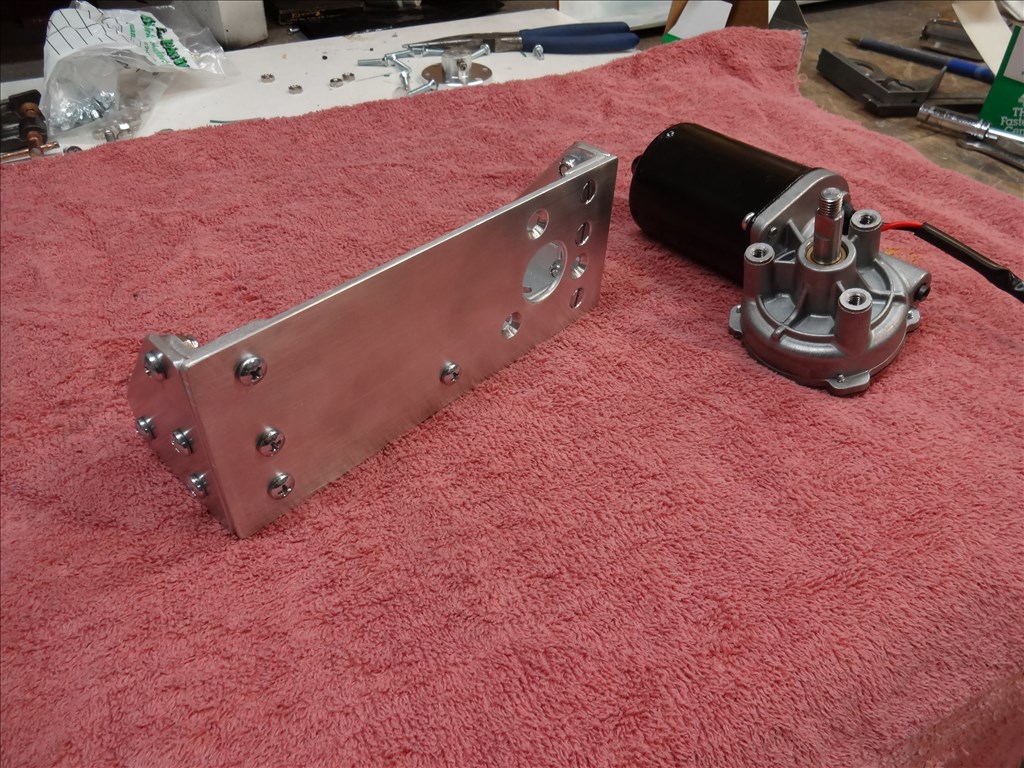
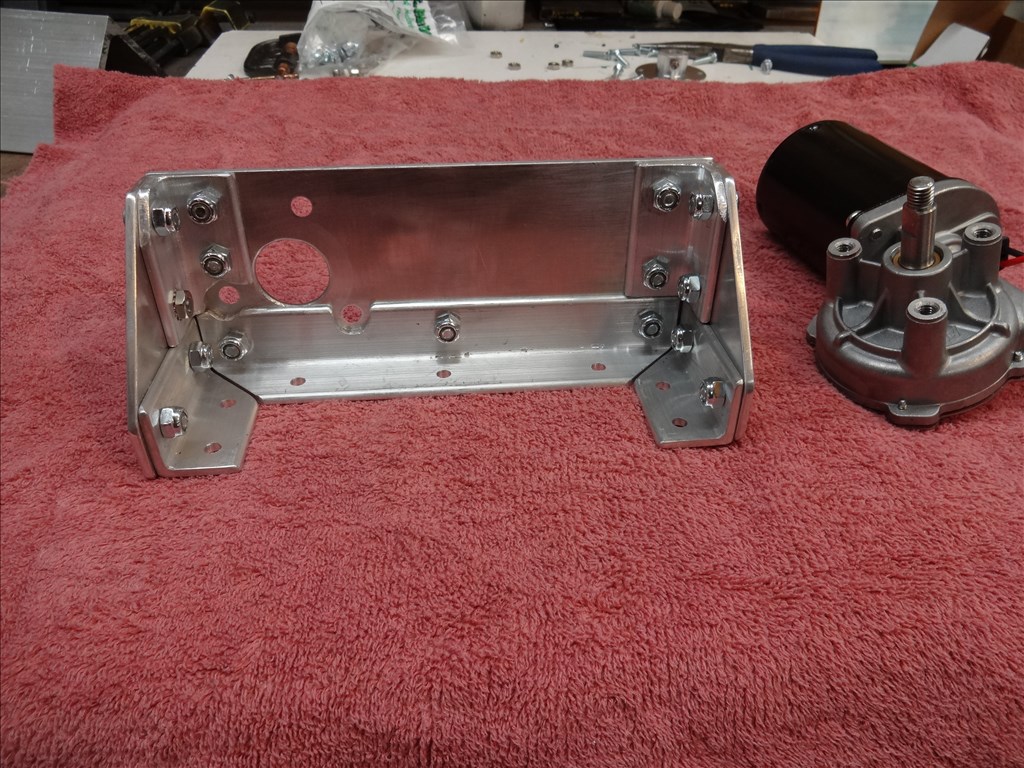
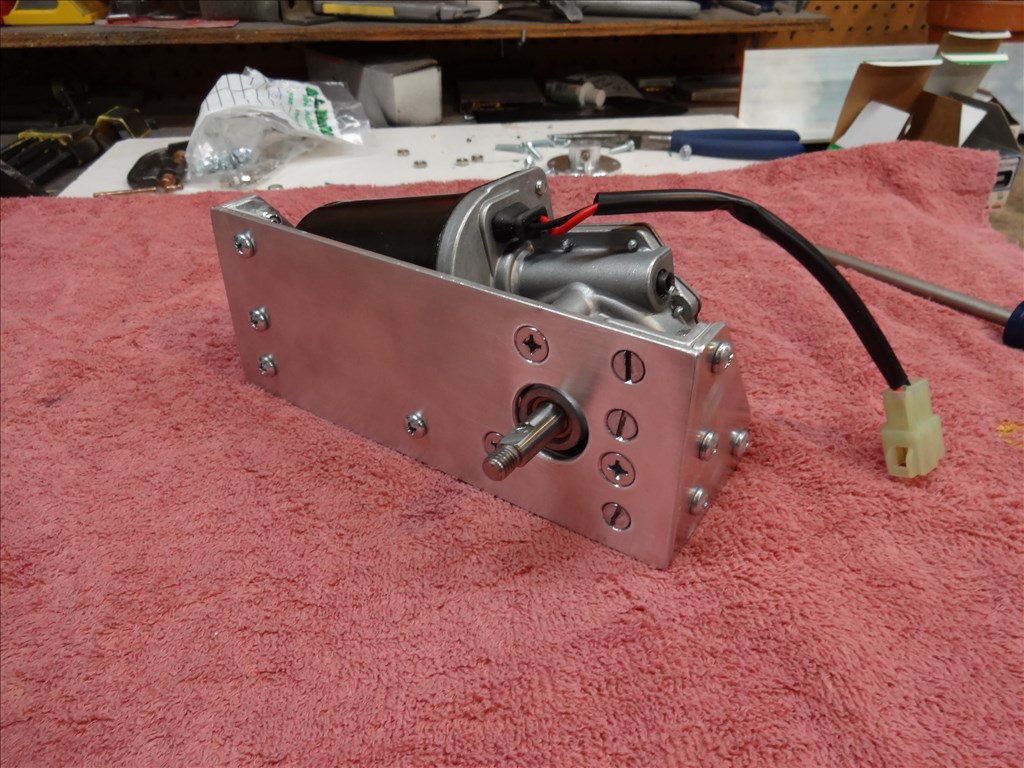
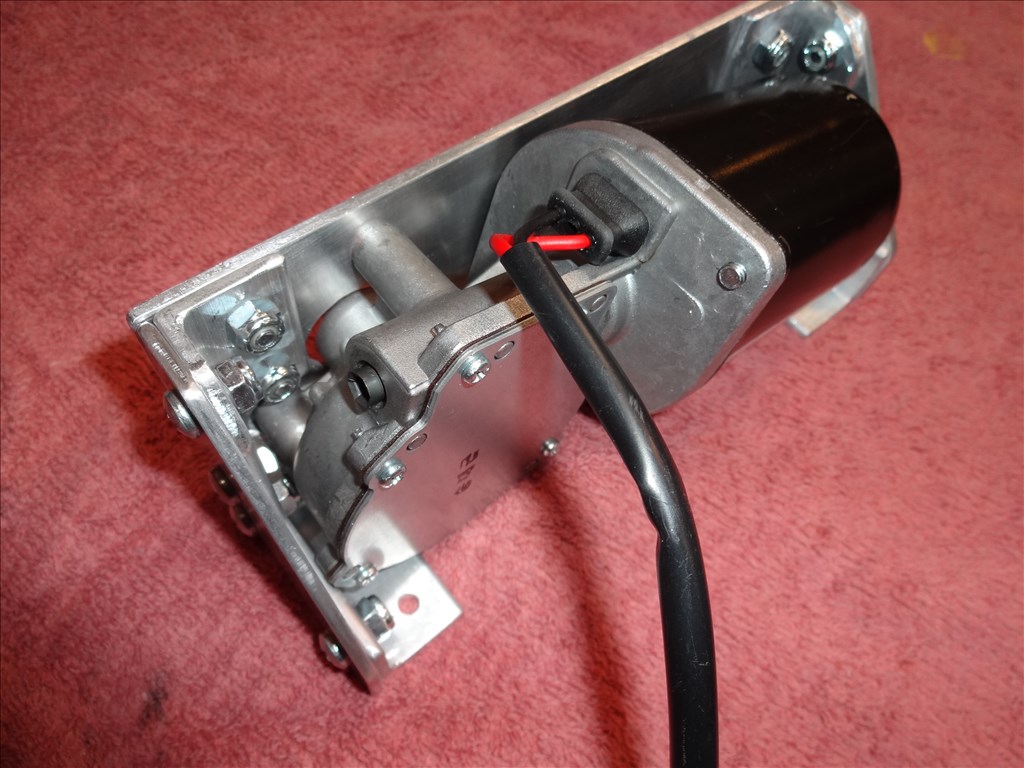
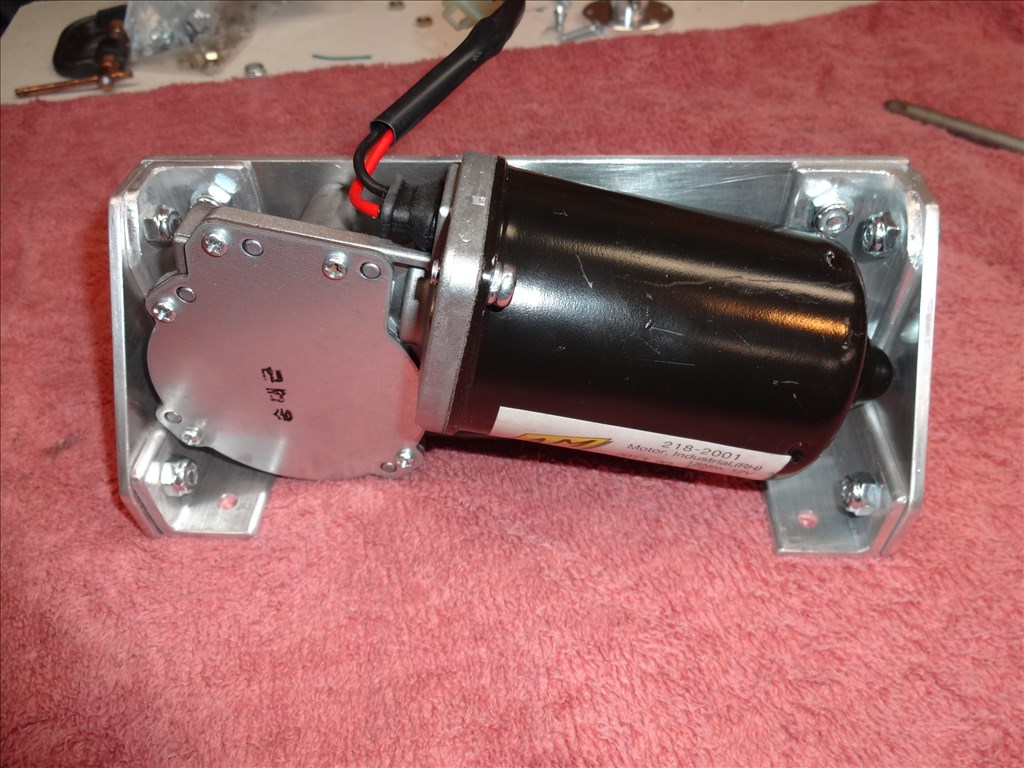
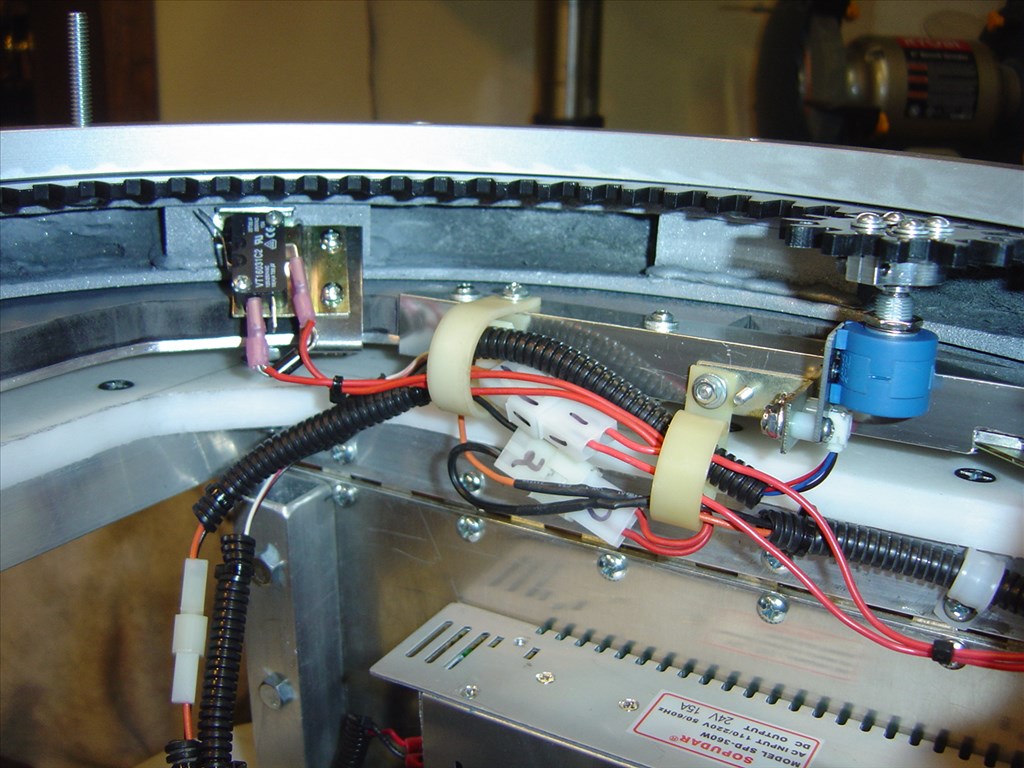
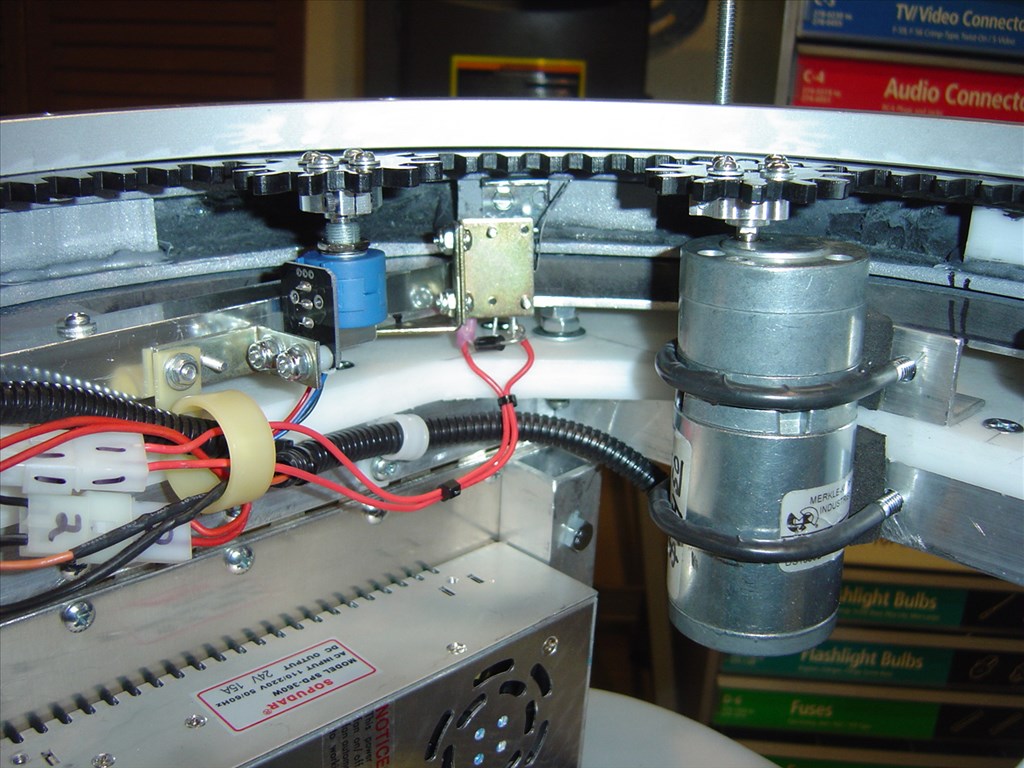
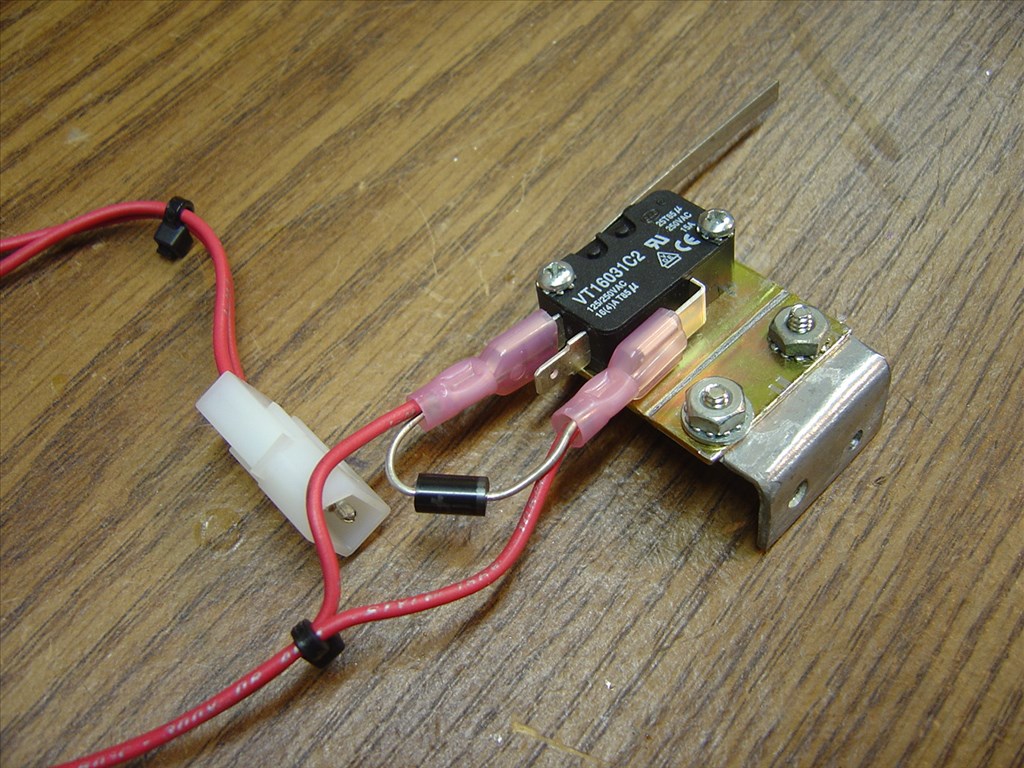
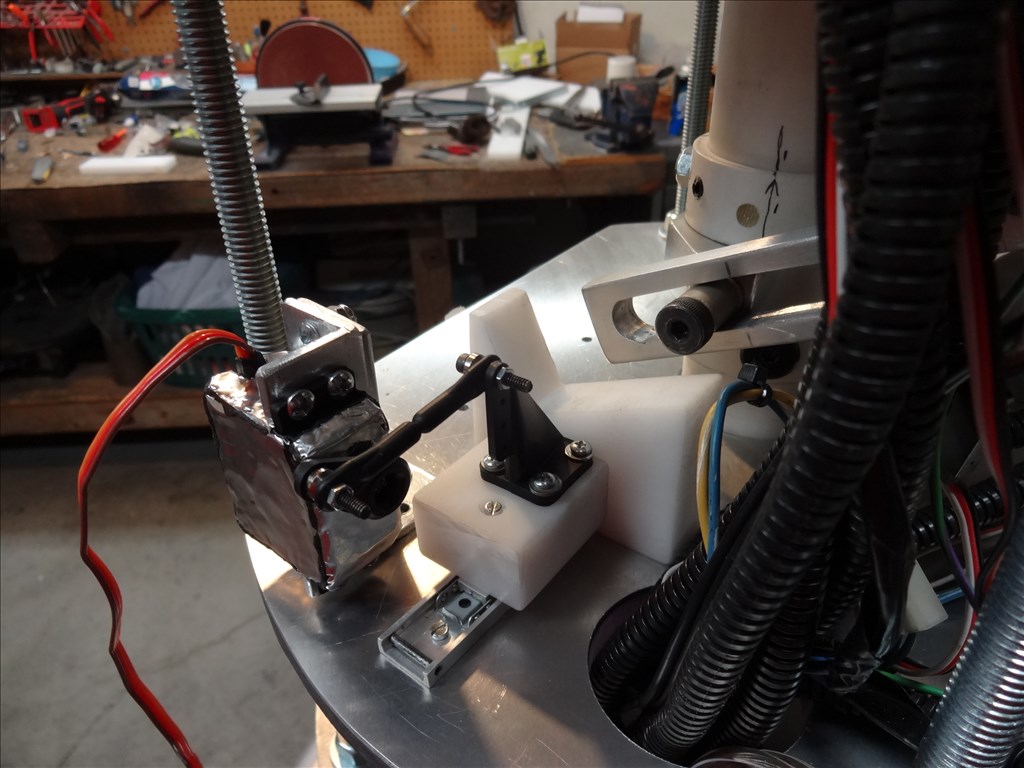
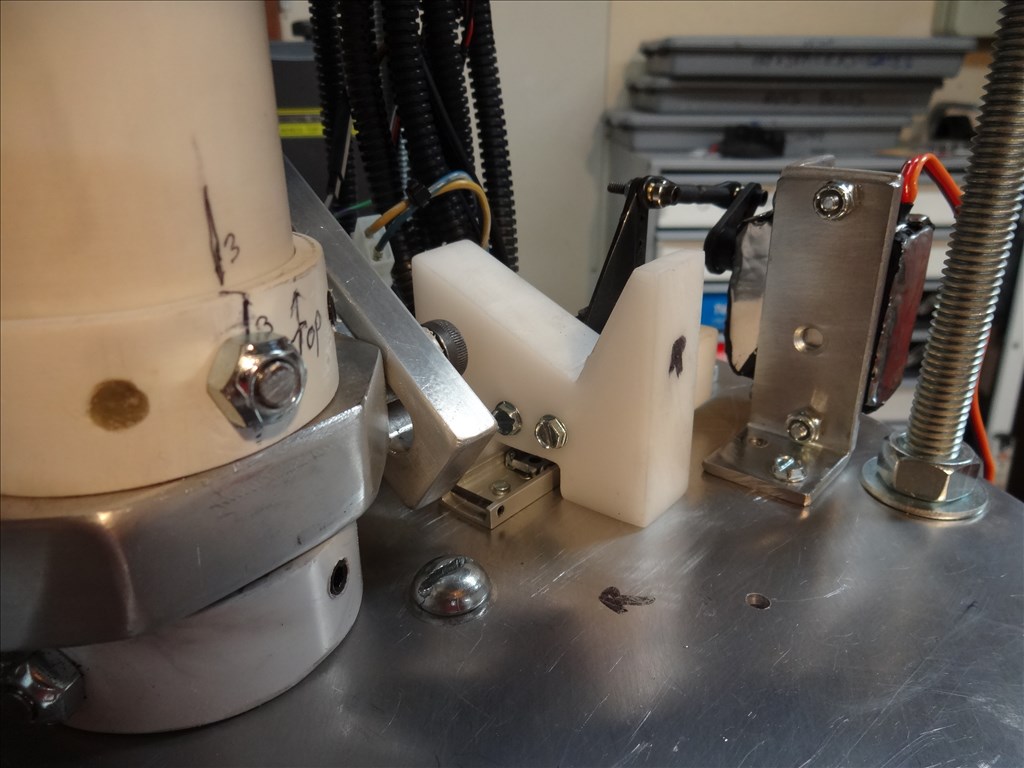
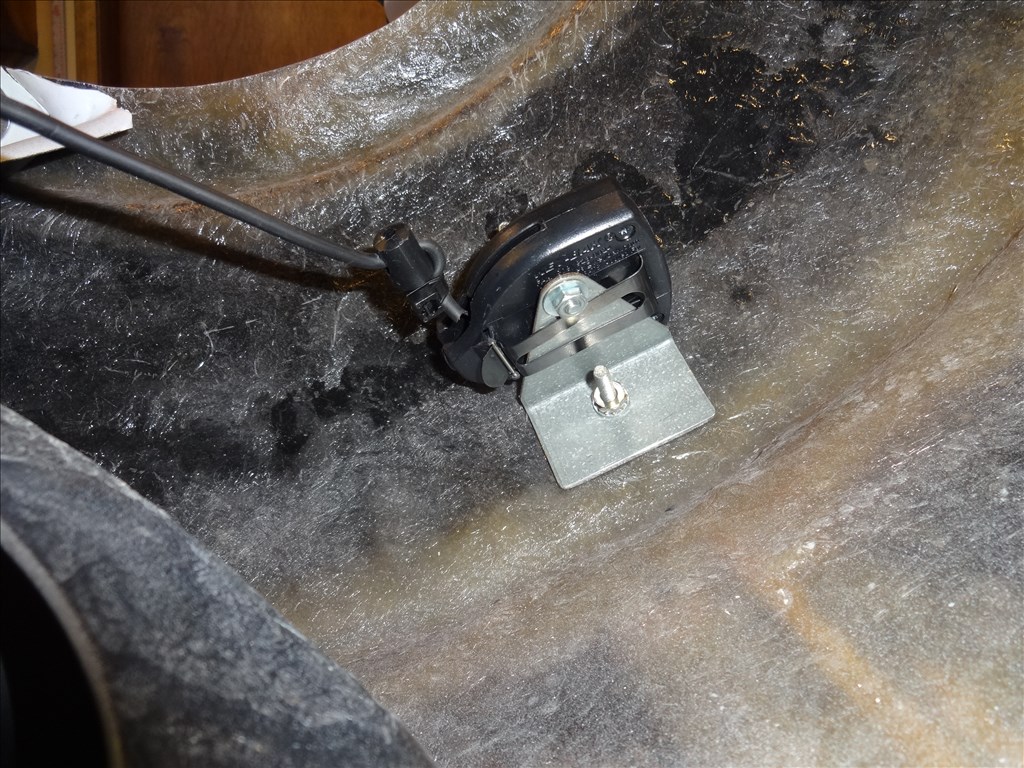
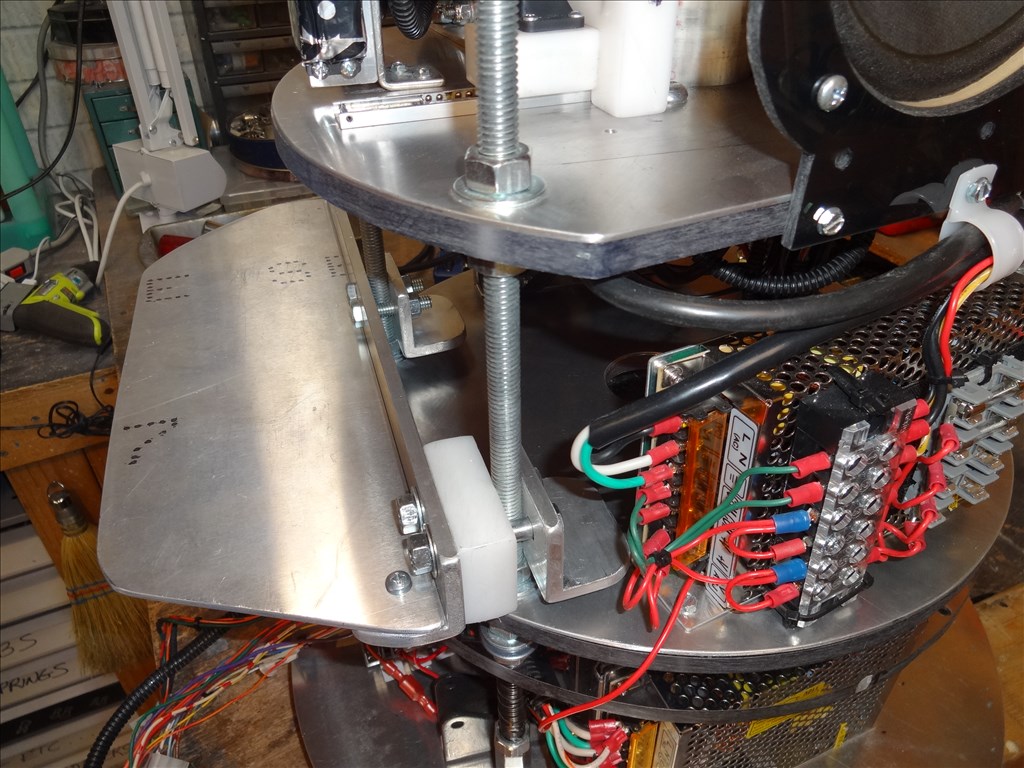
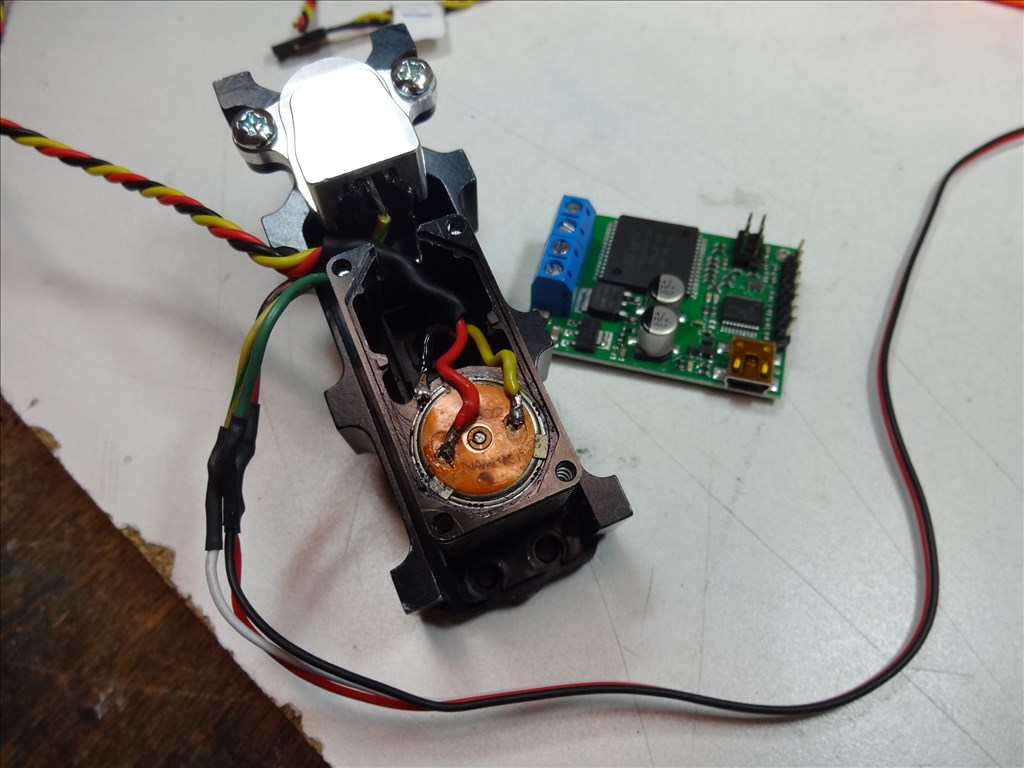
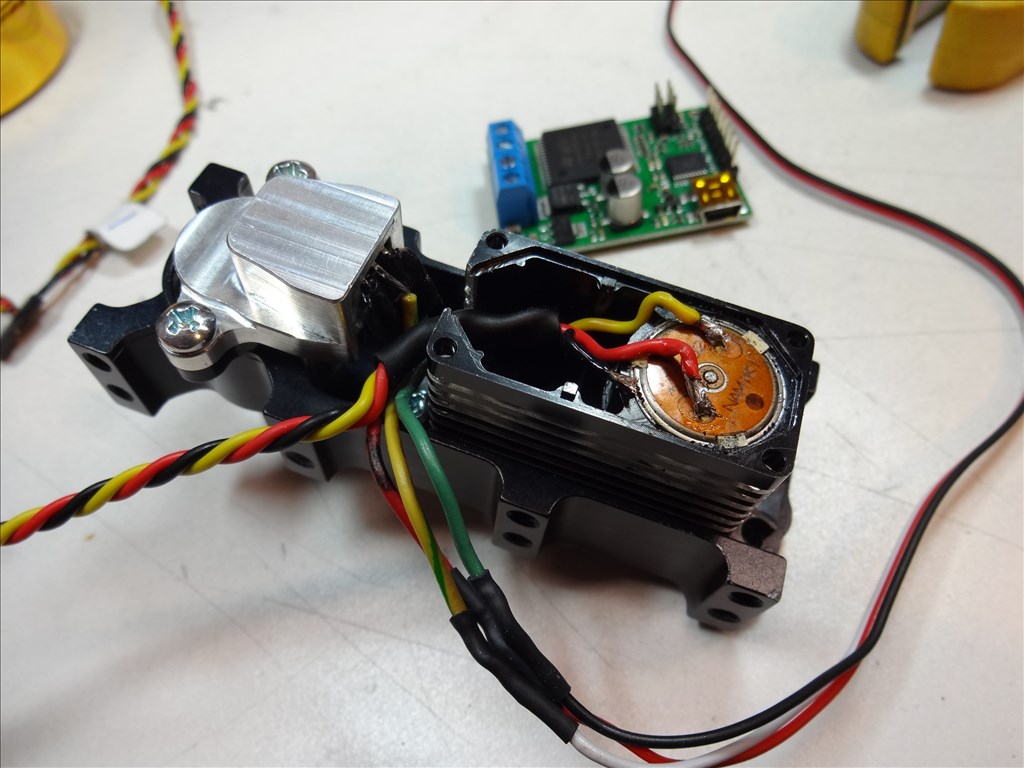
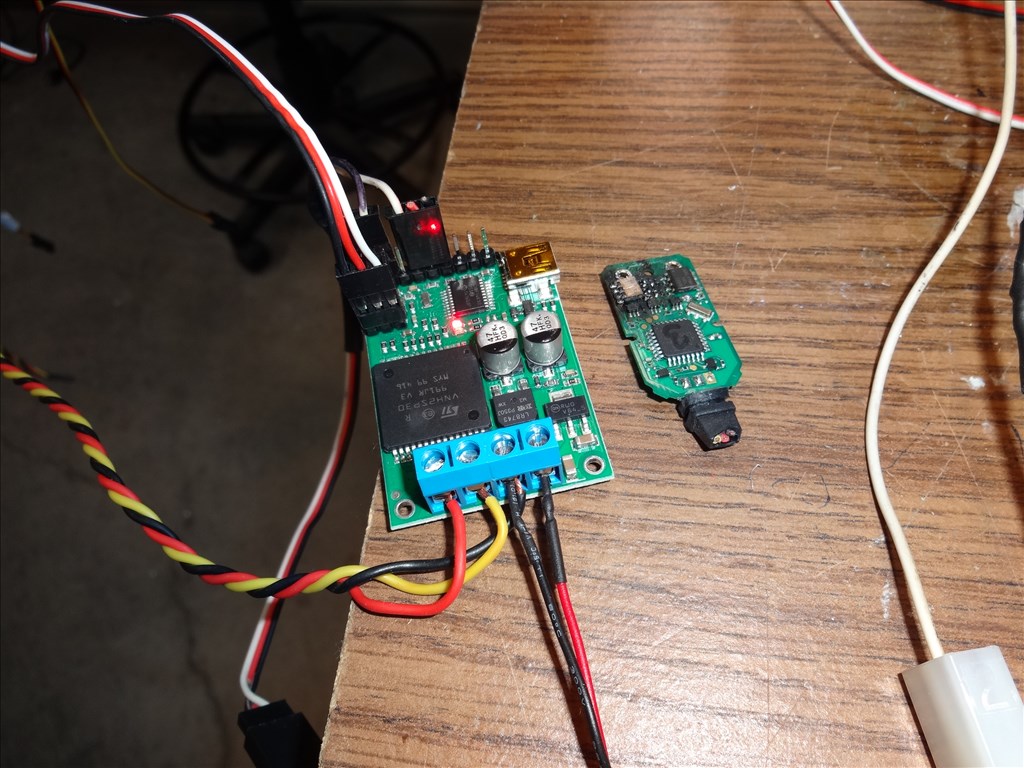
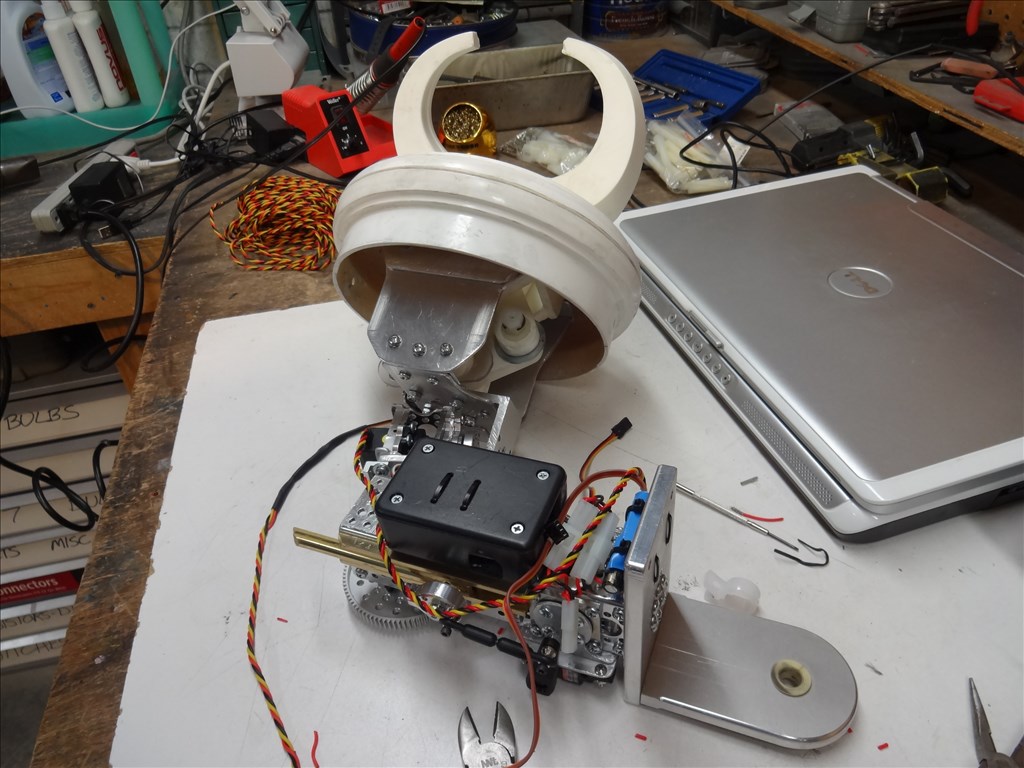
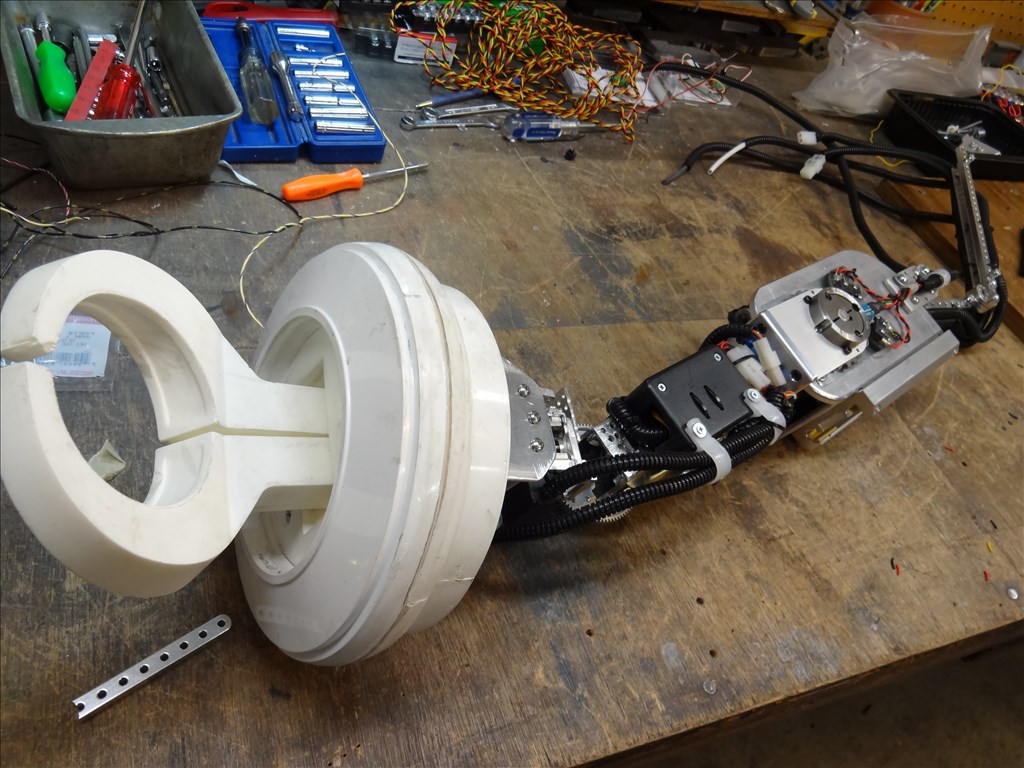
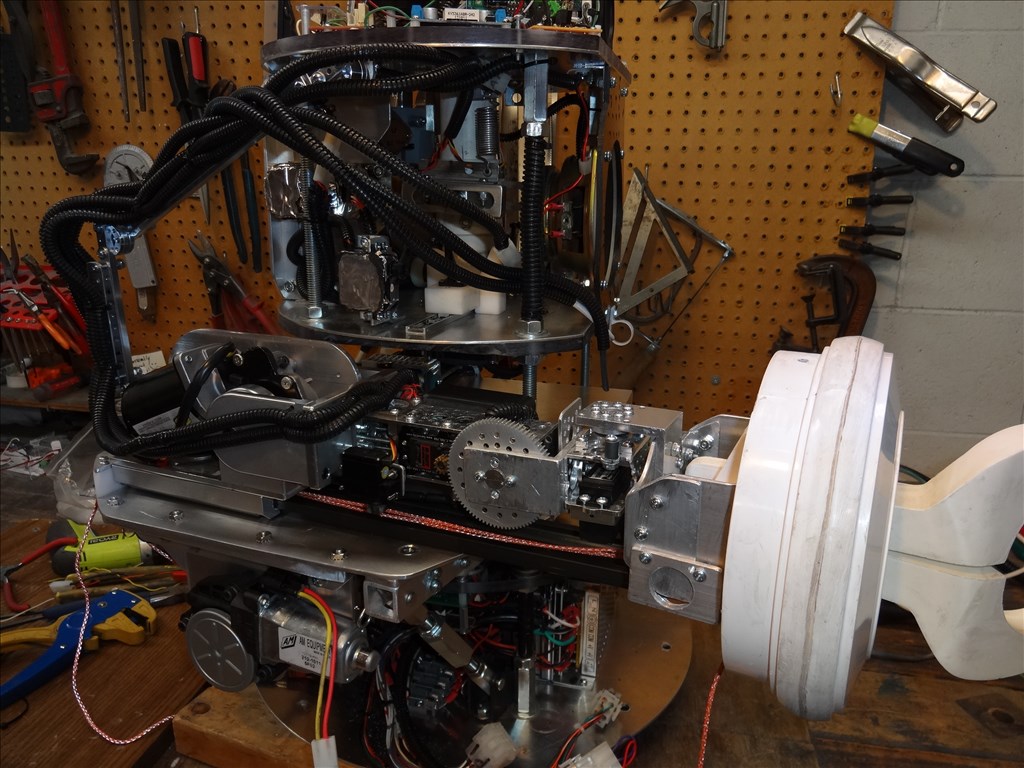
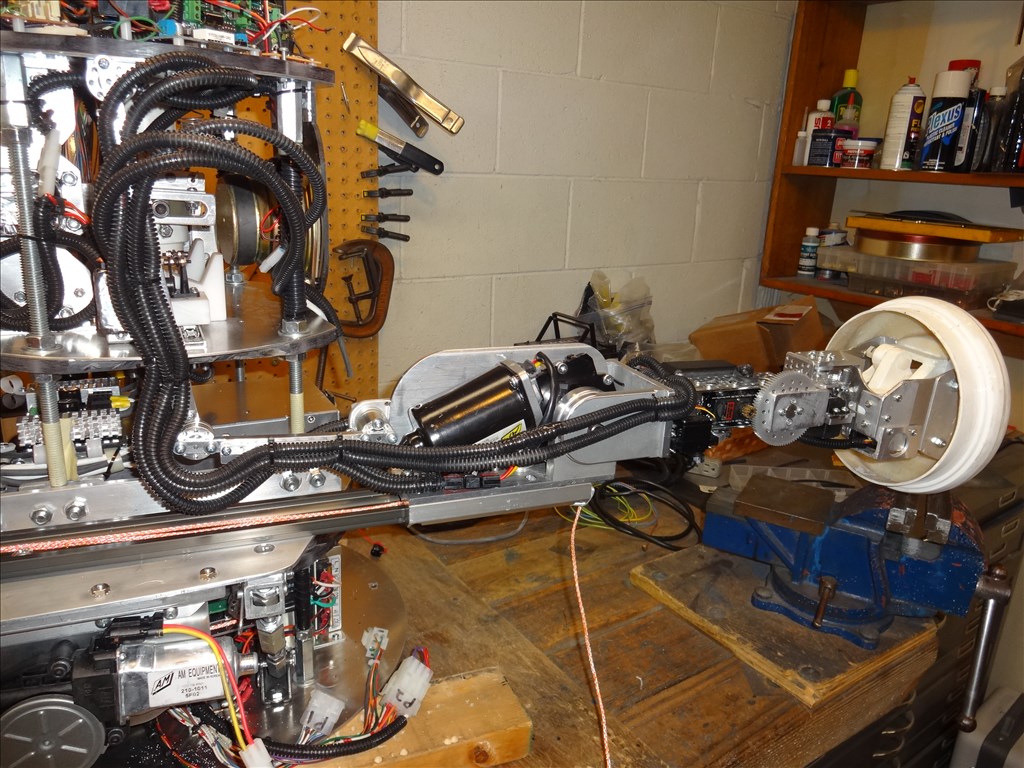
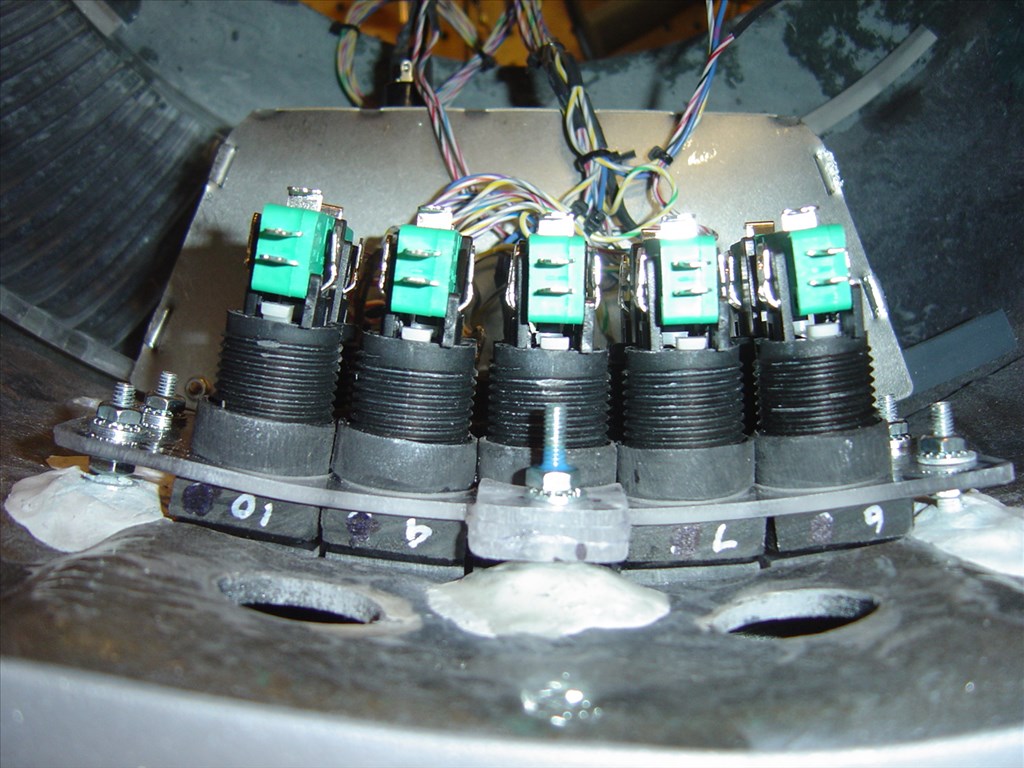
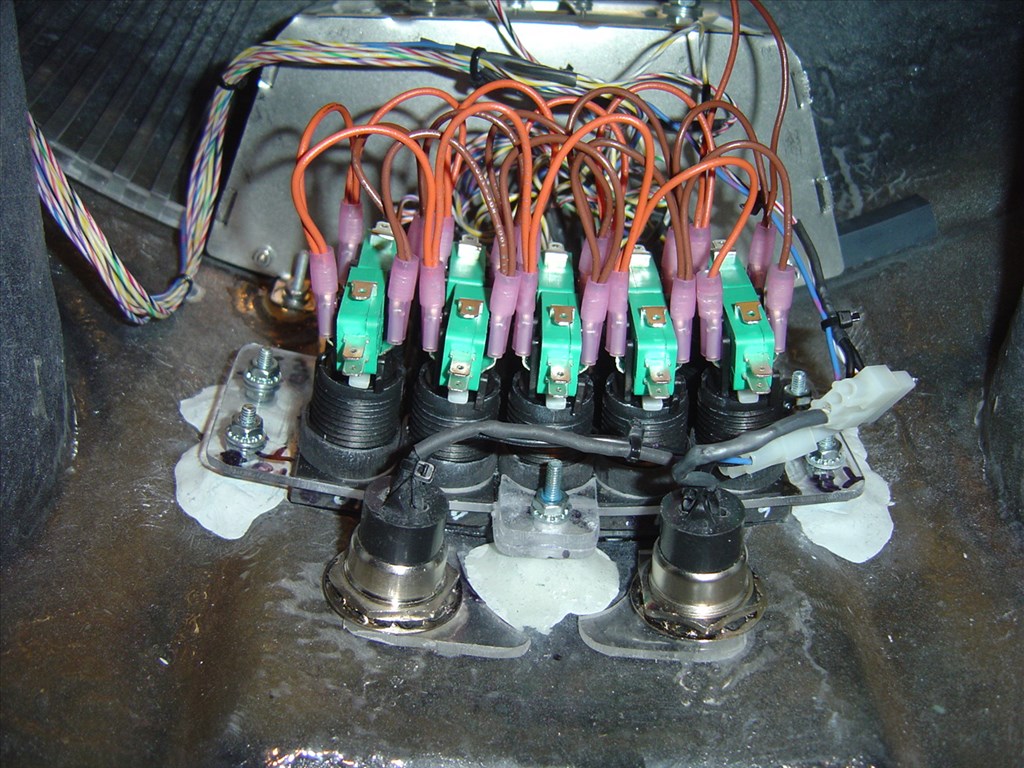
I hope you can use these motors. Although I cant use them to lift my heavy 8 pound B9 arms I still think they are good little motors. I think they can be used in a lot of tight places to move loads up to what I show below. Also I think they would be great in lighter robot arms in smaller robots. Smaller then my full sized B9 anyway.
Here's what I've found in testing them:
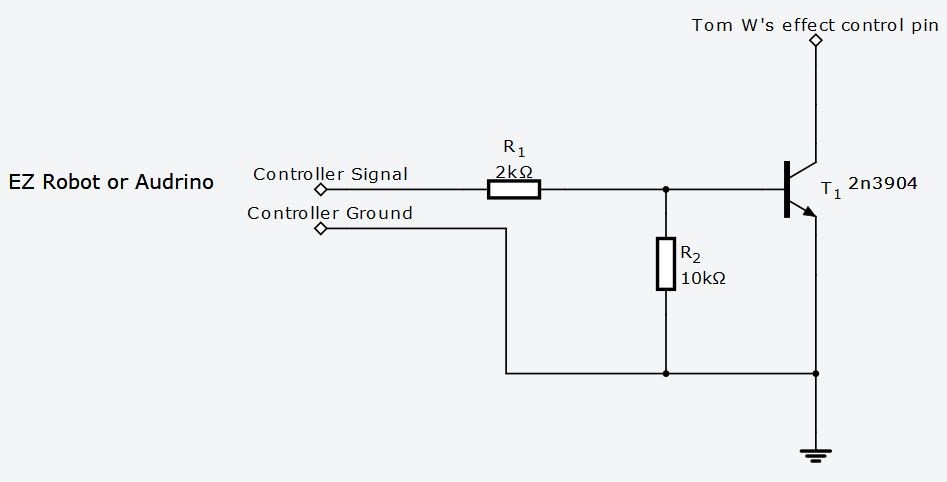
The pot inside only reads for 100 degrees of the rotation. Attach an ADC port's signal pin from EZB to the center pin of the lower set of three pins on the motor and 5v & GR pins to the two outside pins. Install a ADC control in EZ Builber and assign it the the ACD port you have the motor's pot attached to. When the motor rotates, the ADC control in ARC will move from Zero to 5v as the motor rotates within that 100 degree ark. When the motor passes outside of that zone the ADC Control will fall to Zero till the shaft come back around to the start of where the pot starts to read the 100 degree ark again. If you remove the actuaitor arm from the shaft by carfully cutting it free with a Drummel or hacksaw the shaft will continully rotate.
The motor runs fine on 24vdc although it's only rated up to 12vdc. The two pins side by side on top of the three used for the pot are the power pins. I ran it for 6 hours with no load at this voltage. I never ran it for any leangth of time under load at this voltage. The higher the voltage is the stronger and faster it will run. With the motors doubled up I was able to lift a 3lb load 12" out from the shaft at 24vdc. I could lift nothing at 12vdc. I did not test lifting with only one motor but I'd guess the proformance is cut in half. It will hold a load without creaping down when power is cut.
The motor runs almost silent but does vibrate and hum a little when it moves under load. The noise is louder if you have it attached directly to a surface without useing it's attachment holes. These attachment holes have rubber inserts and if used with #8 machine screws absord moat all noise and vibration.
There is no noticable play in the shaft with the orginal arm attached. When I removed that arm I did notice a little play. This was really noticable when I added a hub and 21" bar to it so I could make my extended load tests. What was just a fraction of movement at the shaft was at least 1/8" or more of play at the end of the 21" extention bar.
The shaft will accept a 6mm hub. I like the clamping hubs found at servo City but a set screw hub will work also. If you use a clamping hub I dont think you will ever have to worry about it coming apart.
Although I havent yet tested this I feel these motors would be great used with the Sabortooth 2x12 and the Kangaroo X2 boards. This combo would turn them into servos and ARC would have easy native control through all the differnt servo controls and commands to build complex and smooth anamations.
Hope this review halps.