


-635353562186322812.png)


Hi all,
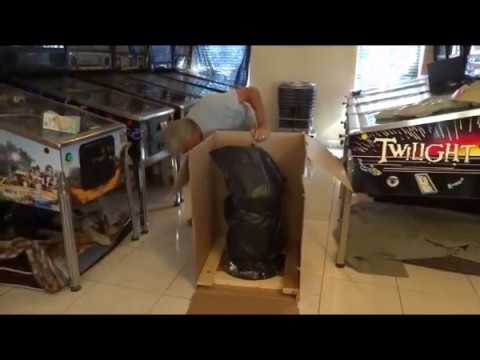
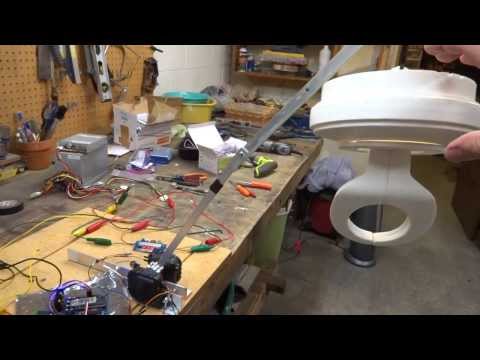
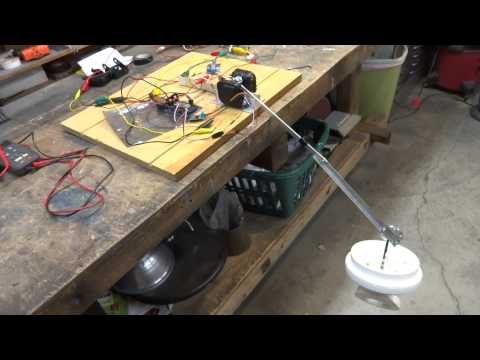
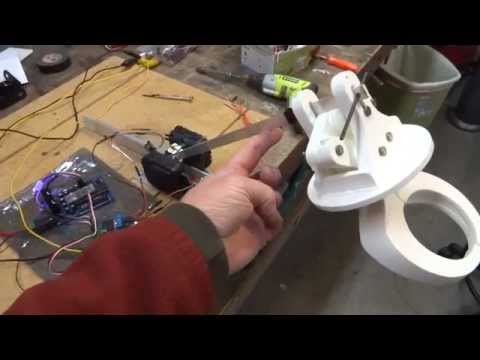
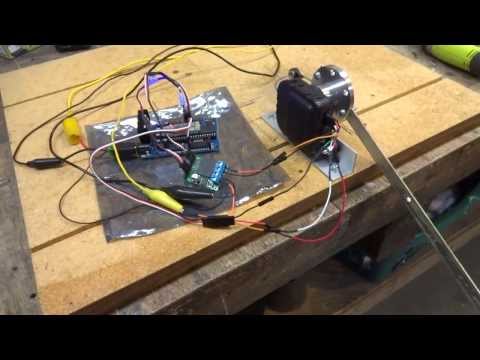
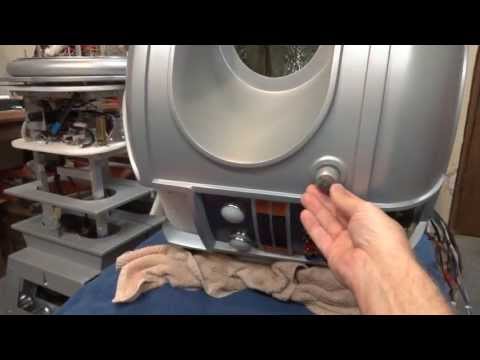
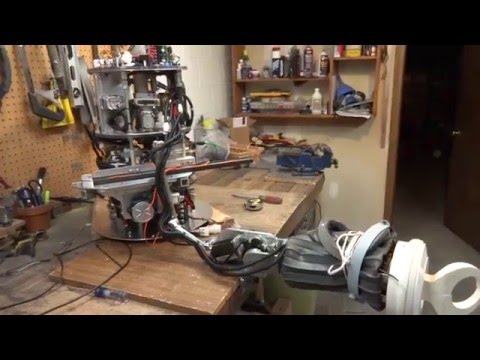
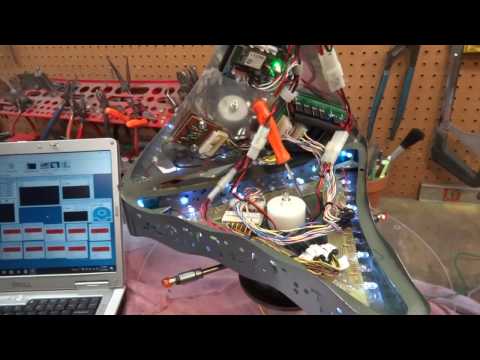
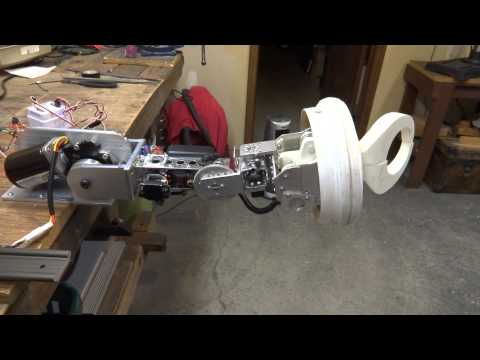
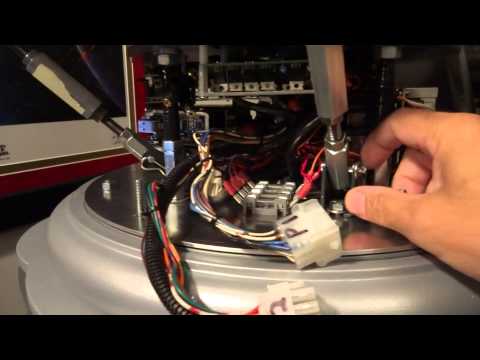
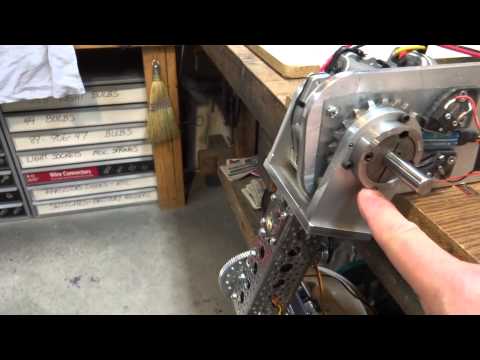
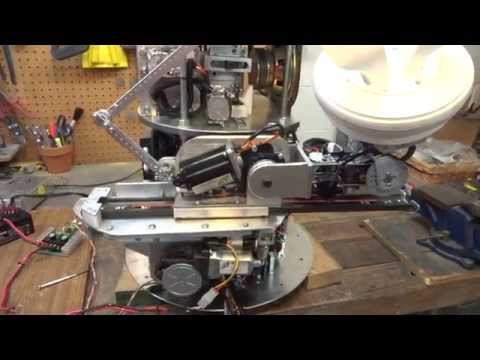
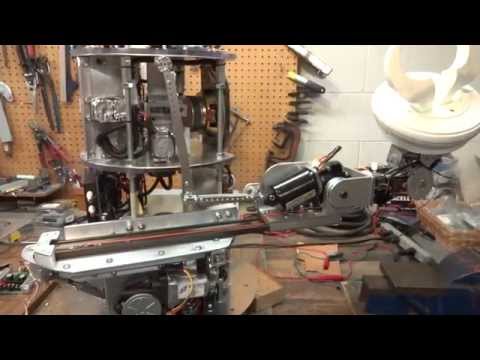
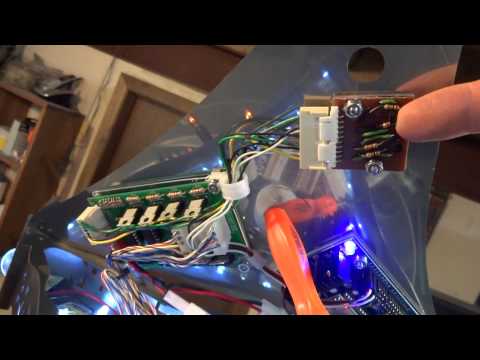
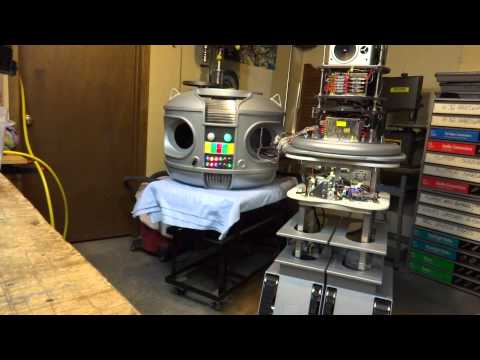
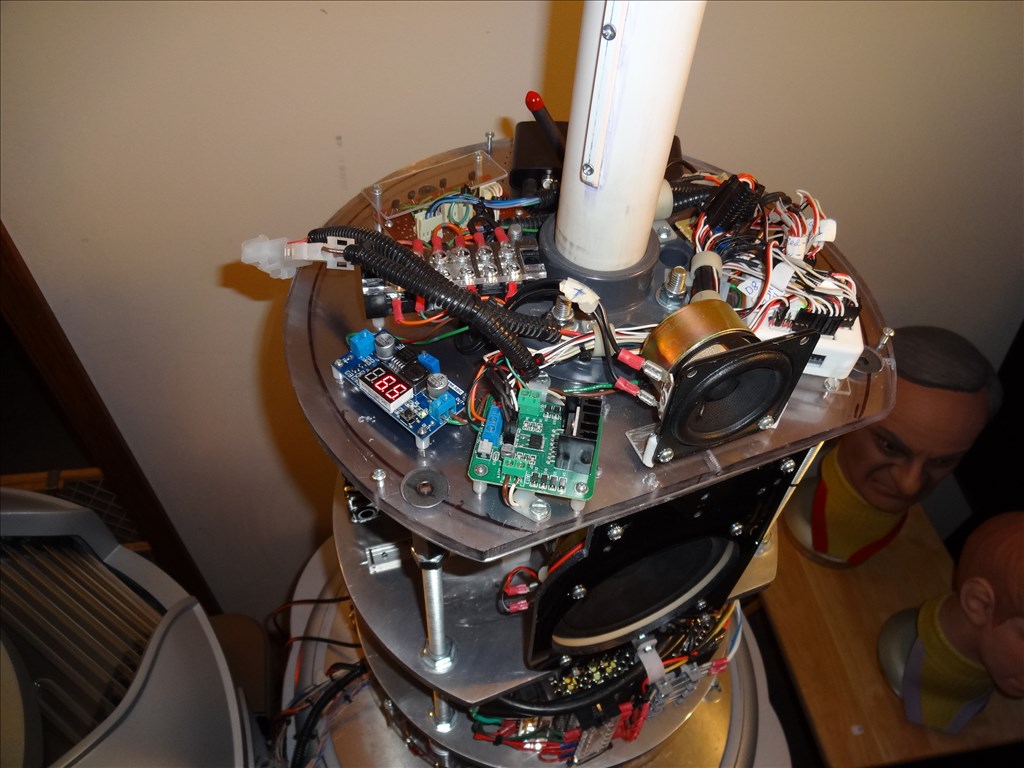
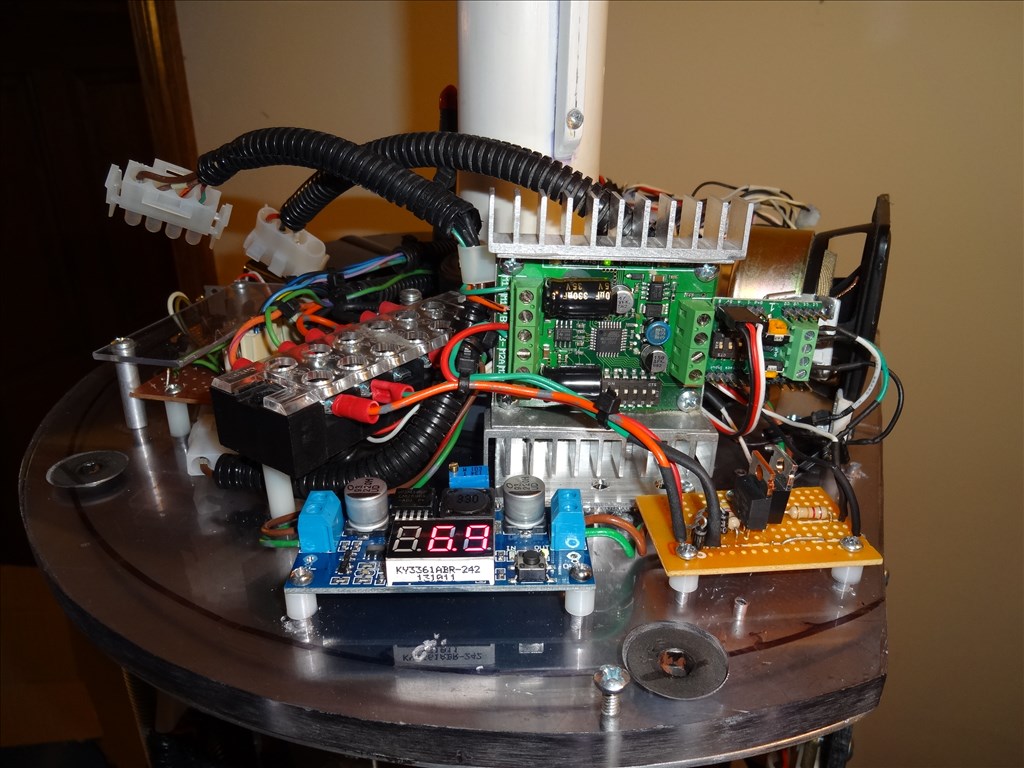
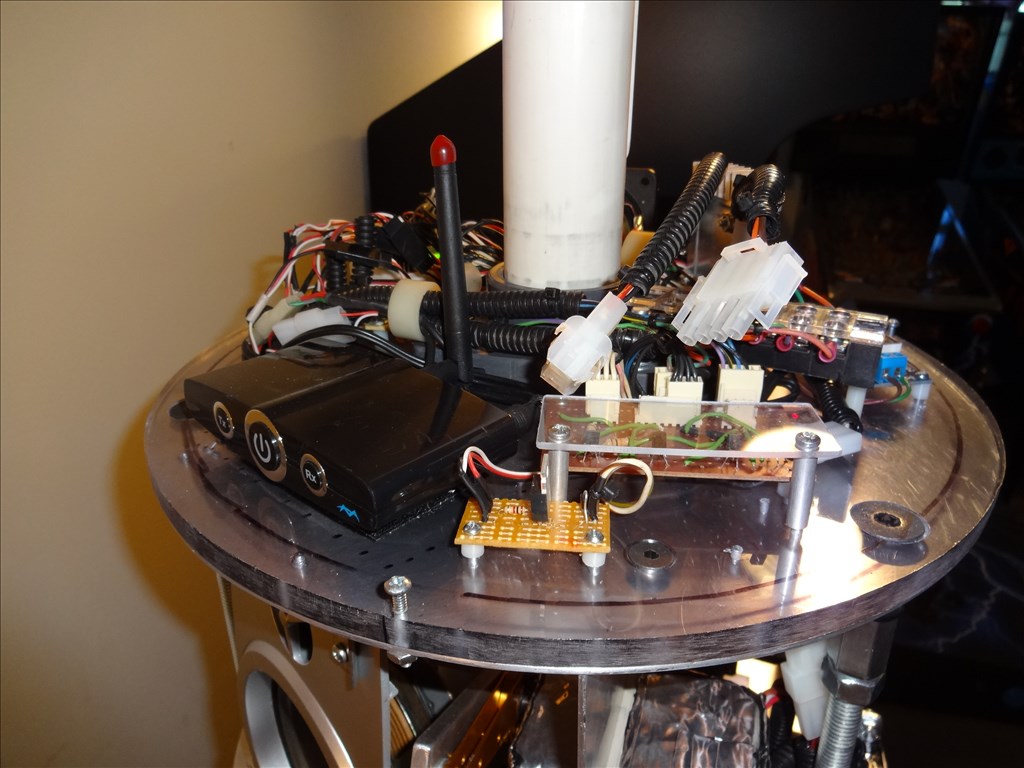
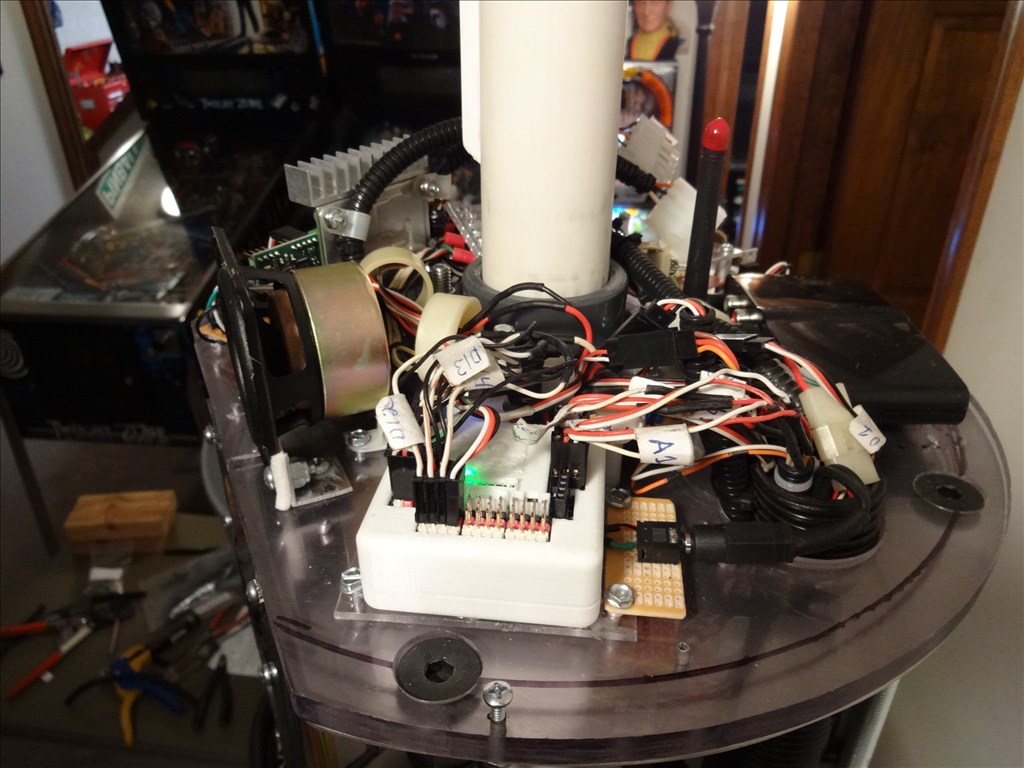
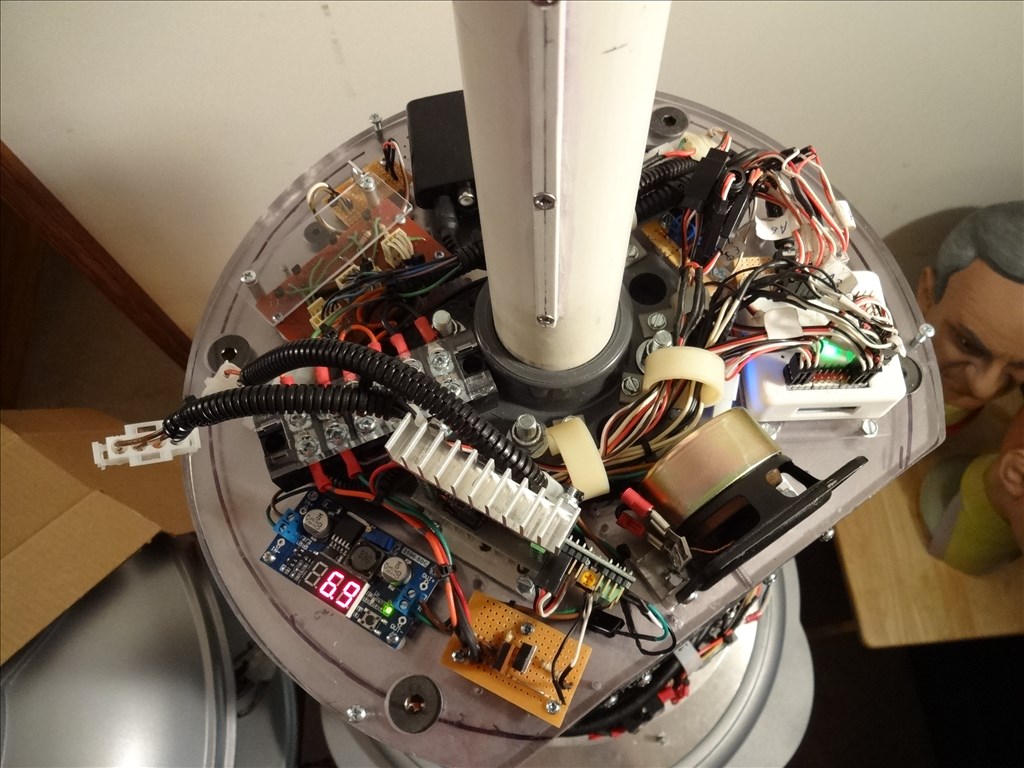
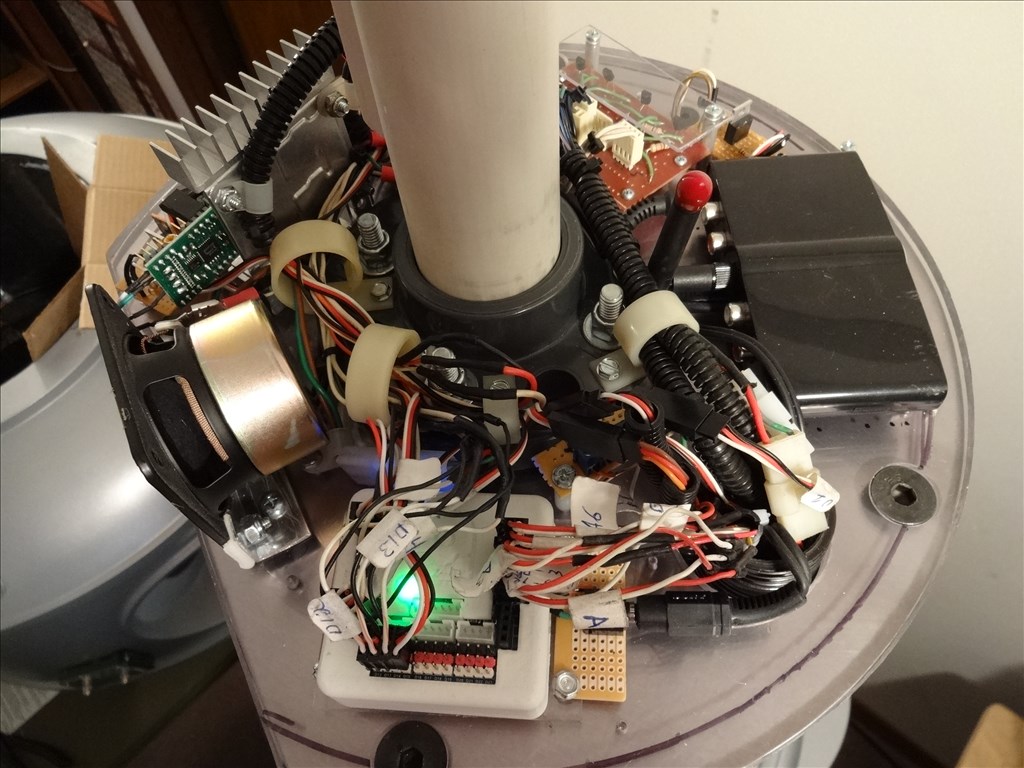
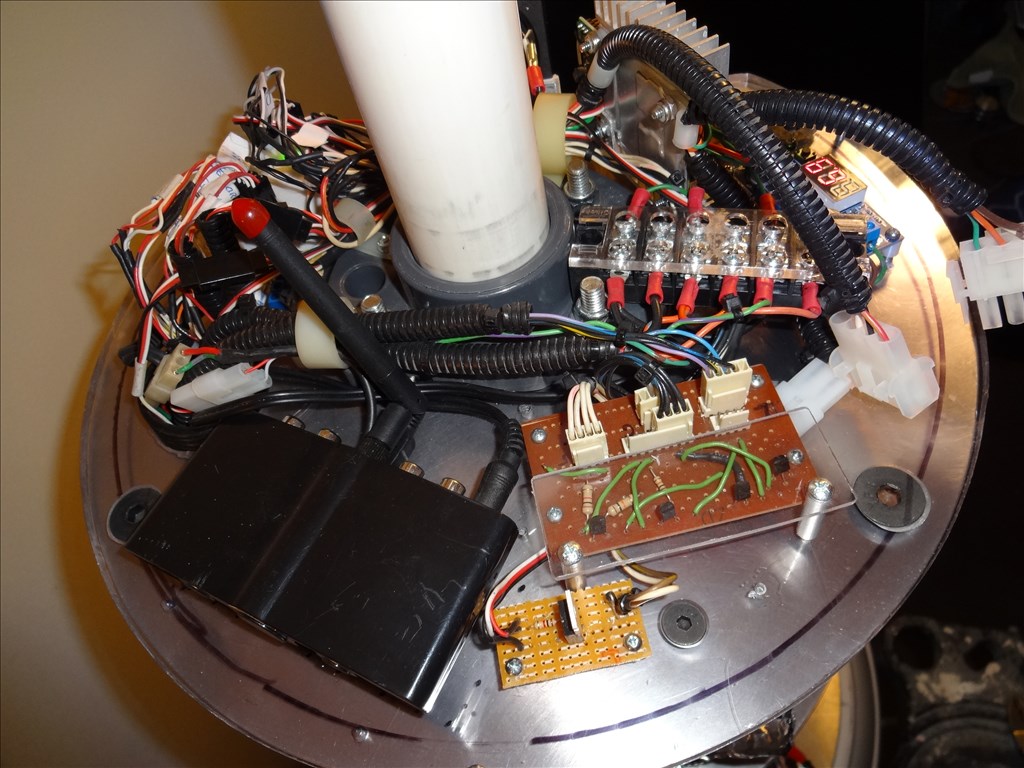
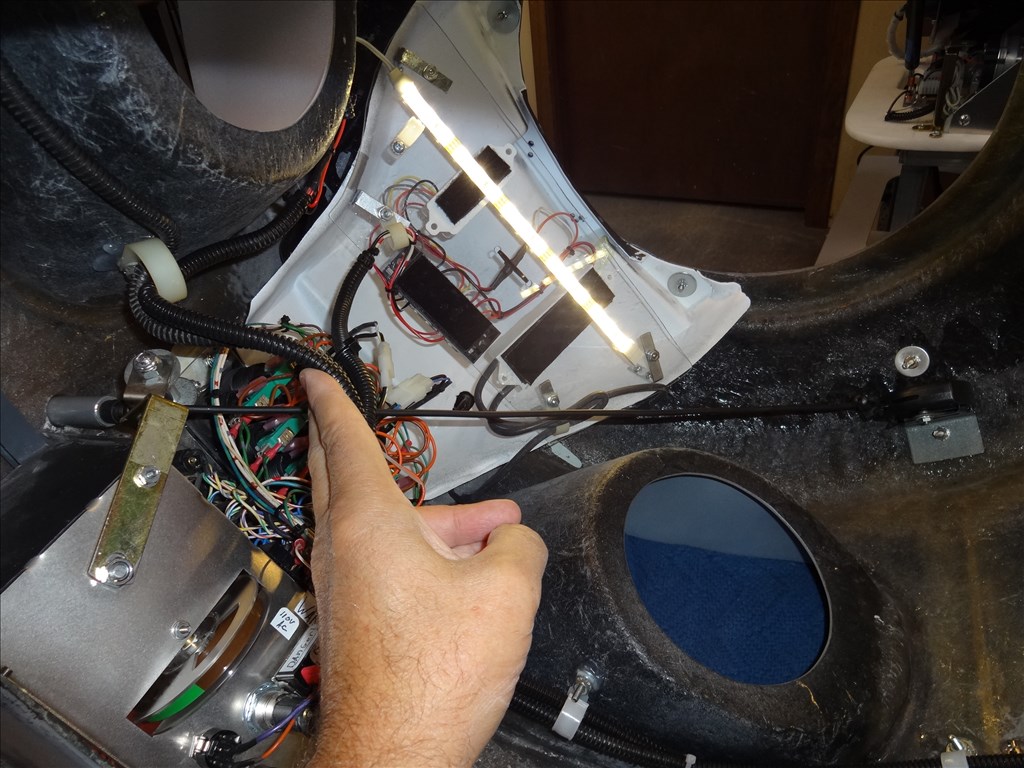
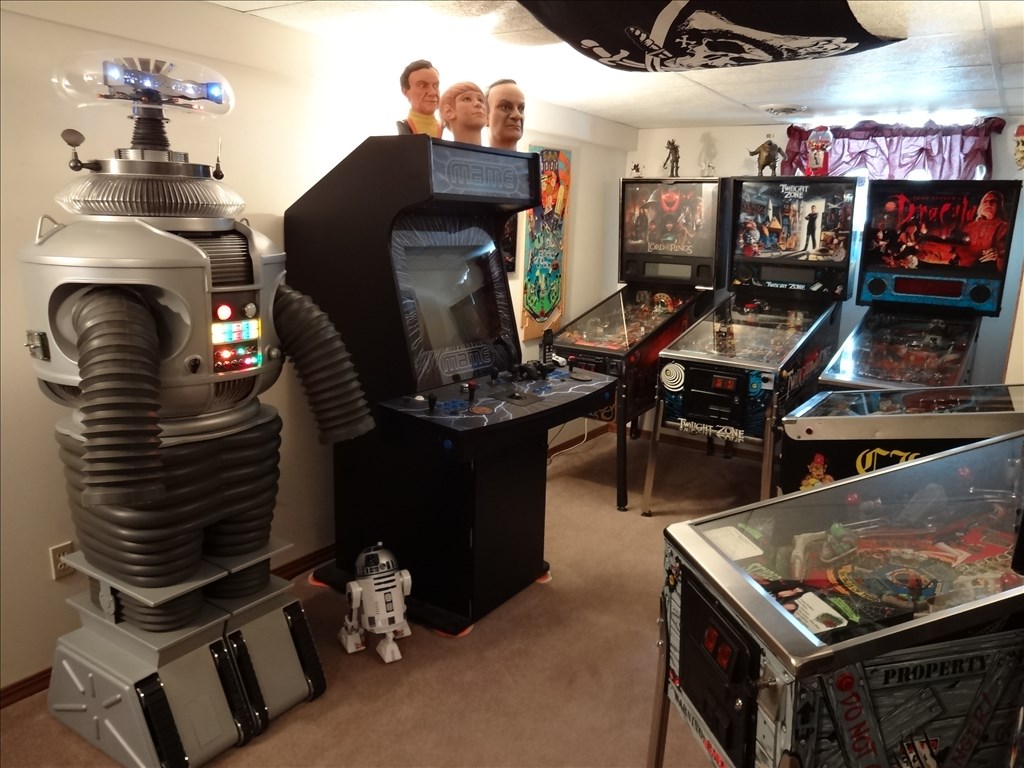
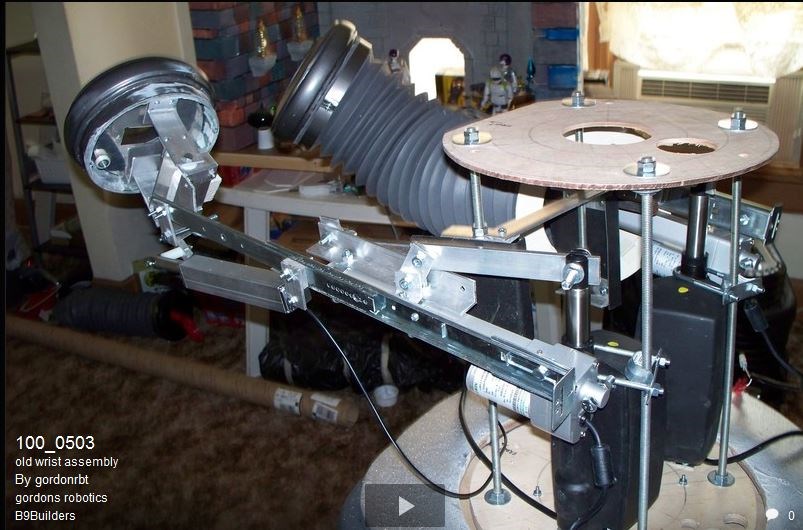
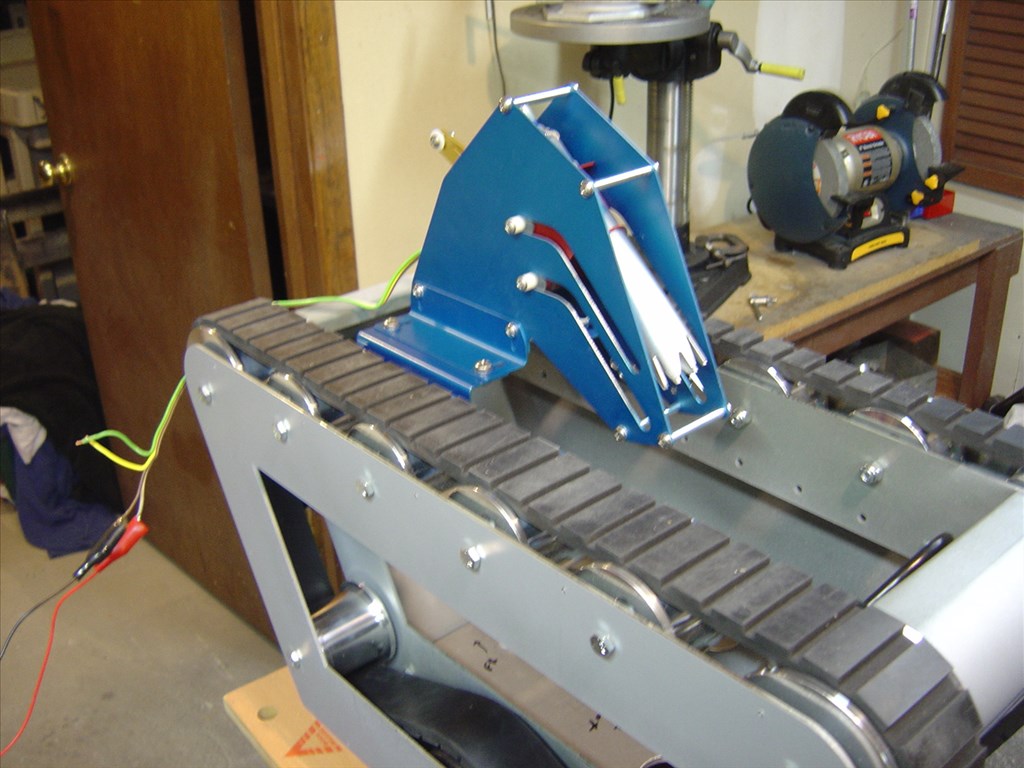
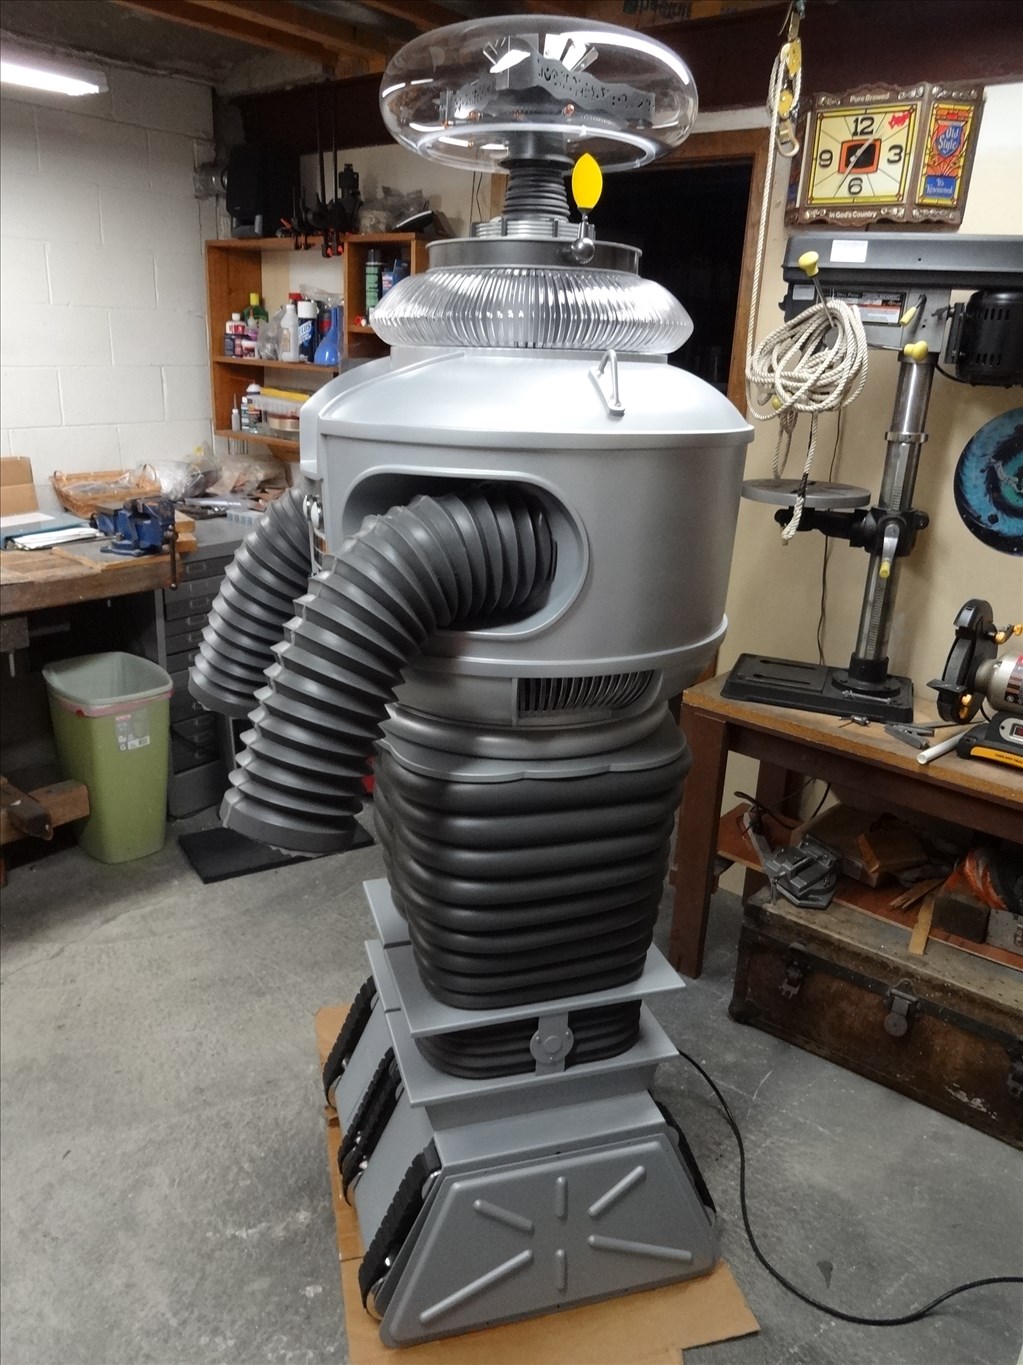
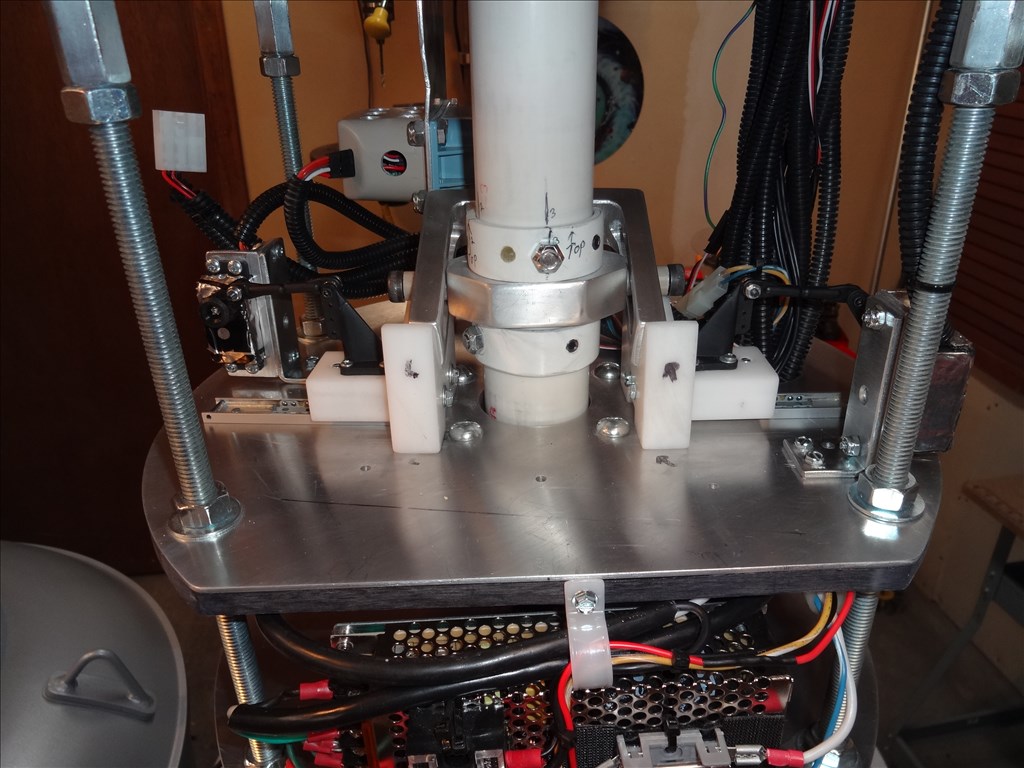
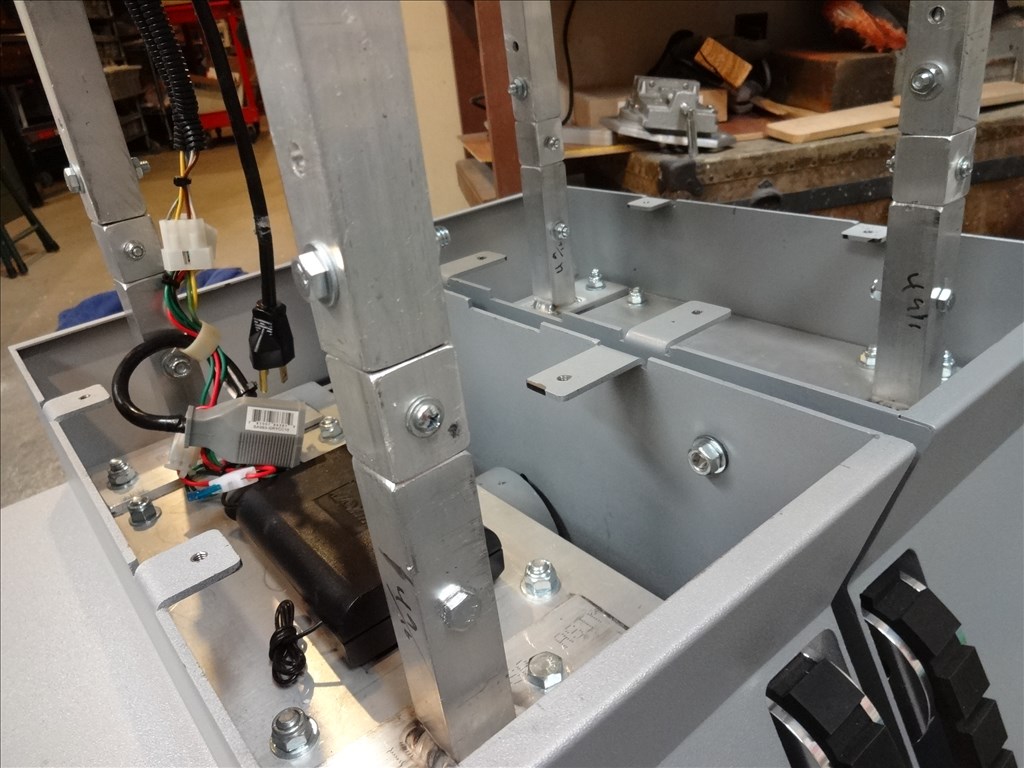
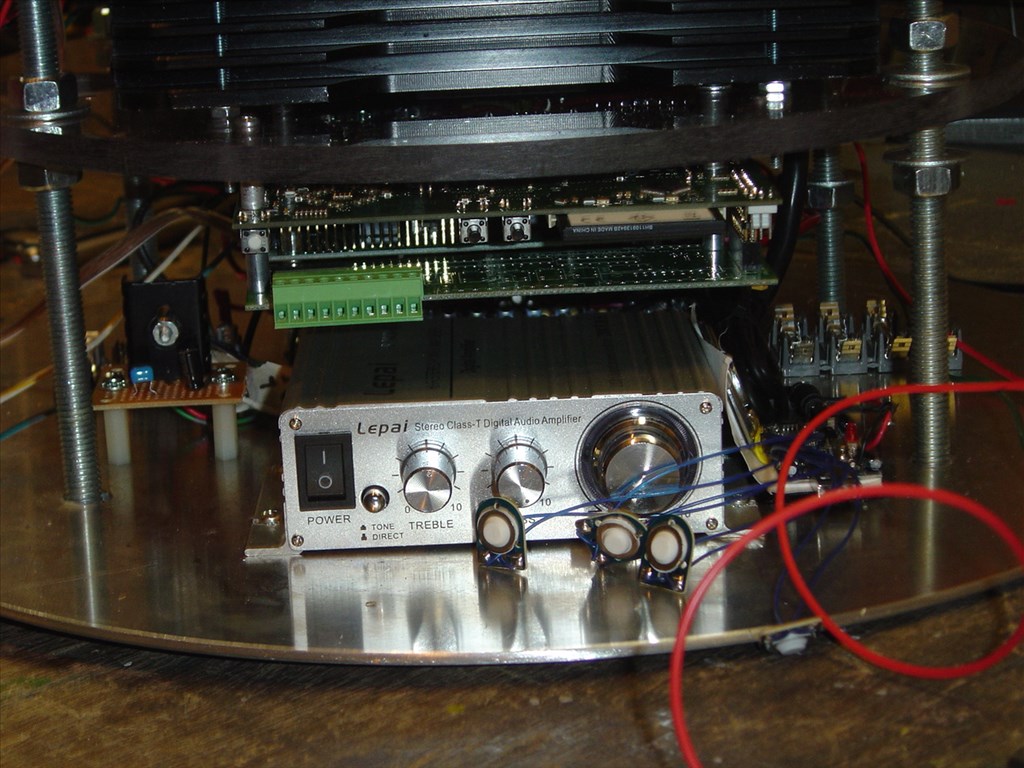
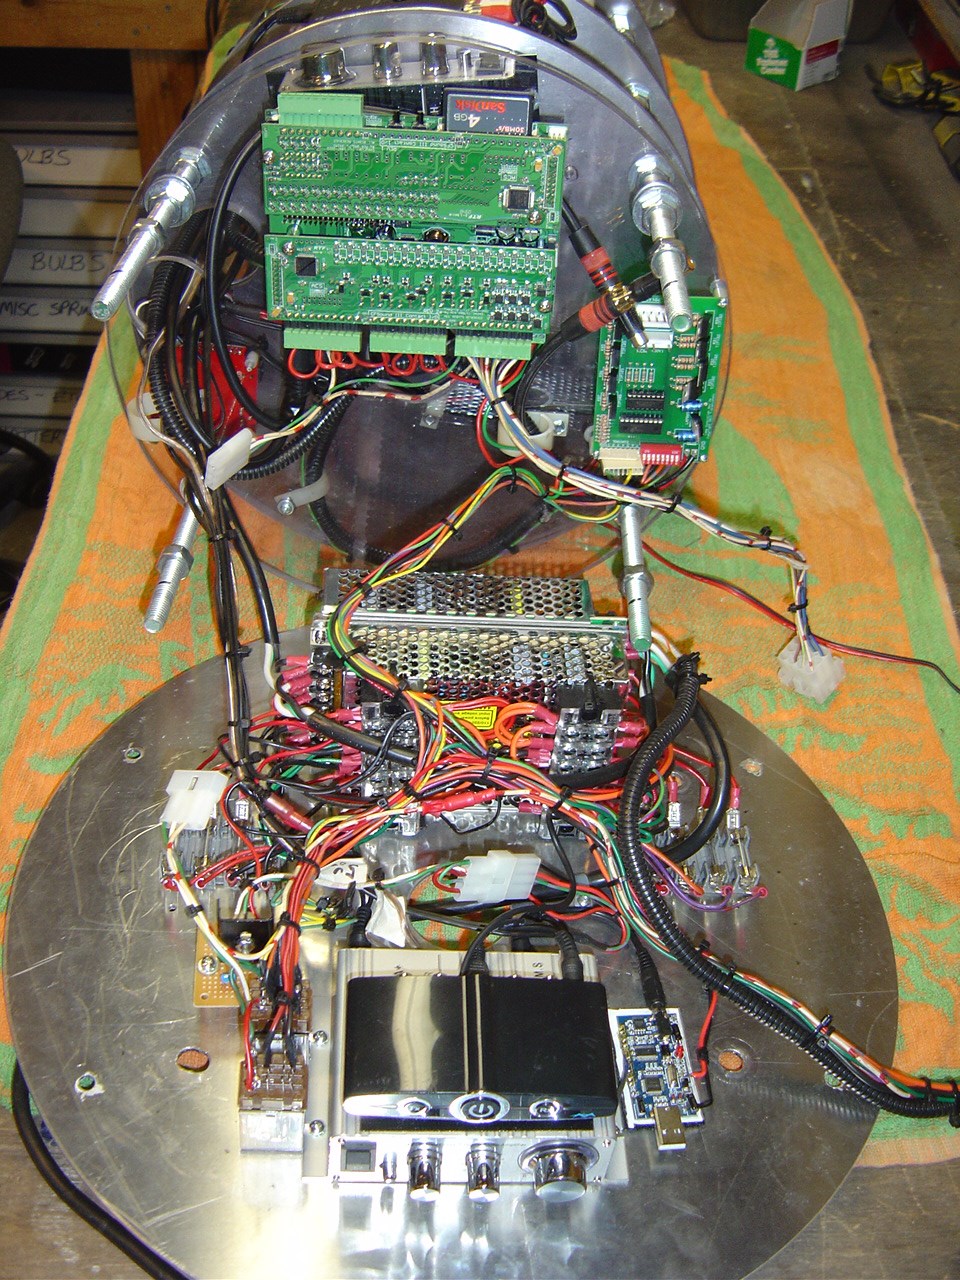
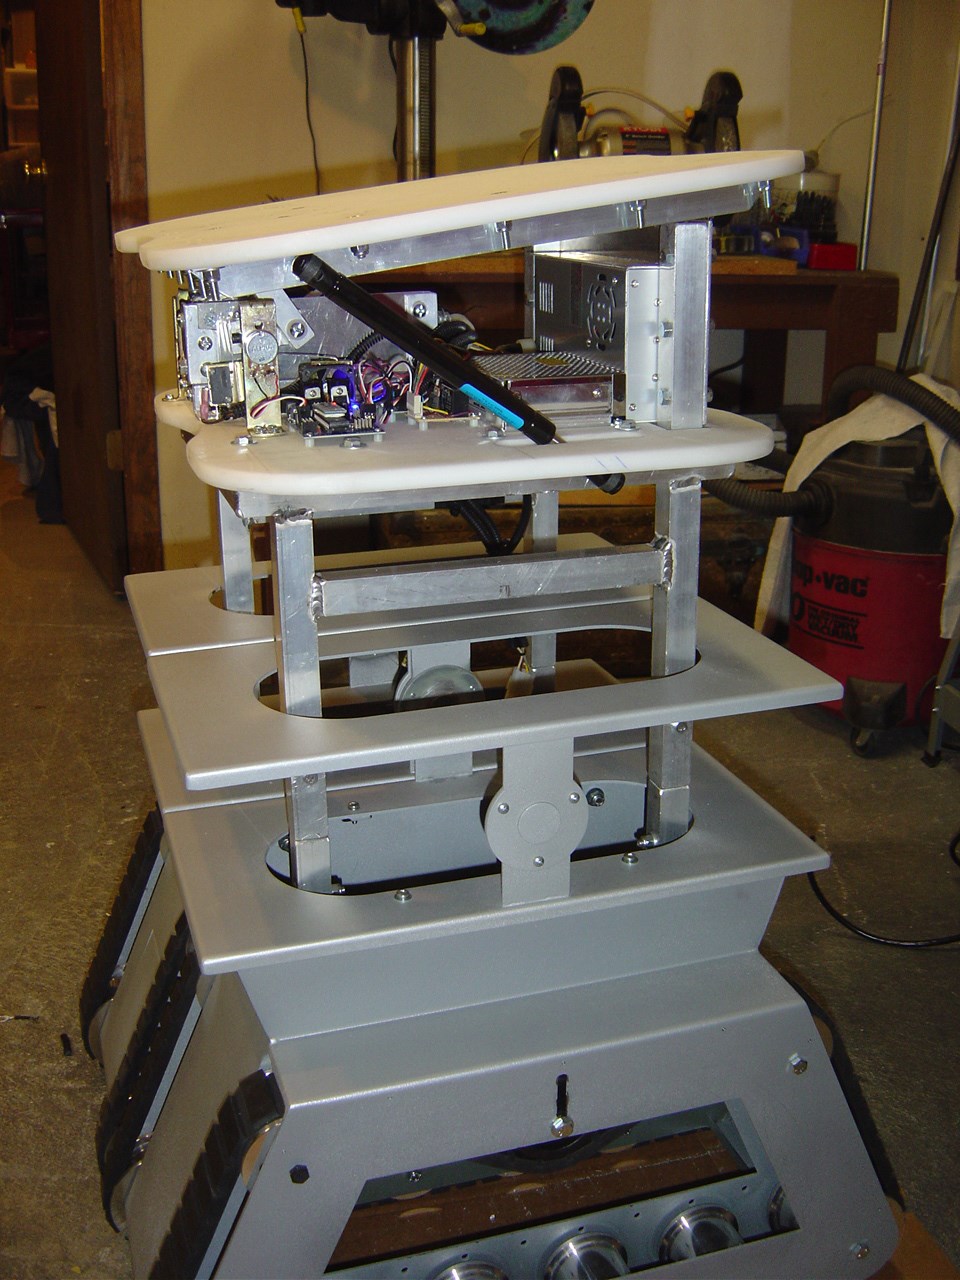
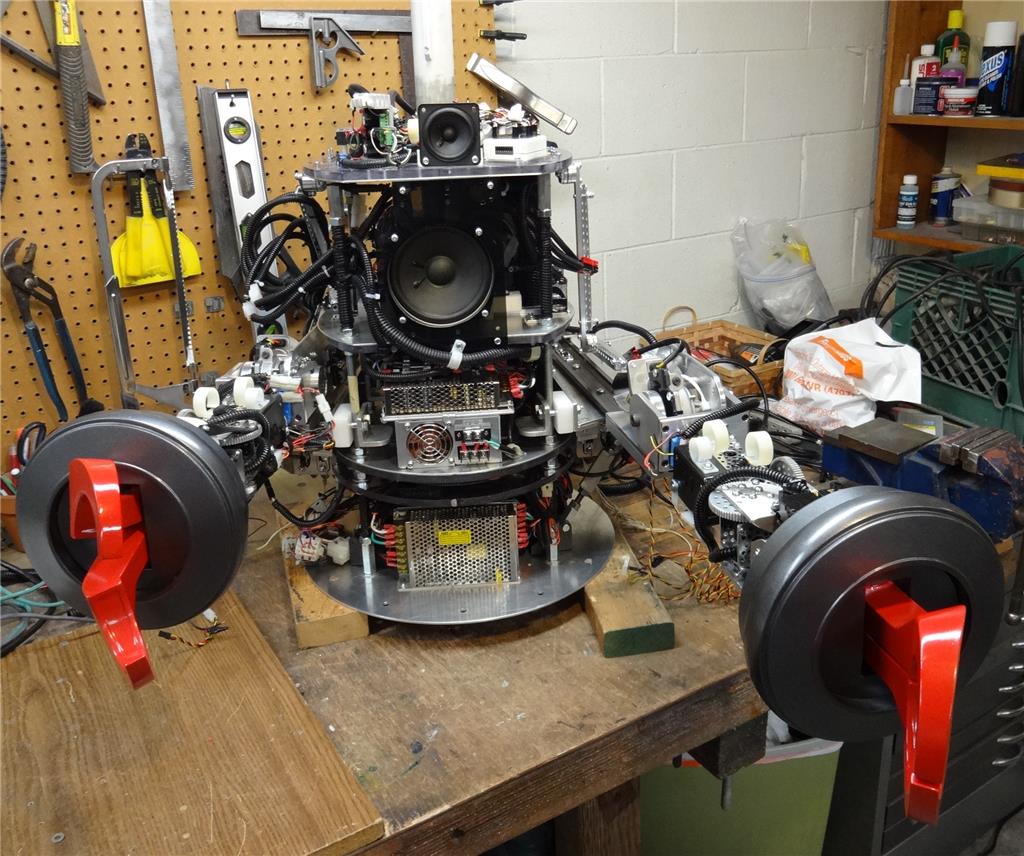
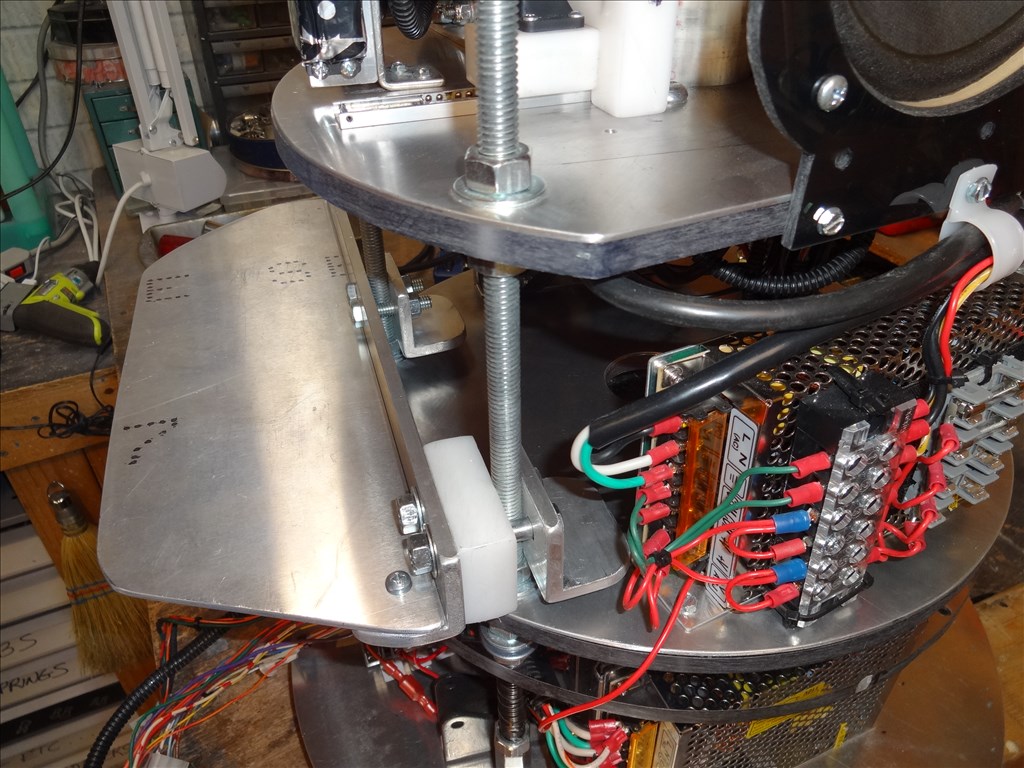
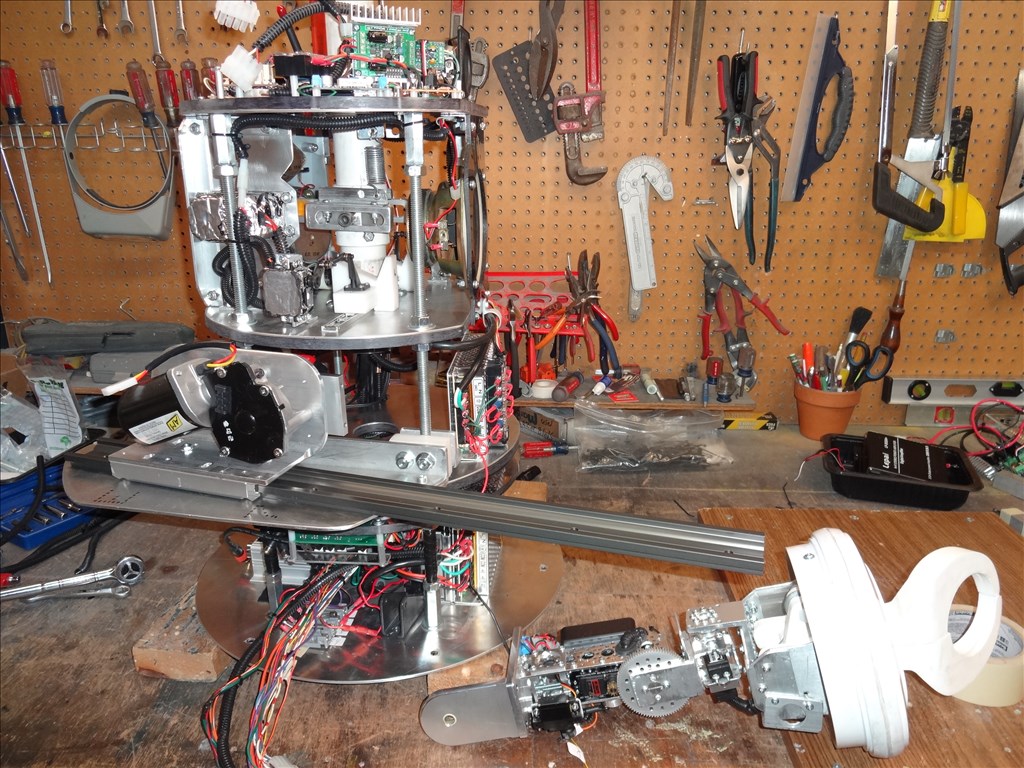
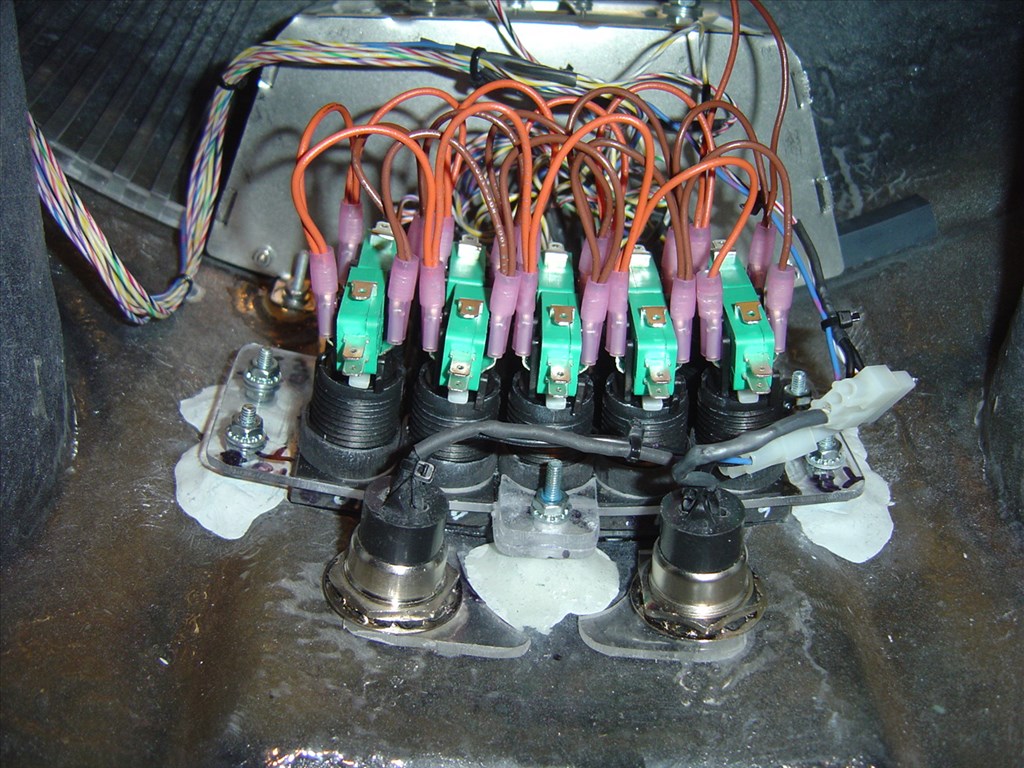
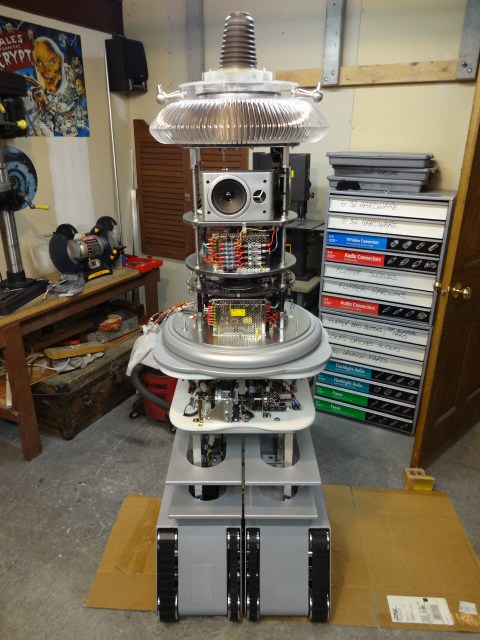
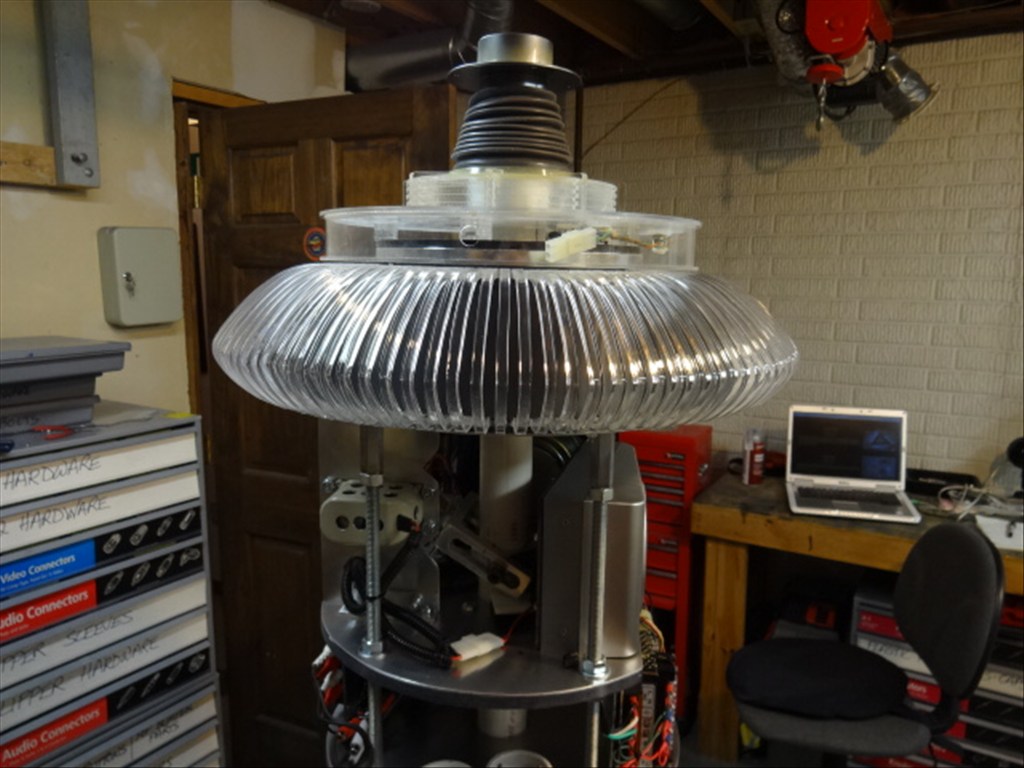
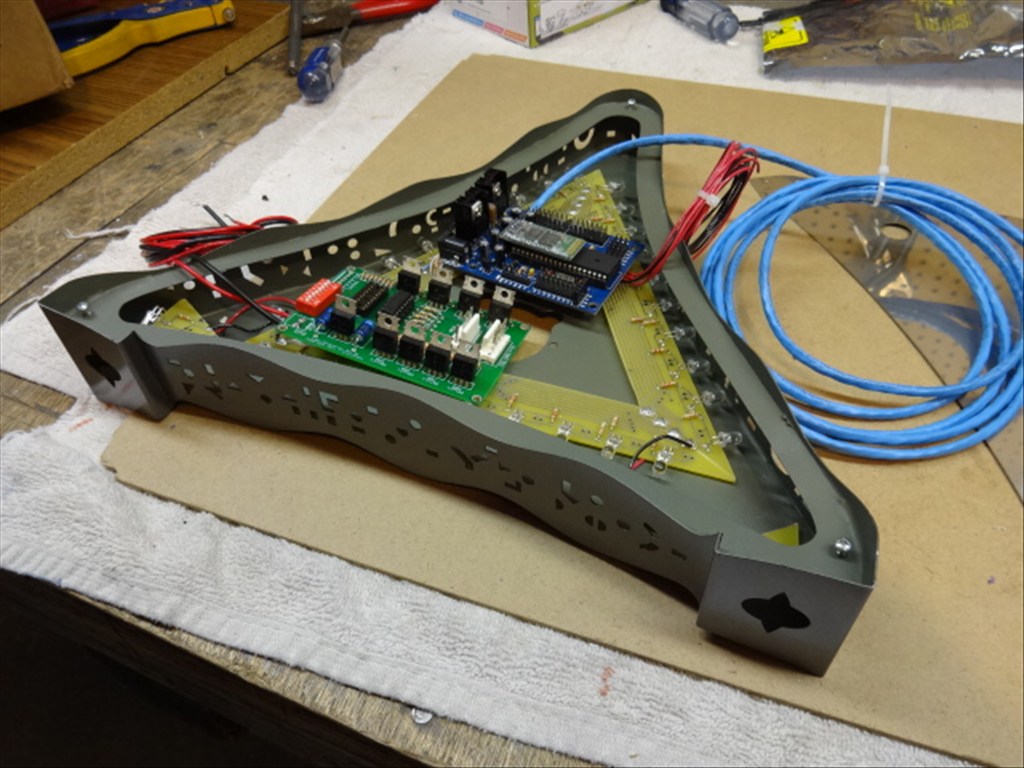
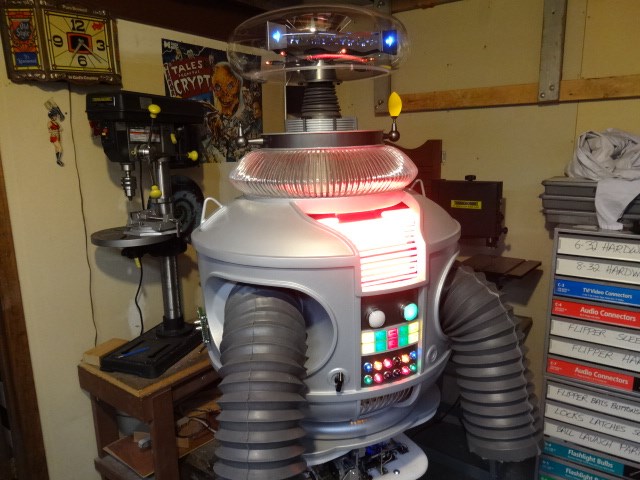
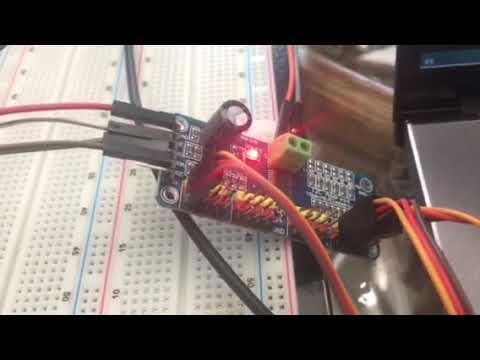
I'd like to share a video I just took of my full size Lost in Space B9 robot that's controlled by two EZ-B controller boards. Right now they are controlling limited movement and voice response of a few motors, lights and sound files played from a Sparkfun MP3 Trigger board. Although I'm just starting with the animation and have more building on the actual robot the result (mostly thanks to the EZ Robot controller board) is shocking. Please have a look at this (4 minute) You Tube vid and enjoy.
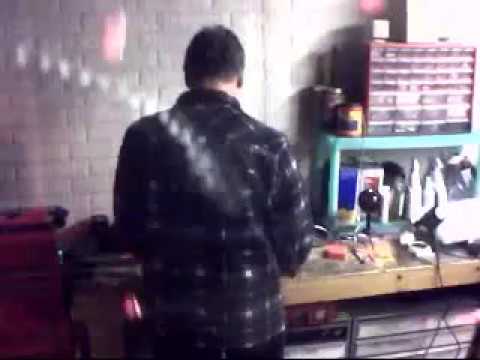
Please excuse some Technical camera lighting and sound issues. This is the first time I'd made and posted a vid online.
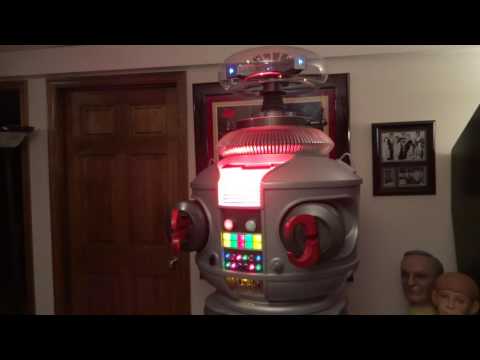
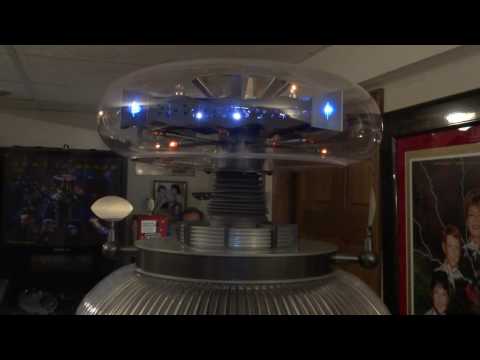
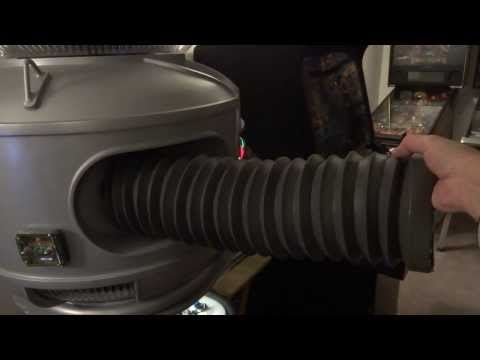
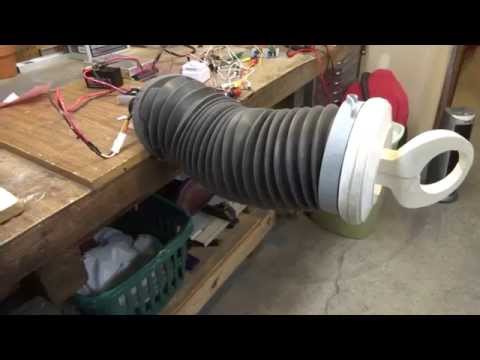
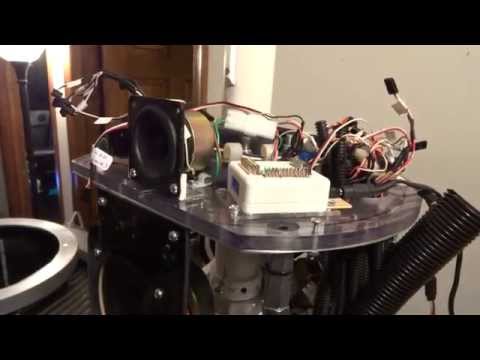
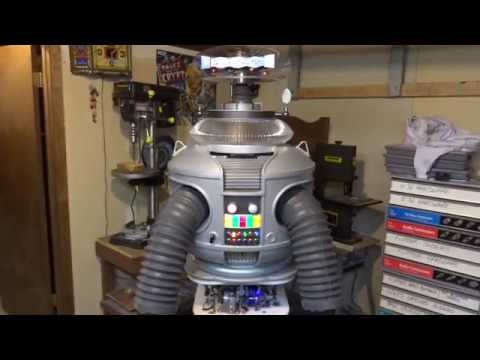
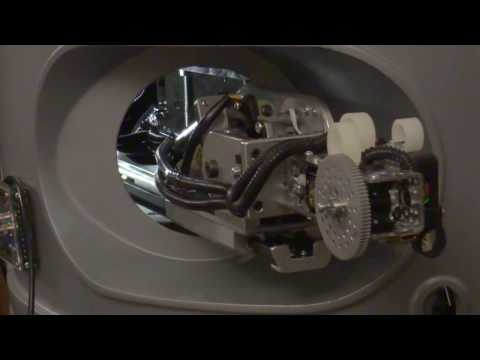
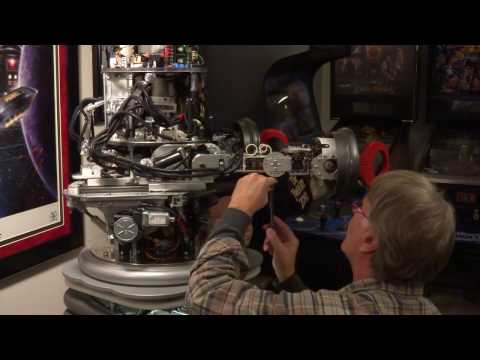
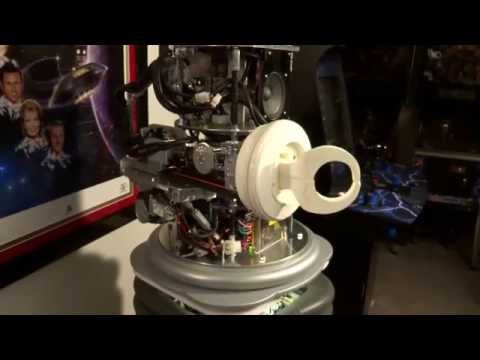
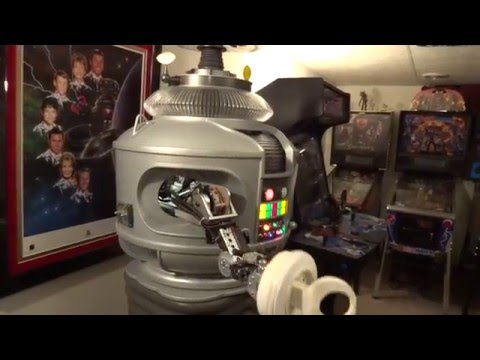
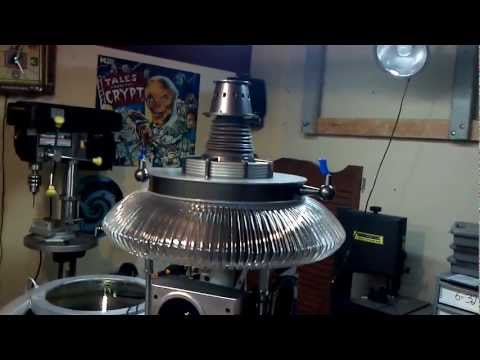
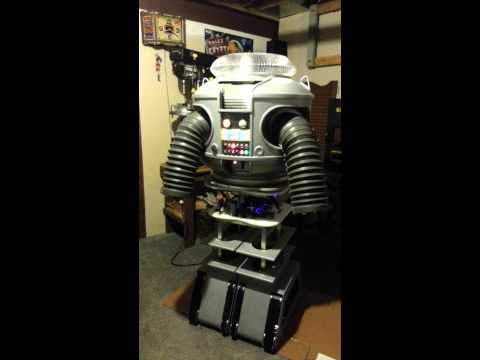
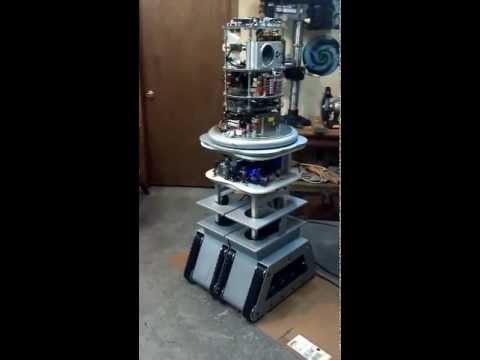
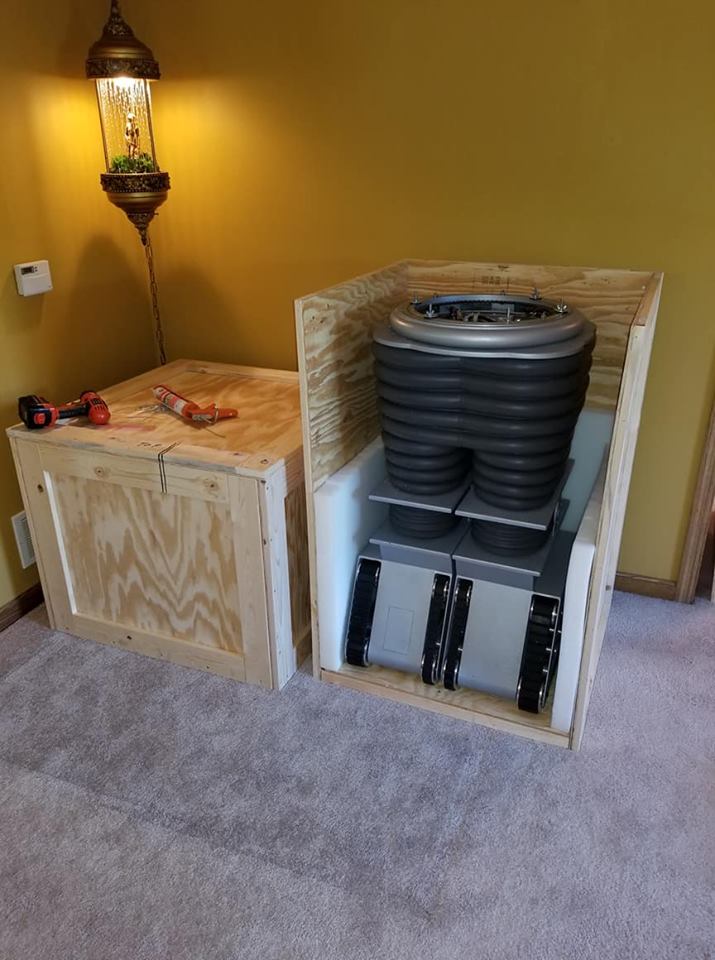
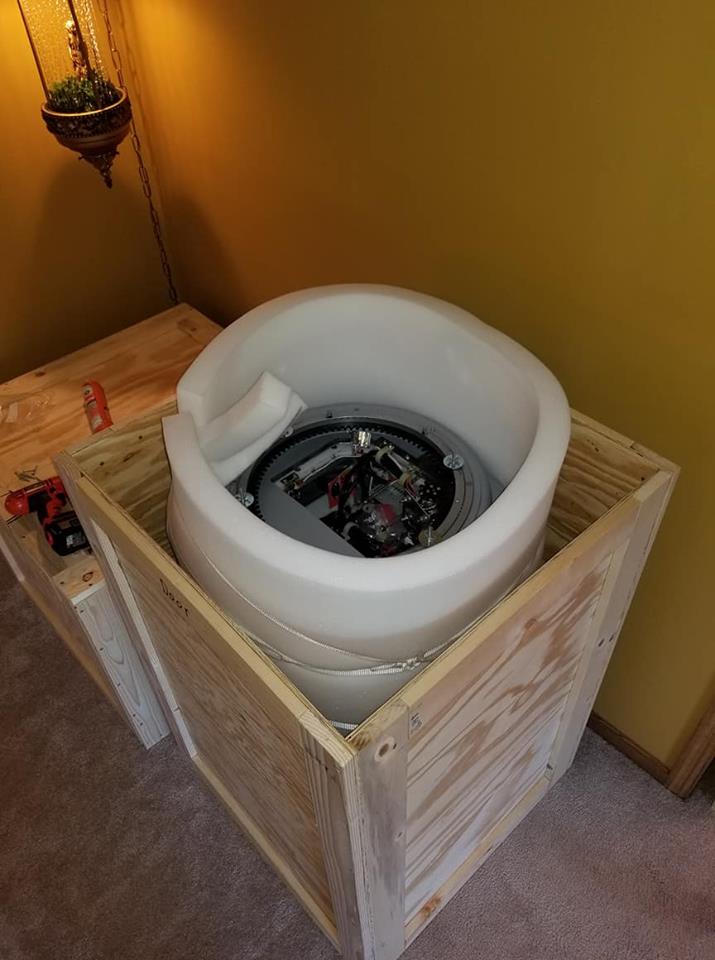
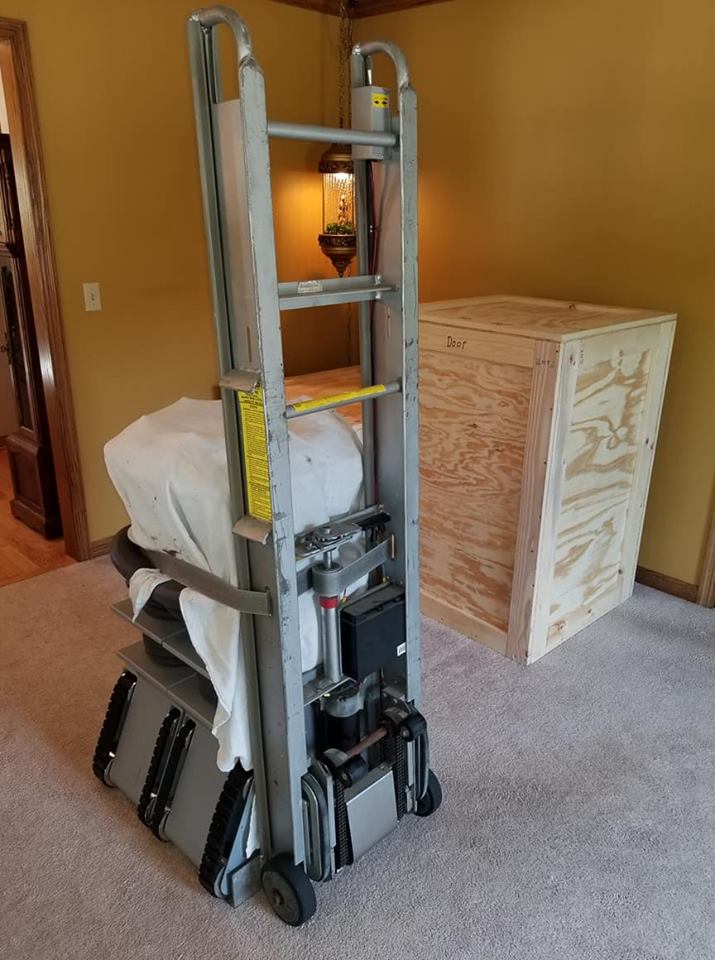
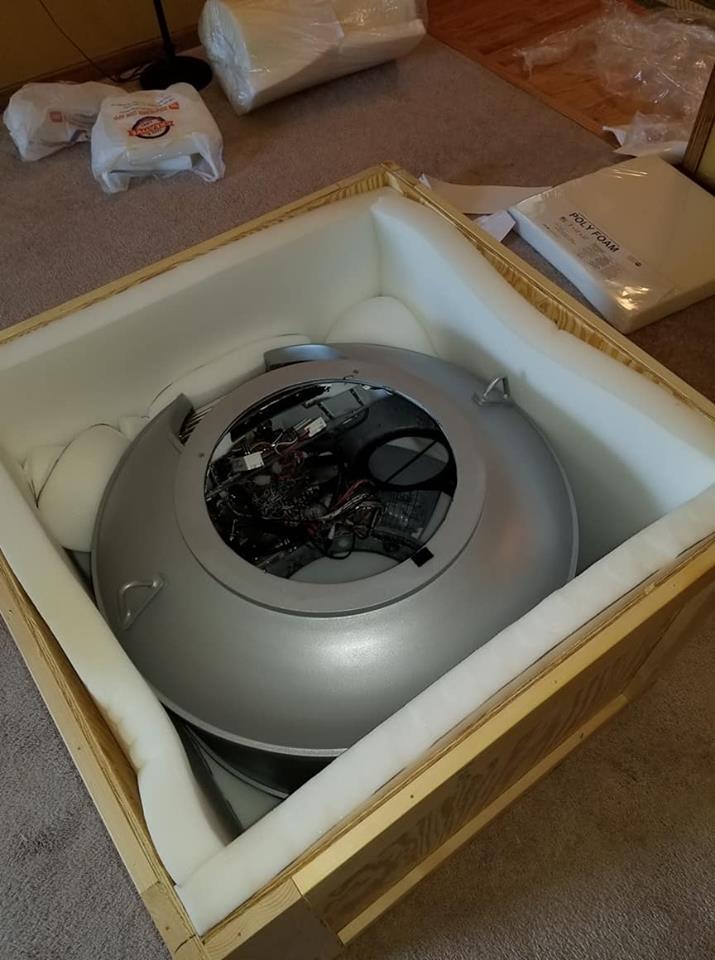
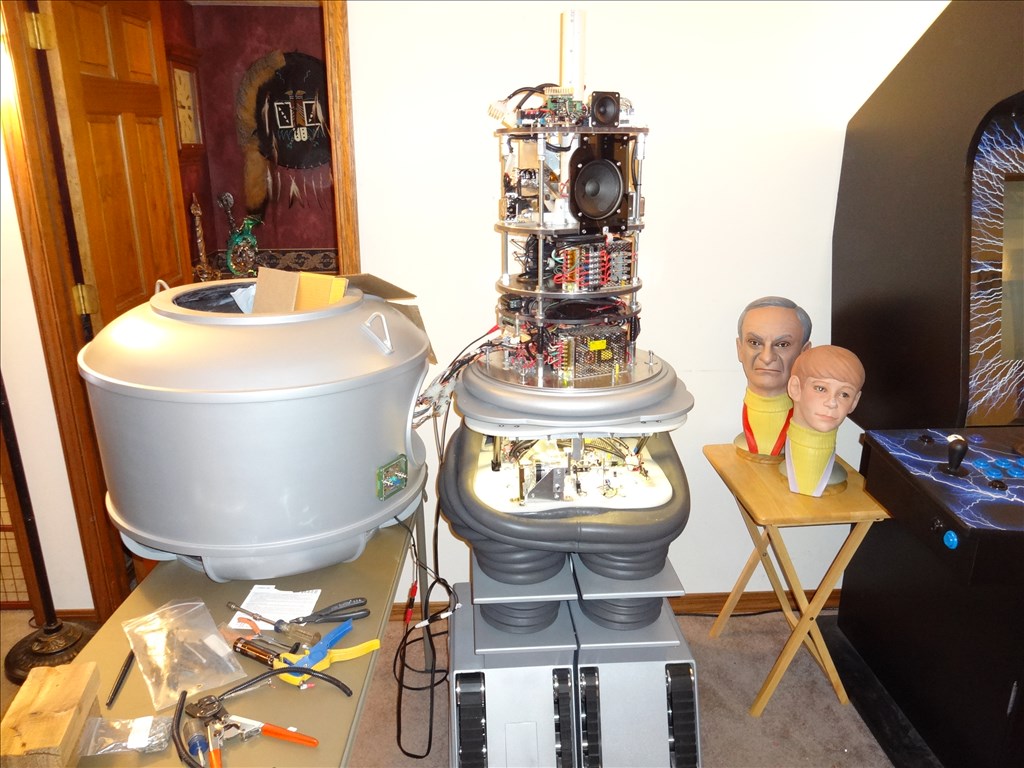
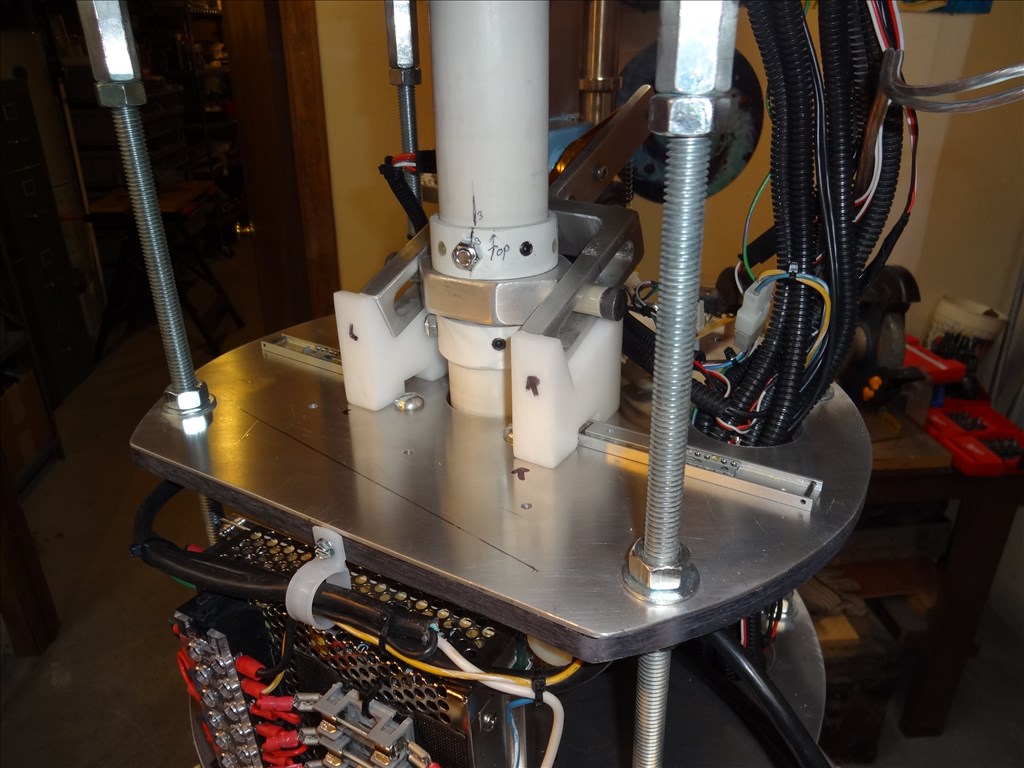
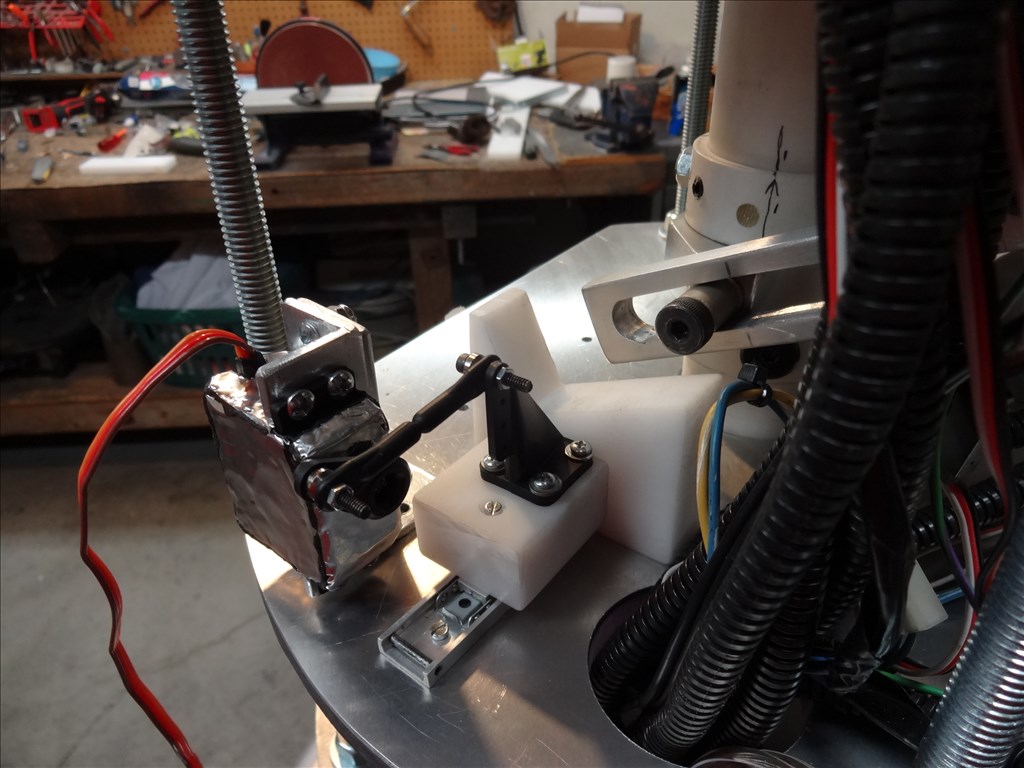
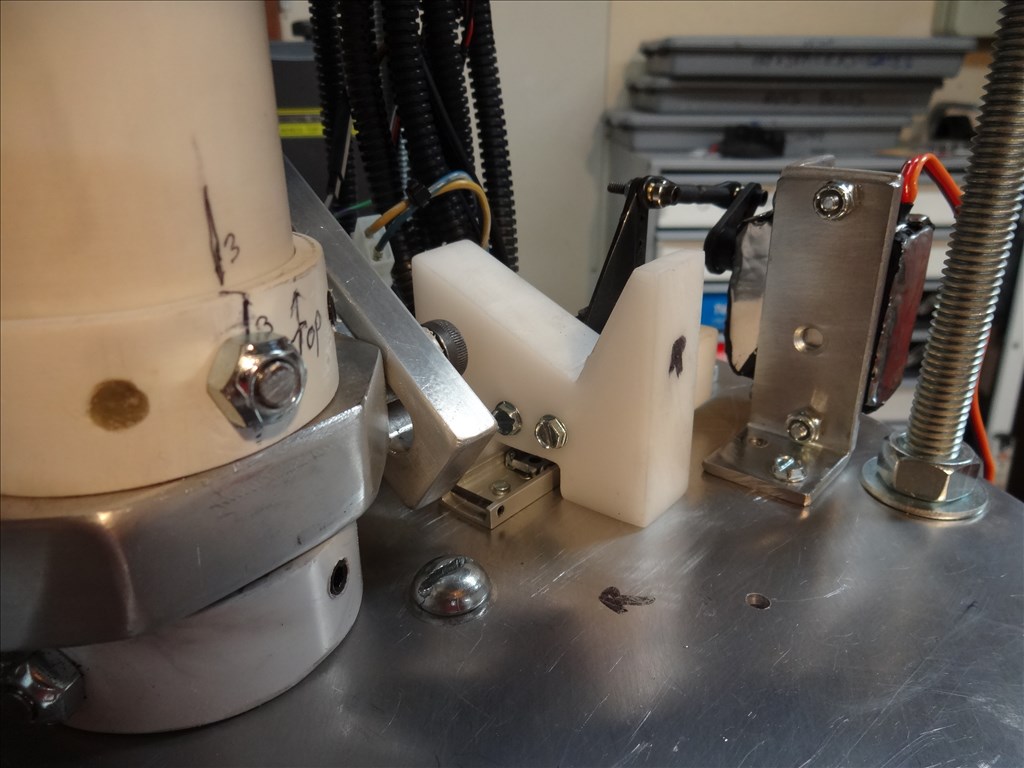
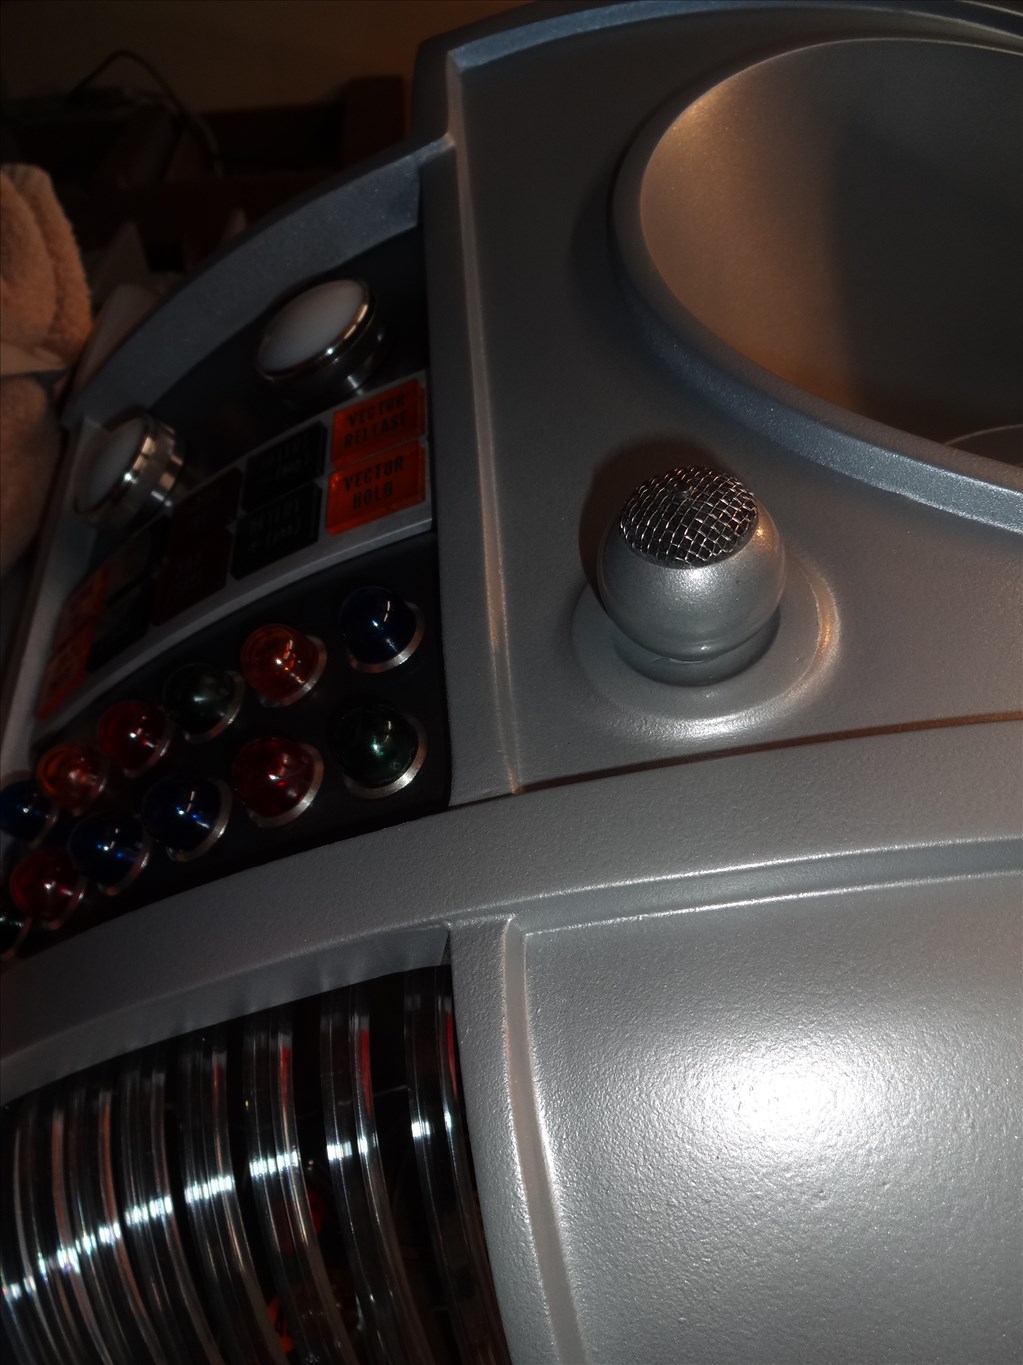
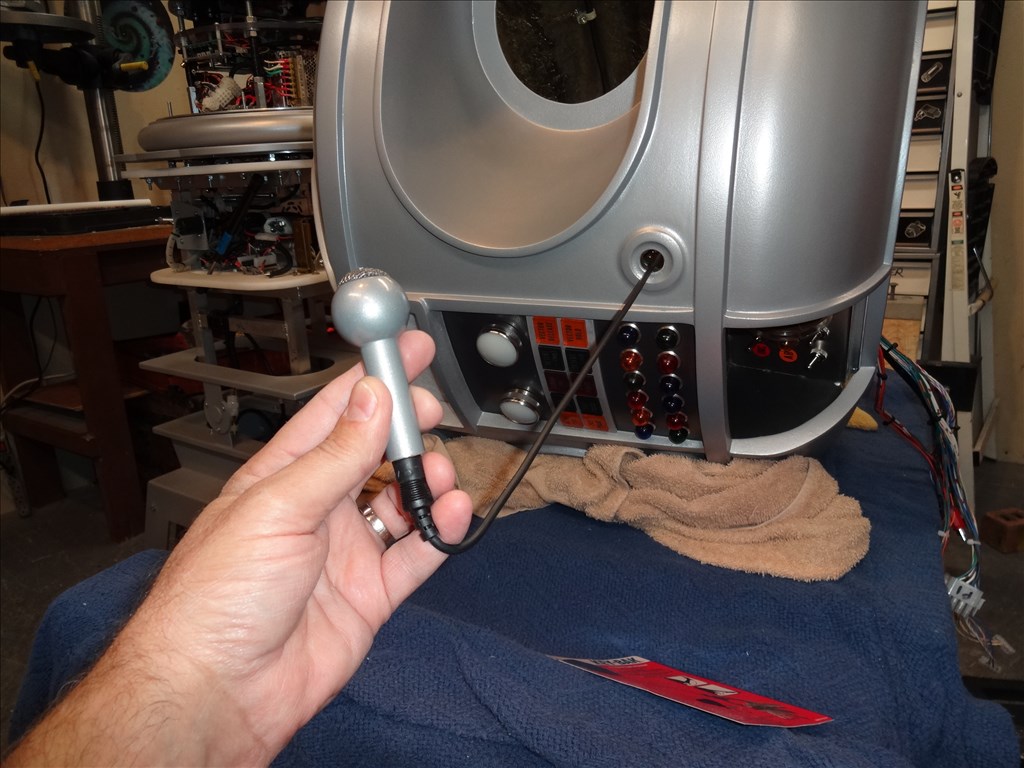
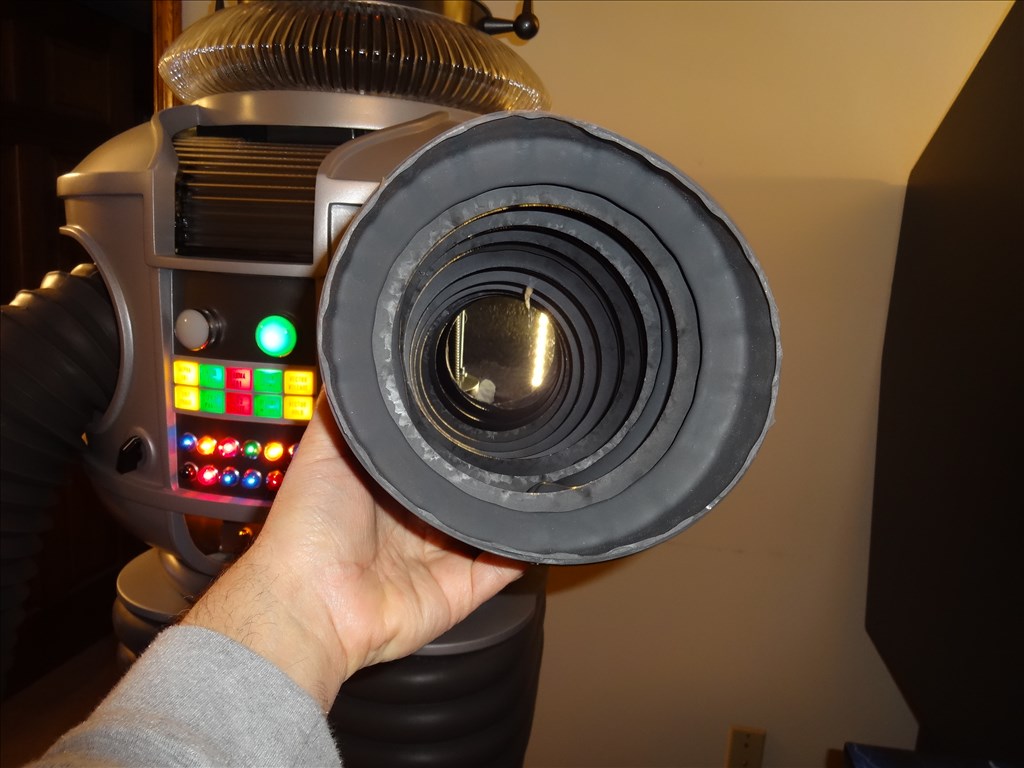
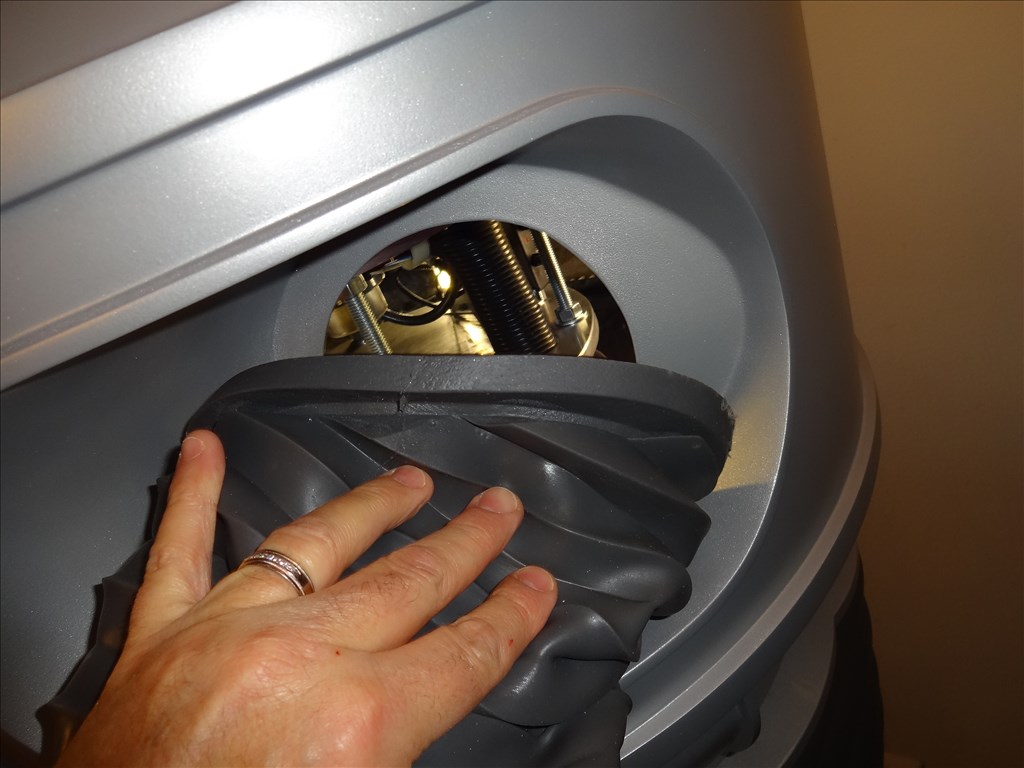
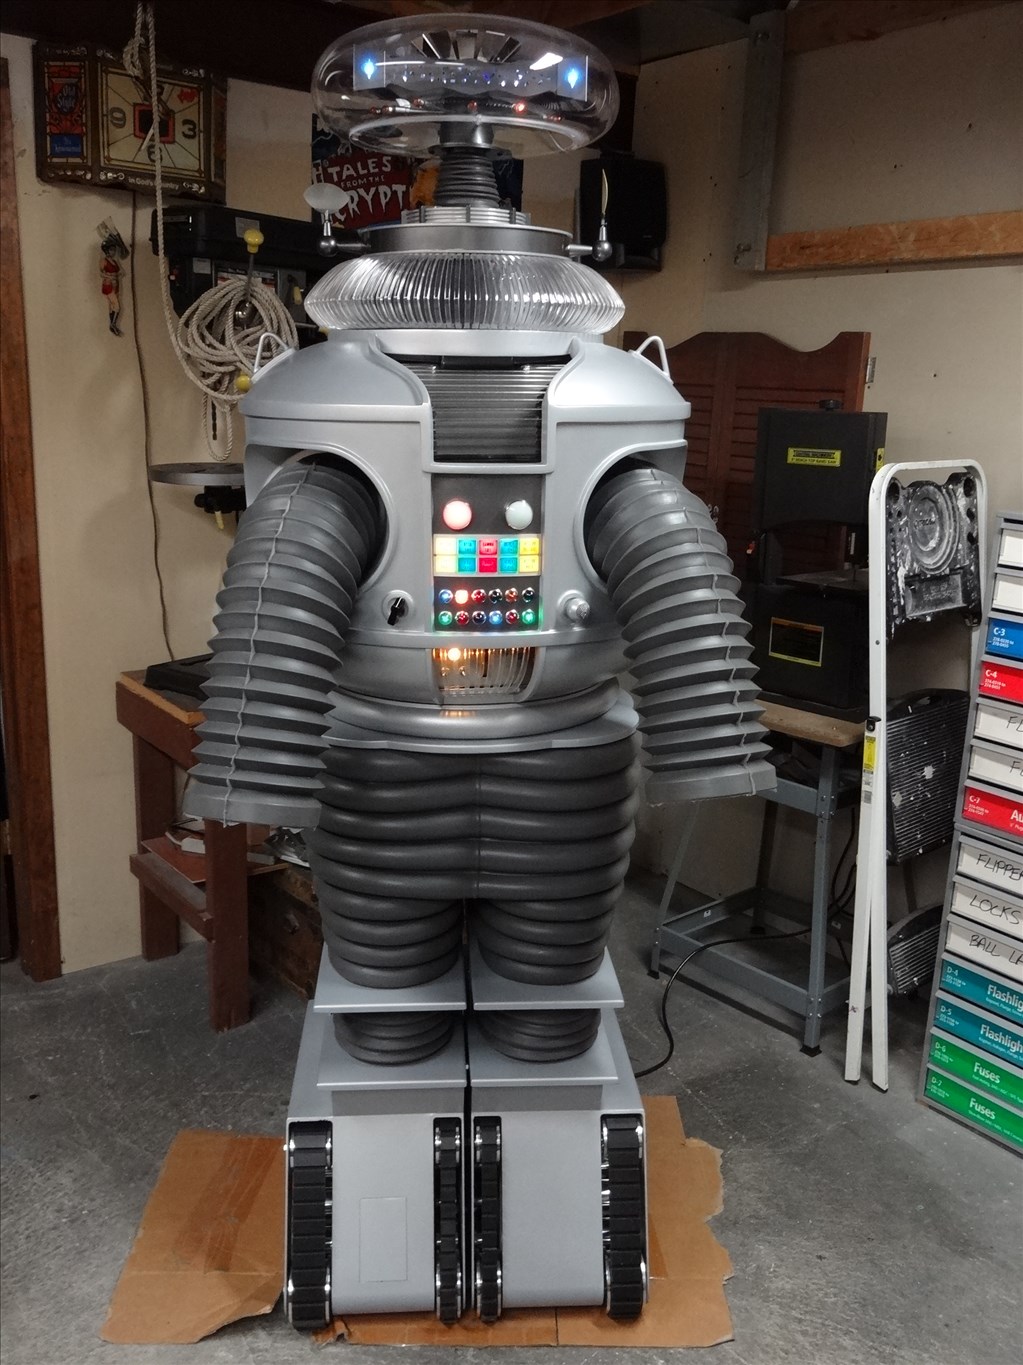
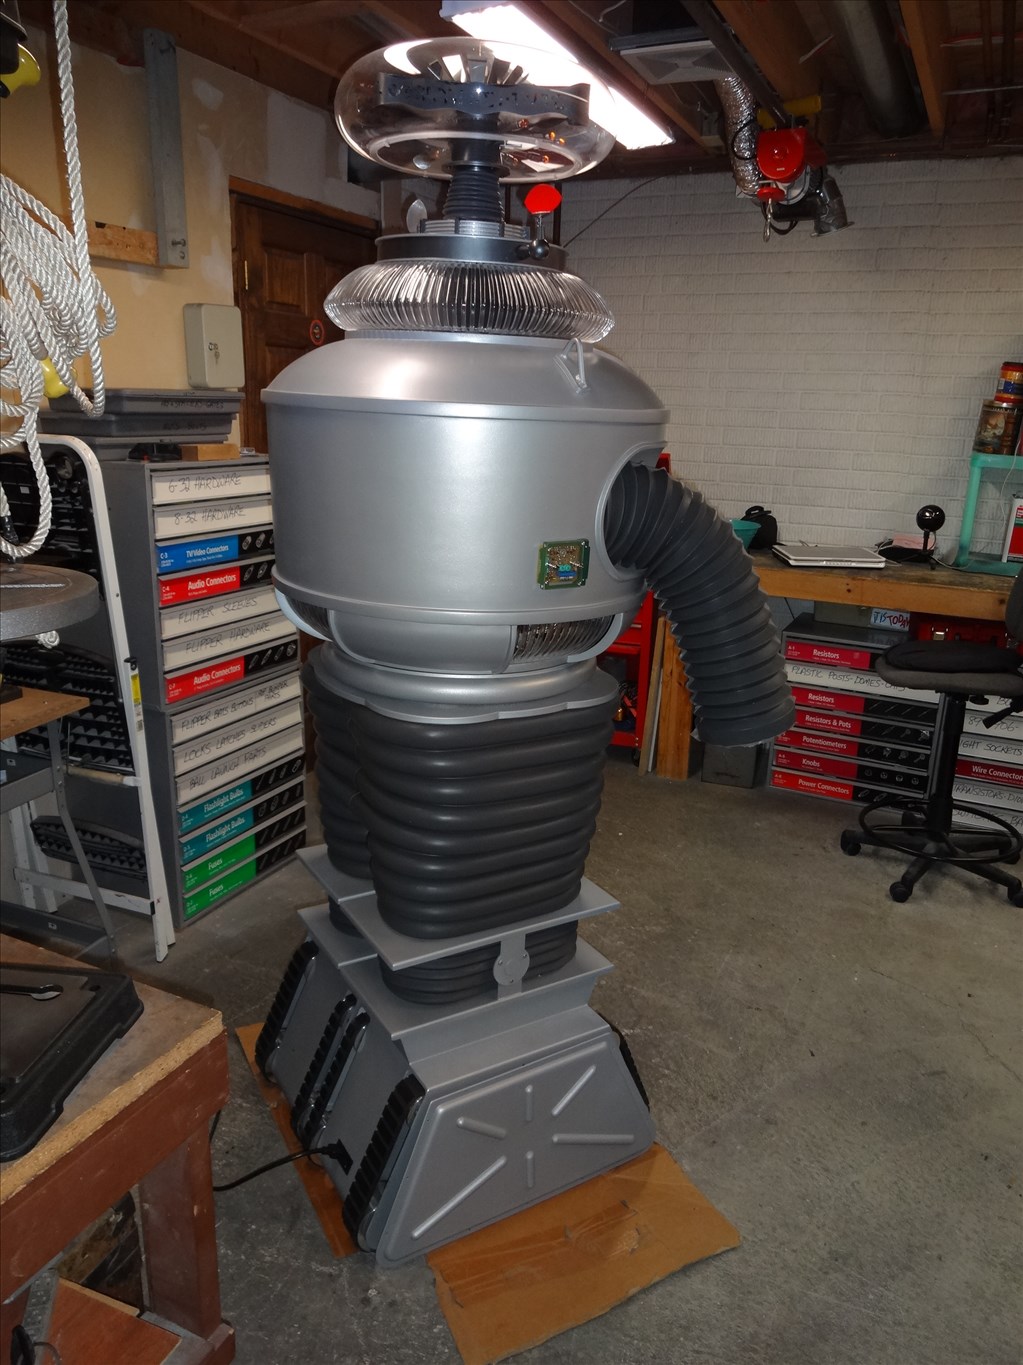
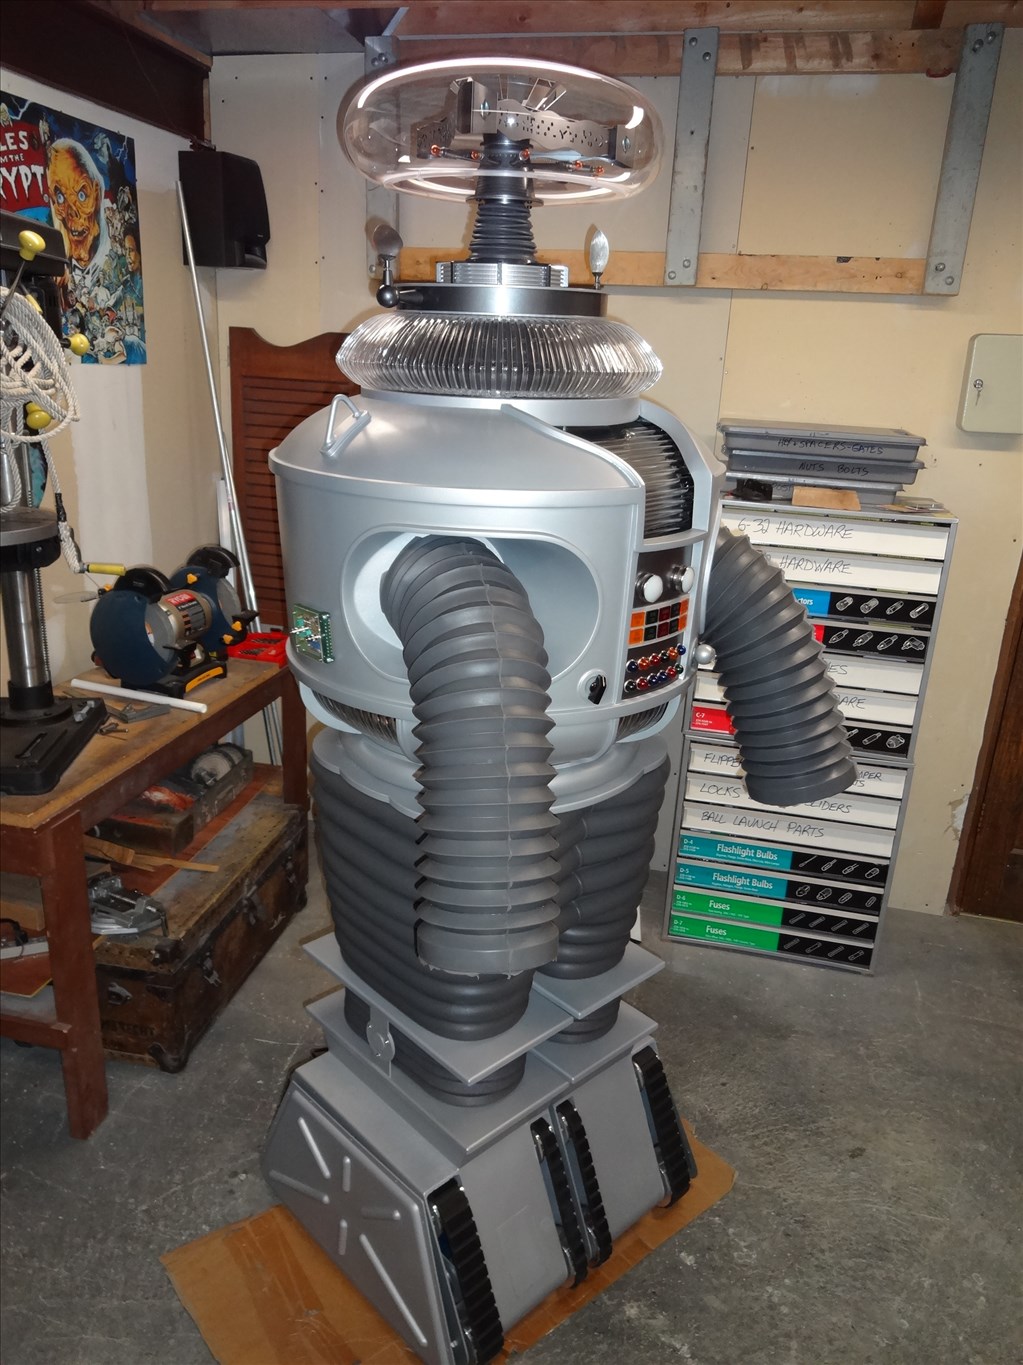
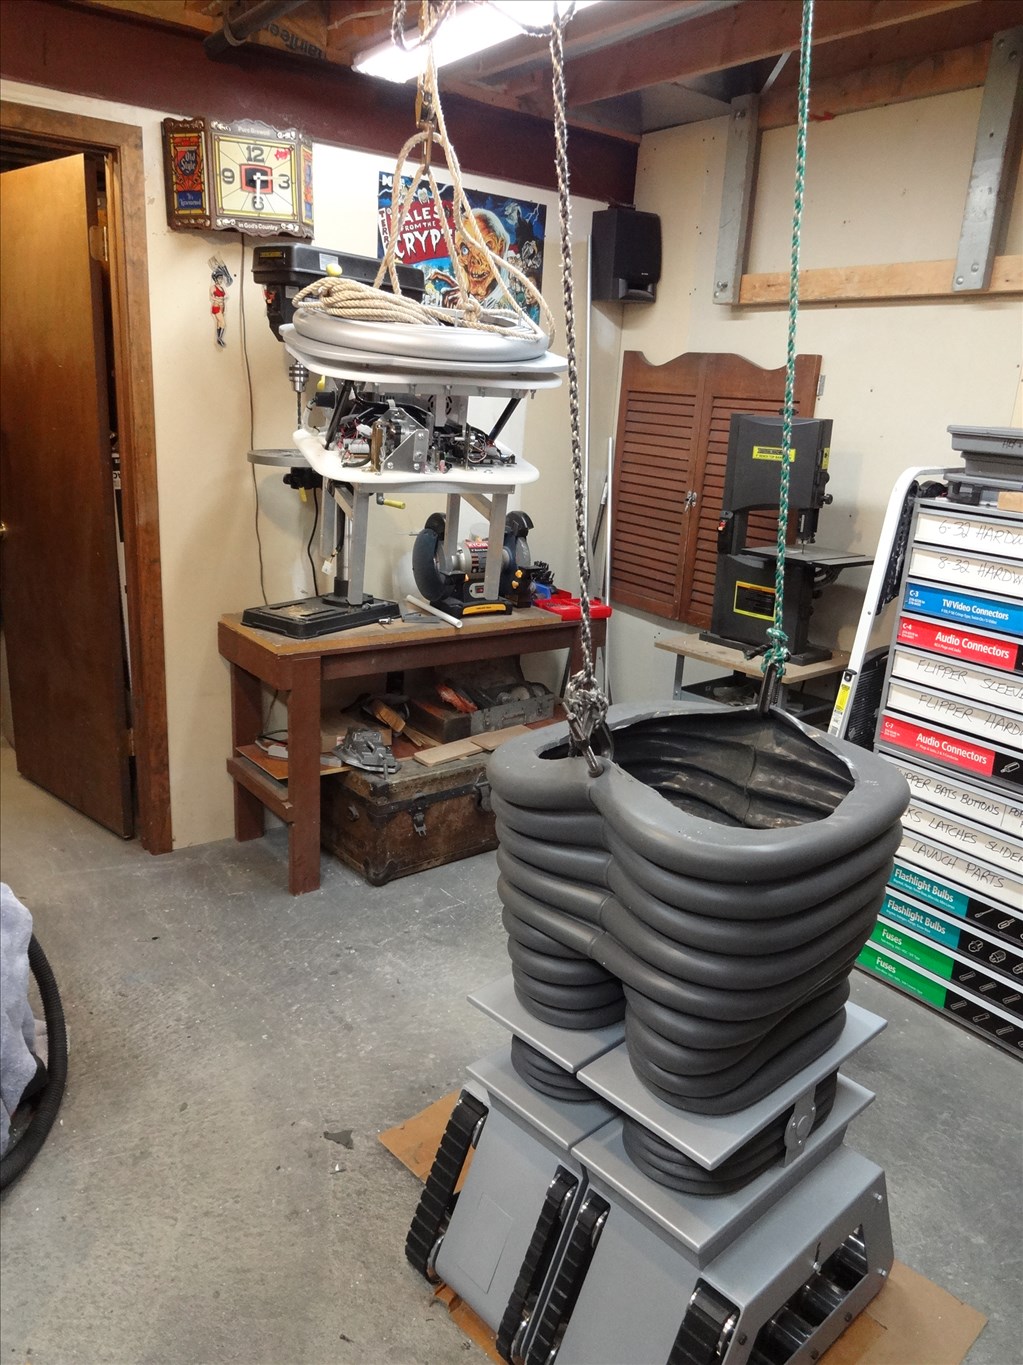
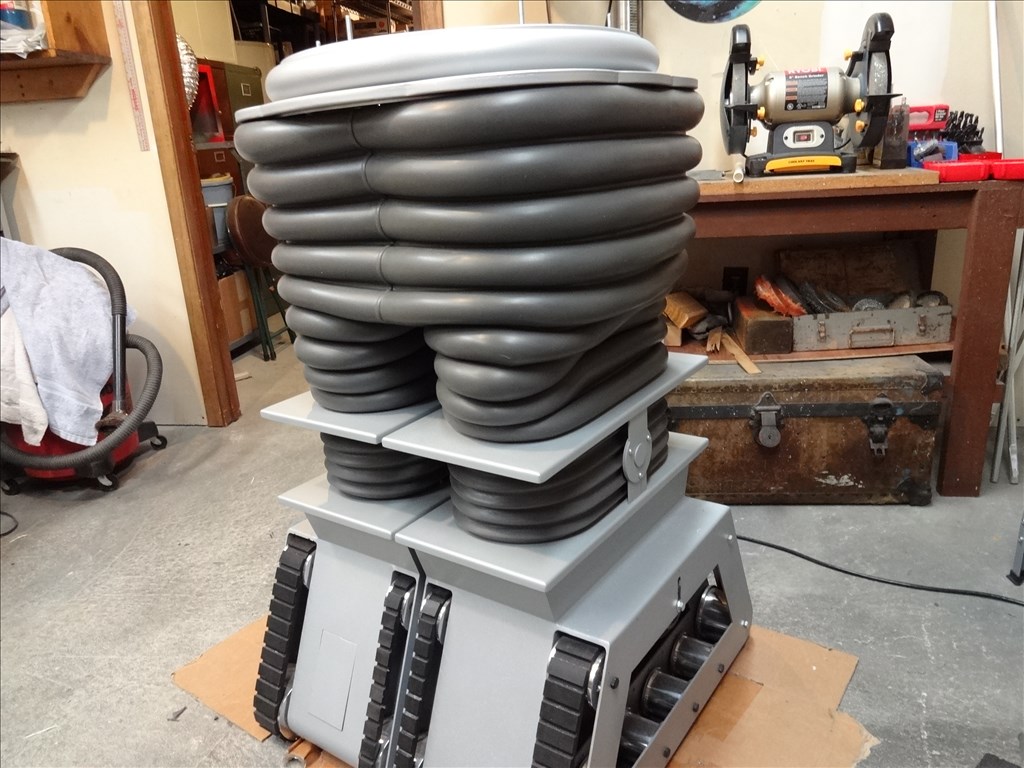
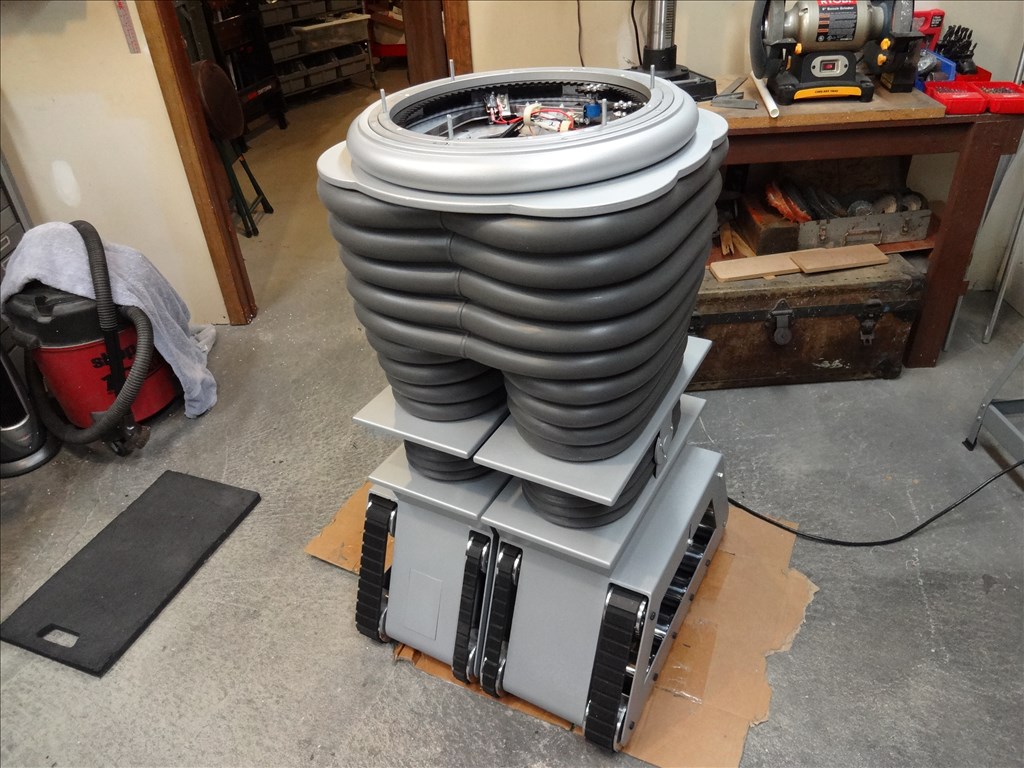
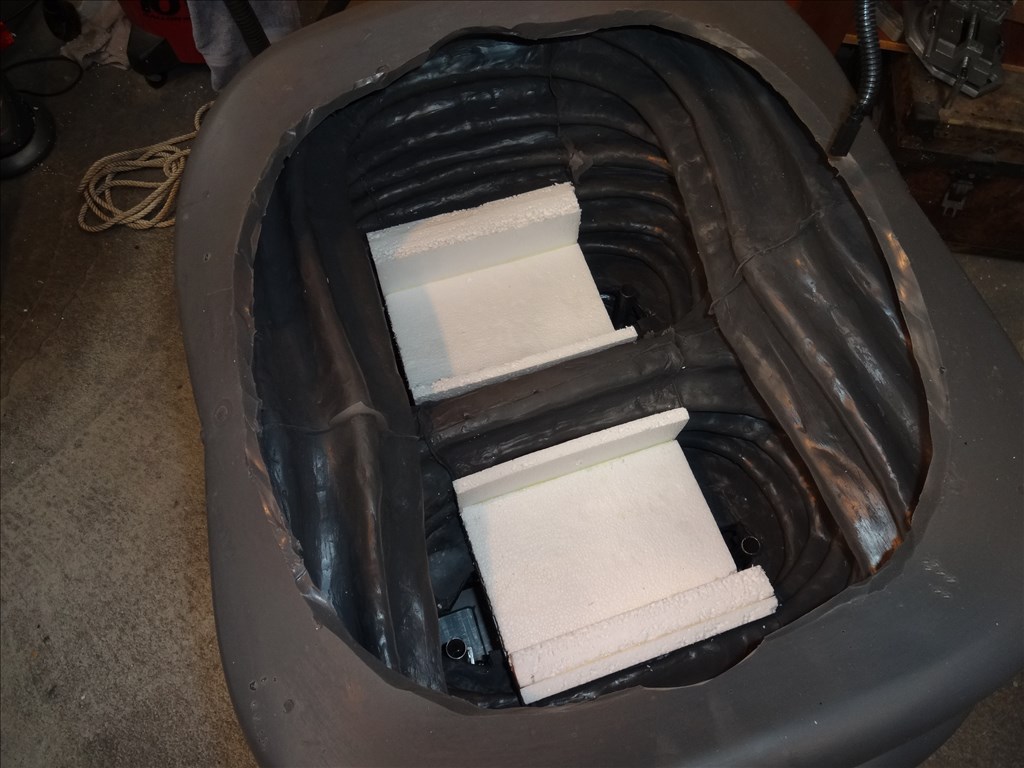
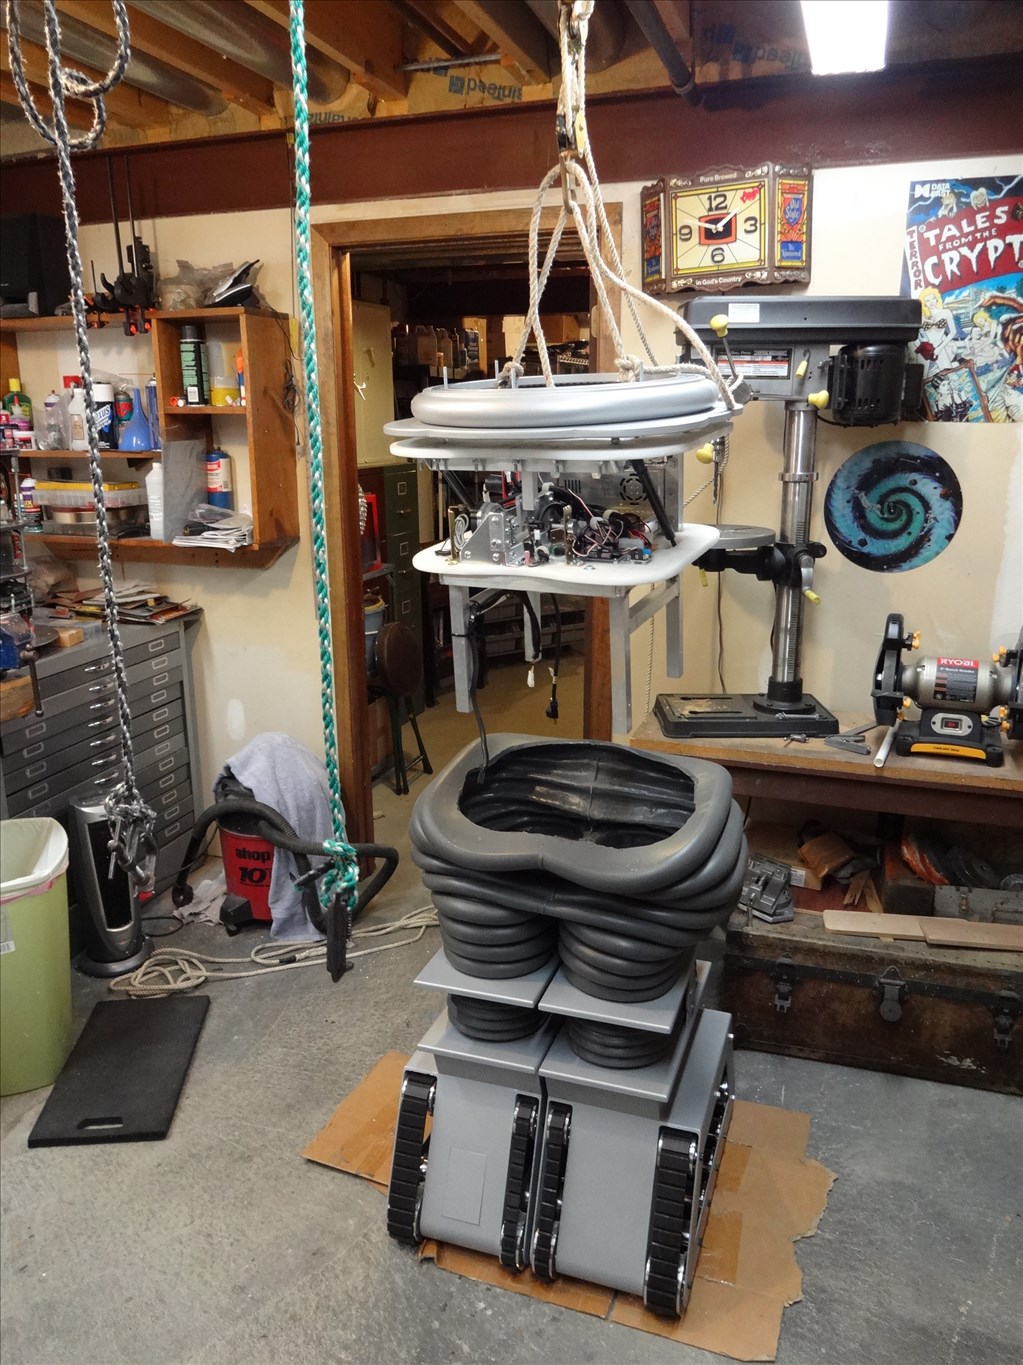
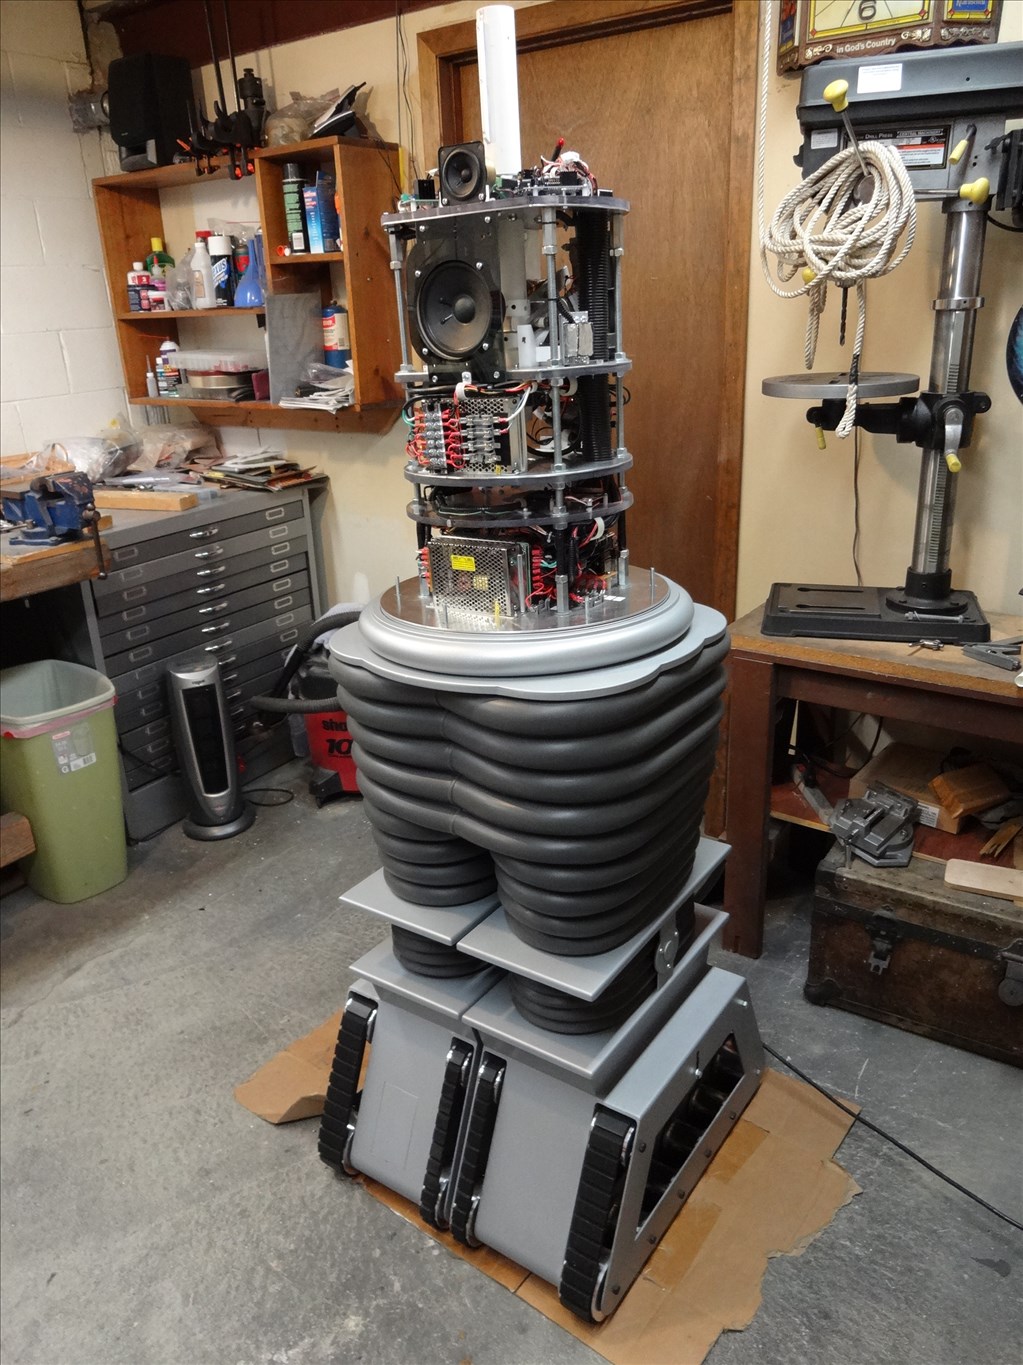
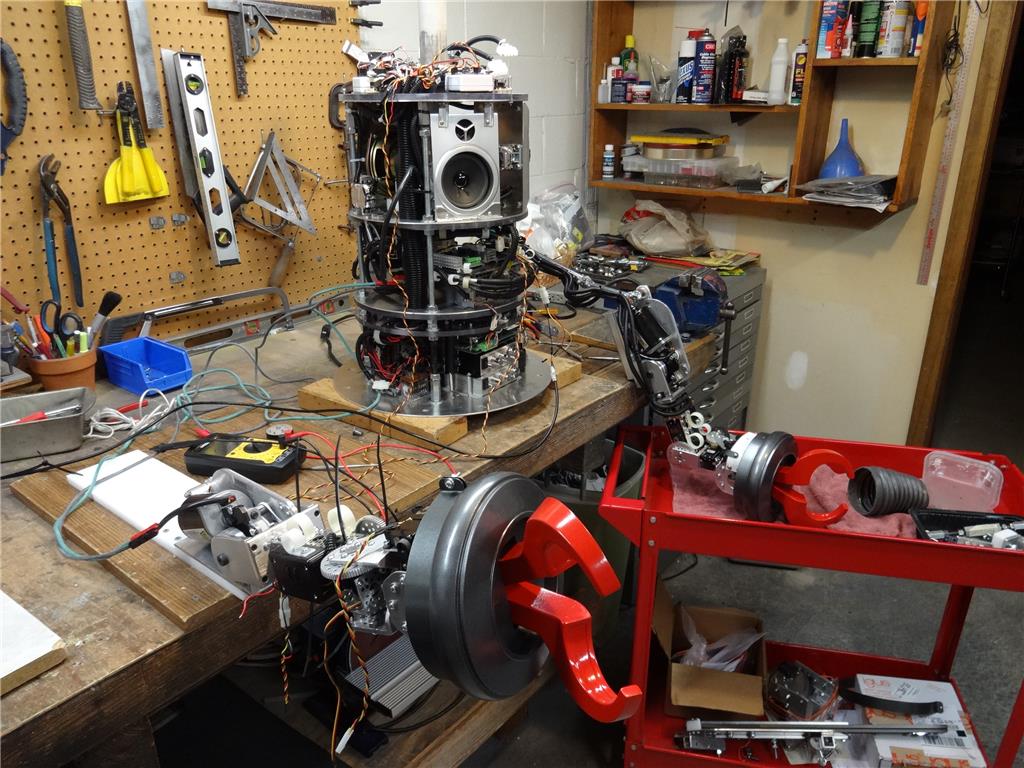
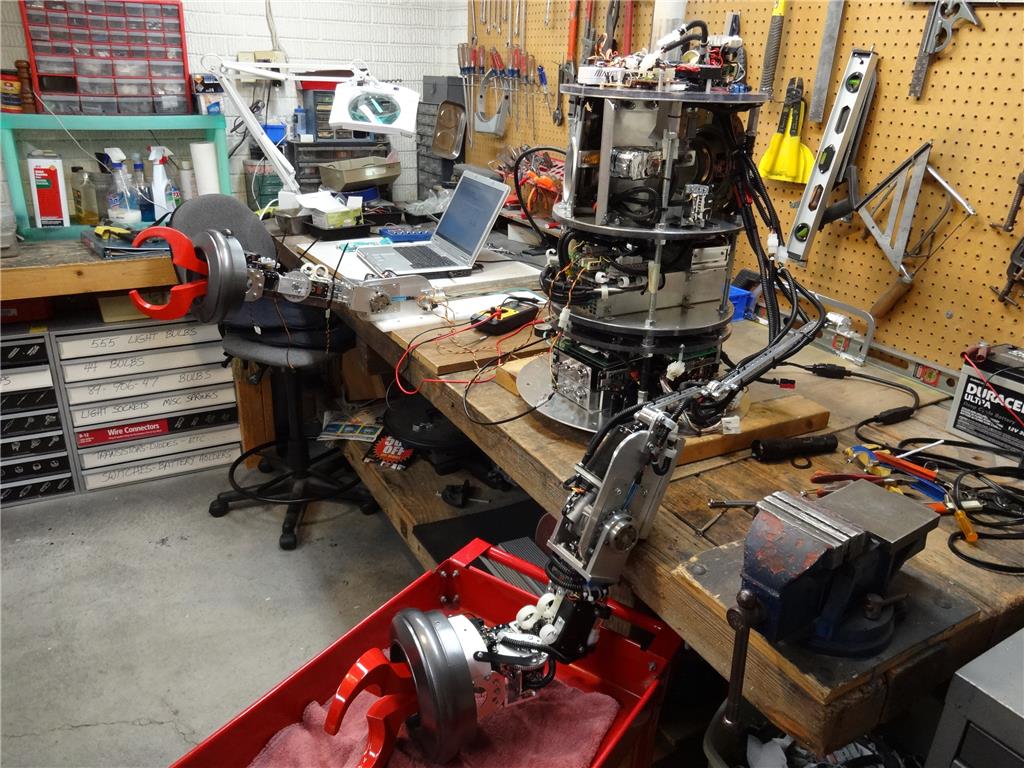
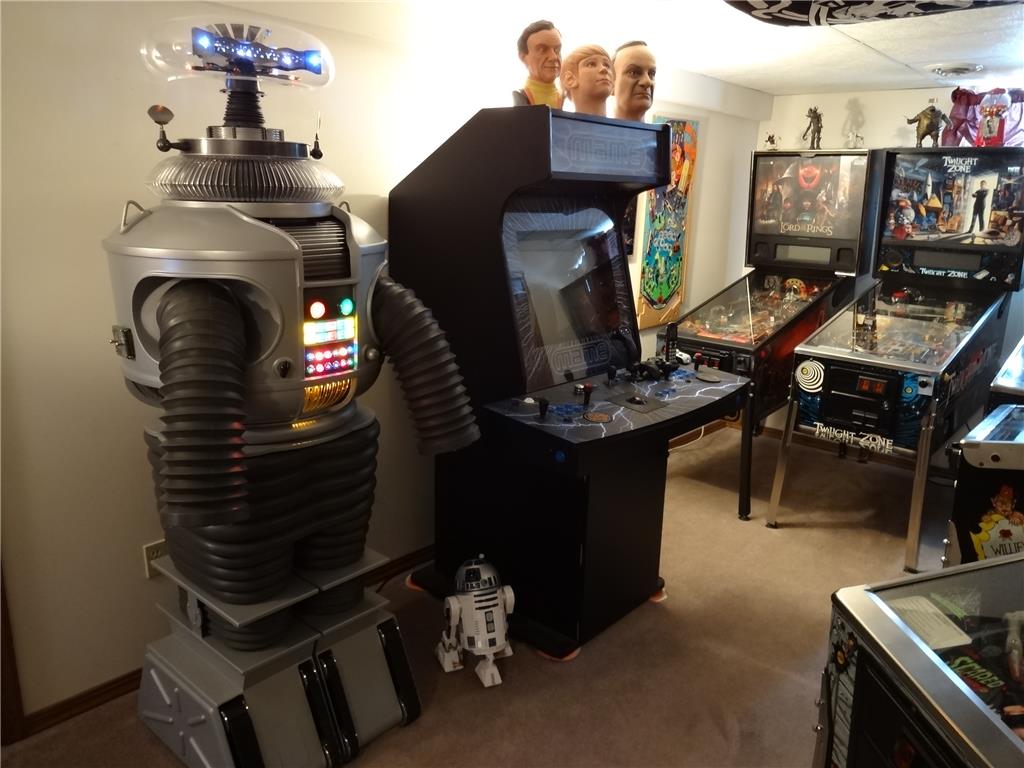
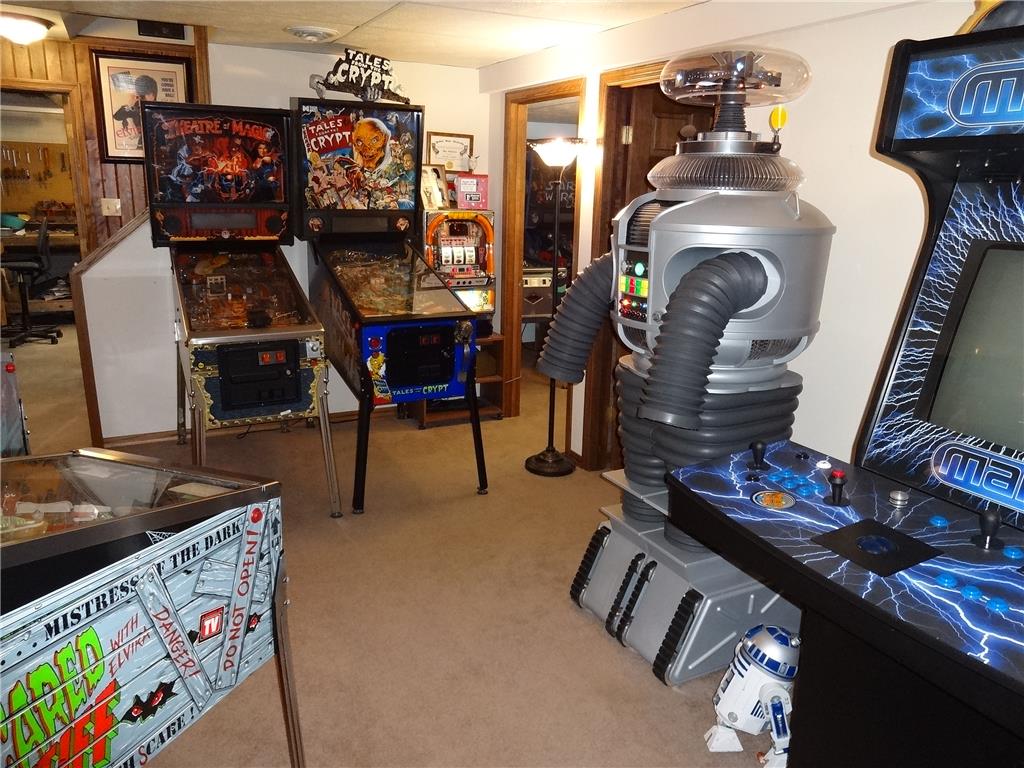
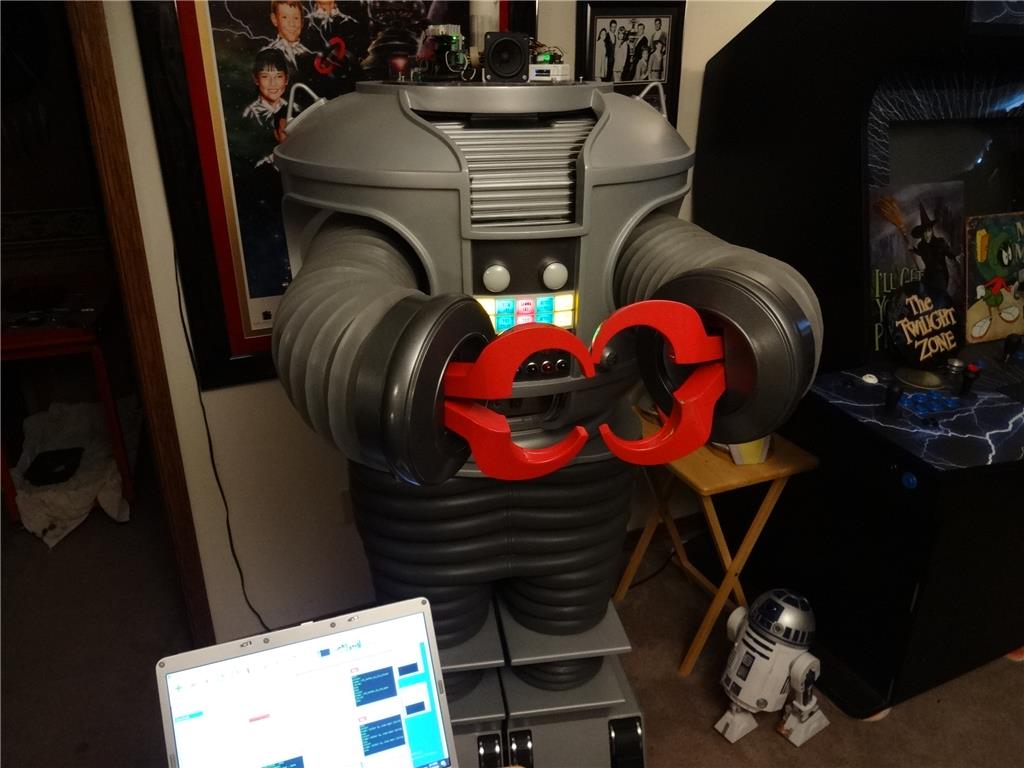
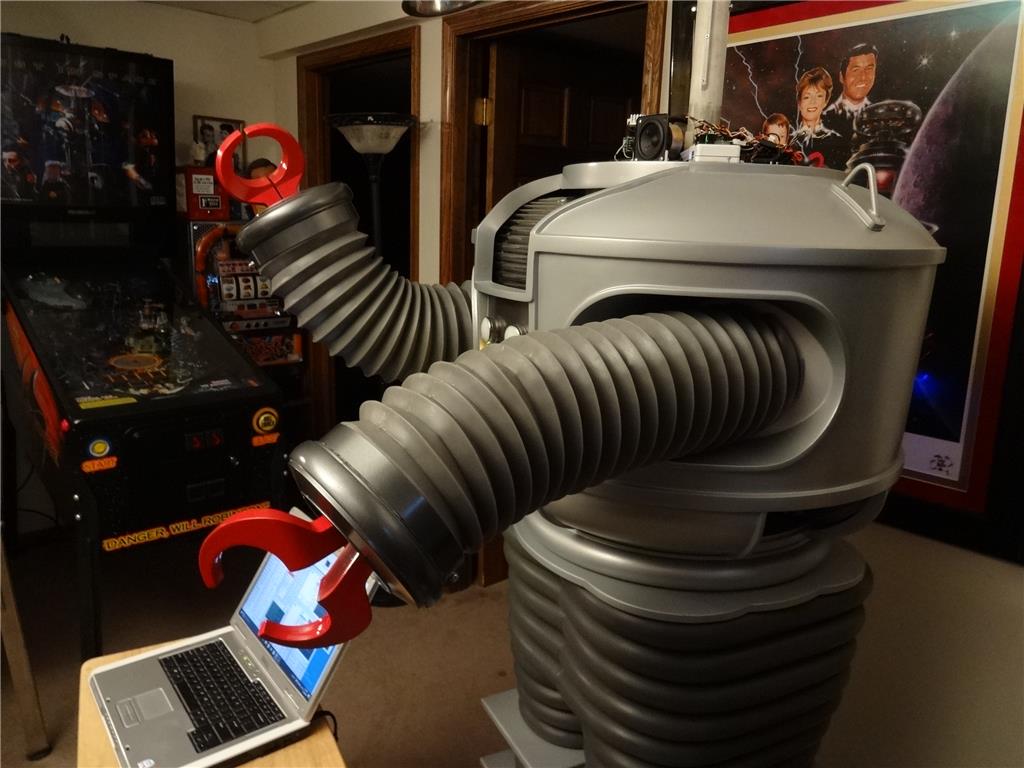
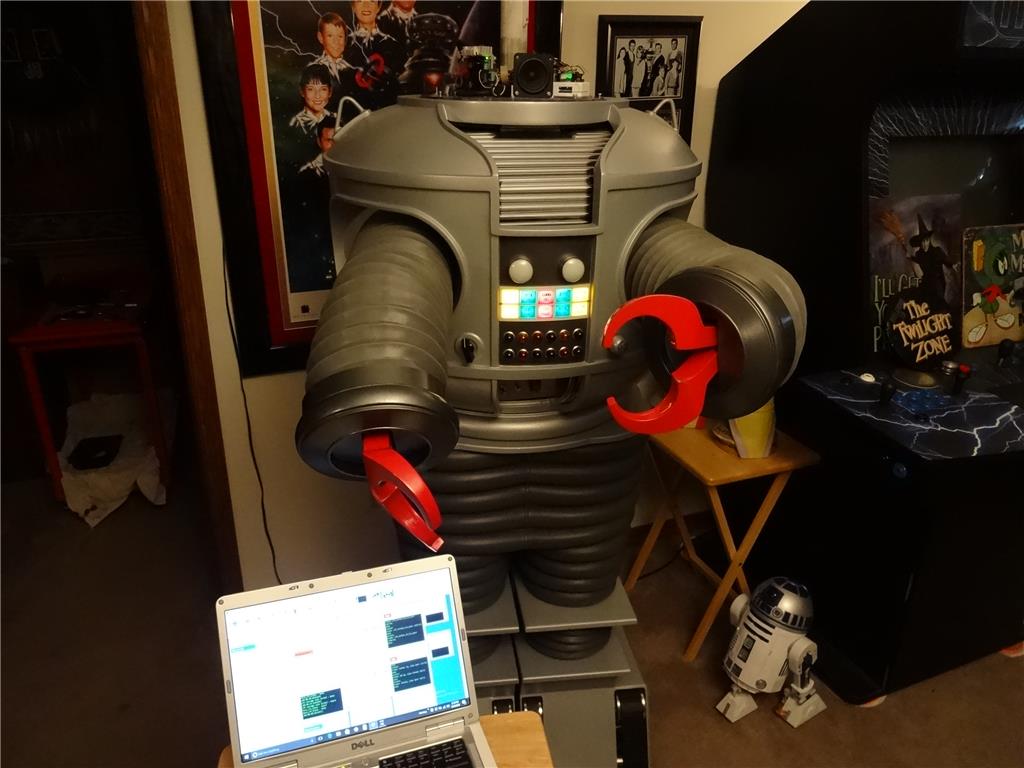
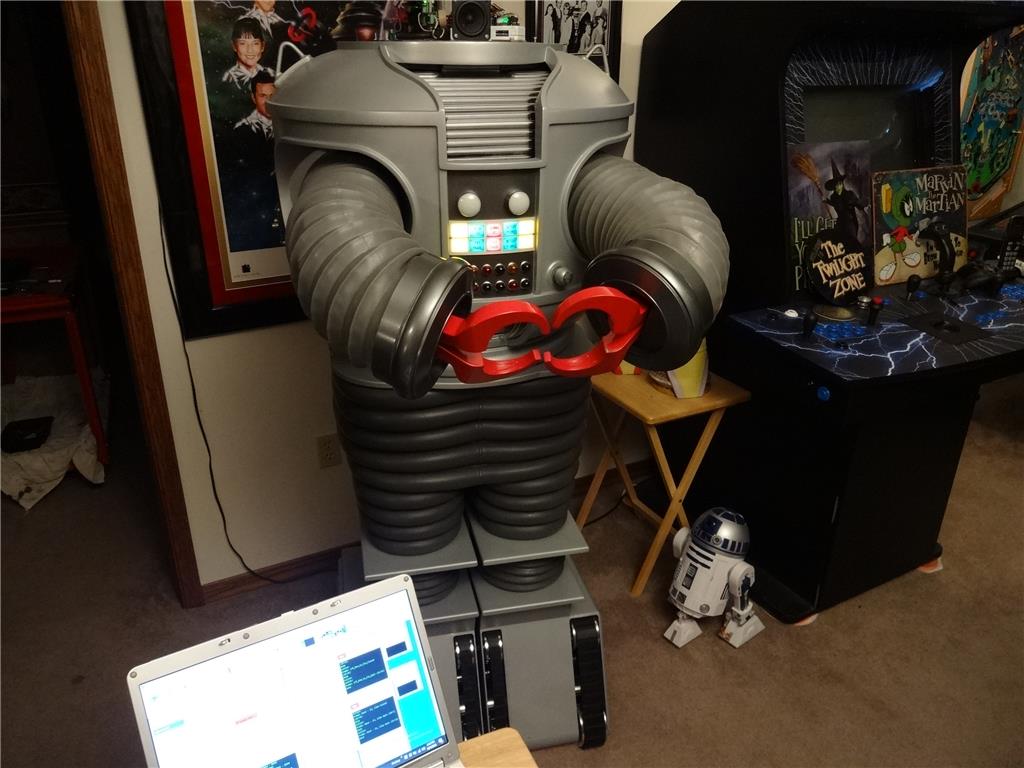
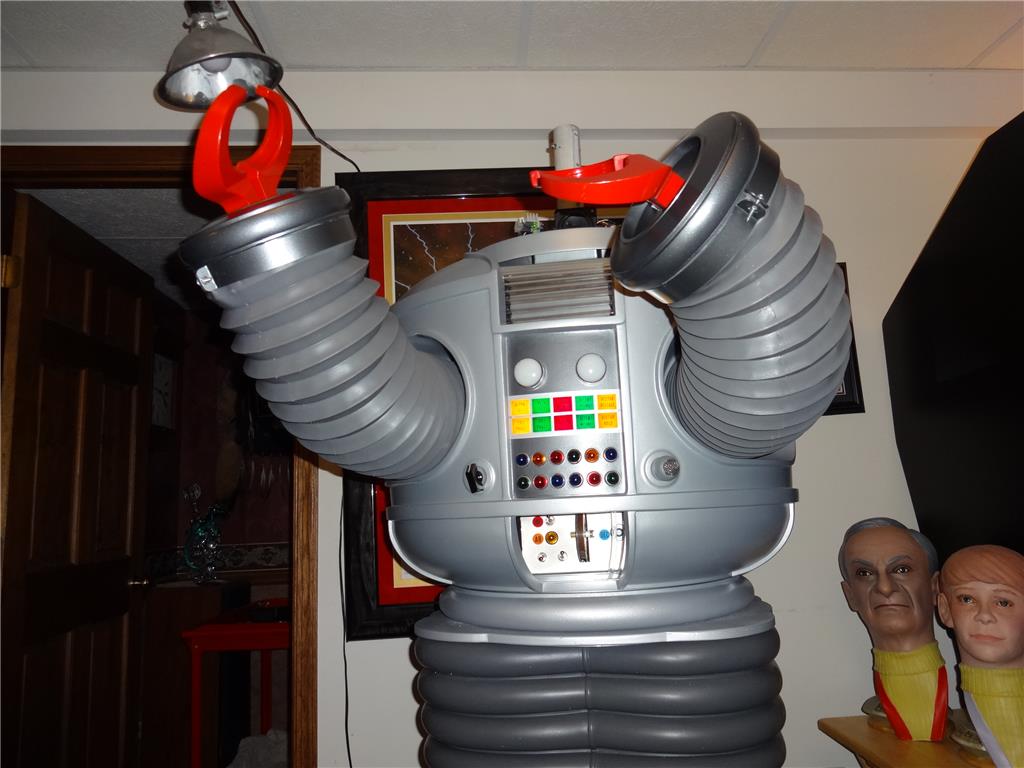
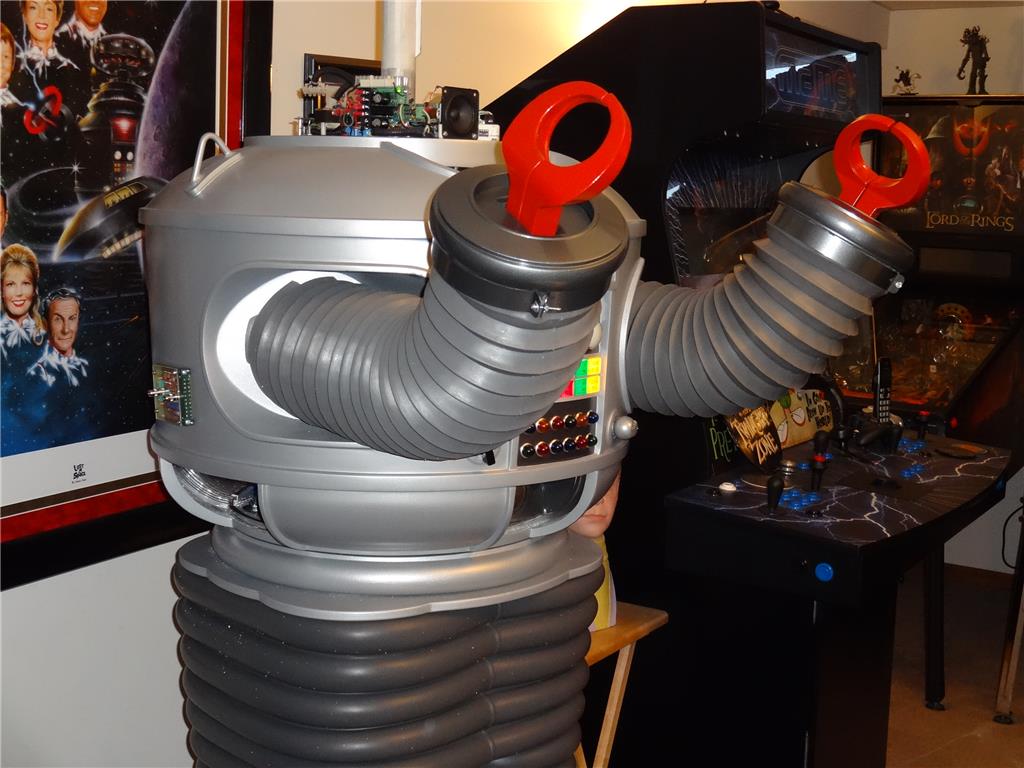
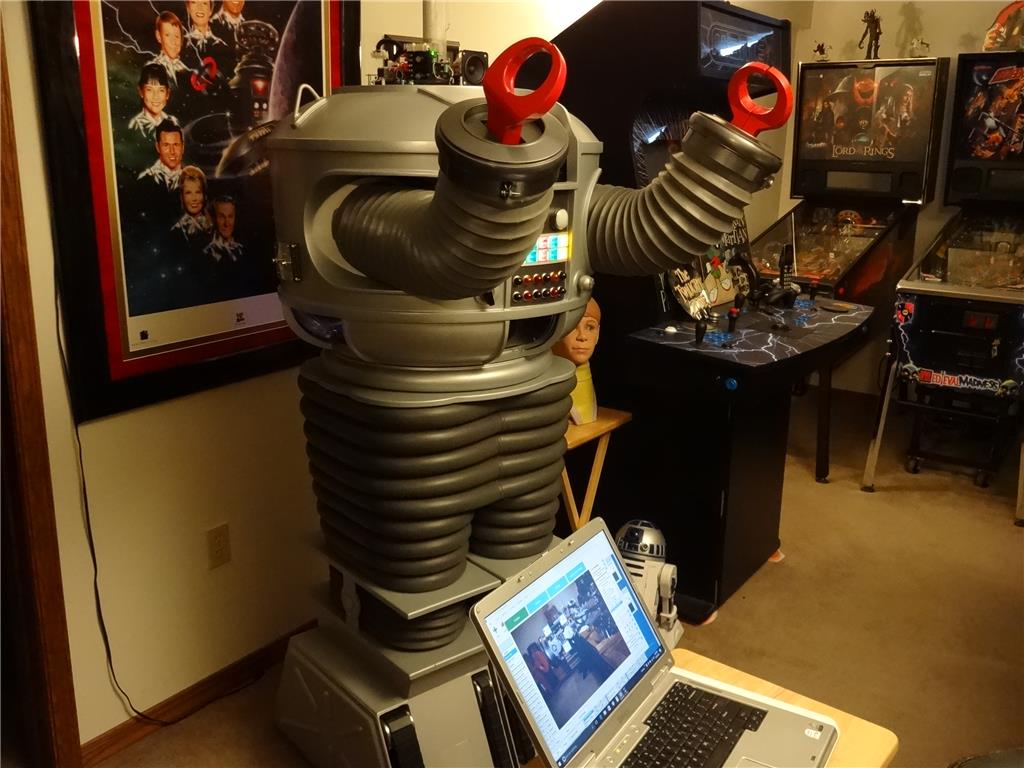
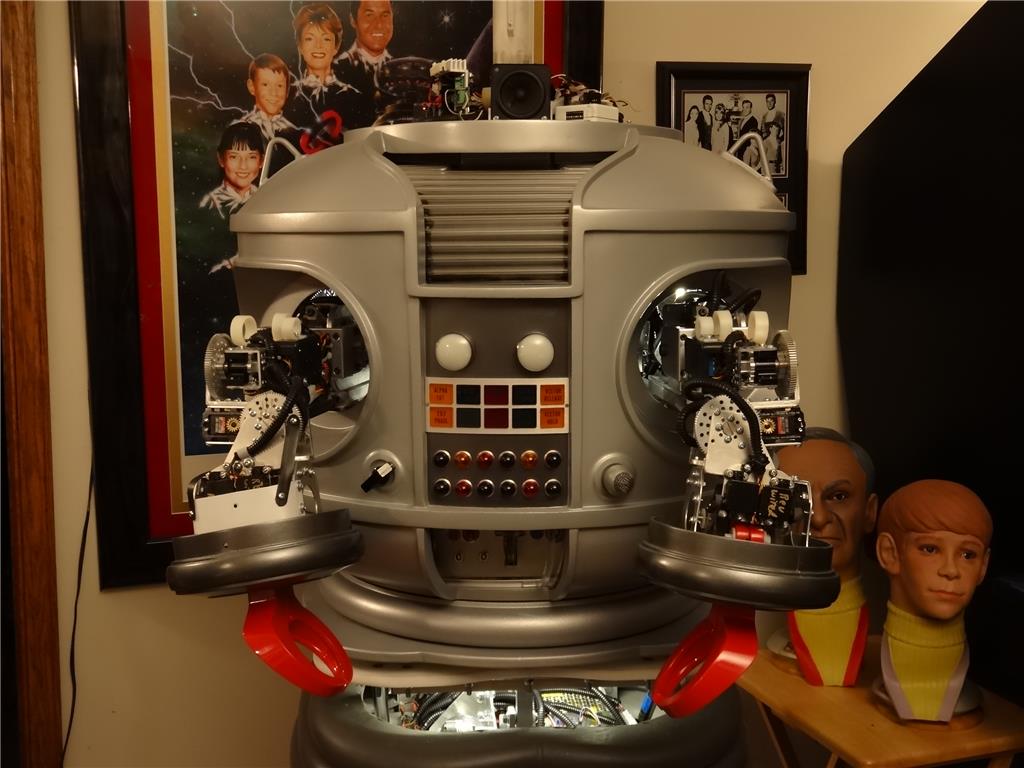
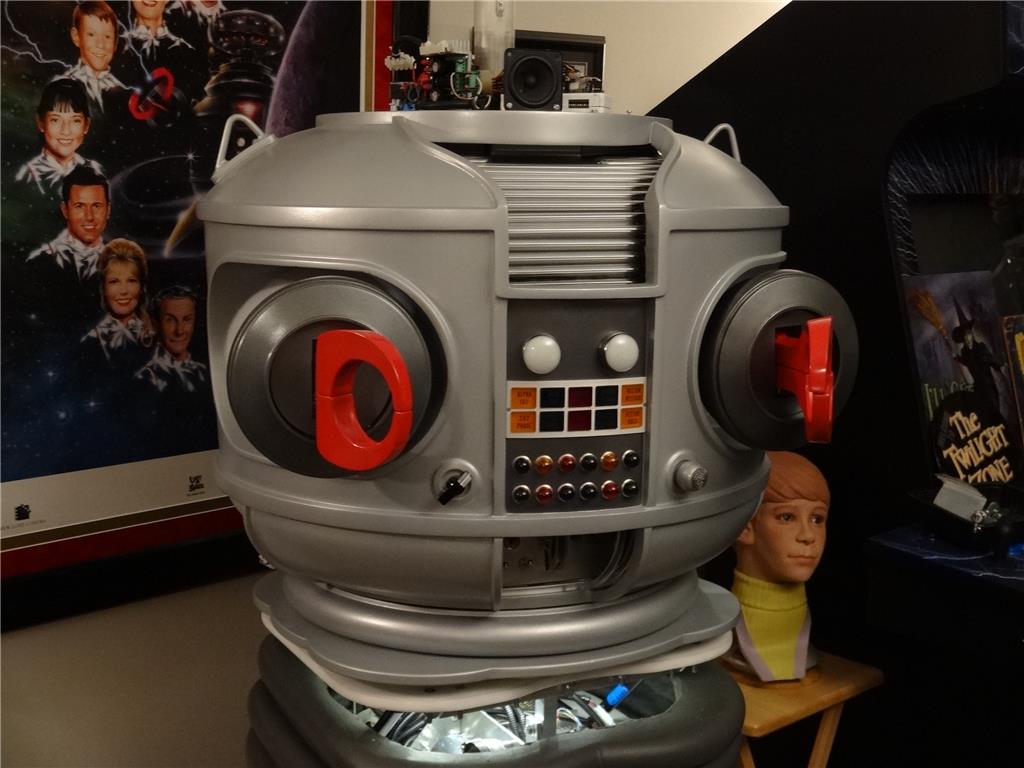
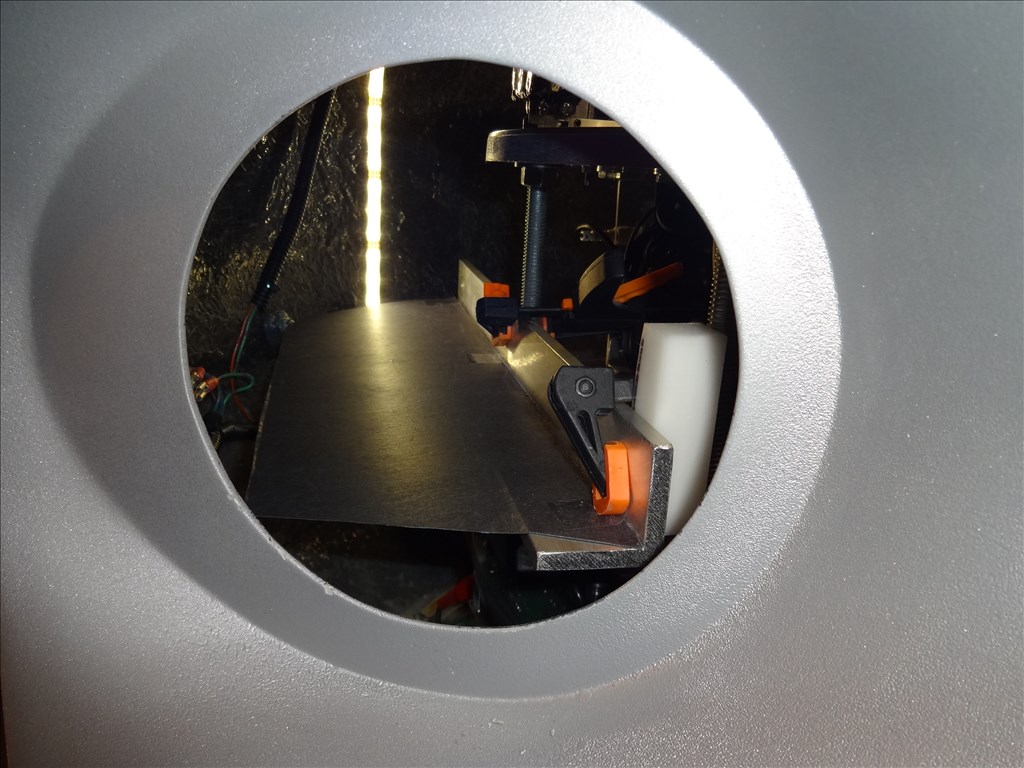
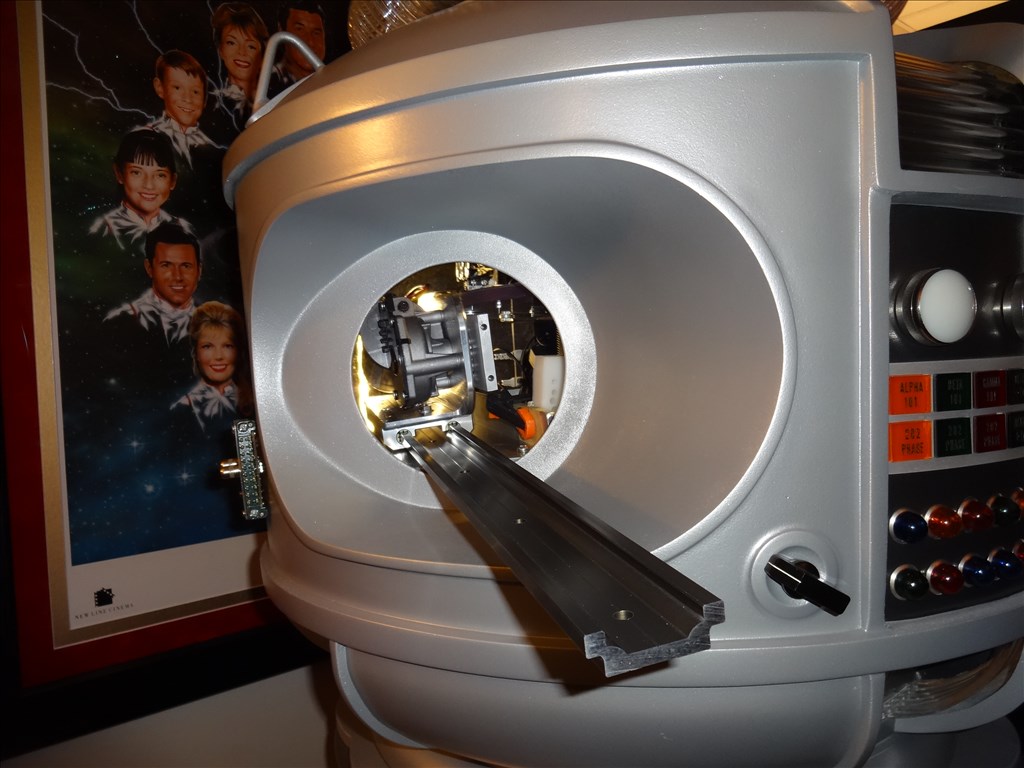
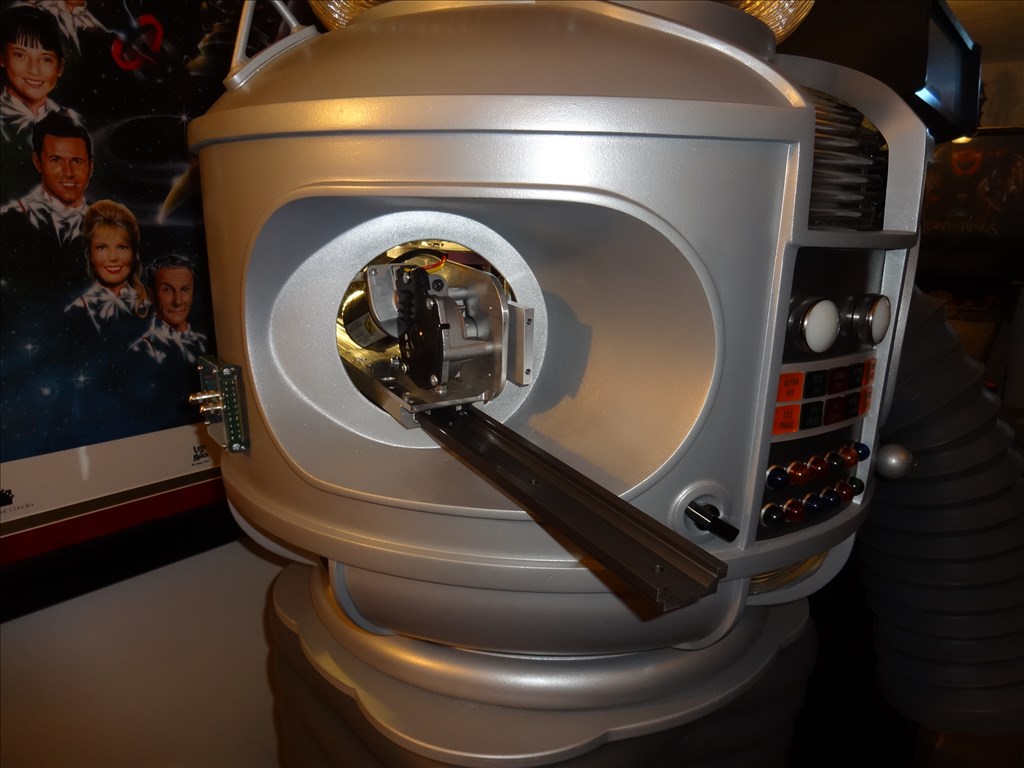
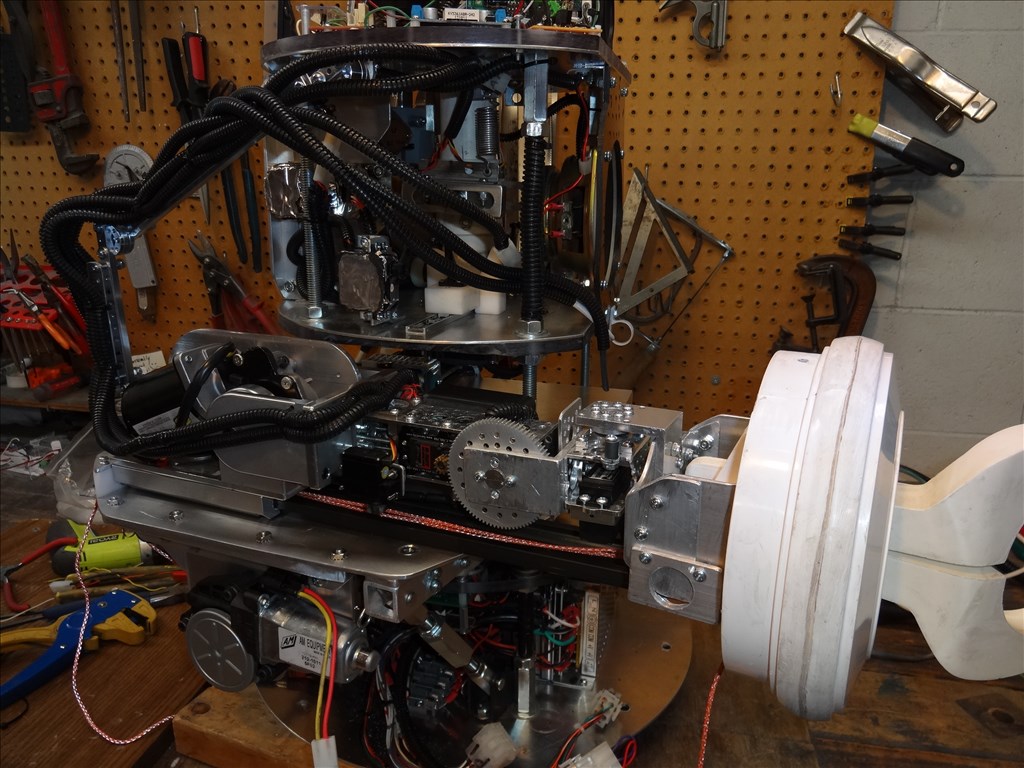
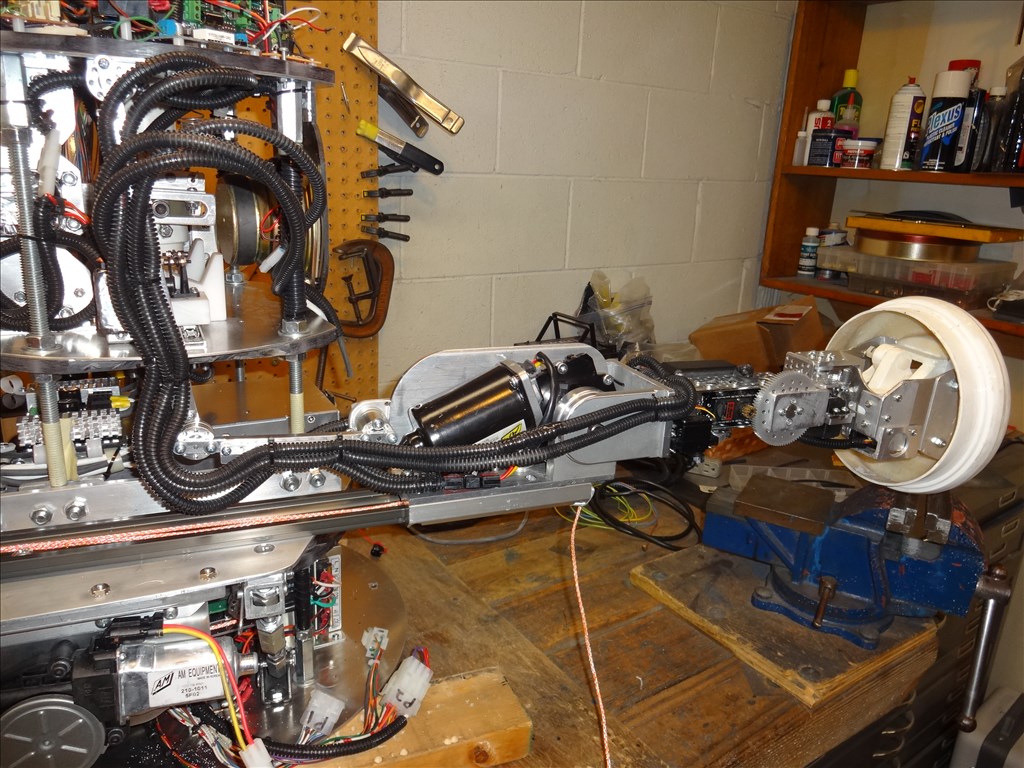
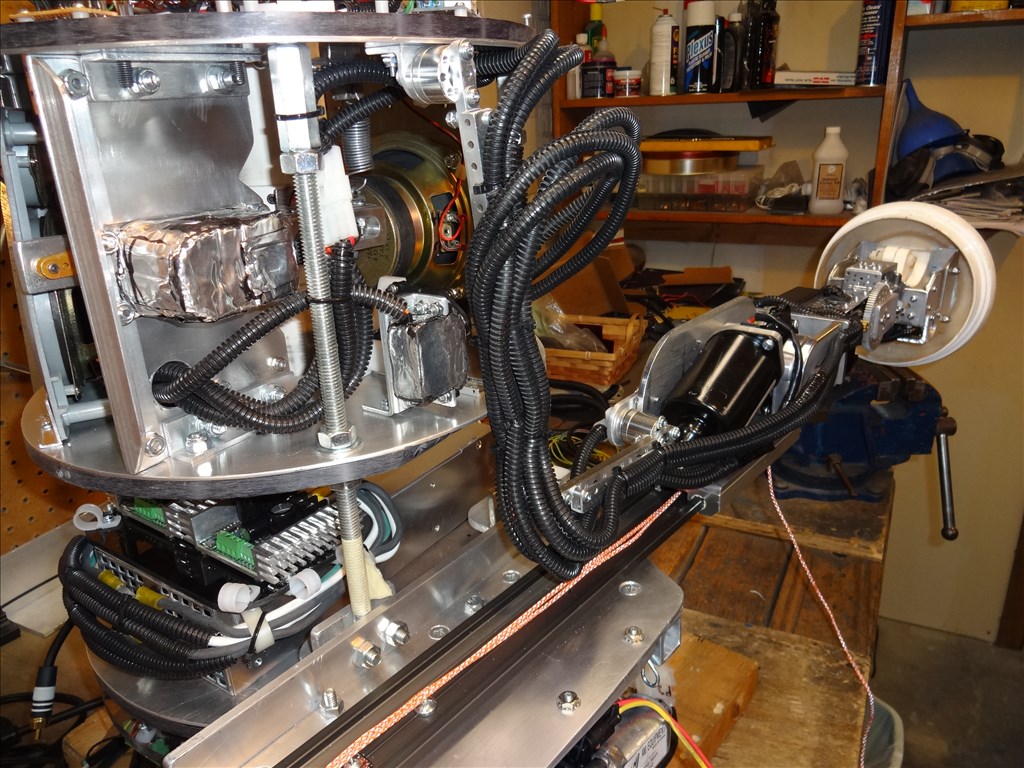
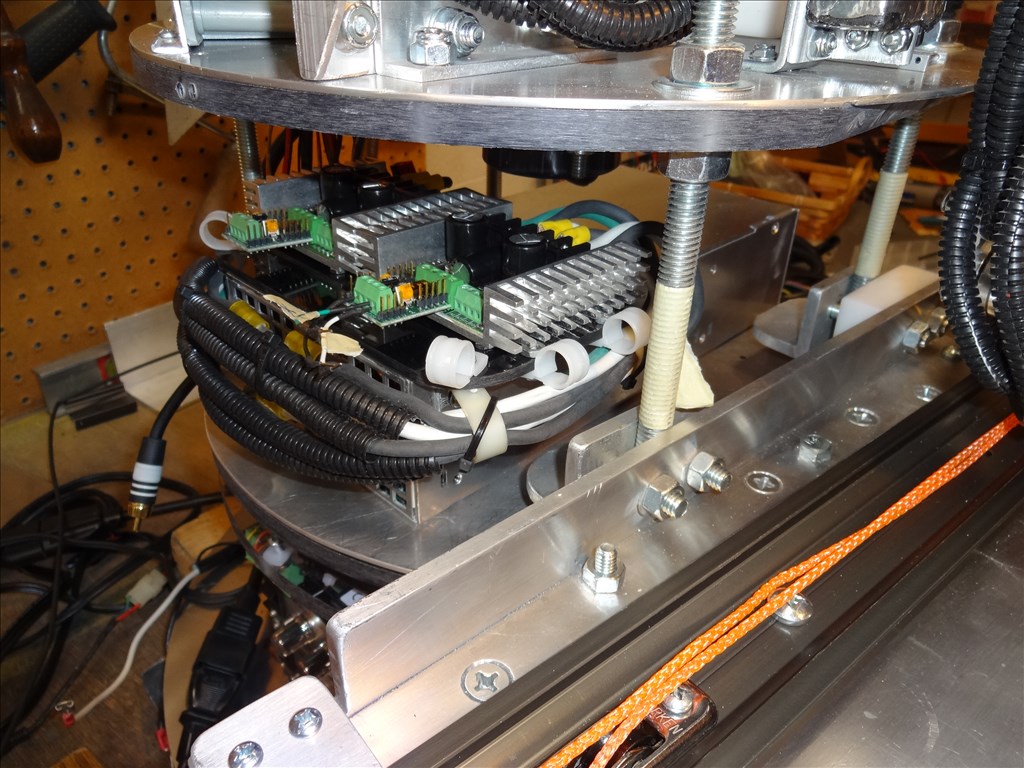
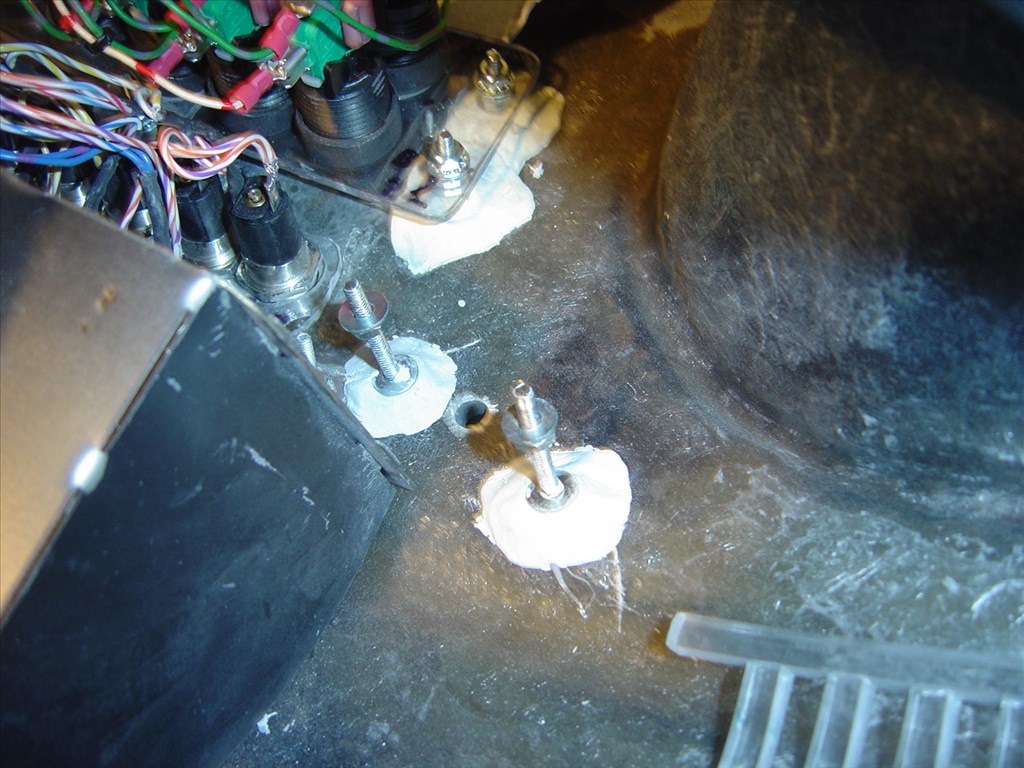
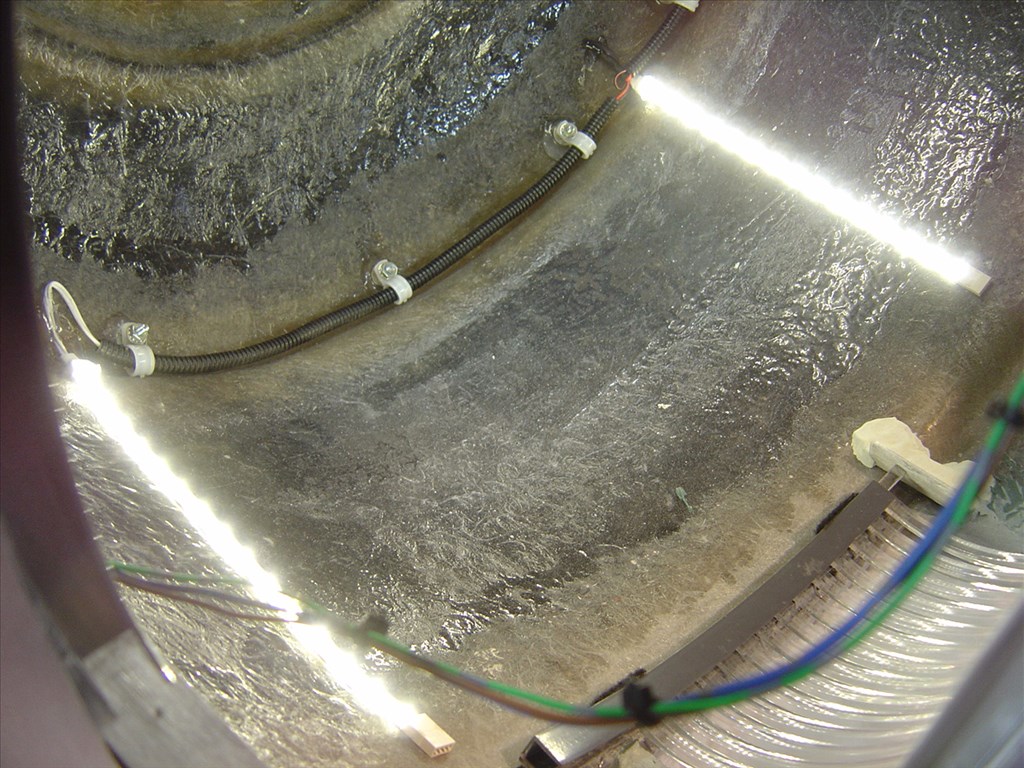
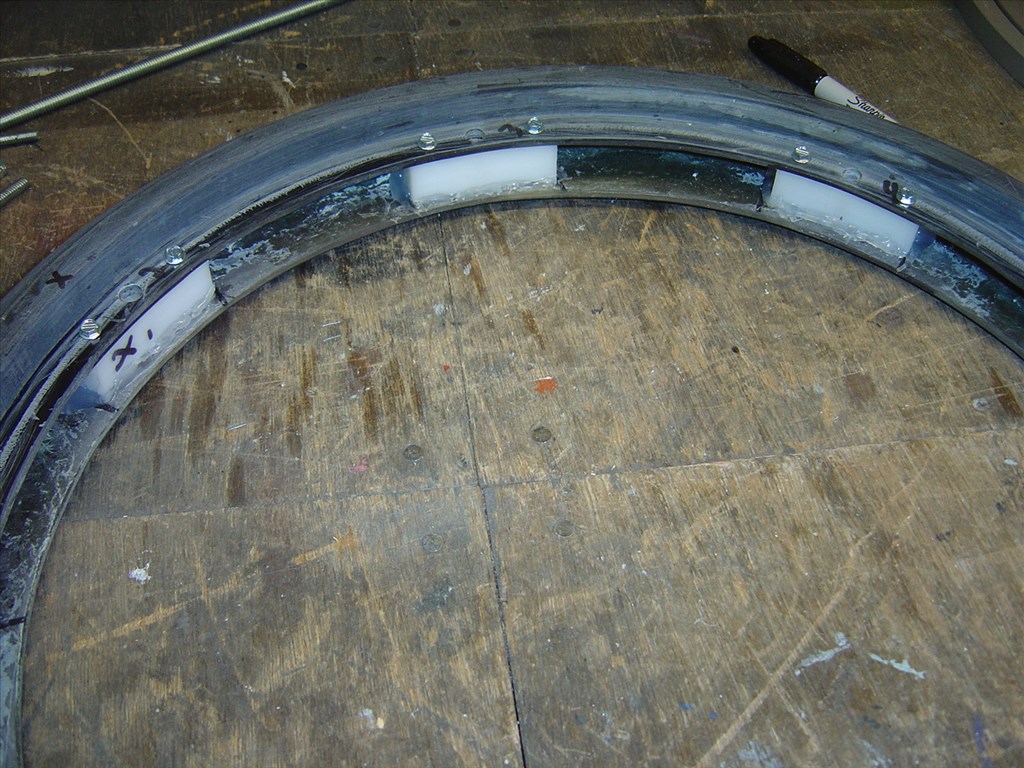
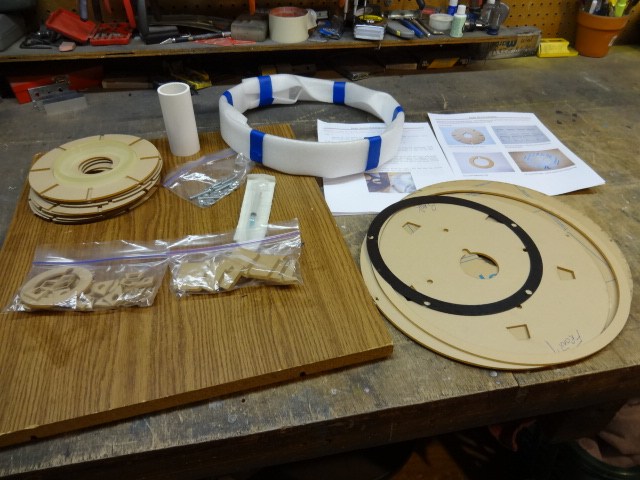
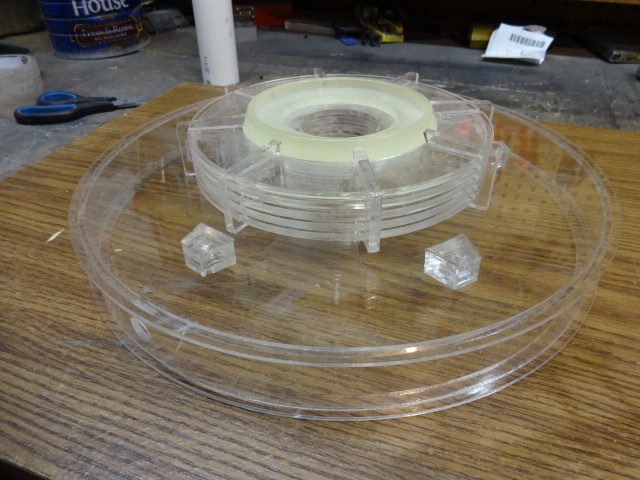
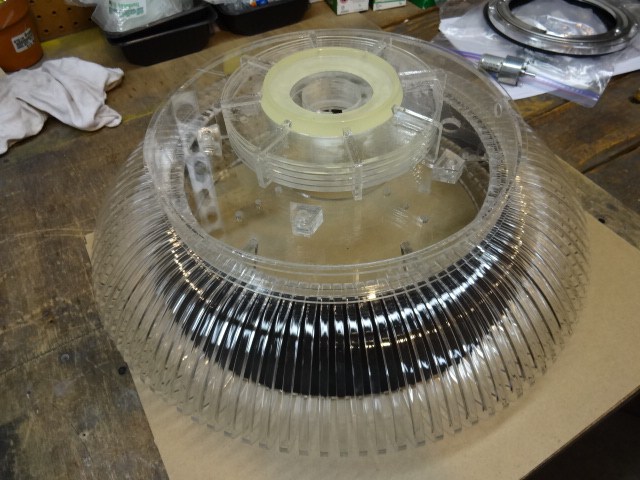
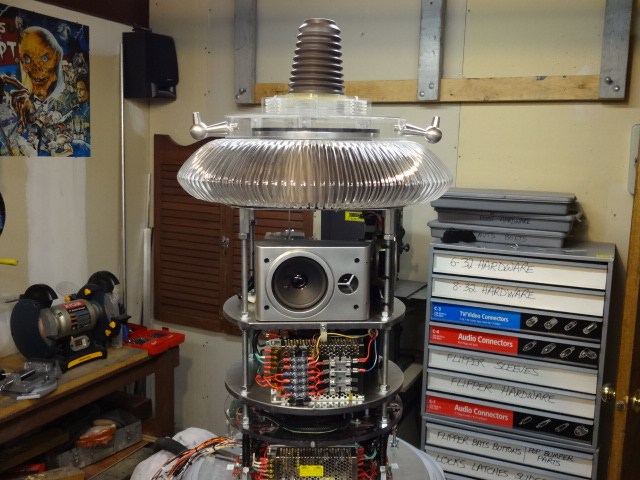
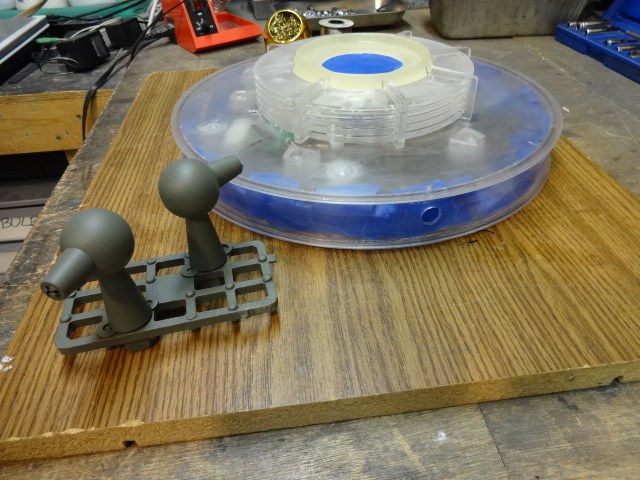
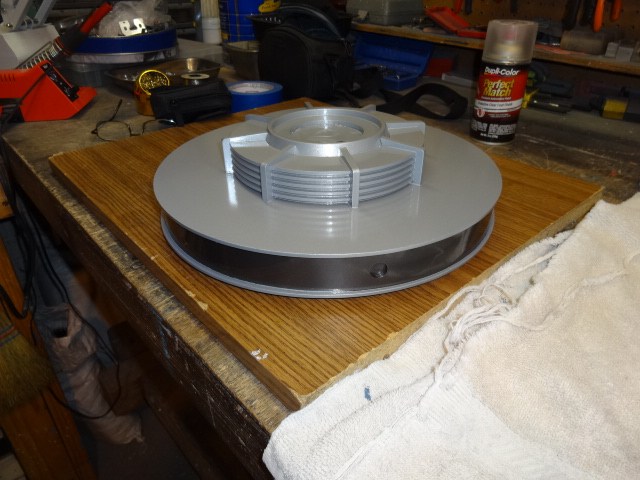
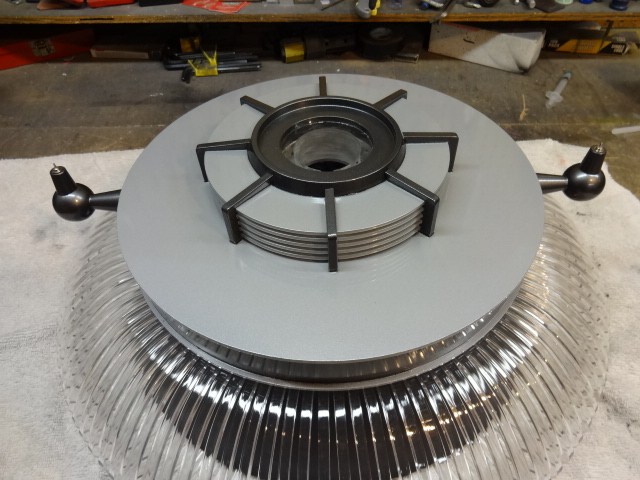
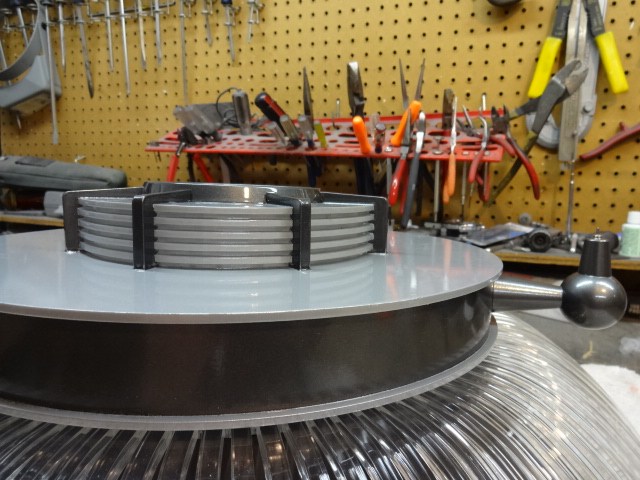
EDIT 8/2/13: Just realized I have no good pictures of how my B9 will look when complete. Here's one of the actual TV robots from the 60's TZ show Lost in Space and one recent shot of where I'm at with my build over 1 1/2 year after I started. Enjoy:


Thanks, Dave Schulpius
Discover more robots

Lumpy's Lumpy's Roomba Rover
Jstarne1's 4 Sale- RARE HUGE Ultimate Wall-E. Excellent For...

Thanks Dave! Reviews like this really help our community here. It is a bummer that these did not work out for your project.
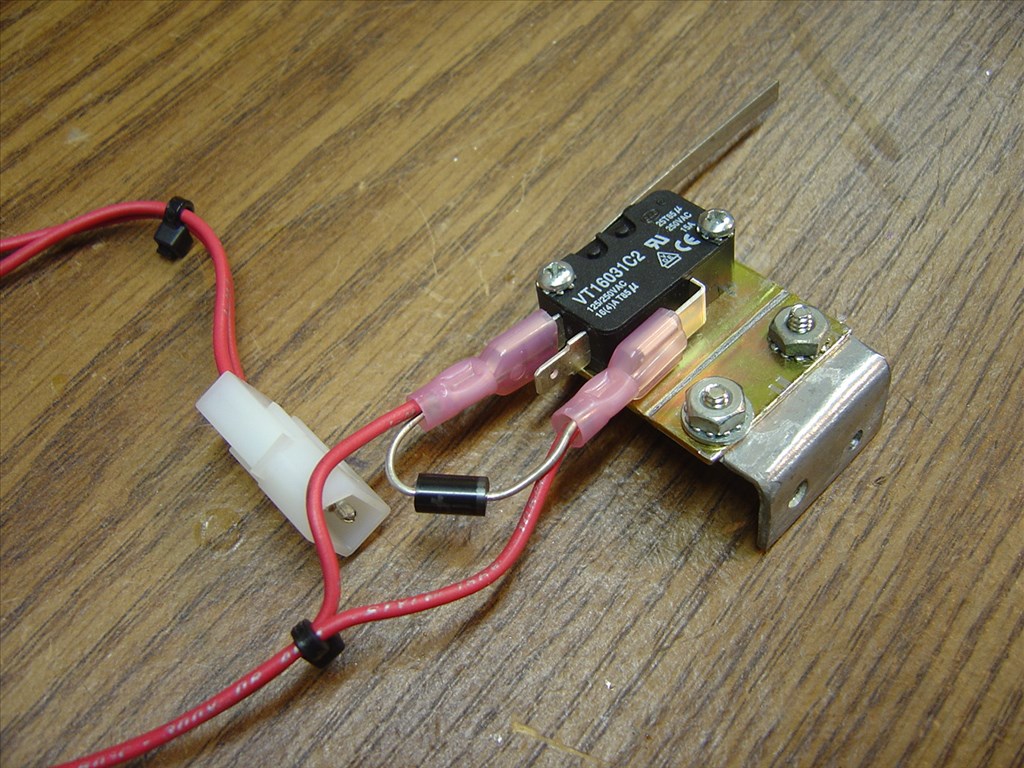
Can you privide a link to the specific clamping hub you used? Thanks.
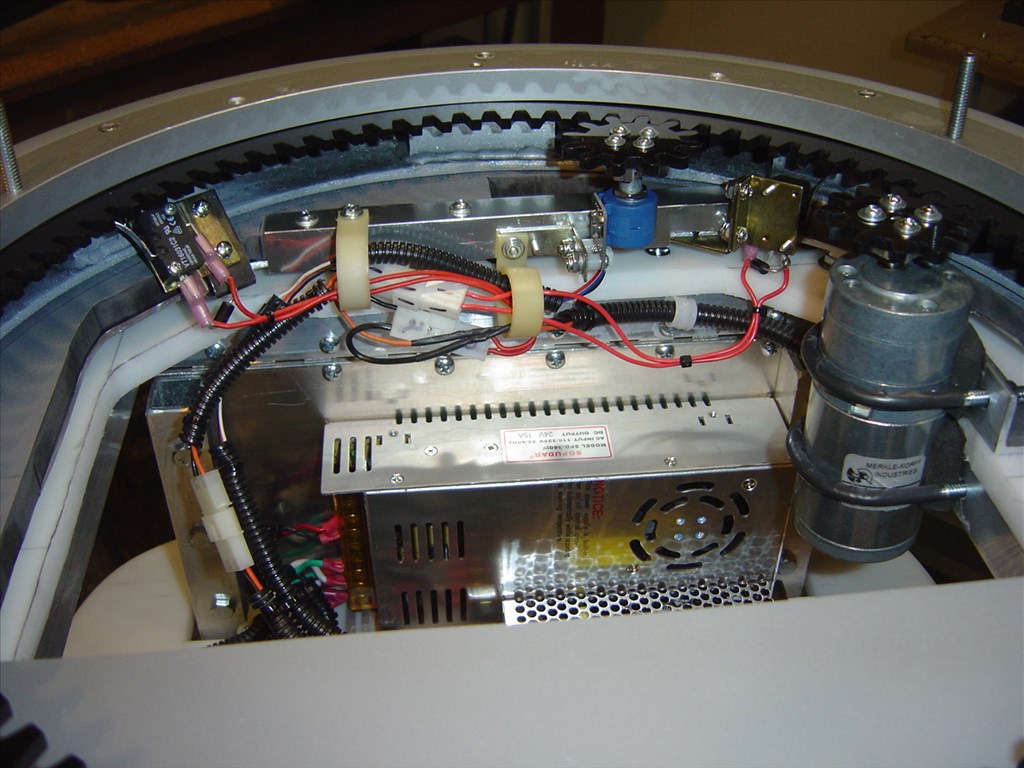
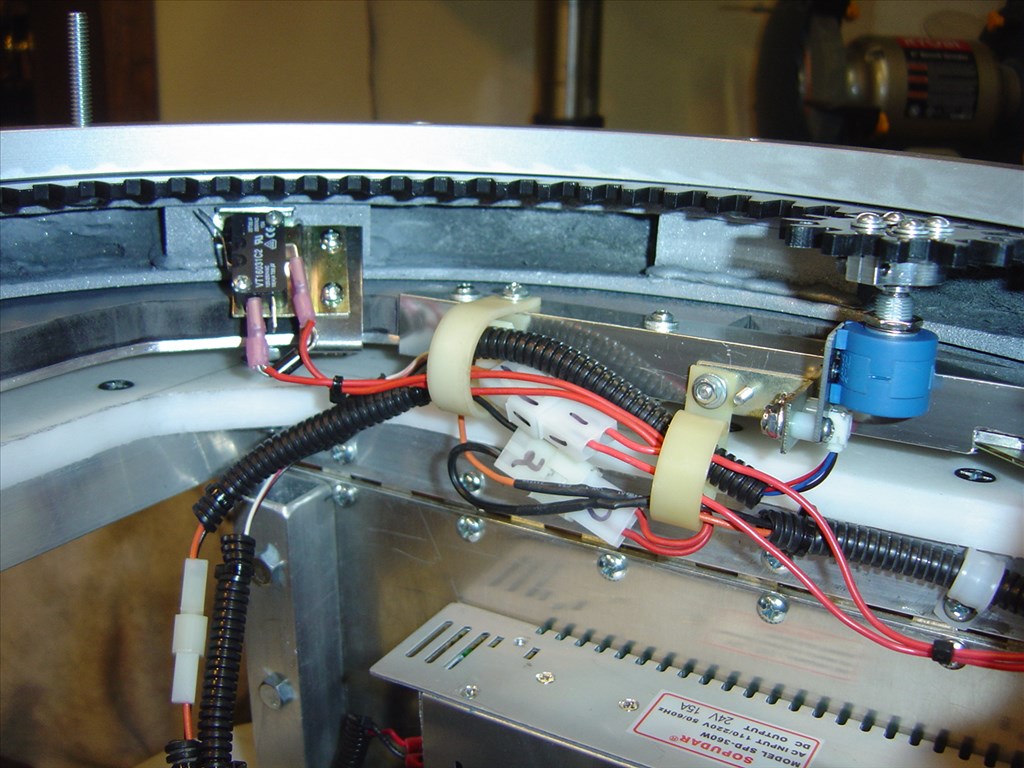
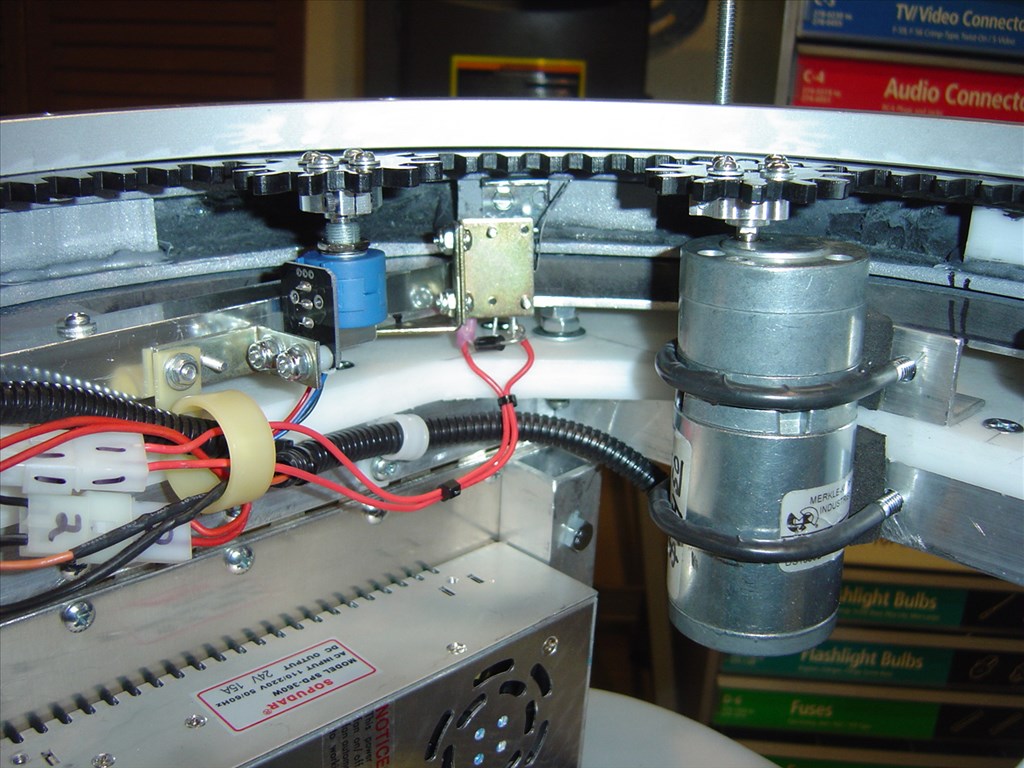
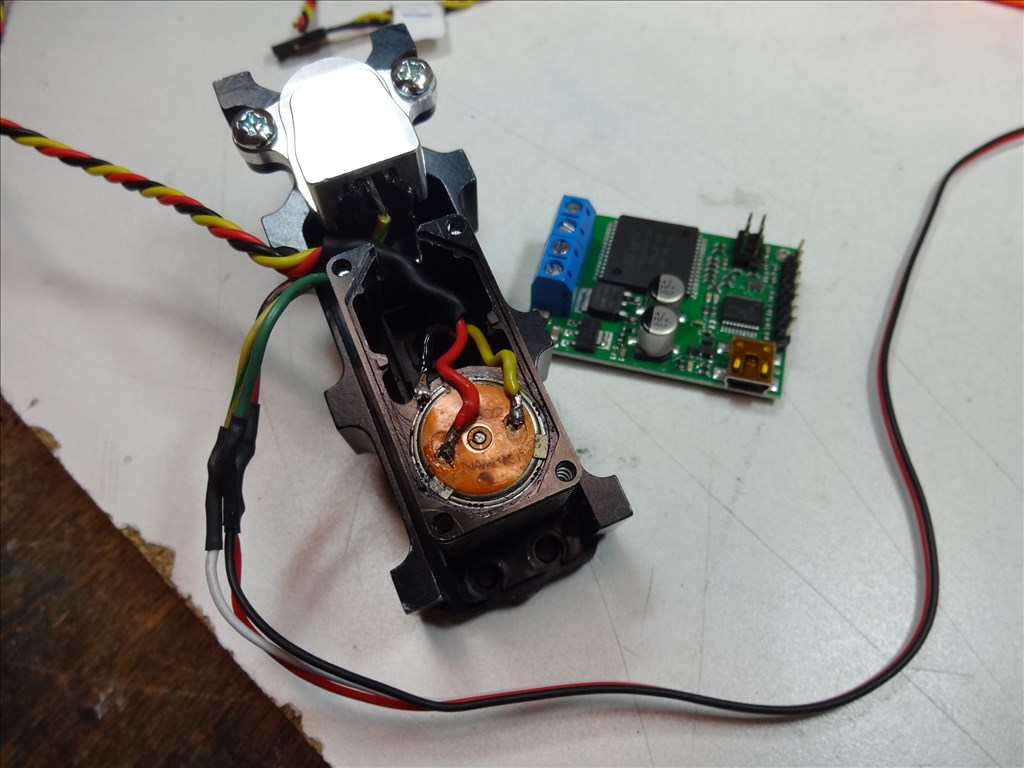
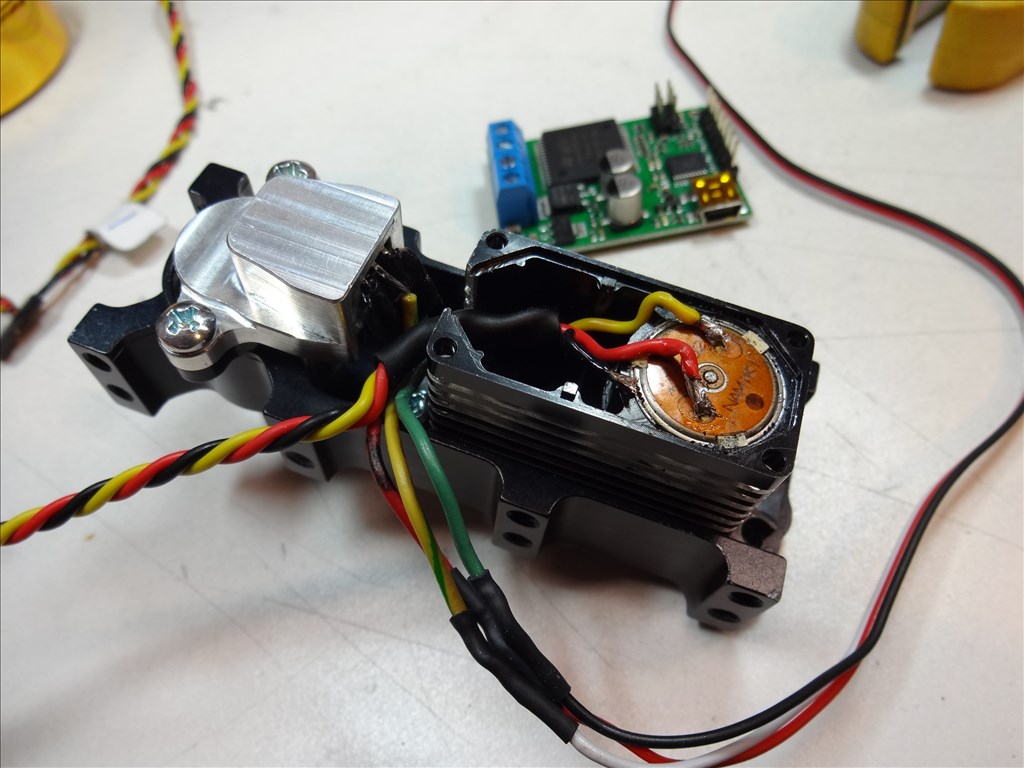
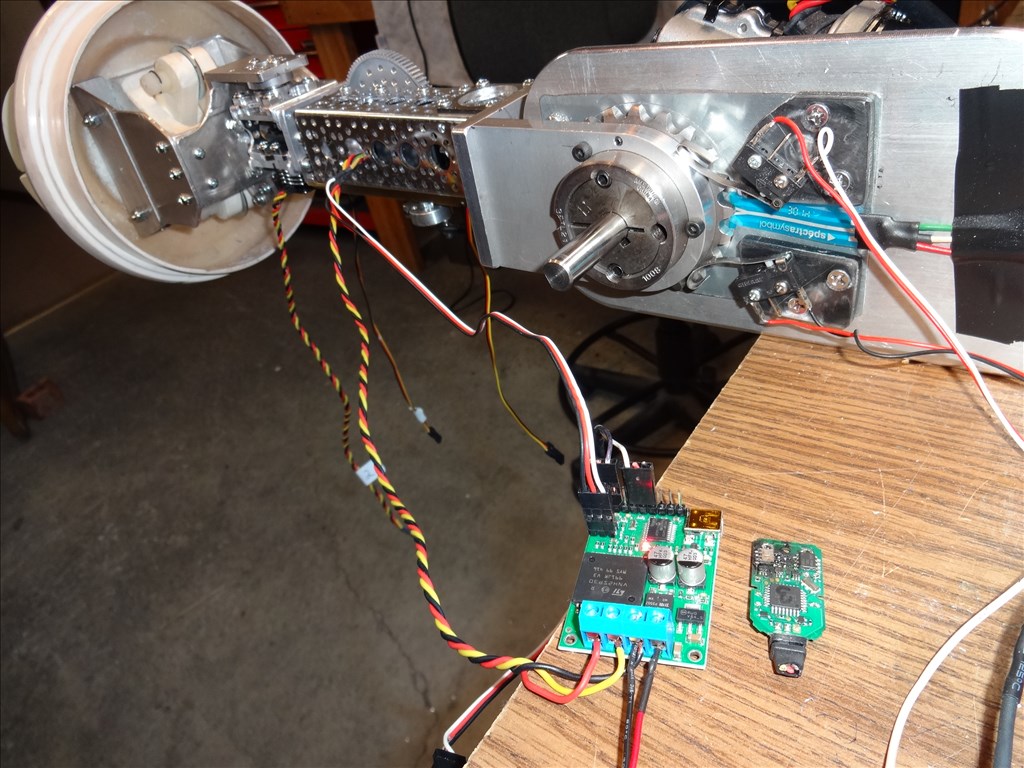
Thanks Dave for posting your experience with the Bosch servos, especially the pinouts and pot control with ADC. I plan to use them on my next build. Hope you find hardware for your beautiful B9 robot. I also appreciate your "blooper" video and give you credit for posting it. Maybe we should start a "Blooper" thread post? My robot threw one of her foam arms during a demo at the campground, and recently one of her new aluminum arms (hanging by servo wires) that I did not have fully secured, but no video for either time. They would have been priceless! Steve S
@Steve I really like your "Blooper" idea With yours and Dave's that makes 2!
Thanks Dave for the info. I found a couple of them for cheap. I will keep them around in case I find a use for them. A good selling point is that they are quiet!
No problem guys. I bet we can find lots of uses for these motors.
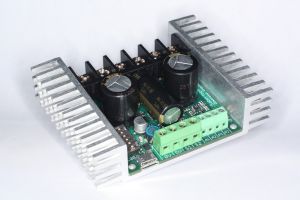
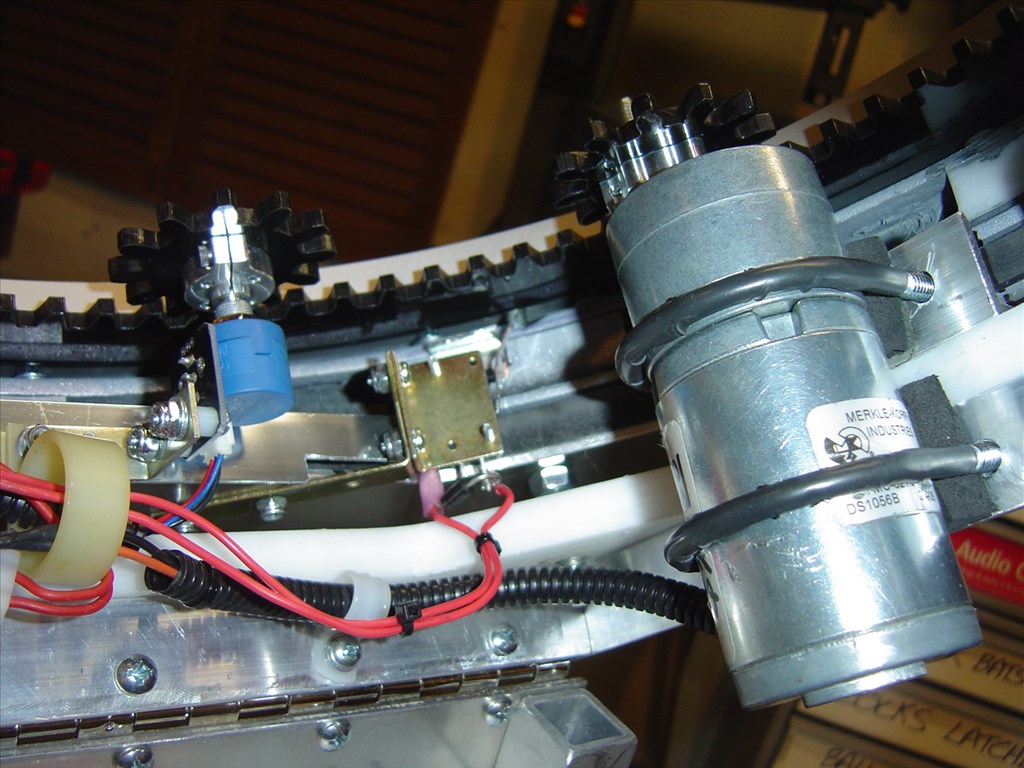
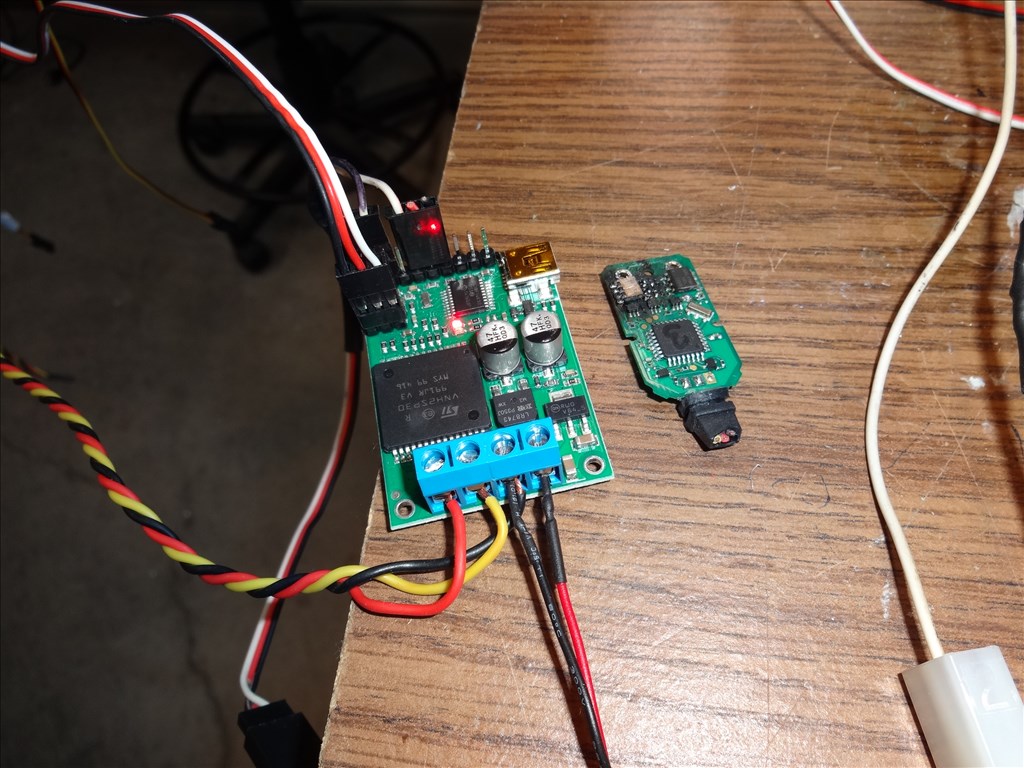
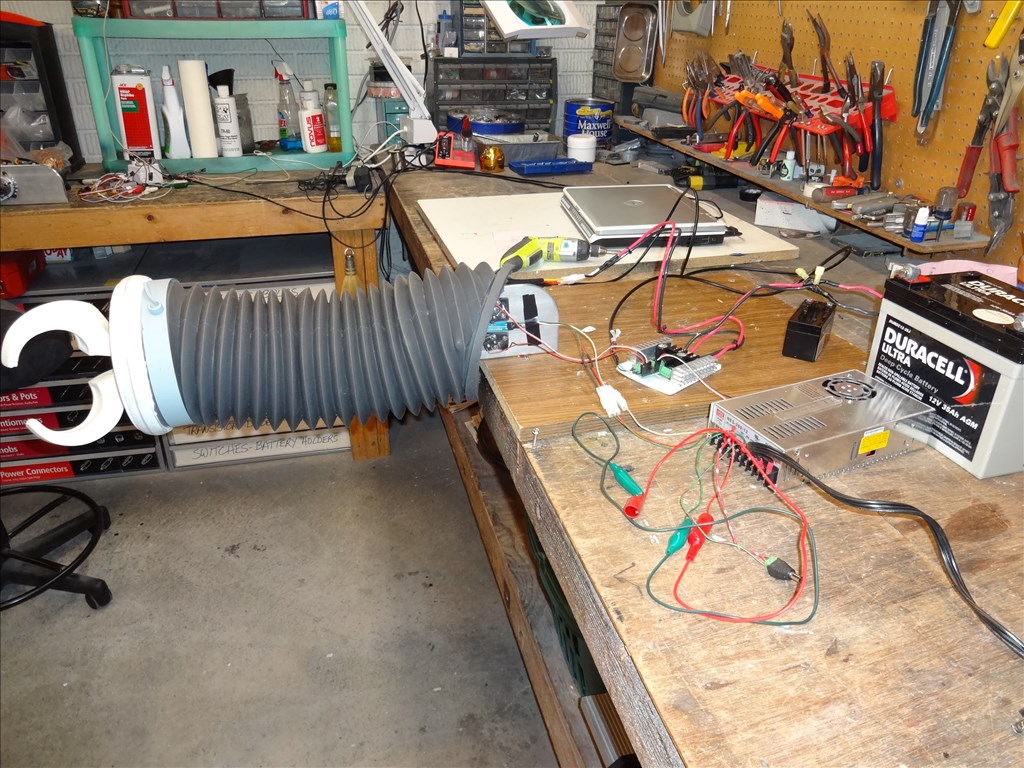
I just got my two Sabertooth 2x12 in the mail today from The Robot Shop today. Cant wait to find a little time this weekend to mate one to a Kangaroo X2 board and see what EZB can do with it. If they perform the way I hope I'll use this combo on all my DC motors on B9 and turn them all into Servos.
As far as the "accident" blooper; my first thought was to reshoot the demo. Then I thought, "why not just be real"? Maybe someone will keep from hurting themselves by seeing what a dope I can be and what happens when I try to rush.
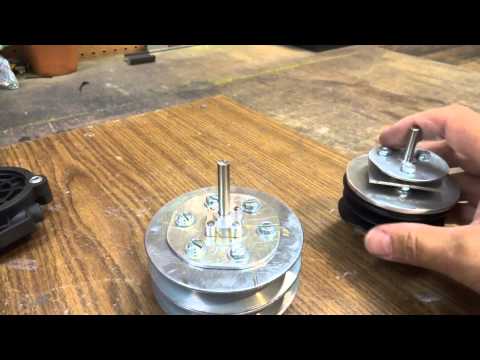
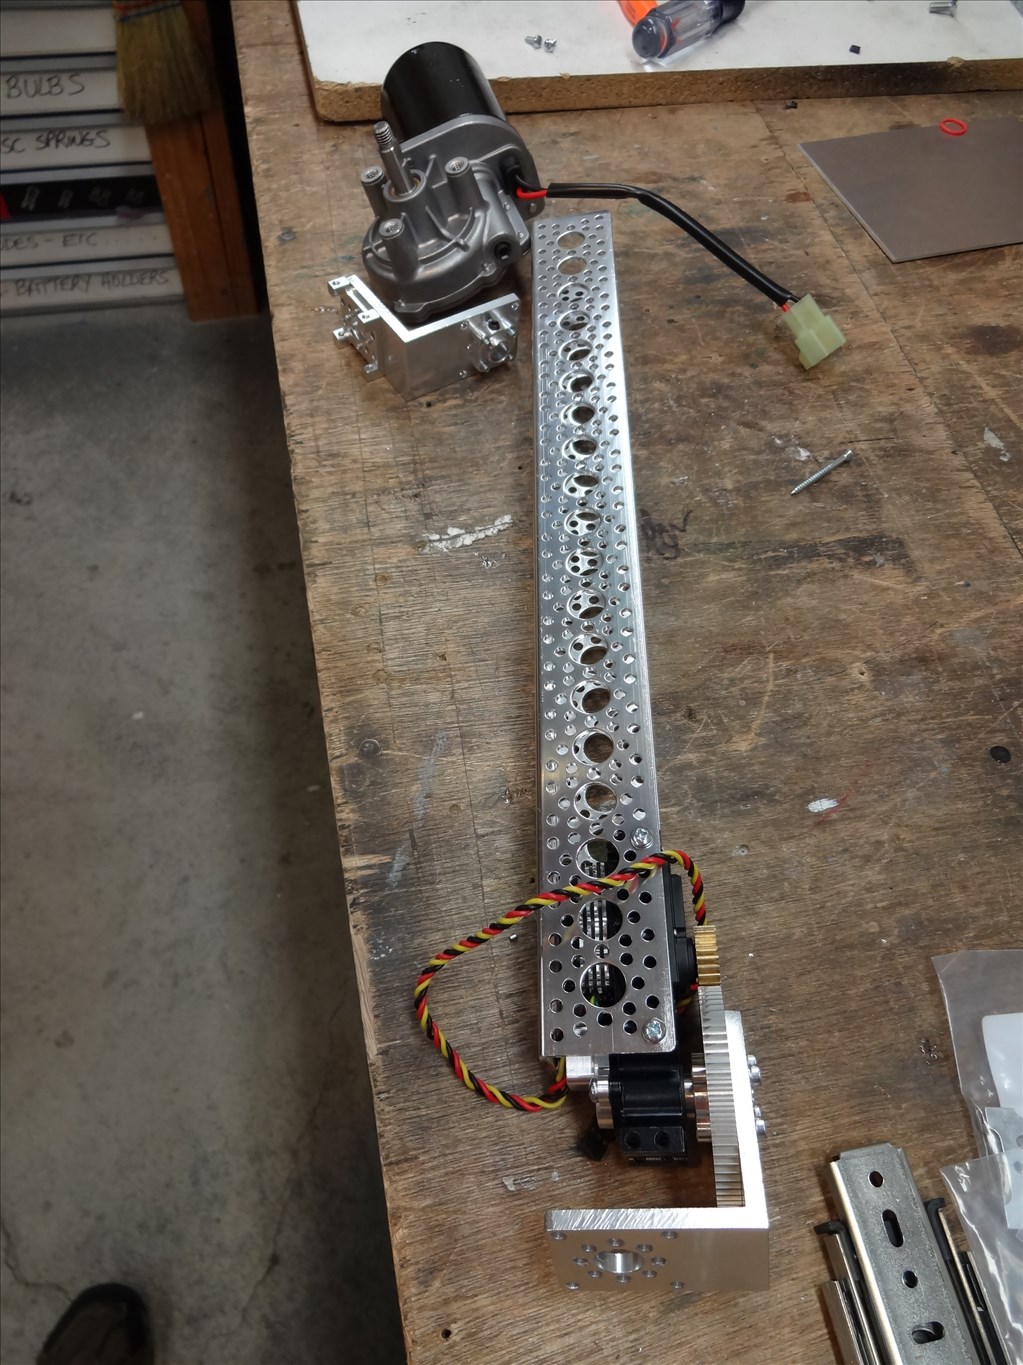
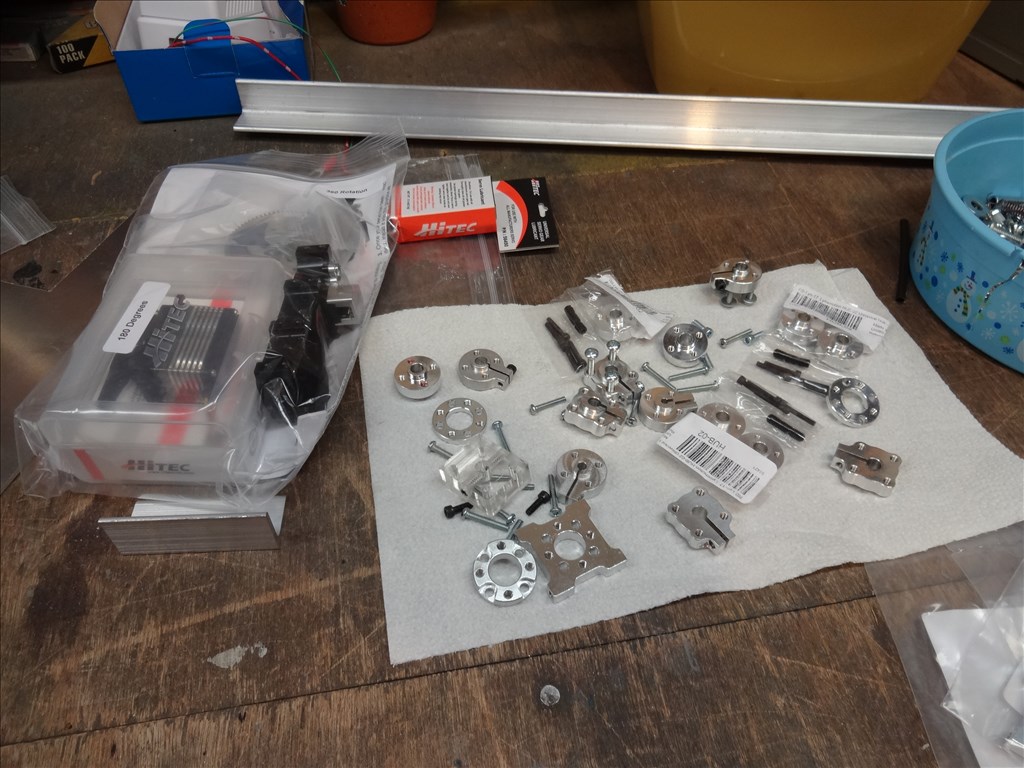
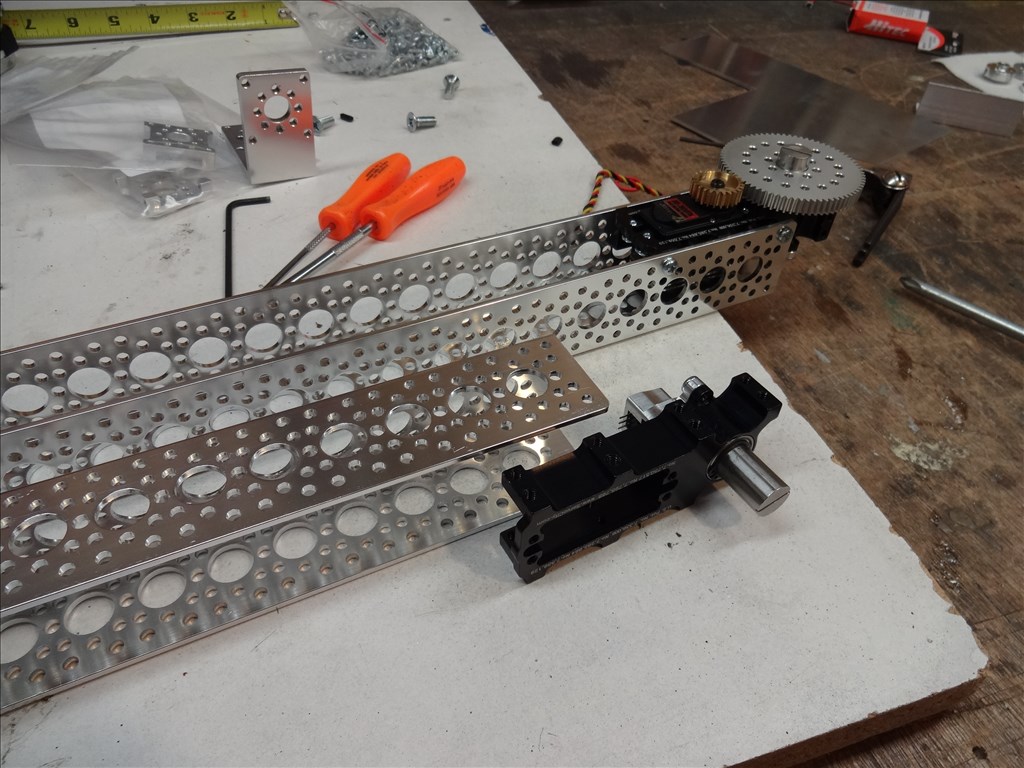
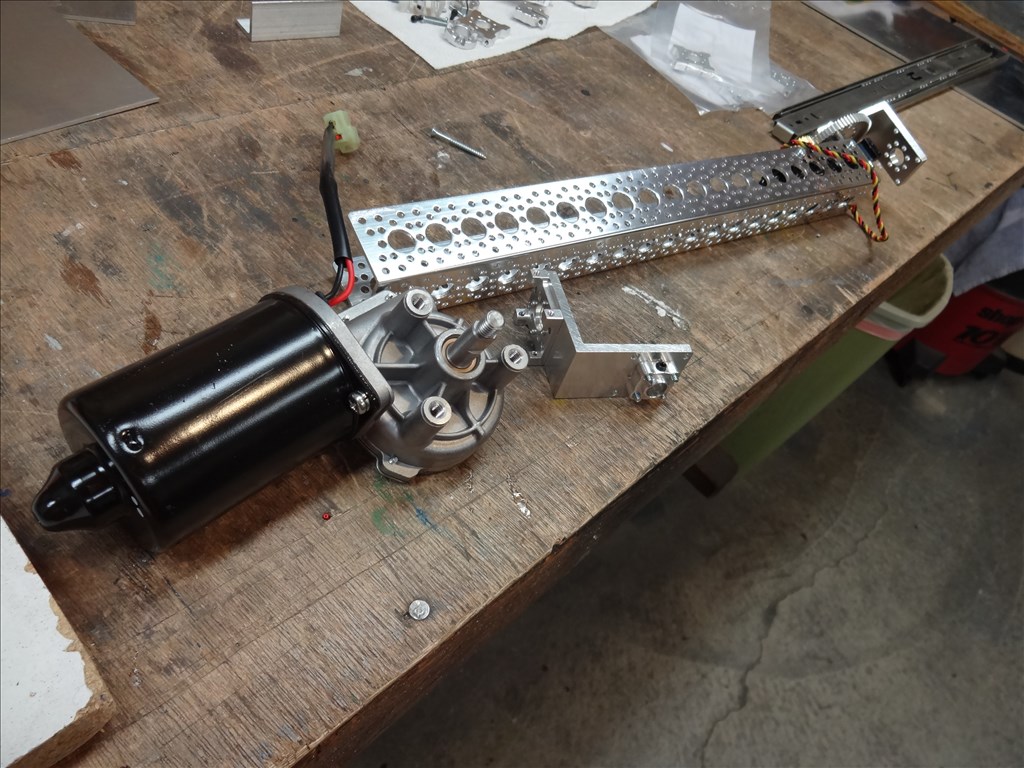
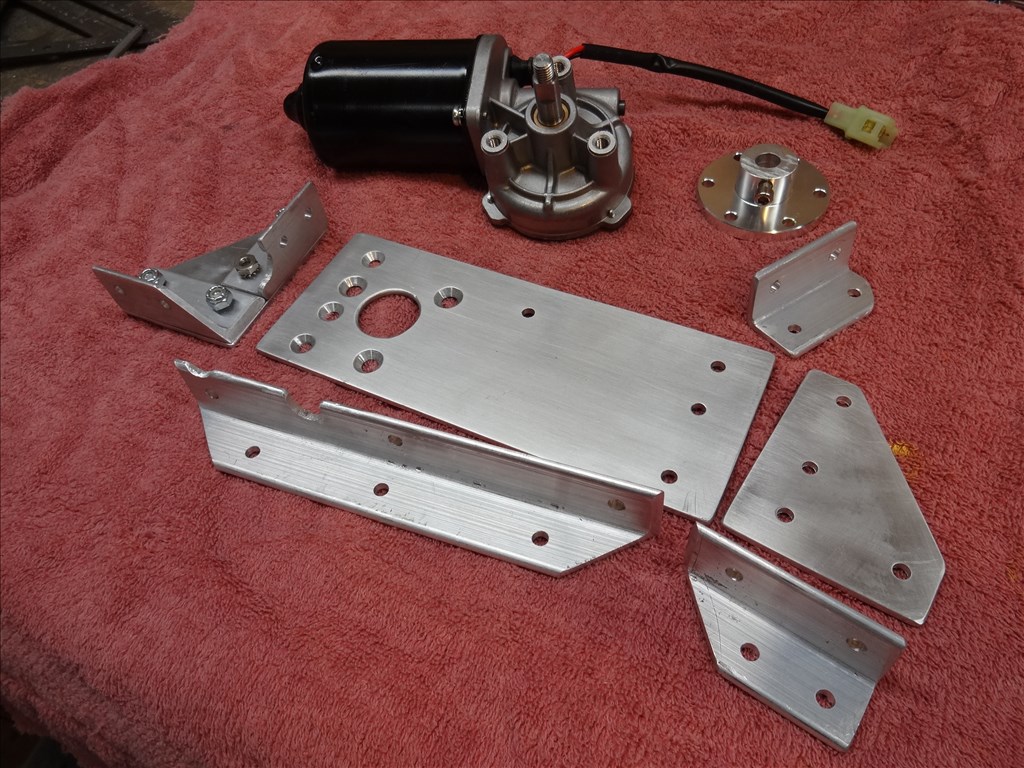
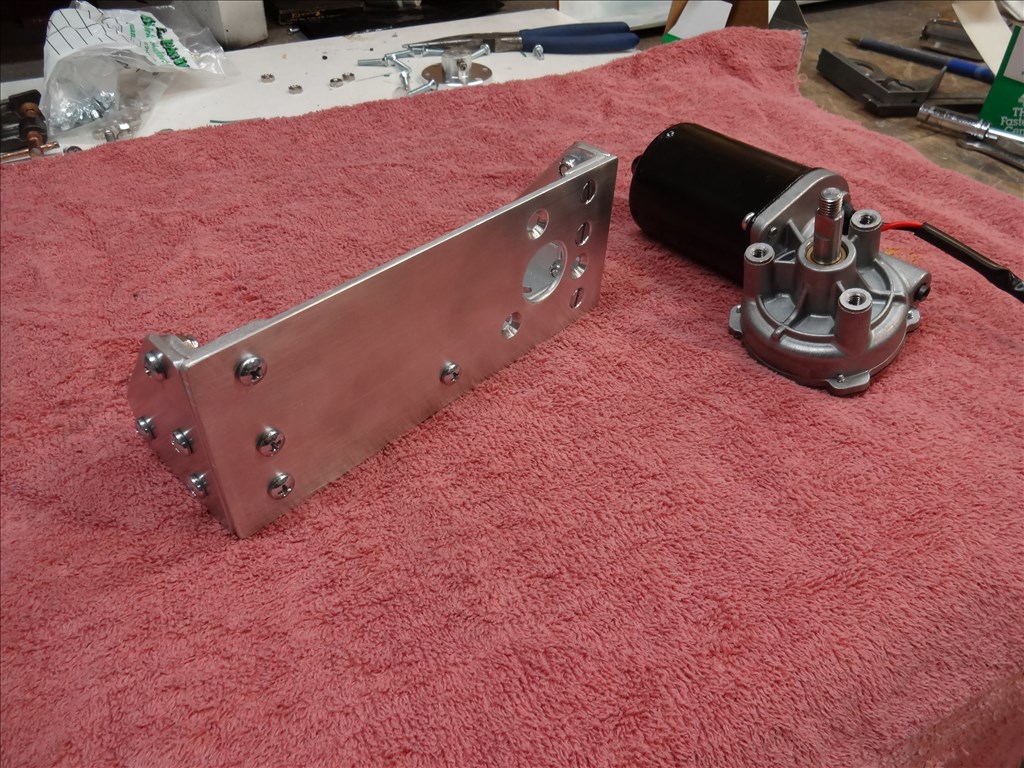
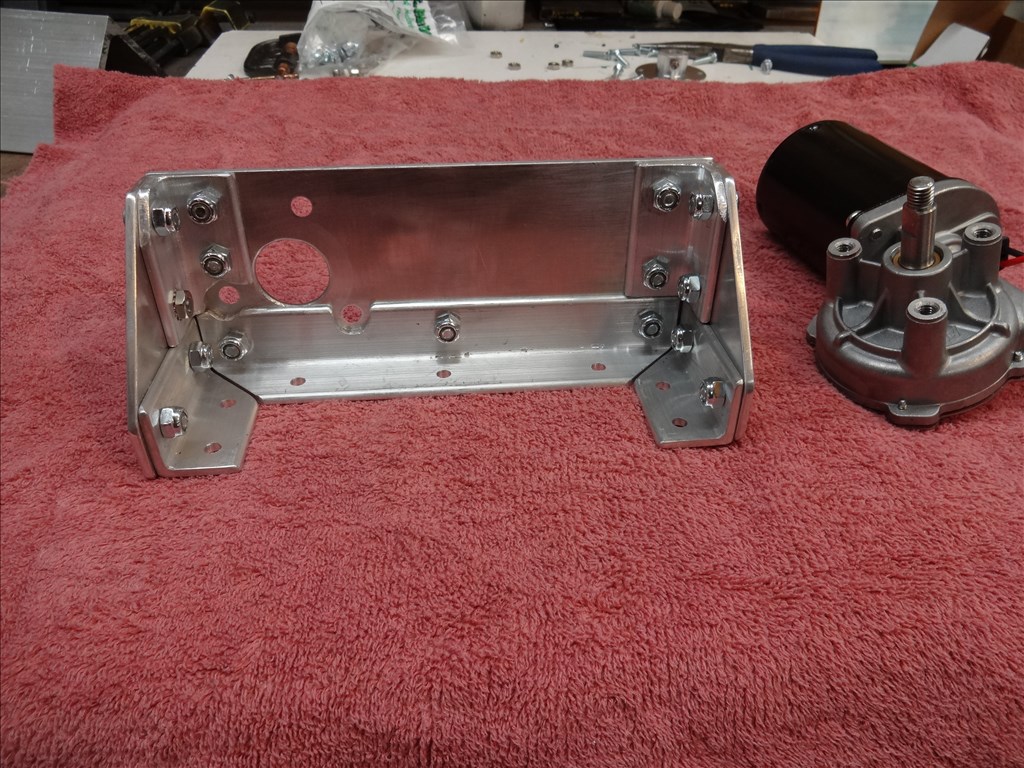
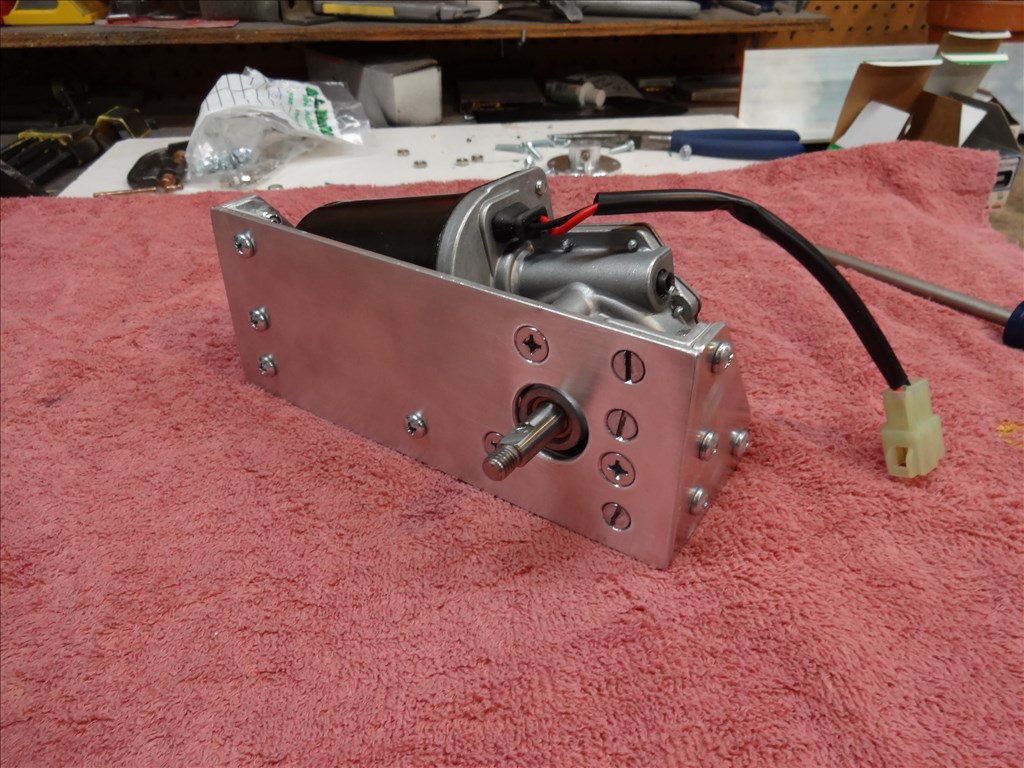
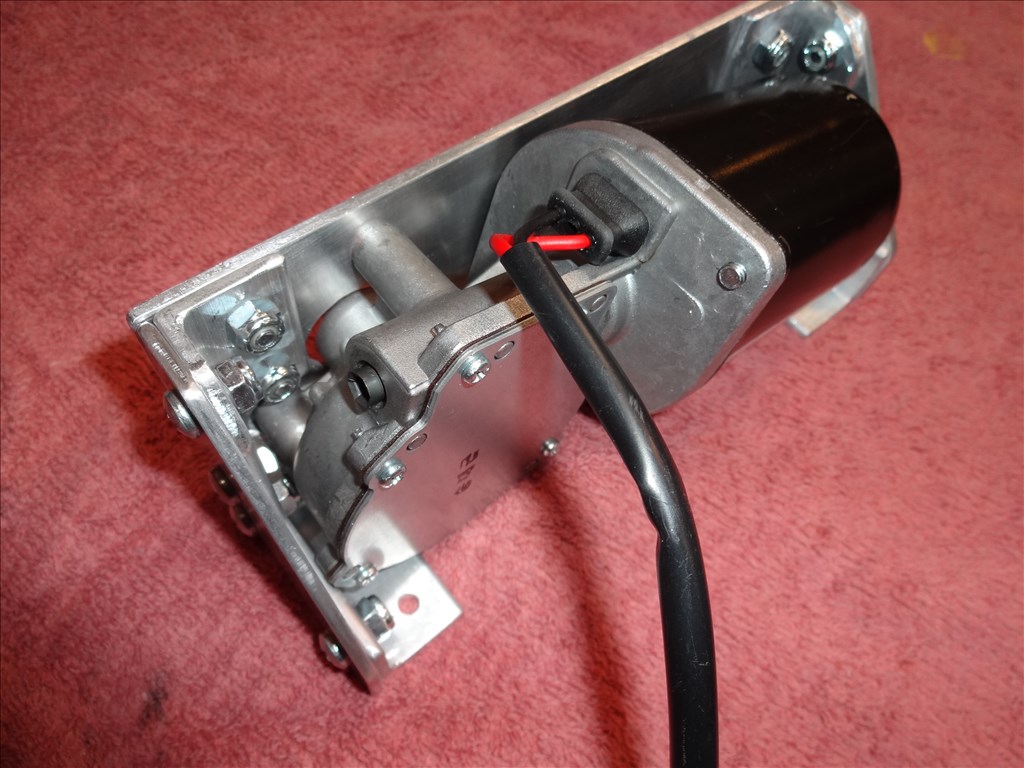
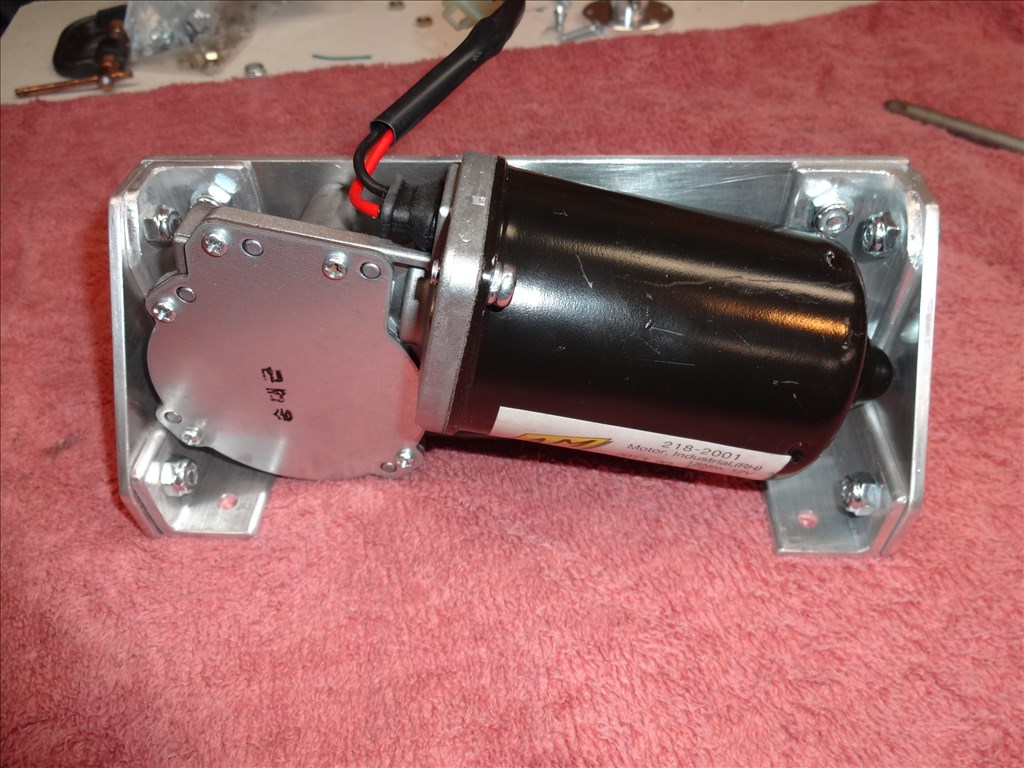
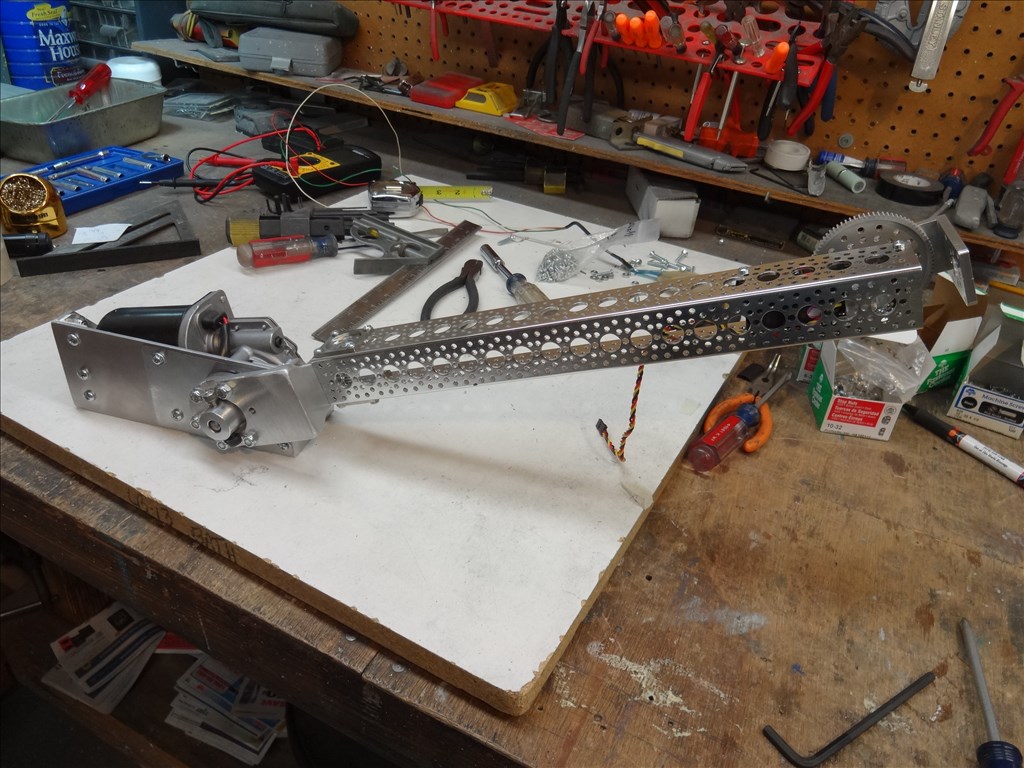
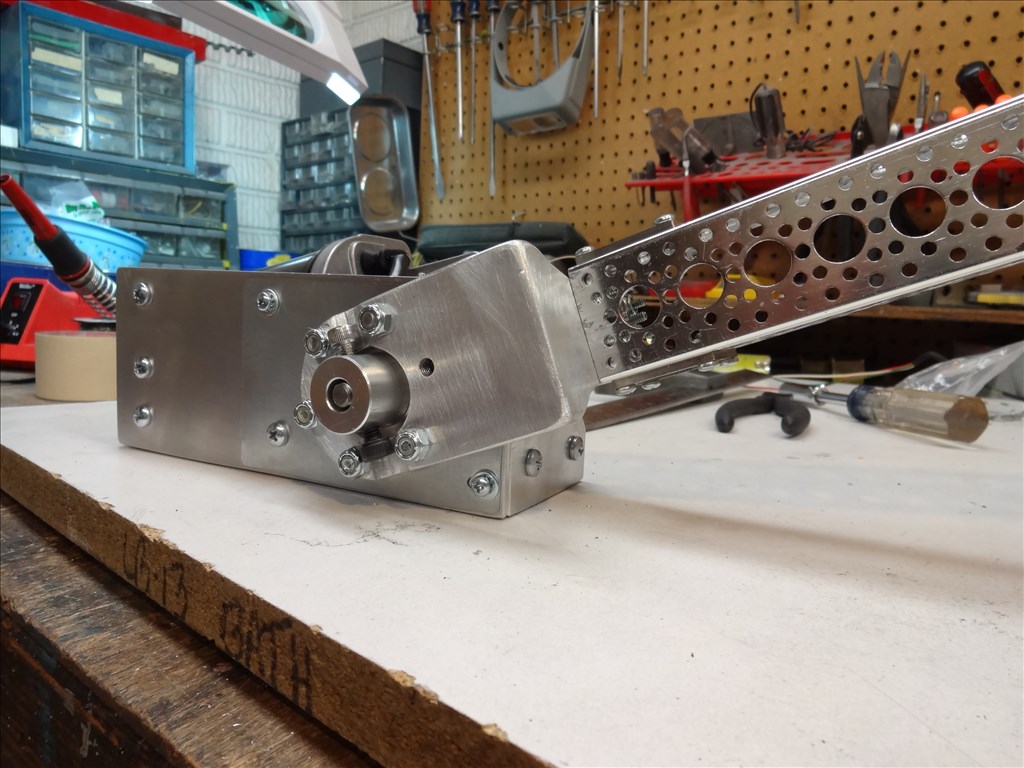
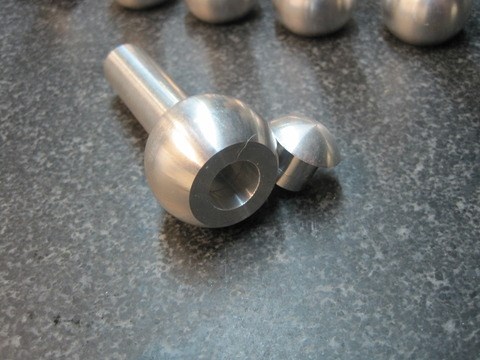
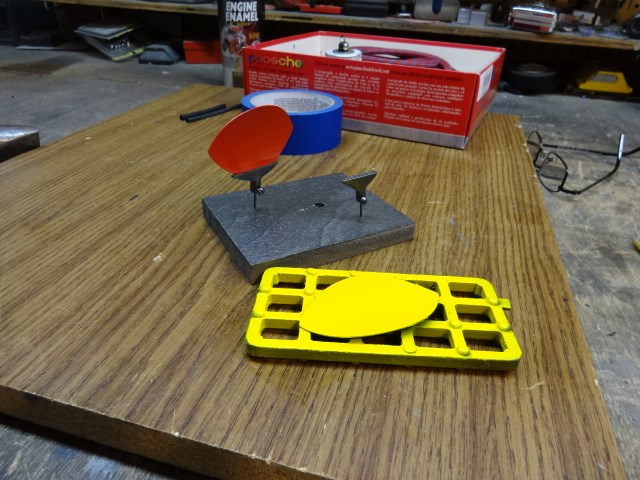
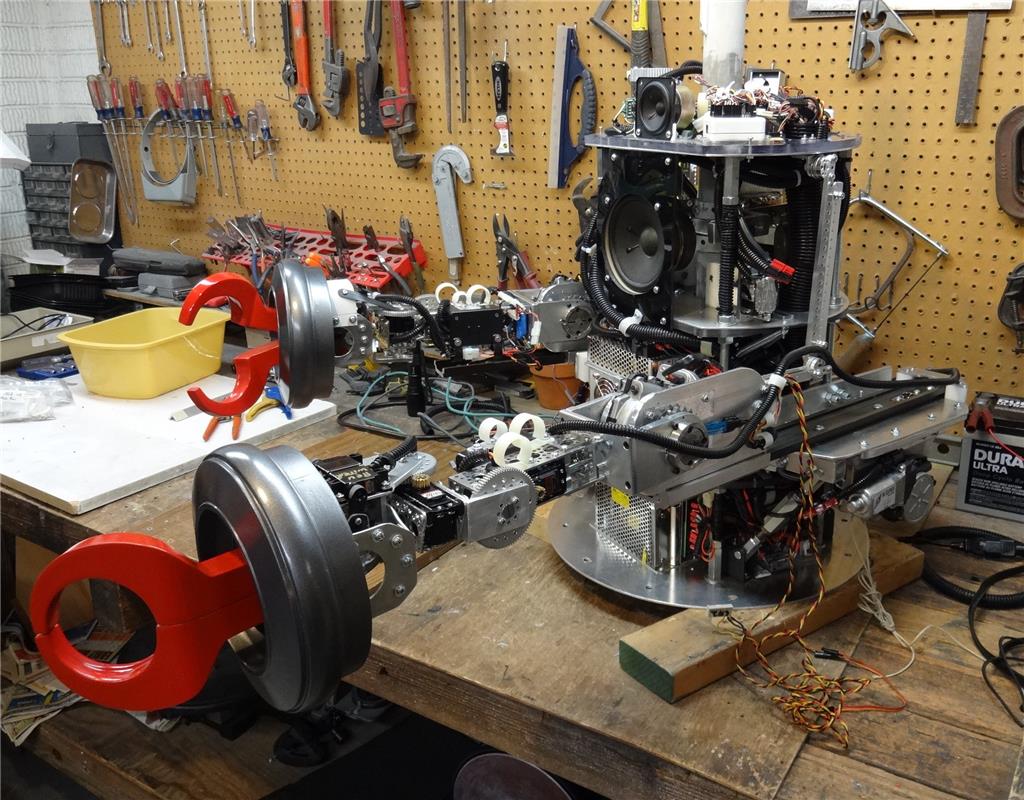
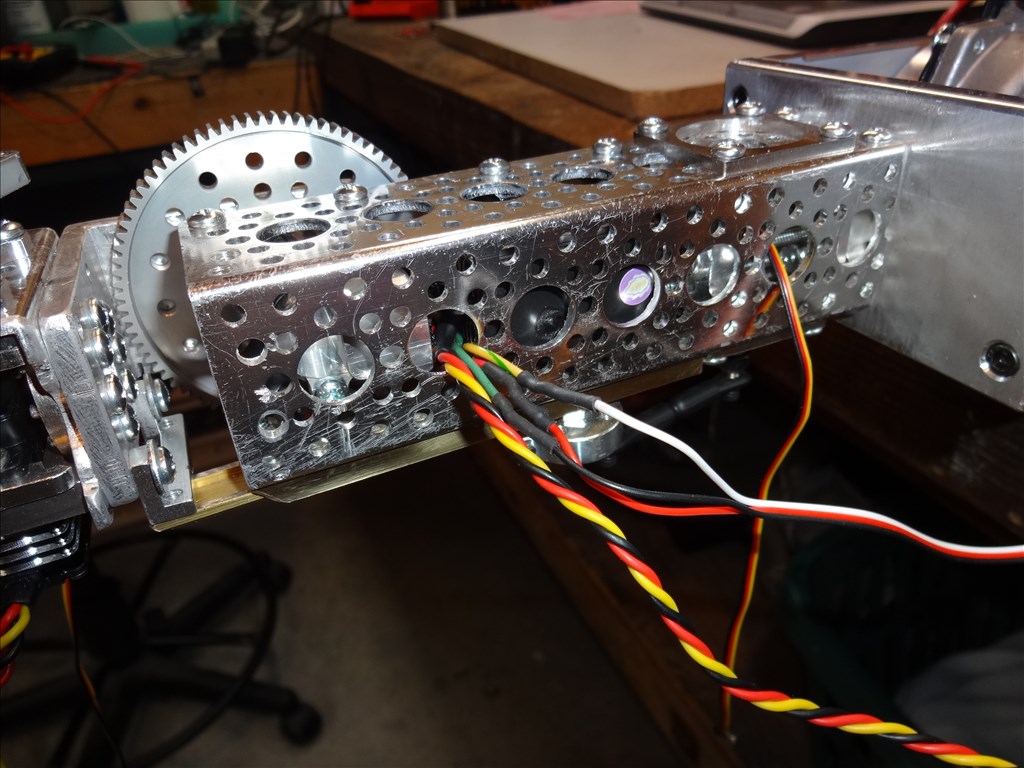
Here's a few of the parts I bought for my arms that work with these motors:
These are most of the parts Tony is pointing to that in his post about these Bosch motors but are cheaper and available from The Robot Shop here in the USA and other countries:
Large 6mm Set Screw Hub
Small 6mm Set Screw Hub
Aluminum Large "C" servo Bracket
Aluminum Long "C" servo Bracket
0.770" Clamping Hubs
0.625" Aluminum Clamping Hubs
Thank you Dave. You're helpful as always.
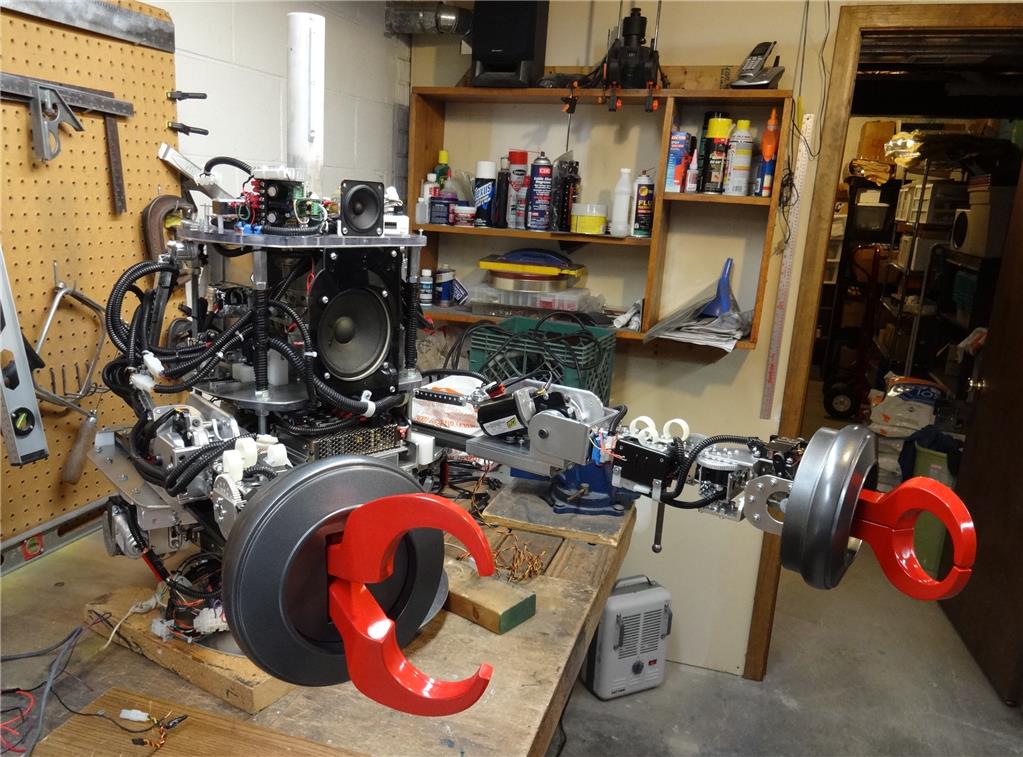
Glad to help. BTW, If you use the large 6MM Set Screw Hub you will need to cut about 1/2" off the bottom with a hacksaw. This is so the set screw will tighten against the shaft. This wider hub is good for better servo support on the "pan" part of the Pan and Tilt joint.