


-635353562186322812.png)


Hi all,
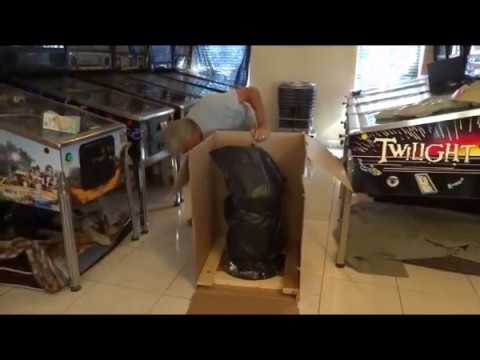
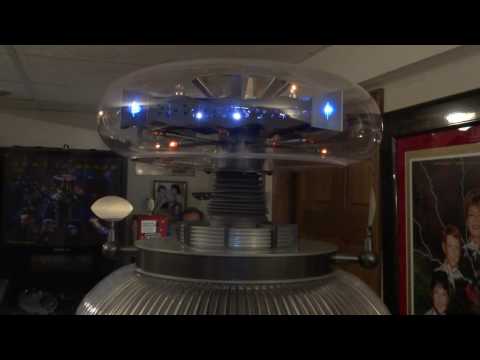
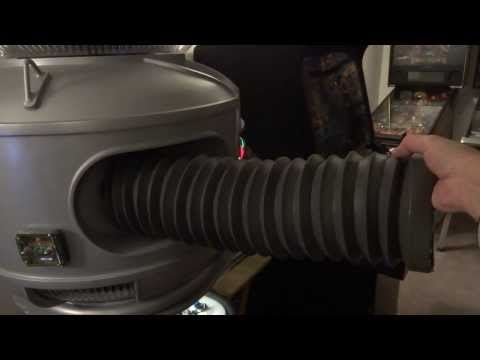
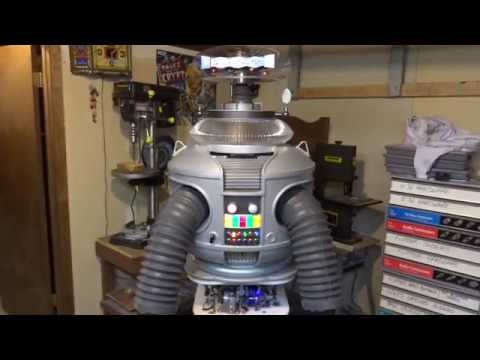
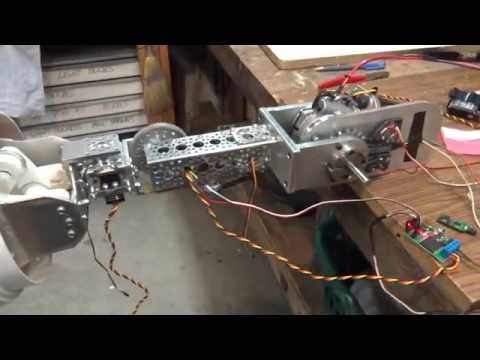
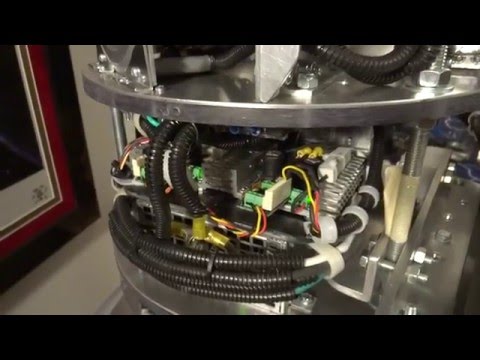
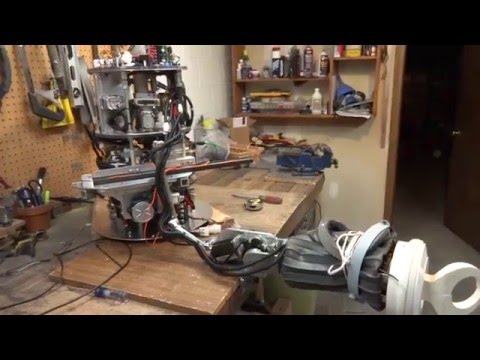
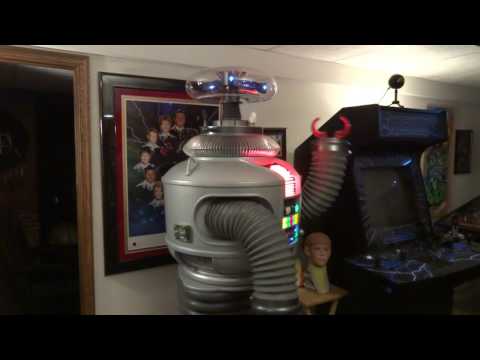
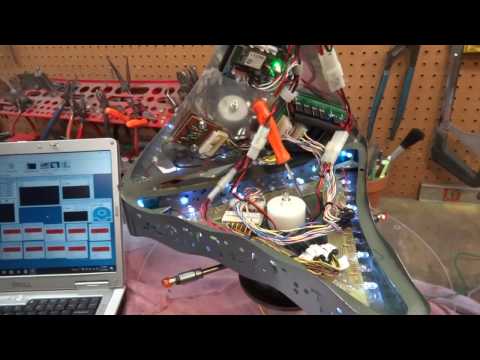
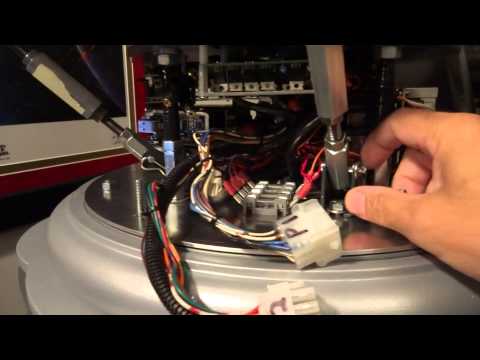
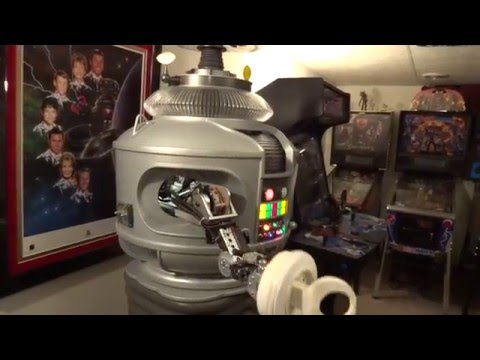
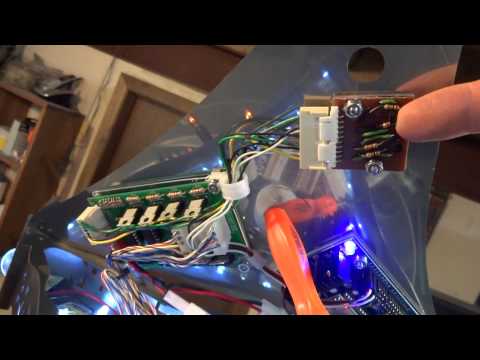
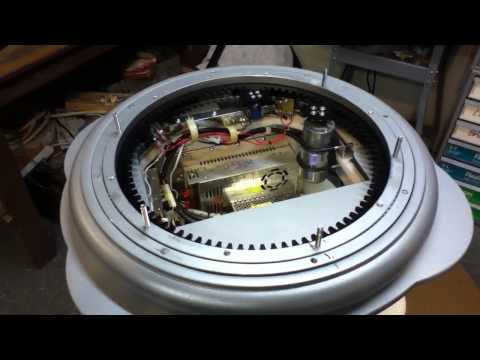
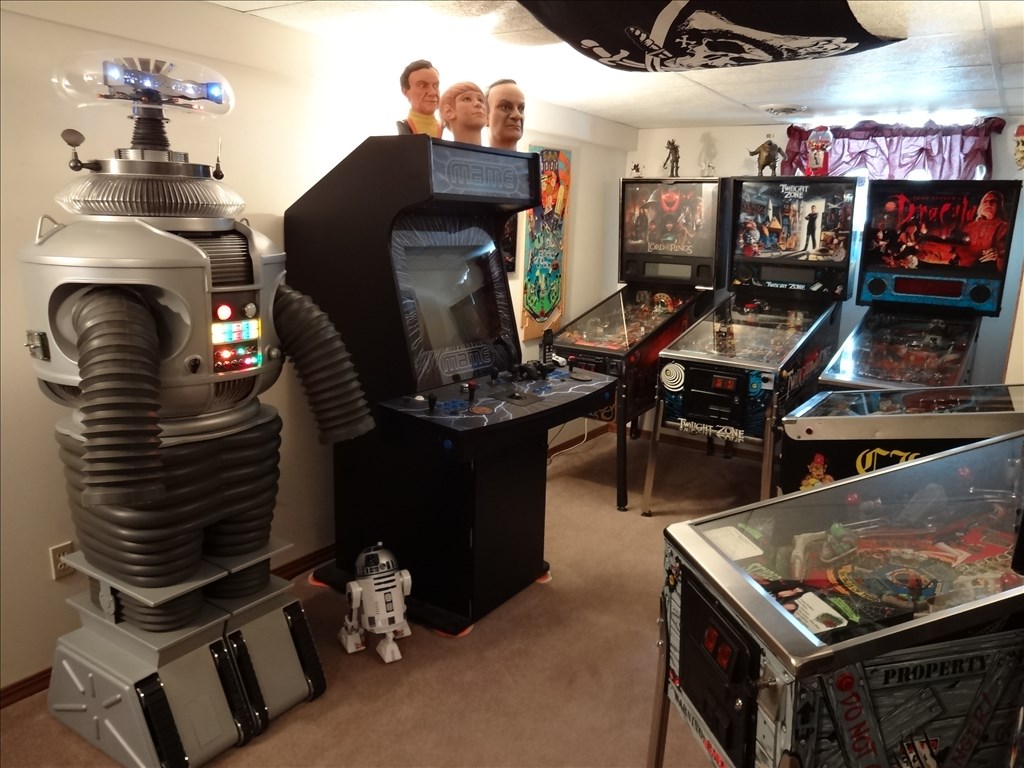
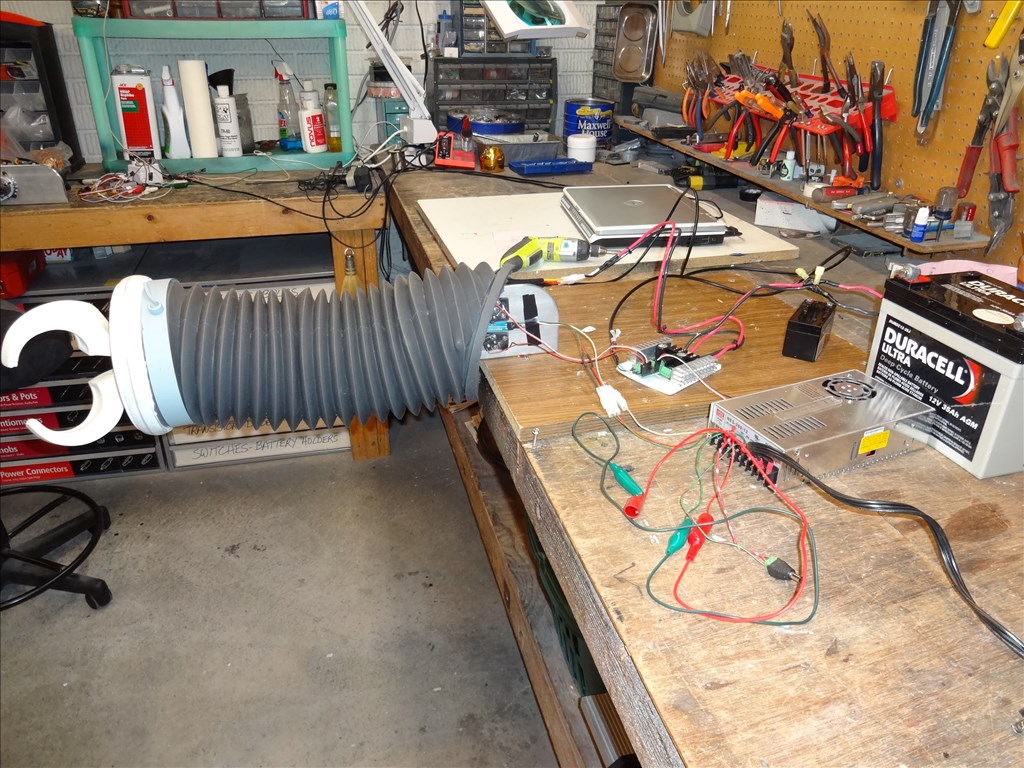
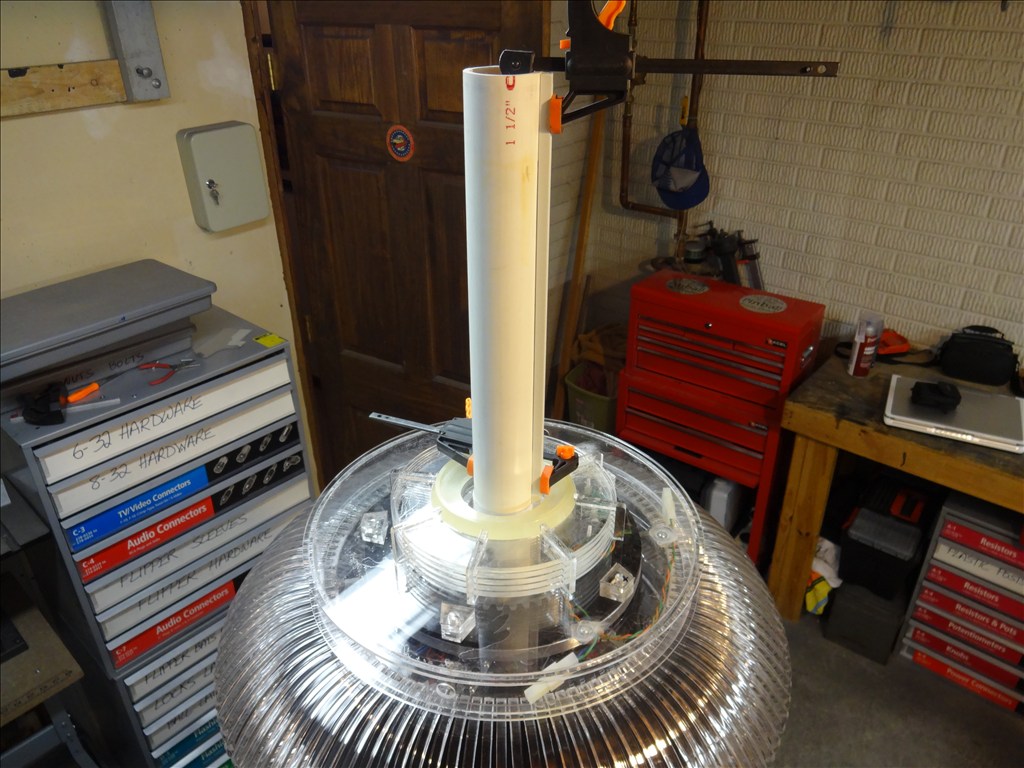
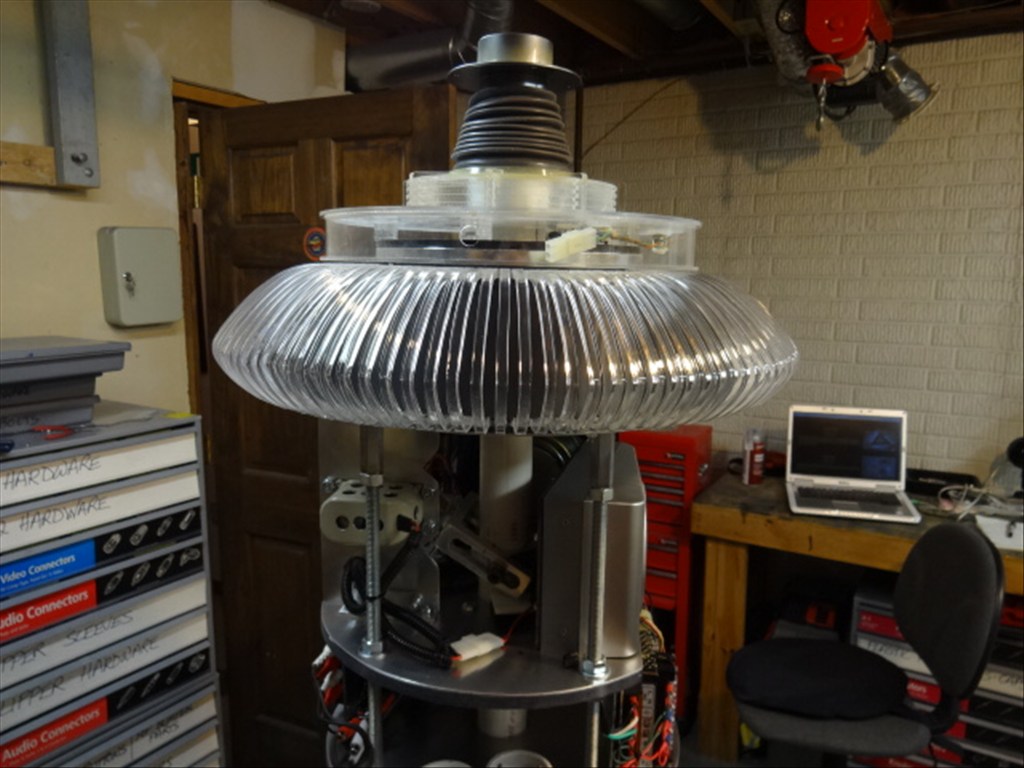
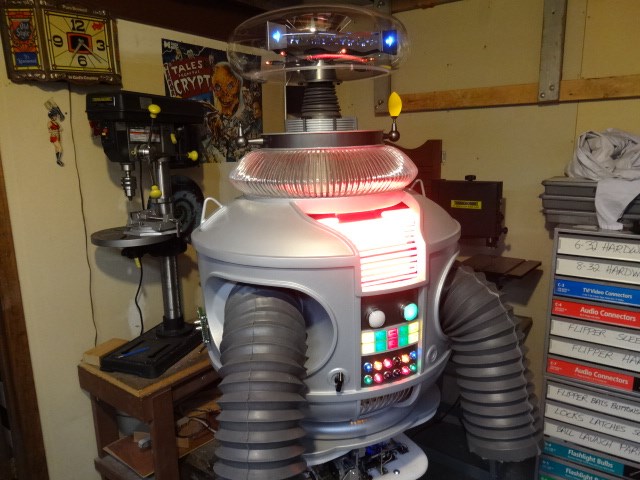
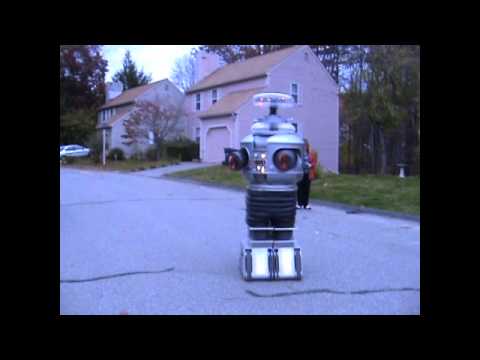
I'd like to share a video I just took of my full size Lost in Space B9 robot that's controlled by two EZ-B controller boards. Right now they are controlling limited movement and voice response of a few motors, lights and sound files played from a Sparkfun MP3 Trigger board. Although I'm just starting with the animation and have more building on the actual robot the result (mostly thanks to the EZ Robot controller board) is shocking. Please have a look at this (4 minute) You Tube vid and enjoy.
Please excuse some Technical camera lighting and sound issues. This is the first time I'd made and posted a vid online.
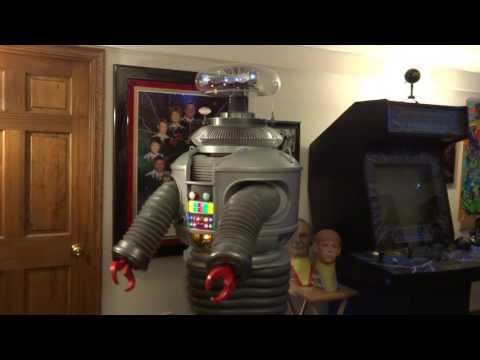
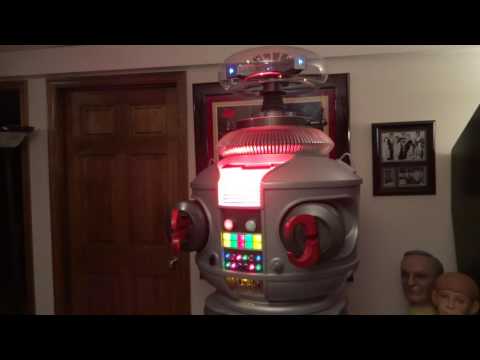
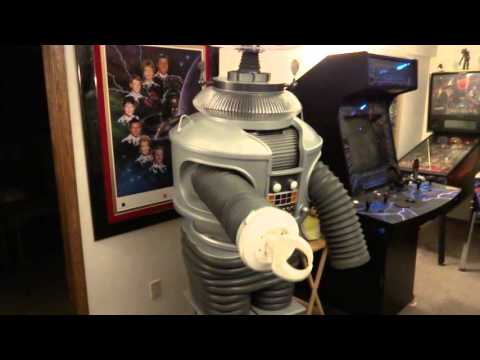
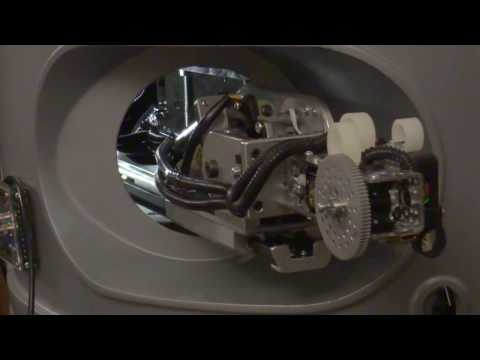
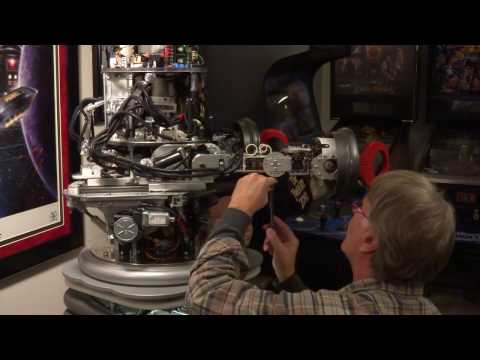
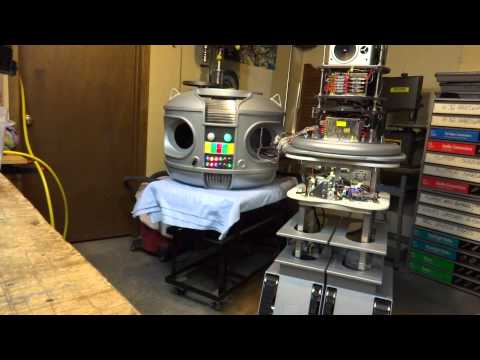
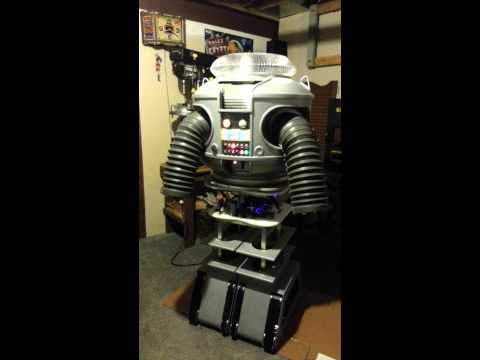
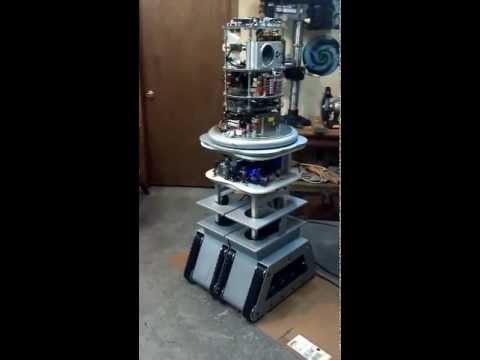
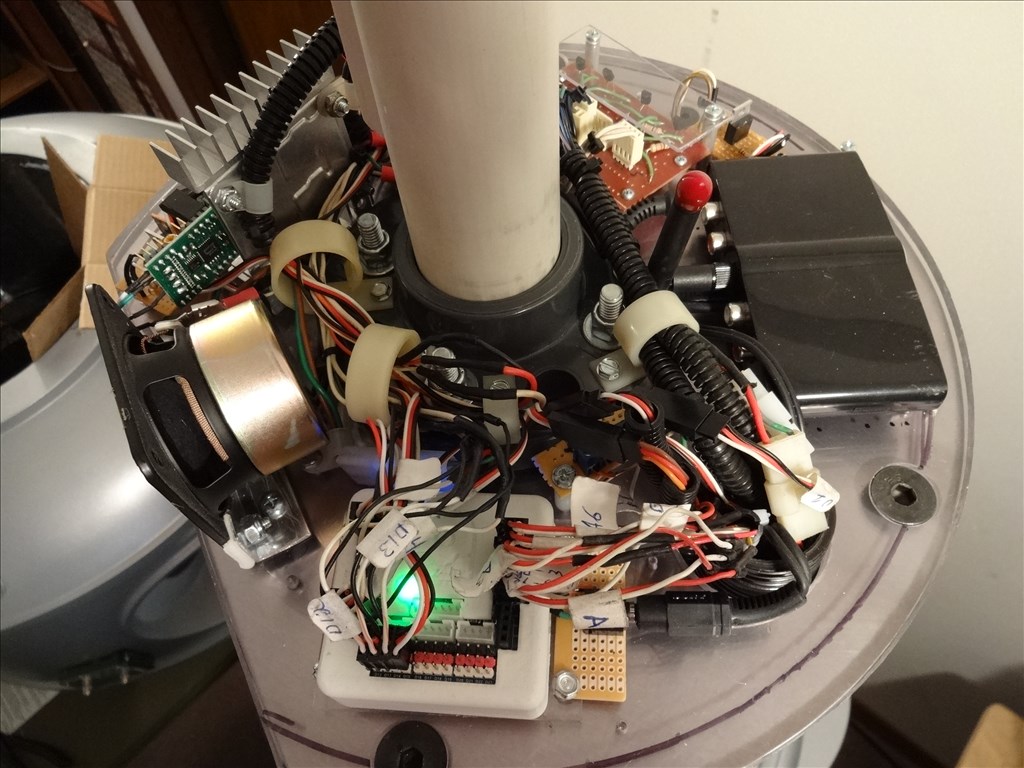
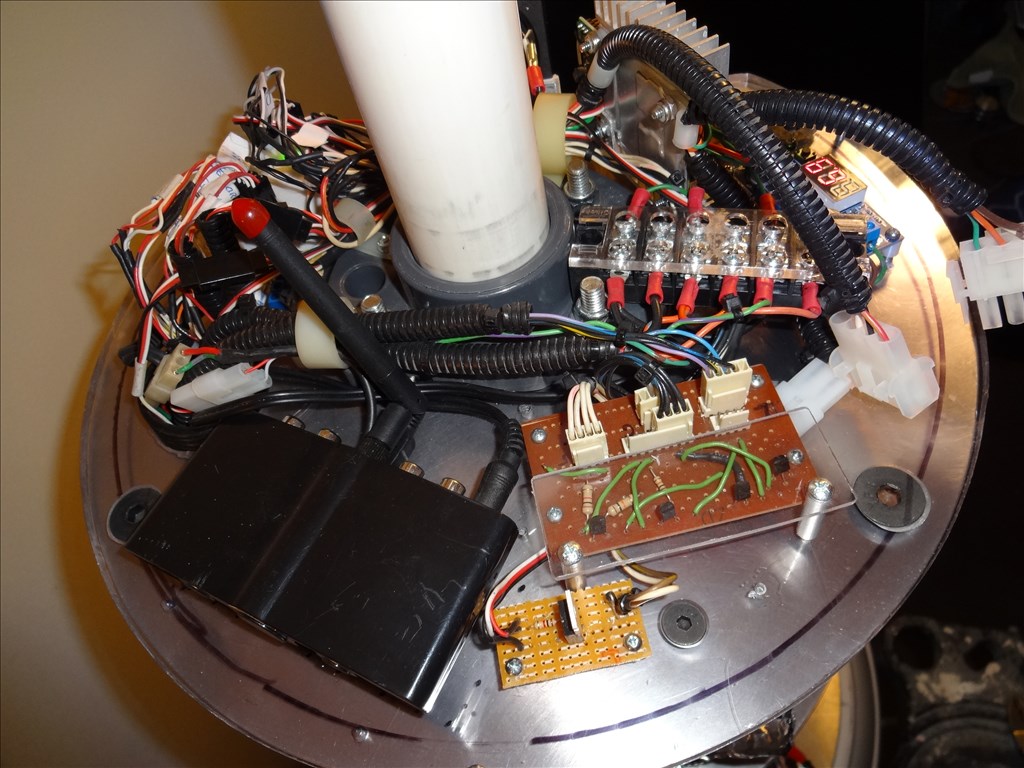
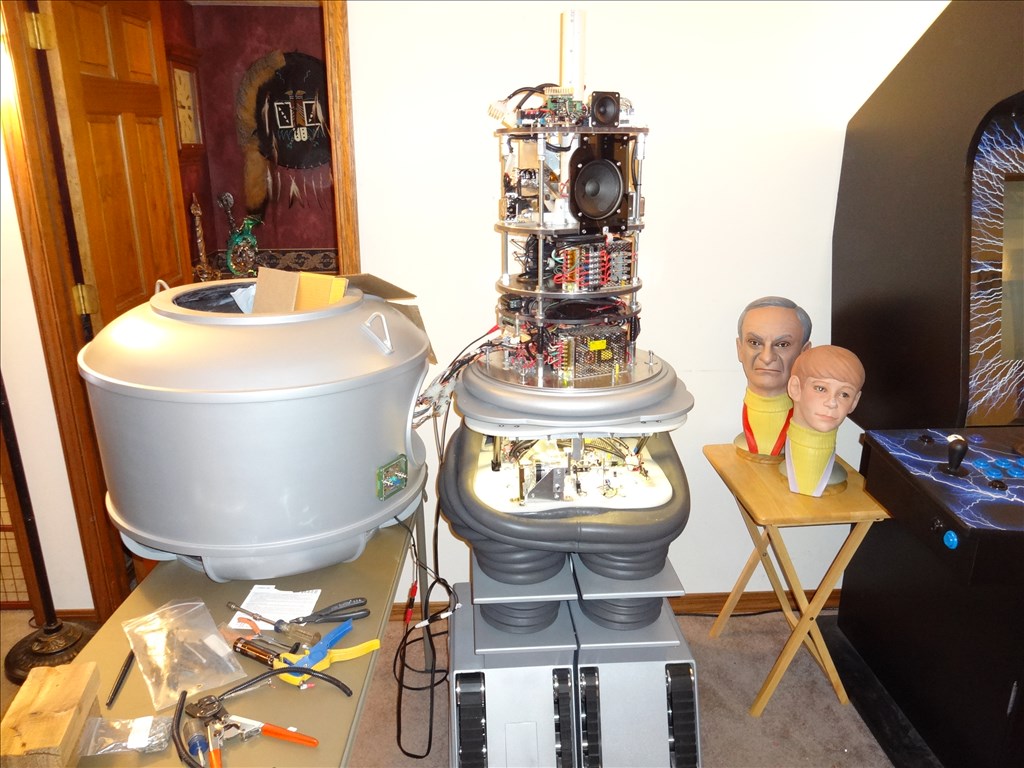
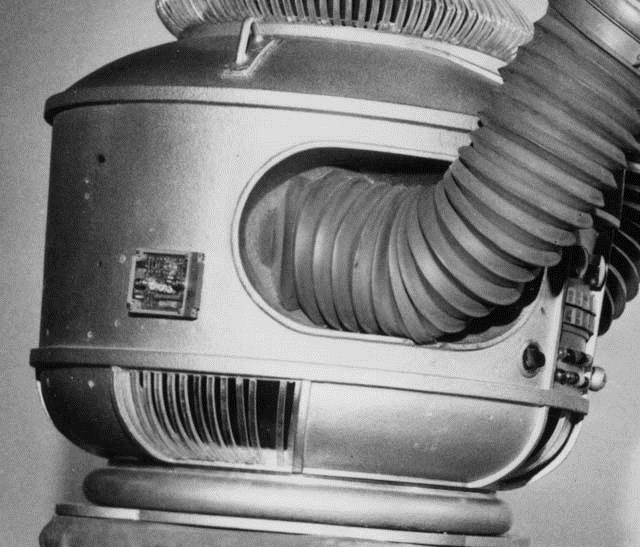
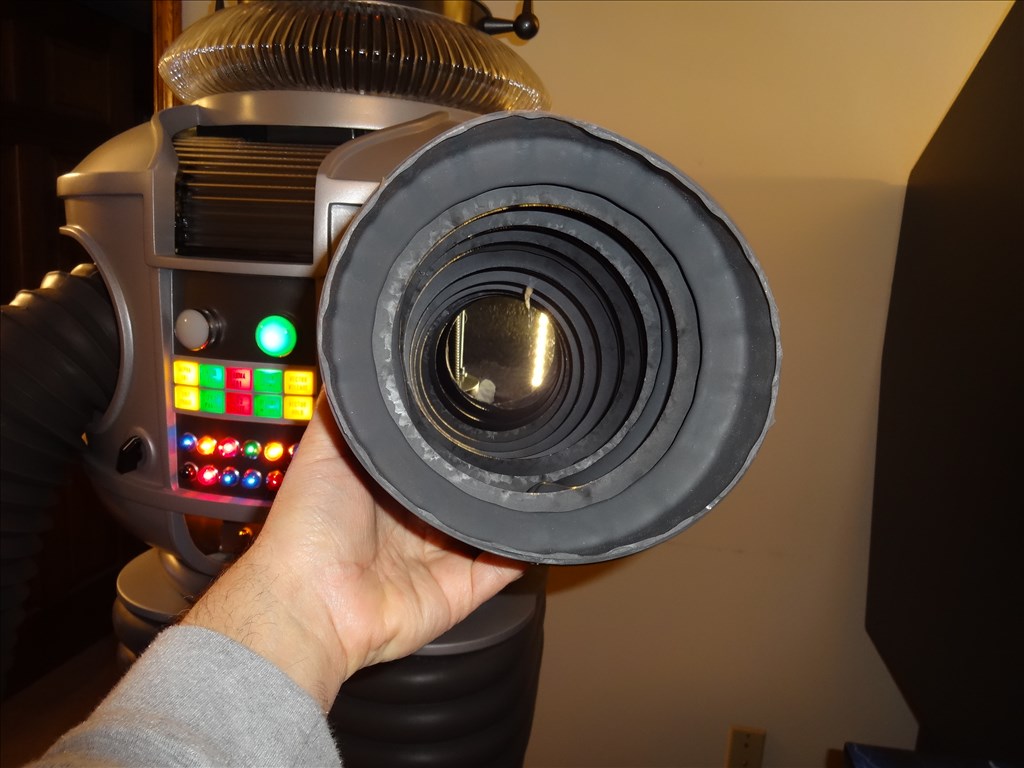
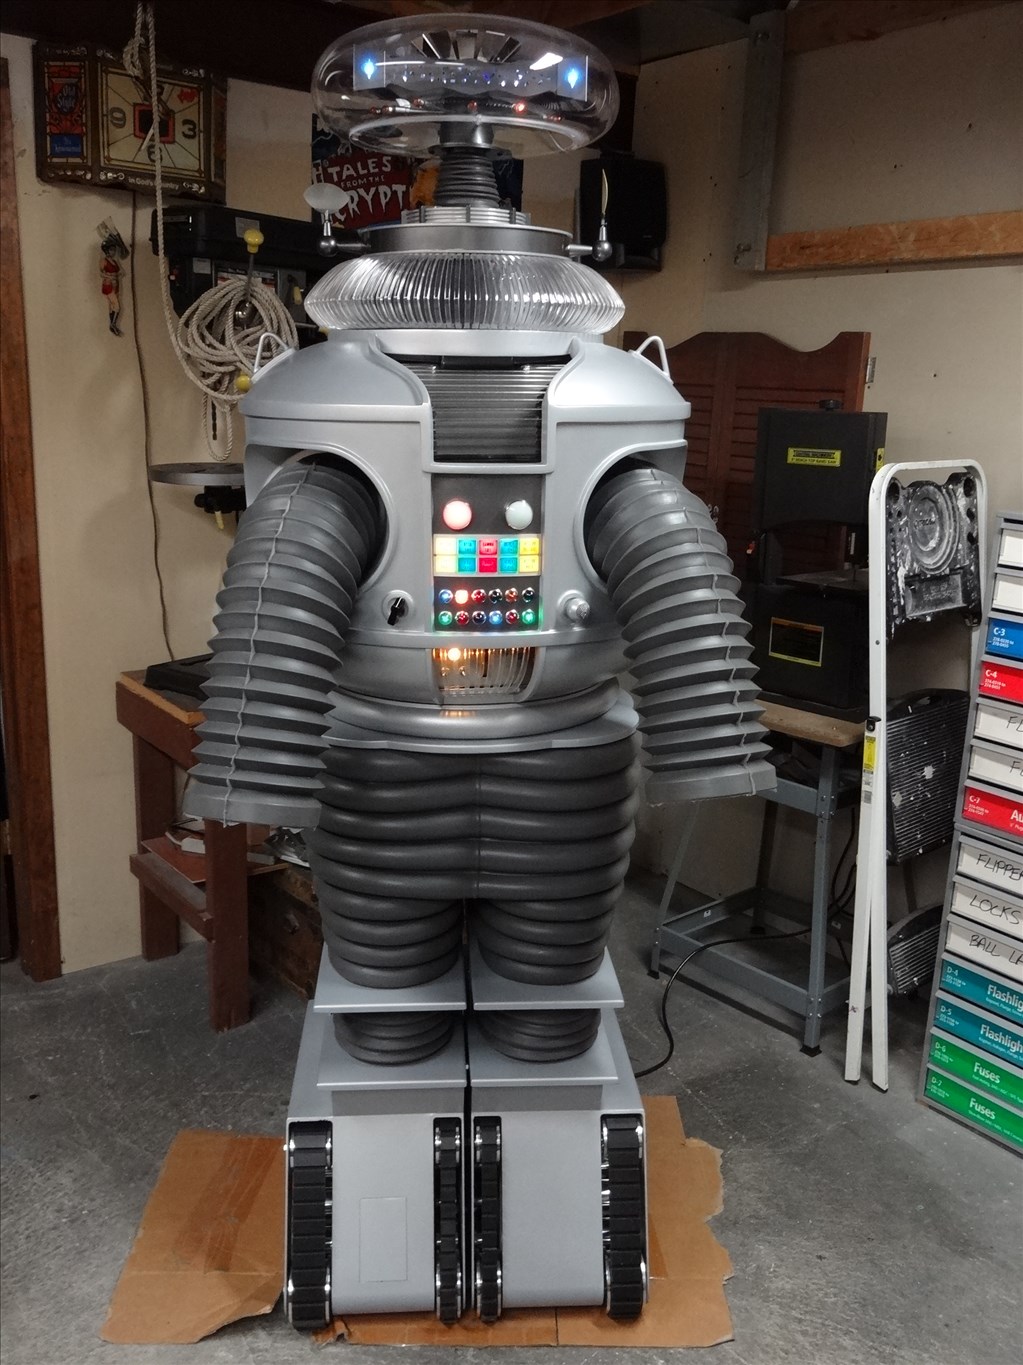
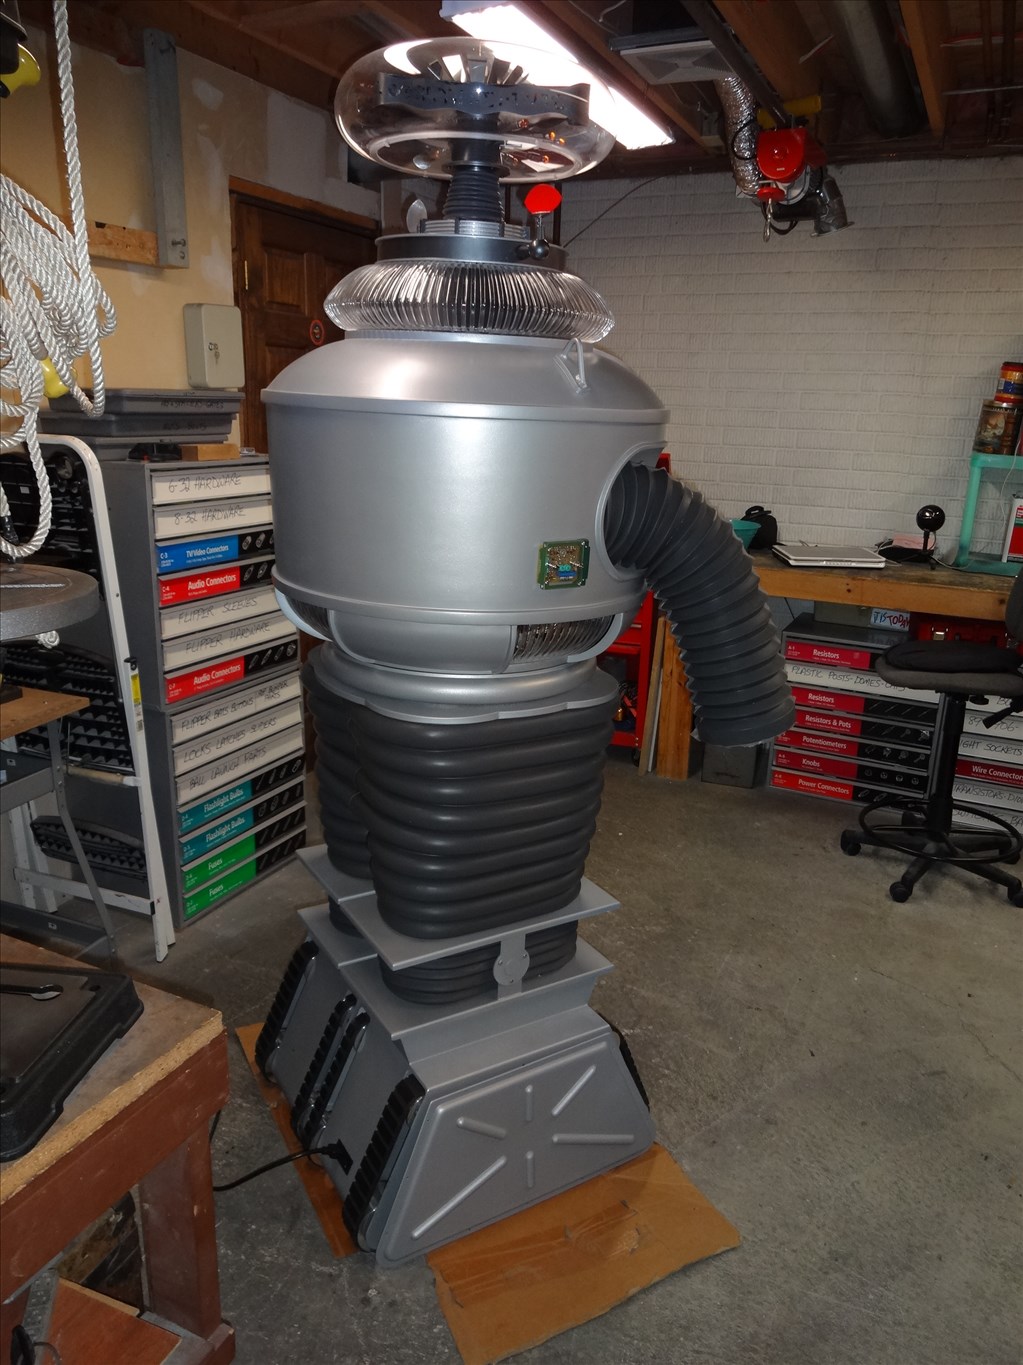
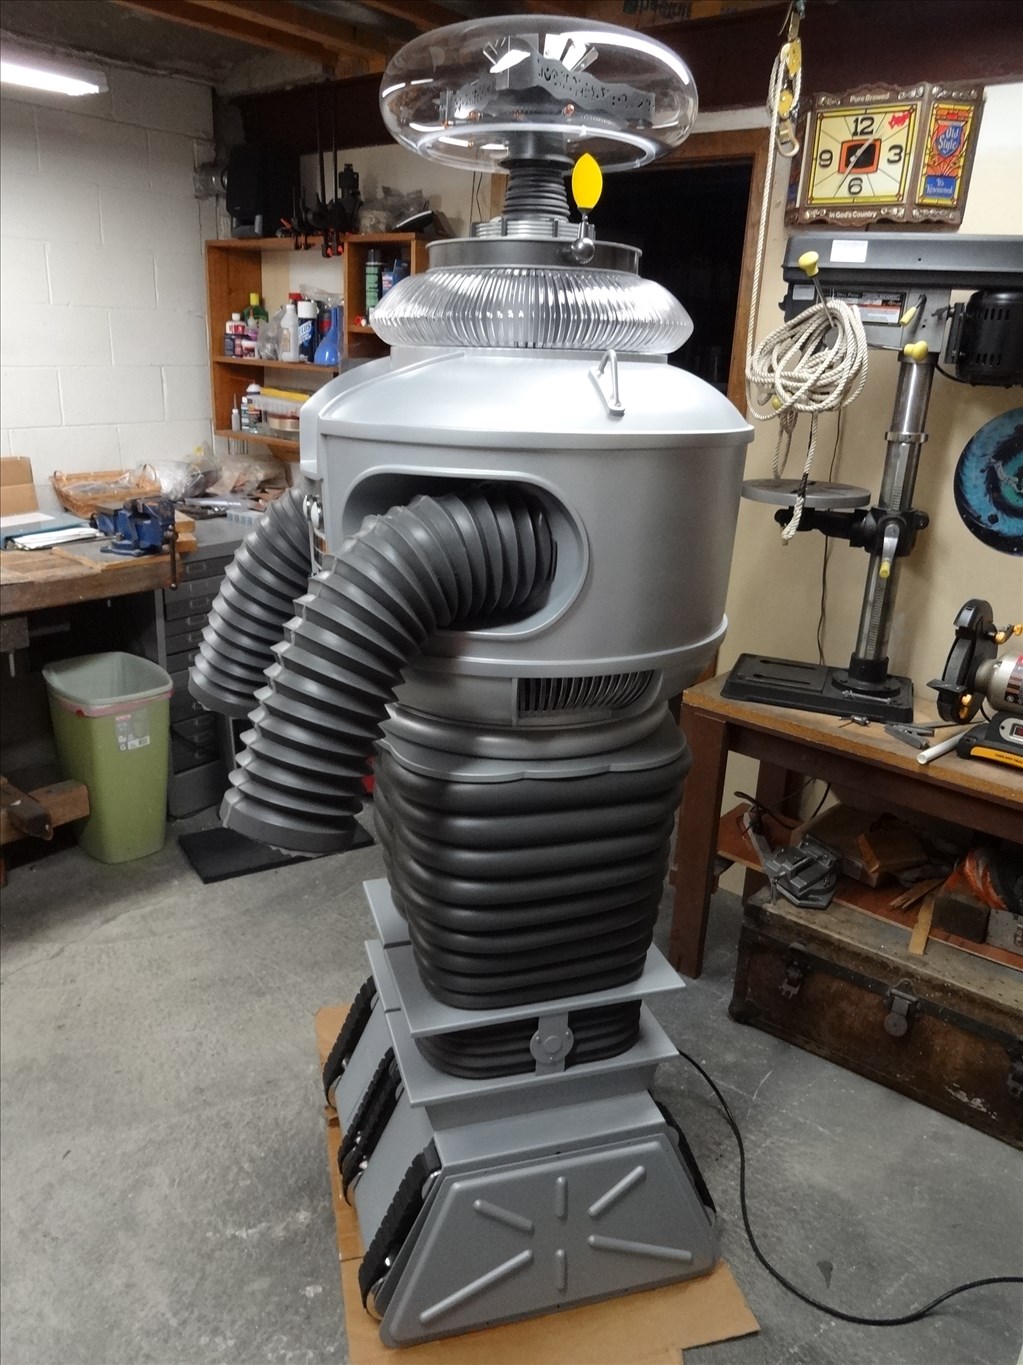
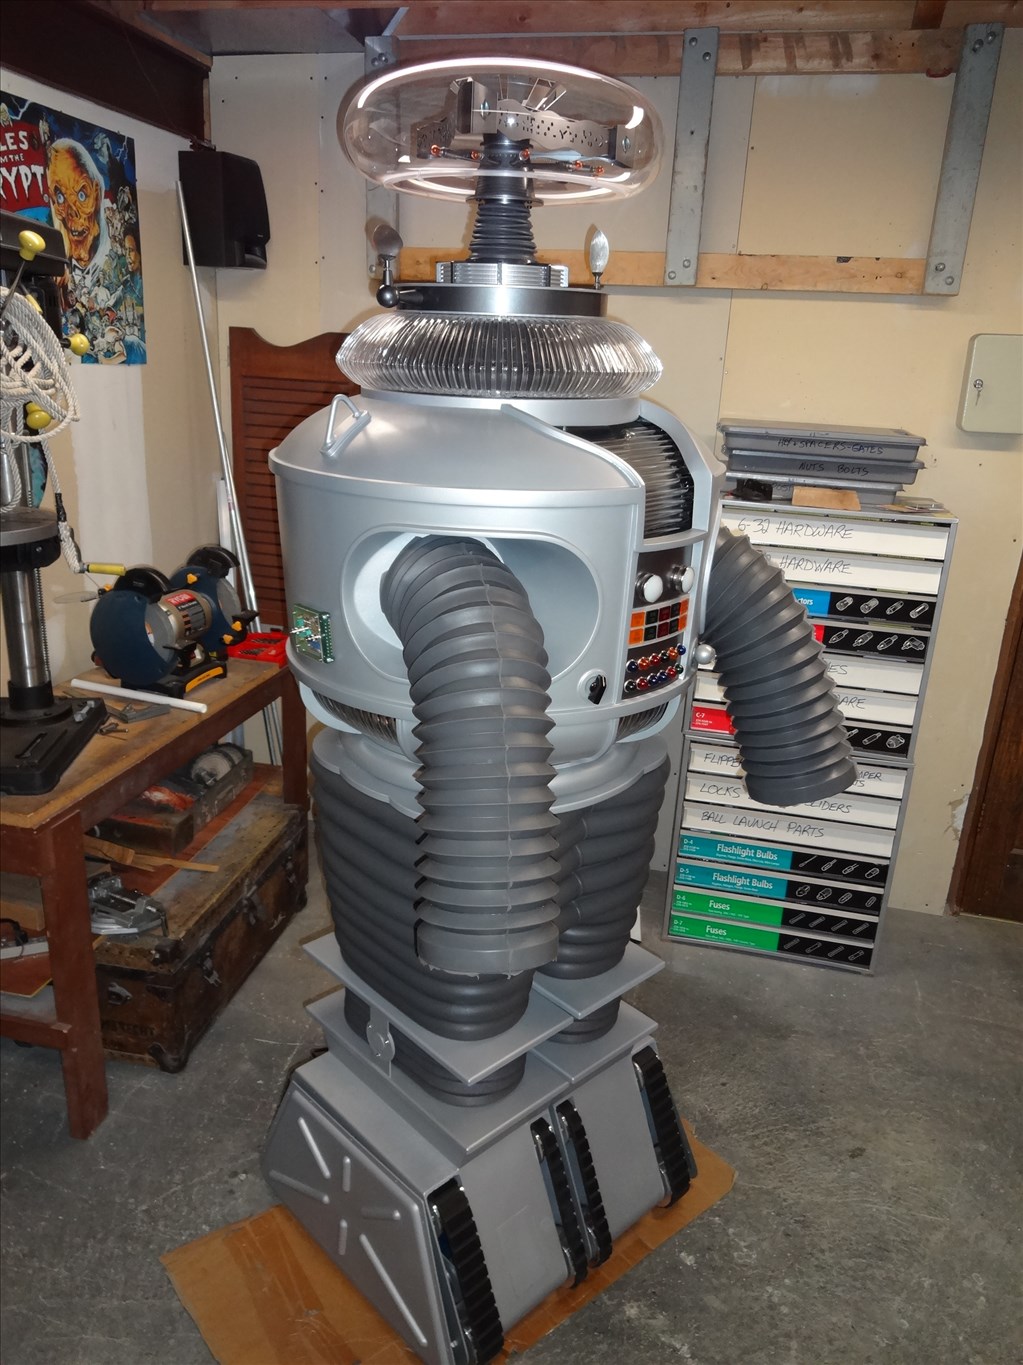
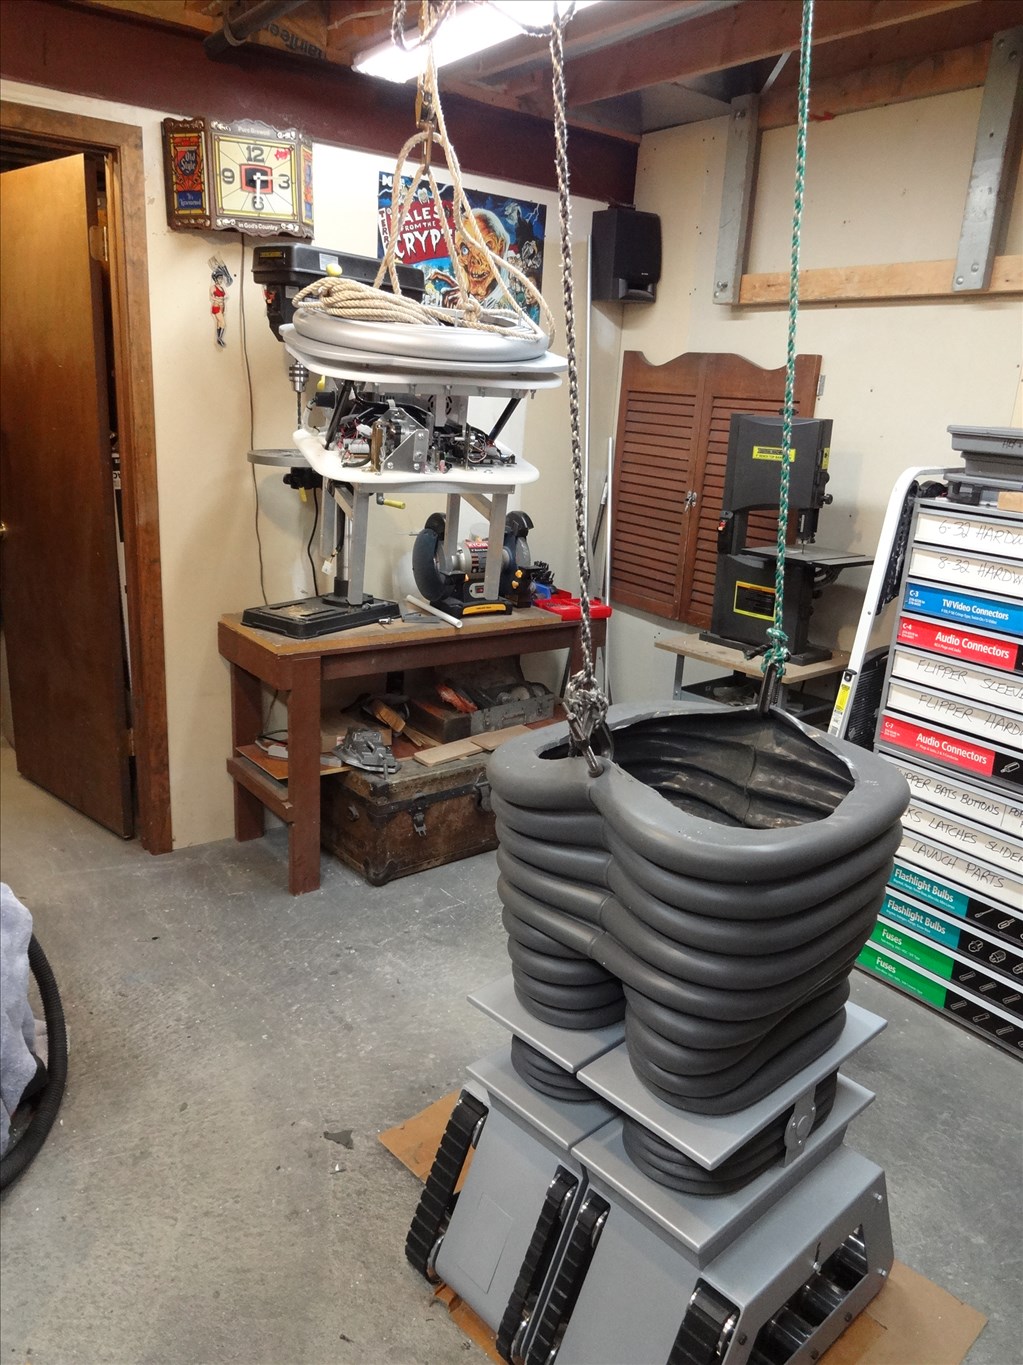
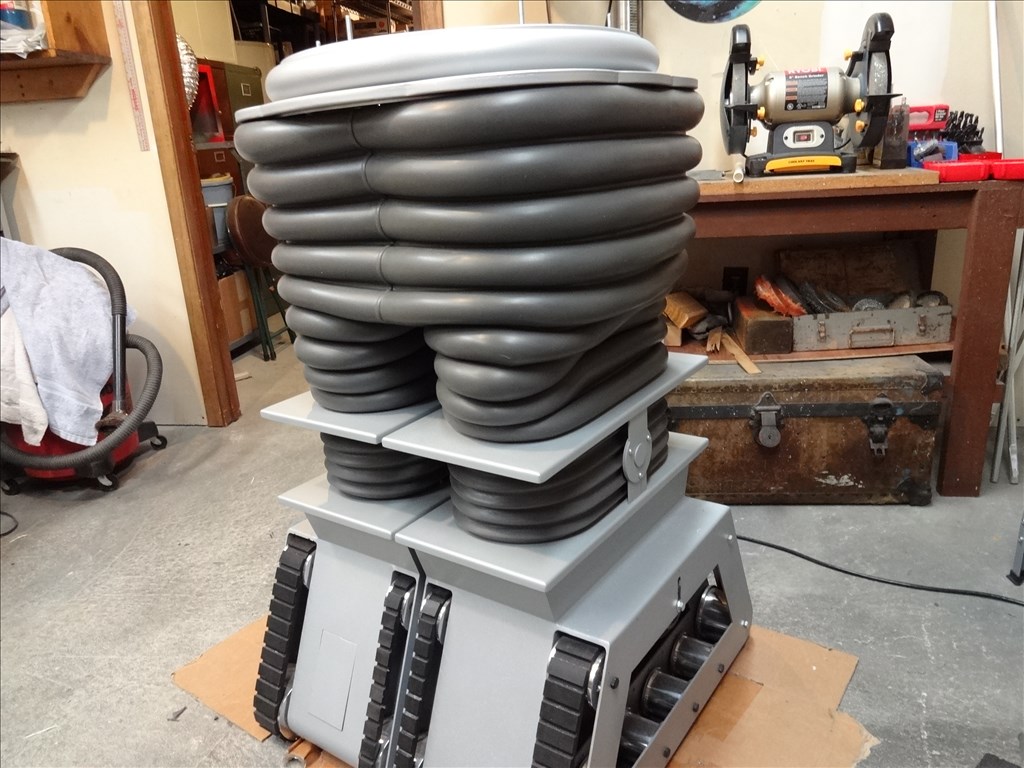
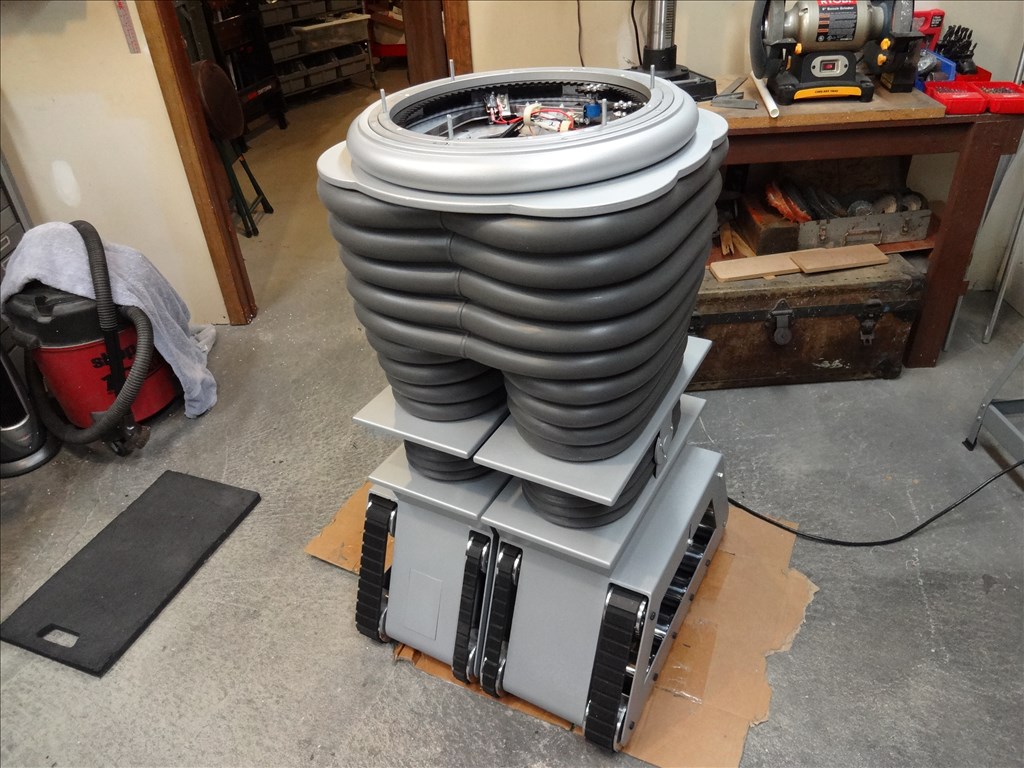
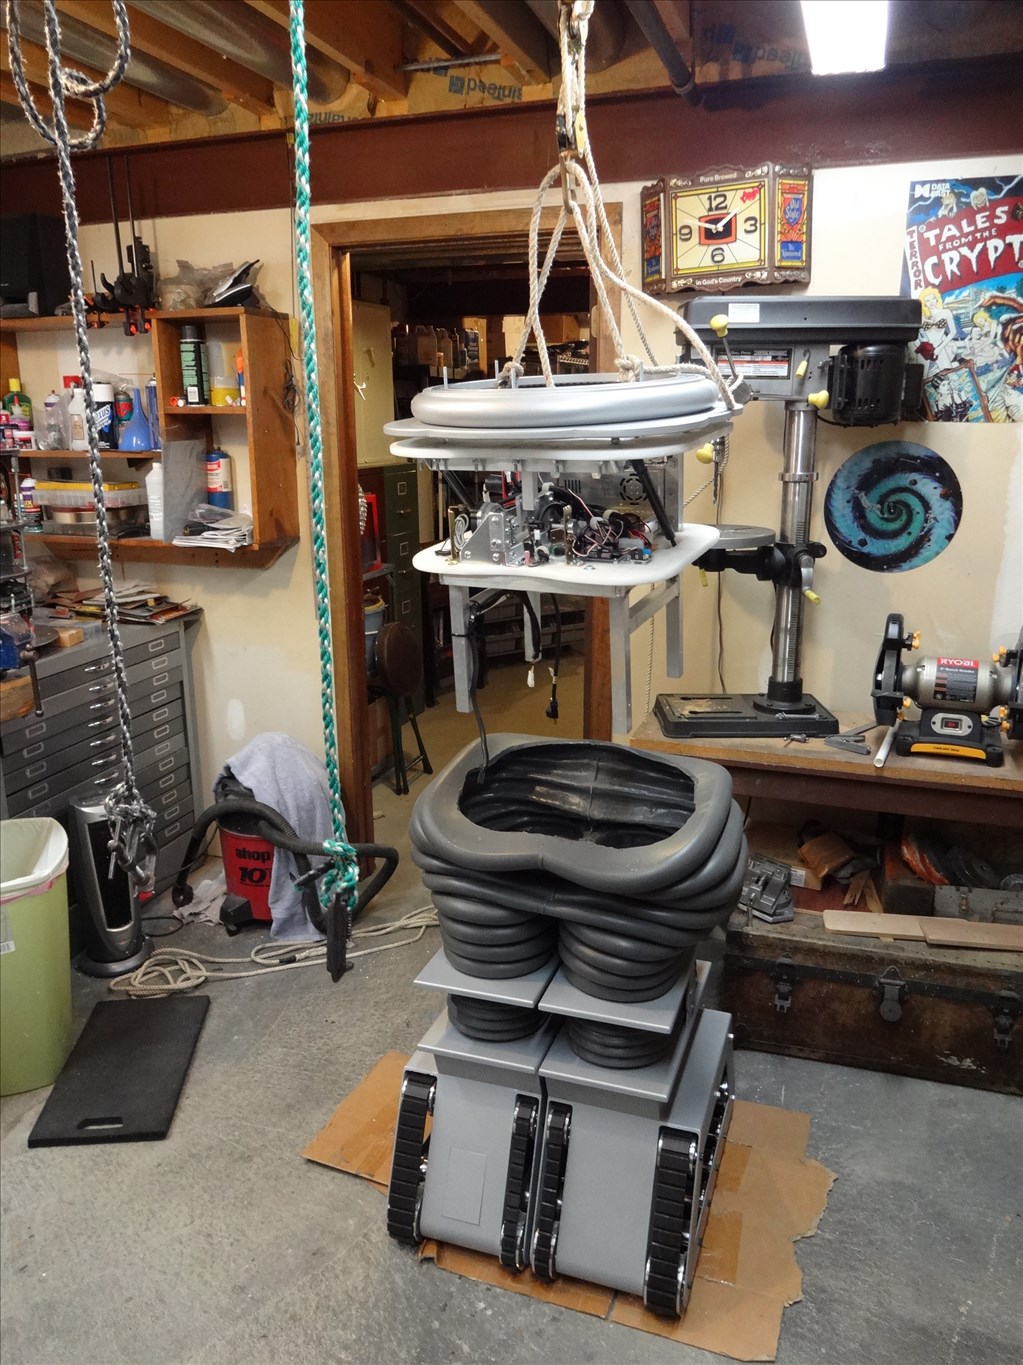
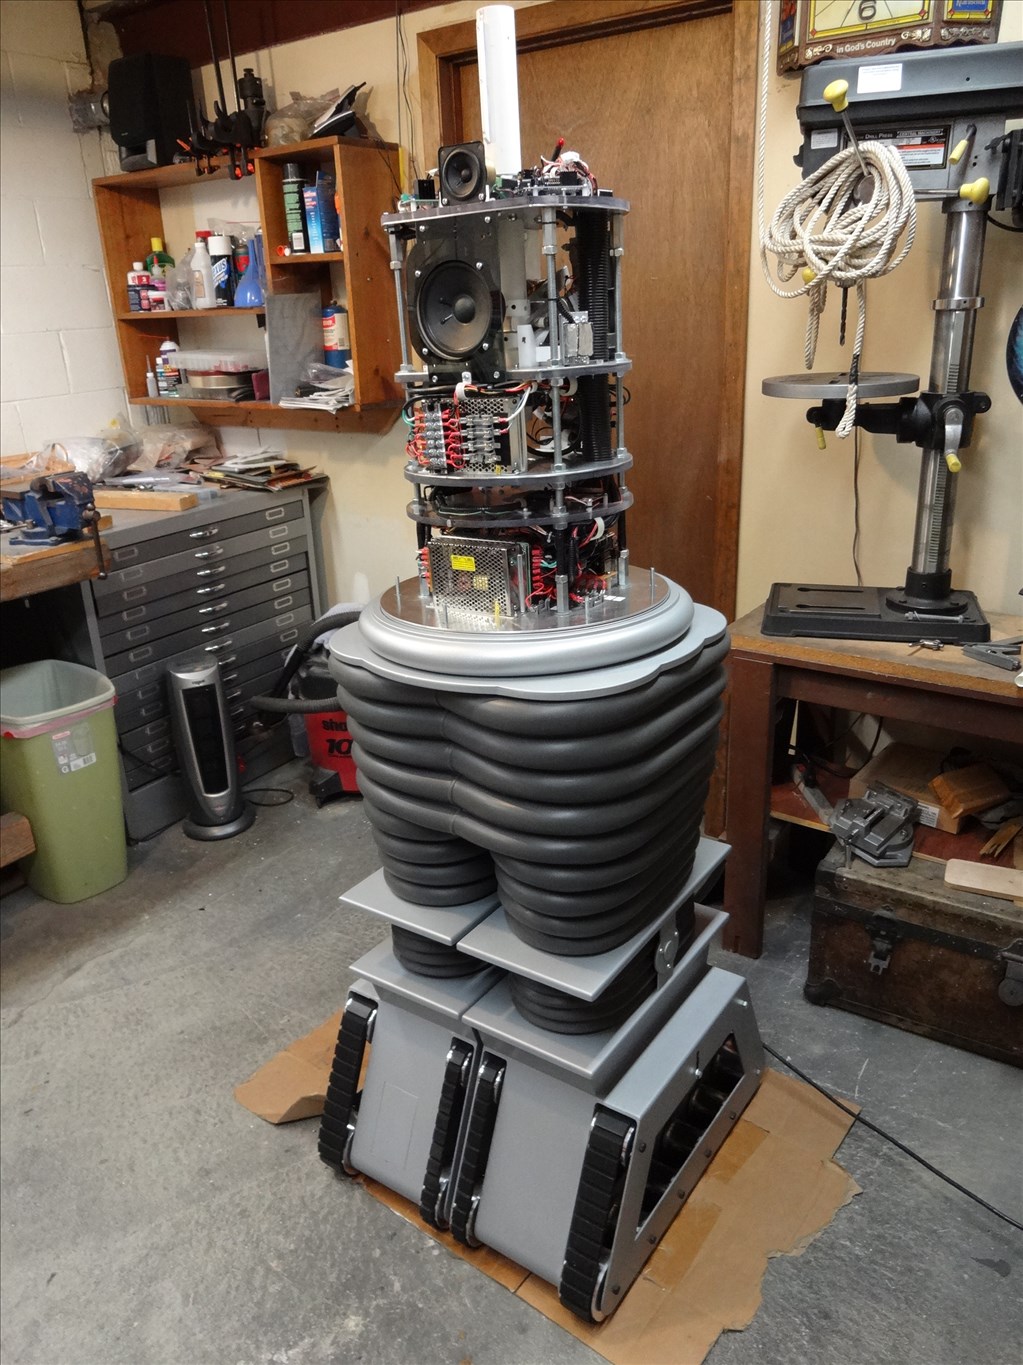
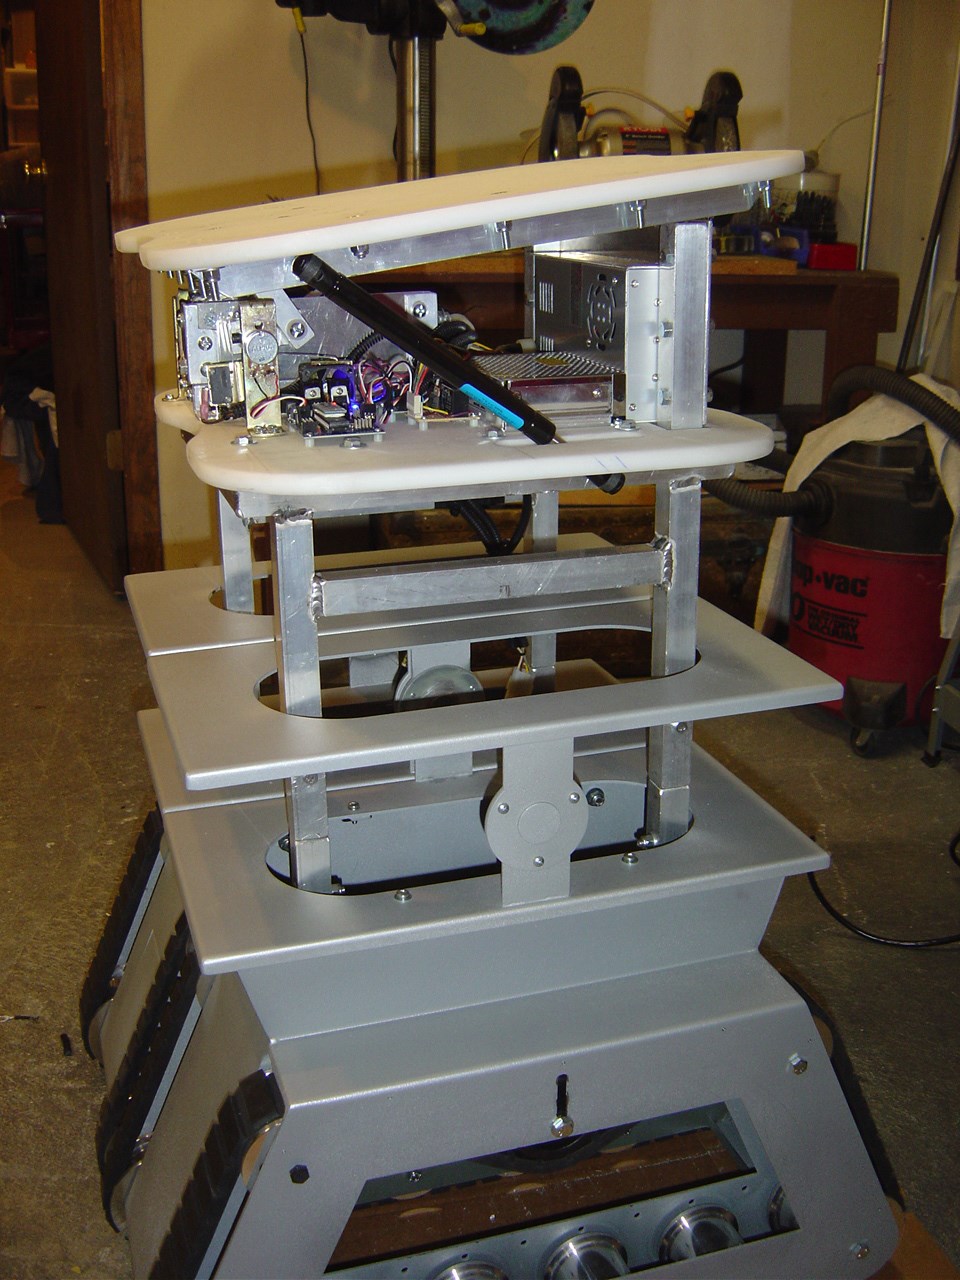
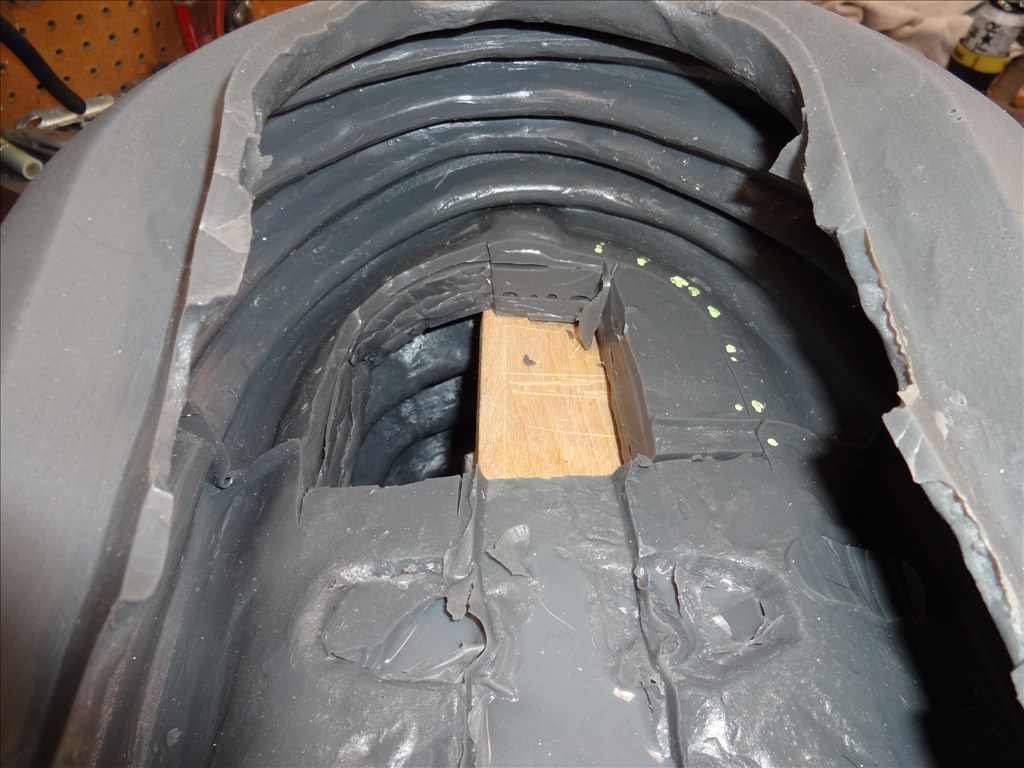
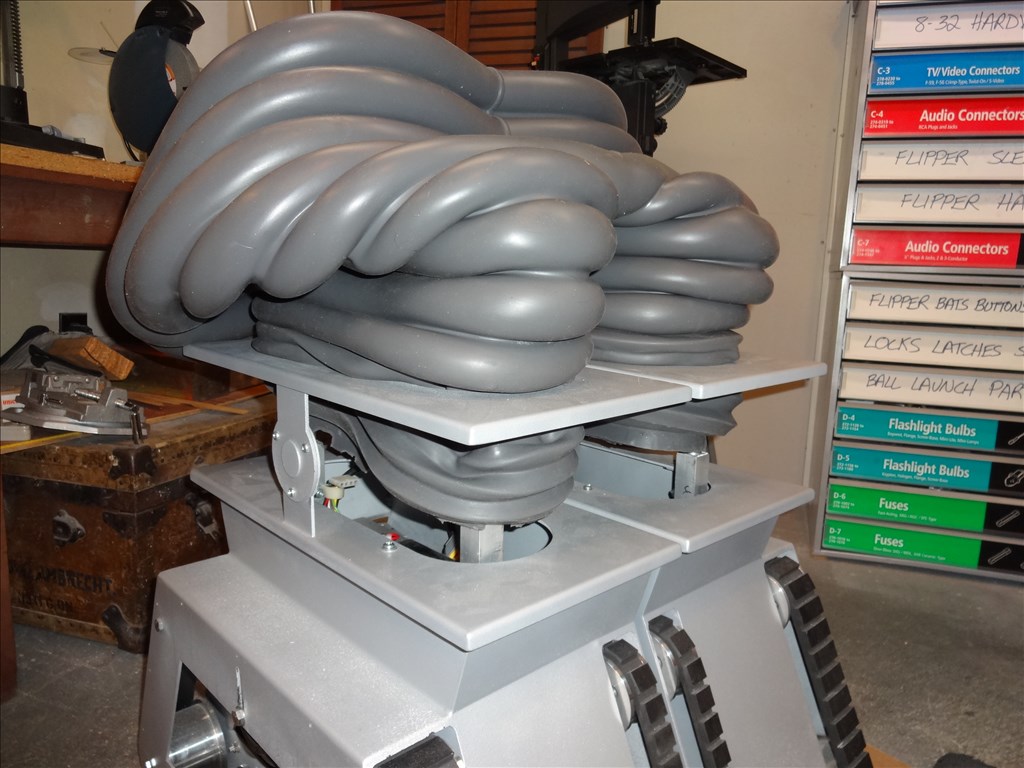
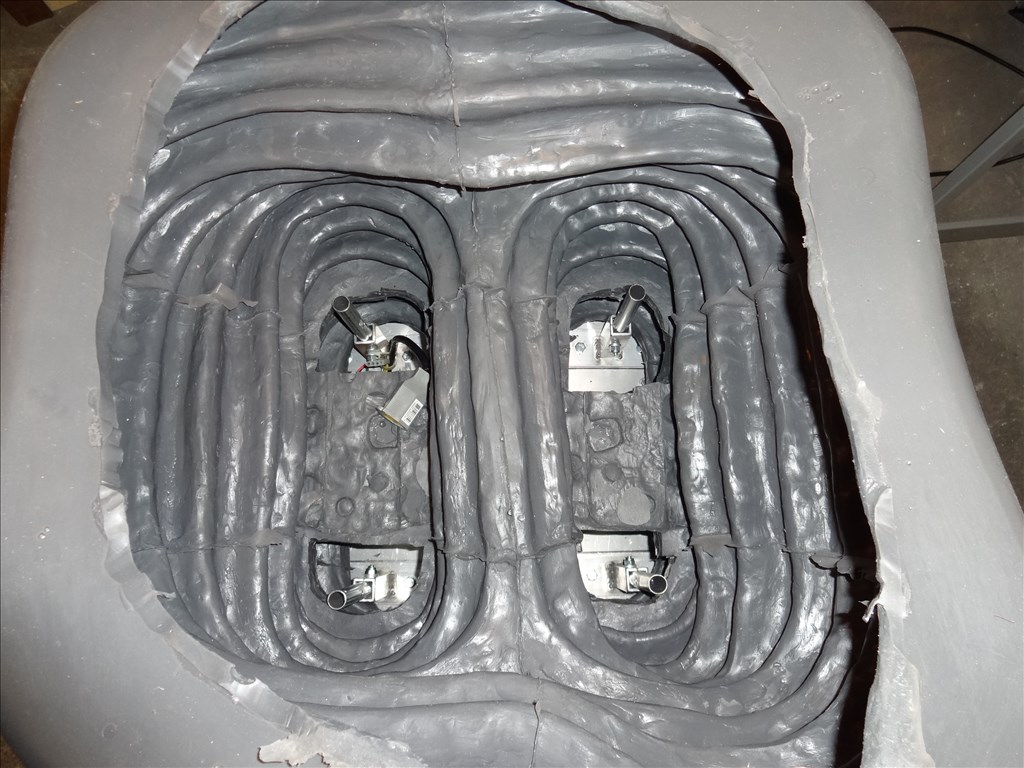
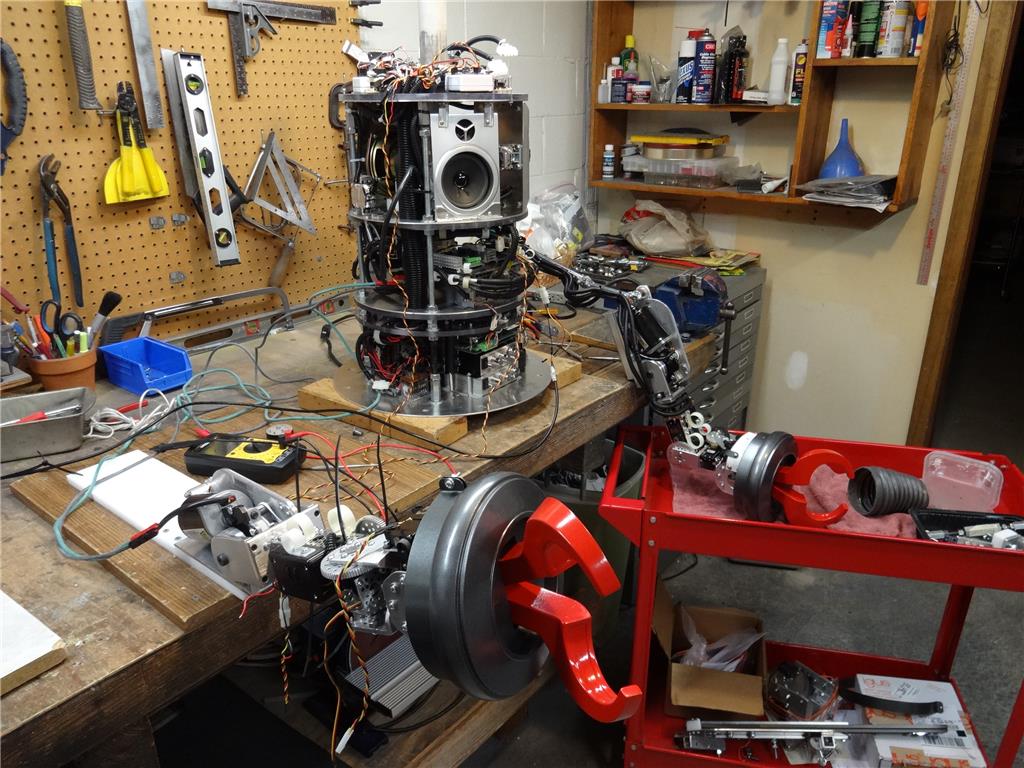
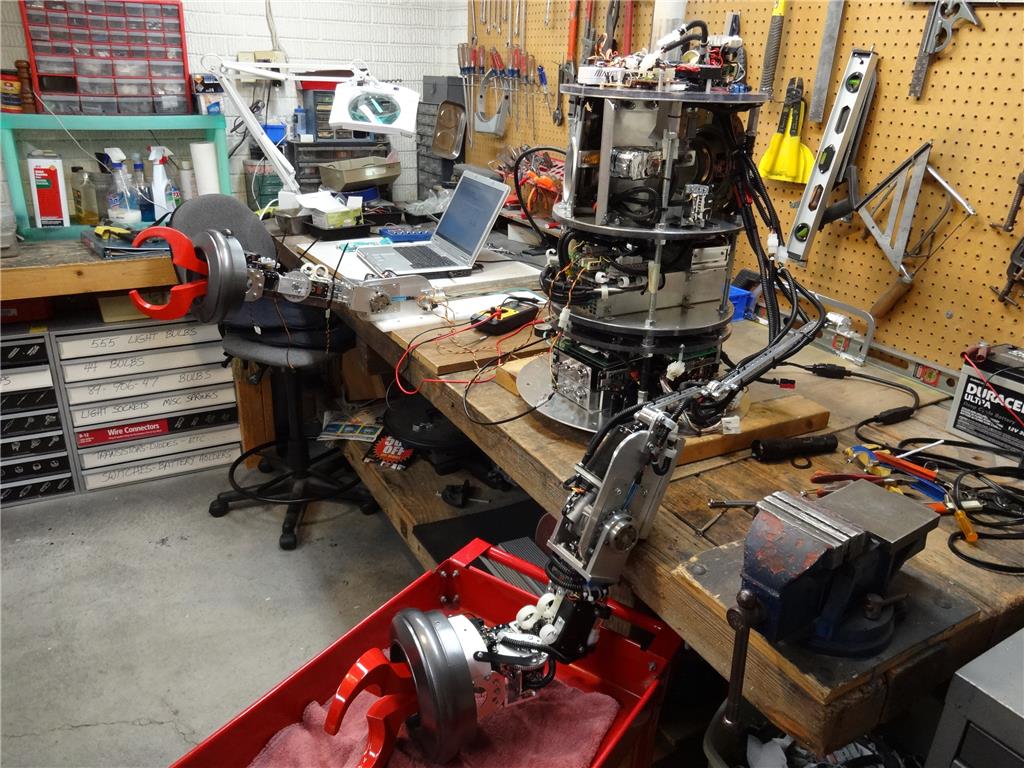
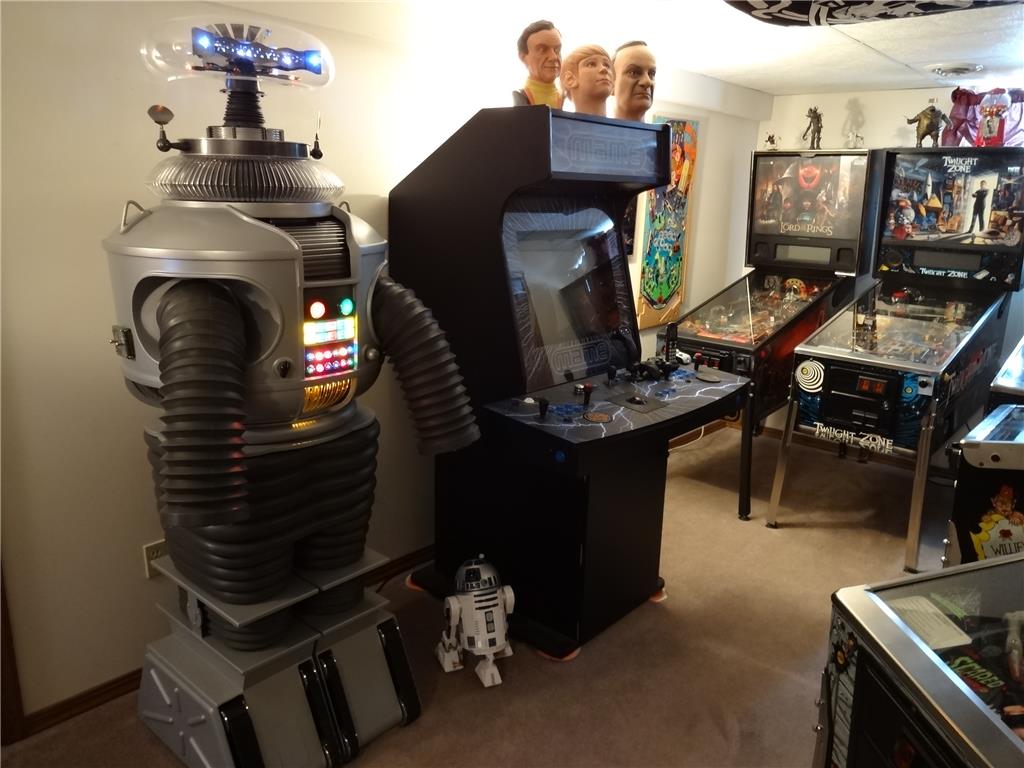
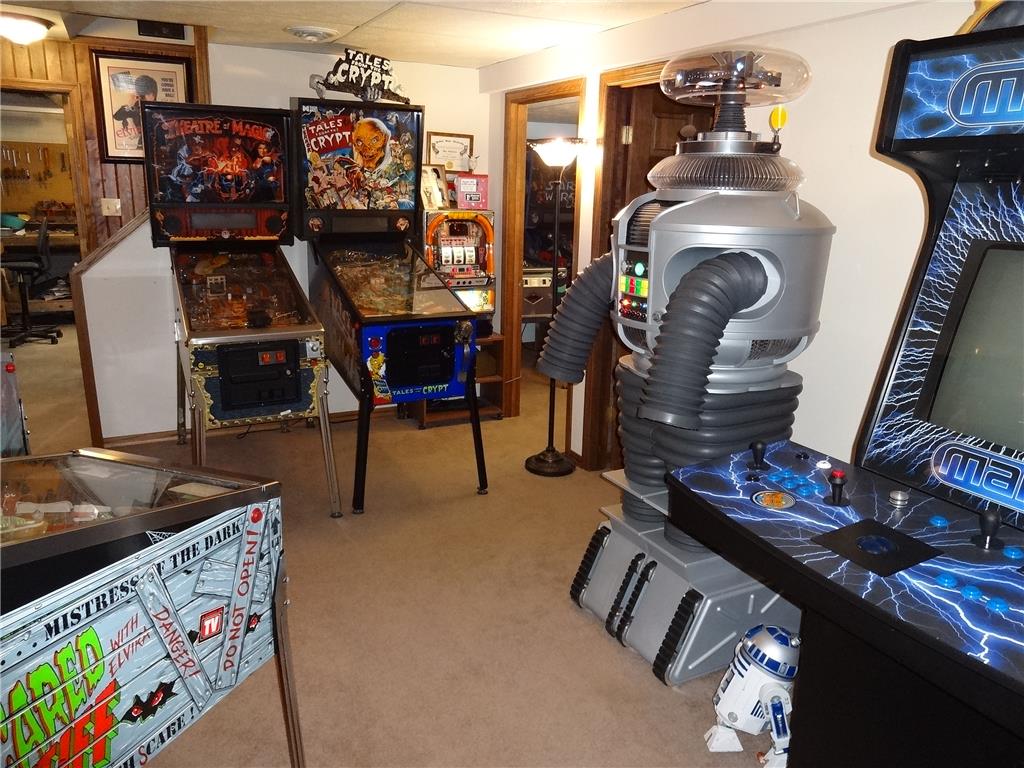
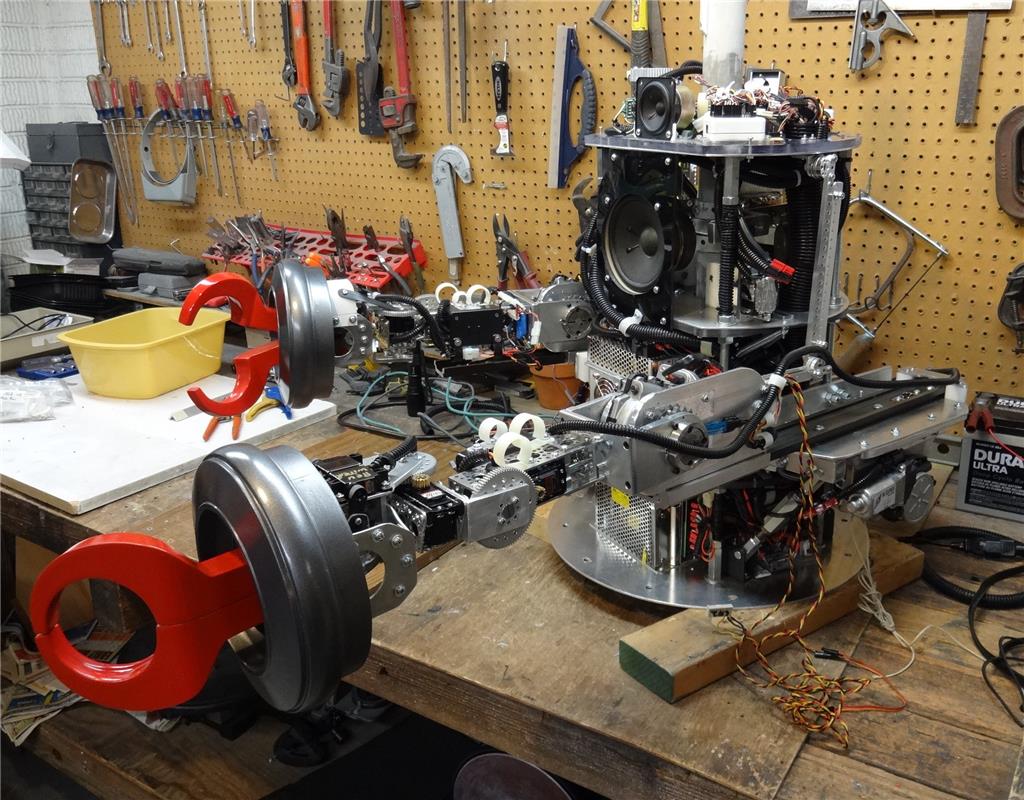
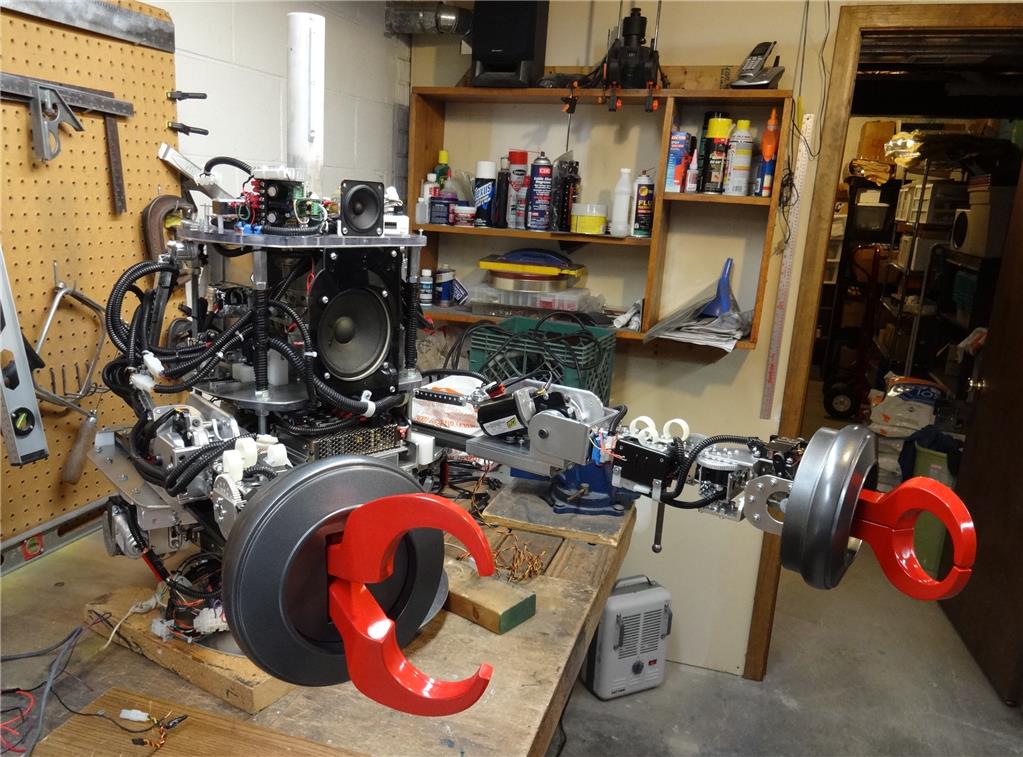
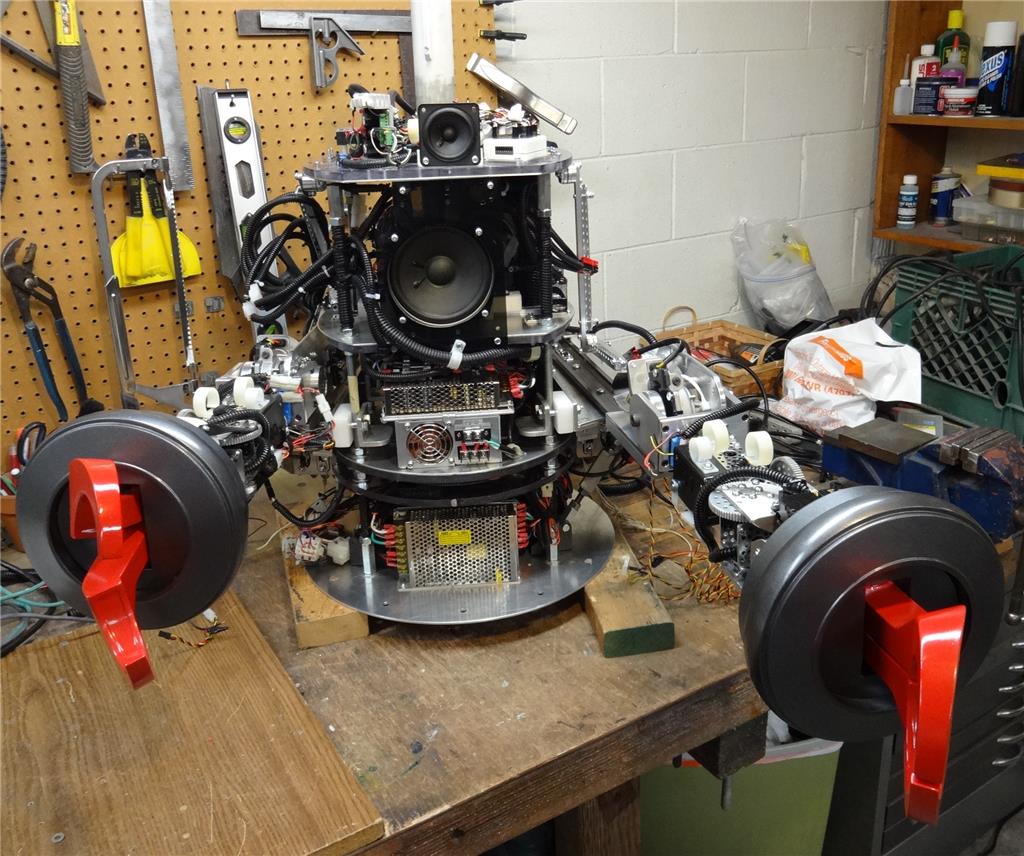
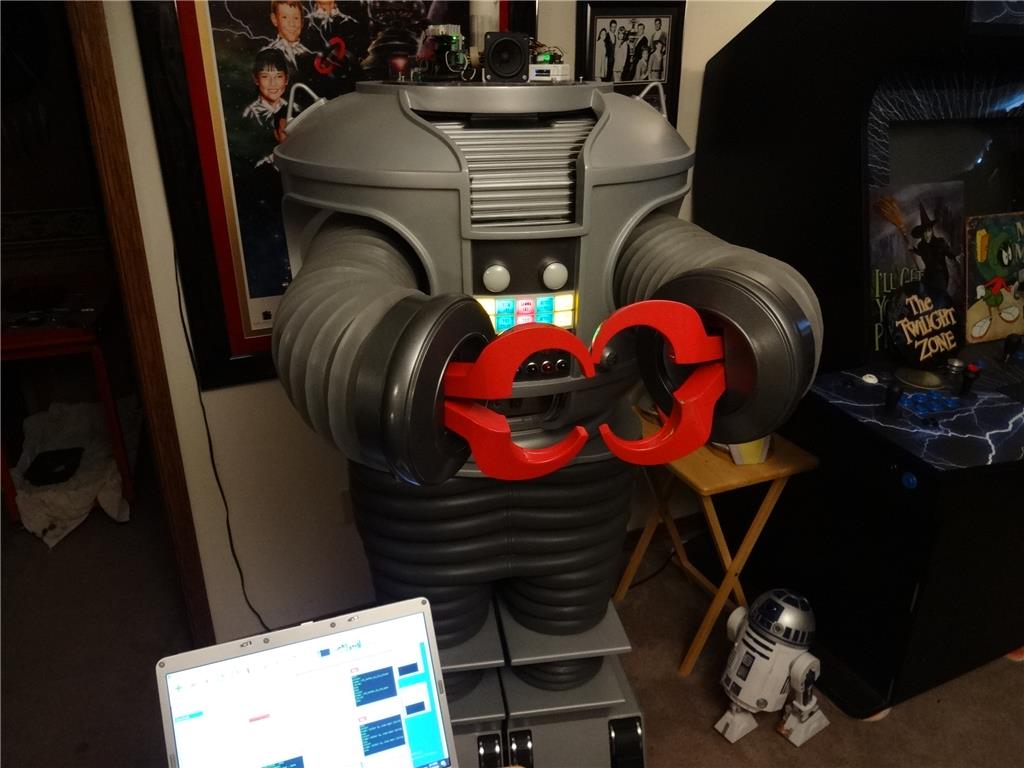
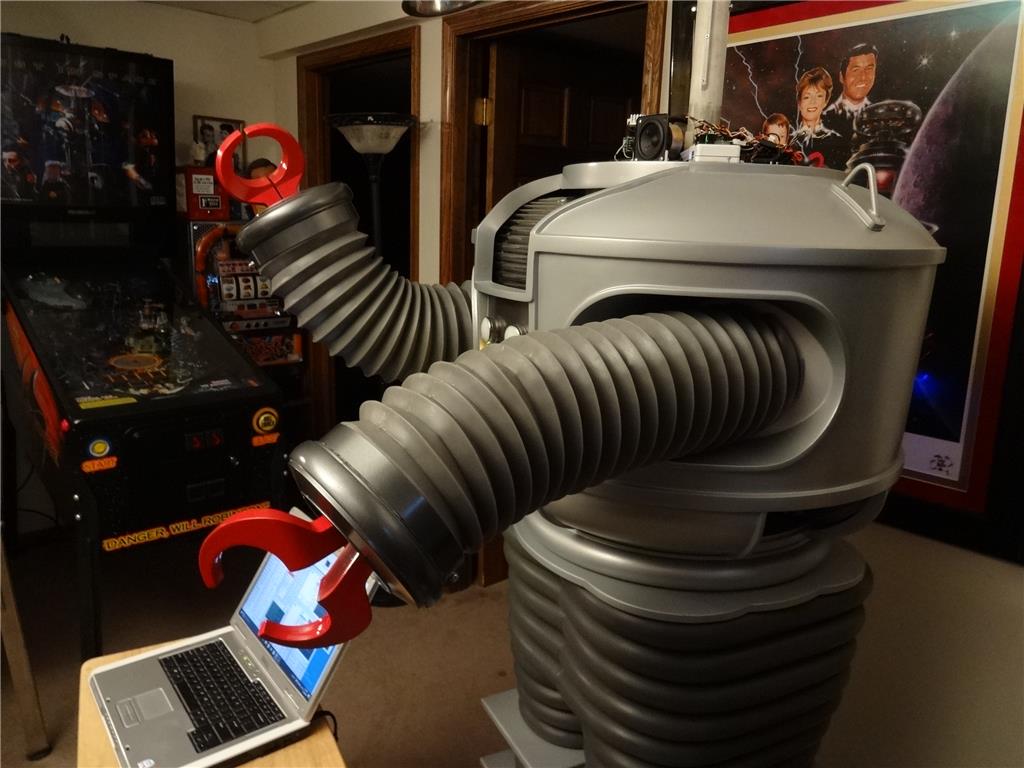
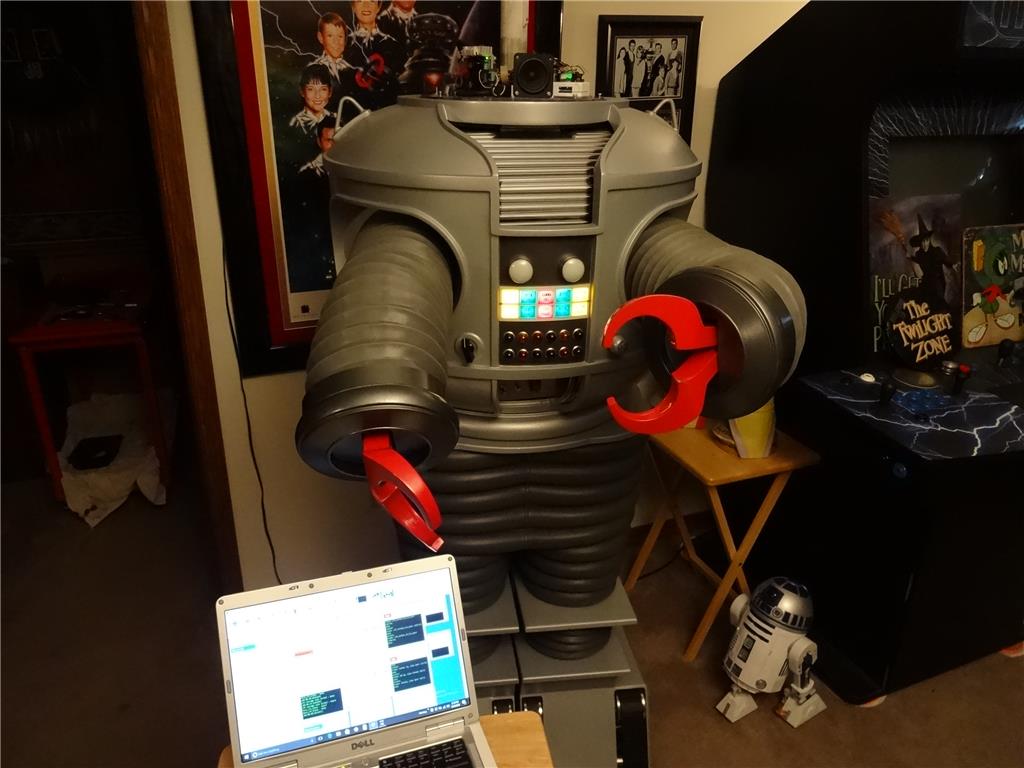
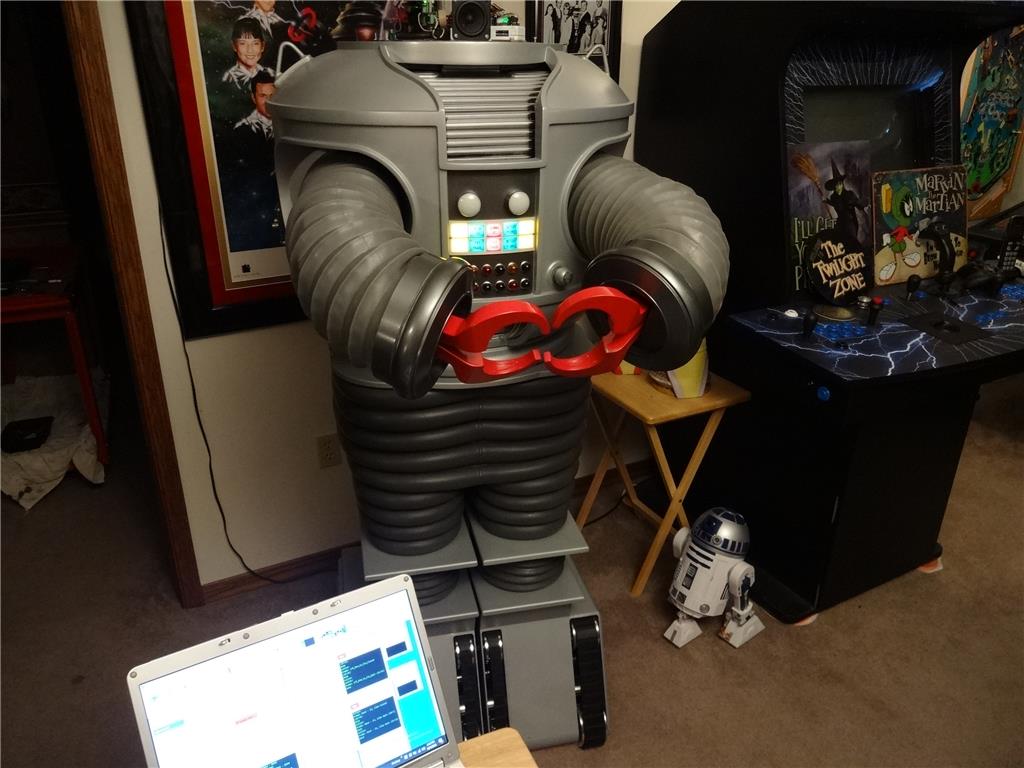
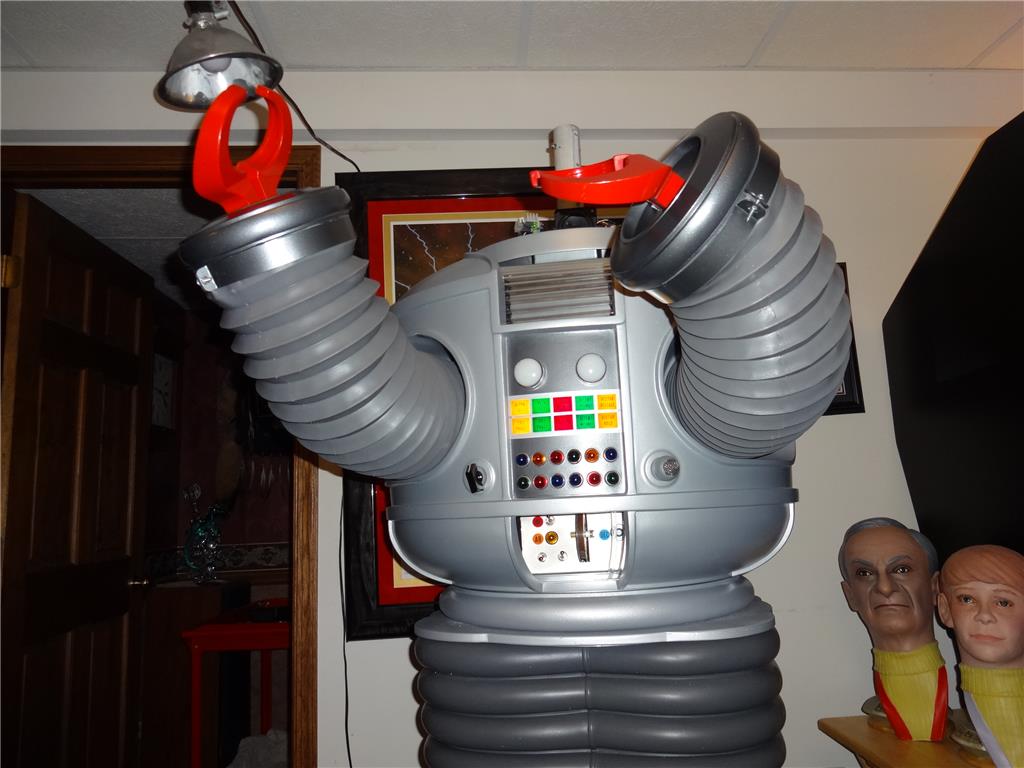
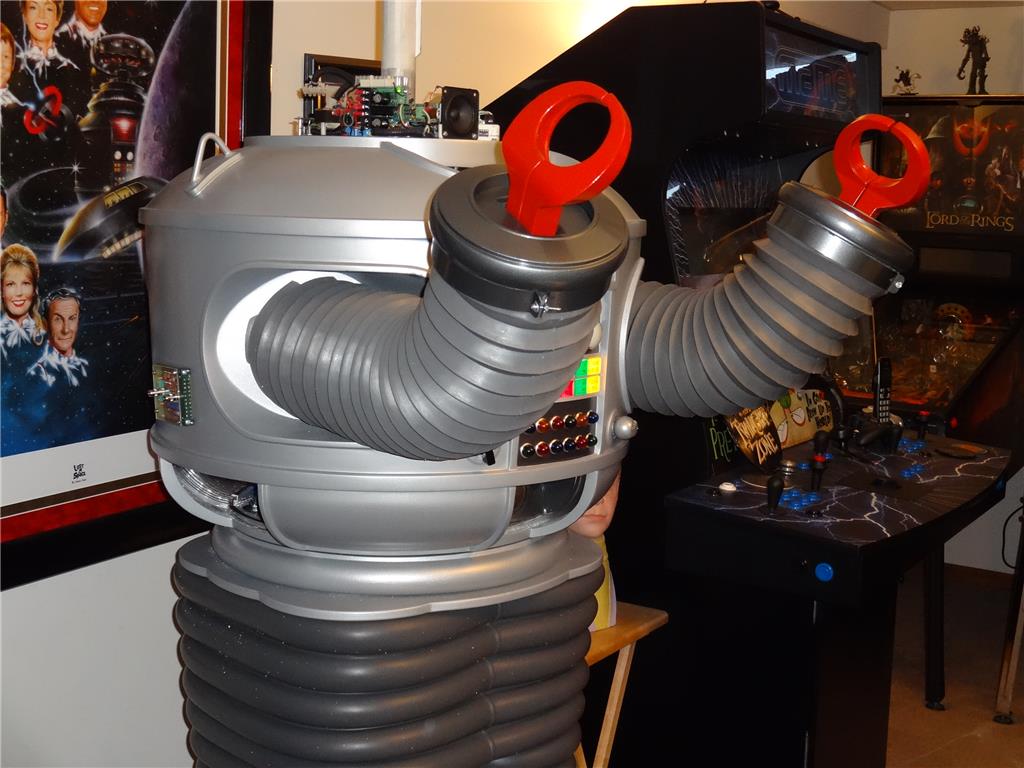
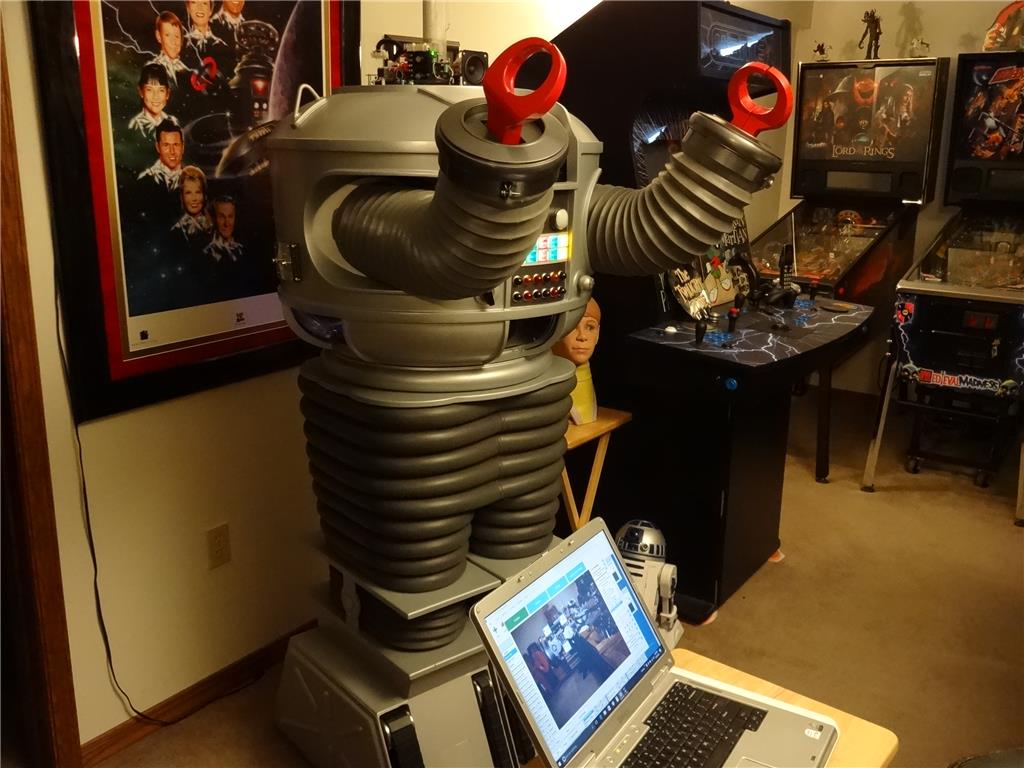
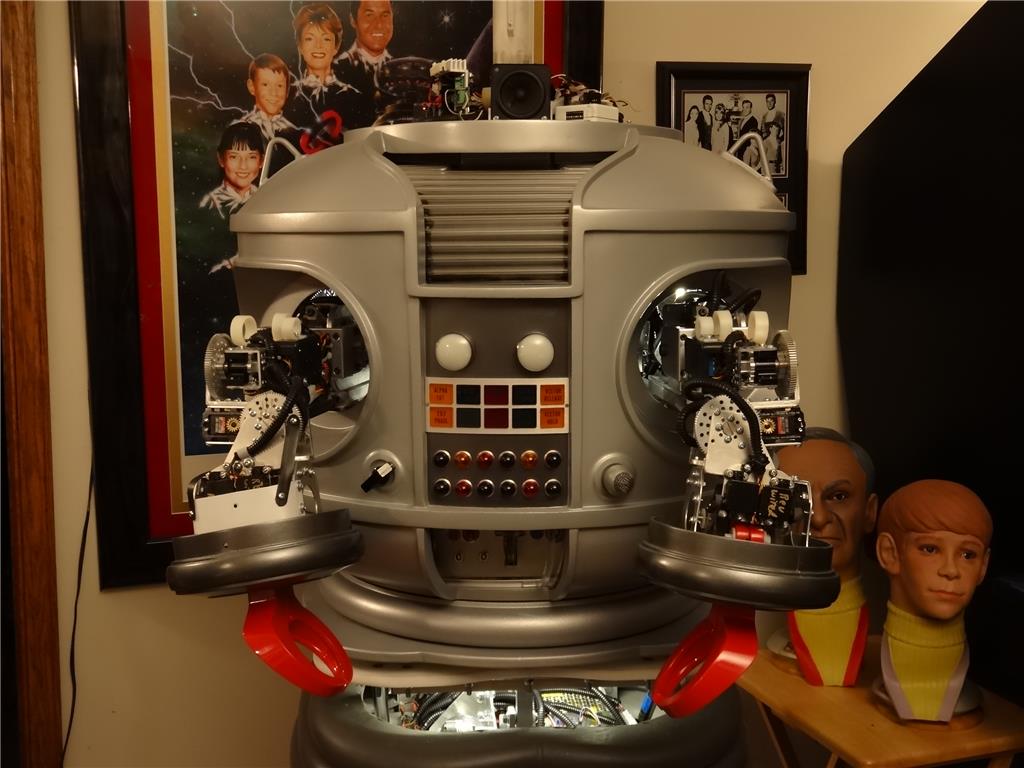
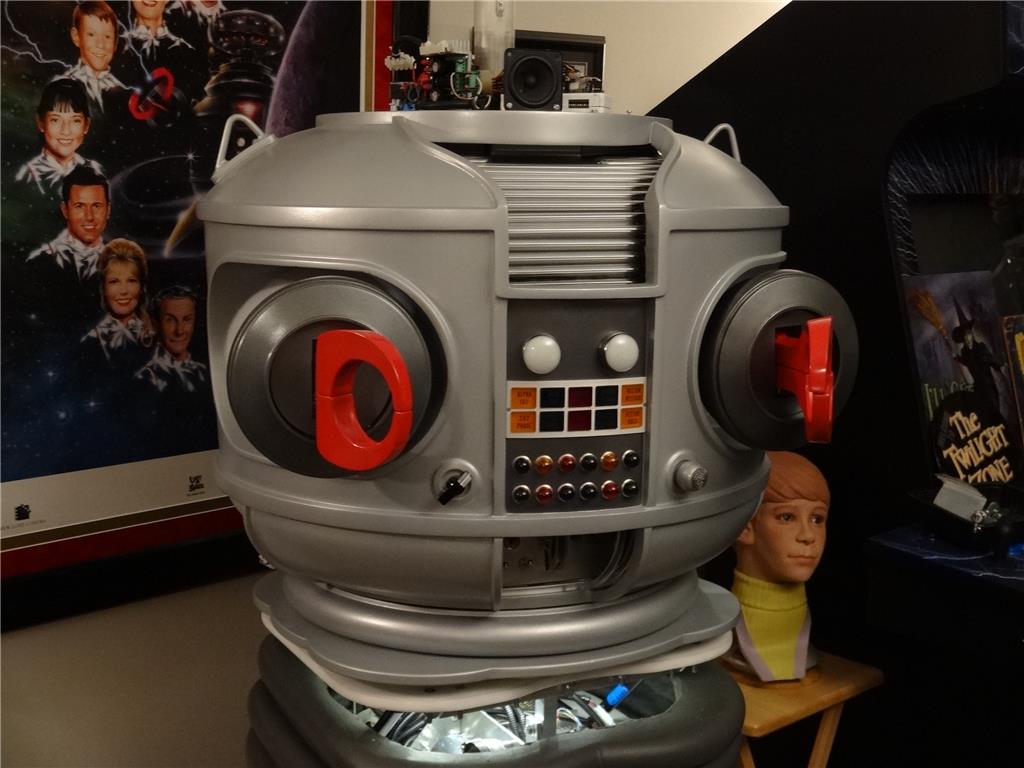
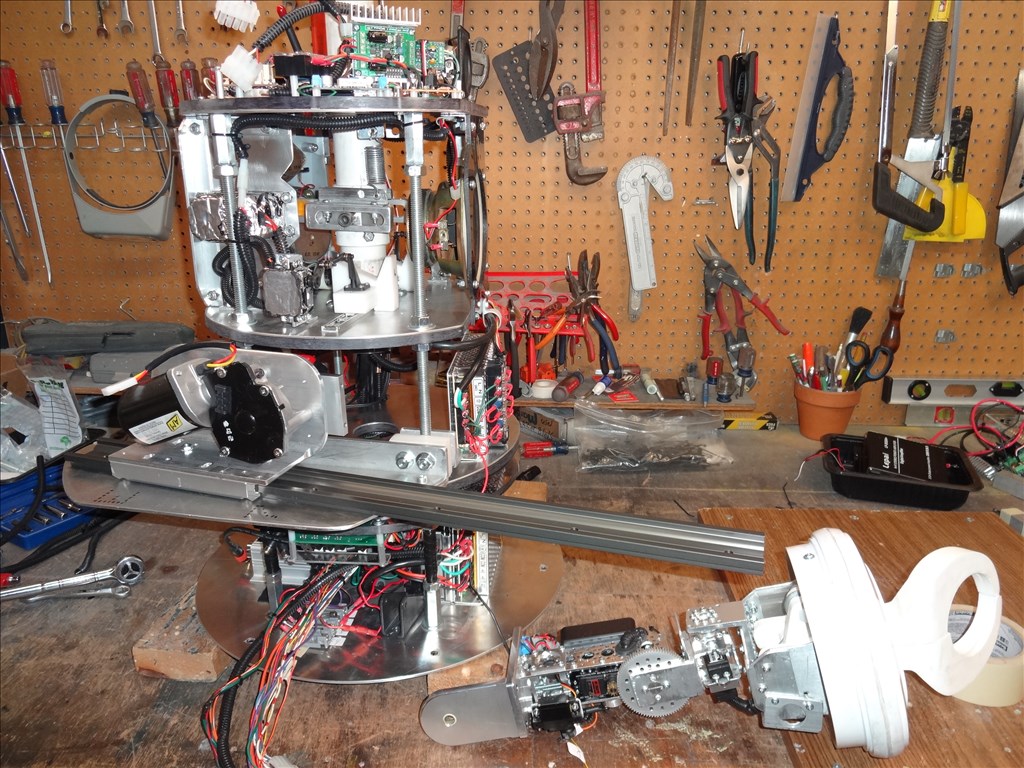
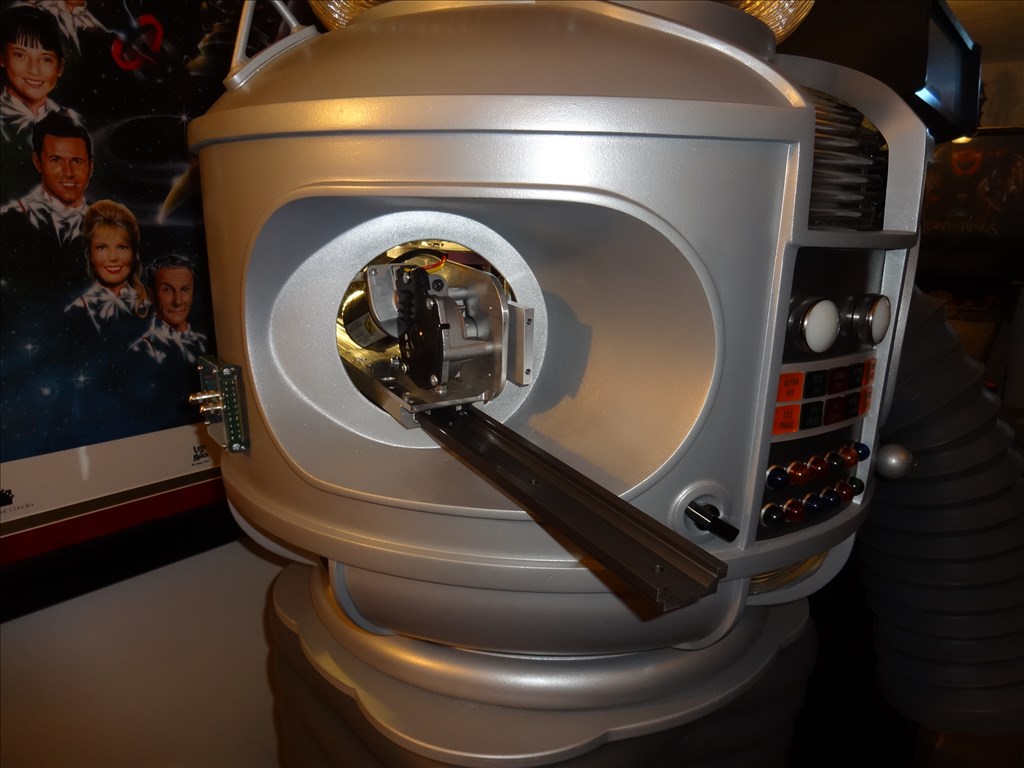
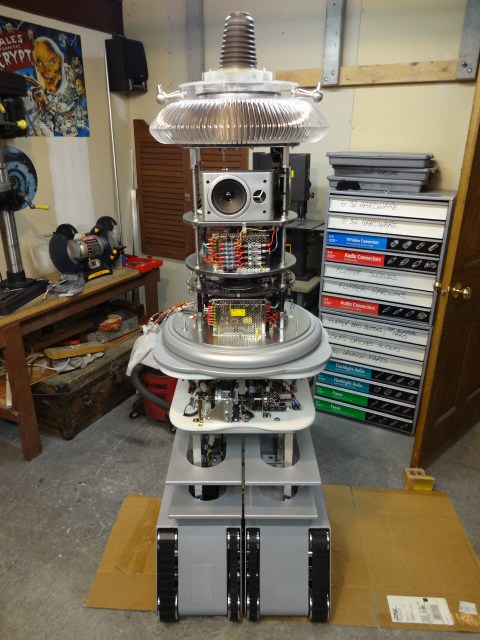
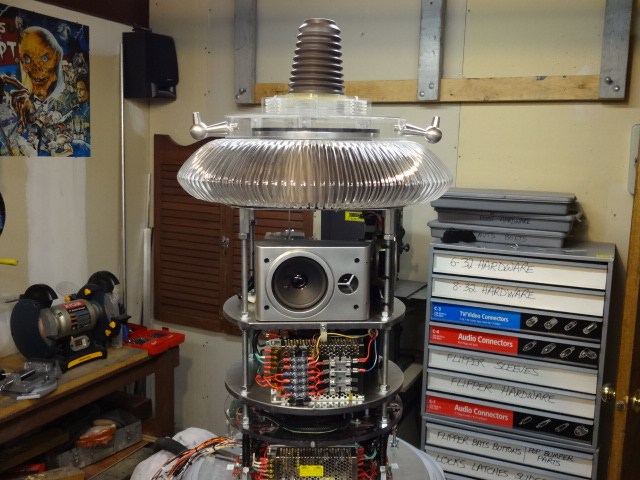
EDIT 8/2/13: Just realized I have no good pictures of how my B9 will look when complete. Here's one of the actual TV robots from the 60's TZ show Lost in Space and one recent shot of where I'm at with my build over 1 1/2 year after I started. Enjoy:


Thanks, Dave Schulpius
Discover more robots
Faengelm's Roli The Climber

Cochranrobotics's Inmoov - D.Cochran Style

Thanks again all for the kind words. Haven't had much time in the past few weeks to work on B9. Been away on vacation but I'm home now and looking forward to getting back at him.
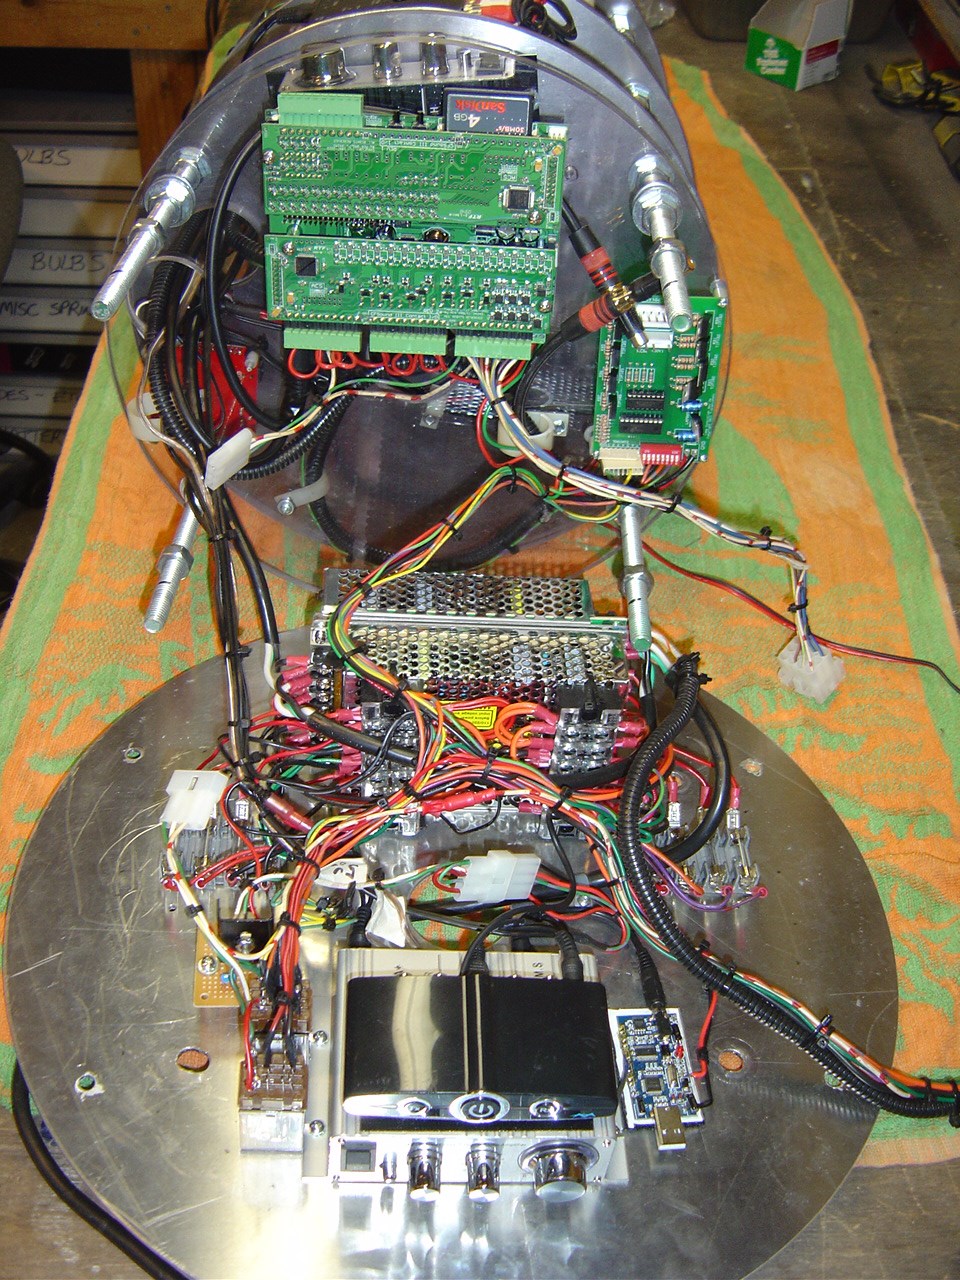
On vacation I did take my laptop along and I had some time away from the beach and was able to do a little cleaning up to my project in ARC. Mainly got Script Manager set up and transfused my scripts to it. Looks like it will be a nice addition to clean up the look of the desktop and make it easier to find the script I need. I'll try it all out before I delete all the old copied ones from the desktop.
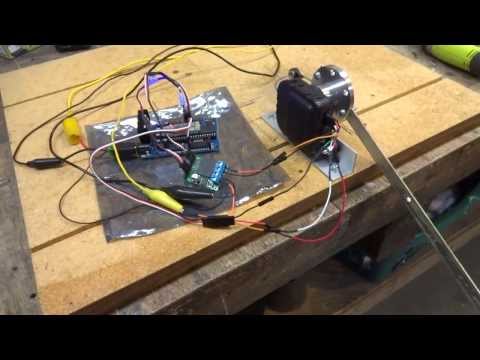
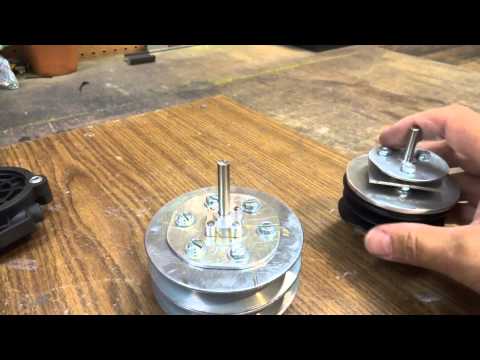
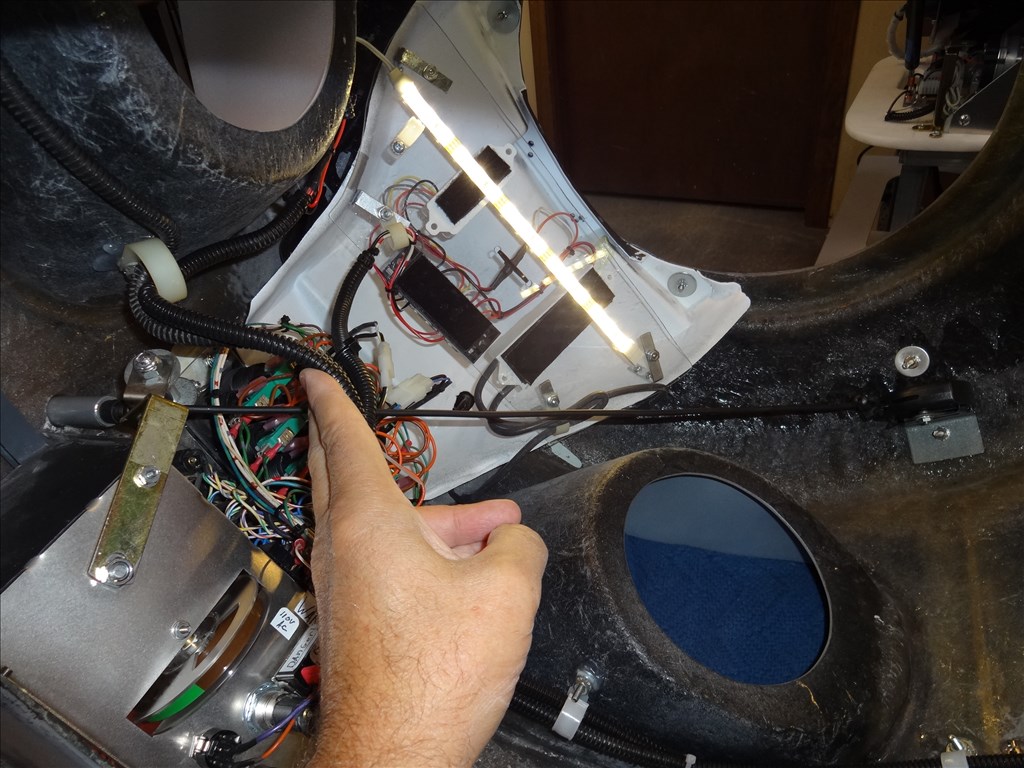
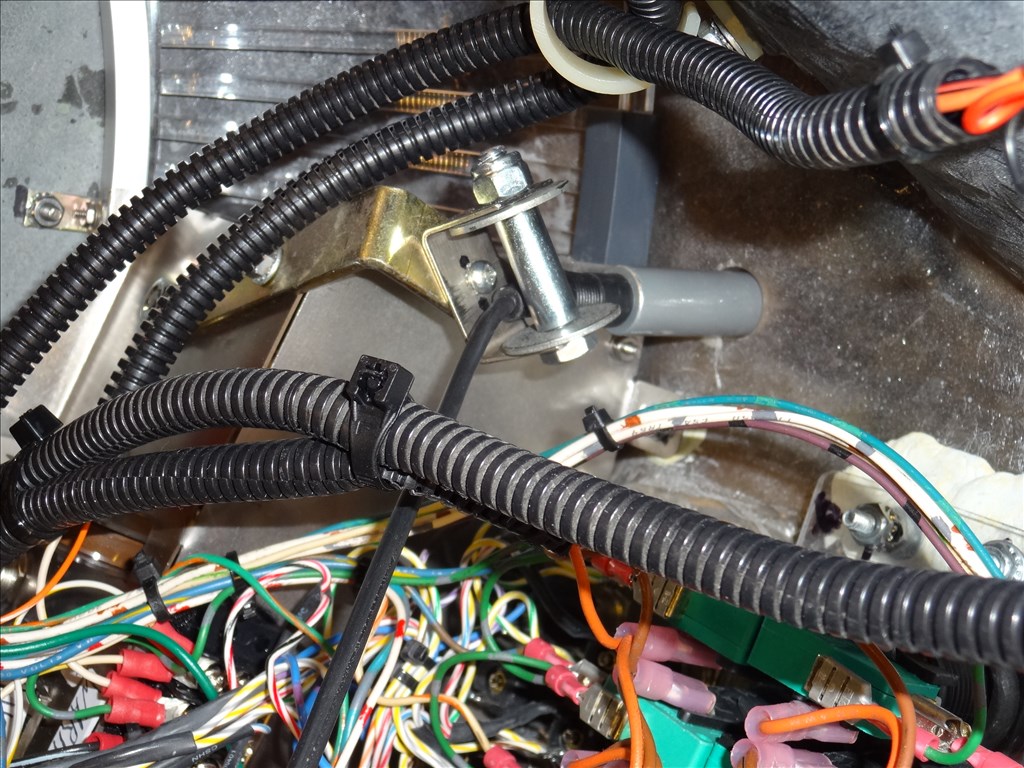
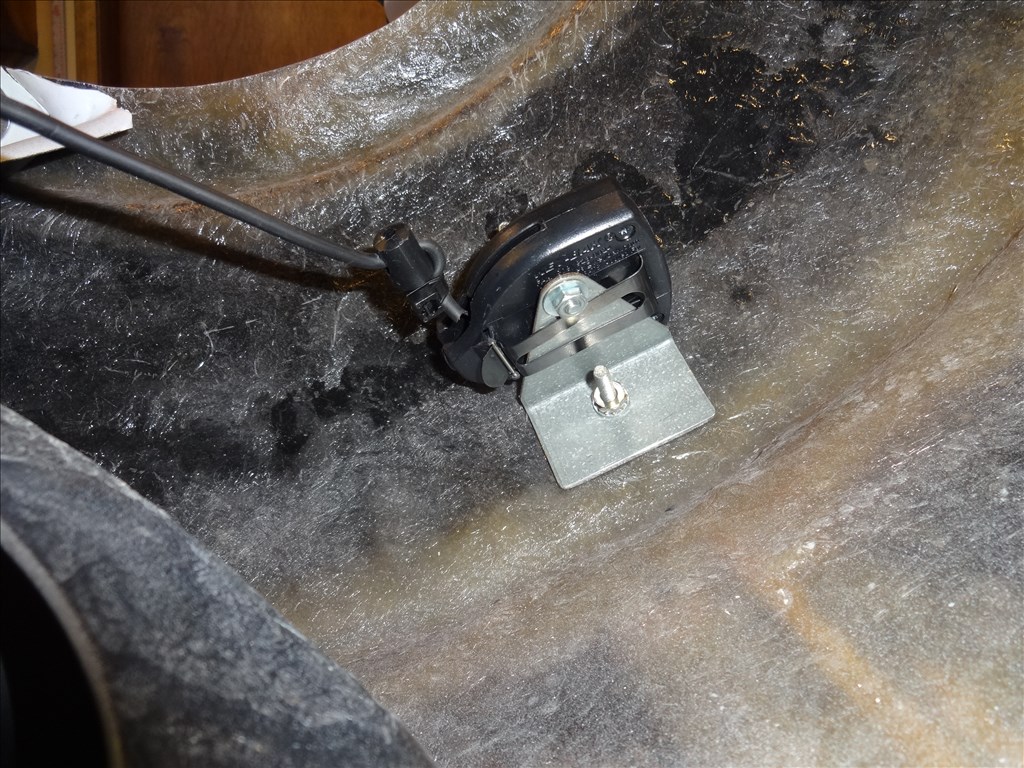
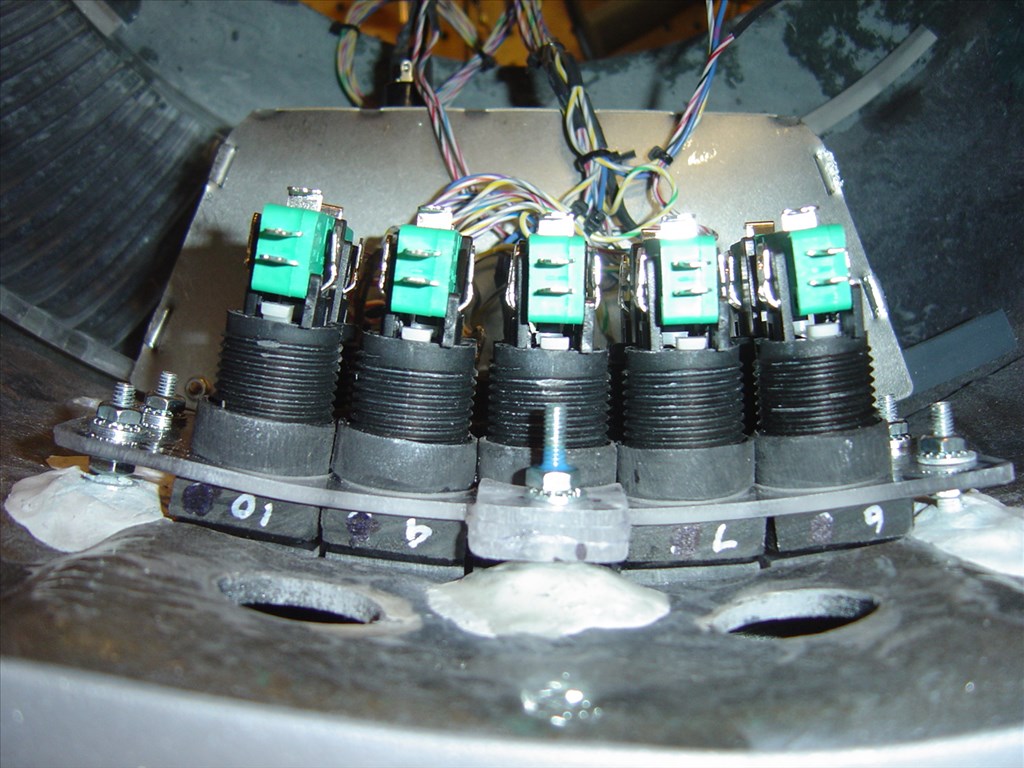
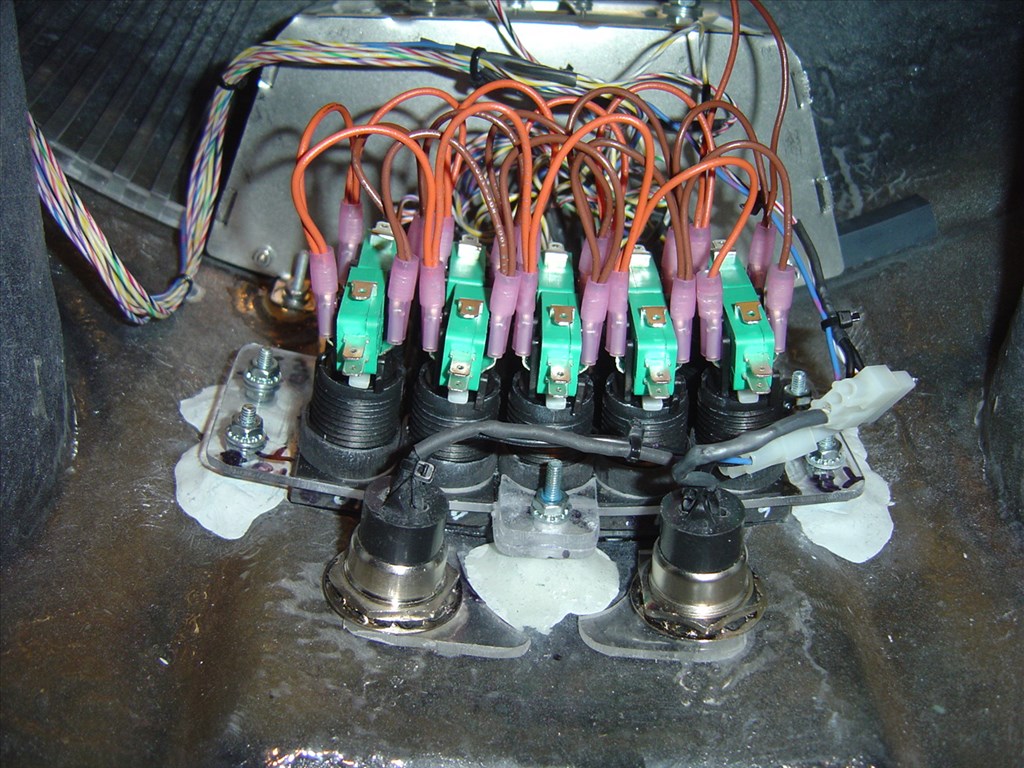
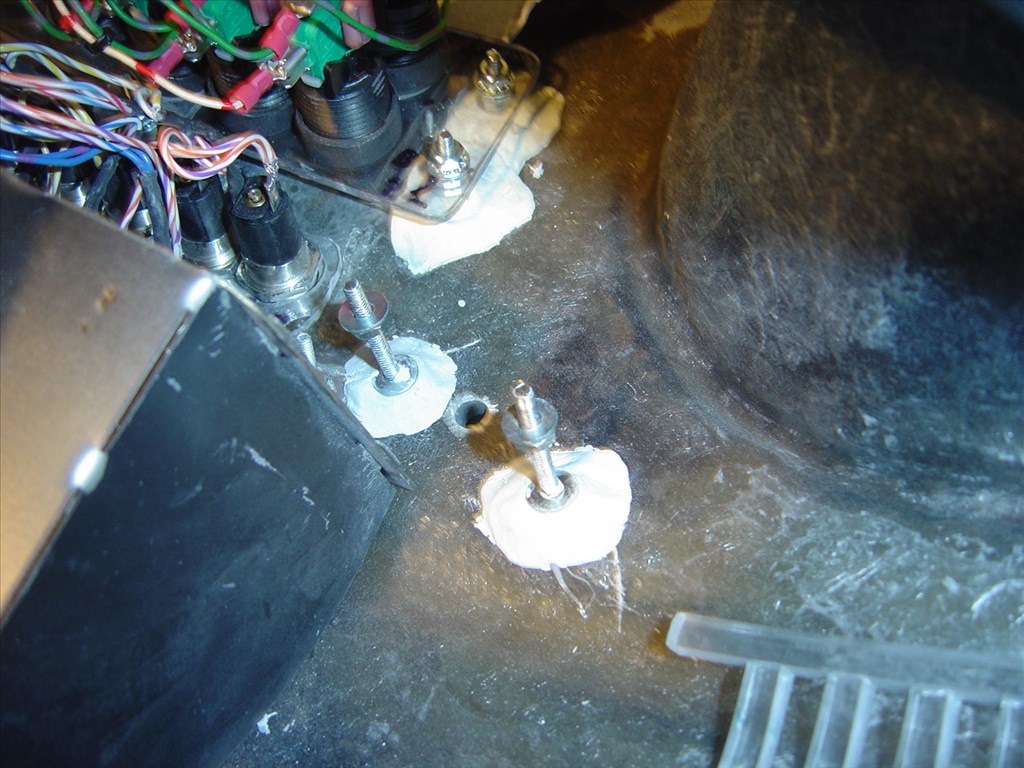
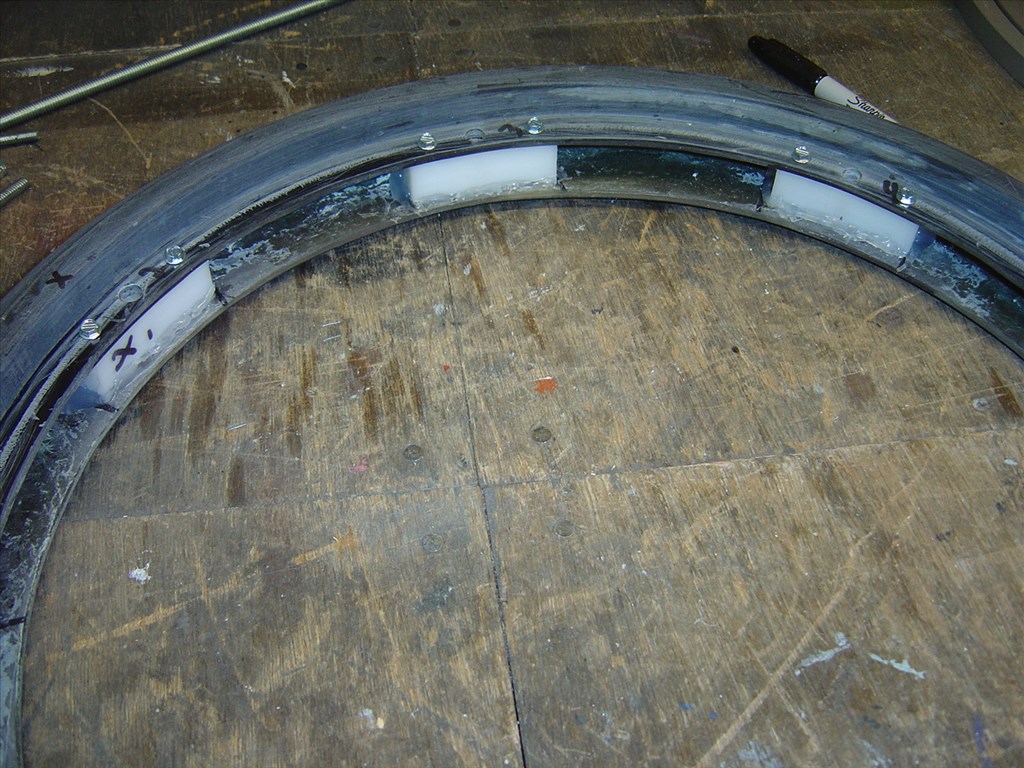
I made a post in another thread where a fellow builder made a comment about limit switches on DC motors & H-Bridges being a good idea. I replayed and thought that reply would be a good addition to this thread. I may have said this before in this thread but it couldn't hurt to repeat it. So here it is. Enjoy:
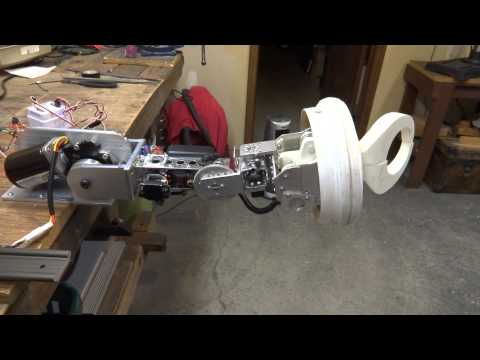
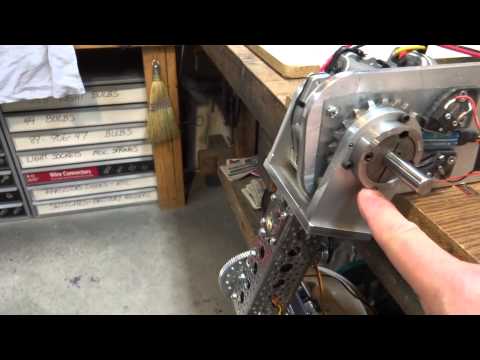
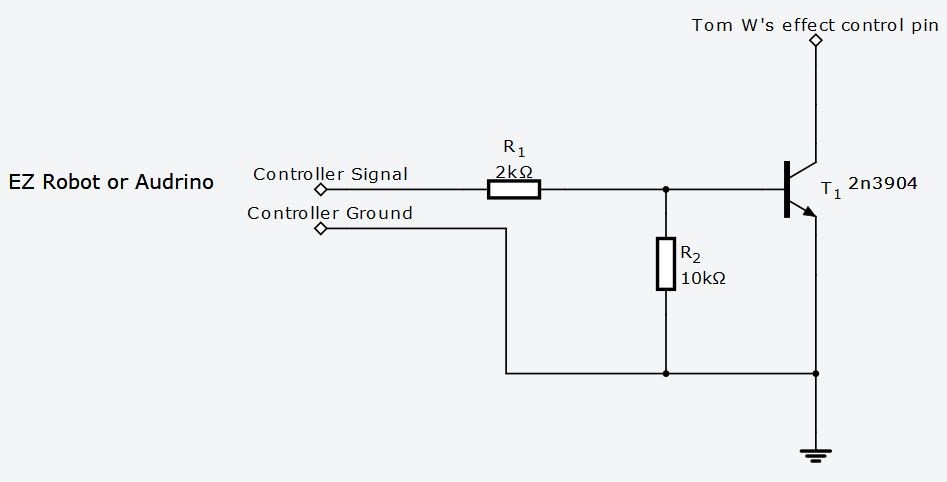
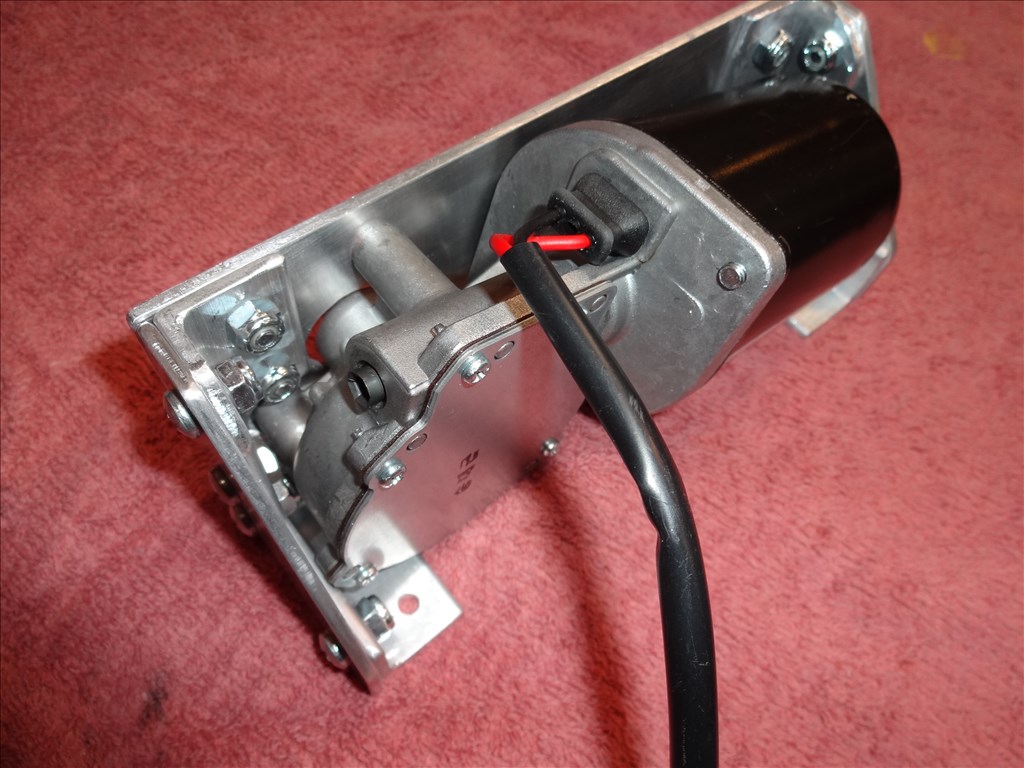
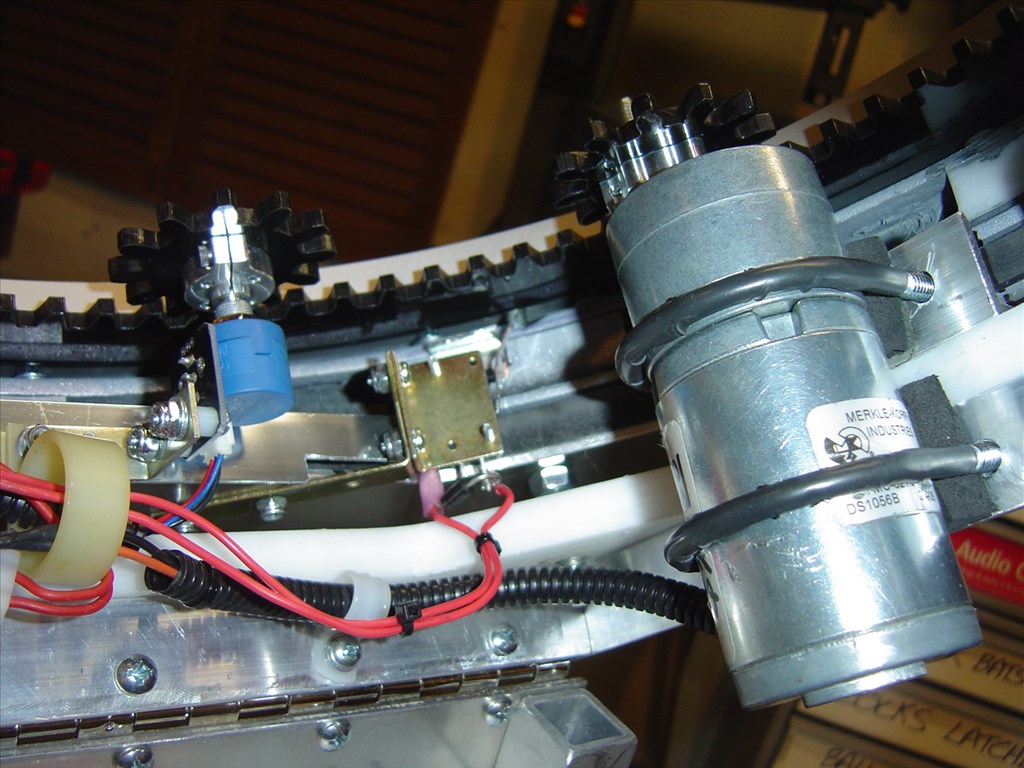
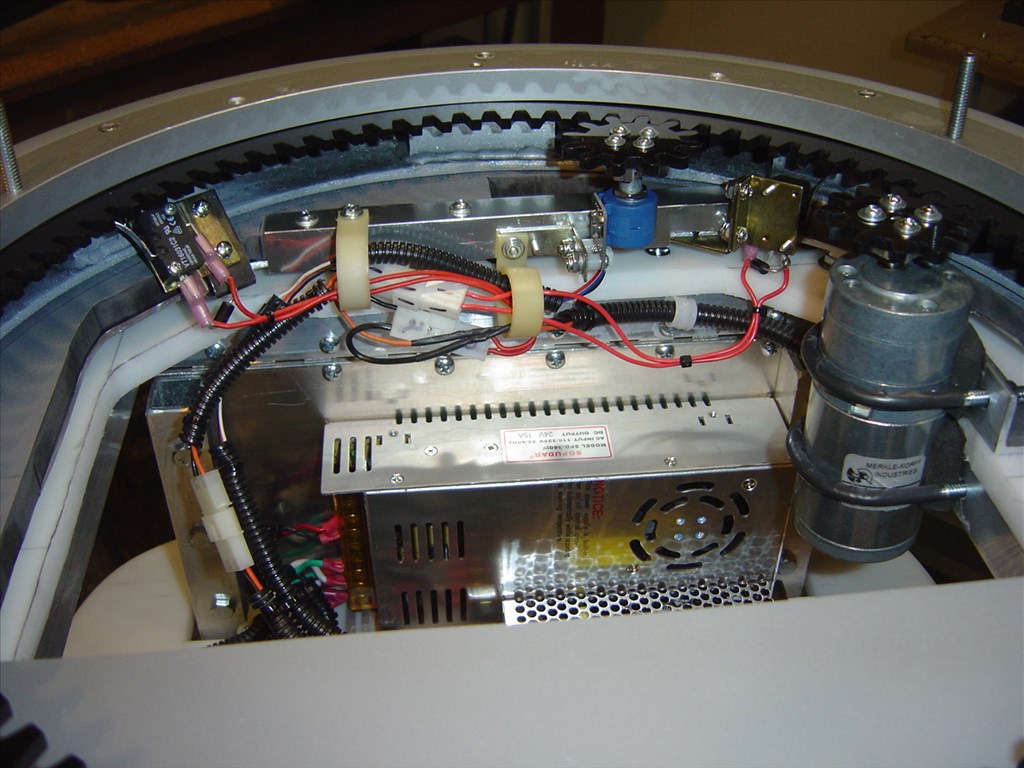
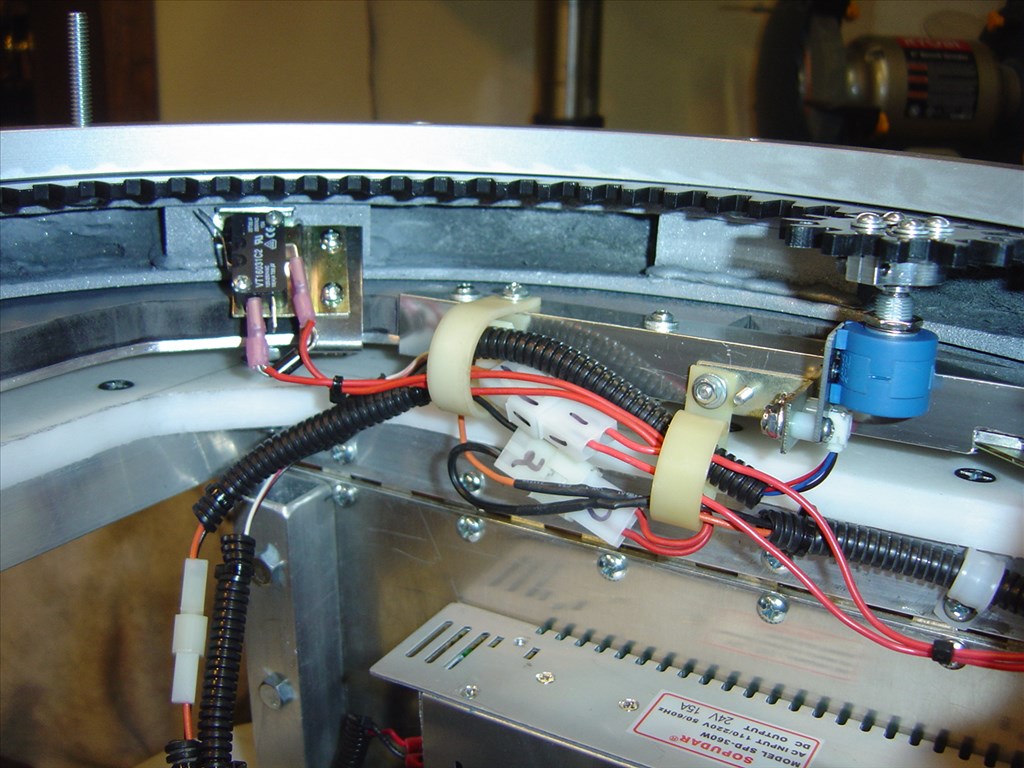
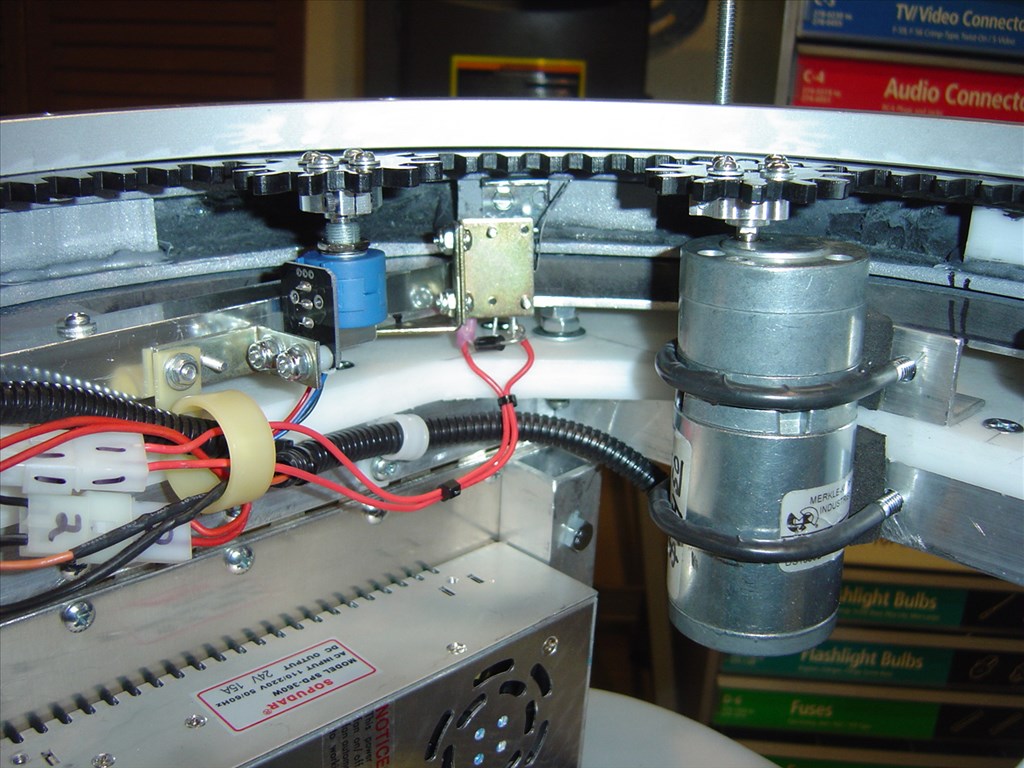
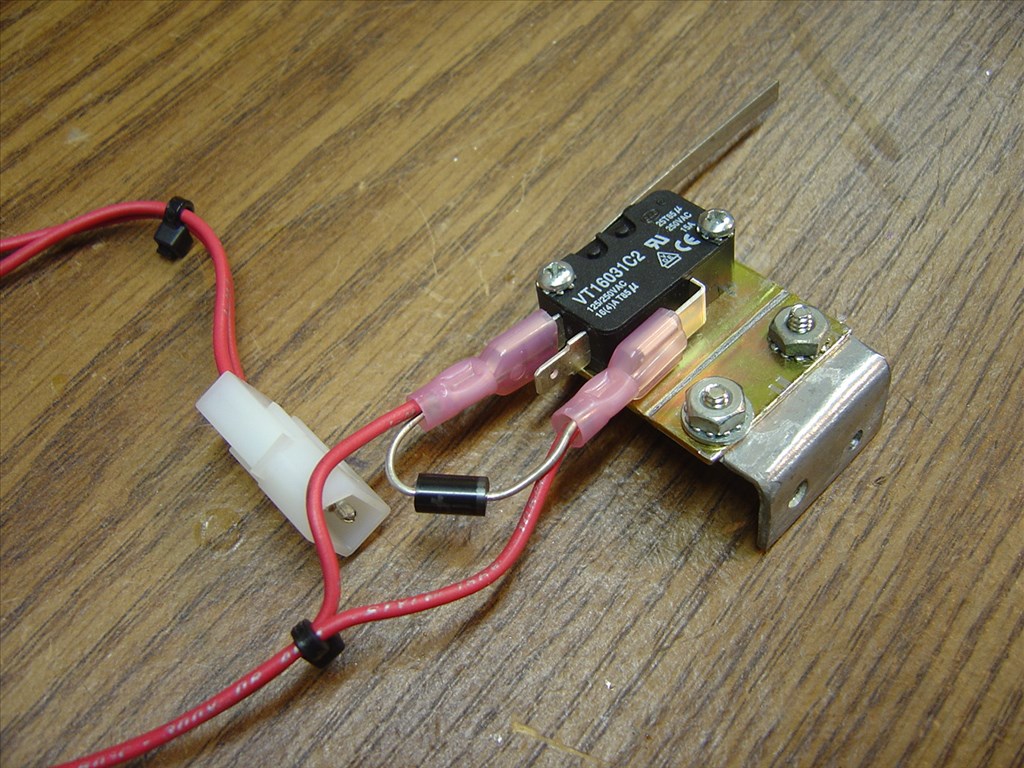
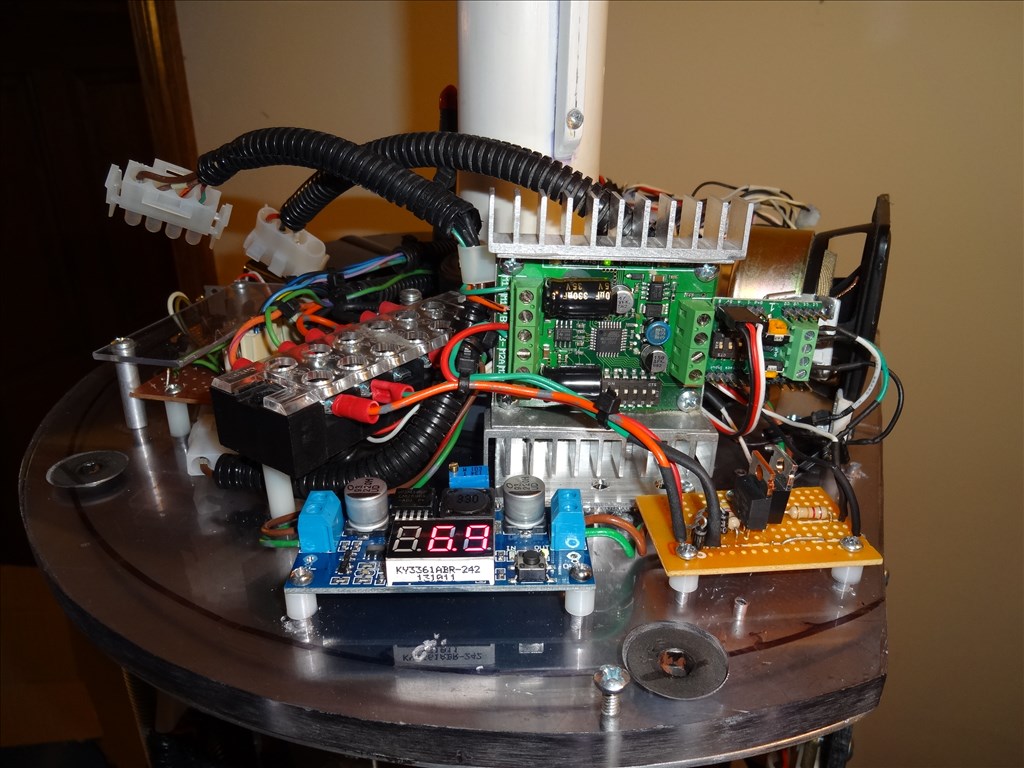
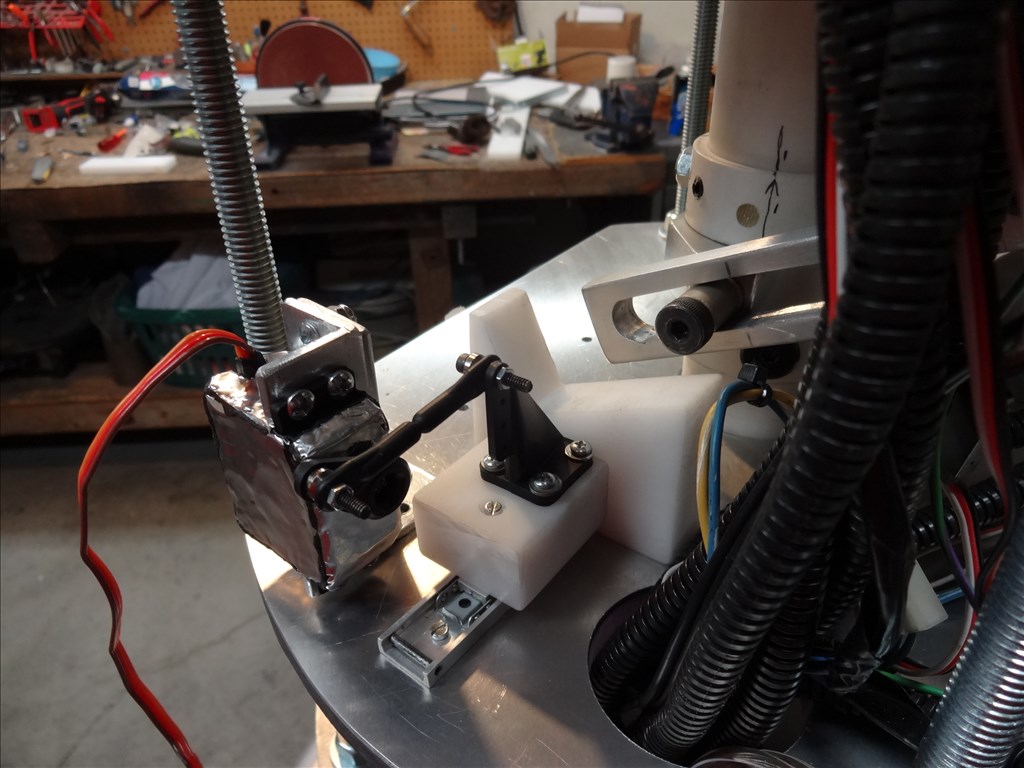
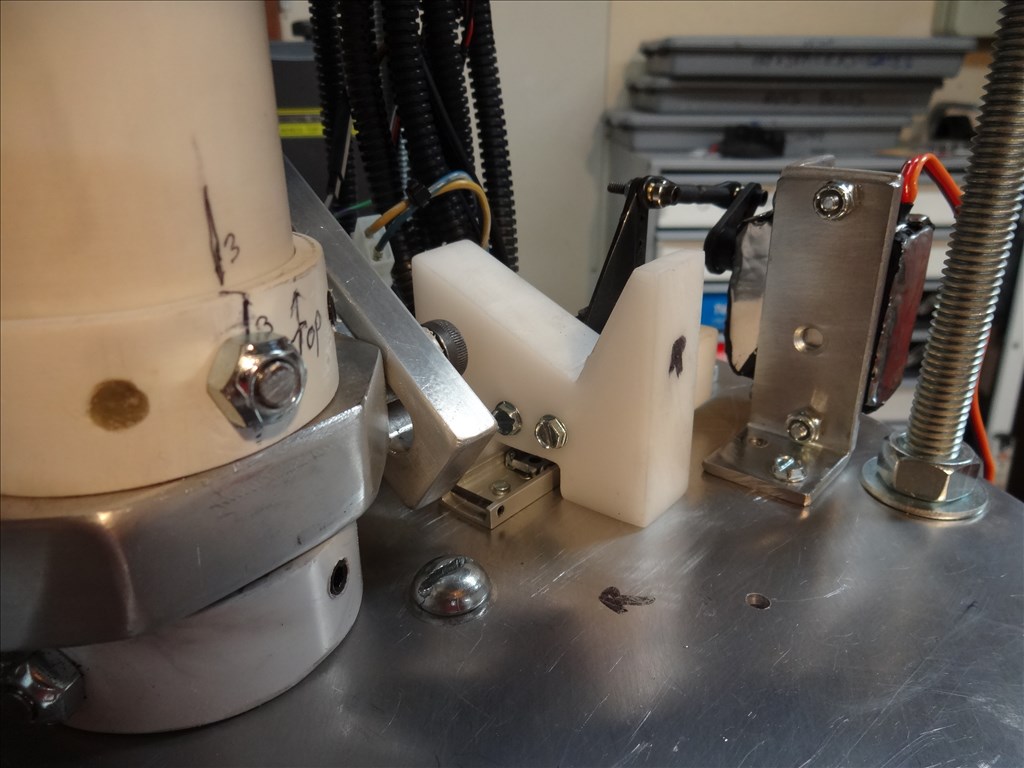
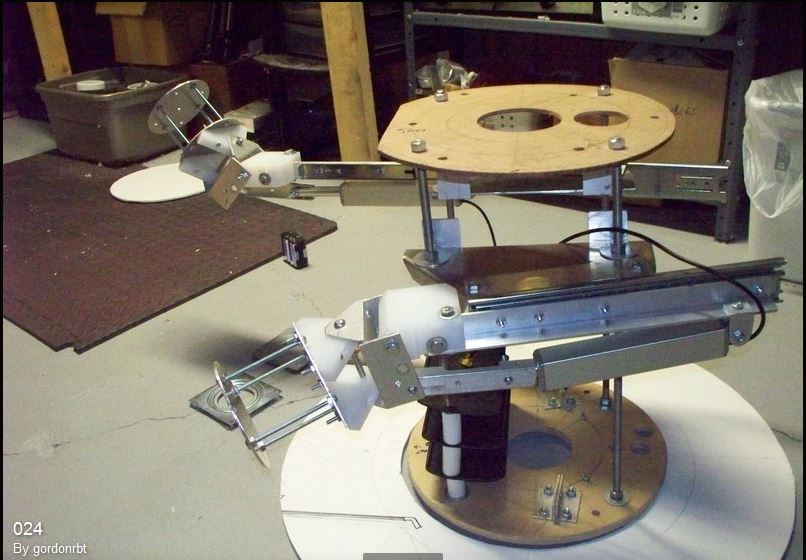
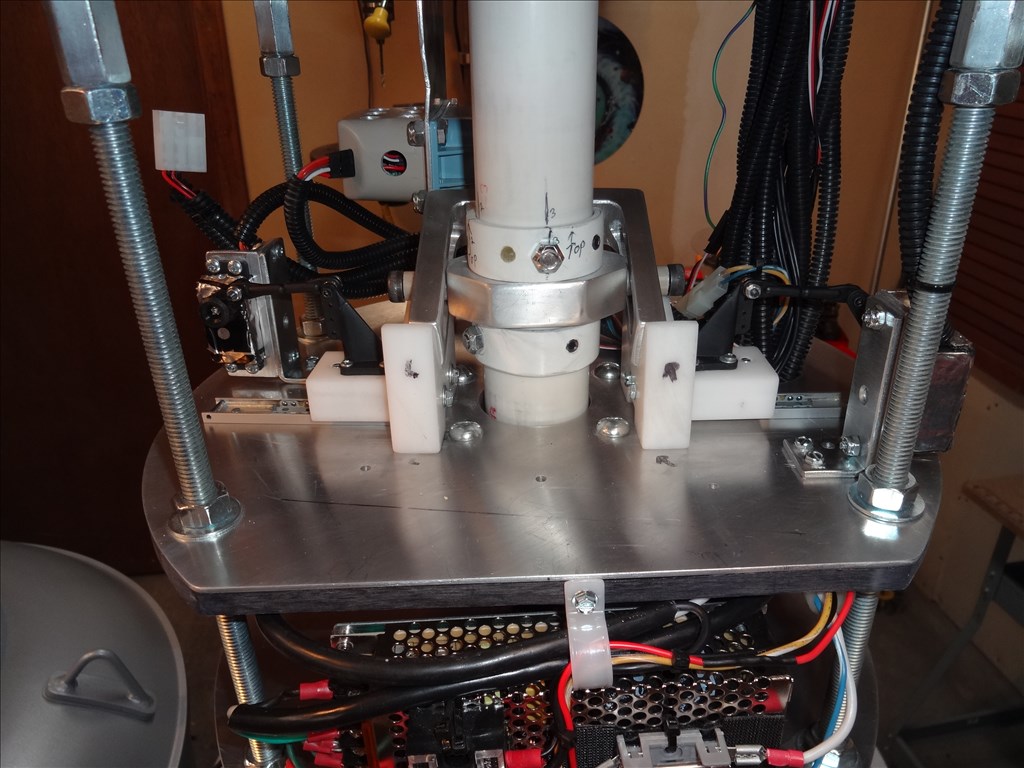
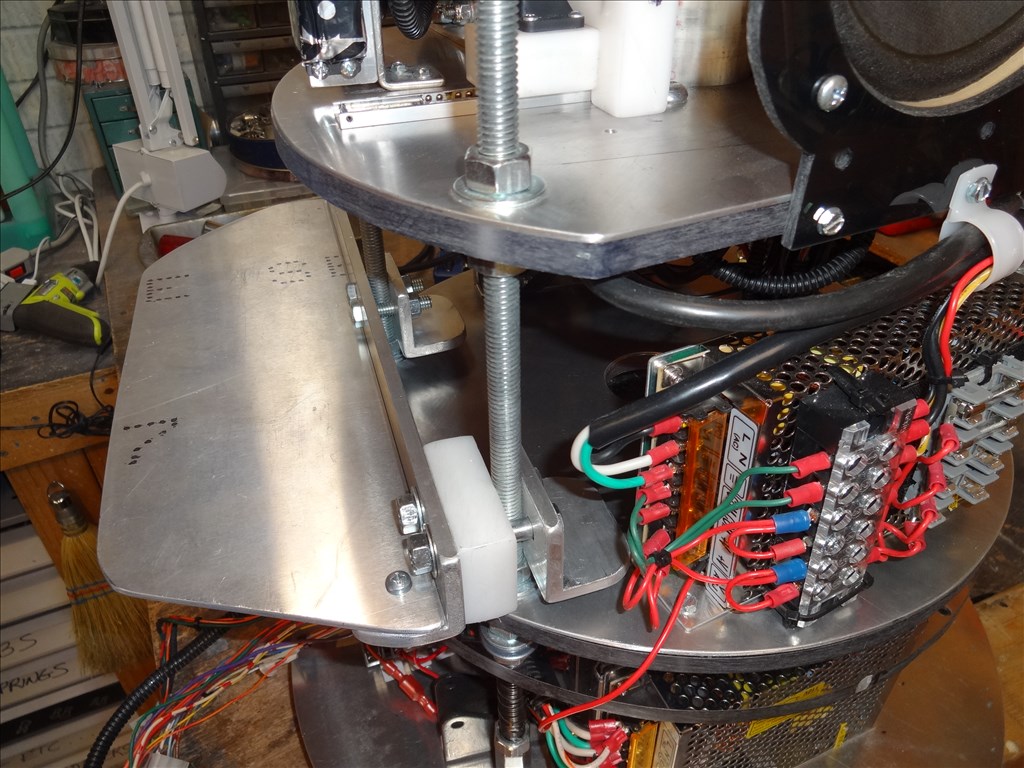
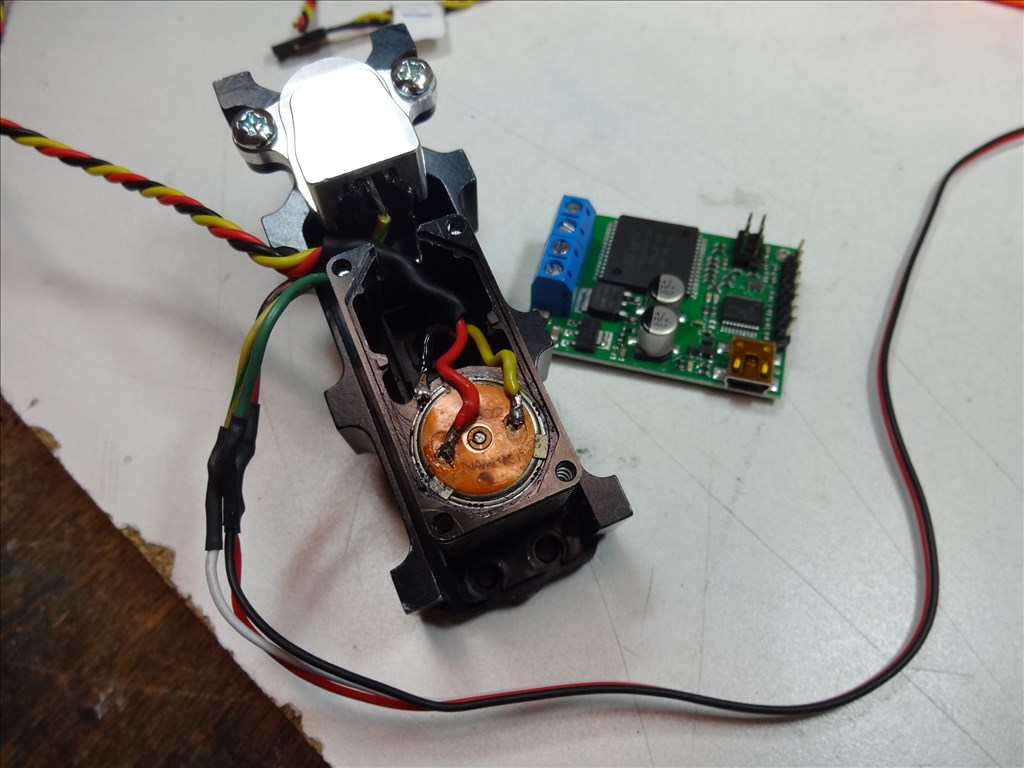
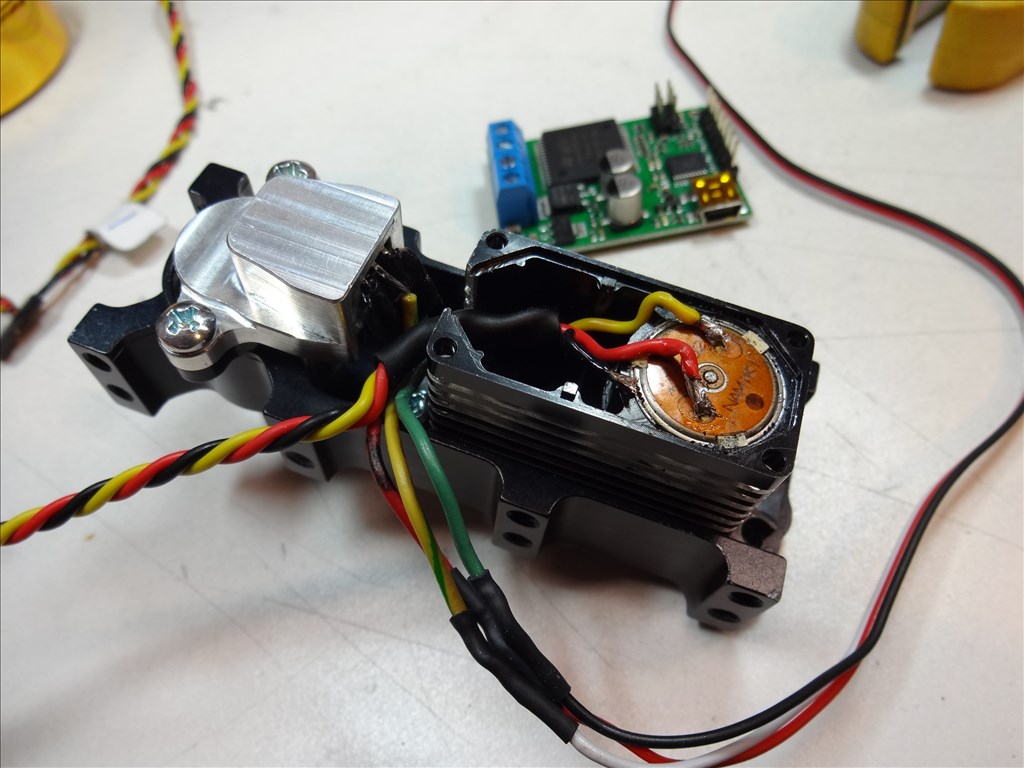
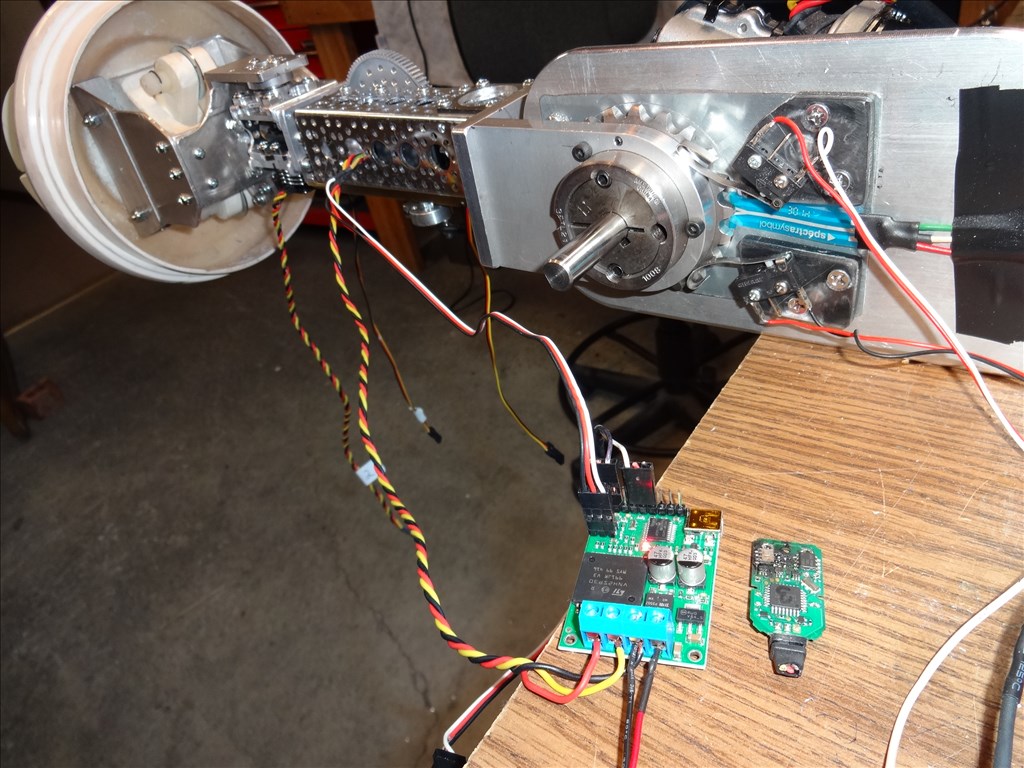
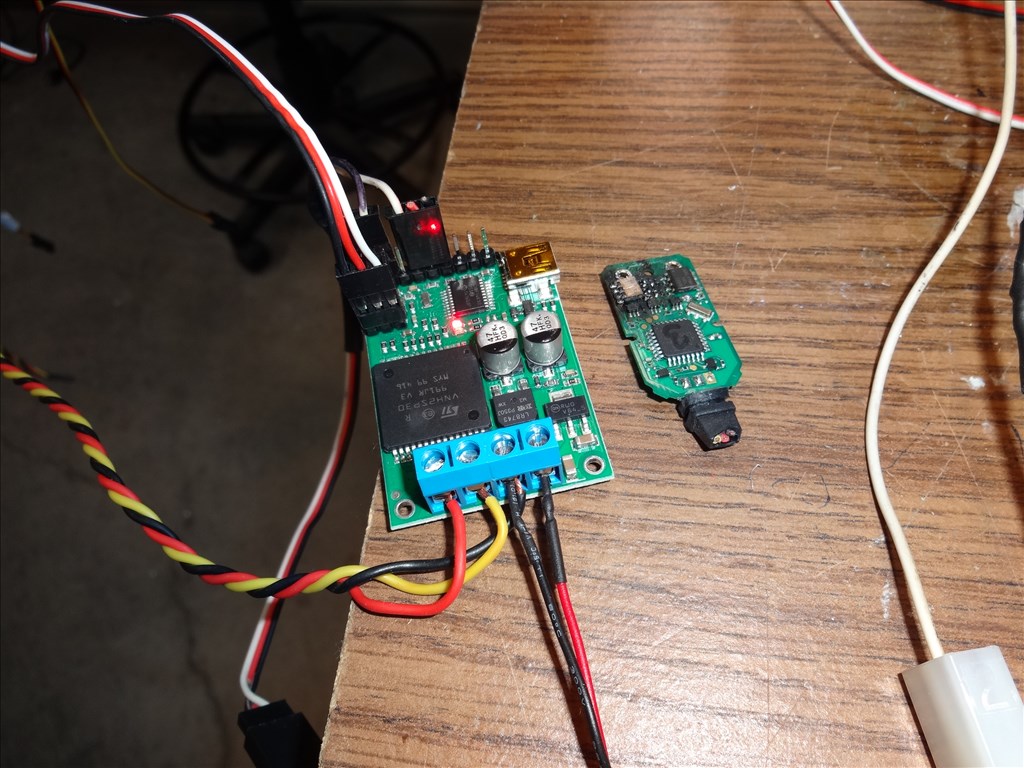
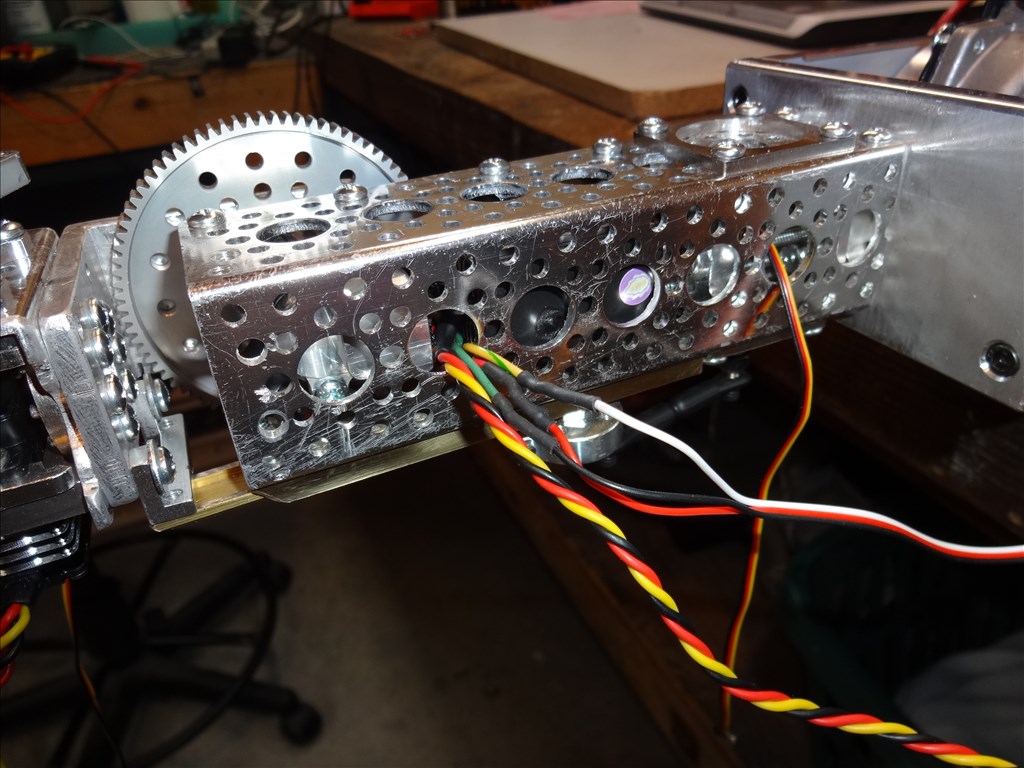
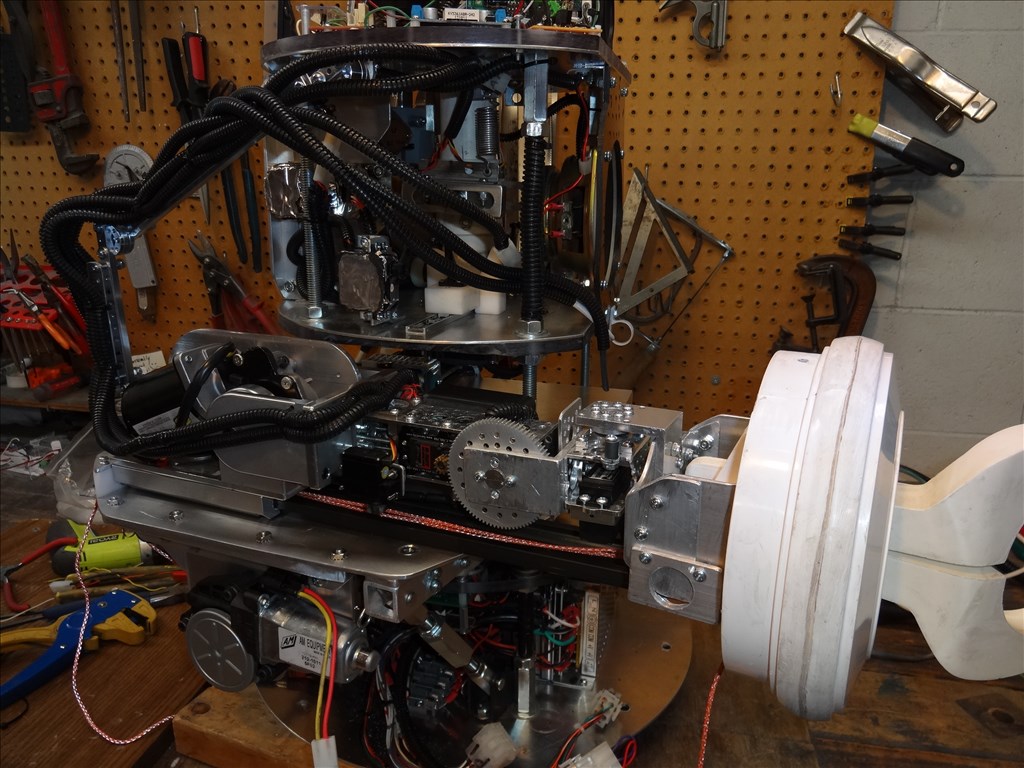
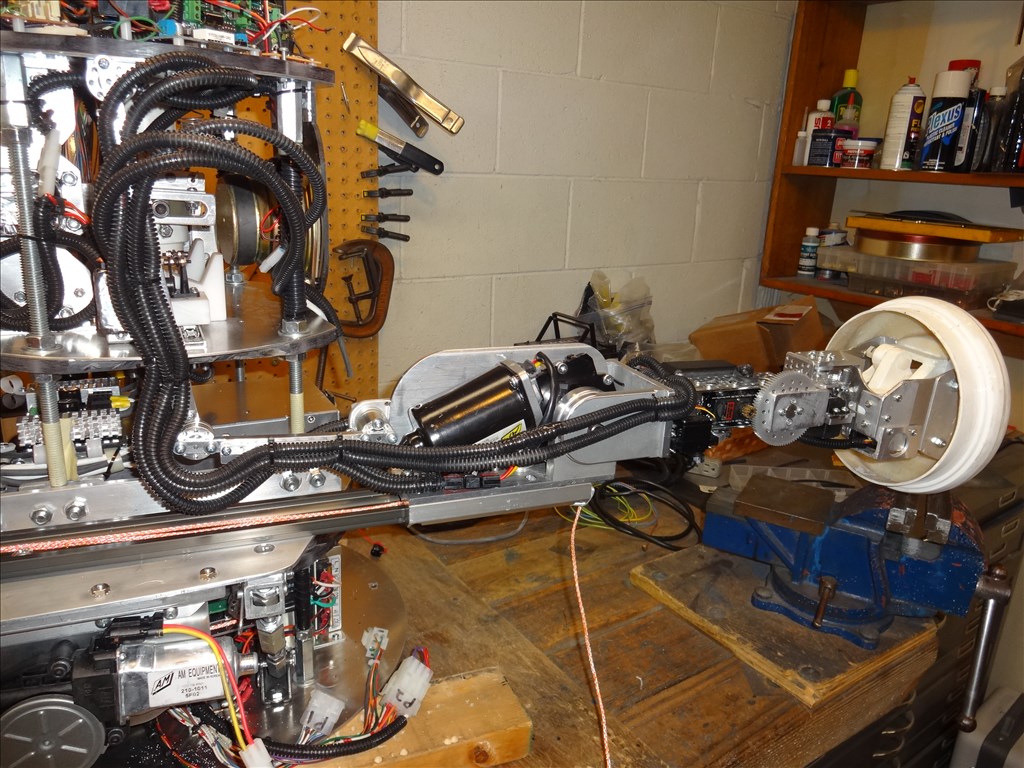
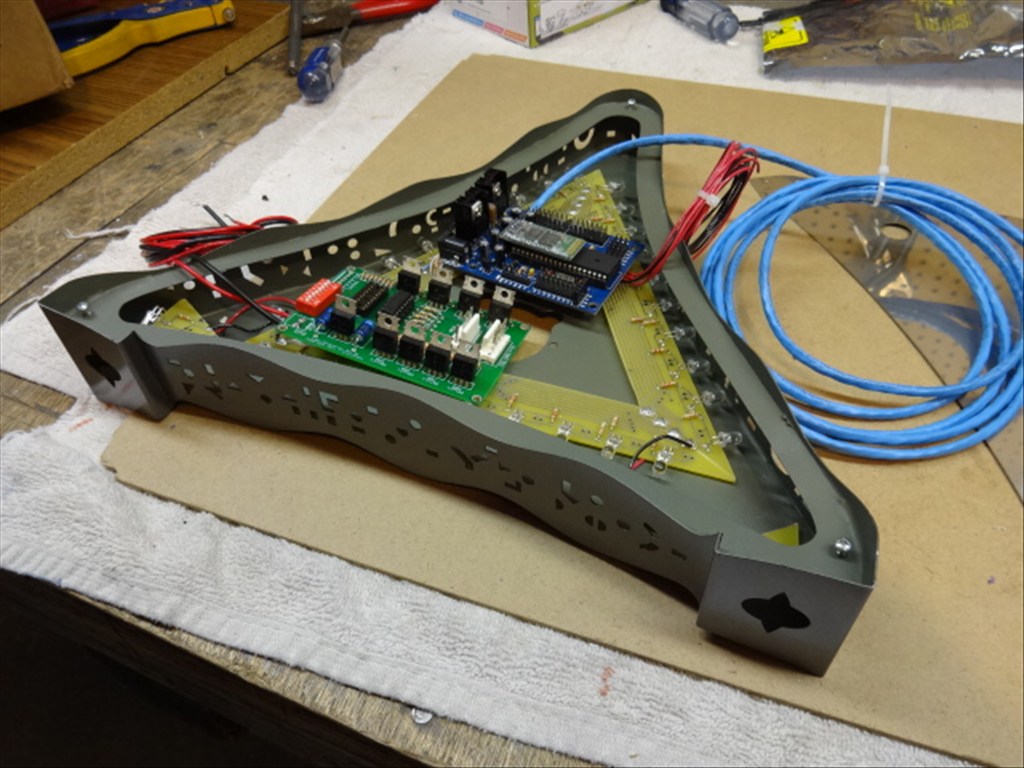
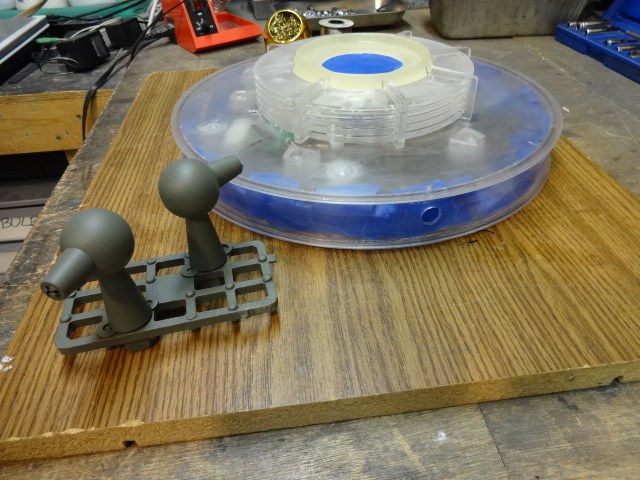
I'm a big fan of limit switches. They have saved my butt more then once. As you know it's very easy to send your motor speeding away towards disaster or your fingers while your setting things up. Limit switches to cut power on each side of the radius and keep the tears away from your eyes. By adding a simple blocking diode on each switch you can easily revise direction. Without the diodes installed there is no way to back off the rotation because there is no power flowing. Blocking diodes allow power to flow one way but not the other so with them installed in the proper direction you can simply reverse your h-bridge when your rotation hits the switch and run it the other way. Here's one of my setups. You can see the switches to either side of the blue pot I use for location feedback:
Awesome Dave you must have read my mind cause I was just about to post a question on servo limit switches particularly for modified servos...thanks for answering my question!
Glad I could help. Nothing like a safety switch to keep things safe.
Dave
I looked through your post but was unable to find how you worked your lights with the voice. I have read several ways but (being the noob I am) can't seem to get any to work ...lol. Mind when you have time to explain?
Herr
Hi Herr,
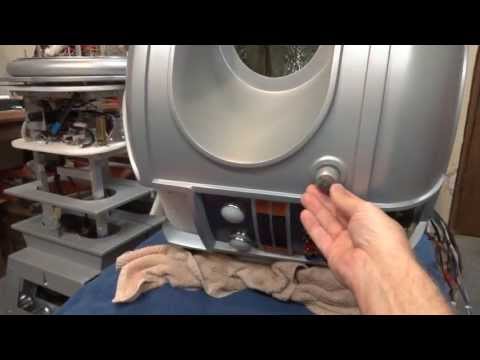
The light on the neck of my B9 is neon. It's triggered with a Tech22 Neon power supply transformer and controller. Here is a link to them:
Tech22
I have the whole thing attached to one channel of my CF3 Sound System that all my sound runs through last. When it senses sound from this channel it will blink the neon according on how I have it adjusted.
Sorry, this wont work with LEDs or regular bulbs. Only with neon.
Good luck, Dave Schulpius
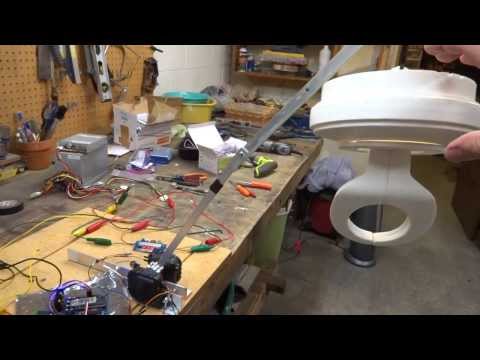
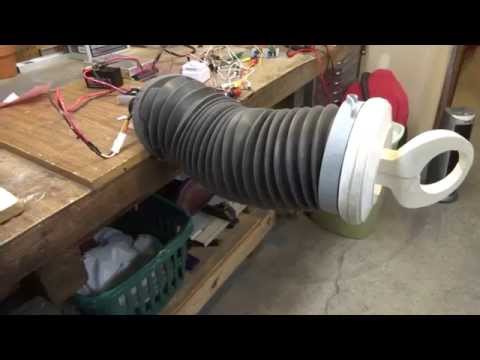
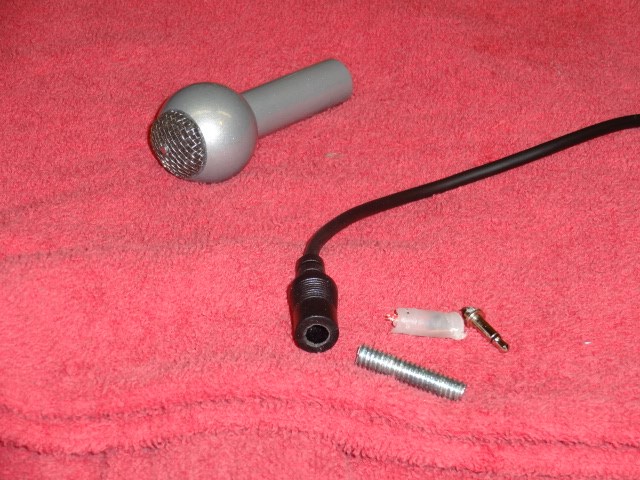
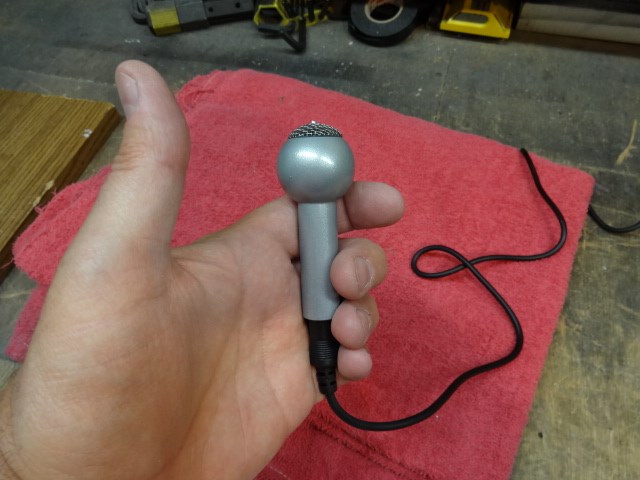
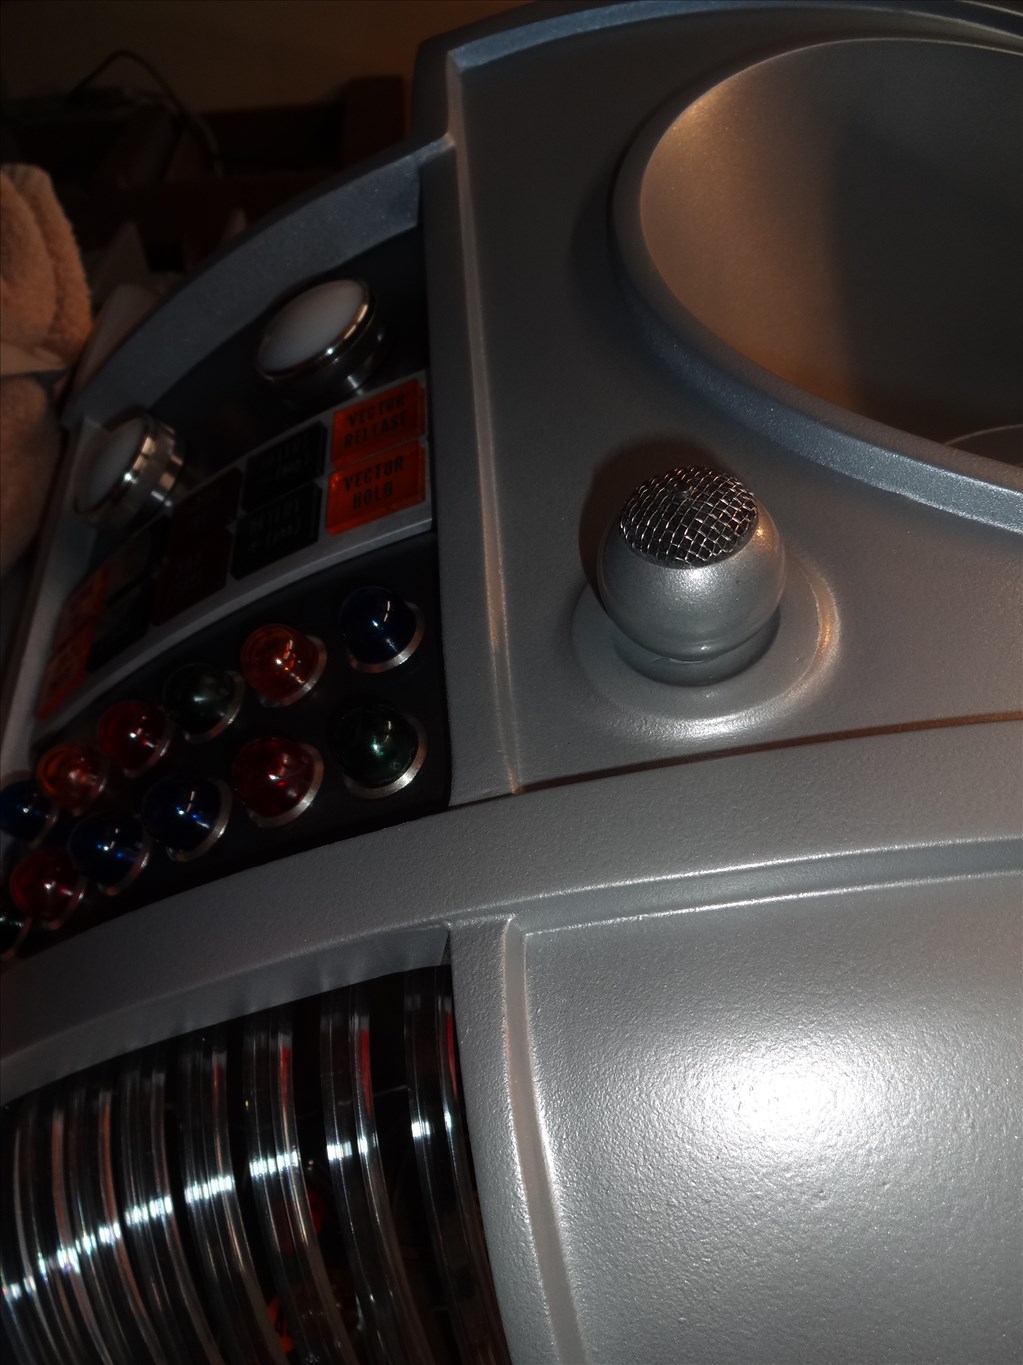
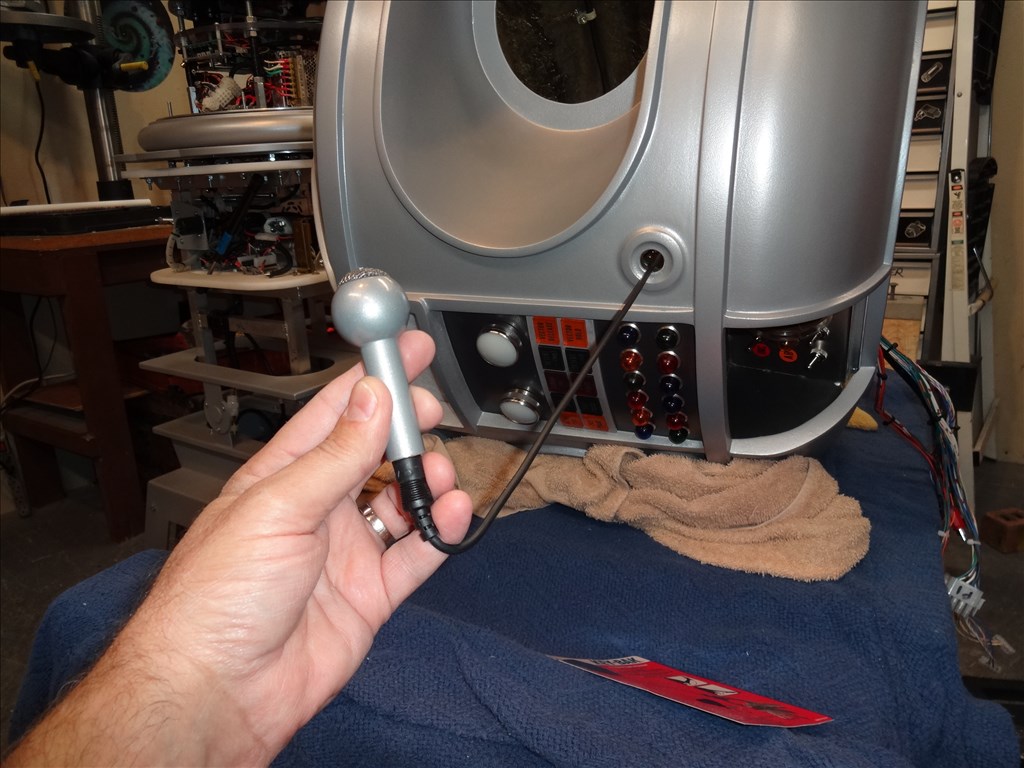
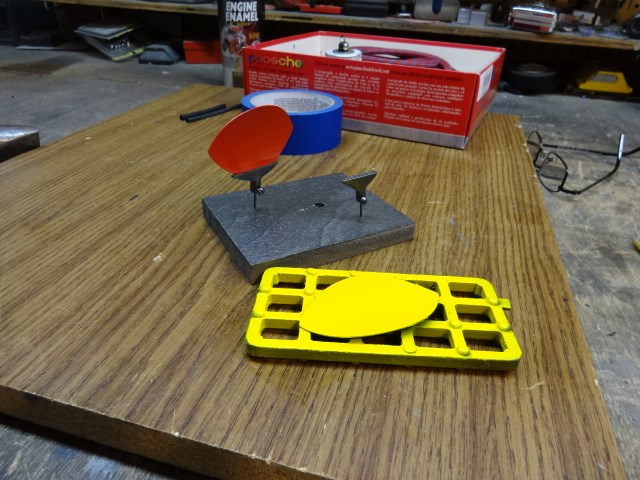
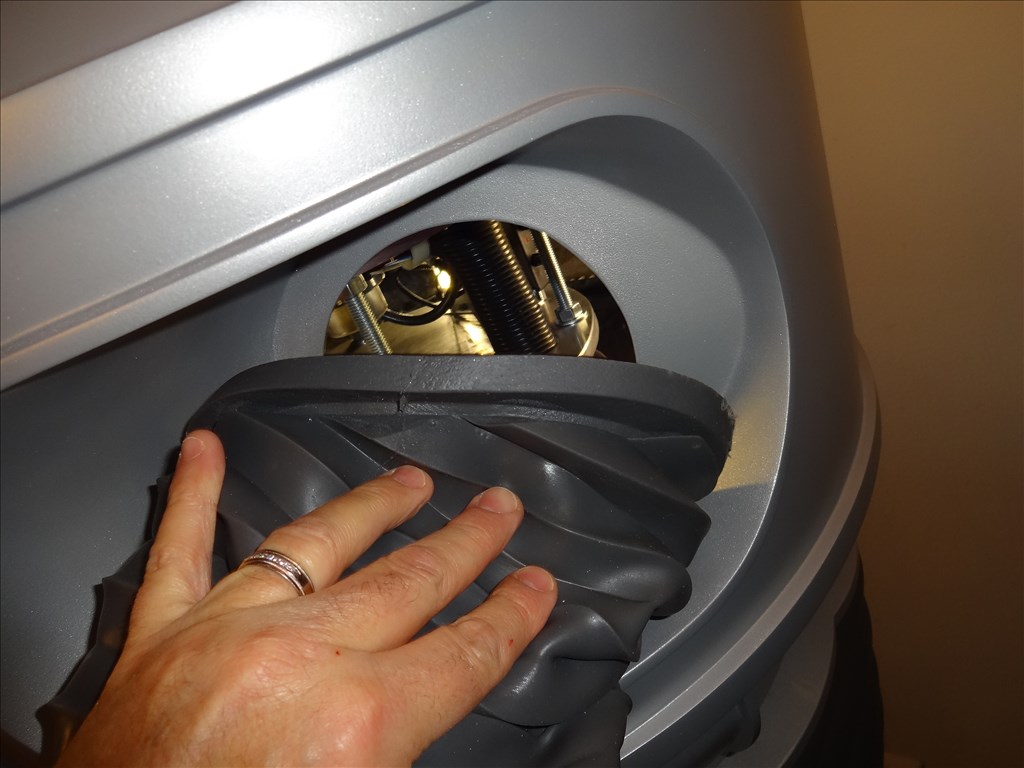
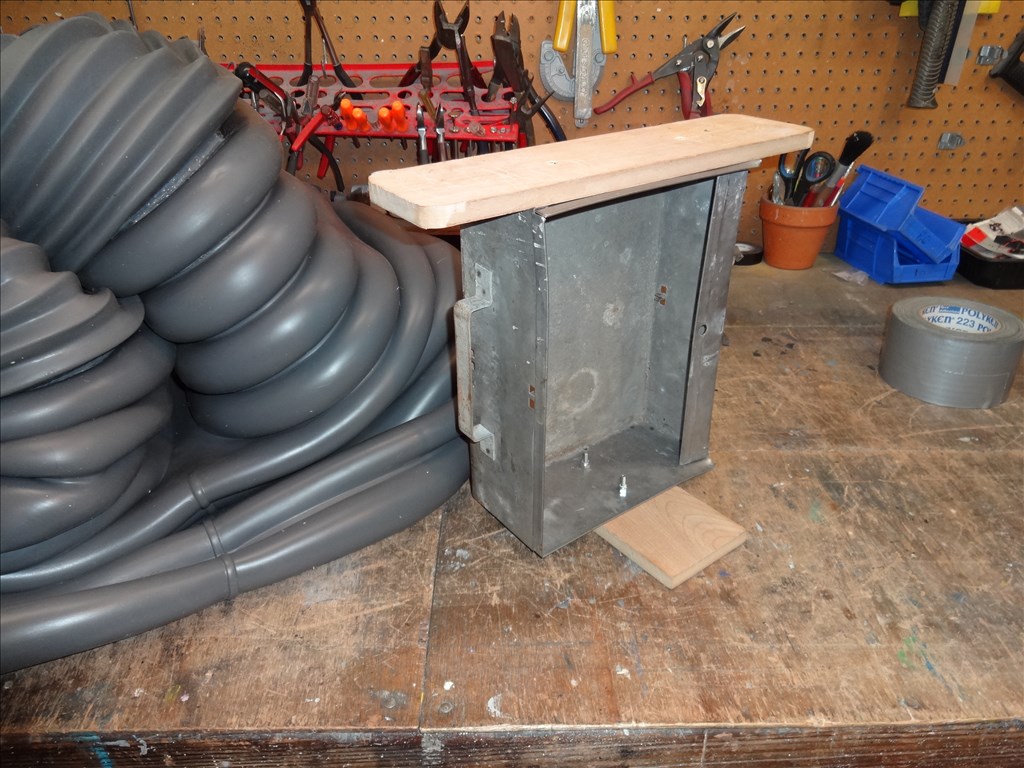
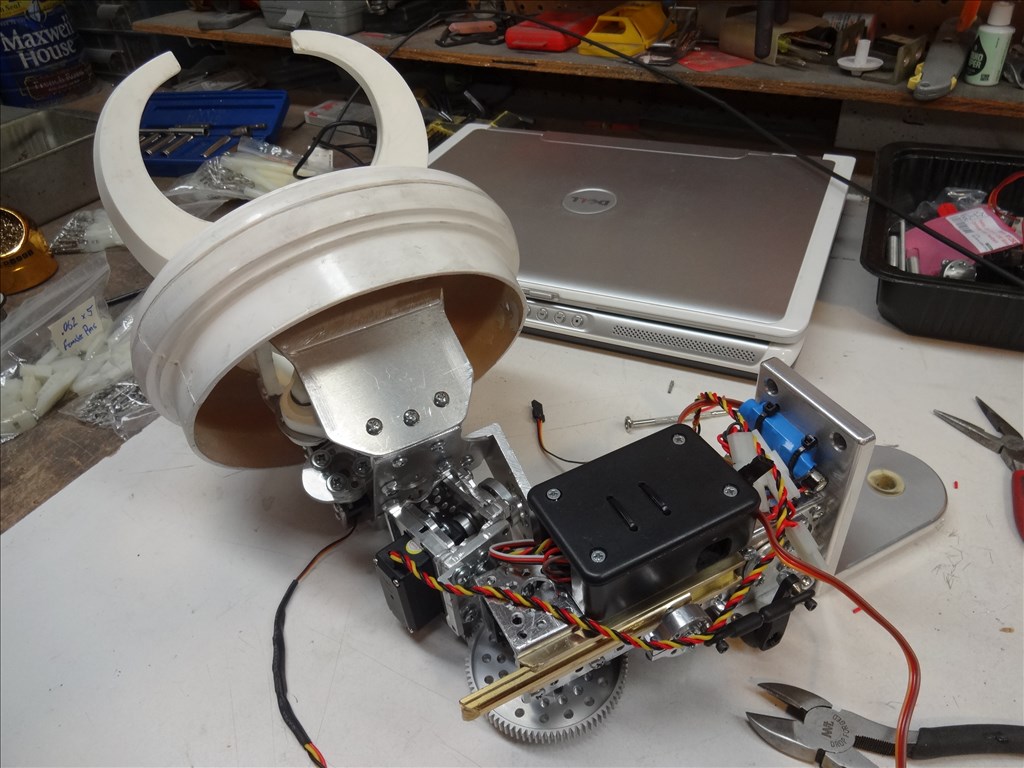
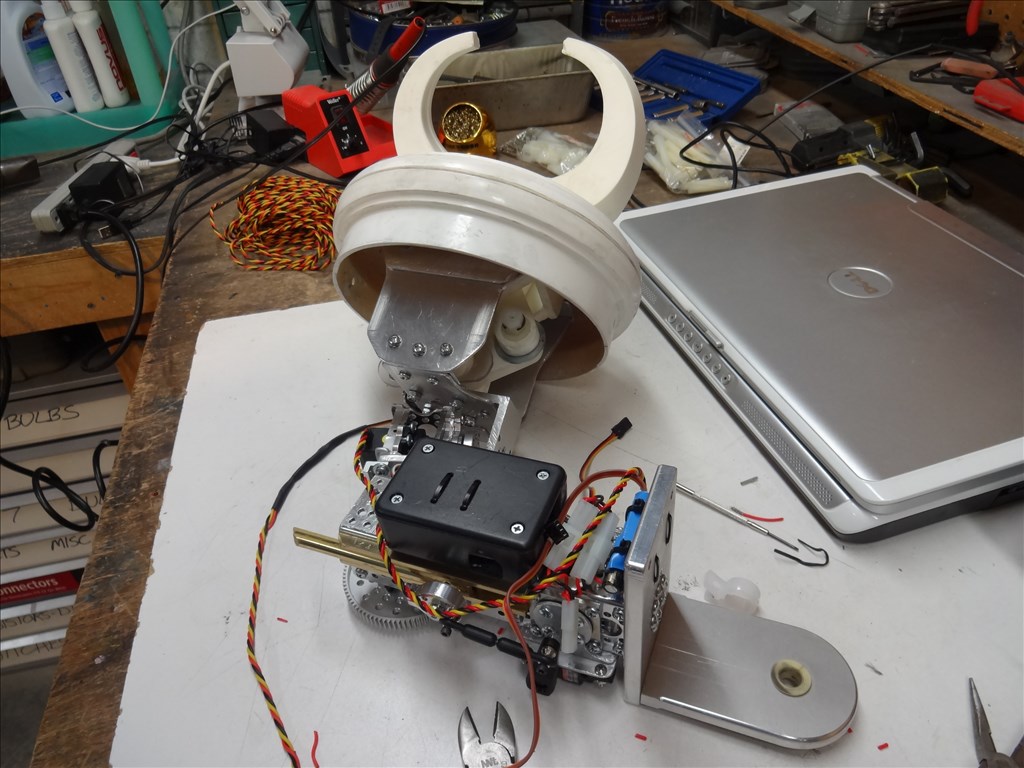
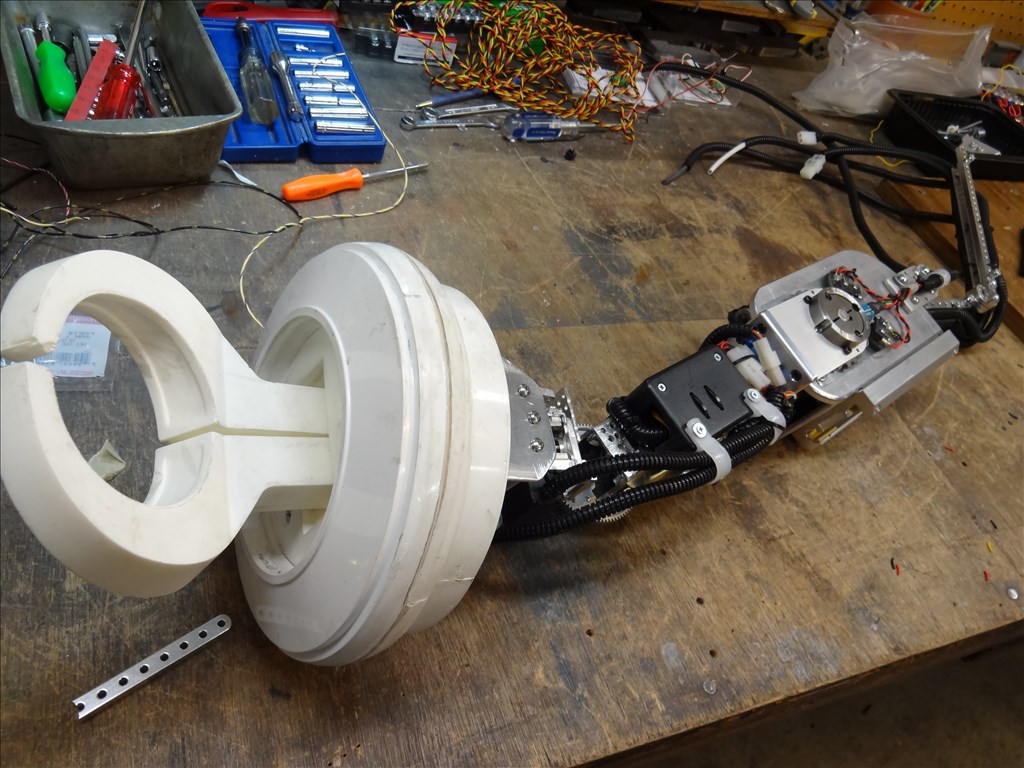
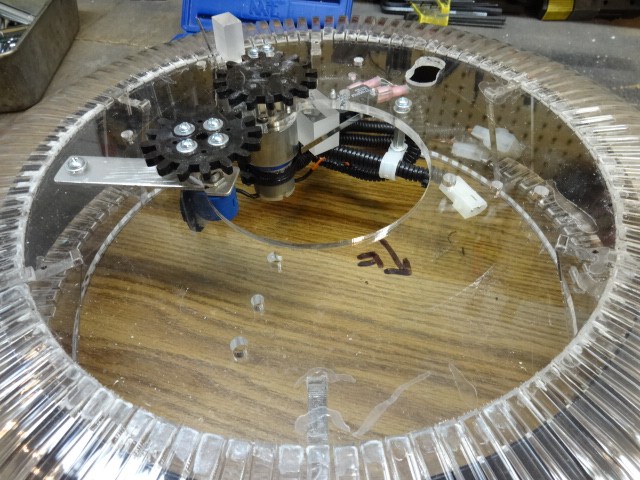
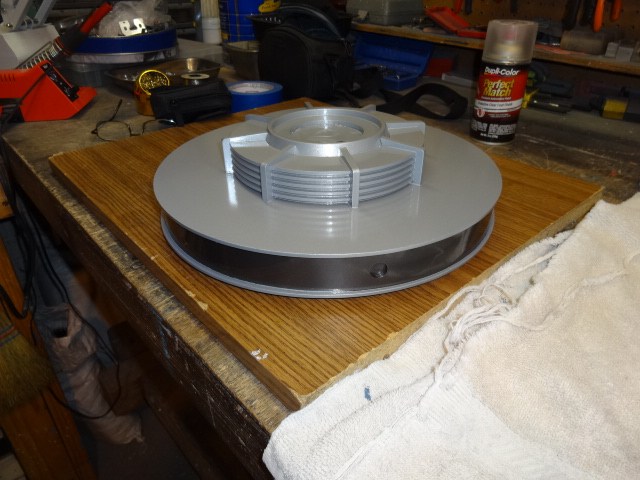
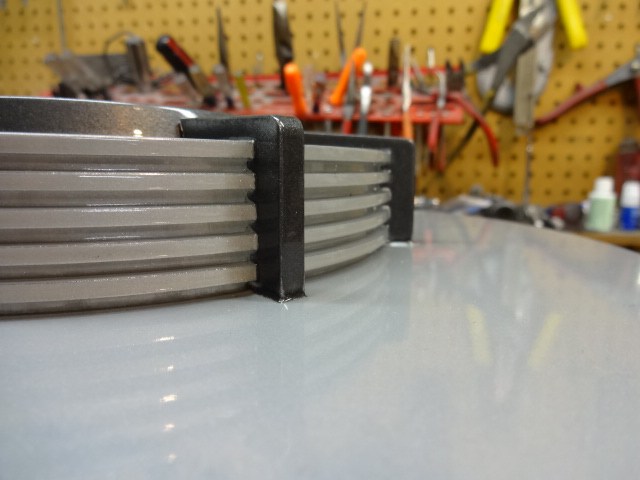
It's been a long time sense I've been able to post progress. Summer has taken most of my time with home upkeep and family. However I've been able to get into the shop from time to time and was able to complete my (non working) Torso Microphone.
It's just for looks and a fun but I wanted to make it look and feel like the real thing. On the TV show it was never removed or used in any of the episodes so no one really knows what the handle and cord looked like so I was able to use some artistic leeway. All that was really seen was the head sticking out. The mic head I ended up making isn't exactly the same as the original but it's close enough for me.
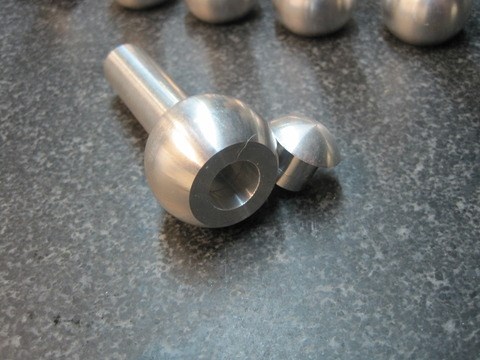
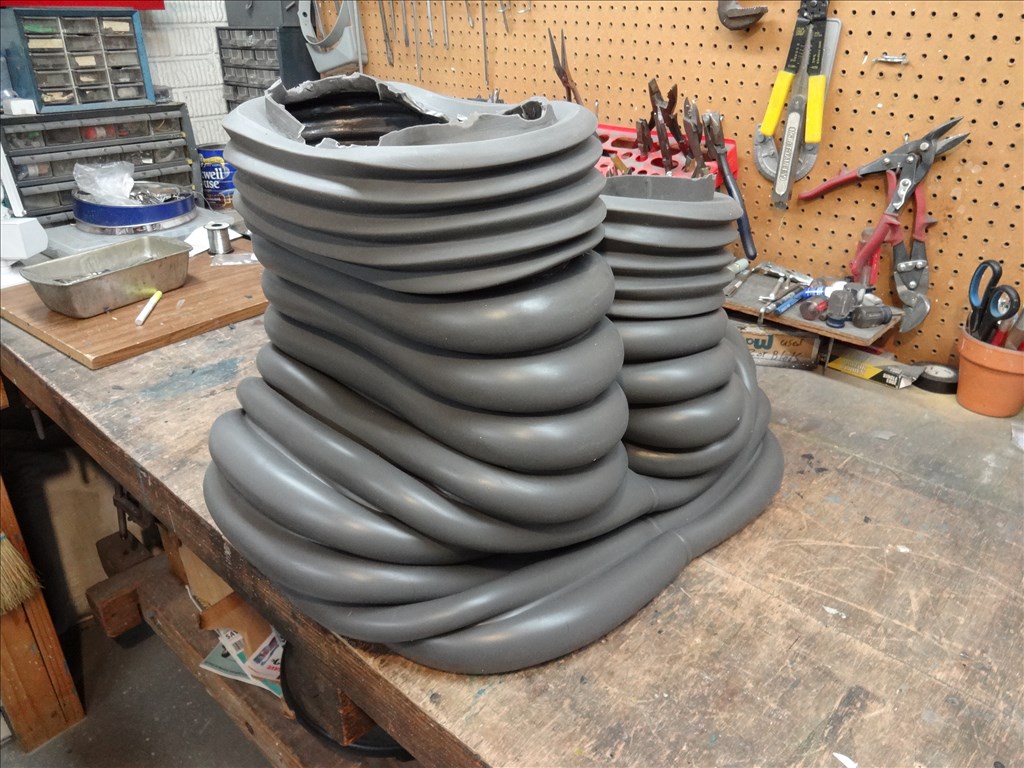
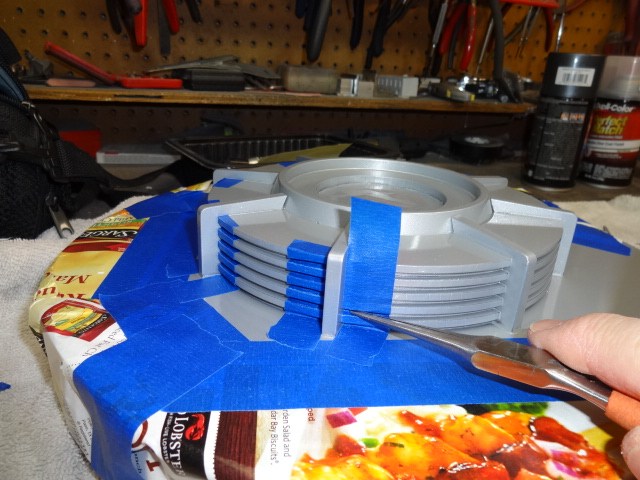
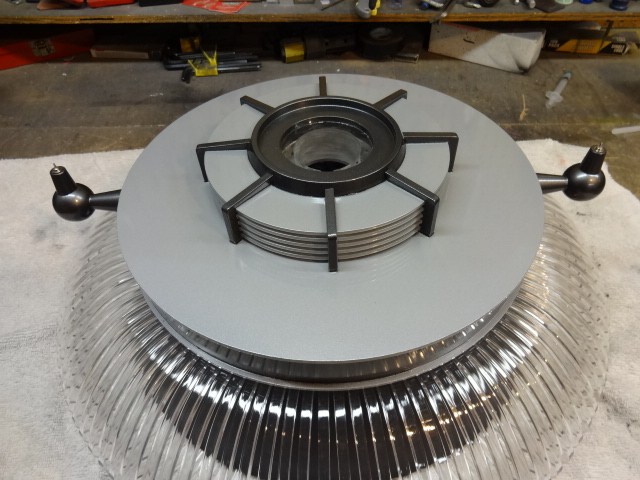
As for building the mic I got the body of it from a fellow B9 builder that had a few of these turned at a shop for him. I was lucky enough to buy one of them. I had to manufacture the screened tip and figure out how to get a coed attached. Please take a look at the following video and pictures for how I built it and how it turned out. Thanks and have fun!
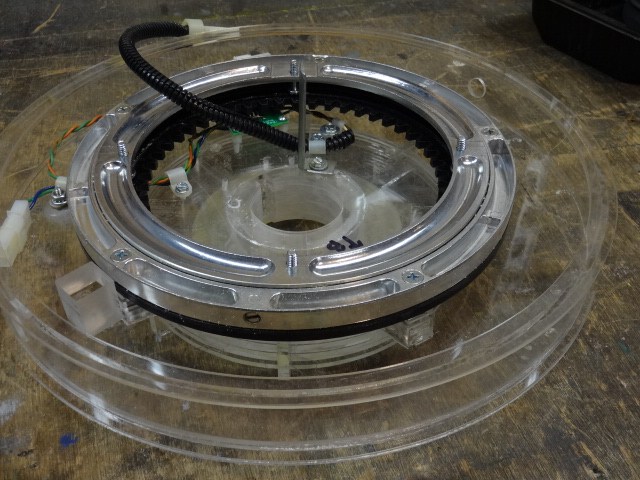
Here's the blank mic body I bought from a fellow B9 builder. He had several made and I was luck enough to be able to buy one of them:
Painted and ready to start making it look like the real thing:
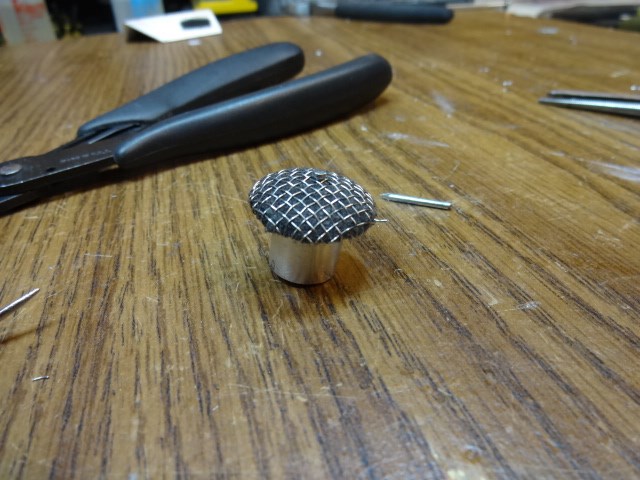
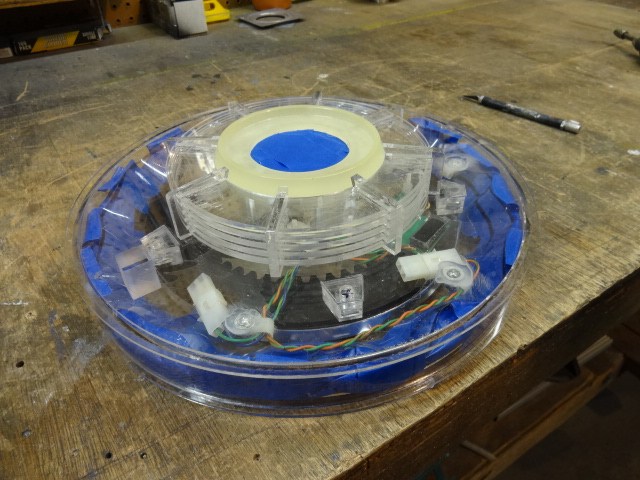
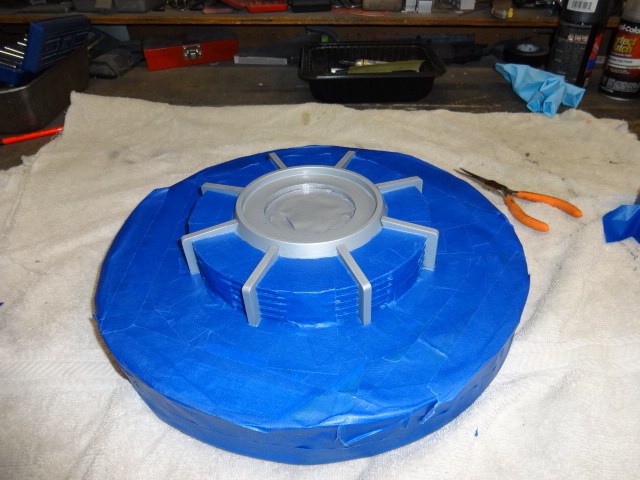
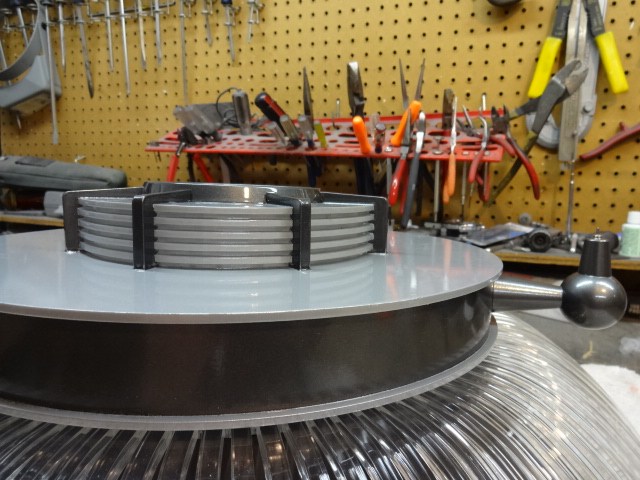
Here's the screen head after applying a layer of foam and weaved screen form a simple kitchen strainer. I placed a Brad Nail in the center to help it look more like the original mic from the TV B9:
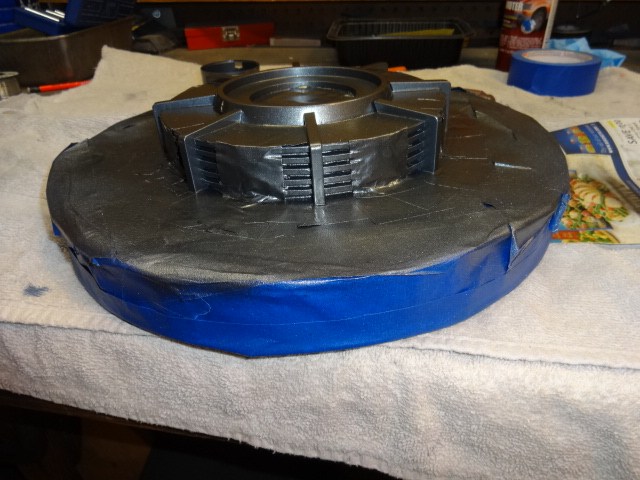
All assembled and ready to attach the coard (from a real Radio Shack Mic I canalized):
Finished! :
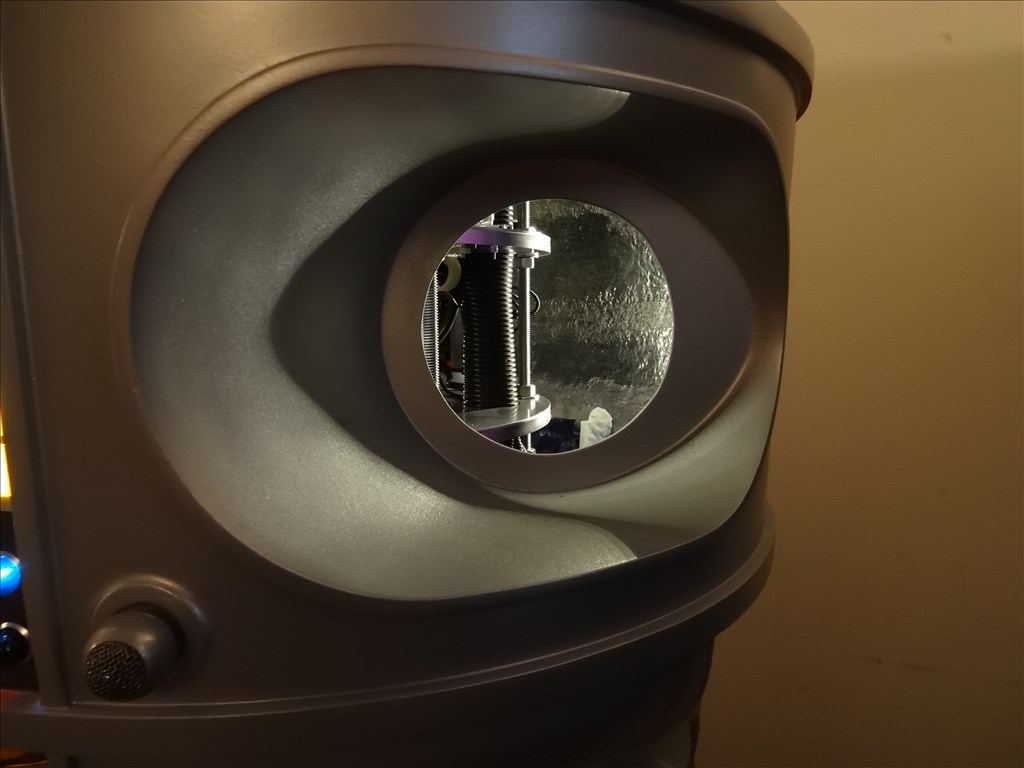
Inserted in the proper place in the Torso:
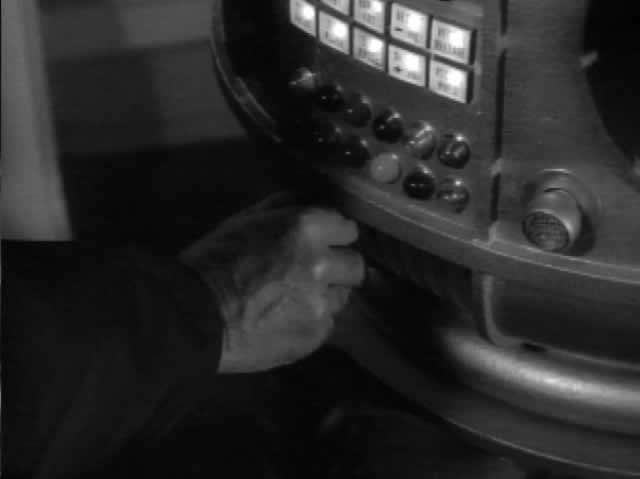
For comparison here's a shot of the original Mic from the 1st season:
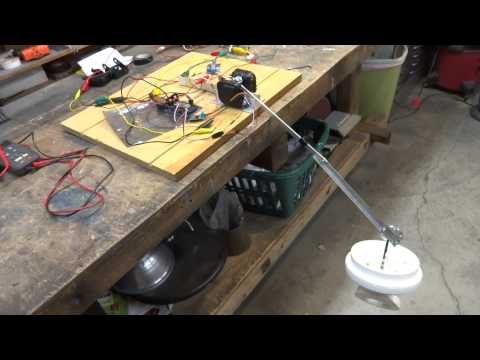
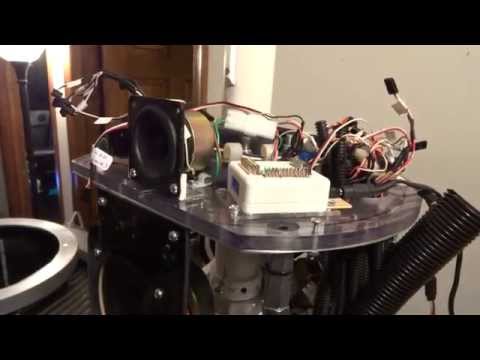
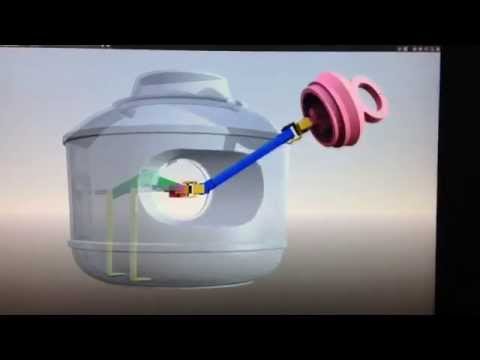
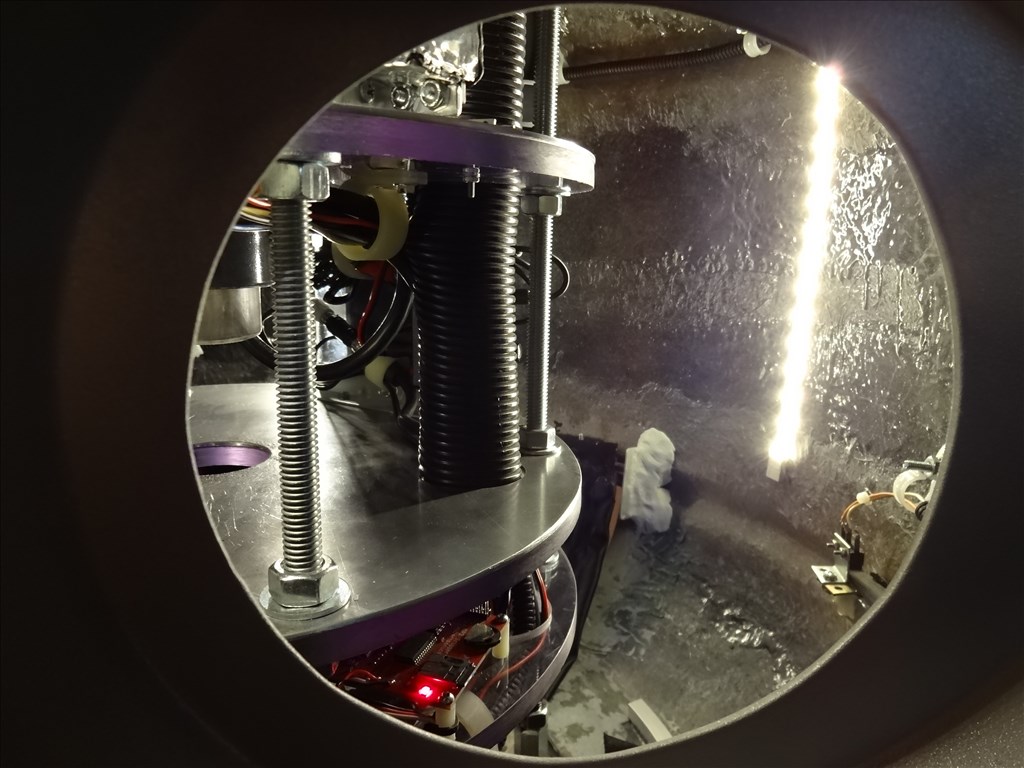
The man behind the curtain:
How it works:
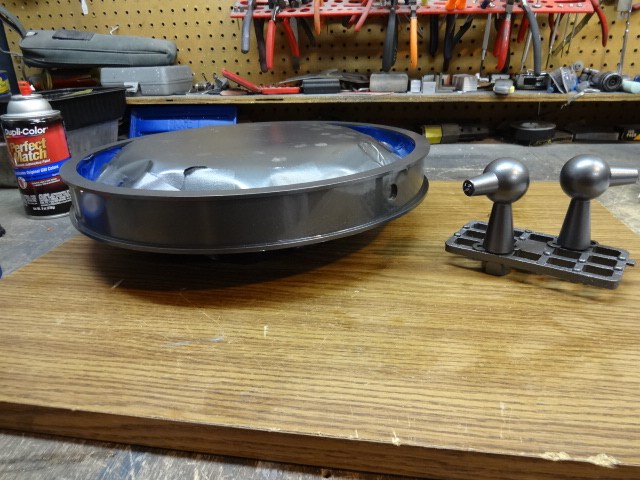
Here's the engine. It's a Key Retractor I got off Amazon that hangs on your belt and holds your keys!:
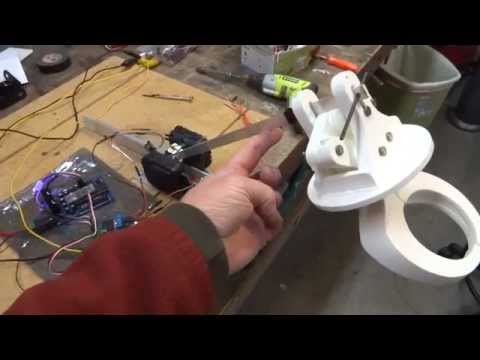
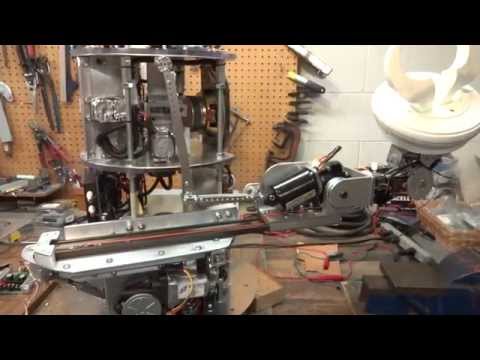
Installed and working:
Here's a vid of the whole thing installed and working:
You're are a master builder. Thank you for sharing your progress!
Awesome Dave! Perfect authenticity and a wonderful "how I did it " vid Your key return system is very cool and I am sure will give other members good application ideas. It s got me thinking of applications as well. I was thinking , what if the mic was really used as a "mic for a remote speaker" to another part of the house, or as a karaoke mic....ahhh maybe not
 ...................great job!