


Day 1 (4th August 2015)
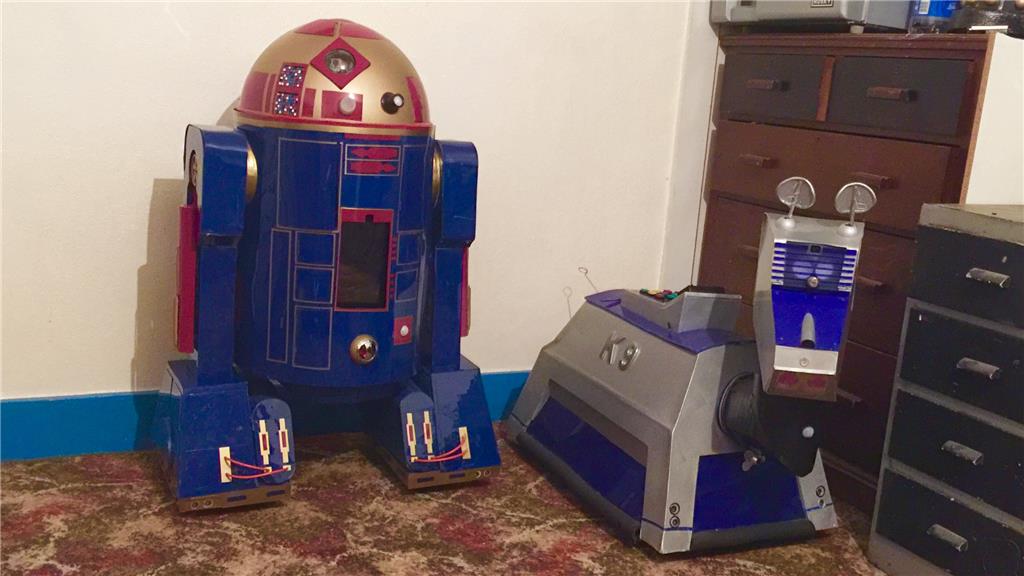
So after throwing around a few ideas for a new project to sink my teeth in to, I decided to go ahead and do my own version of an Astromech Droid, rather an Astromech "Smartdroid". With K-9 being one of my all time favourite on-screen robots, R2-D2 was (and still is) just as much of an all time favourite of mine so building one of my own droids is a logical step for me. As my other robot showcases where posted when the majority of the work was done, this will be a build diary of sorts, with updates throughout the build.
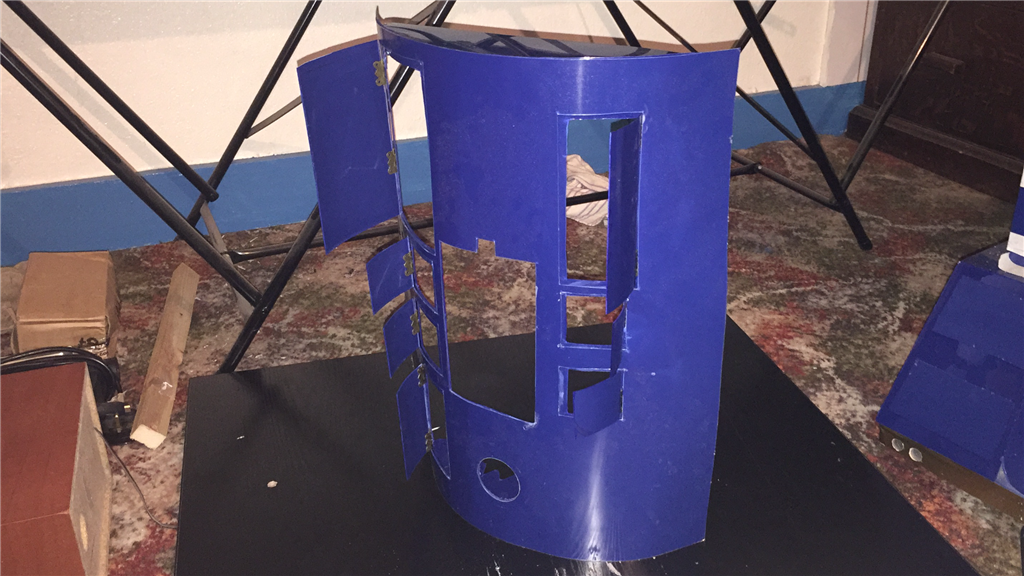
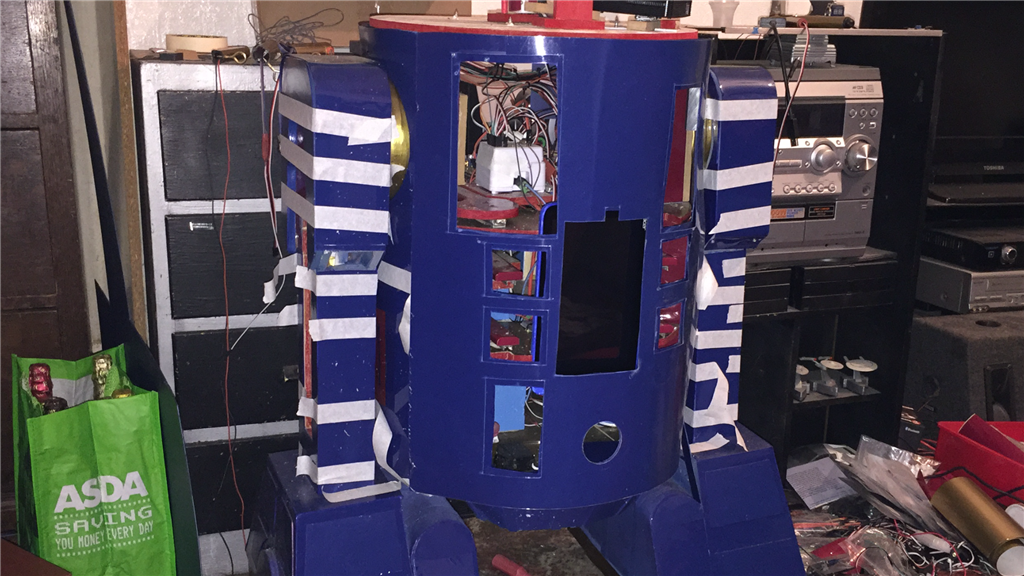
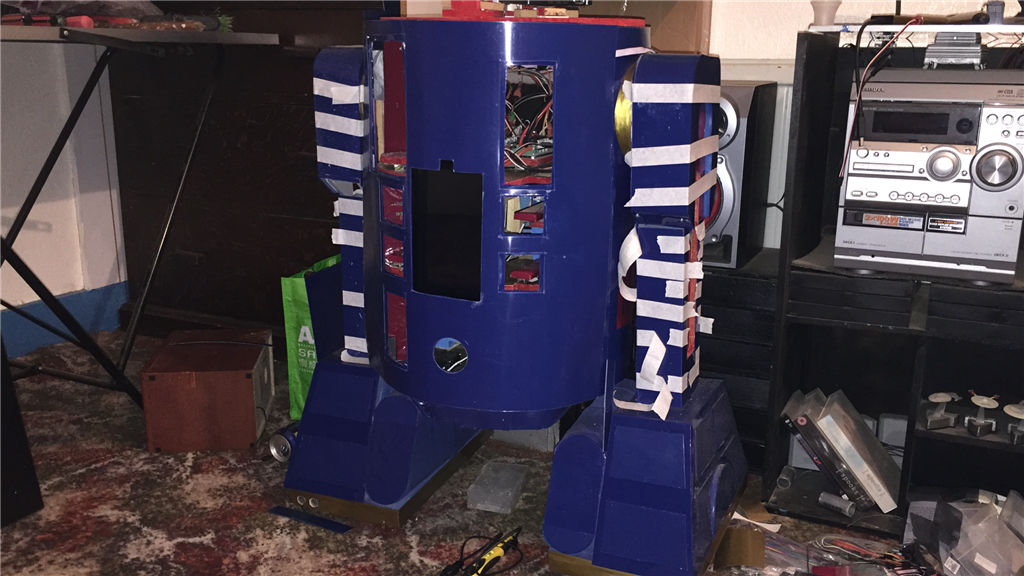
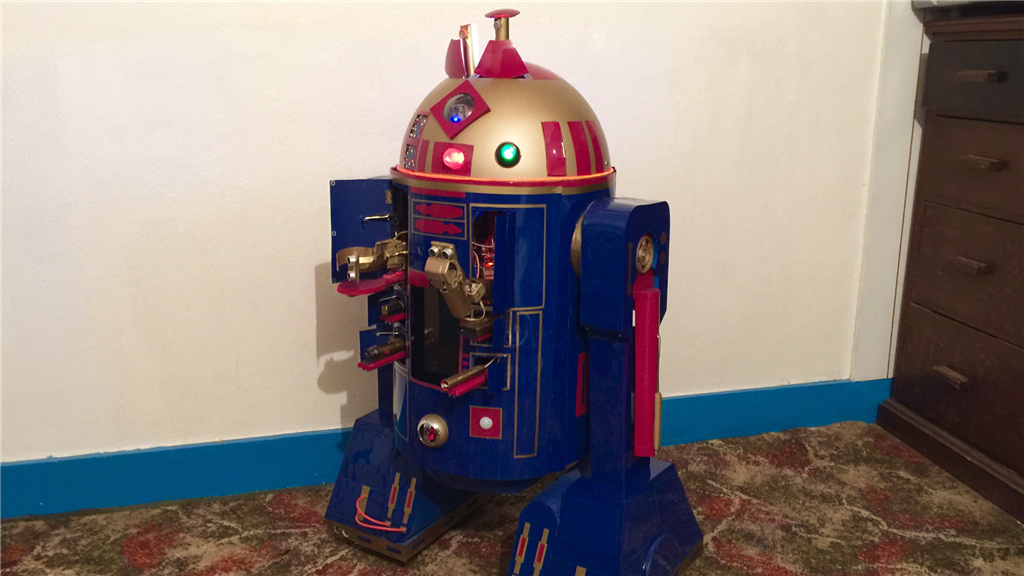
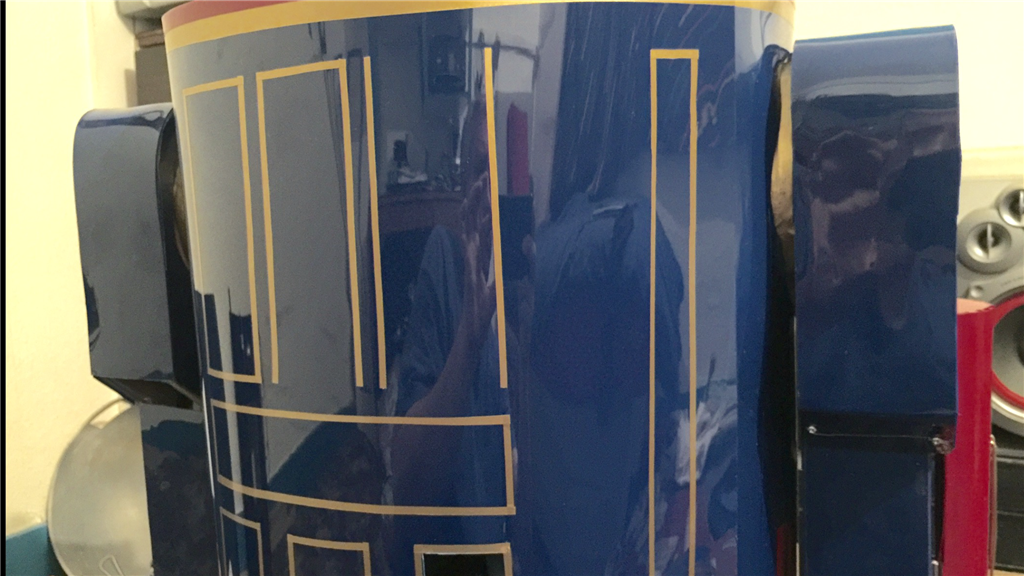
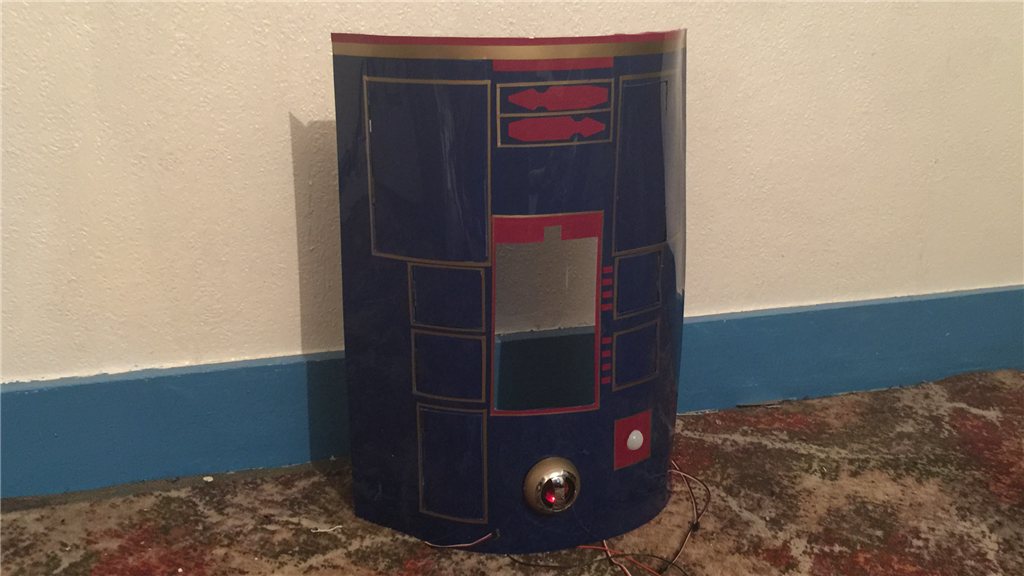
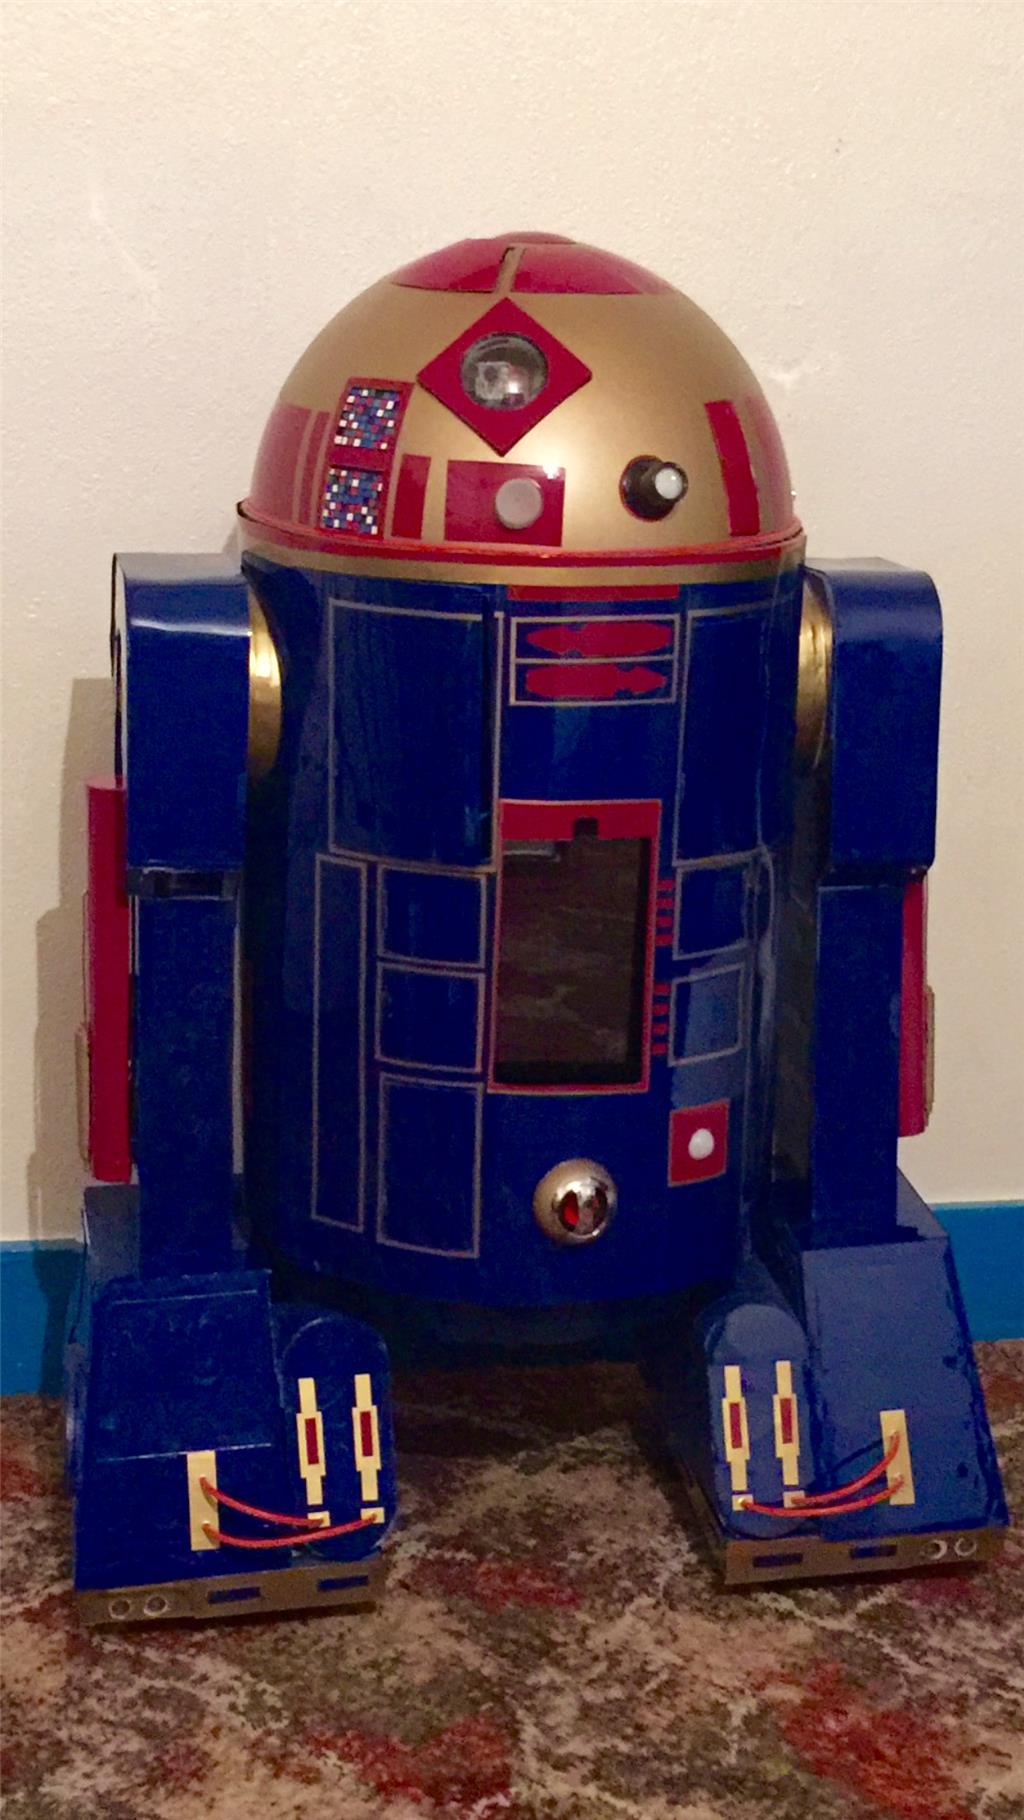
So wanting to get back to building, I had a few ideas floating around for my next BIG project and the thought about doing an R2 style robot came up a few times in the past (the blueprints I drew up that I've posted are 3 years old and was for an R/C version), and after encountering a few design issues for a large custom robot (which I will get back to one day), it was @Robot56's fantastic Astromech Droid project that was the final push for me to decide what direction I should go. There are so many great scale replica Astromech builds around that people have done, but much like my K-9 2.0 build, I want to stay away from doing an exact prop replica build and do a custom build with custom paint job (as seen in the blueprints) while still keeping with the overall original design.
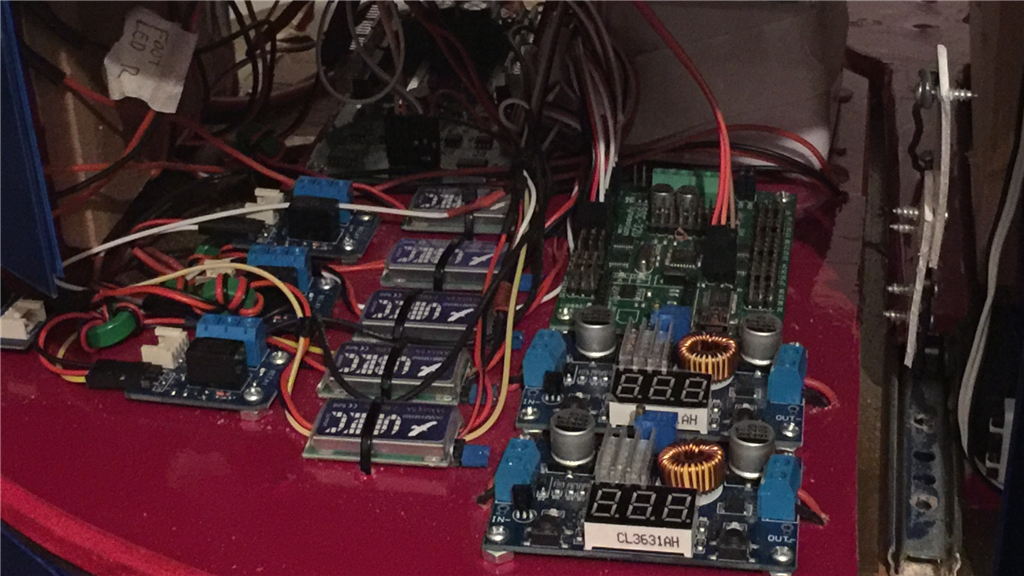
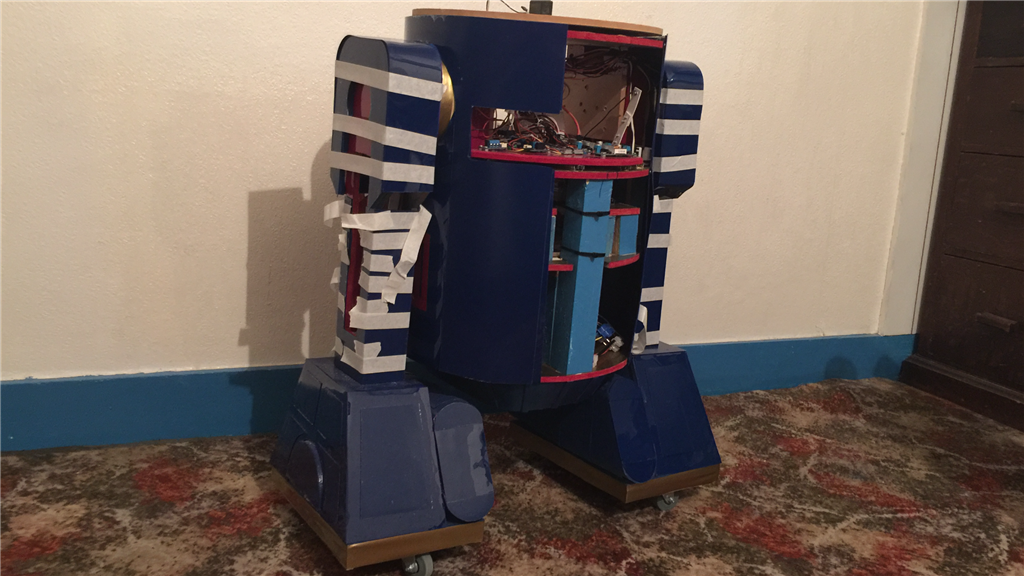
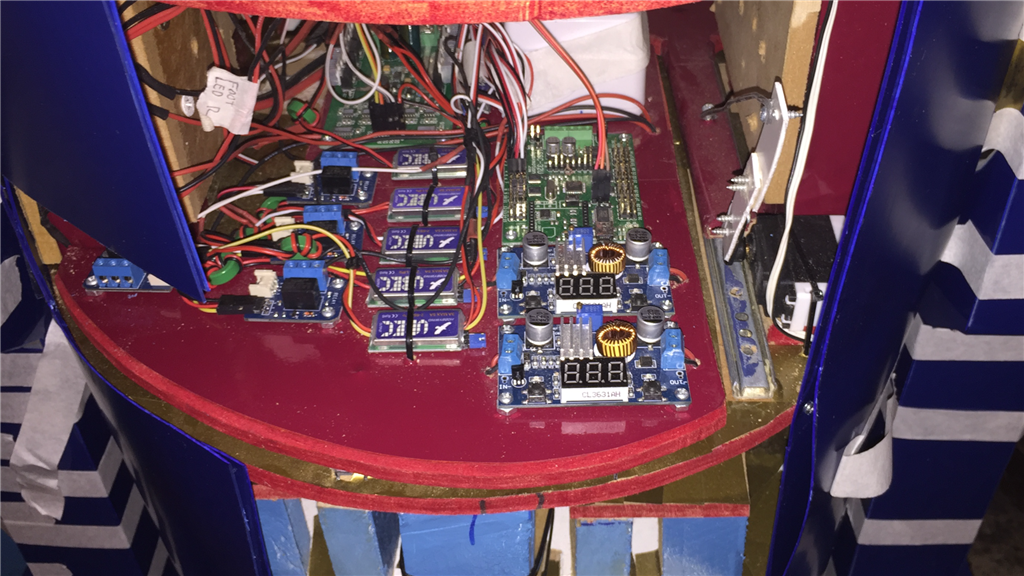
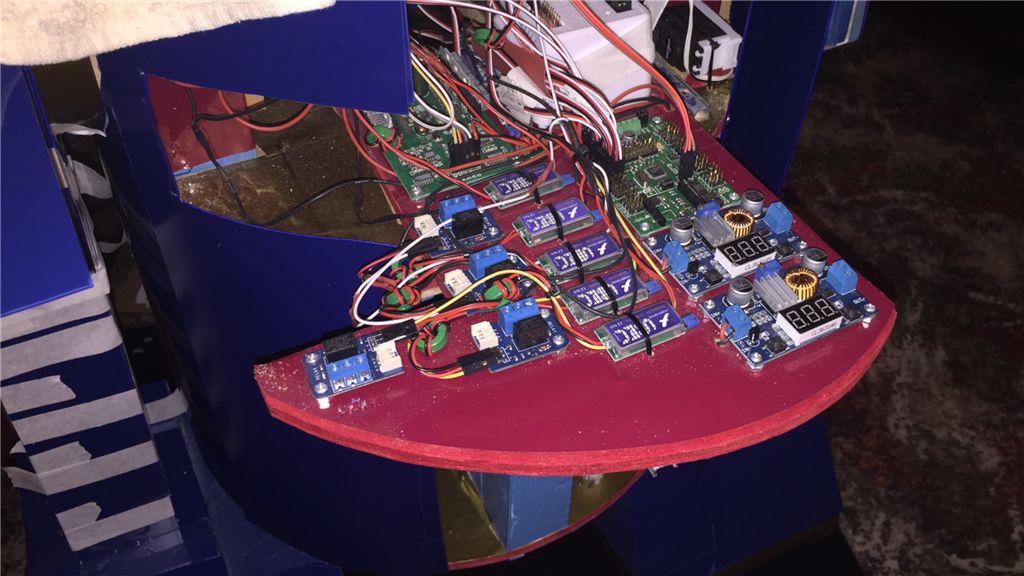
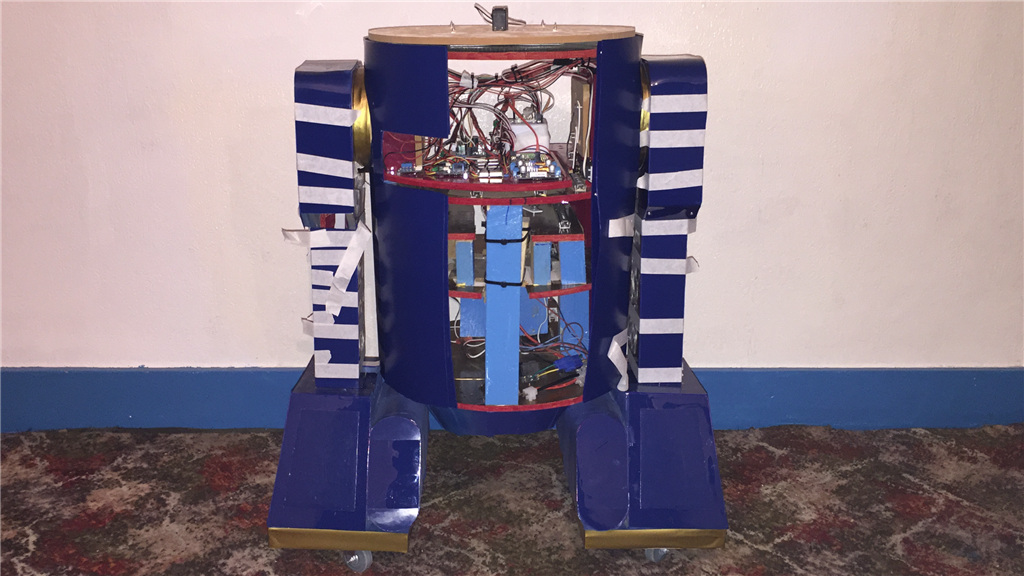
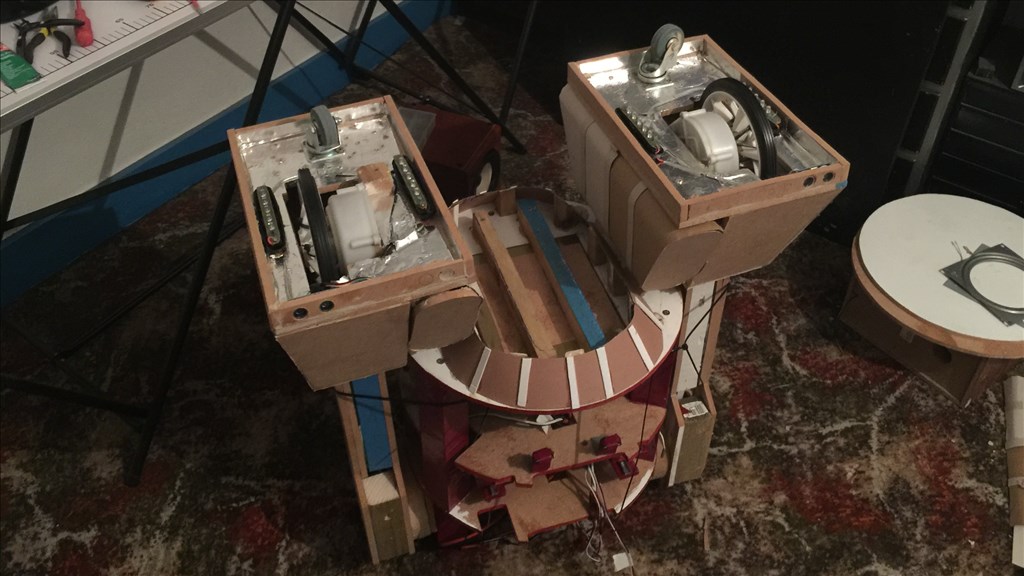
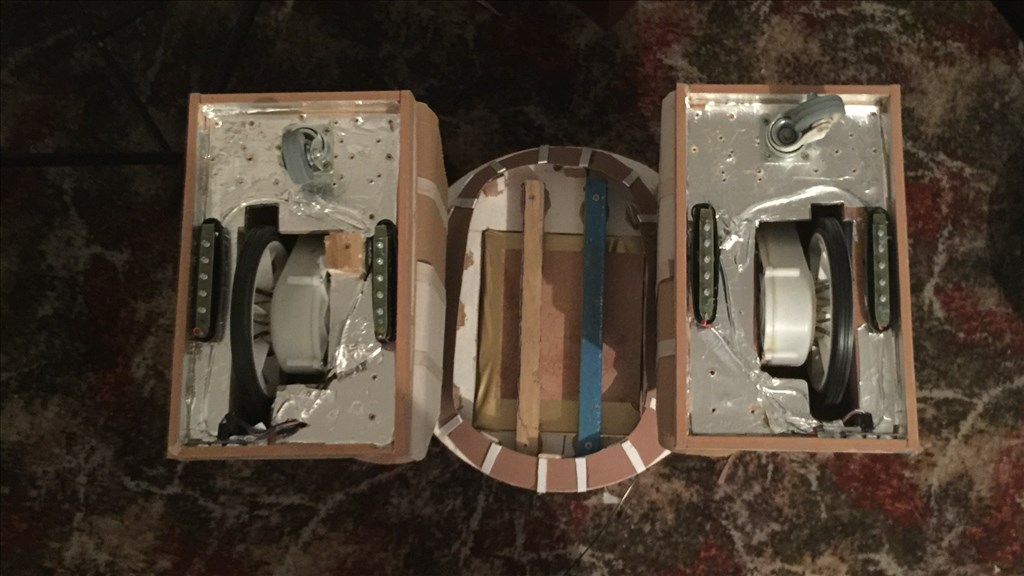
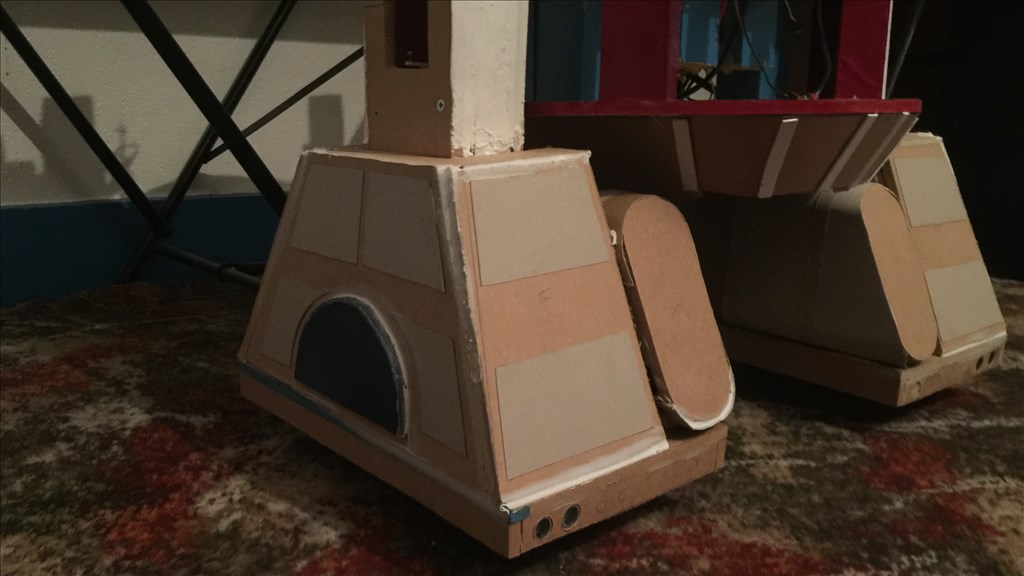
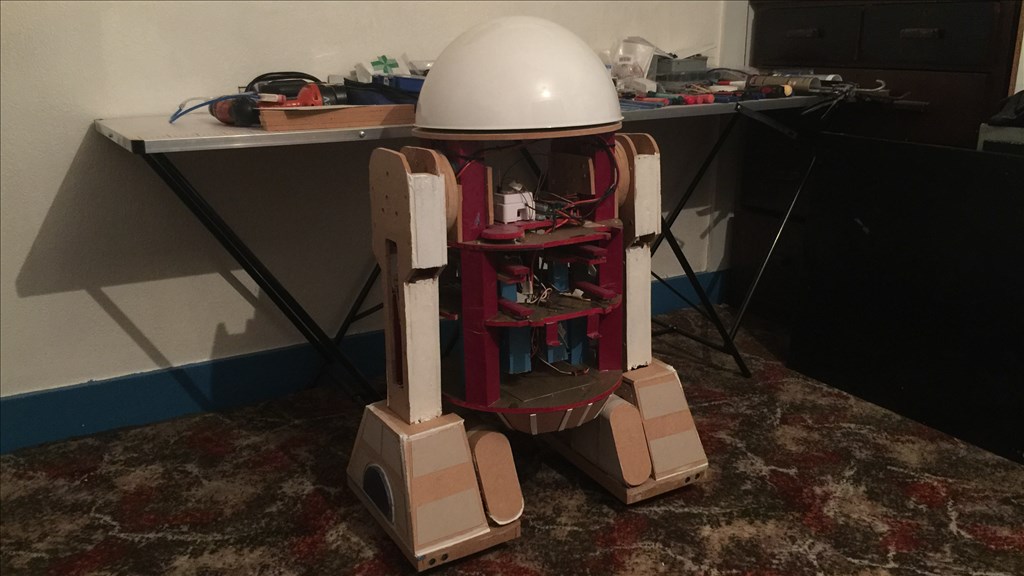
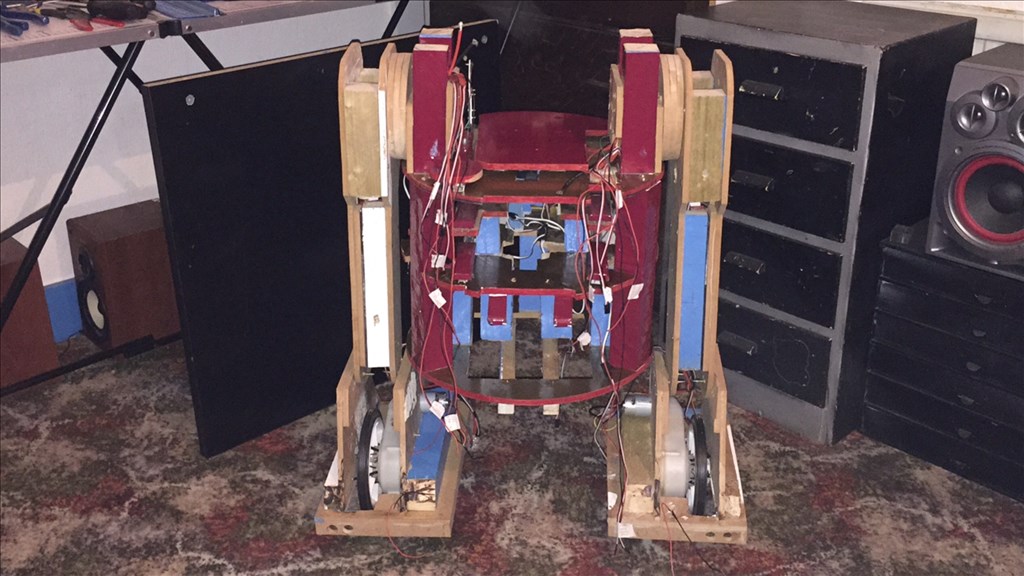
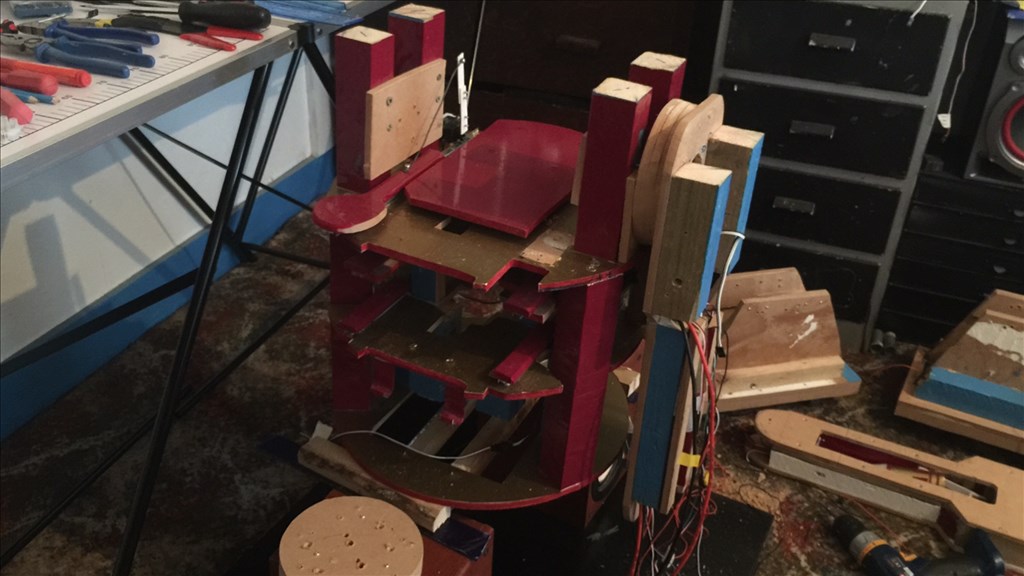
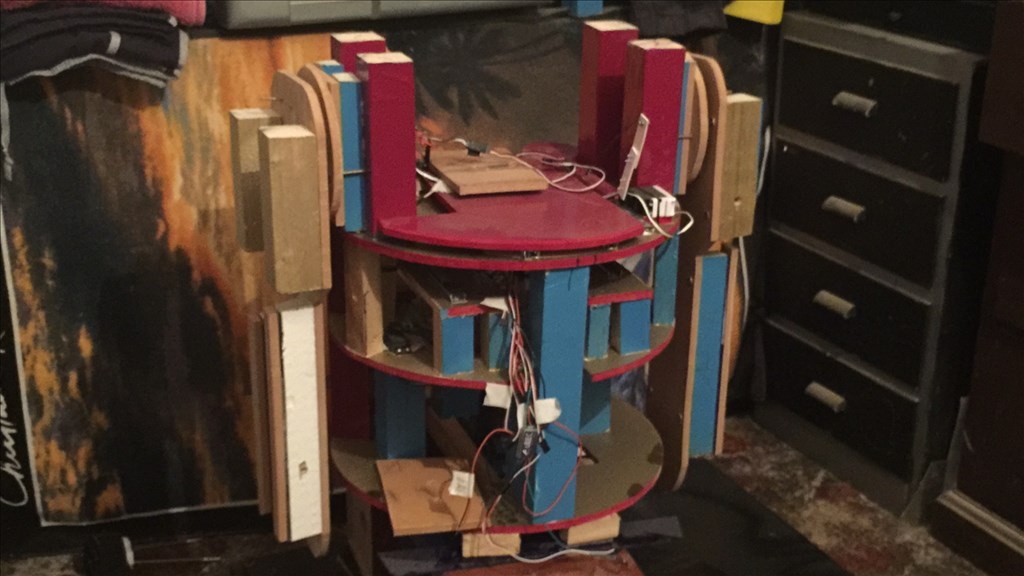
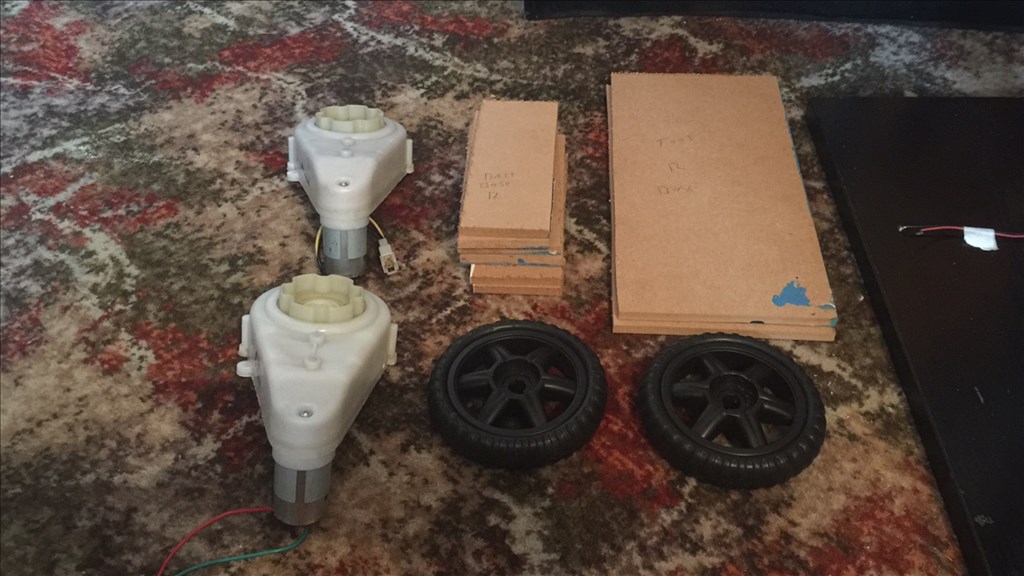
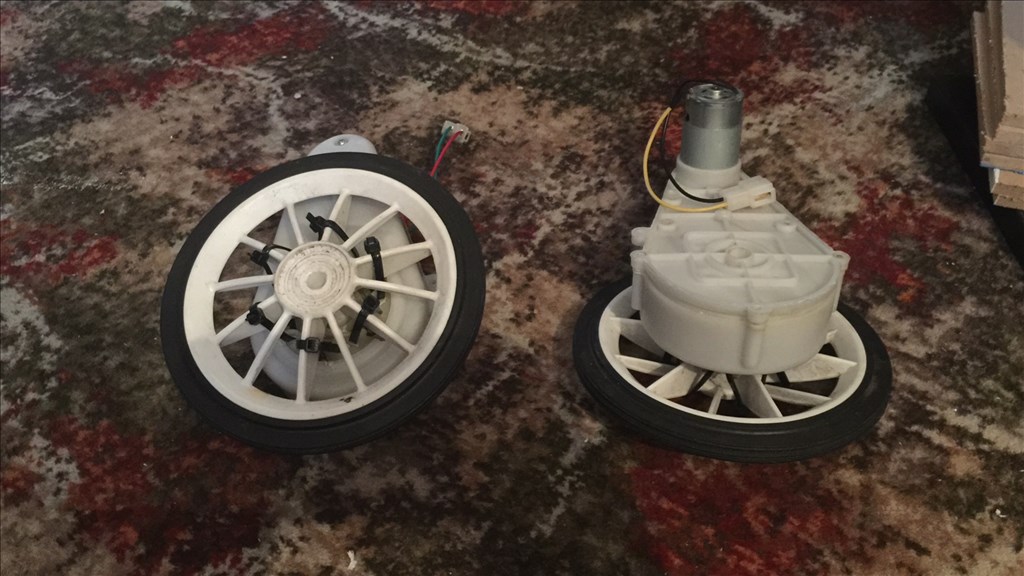
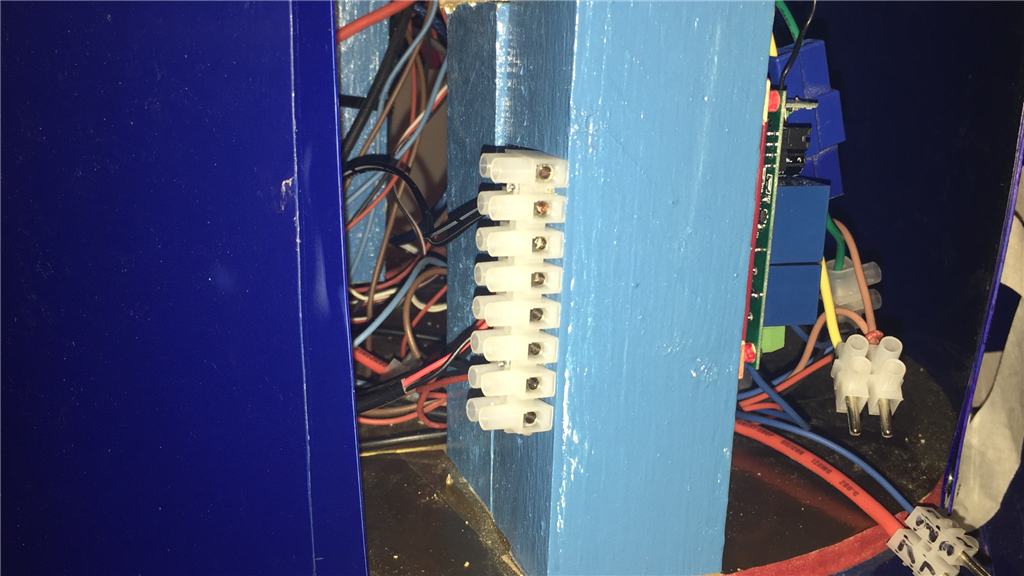
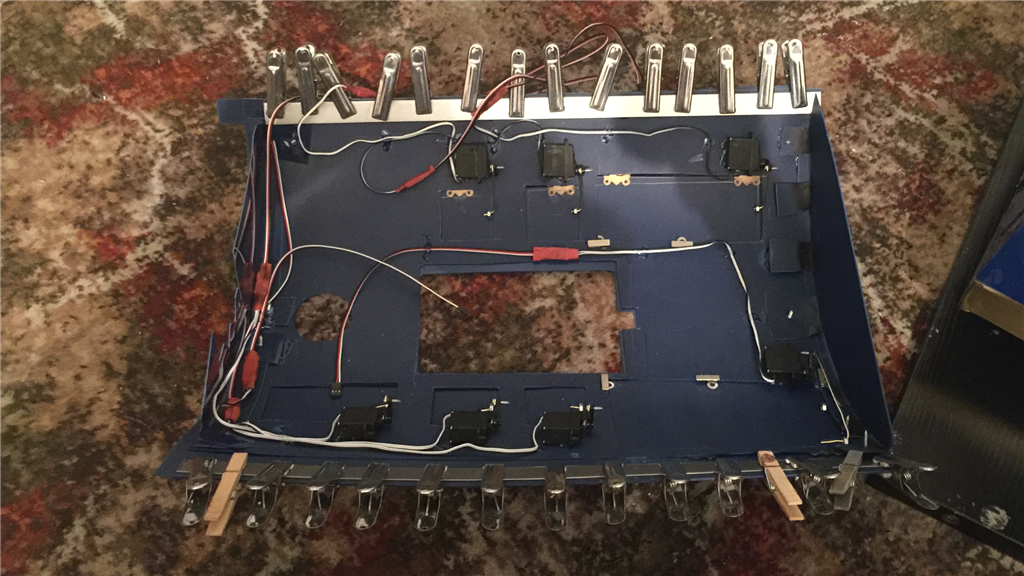
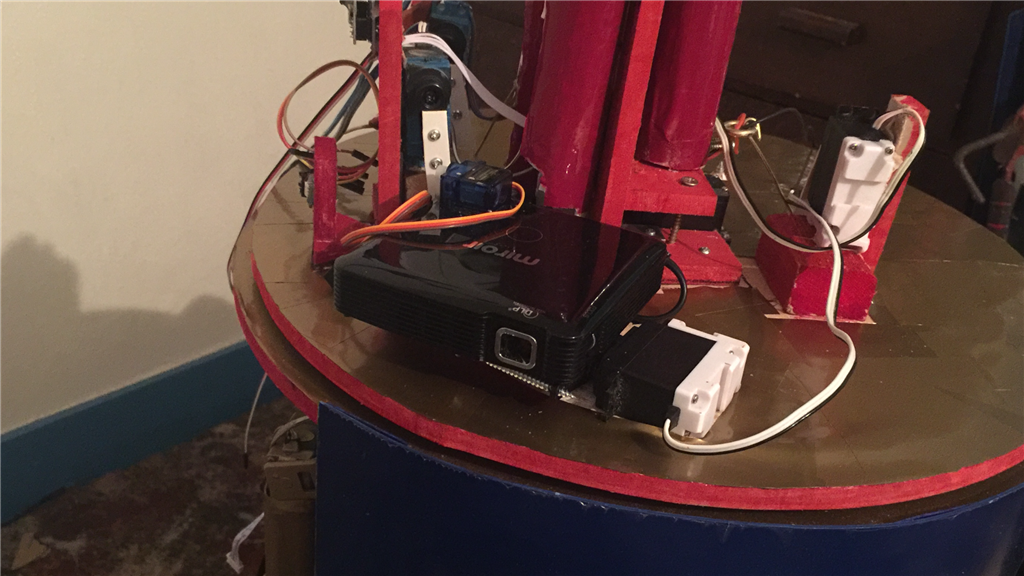
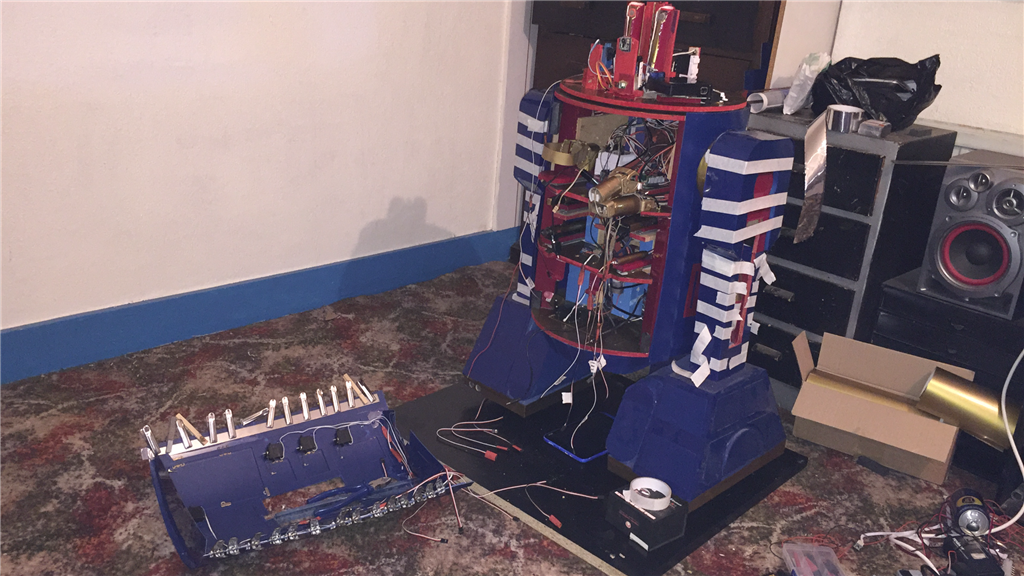
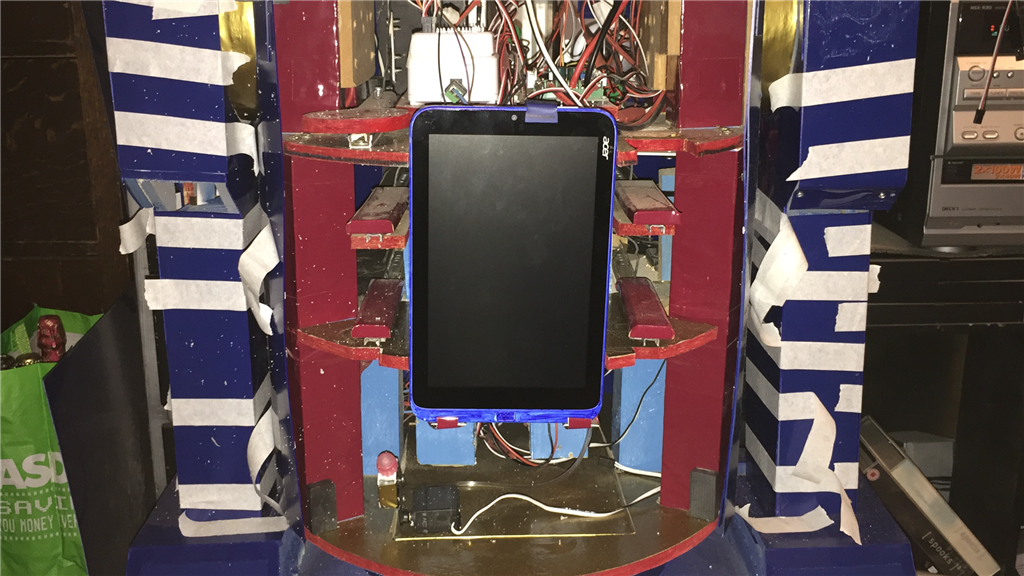
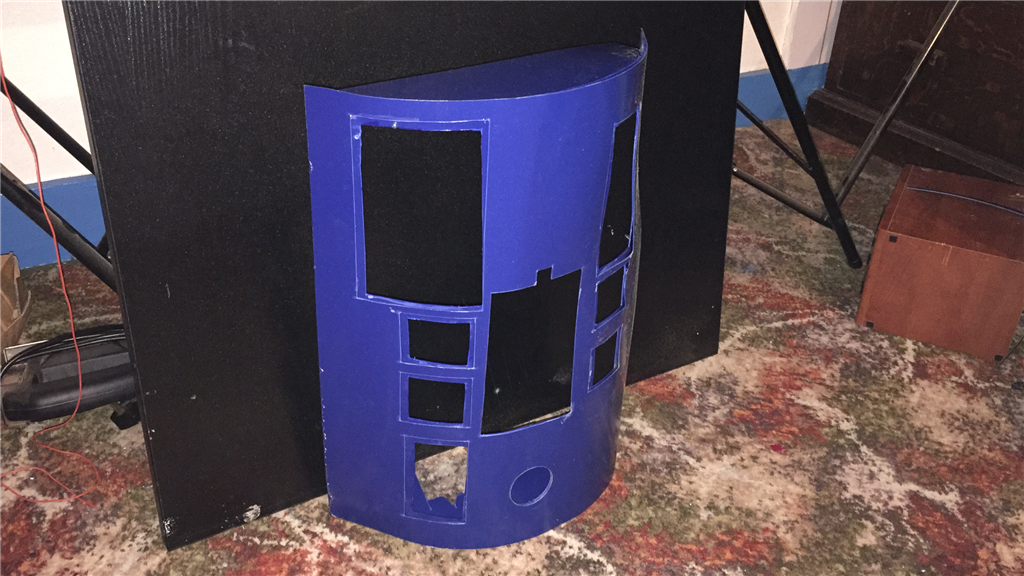
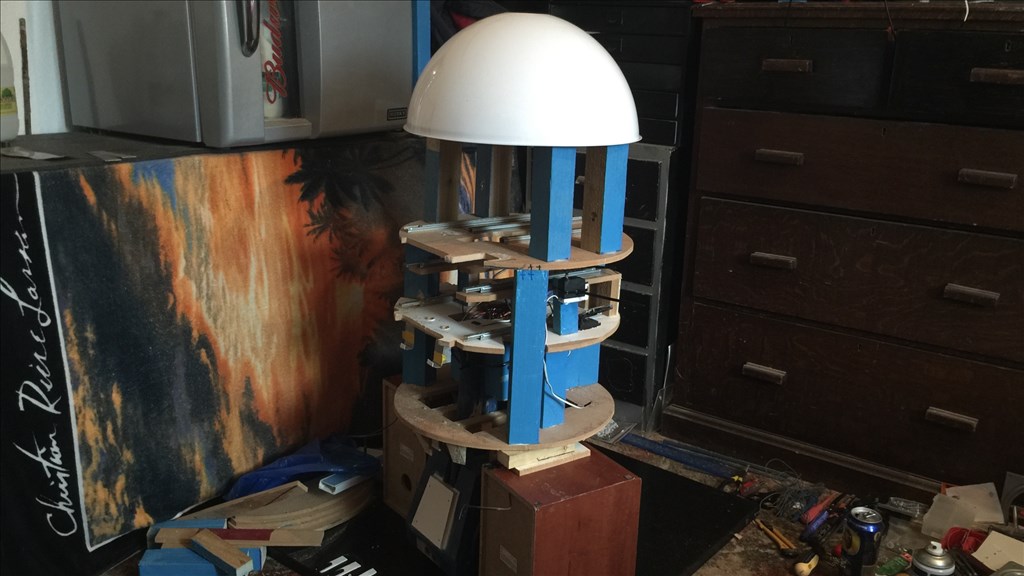
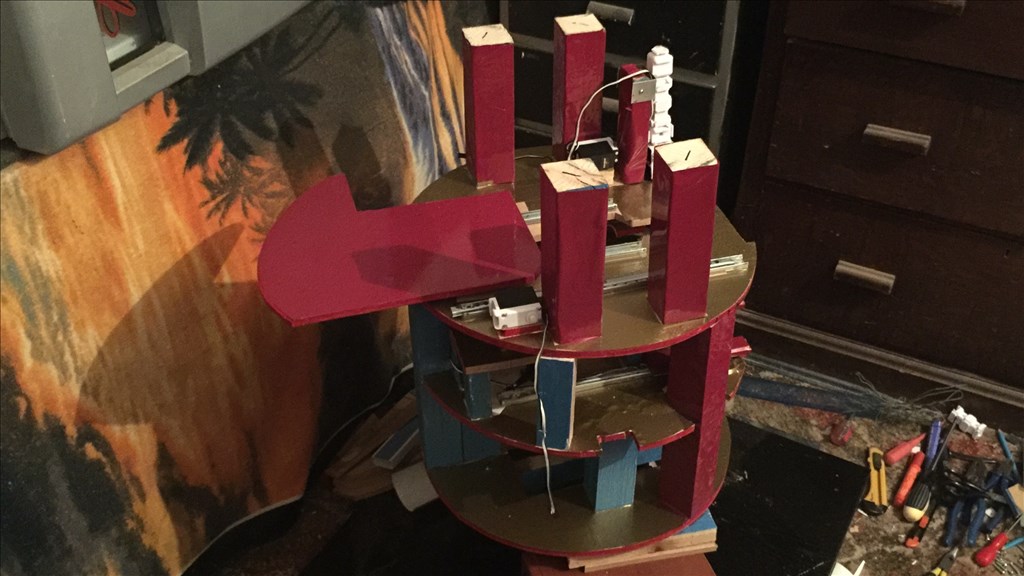
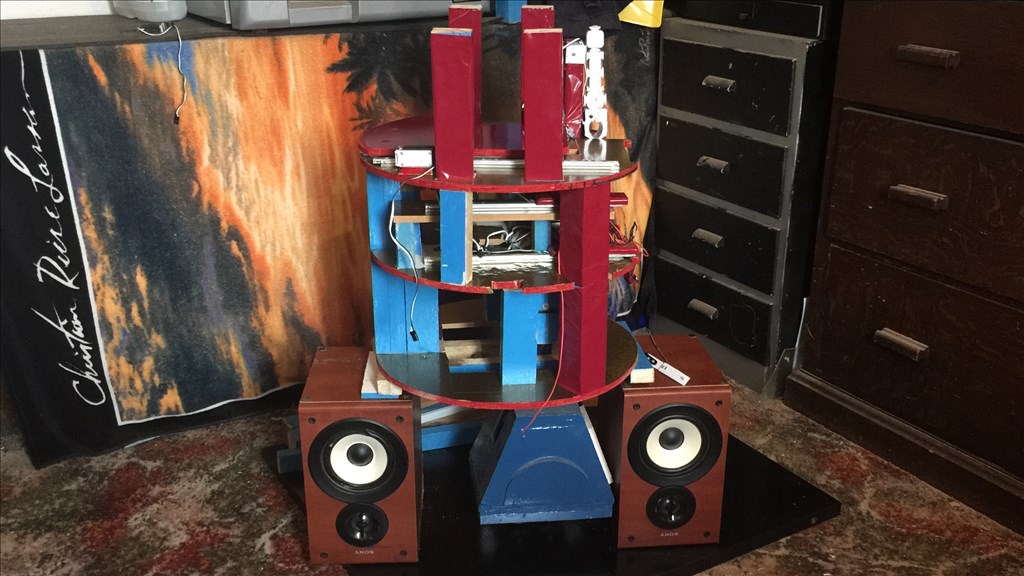
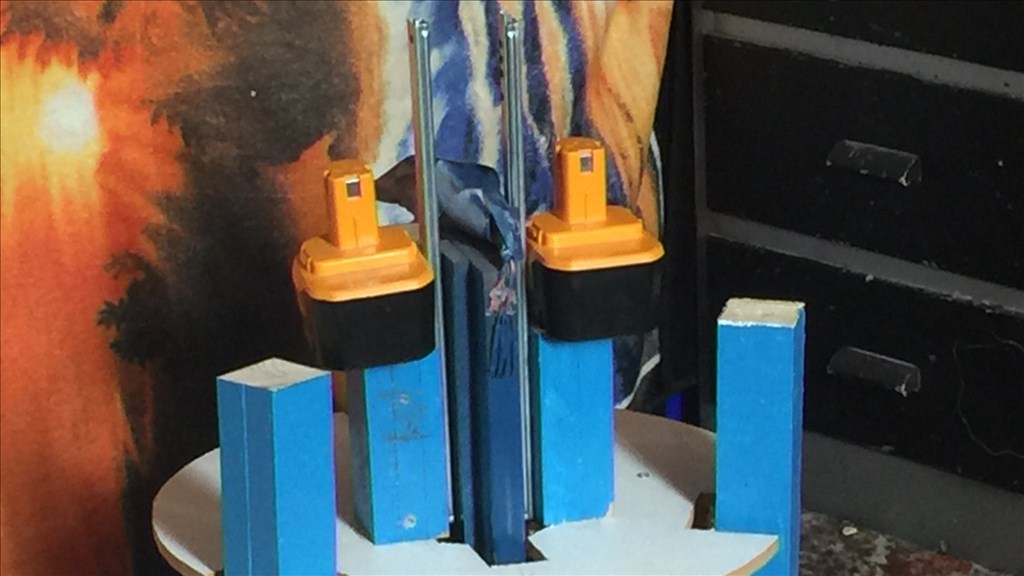
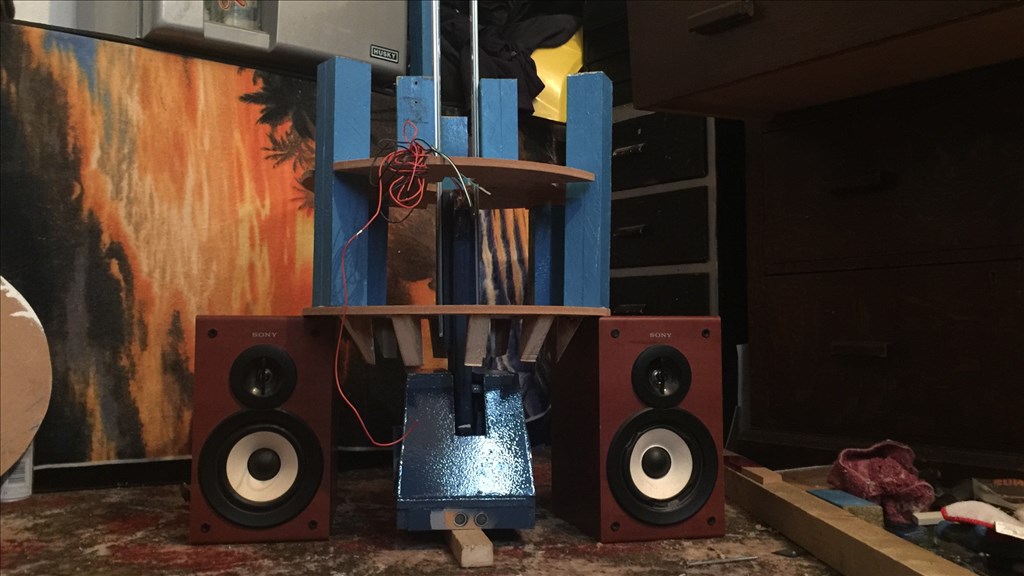
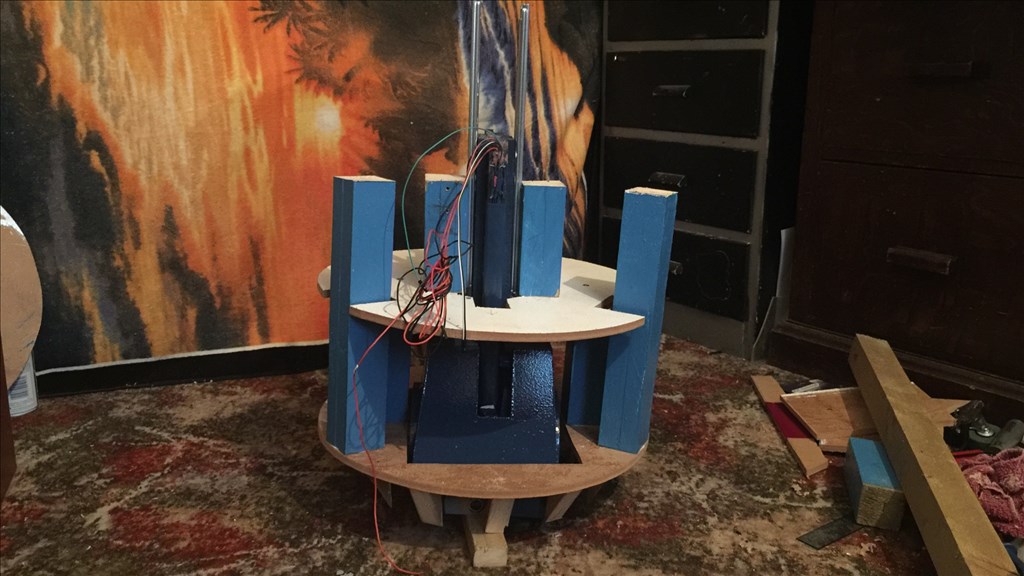
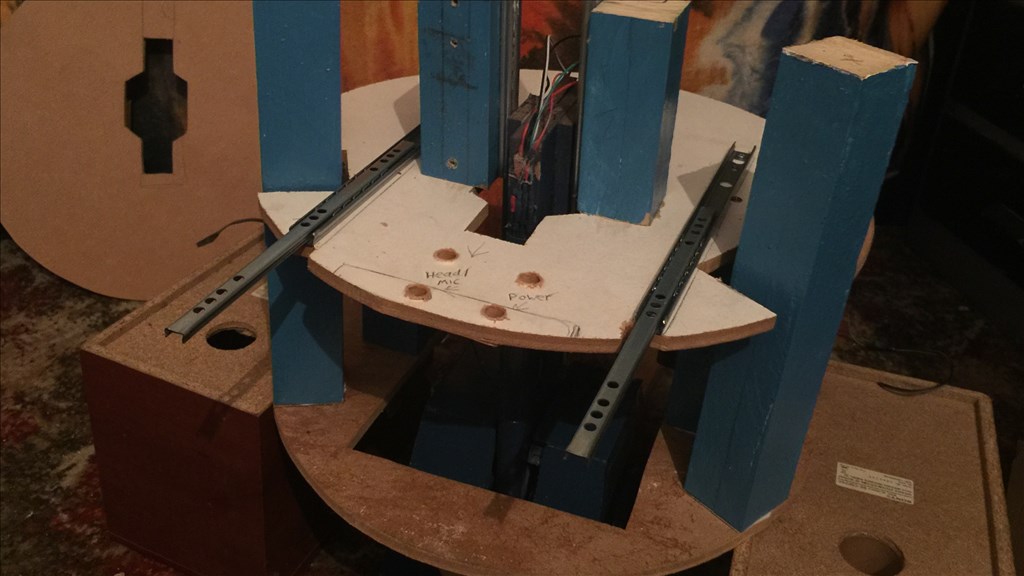
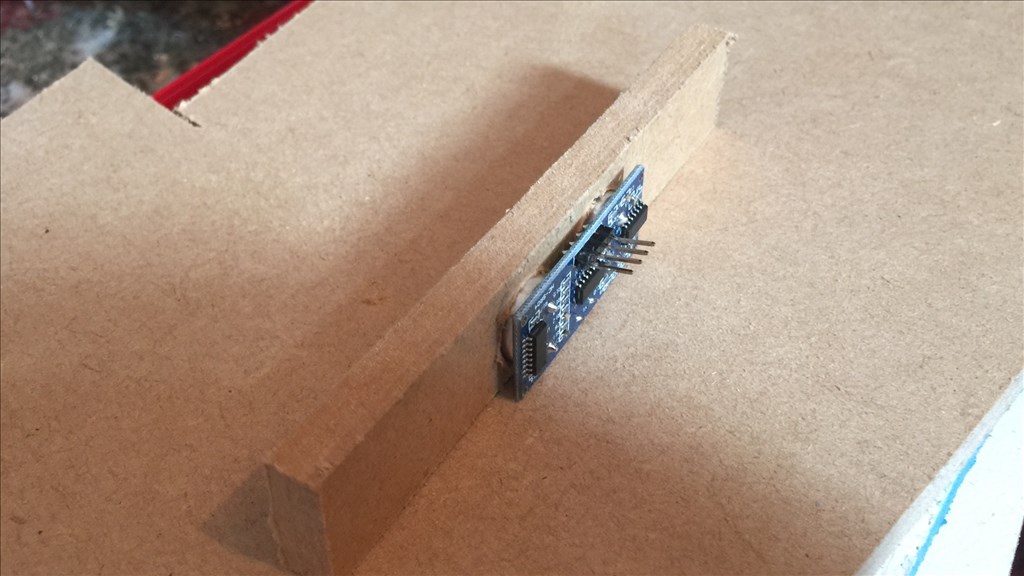
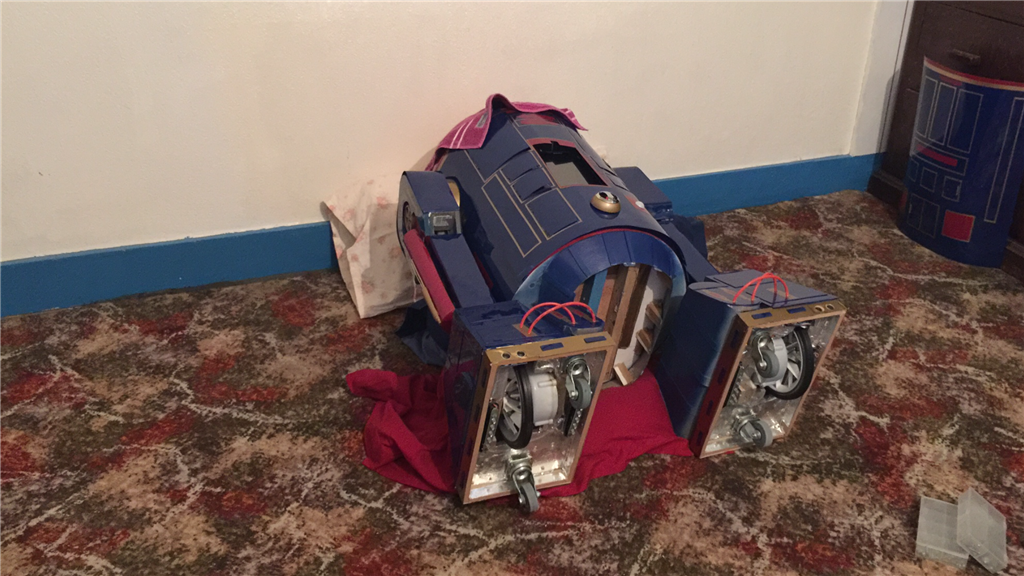
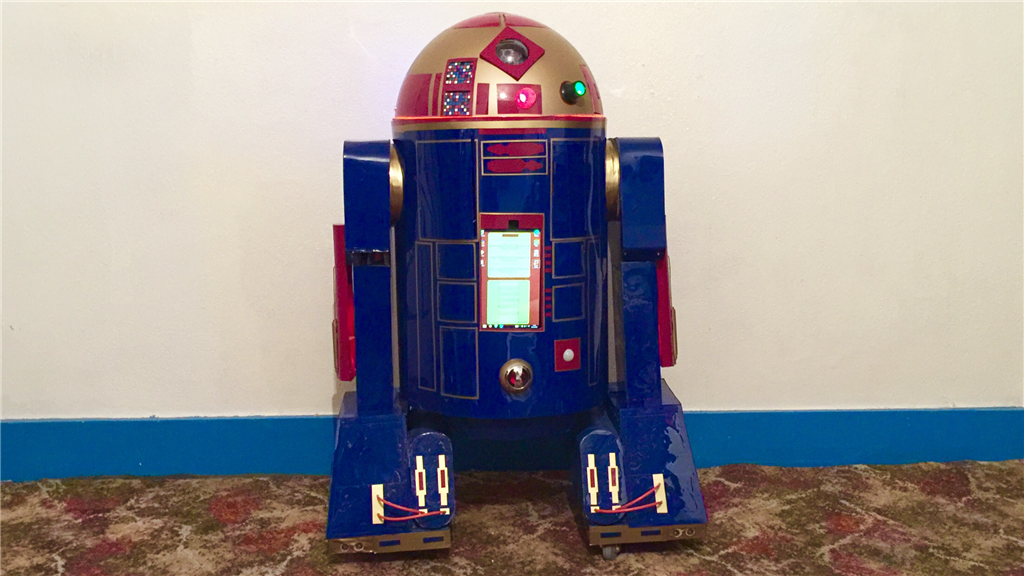
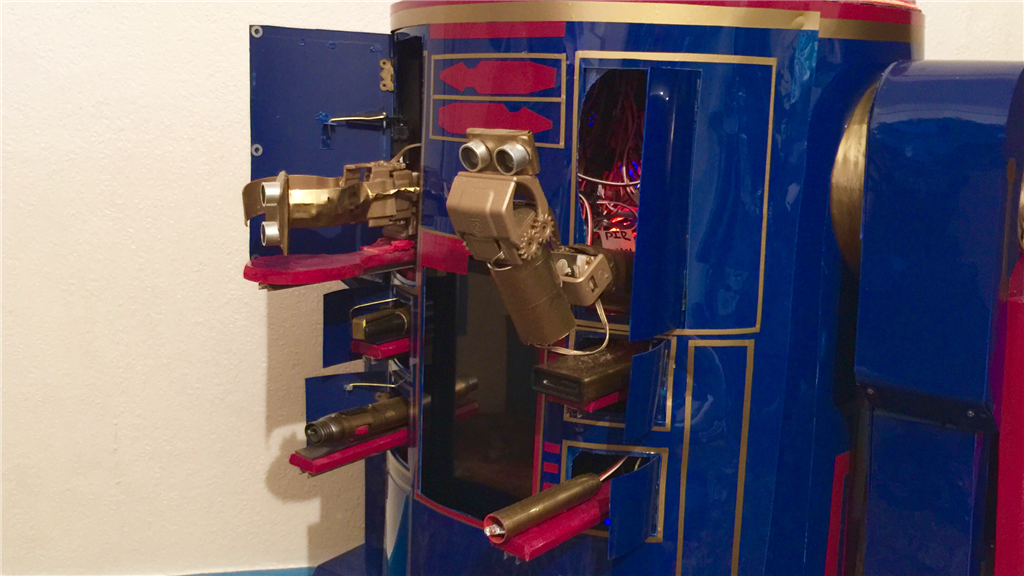
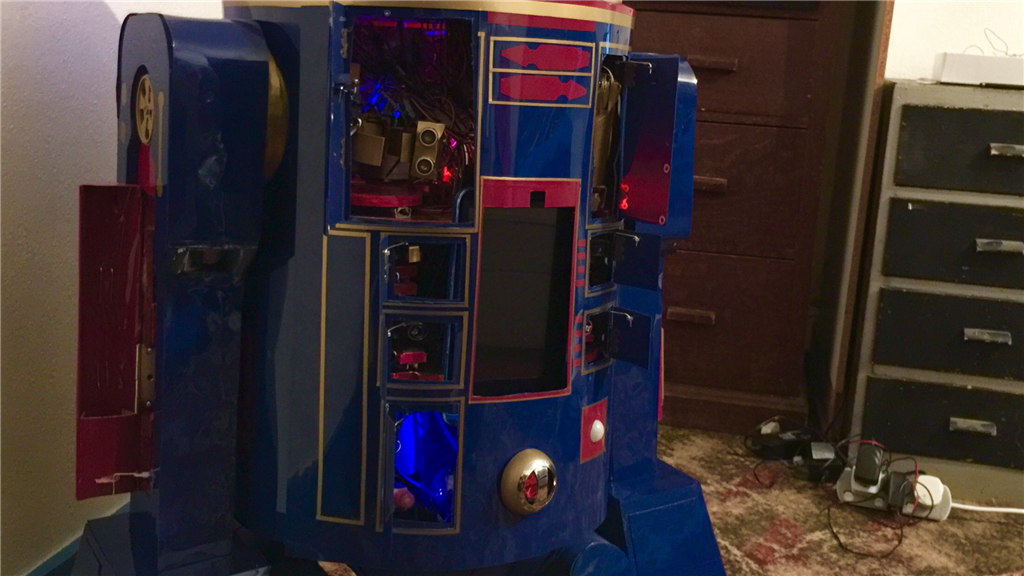
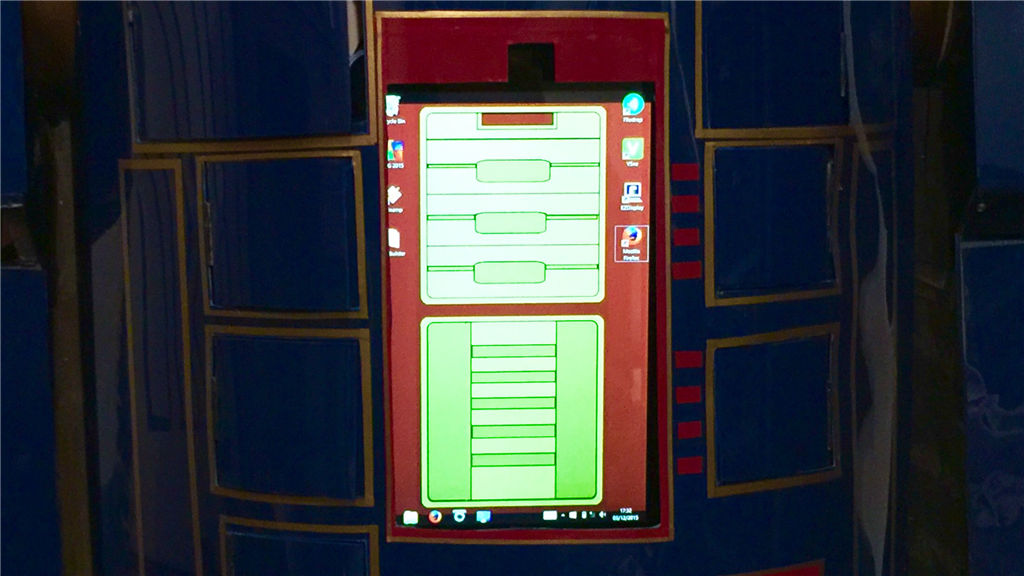
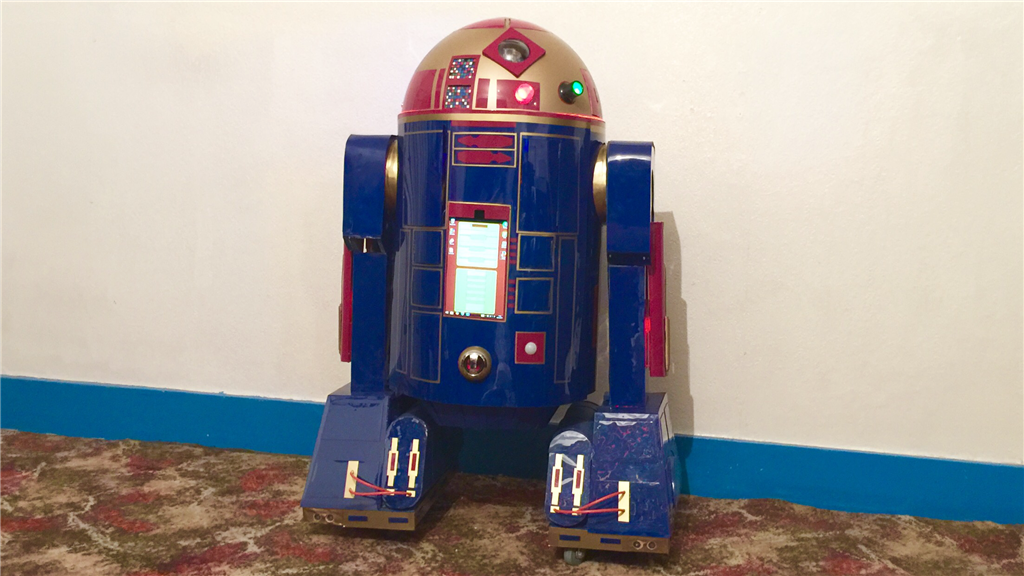
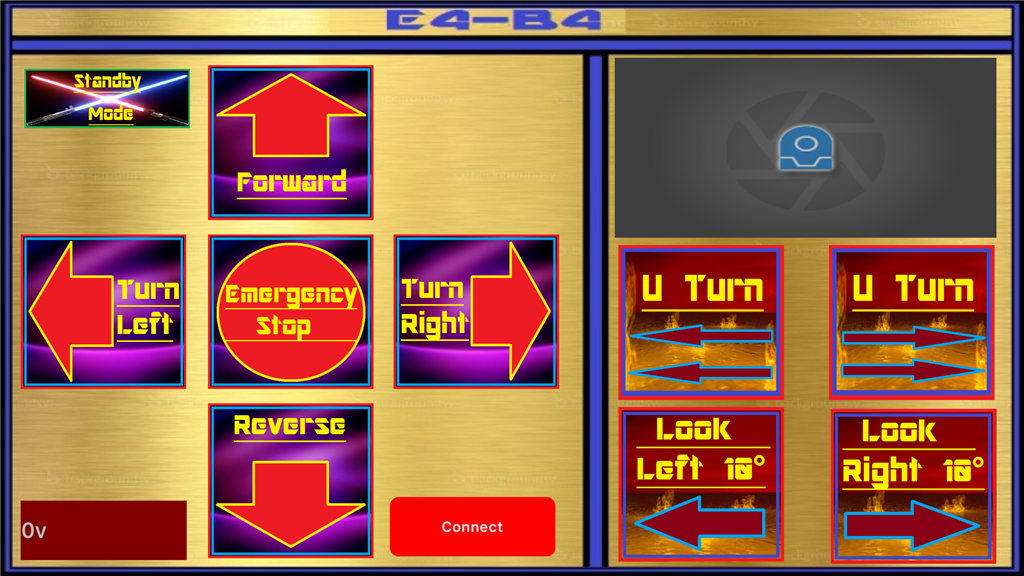
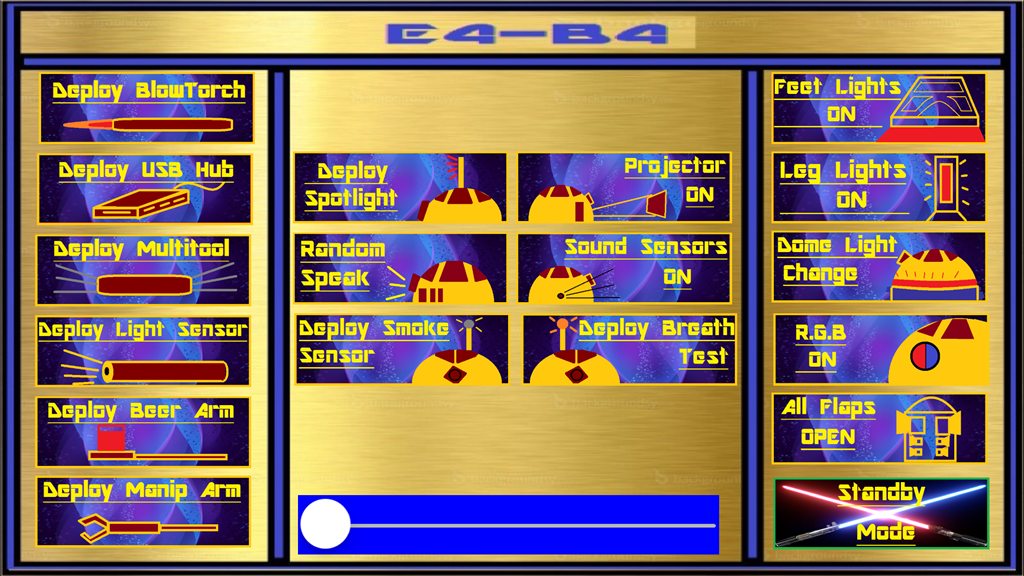
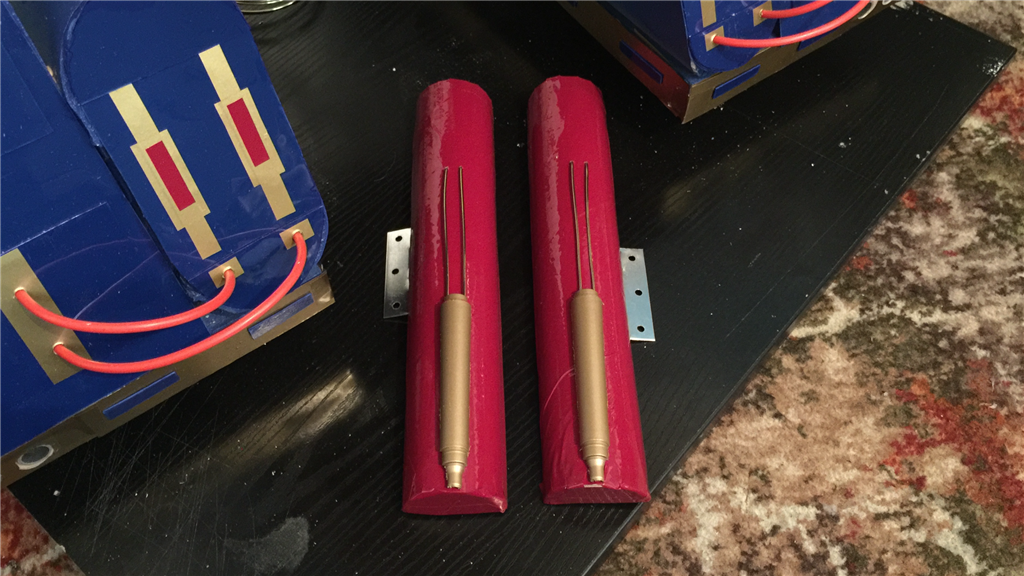
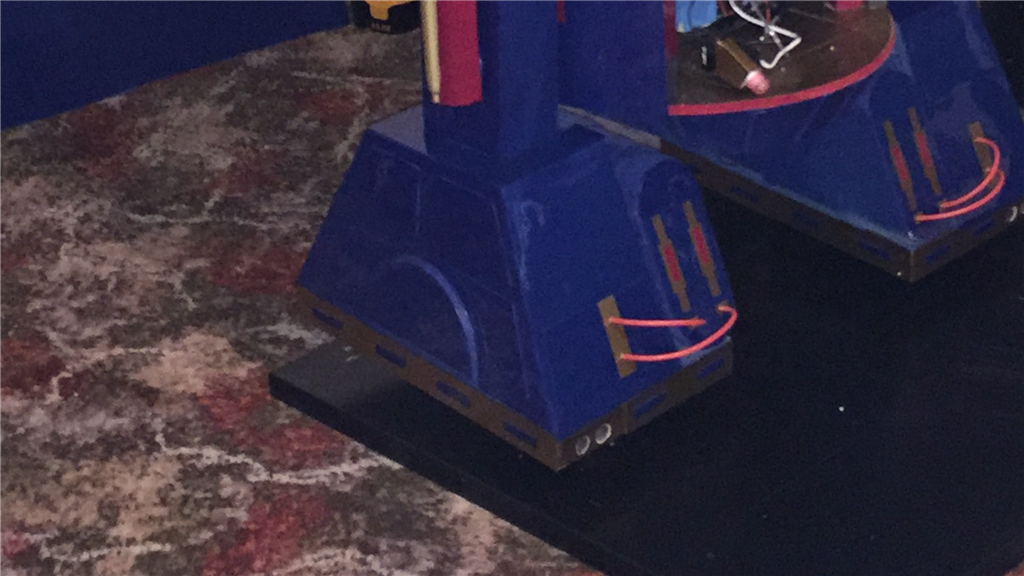
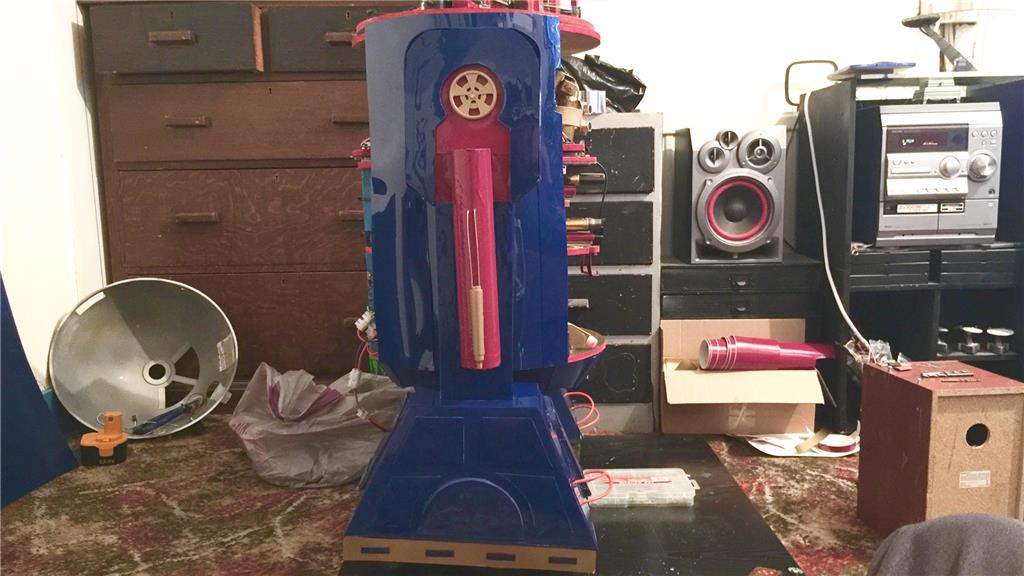
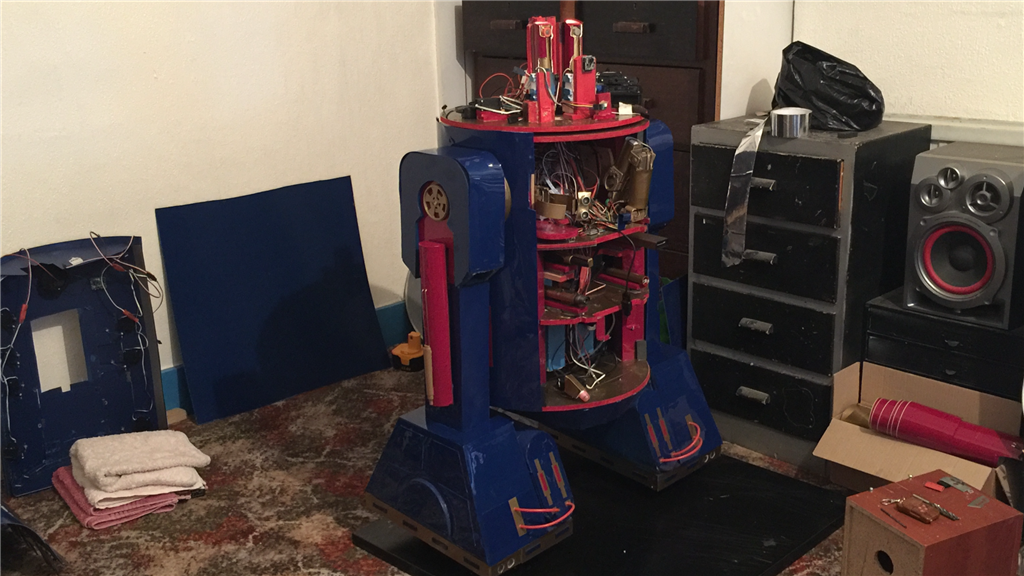
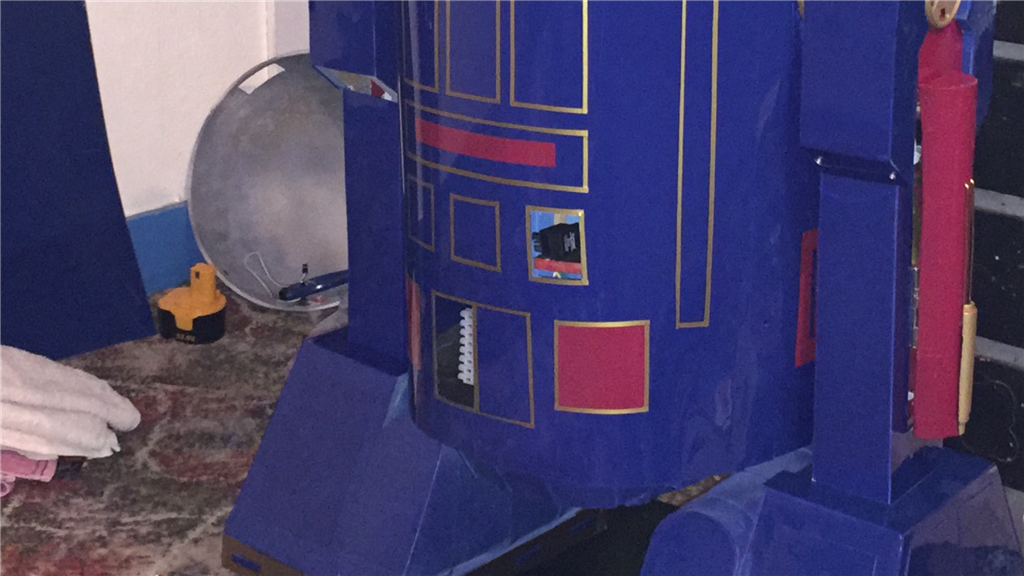
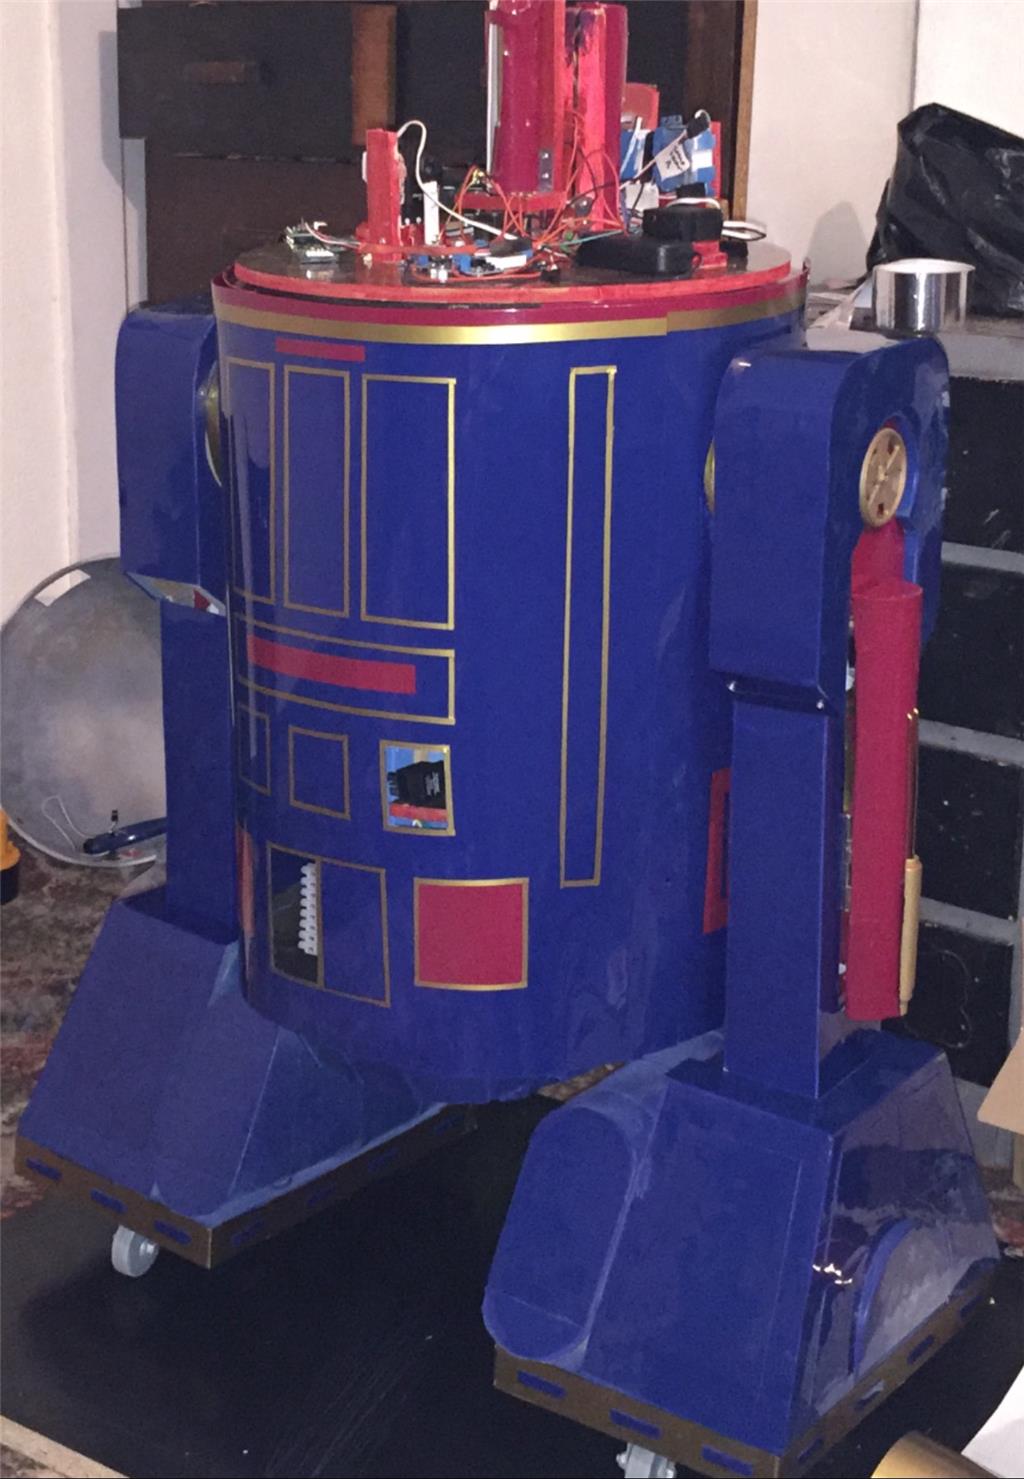
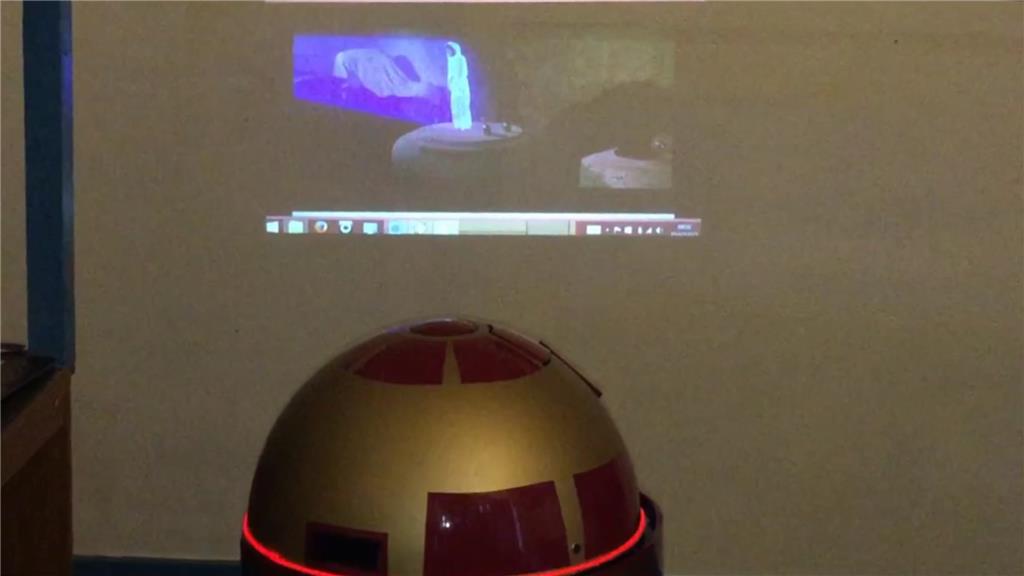
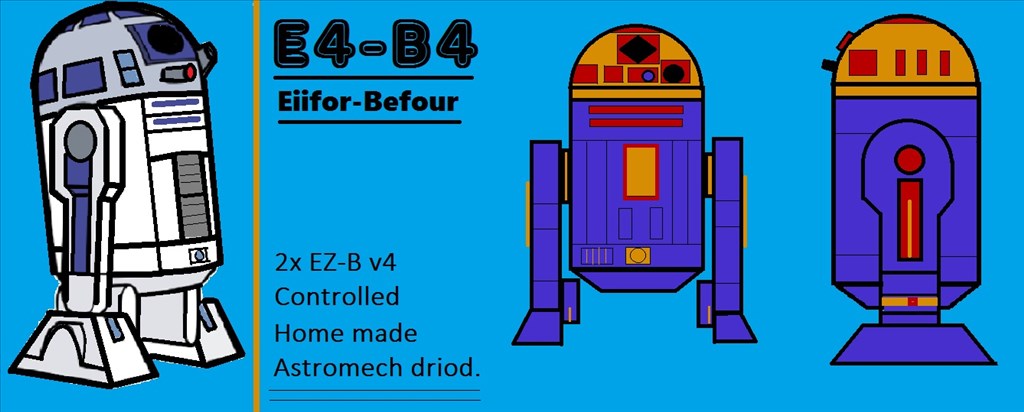
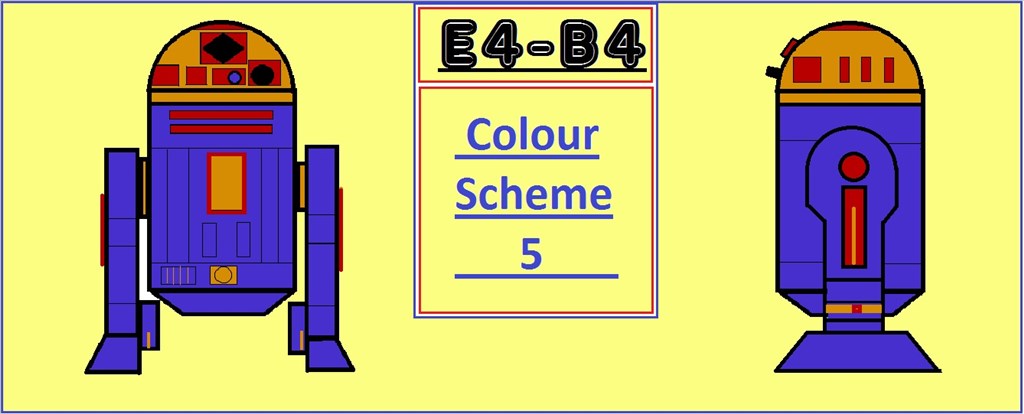
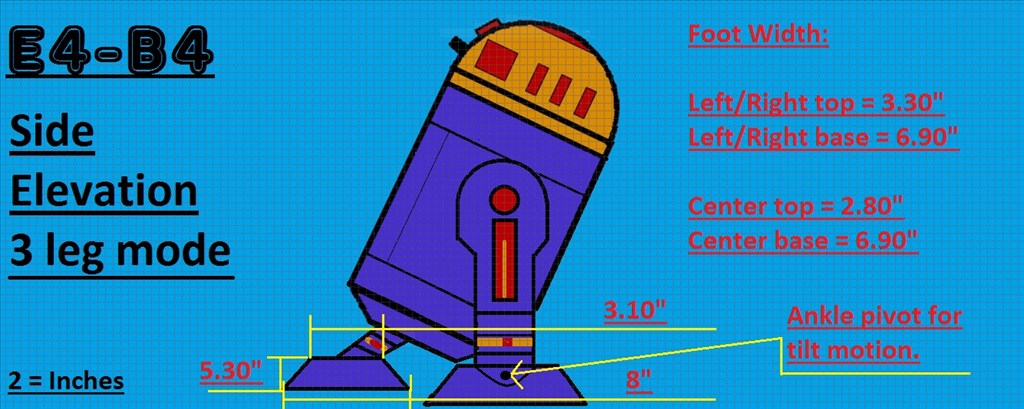
So what's with the name E4-B4 (Eiifor-Befour)? Well its kinda based on the EZ-B 4, of which this little'ish guy will have two of them. One master v4 to control motor controllers, ping sensors, v4 soundboard, camera and sensors, while the 2nd slave v4 will be used for all of the servos used as well as additional sensors. E4 will be mainly built using MDF with a plastic covering, and movement will be powered by 12v 30 watt gearbox/motors for the drive system. The "burtt acoustic signaller" and system ventilation vents on R2-D2's chest area (the two silver square'ish panels) will be replaced on E4 with a tablet PC, and the Optical Holographic Projector in R2's head will be something similar to what E4 will have, using a portable projector like the Aiptek or the Pico Genie, so no holograms... yet.
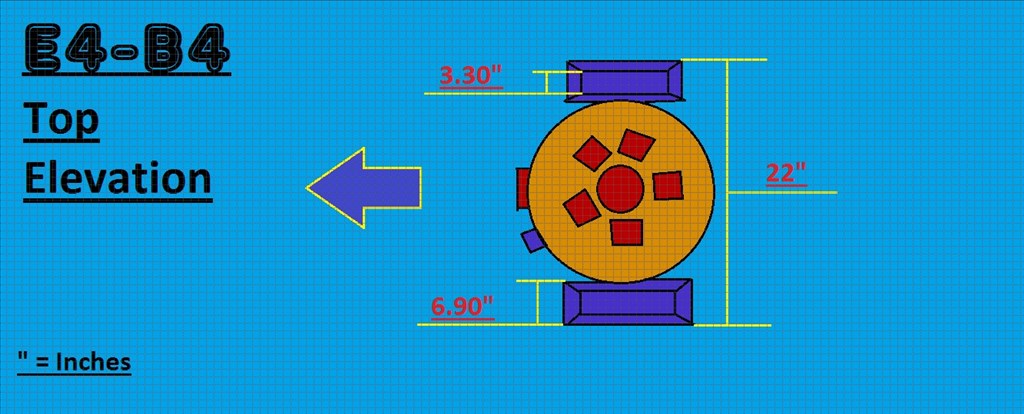
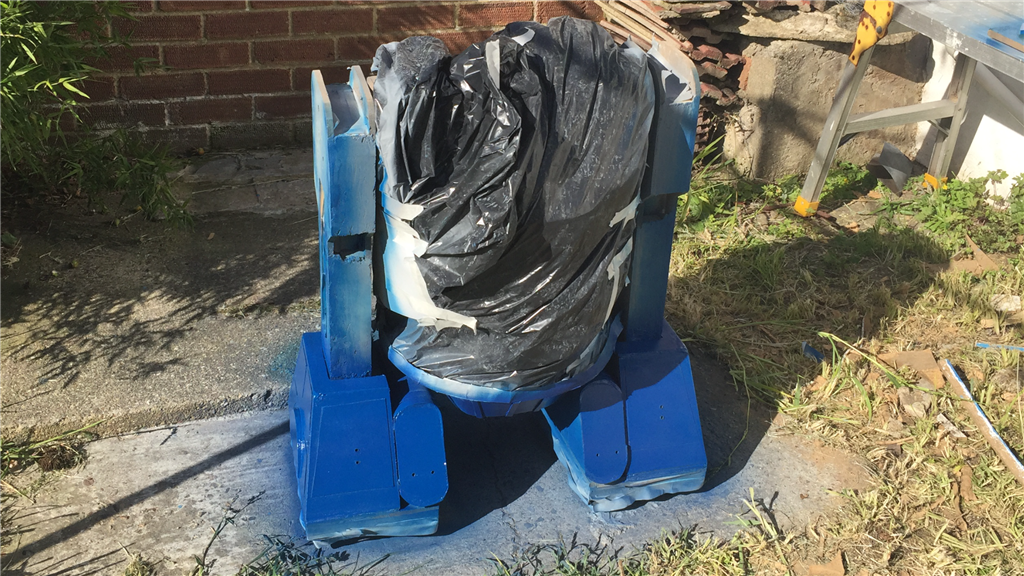
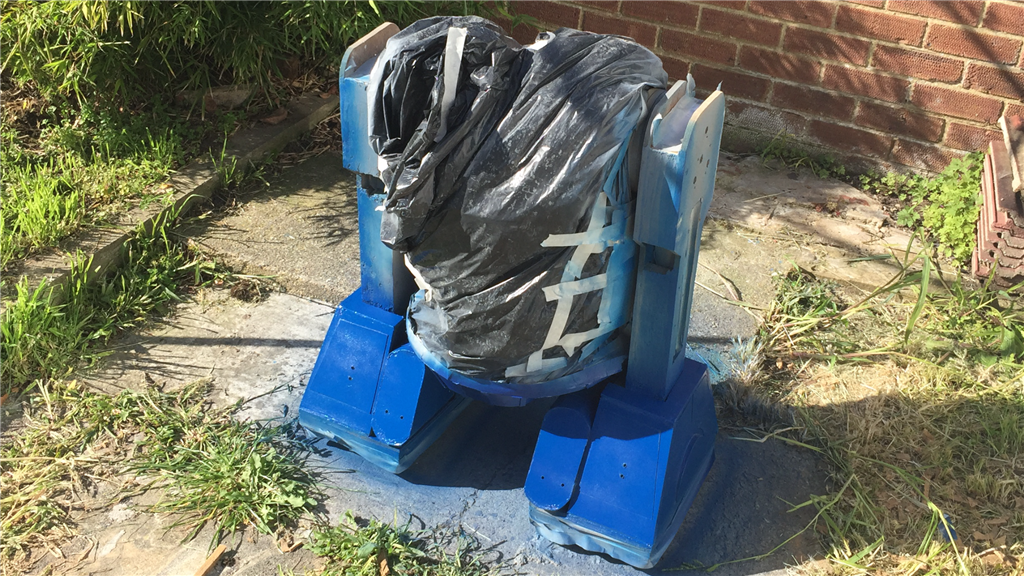
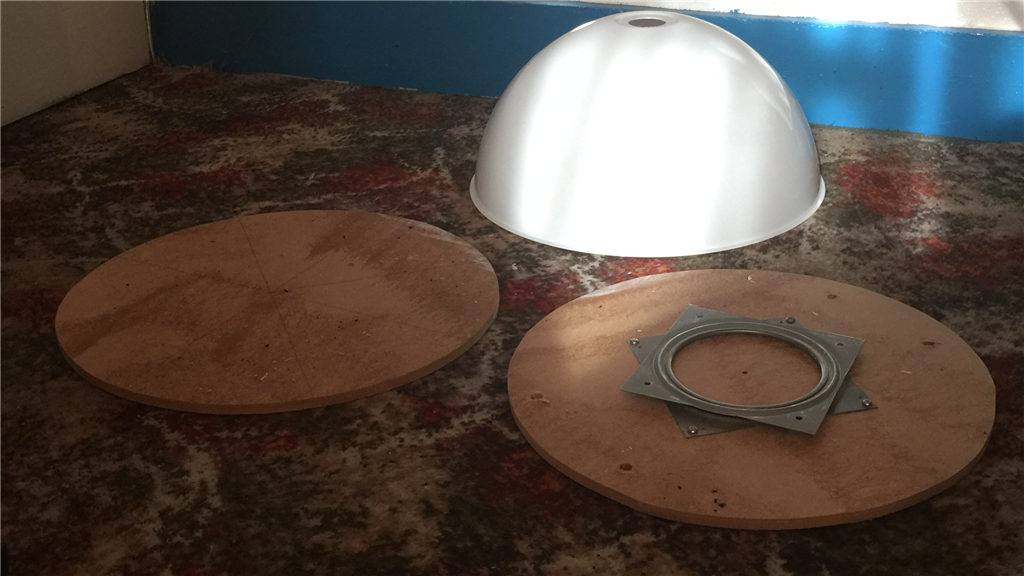
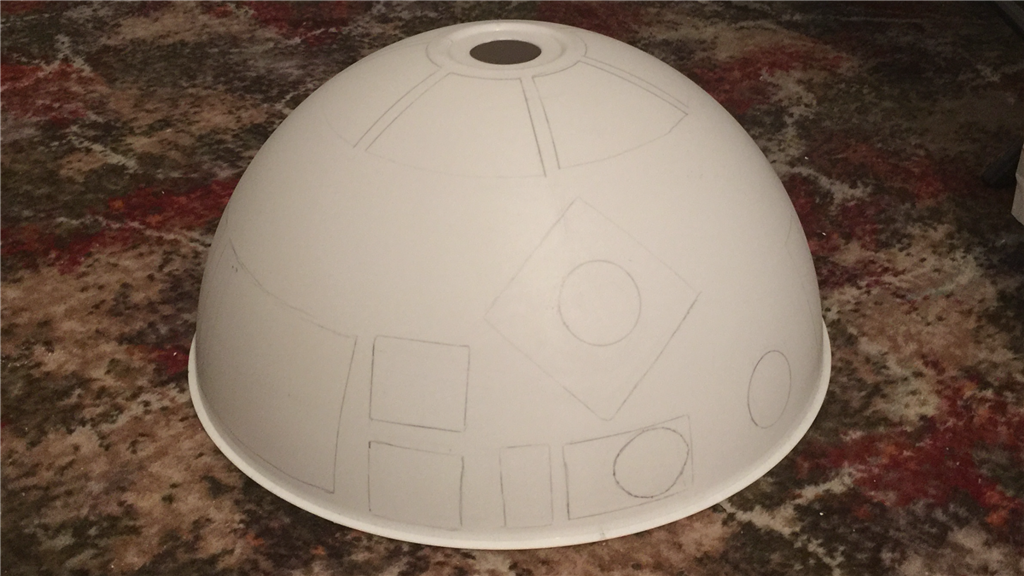
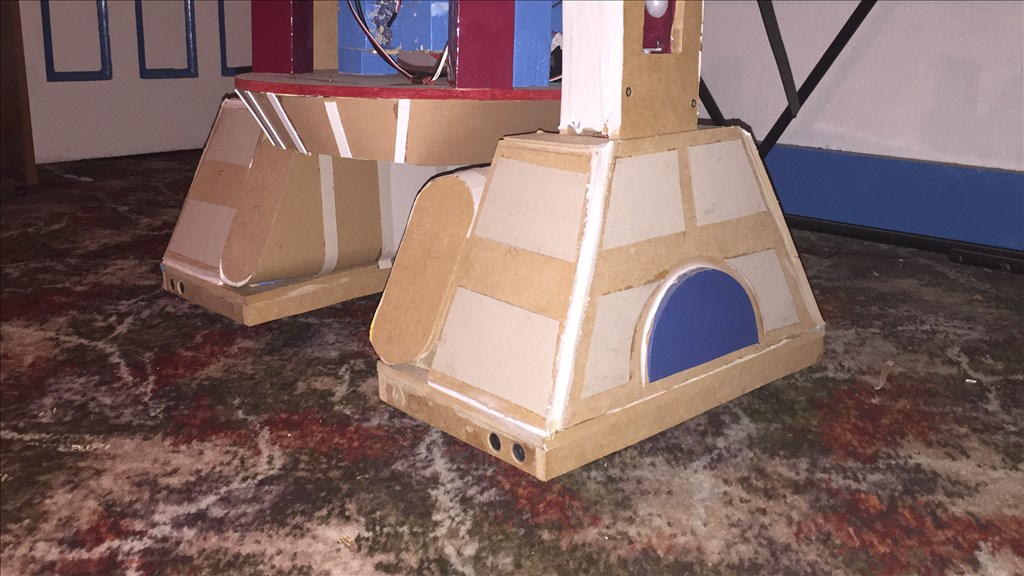
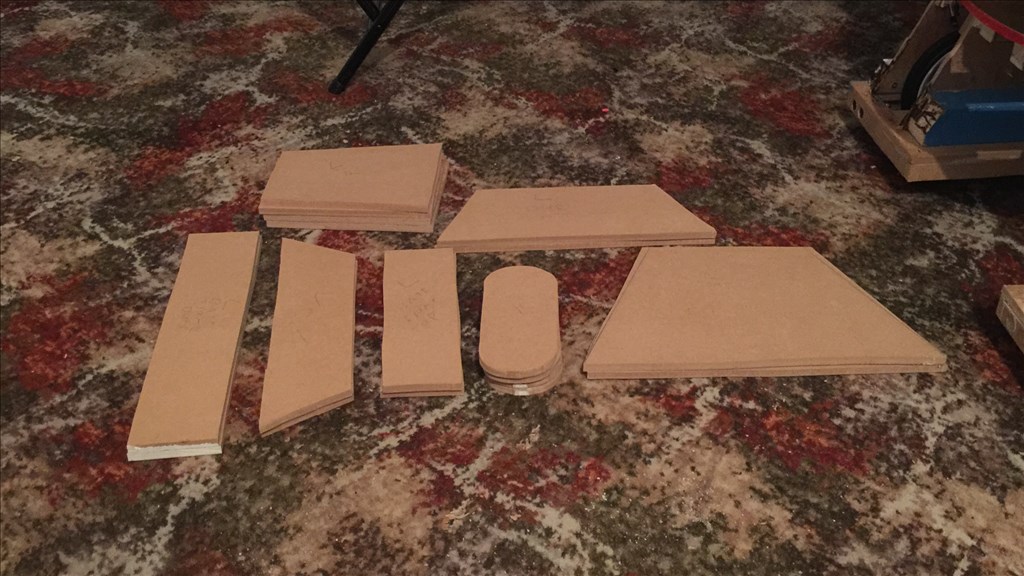
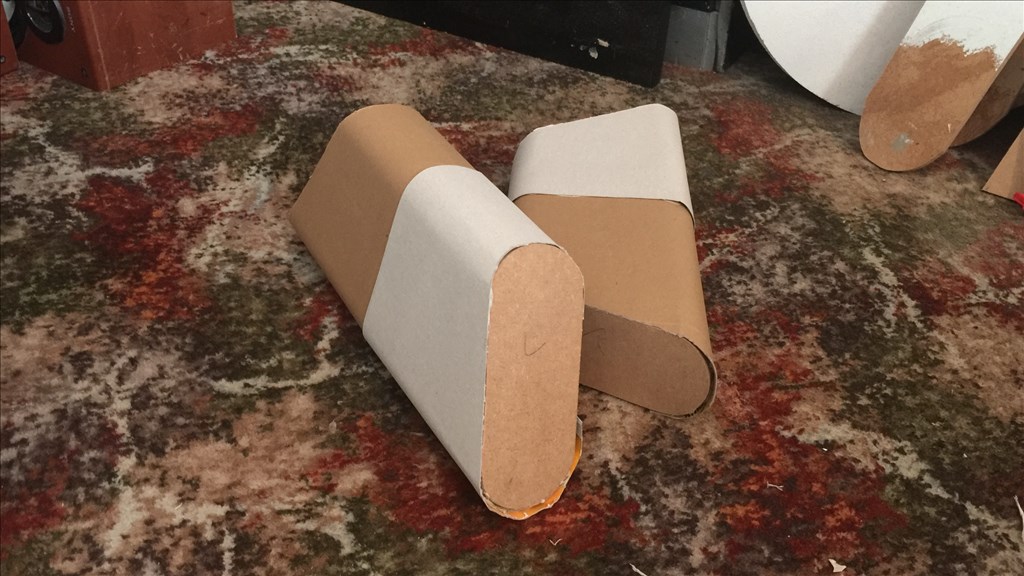
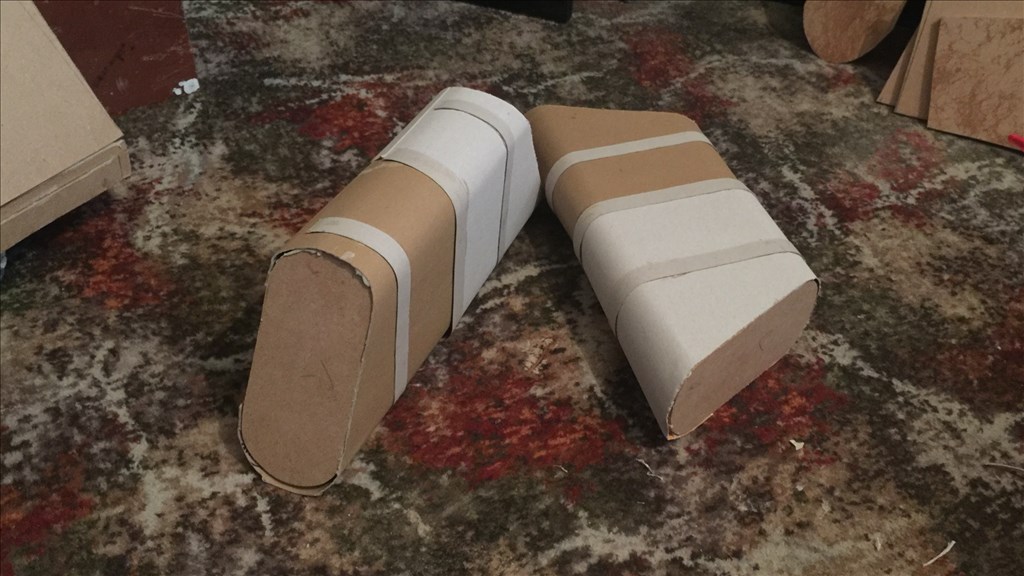
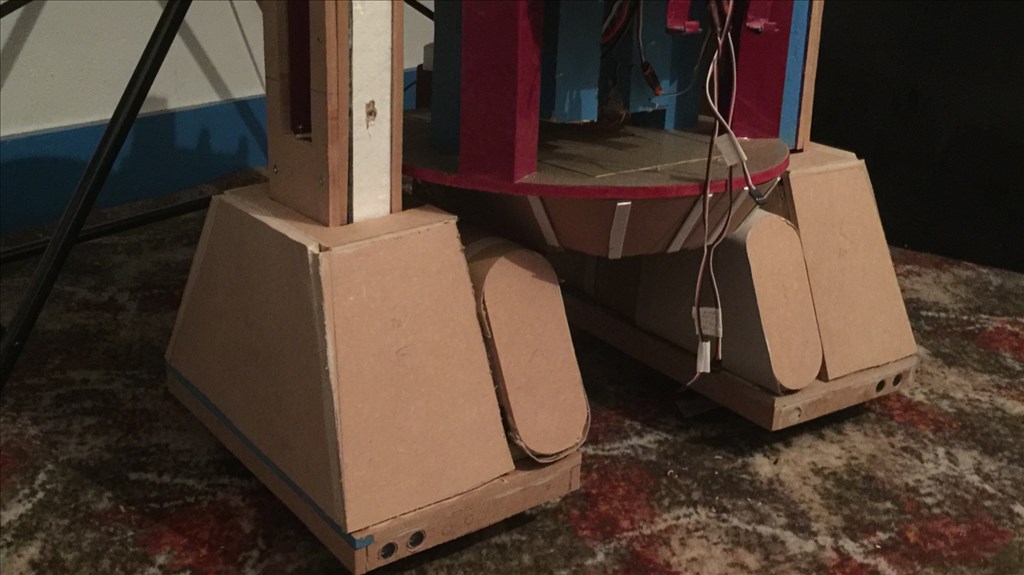
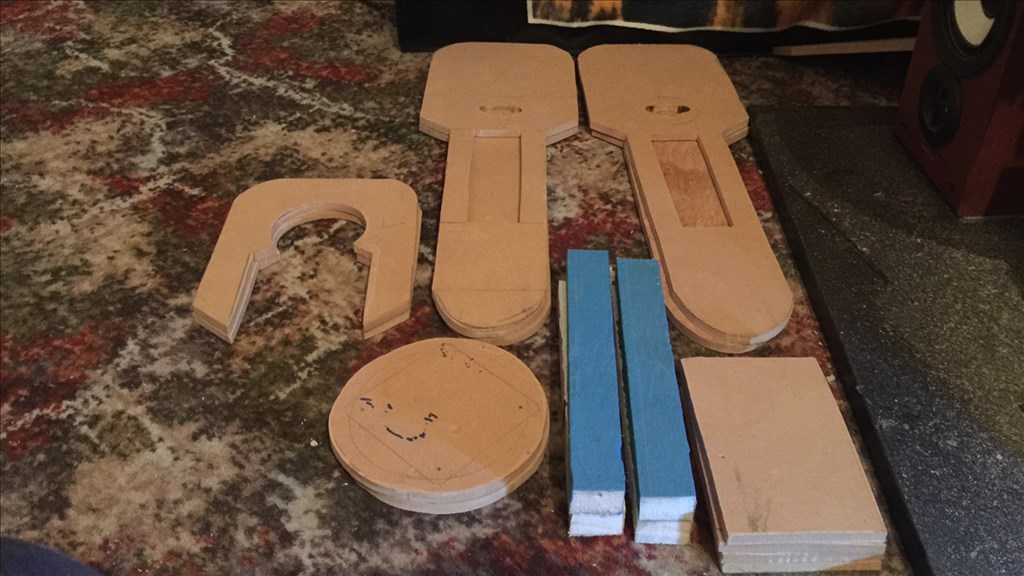
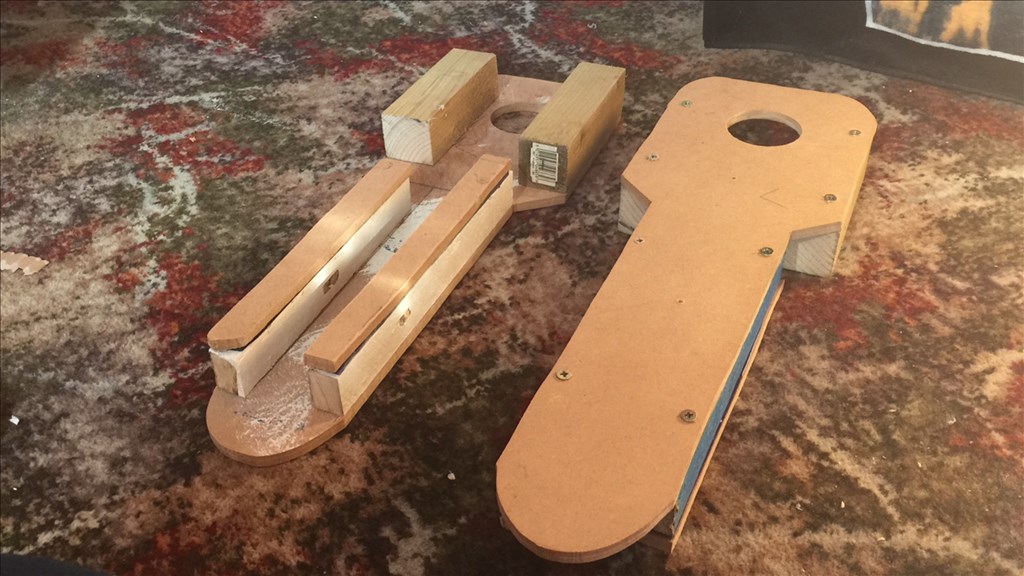
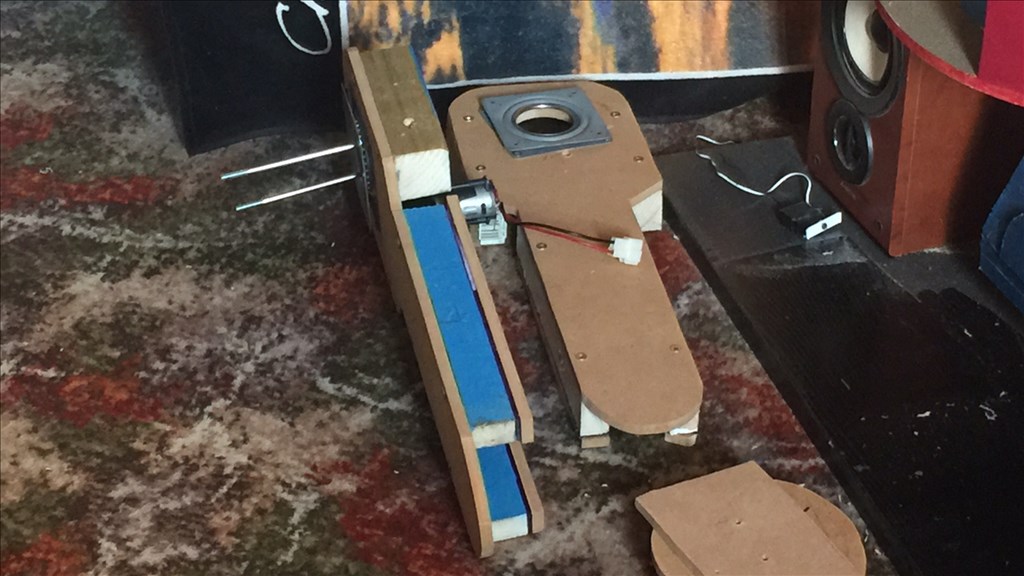
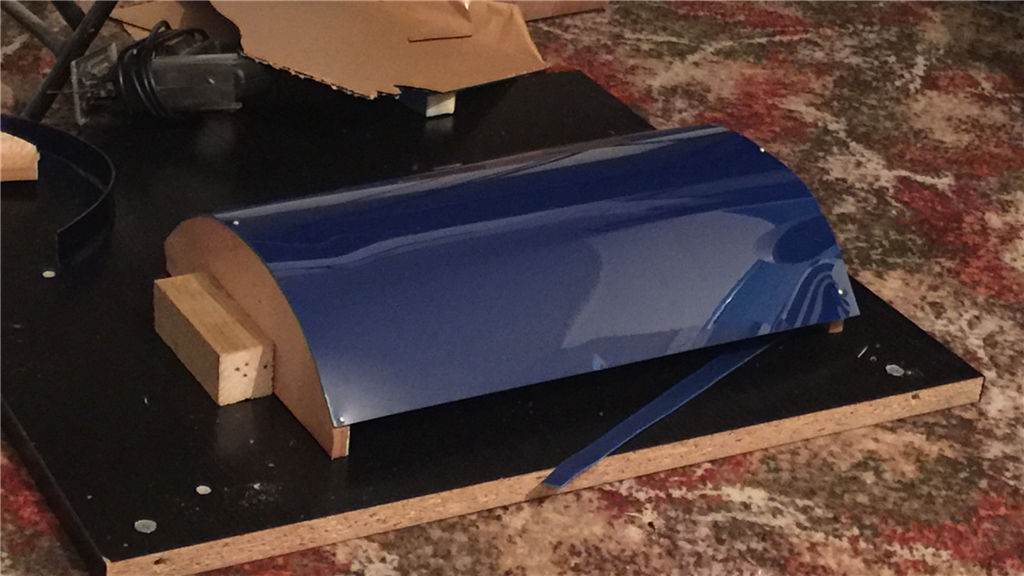
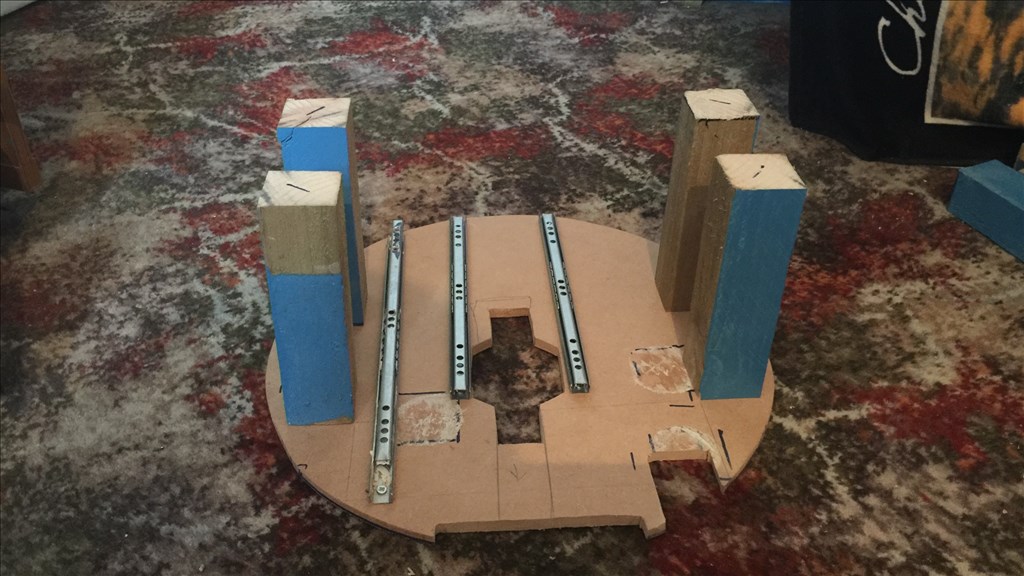
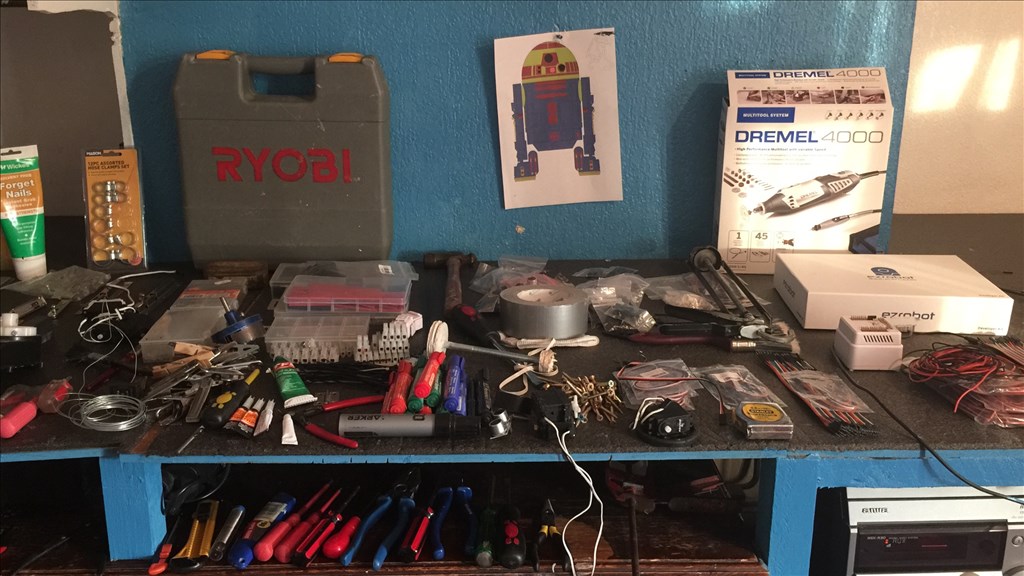
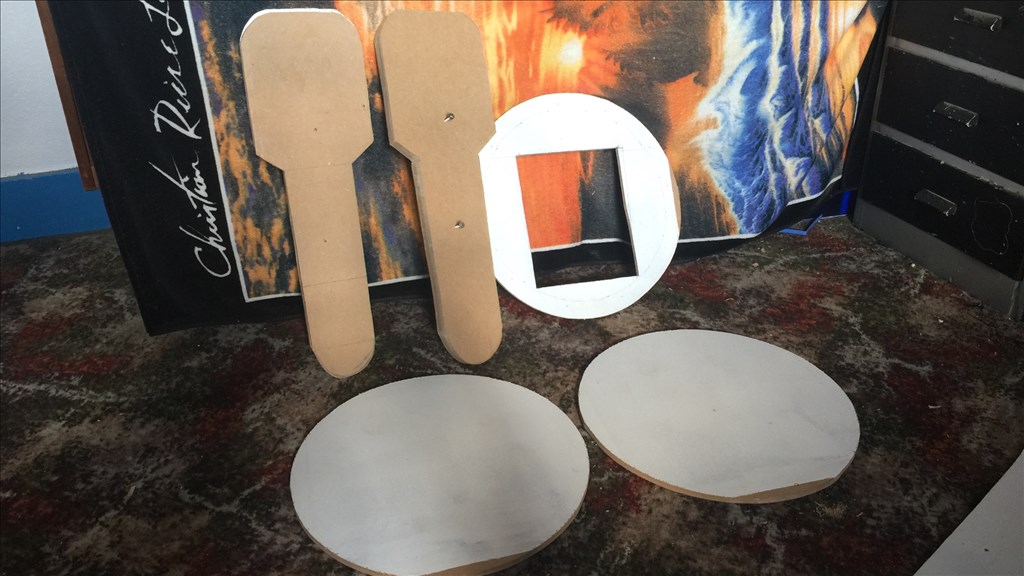
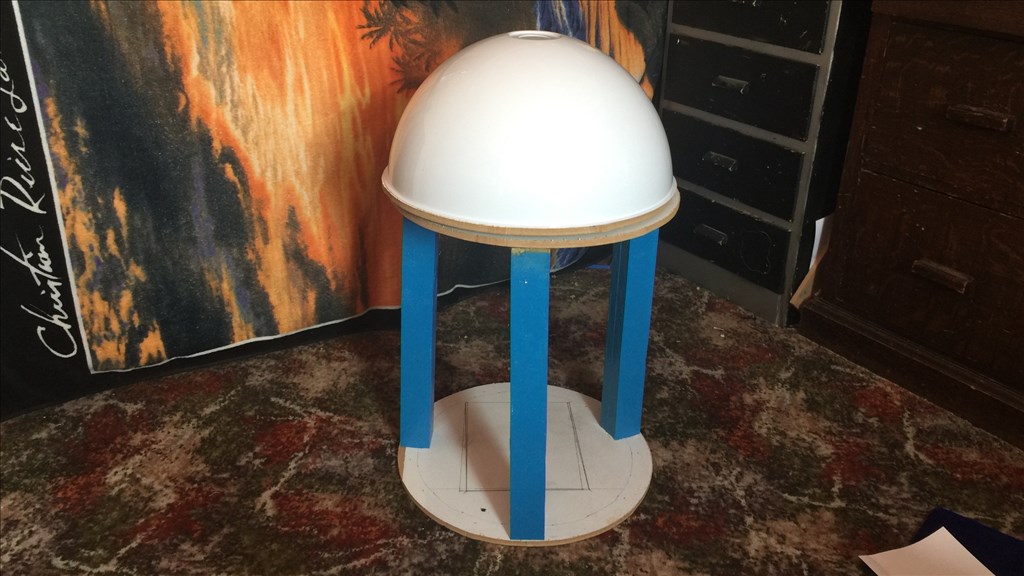
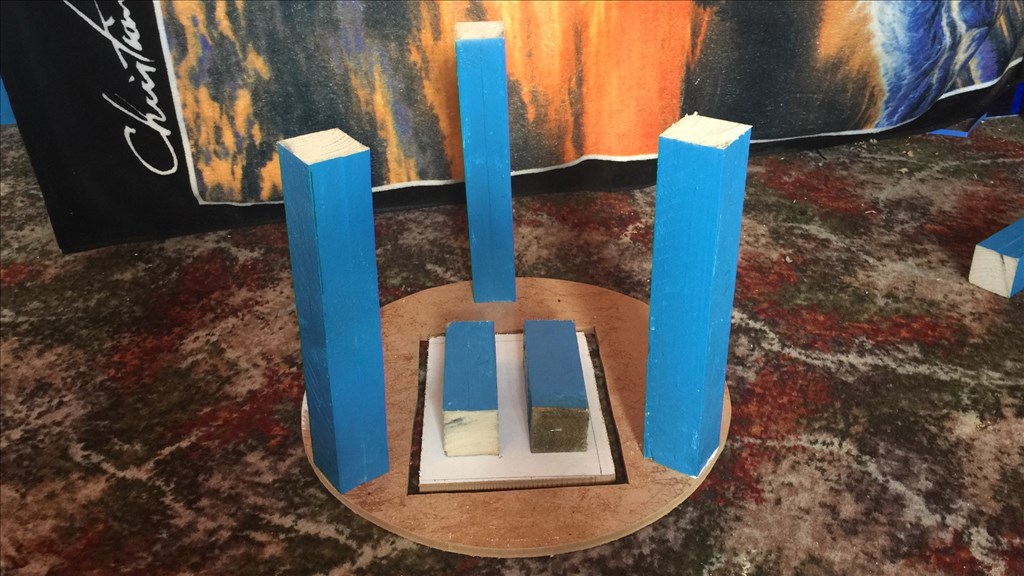
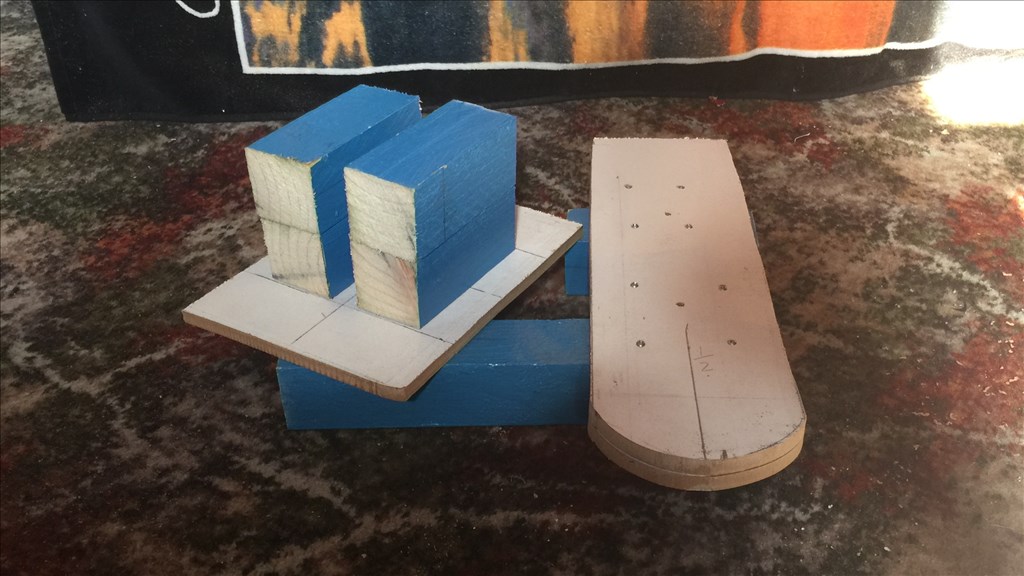
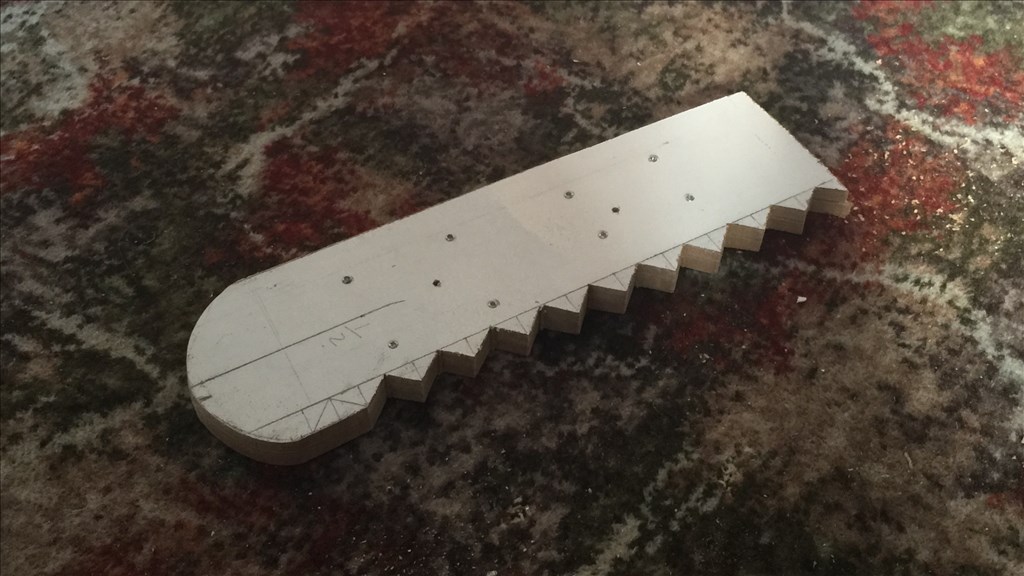
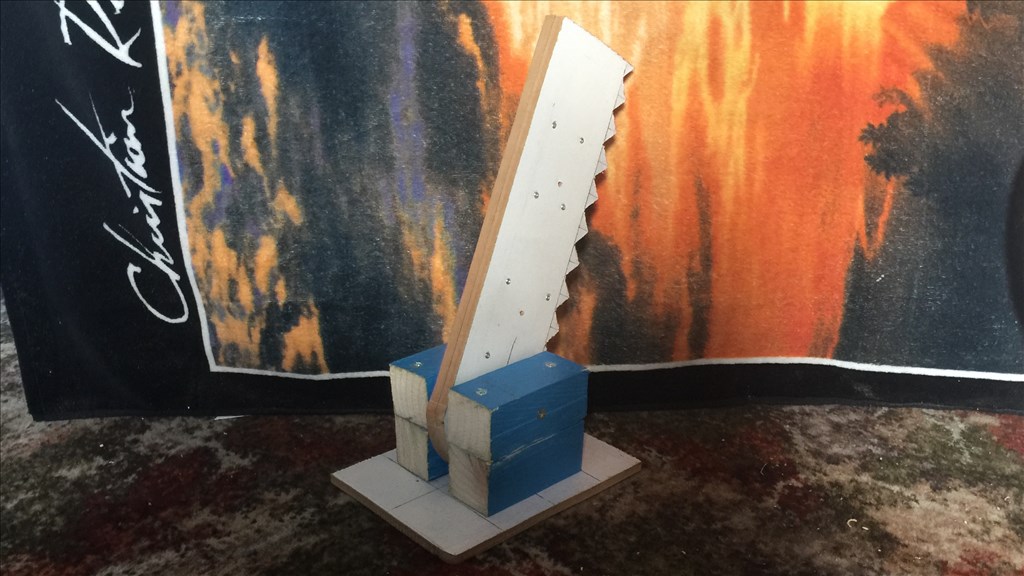
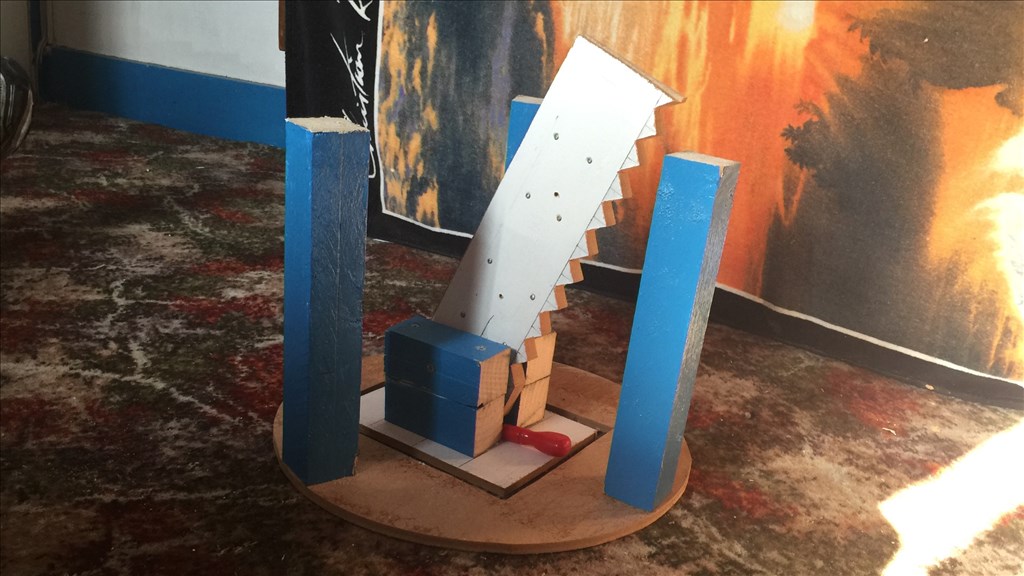
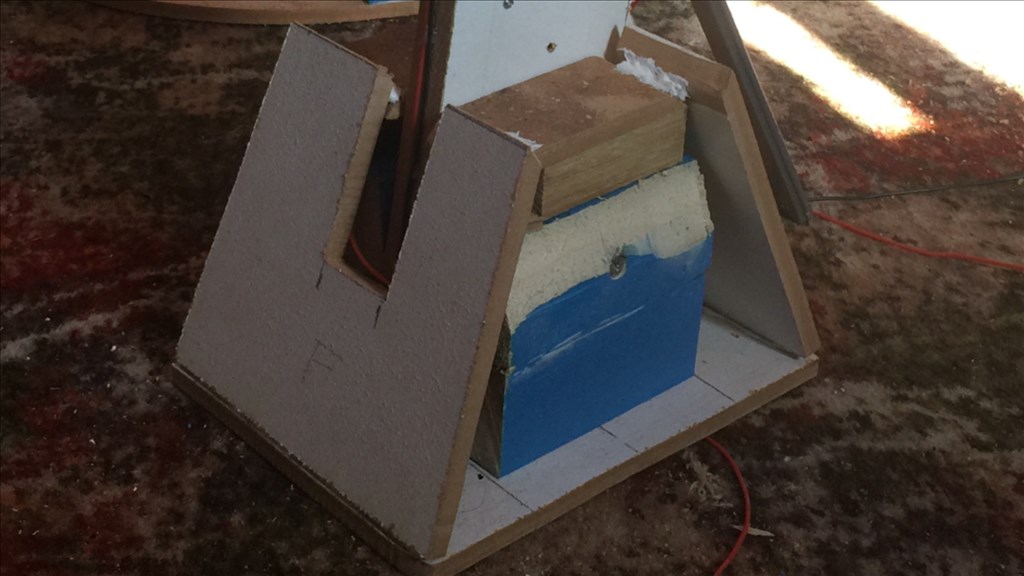
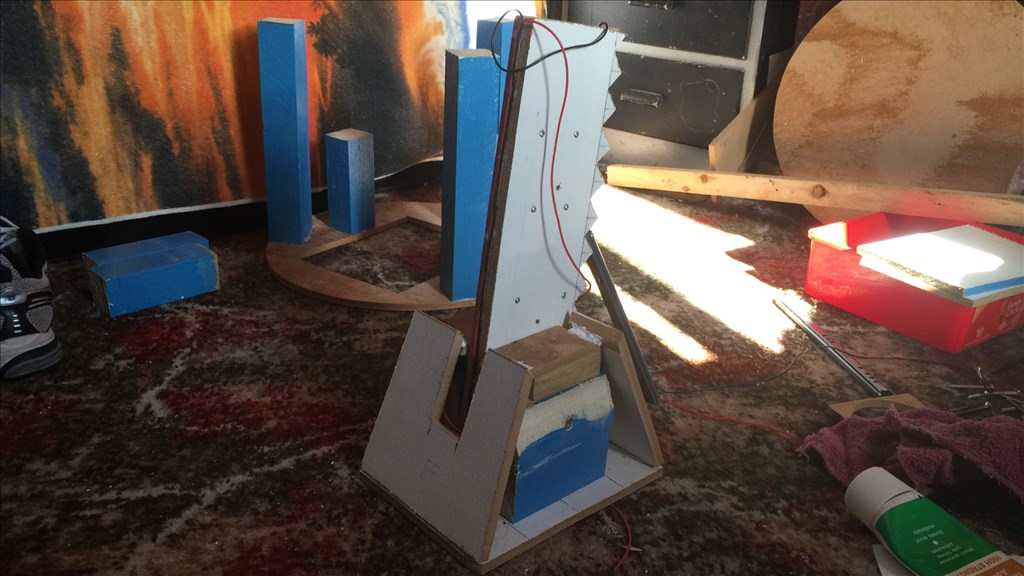
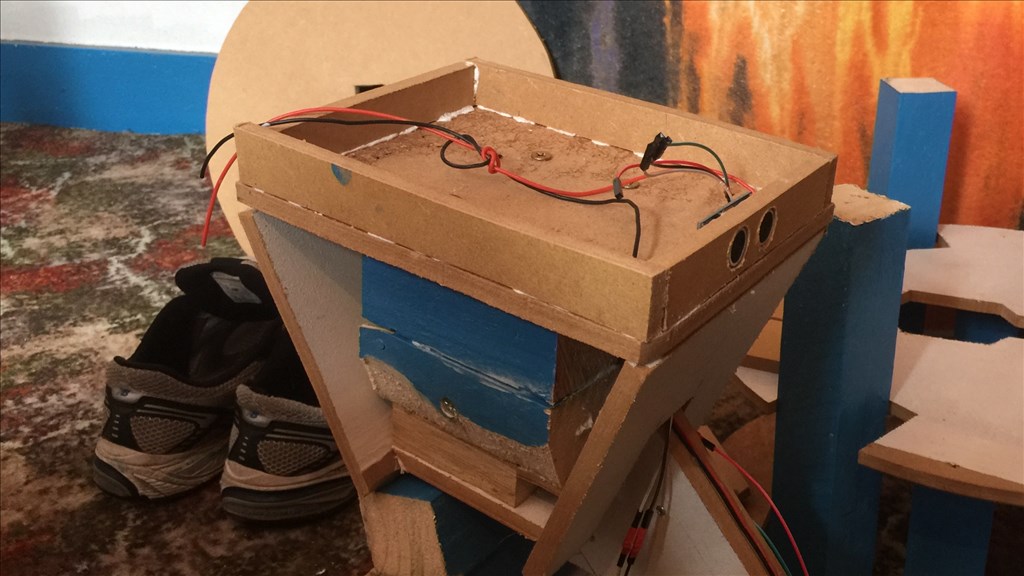
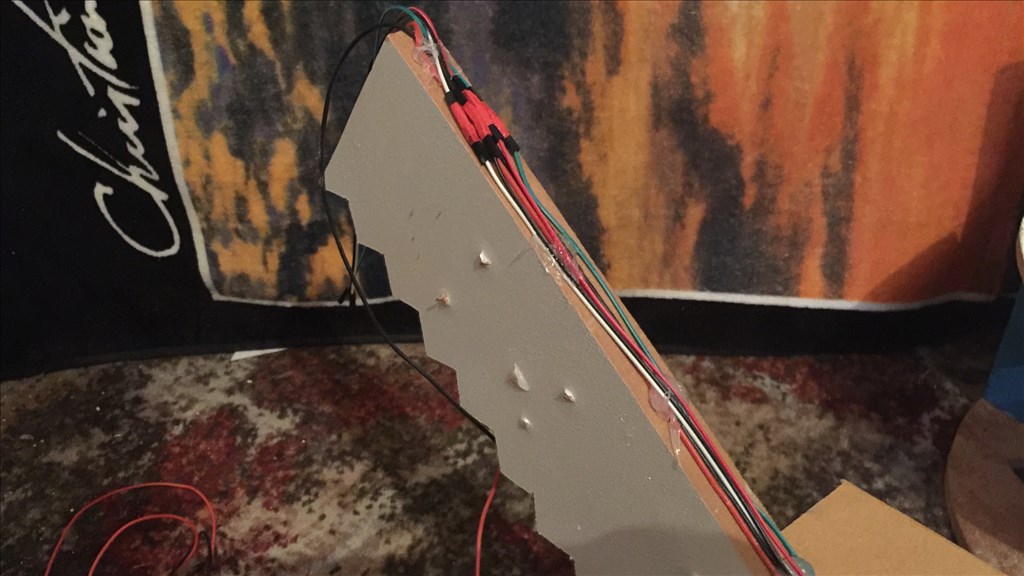
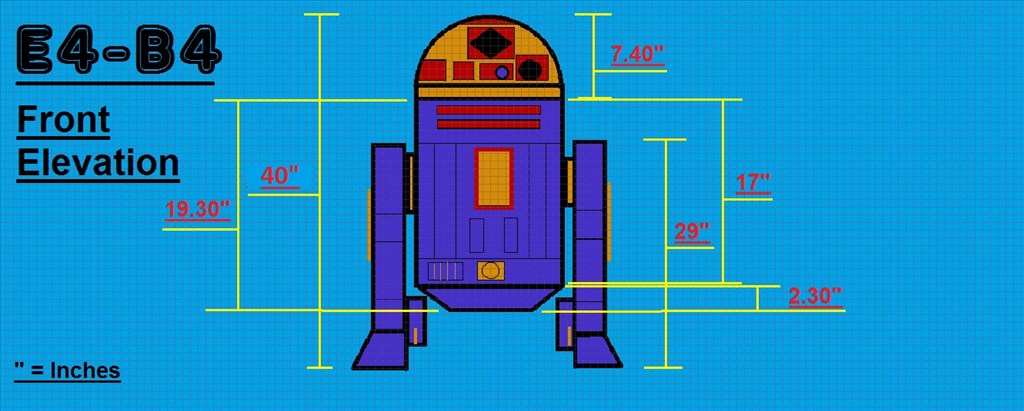
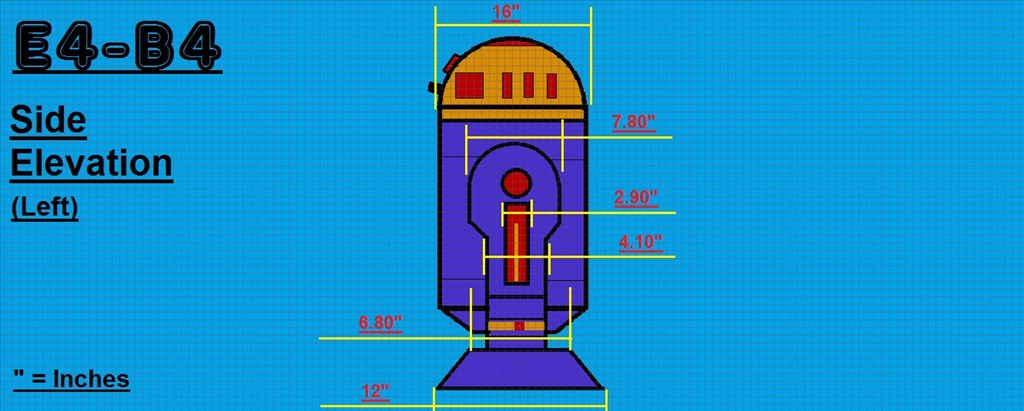
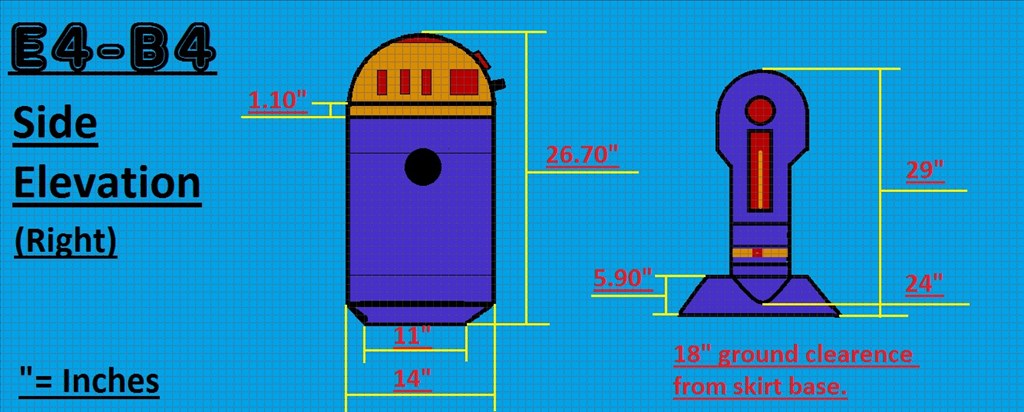
The dimensions will be slightly smaller than the original prob, but not by much so E4 will be plenty big enough. I'm intending to fit a few useful tools that he will be able to deploy, and of course have the fully rotating head which will have all kinds of bells and whistles. I have some of the MDF sheets and 2x4 wood lengths for the frame already, and the motors and head dome (lampshade) should be with me sometime this week, so it will be power tools at the ready. I'm in no rush to finish this project, but I am aiming to have E4-B4 pretty much finished by this December.
I will posting lots of photos and few videos throughout the build process, so I hope anyone reading will find this build dairy interesting and enjoyable. And as always, I'd love to hear your thoughts and suggestions (especially on the colour scheme). Anyway thanks for reading, and let the build begin...
Steve.
Discover more robots
Mickey666maus's ZOE : A Machine That Resembles A Living...

Lumpy's Lumpy's - R2-D2 Build Two-Two's

@Ron.
Well, I was going to make my own "beeps" and "bops" using Audacity music editor, but I like the original R2 sounds so much I'm using them instead.
I had the sound files from quite a while ago now and forget where I got them from. I think I had a sound effects CD and uploaded them to my laptop but never used them. If you search the net, there are lots of different websites when you can get R2 sound bytes, and I believe there is a project on the EZ-Cloud that has the effects on a soundboard too (I can't remember who's project it was. I think it might be DJ's).
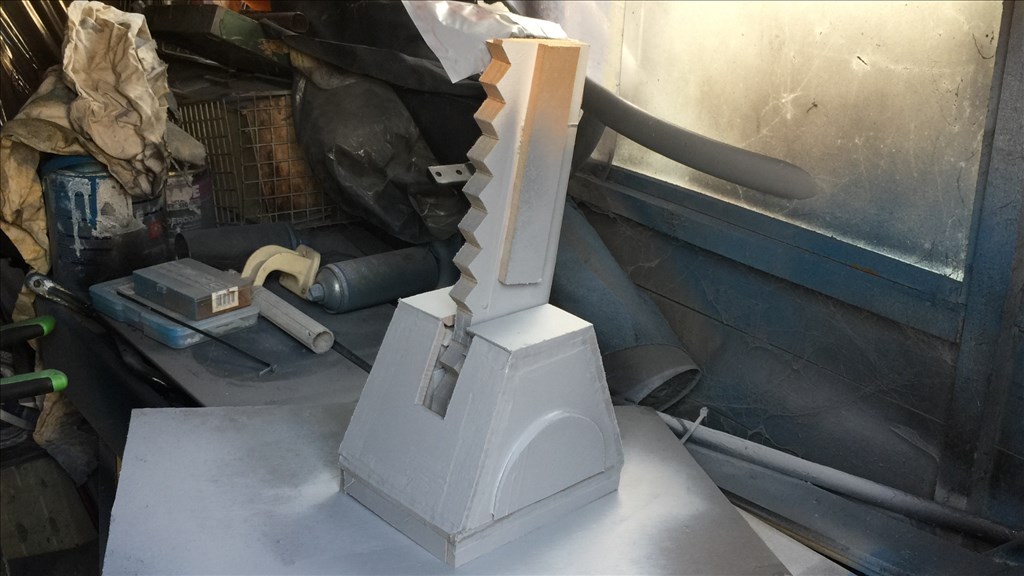
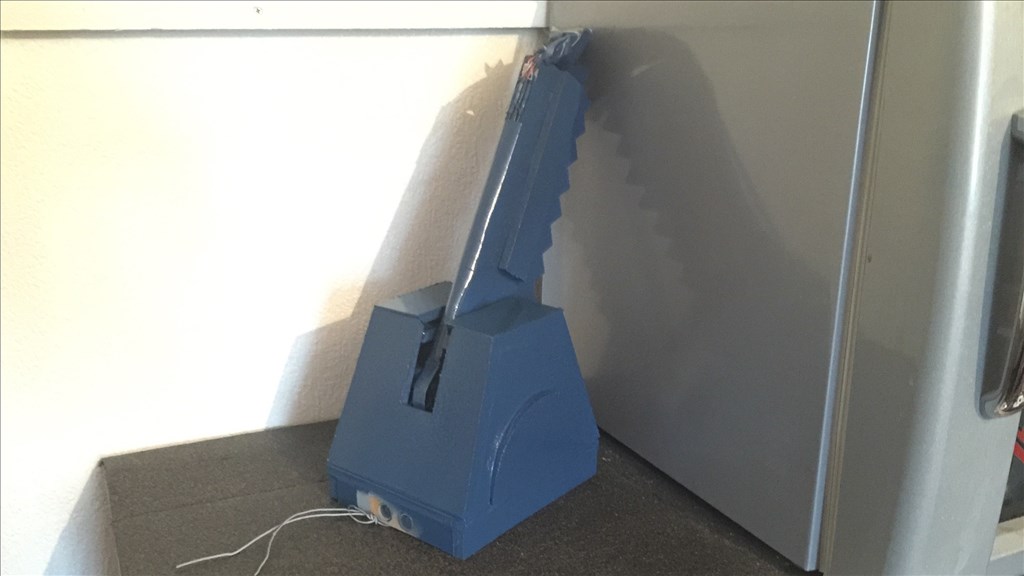
Thanks, I was just wondering. Right now I am having a problem with one of my 3D printers, so I have to get that running. I want to print out the front foot and bracket so I will have all the body parts. I plan on a caster in the front foot. I am hoping to find a ball caster that will fit so I it will have minimum drag.
Ron R
this is some for you,r2d2 translator.very funny.
r2d2 translator
Thanks Nomad, That will give me everything I want and more.
Ron R
your welkom
@Ron.
Do you plan on having the feet wheels motorised? I used a couple of swivel casters on the back of the feet, behind the drive wheels.
I don't know if you've seen his thread, but @robot56 used omniwheels and had great success with them. You can see them in action here on post #136.
@nomad.
Nice find. I'm actually going to do my own translator using soundboard (PC) files, the Display popup plugin, and Pandorabot which will display on the tablet in his chest area.
I have some VEX servos and wheels I was given when I built Madame Ninndo. I think I will use them.
I was thinking of a wheel in the existing feet, and a caster in the front foot. I figured I would use the Vex continuous servos.
@Richard R .. If you read this, I was wondering if the VEX continuous servos would be good enough. What do you think? I have three left and think they would work to drive it. I also have the wheels.
I think I have a multi turn pot which I will use for the feedback of the dome. I have to find it and see the value. Once my second printer is running I will make a gear for the dome and the foot.
LEDs and solenoids for wigglers need to be found.
I hope to do the showcase next week showing the teardown.
Ron R
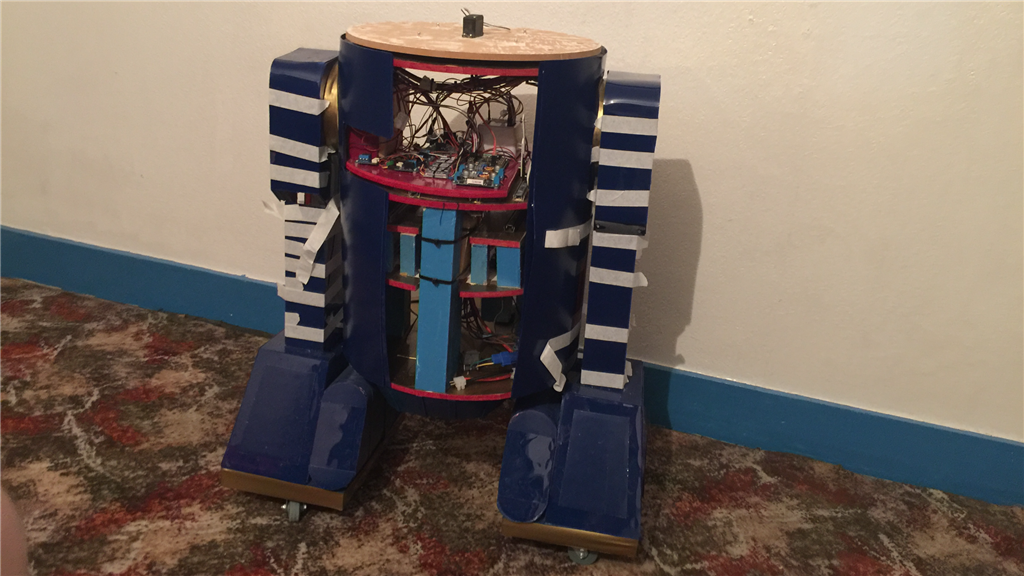
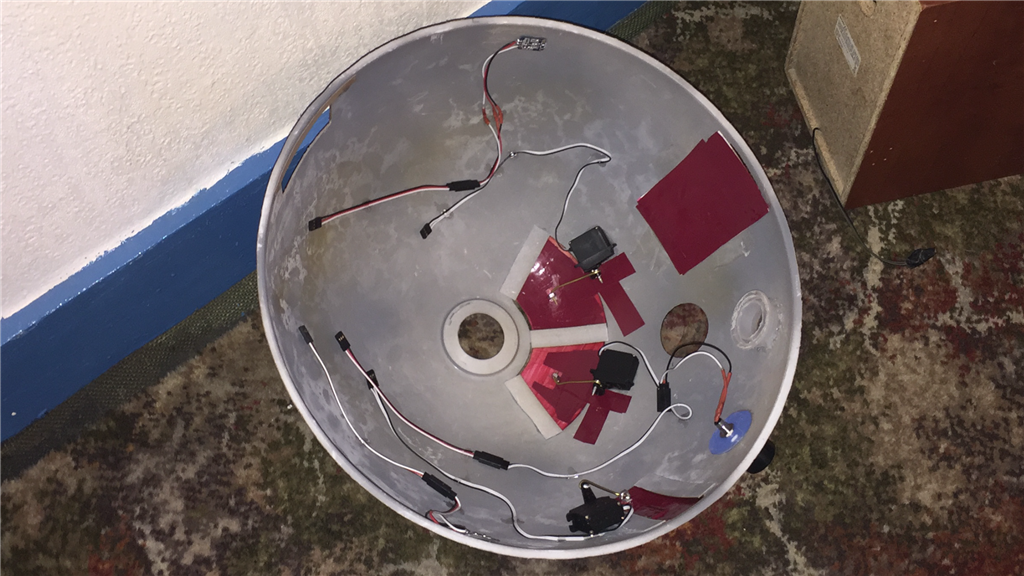
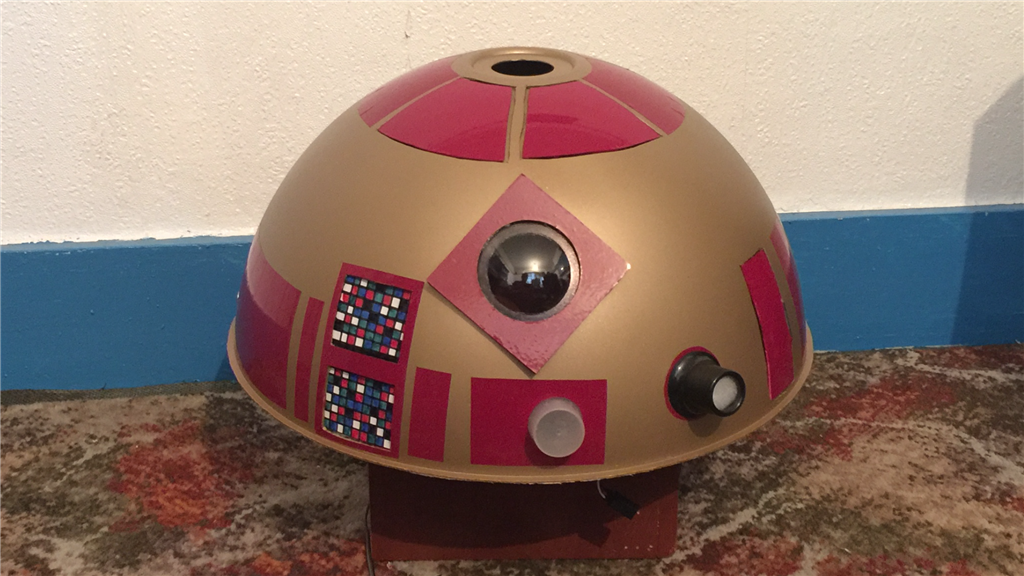
Day 116 27th November 2015.
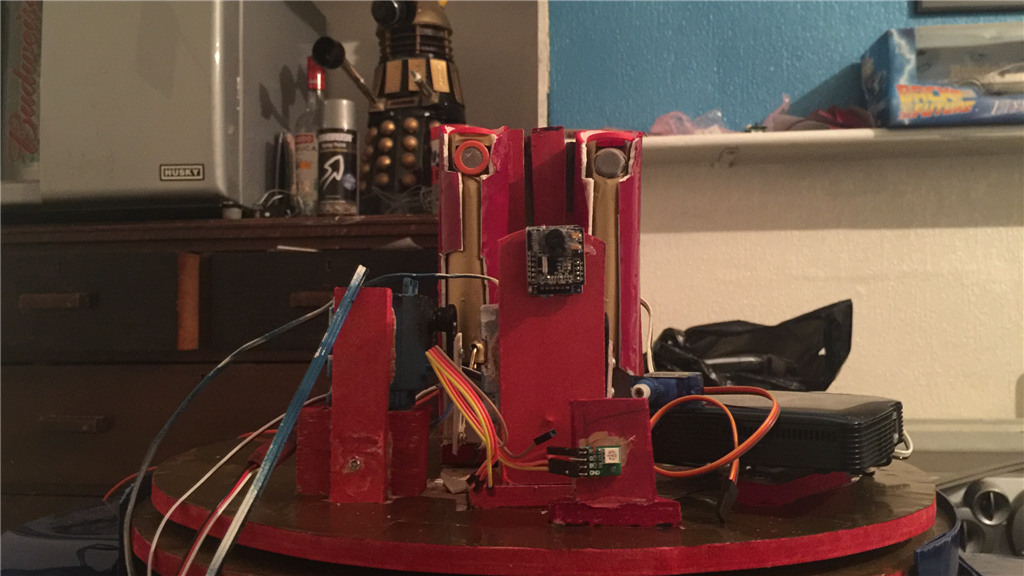
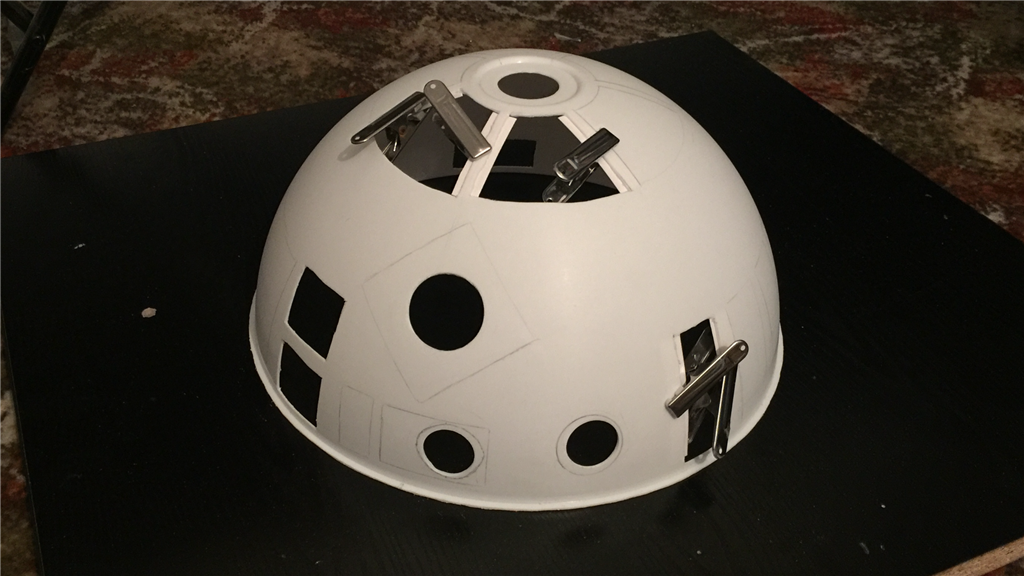
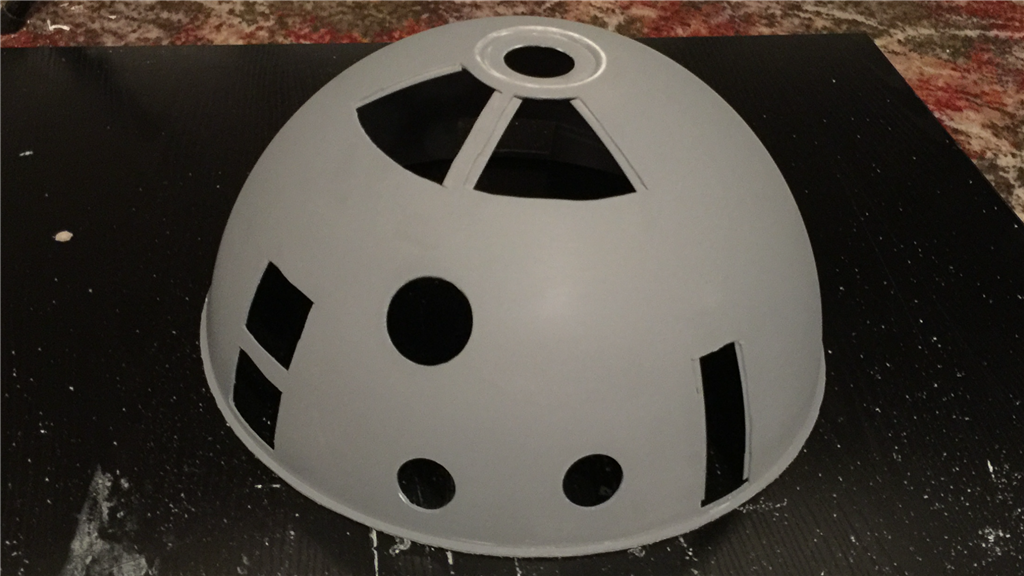
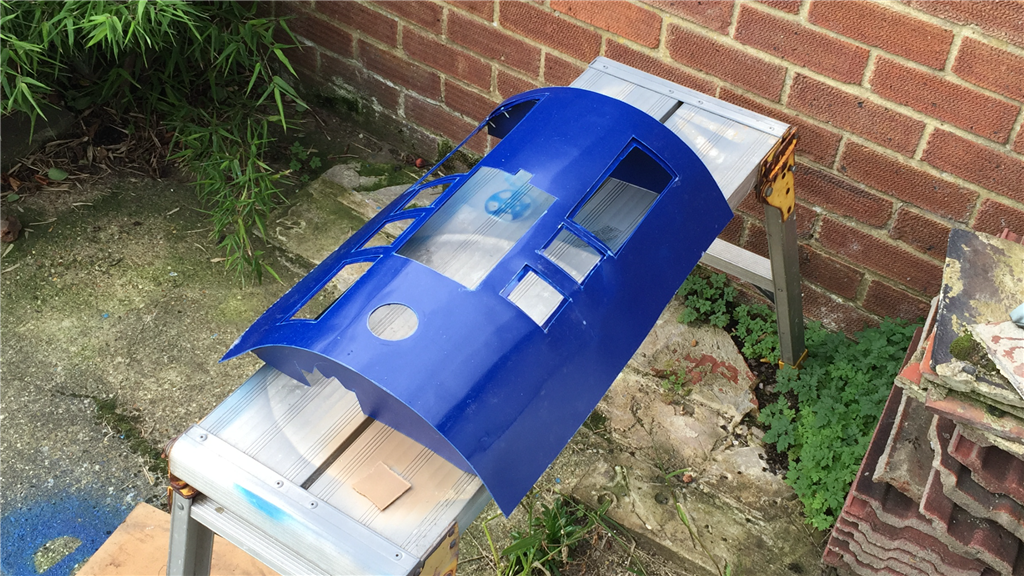
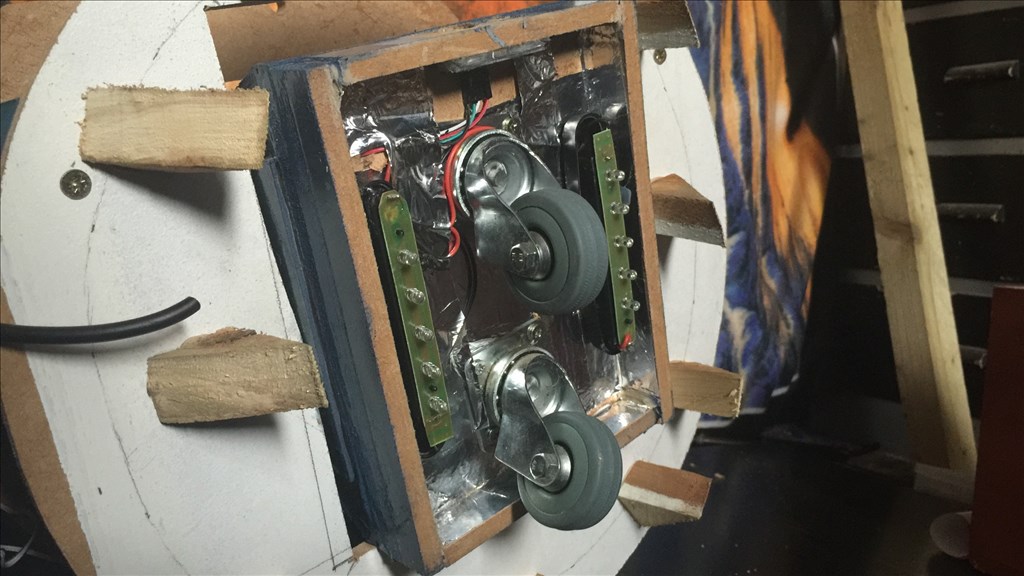
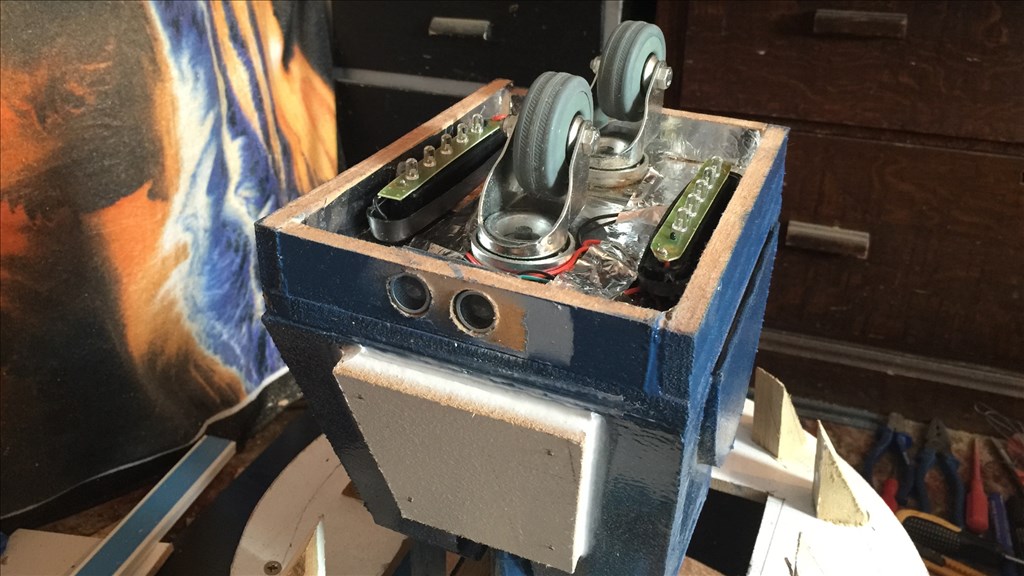
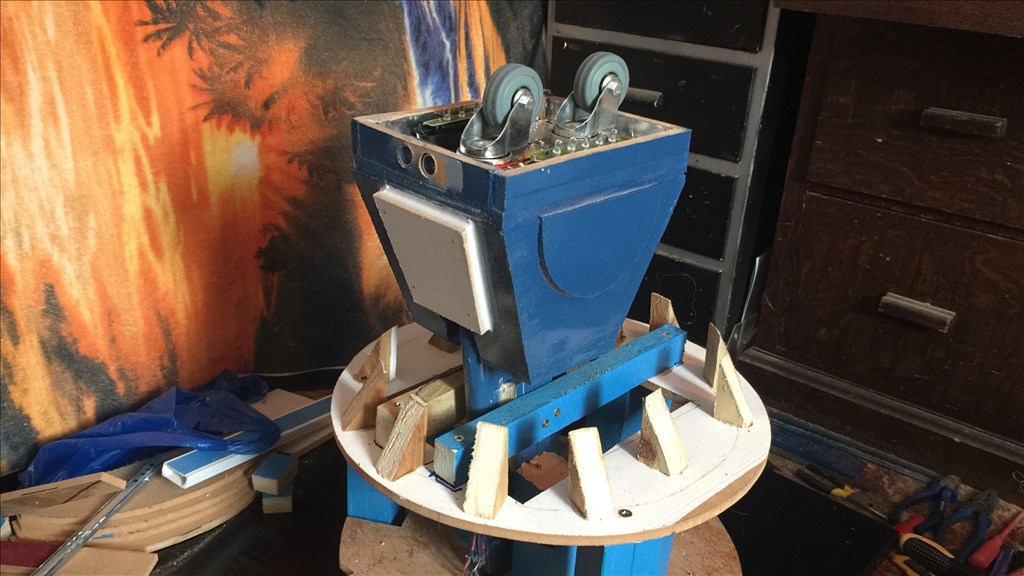
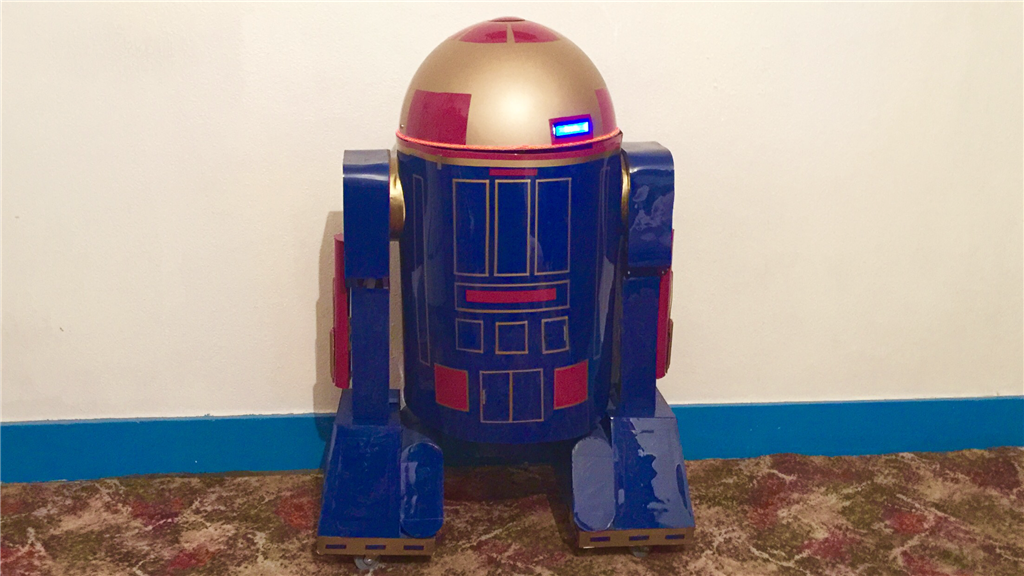
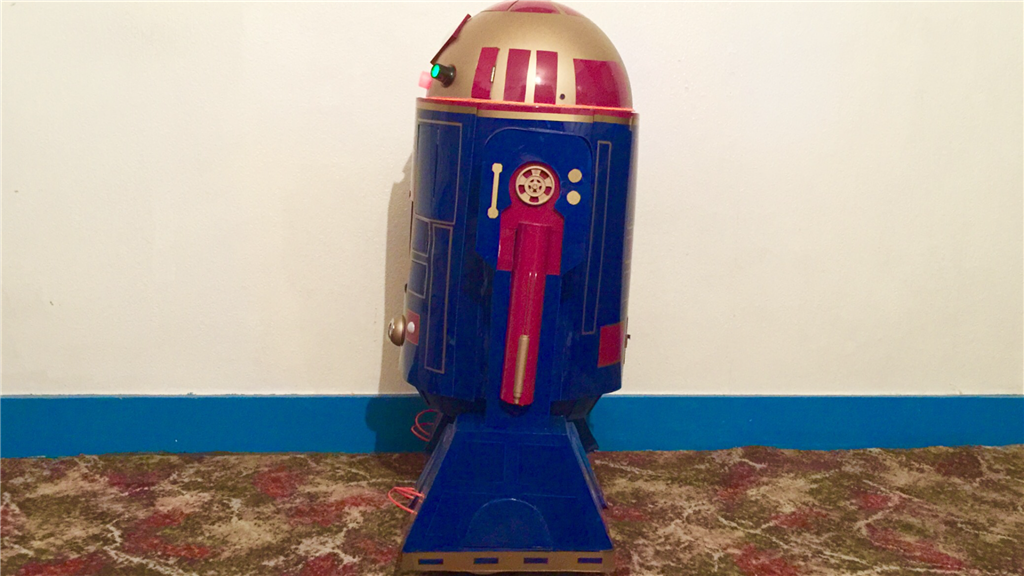
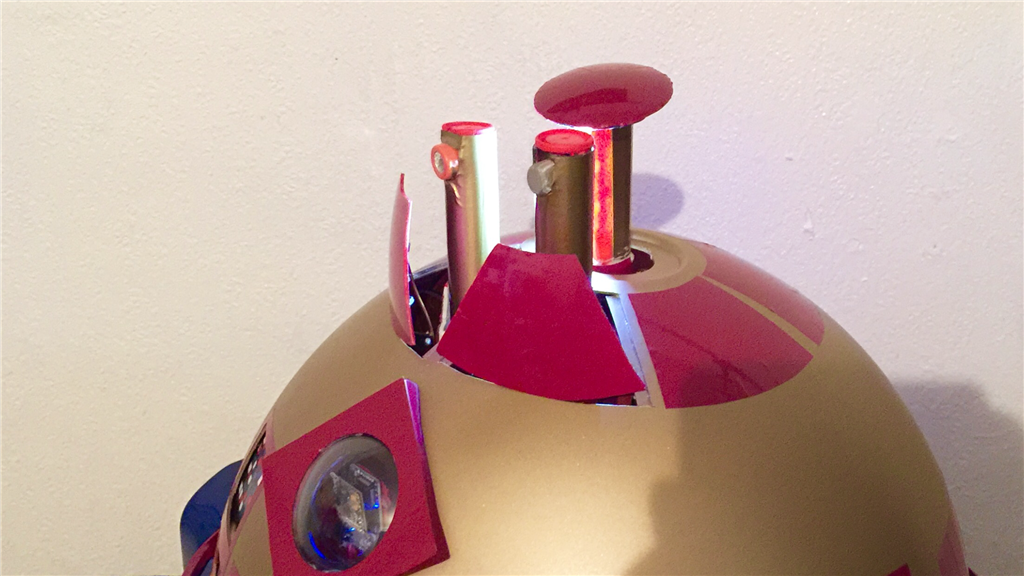
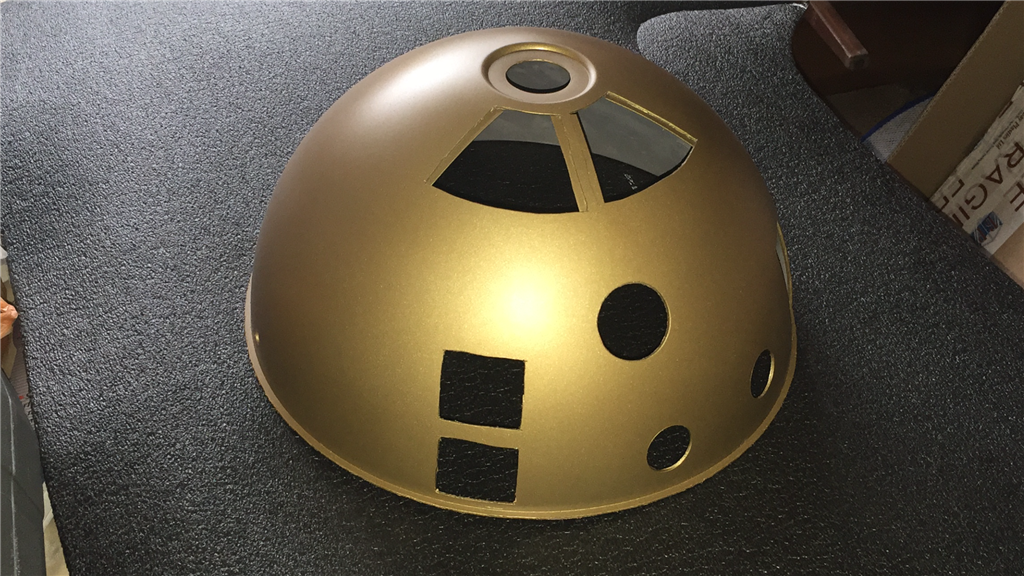
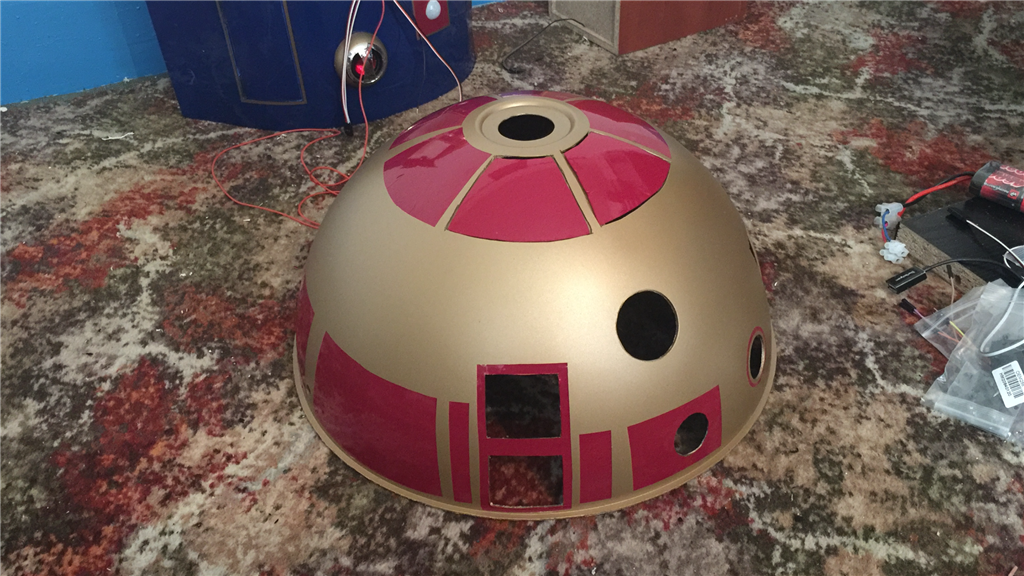
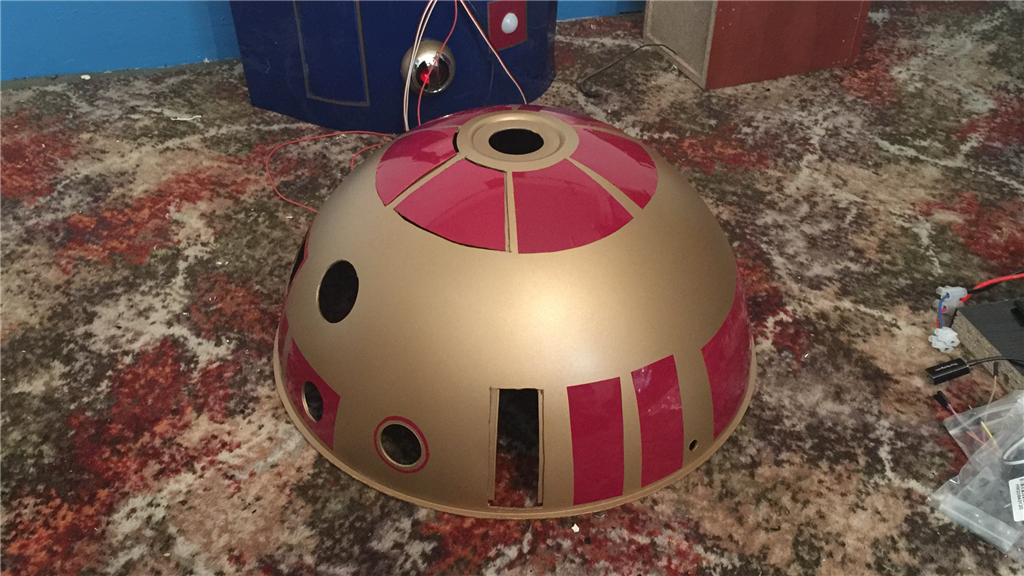
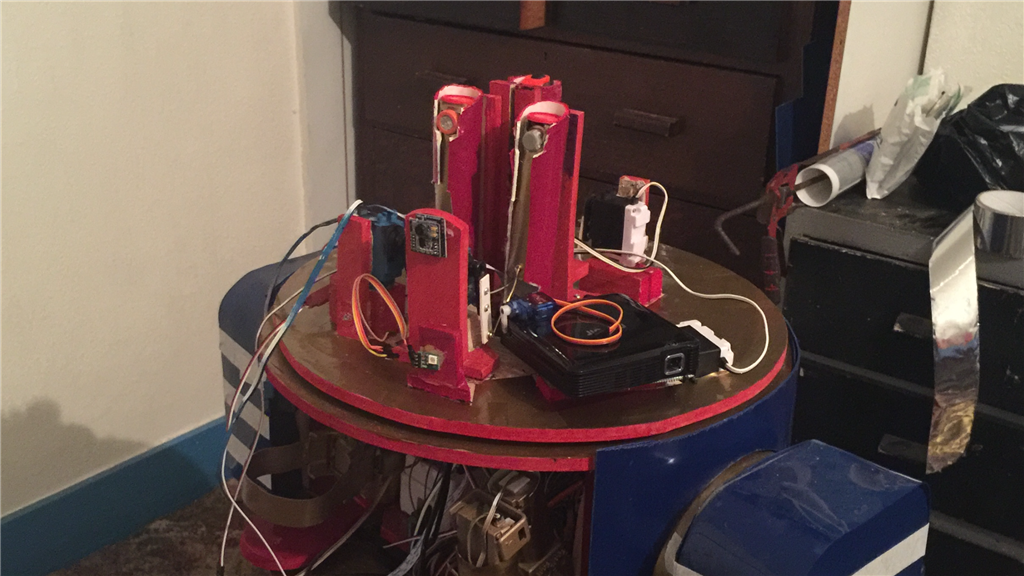
The dome is almost finished now, just one more small job to do then it's time to connect the wires. So here's a quick rundown of the dome.
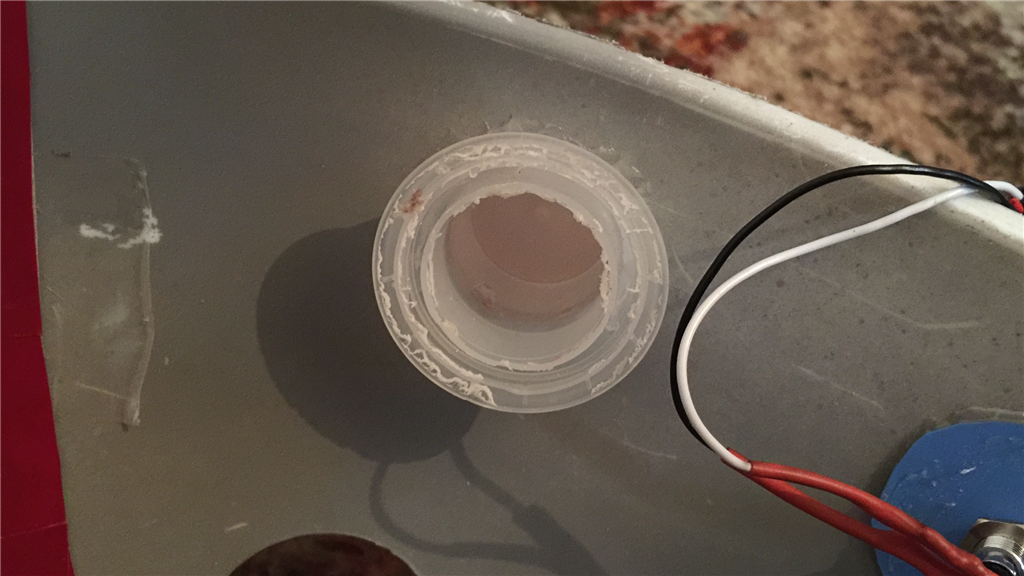
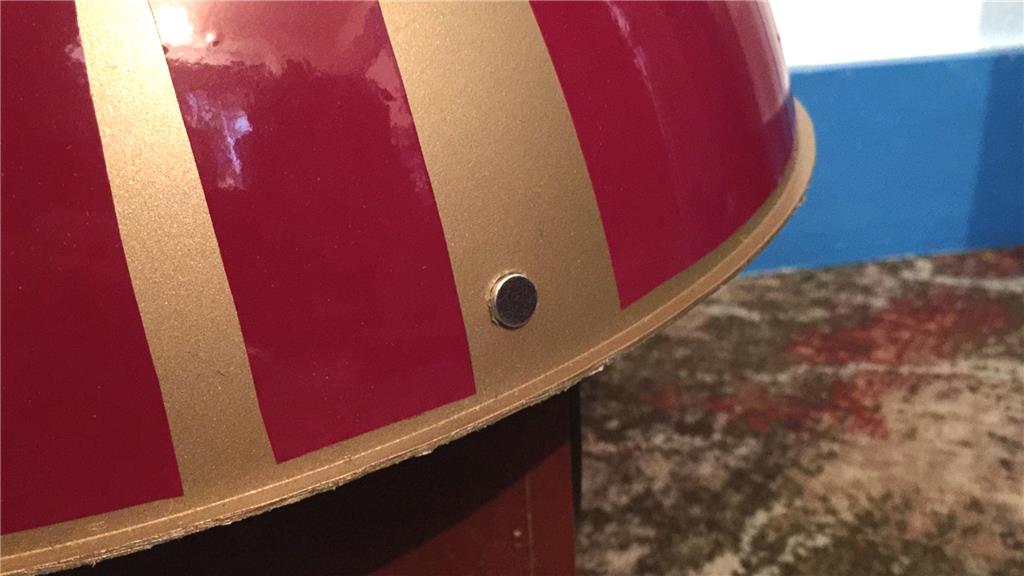
For the red and blue flashing light seen on R2-D2, I got myself a small RGB board (attached to the head section), and after a quick search through my recycle bin, I found a nice little cap from a fabric conditioner bottle which was a nice shape and size, and was also opaque which would defuse the LED nicely.
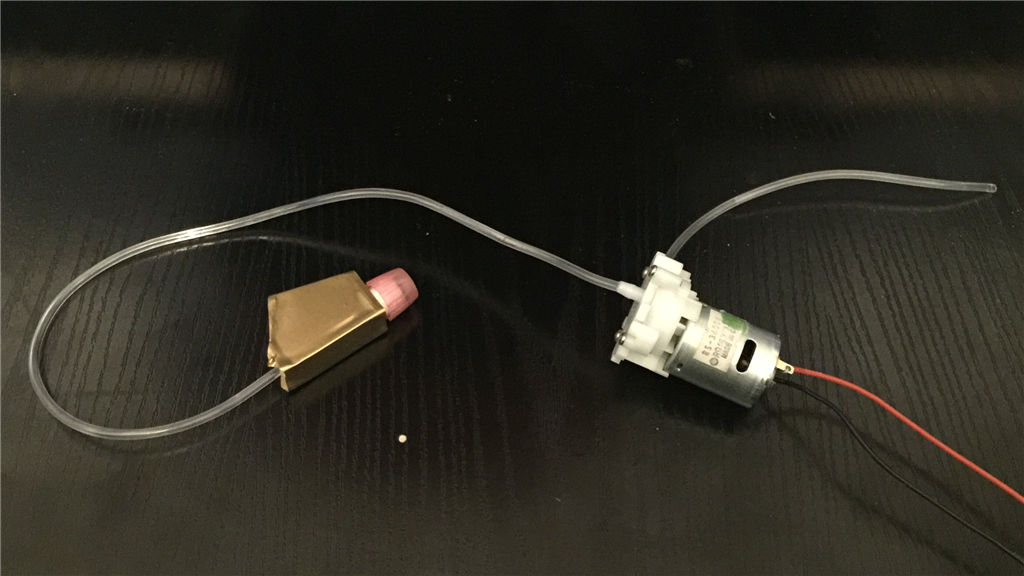
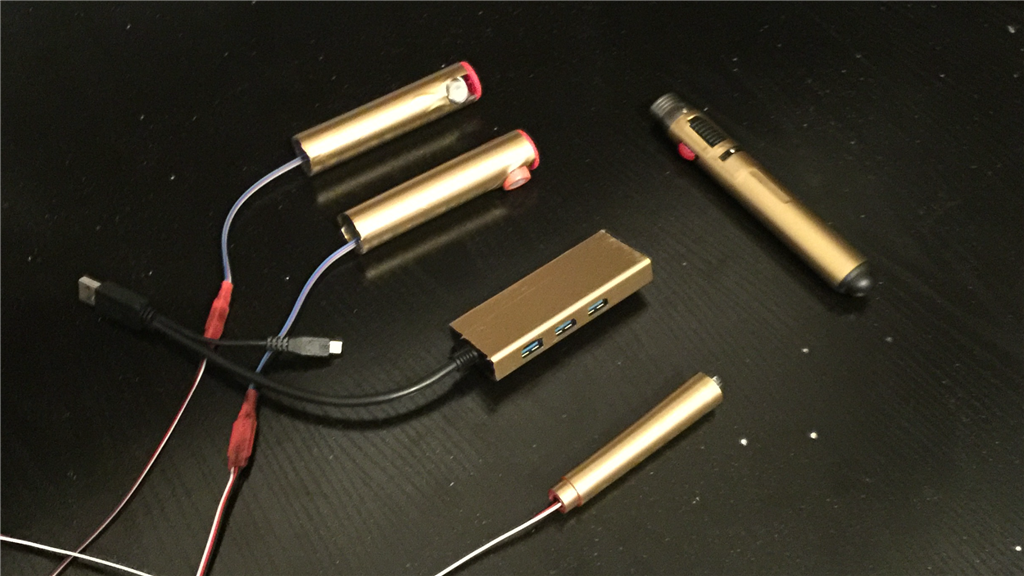
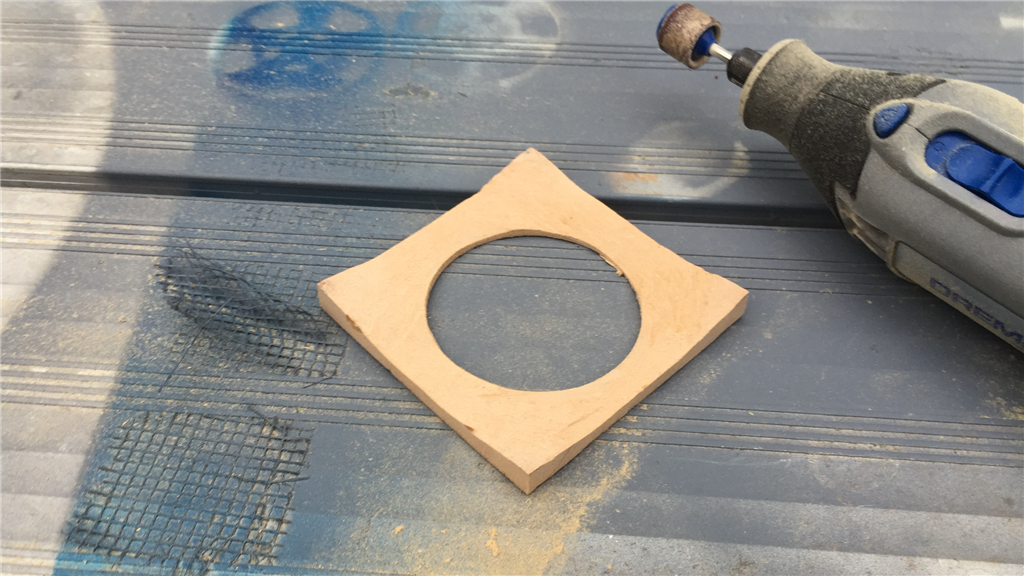
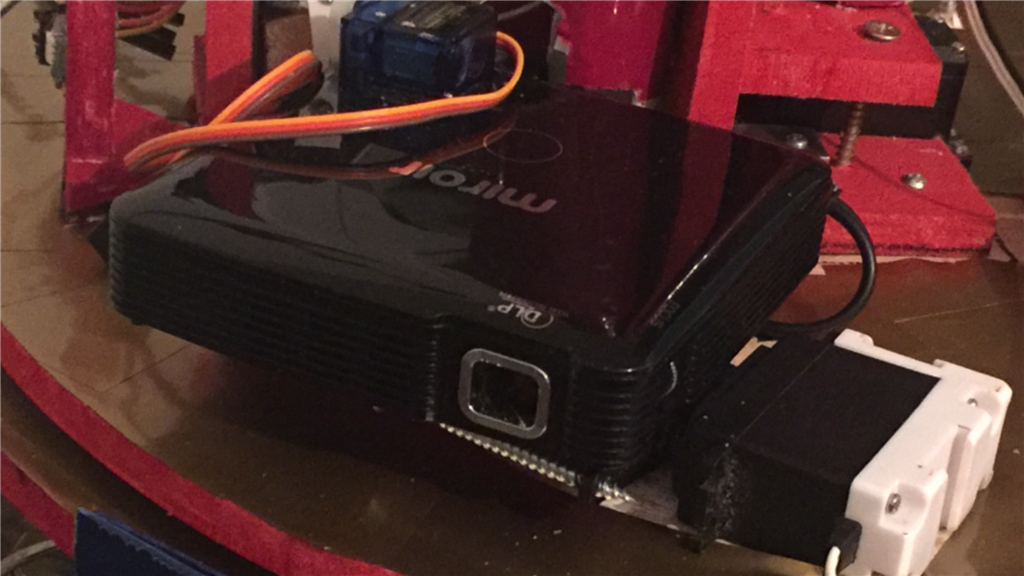
The next bit is the holo projector lens. Here I used a jewellers eye loop magnifying glass. I had to alter the design a little as the full aspect of the image from the Pico projector wouldn't pass through the shape of the lens properly. That's why the Pico has its own flap.
Anyway, not to waste the use of the magnifying lens, I got a little 3.3v blue LED, housed it on a small piece of plastic, and fixed it to the hole for the mag lens. I placed a small piece of white foam inside of the mag lens which would diffuse the light, it attached it to the dome. What's this LED going to do? Well, thanks to DJ adding a new control the other day, the LED will connect to a digital port and flash when a soundboard PC file is played... the files being the Astromech speaking sounds.
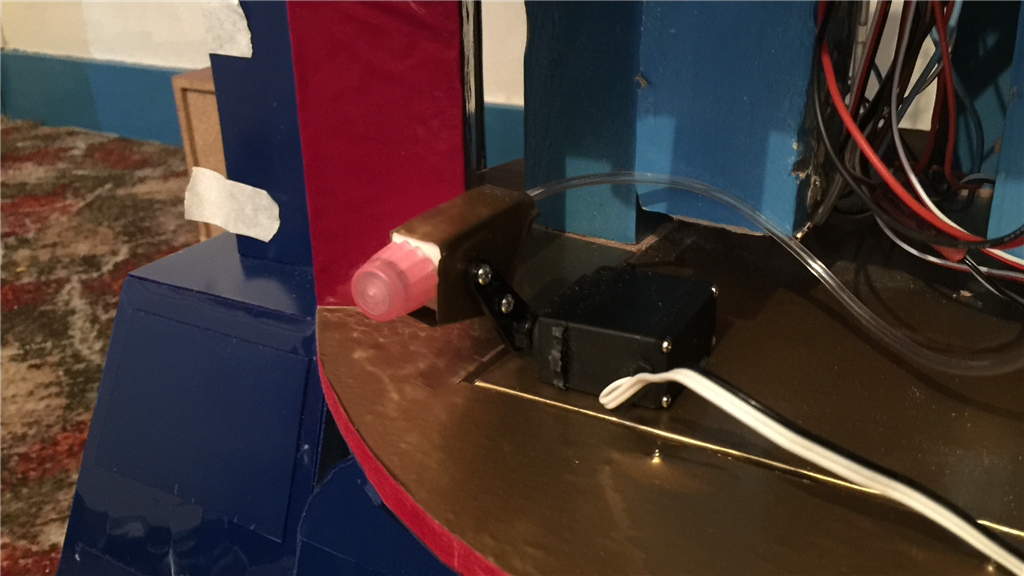
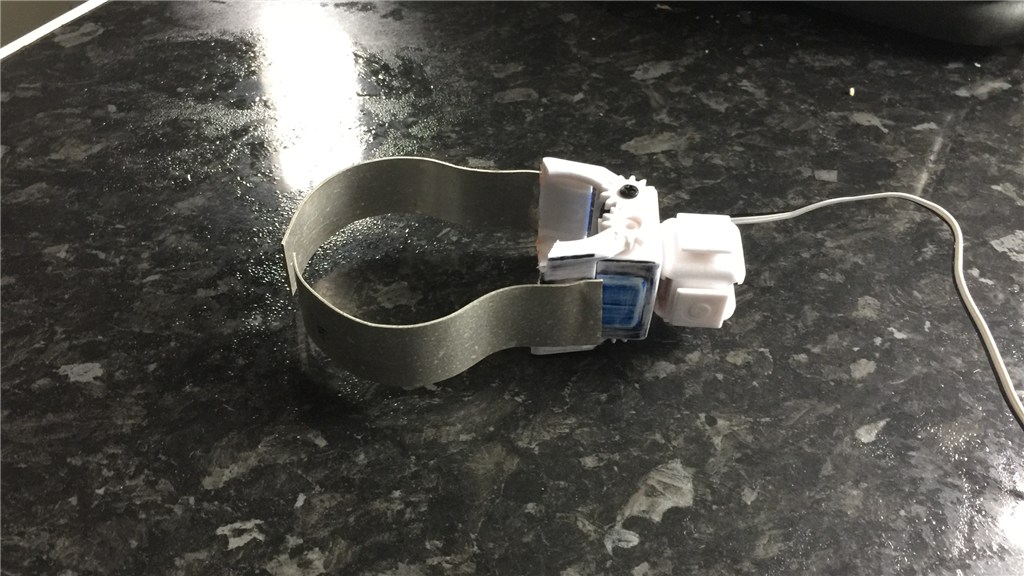
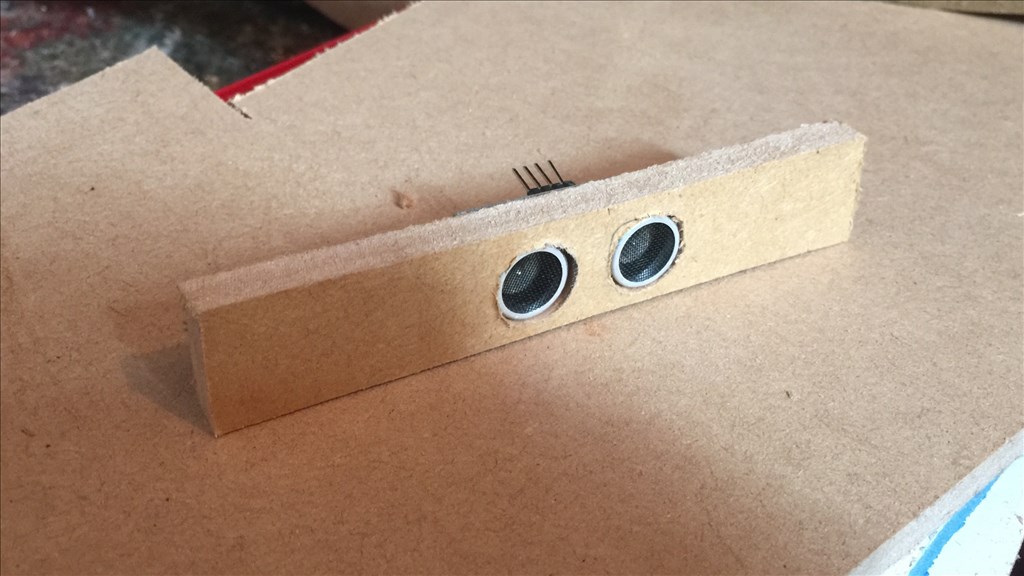
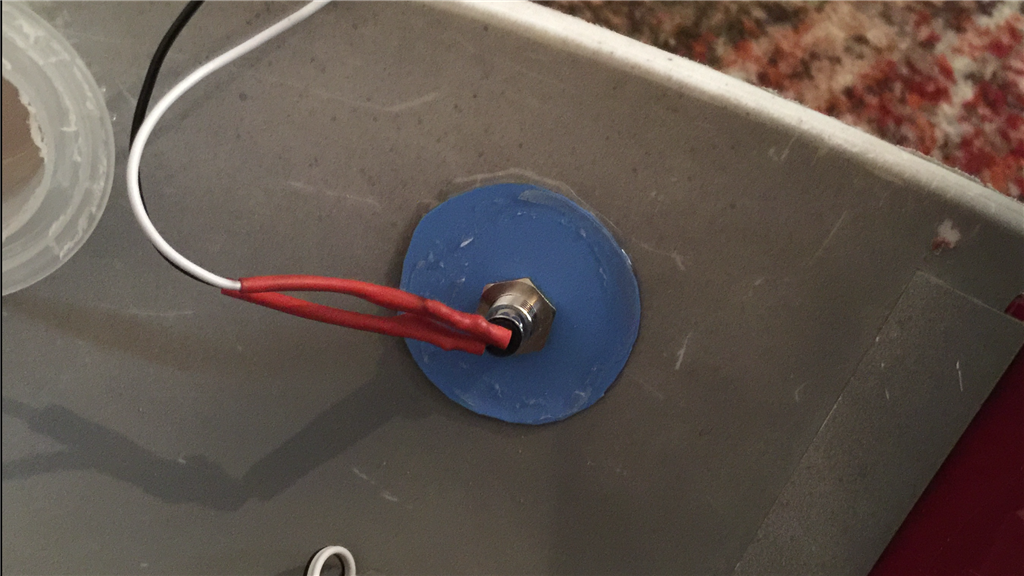
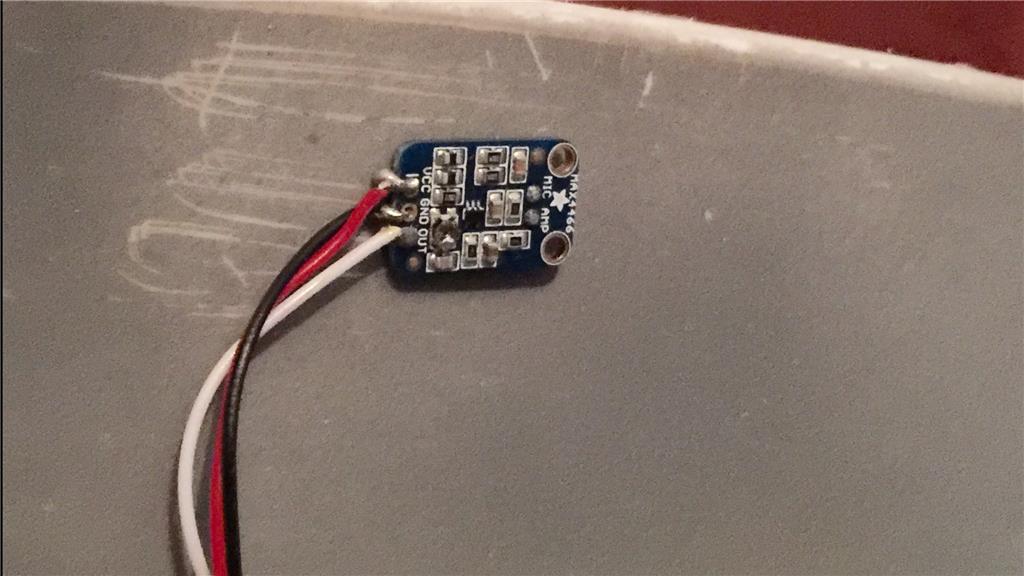
Next is the dome, is two amplified sound sensors which will act as E4-B4's ears, making him look in the direction of any sounds or speech when needed.
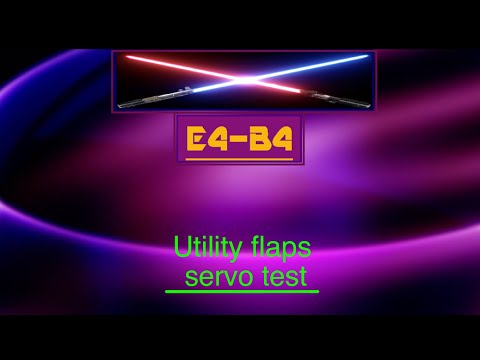
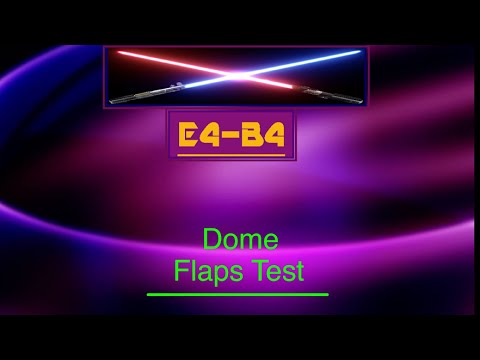
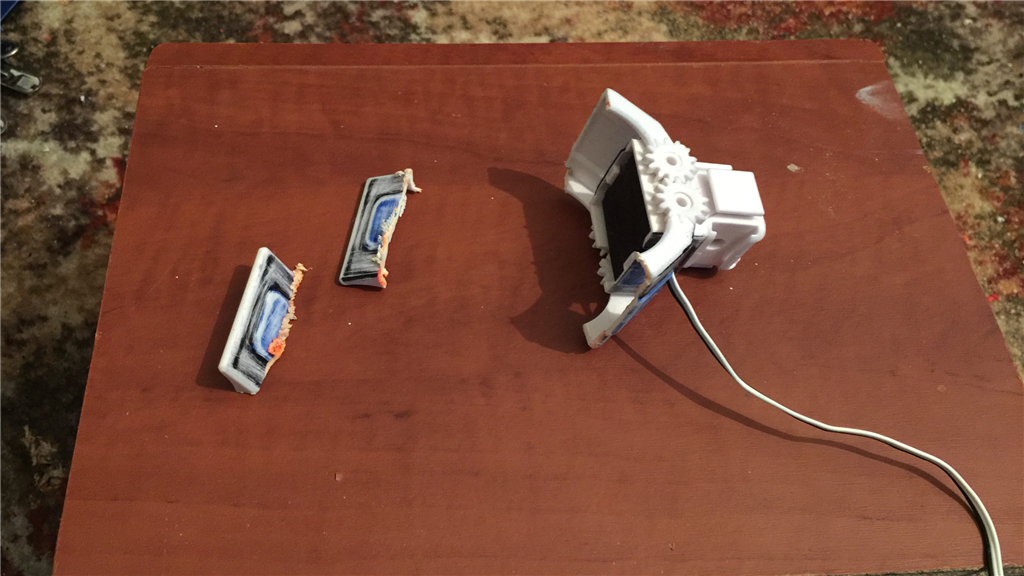
Next to go in, was the micro servos for the sensors and projector flaps. @Ron, I know you like your videos, so here's another little one for ya buddy (and for everyone else too)...
"Eye spy with my little eye..."
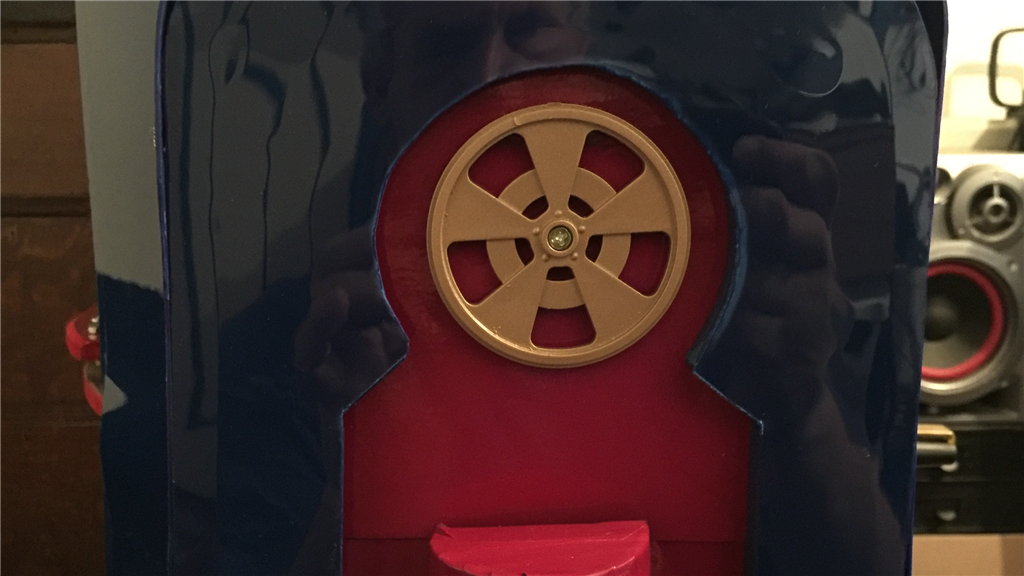
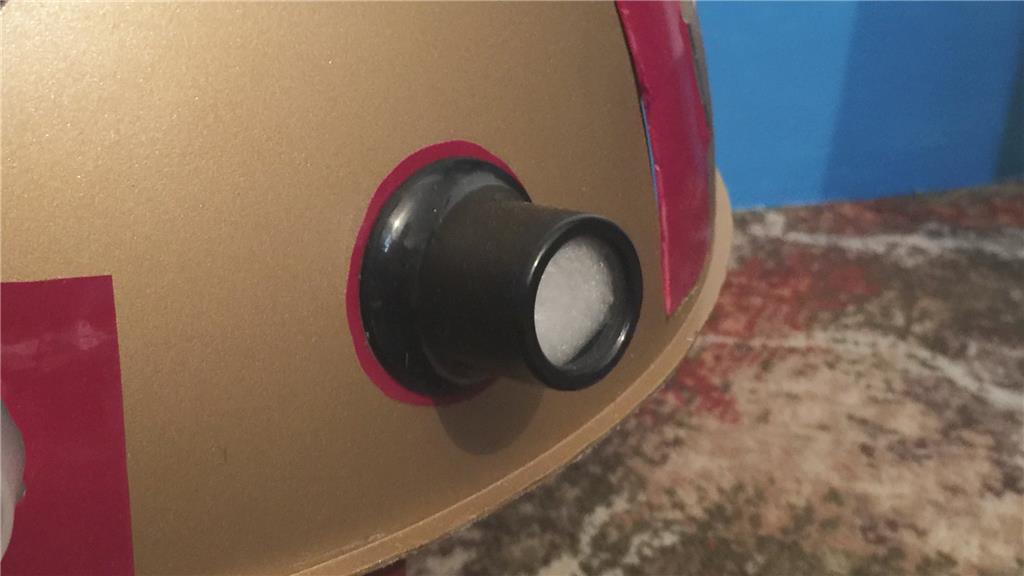
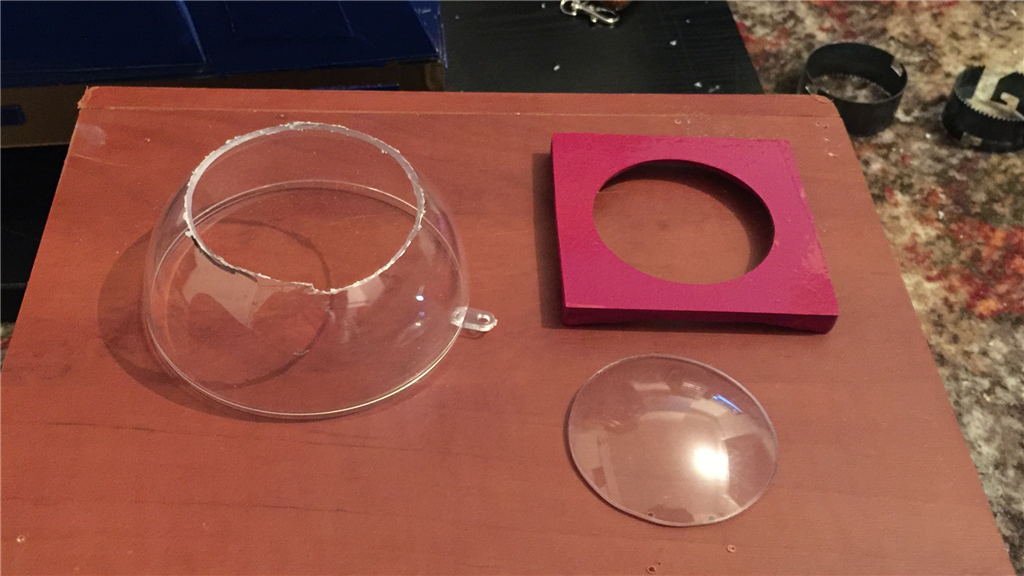
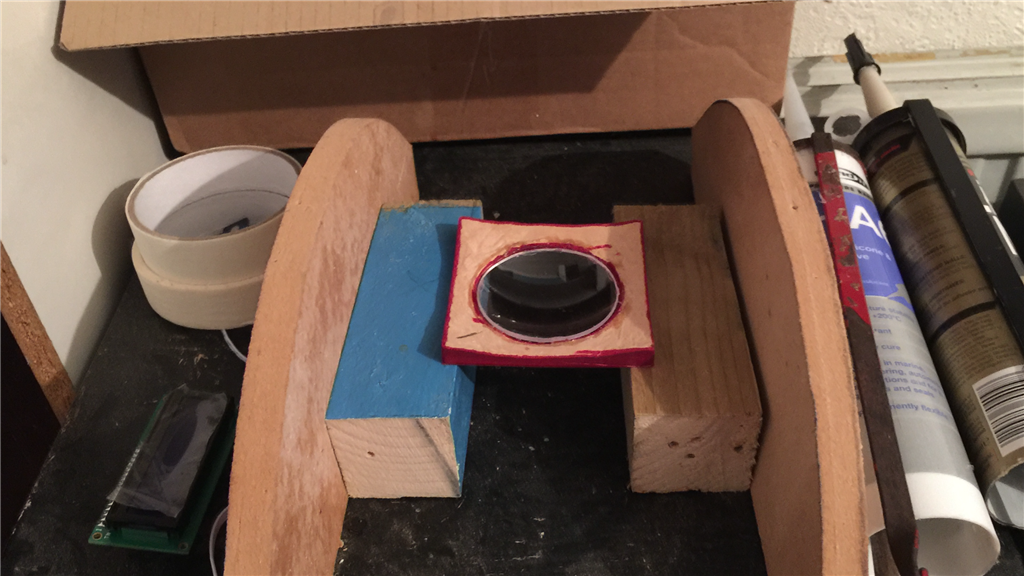
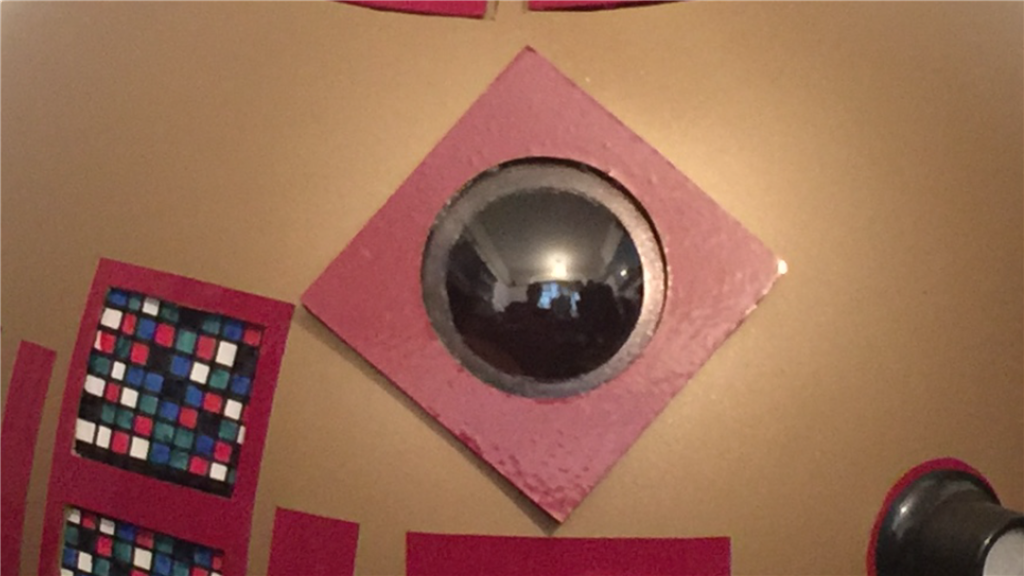
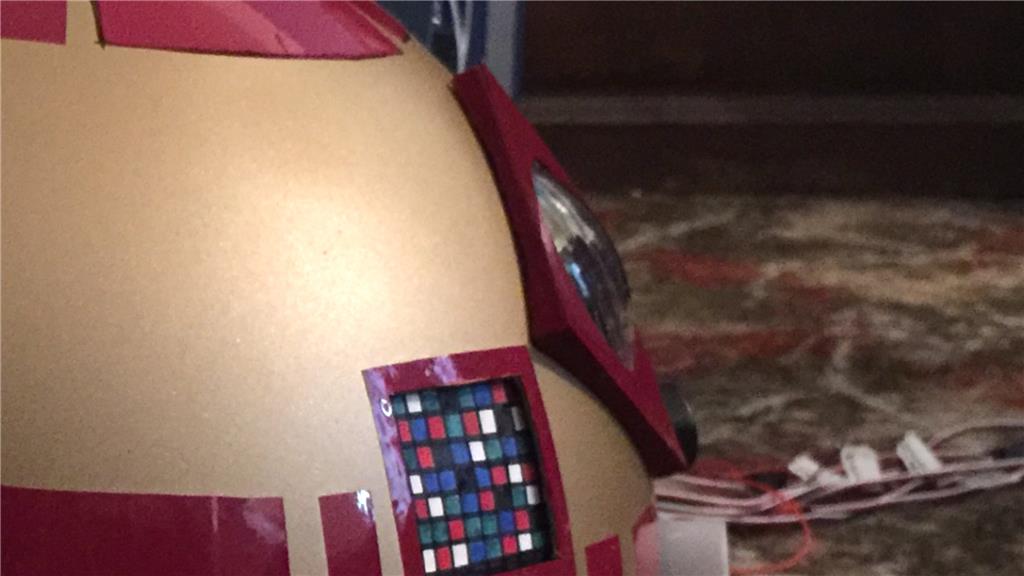
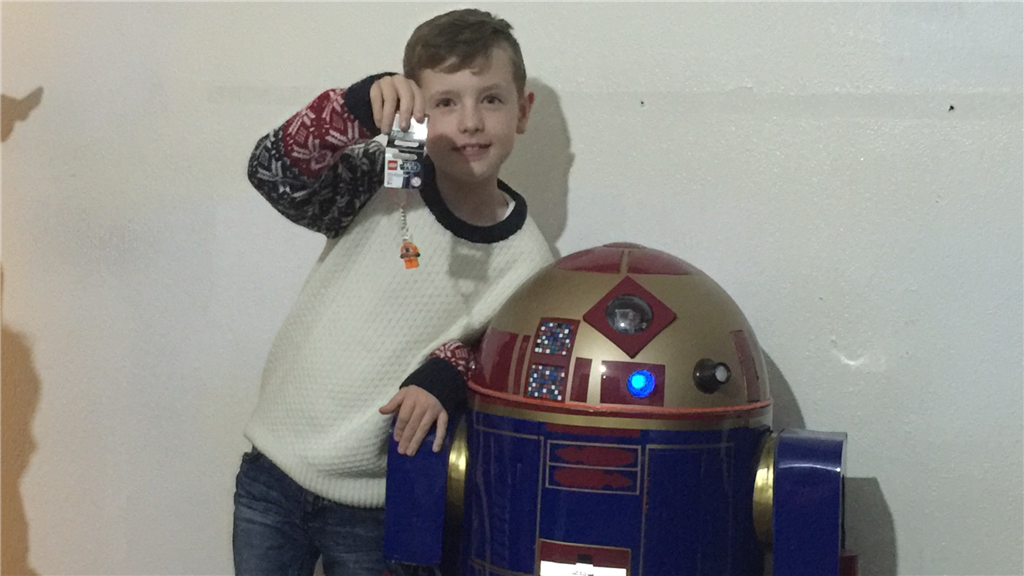
And of course, the most important part of any Astromechs dome... the eye piece. This was made from a piece of MDF, sanded one side down to match the contours of the dome, coloured in burgundy, and a section cut out of a transparent plastic sphere I got from somewhere, to make the eye lens. The lens was glued to the inside of the eye piece section, and then attached to the dome.
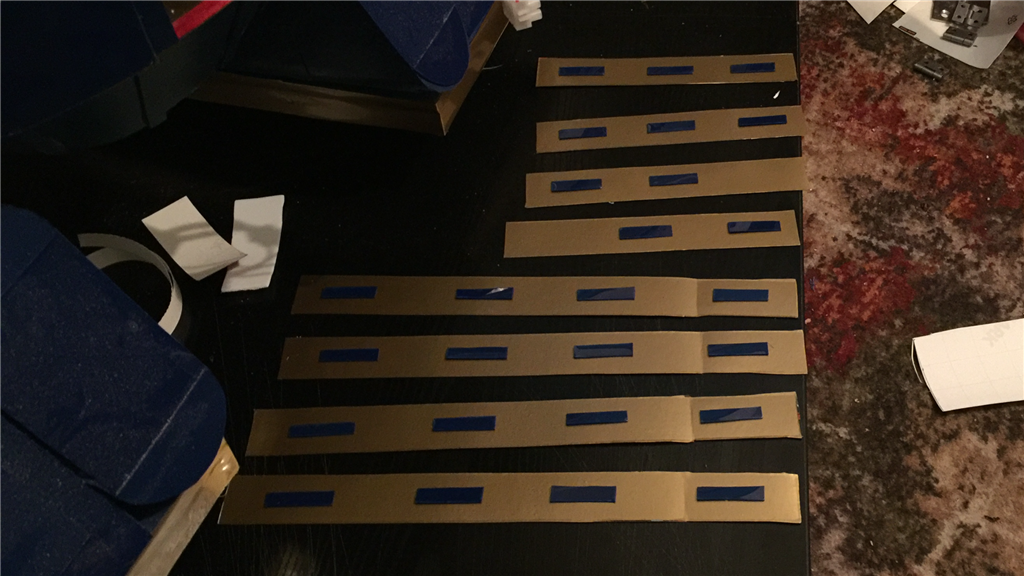
Oh, and that colourful bit you see next to the eye piece, is just a piece of cardboard I coloured in to fill a gap, and is only temporary. This will be the logic lighting panel, and the card will be replaced with the EZ-Robot 8x8 RGB LED arrays that will hopefully be available in the store soon.
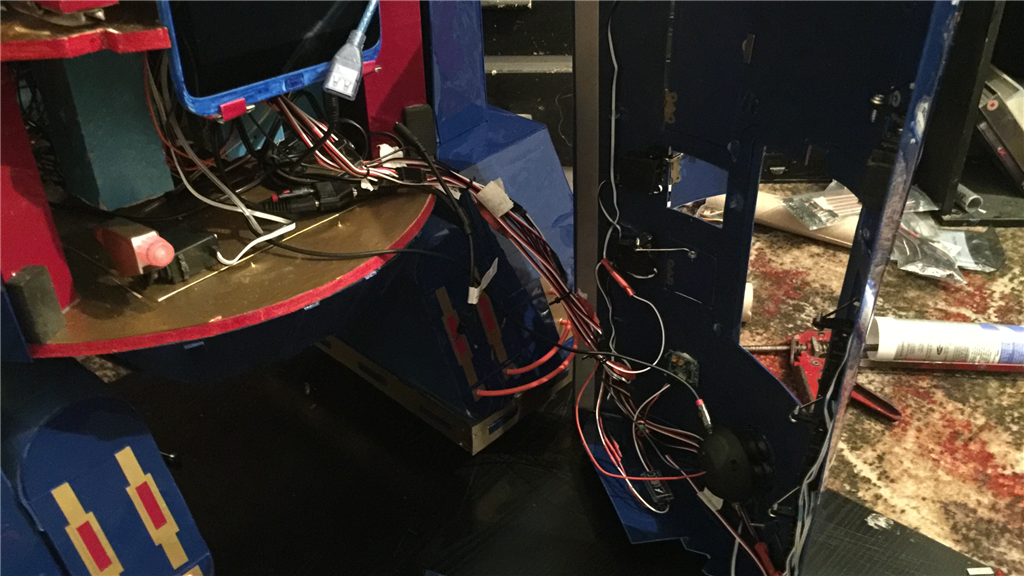
Soooo close to finishing now. A couple of small jobs to finish off, then I'll be connecting the front skin flaps and dome to the EZ-B and SSC-32, and its ARC time.
More soon.