darticus
USA
Asked
— Edited
Programing Jd
I know this must be easy but I just can't find the right settings. I want JD to just see something moving and respond with speech. I also want JD to see a color and not get confused with movement and announce it. Can these both be run at the same time? Is there and activity to help with this movement recognition? Thanks All Ron

@darticus Once again, sorry for the late reply. Things have been a bit hectic this weekend.
I'm a bit confused where you are at the moment. When you speak of the line Richard R listed, are you referring to this line?
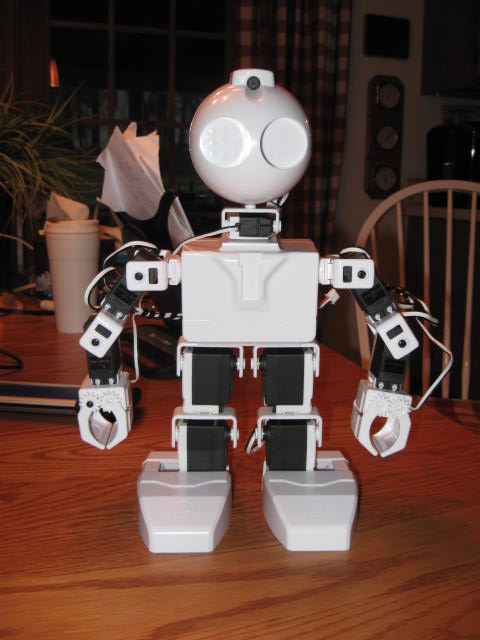
Also, I agree with Nomad, that is a nice job on the JD wiring and it seems to be perfectly aligned.
There is a manual. It is here: https://synthiam.com/Tutorials/Help.aspx
Unfortunately parts of it are out of date as well. For example, some parts refer to using Bluetooth and have instructions using the previous version of the EZB controller (EZB-3). Bluetooth is not used with the EZB-4, only WiFi.
The manual is really only for reference. There is no step by step guidance from simple to more complex like the tutorials. Nor does it include everything presented in the tutorials and the Activities.
@darticus I'm a little late to this game but here is script you might be interested in. This script will look for the color RED for 5 seconds and IF it see's RED it will it will run the Auto Position and Say the text. IF it does not see RED it will say that text. At the end of the script it stops the tracking and returns the robot to a Rest position. It's easy to change this script for whatever type of tracking you want to do.
This is pretty basic, you may have to play with the timing and add in your your Auto Position. There are other ways to do this but this will get you going I hope.
WBS00001 That is the line Richards referred to and that is the line in current use. That does work but I did notice that it didn't put the pointed arm back down after pointing. Your sleep(3000) control line before the stop line also corrected the point hand staying up using this line also. If I'm not mistaken JD points the opposite hand when using this ControlCommand line. Thanks Ron Do you know how to set up the face recognition? Maybe a few hints might help. I go to device turn on the camera go to tracking click on face pick object tab. Than its time to set it up, I guess. Any tips on using this? Thanks Again Ron
Thanks bhouston
I'm sure many will try this and I certainly will. Its nice when some people help out some of us new young and old members. This is a great way to teach the new people what is the correct way to use scripts and get started. Once we catch on we will move on, on our own. Thanks Ron
@darticus Okay. That line should not be used in the PointAndTrack script, ever. What that does is put in a reference to itself. Meaning when that line is executed by the script it is calling itself (the PointAndTrack script). That puts you into what is called a recursive mode. It's like an endless loop. It calls itself, which causes it to run again, which calls itself, which causes it to run again ... and so on.
What Richard was referring to when he showed that line was the setup for the camera itself. Do the following:
1)Click on the little gear icon in the bottom left of the "Camera" control window. That will bring up the Camera settings window.
2)click on the "Scripts" tab at the top of the window.
When you do, you will see that same line near the top center of the window. It is there that the line is used. That is the "Tracking Start" command. Right below that is the "Tracking End" command. What the line in the Tracking Start box is doing is telling the Camera operation program what to do when it recognizes an object, or color, or face, or whatever. It is telling the Camera program to start the script named "PointAndTrack". Then whatever is in that script will be executed. In this case, it makes the robot point. Then it causes the robot to say what it recognized.
Basically, that's it. Once the script has finished running, the robot goes back to how it was before. Sometimes it might not under some conditions and it can be forced to lower it's arm, but I didn't want to get into that here as it would make the thing more complicated. By modifying the "PointAndTrack" script you can make it do all sorts of things.
The same for the line in the "Tracking End" box. You will note that it says "Multiline Script" in that box. What that means is the command for the "Tracking End" instruction is more than one line of code. To see the other line in that part, click the little pencil icon to the far right. When you do, another window will come up showing the two lines of code that tells the Camera program what to do when tracking is turned off. You turn off the tracking off when you uncheck all the boxes in the Tracking tab (like you were doing with the "Multicolor" checkbox). What those two lines are saying is: Stop the "PointAndTrack script now Then stop everything else
Bottom line of all this is that you will need to put the other line back in the "PointAndTrack" script. ie: ControlCommand ("Auto Position", AutoPositionAction, "Point" ).
Feel free to ask questions if that is not clear to you.
what about the light in the room,what is best for the camera. light ubove the camera or in front camera?
Nomad I just use a room as bright as it is normally with your lights on. If not enough light when you adjust your slide levers it still won't see the color or get it wrong. Than look for more light maybe coming in a window. Ron
WBS00001 I think what you said is the line should be the first one we were using which worked when the sleep(3000) ControlCommand was used. ControlCommand ("Auto Position", AutoPositionAction, "Point" ) It seemed to run better and more correct with this. The arm always seemed to go down correctly. Thanks Ron