Steps
- Professor E's Overview
- Step 1
- Step 2
- Step 3
- Step 4
- Step 5
- Step 6
- Step 7
- Step 8
- Step 9
- Step 10
- Step 11
- Step 12
- Step 13
- Step 14
- Step 15
- Step 16
- Step 17
- Step 18
- Step 19
- Step 20
- Step 21
- Step 22
- Step 23
- Step 24
- Step 25
- Step 26
- Step 27
- Step 28
- Step 29
- Step 30
- Step 31
- Step 32
- Step 33
- Step 34
- Step 35
- Step 36
- Step 37
- Step 38
- Step 39
- Step 40
- Step 41
- Step 42
- Step 43
- Step 44
- Step 45
- Step 46
- Quiz
This lesson will demonstrate how to build the Revolution Six robot. Follow along with The Robot Program Episode 008: Building Six. At the end of this lesson, the reader will have learned how to download the ARC software, where to access the step-by-step building instructions, how to Clip’n’Play the EZ-Bit robot components, and how to secure the connections to the EZ-B Robot Controller for fully building Six.
View the video episode here: https://www.ez-robot.com/Tutorials/Lesson/62
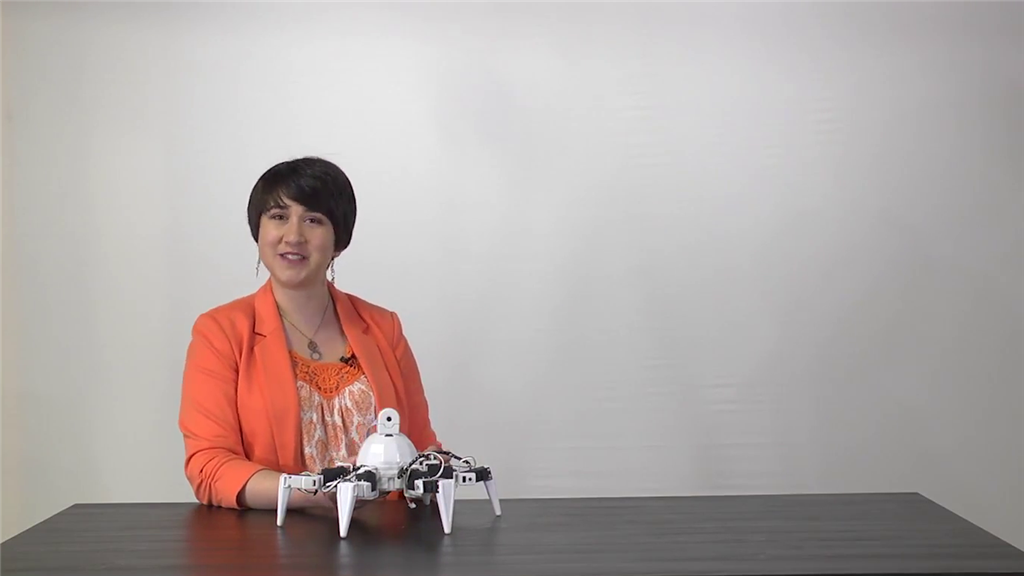
Professor E's Overview
This episode demonstrated how to build the Revolution Six robot.
The EZ-Builder software can be downloaded from www.ez-robot.com.
Always start with a fully charged robot. Remember to disconnect the wires carefully.
Within the software, follow along with the step-by-step building instructions.
The robot components are called EZ-Bits. Each EZ-Bit connects to the EZ-B Robot Controller using male-to-female connections at the back of the robot. The port layout can be viewed in the Getting Started Guide. Be sure to match the wire colors to the corresponding port colors.
Adjust the cables so that they are coming out of the back of each EZ-Bit, which will make the connections easier to organize. Use Wire Wraps to clean up the cables into bundled sections, allowing the robot to have full range of motion. Check that the cables are not pinched by the Hexapod Dome and that the robot is evenly balanced.