


hi all
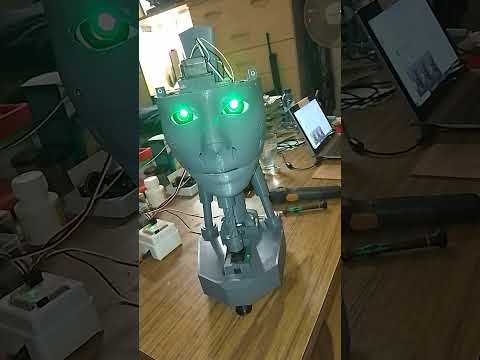
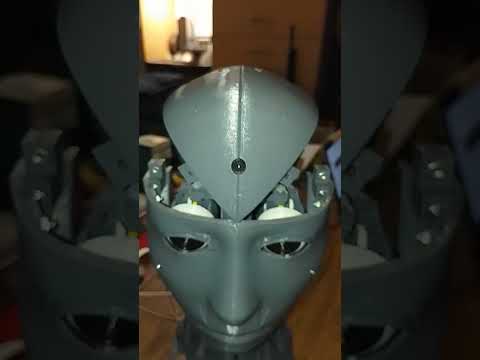
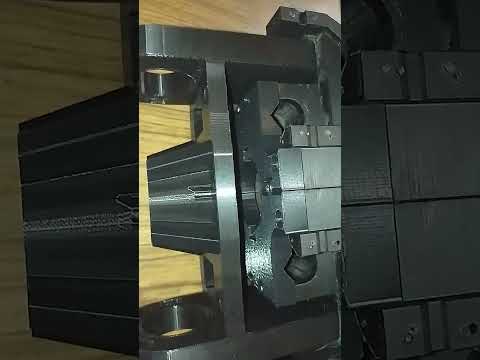
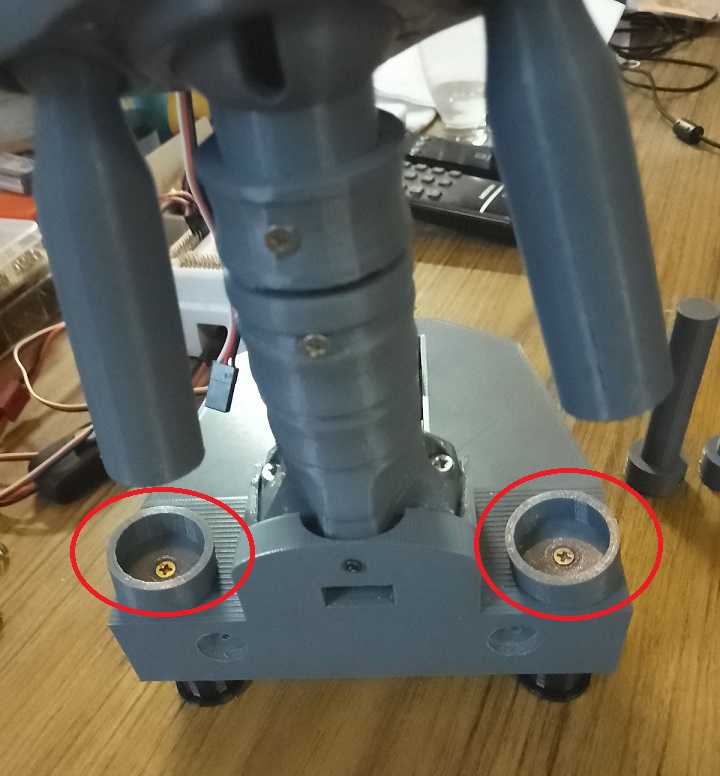
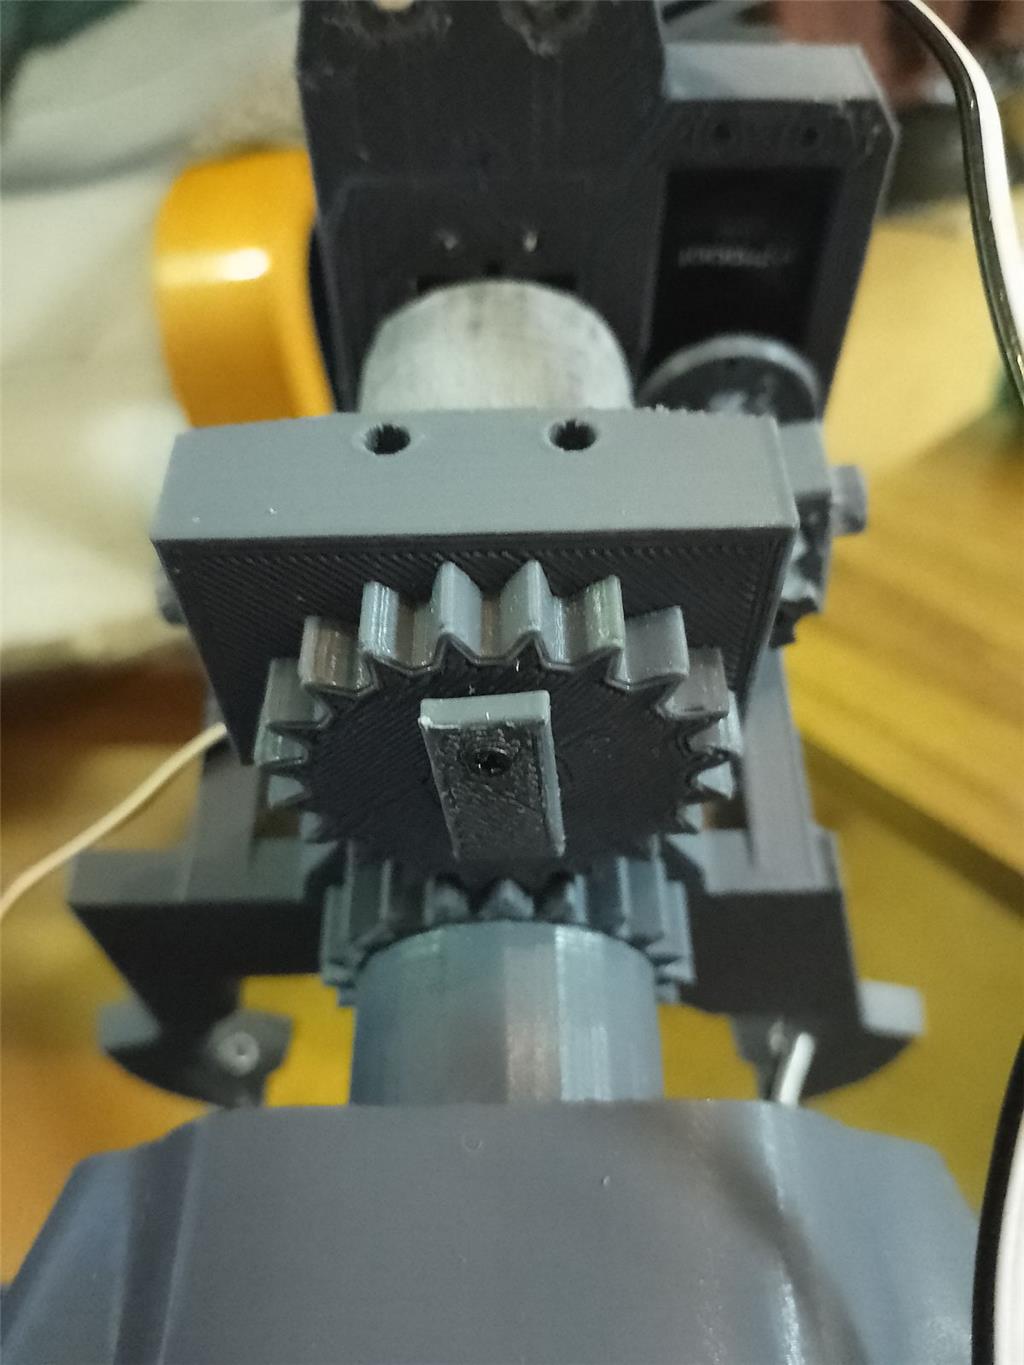
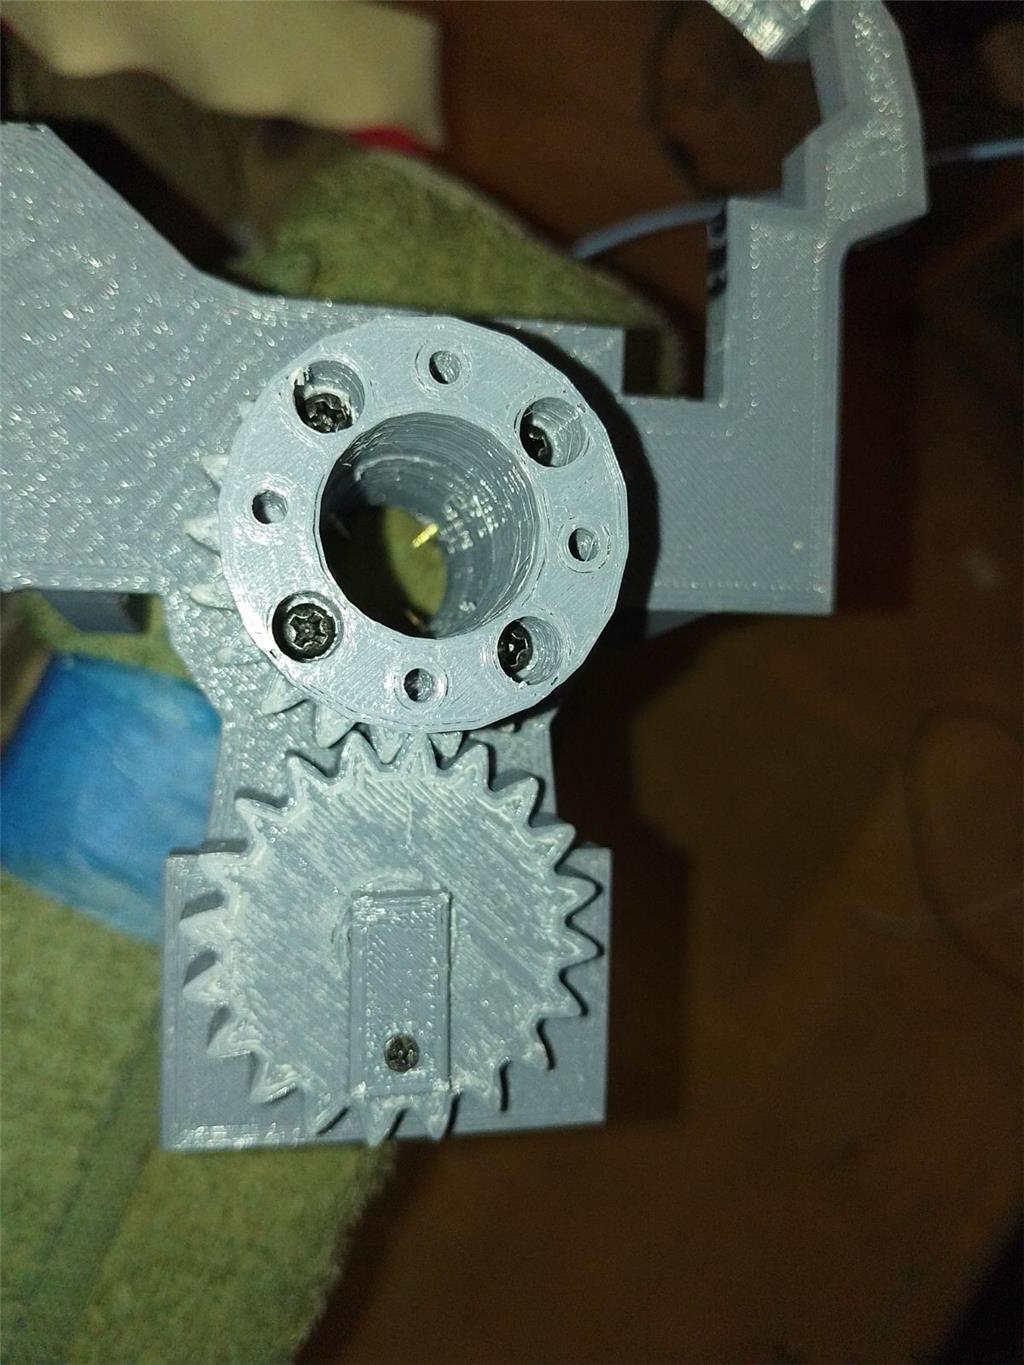
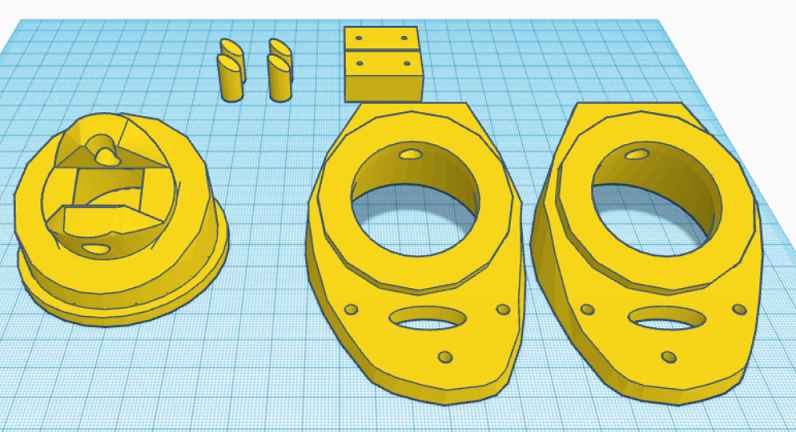
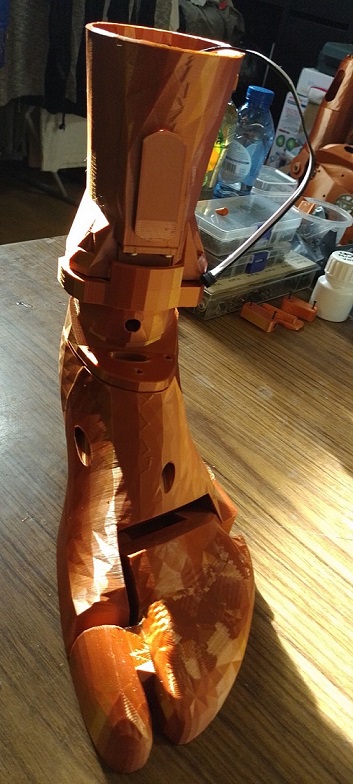
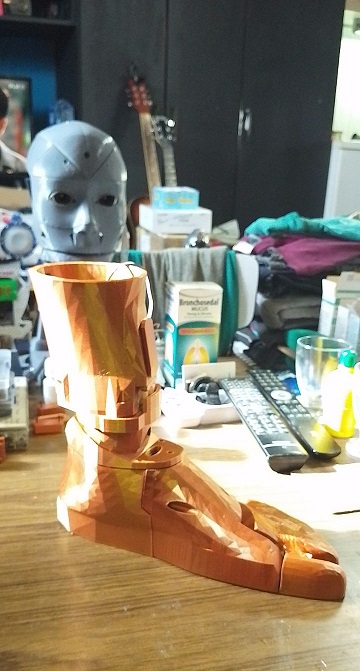
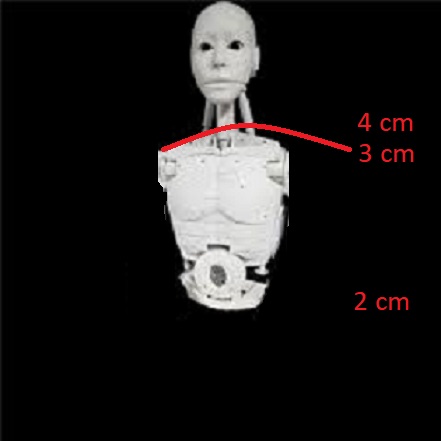
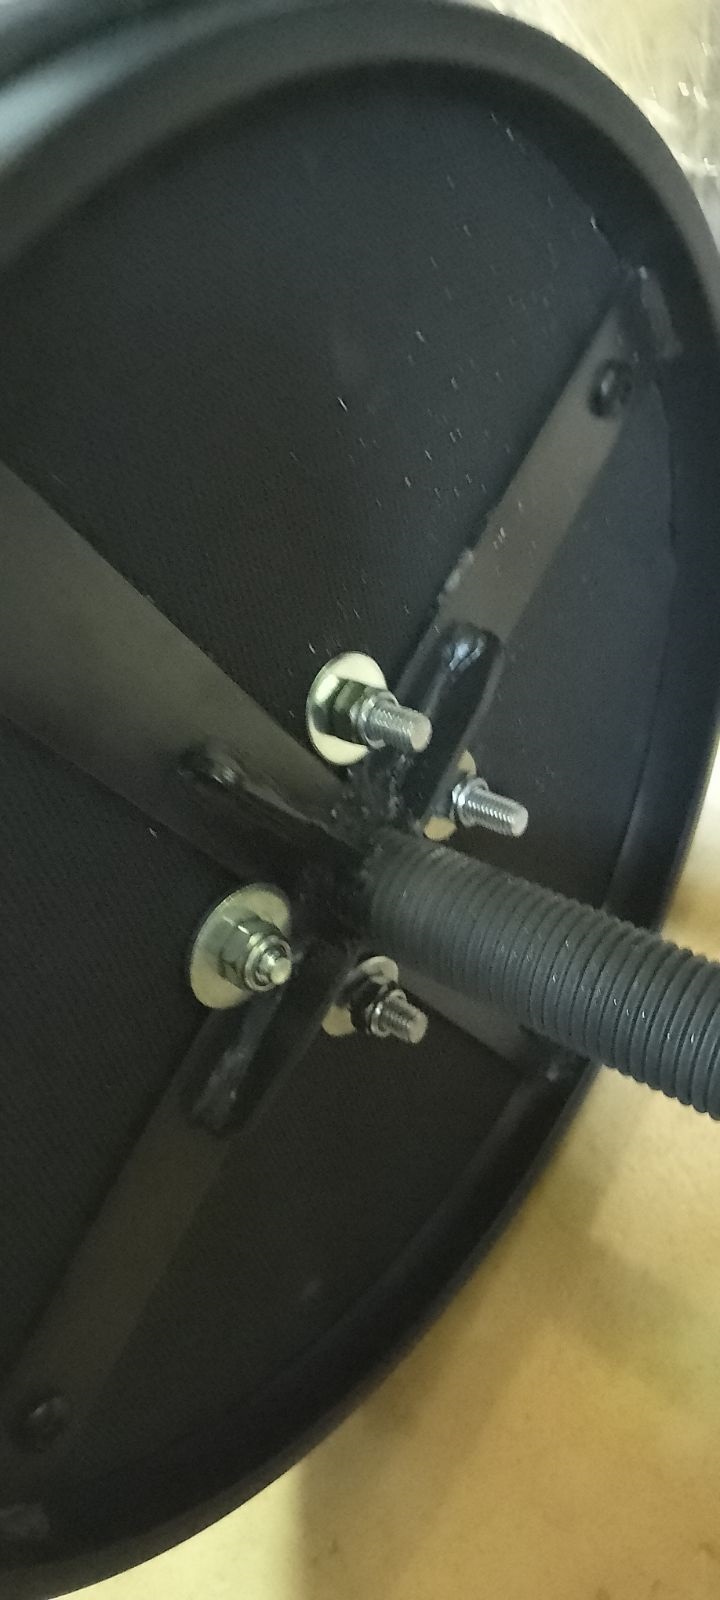
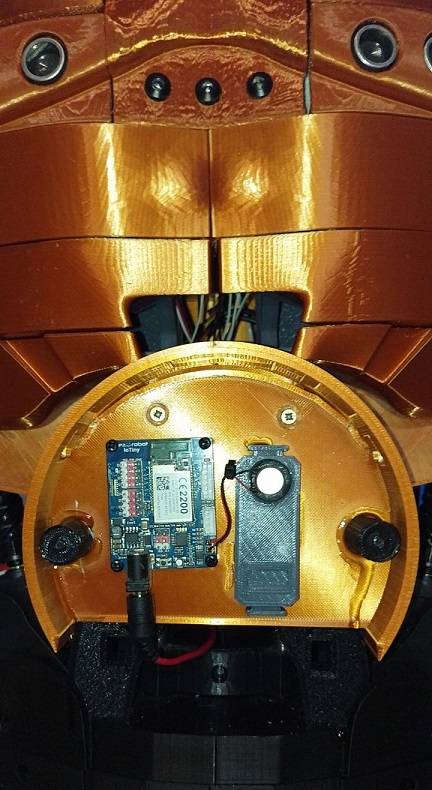
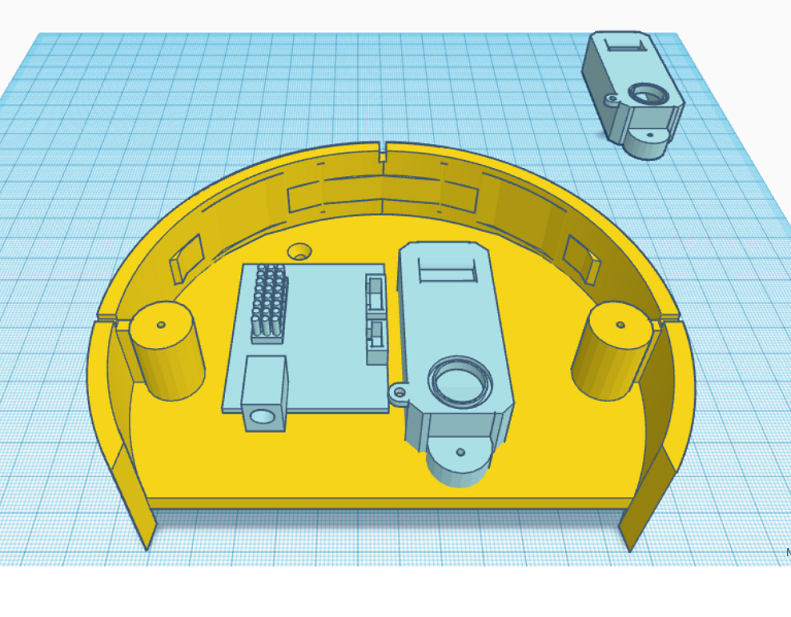
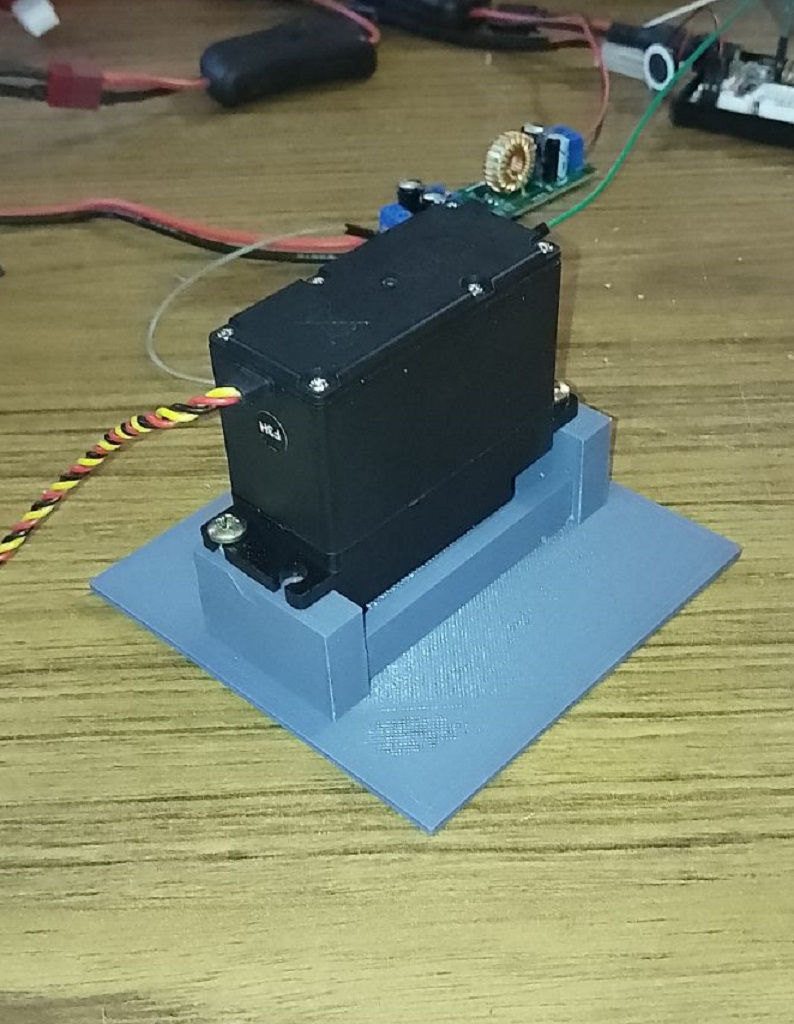
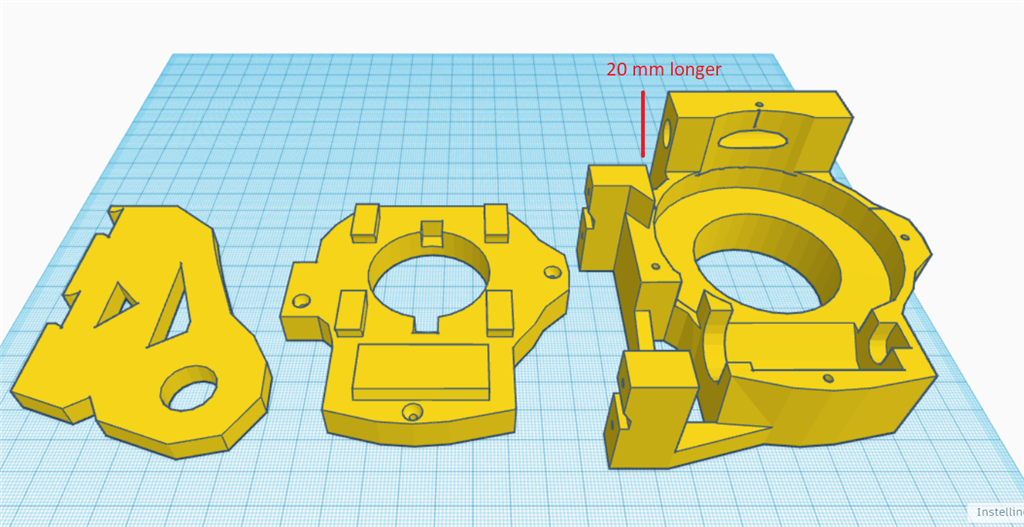
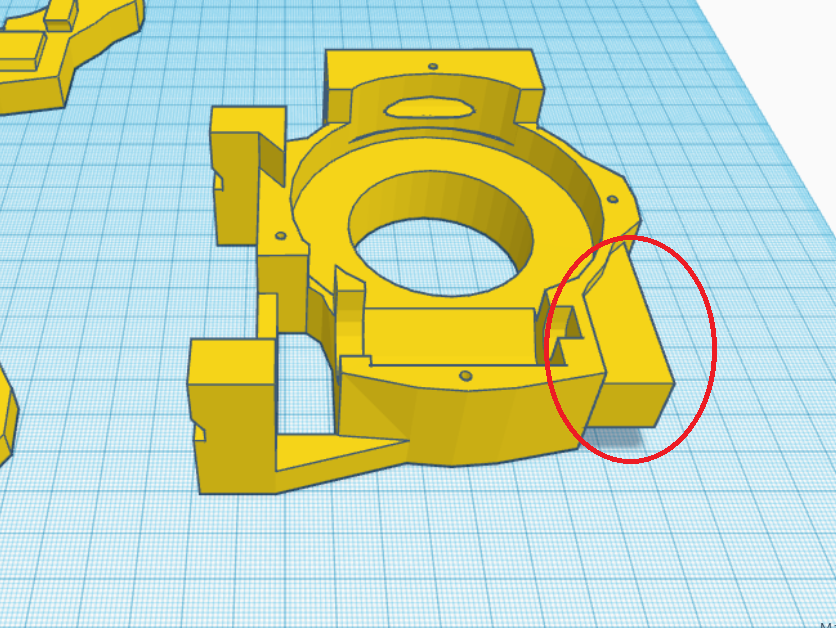
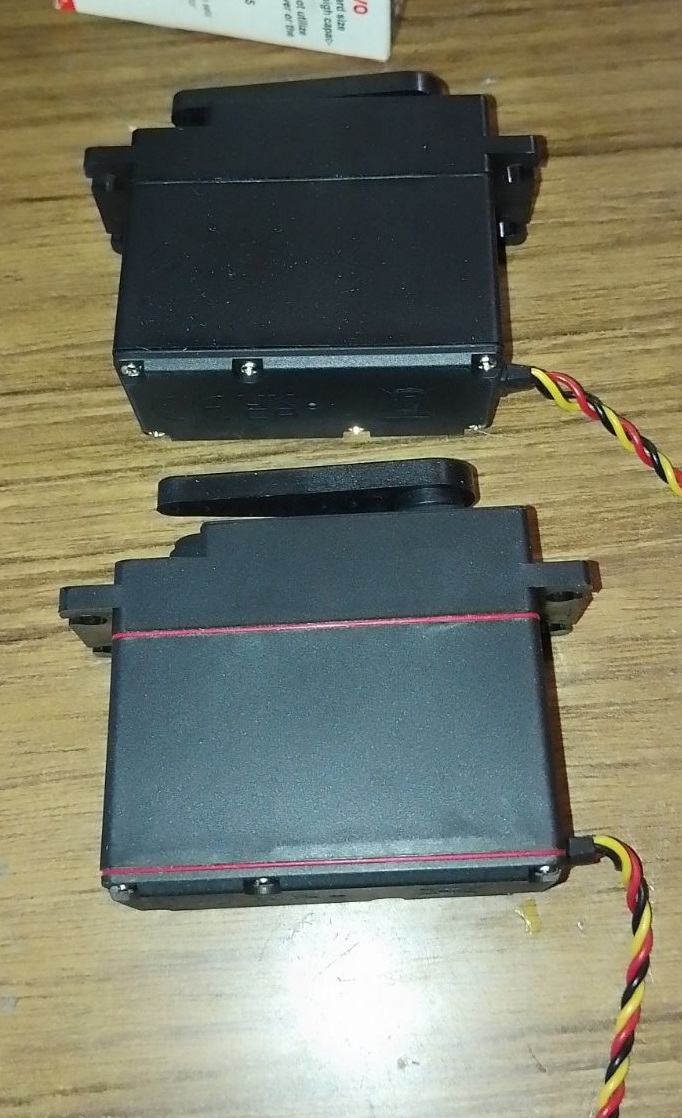
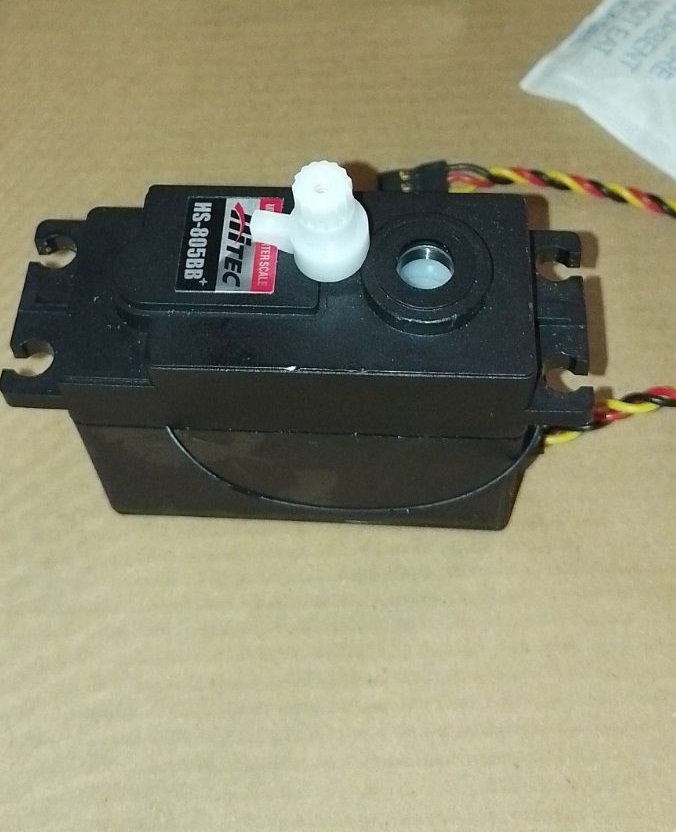
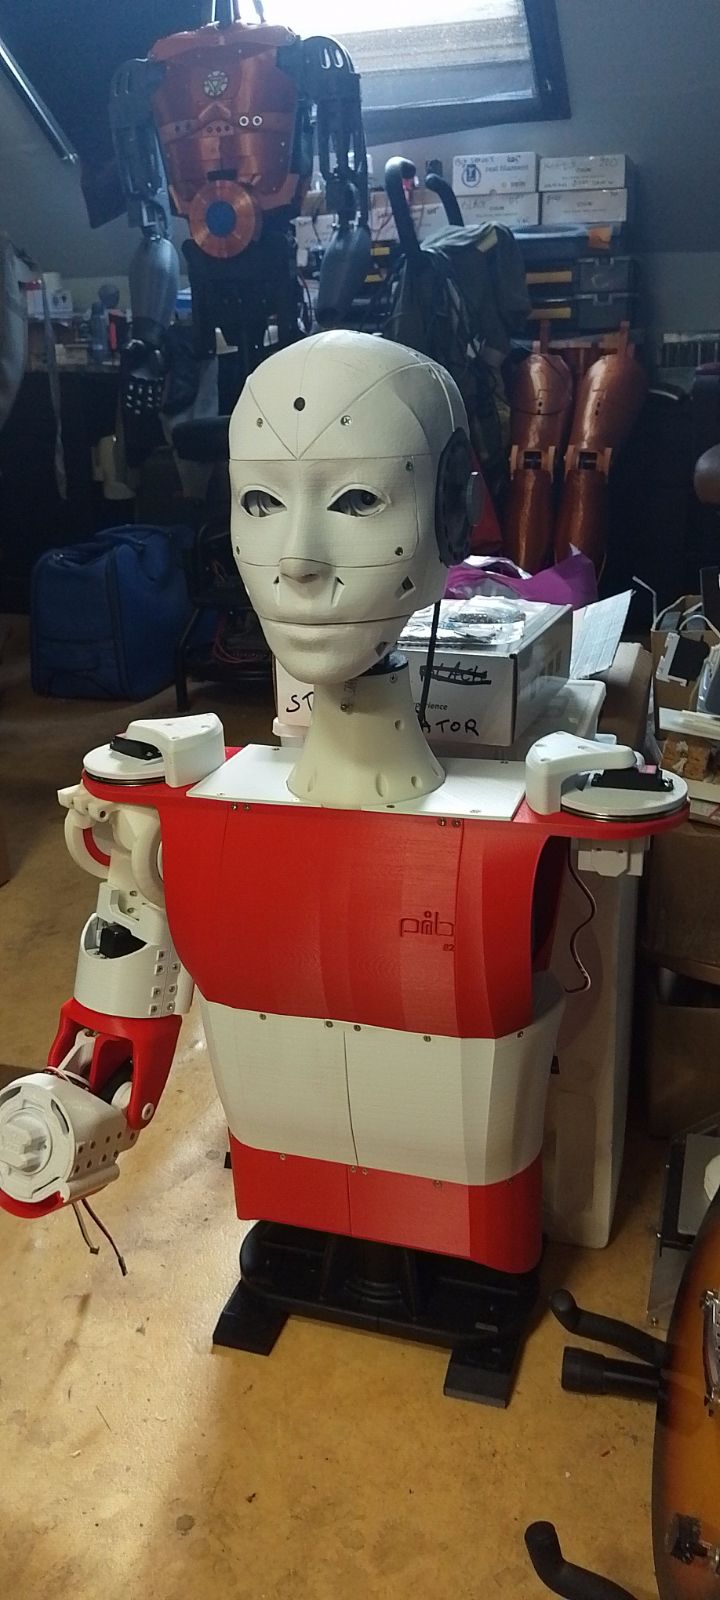
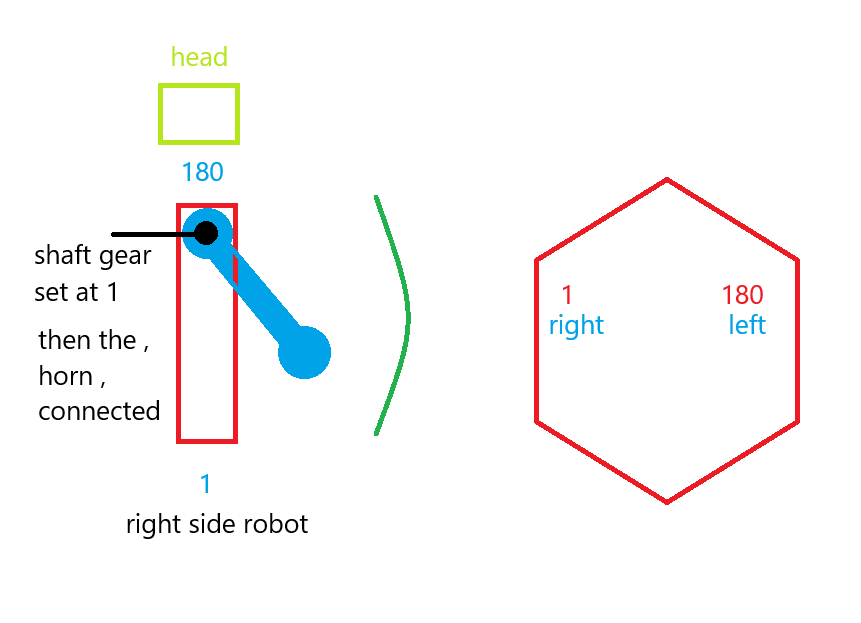
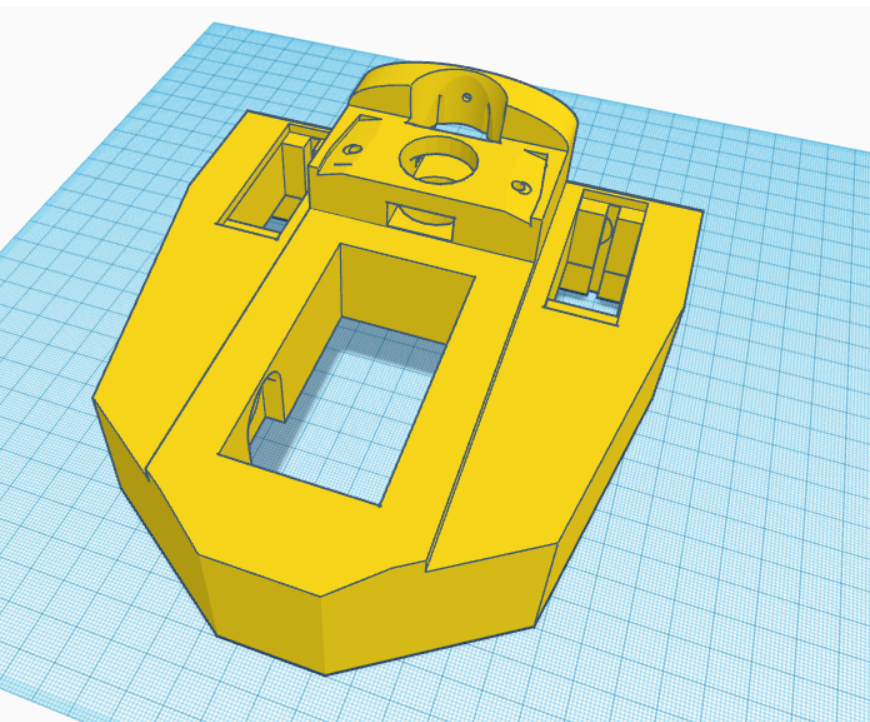
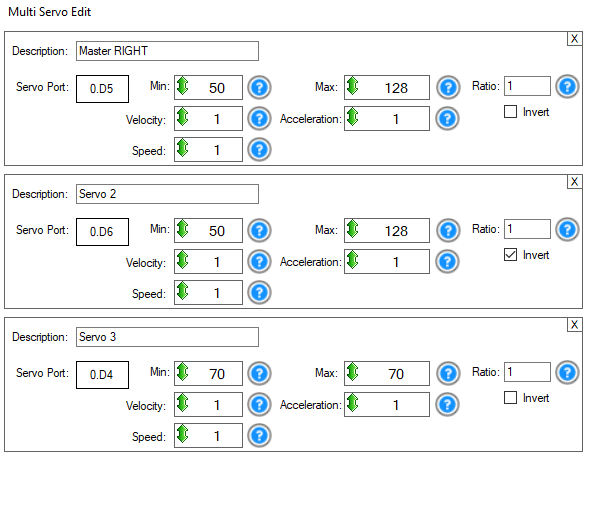
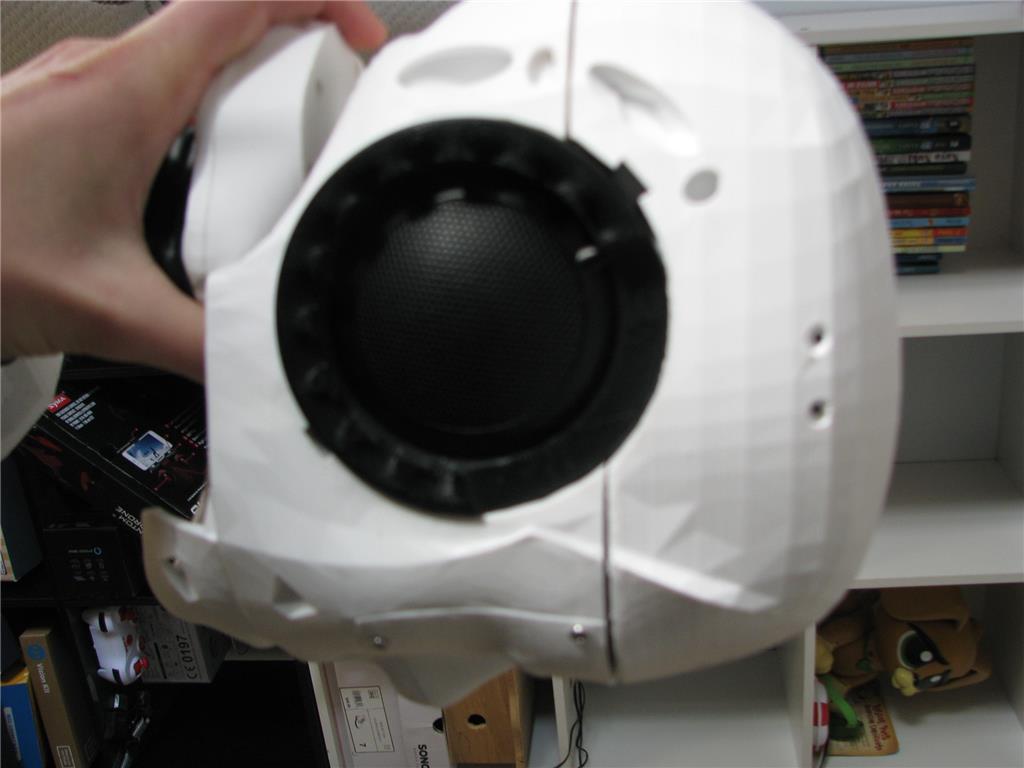
I've created a modified version of the EZ Robot head, featuring both side-to-side and up-and-down (yes) movements. This new design includes an improved base for the head, accommodating three additional HDD servos. There's an option to install two cameras, with the base designed to allow passage for a second camera cable. This setup is ideal for incorporating additional IoT devices or EZBV4, for instance, for LED lighting. Conveniently, there's no need to remove the potentiometer from a servo, as the 1 to 180-degree range provides ample movement. The base height is 7.2 cm.
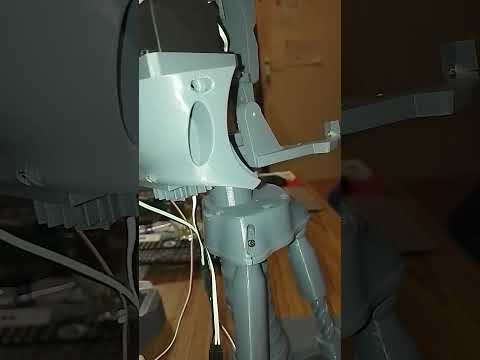
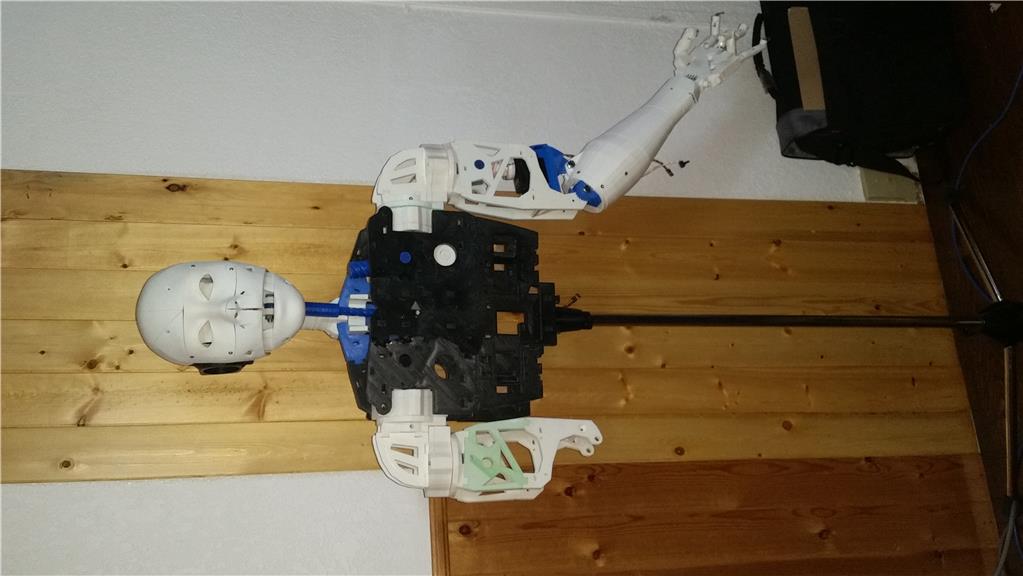
The pistons are original components from InMoov, and the neck base in EZ Robot is correctly designed.
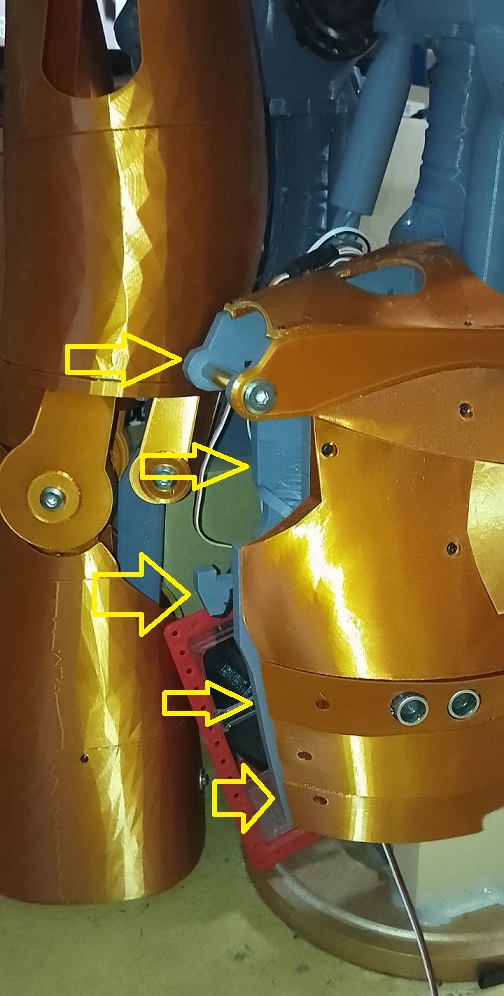
For moving the side pistons, adhere to these settings:
Programming
Adjusting the side pistons can be a bit complex. Start by calibrating your HDD servos. Then, align the inner piston with the holes in the piston base and secure it with a screw. For the second side piston, align it similarly, then disconnect the IoTiny. This allows you to manually adjust the previous piston to properly position the second one. The original documentation on EZ Robot is extremely helpful in this process.
Parts & Materials
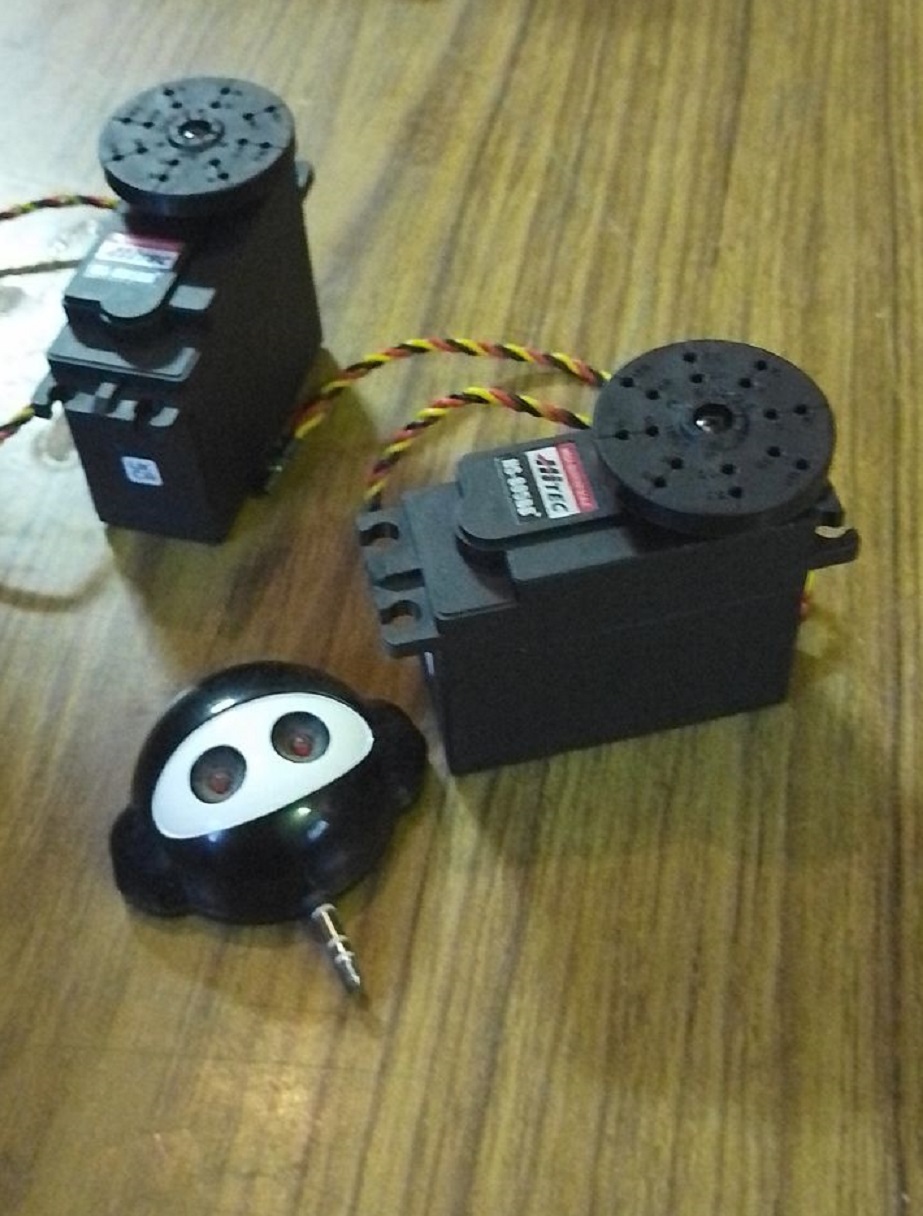
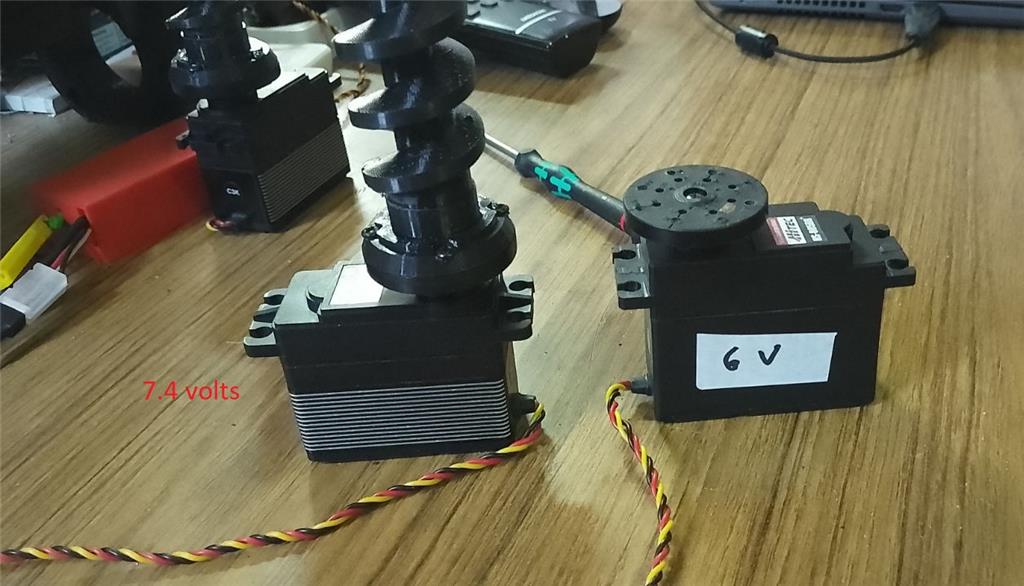
You'll need 3 extra HDD servos and grey PLA filament. The drive shaft parts should be printed with a 35% infill and a gyroid pattern in your slicer for enhanced strength. Other parts can be printed according to your preferences. Additionally, there's an optional neck extension, offering one to three extra vertebrae for more piston movement space. In my experience, the two-vertebrae option works best.
Discover more robots
Autiboy's Max The Robot Based Off Of Inmoov
69Developer's Anyone Interested In Seeing Some Pictures And...

hi
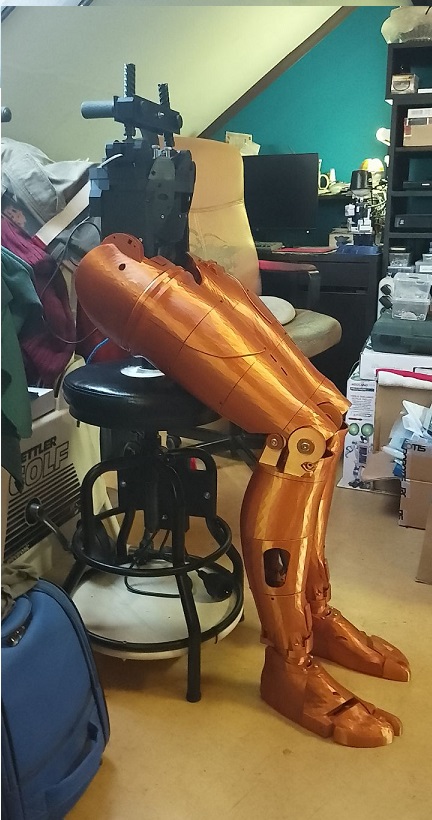
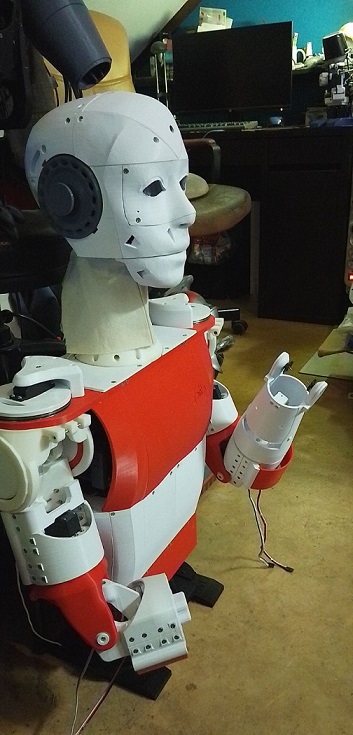
inmoove chair is almost reddy .
@Nink, thanks for the battery wisdom and keeping me honest. I learned something here.
Looking good Nomad. Pretty soon you're going to have a new friend to talk to.
hi dave
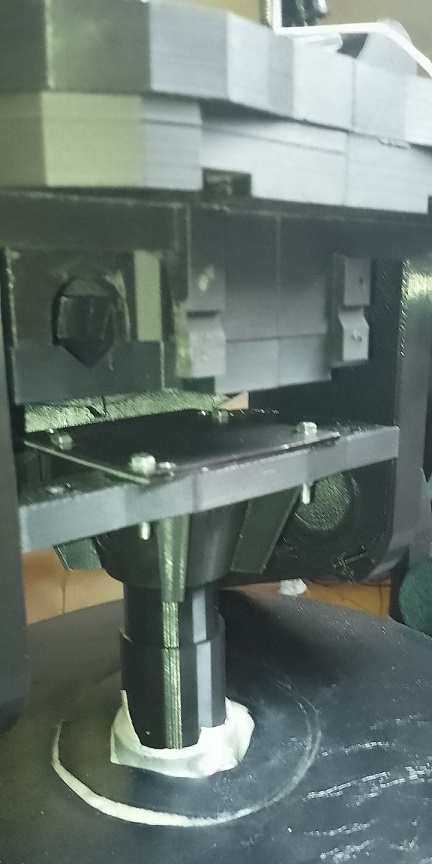
next week the legs will be on the chair .
thanks
hi all
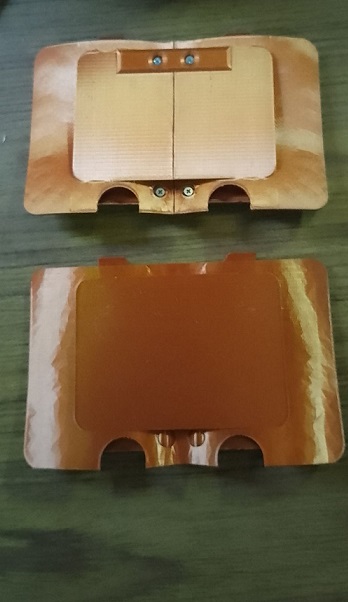
i made the backcover in one piece . no screws or nut needed . ontop foto the original two piece covers . below one piece . file below foto .
picture
backcovercomplete.stl
dave&nink
i have no idea why i freaked out but i did . i take a few days off . maybe this project is to big for me .
so my sincere appolegies to bolt of you .
No worries my friend. We all have out freak out moments. You should see some of mine.... Well, maybe you shouldn't. LOL.
Have a good week!
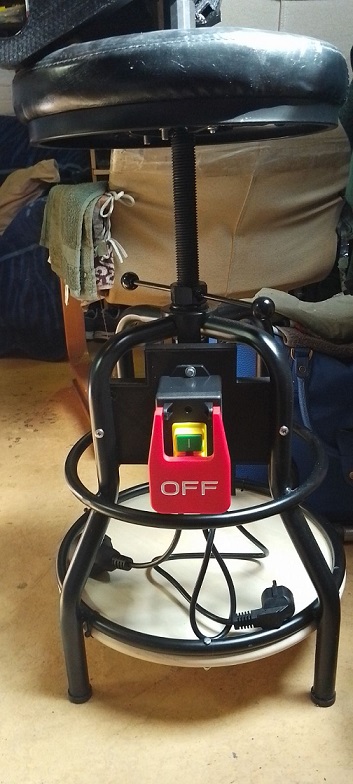
howdy folks
a little update on building the base chair . safety on/off switsh mounted . its a switsh that you can stop with your feet or knee when needed .
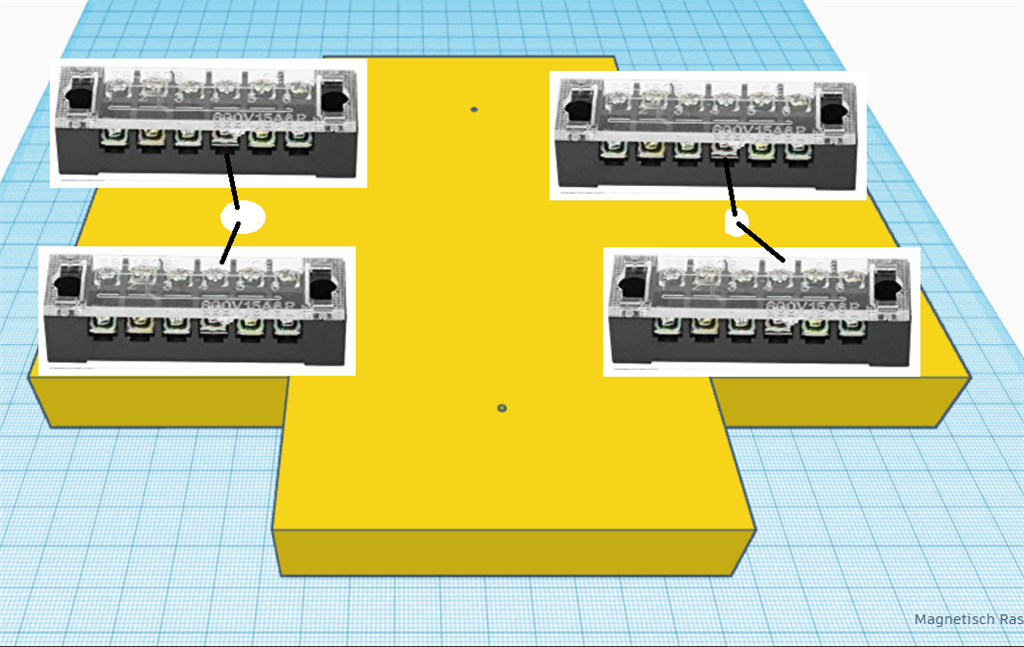
printing cross plates were i will mount the terminals .
same cross plate comes on the side were the fuse boxes will sit .
So, I'm assuming the Imoov body will be mounted on this chair? Will you be removing the seat and just be using the pipe? I've never looked closely at how you Imoov builder guys do this.