


hi all
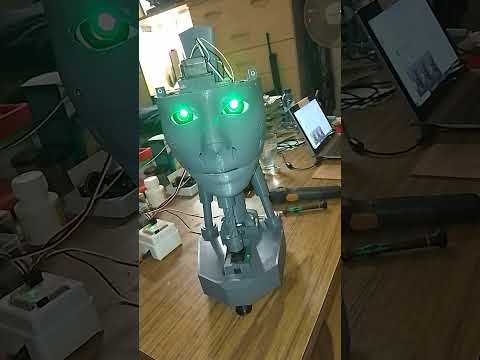
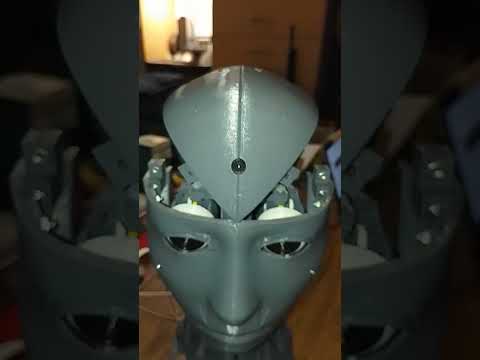
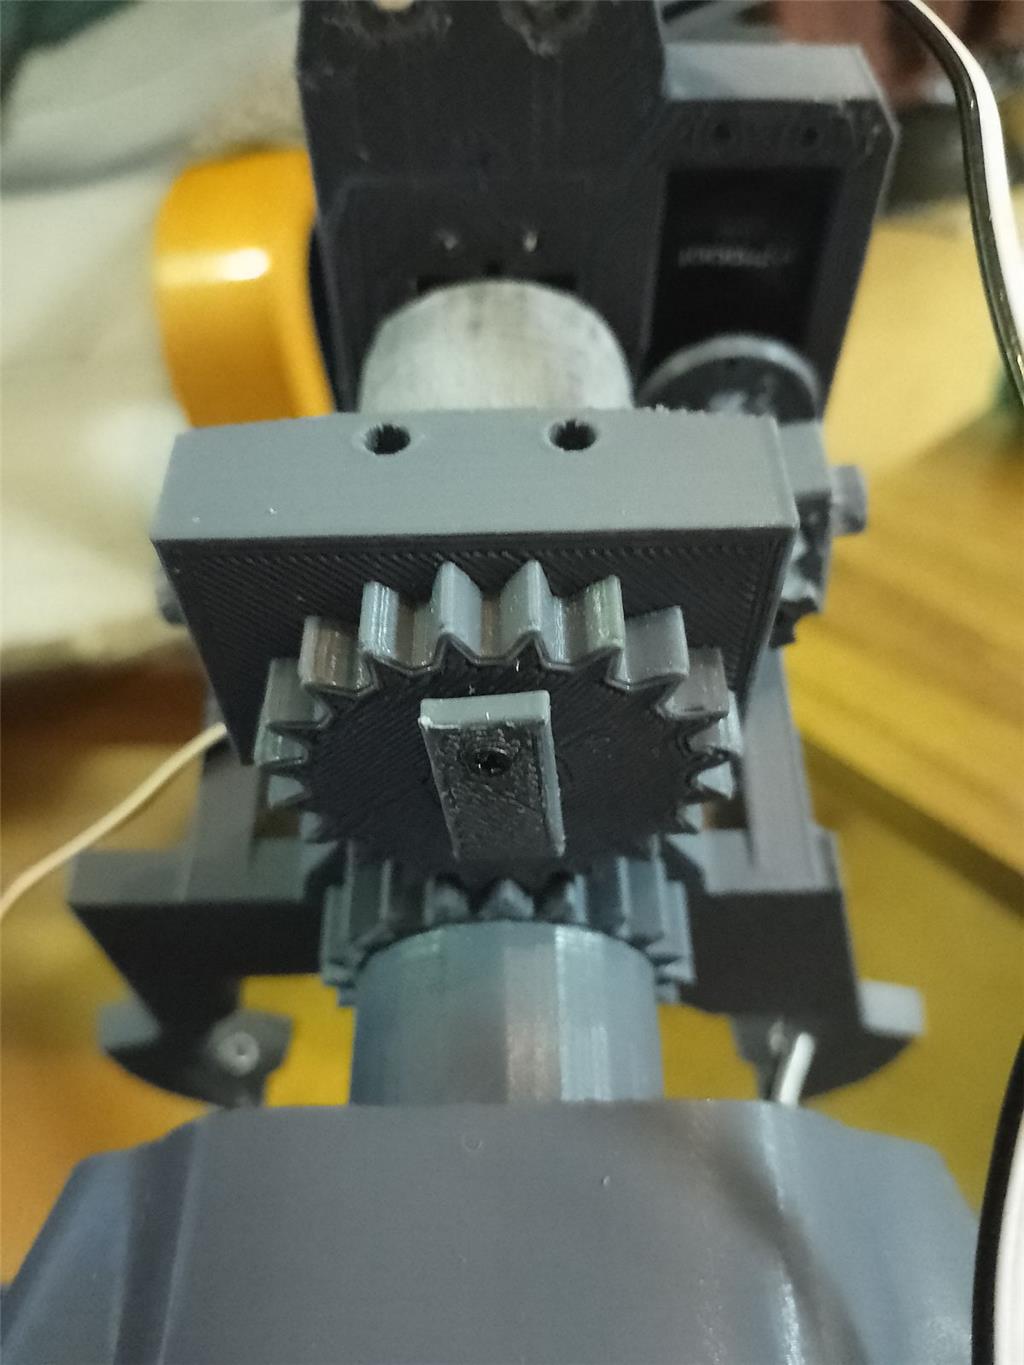
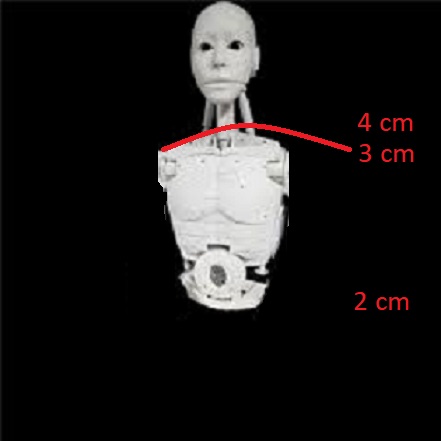
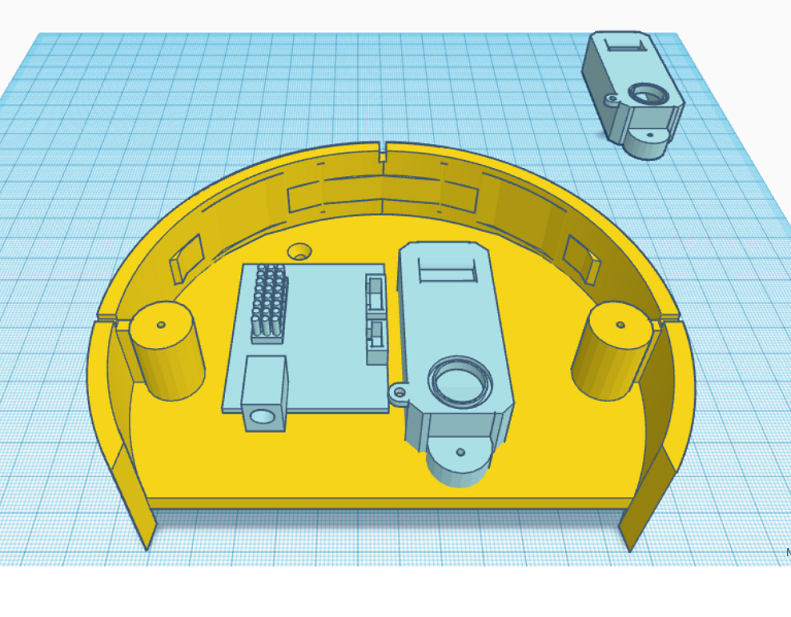
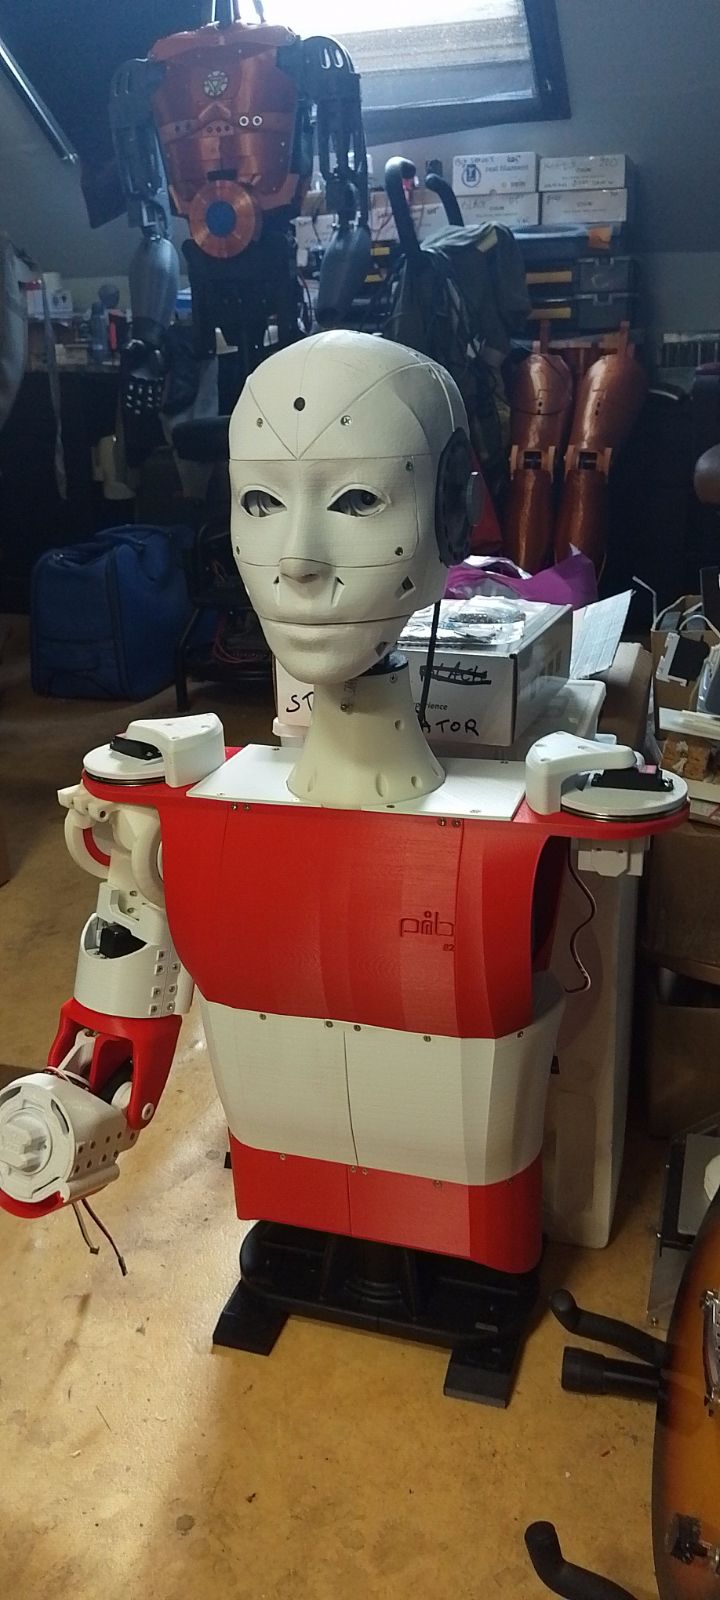
I've created a modified version of the EZ Robot head, featuring both side-to-side and up-and-down (yes) movements. This new design includes an improved base for the head, accommodating three additional HDD servos. There's an option to install two cameras, with the base designed to allow passage for a second camera cable. This setup is ideal for incorporating additional IoT devices or EZBV4, for instance, for LED lighting. Conveniently, there's no need to remove the potentiometer from a servo, as the 1 to 180-degree range provides ample movement. The base height is 7.2 cm.
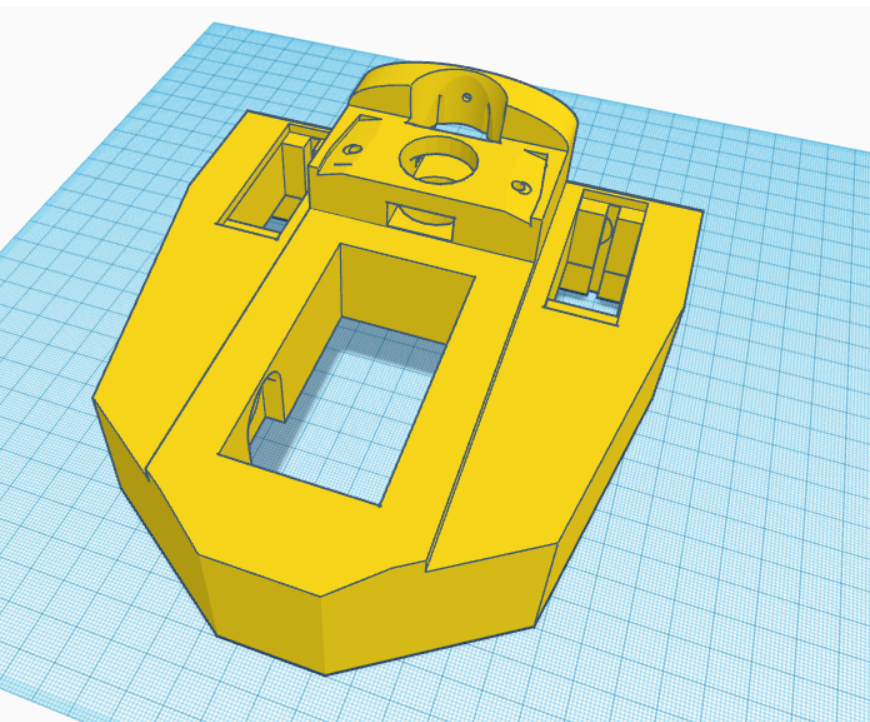
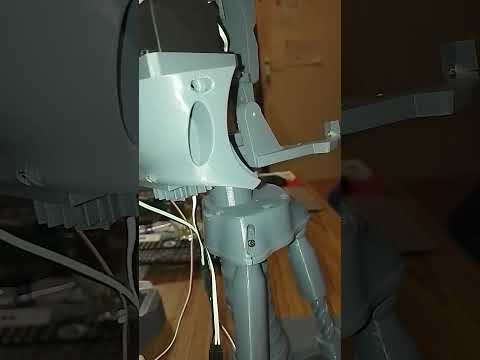
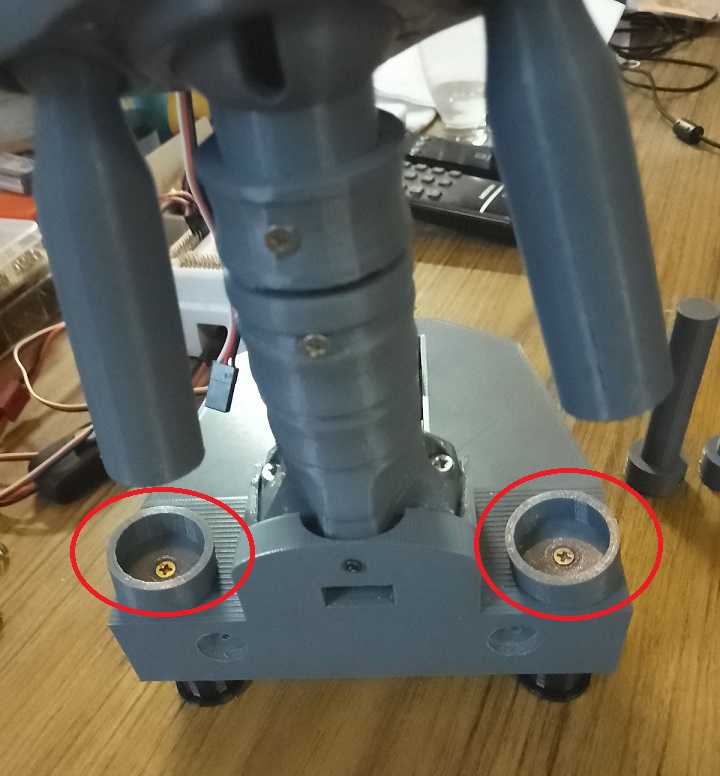
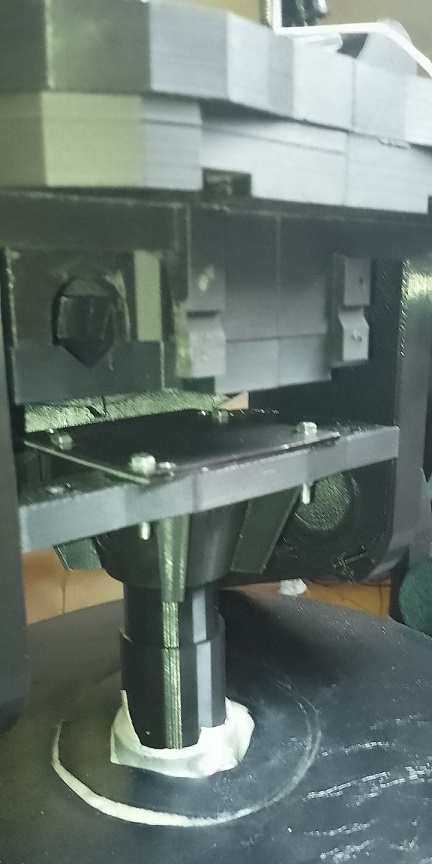
The pistons are original components from InMoov, and the neck base in EZ Robot is correctly designed.
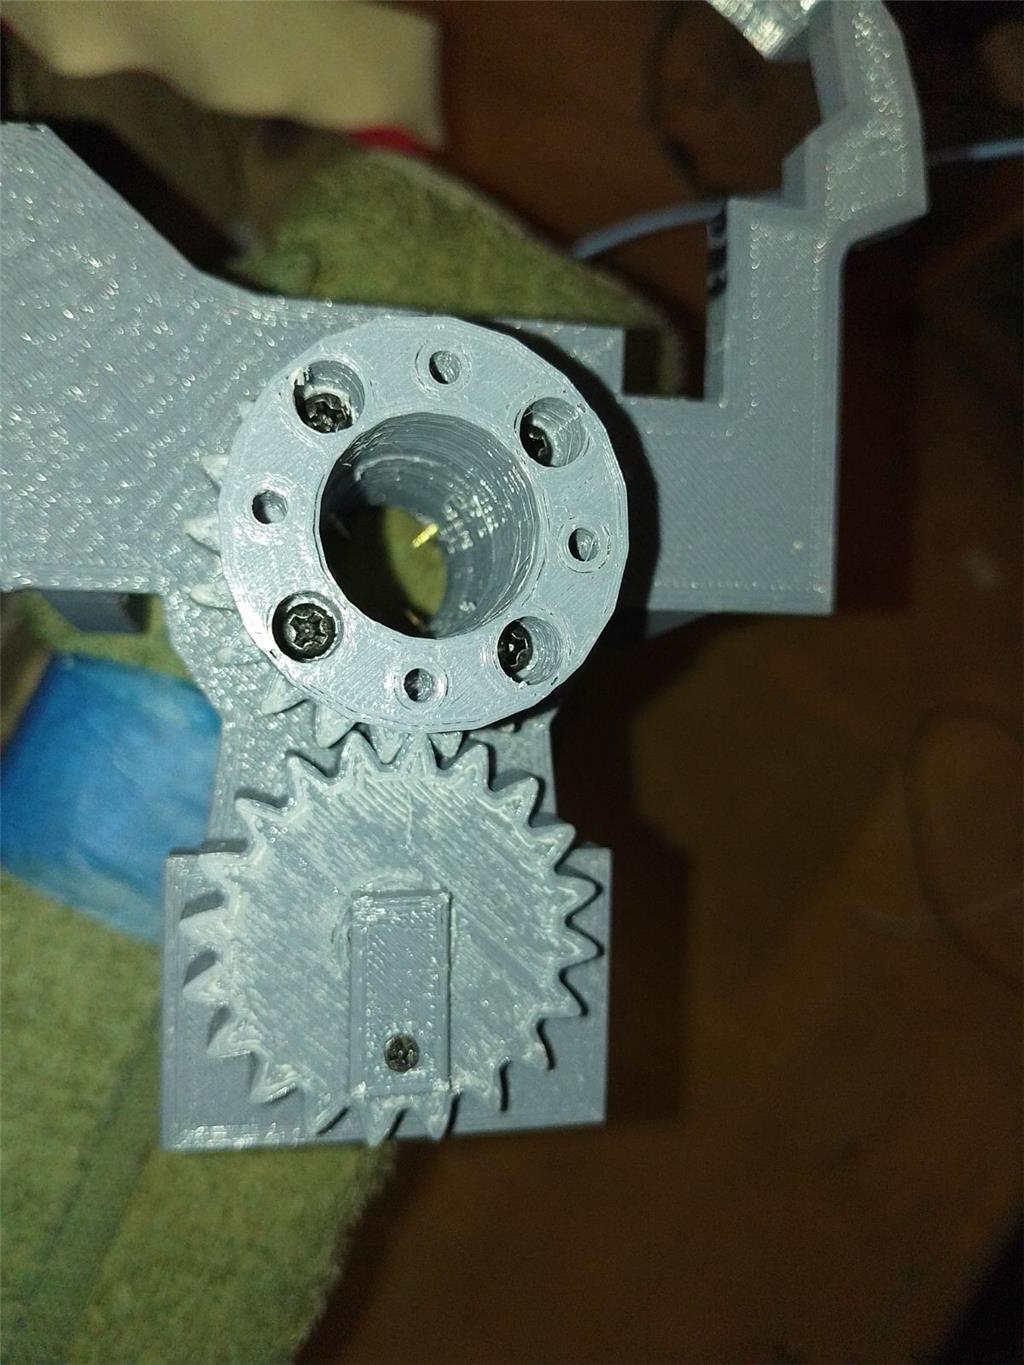
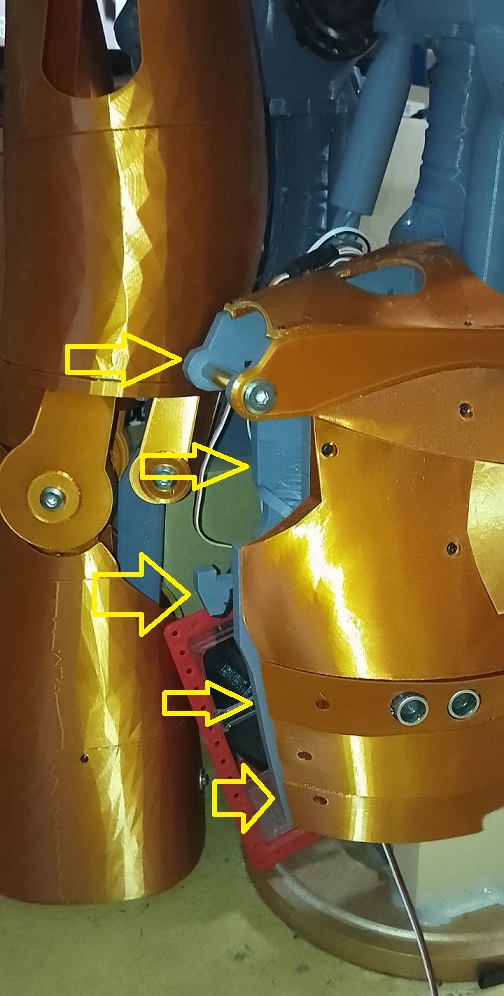
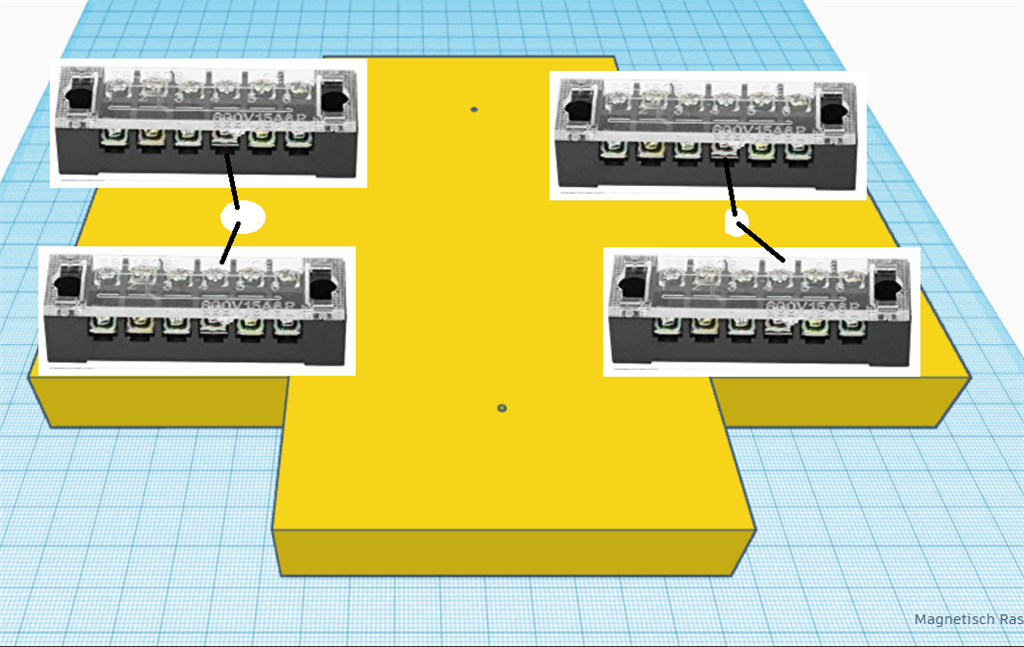
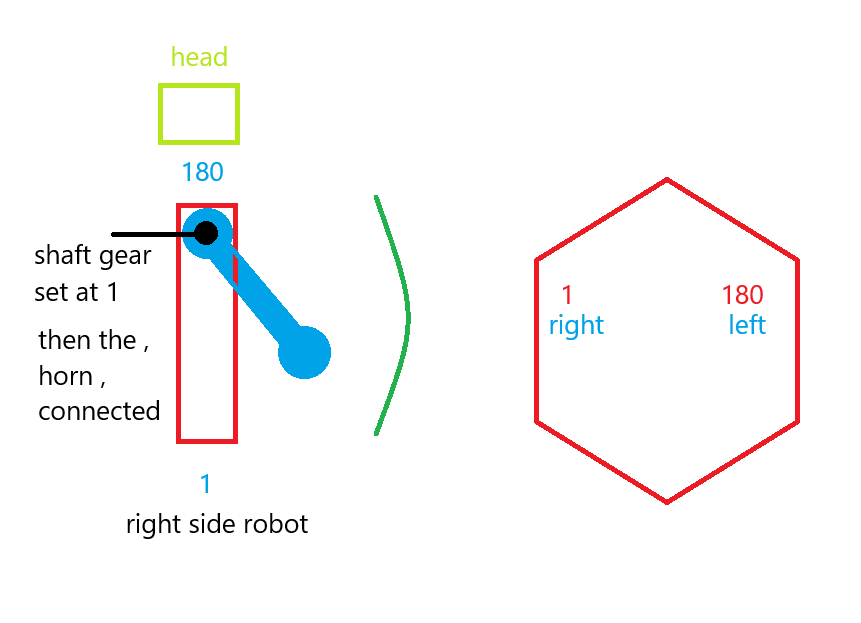
For moving the side pistons, adhere to these settings:
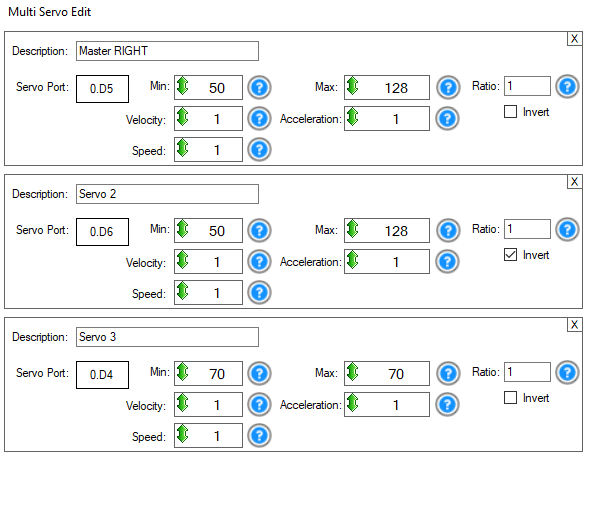
Programming
Adjusting the side pistons can be a bit complex. Start by calibrating your HDD servos. Then, align the inner piston with the holes in the piston base and secure it with a screw. For the second side piston, align it similarly, then disconnect the IoTiny. This allows you to manually adjust the previous piston to properly position the second one. The original documentation on EZ Robot is extremely helpful in this process.
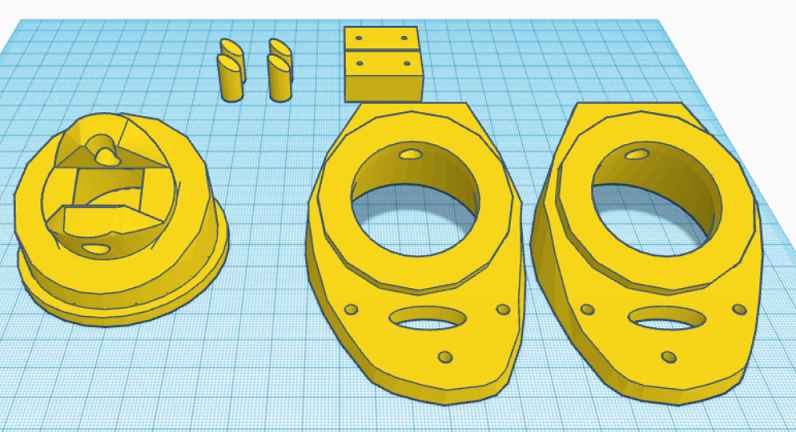
Parts & Materials
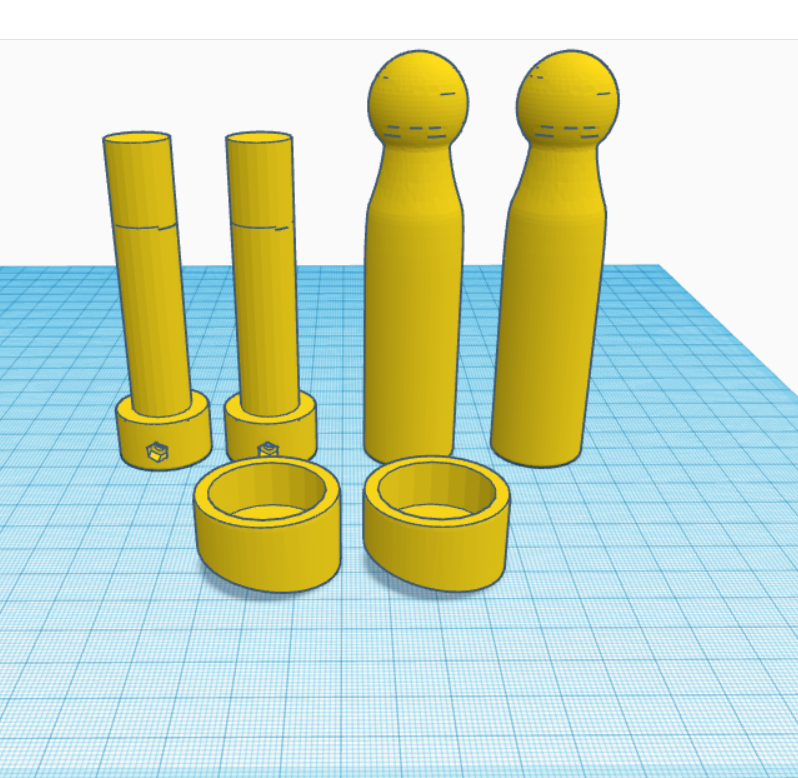
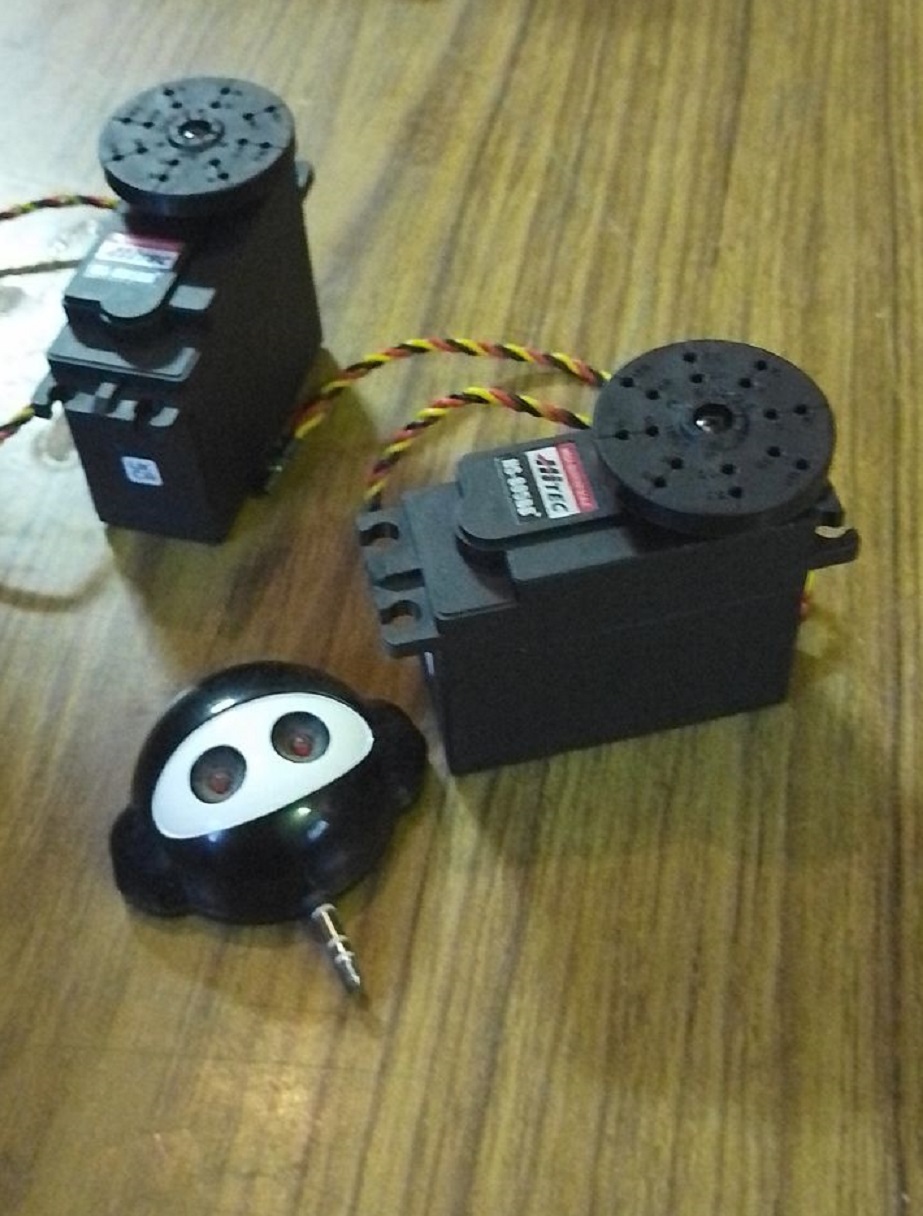
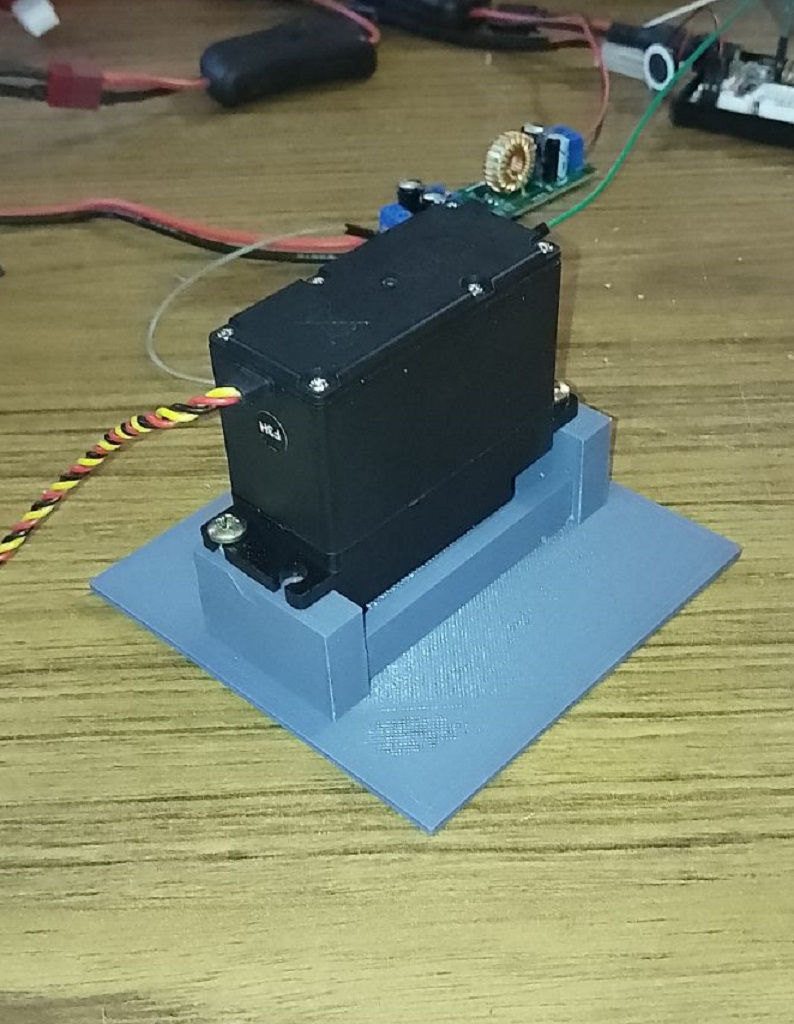
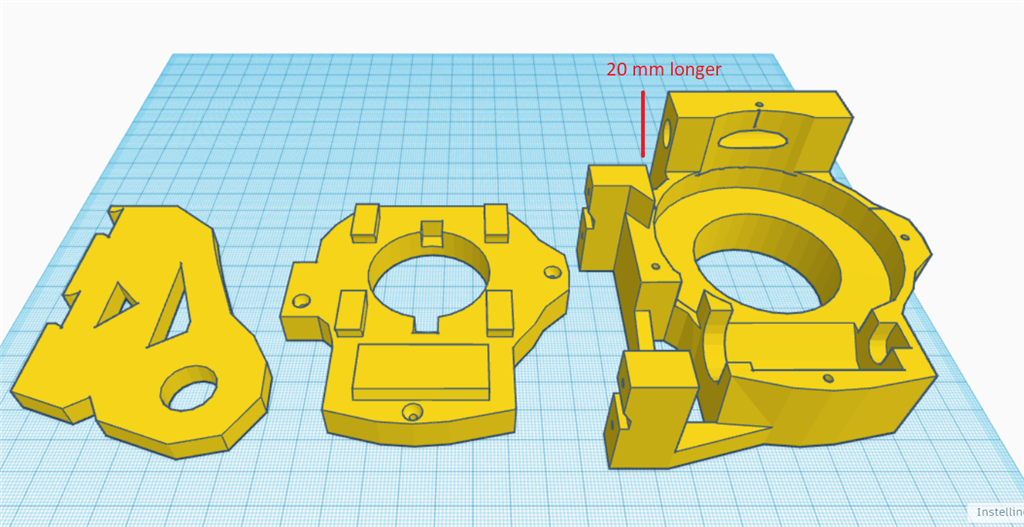
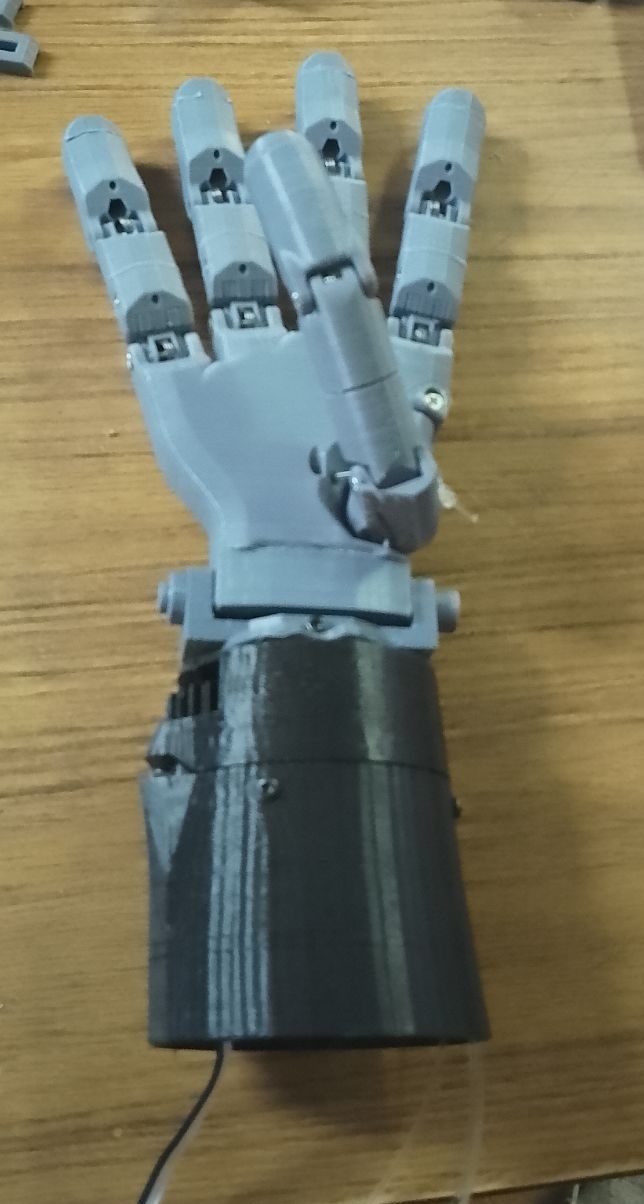
You'll need 3 extra HDD servos and grey PLA filament. The drive shaft parts should be printed with a 35% infill and a gyroid pattern in your slicer for enhanced strength. Other parts can be printed according to your preferences. Additionally, there's an optional neck extension, offering one to three extra vertebrae for more piston movement space. In my experience, the two-vertebrae option works best.
Discover more robots
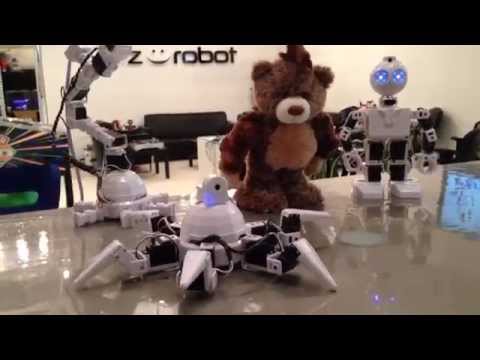
DJ's Six Hexapod Demo Dance
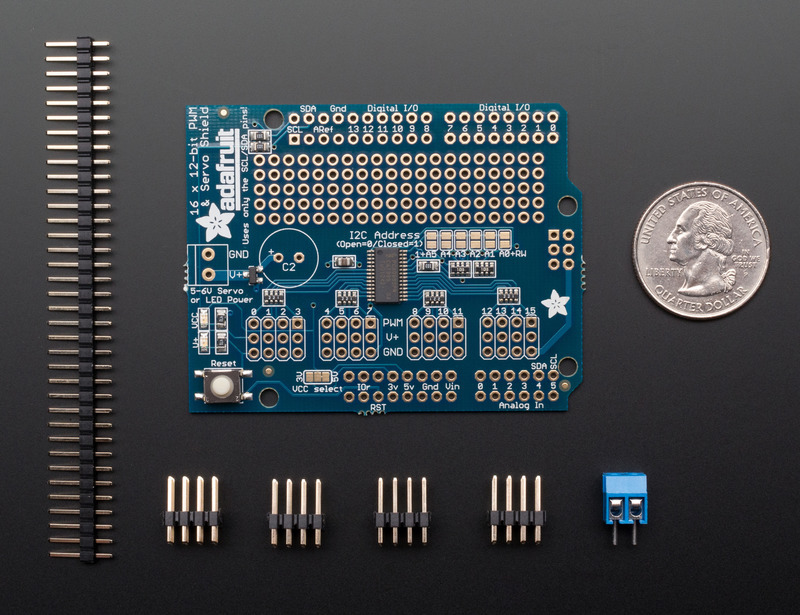
Mickey666maus's Hey Guys...This Adafruit 16-Ch

hey nink
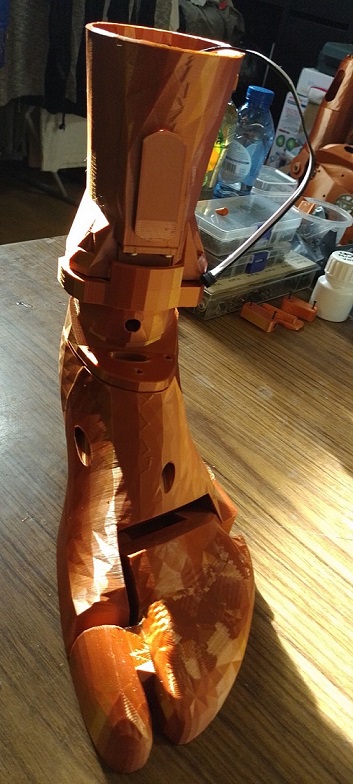
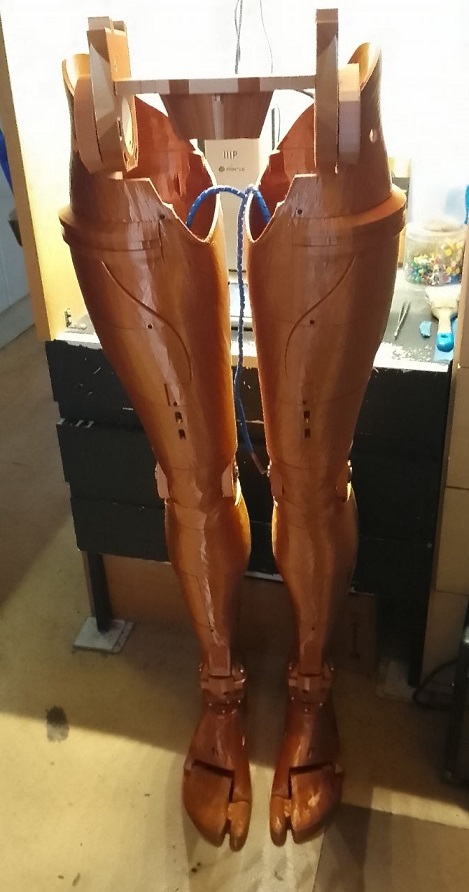
i have some movement in the feet left&right . to be able to get more movements , for excample knees hips . it will need a full re-design of the legs&hip . thats too mutch .
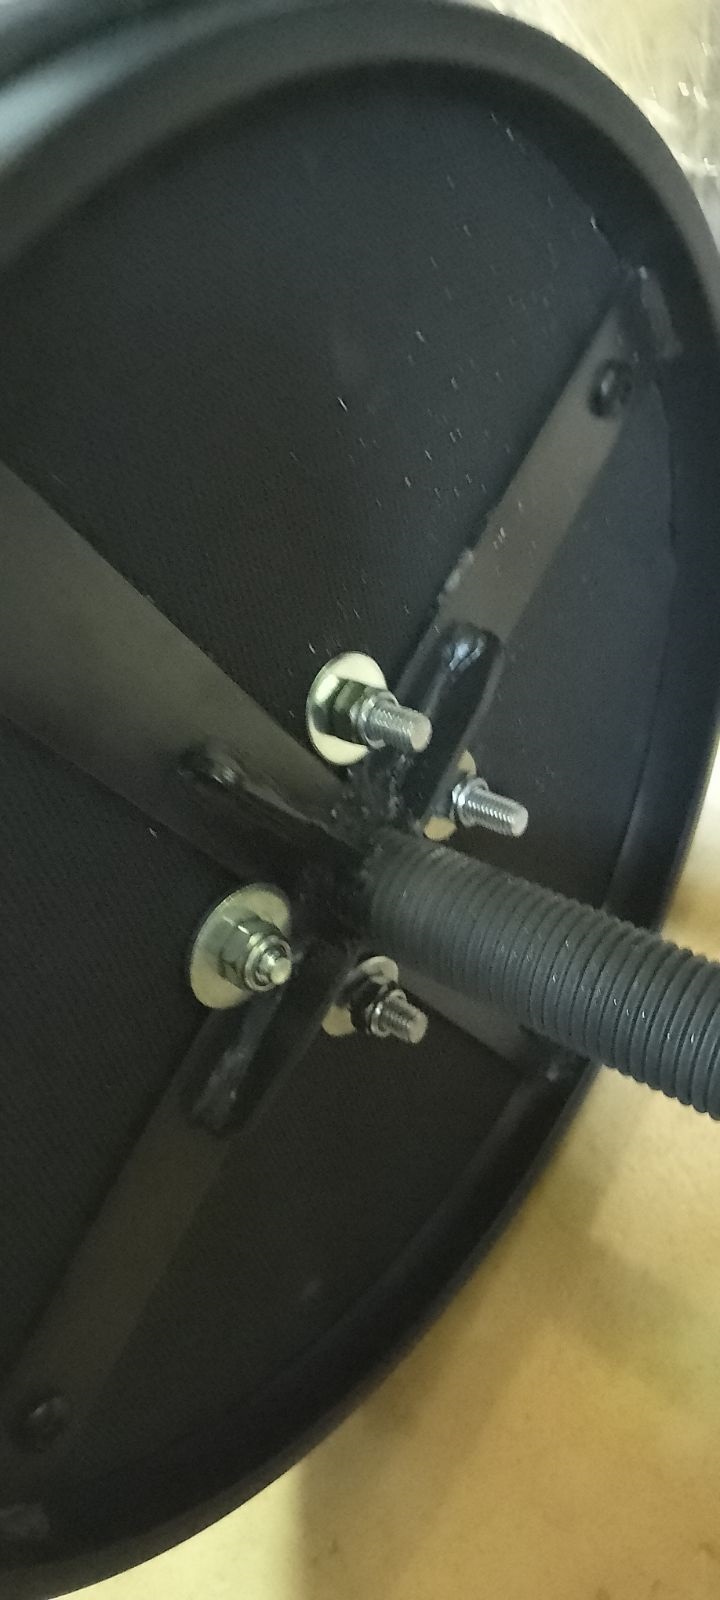
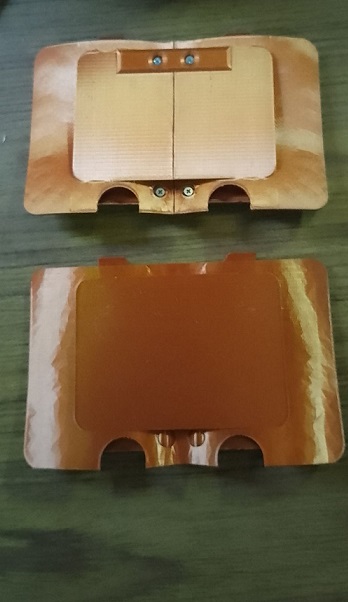
hi
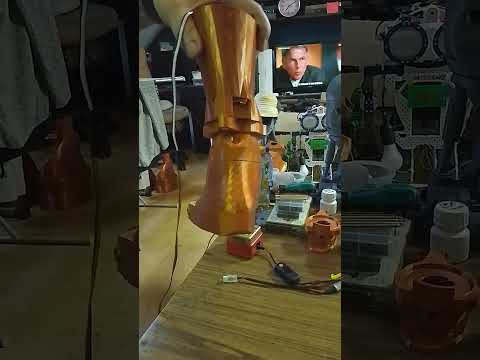
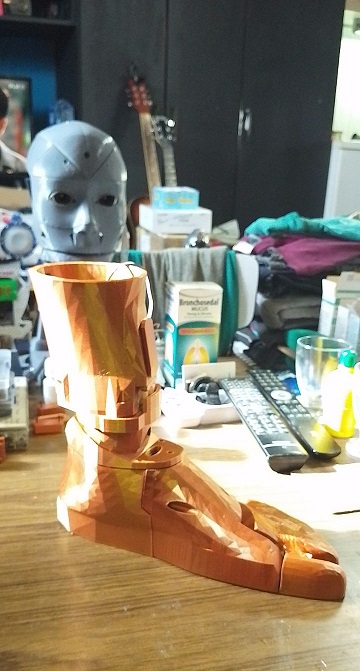
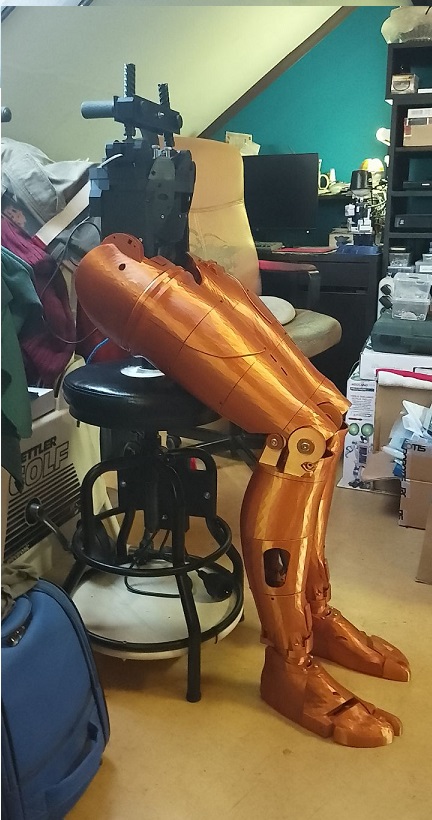
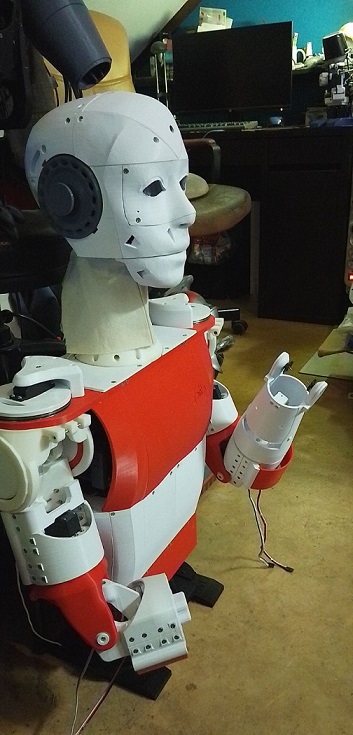
after a long day working on the inmoov . i got the two body plates together ( finally ) .
little video
https://www.youtube.com/shorts/TiFiU-1AkRA
It’s looking really good Nomad. Did not realize how much work goes into one of these.
hey nink
yeach . ive bin beasy from 6 in the morning till now .
thanks
hi all
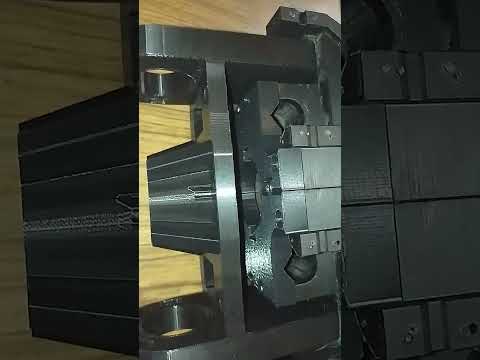
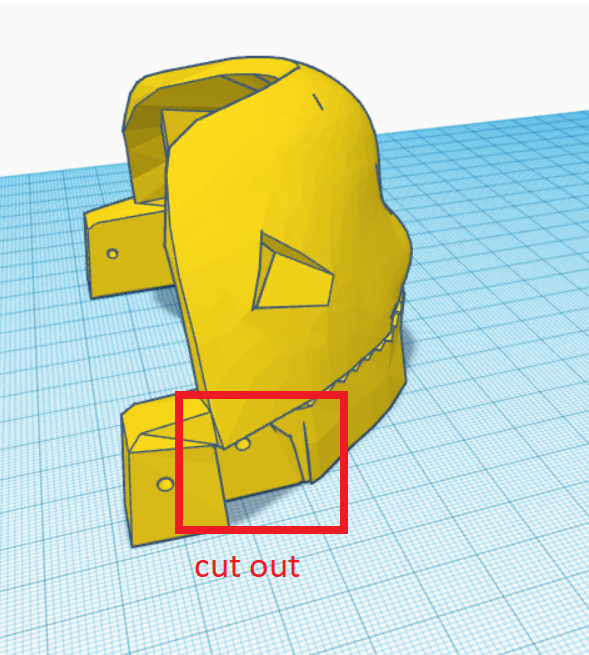
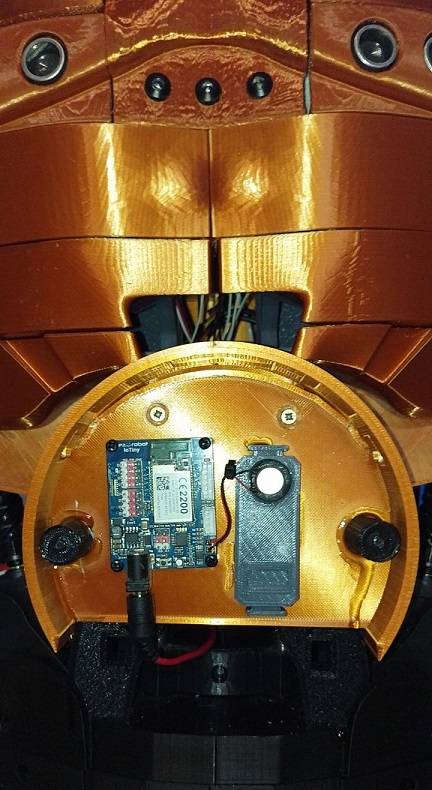
i gave my inmoov a big belt buckle cool . i'm test print my design when all fits i post the folder here . ist a 3 part design . the base for iotiny and speaker ( jeremie ) . a cover for the rgb , i wanted to capture all light in the front . and last the front itself . i made cut out so its easy to fit .
short video for now .
https://www.youtube.com/shorts/Q3XBwL8XSYk
:) hi
here's the finisched part . a simpel design and simpel to use with an RGB.
https://www.youtube.com/watch?v=T1lsddCWJzo
frontRGB.zip
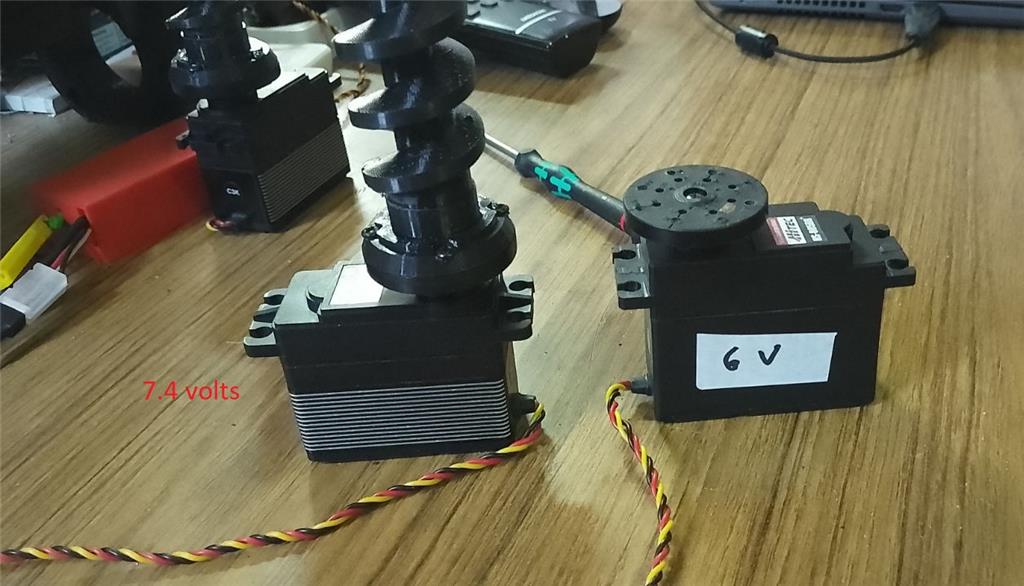
hi averyone
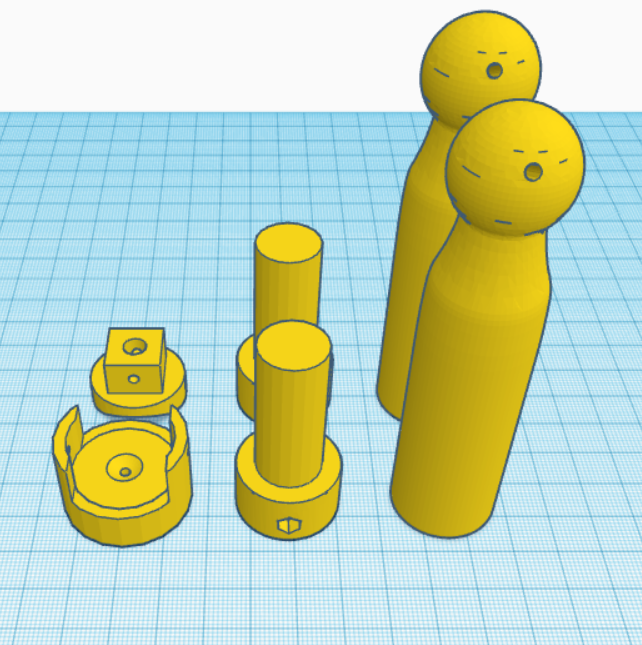
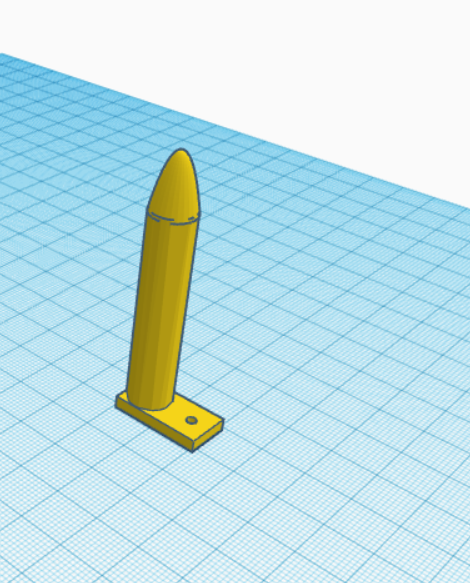
i'm preparing myself to get the potentiometers out of the servo's. so i made a tool . to get it out in a easy way . easy tool , to work on the back side servo .
tool.stl
Cool idea. I'm all for making things easy. Why work hard when you can work smarter.