
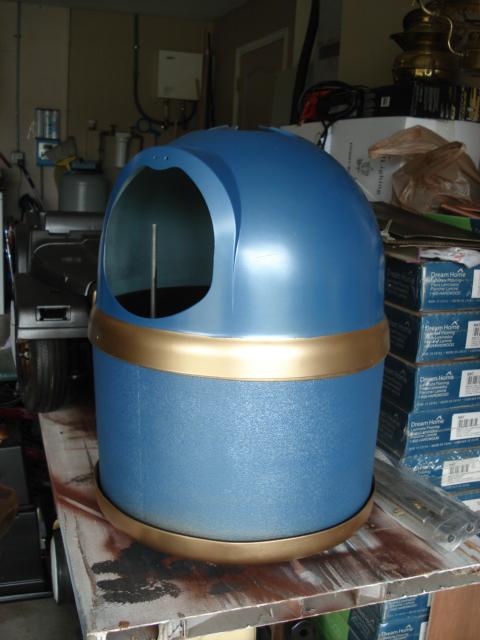

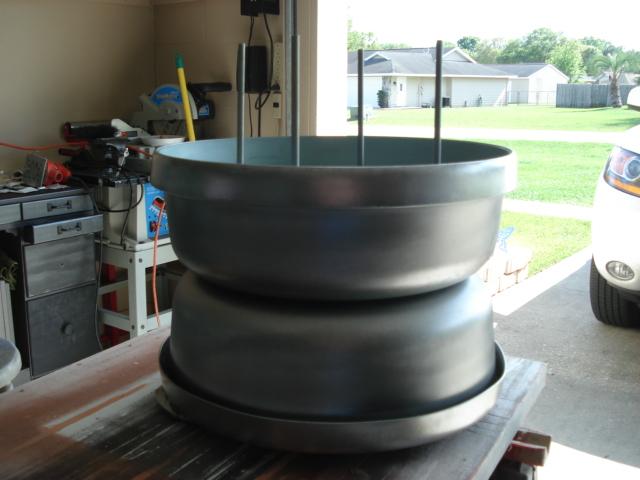
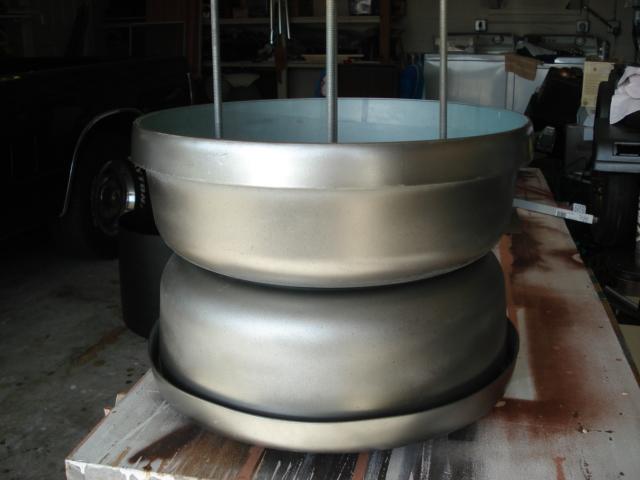
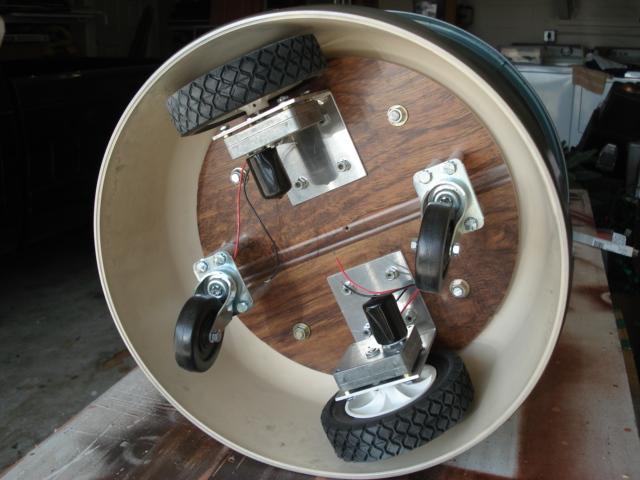
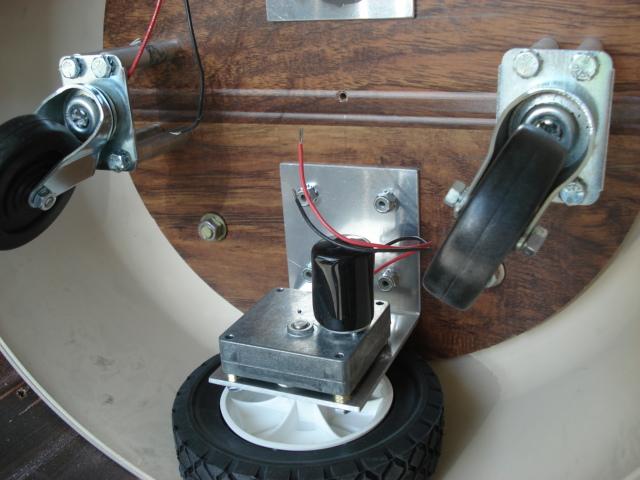
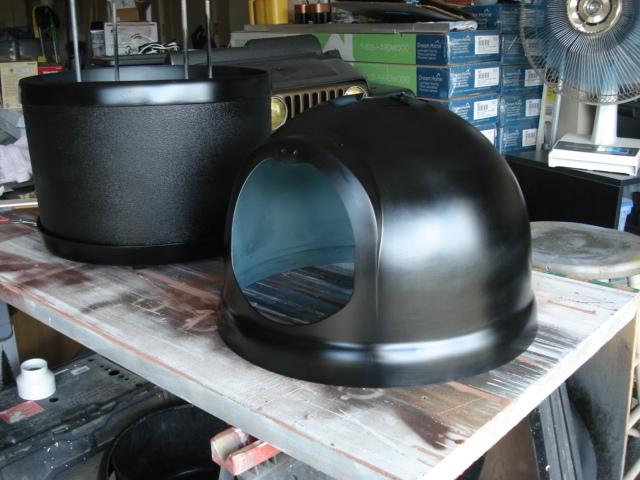
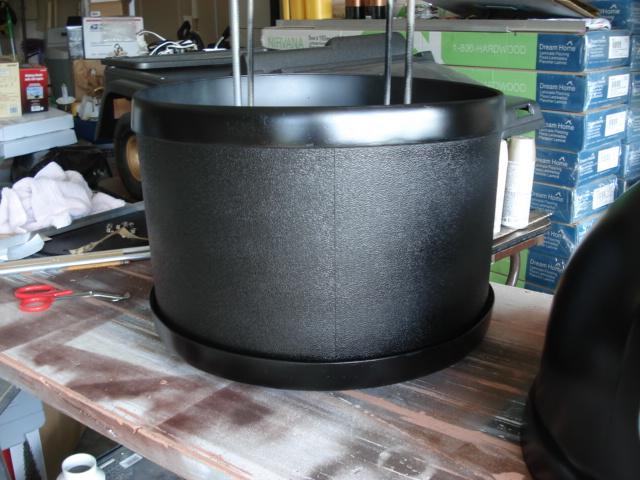
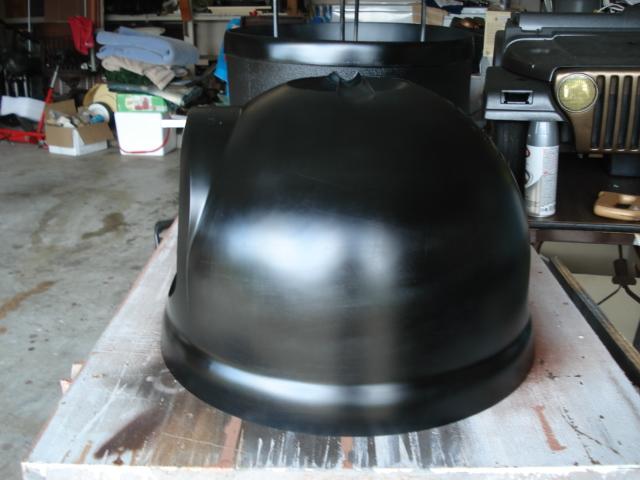
Thought I'd post some pics of Gizmo. Thanks to a great friend that has been helping me Project Gizmo is under way! I'm going to document the build for any one that may be interested. The infamous "kitty Igloo" is now becoming Gizmo! As shown in the pics the motors are mounted along with the casters. The four threaded rods are going to support the decks. There will be aluminum spacers between each deck. Parts are on the way. I'm still in the design stage of my robotic arm. I may have to settle for mechanical aids to help replace my left hand. It is so frustrating!!!!!!!!!!!!!!!!!!!! I've been looking at parts from servo City that look promising for the arm. However budget problems may not allow. Lloyd

By Robotz012248
— Last update
Discover more robots
Deleted's Erne - Emotive Robot
ERNE emotive robot studies human-robot interaction: 10 micro servos for facial animation, 2 head servos, EZ-Robot...
Ezang's My Tightrope Robot Without The Squeak, Sorry For The...
Tight Rope robot without the squeak - enjoy a smooth, silent balance performance
Rb550f's Jo Robosapien Project
Custom Robosapien head from 3D kids projector with tinted LED face shield, adjustable R/C shocks, HD head servo and EZ-B...

When cutting aluminum the material will get stuck in the teeth of the blade making it hard to proceed.
Here is a tip: before starting take a candle and rub it on the teeth of the blade. Then, every so often, stop cutting and apply more wax to the blade. The wax lubricates the blade and makes cutting a little easier. It also keeps the aluminum from sticking in the teeth.
Remember be careful and take it slow.....
You can also use a bar of soap to lubricate the blade if you don't have any wax around the house.
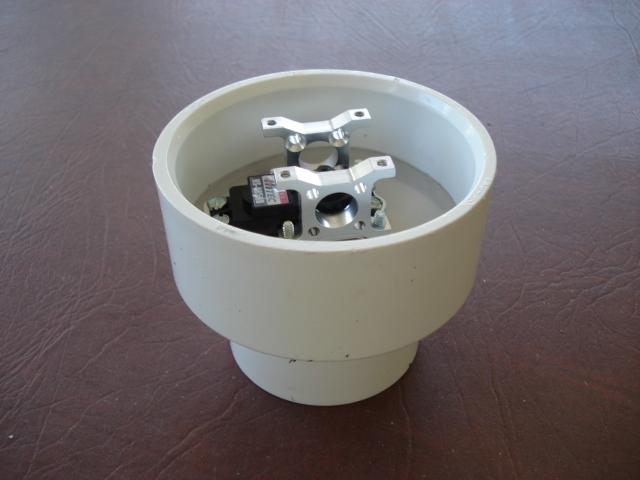
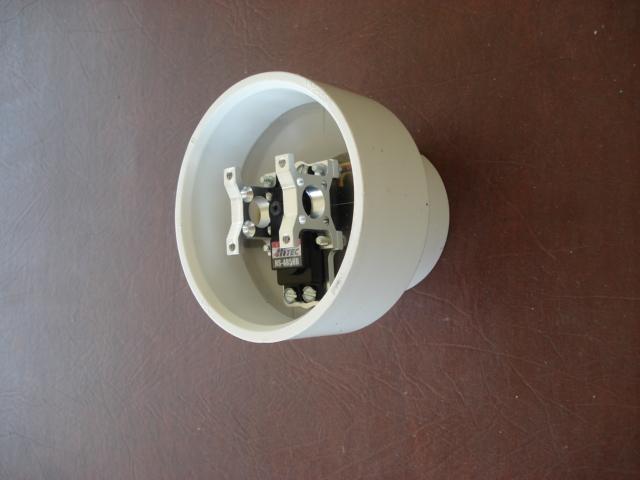
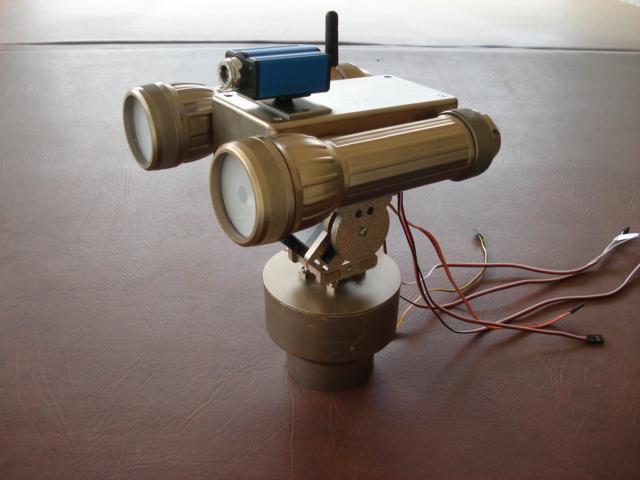
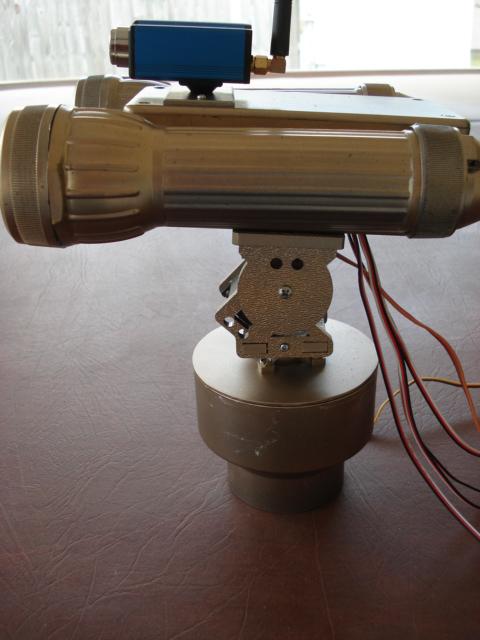
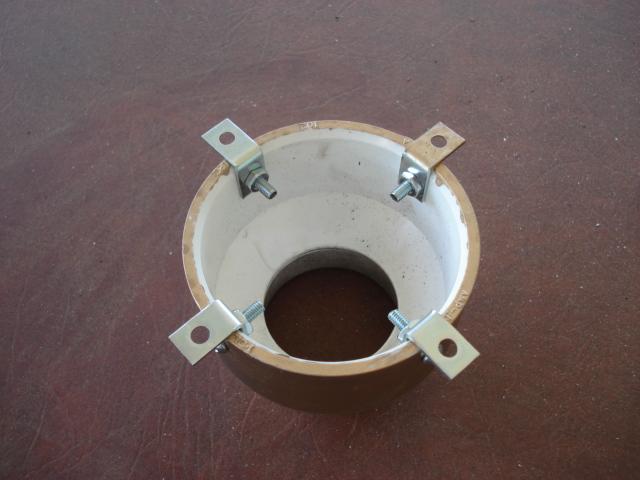
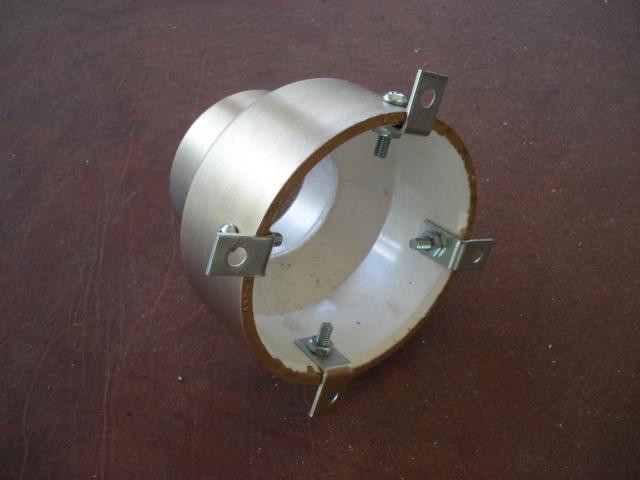
This is the "neck collar". It is a PVC, 2 inch to 3 inch flange adapter that will set on top of the 2 inch diameter, PVC pipe that will support the head.
In the next picture you can see the 3/4 inch L brackets.
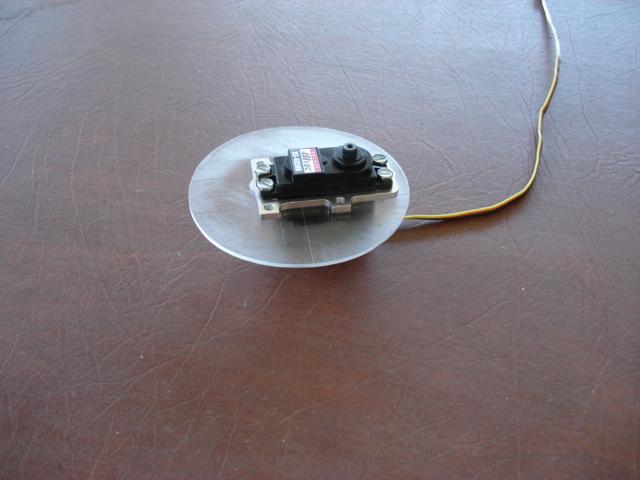
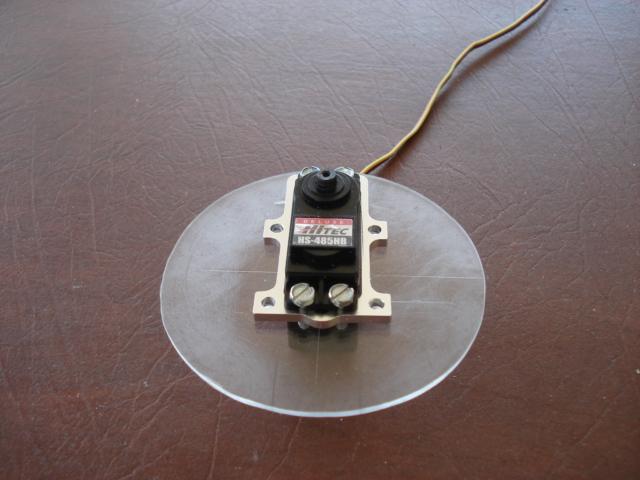
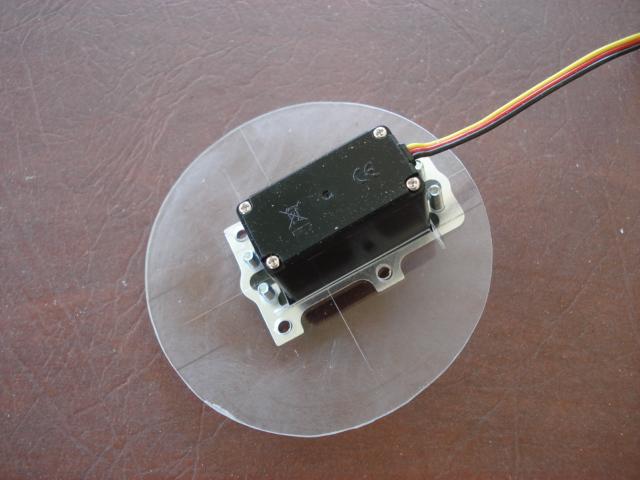
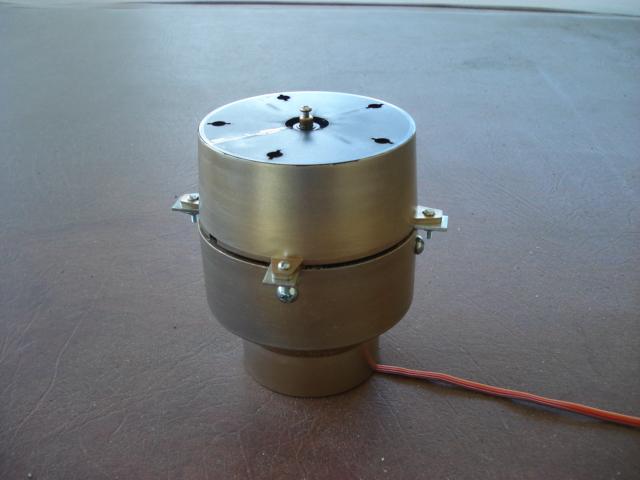
Here you can see how I attached the Base Rotate unit from Lynxmotion to the flange.
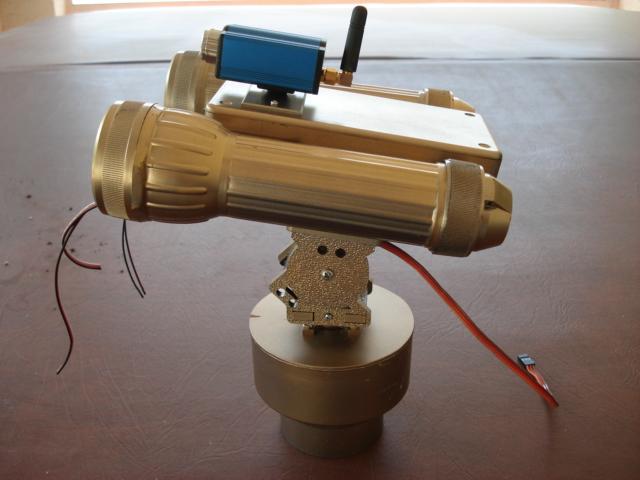
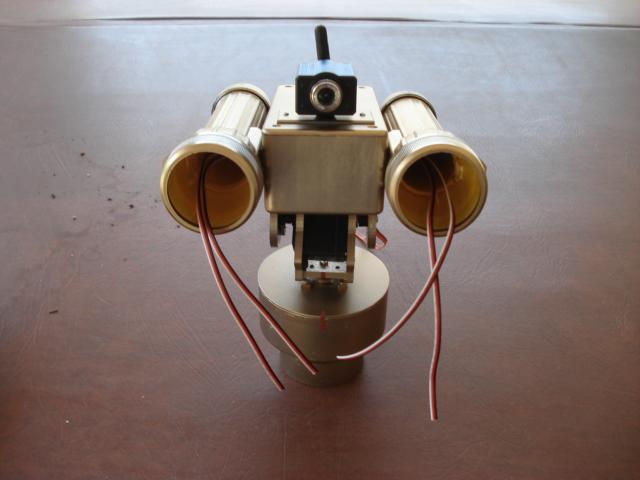
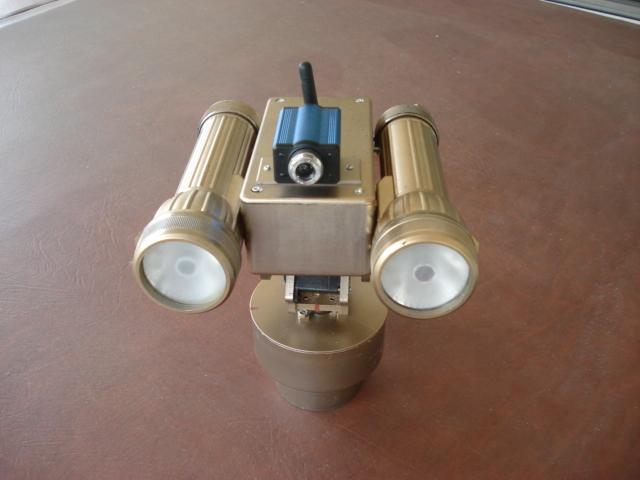
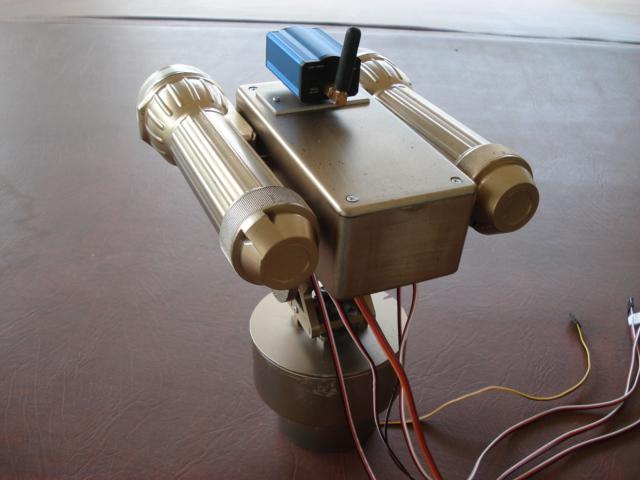
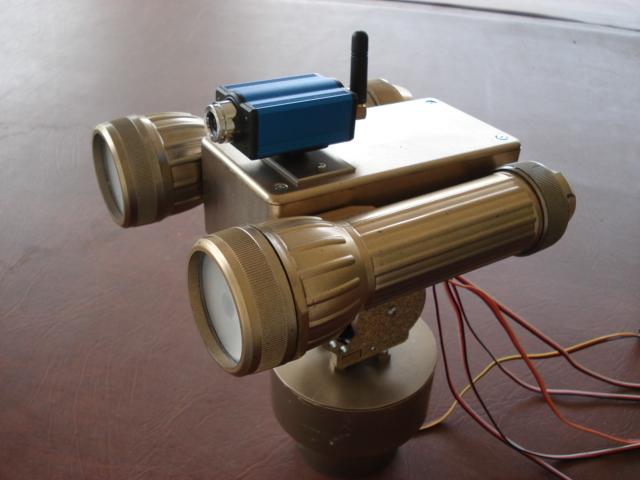
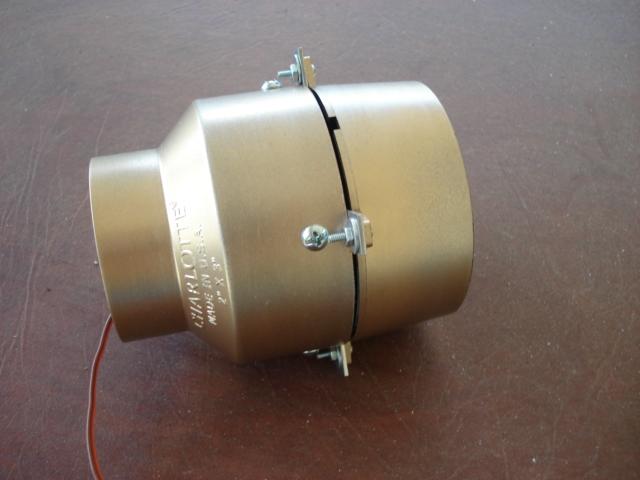
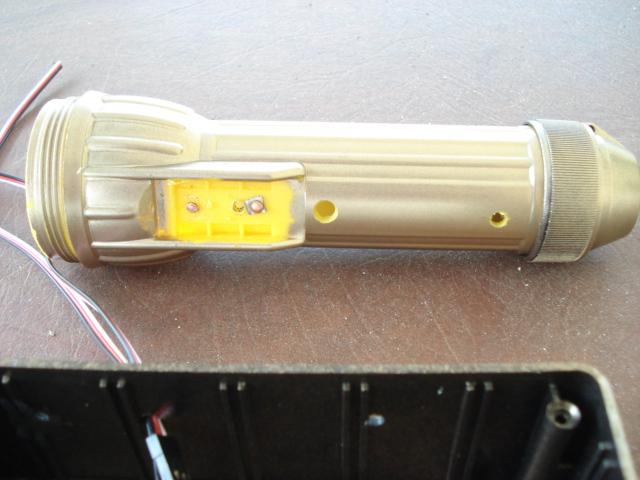
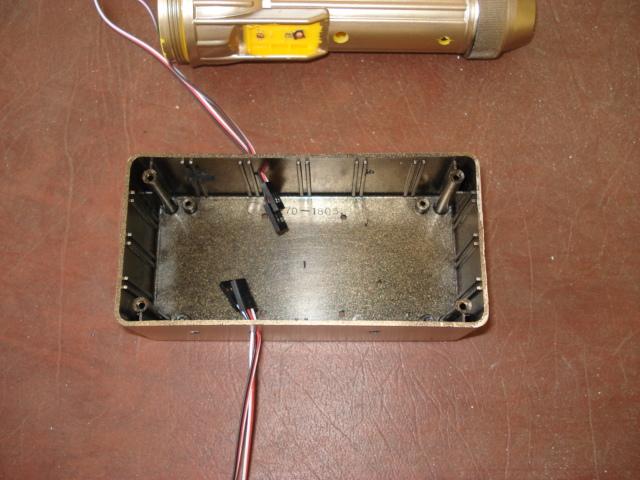
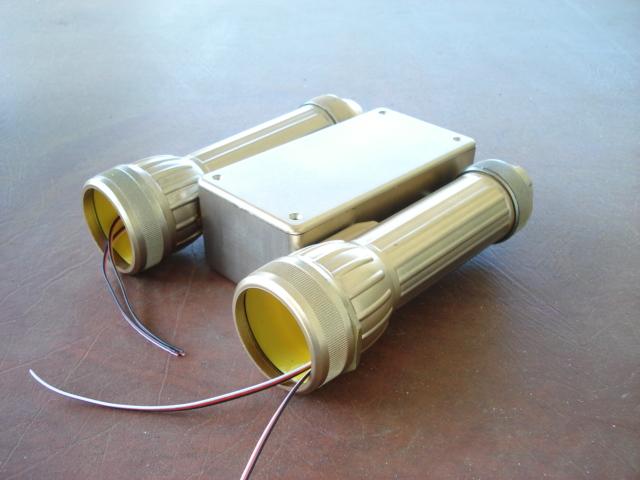
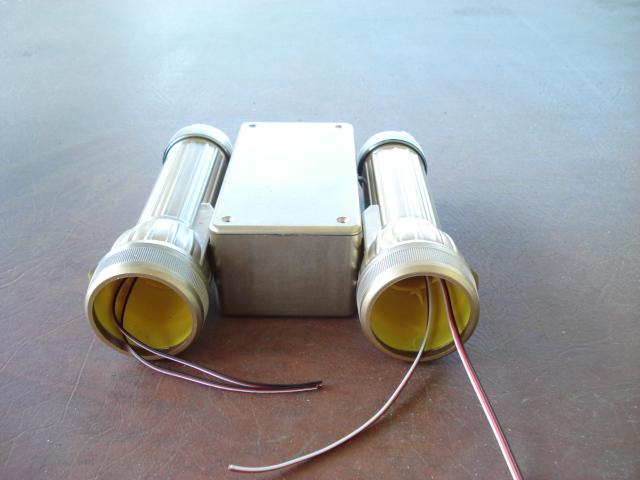
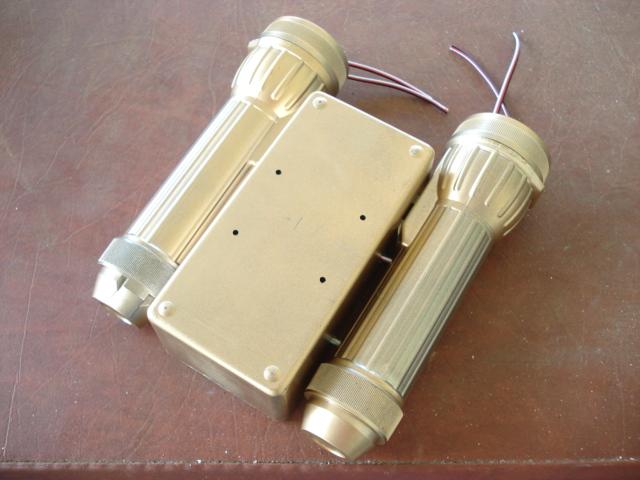
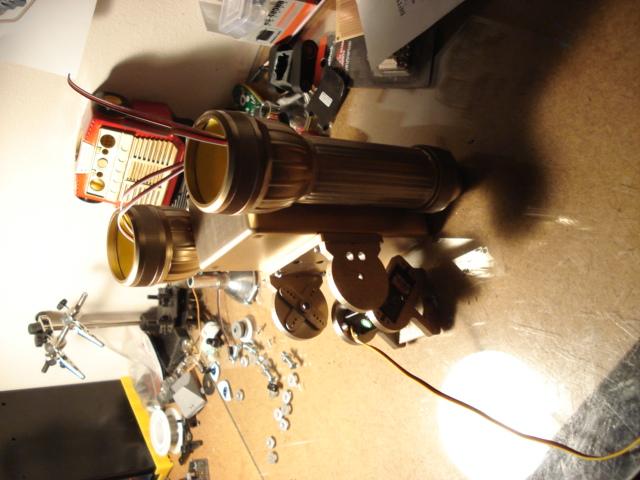
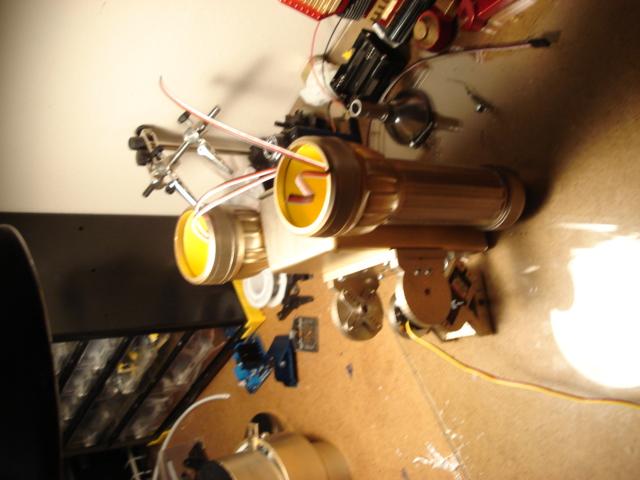
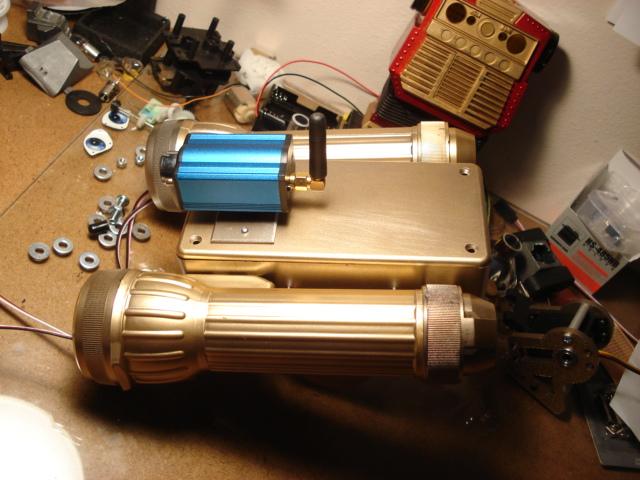
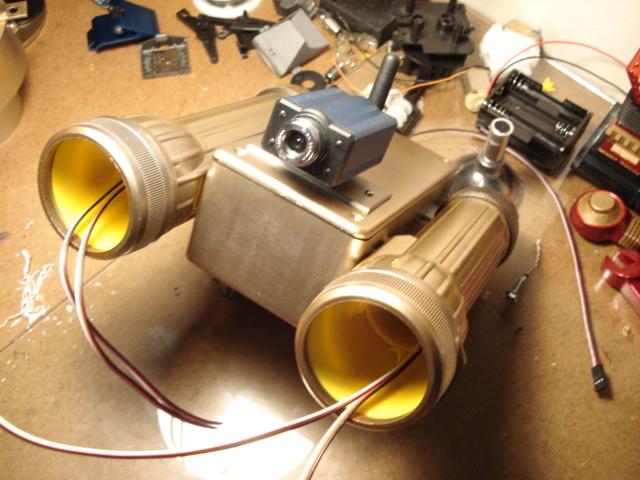
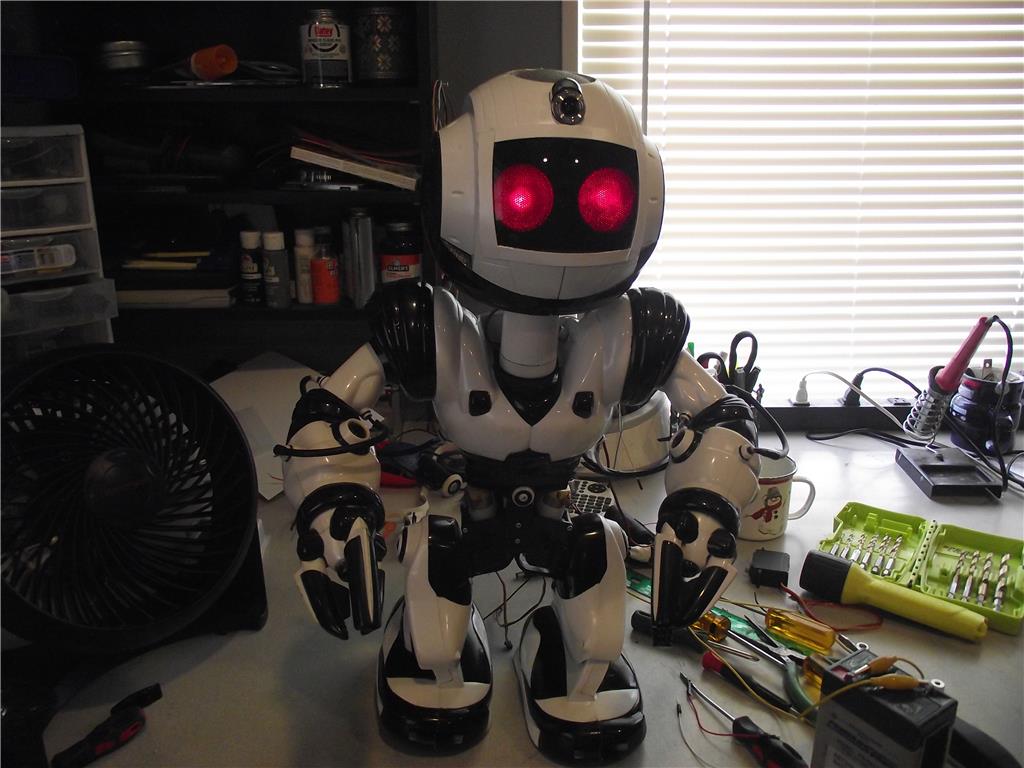
The main part of the head assembly is a 6"x3"x2" project box from Radio Shack. The two flashlights from Harbor Freight will be the "eye housing"
I drilled holes in the side of the project box and placed two screws to attach each flashlight. I also drilled a hole for the "Eye" wiring to pass through. The first screw was placed into the flashlights switch, giving me a flat surface to mate the flashlight to.
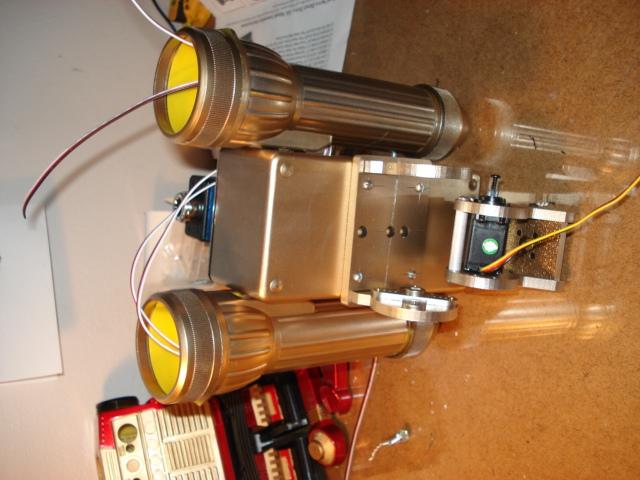
Here you can see the top plate of the Pan/Tilt unit from Lynxmotion.
Next came the camera. I just removed the clip on attachment , then made a small mounting plate from plastic sheet from Evergreen. I drilled a hole and finished mounting with a bolt and nut.
I'm waiting on some LED's for the eyes.When I get them I can proceed with the wiring. More to follow.
That's going to be awsome! Good looking head you got going there. Neat idea using the flashlights. Whenever I go to stores I'm always looking for ideas for robot body parts. I see the possibilities in all kinds of everyday objects. I think you're doing great!
What is the part number for the pan/tilt you are using?
@rgordon: I used the servo City DDT500 direct drivetilt mount. I'm very pleased with it. It is a very solid unit and has a nice large mounting plate.
Hello,It is me omnibotfreak38:)
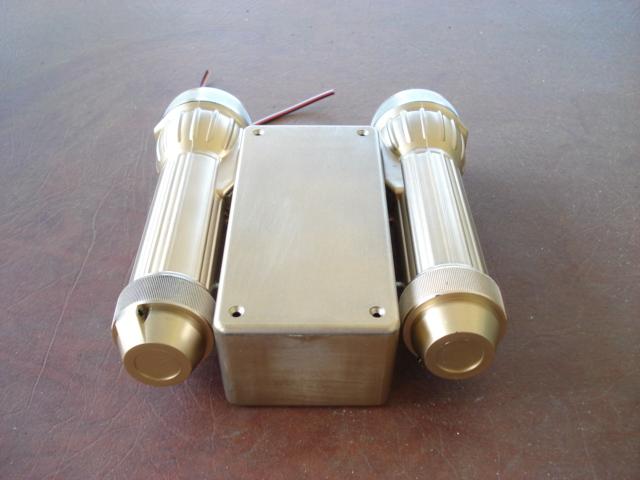
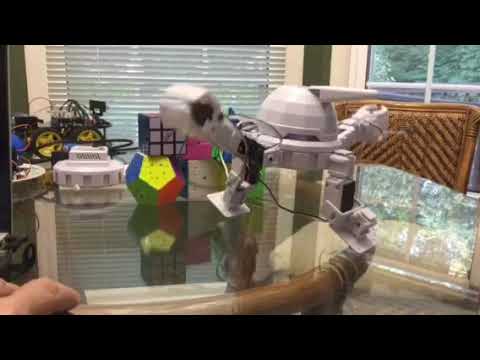
I reworked the head because it made it to high and a bit unstable. It moves much smoother now. I have the "Eyes" hooked up now. Will be posting some videos sometime in the near future. Also added a pic of the paint job on the body shell. I'm not sure I like it. I may be adding to it.
I absolutely love it!!!!!