
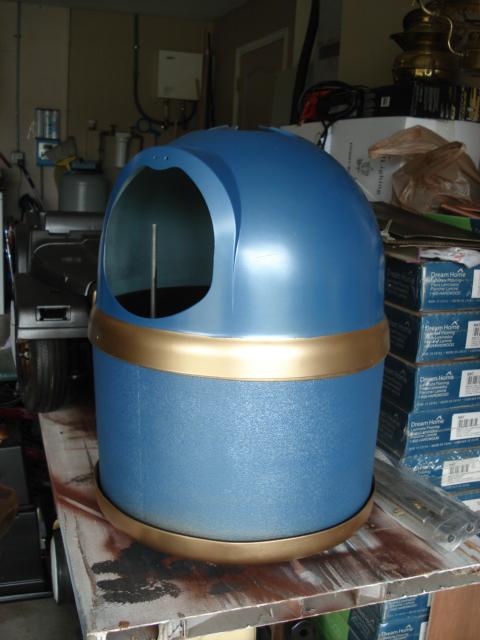

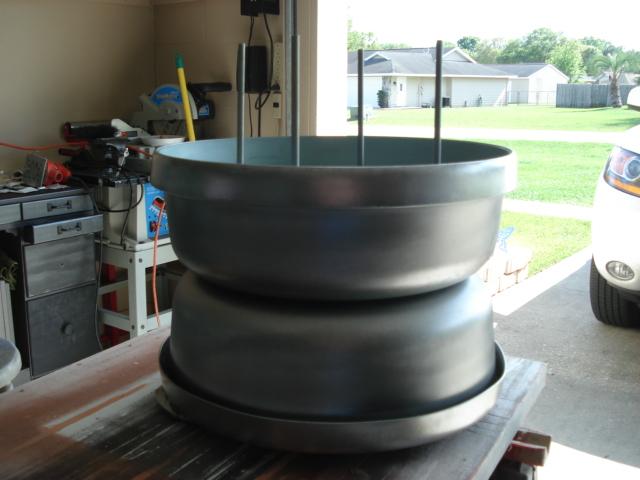
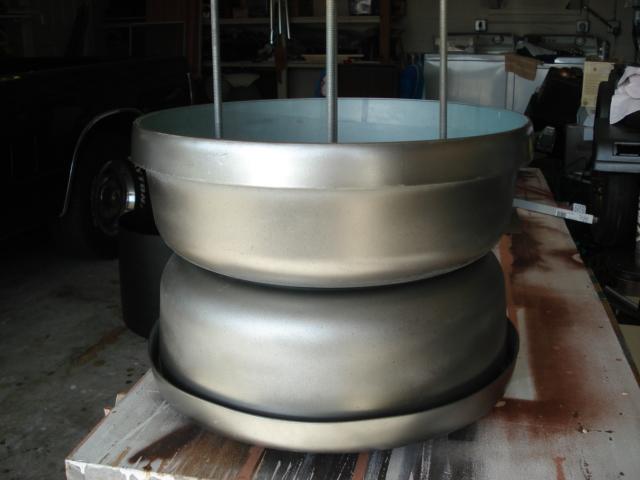
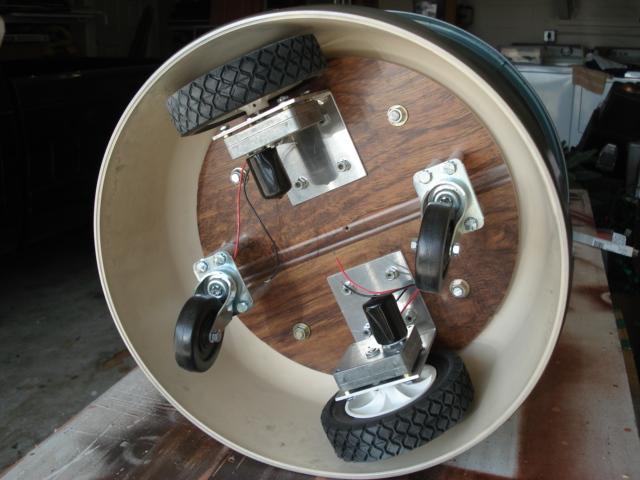
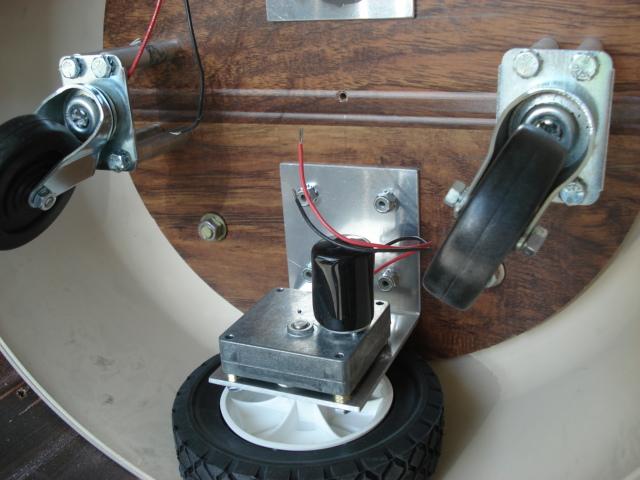
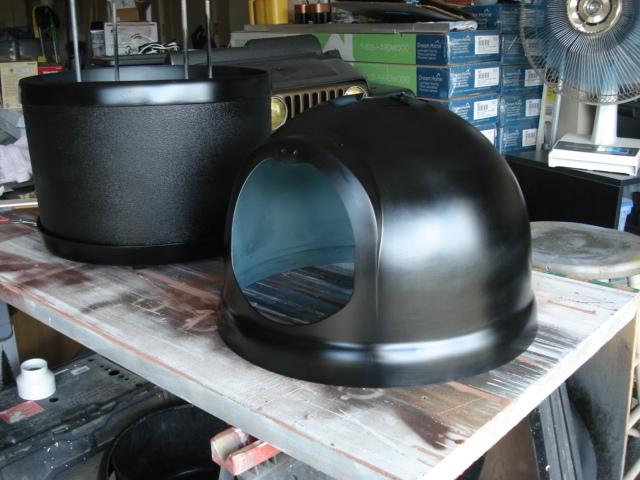
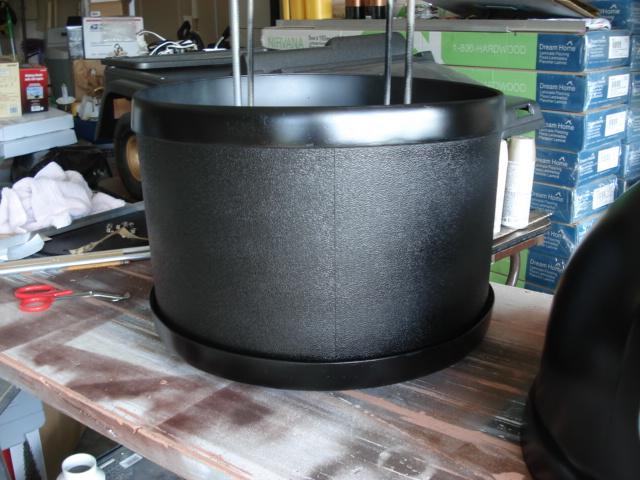
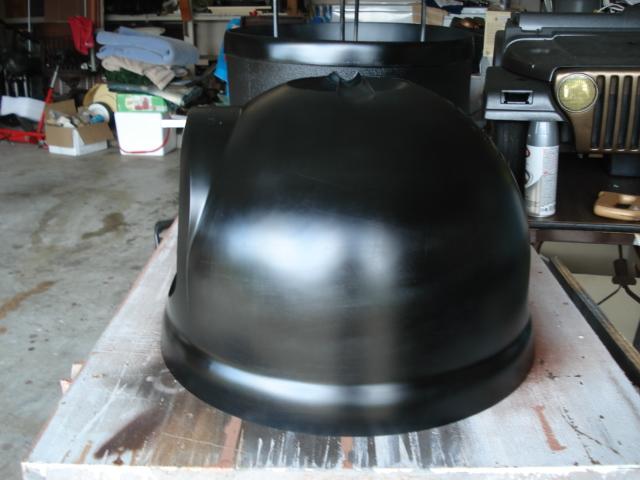
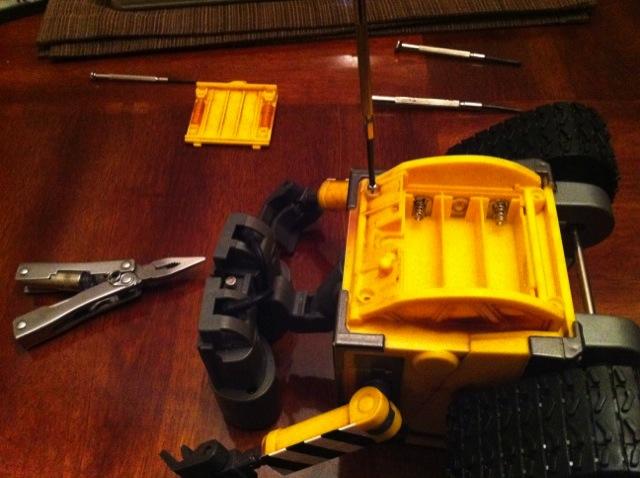
Thought I'd post some pics of Gizmo. Thanks to a great friend that has been helping me Project Gizmo is under way! I'm going to document the build for any one that may be interested. The infamous "kitty Igloo" is now becoming Gizmo! As shown in the pics the motors are mounted along with the casters. The four threaded rods are going to support the decks. There will be aluminum spacers between each deck. Parts are on the way. I'm still in the design stage of my robotic arm. I may have to settle for mechanical aids to help replace my left hand. It is so frustrating!!!!!!!!!!!!!!!!!!!! I've been looking at parts from servo City that look promising for the arm. However budget problems may not allow. Lloyd

By Robotz012248
— Last update
Discover more robots

Steve's Elvis Gains An Extra Degree With Ez Robot Hdd....
Enhance 'Elvis Alive' WowWee robot: repair startup, add rotation pedestal with EZ-Robot lotiny controller and HDD servo...
Rb550f's Meet Moshi
MOSHI mobile robot ex-Hero JR with Omnibot drive, VEX controller, voice commands, AM/FM & Bluetooth, servo head,...
Daman's Yet Another Wall-E
Compact Wall-E build with EZ-Robot: webcam eye, continuous servos, EZ-B mounting, servo speed control and tips for...

Thanks bret, I'm trying.........................
Can't wait to see it all together as a robot. Good Job Lloyd ! JW
JW
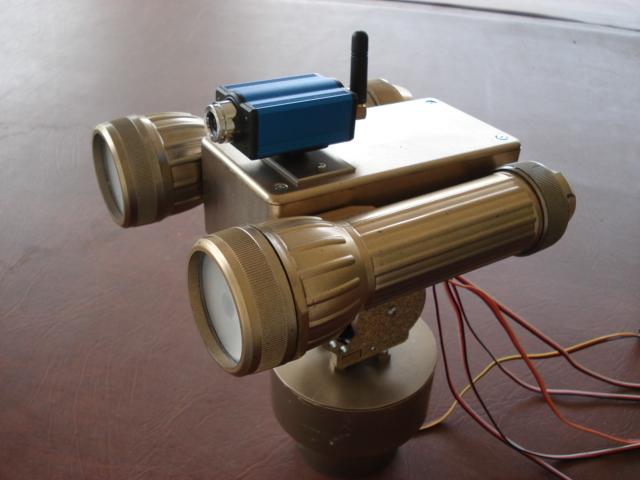
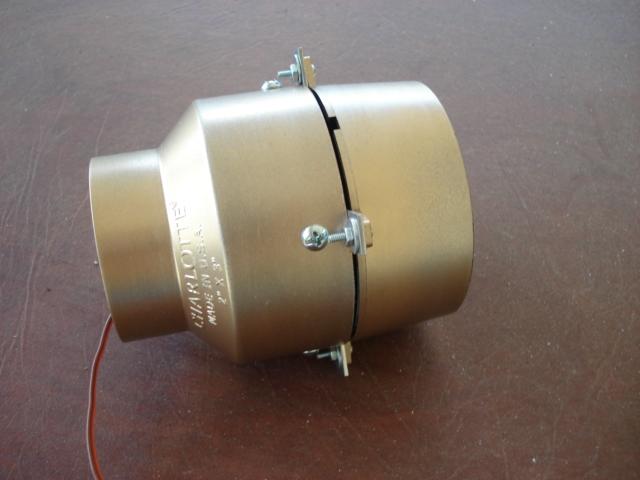
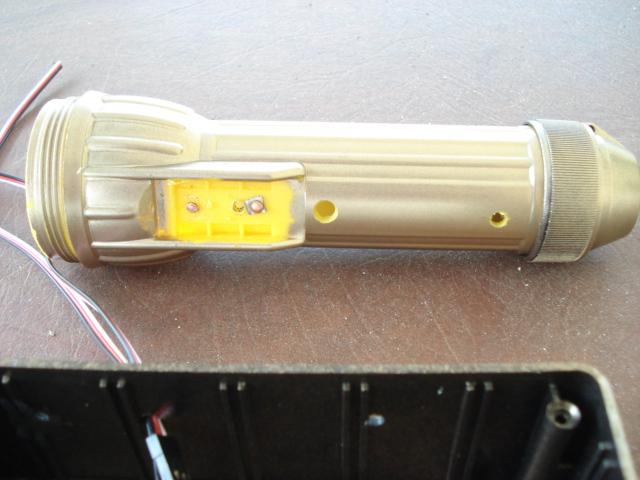
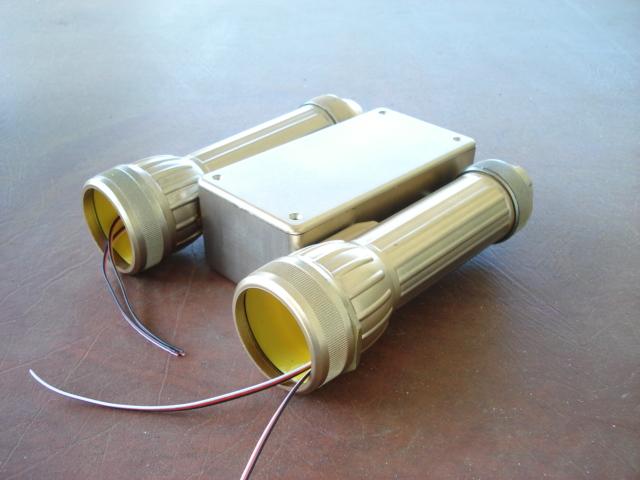
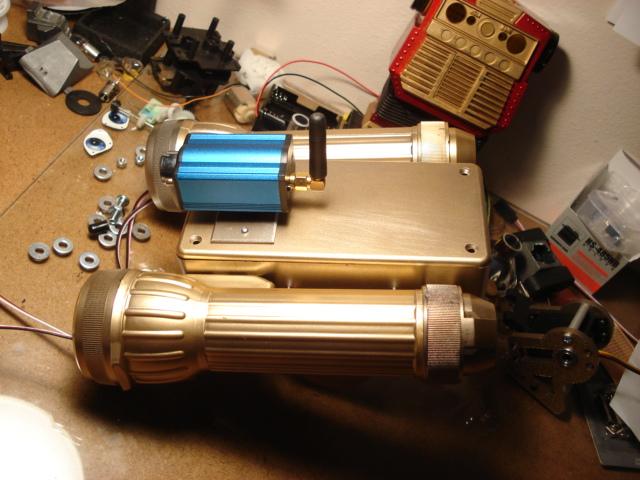
Fantastic work, the head seems to come out of a factory in series of robots, and the wheel motors are powerful, who have told the manufacturer of those yellow headlights end up in the heads of our robots!
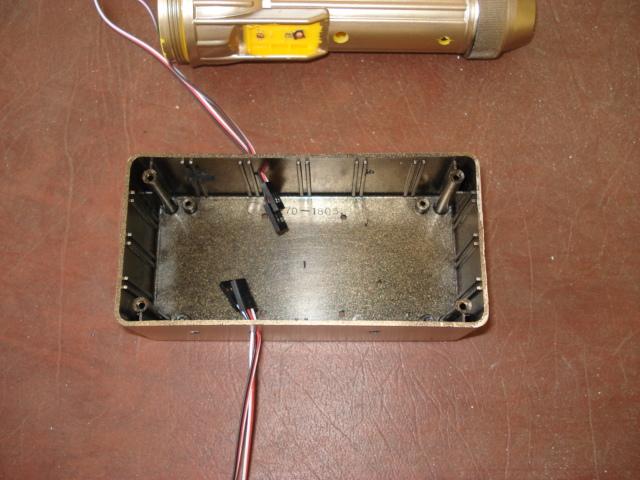
@ R2D2: They are just $3.00 flashlites from Harbor Freight! Paired with a Radio Shack project box. I like to keep things as simple as possible.
Hi Robotz012248
Simple things put together in just the right way to be totaly awsome , Nice work.
Steve_c
Thank you for the kind comments Steve.
@Robotz012248,
I would like to see more Close Ups of the swivel-tilt assembly. Maybe a brief discription of where you got the parts. That seems to be the area that I have more problems with. It always goes slanted on me instead of square and smooth.
thanks,
P.s. That is a mighty fine job!
Mel
@ Mel:
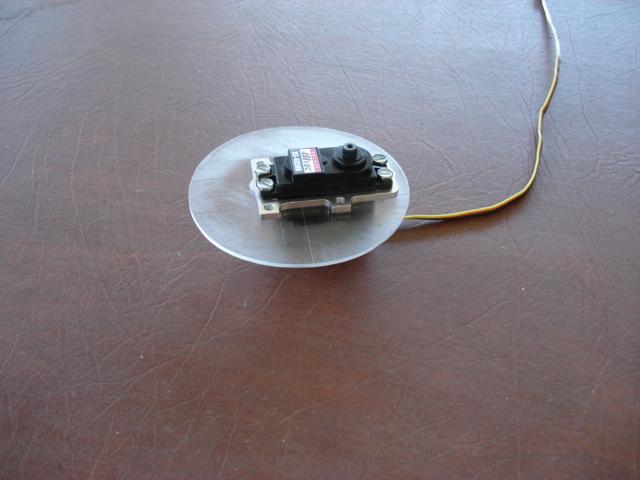
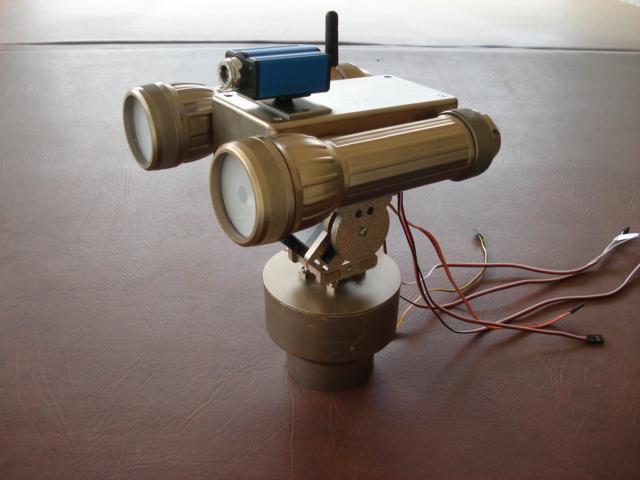
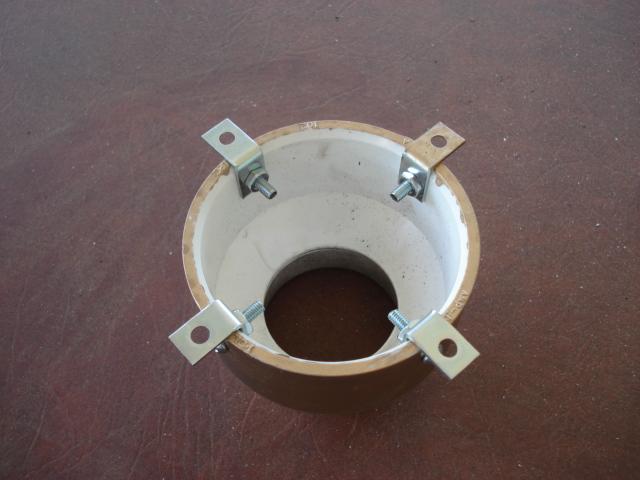
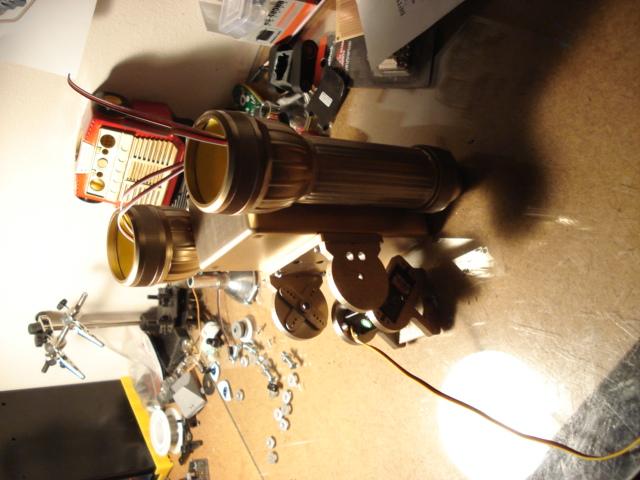
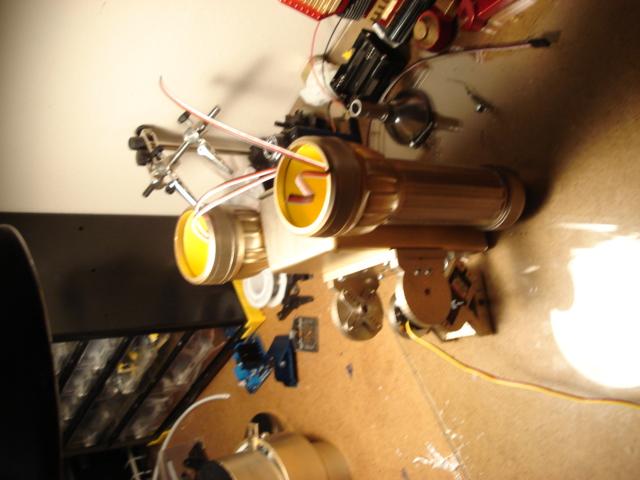
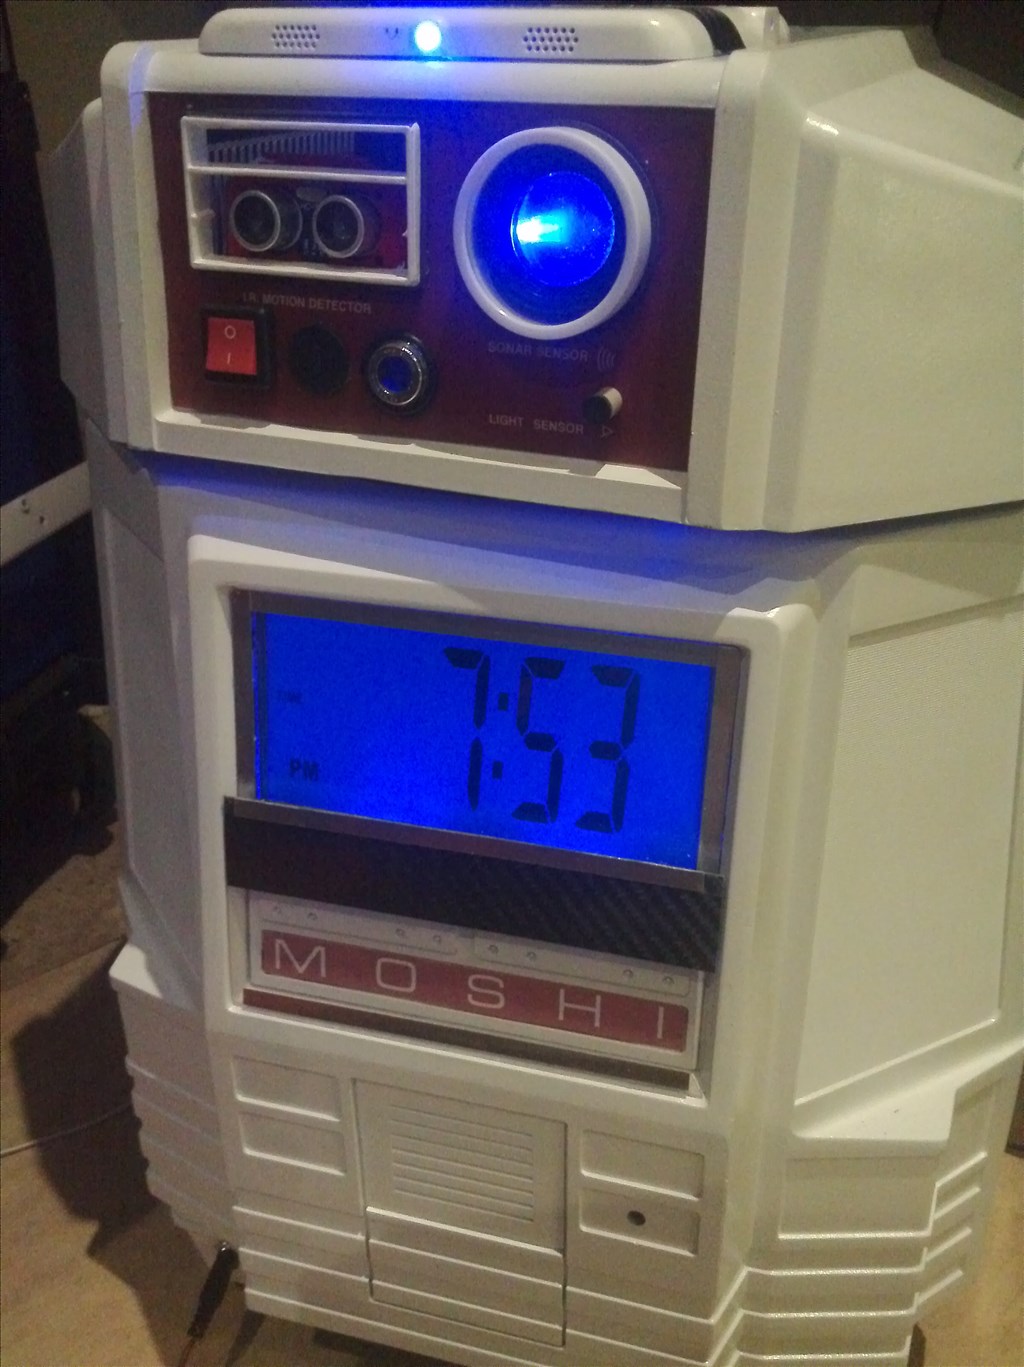
Here are some more detailed pics of Gizmos head assembly.
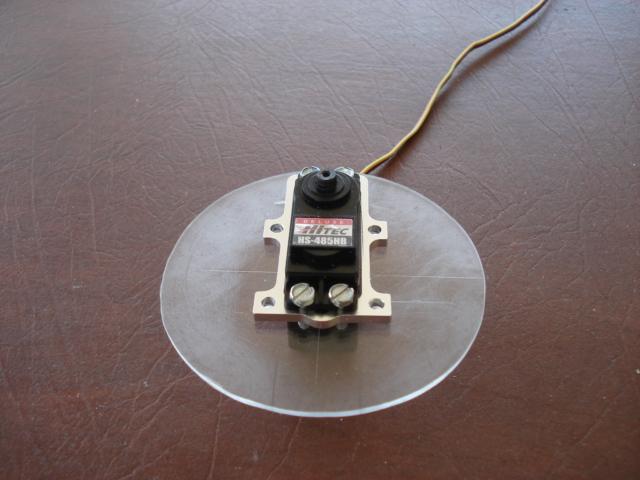
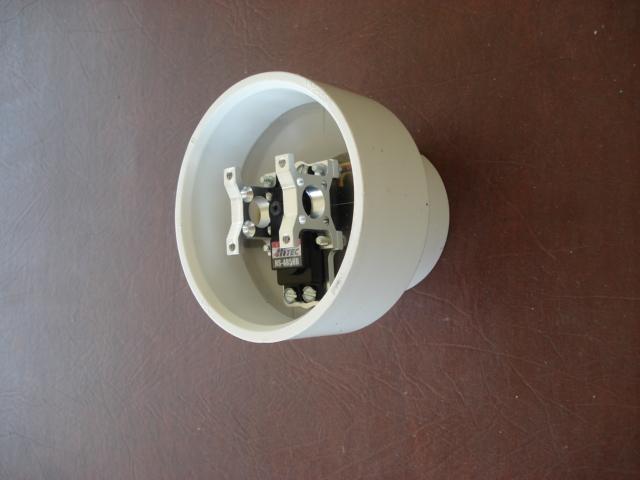
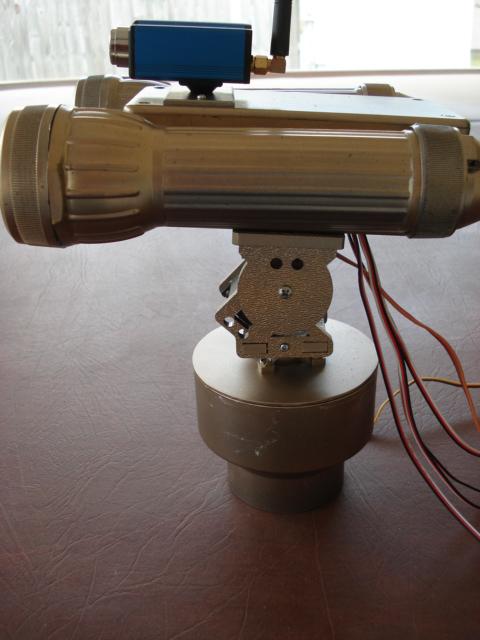
I used one of servo City's "Servo Blocks" , part# SB608SH, with a Hitec servo ($24.99). I began by mounting the servo block frame to a piece of plexiglass cut to the top diameter of a 3 inch to 2 inch PVC flange.
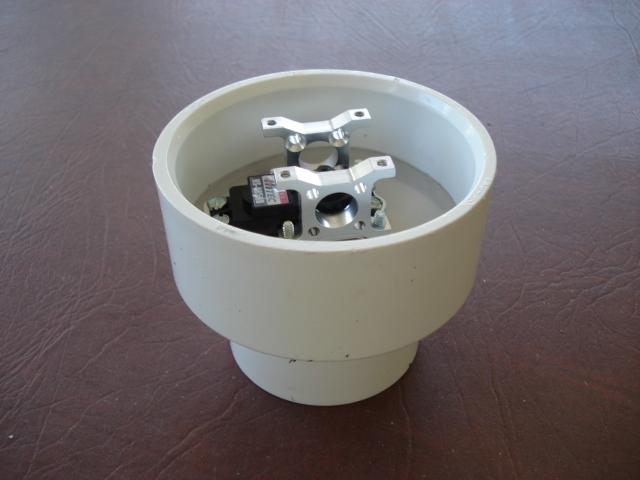
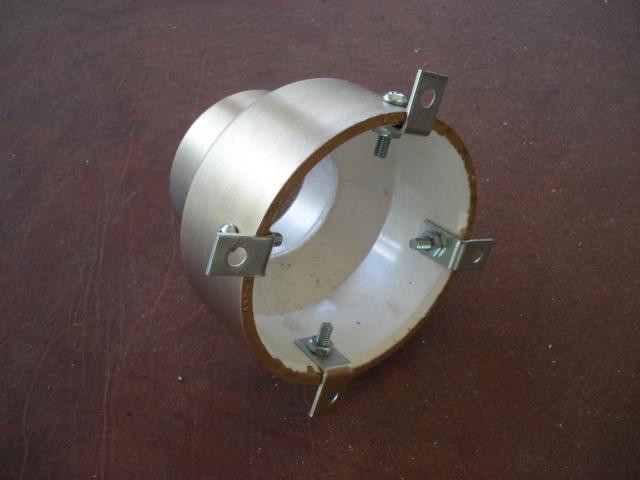
I then recessed the plexi / servo frame into the flange and used a straight edge to line up the upper mounts flush with the top of the PVC flange.
I cut another piece of plexi to cover the top of the PVC flange and drilled holes for the top mounting frames and a hole for the servo shaft, then screwed it all in place.
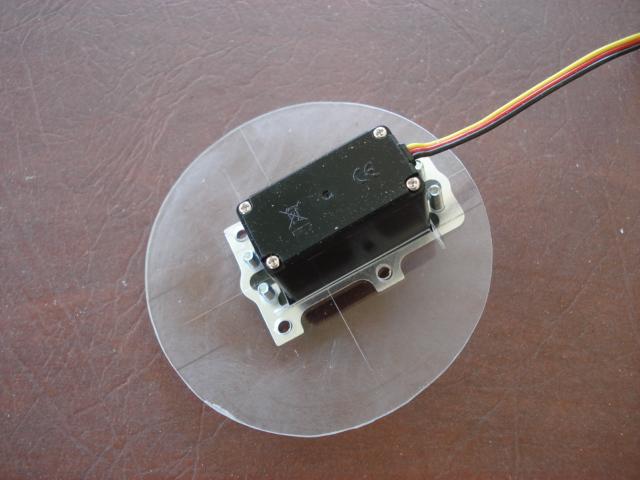
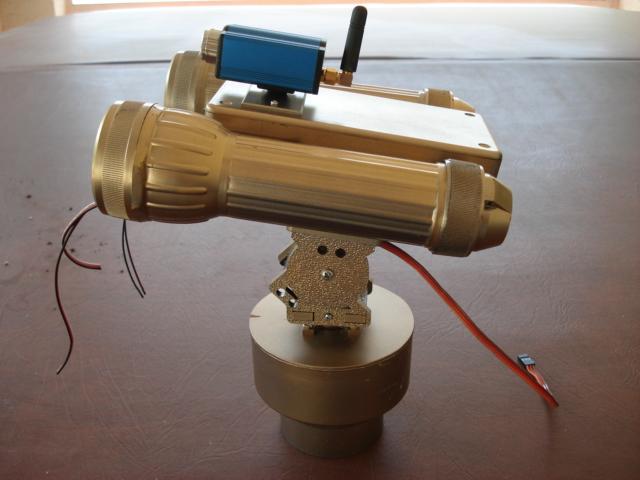
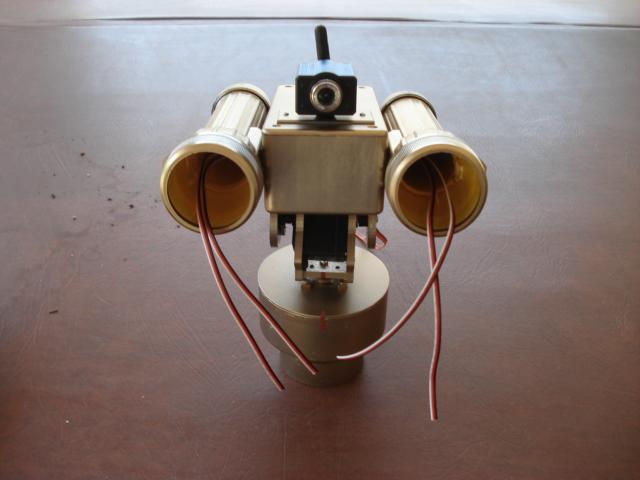
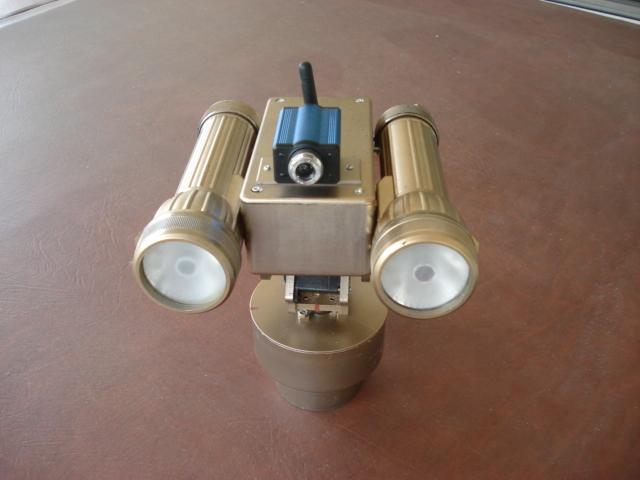
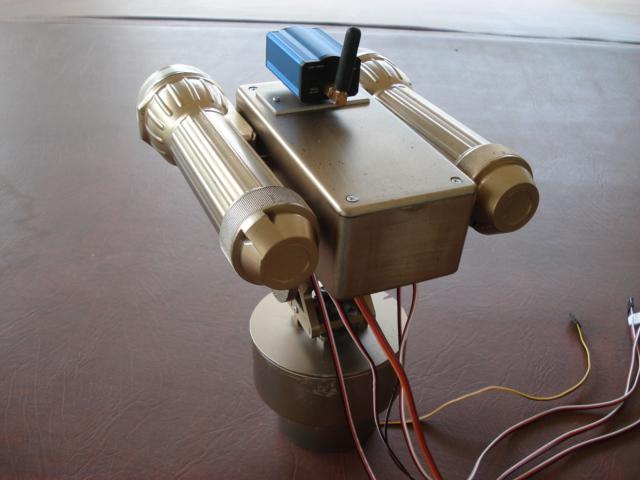
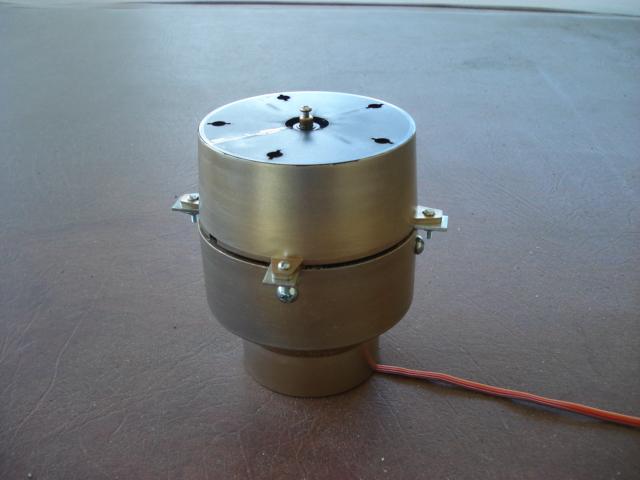
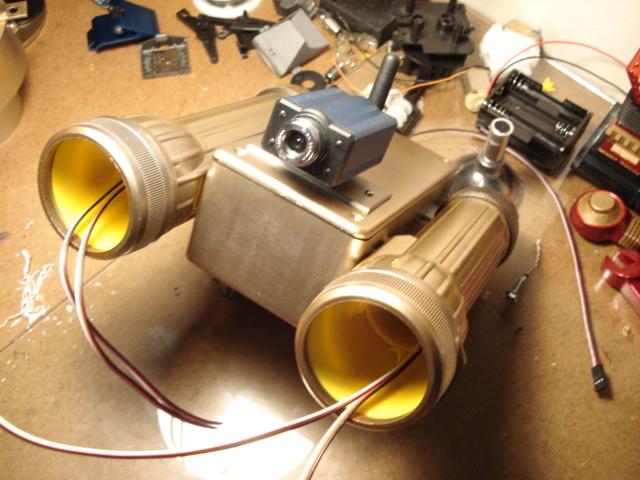
Next I mounted the "bottom" mount of the servo City Pan/Tilt (part# DDT500) and fastened it in place with small bolts and nuts.
Then I finished the assembly of the pan/tilt. The "upper" pan/tilt mount was then screwed to the bottom of the Radio Shack project box. So, there ya have it. I found that the servo City "Servo Blocks" are great! They make a very stable servo mounting. All of the side loading is placed on the servo block frame and the mounting hub. I broke out mycamcorder yesterday and am going to try to make a video of Giz's head. Hope this helps you out. Lloyd