
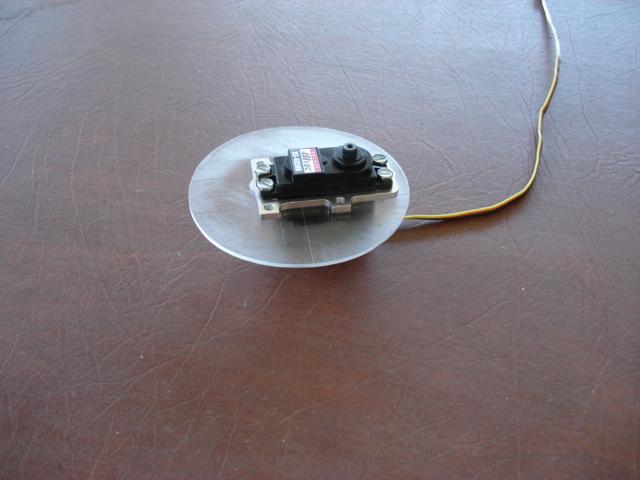
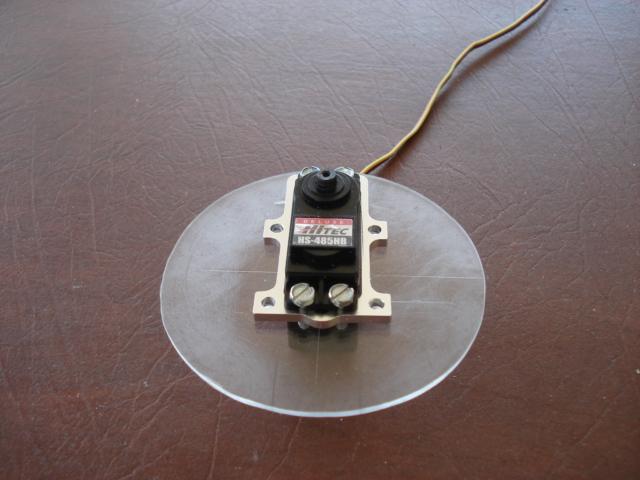
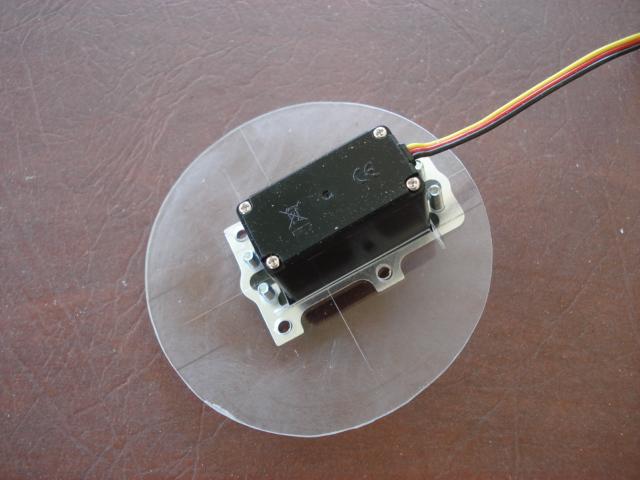
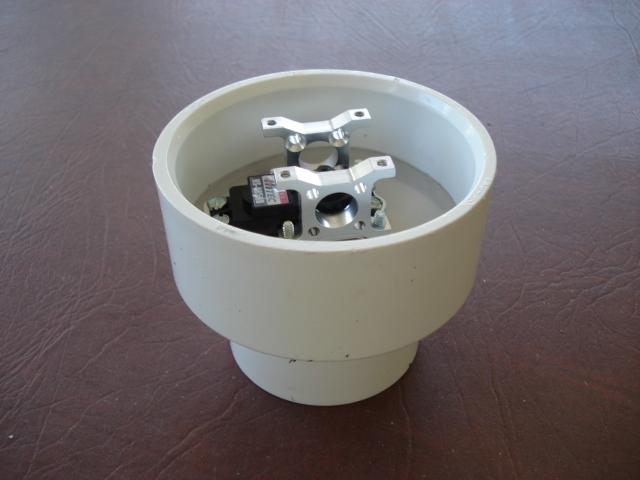
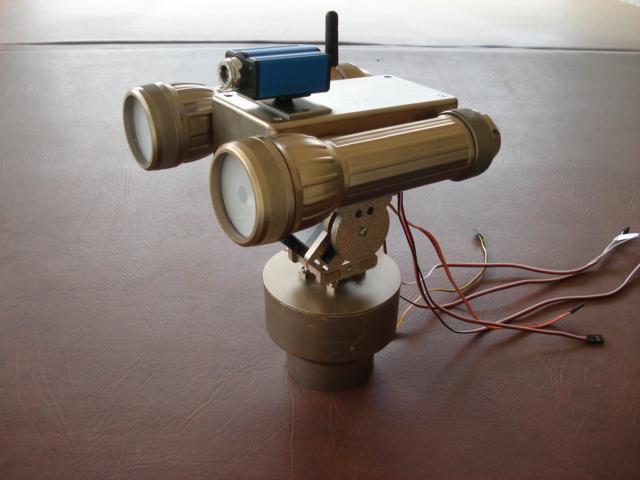
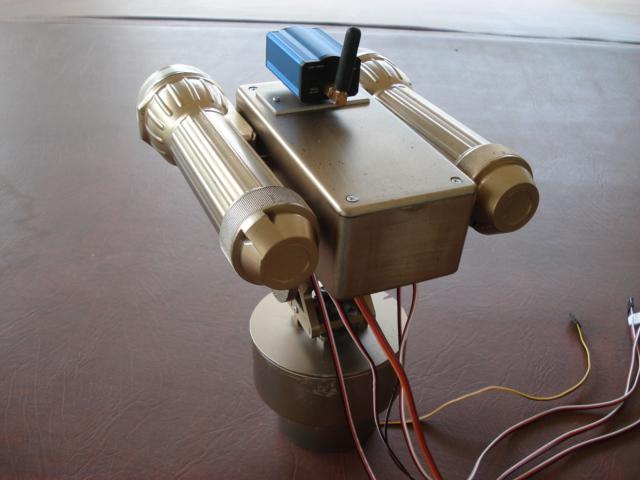
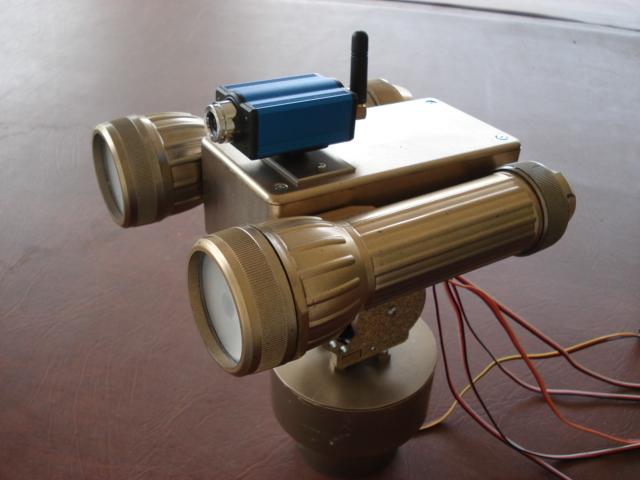
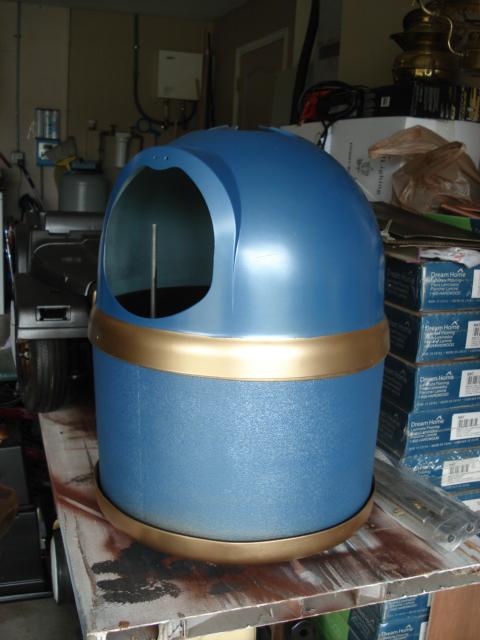
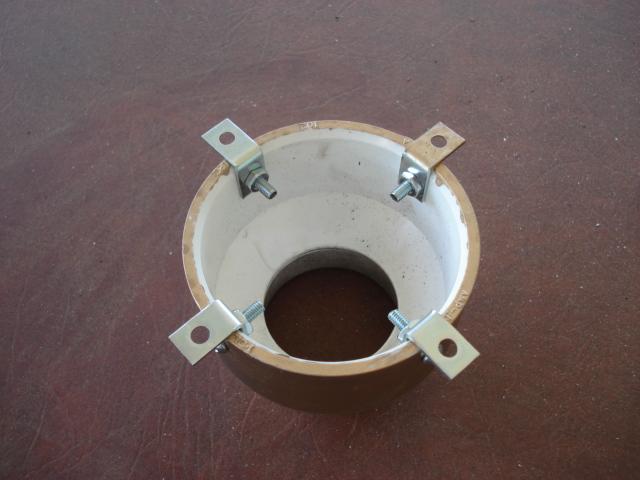
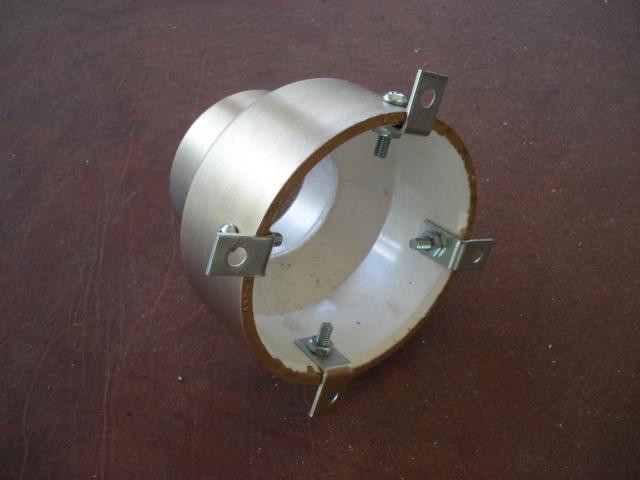
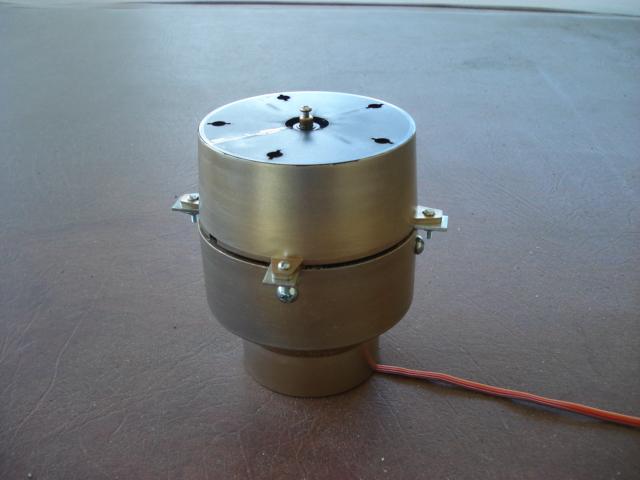

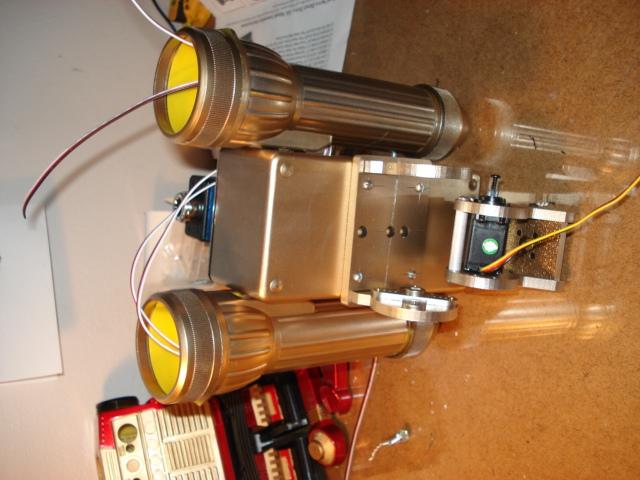
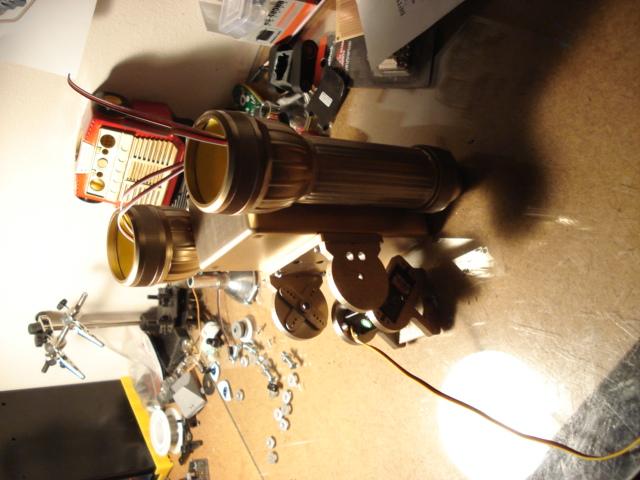
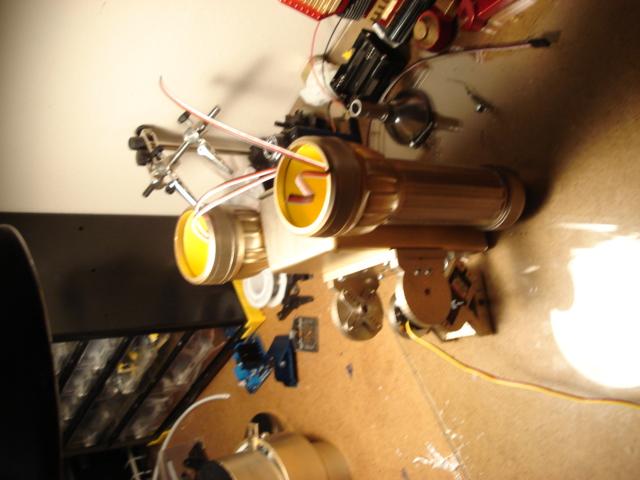
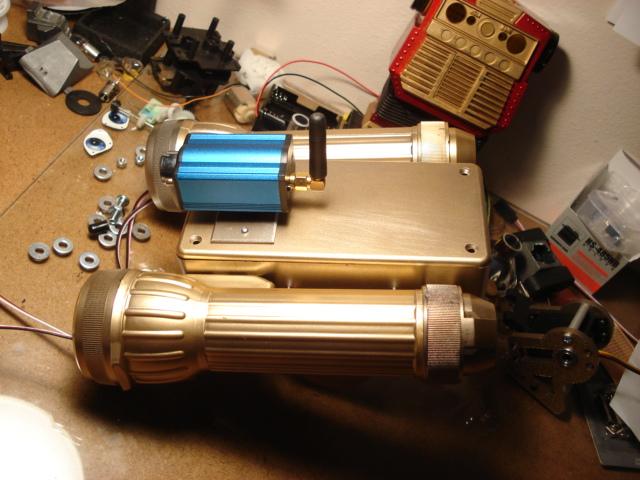
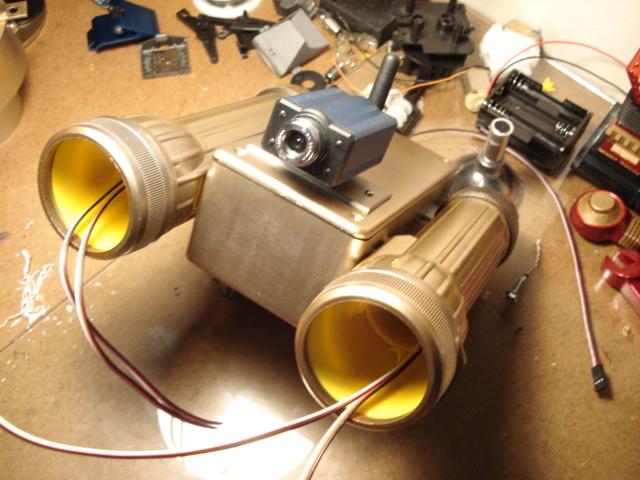
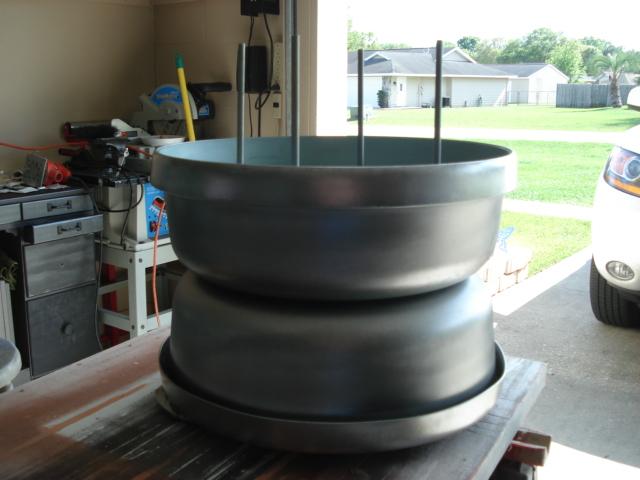
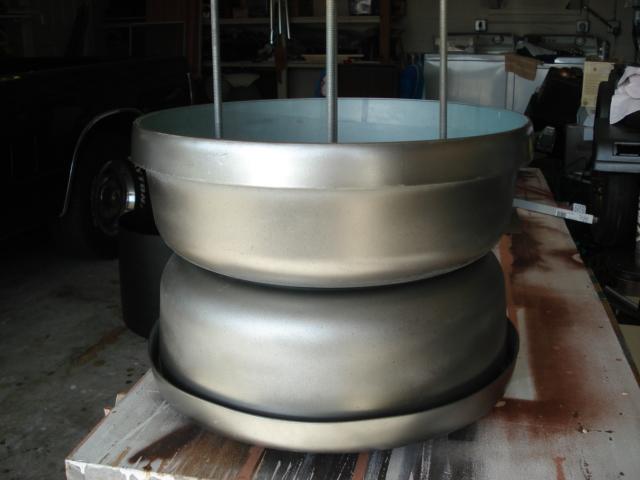
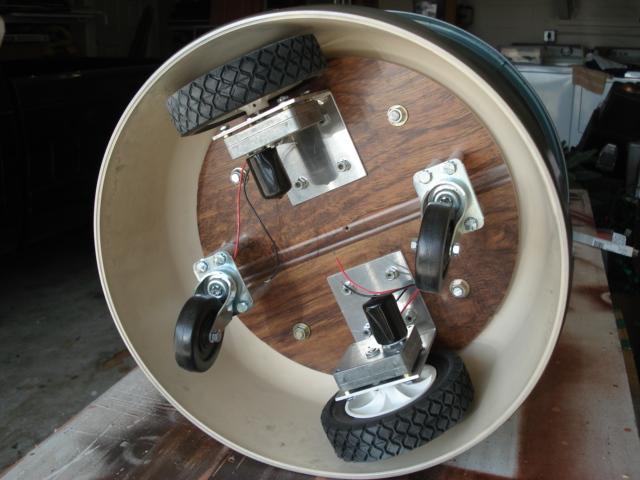
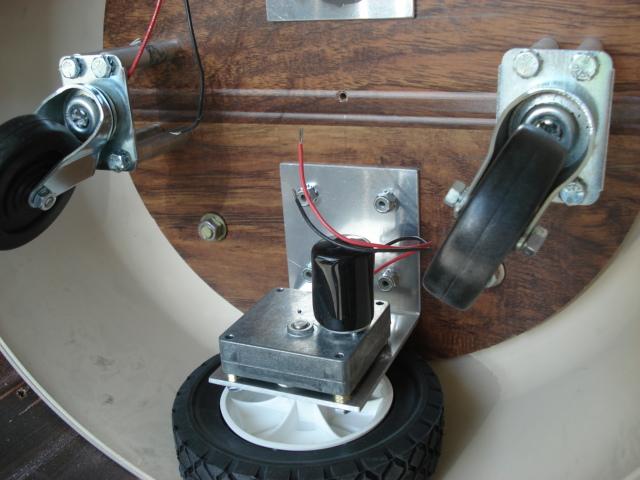
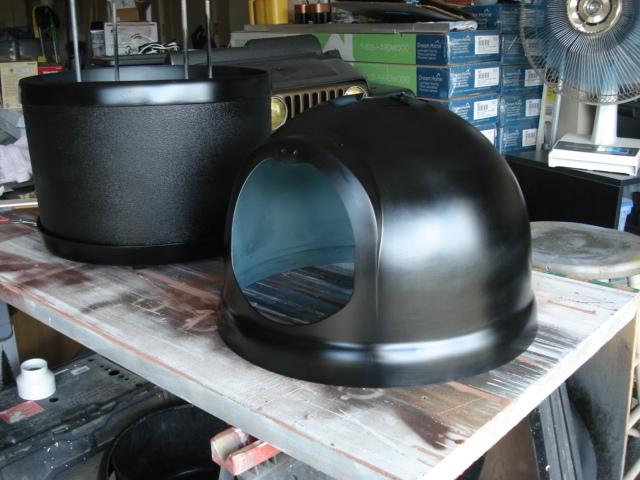
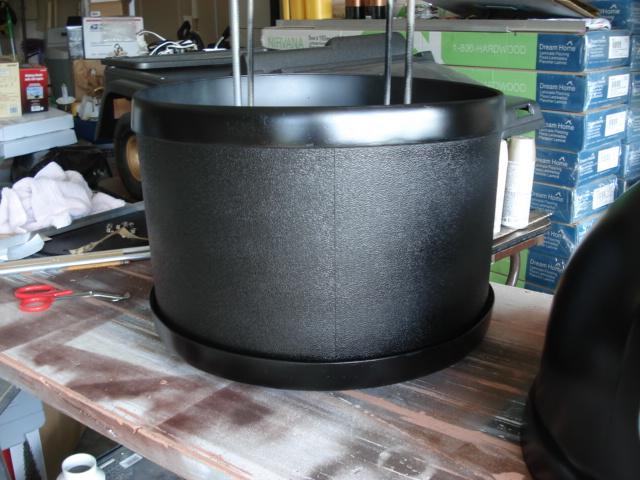
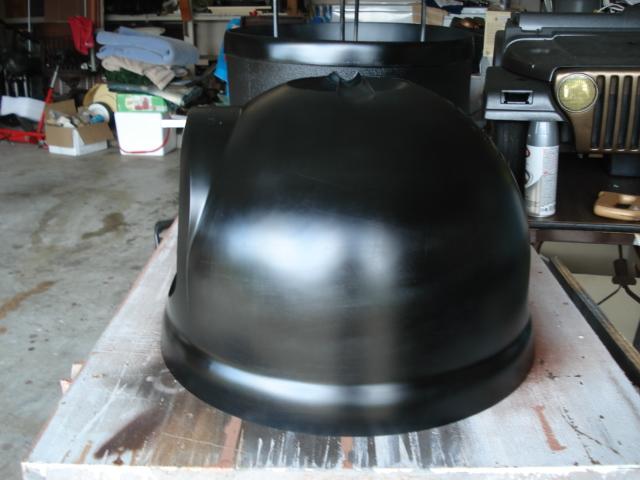
Thought I'd post some pics of Gizmo. Thanks to a great friend that has been helping me Project Gizmo is under way! I'm going to document the build for any one that may be interested. The infamous "kitty Igloo" is now becoming Gizmo! As shown in the pics the motors are mounted along with the casters. The four threaded rods are going to support the decks. There will be aluminum spacers between each deck. Parts are on the way. I'm still in the design stage of my robotic arm. I may have to settle for mechanical aids to help replace my left hand. It is so frustrating!!!!!!!!!!!!!!!!!!!! I've been looking at parts from servo City that look promising for the arm. However budget problems may not allow. Lloyd

By Robotz012248
— Last update
Discover more robots

Rgordon's Project Questor
Questor: compact autonomous test robot with EZ-B control, camera 'nose', IR LEDs, remote-control option and...

Niek's Dancing Droid
Script dancing Android puppets in Synthiam ARC using cheap mini servos, creating per-move ARC scripts and aiming for...

DJ's Teddy Ruxpin Robot Version 1
Animate a Teddy Ruxpin by replacing internals with servos and an EZ-B; control and script behaviors using Synthiam ARC.

That's looking great!!!!
how did you make your scooter mounts?
I need to make mine. I dnt have access to welding material or heavy machines. Any suggestions?
Scooter mounts??????????? I'm guessing you mean the motor mounts. Fortunately my friend has a very well equipd ped workshop. The mounts are 3/32 thick aluminnum simply bent to a right angle an hole drilled for bolts. The casters are from Harbor Frieght. I used alum tube for spachers and bolted through. If you have a vice you might be able to bend some alum.
Gizmo is looking awesome!!!!
Aluminum is a nice way to go, I wish I had access to cut it . I dnt know what else to use for a weight of 120lbs
I'm guessing you are saying your chassis is 120lbs? A pic is worth a 1000 words.
@Robotz012248 your bot is really looking good.
@GotRobbed Aluminum, depending on thickness, isn't difficult to cut with basic tools. You can cut it using a hacksaw or an inexpensive jig saw with a metal cutting blade. If you take your time, you can even cut it with woodworking saws (I'd just use older blades) like a circular saw, table saw or even a band saw. I accidentally sawed through a 3/4" aluminum bolt once with my Dewalt circular saw.
That is really looking great! Looking forward to tracking your work in this....what an original idea!
Neato! I see a rising Trend in "Larger Robots!",,,,Me-Likey!!!!