


Project:
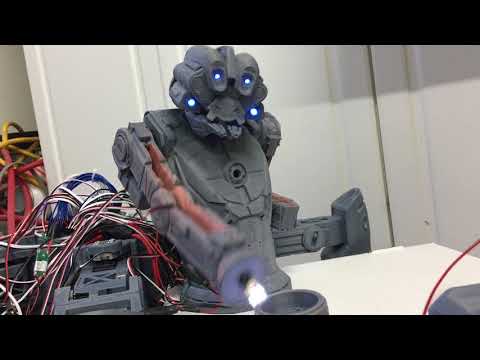
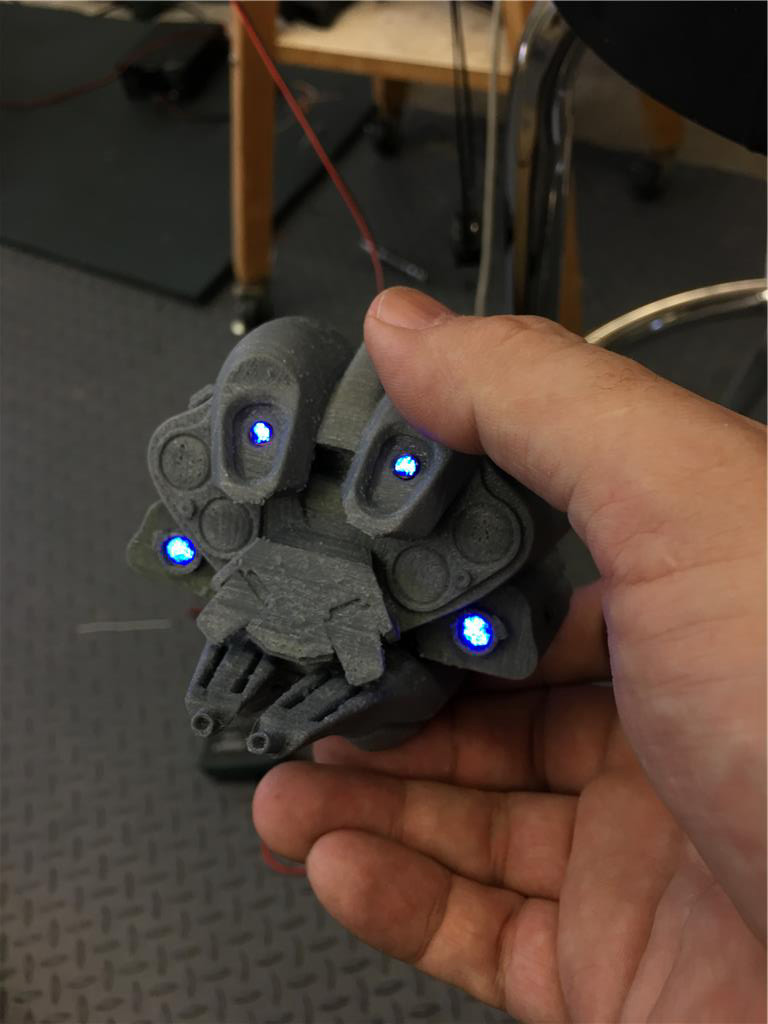
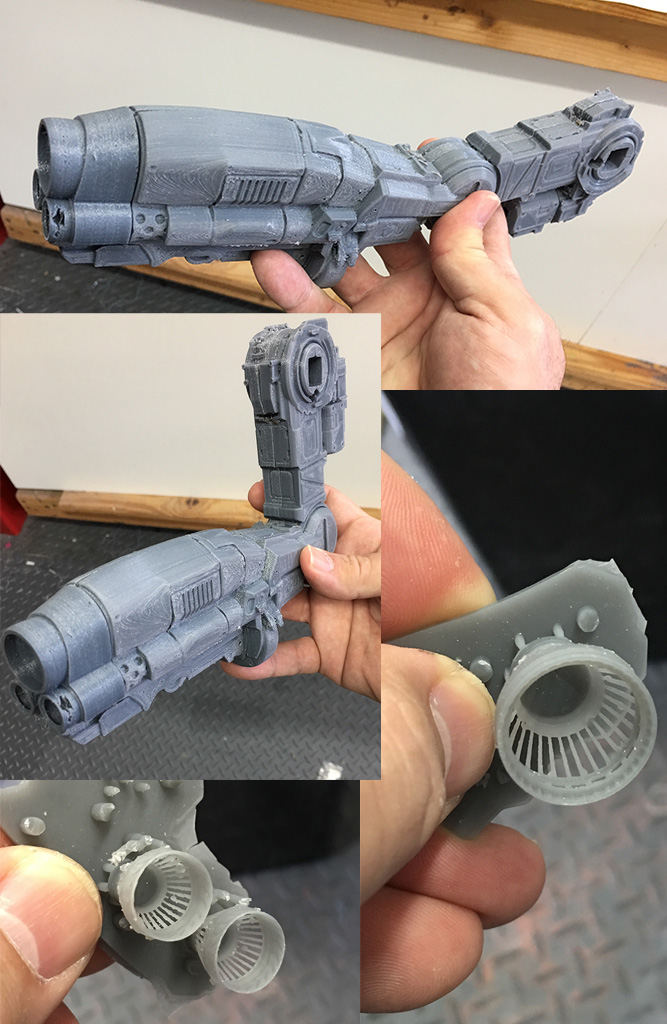
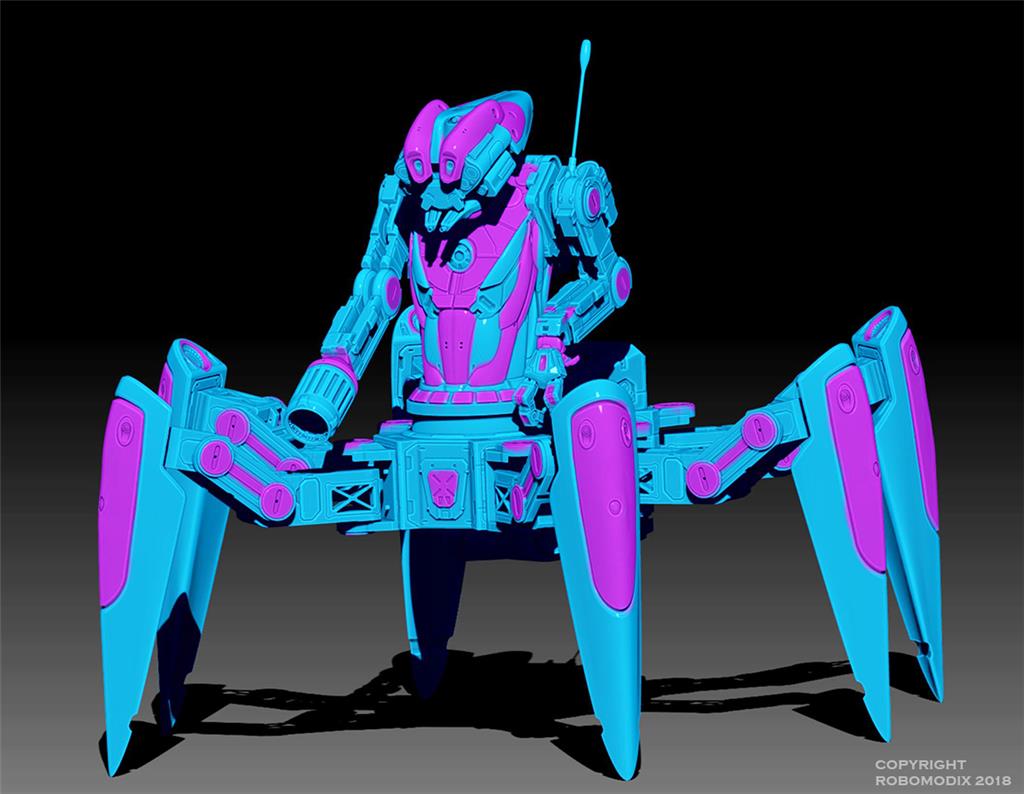
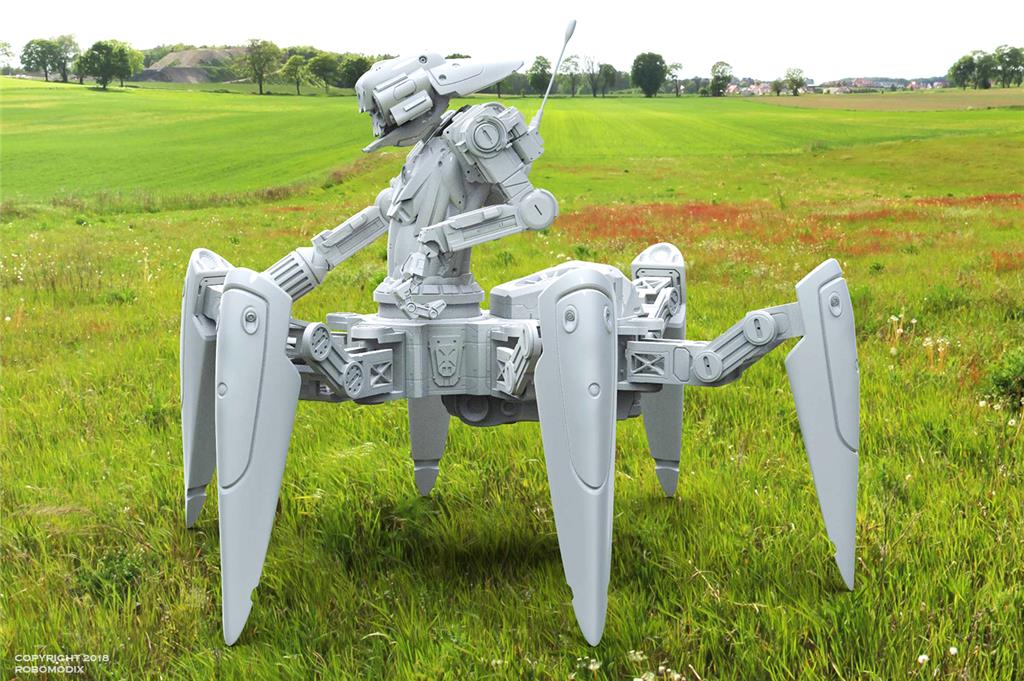
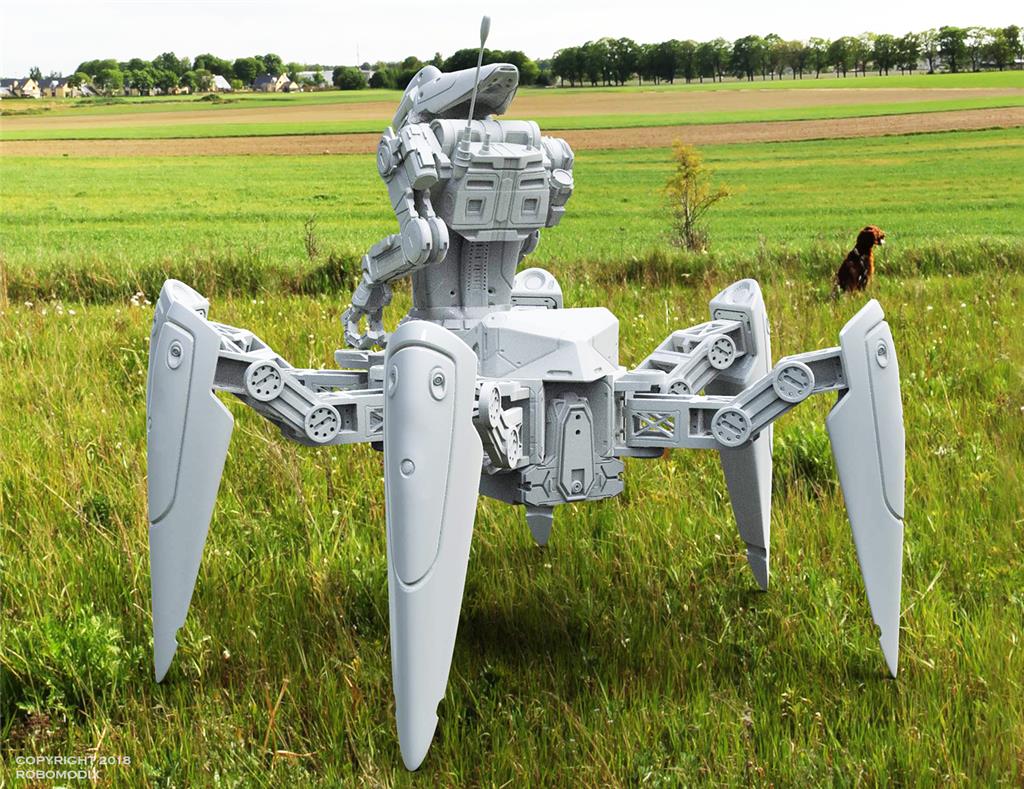
By request, my 6 year old son wanted me to design and build him a Hexapod. So I started to whip up some designs in Zbrush and together we decided what he would look like. "Main thing he has to have dad, is an arm cannon!" So we got that. Then I thought it would be cool to have a robot kinda part of or riding the hexapod. So kinda a centaur bug/robot thingy.
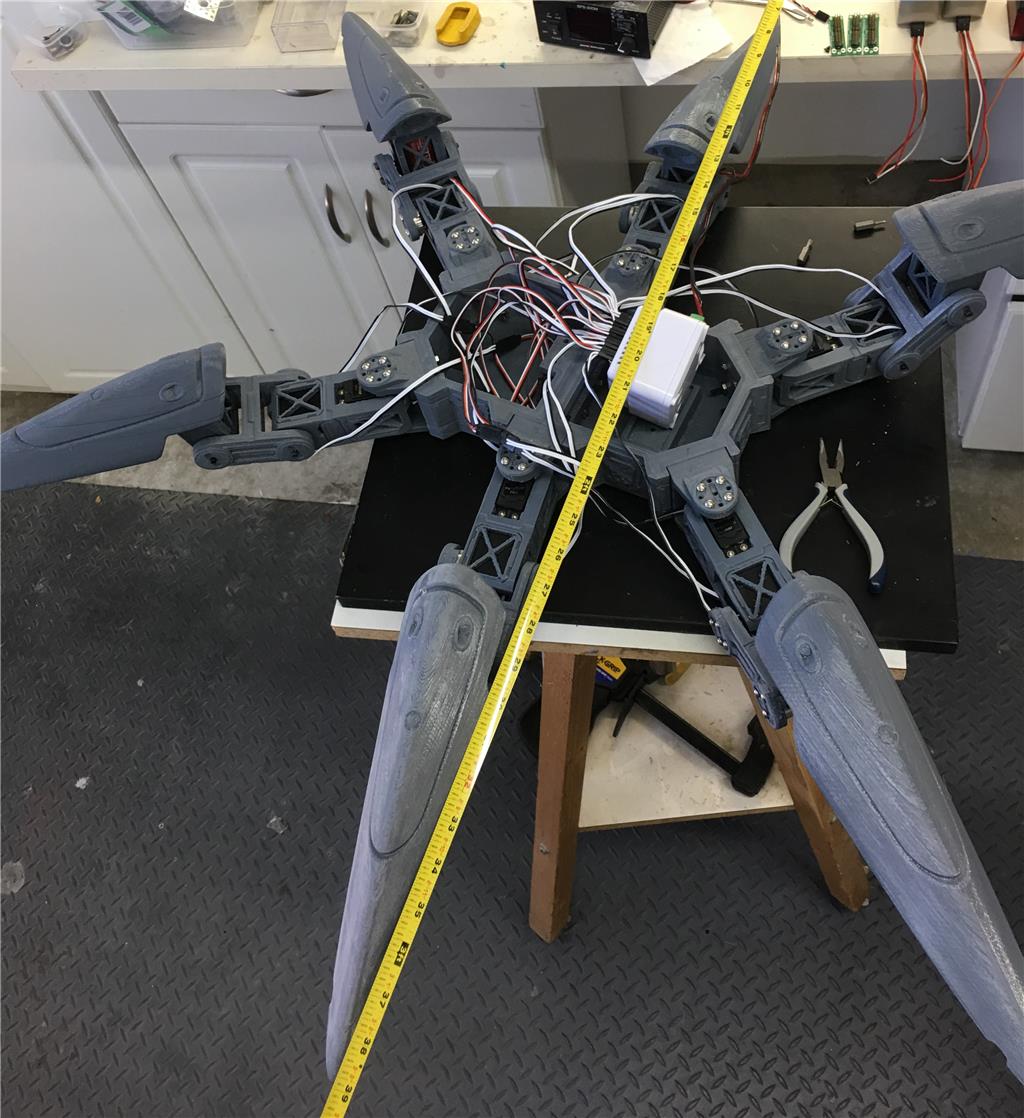
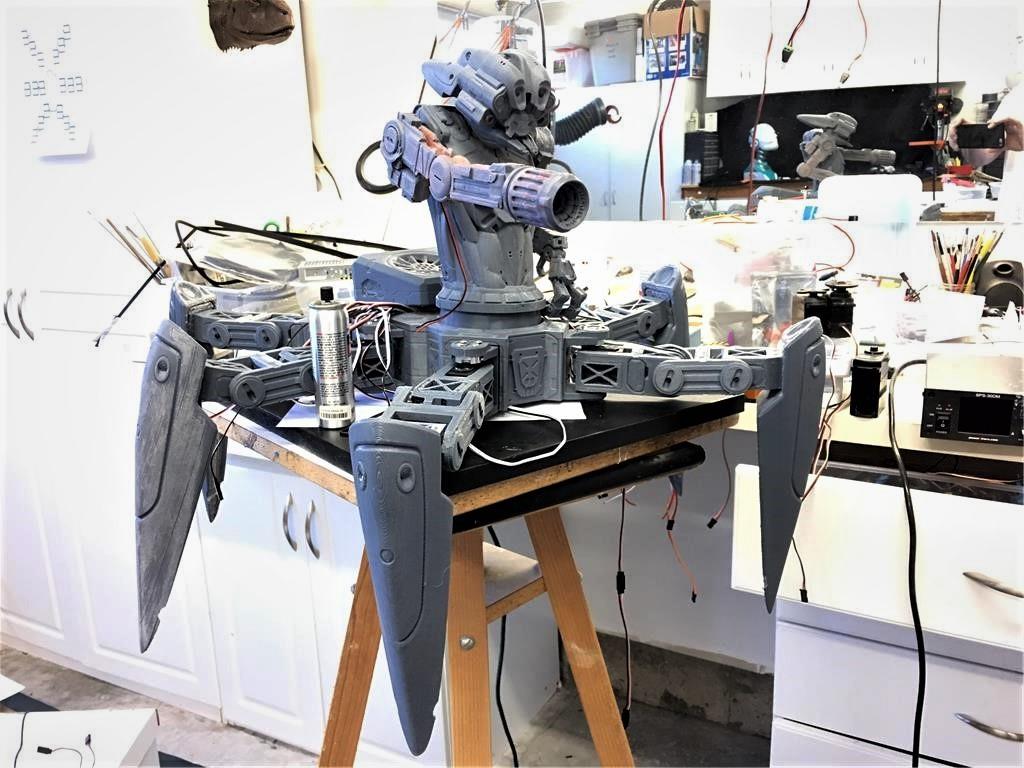
First thing I had do was figure out was how big would be too big? There are alot of reasons why not to go too big, which I ignored. So from an engineering stand point, "will it walk?" is the big question. At first I thought it would be about 5 pounds, then it went to10 pounds and now it might be around 12 pounds...so again time will tell. Maybe it walks once or 2 feet then crumbles!
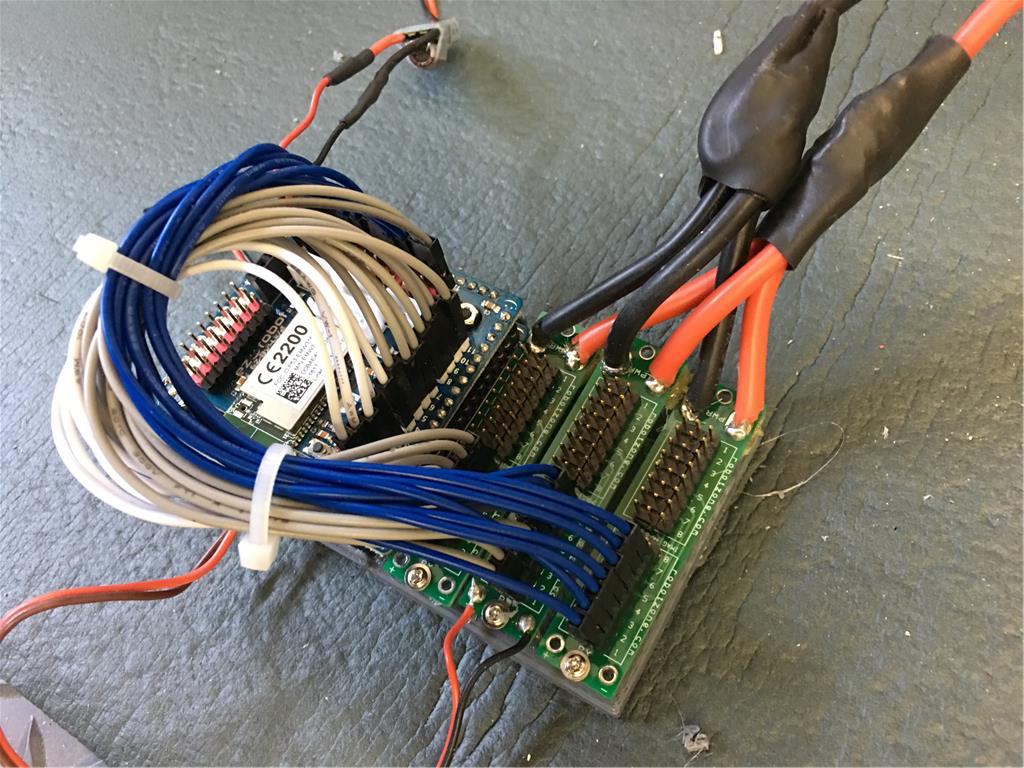
I sourced out the materials and batteries. Knowing this was going to be a 23 servo design, I wanted a good battery and and chose a 7600 mah lipo. Maybe it will run for 15 min underload... again untested, time will tell.
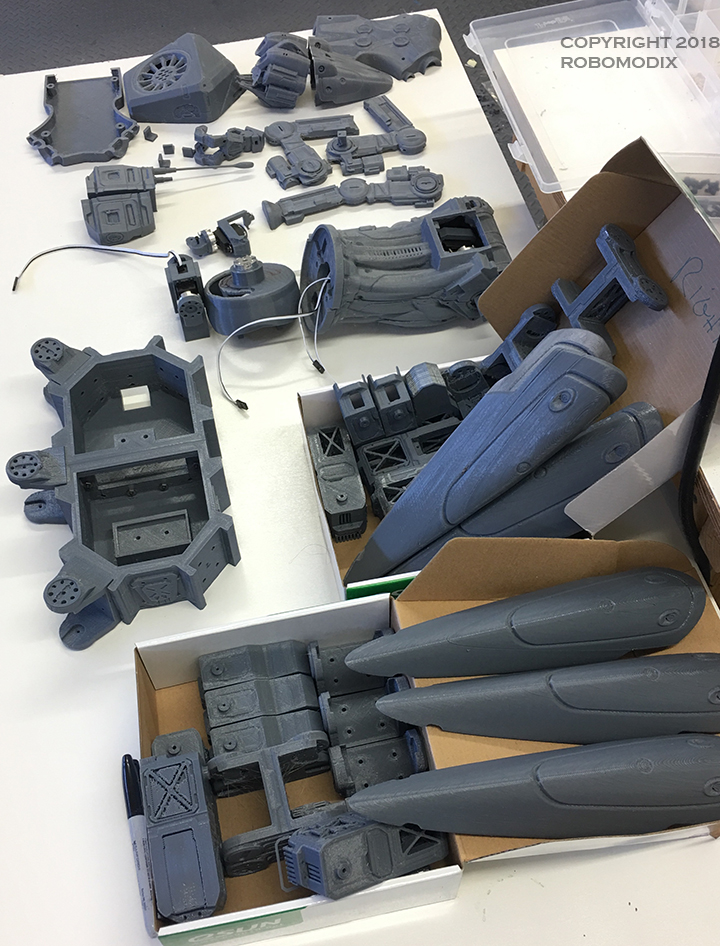
Finally I chose PETG for the print material, due to its strength. Two weeks of printing on 3 printers 24/7. There ended up being 53 individual parts.
The Motions include 18 axis for the legs, waist forward/back tilt, waist rotate, cannon arm up and down, head up and down and rotate. 23 axis in total. The body is comprised of EZ Robots micro servos and the legs and tilt are the HDD servos also from EZ.
There will be an EZB inside and camera in his chest. A Bluetooth amplified speaker system onboard will allow us to play TONS of robot sounds from BlueZone.
I will updated this project as I finish goals, but if he doesn't walk due to weight or burning out servos due to stress, I will most likely abandon this build, as the next logical step would be to move up to dynamixels, but that would require $5000 worth of servos. A bit much for a toy!
So lets get started!
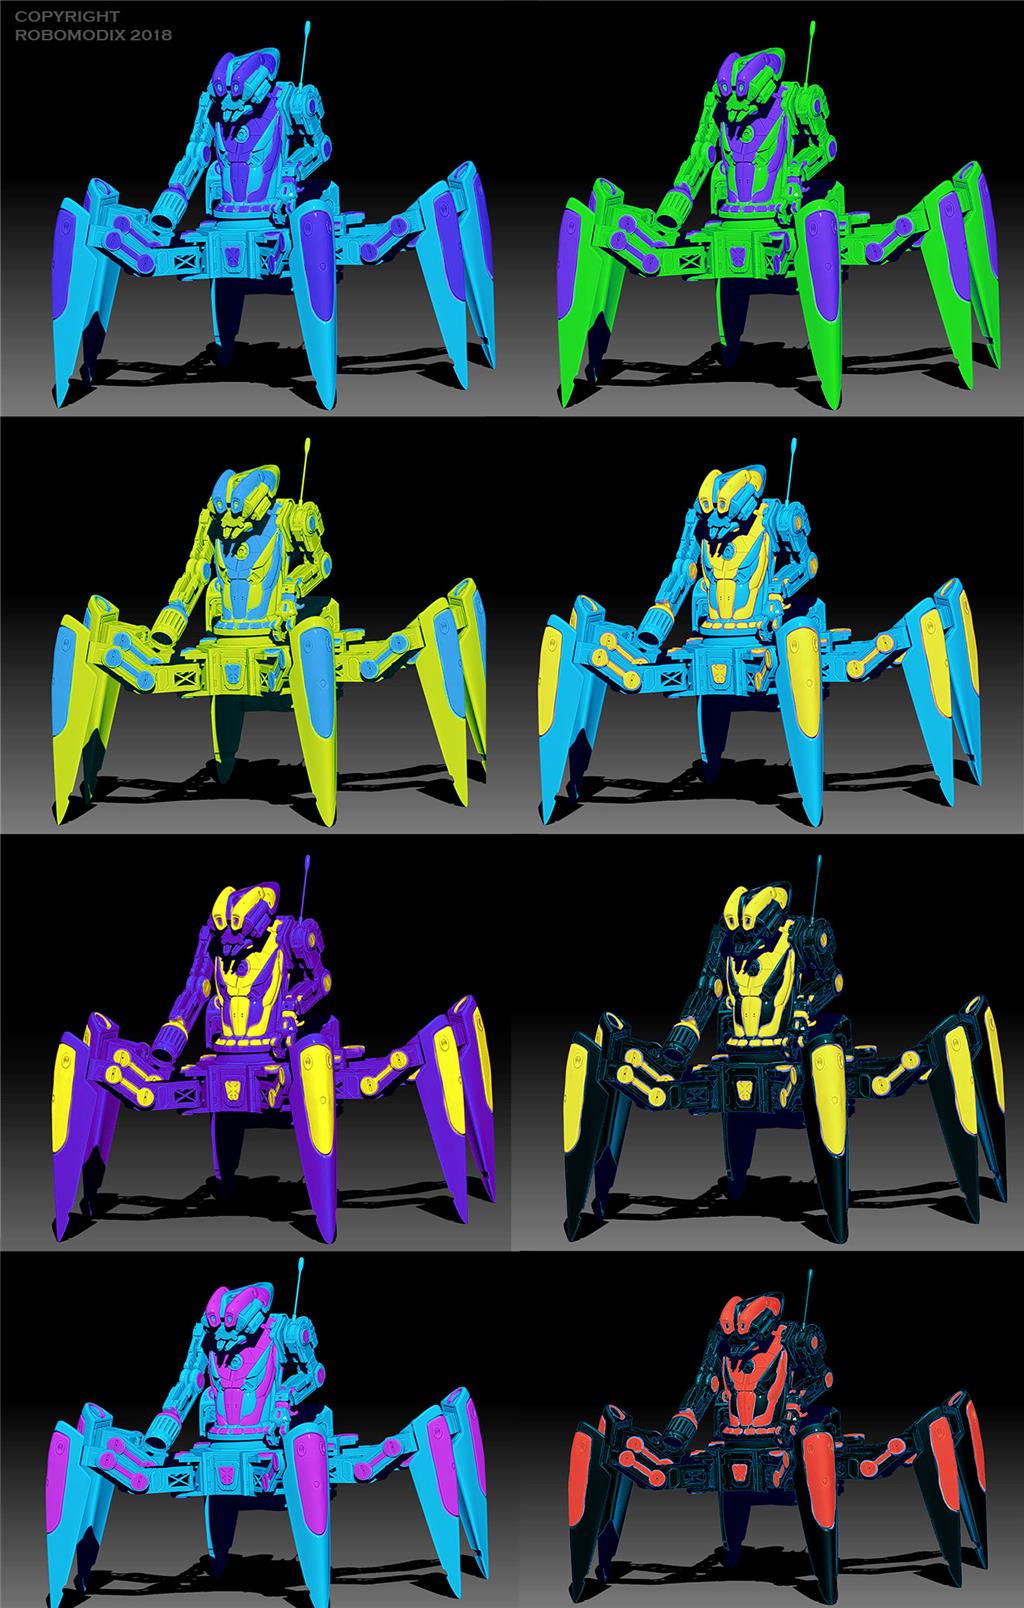
Here is a final design in zbrush and keyshot
Then came the modeled parts each one 3d Printed.
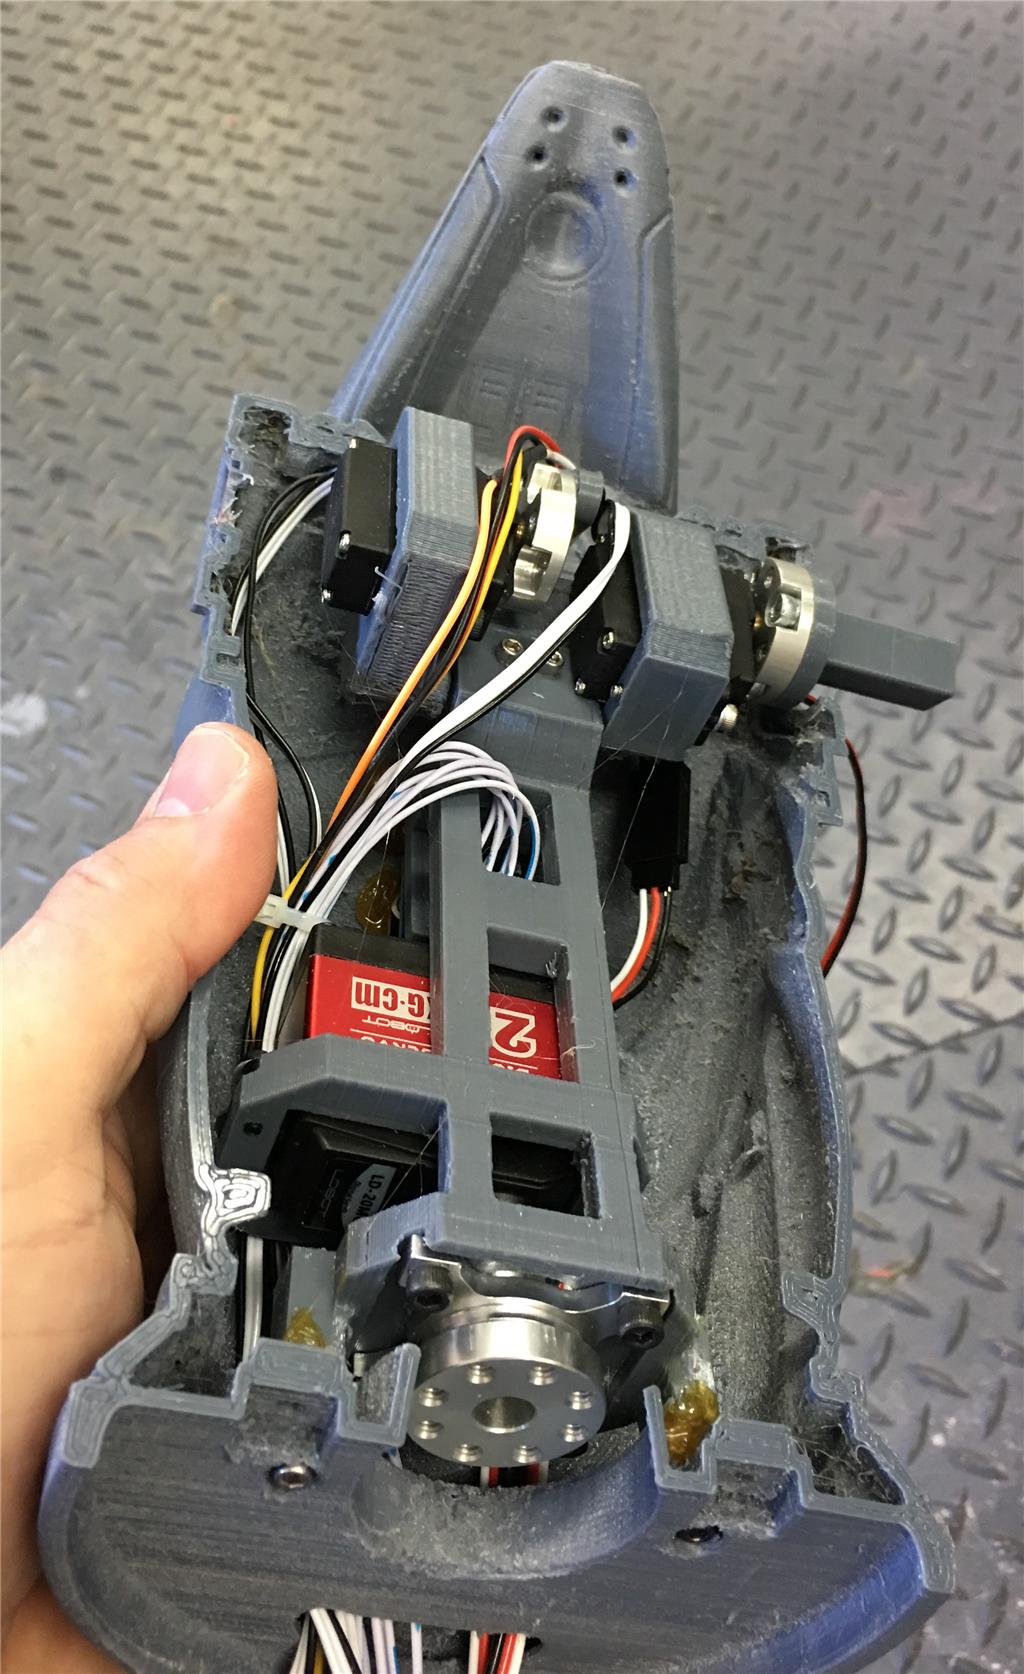
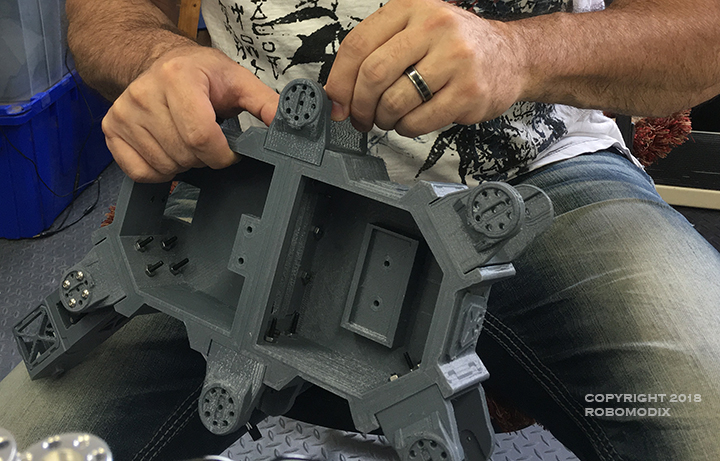
Here I've started adding the axis to the body
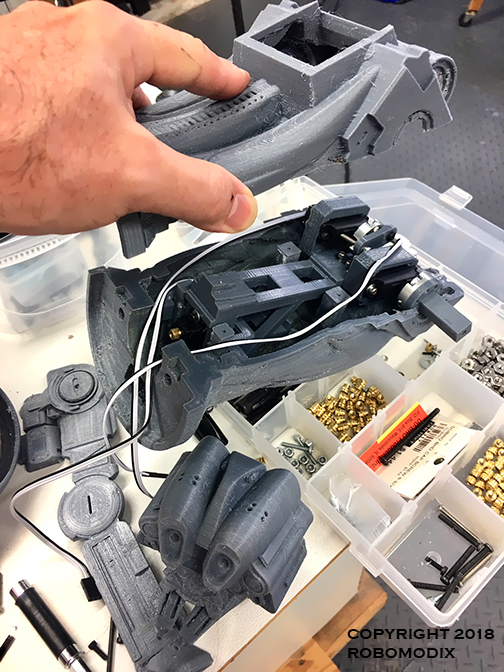
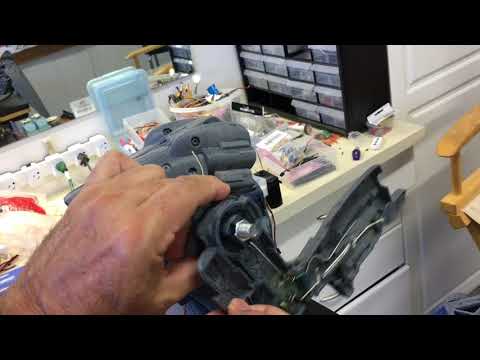
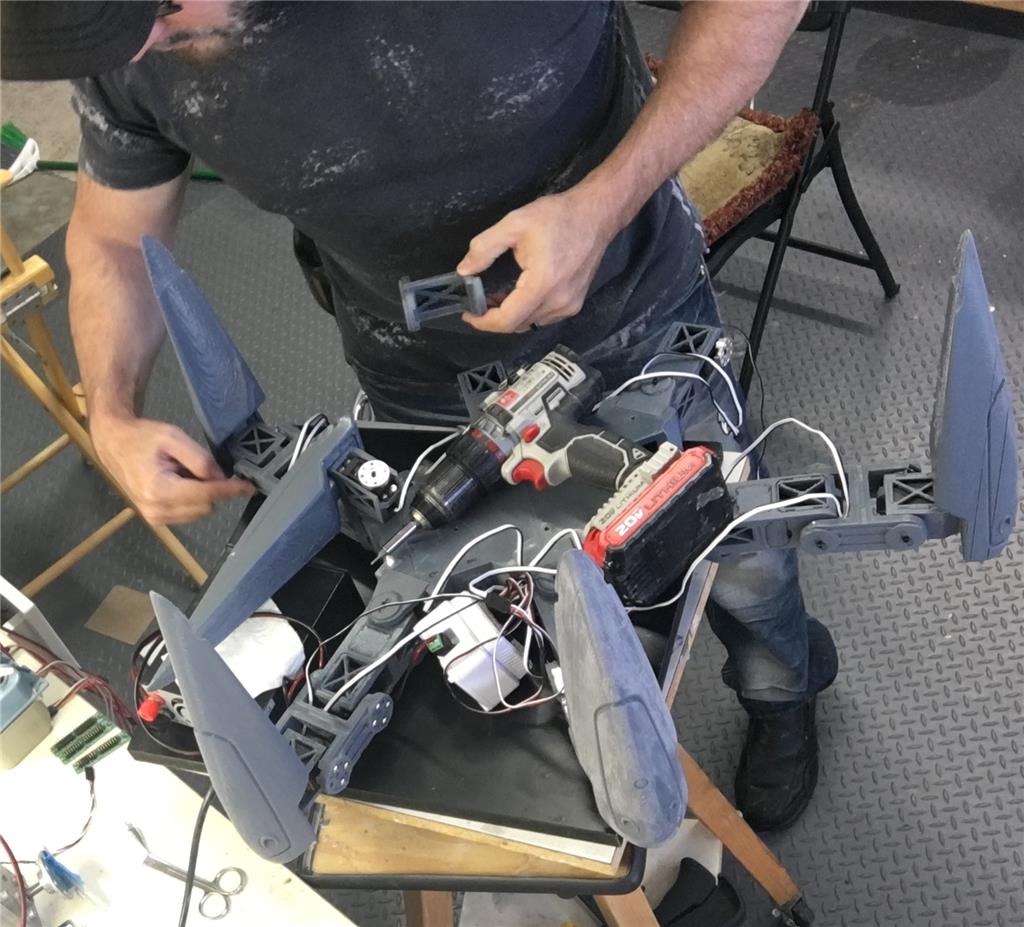
Here I continue on with assembling the main chassis
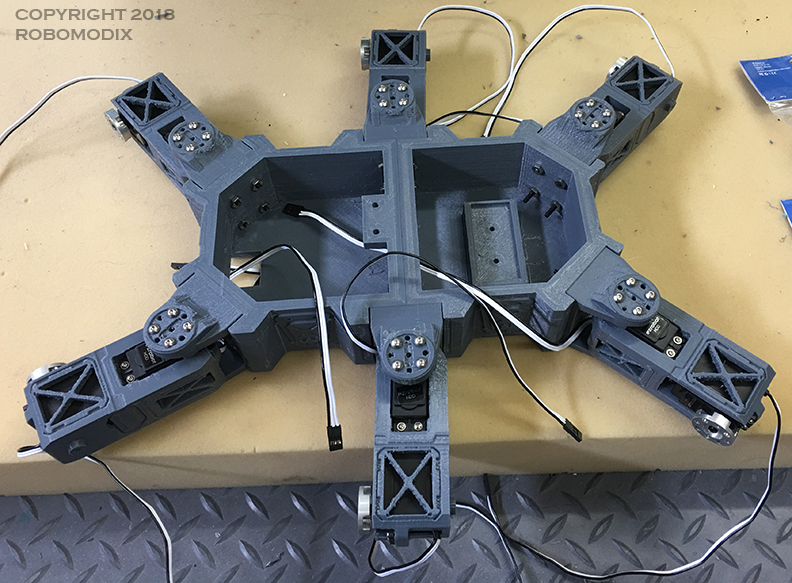
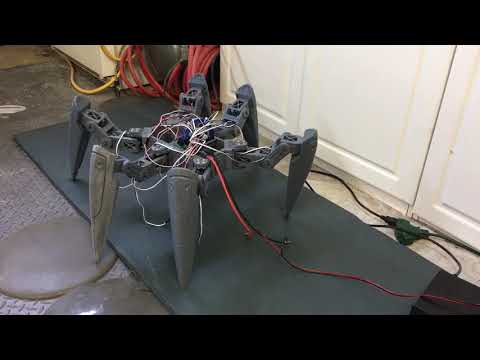
I could only assemble one side of the legs as I am waiting on some servos and screws to arrive.
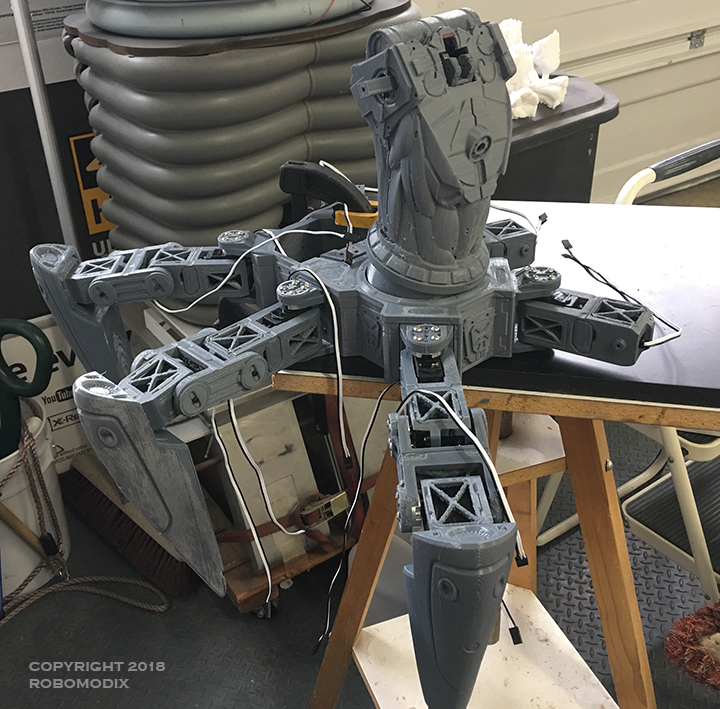
And here is my first sloppy attempt at testing motion with autopoistion:
Discover more robots
Robot56's Just Another Omnibot
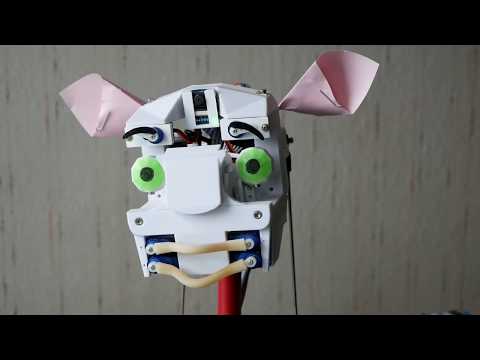
Deleted's Erne - Emotive Robot


I have a love hate relationship with this printer. I supported them on Kickstarter and the nightmare began. But eventually after throwing money at it it’s printing good. Funny thing is they had a successful laser cutting printer company so figured it was a no brainer low risk investment. Nay.
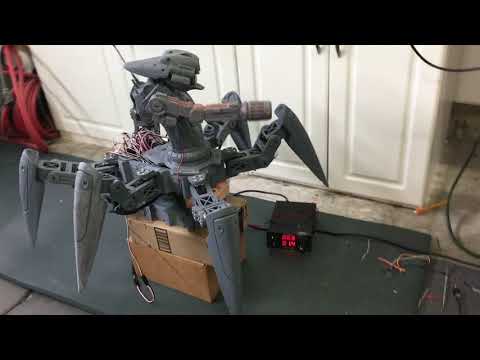
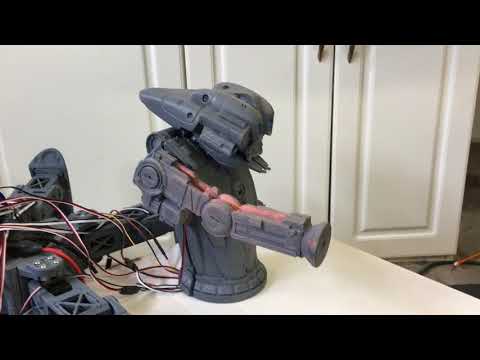
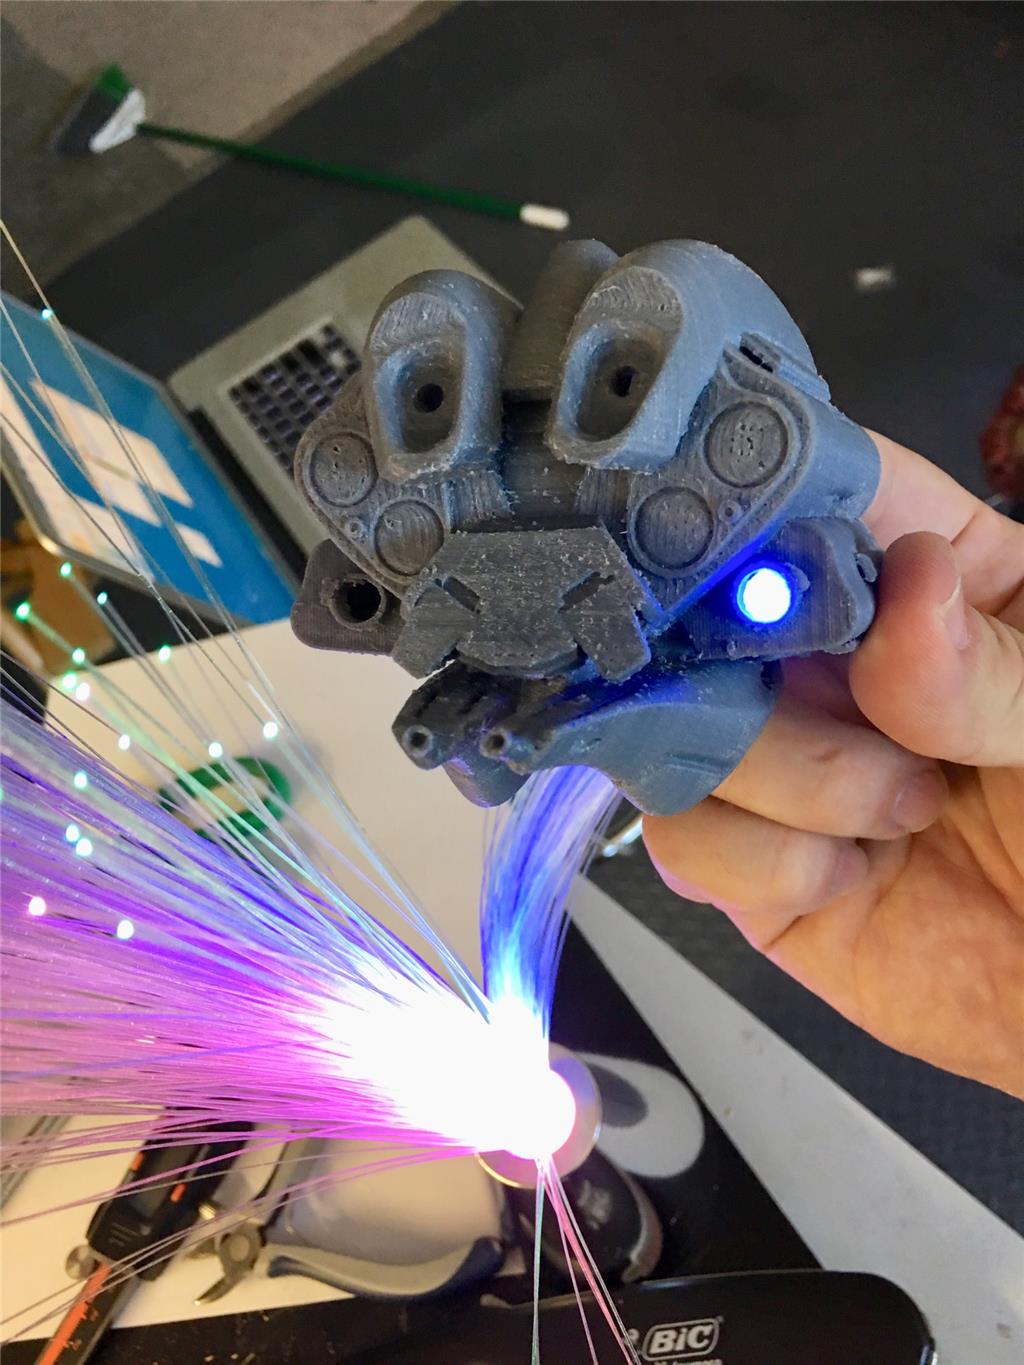
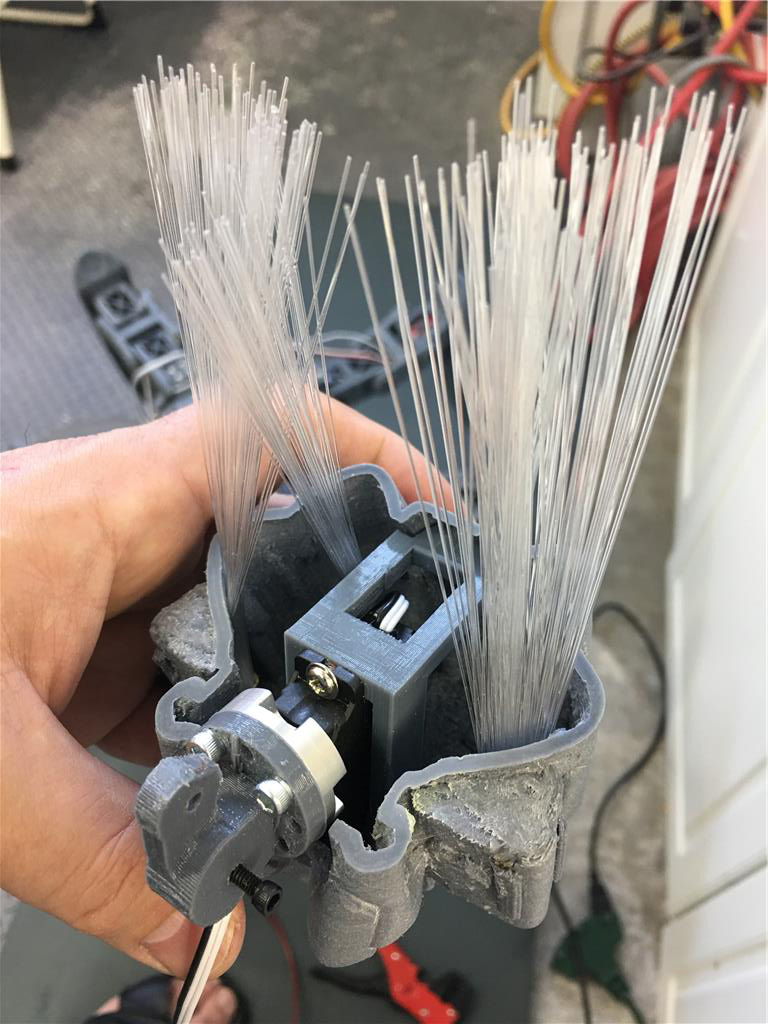
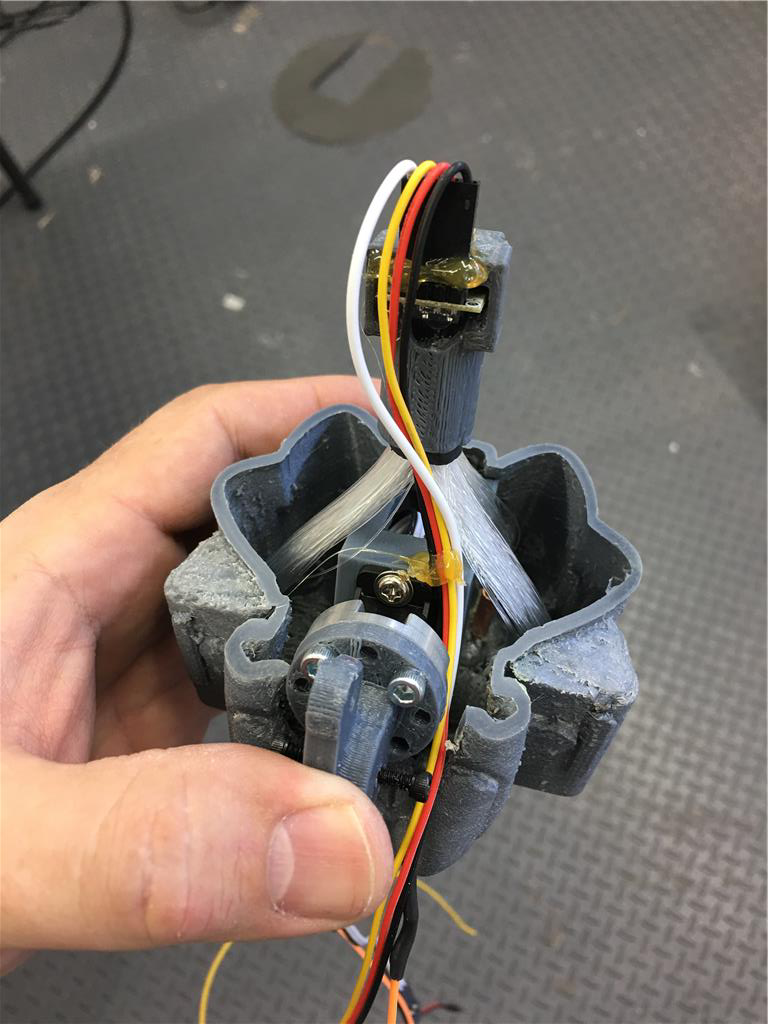
Hey guys. A small update. I've been pretty busy with summer fun so not a lot work time on the robot. But, I did have a few hours today to test out the cable actuated arm concept. I had run out of digital ports and really felt like the robot needed a bending shooting arm.
So i put pen to paper and came up with a simple design, where a cable ( a dacron cord in this case), and a spring set into motion the arm with the bend. Its quite simple. As the arm rotates, it pulls a stationary cable tight, and that cable pulls up the lower arm. There is another cable on the opposite side that has a spring and acts as a return, for the arm to straighten.
Here is a quick video of that idea in motion.
Great idea! I'm convinced!
That's brilliant Will. I really like the smooth motion. The little bit of bounce makes it more life like in my opinion. cool
Thanks Dave. It was just a quick POC, i think its the right idea...hopefully the finished arm will be a bit more ...predictable!
Dude, FX, I just saw this and I am blown away! , I wish i had the 3d skill you have. You could totally sell that, even if just for a 3d print diy deal. Great Work
Thanks Josh!
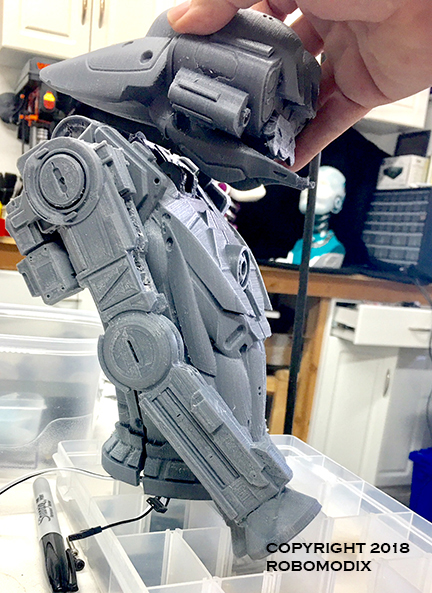
Hey guys! Been a pretty busy summer....visitors and ocean visits...(its hot here!) But my son has reminded me we have unfinished business so back to the robot today!
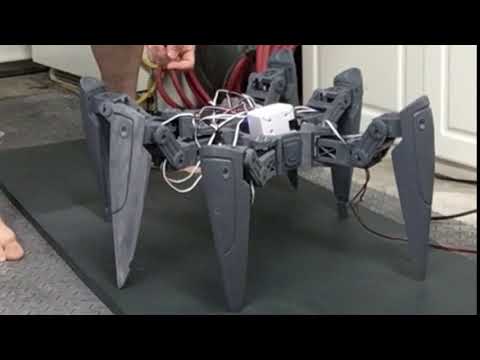
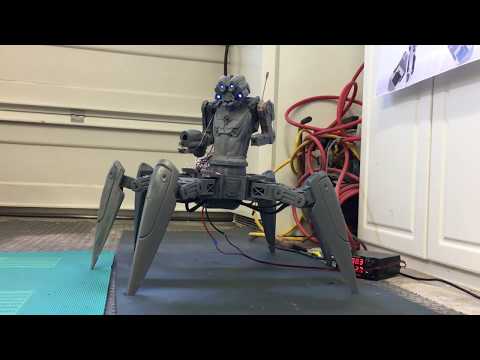
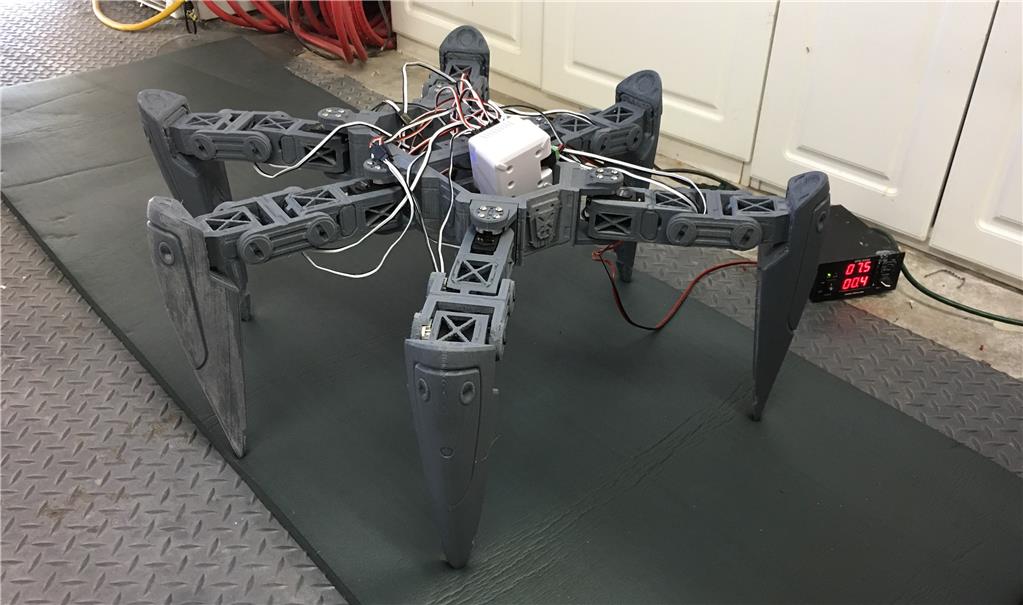
Today was a simple movement test with all the weight it will carry sans battery. I redesigned and replaced the micro servo in his waist for a standard servo and added a bearing and housing to keep it from slopping around. Its pretty sturdy now and I'm happy with it...i also reprinted the body shells to save on weight and you've already seen the new gun arm.
In this video the arms are literally taped on and trying to moving him around with all legs on the ground. The most challenging will be getting a good walk cycle when he is all assembled. Things are shaping up!