


Project:
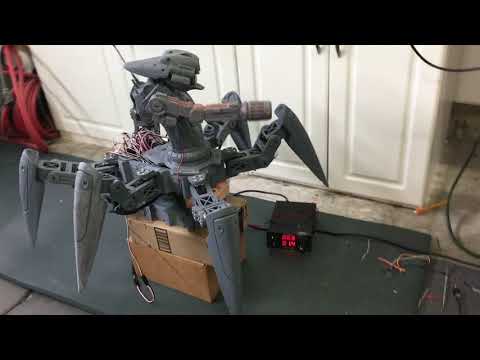
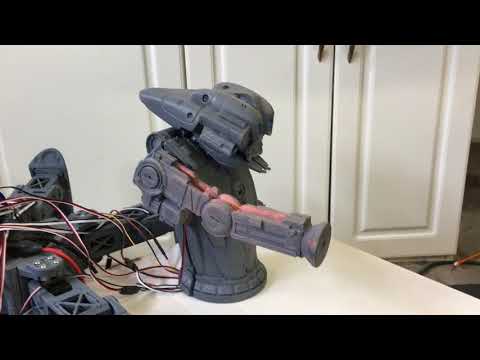
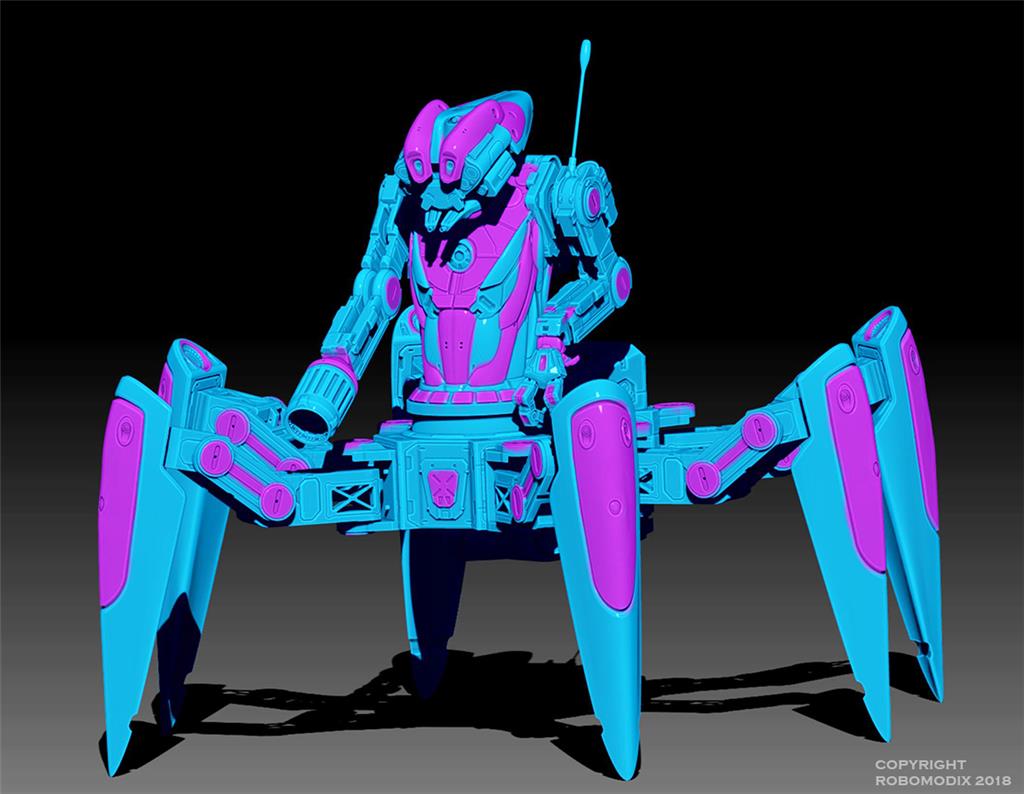
By request, my 6 year old son wanted me to design and build him a Hexapod. So I started to whip up some designs in Zbrush and together we decided what he would look like. "Main thing he has to have dad, is an arm cannon!" So we got that. Then I thought it would be cool to have a robot kinda part of or riding the hexapod. So kinda a centaur bug/robot thingy.
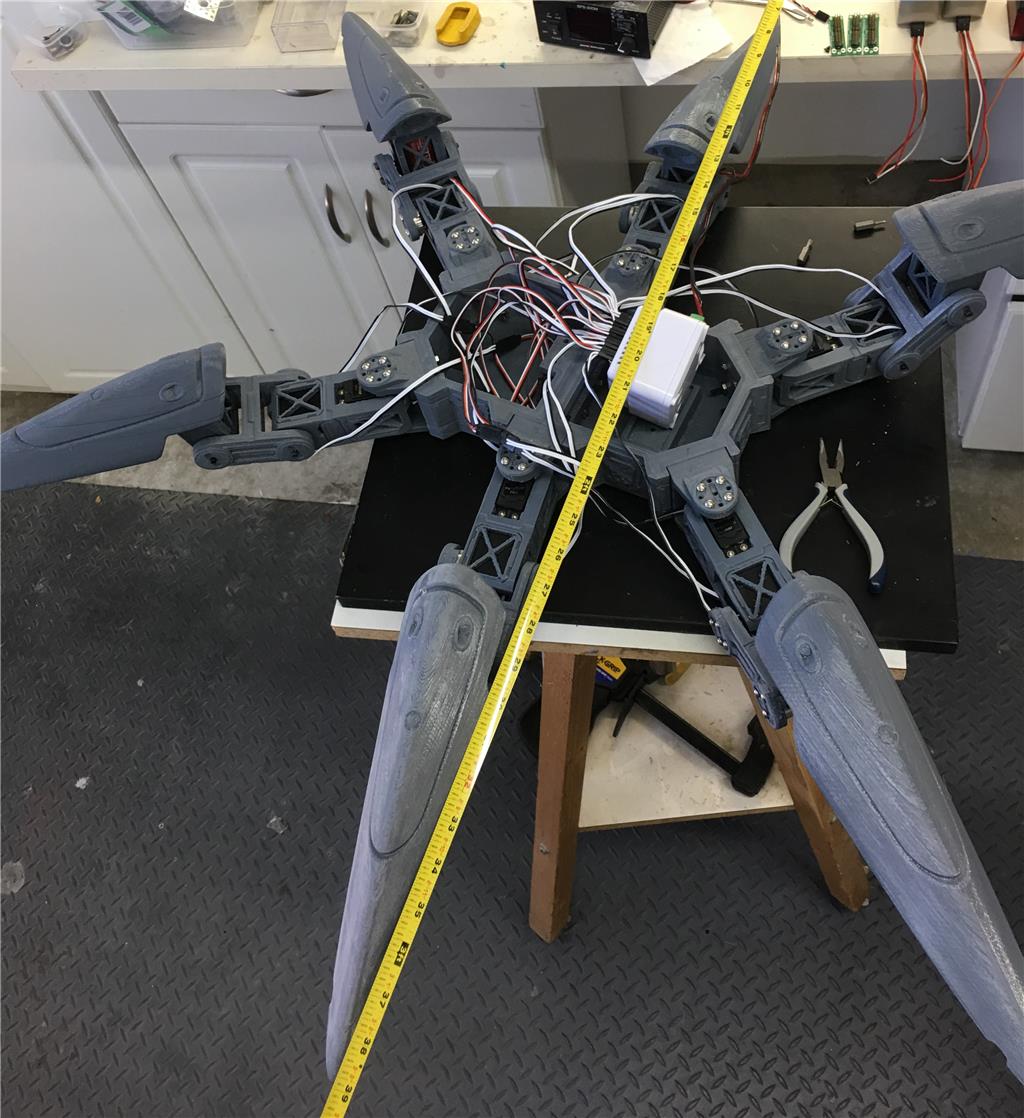
First thing I had do was figure out was how big would be too big? There are alot of reasons why not to go too big, which I ignored. So from an engineering stand point, "will it walk?" is the big question. At first I thought it would be about 5 pounds, then it went to10 pounds and now it might be around 12 pounds...so again time will tell. Maybe it walks once or 2 feet then crumbles!
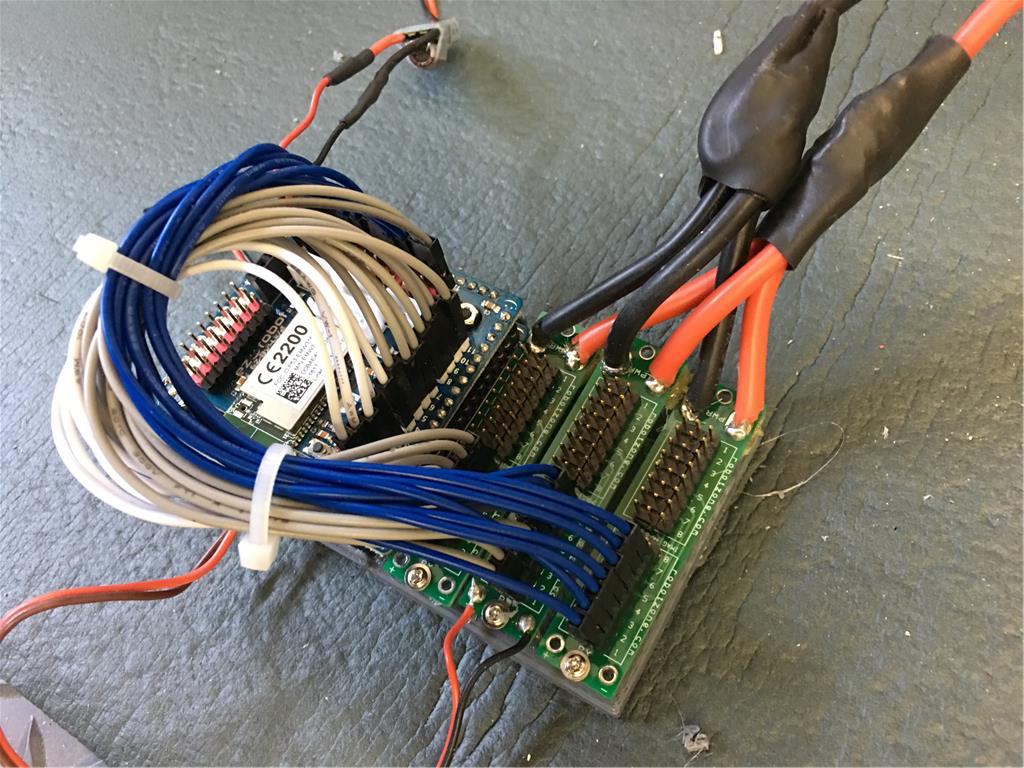
I sourced out the materials and batteries. Knowing this was going to be a 23 servo design, I wanted a good battery and and chose a 7600 mah lipo. Maybe it will run for 15 min underload... again untested, time will tell.
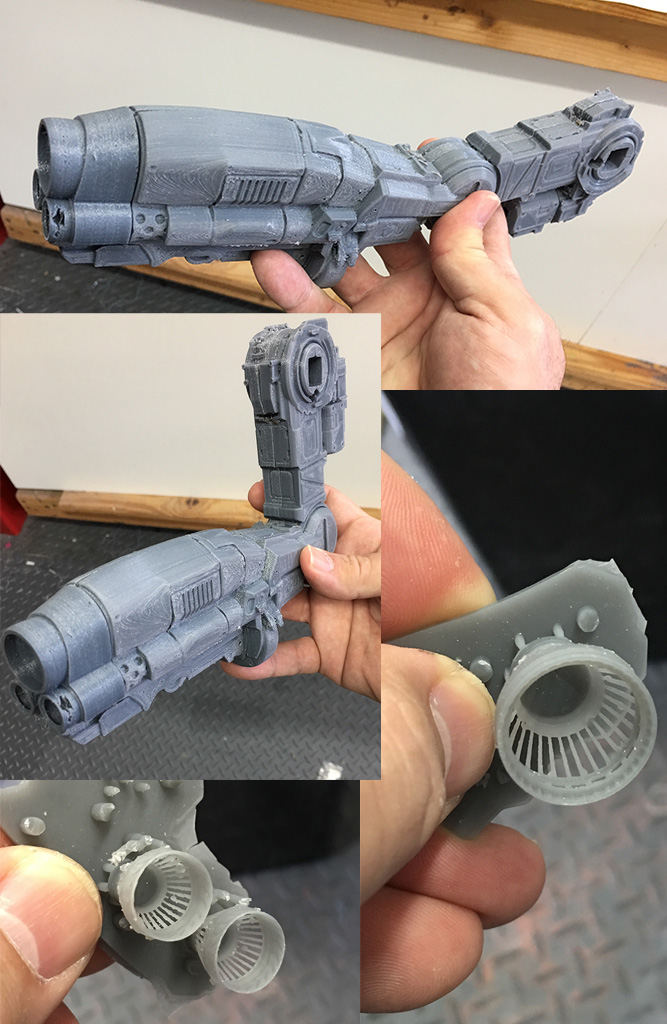
Finally I chose PETG for the print material, due to its strength. Two weeks of printing on 3 printers 24/7. There ended up being 53 individual parts.
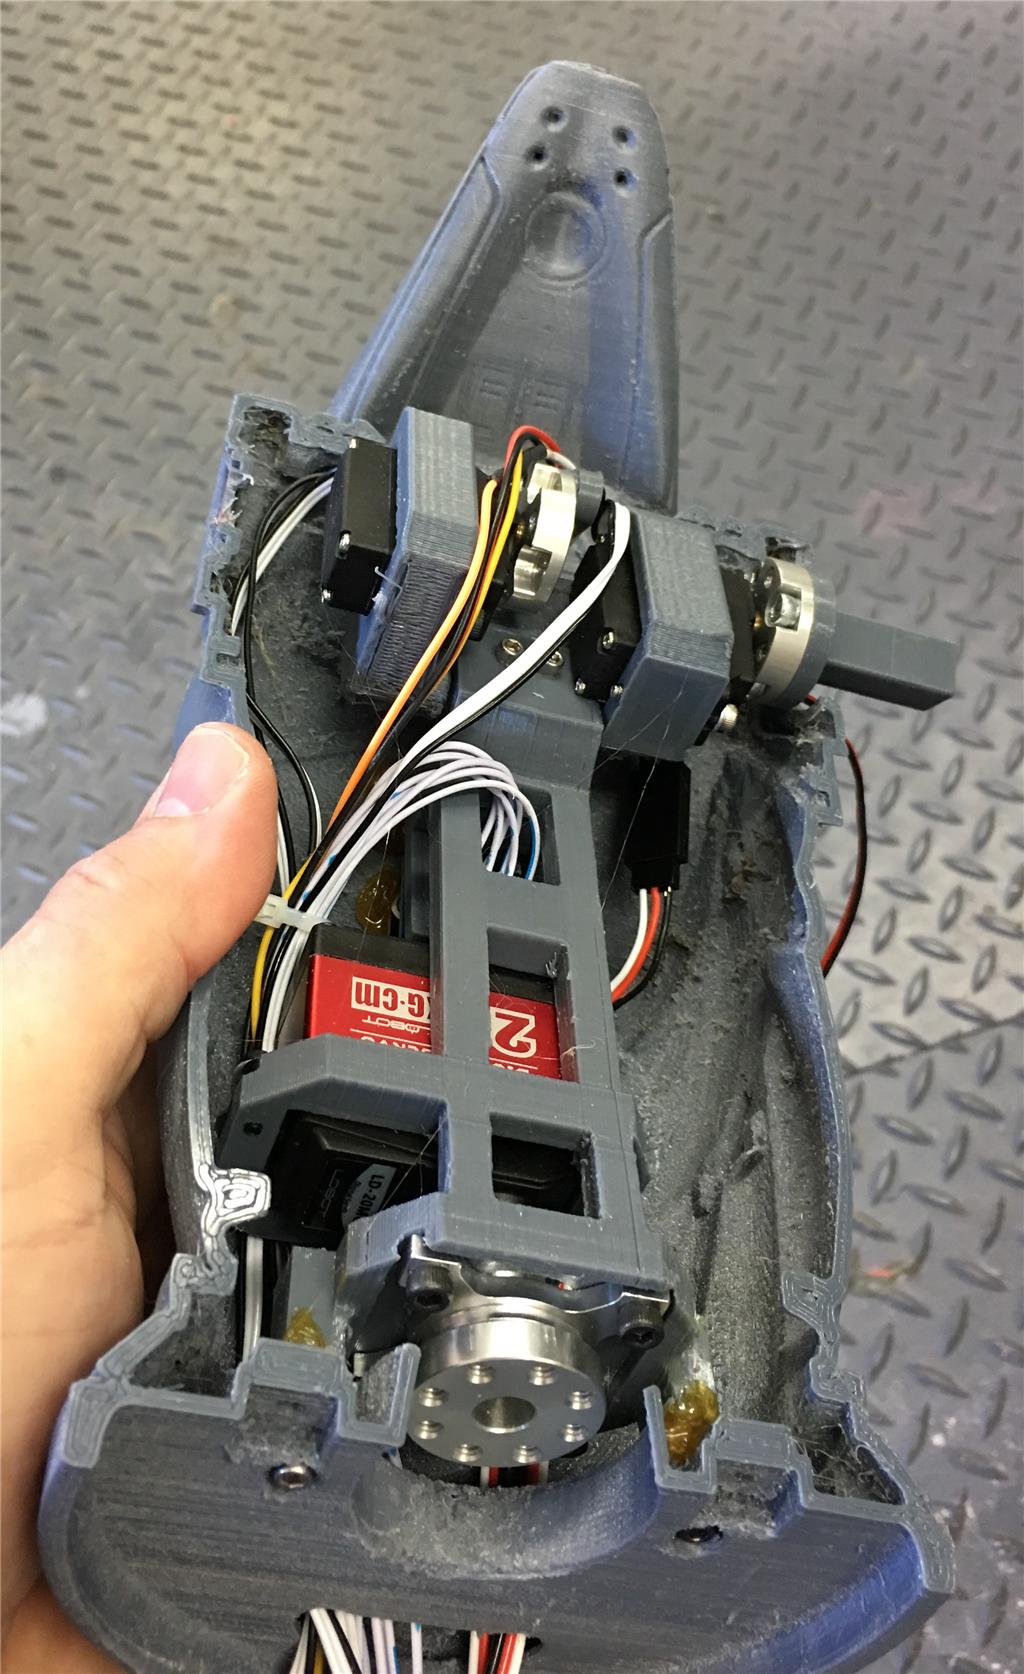
The Motions include 18 axis for the legs, waist forward/back tilt, waist rotate, cannon arm up and down, head up and down and rotate. 23 axis in total. The body is comprised of EZ Robots micro servos and the legs and tilt are the HDD servos also from EZ.
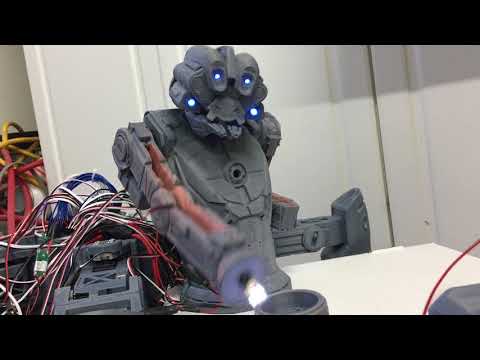
There will be an EZB inside and camera in his chest. A Bluetooth amplified speaker system onboard will allow us to play TONS of robot sounds from BlueZone.
I will updated this project as I finish goals, but if he doesn't walk due to weight or burning out servos due to stress, I will most likely abandon this build, as the next logical step would be to move up to dynamixels, but that would require $5000 worth of servos. A bit much for a toy!
So lets get started!
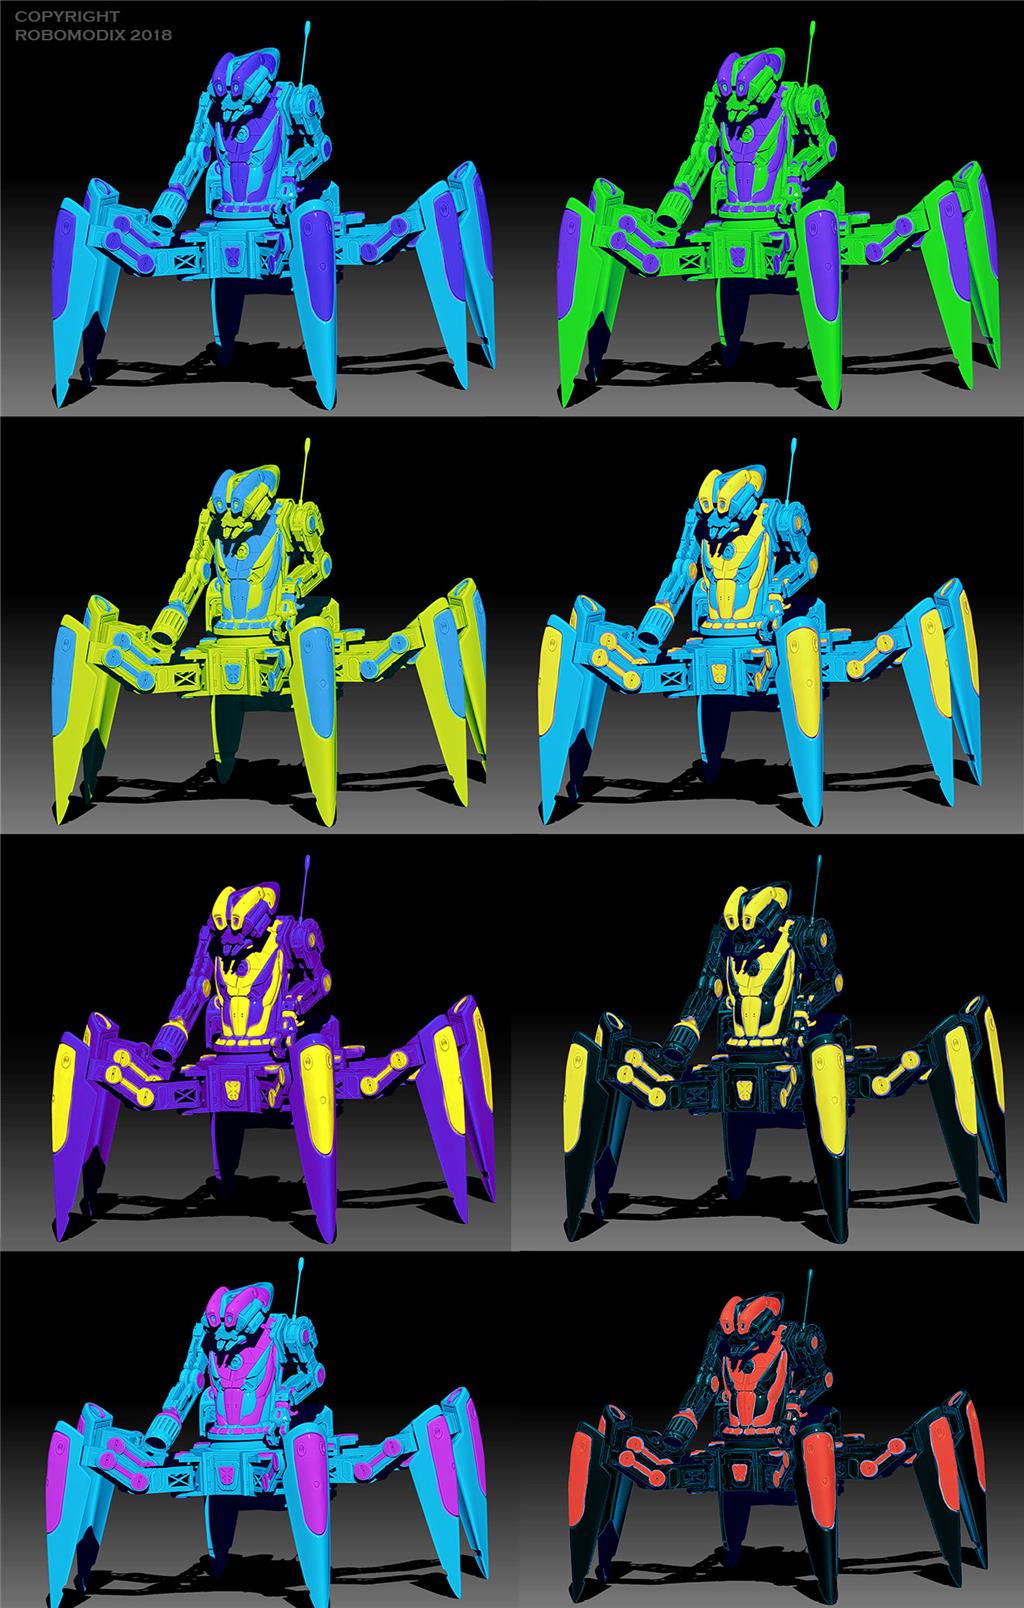
Here is a final design in zbrush and keyshot


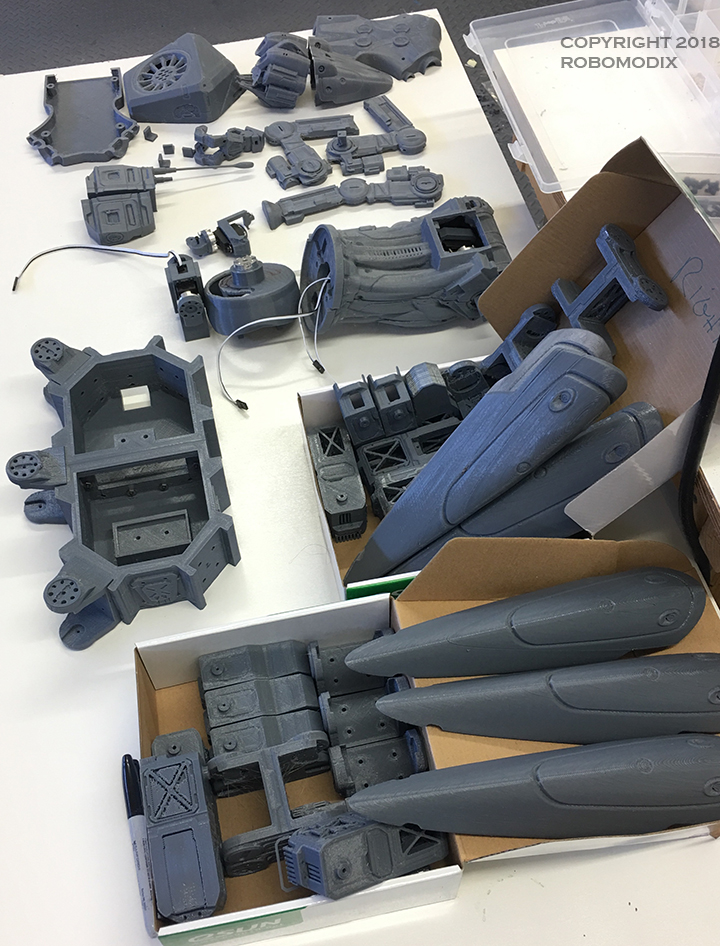
Then came the modeled parts each one 3d Printed.
Here I've started adding the axis to the body
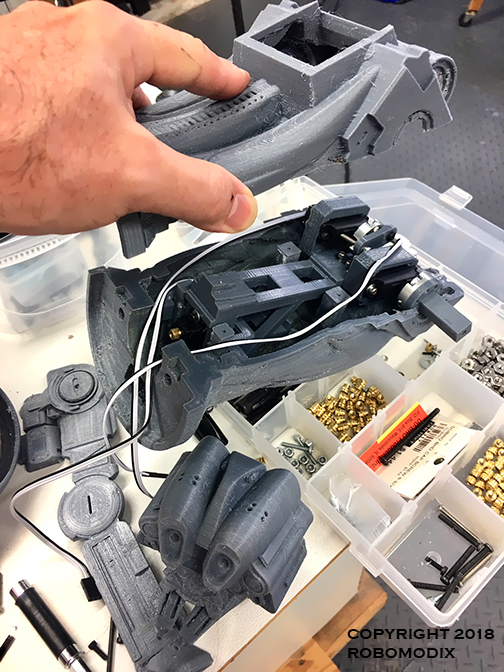
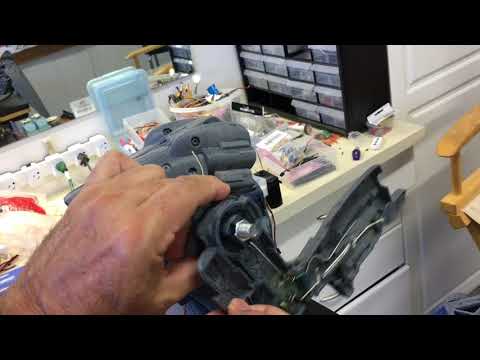
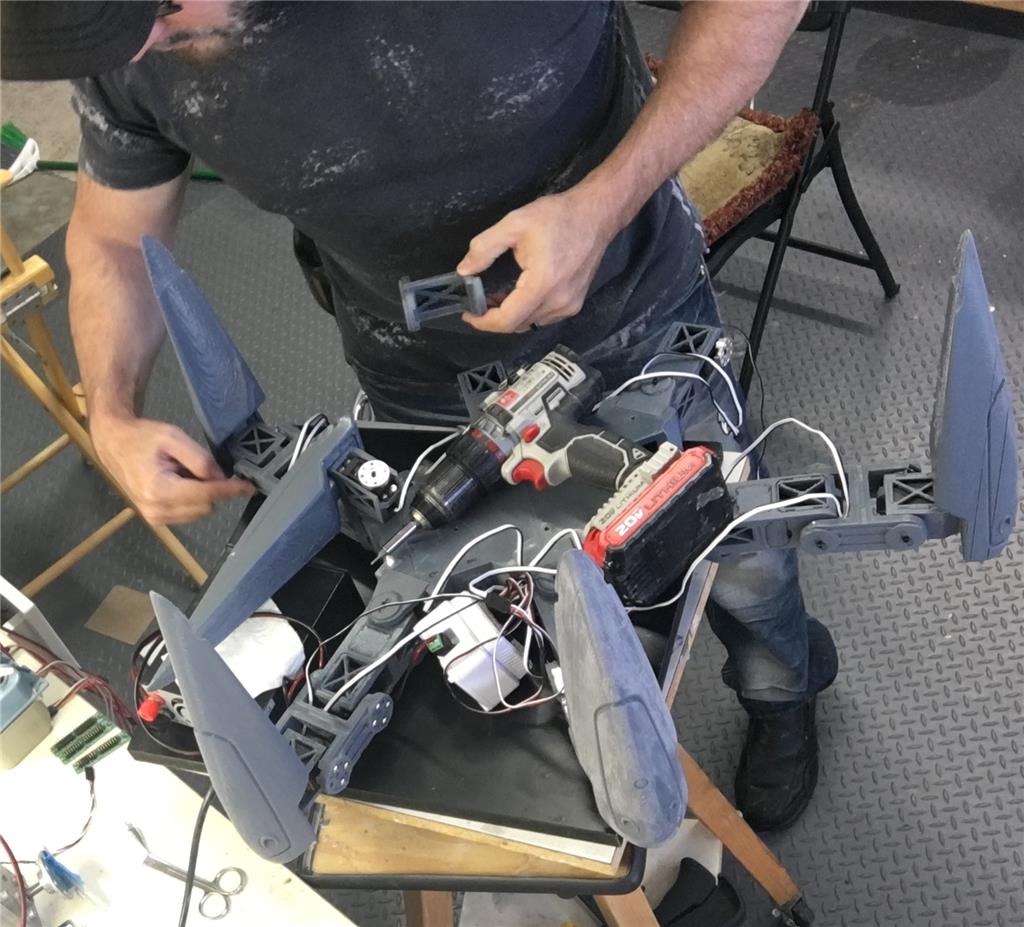
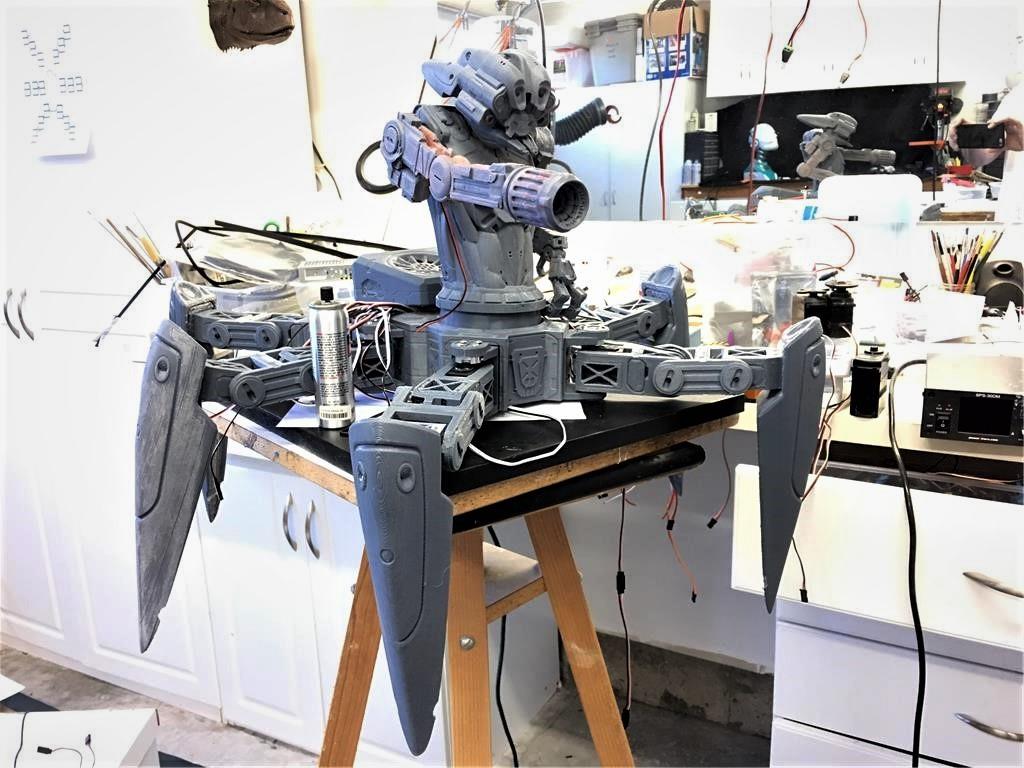
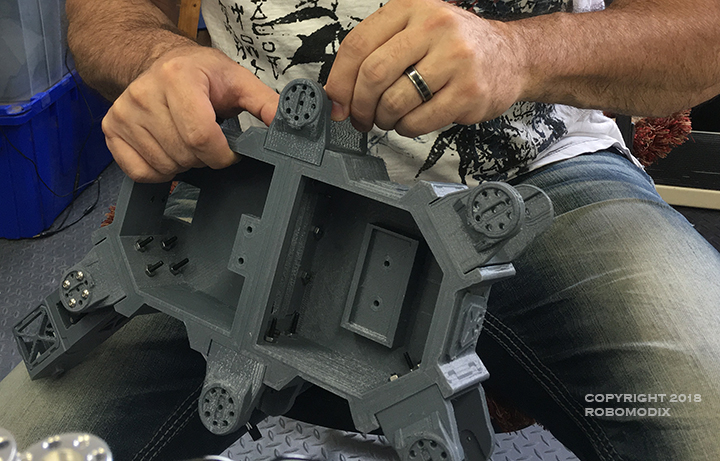
Here I continue on with assembling the main chassis
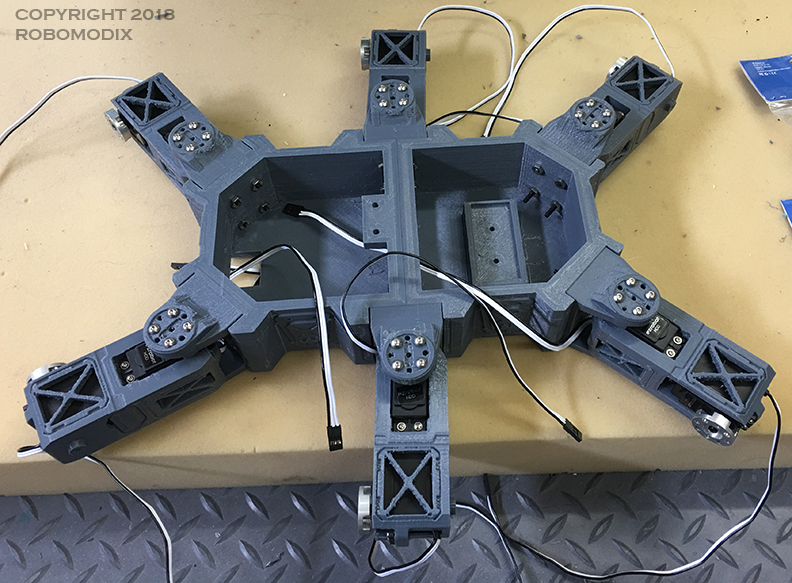
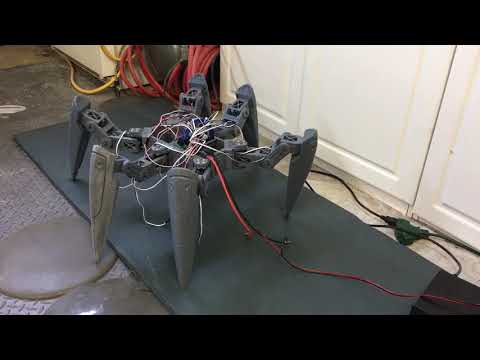
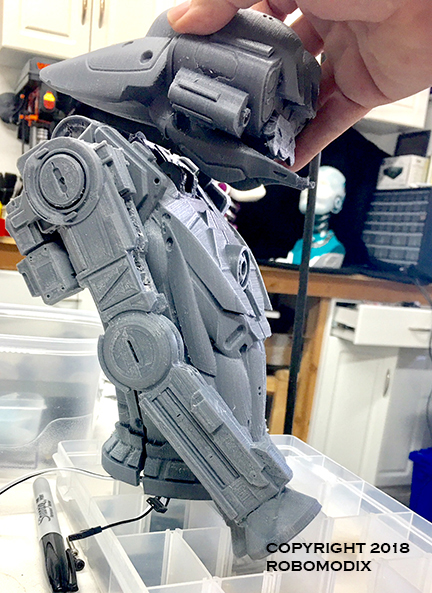
I could only assemble one side of the legs as I am waiting on some servos and screws to arrive.
And here is my first sloppy attempt at testing motion with autopoistion:
Discover more robots
Ericez's New Friend For Jd, Lita My Humanoid Robot Made From...

Steve's James, Commodore 64 Retro Robot That Learns And Uses...

Thanks Mickey seemed like a logical solution. I bought my daughter a new one from Amazon! LOL.
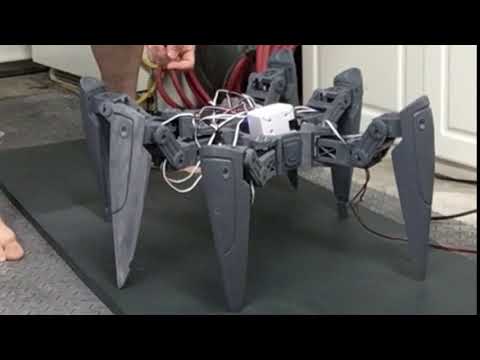
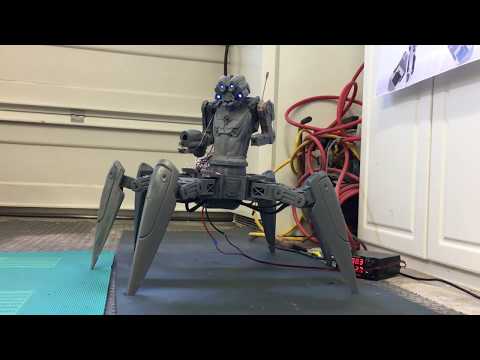
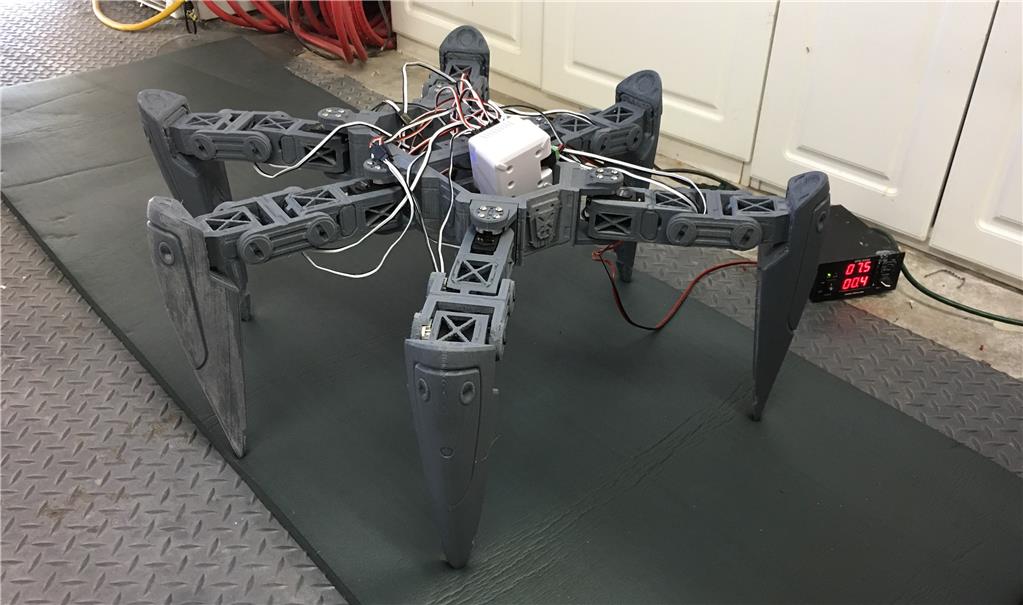
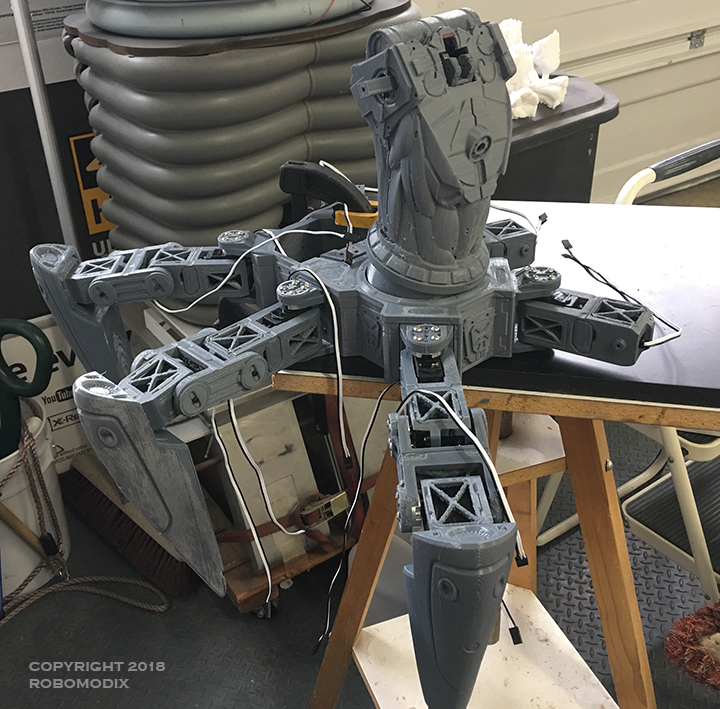
Another day of productivity. Managed to get the upper body assembled for a test. Those HDD micro servos are pretty strong too. Lets hope they can rotate the body...only had room for a micro on the body.
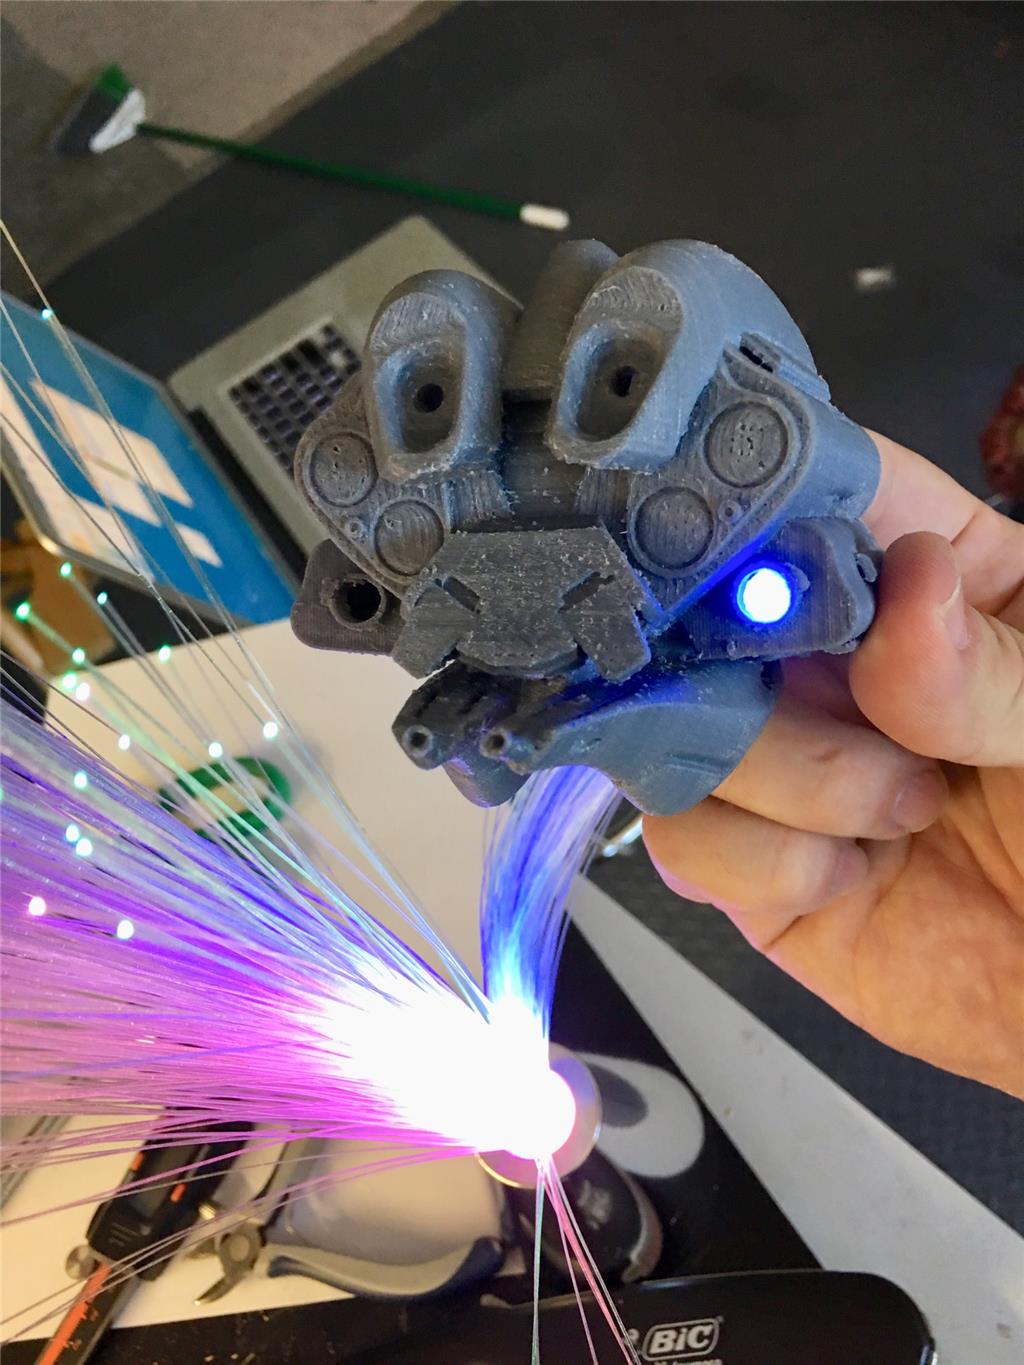
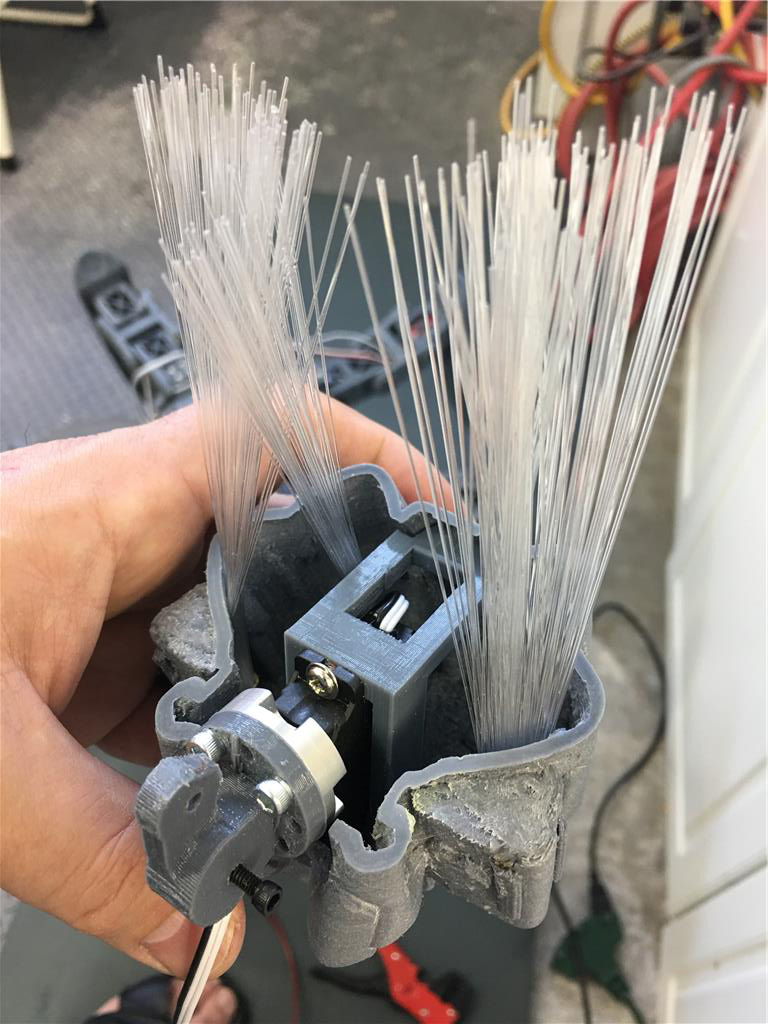
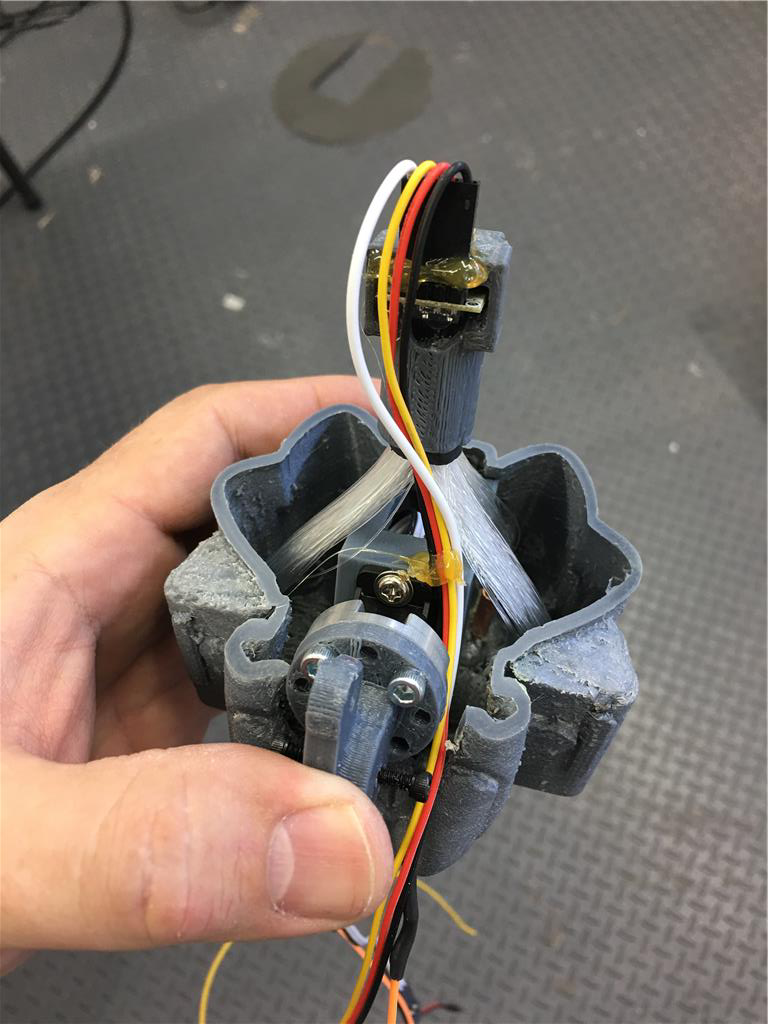
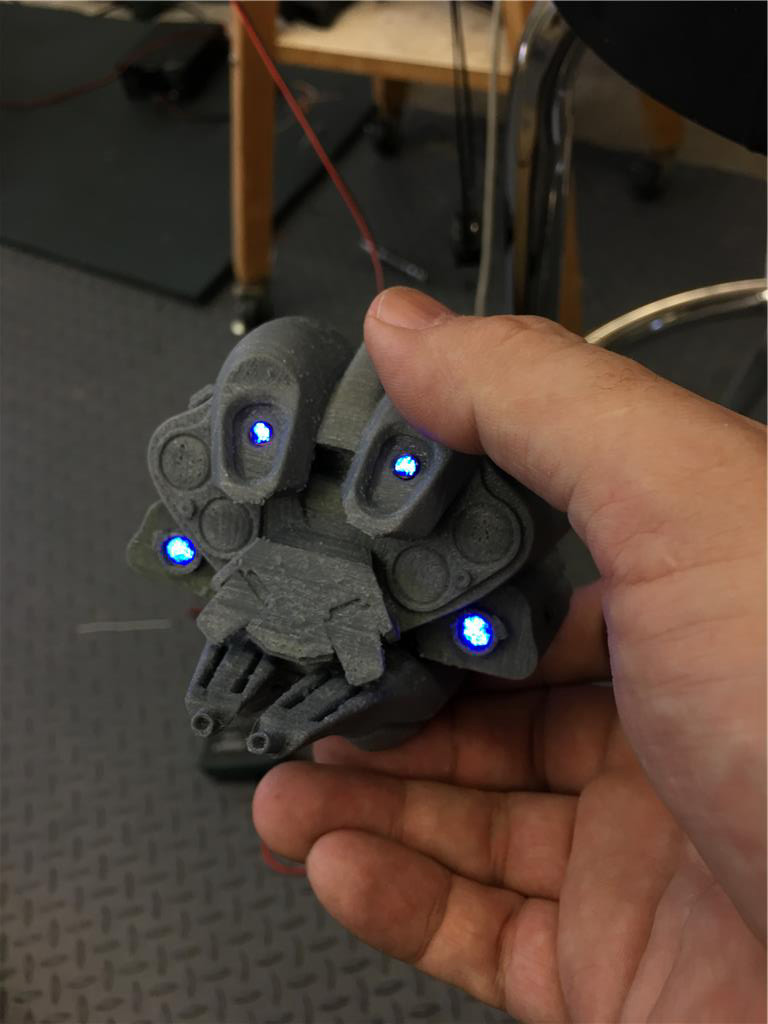
Todays progress included getting the sound system tested, creating an LED array for the cannon and setting up and building a sound activated lighting (I managed to use Rich's excellent Tut on creating a transistor board to bring up the brightness on the LEDS.)
Today finished all the electronics. So I'm taking a break this weekend and will do an assemble and test of everything Monday or Tuesday. I did manage to get it on my scales and looks like the total weight is around 12.5 pounds.
I am sure your son is excited to see this giant coming to life! Very cool work with the lights, sounds and everything!
Thanks @mcsdaver! Yes he came home one day and saw all the parts closer to being done and he went crazy!
@fxrtst Oh my goodness! The awesomeness does not stop!
For the cannon LEDs you are controlling them with transistors (did you go with Tip120 or mosfet?) then programmatically with PWM or just on/off control?
So this is what happens when you have a dad that works in Hollywood. Fortunate kid. My dad tought me how to play with electricity. He couldn't build me cool robots with special effects though.
@justin, I currently have the gun set up with Rich’s tutorial on brightness and decay script and I’m using TIP 120. I could not get the full brightness up in the LEDs until I used this transistor set up. But, will most likely have to go with another script/process, as I don't want the gun to activate with all the other sounds. Just the gun sound should activate the LEDs.
@dave haha my dad AND grandfather both were electricians. My grandfather owned several businesses including an electrical wiring company for commercial and residential wiring and an electric motor rewind shop. I spent most of my childhood there as it was a family affair and my mother father sister grandfather grandmother all worked there. I got to play with a lot of cool things like spools of copper wire.
And I still ended up a make up artist in Hollywood. To my grandfathers dismay!
Just more assembly and testing today as I prepare for a full weight walk tomorrow. It’s beginning to look epic!