


cE9s4PsOgeBQIORwjd5!~~60_1-634818020230156250.jpg)


BO)Lupuc4g~~60_35-634706297915000000.jpg)
LupbT6!~~60_35-634706298769375000.jpg)


C5j!~~60_35-634655044863125000.jpg)


C5j!~~60_35-634659603510781250.jpg)


C5j!~~60_35-634651704046230469.jpg)


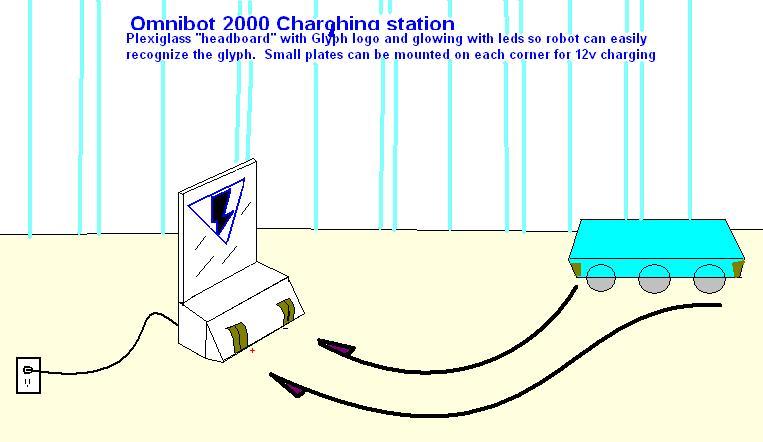


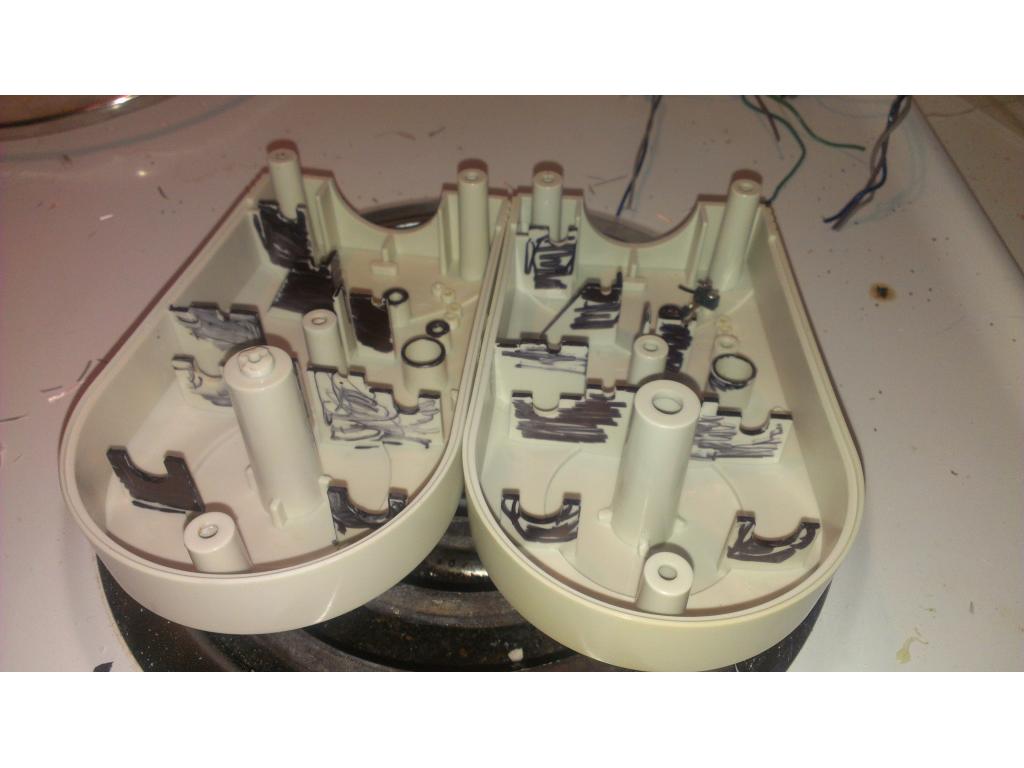
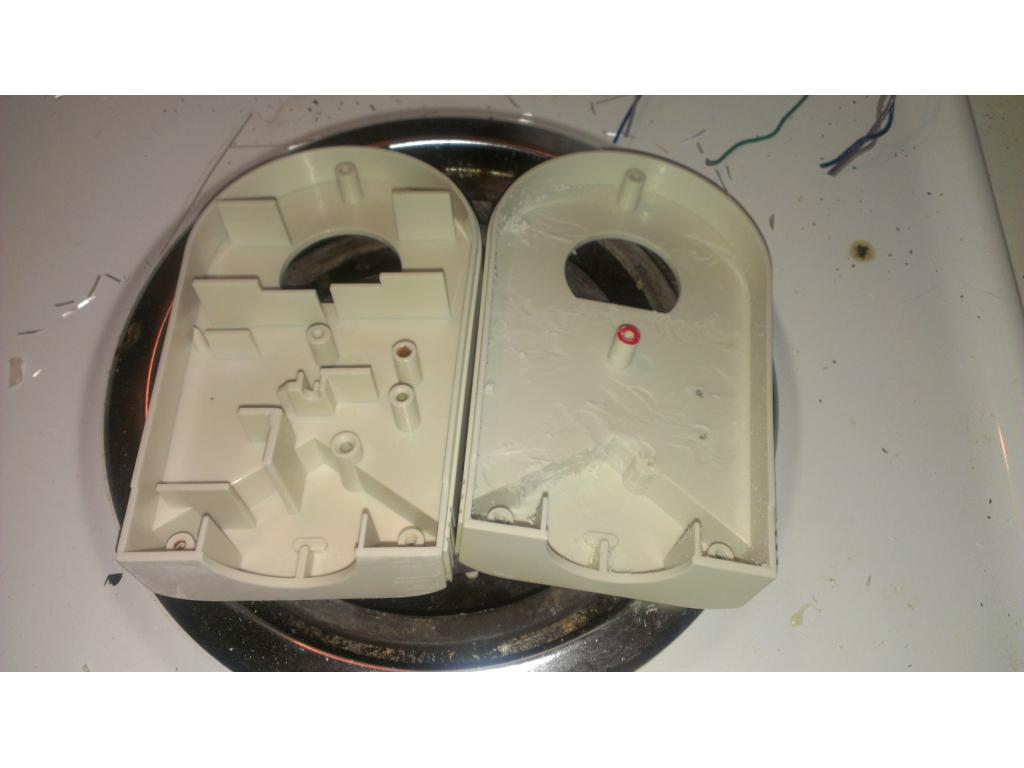

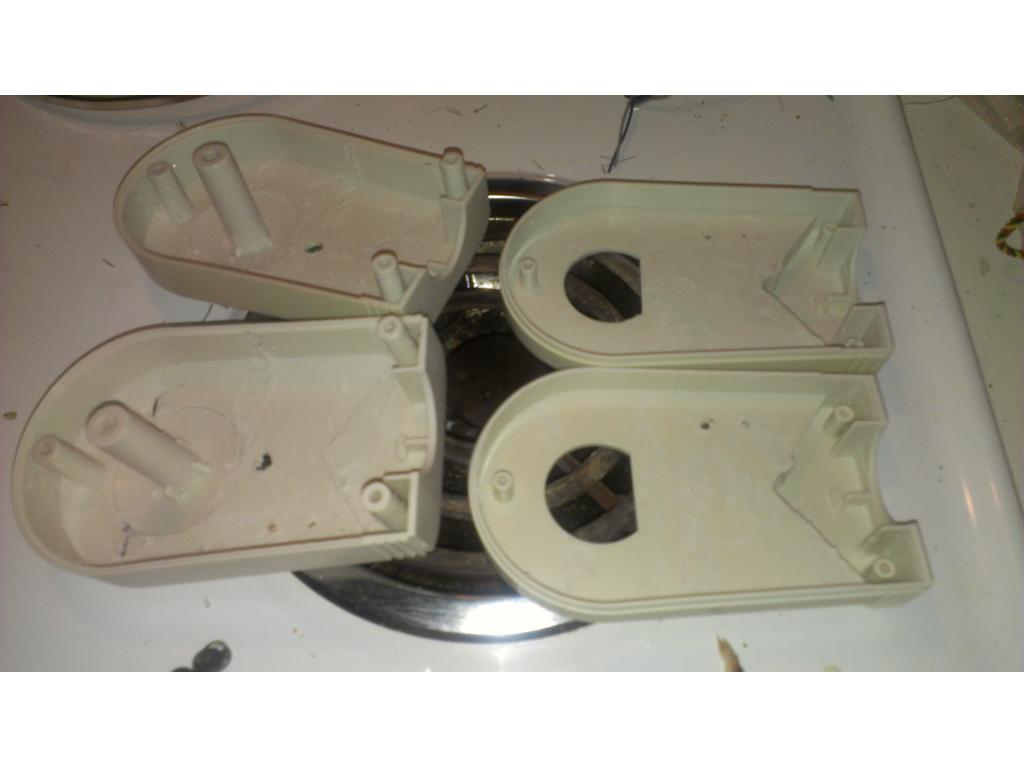


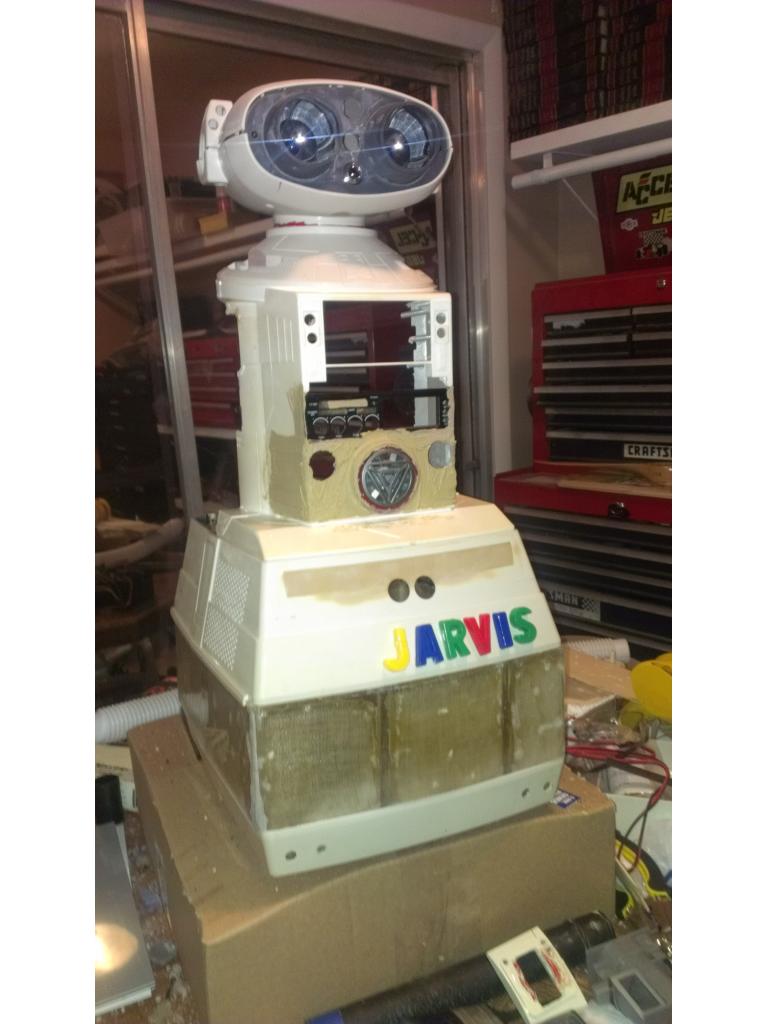
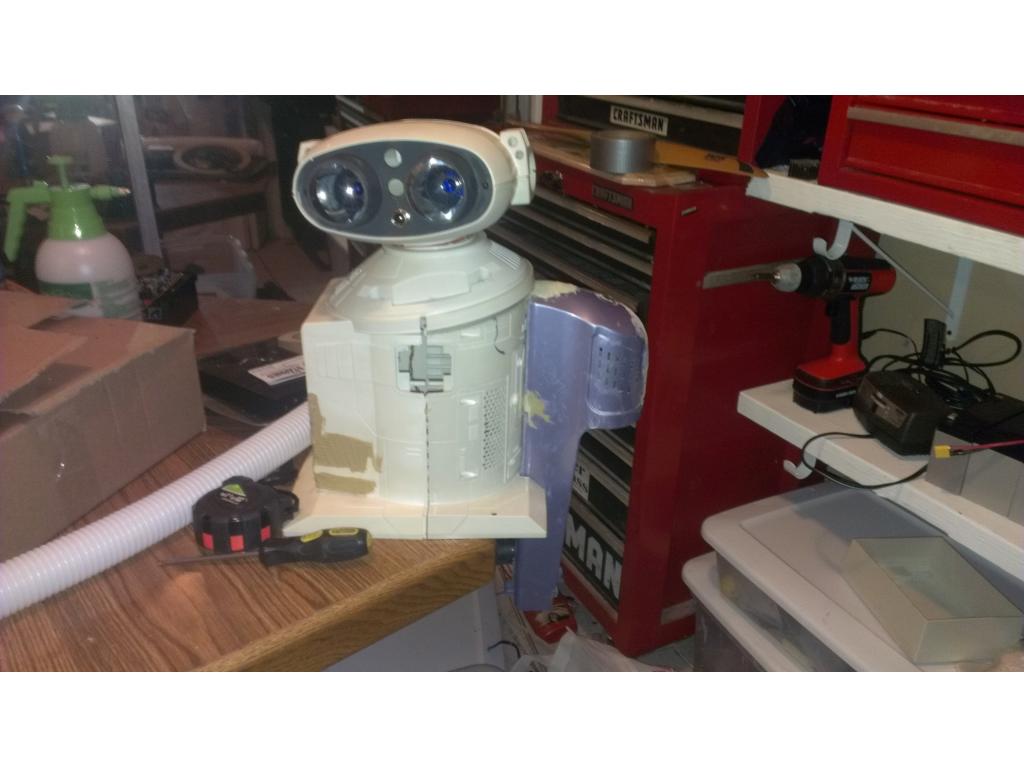


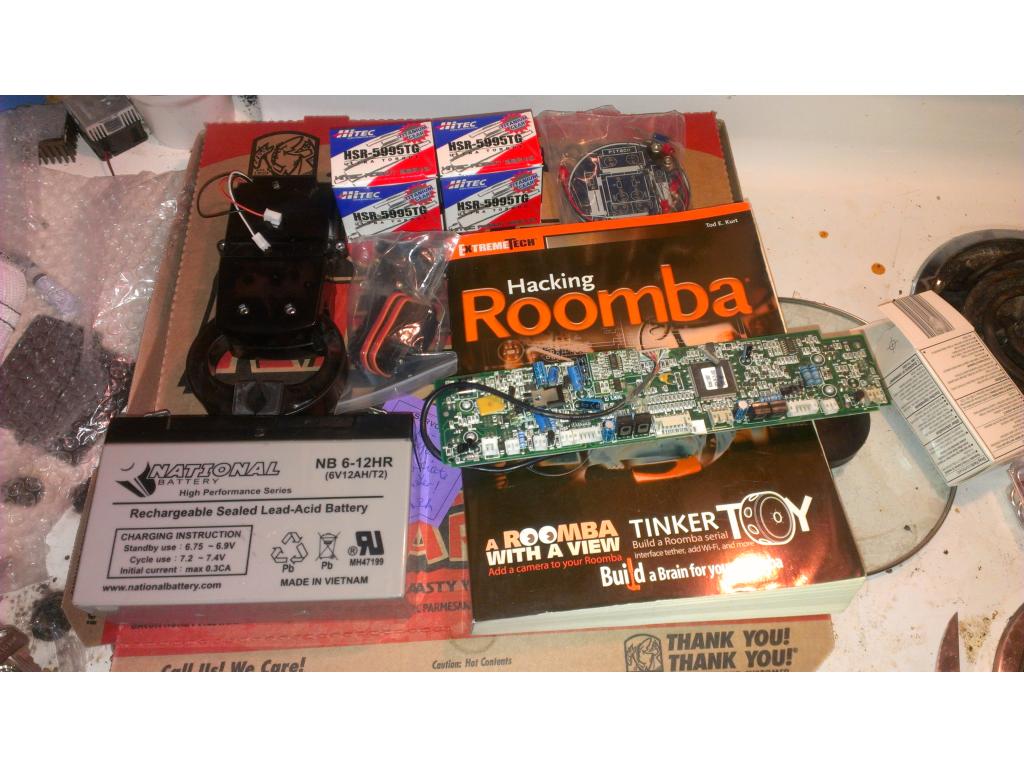


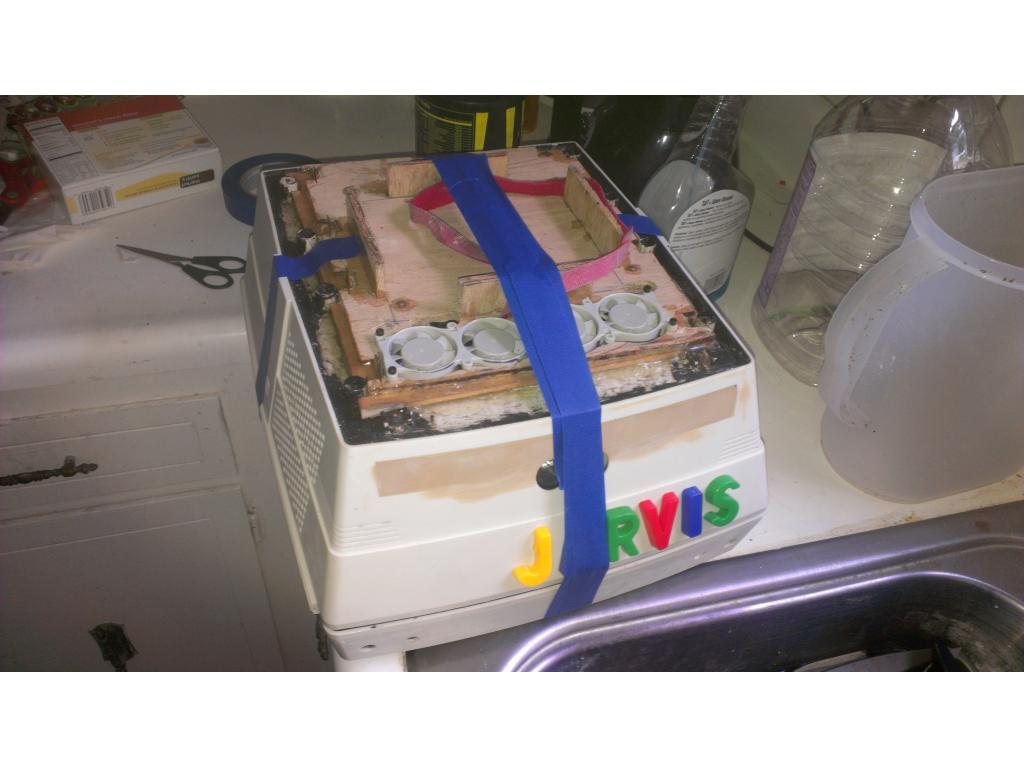
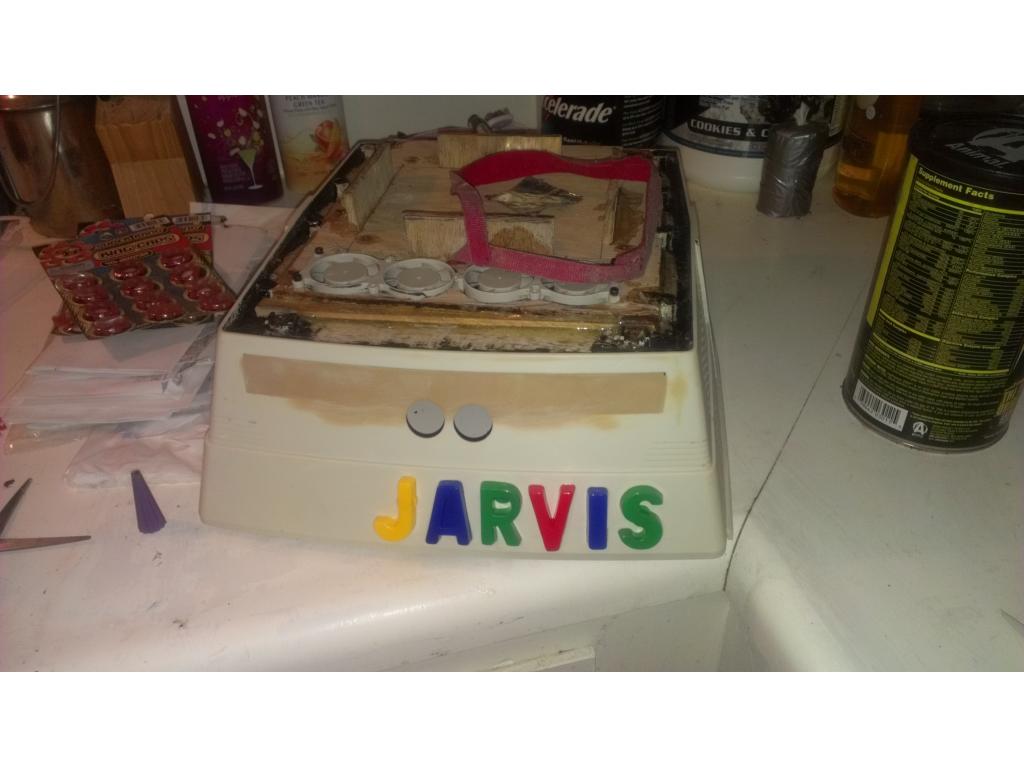
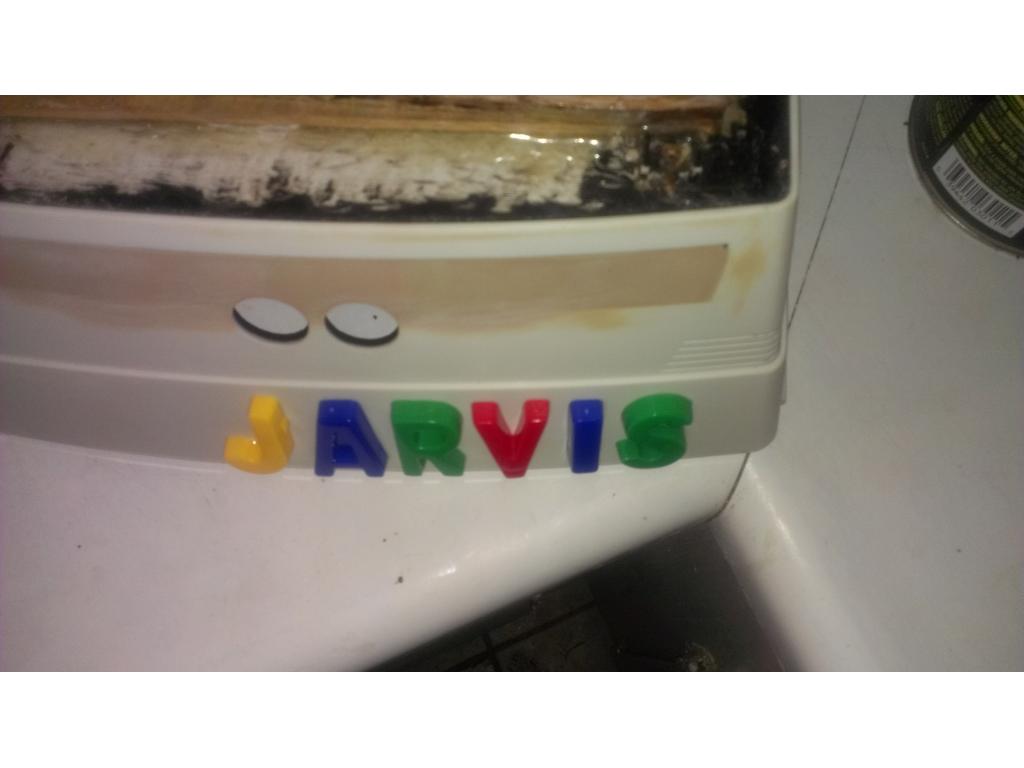


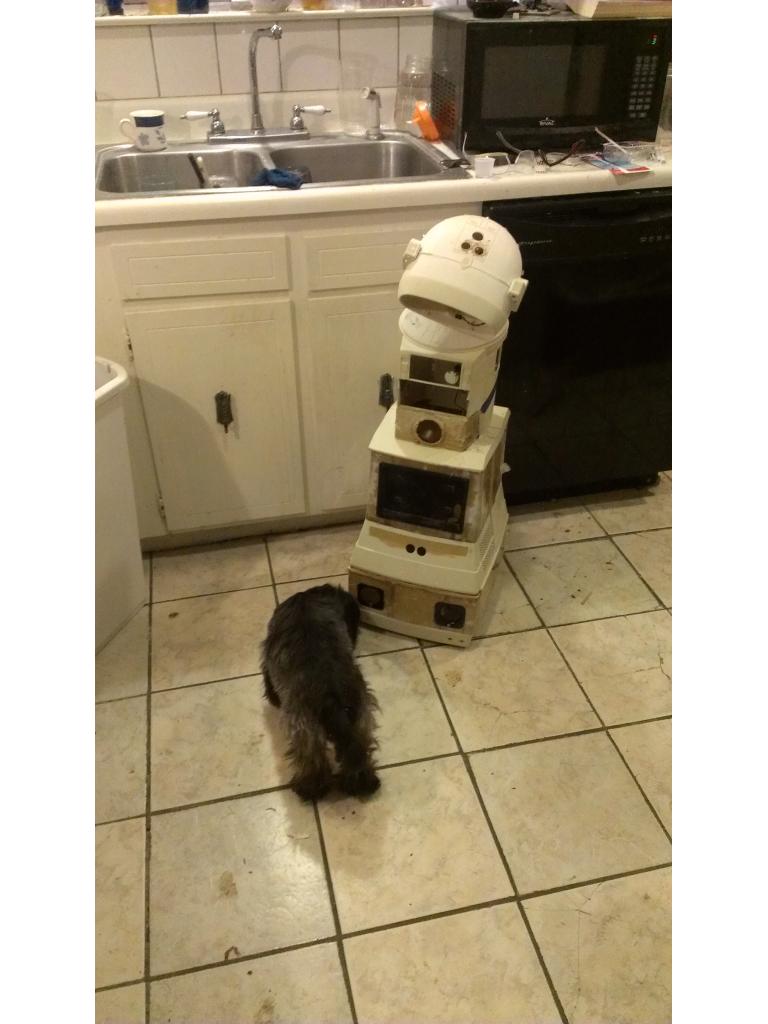


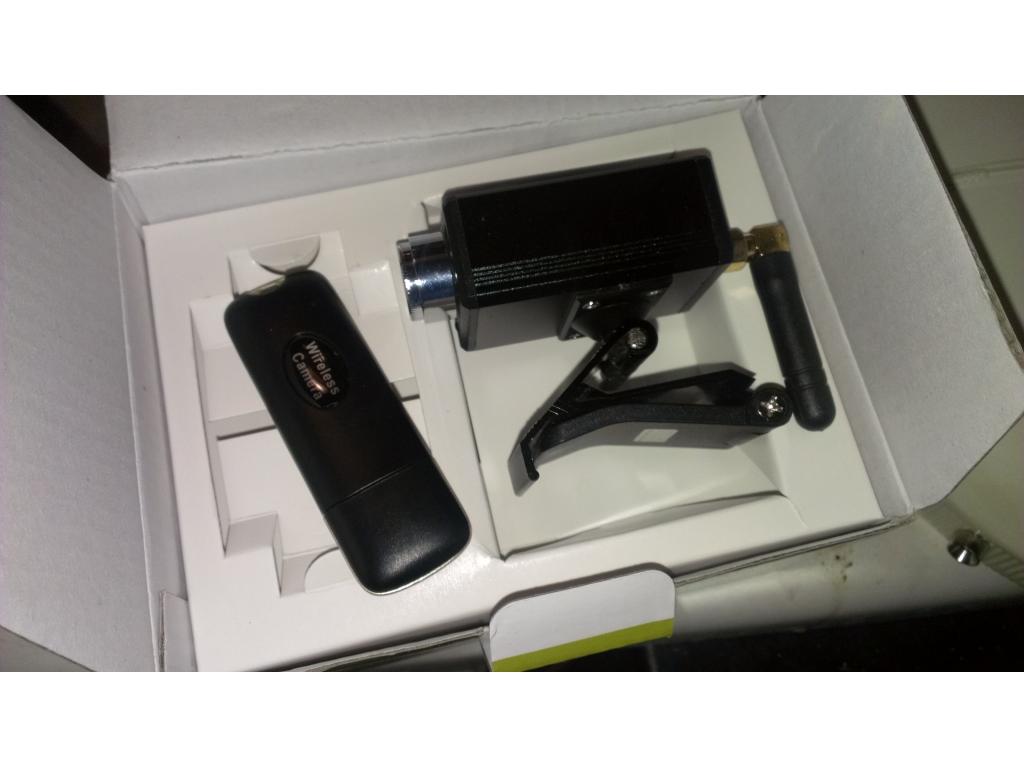


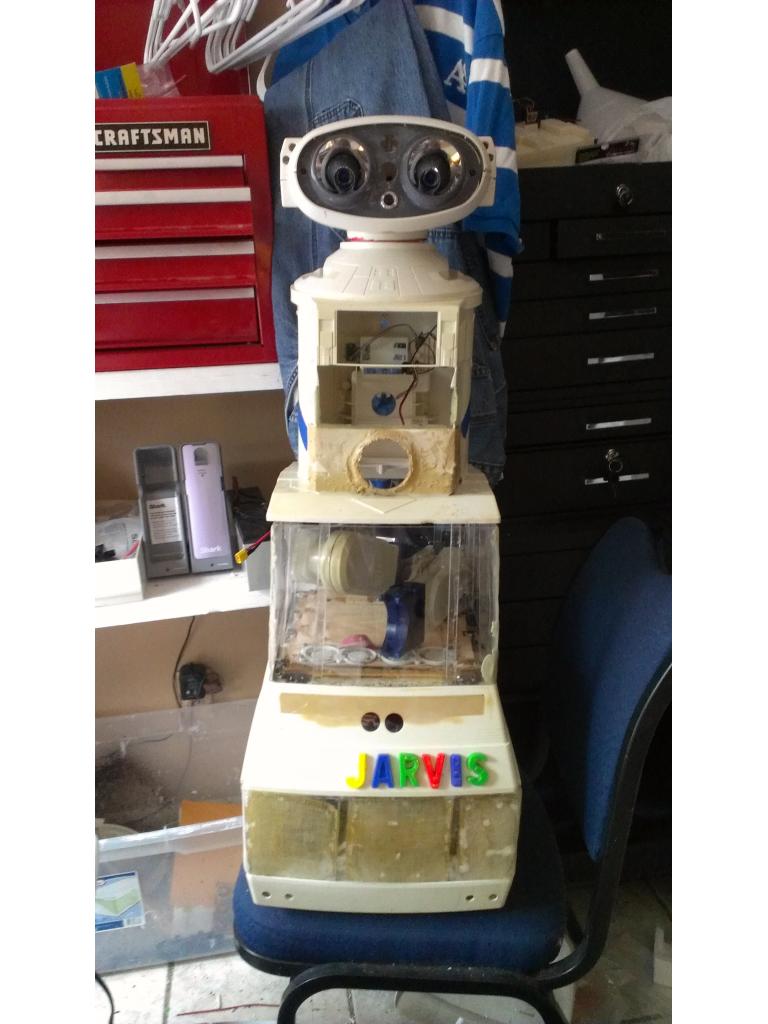
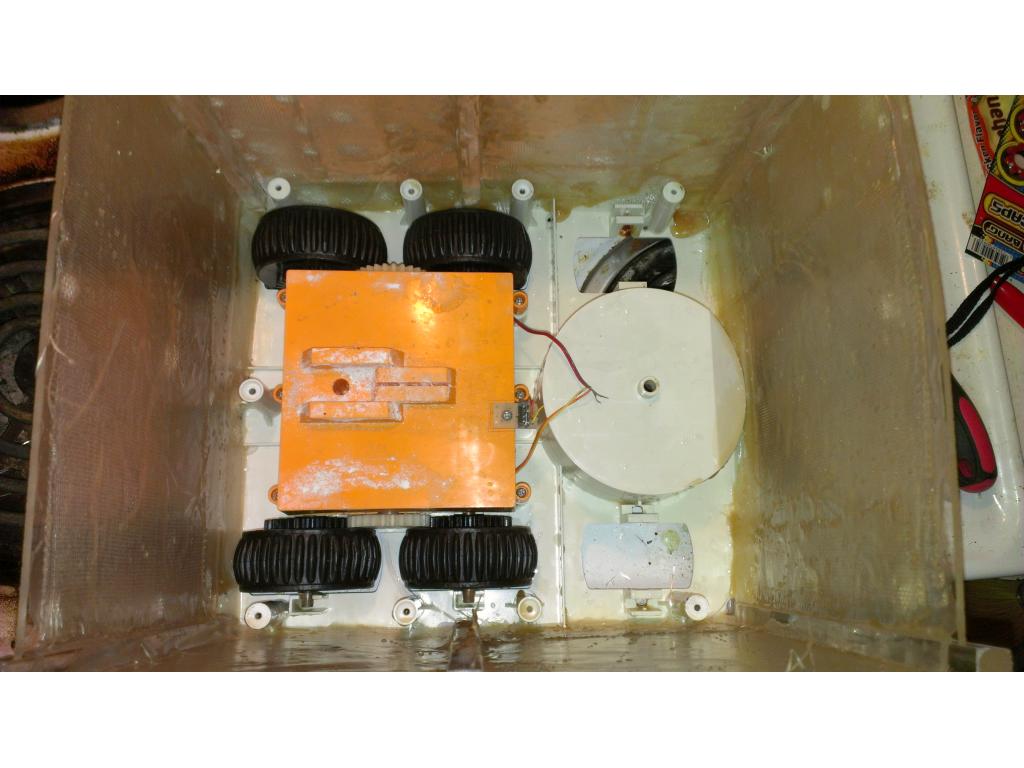


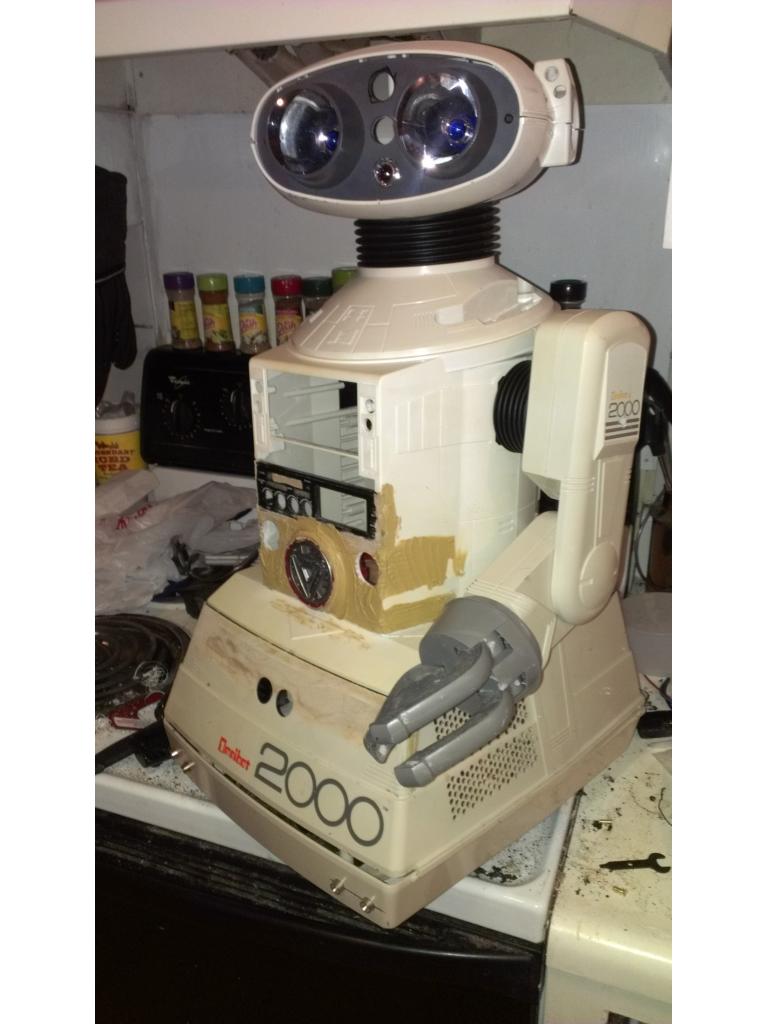
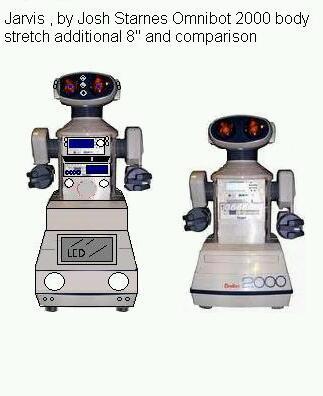


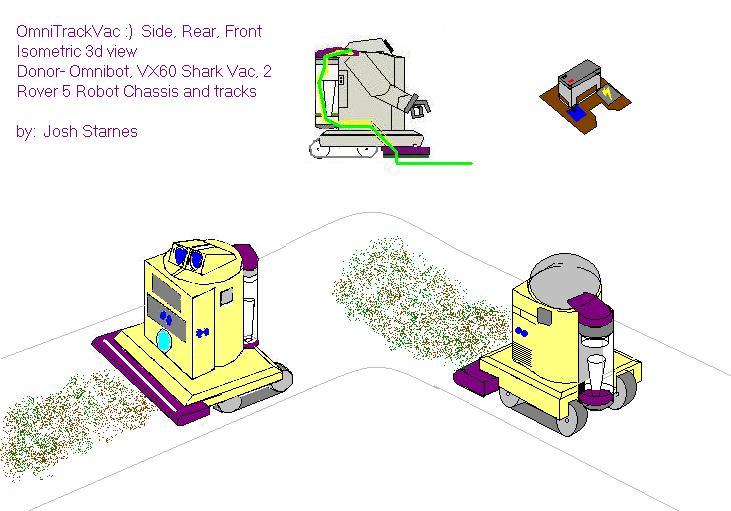

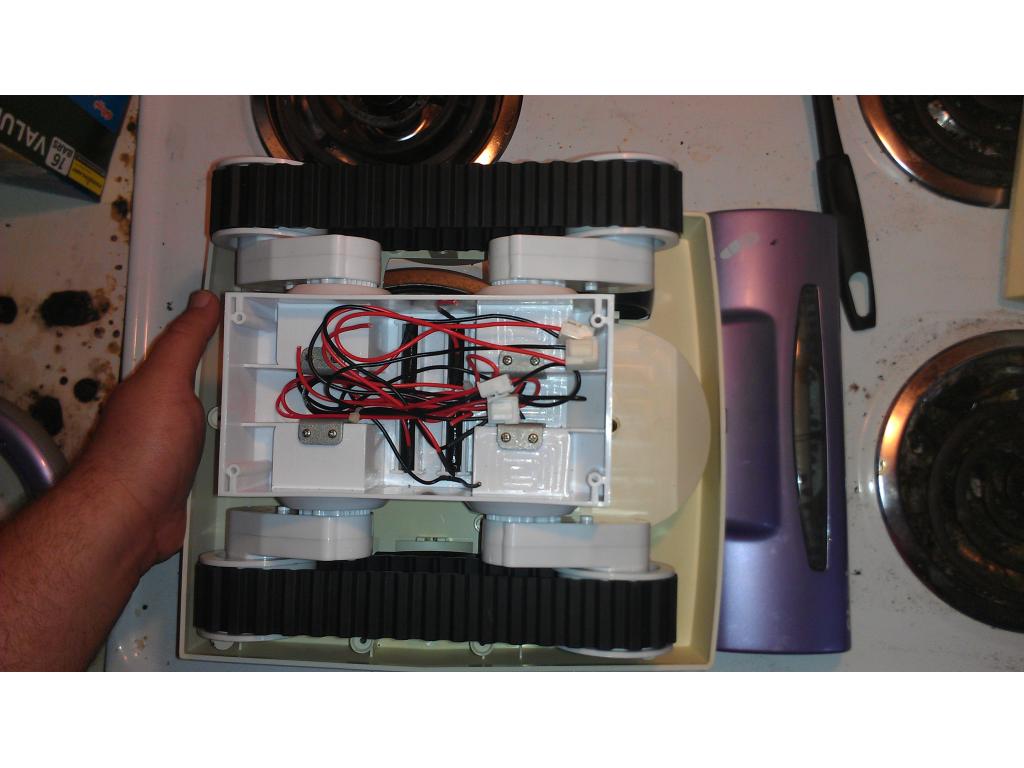


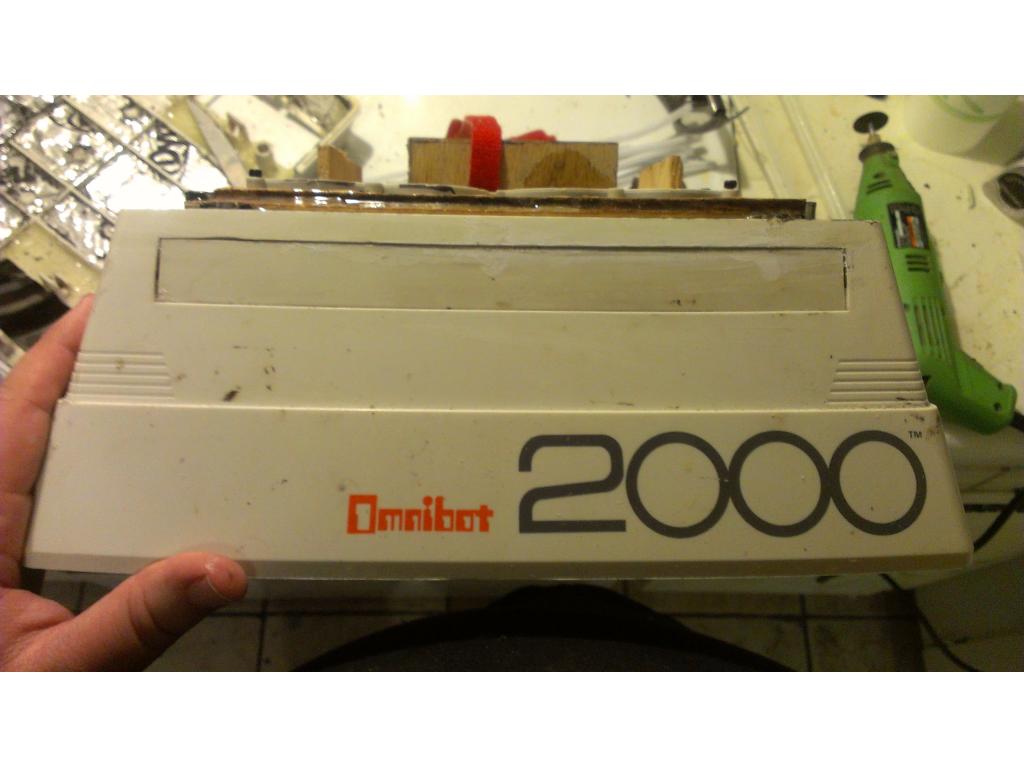
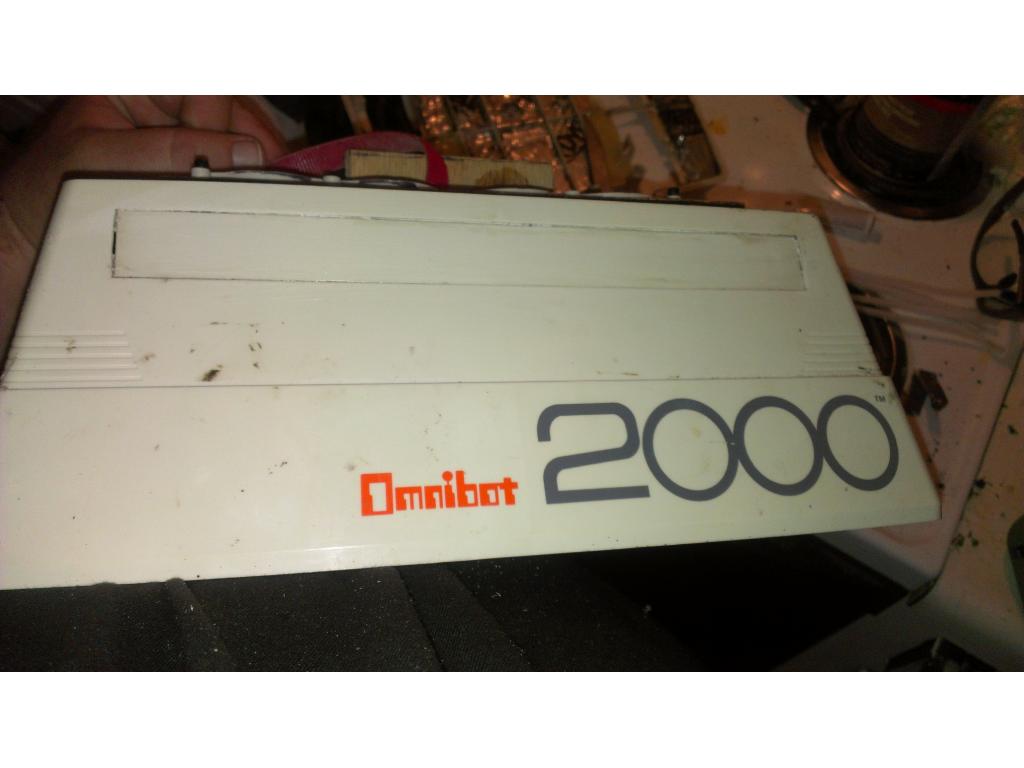

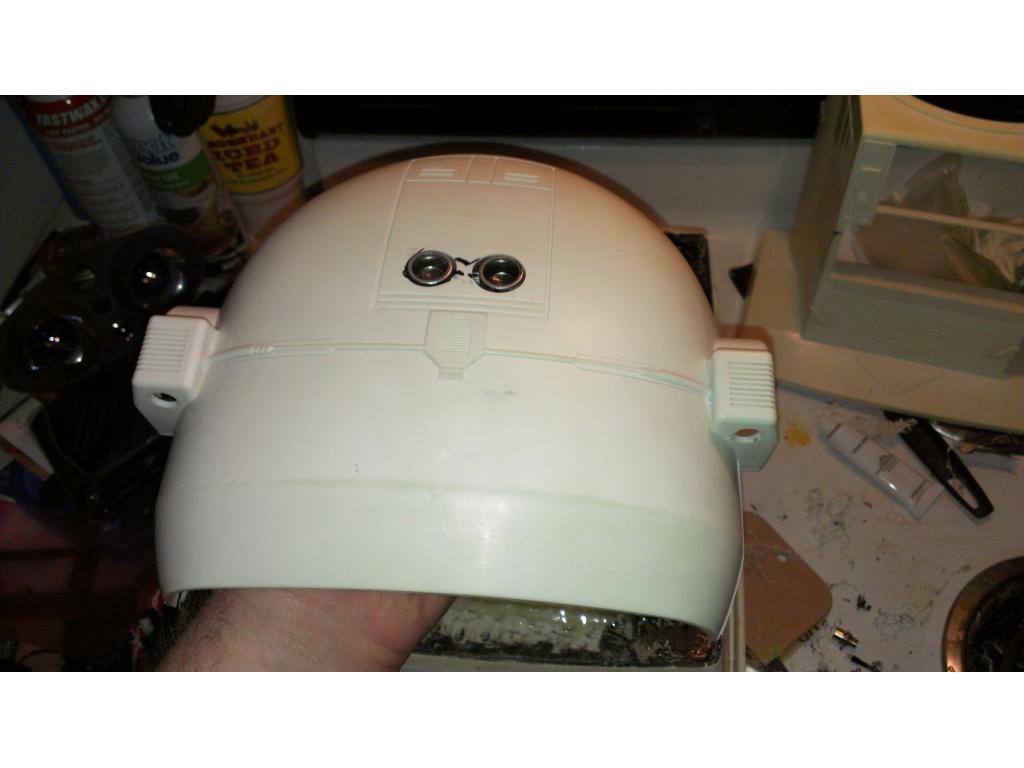

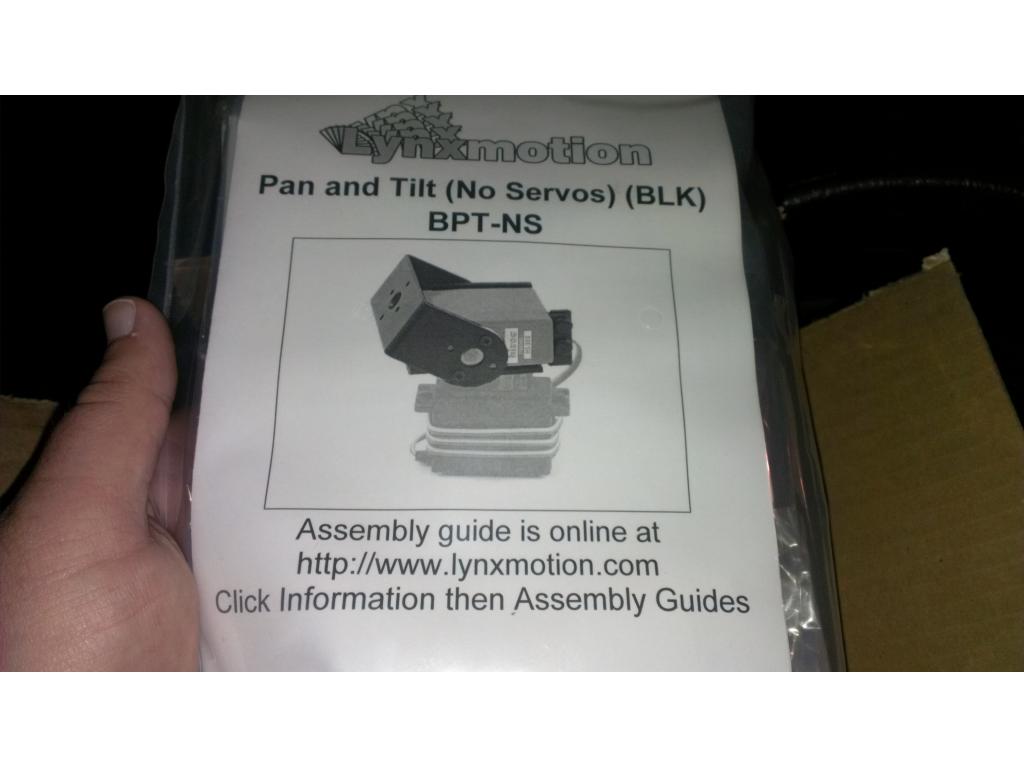

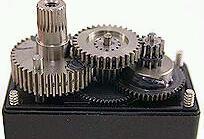


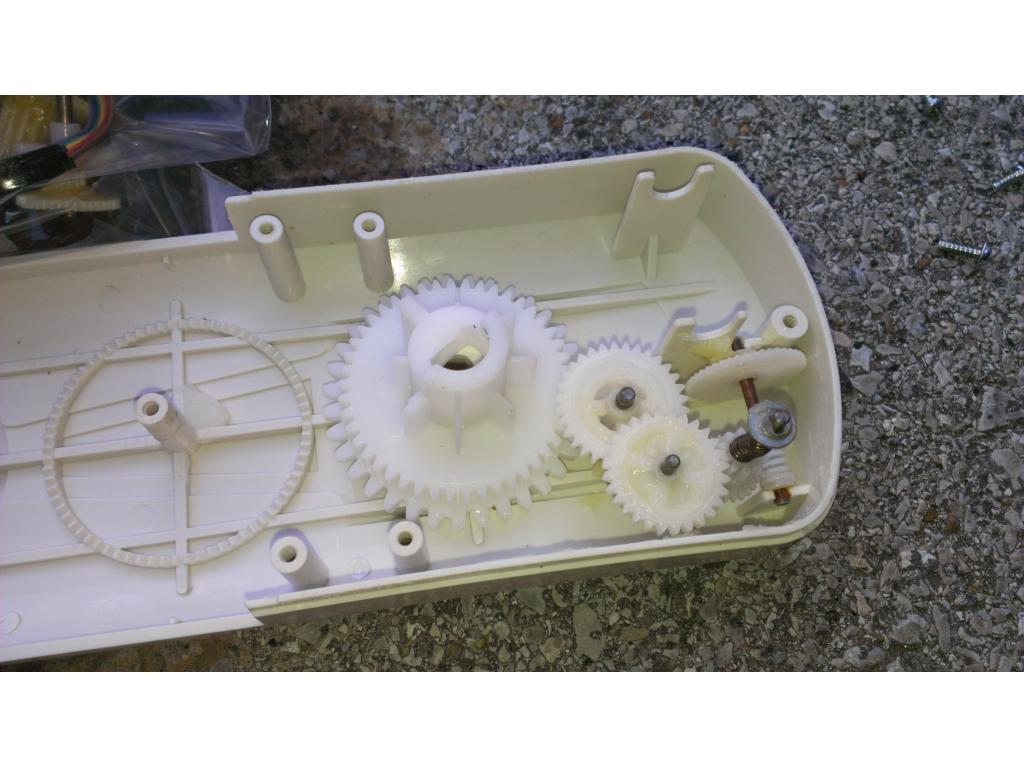
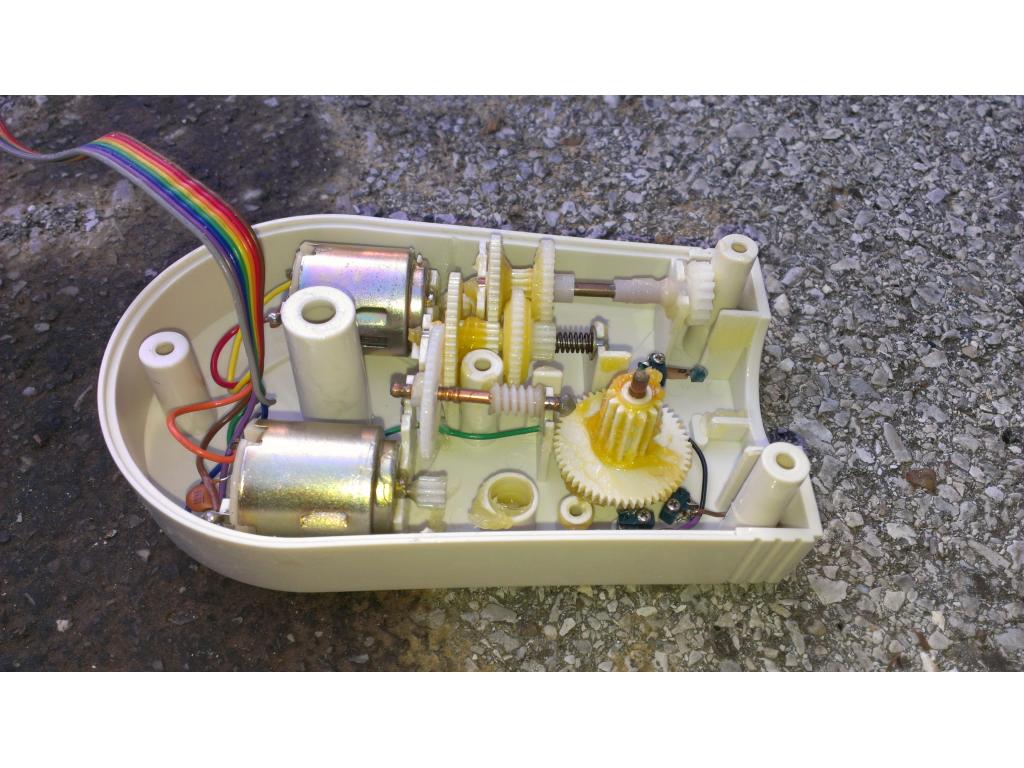


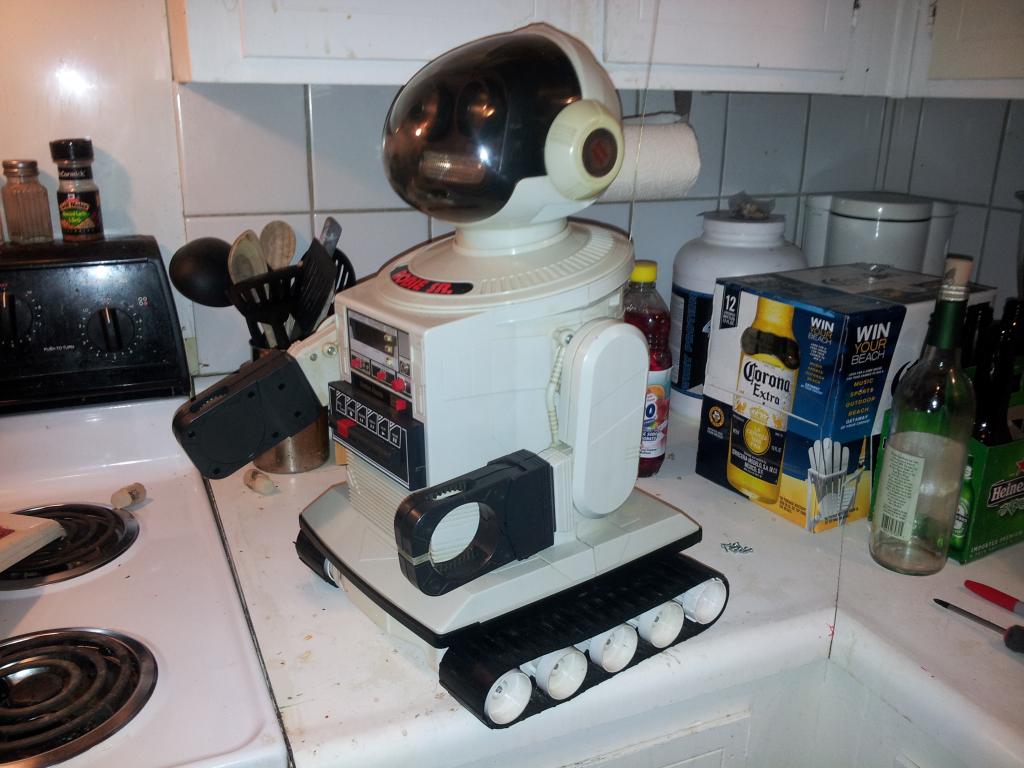
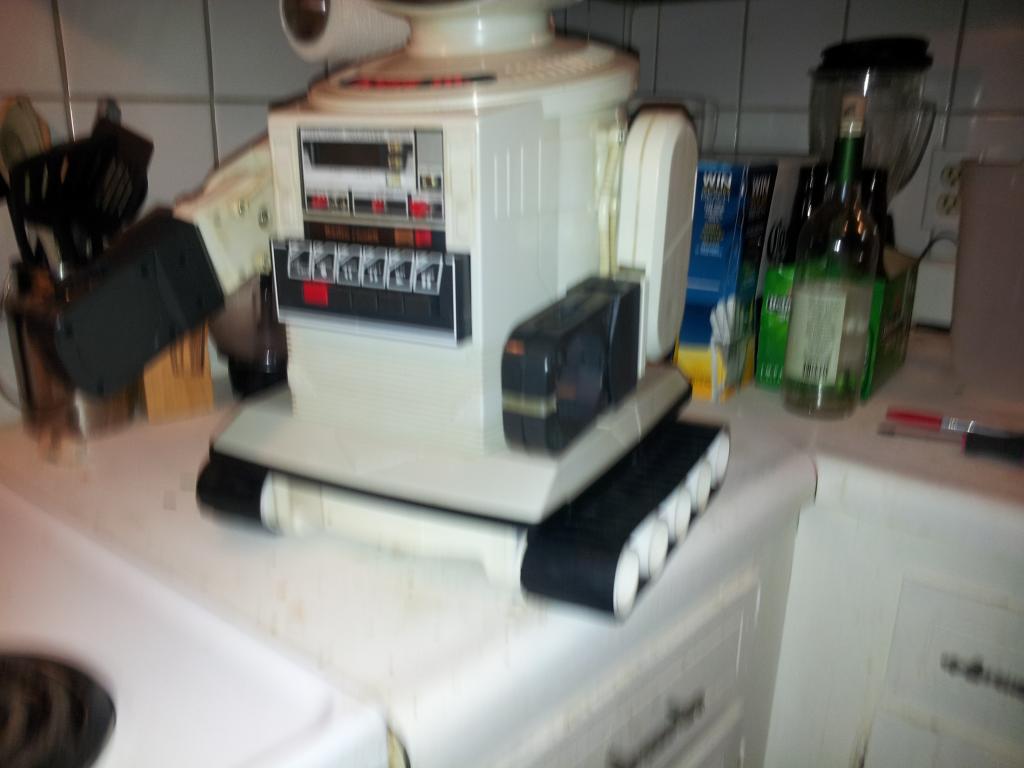
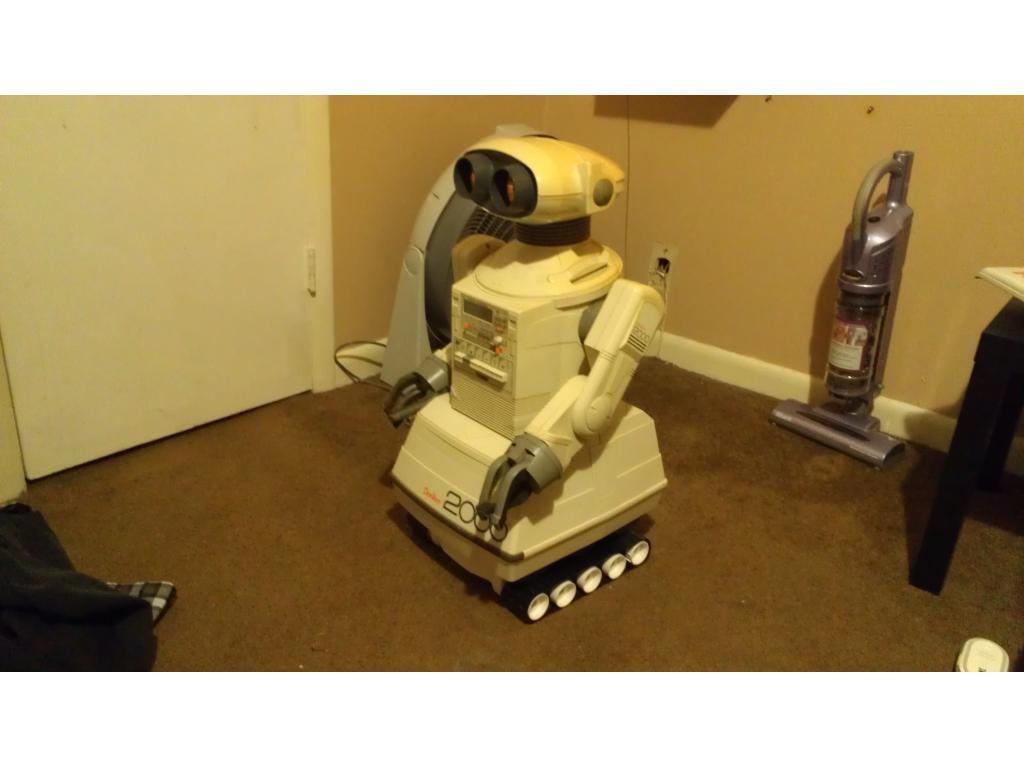
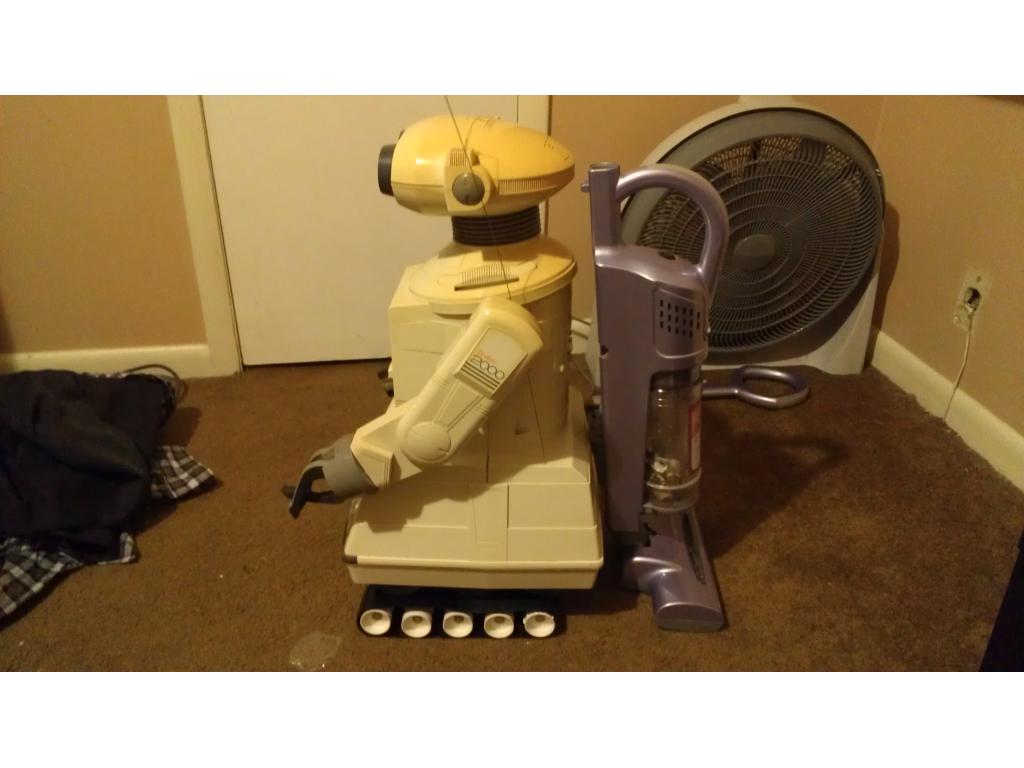
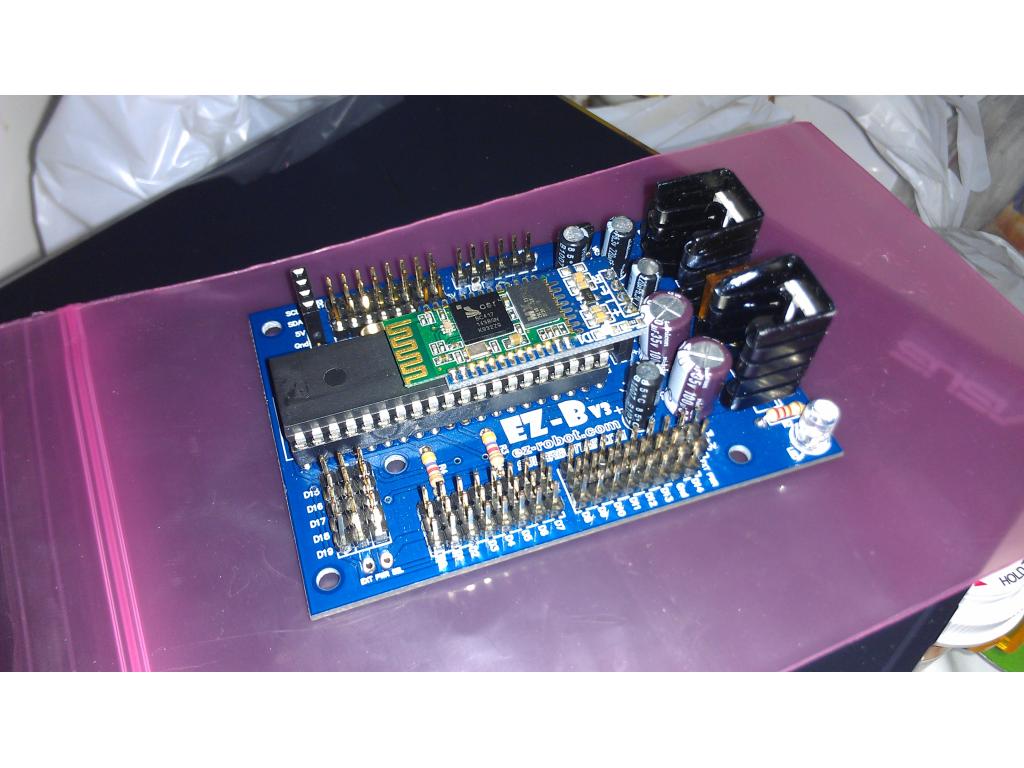
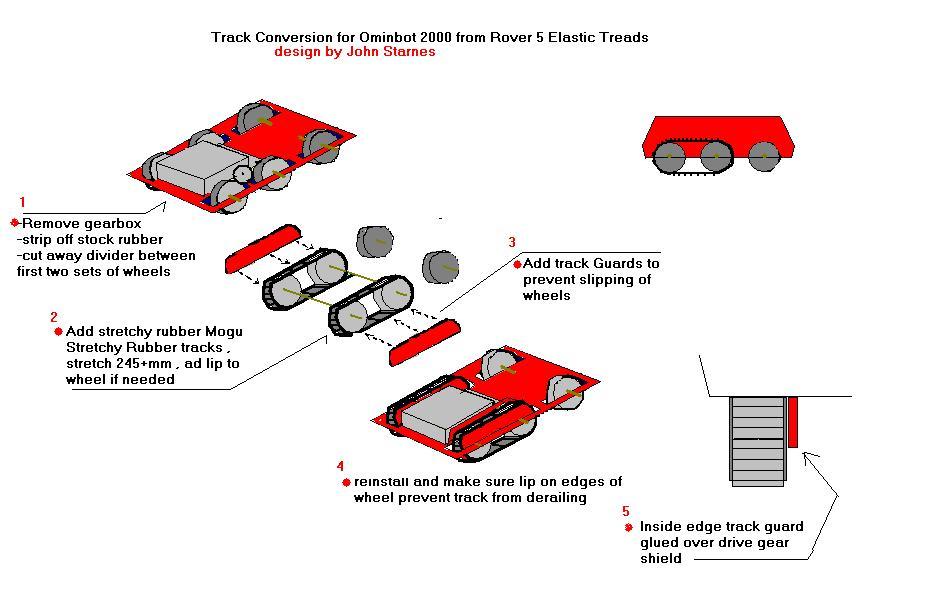
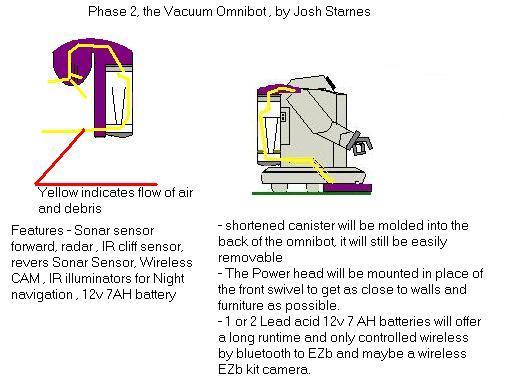
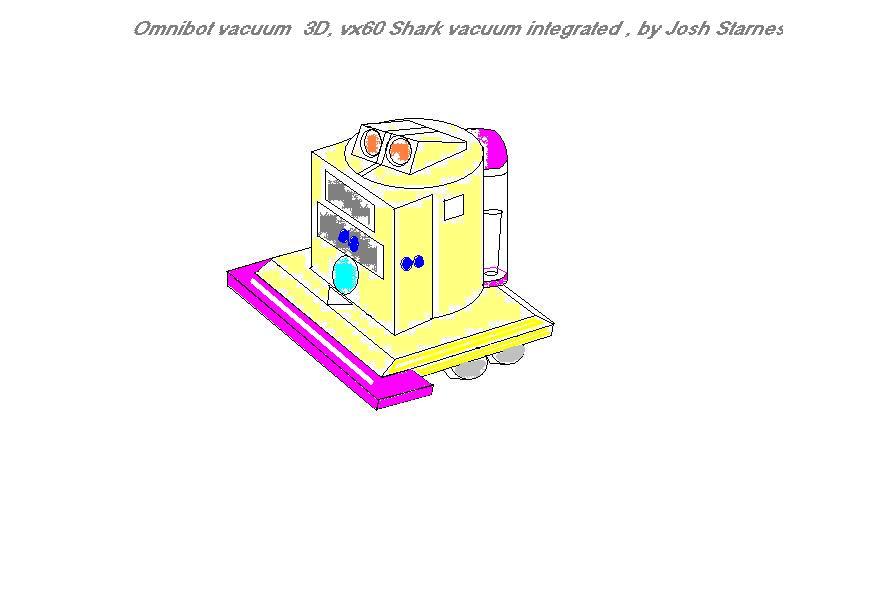
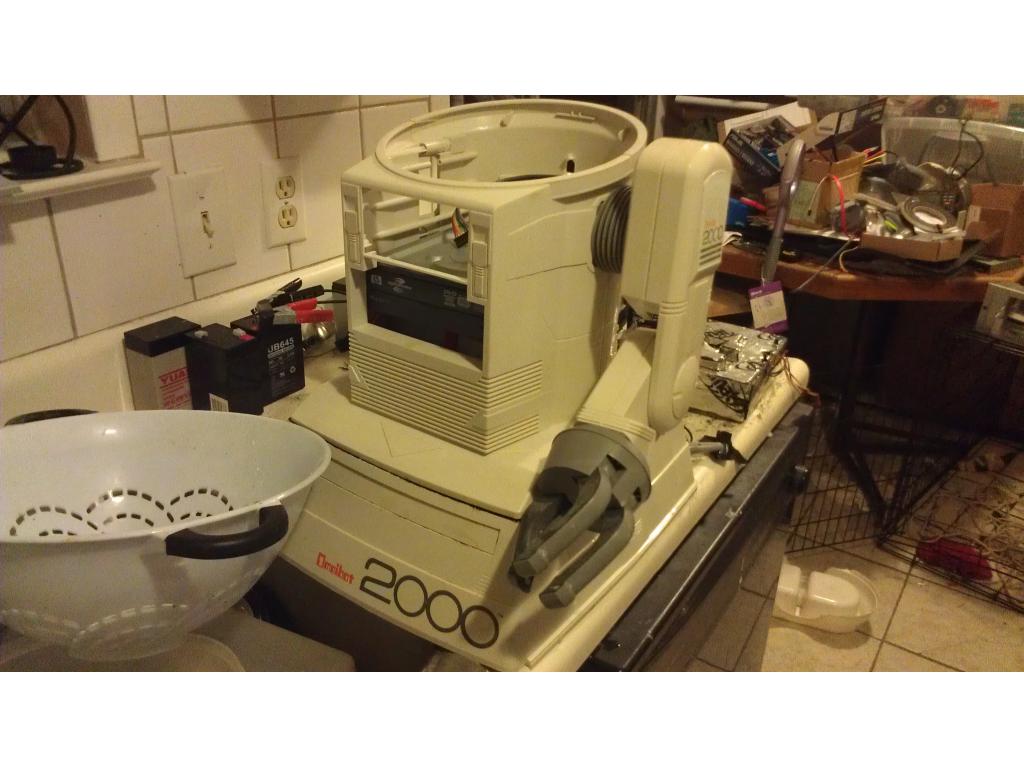
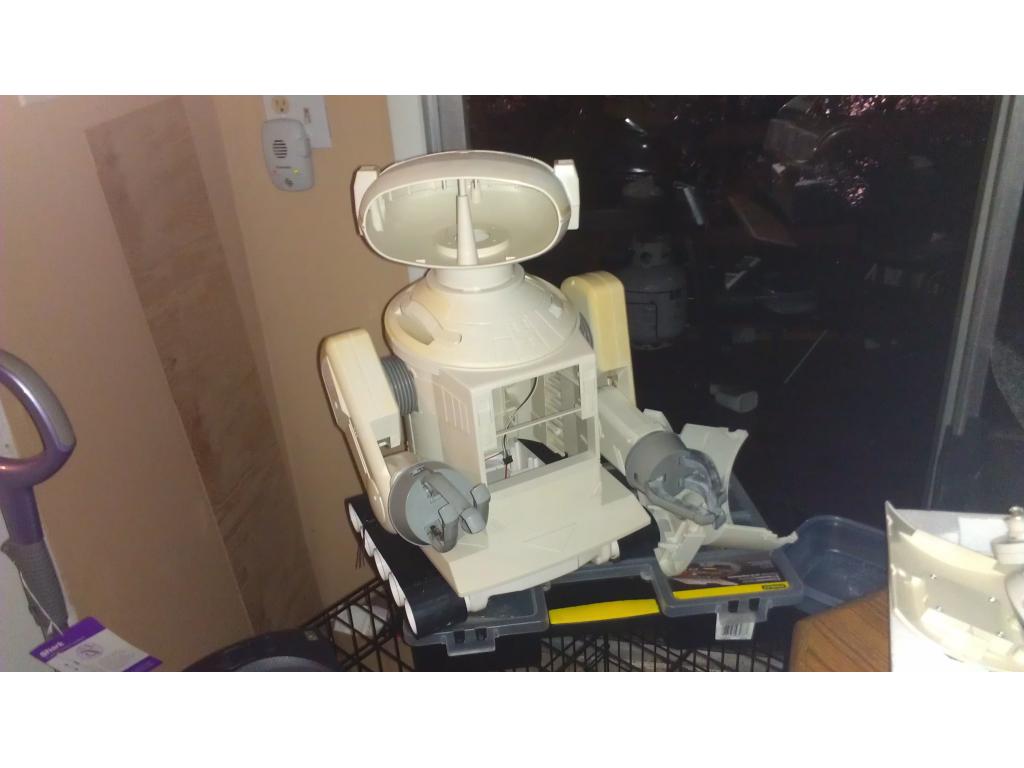
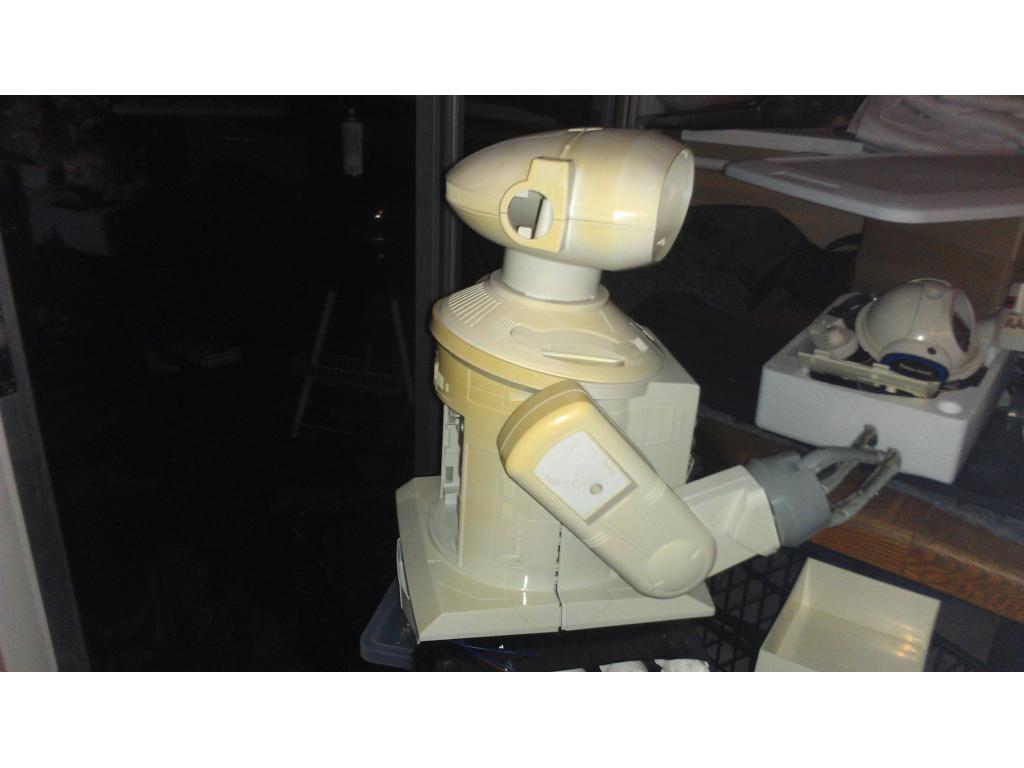
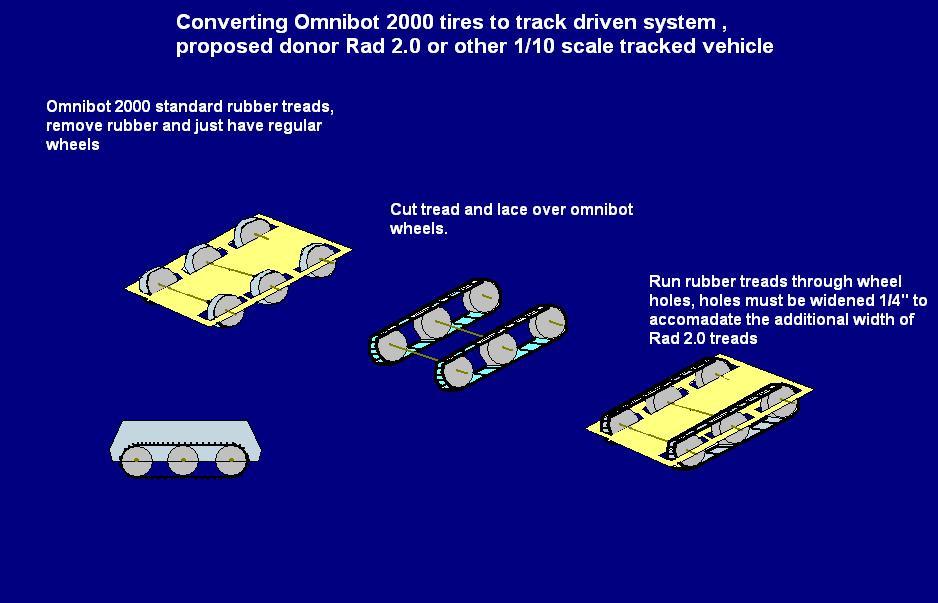
This project has evolved some , the basic rundown is I'm modding two Omnibots , one a regular the other a larger 2000 model. I will have two ezb kits , rad base idea was thrown out because of so much noise but could go back on the table if the omnibot drivetrain is too weak to pull it.


By jstarne1
— Last update
Discover more robots
Jim's Project Armadeus
ARMadeus Mk7 articulated robot, 48" tall and 112 lb, modular 80/20 chassis with 12V gear motors, servos, linear...
Robot's First Attempt Building An Android App For The Irobot...
Upgraded Dirt Dog speakers to 8 ohm 2W 1in and hidden inside the dust bin, gaining extra space after removing the vacuum...

Dave's Hello All
Control Johnny 5 replica with EZ-B controller - easy starting point for testing and learning robot control and...

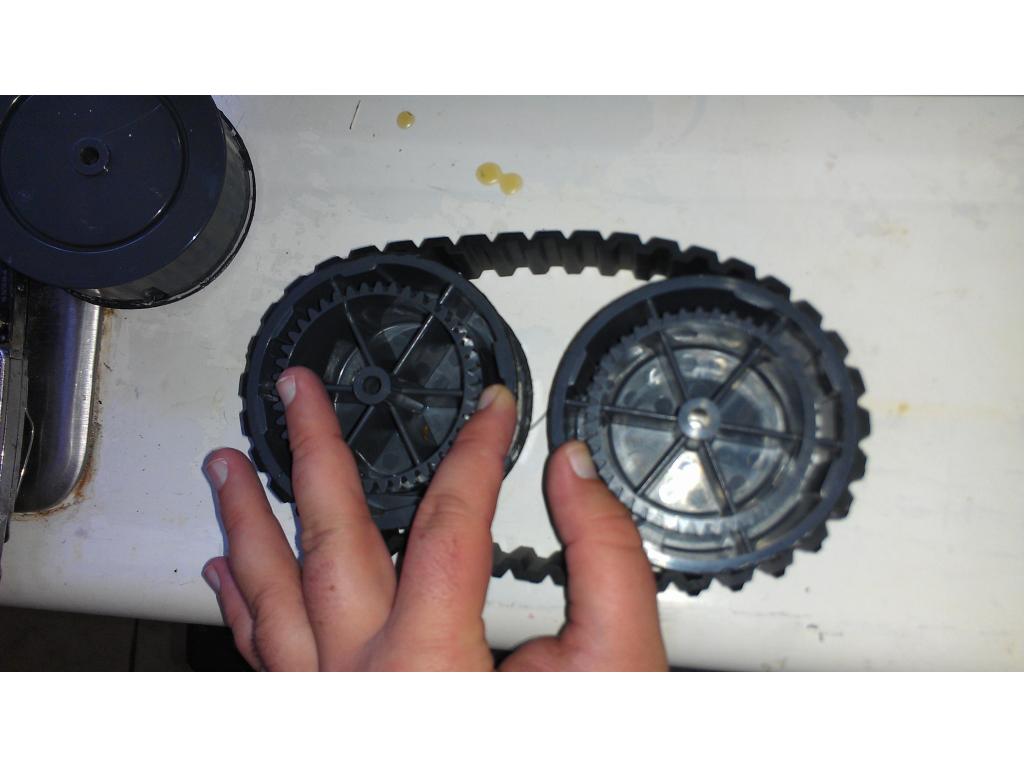
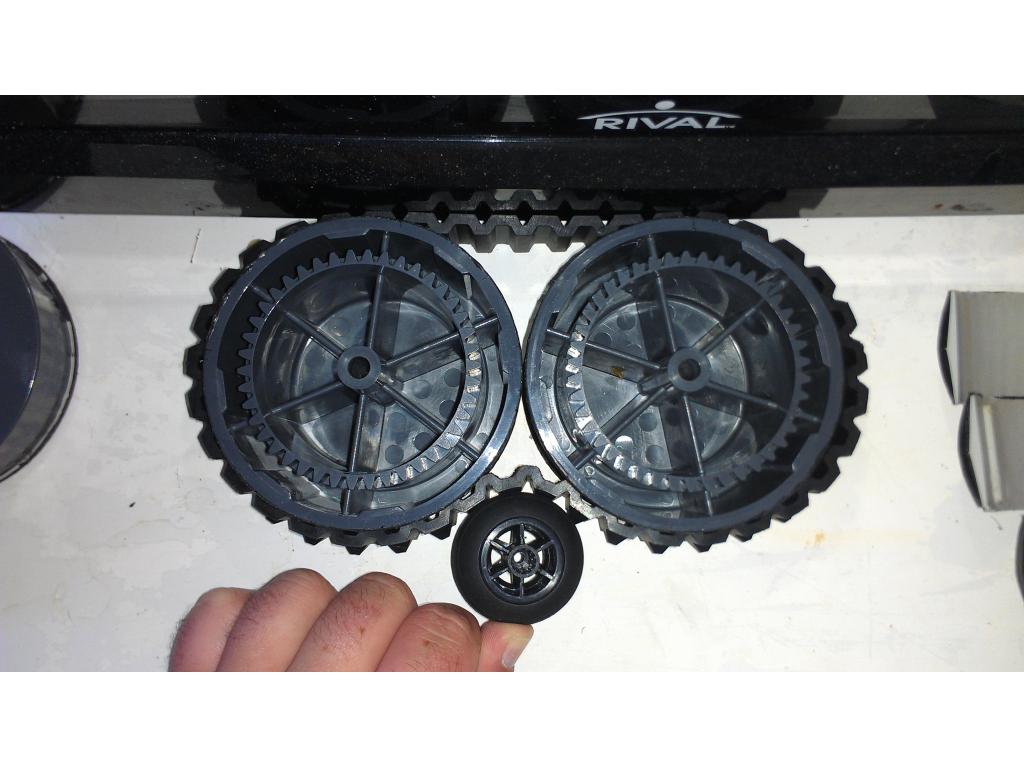
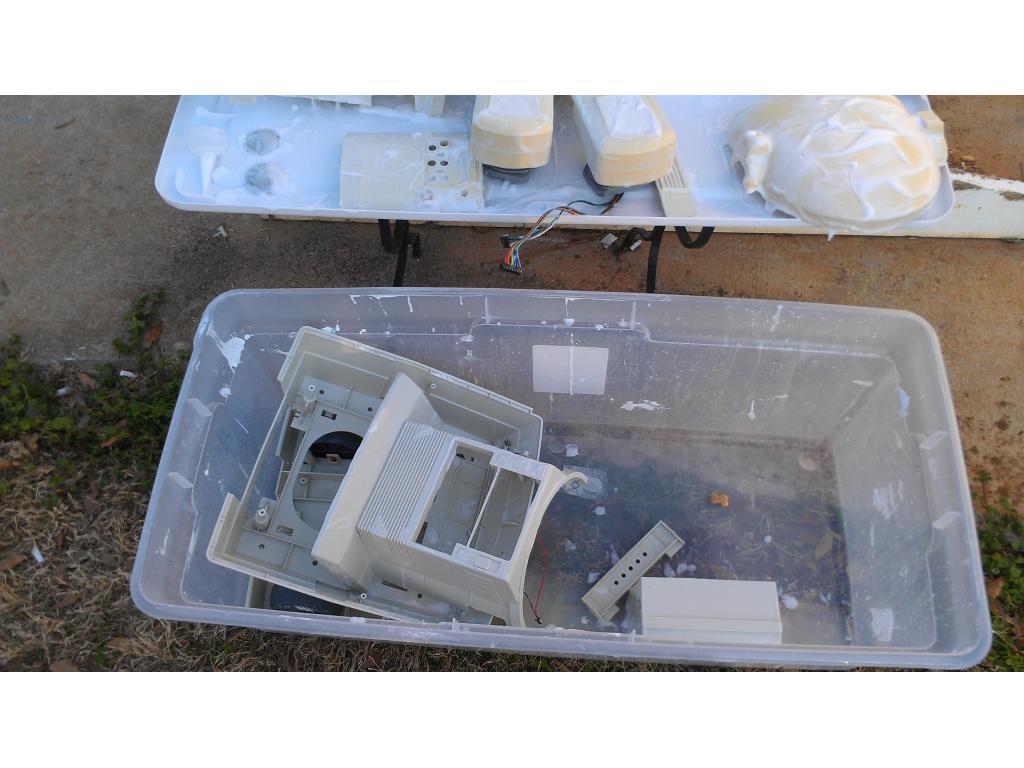
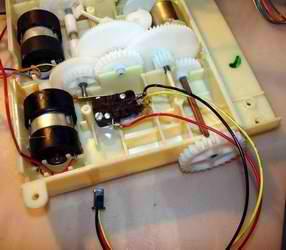
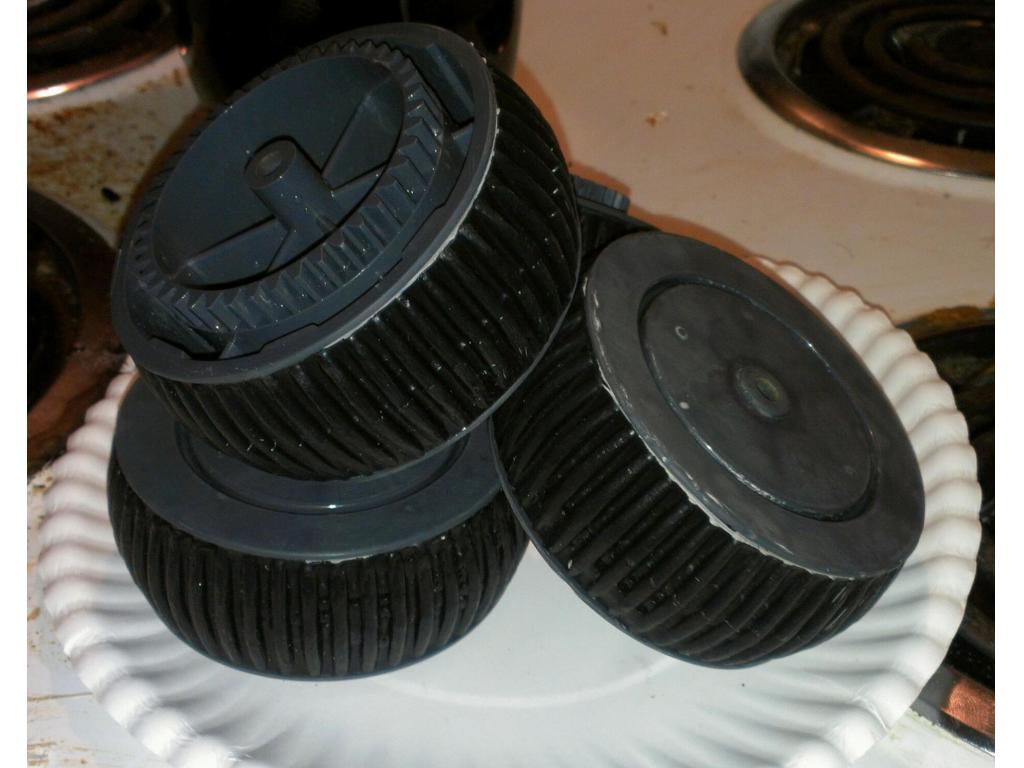
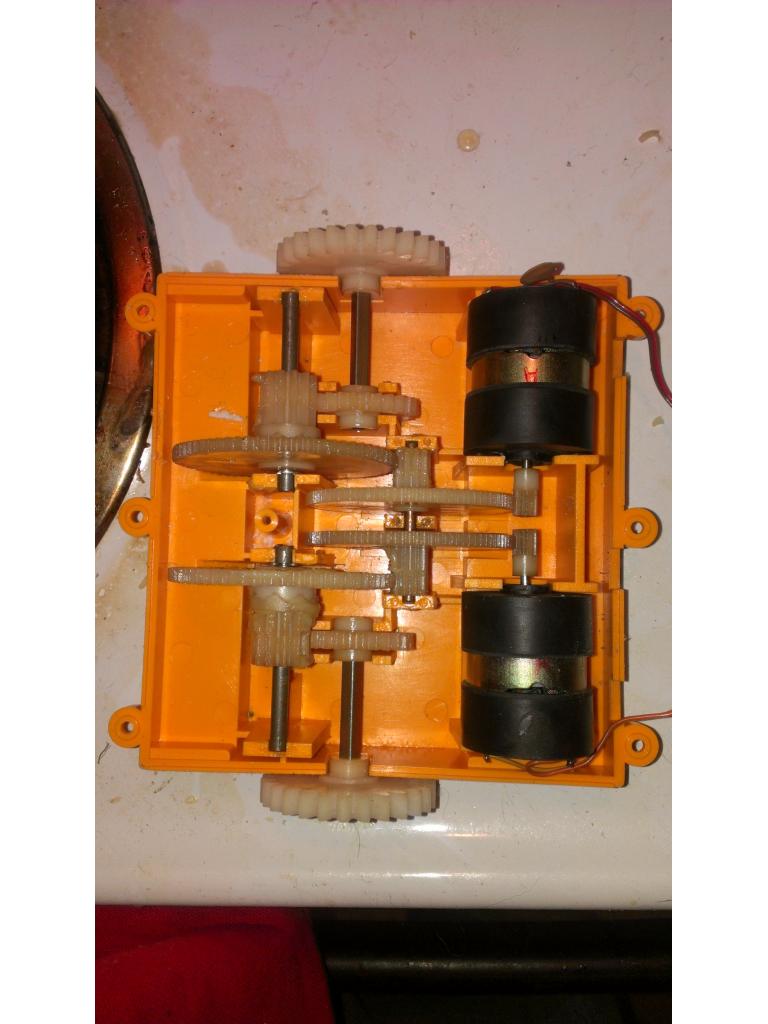
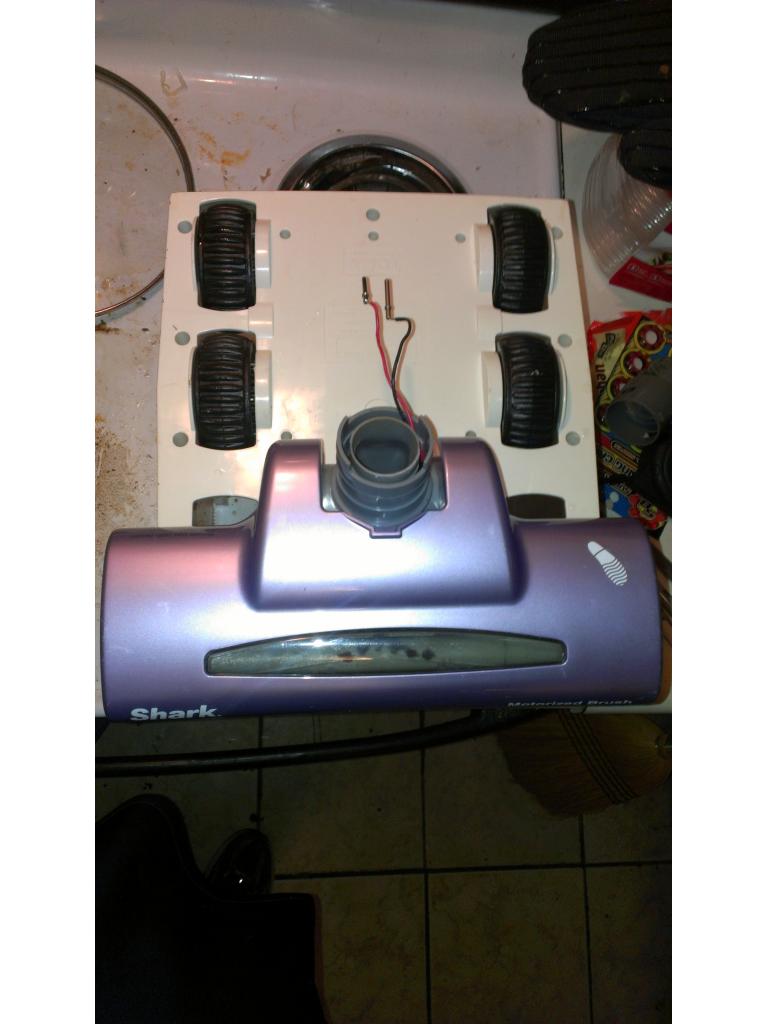
If you do scrap it let me know I would love to get some parts from you , like drive train maybe wheels
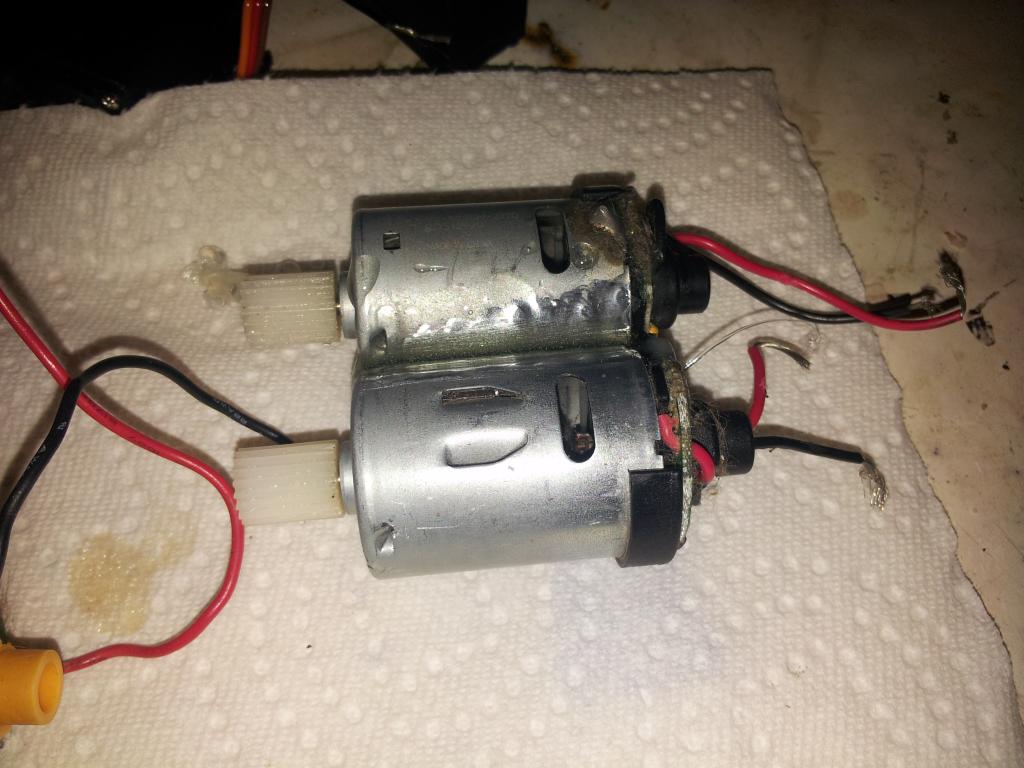
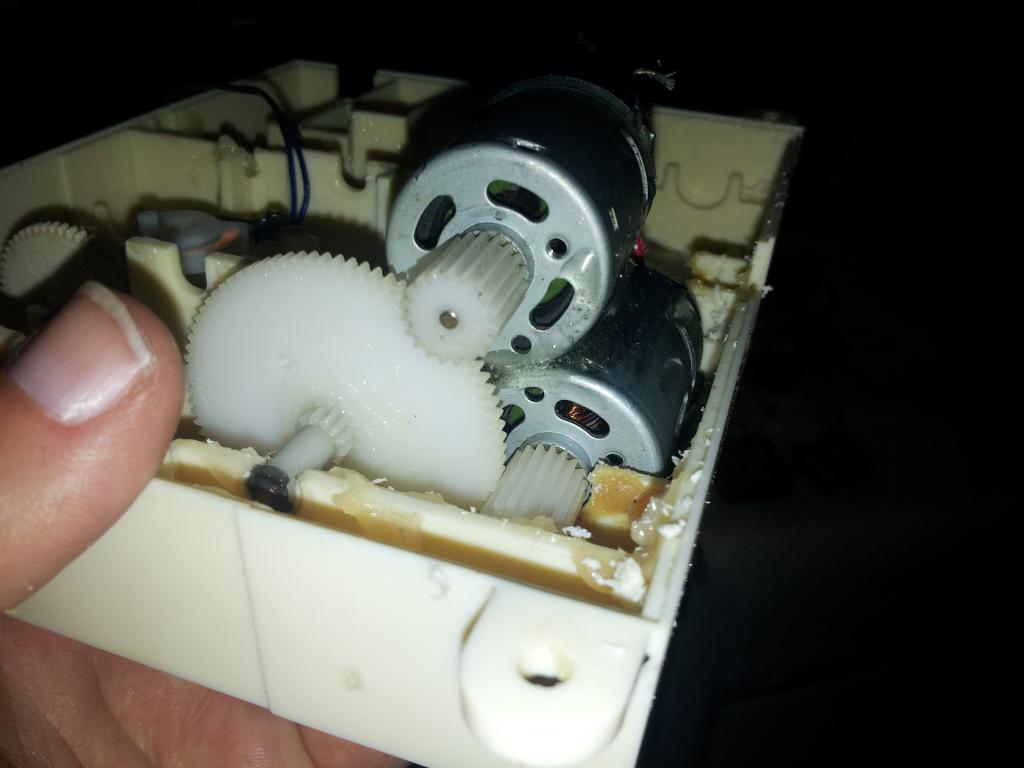
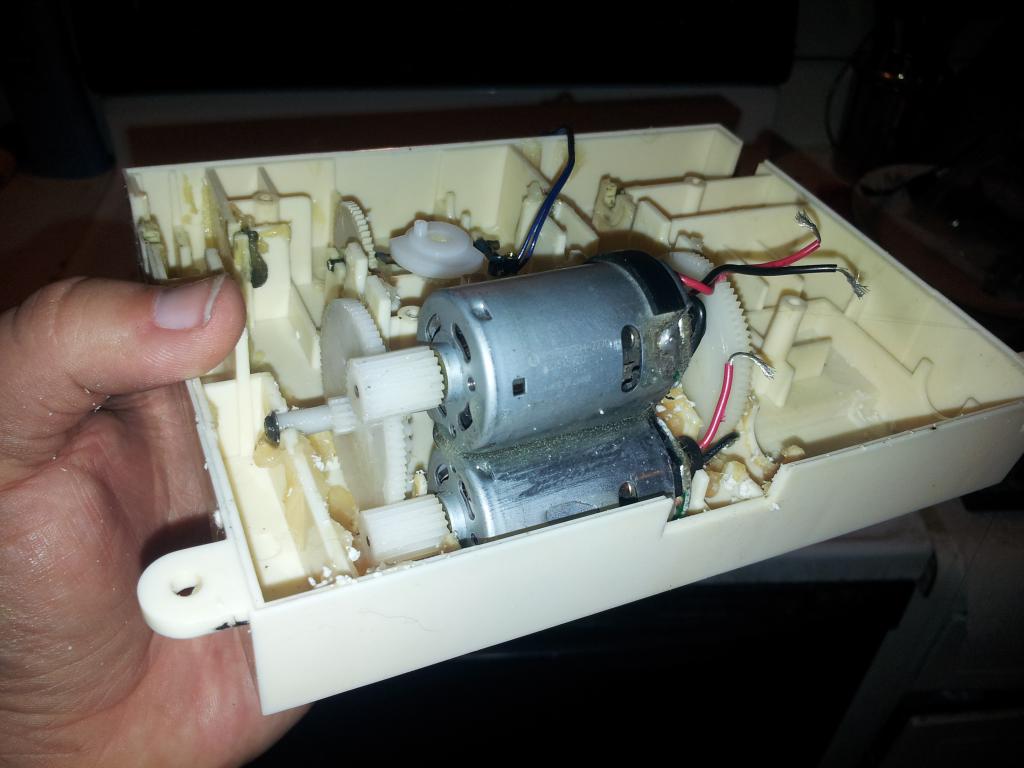
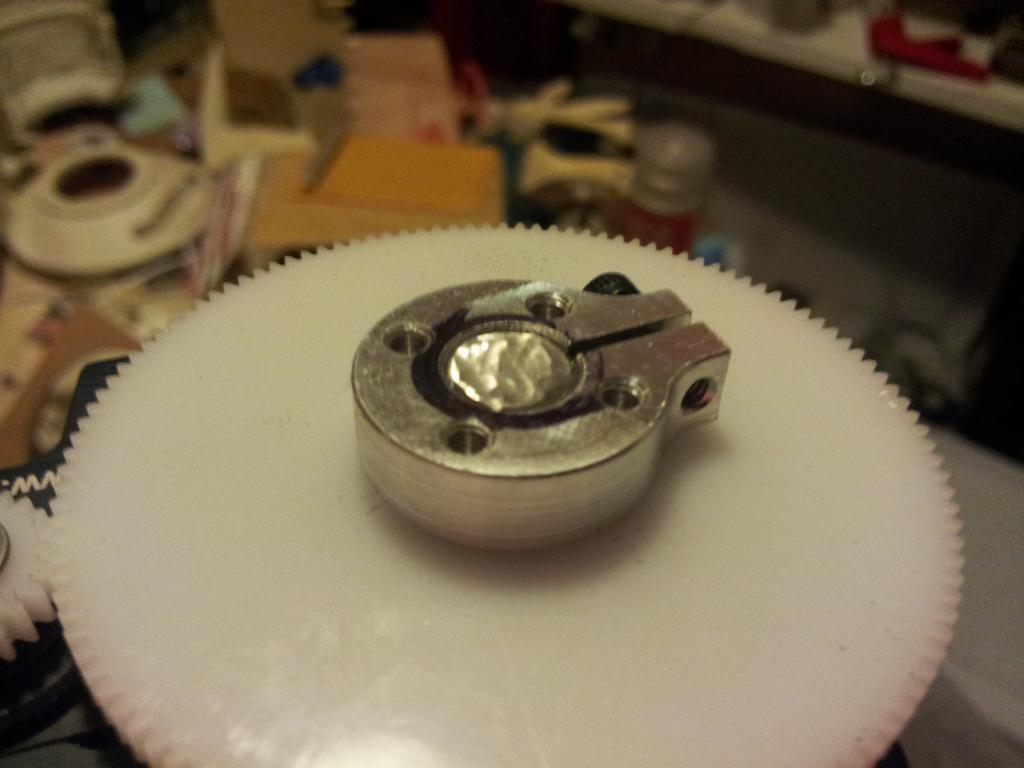
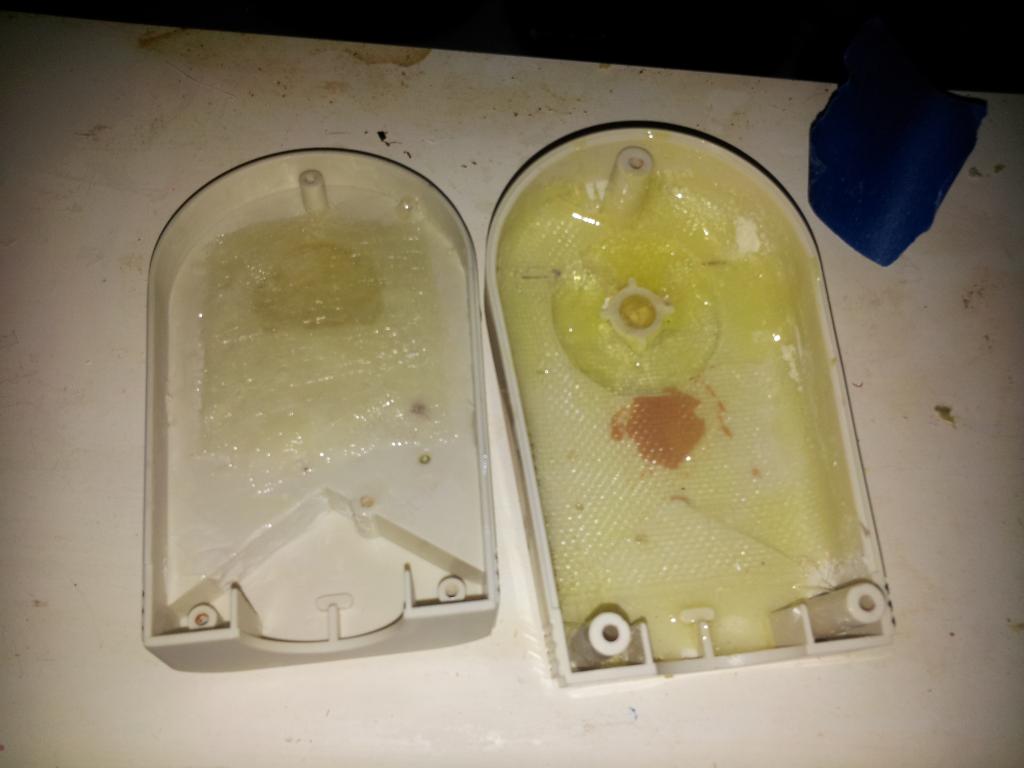
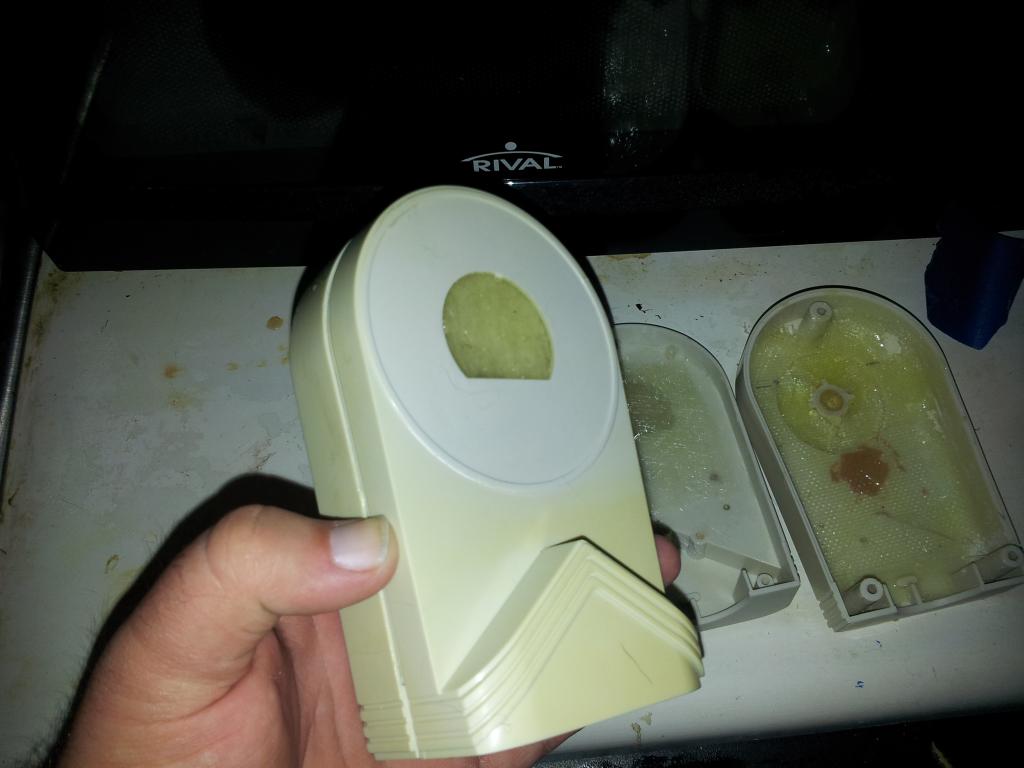
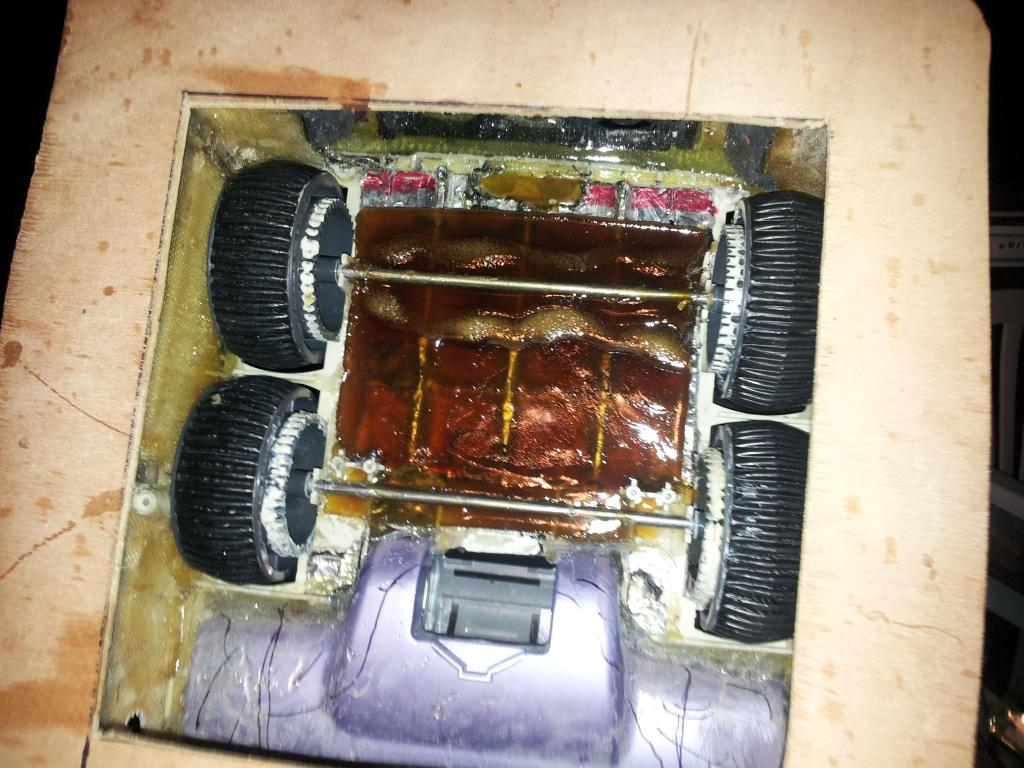
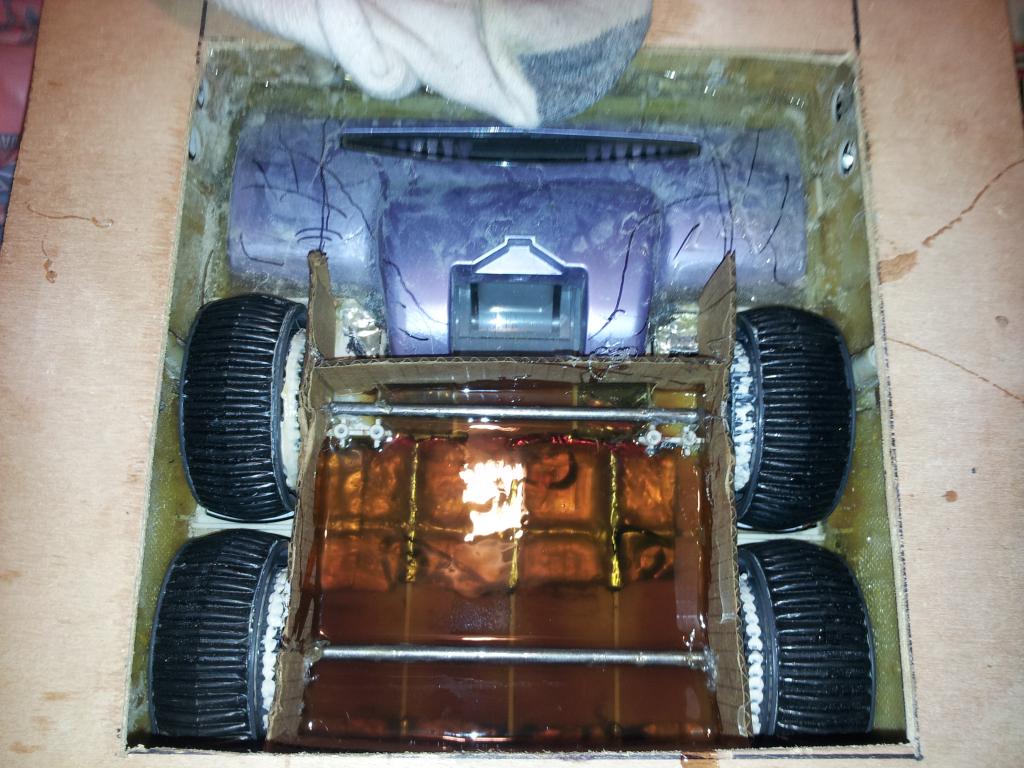
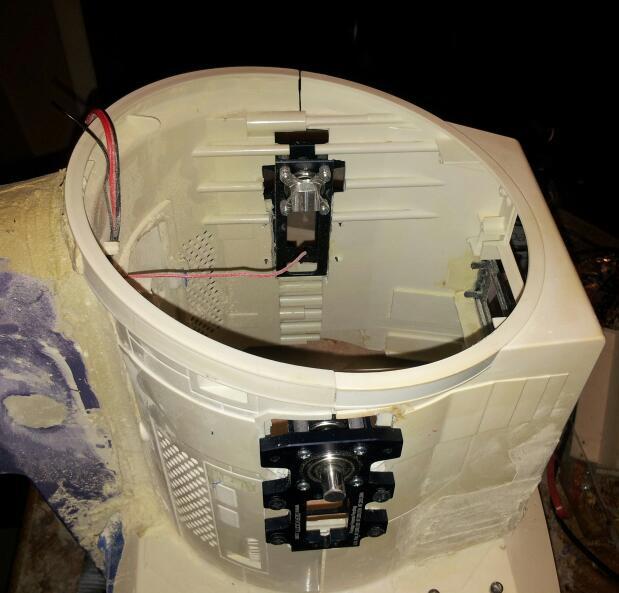
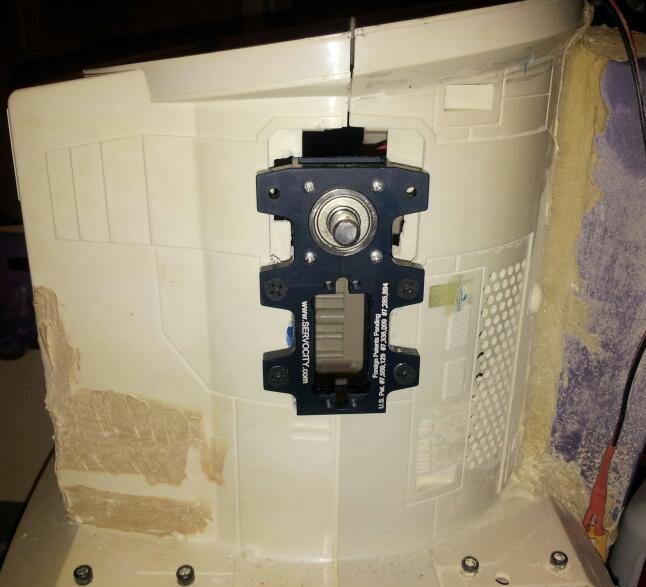
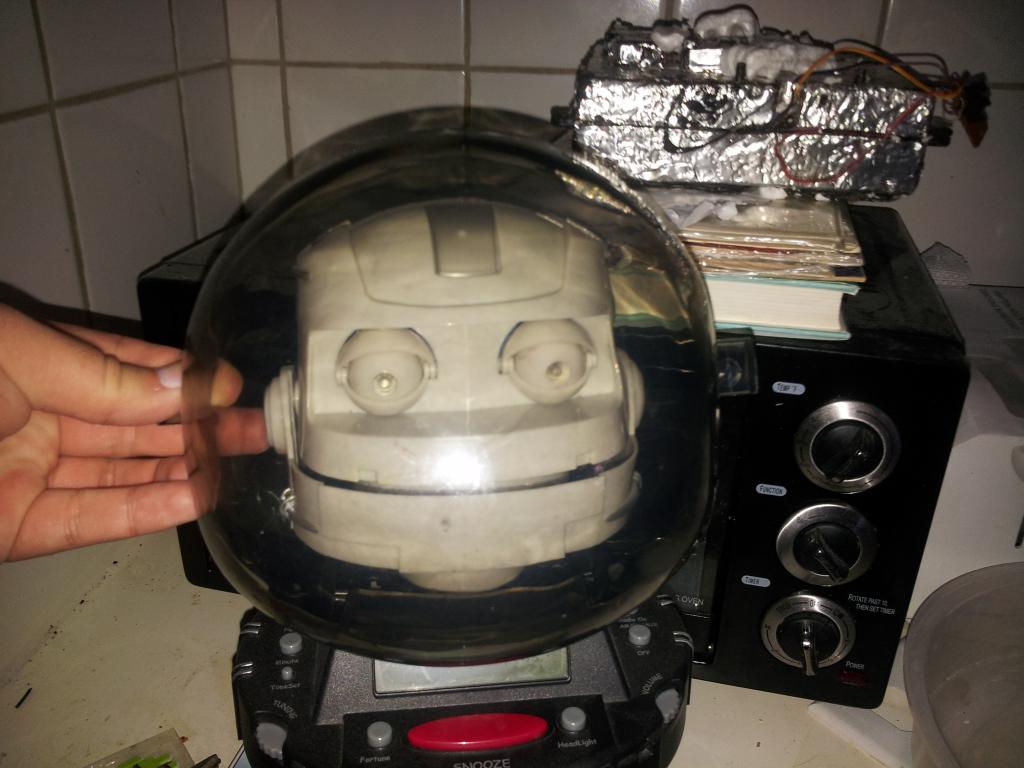
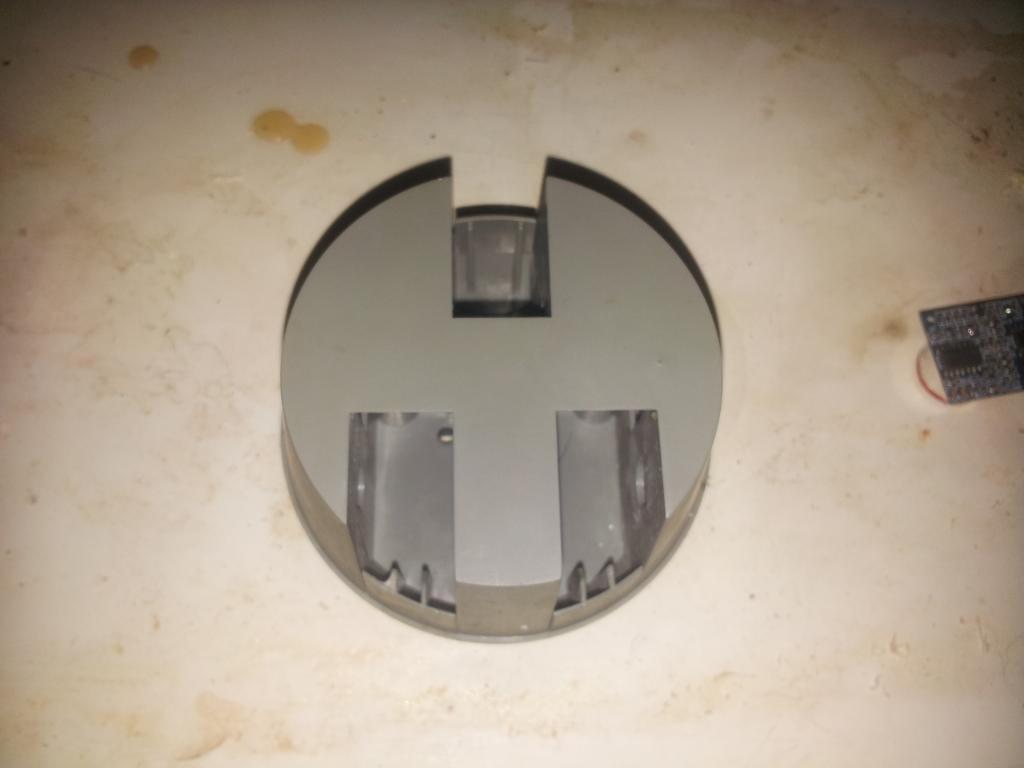
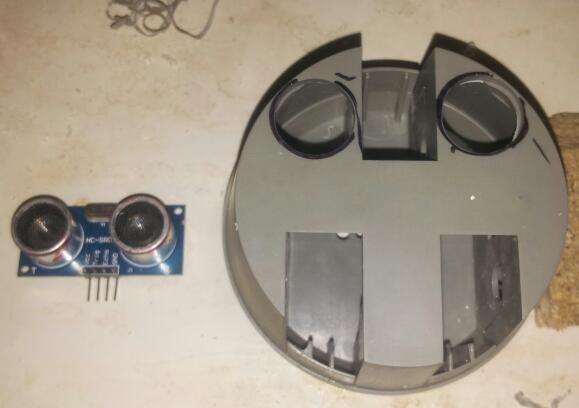
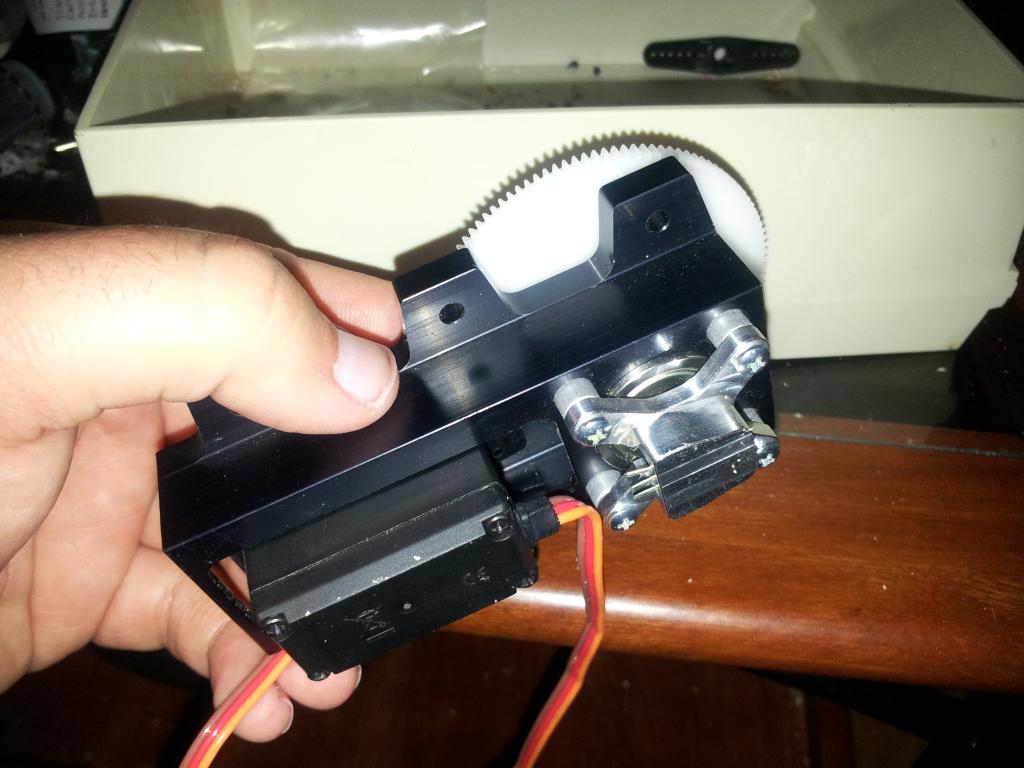
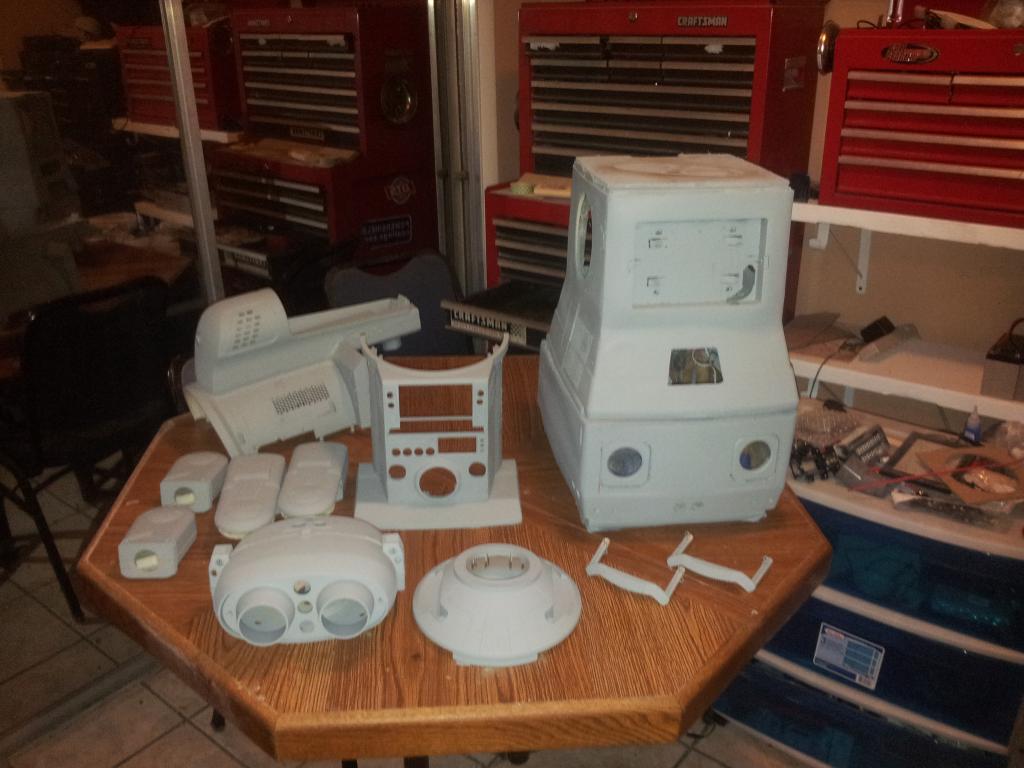
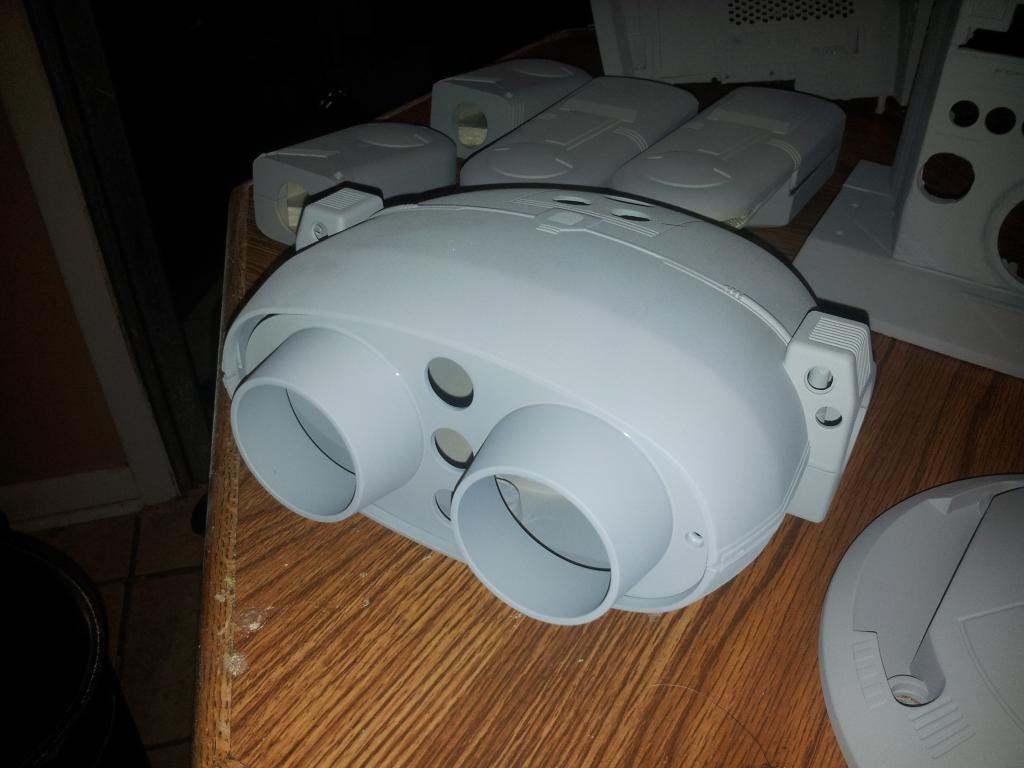
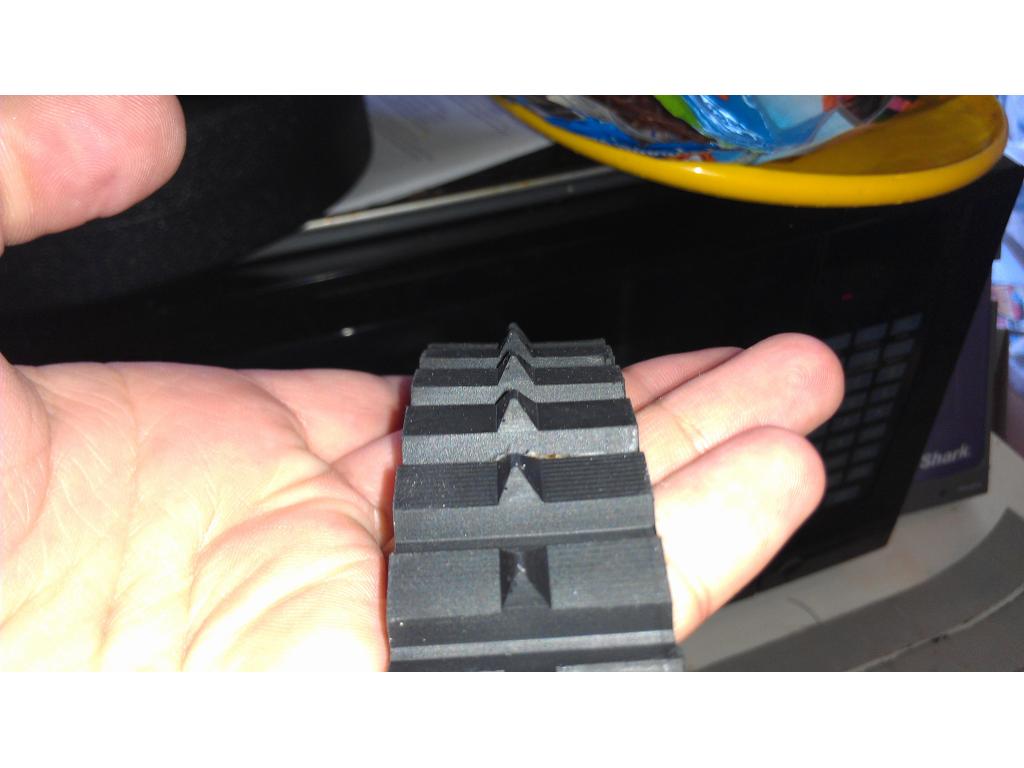
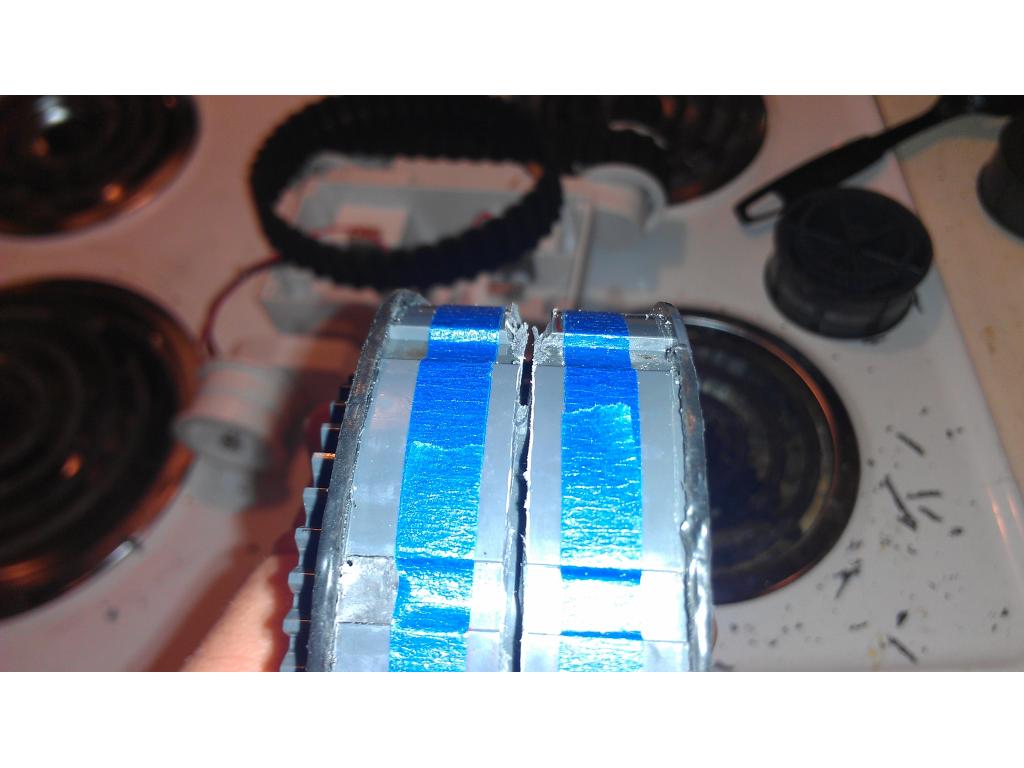
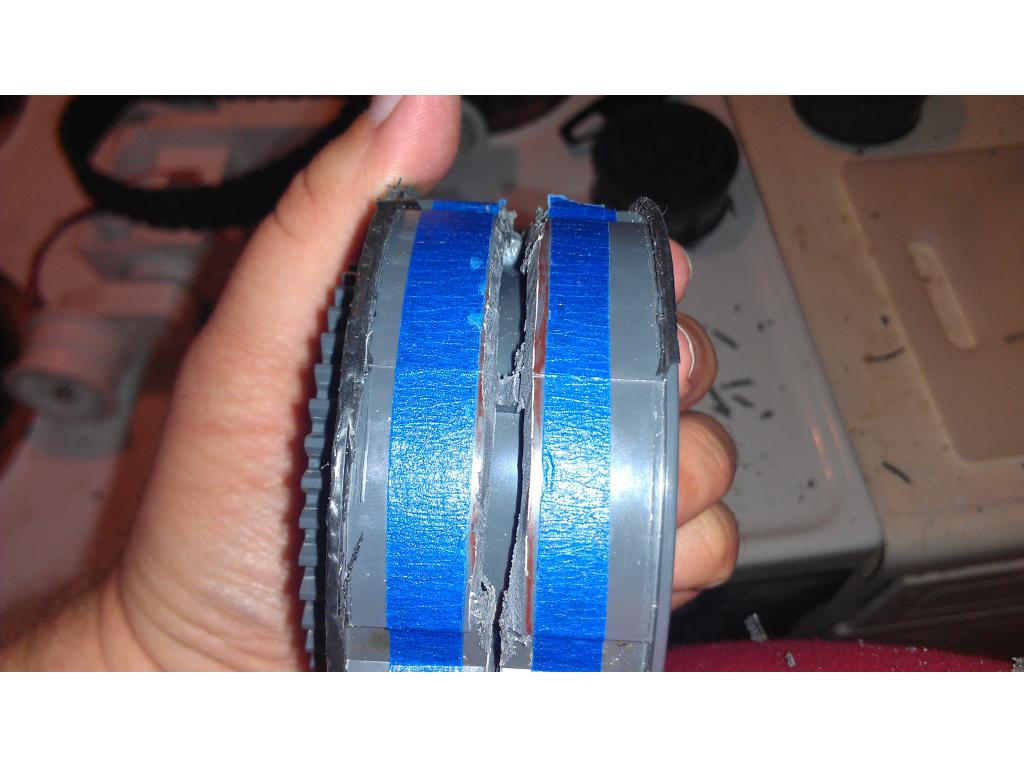
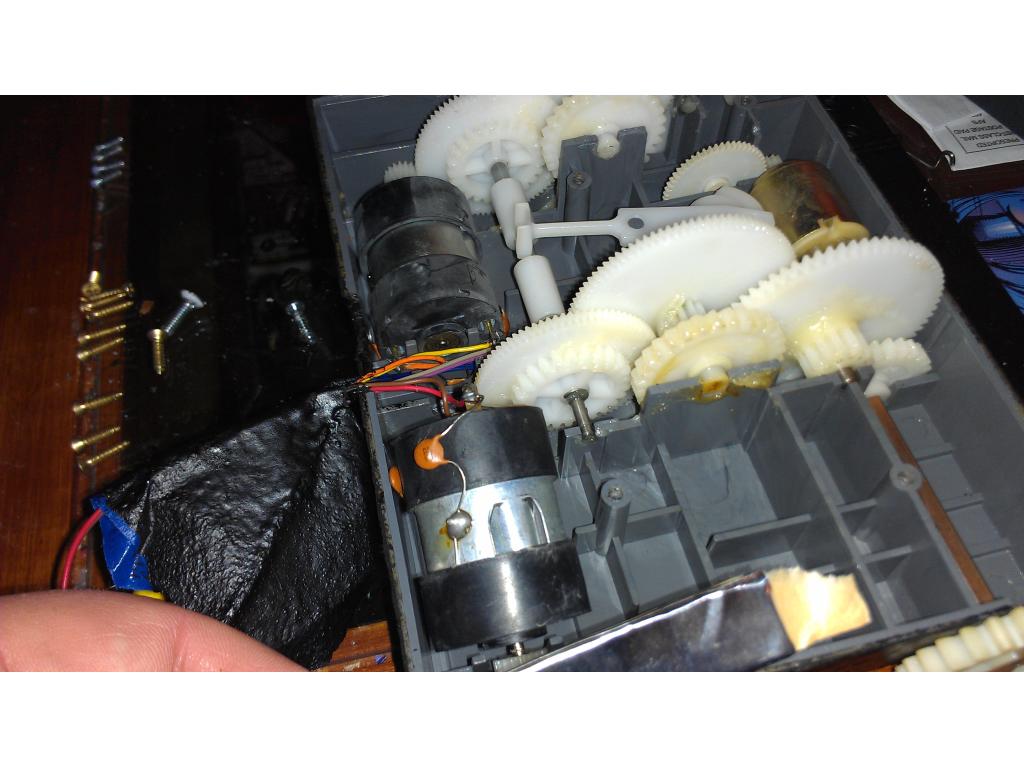
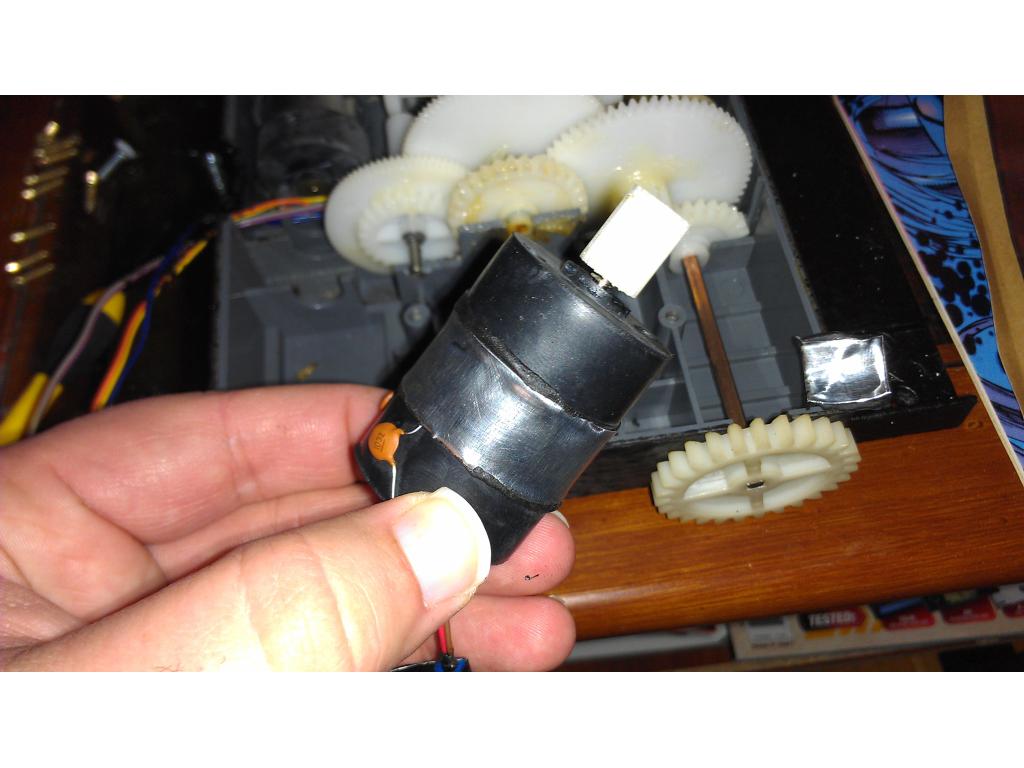
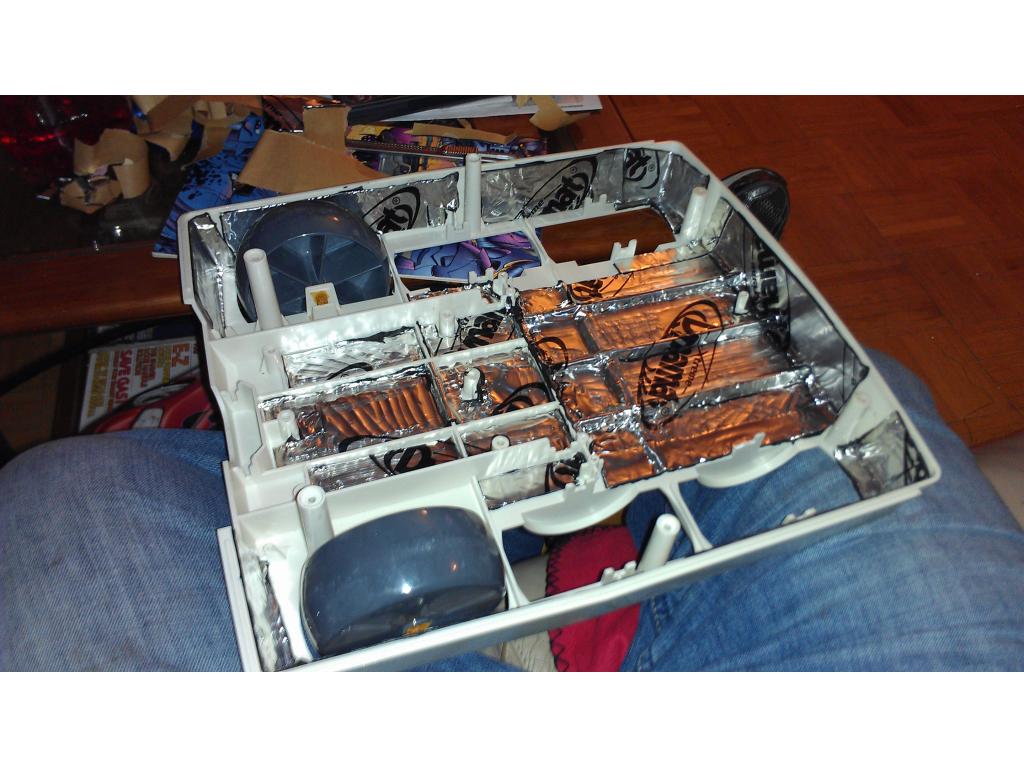
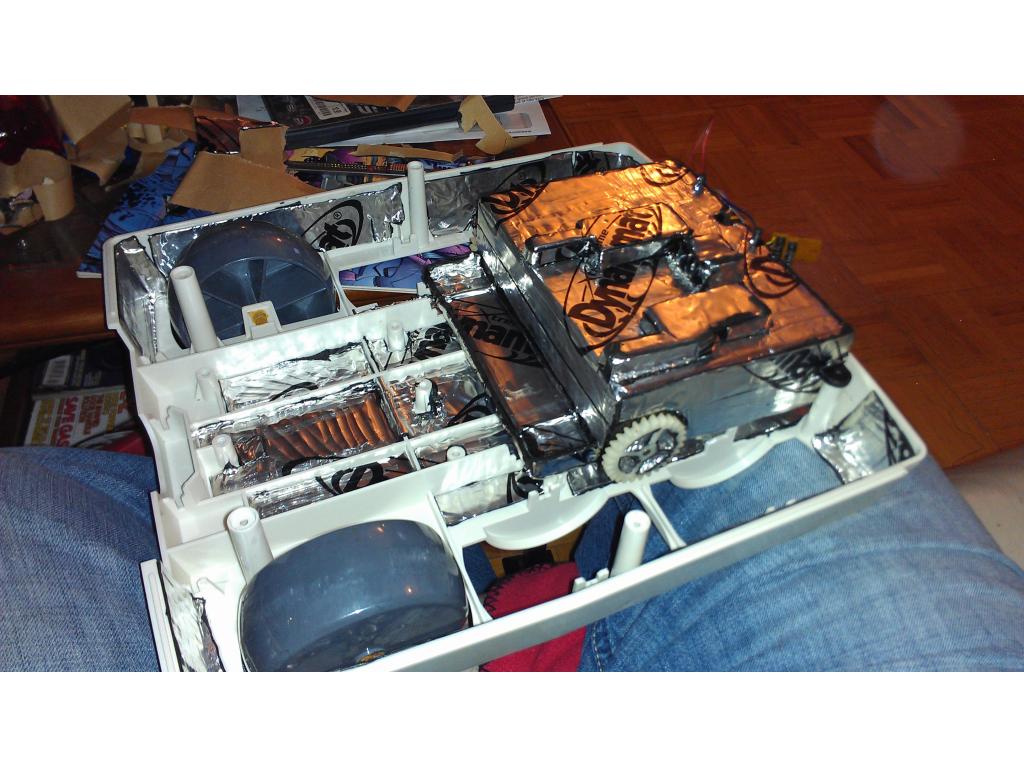
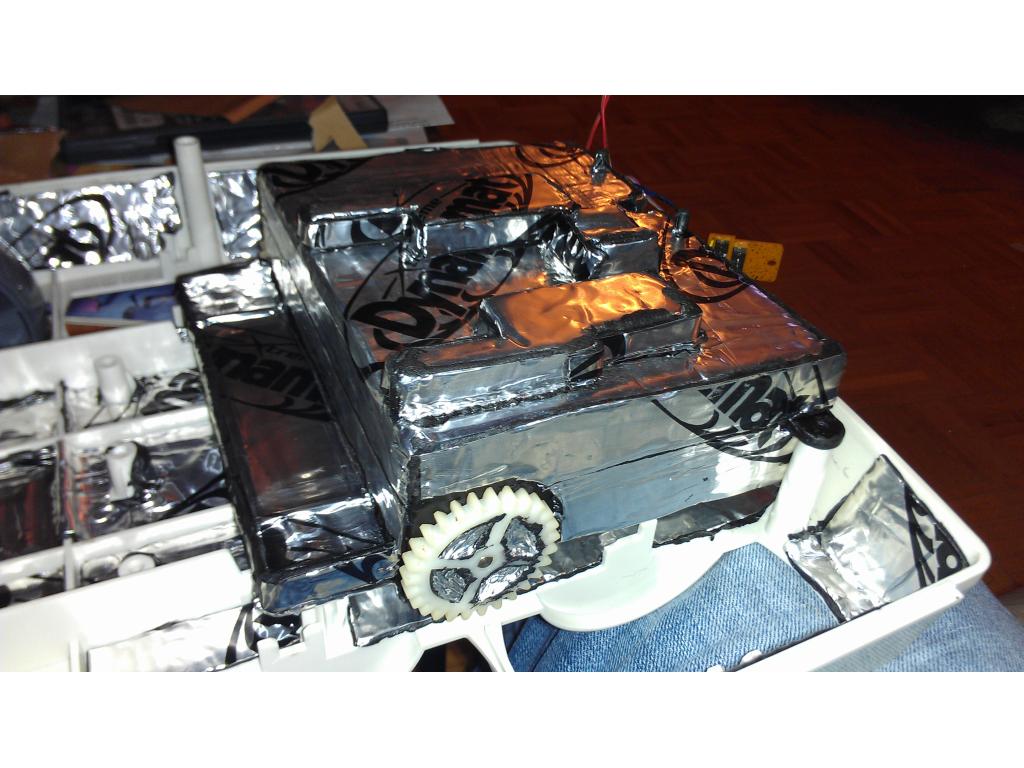
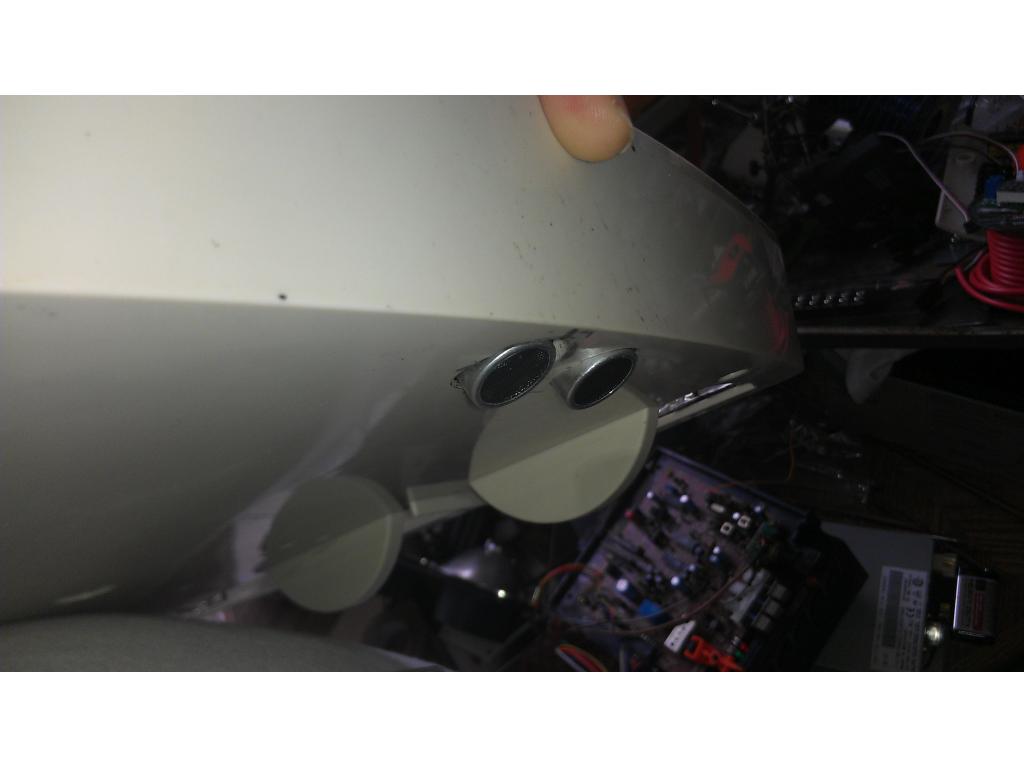
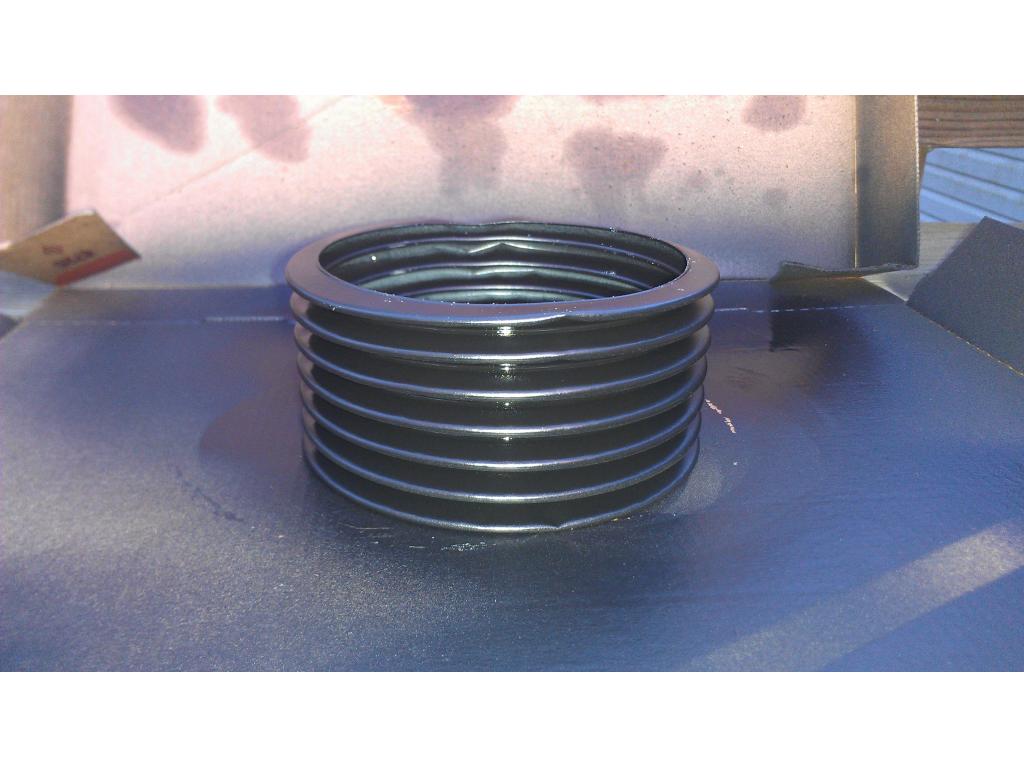
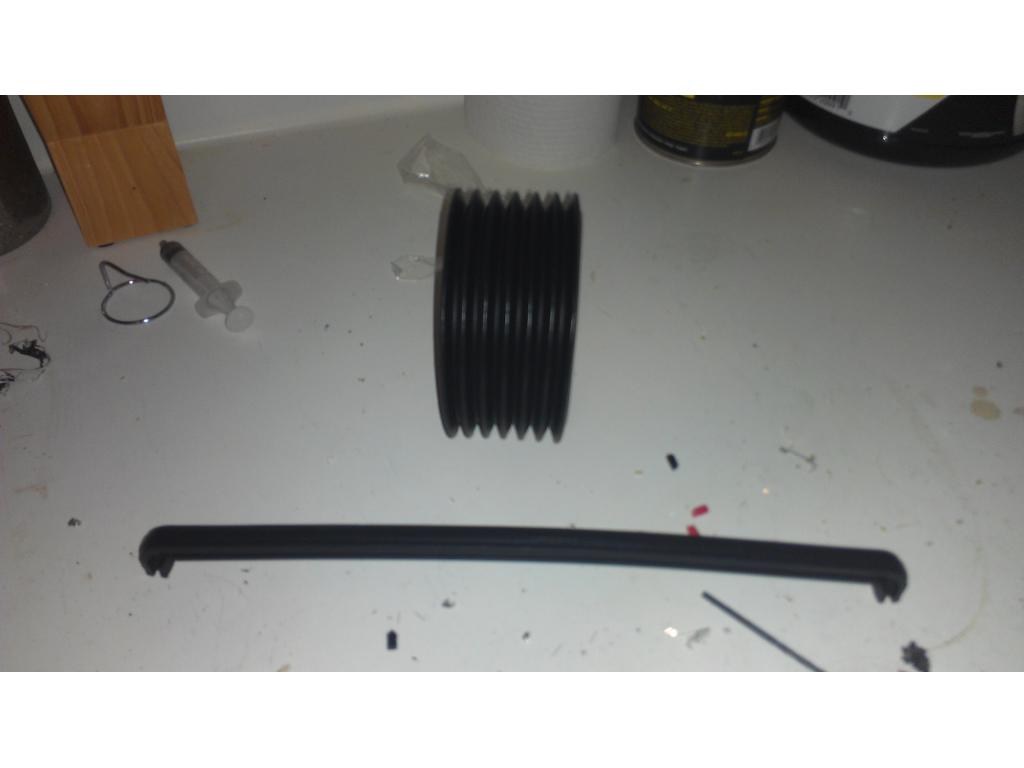
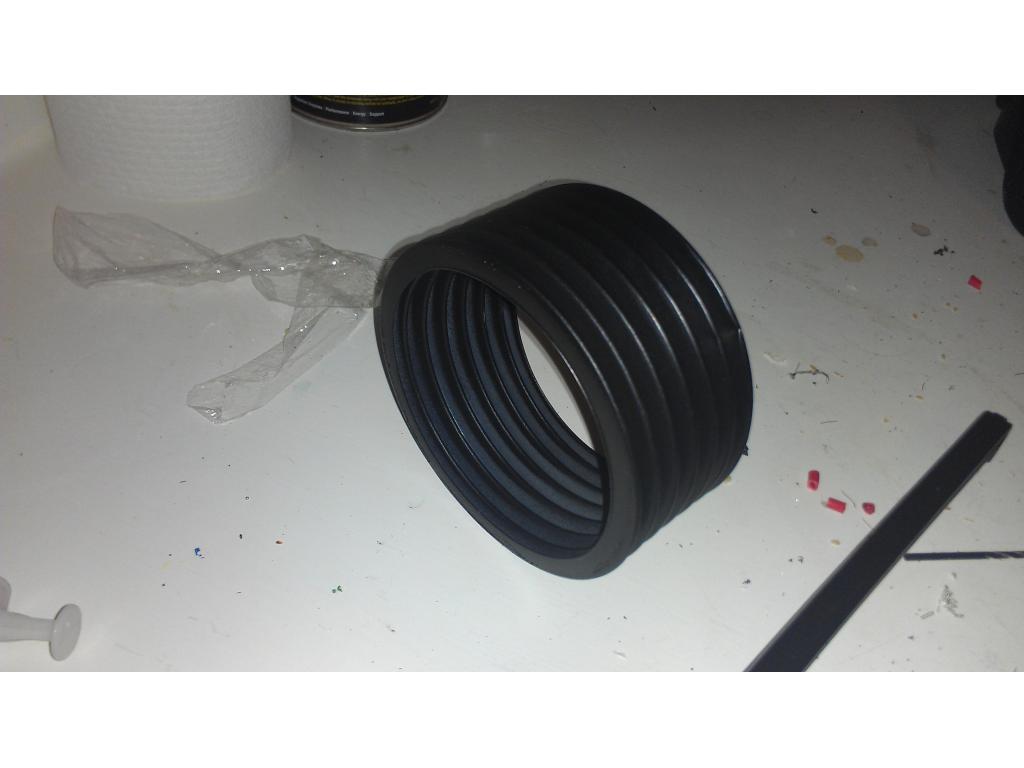
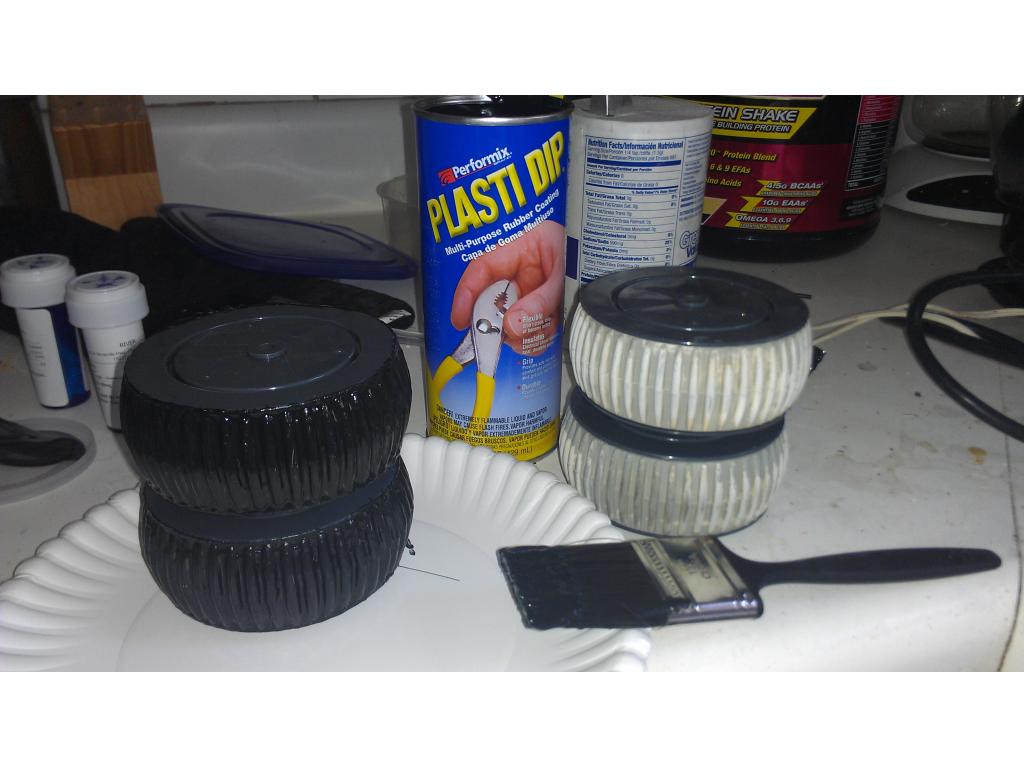
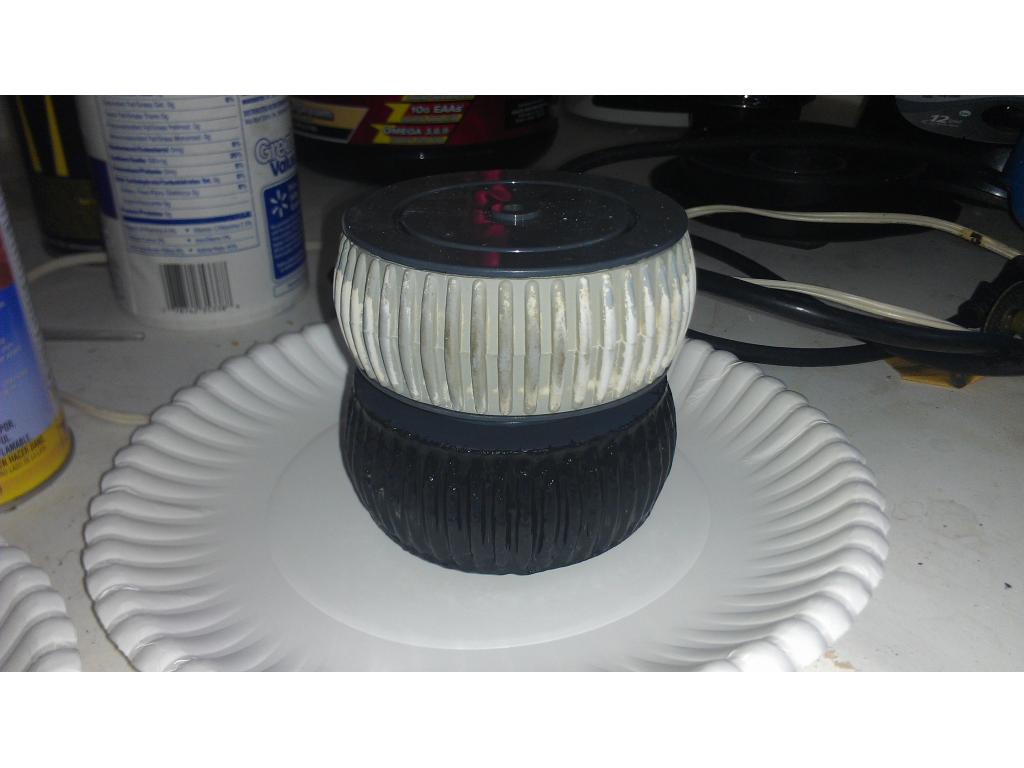
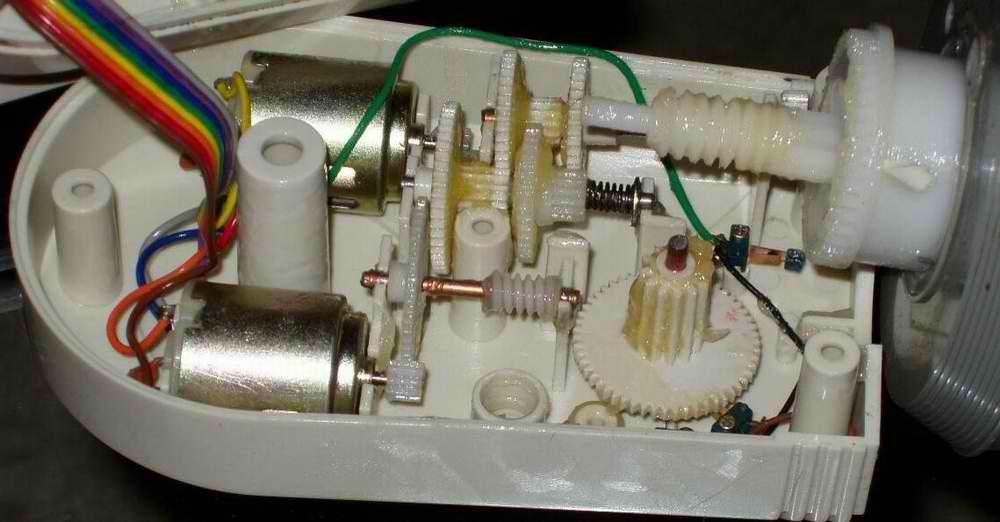
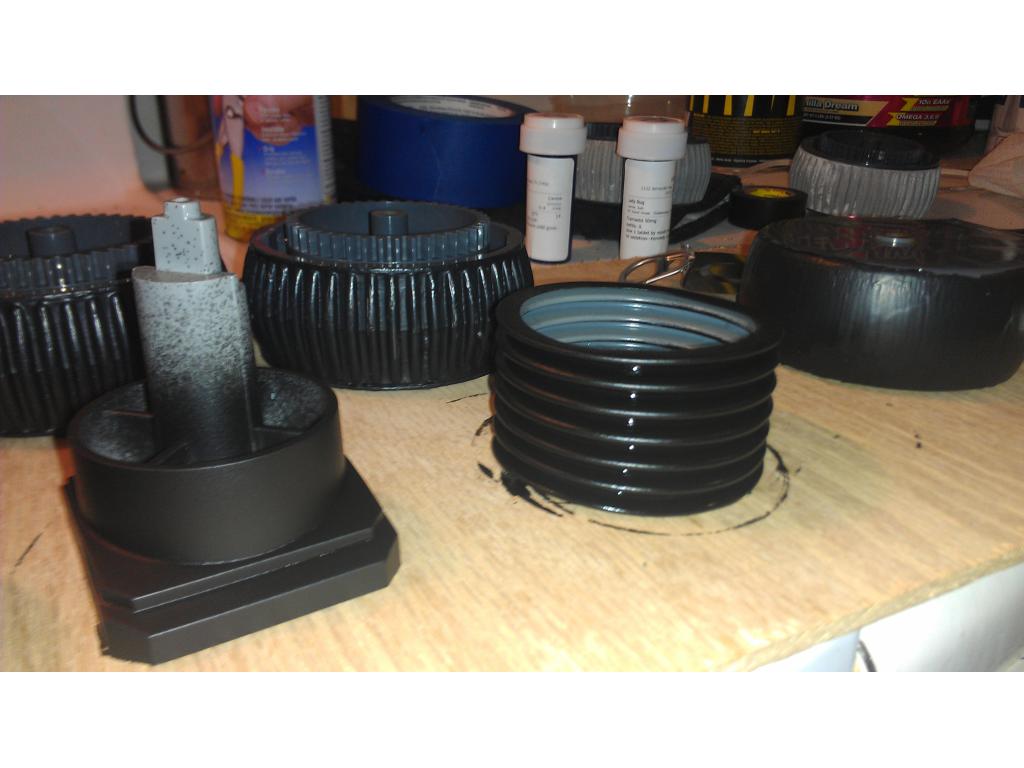
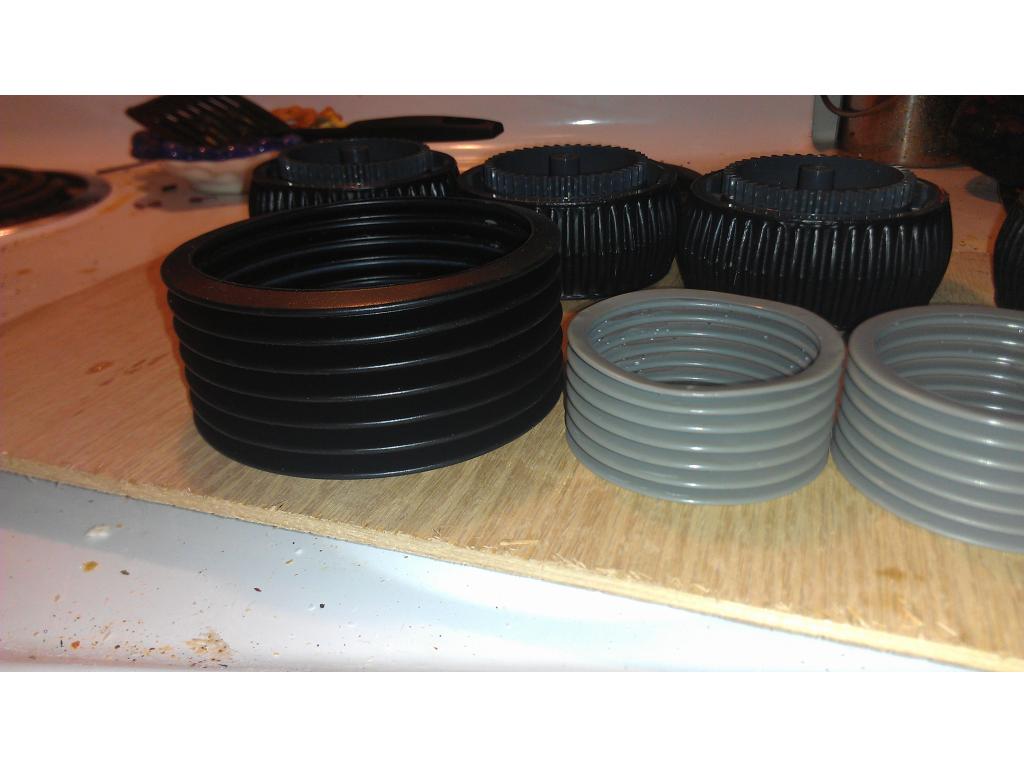
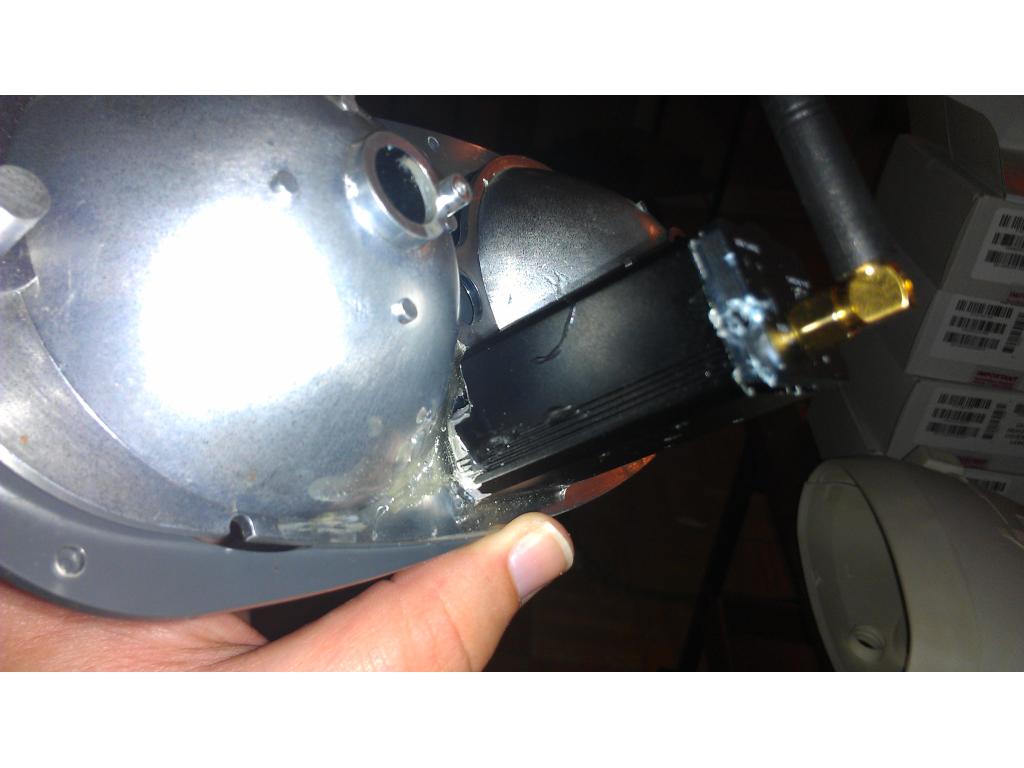
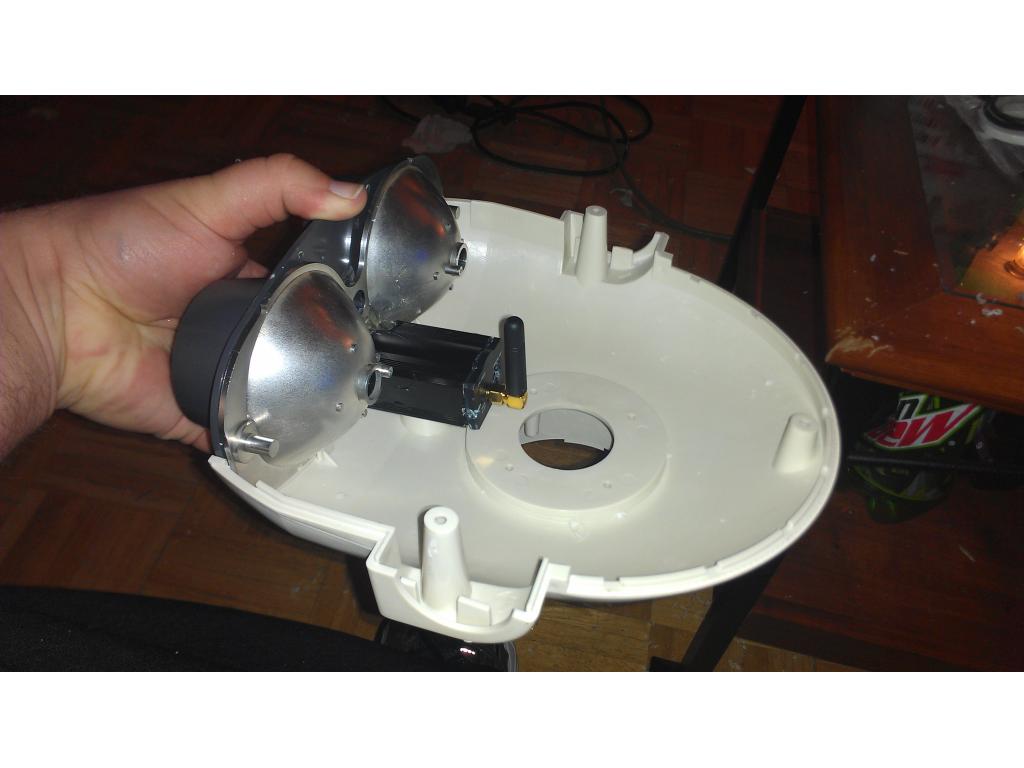
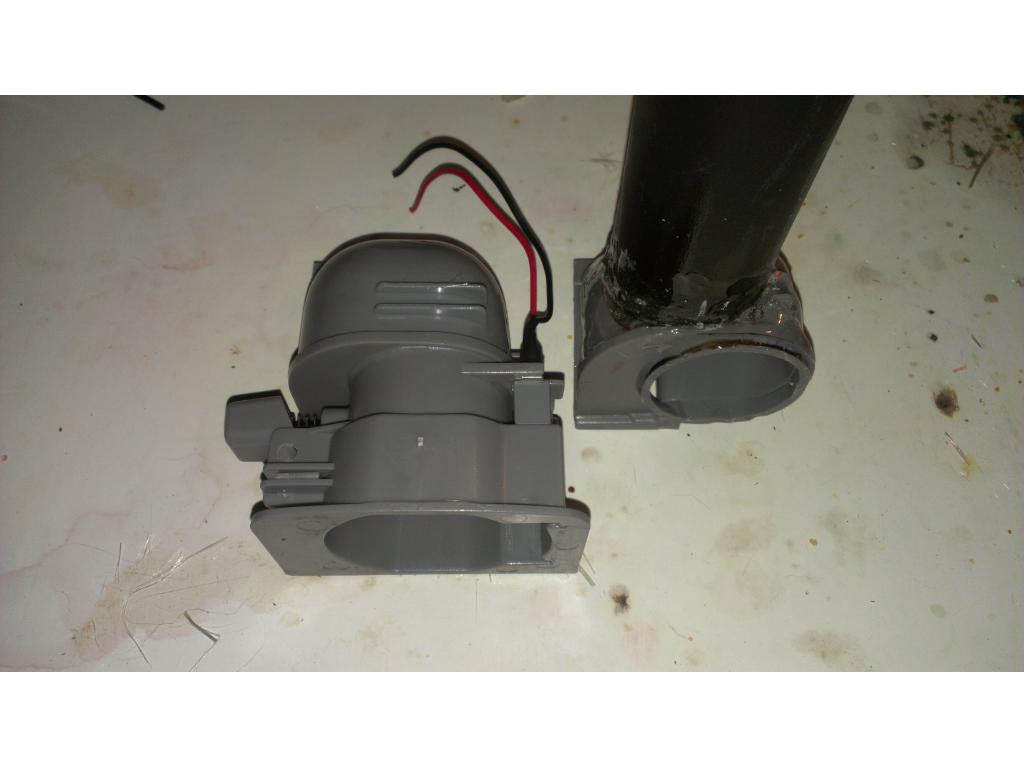
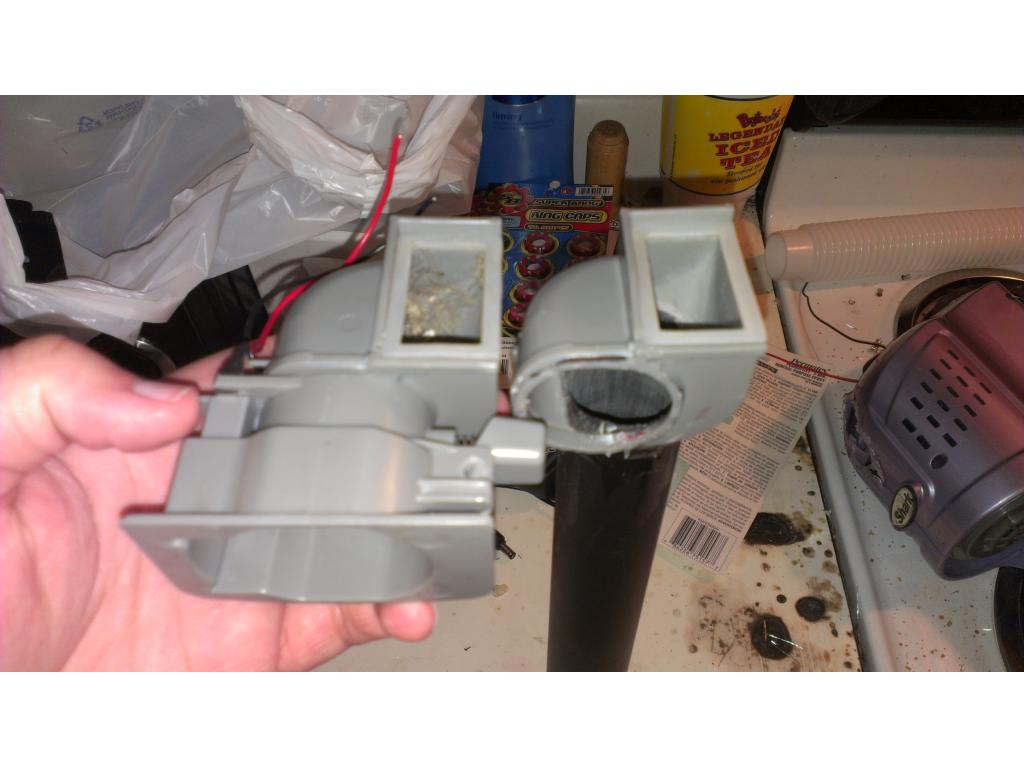
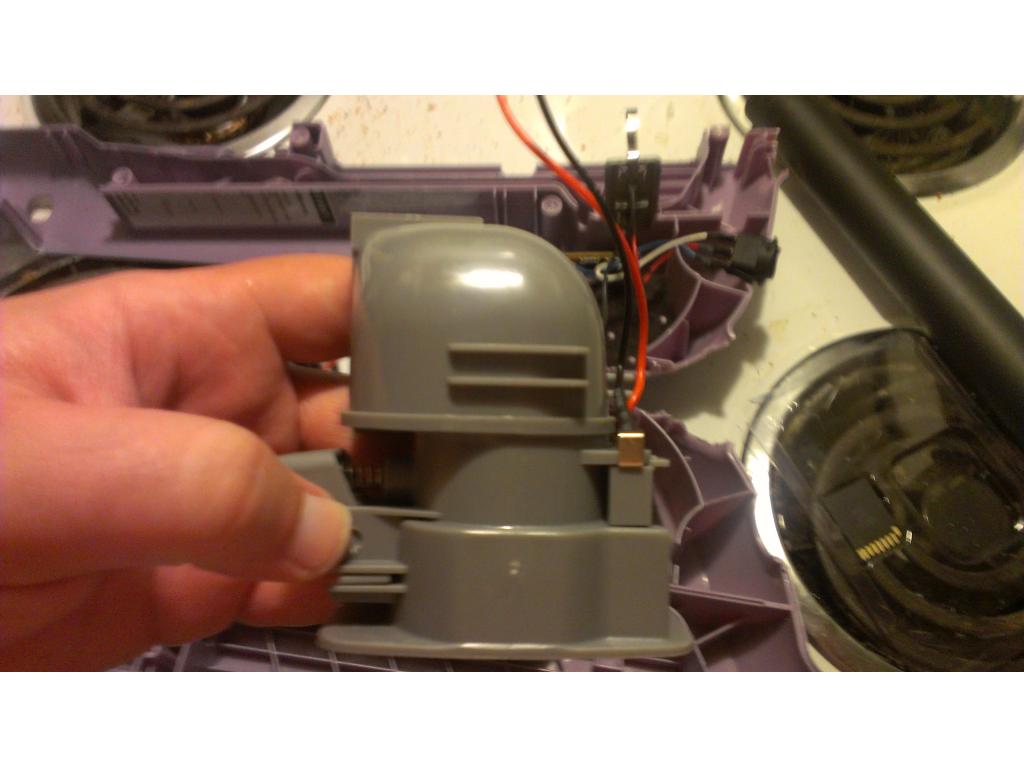
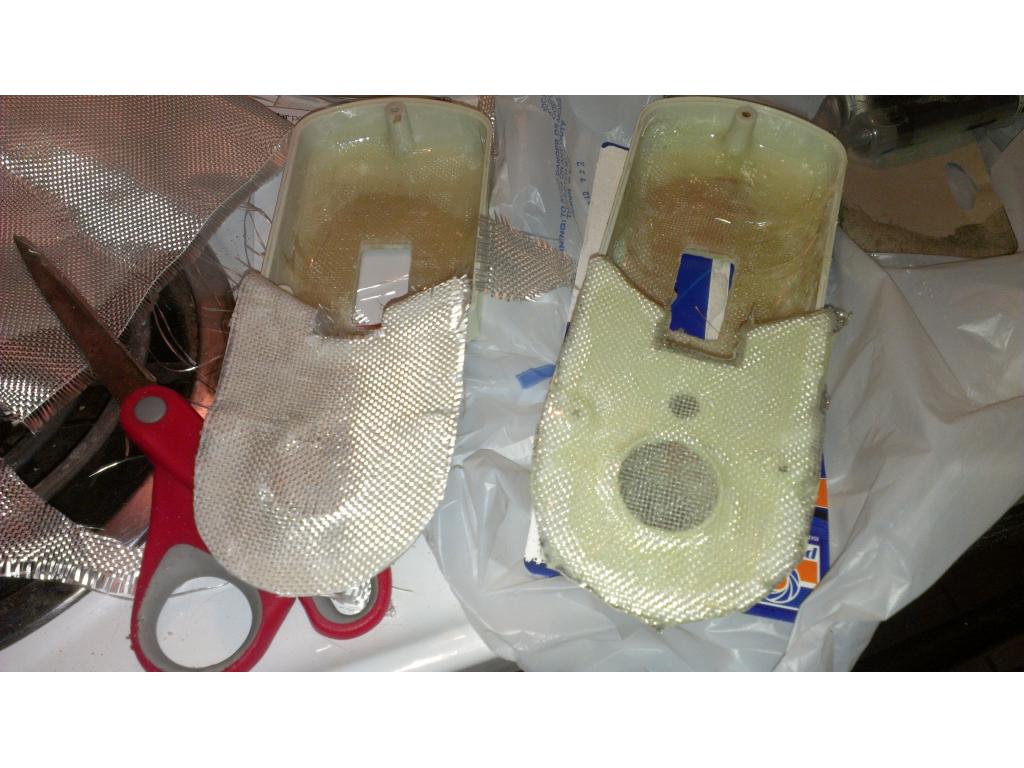
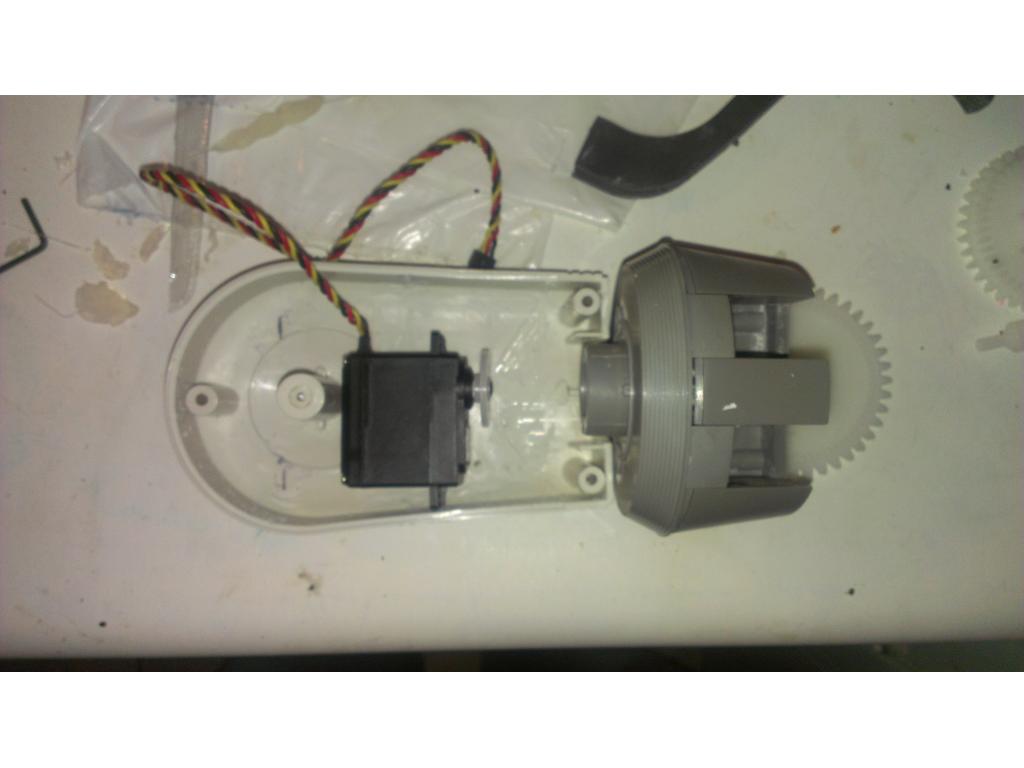
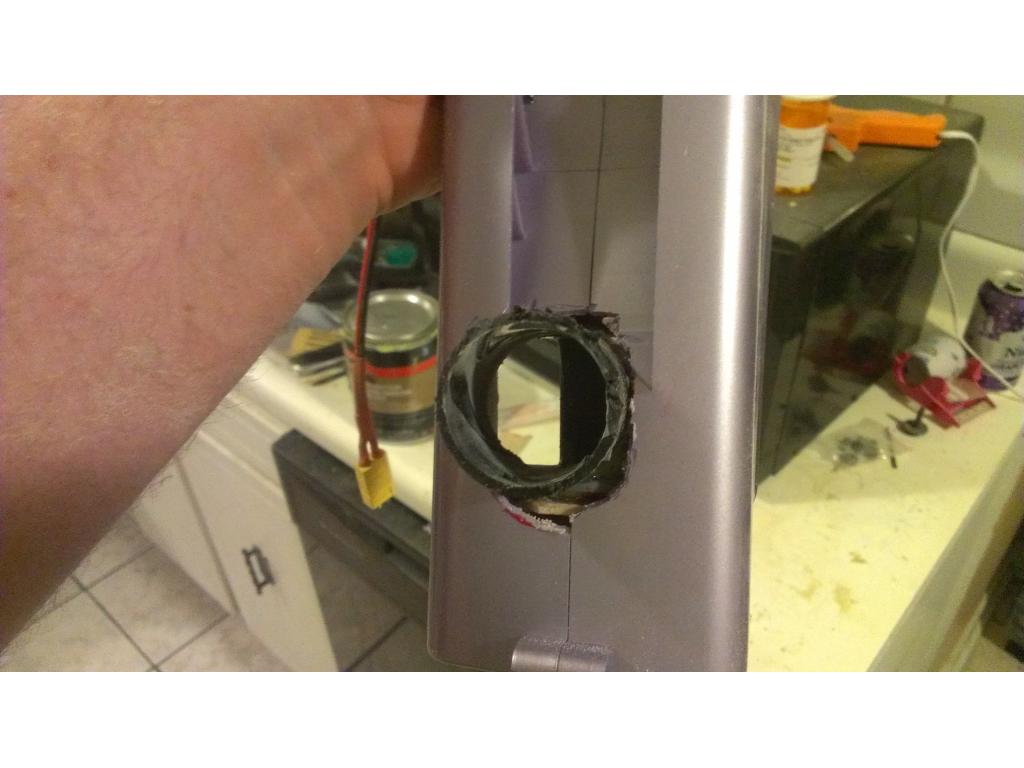
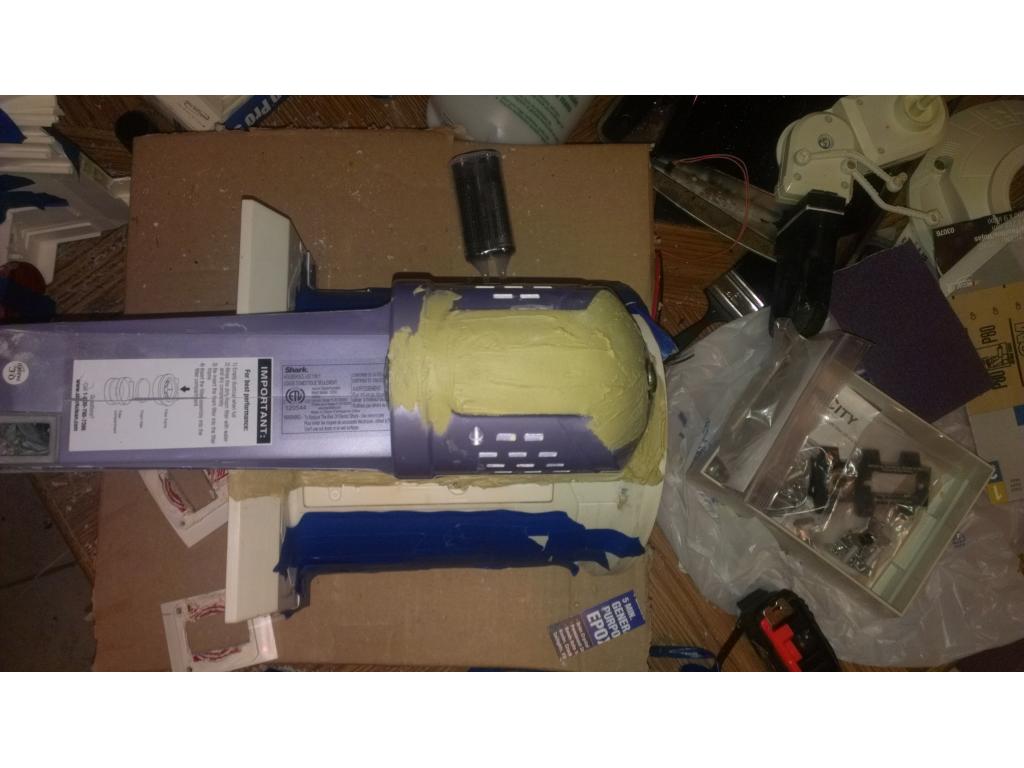
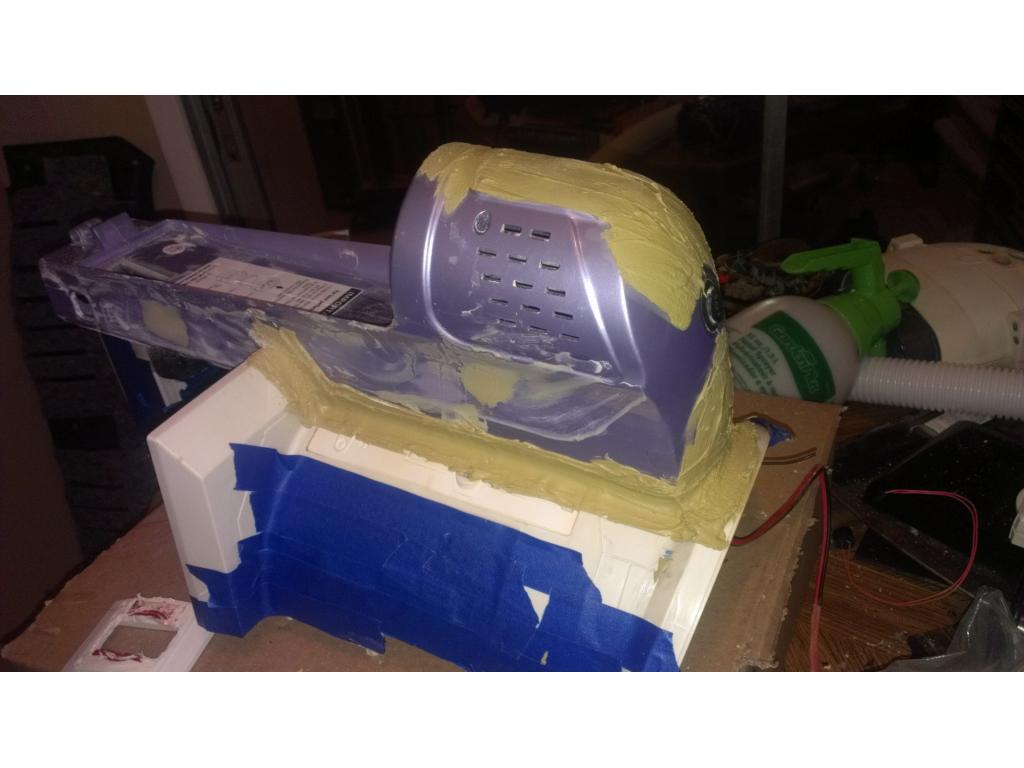
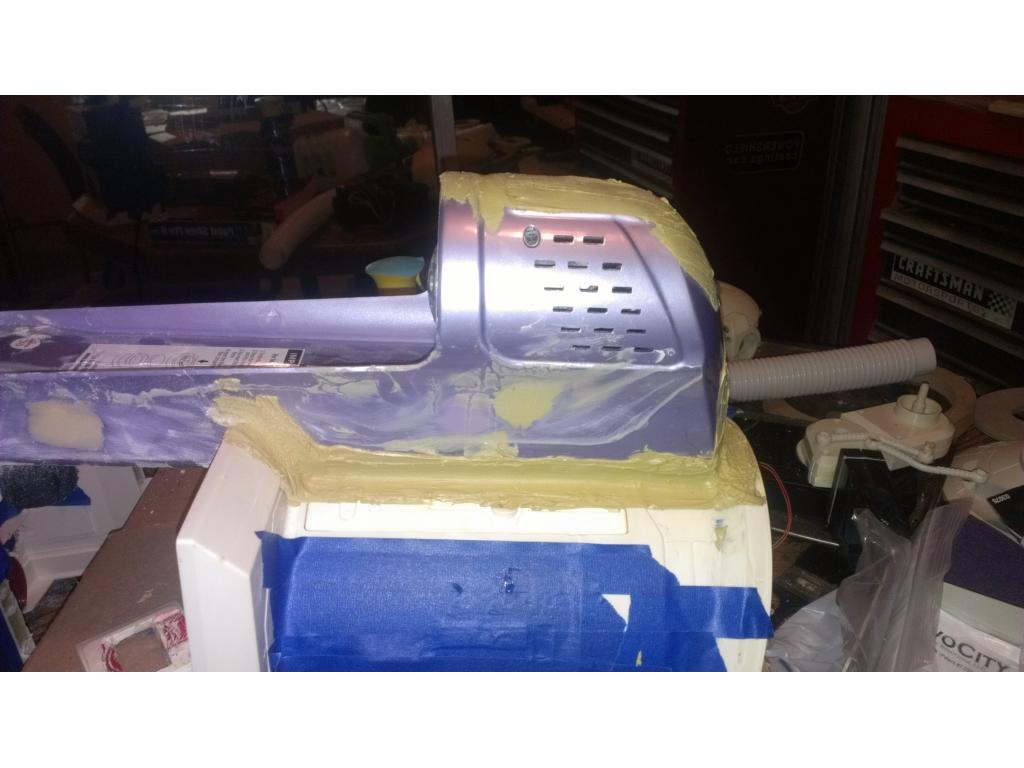
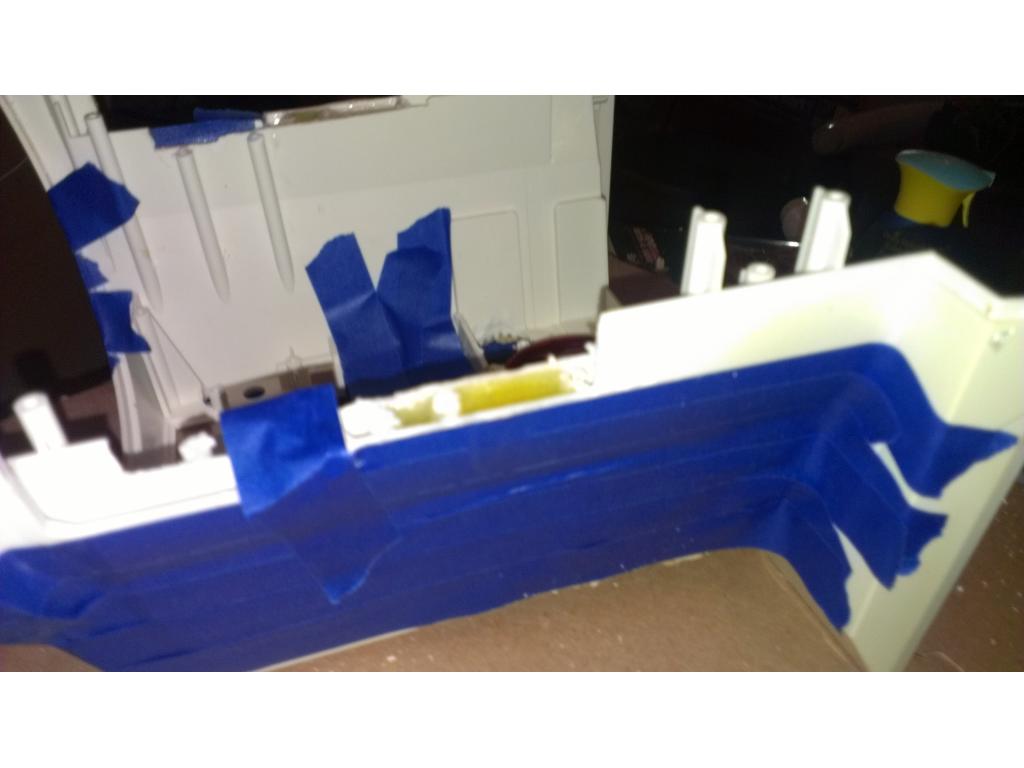
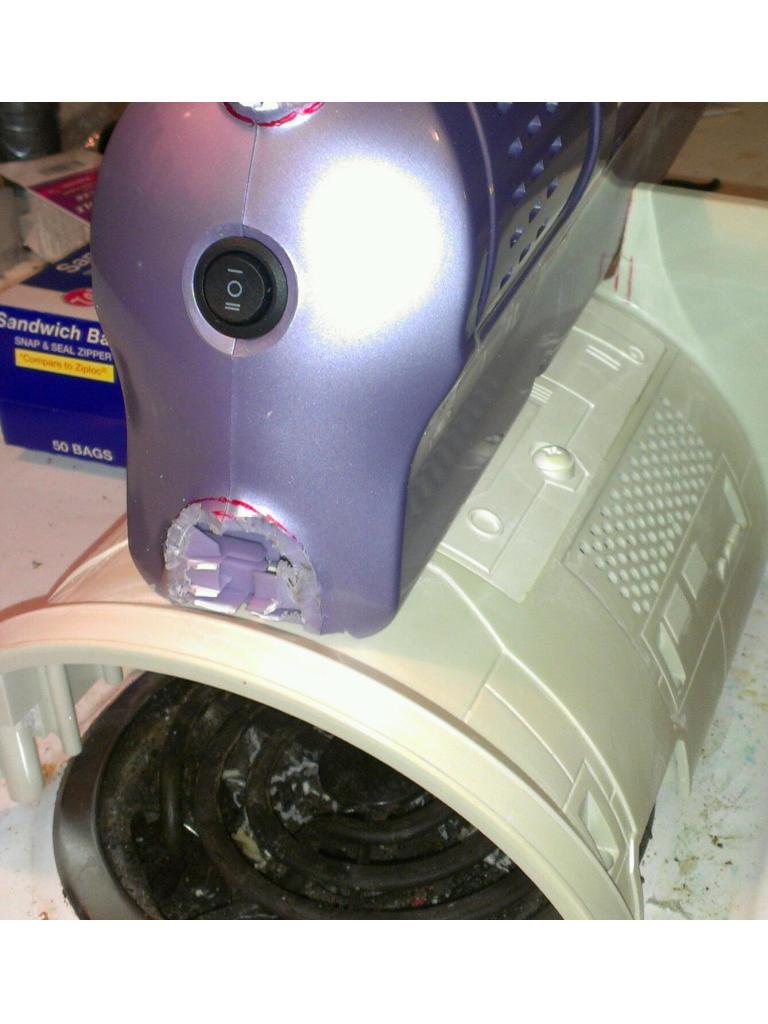
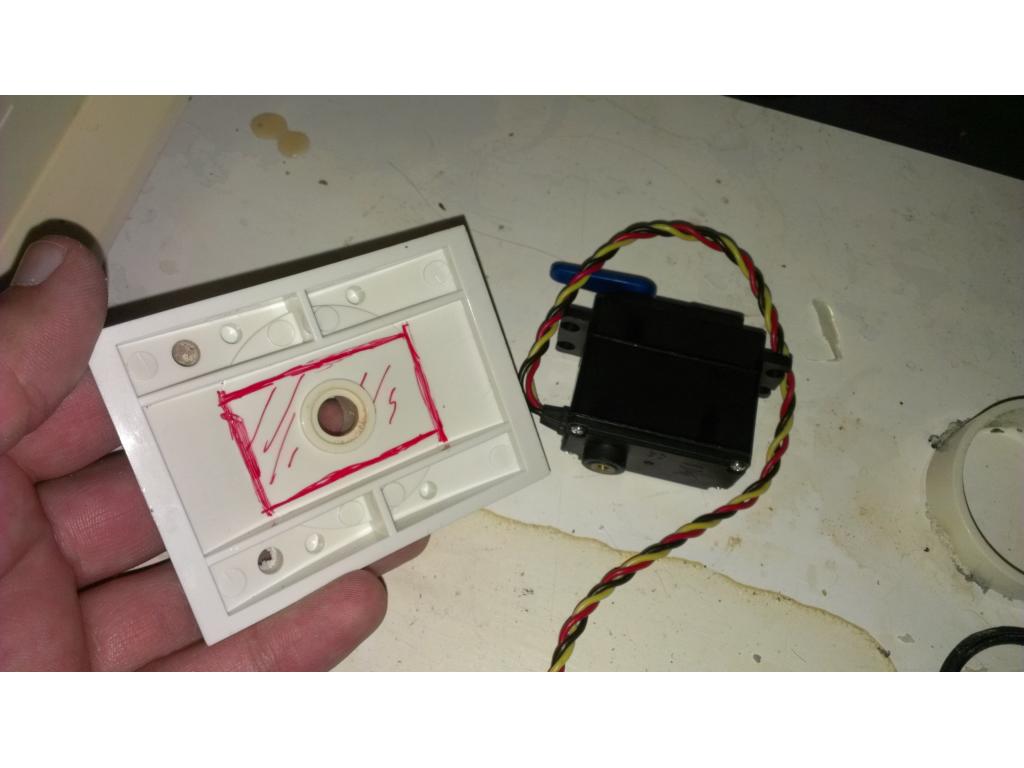
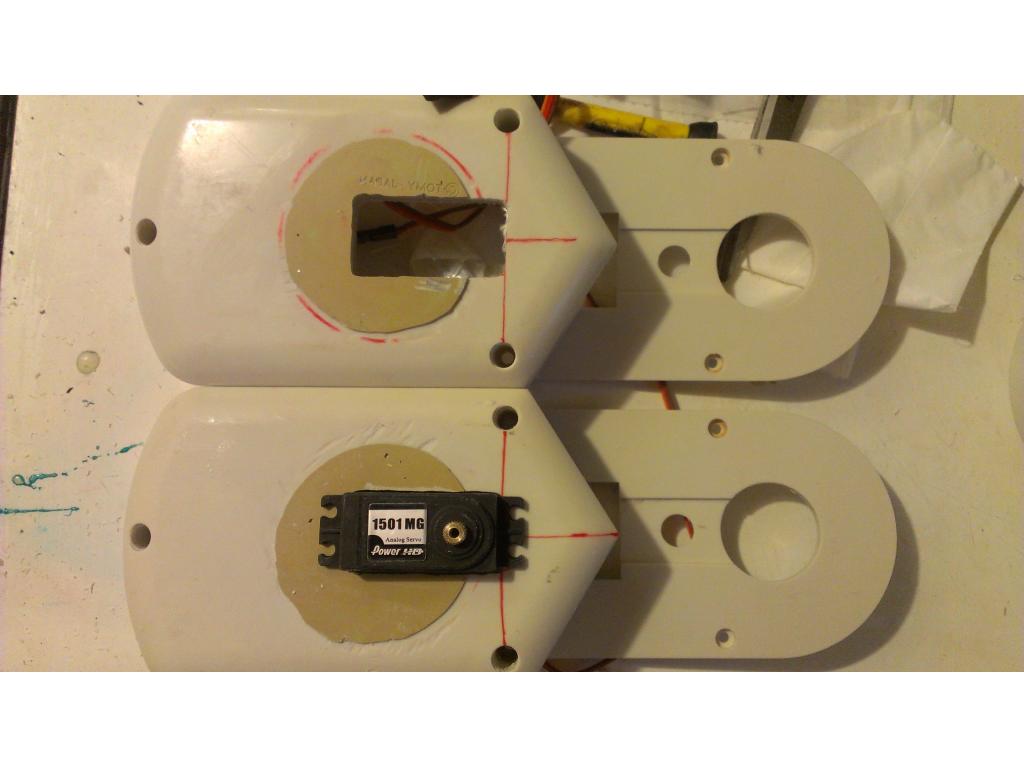
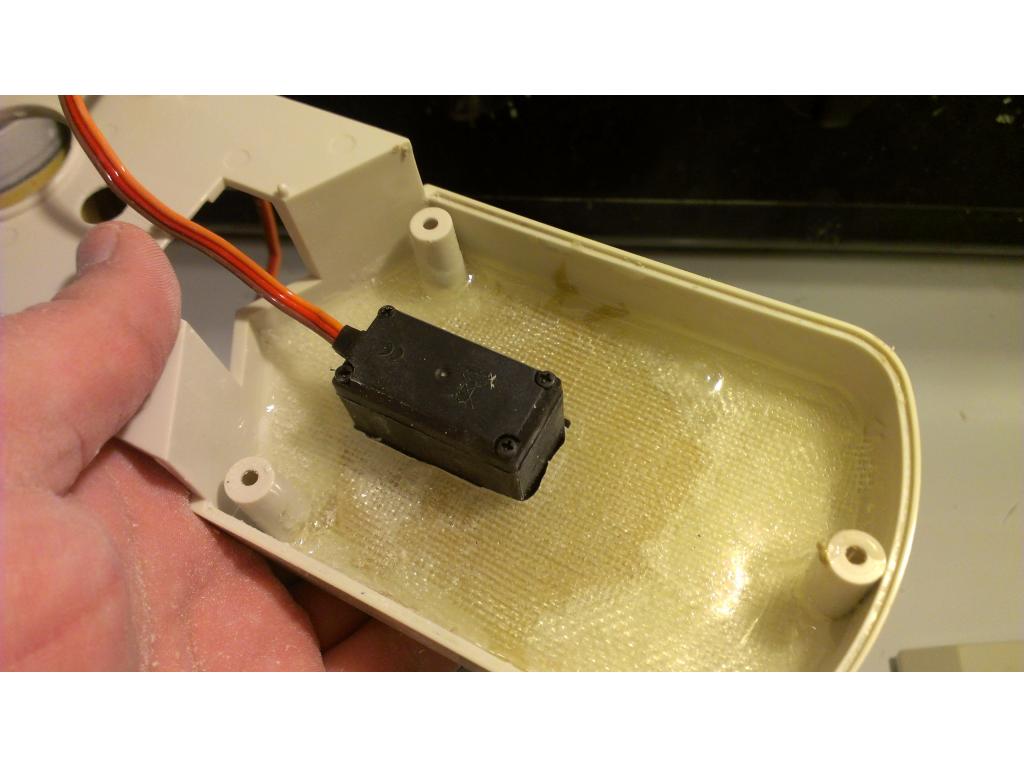
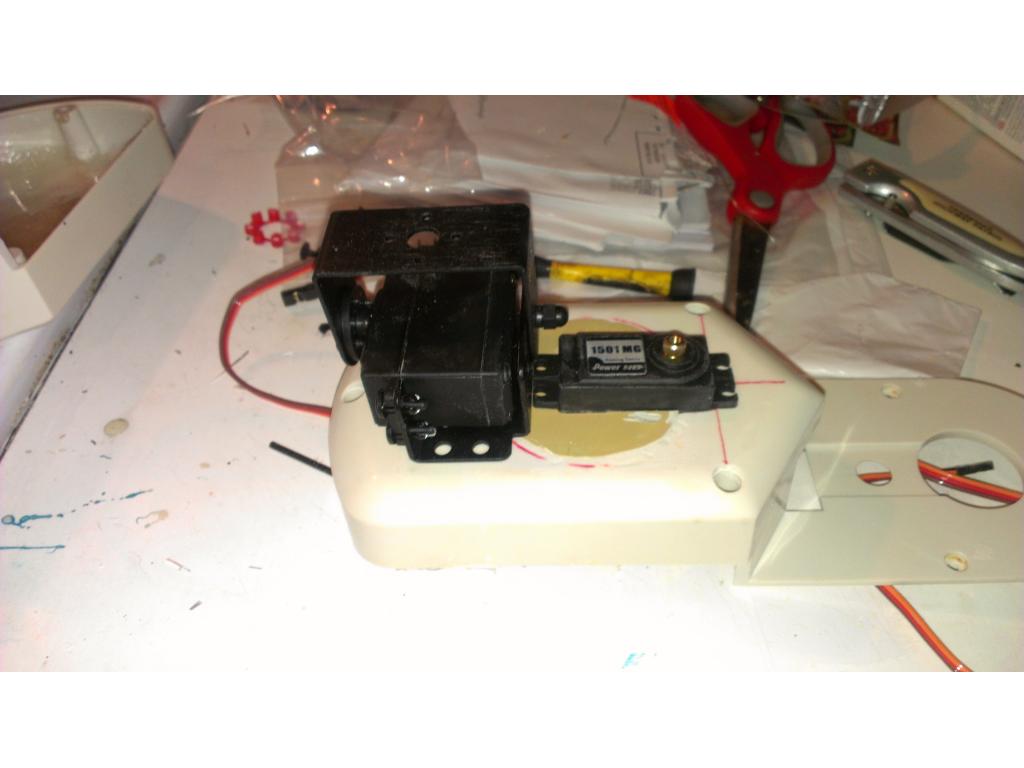
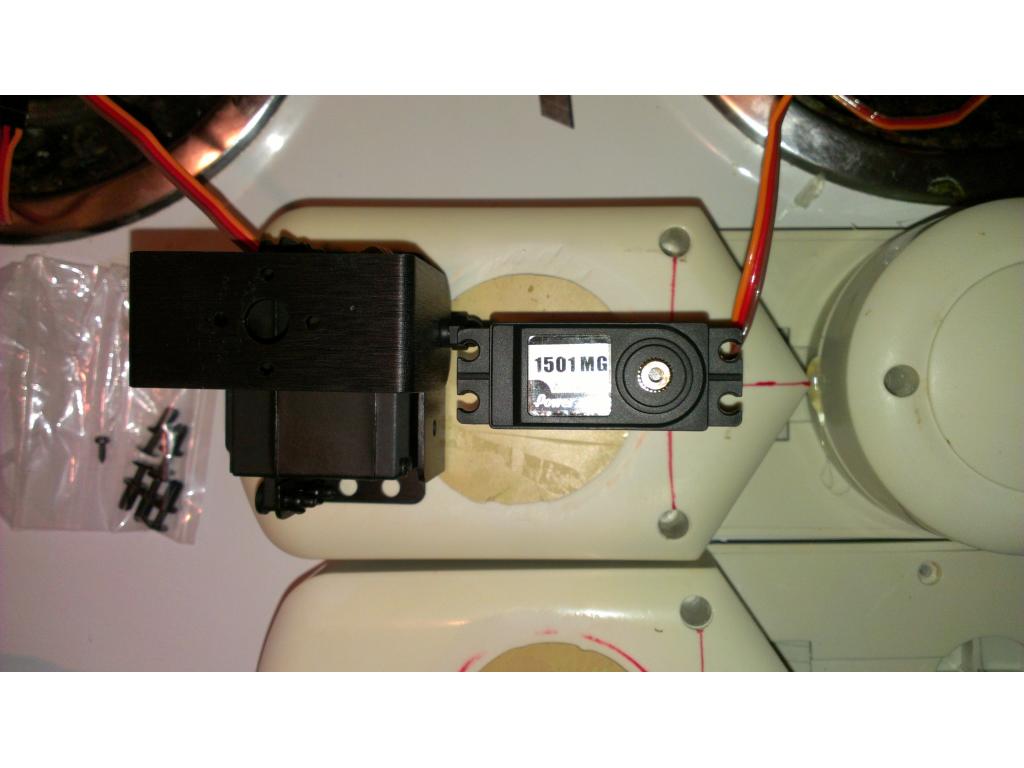
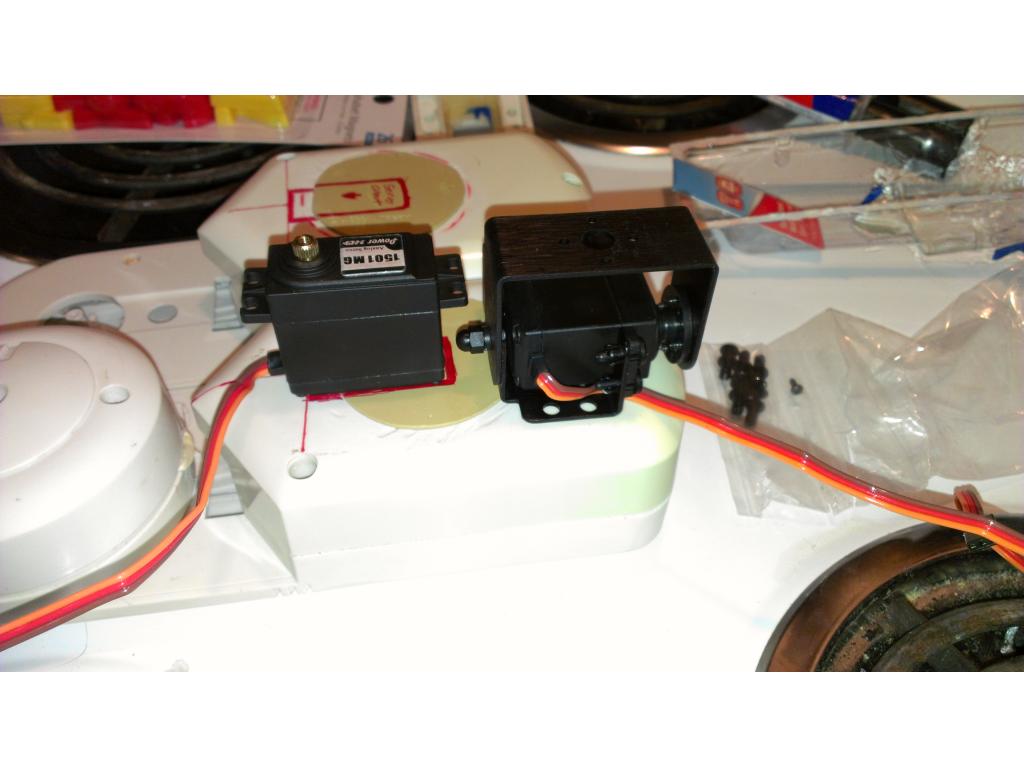
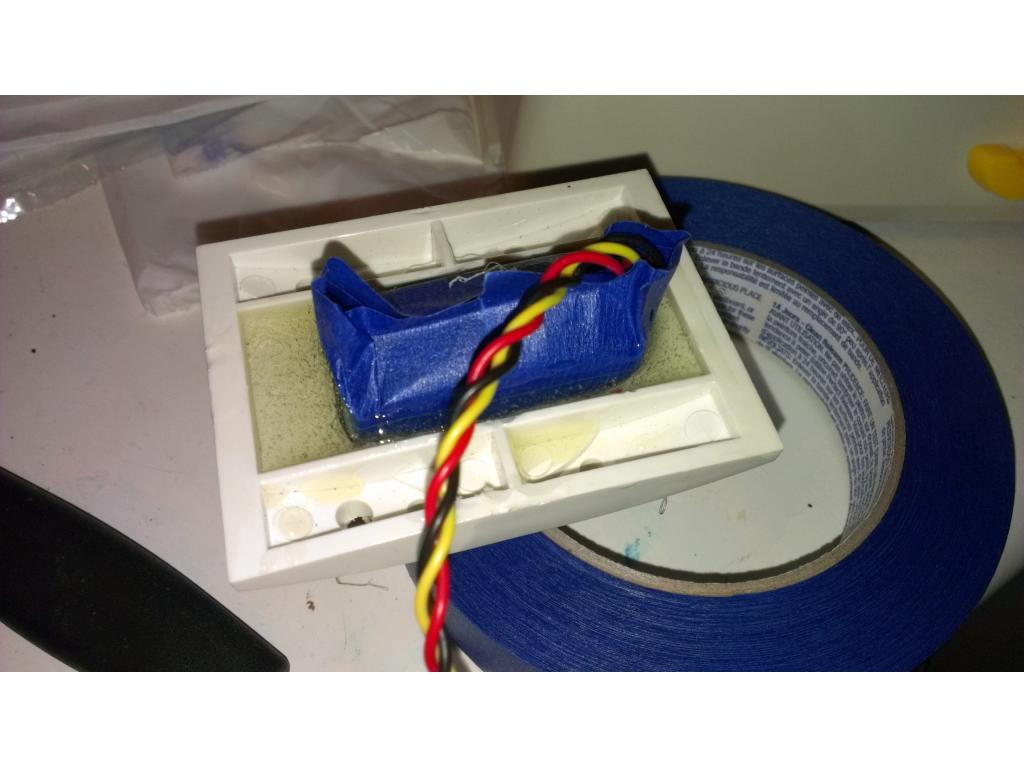
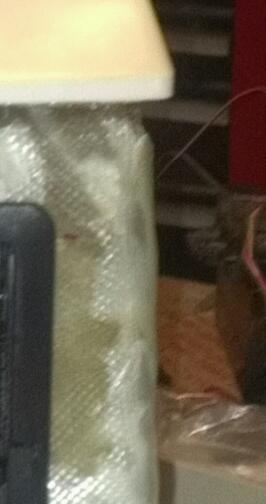
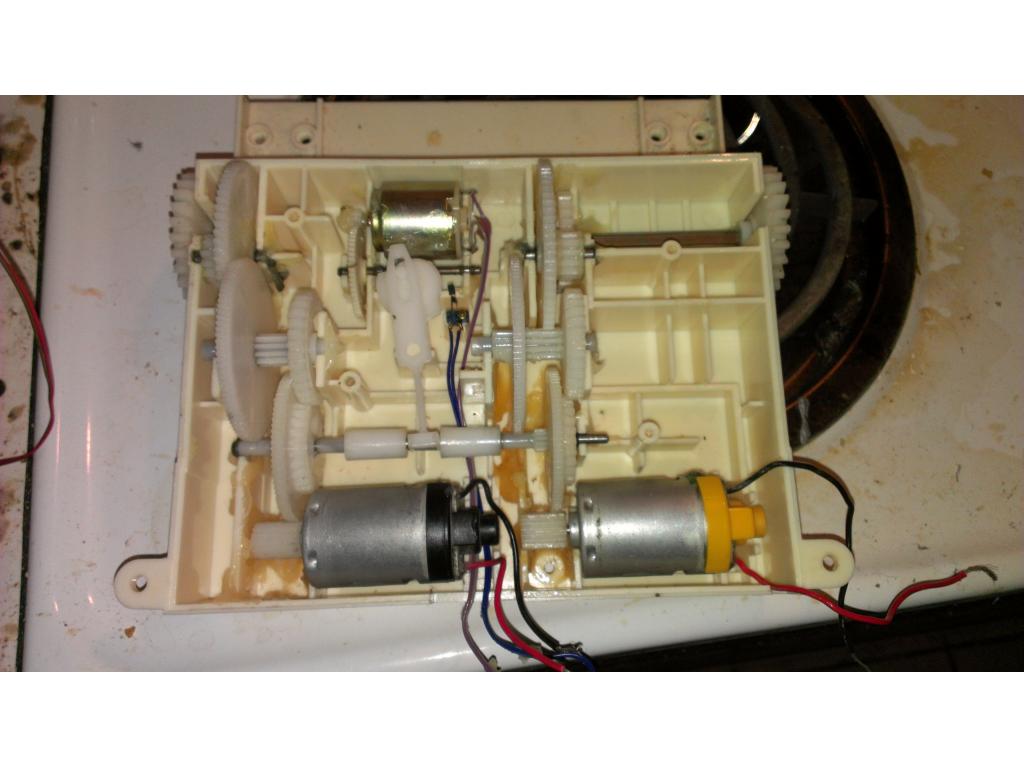
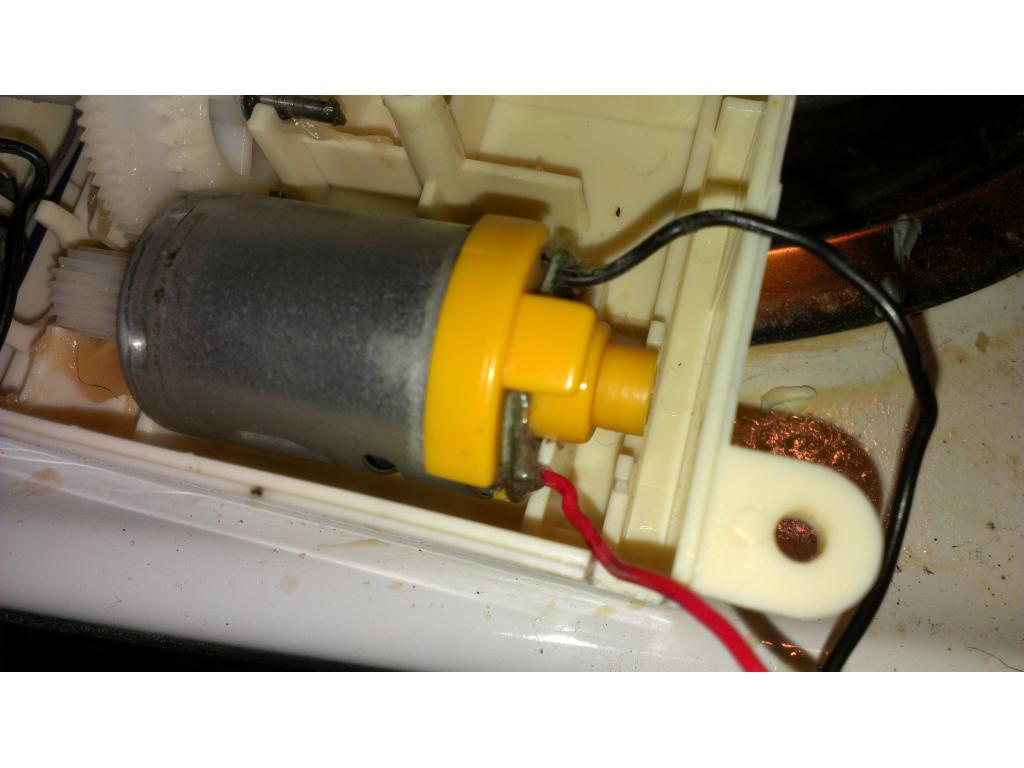
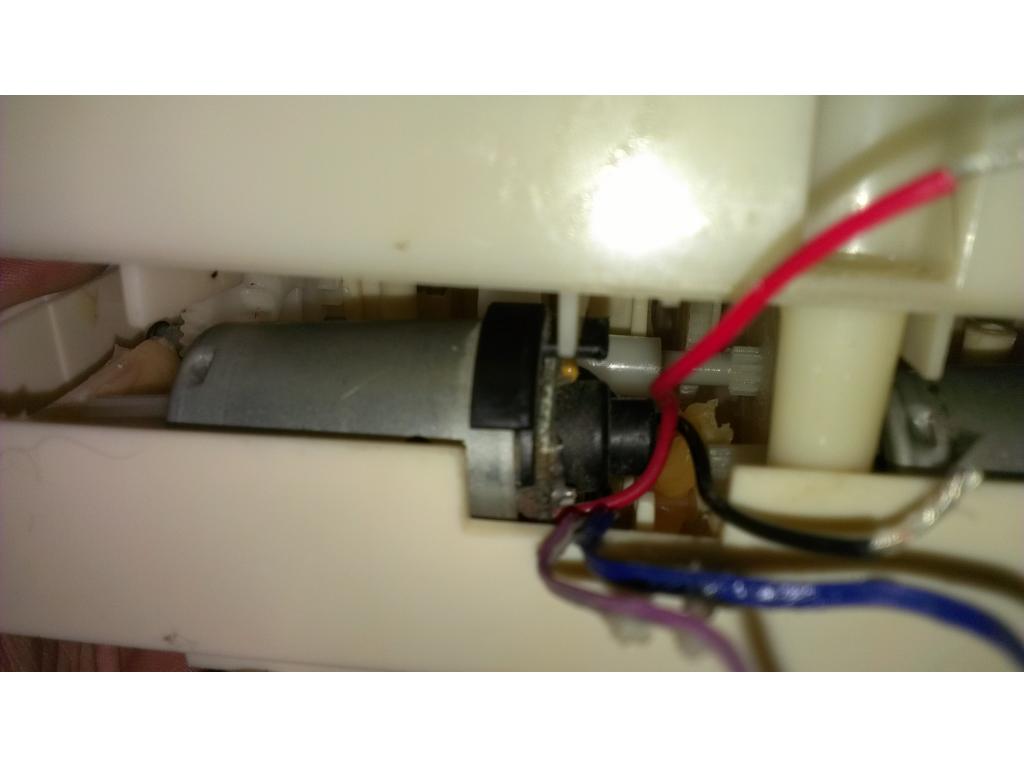
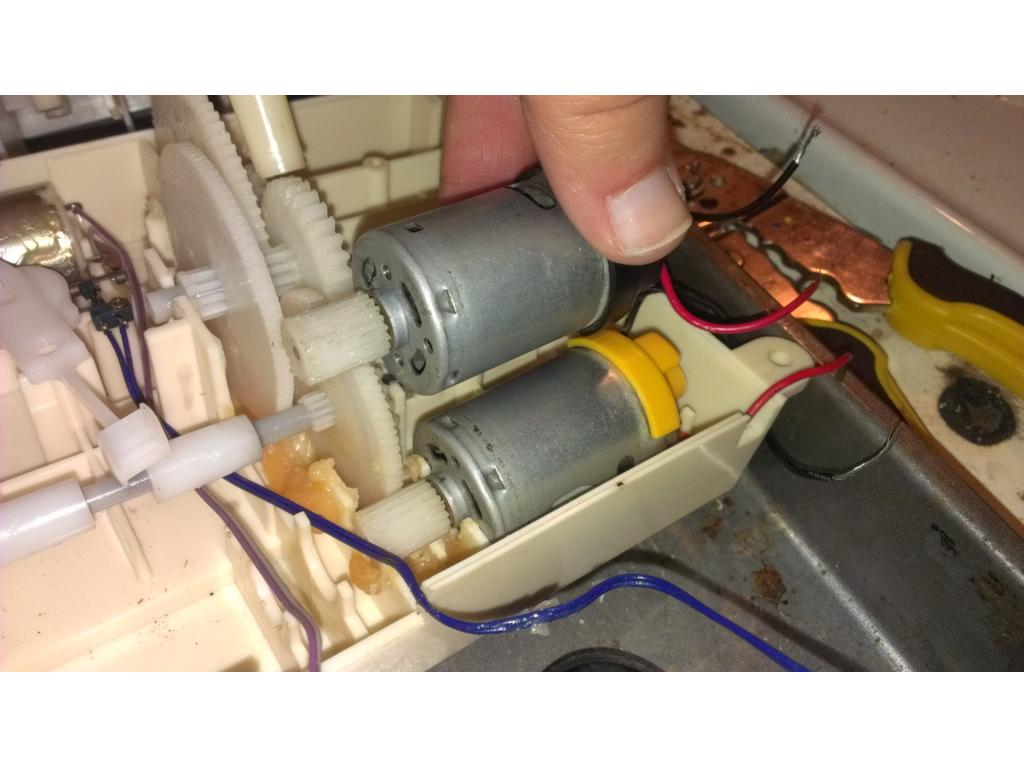
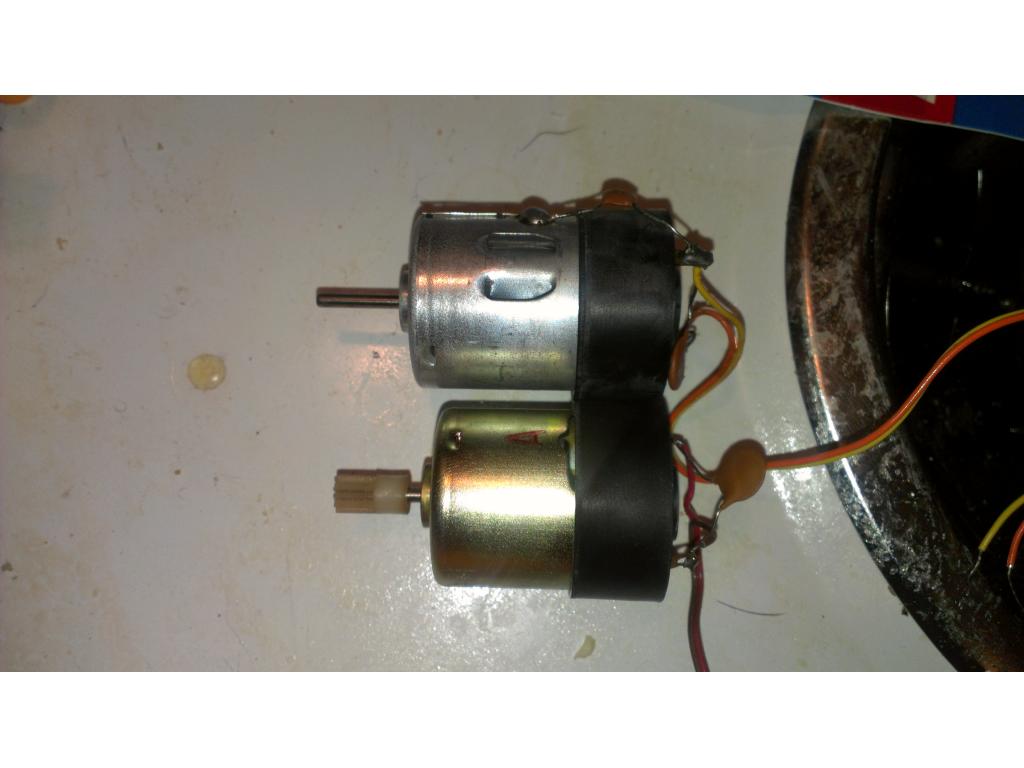
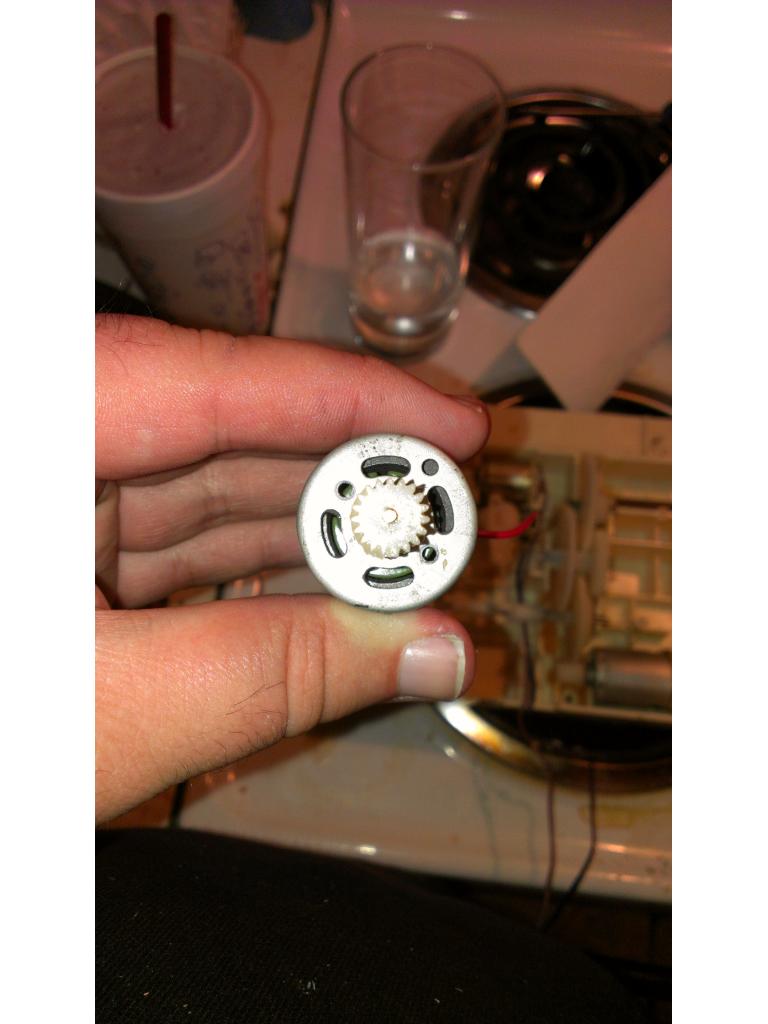
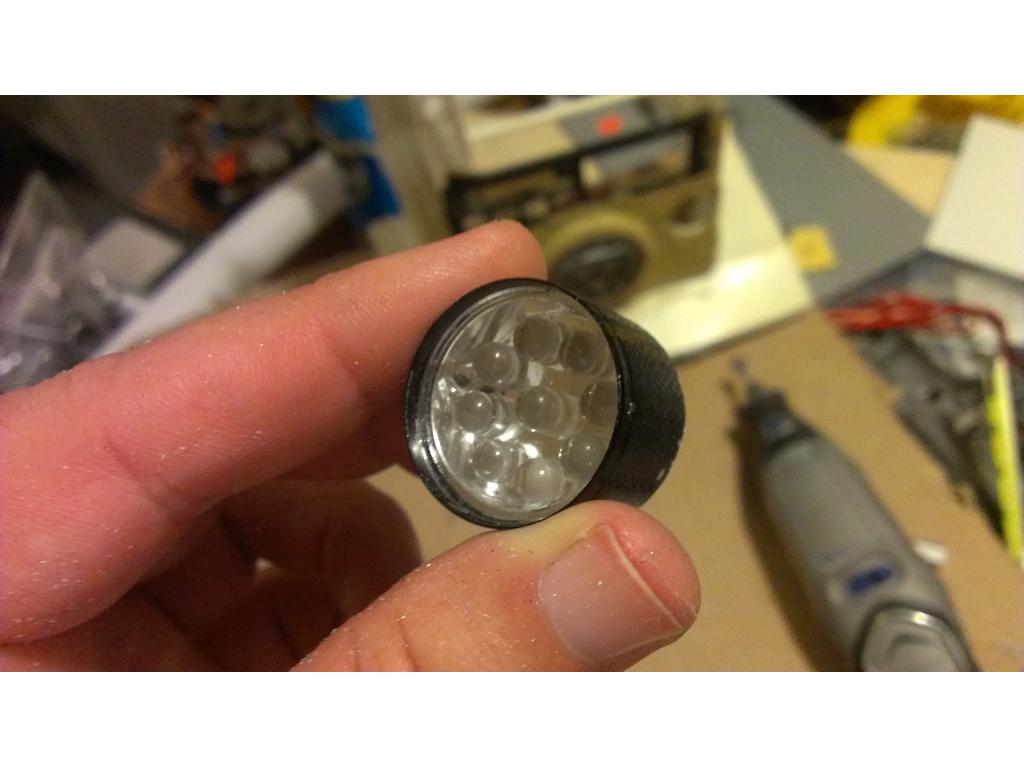
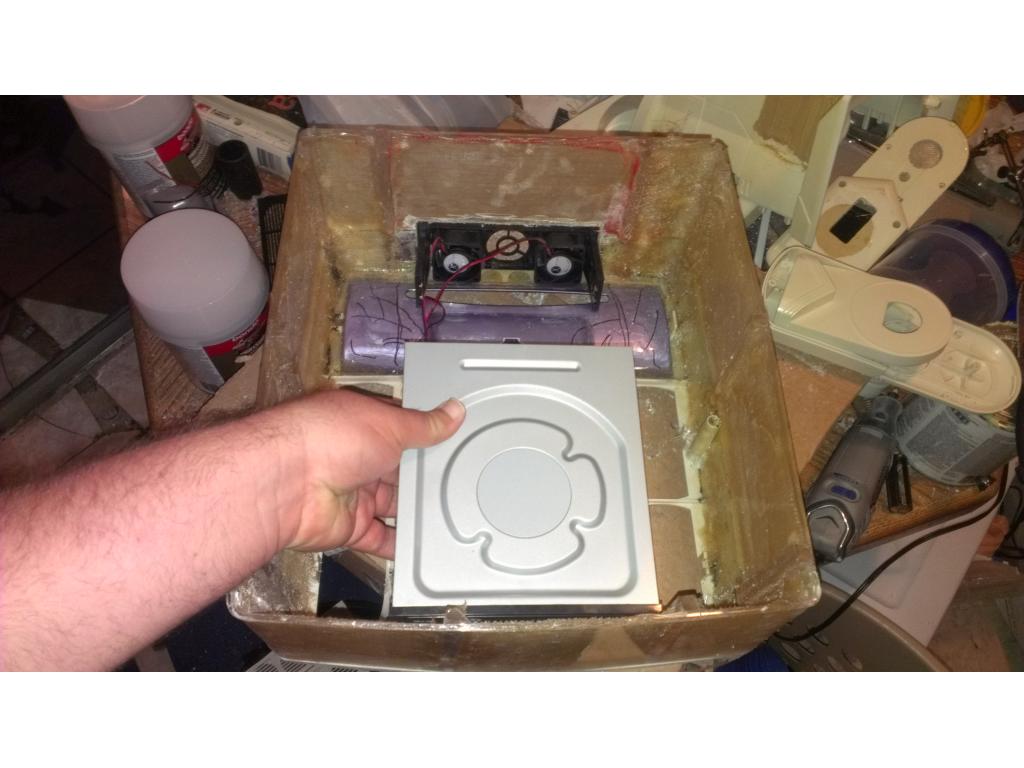
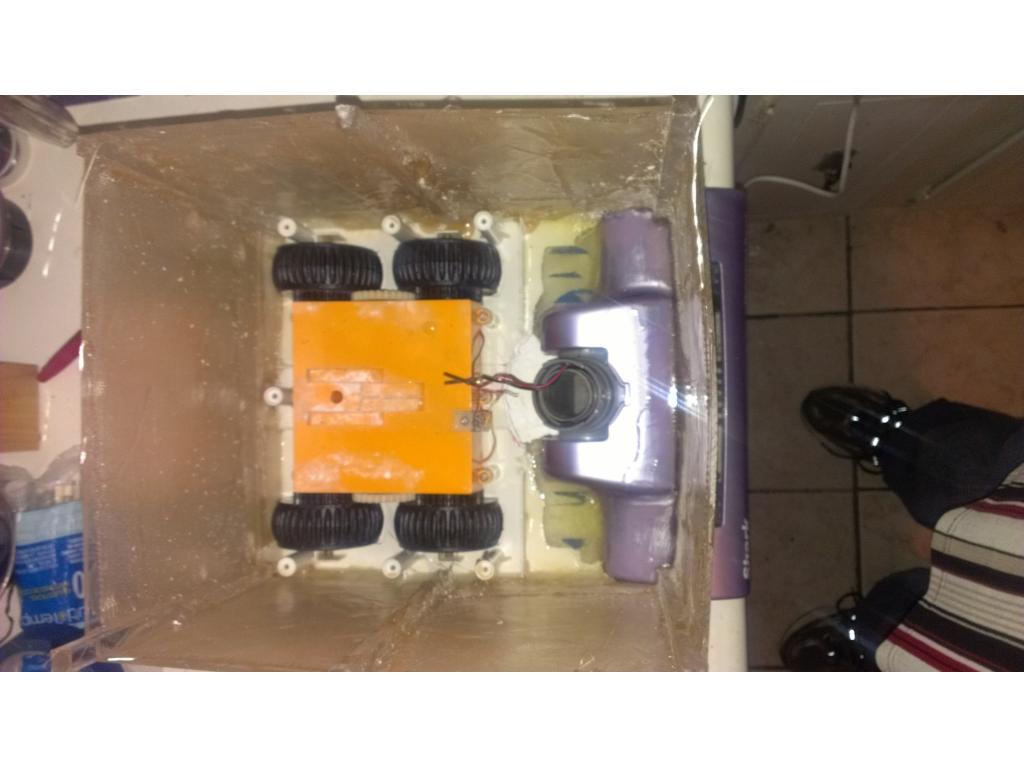
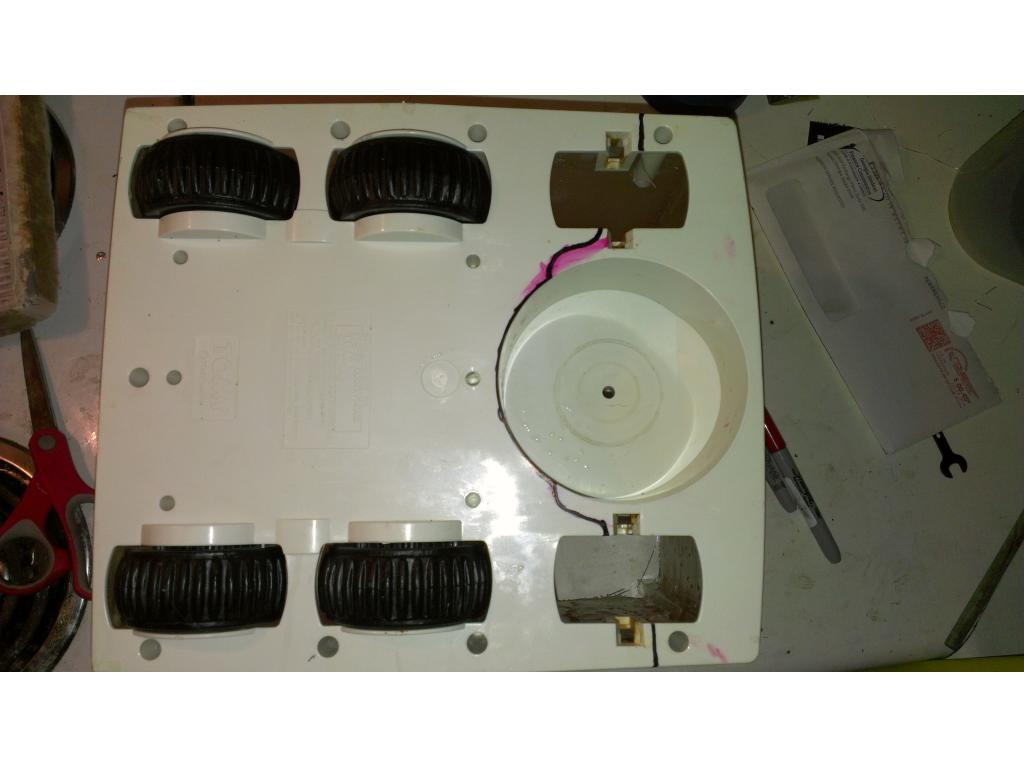
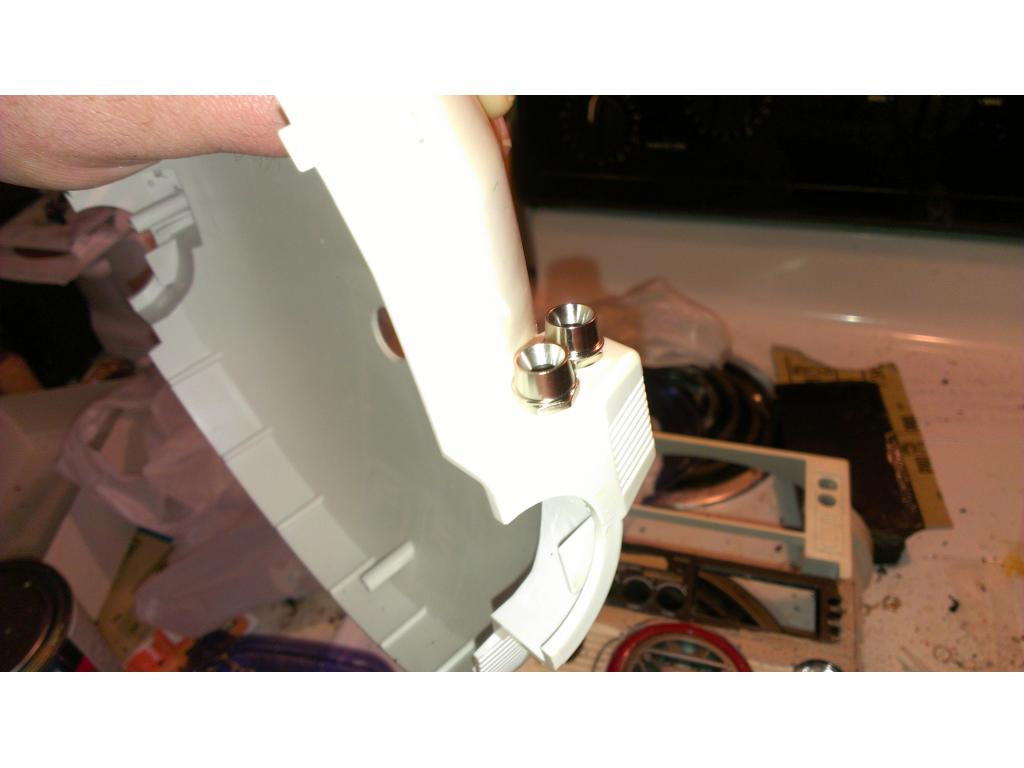
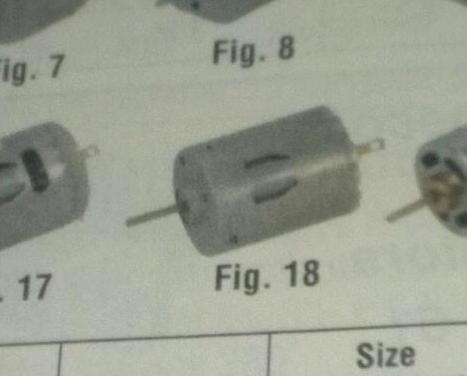
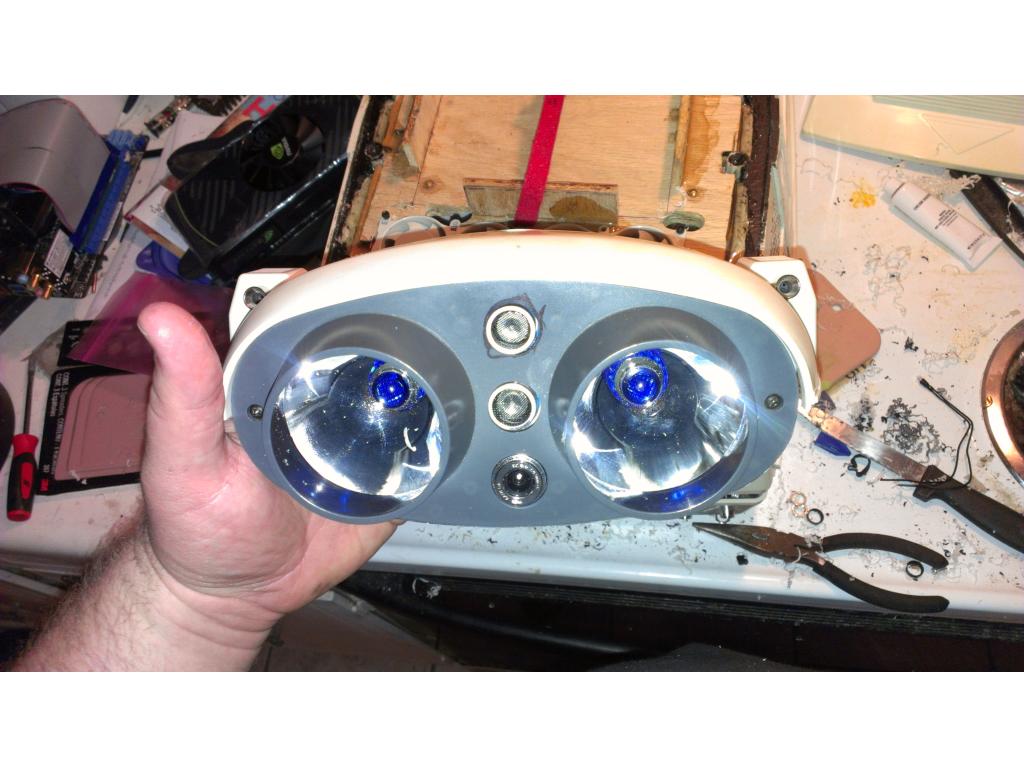
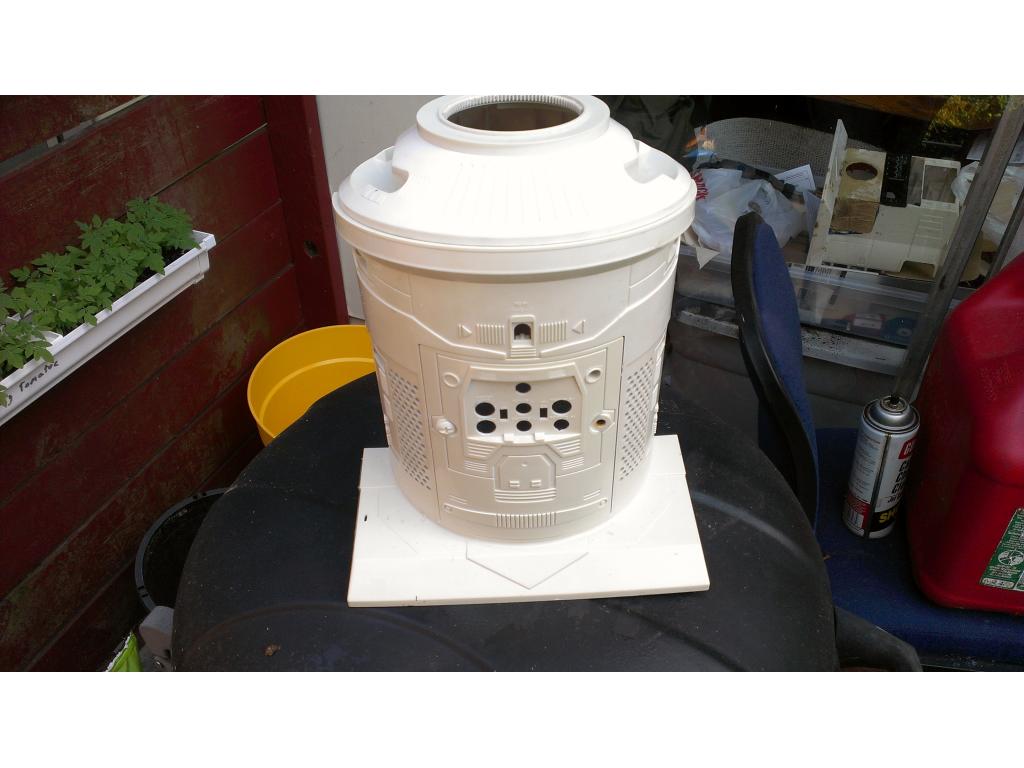
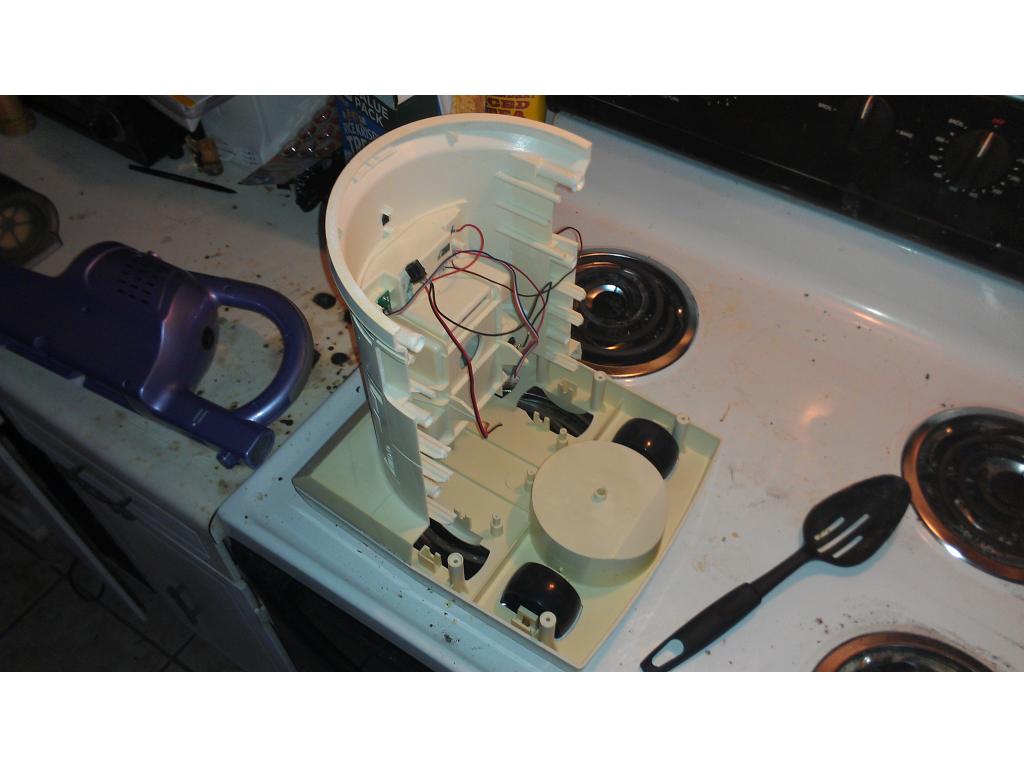
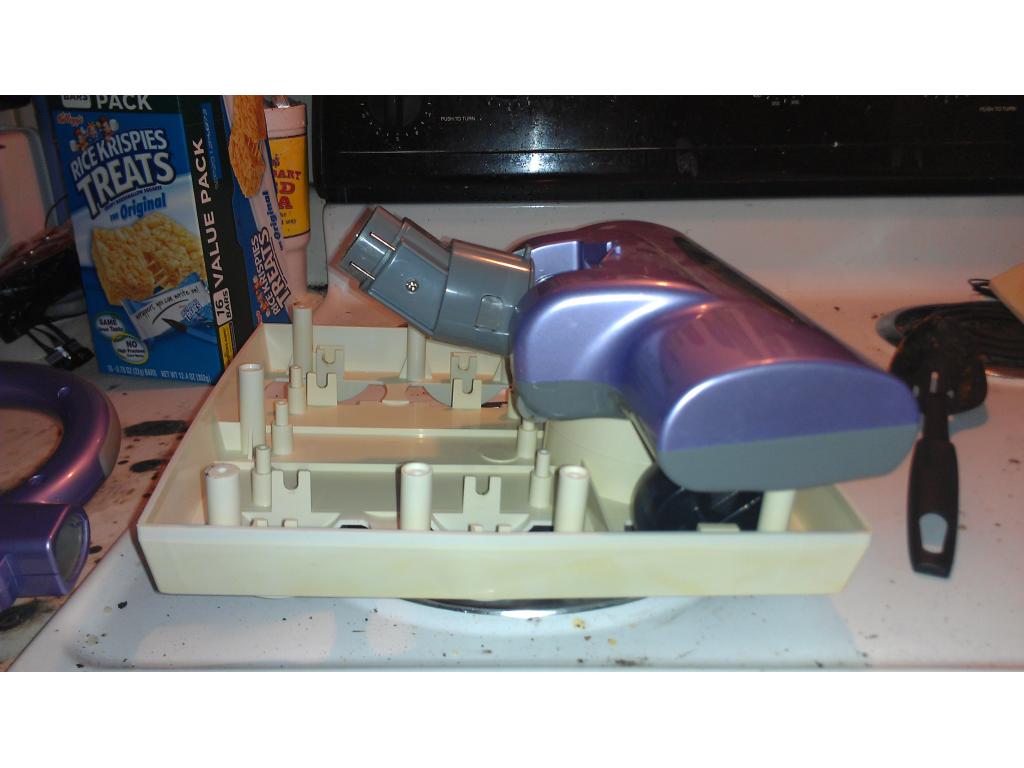
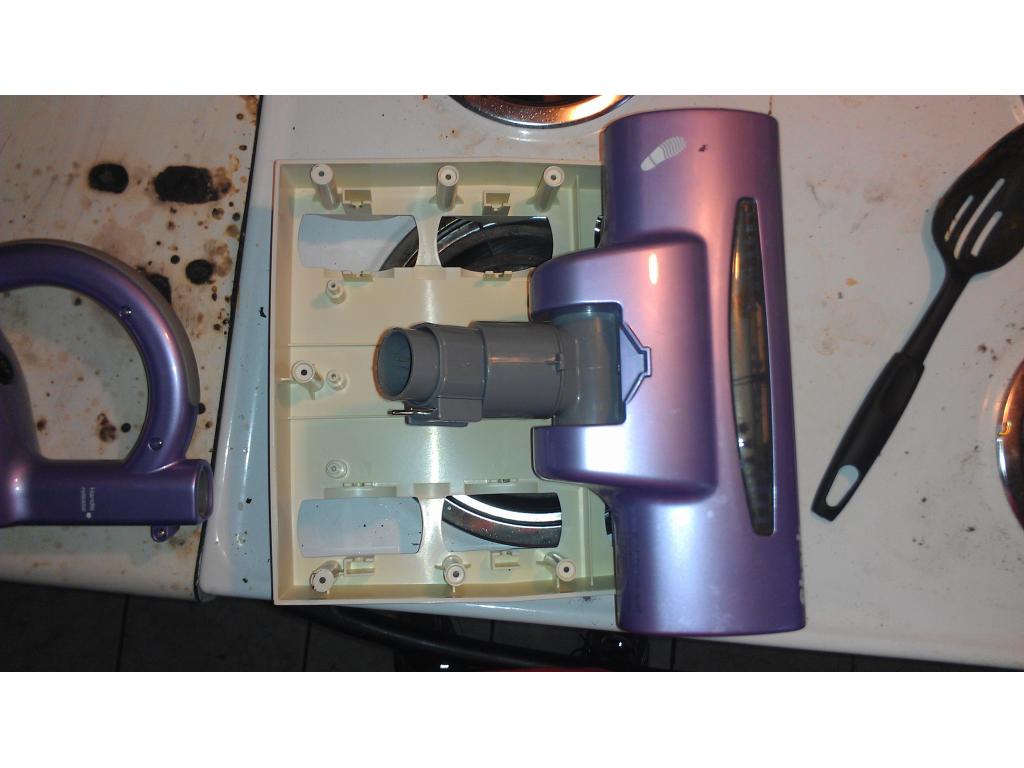
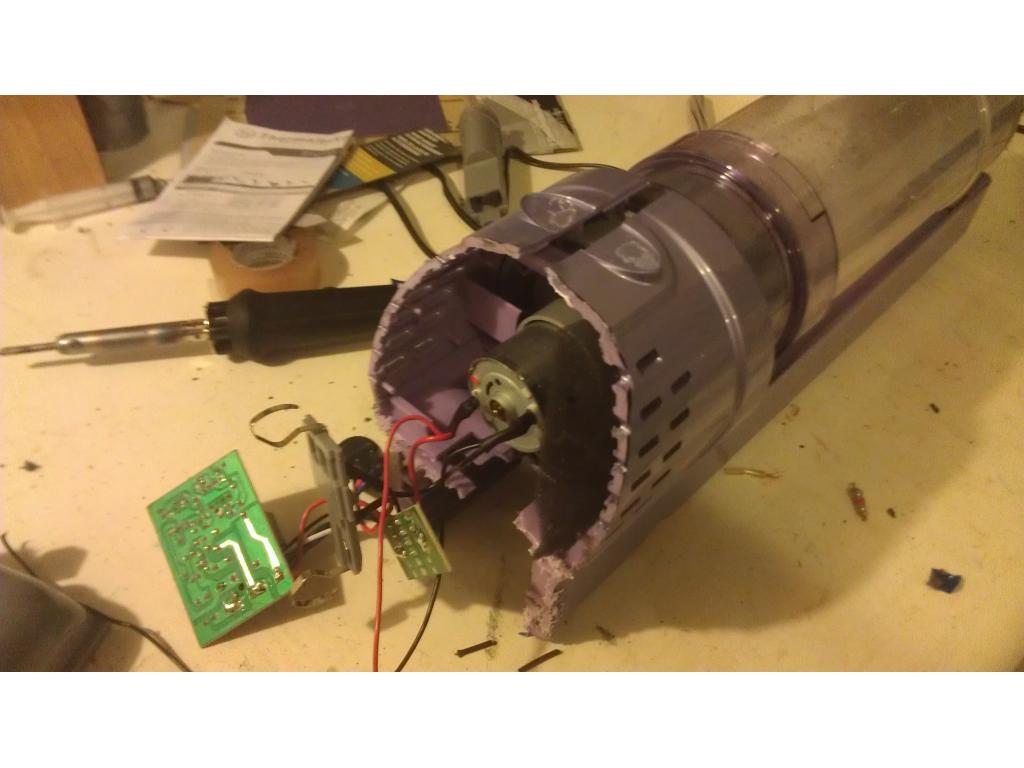
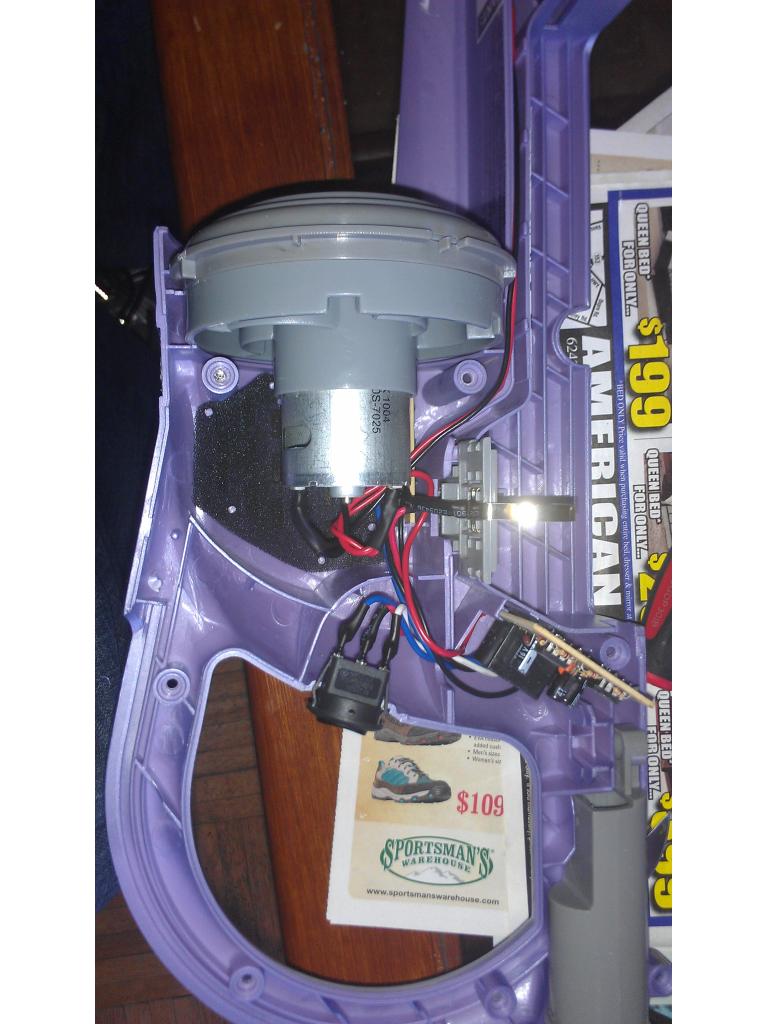
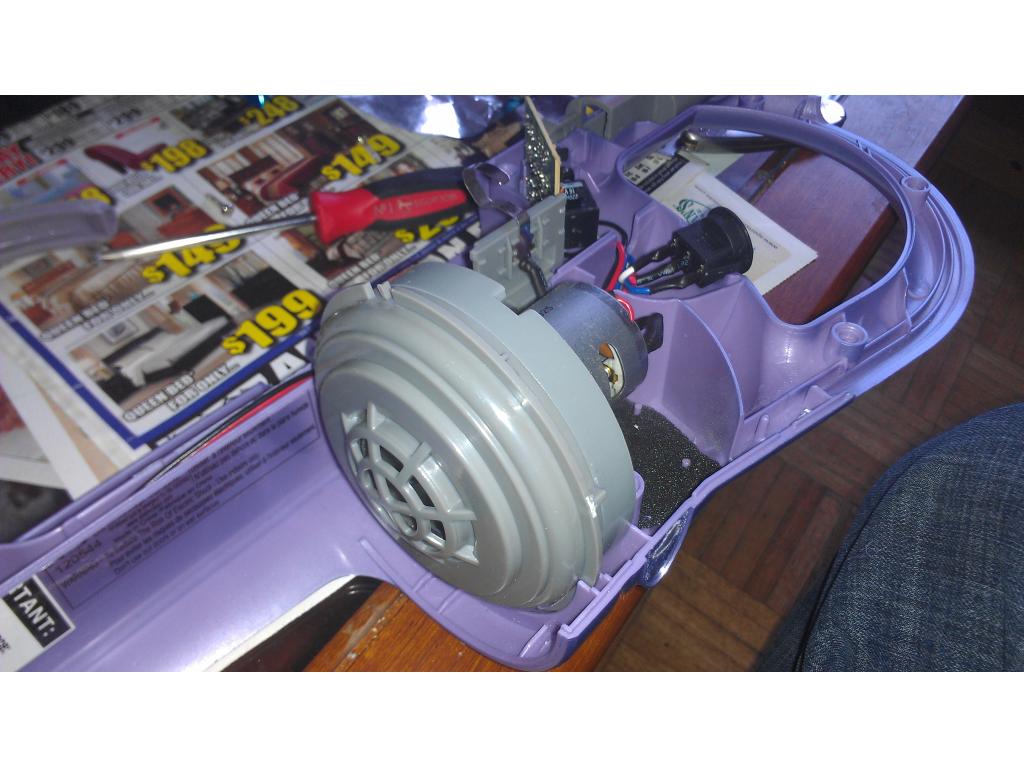
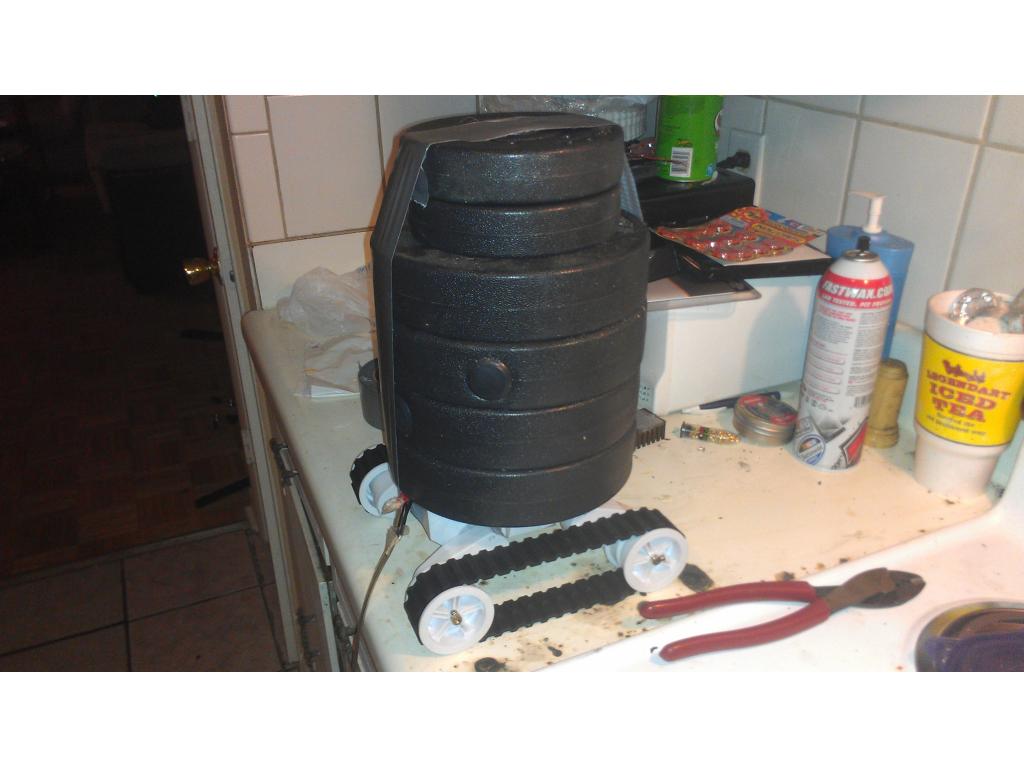
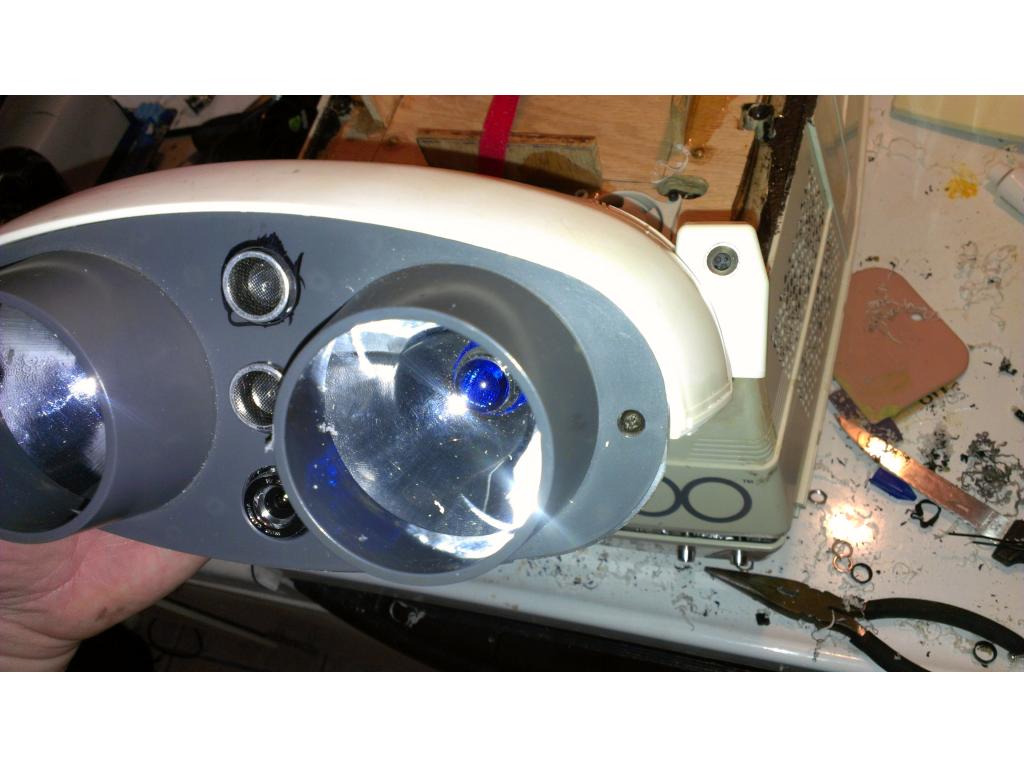
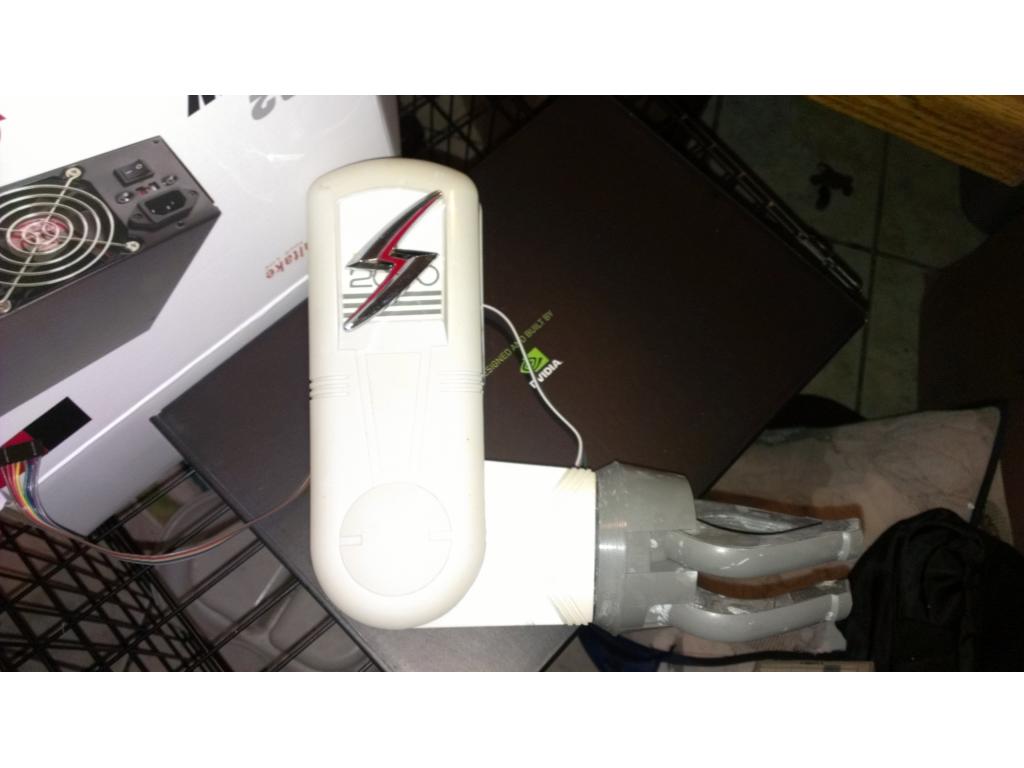
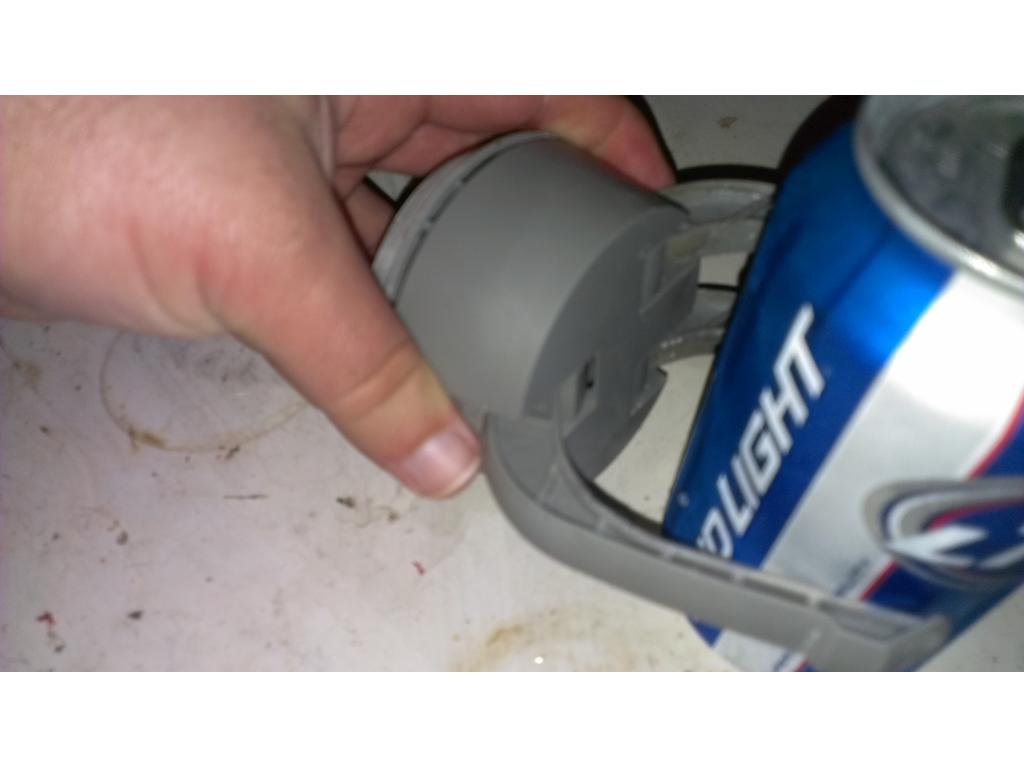
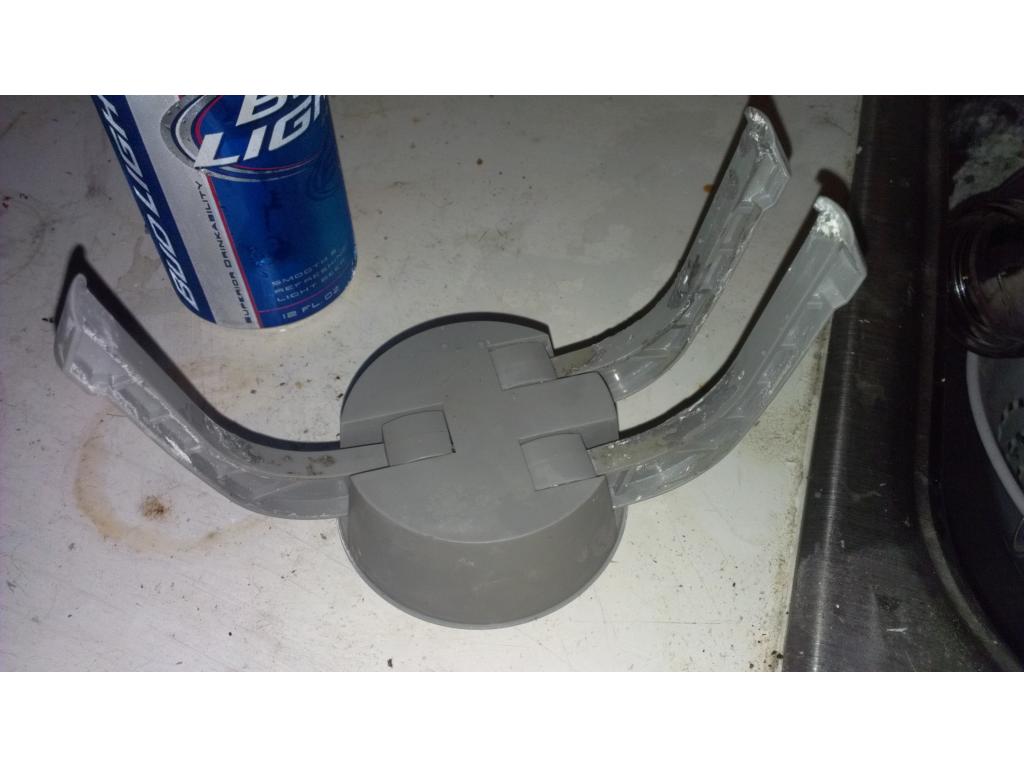
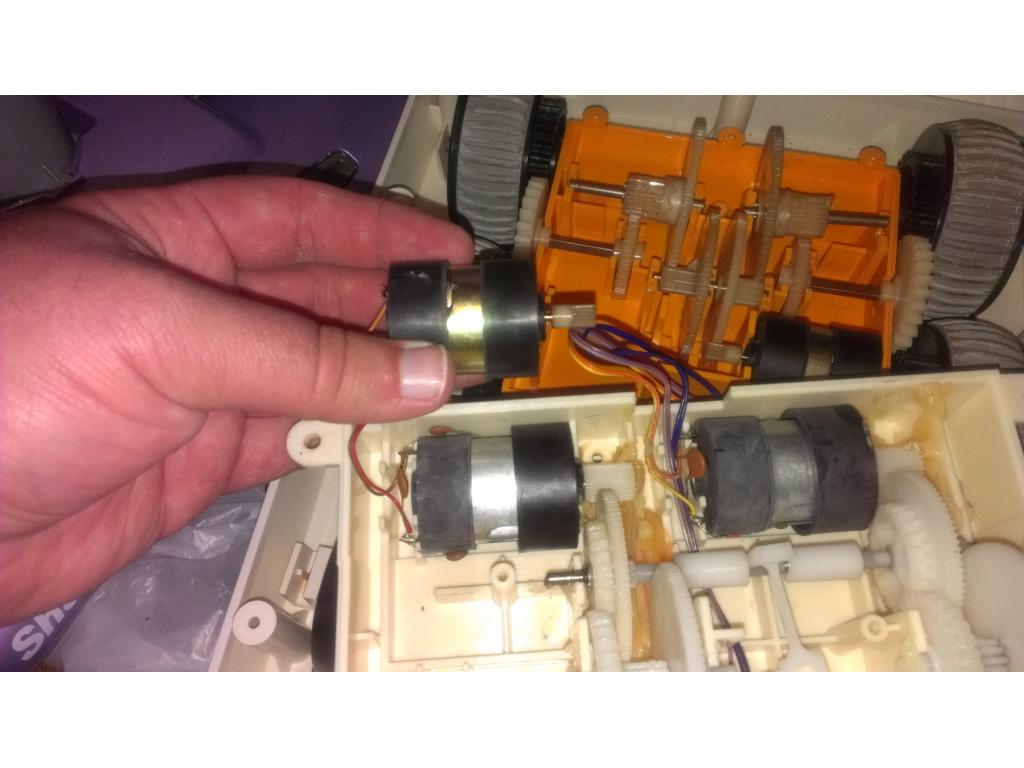
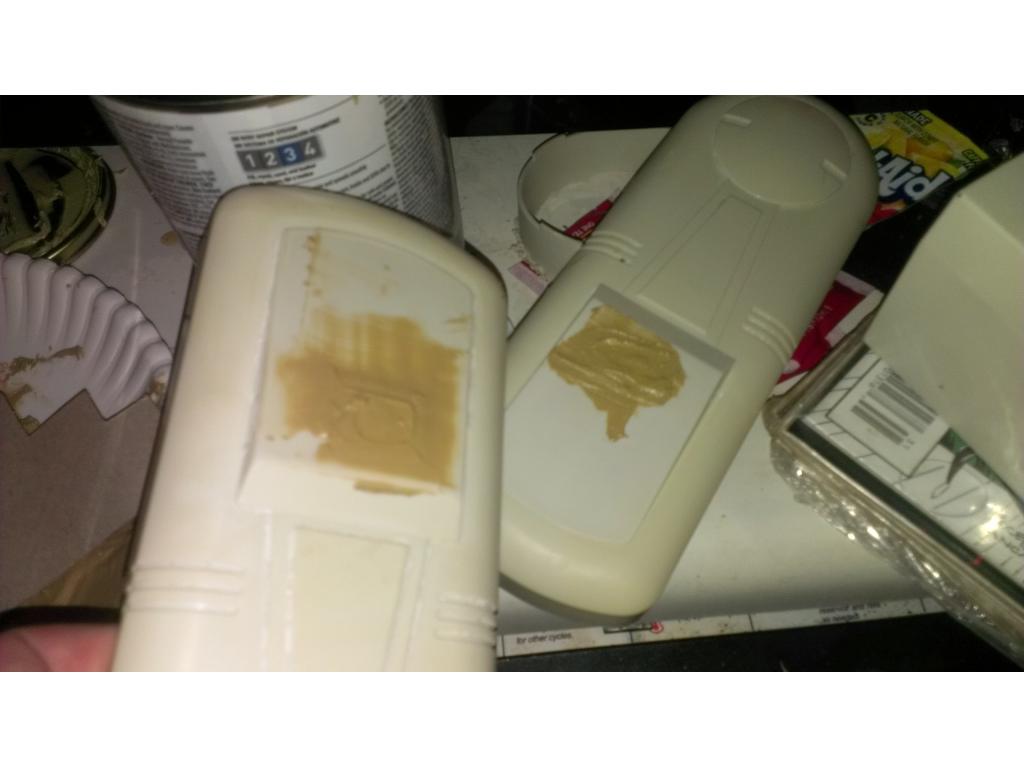
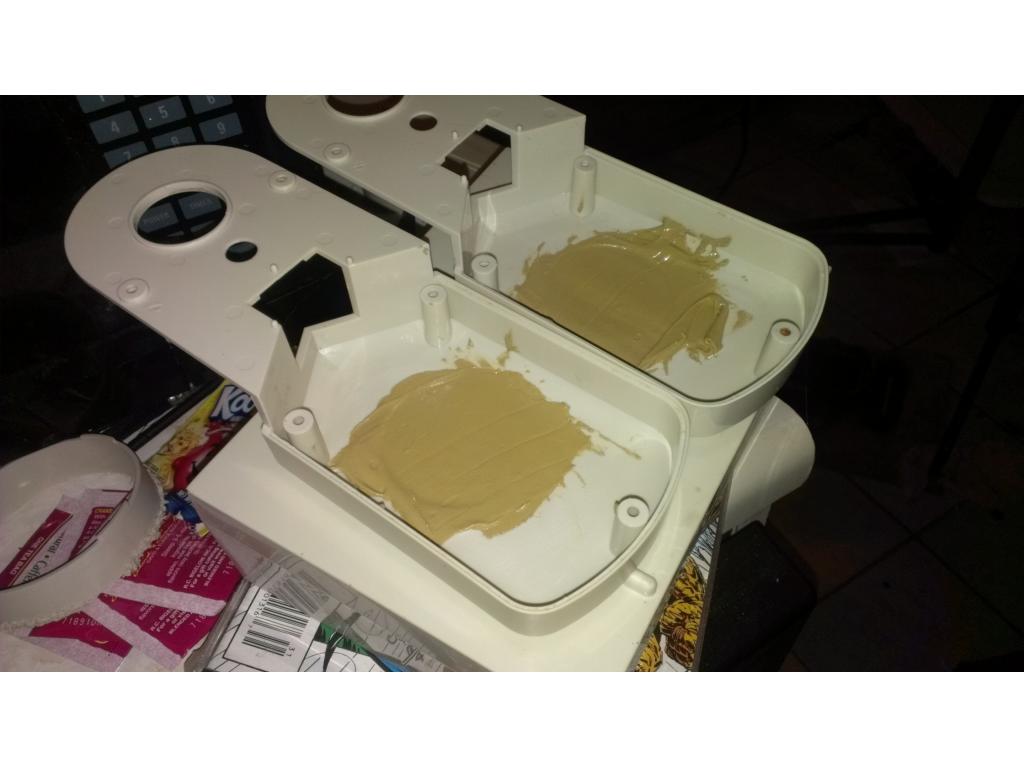
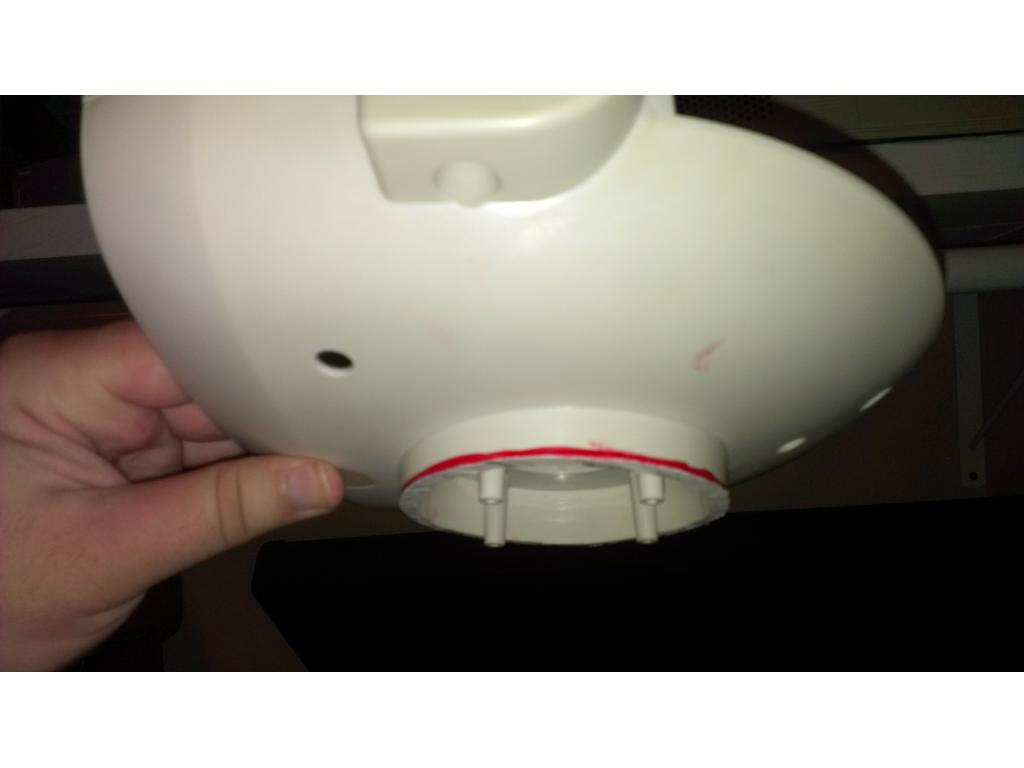
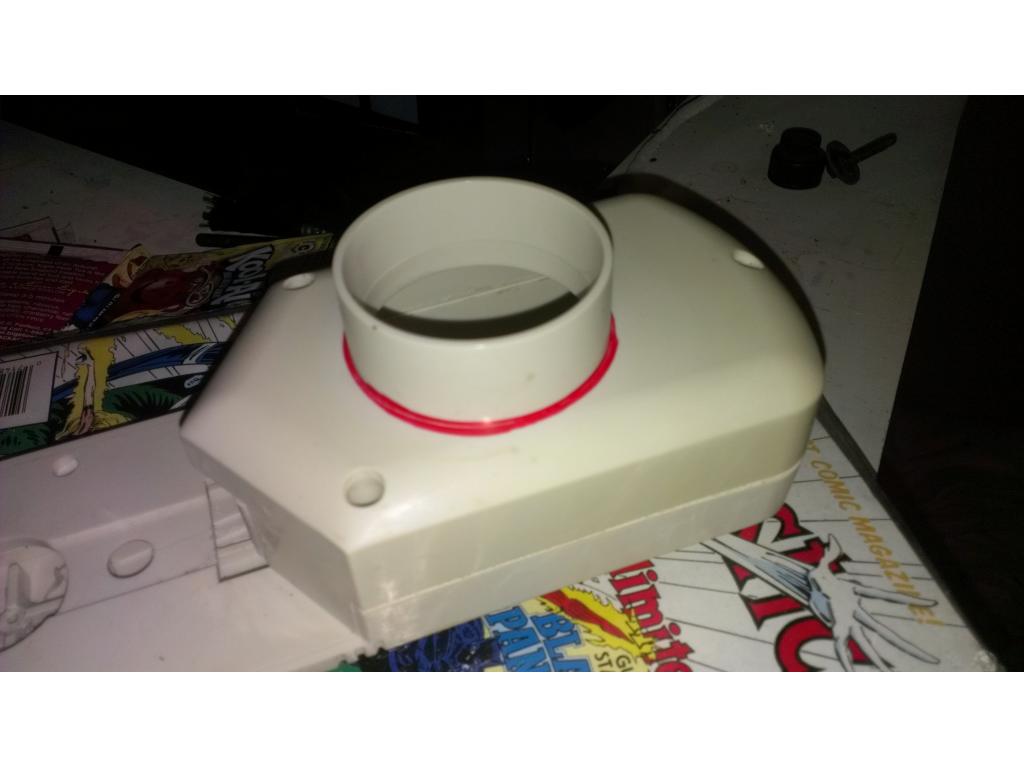
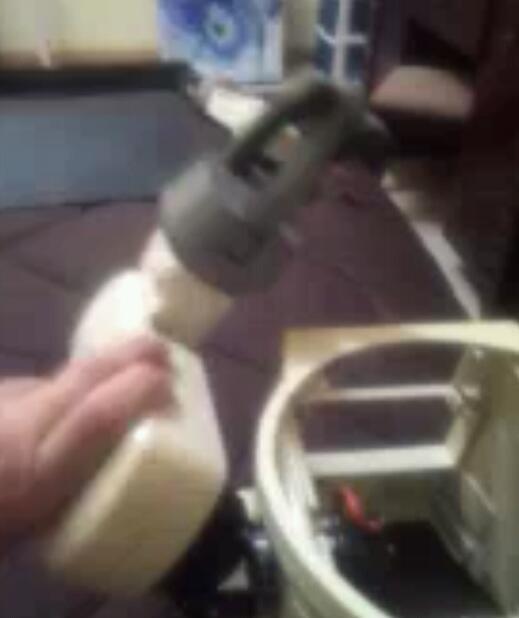
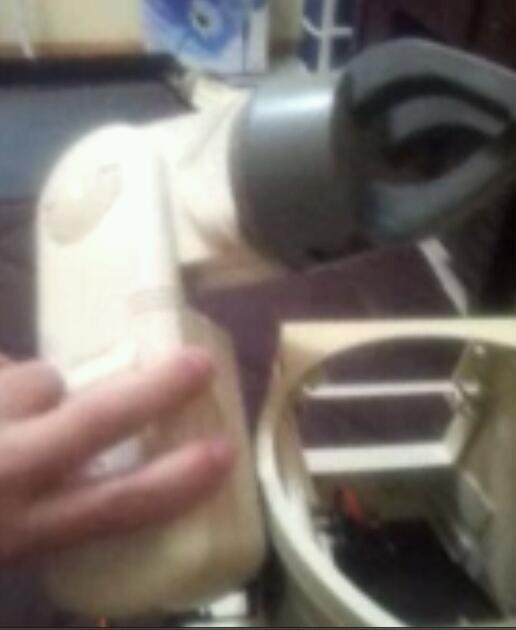
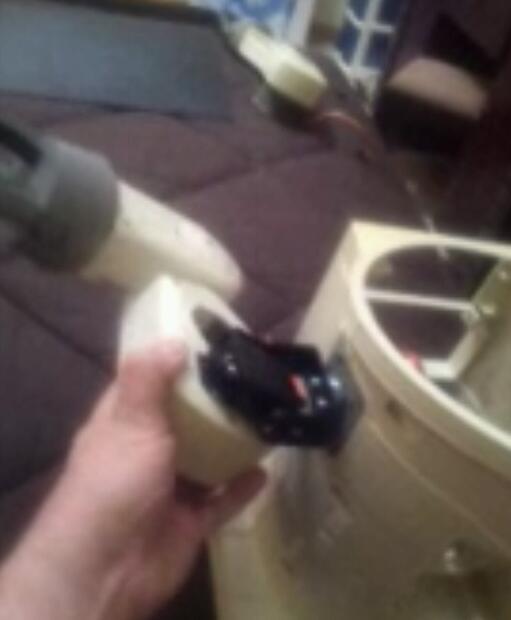
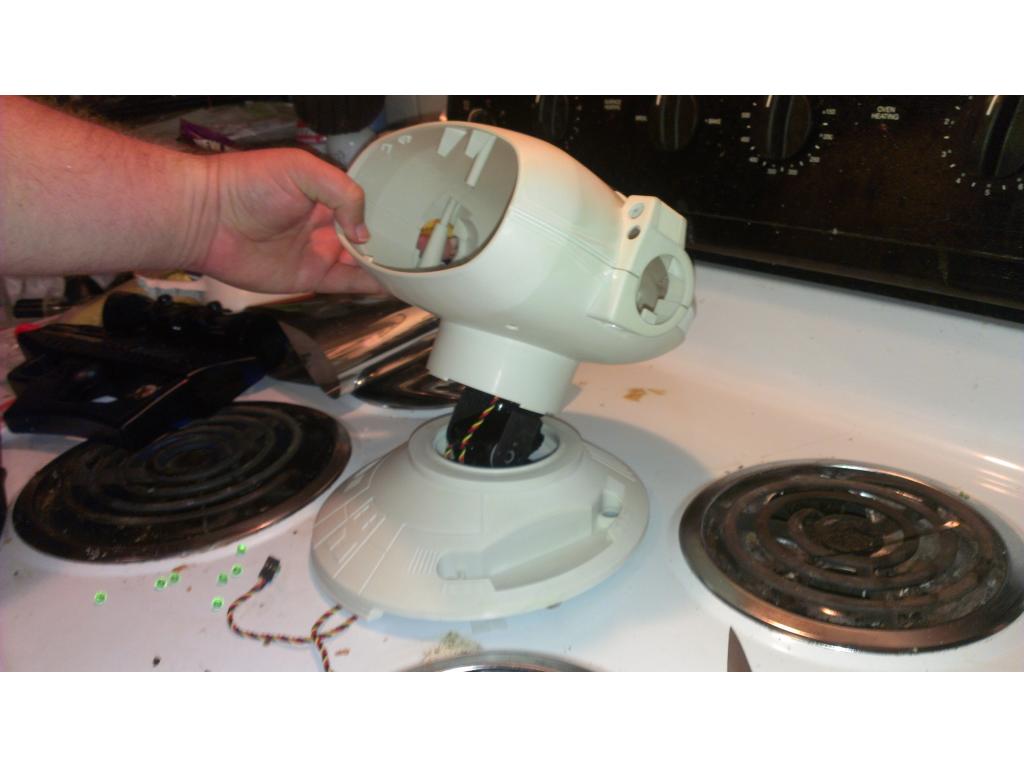
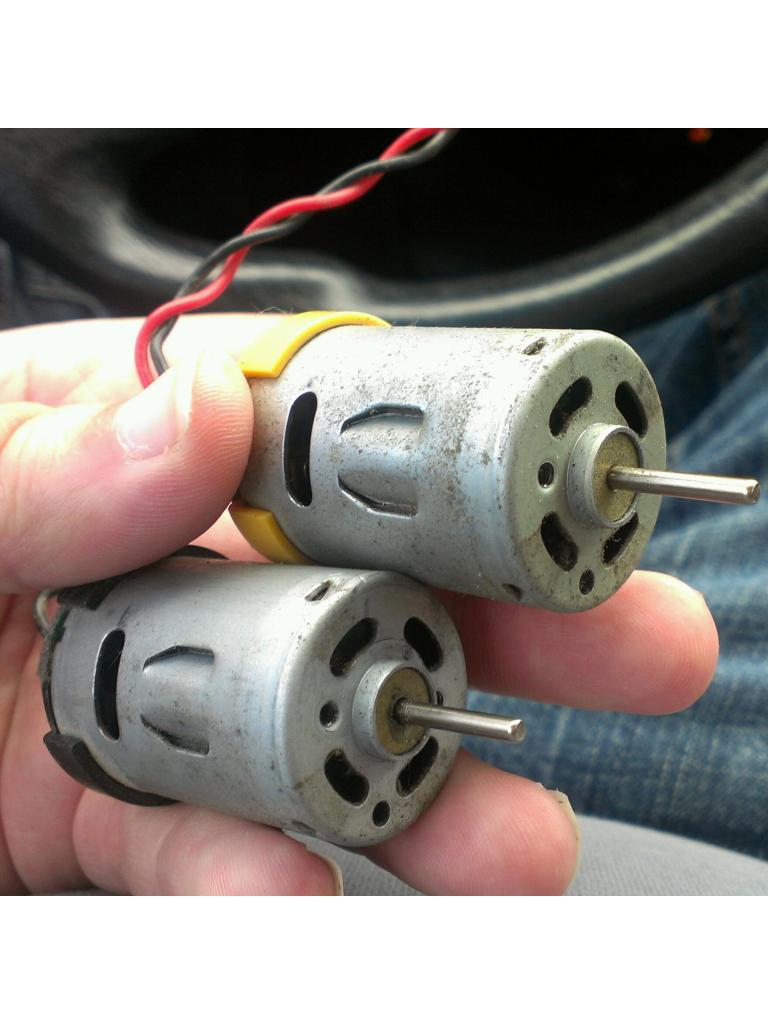
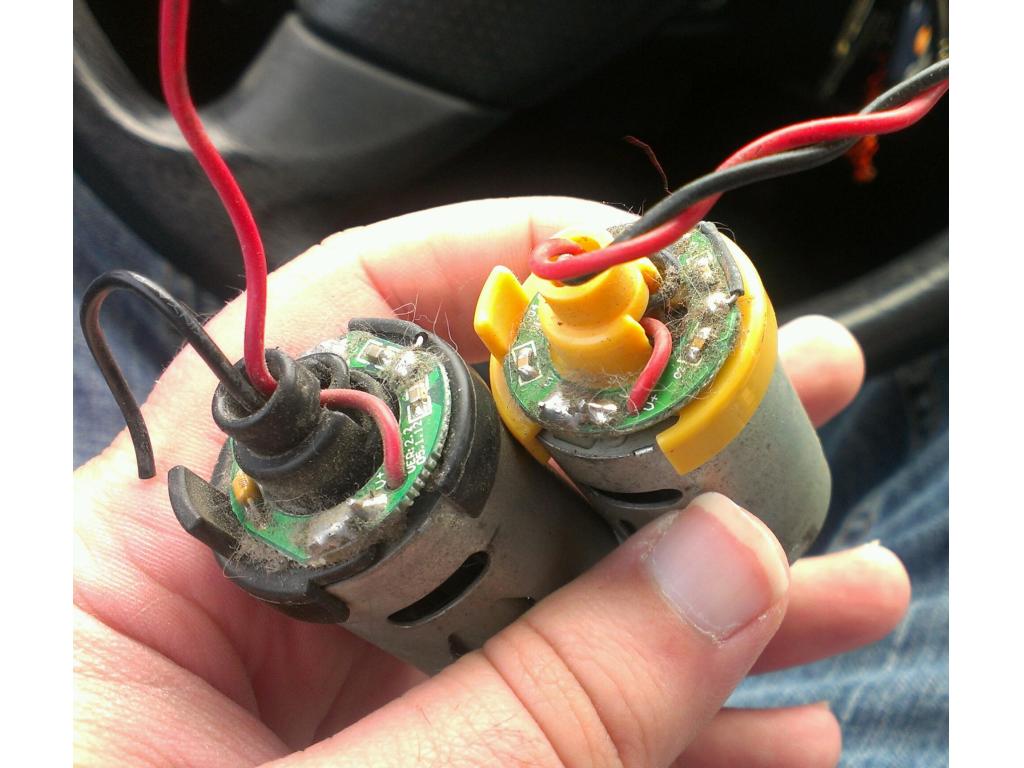
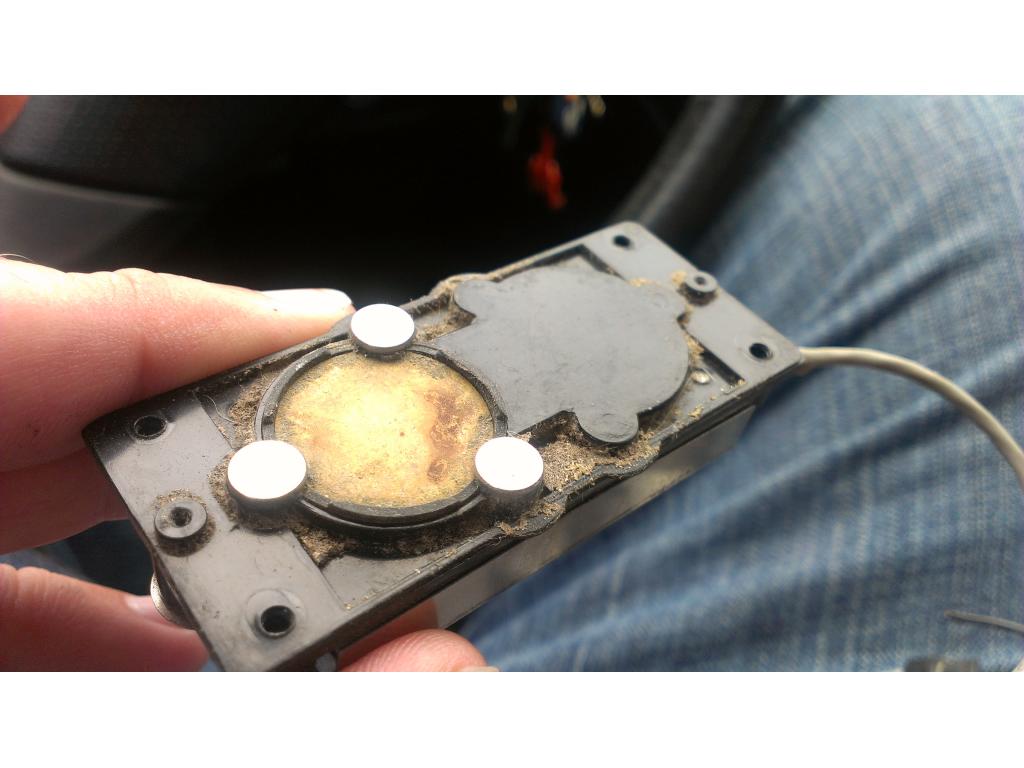
I only wrapped the center of the motor , and outside surfaces of the case. The rubber grommets are mounts that hold the motor in place. Can't wait to get this dude moving around!
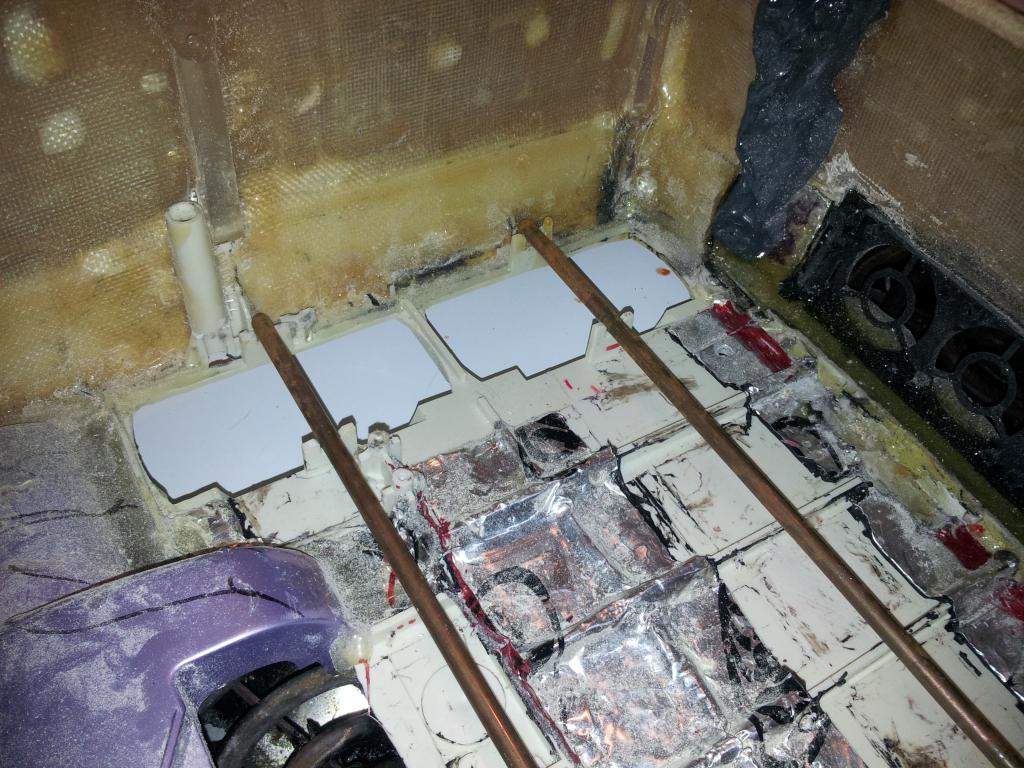
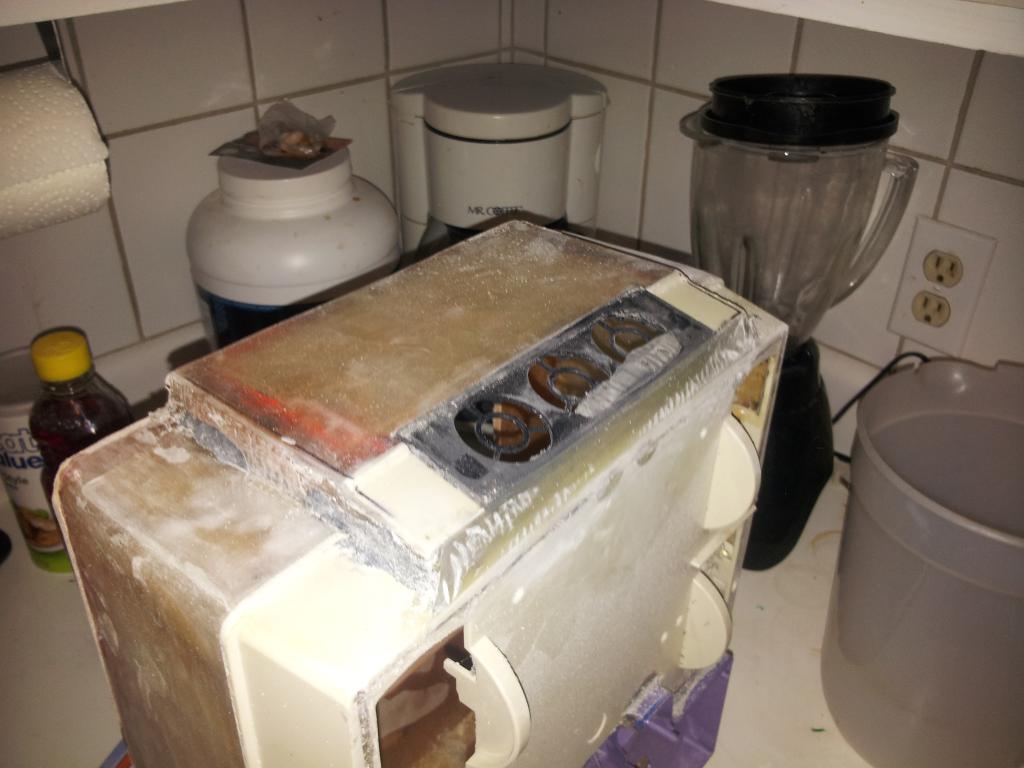
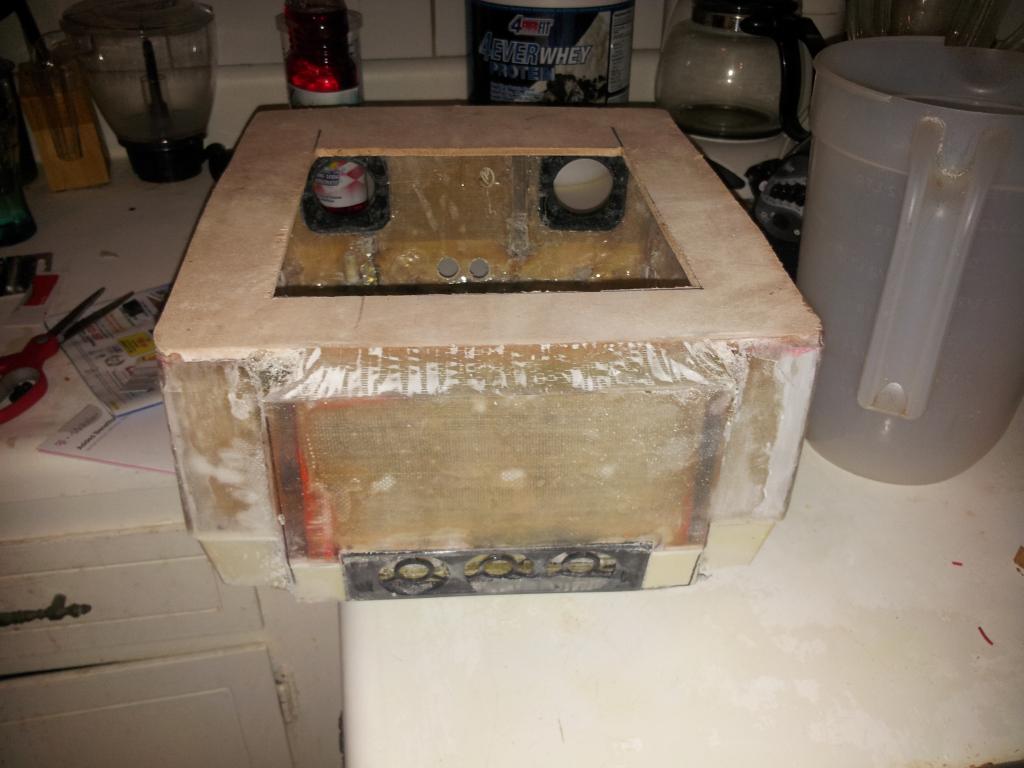
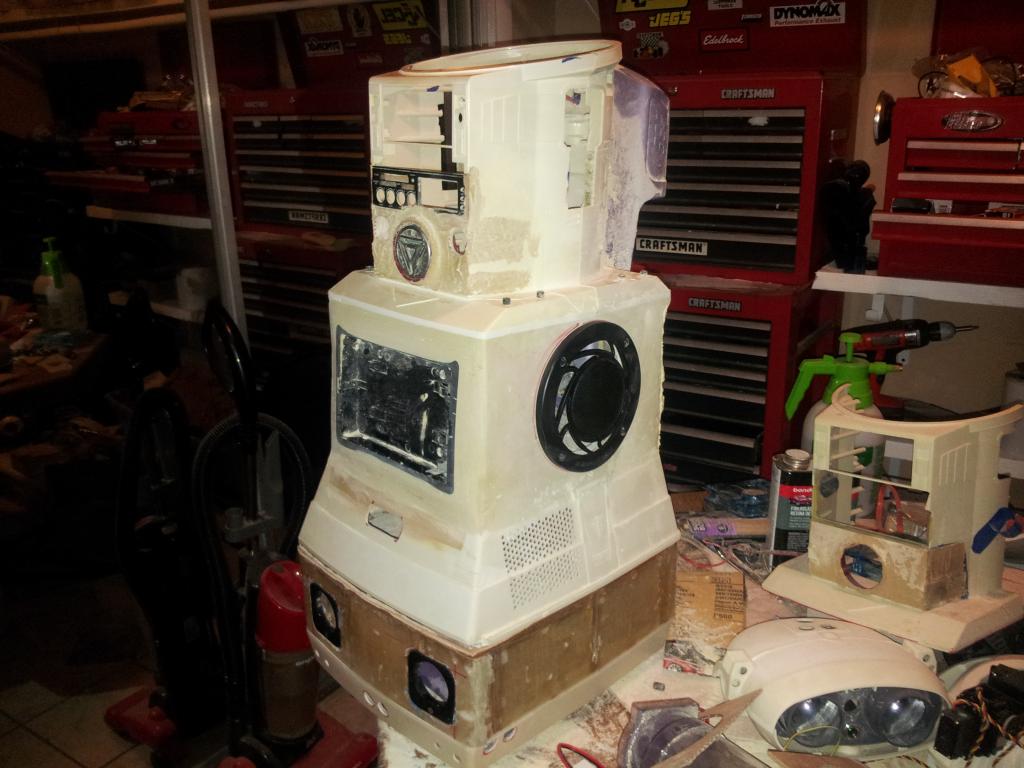
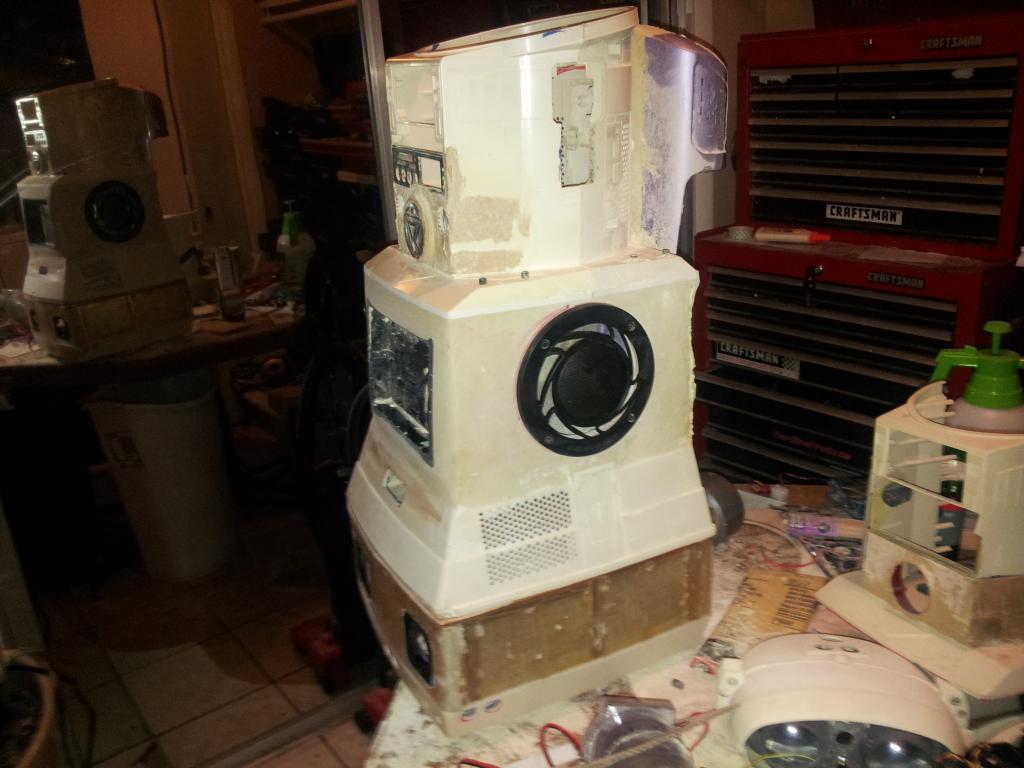
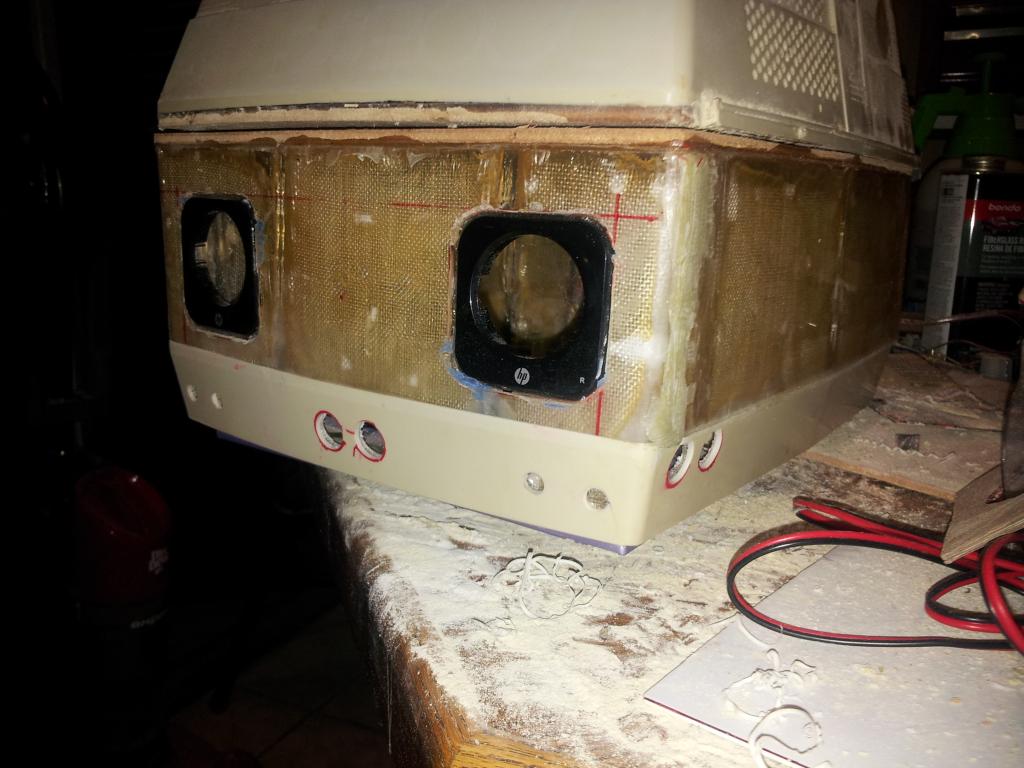
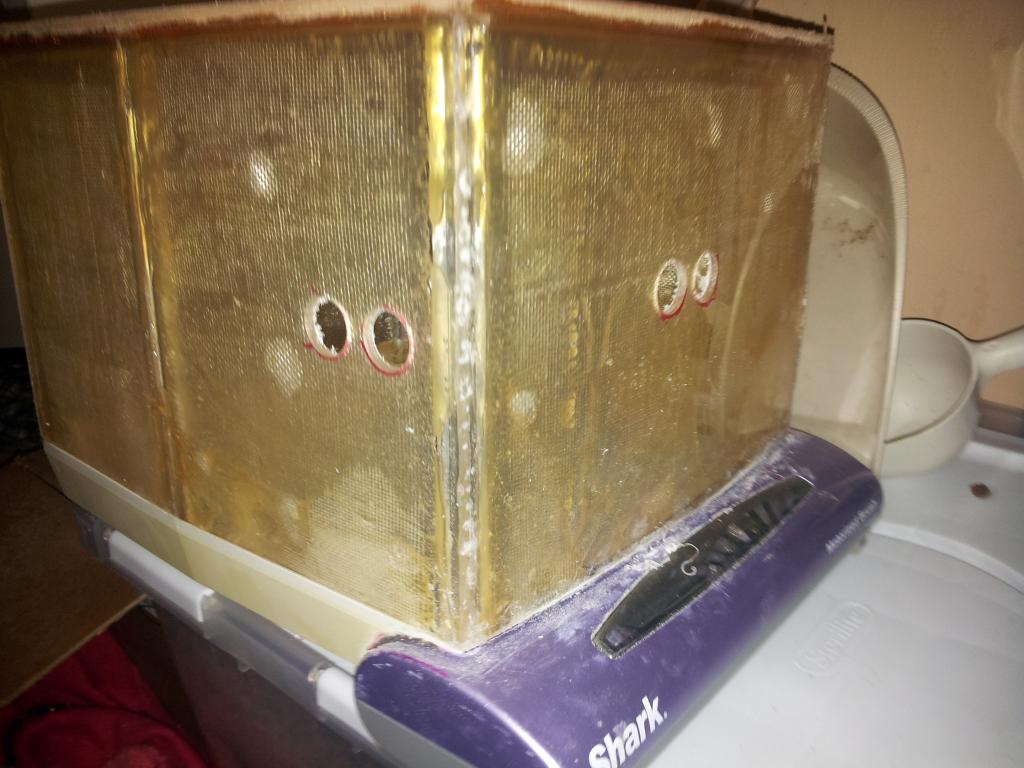
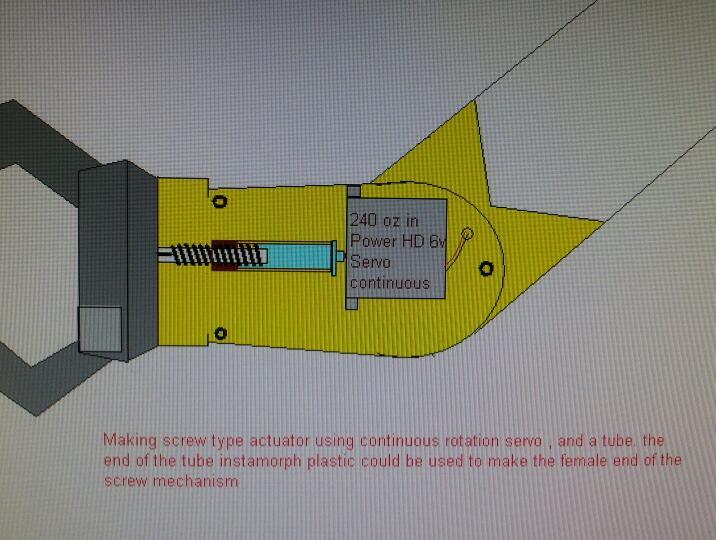
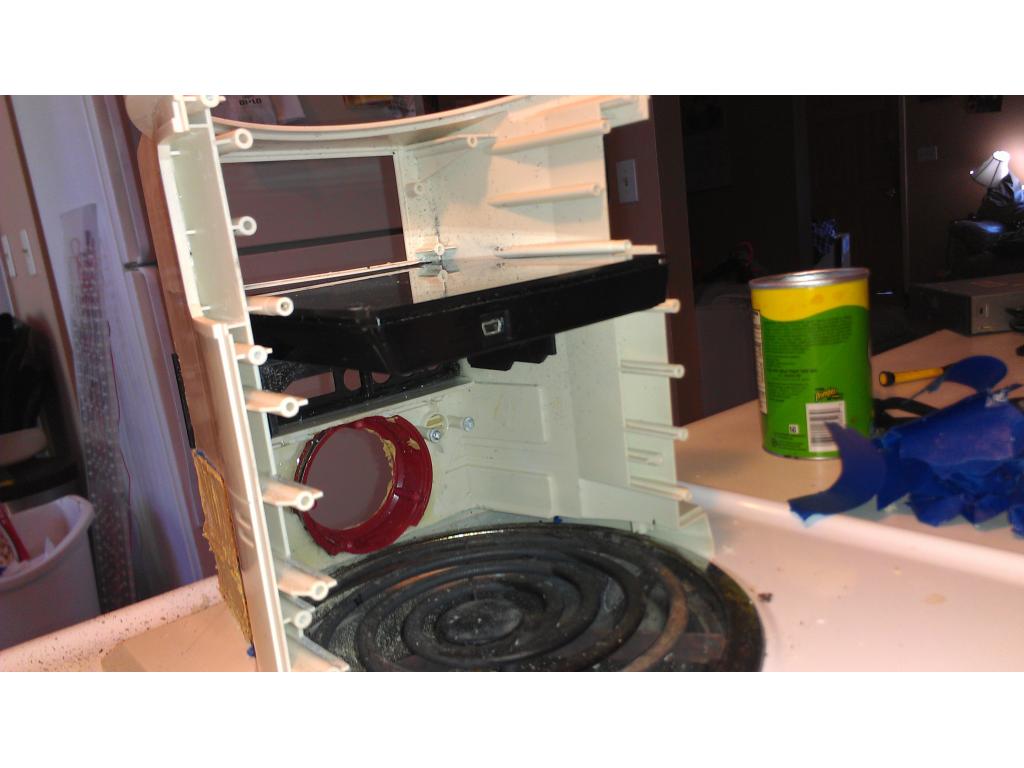
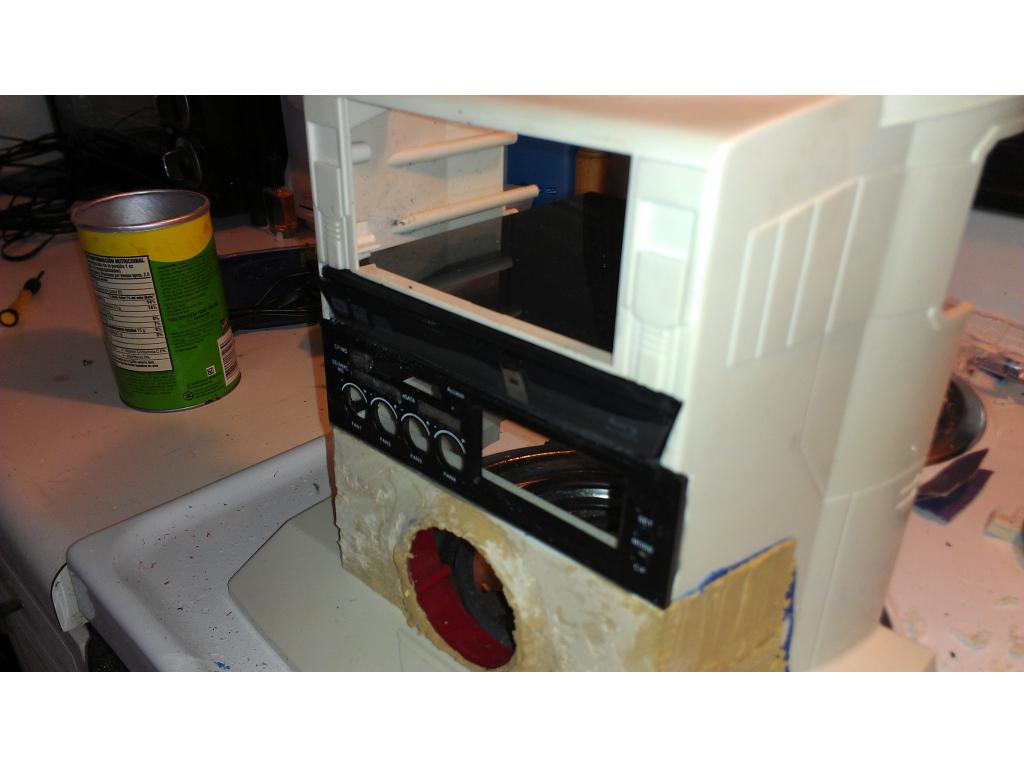
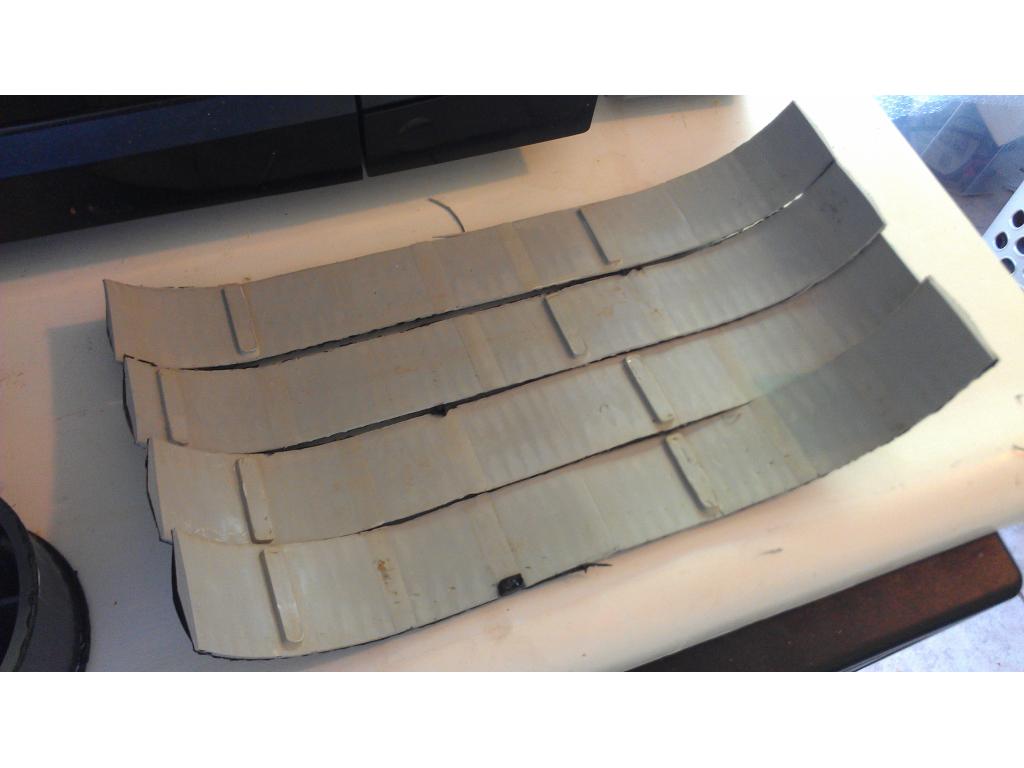
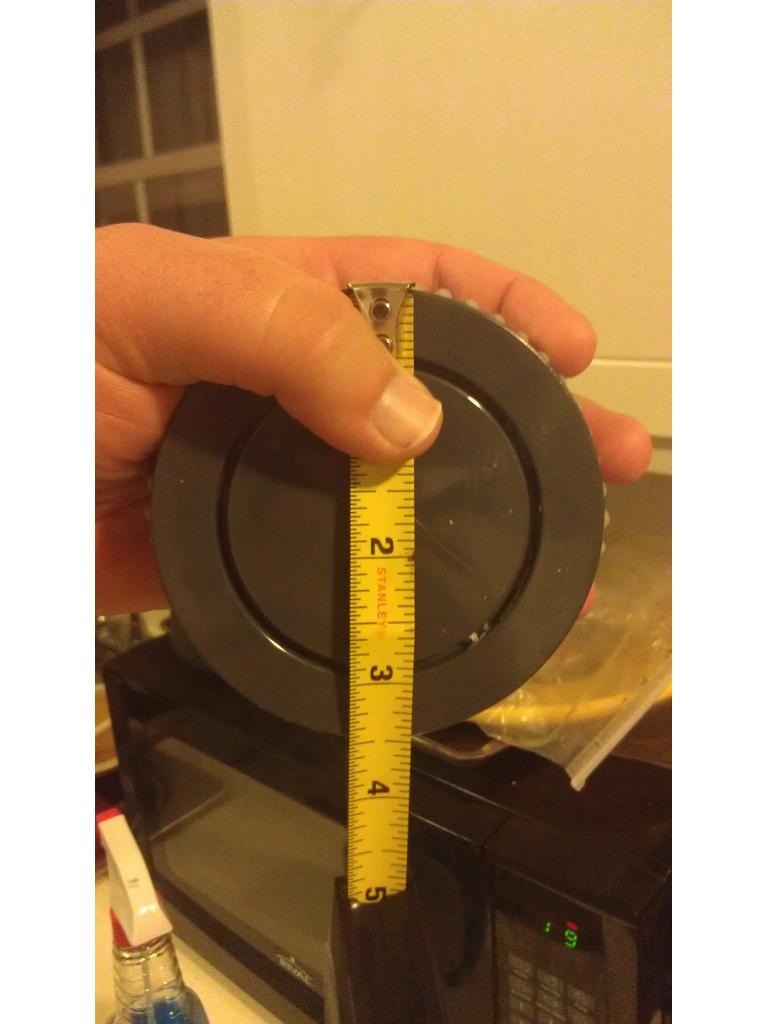
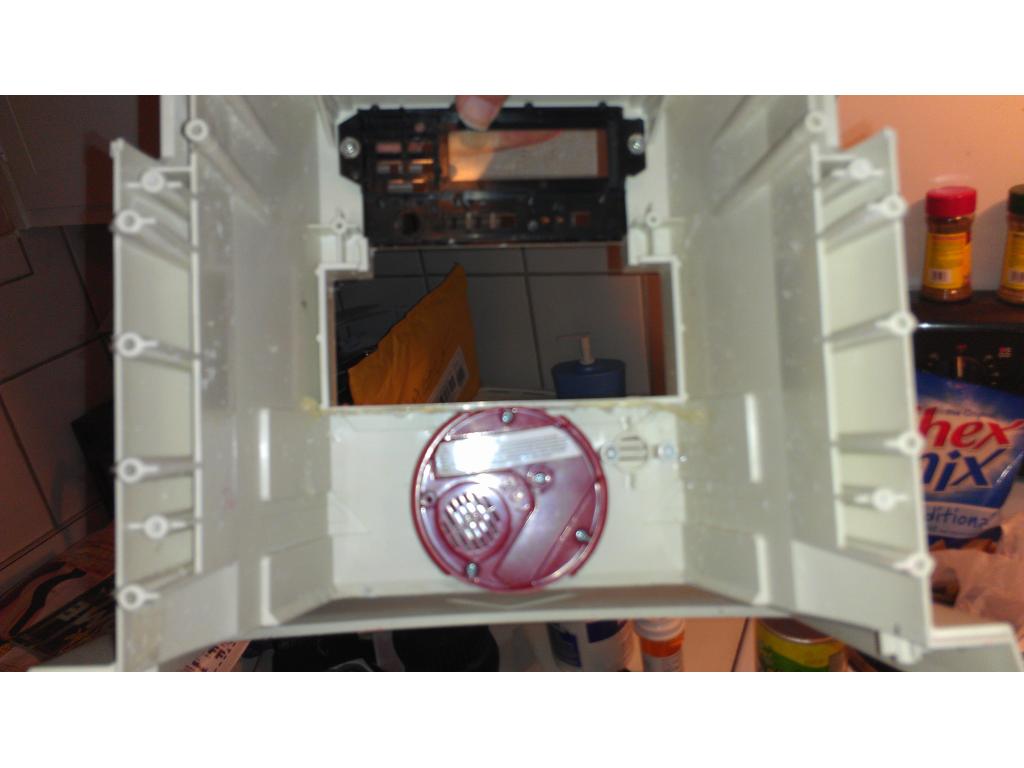
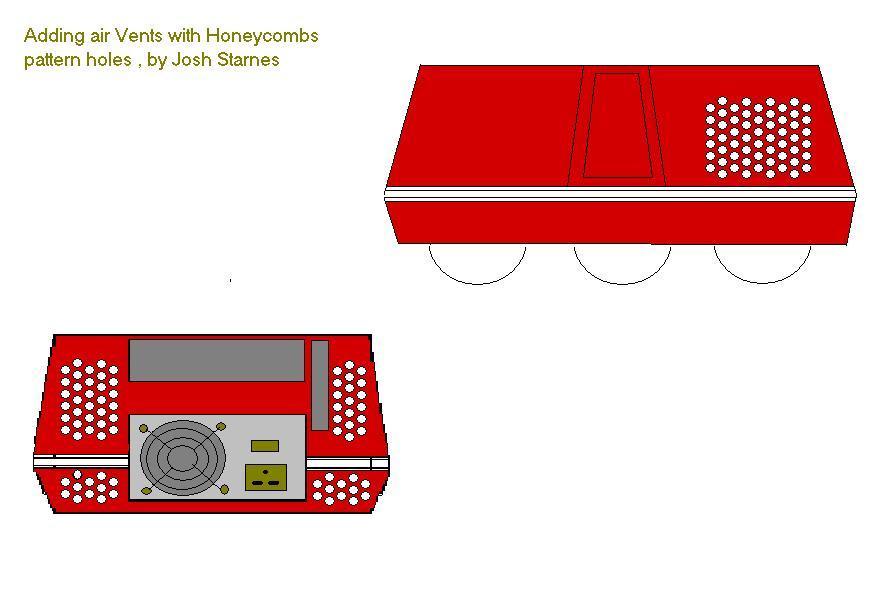
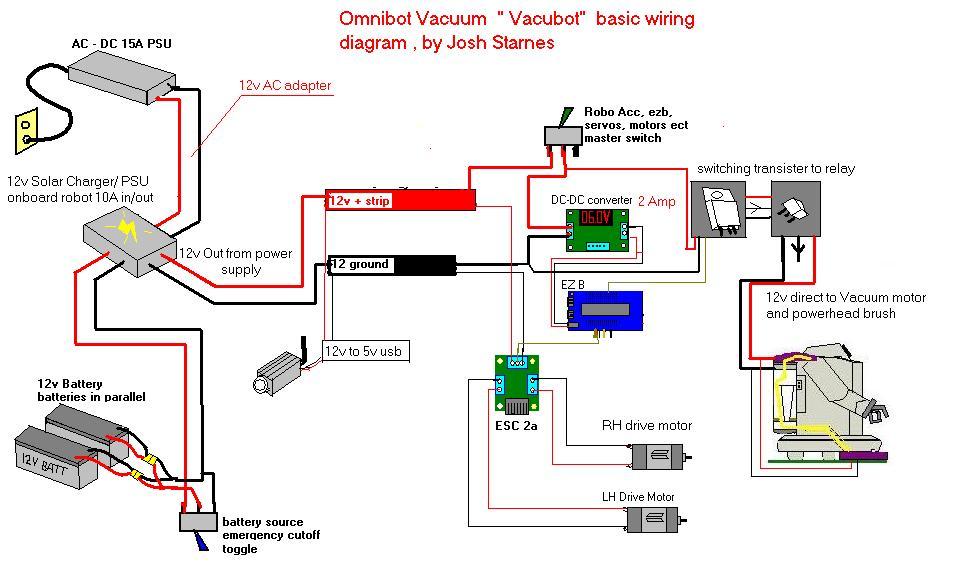
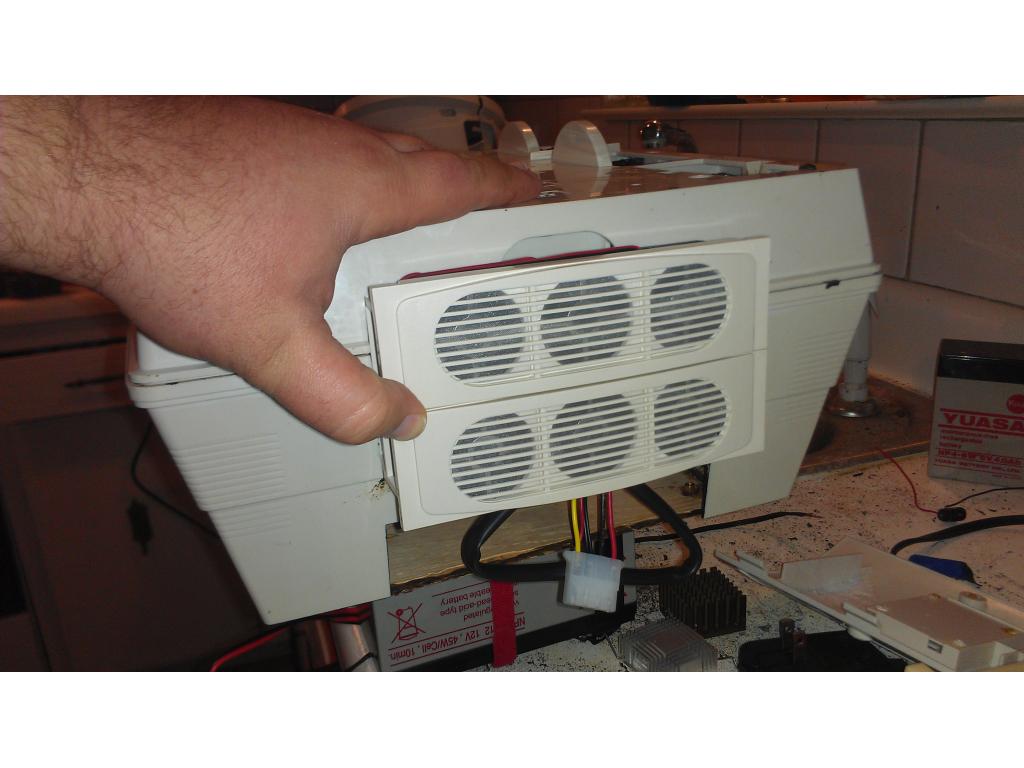
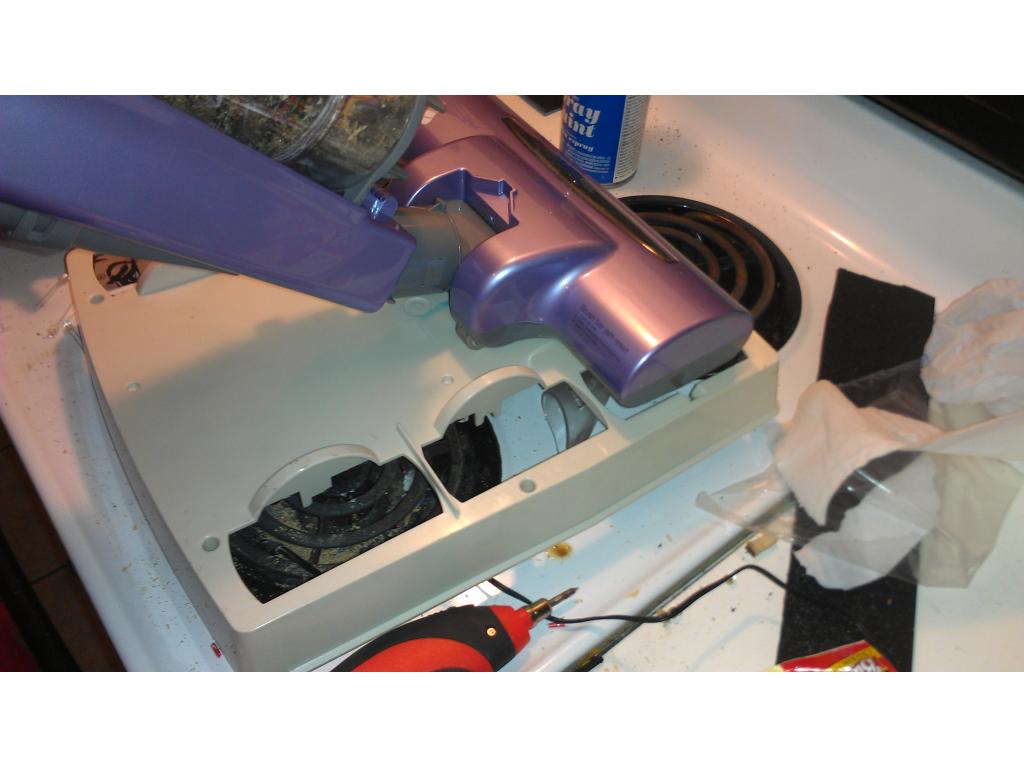
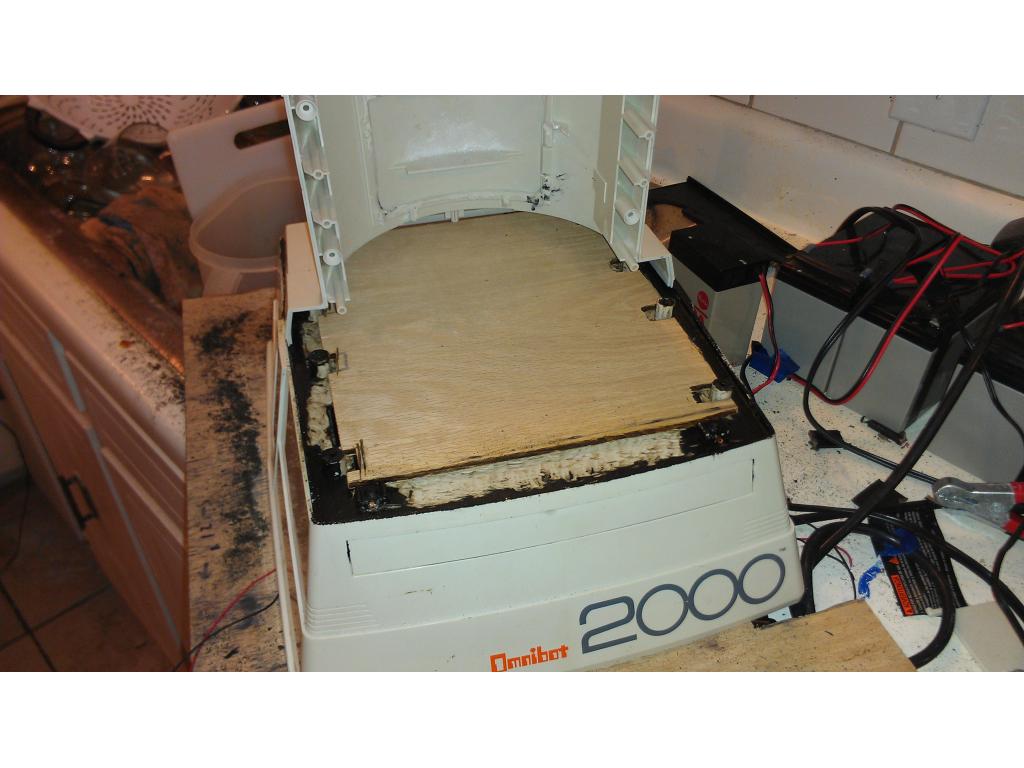
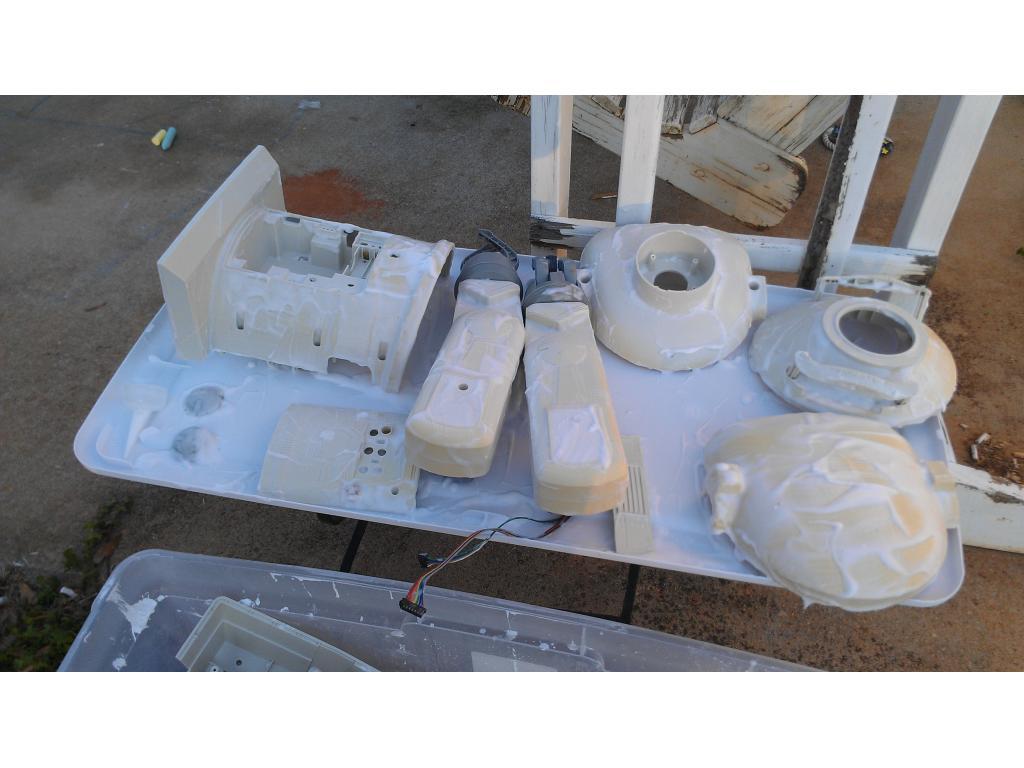
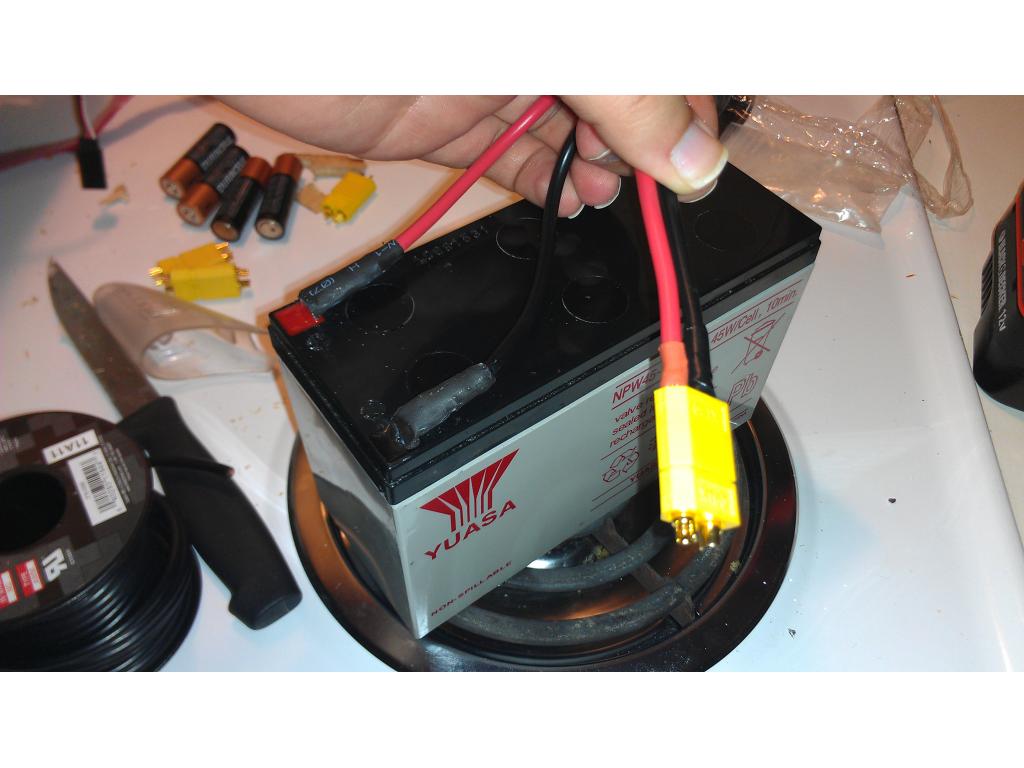
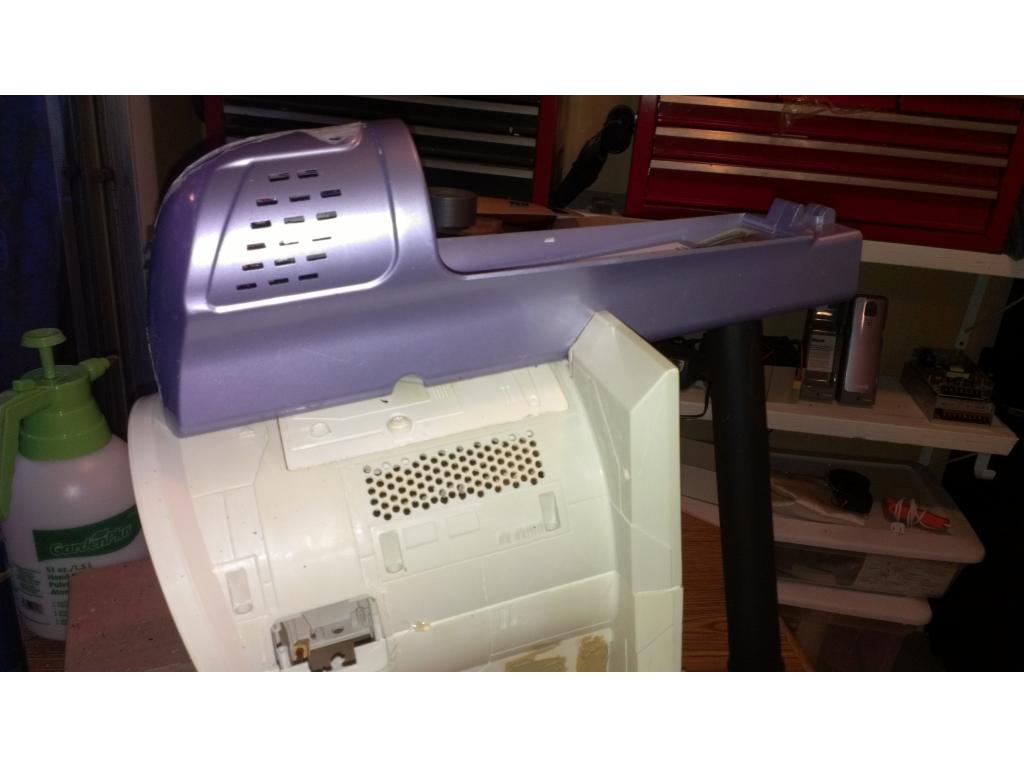
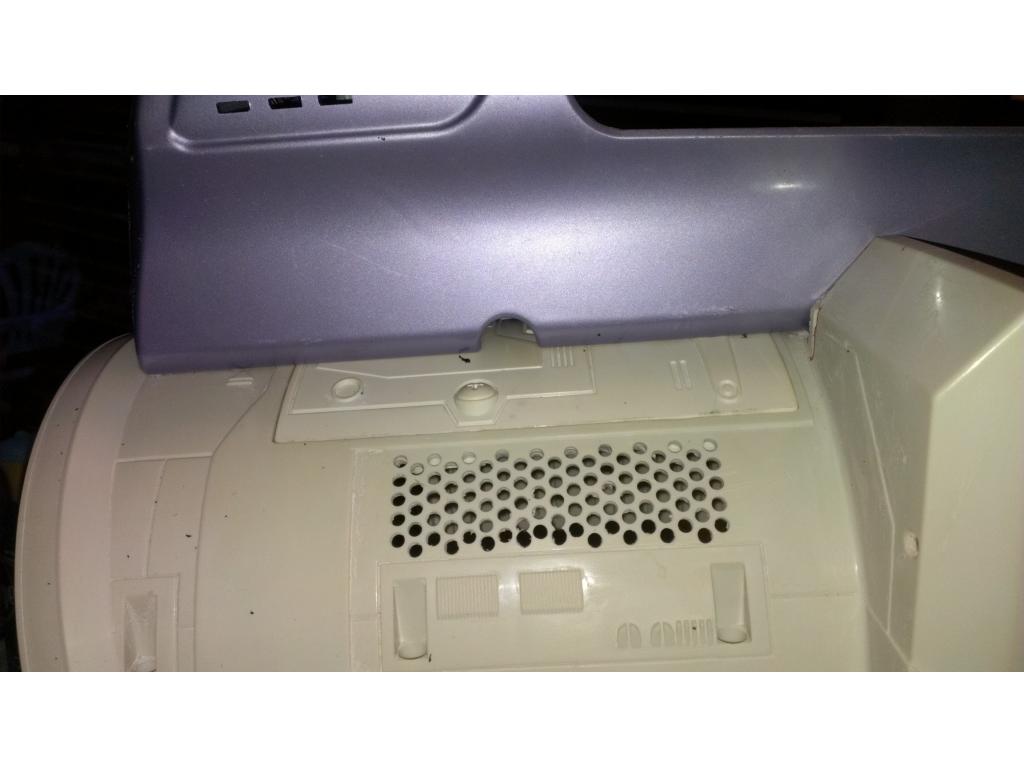
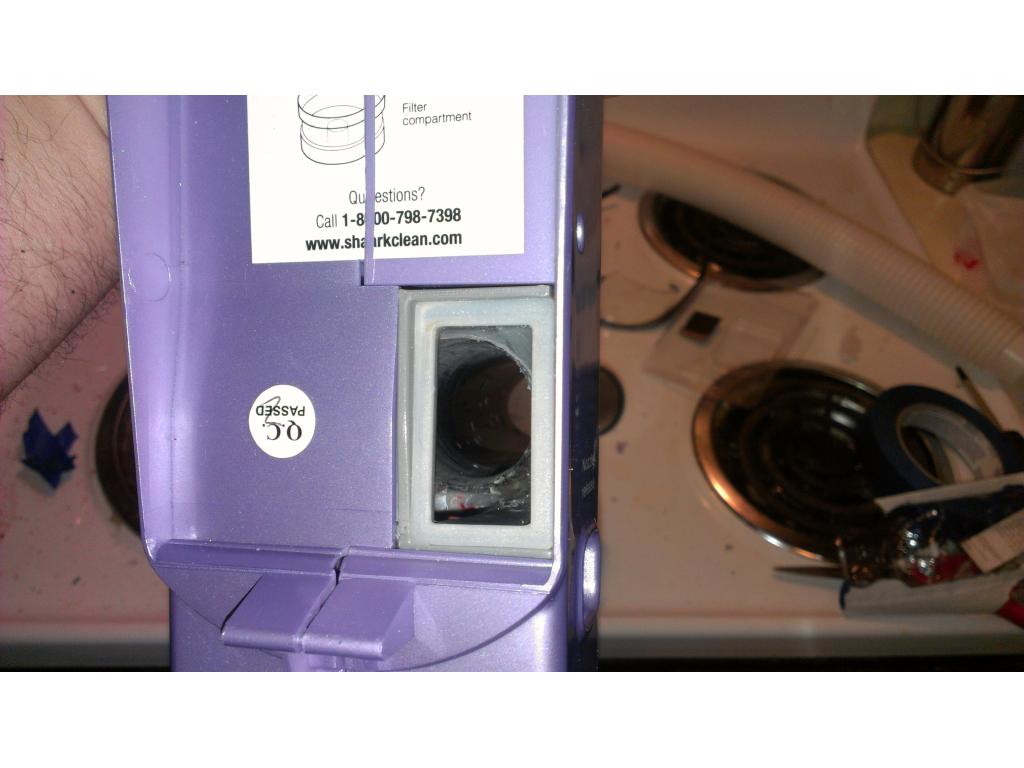
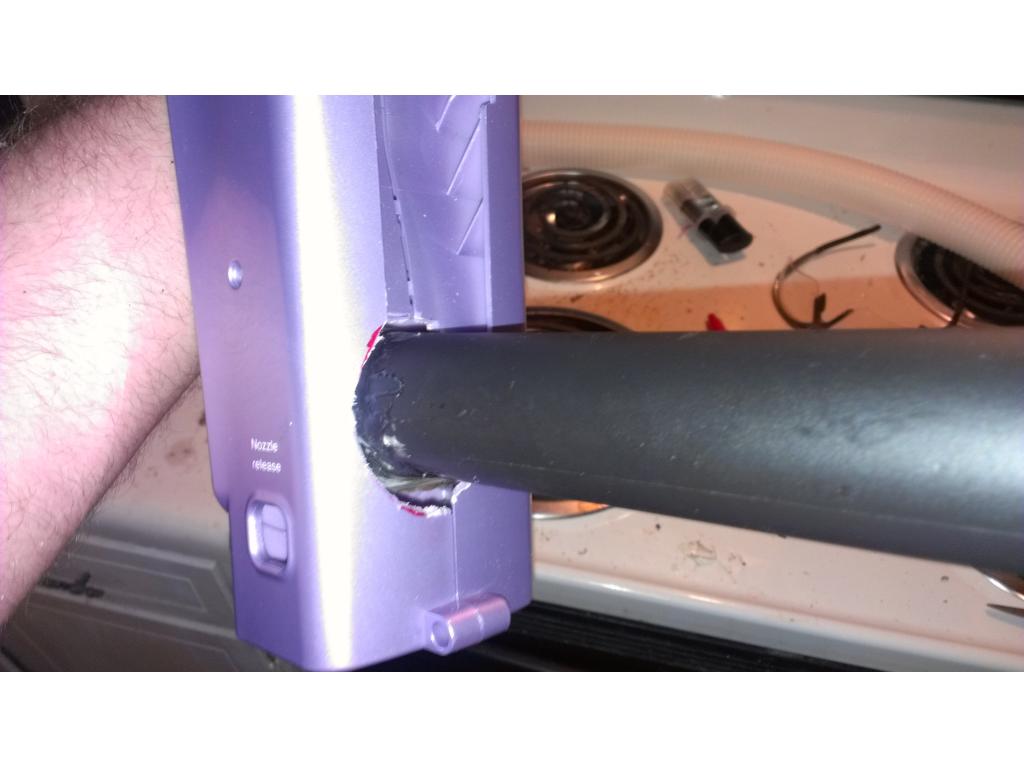
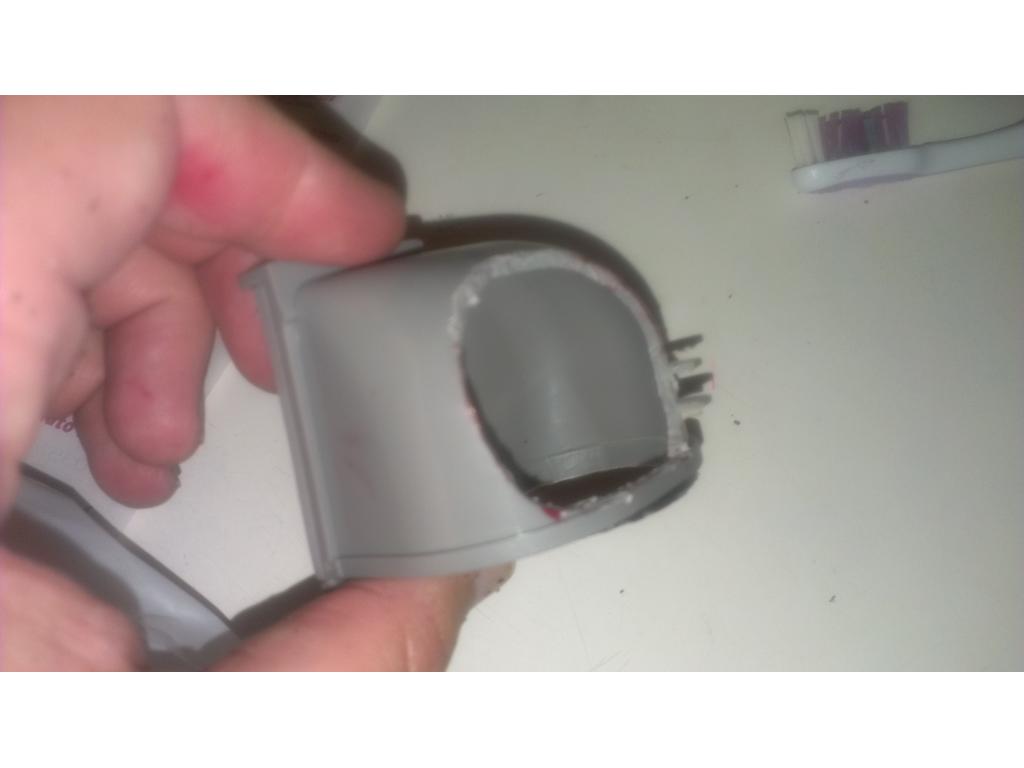
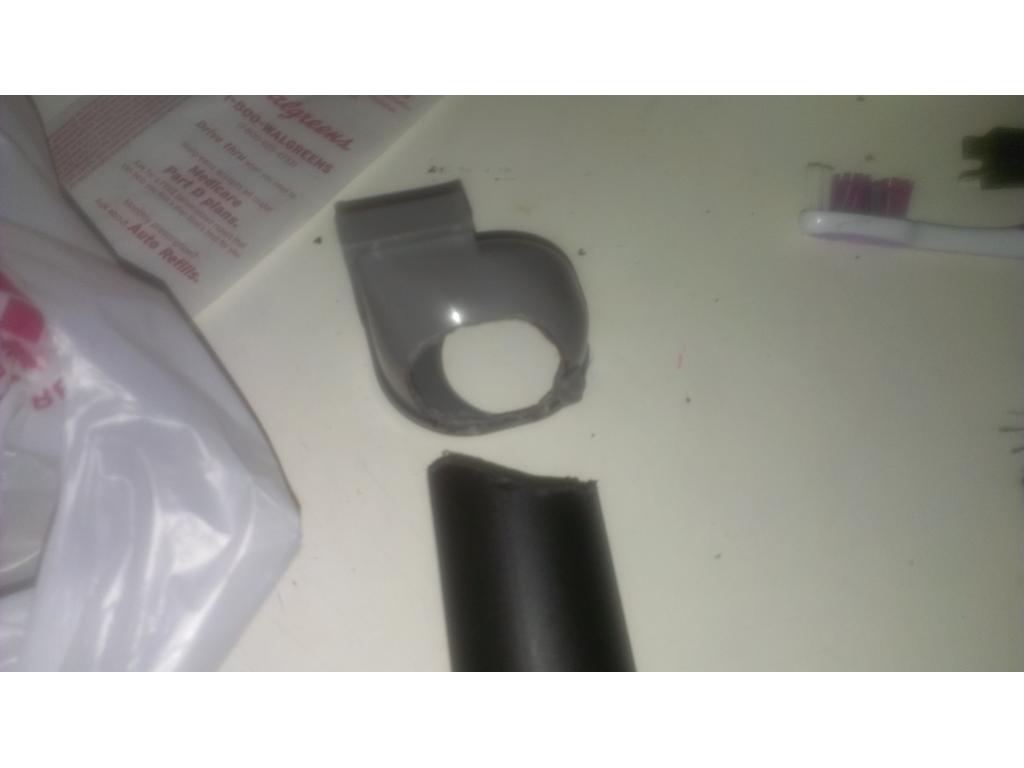
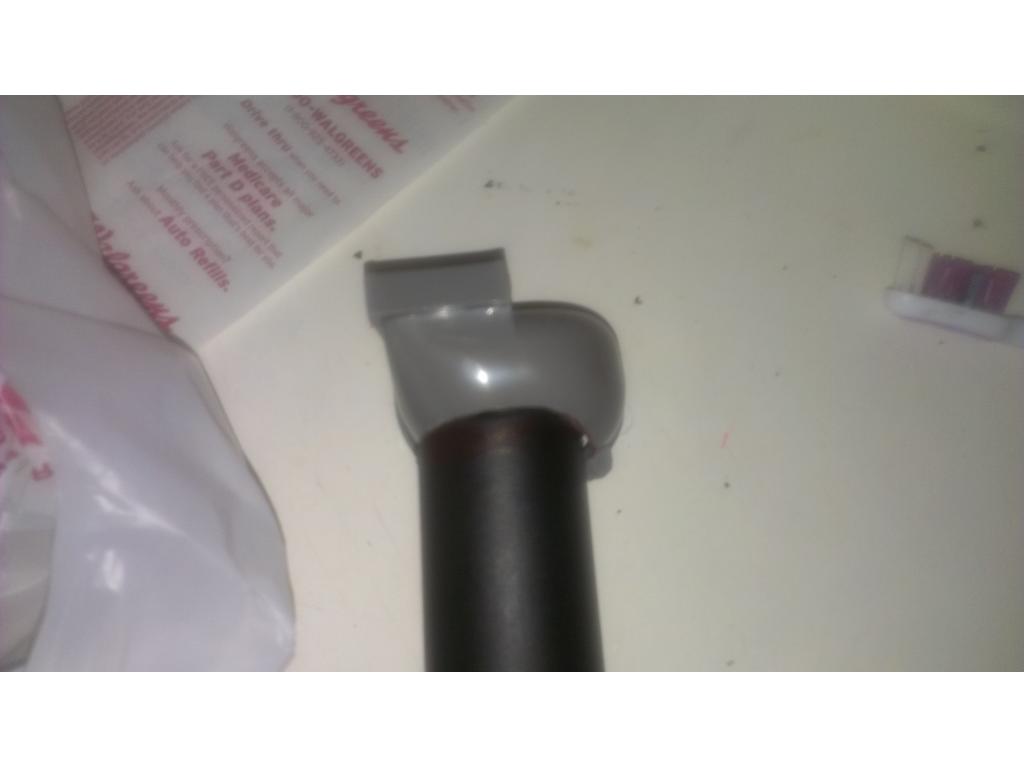
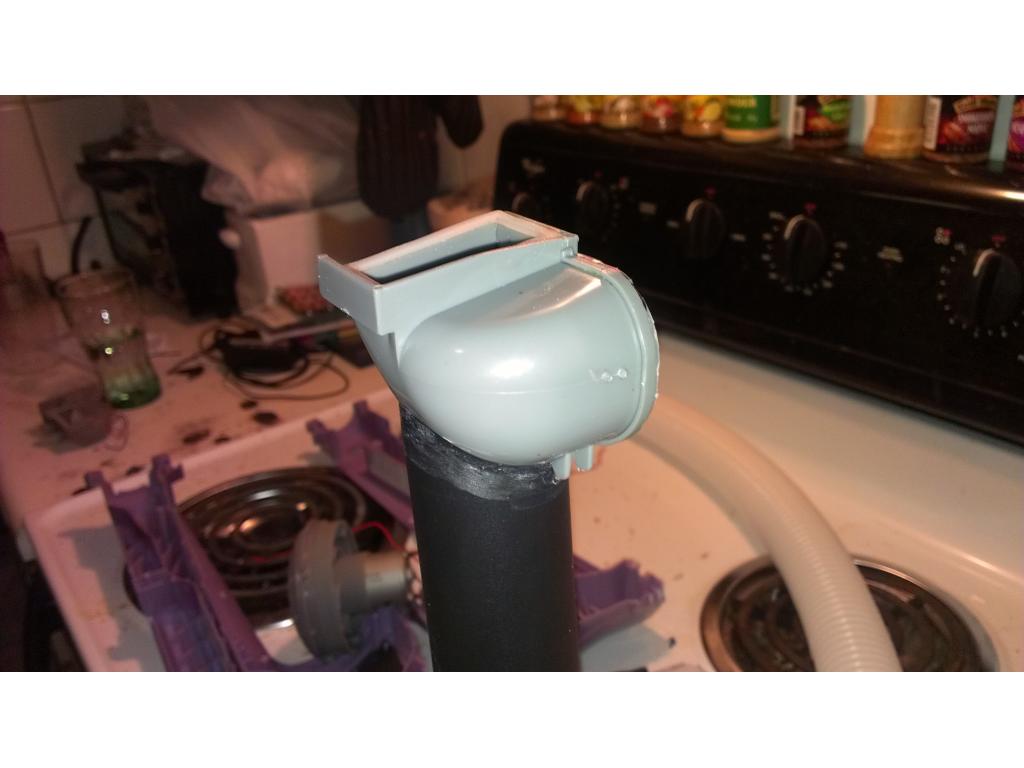
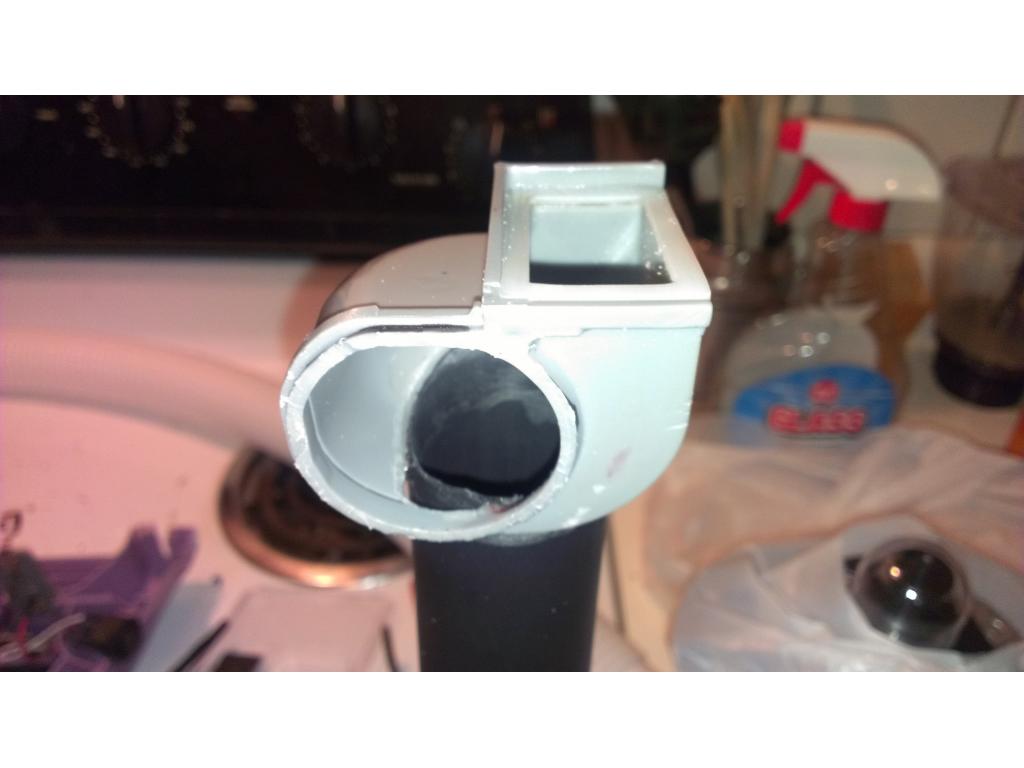
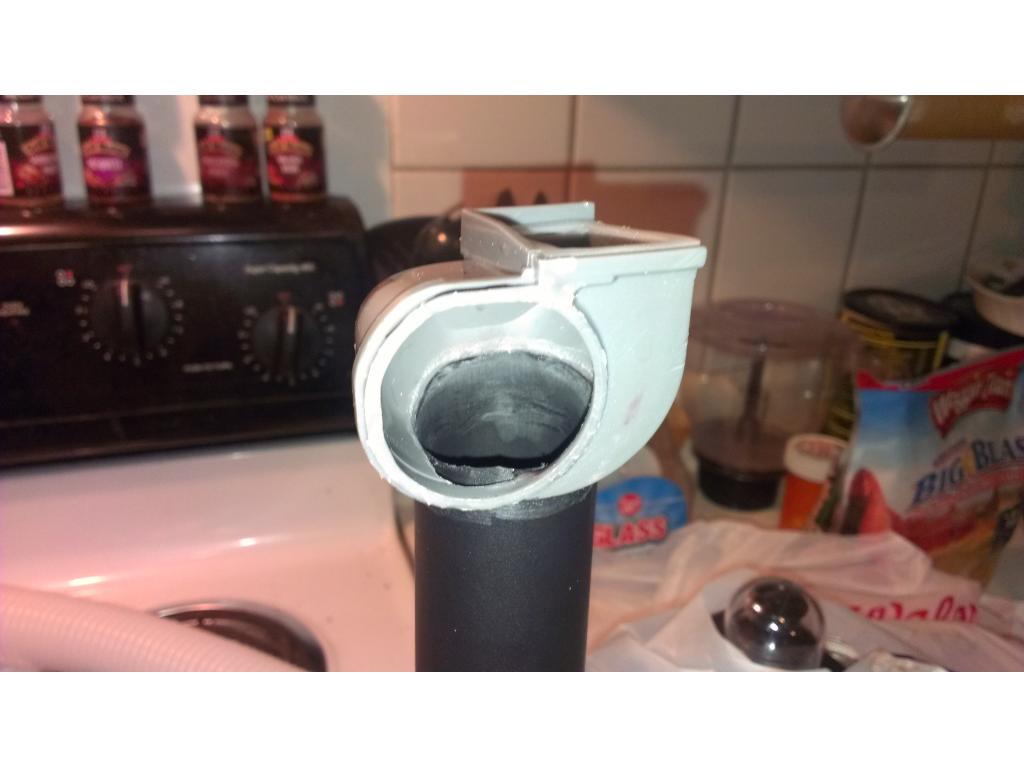
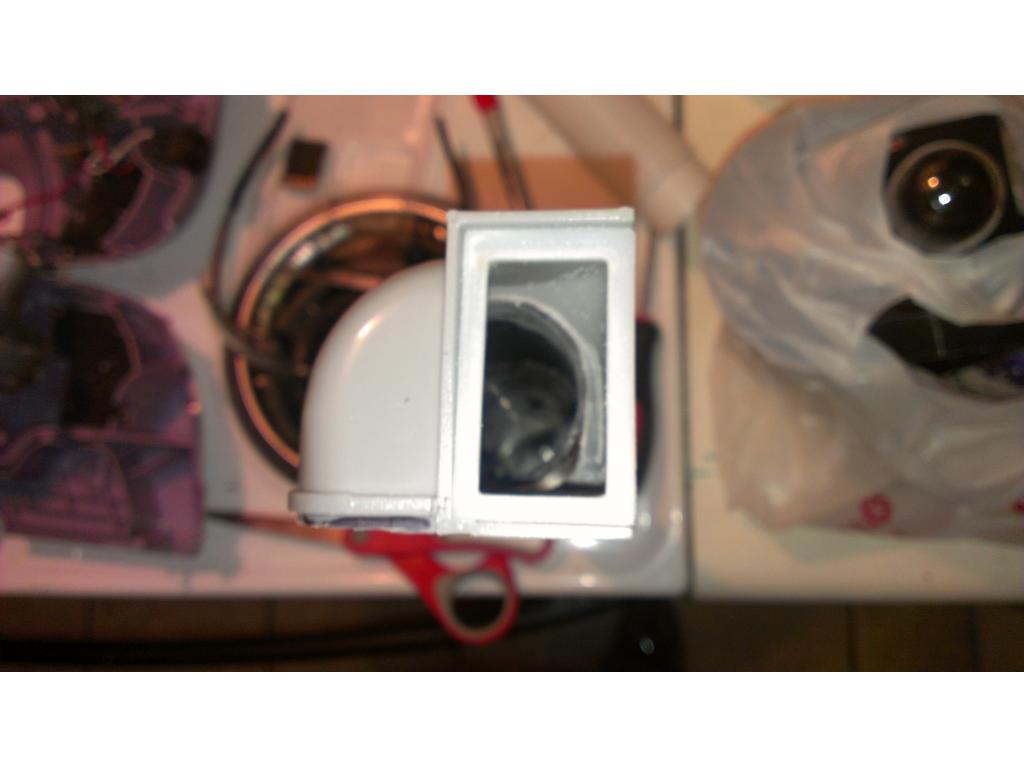
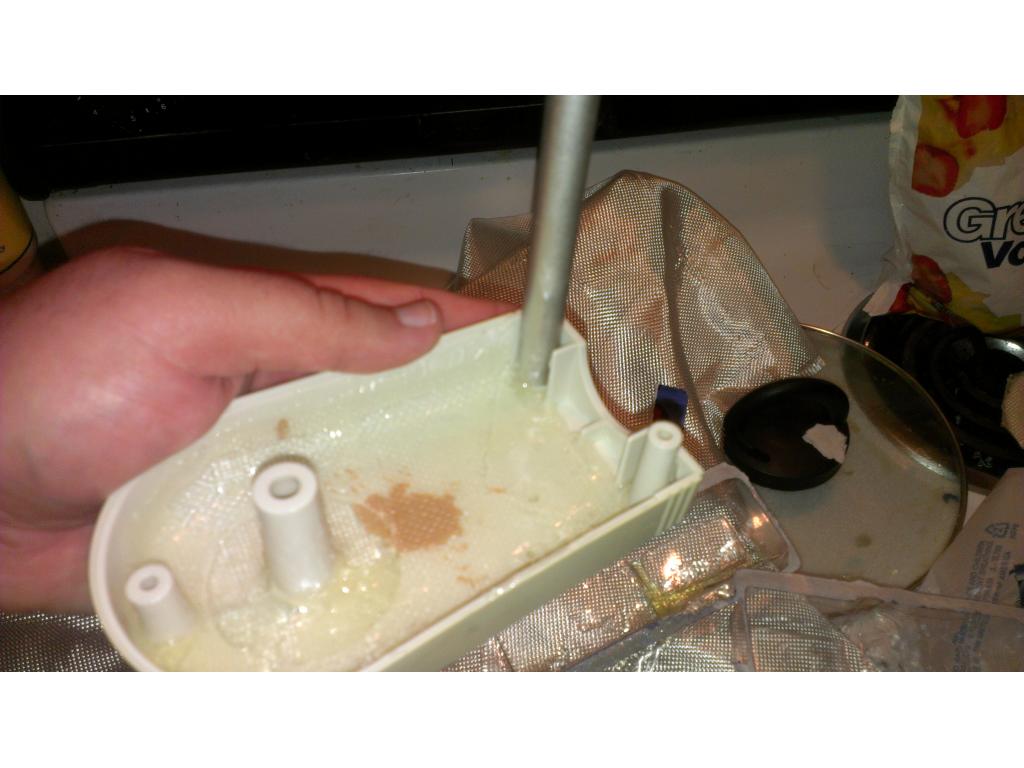
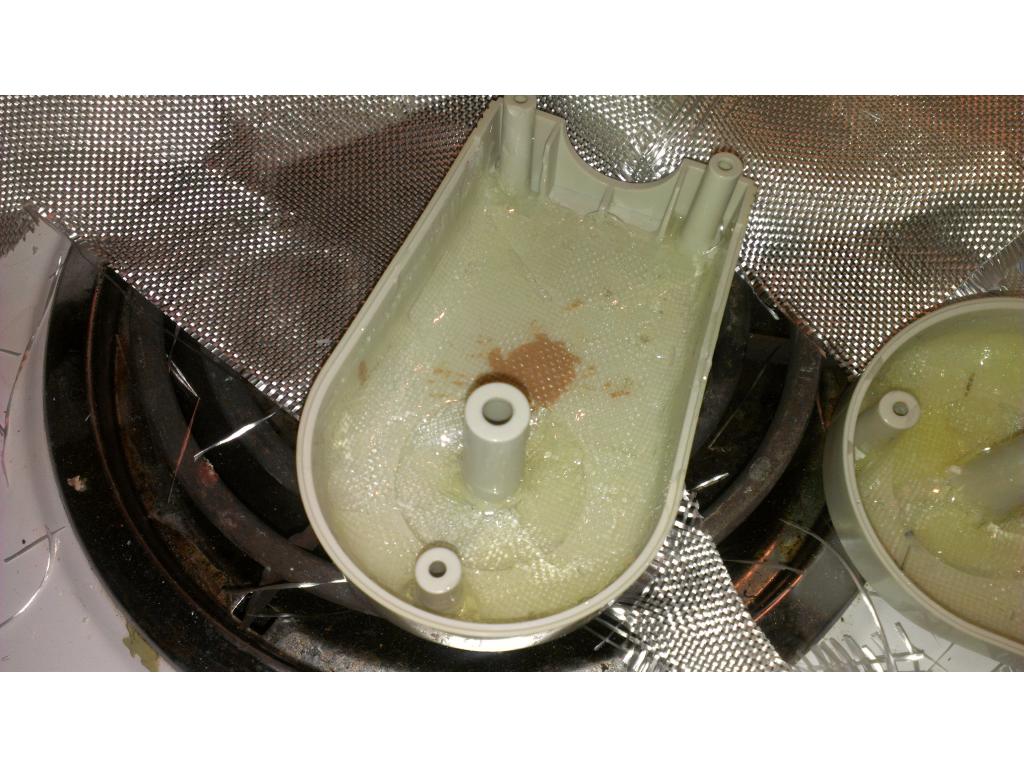
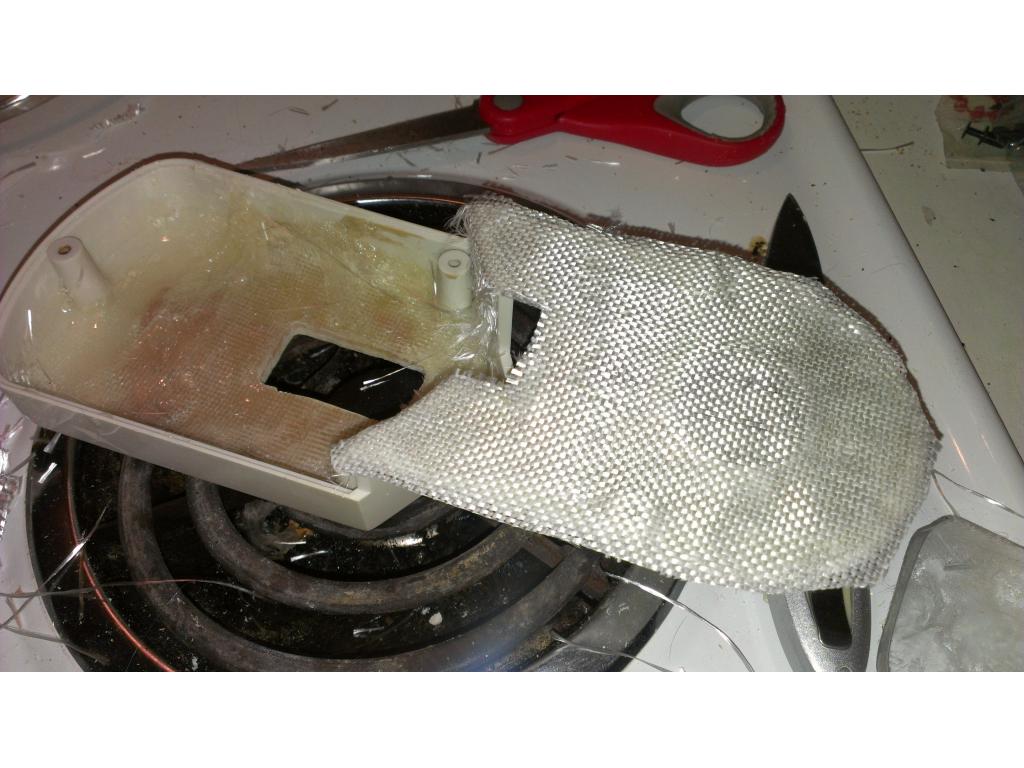
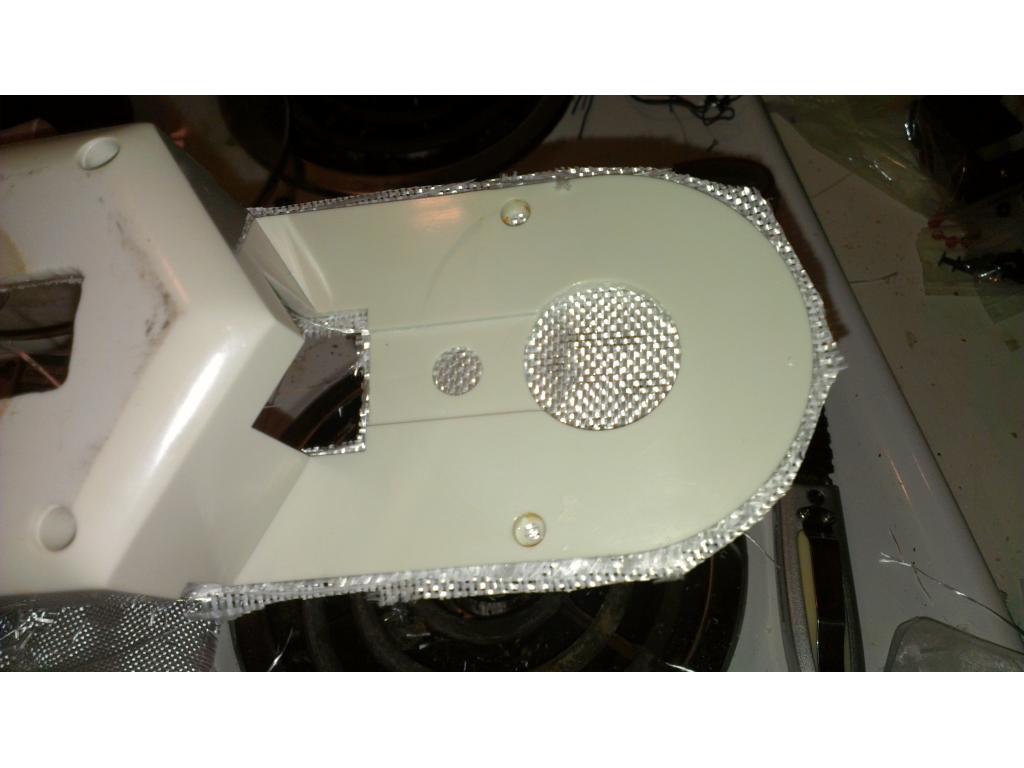
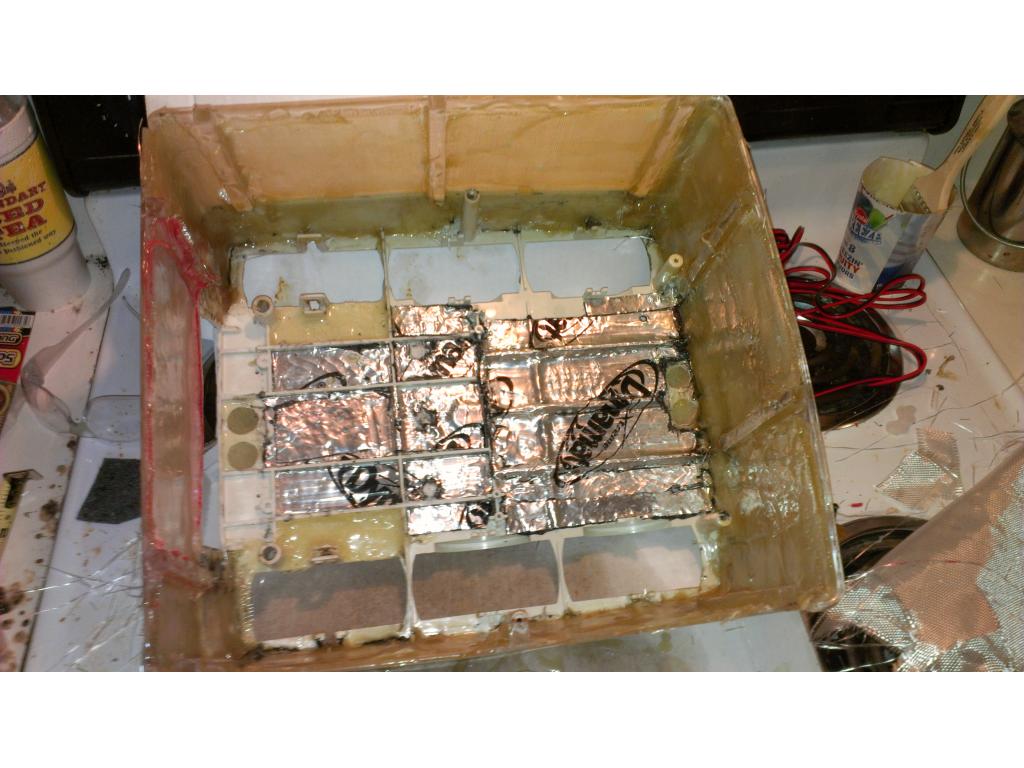
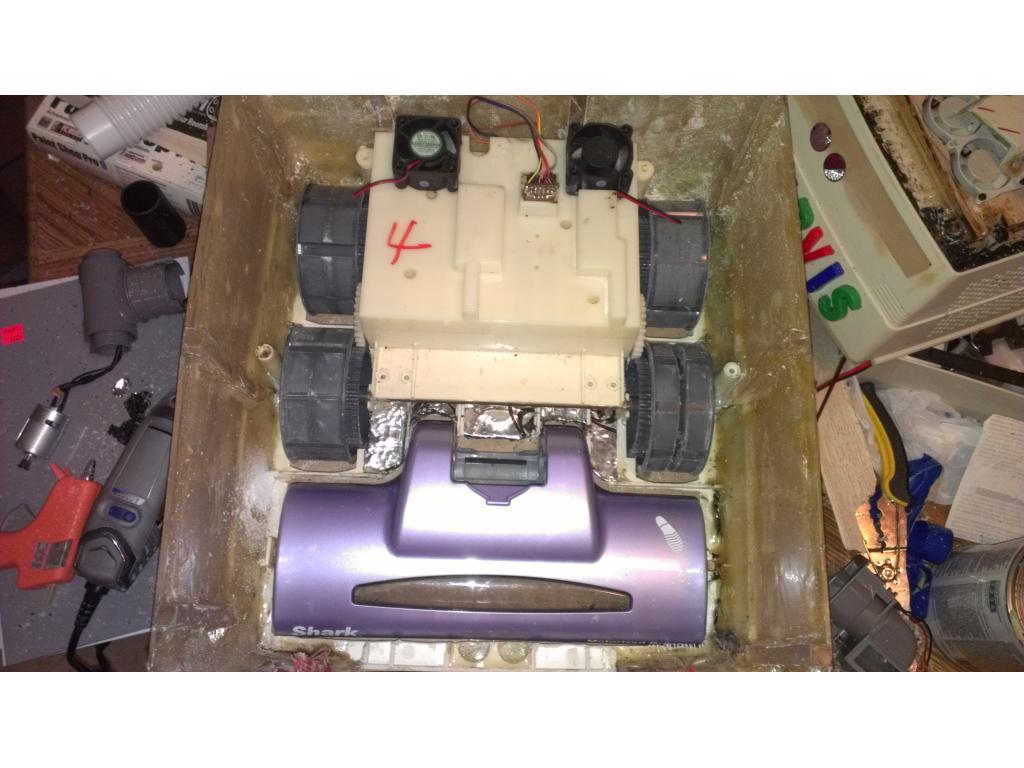
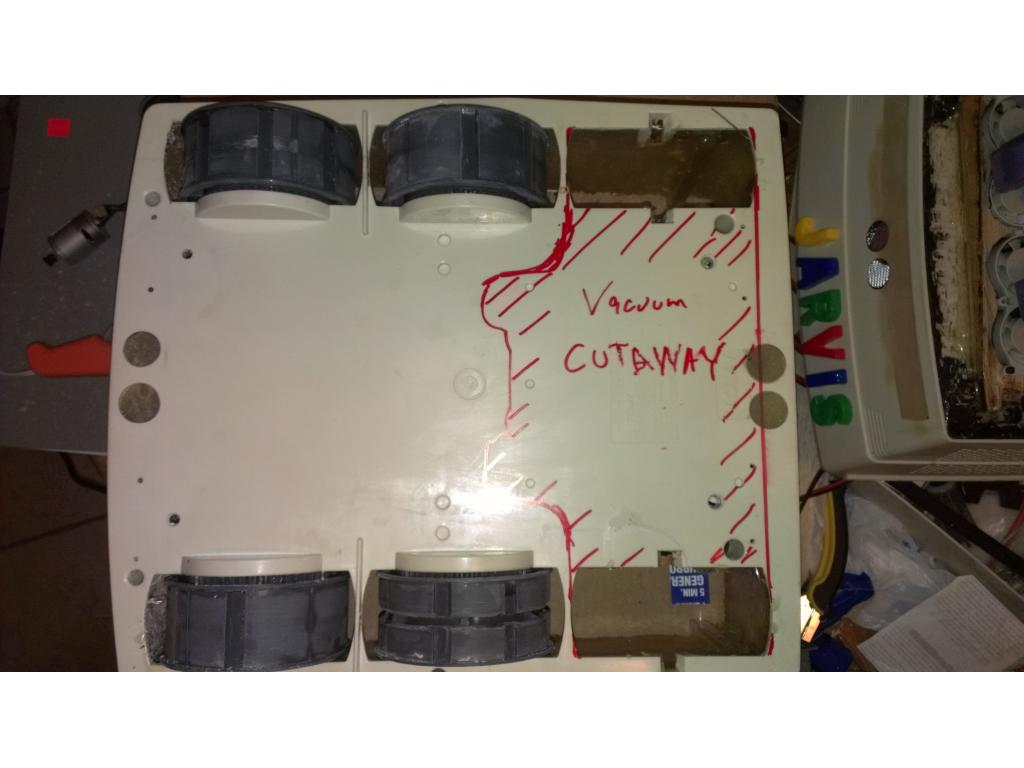
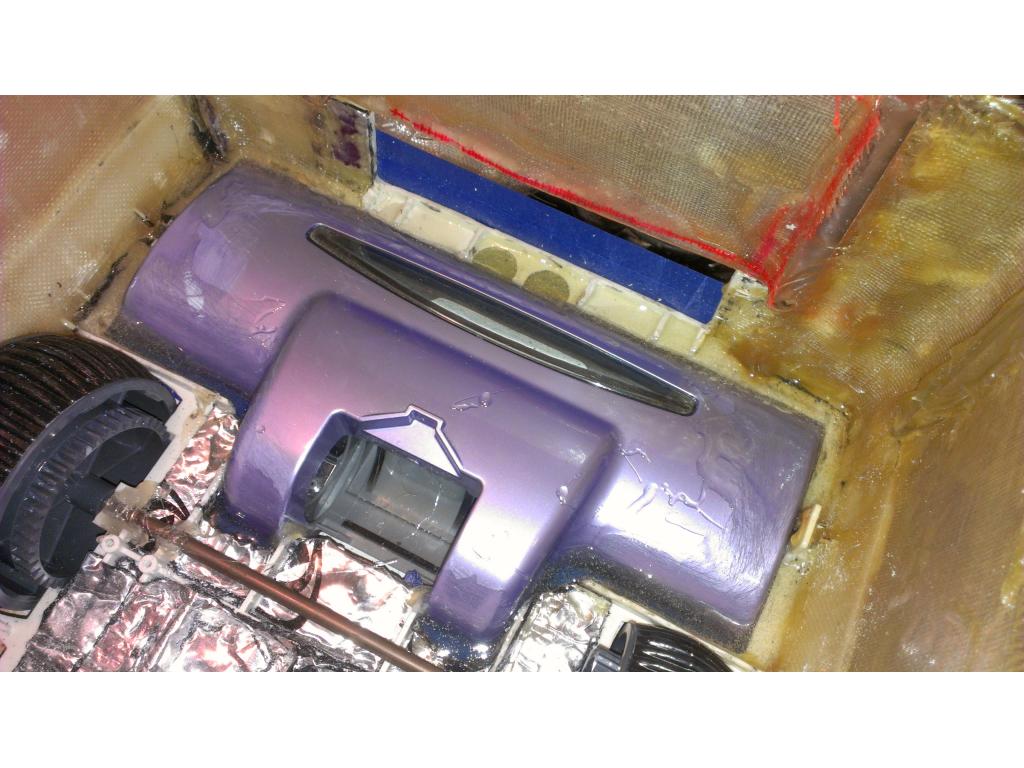
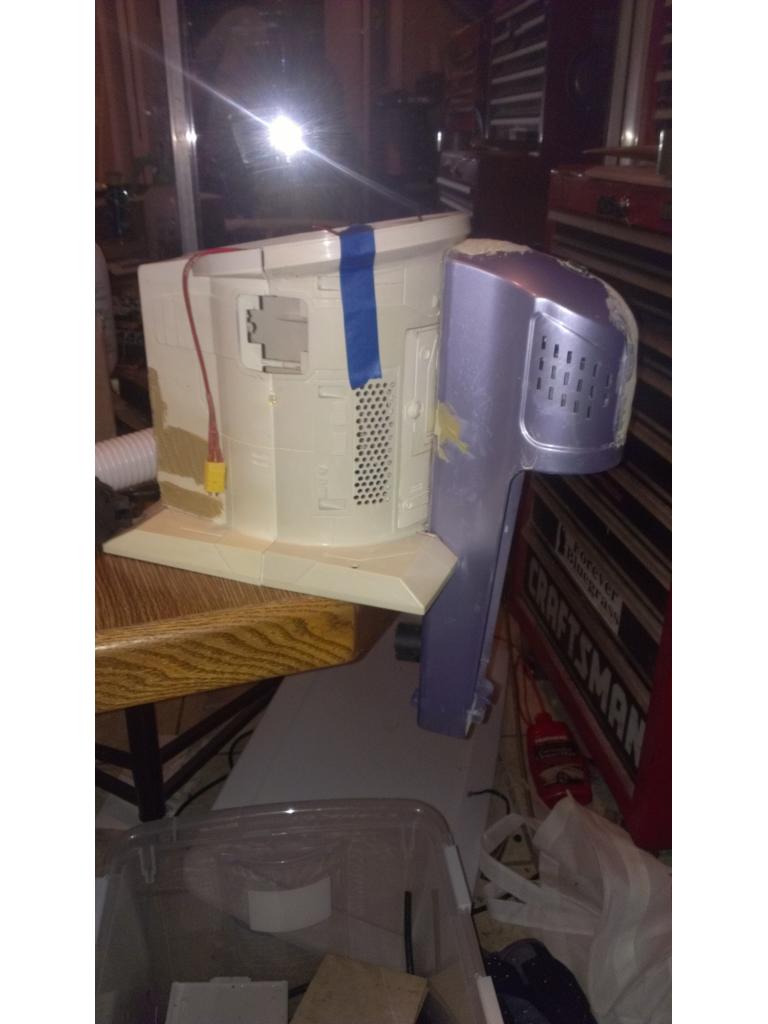
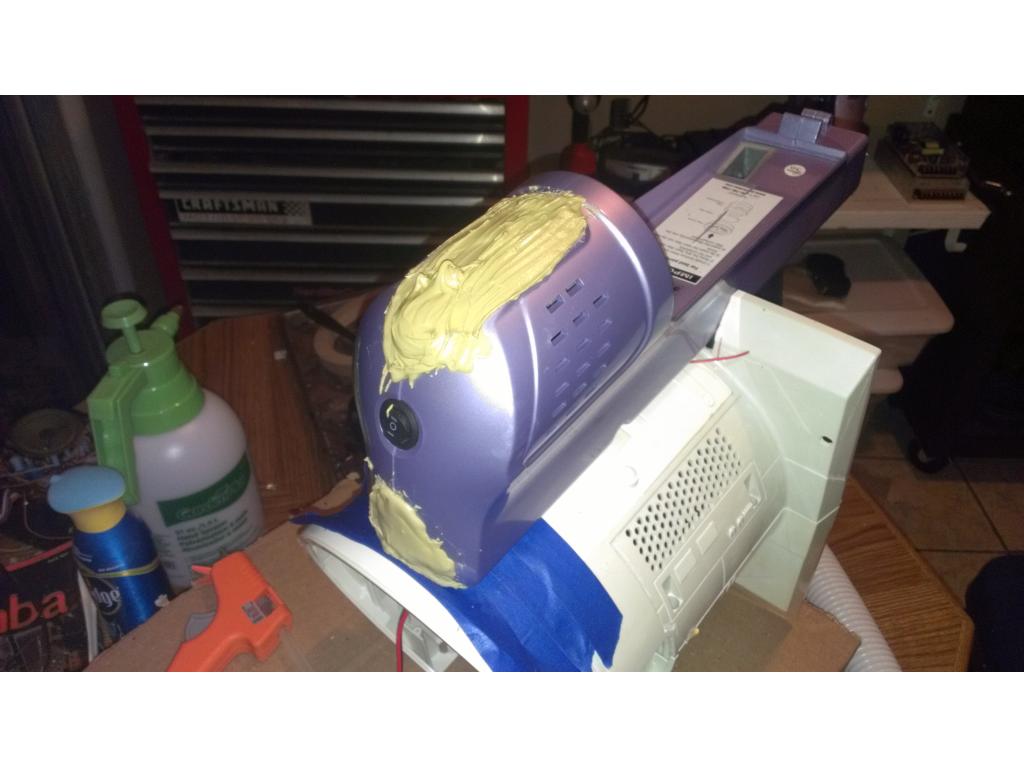
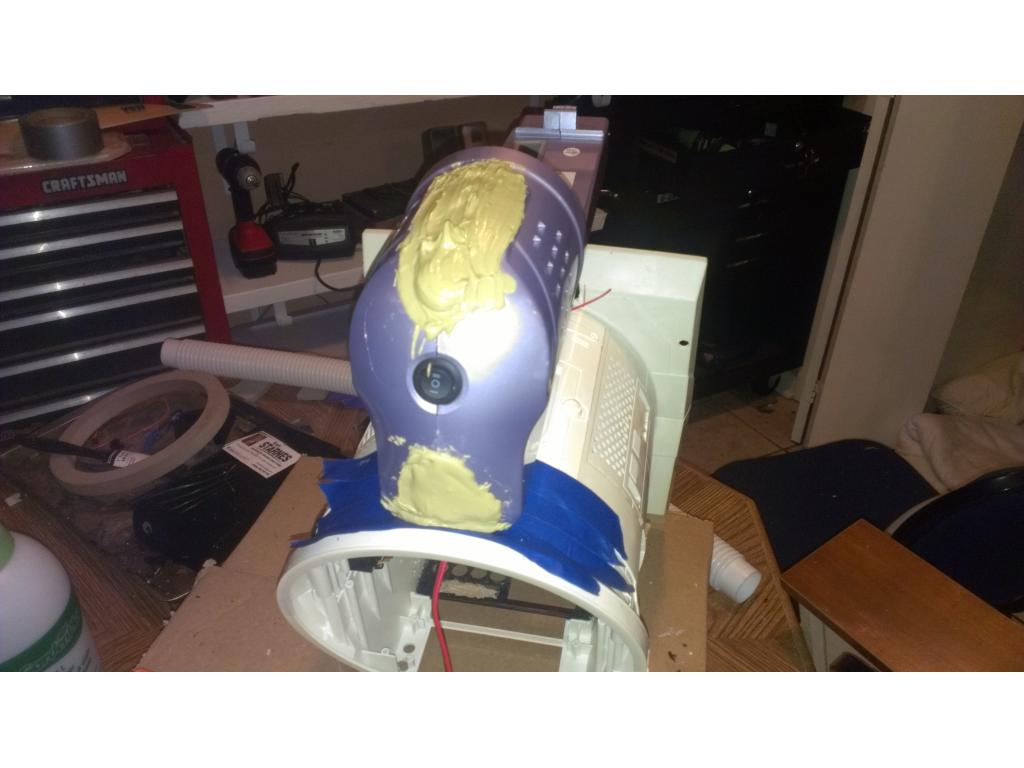
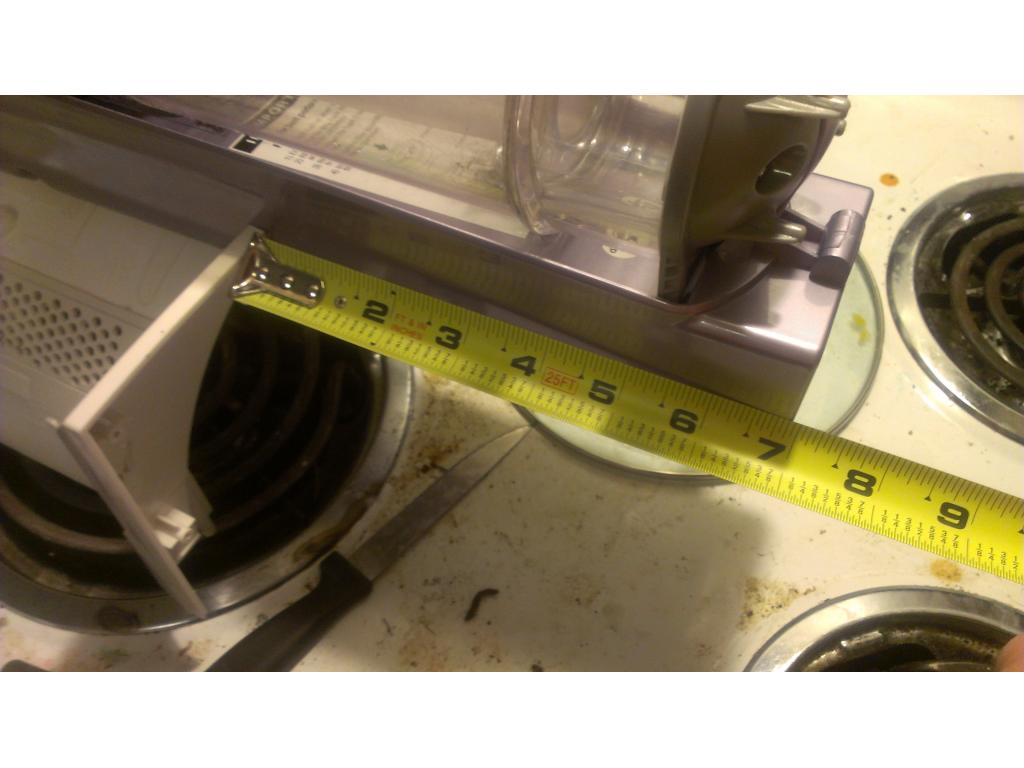
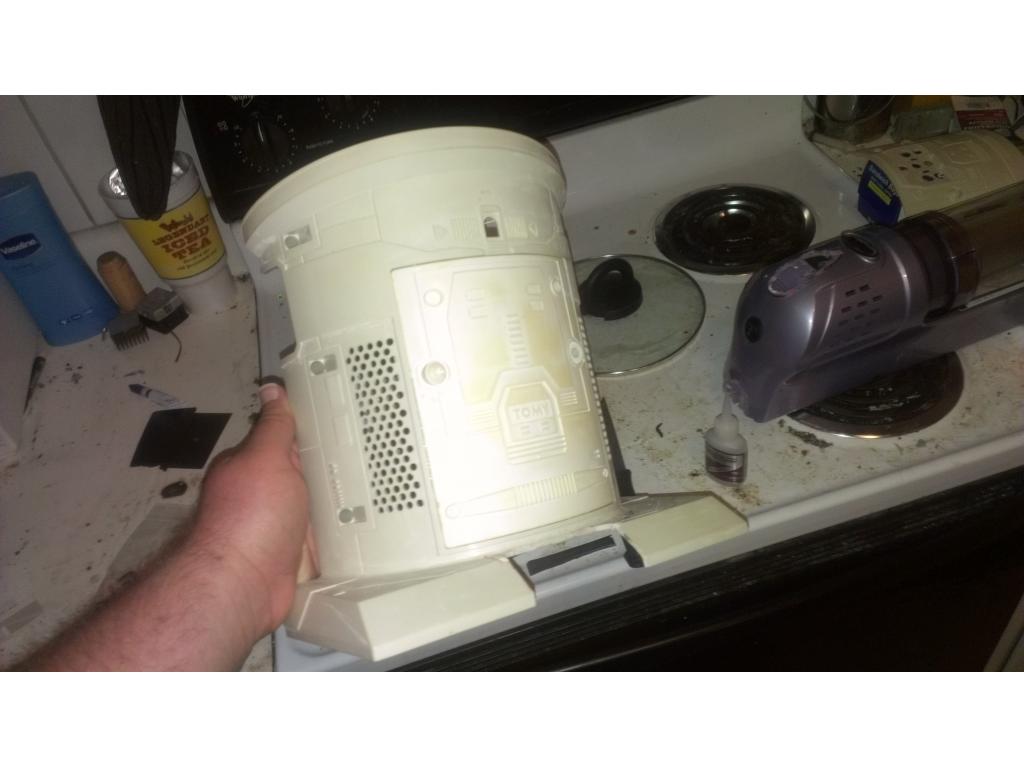
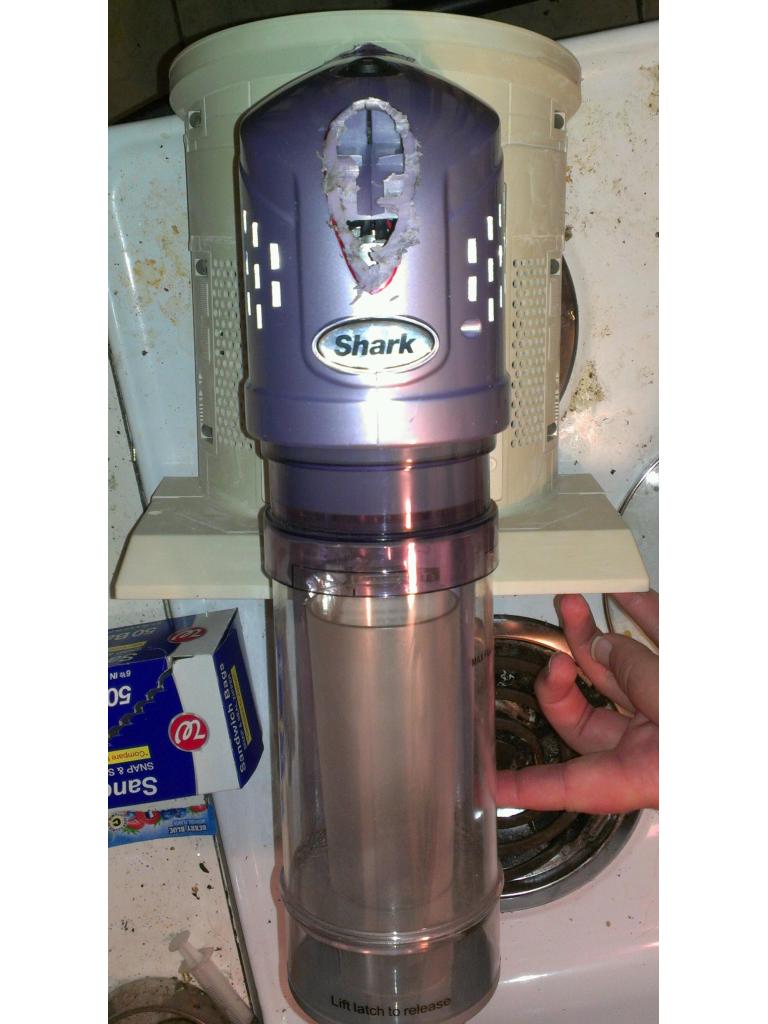
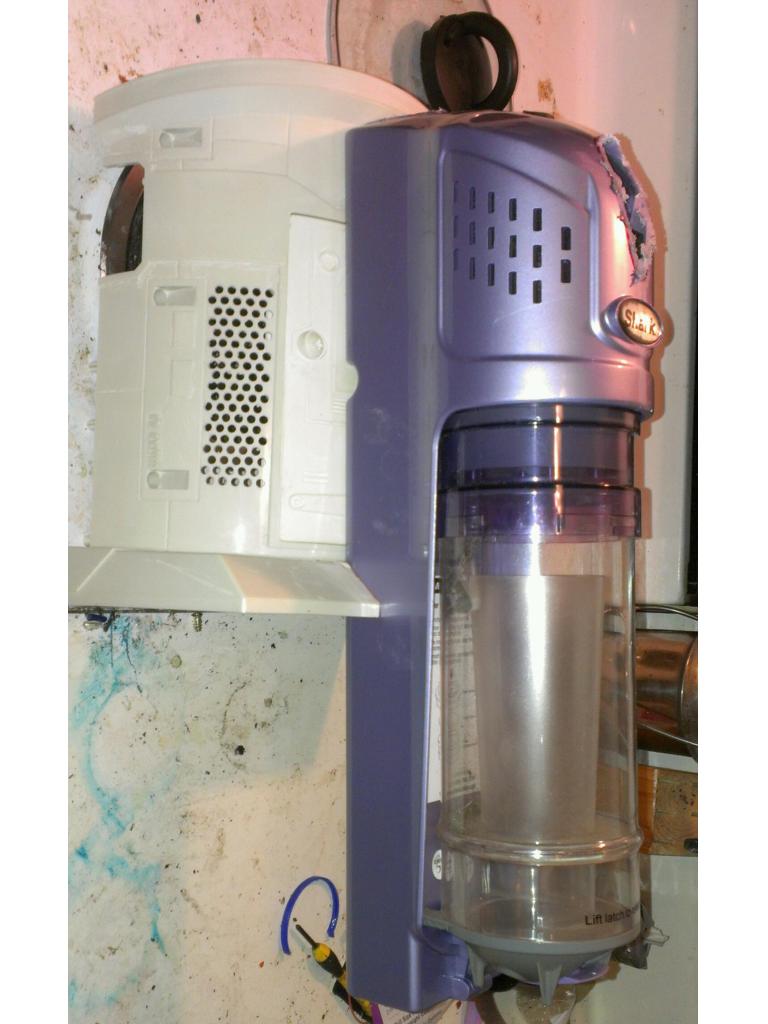
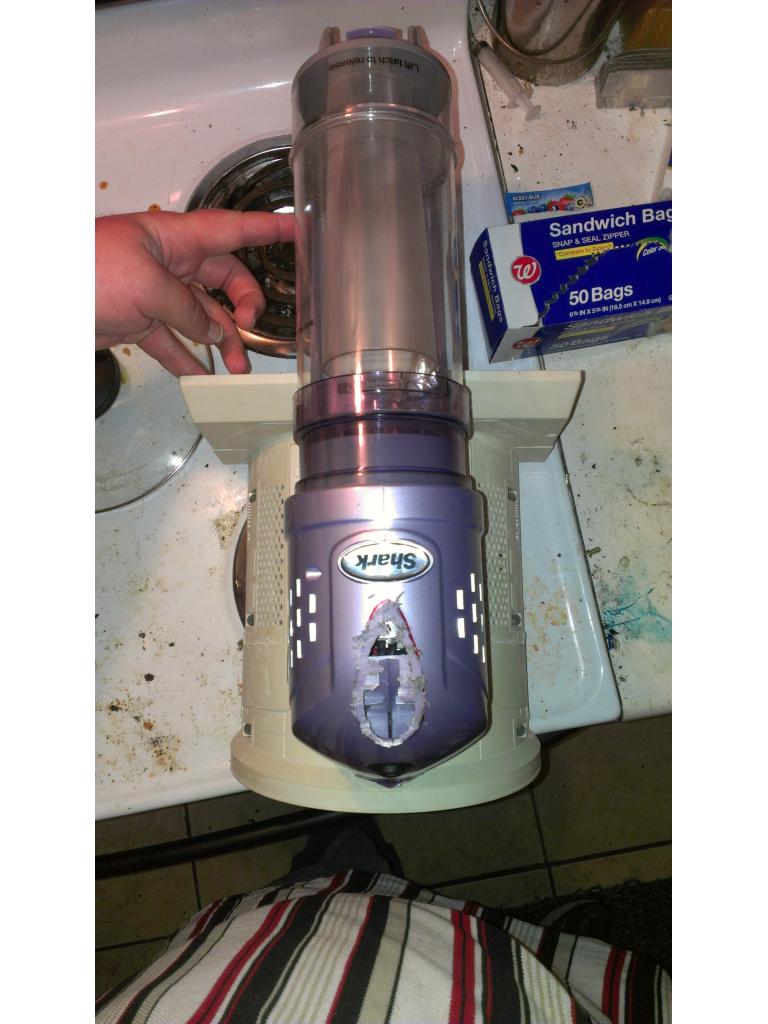
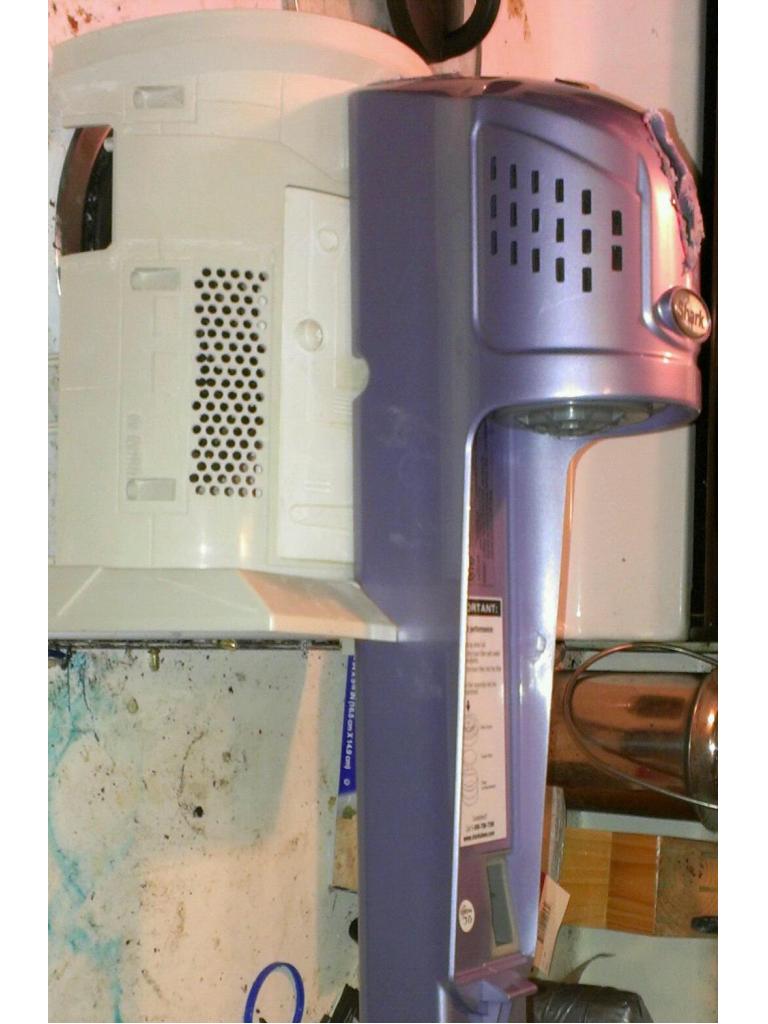
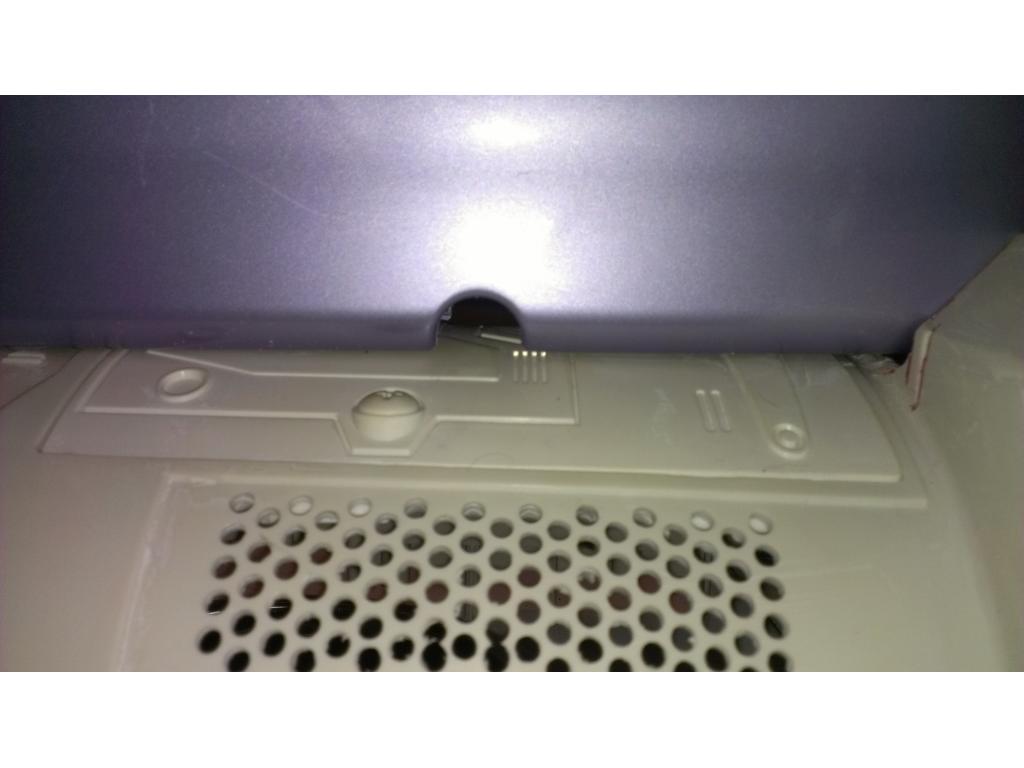
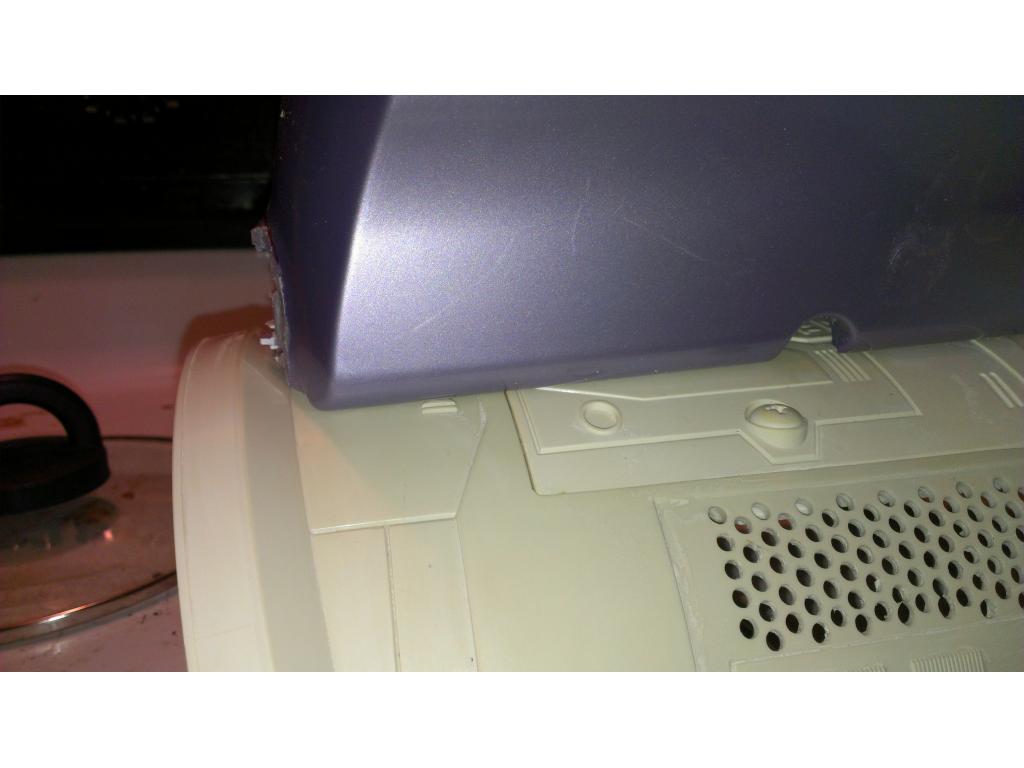
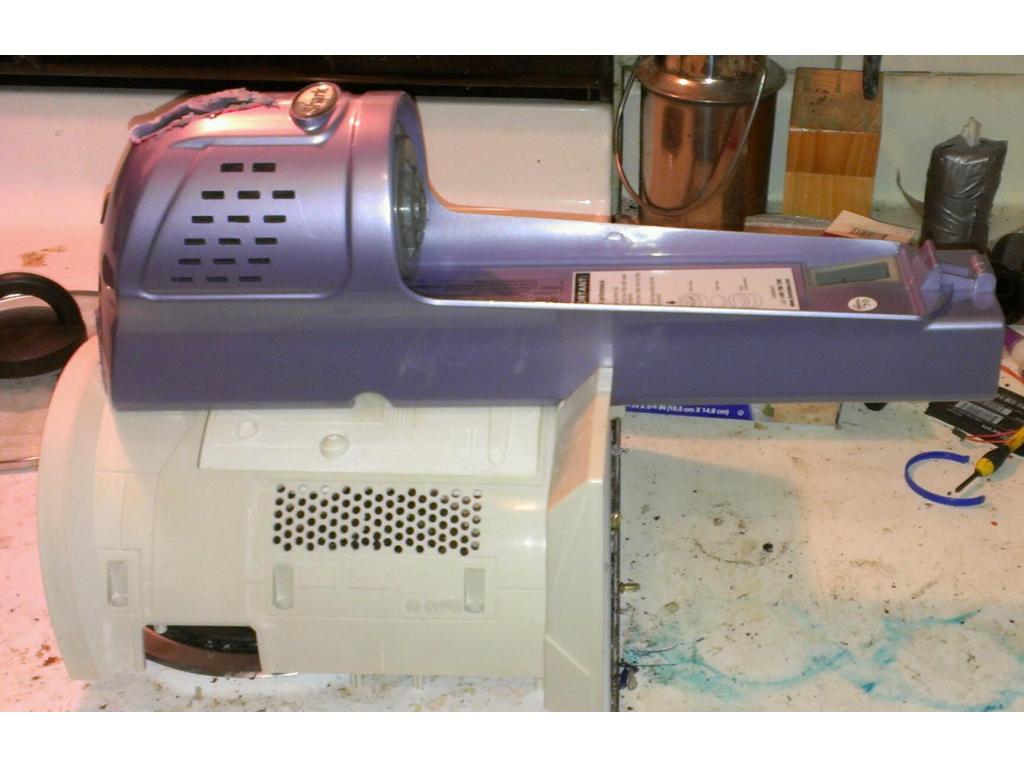
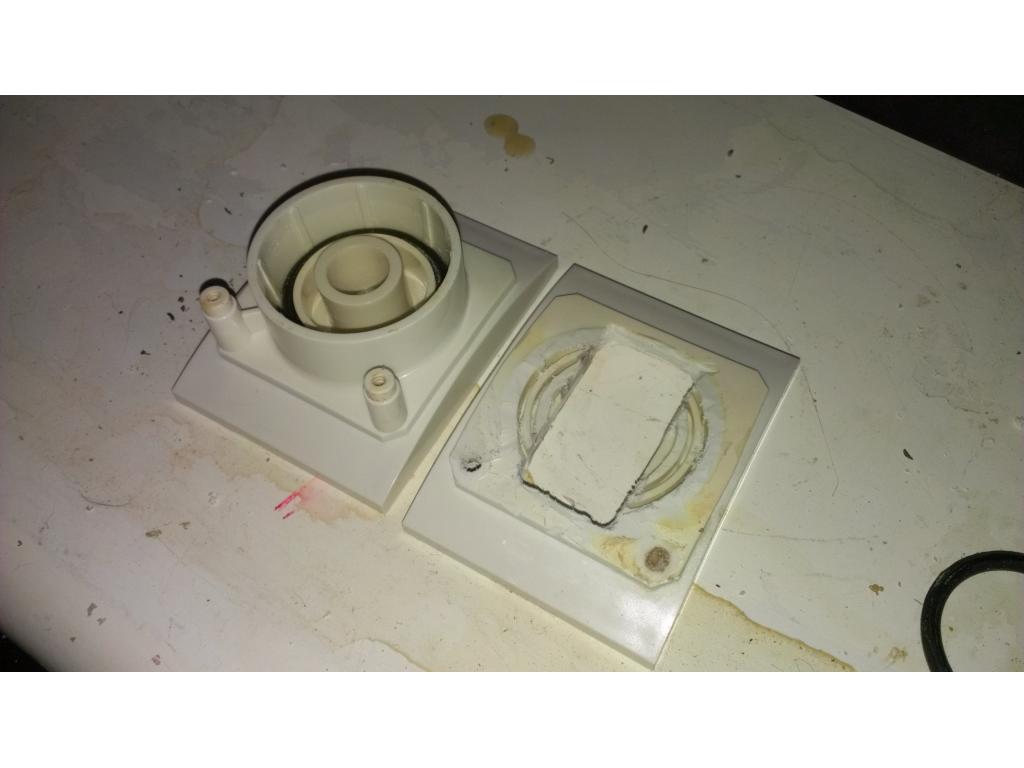
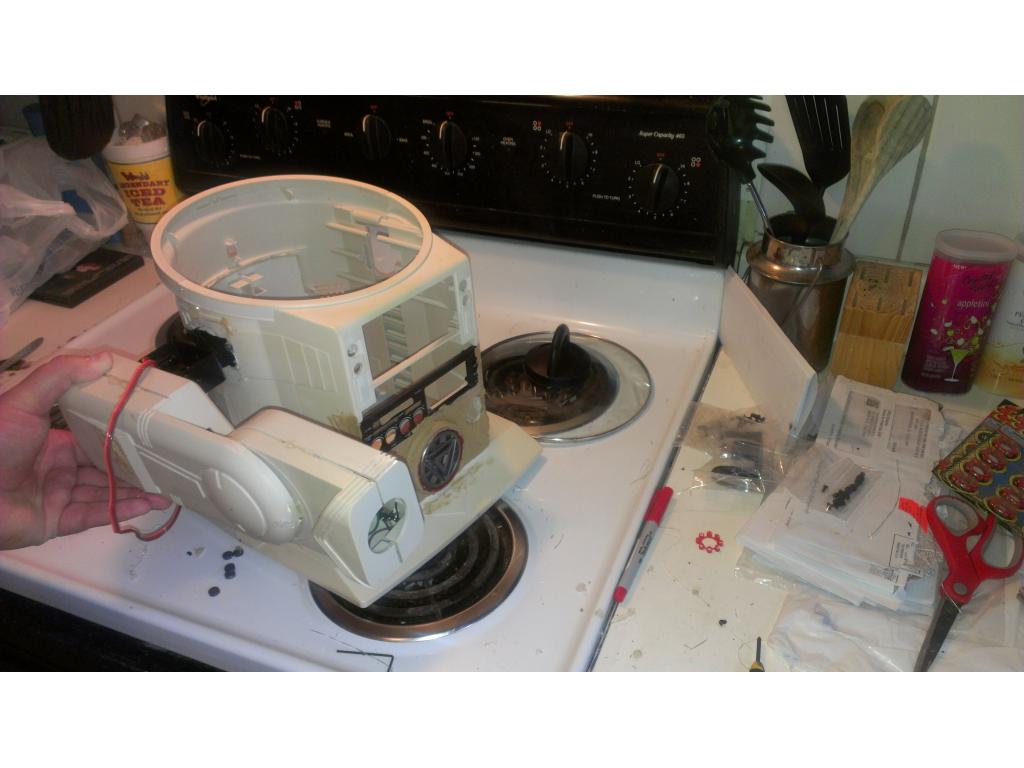
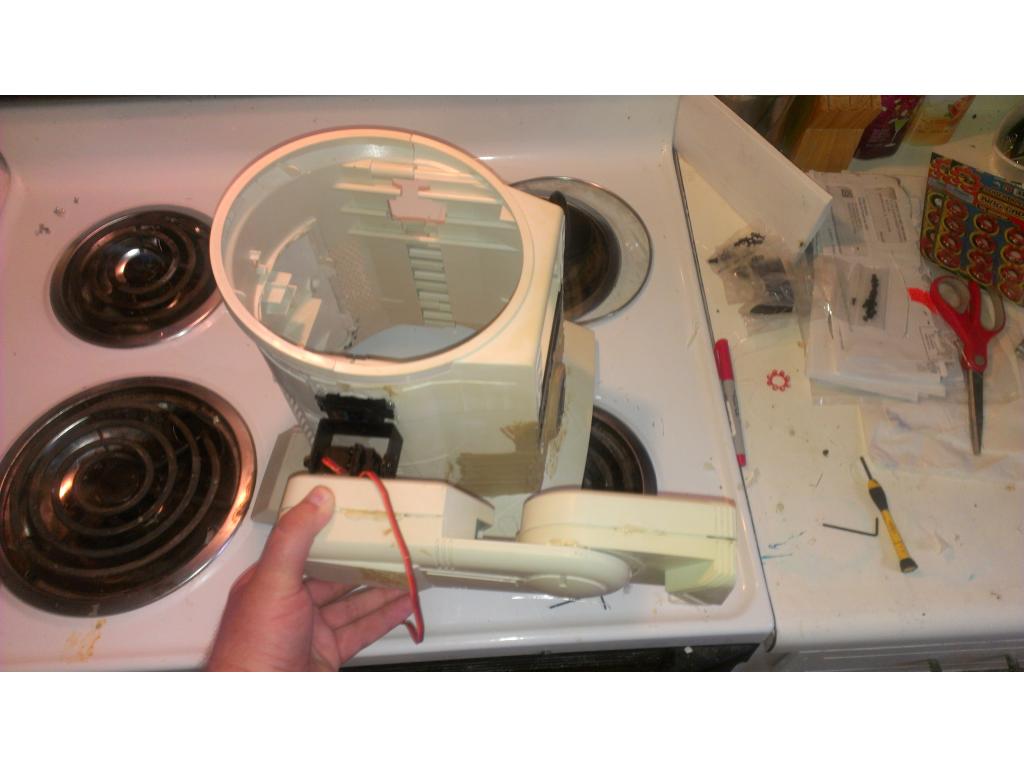
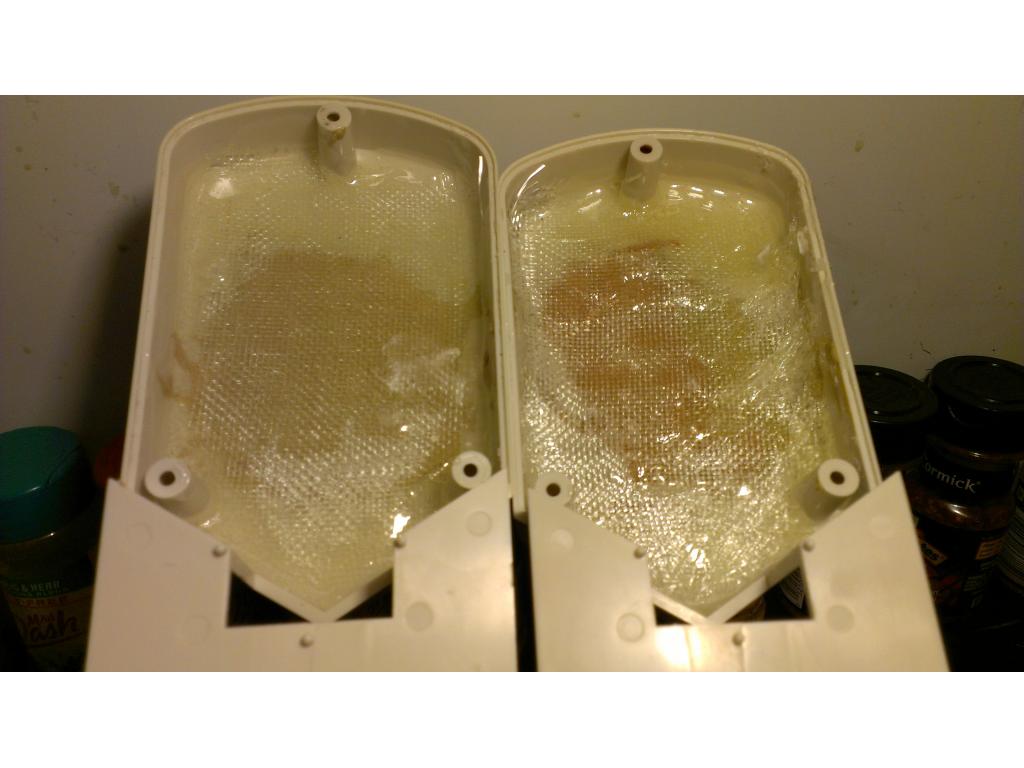
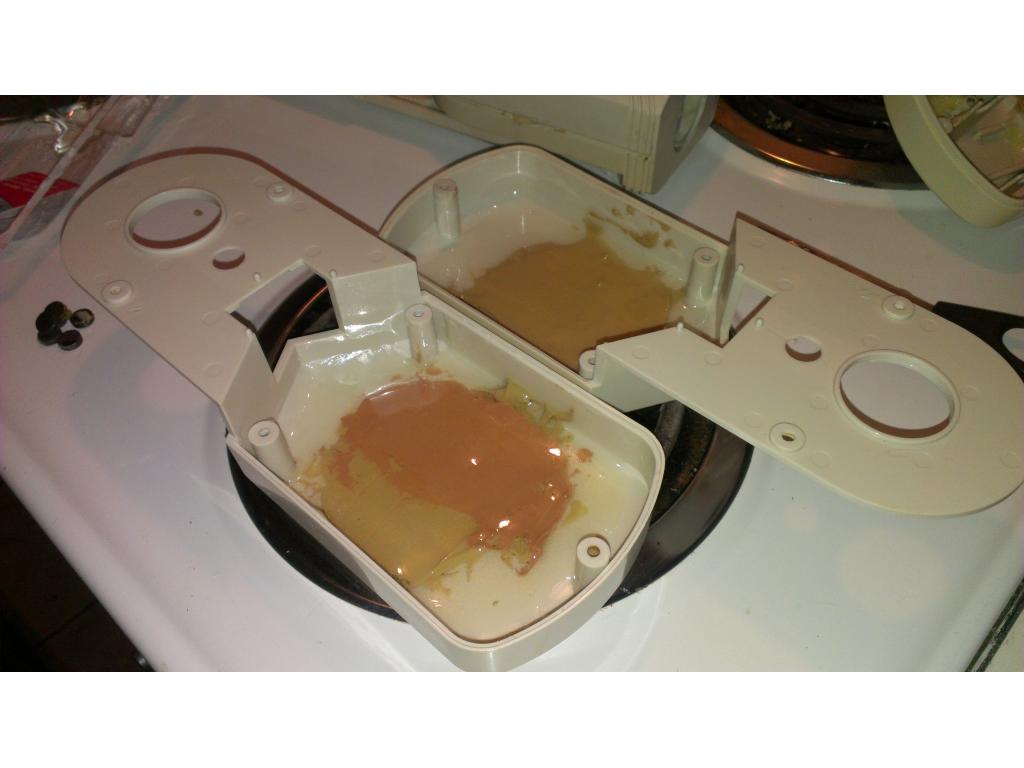
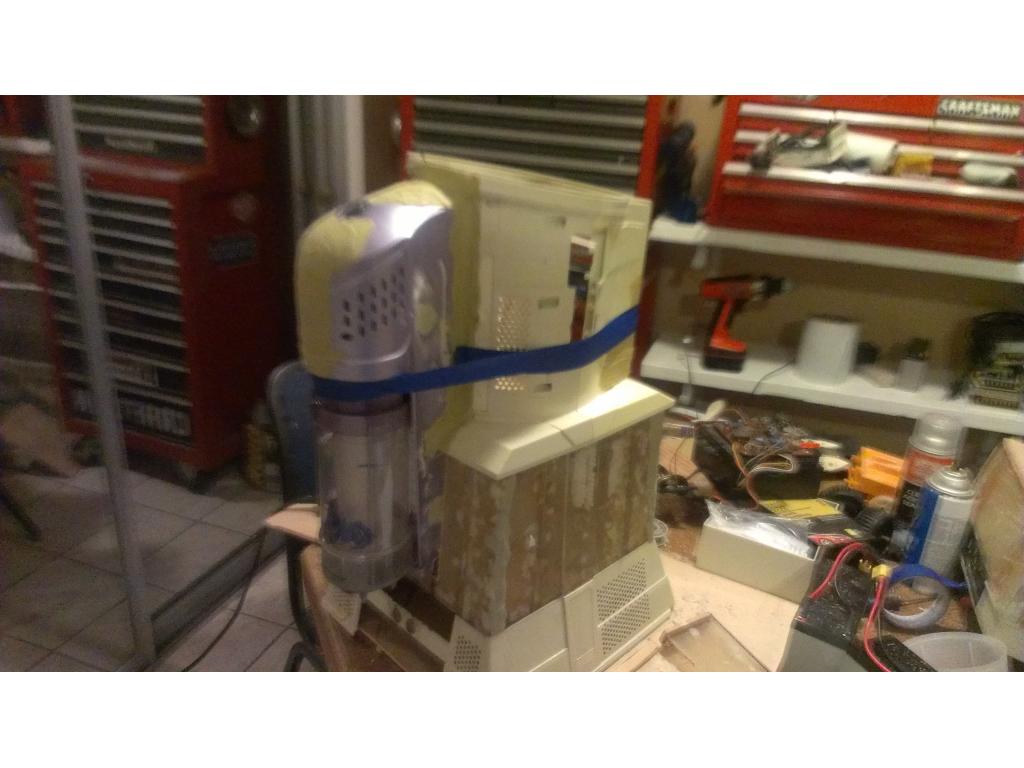
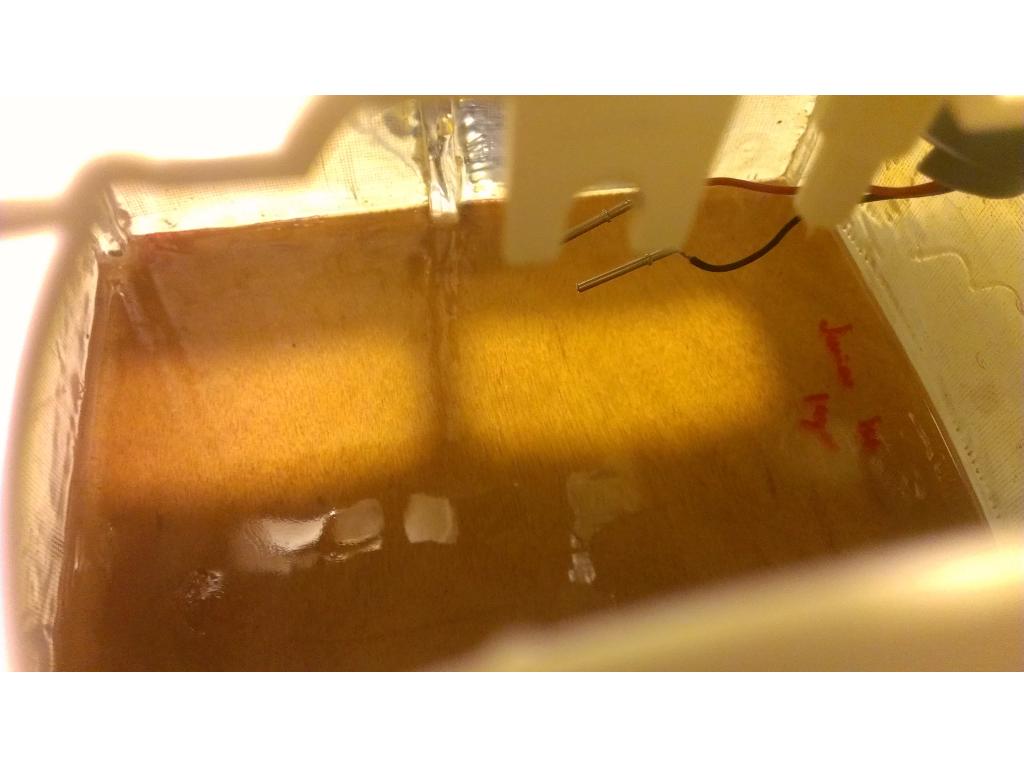
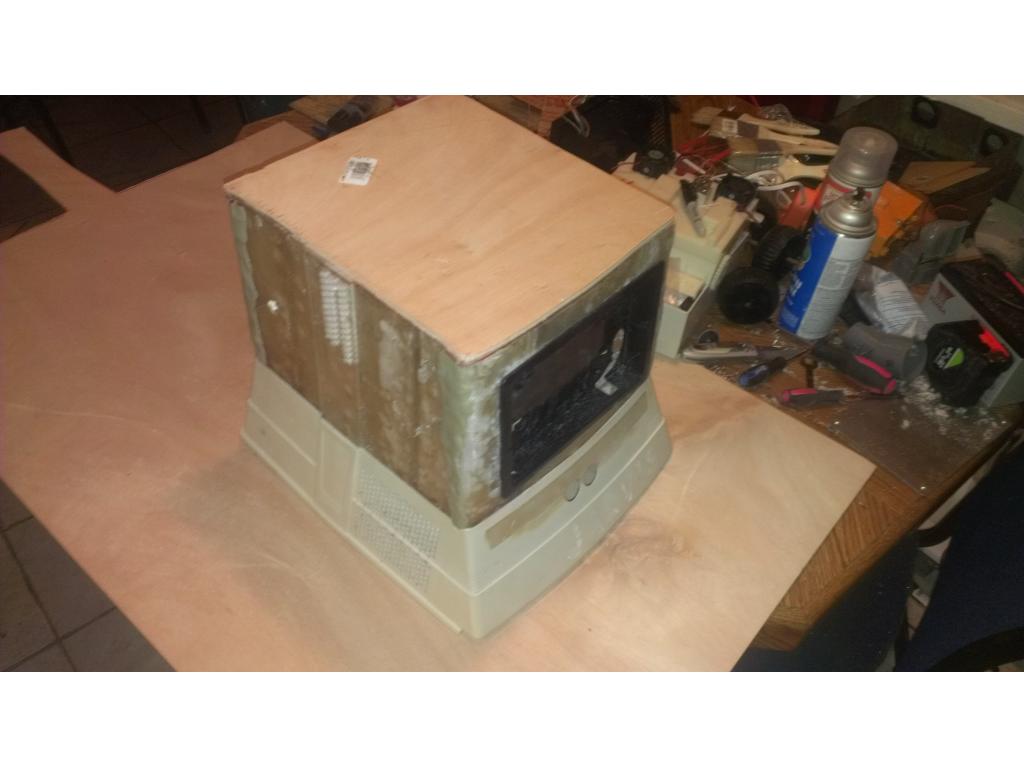
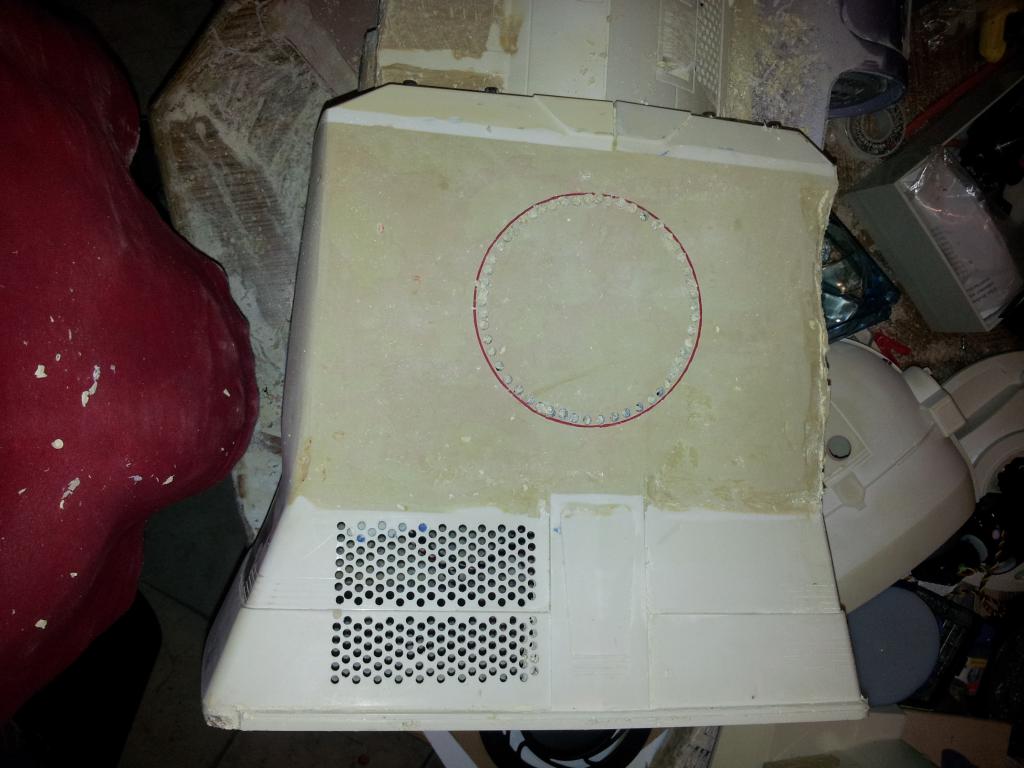
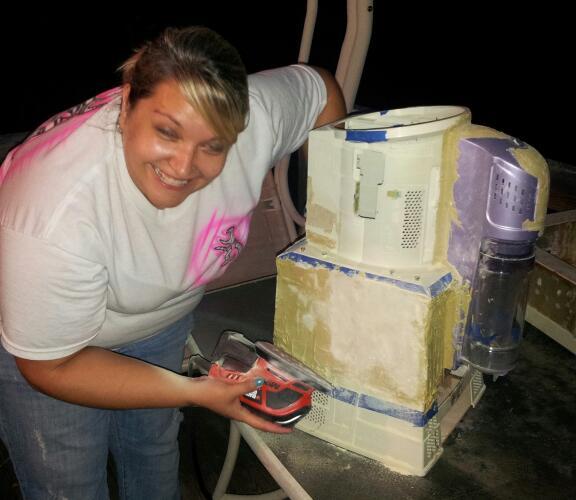
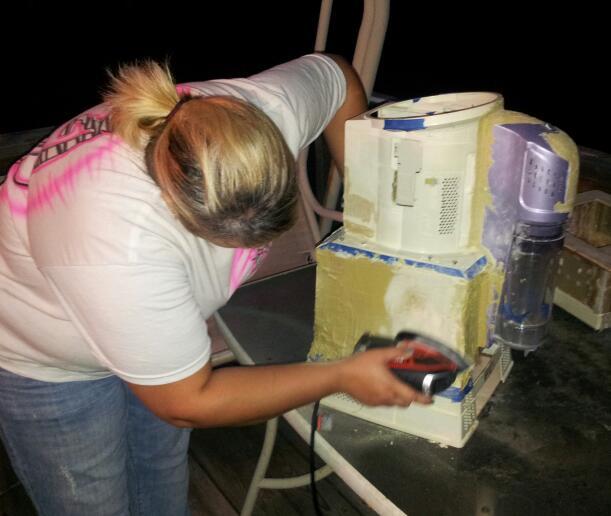
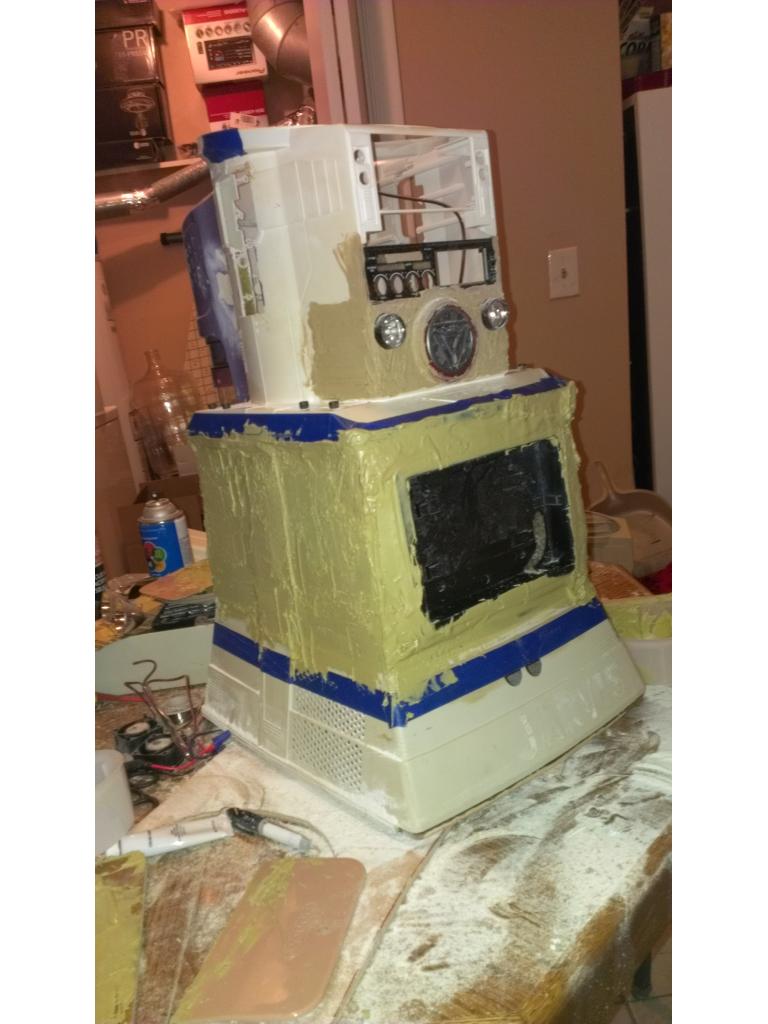
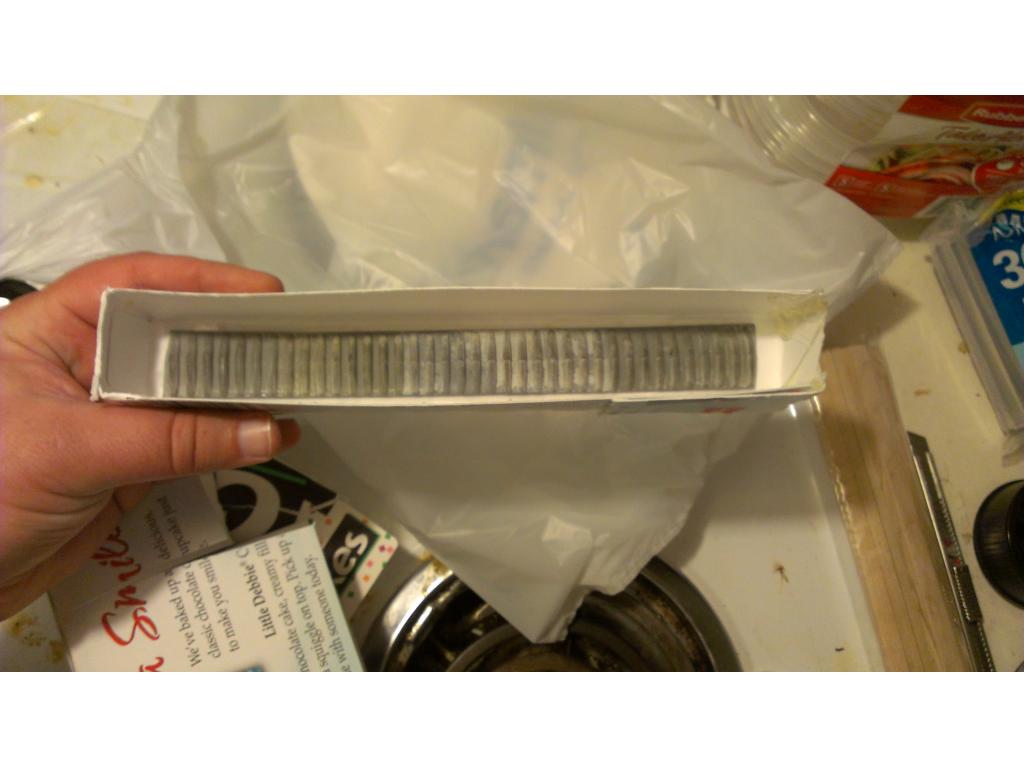
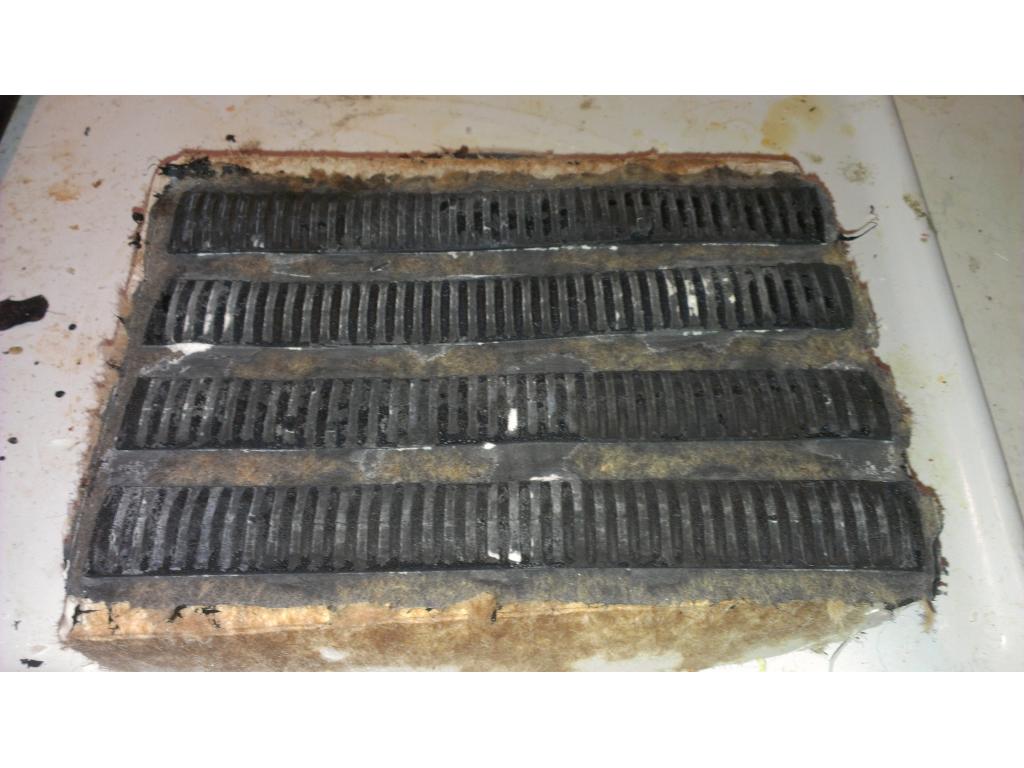
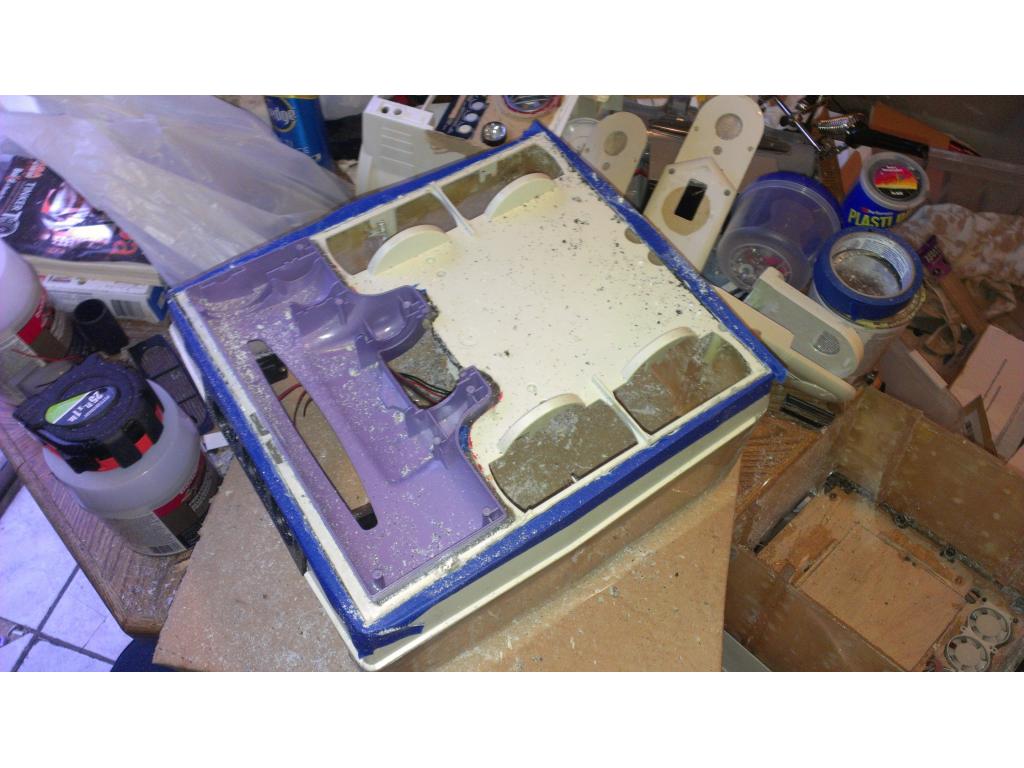
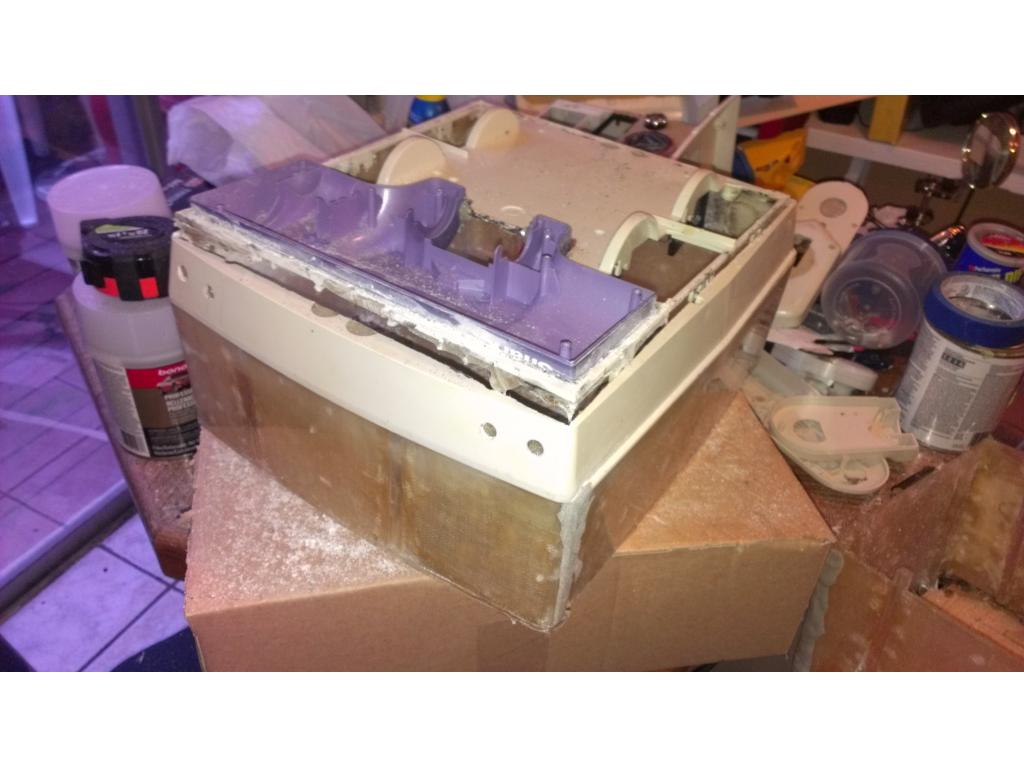
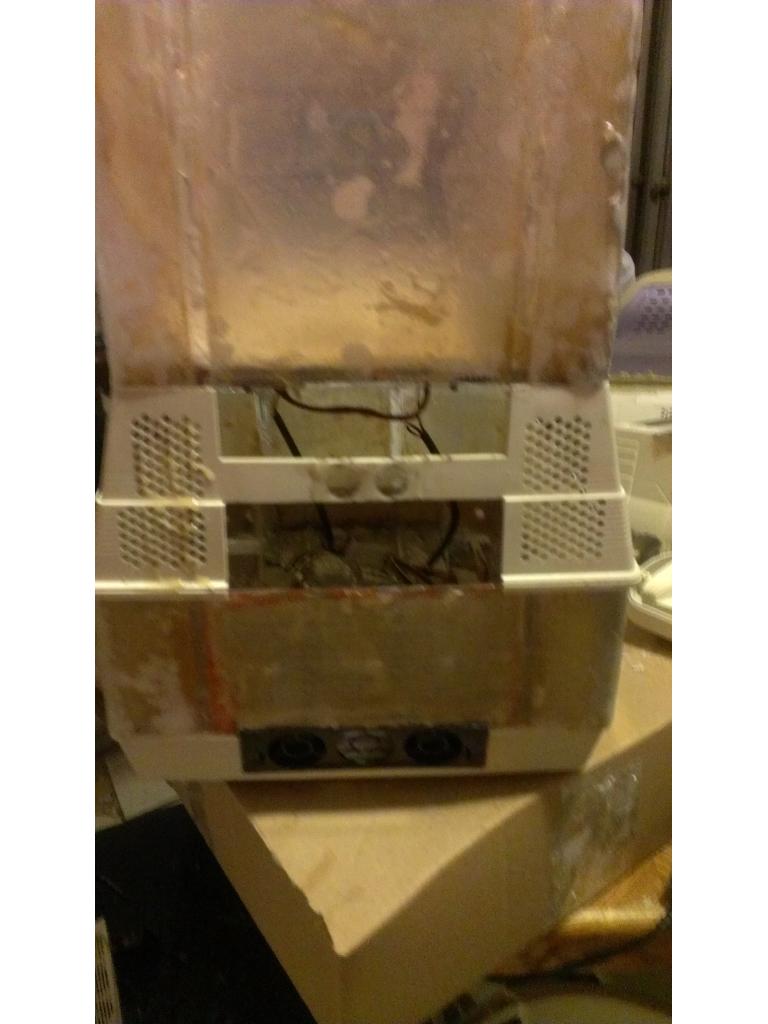
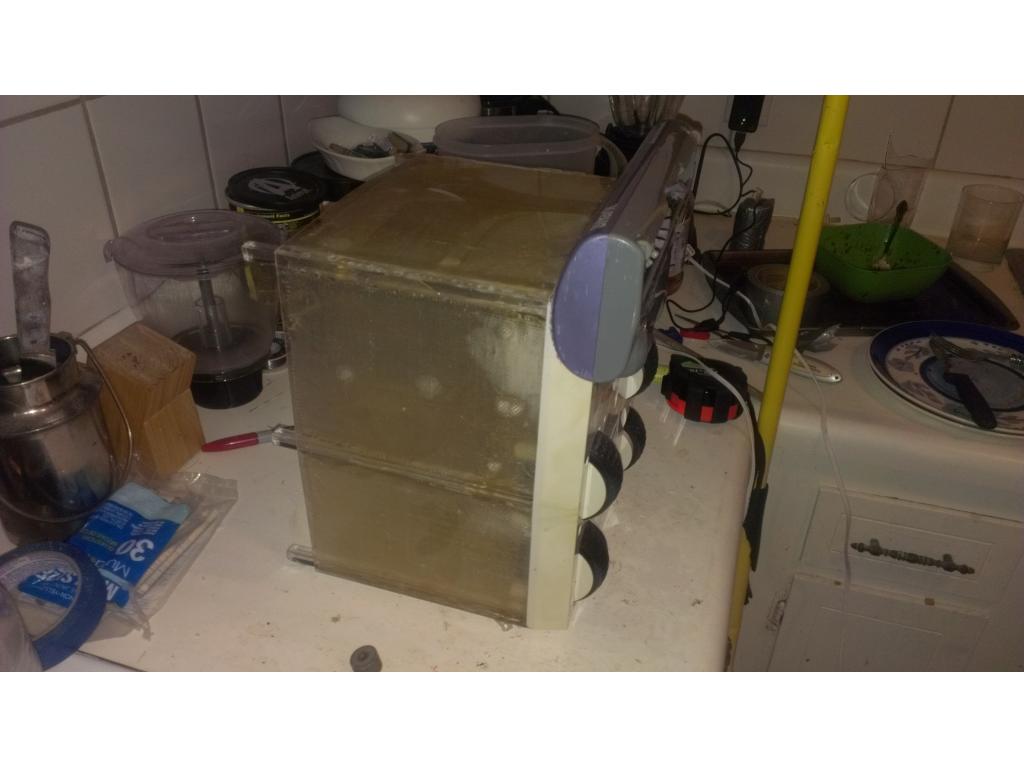
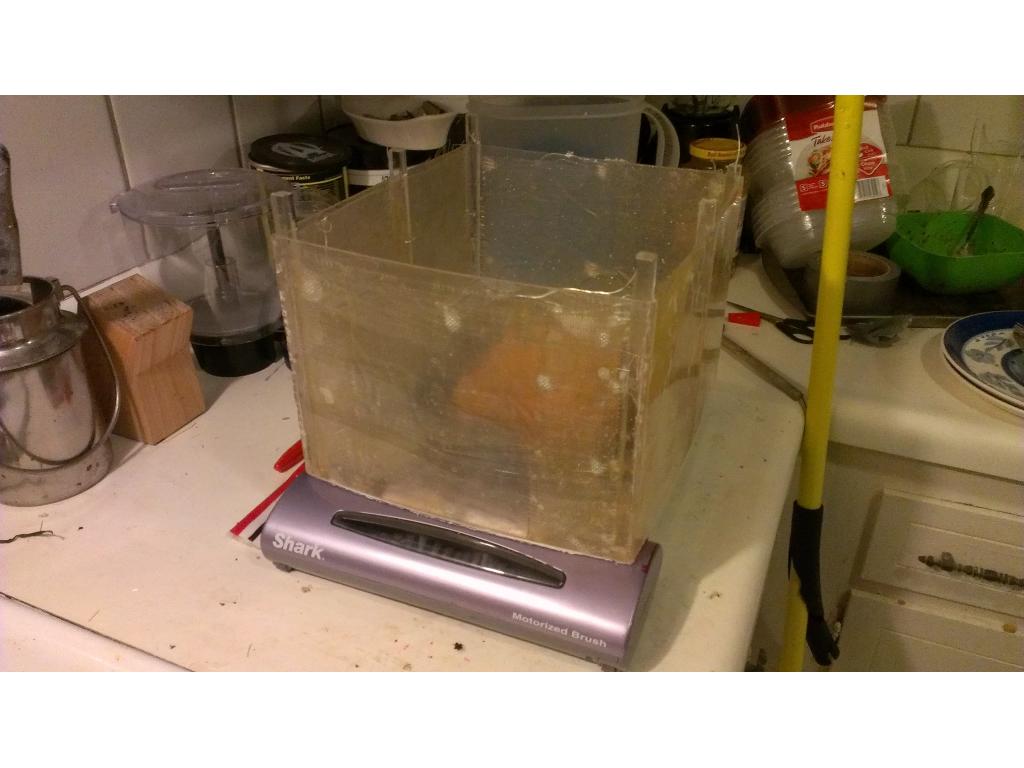
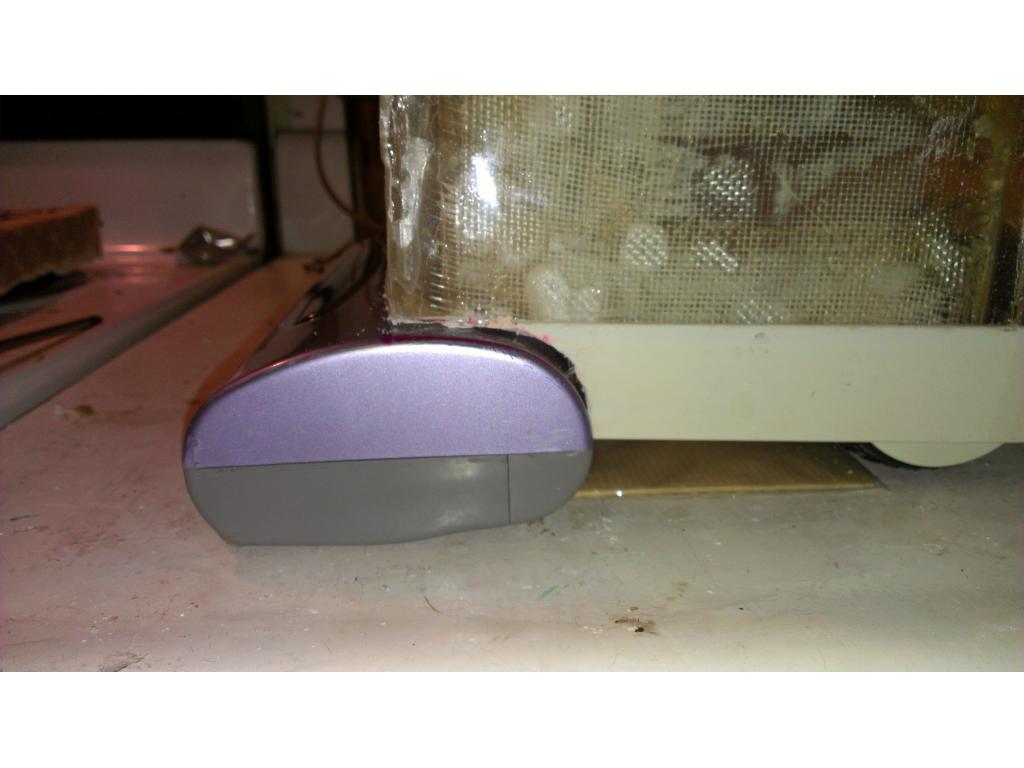
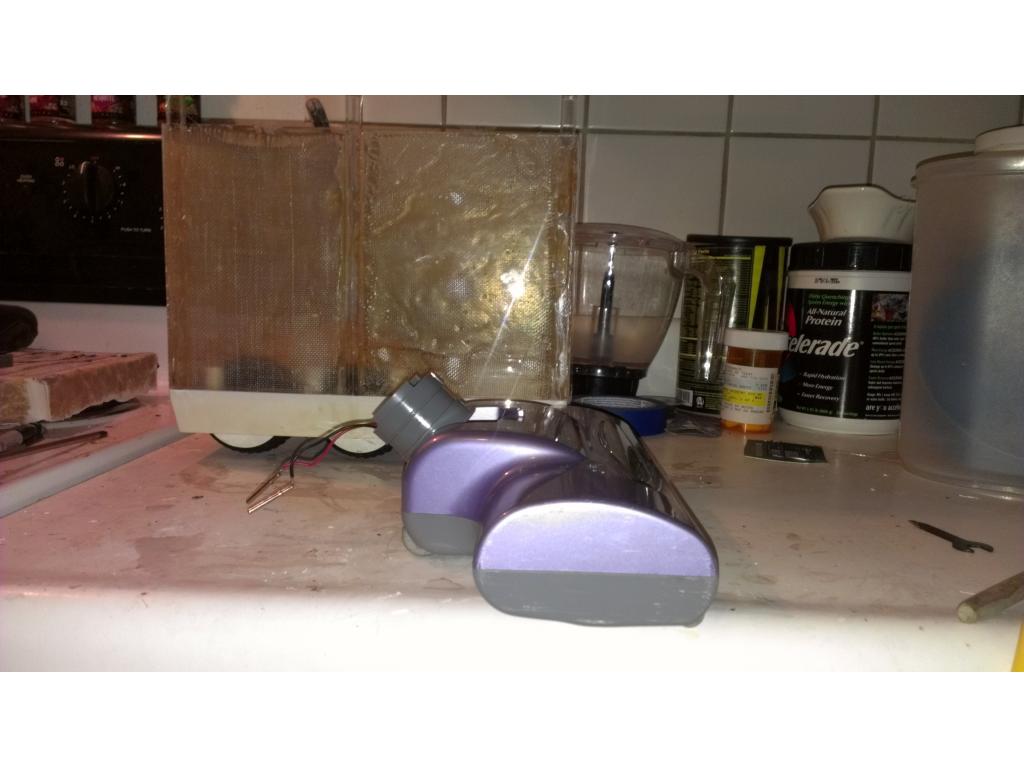
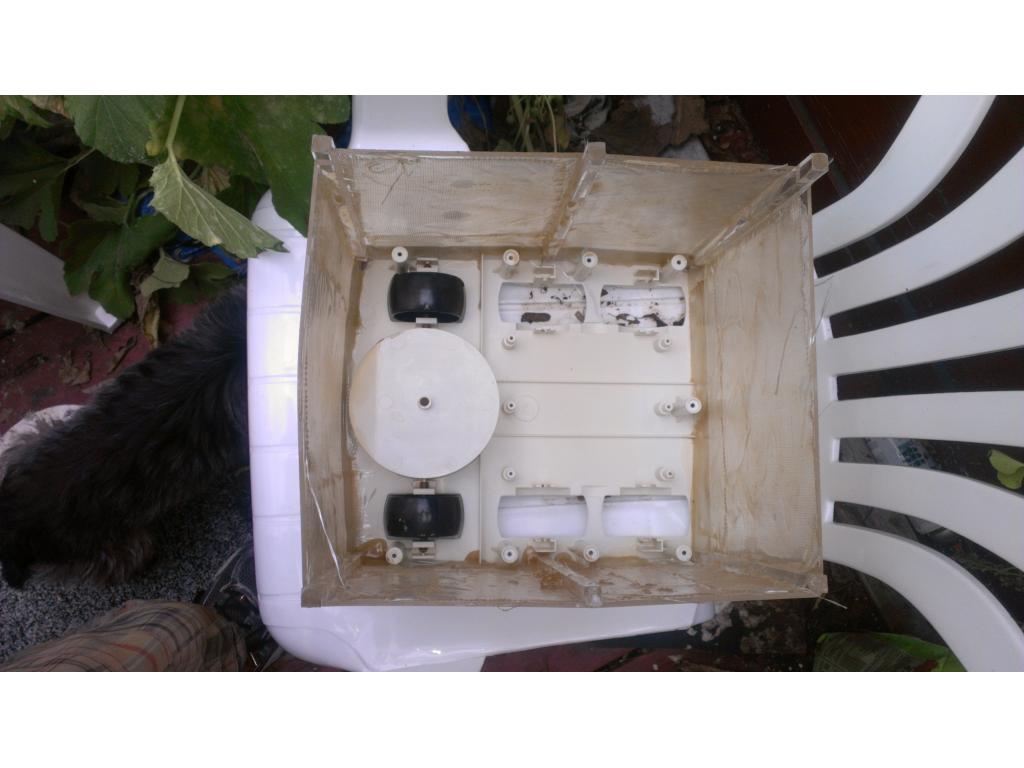
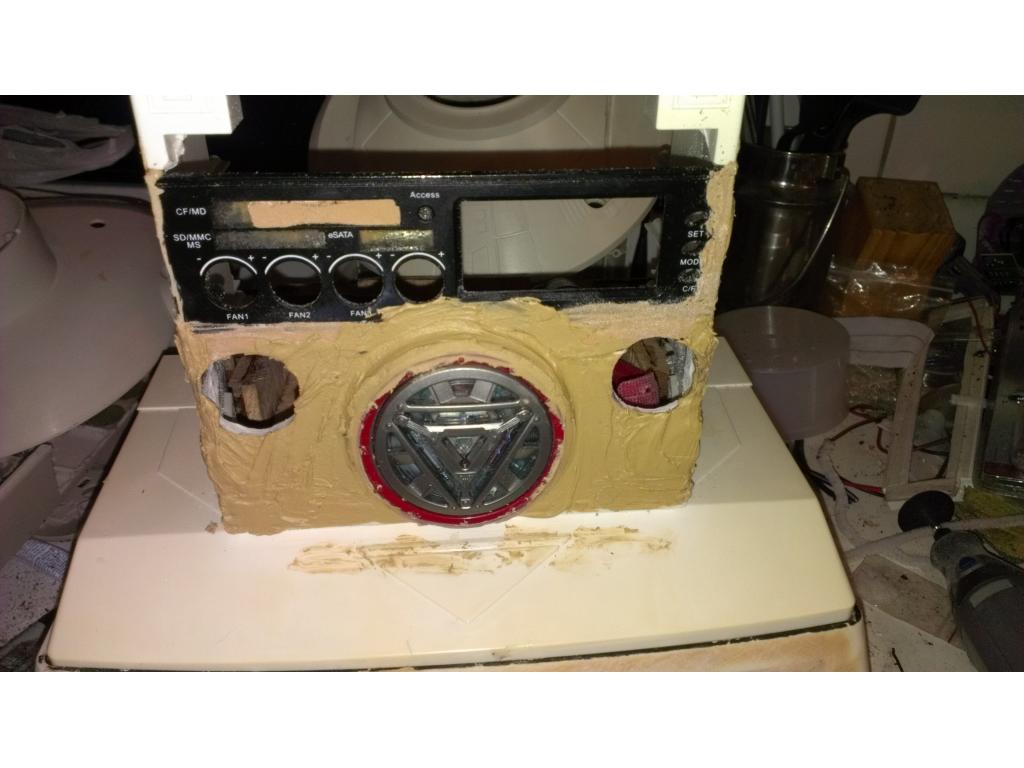
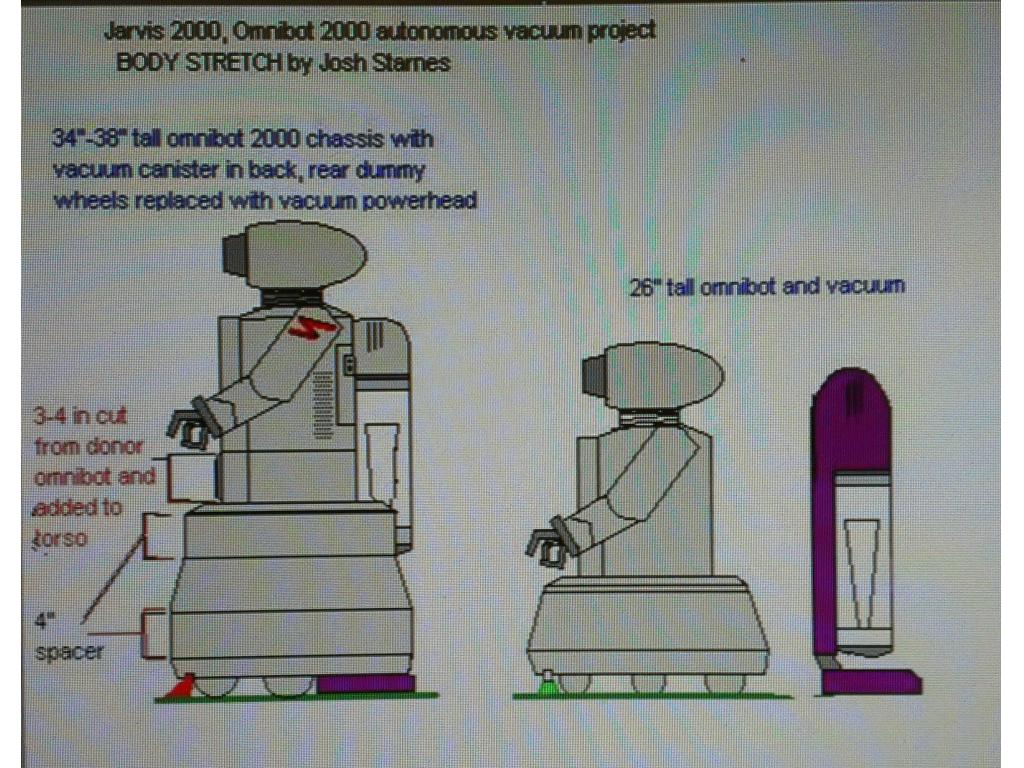
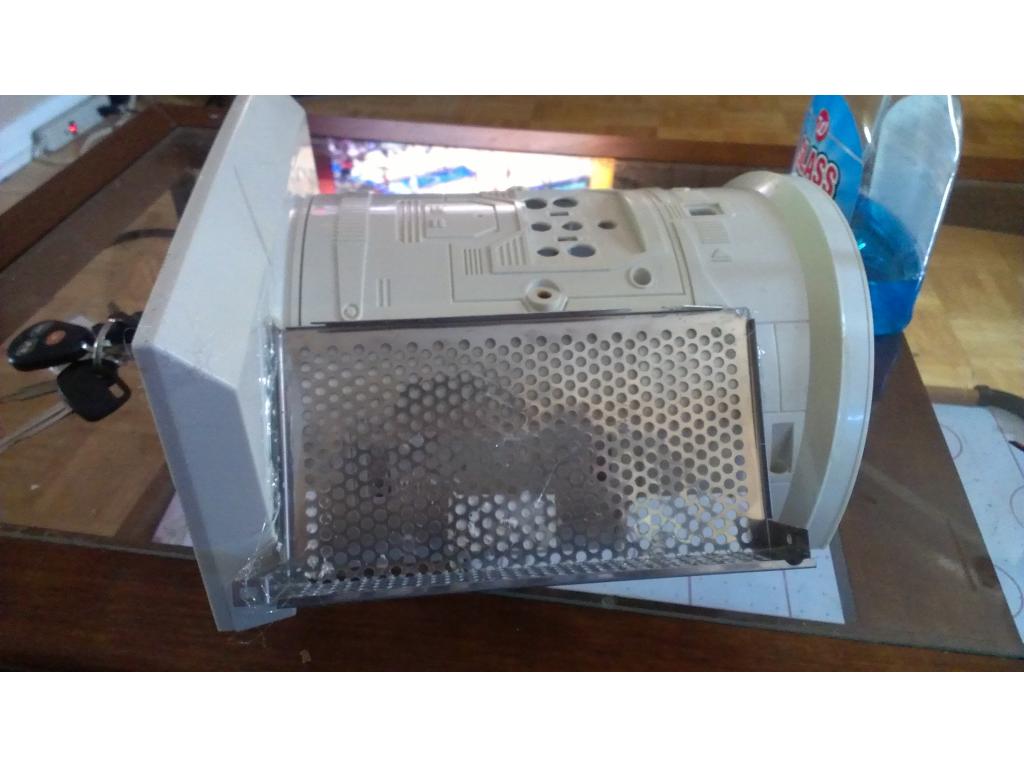
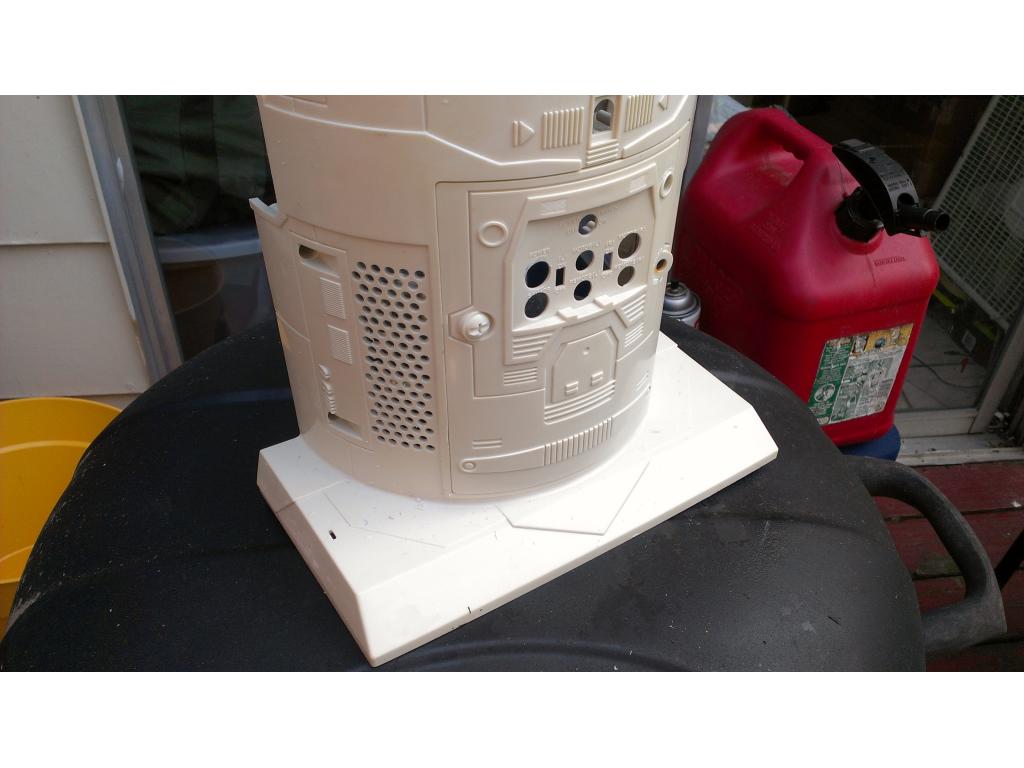
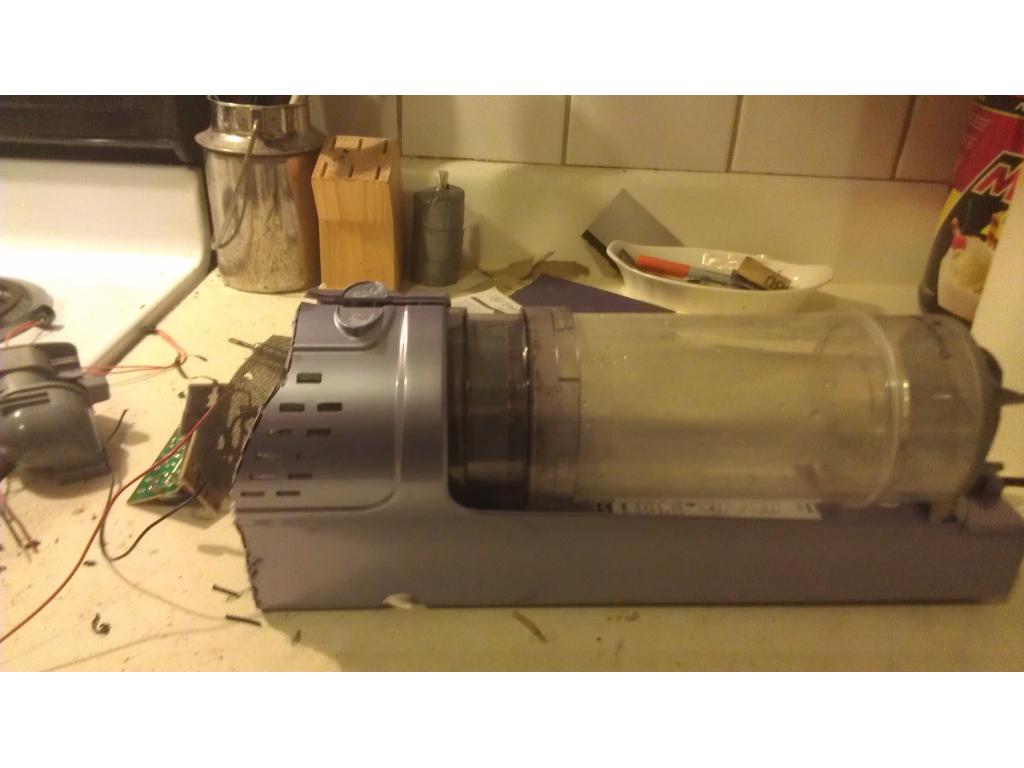
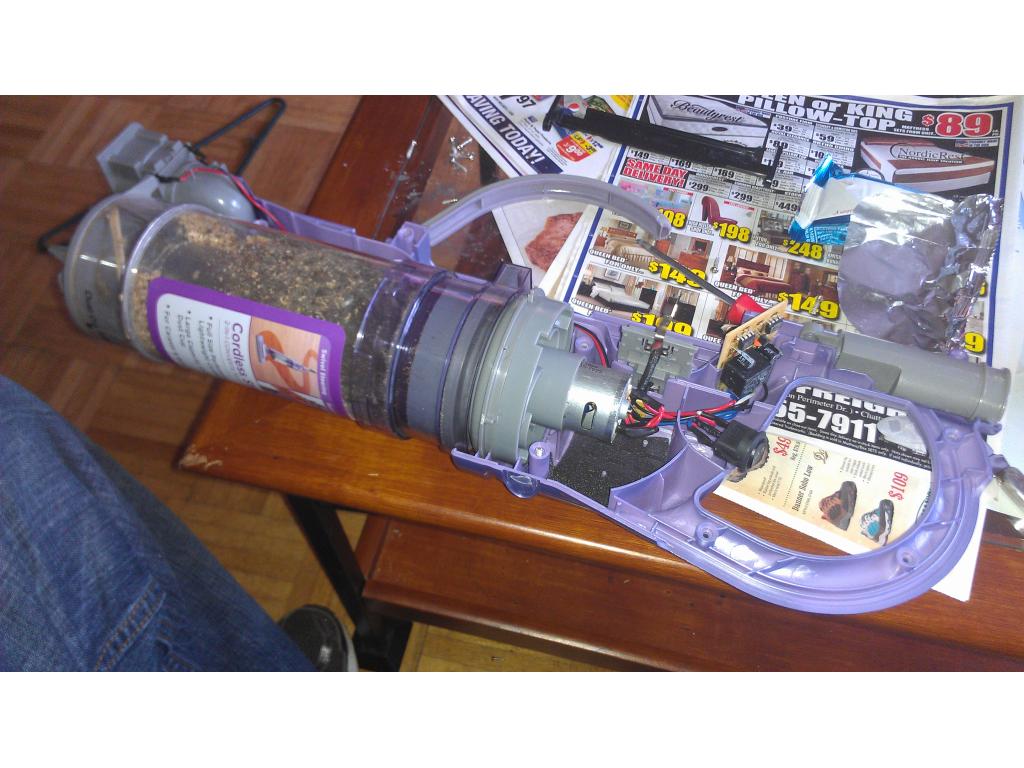
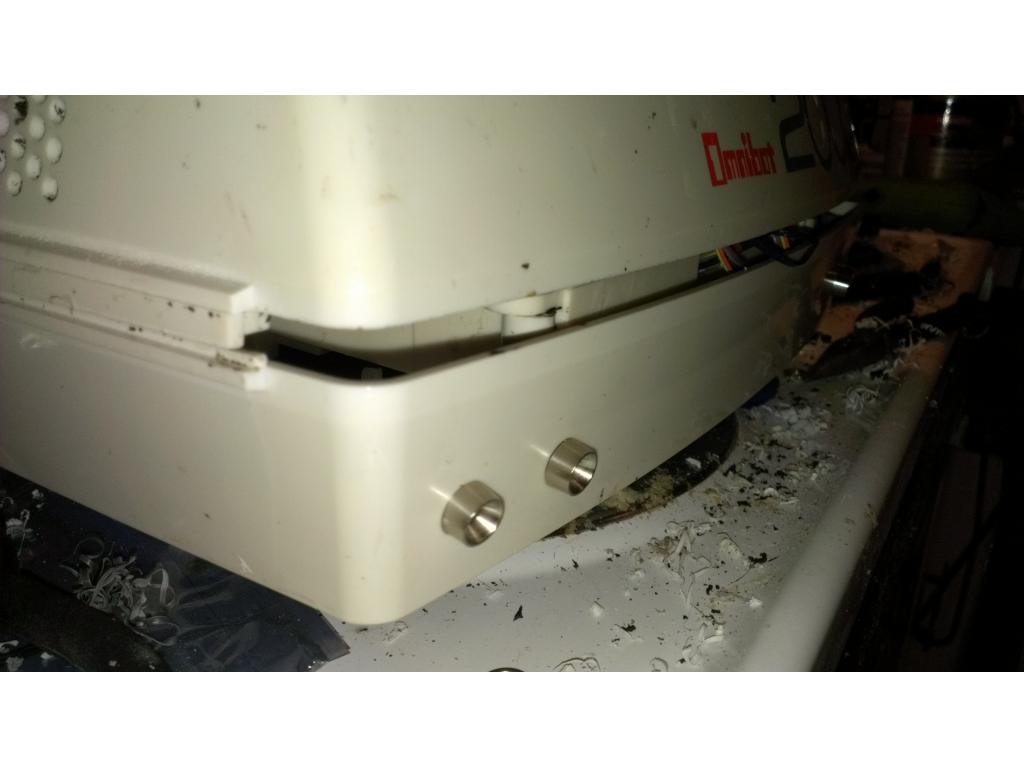
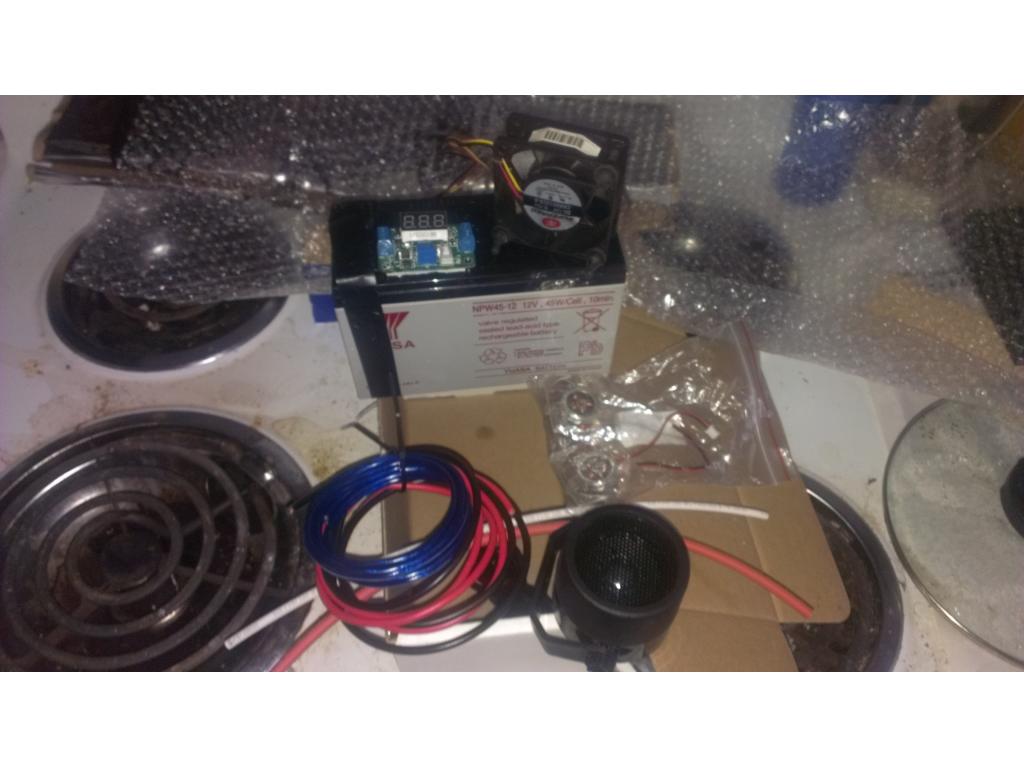
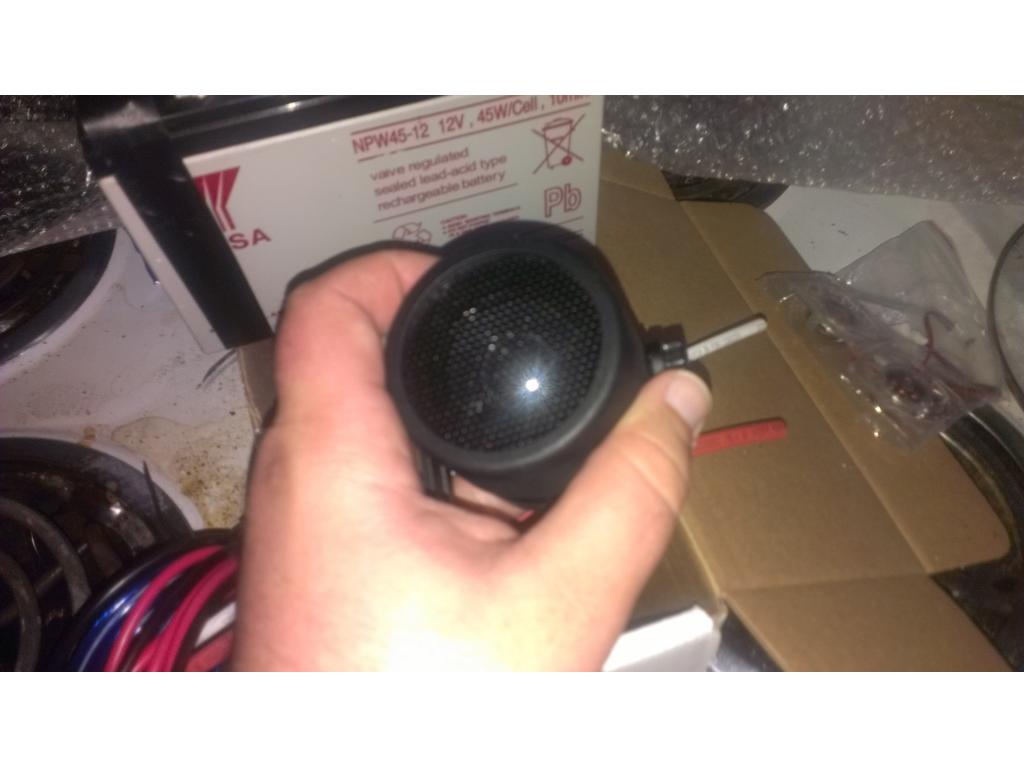
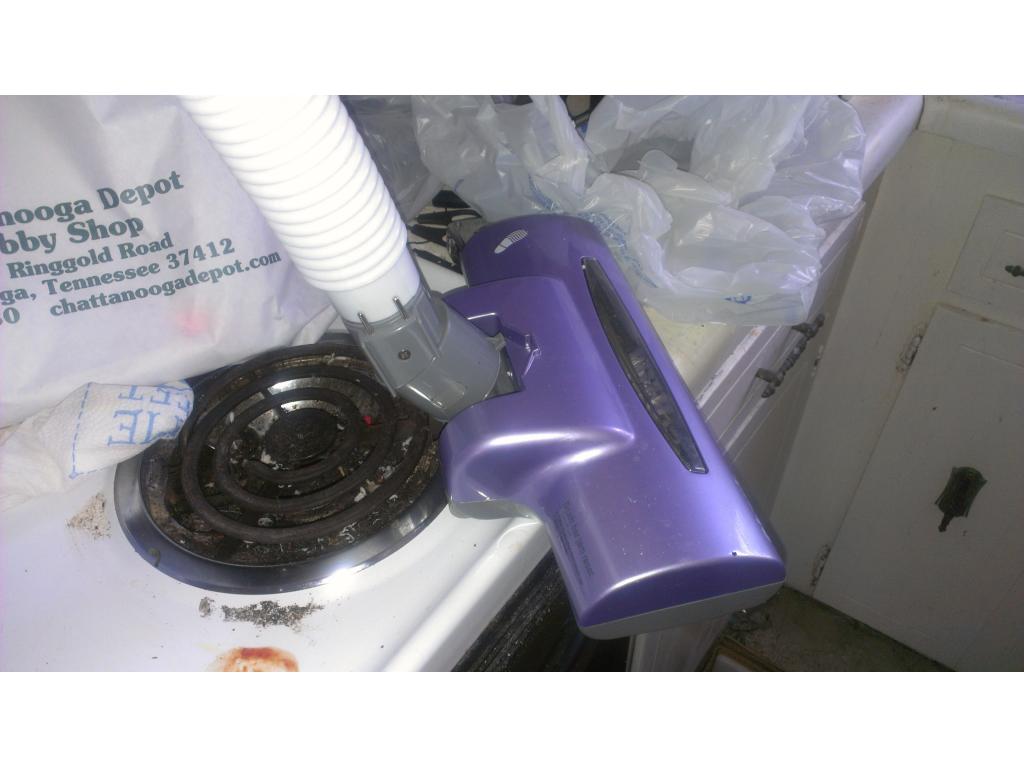
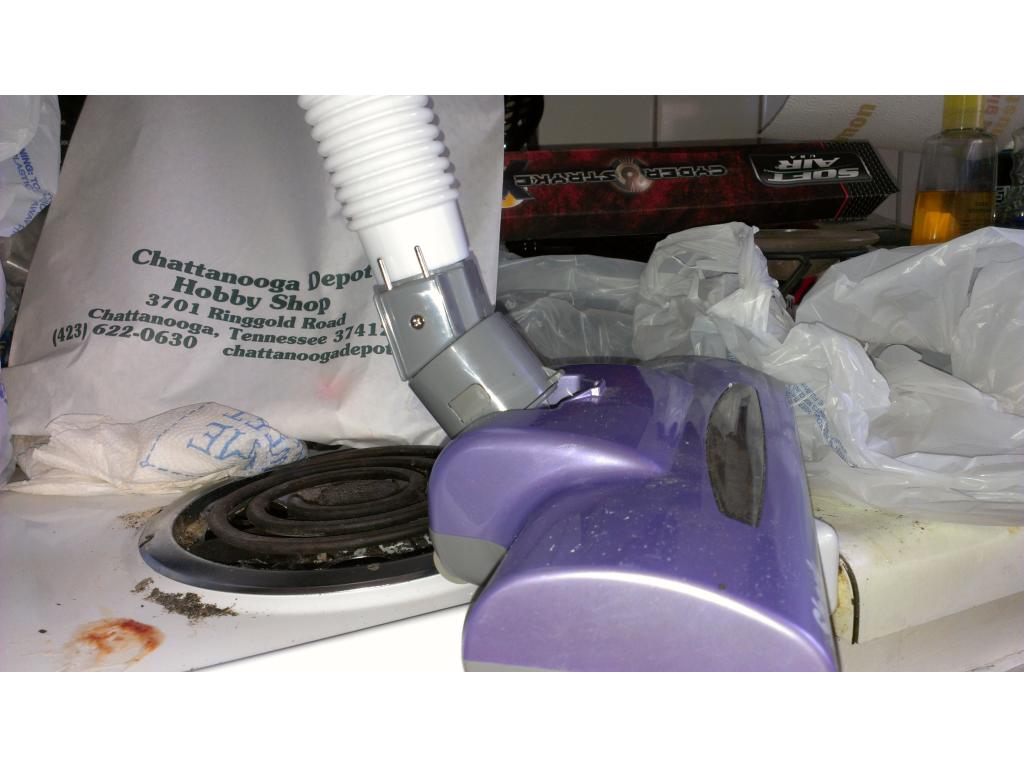
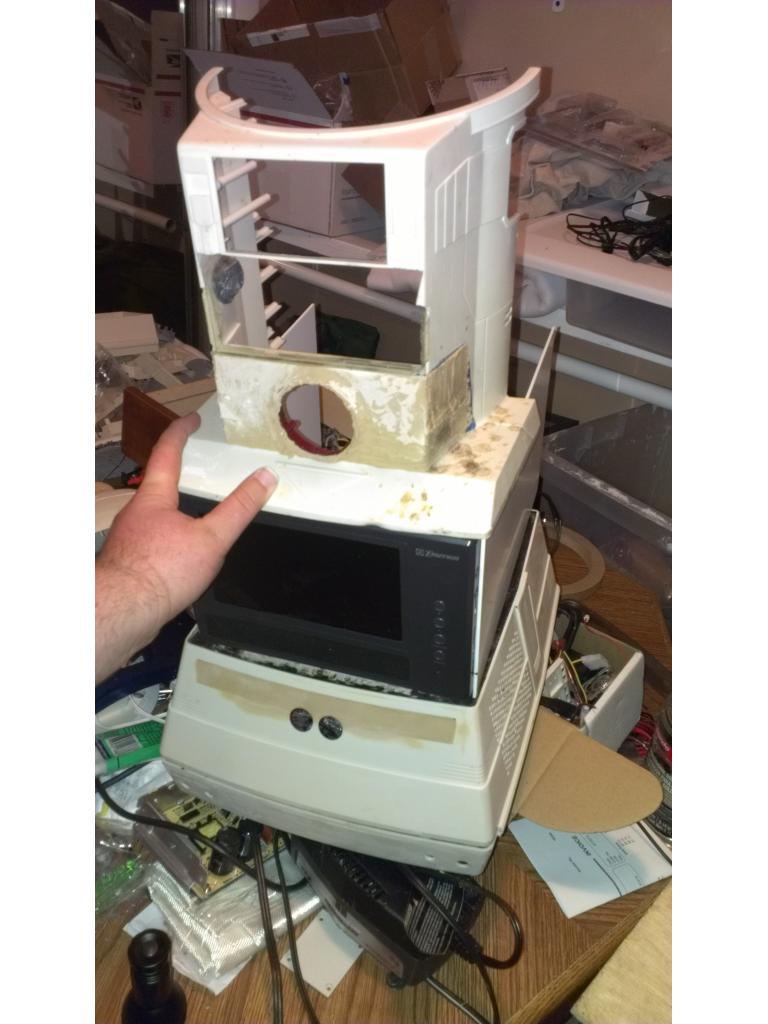
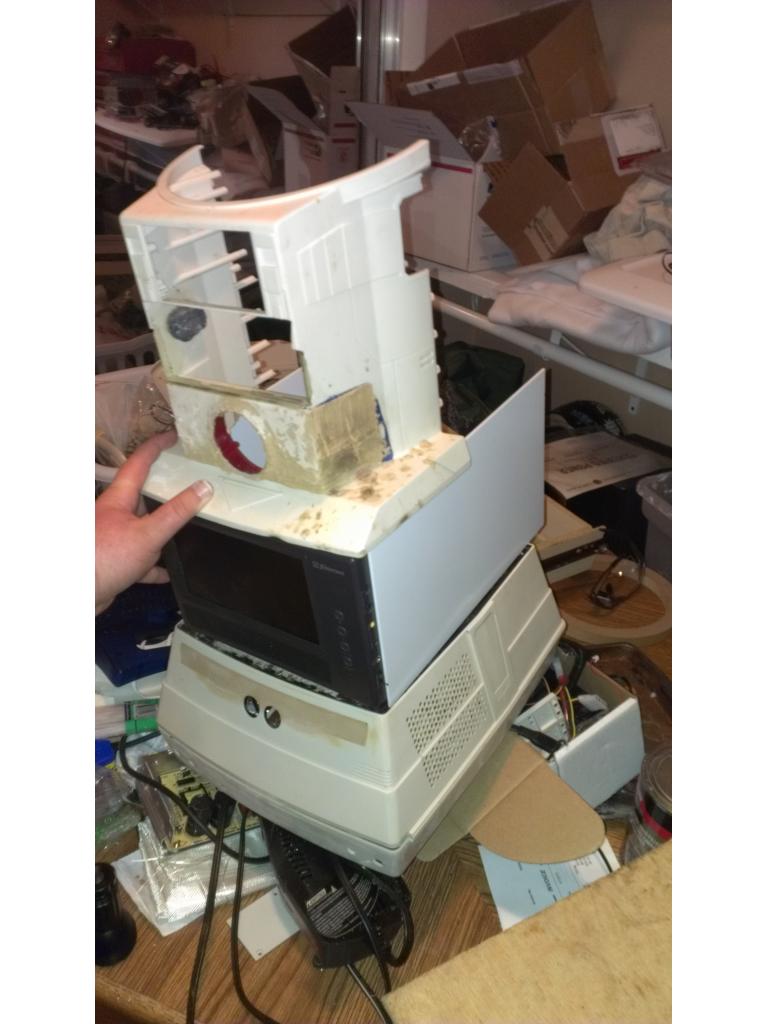
After measuring a bit I need to loose 2-3 inches from this canister and 2-3 inches from the casing above the vacuum motor / blower . Thats over 5 inches shorter because the canister and motor needs to fit into the back of the bot. No doubt customizing the back of Omnibot 2000 upper torso to include this and also route the vacuum hose down to the power head under the bot will all be challenges of fiberglass and hot glue engineering lol. I have not descided which voltage to power the vacuum with but I believe I will use straight 12v from a dedicated battery seperate from the main systems. The power head motor uses 11.1 volts and so does the vacuum motor. Running them at 12v I don't believe will be any significant difference. I may experiment with running the vacuum motor at 6v as well to see if I can make the system around 40 to 50 decimals so that it is not so darn annoying. I have three adjustable step down converters on the way. Also I havevs ideas for a wet mop that too but one thing at a time.
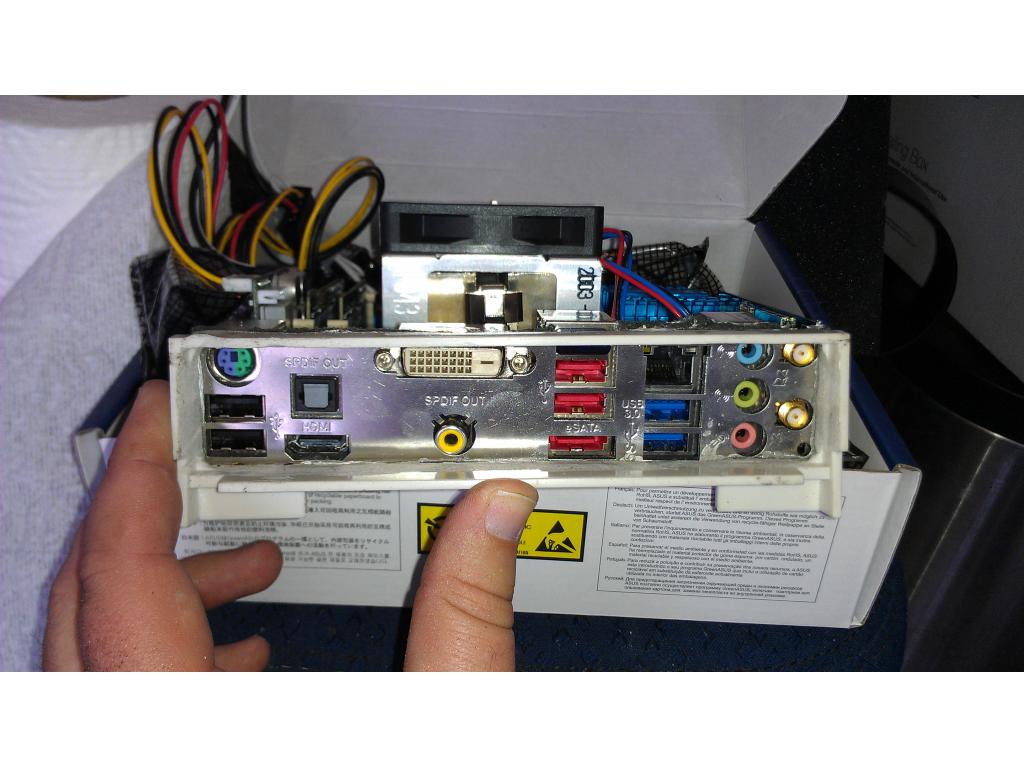
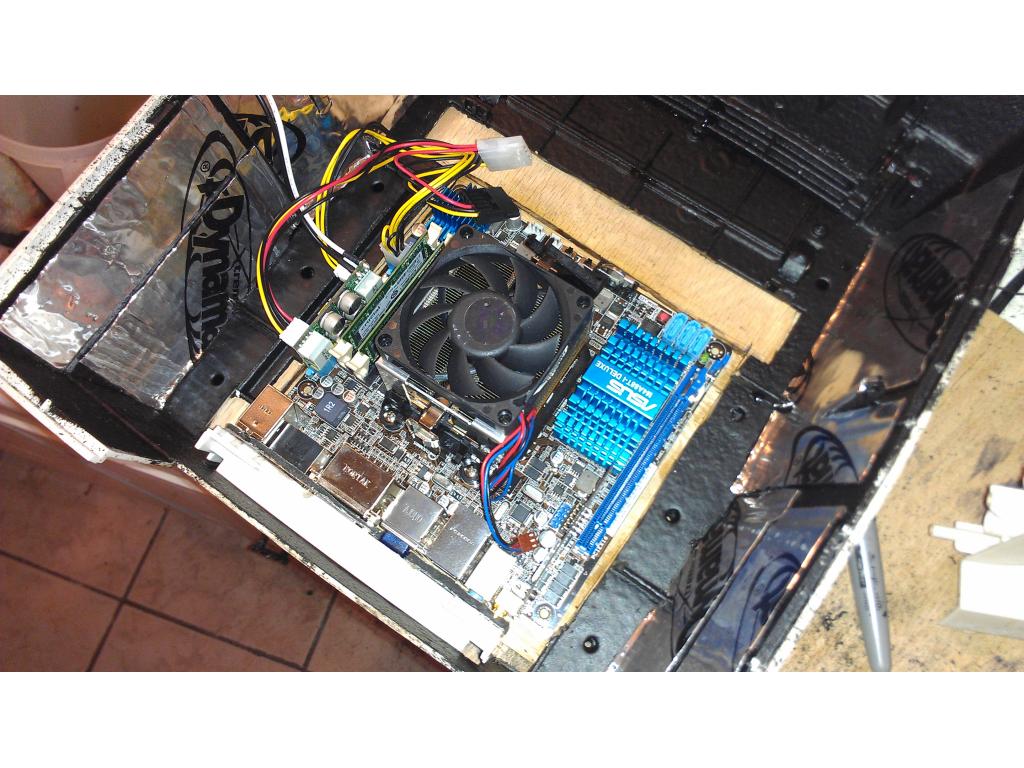
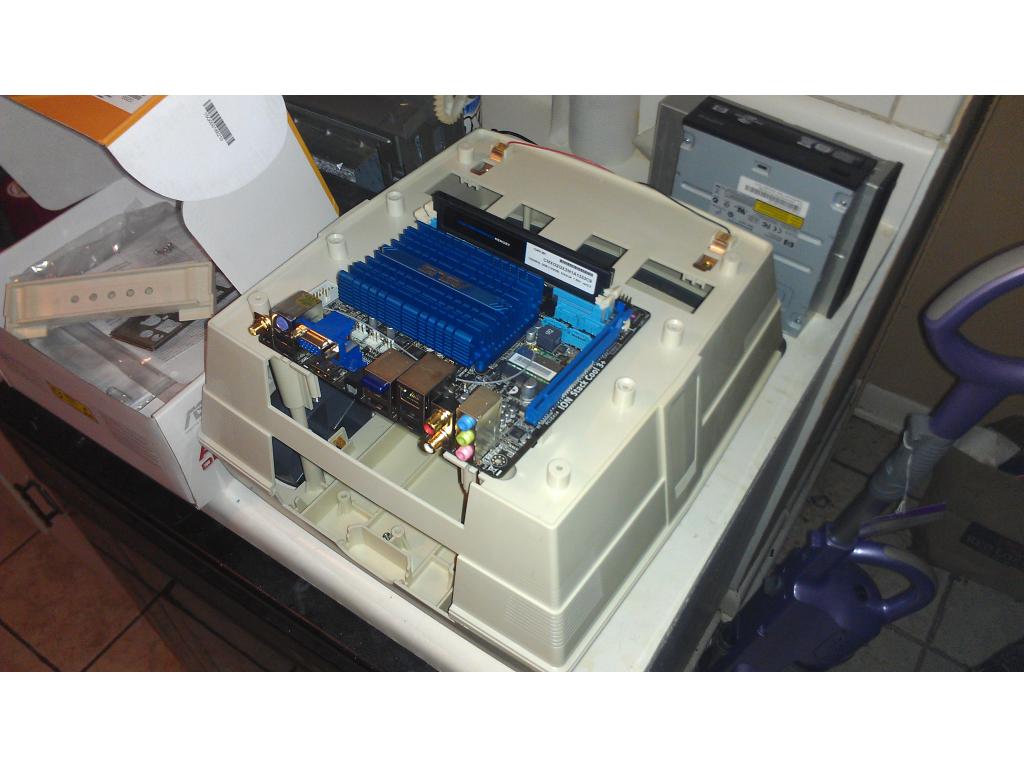
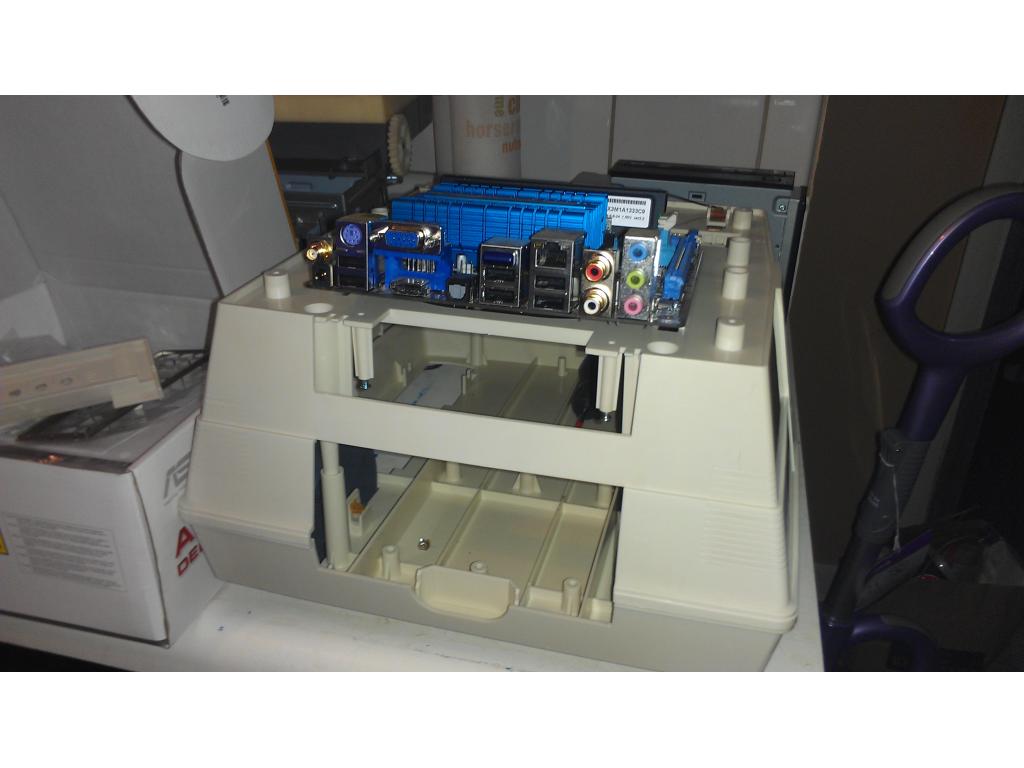
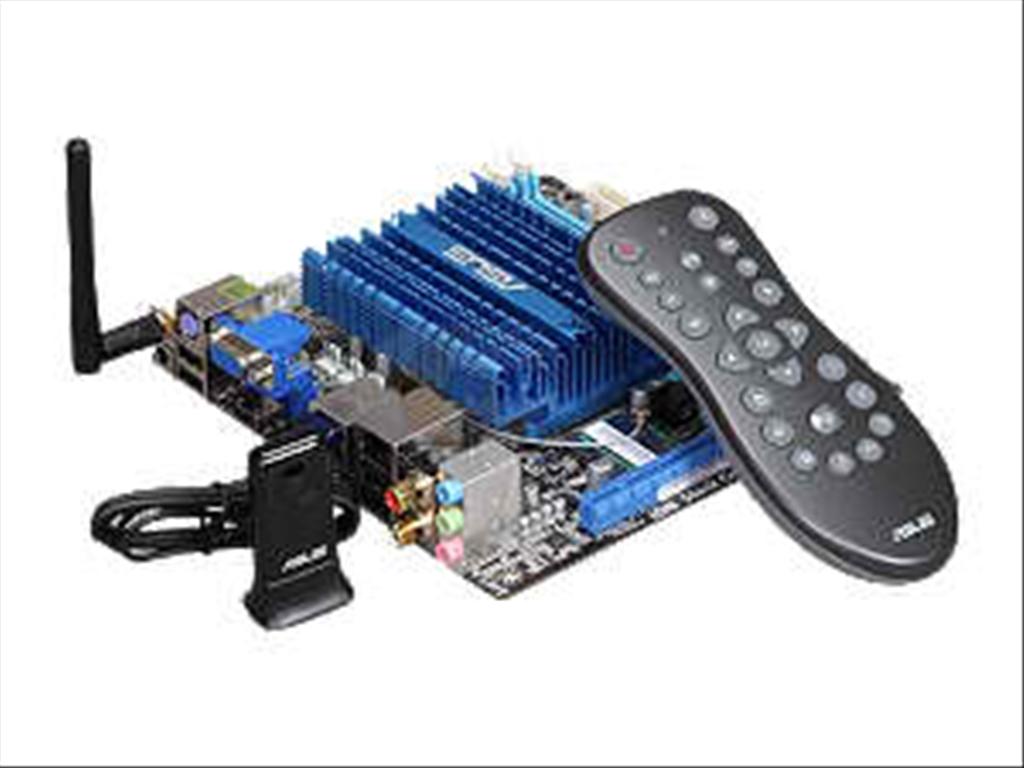
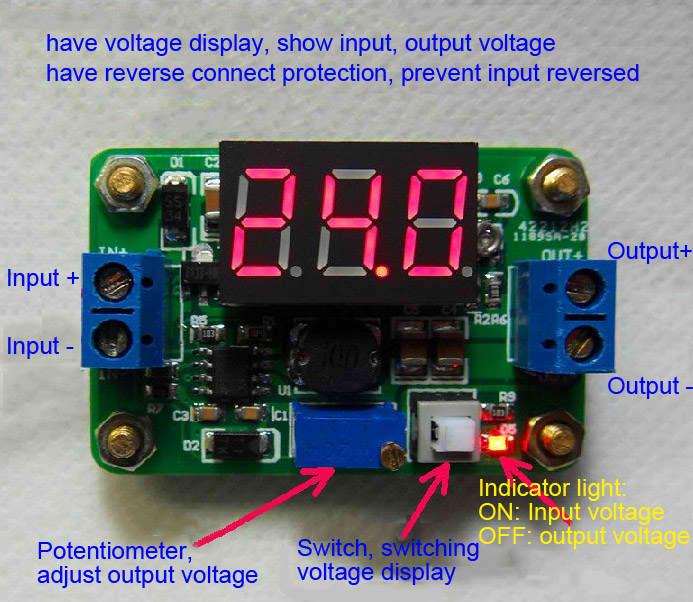
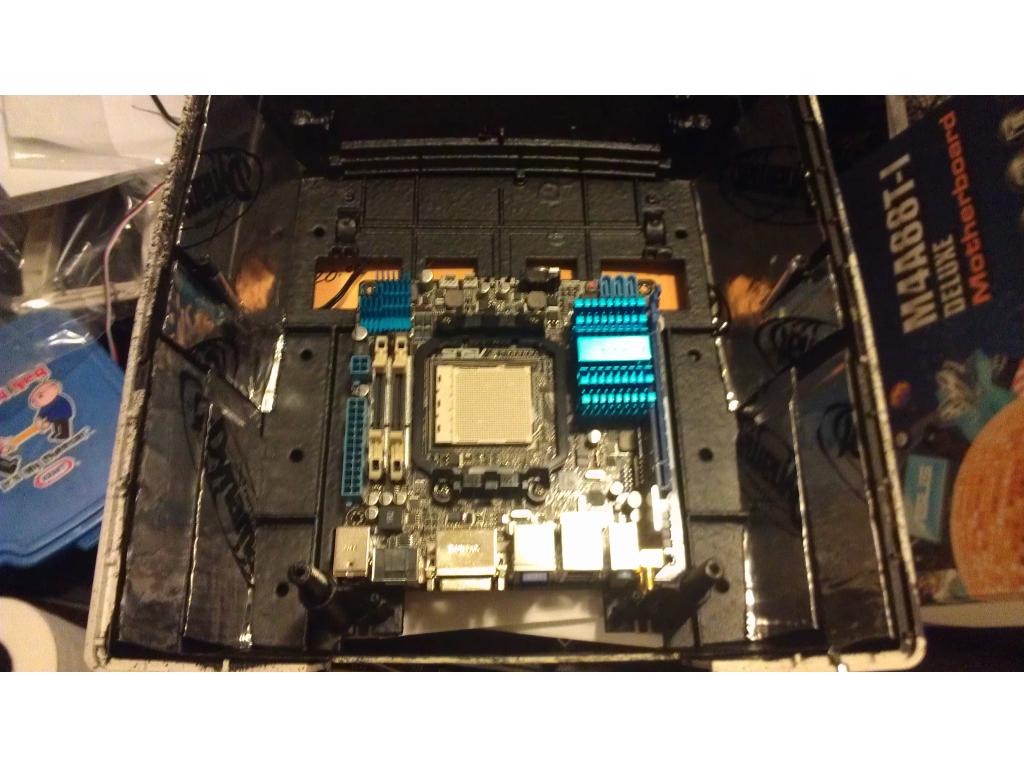
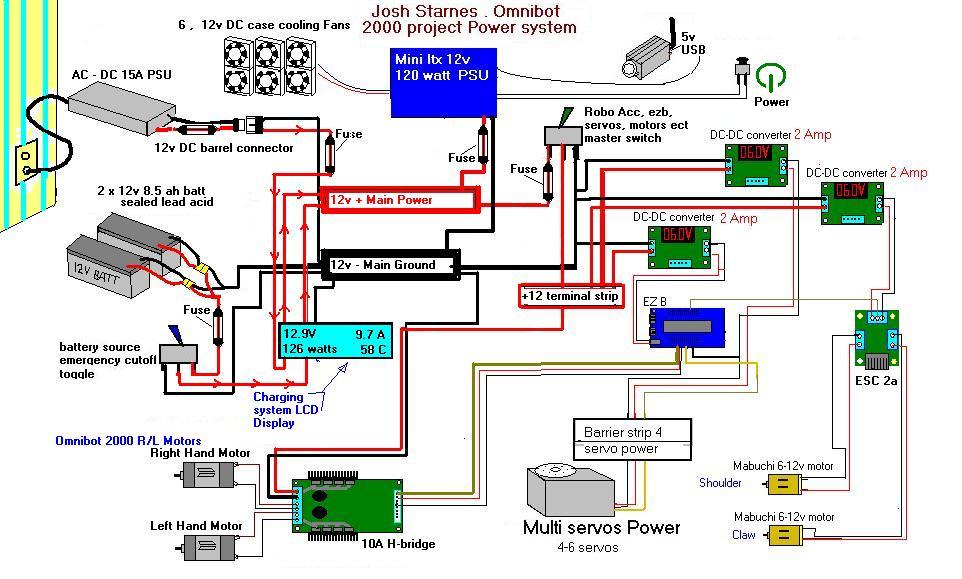
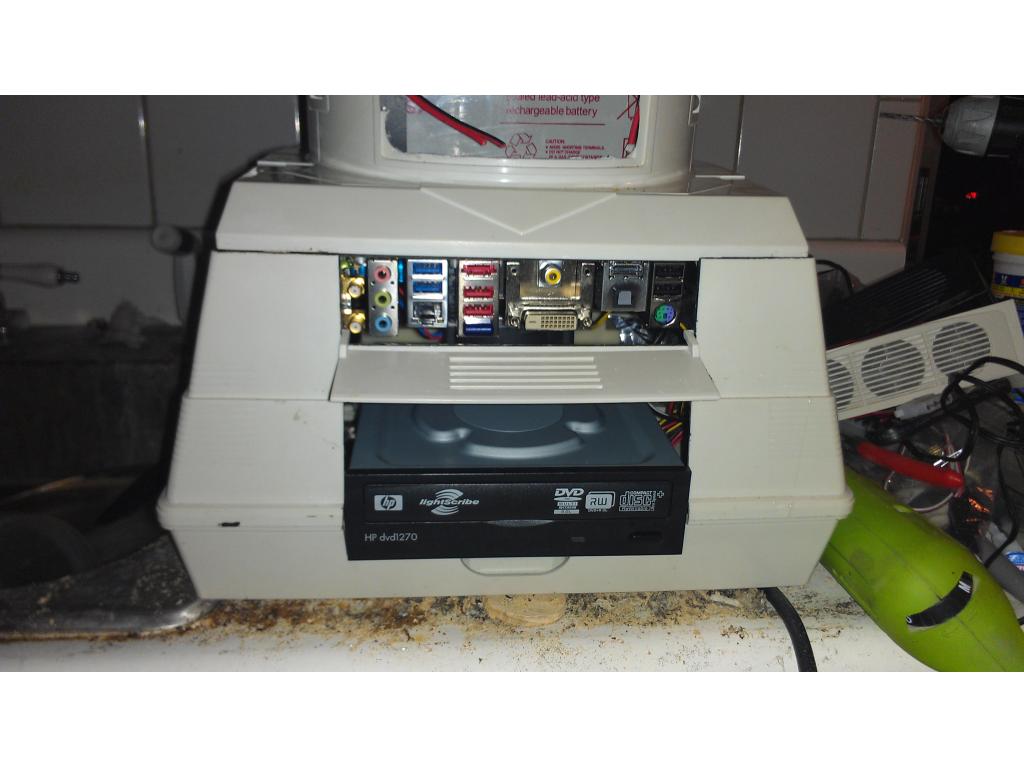
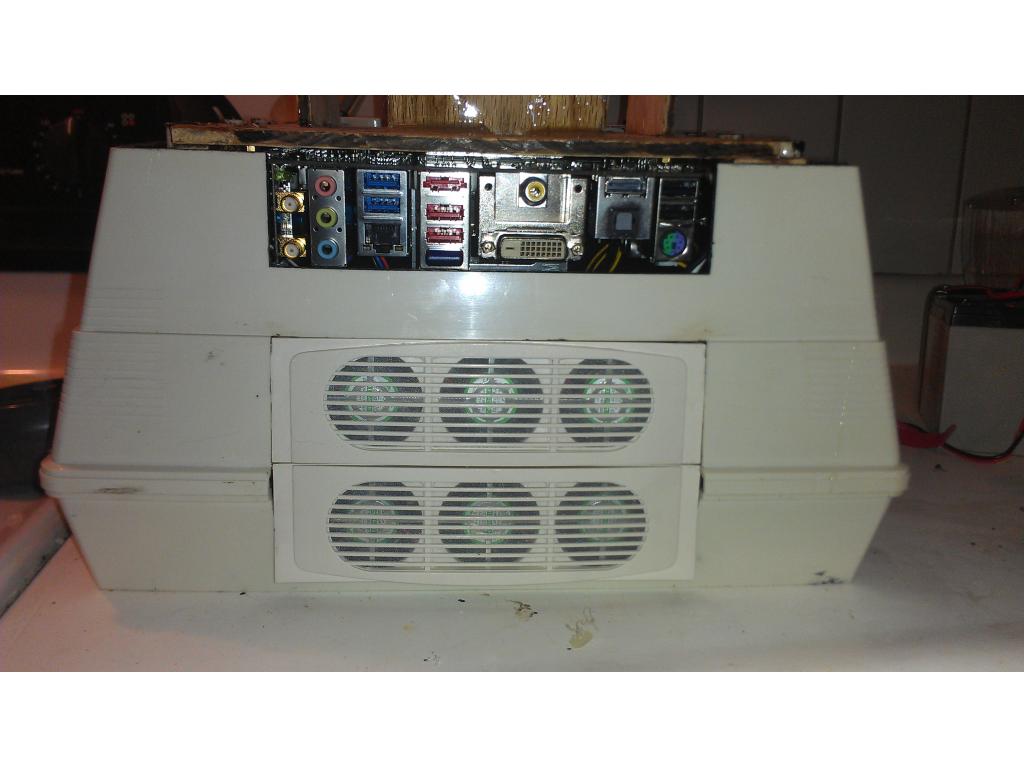
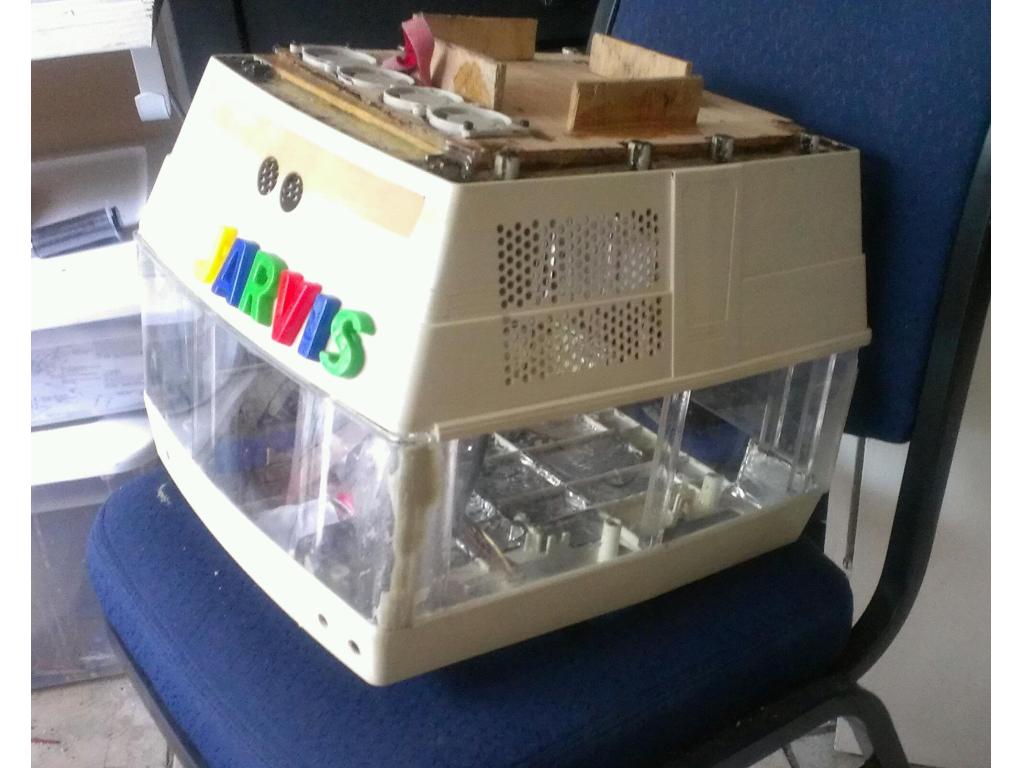
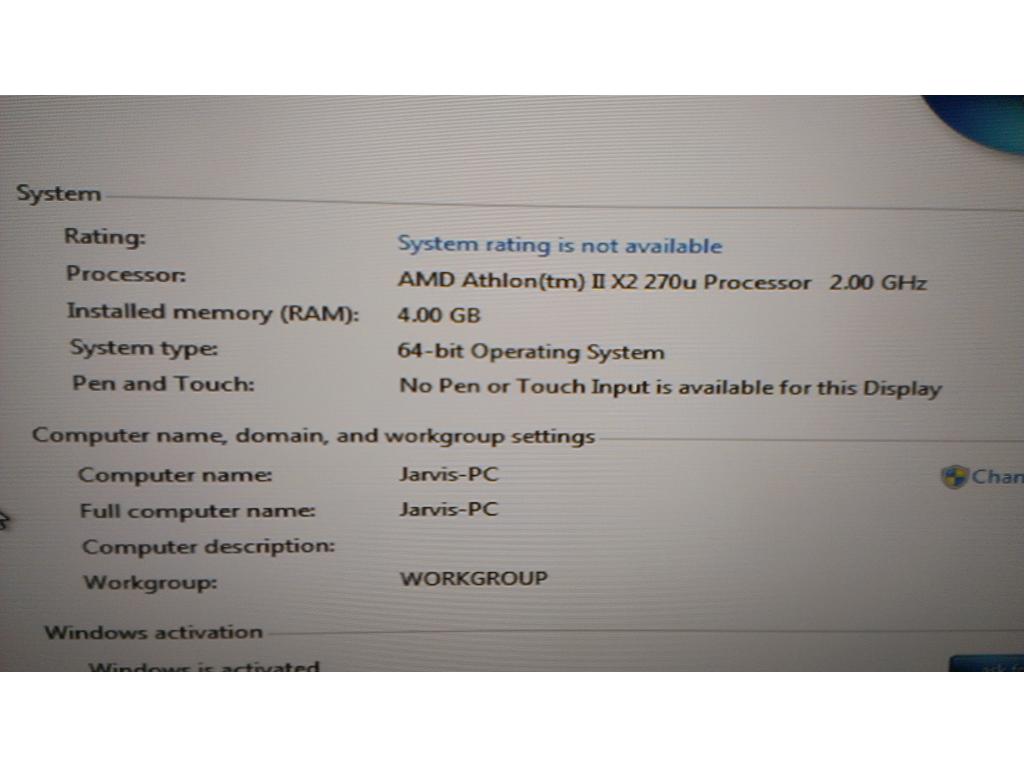
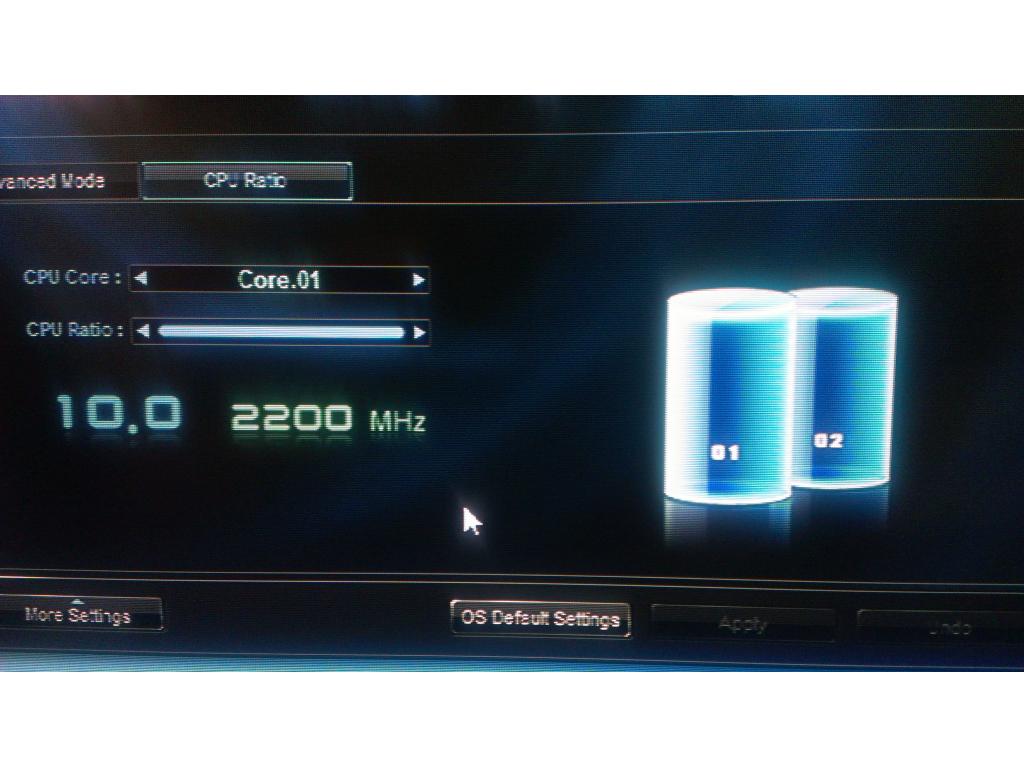
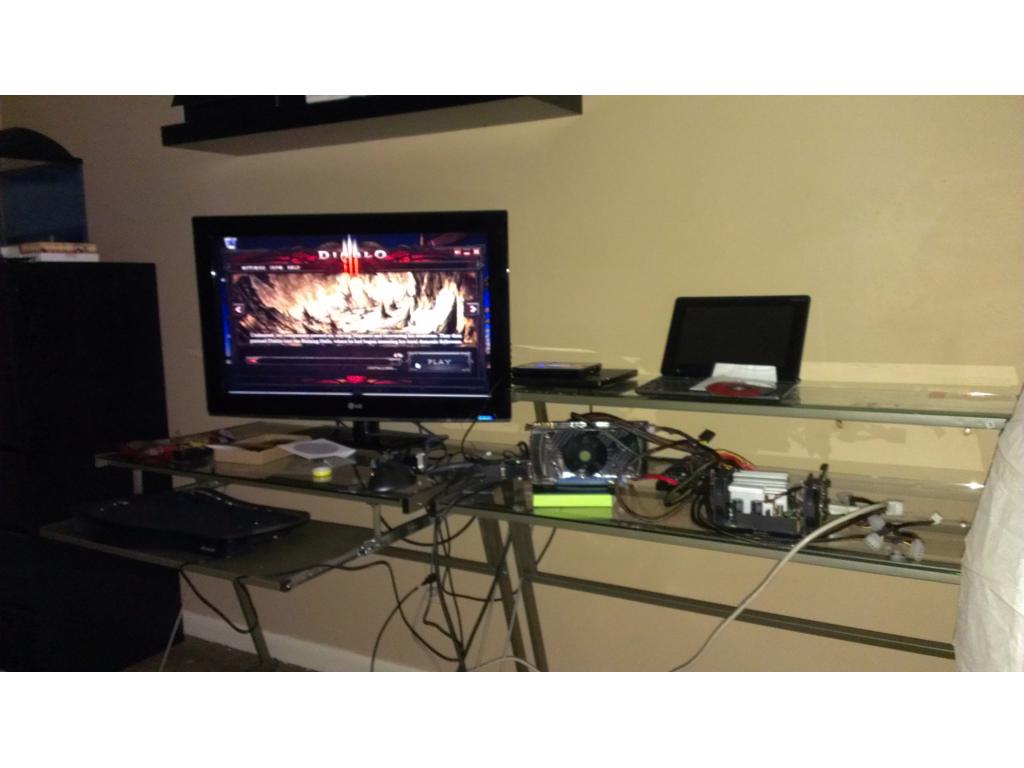
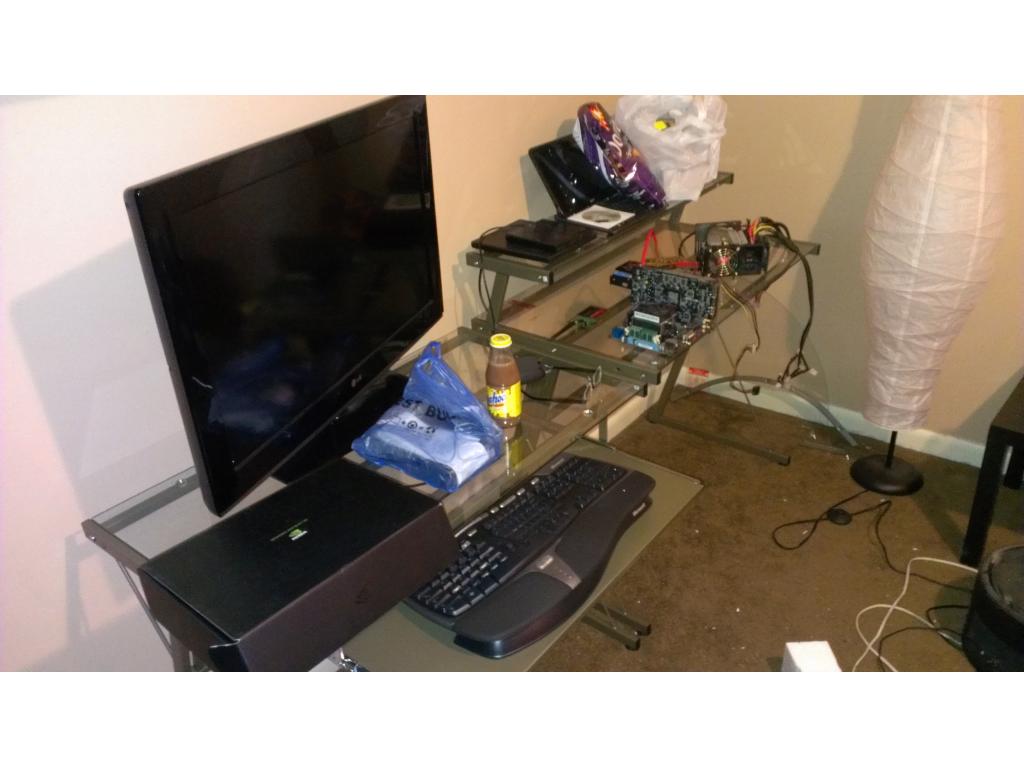
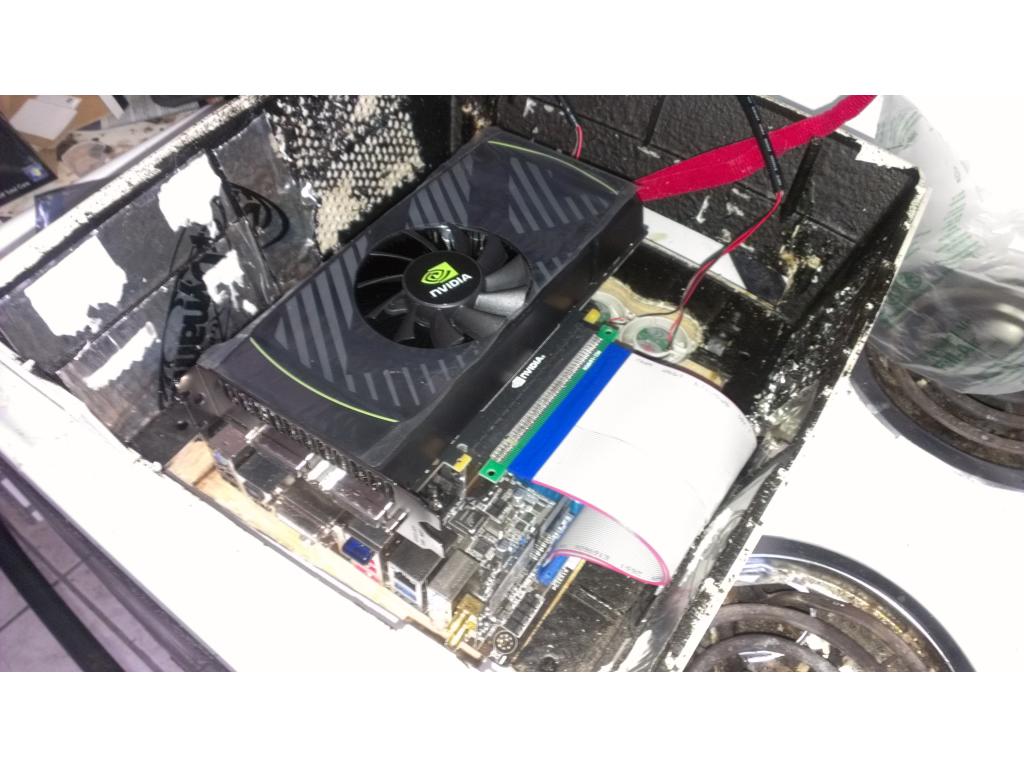
I changed what computer I'm using to somthing with a lot more power. It's a new motherboard just released from ASUS this month. Massive power , runs off 12v dc but only 39 watt https://www.ebay.com/itm/190500465148?ssPageName=STRK:MEWNX:IT&_trksid=p3984.m1497.l2649
The CPU I chose was AMD Athlon x2 dual core 2 GHz https://www.ebay.com/itm/260928442285?ssPageName=STRK:MEWNX:IT&_trksid=p3984.m1497.l264
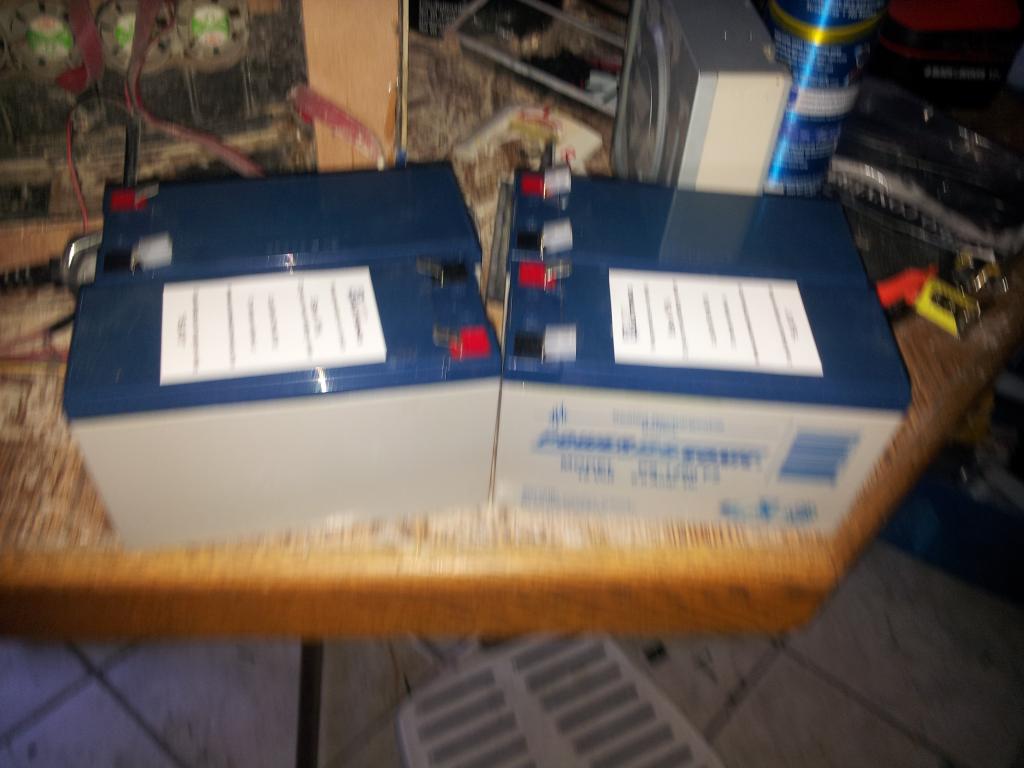
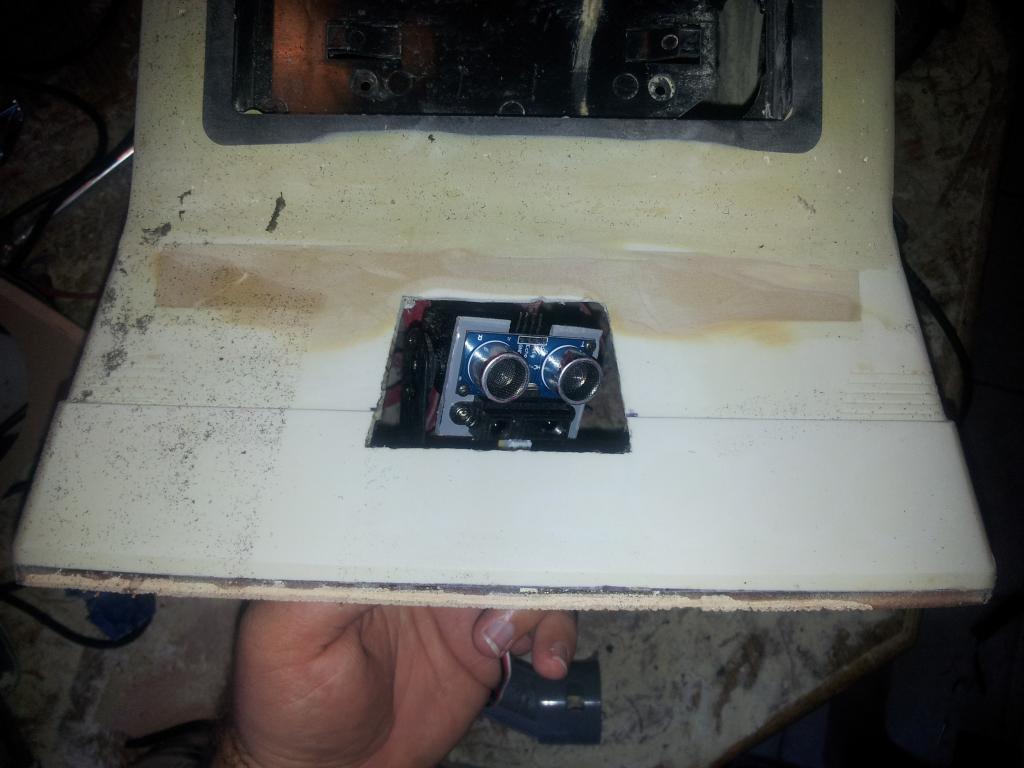
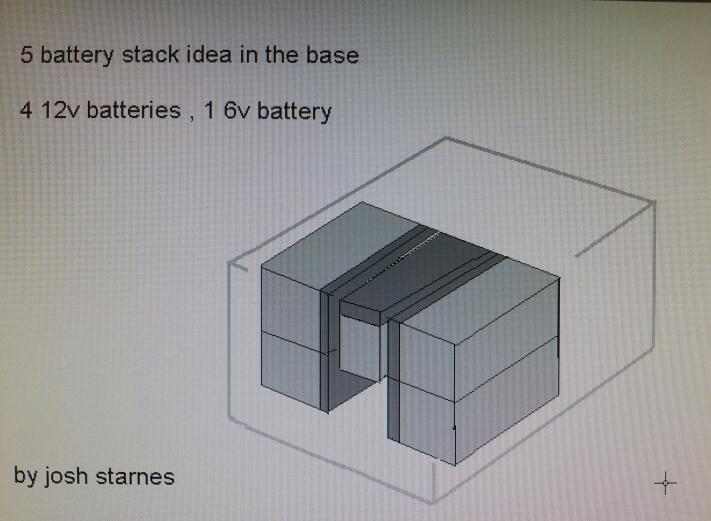
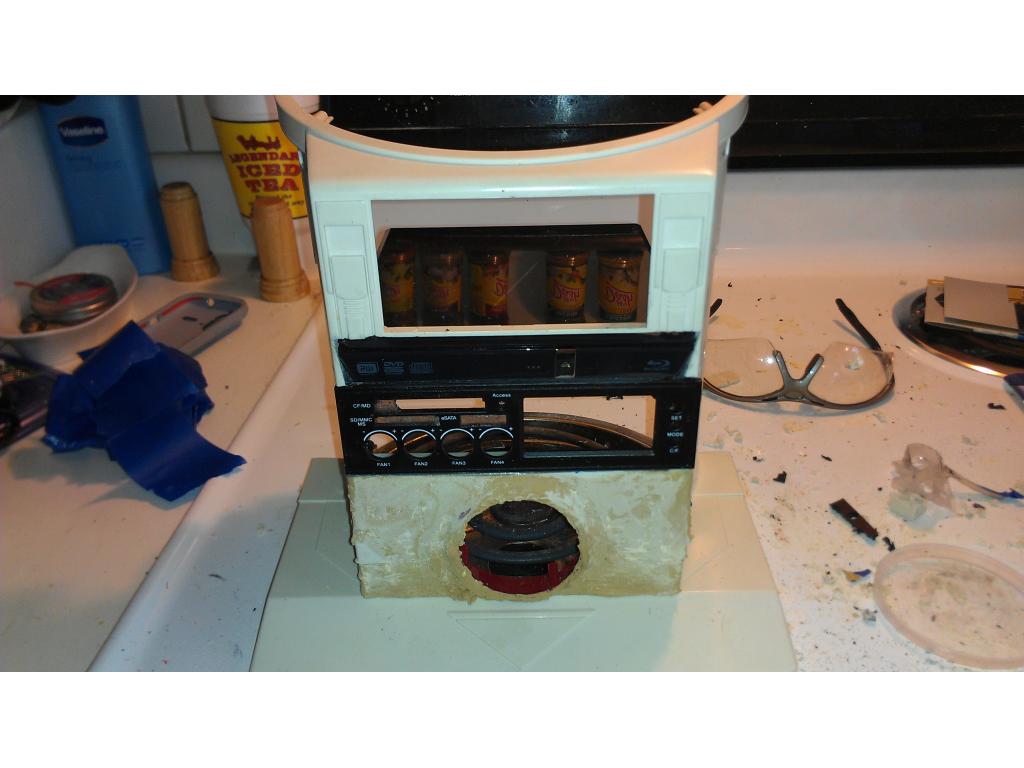
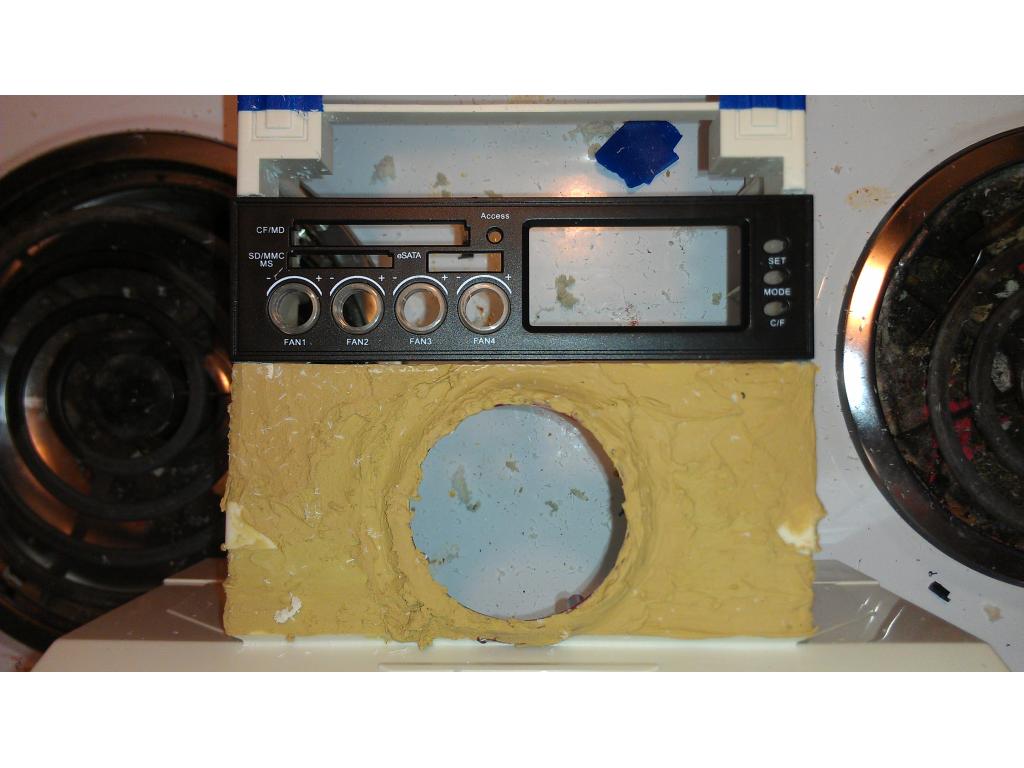
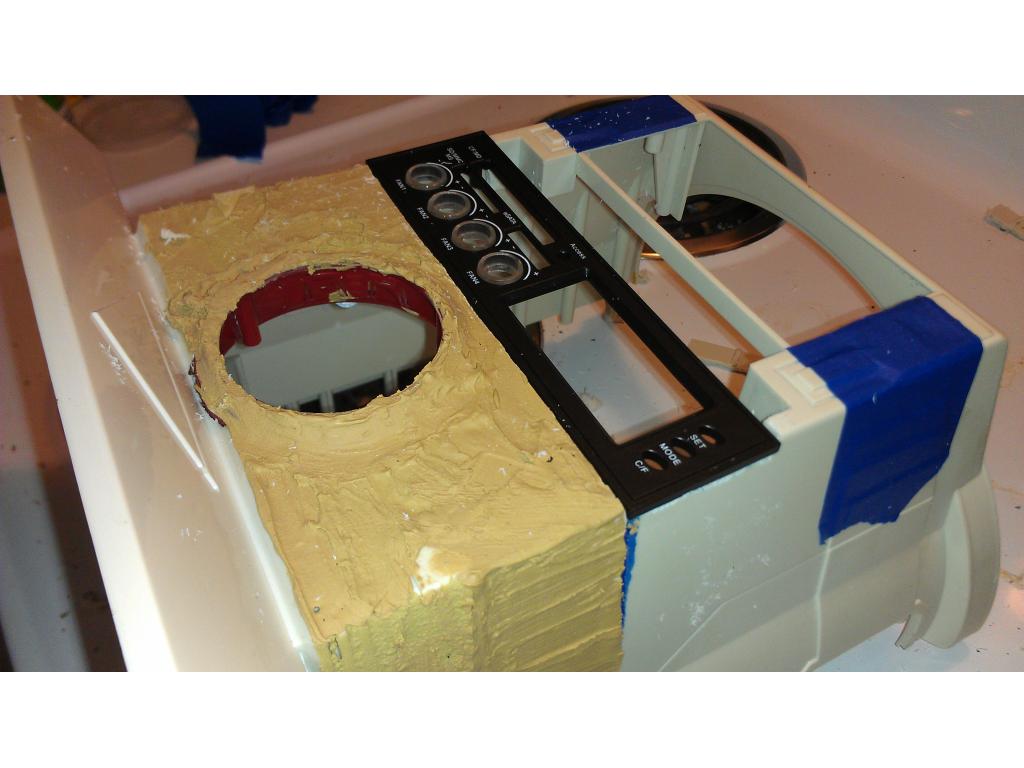
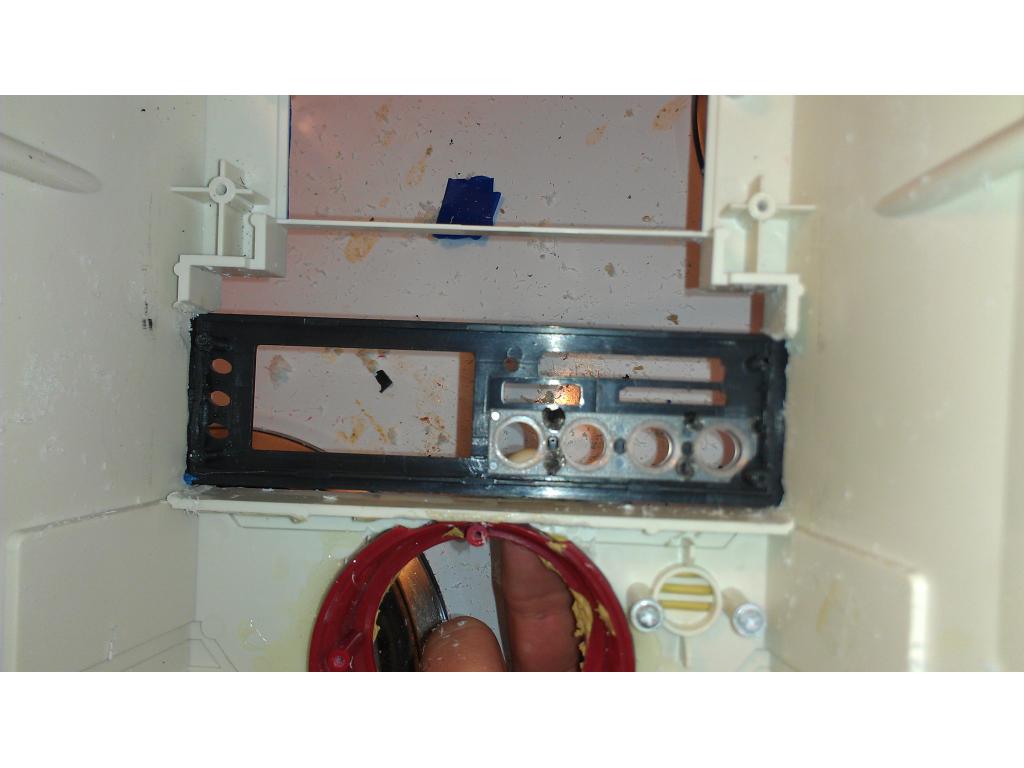
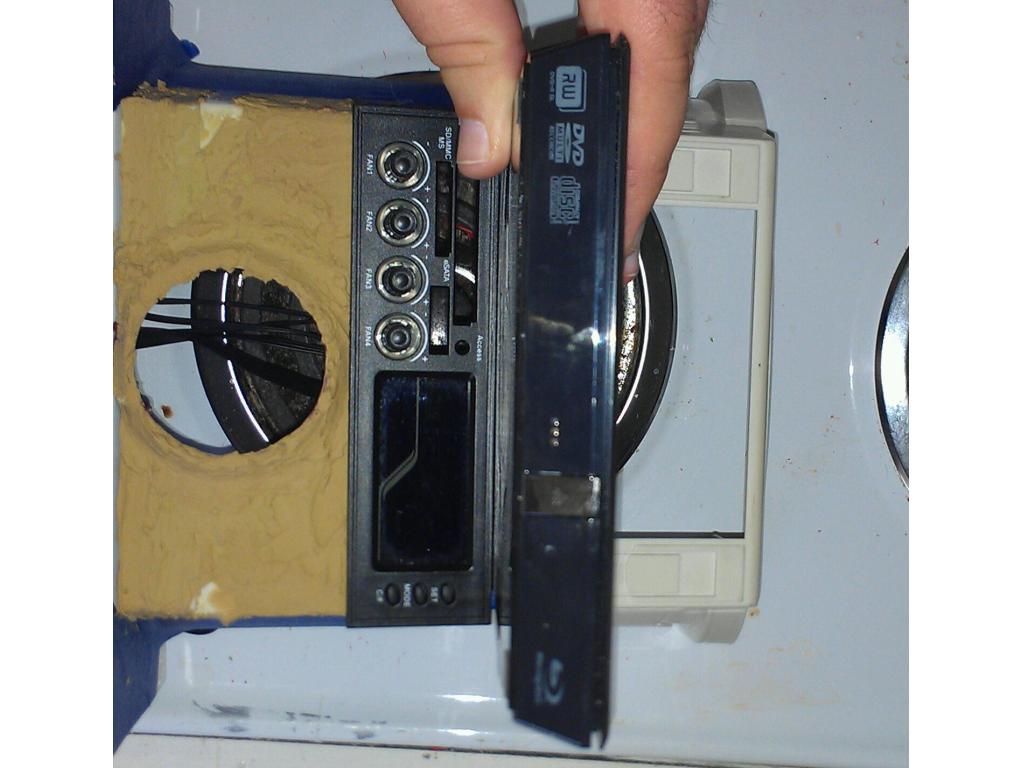
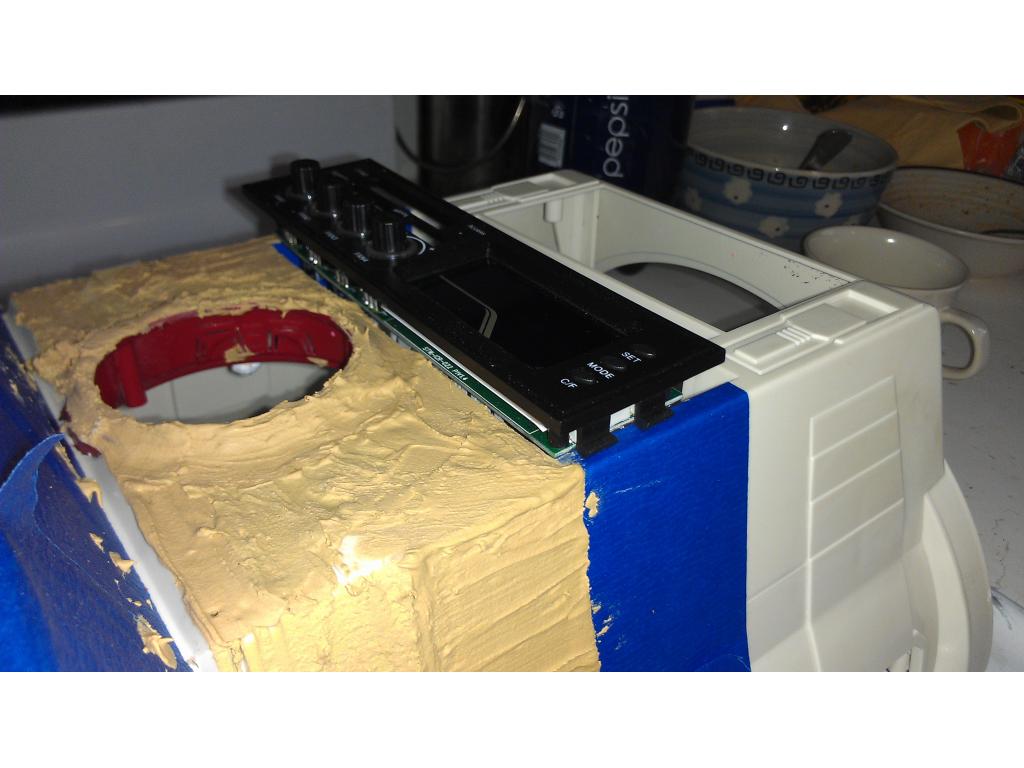
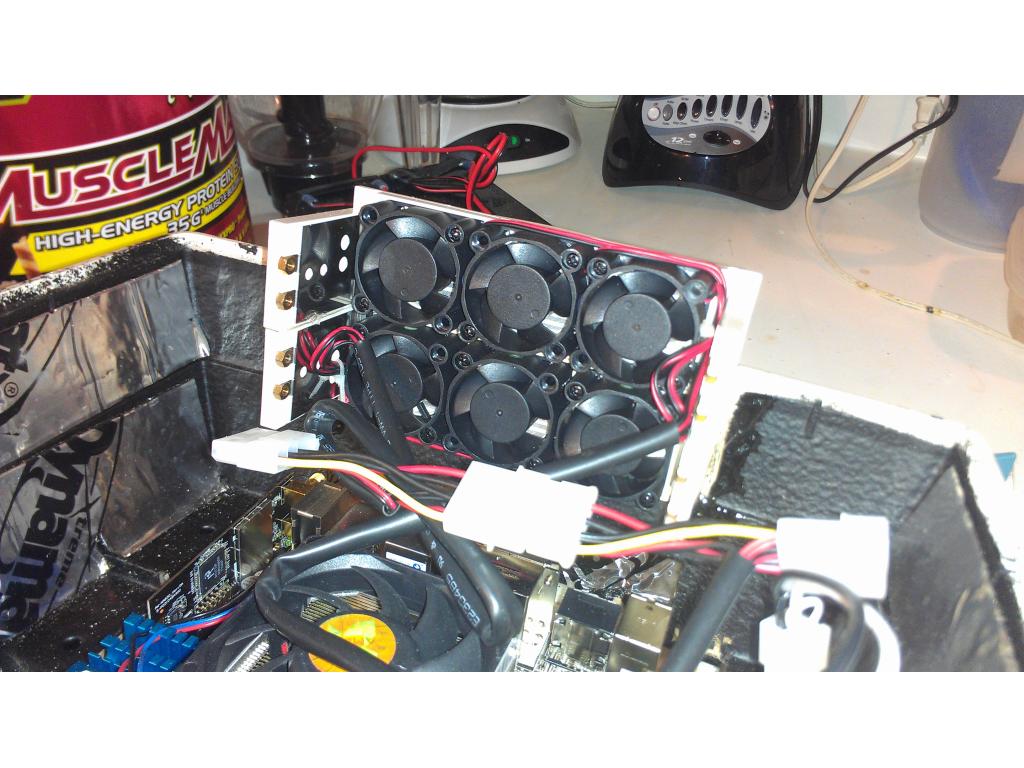
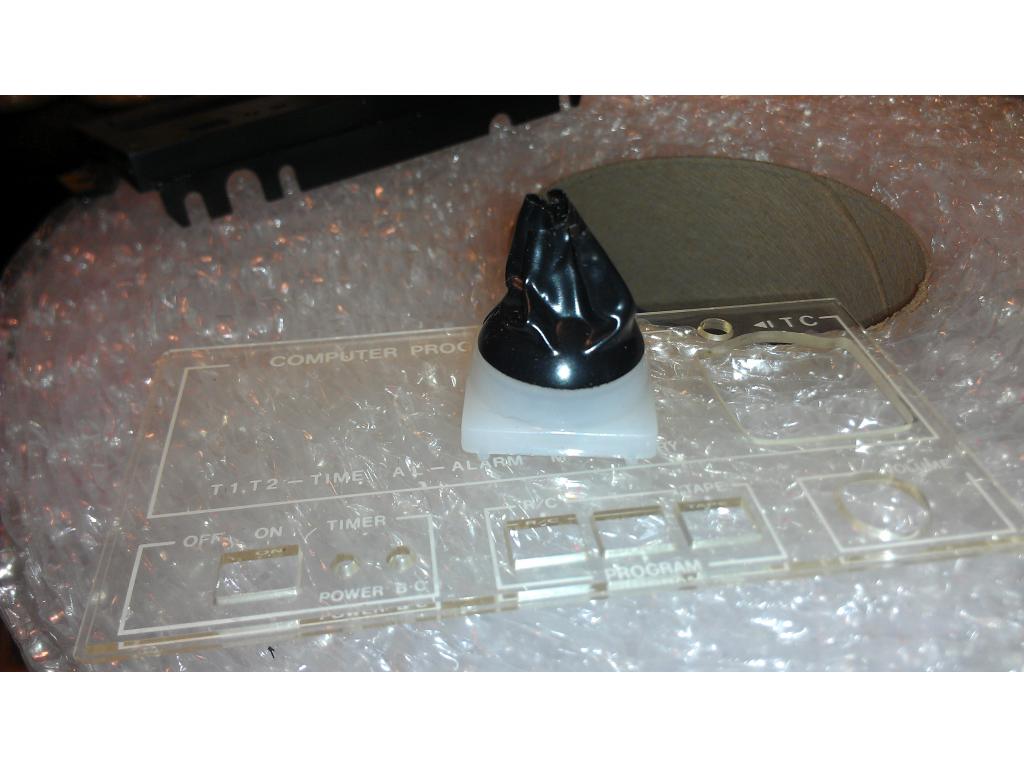
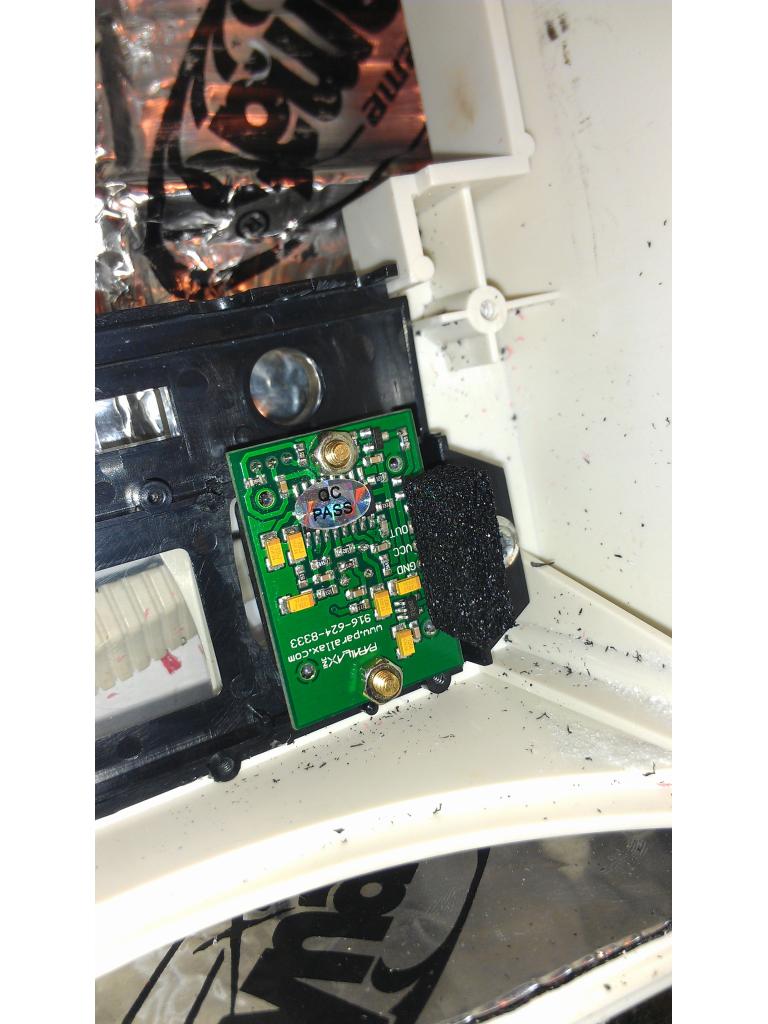
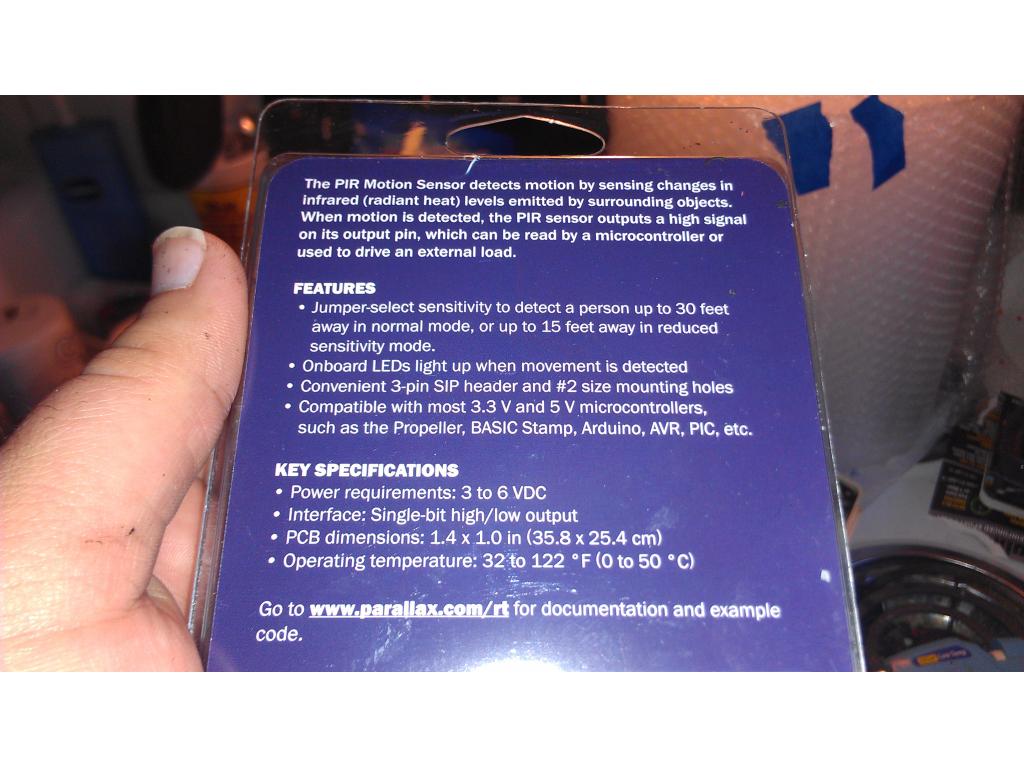
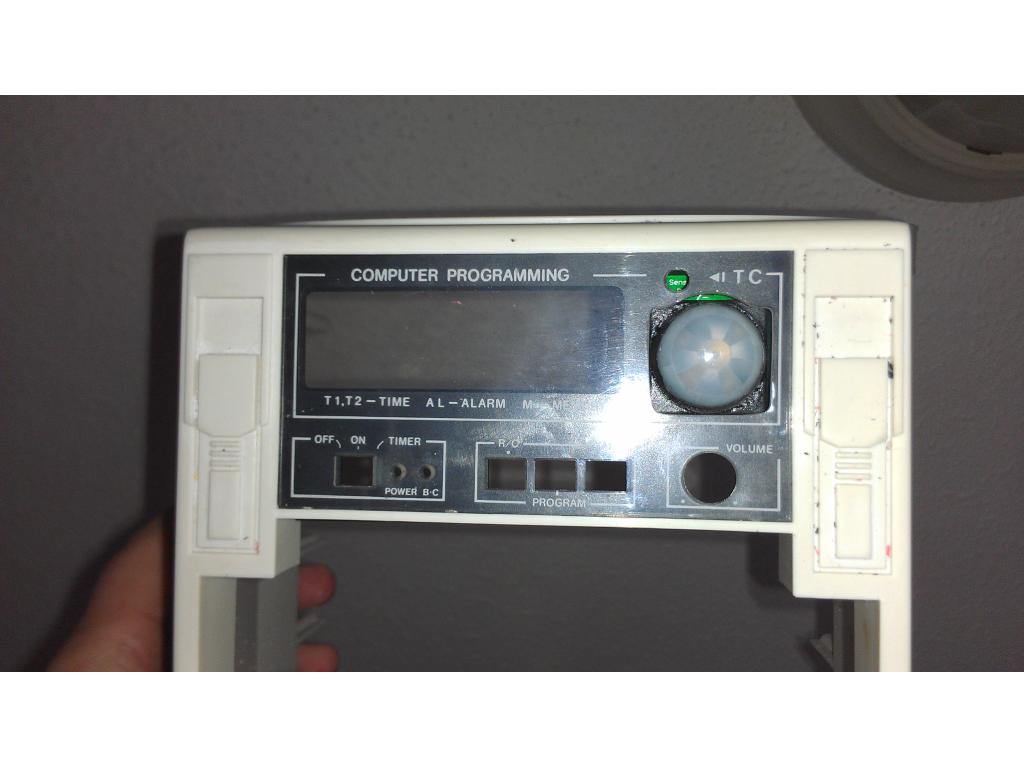
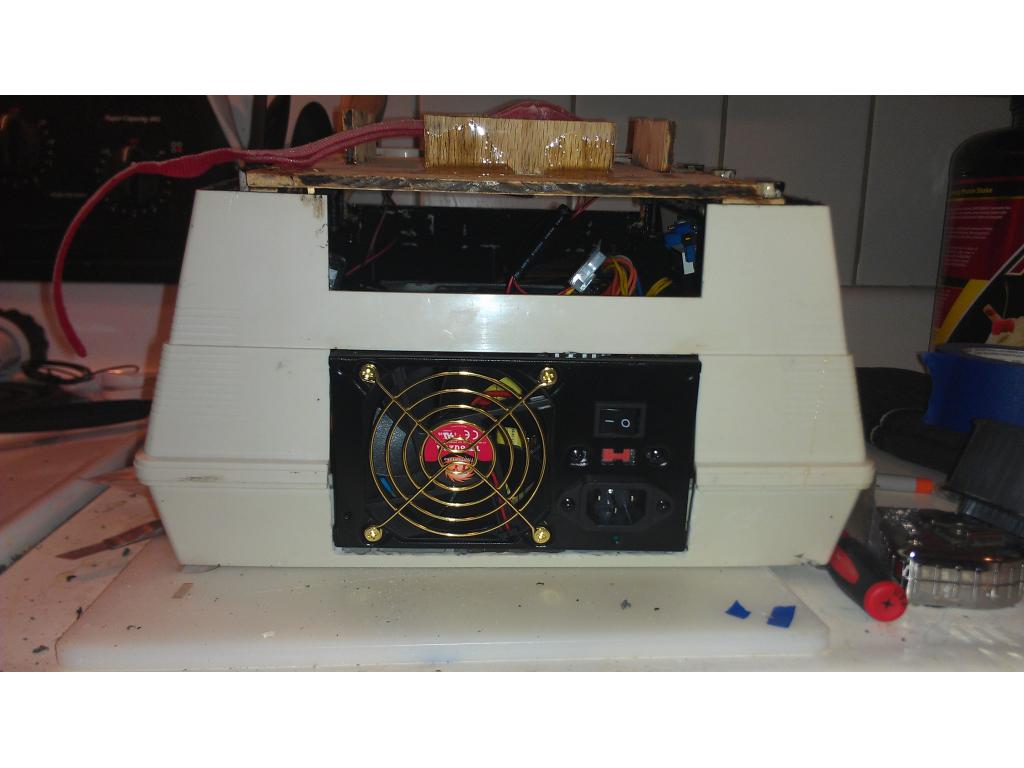
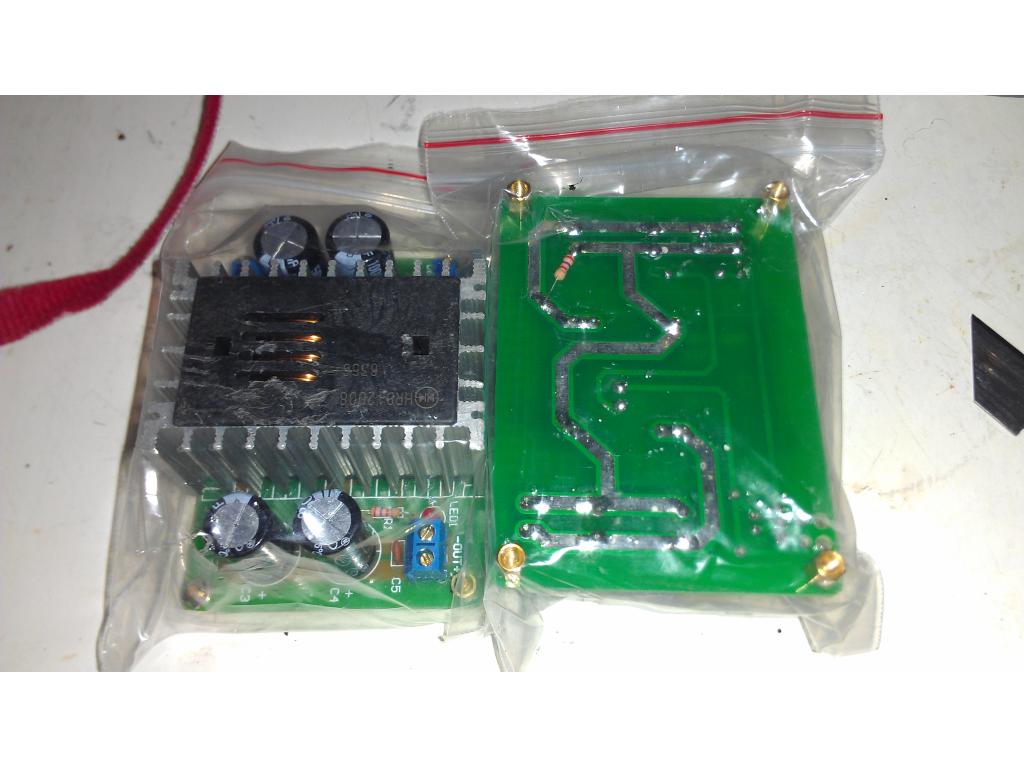
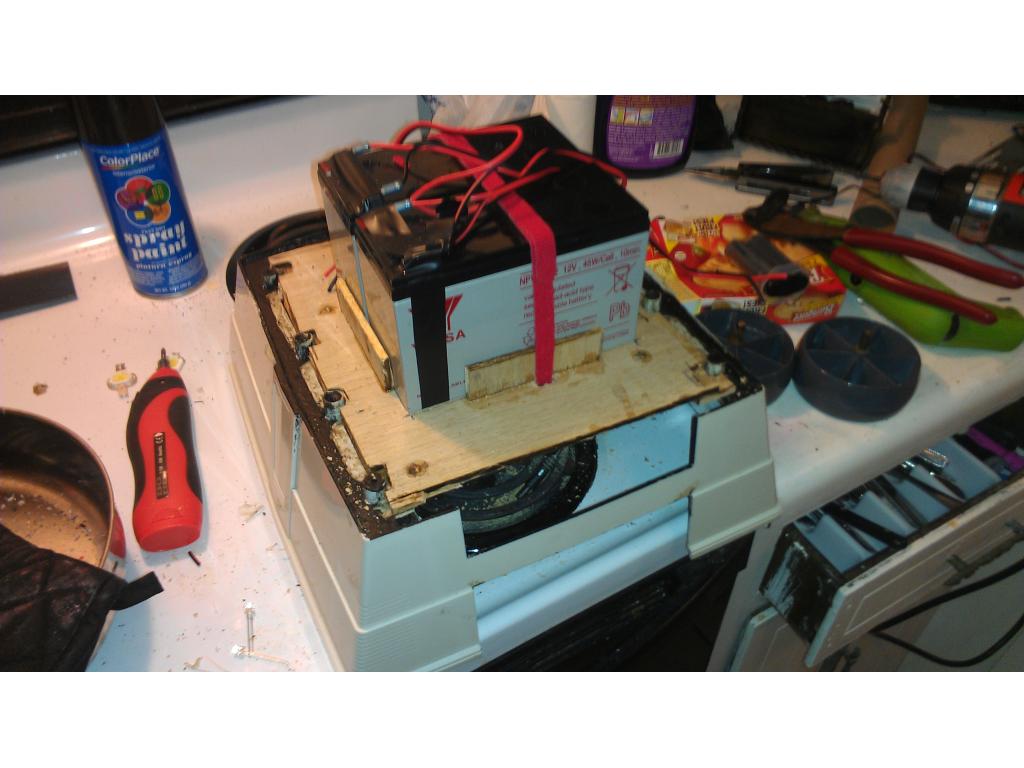
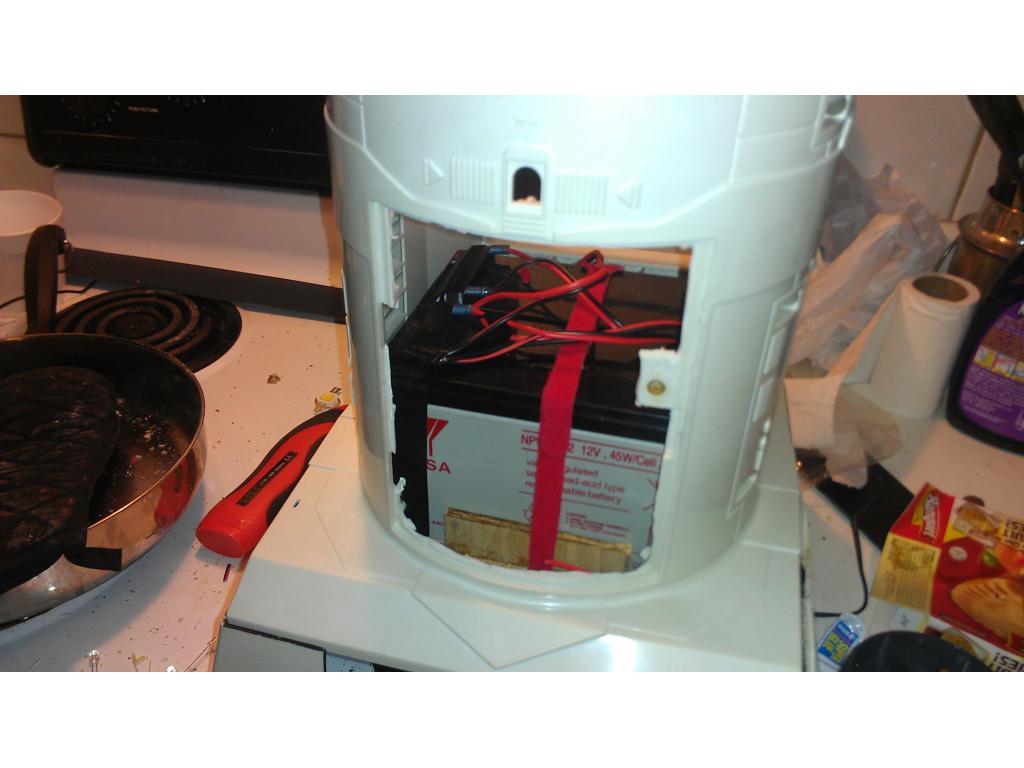
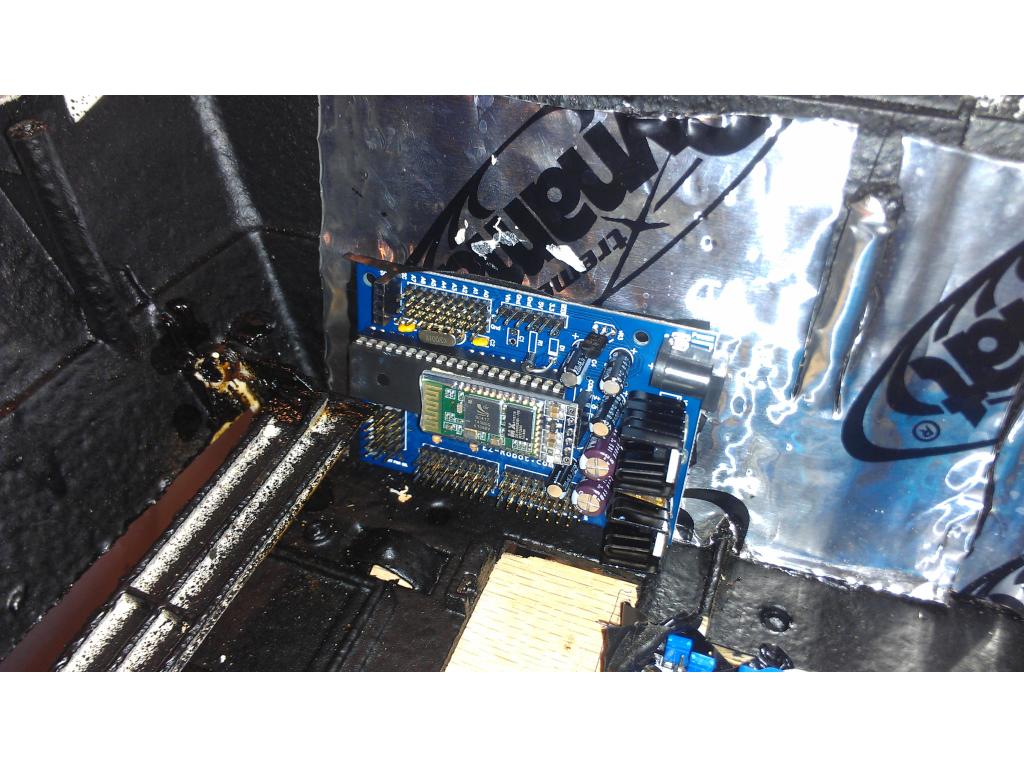
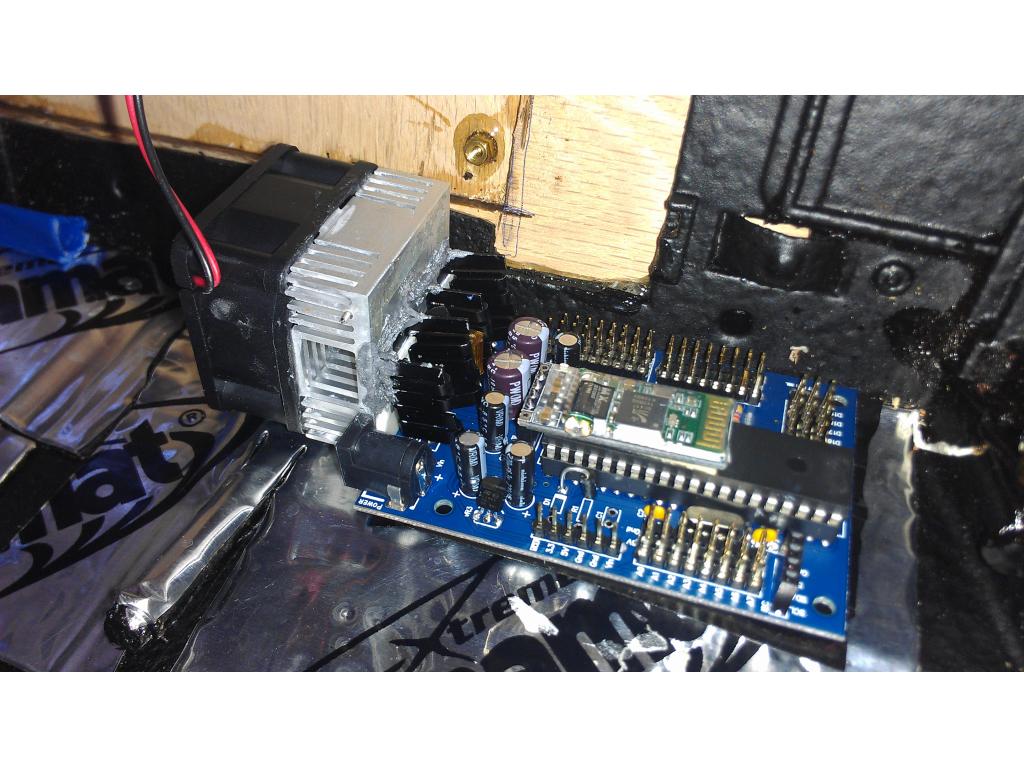
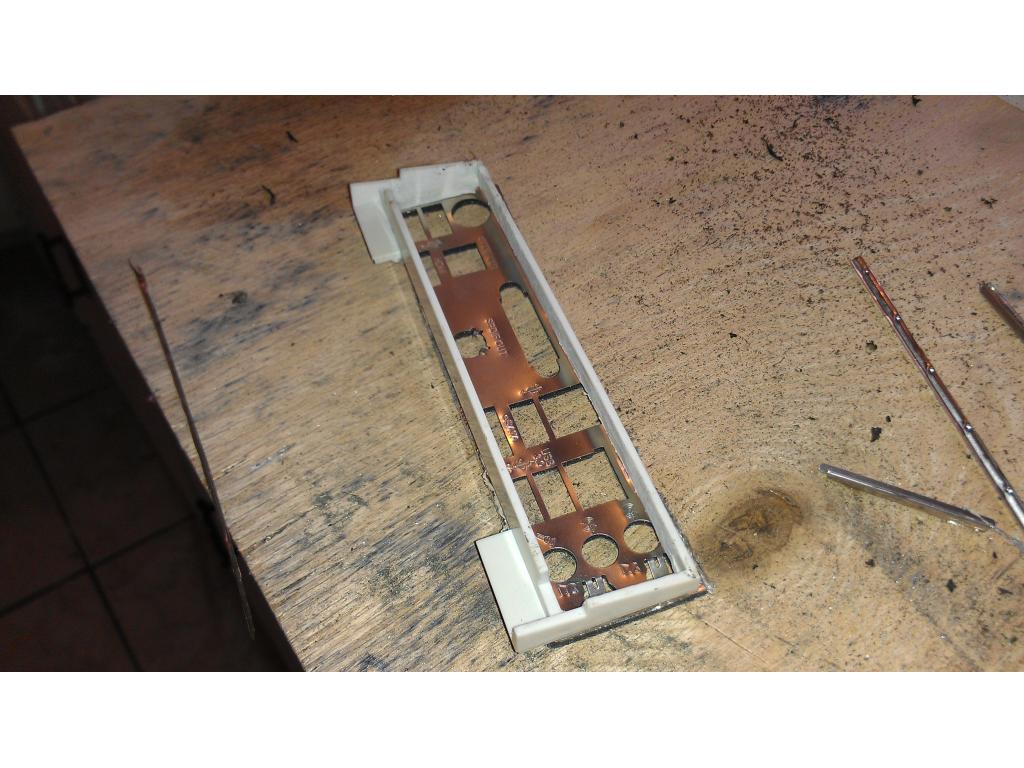
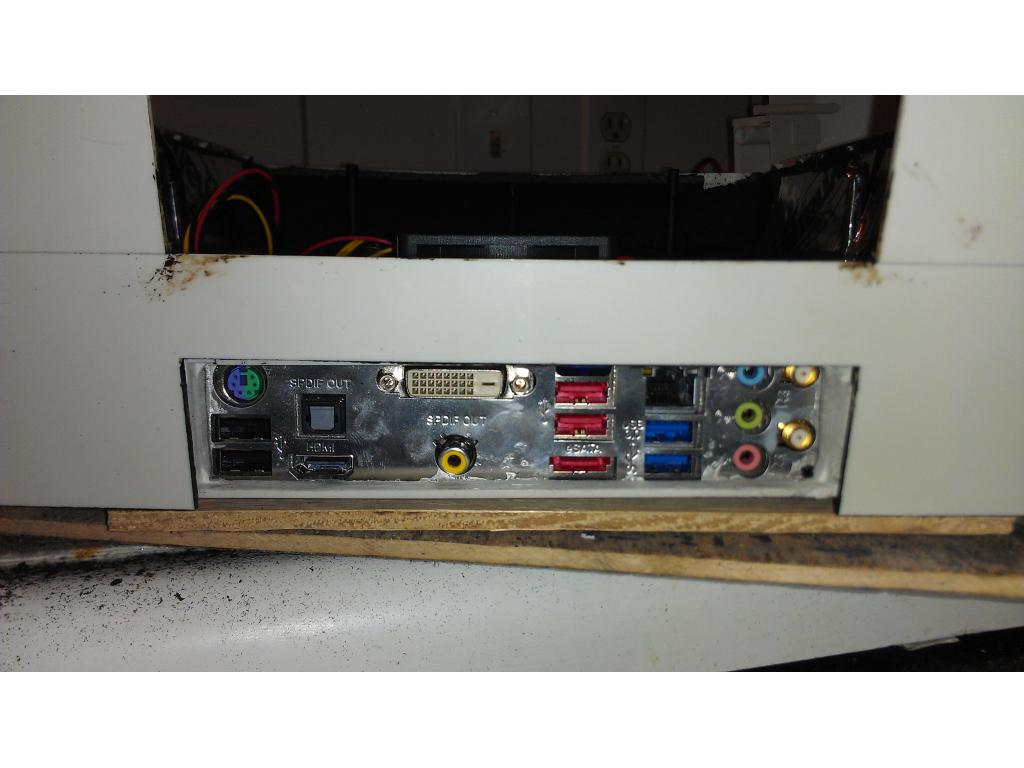
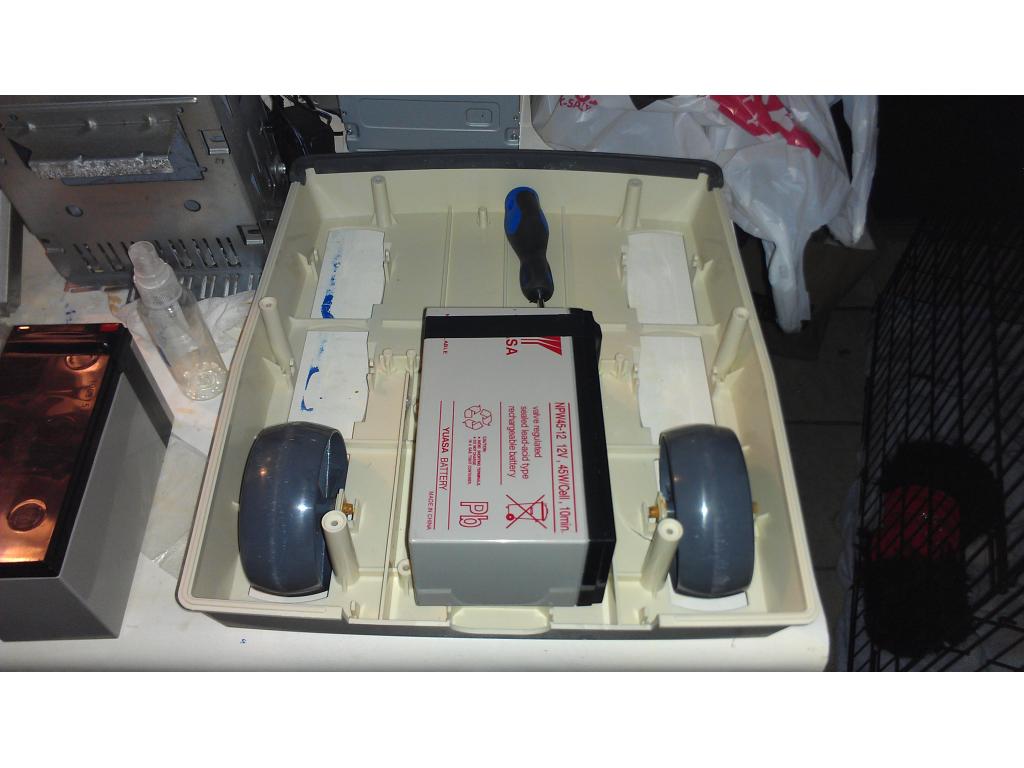
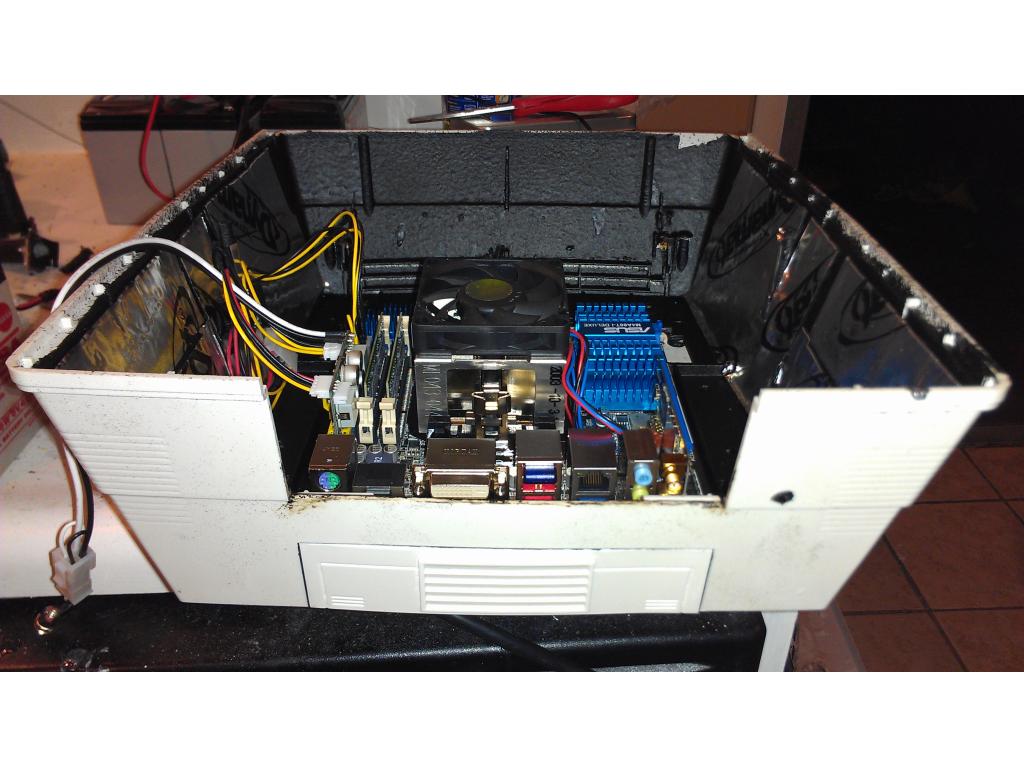
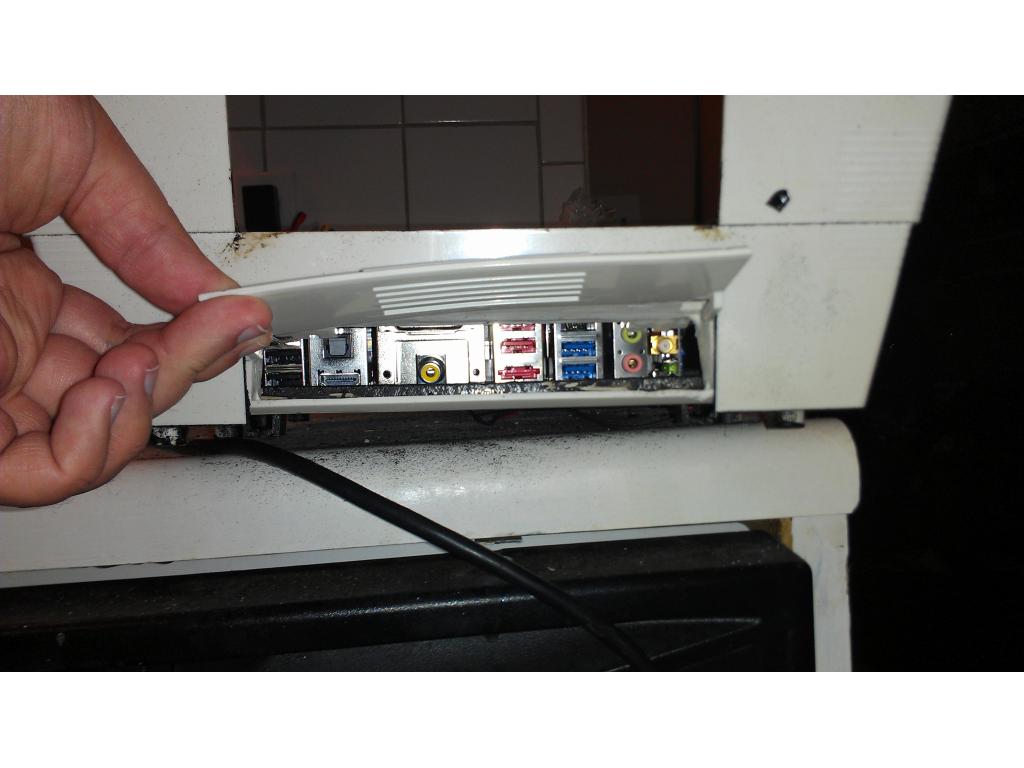
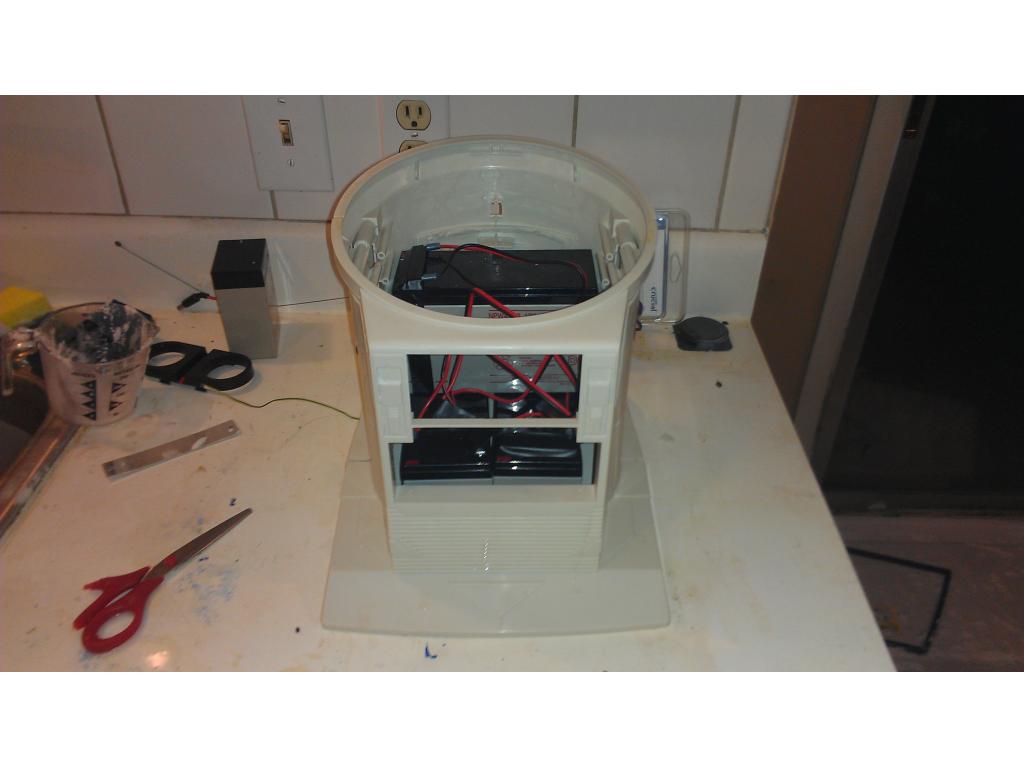
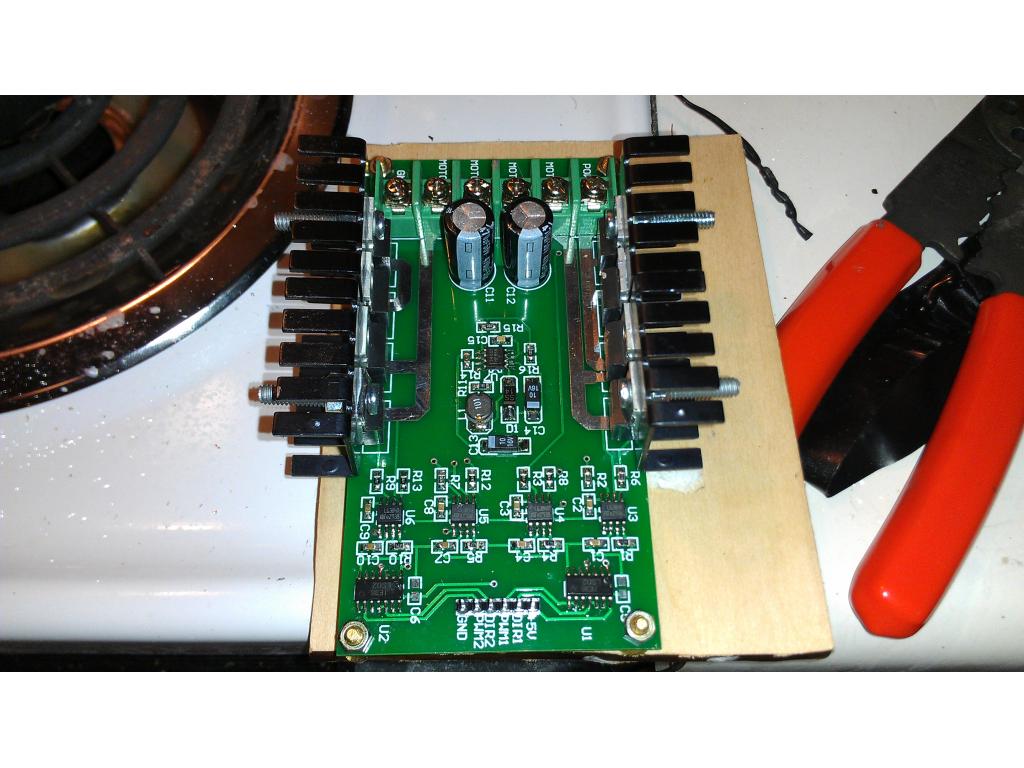
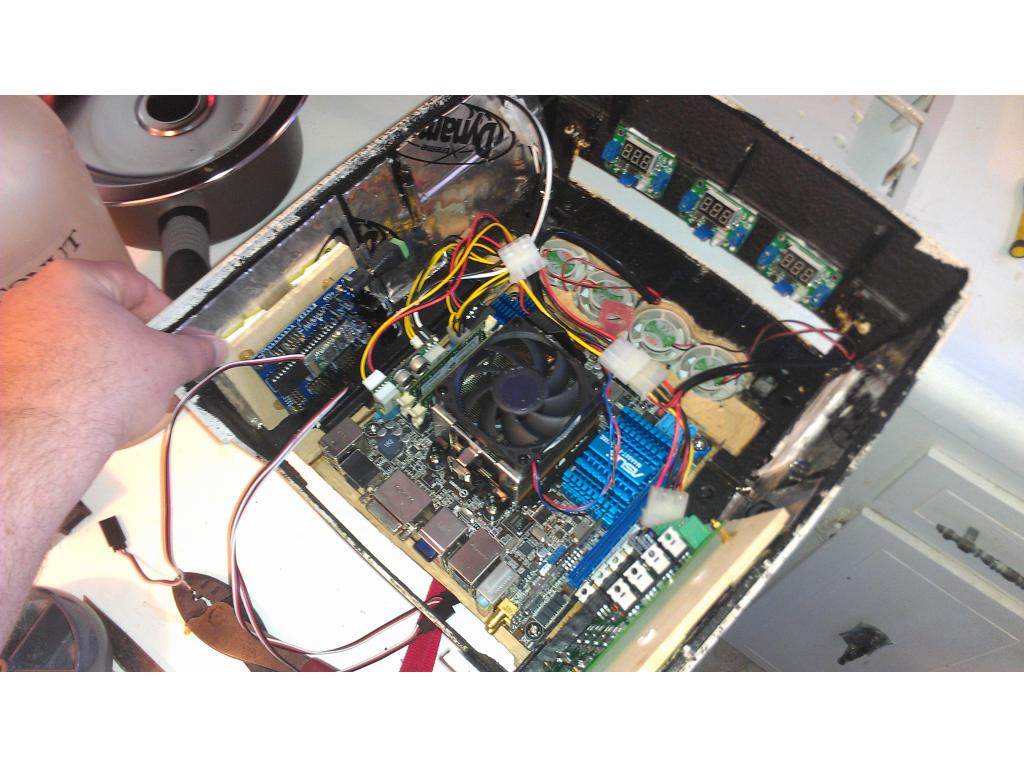
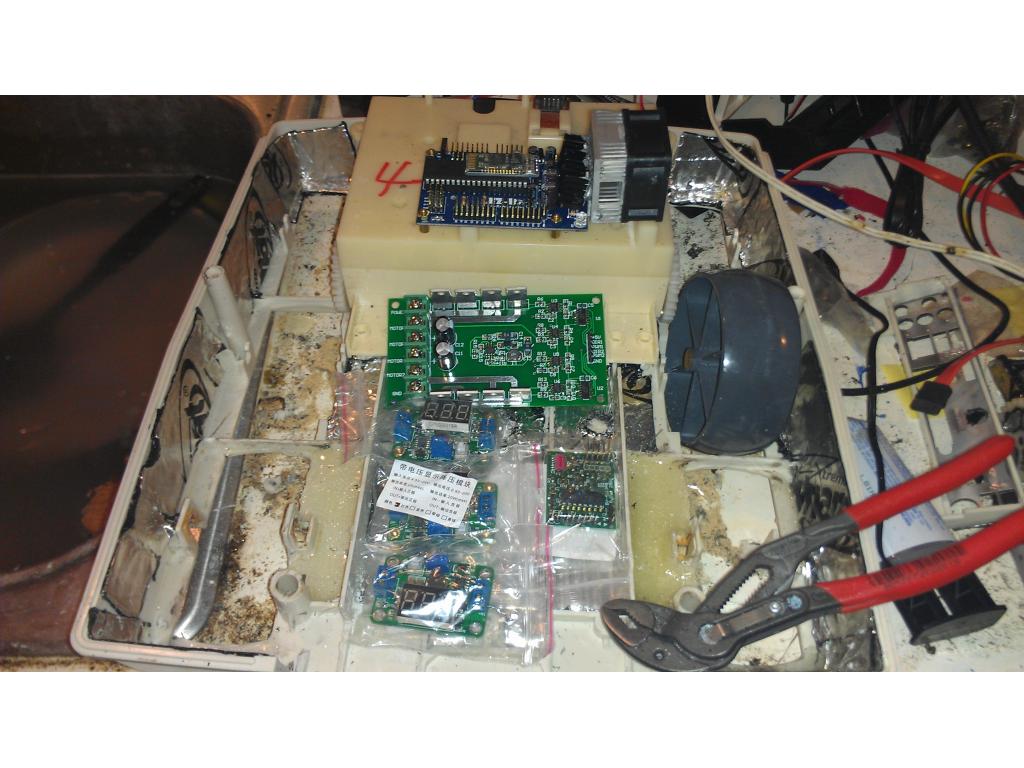
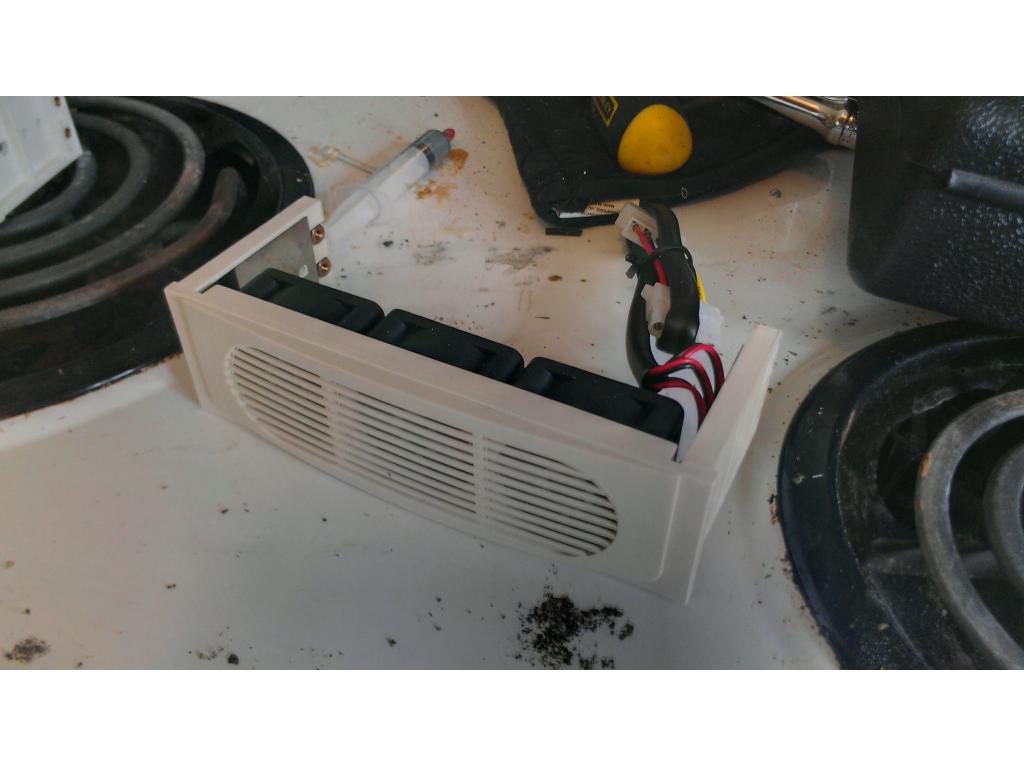
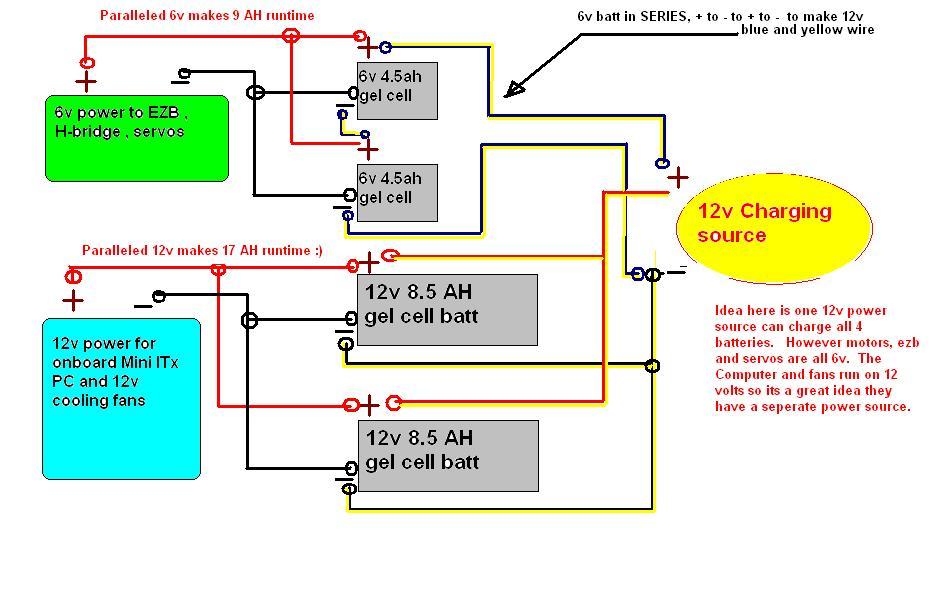
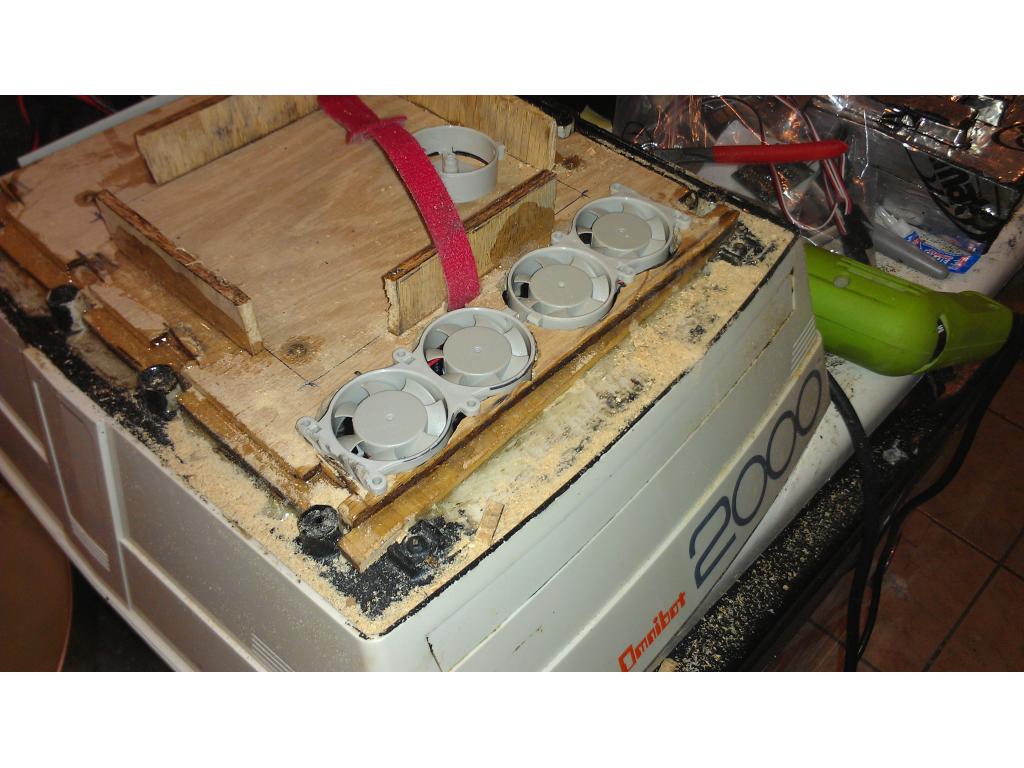
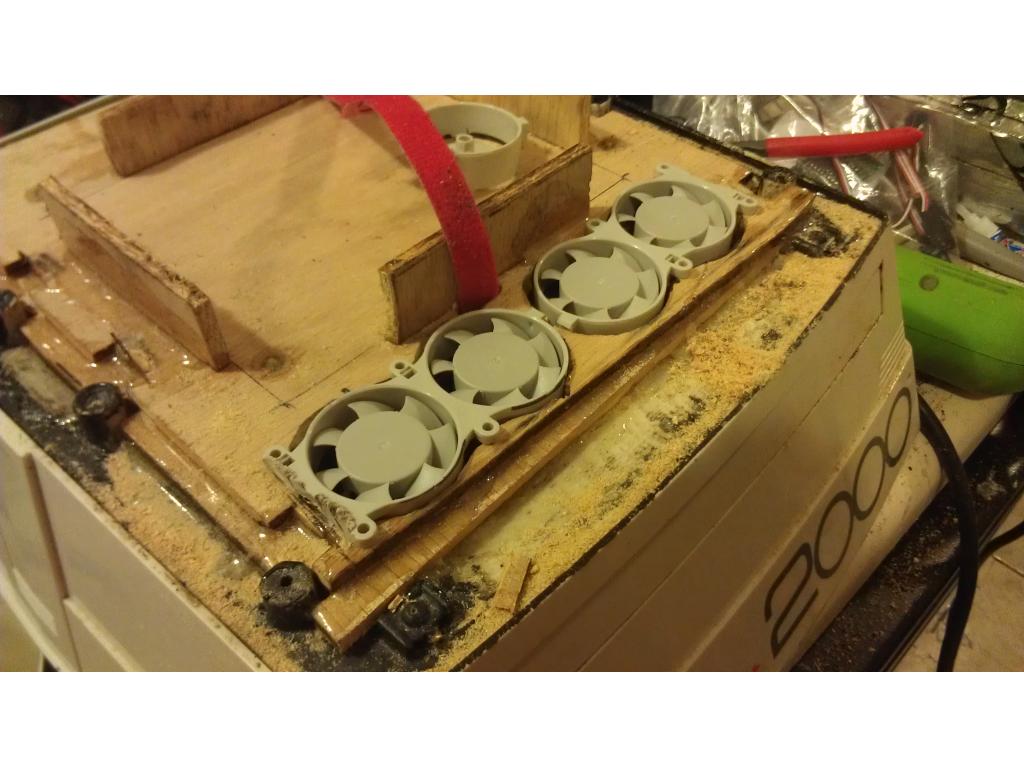
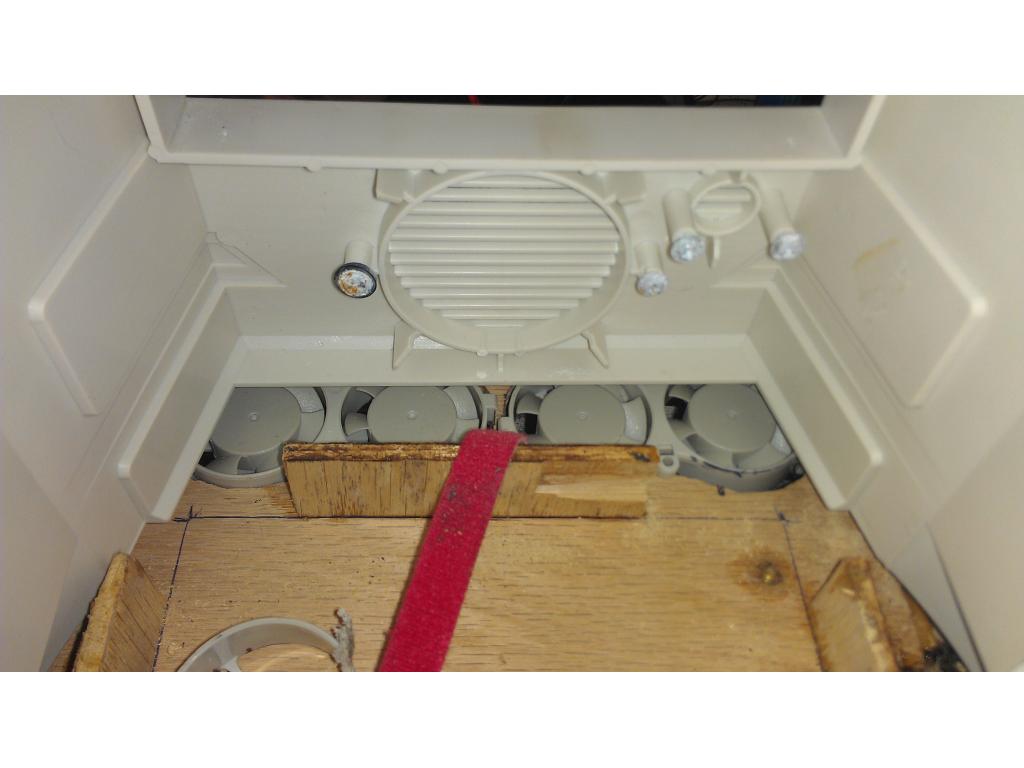
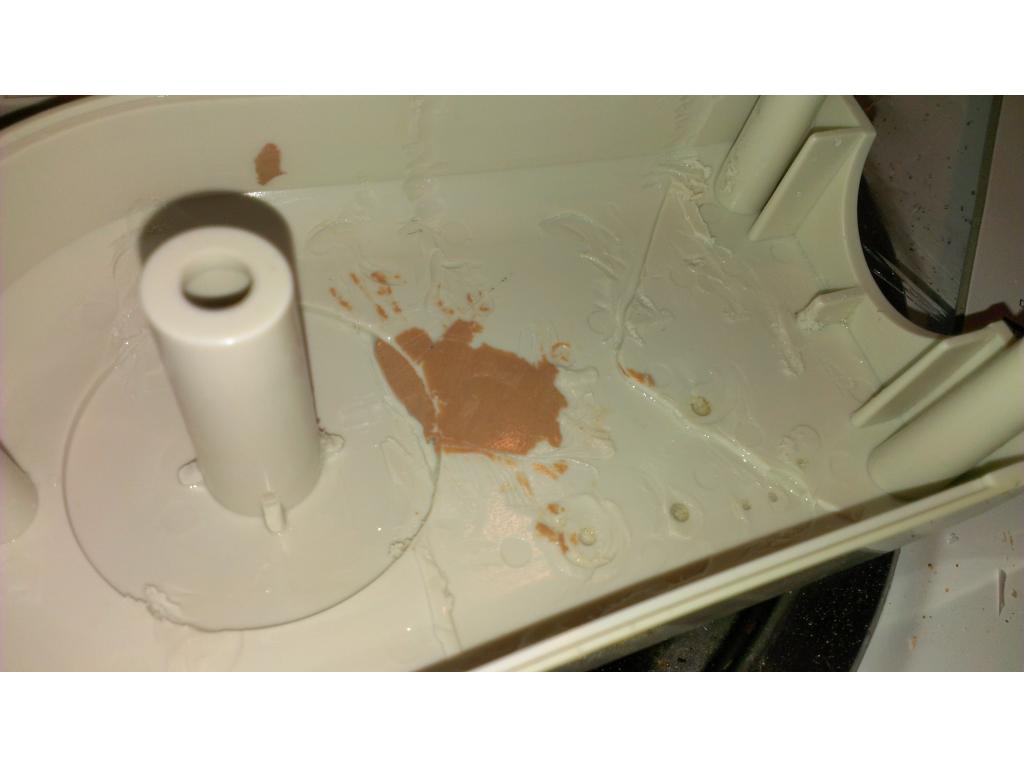
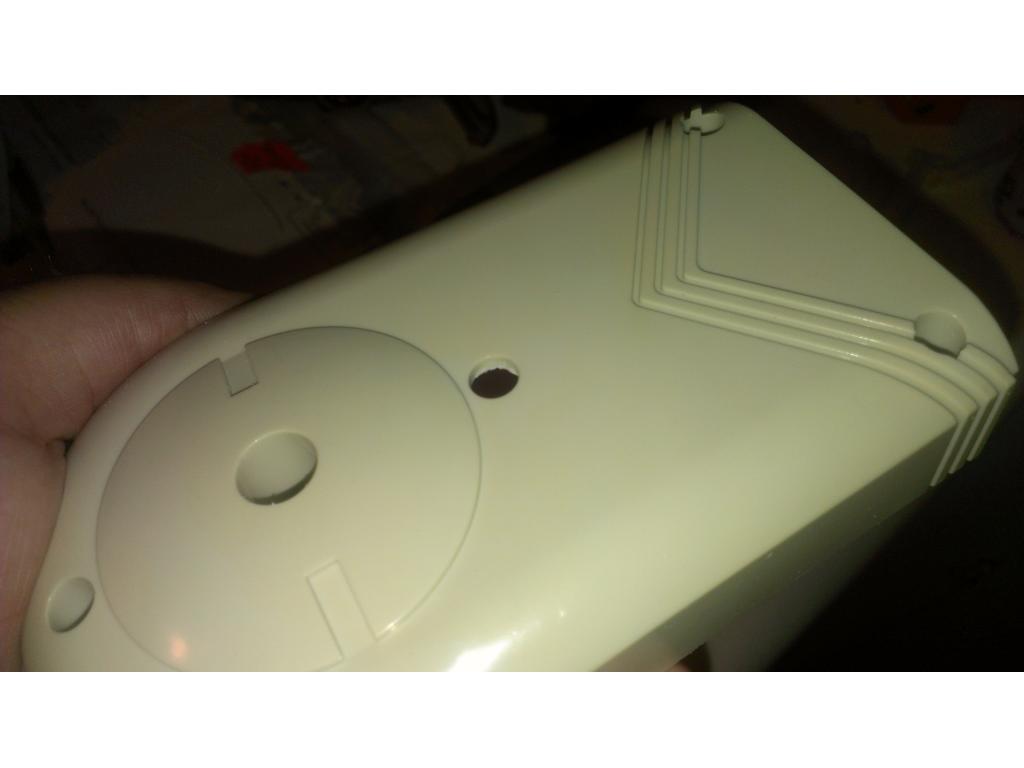
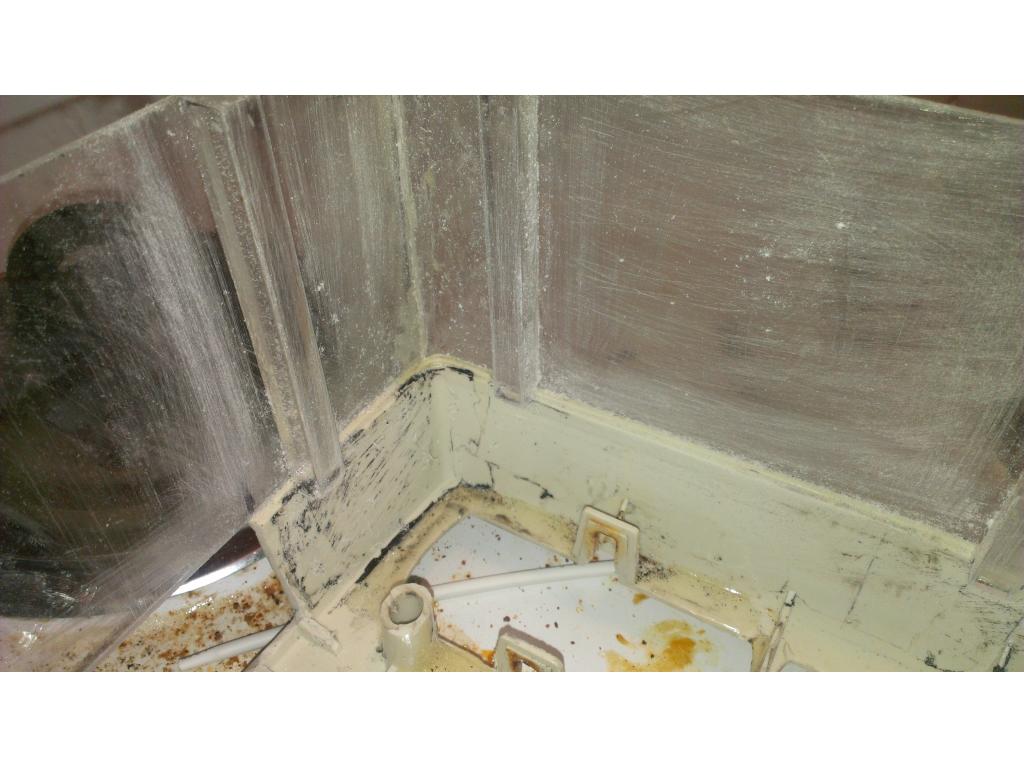
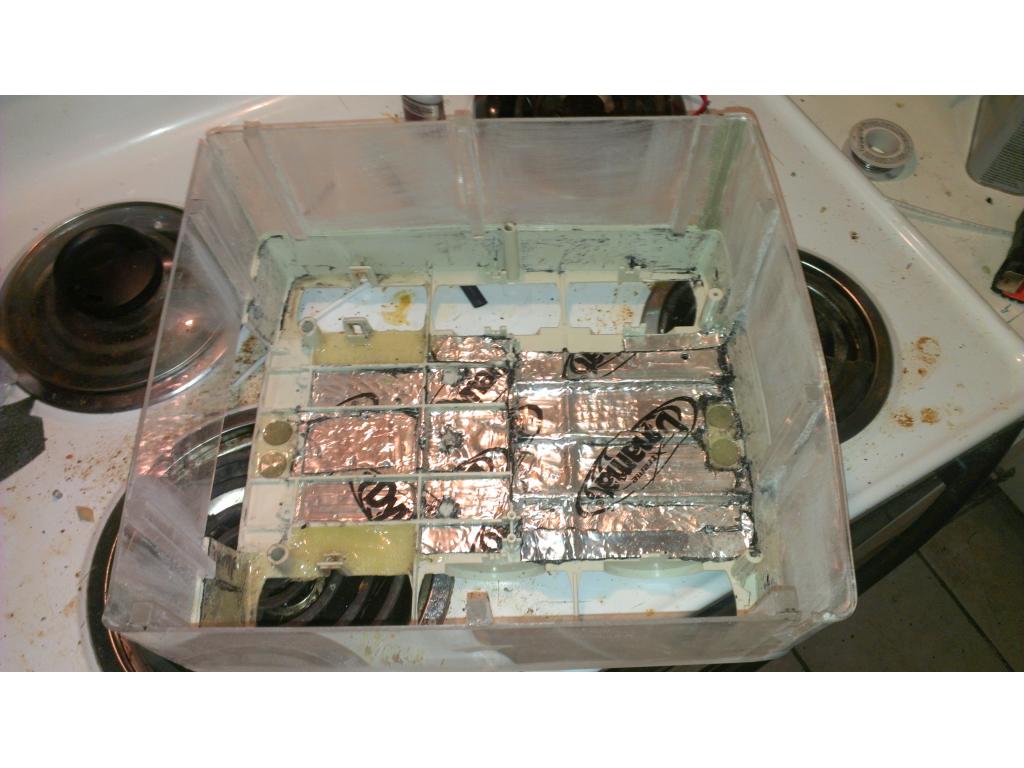
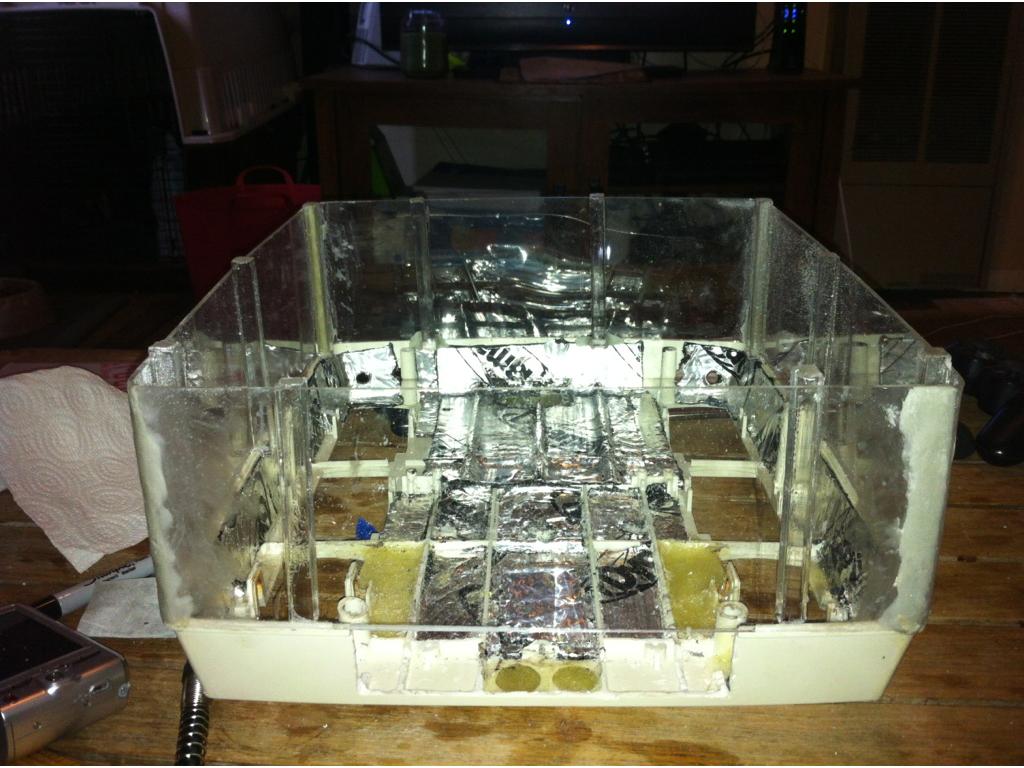
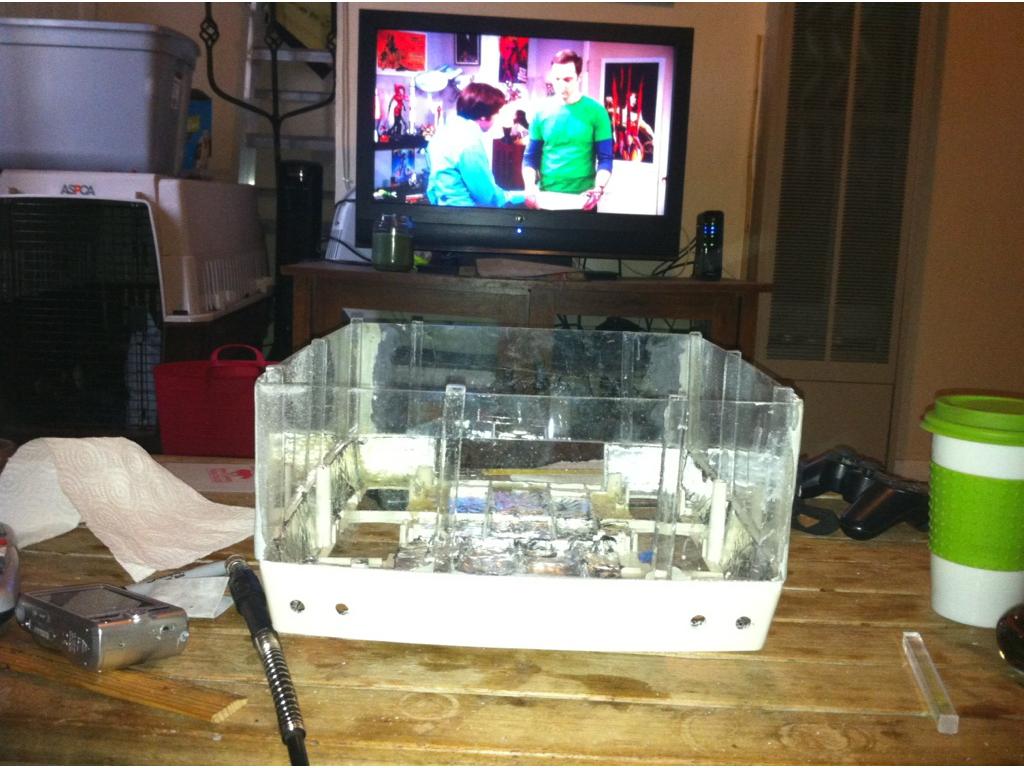
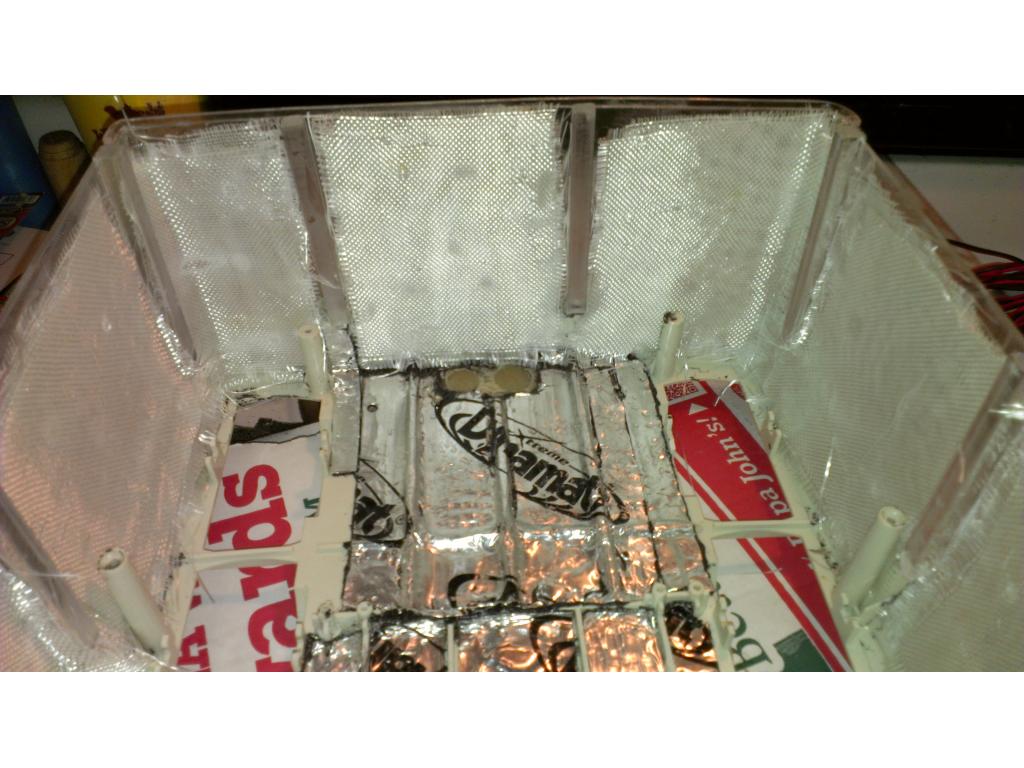
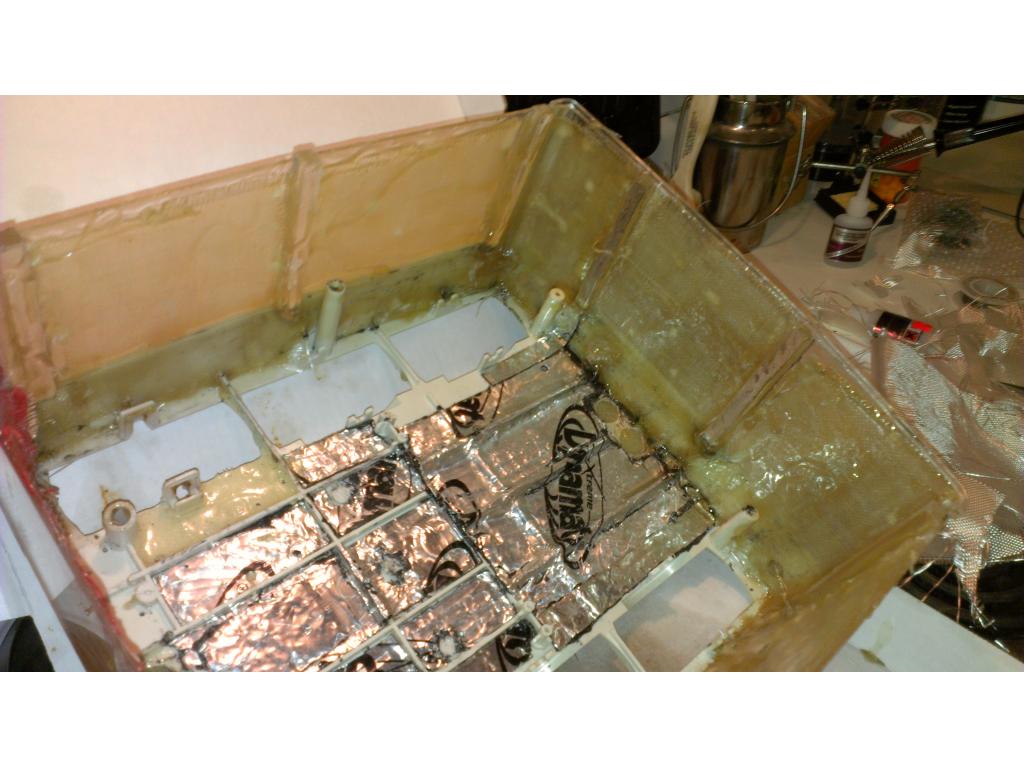
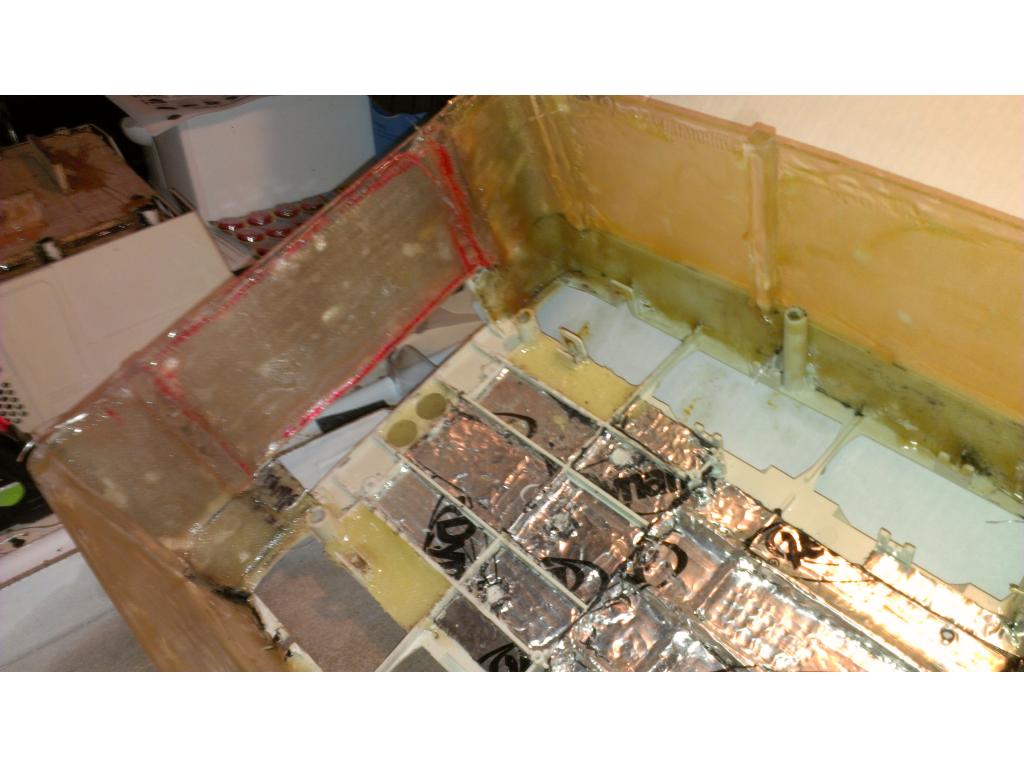
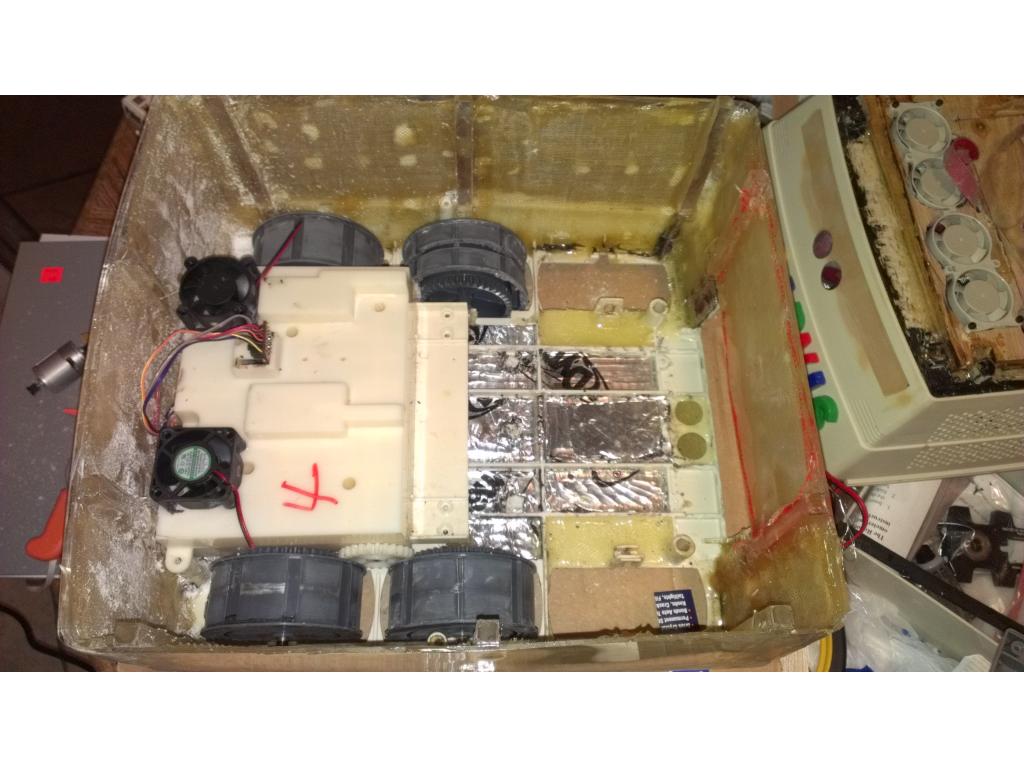
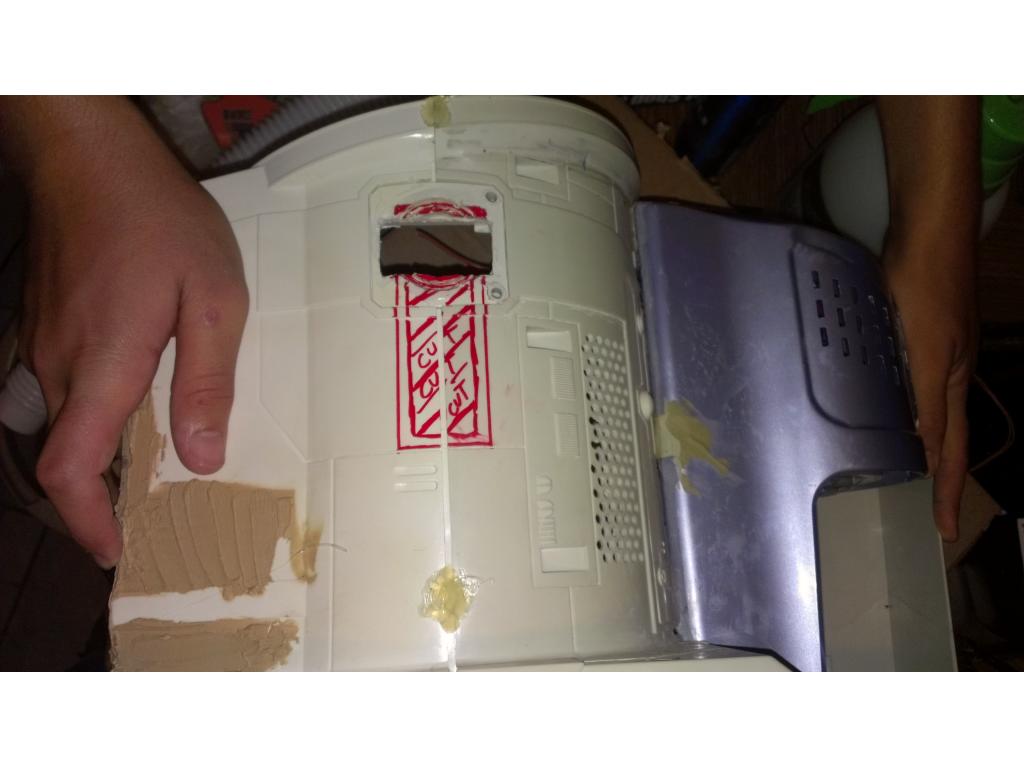
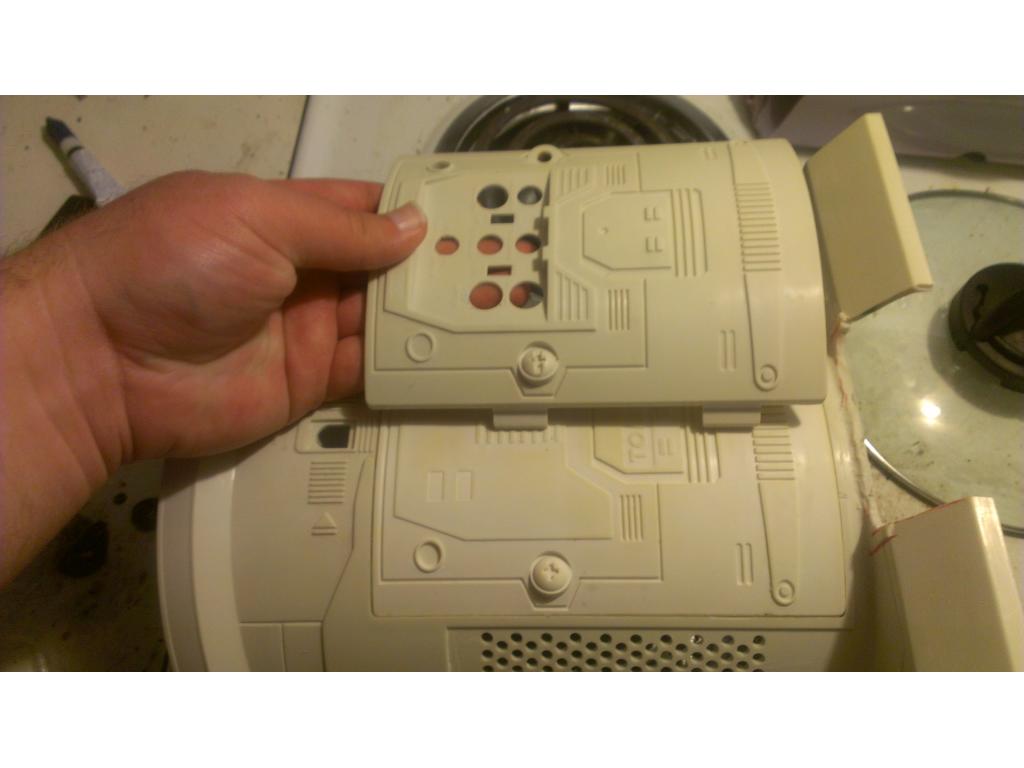
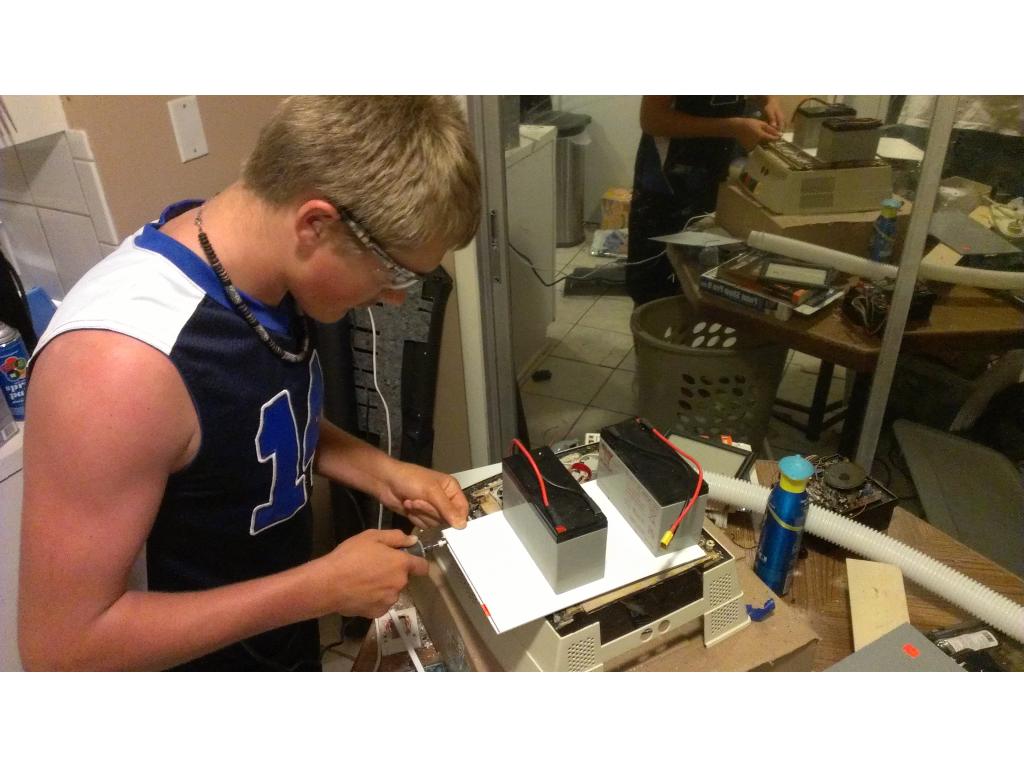
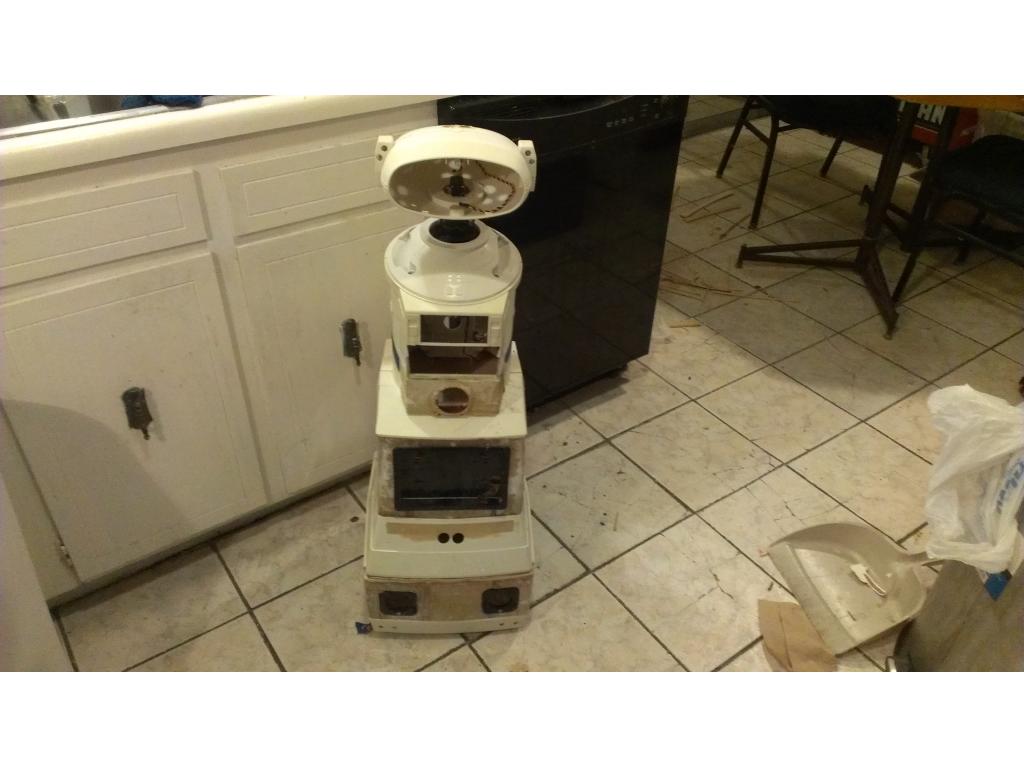
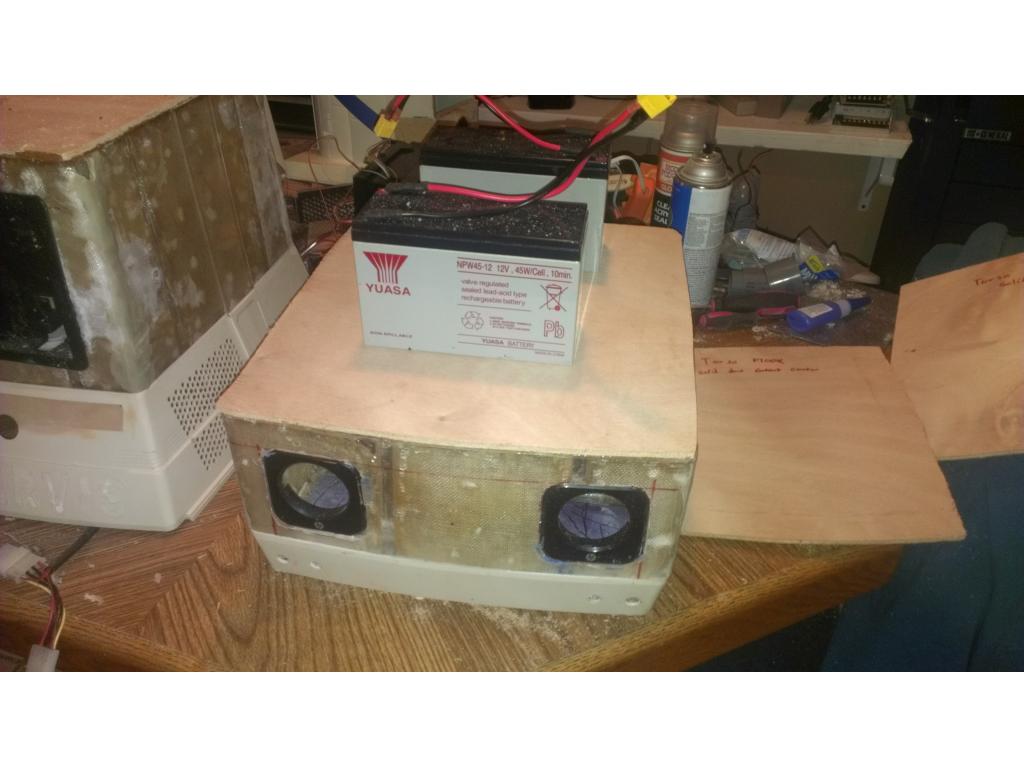
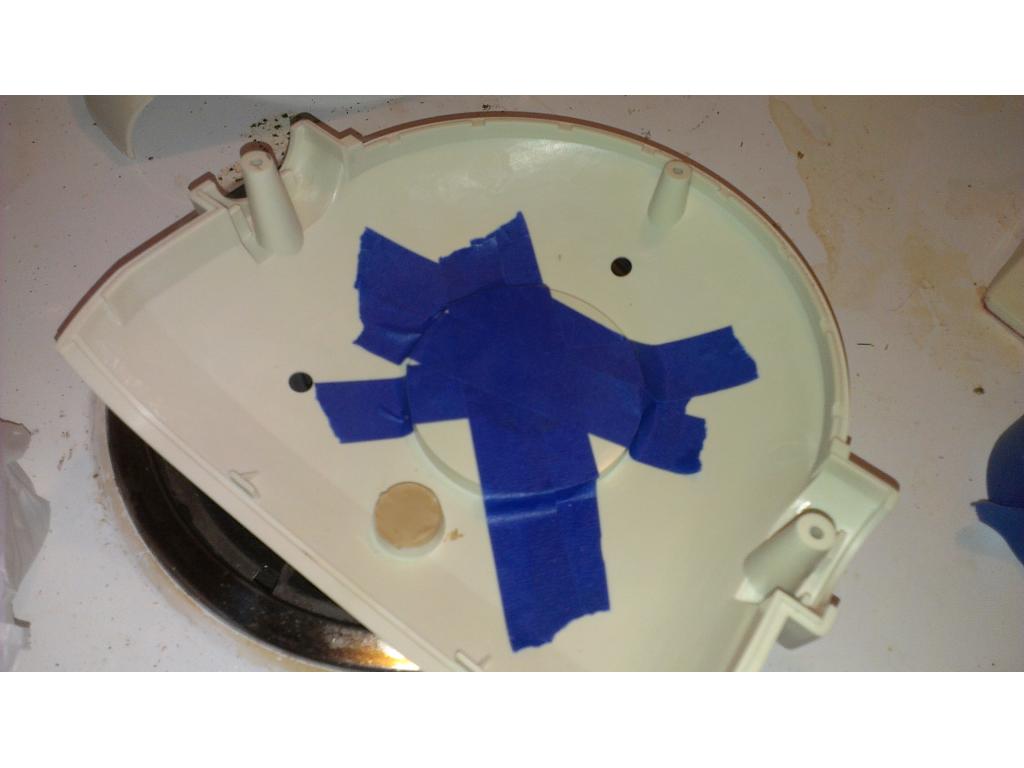
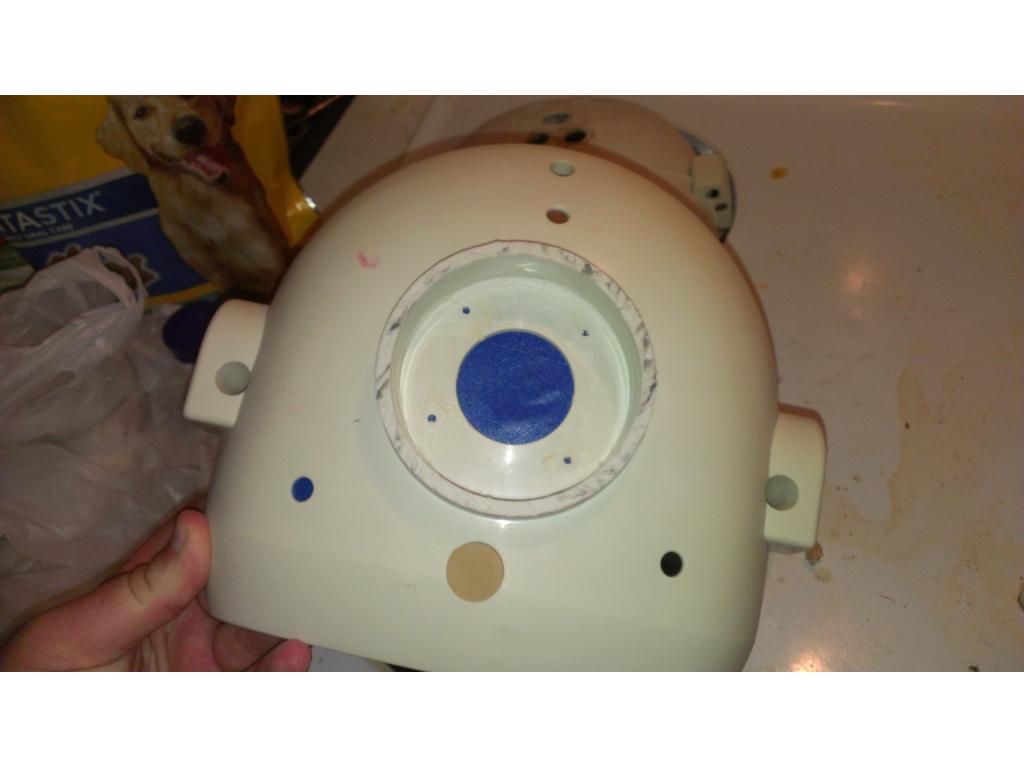
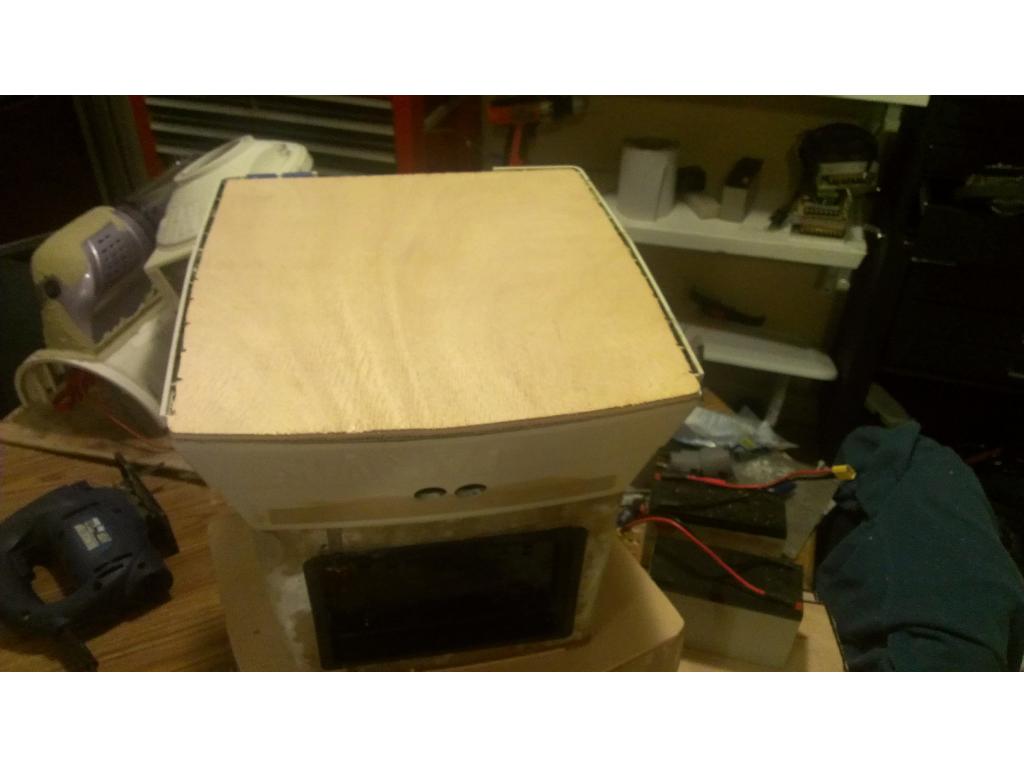
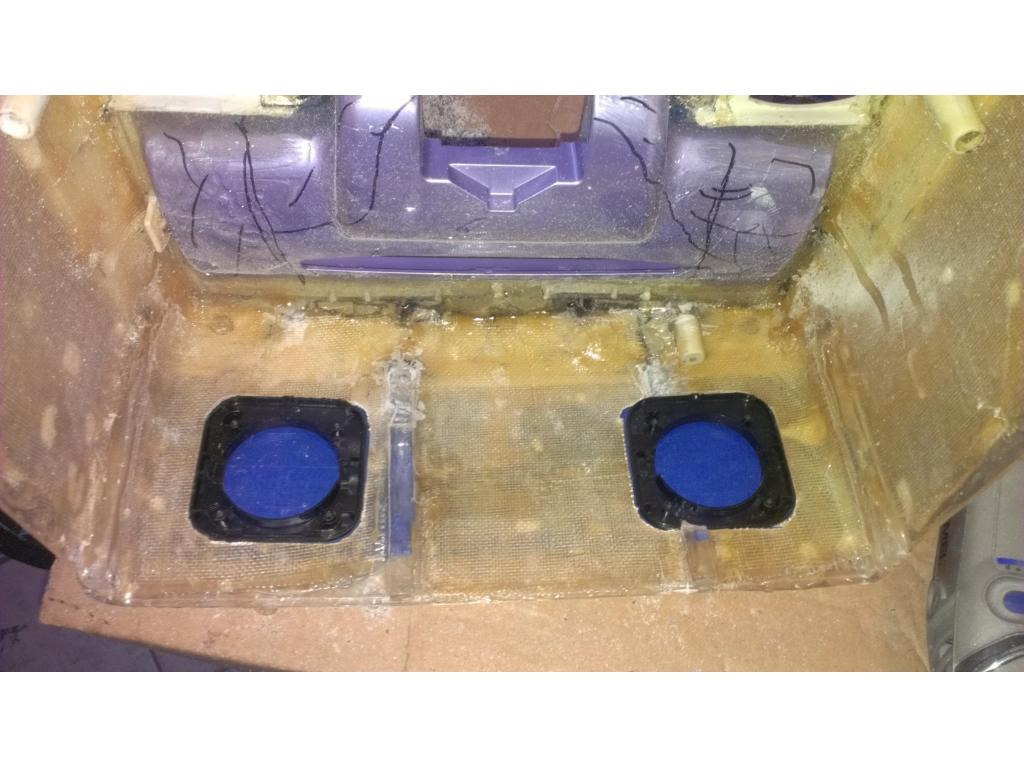
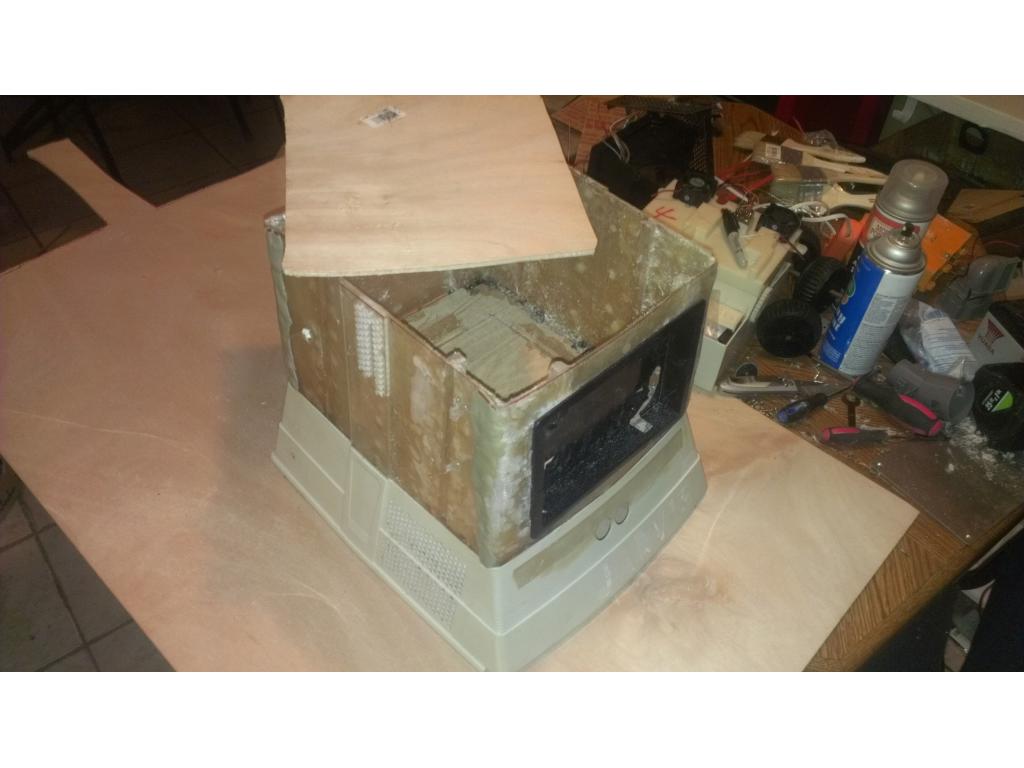
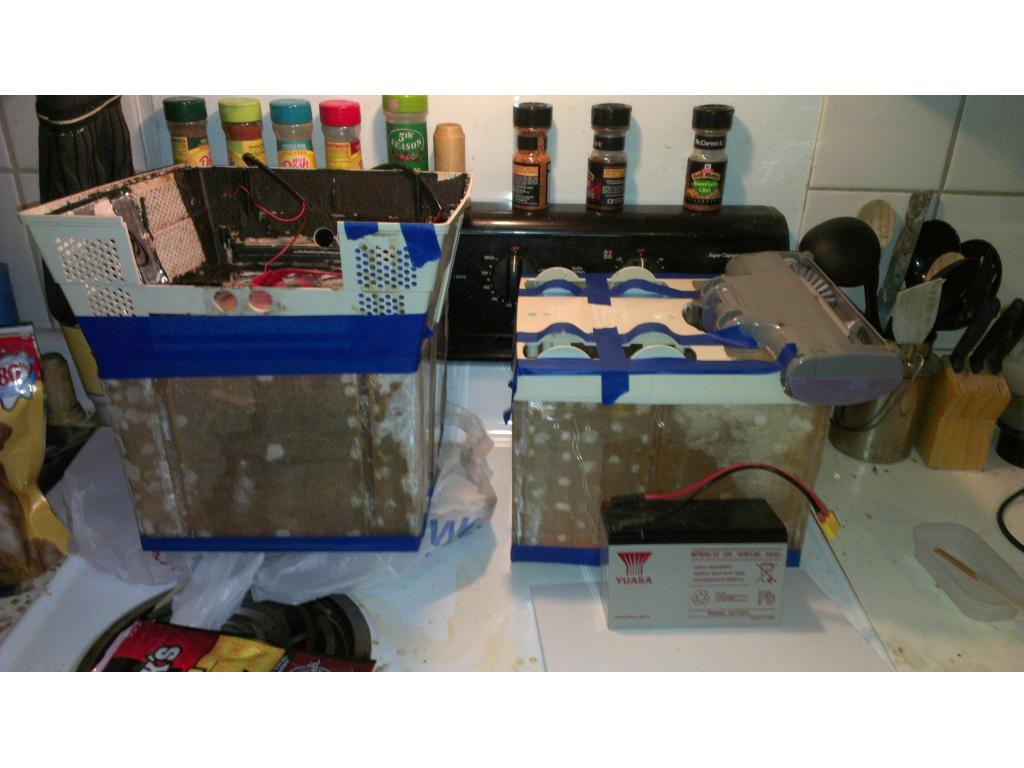
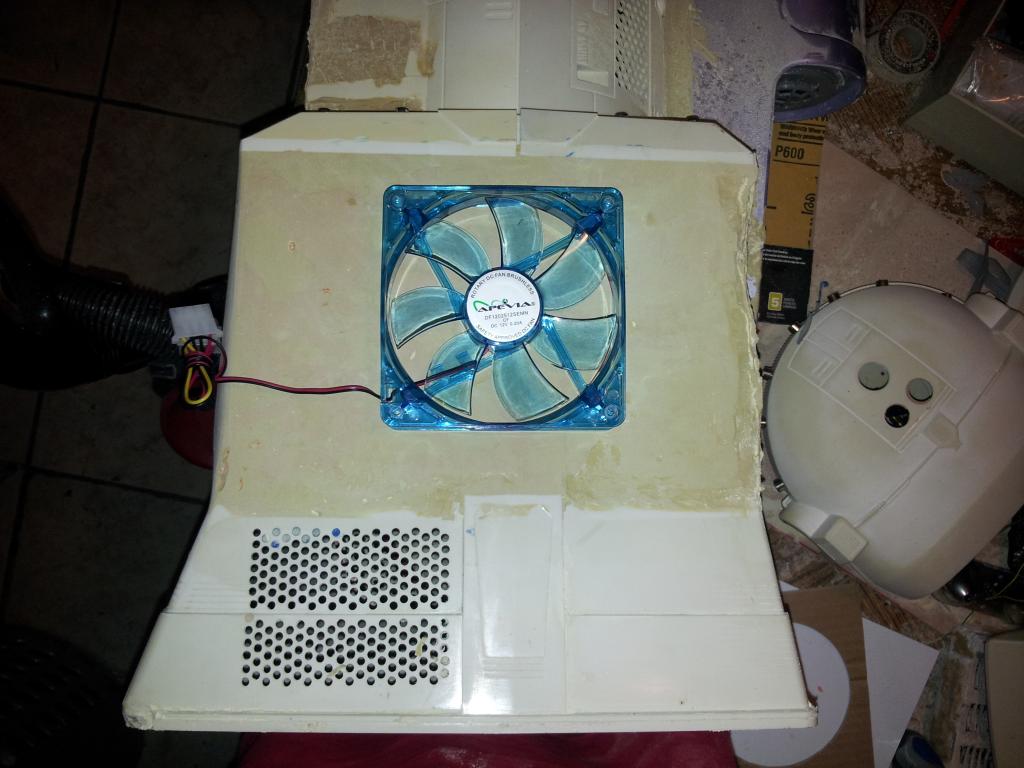
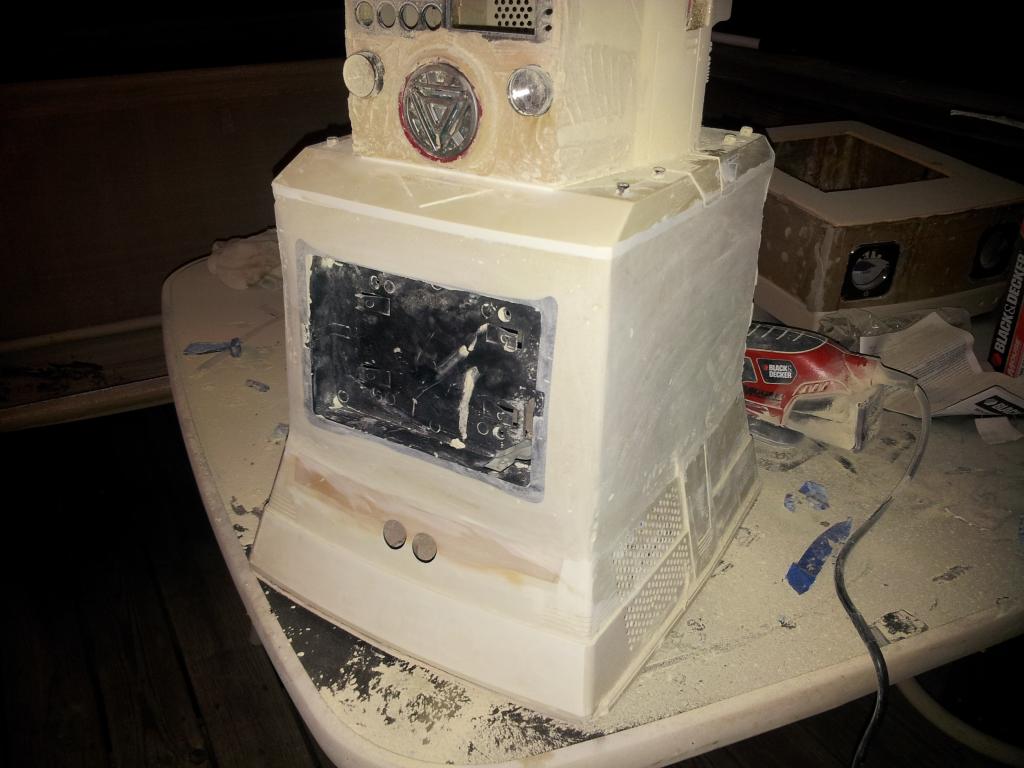
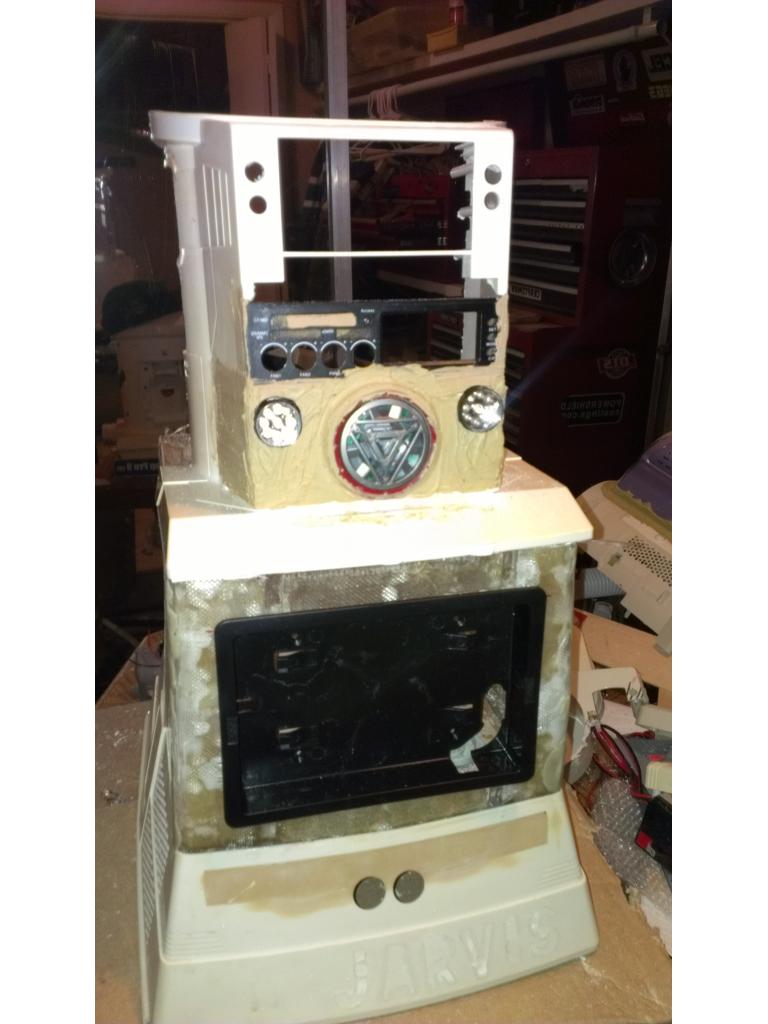
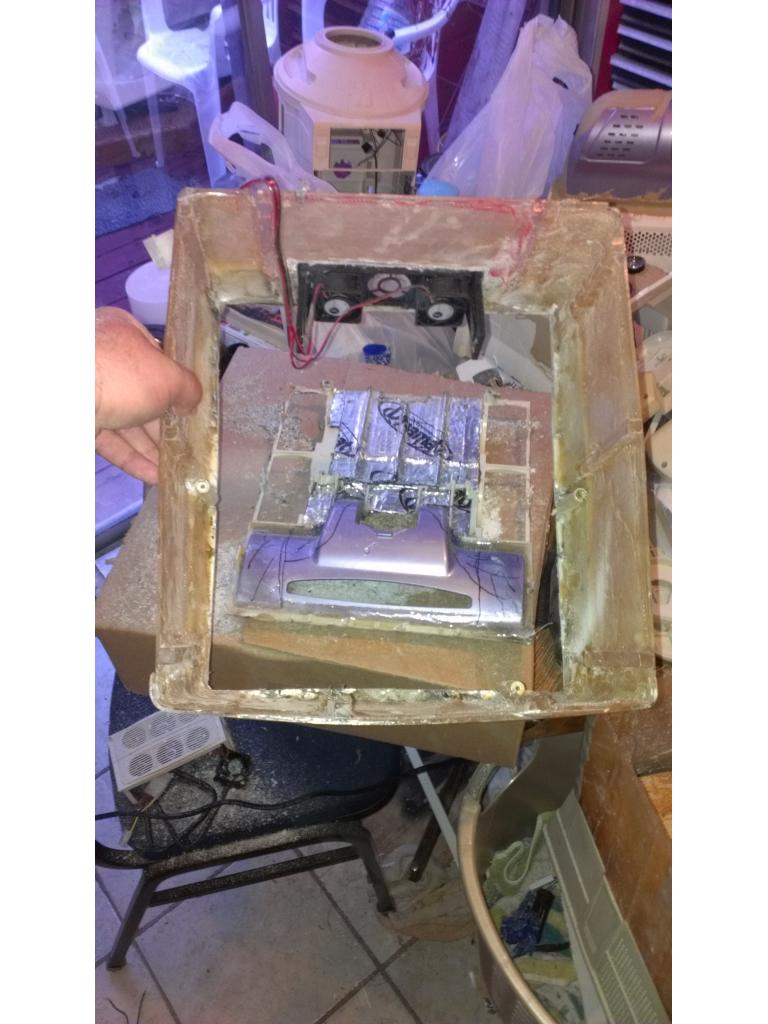
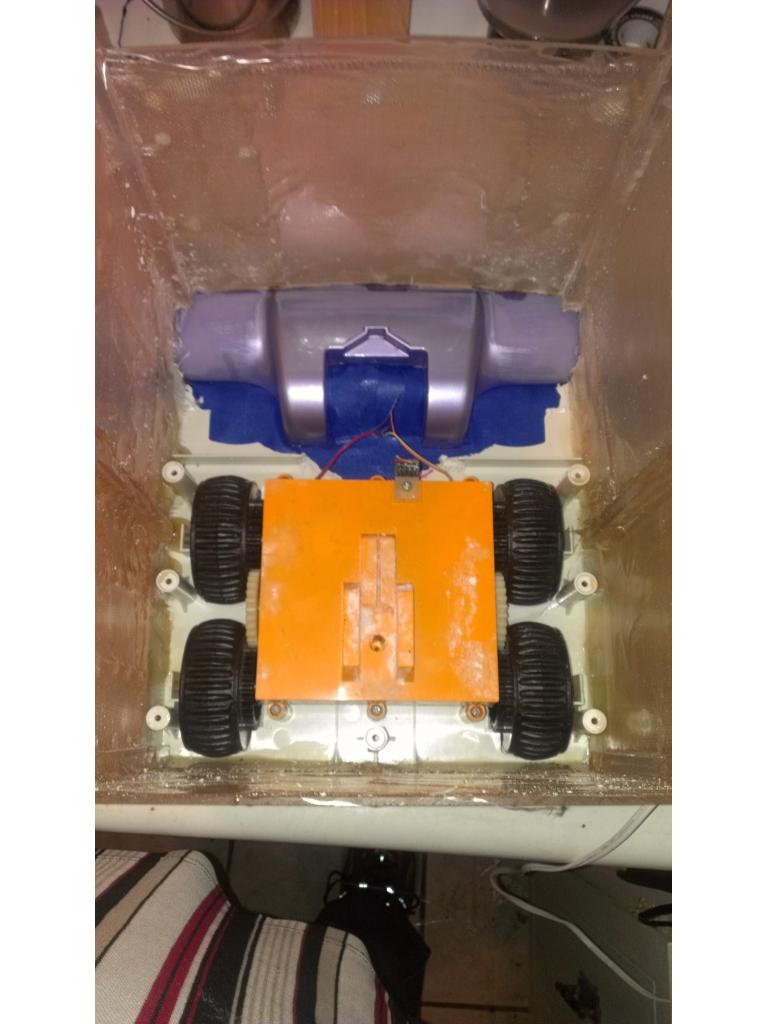
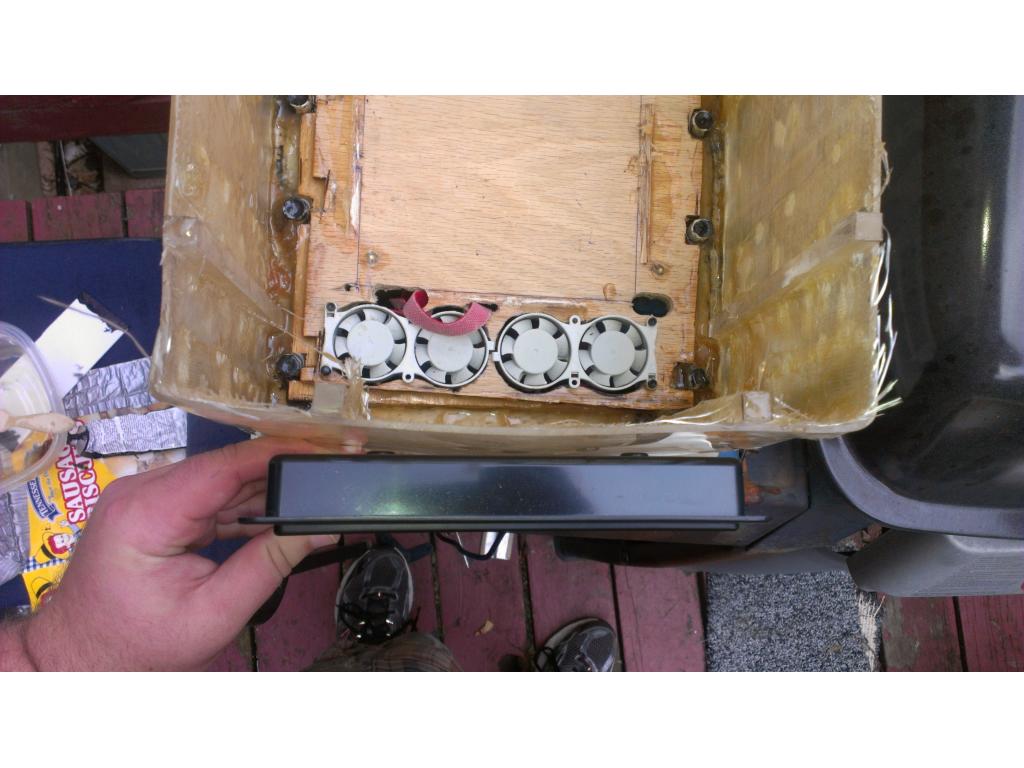
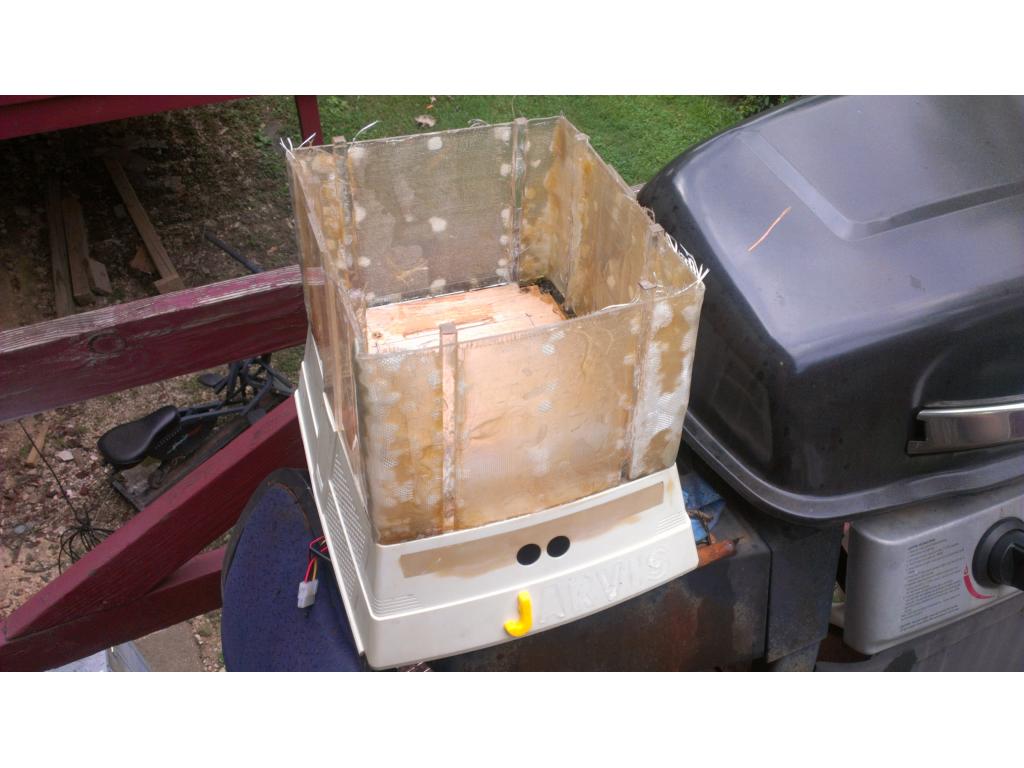
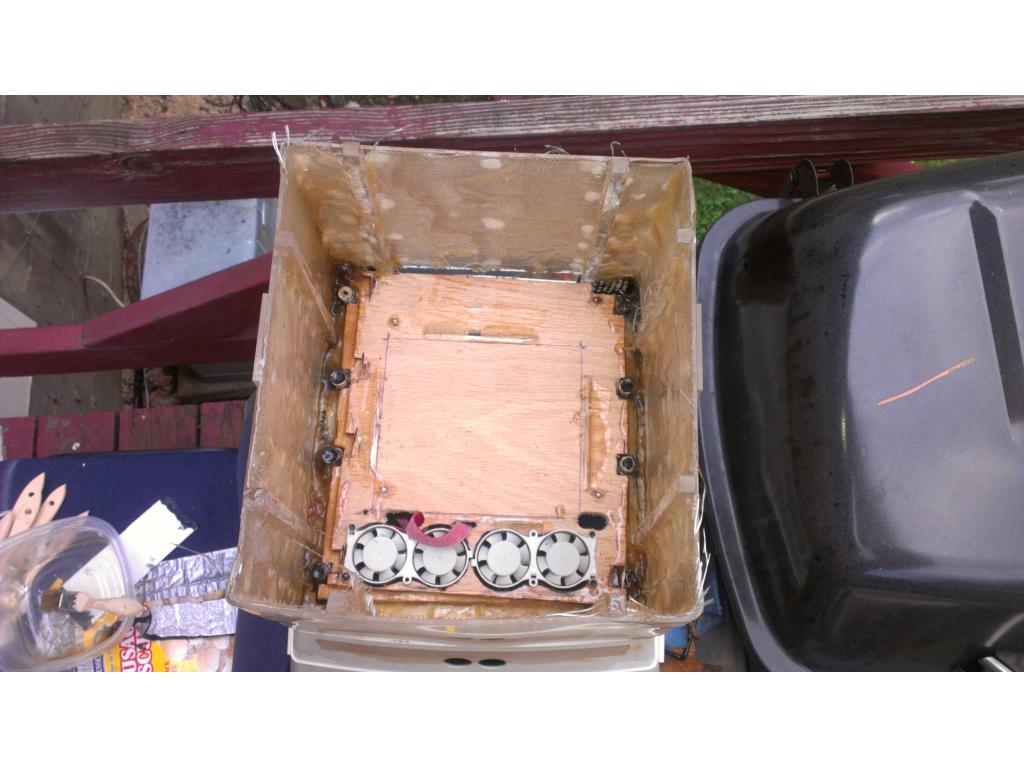
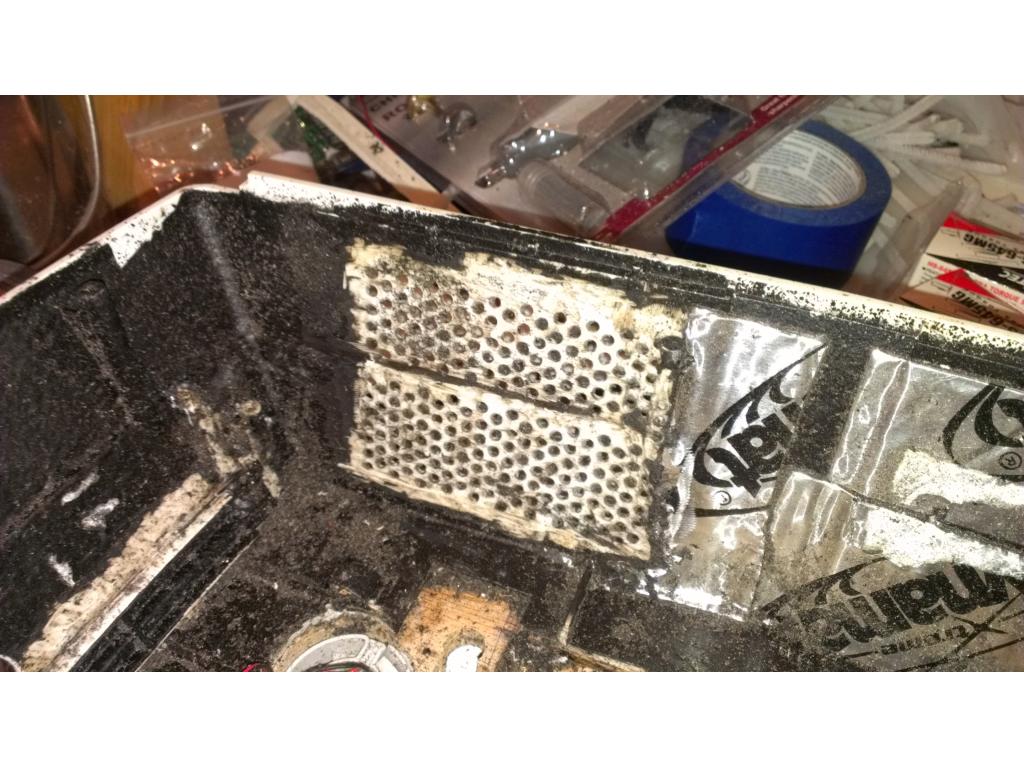
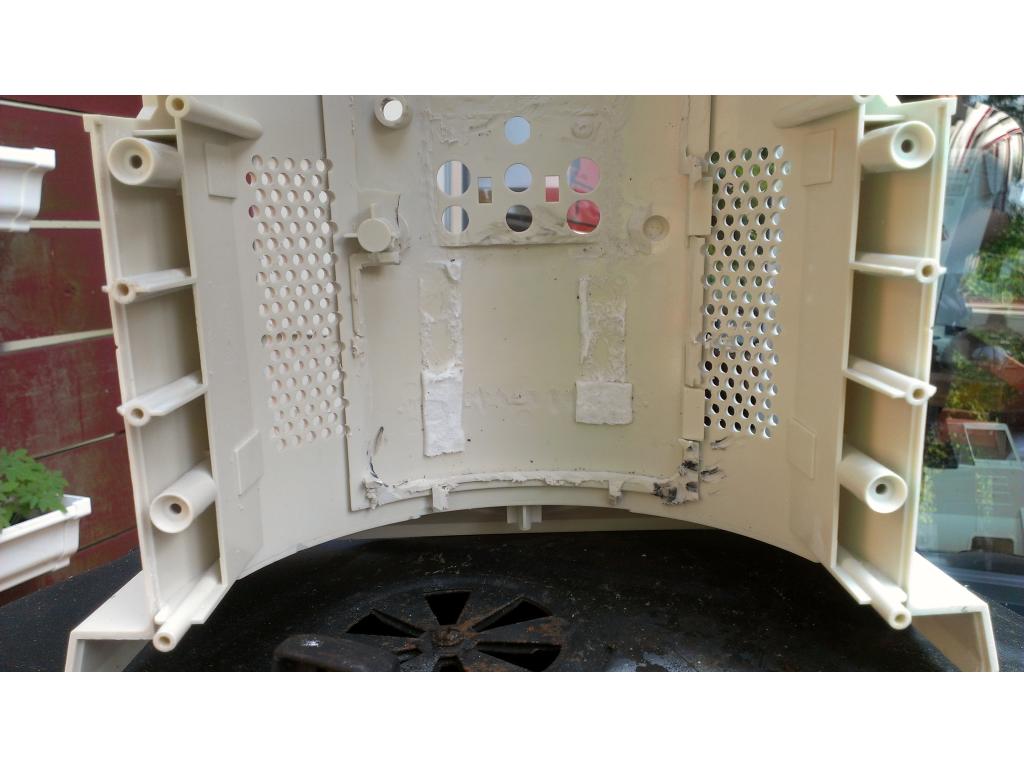
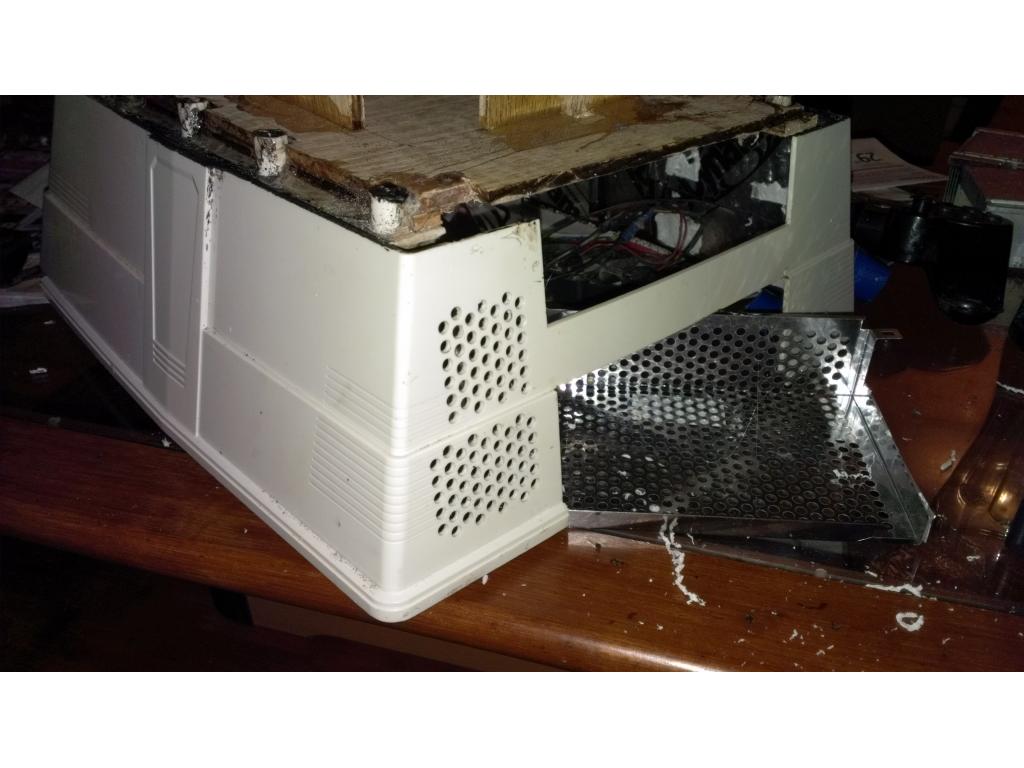
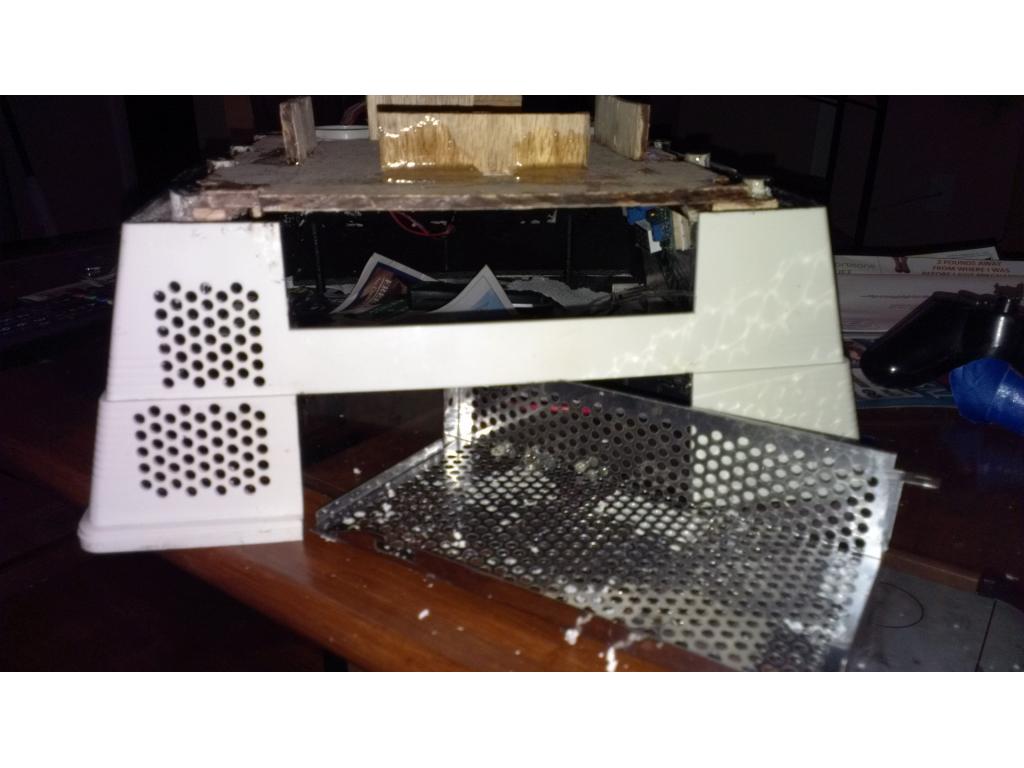
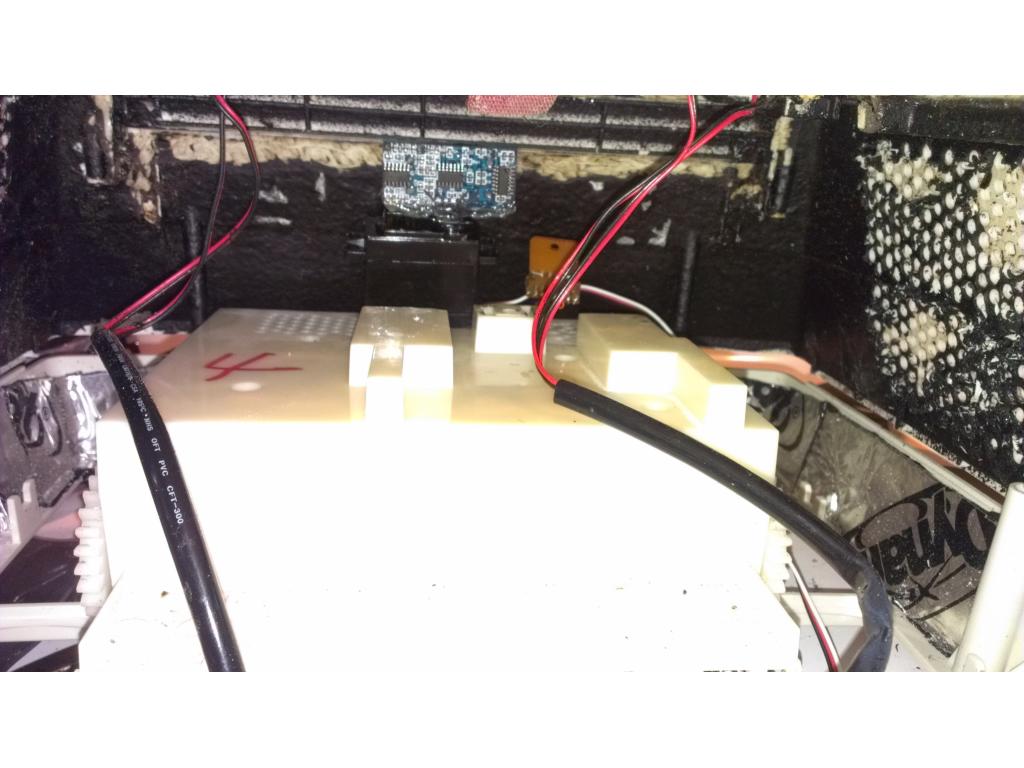
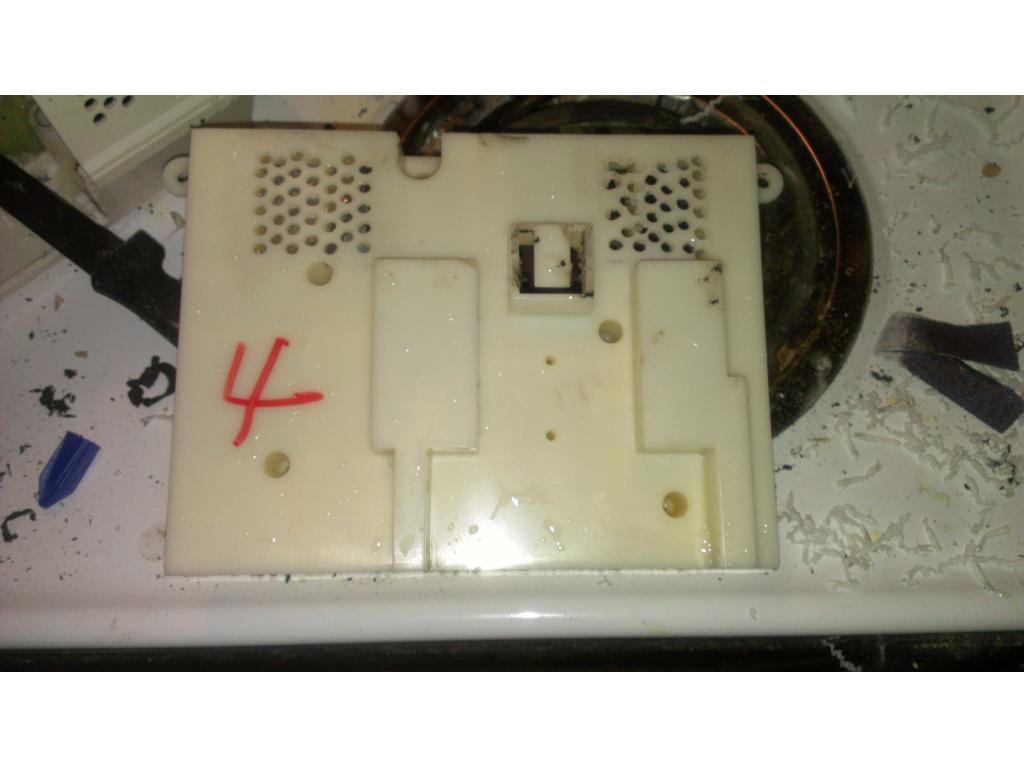
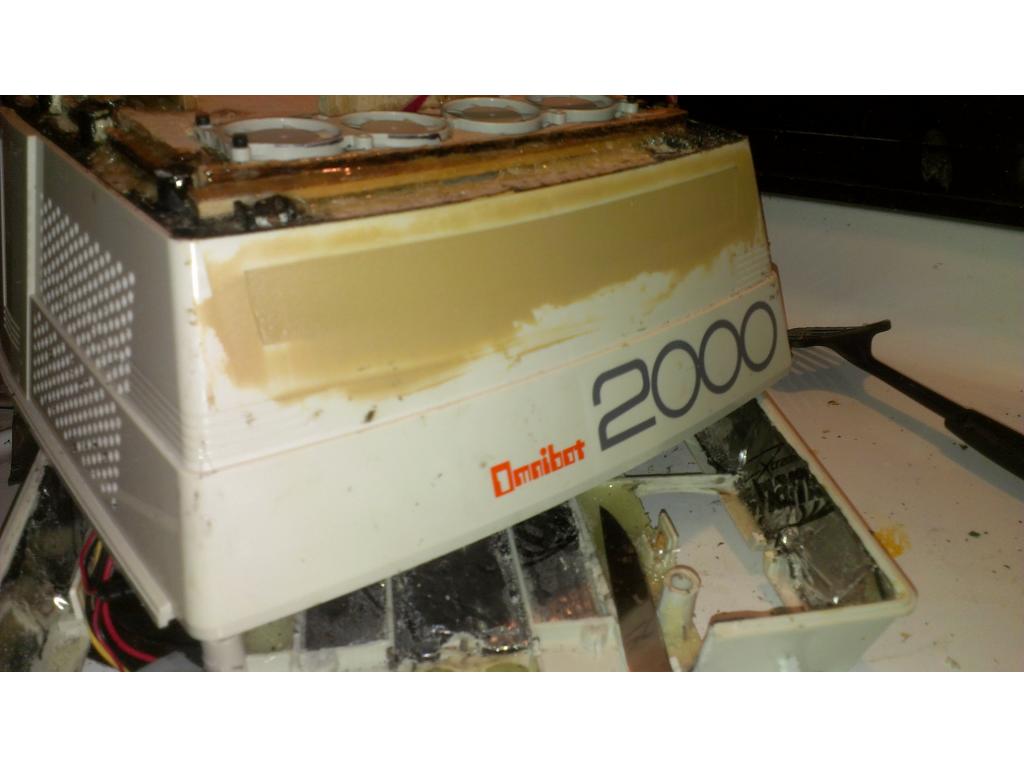
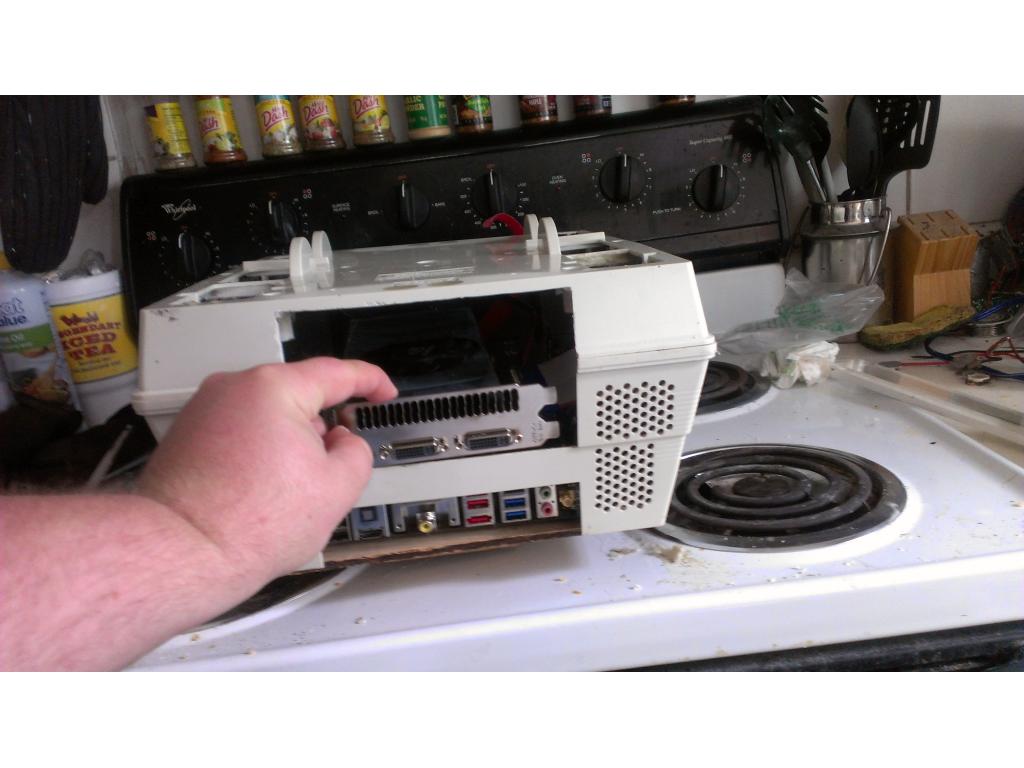
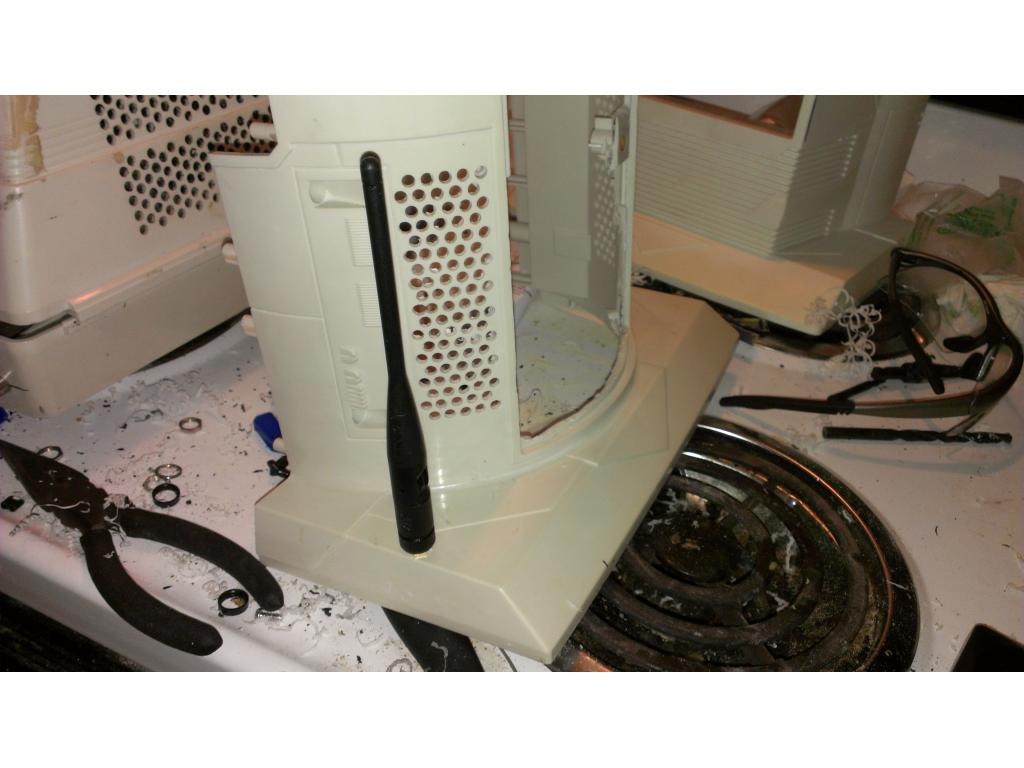
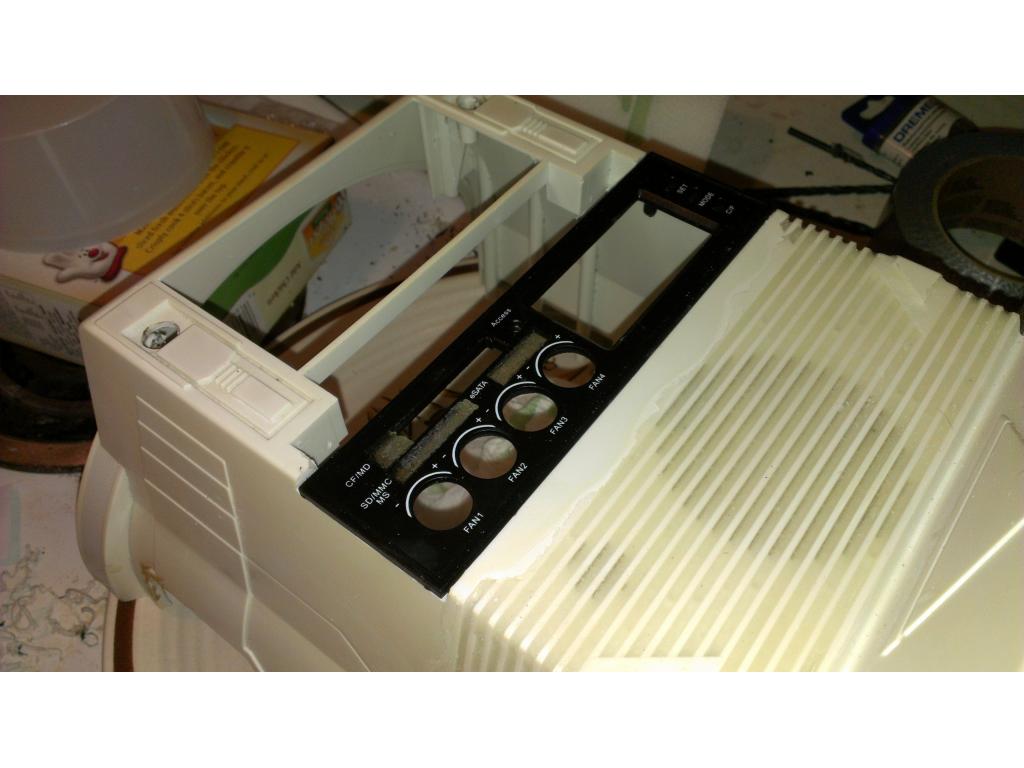
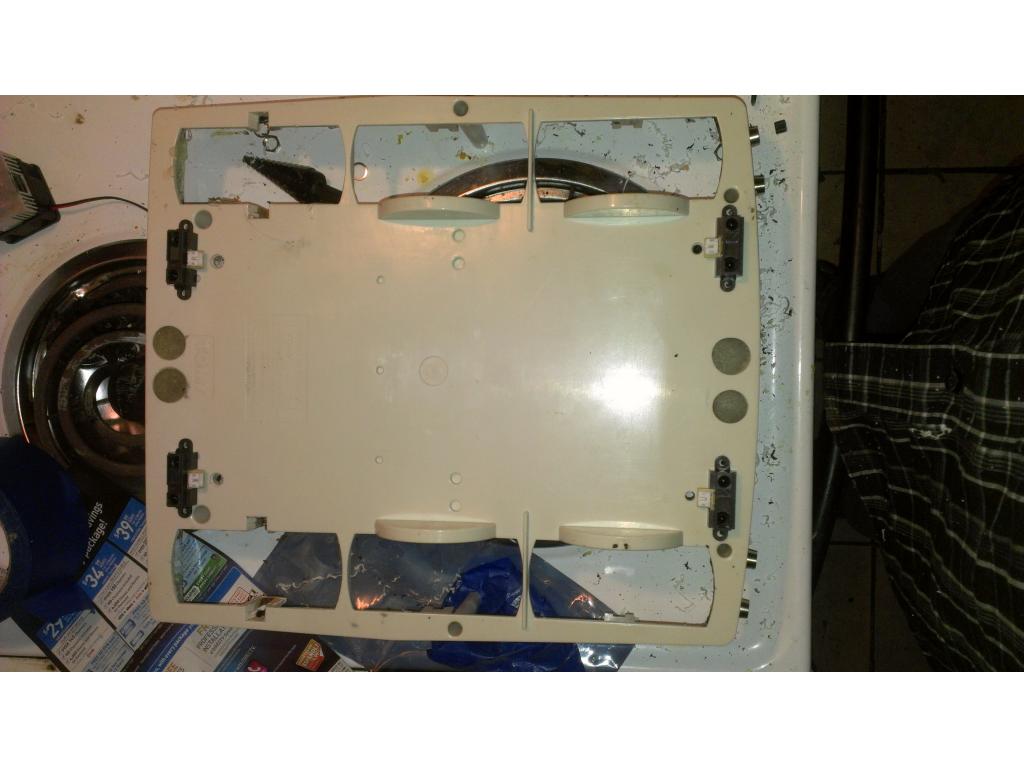
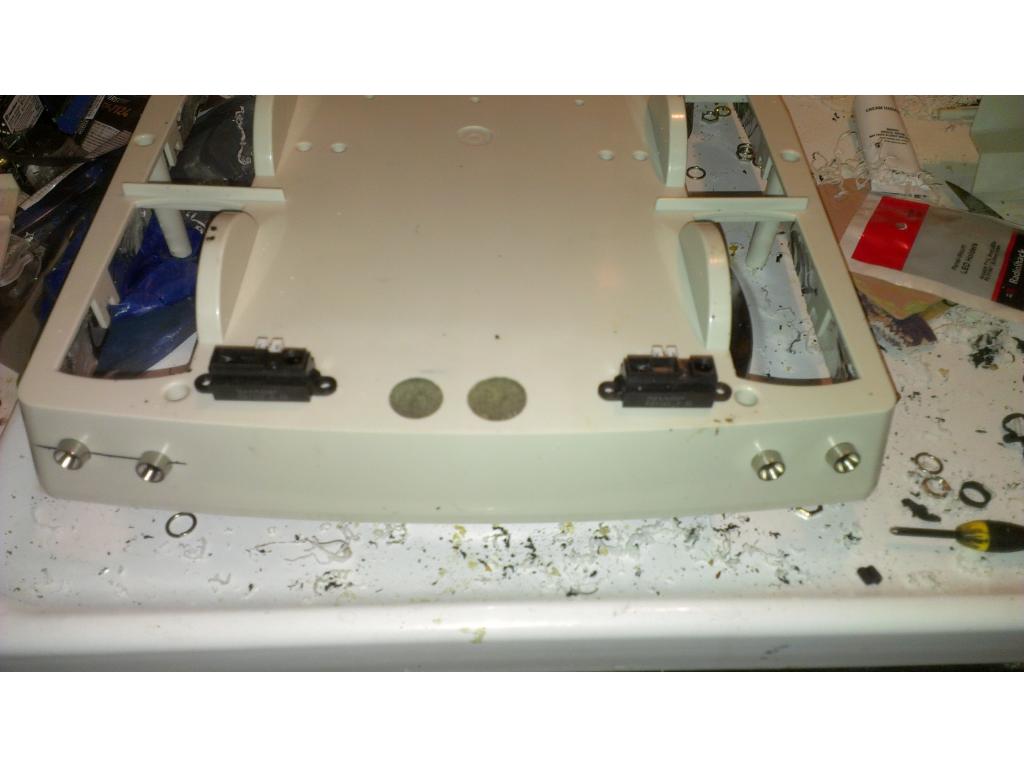
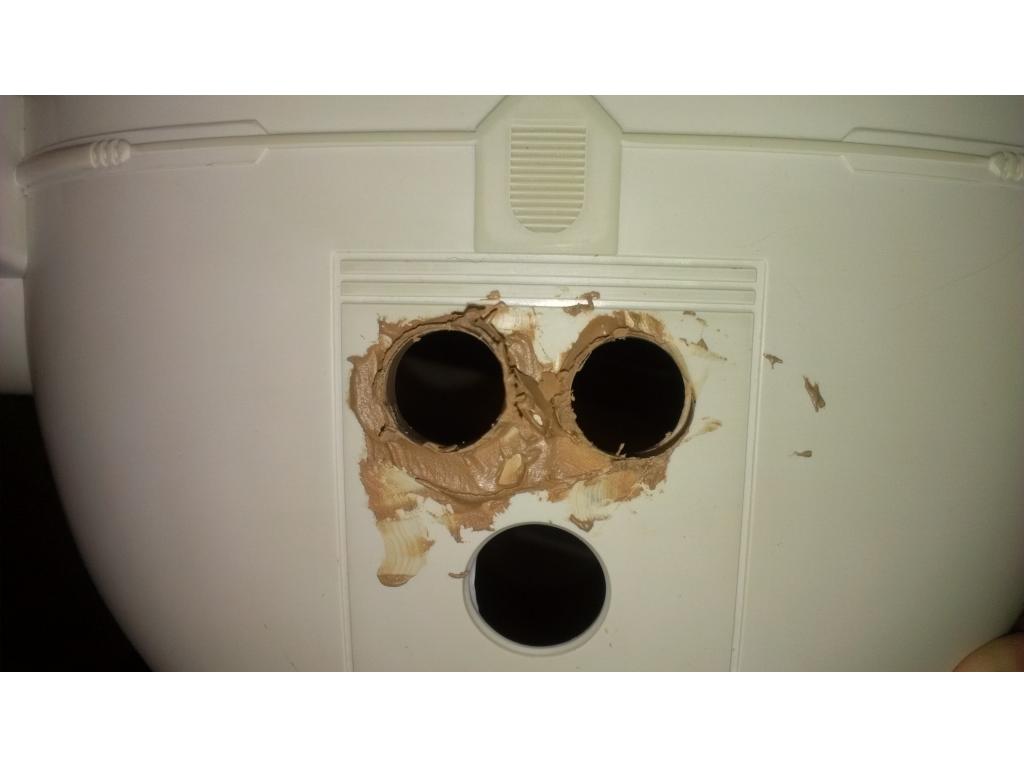
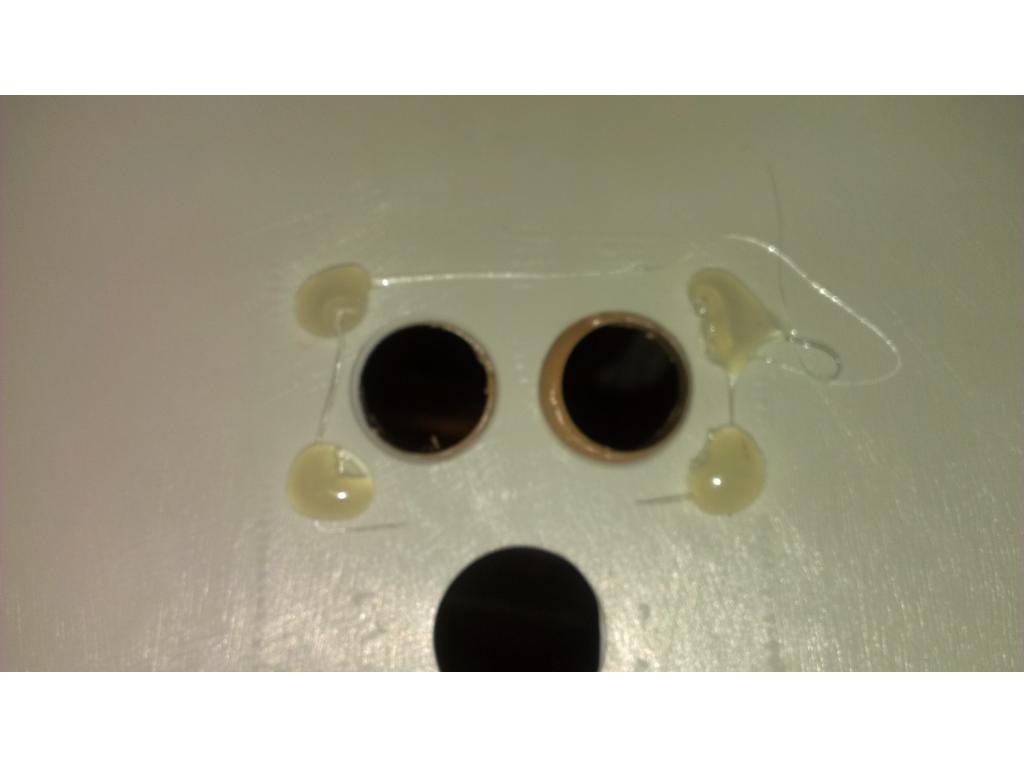
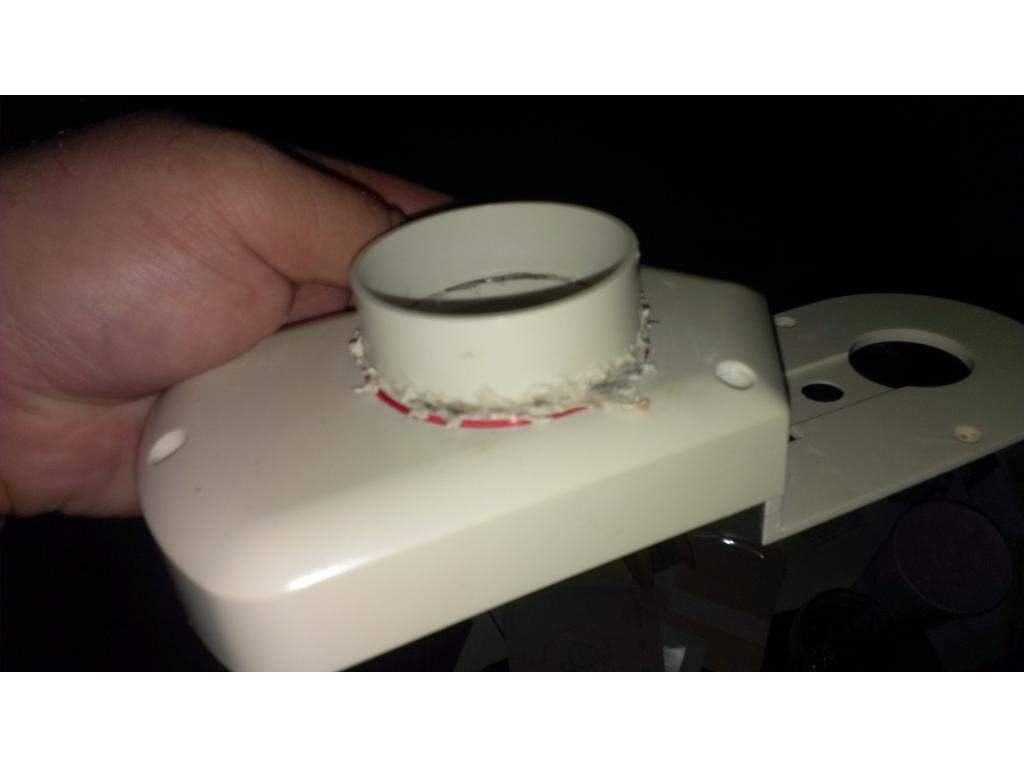
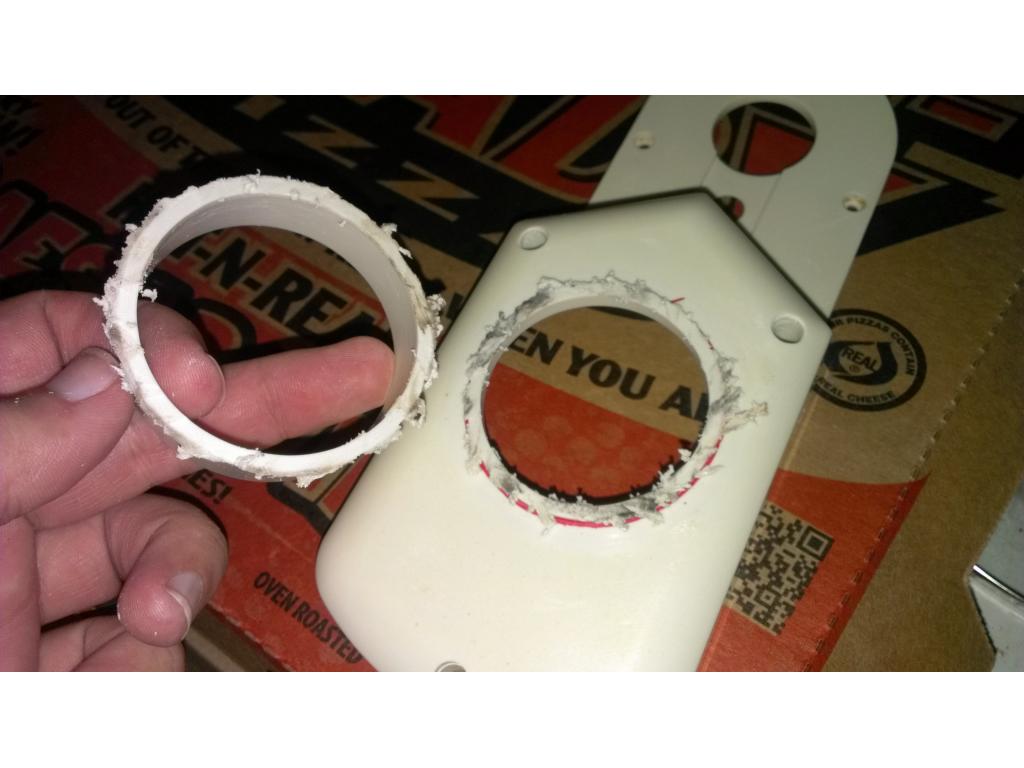
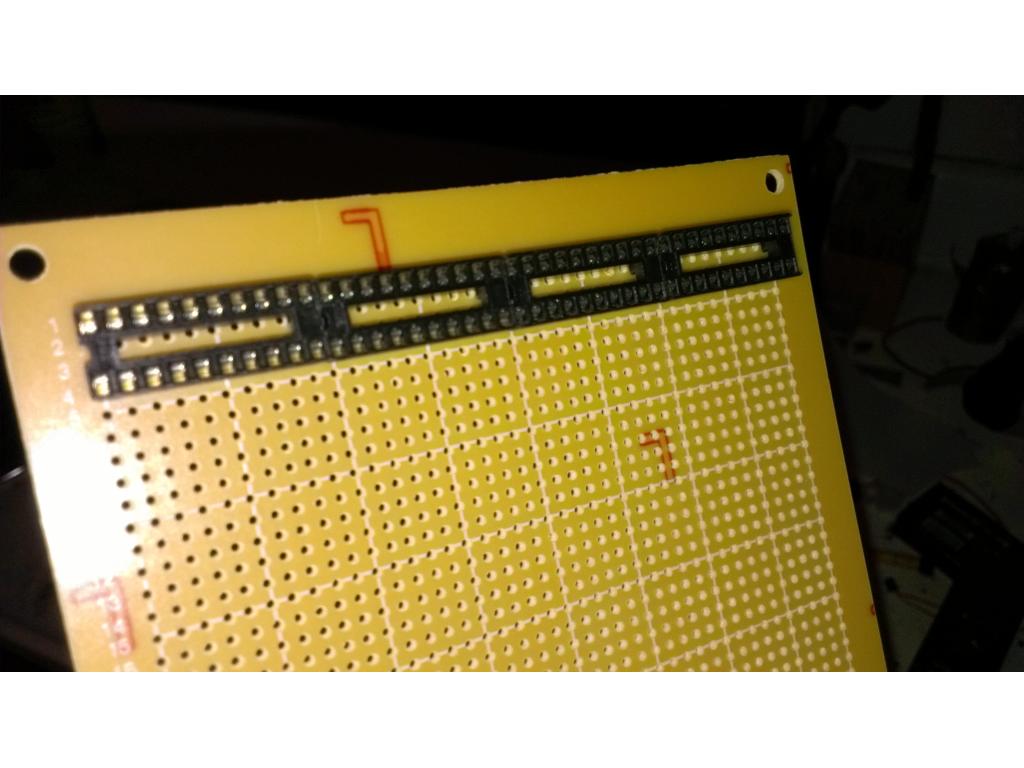
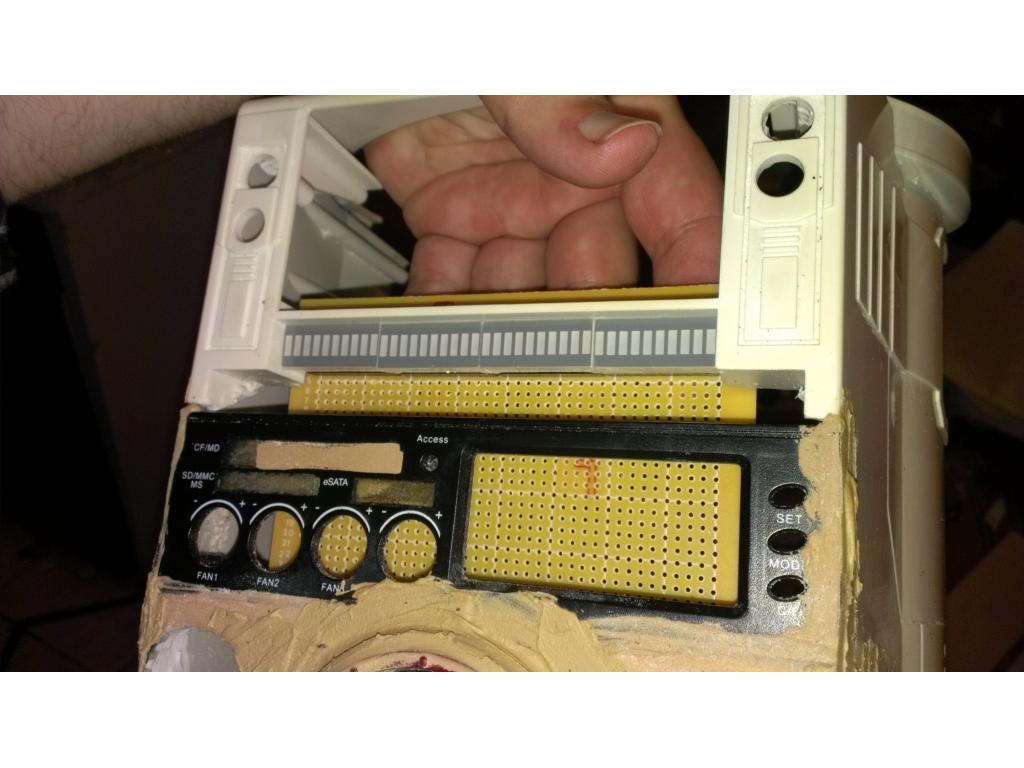
Here everyone can see I hollowed out the accessories panel in the back of Omnibots base. Lucky me its just about perfect to have a flip down access door to all the pc connections. I had to cut away the two posts that screws go through which were both hollow. It still is not aligned perfectly. I will cut away a hole the size of the board and recess it to make my connections and this door line up right. The are where the drawer was I believe I will install two 5.25 in bay hhd fans each one has three 40mm fans that move about 5 cubic ft a min. With 6 of these tiny low current guys I'm moving at least 30 cubic ft a min away from my electronics. I will have at least 3 identical intake fans in the chest , also a 5.25 in triple fan bay cooler. Testing battery fitment where I was thinking of installing two 12v 8.5 ah 6 pound batteries.
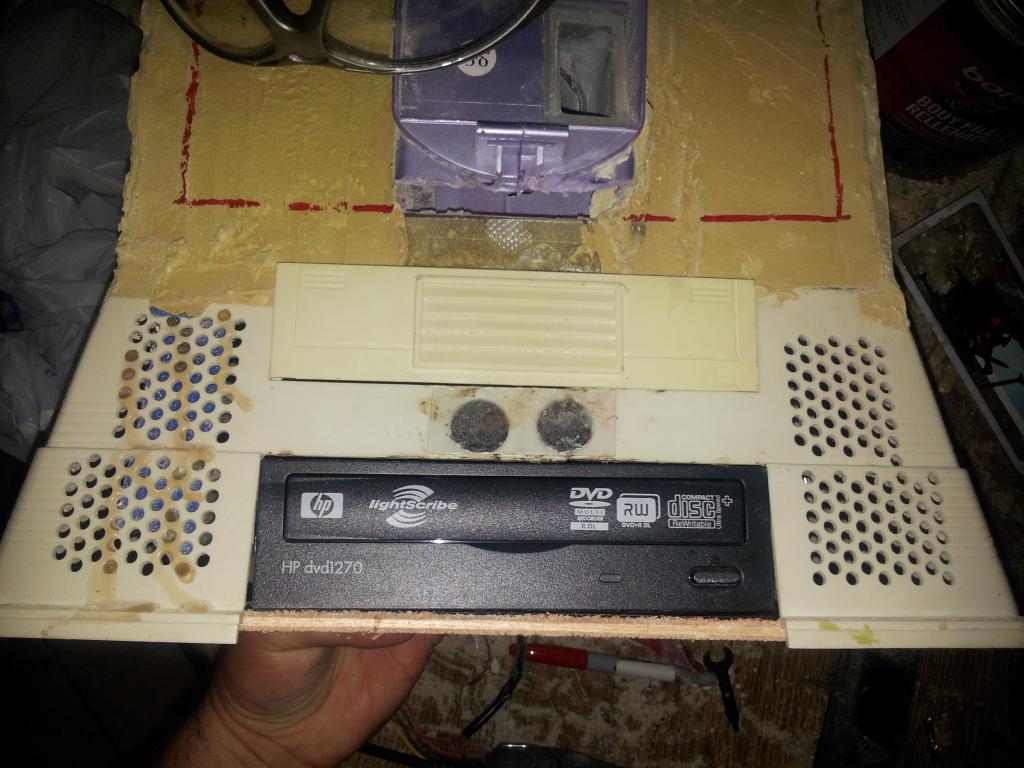
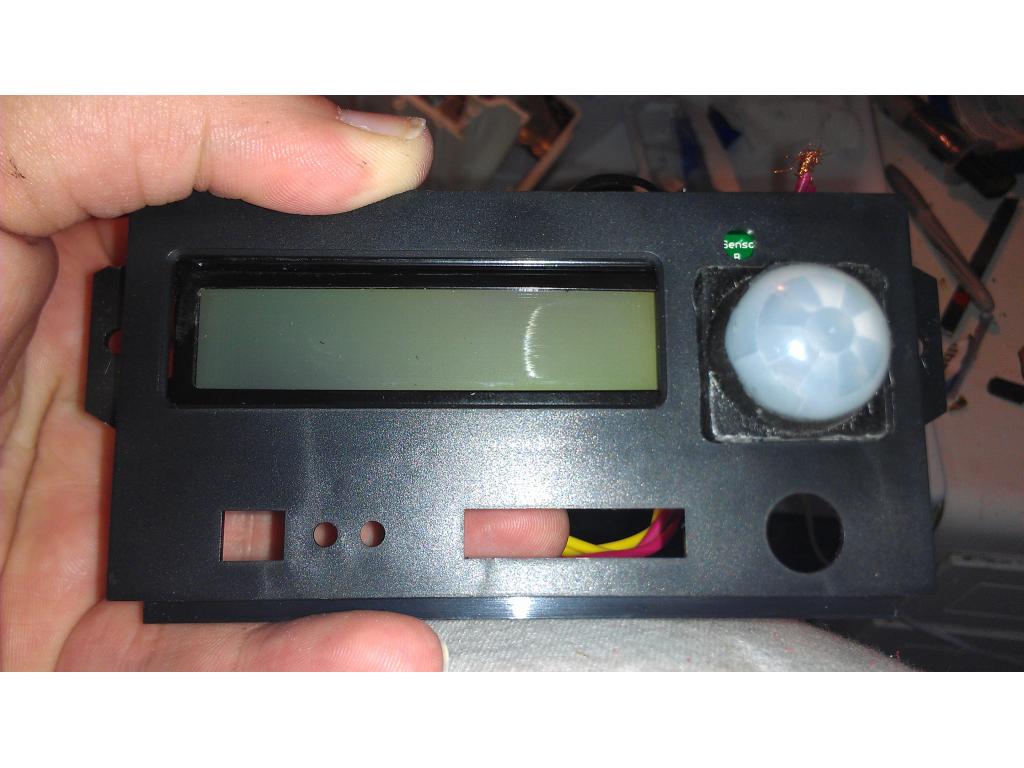
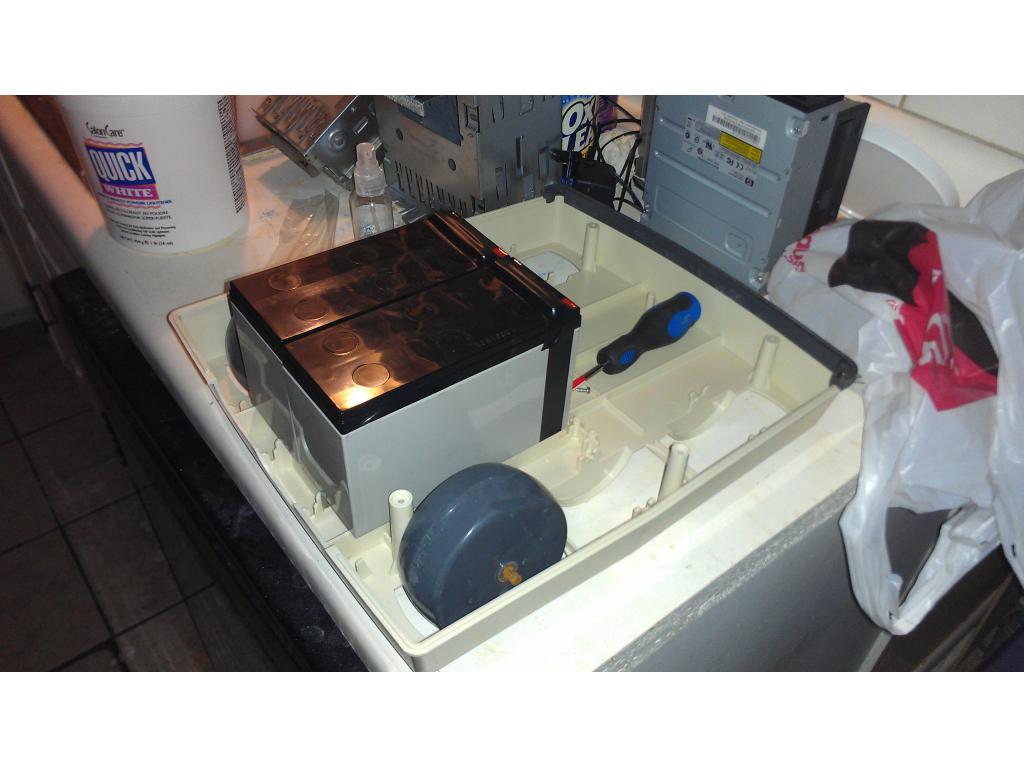
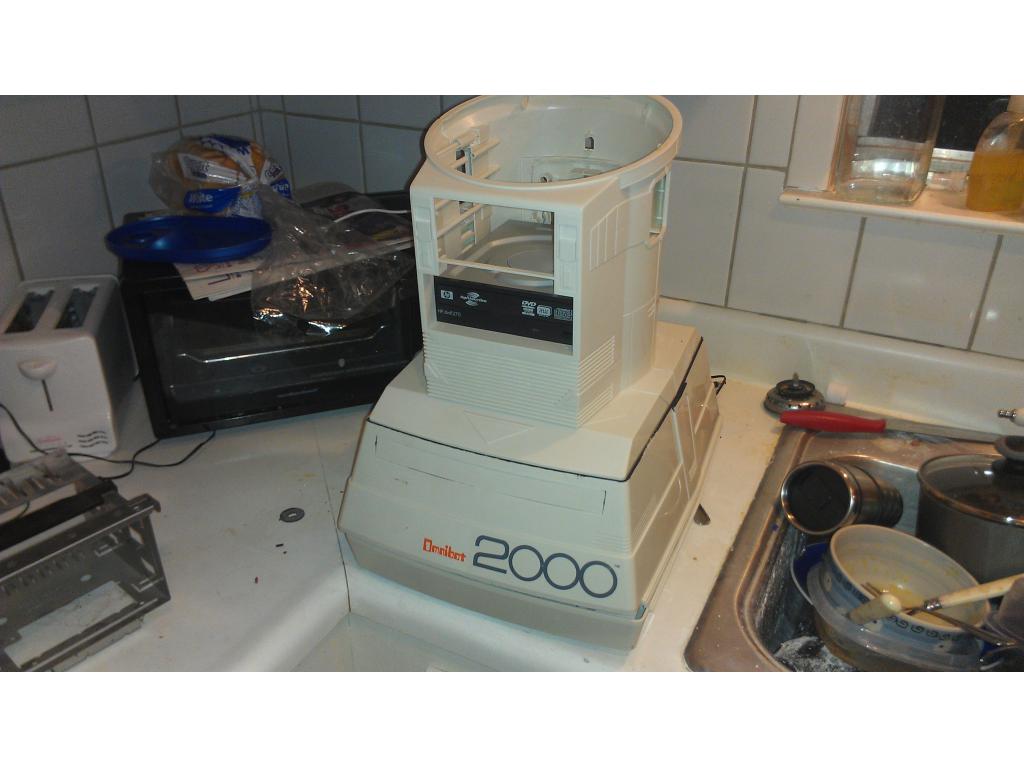
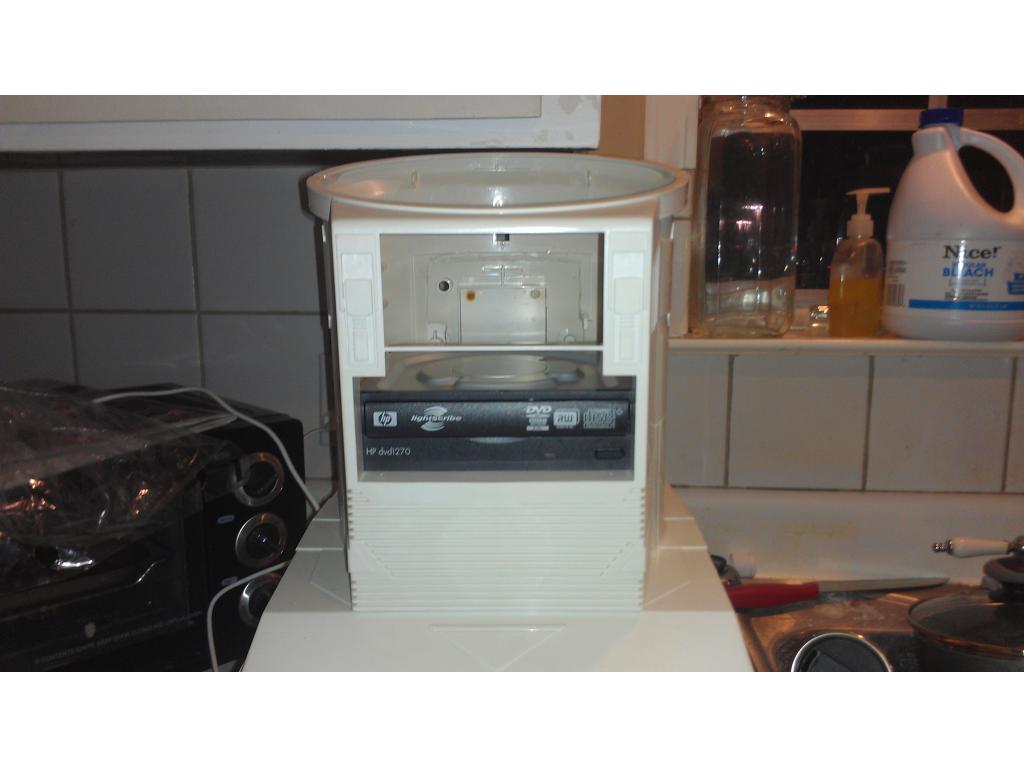
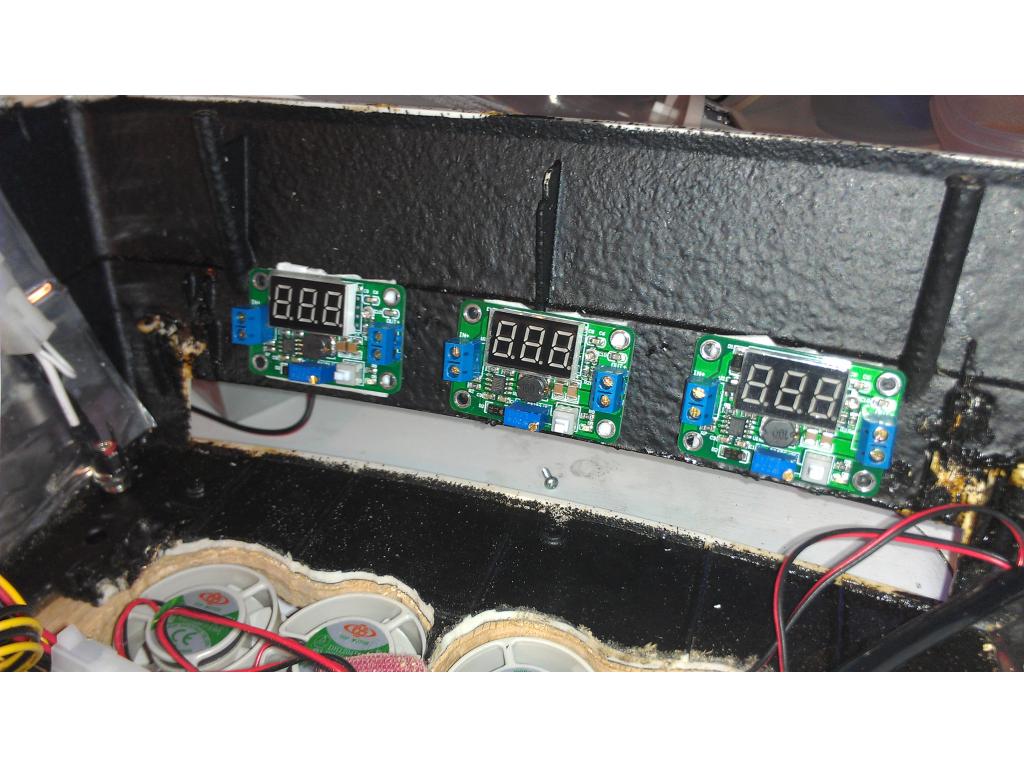
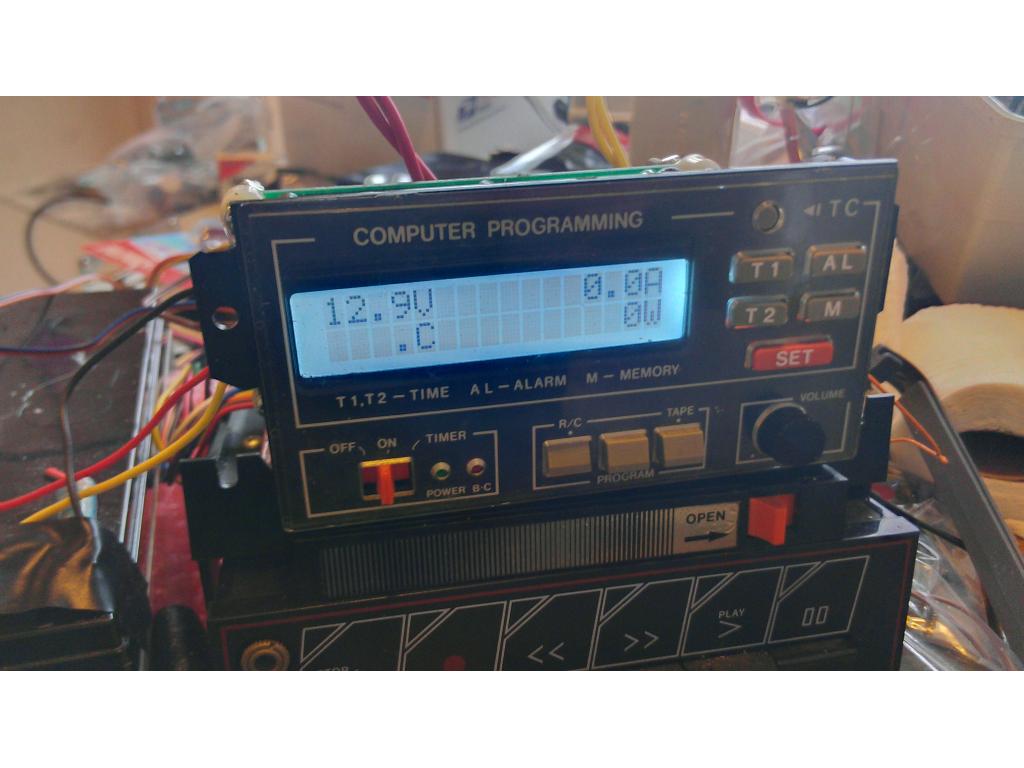
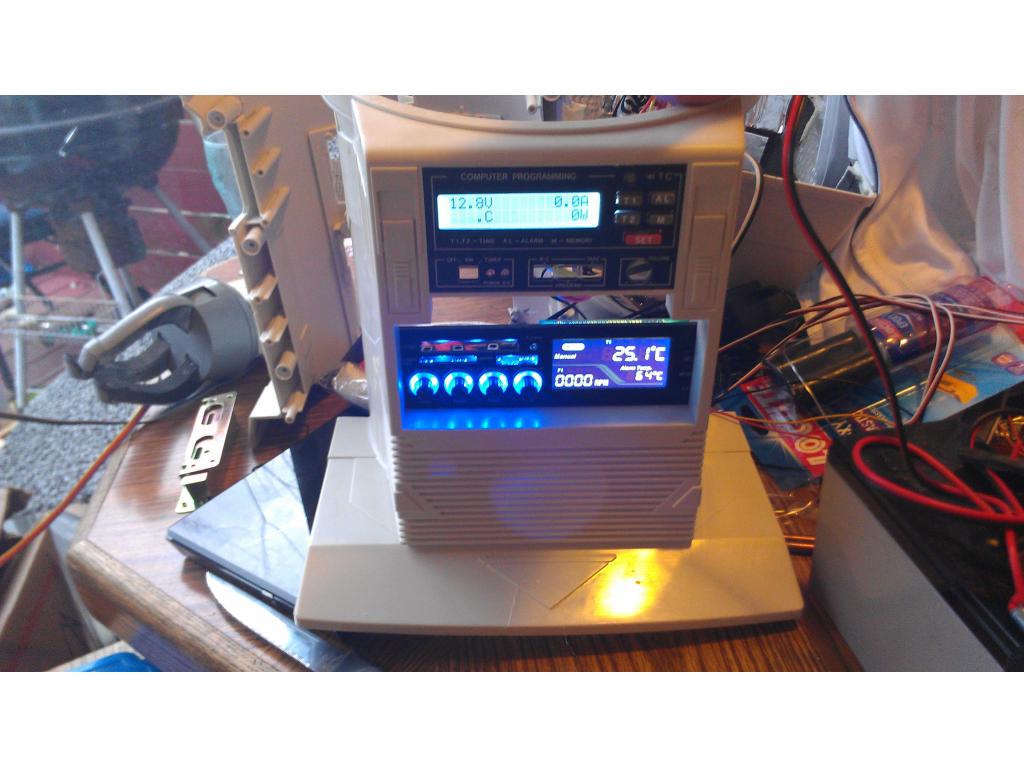
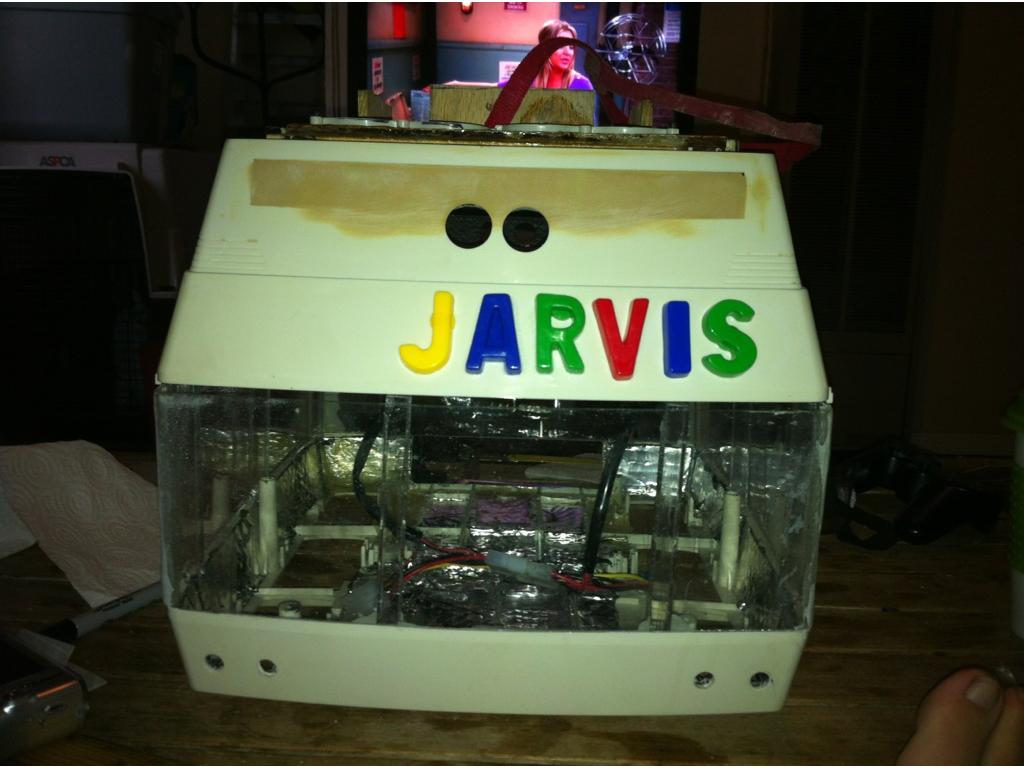
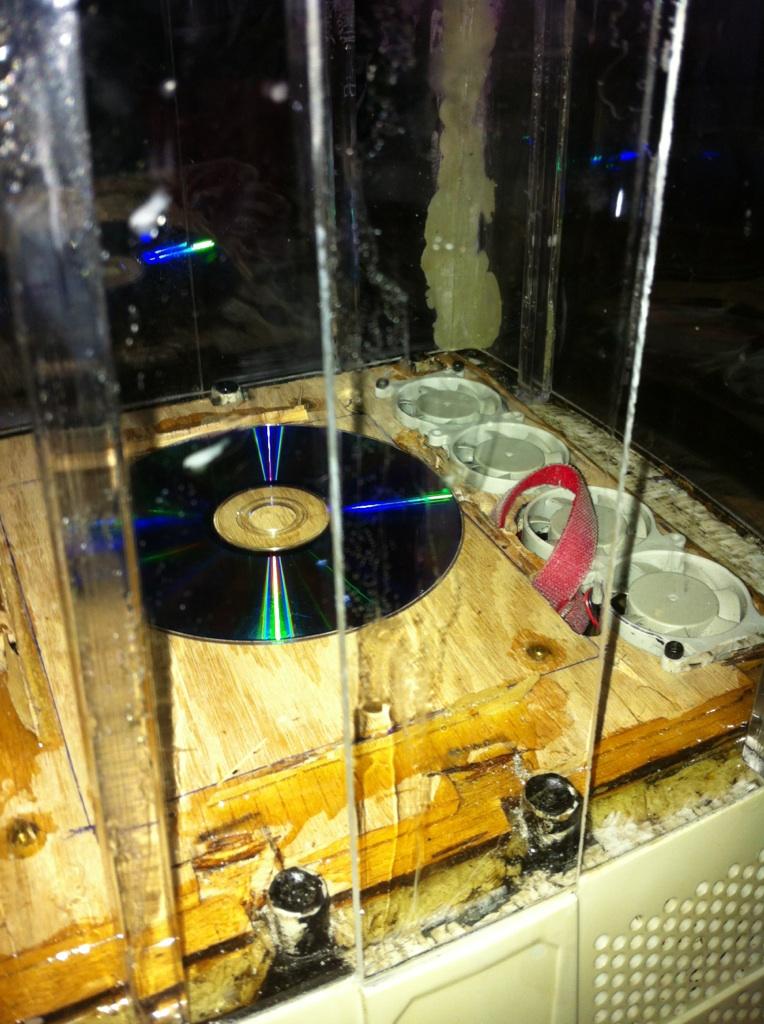
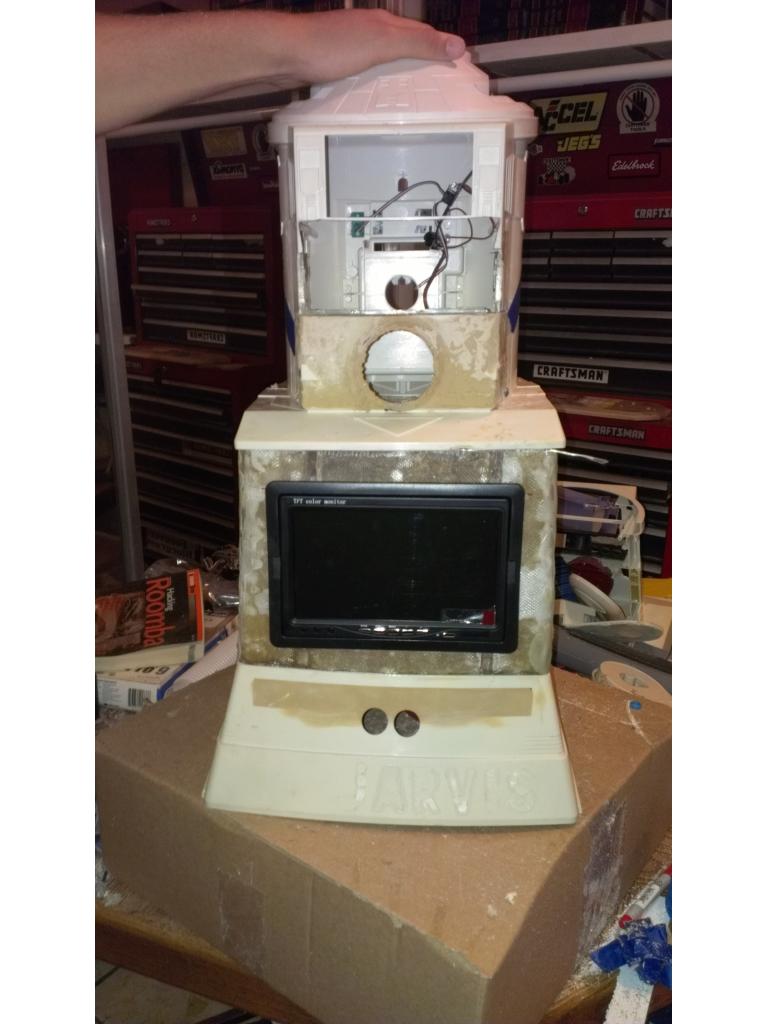
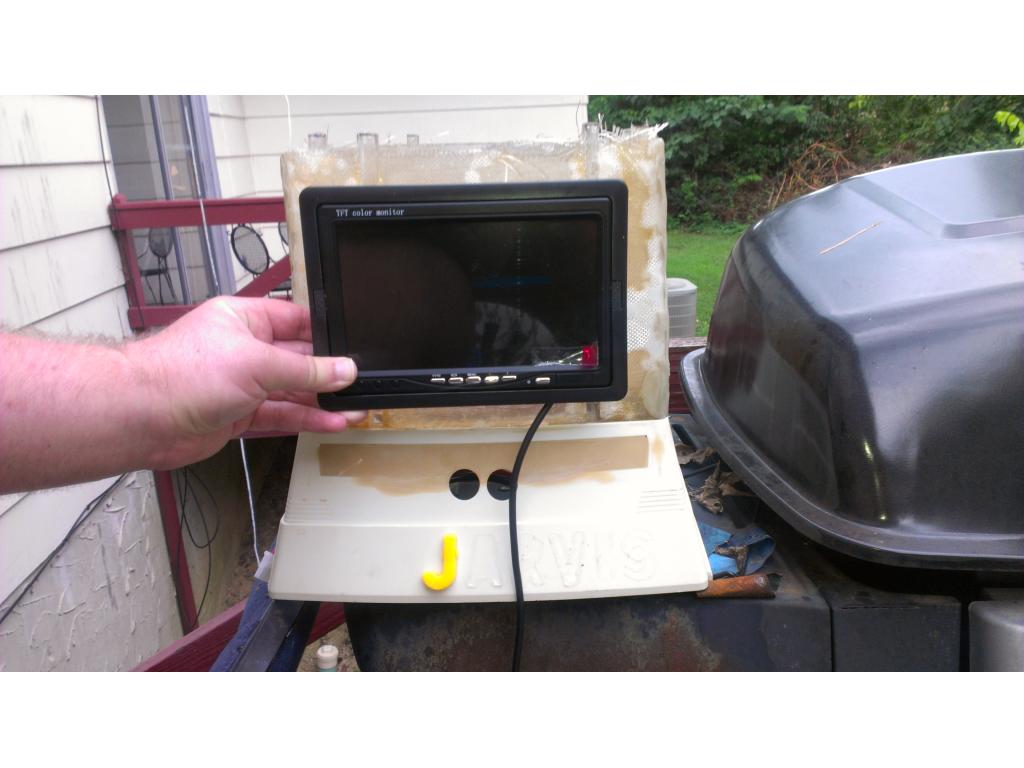
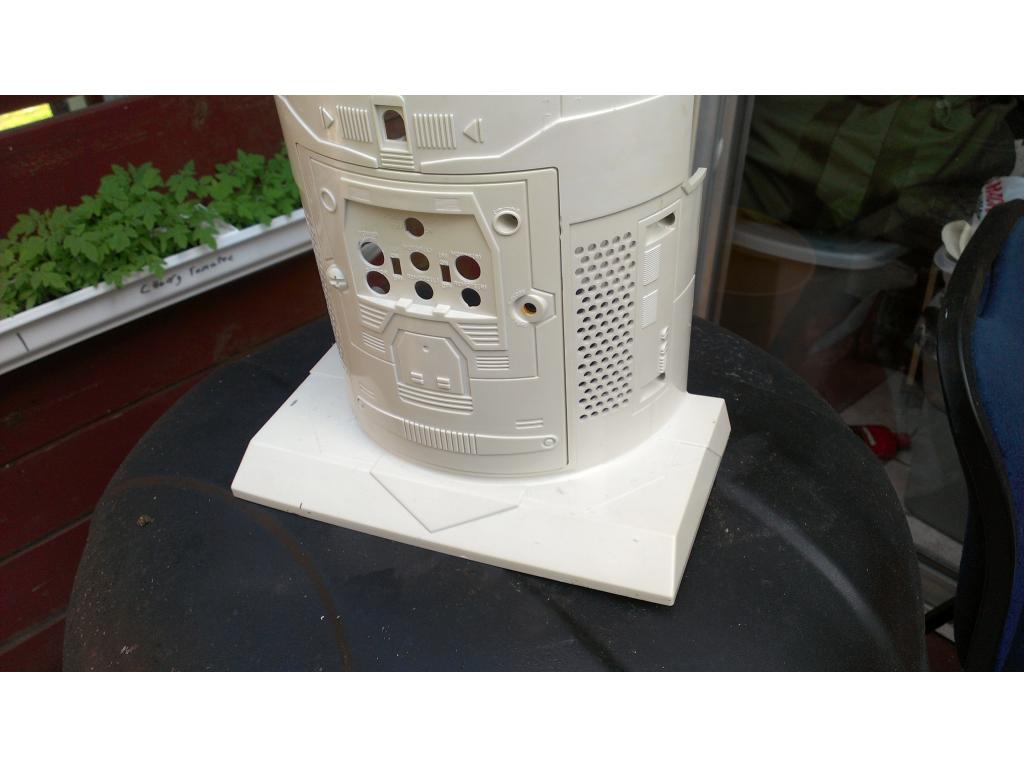
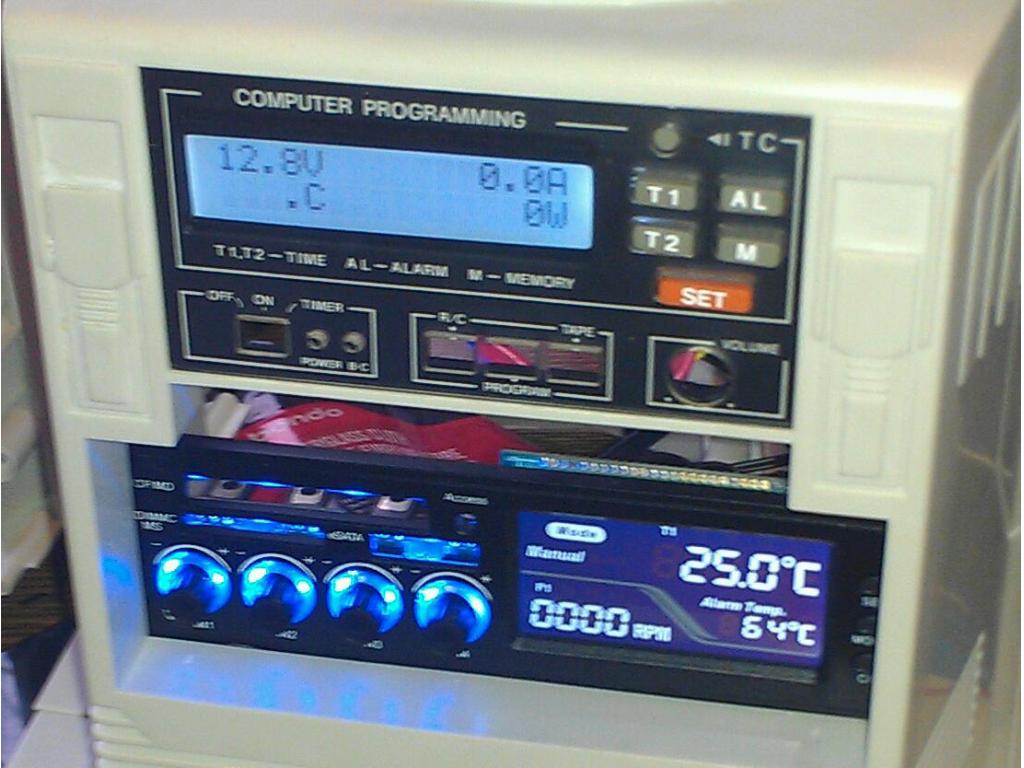
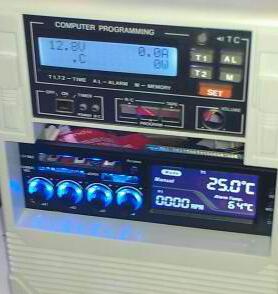
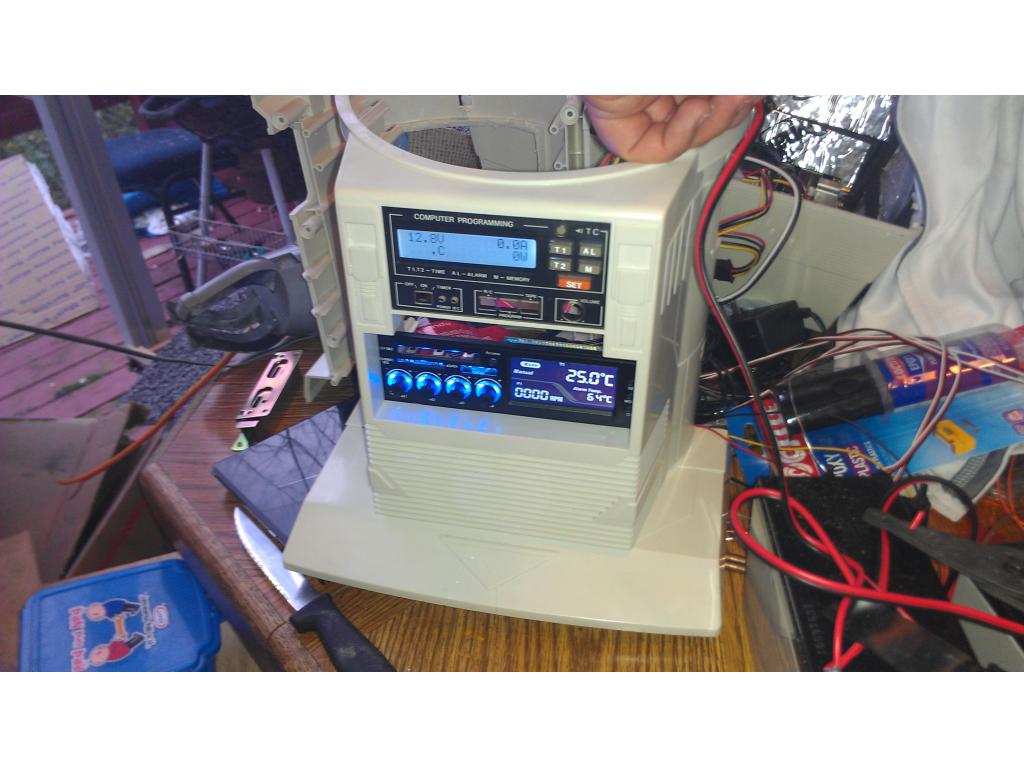
Though I have a slim blueray drive on the way it looks like my new HP lightscribe drive fits right at home above the two battery mounting positions. I have a Digital readout to install on the front for motor temp , wattage , current draw , and live battery voltage. That will fit at the top of the chest I believe.
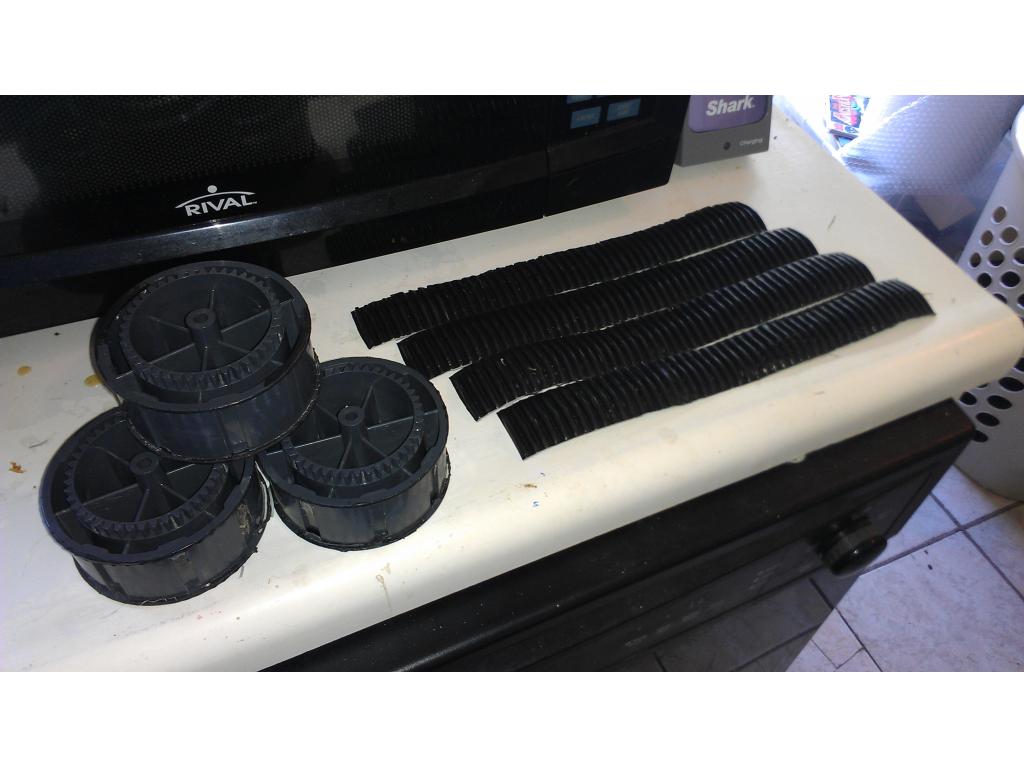
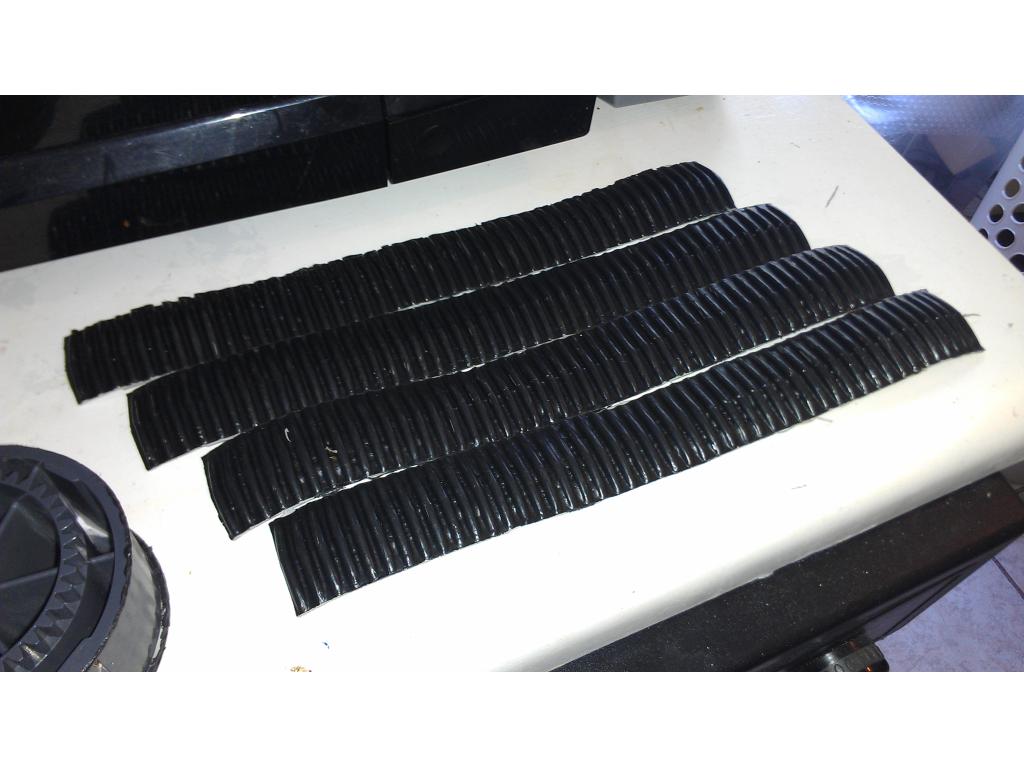
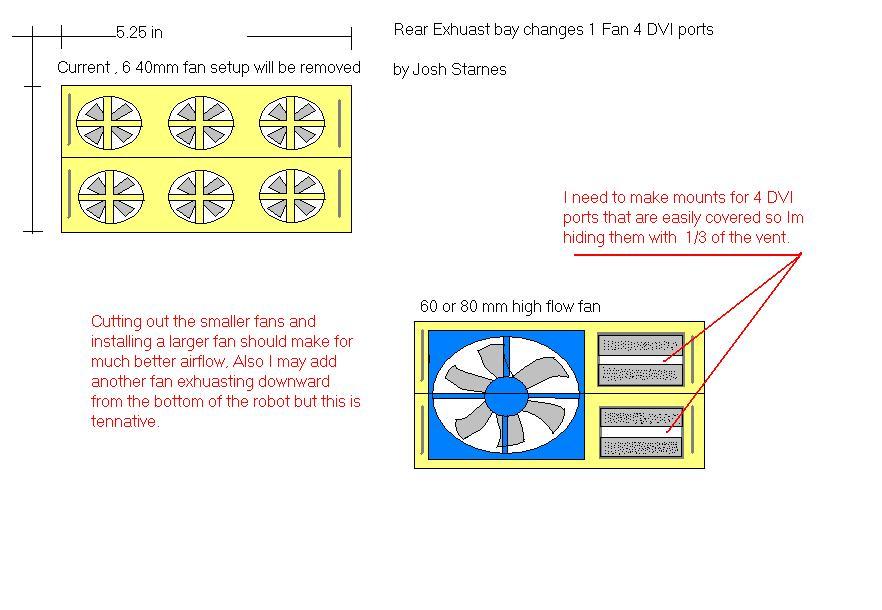
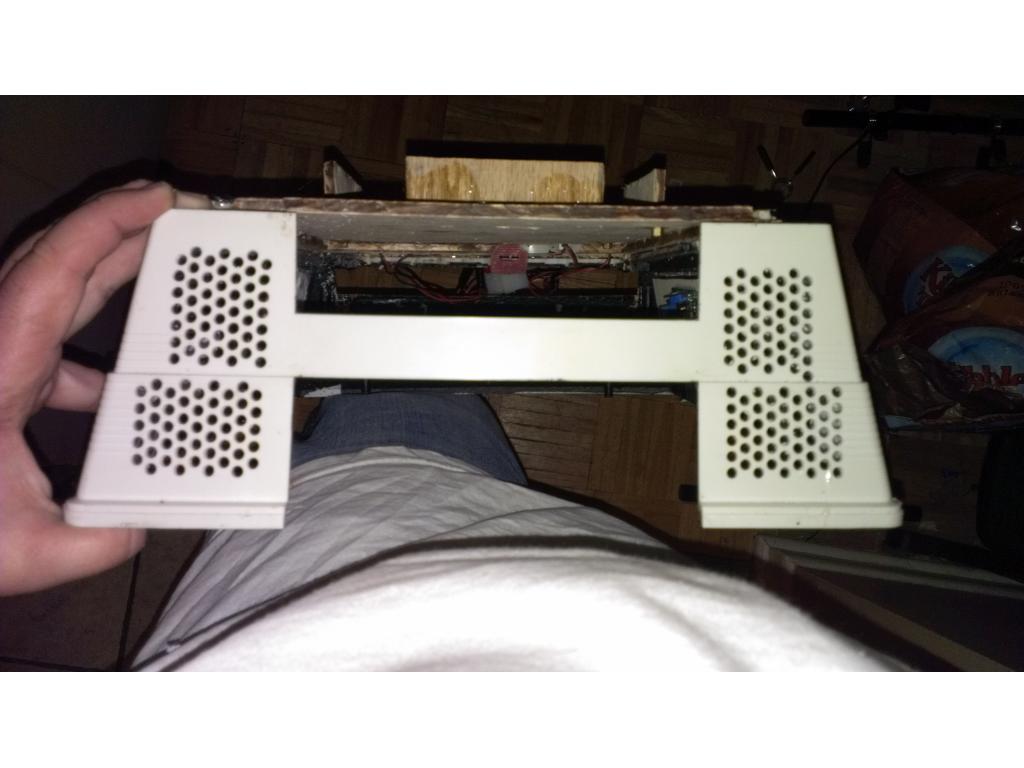
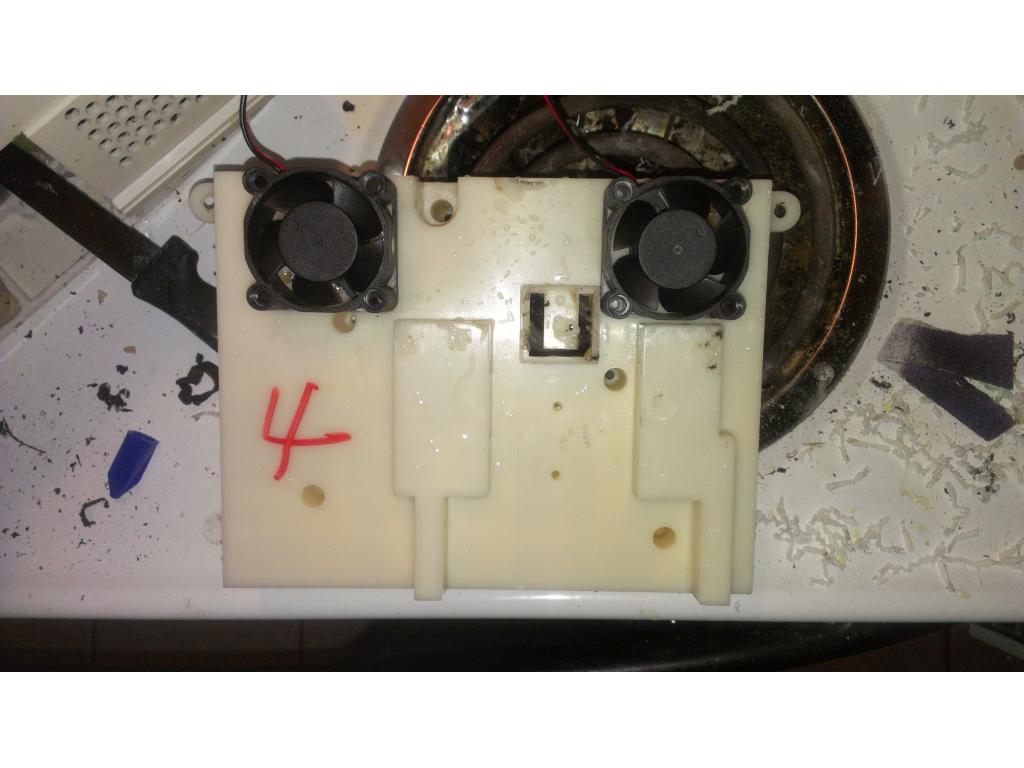
This is the bay fans I was talking about
Black bay fans I'm using https://www.ebay.com/itm/260928442285?ssPageName=STRK:MEWNX:IT&_trksid=p3984.m1497.l2649

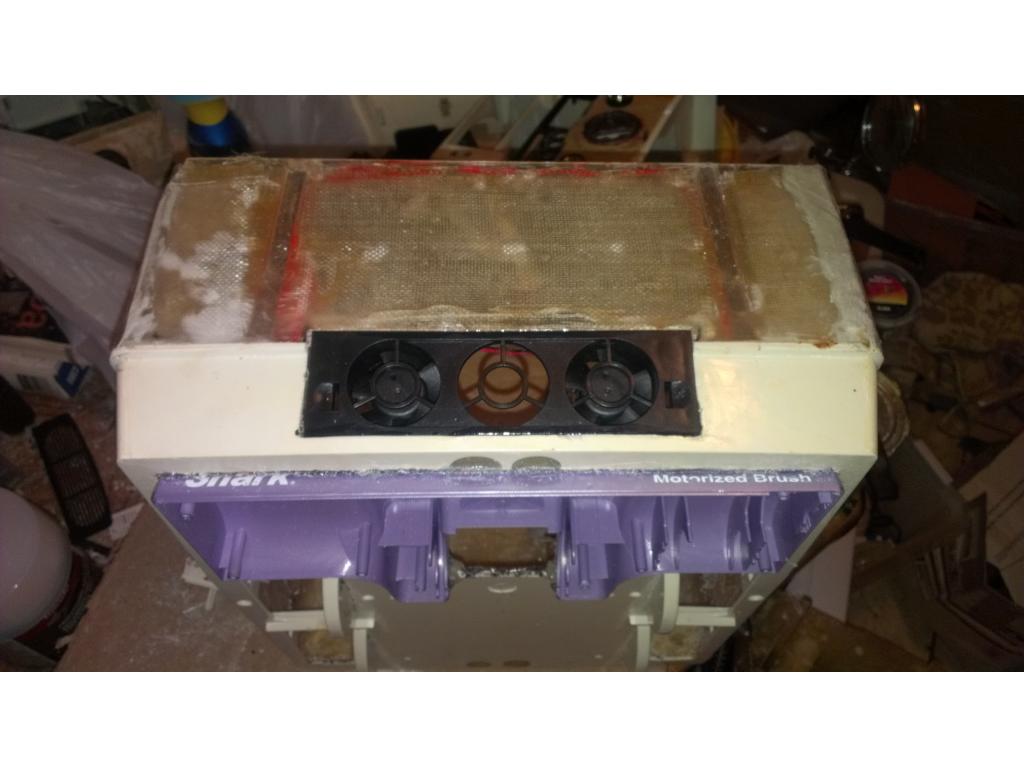
This is one of the black.ones.but I have.2 more.that.match the Omnibot color perfectly. These are 40mm x 20mm triple set of fans. I believe.they move 5 cubic foot a minute per fan .
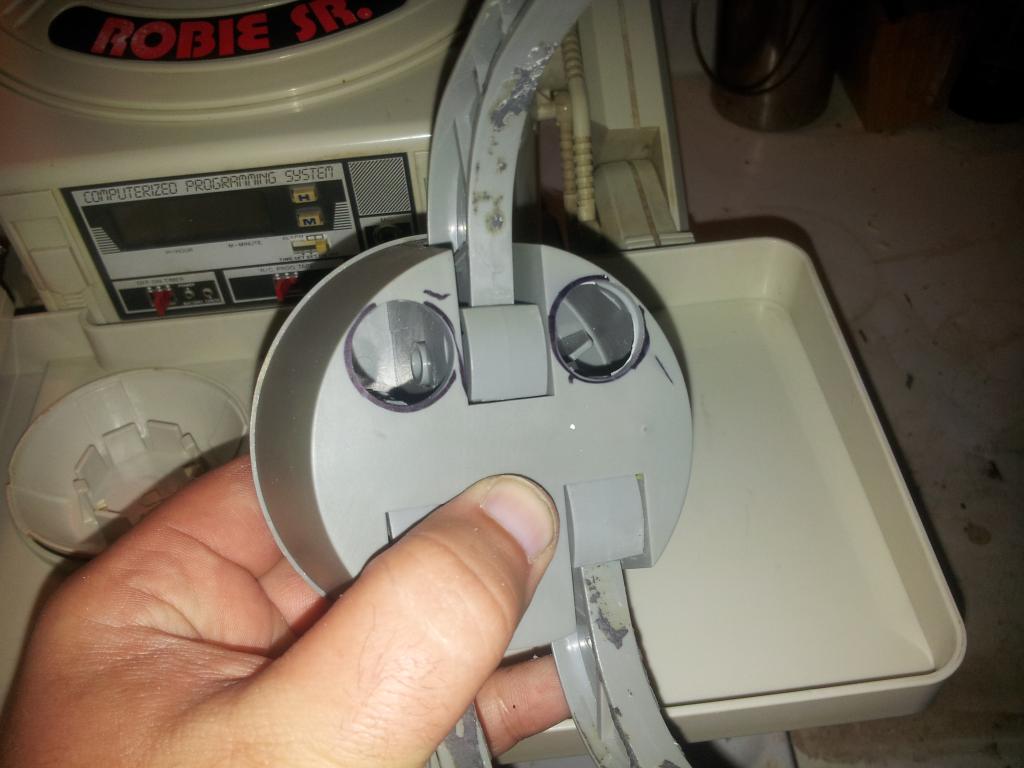
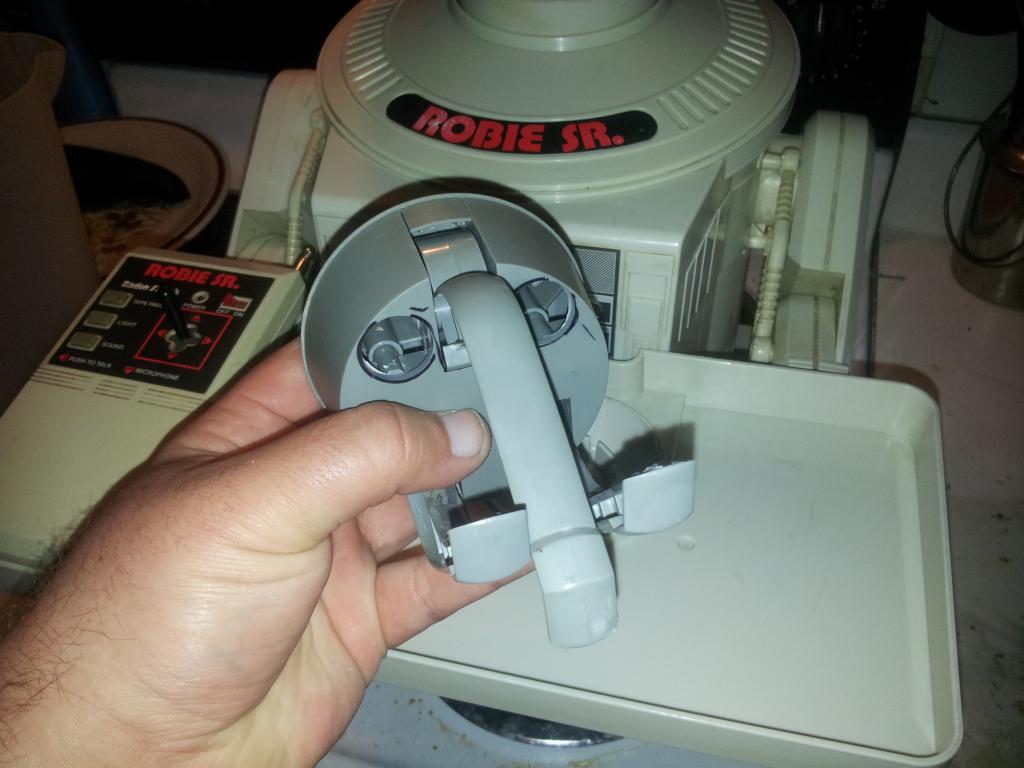
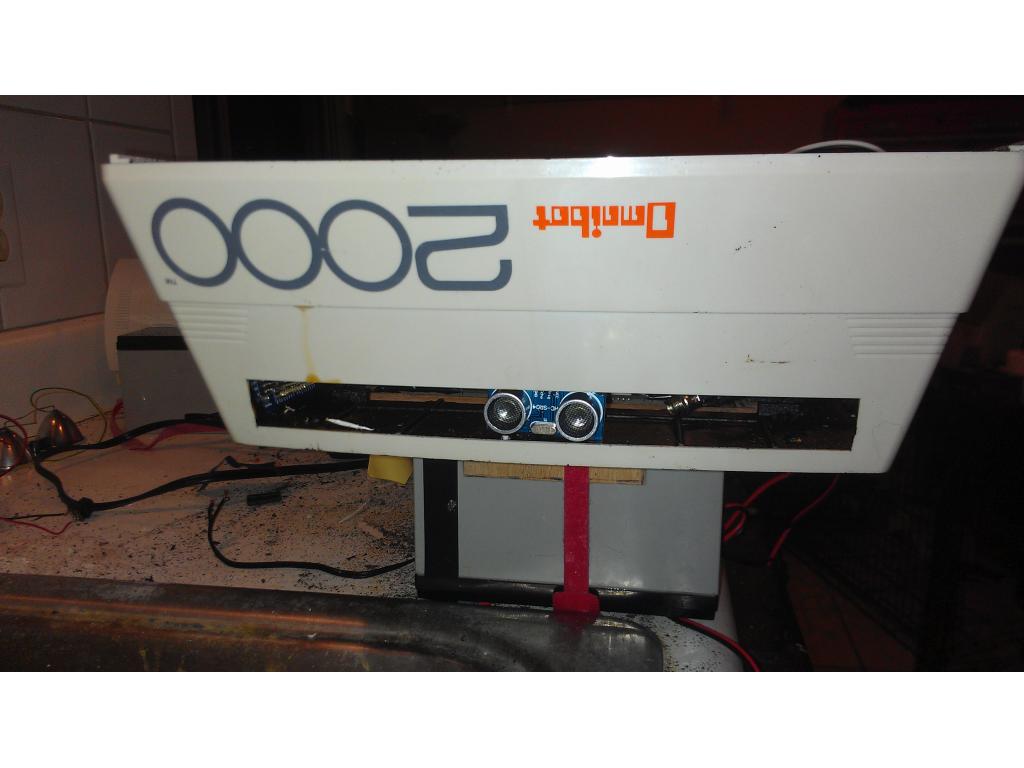
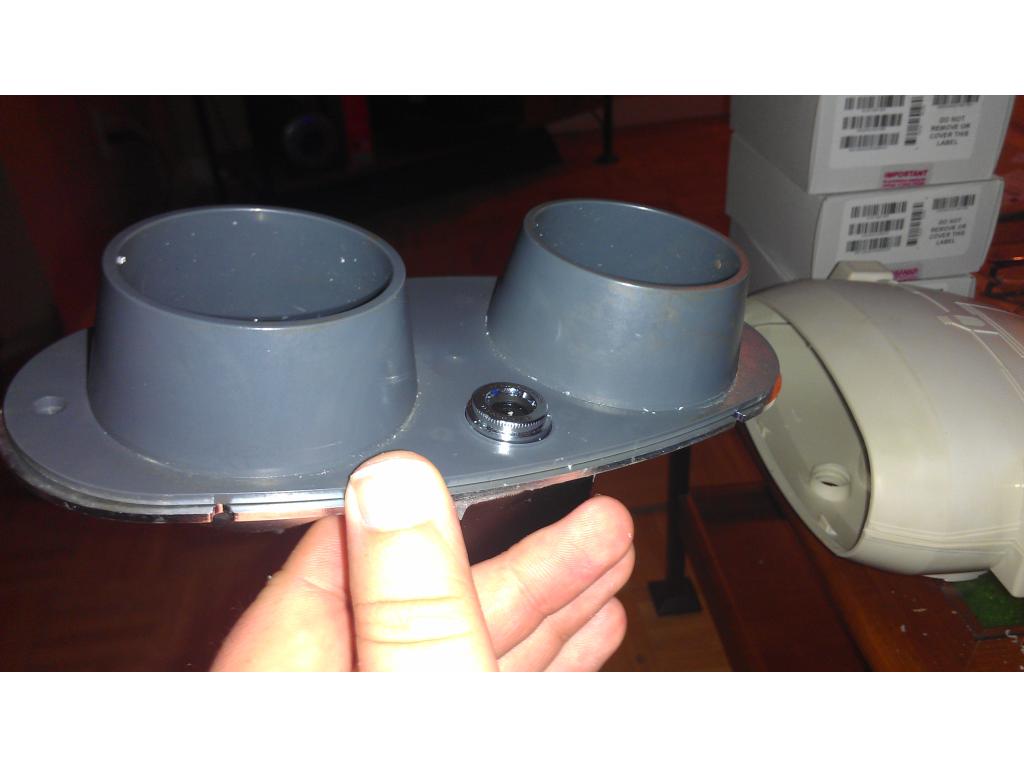
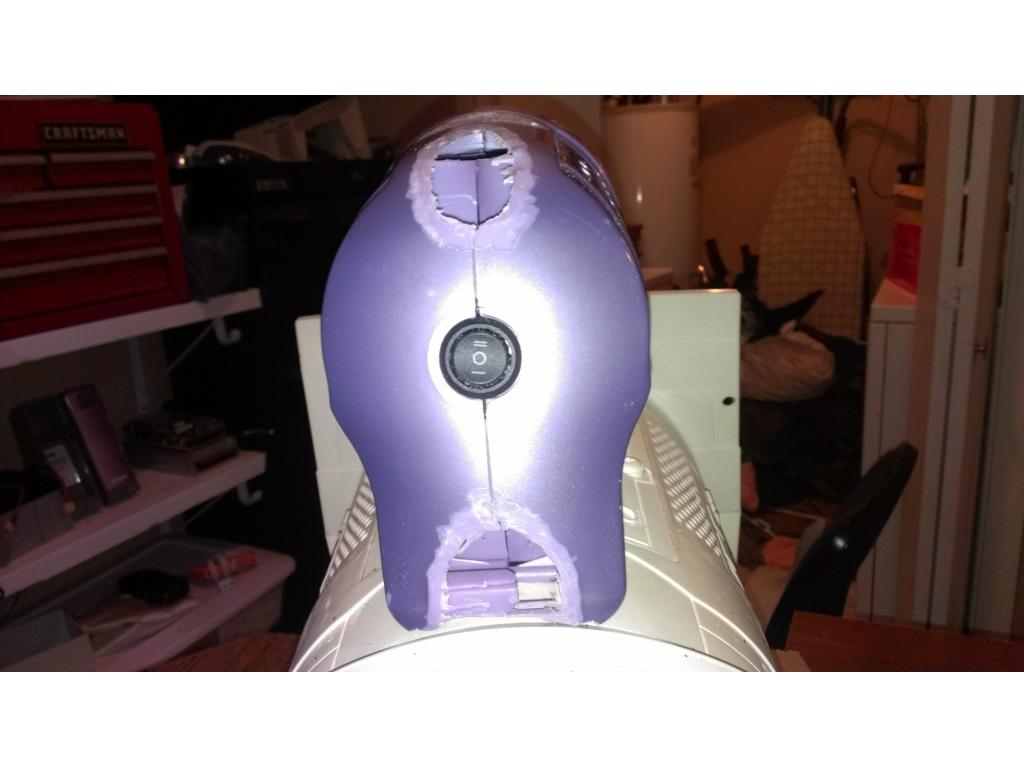
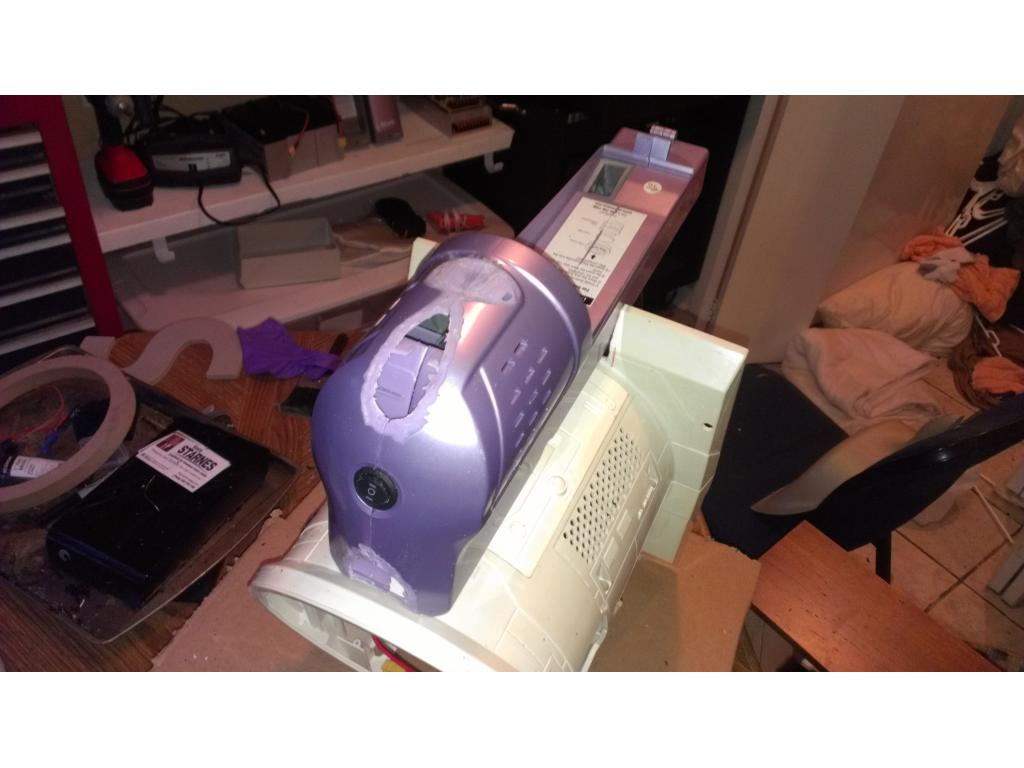
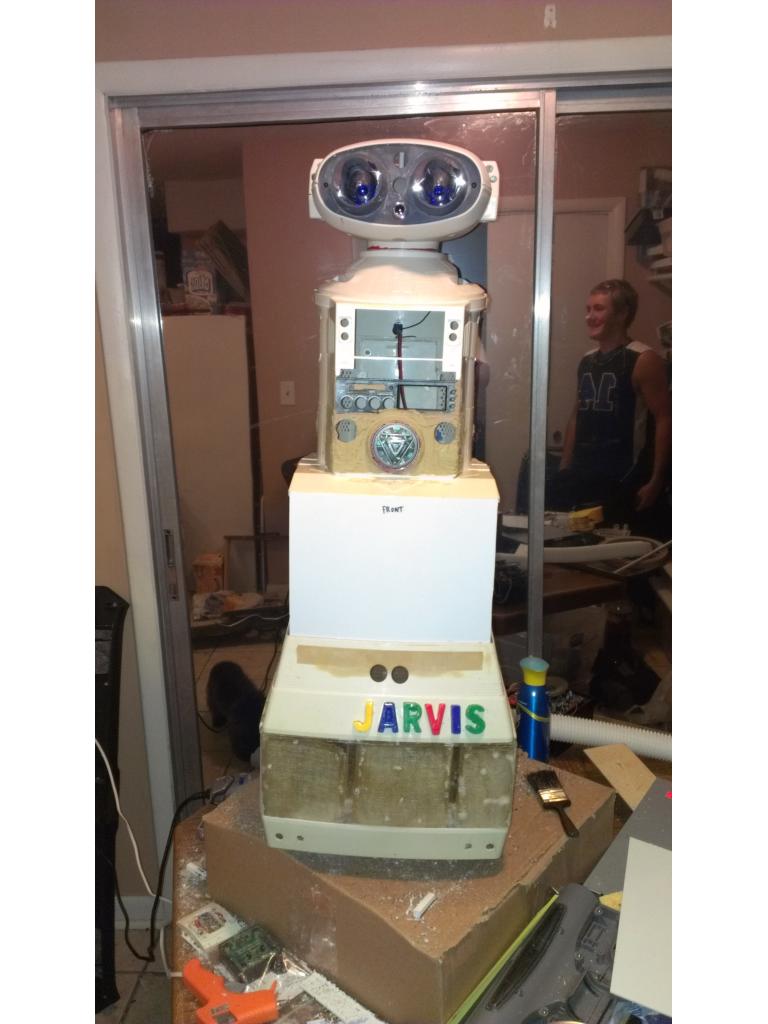
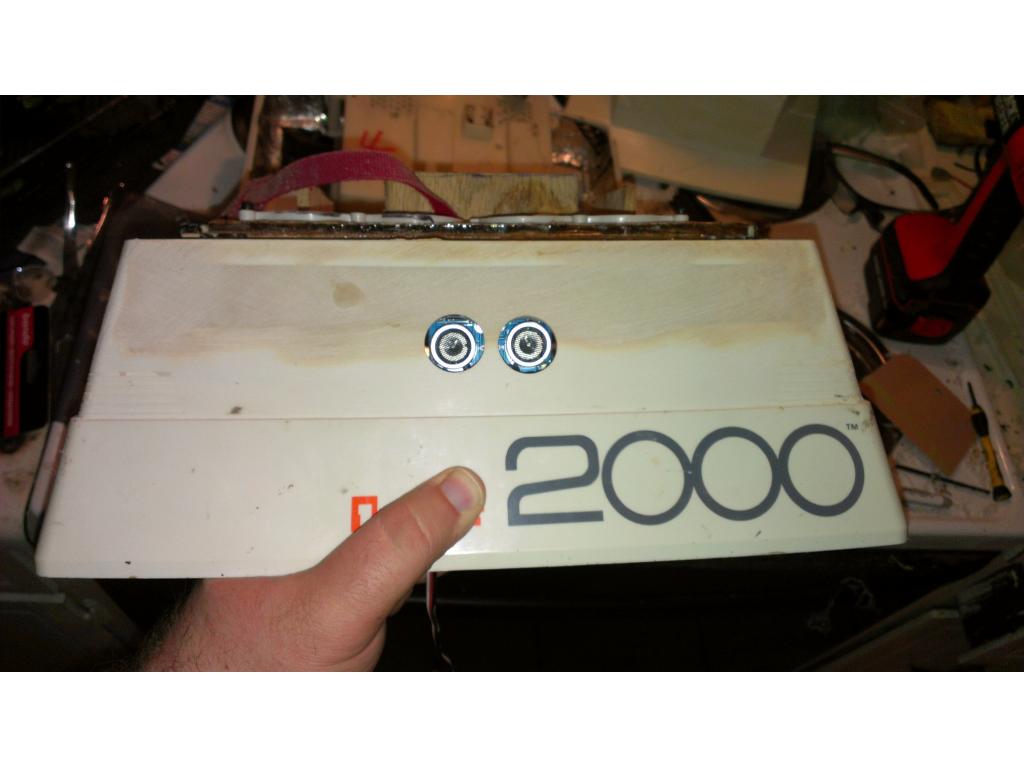
This is a Silvia Nissan logo , its first letter of.my.last.name , .if I ever paint this I will.definatly use.these.badges.Sick! He is looking Sick! I love what you are doing. What if you made the bot taller instead of the vacuum shorter?
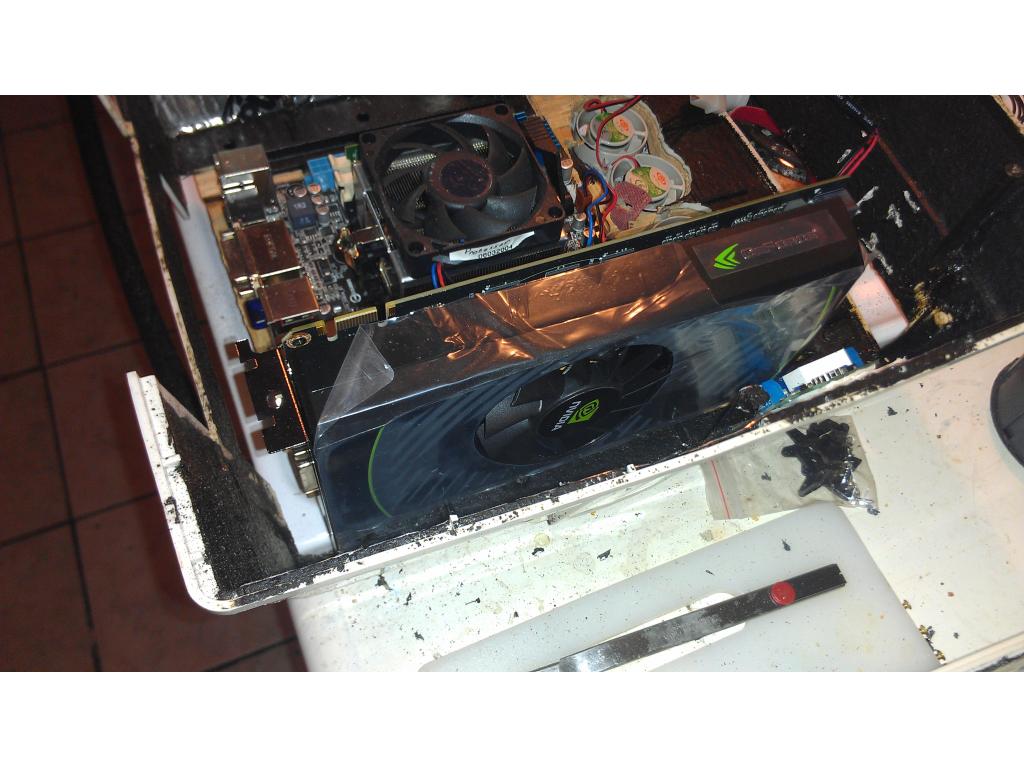
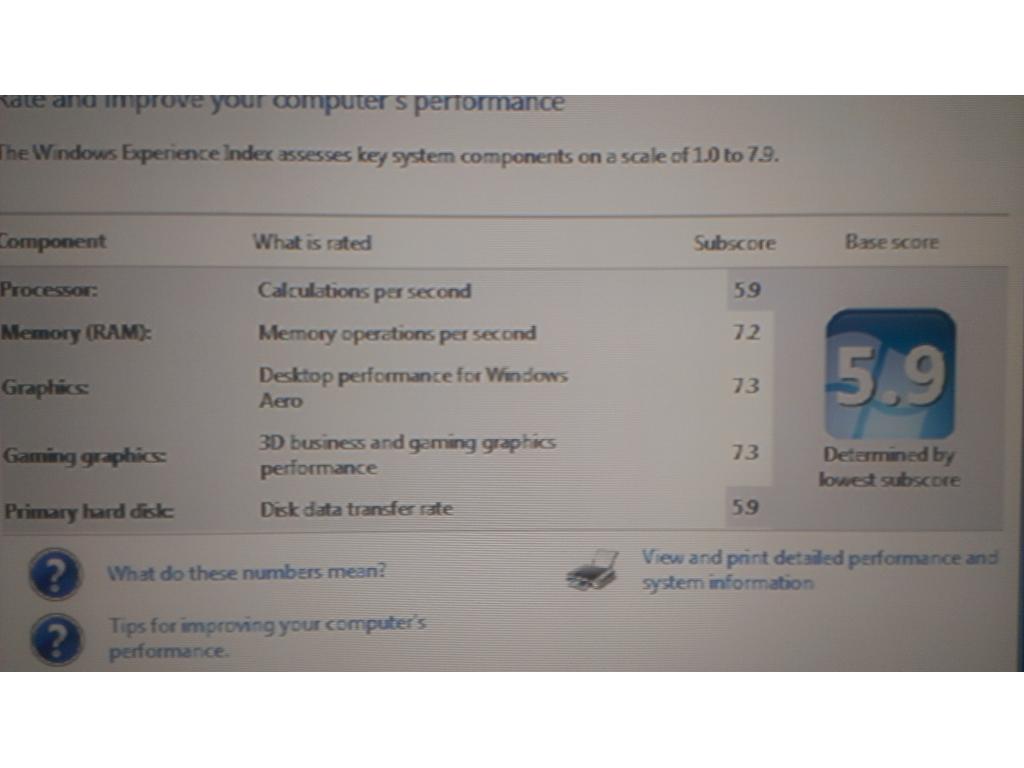
To answer everyones question that I have been emailed .... The motherboard is being mounted upside down. I'm making a battery mount that fits in the bottom of the torso with wood , motherboard will mount to the bottom of the battery tray , I will cut away a section of plastic the size of the motherboard. This will recess it 1/4 inch to line up correctly with the accessories door I hollowed out for the pc connections. Mounting the motherboard upside down is more practical because you can only access it by removing the bottom of Omnibots chassis. This gives me a few crucial inches to upgrade heatsink or add a high end video card later , but right now I believe onboard graphics are rated to handle 1080P Blueray decoding and HDMI which is what's important to me
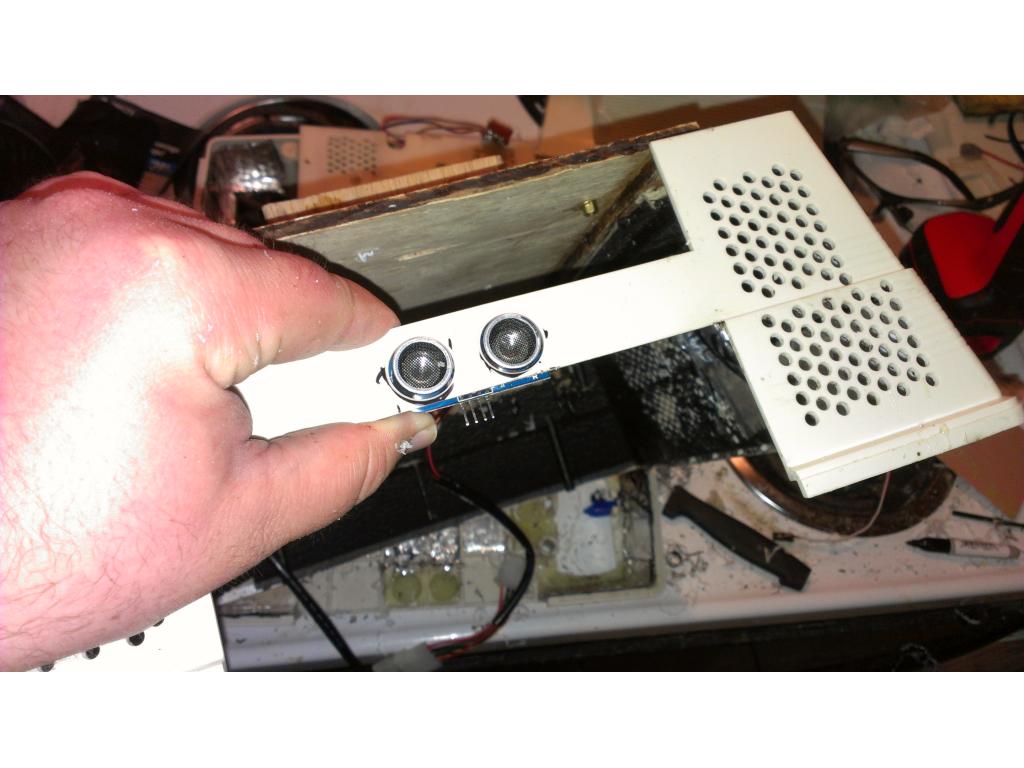
@bret that's a great idea , I could turn the base /bottom of omnibot upside down , it should be the exact shape of the top of 2000 base , maybe that would add 2 to 3 inches?? Or I have more 1/4 in plywood , I could make a spacer I guess. Hmm I need to get the board n other stuff mounted first. If I add a spacer section then I will definitely need to do some painting. It could add some extra space for drives /fans too though , hmm. I will definitely consider this.

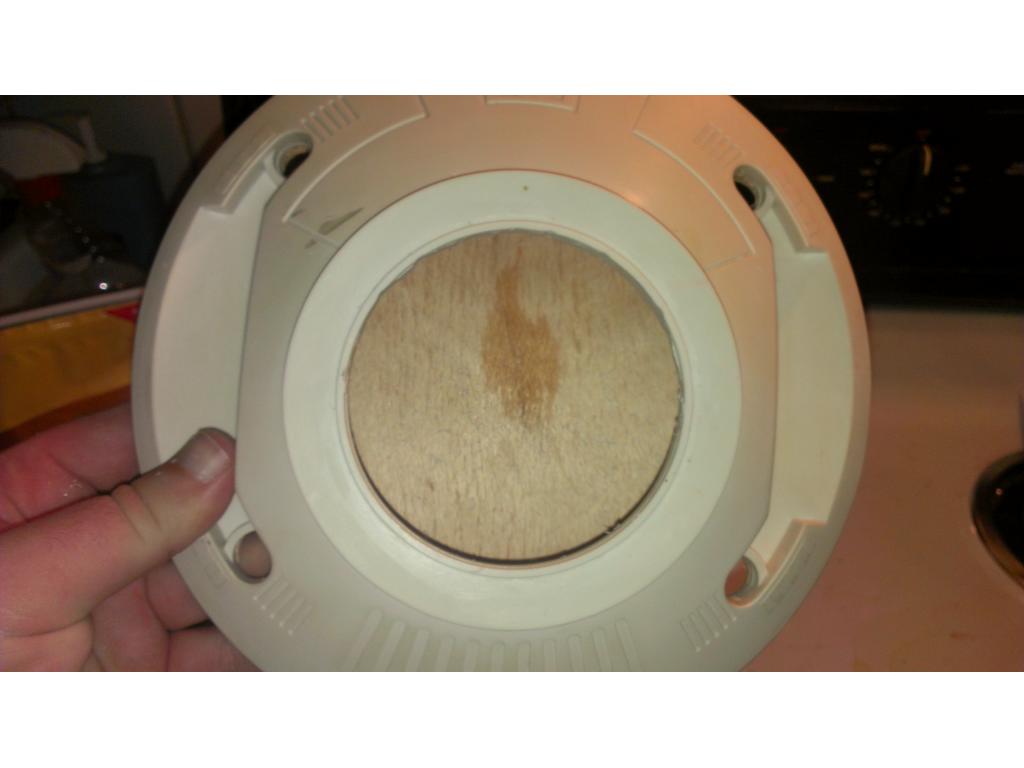
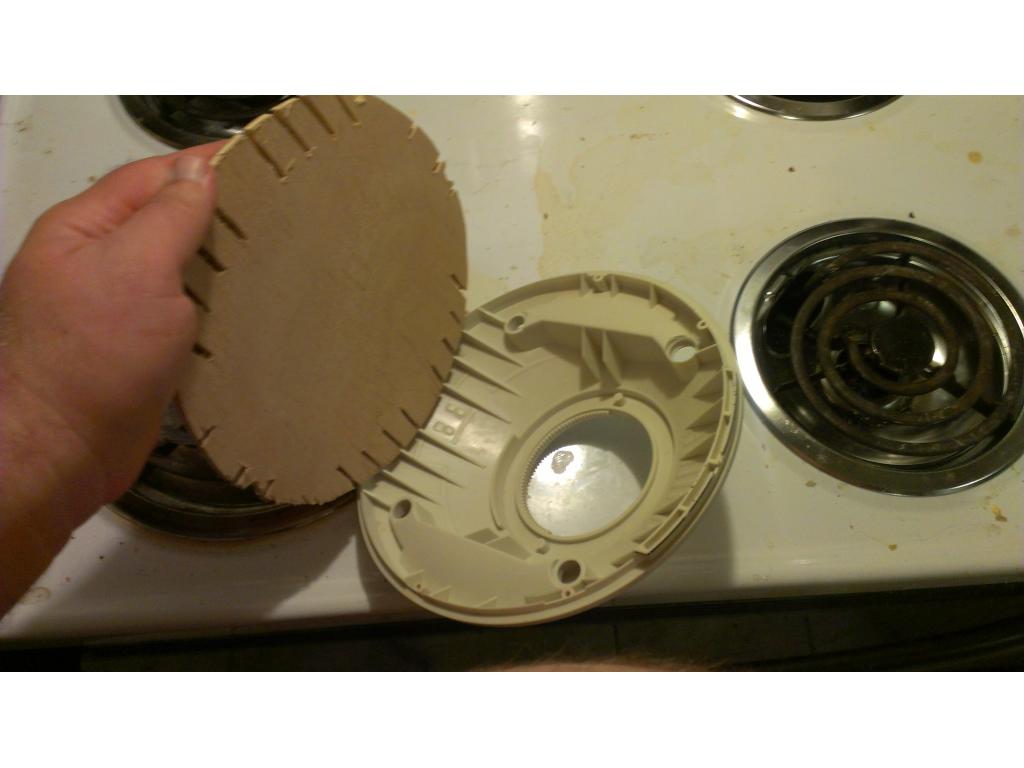
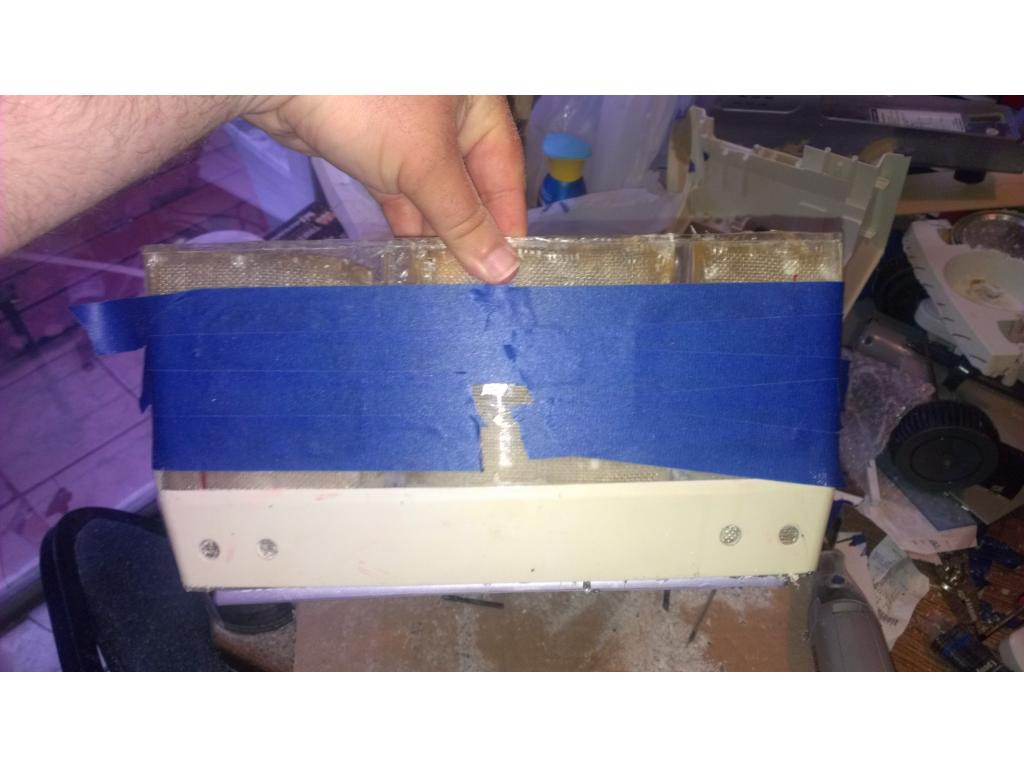
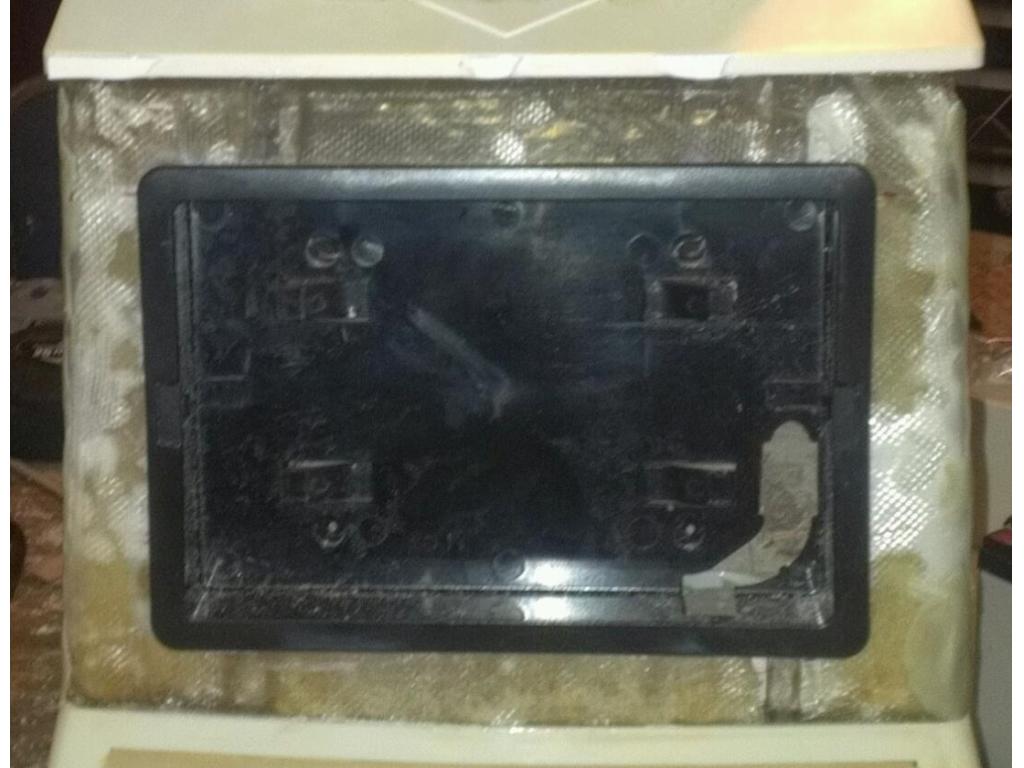
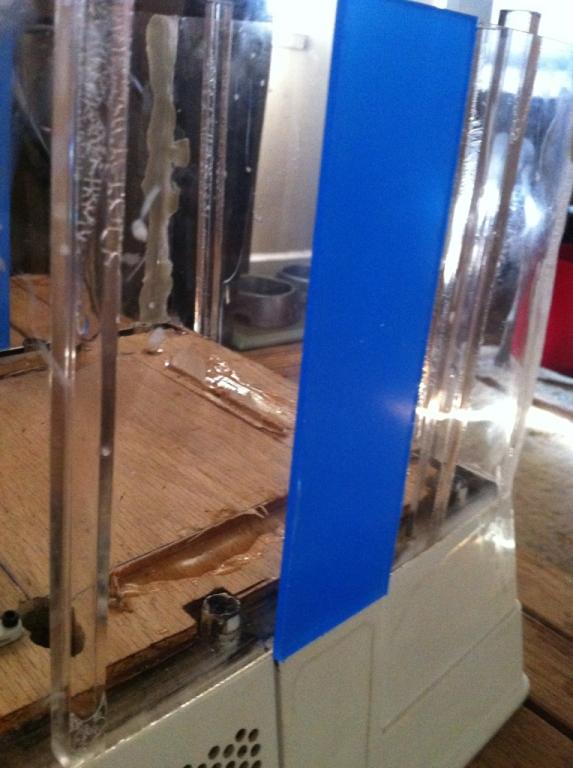
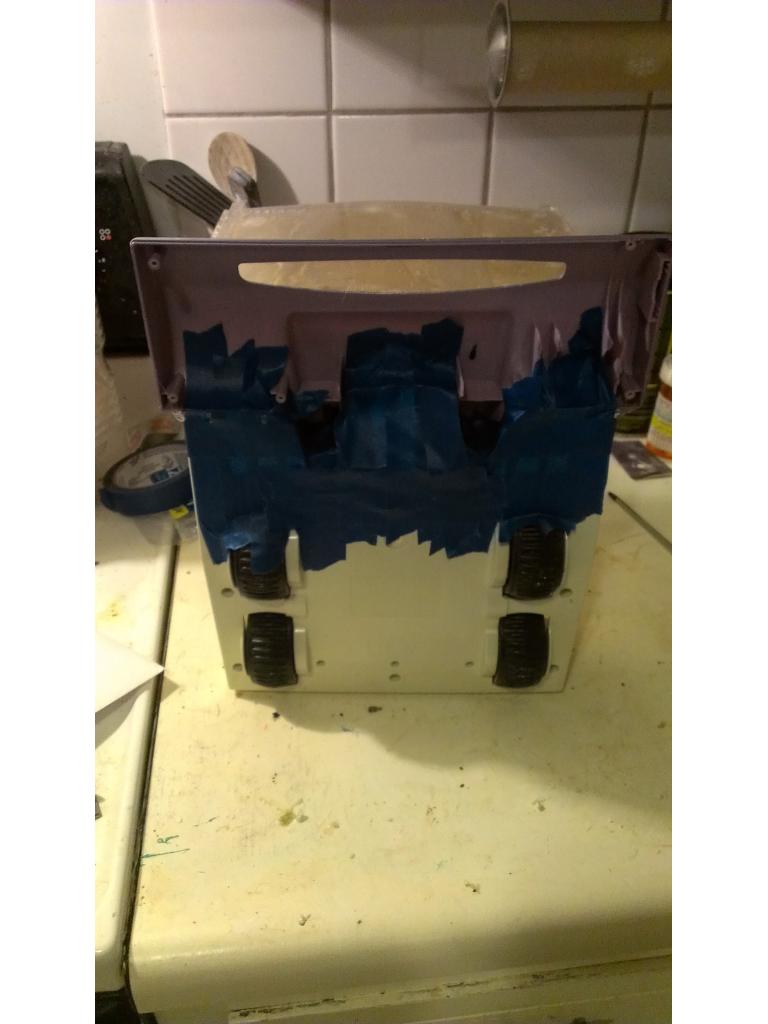
Ok I modified a backoff panel and cut down all sides with my dremel. Then glued it to the accessory door. First time I glued it upside down..... Oops lol. I removed it with a razor and flipped it around. I'm hoping all plugs clear but more cutting can be done if needed.
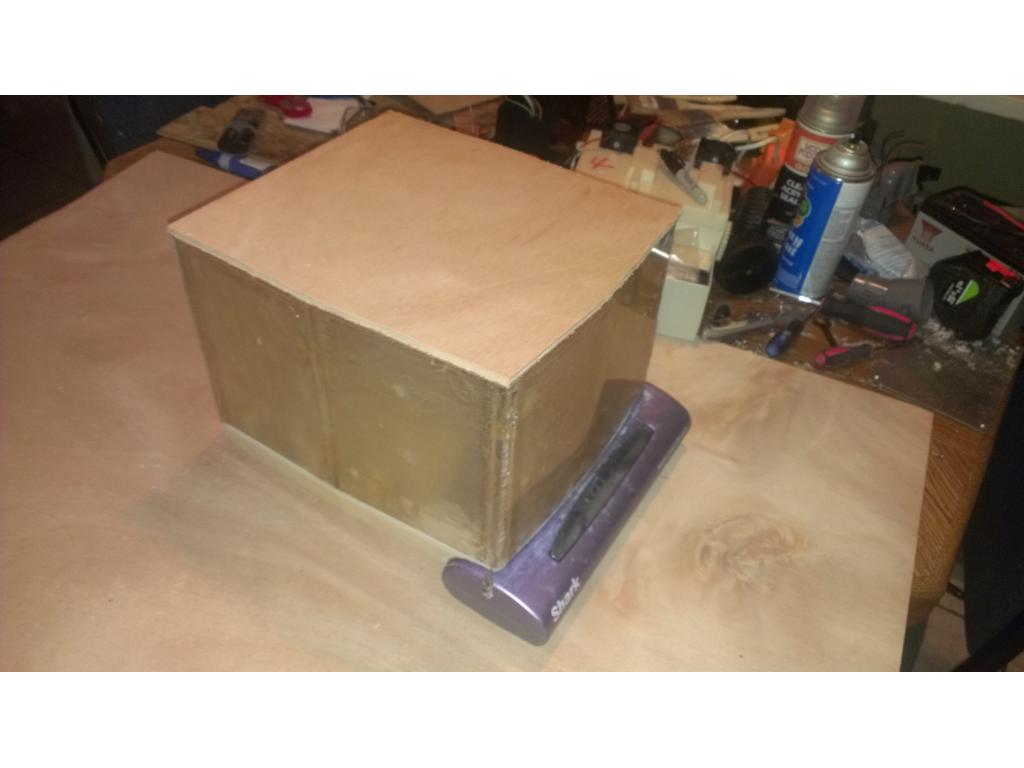
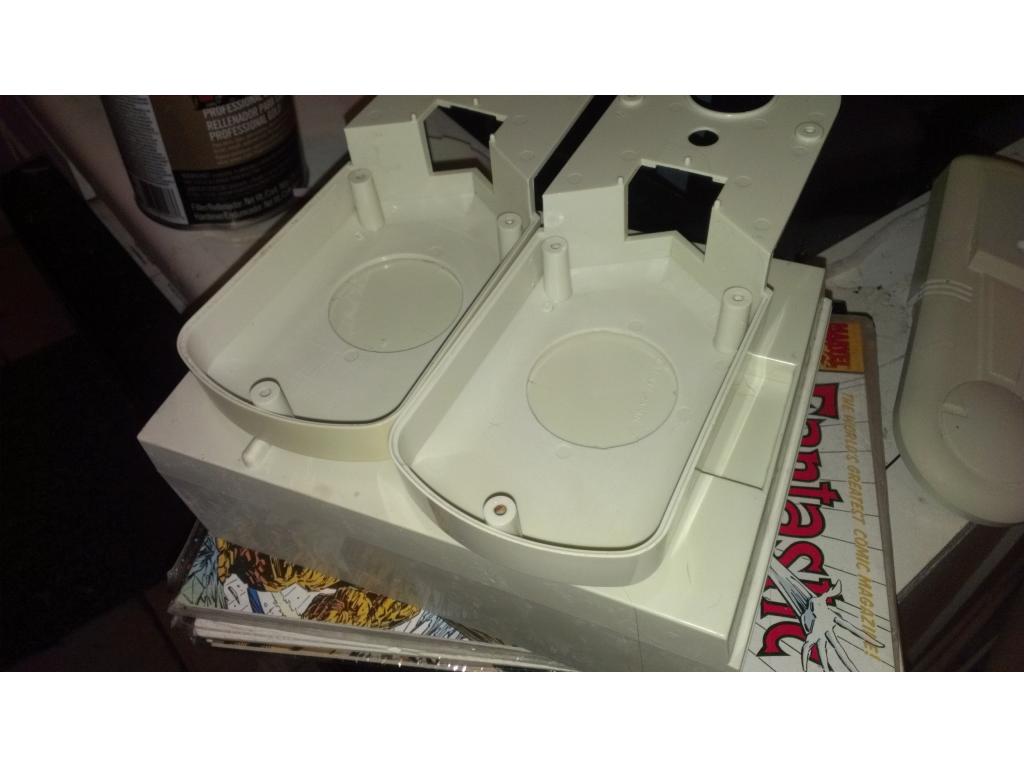
A test fit
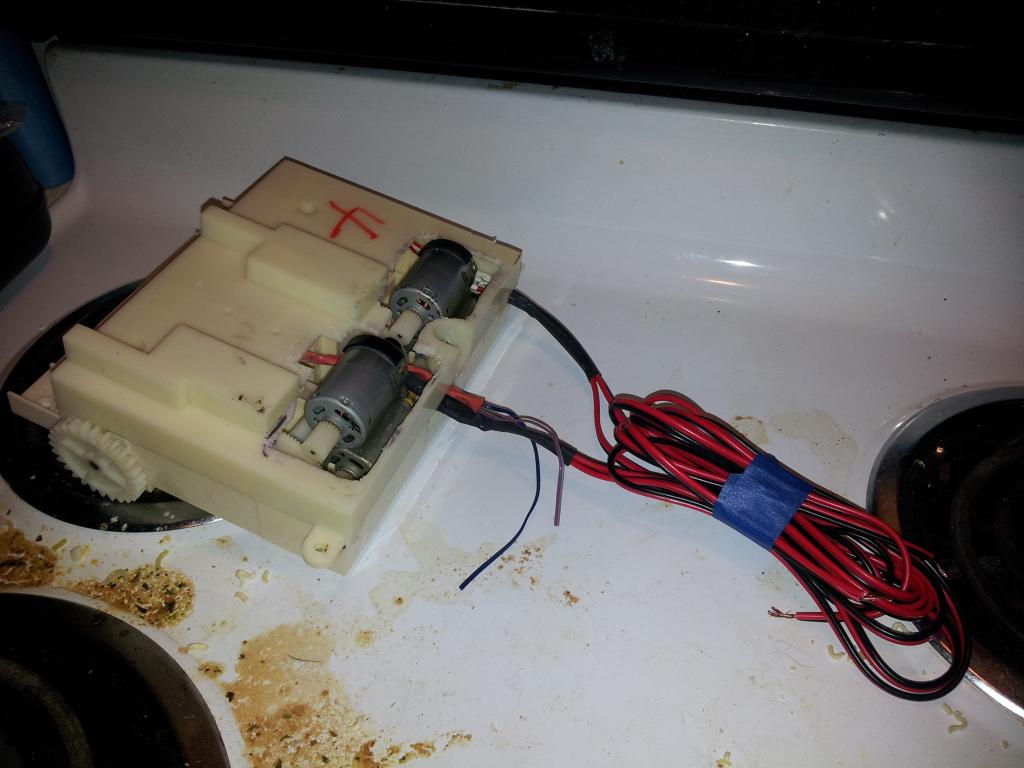
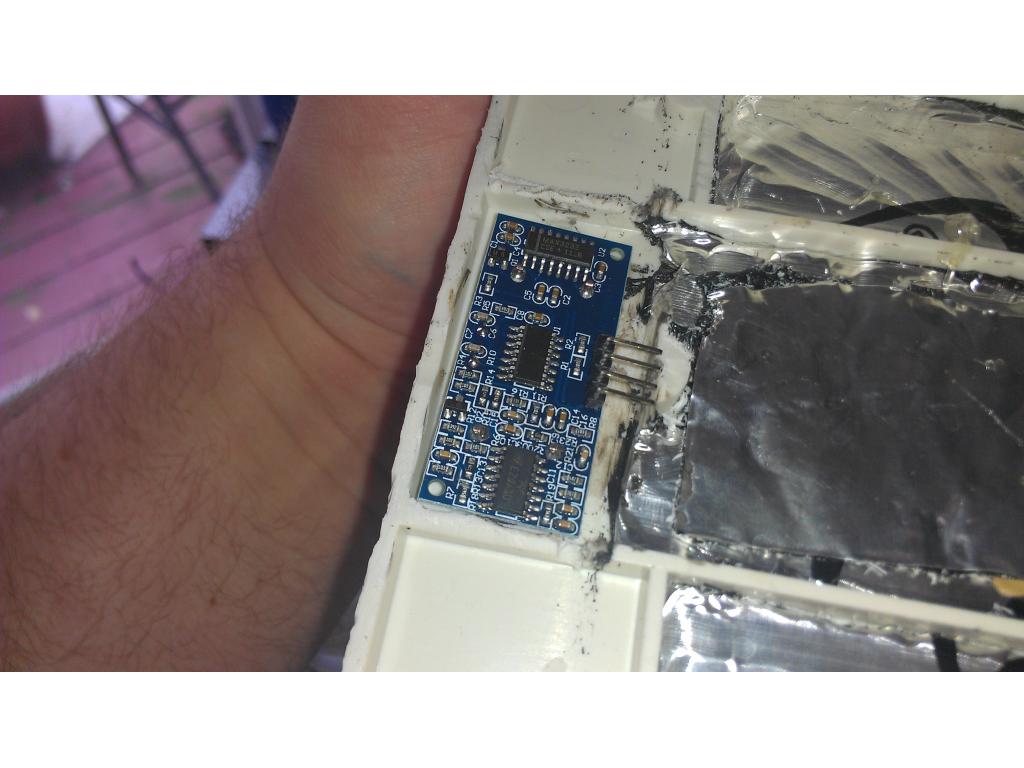
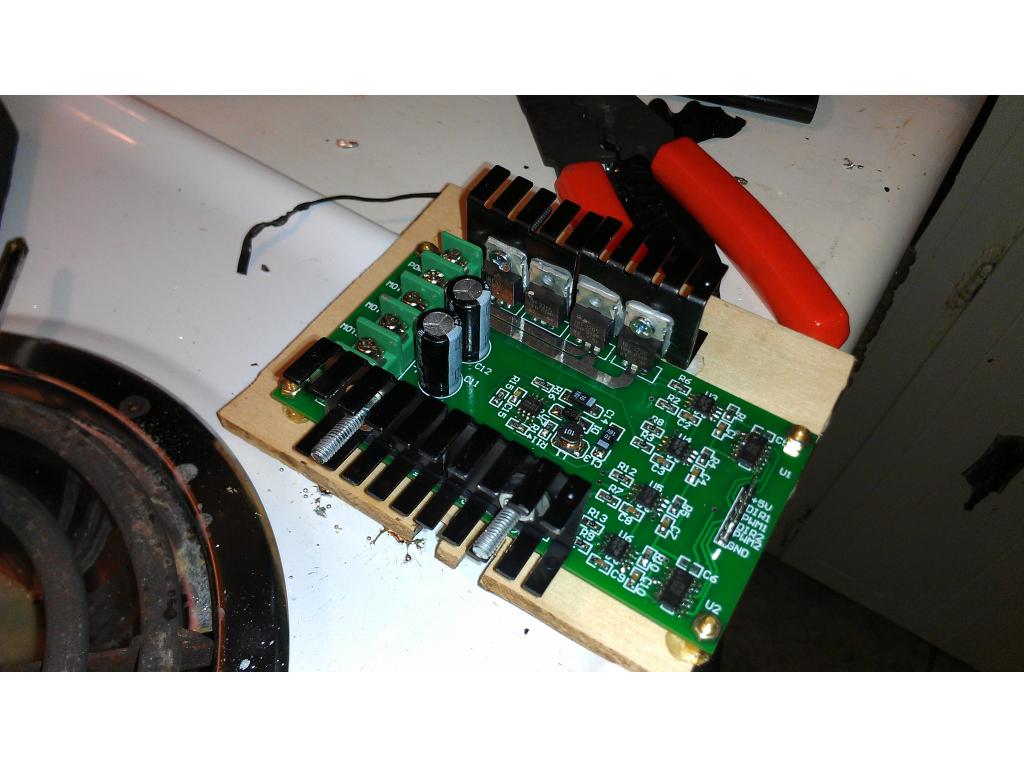
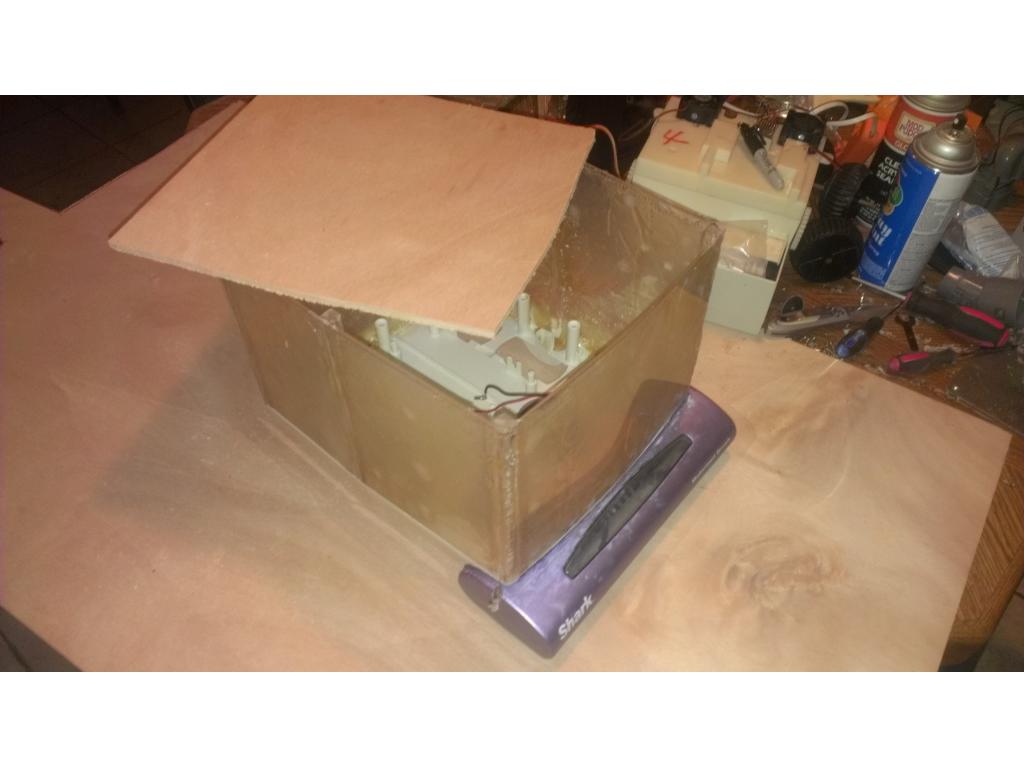
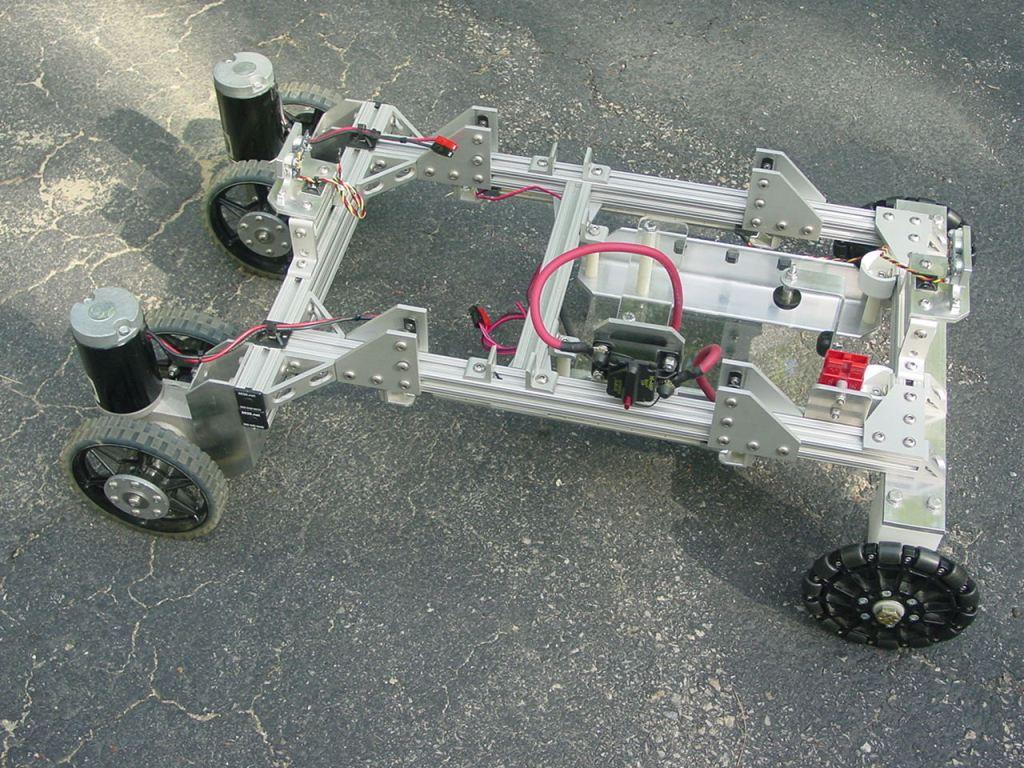
I glued in 4 brass stand offs that the motherboard mount to. They are in mini itx configuration so if I ever upgrade boards its a easier swap. The stand offs put about 1/8th in gap between the bottom if mini itx motherboard and the wood. I plan to epoxy this wood on both sides all the way around to stuffing the Omnibot base to support the 12 pounds of batteries that will be mounted at the bottom of the torso.I have a idea here. I'm planning in mounting the ez board to one side of the base wall and motor controllers right beside them if I have room. If I don't I will mount the h bridge to the opposite side.