


cE9s4PsOgeBQIORwjd5!~~60_1-634818020230156250.jpg)


BO)Lupuc4g~~60_35-634706297915000000.jpg)
LupbT6!~~60_35-634706298769375000.jpg)


C5j!~~60_35-634655044863125000.jpg)


C5j!~~60_35-634659603510781250.jpg)


C5j!~~60_35-634651704046230469.jpg)


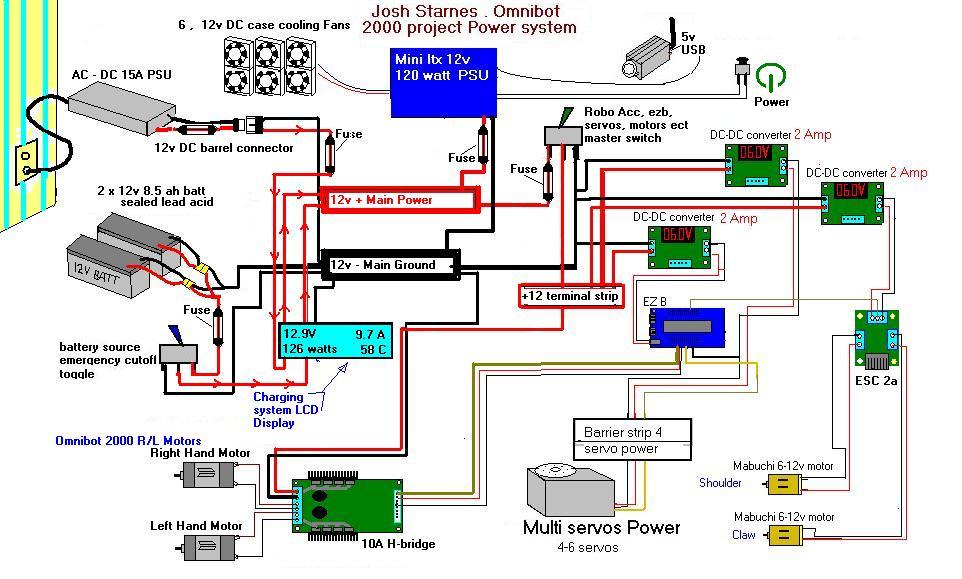


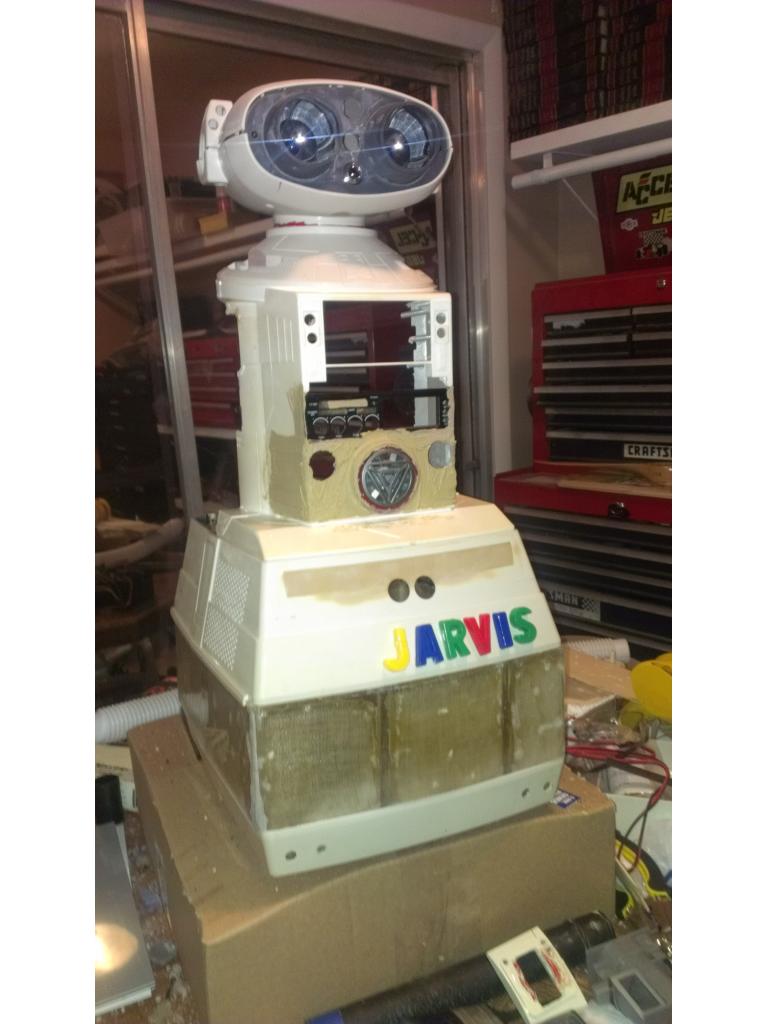


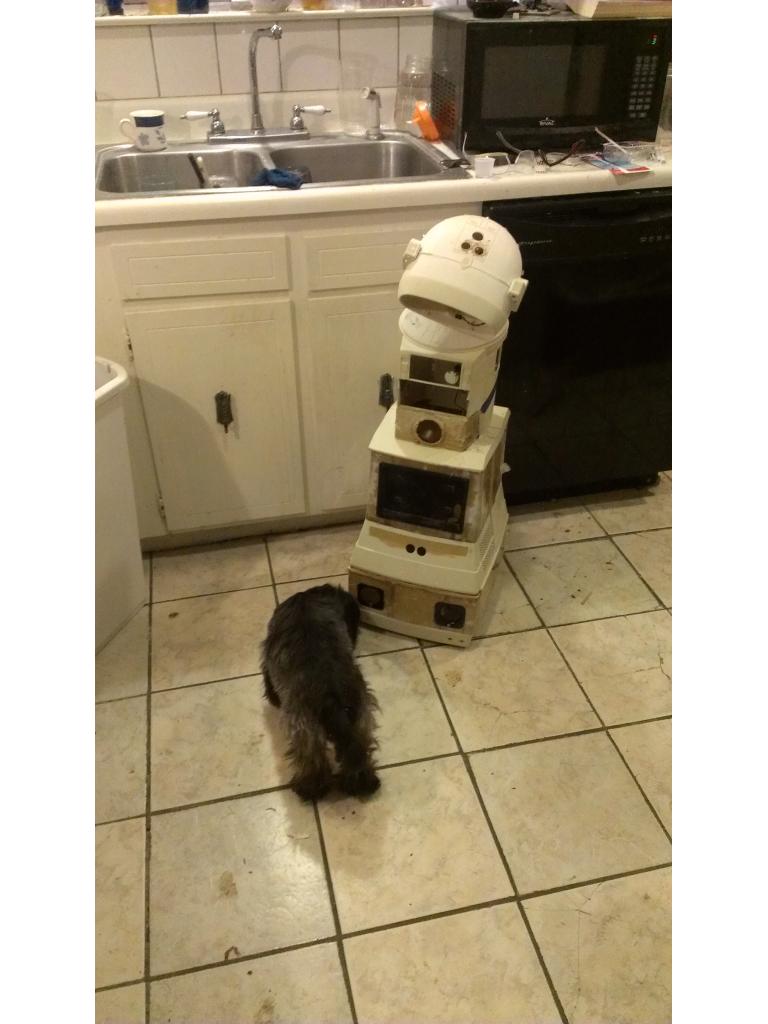
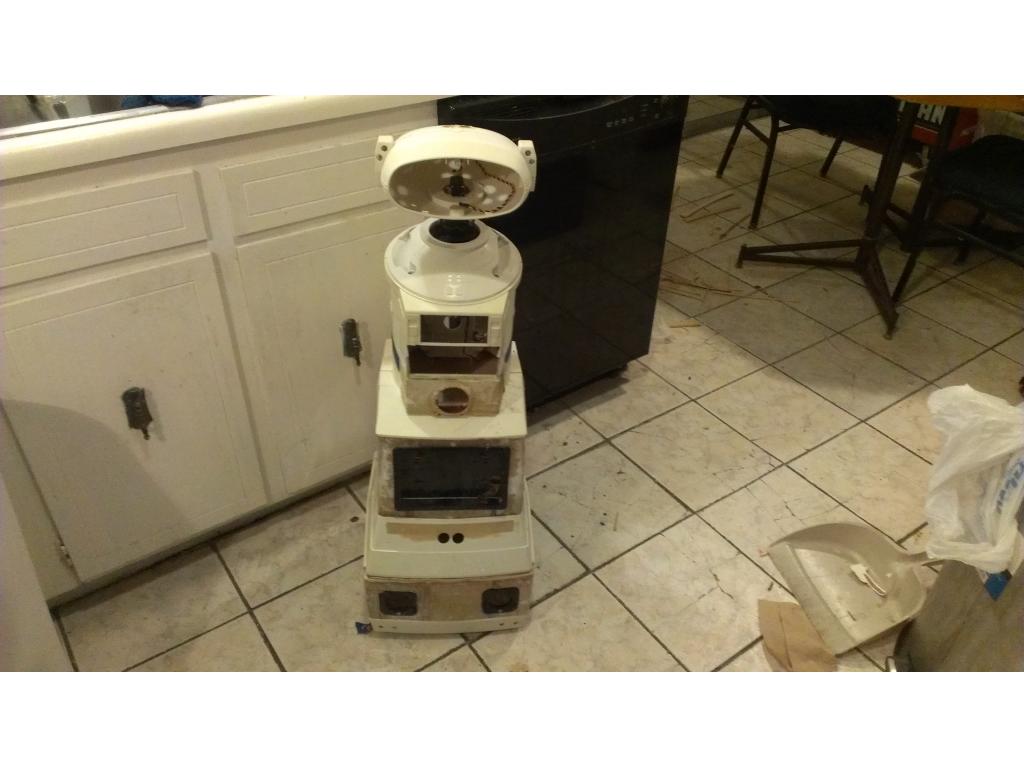


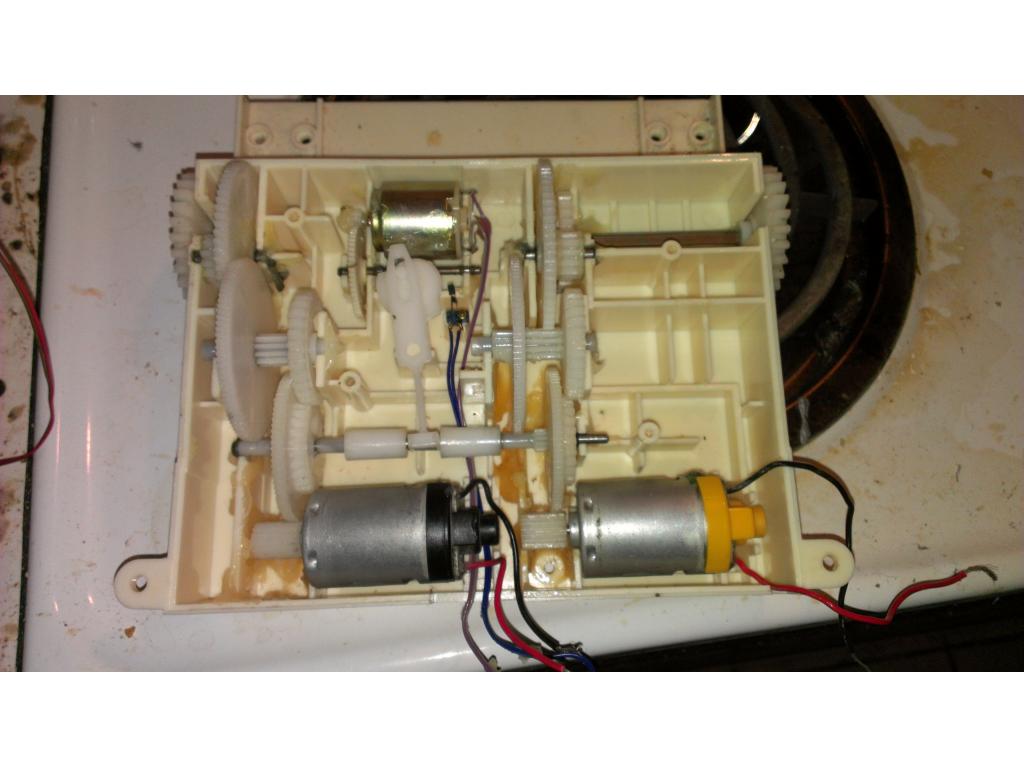
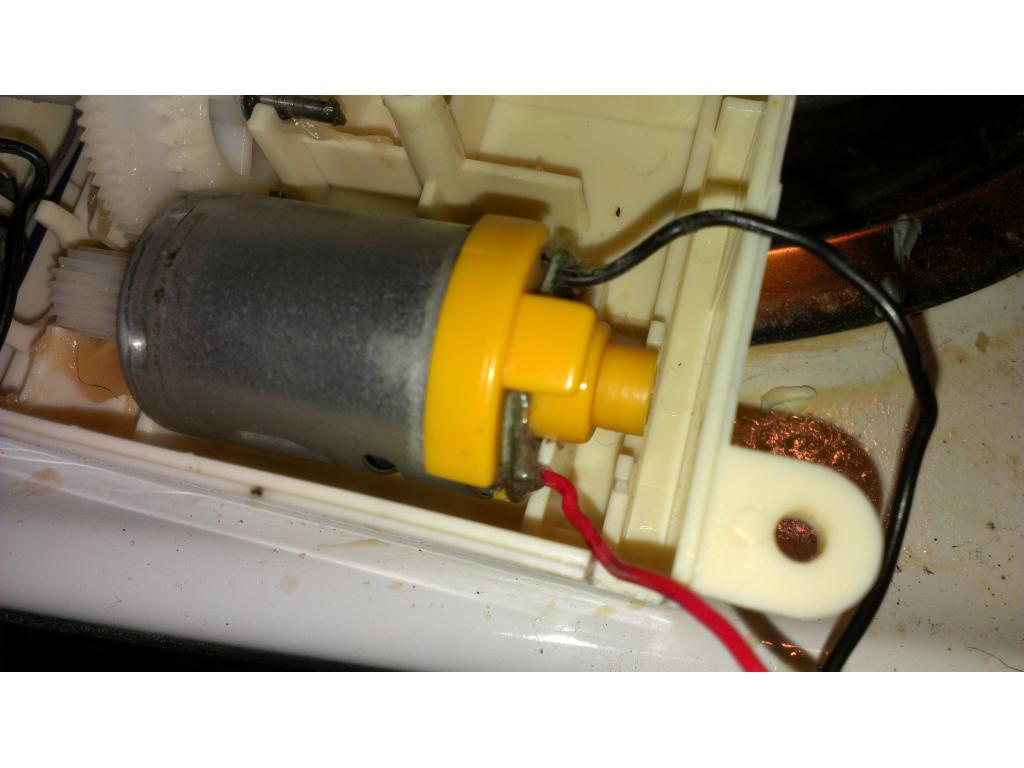
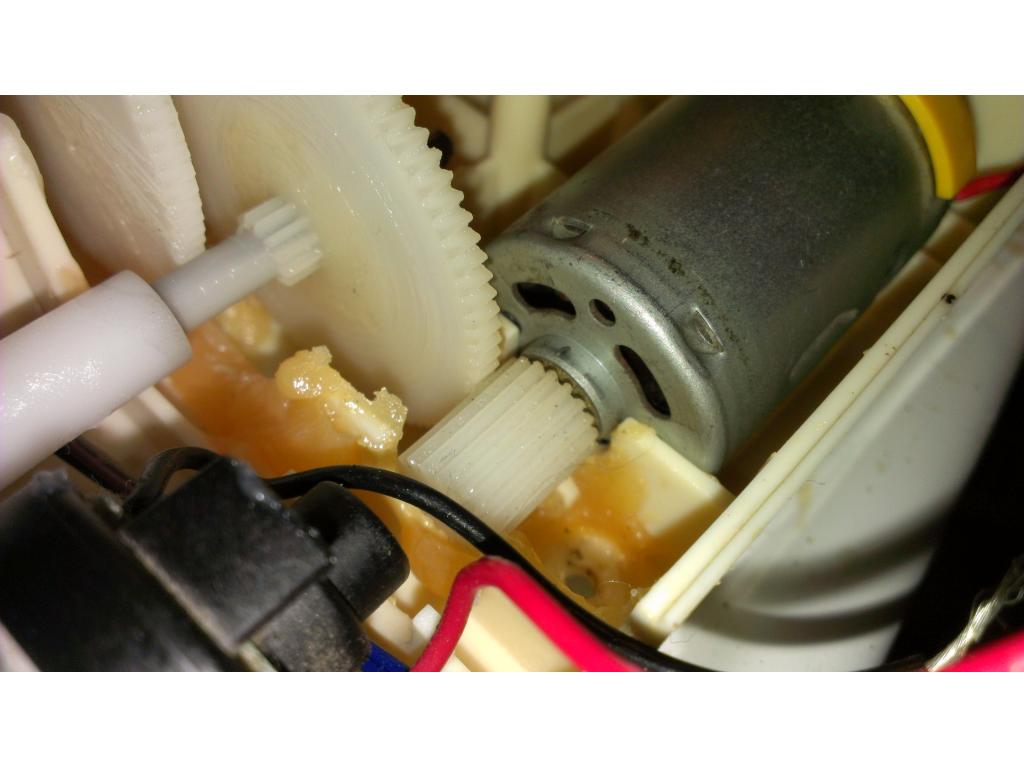
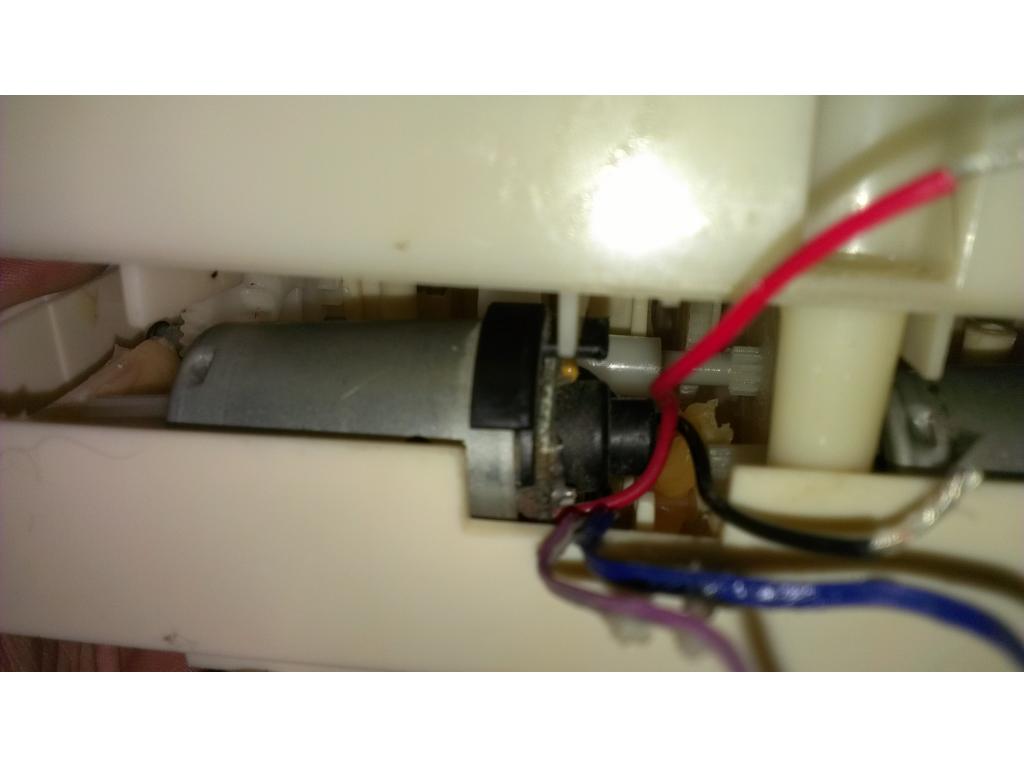


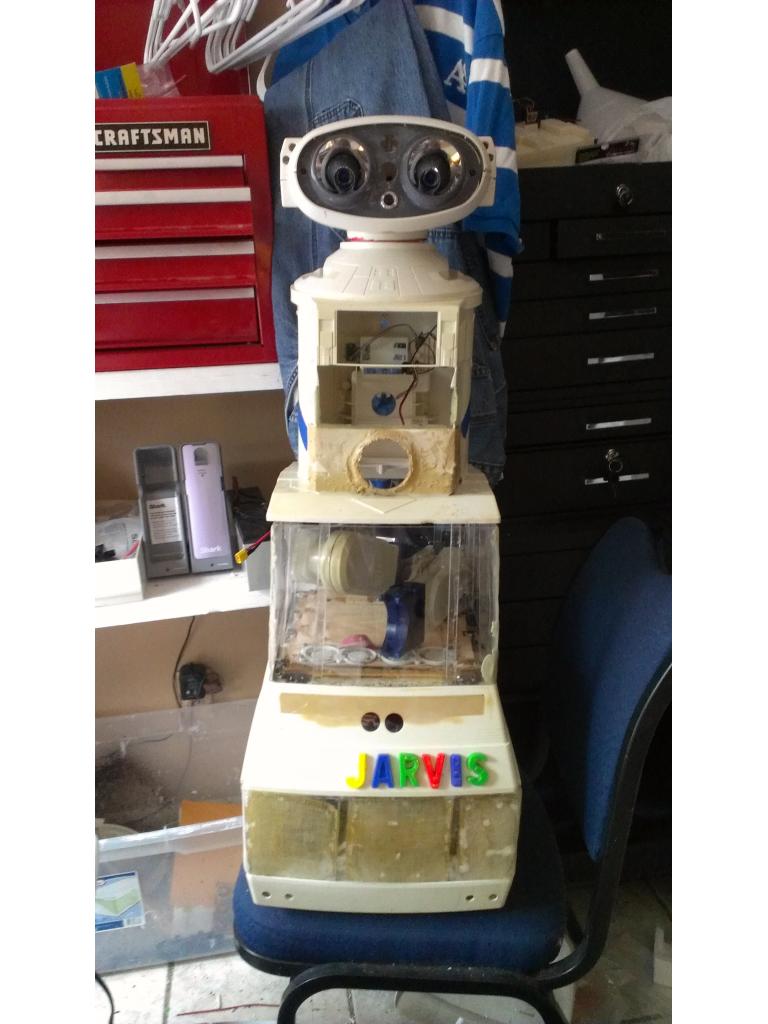


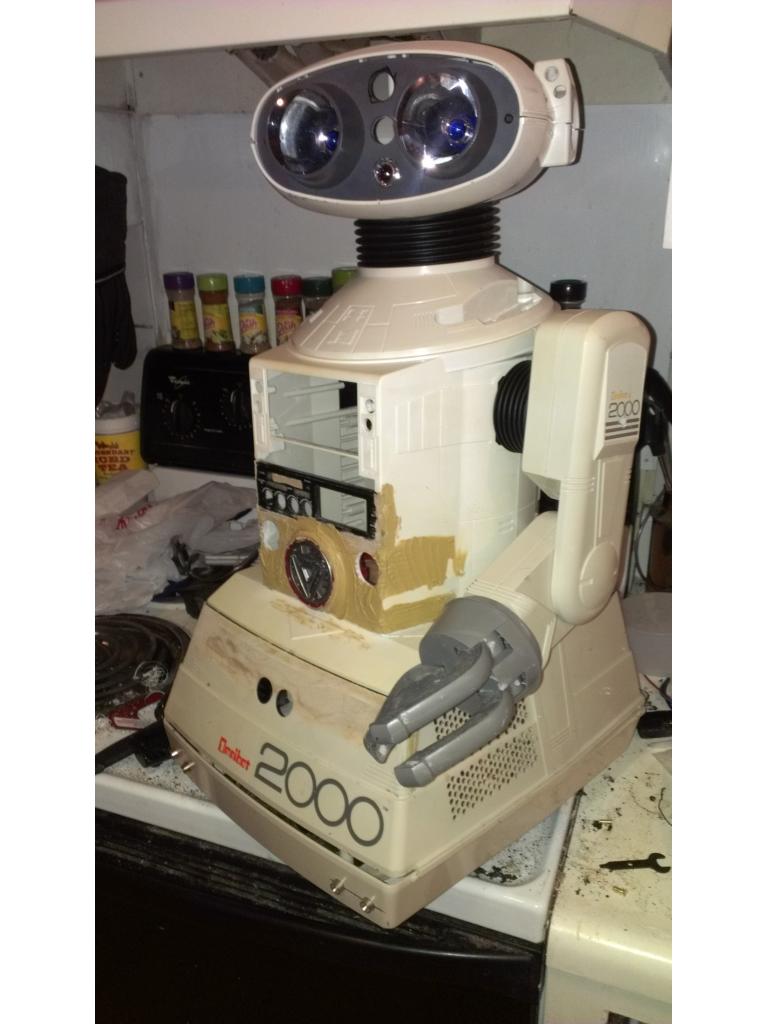
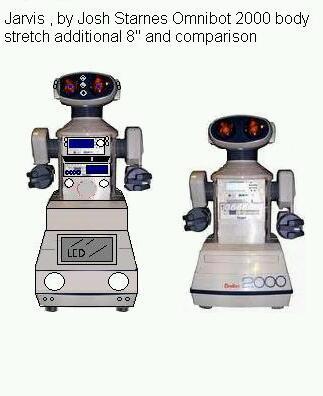

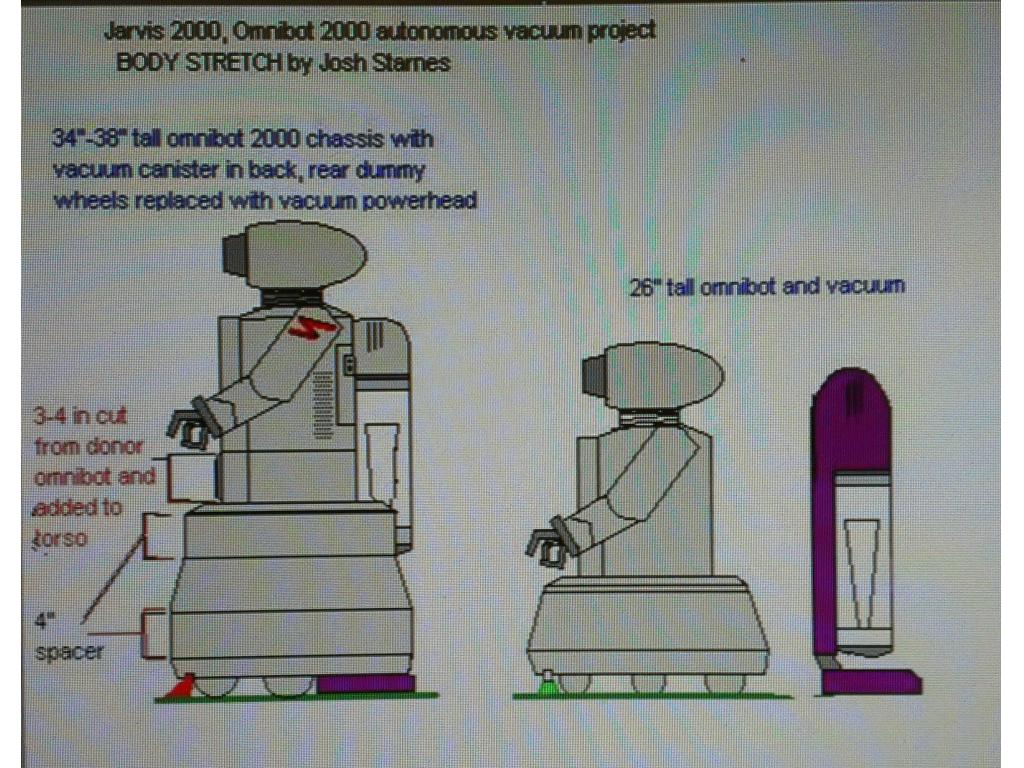


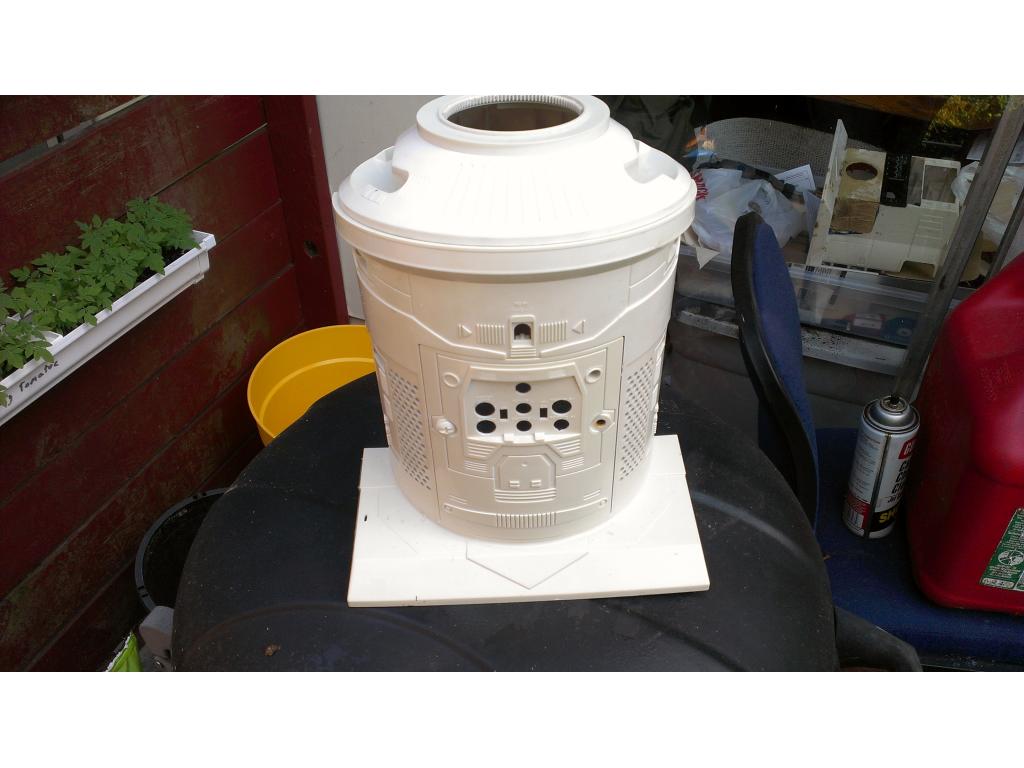


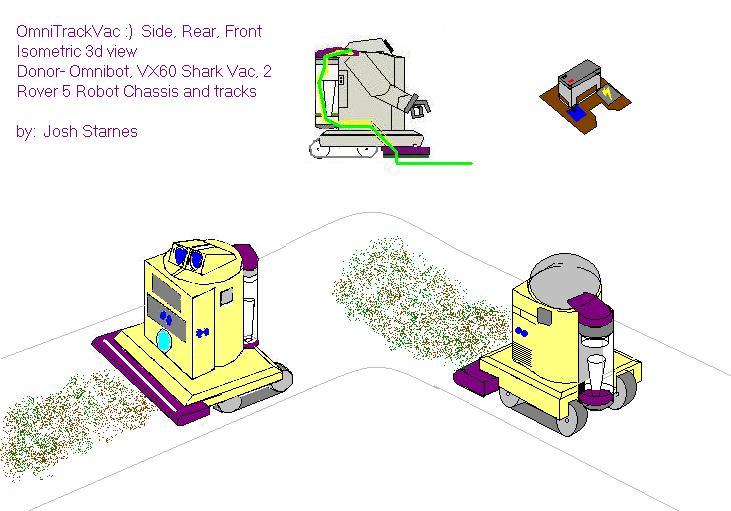


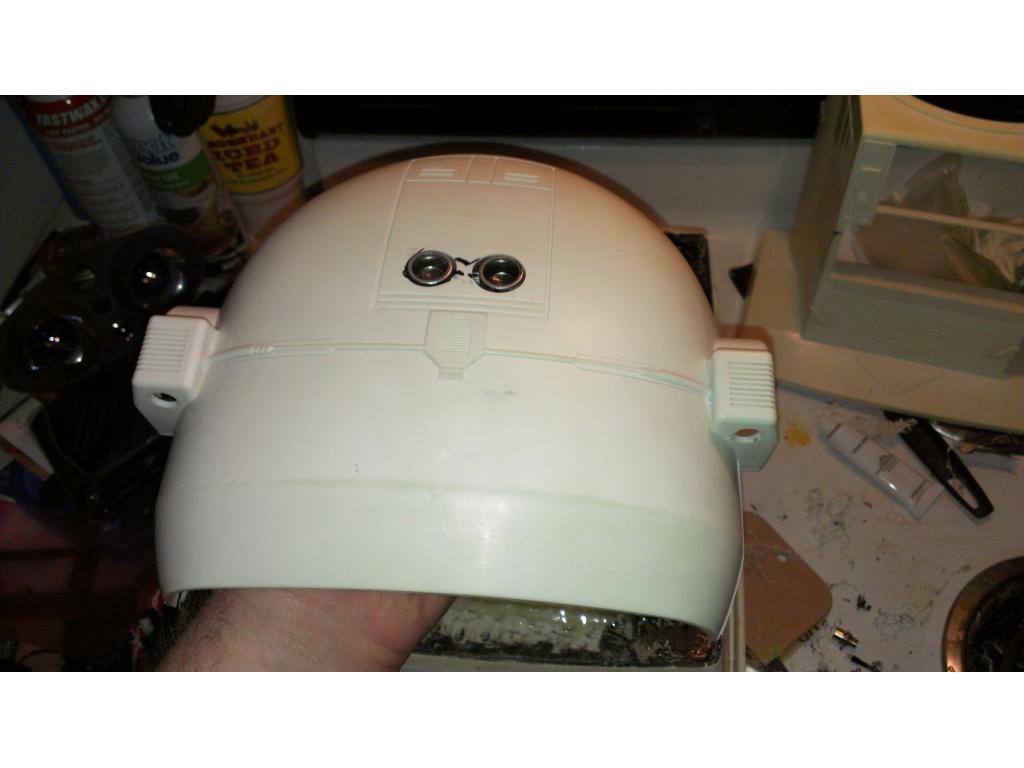


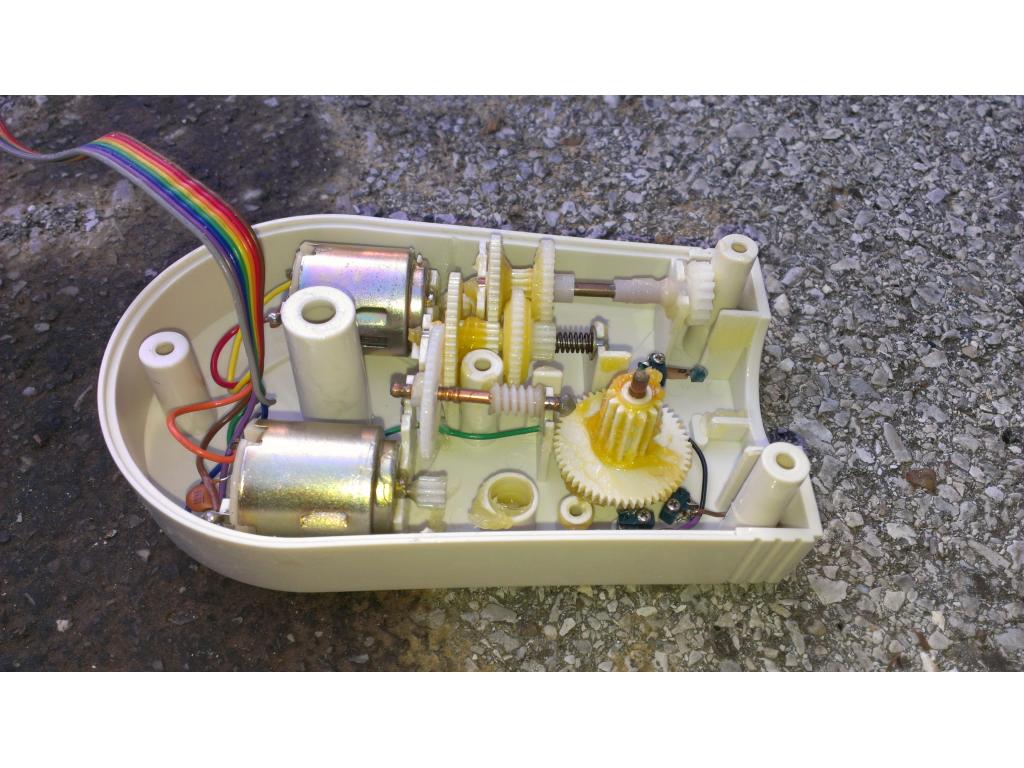


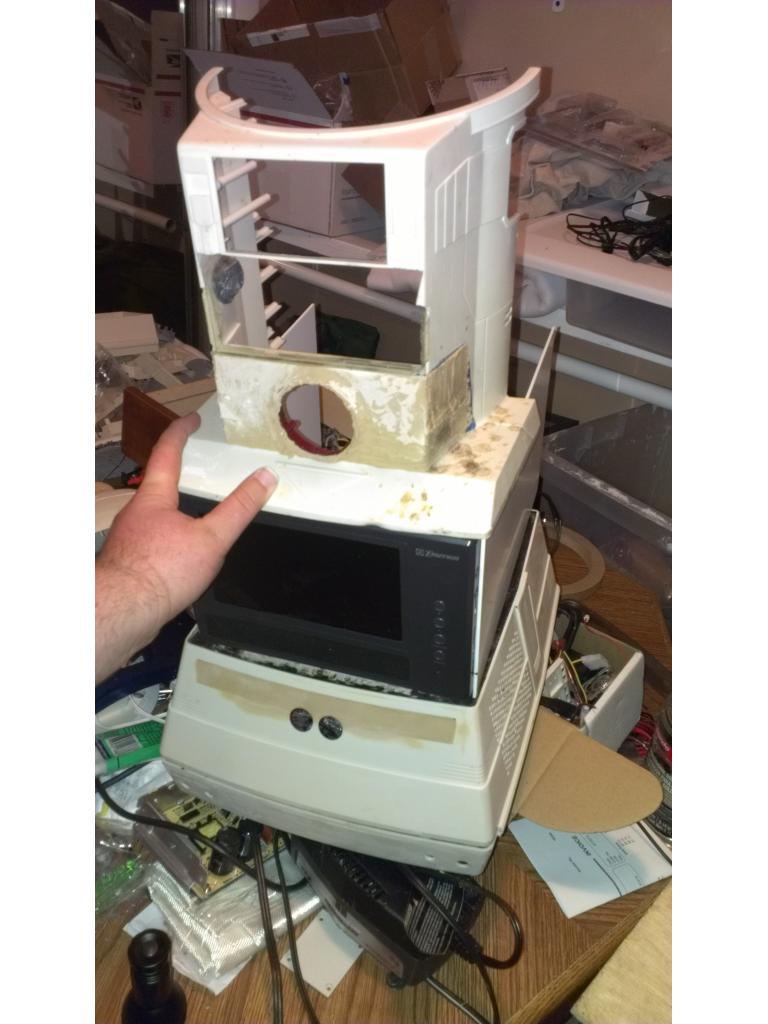
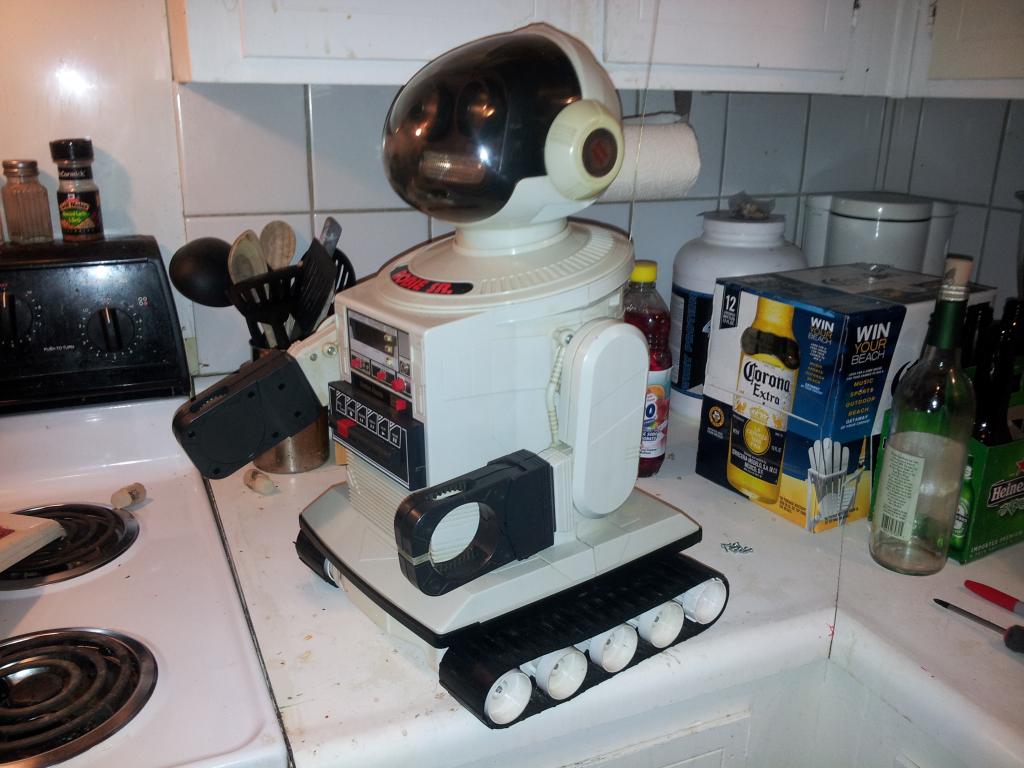
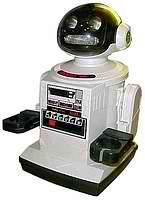
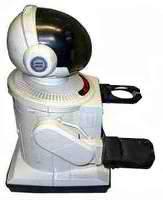
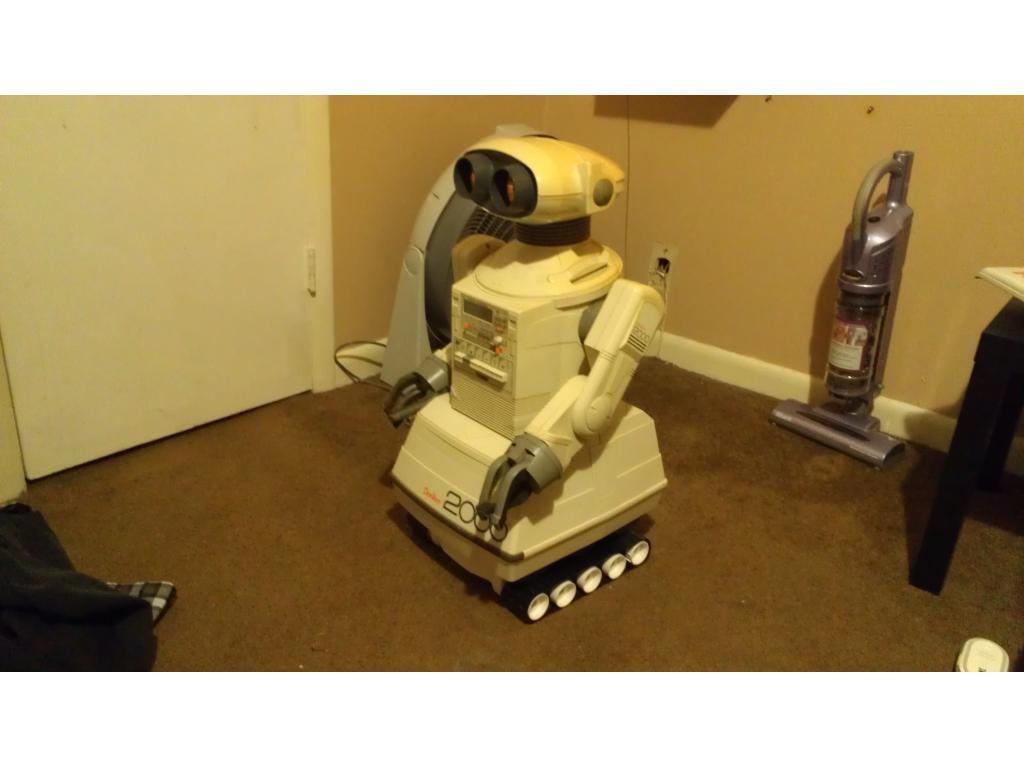
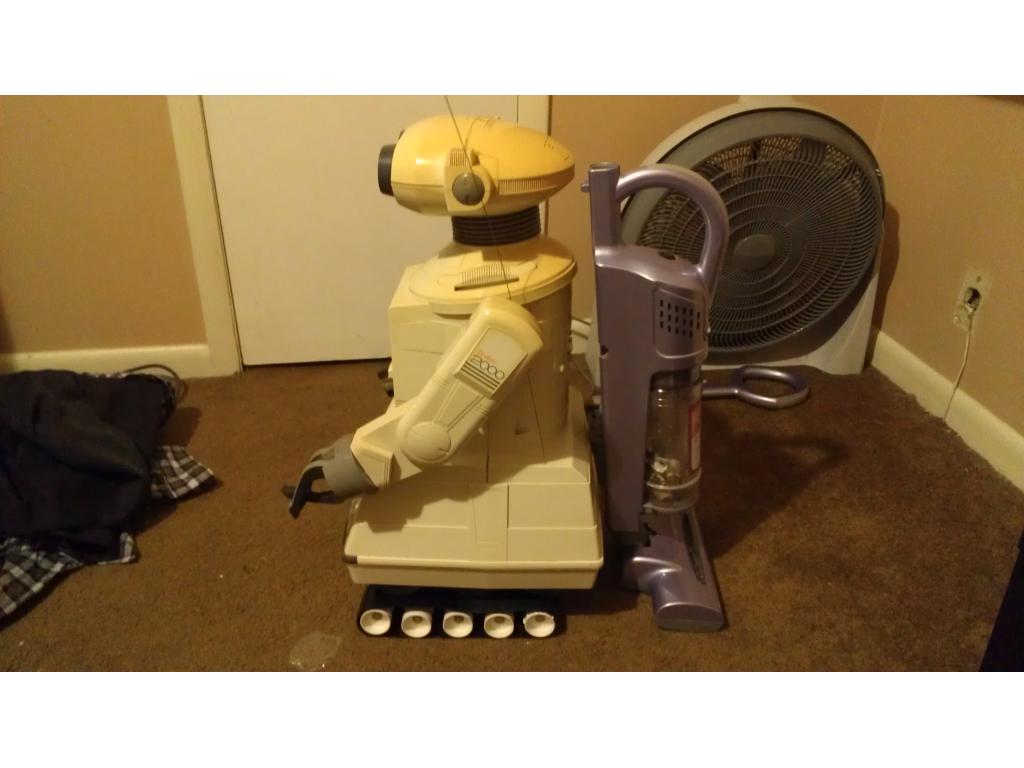
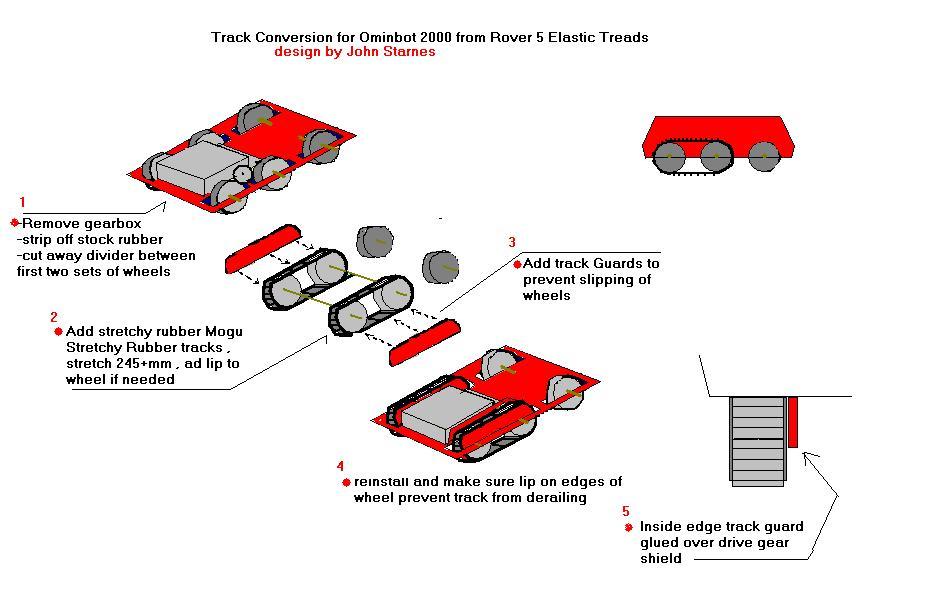
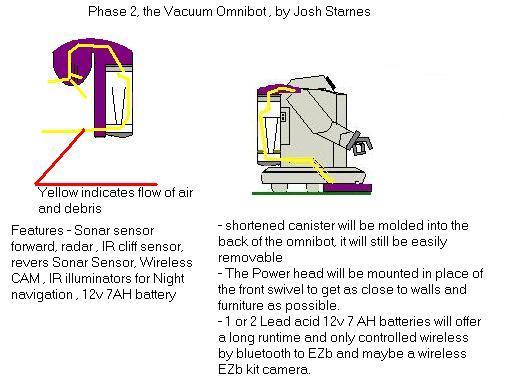
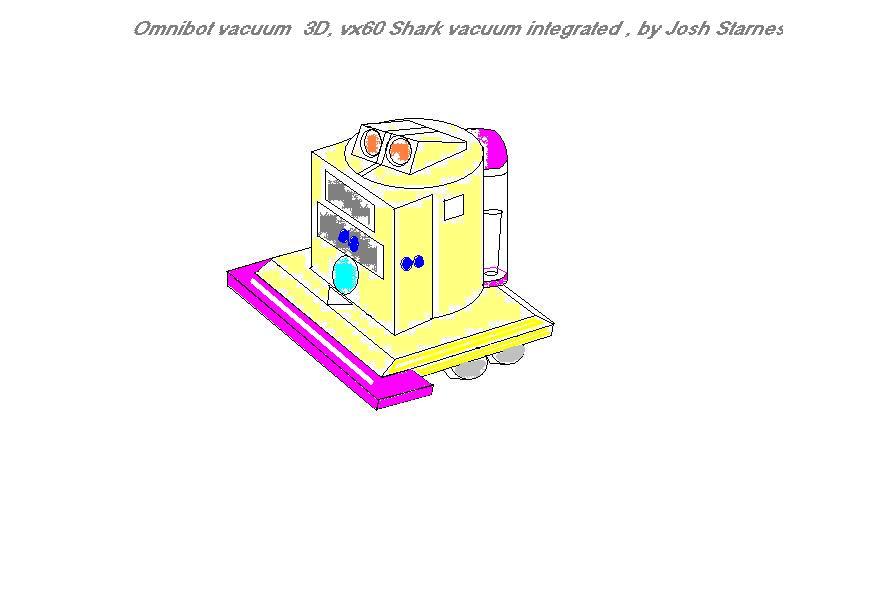
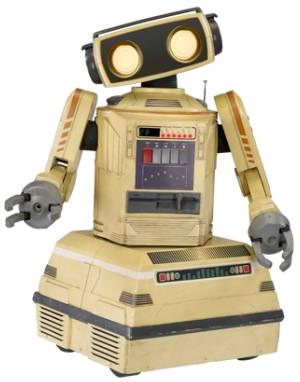
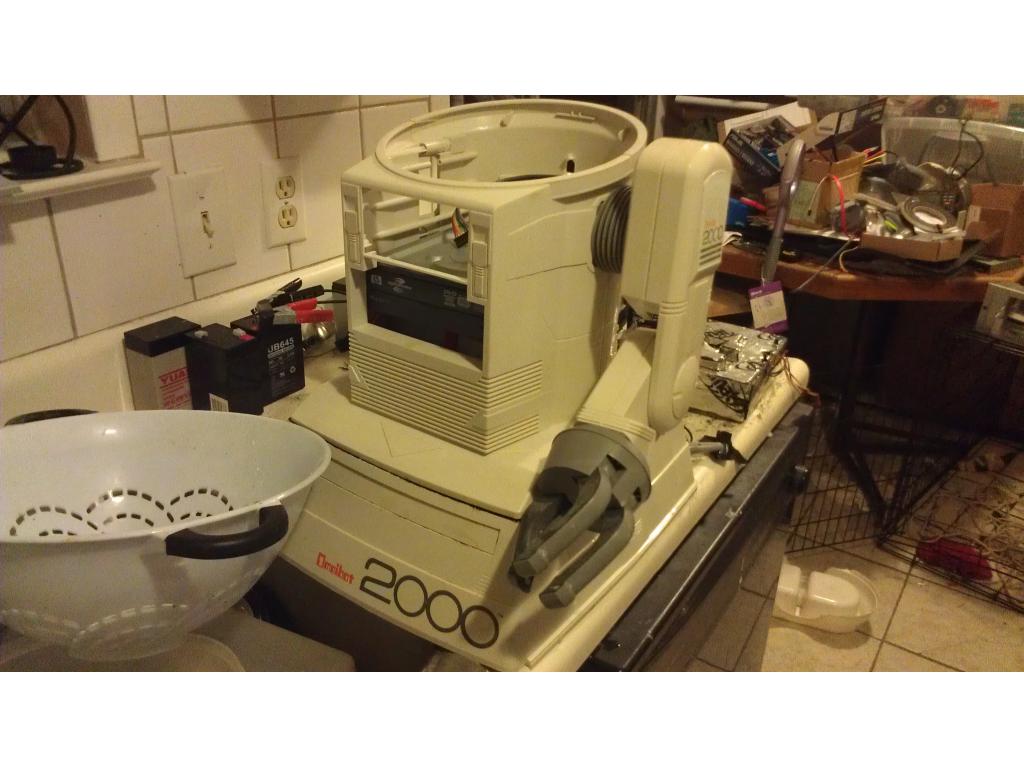
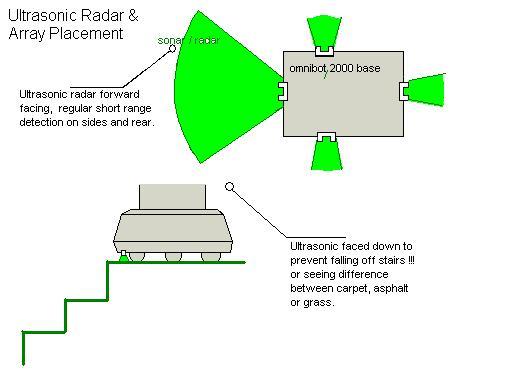
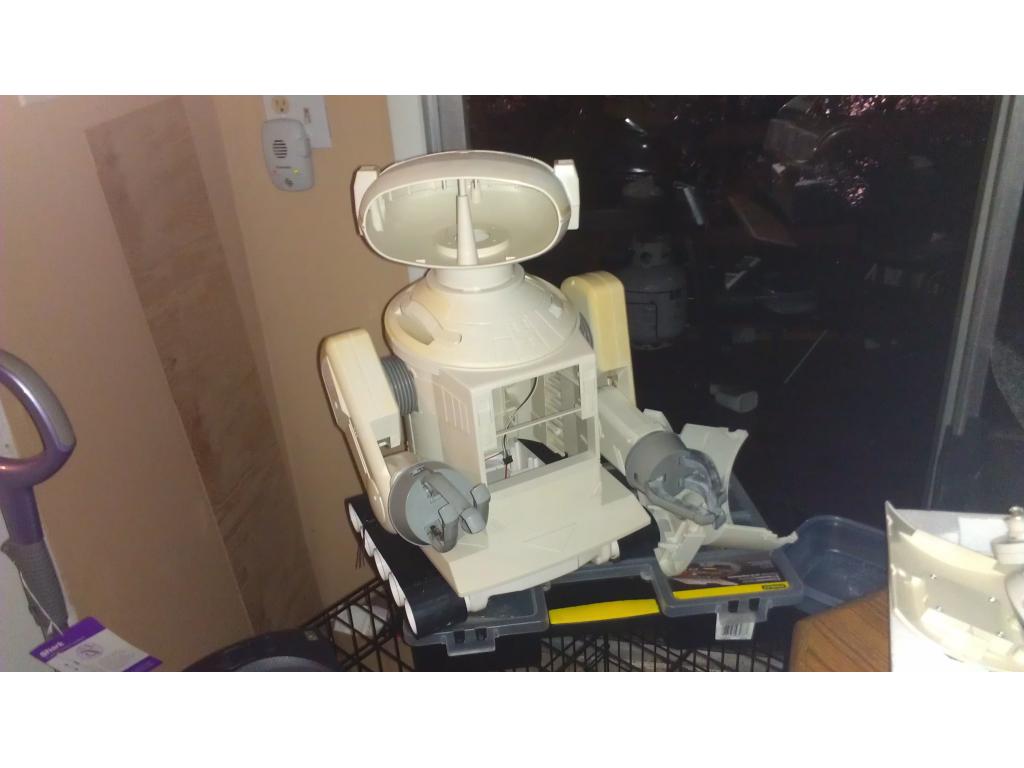
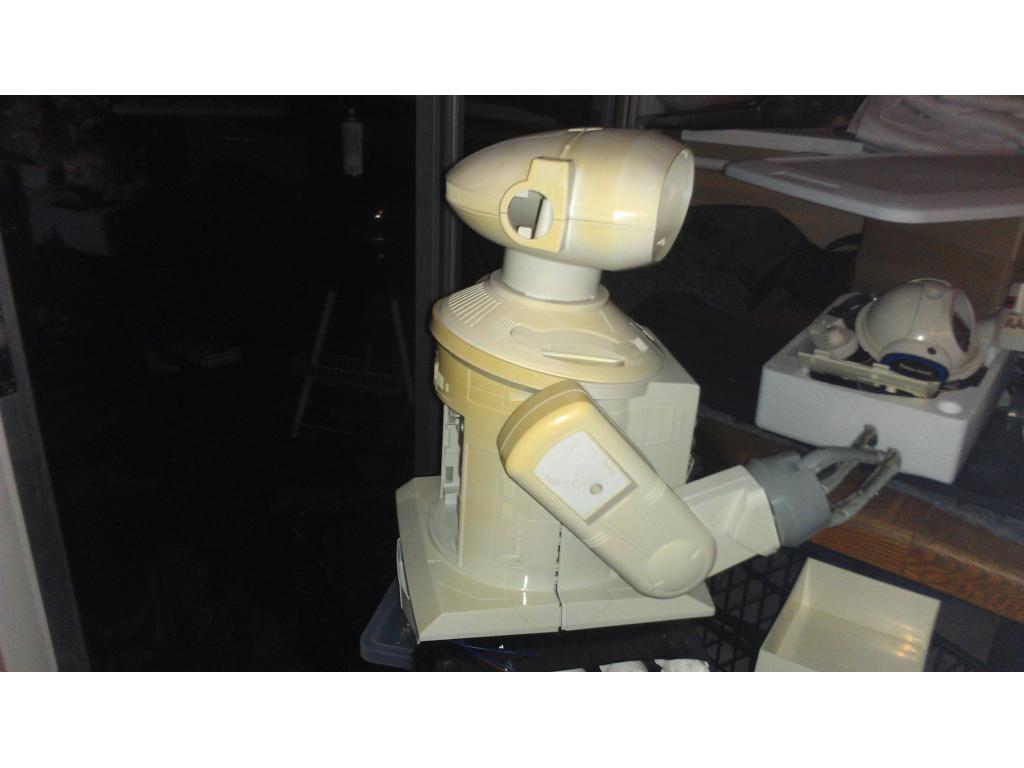
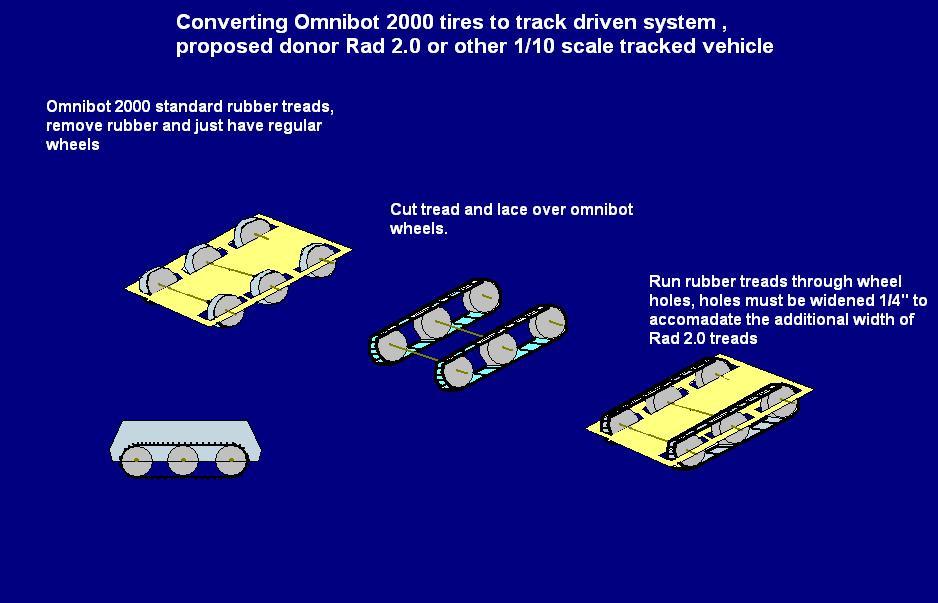
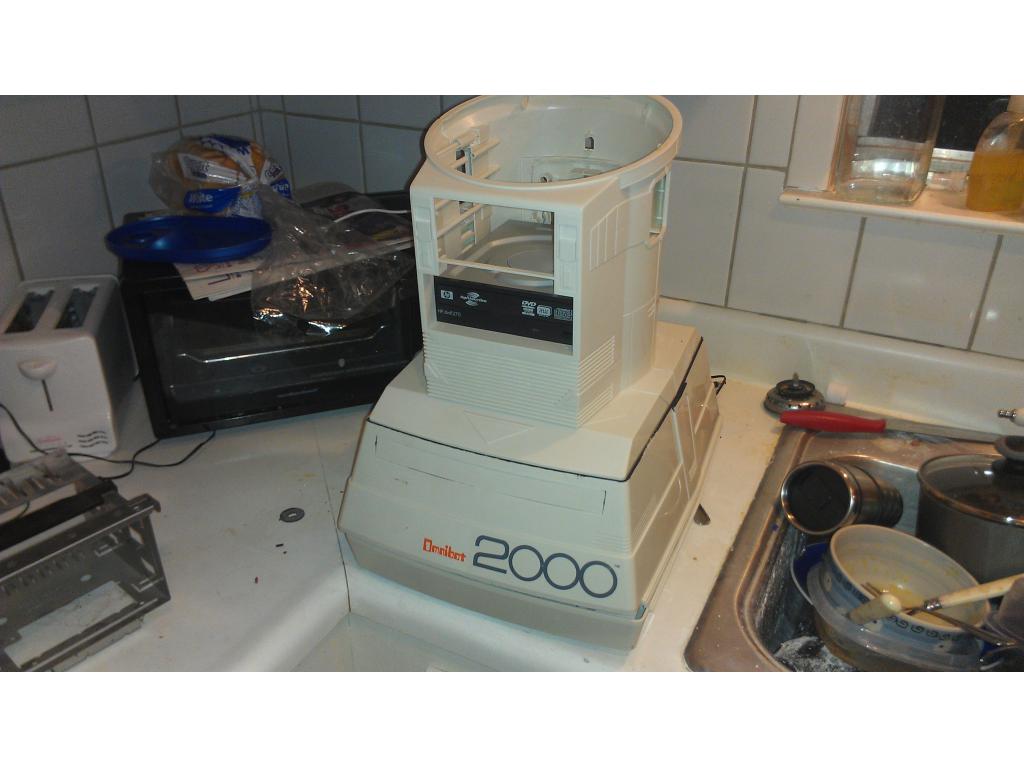
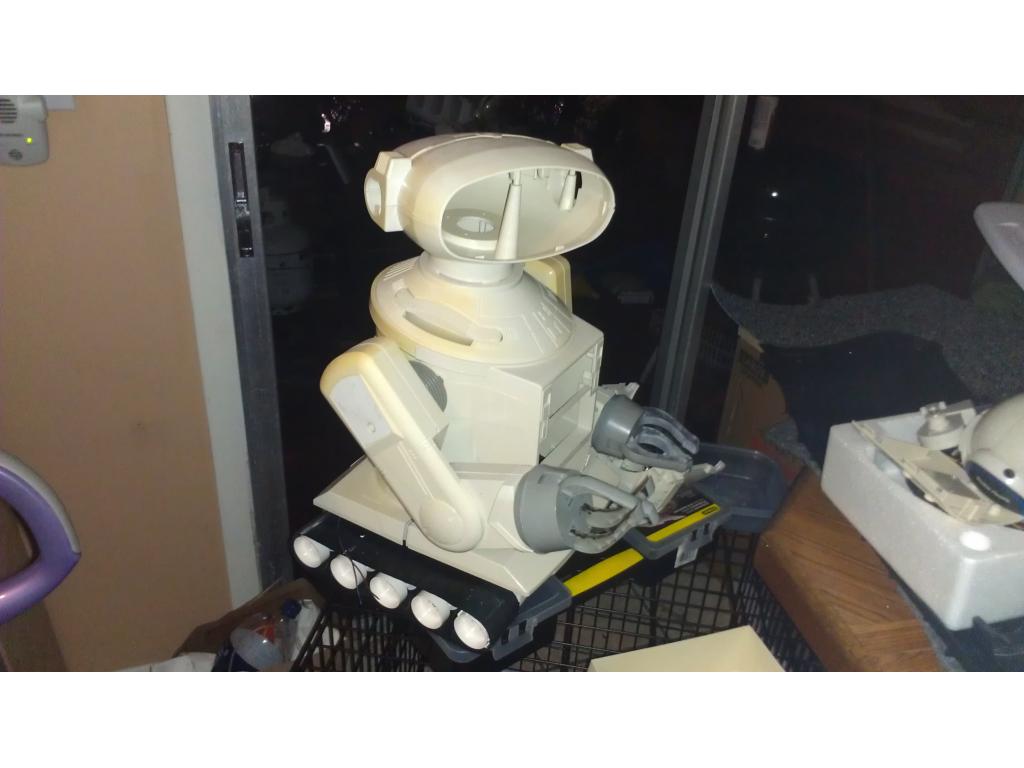
This project has evolved some , the basic rundown is I'm modding two Omnibots , one a regular the other a larger 2000 model. I will have two ezb kits , rad base idea was thrown out because of so much noise but could go back on the table if the omnibot drivetrain is too weak to pull it.


By jstarne1
— Last update
Discover more robots
Jeremie's Ravage The VHS Tape Robot
G1 Transformers-inspired Ravage VHS tape robot with EZ-B IoTiny, 360 servos, LiPo battery and fold-down stand for...
Bhouston's Rubik's Cube Solving Robot
Run a Thingiverse 3D-printed Rubik's Cube robot with EZ-Robot servos and IoTiny; plugin for cube-solving, arm/gripper...
Dave's Hello All
Control Johnny 5 replica with EZ-B controller - easy starting point for testing and learning robot control and...

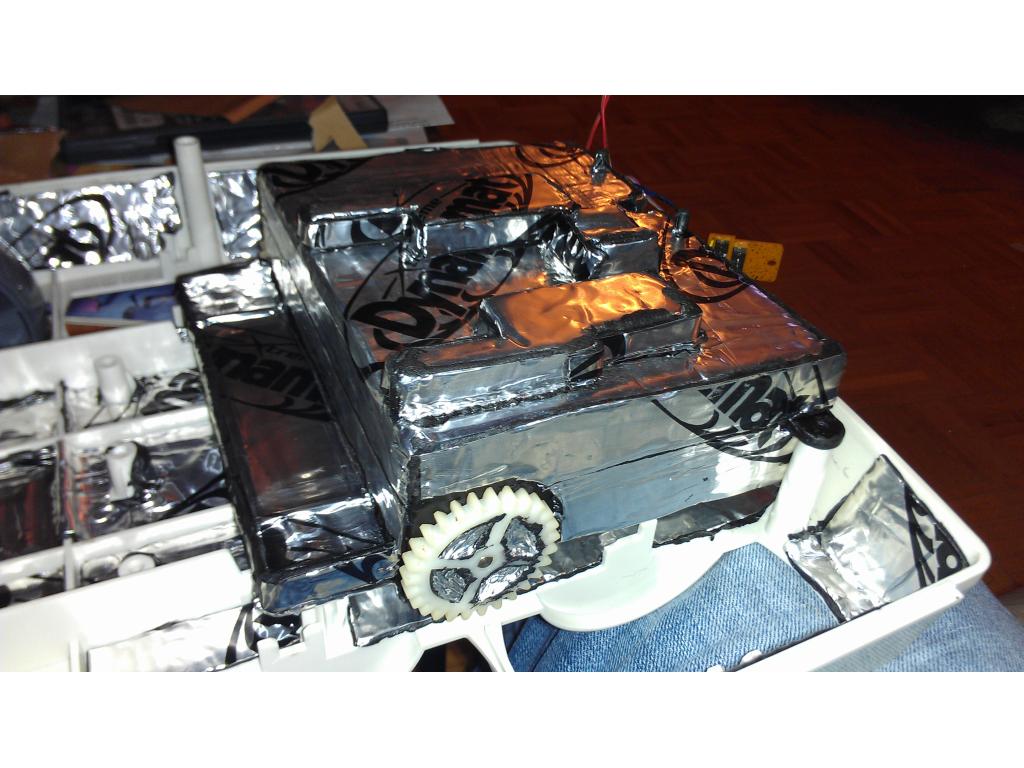
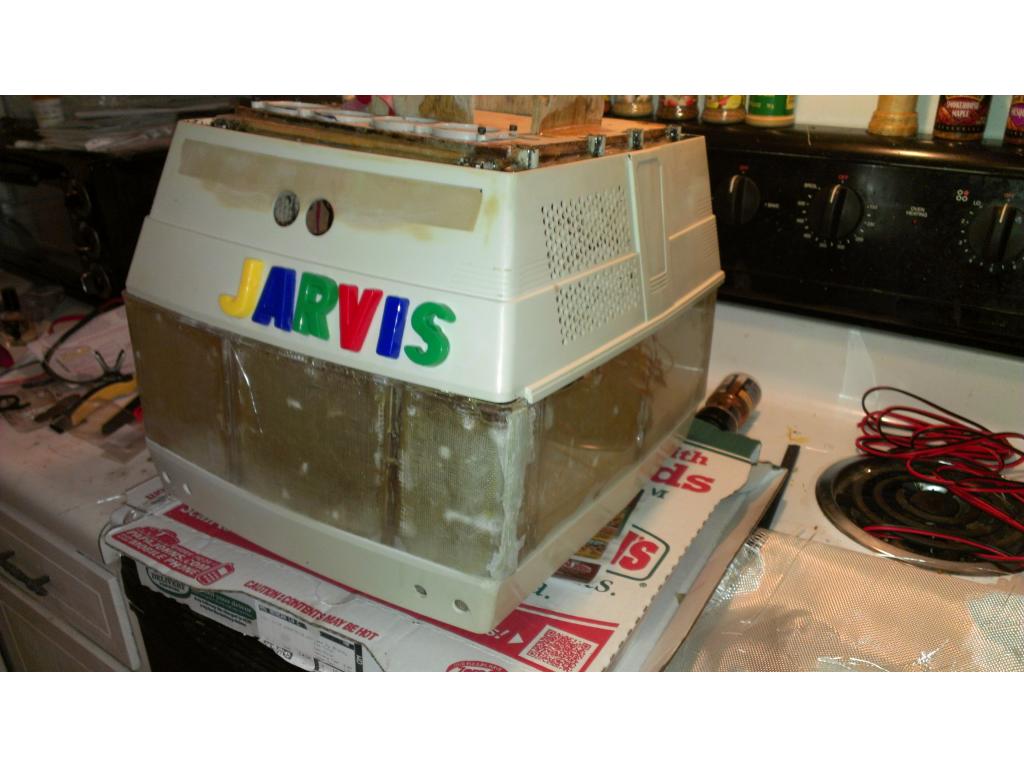
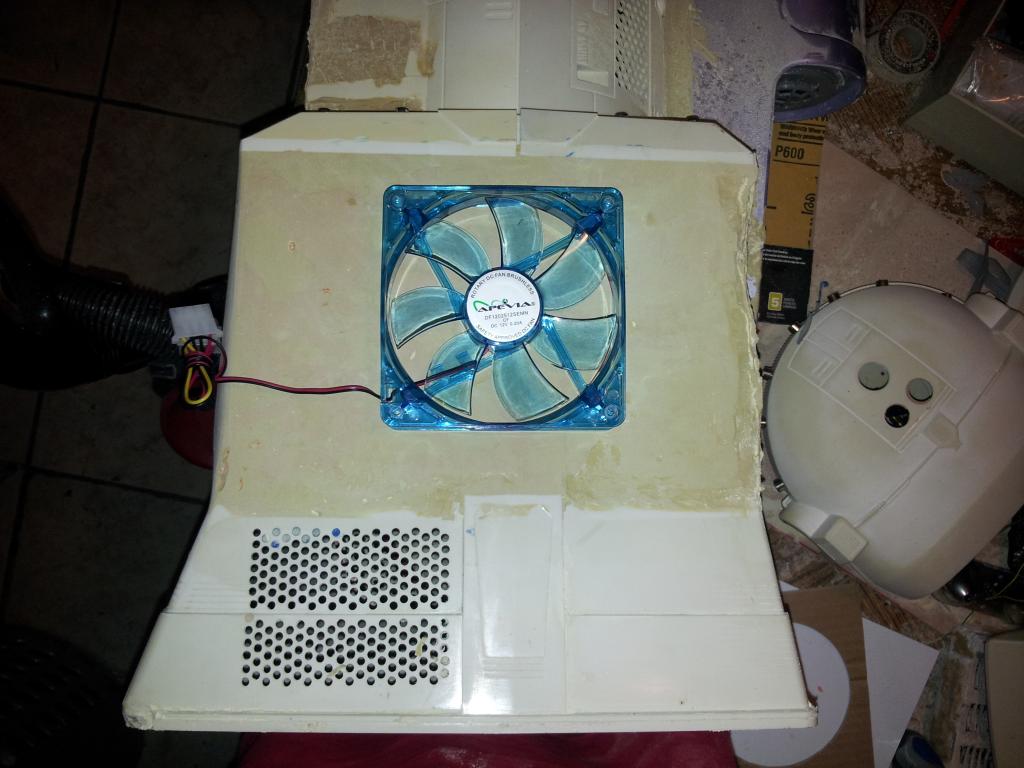
that is looking totally SICK...looks like you got the cooling down for sure! well done jstarne1!
Nice! You are blowing me away Dude!
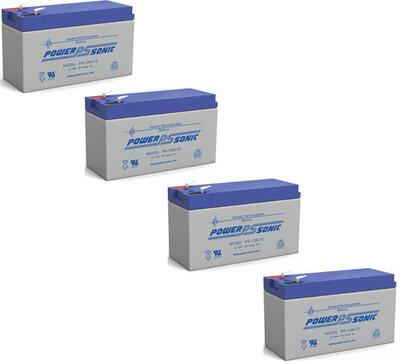
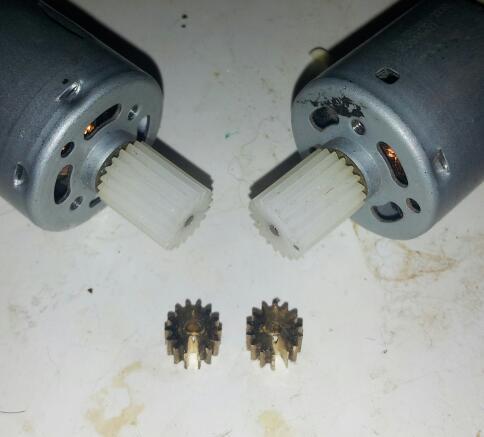
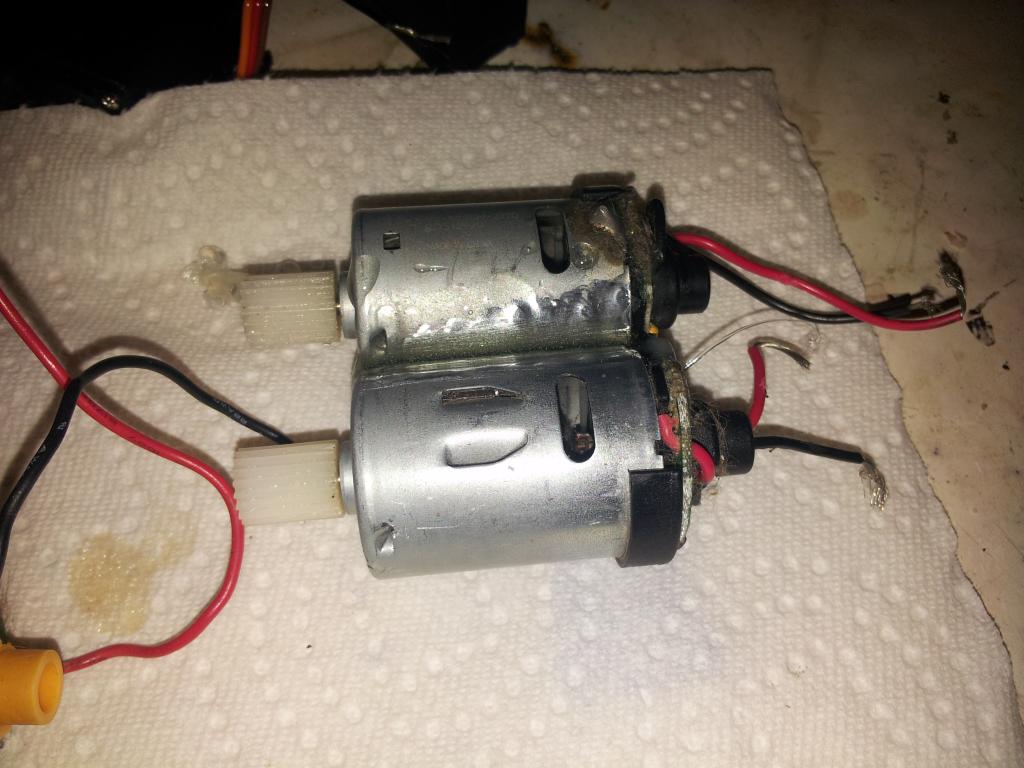
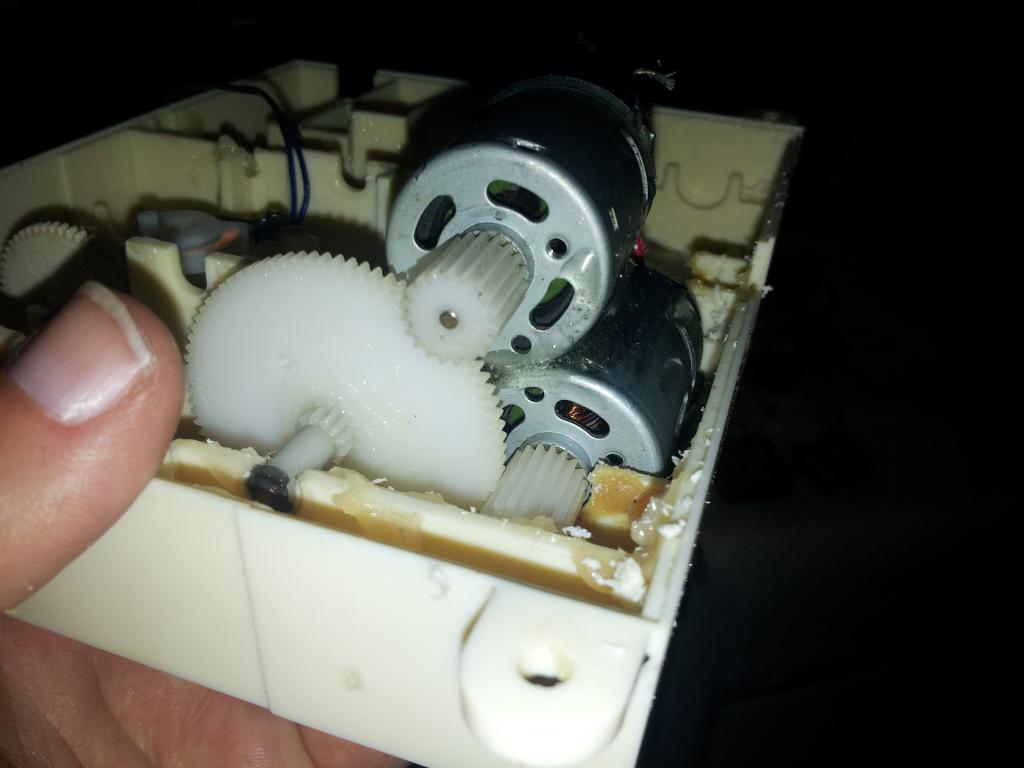
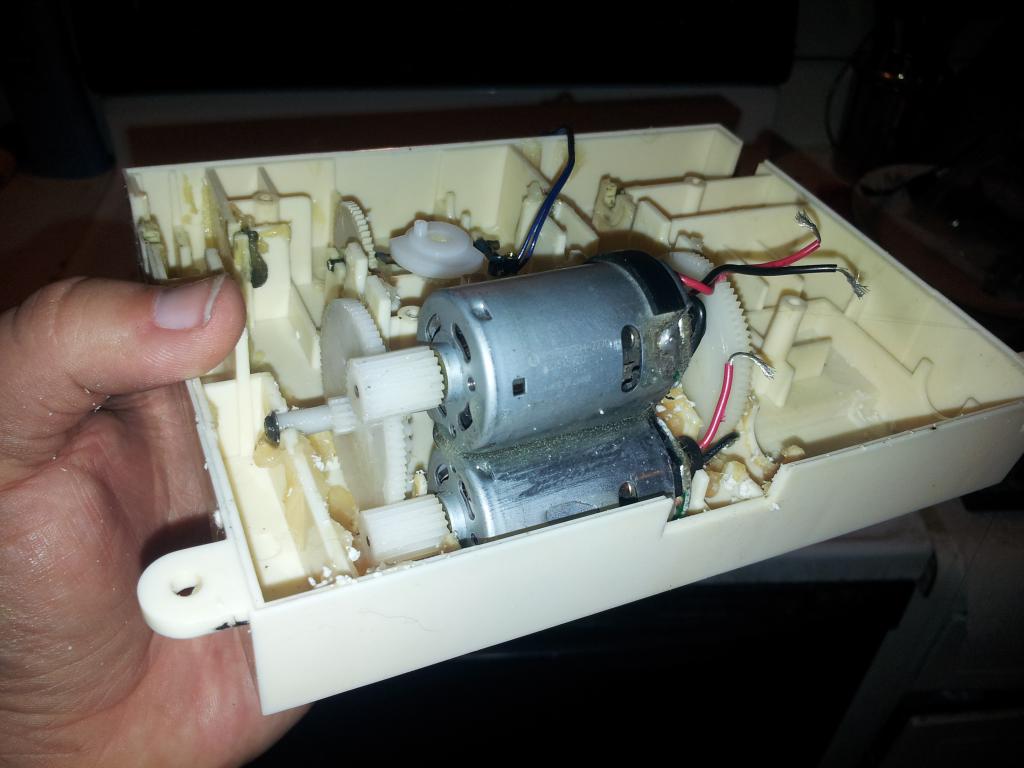
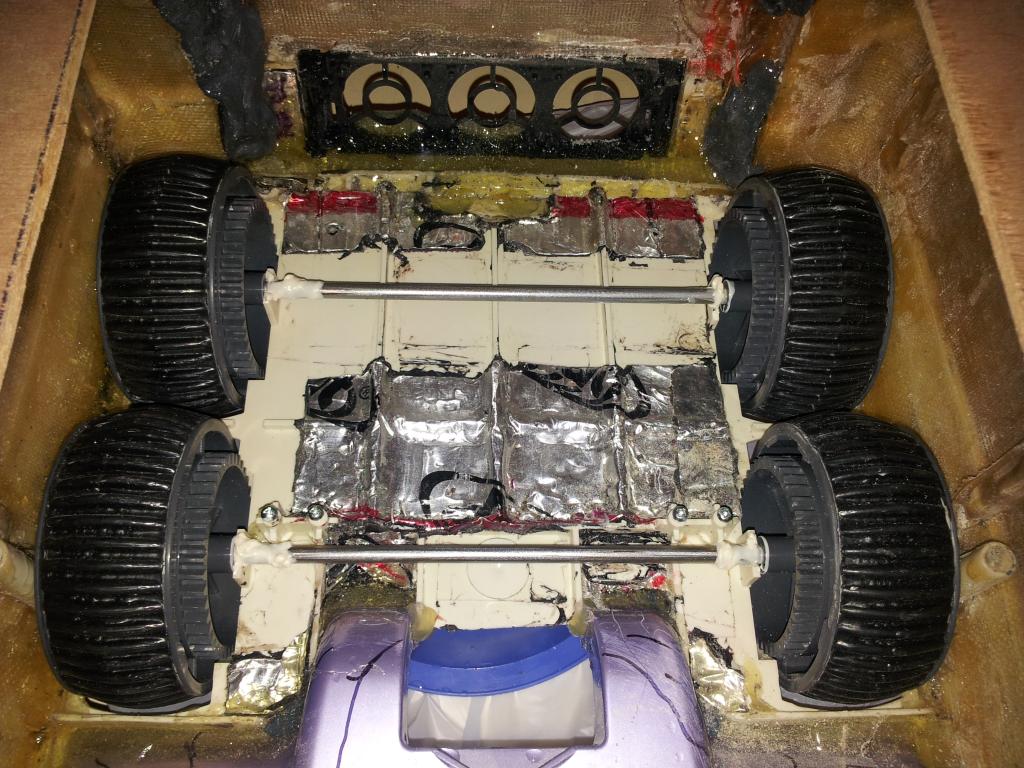
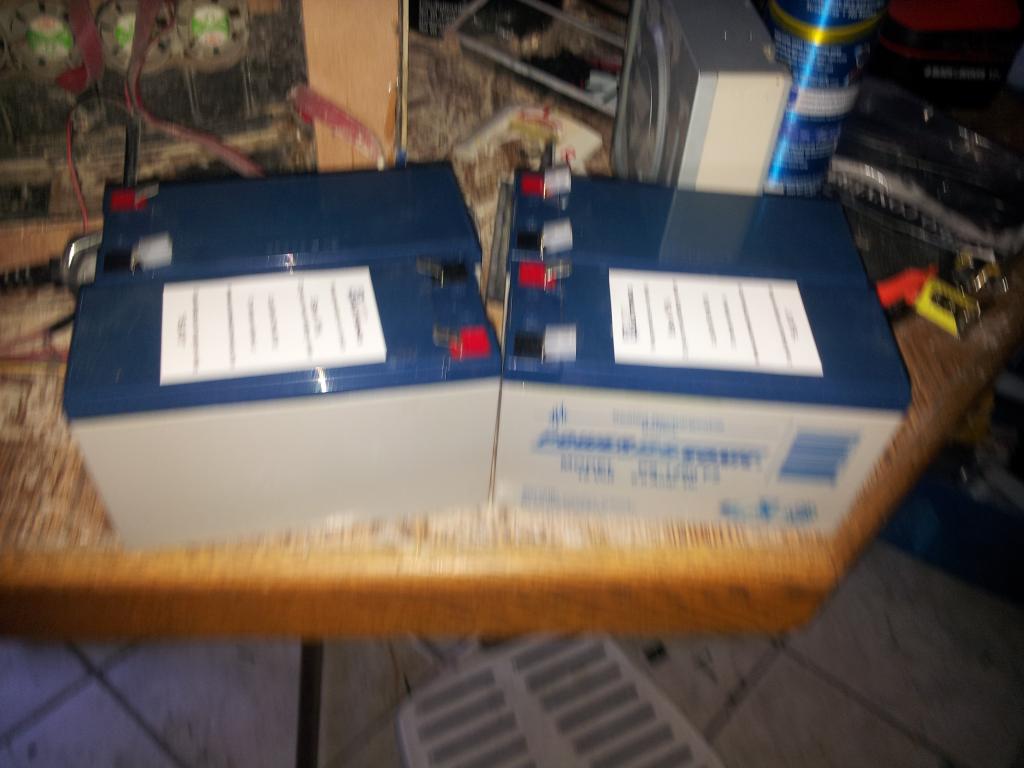
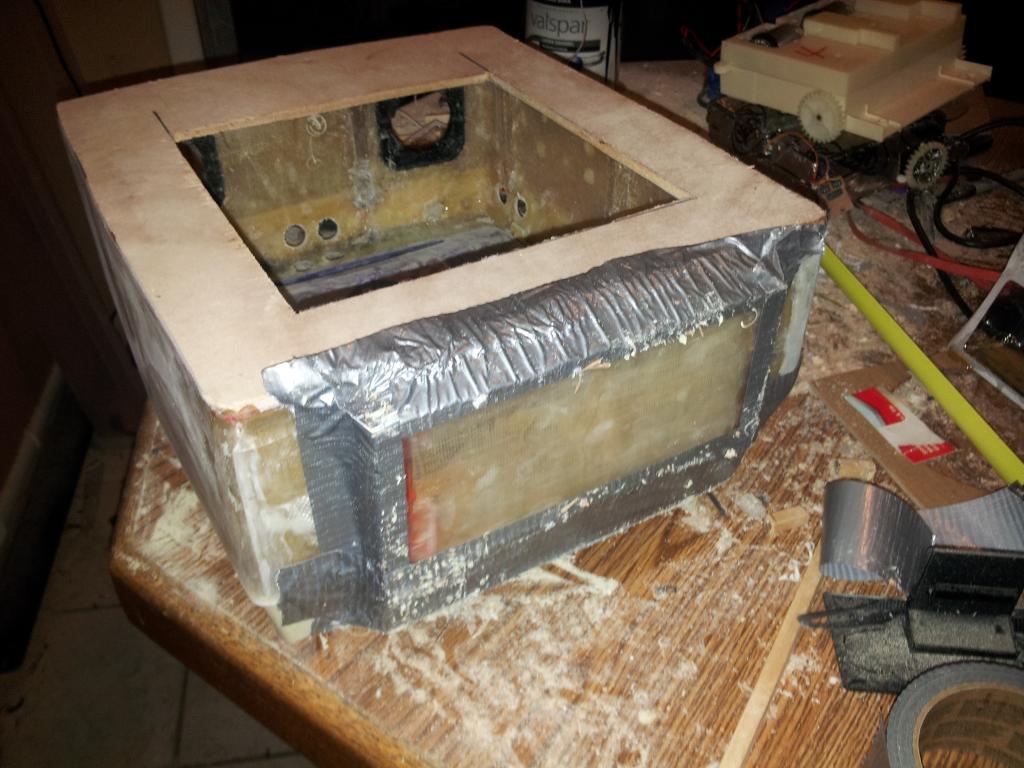
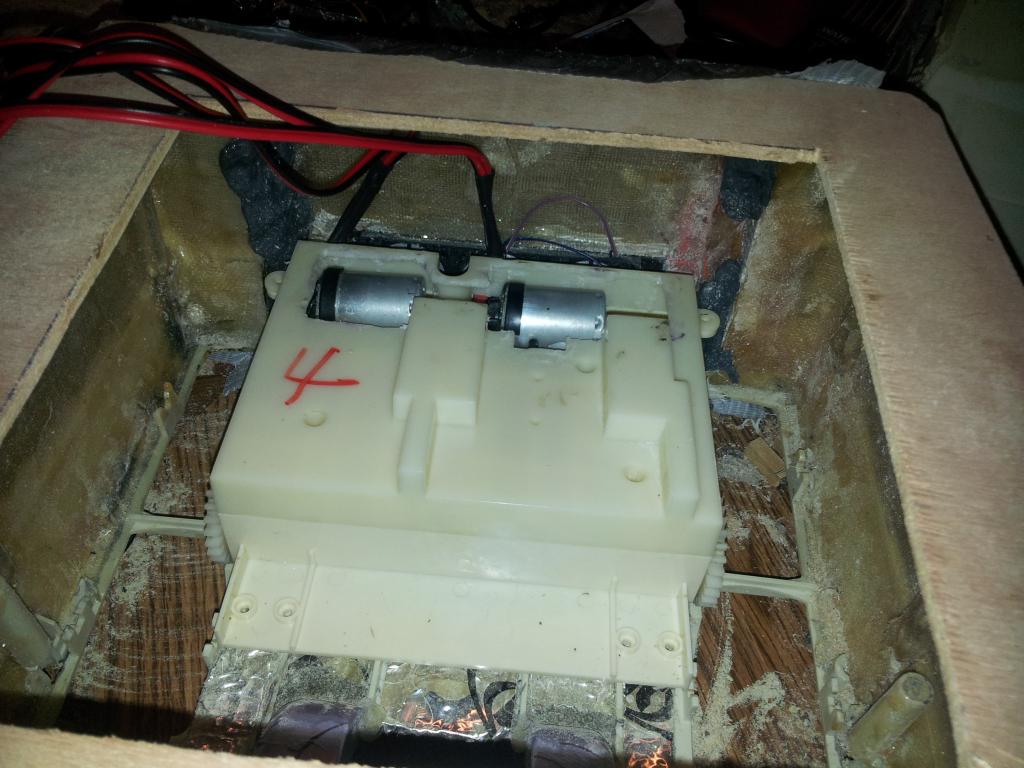
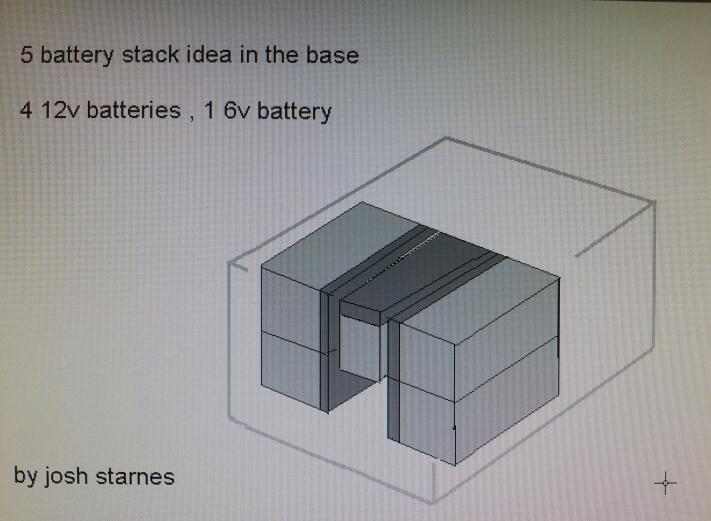
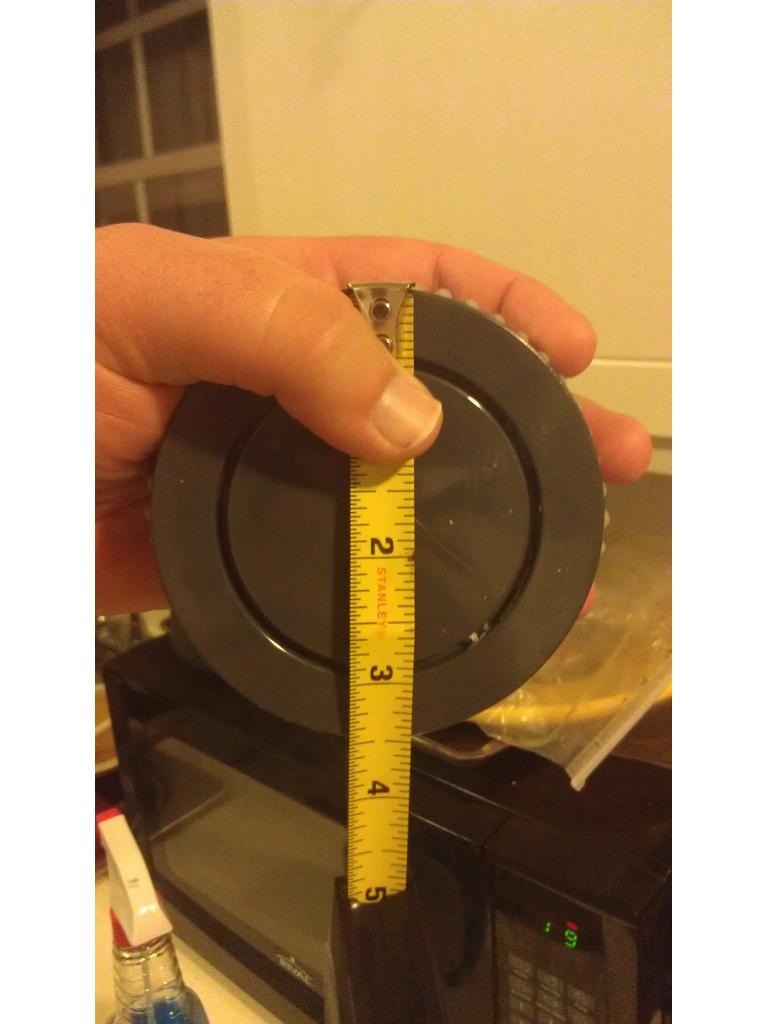
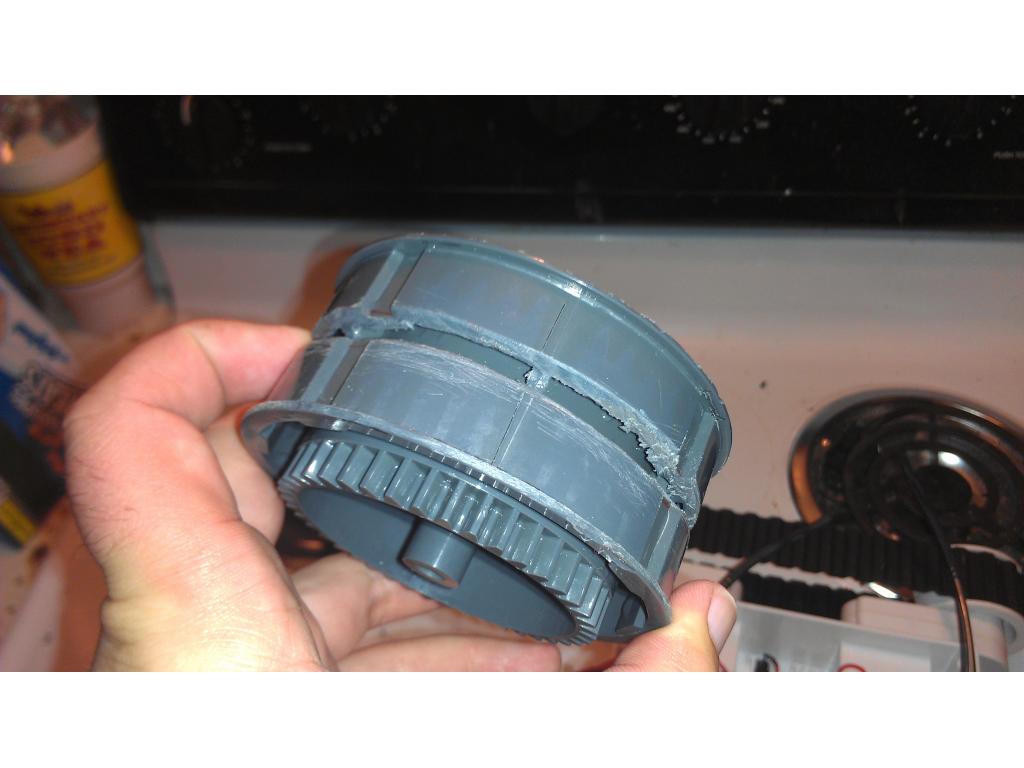
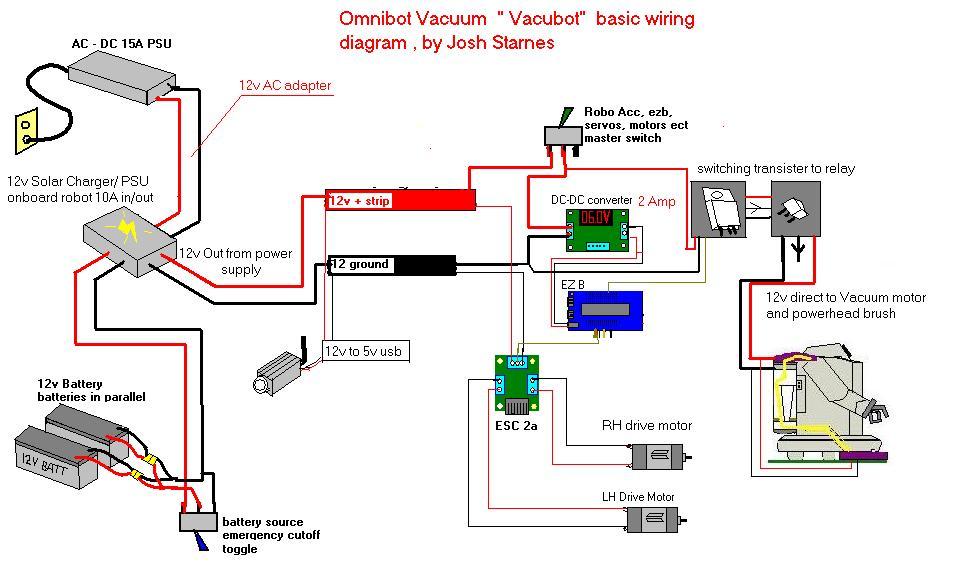
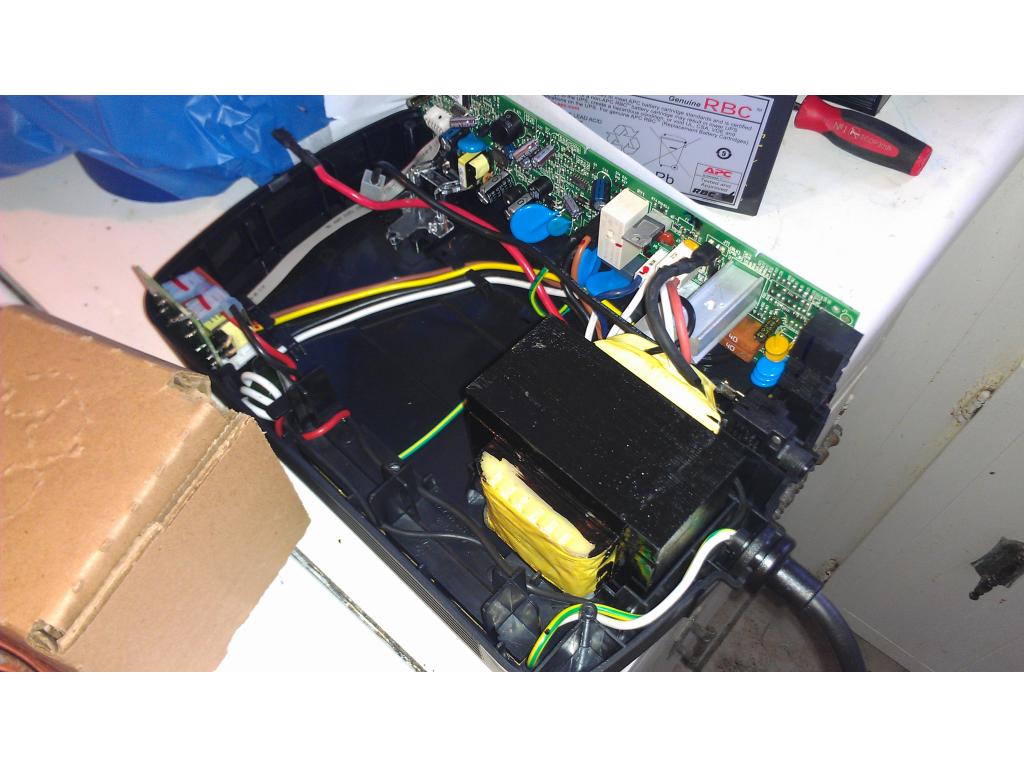
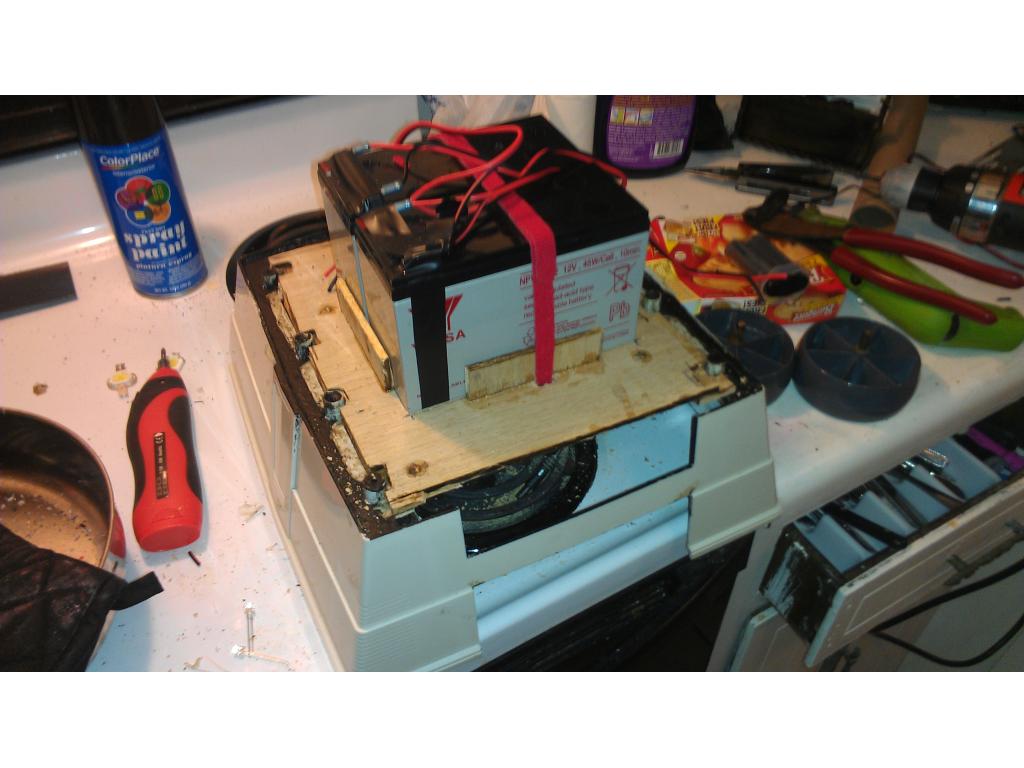
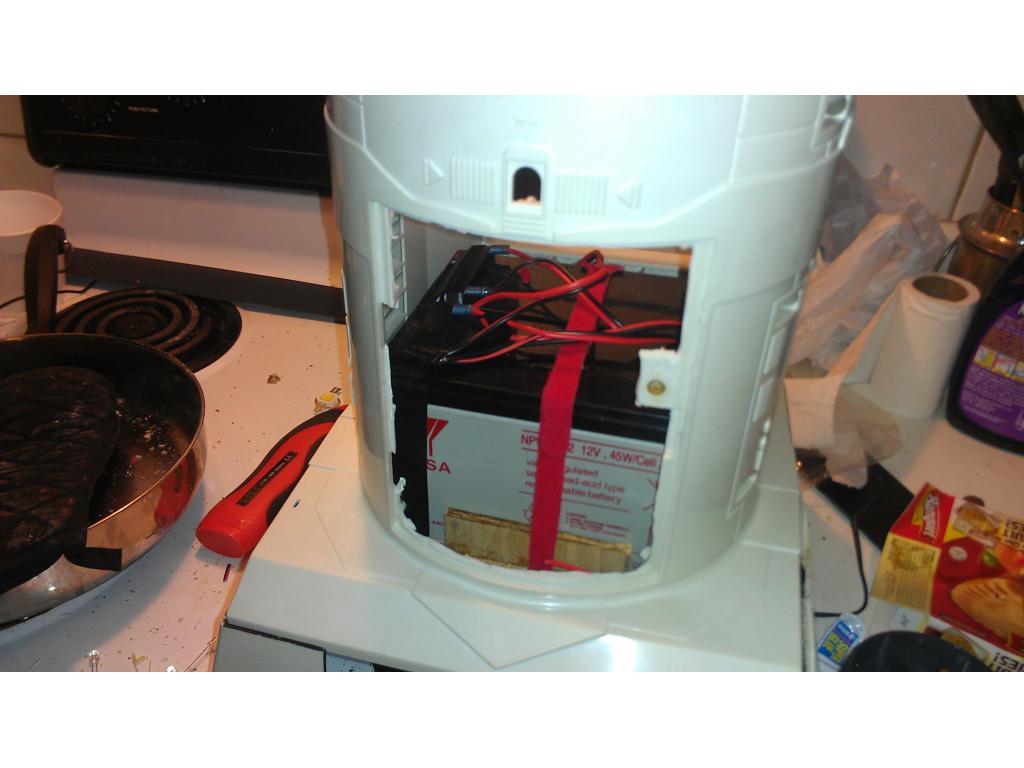
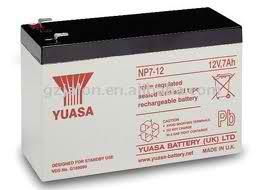
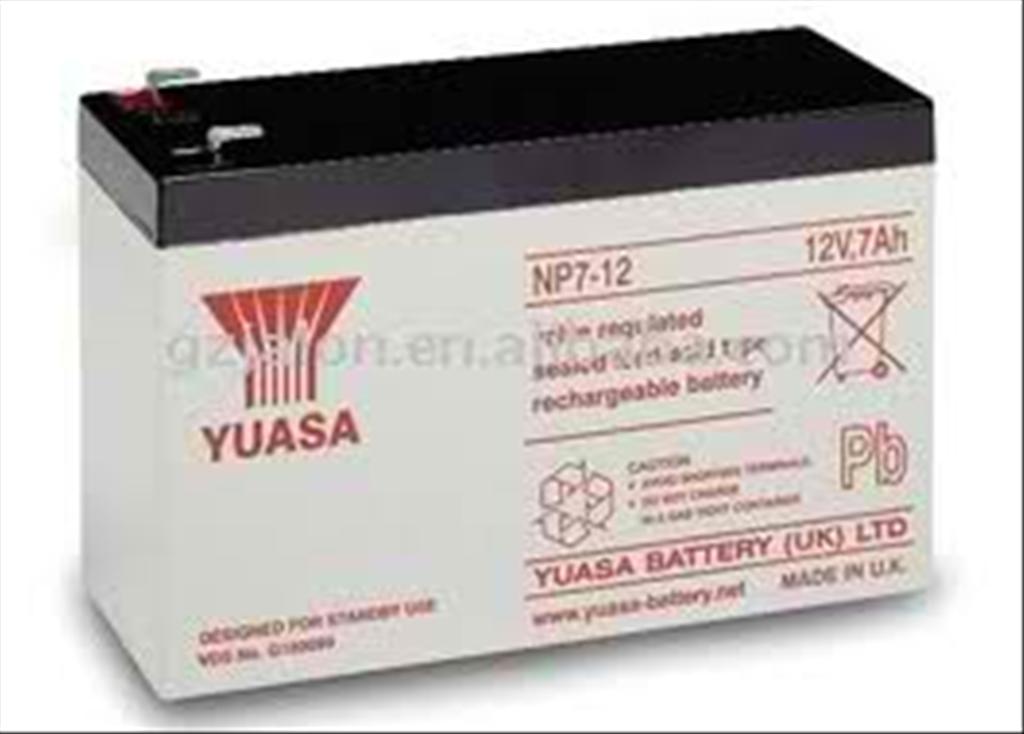
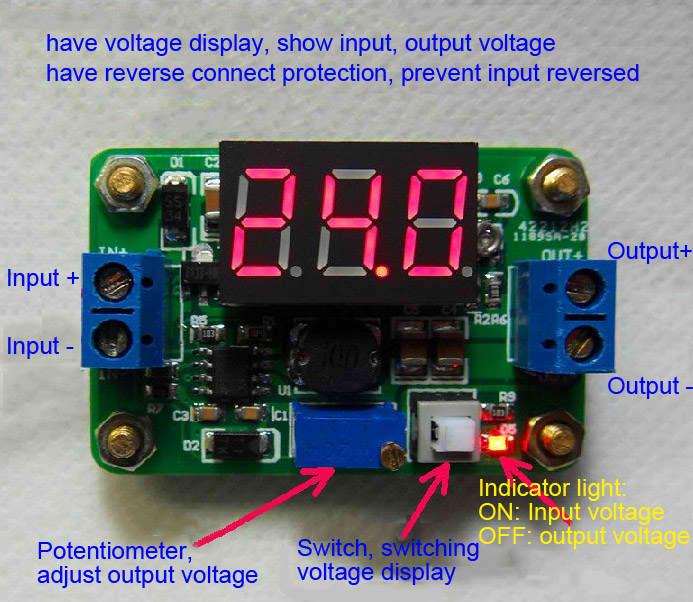
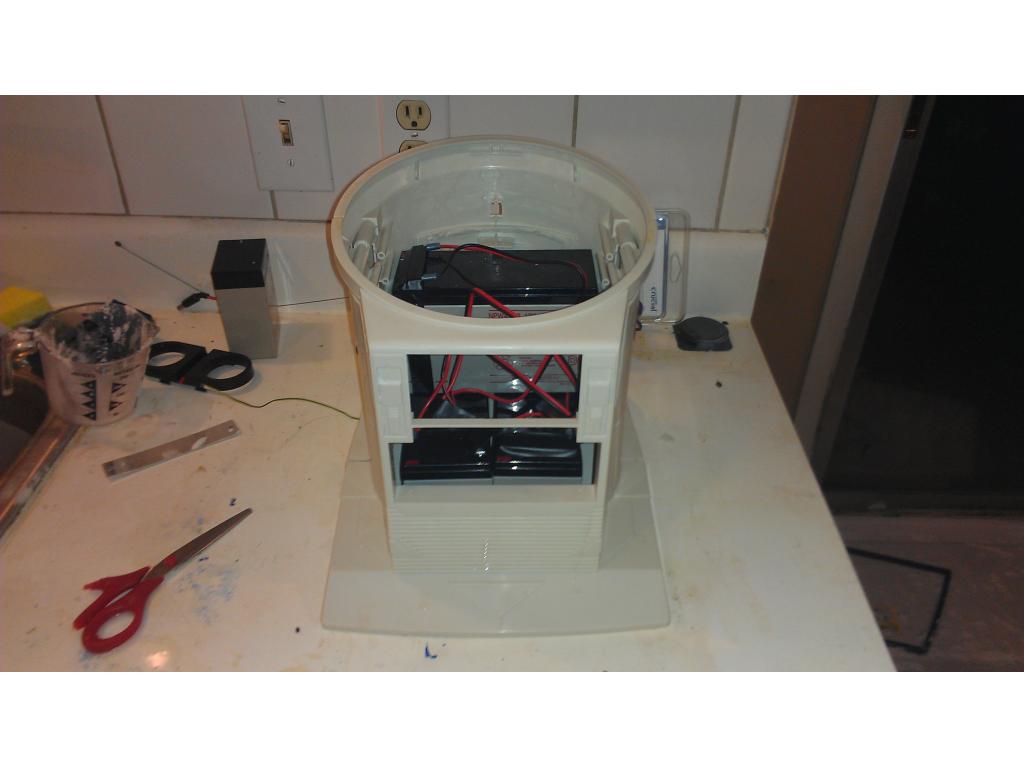
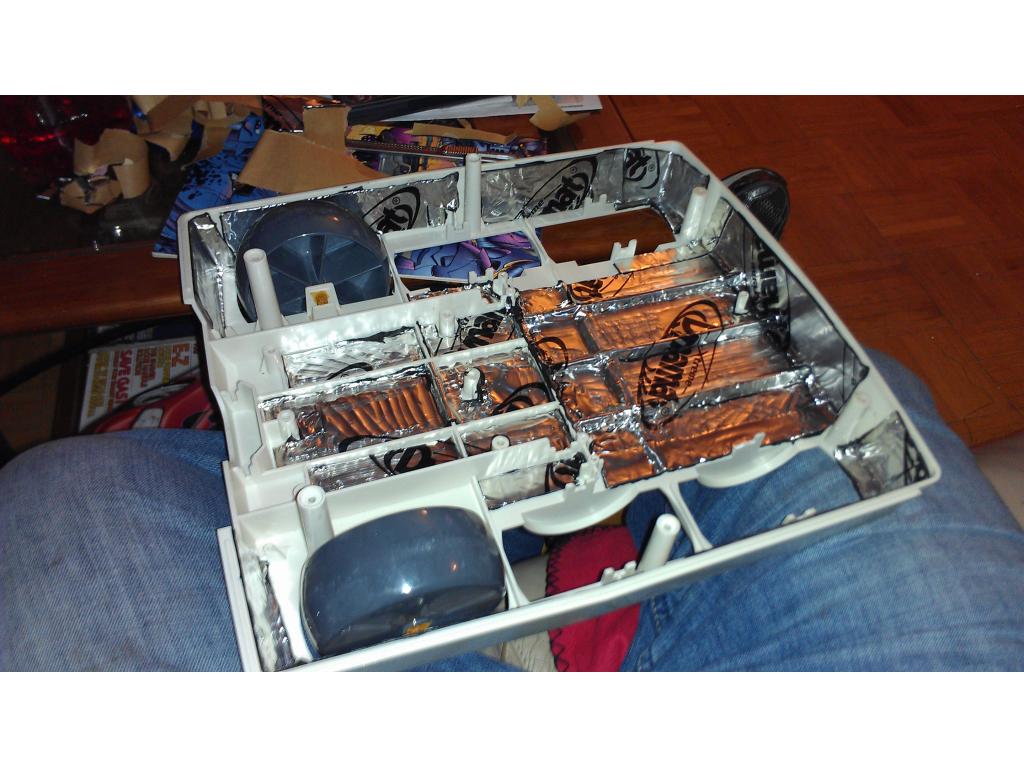
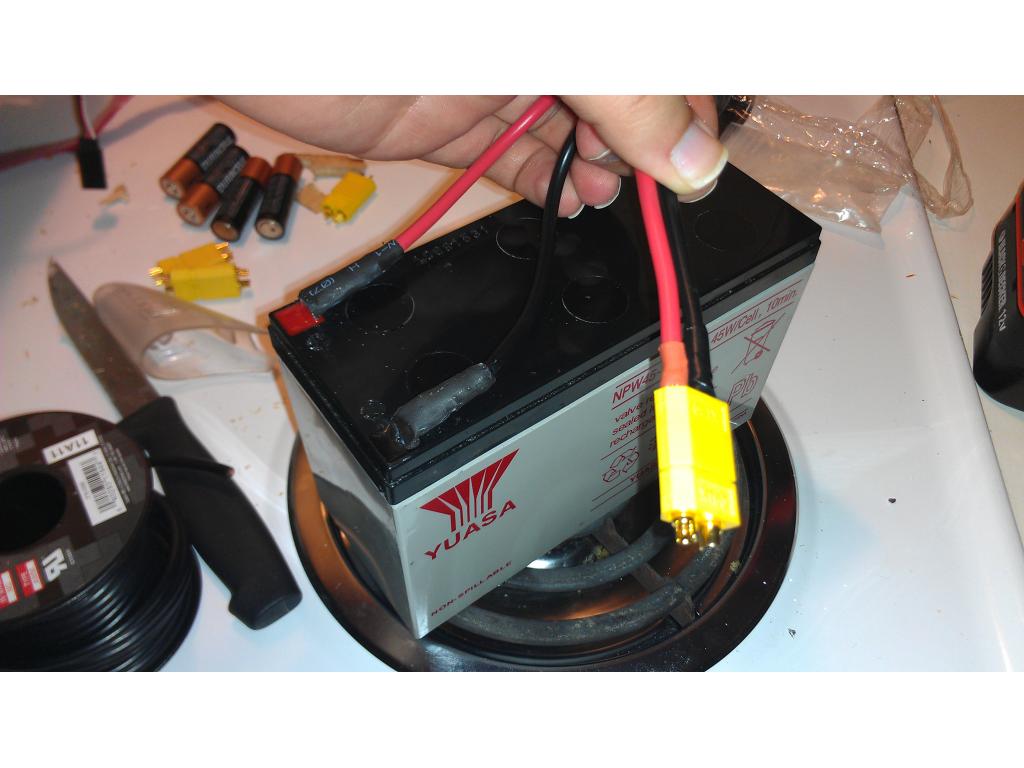
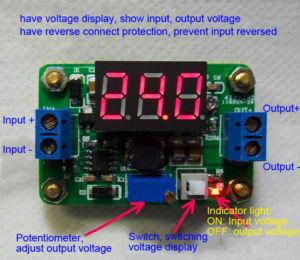
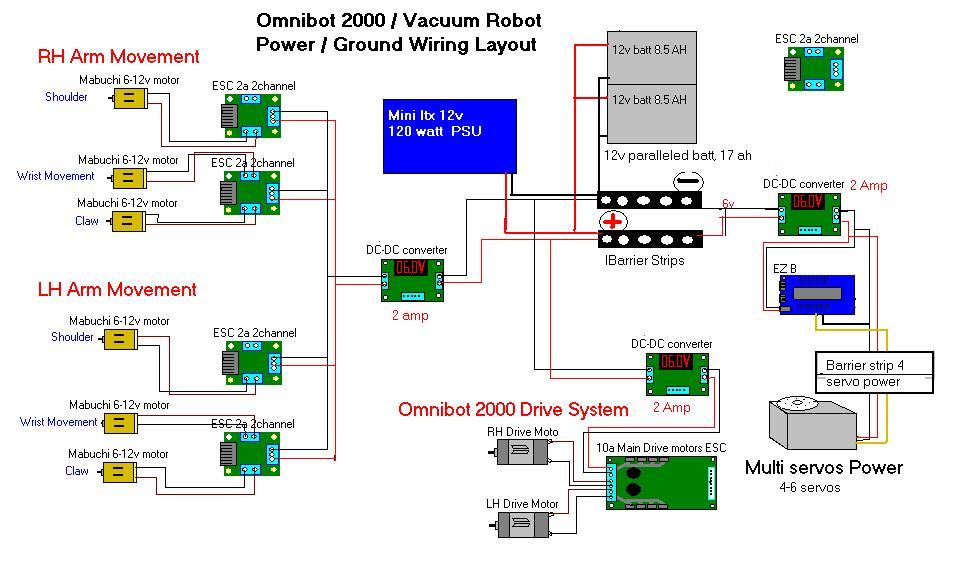
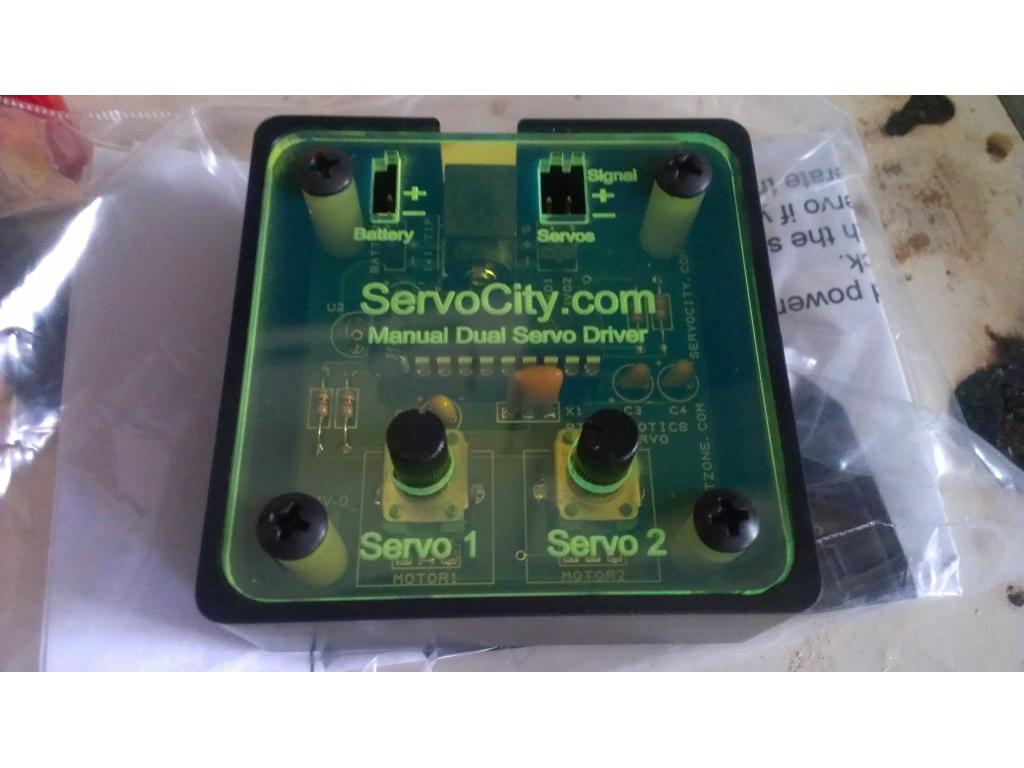
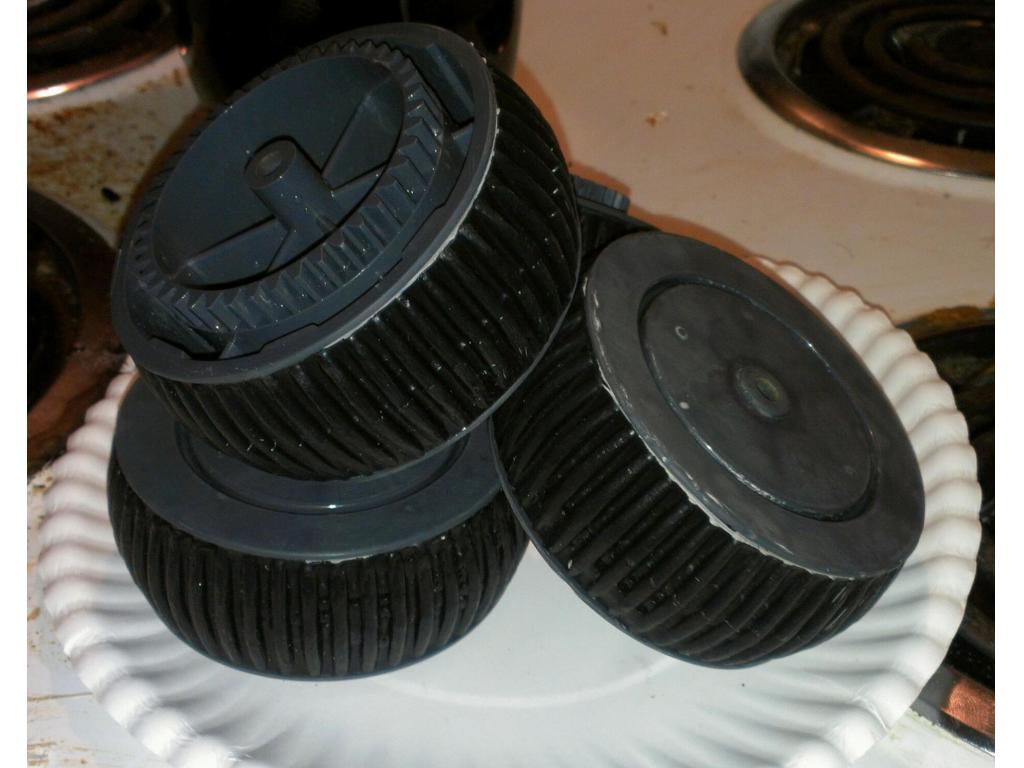
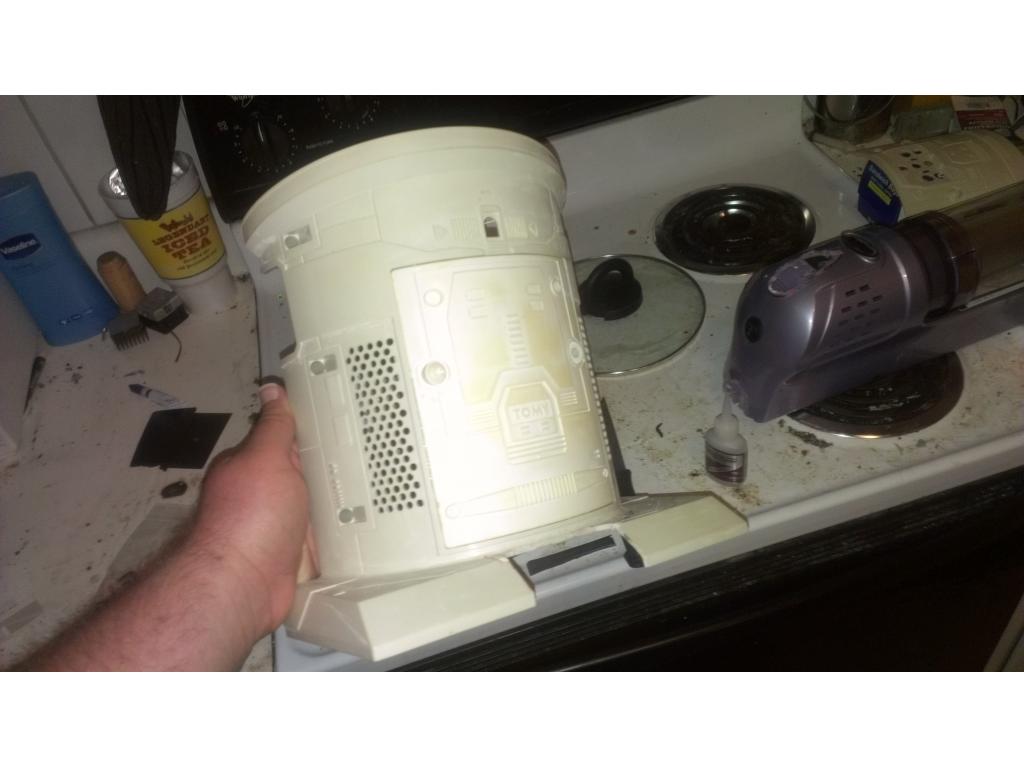
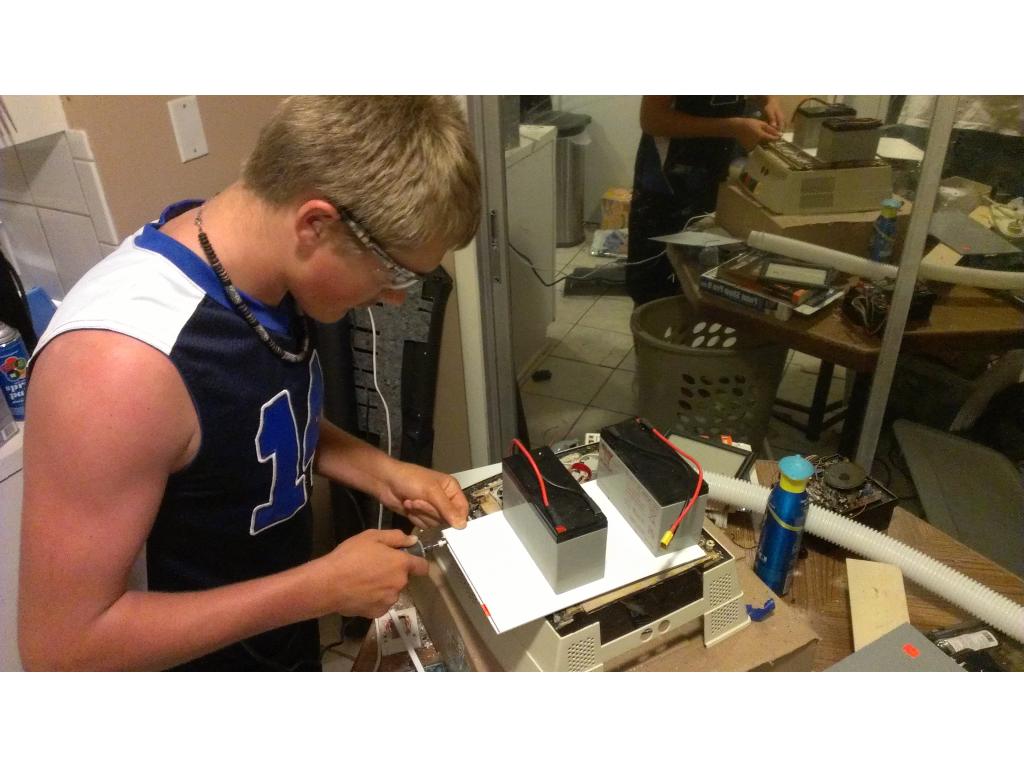
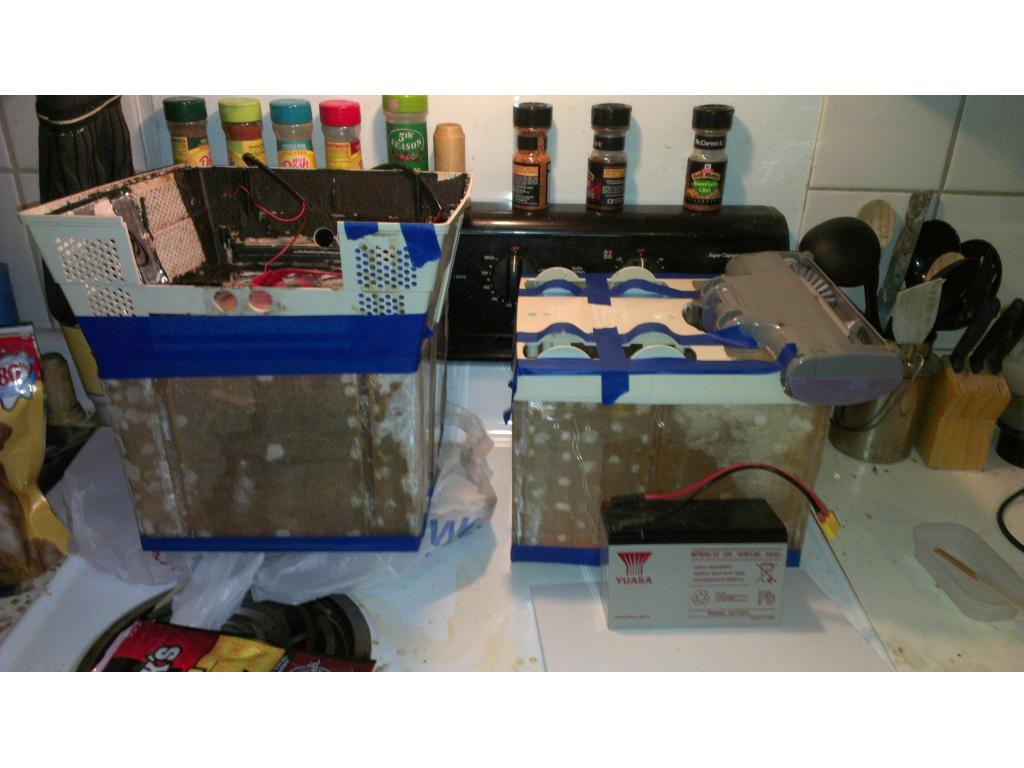
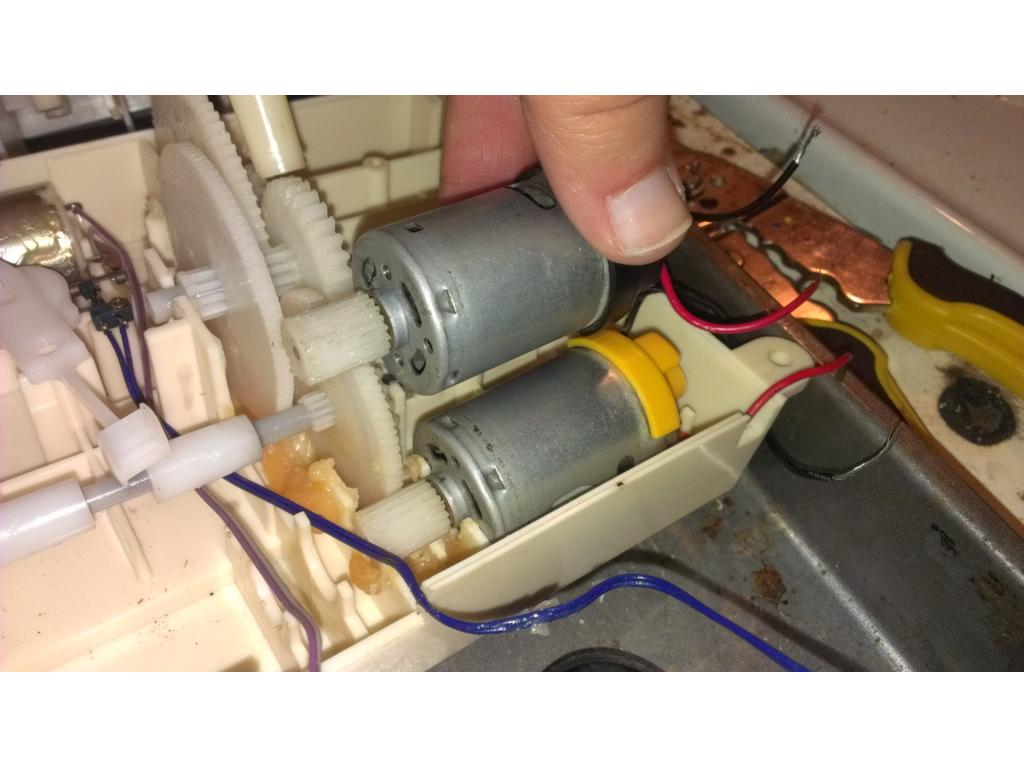
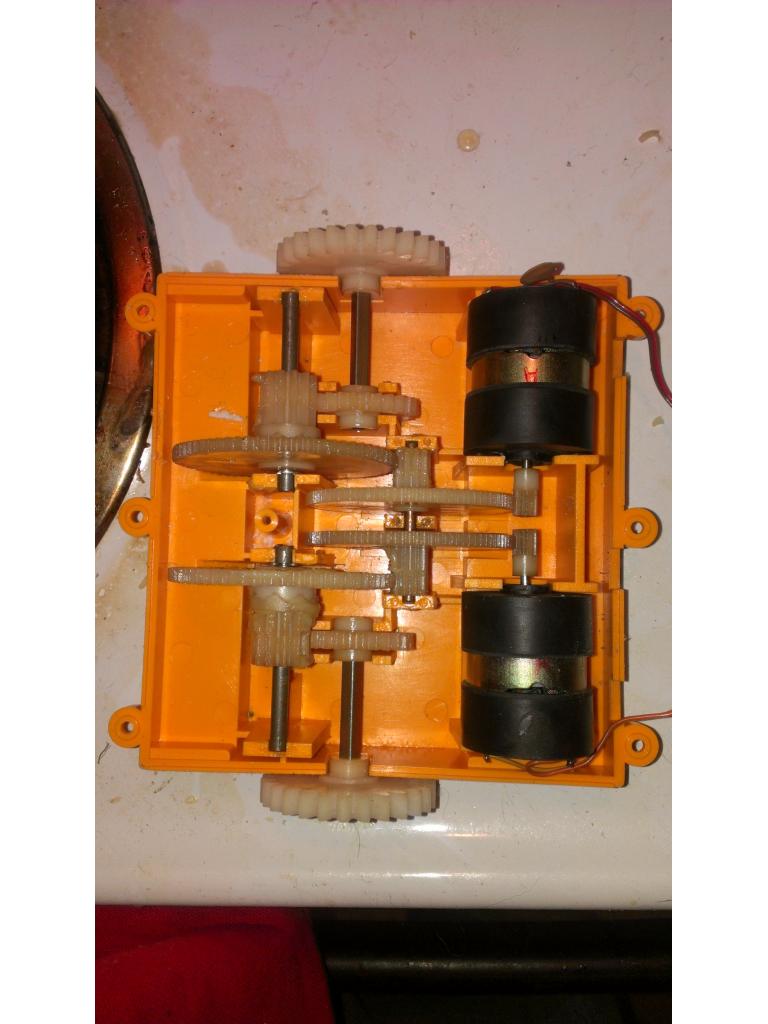
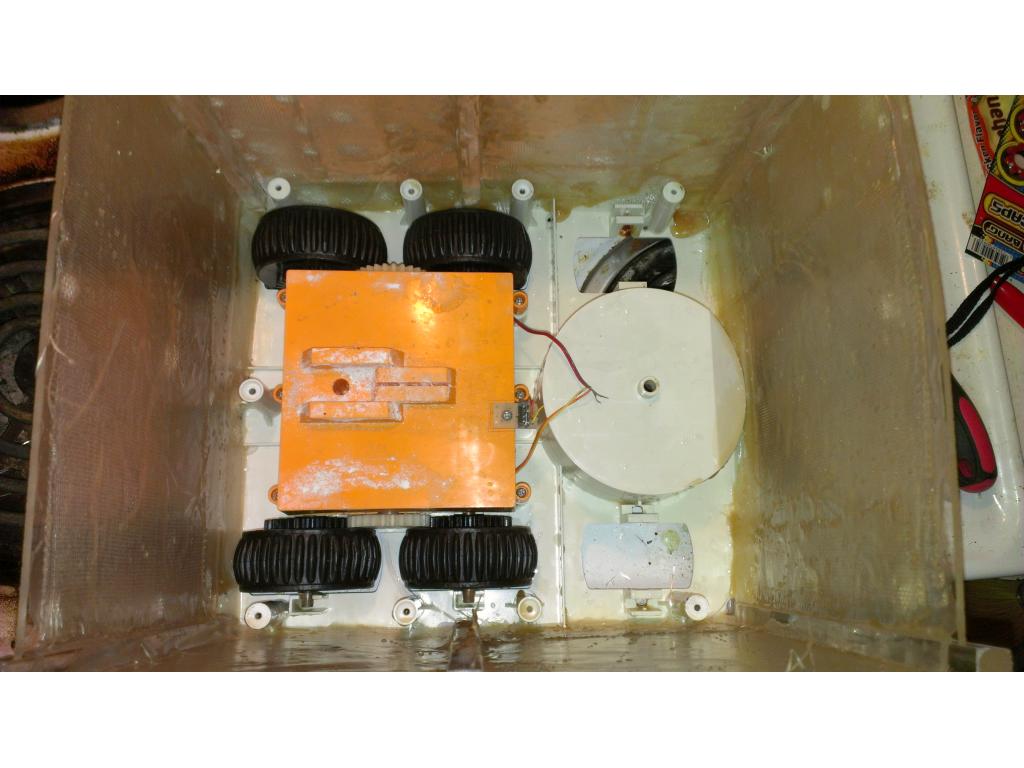
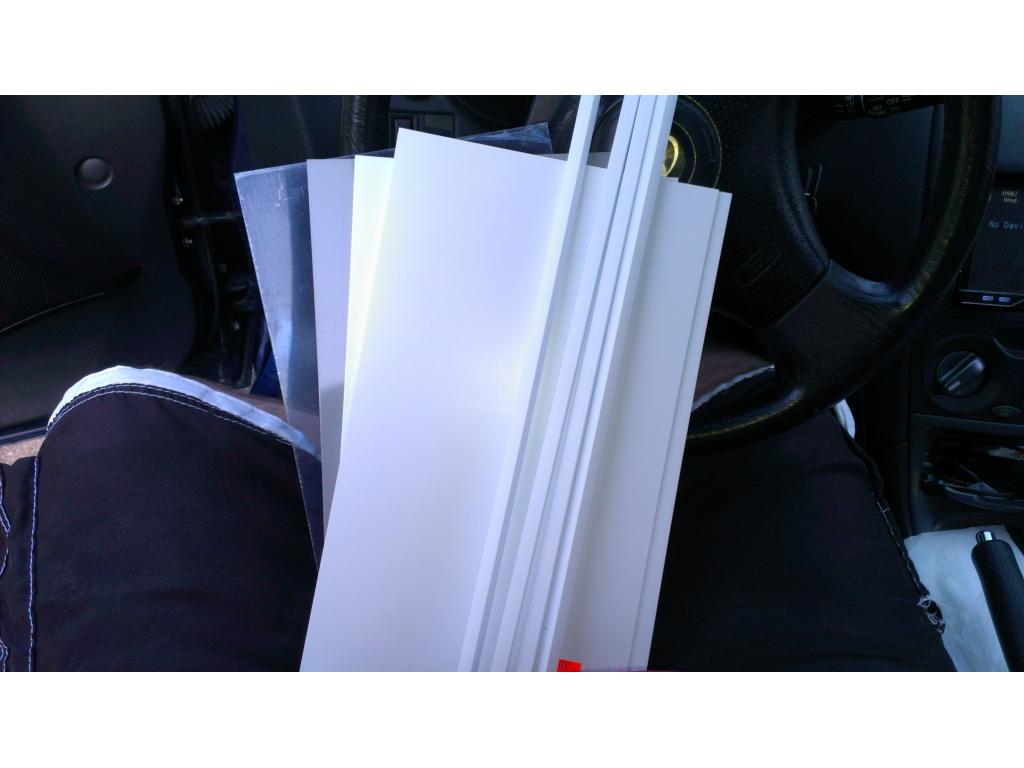
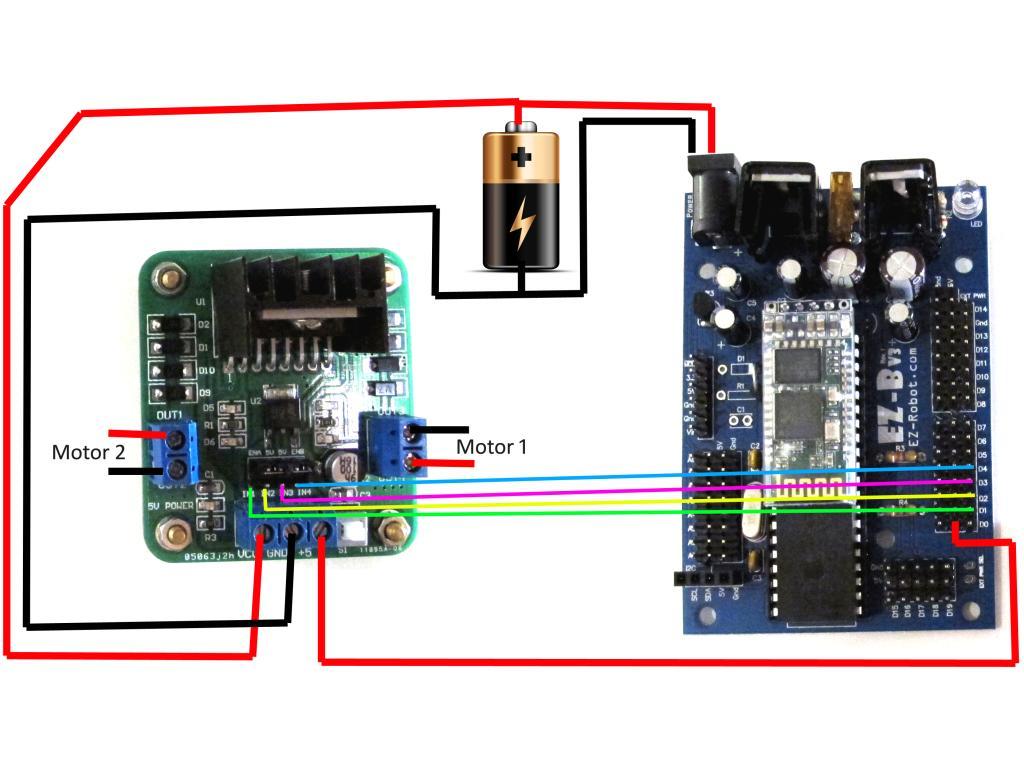
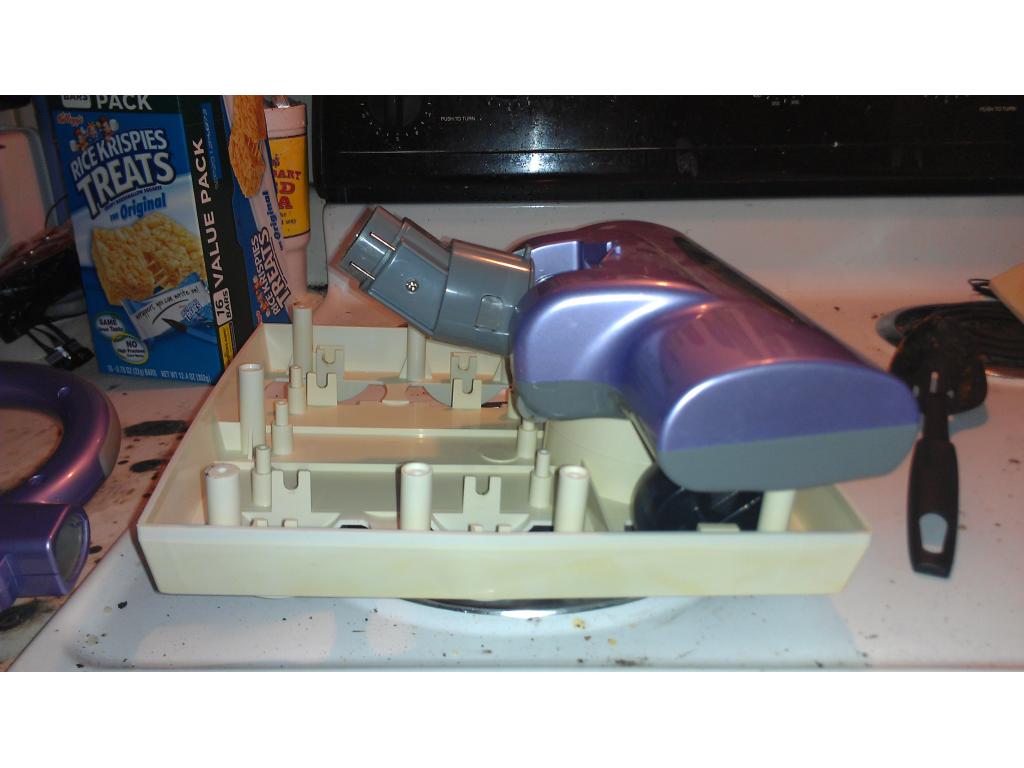
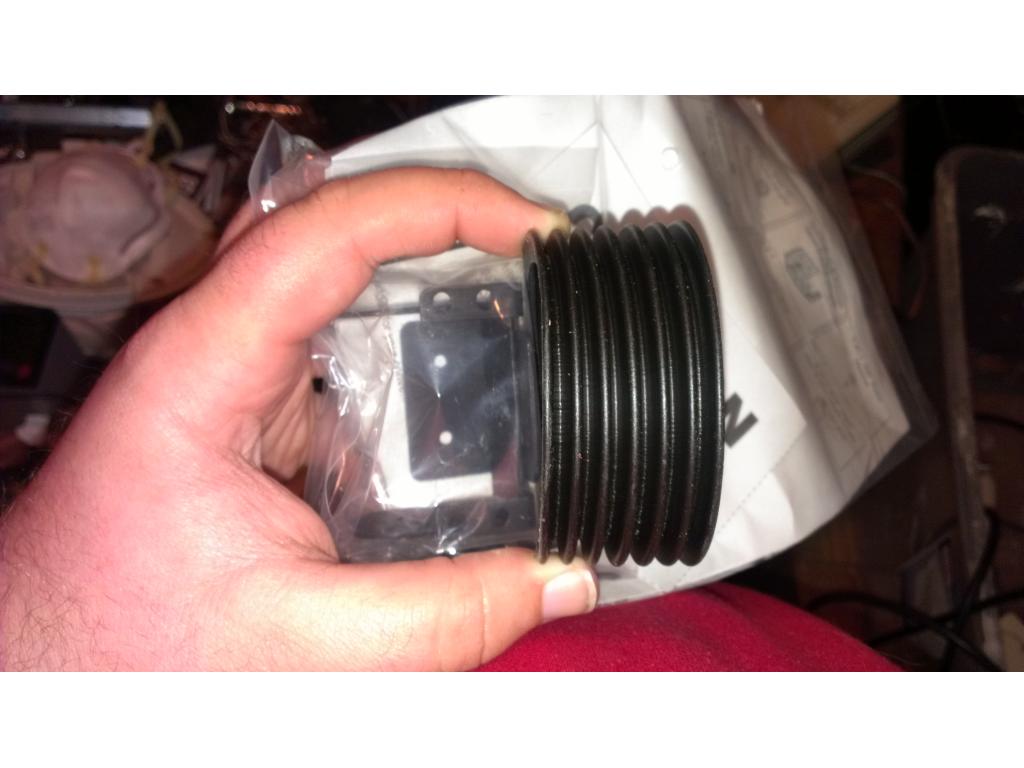
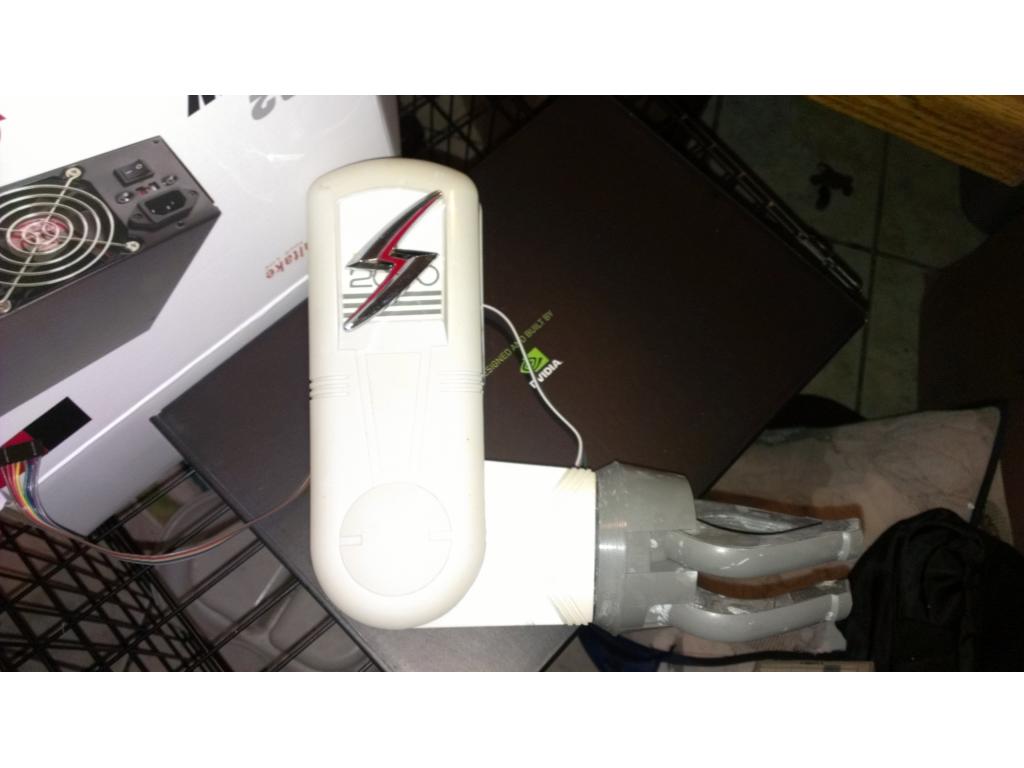
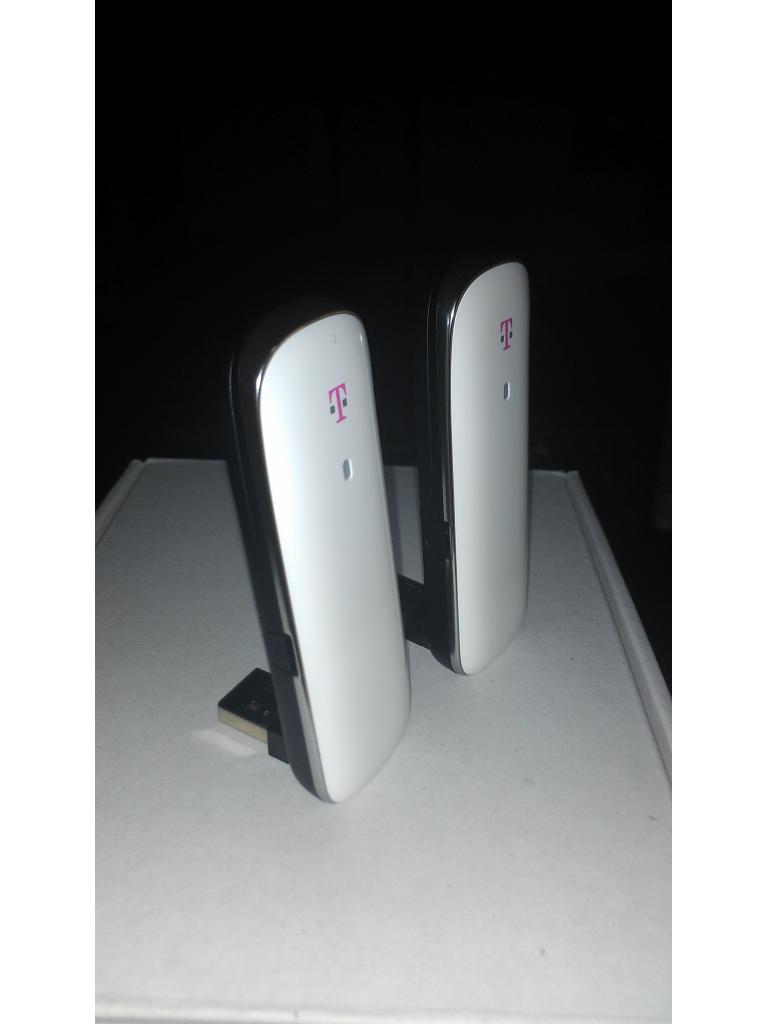
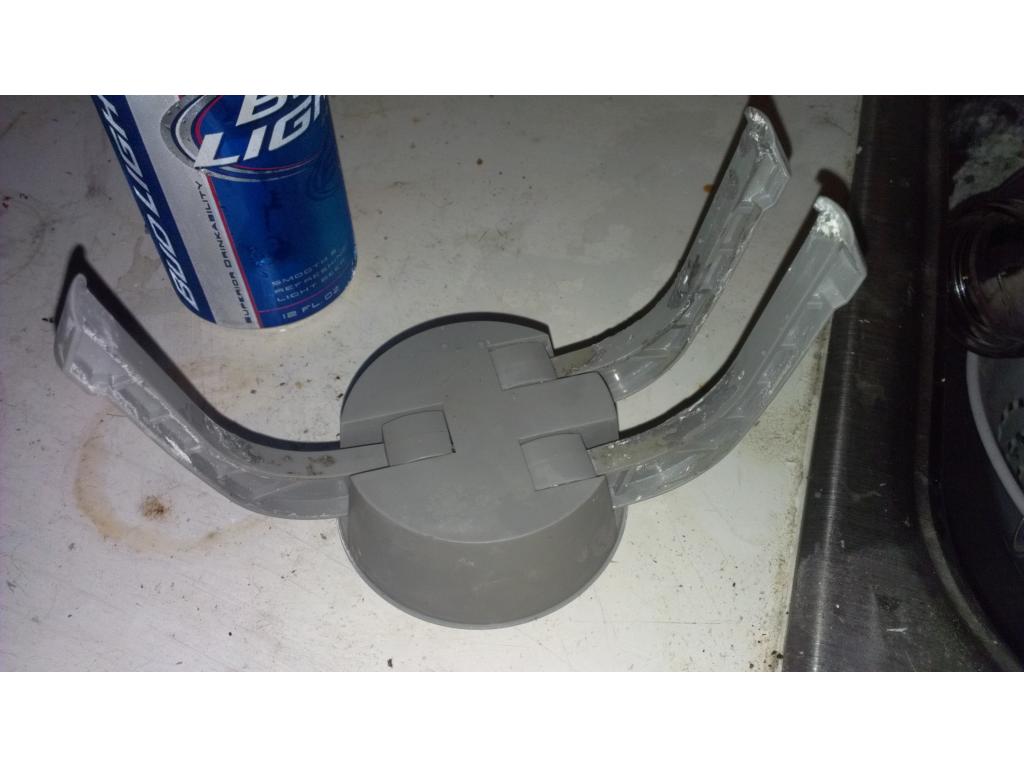
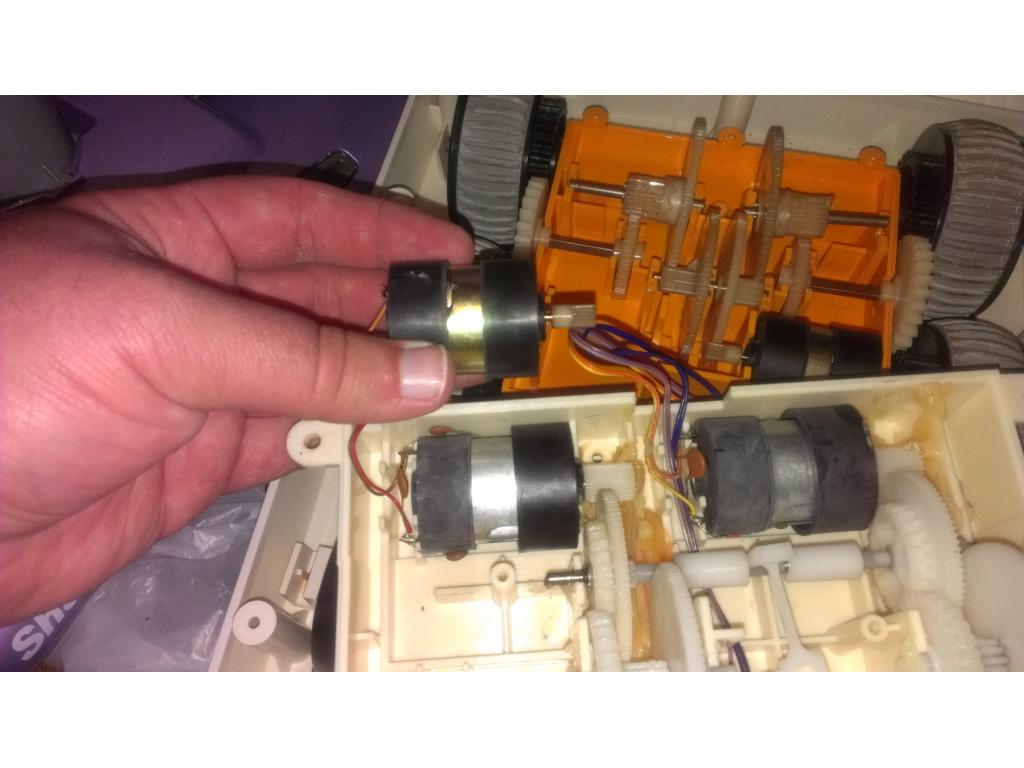
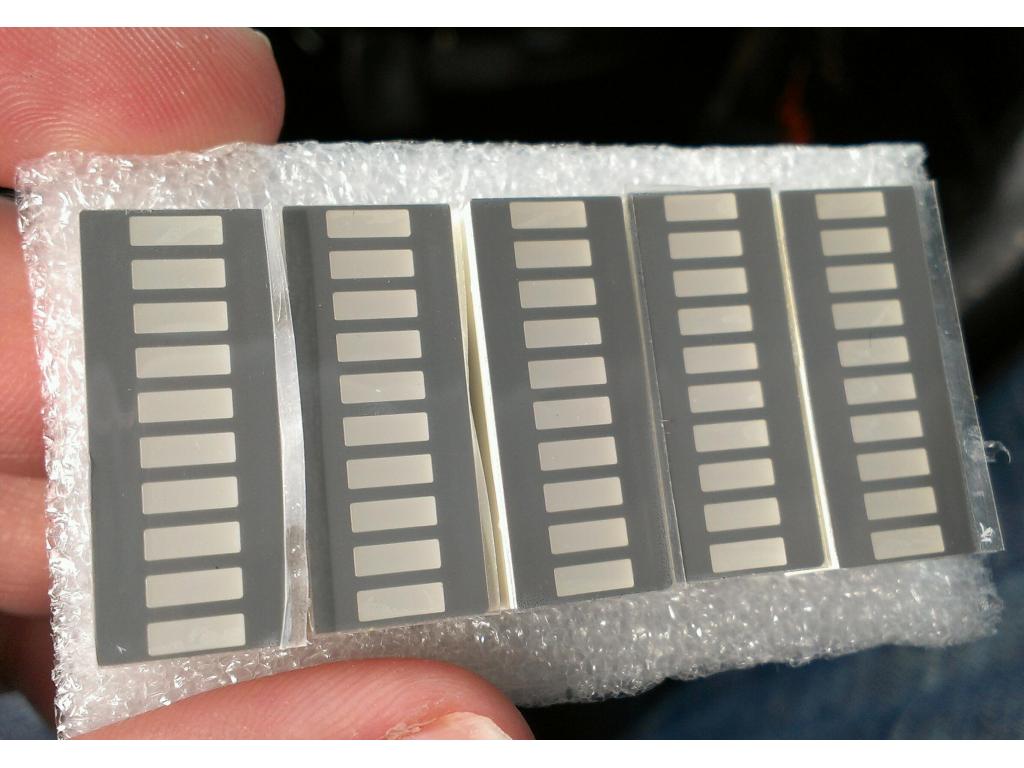
@brett , then get back in the workshop! Lol I am excited to see your bot running around! I just now got the H-bridge from Dj. Once it has a fan on it and maybe a heatsink if I have one small enough I can start the tedious task of plugging everything up. So far I'm thinking of having the ezb and motor controller in the torso so I have fast access to them through the back door. . Hopefully this h bridge from dj is enough to lug around my bot. I'm sure it will draw 1-1.5 amps a channel. I have some fiberglassing to do to reinforce the plastic around the axles and wheels as they are supporting twice the original weight and ofcourse being 27 years old doesn't help lol I have voltage stepdown transformers. 3 adjustable ones. I was going to convert my 12v battery voltage to 6 volts for ezb , 6 volts for motors and 6v for servos I believe. I did have an alternative idea.... A battery configuration that supports both voltages....hmm ill post a picture.
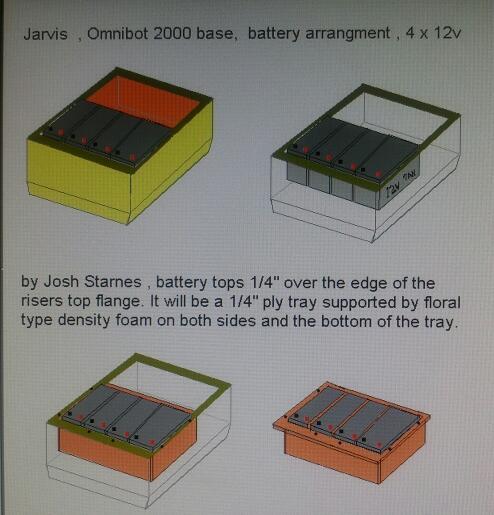
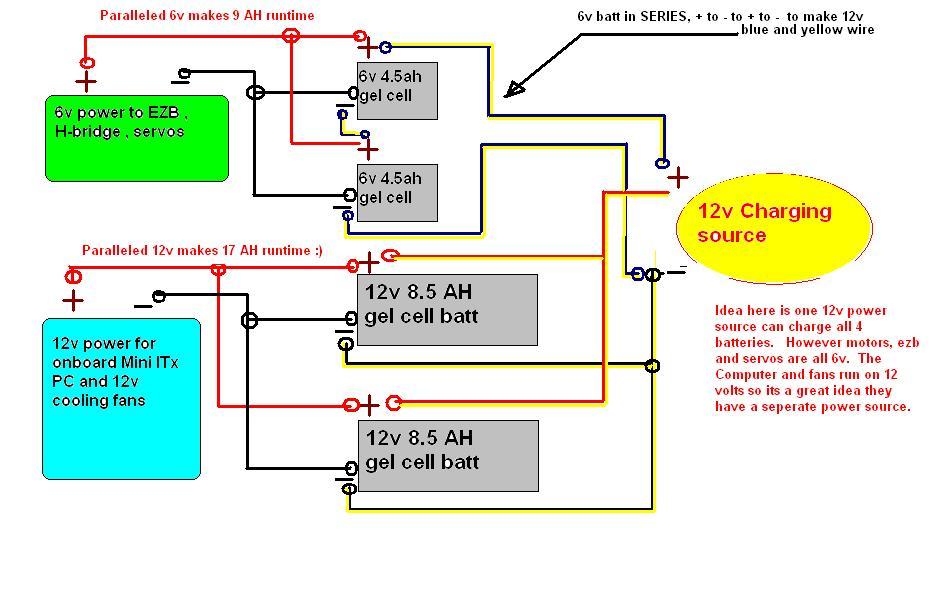
Ok the term paralleled means all positives are connected together and all negatives connected from batteries of the same voltage. Paralleled batteries of the same voltage adds their Amp Hour capacity at that voltage.
The term series is where batteries are wired positive to the next batteries negative and positive to another negative. This is commonly called a daisy chain. Series two 6v batteries together and you will have 12v at the same Amp Hour rating.
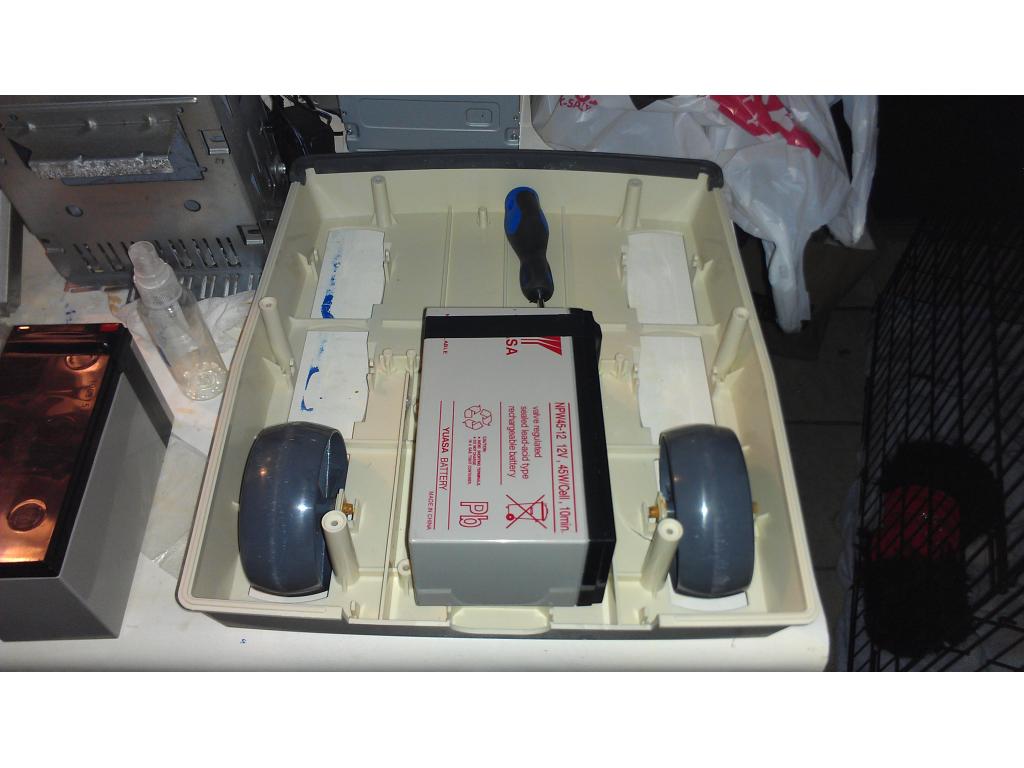
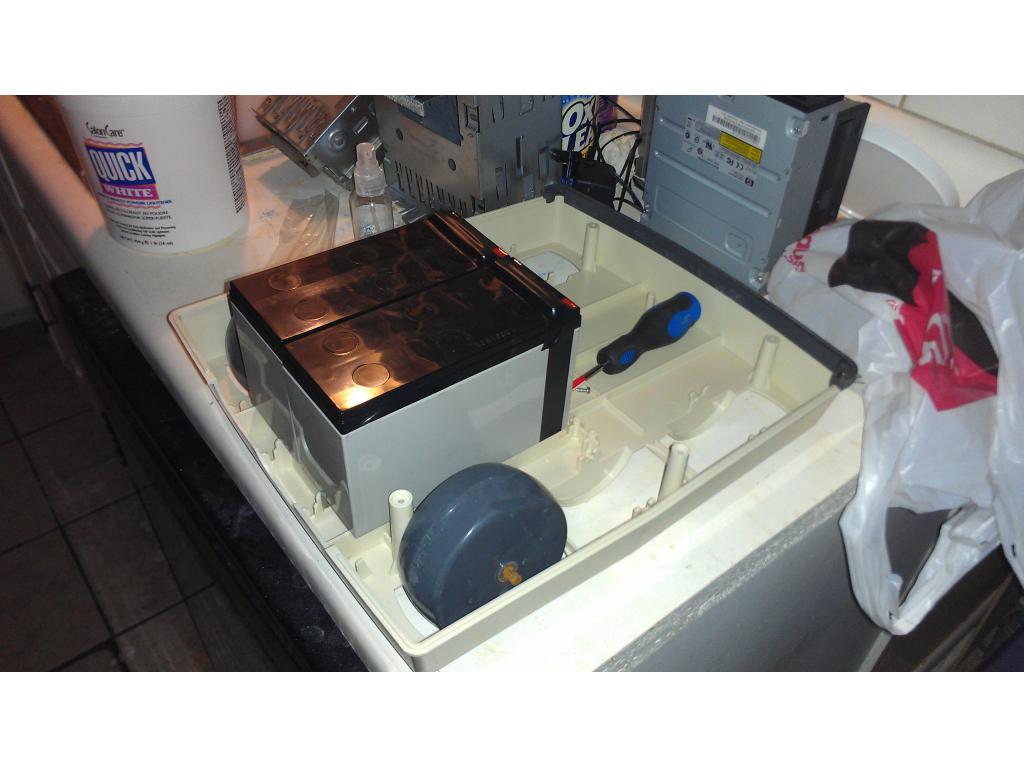
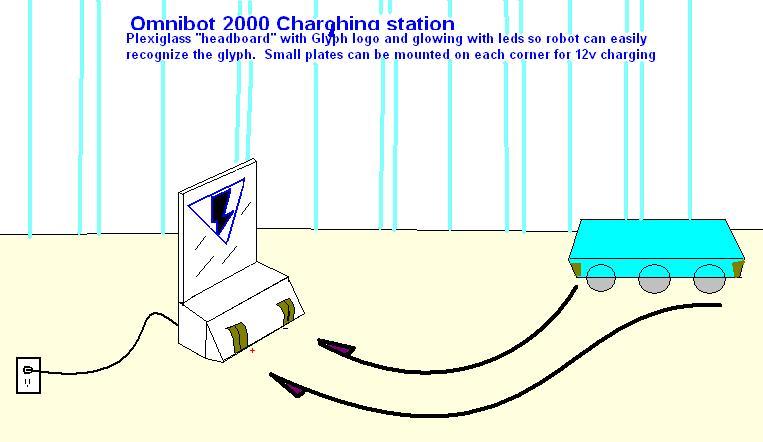
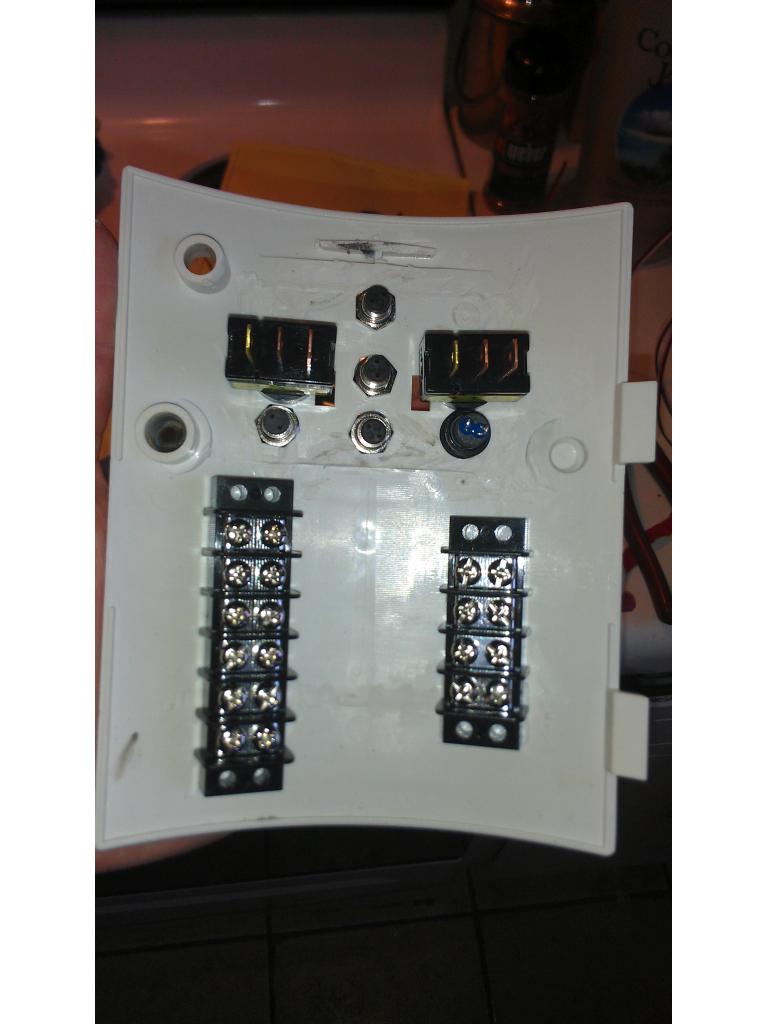
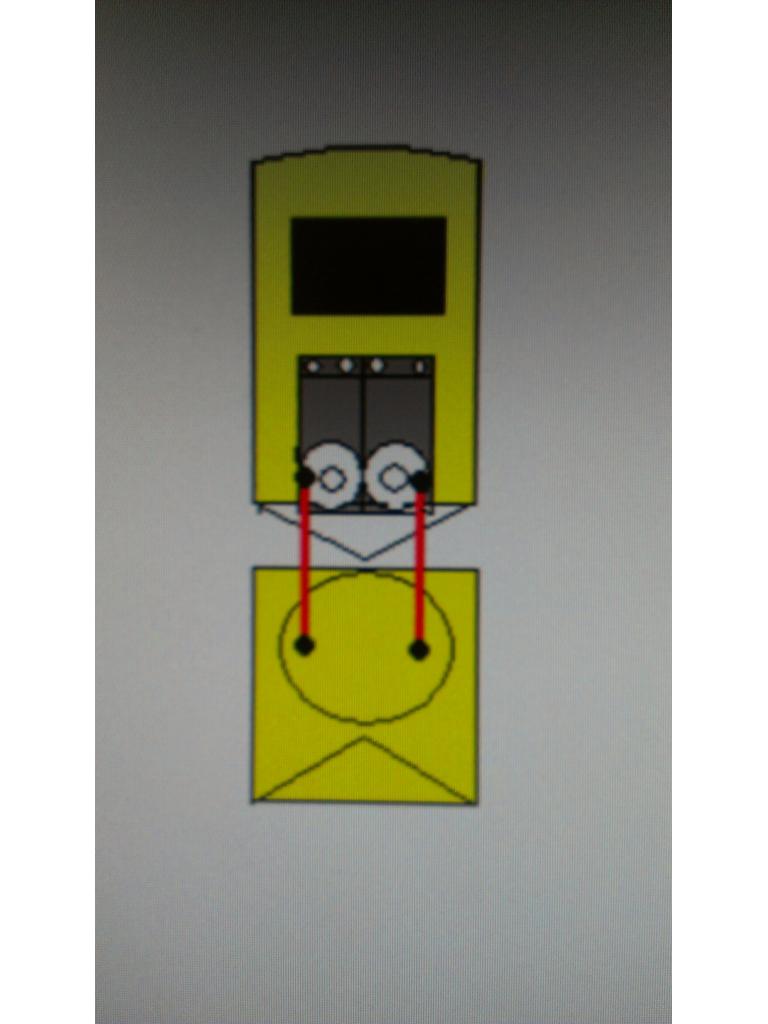
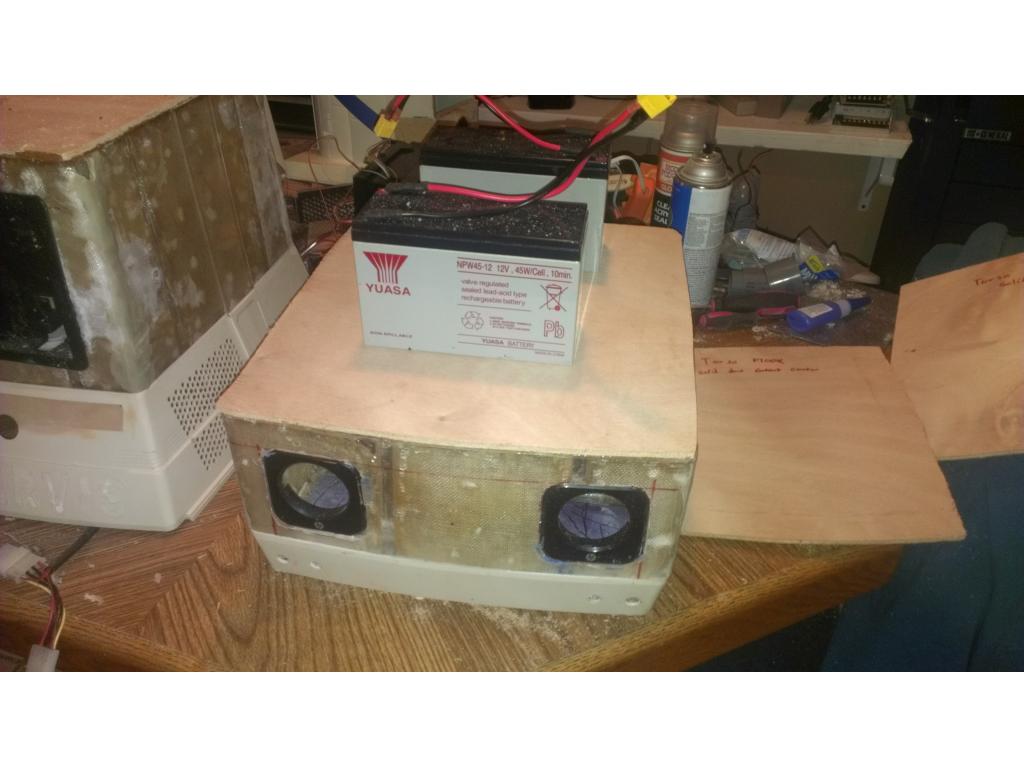
Ok here's the idea- ezb, motor controller and servos need 6v everything else is 12v. I want to be able to charge them from a home base eventually but for right now it would be through the DC charge port already in omnibot back. This way while running everything has seperate power supplies and all charge from one easy source.
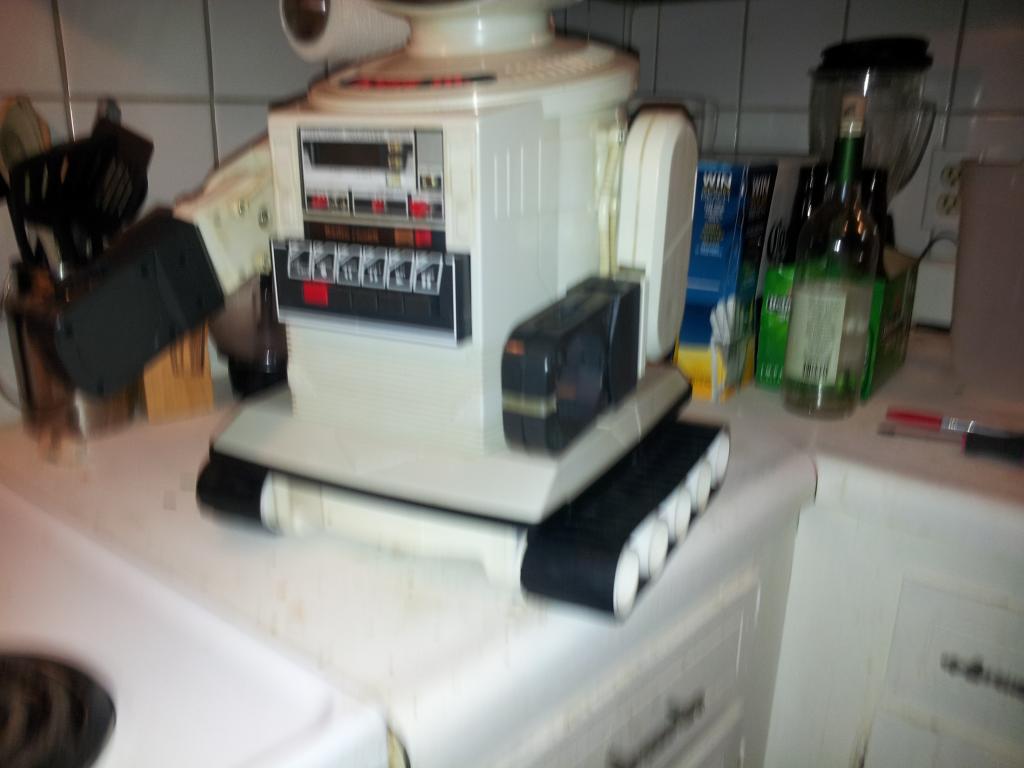
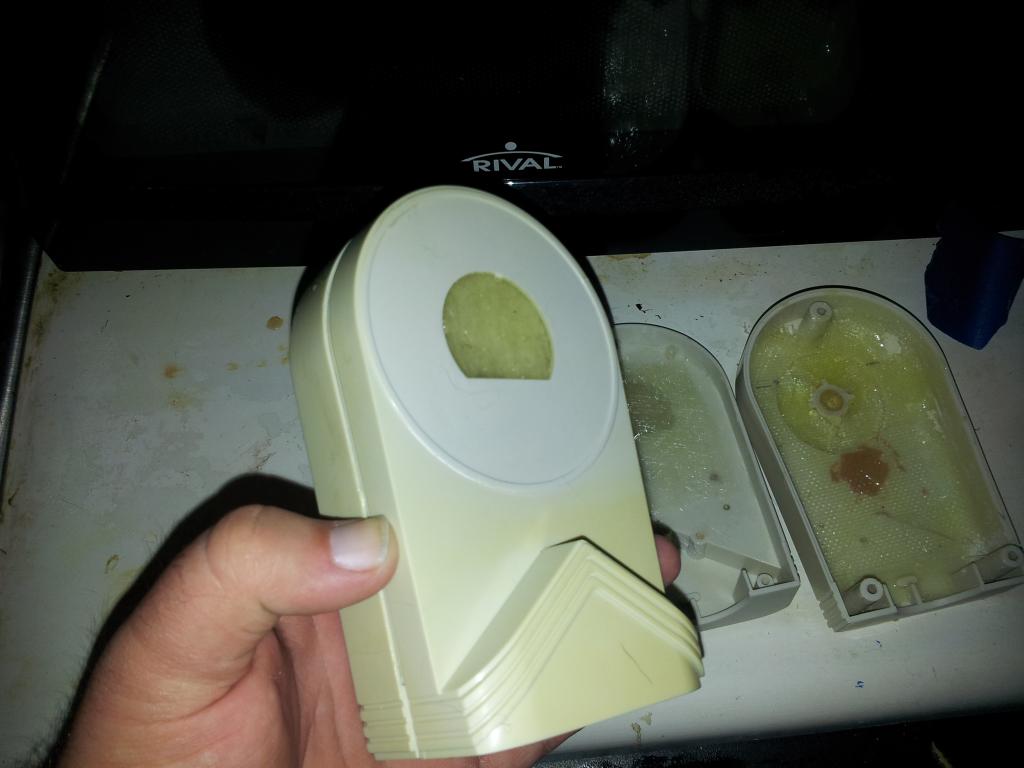
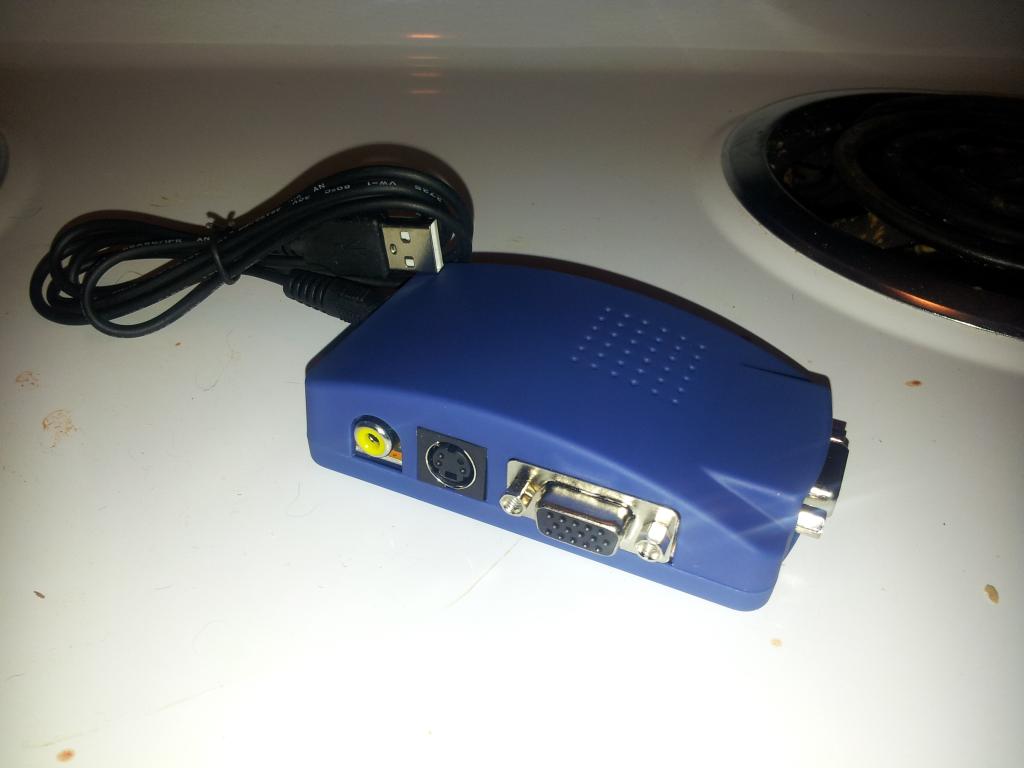
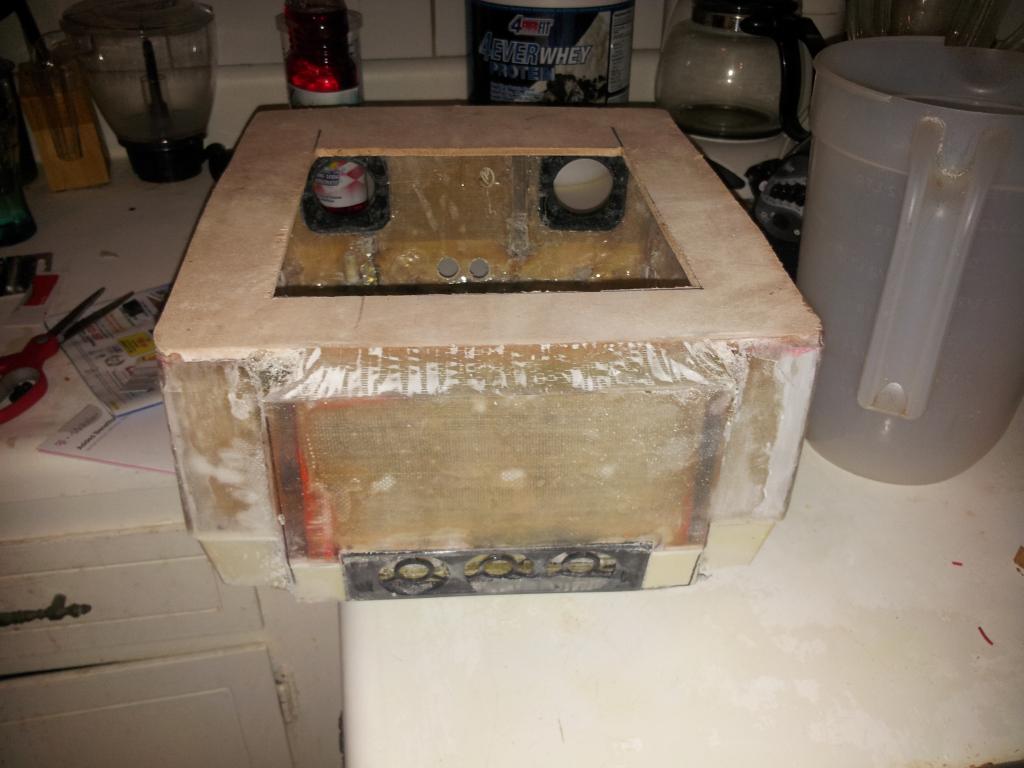
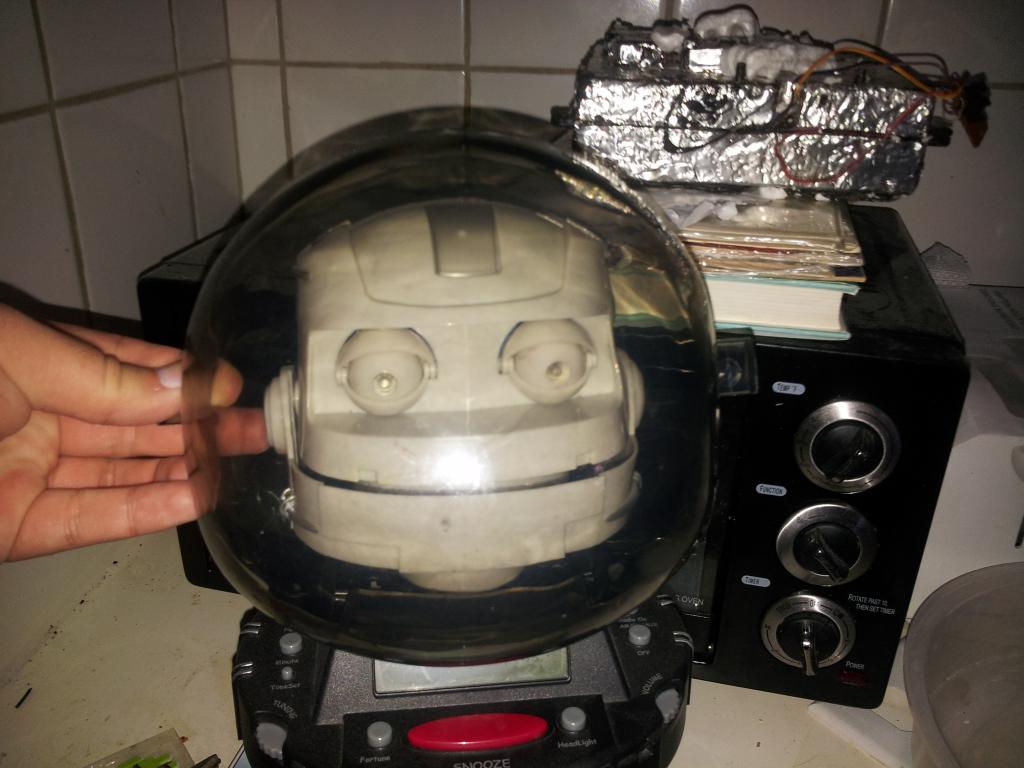
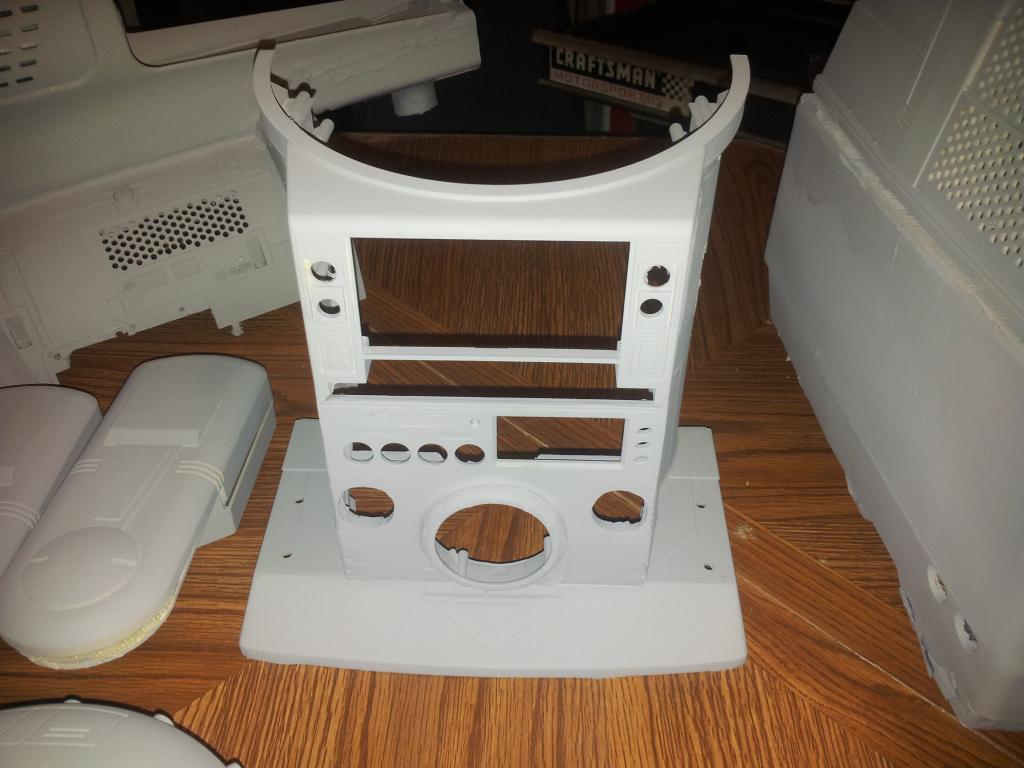
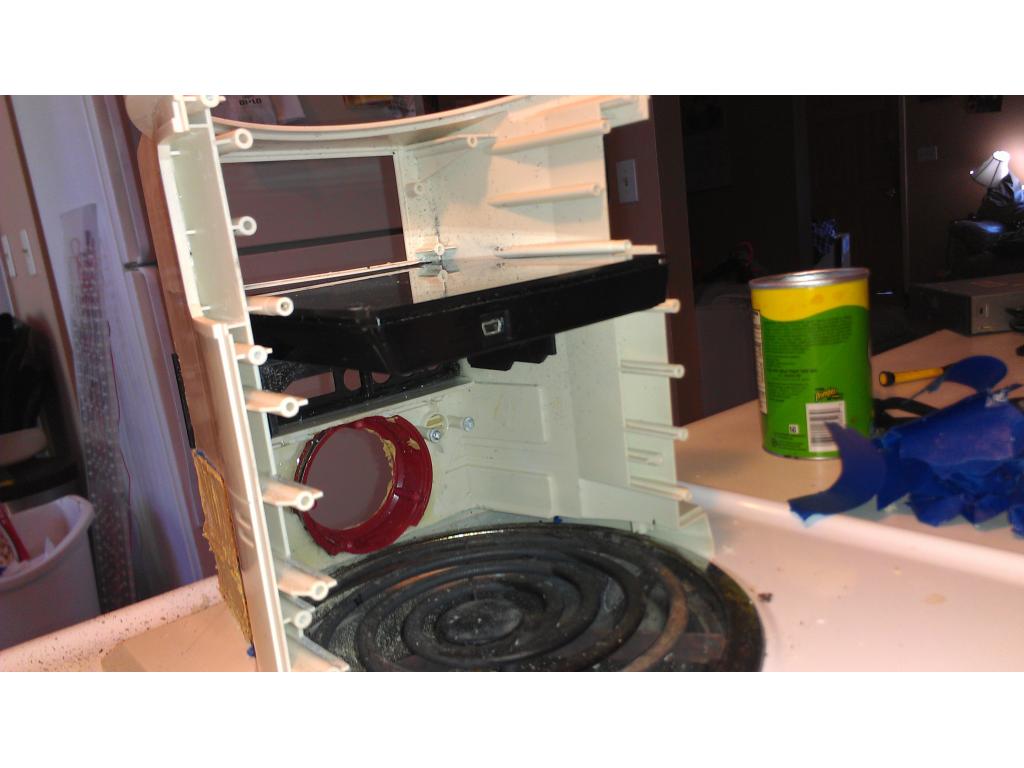
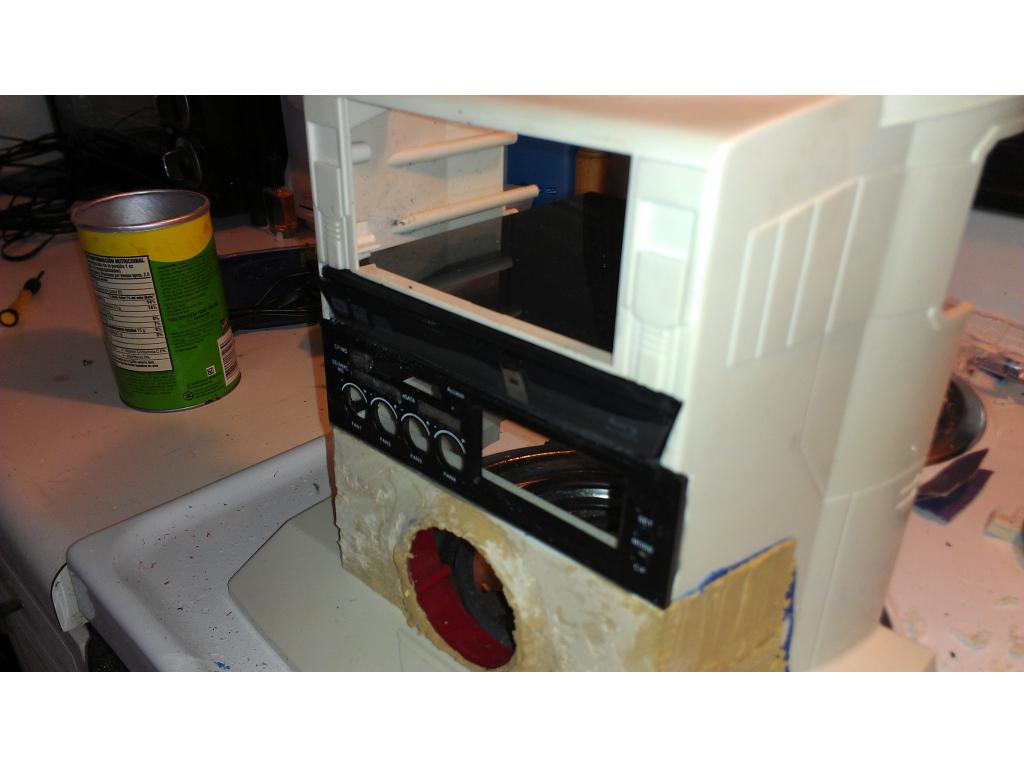
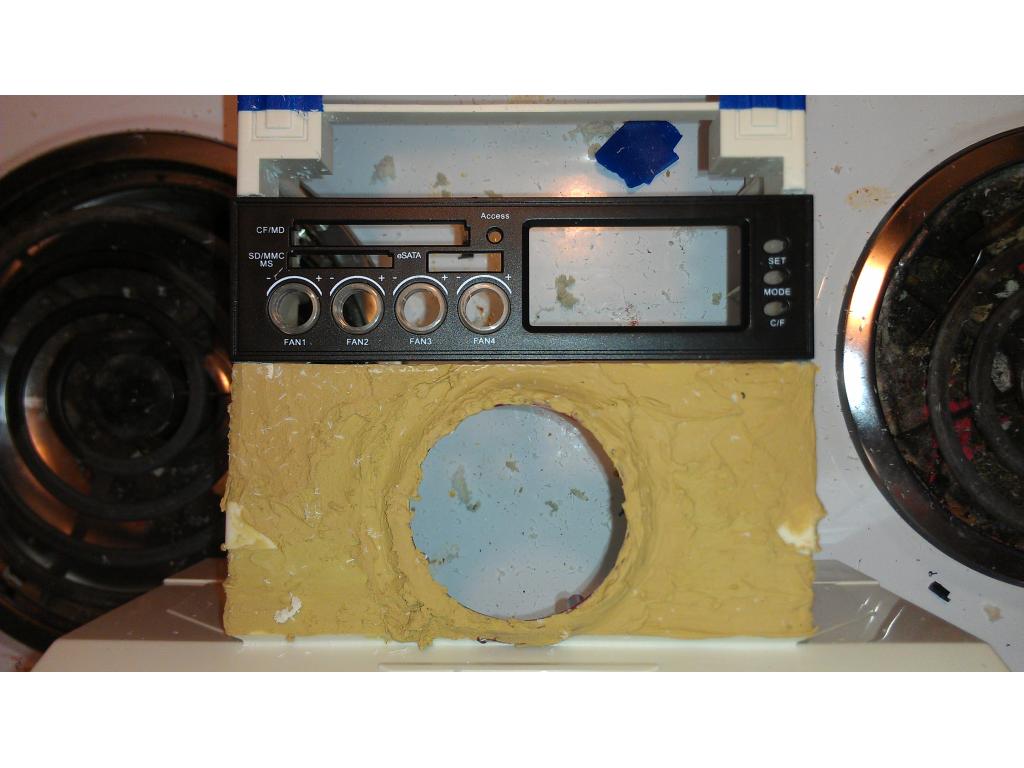
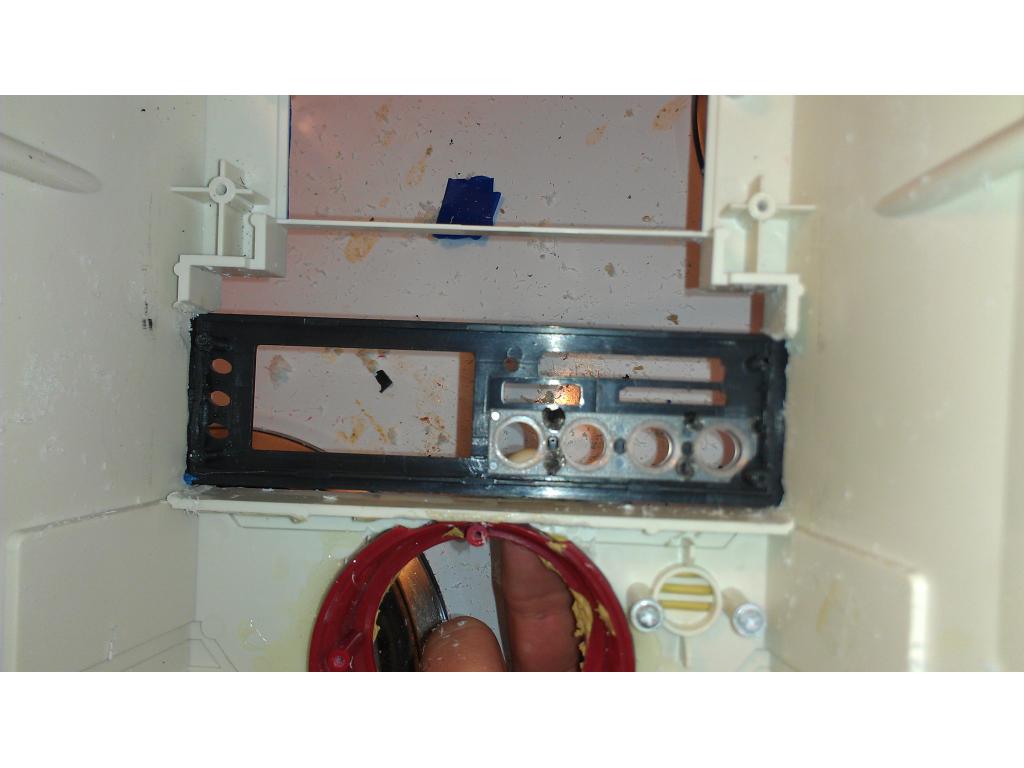
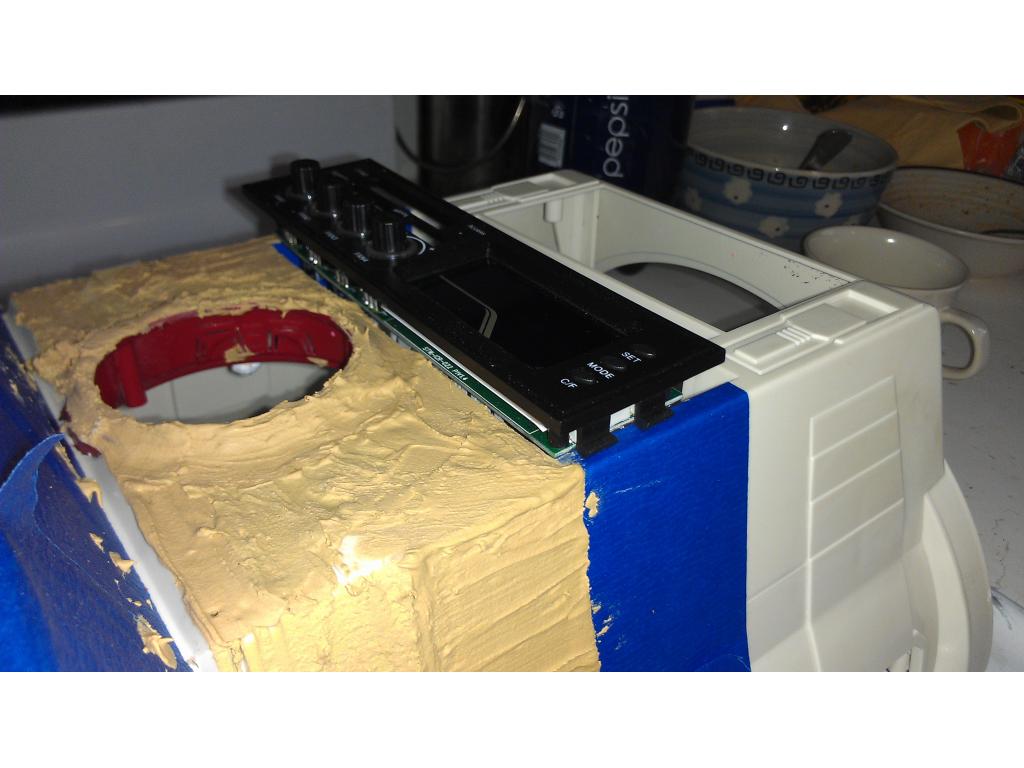
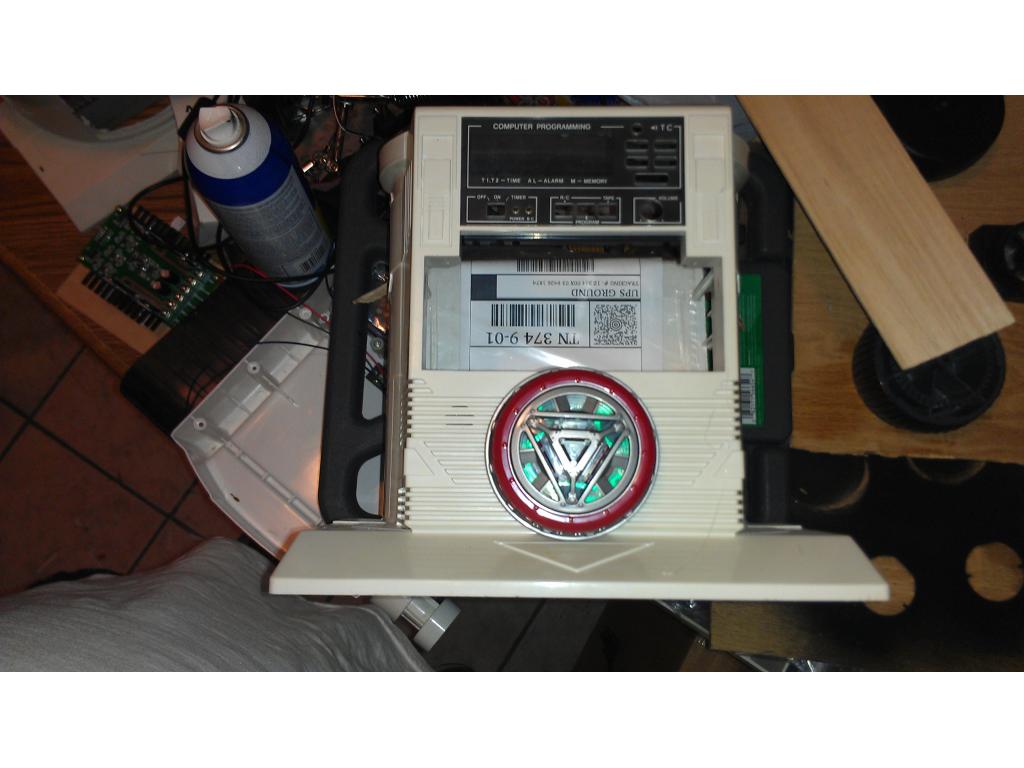
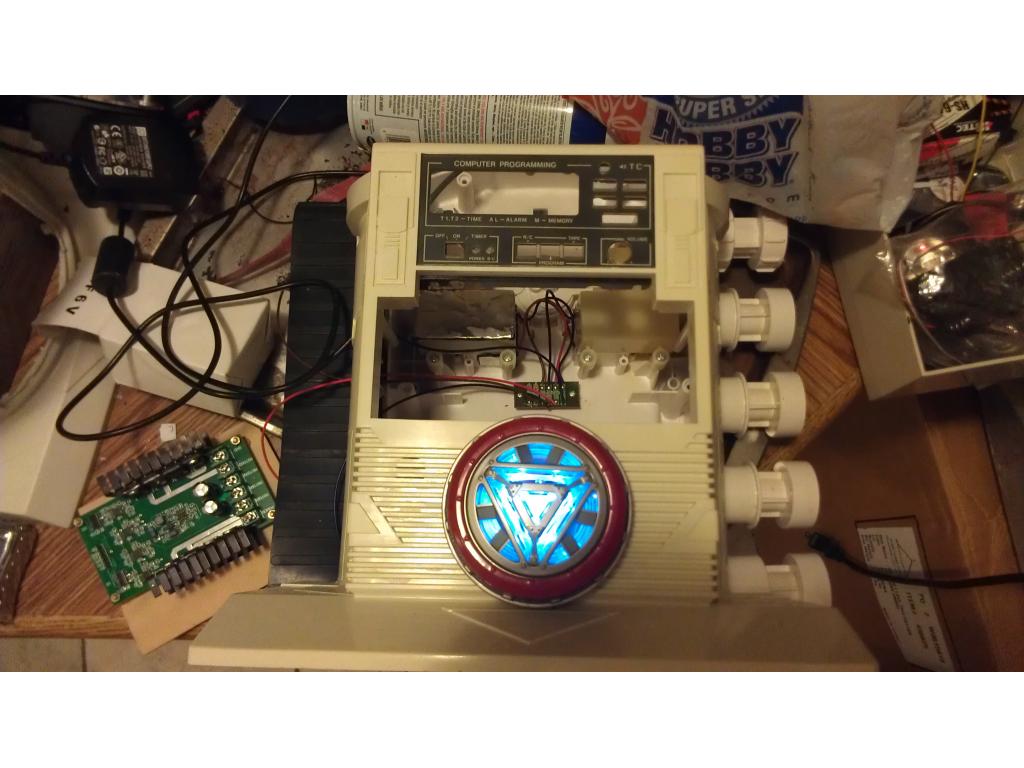
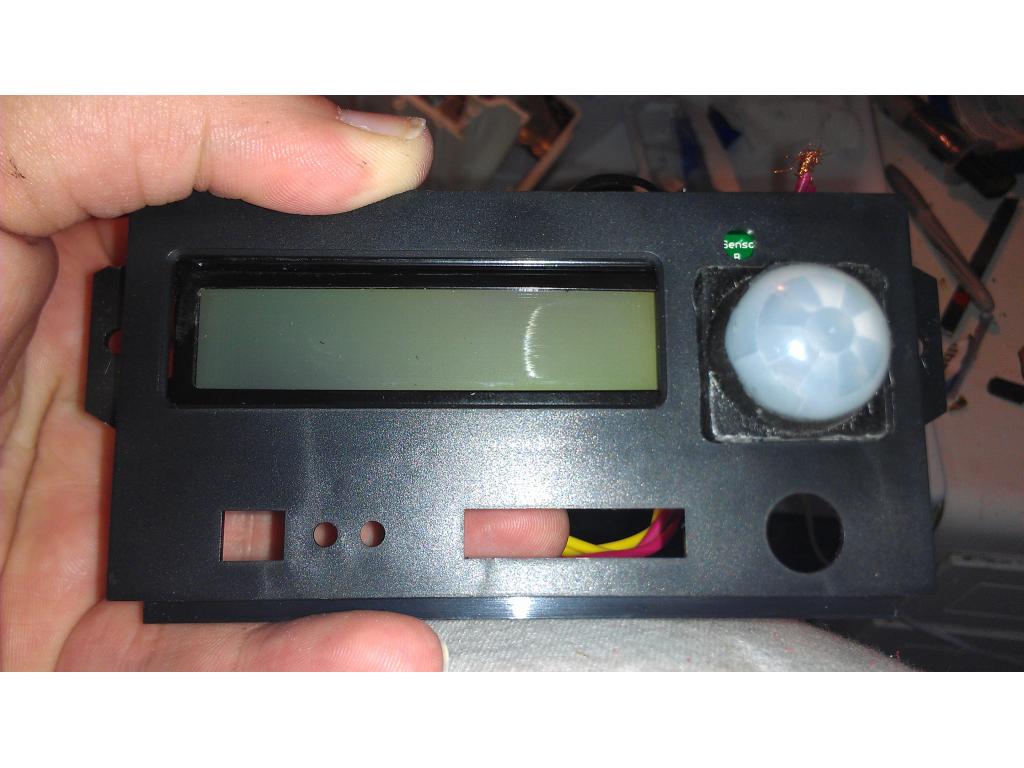
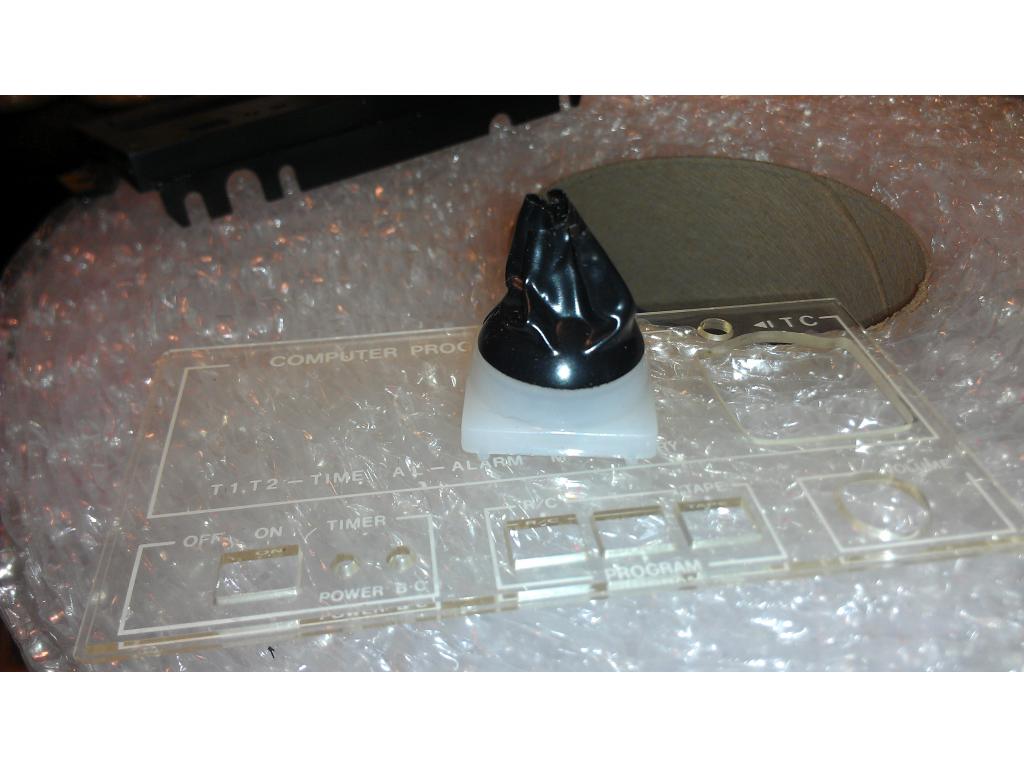
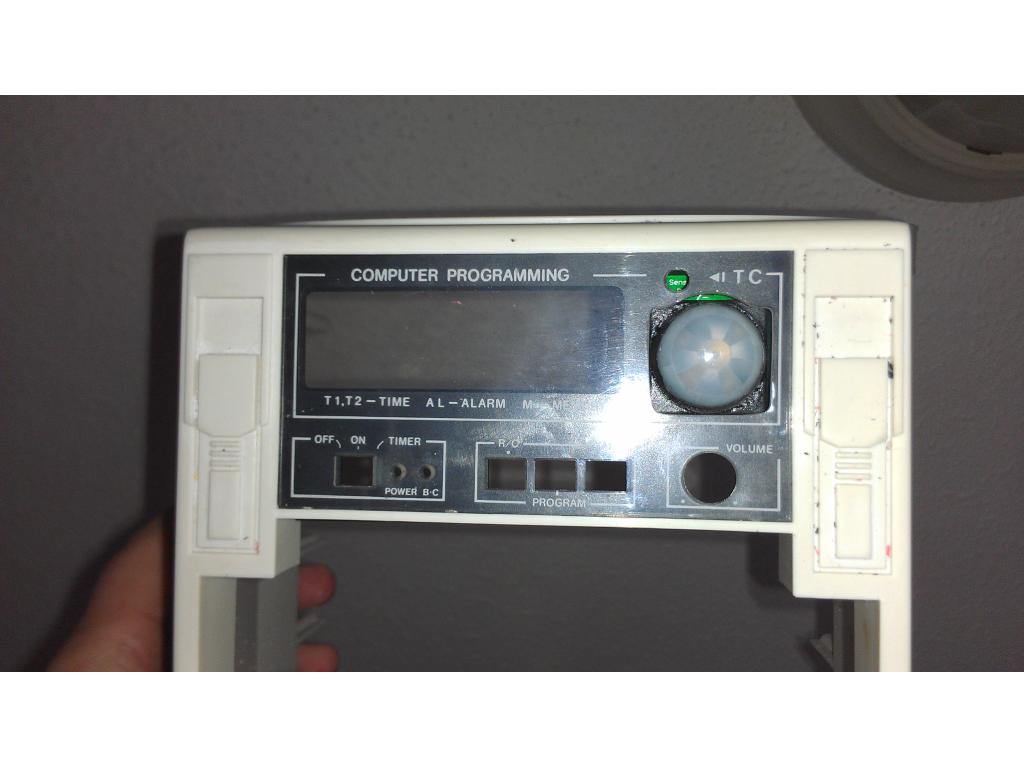
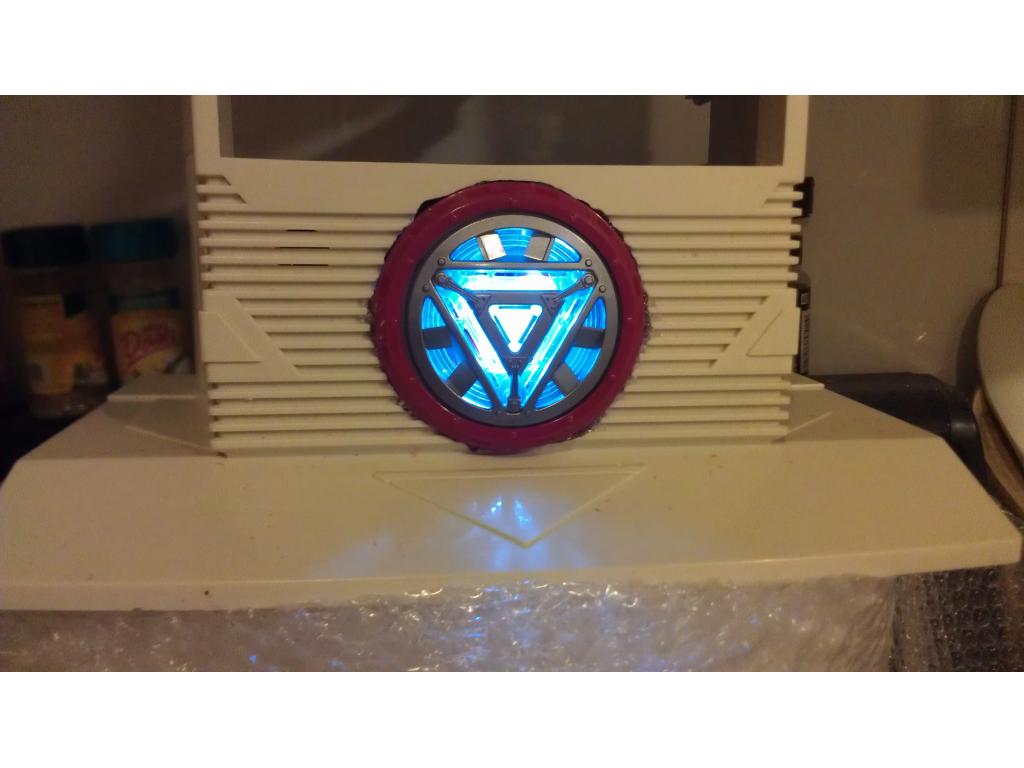
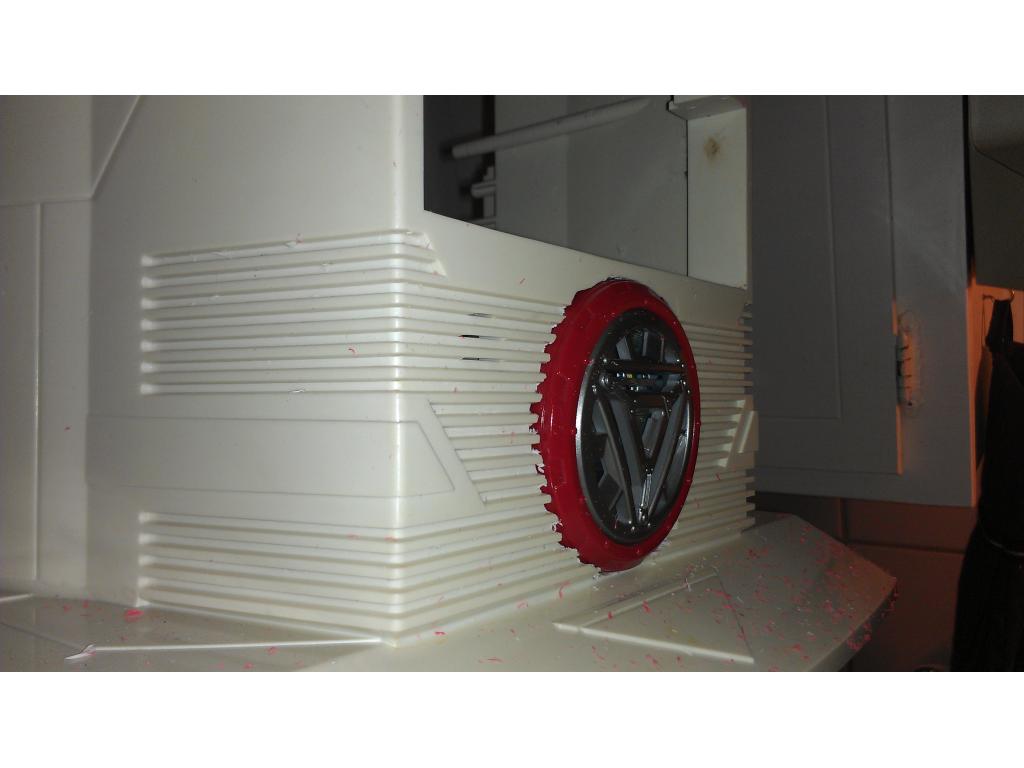
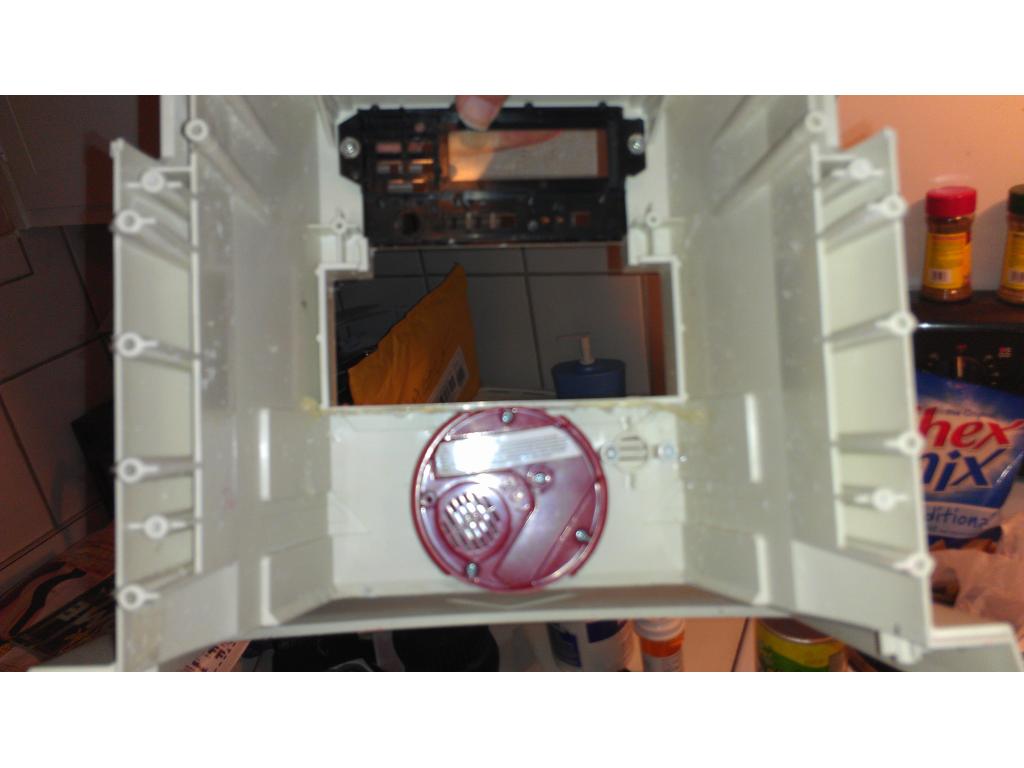
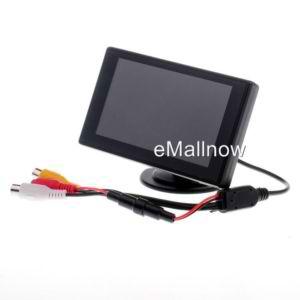
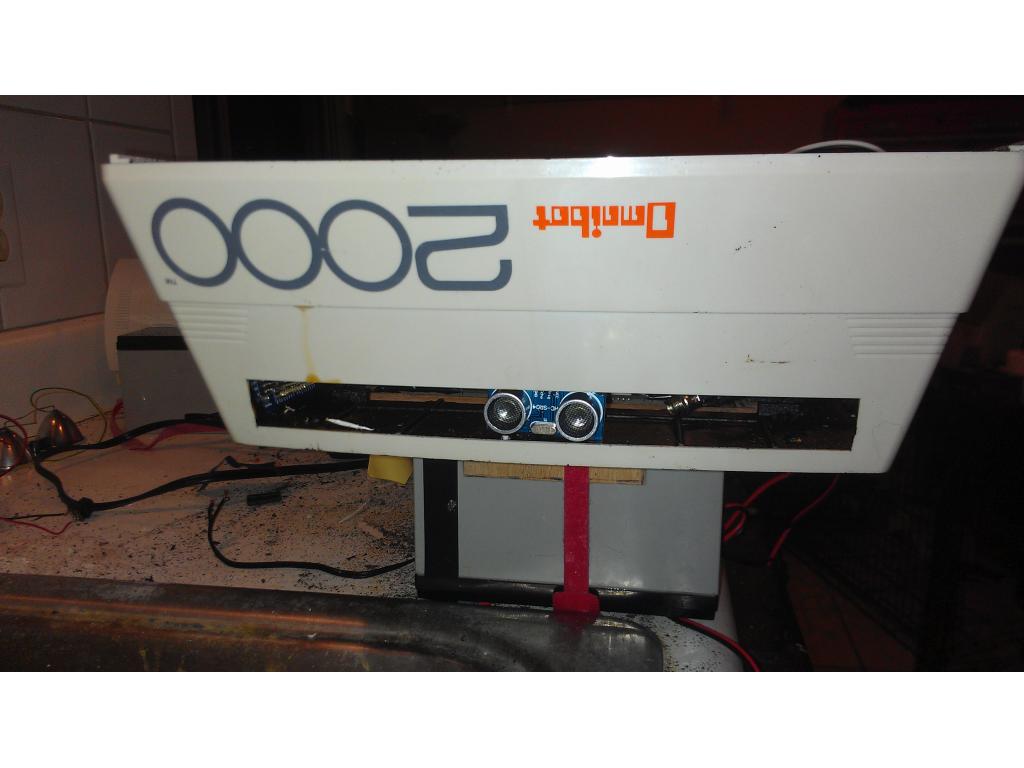
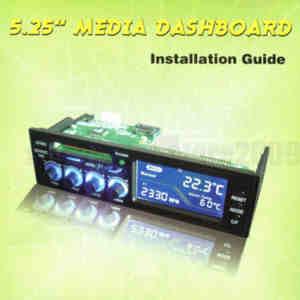
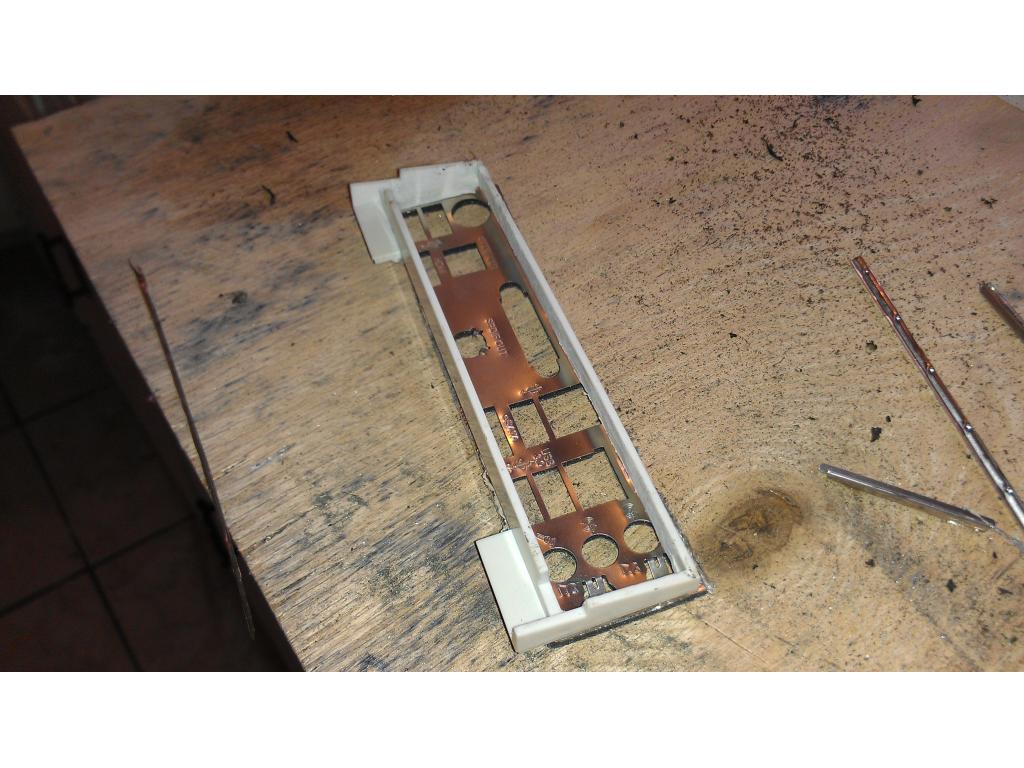
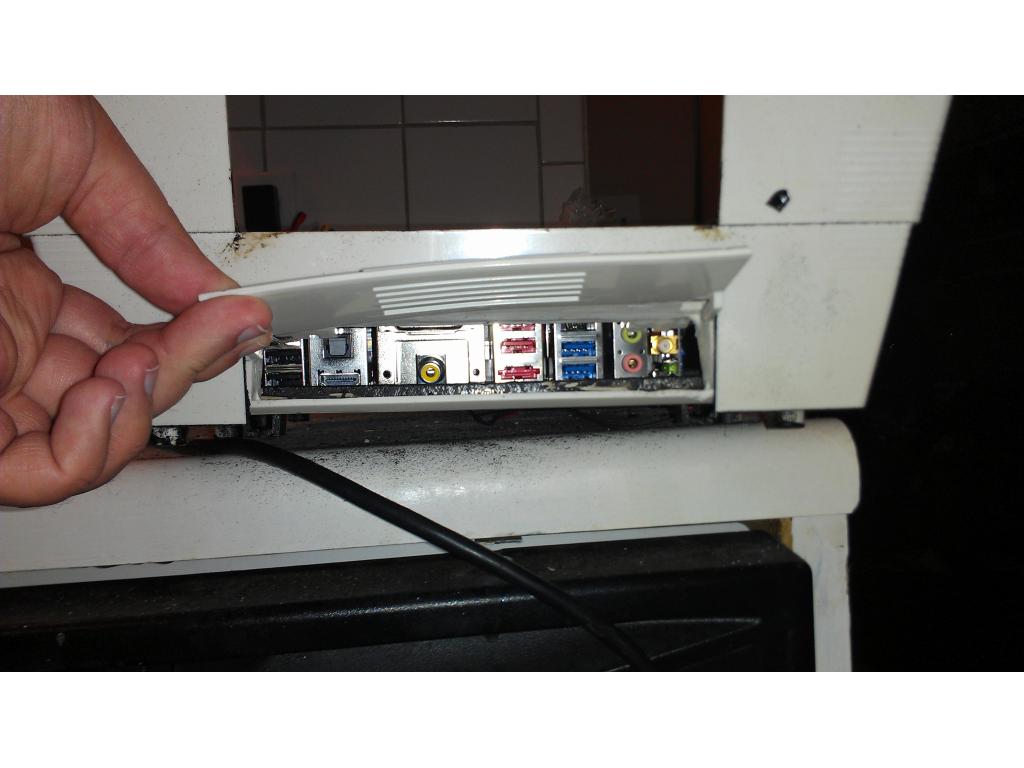
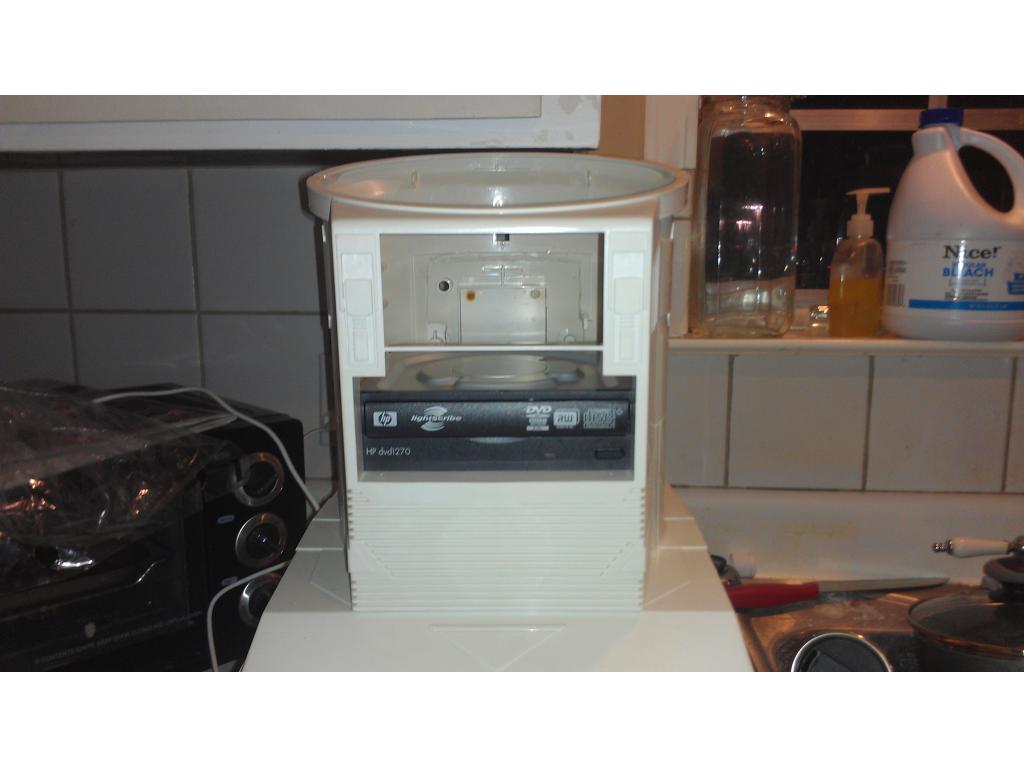
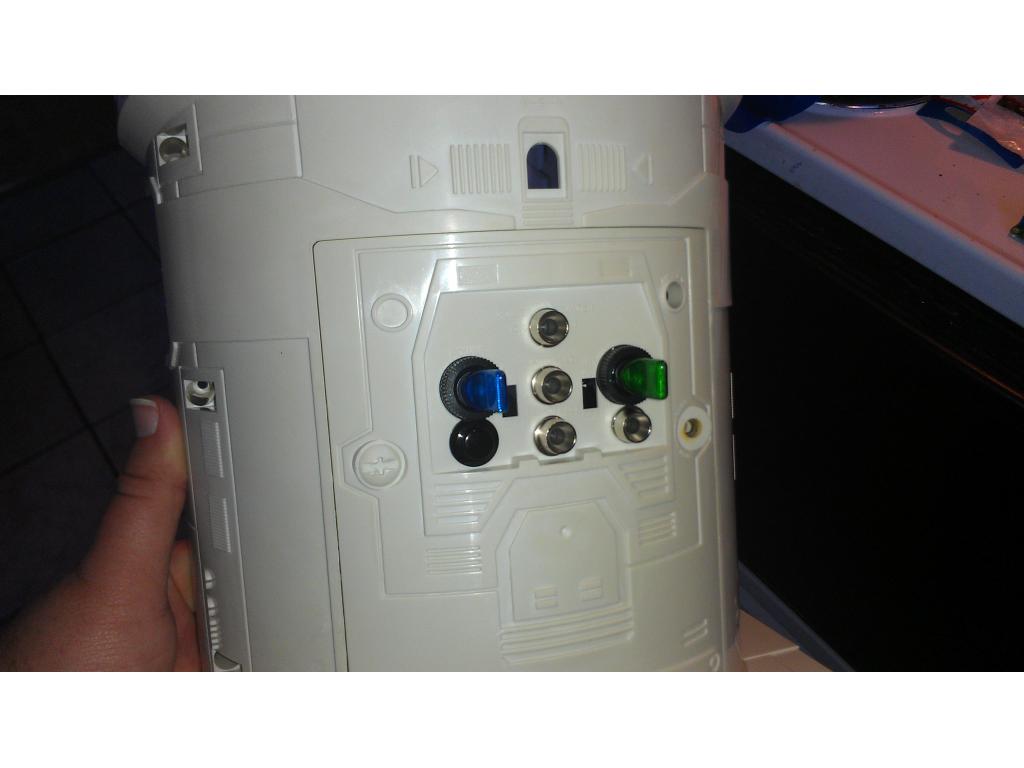
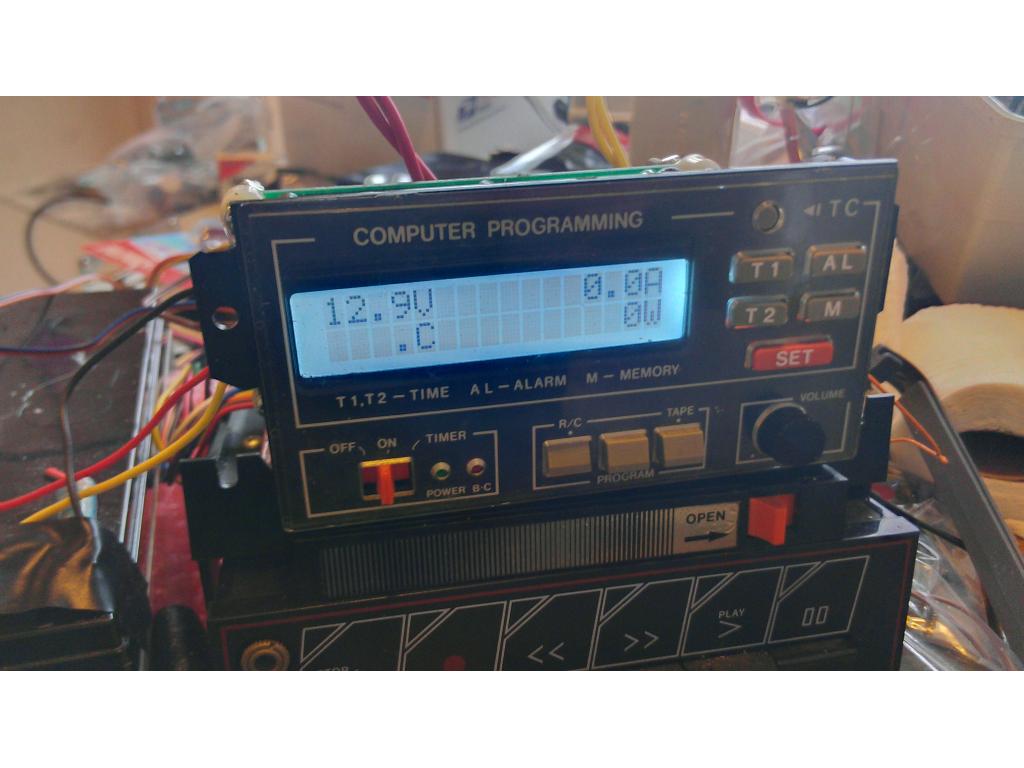
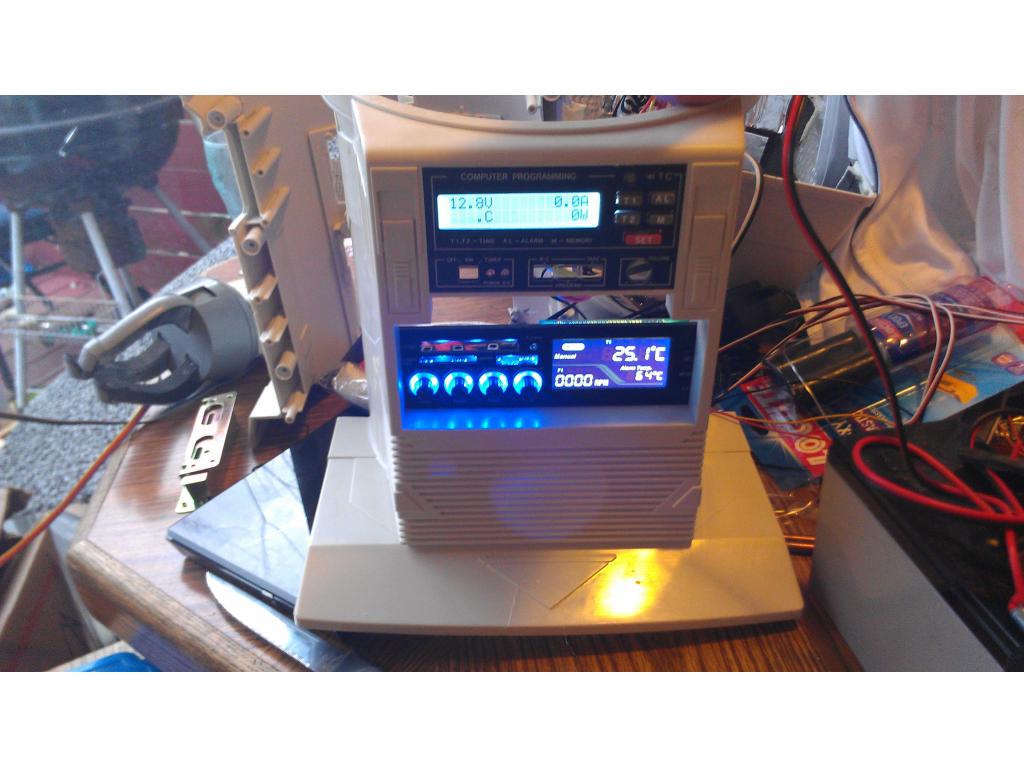
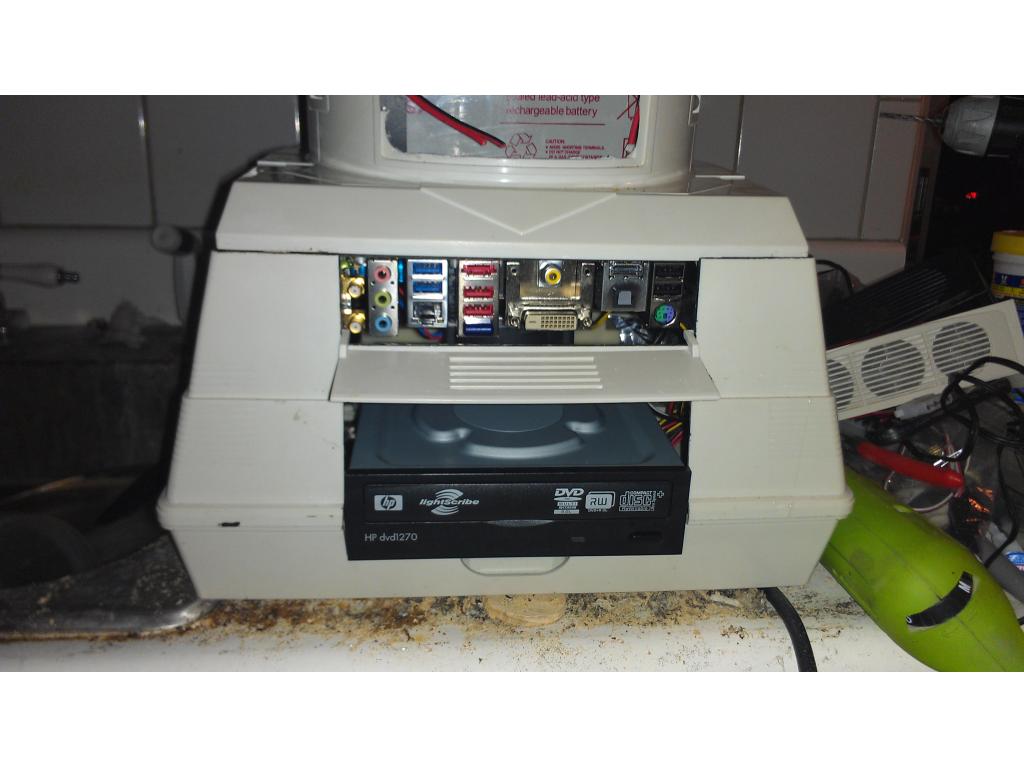
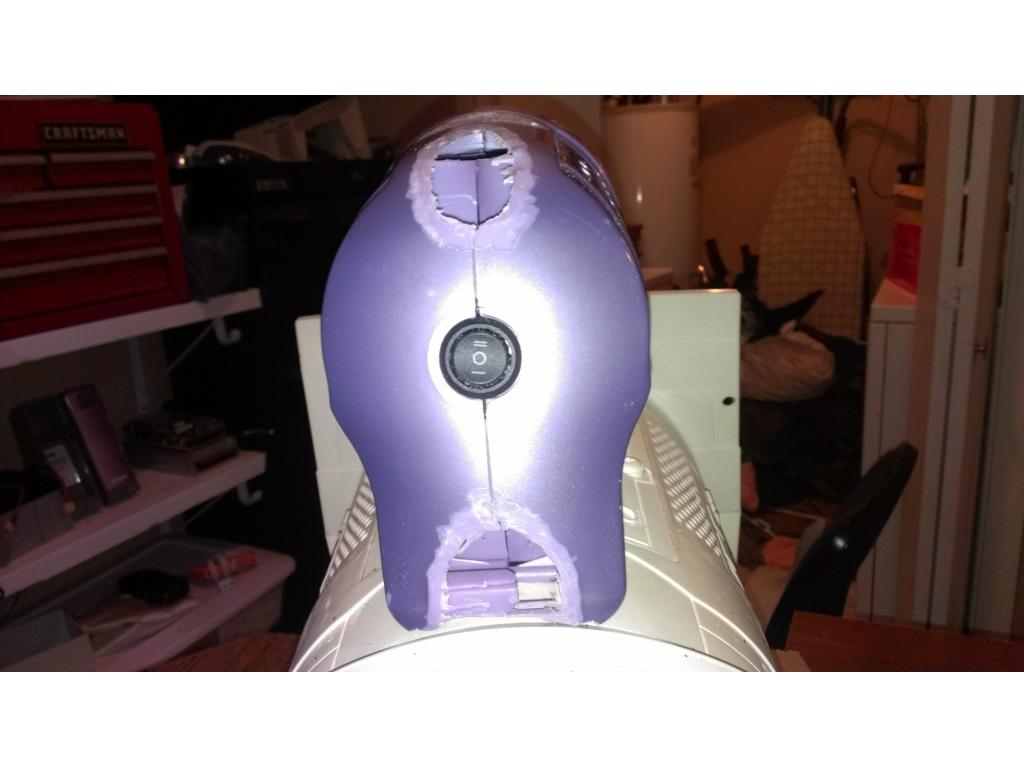
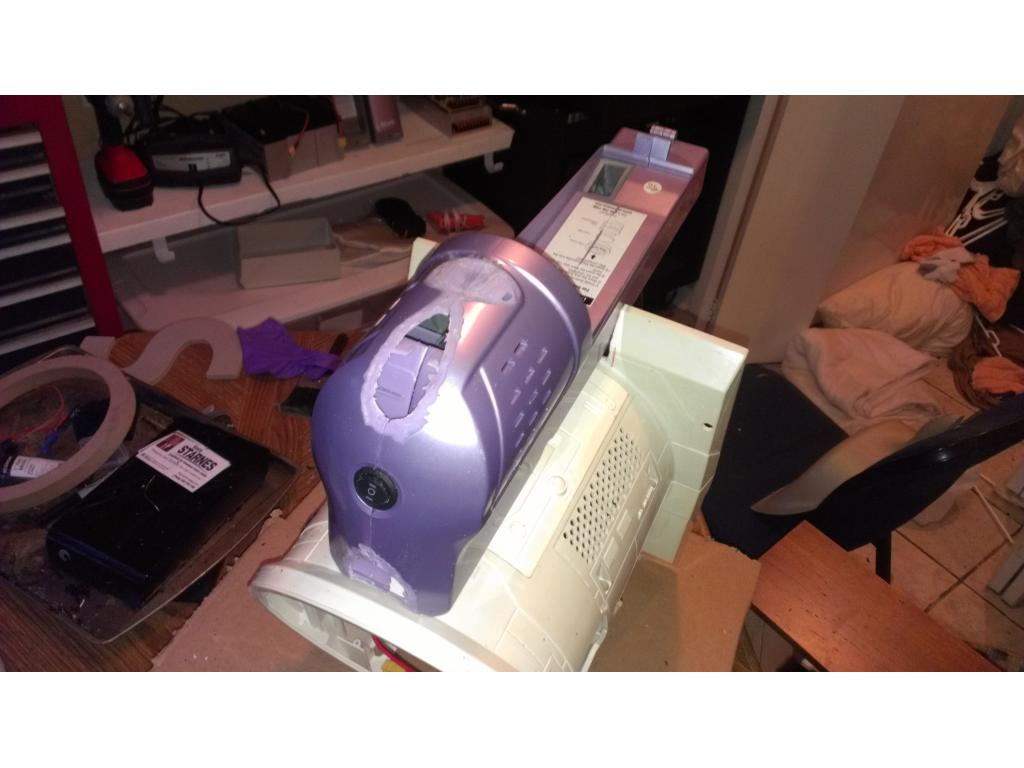
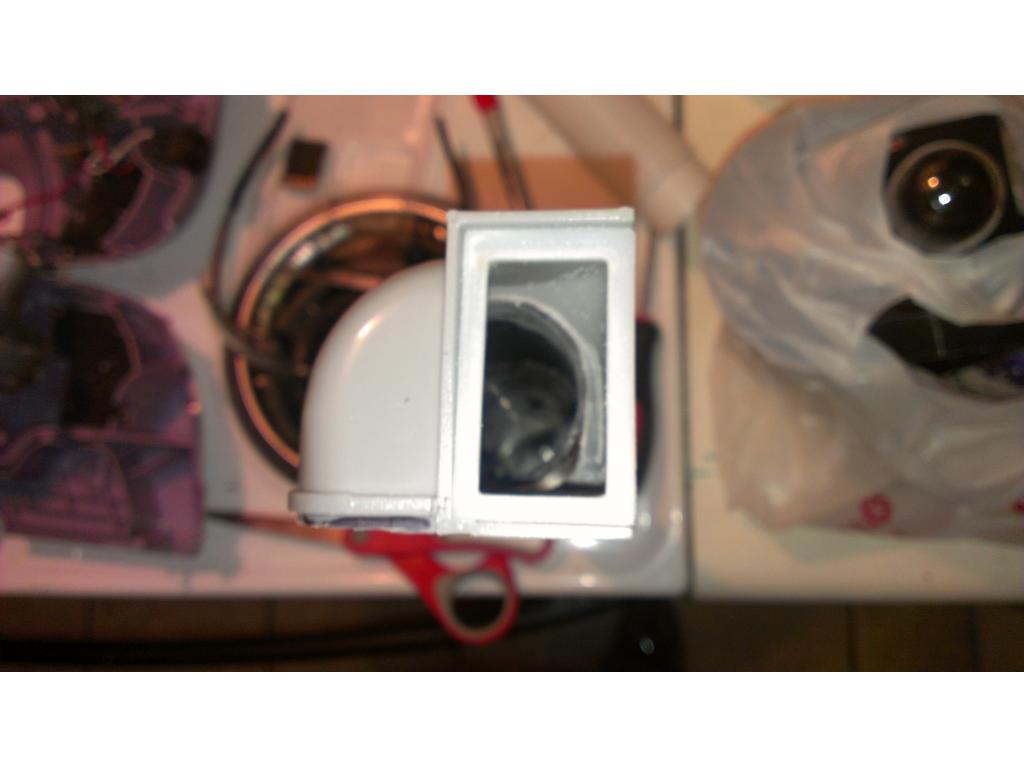
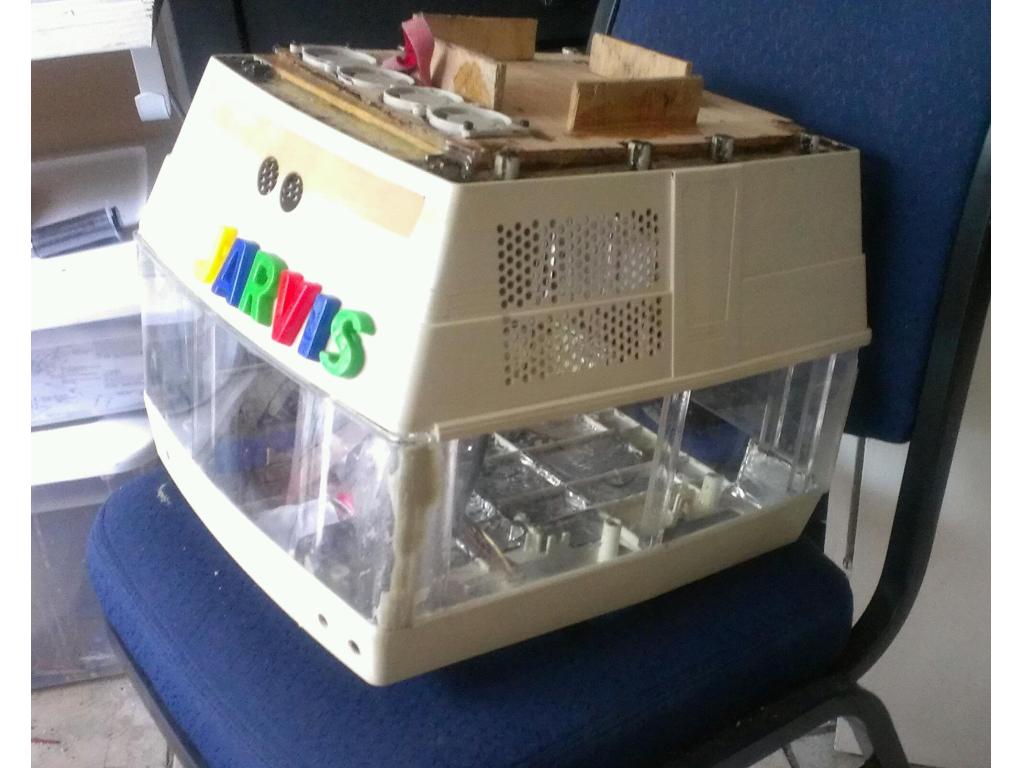
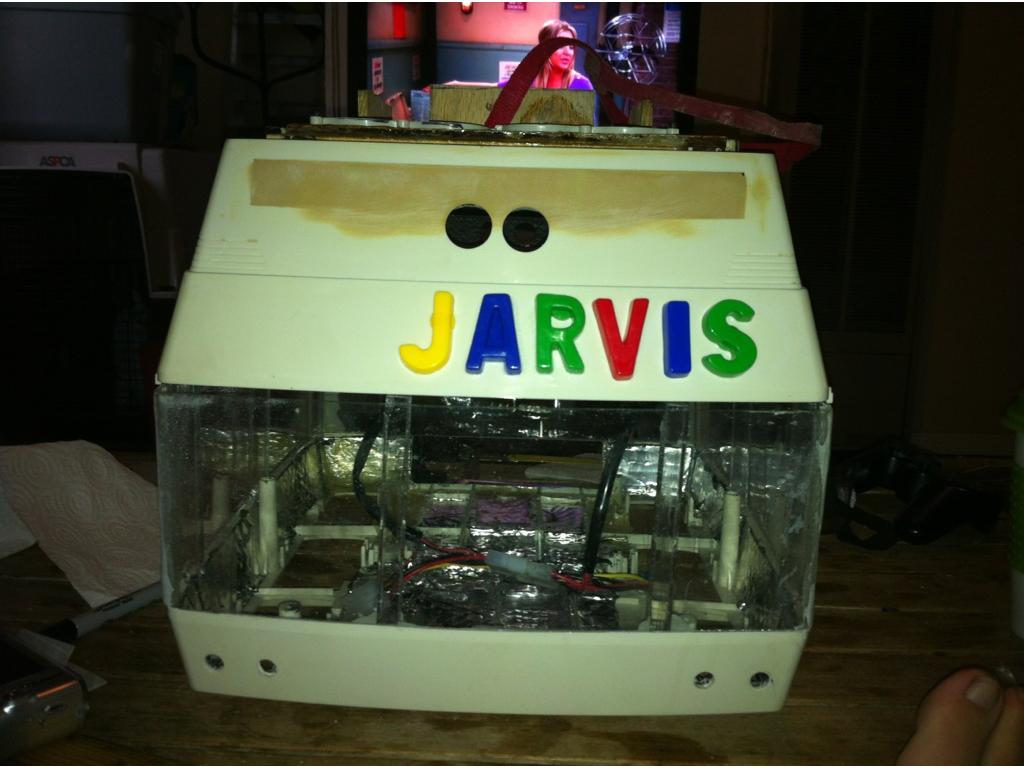
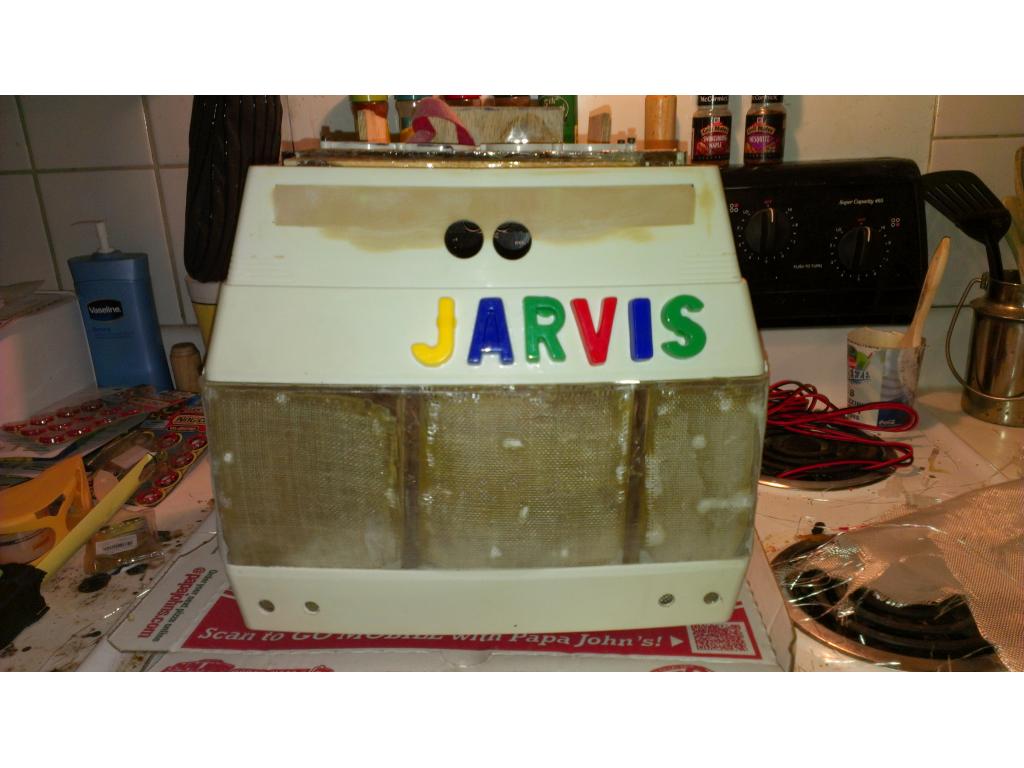
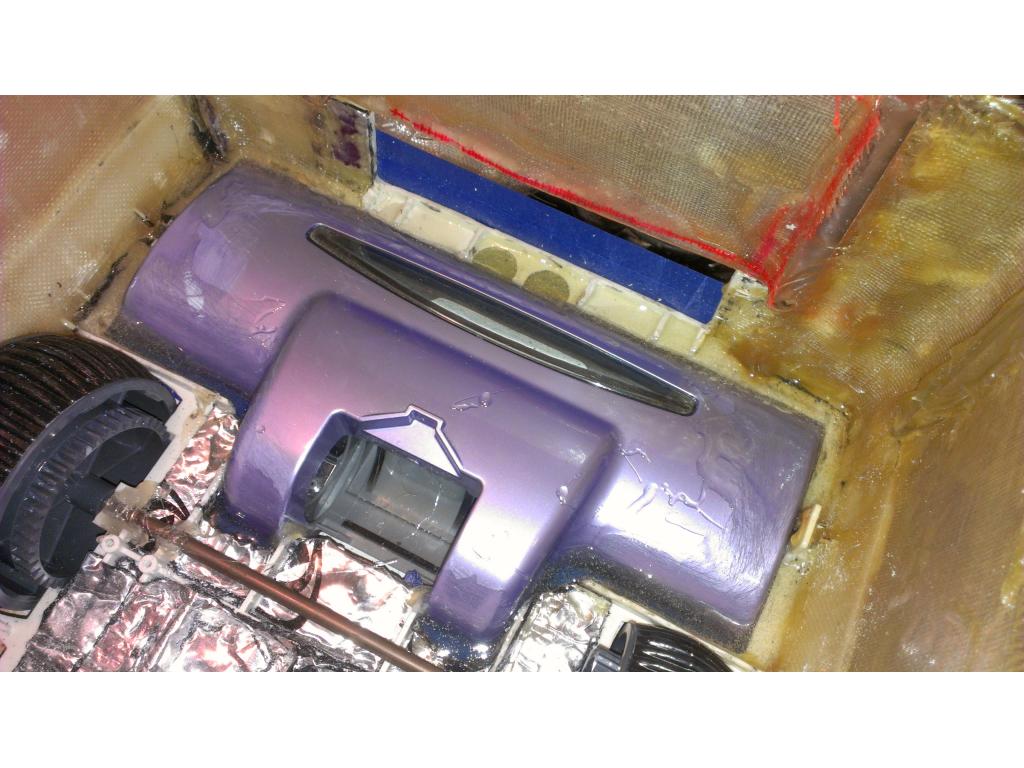
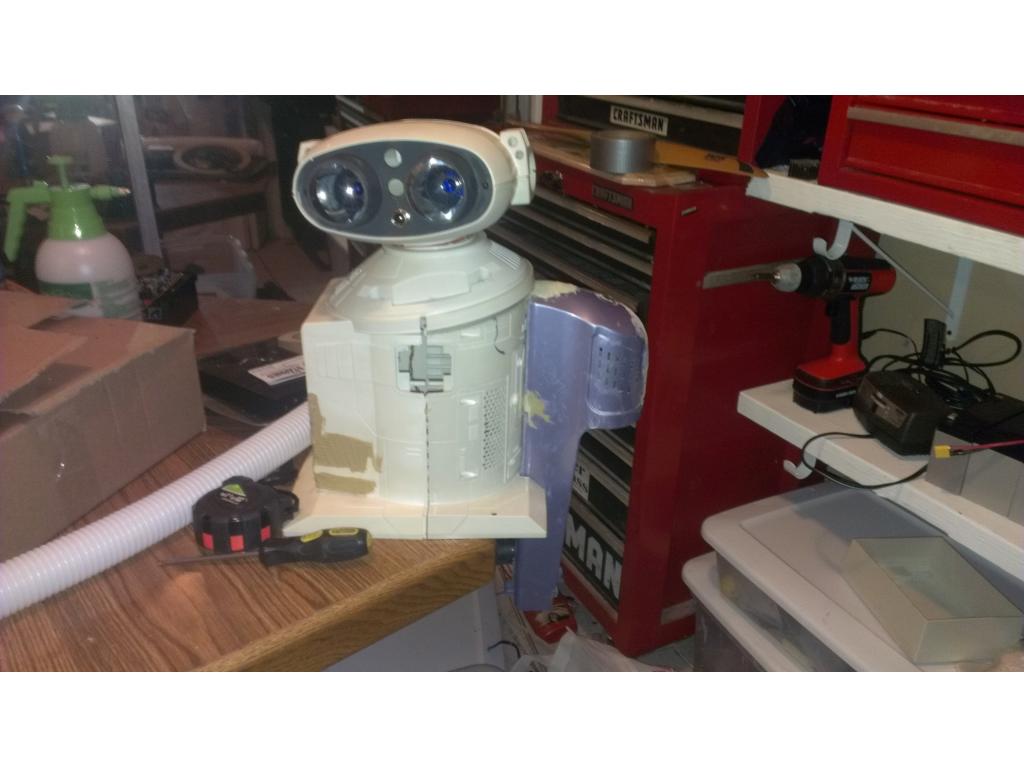
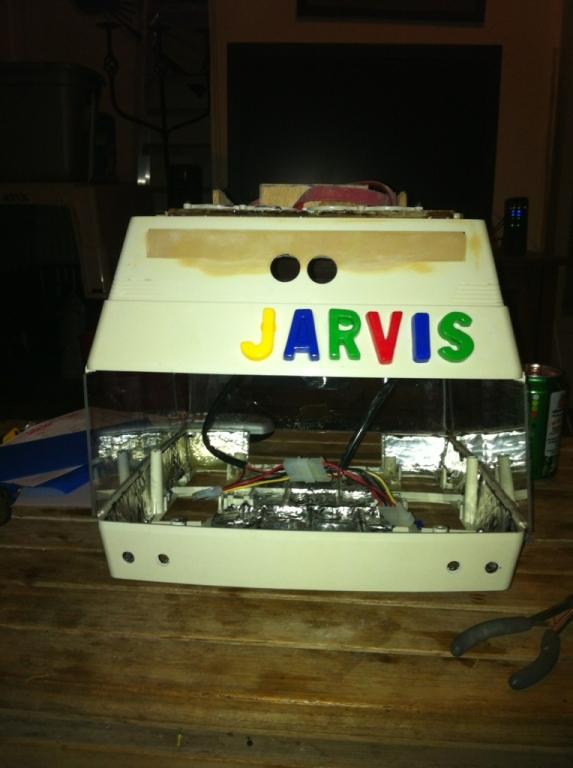
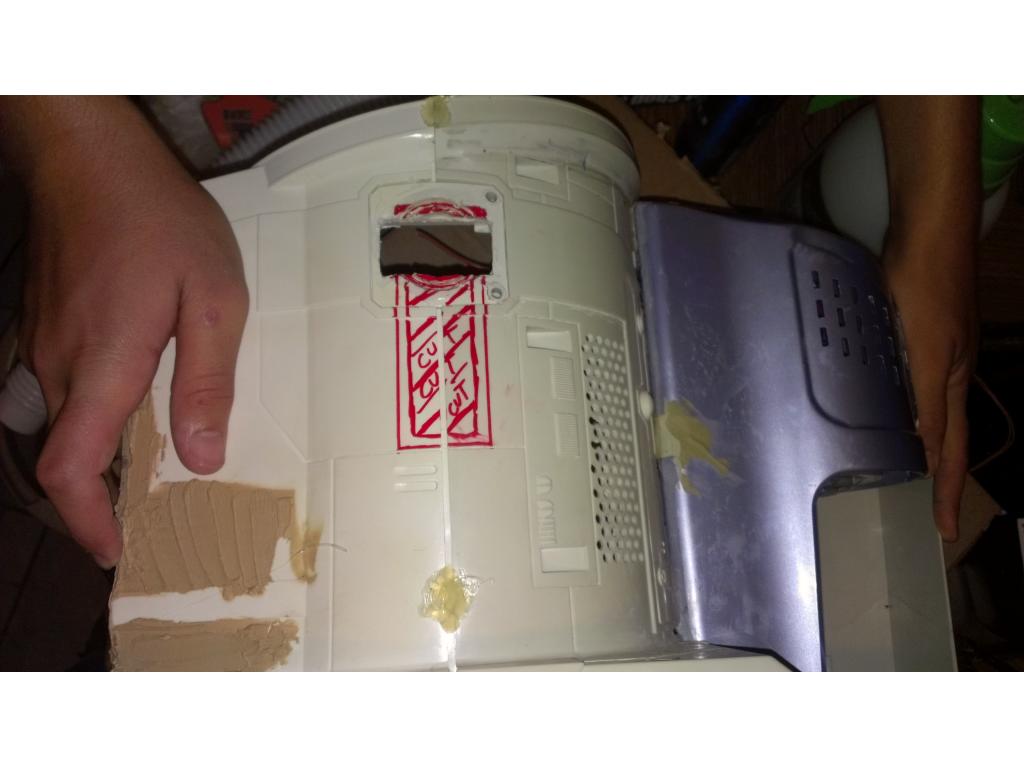
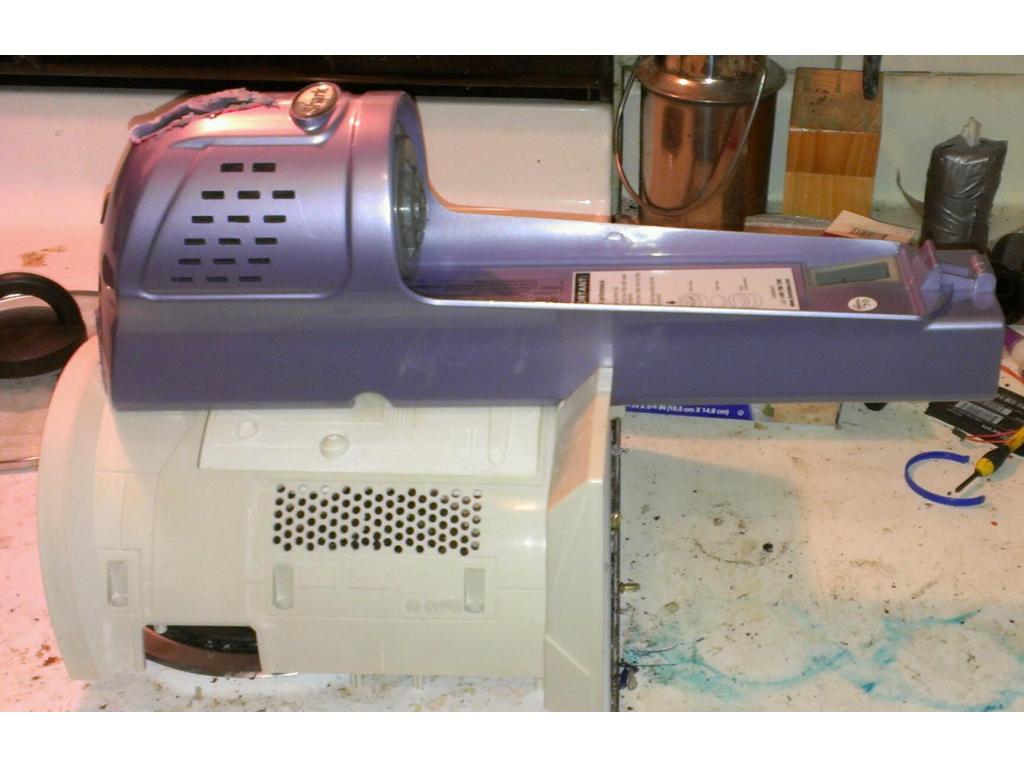
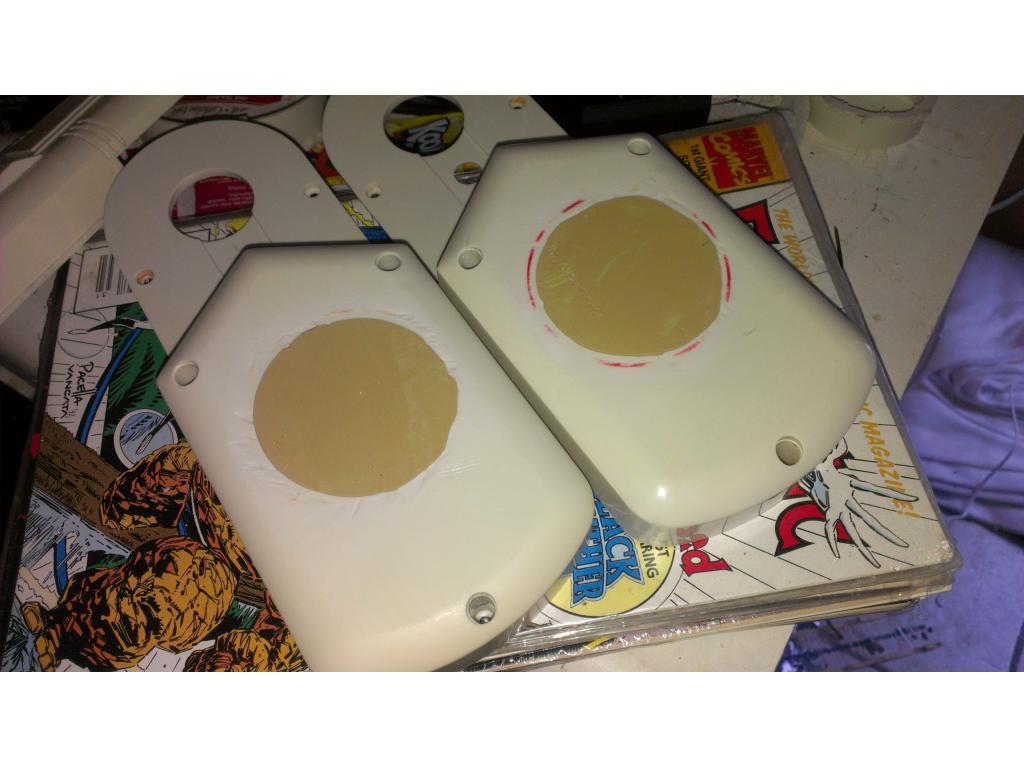
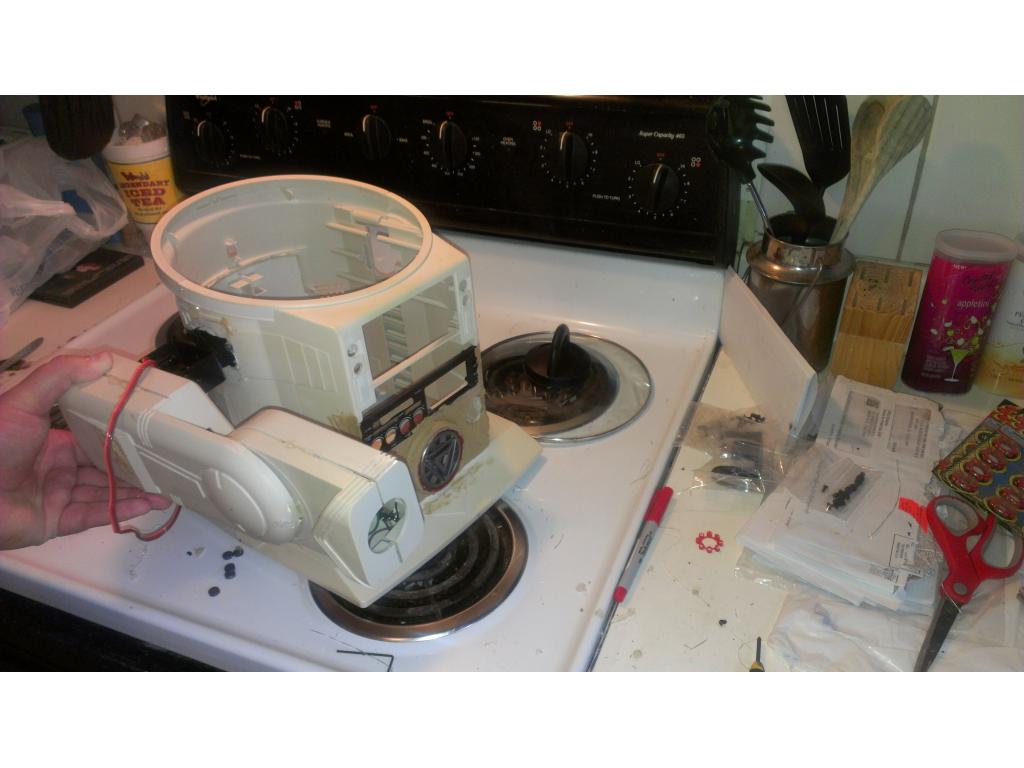
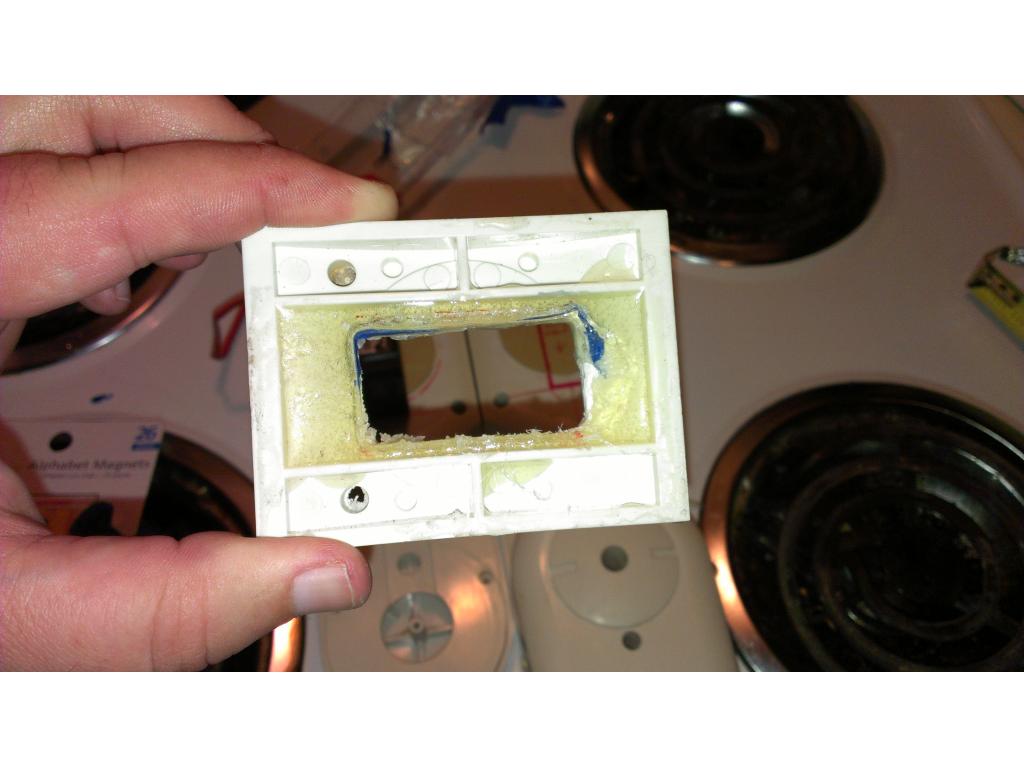
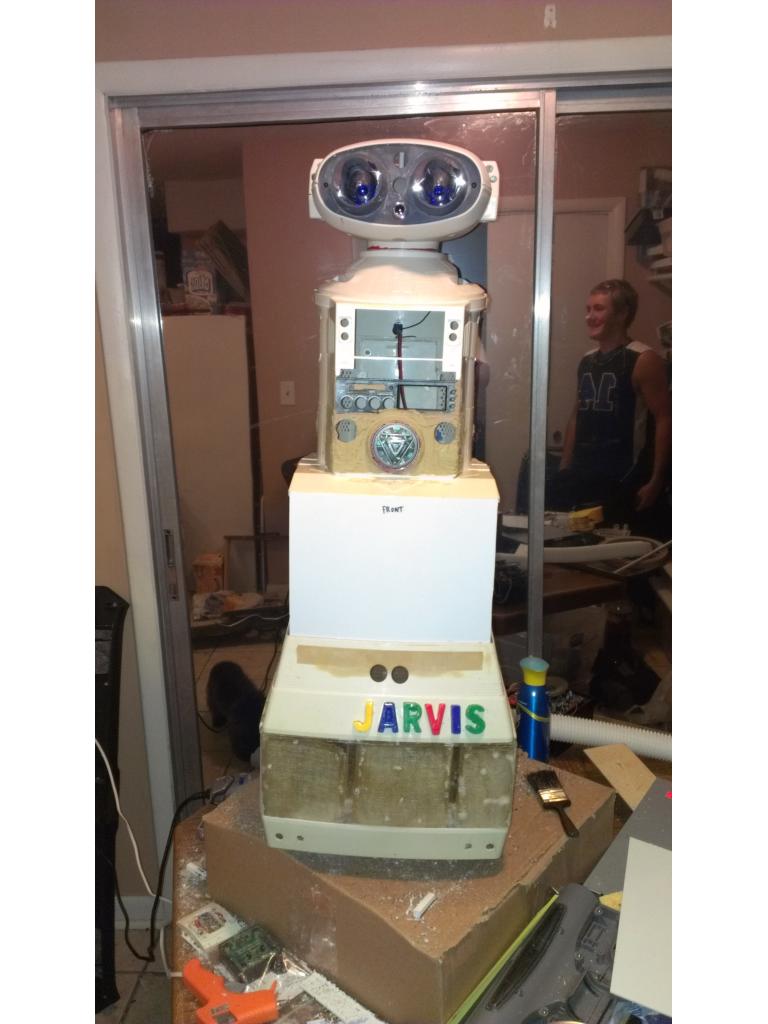
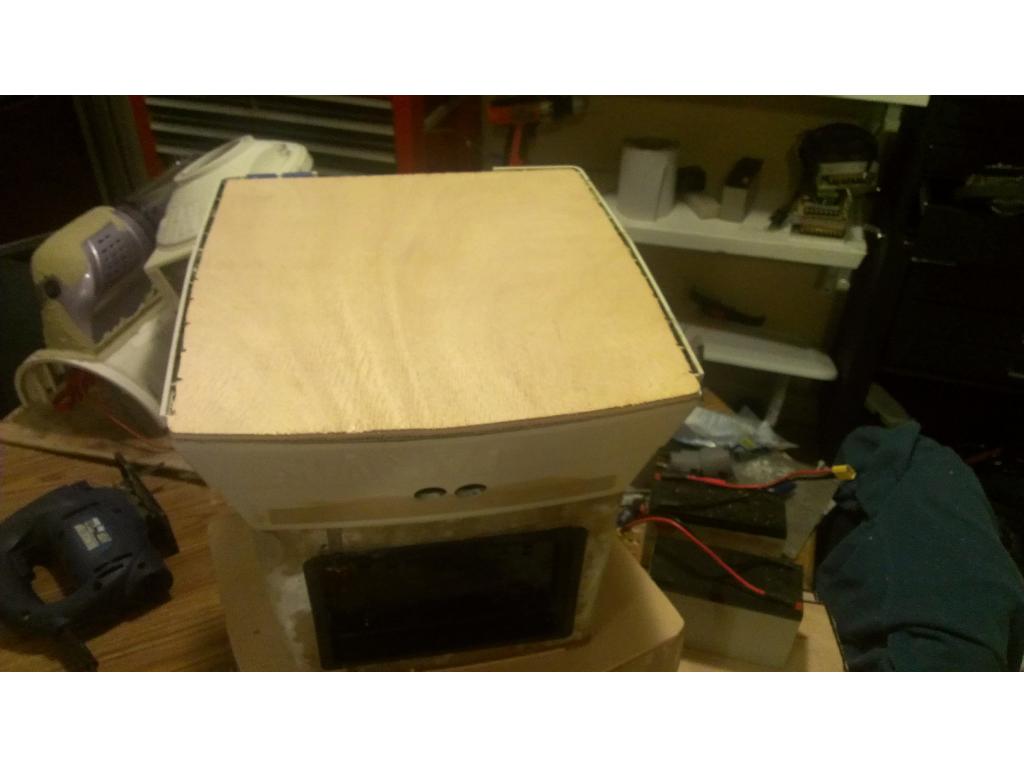
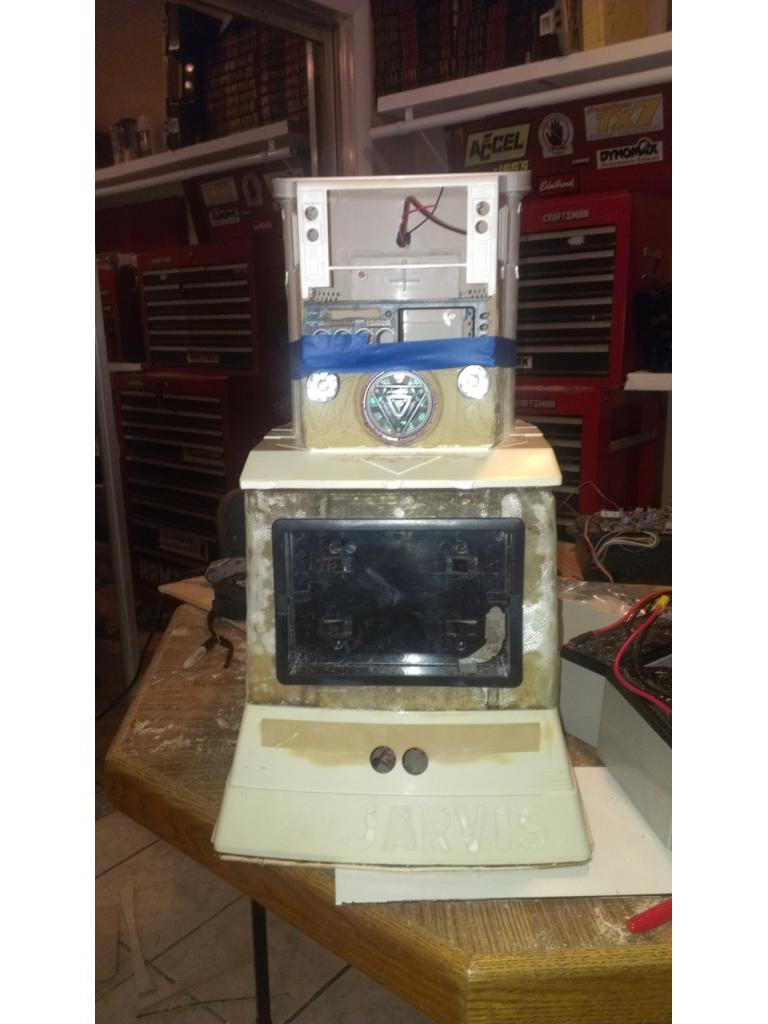
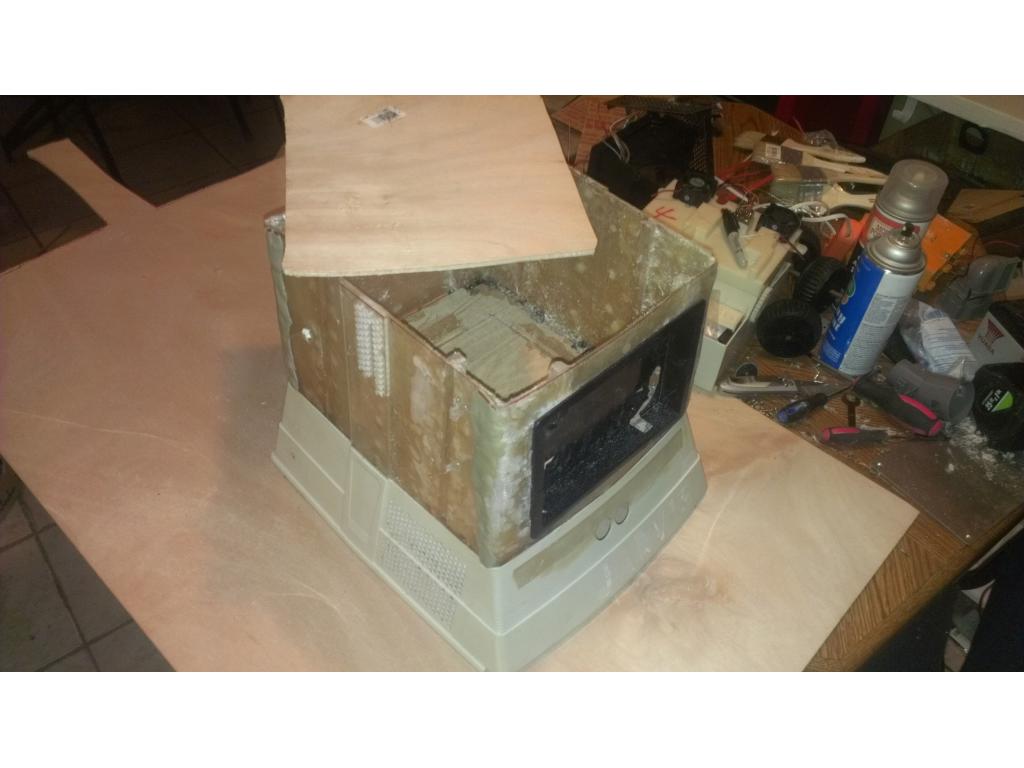
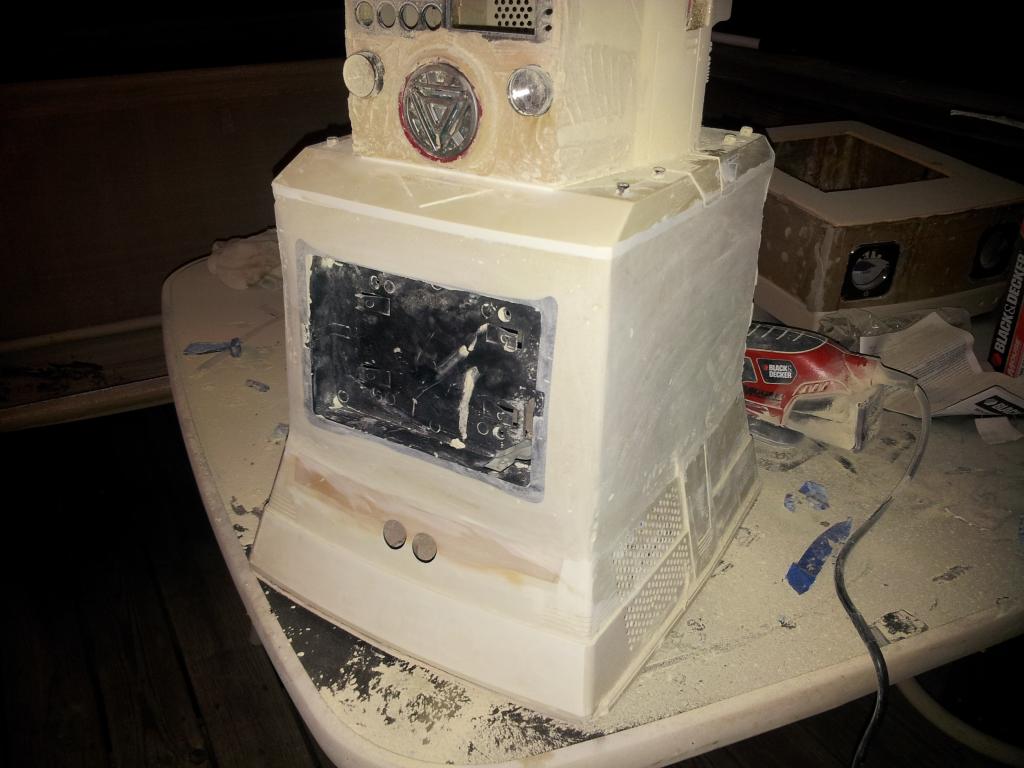
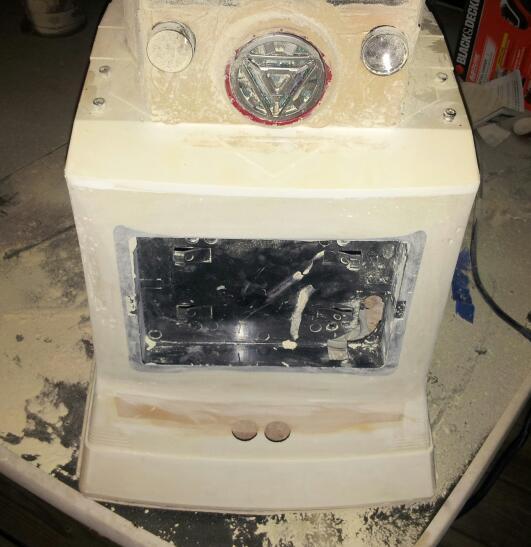
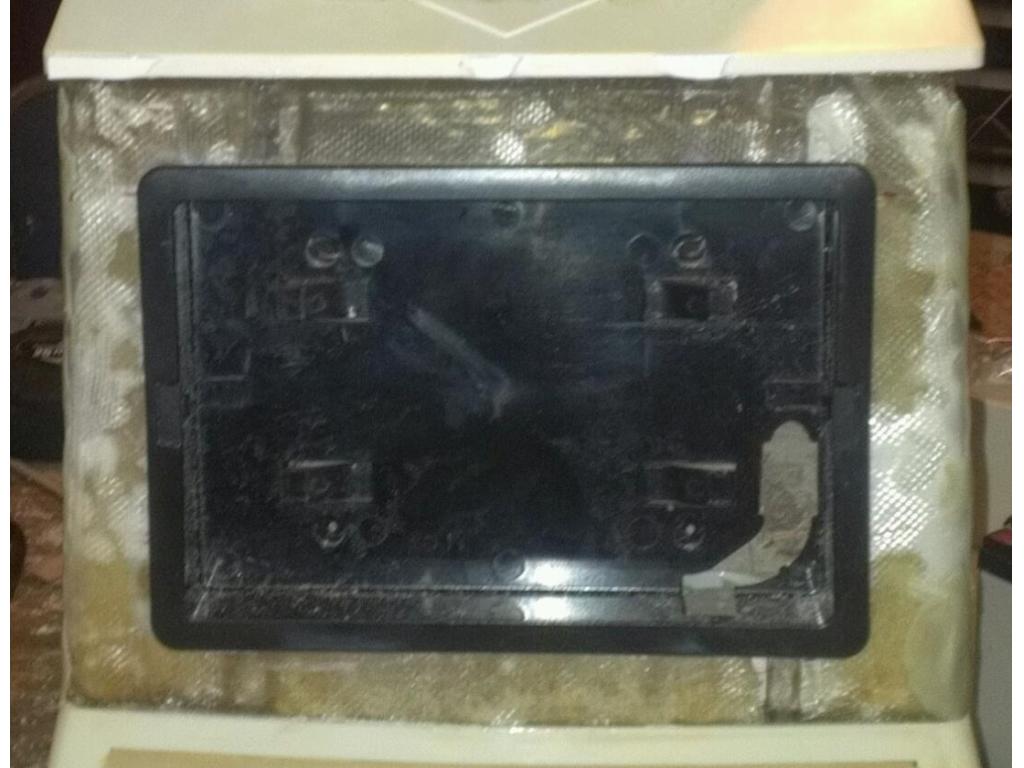
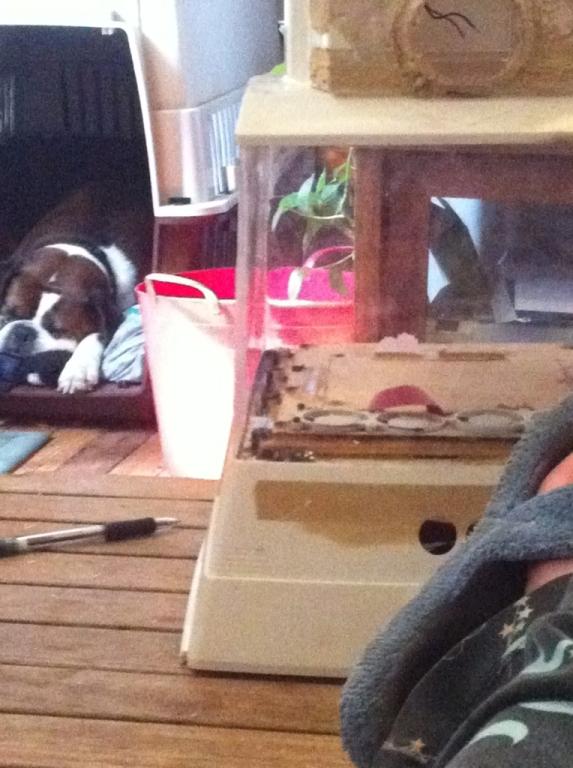
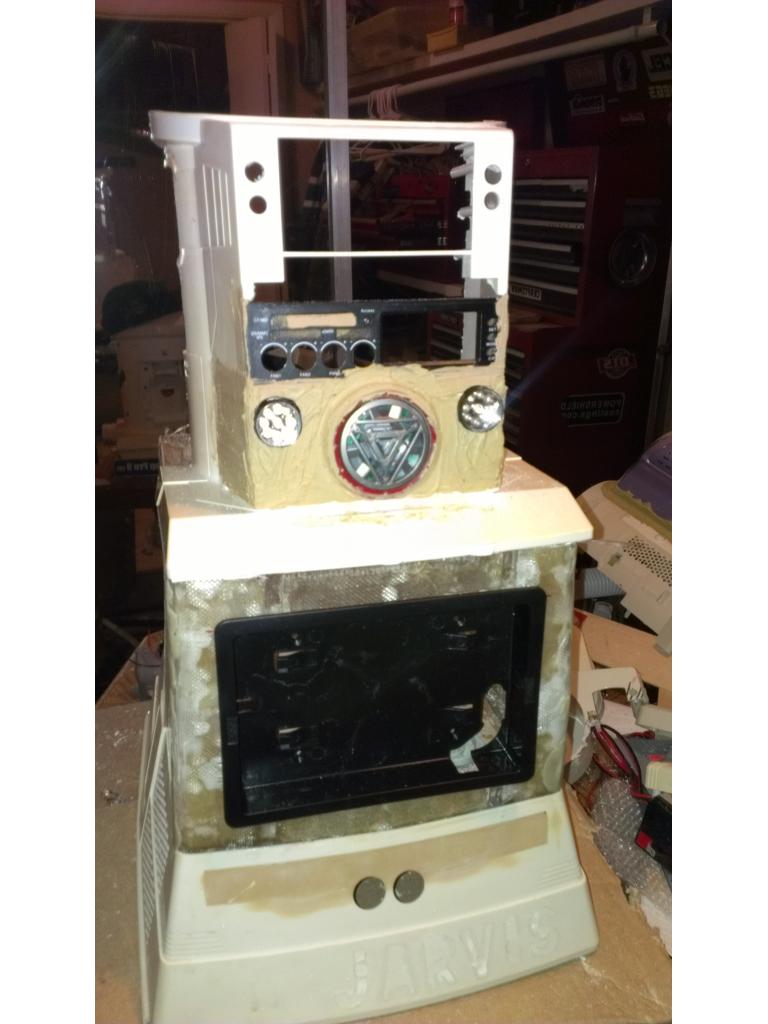
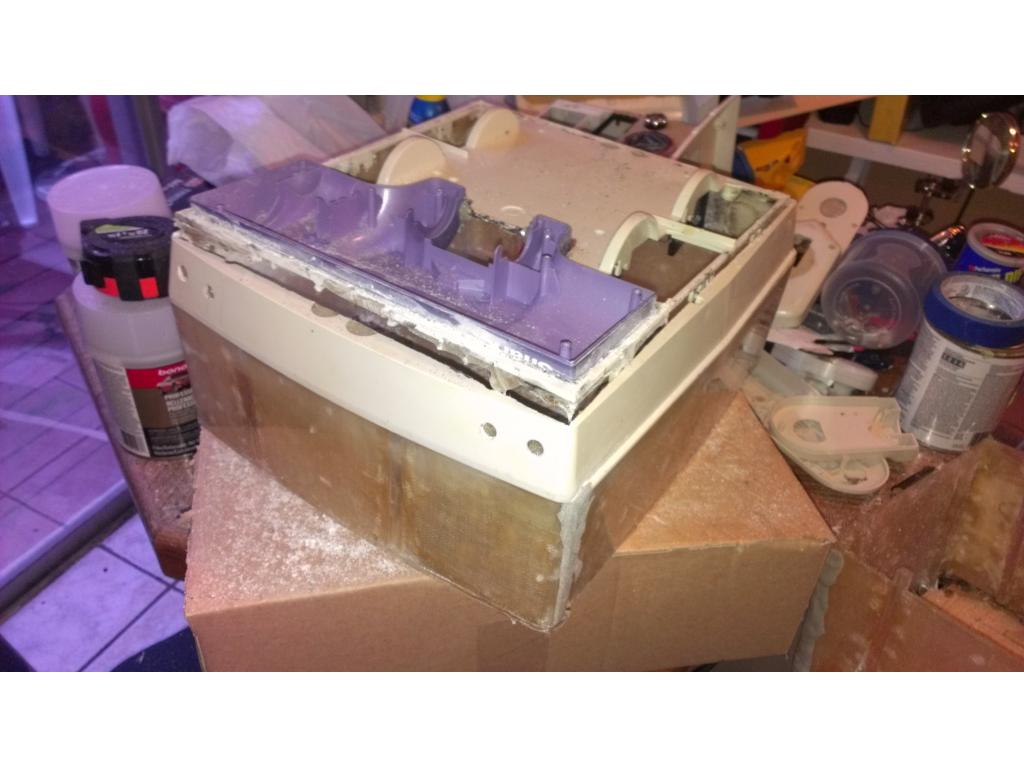
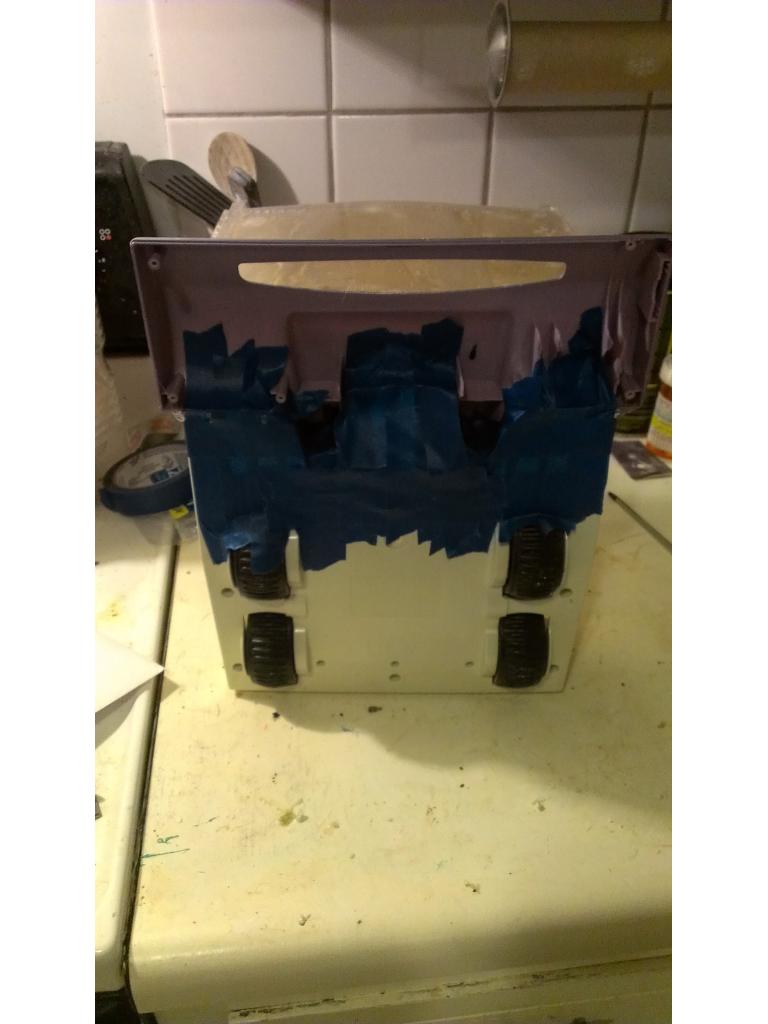
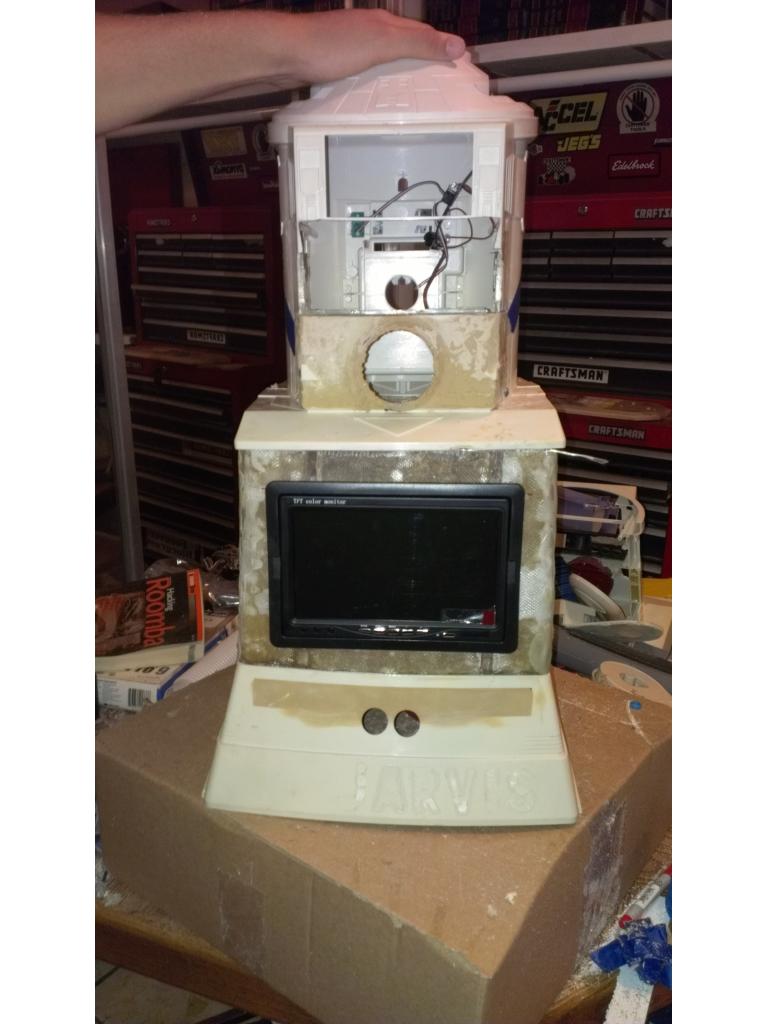
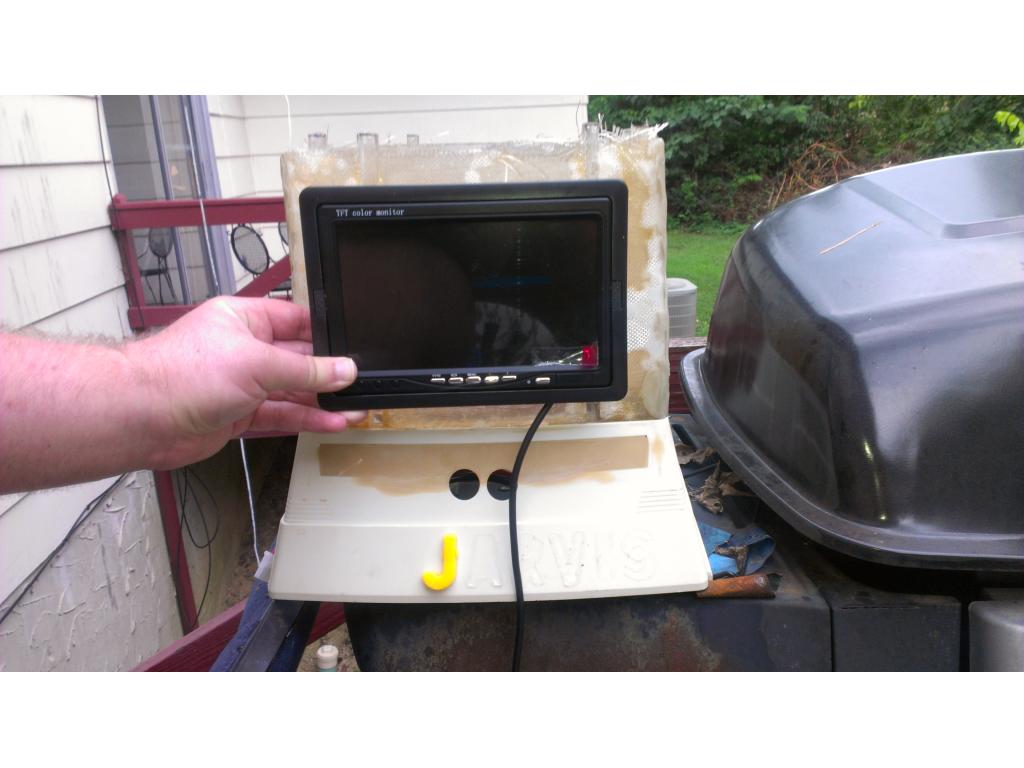
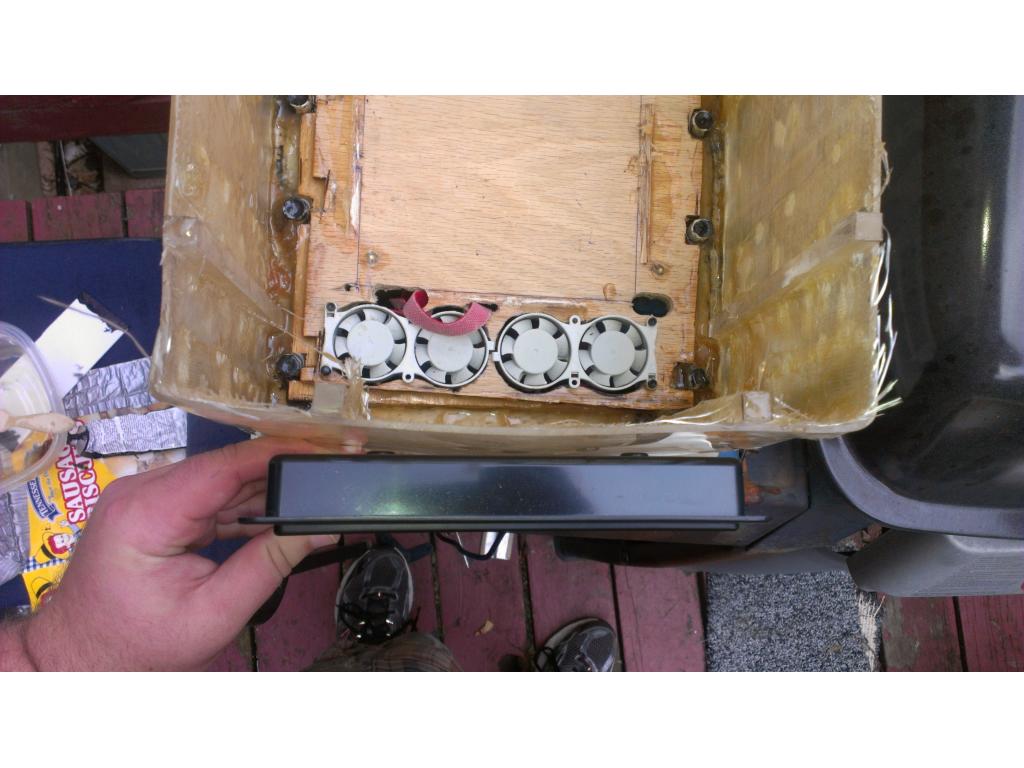
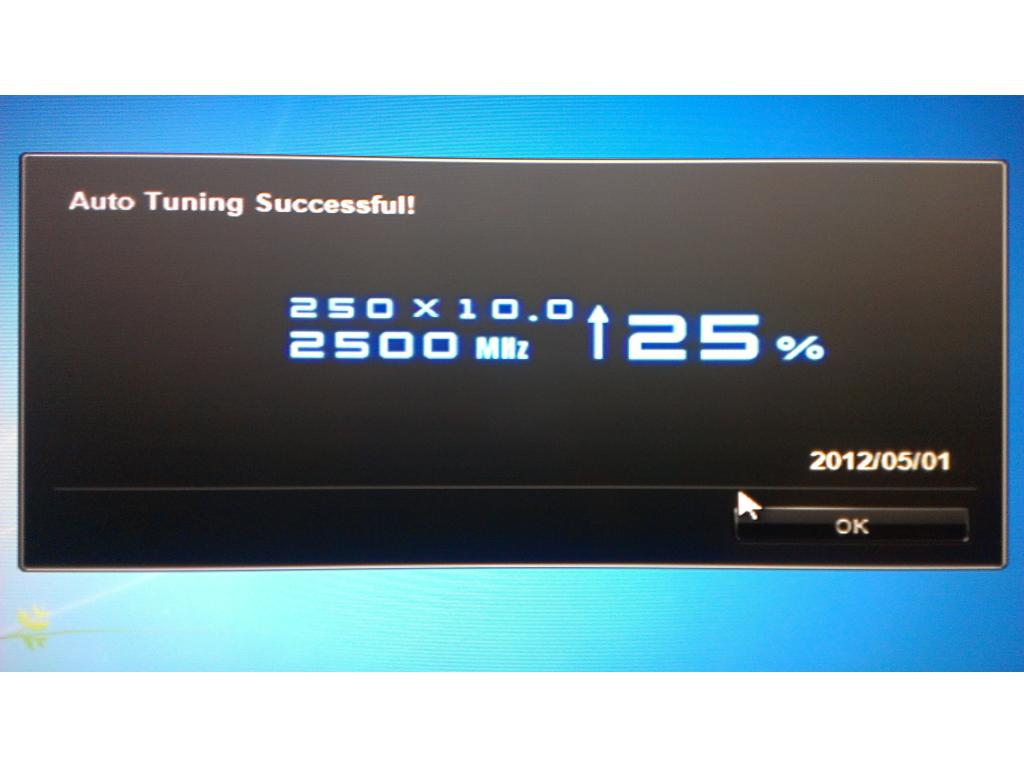
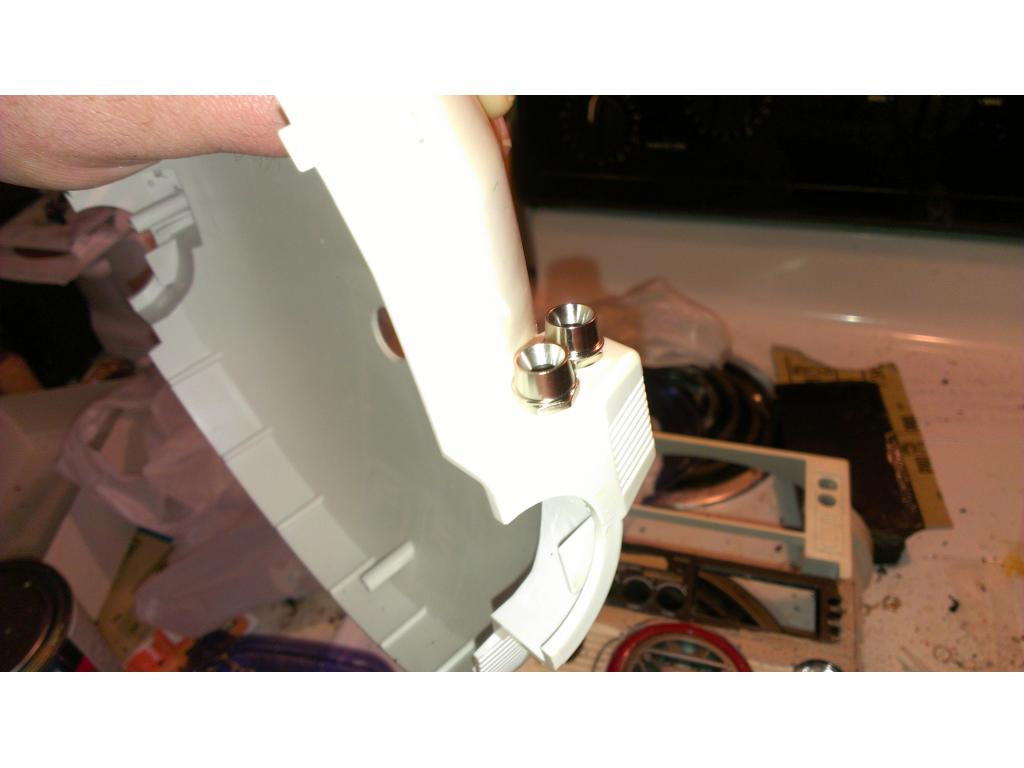
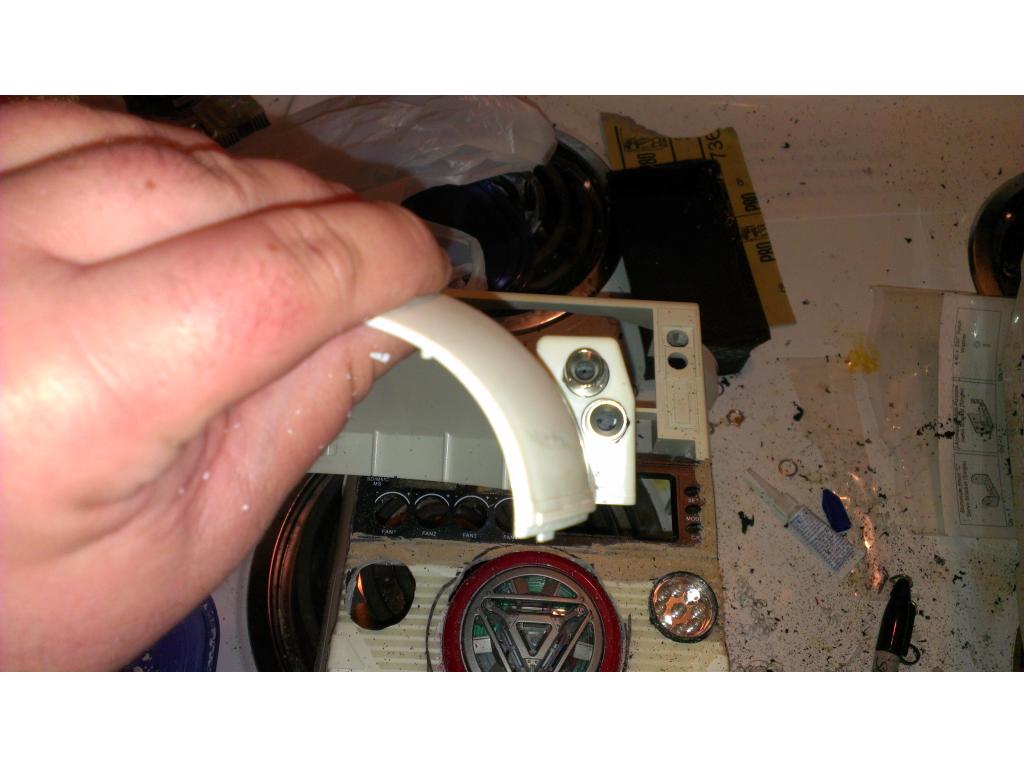
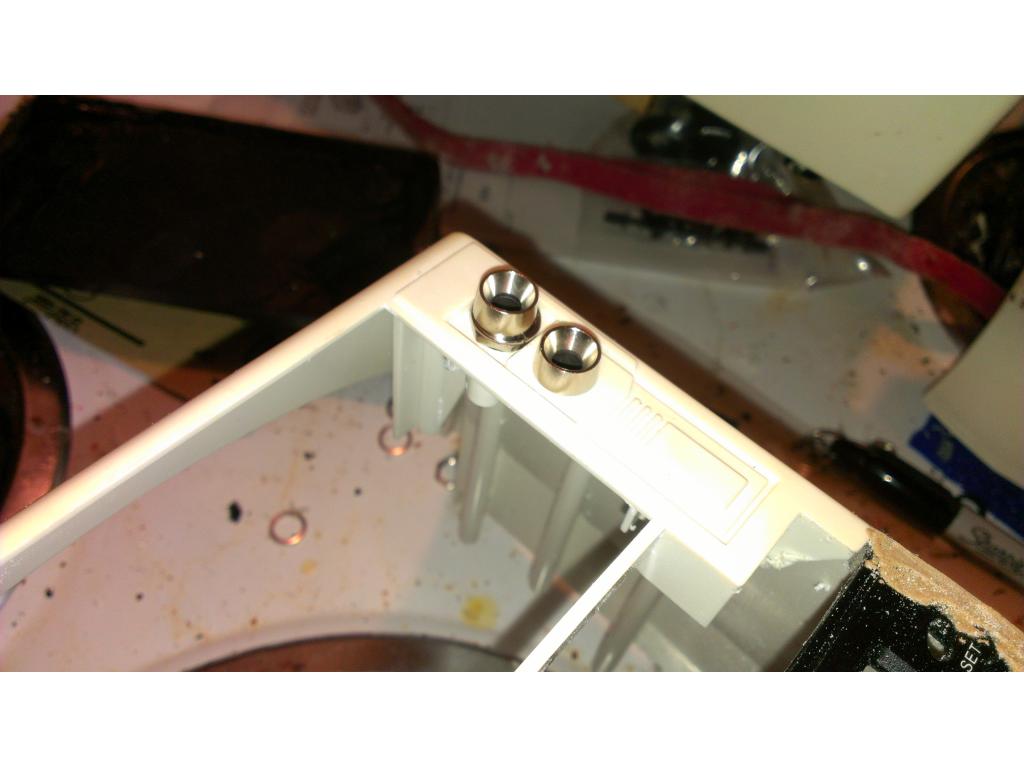
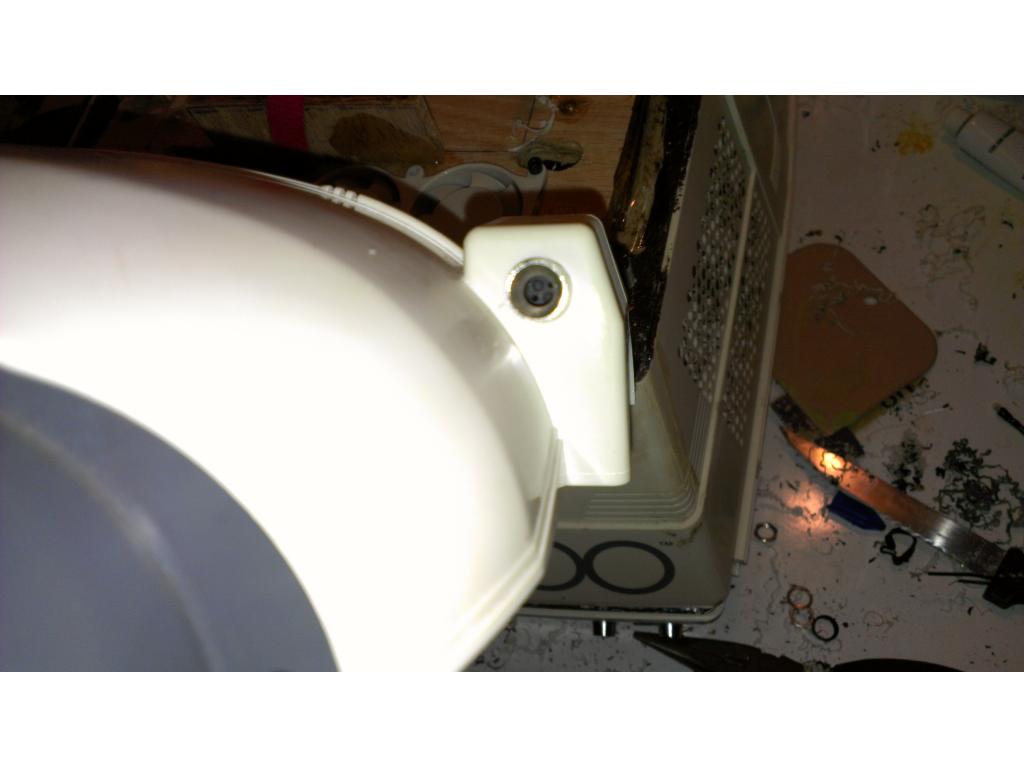
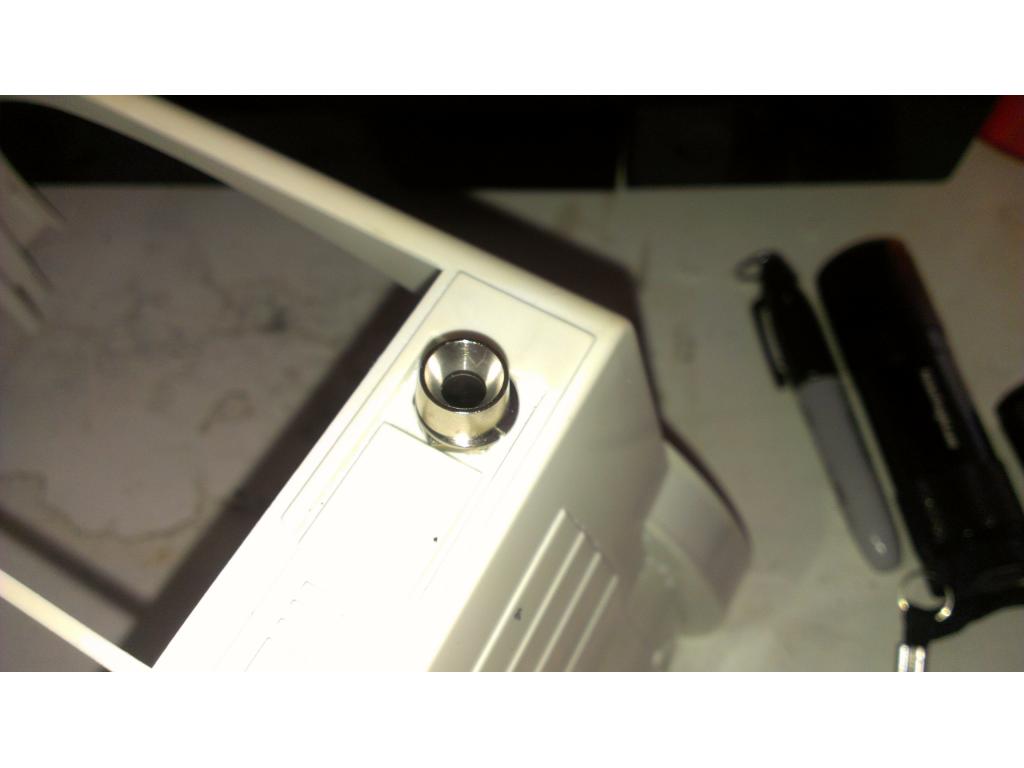
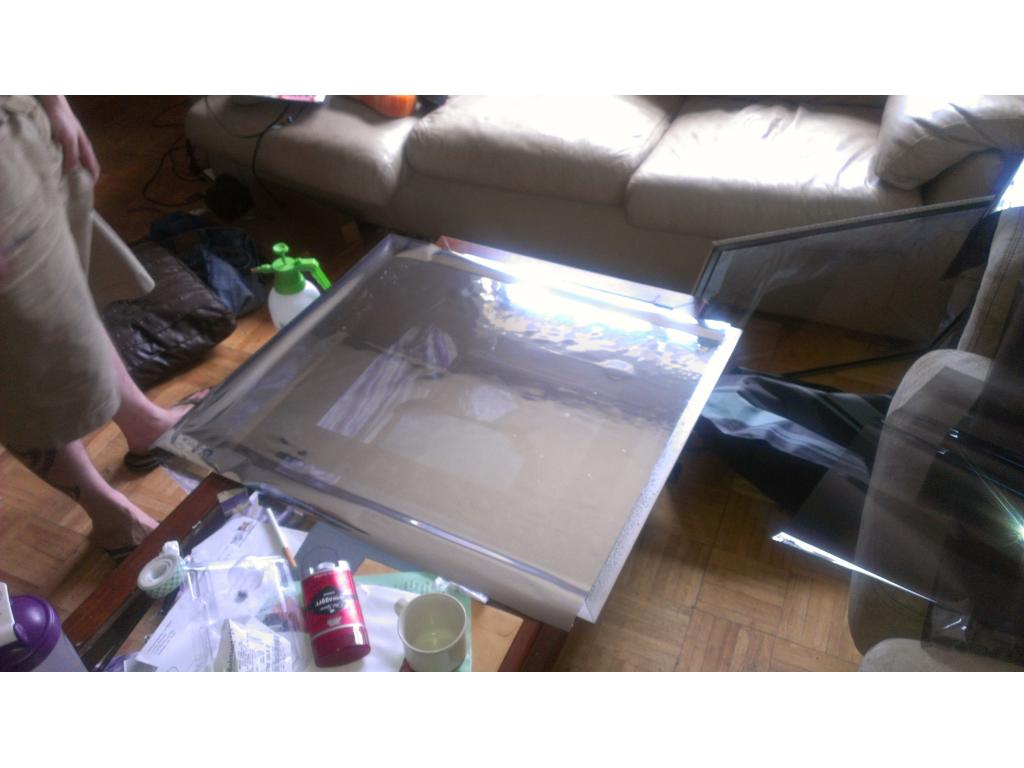
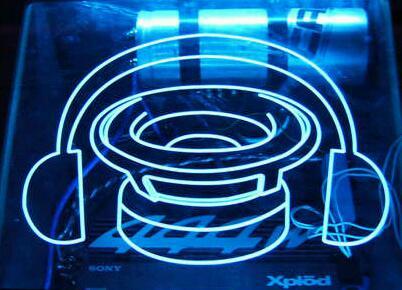
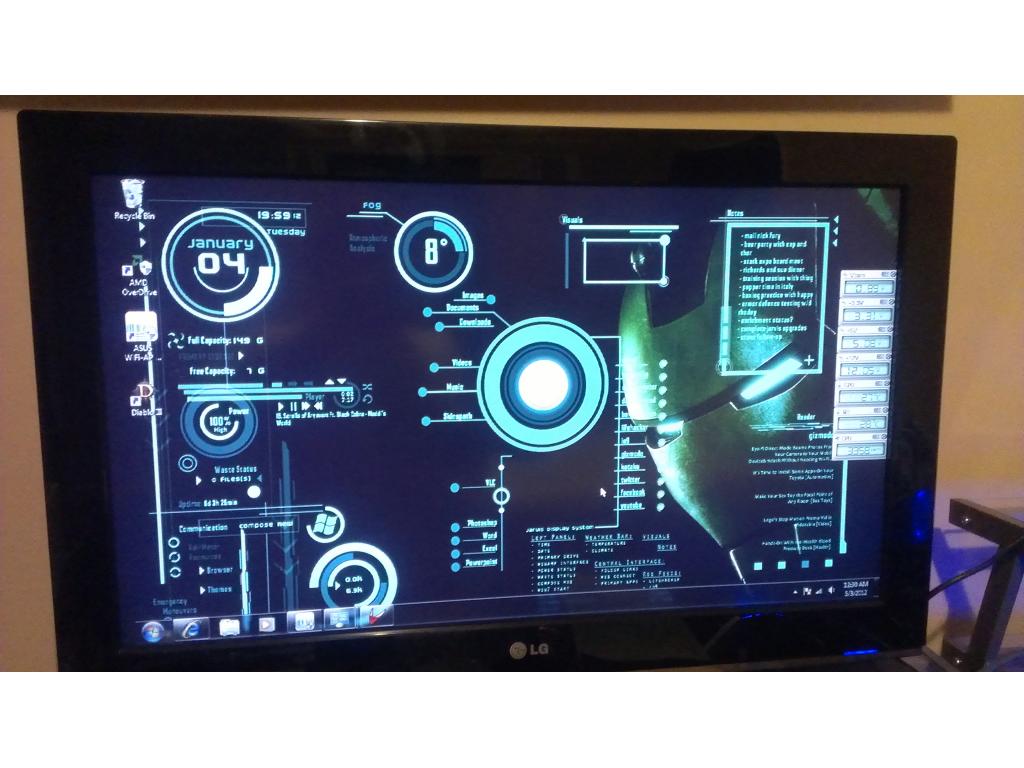
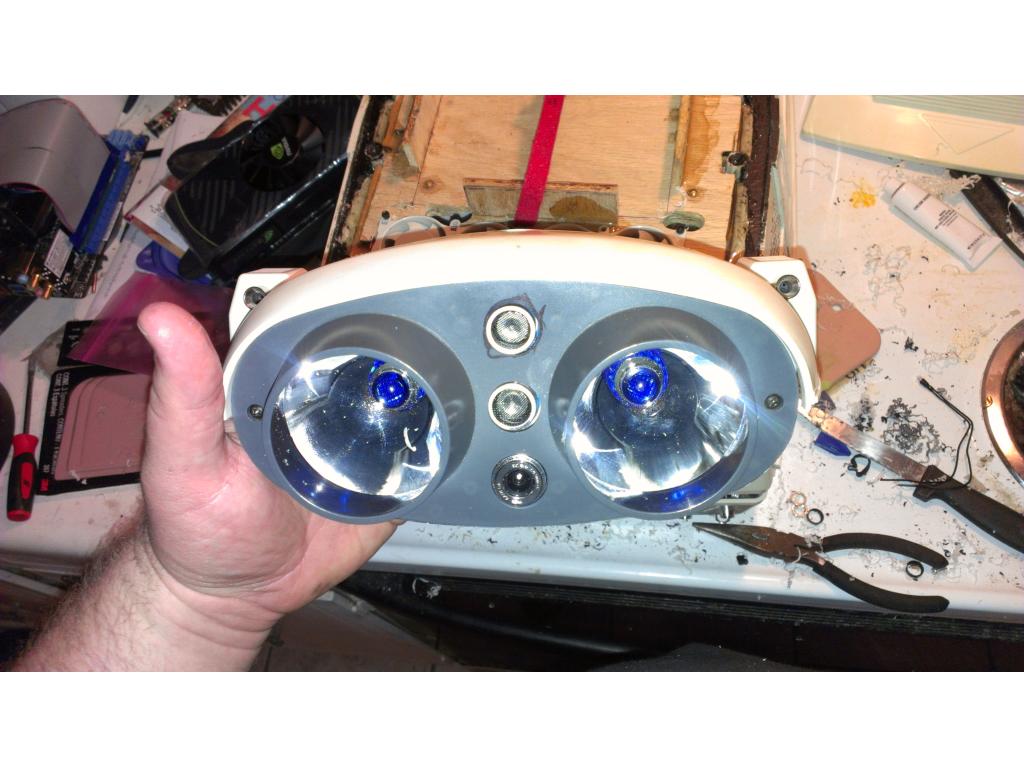
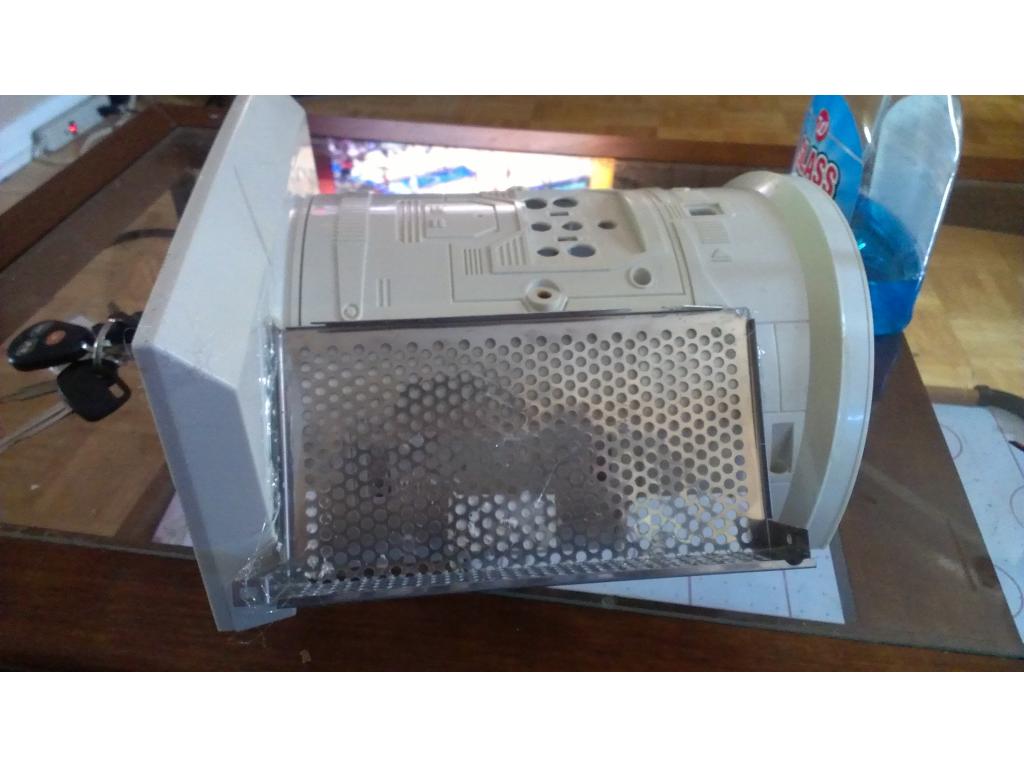
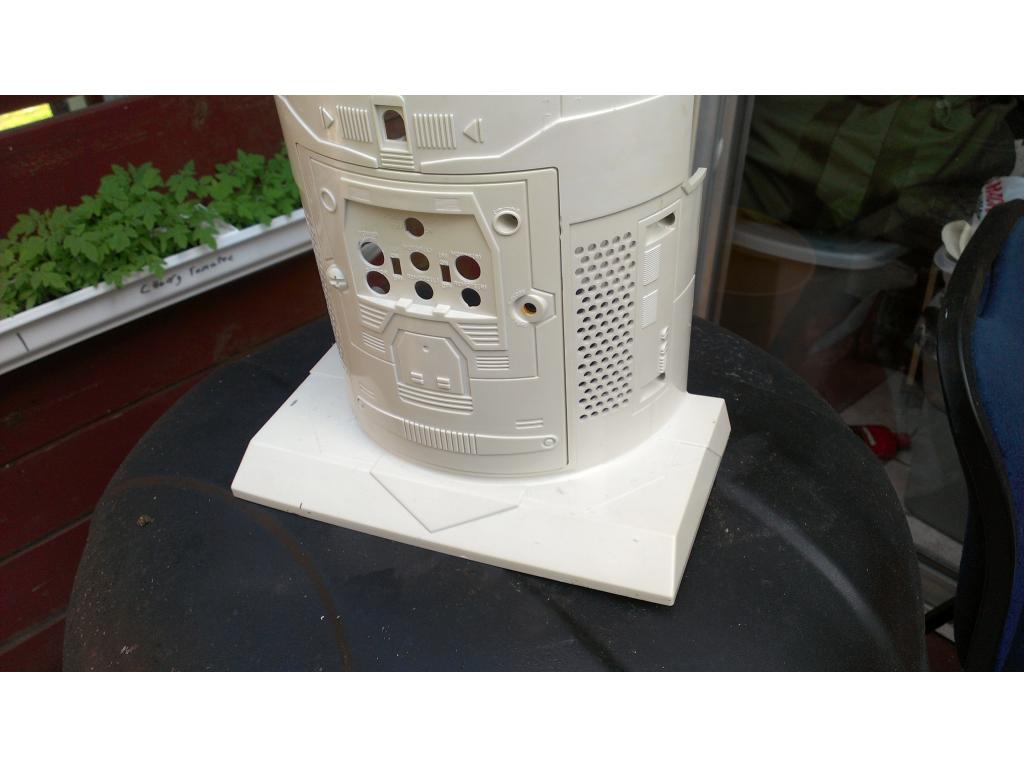
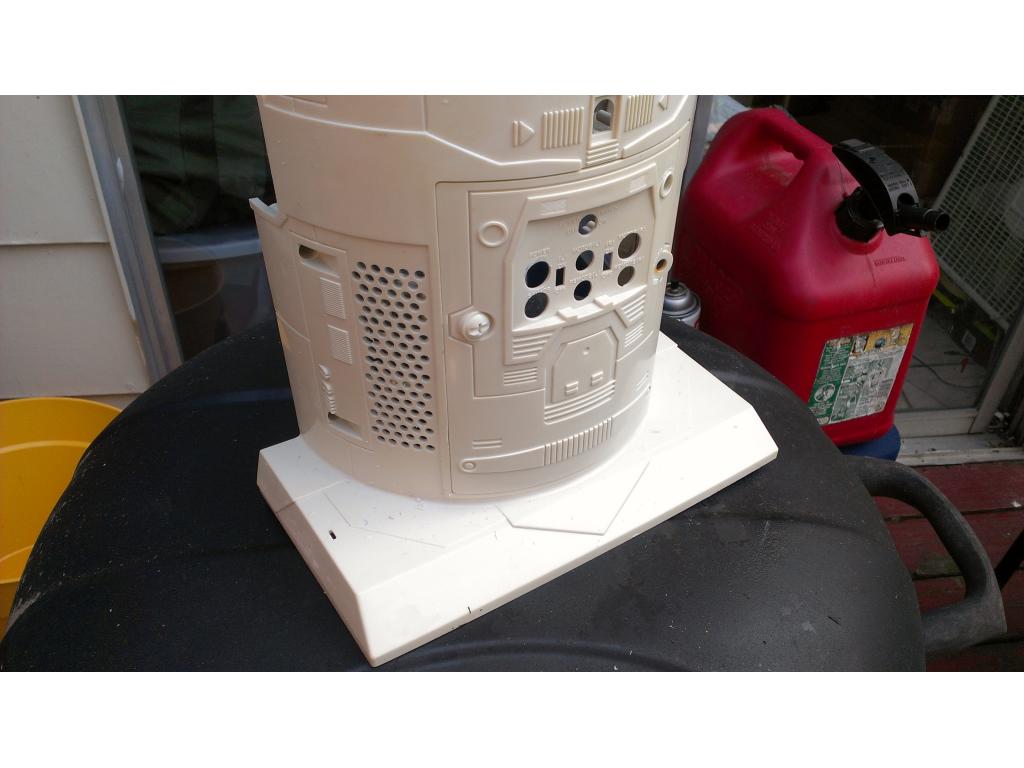
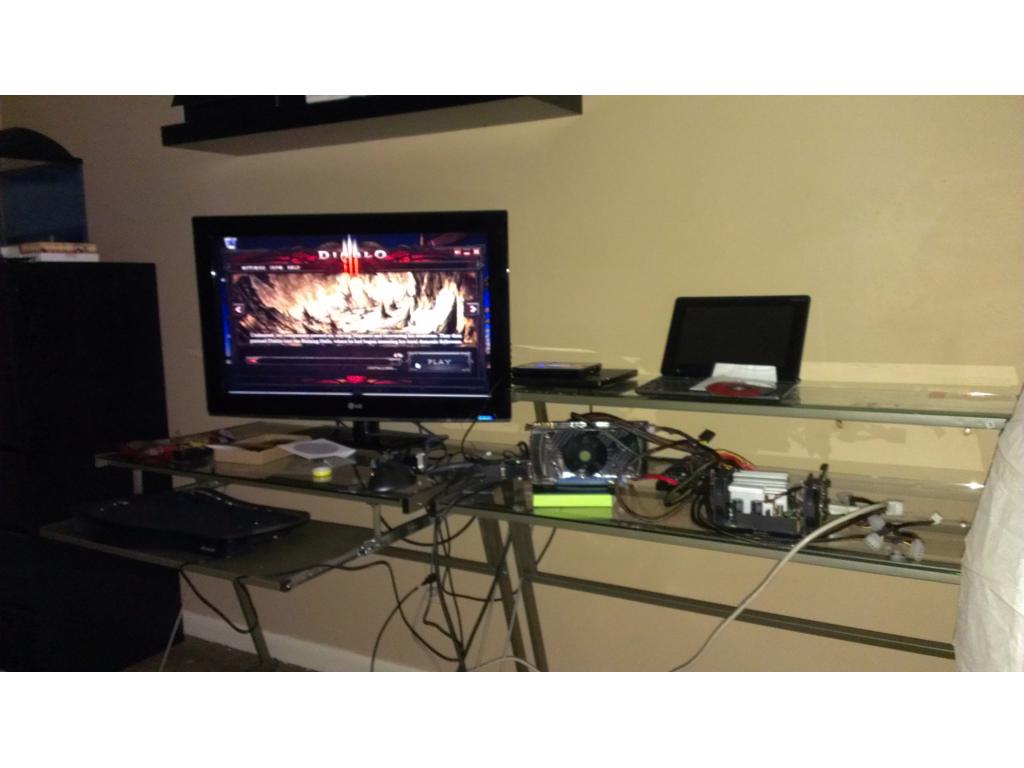
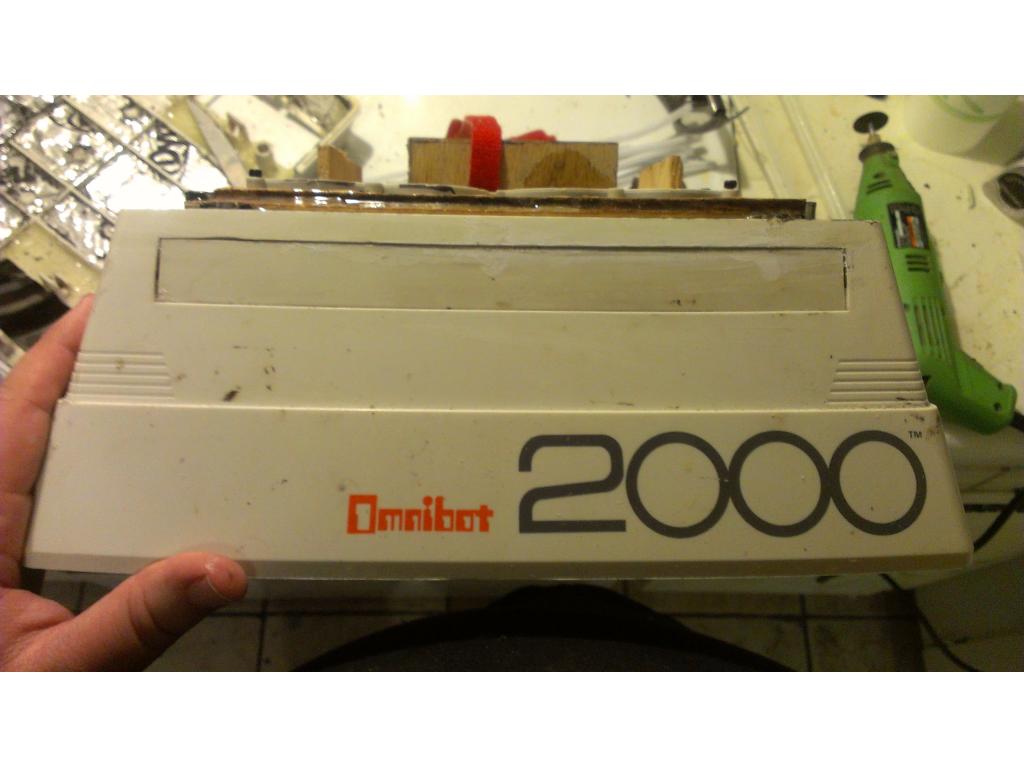
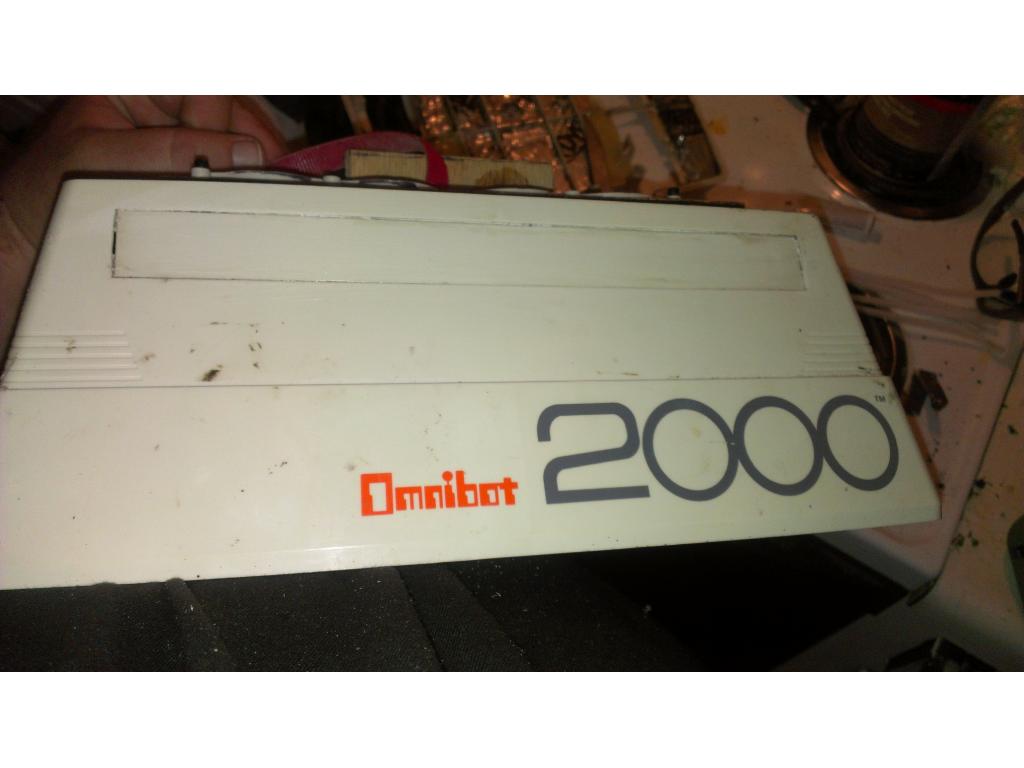
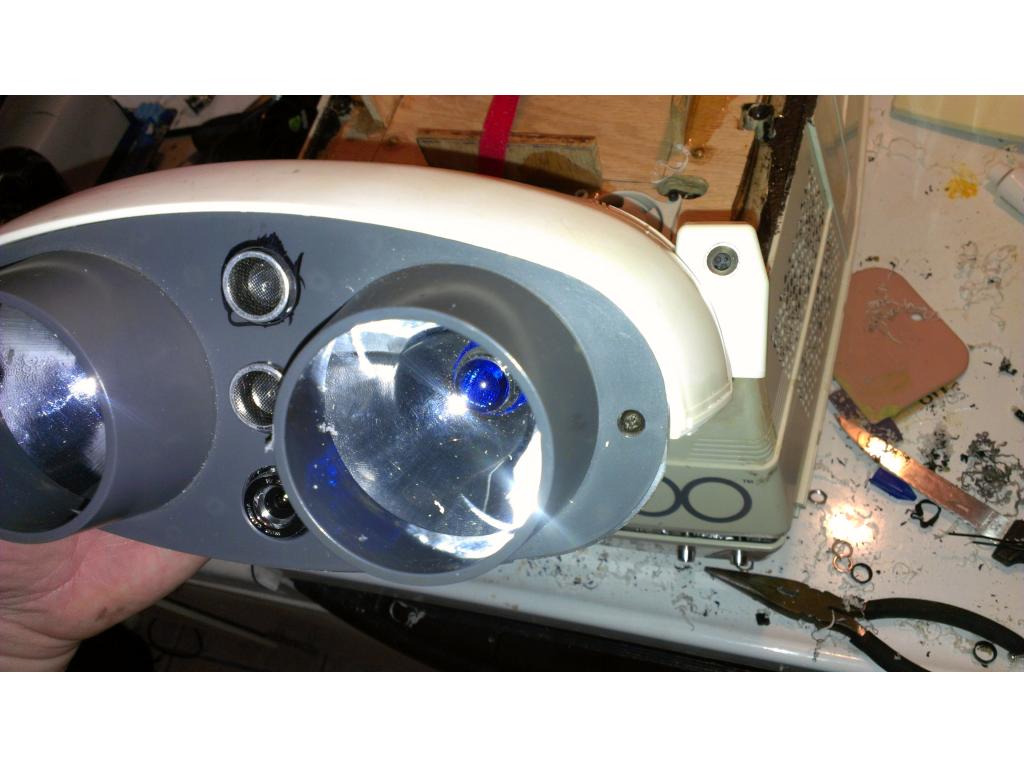
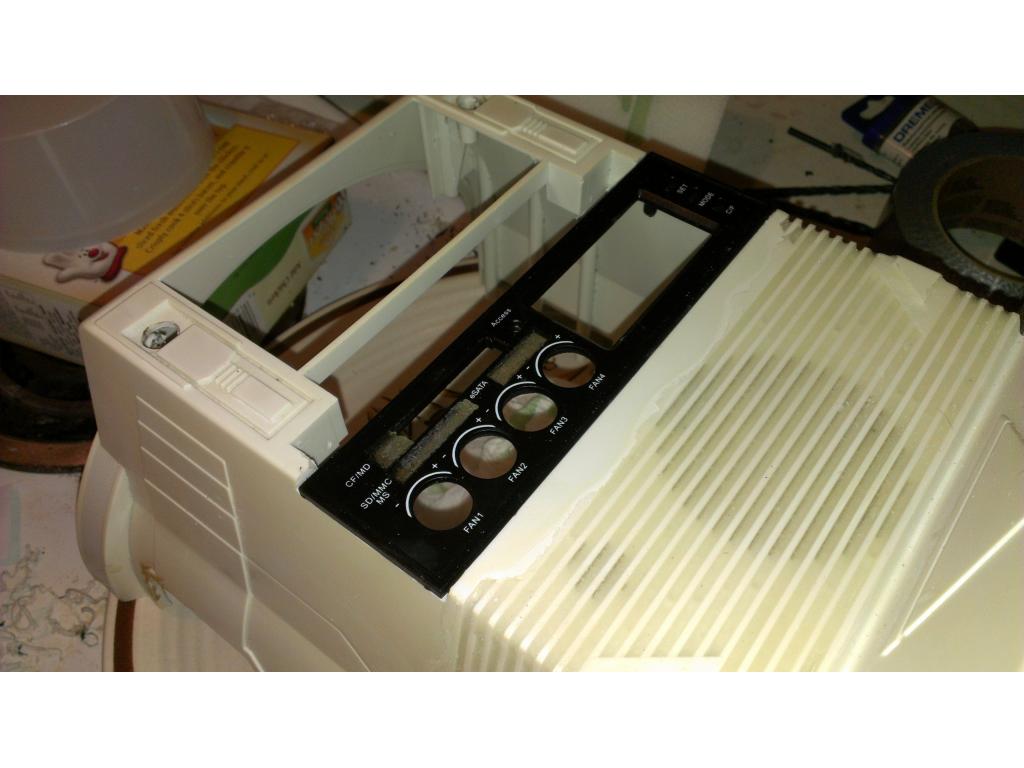
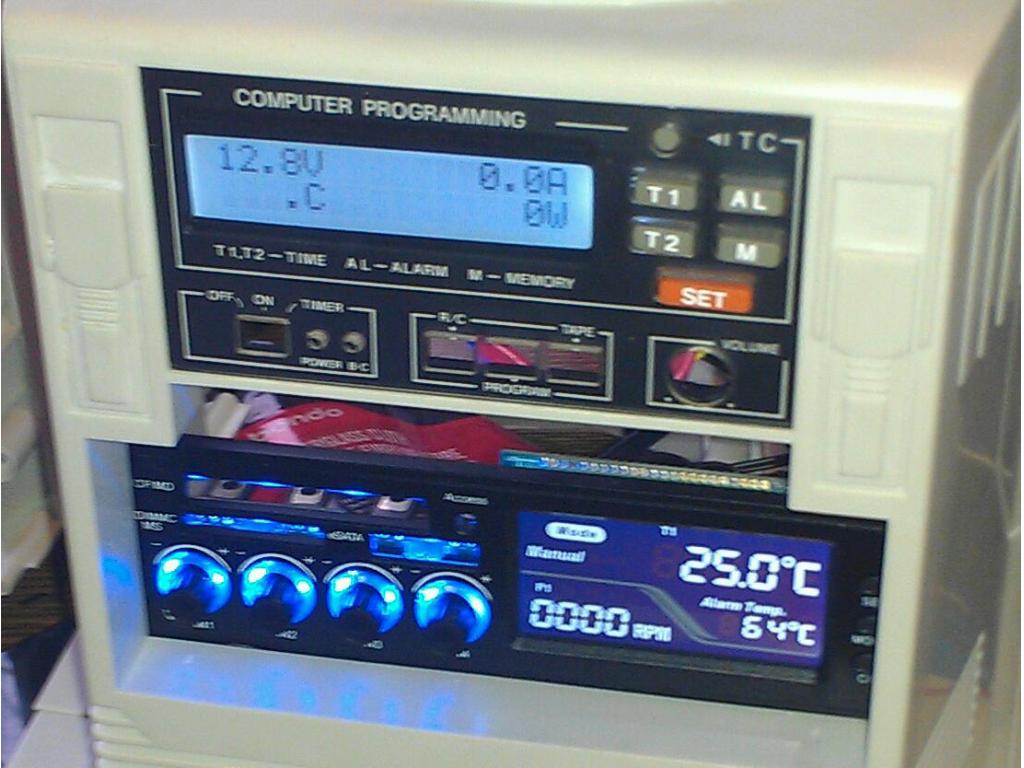
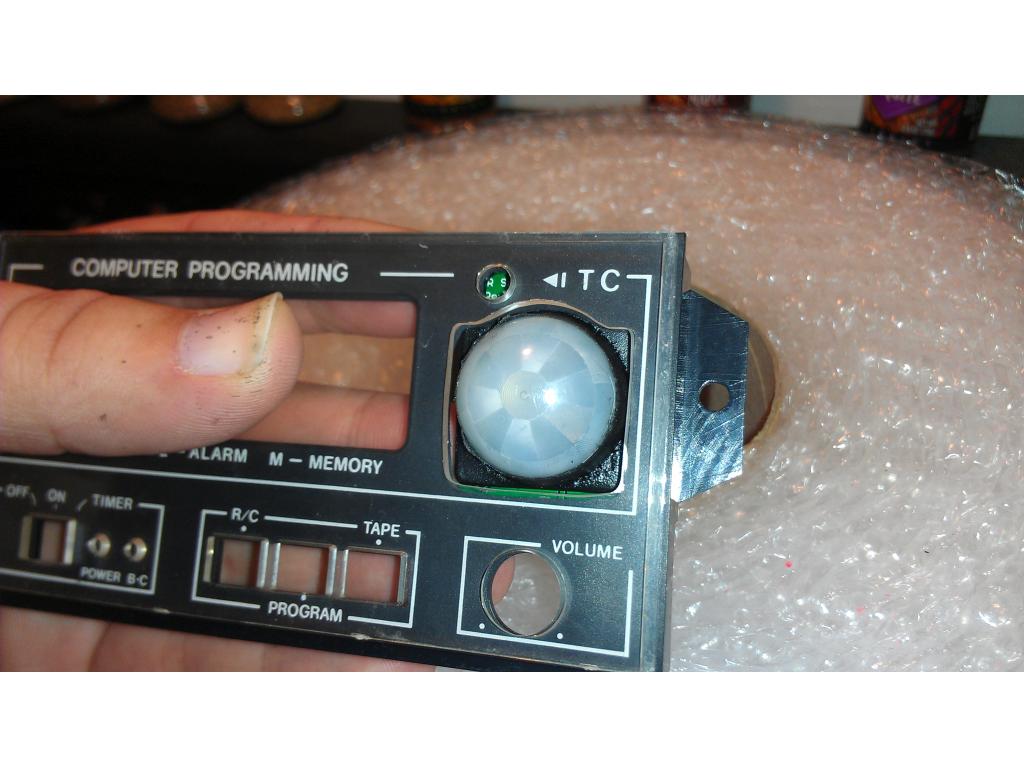
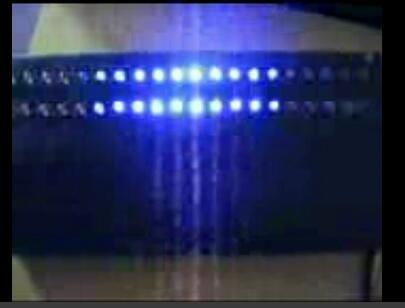
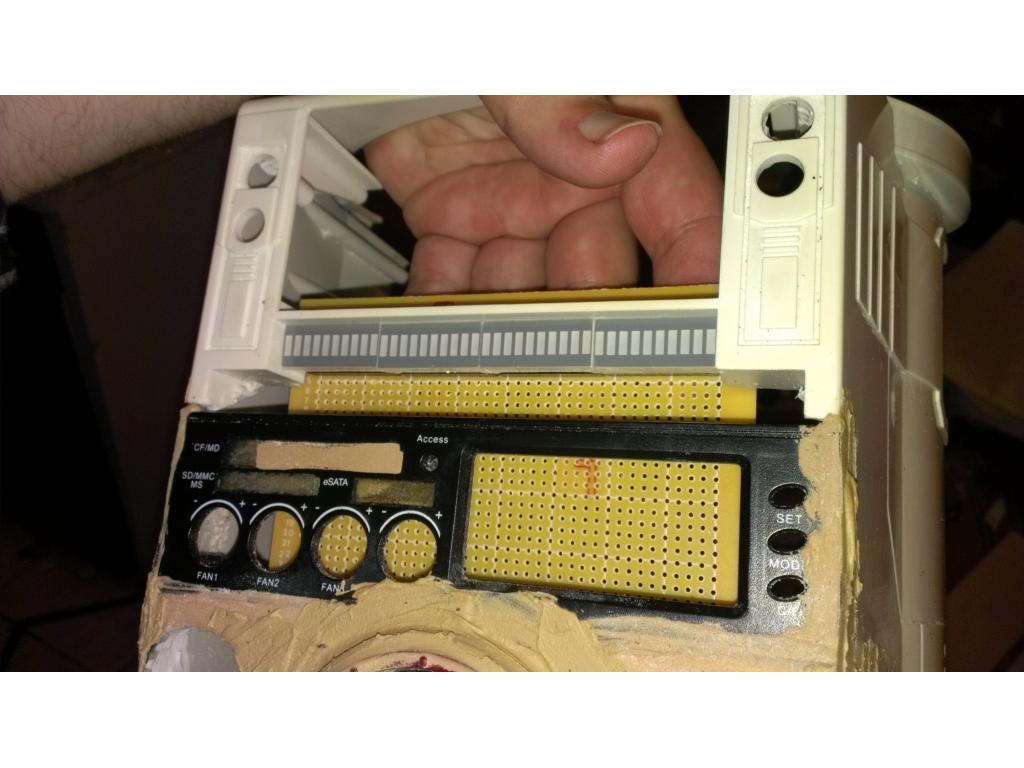
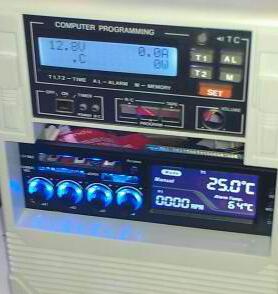
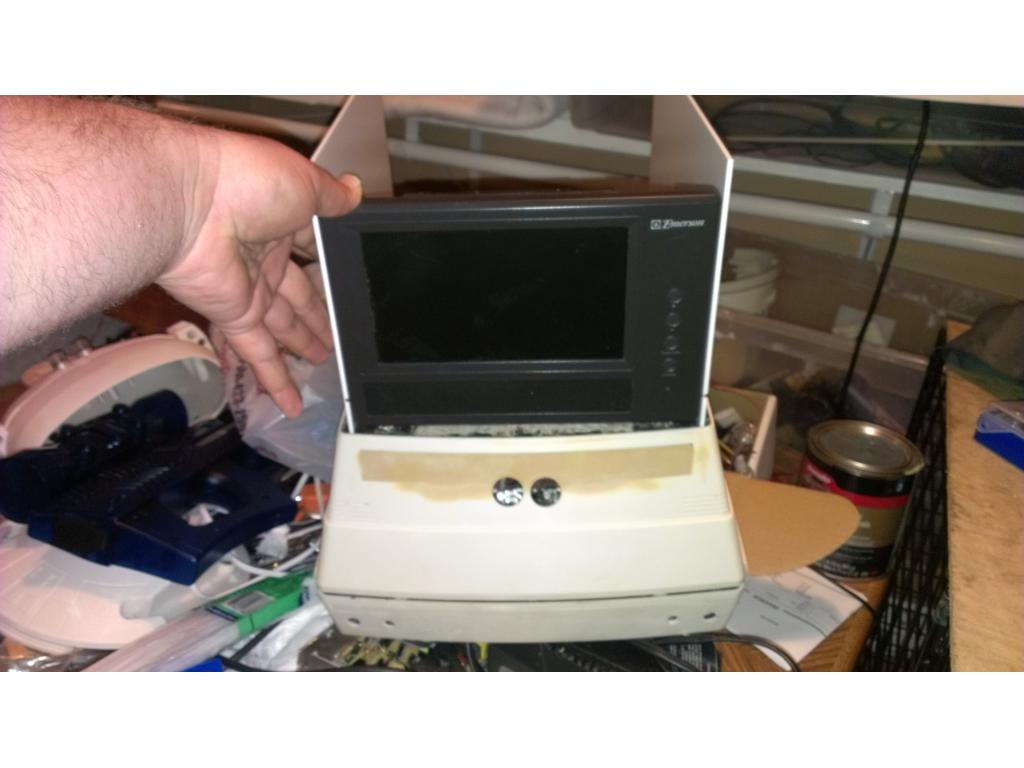
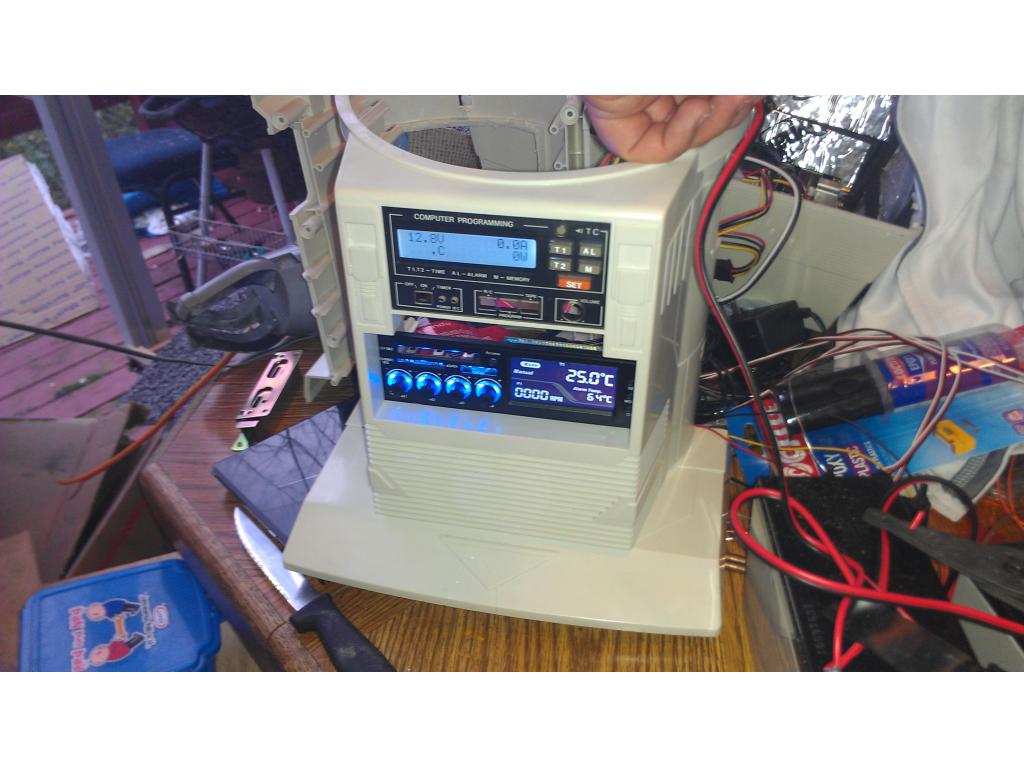
I modified the OEM LCD panel. Previously it would not light up like modern backlit LCD. So I purchased a LCD unit that perfectly fit. Once I got the LCD and LCD microcontroller driver it added up to about 45 dollars. The four buttons on the right are no longer functional but I planned on retaining the original power on switch , power on light and hard disk light.
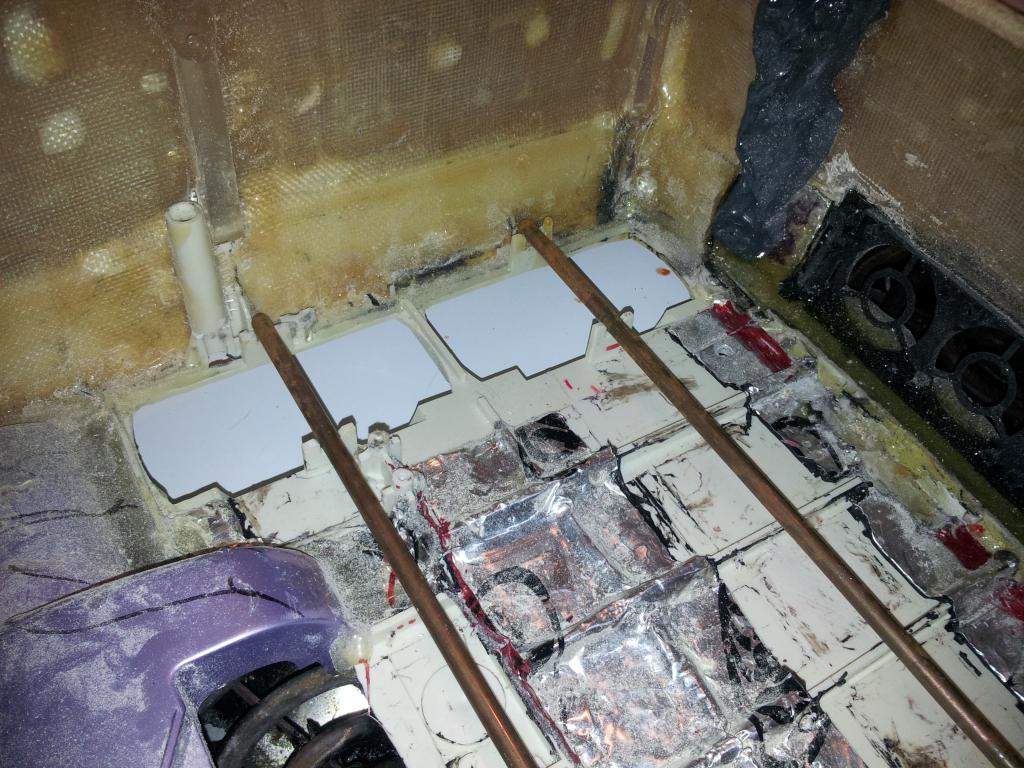
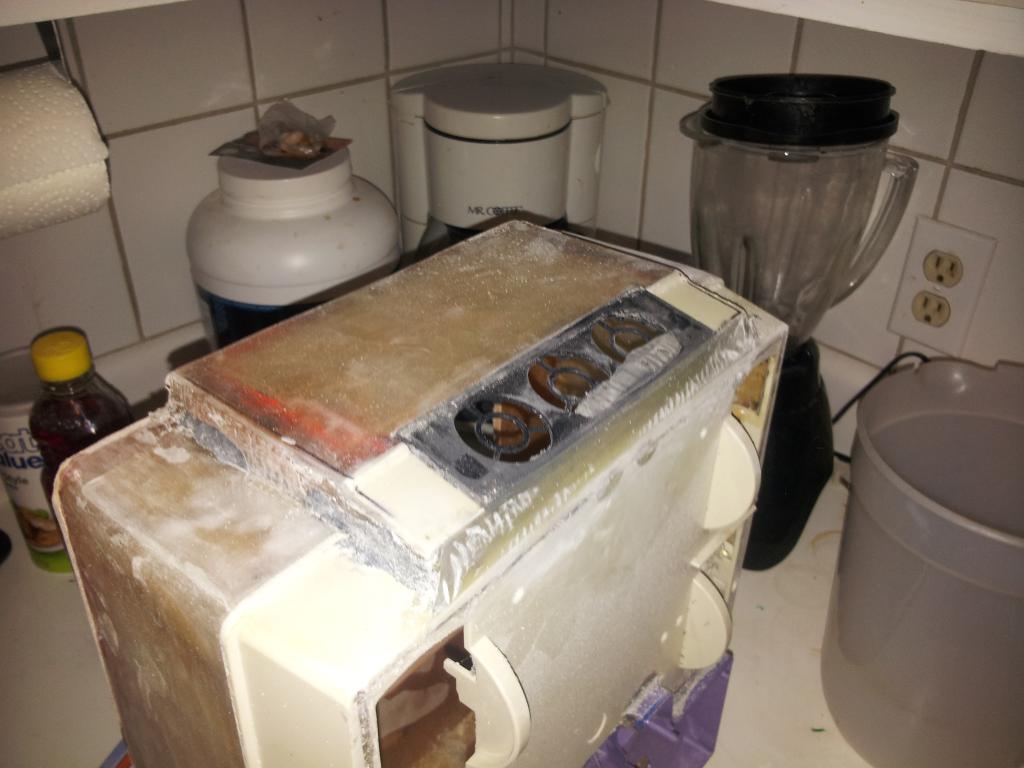
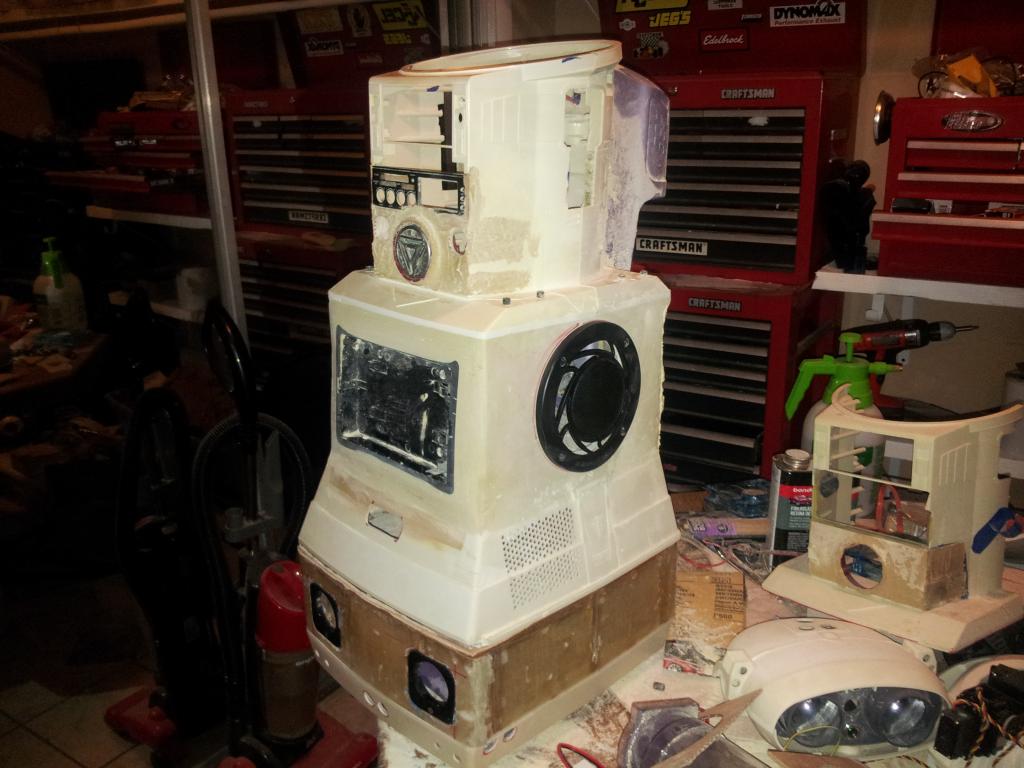
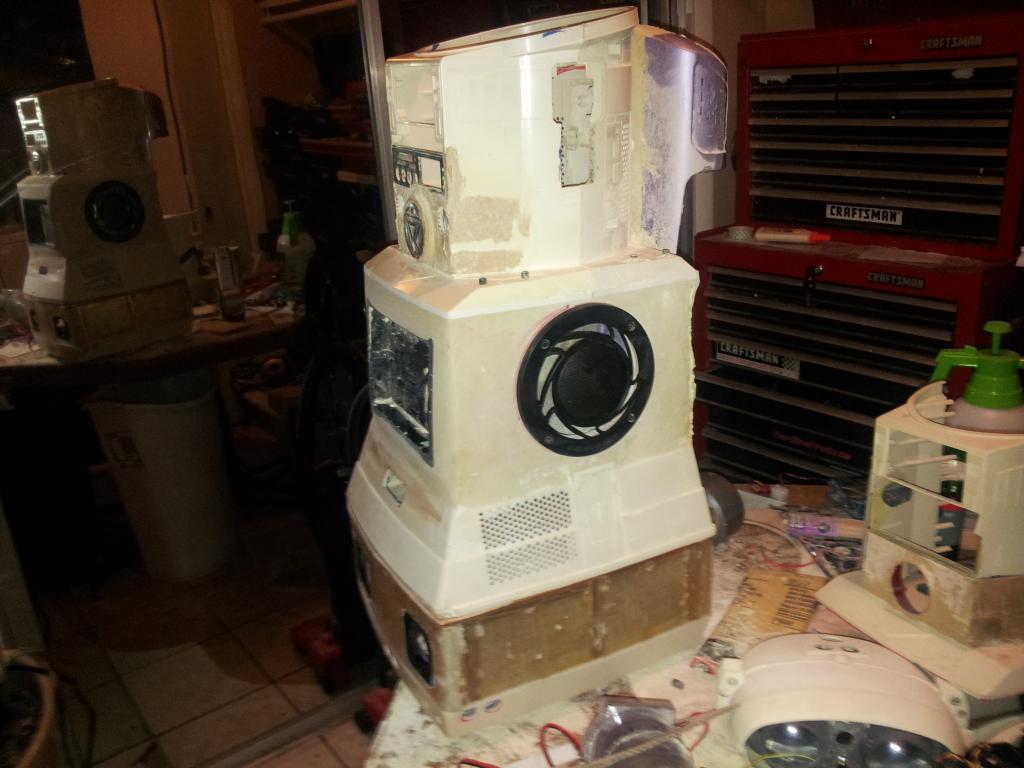
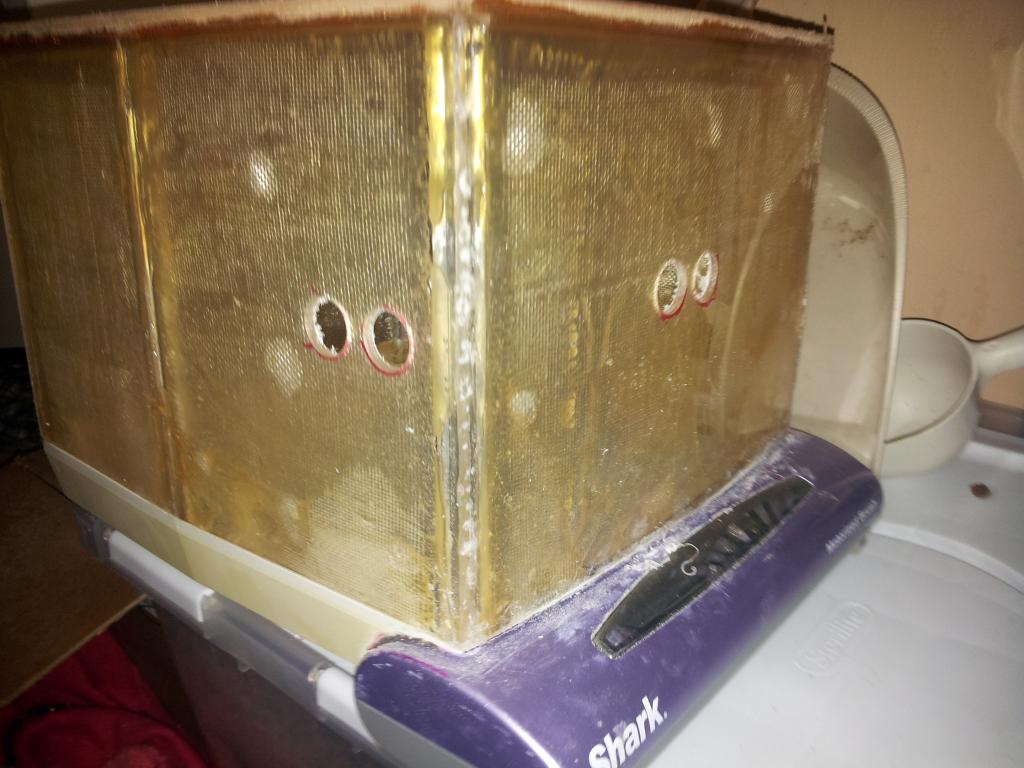
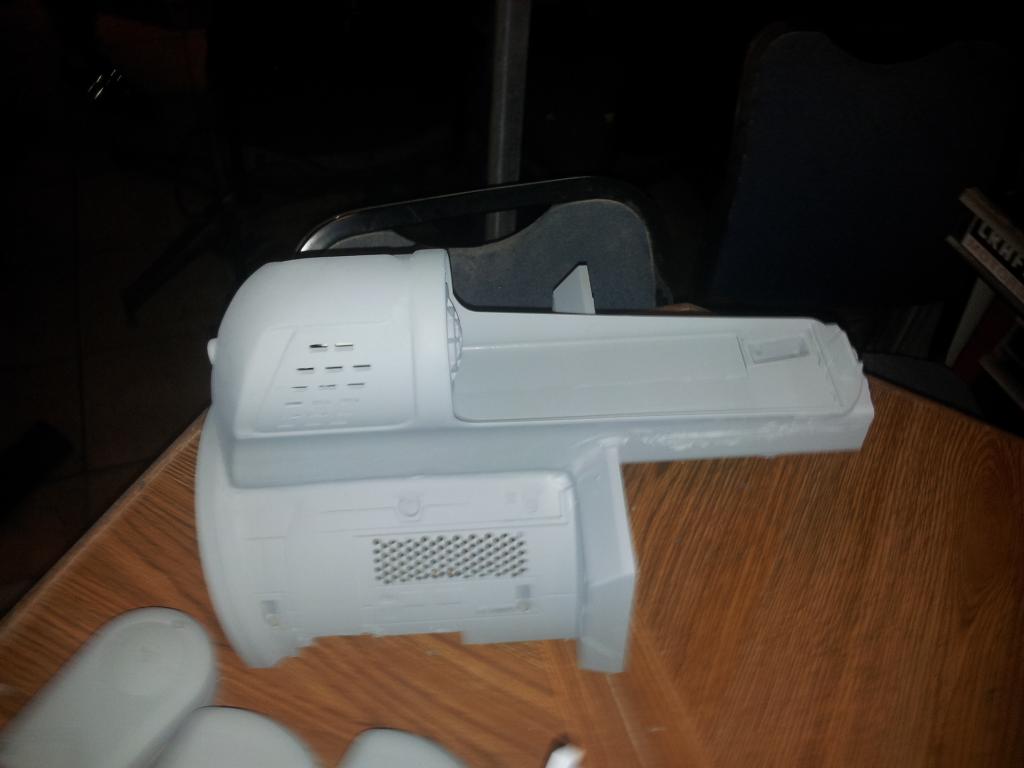
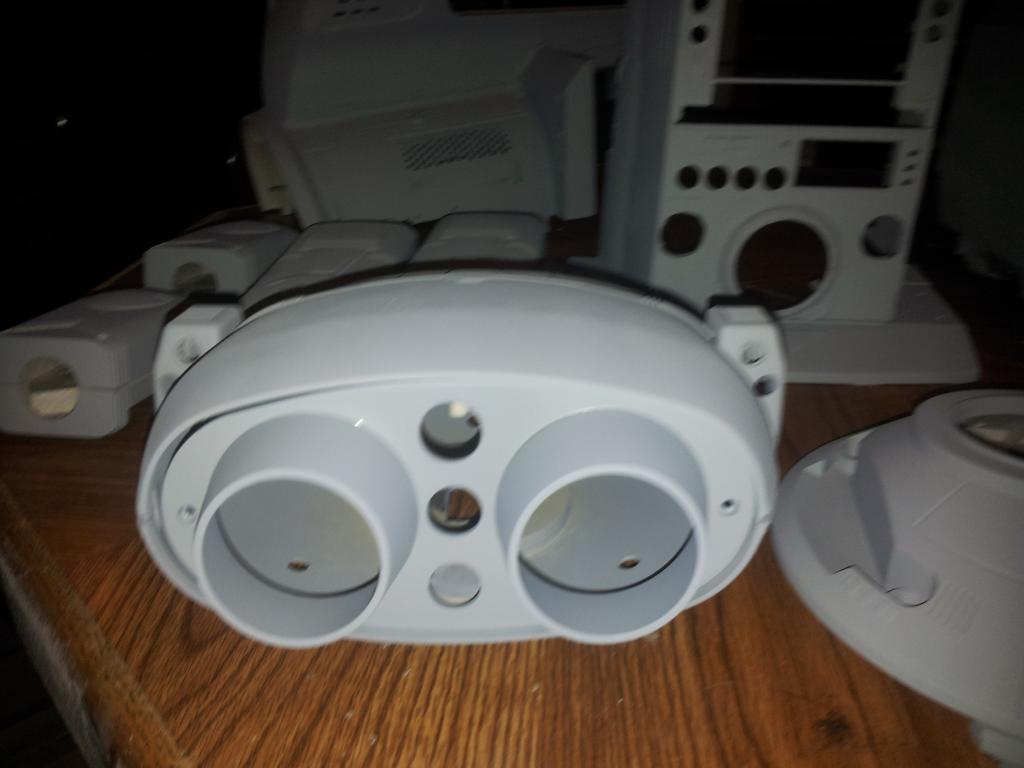
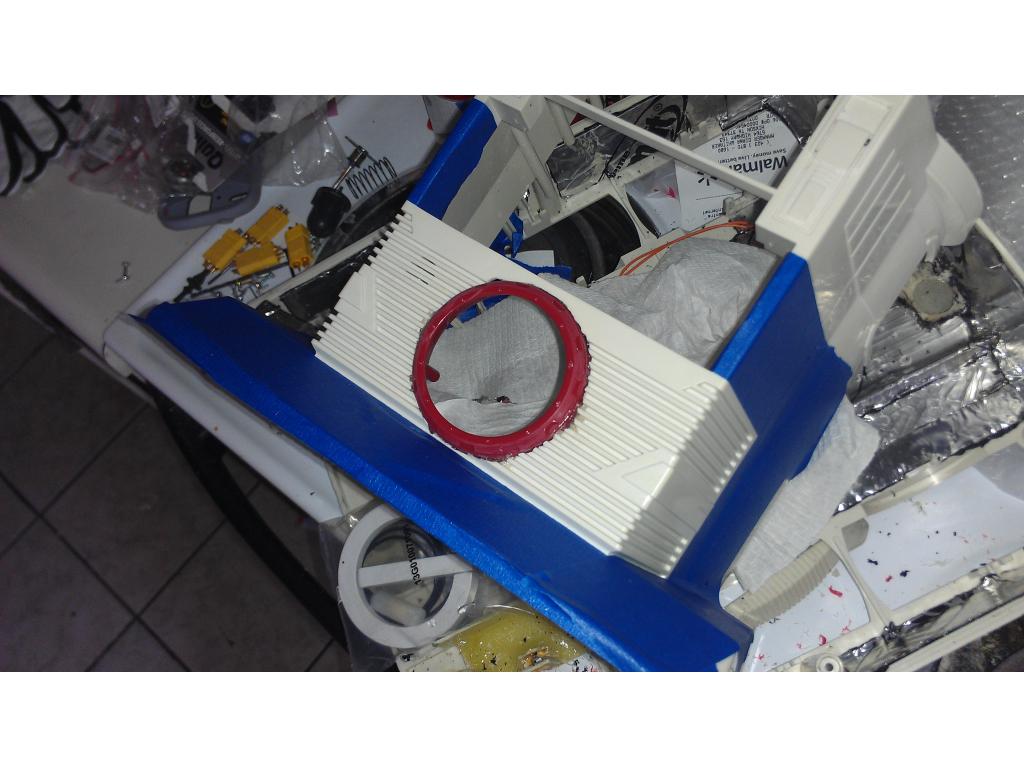
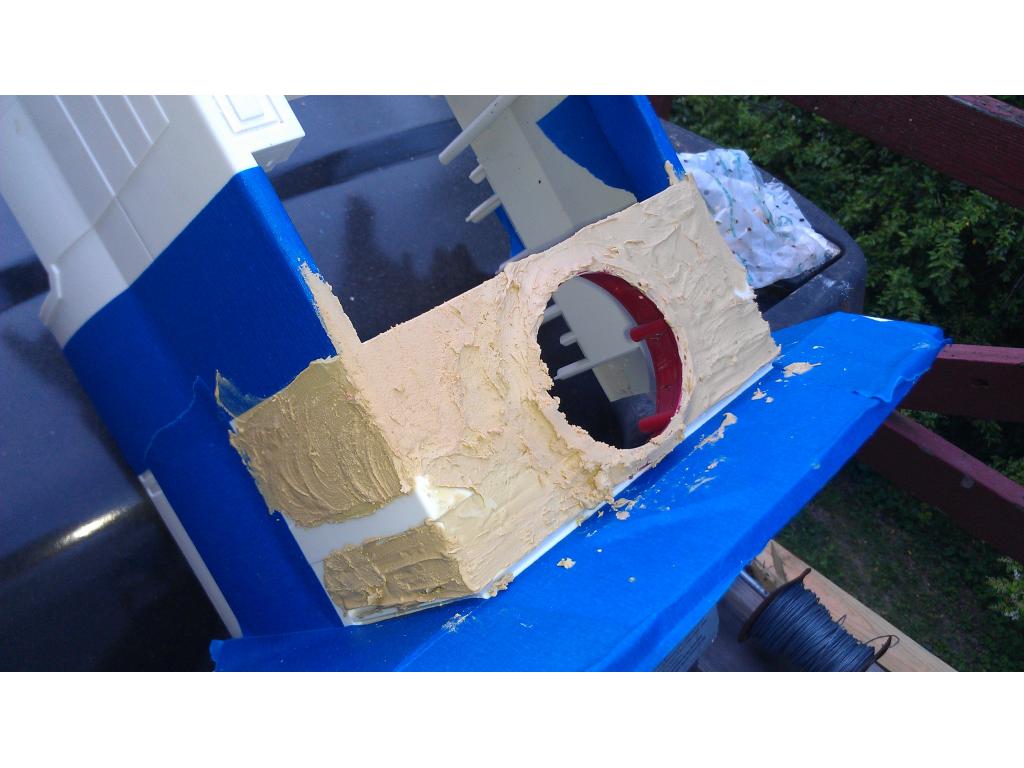
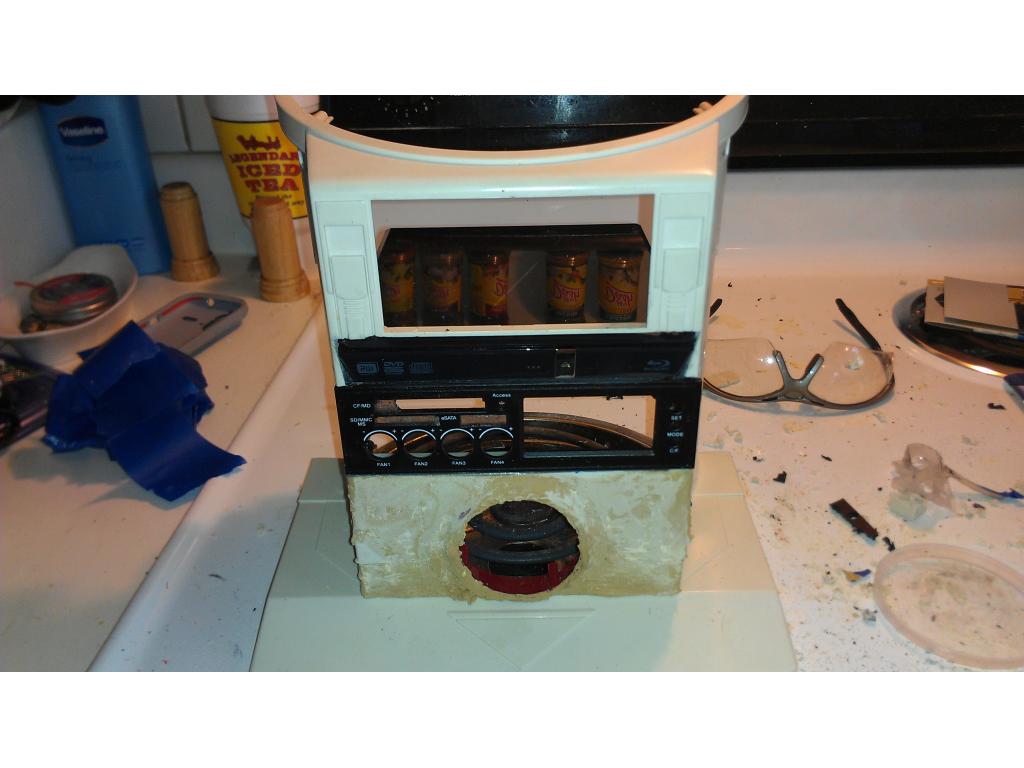
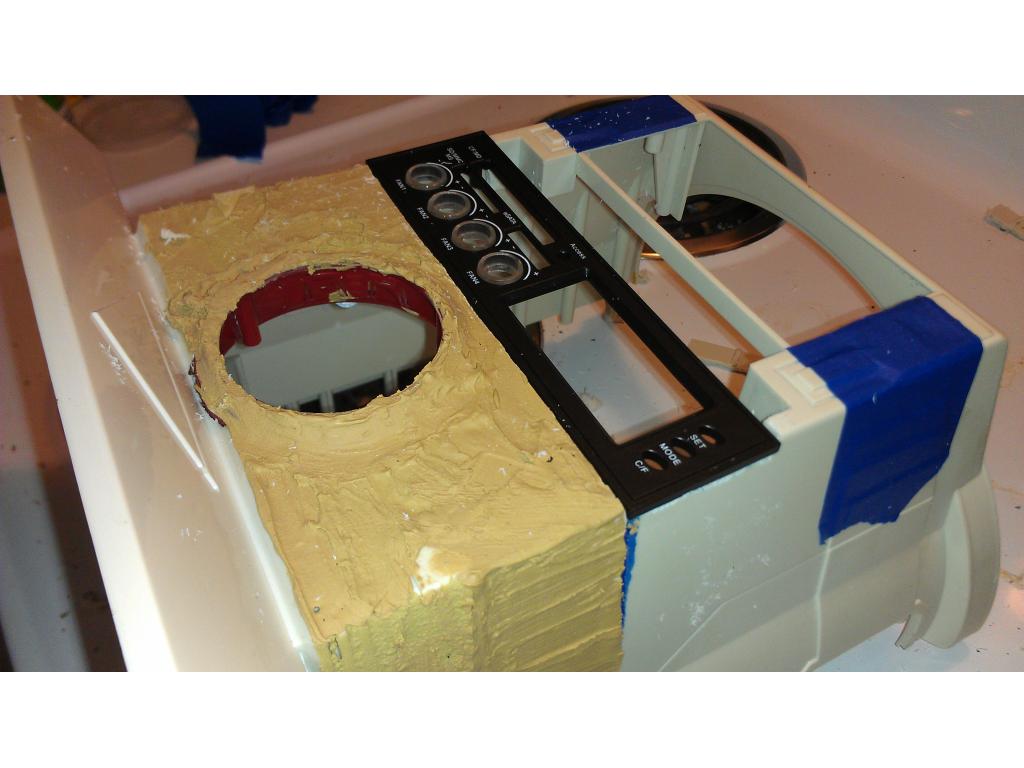
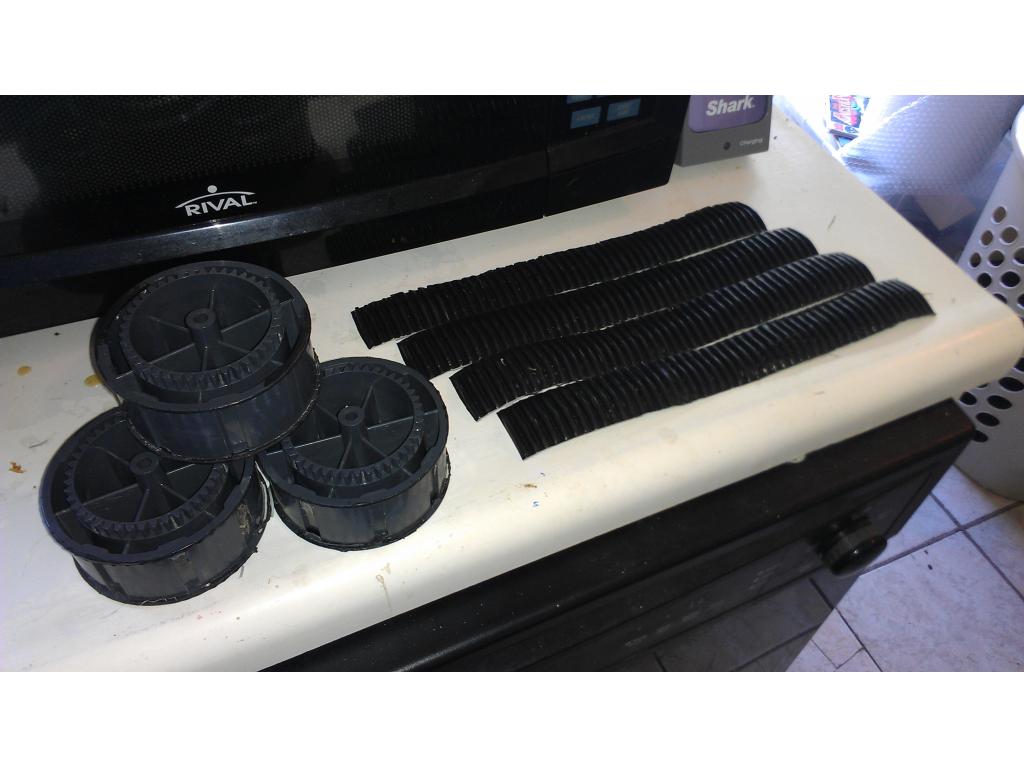
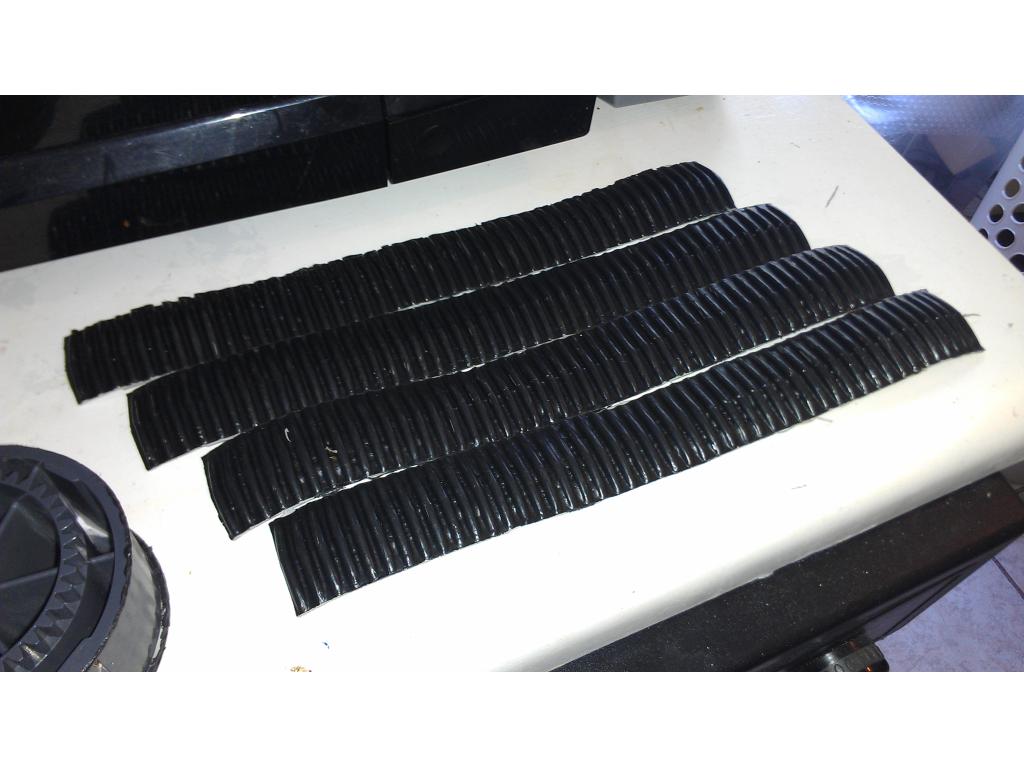
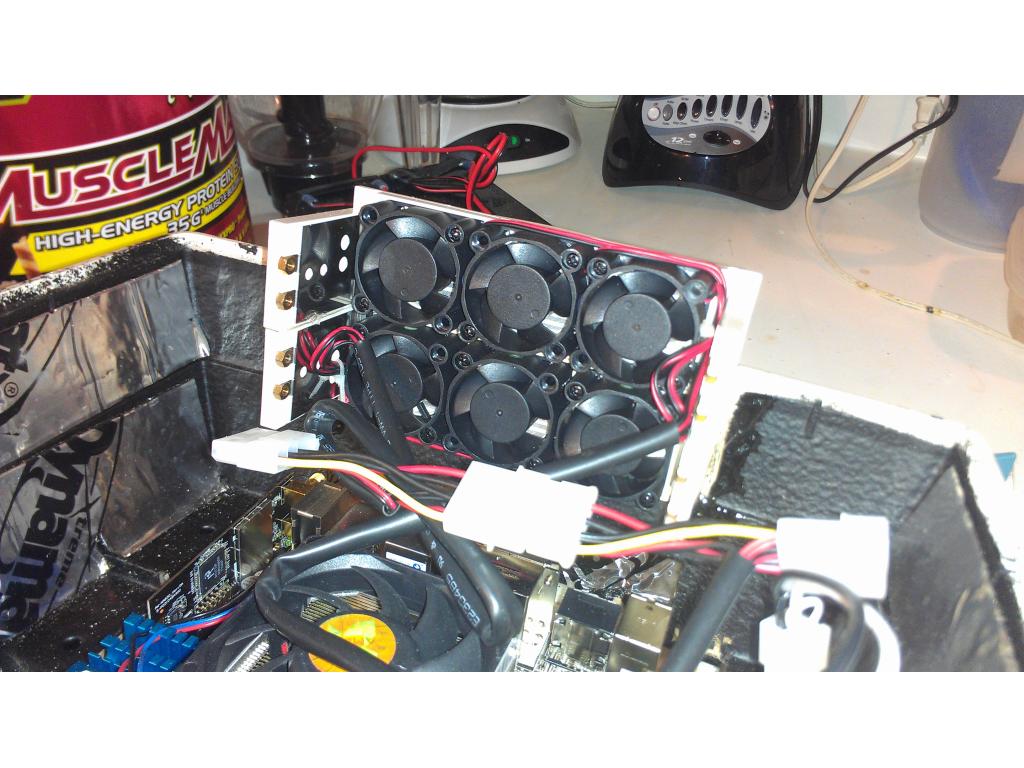
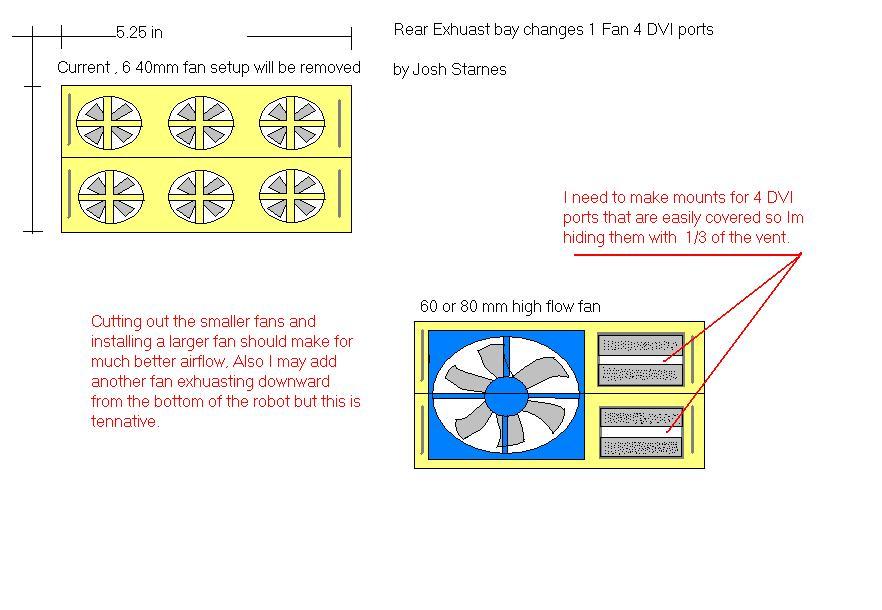
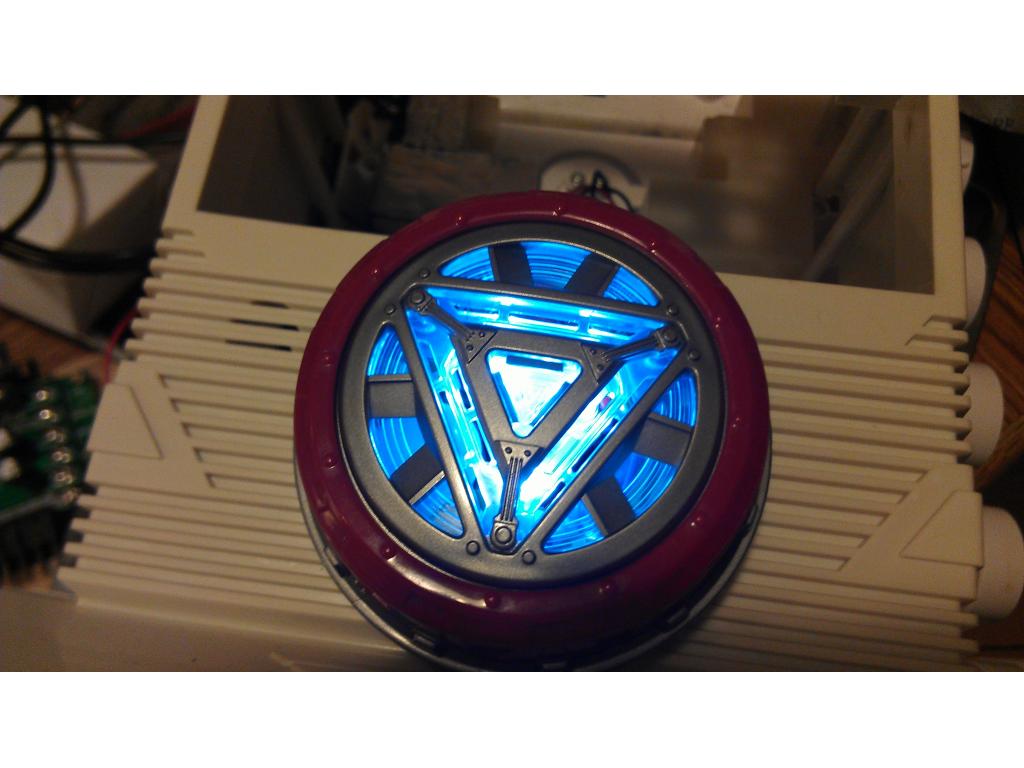
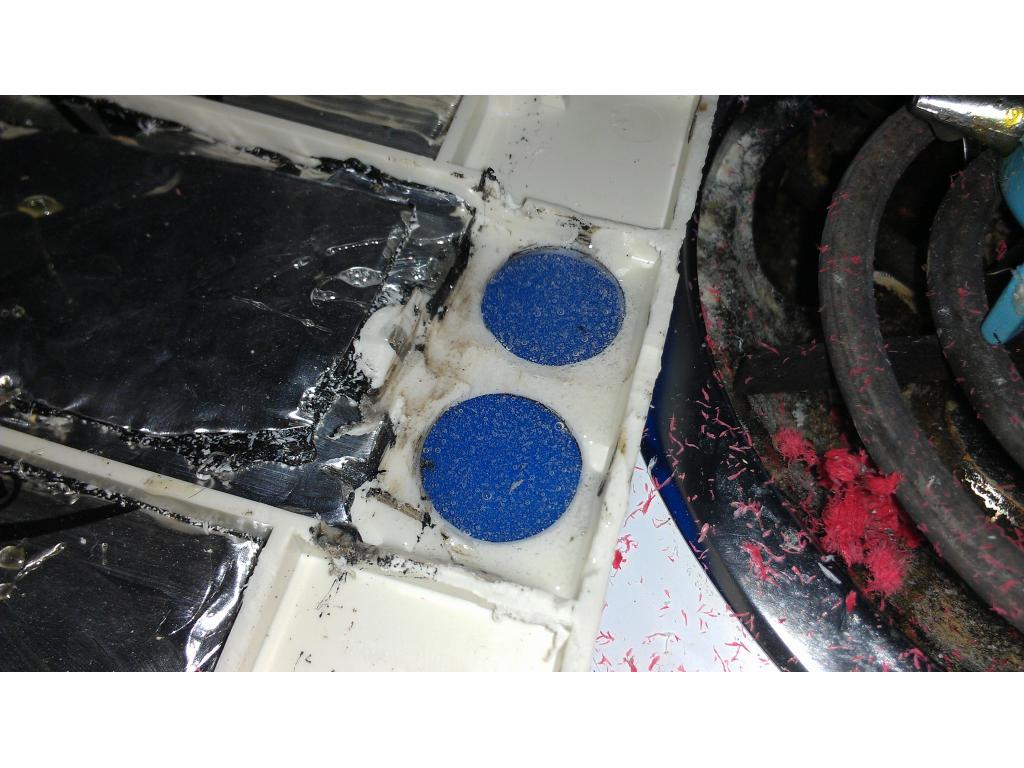
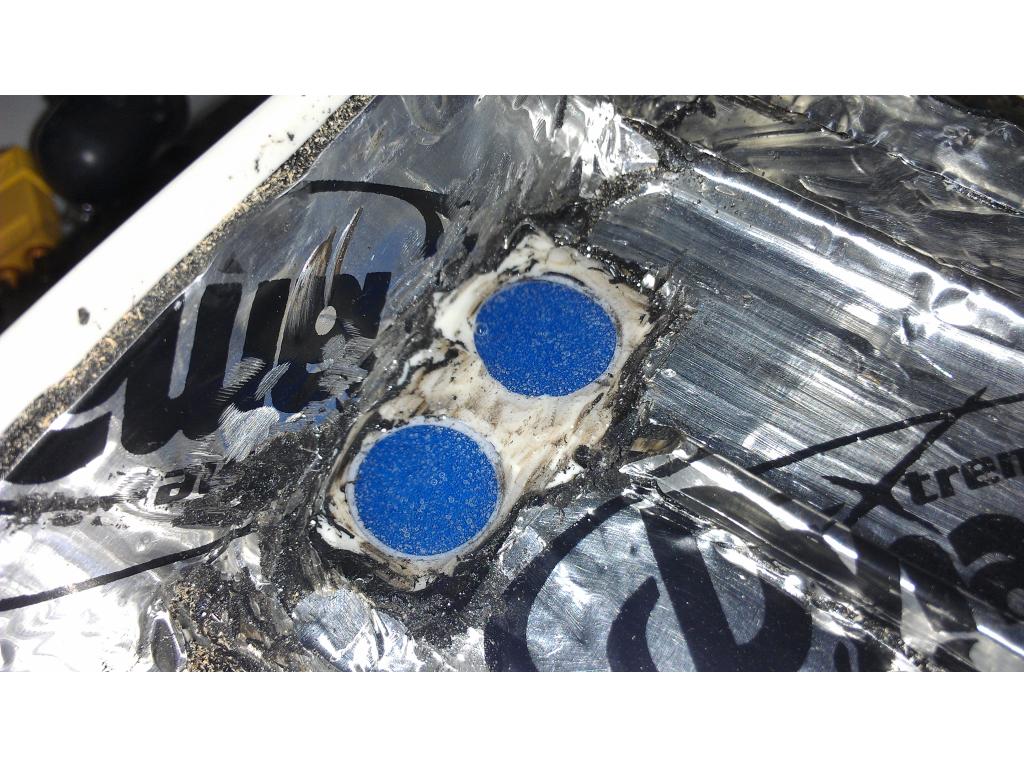
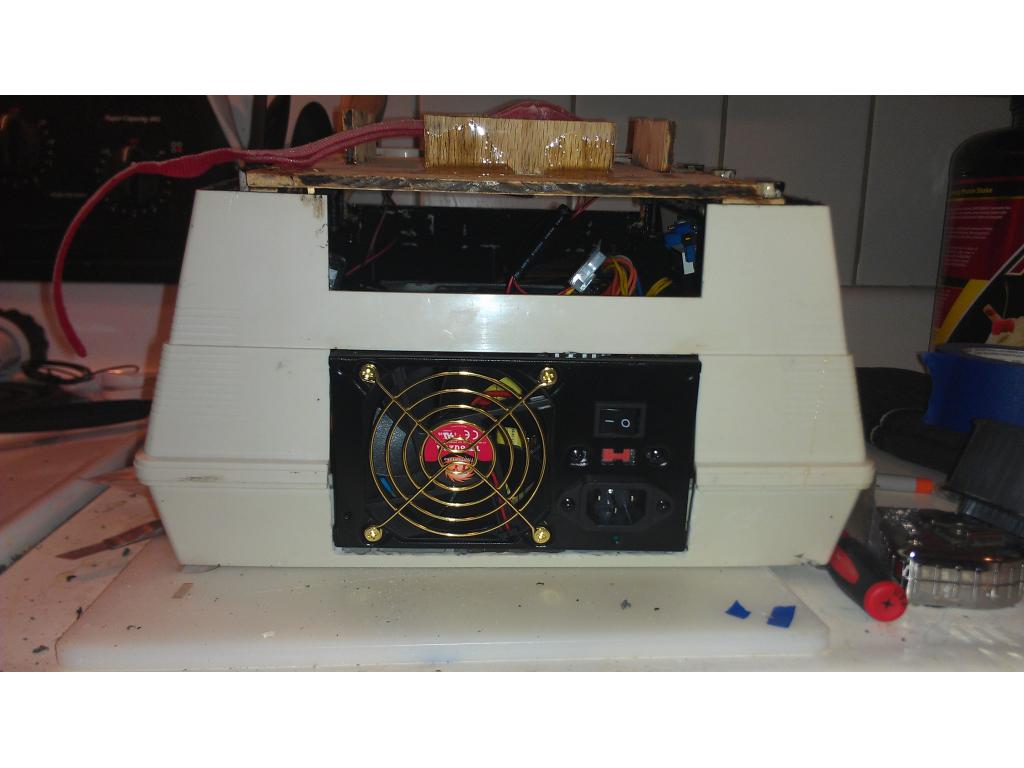
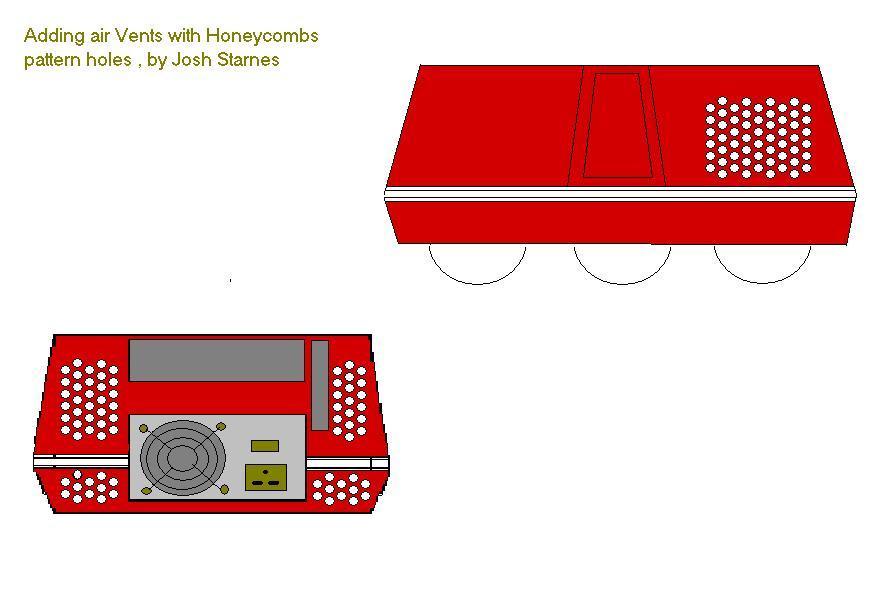
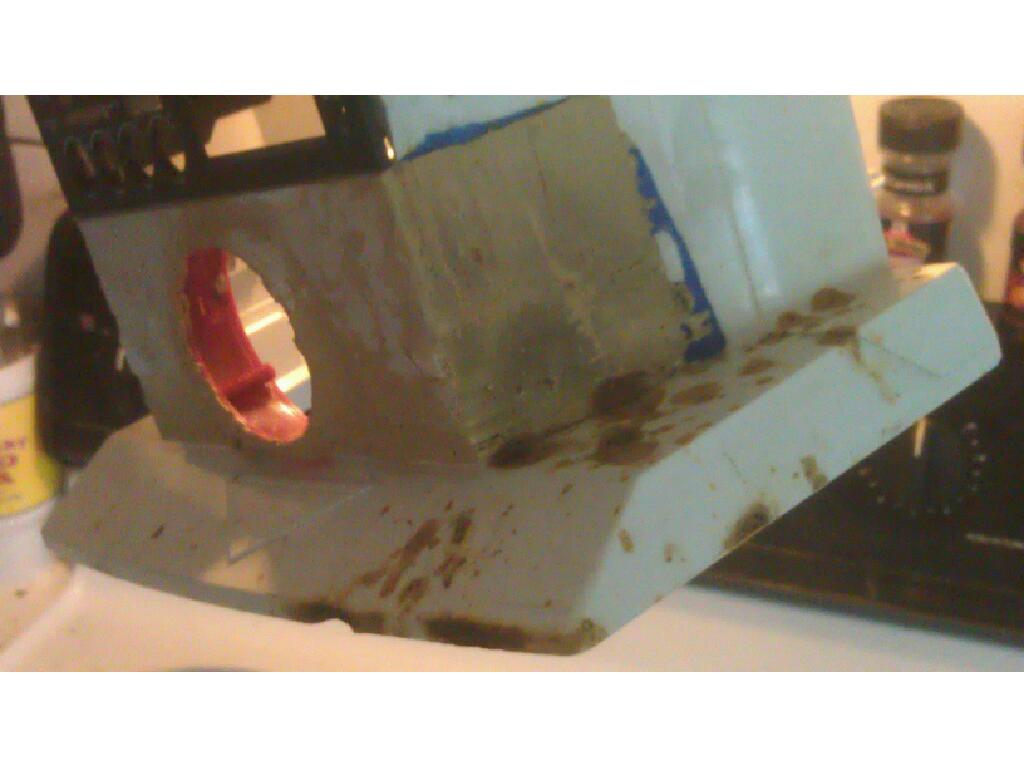
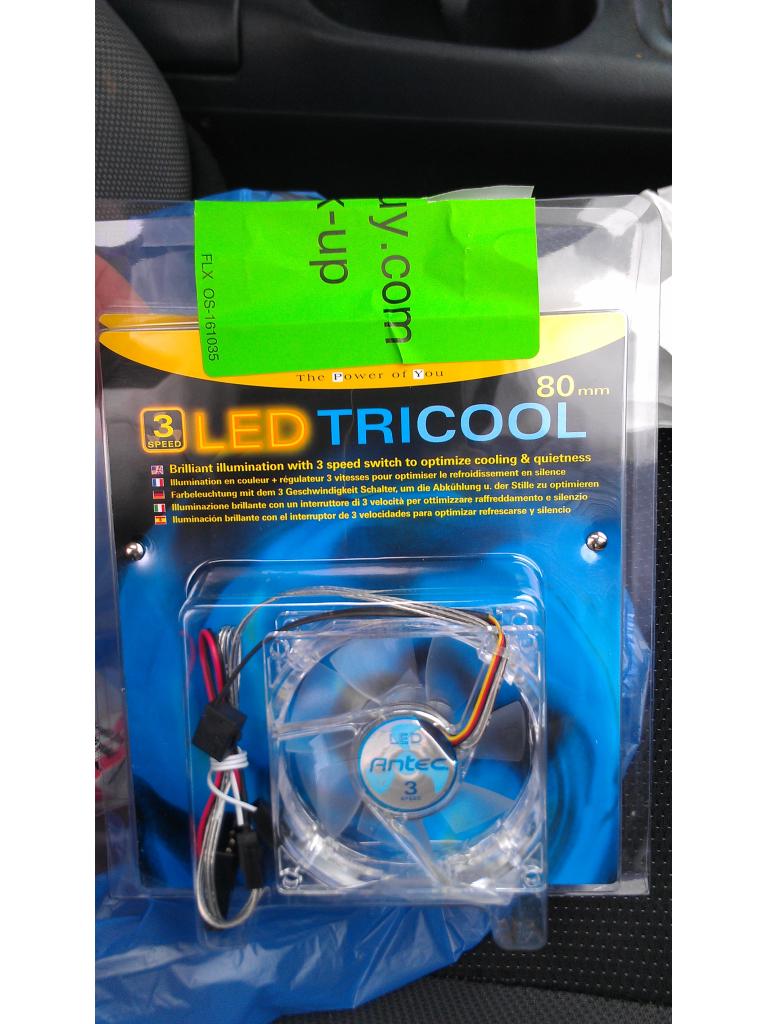
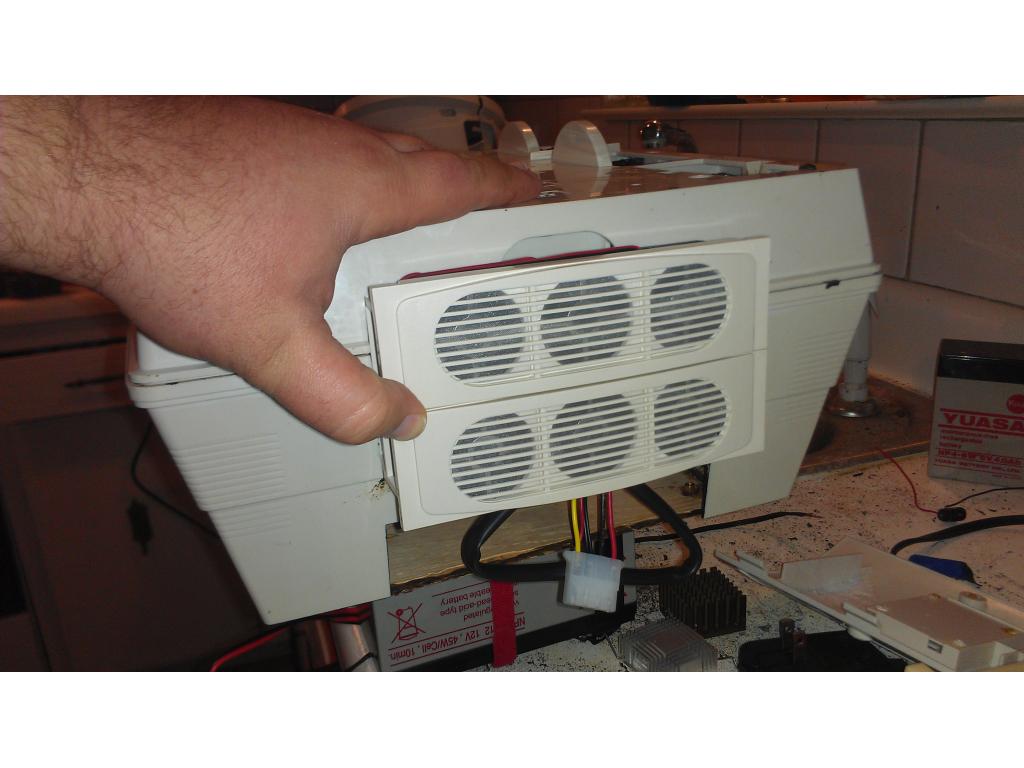
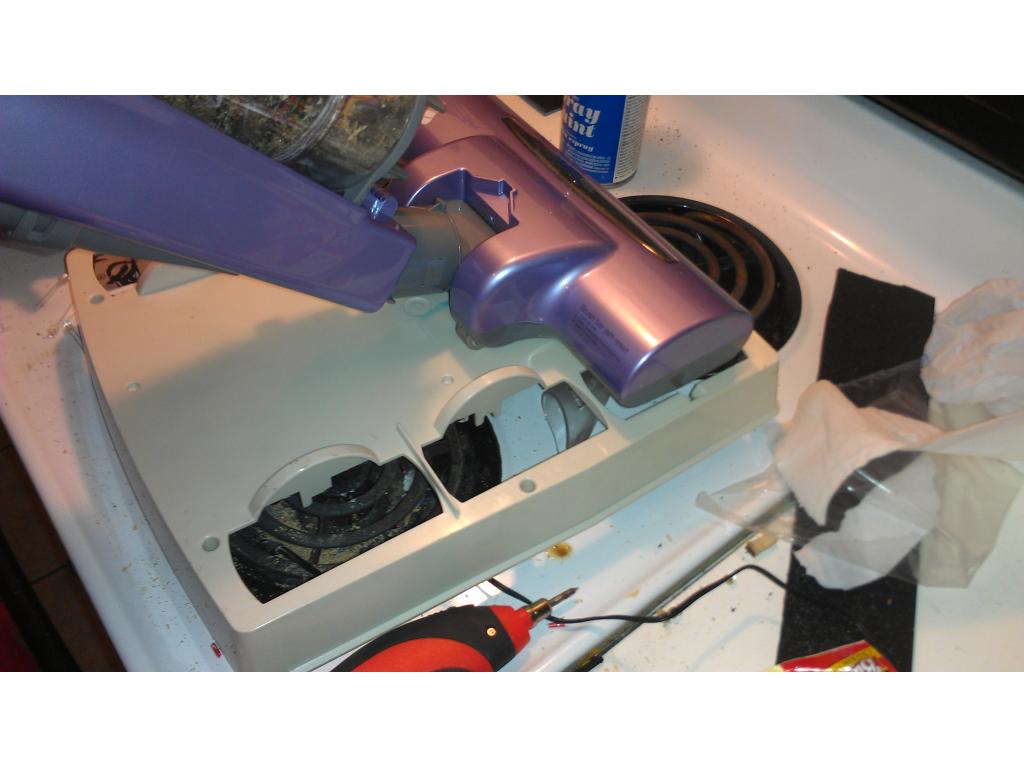
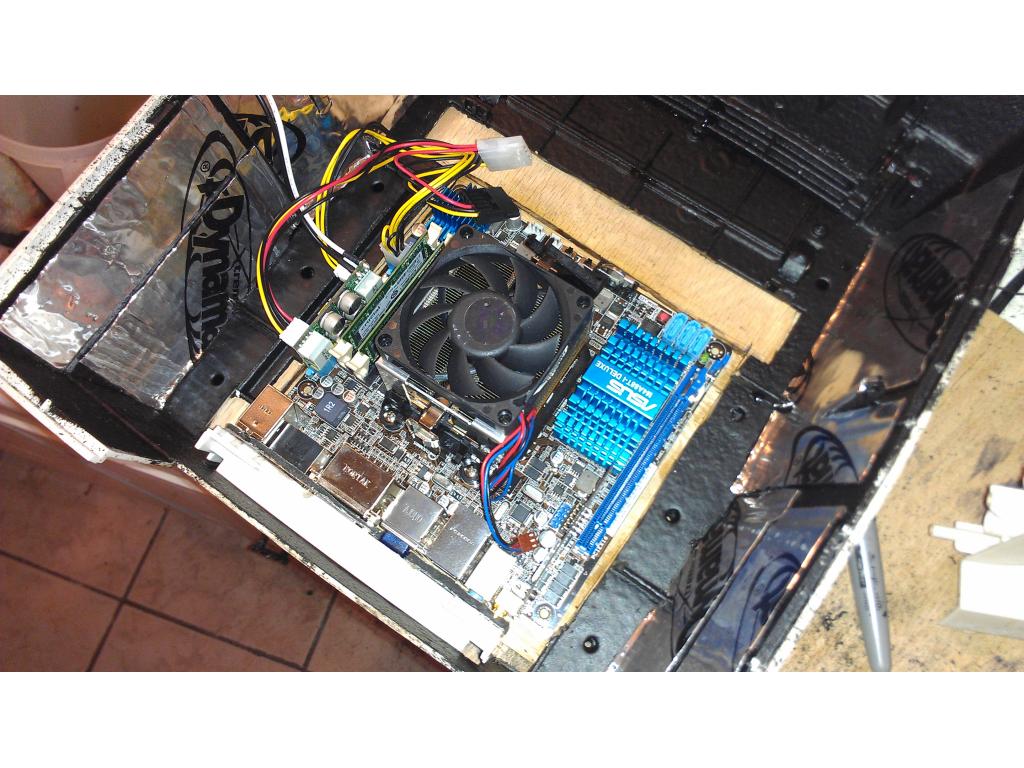
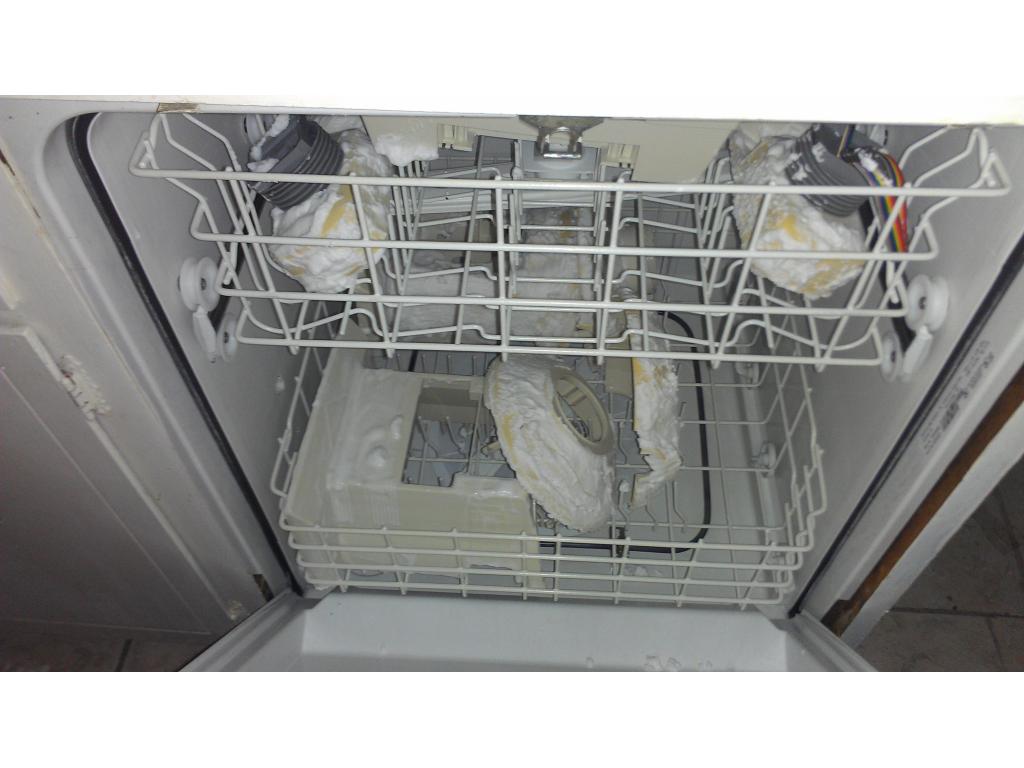
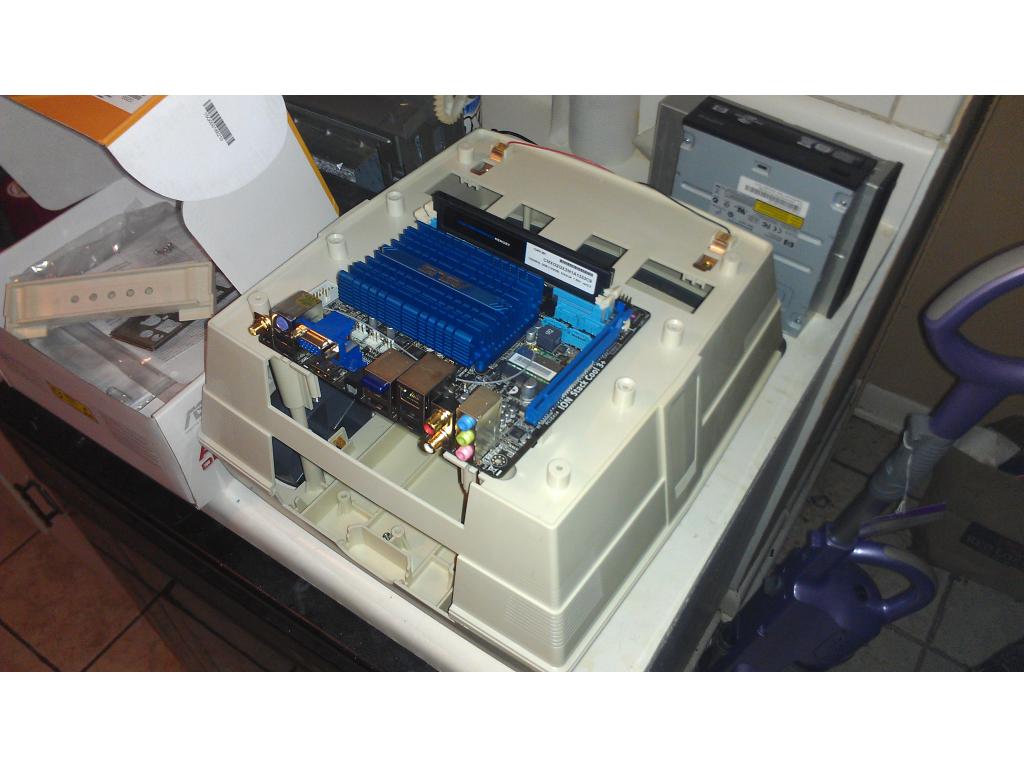
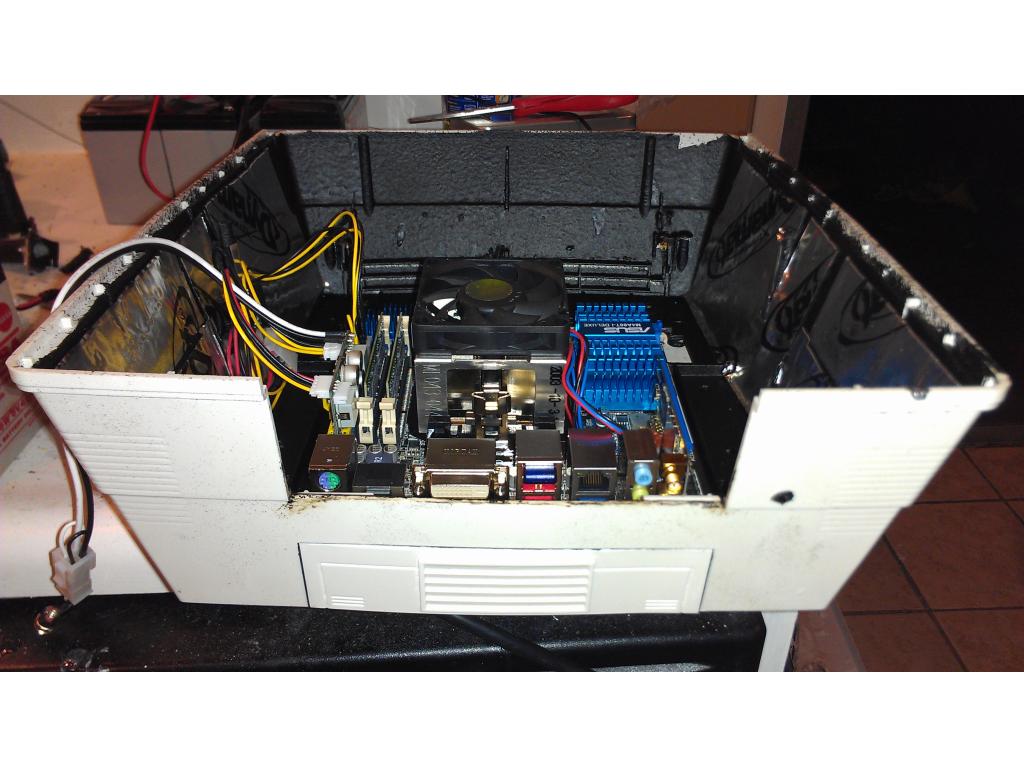
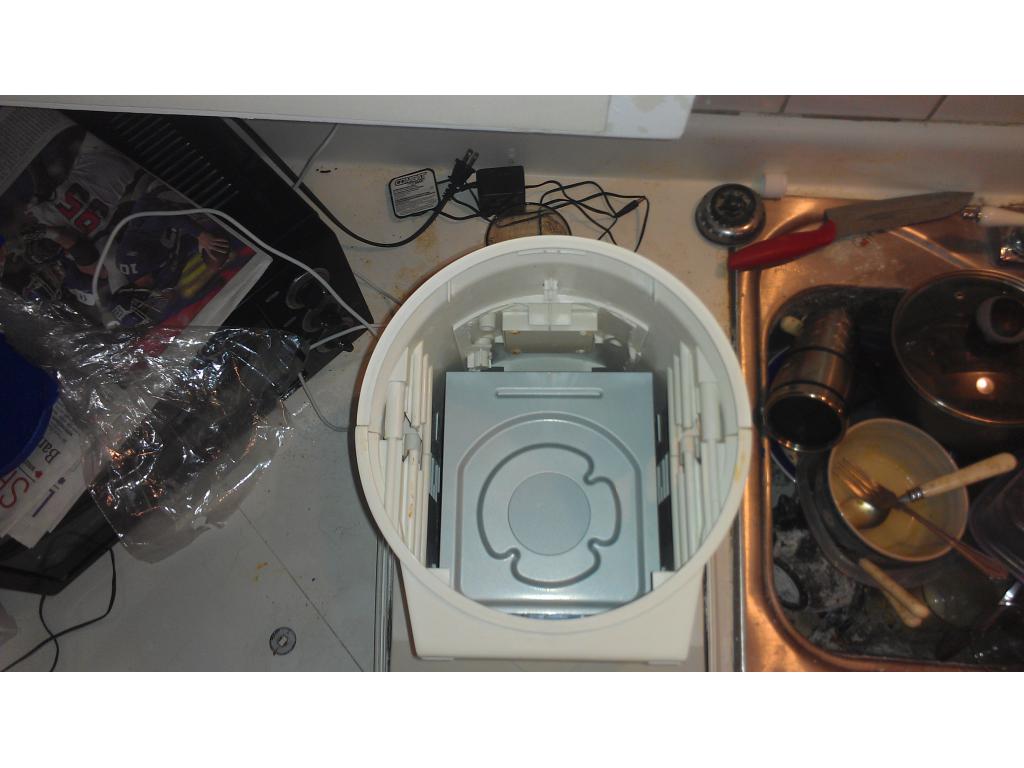
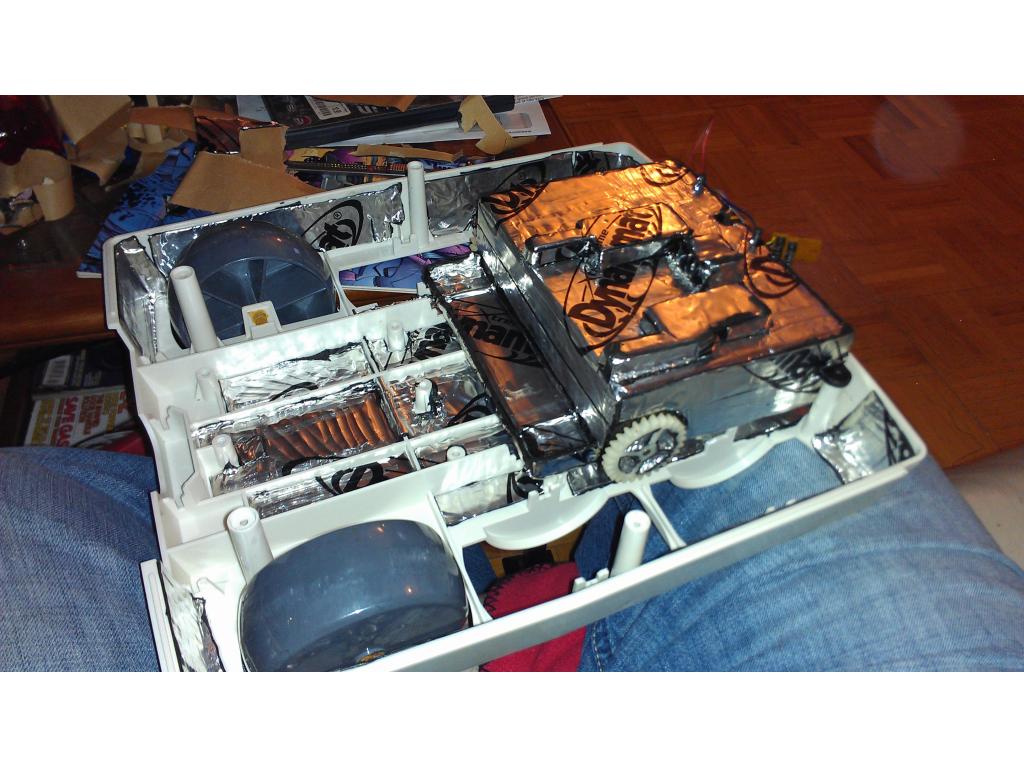
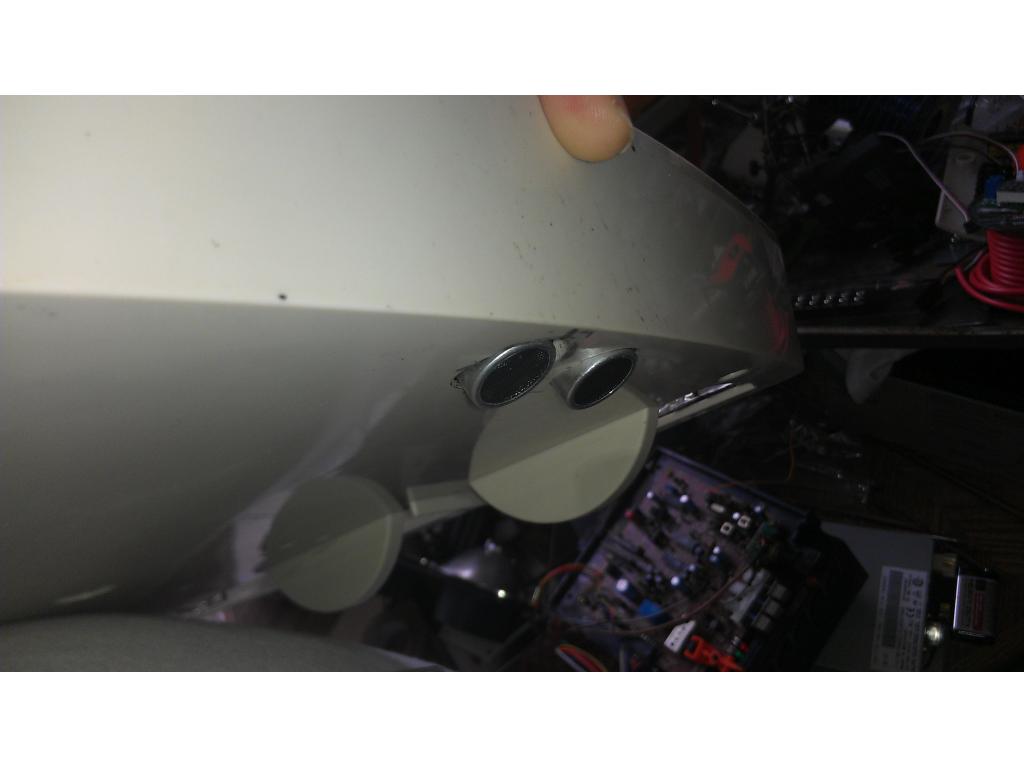
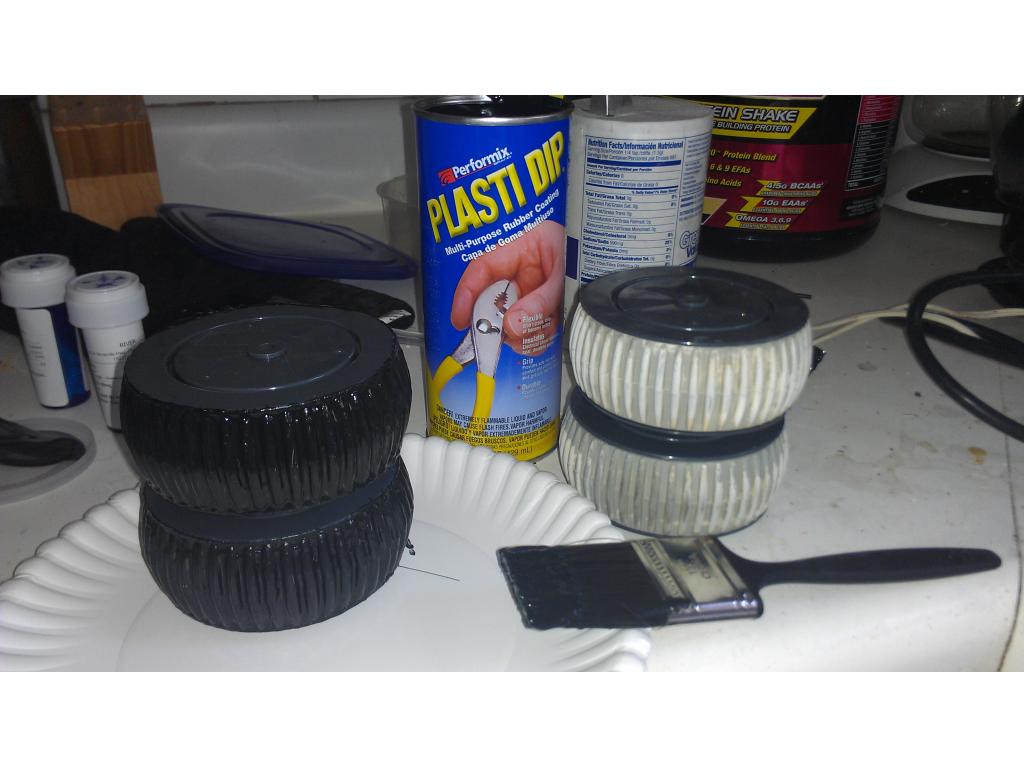
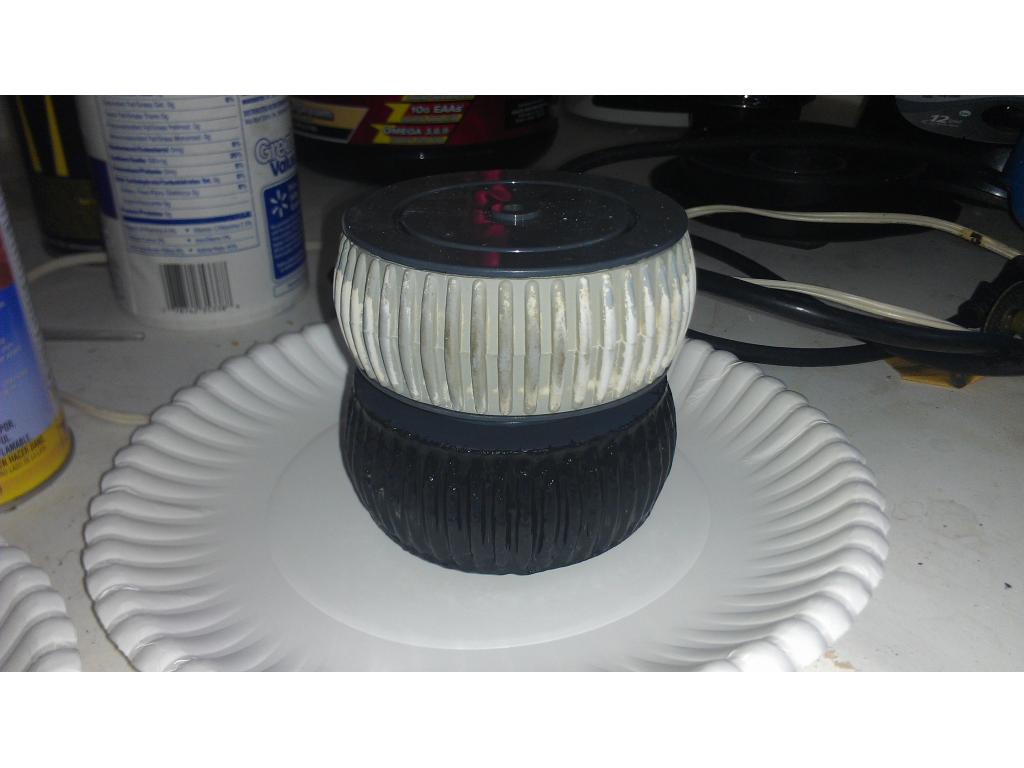
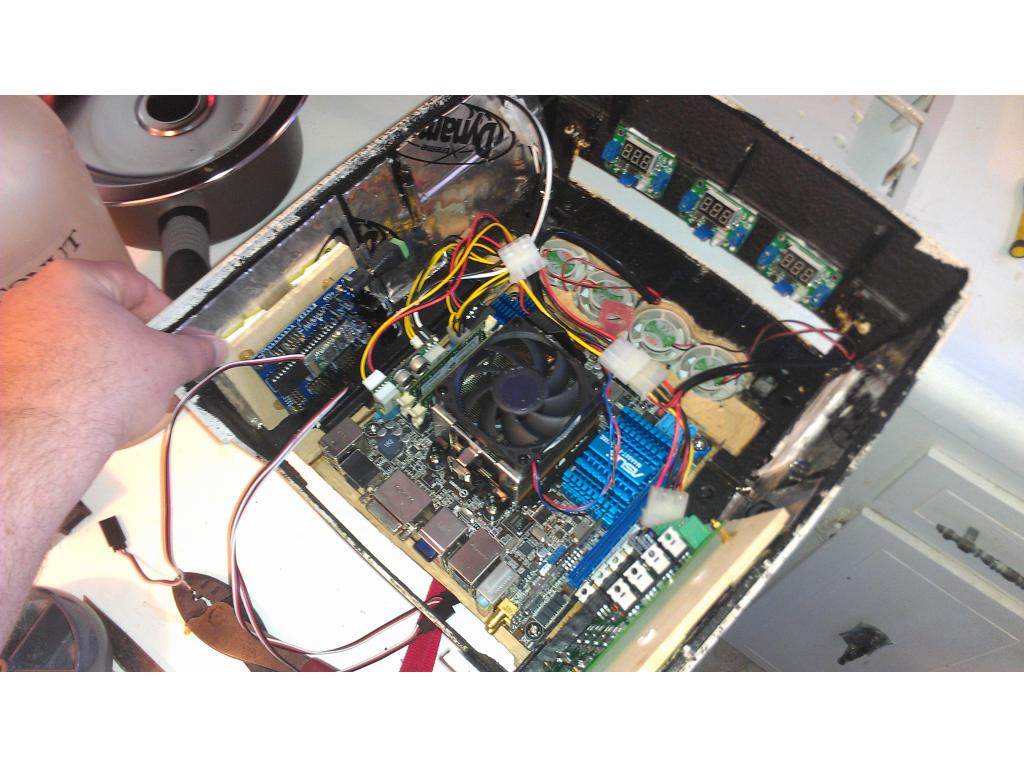
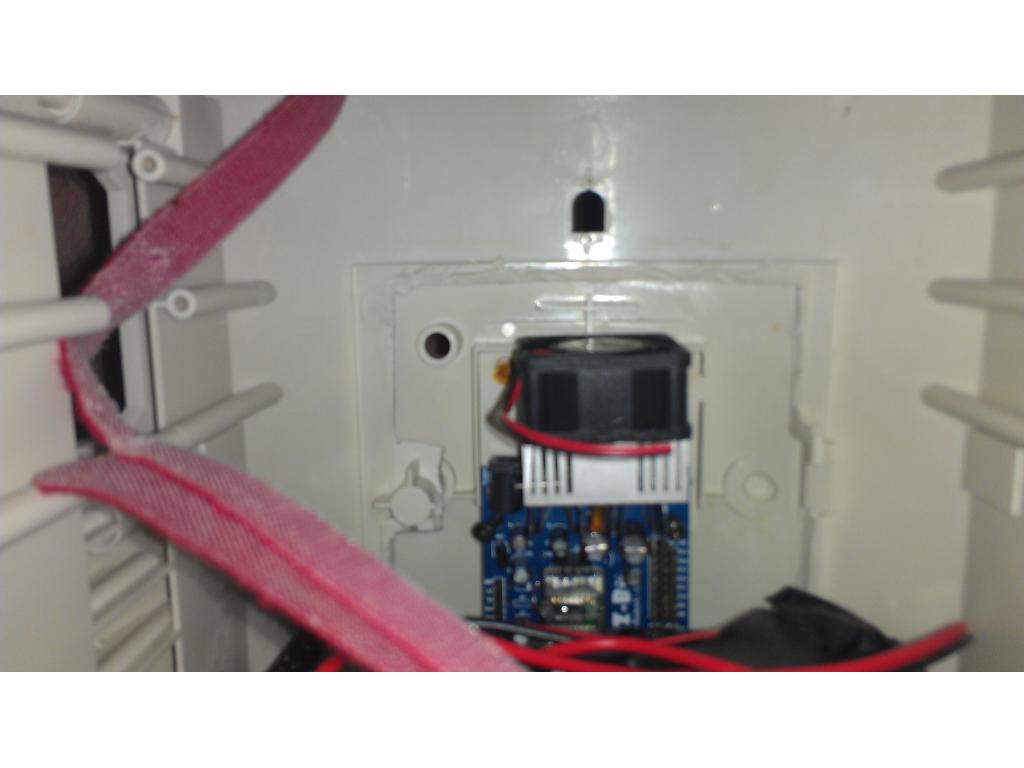
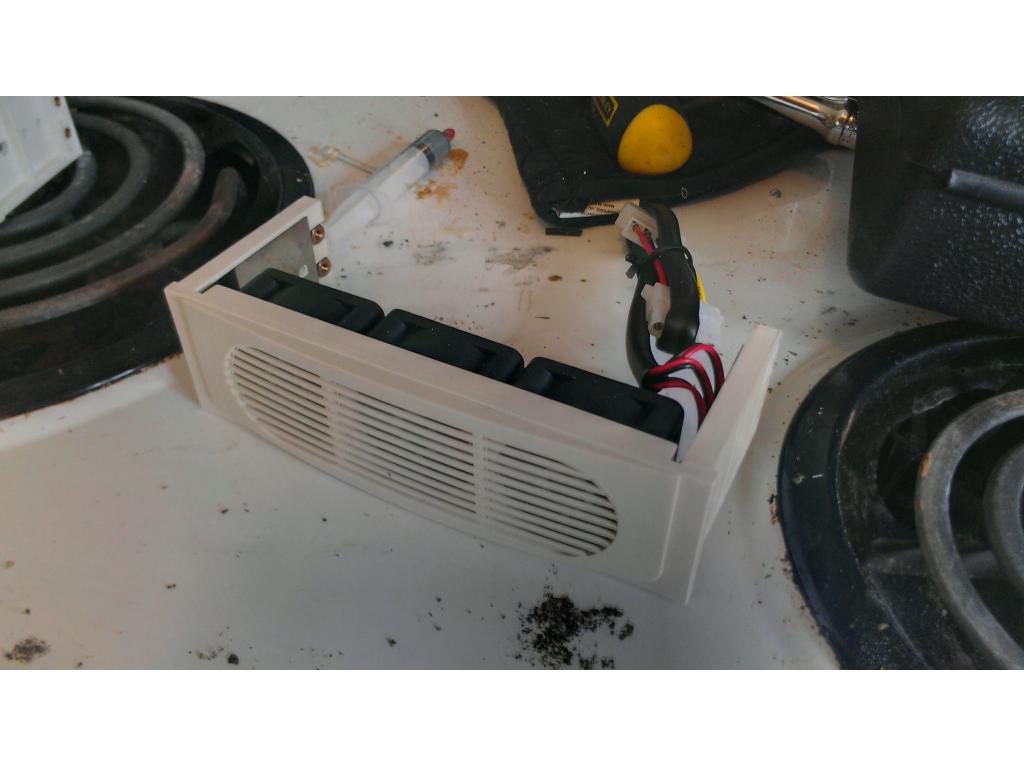
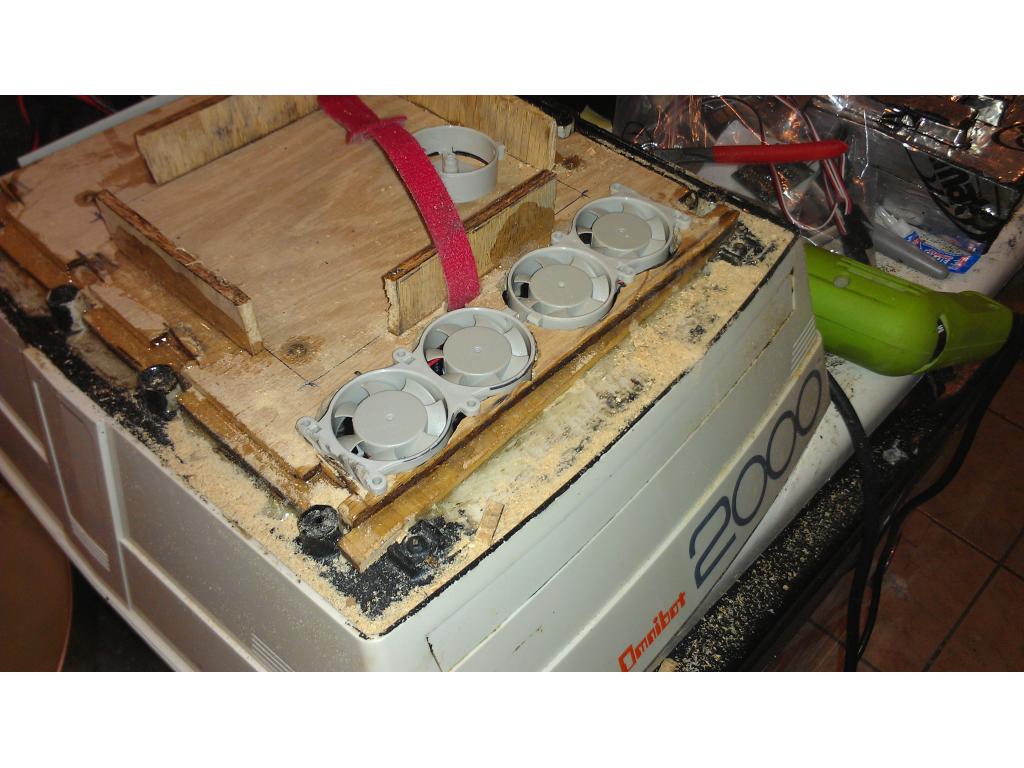
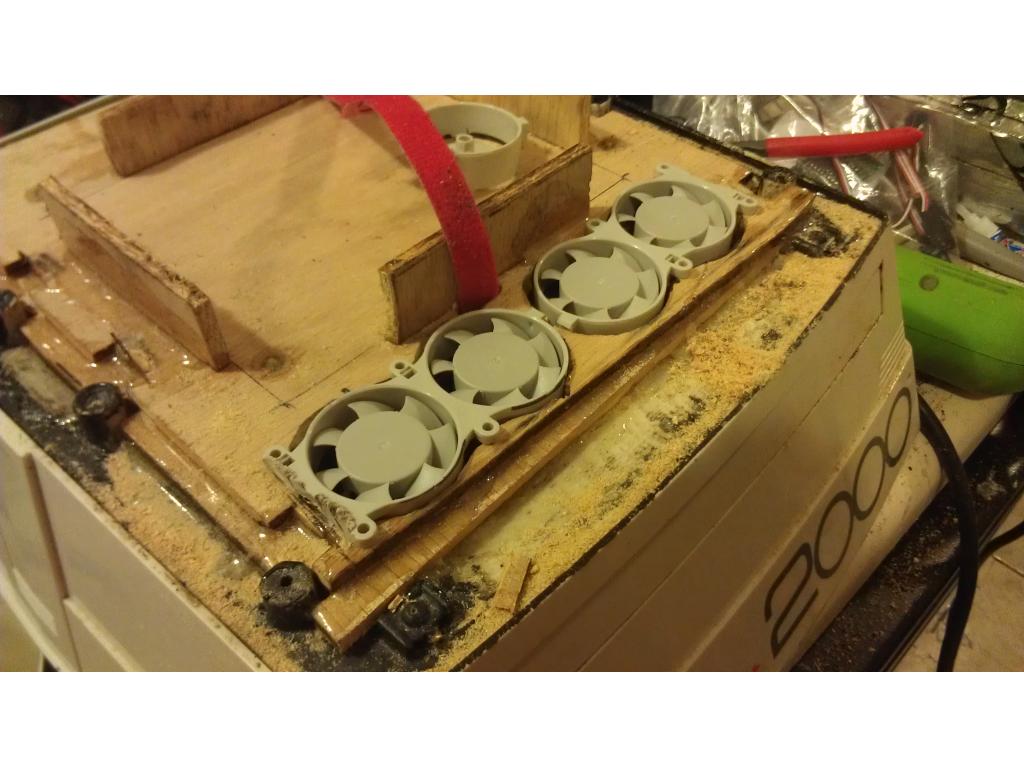
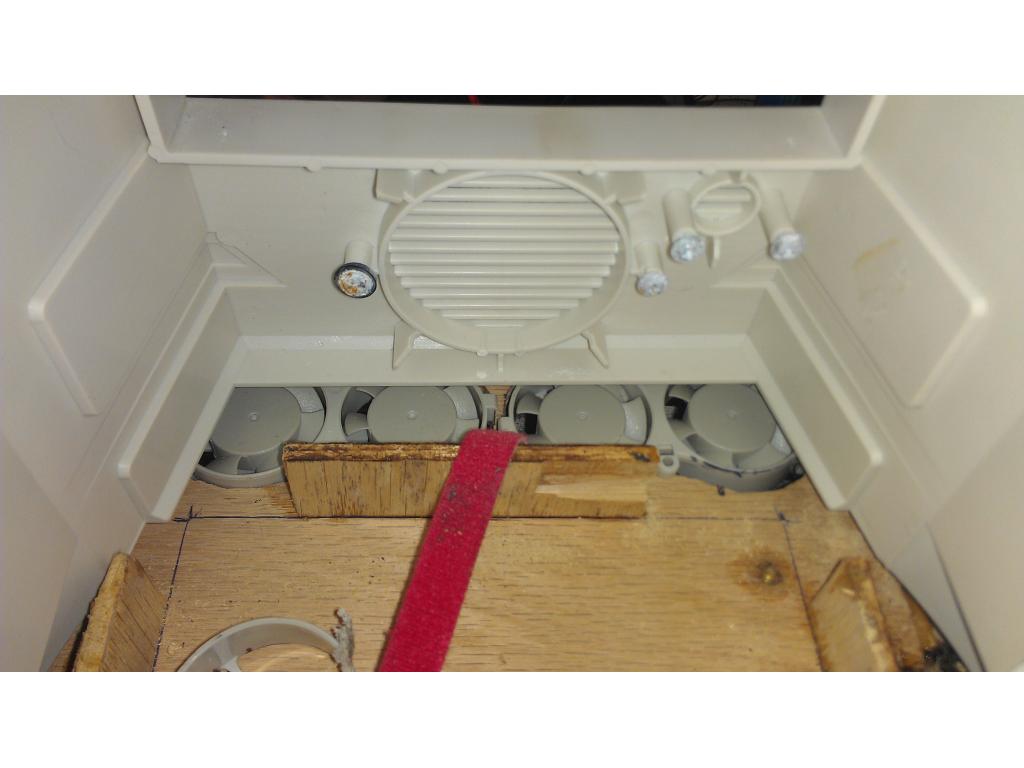
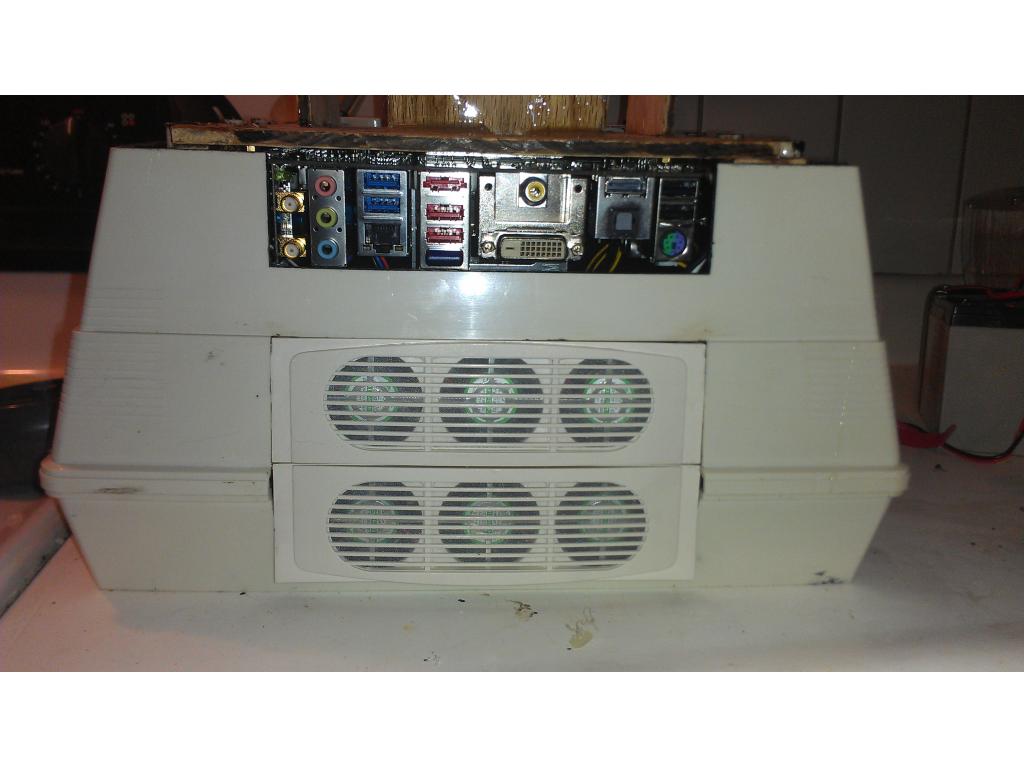
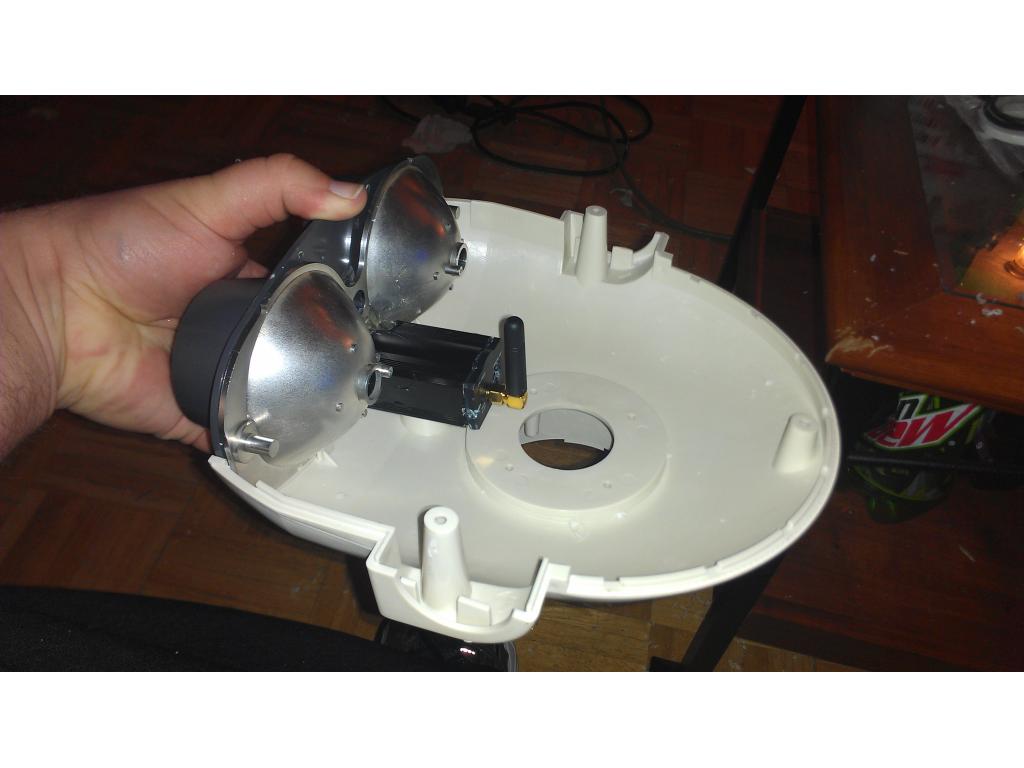
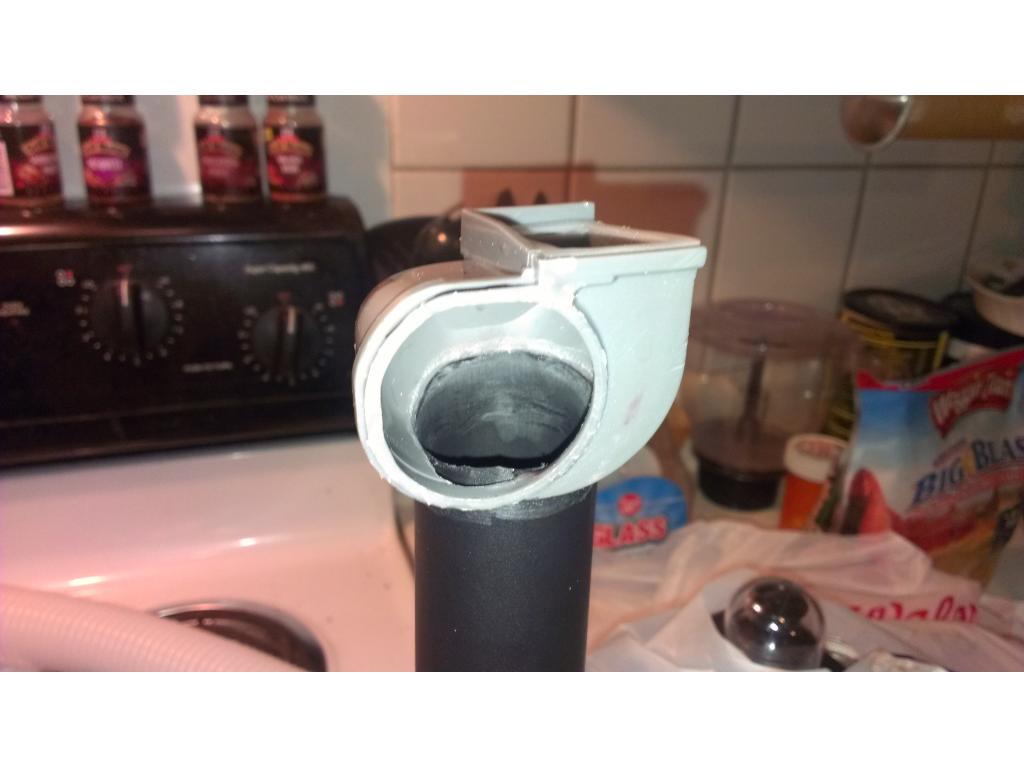
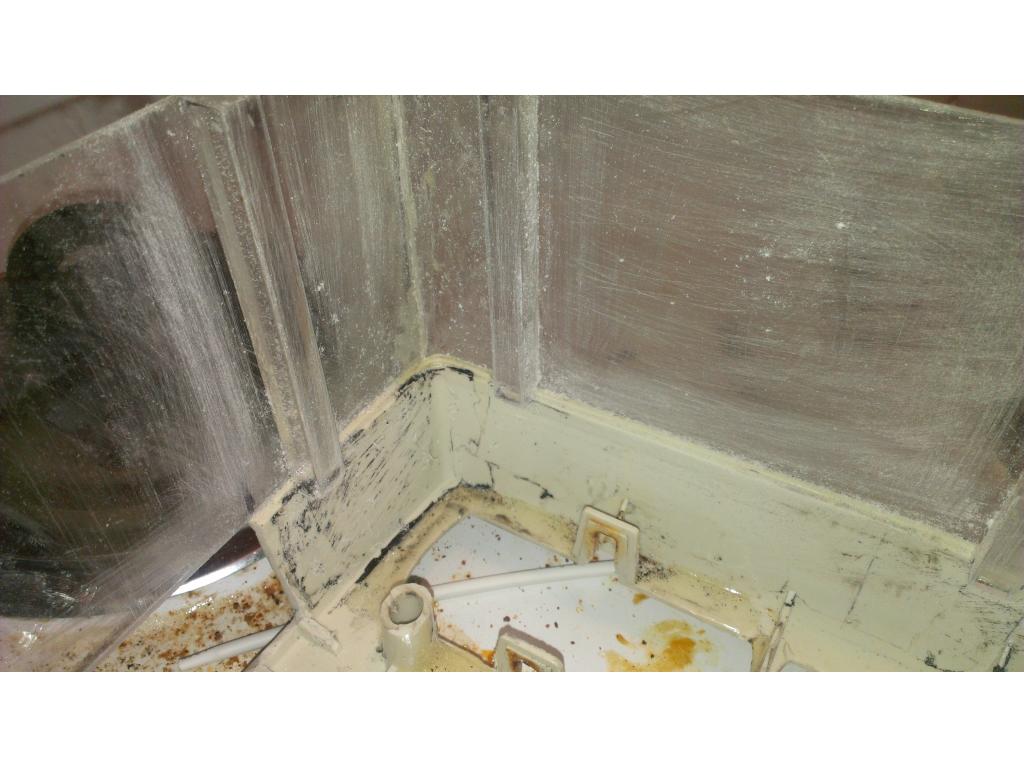
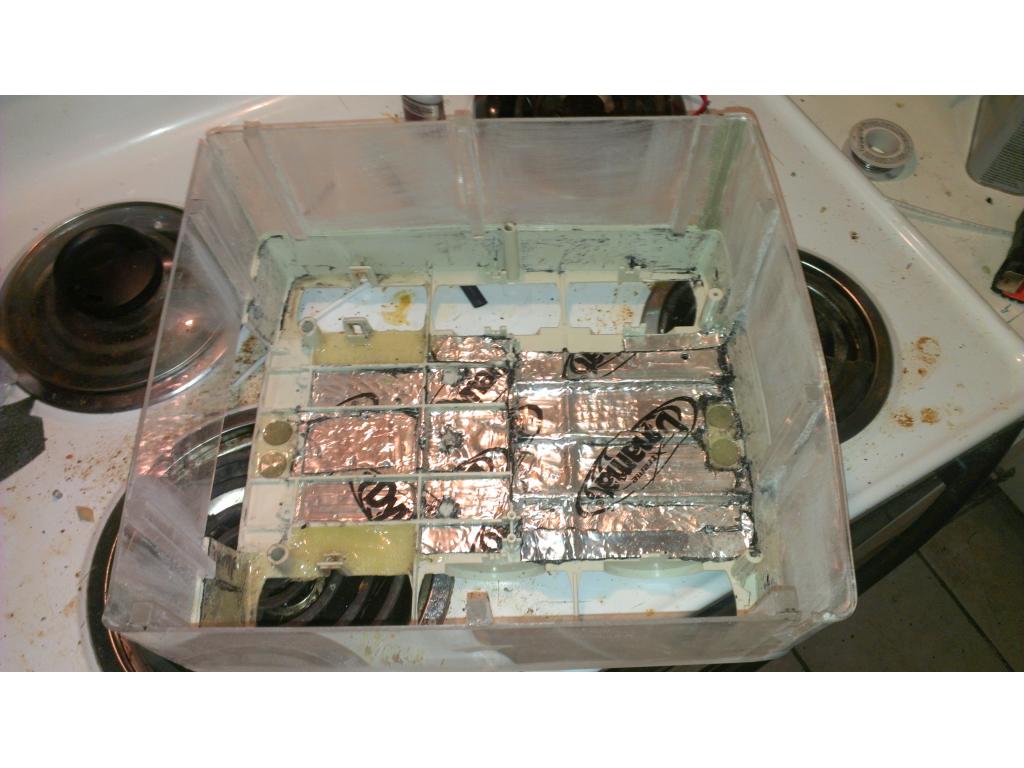
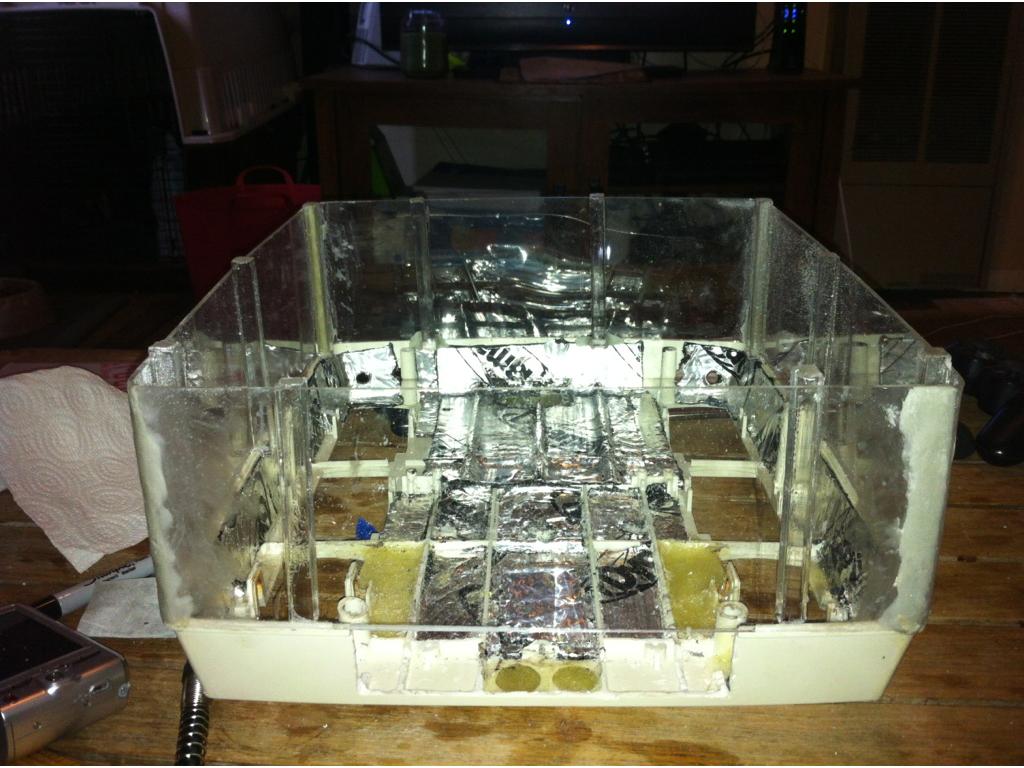
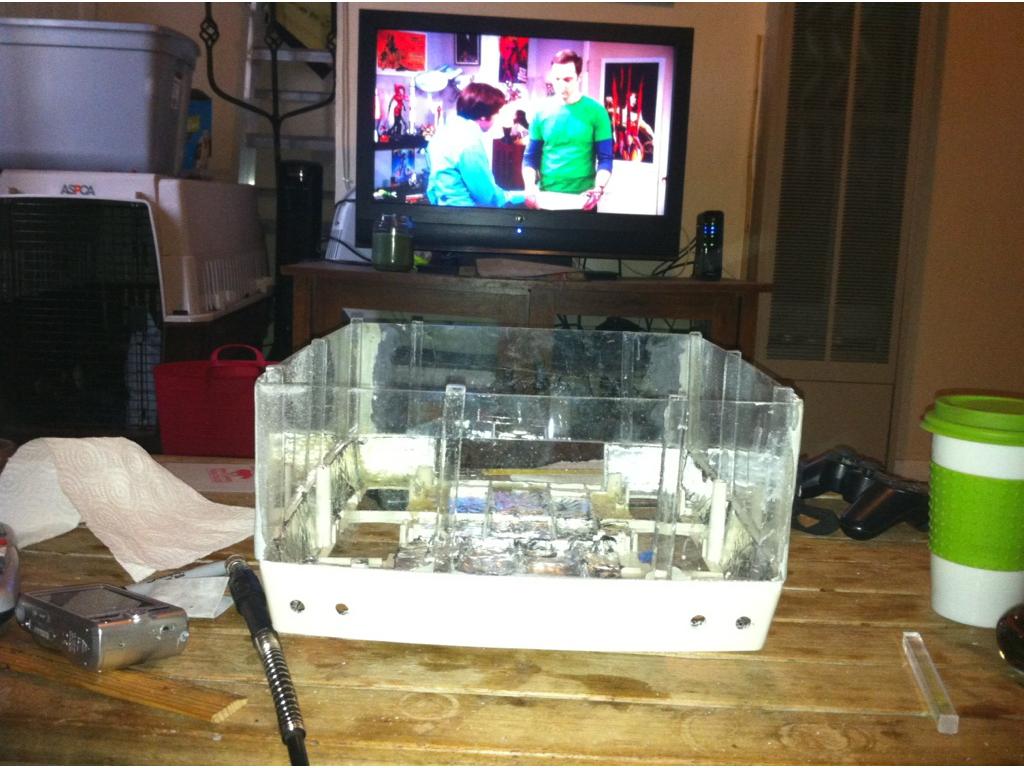
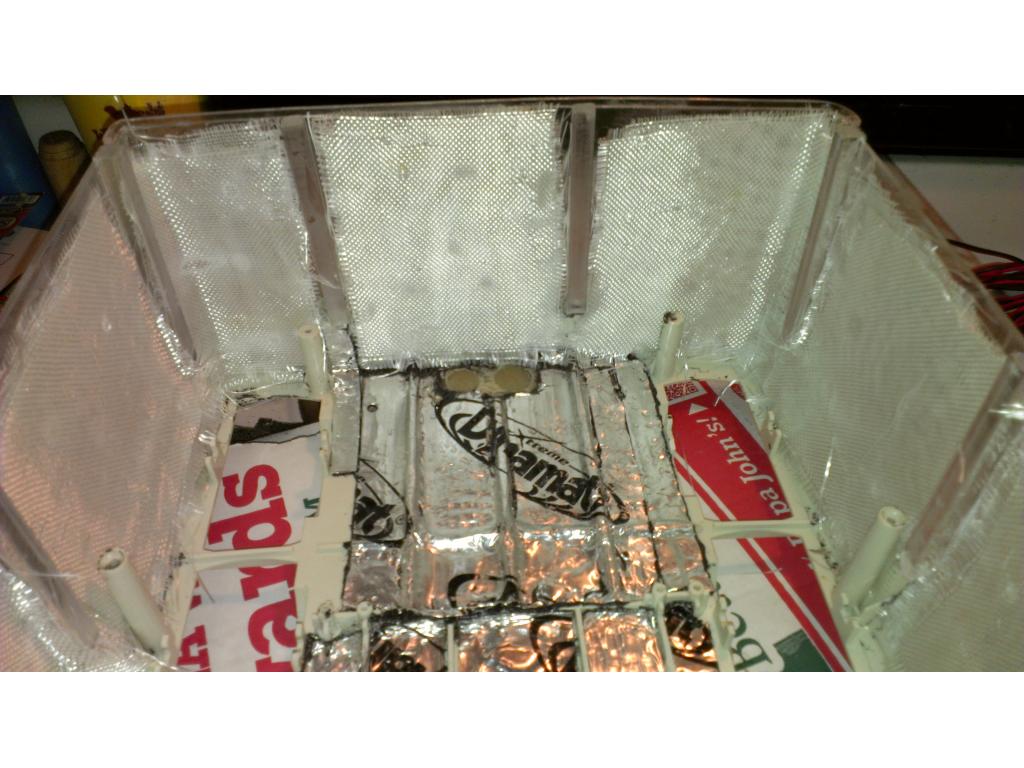
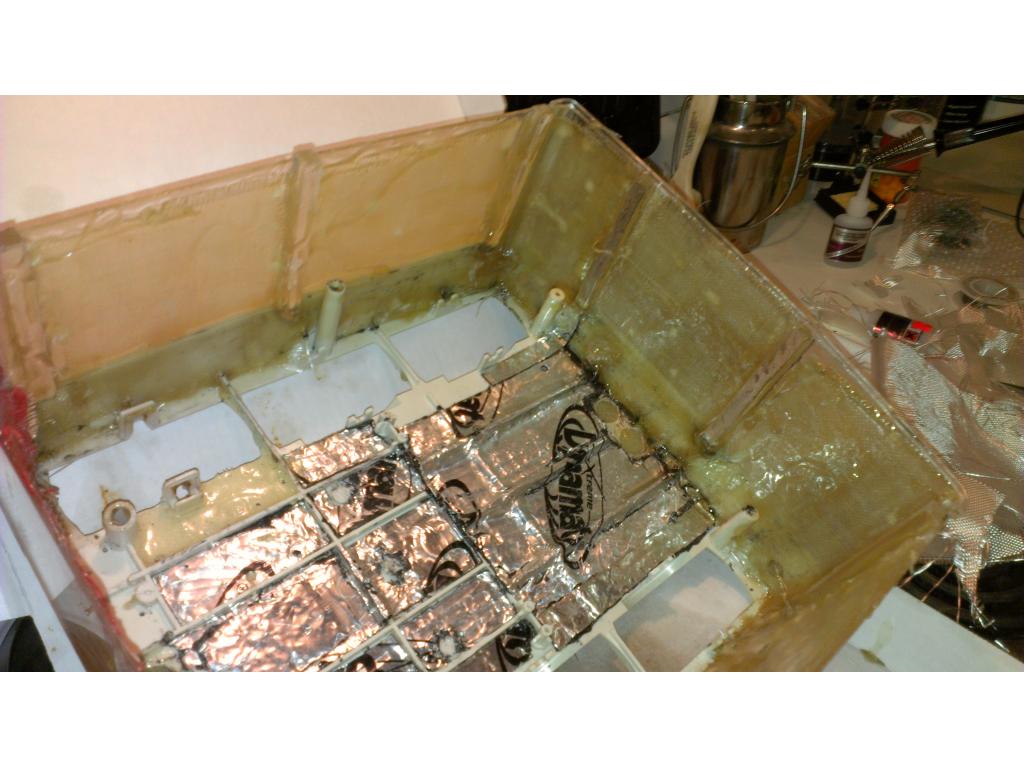
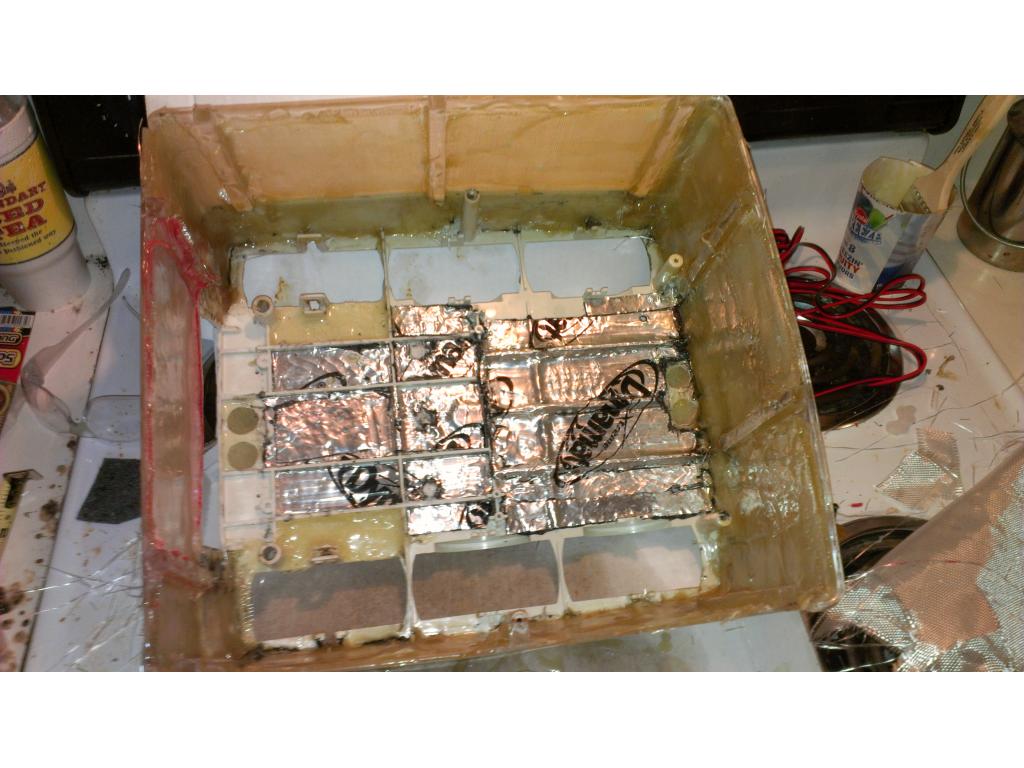
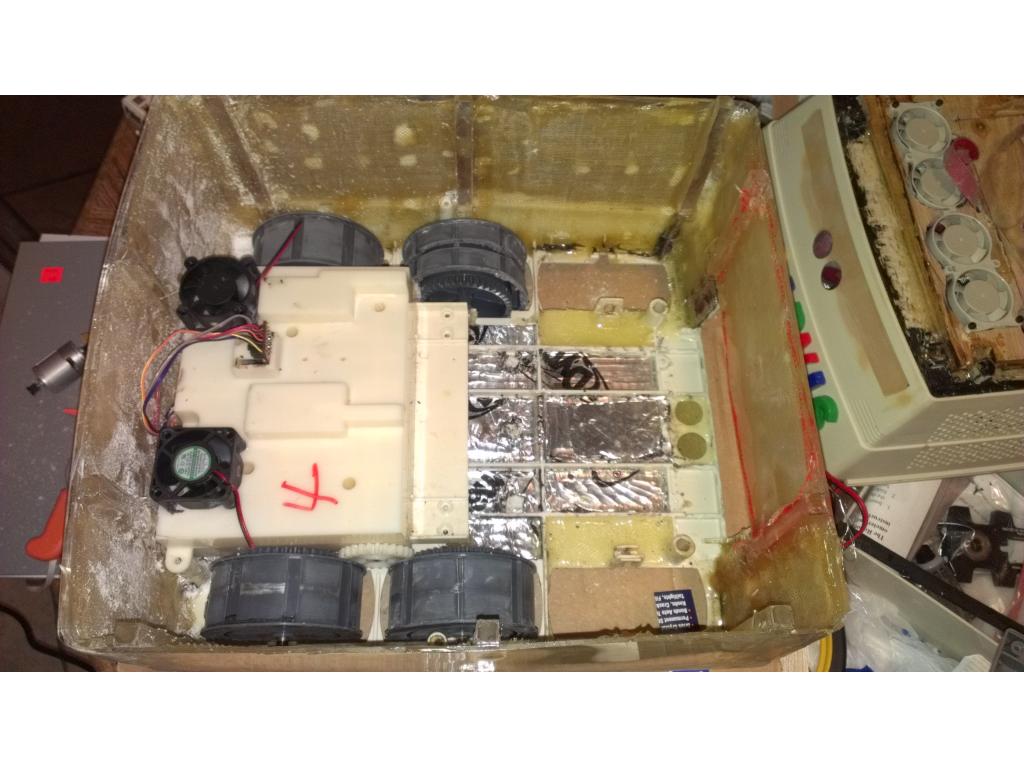
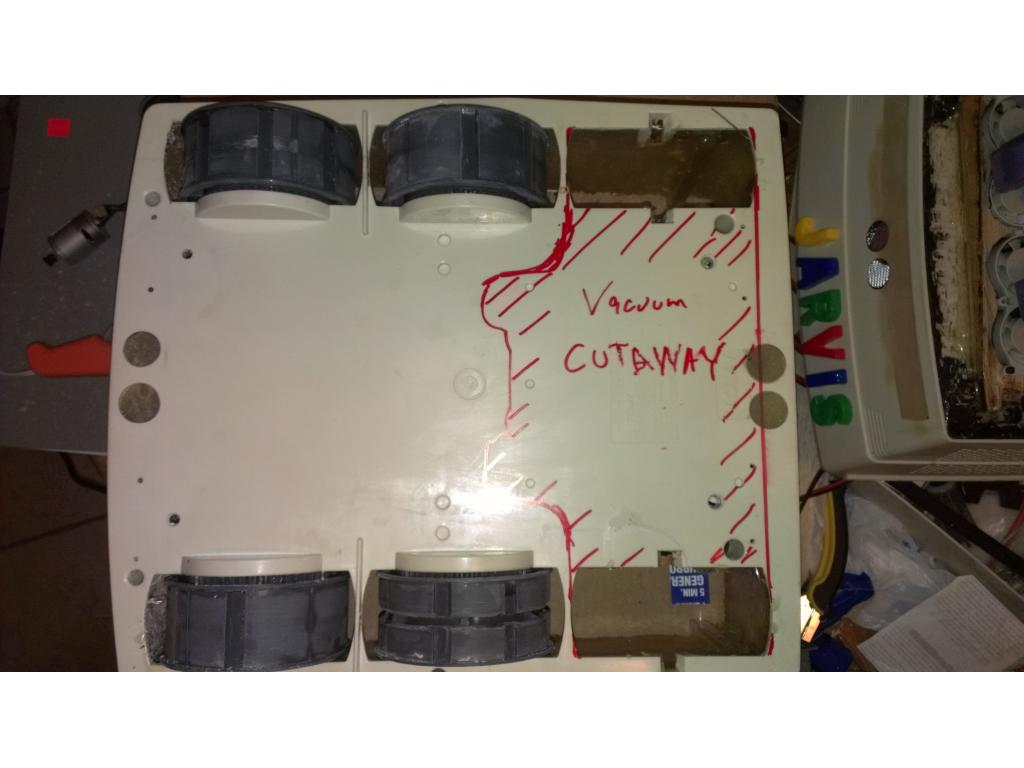
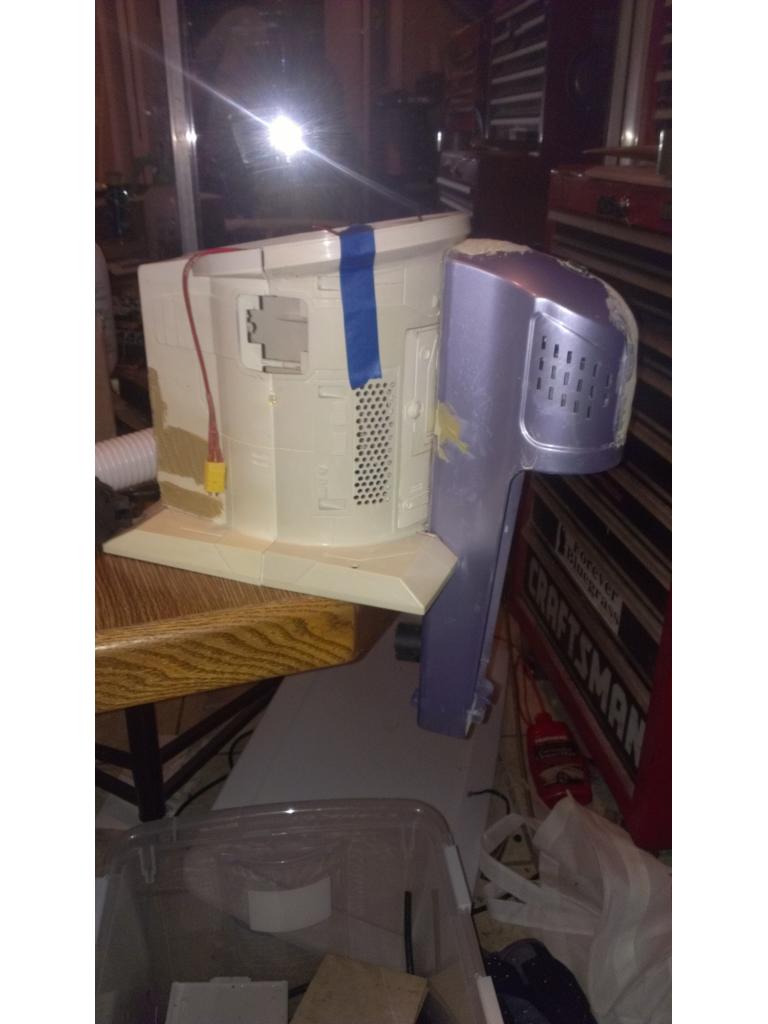
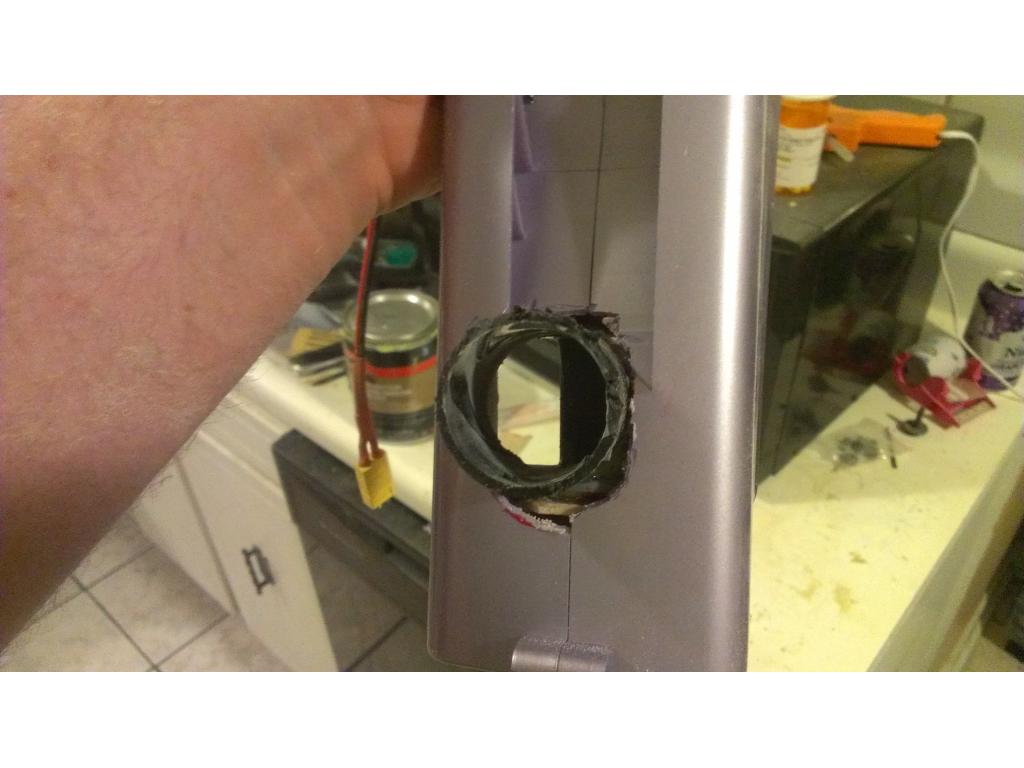
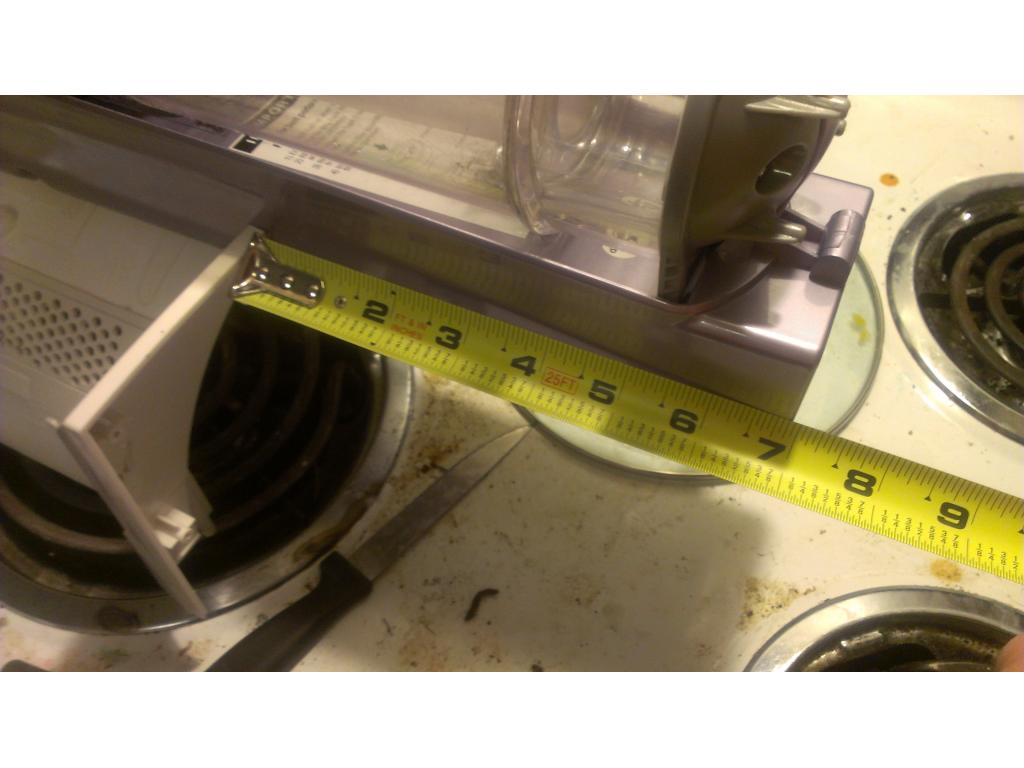
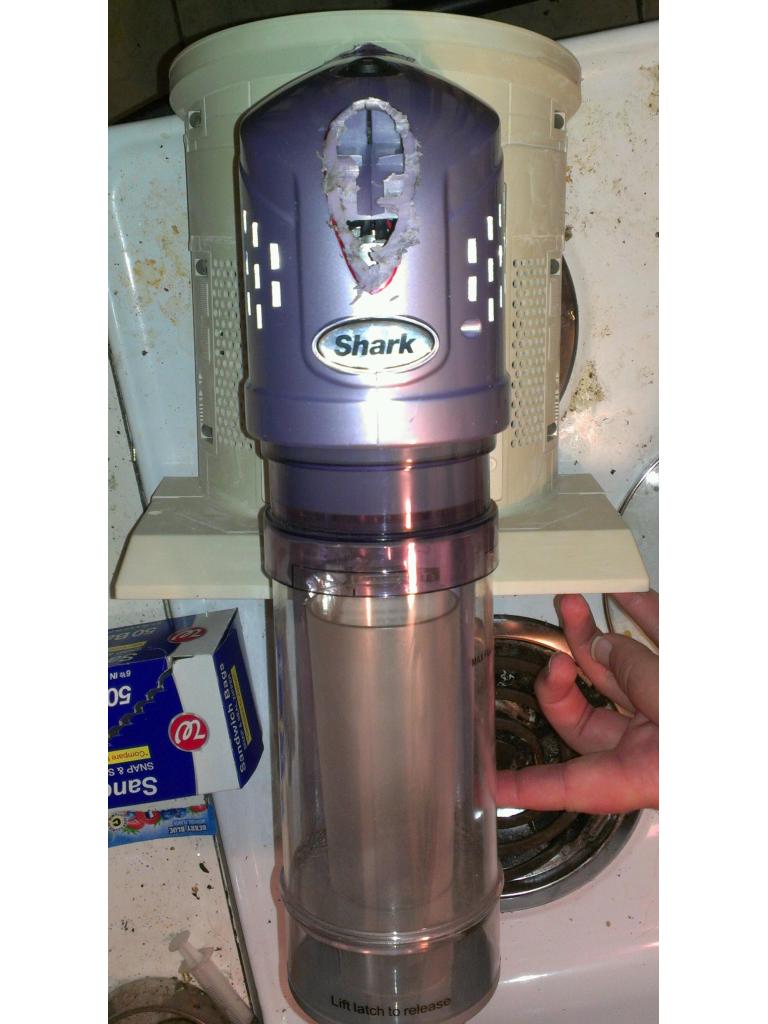
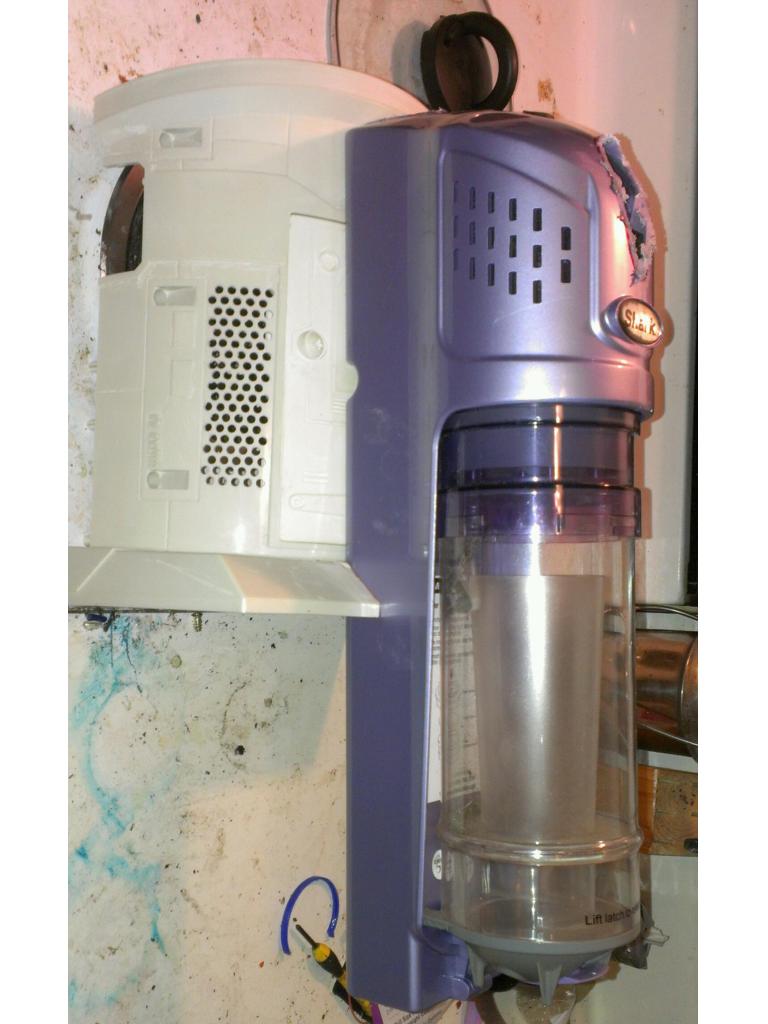
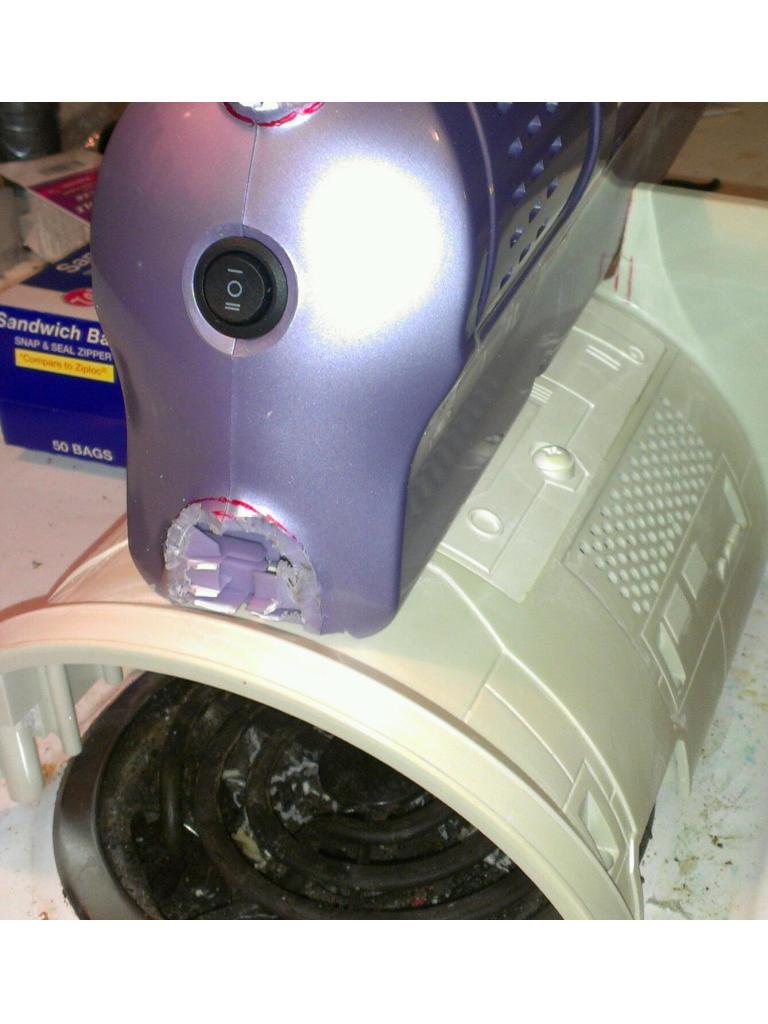
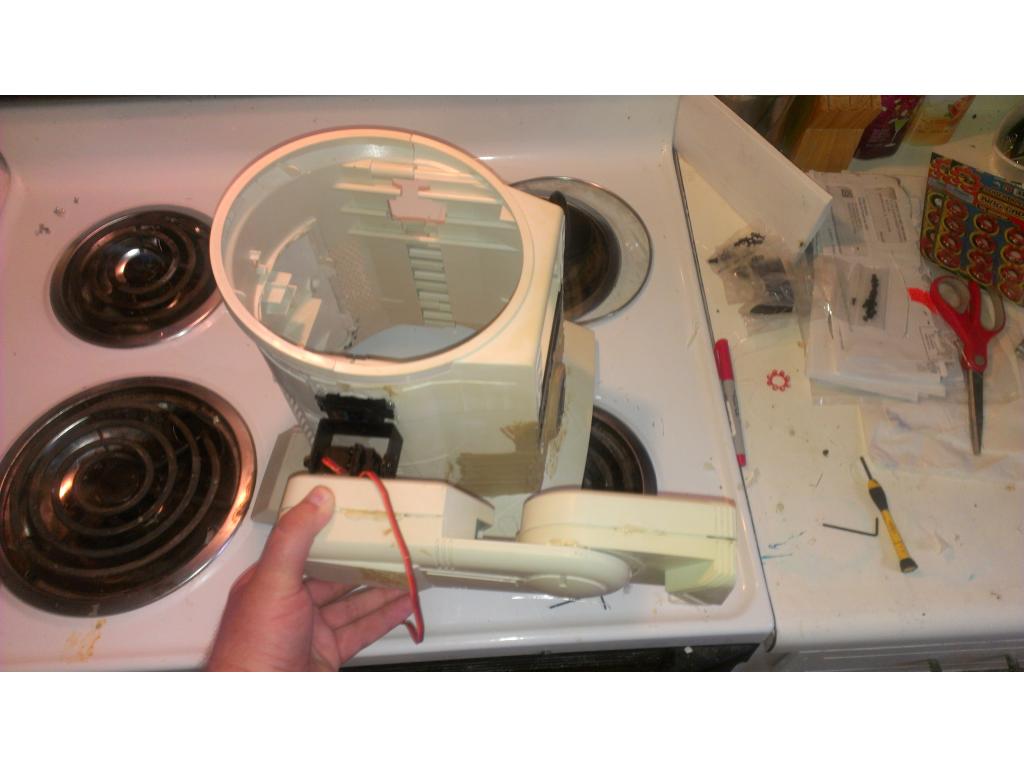
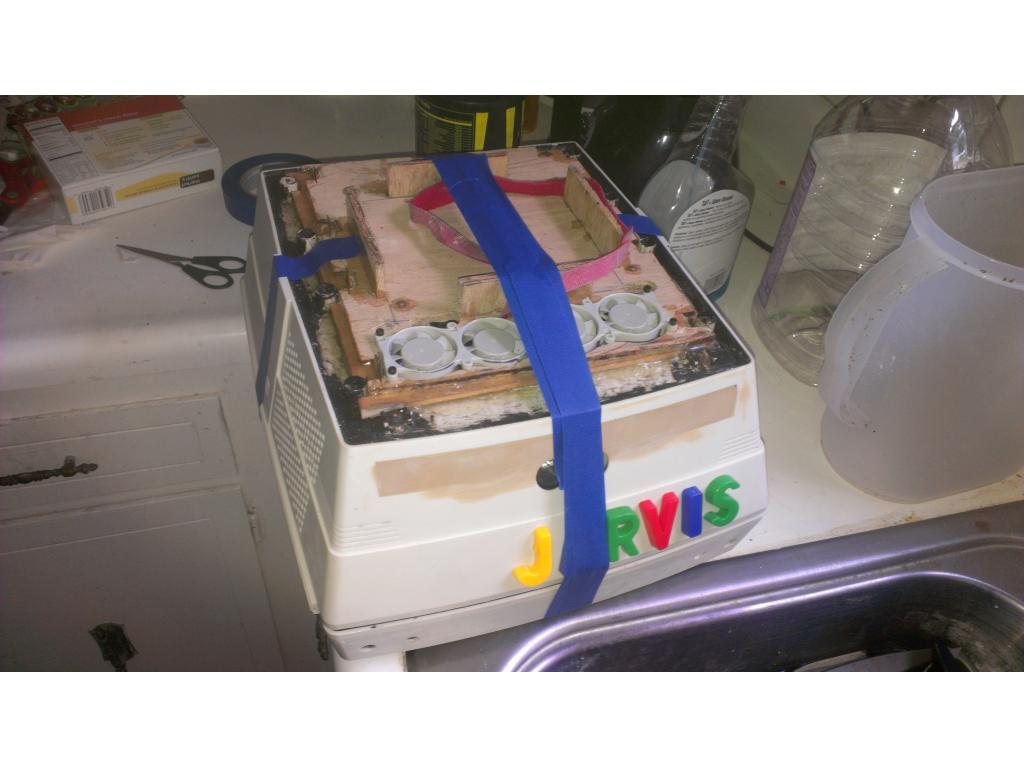
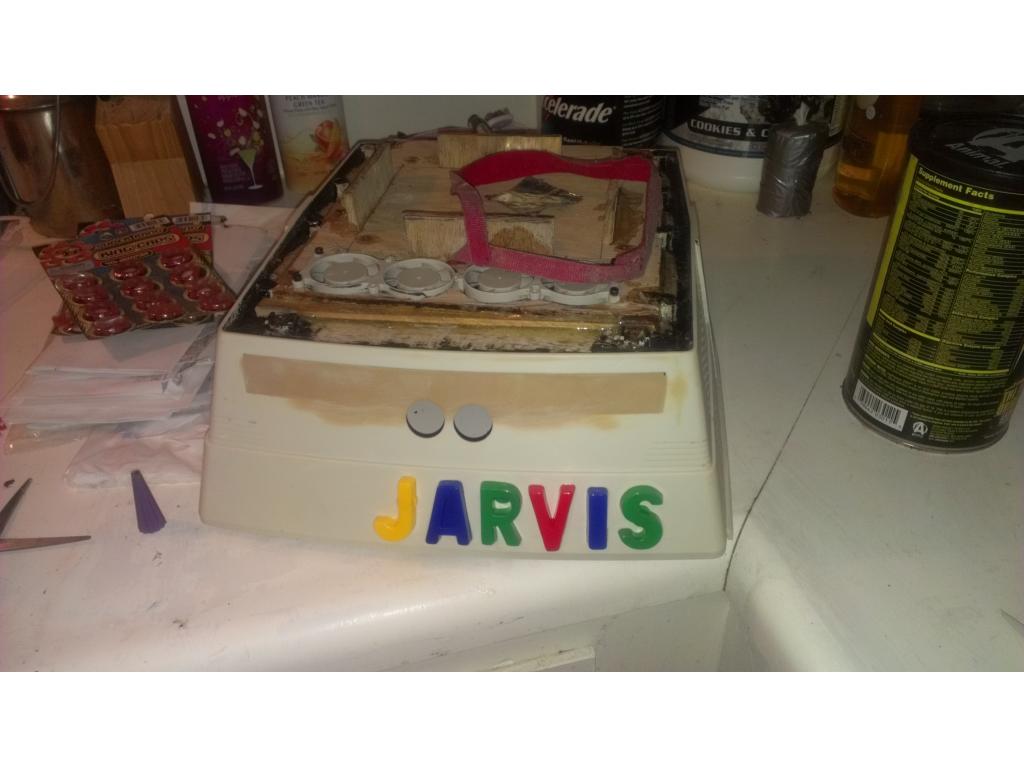
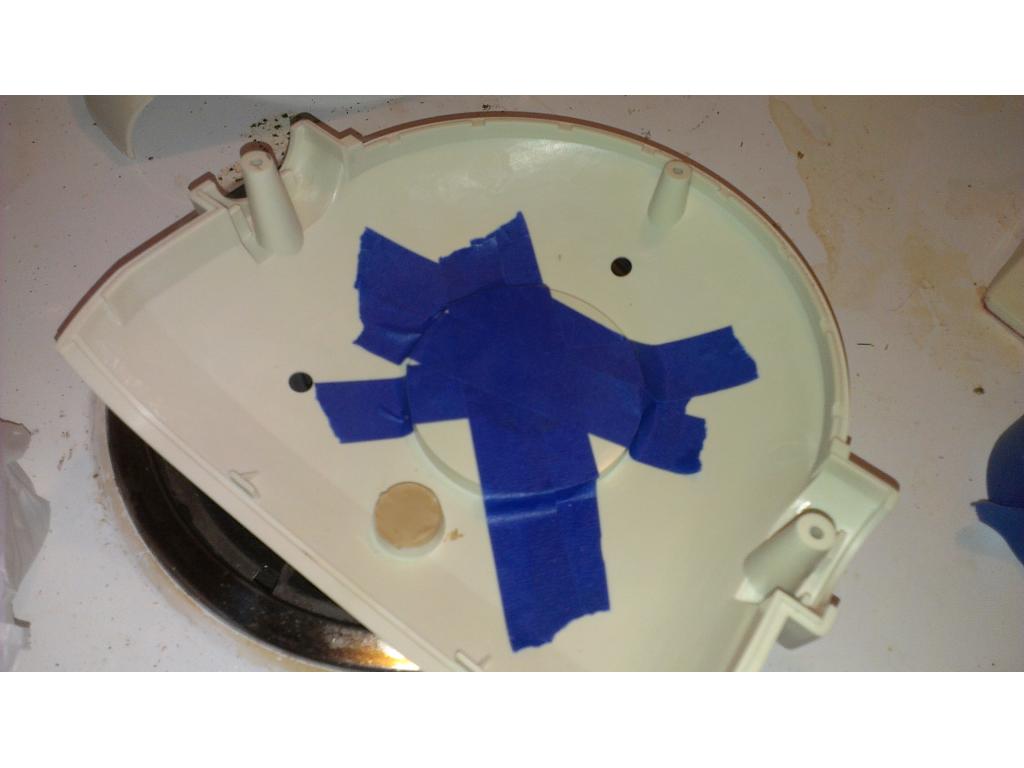
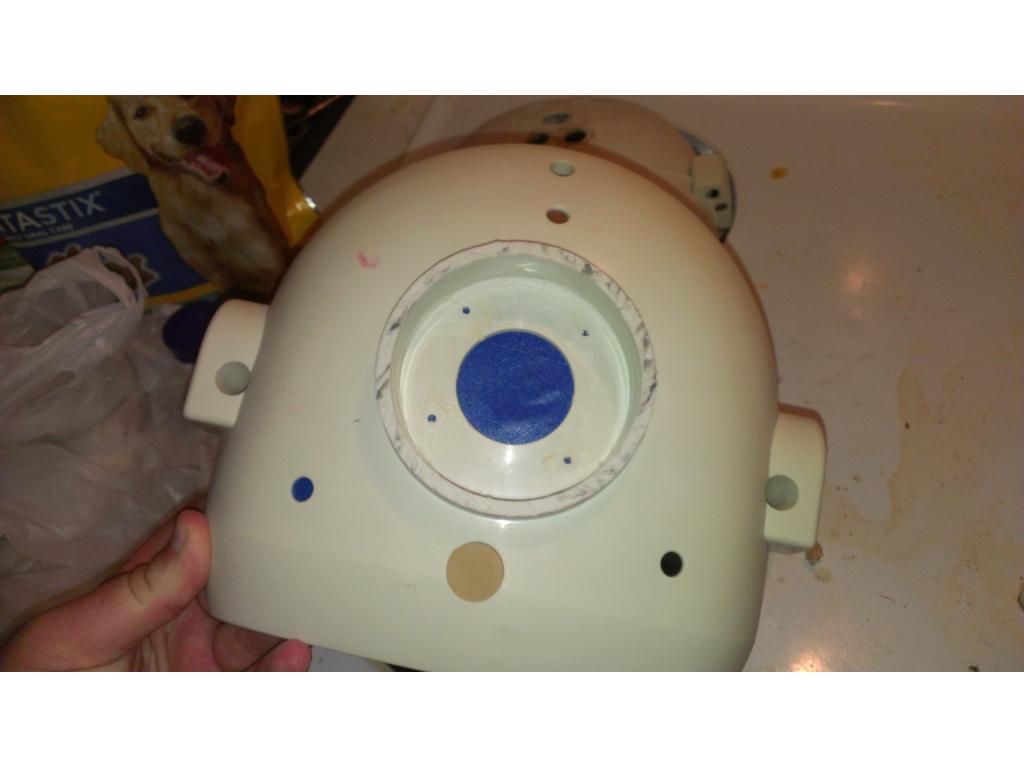
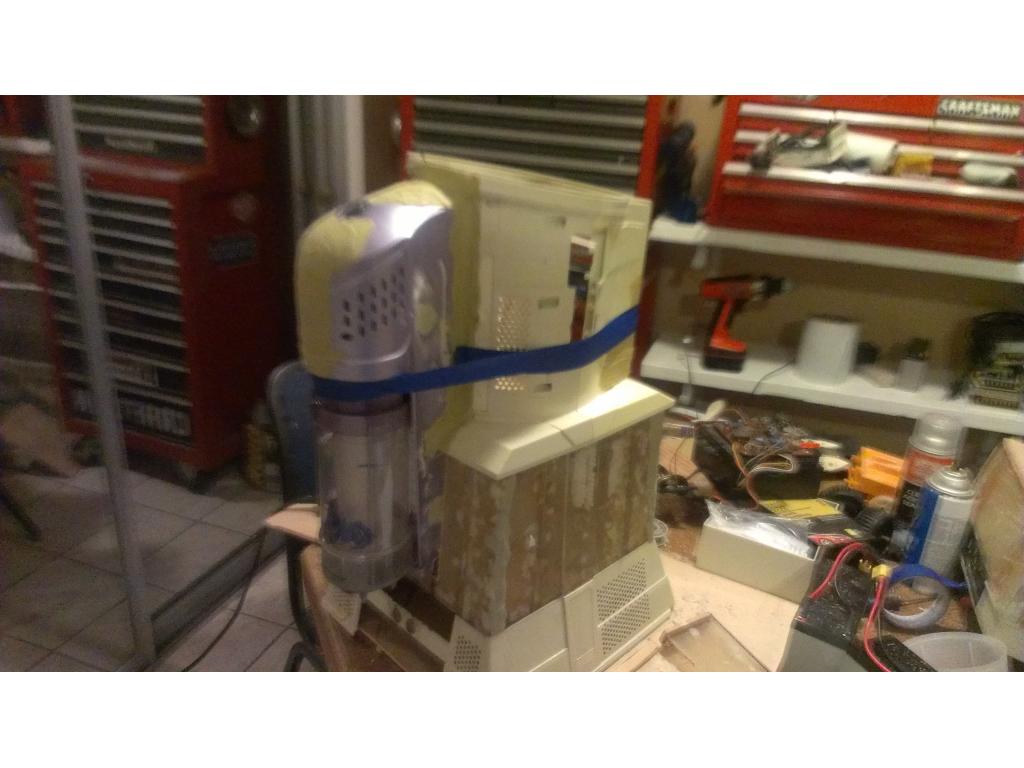
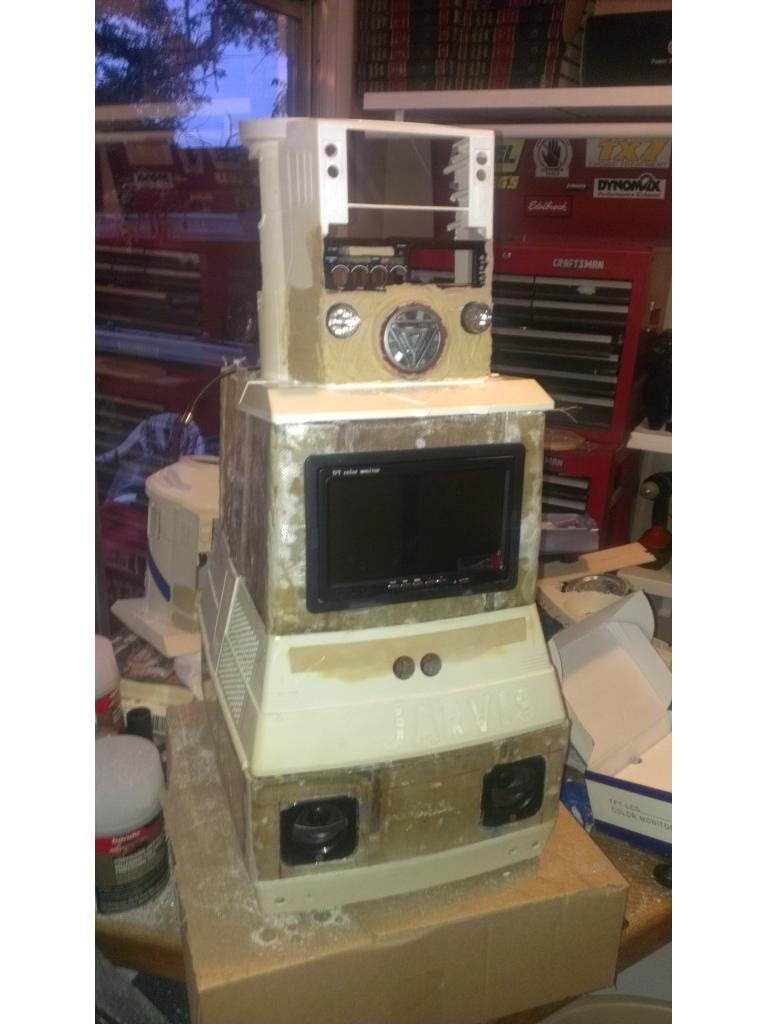
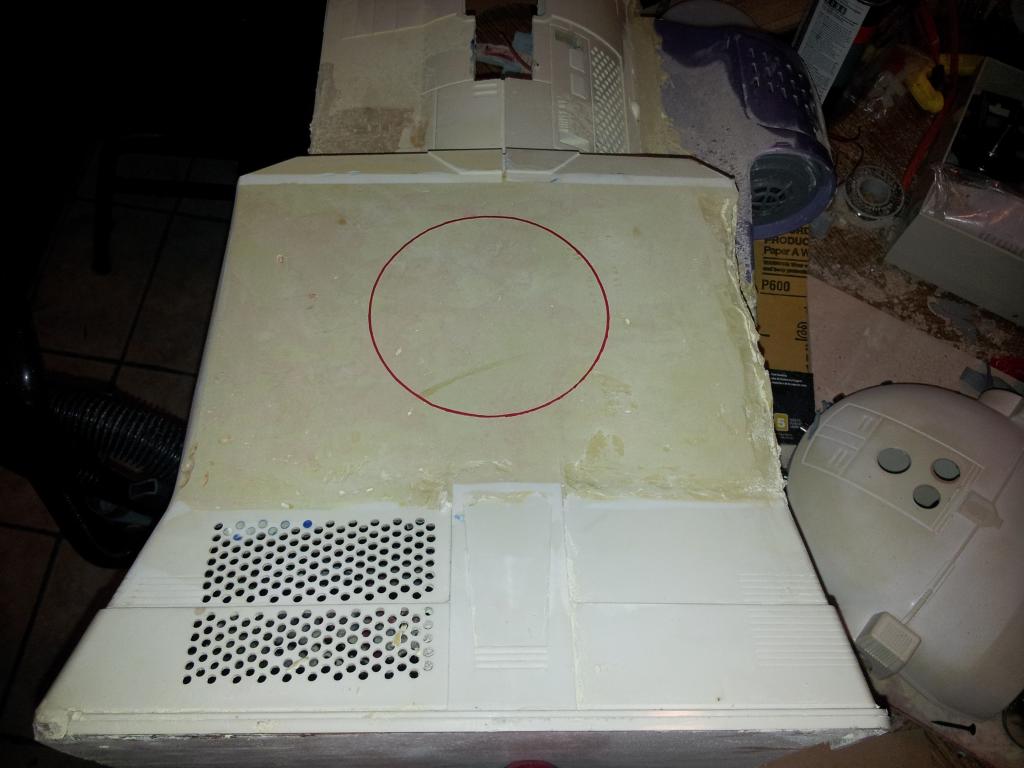
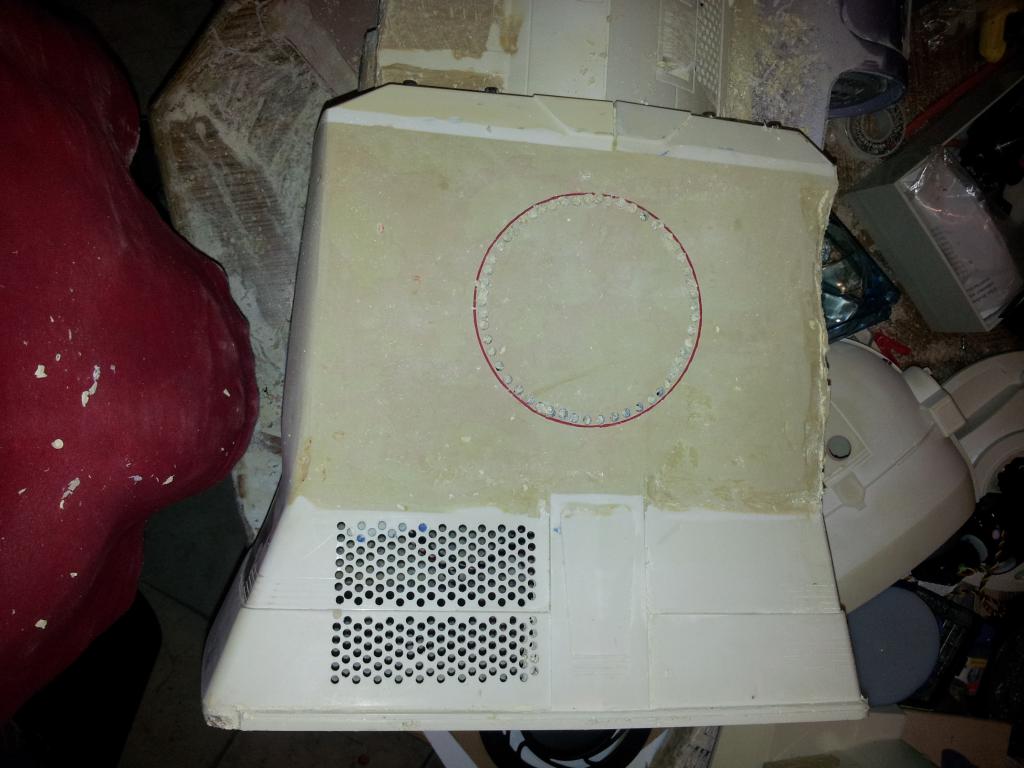
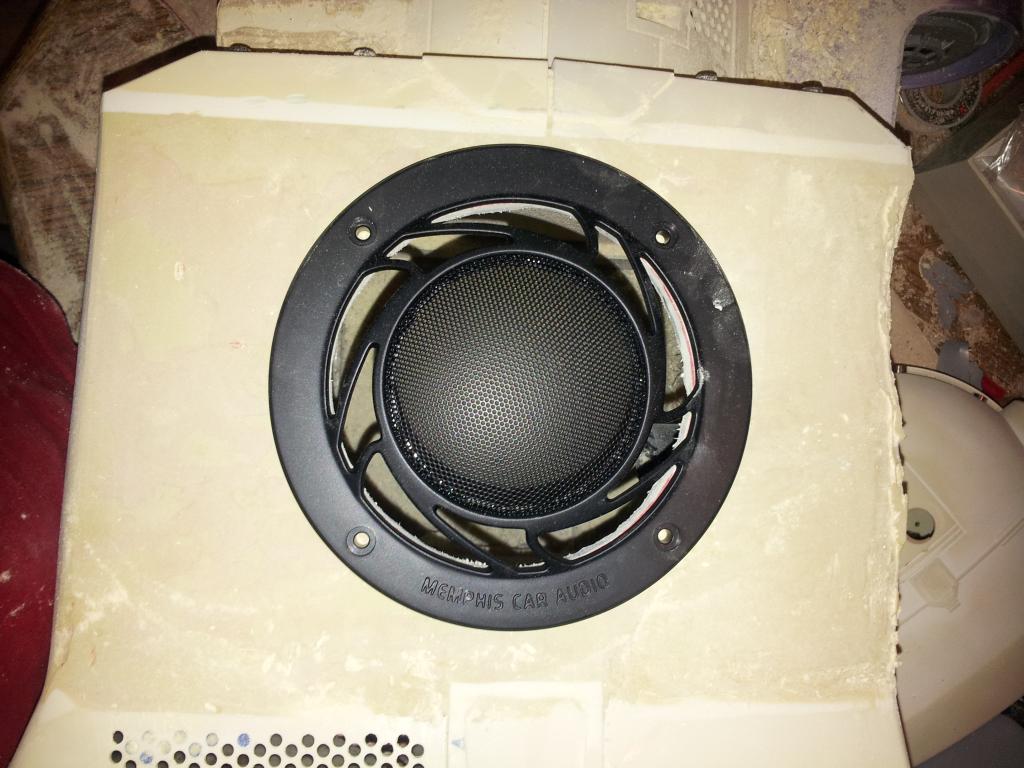
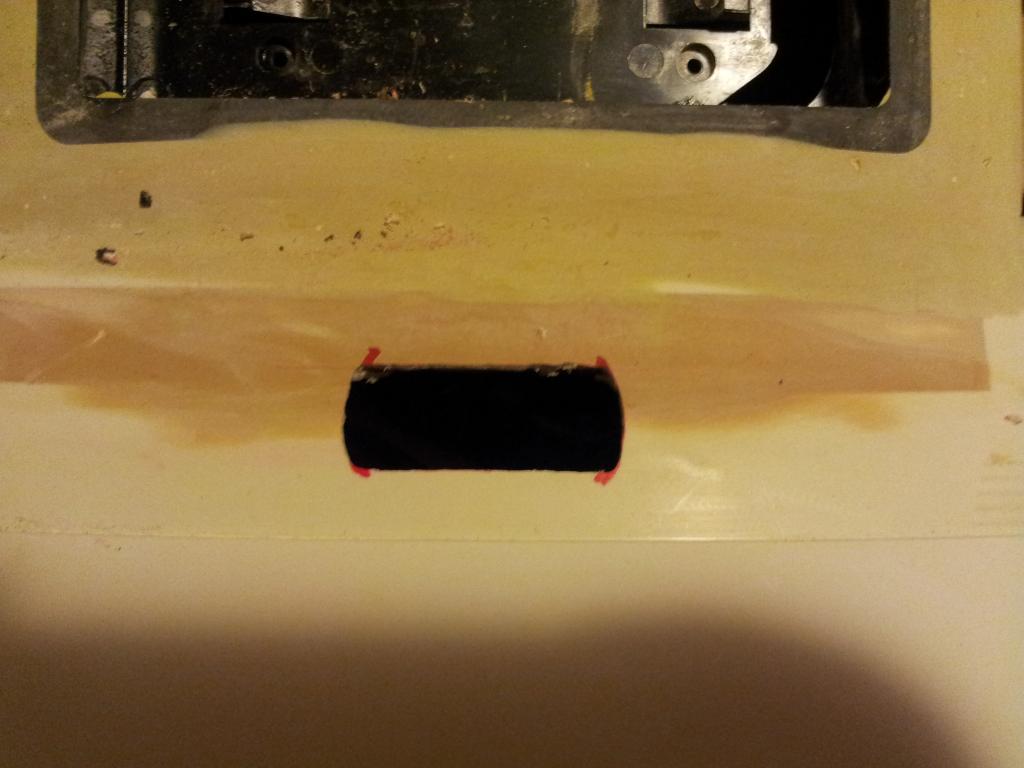
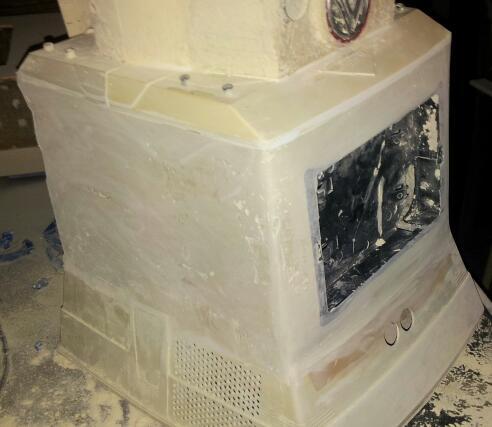
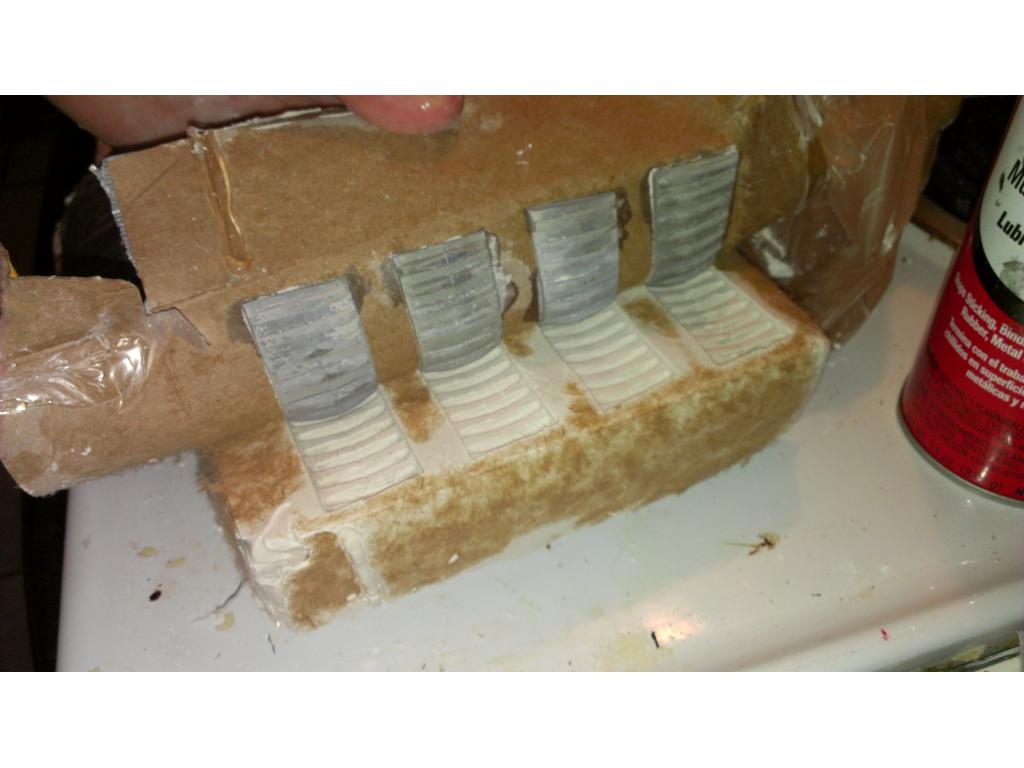
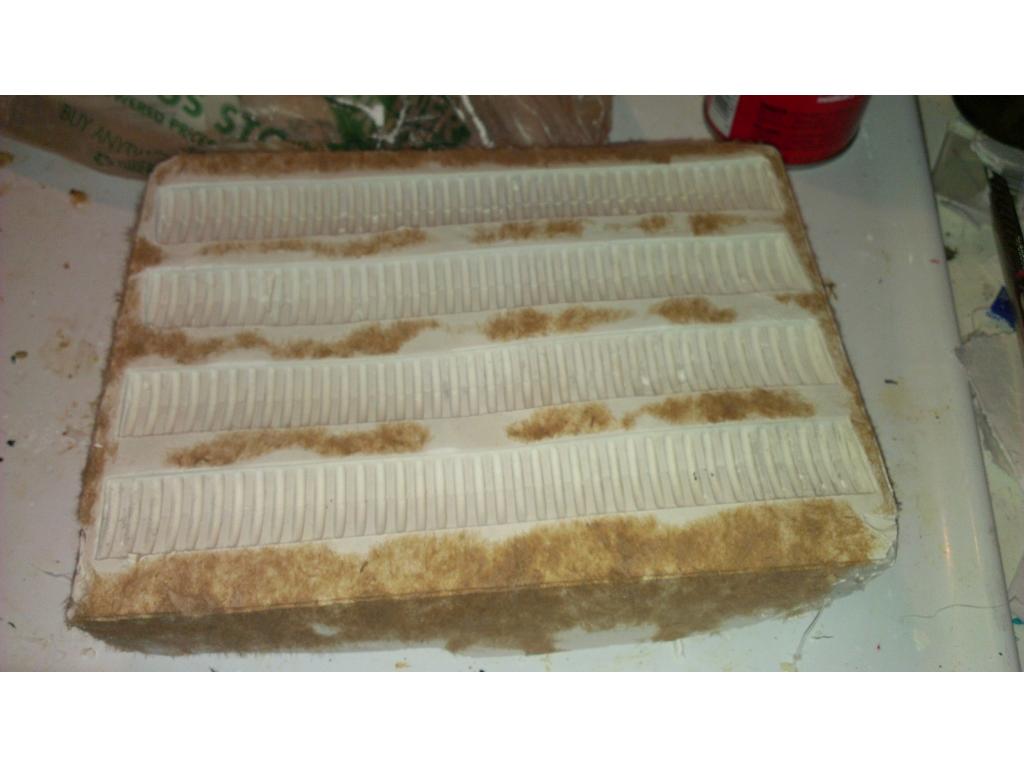
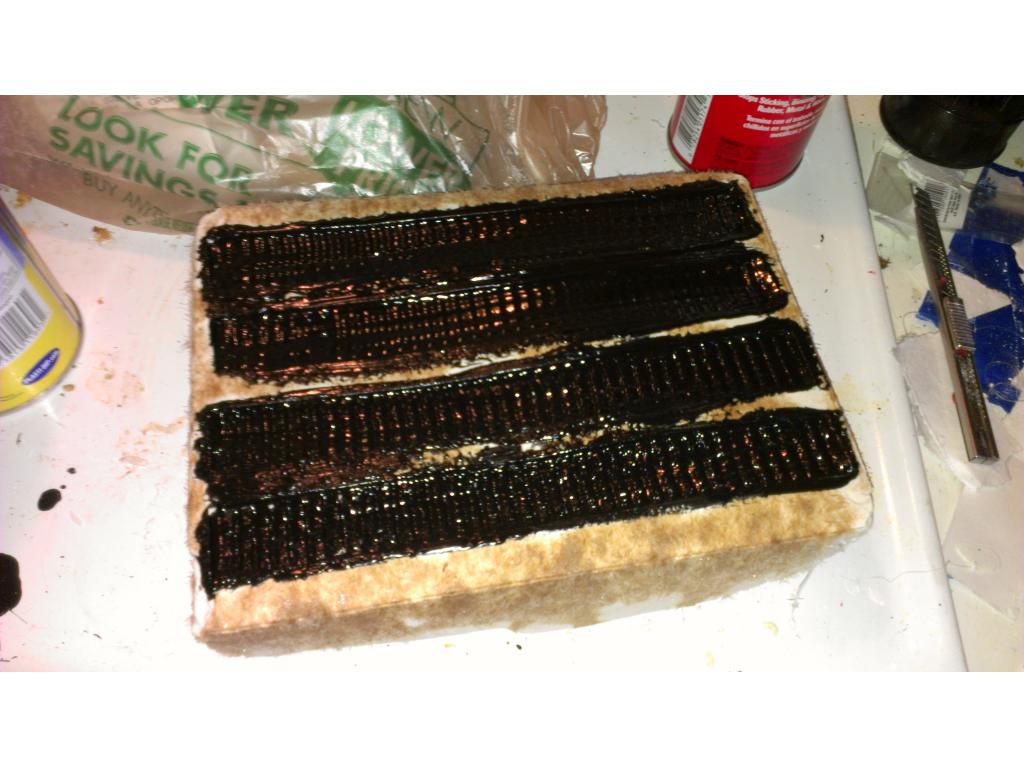
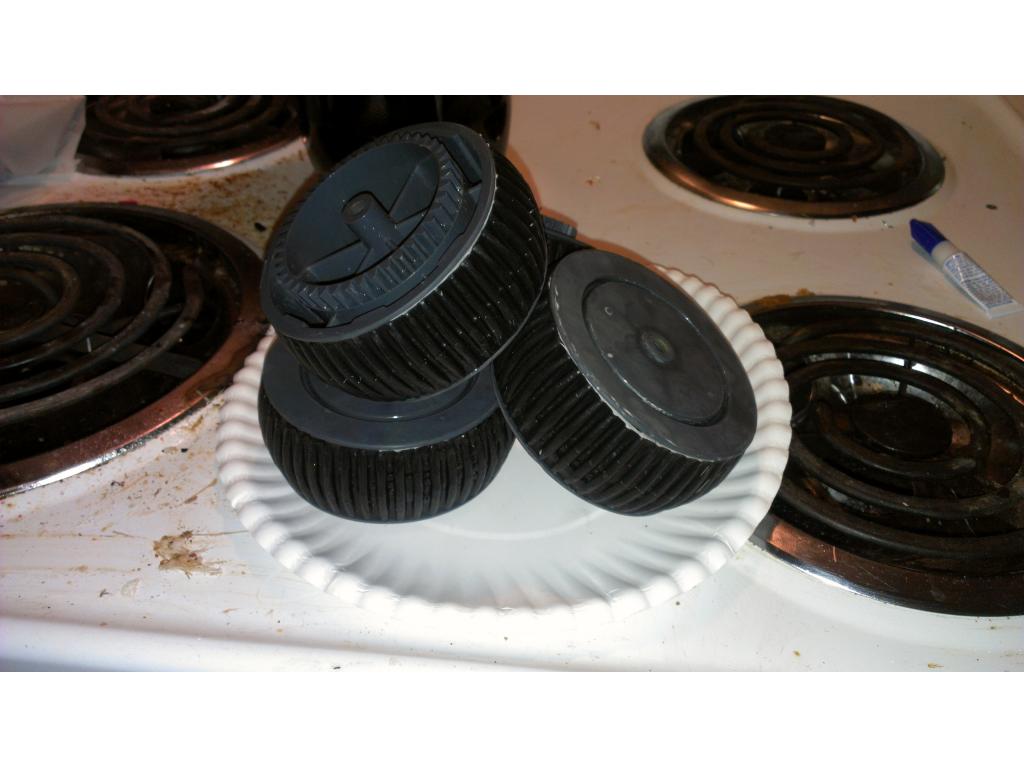
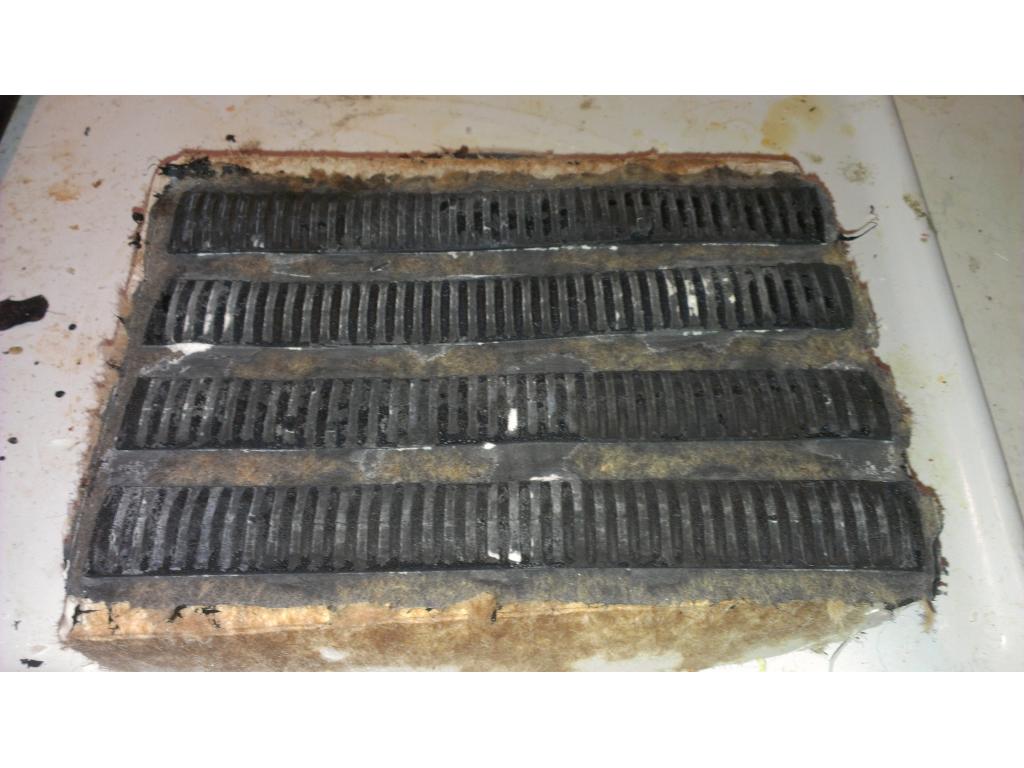
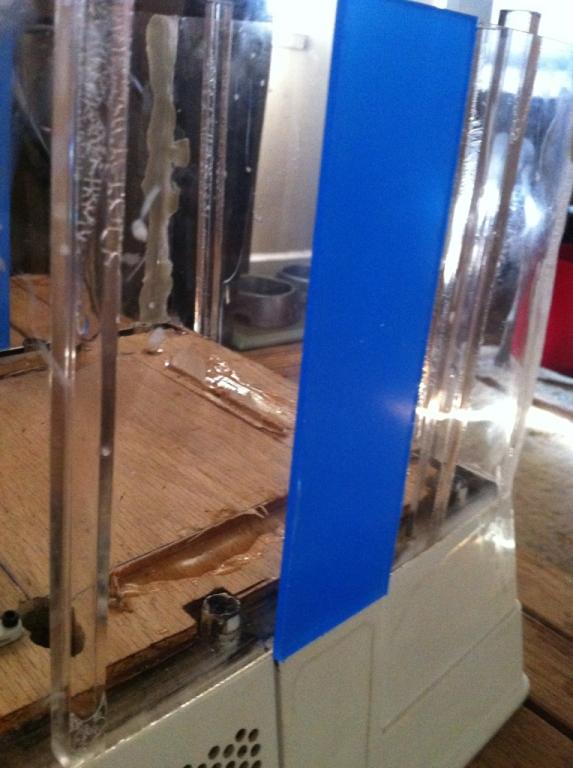
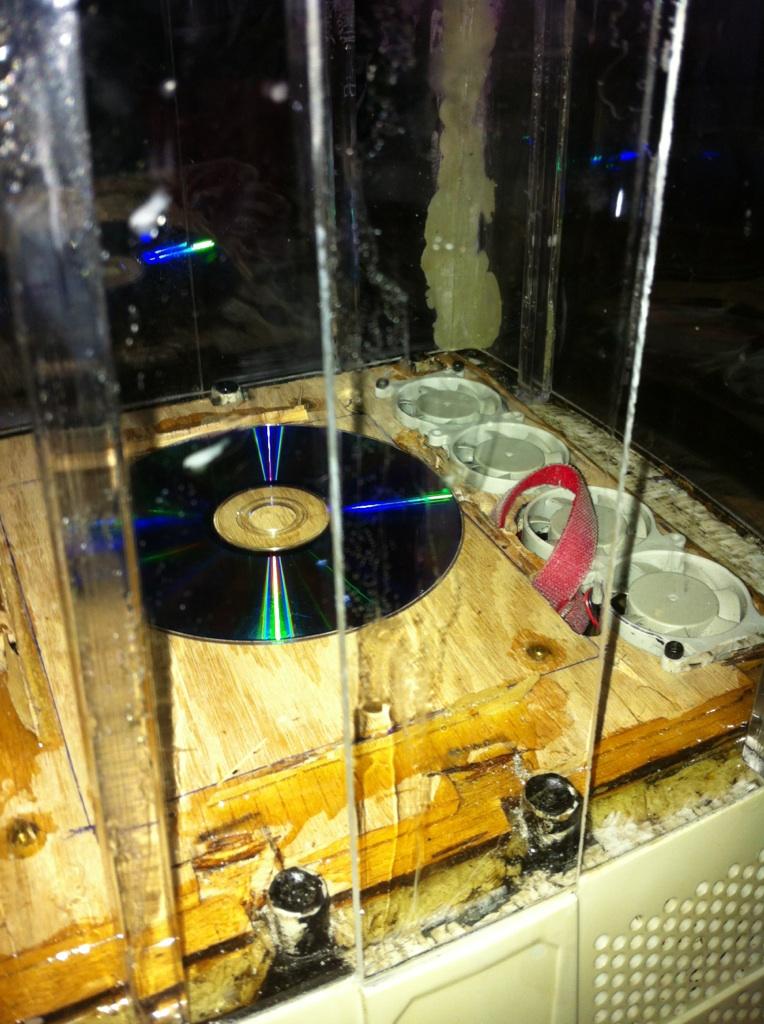
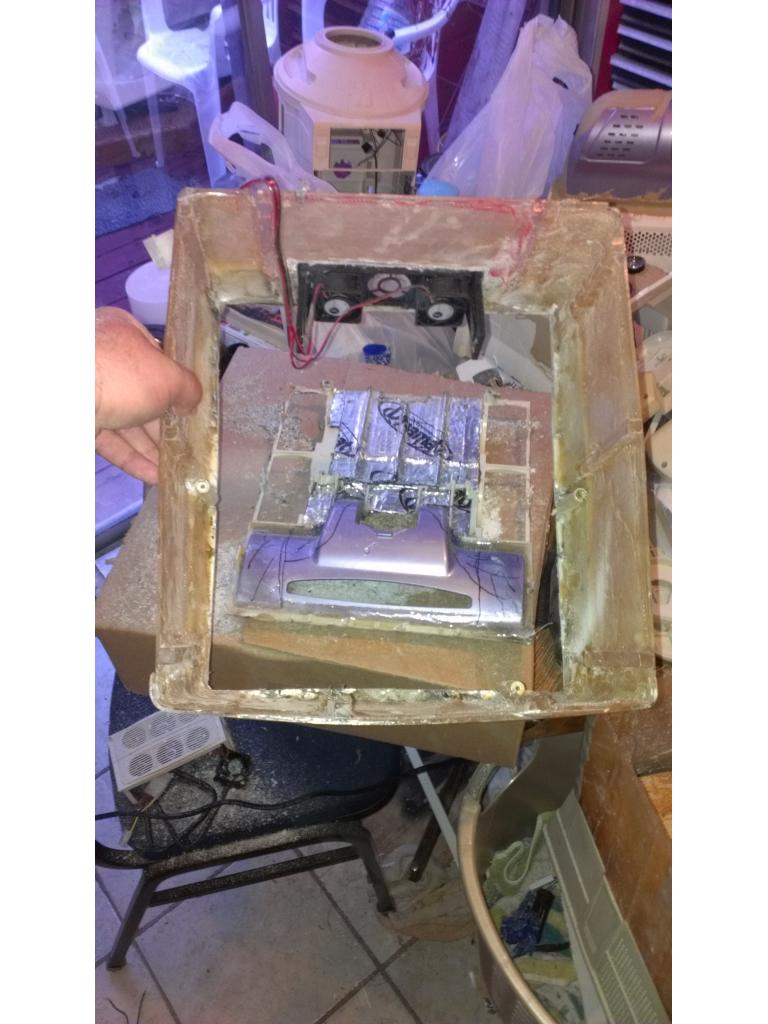
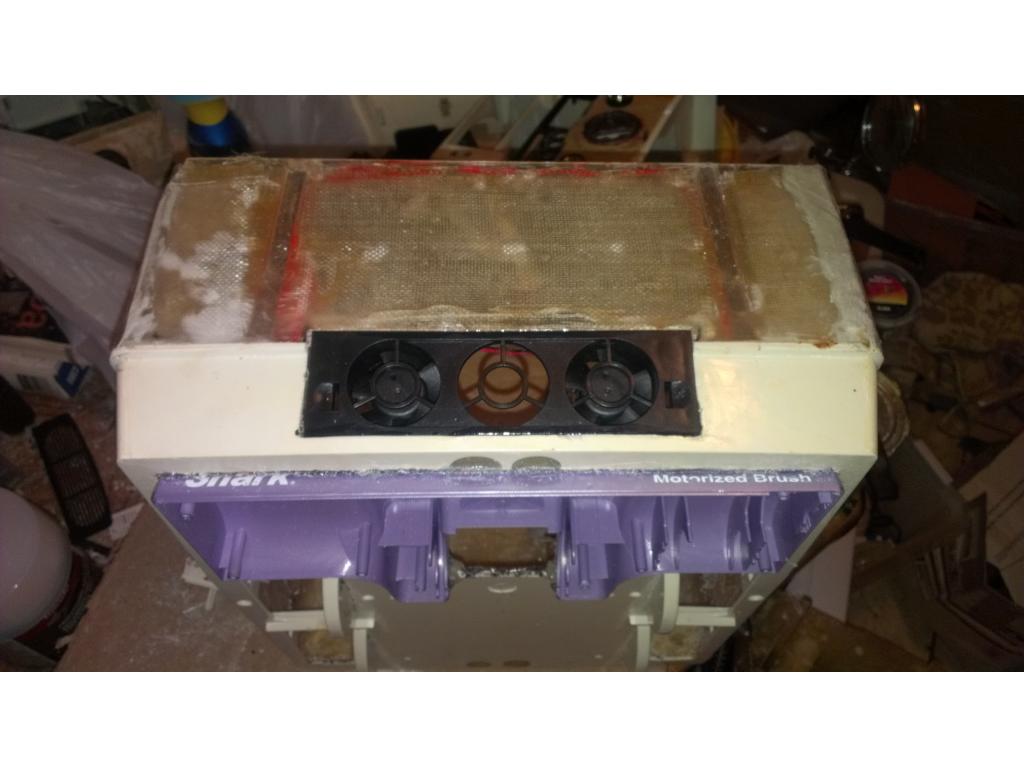
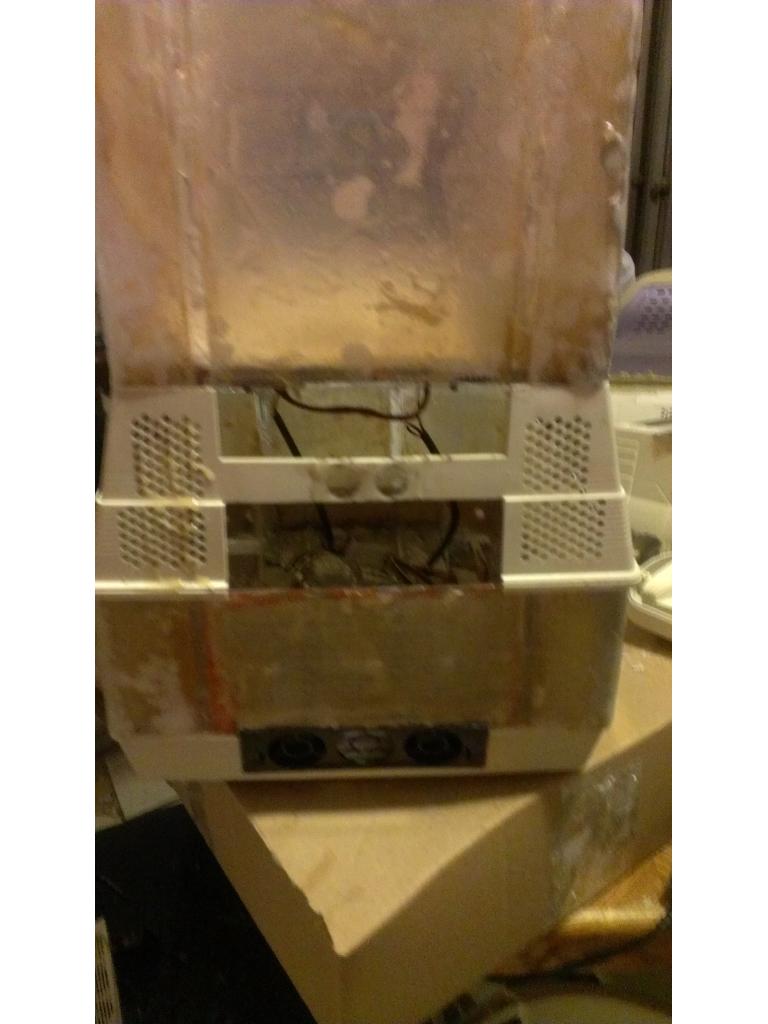
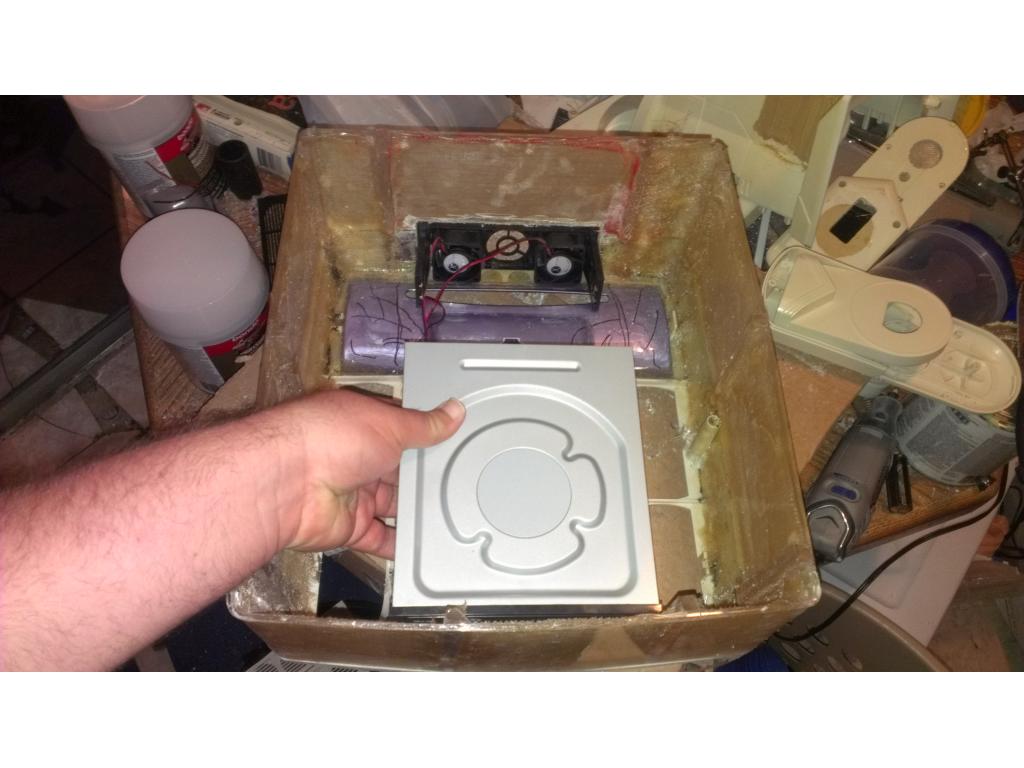
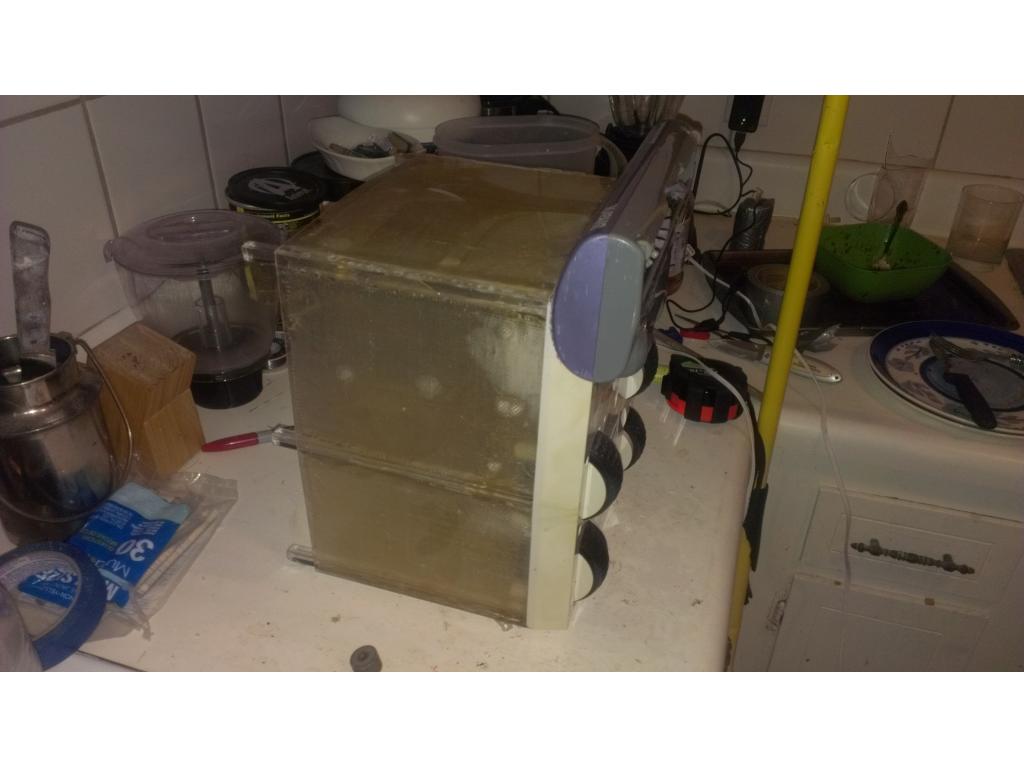
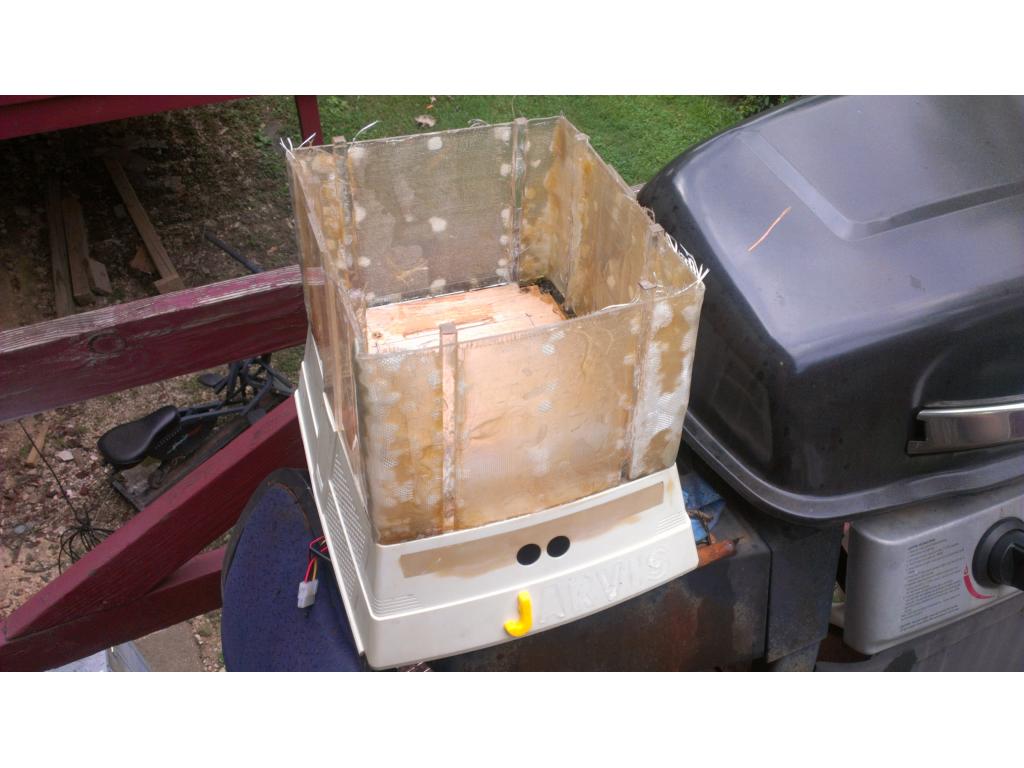
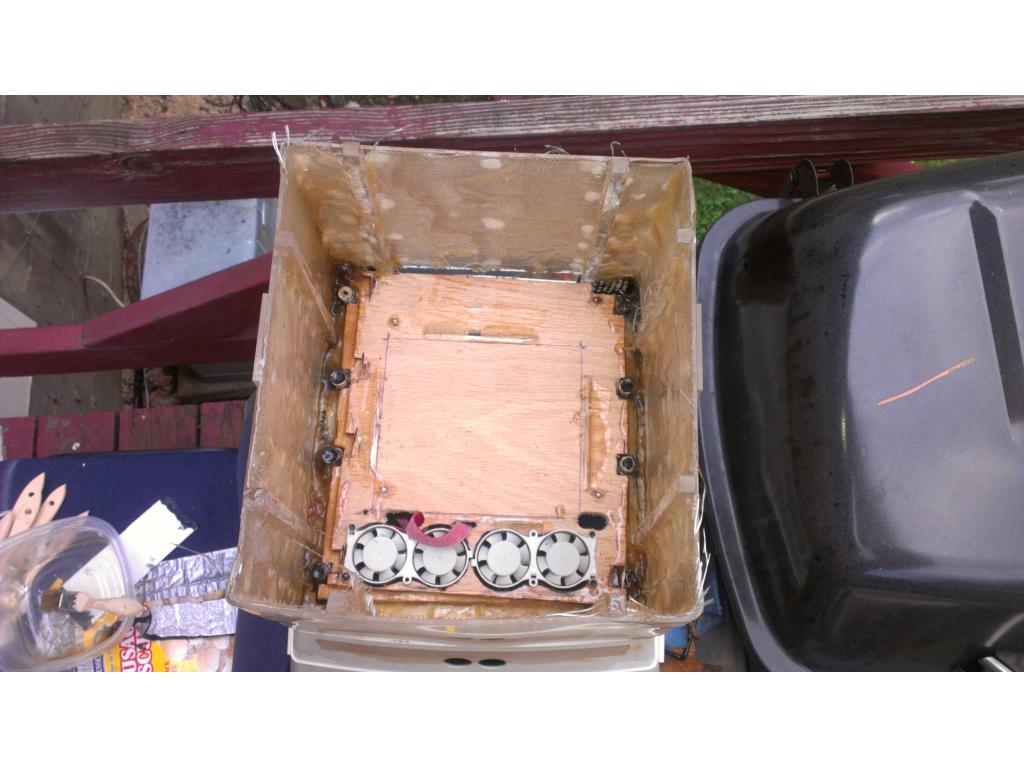
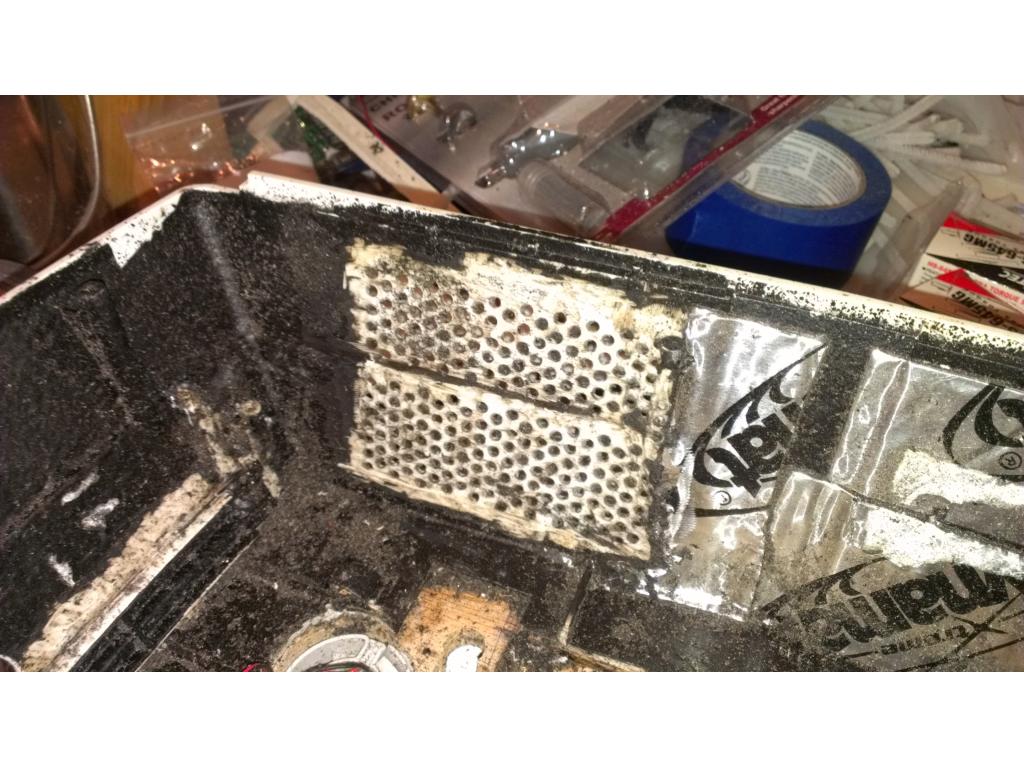
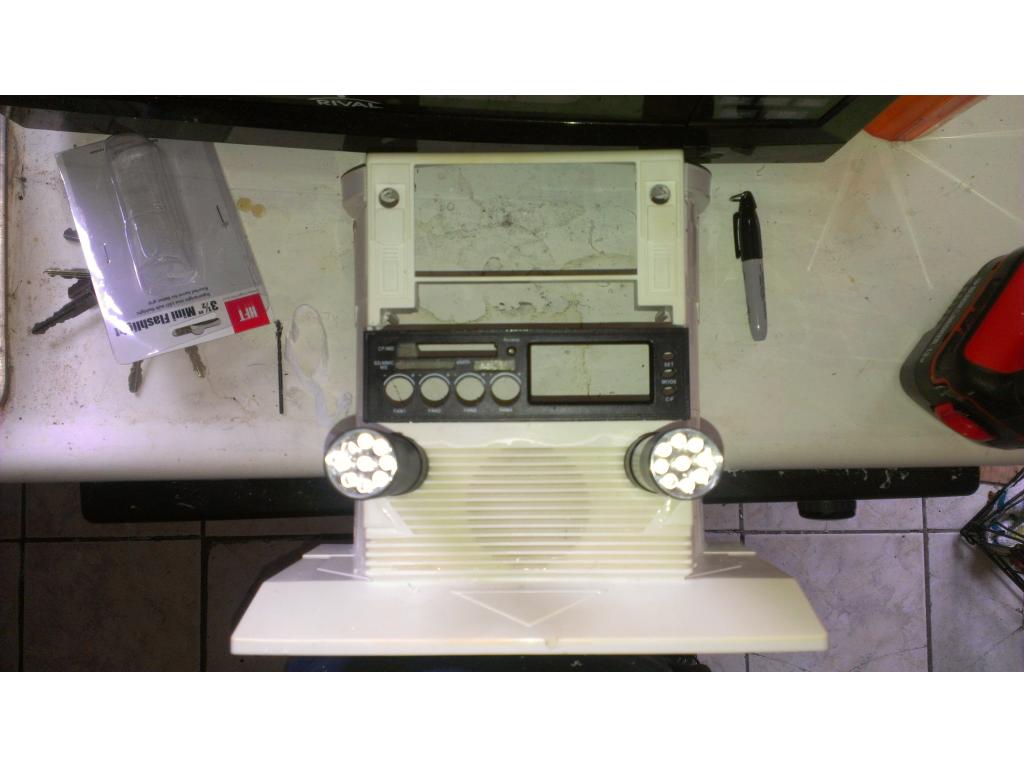
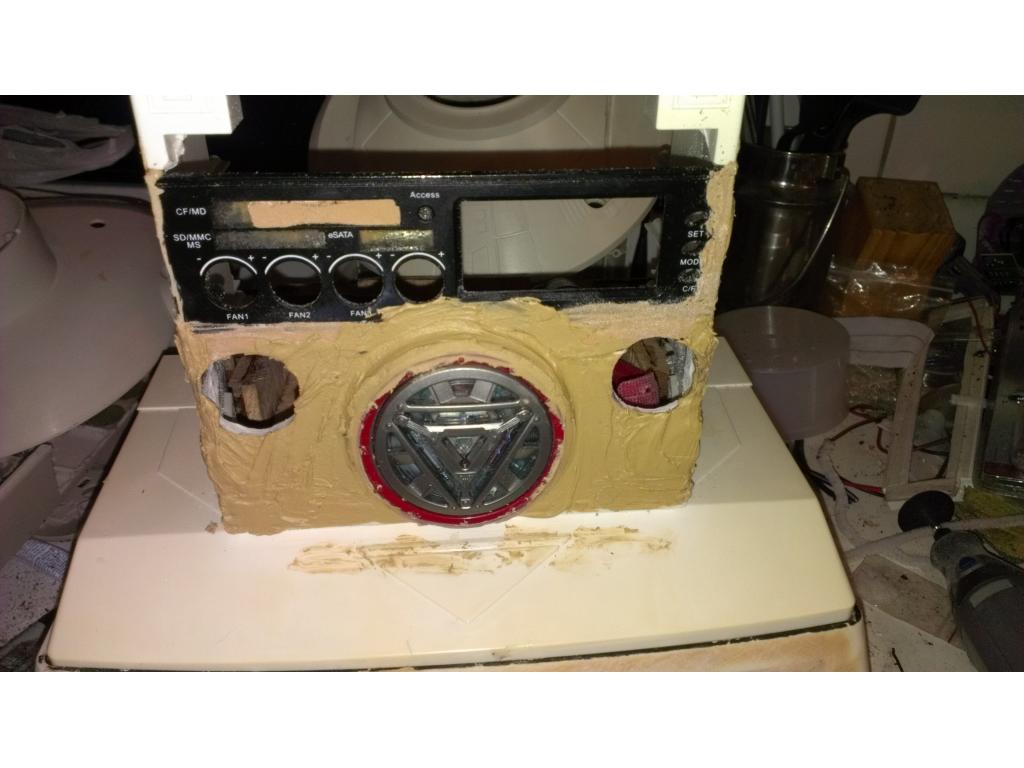
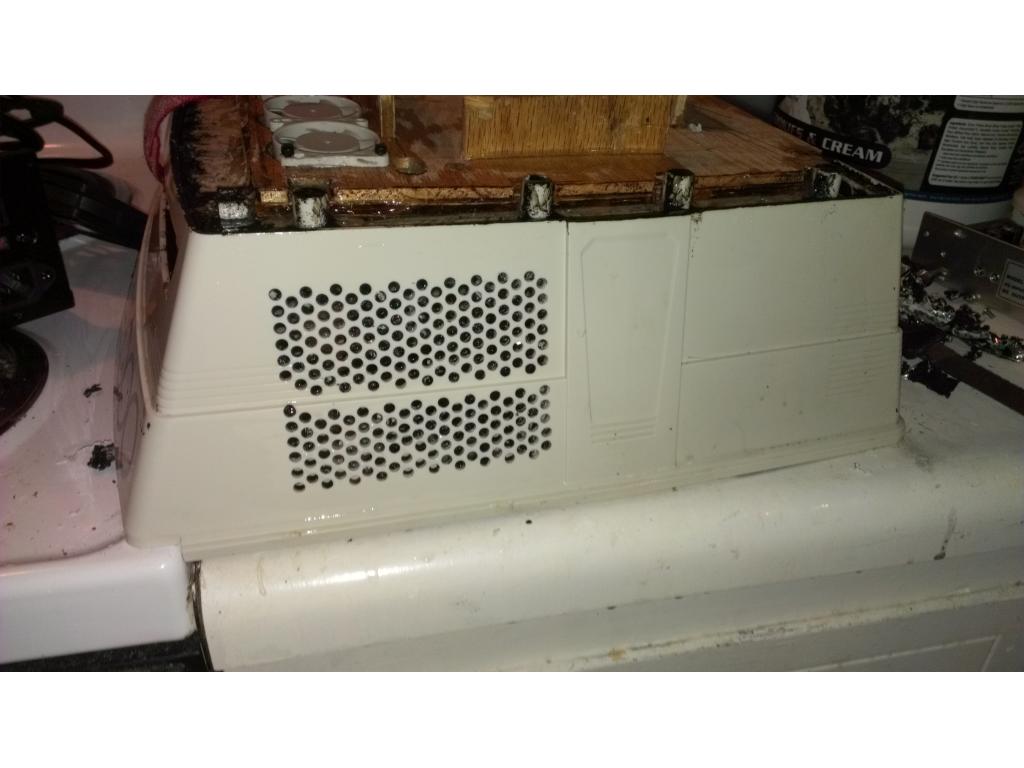
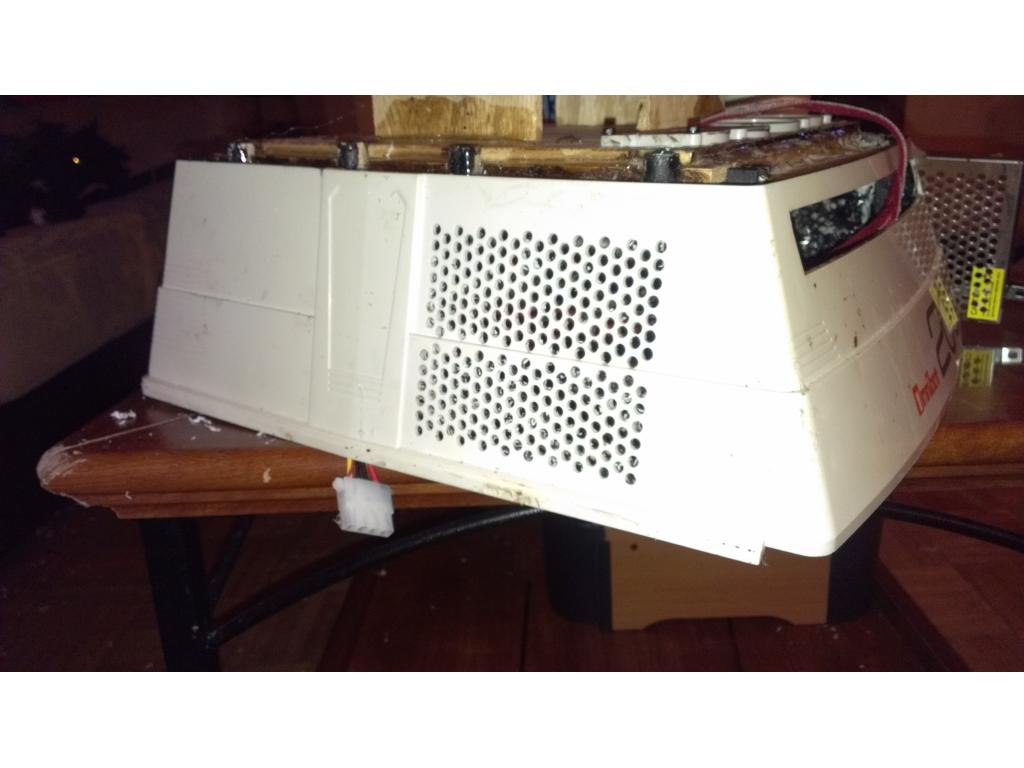
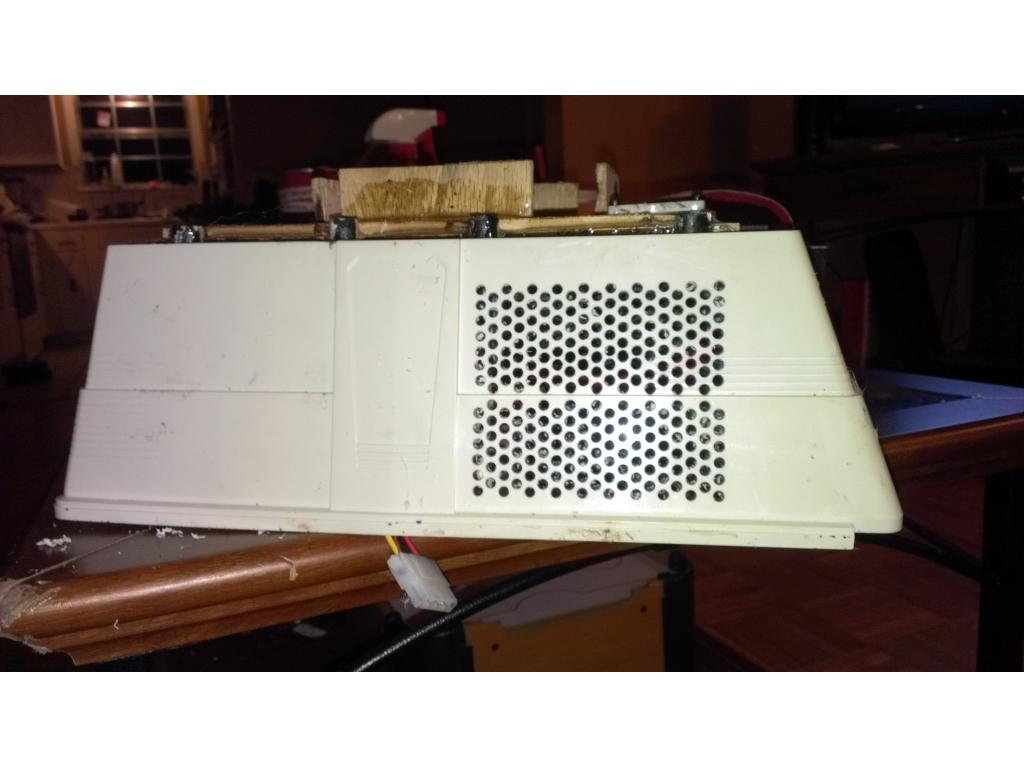
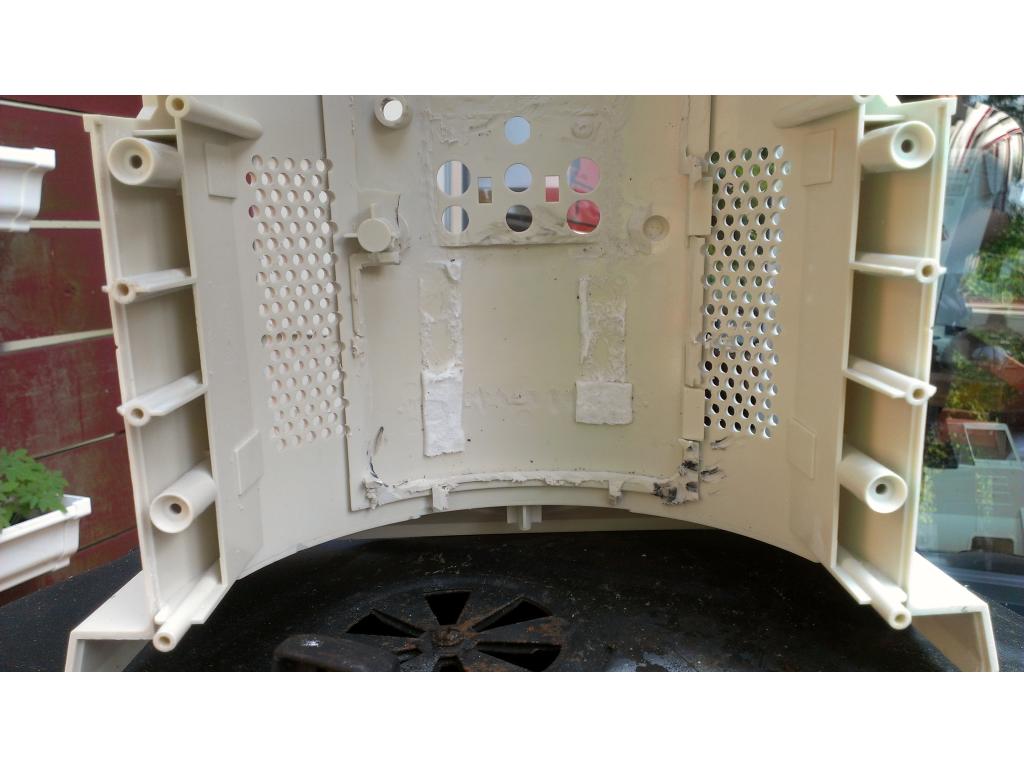
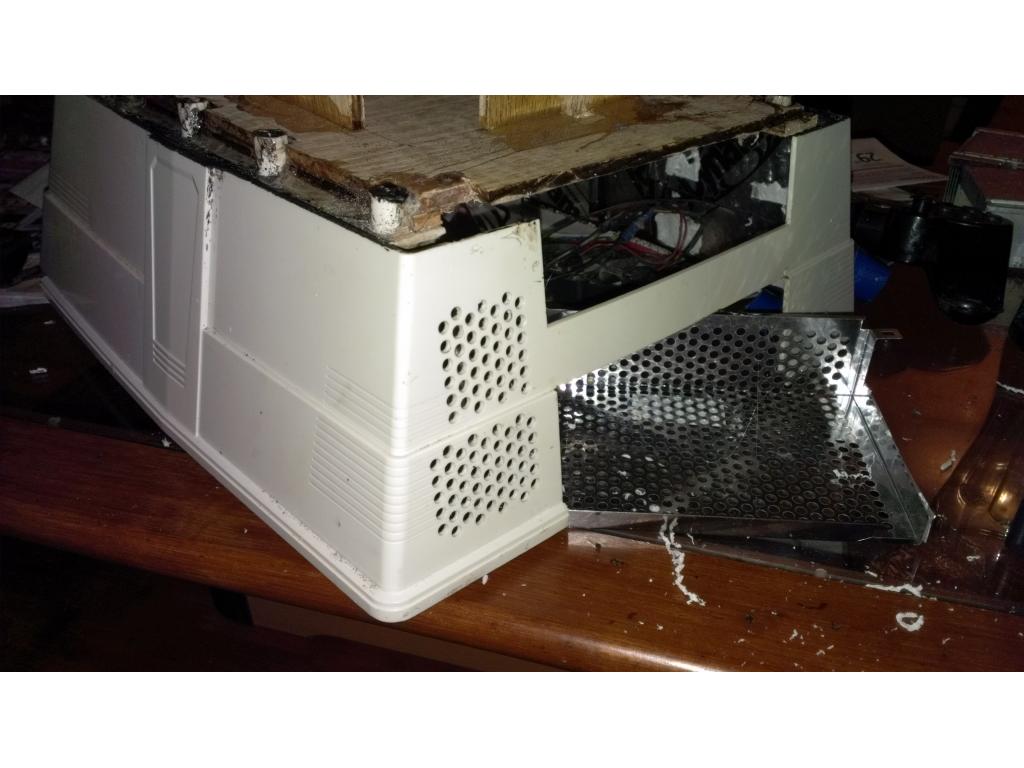
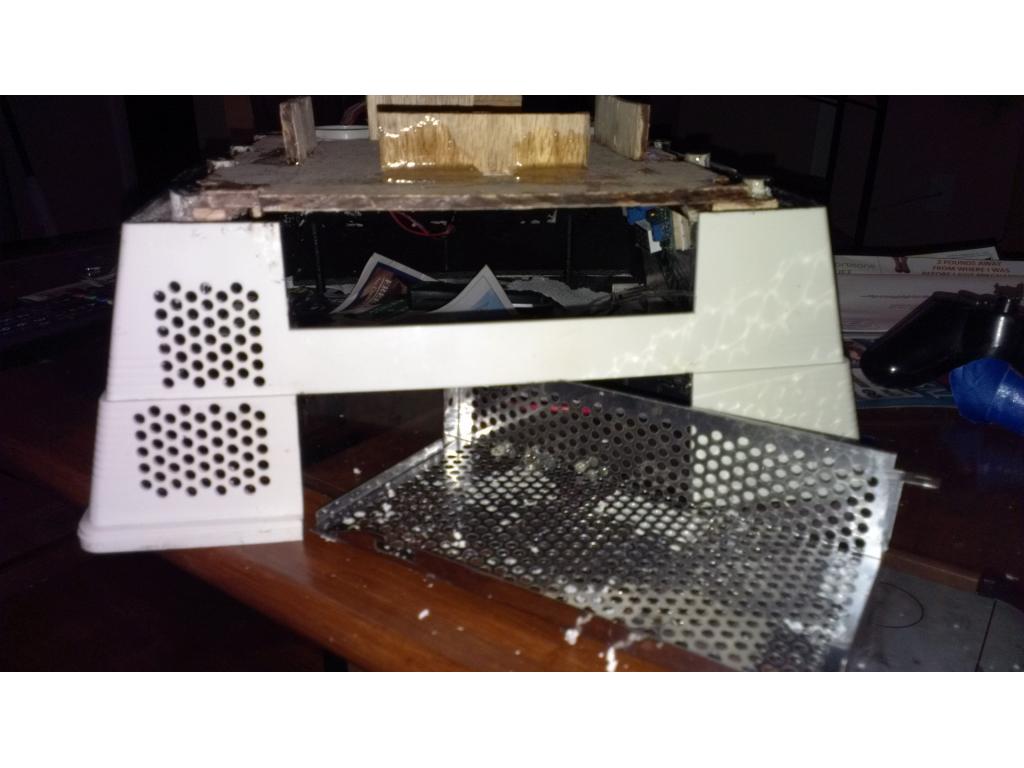
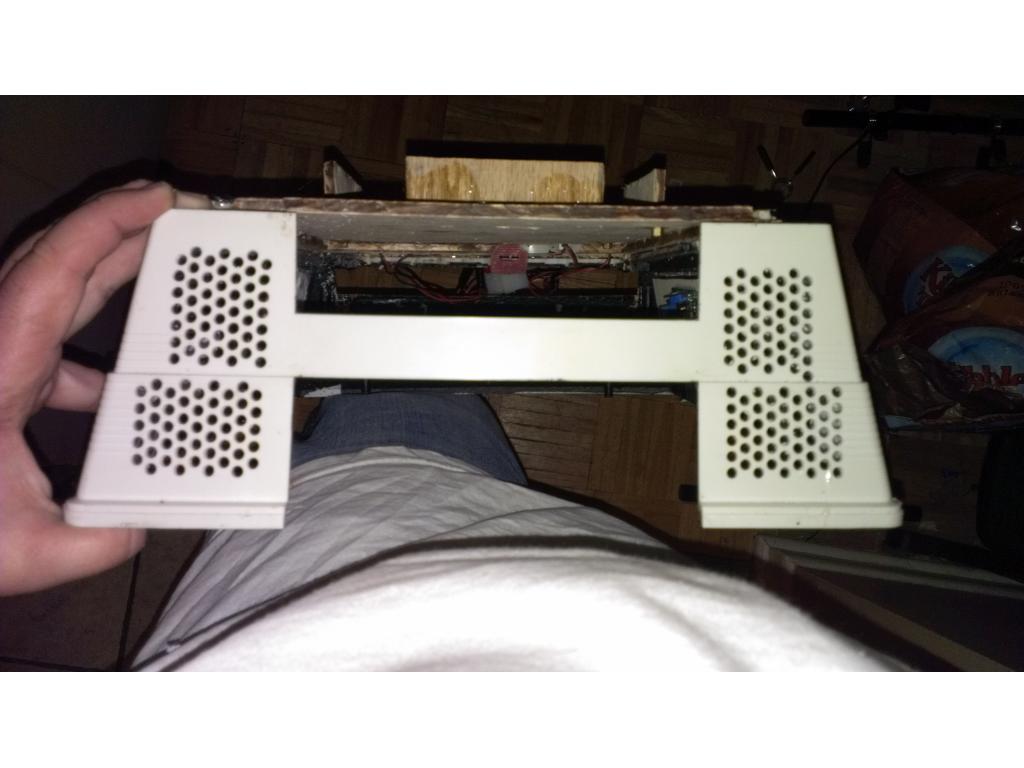
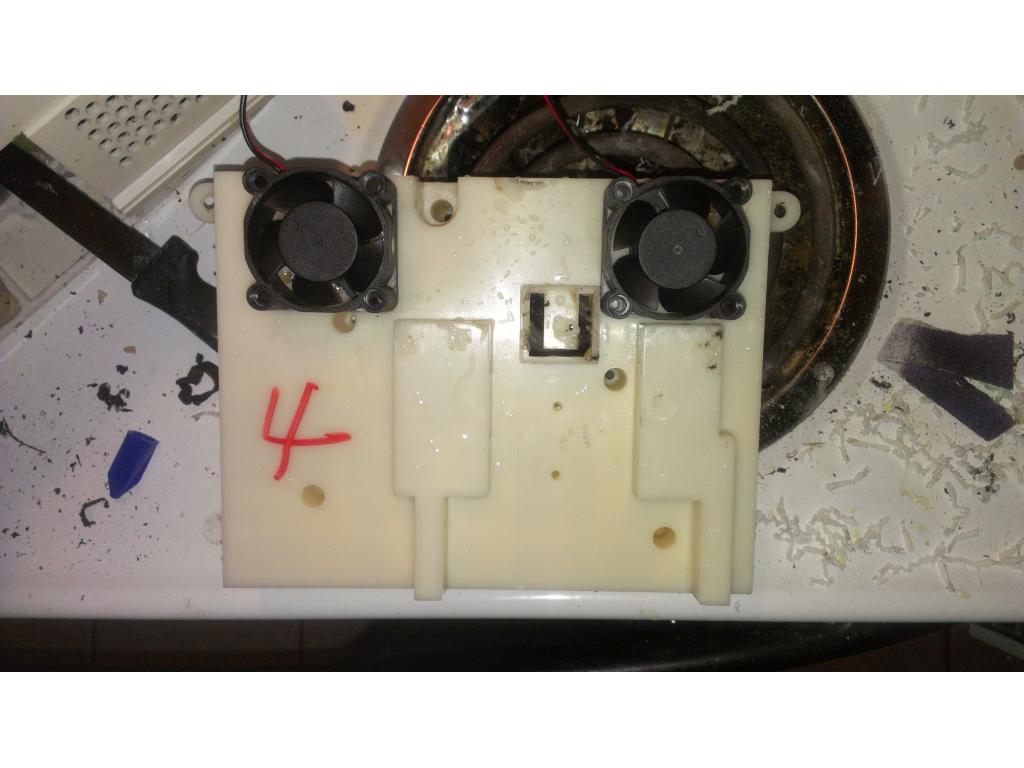
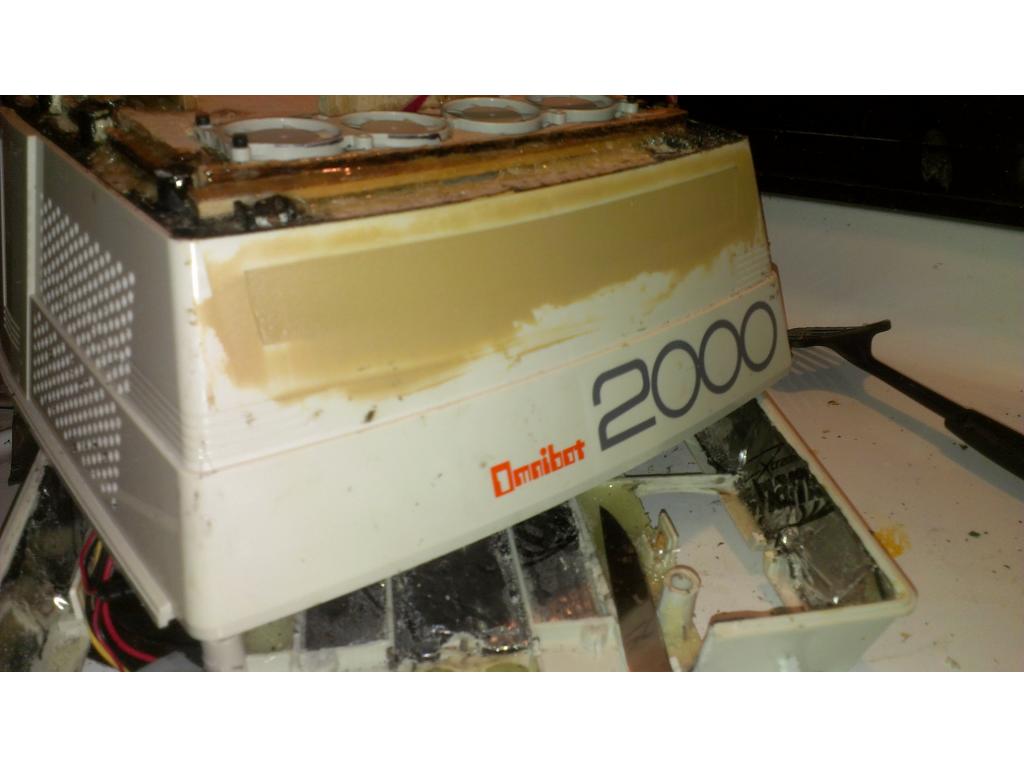
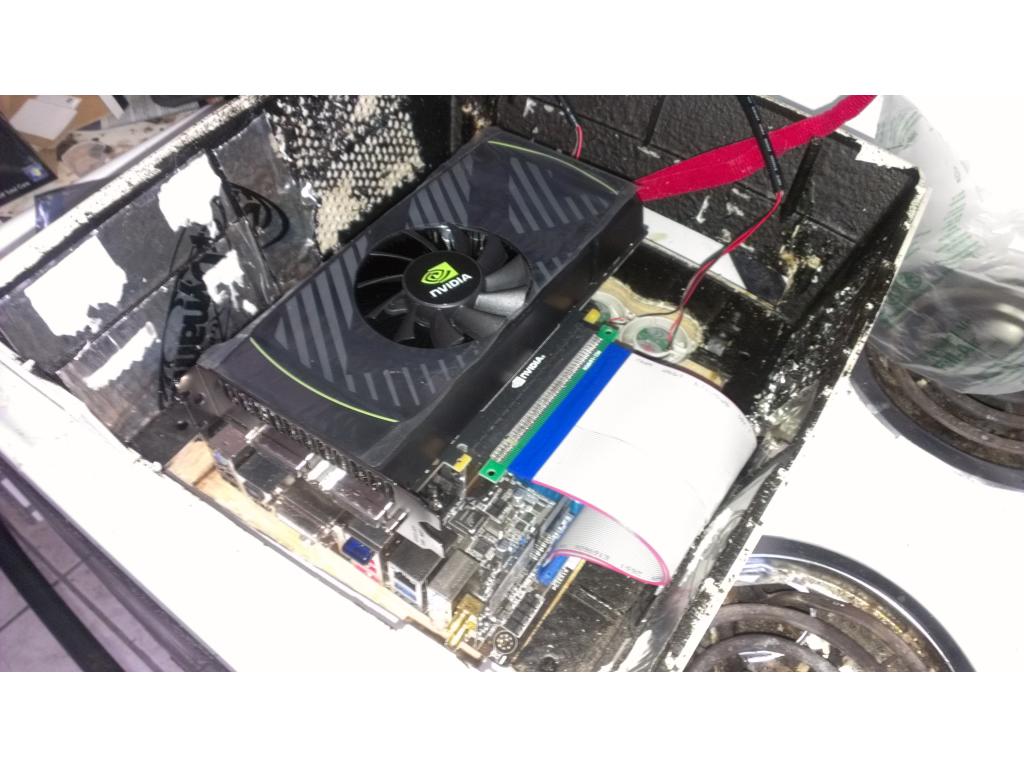
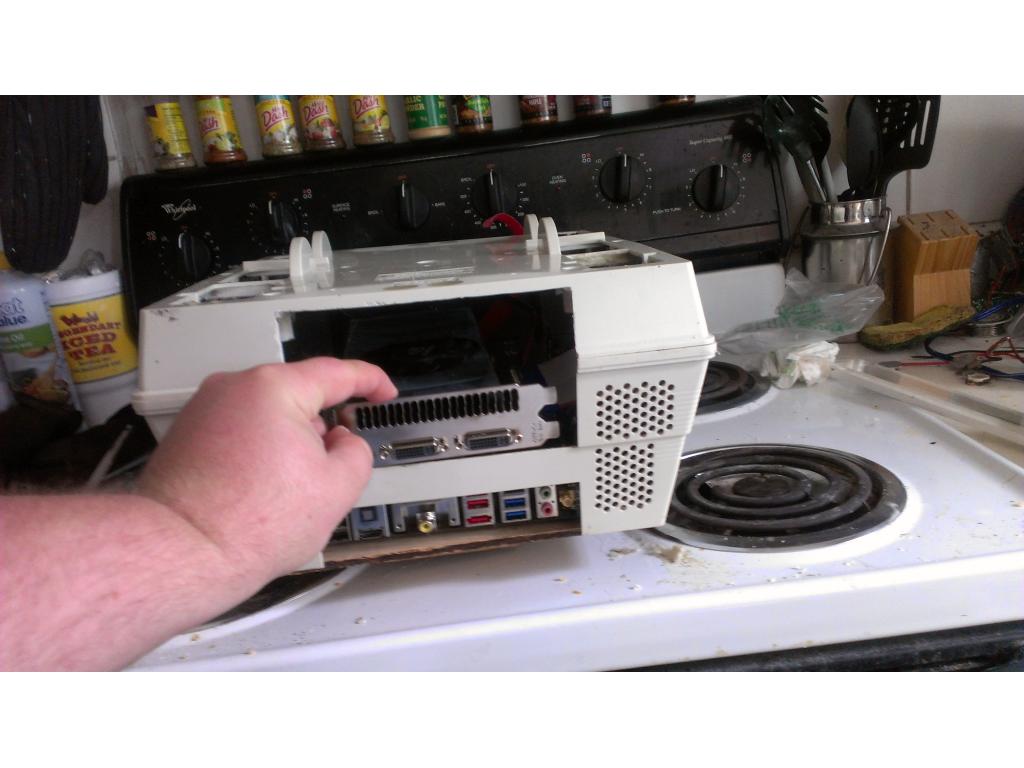
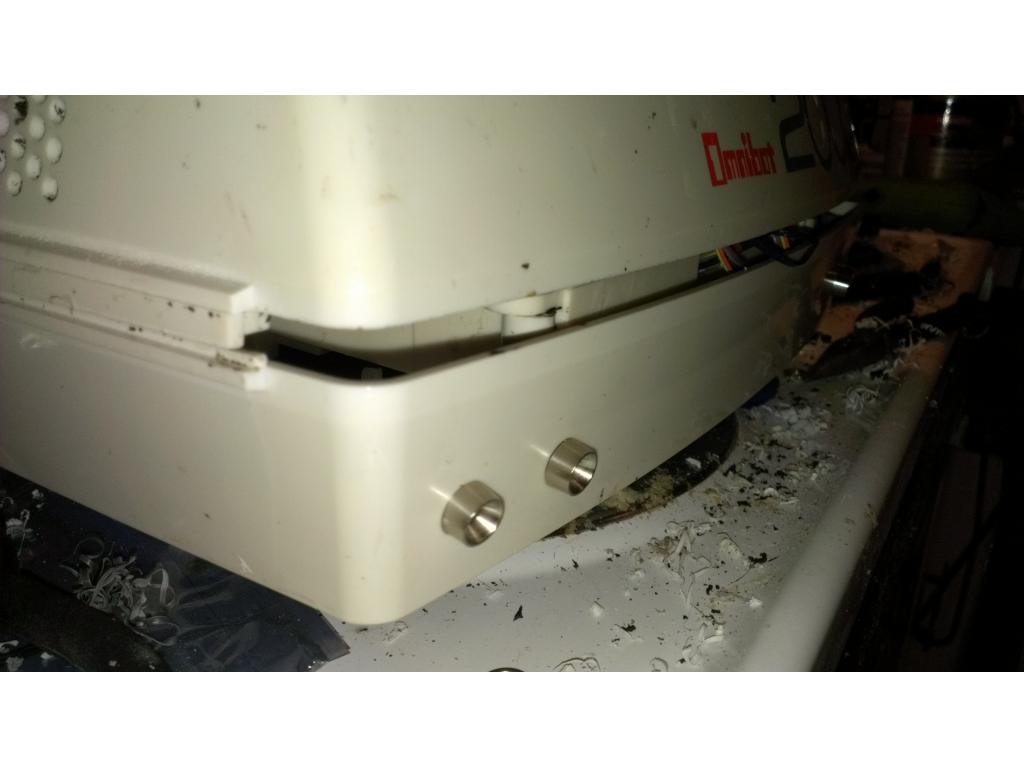
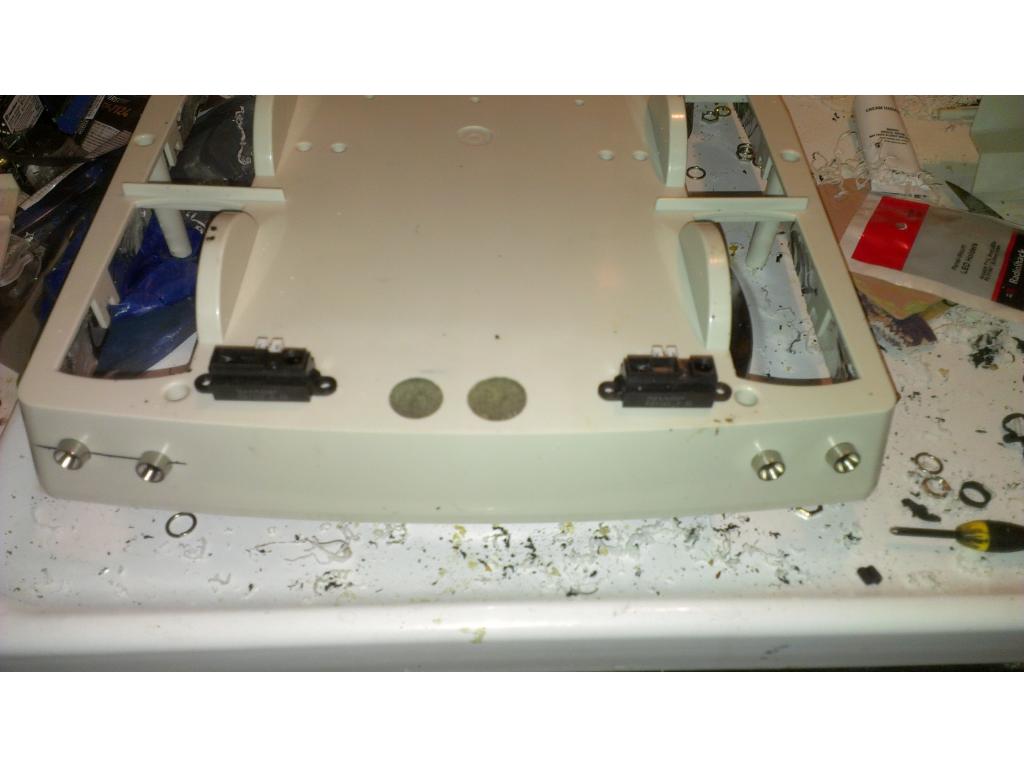
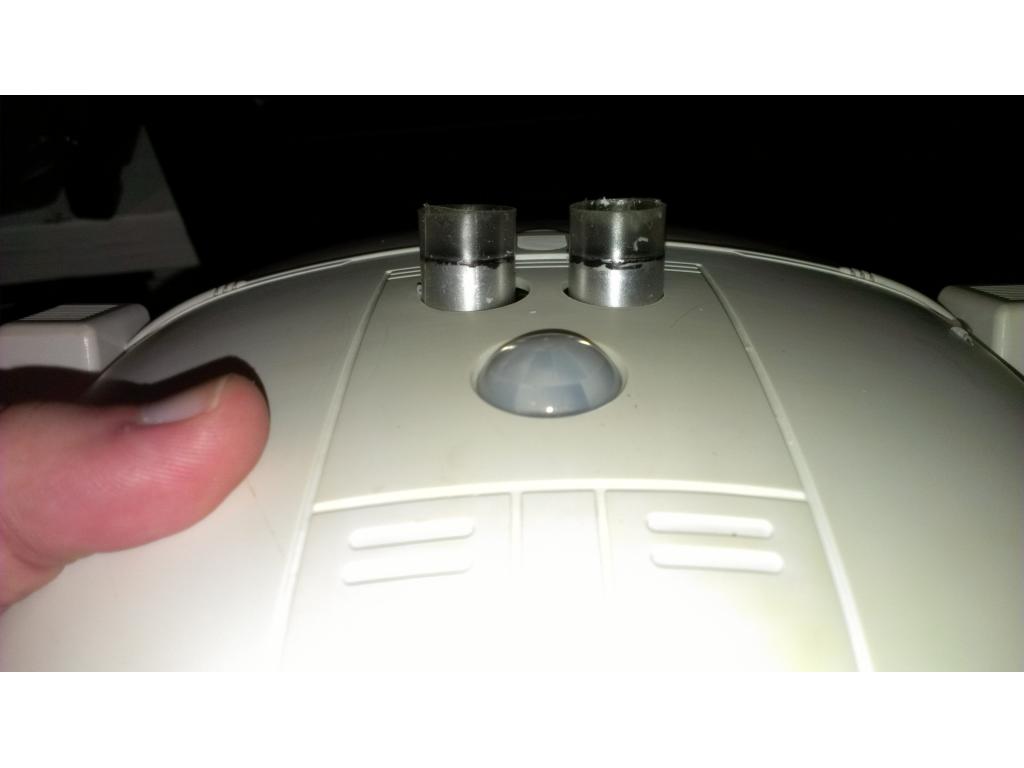
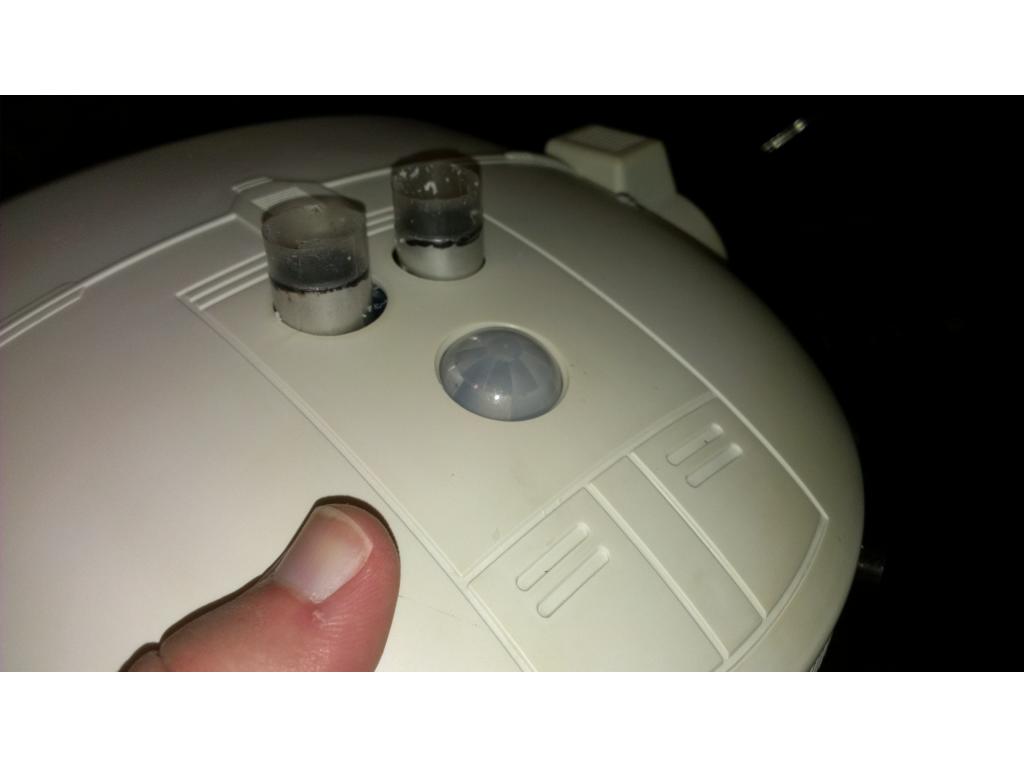
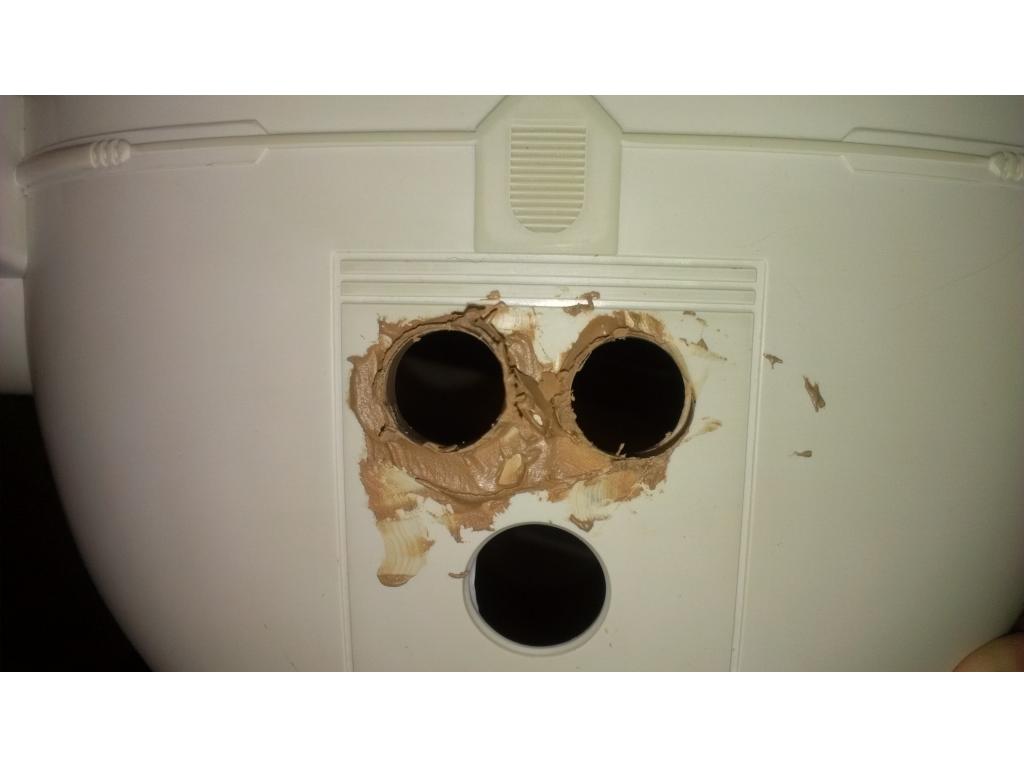
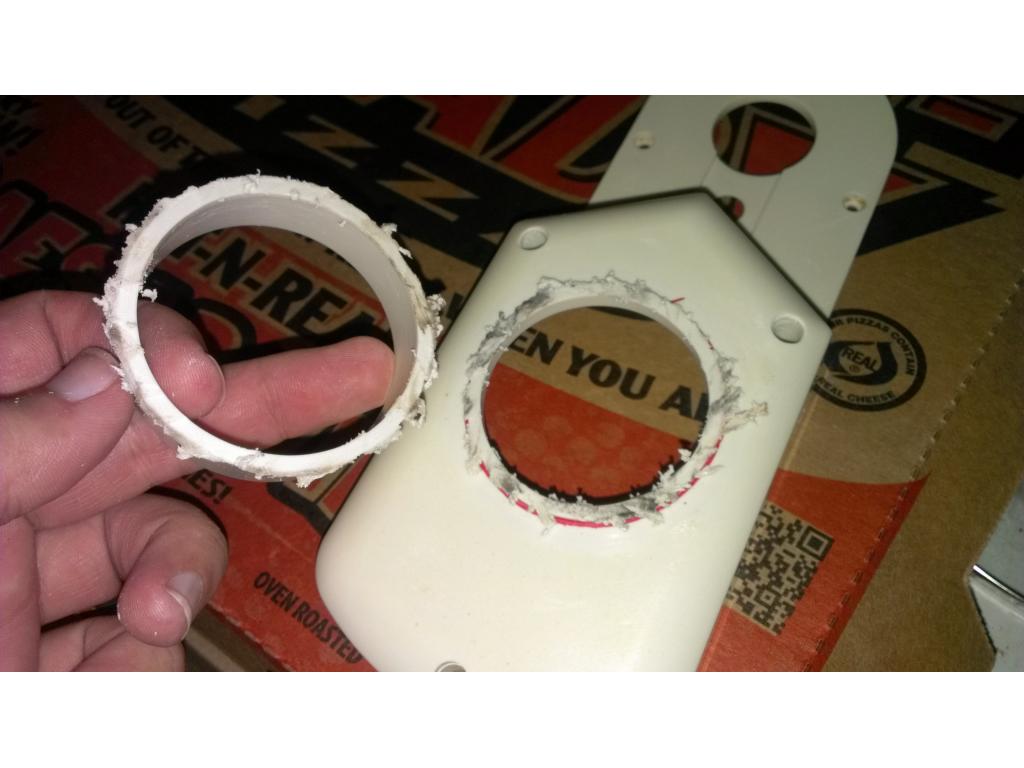
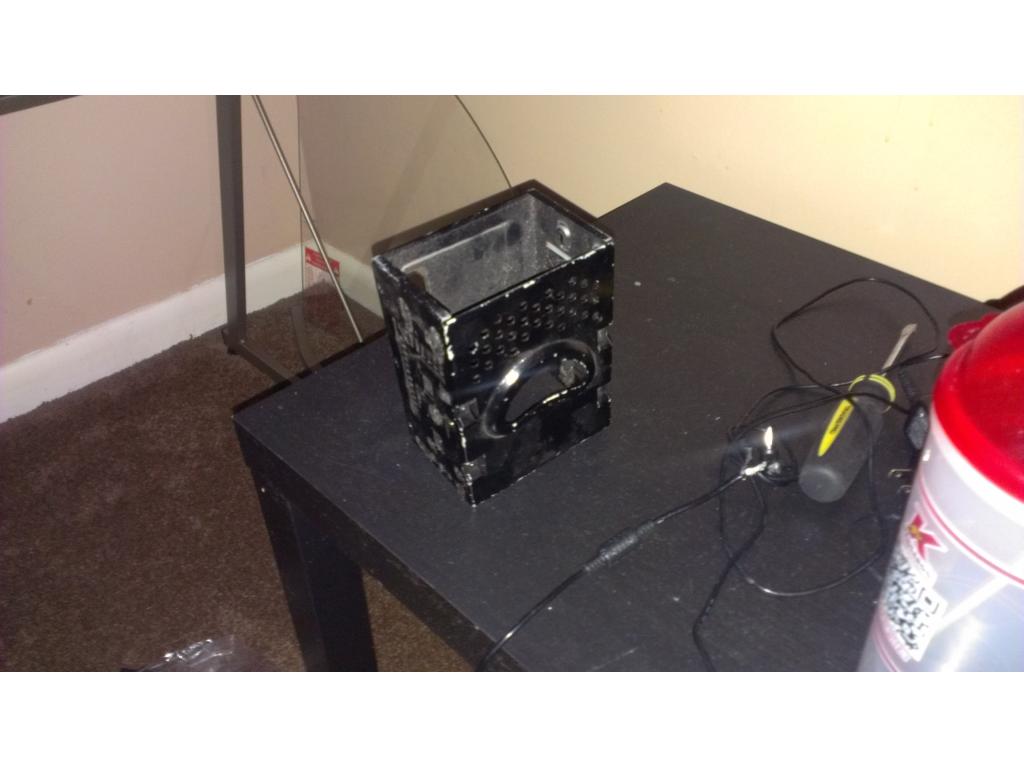
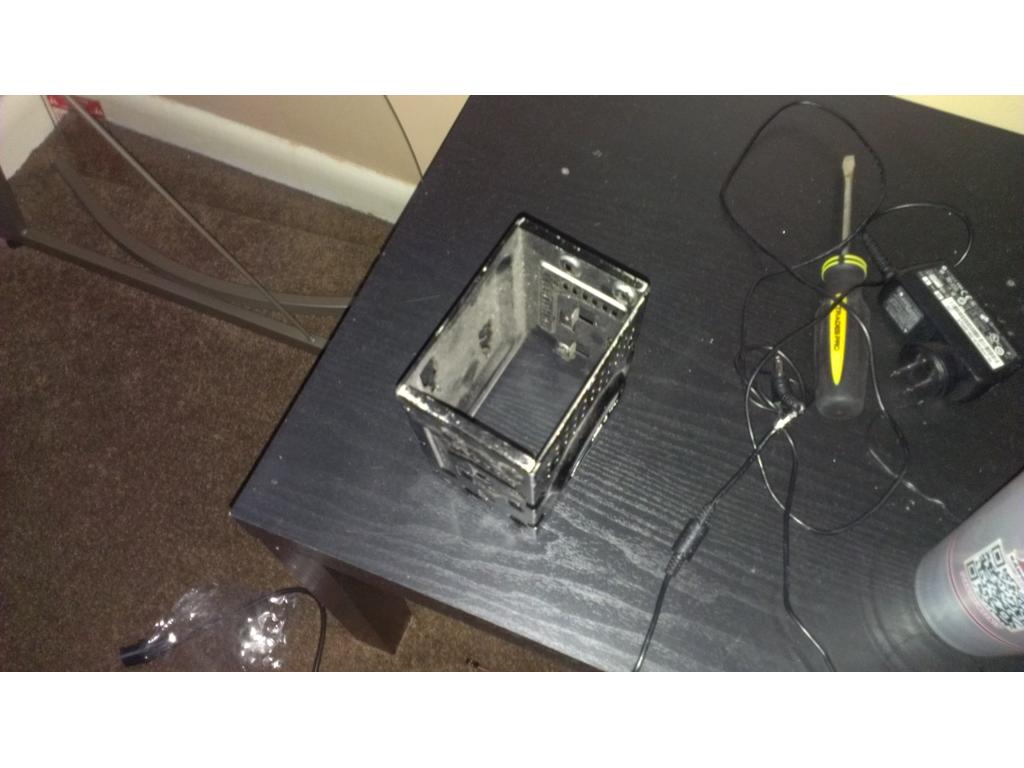
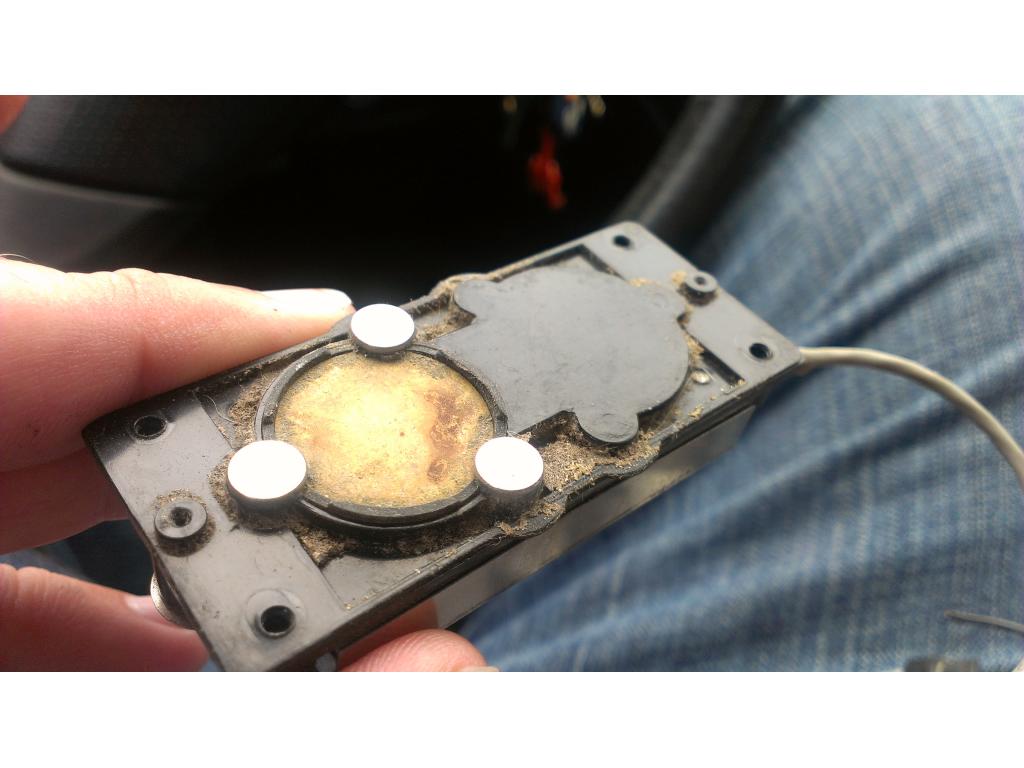
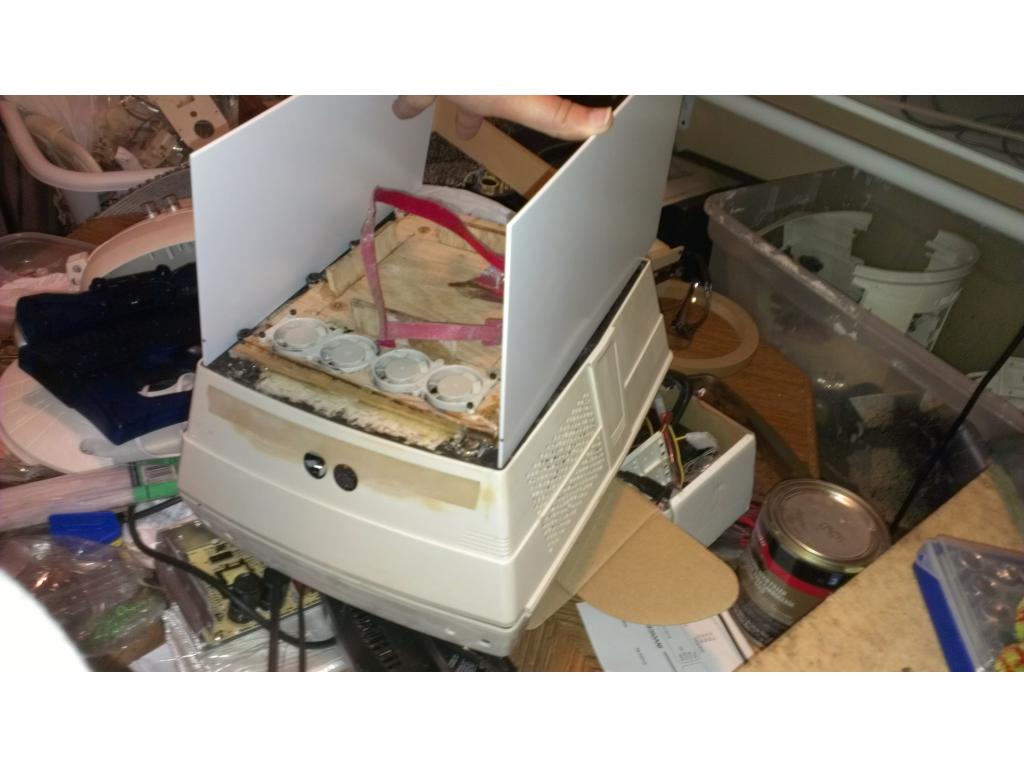
The bot needs cooling as there are 3 dc to dc converters , motor controller, ezb board , mini pc and HDD that generates heat. I doubled up the exhuast , 6 40mm fans from a now taller drawer hole. This should exhuast 30 to 35 cu ft a minute.

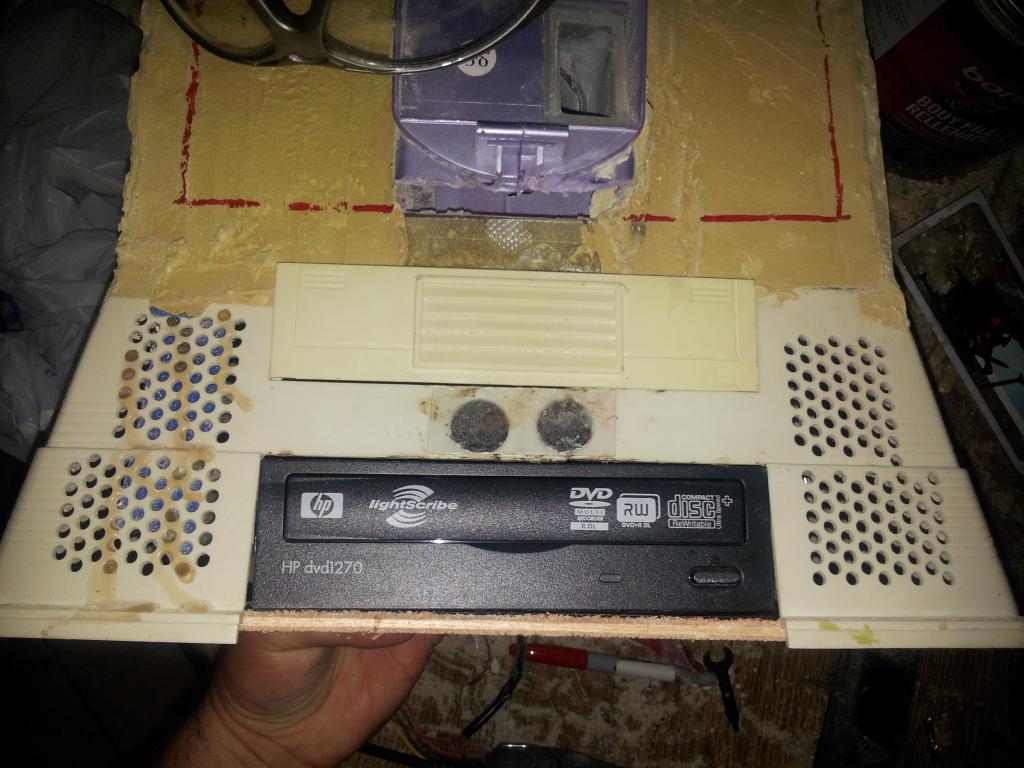
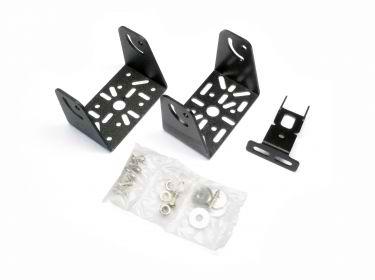
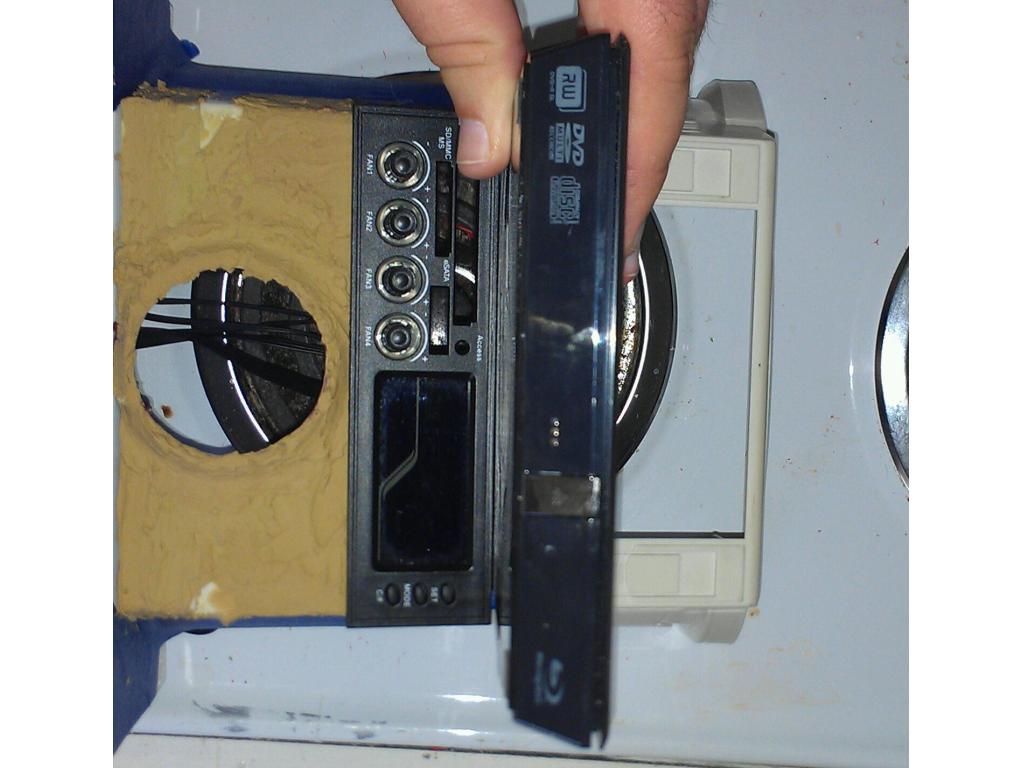
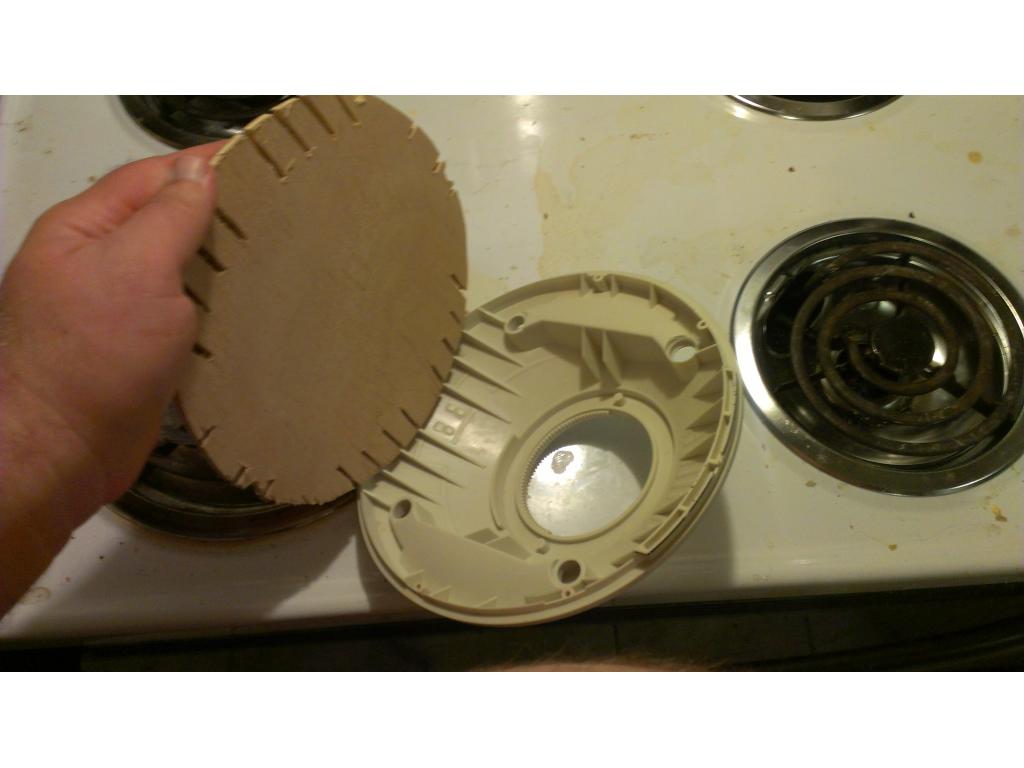
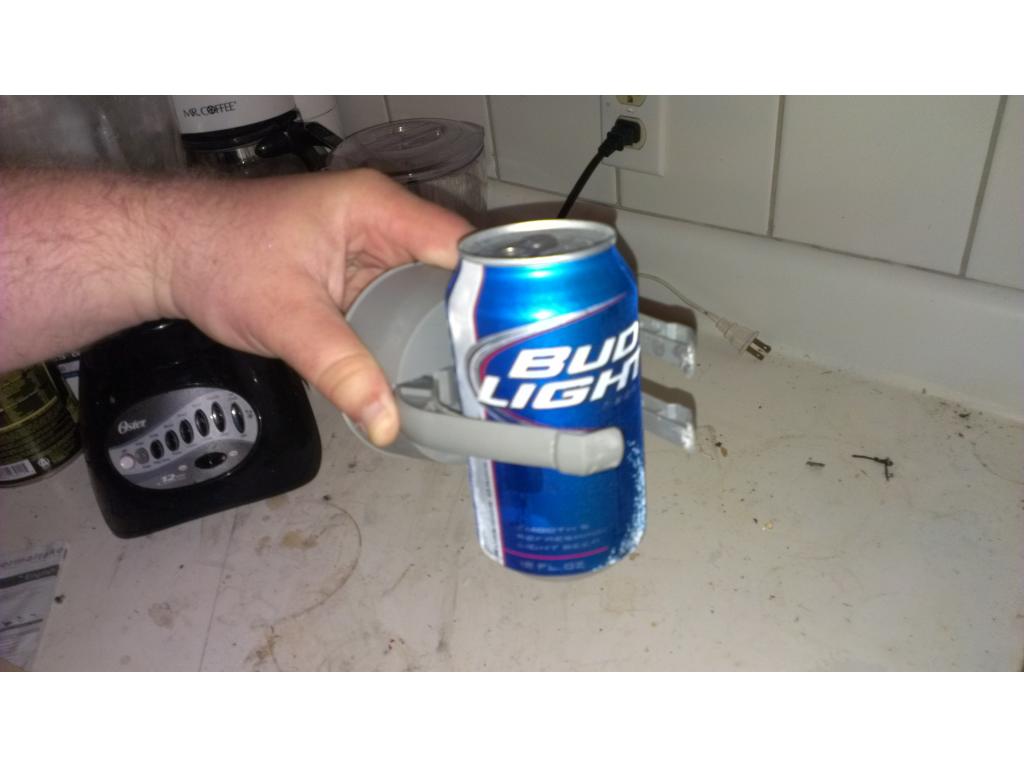
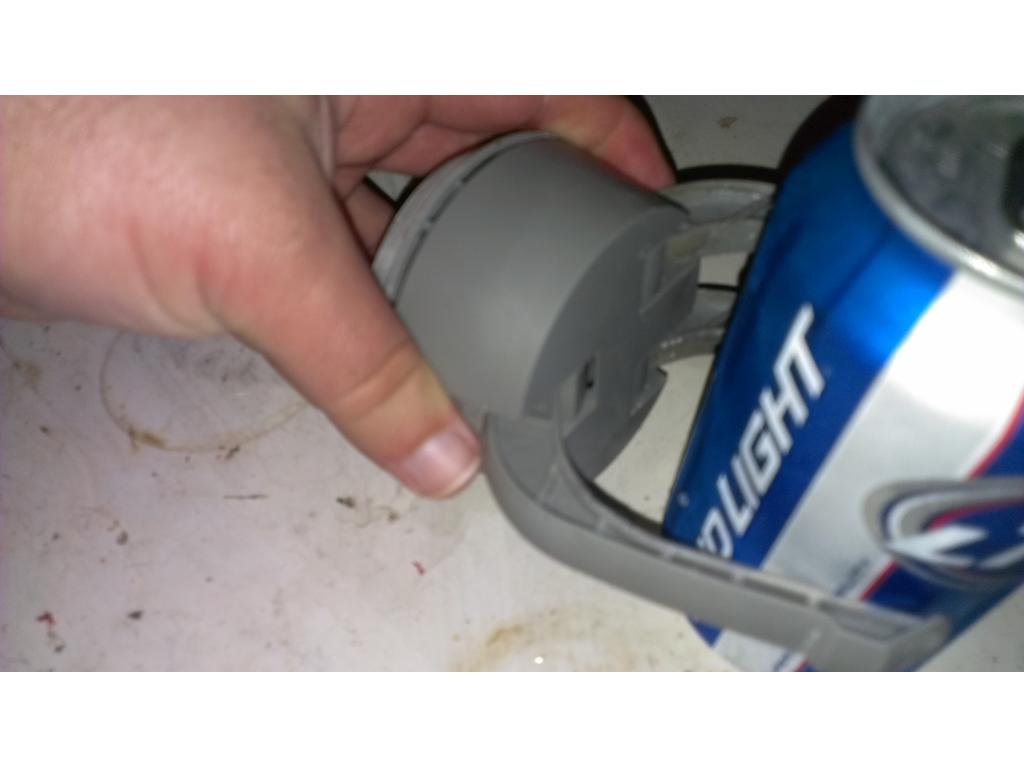
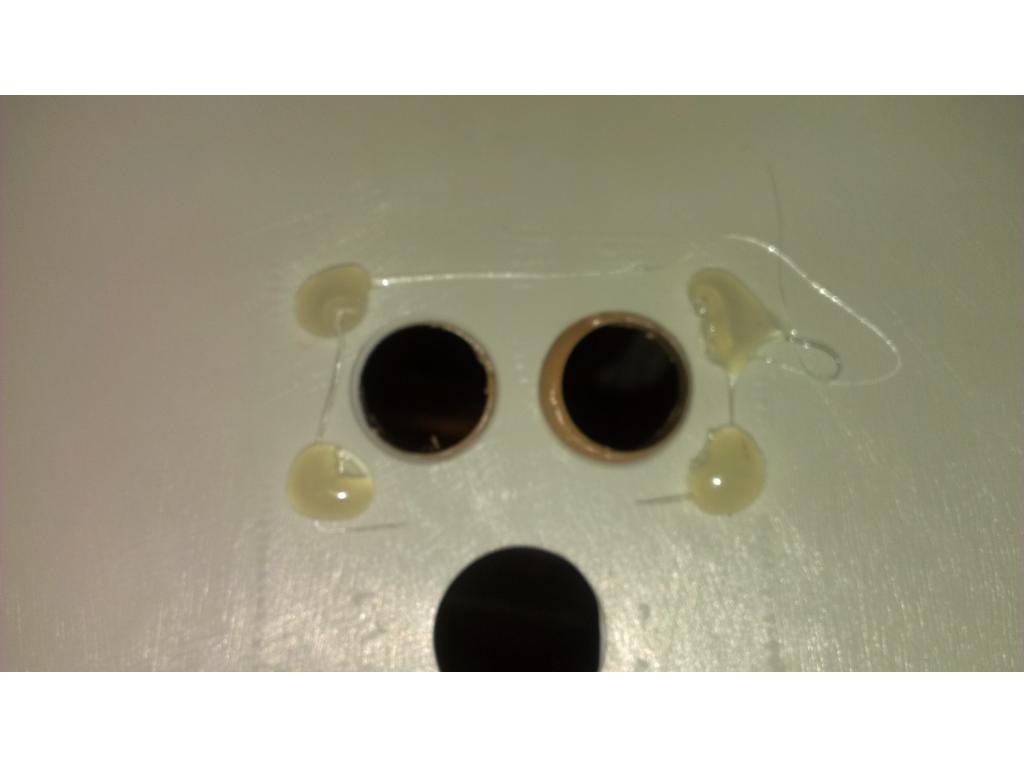
I epoxied together two 5.25 inch drive bay coolers that are quiet and advertised to move 18 cu ft.each.Now I need to mount my slim blueray player right over the fan controller. I must mount the 3 dc converters , motor controller, ezb. I want to use standoffs but they are hard to find locally.
Dude! That is sick!
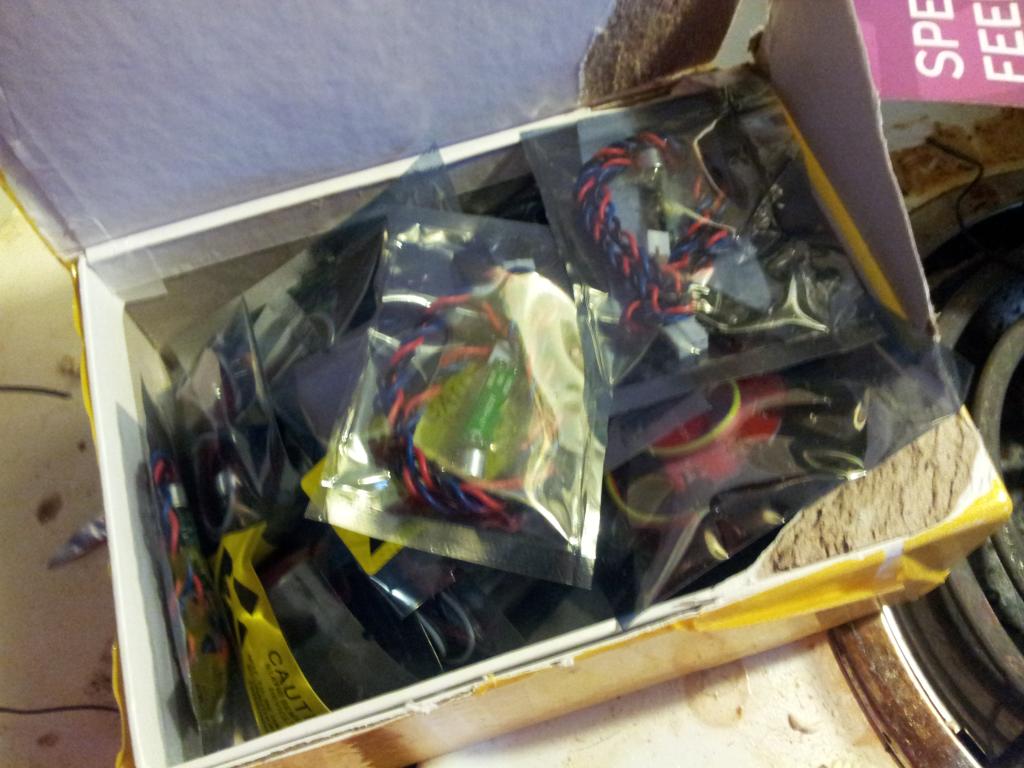
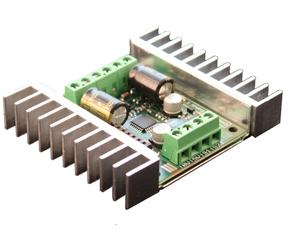
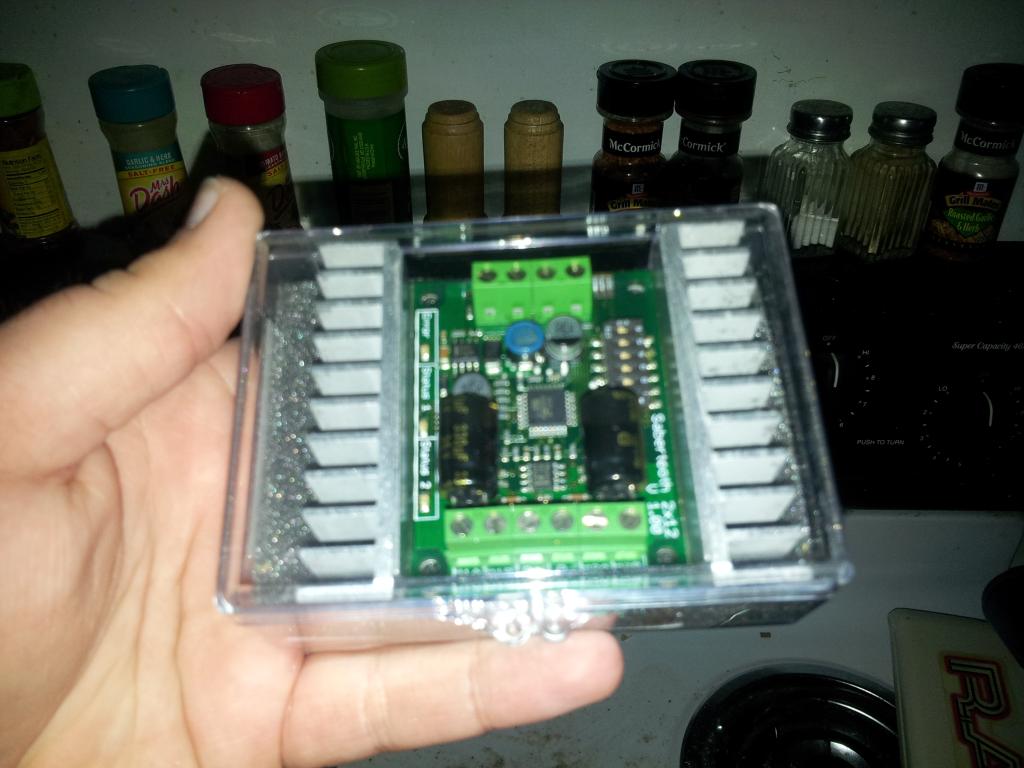
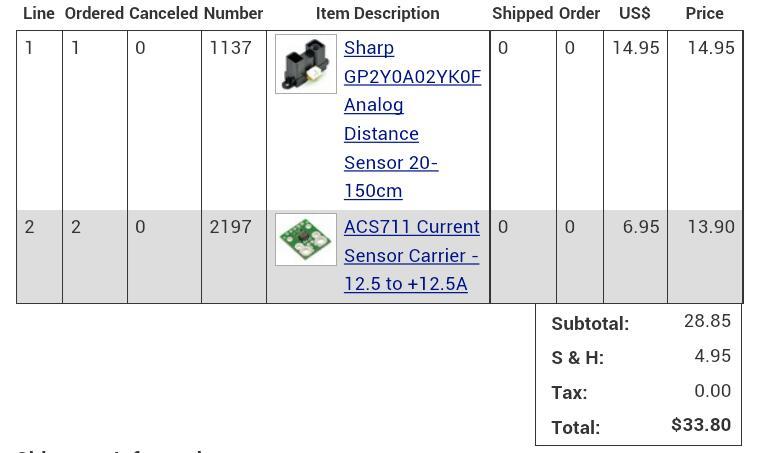
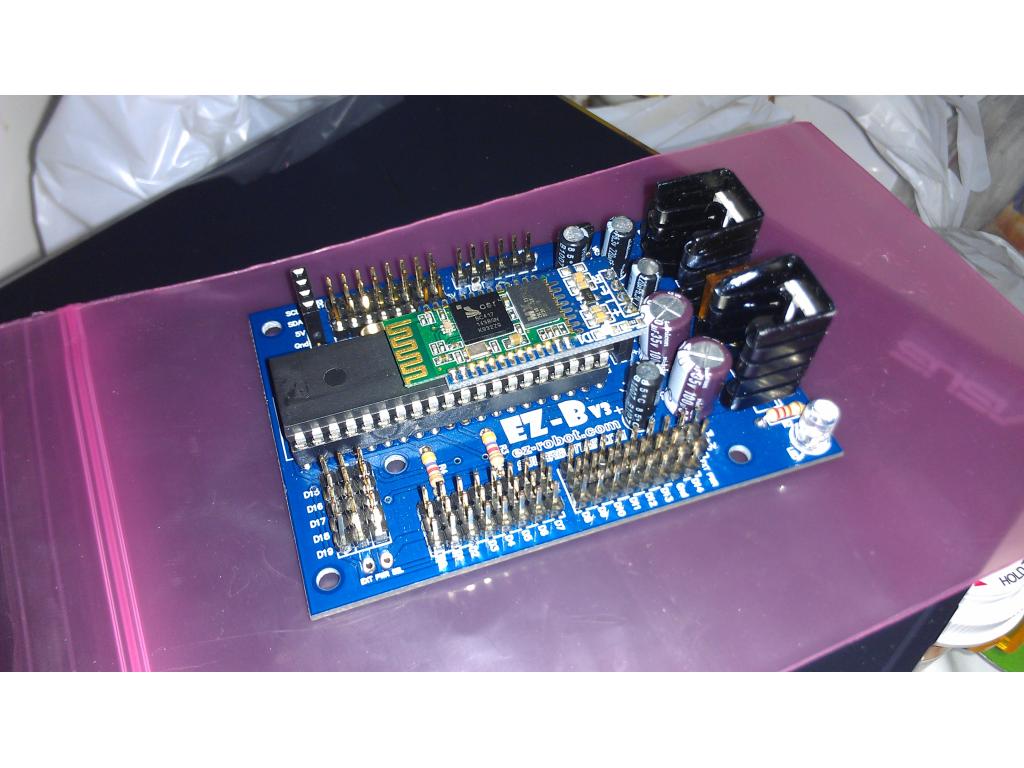
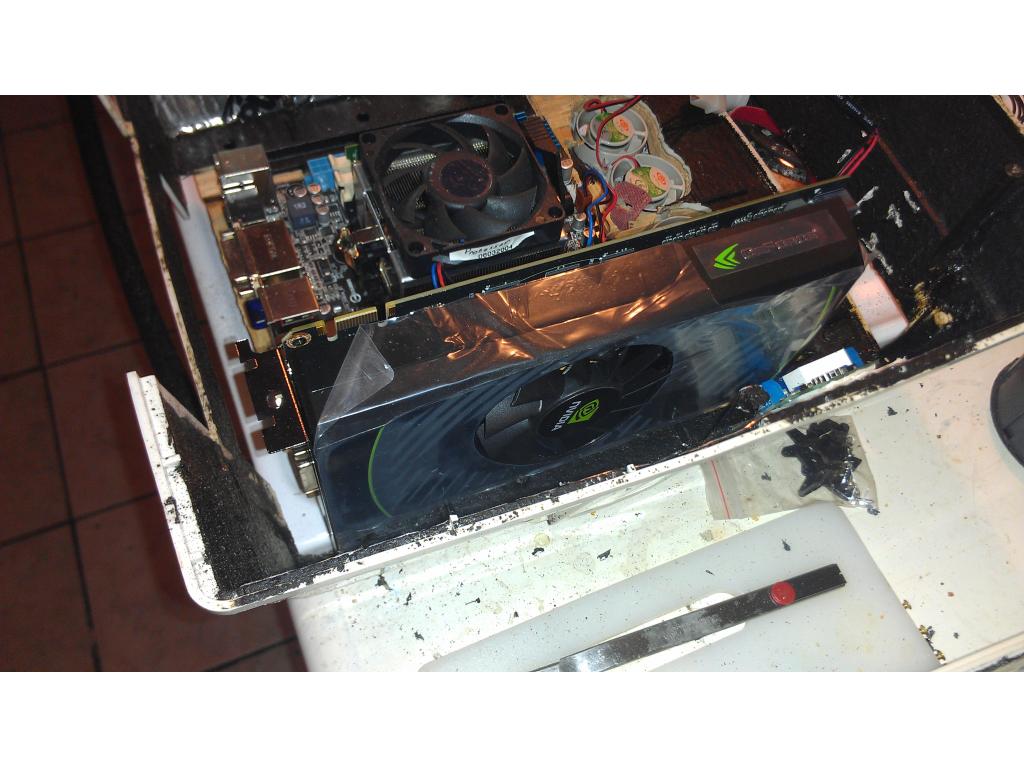
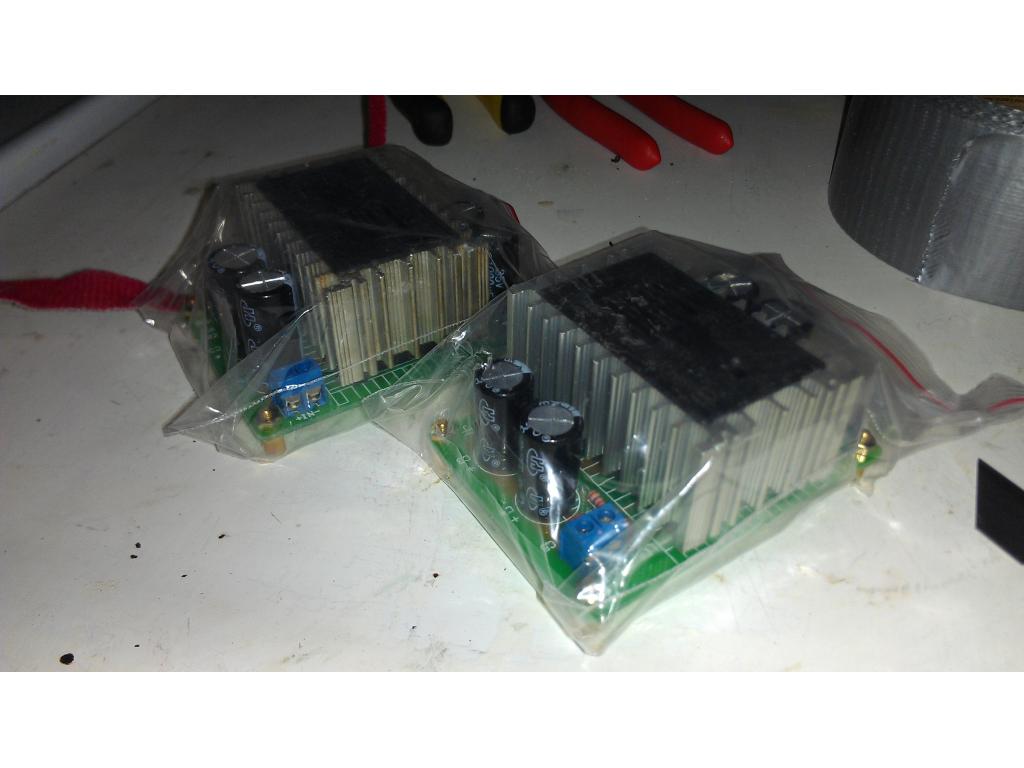
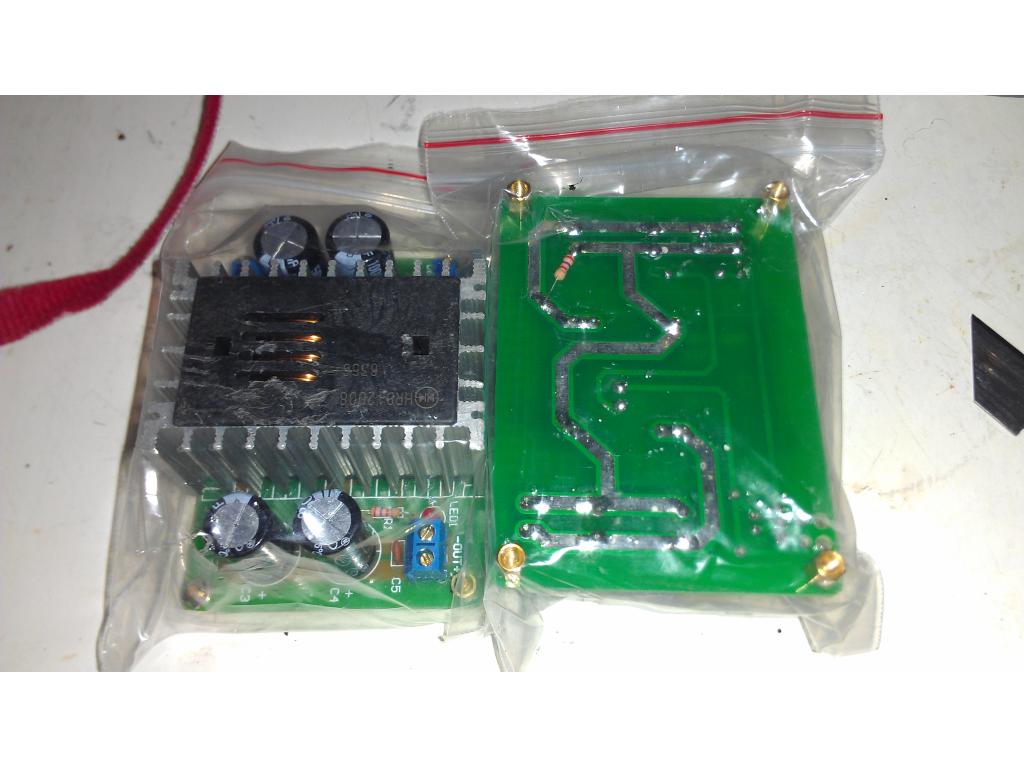
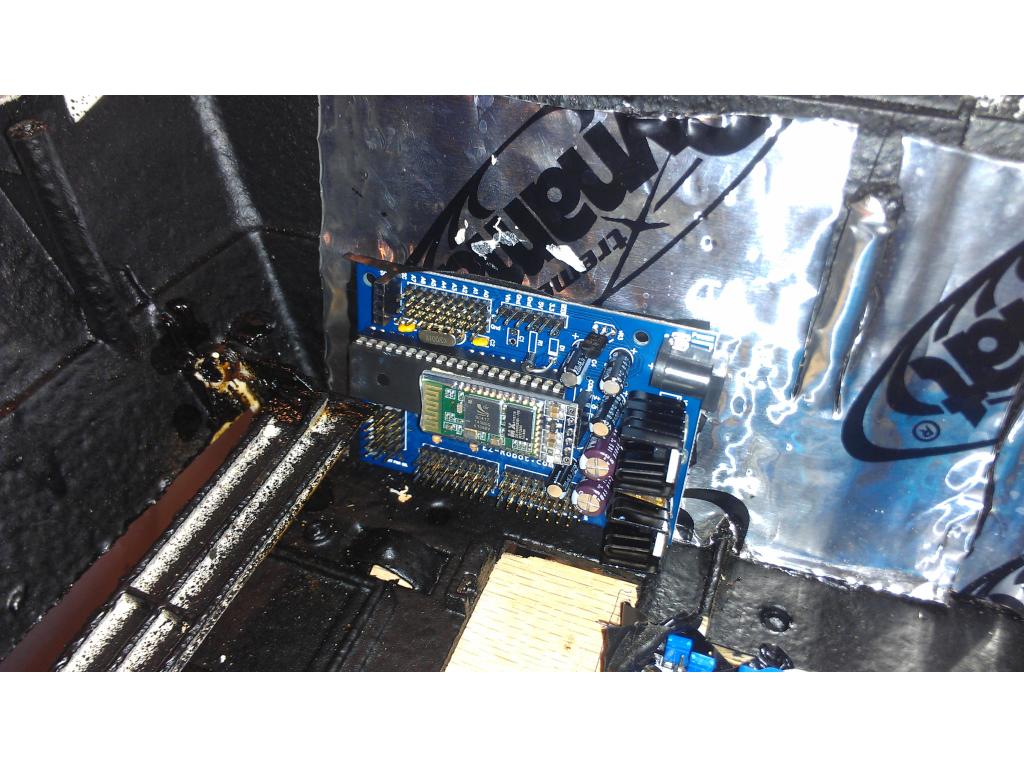
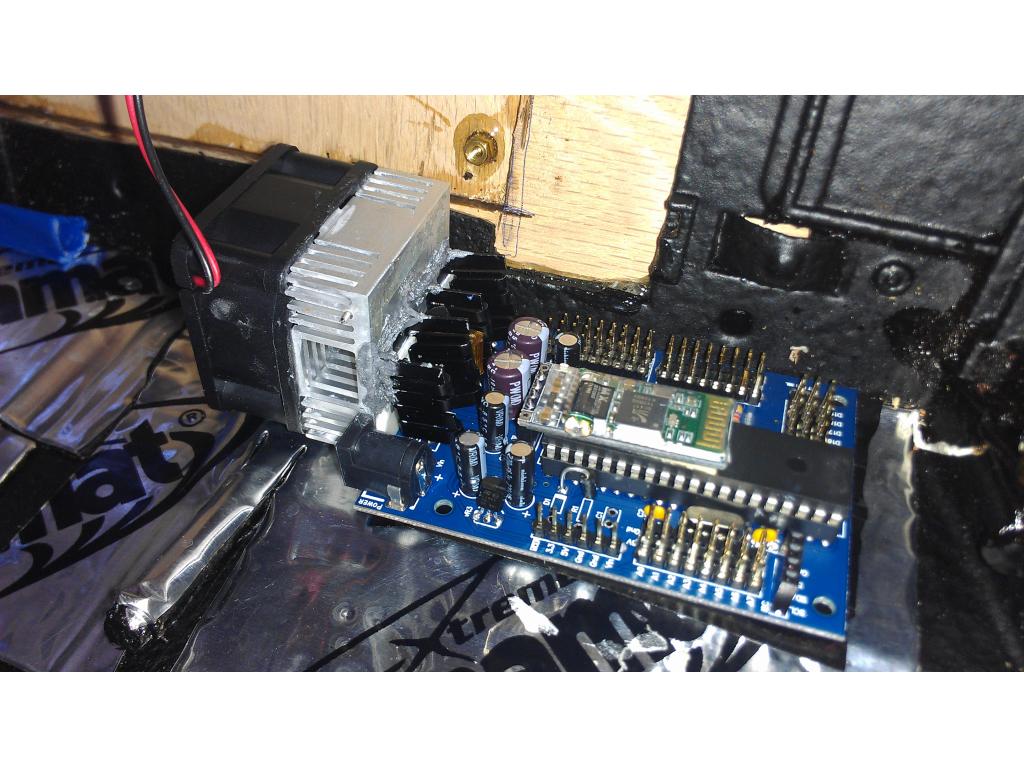
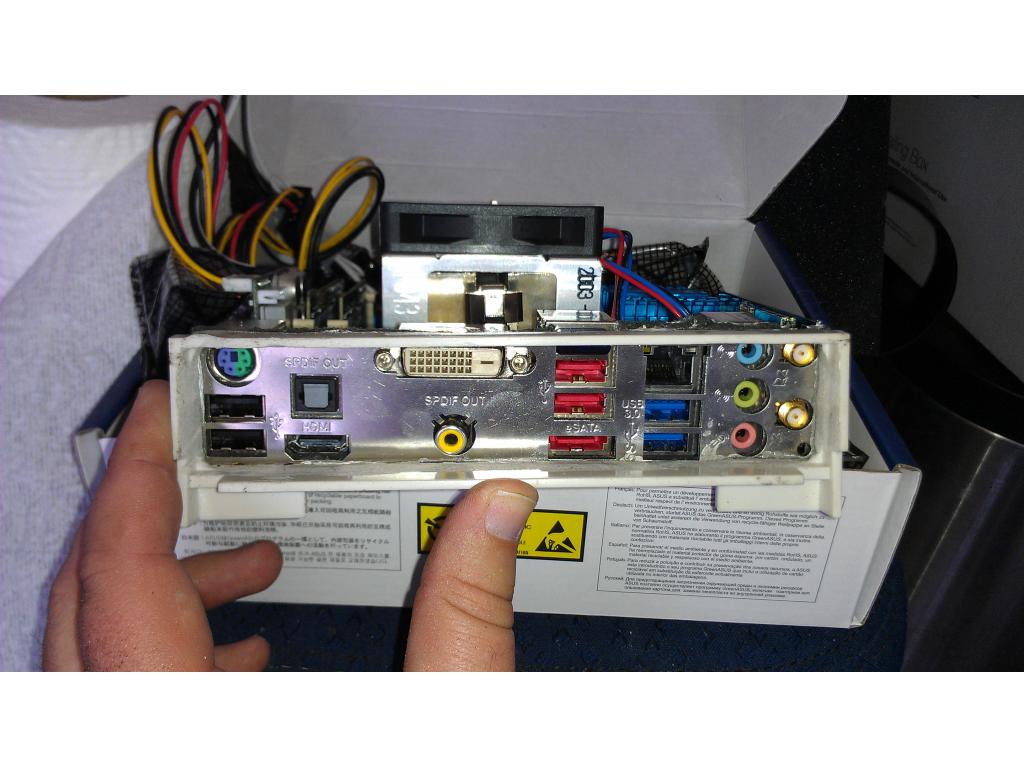
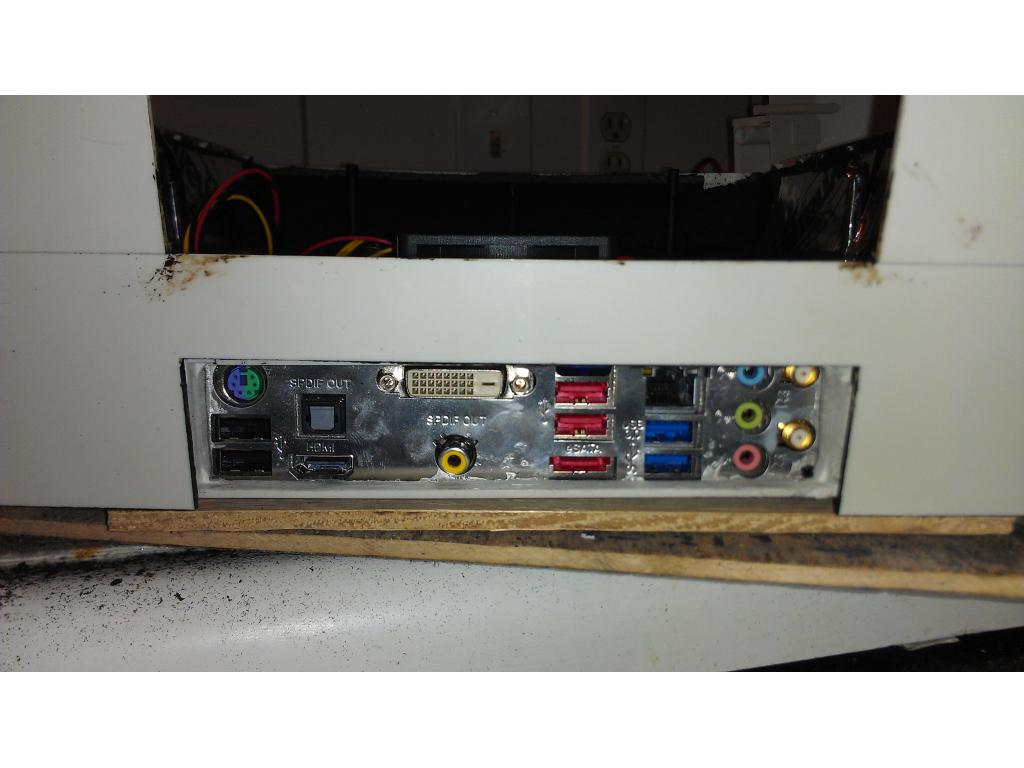
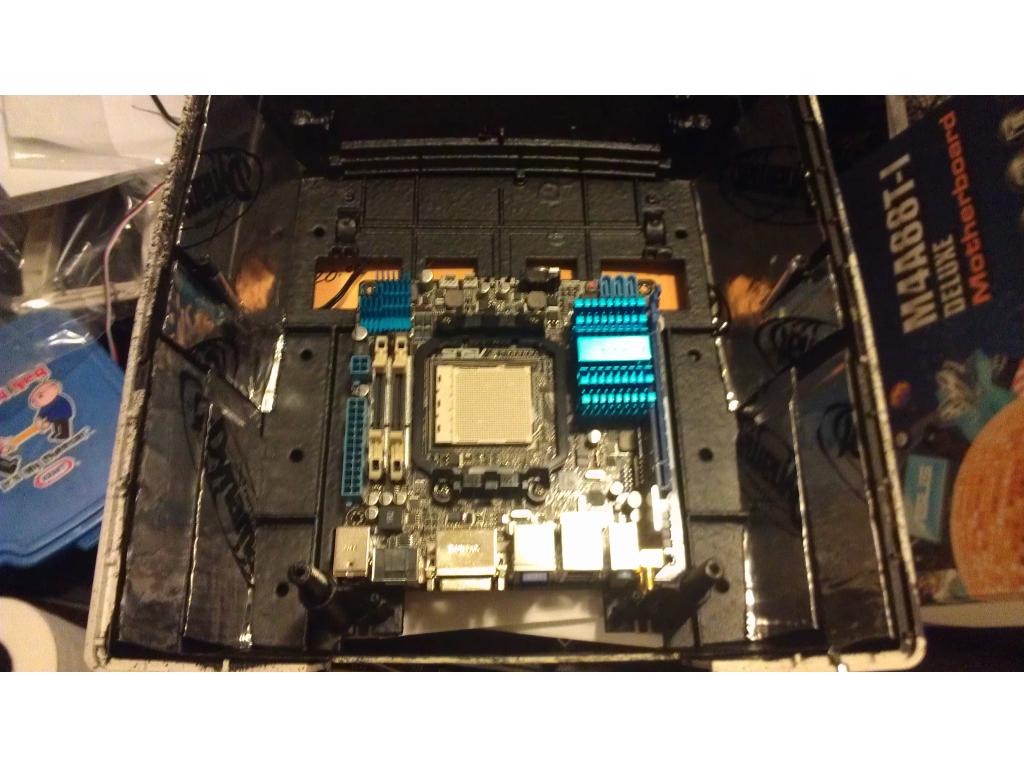
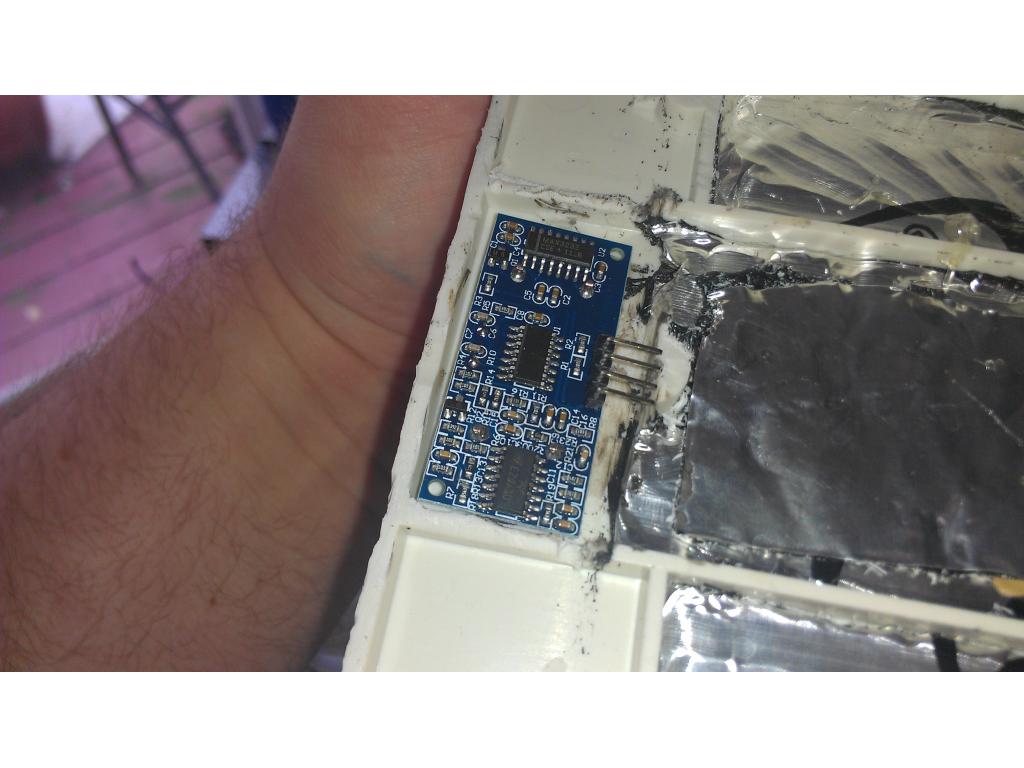
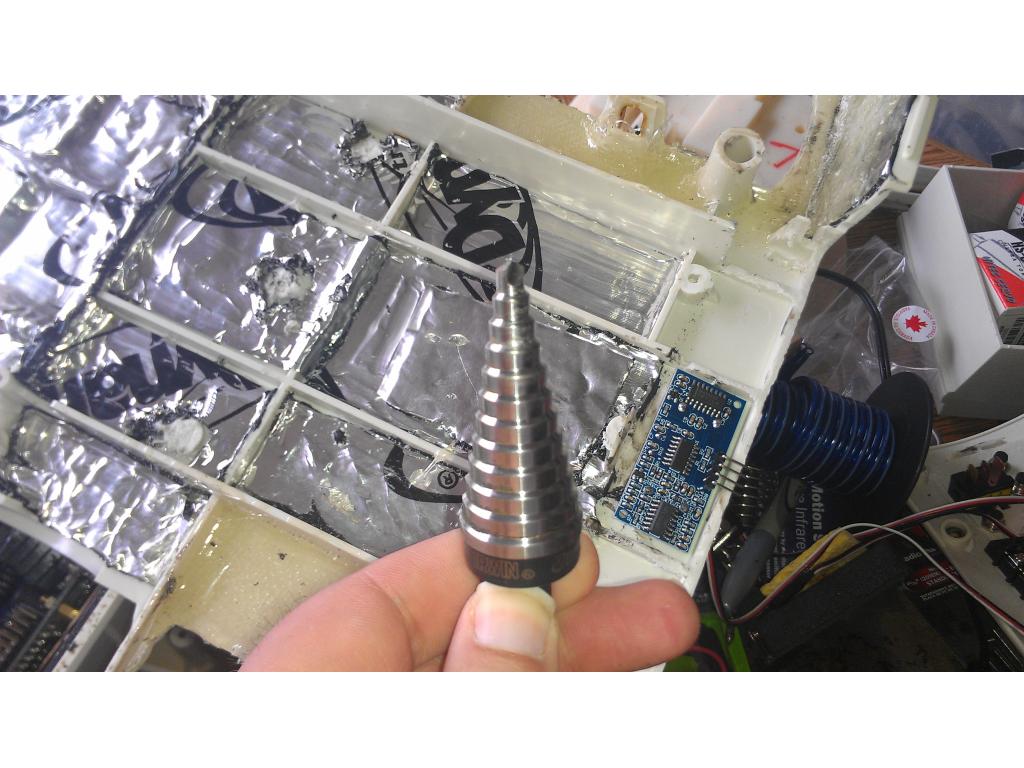
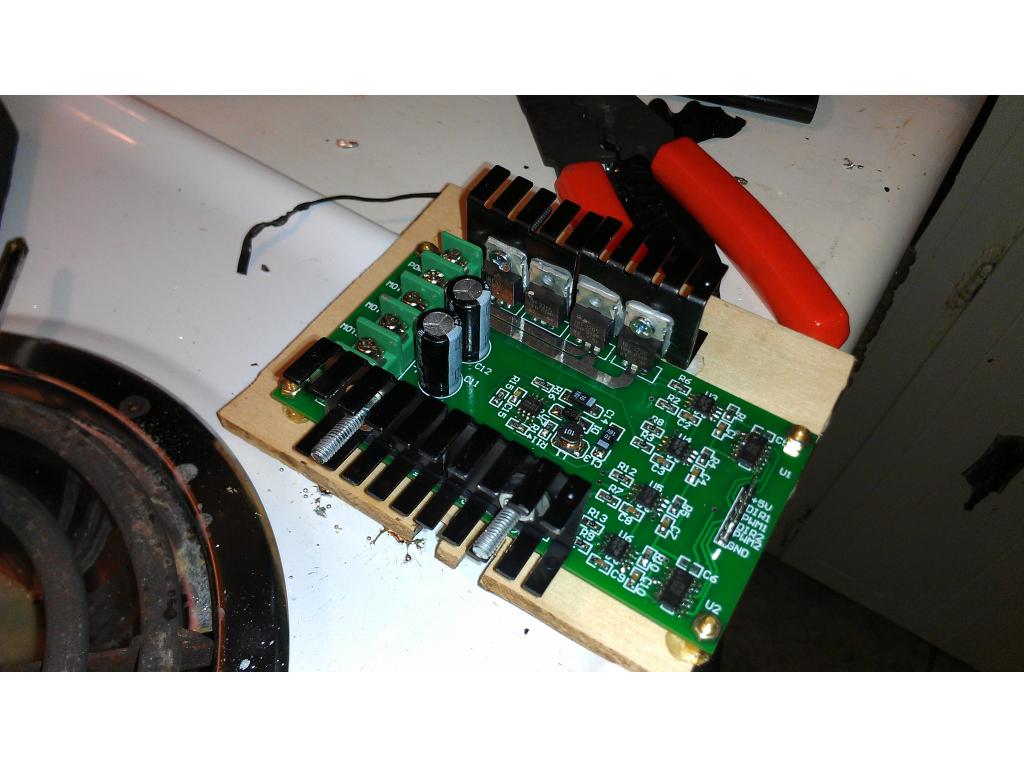
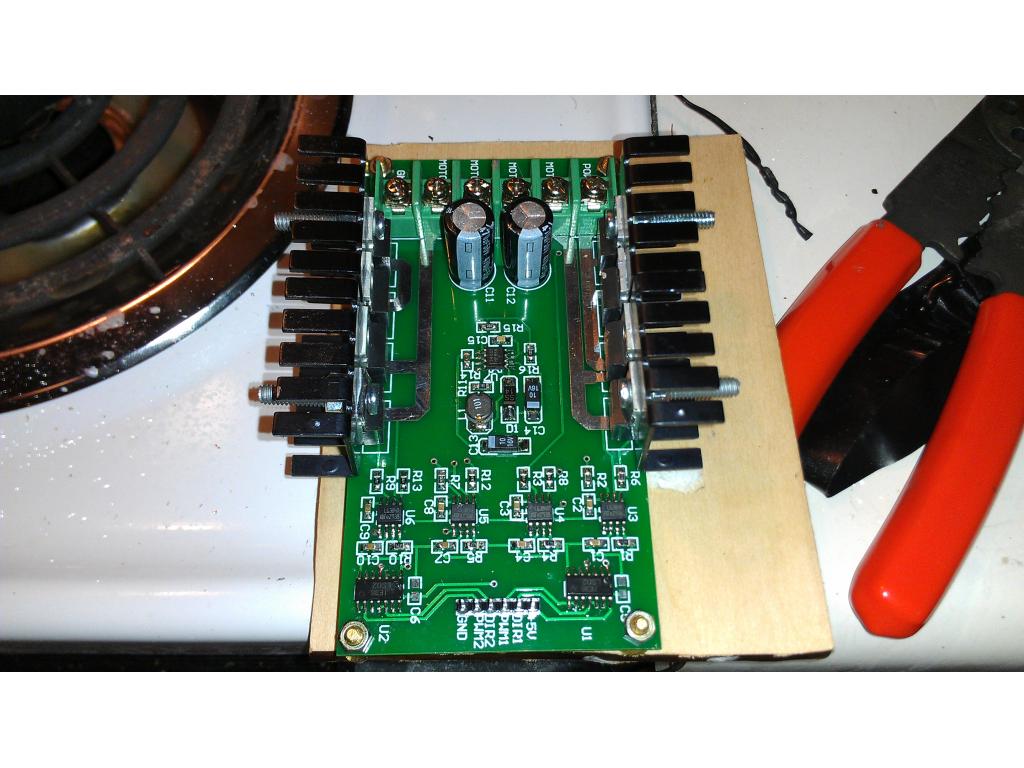
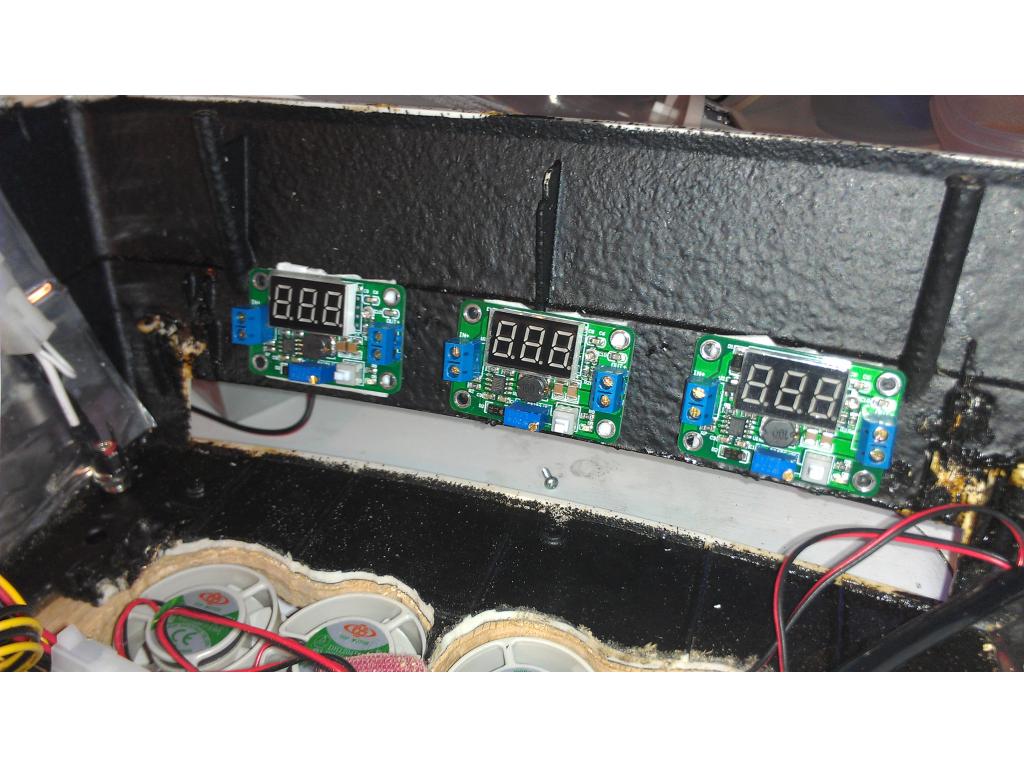
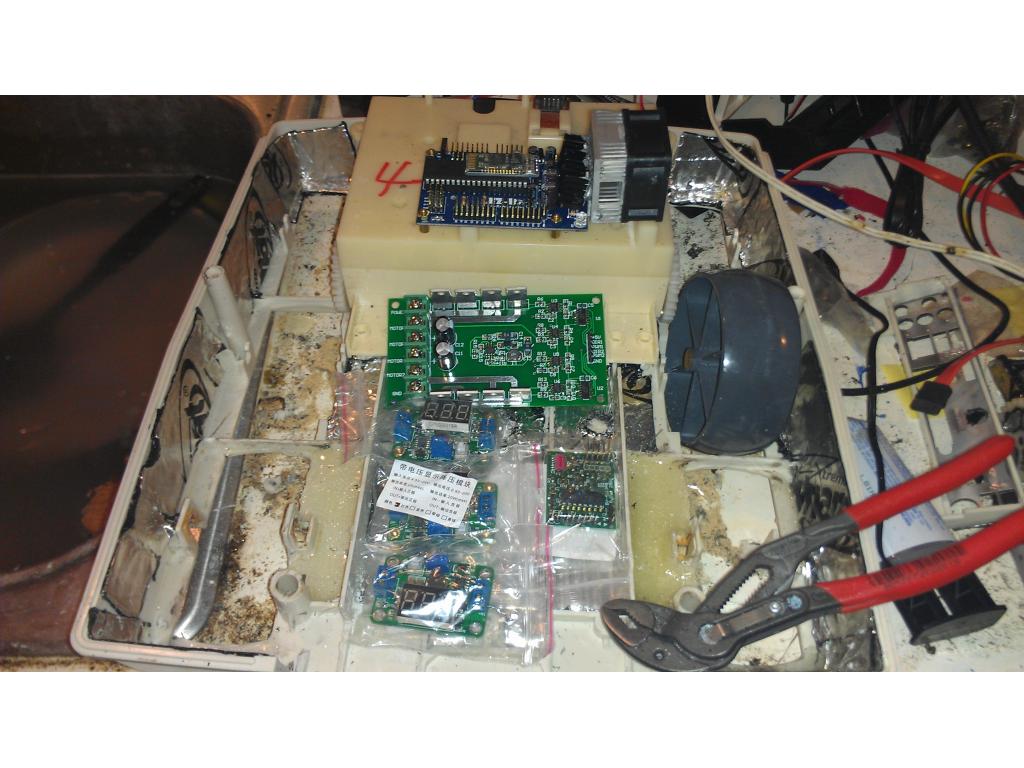
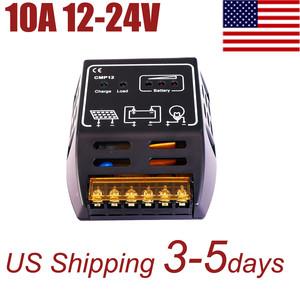
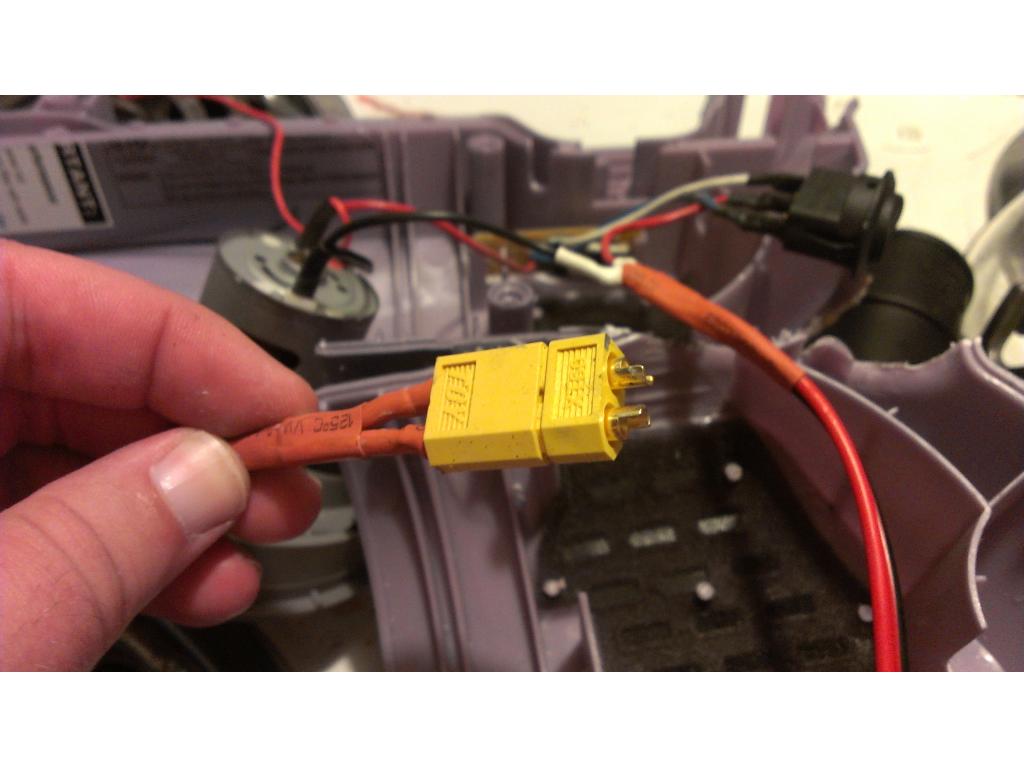
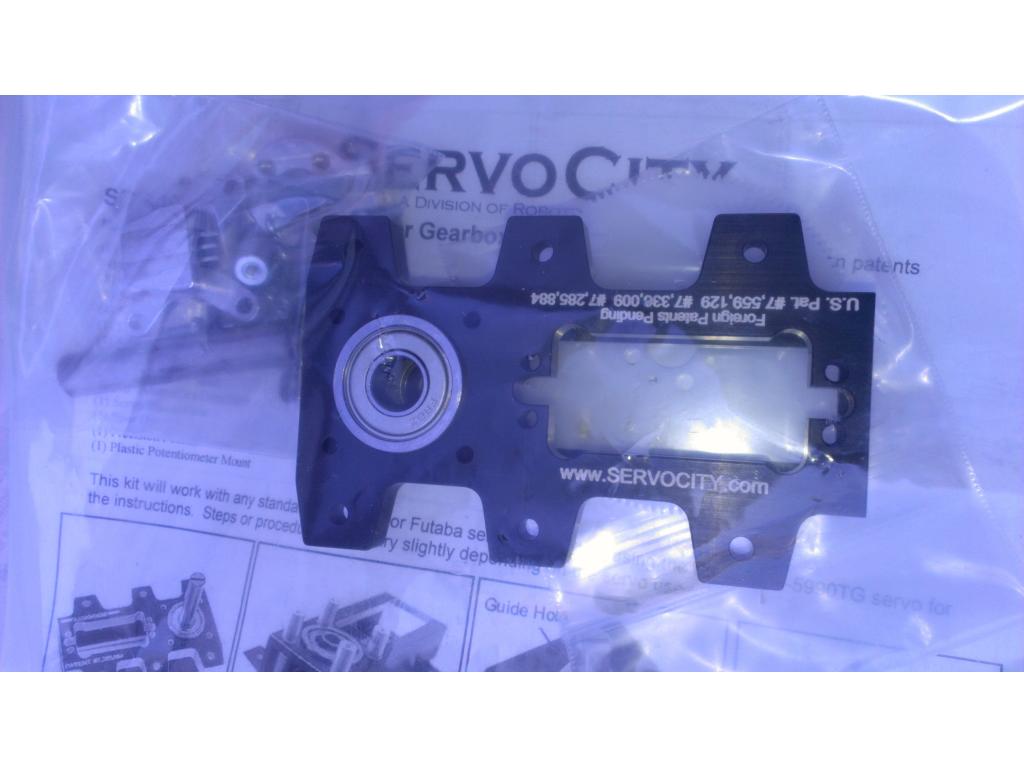
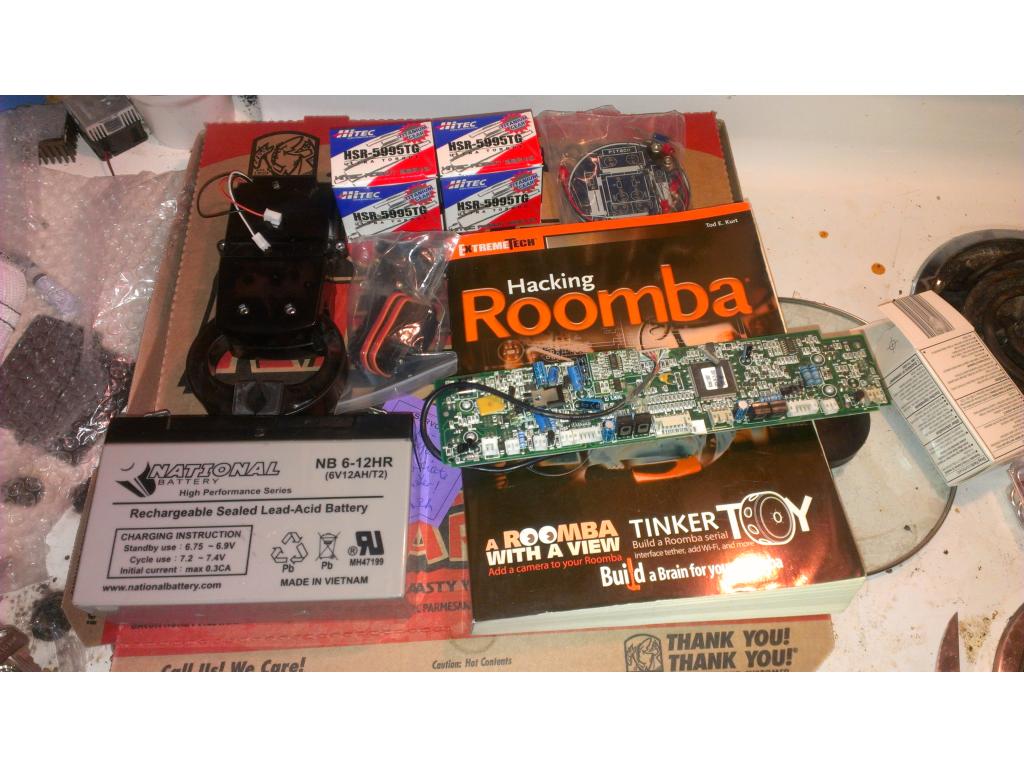
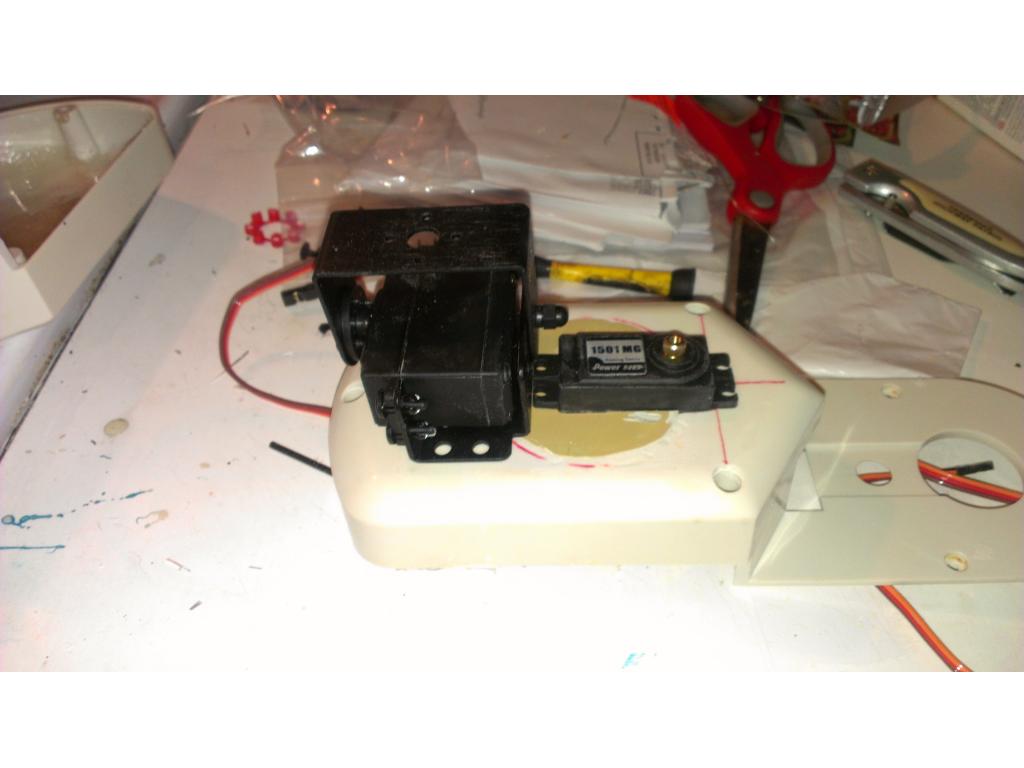
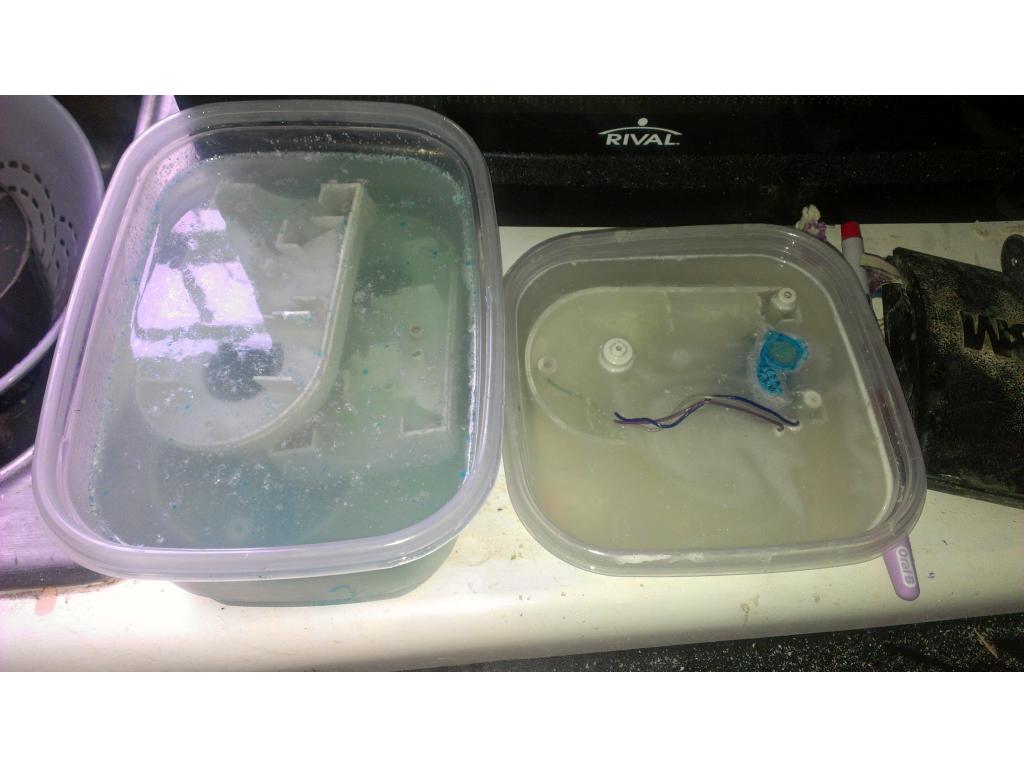
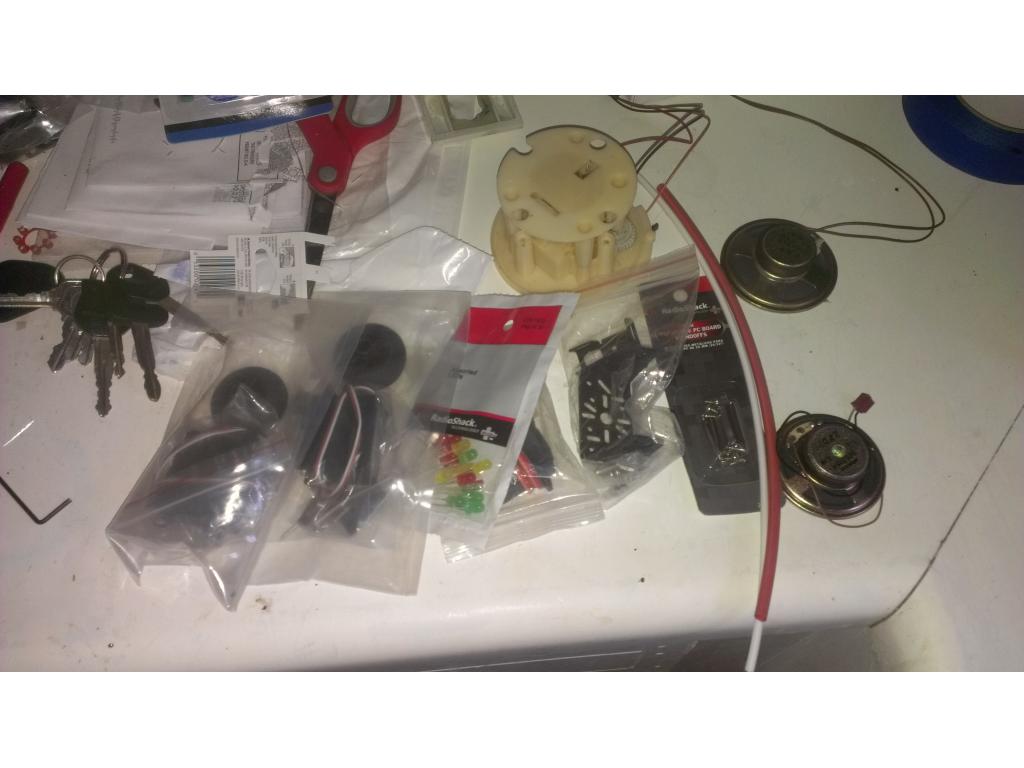
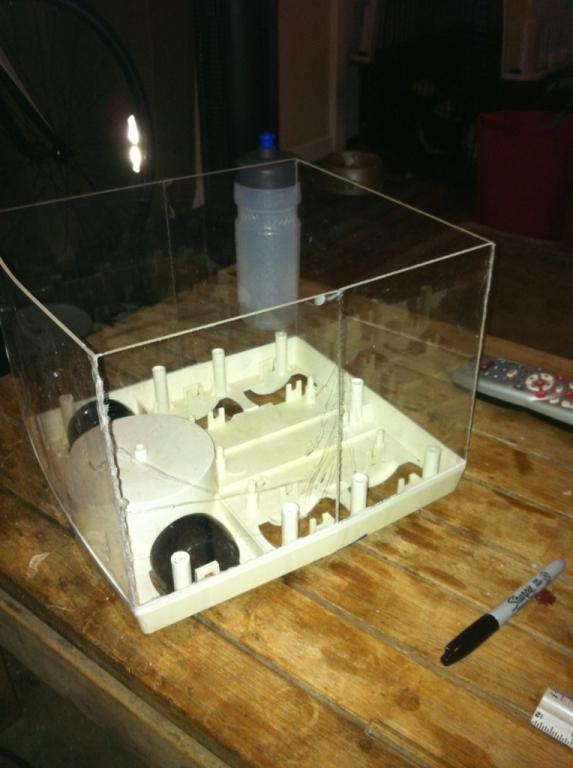
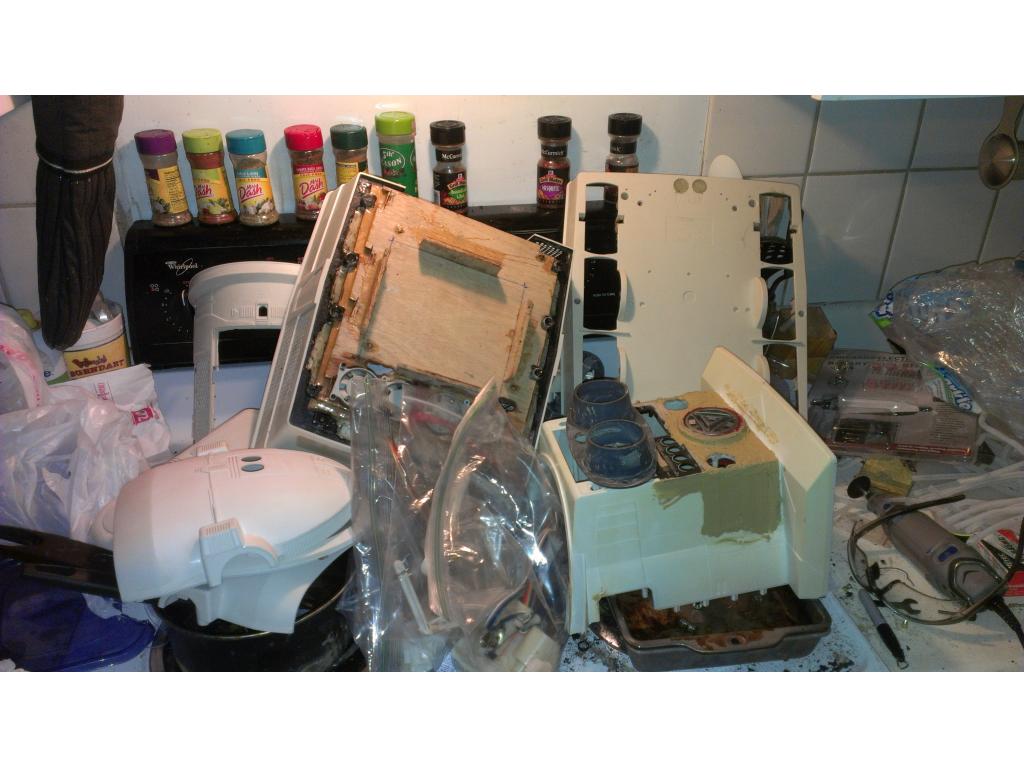
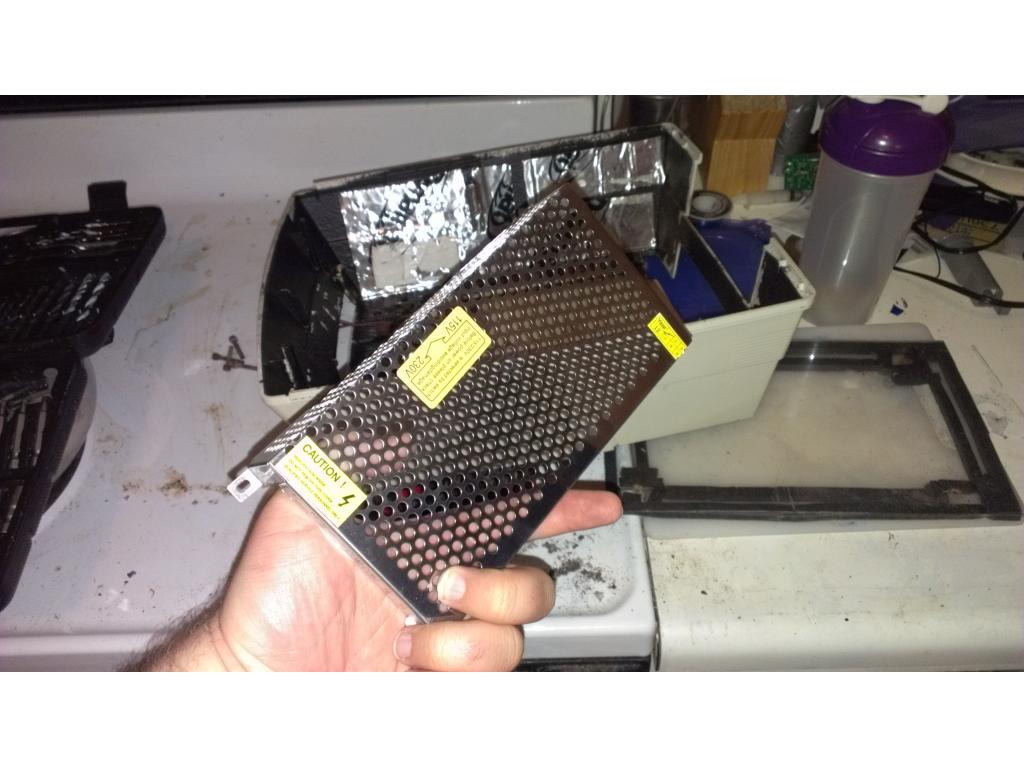
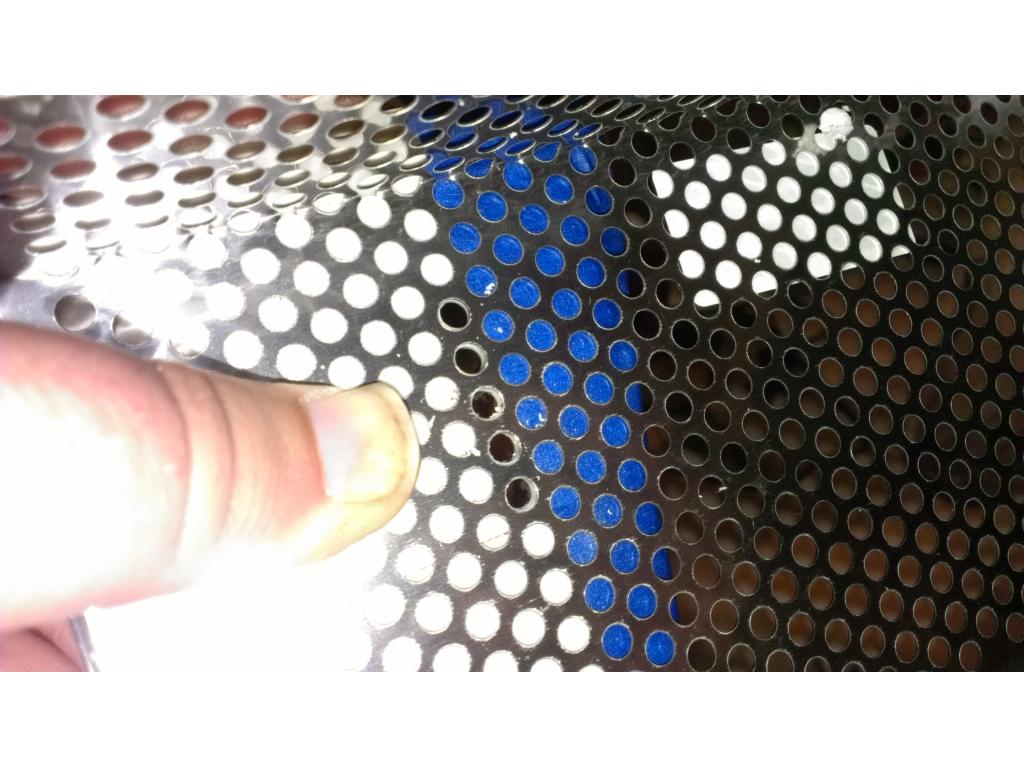
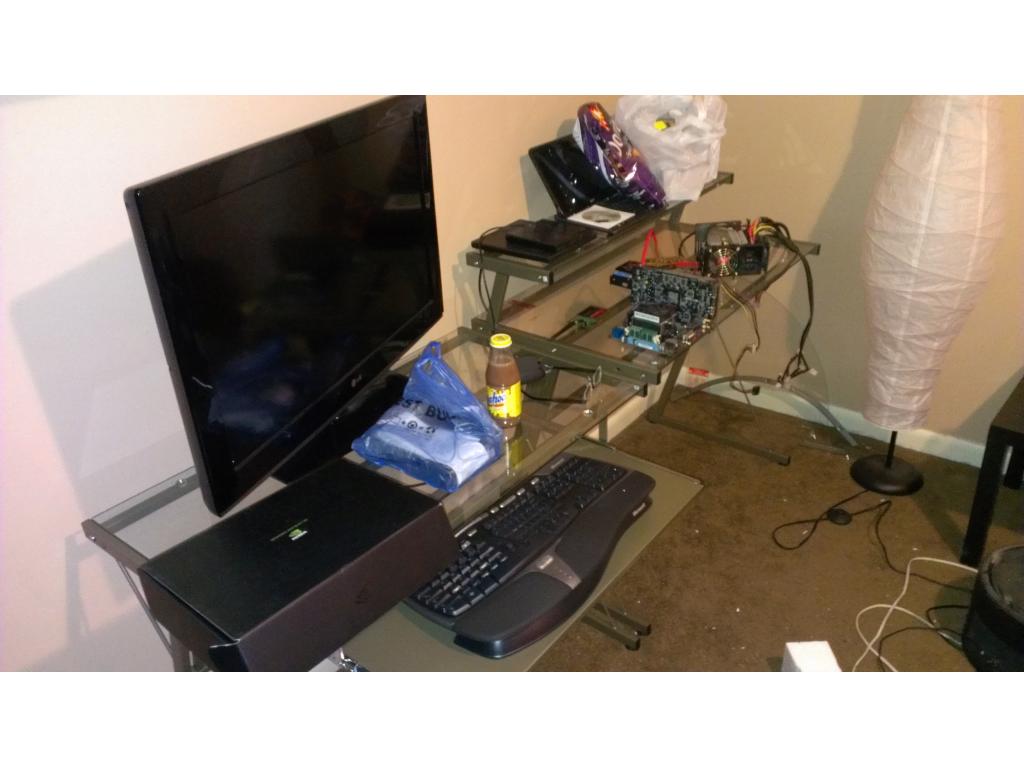
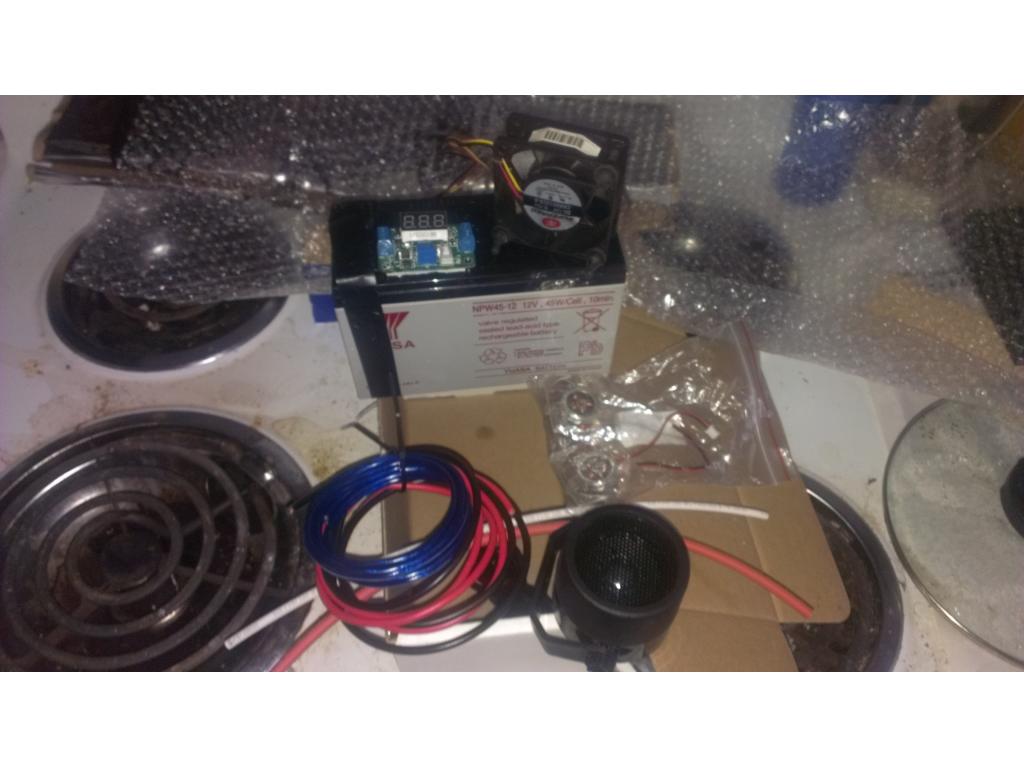
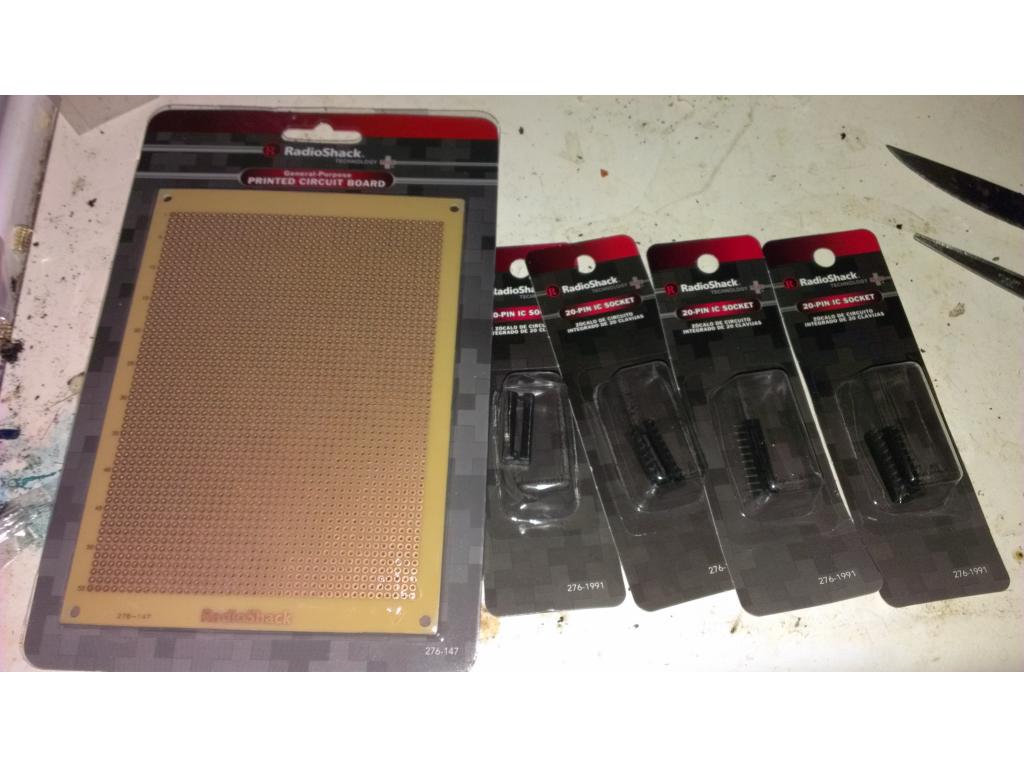
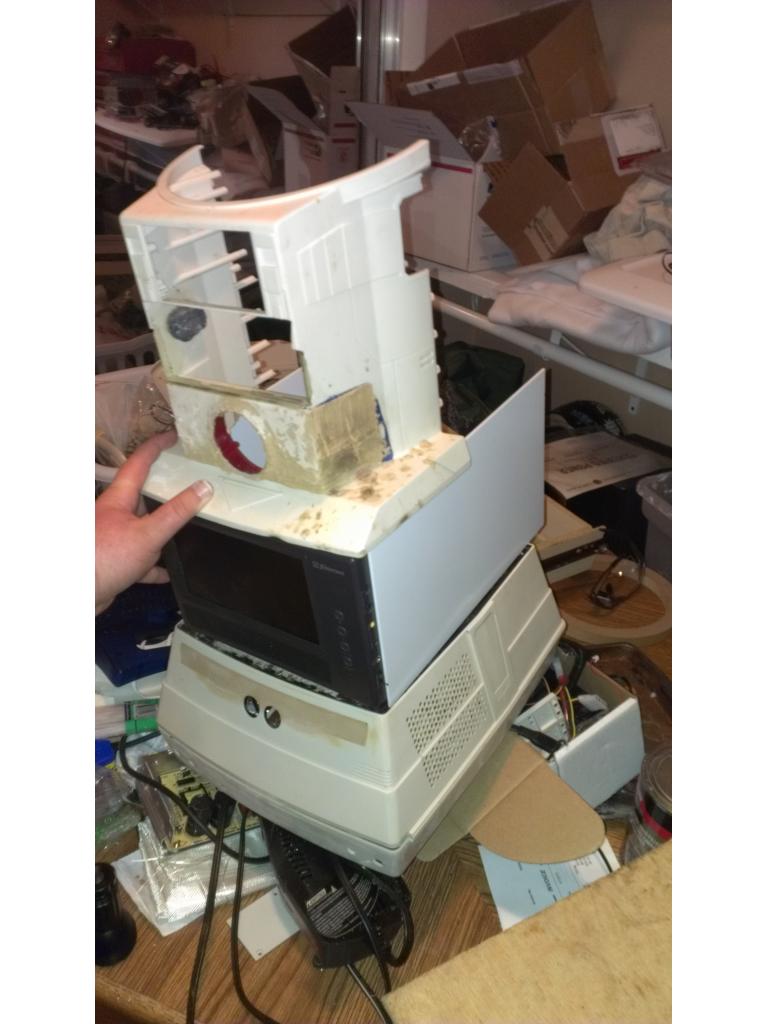
I'm trying dude , this lol robot is very complex and not much room for all the things. I have not mounted any servos yet. I am salvaging some standoffs from smaller less important boards to mount my components. I'm going to epoxy the standoffs so my components can be unscrewed and bench tested or even replaced. I had my 10 amp hbridge come in which.I may use instead of the 1.5 that I got from dj. Here's a picture of the boards I gotta find a place for ...
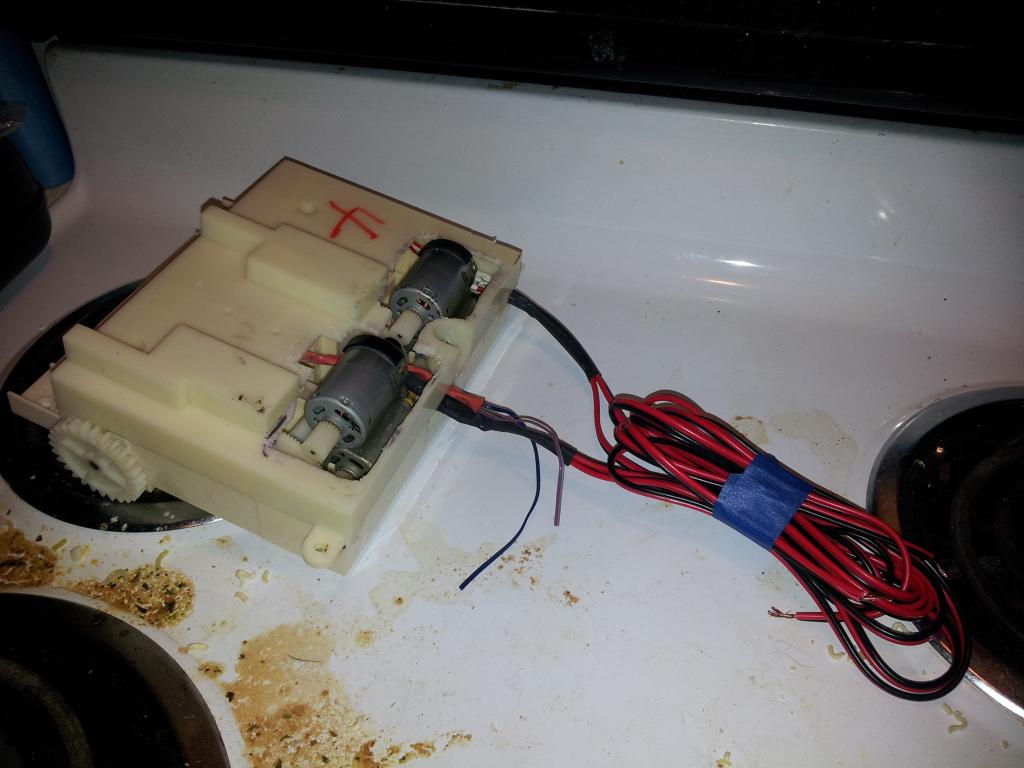
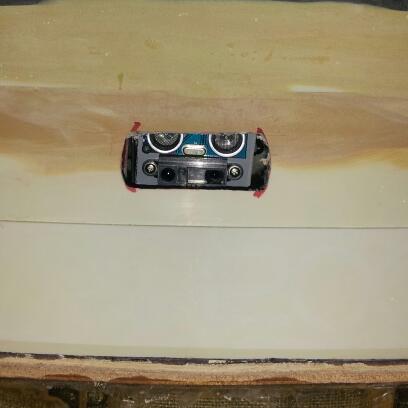
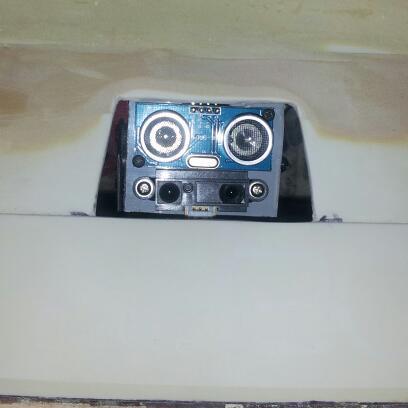
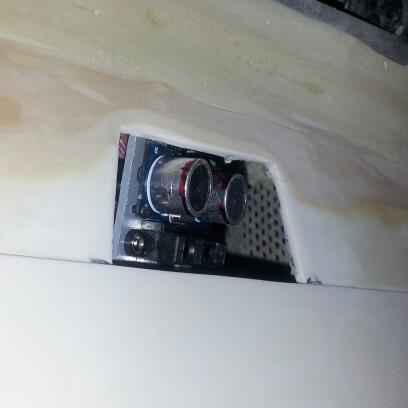
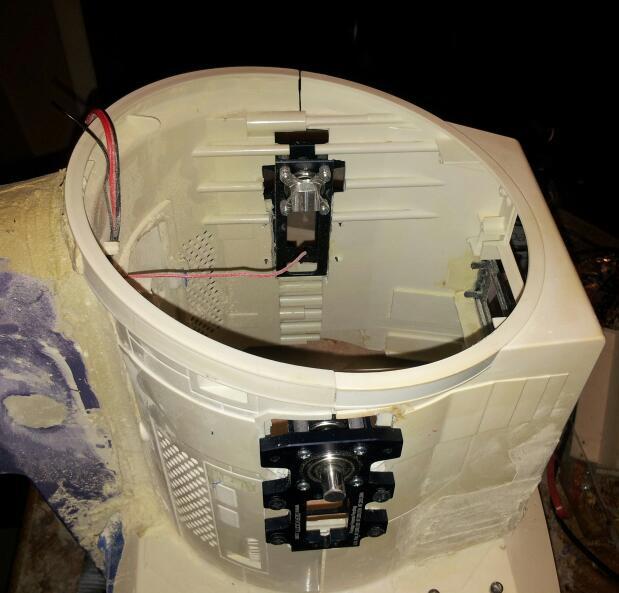
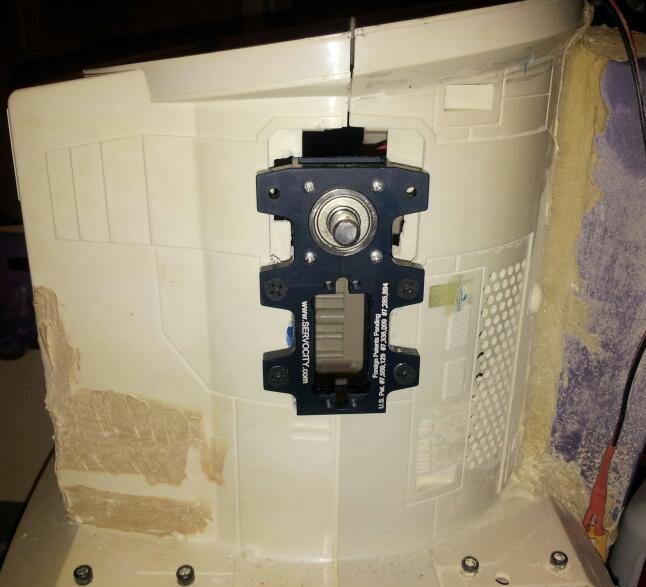
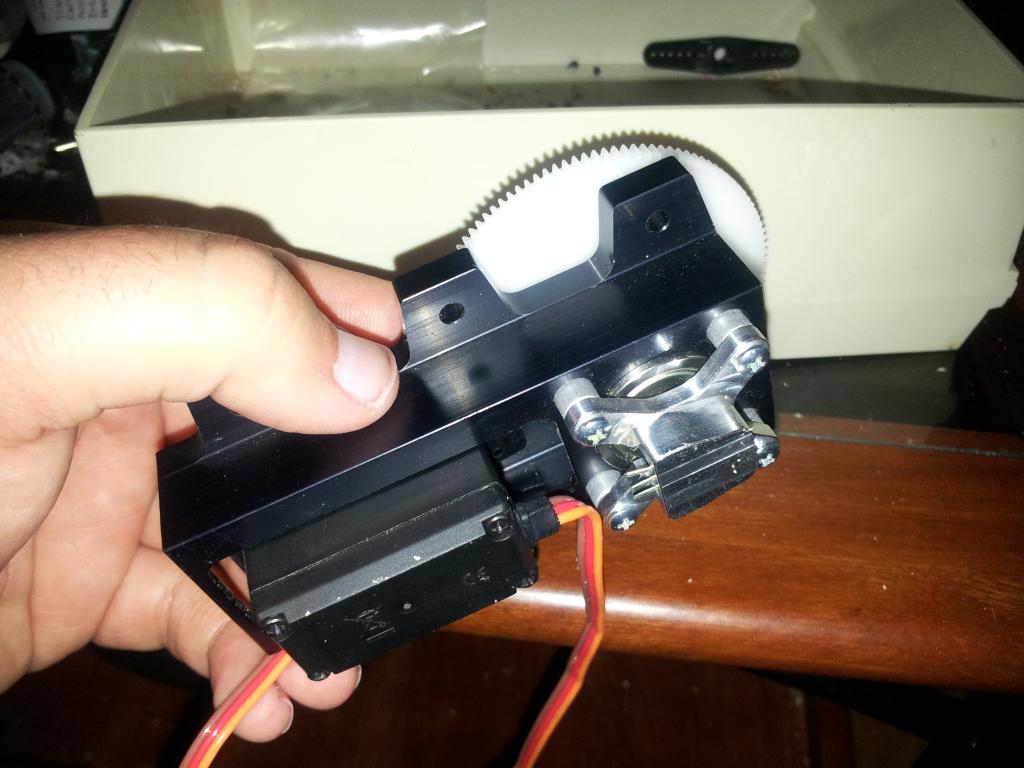
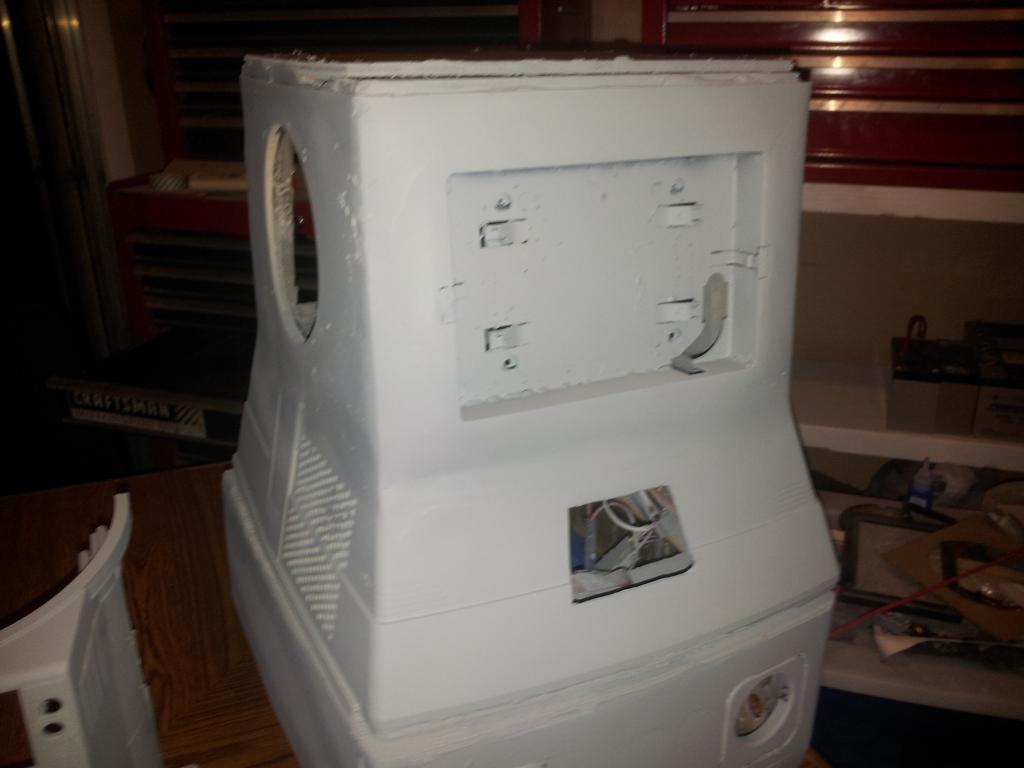
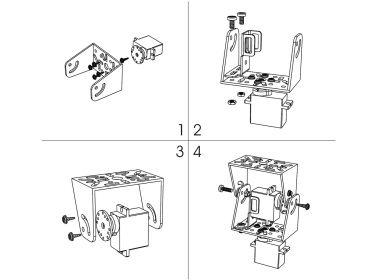
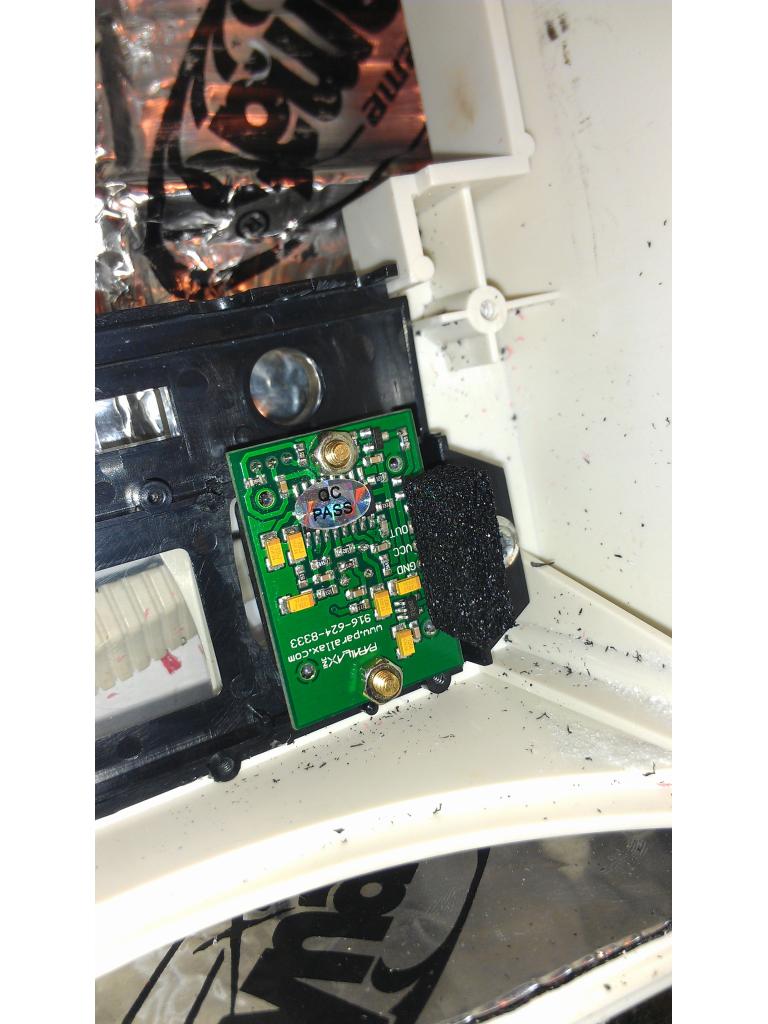
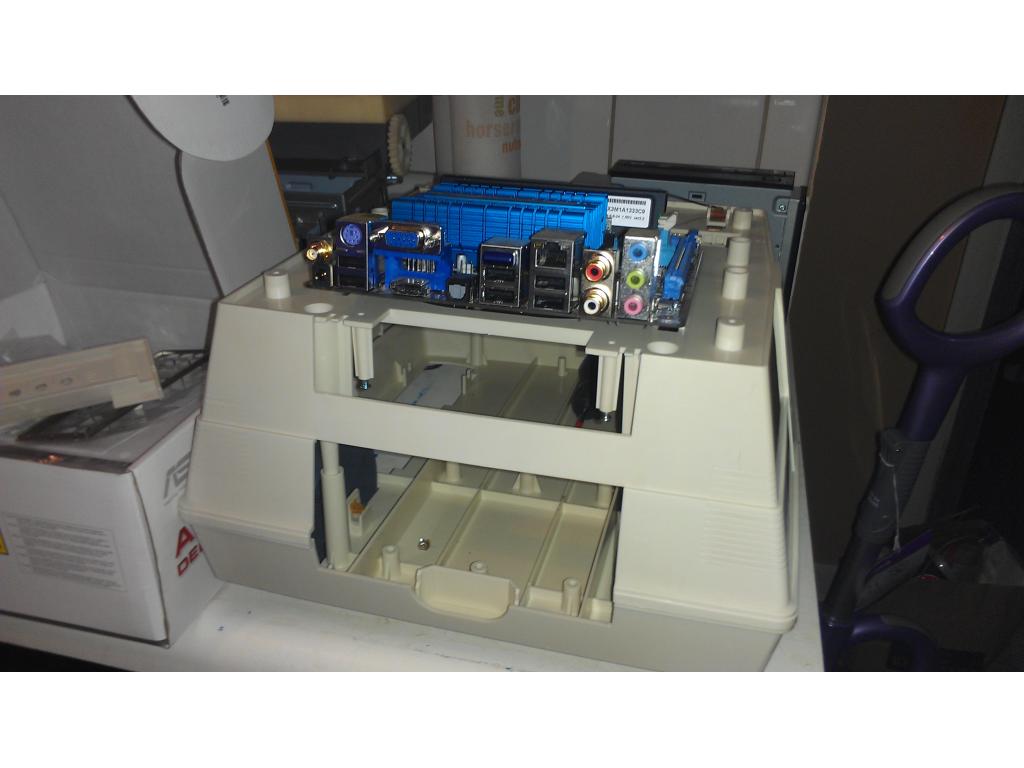
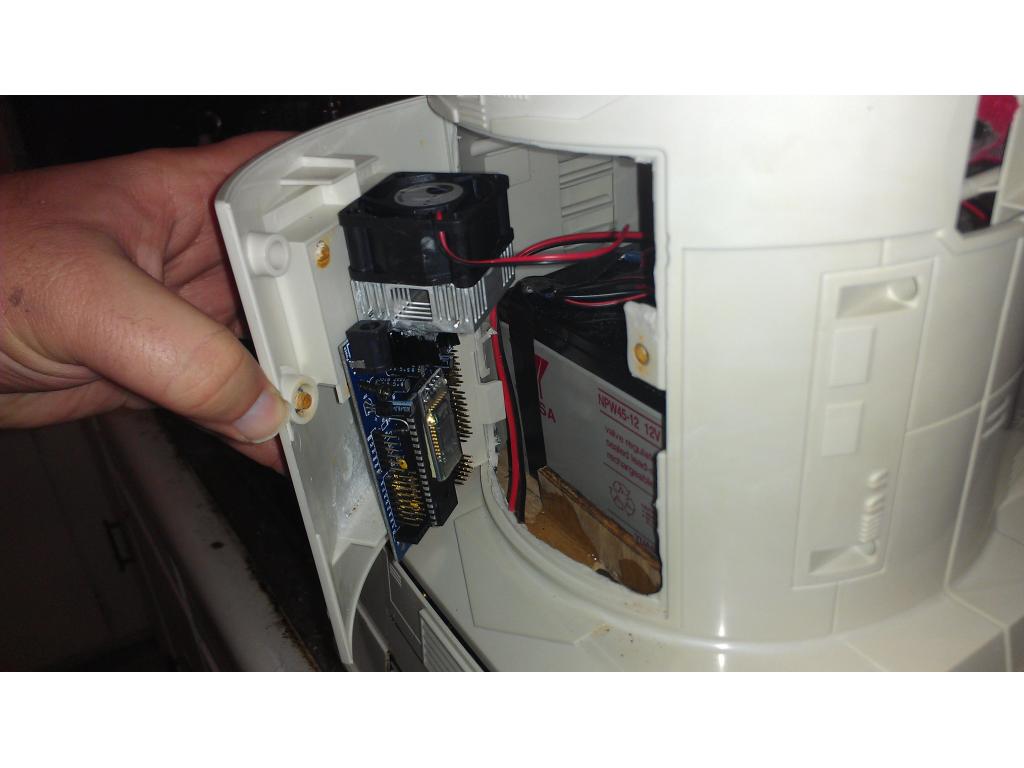
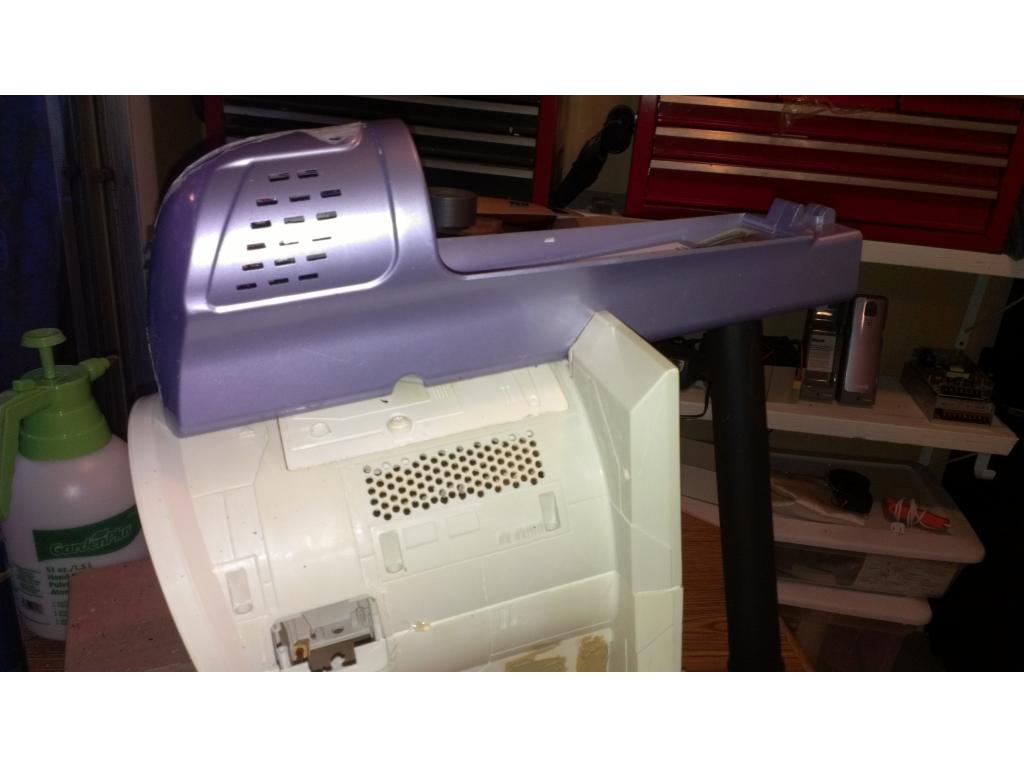
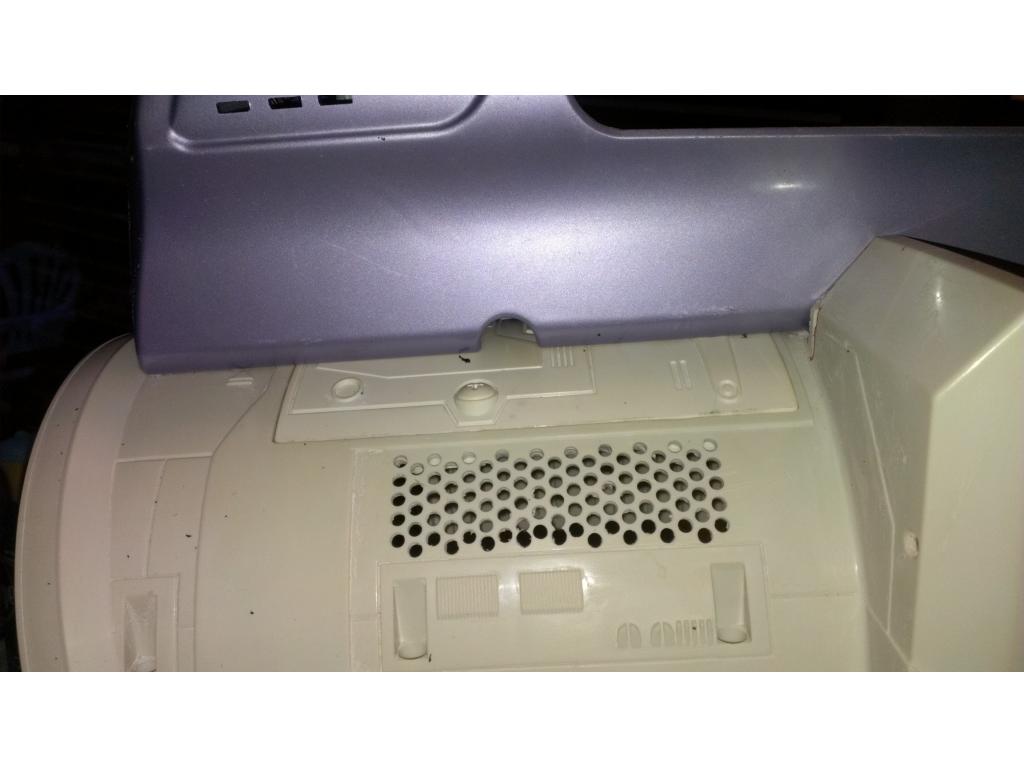
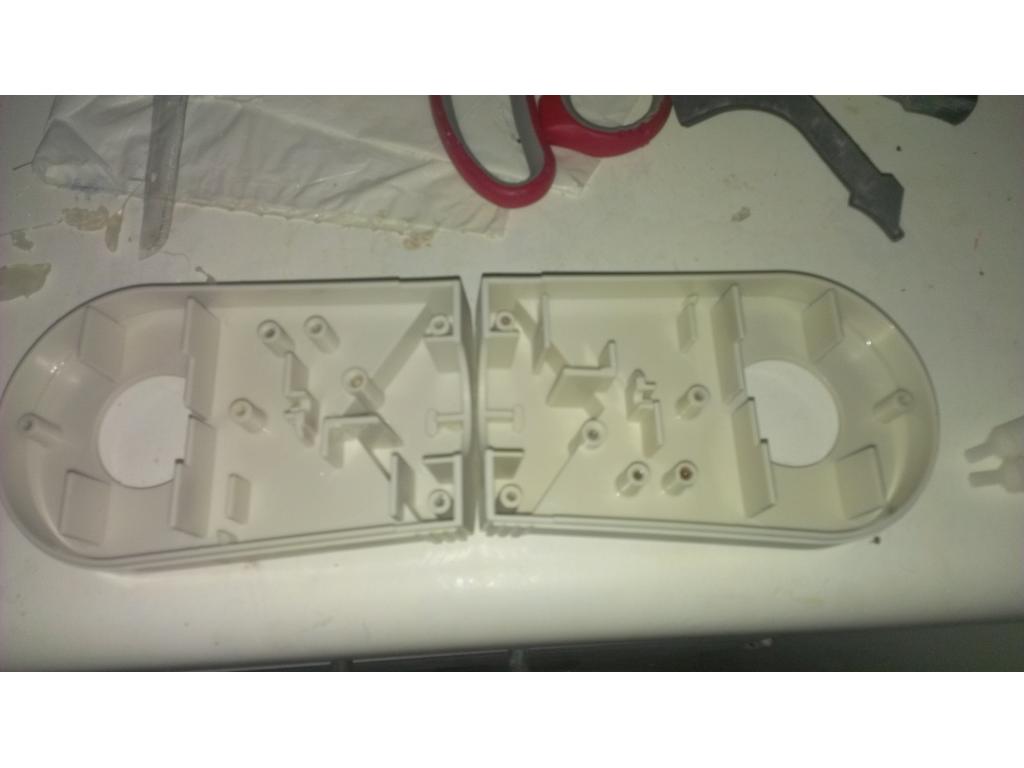
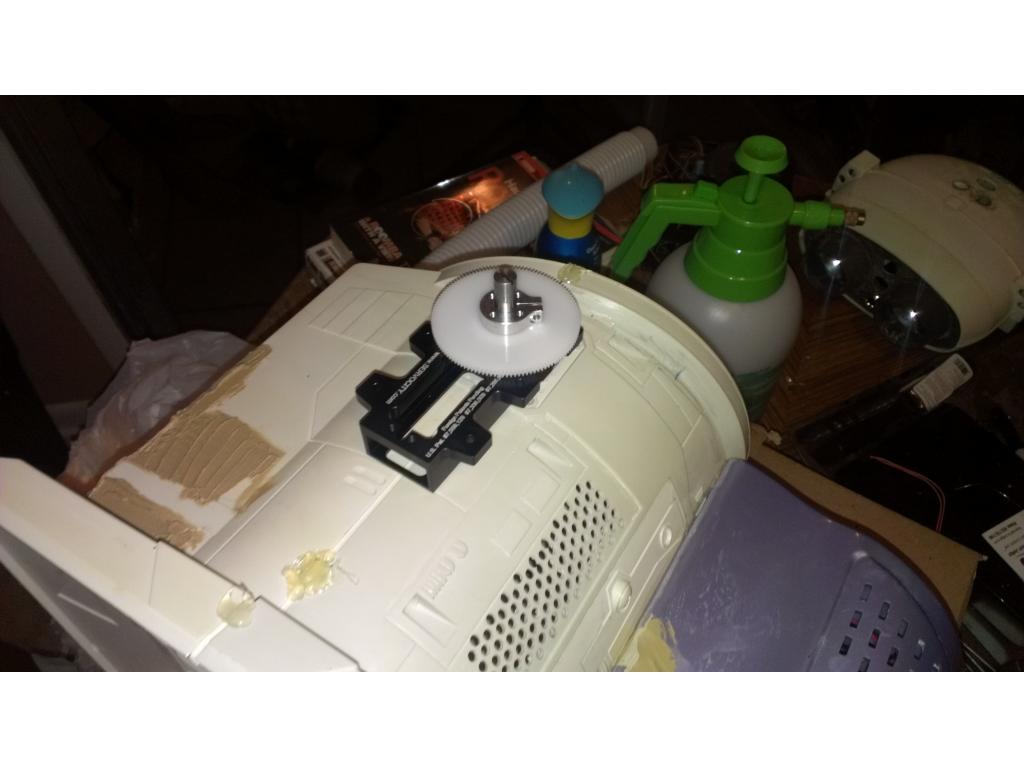
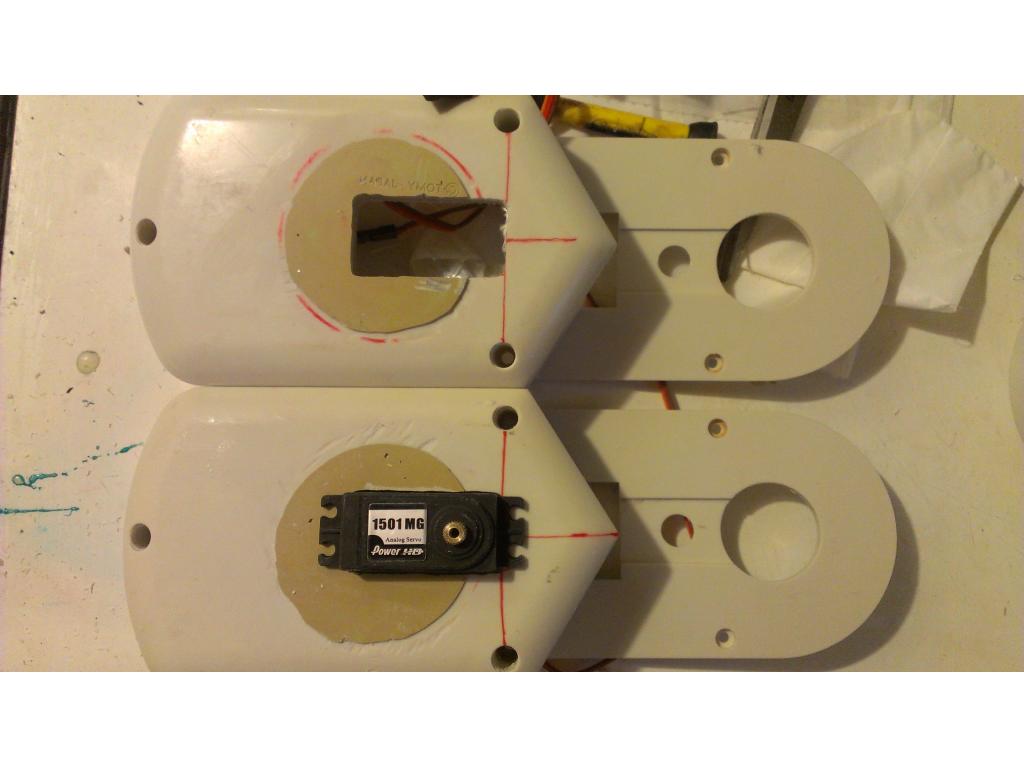
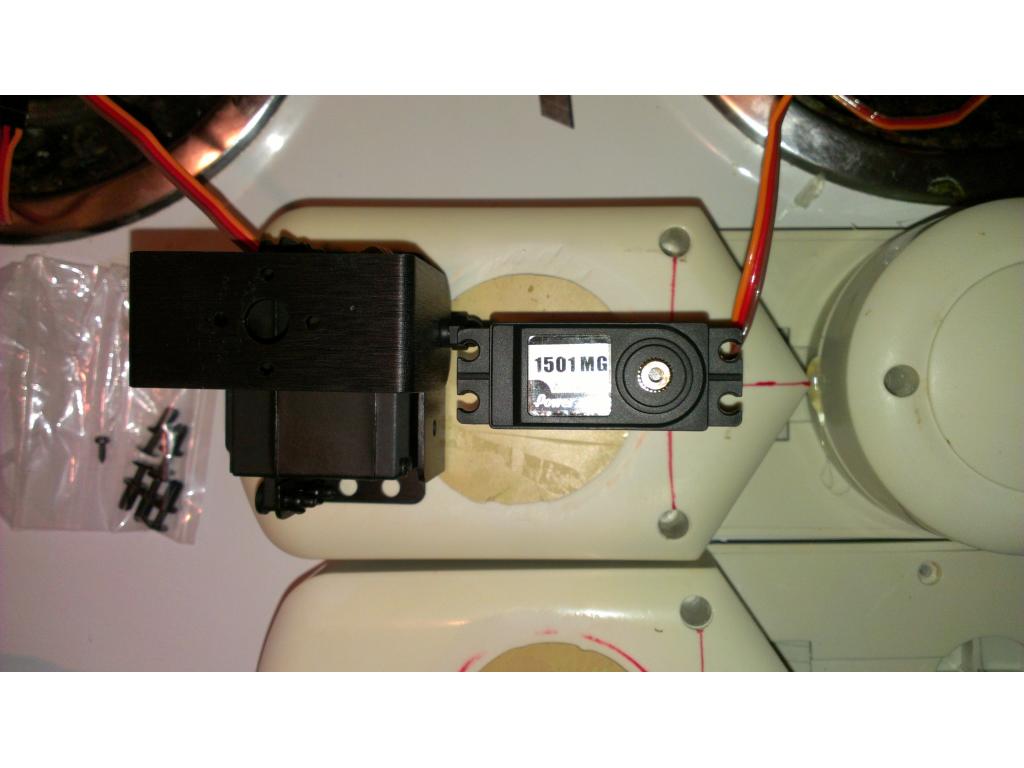
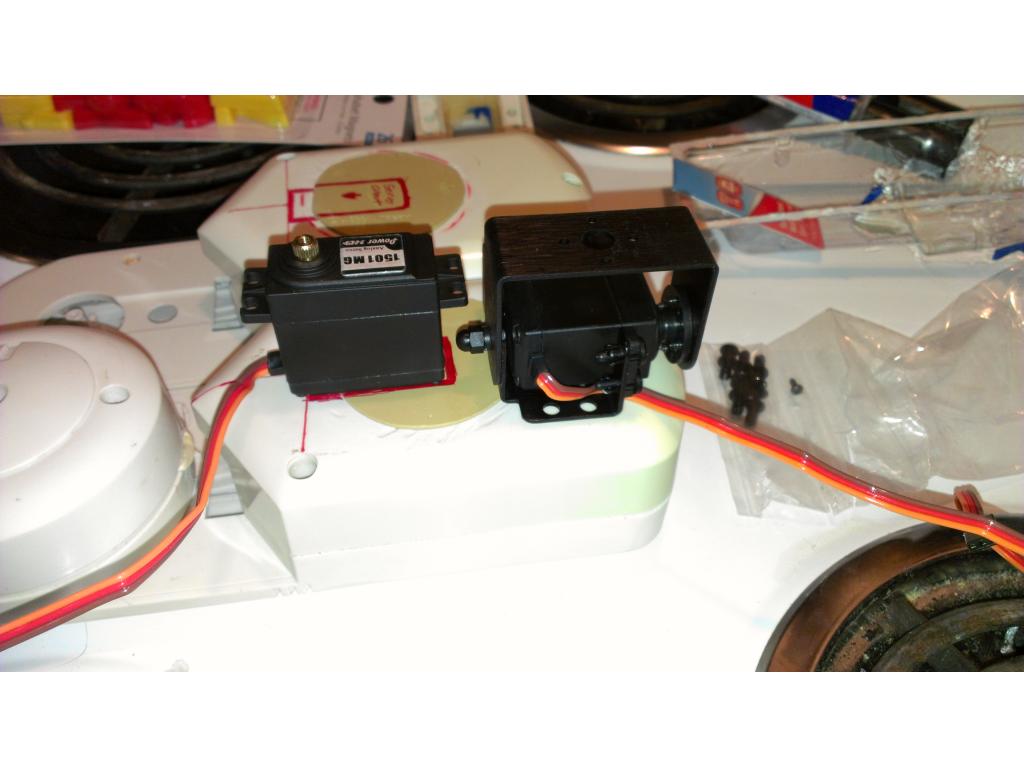
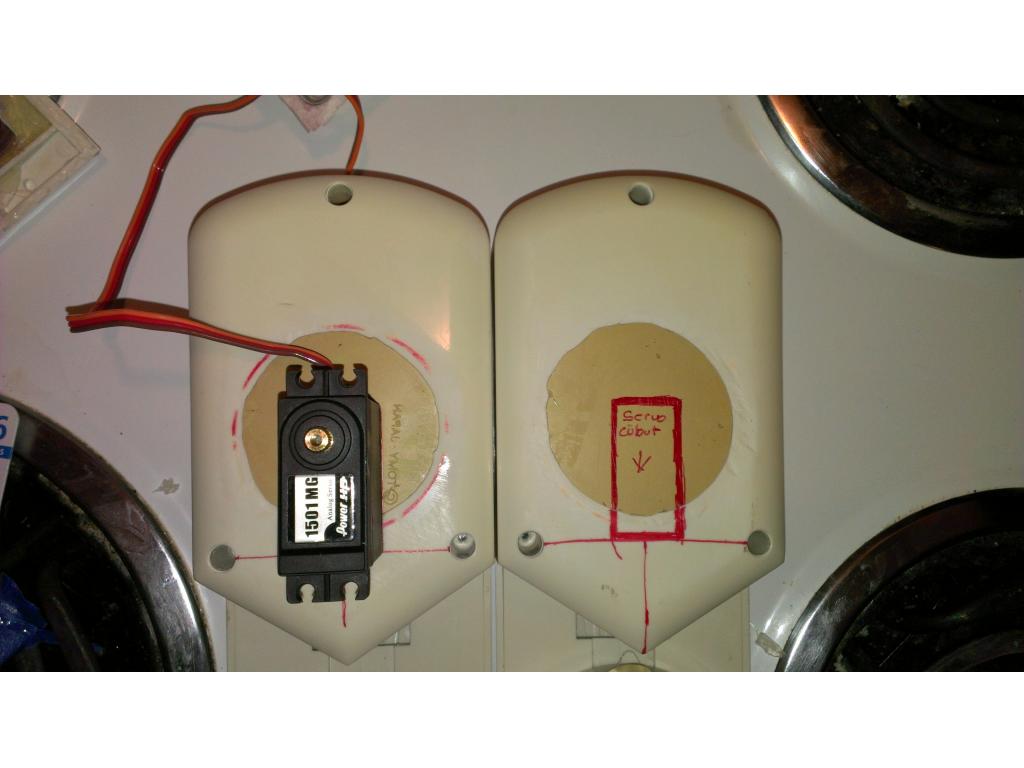
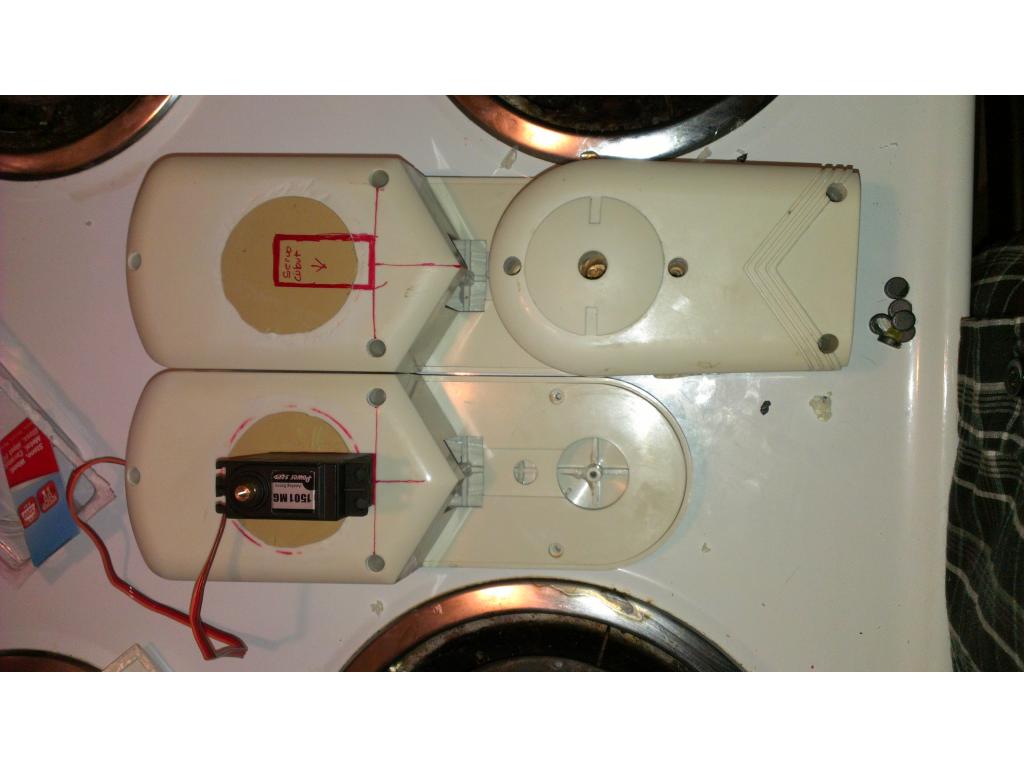
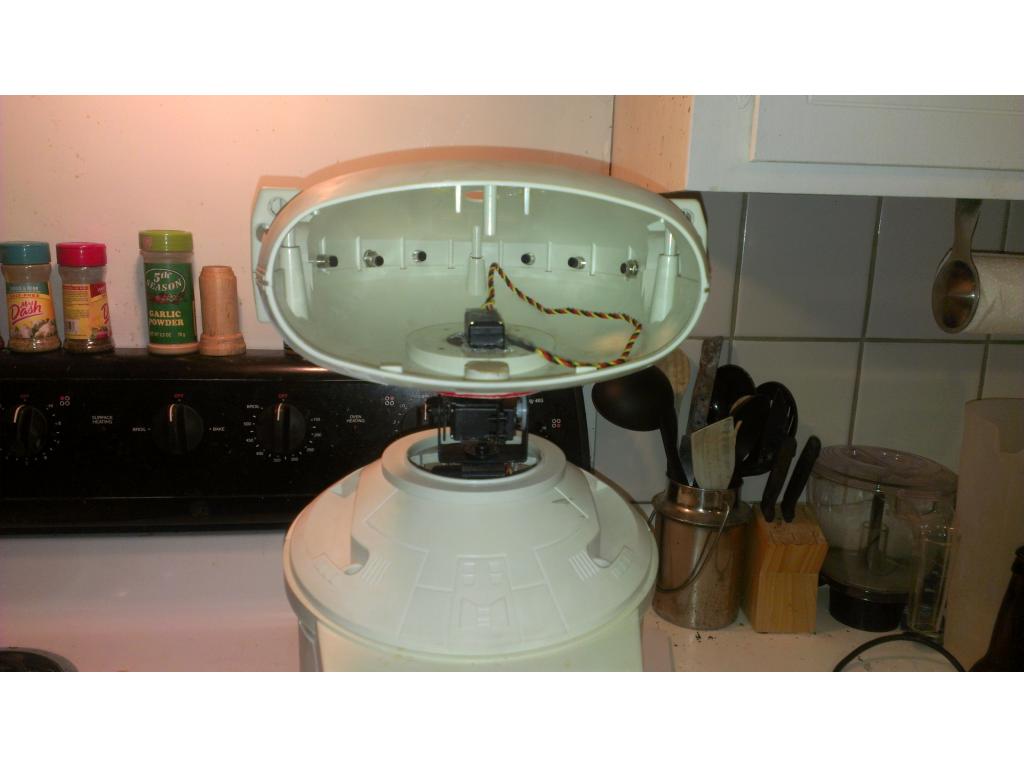
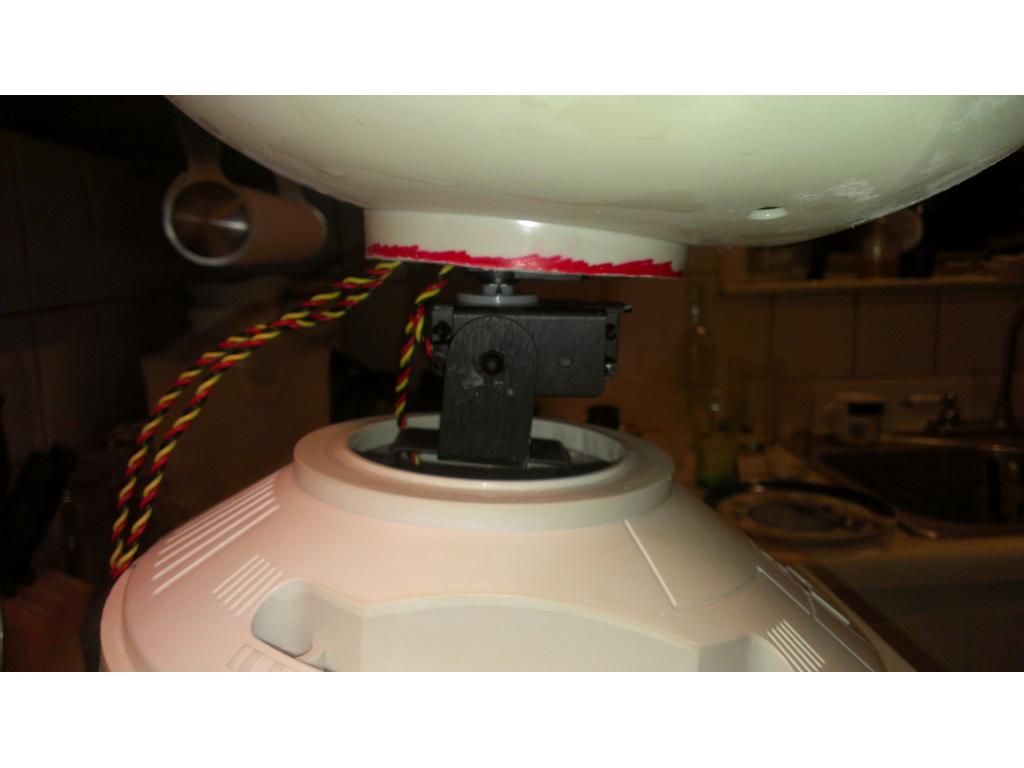
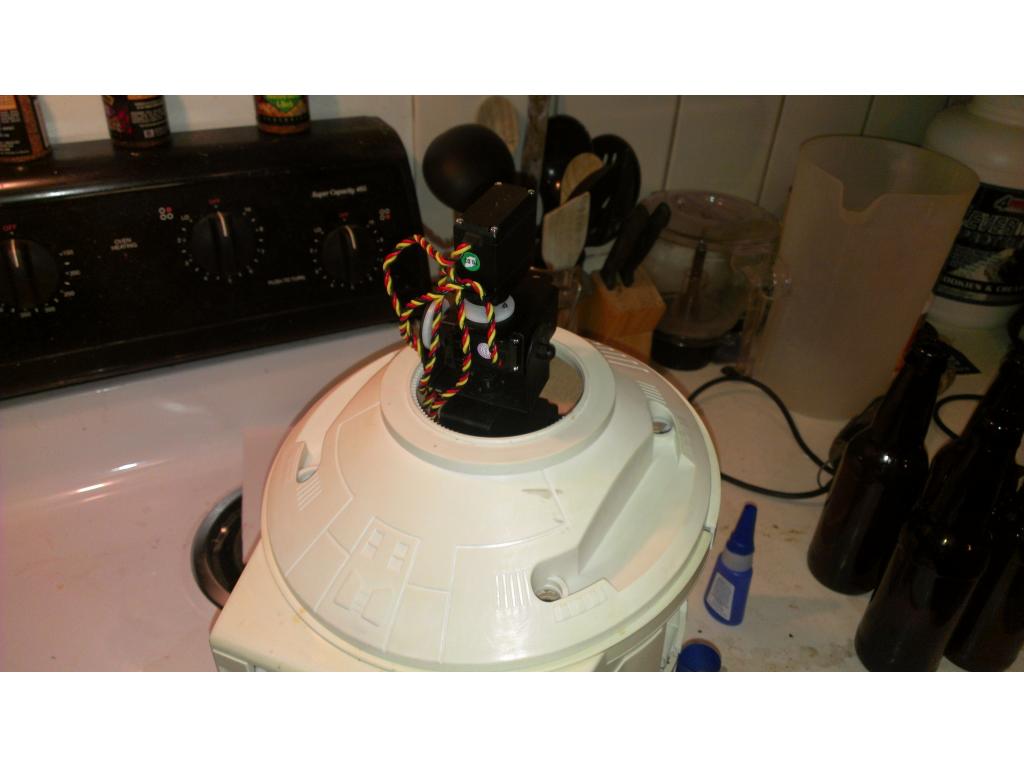
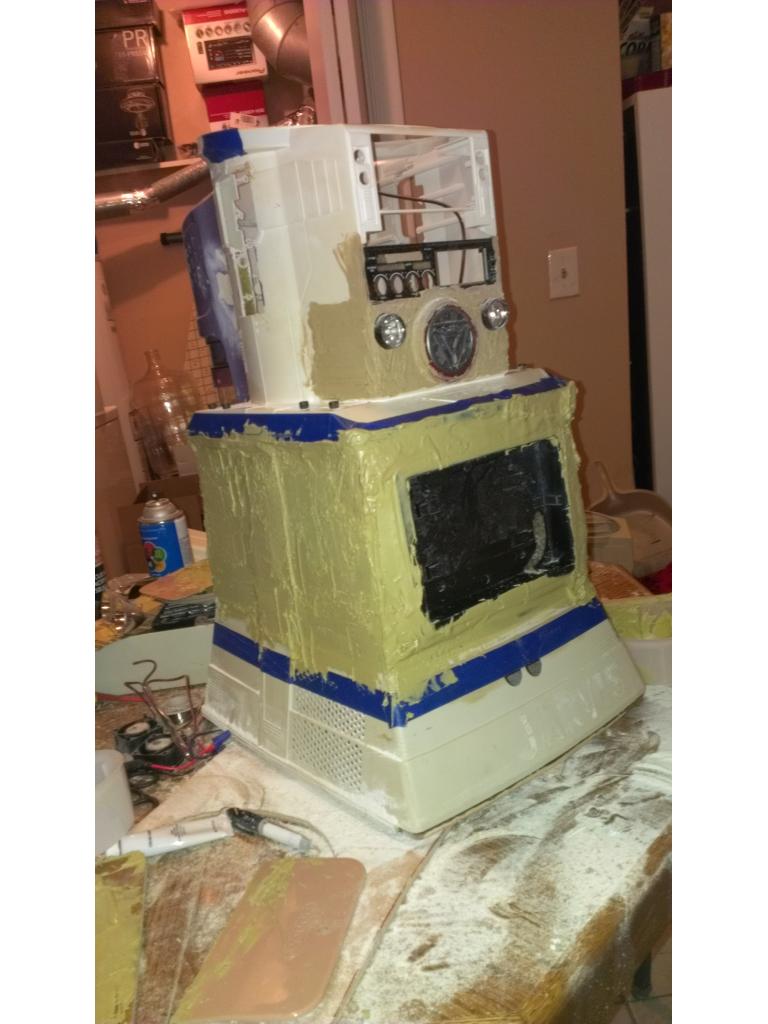
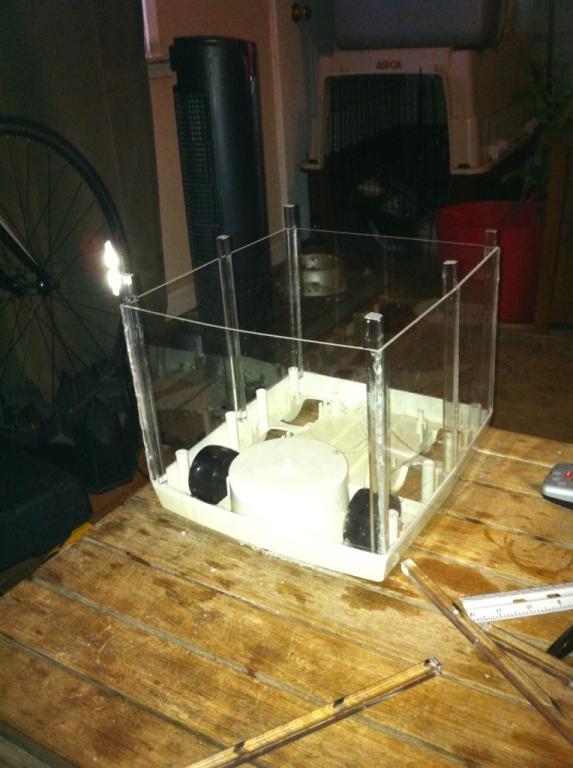
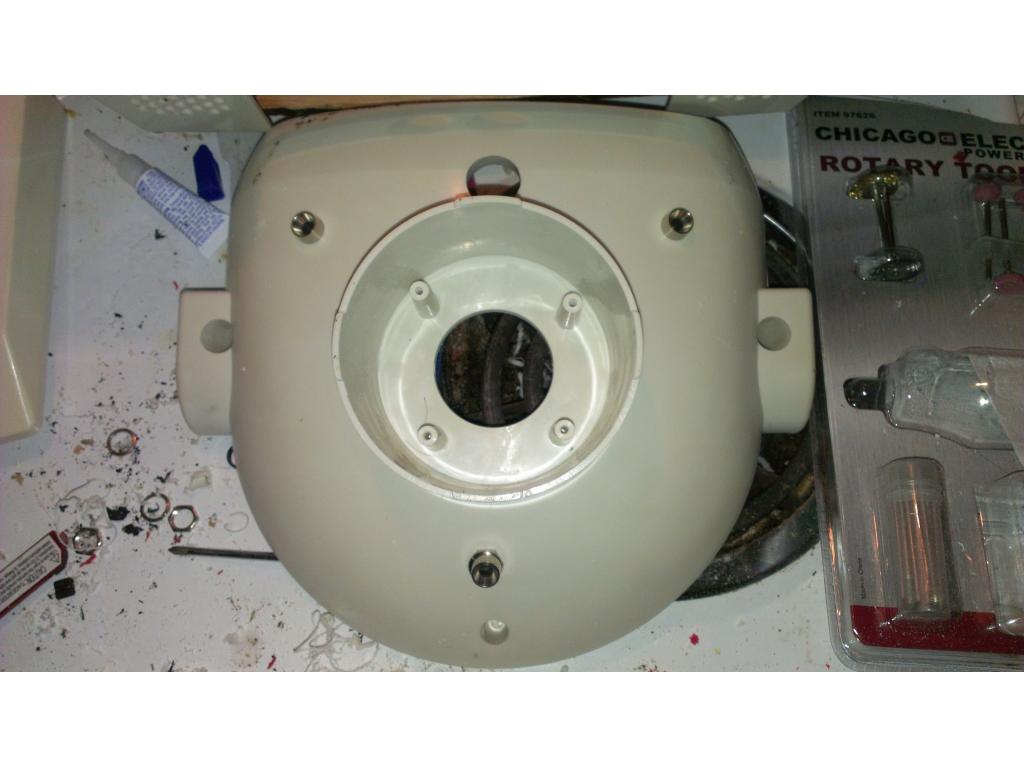
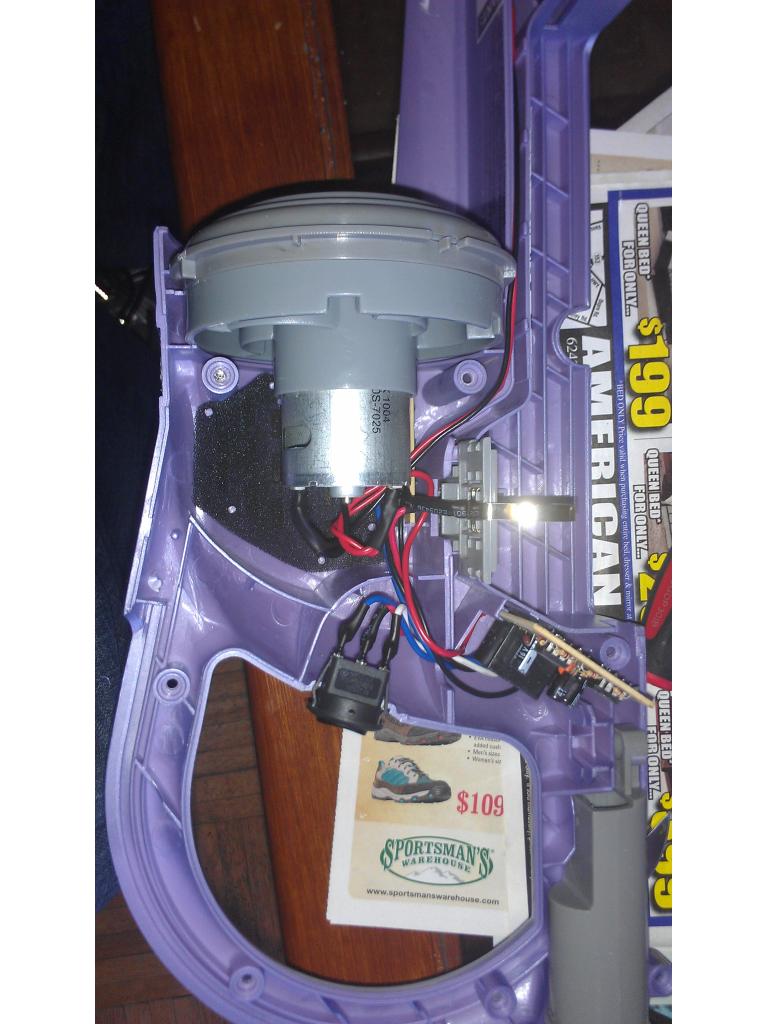
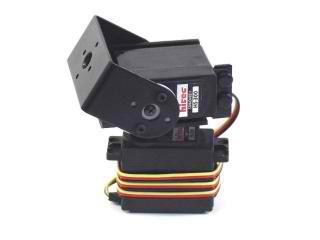
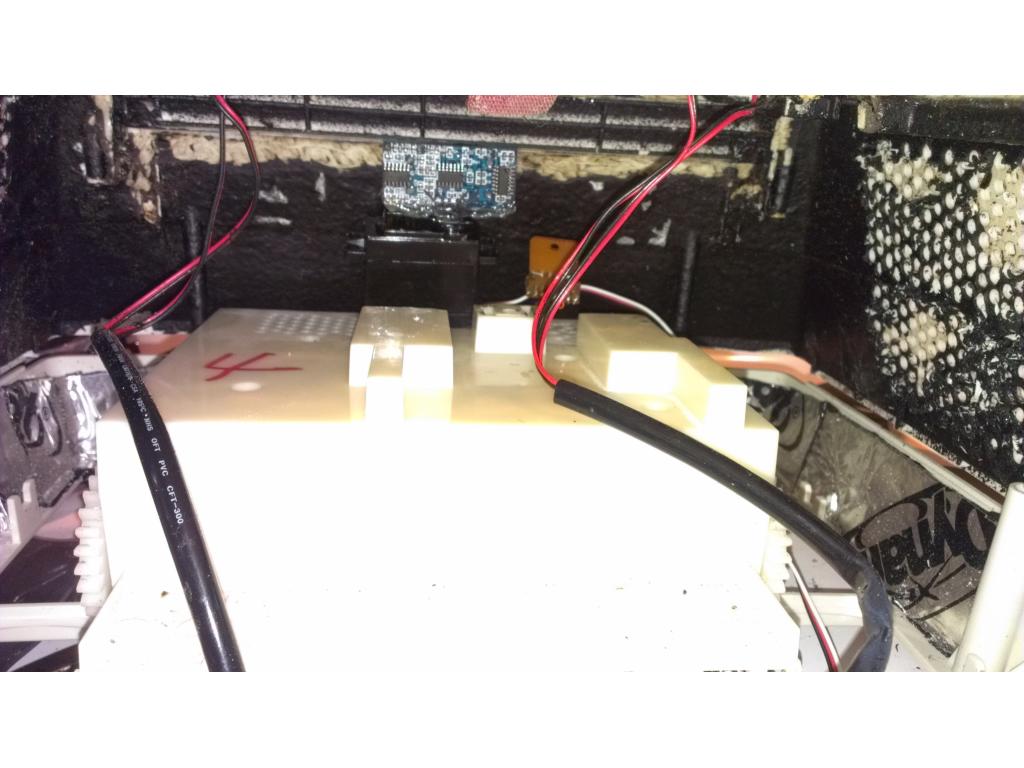
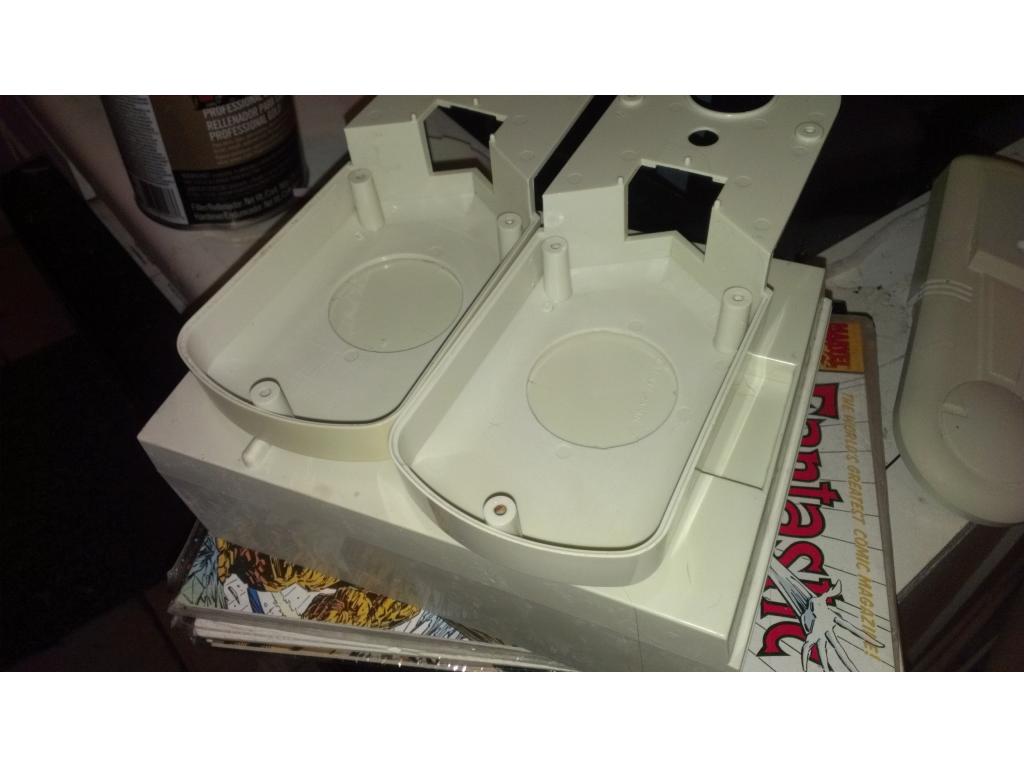
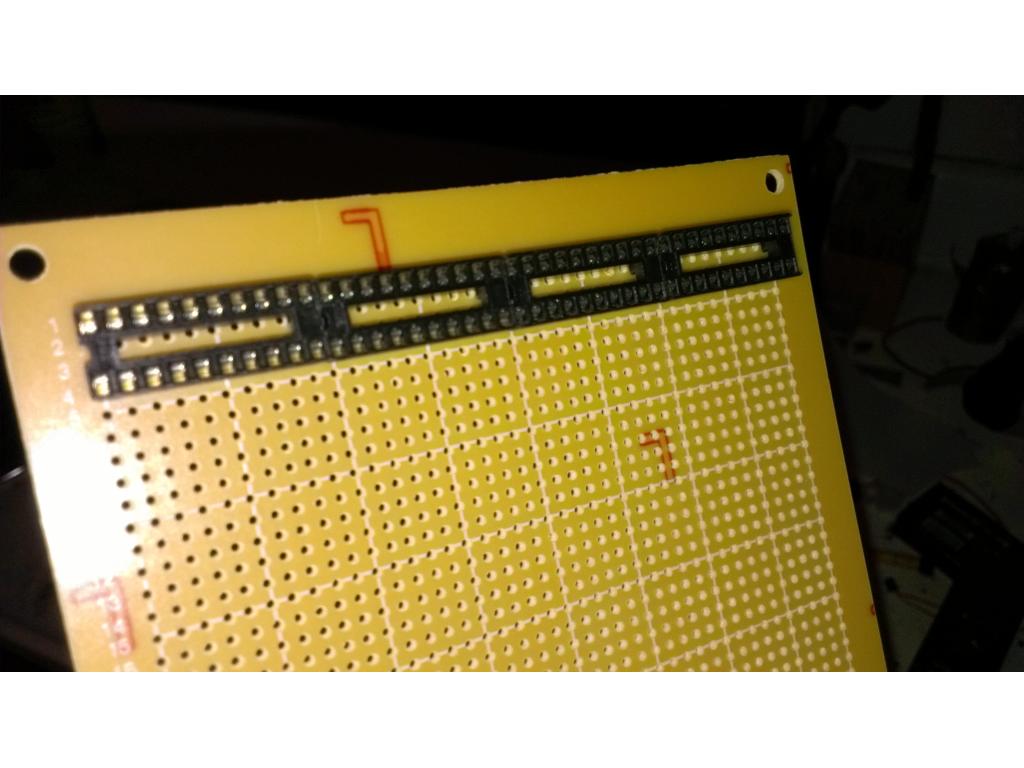
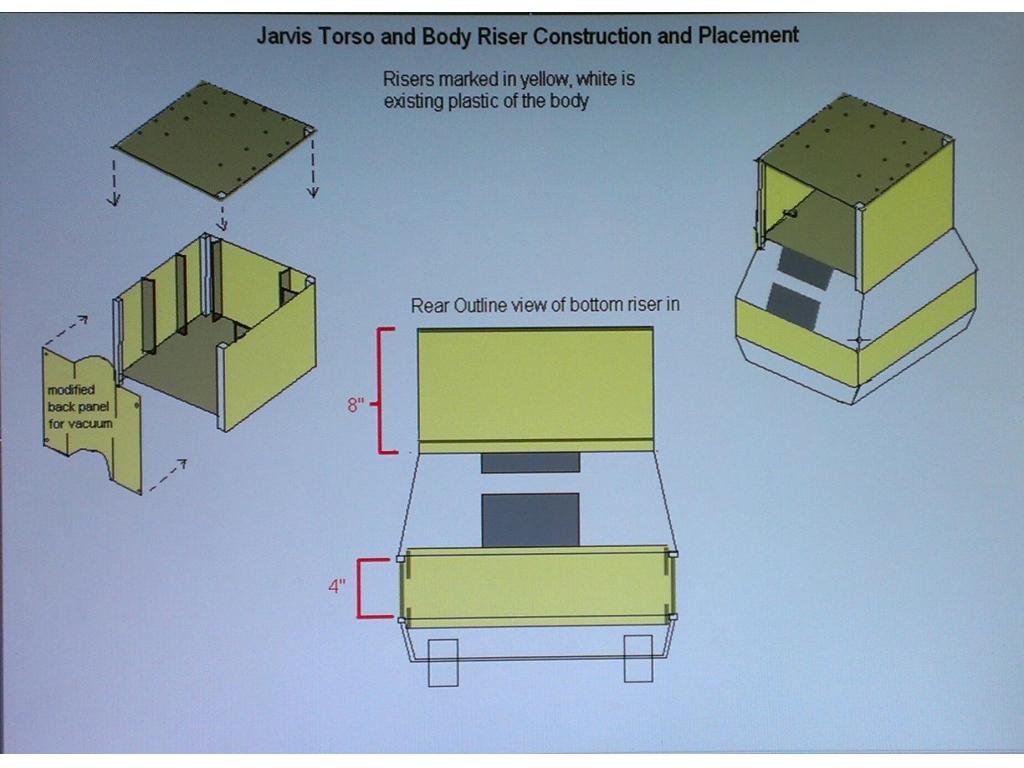
Any suggestions on if I should put ezb on the inside of the torso door or just try to keep everything in the base. I'm thinking of the fact I will have head and arm servos needing to be connected. So here is my proposed ezb mounting position for easy access....
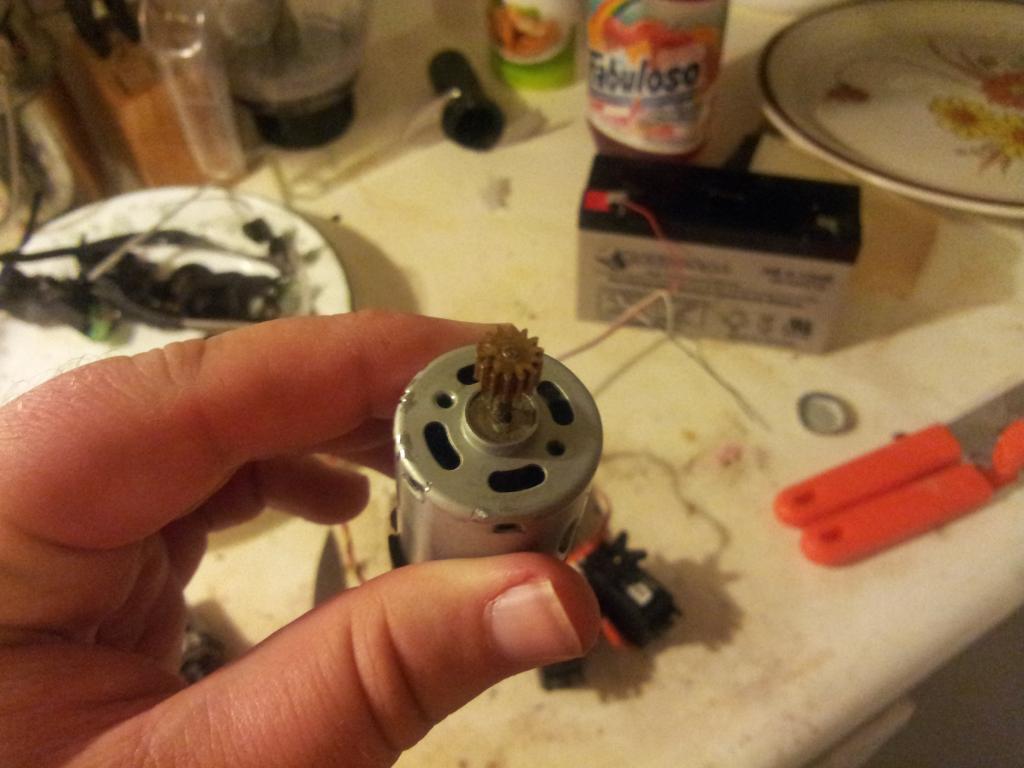
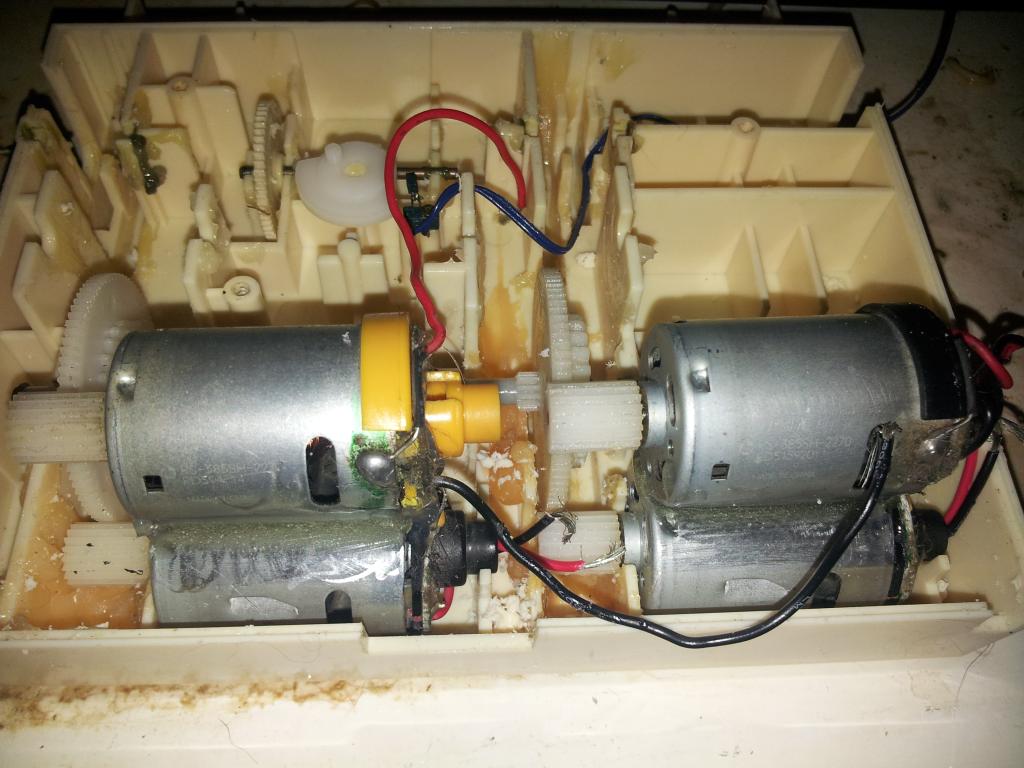
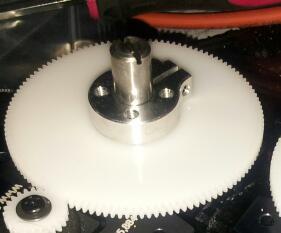
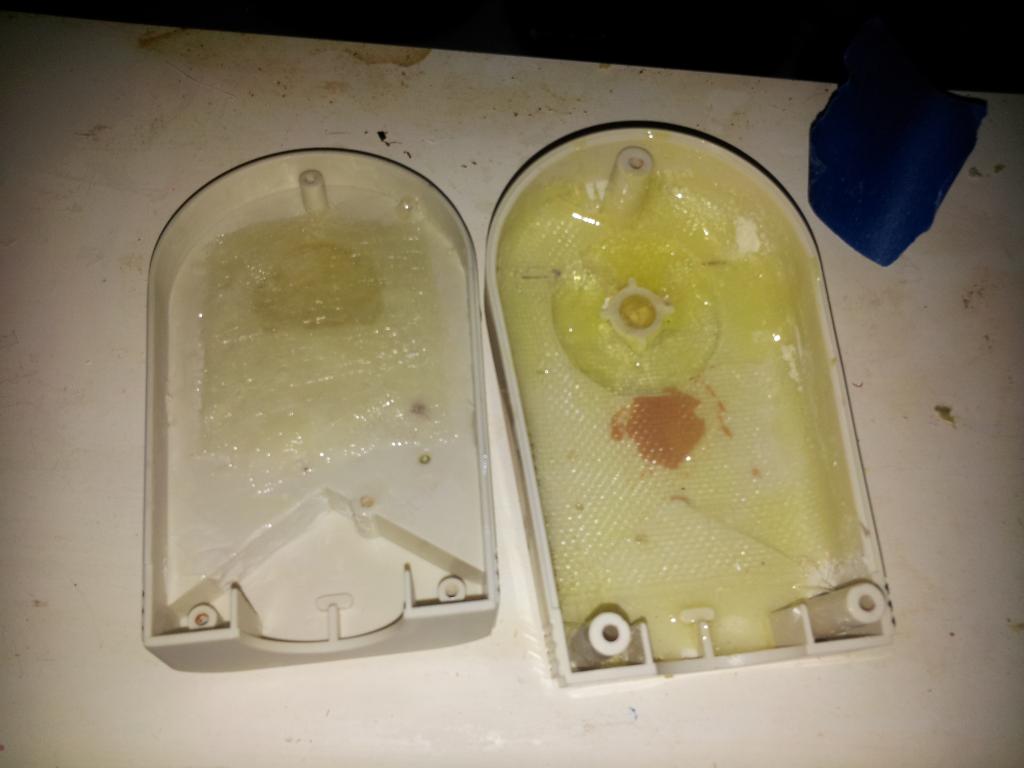
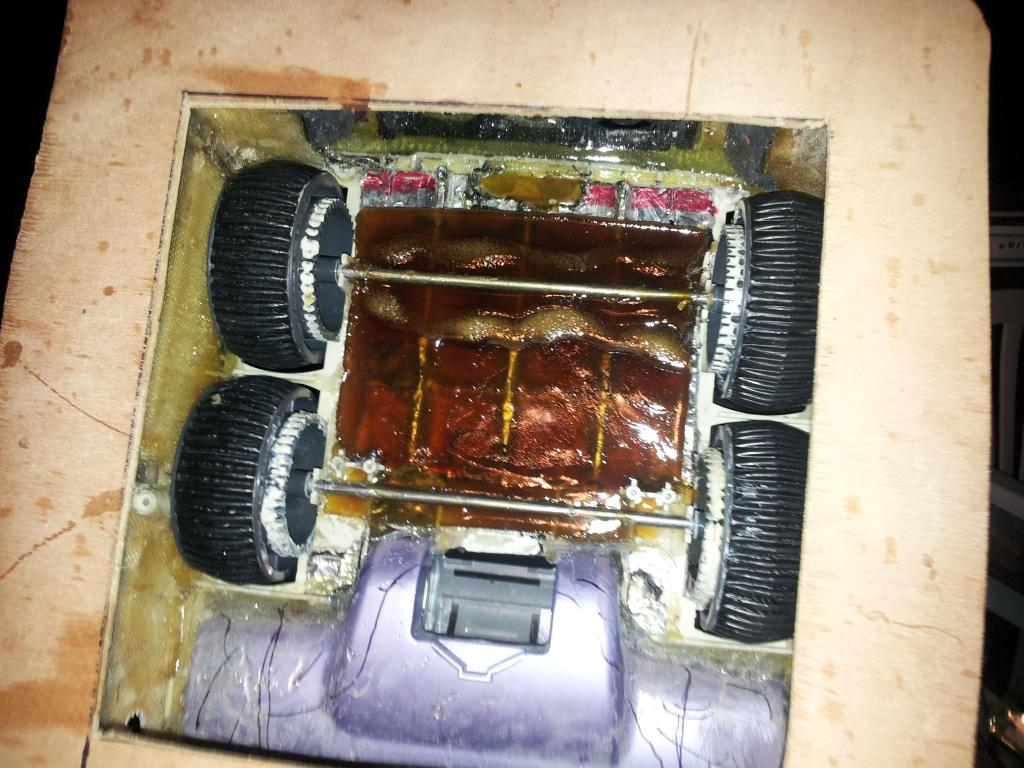
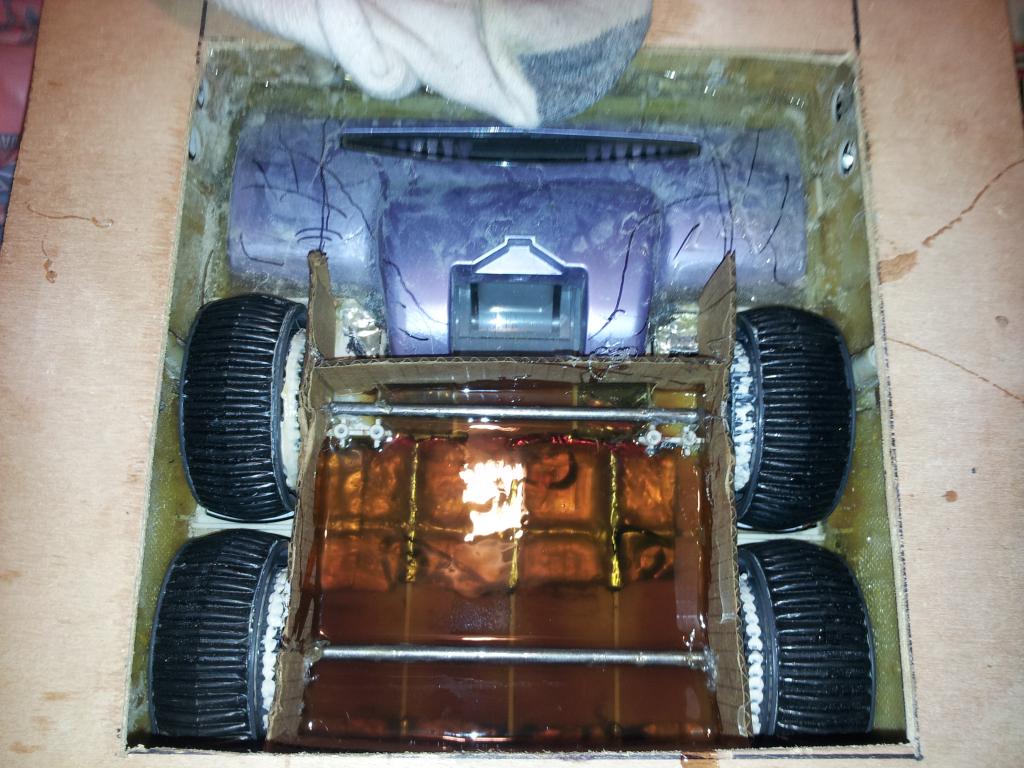
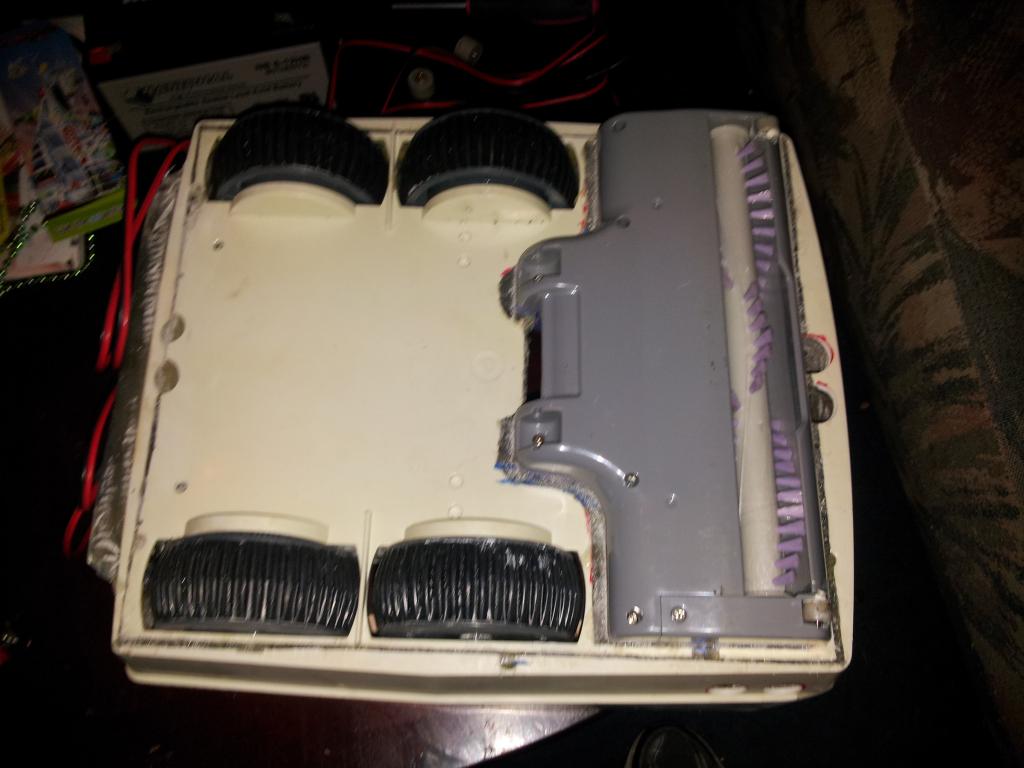
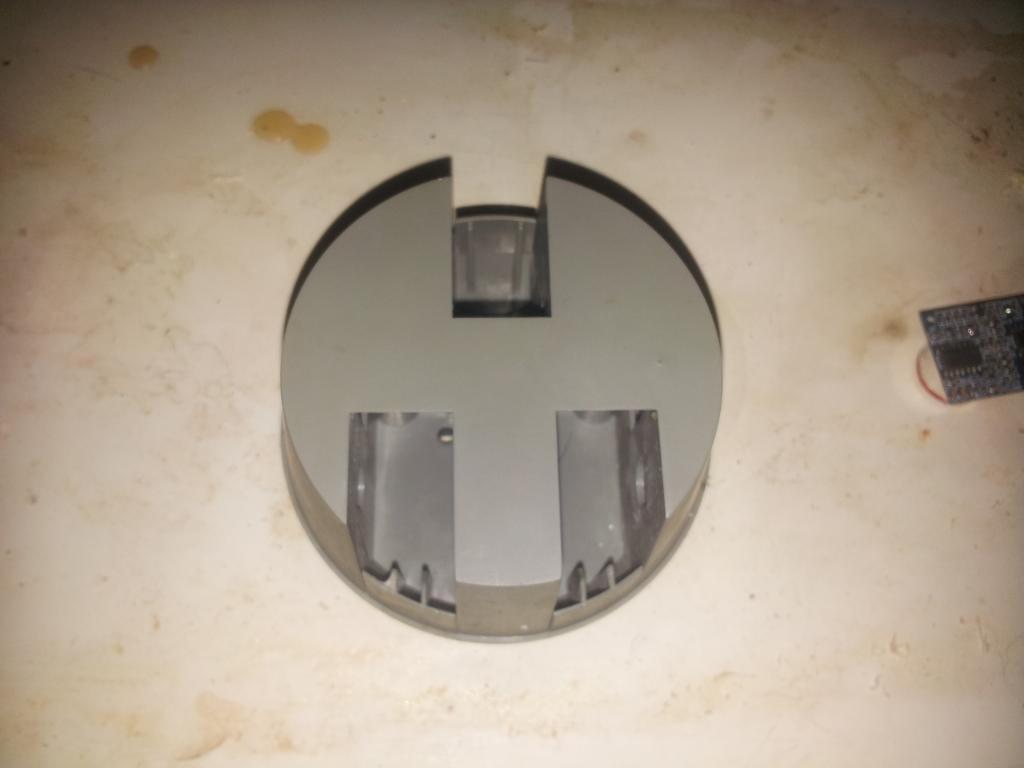
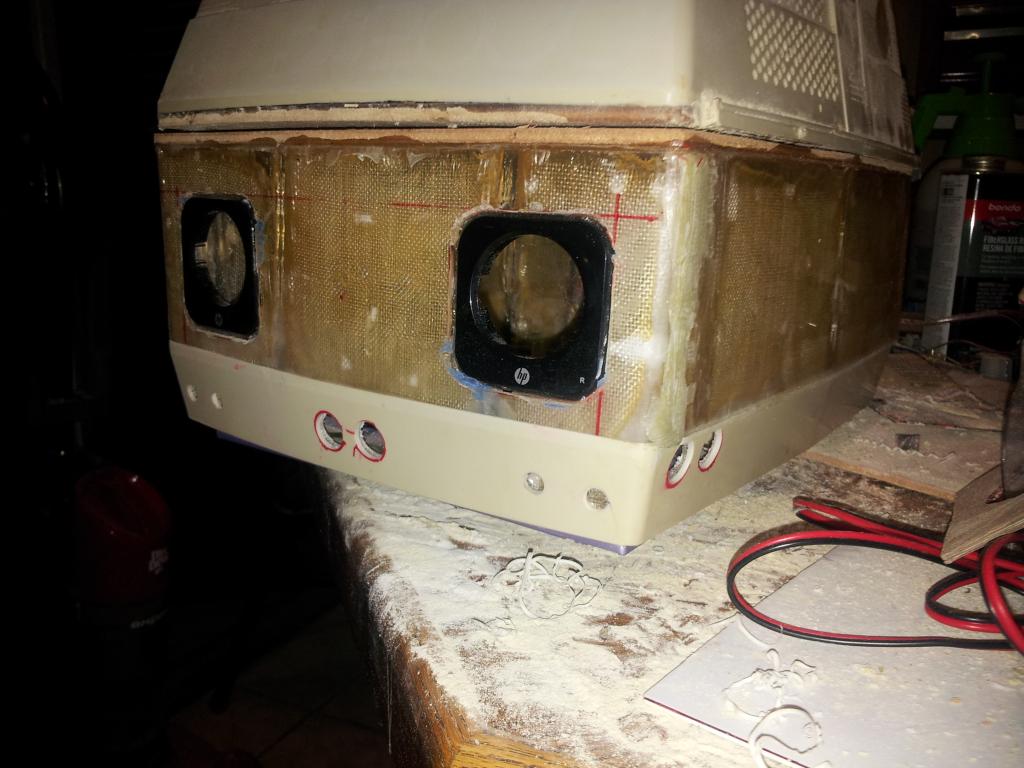
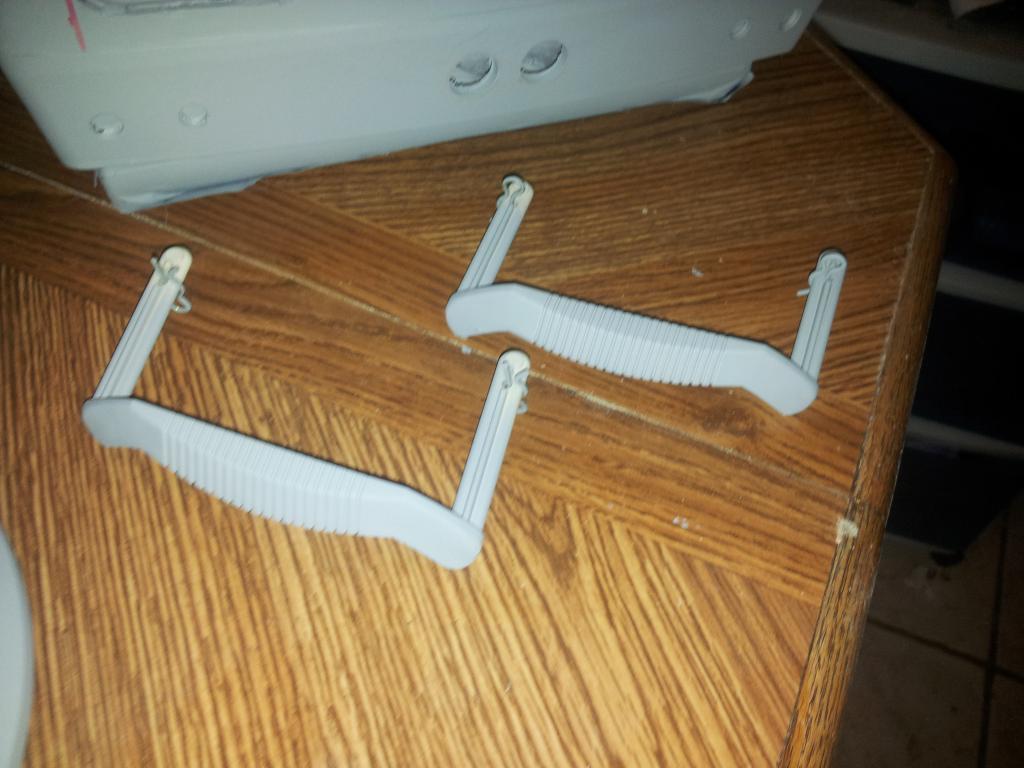
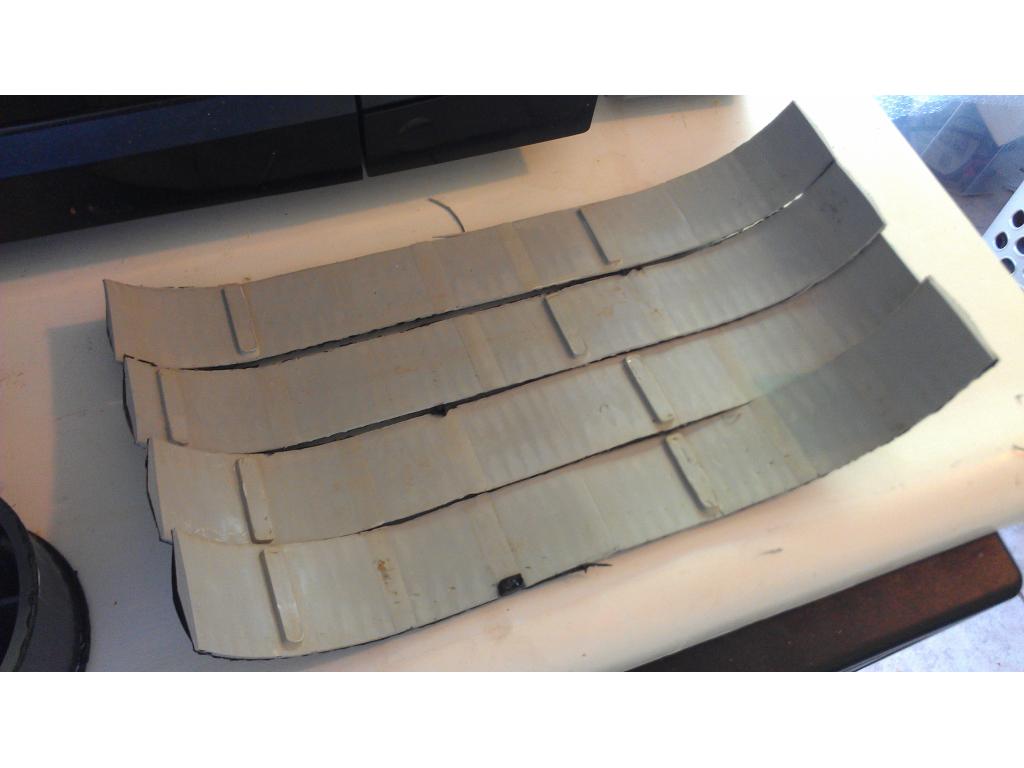
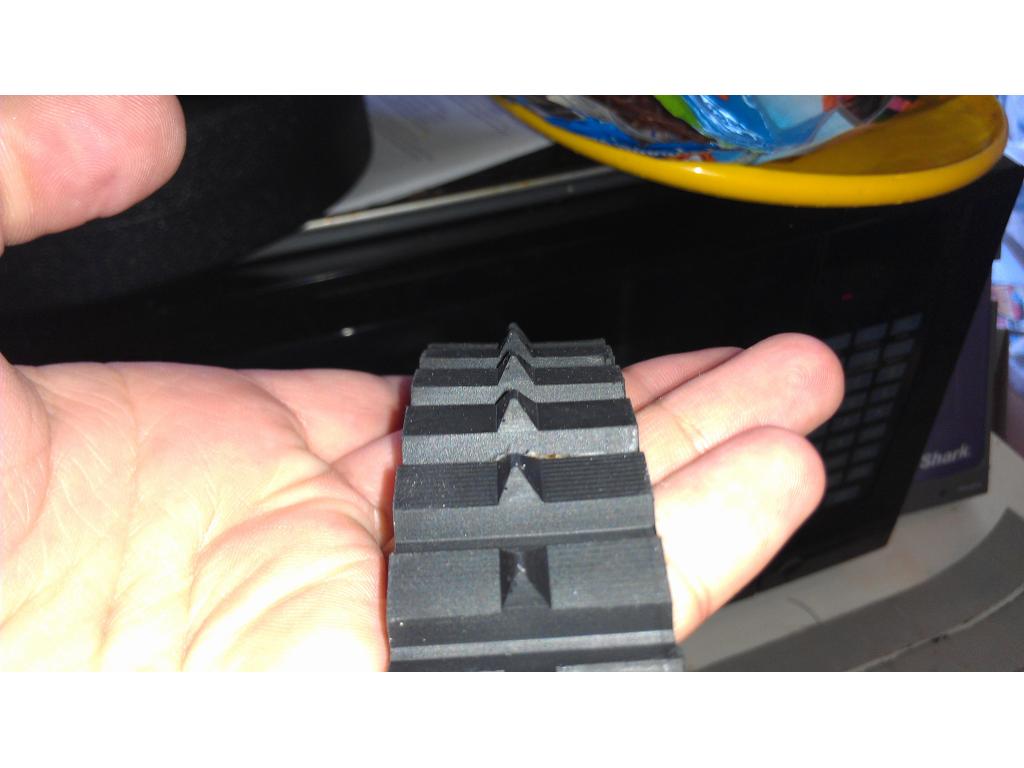
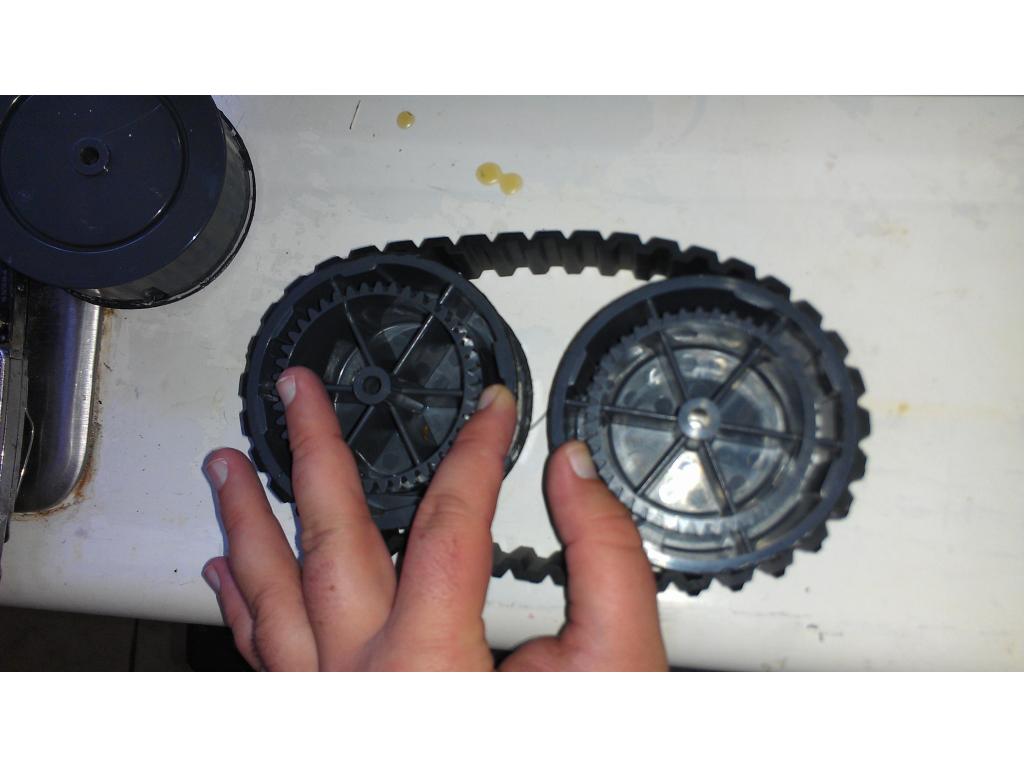
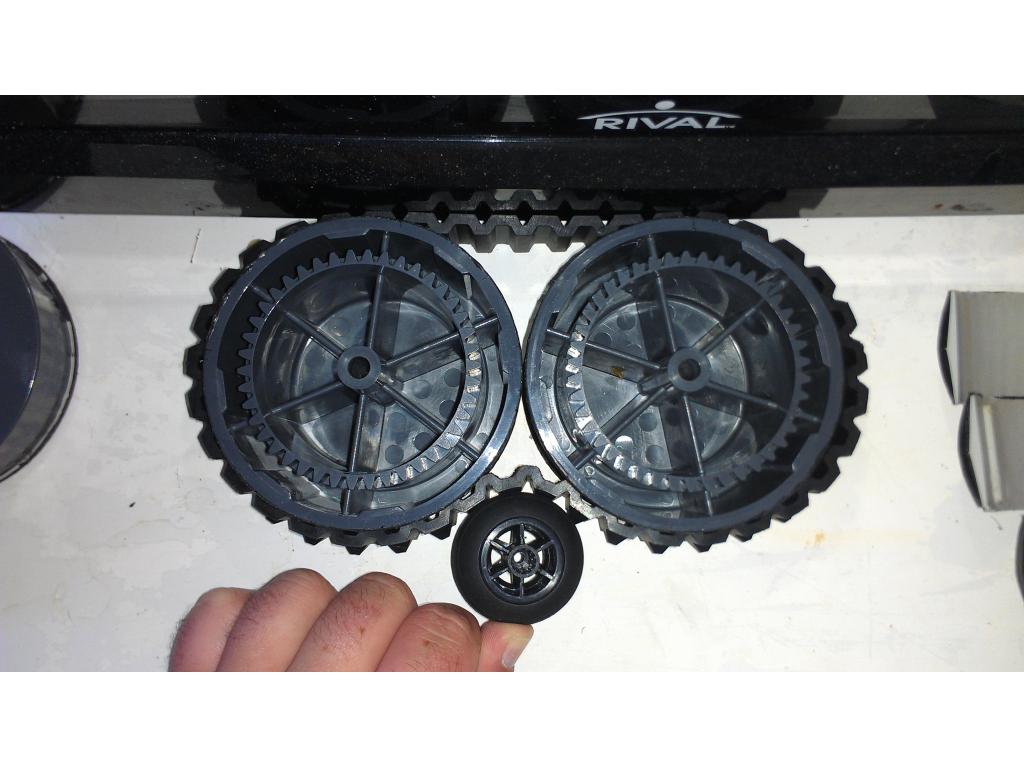
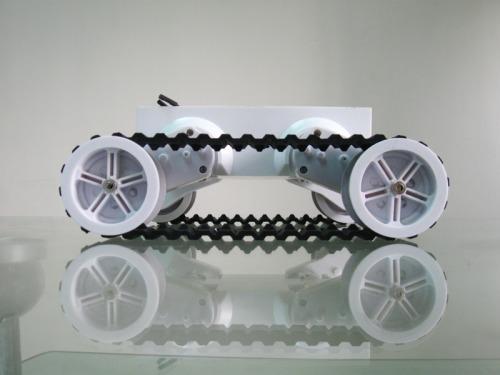
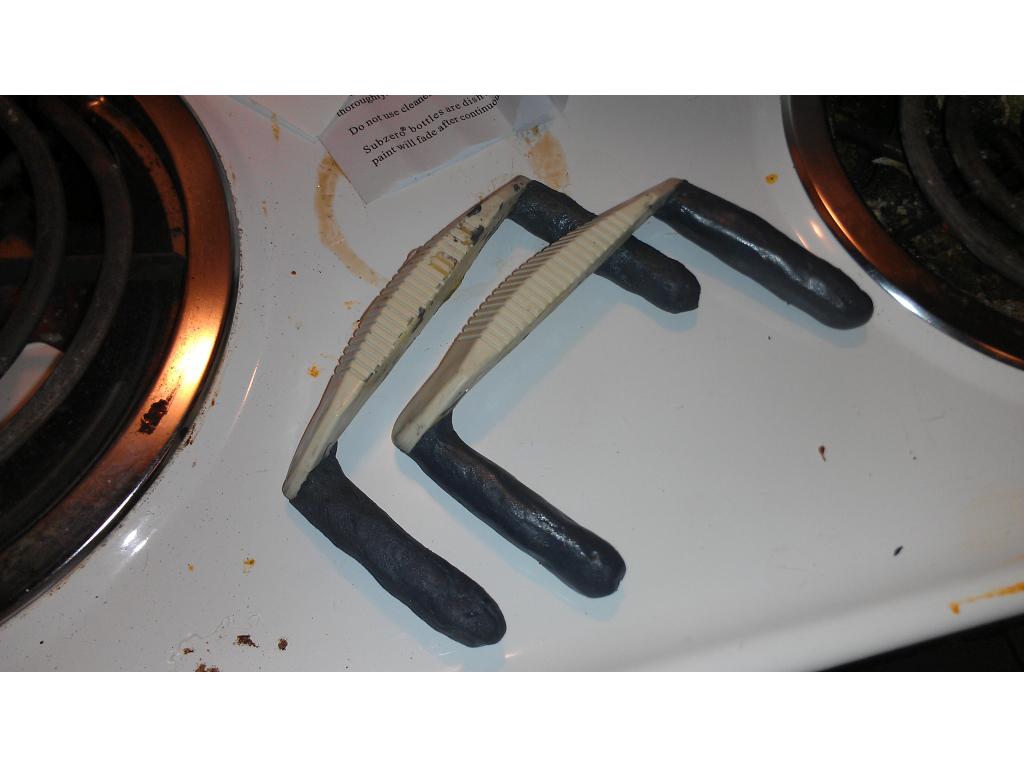
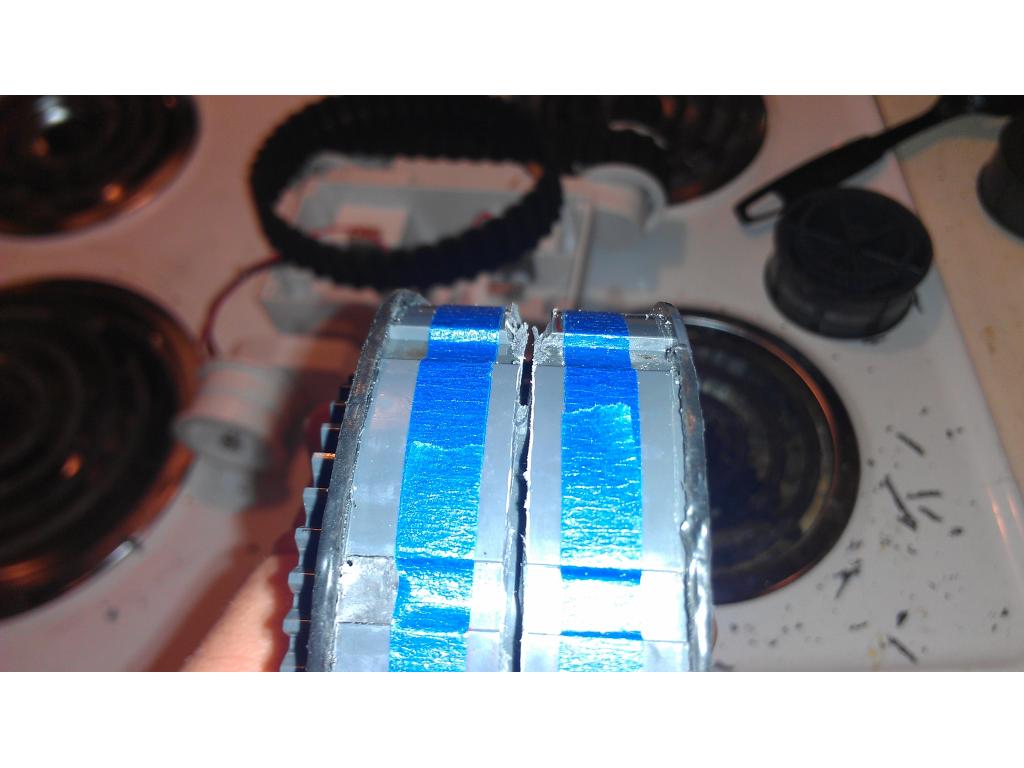
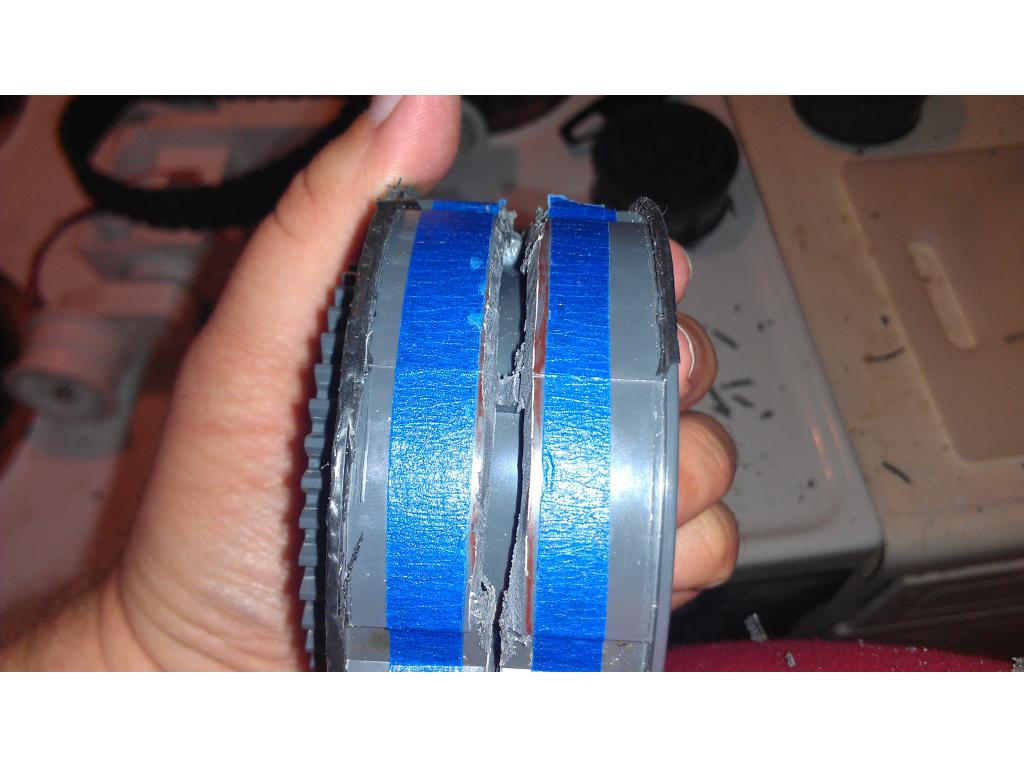
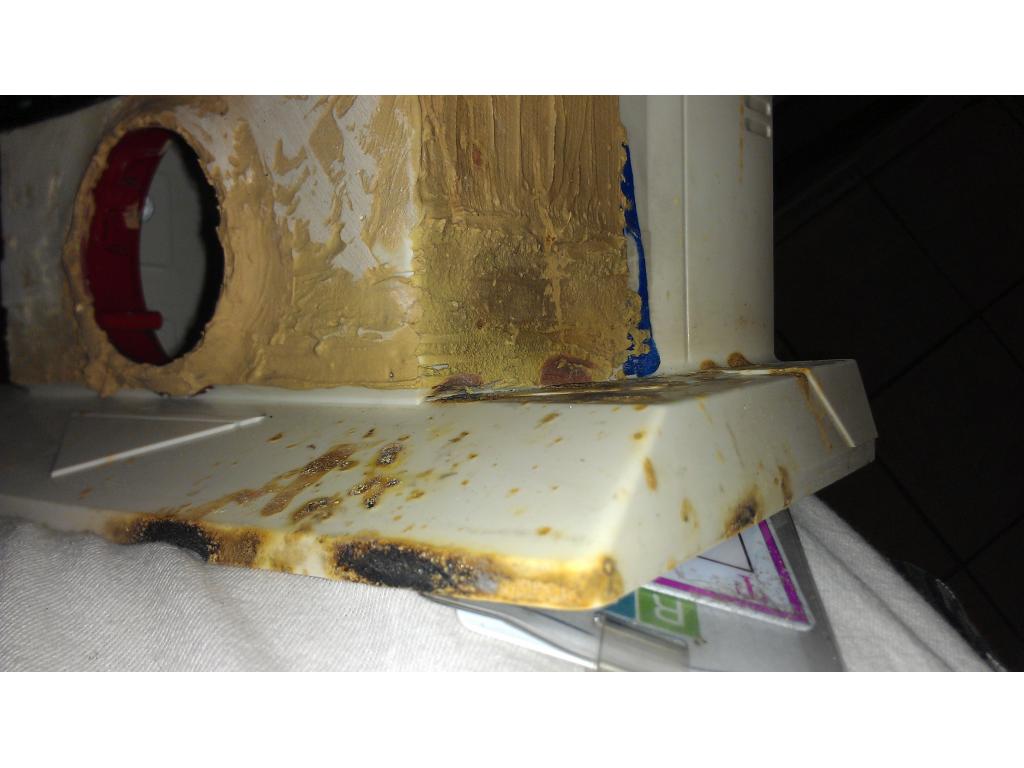
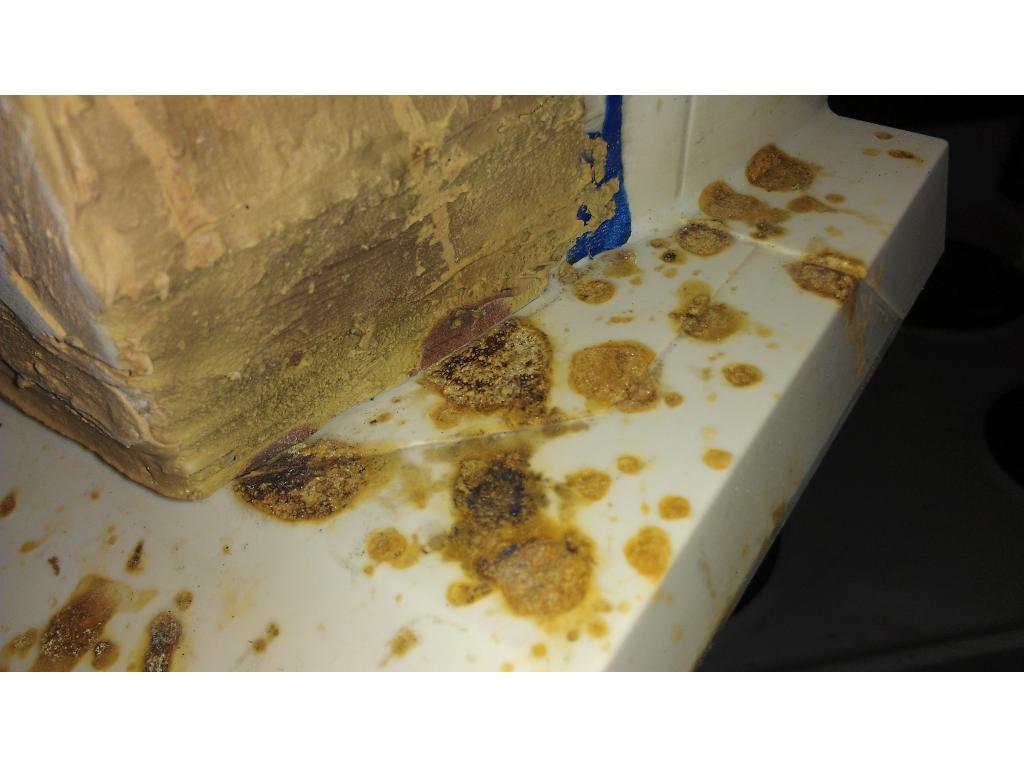
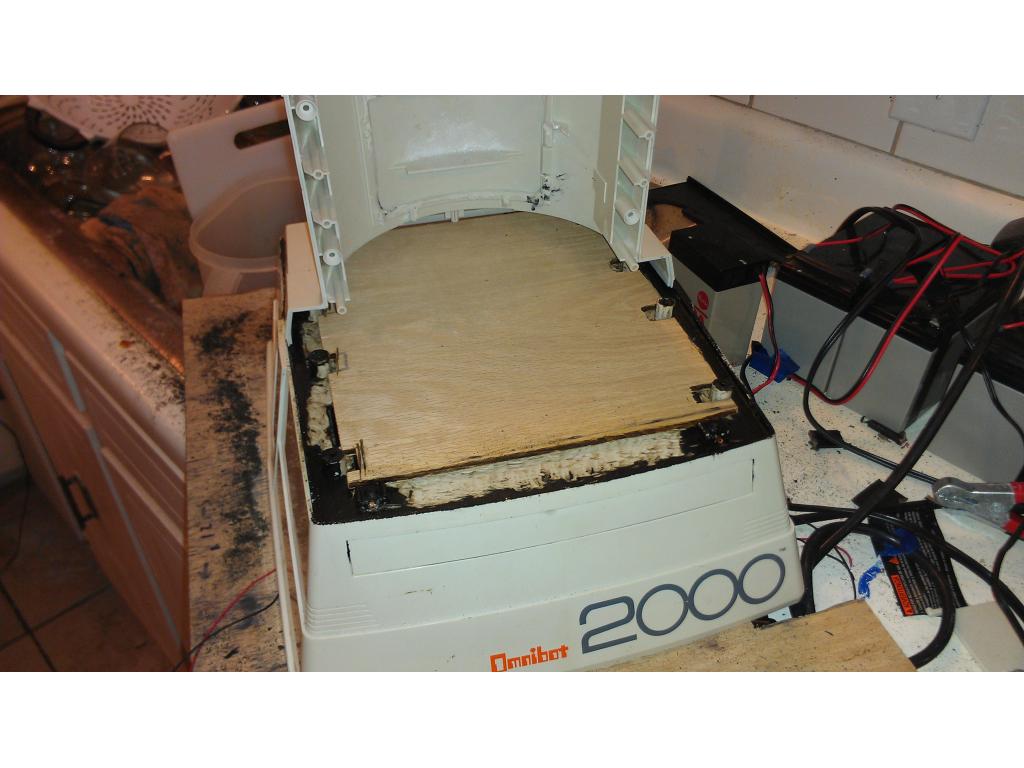
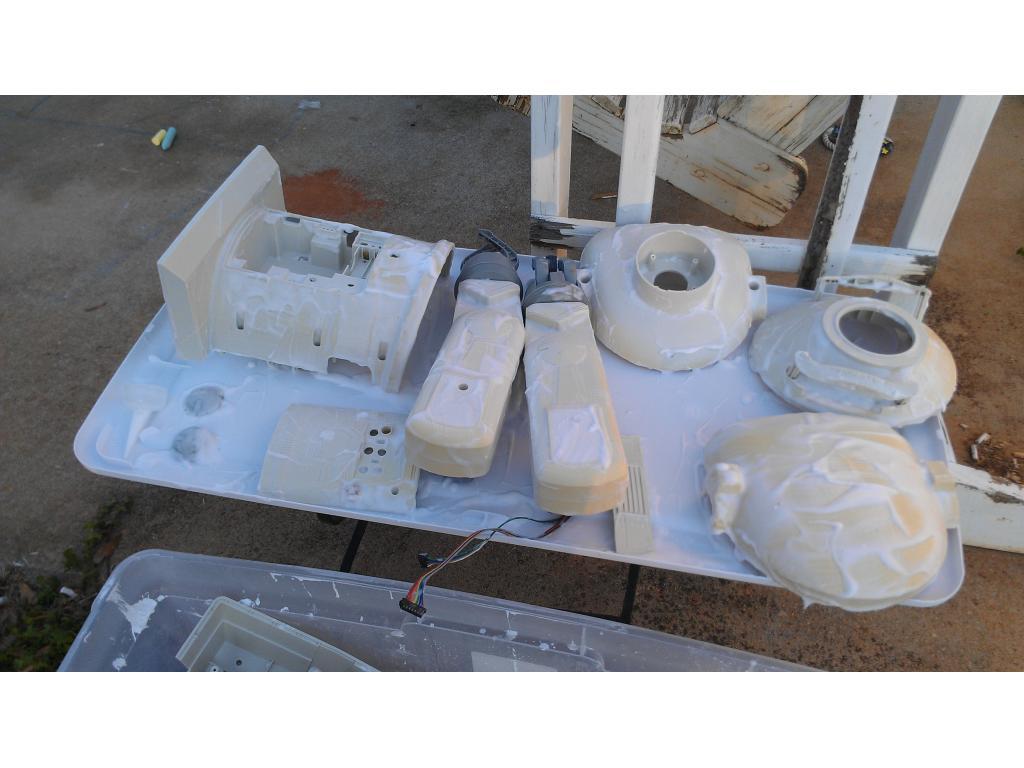
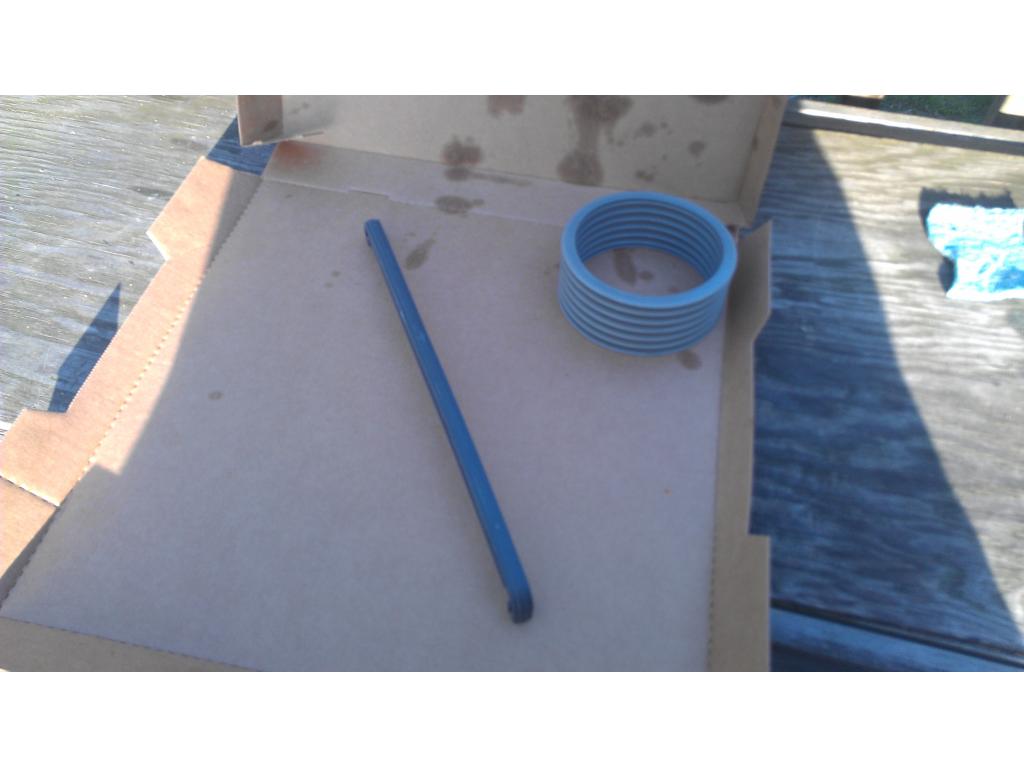
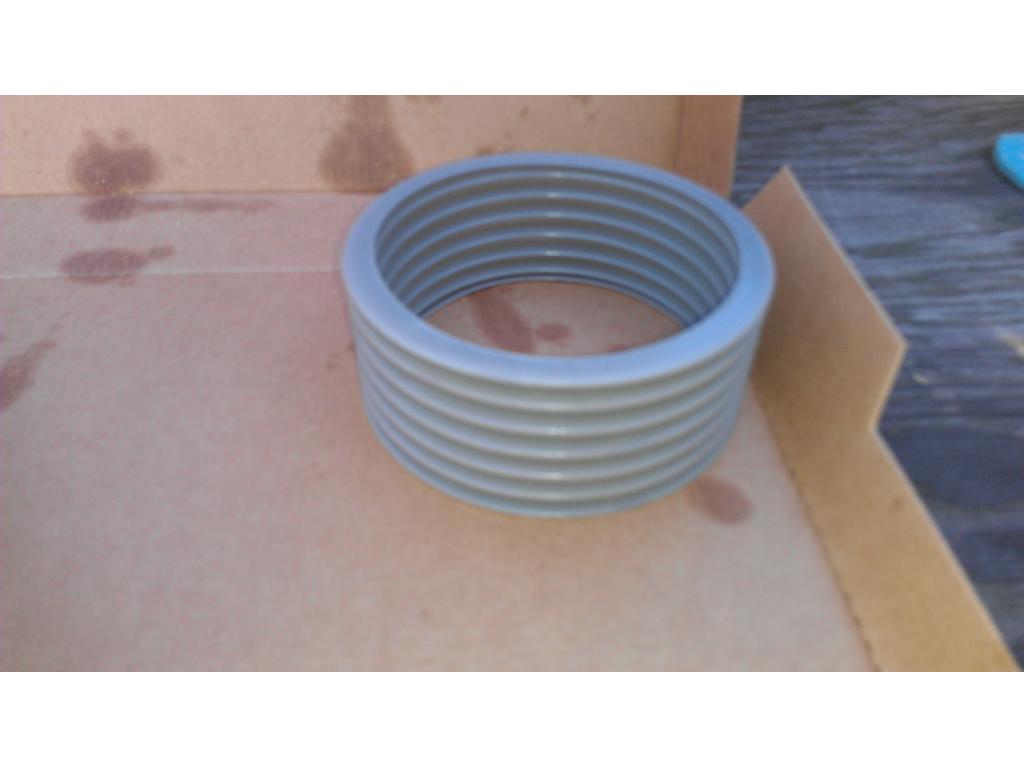
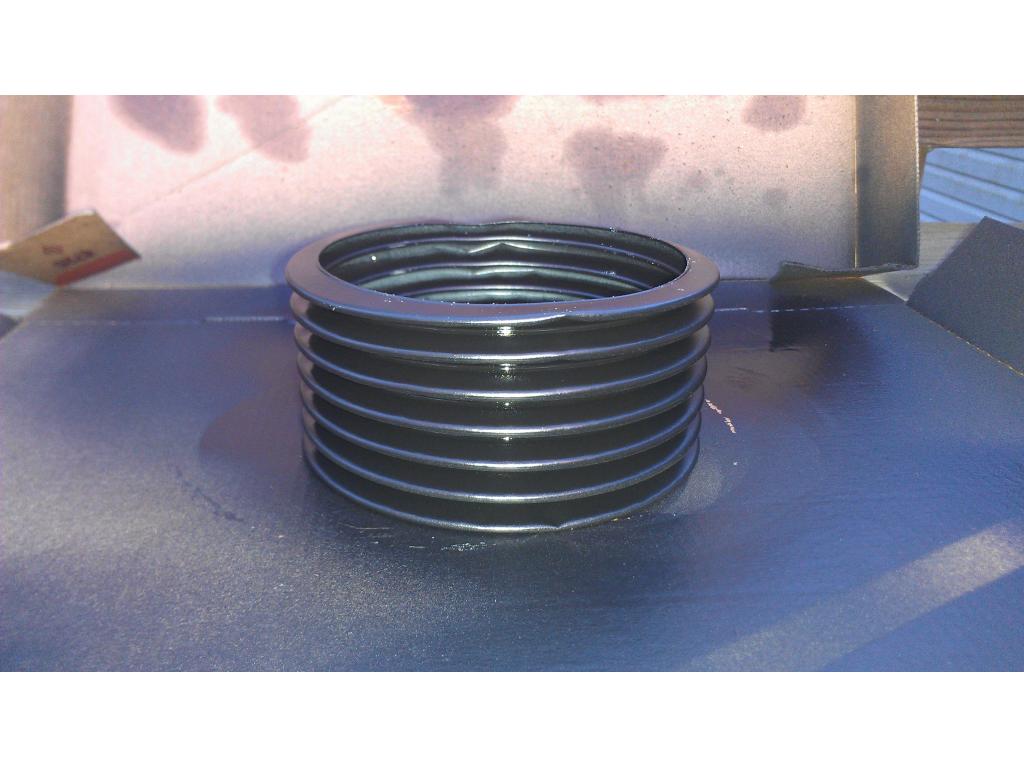
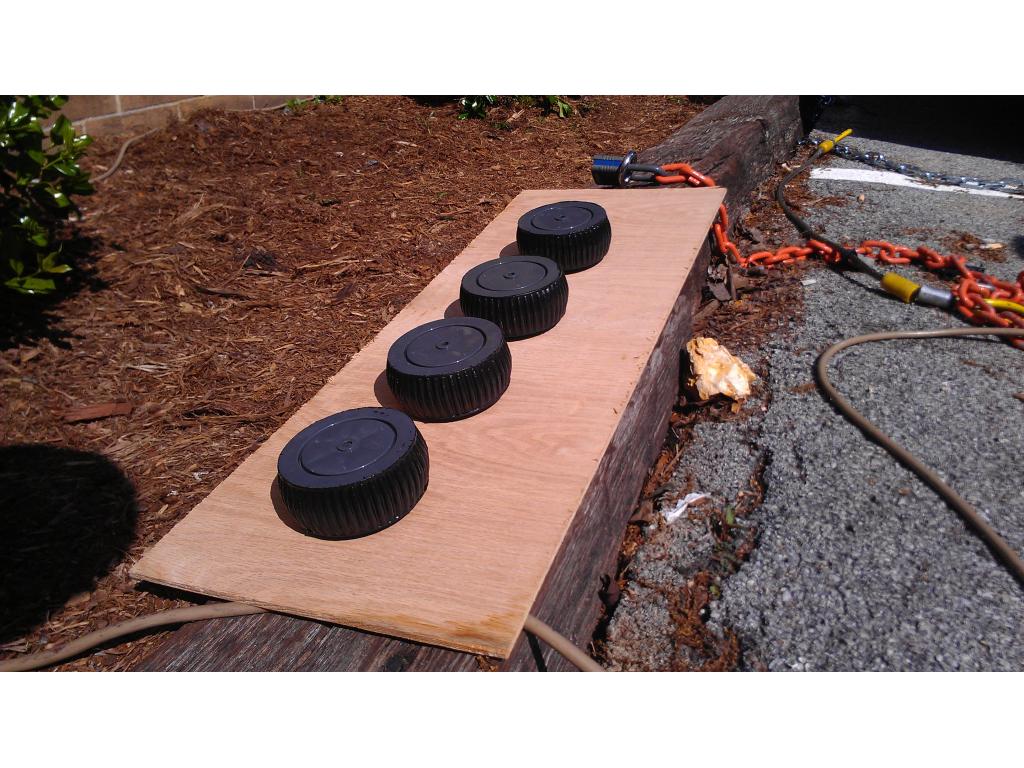
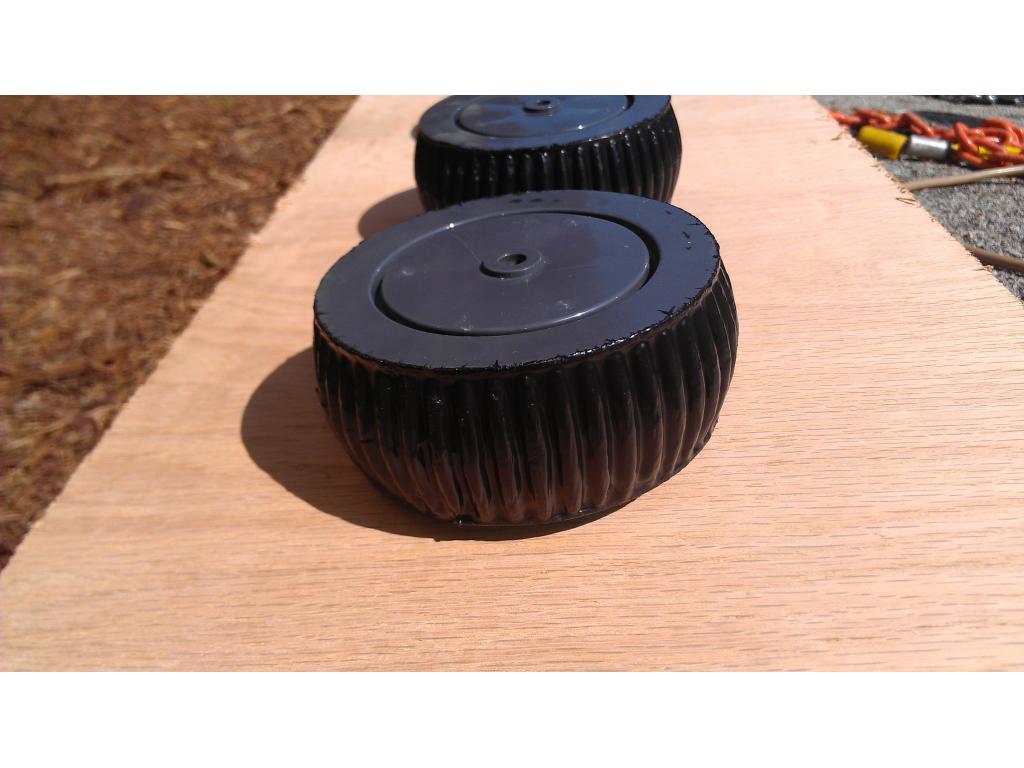
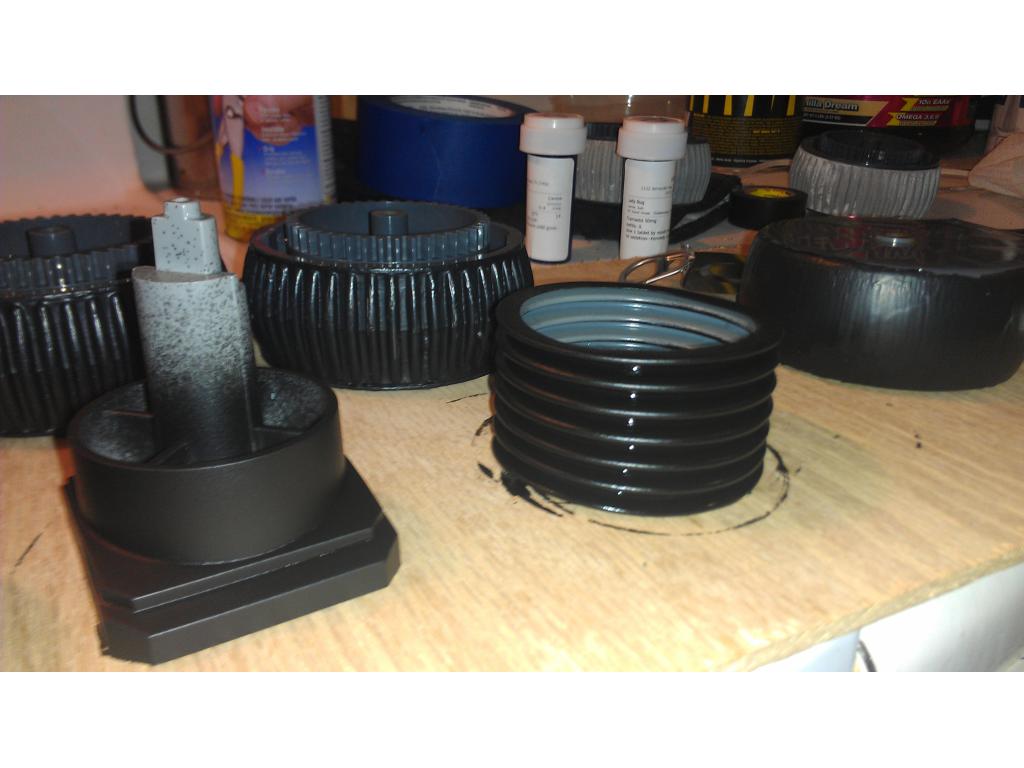
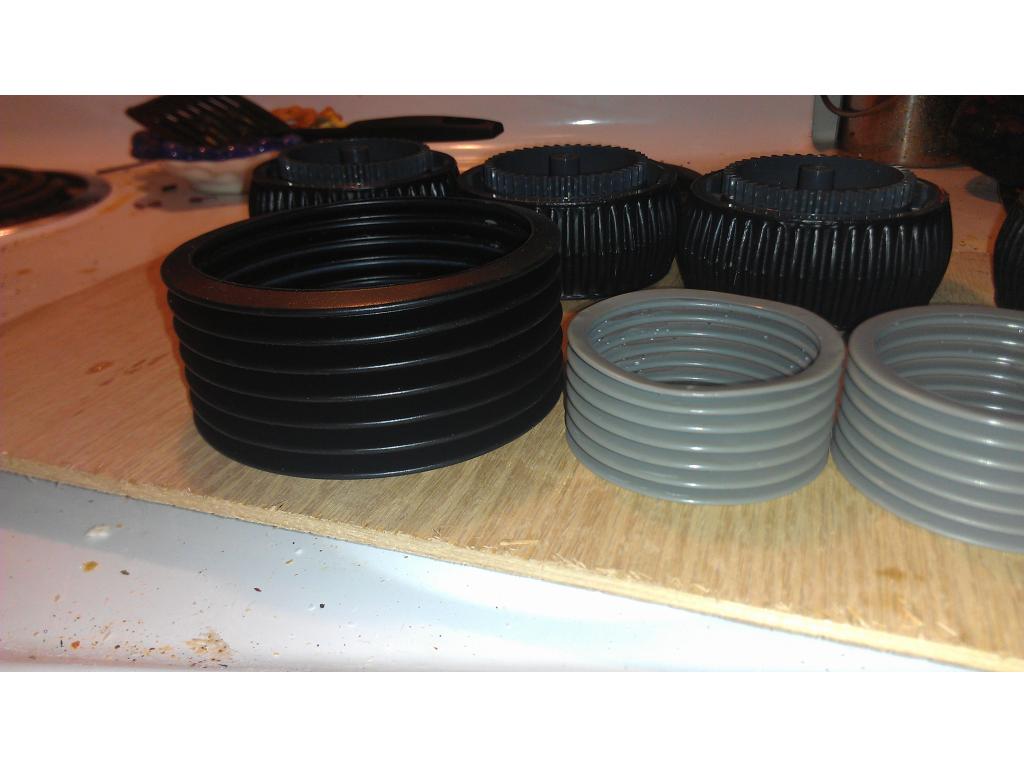
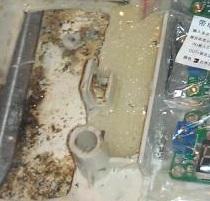
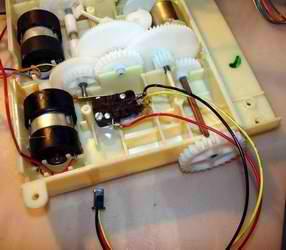
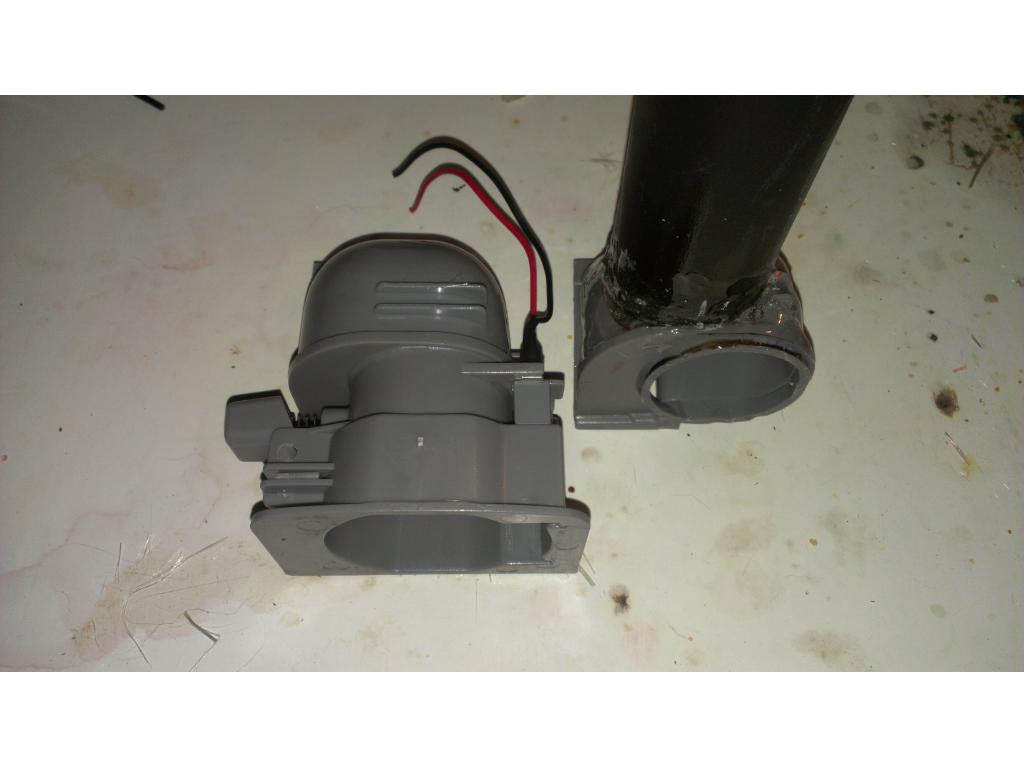
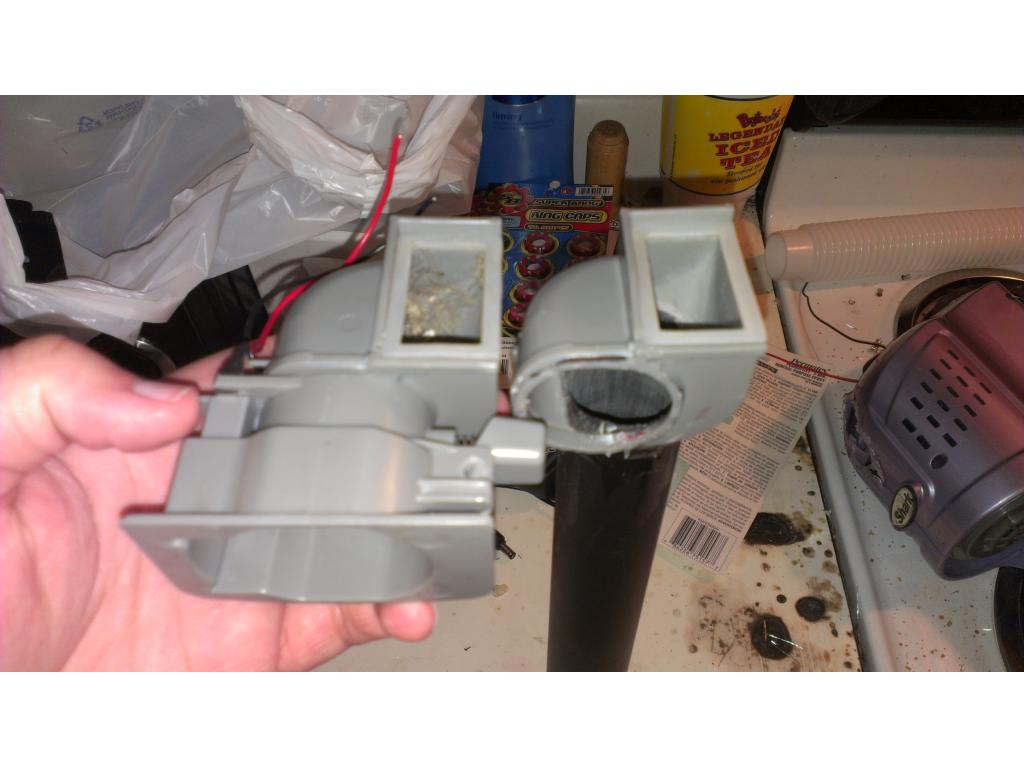
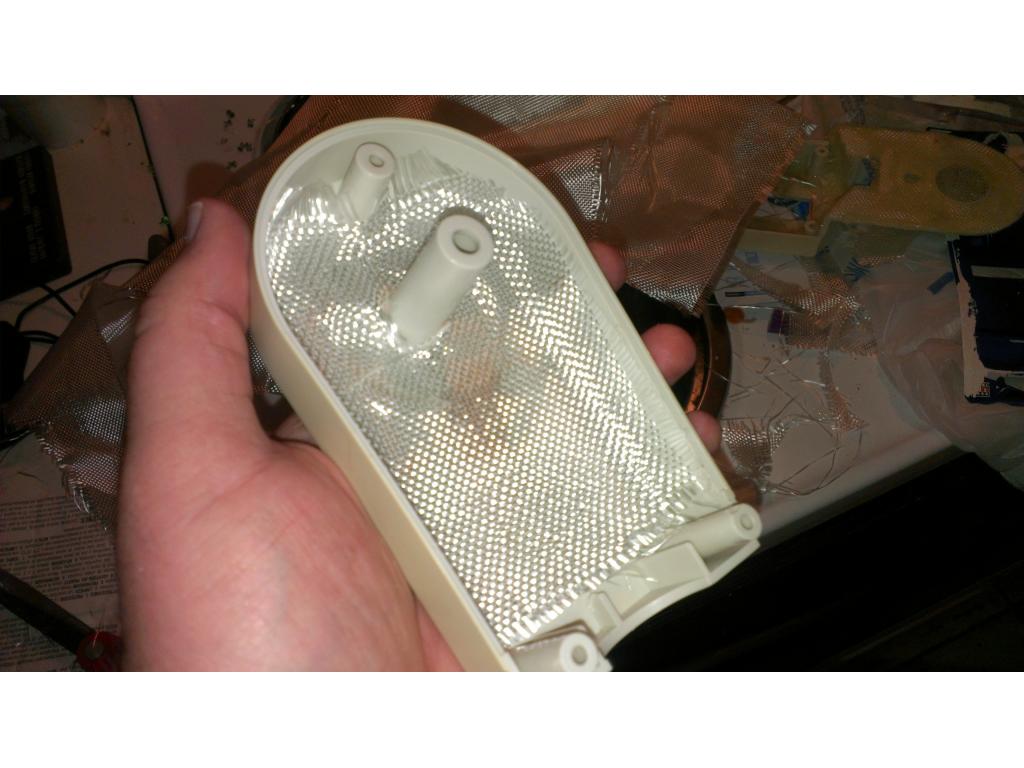
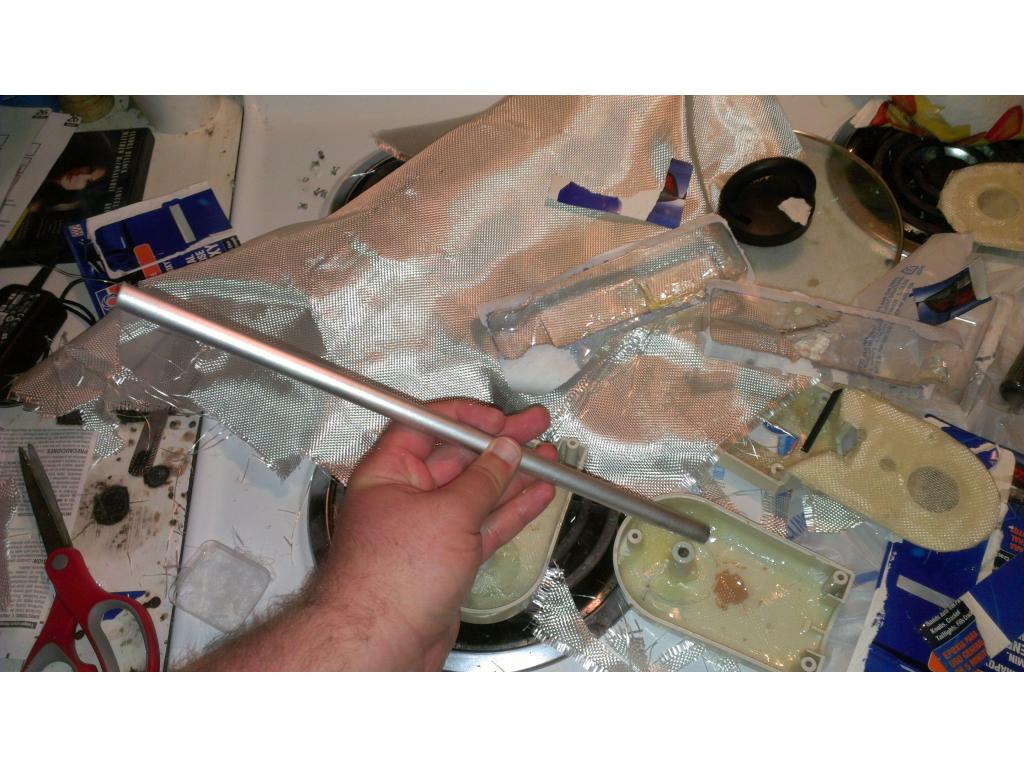
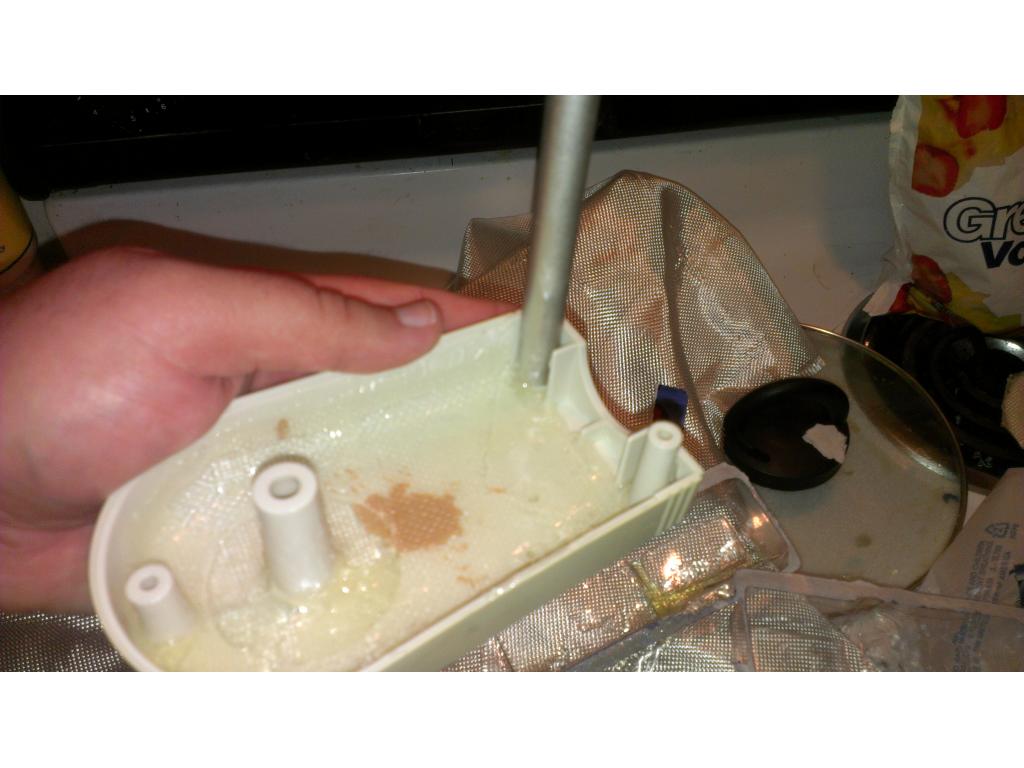
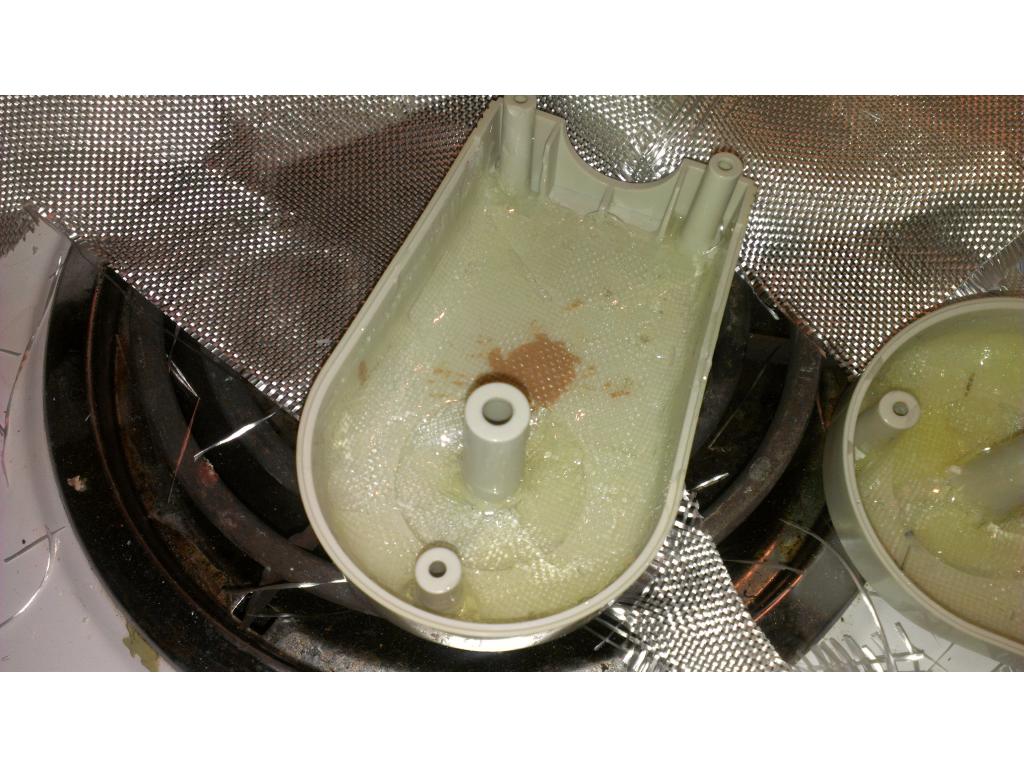
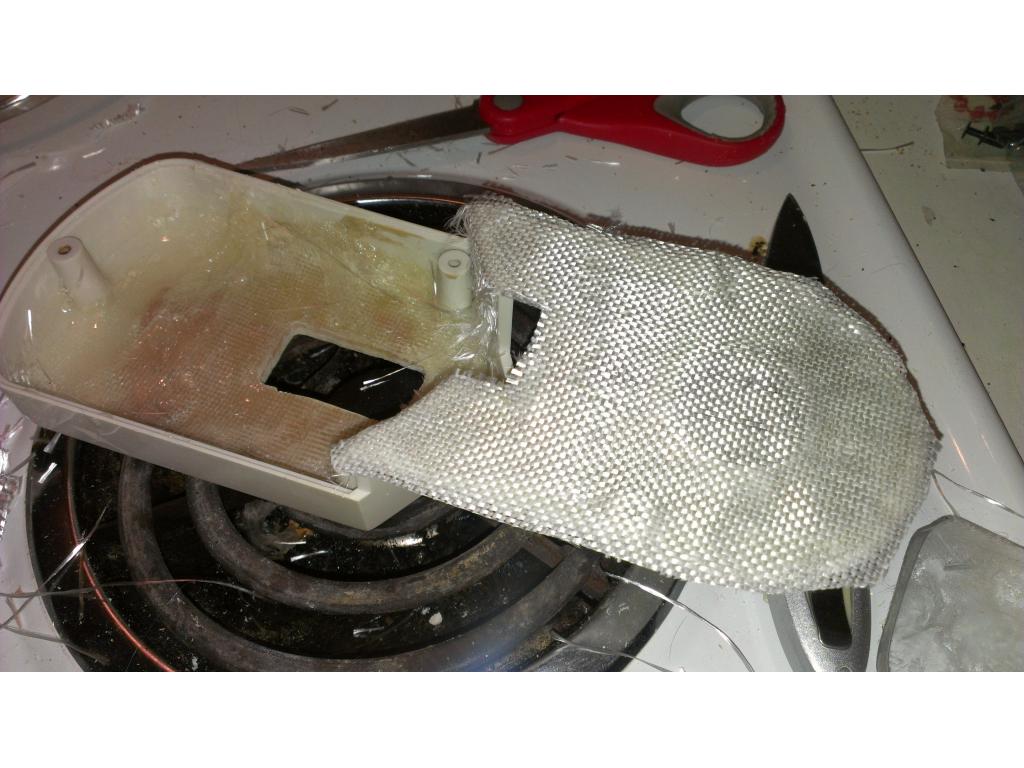
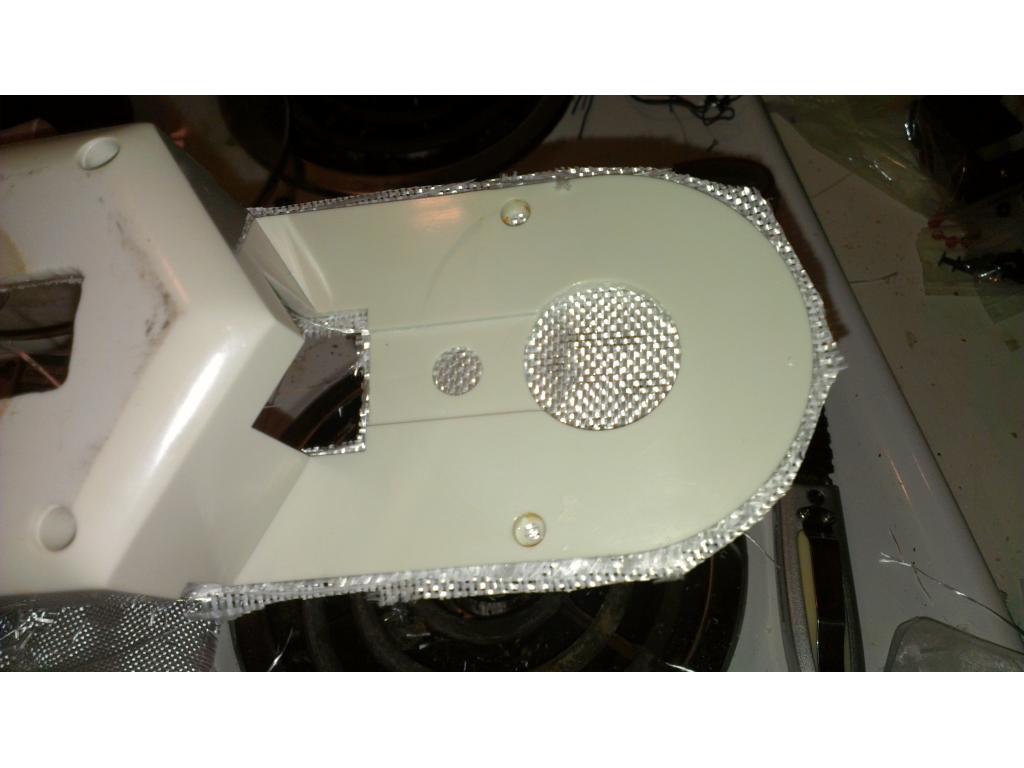
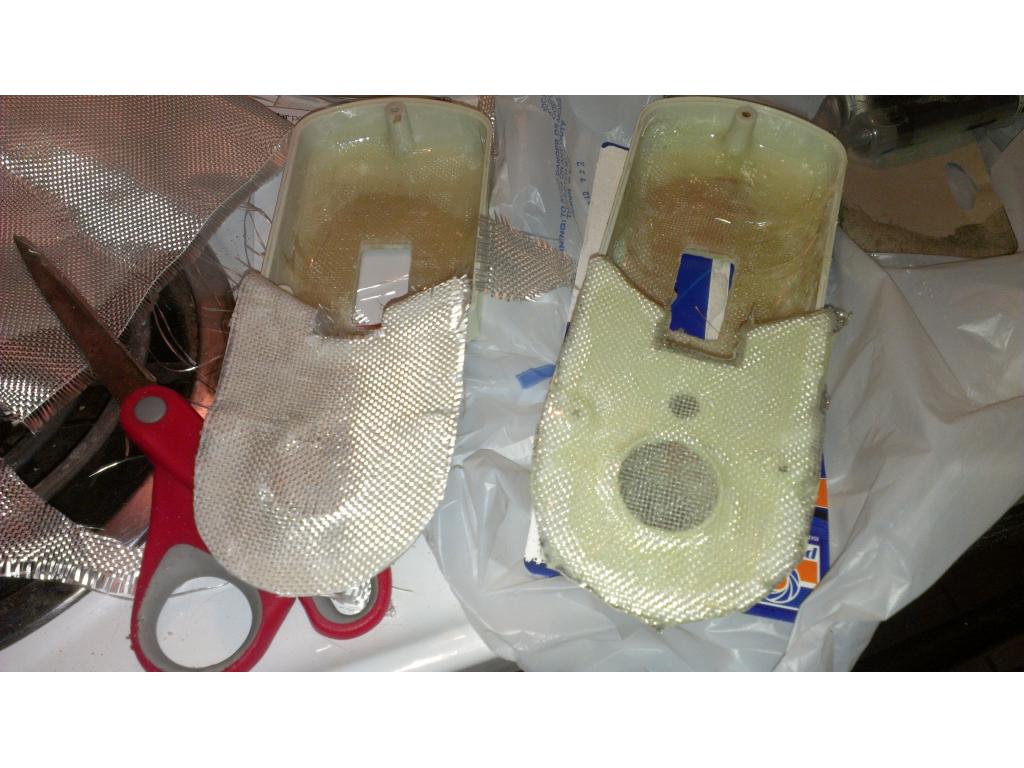
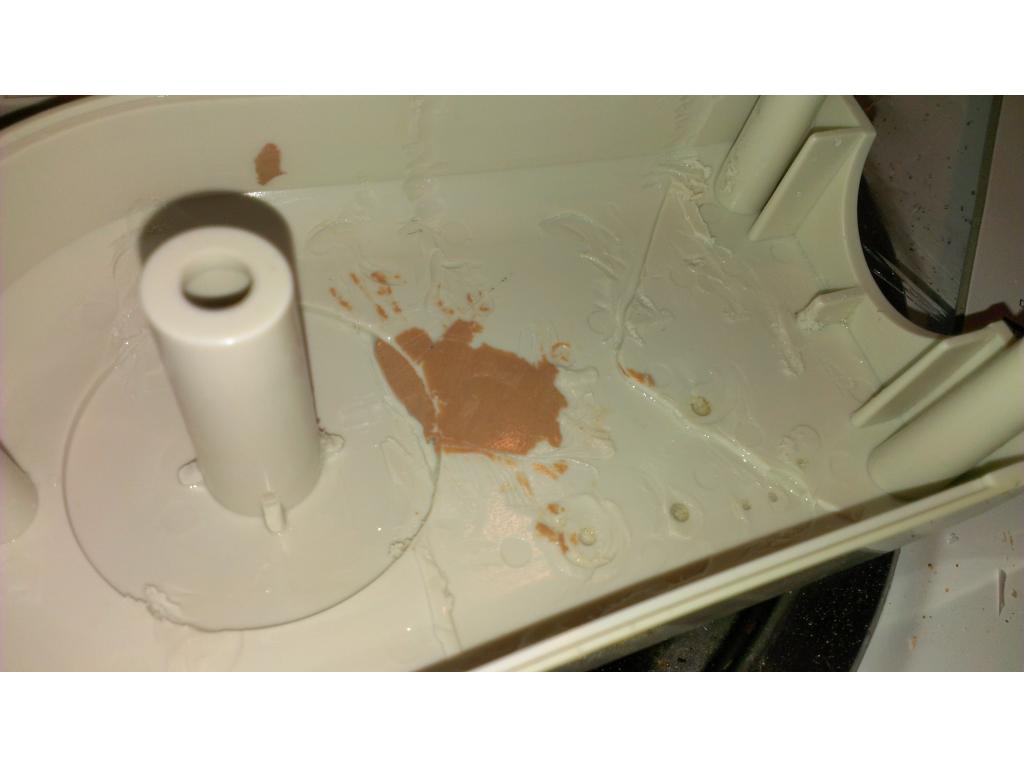
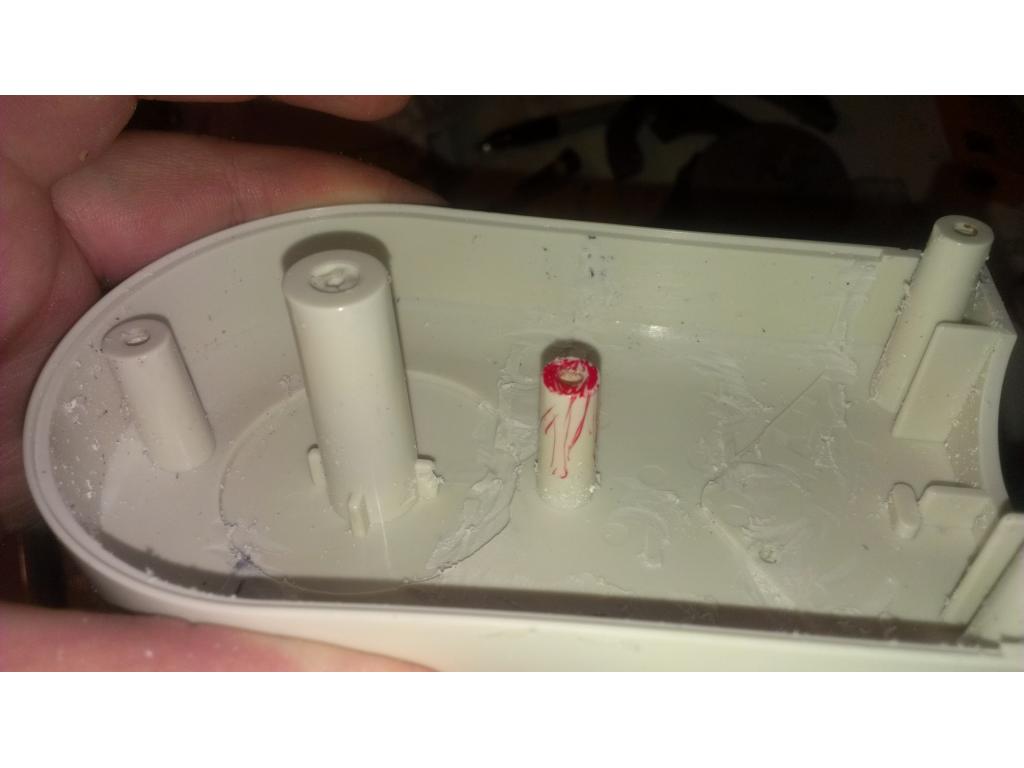
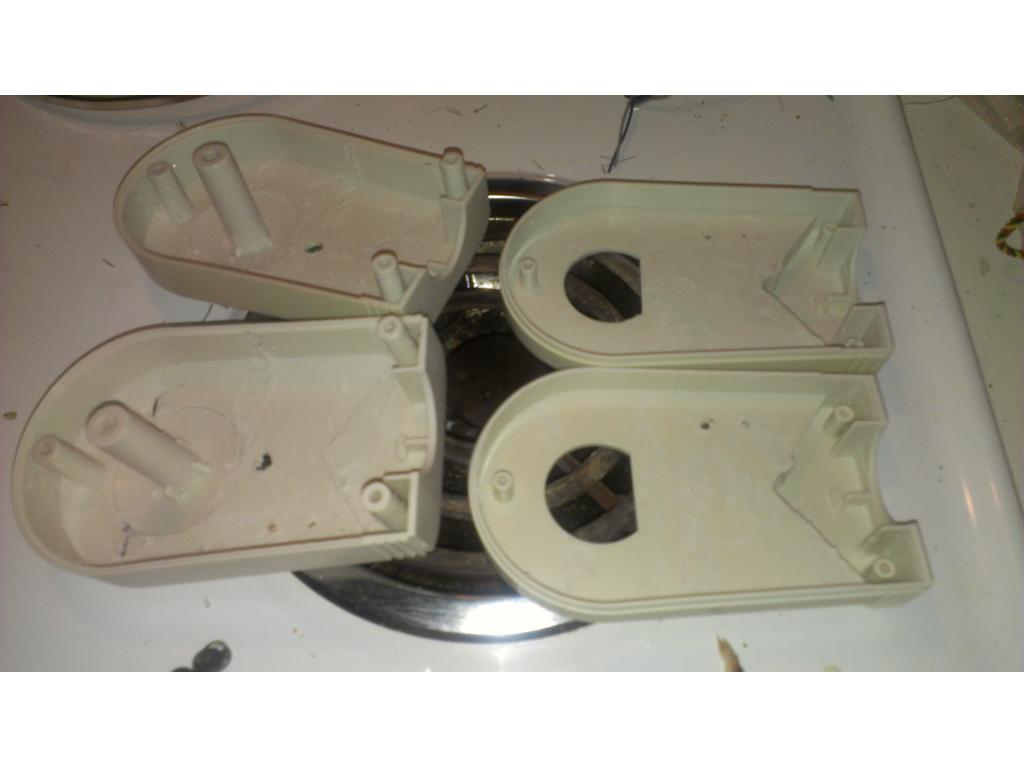
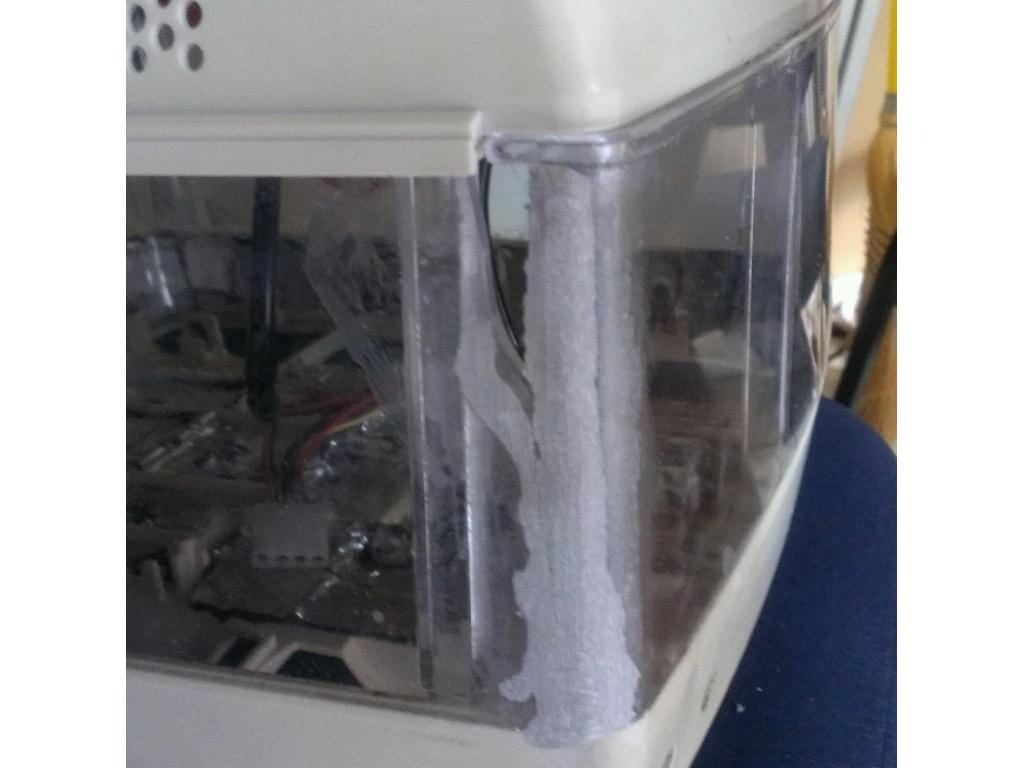
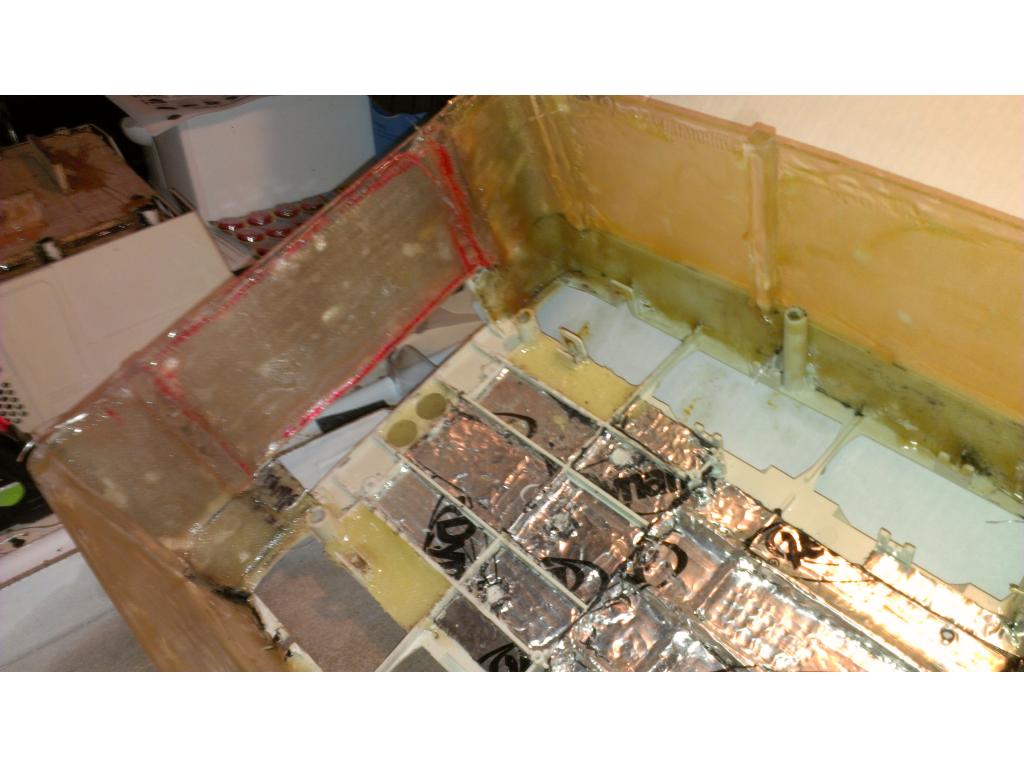
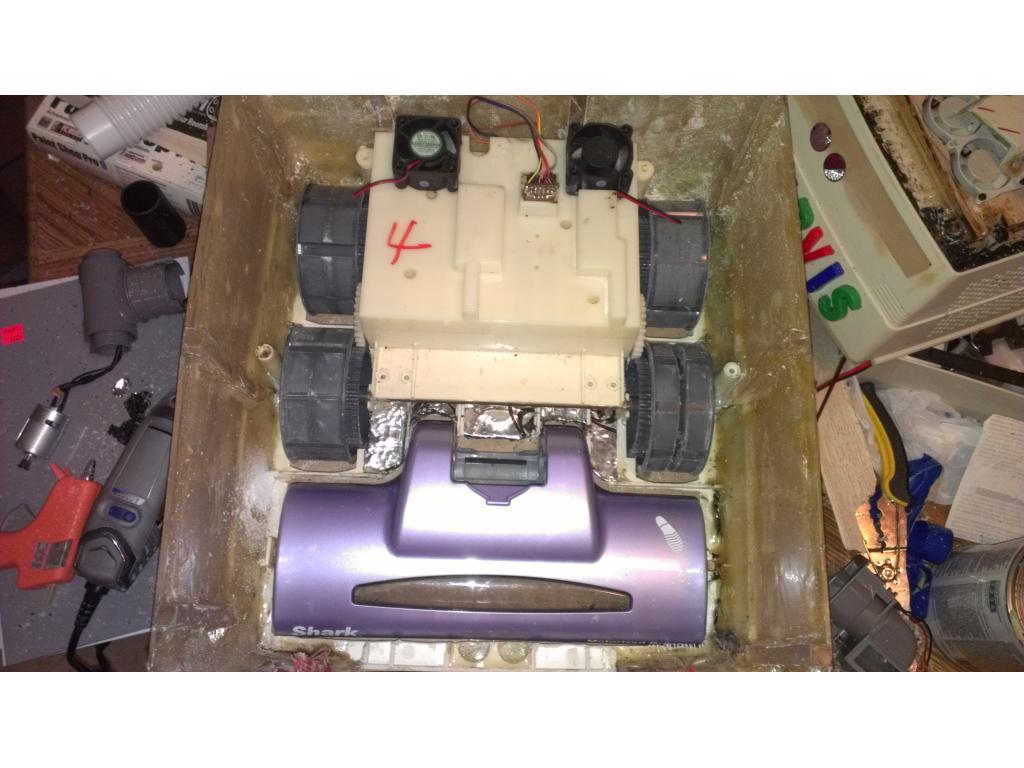
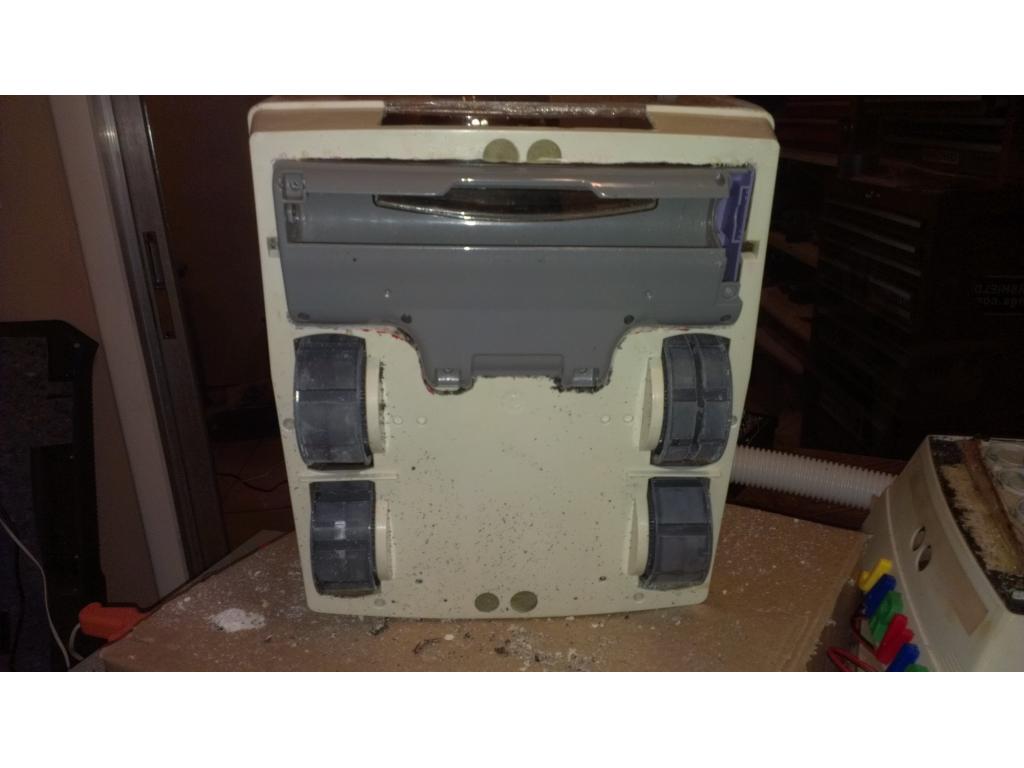
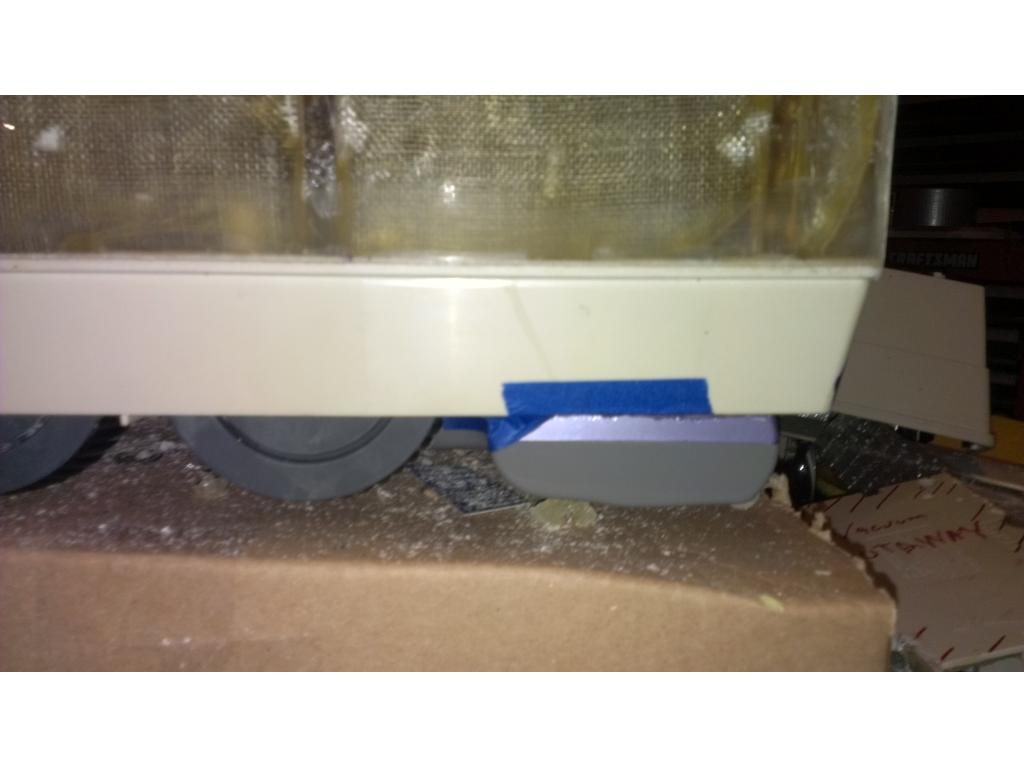
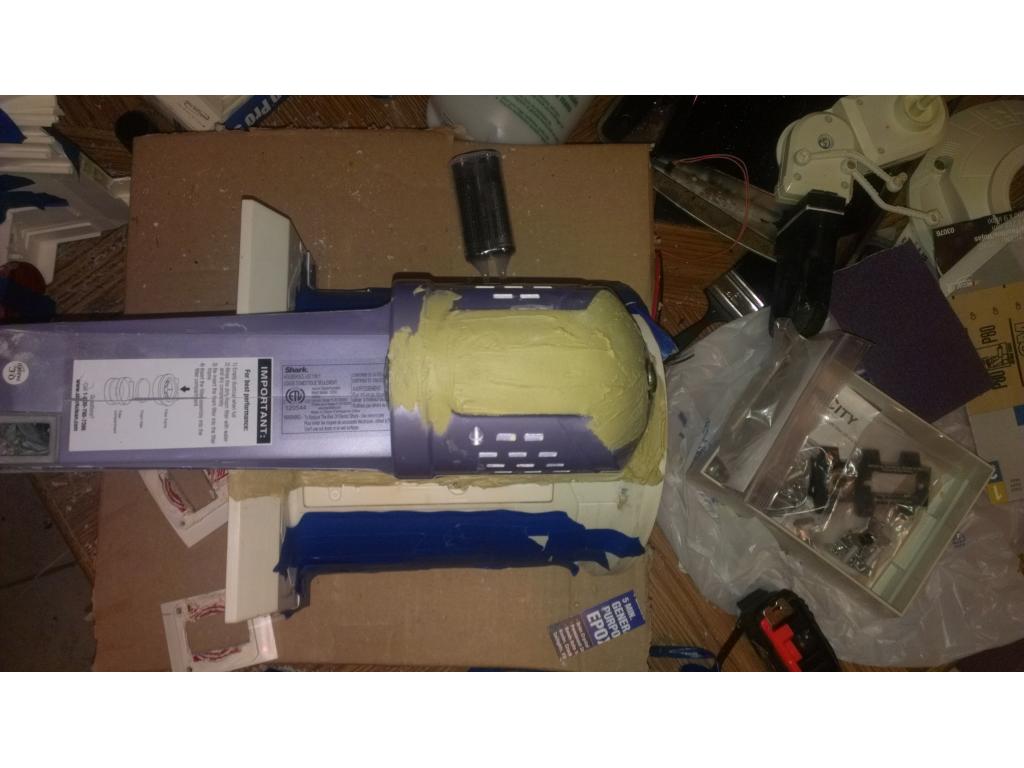
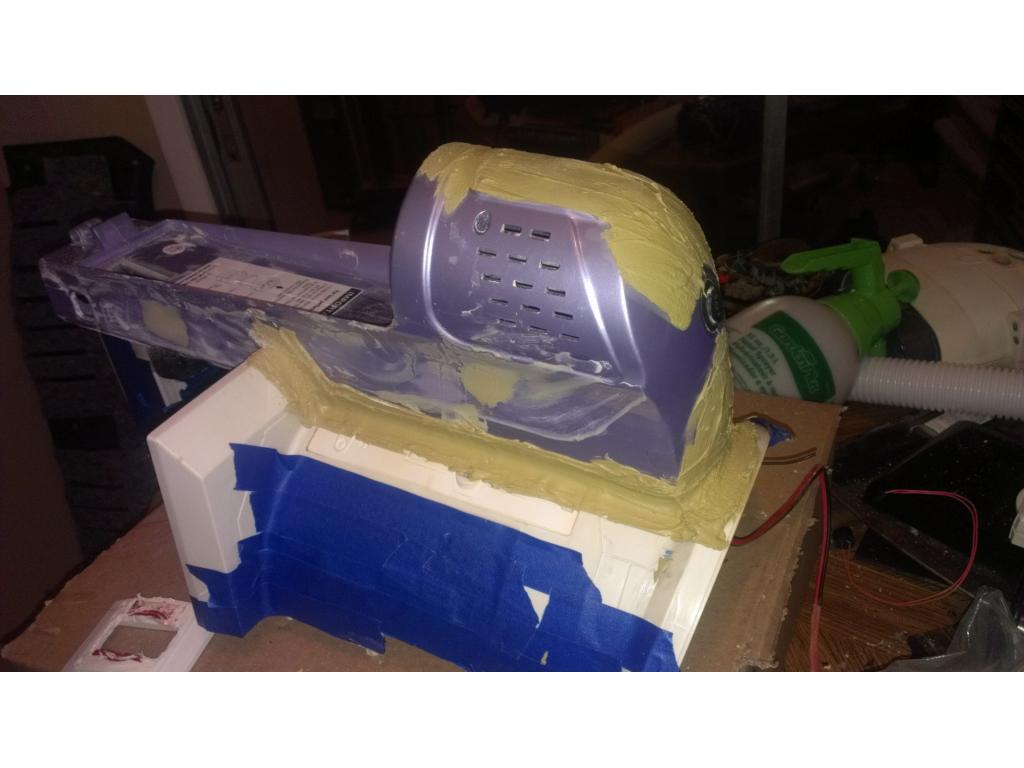
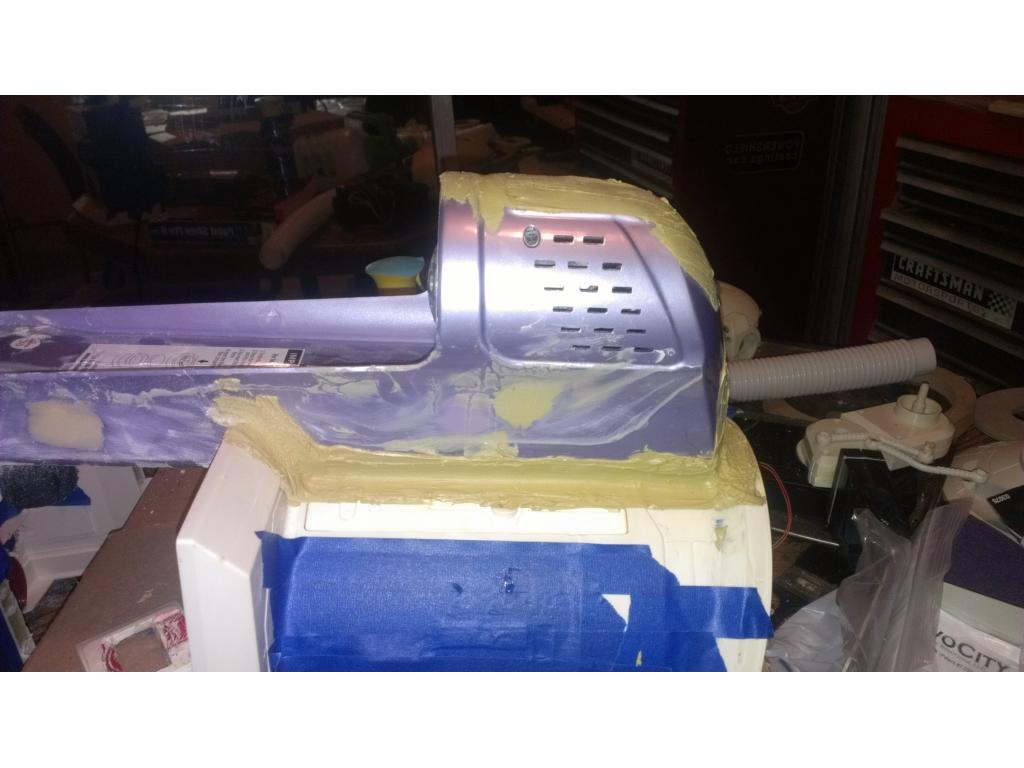
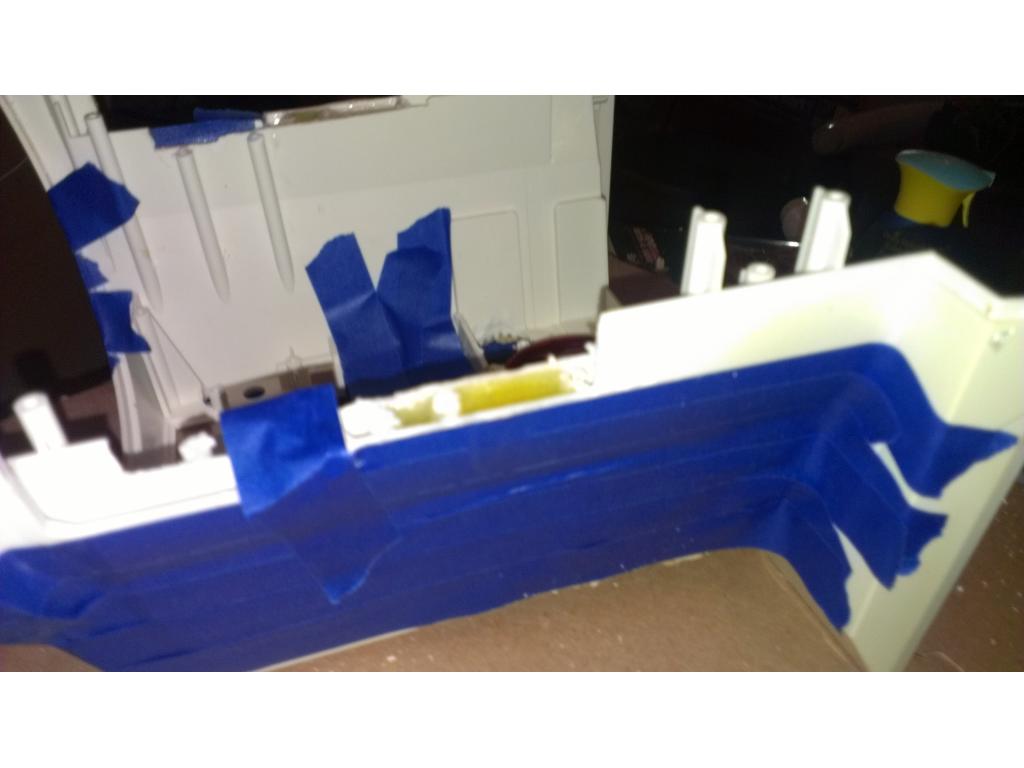
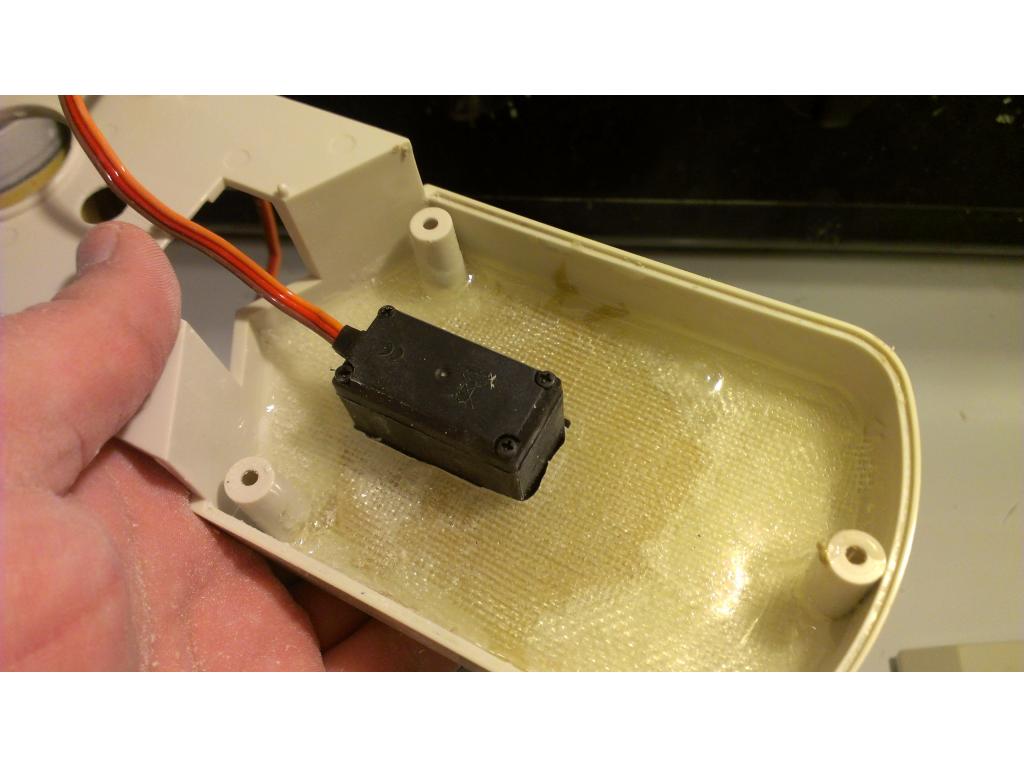
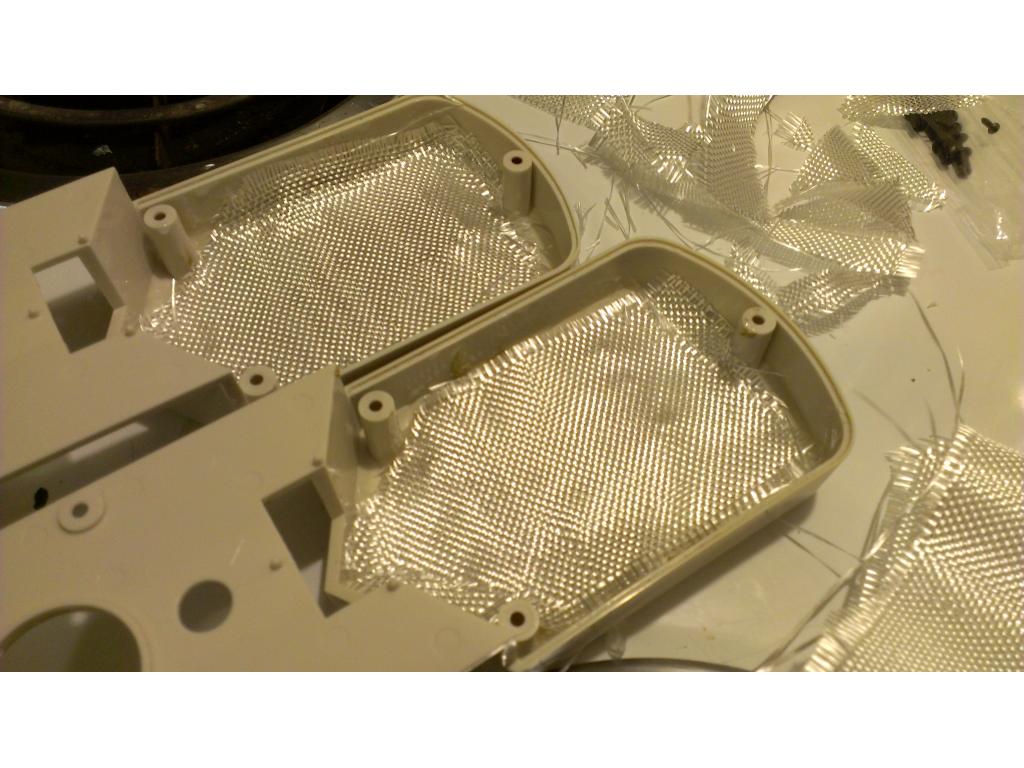
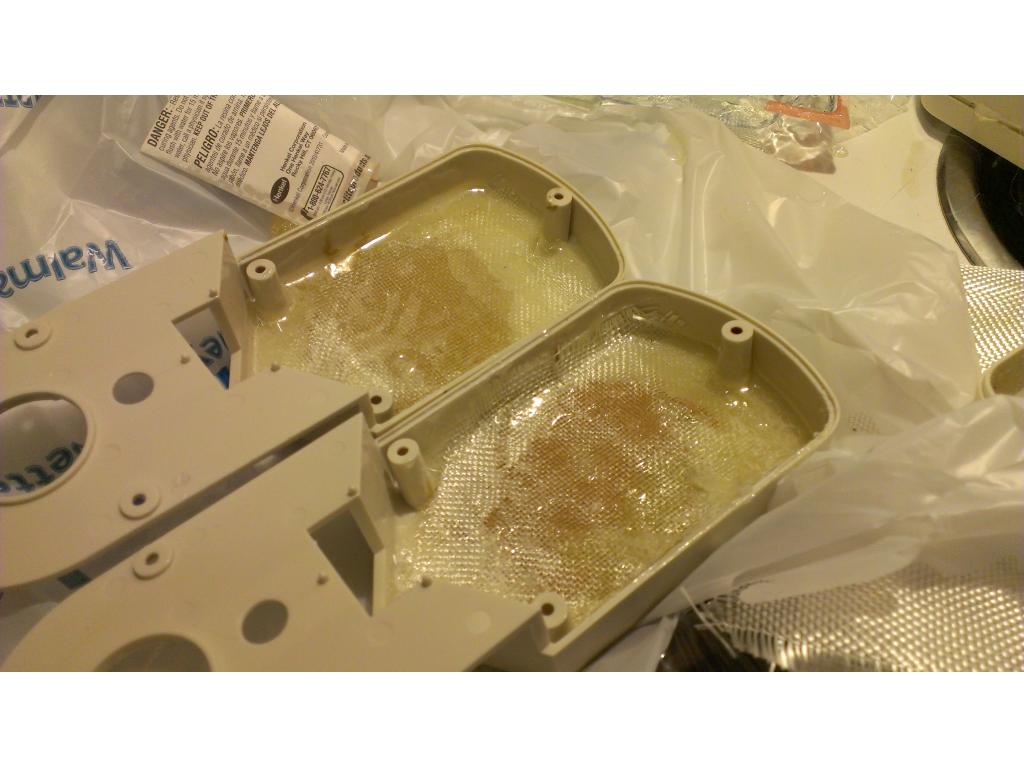
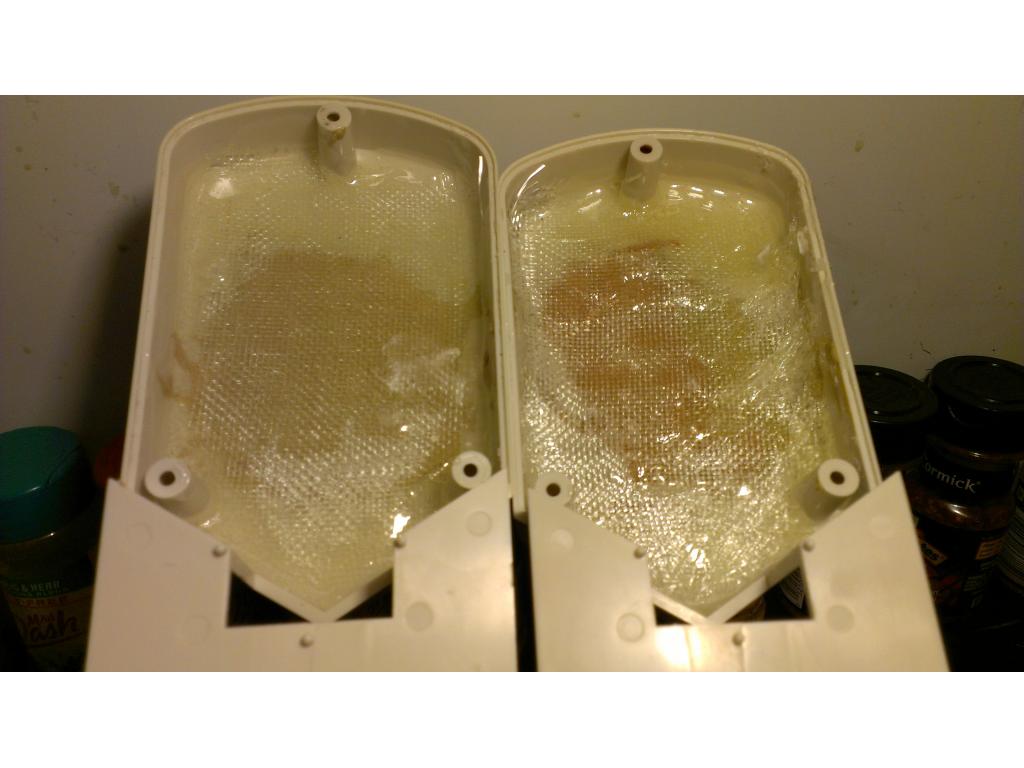
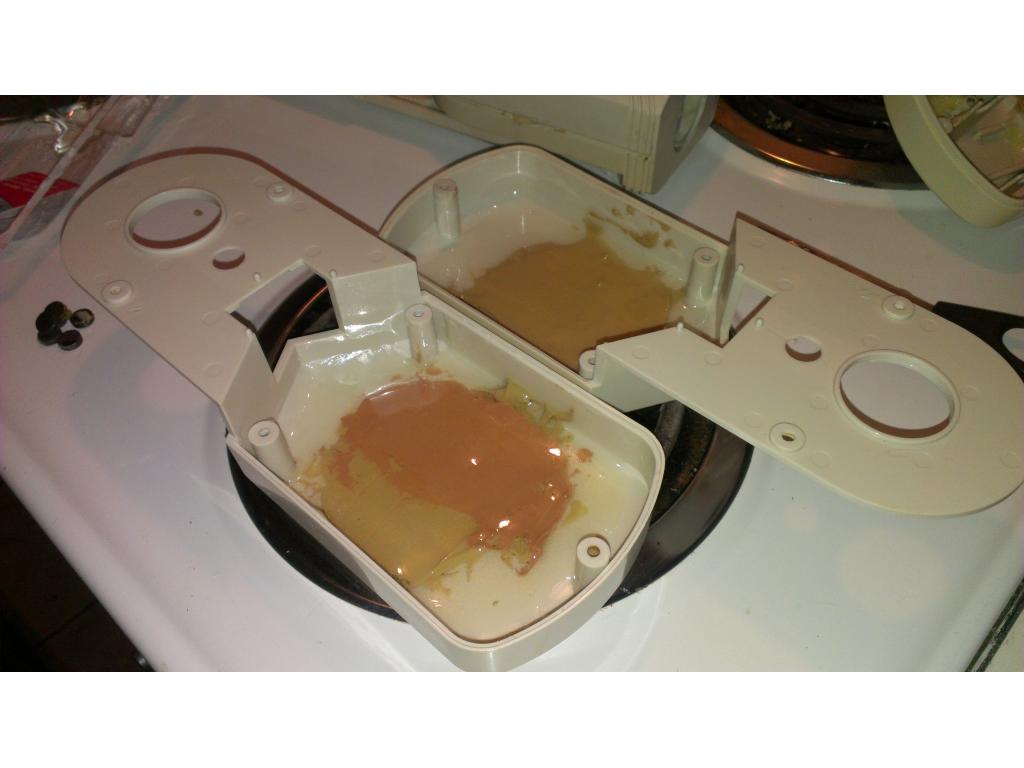
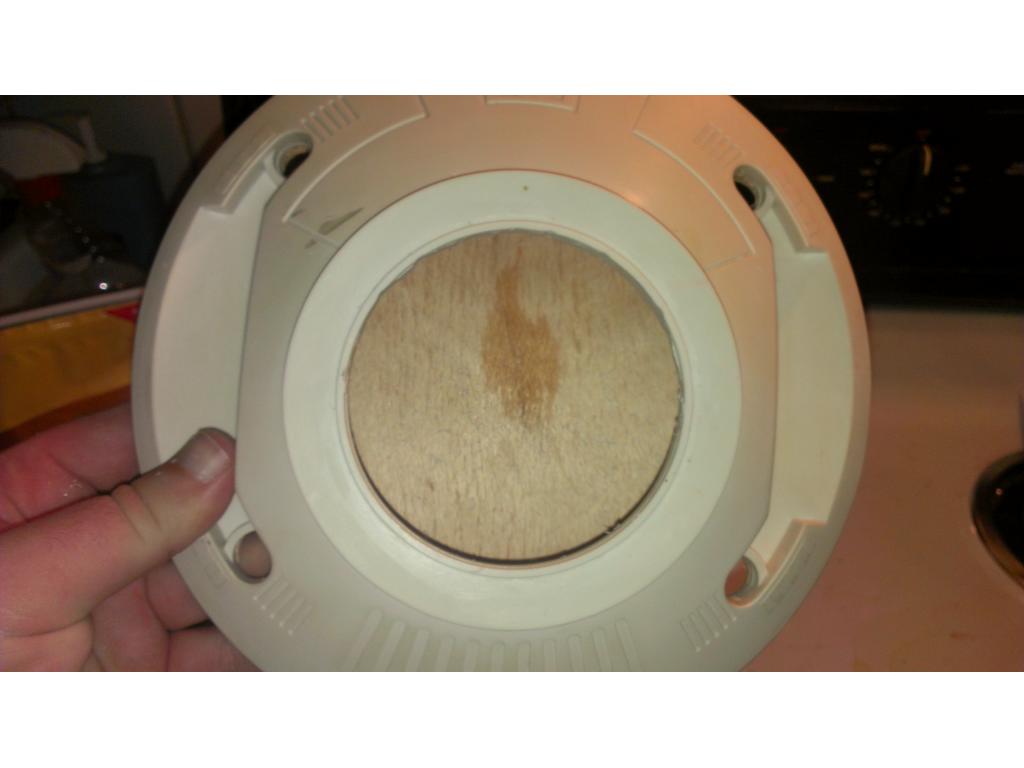
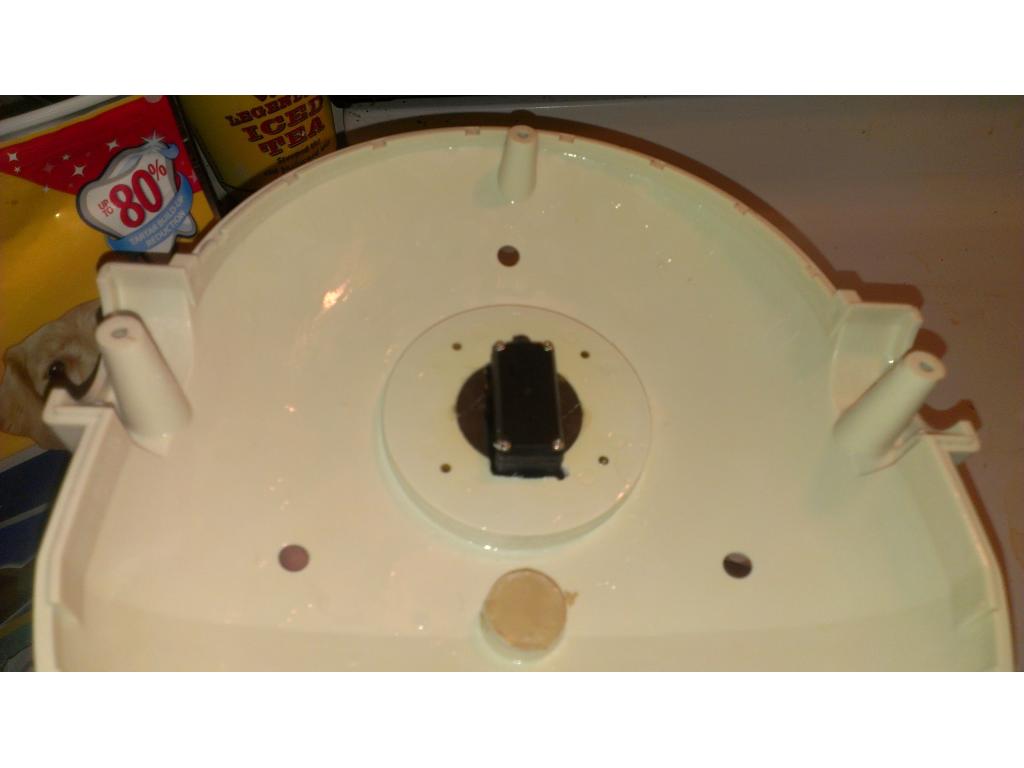
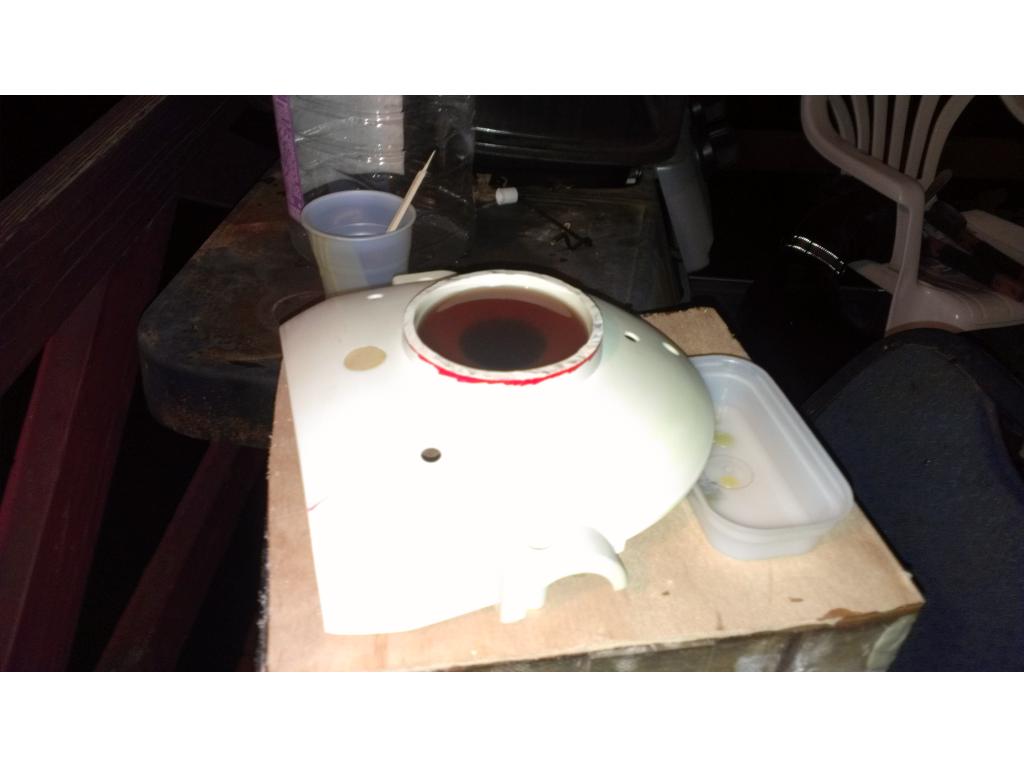
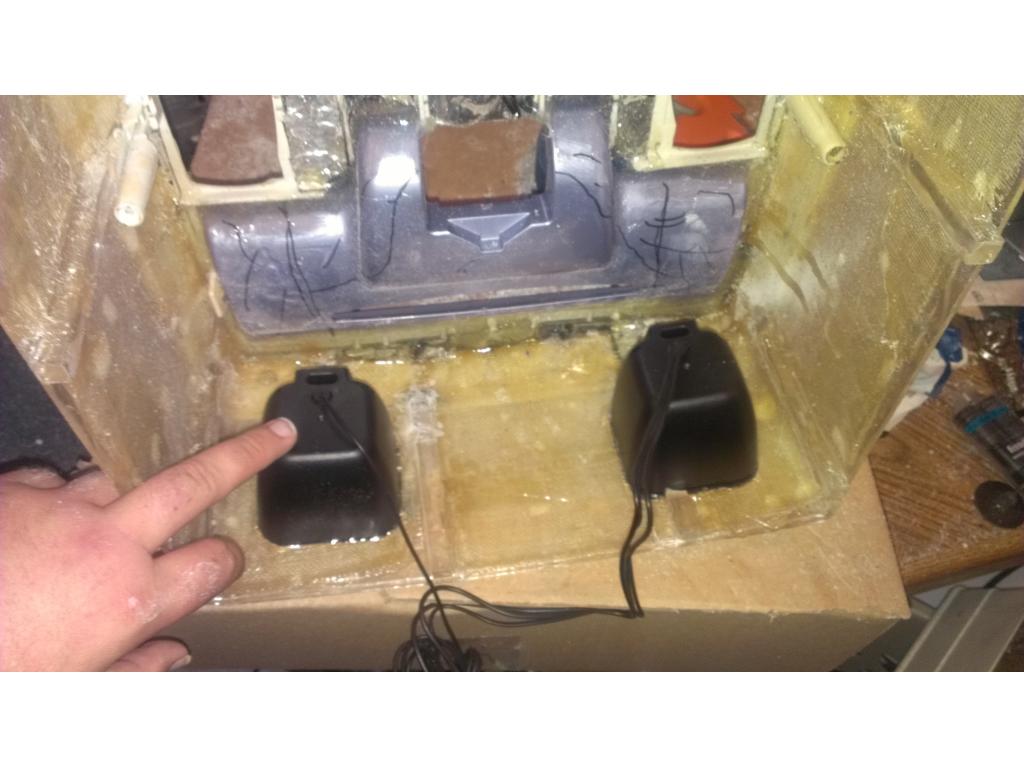
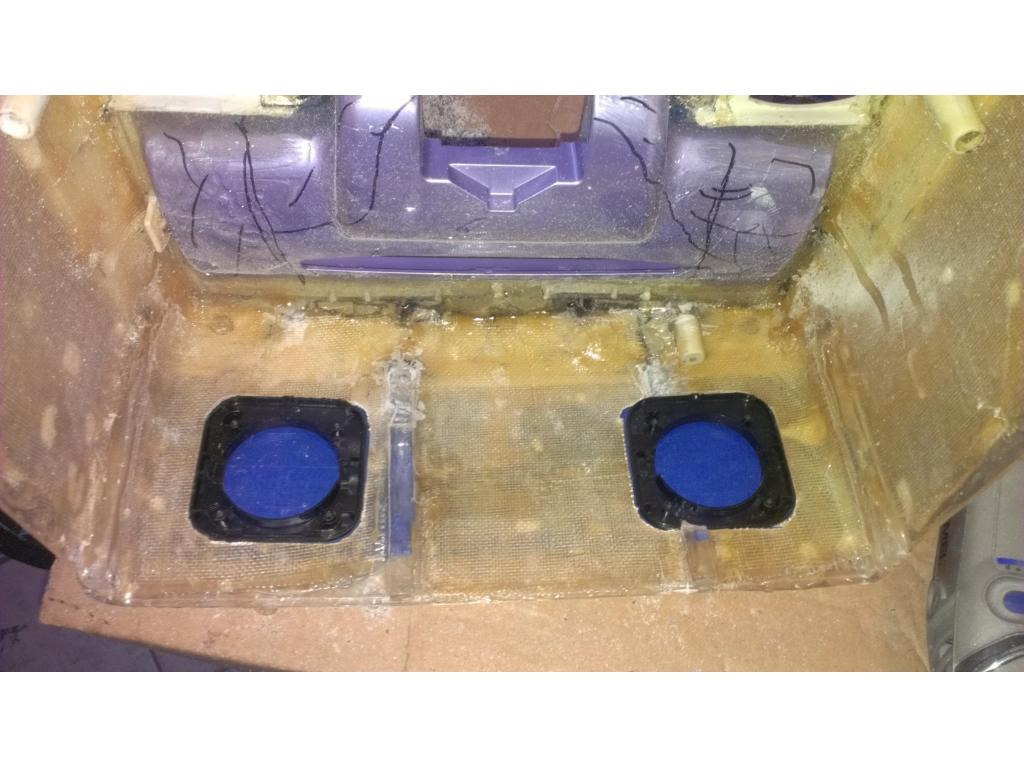
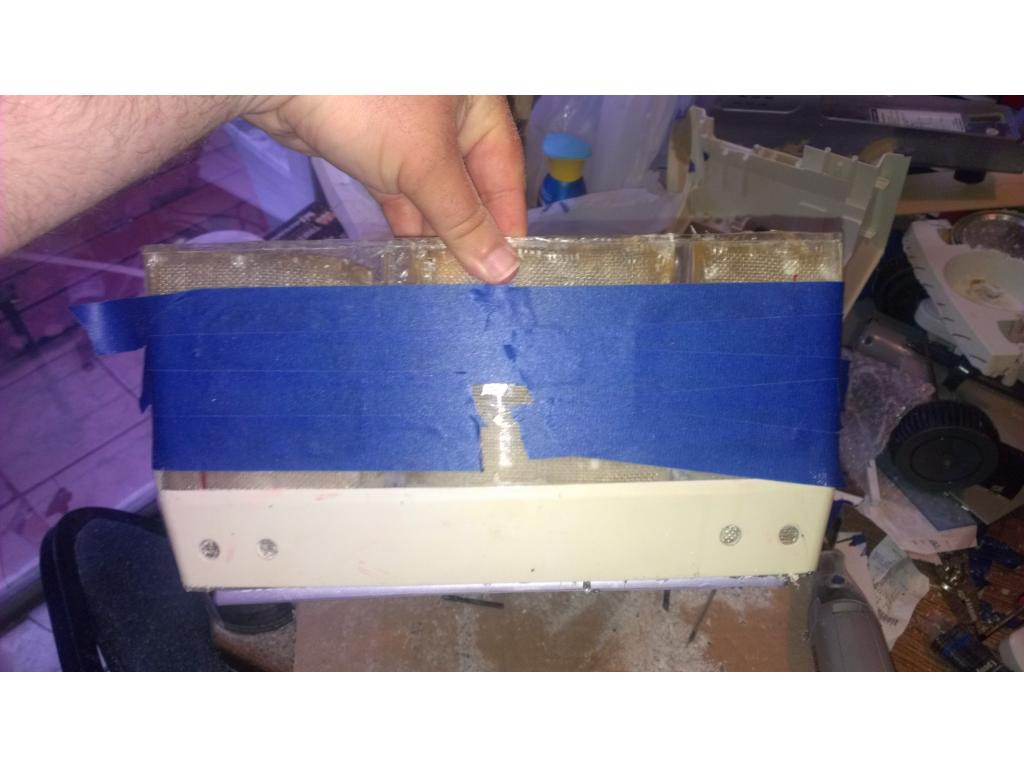
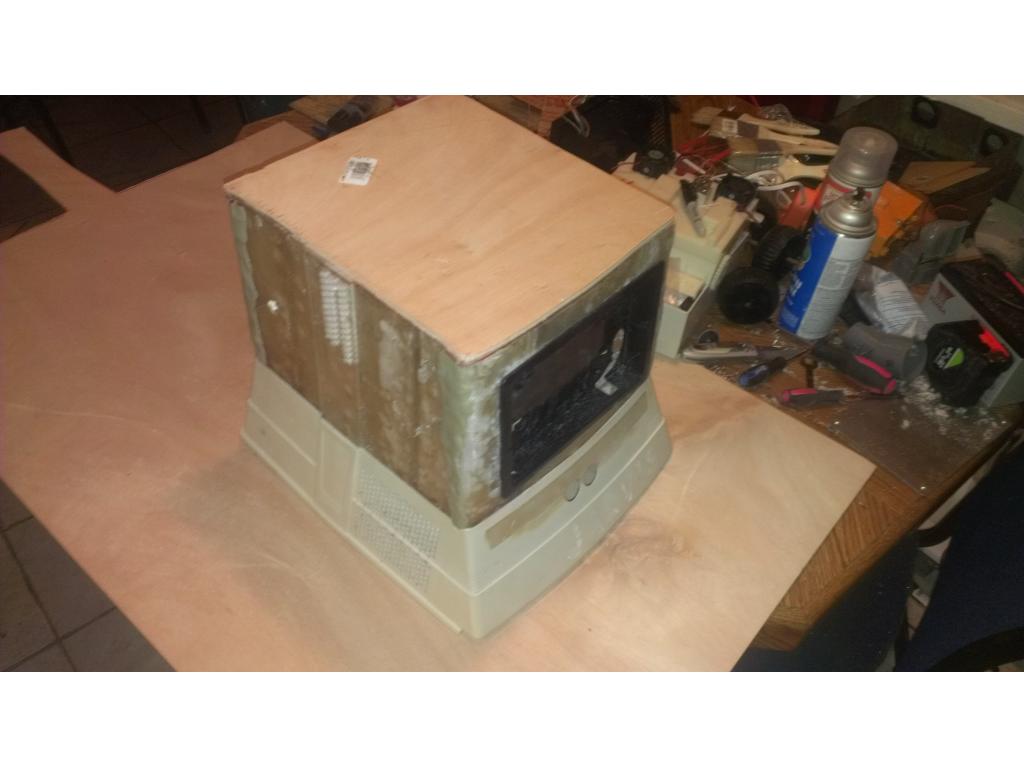
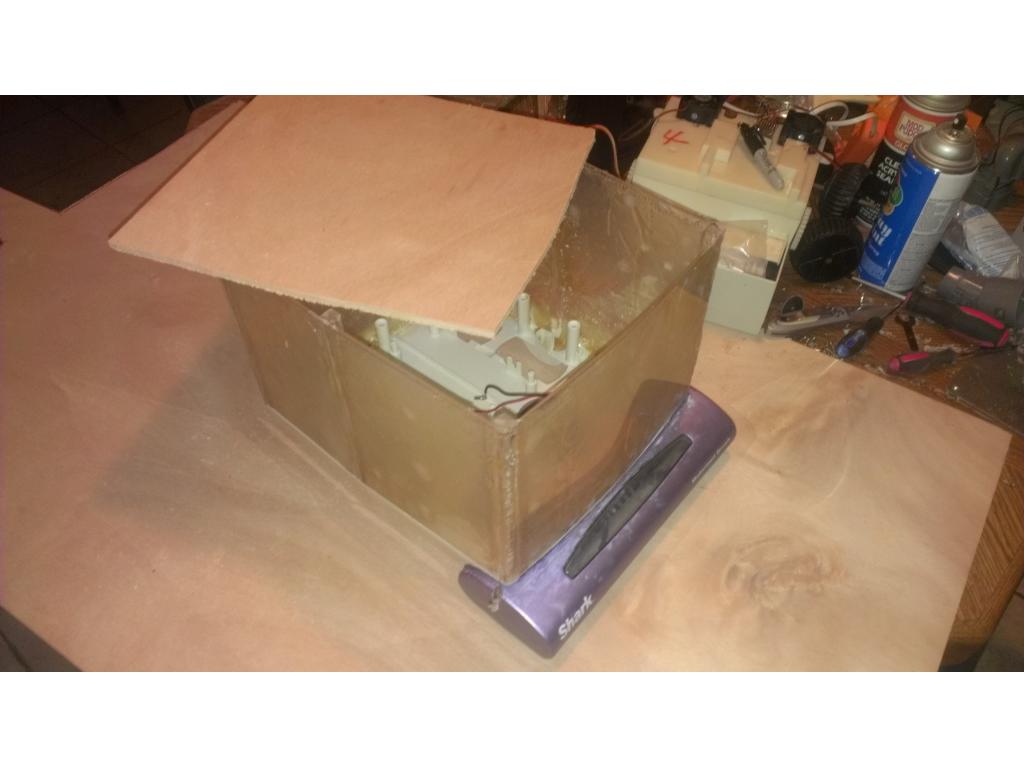
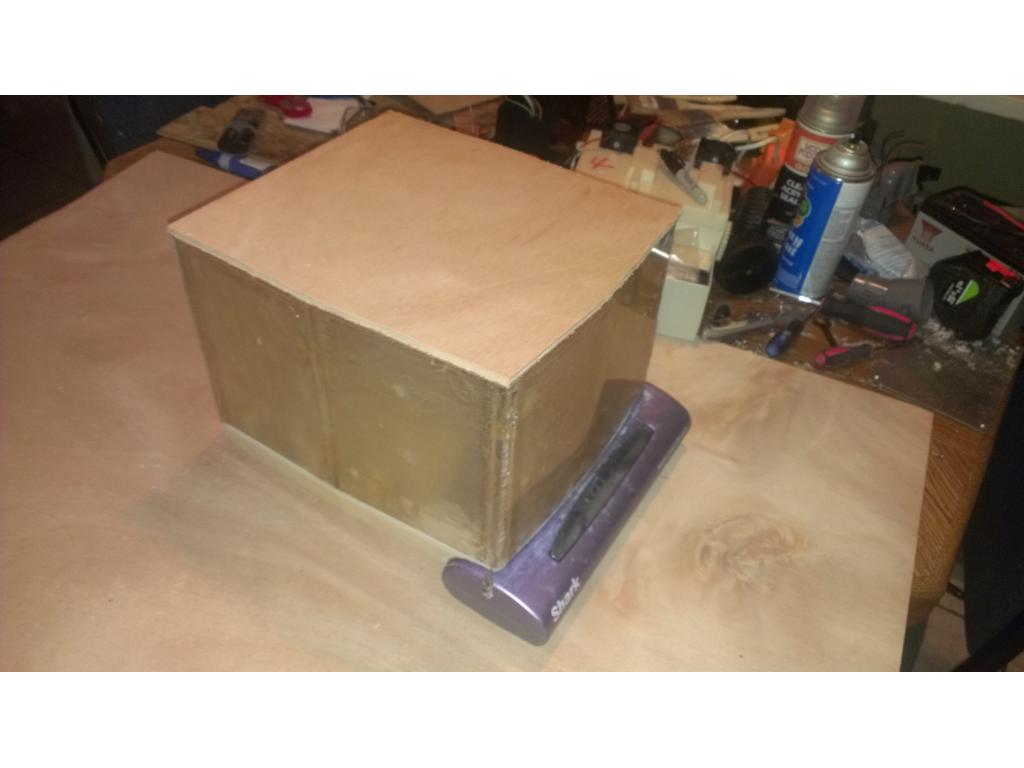
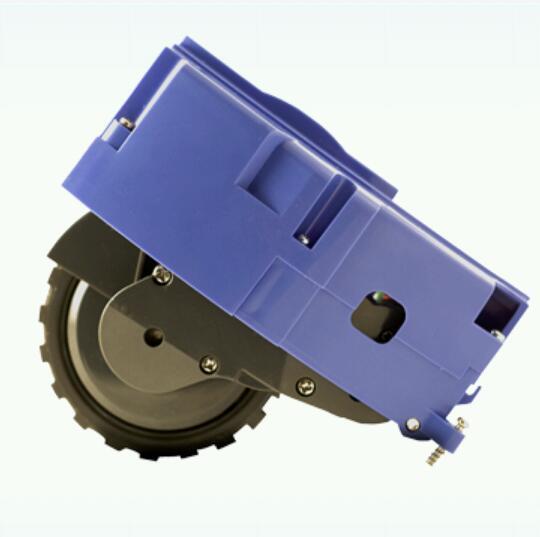
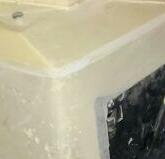
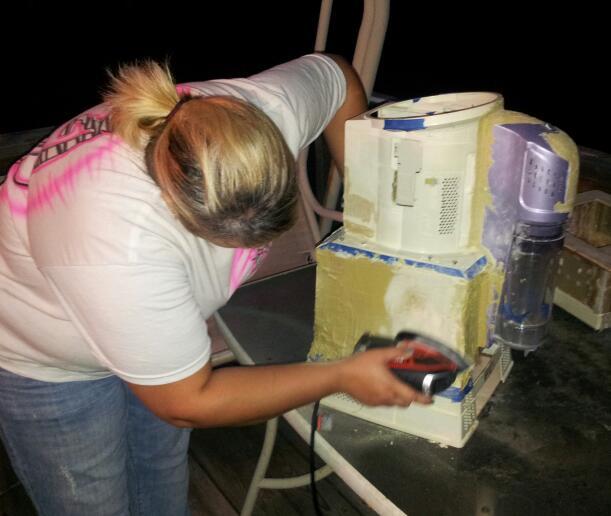
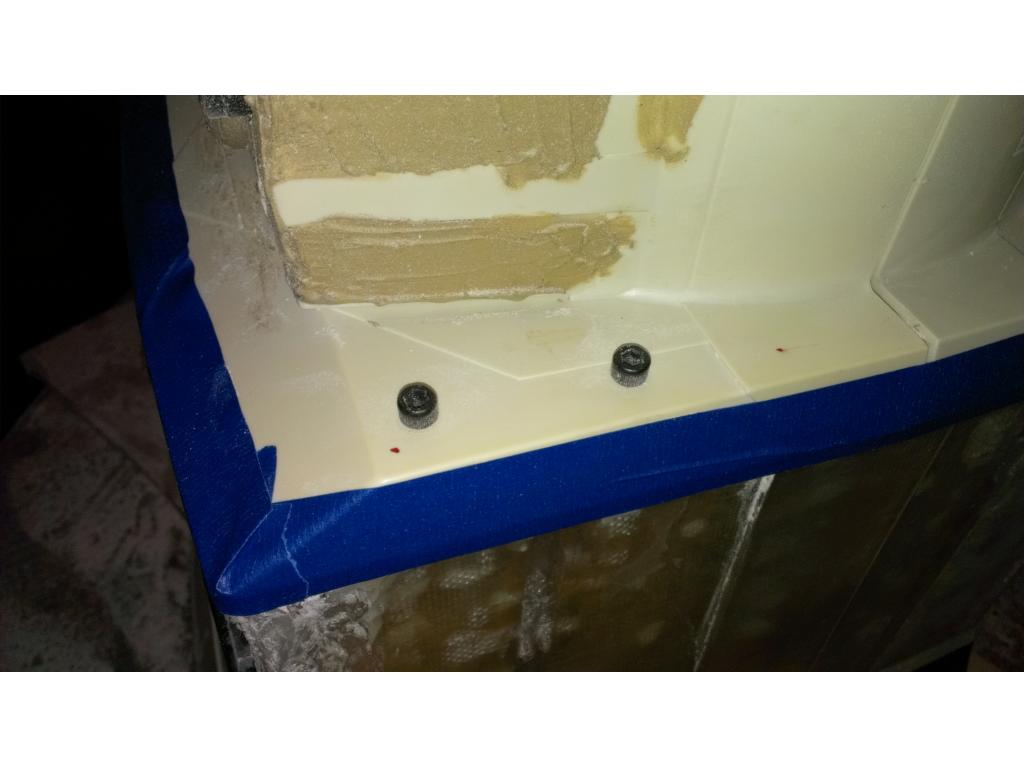
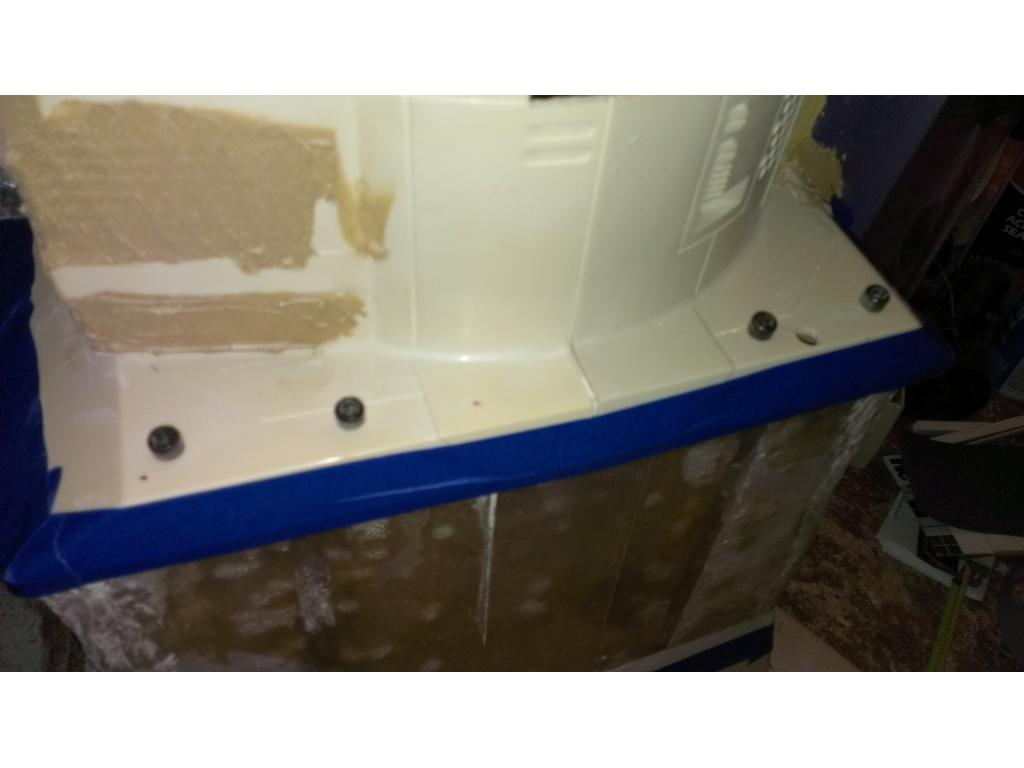
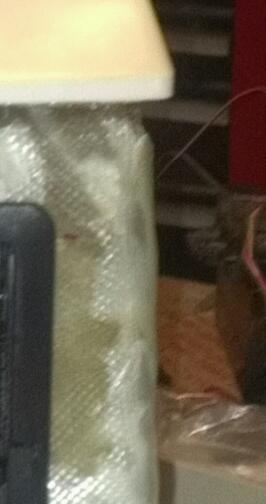
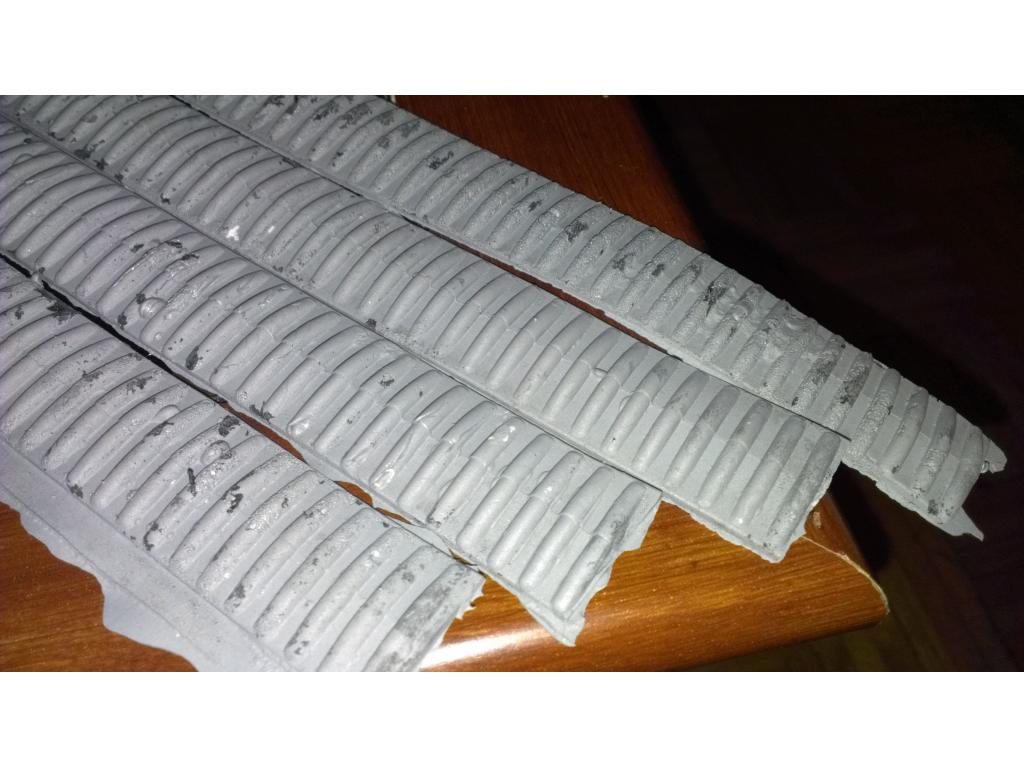
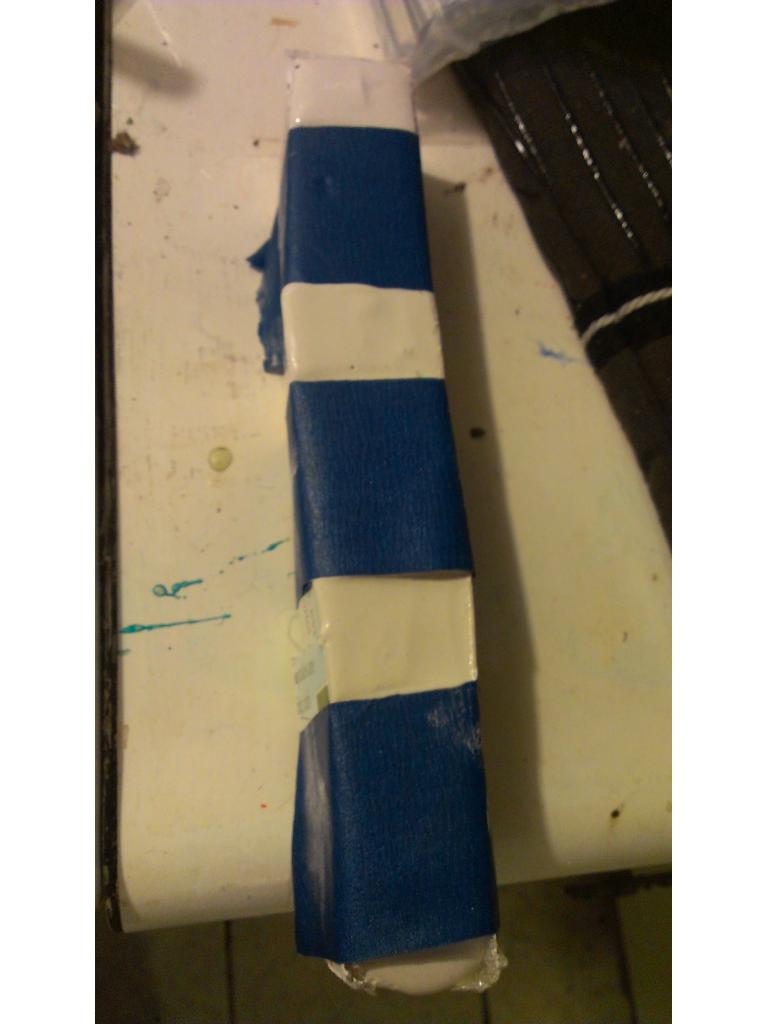
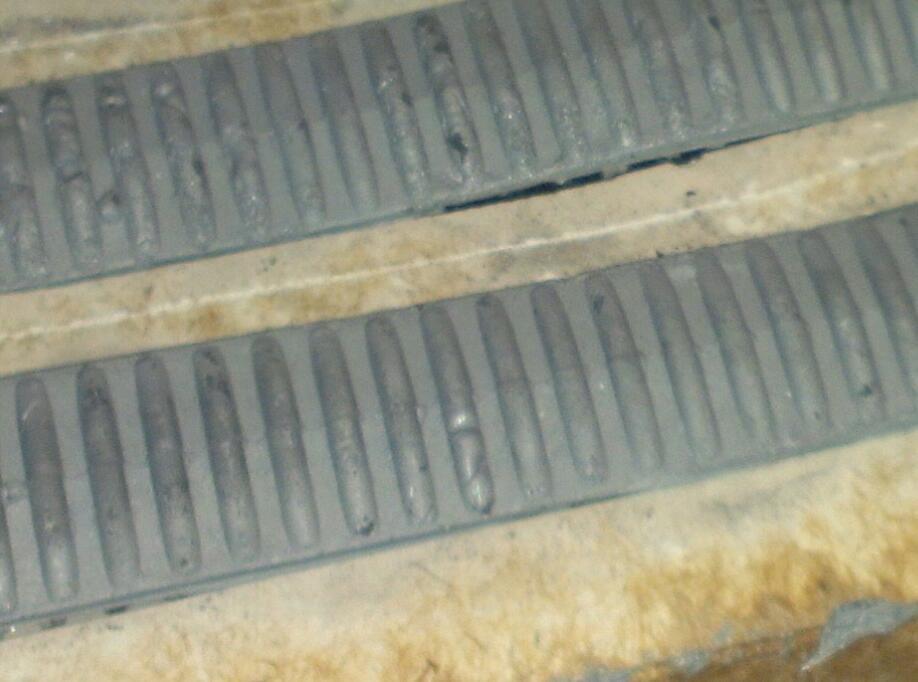
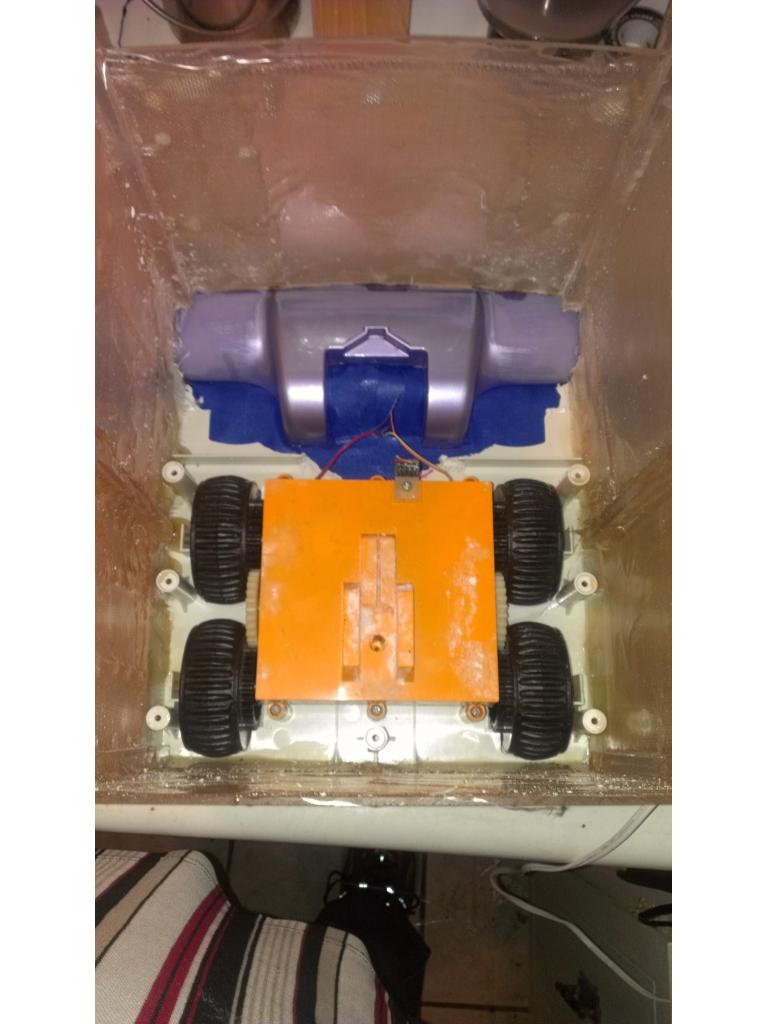
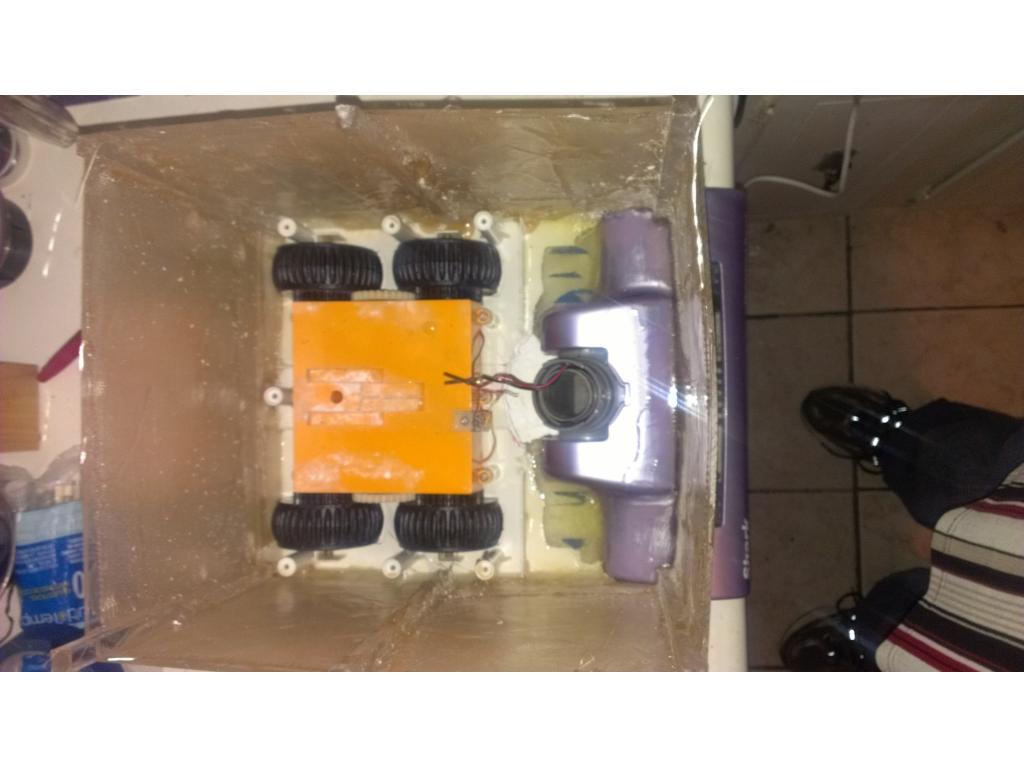
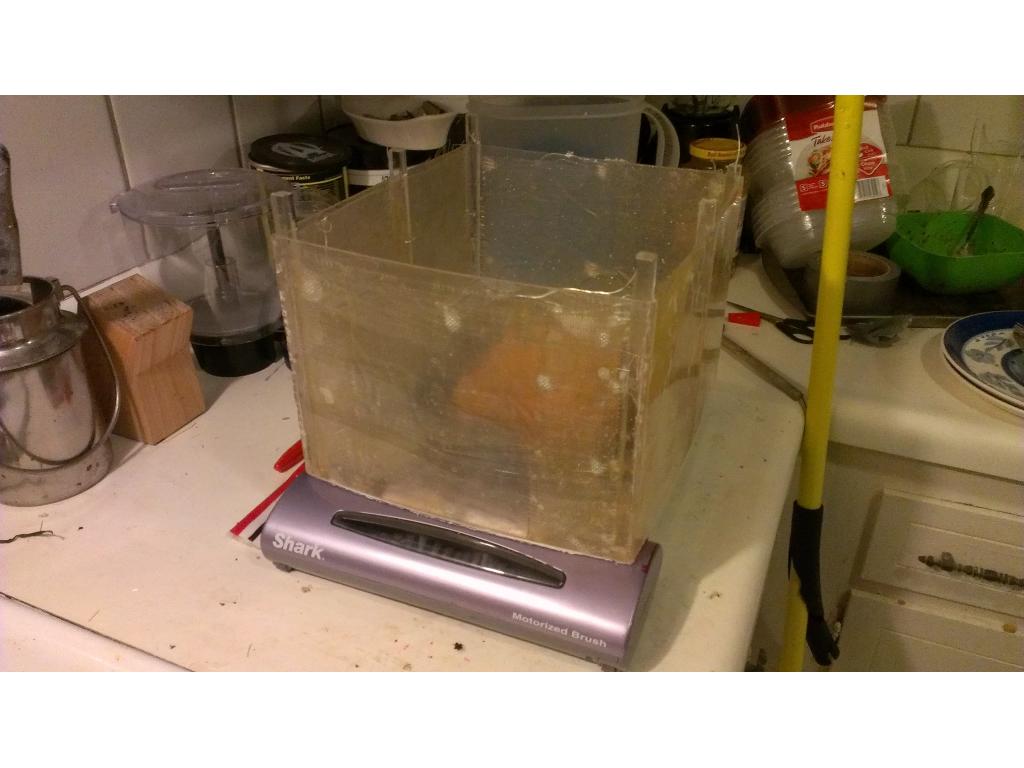
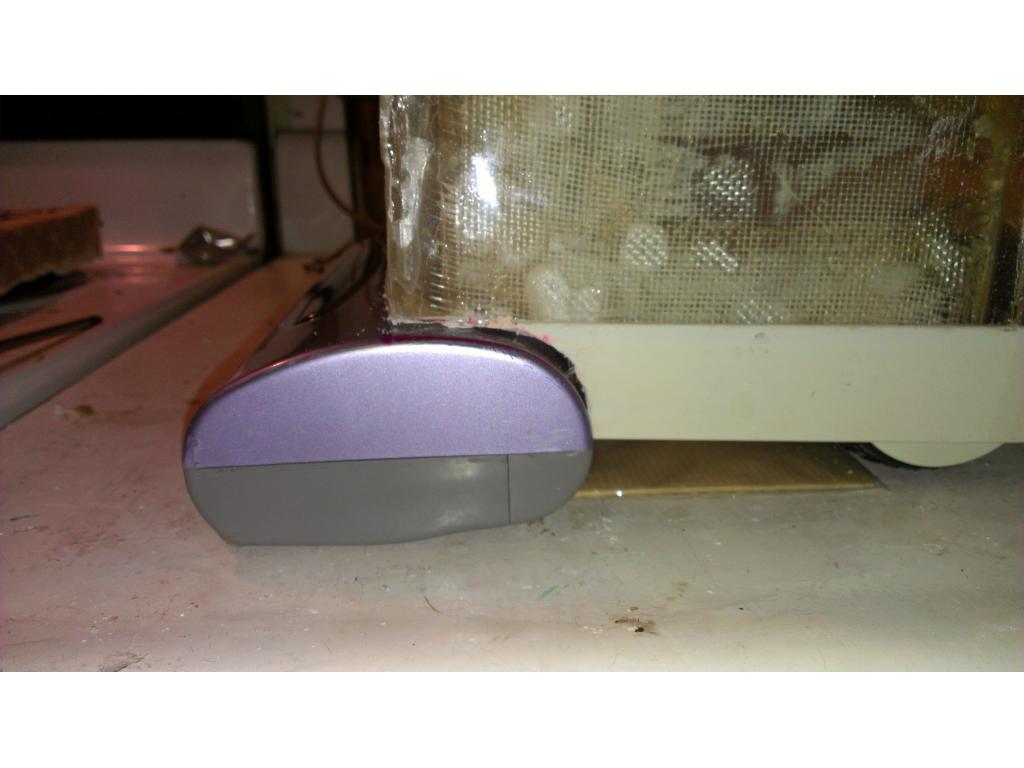
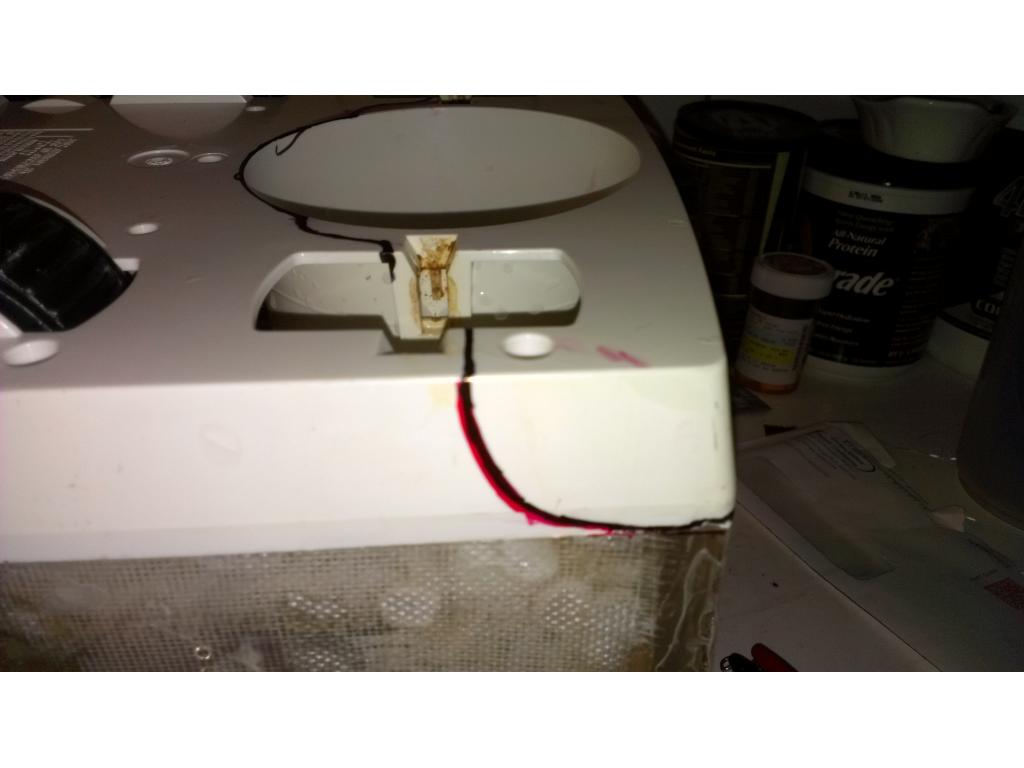
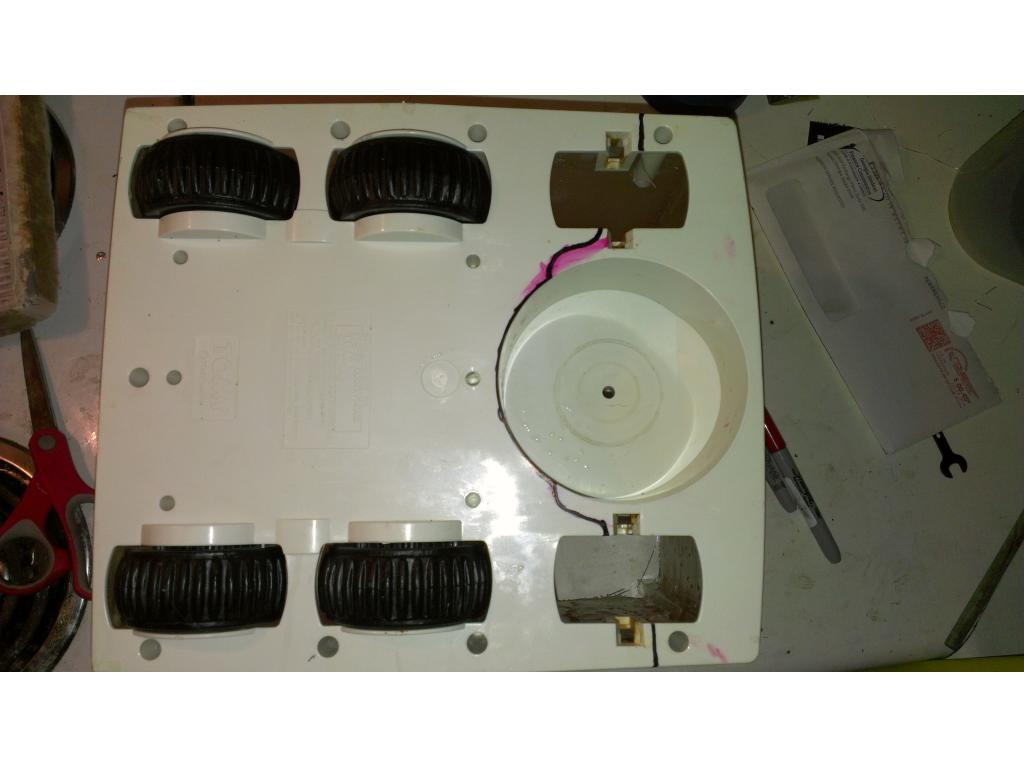
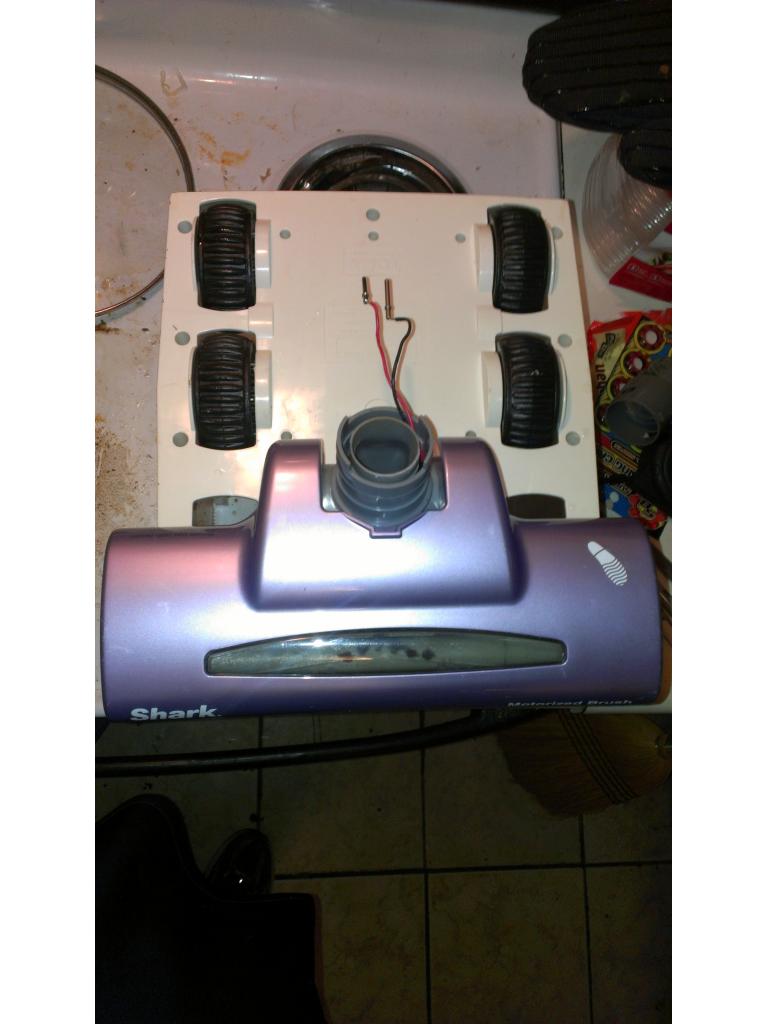
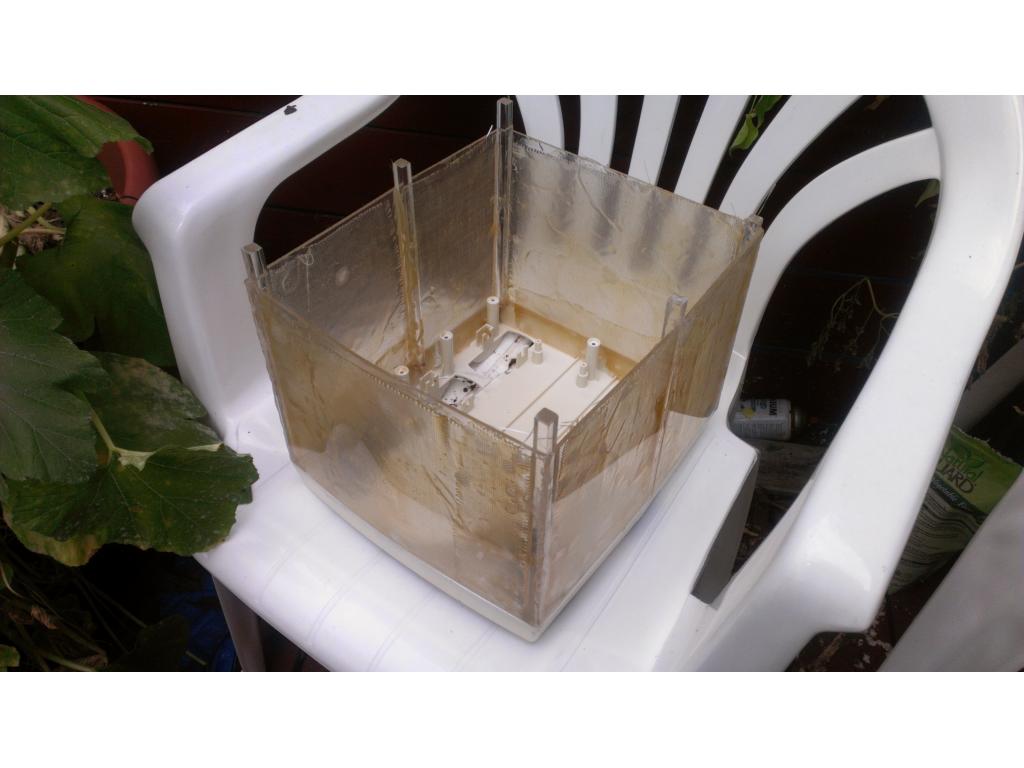
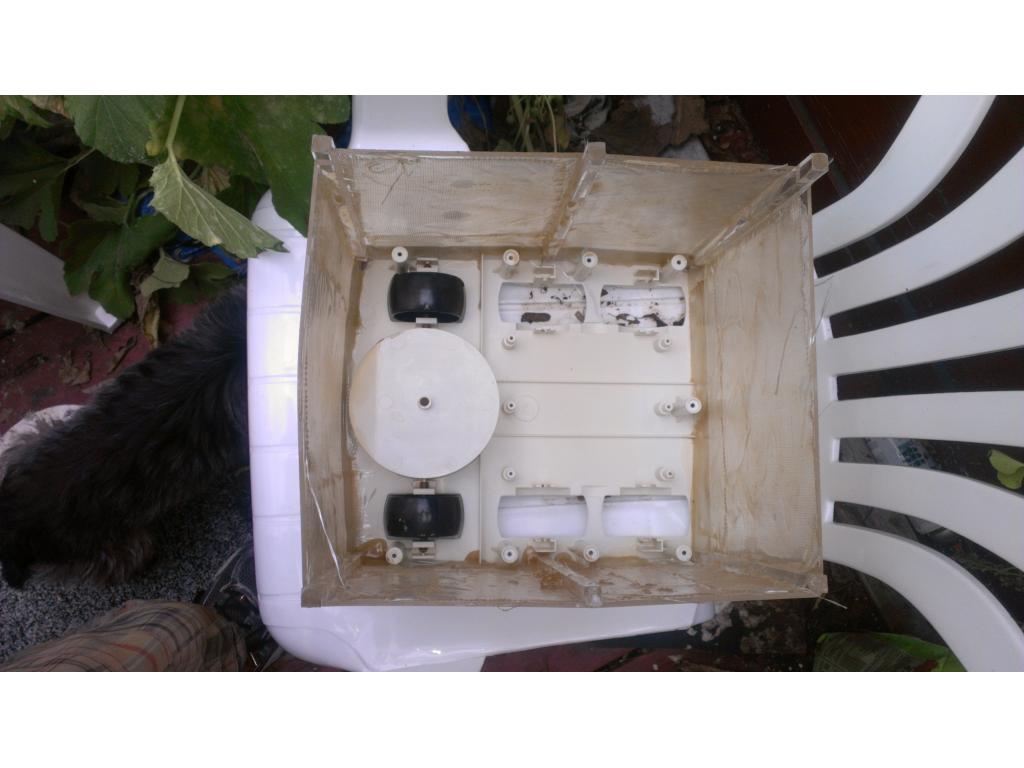
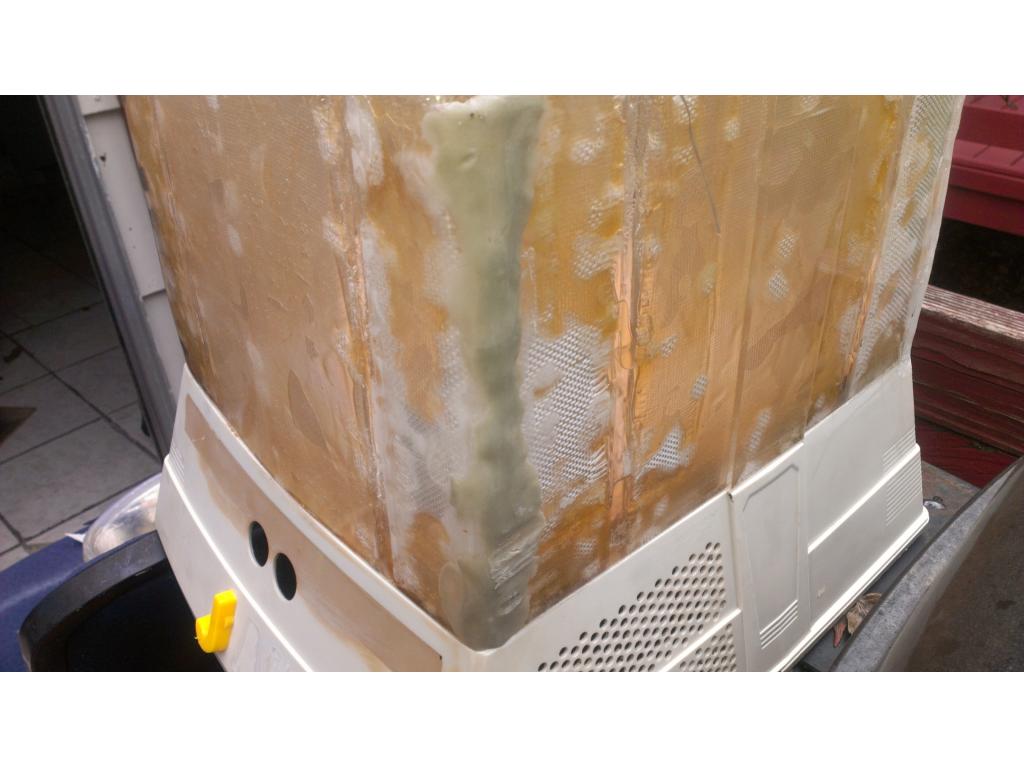
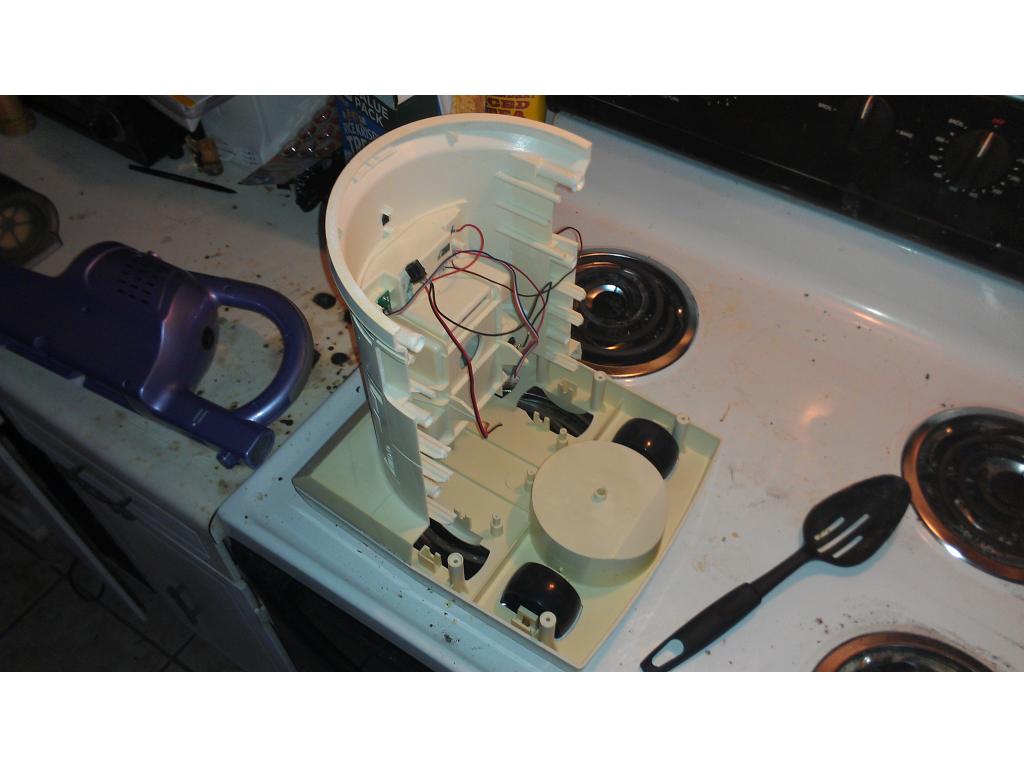
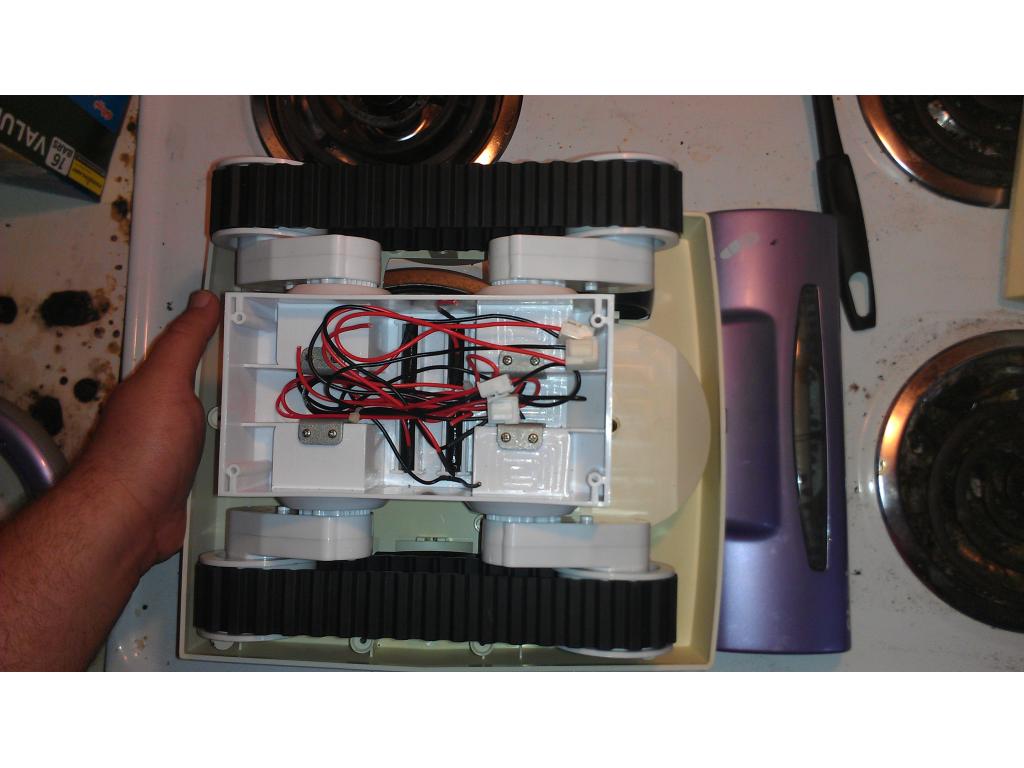
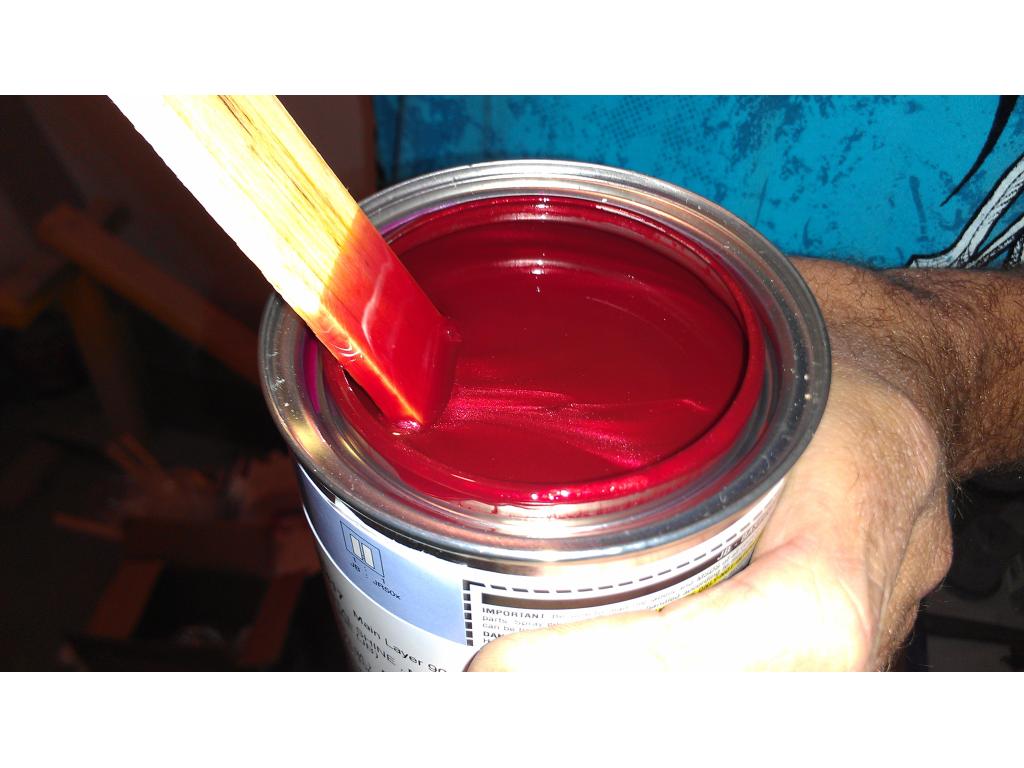
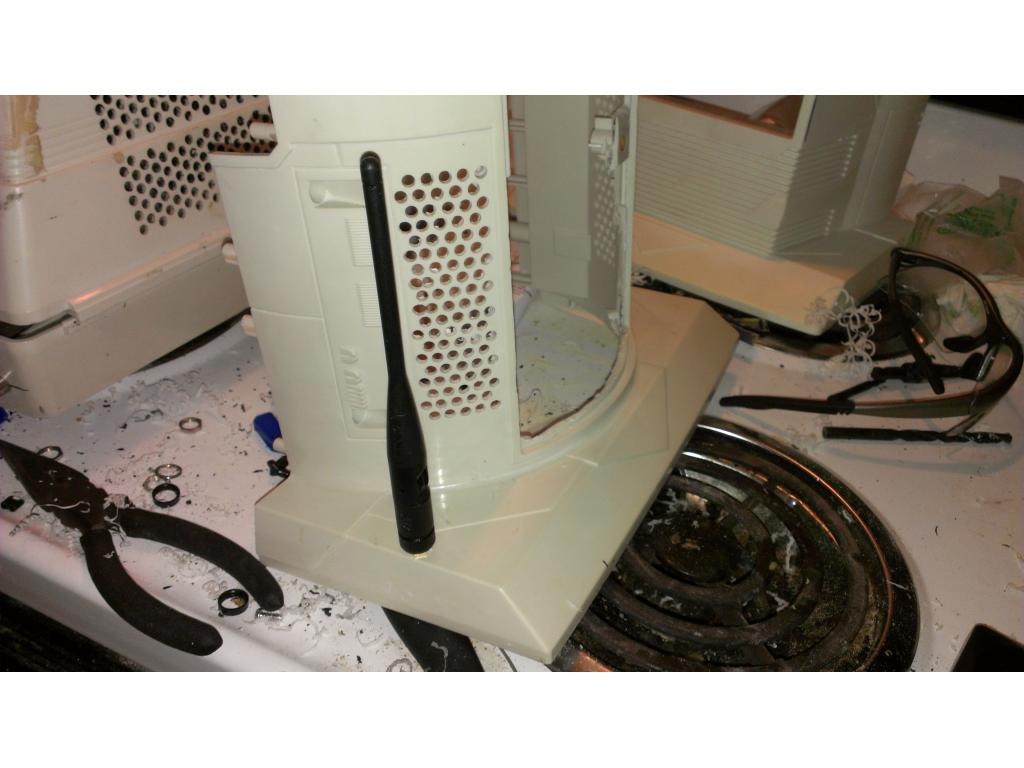
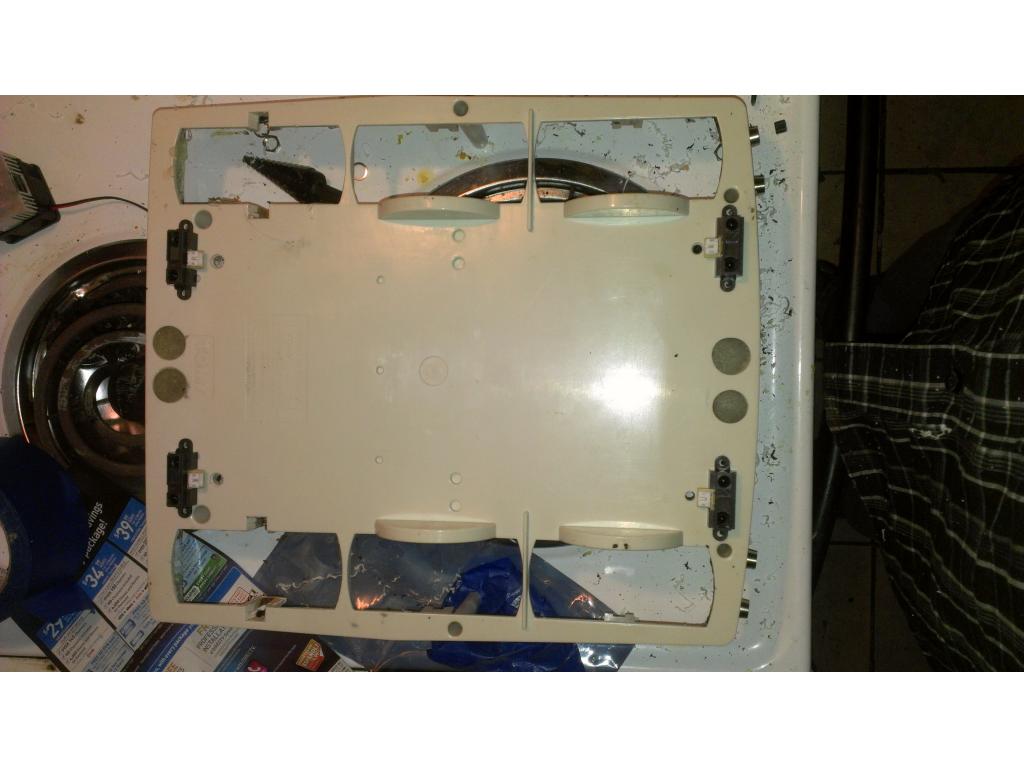
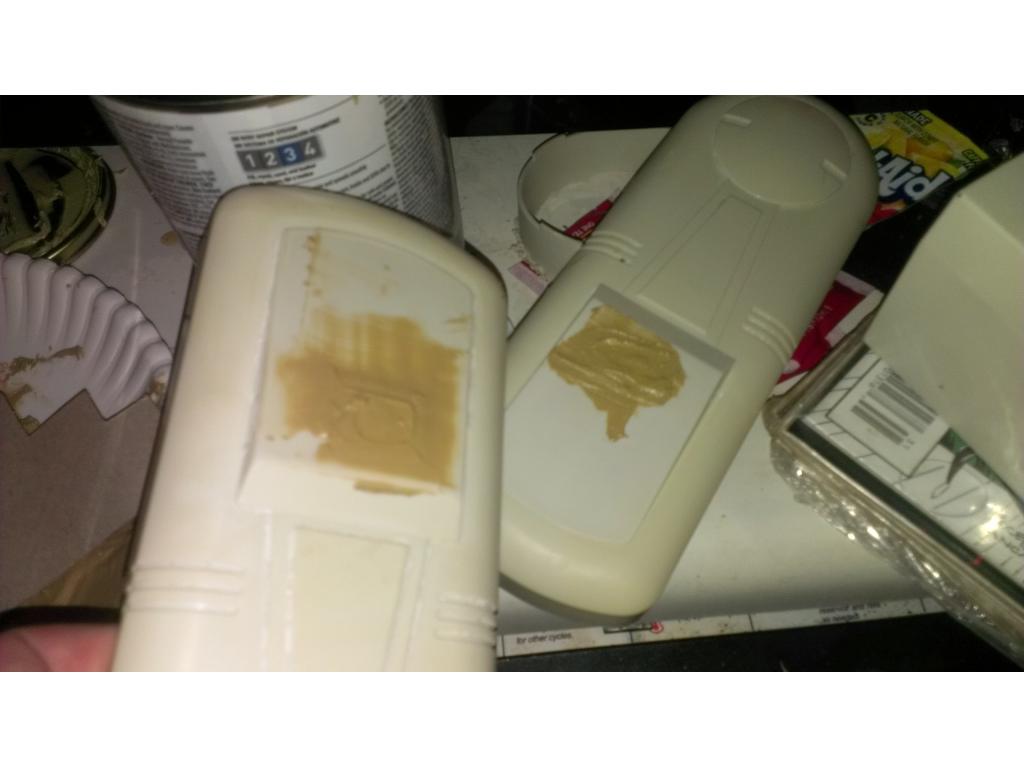
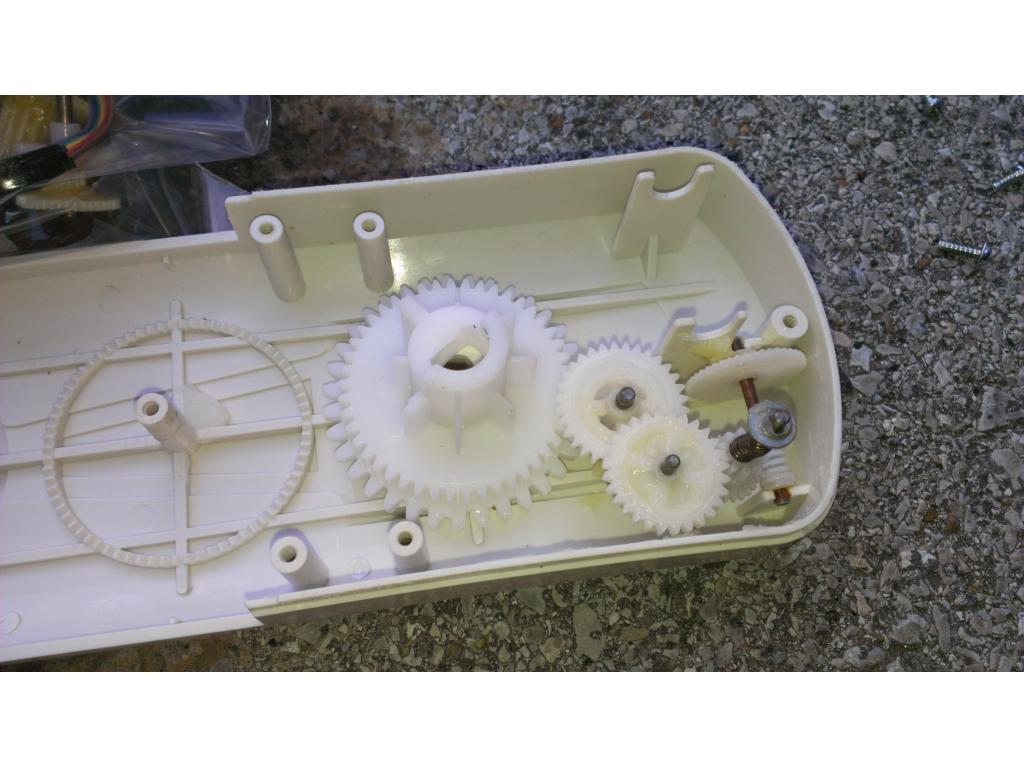
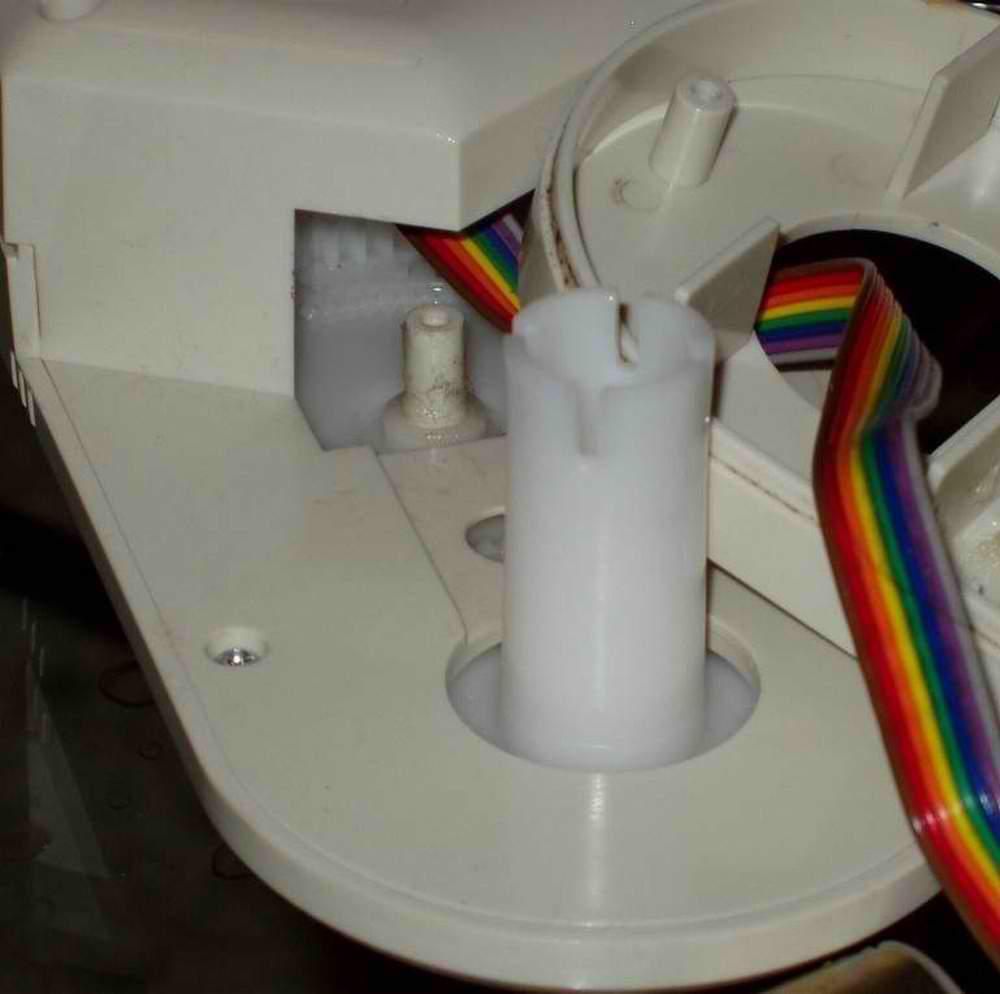
i applied two layers of fiberglass fabric and epoxy to repair the rear wheel mounts. The.
-Josh