


-634700966886250000.jpg)
-634700967015000000.jpg)
-634700967157968750.jpg)
-634702814800312500.jpg)
-634702600865468750.jpg)
-634702601116718750.jpg)
-634702602252031250.jpg)
-634702602665625000.jpg)
-634702602851875000.jpg)
-634694134410000000.jpg)
-634693960892812500.jpg)
-634693961752343750.jpg)
-634693953179375000.jpg)
-634693953336093750.jpg)
-634693164809062500.jpg)
-634693165327500000.jpg)
-634693165925625000.jpg)
-634693166147343750.jpg)
-634786542943876953.jpg)
-634796120303593750.jpg)
-634796120470312500.jpg)
-634812479455986328.jpg)
-634812479726035156.jpg)
-634812480620283203.jpg)
-634812481334052734.jpg)
-634812482341699218.jpg)
-634822681001005859.jpg)
-634822681580644531.jpg)
-634822681777470703.jpg)
-634821106166250000.jpg)
-634821106572812500.jpg)
-634821106815625000.jpg)
-634814909605058593.jpg)
-634814909850224609.jpg)
-634814910193212890.jpg)
-634814910596445312.jpg)
-634820188048437500.jpg)
-634820188647187500.jpg)
-634820189032656250.jpg)
-634718079154687500.jpg)
-634718080622031250.jpg)
-634714909191250000.jpg)
-634714909644843750.jpg)
-634713078392031250.jpg)
-634713078781250000.jpg)

-634720009877968750.jpg)
-634749341545937500.jpg)
-634749341951406250.jpg)
-634732946203437500.jpg)
-634708797562402343.jpg)
-634706000248750000.jpg)
-634705927185312500.jpg)
-634705927626406250.jpg)
-634705928146250000.jpg)
-634705929045781250.jpg)
-634705929717812500.jpg)
-634705930336093750.jpg)
-634705930540468750.jpg)
-634705931037812500.jpg)
-634709695807265625.jpg)
-634709696076181640.jpg)
-634711364771718750.jpg)
-634711364485781250.jpg)
-634712172318906250.jpg)
-634771897291406250.jpg)
-634771897466093750.jpg)
-634771897849687500.jpg)
-634771898236093750.jpg)
-634771898712187500.jpg)
-634771899102656250.jpg)
-634771899822656250.jpg)
-634771900771562500.jpg)
-634771901301875000.jpg)
-634768466924746093.jpg)
-634768467383681640.jpg)
-634772580489218750.jpg)
-634772581075781250.jpg)
-634772581532343750.jpg)
-634772581721718750.jpg)
-634773400815625000.jpg)
-634773401032187500.jpg)
-634781365777988281.jpg)
-634781366040302734.jpg)
-634781366299042968.jpg)
-634766553798554687.jpg)
-634766556025839843.jpg)
-634759732245312500.jpg)
-634765021896093750.jpg)
-634765022115000000.jpg)
-634765022326562500.jpg)
-634765023386093750.jpg)
-634765855550937500.jpg)
-634765856533437500.jpg)
-634765856756250000.jpg)
-634845177217089843.jpg)
-634845177425585937.jpg)
-634857207521406250.jpg)
-634857208212500000.jpg)
-634857208786718750.jpg)
-634826982093593750.jpg)
-634838602835000000.jpg)
-634838603089687500.jpg)
-634838603585312500.jpg)
-634871181815468750.jpg)
-634871183099531250.jpg)
-634871128238750000.jpg)
-634870976497031250.jpg)
-634870976894687500.jpg)
-634880528374375000.jpg)
-634880528707656250.jpg)
-634880529073593750.jpg)
-634892824736386719.jpg)
-634892824903066406.jpg)
-634892825090117187.jpg)
-634892825255283203.jpg)
-634880812756406250.jpg)
-634870194470625000.jpg)
-634870194829687500.jpg)
-634865232676250000.jpg)
-634863402043750000.jpg)
-634863402351562500.jpg)
-634863402584218750.jpg)
-634863404238125000.jpg)
-634869405242656250.jpg)
-634869405424687500.jpg)
-634869405586562500.jpg)
-634869405943906250.jpg)
-634869406072656250.jpg)
-634869404353281250.jpg)
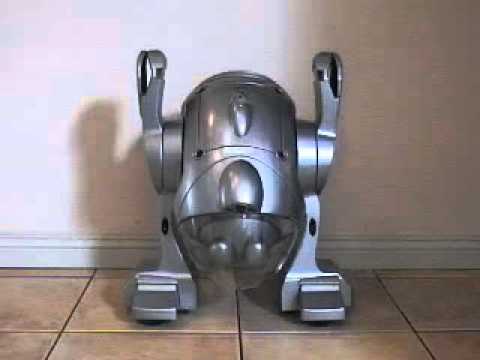
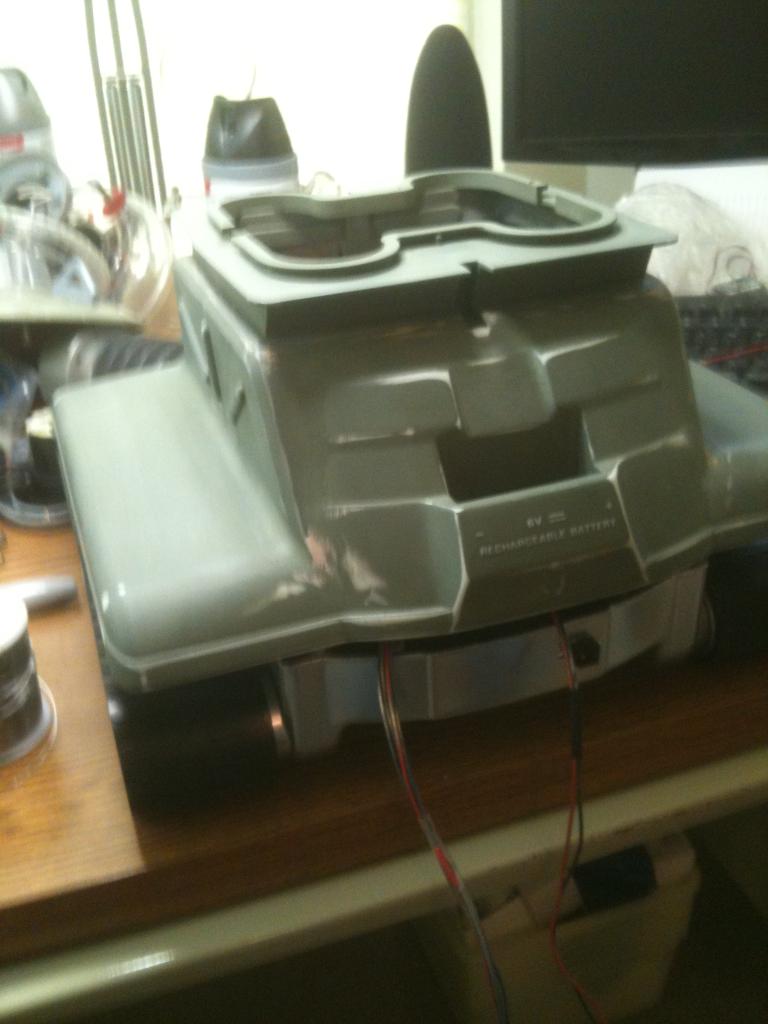
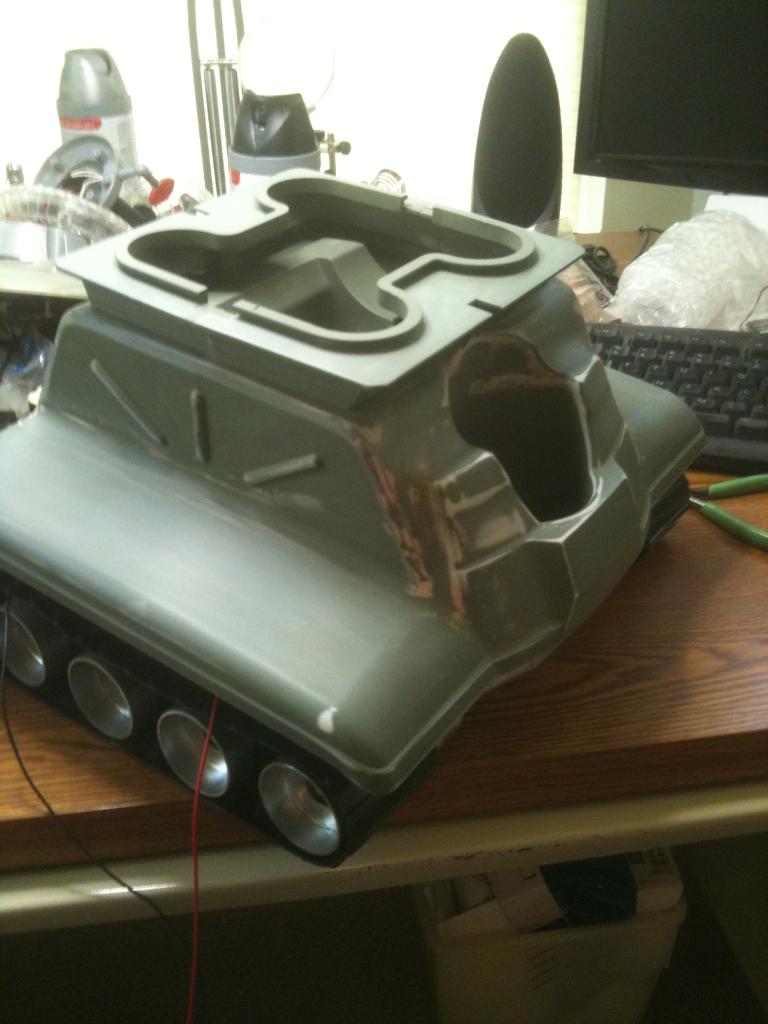
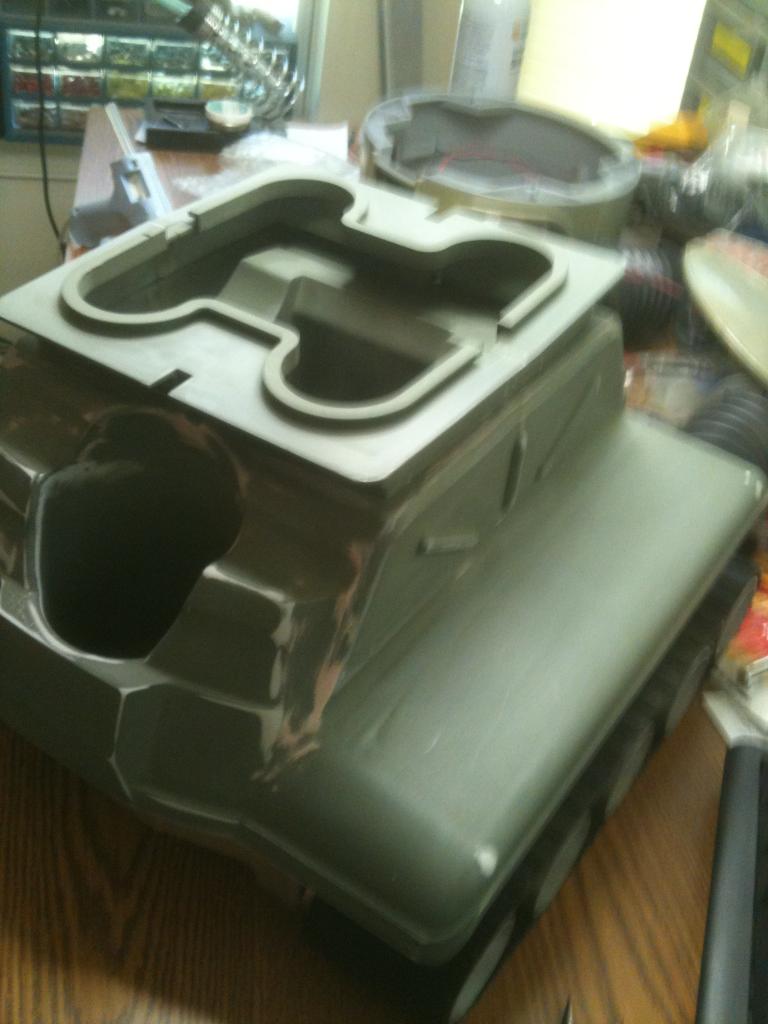
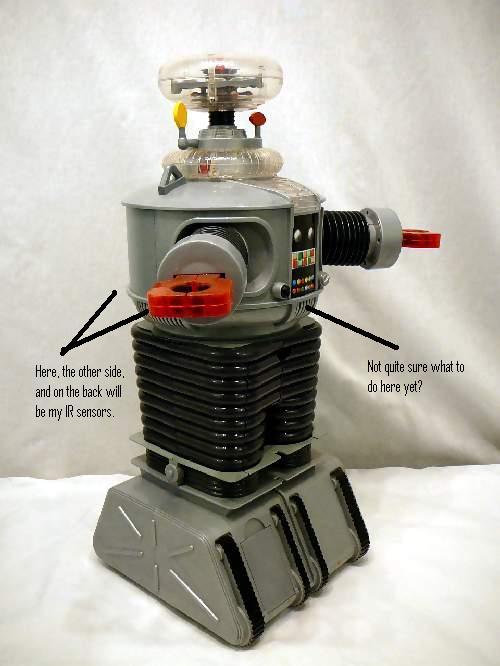
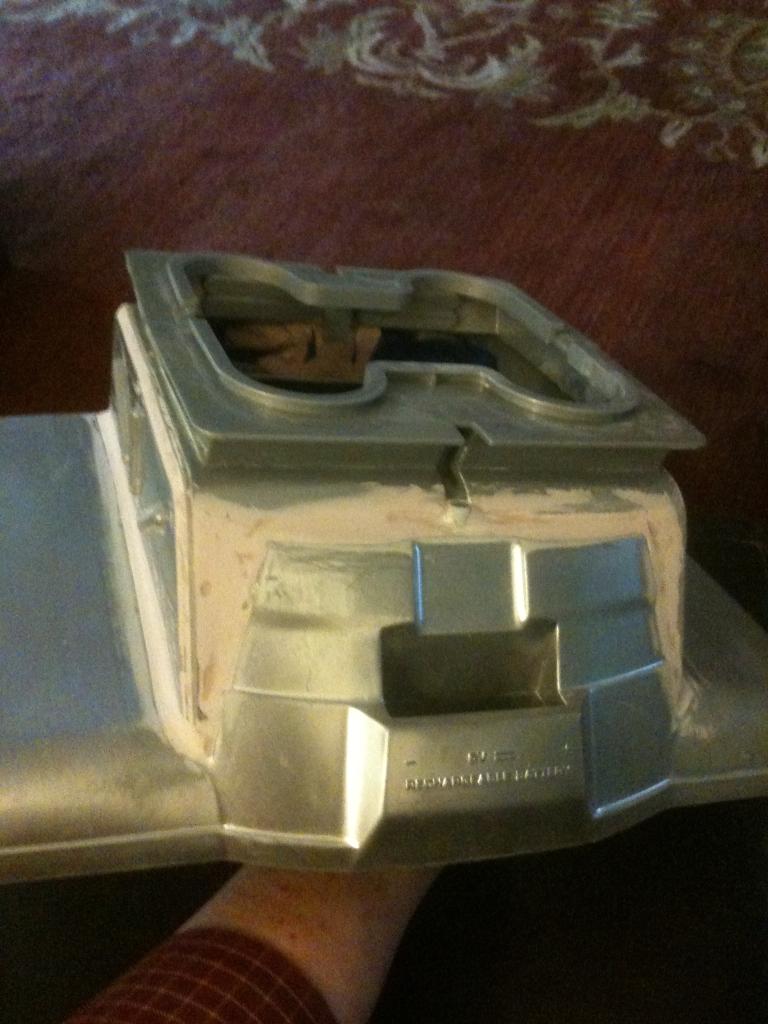
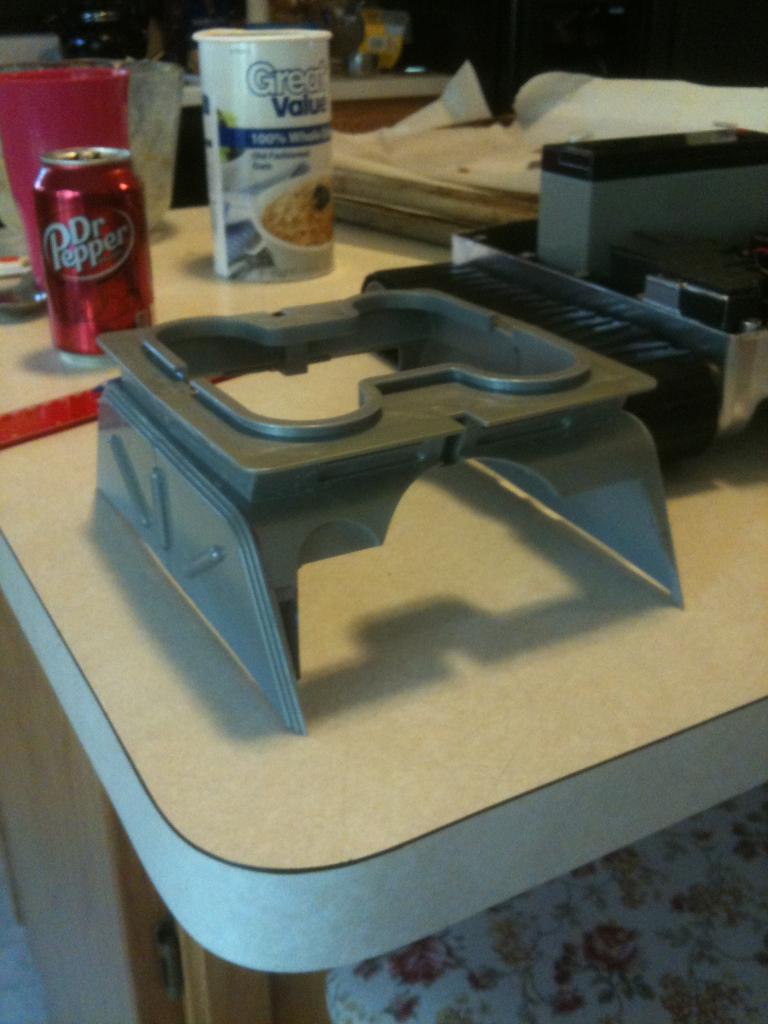
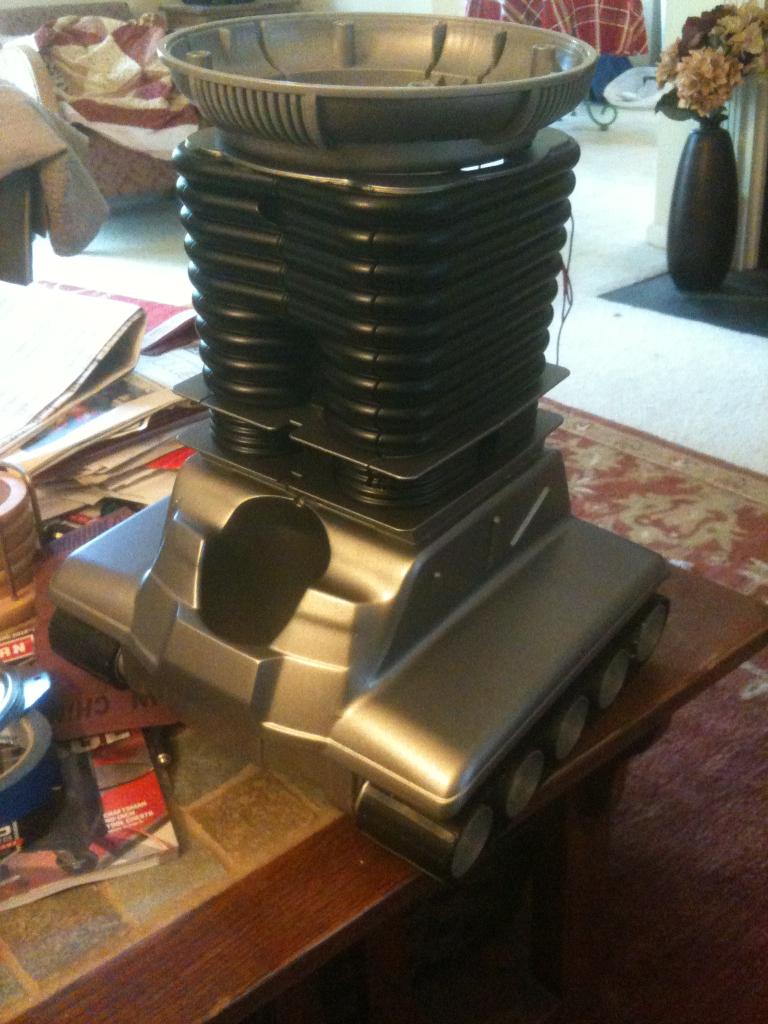
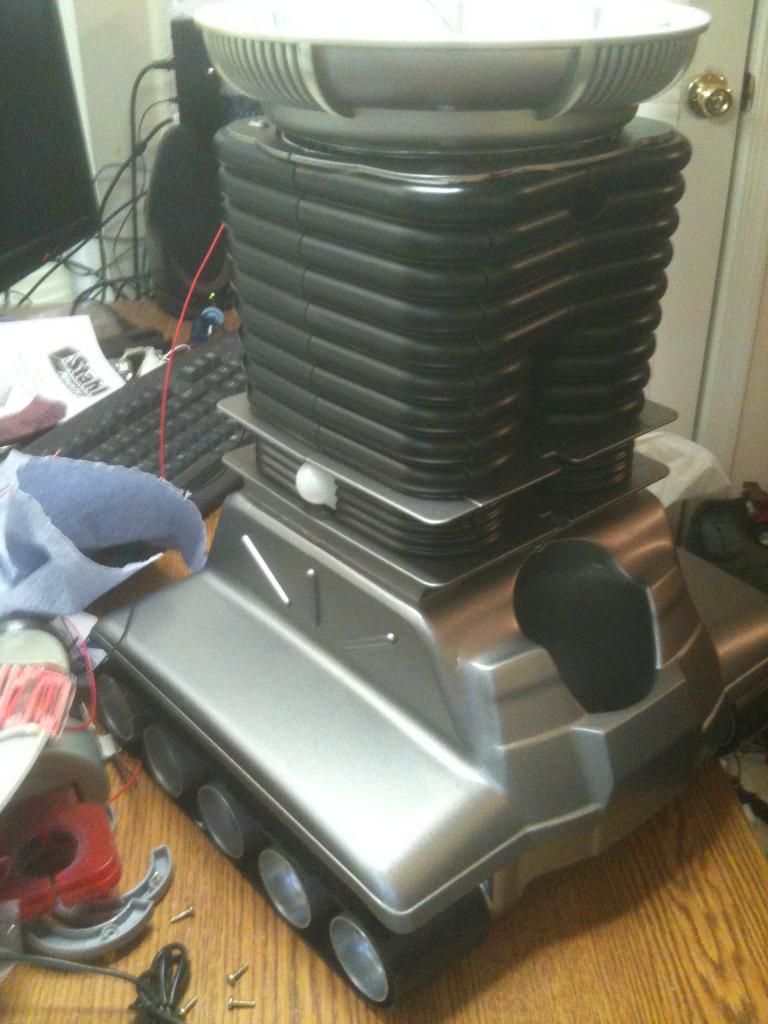
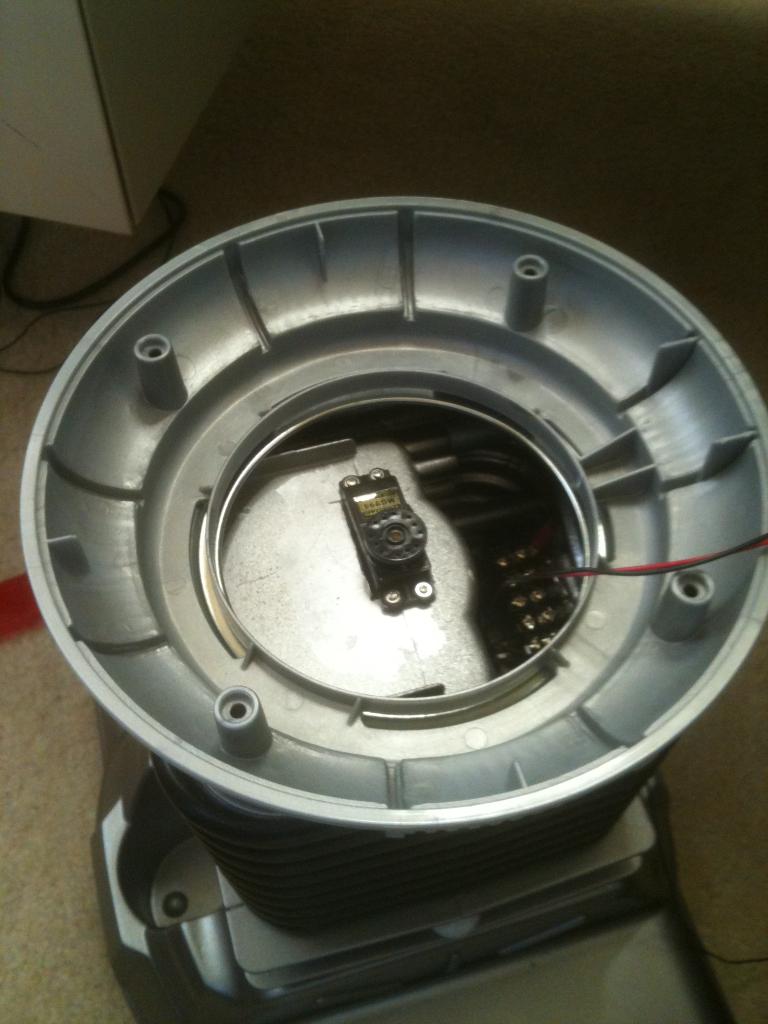
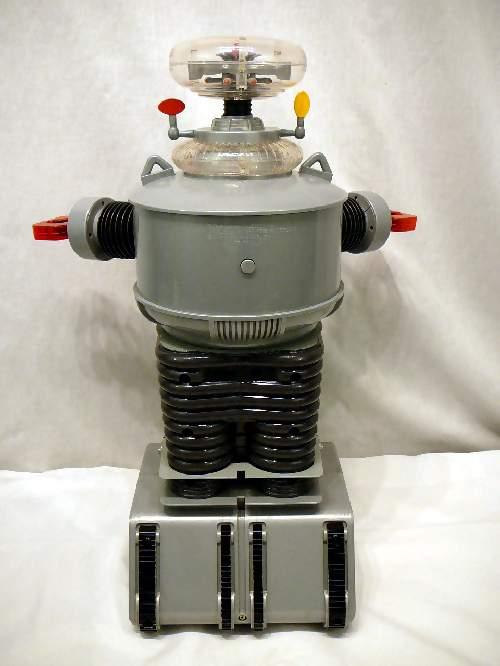
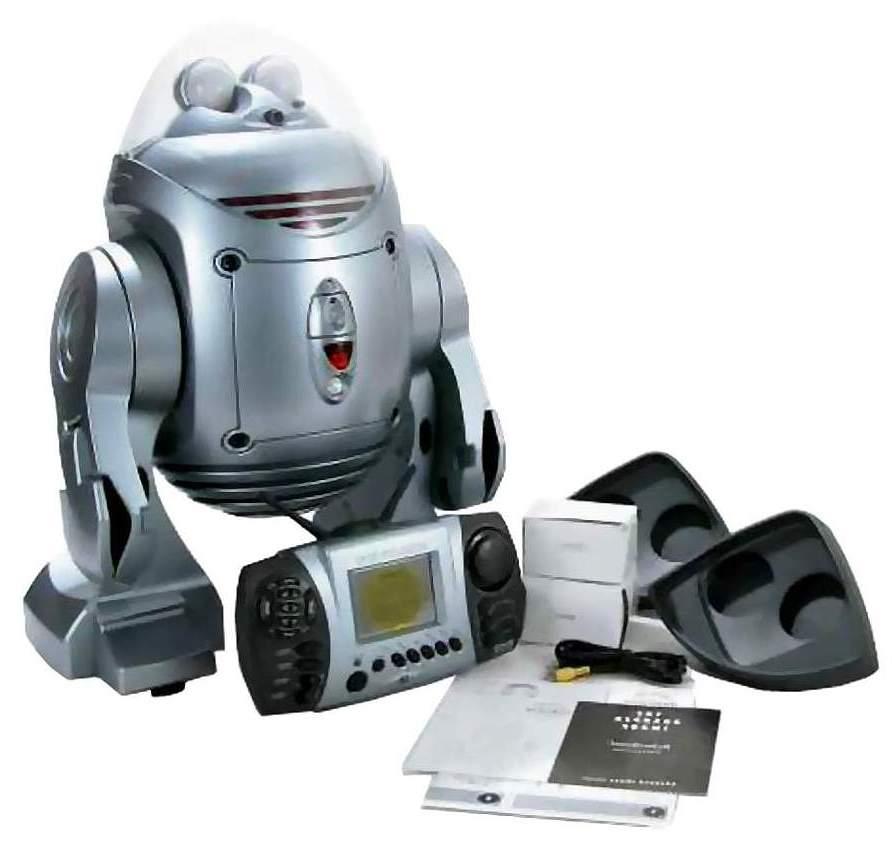
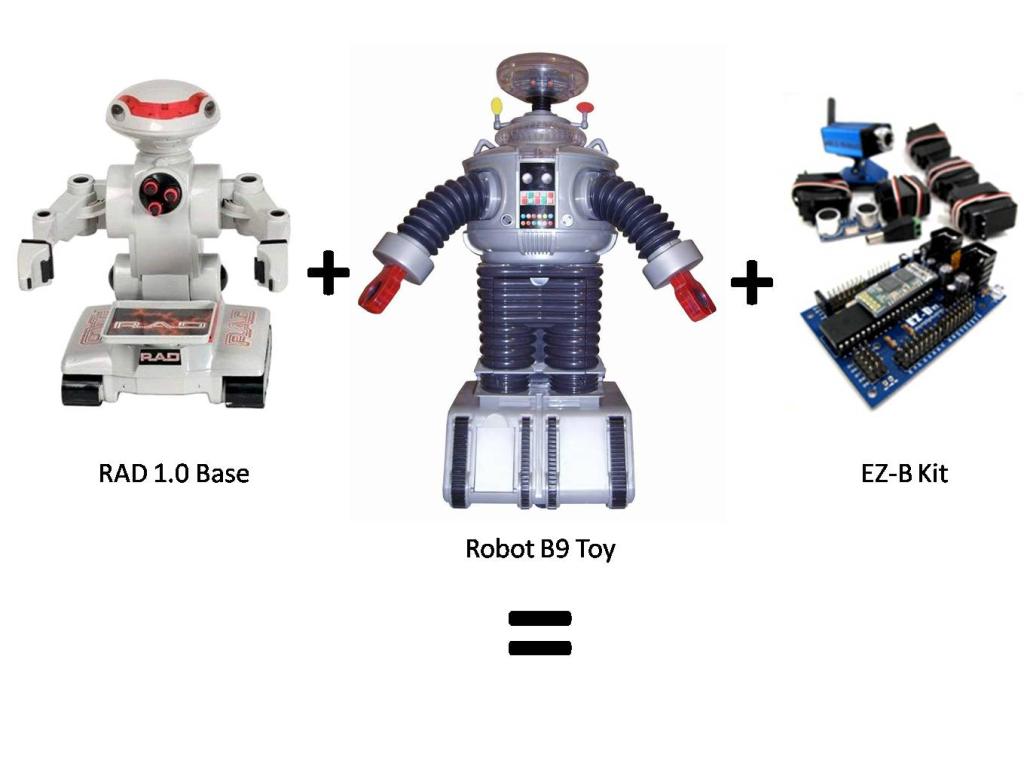
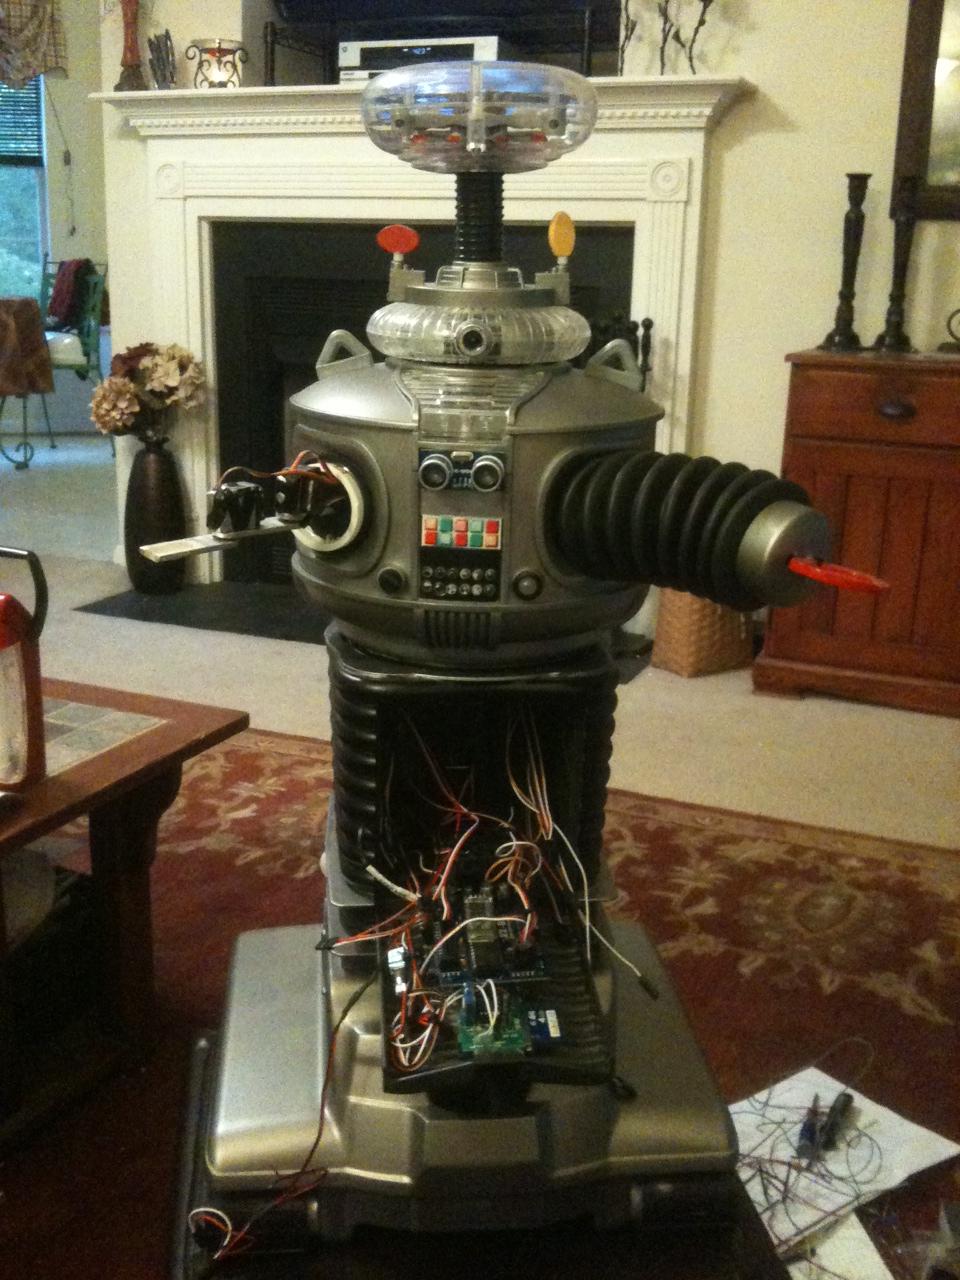
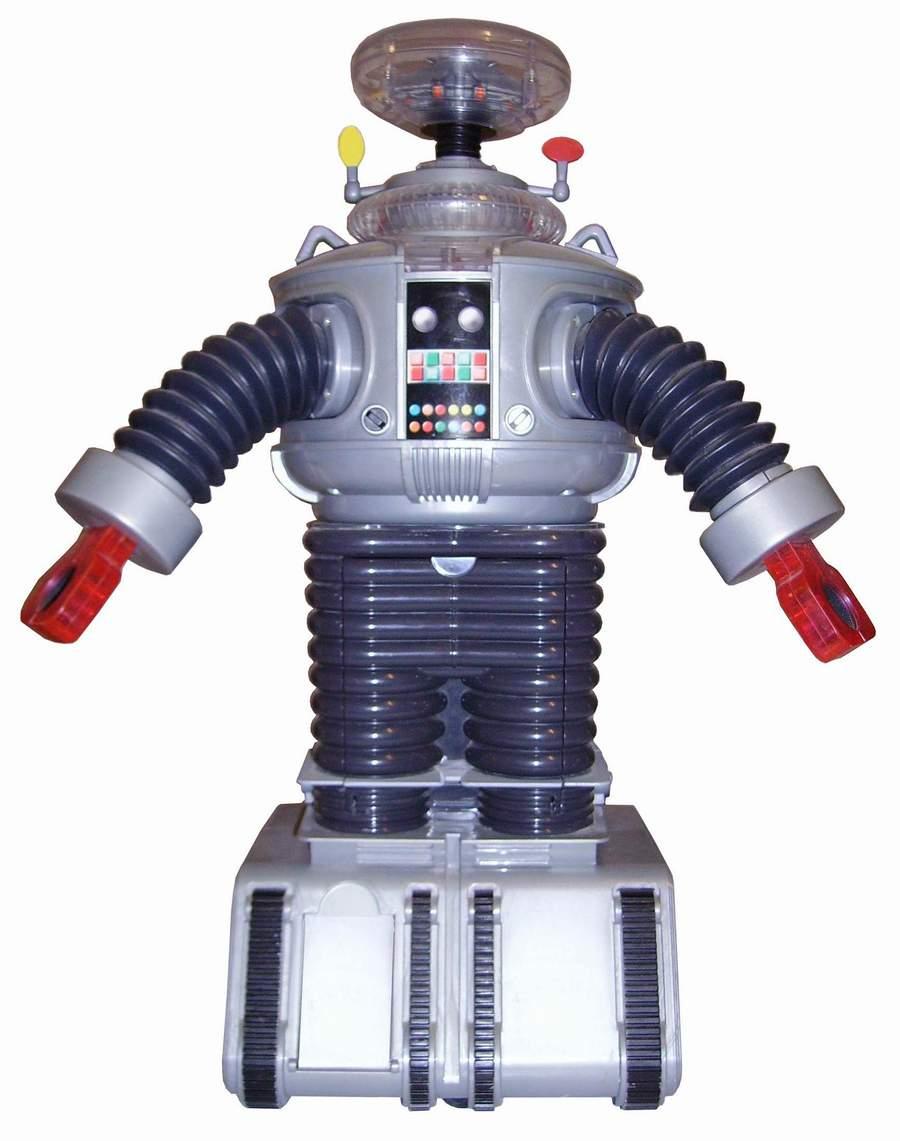
Now that I have finished B.O.B., my get your feet wet bot, I have begun my next hack. This next robot will bridge the gap between Bob and my ultimate big robot. I am starting with a remote controlled B9 toy from Trendmasters. It was very limited in what it did, and the drive section was pathetic, but it was B9!
Before Pics:
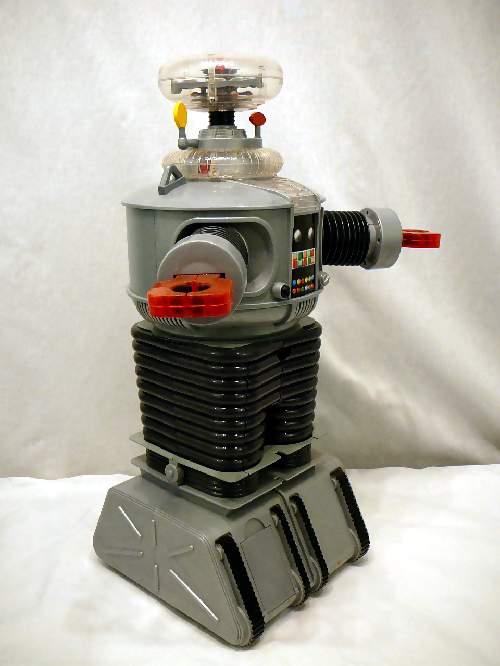
Here is what B9 looks like now:
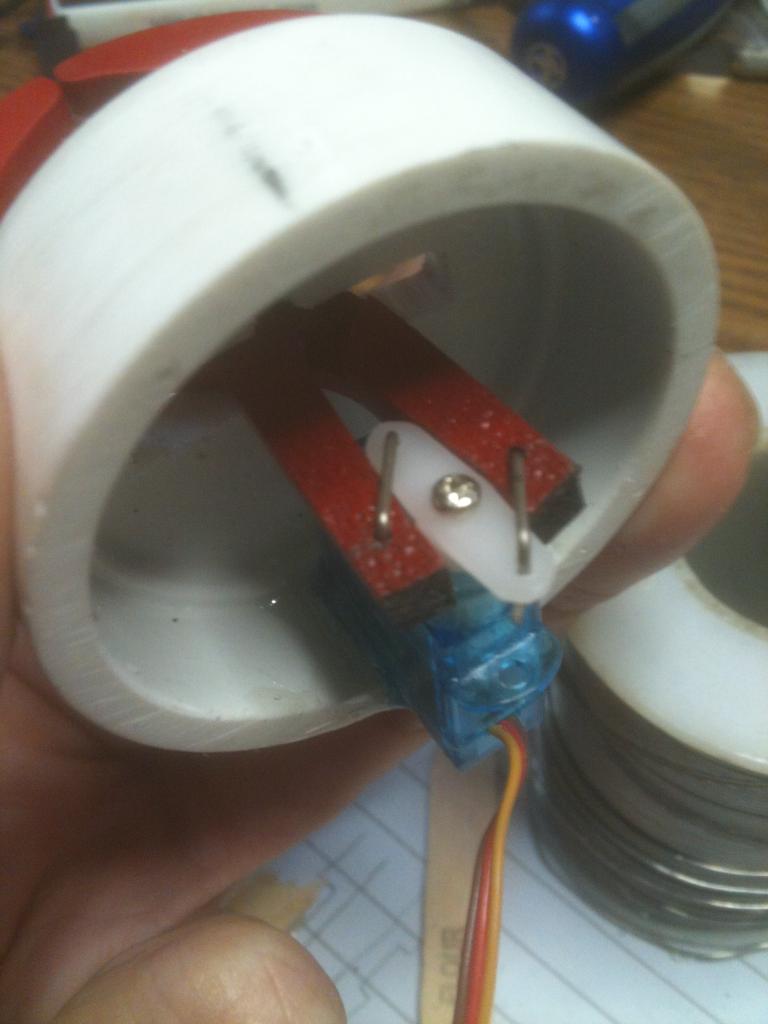
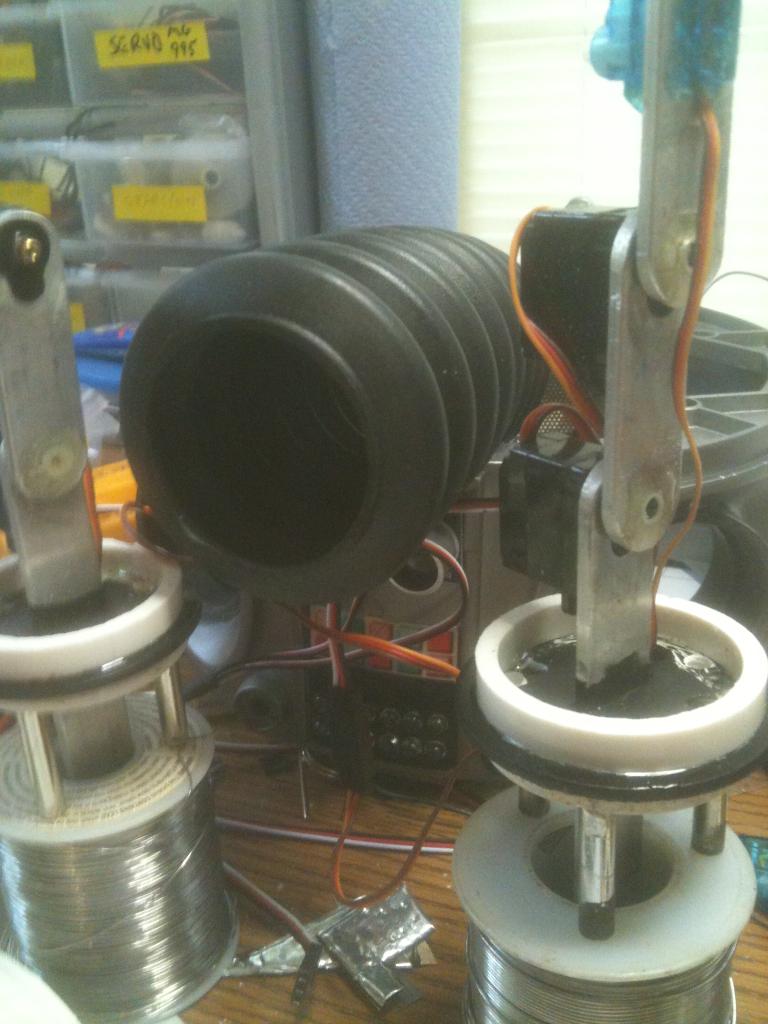
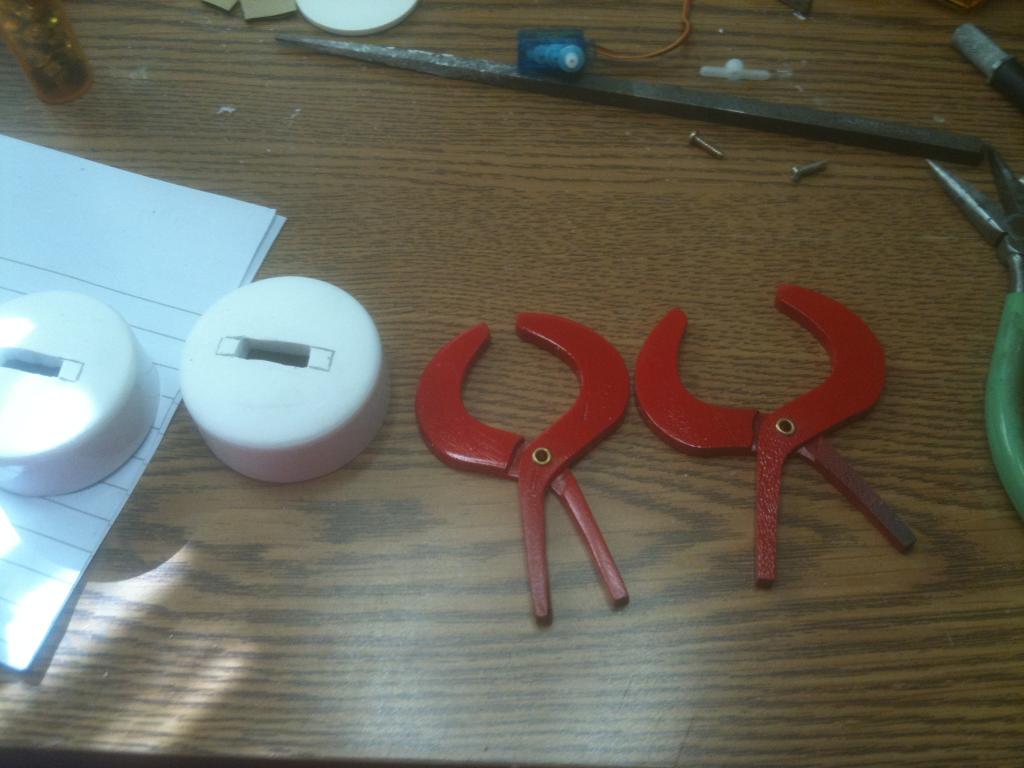
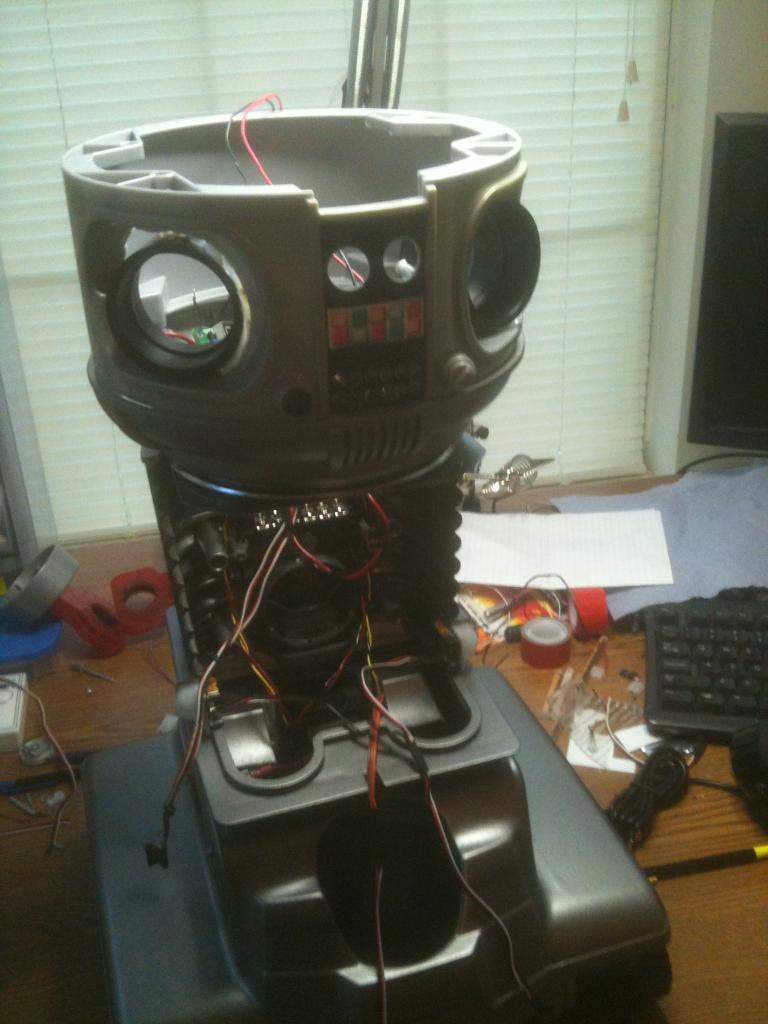
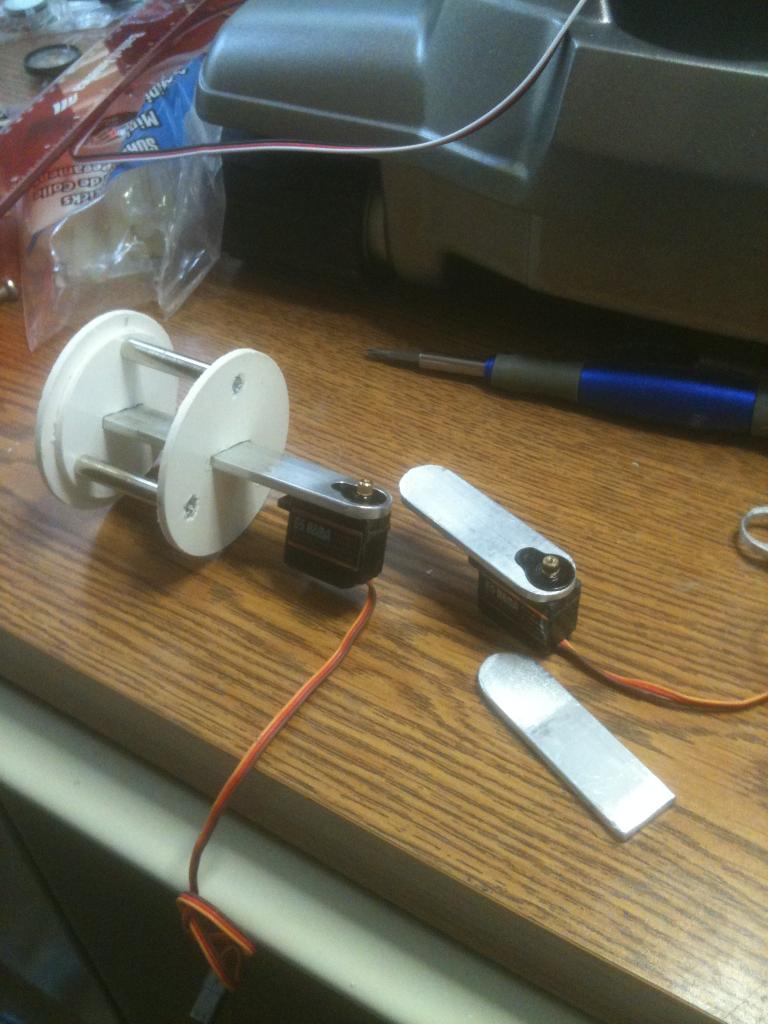
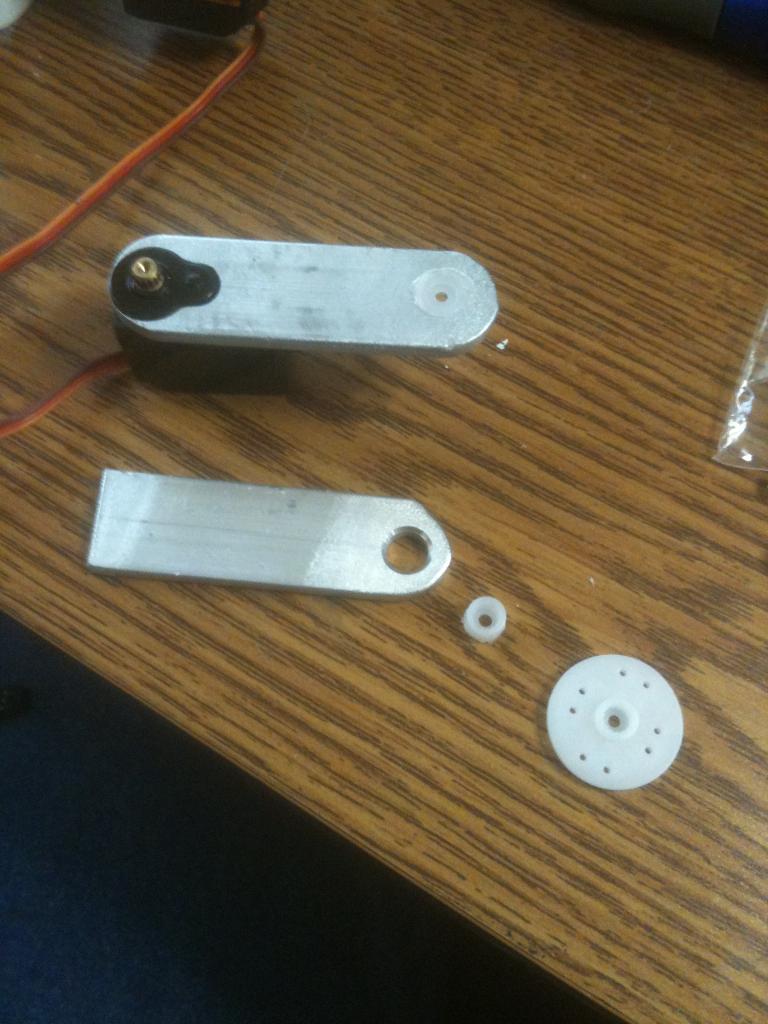
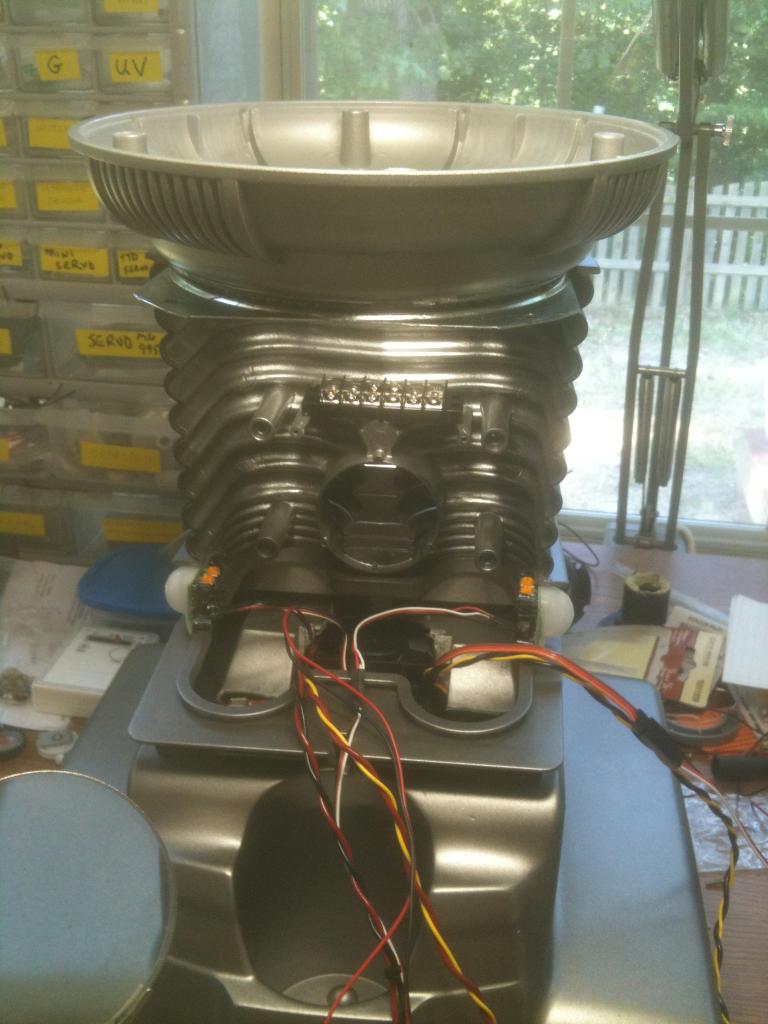
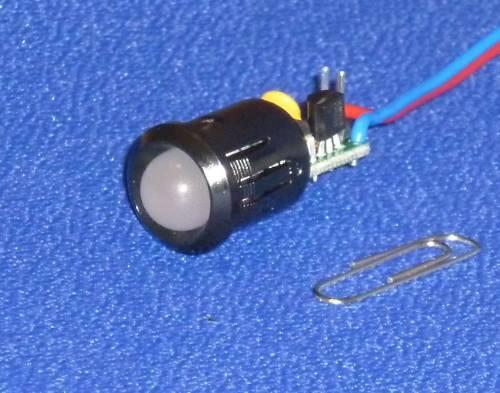
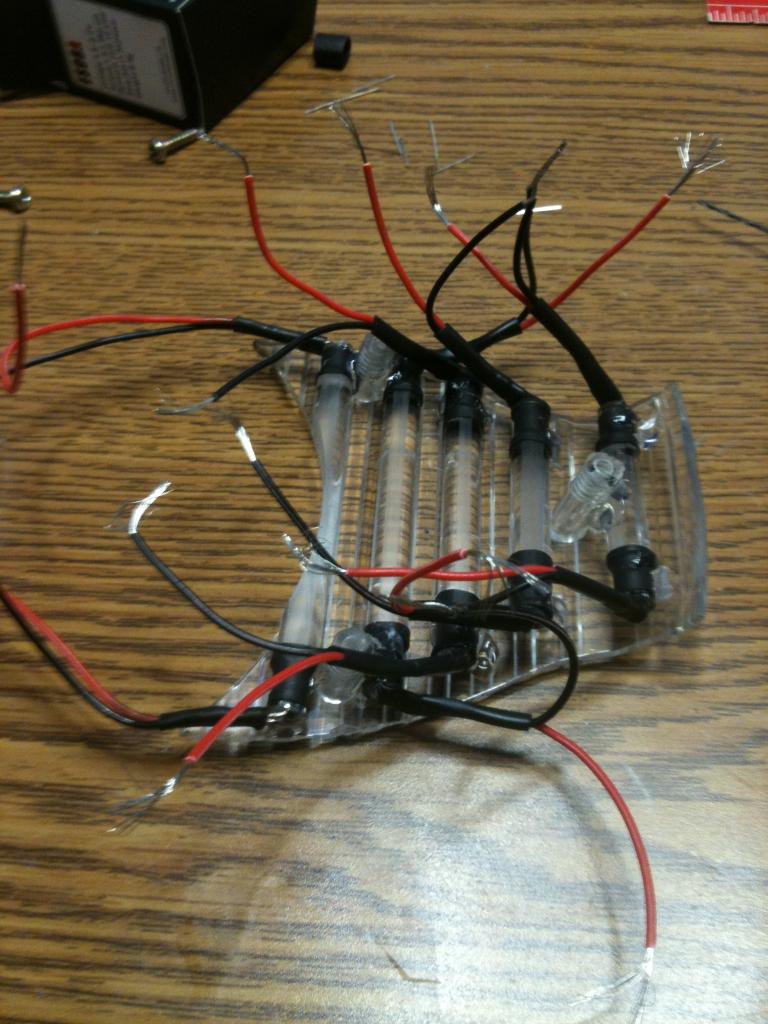
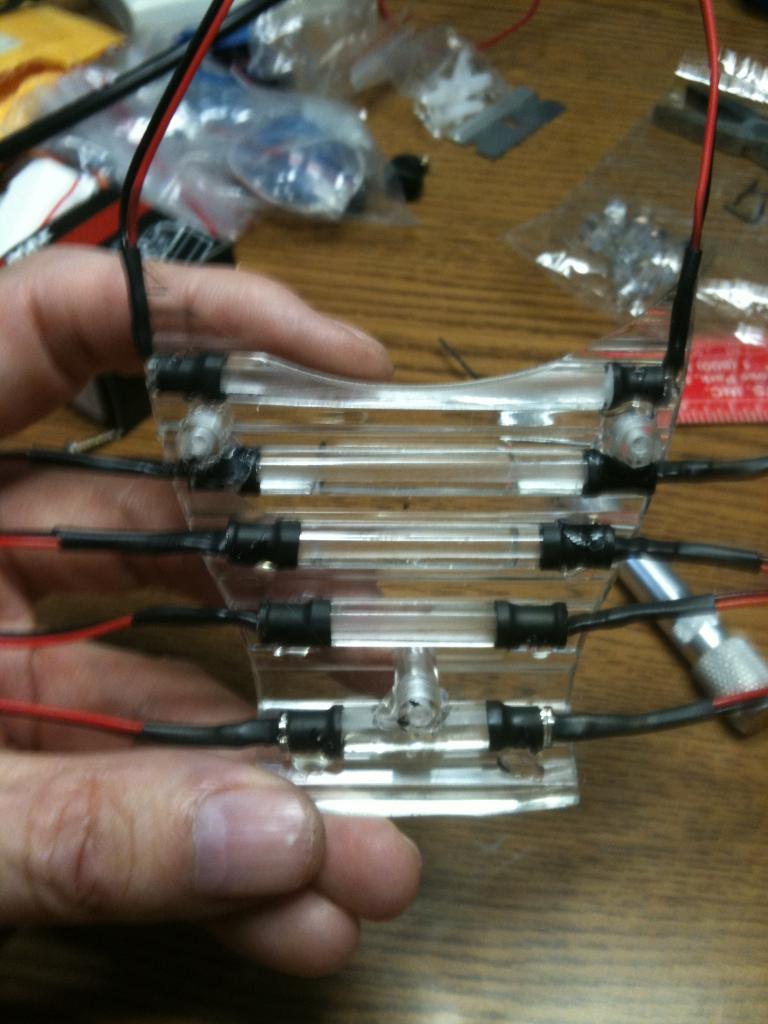
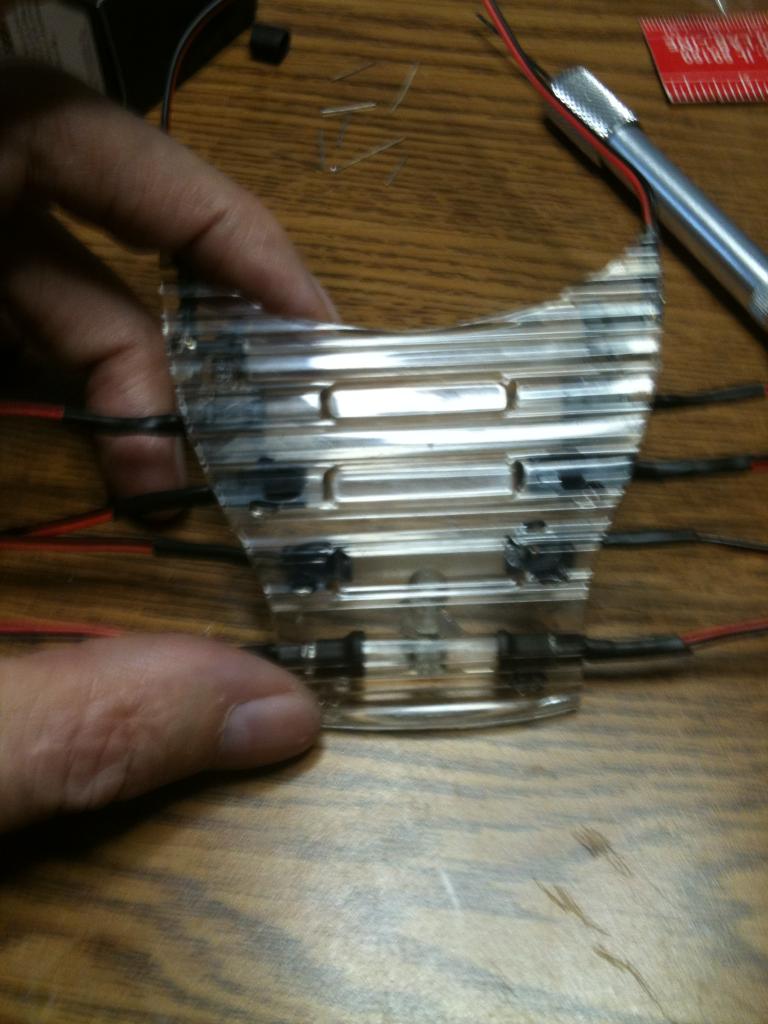
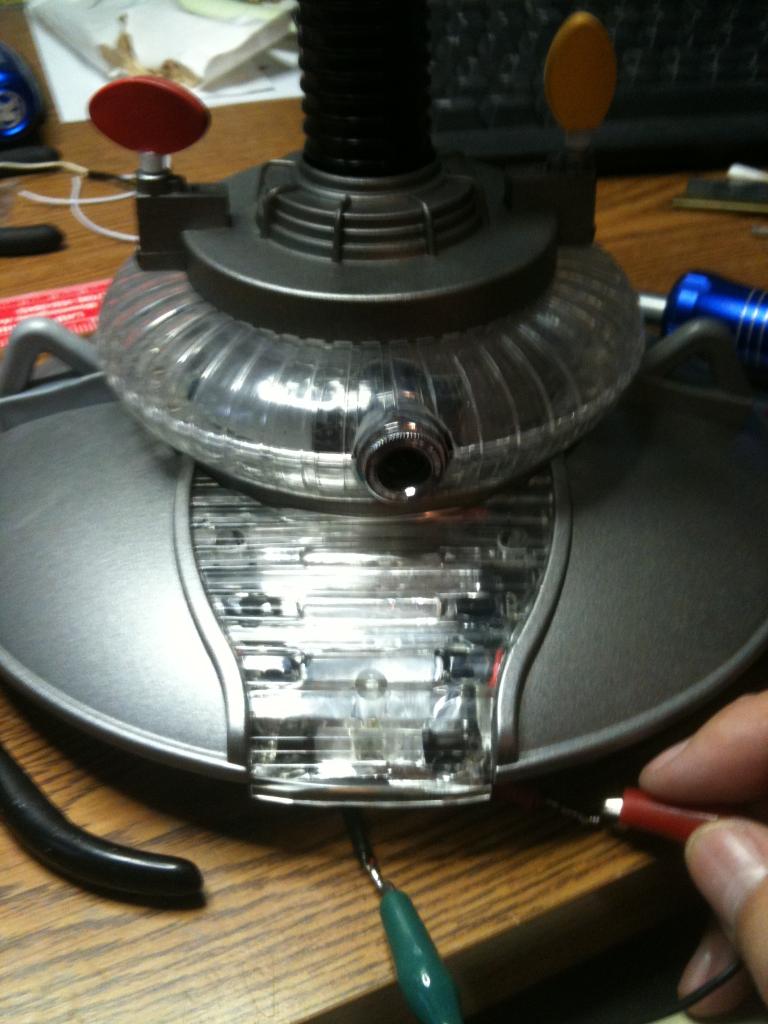
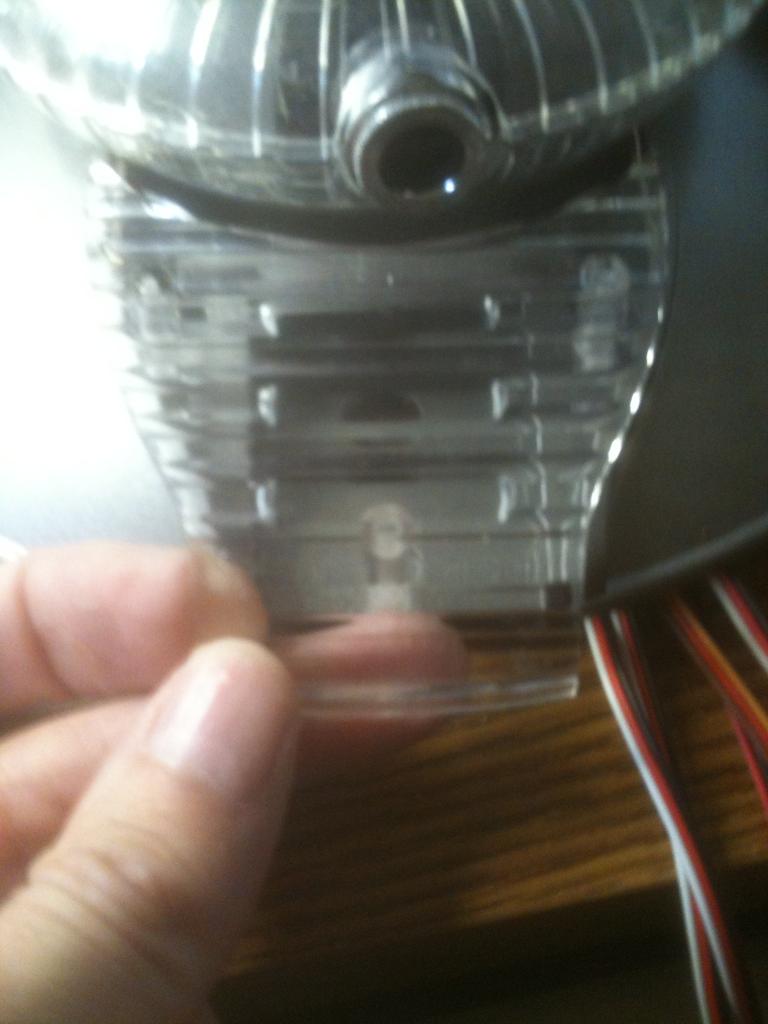
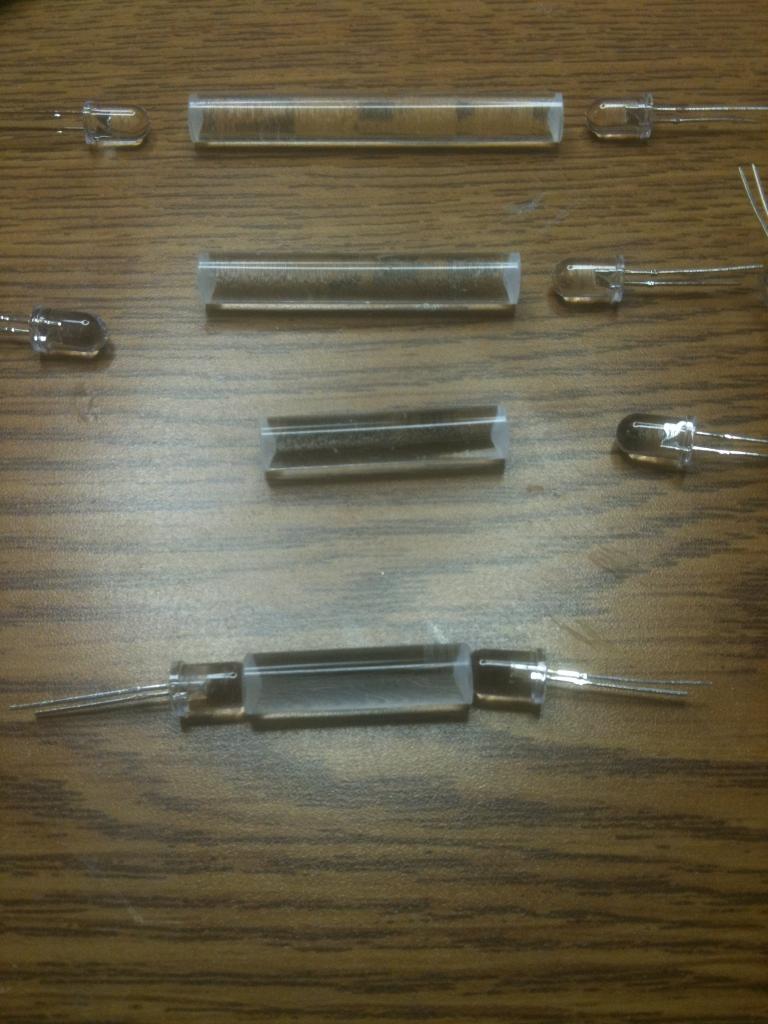
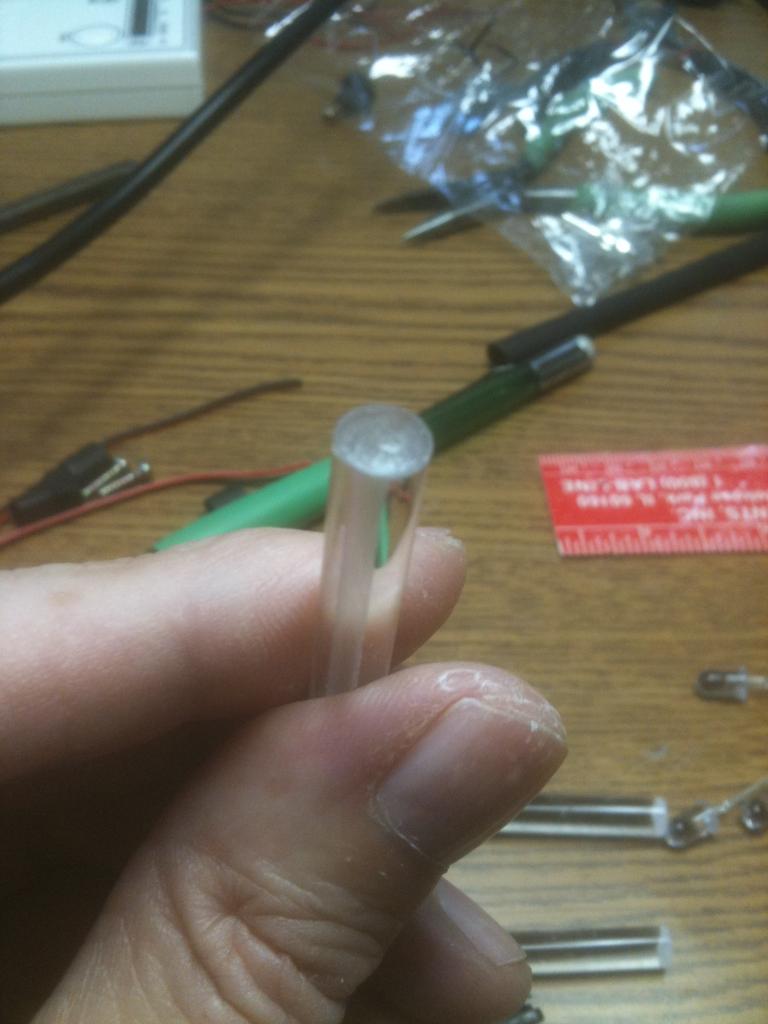
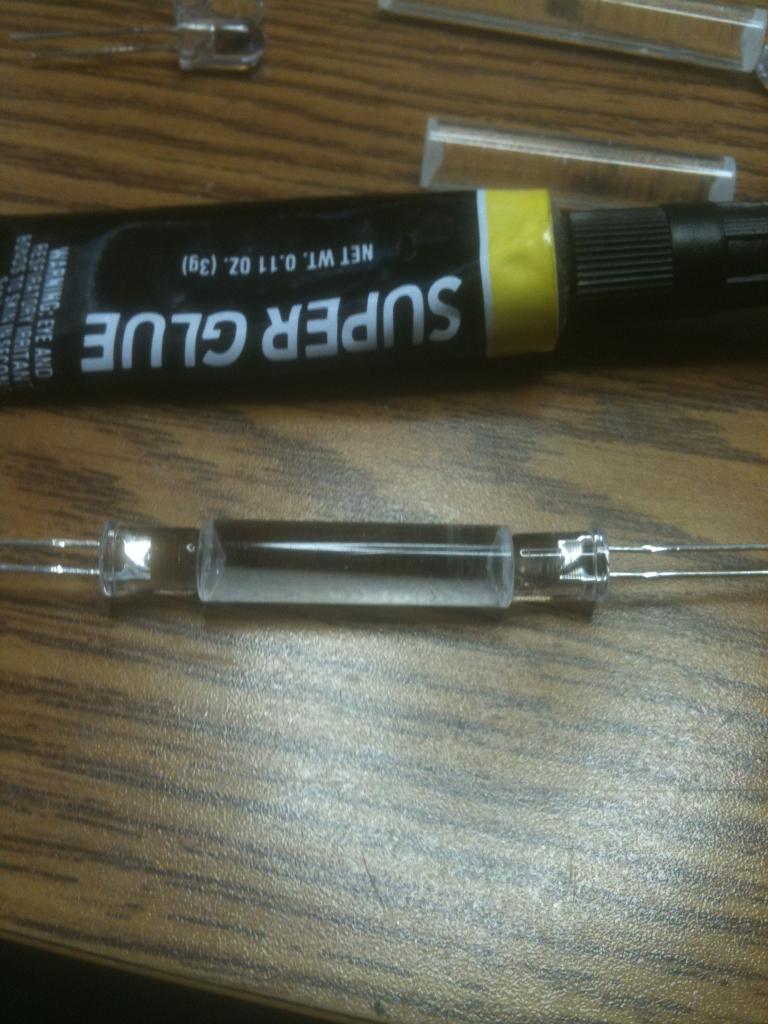
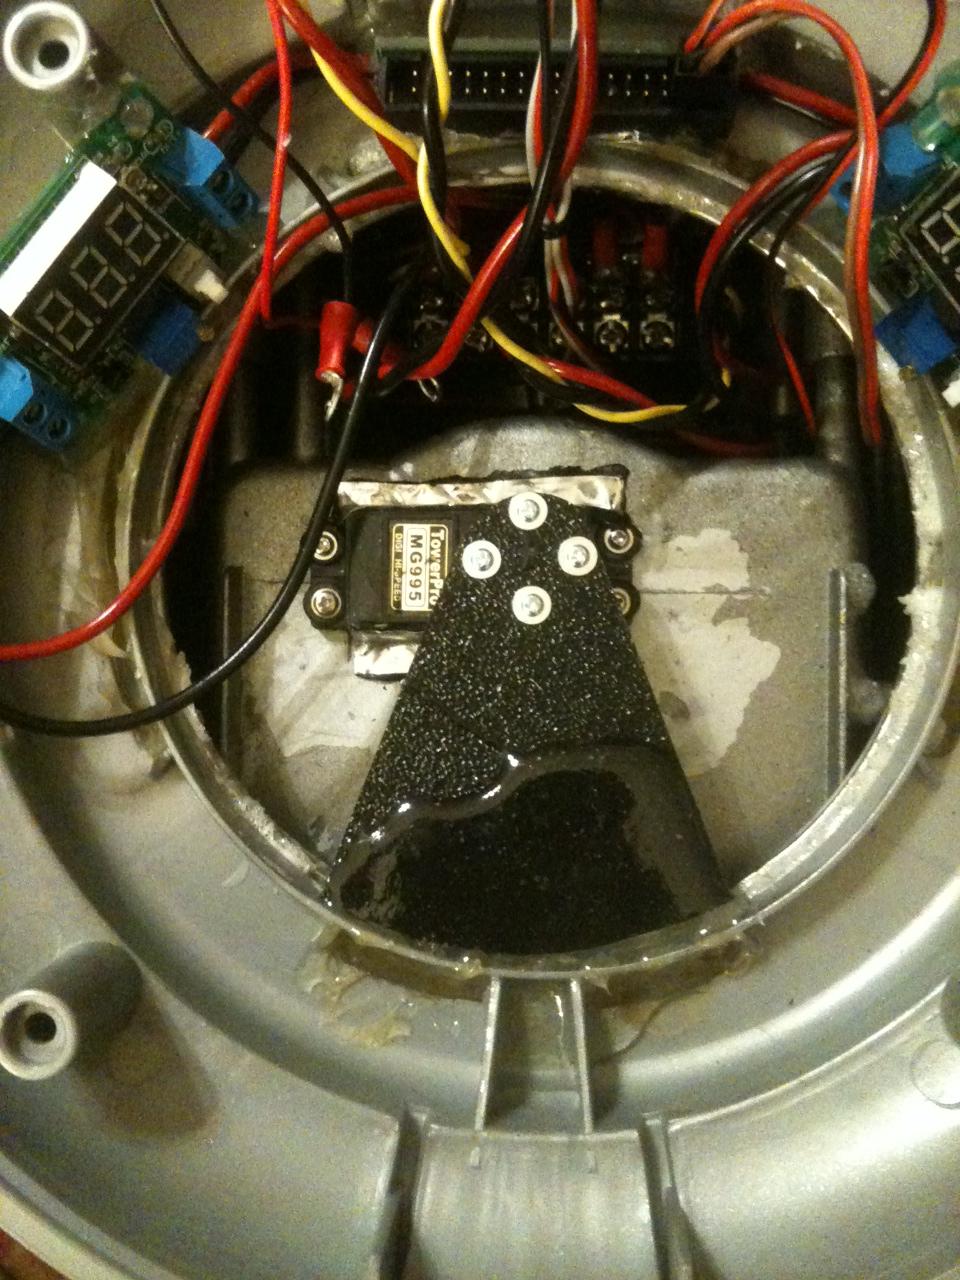
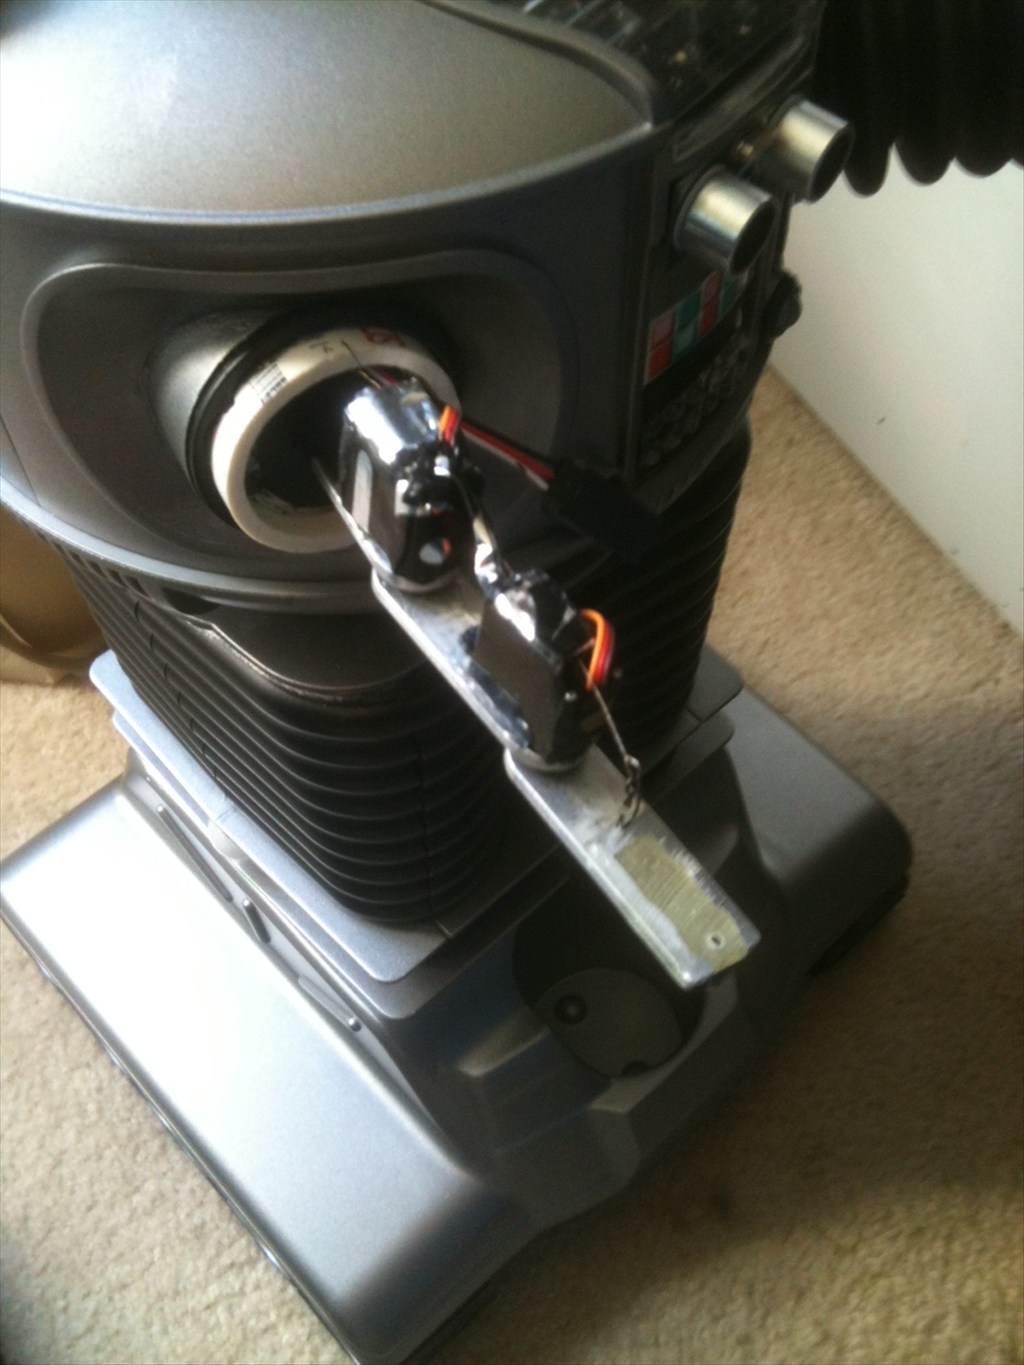
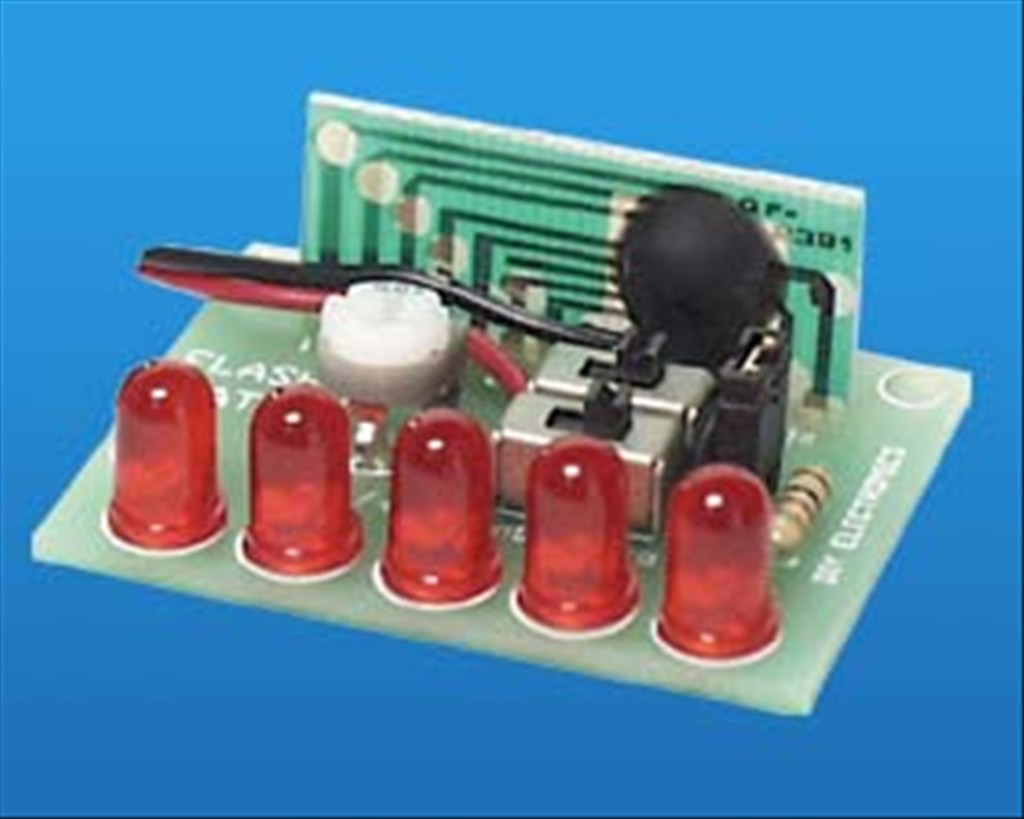
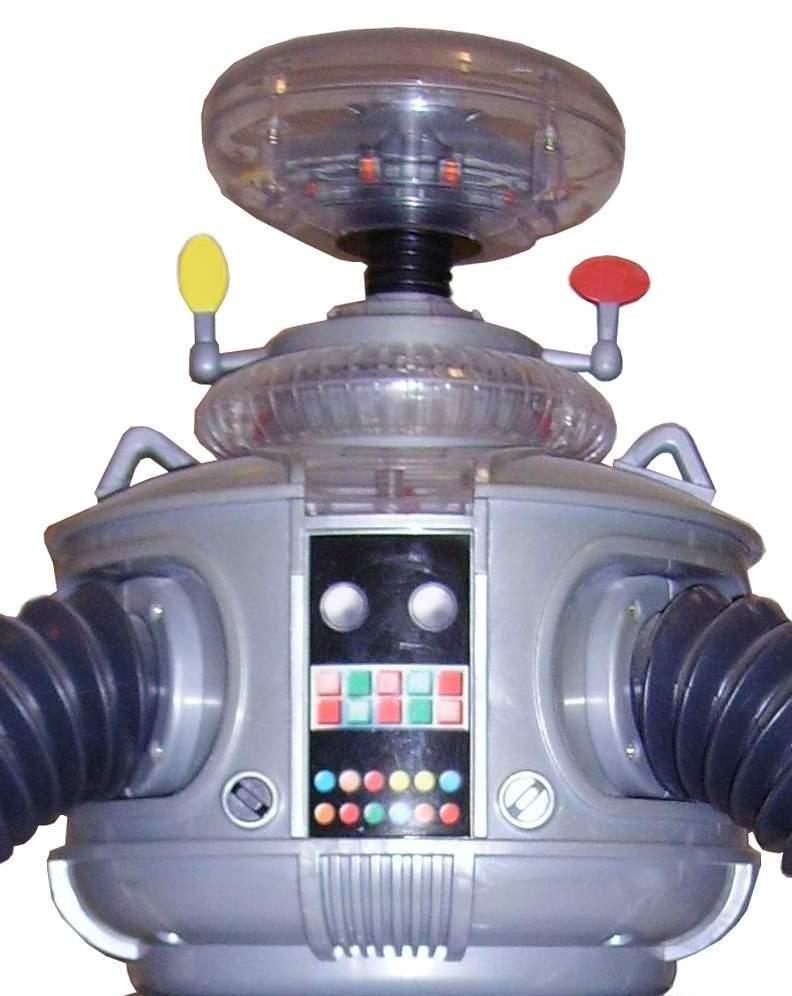
I have mounted clear LEDs in the appropriate colors in the chest at the bottom of the decal and have a flashing circuit that will blink them in the combination as seen on the series. Where the two large round circles are (white domes on the big guy) I will have my ping sensor. I have mounted pager motors in the antenna housings to turn the "sensors" as seen in the TV version. I have mounted red El Wire to his voice plate to emulate the original as well. I have also mounted a series of blinking LEDs to the "brain" section in the bubble.
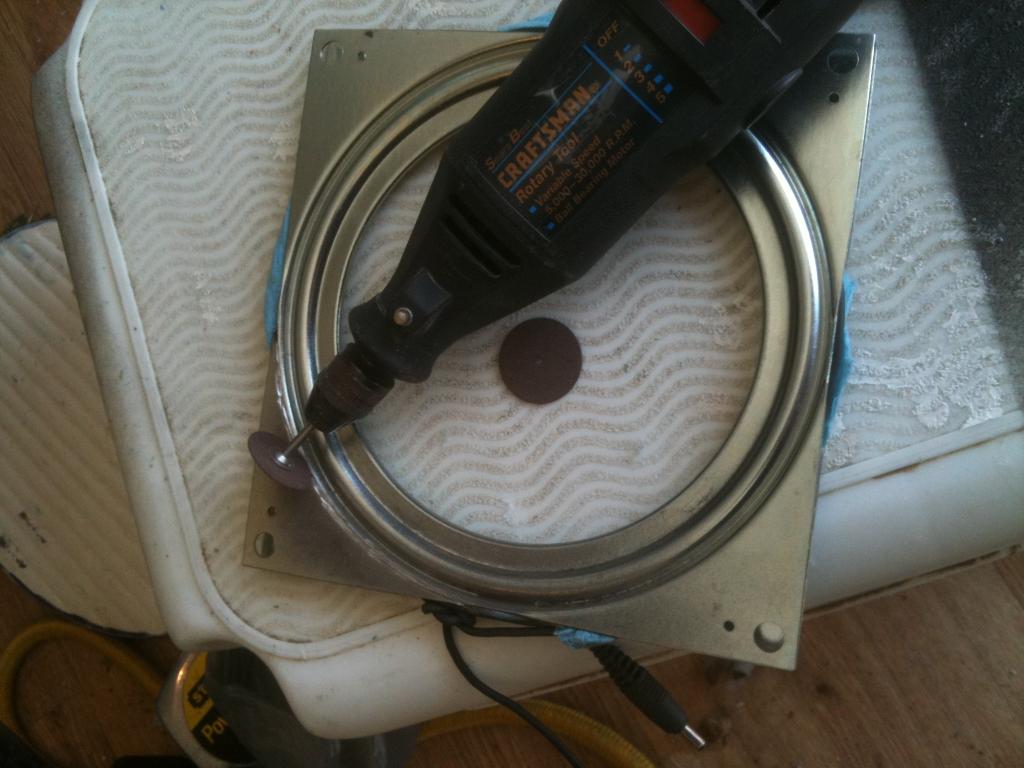
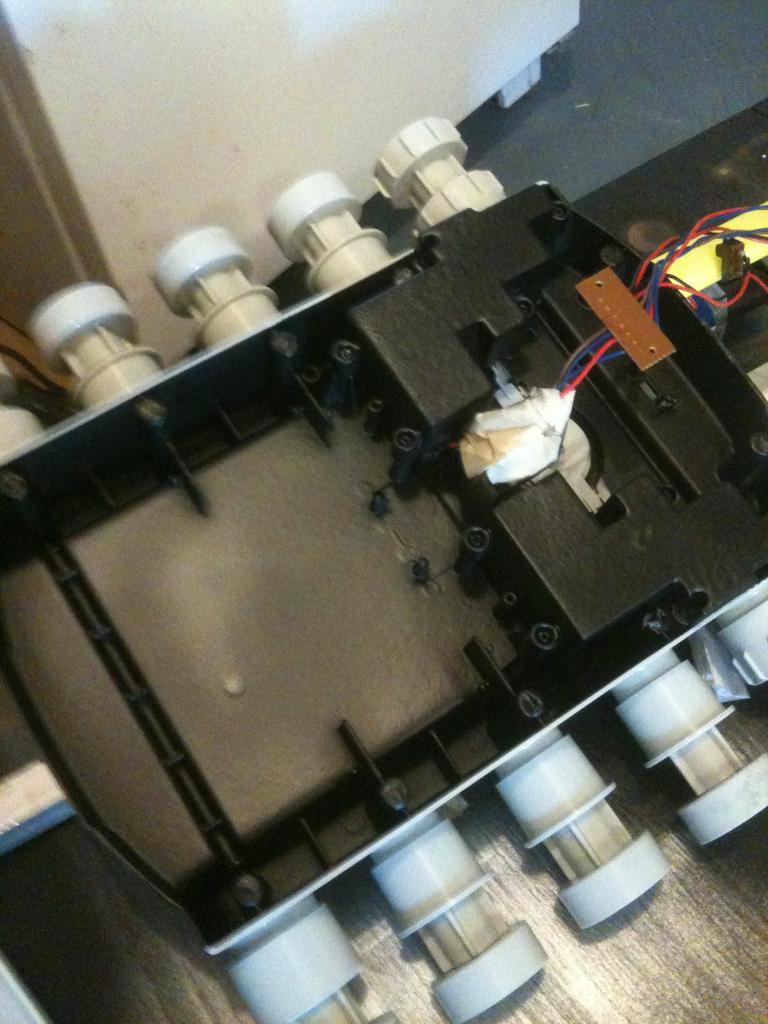
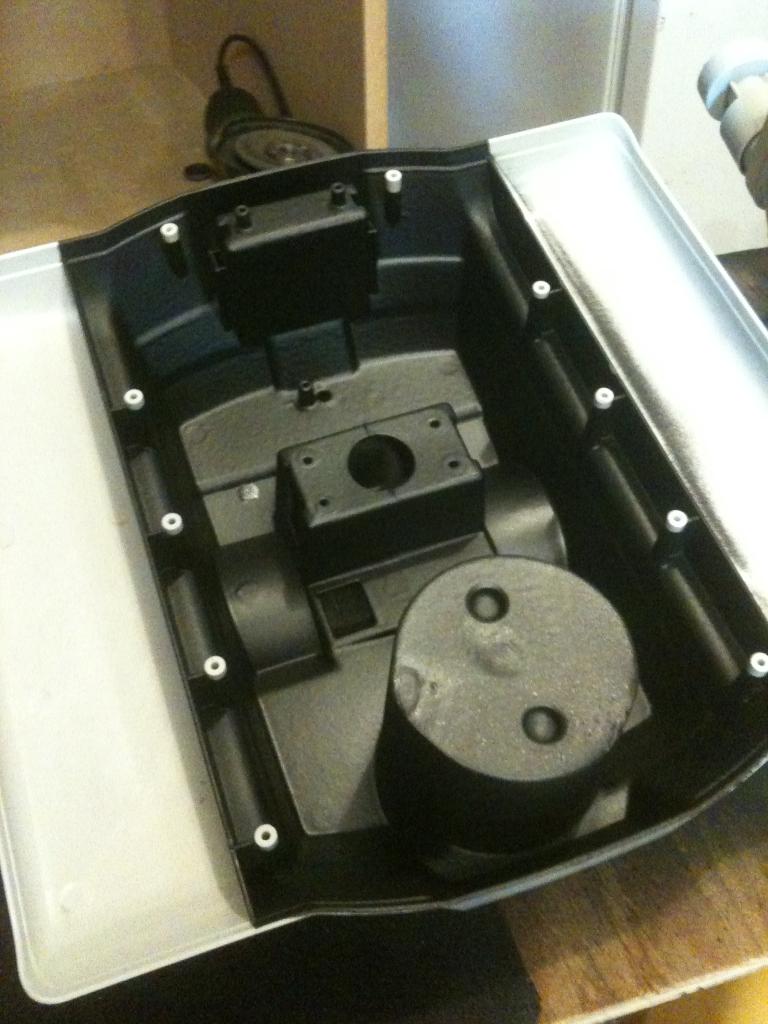
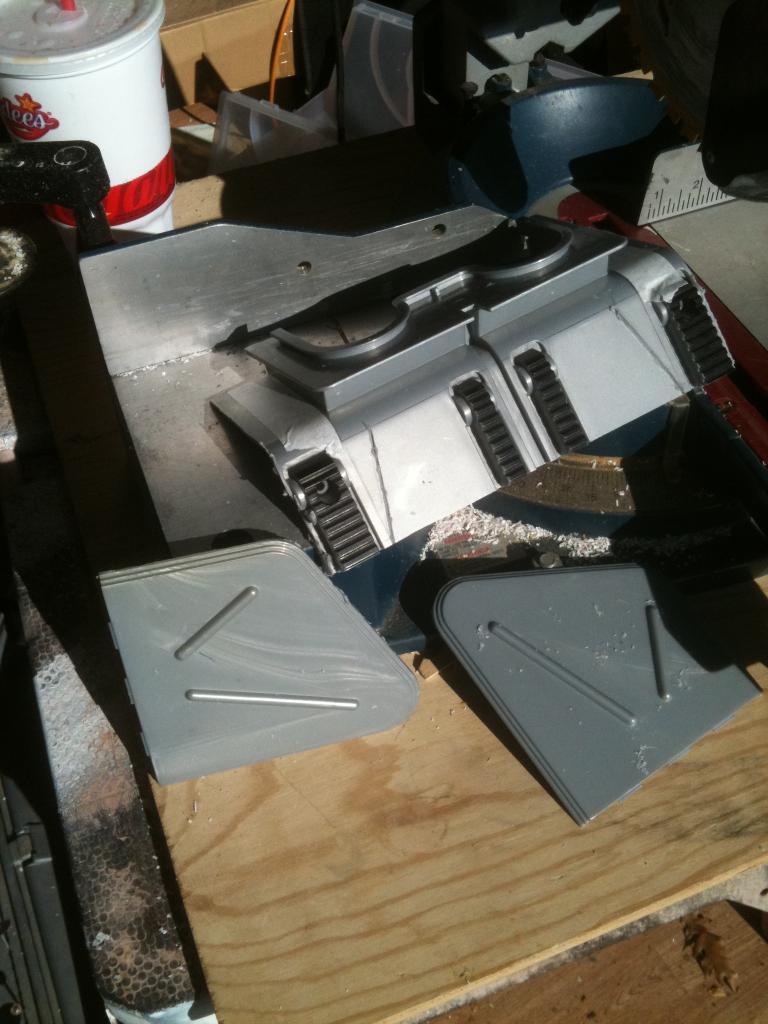
Next is to work on the rotation of the bubble and torso, articulate the arms and claws, and make a real functioning tread section. For the tread section I am adapting the base from my RAD robot. I will keep you posted with pics as I proceed.
Thanks,
Bret
Discover more robots
Jim's Armadeus Mk. 11

DJ's I Taught Jd To Serve Snacks

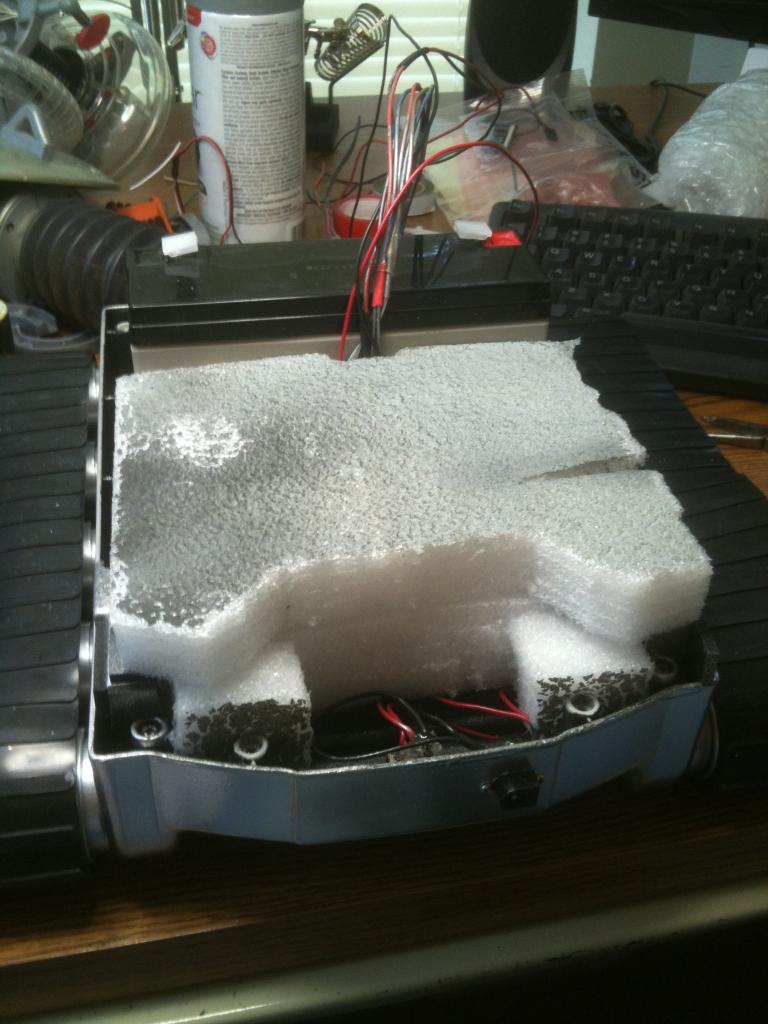
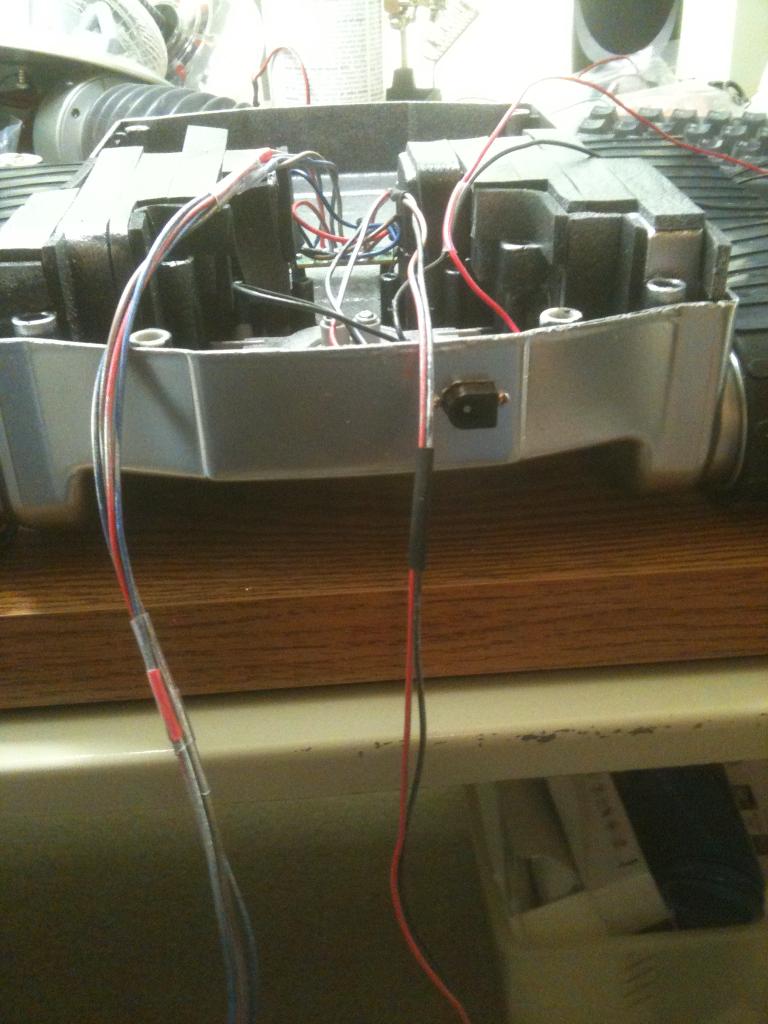
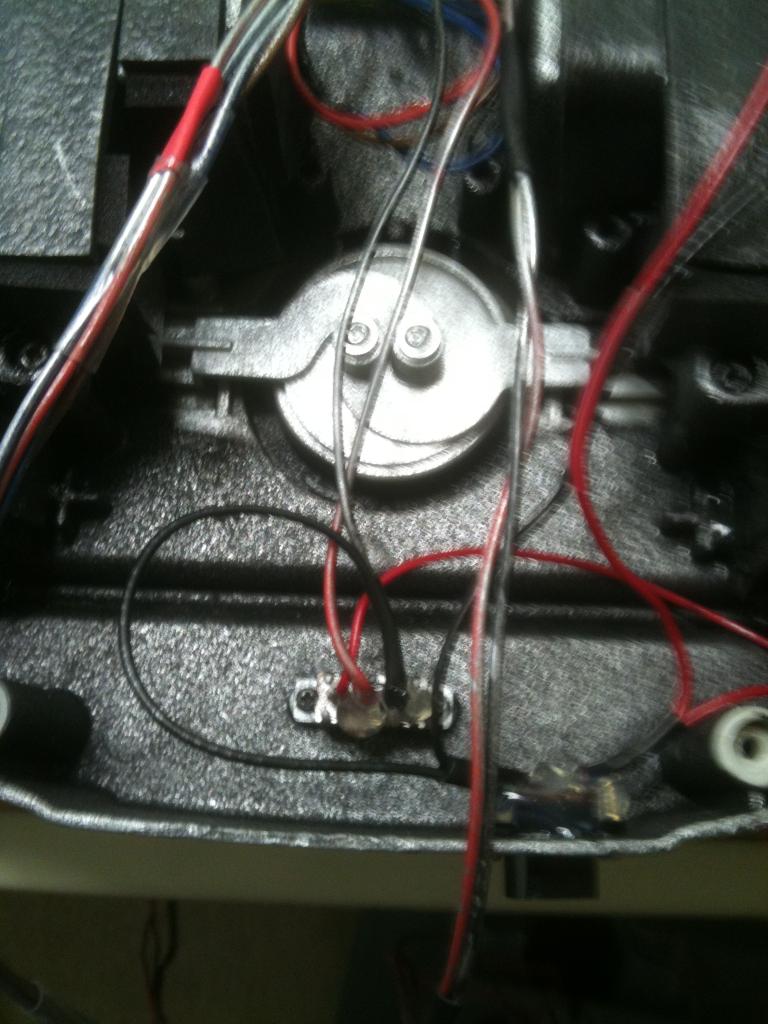
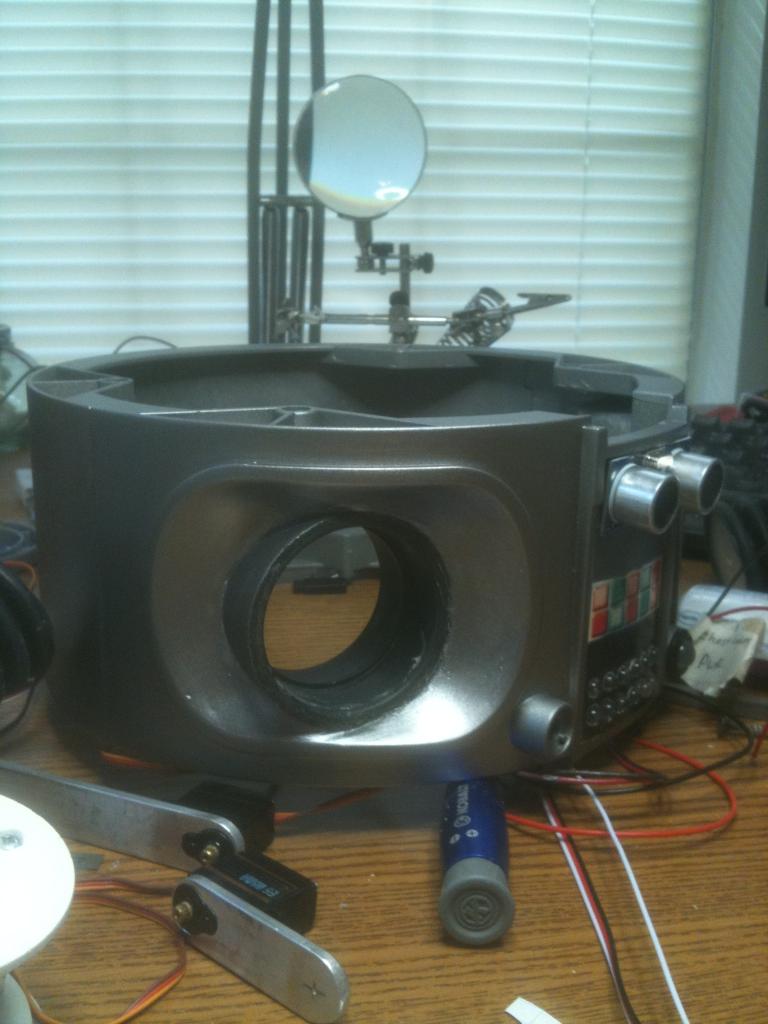
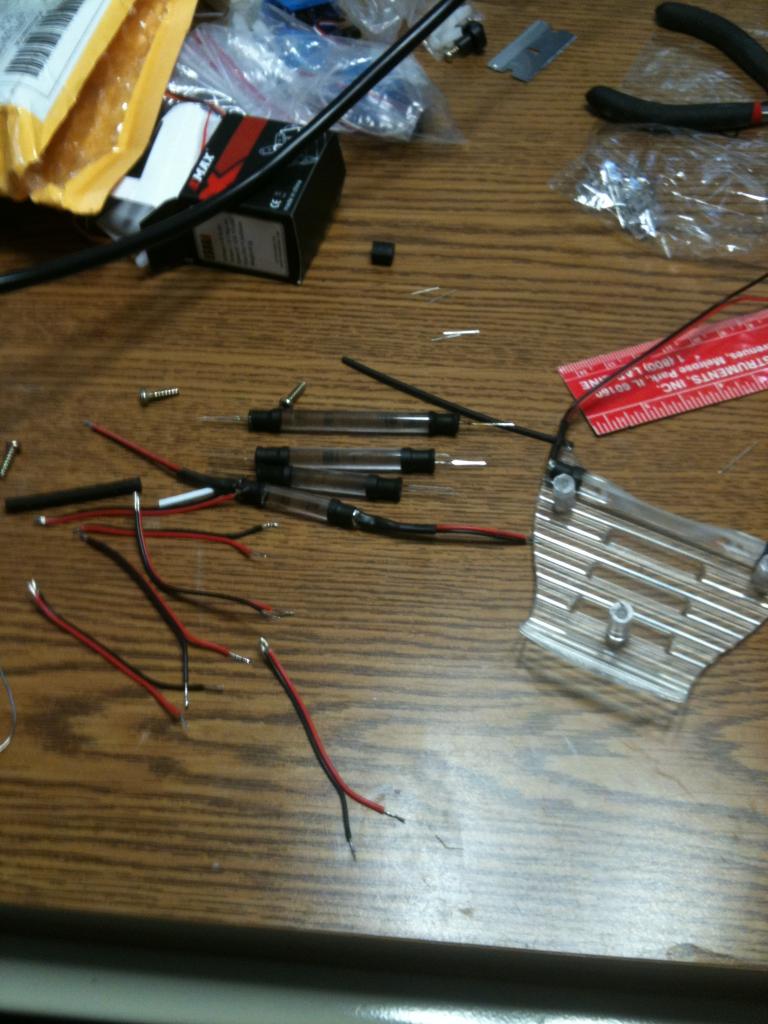
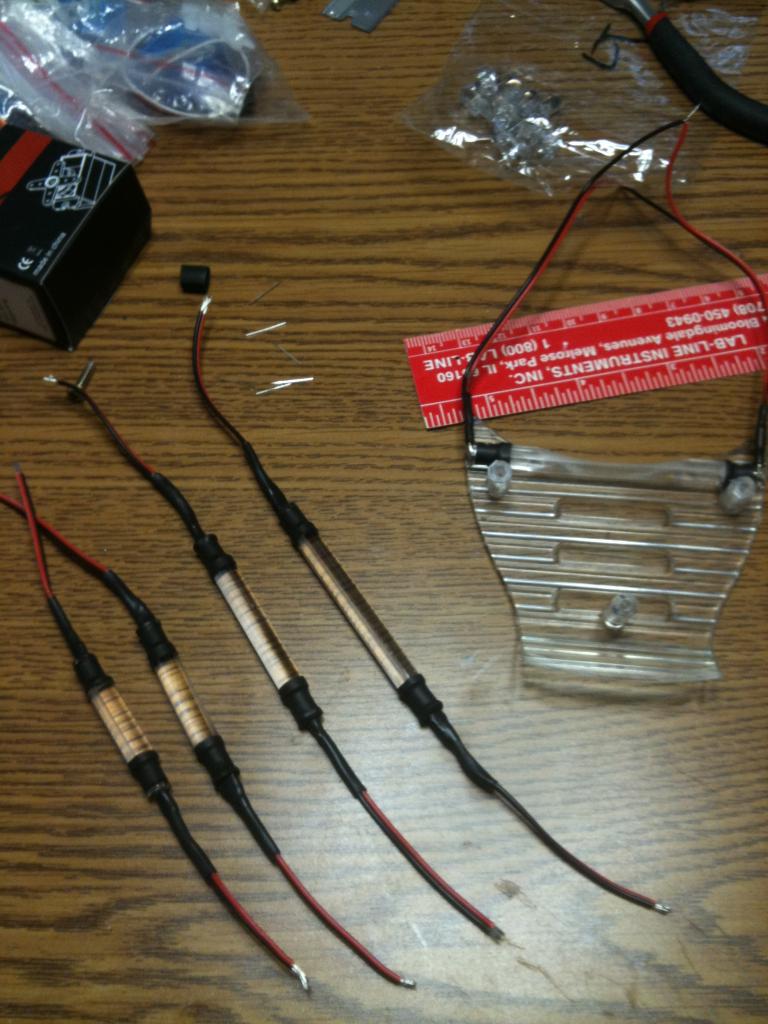
Thanks to Josh I now have Dynamat sound deadening installed in B9. The battery is installed and the wires neatened up.
-634765022326562500.jpg)
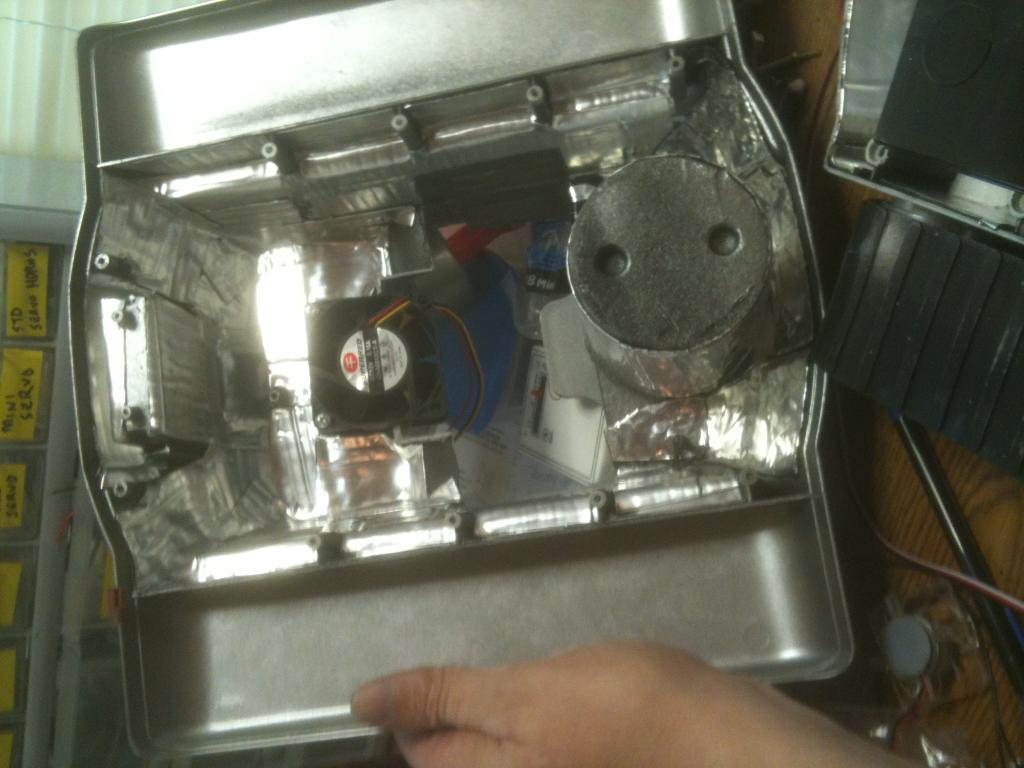
Then I have my foam core for a little extra sound deadening and support for the servo that changes gear. I also left room in the back to install my cooling fan (again, compliments of Josh).-634765023386093750.jpg)
Now to modify the cover to the drive section to accept the larger battery and the new cooling fan, then I can close it up and continue with the torso. Thanks to everyone for their suggestions and help getting B9 mobile.That looks sooooo cool with all the dynamat inside him! You can double and triple layer that stuff , each additional layer cuts like 10 to 15 percent more sound. Great job! I would even double layer the bottom of the base on the outside where no one can see it because the bottom seems to be where most the sound resonates from. Notice a difference in sound? also I was talking to troy , did some research and found white lithium grease works great on those gears , can't overdue it , glob it on , and excess absorbs sound like.in a cars differential.
Be careful of getting dynamat on the ends of the lil gear axles sticking out the sides of the gear boxes. Josh had dynamat'd one of the gear boxes of my RAD tracks before I bought it from him, really took some head scratching to figure out why that gear box wouldn't turn. The dynamat rapped itself around the lil axles the 1st time they got turned.
@ndavid Woops sorry buddy , I was just showing someone a pic of what dynamat looked like applied.
Speaking of where is your project David?
Ahh no problem man, didn't seem worth mentioning after we figured it out.
Right now its just the tracks & a cedar framework for a 7" tall box on top, just tall enough to get a netbook above the battery & electronics. I need to get the EZ-B & h-bridge mounted on it's 4"x12"x1/16" PVC sheet. The fuse block, euro terminal strips, & main relay are already mounted on an identical sheet. And get those 2 sheets mounted & everything wired/hooked up. Then it needs the pvc box made that sits over the wooden framework, a 4ft tall pvc pipe mast attached to the back (where a Logitech Quickcam webcam on a pan/tilt will be mounted & an on/off switch near the top), bumper switches, & the ping sensor/radar servo mounted.
It's just a simple telepresence bot, which will be really useful for watching my CNC machine in the hot garage from my room.
@ndavid79 - thanks for the tip. I'll check it out tonight. I have made sure to rotate the motors after each piece of mat was applied to make sure it wasn't binding somewhere, but never thought about those little axle ends.
Okay Josh, I took your advice and added several more layers of the dynamat to the drive section.
-634765855550937500.jpg)
Then I the modded cover for the fan you sent.-634765856756250000.jpg)
Then I put a good layer of the dynamat on the inside of the cover.I routed and neatened up the wiring and placed the cover on the drive section. The fan pulls air from above and blows it onto the battery and motor housings.
Hey Josh, on that fan it has a red, black, and yellow wire. How do I need to wire that up?