


-634700966886250000.jpg)
-634700967015000000.jpg)
-634700967157968750.jpg)
-634702814800312500.jpg)
-634702600865468750.jpg)
-634702601116718750.jpg)
-634702602252031250.jpg)
-634702602665625000.jpg)
-634702602851875000.jpg)
-634694134410000000.jpg)
-634693960892812500.jpg)
-634693961752343750.jpg)
-634693953179375000.jpg)
-634693953336093750.jpg)
-634693164809062500.jpg)
-634693165327500000.jpg)
-634693165925625000.jpg)
-634693166147343750.jpg)

-634786542943876953.jpg)

-634796120303593750.jpg)
-634796120470312500.jpg)
-634812479455986328.jpg)
-634812479726035156.jpg)
-634812480620283203.jpg)
-634812481334052734.jpg)
-634812482341699218.jpg)
-634822681001005859.jpg)
-634822681580644531.jpg)
-634822681777470703.jpg)
-634821106166250000.jpg)
-634821106572812500.jpg)
-634821106815625000.jpg)
-634814909605058593.jpg)
-634814909850224609.jpg)
-634814910193212890.jpg)
-634814910596445312.jpg)
-634820188048437500.jpg)
-634820188647187500.jpg)
-634820189032656250.jpg)
-634718079154687500.jpg)
-634718080622031250.jpg)
-634714909191250000.jpg)
-634714909644843750.jpg)
-634713078392031250.jpg)
-634713078781250000.jpg)

-634720009877968750.jpg)
-634749341545937500.jpg)
-634749341951406250.jpg)
-634732946203437500.jpg)
-634708797562402343.jpg)
-634706000248750000.jpg)
-634705927185312500.jpg)
-634705927626406250.jpg)
-634705928146250000.jpg)
-634705929045781250.jpg)
-634705929717812500.jpg)
-634705930336093750.jpg)
-634705930540468750.jpg)
-634705931037812500.jpg)
-634709695807265625.jpg)
-634709696076181640.jpg)
-634711364771718750.jpg)
-634711364485781250.jpg)
-634712172318906250.jpg)
-634771897291406250.jpg)
-634771897466093750.jpg)
-634771897849687500.jpg)
-634771898236093750.jpg)
-634771898712187500.jpg)
-634771899102656250.jpg)
-634771899822656250.jpg)
-634771900771562500.jpg)
-634771901301875000.jpg)
-634768466924746093.jpg)
-634768467383681640.jpg)
-634772580489218750.jpg)
-634772581075781250.jpg)
-634772581532343750.jpg)
-634772581721718750.jpg)
-634773400815625000.jpg)
-634773401032187500.jpg)
-634781365777988281.jpg)
-634781366040302734.jpg)
-634781366299042968.jpg)
-634766553798554687.jpg)
-634766556025839843.jpg)
-634759732245312500.jpg)
-634765021896093750.jpg)
-634765022115000000.jpg)
-634765022326562500.jpg)
-634765023386093750.jpg)
-634765855550937500.jpg)
-634765856533437500.jpg)
-634765856756250000.jpg)
-634845177217089843.jpg)
-634845177425585937.jpg)
-634857207521406250.jpg)
-634857208212500000.jpg)
-634857208786718750.jpg)
-634826982093593750.jpg)

-634838602835000000.jpg)
-634838603089687500.jpg)
-634838603585312500.jpg)
-634871181815468750.jpg)
-634871183099531250.jpg)
-634871128238750000.jpg)
-634870976497031250.jpg)
-634870976894687500.jpg)
-634880528374375000.jpg)
-634880528707656250.jpg)
-634880529073593750.jpg)
-634892824736386719.jpg)
-634892824903066406.jpg)
-634892825090117187.jpg)
-634892825255283203.jpg)
-634880812756406250.jpg)
-634870194470625000.jpg)
-634870194829687500.jpg)
-634865232676250000.jpg)
-634863402043750000.jpg)
-634863402351562500.jpg)
-634863402584218750.jpg)
-634863404238125000.jpg)
-634869405242656250.jpg)
-634869405424687500.jpg)
-634869405586562500.jpg)
-634869405943906250.jpg)
-634869406072656250.jpg)
-634869404353281250.jpg)
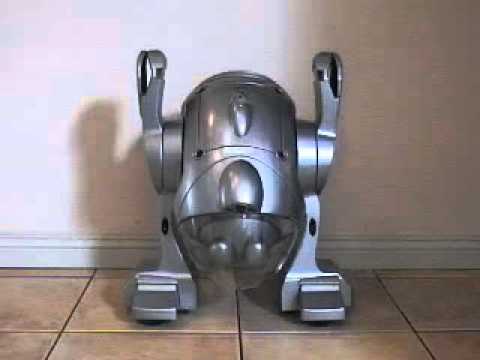
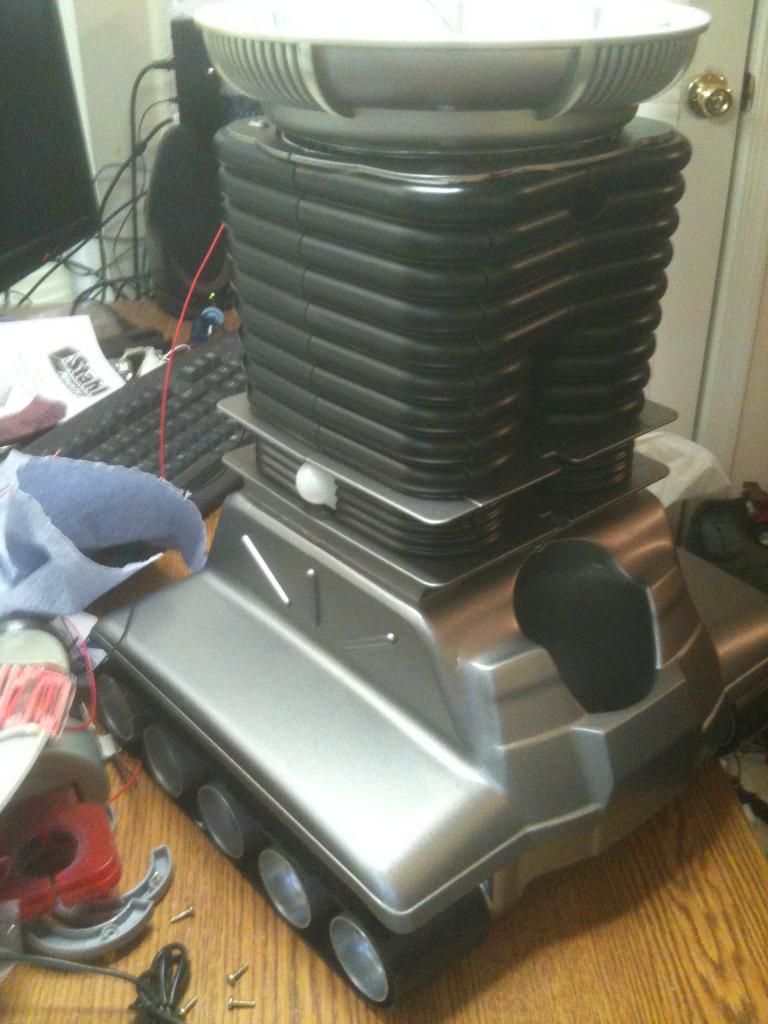
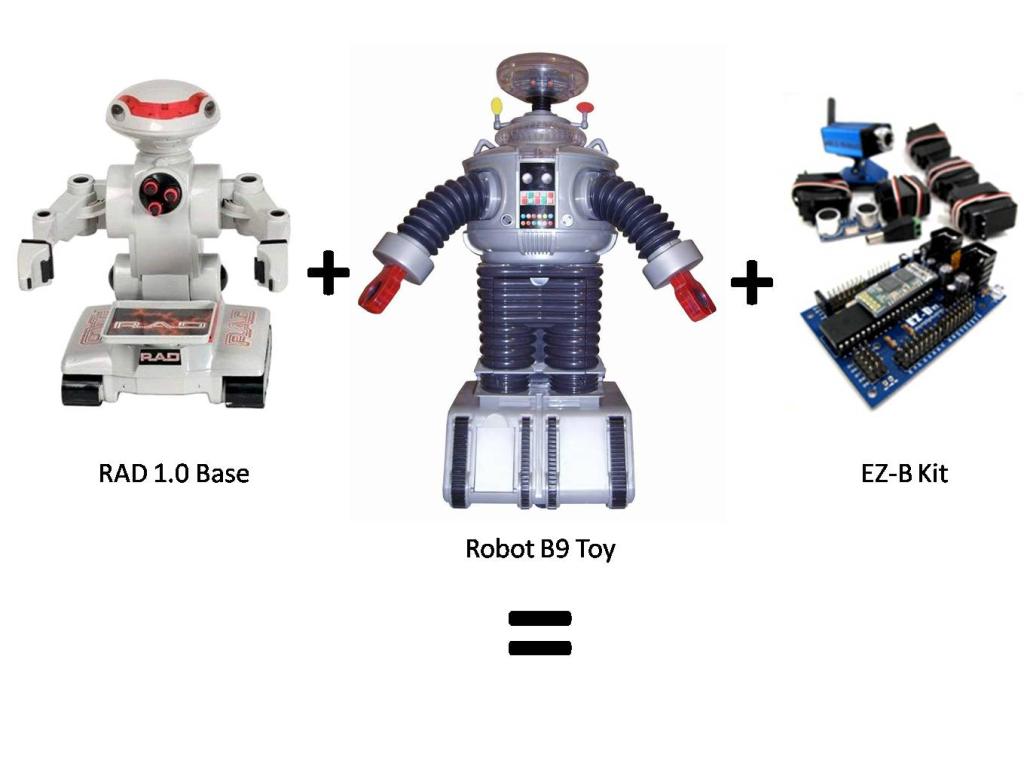
Now that I have finished B.O.B., my get your feet wet bot, I have begun my next hack. This next robot will bridge the gap between Bob and my ultimate big robot. I am starting with a remote controlled B9 toy from Trendmasters. It was very limited in what it did, and the drive section was pathetic, but it was B9!
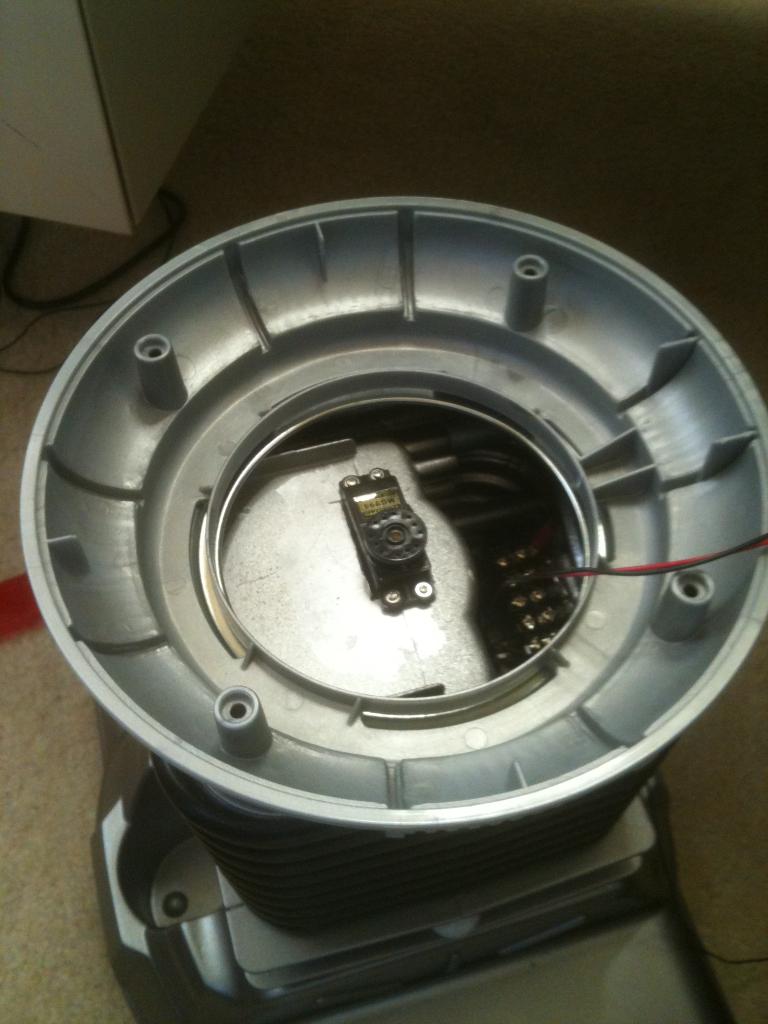
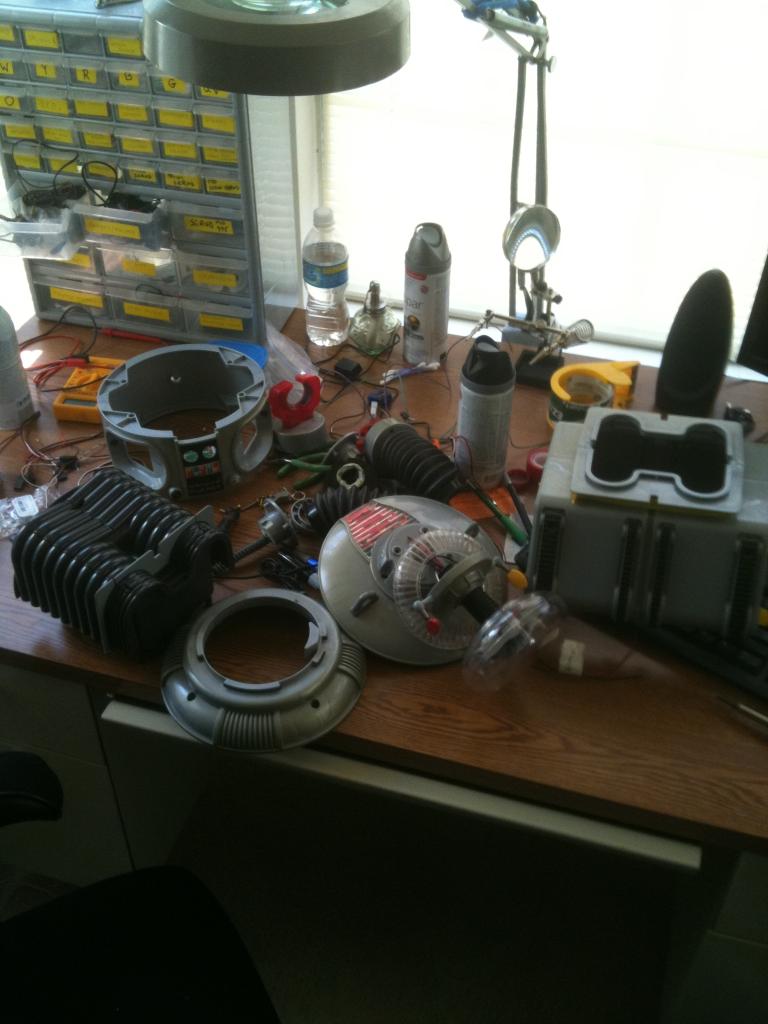
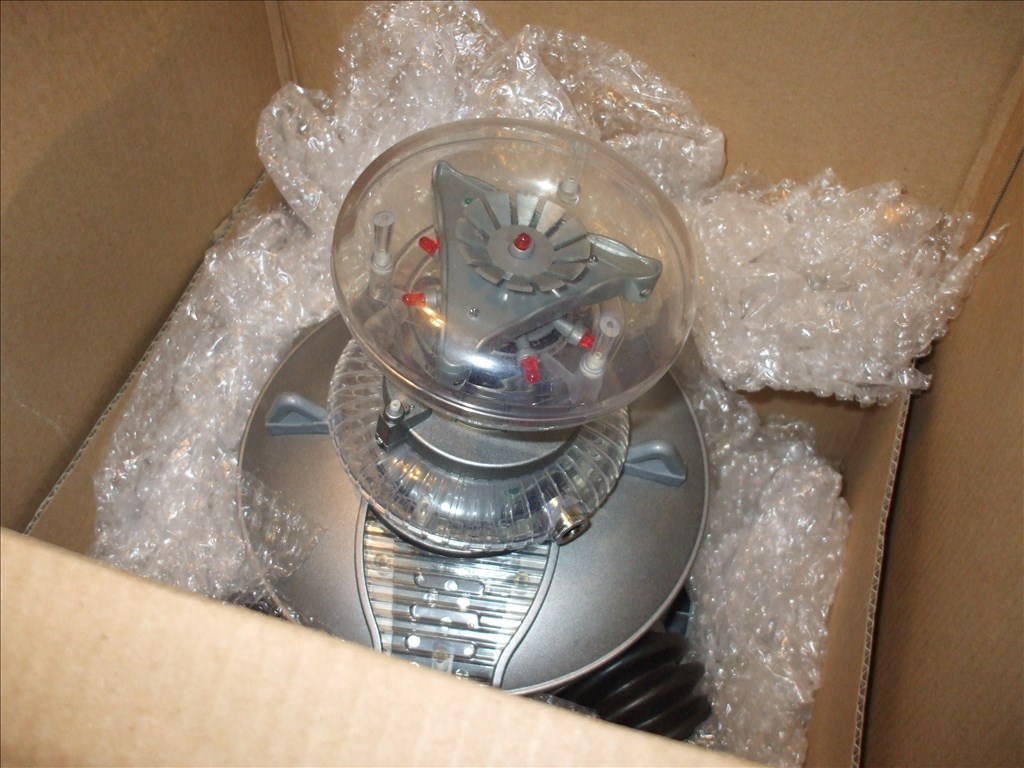
Before Pics:
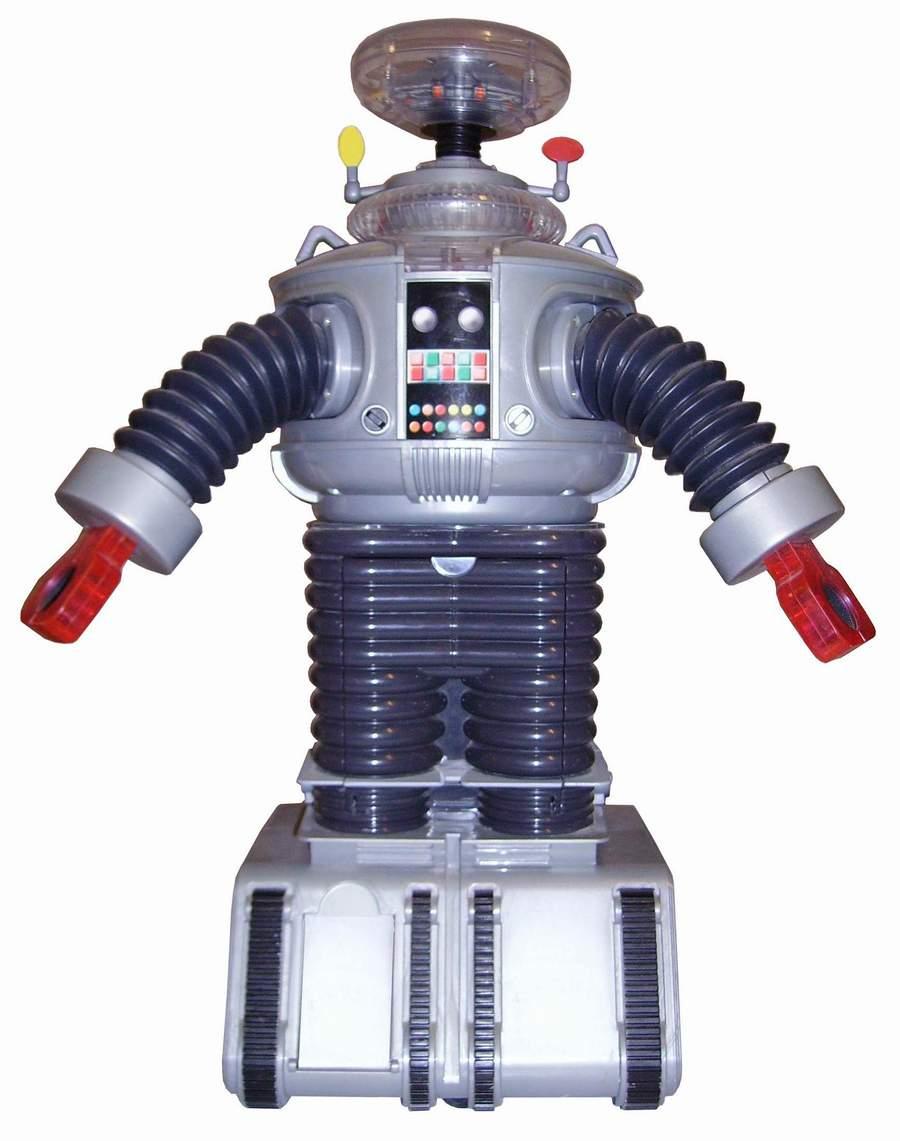
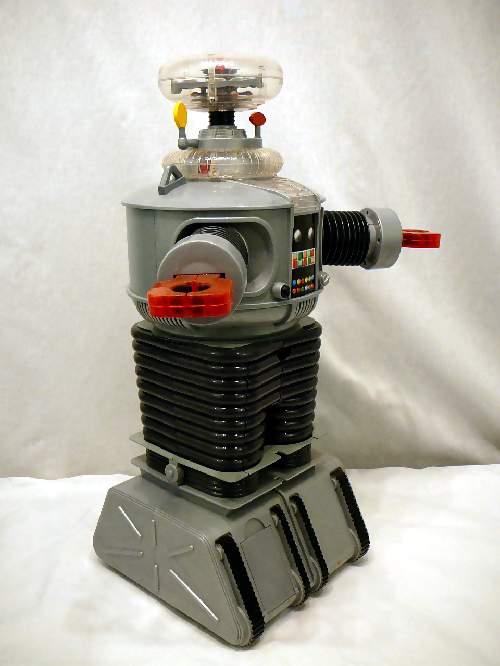
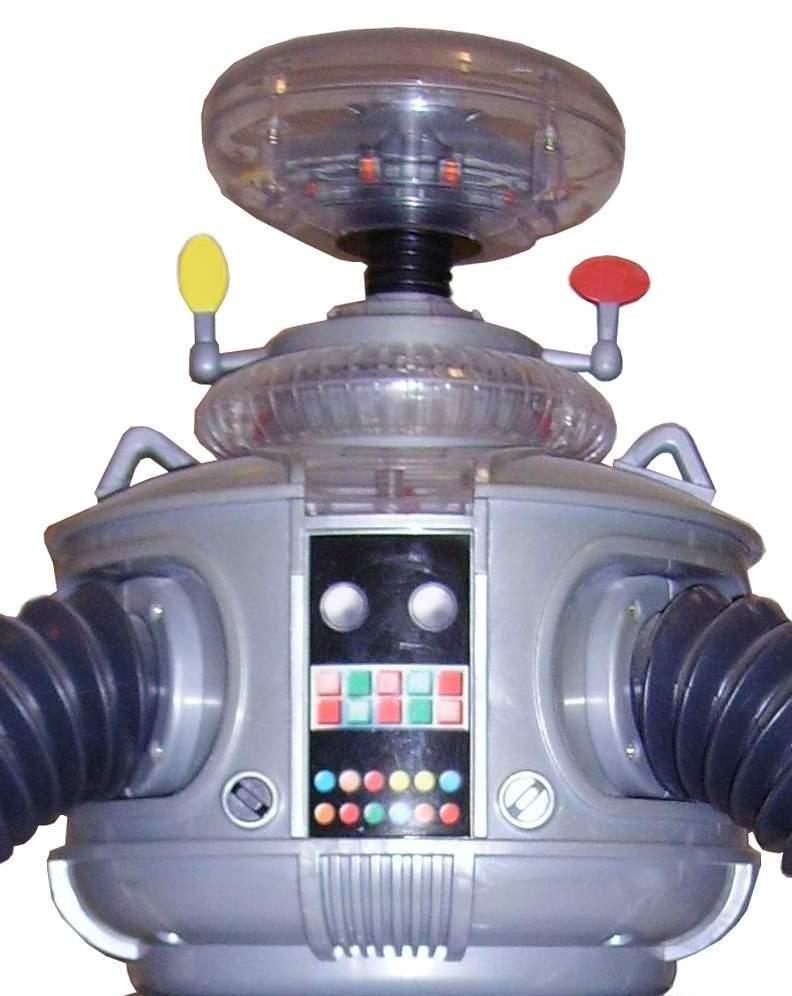
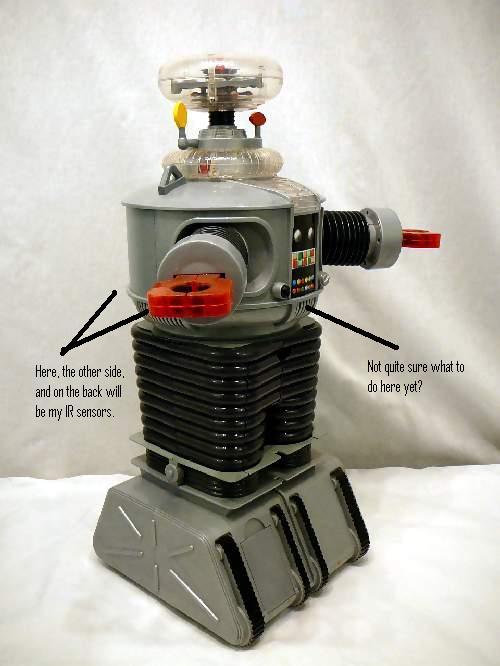
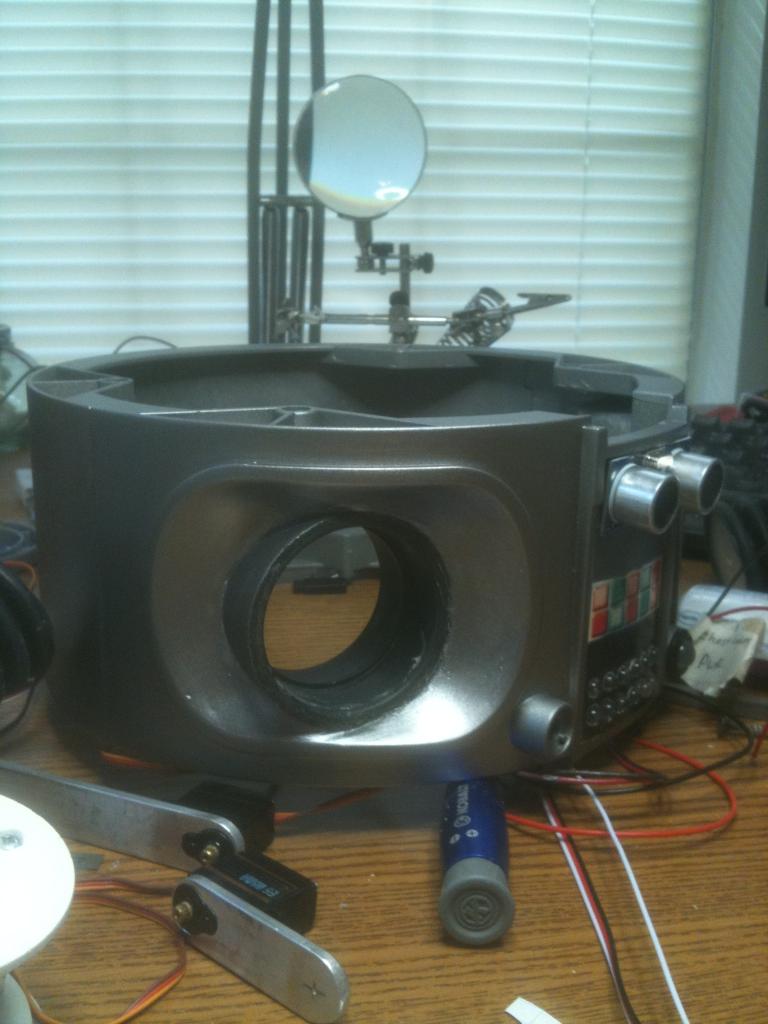
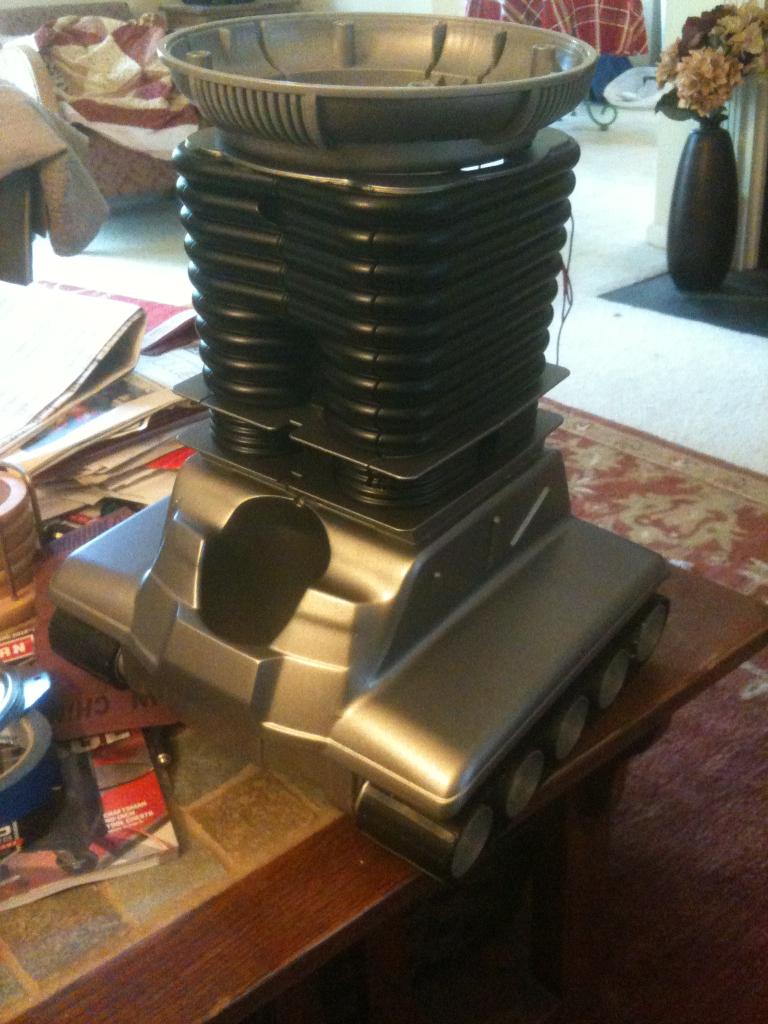
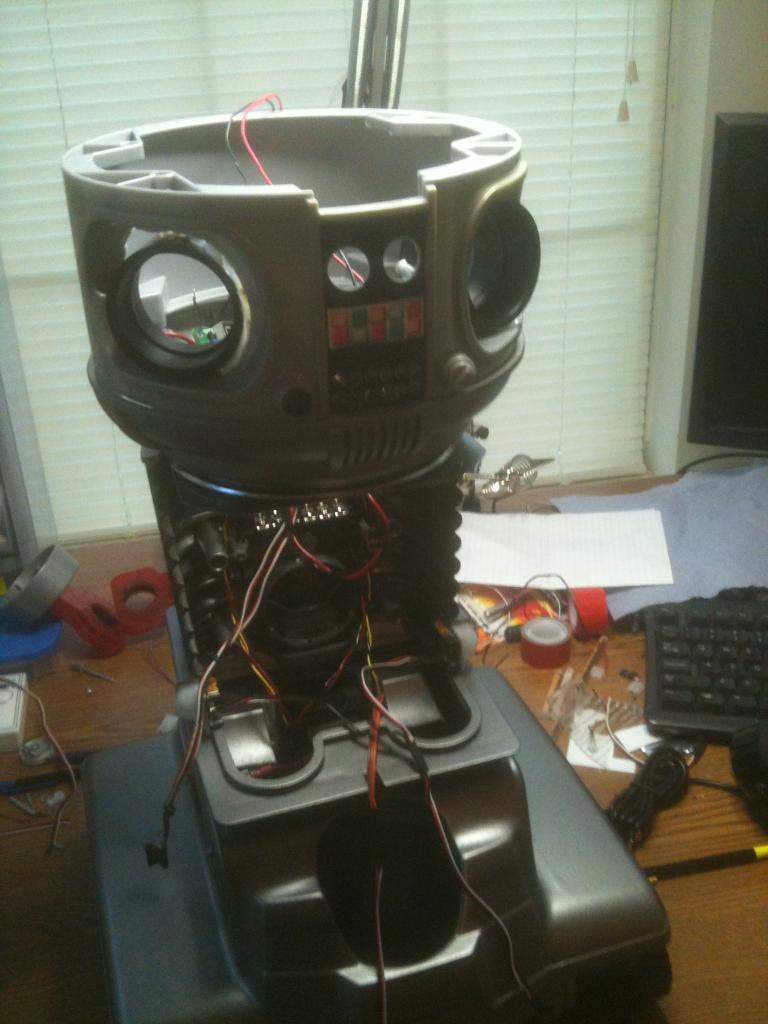
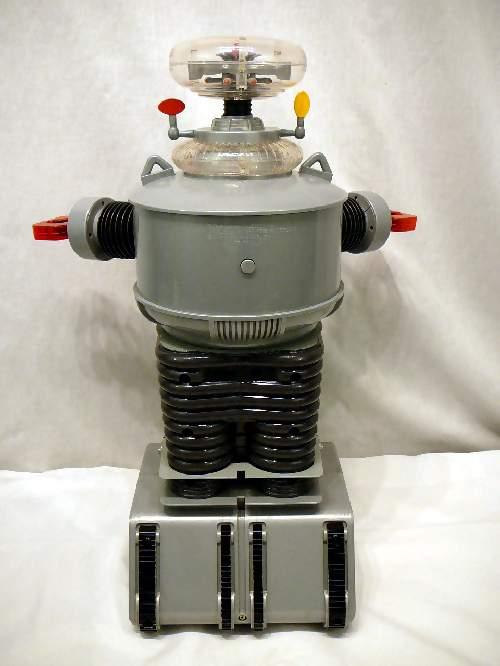
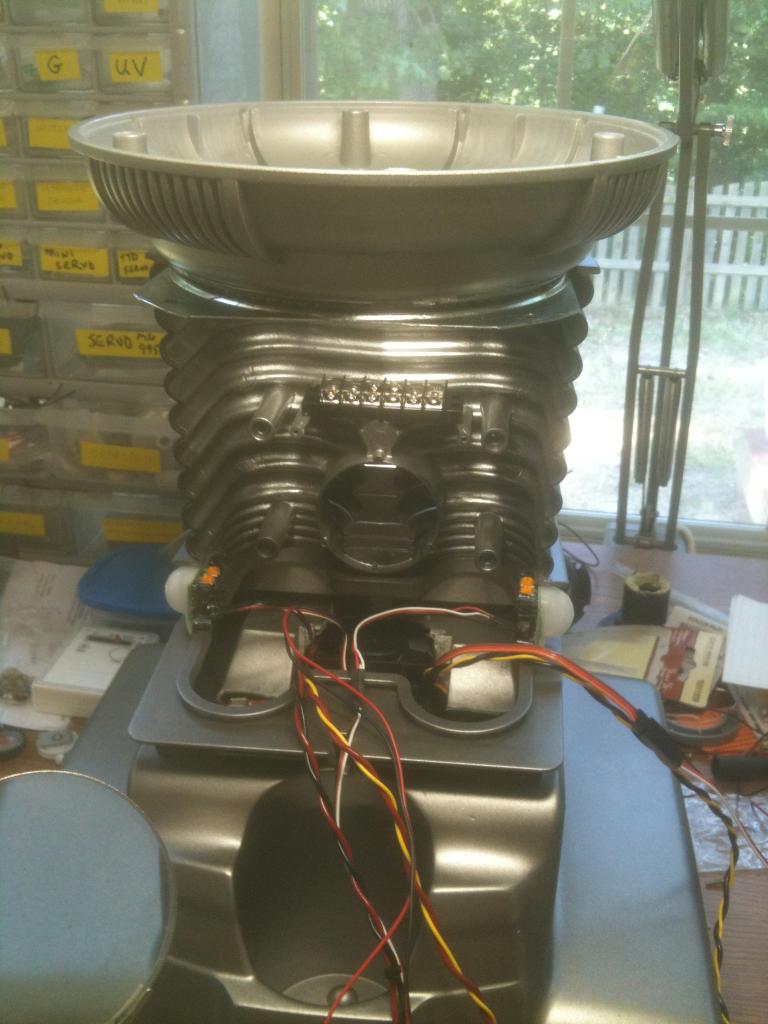
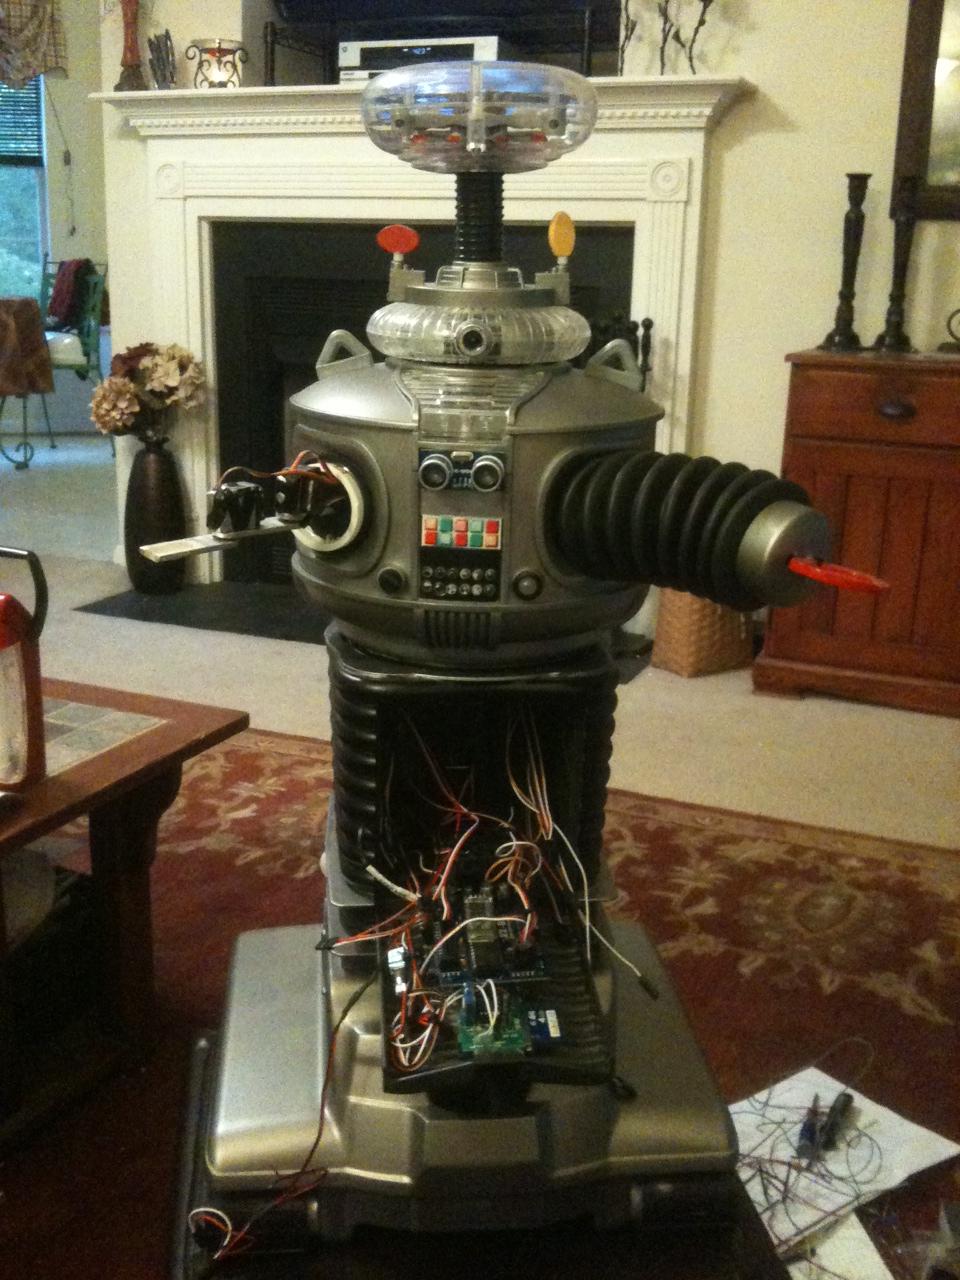
Here is what B9 looks like now:
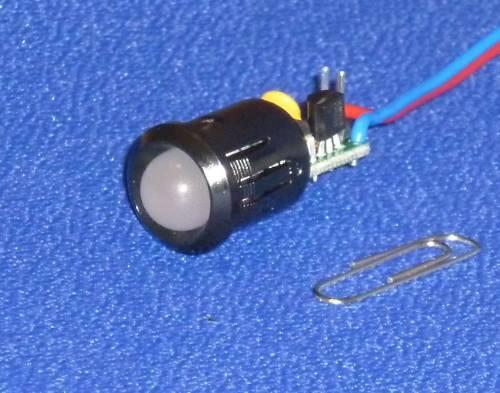
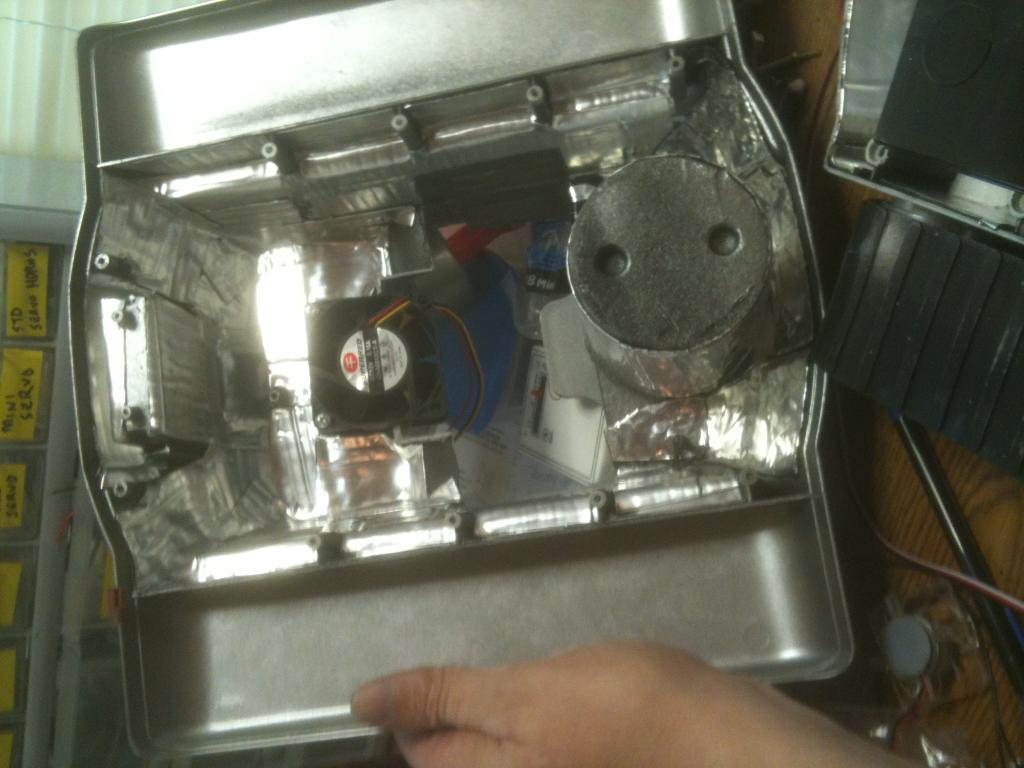
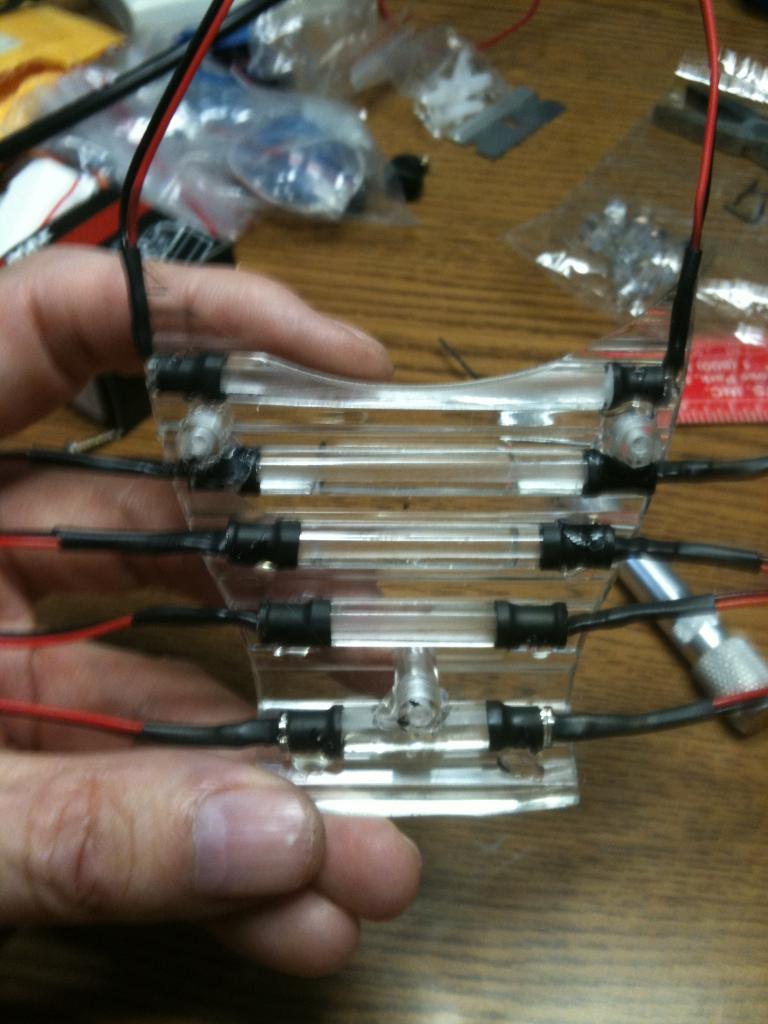
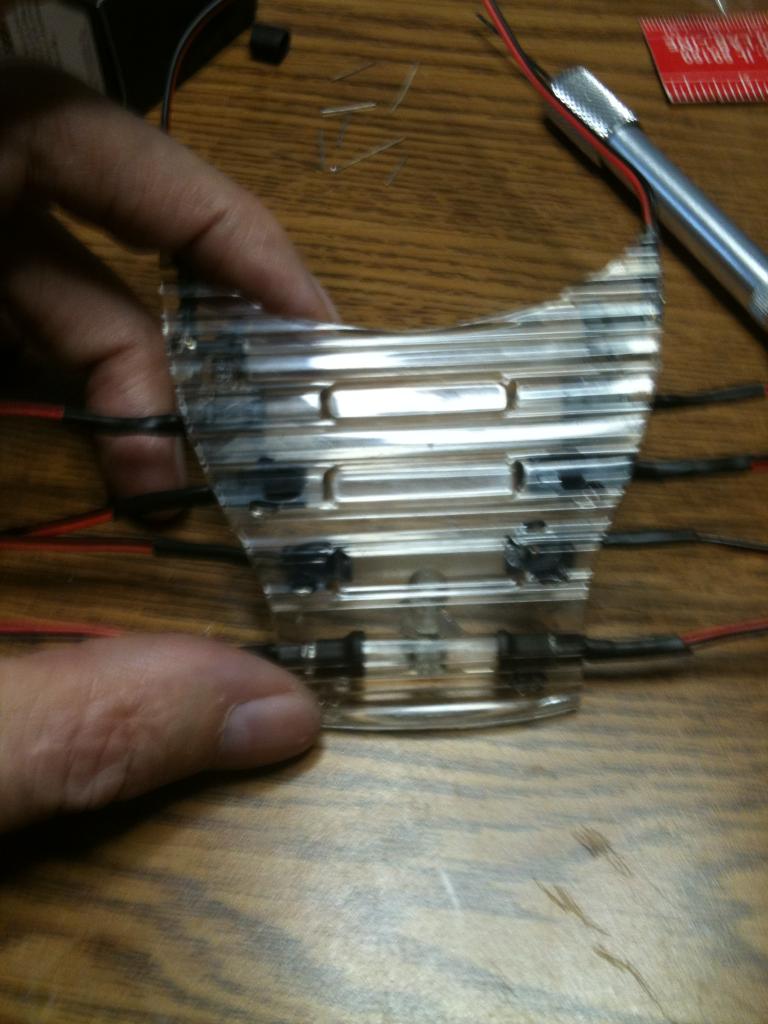
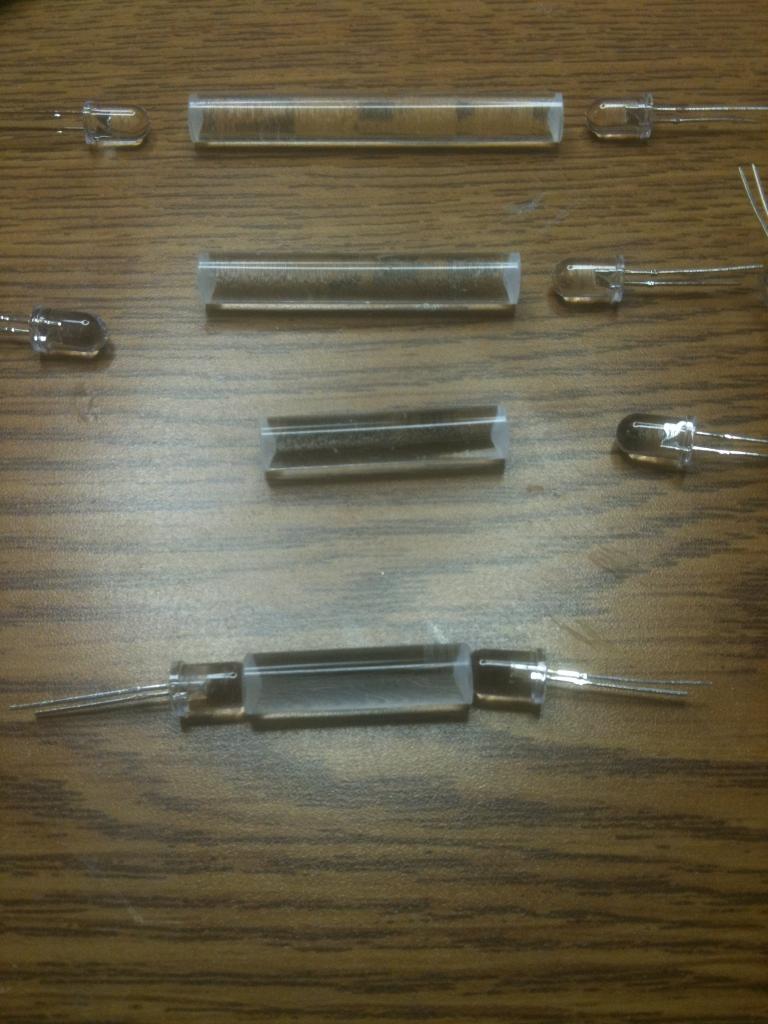
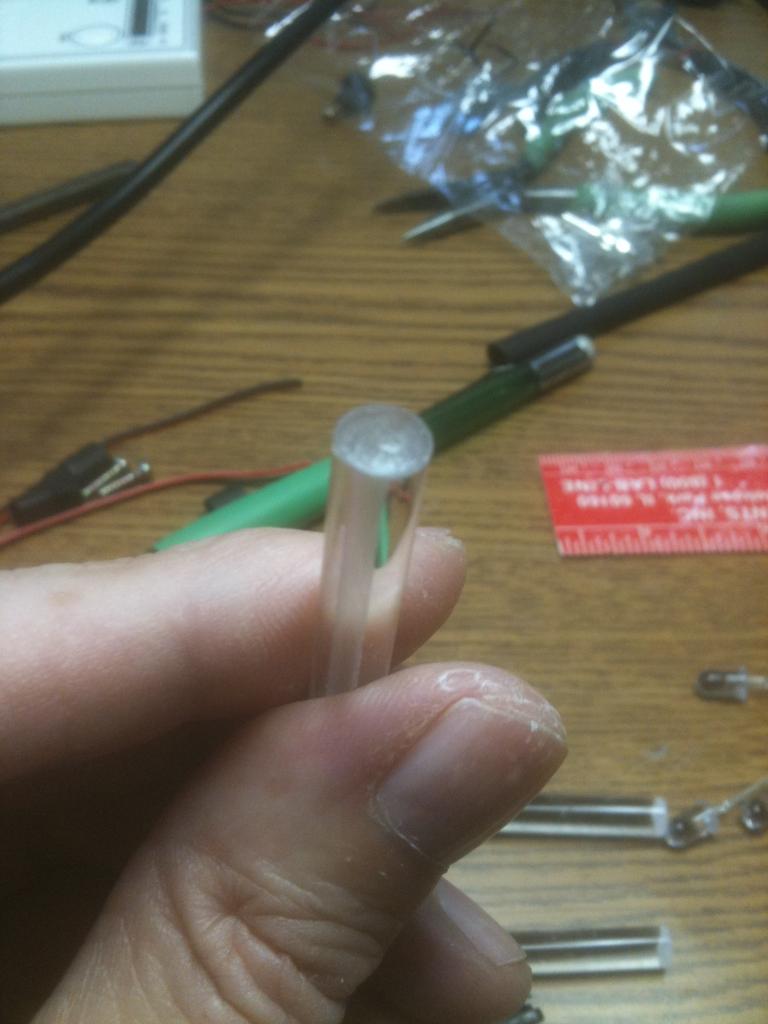
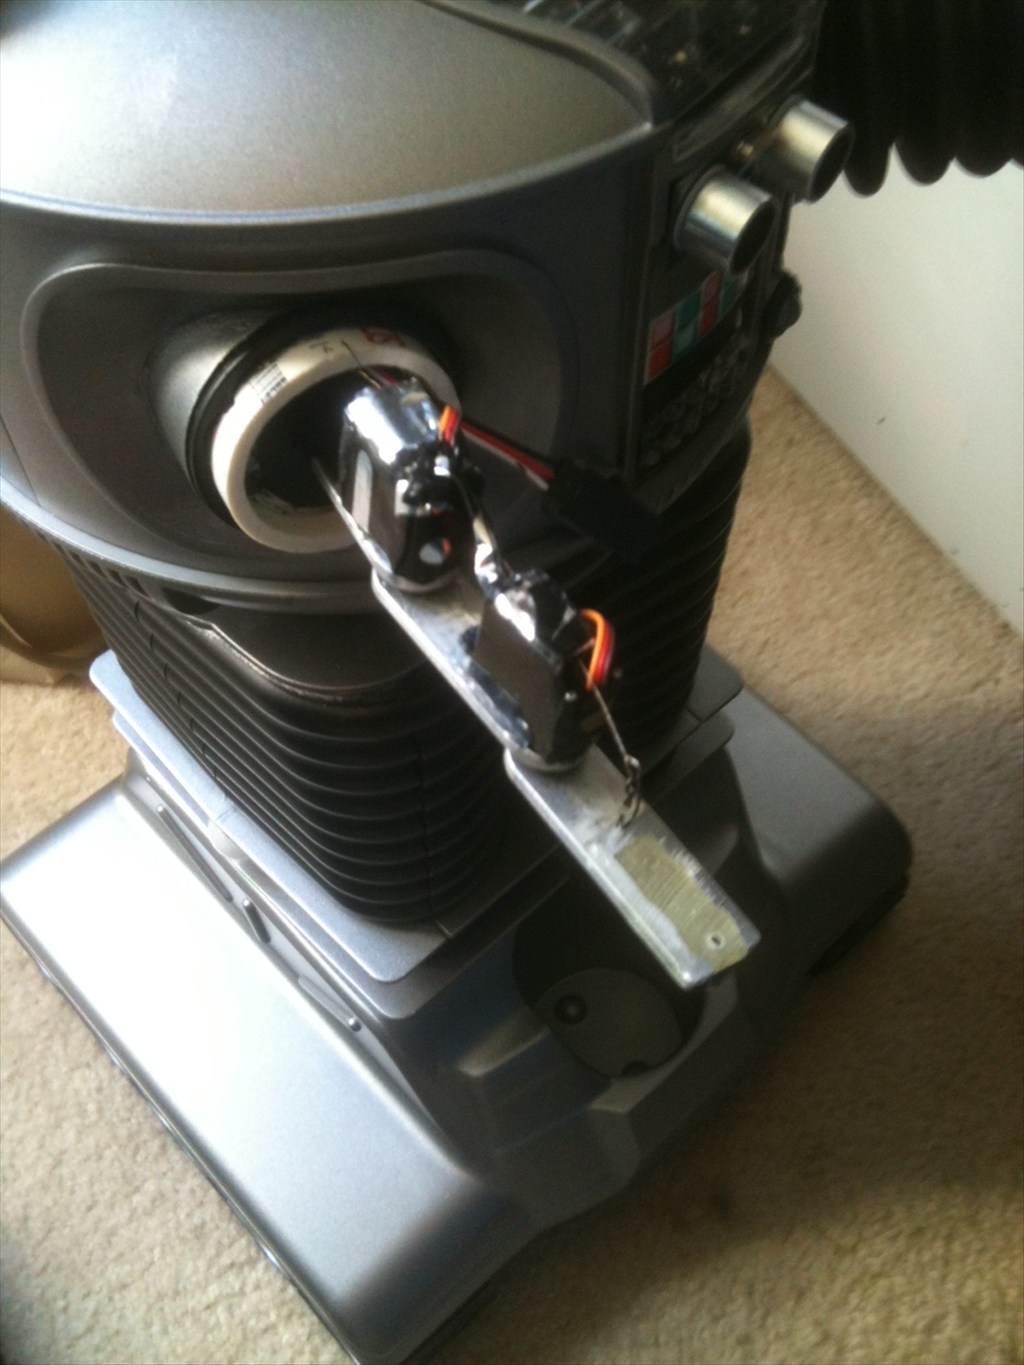
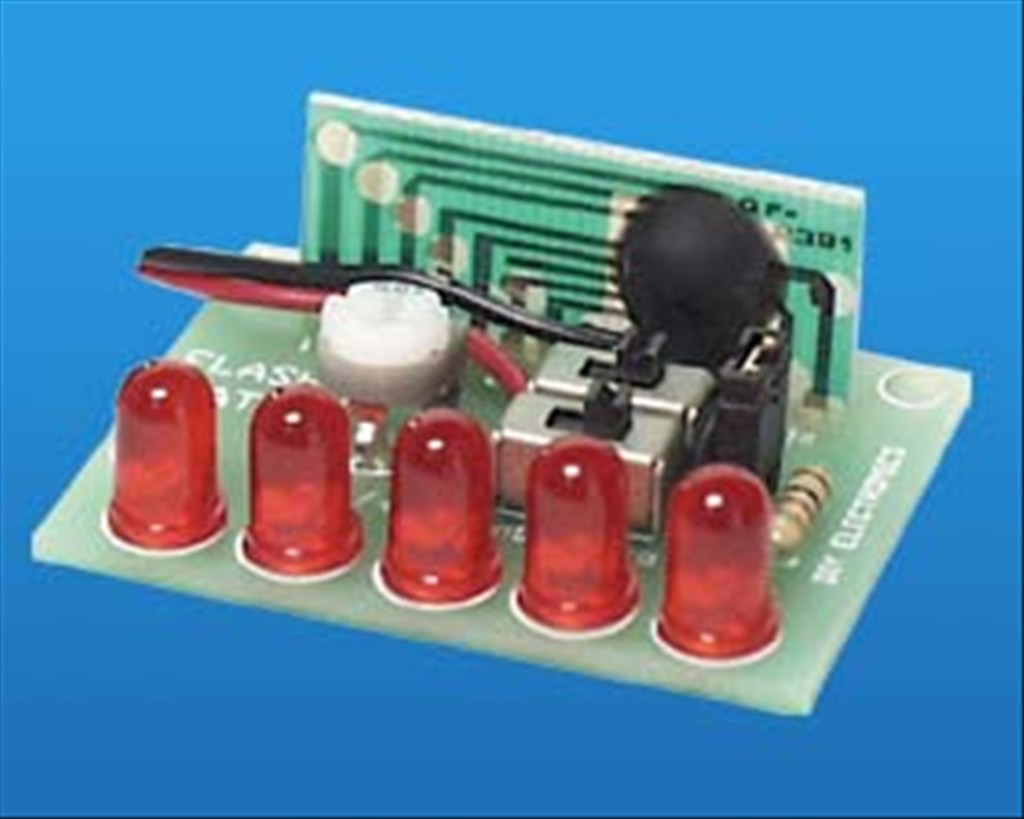
I have mounted clear LEDs in the appropriate colors in the chest at the bottom of the decal and have a flashing circuit that will blink them in the combination as seen on the series. Where the two large round circles are (white domes on the big guy) I will have my ping sensor. I have mounted pager motors in the antenna housings to turn the "sensors" as seen in the TV version. I have mounted red El Wire to his voice plate to emulate the original as well. I have also mounted a series of blinking LEDs to the "brain" section in the bubble.
Next is to work on the rotation of the bubble and torso, articulate the arms and claws, and make a real functioning tread section. For the tread section I am adapting the base from my RAD robot. I will keep you posted with pics as I proceed.
Thanks,
Bret
Discover more robots
Mickey666maus's Cycloidal Reducer 40:1
Justinratliff's Mini B


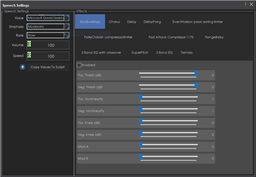
Hmmmm, I have already run out of ports and am reducing some of what I wanted to do. So taking up two ports with switches isn't doable. I think I may have a solution in mind. I'll have to work on it some and see if it is what I need. I'll keep you posted.
I've seen 360deg servos
360 servo like this JW
JW
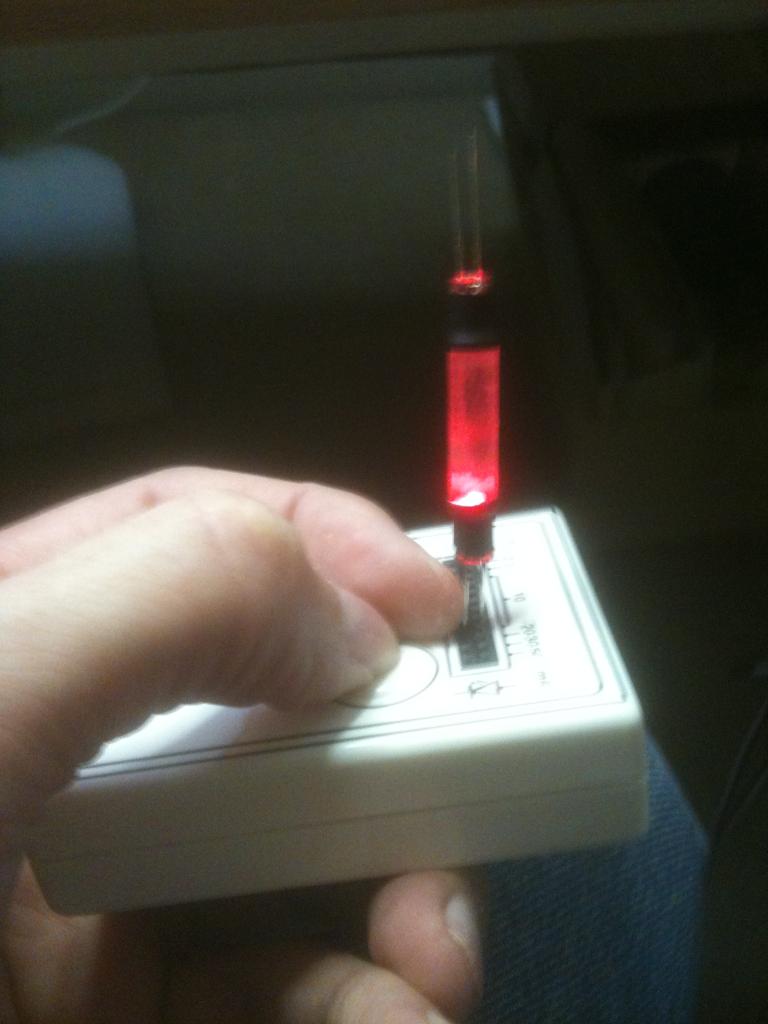
I've been looking at the drive section tonight and really like the ability to switch between high and low gear. I'm pretty sure I can mount a servo on the mechanism so I can change gears via EZ-B. Cool.
Yea you could lol , run like hell mode
You got it, right after he shouts "Danger, Danger!" lol
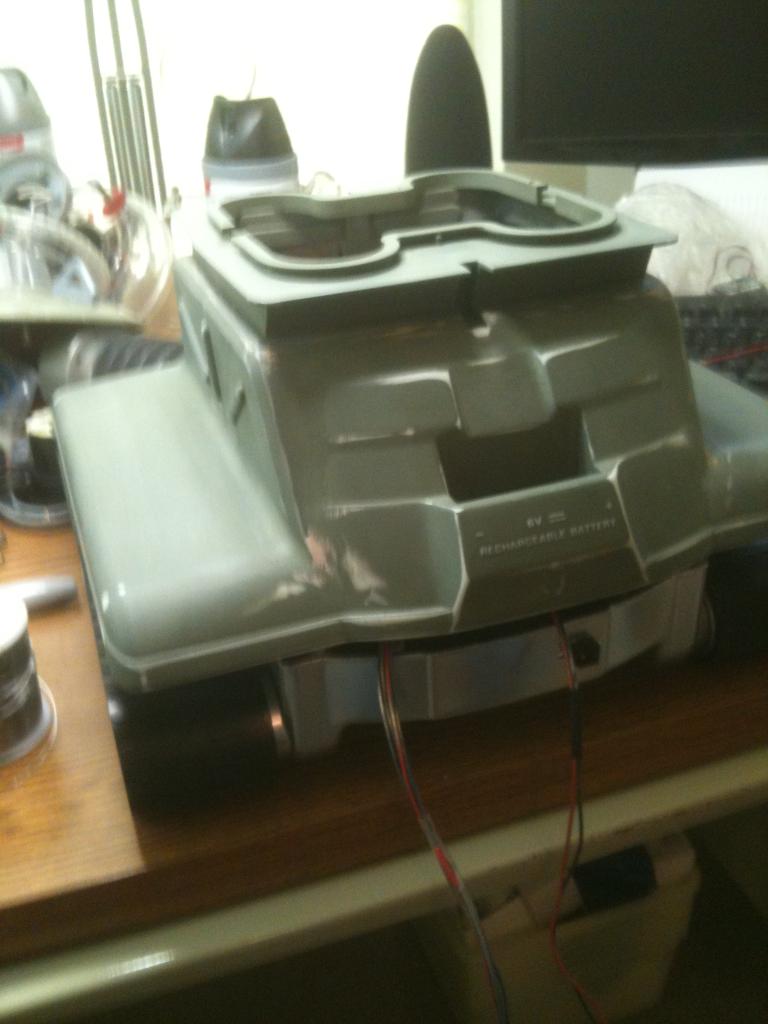
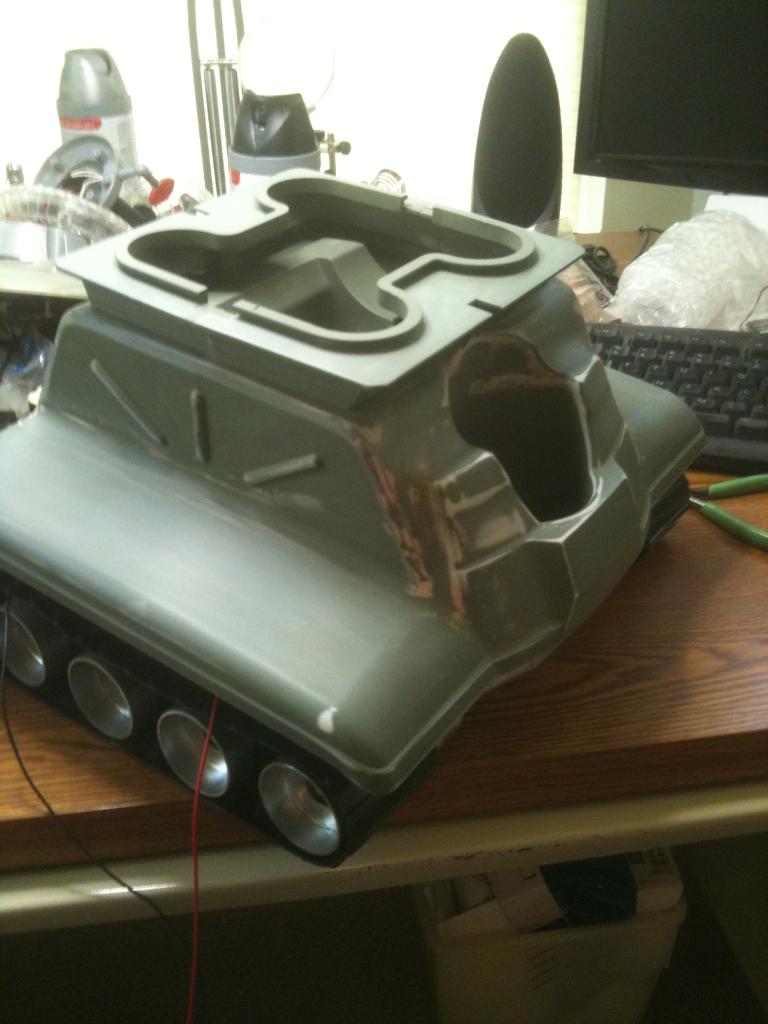
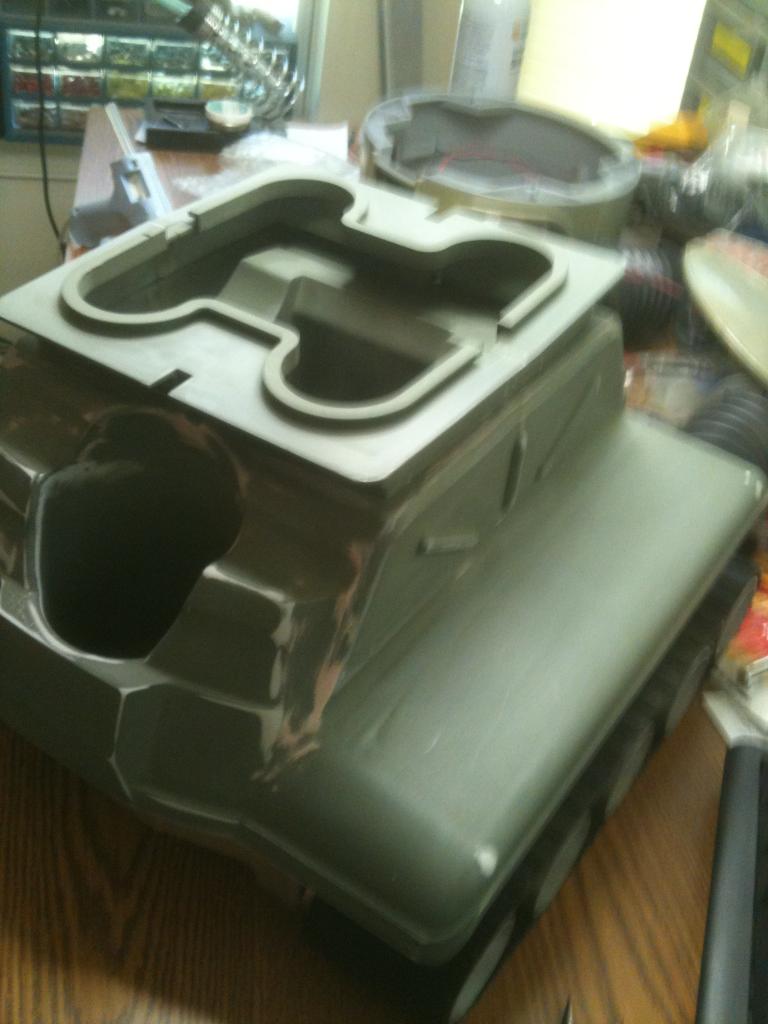
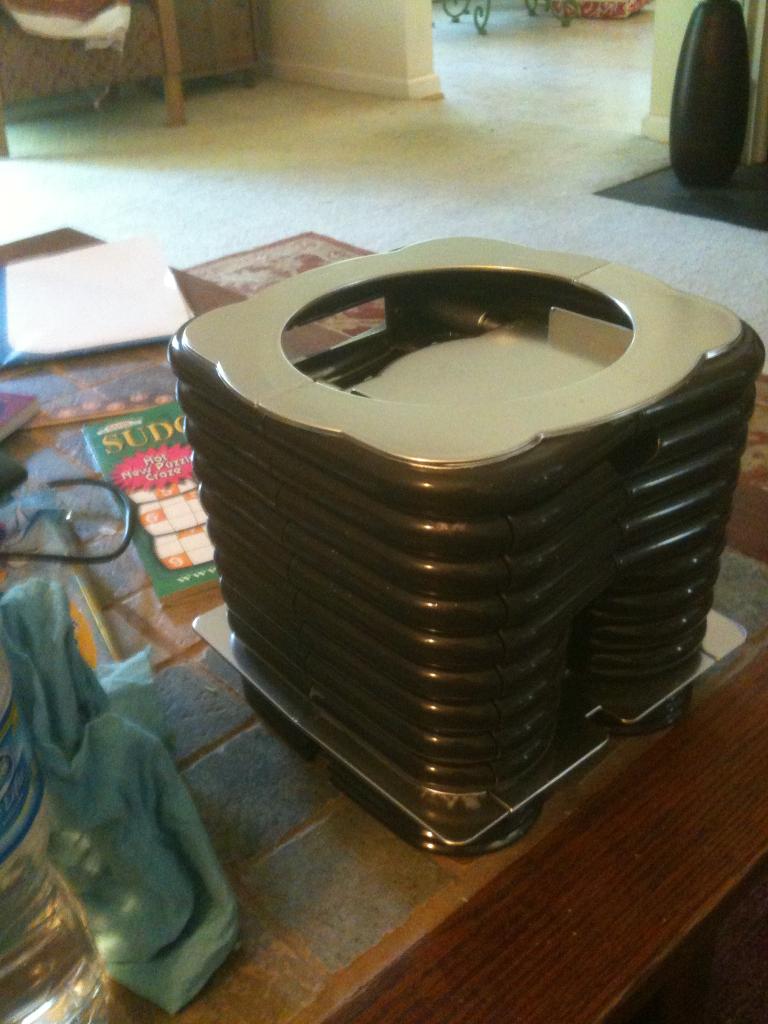
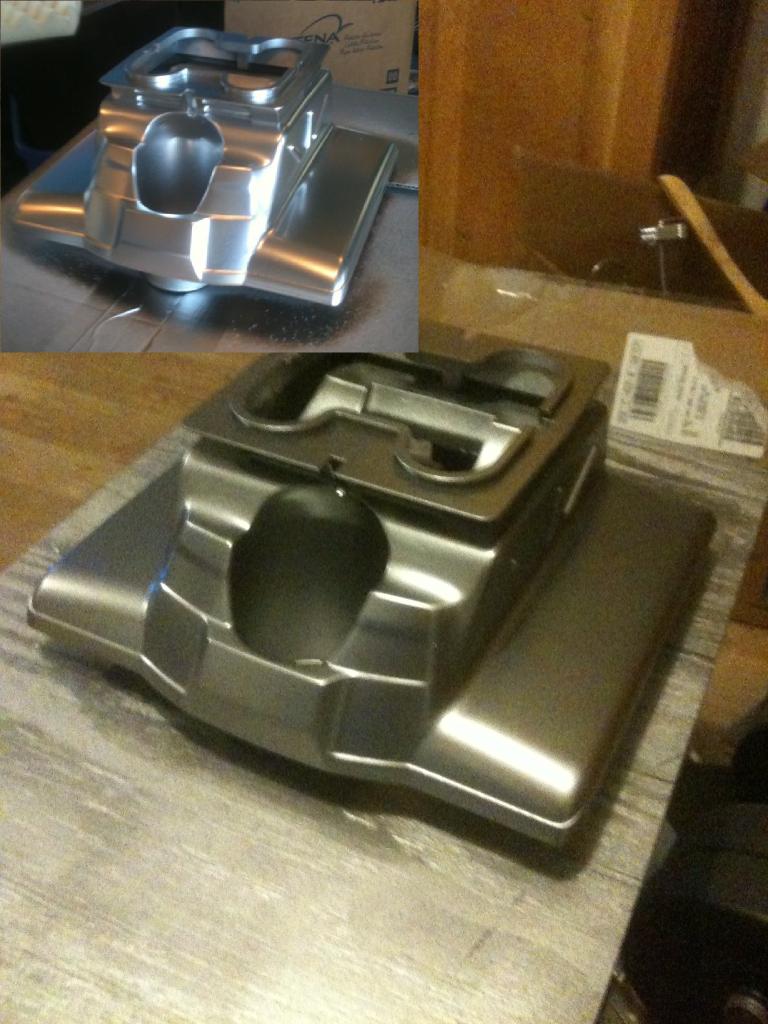
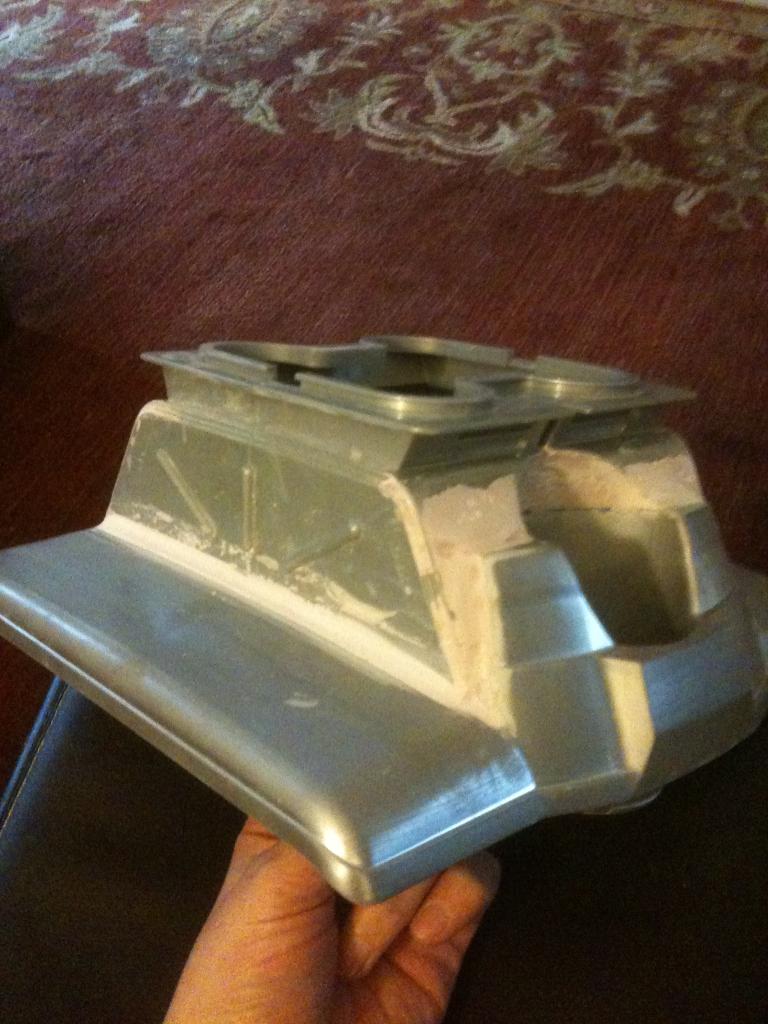
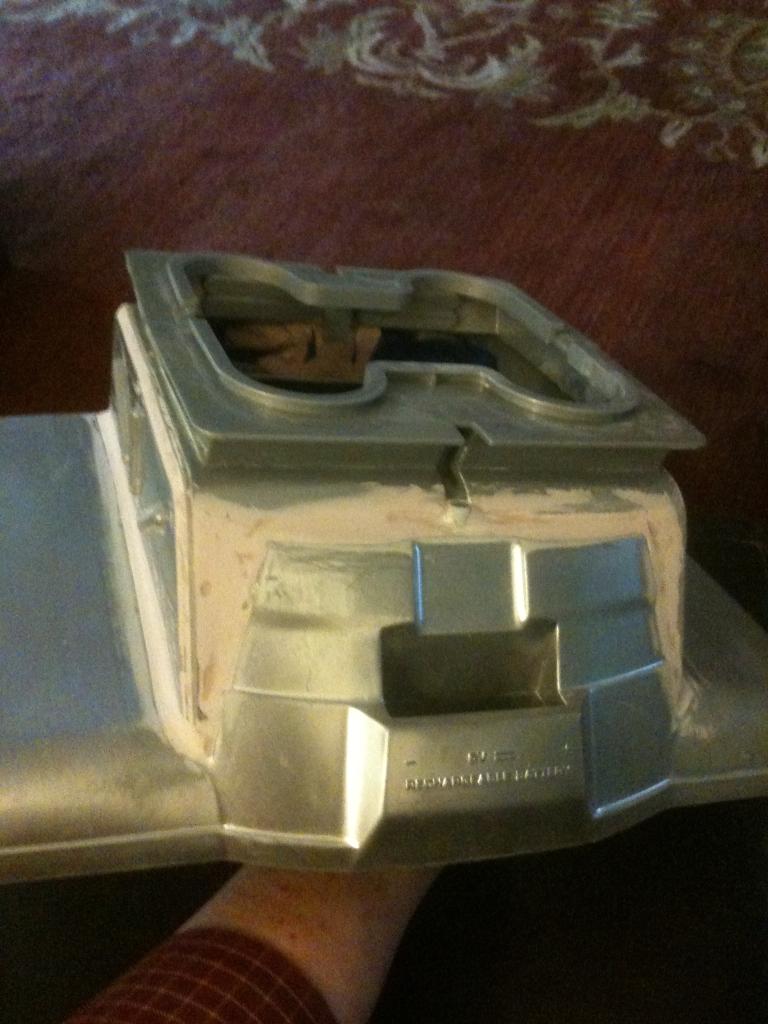
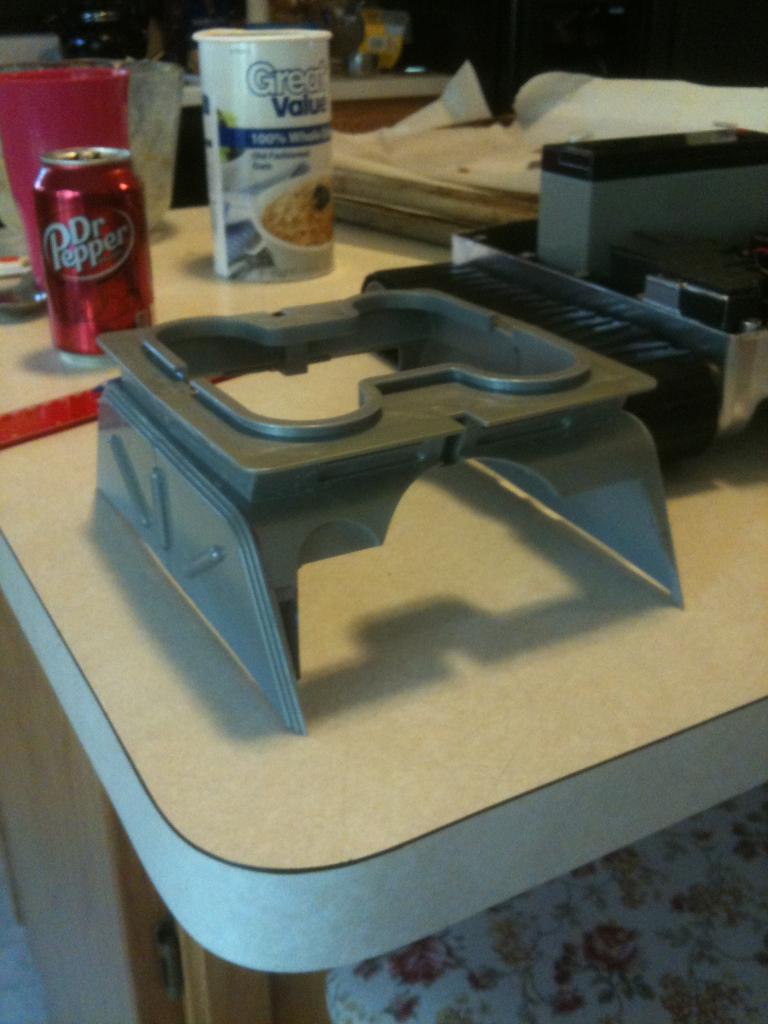
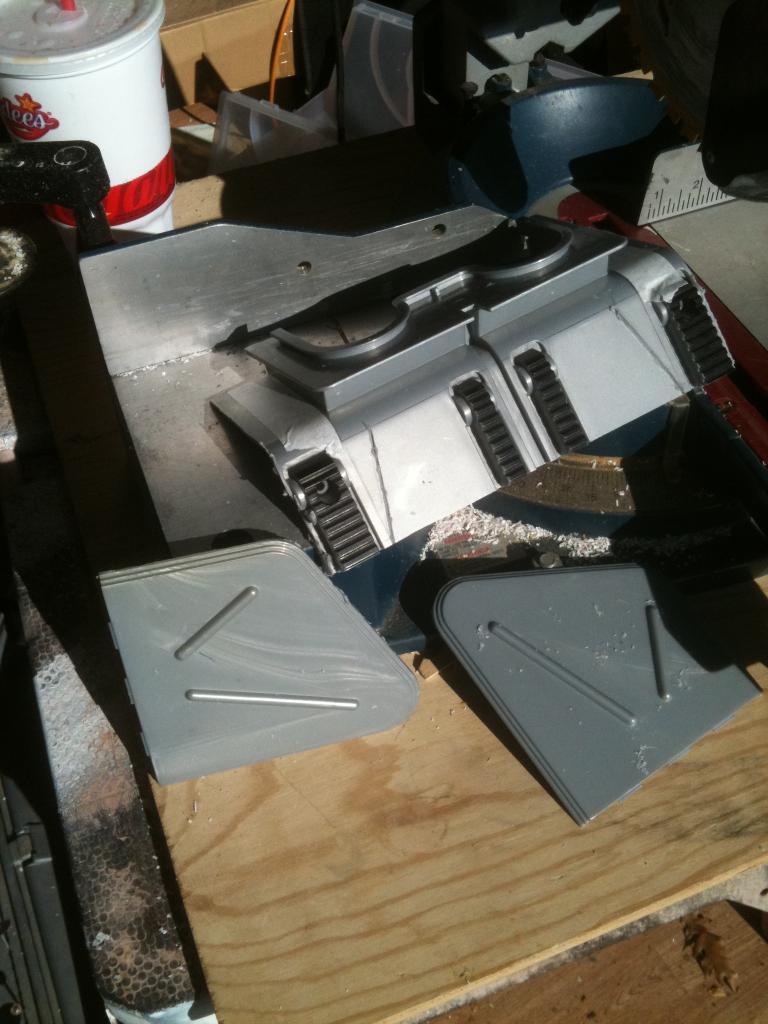
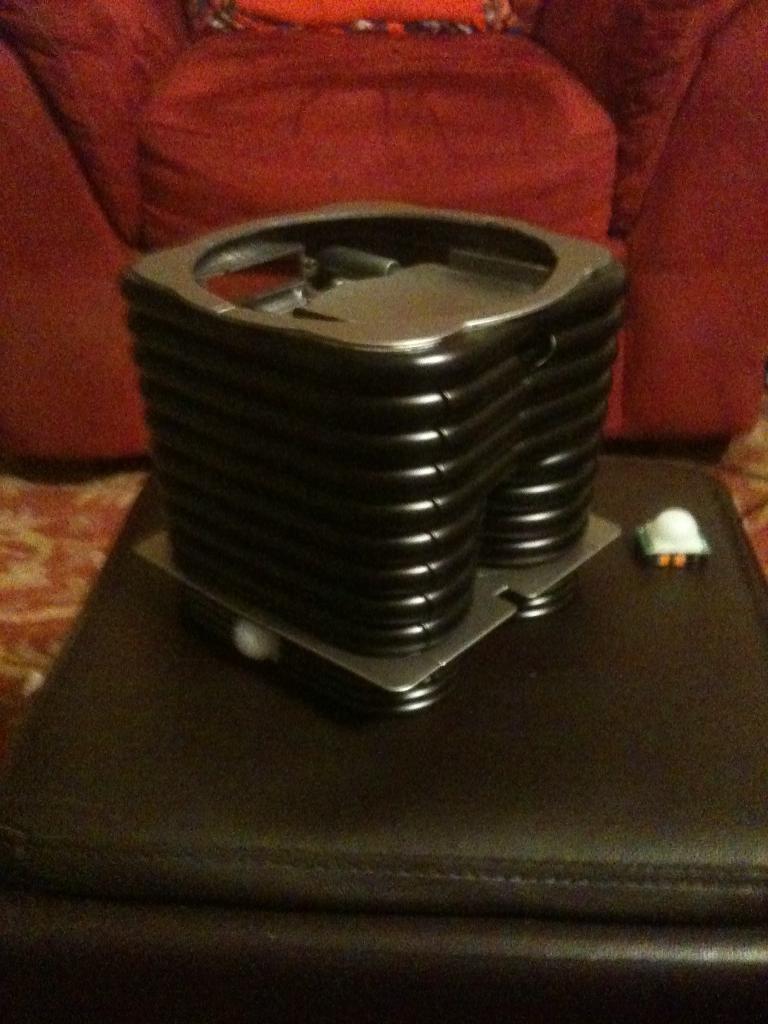
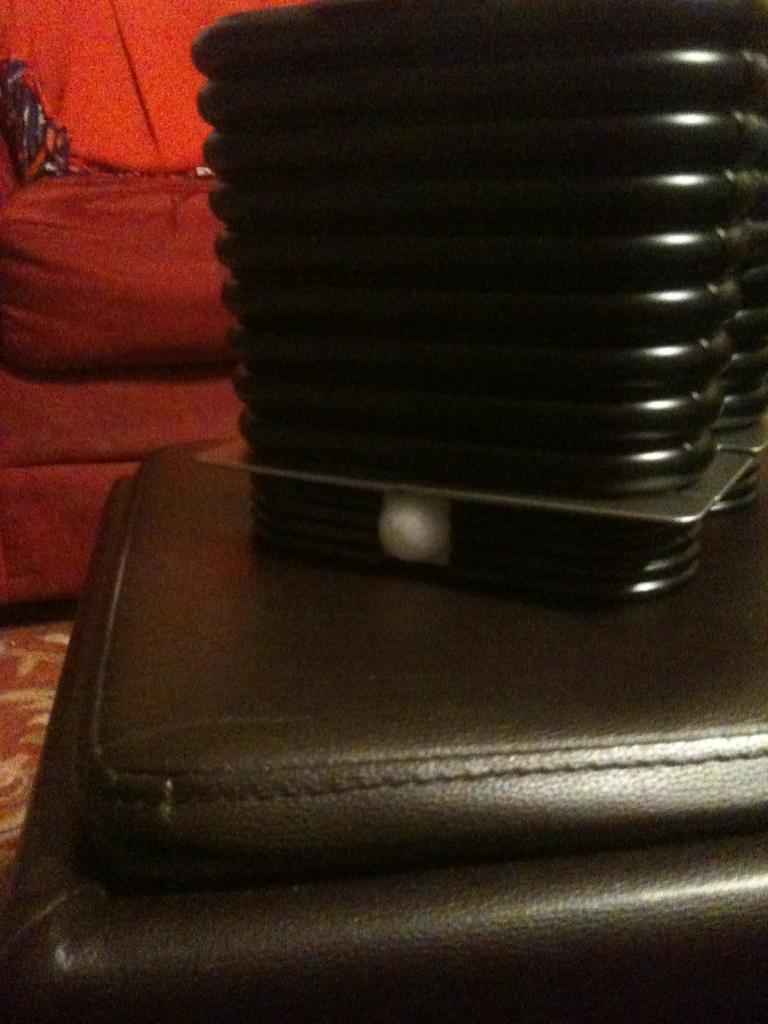
So here is B9's leg section sporting his new paint job. I used the same flat black as on B.O.B. but gave this a protective top coat of clear satin. I like the look.

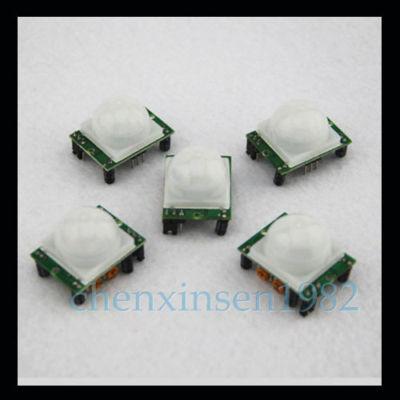
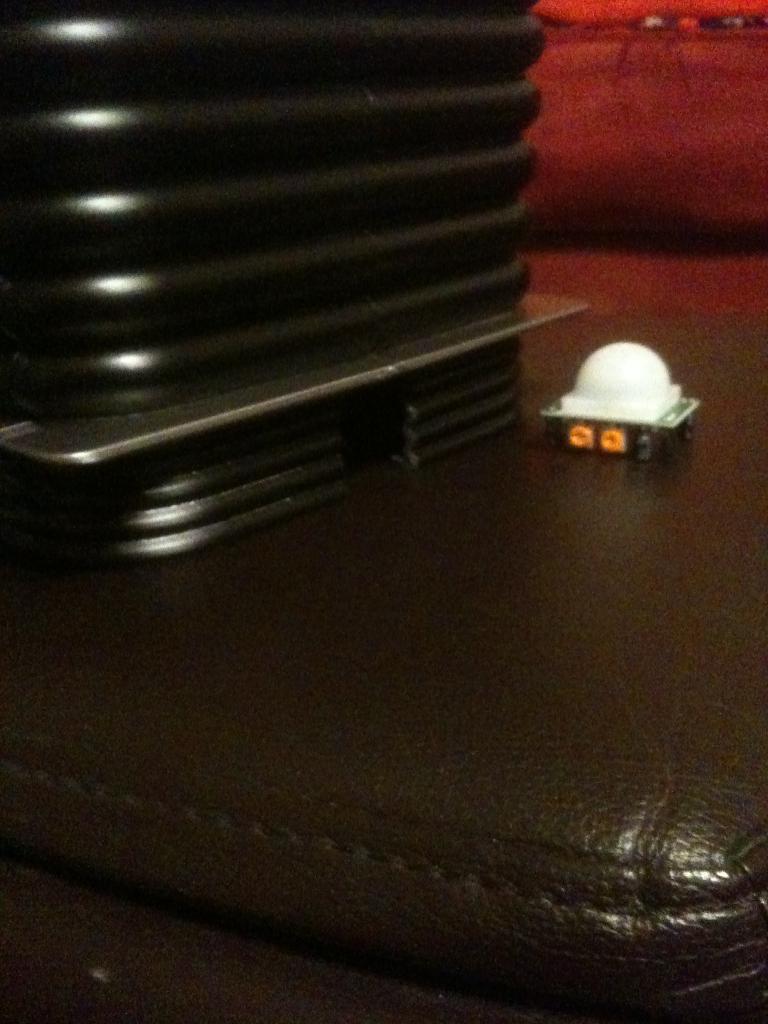
I enlarged the cut out in the side (originally there was a silver "knee" joint here) to mount my PIR sensors.
They fit very nicely and will sit about a foot off the floor on each side.
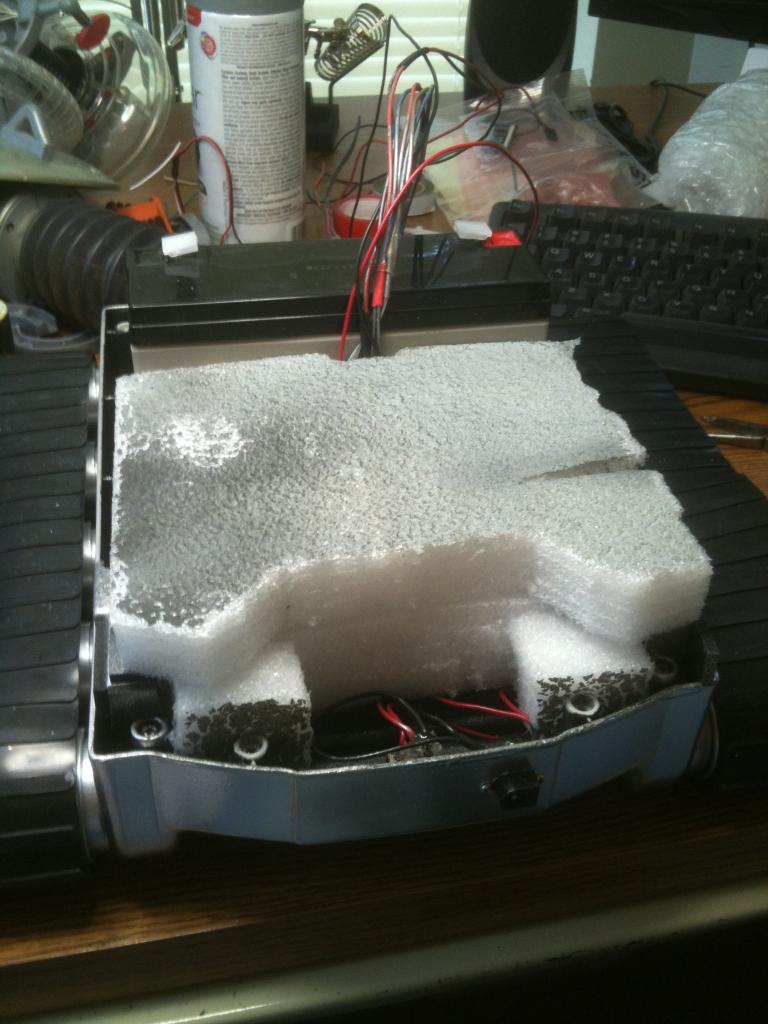
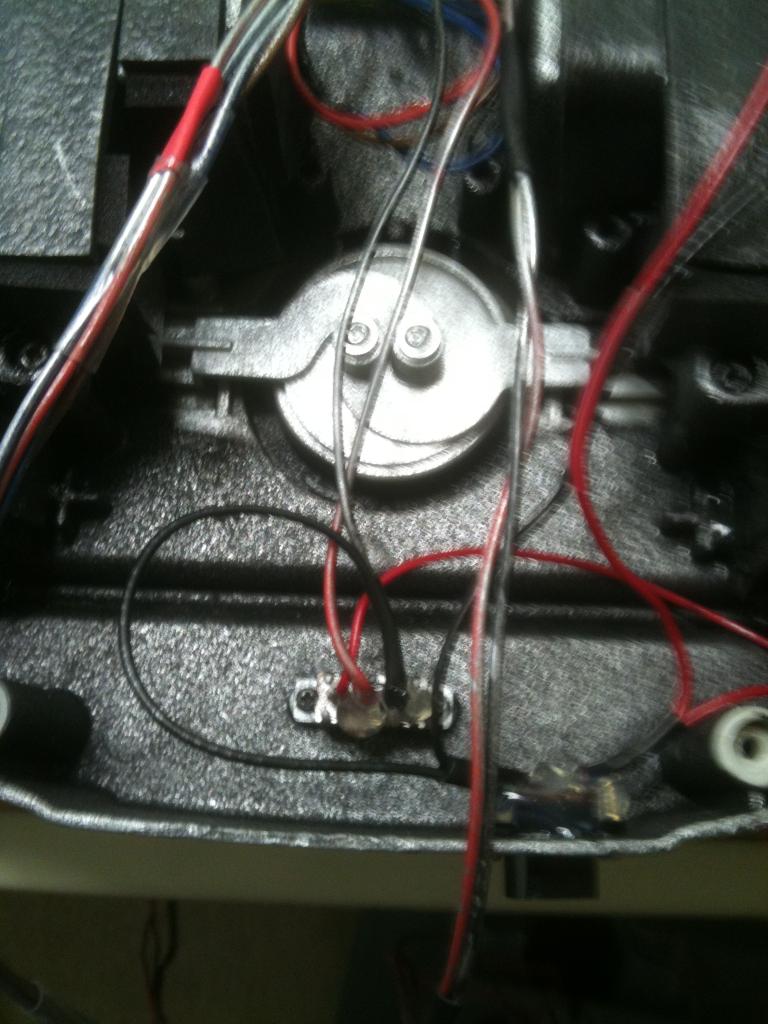
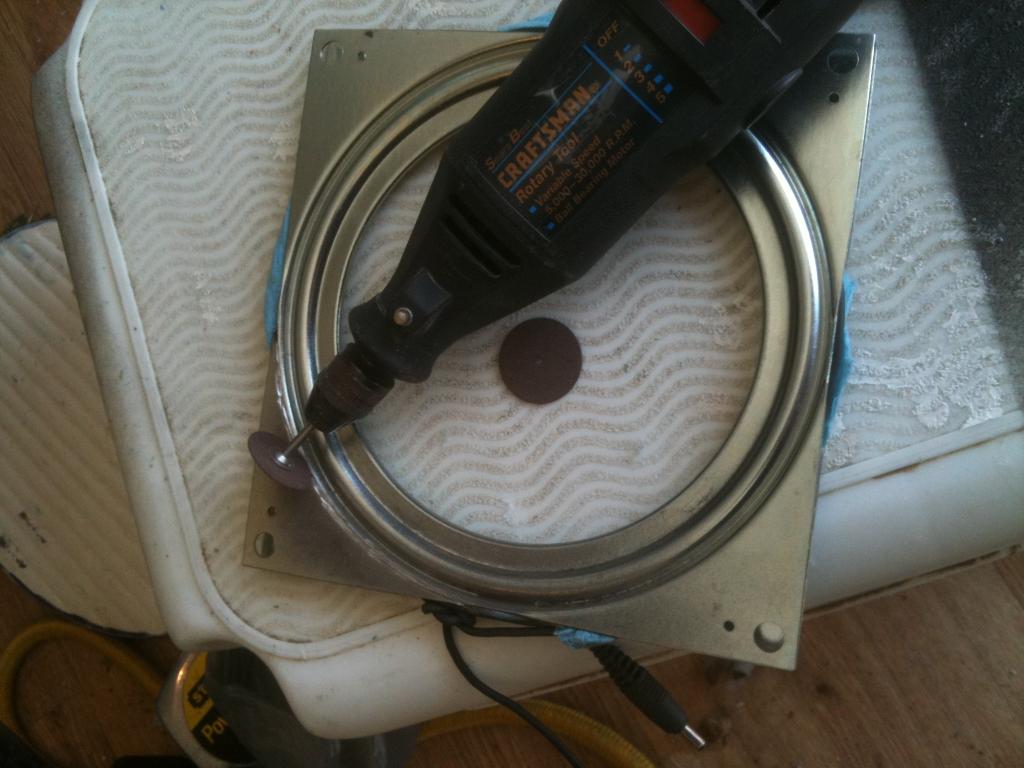
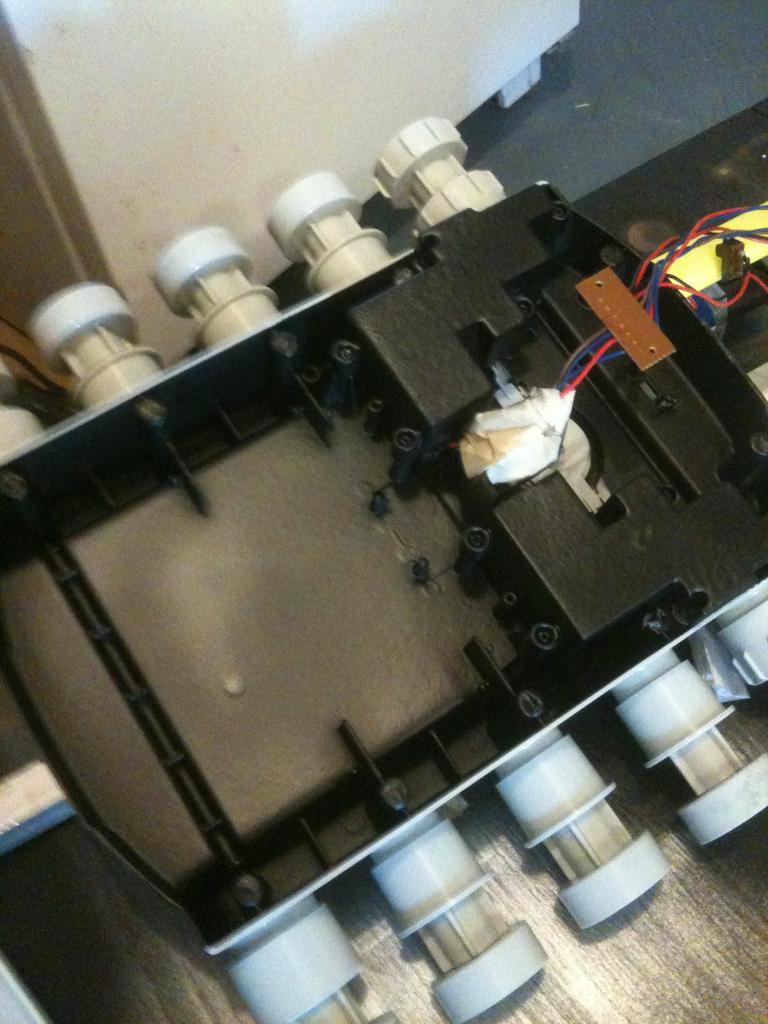
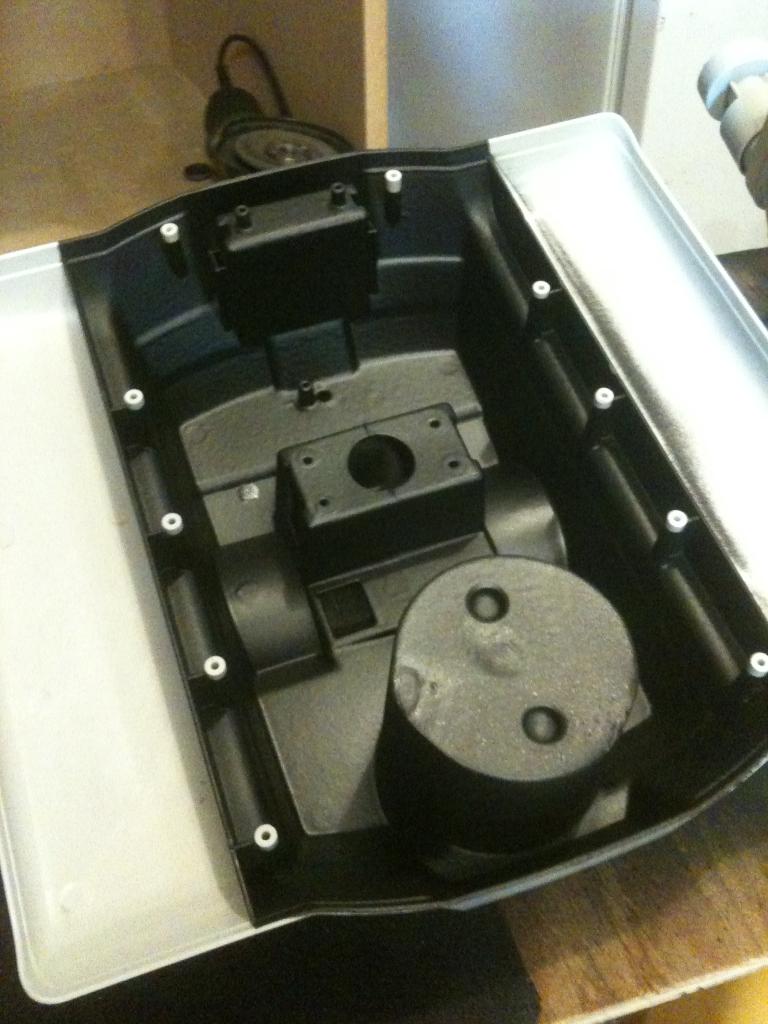
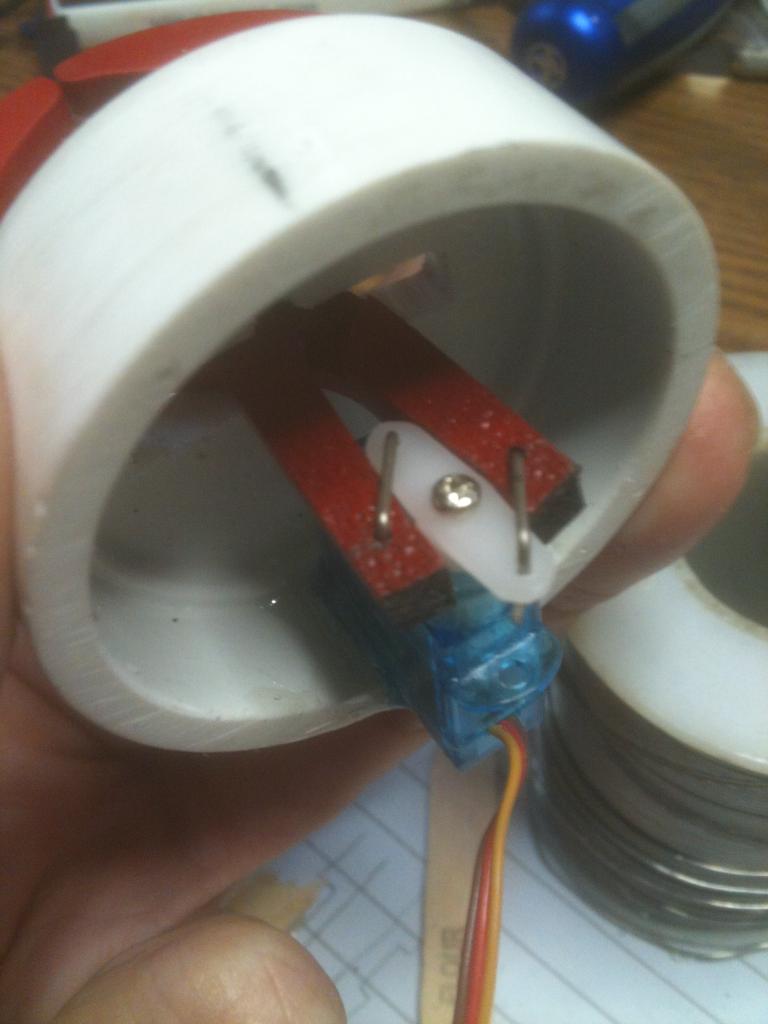
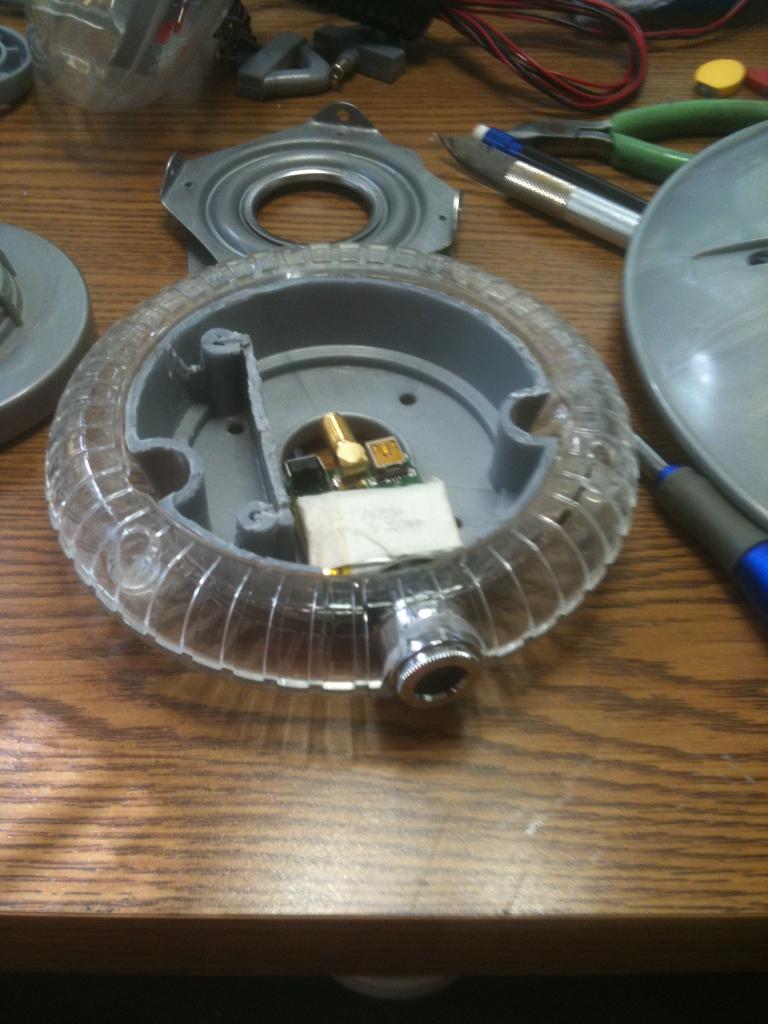
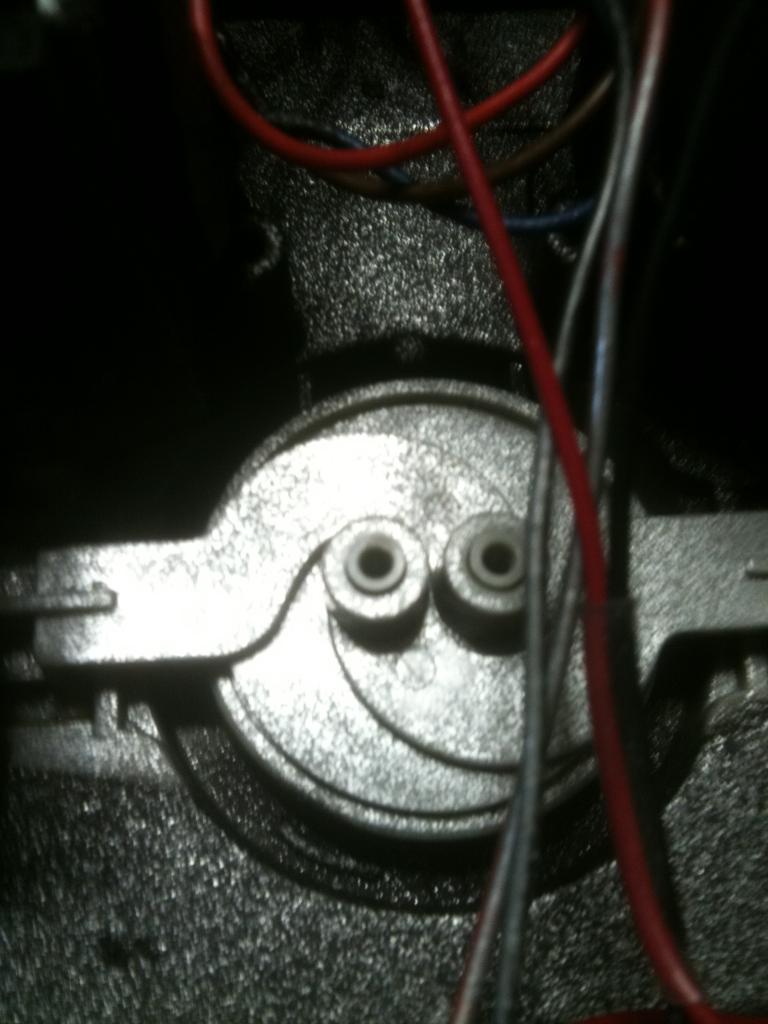
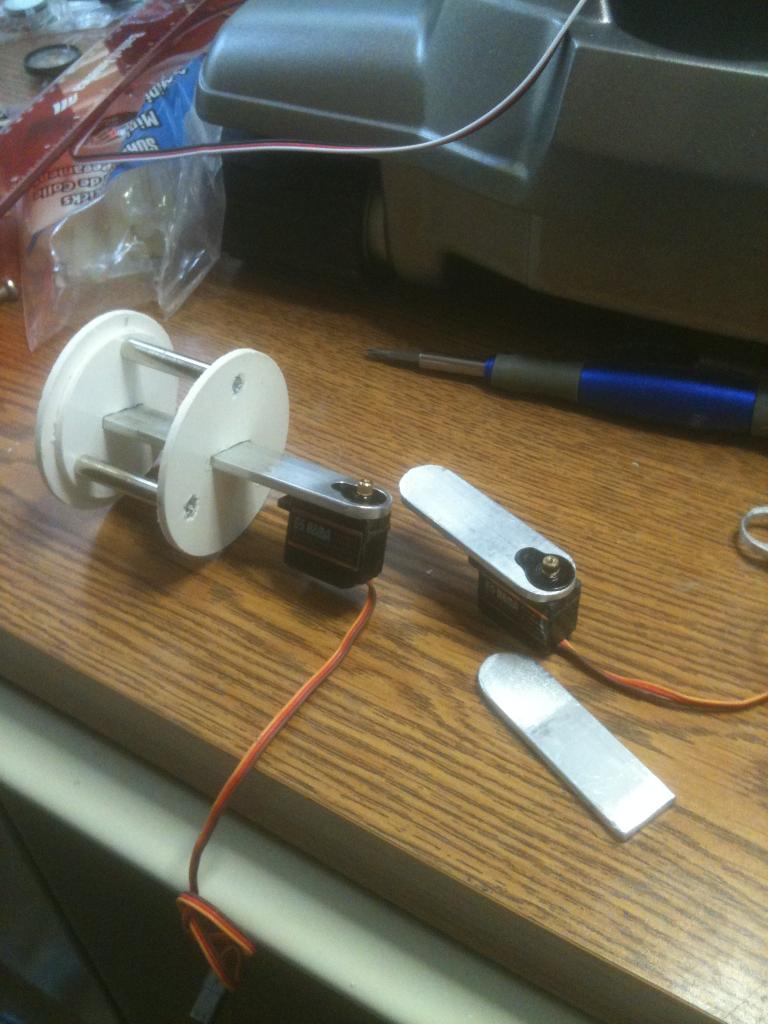
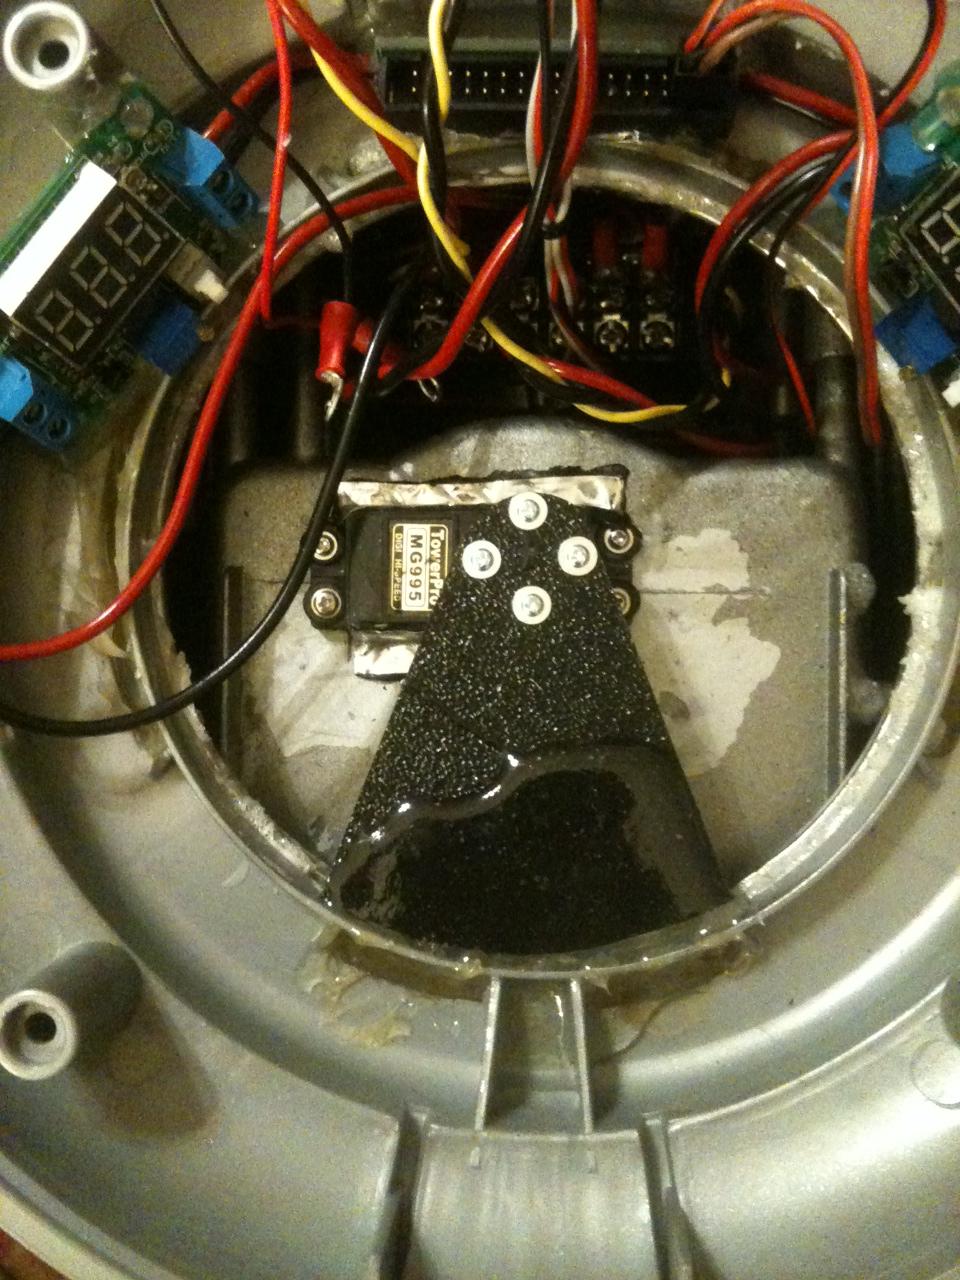
To minimize port usage (as I am more than maxed out and in need of cutting a few things back) I am going to use a single port to activate both sensors when needed (sentry mode) and tie their outputs to a separate voice module from an old B9 toy so it will say either "Danger, Danger Will Robinson!", or "My sensors indicate an intruder is present!" in a random order. This way I can still get the audio without the use of one additional port.I just finished my mods to change gears in the RAD base from low to high and back again using a servo. This will give me the option of changing his gears thru the EZ-B on the fly, rather than doing it manually by the switch on the bottom. So here is how I did it: This is the mechanism from the inside of the base. I removed the two screws that hold those arms on.

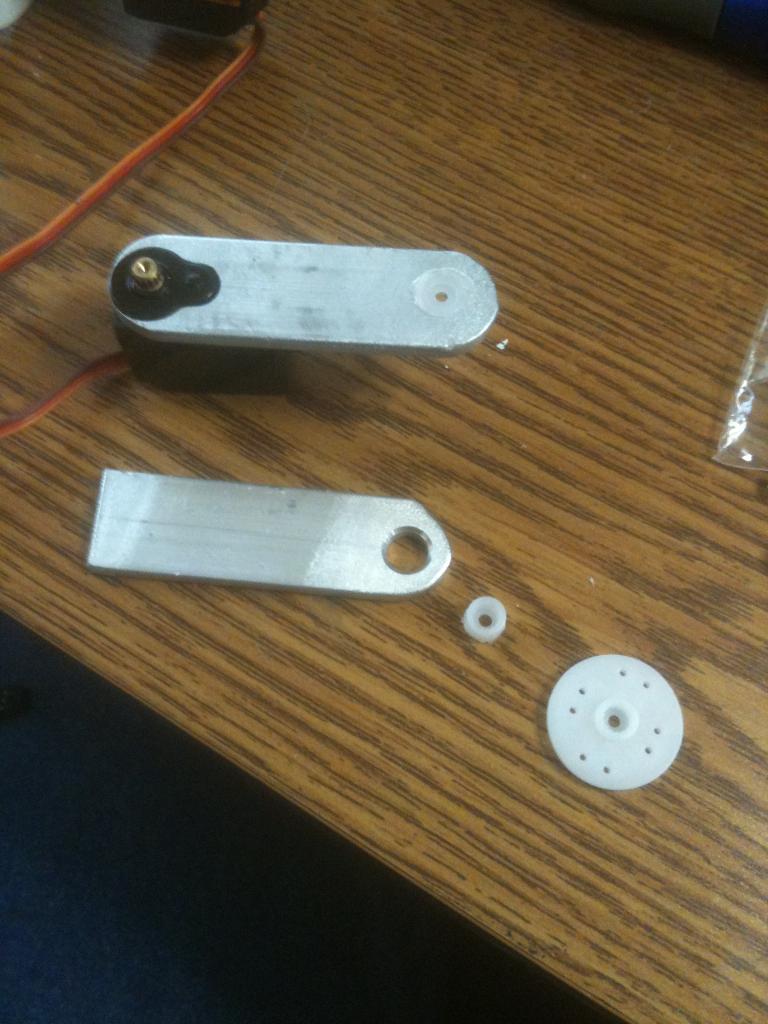
Then I had to cut a piece of plastic to use as an adapter between the mechanism and the servo horn. This is because the screws on the mechanism are too close together to mount a servo horn directly to it.-634705927626406250.jpg)
With the servo horn on the servo, I am using rubber bushings as spacers.-634705928146250000.jpg)
Then I secure the servo to the adapter plate and compress the bushings as I tighten it down.-634705929045781250.jpg)
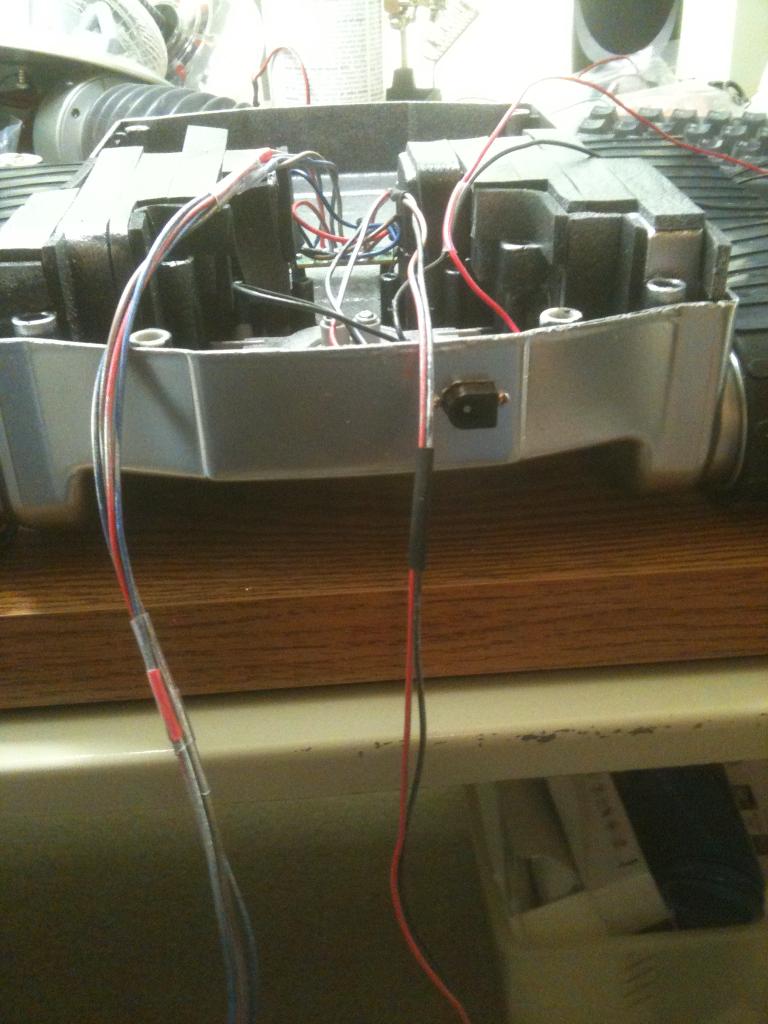
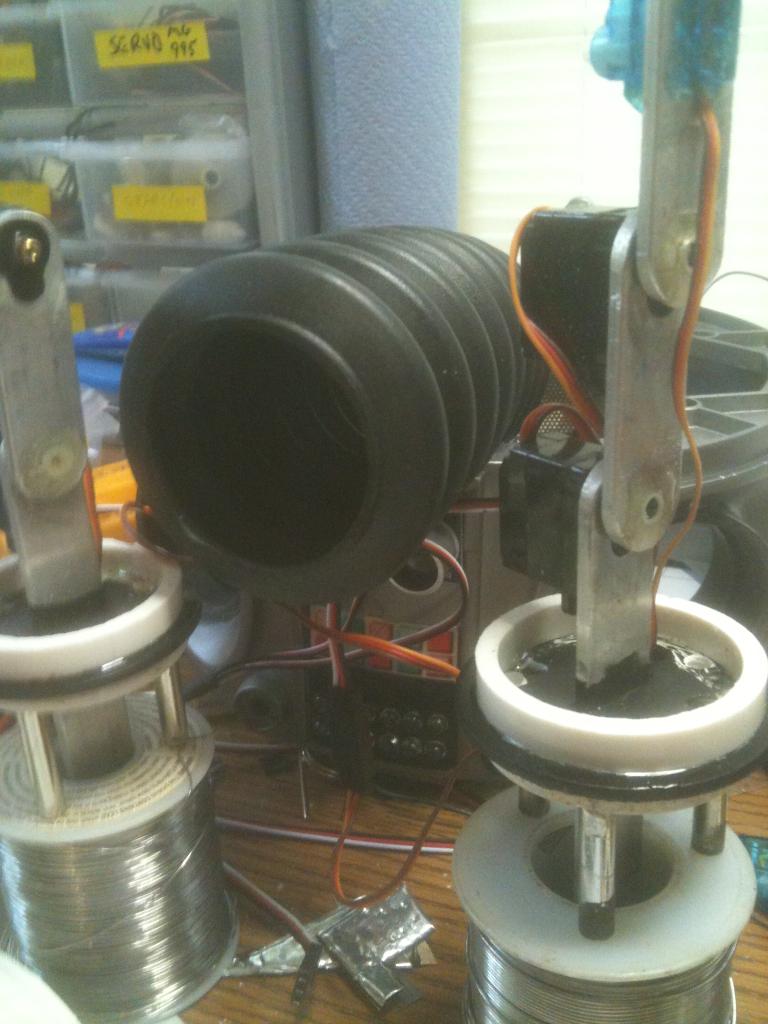
The servo sits between the motor housings and basically floats on the mechanism.-634705929717812500.jpg)
I then pack foam core around the servo which keeps it from rotating.-634705930540468750.jpg)
And Jimmy is ready to take it for a spinHey Brett I'm going to send you a couple sq ft of generic sound deadener Matt