
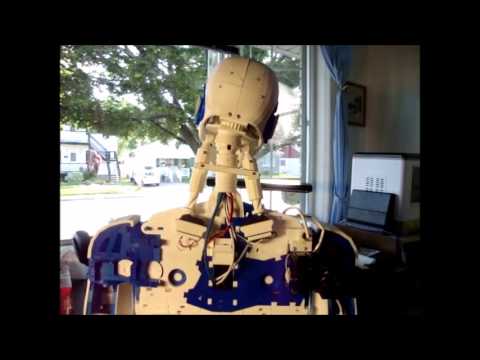
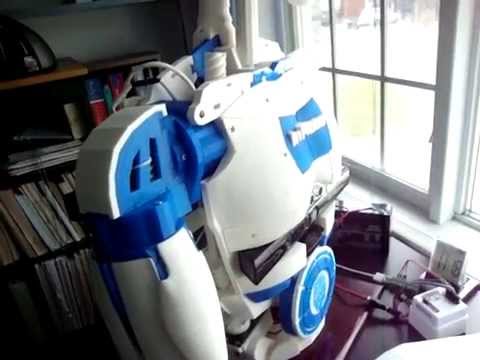
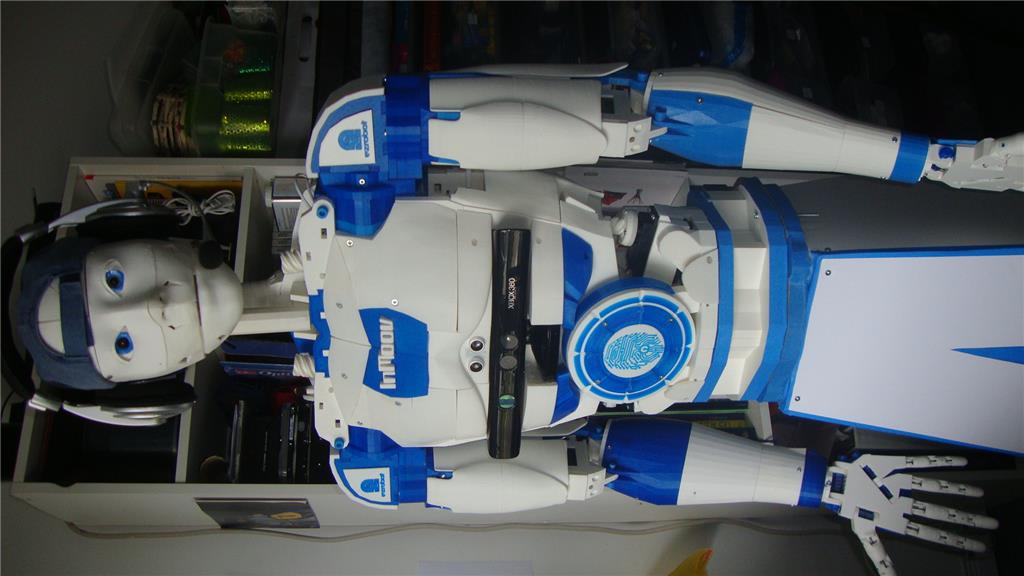
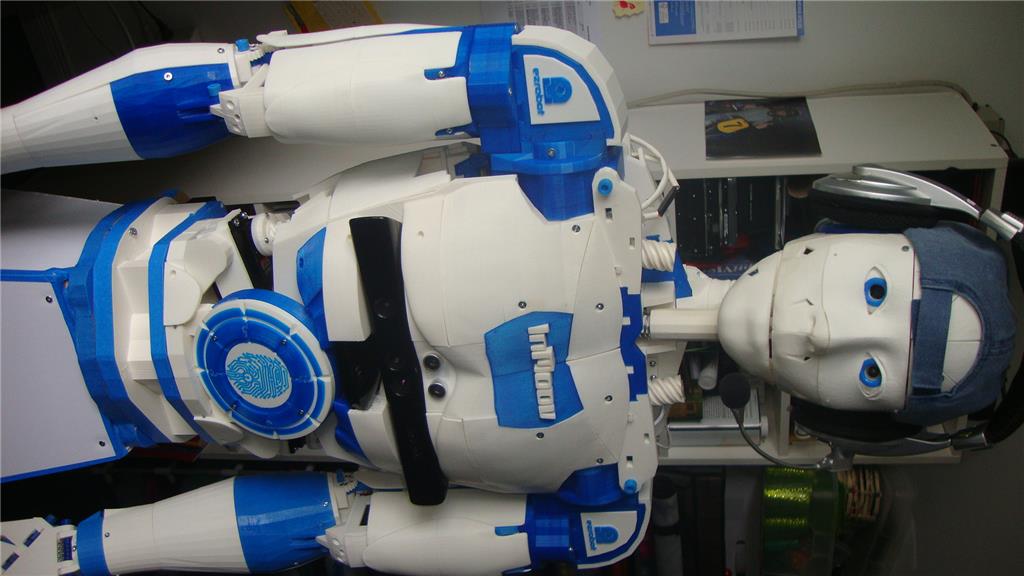

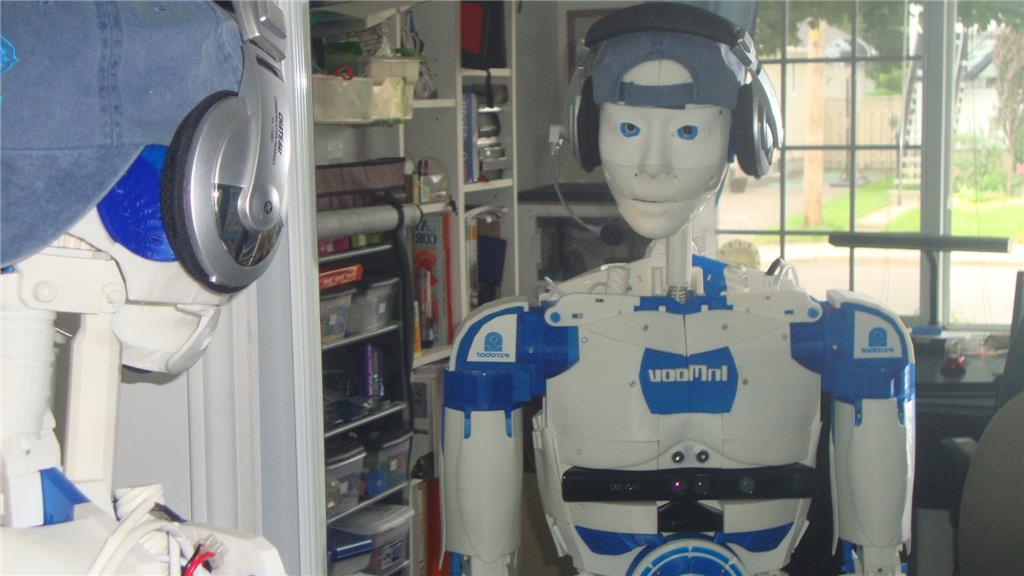
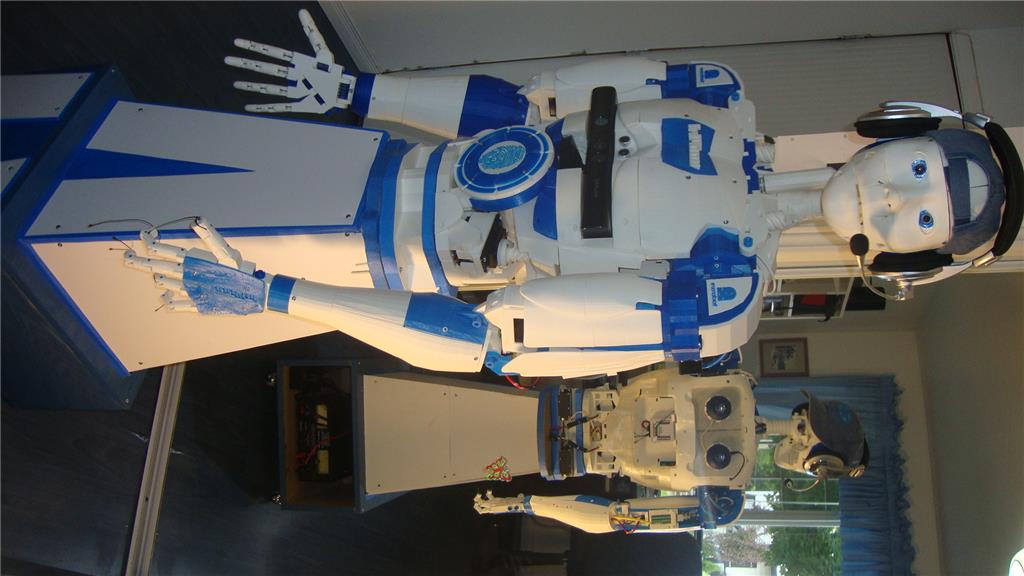
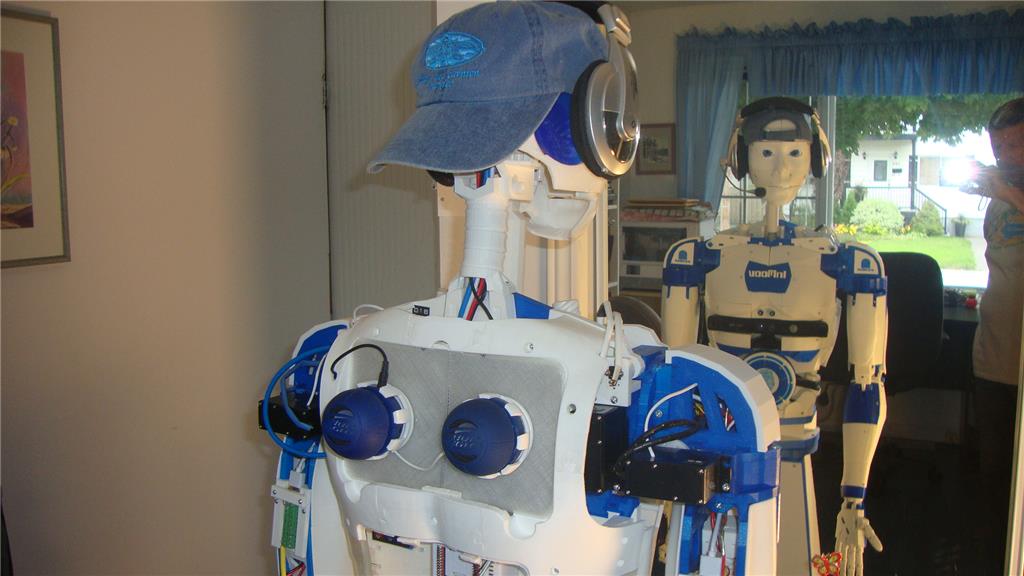

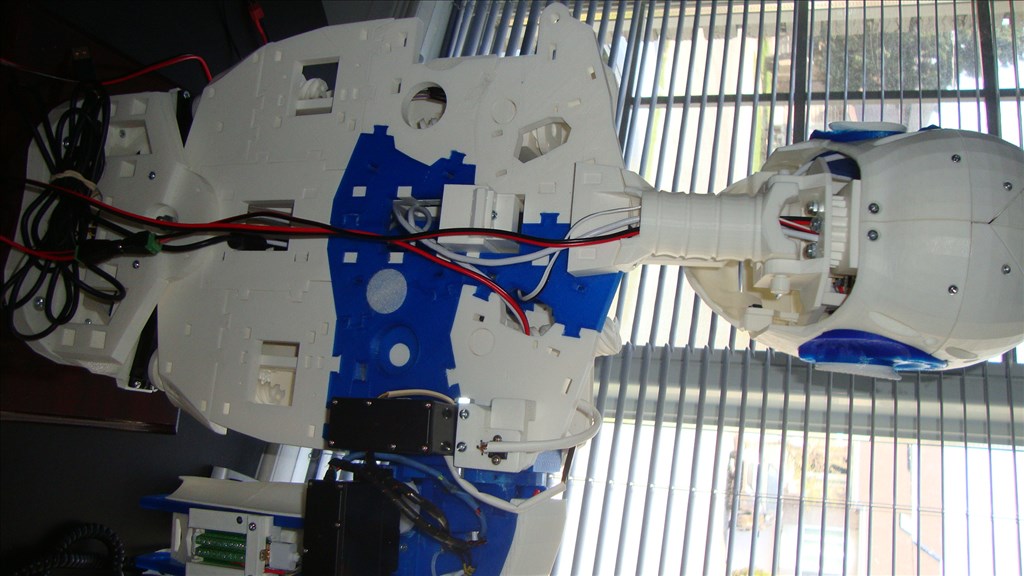
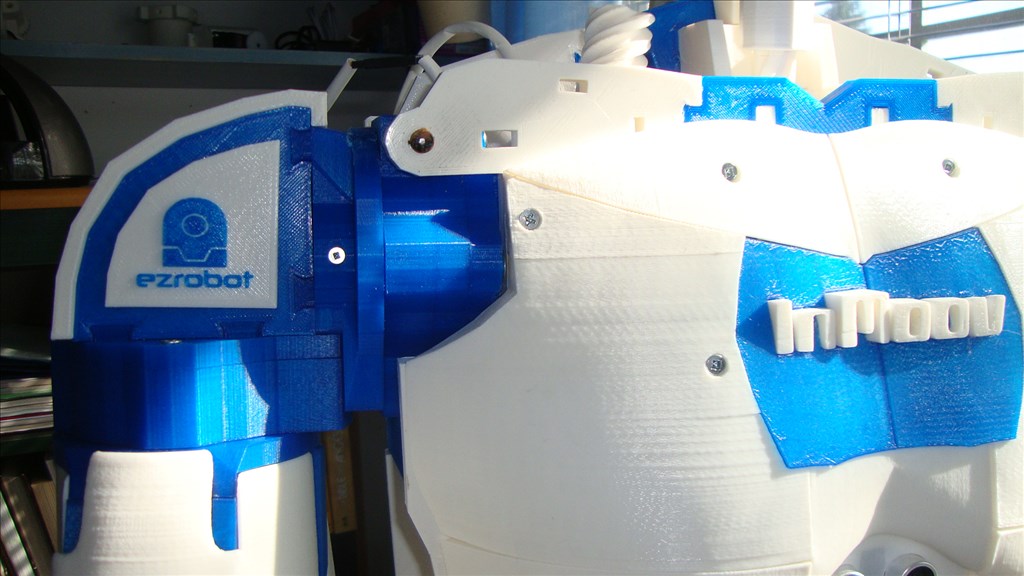
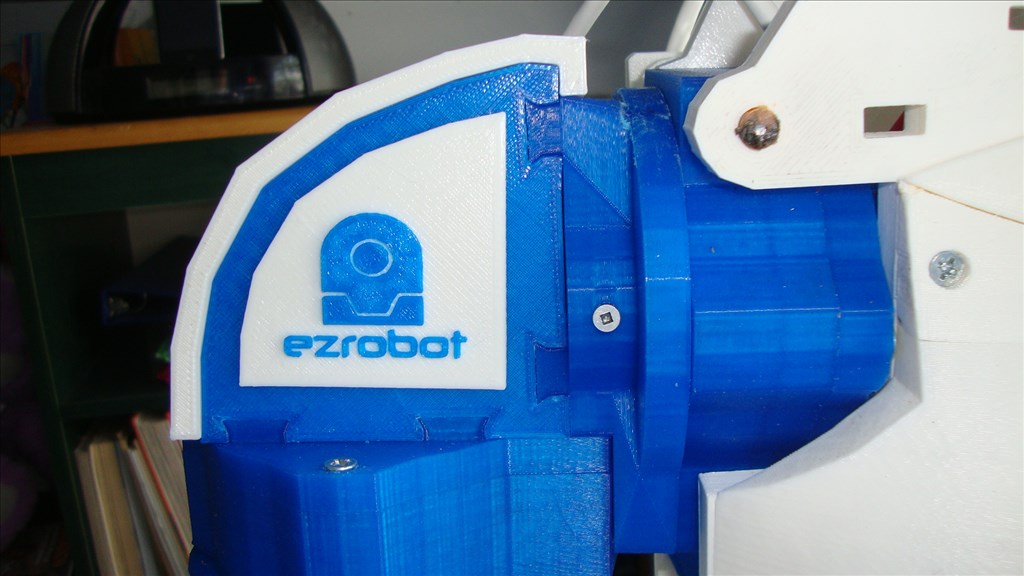
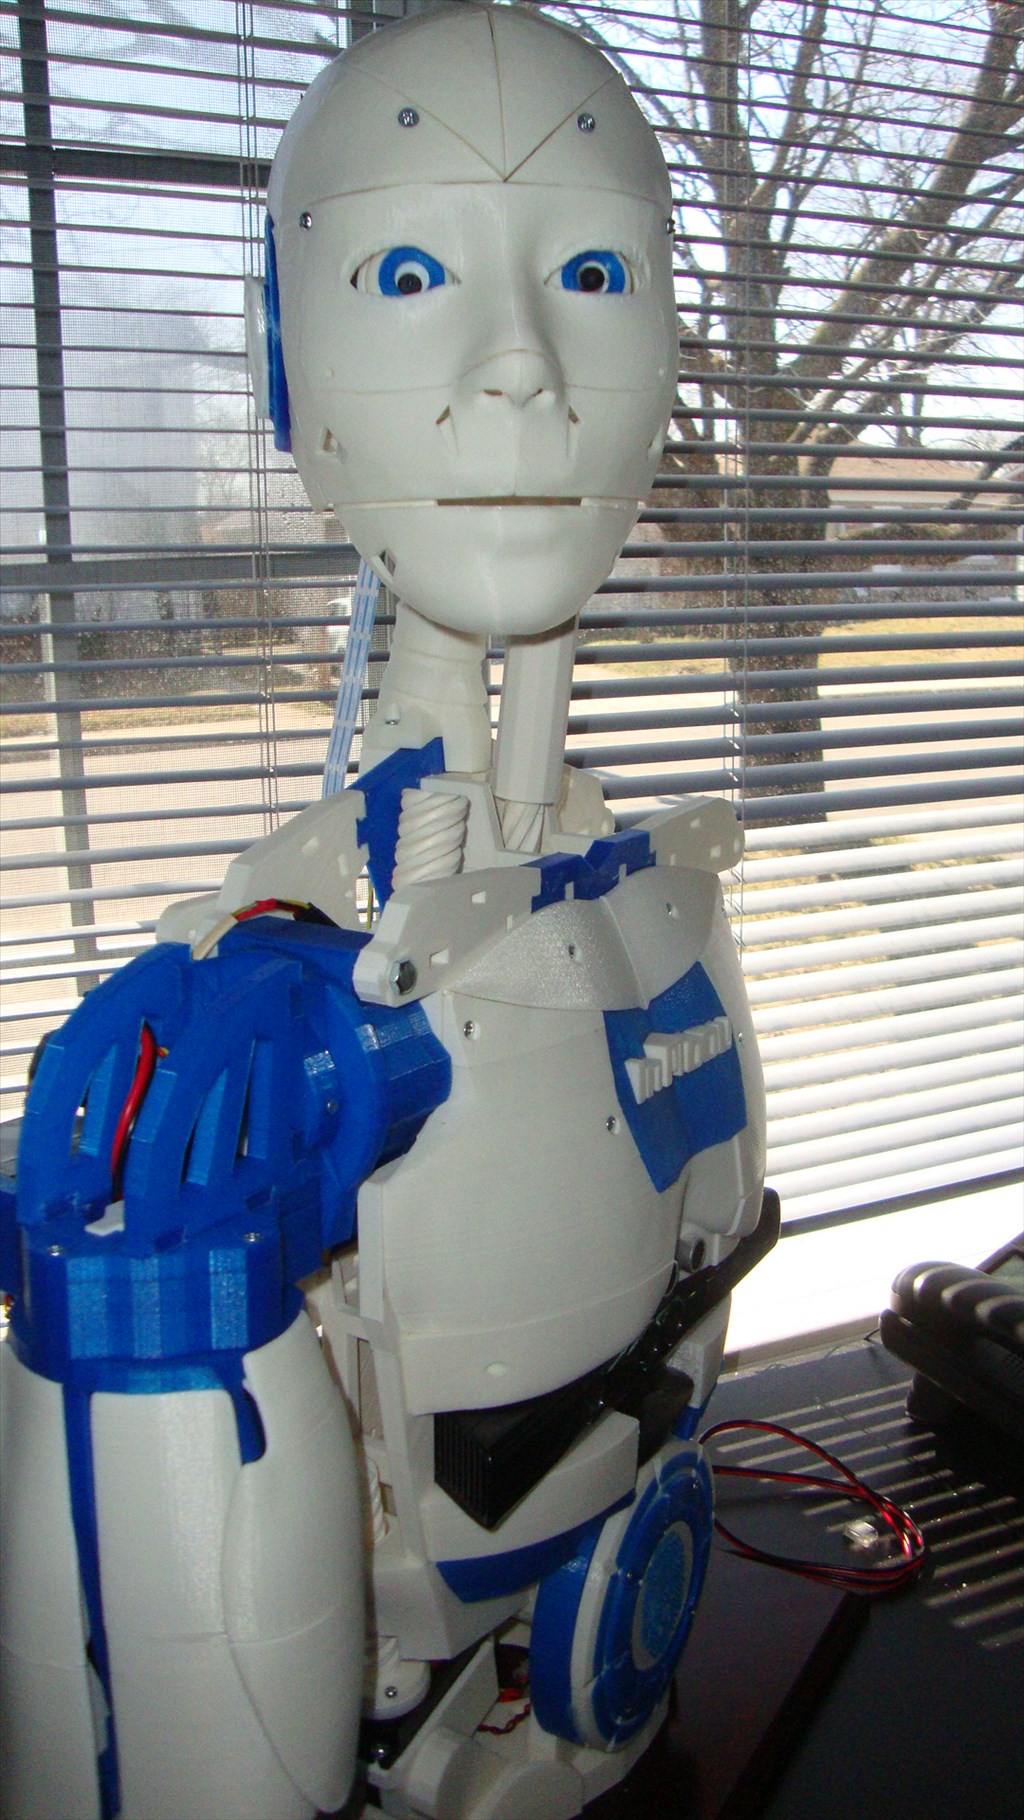
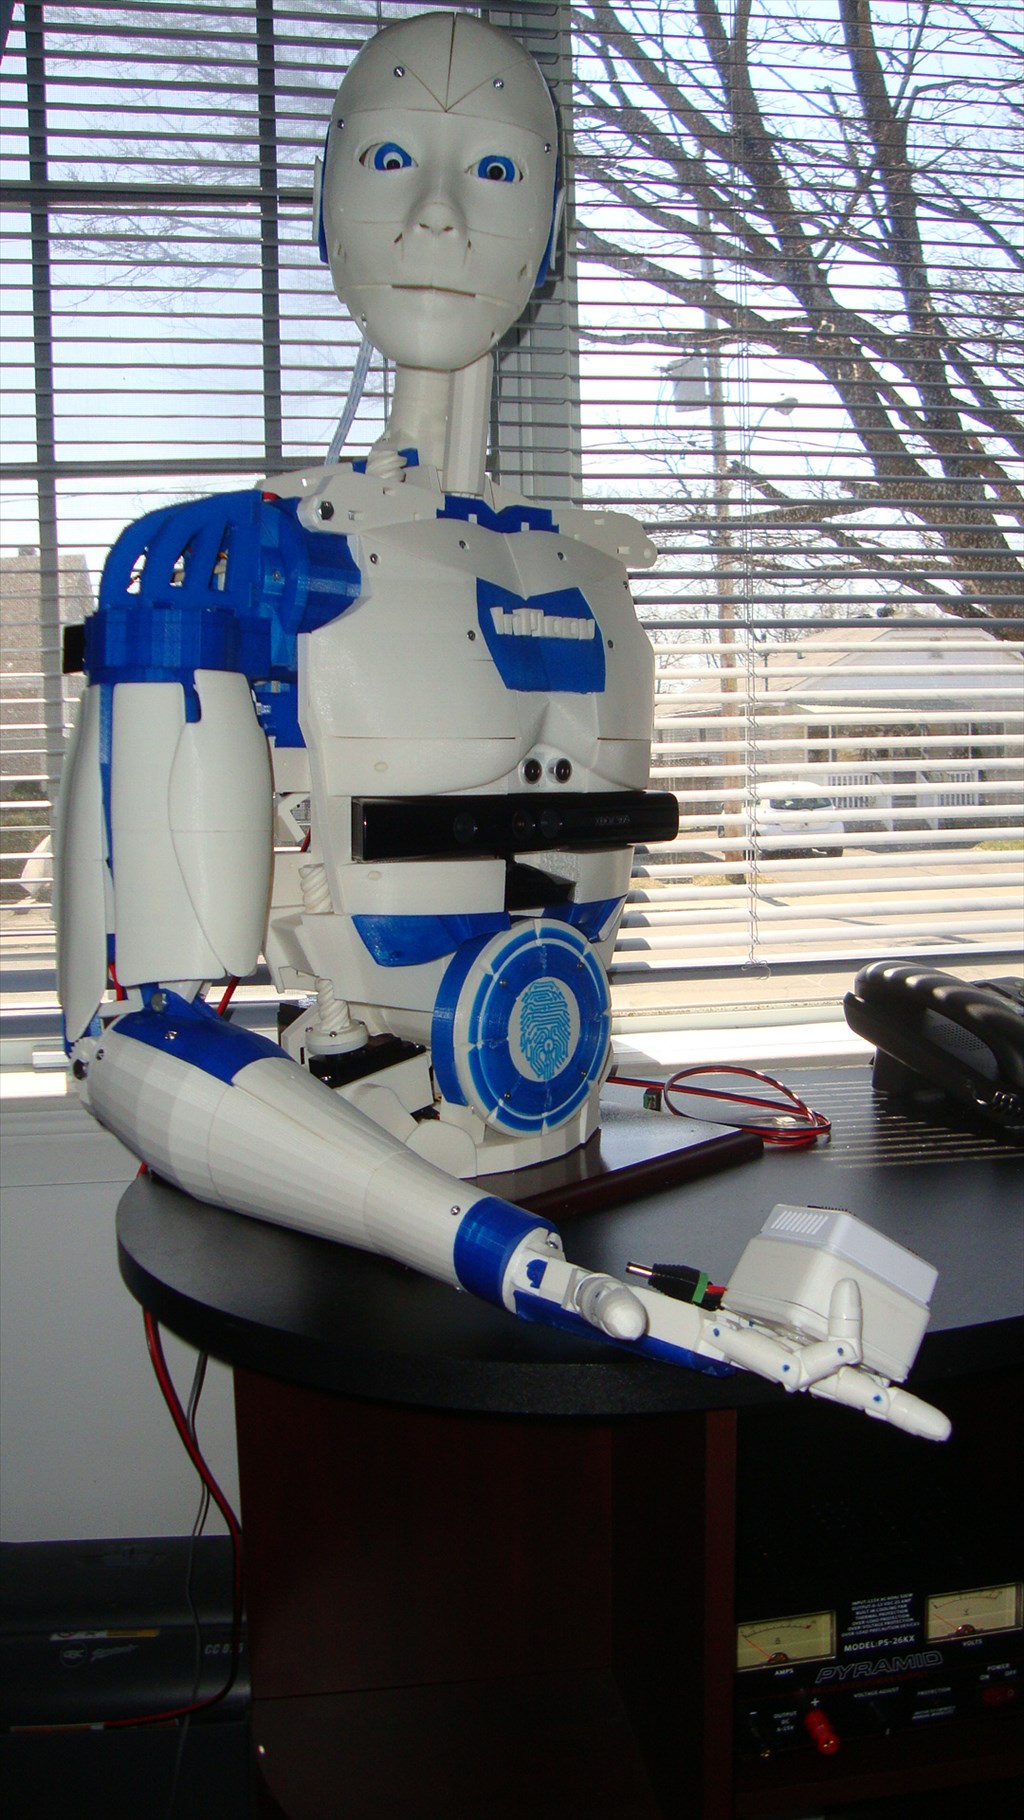
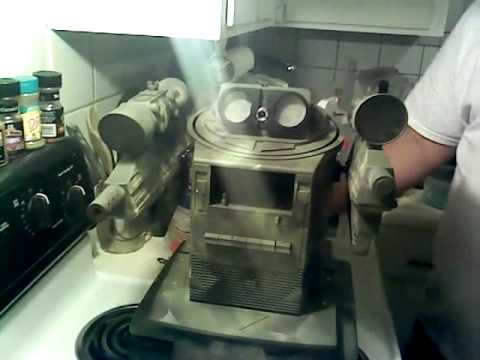
Let me introduce you my Inmoov version ,
(my 4 year grand daughter called it : ROBOTO)
The work is not yet complete , but I think promising.
I intend to take a break during the summer and will get back to my project later.
Surely if it rains outside I will probably start writing scripts
(it is so easy to get addicted to this kind of project)
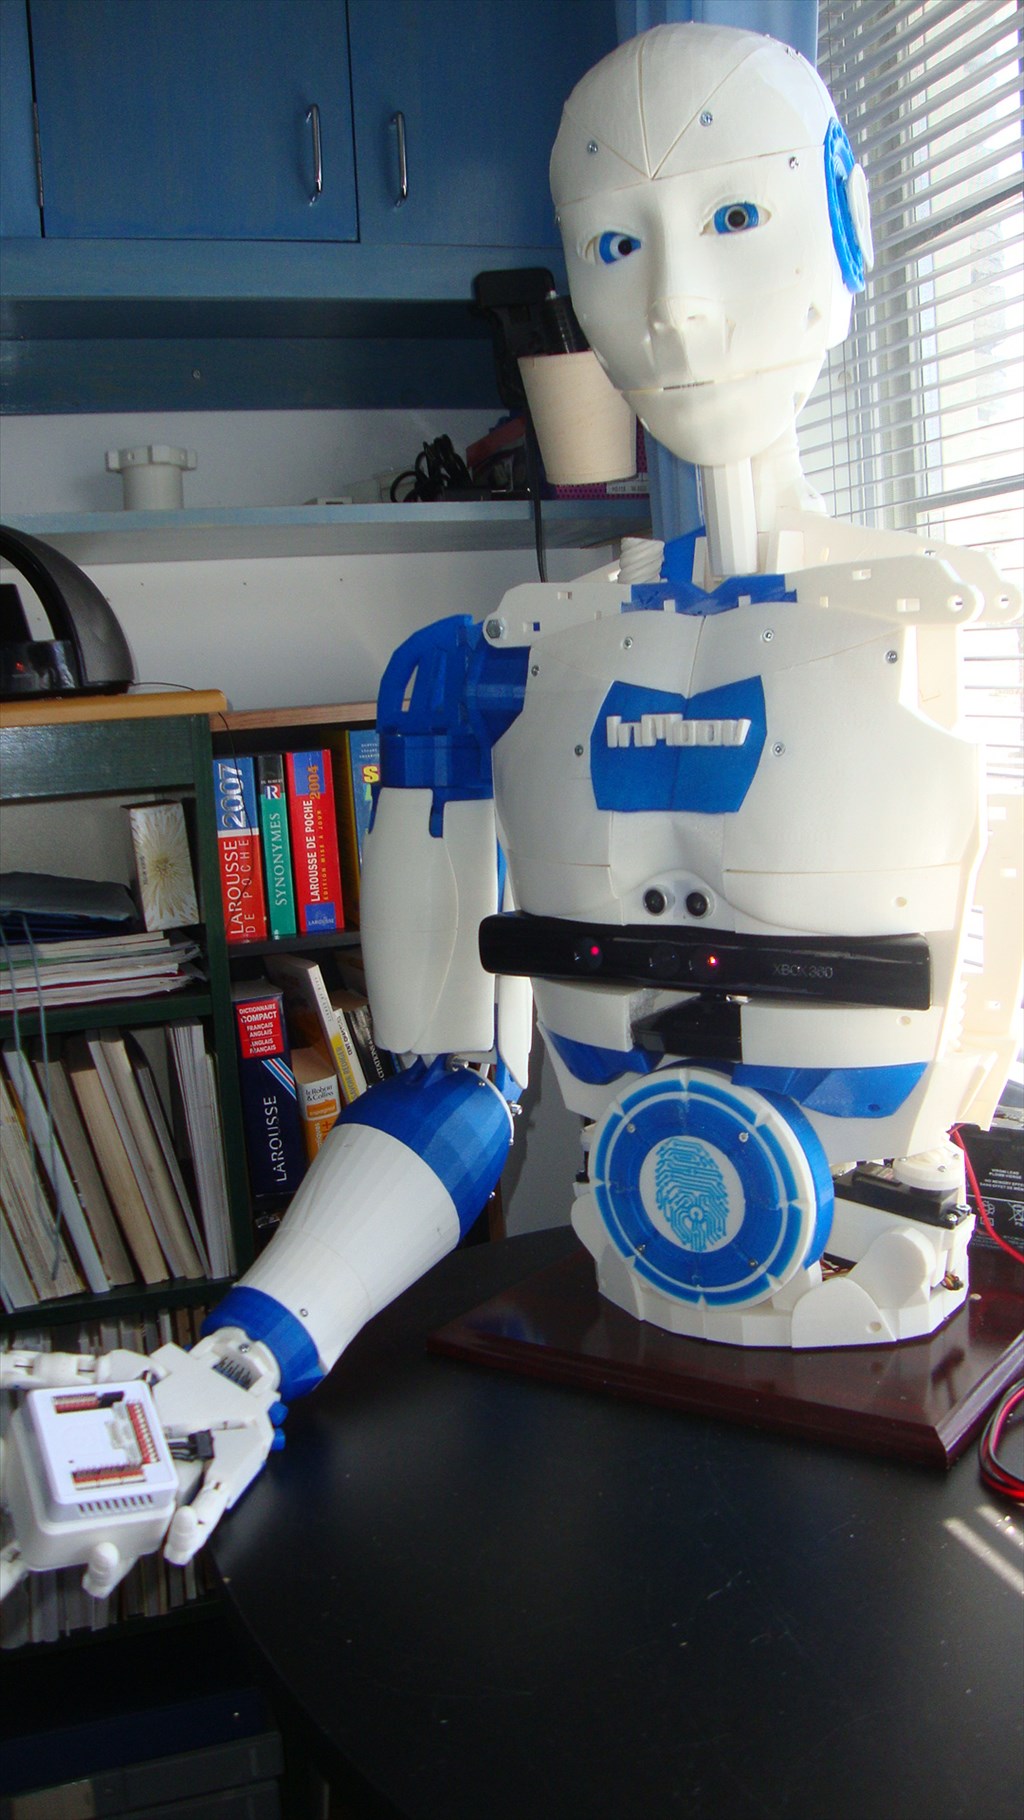
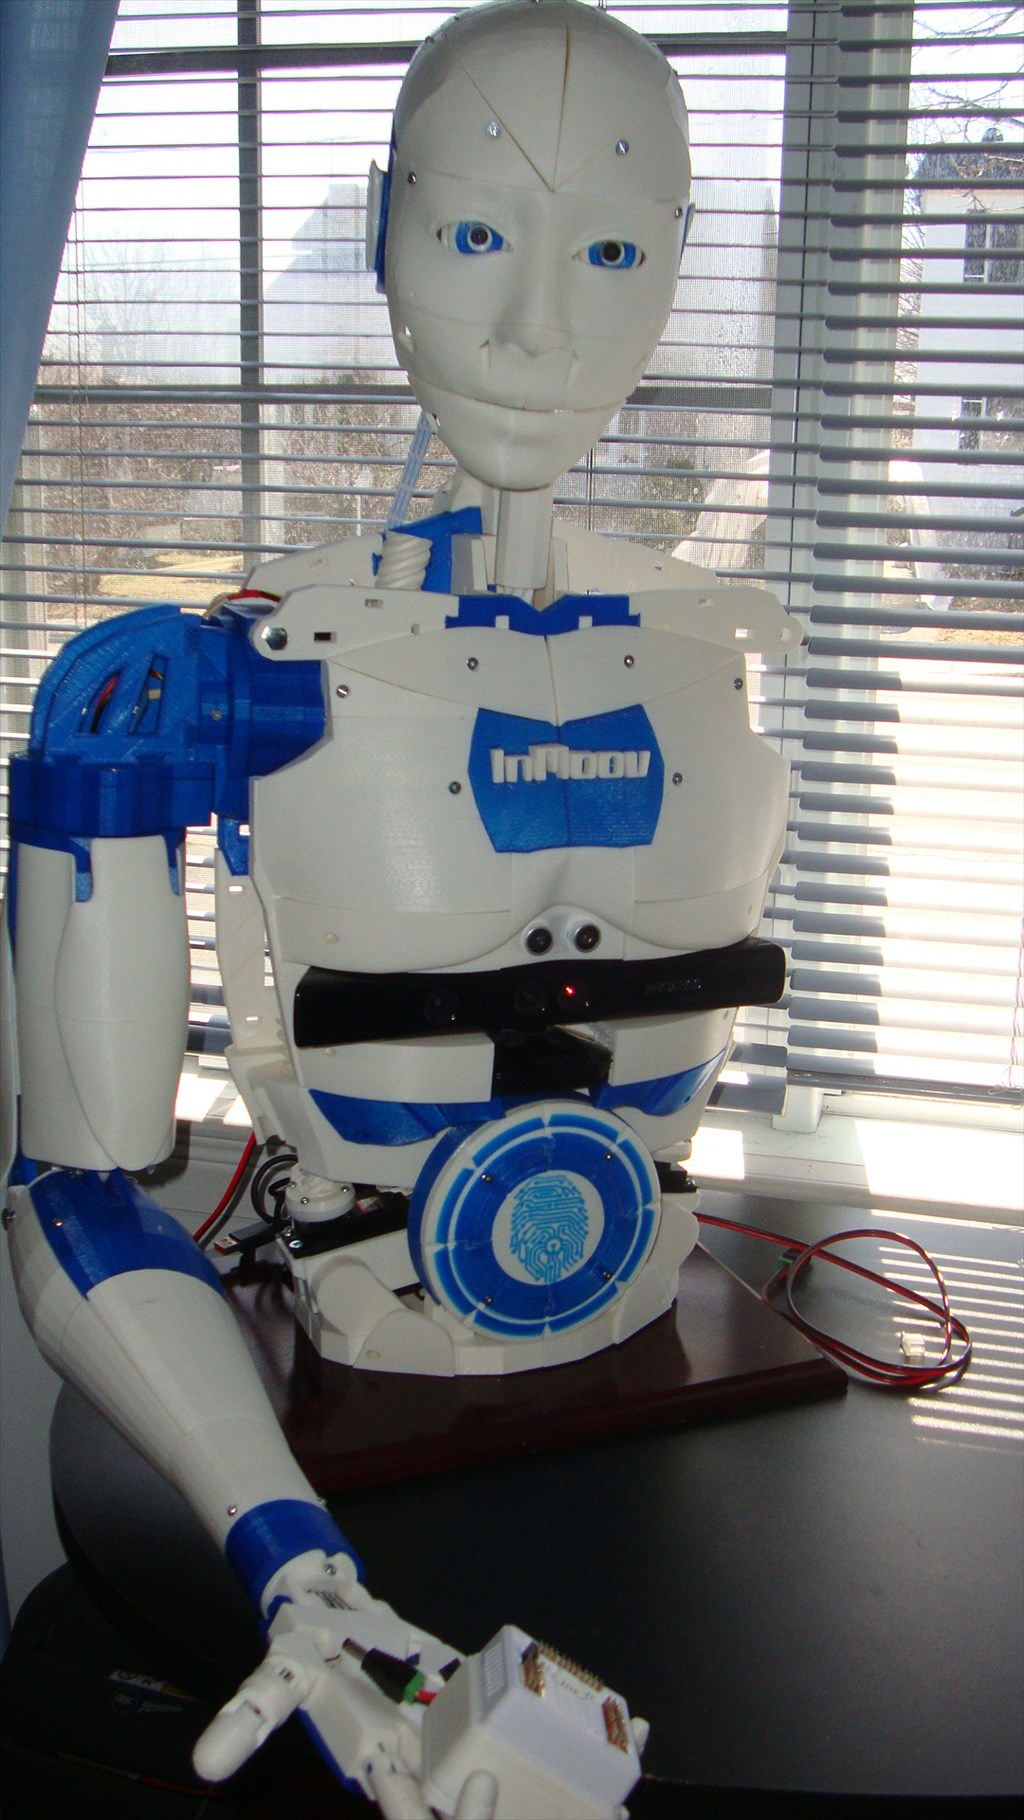
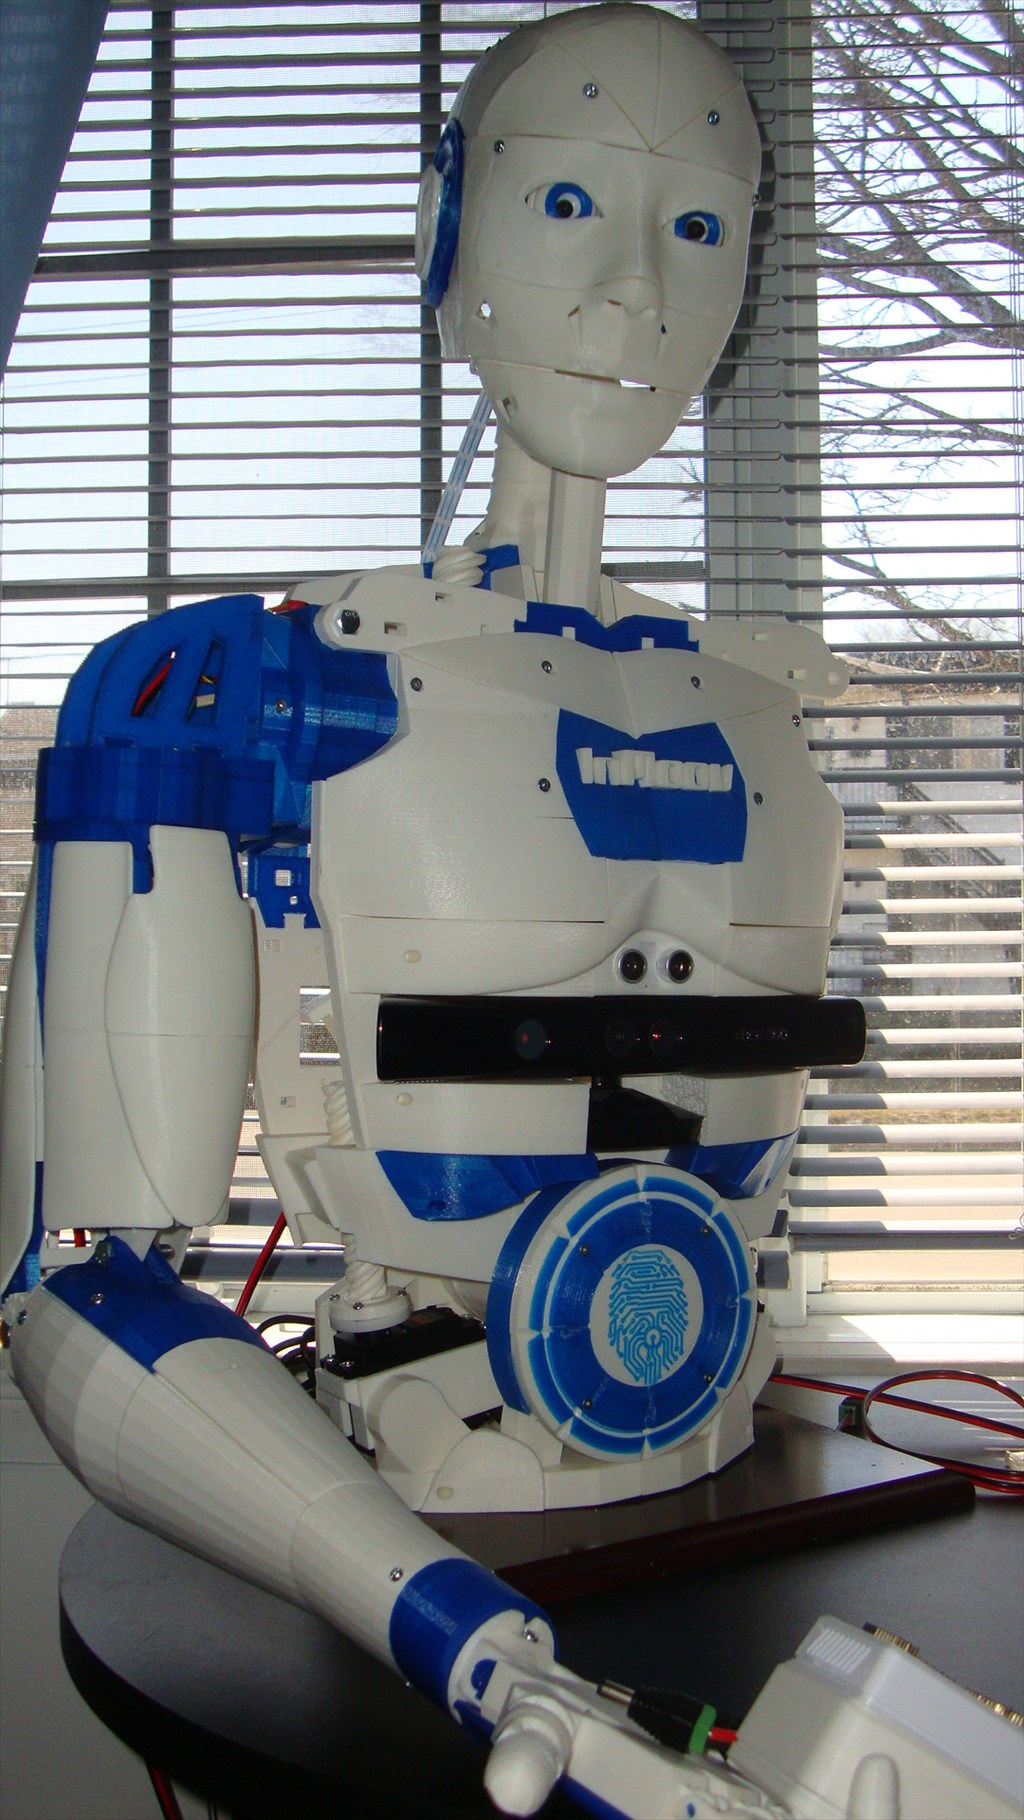
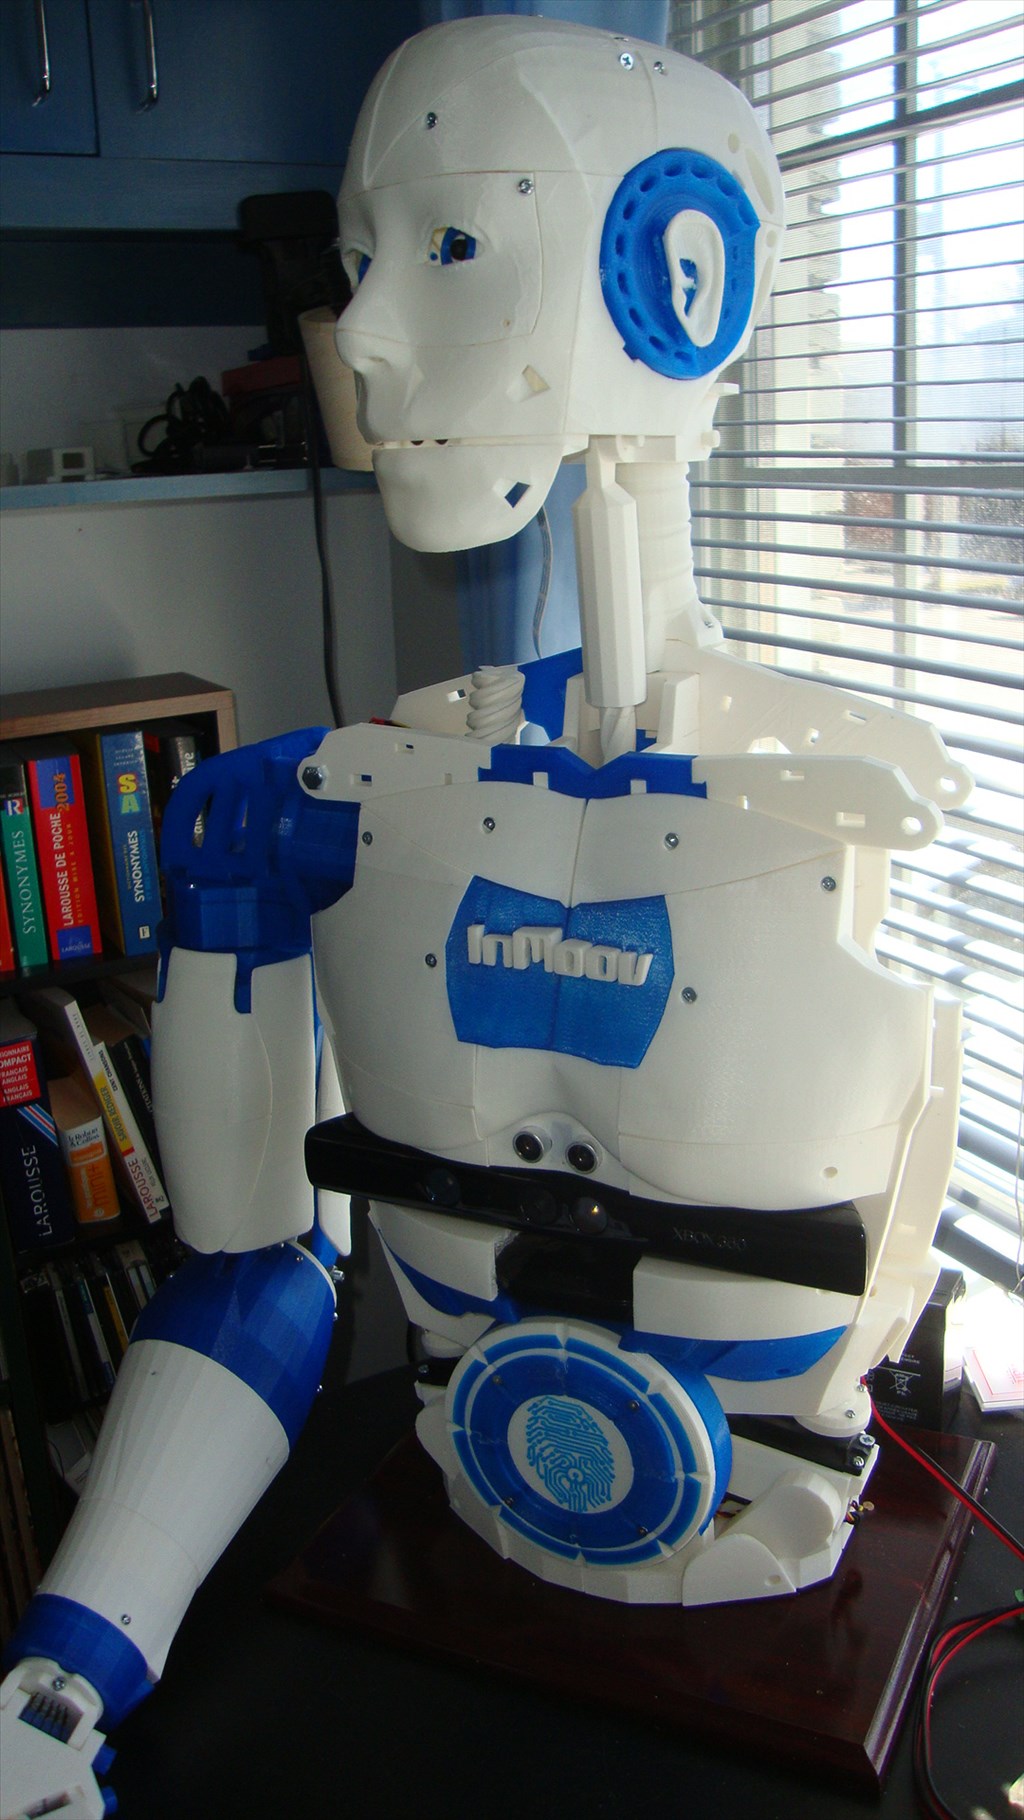
By Aerius
— Last update
Discover more robots
Ezang's Happy New Year To All
2020 brings many new ideas and inventions to everyone, inspiring creativity and innovation.
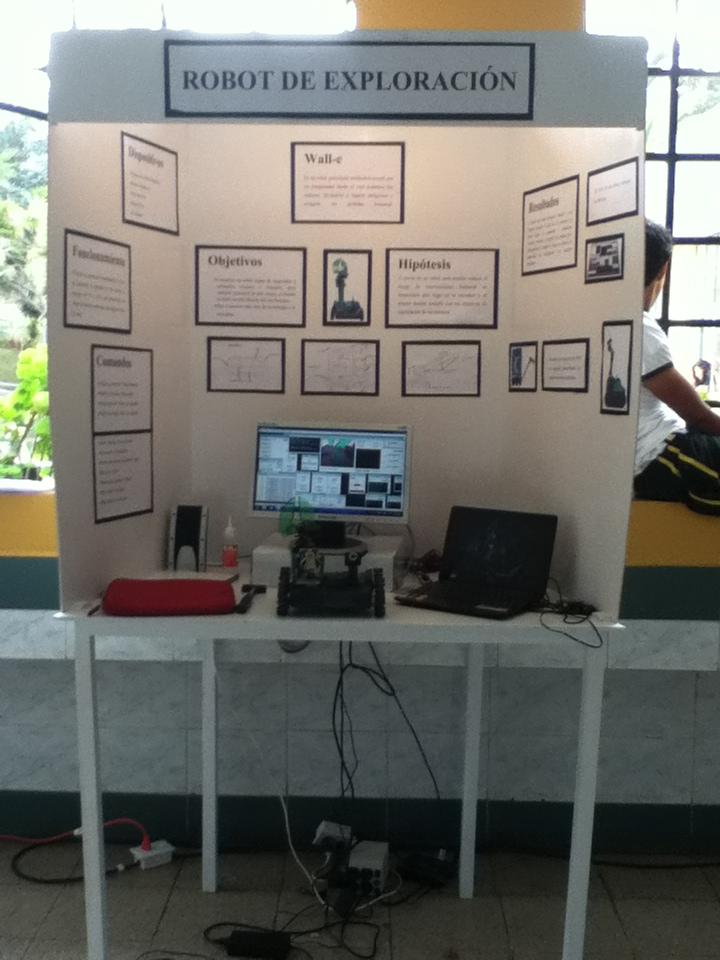
Edison2's Spy Robot V2!!! Here It Is! The New Version!
Spy Robot completed and showcased at a school science fair, credited to DJ Sures; photos and Spanish materials from...
Jstarne1's Meet Rc-Xd Airsoft Droid Dual Wield Gunner...
RC-xd Airsoft Droid: modified Omnibot on a rad 2.0 base with dual automatic airsoft guns and EZ Cam for Mech Wars, built...

I'm trying, its a slow process for me, that's for sure. But a little progress is better than none.
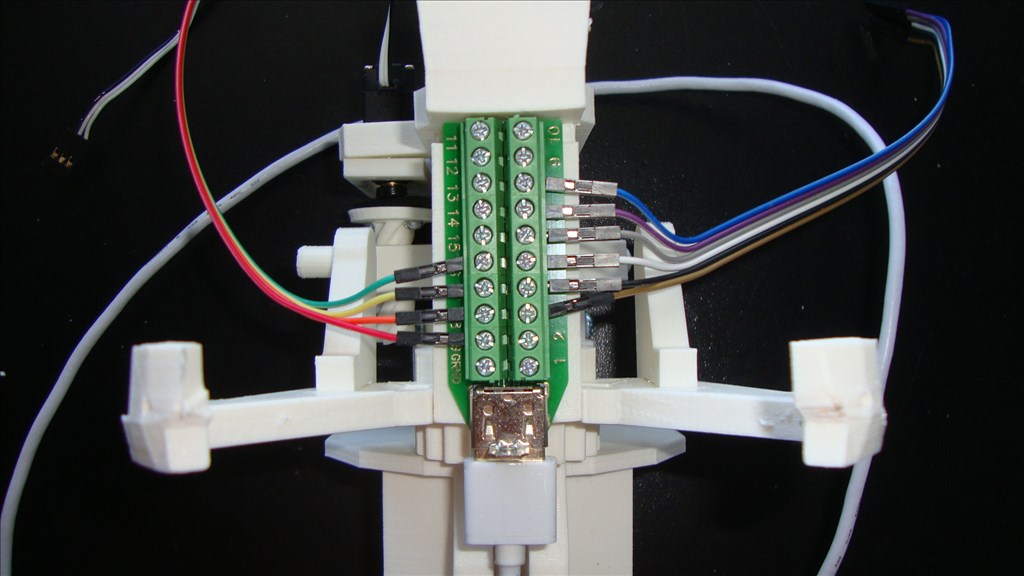
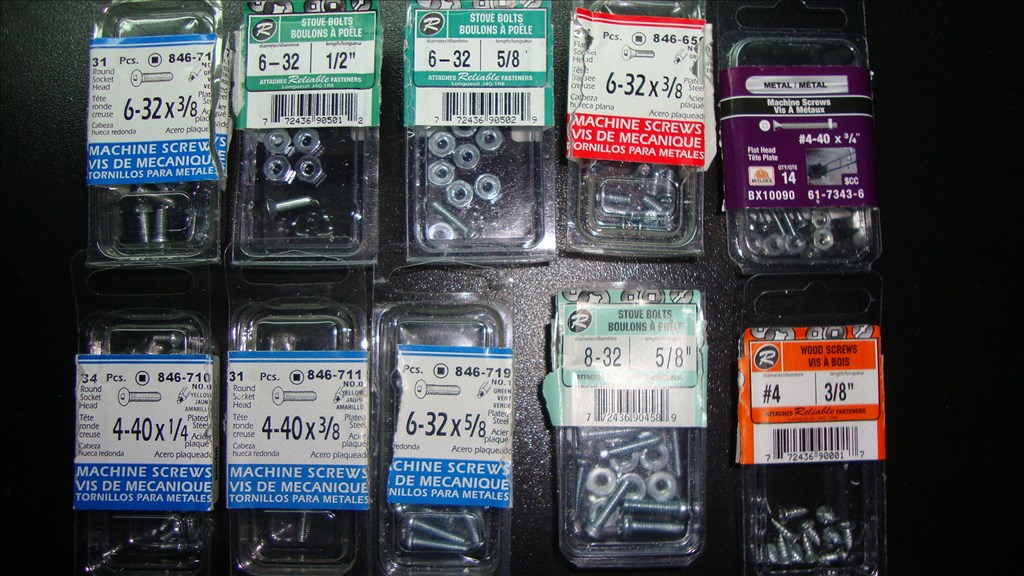
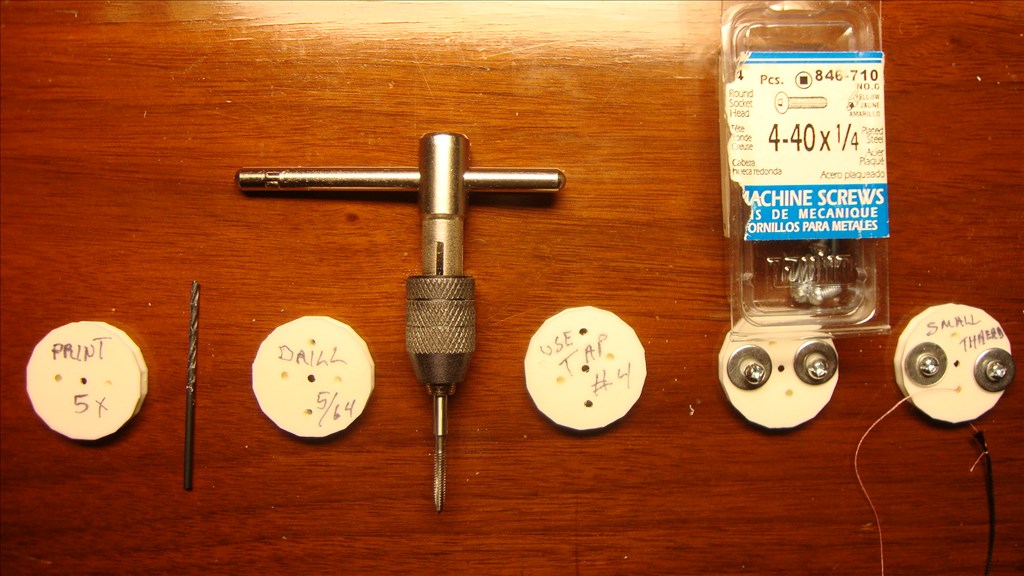
As you print a part, label it with tape. The instructions reference the parts. There are differences between left and right hands, forearms and shoulders.
@69developer If you haven't already done so, download all the available inMoov stl's and keep copies of them... Don't ask why LOL.... just make sure you grab all the files so that you have them...
@69developer All Bicep covers are at the bottom of the list under the name armtopcover1,2,3
Inmoov STL download Inventory
These covers do not show in any sketch, but once printed you will easily find where they clip.
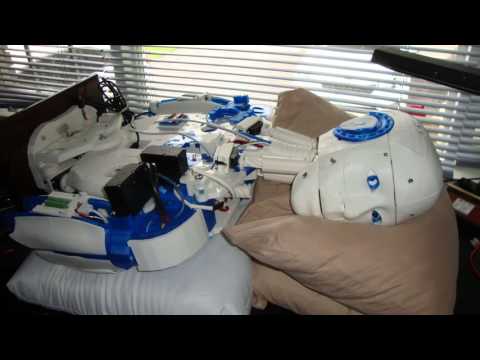
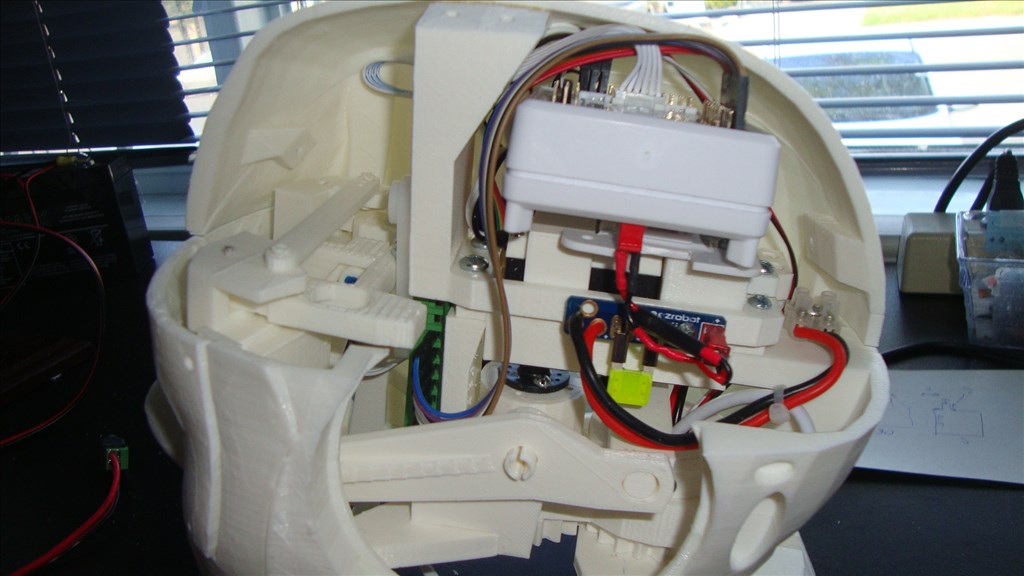
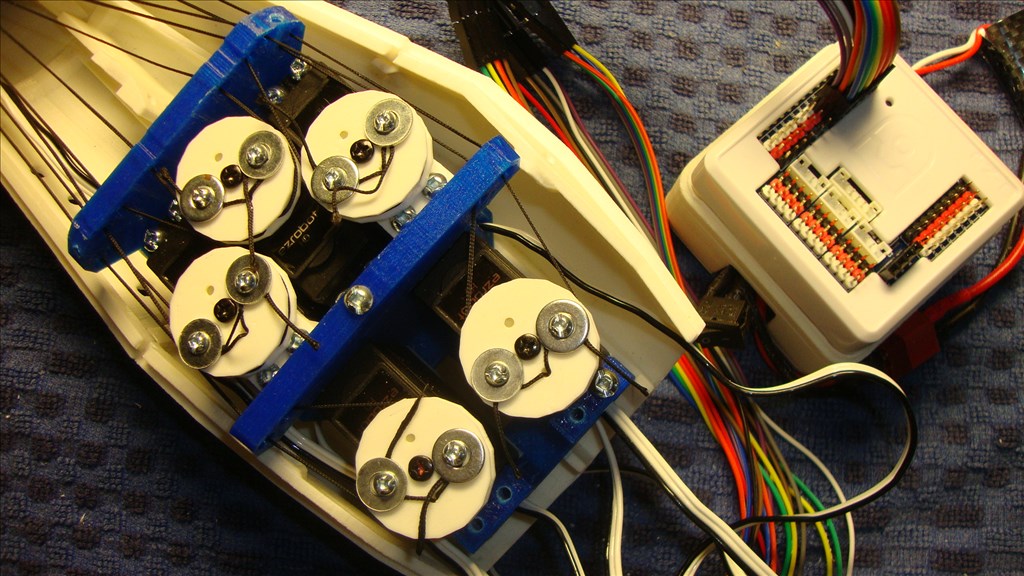
pictures of assembly
This will allow you to see how each part is assembled and where it goes.
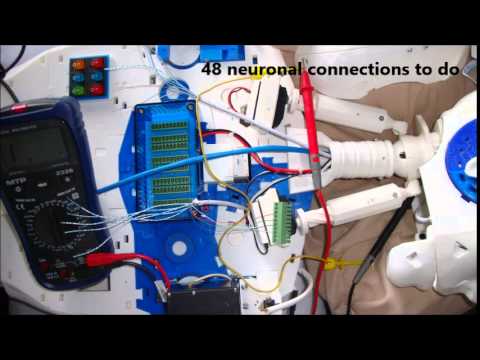
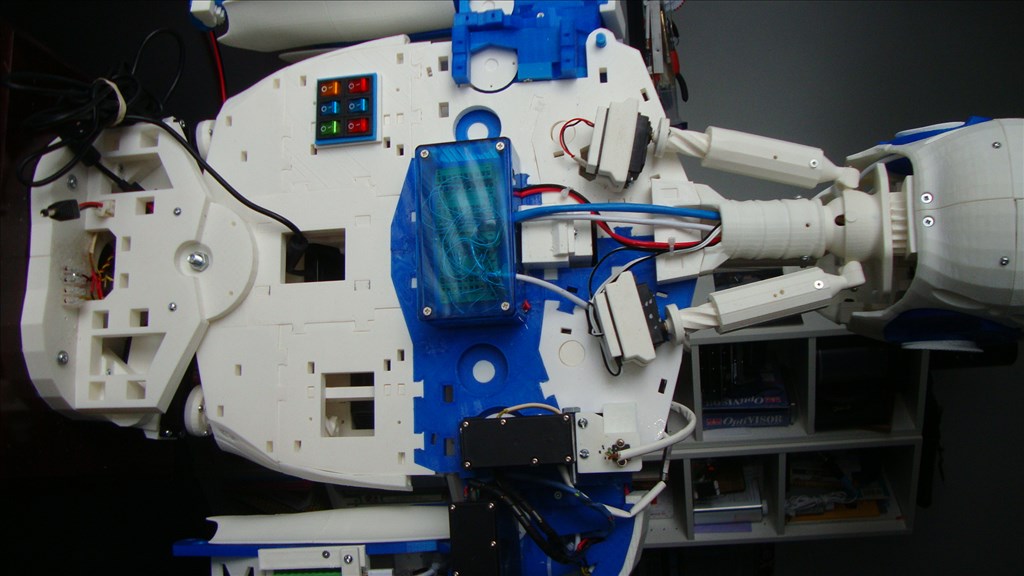
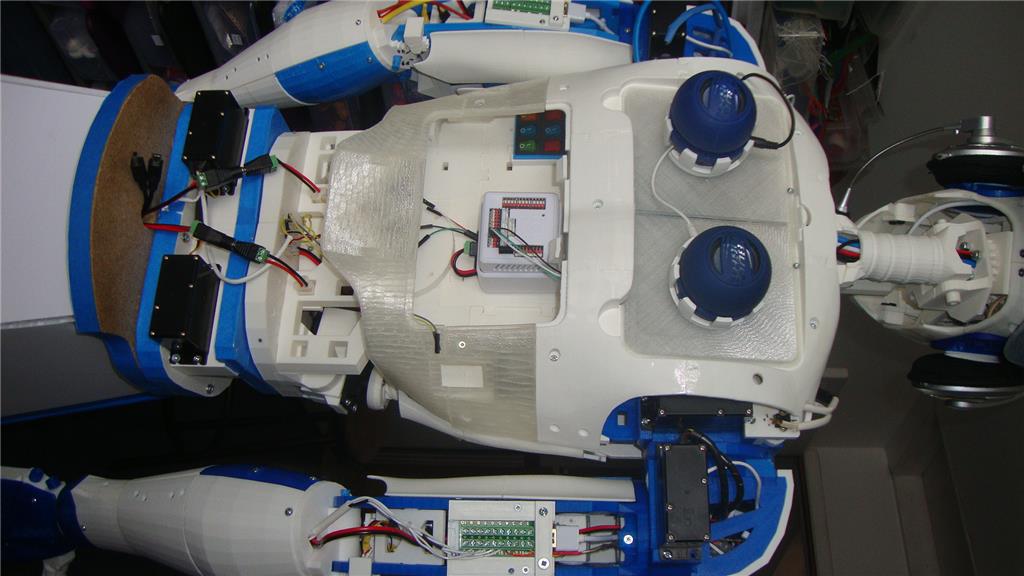
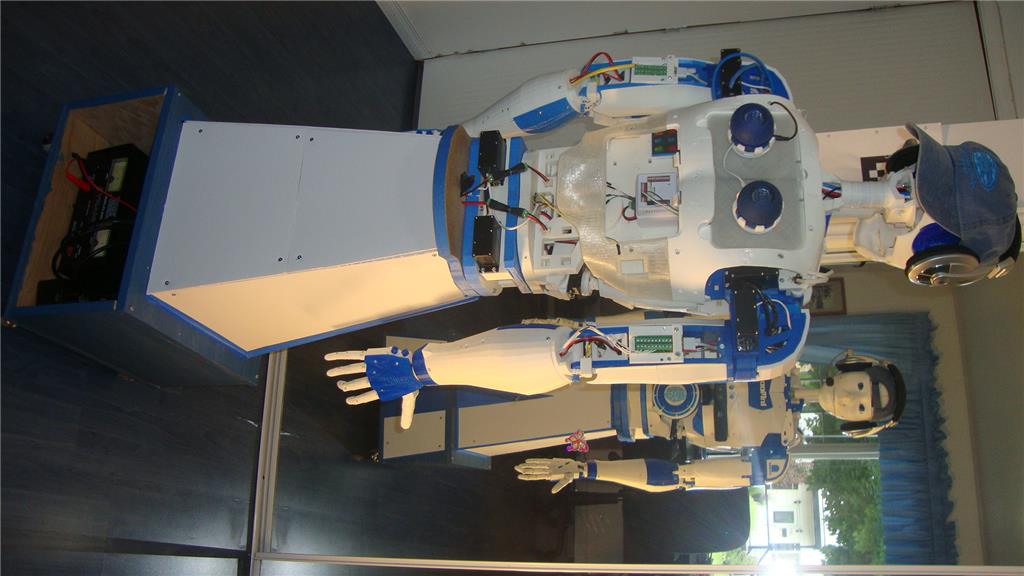
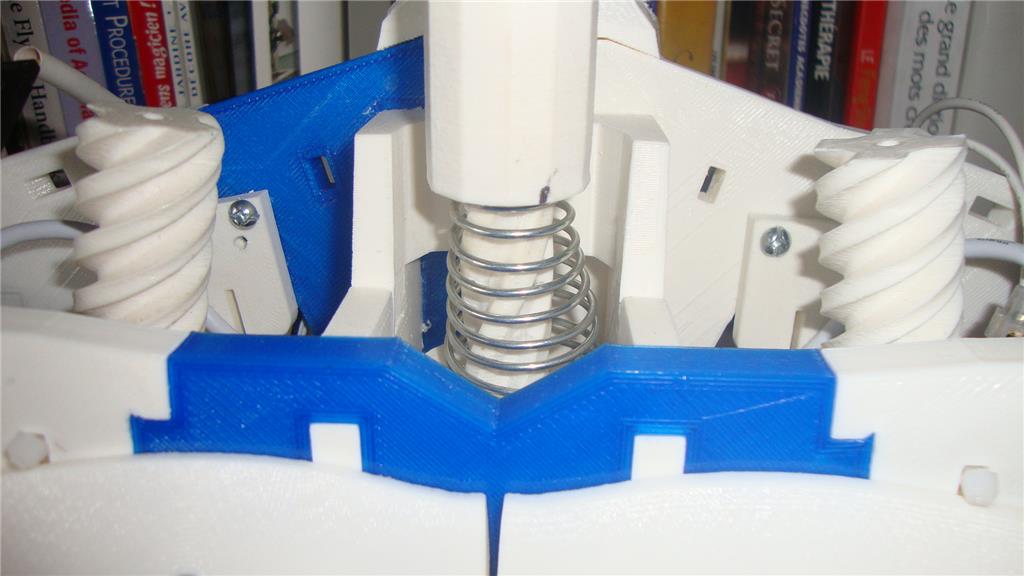
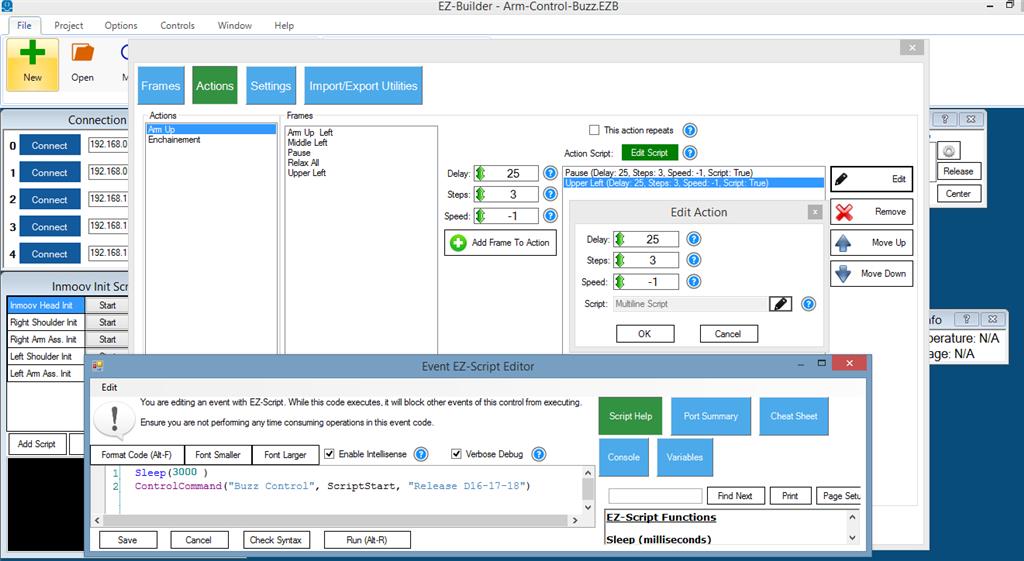
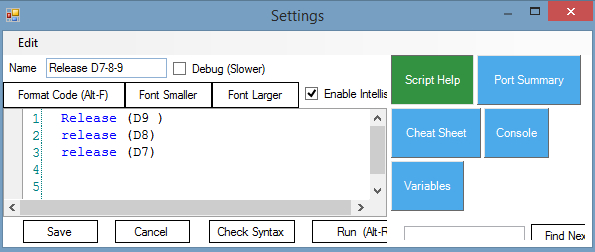
An update to the last modifications.
@Aerius, that looks great! If you are having a problem with the Pistons popping off, put a small screw thru the slot in the piston adapter into the ball joint. I will add that to my Thingiverse instructions. There is a picture on Thingiverse showing these screws.
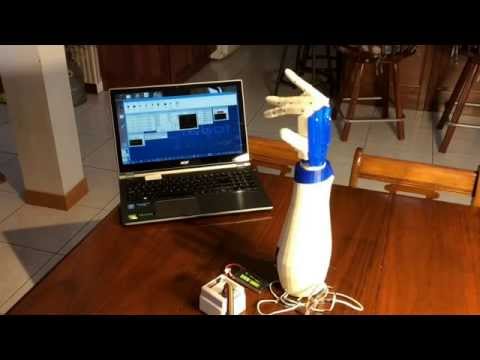
Great work Gilles. Very neat.
Chris.