
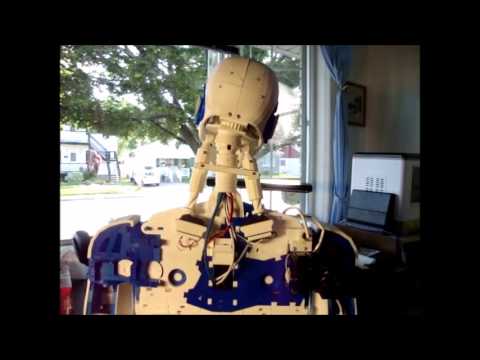
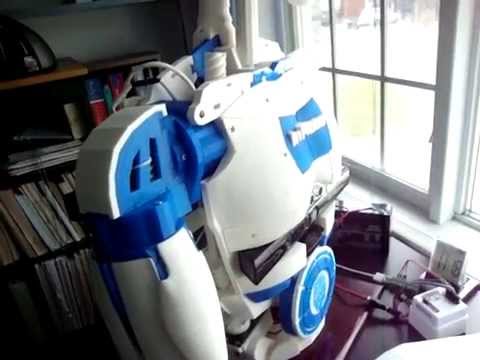
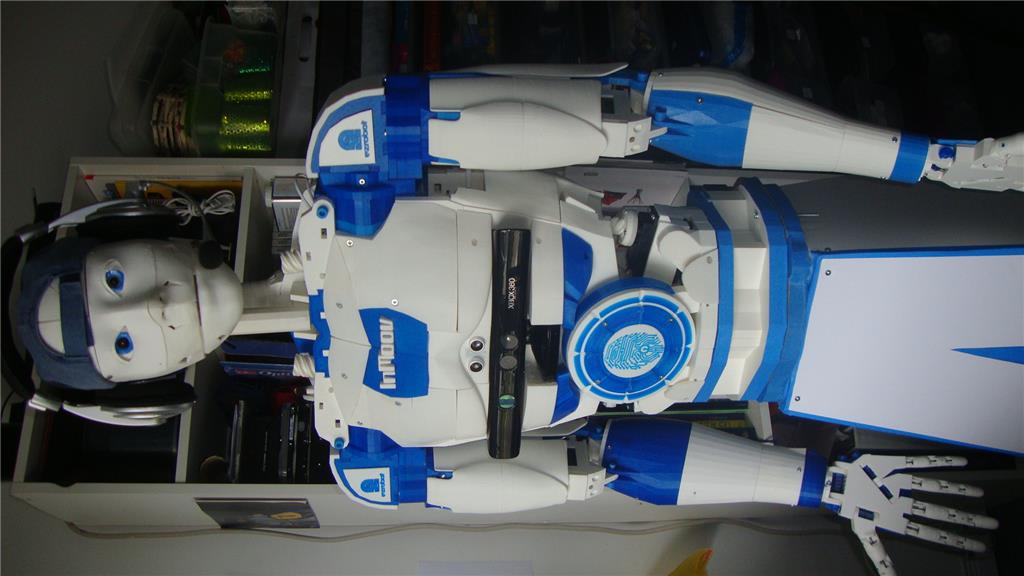
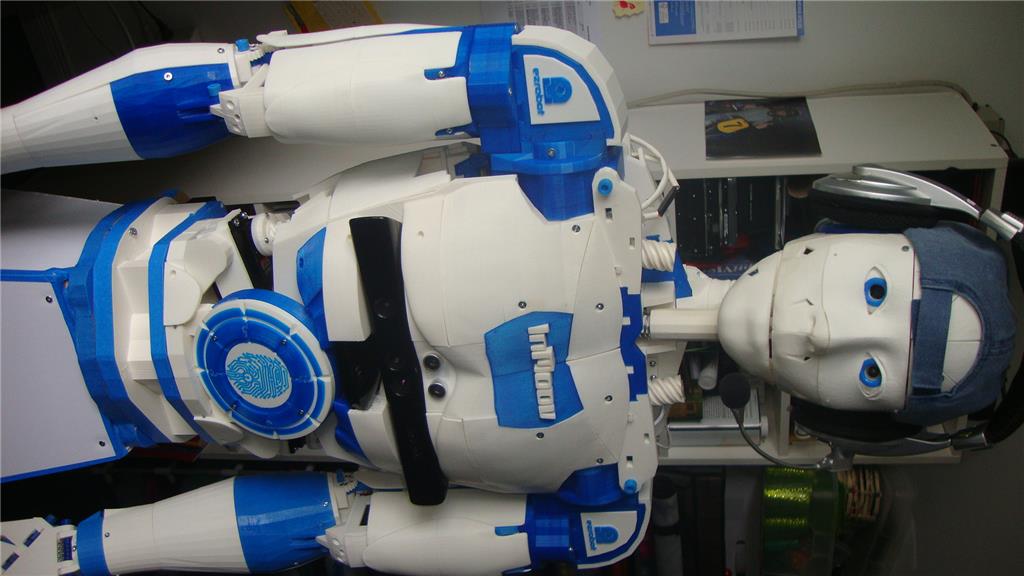

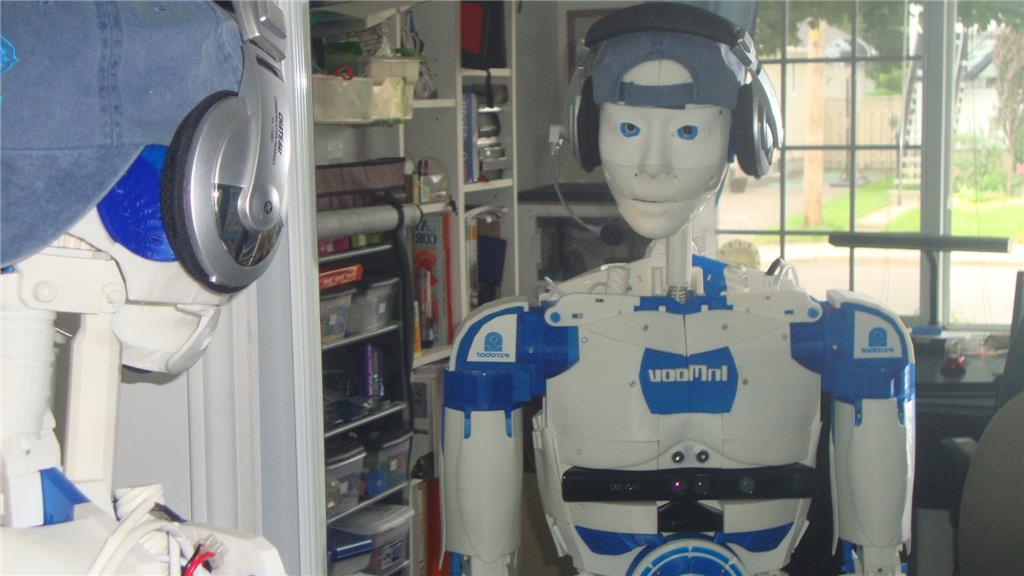
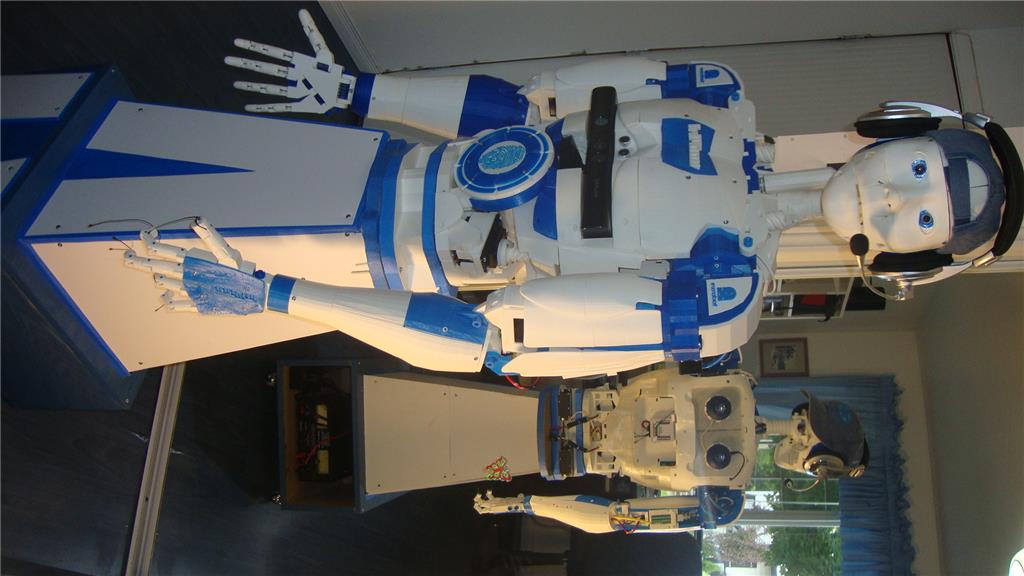
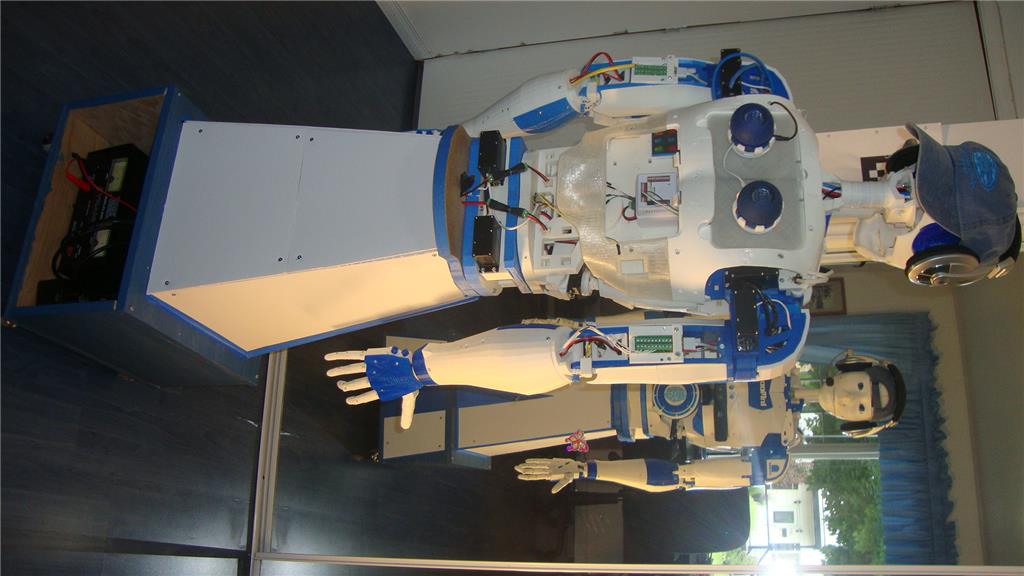
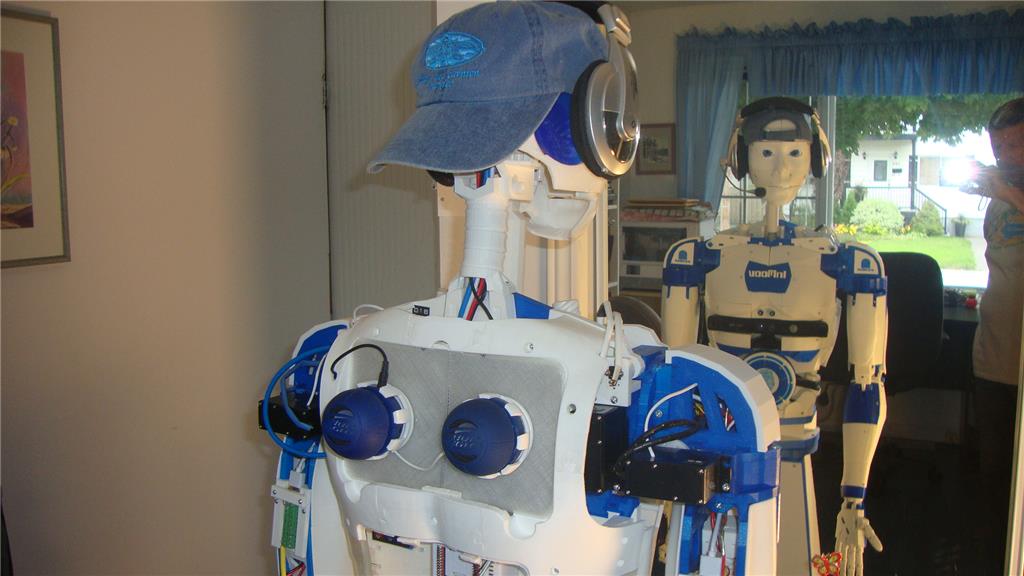

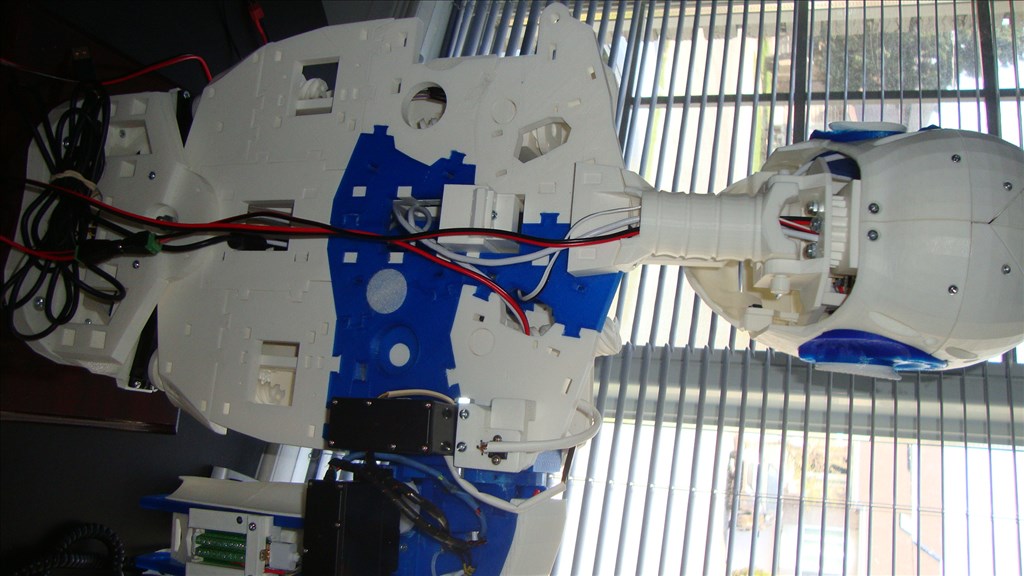
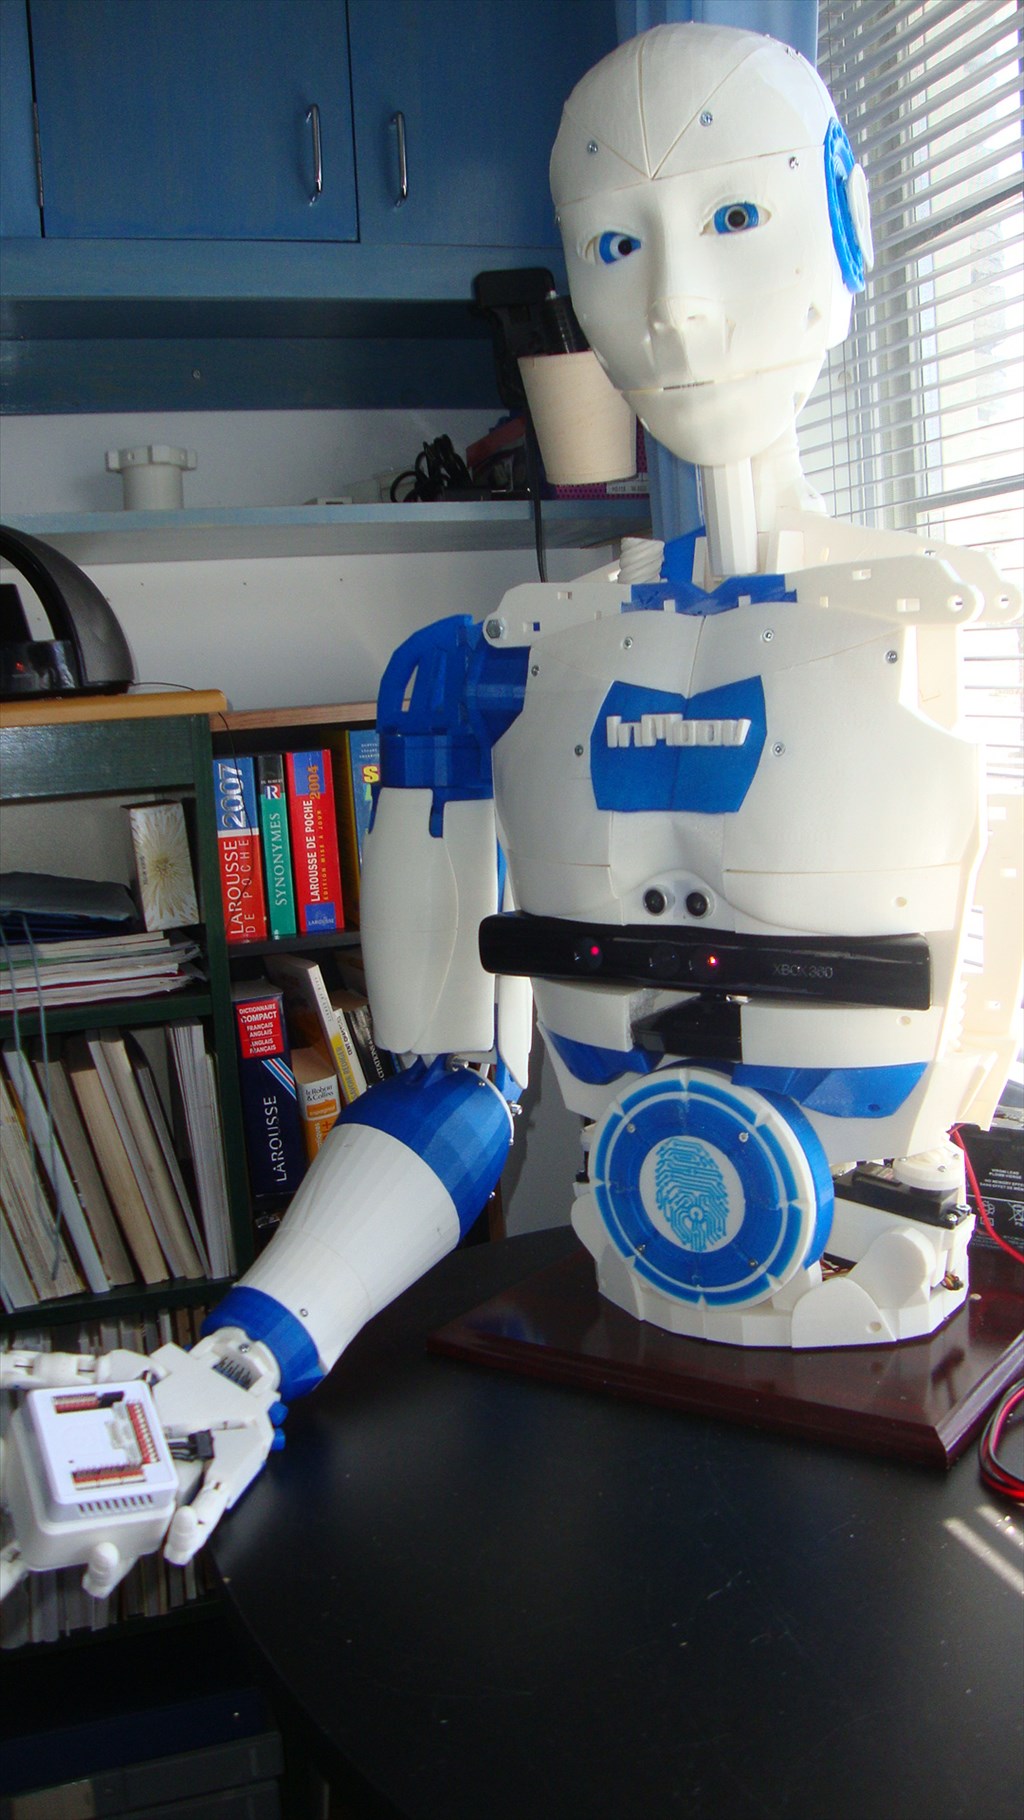
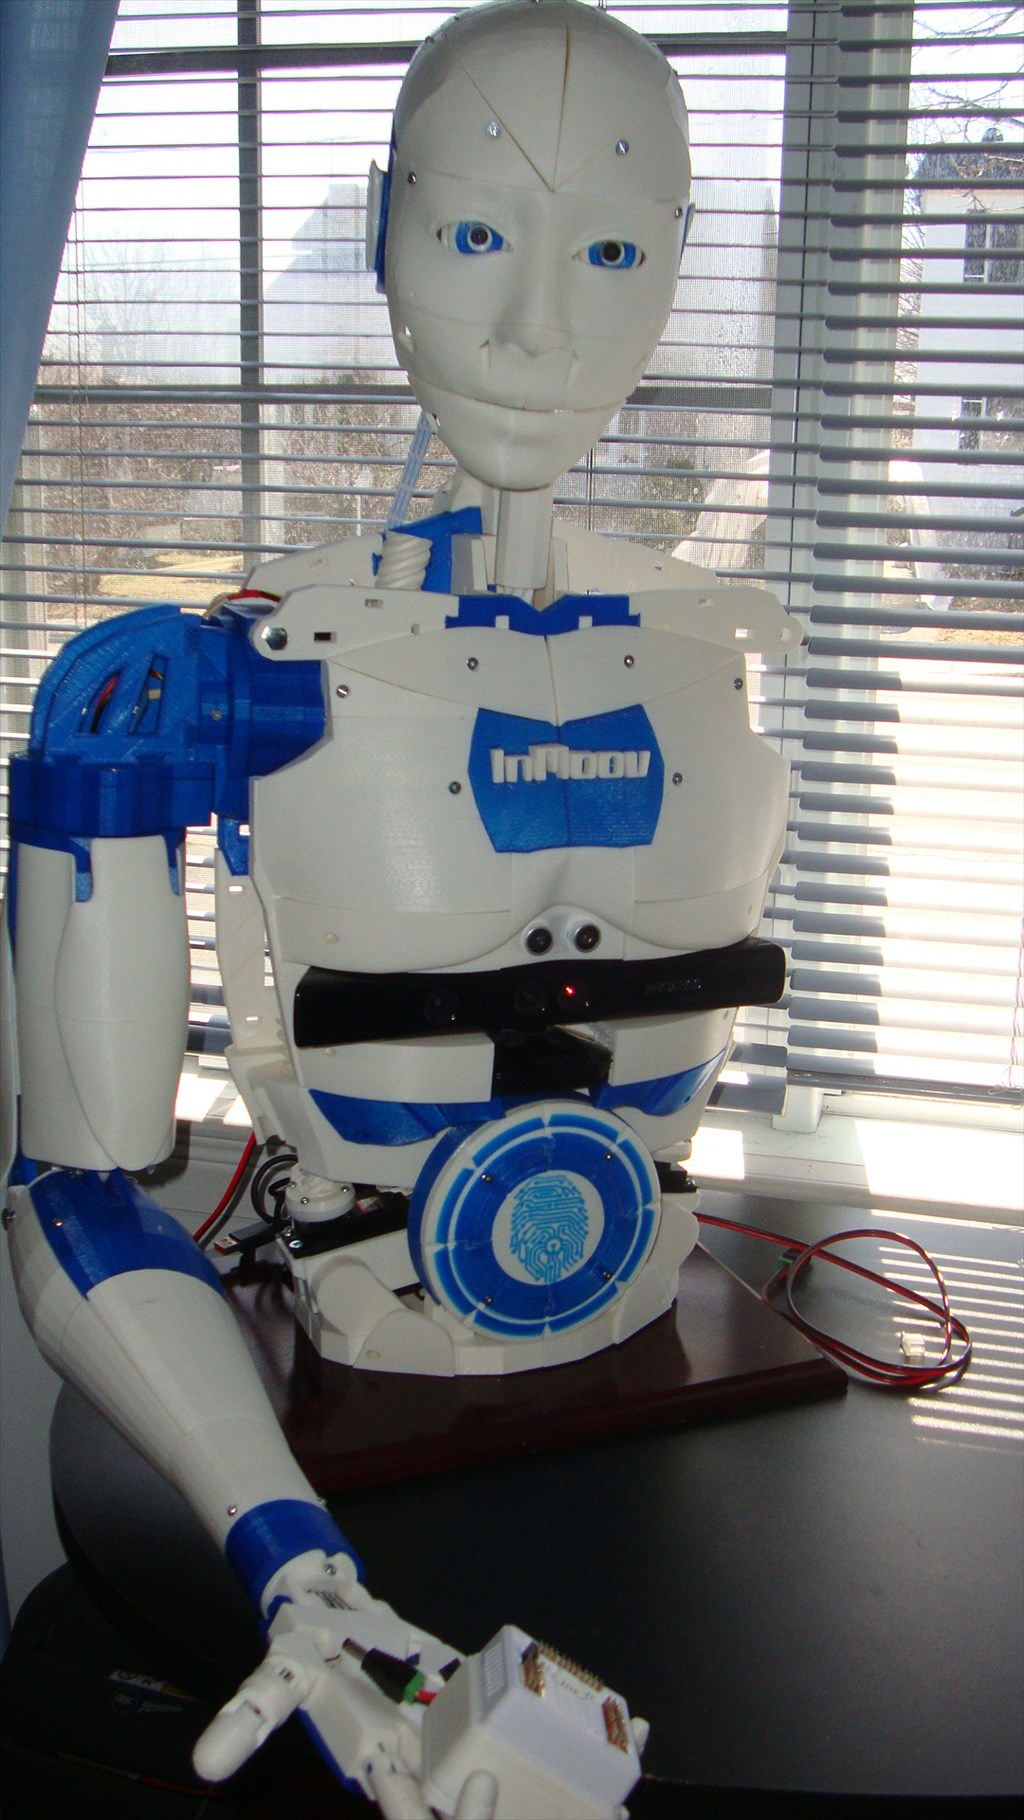
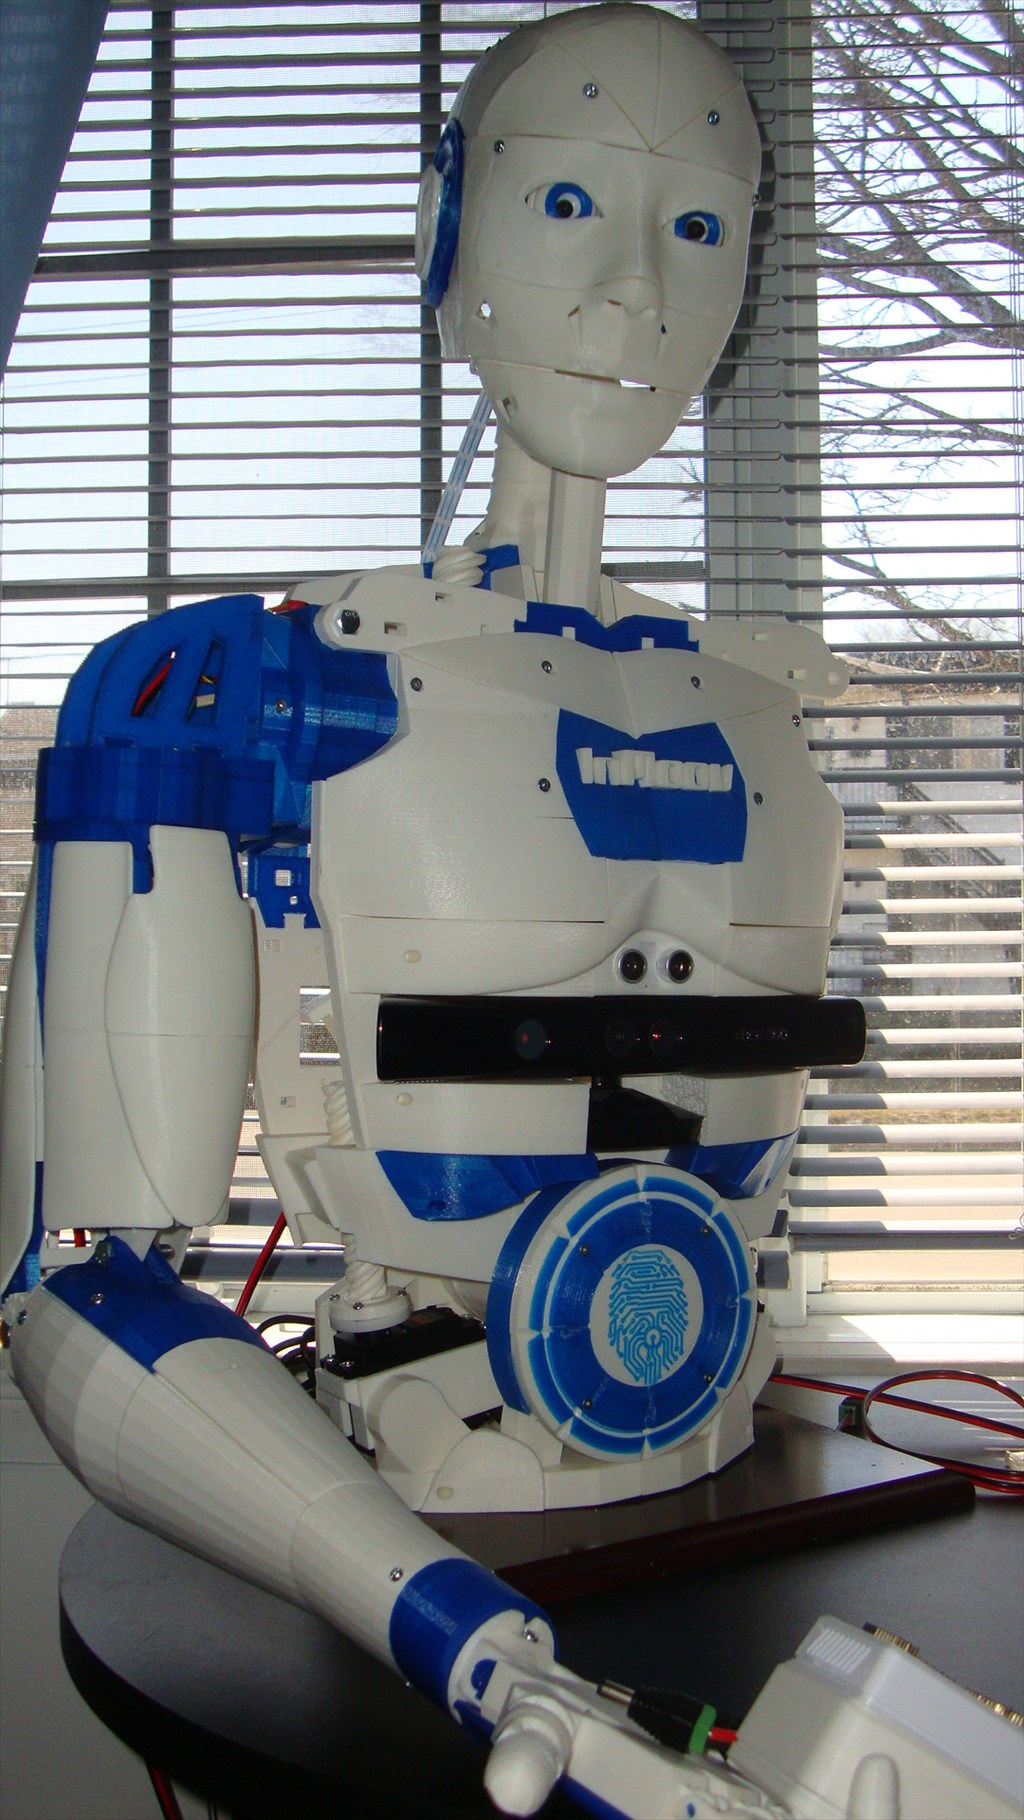
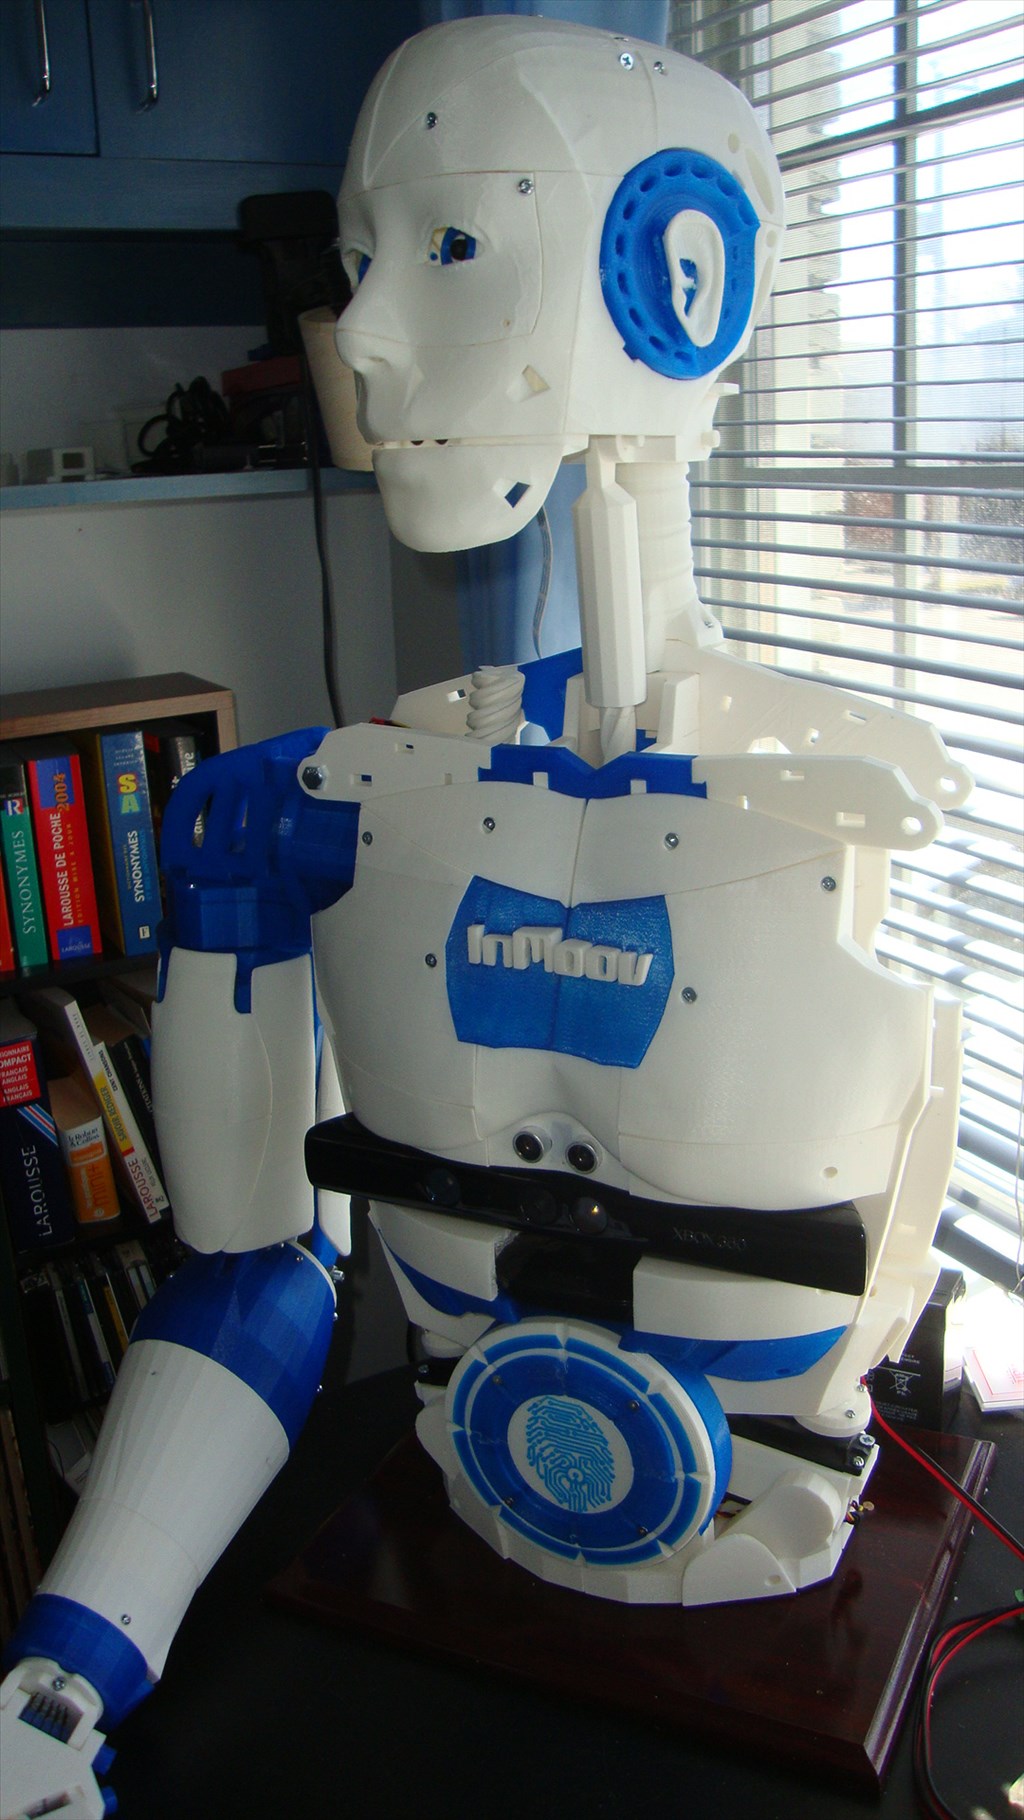
Let me introduce you my Inmoov version ,
(my 4 year grand daughter called it : ROBOTO)
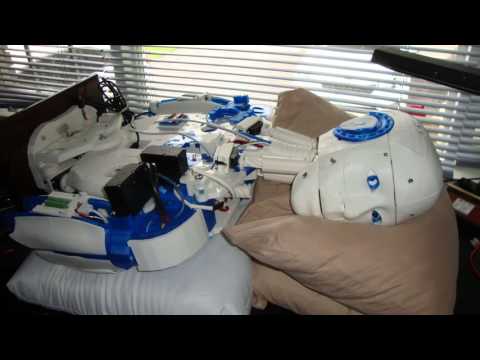
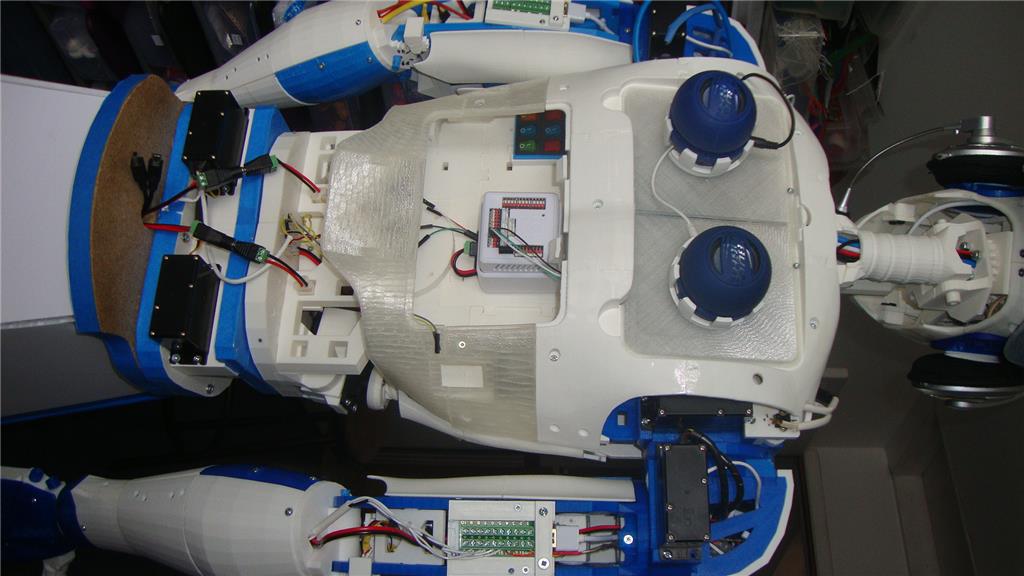
The work is not yet complete , but I think promising.
I intend to take a break during the summer and will get back to my project later.
Surely if it rains outside I will probably start writing scripts
(it is so easy to get addicted to this kind of project)
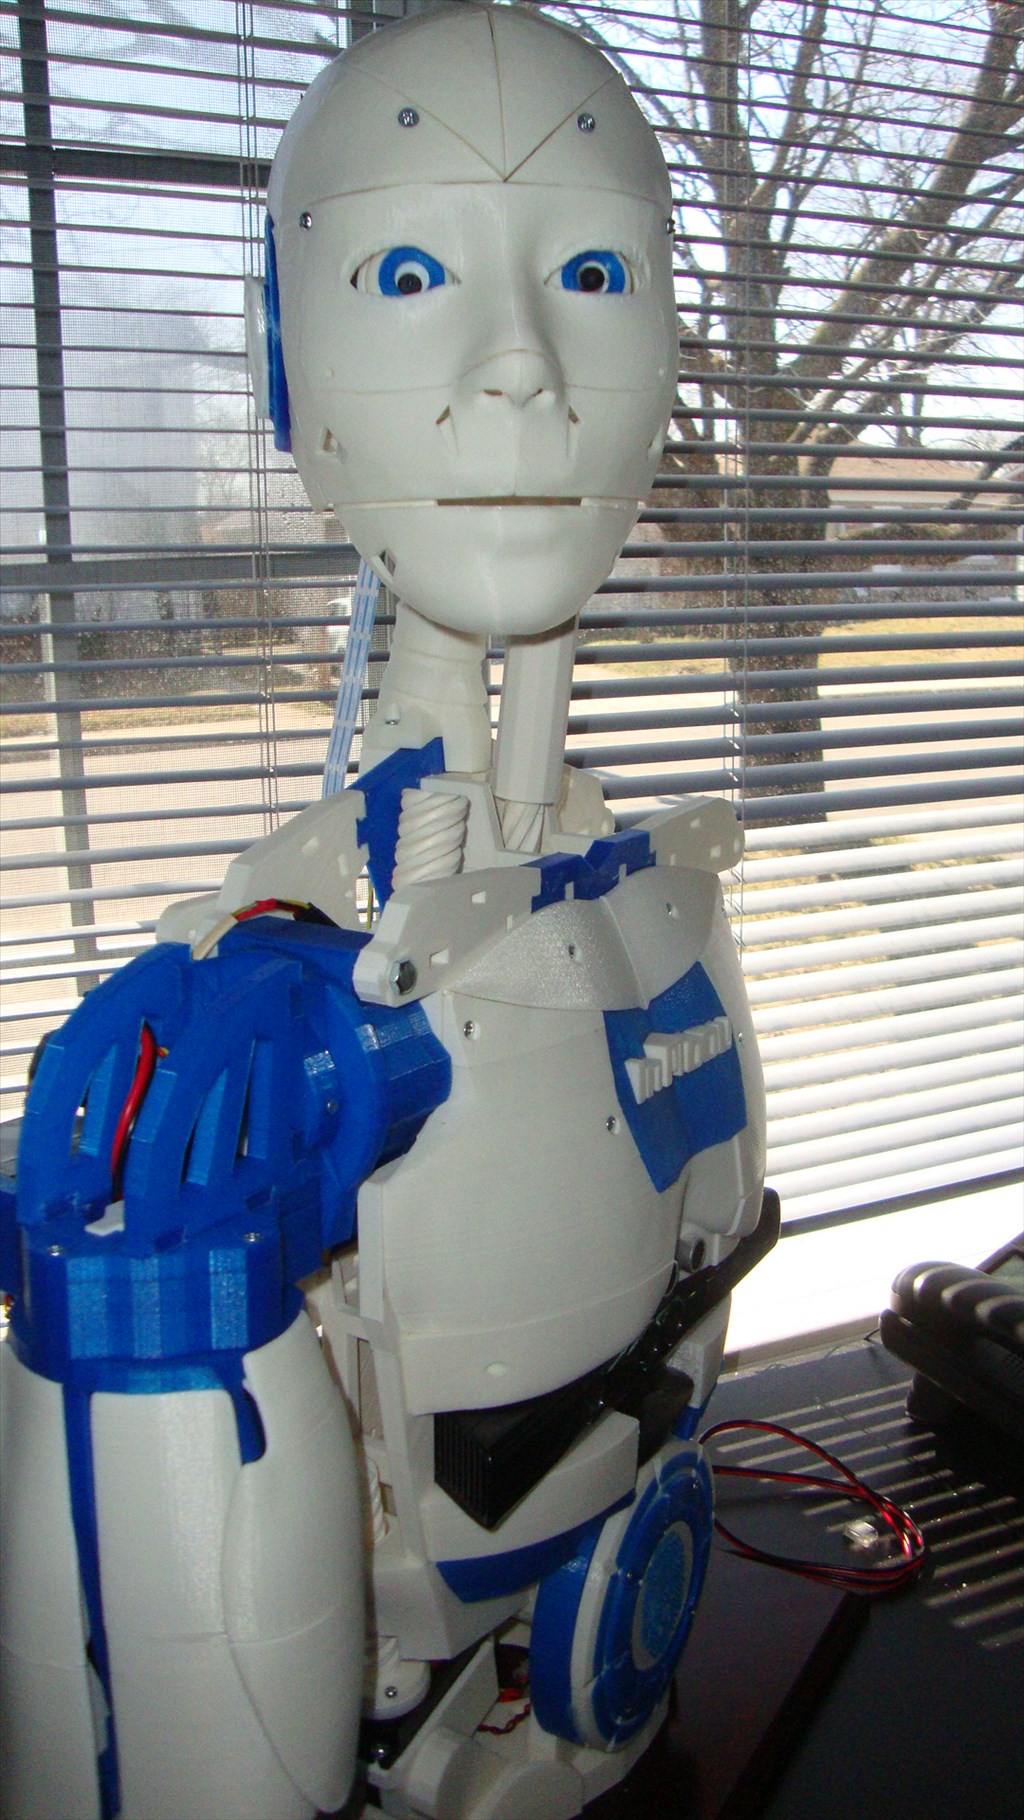
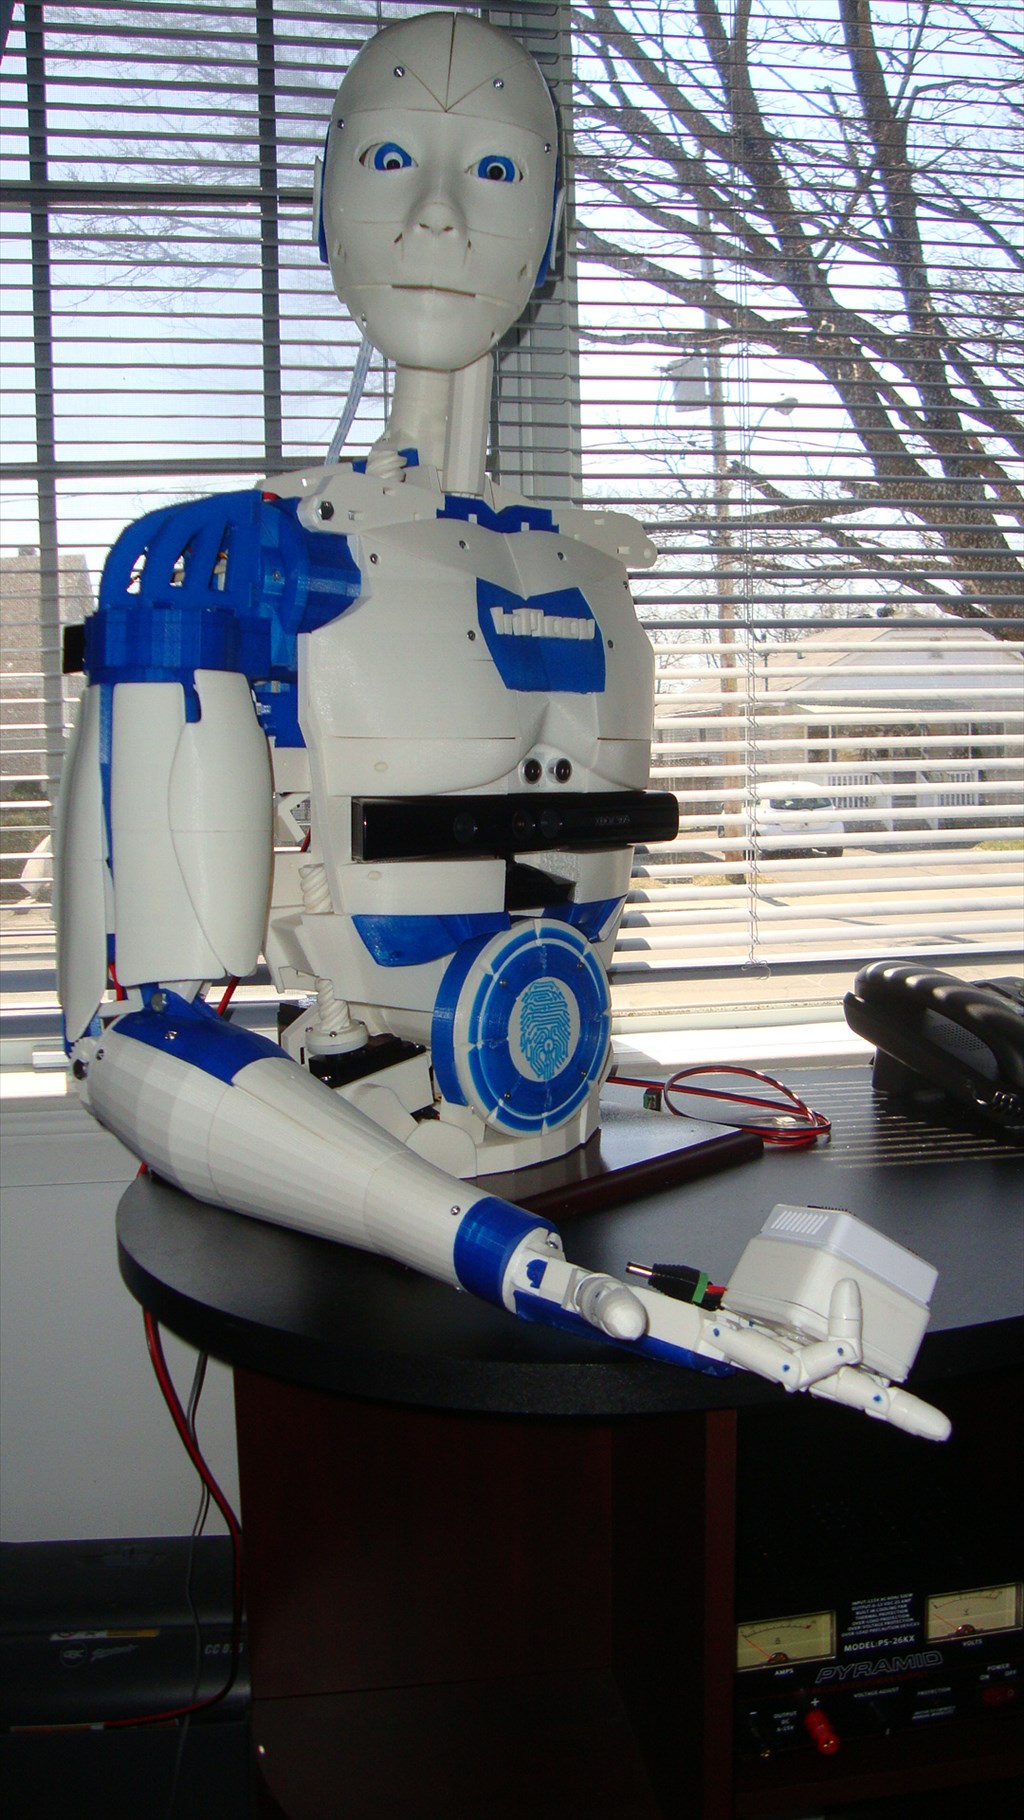
By Aerius
— Last update
Discover more robots
Tachyon's New Bot, Different From The Old Bot.
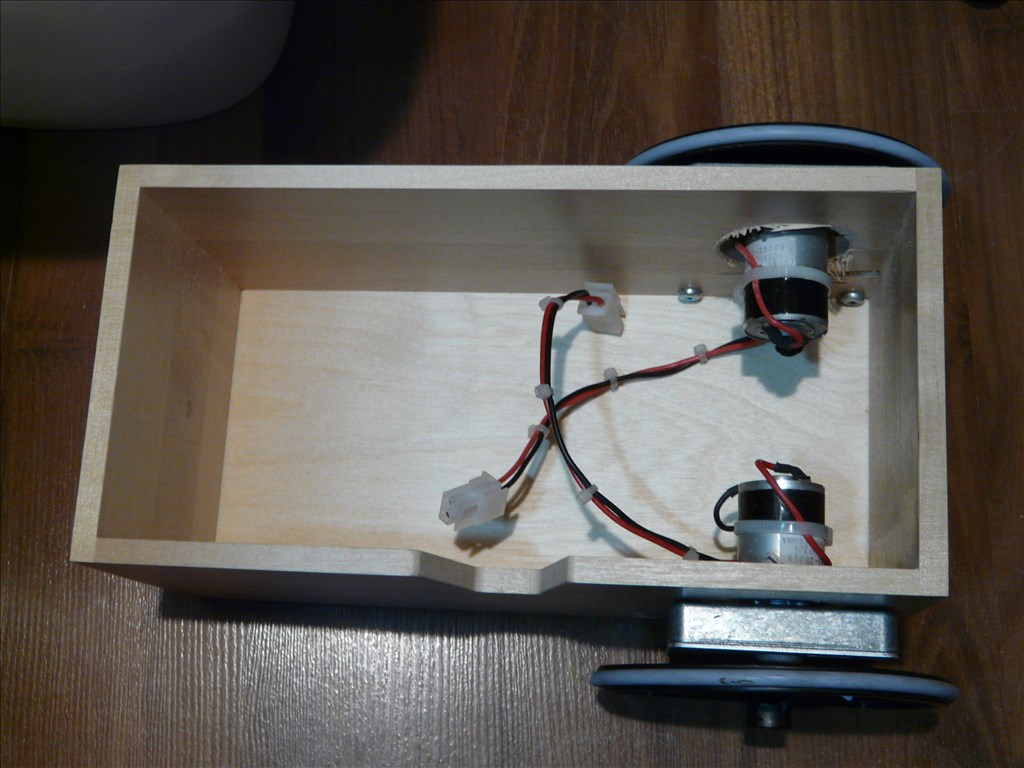
Intermediate Ikea-box robot with gear-motors, stable outrigger wheels and stainless steel bumper handle; future EZ-Robot...
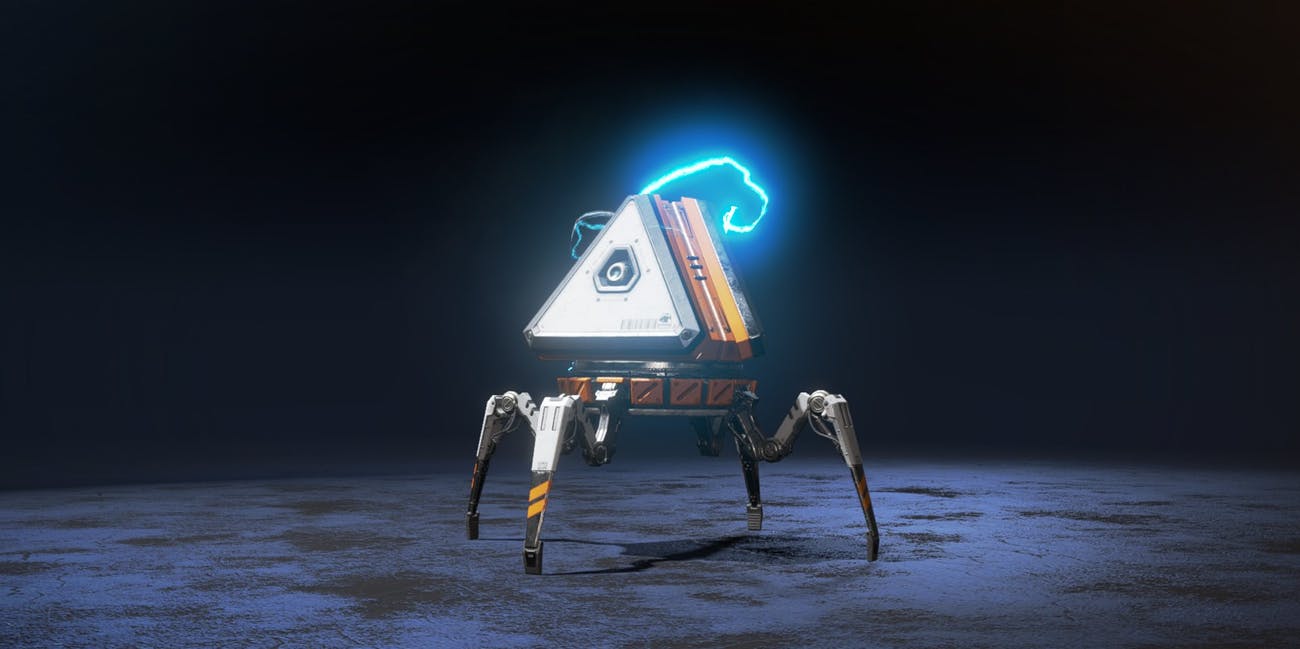
Cardboardhacker's One Of The Hottest Video Games
Apex Legends Accessory Bonus Pack robot 3D-print idea for robot builders inspired by the gift-granting level-up...

DJ's Mobile App Developer Tutorial
Create and share custom EZ-Robot mobile apps using the EZ-Robot App Store to extend your robot's capabilities.

I love the look of him. I am about to start one myself. I have a few shelves worth of parts just waiting. Thanks for the photos!
I'll be glad to help If you have any question when you do the assembly
I am sure that I will come across something and just say "WHAT?" Thanks for the offer!
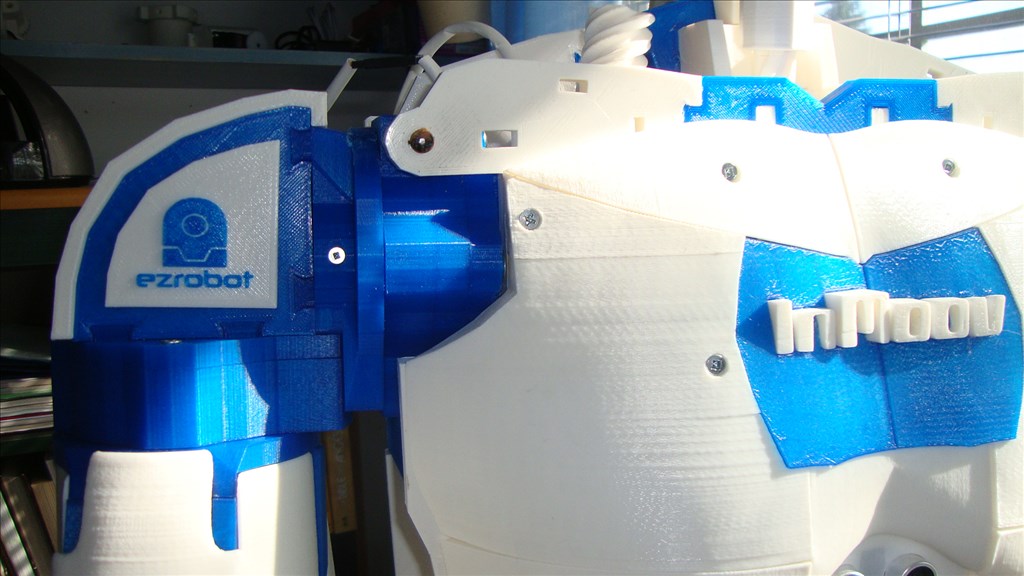
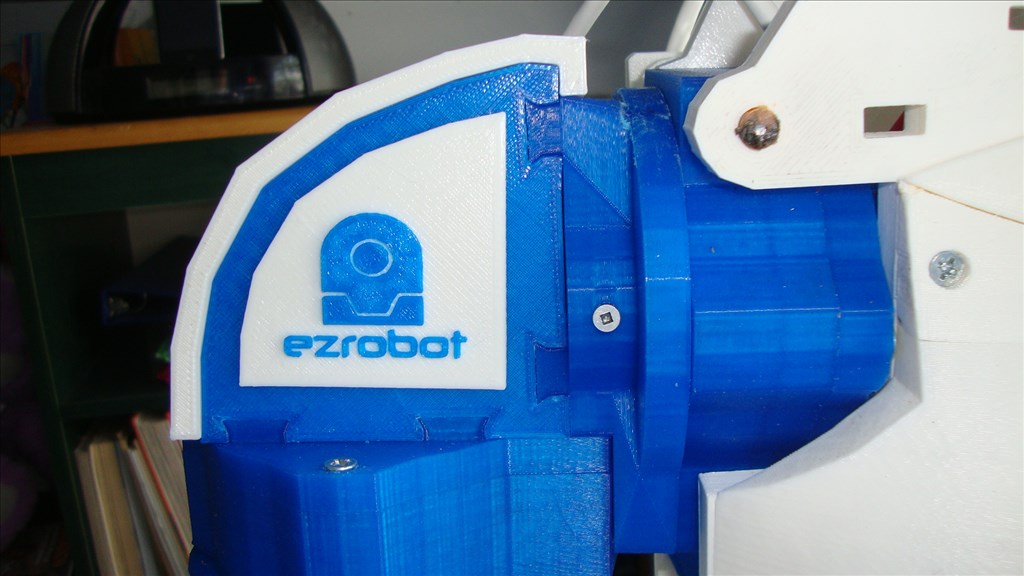
@Aerius. WOW! That looks fantastic. I like the colors. A two color printer really helps to add the accents. What printer do you have?
That is fantastic! I really dig the colors as well - man, all of you are getting me jealous.
Might have to create our own InMoov here at ez-robot
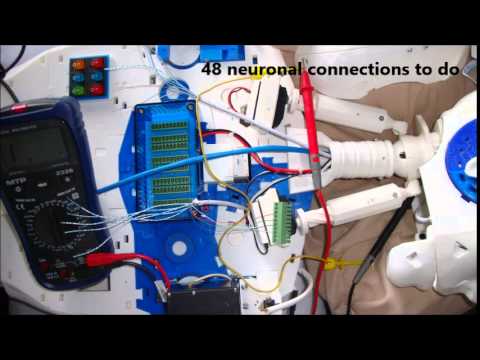
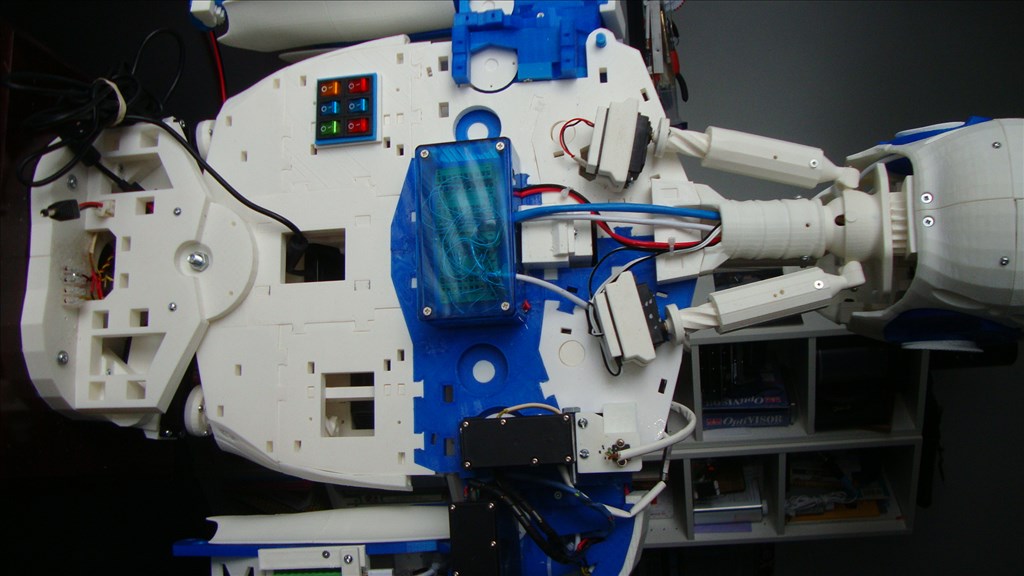
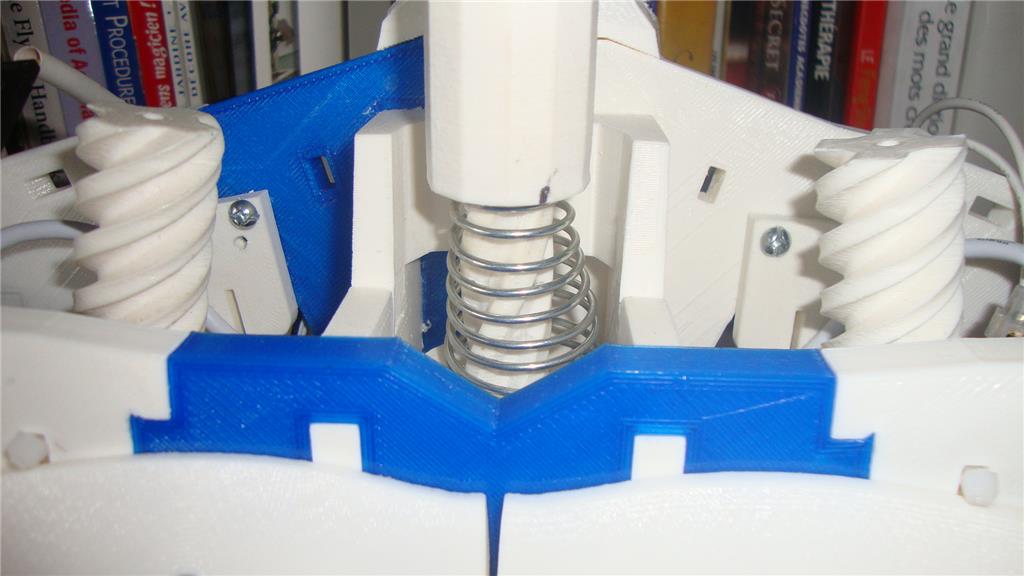
@ bhouston tanks! I am using a Flashforge Dreamer. When printing i can interrupt the job, unload the filament, load an other color and resume printing. That's the way i did print the stomach circle and the ears.
Guys your good words make me proud and help me to go foward. Tanks
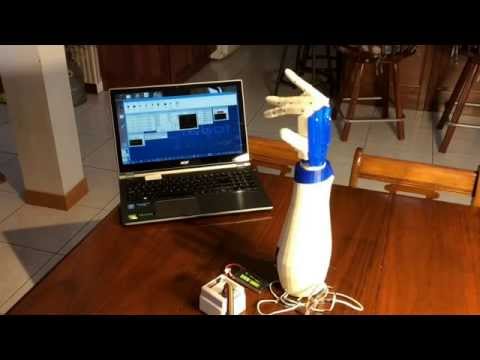
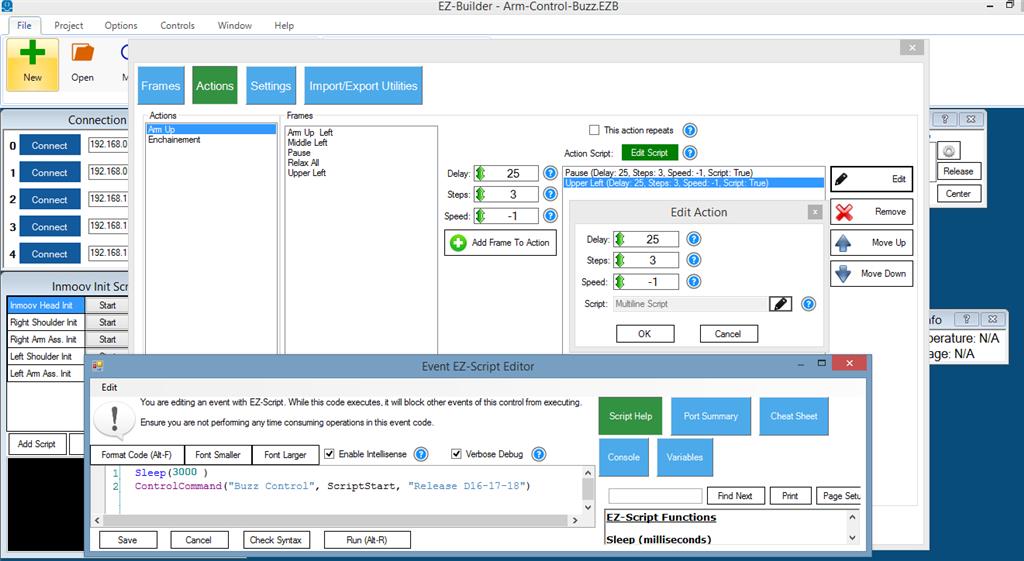
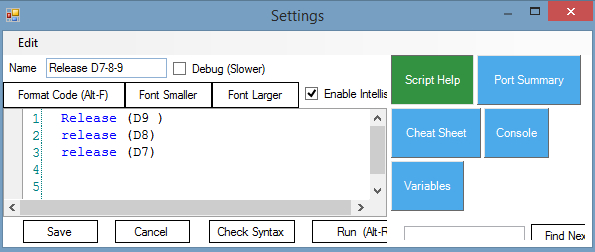
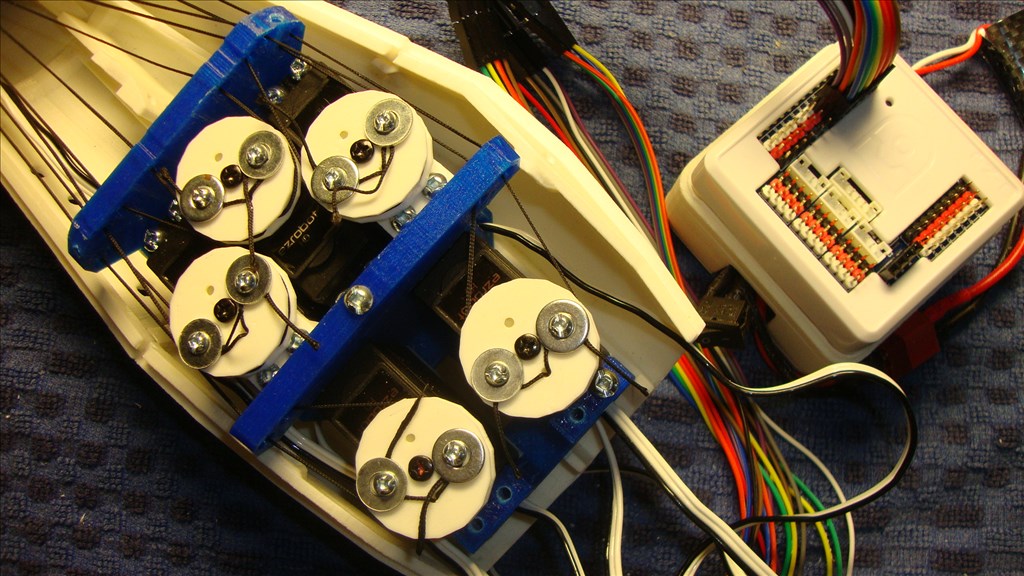
@ dj what my Inmoov is holding in is hand will make the real difference.
@Aerius Great work.... your parts fit nicely.... very clean build indeed ....