


Hello all, I wanted to start my own thread to discuss my Inmoov and my conversion to EZ Robot. I appreciate all the work by the MRL guys but I struggle with it. I am indebted to the help they gave me but I needed something a little more along in development with some documentation.
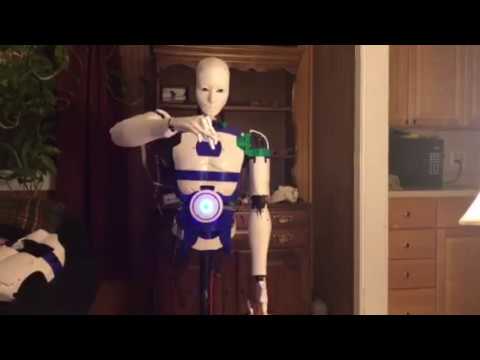
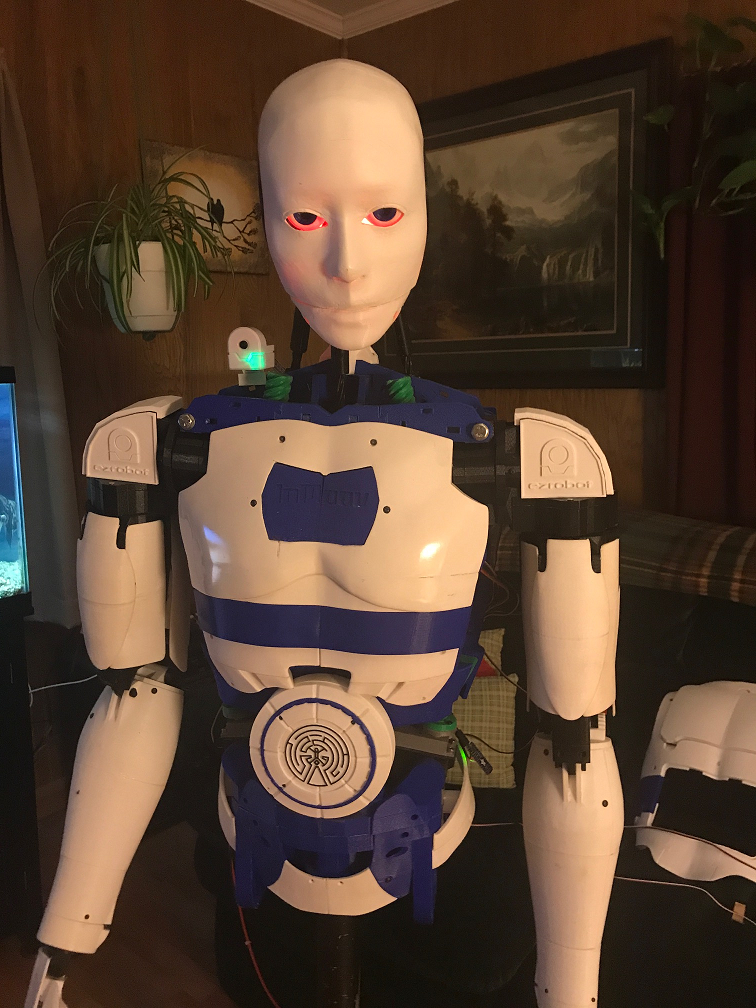
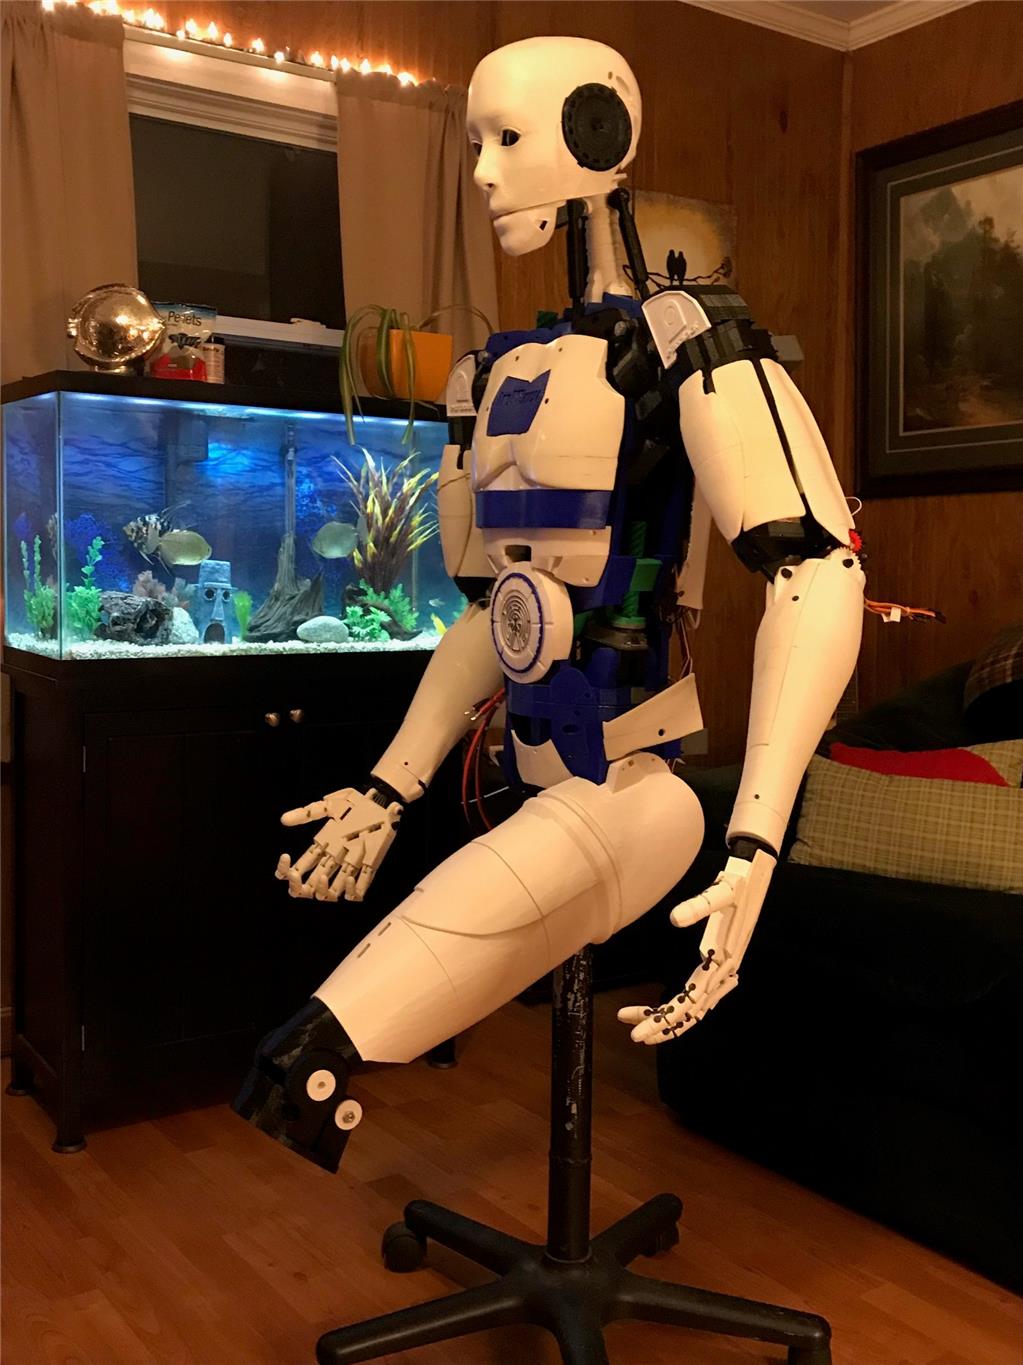
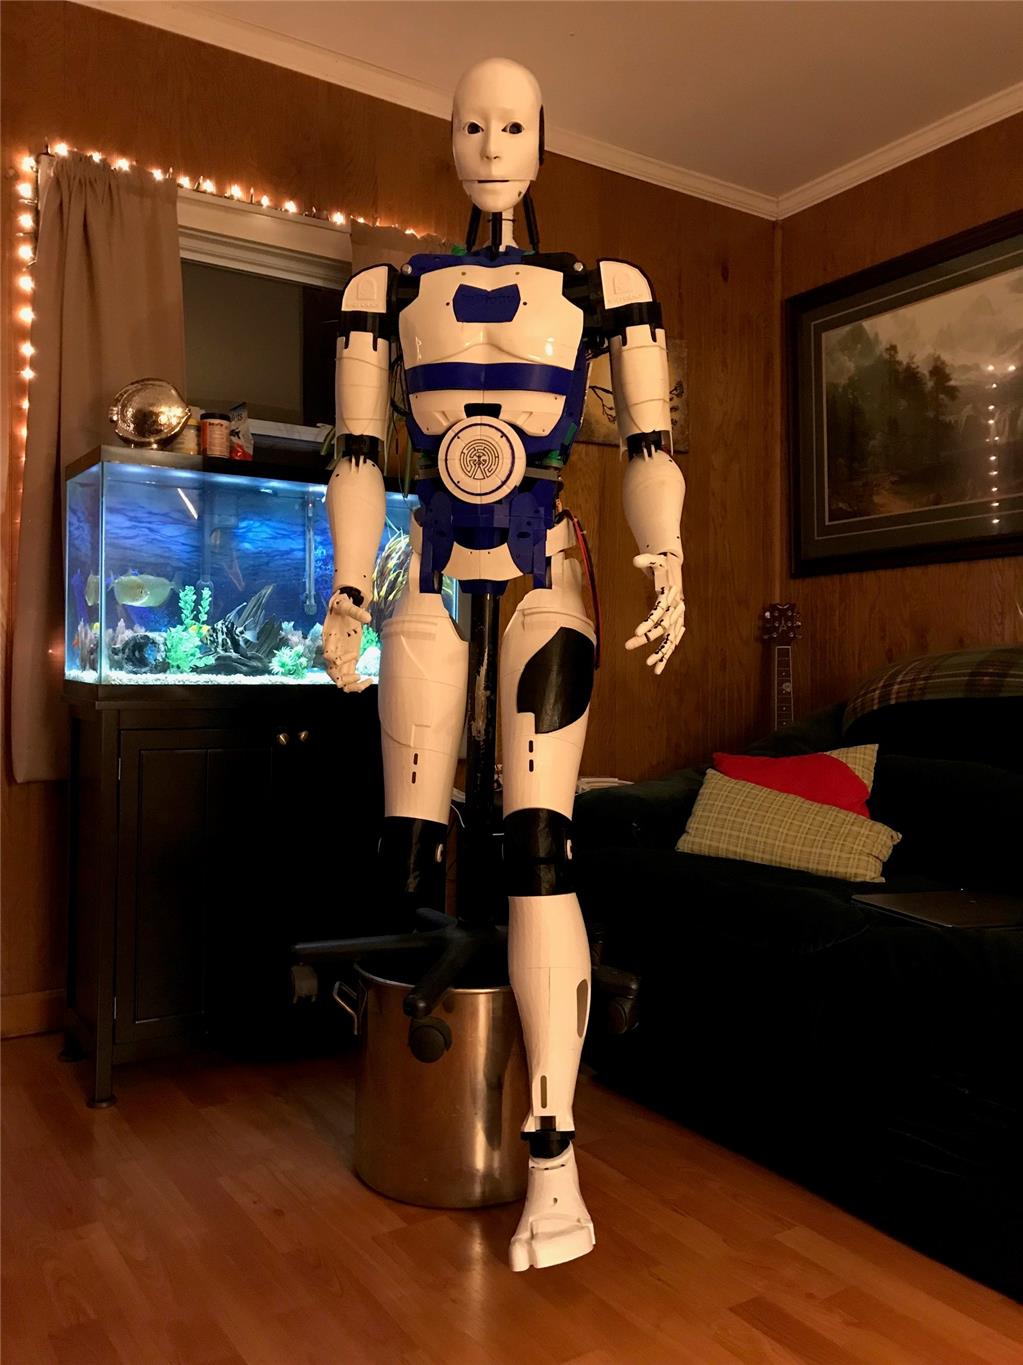
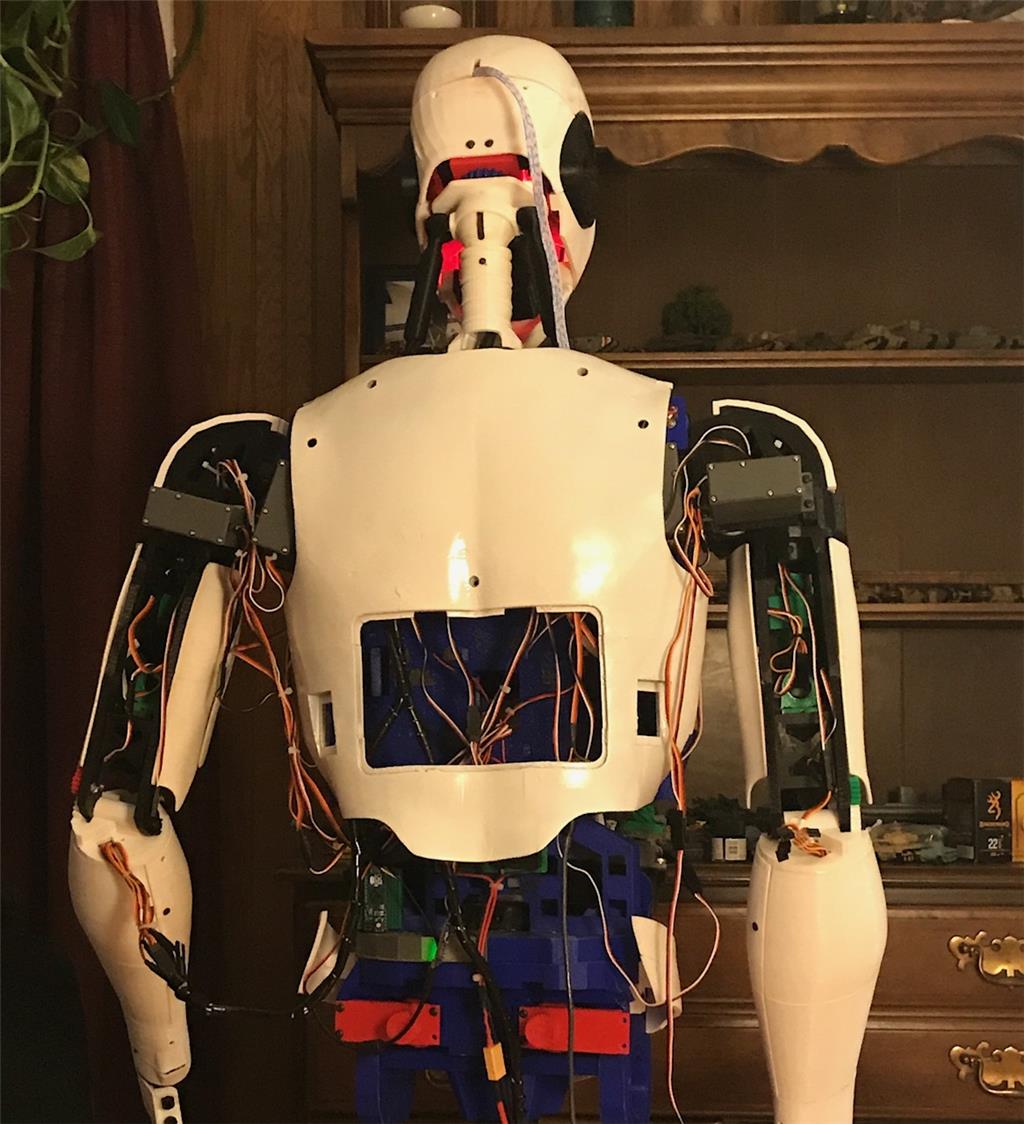
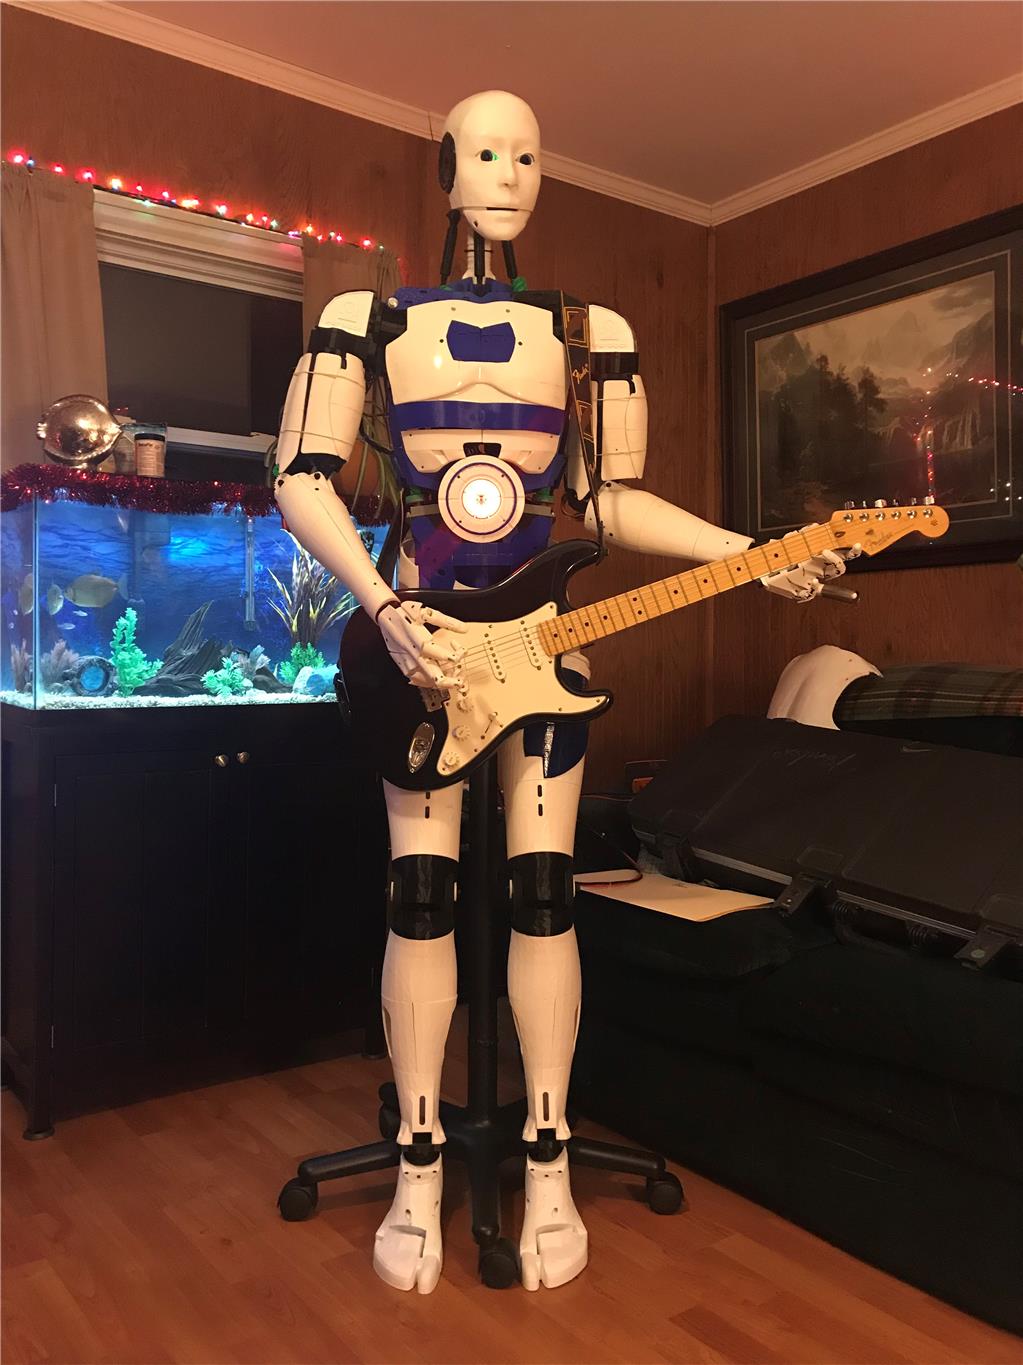
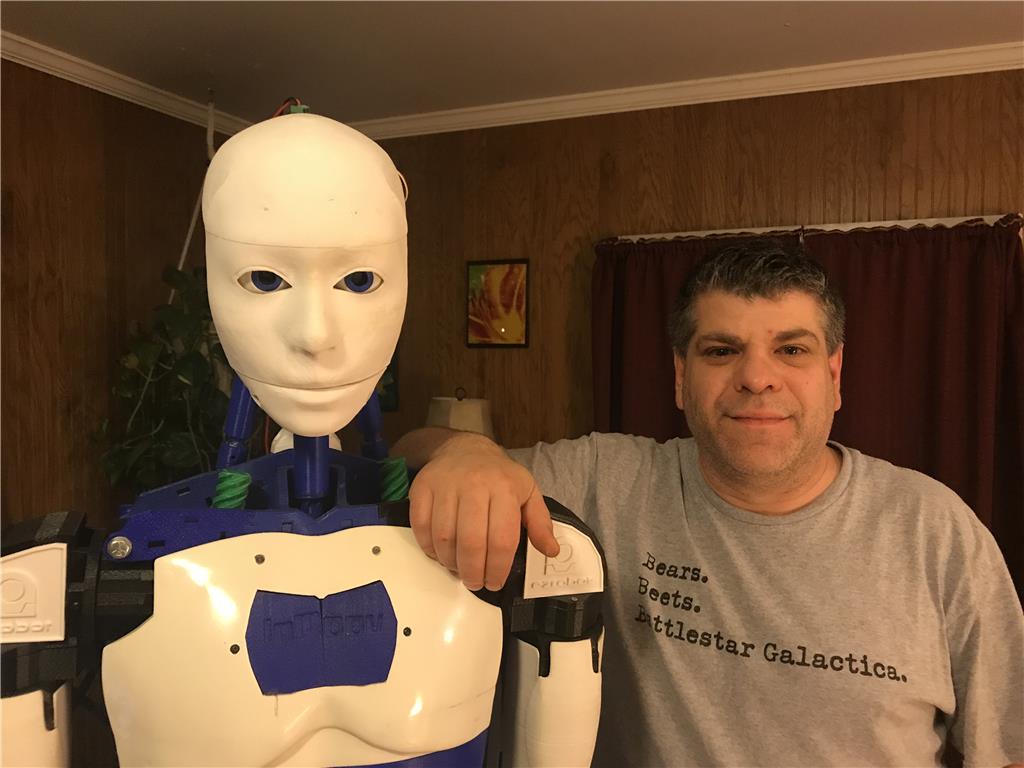
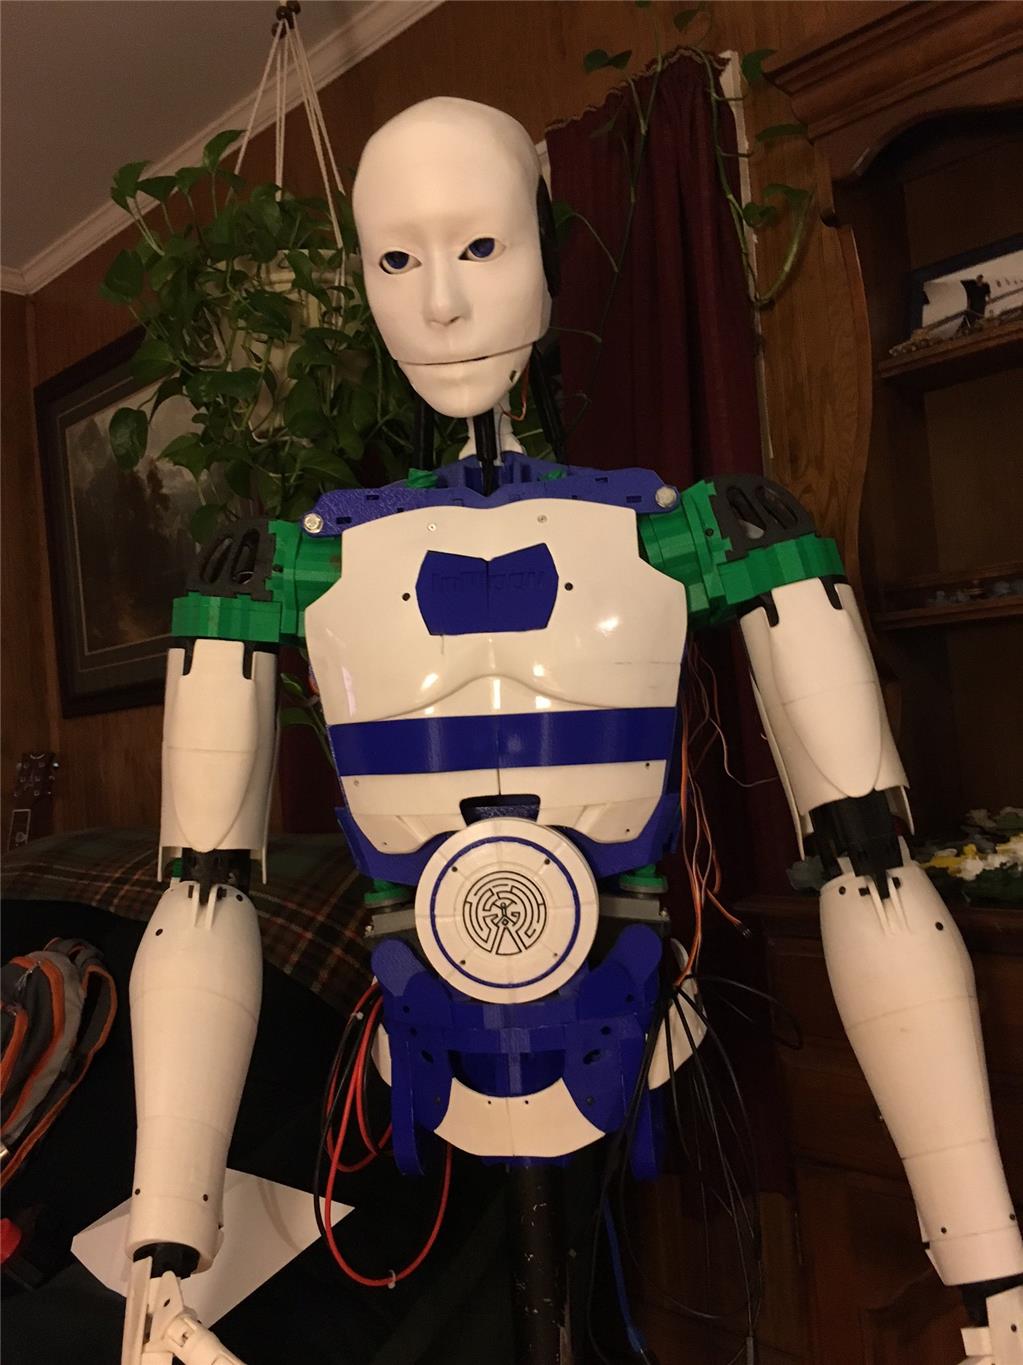
So here is my guy. Pretty standard build as far as inmoov's go.
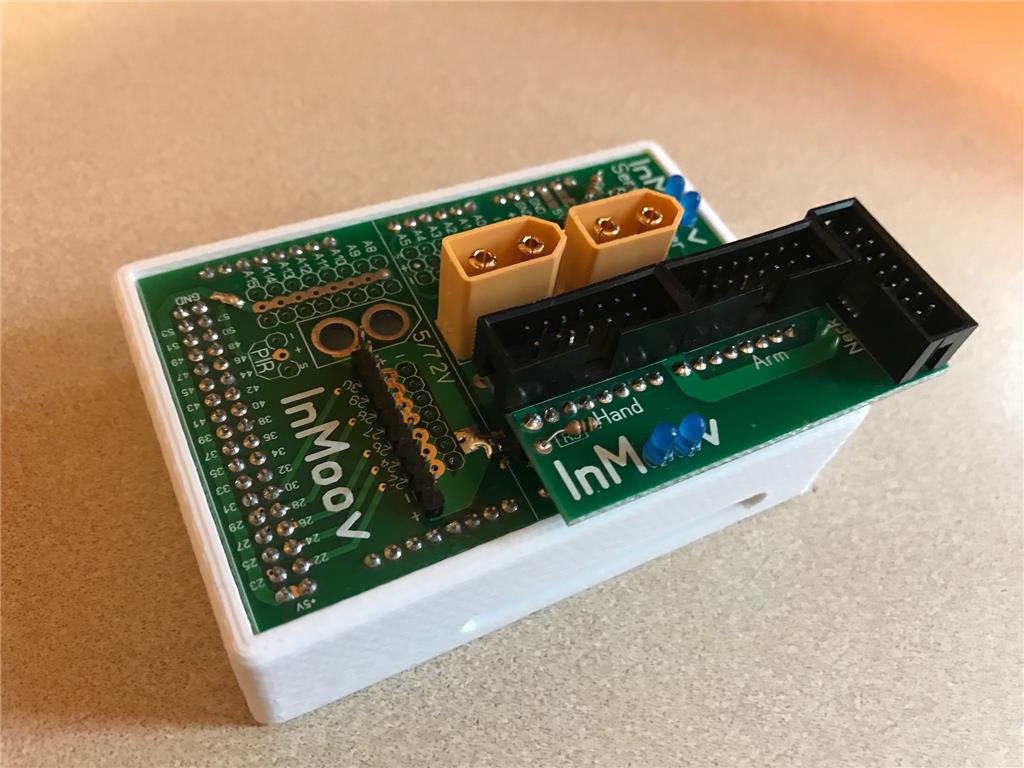
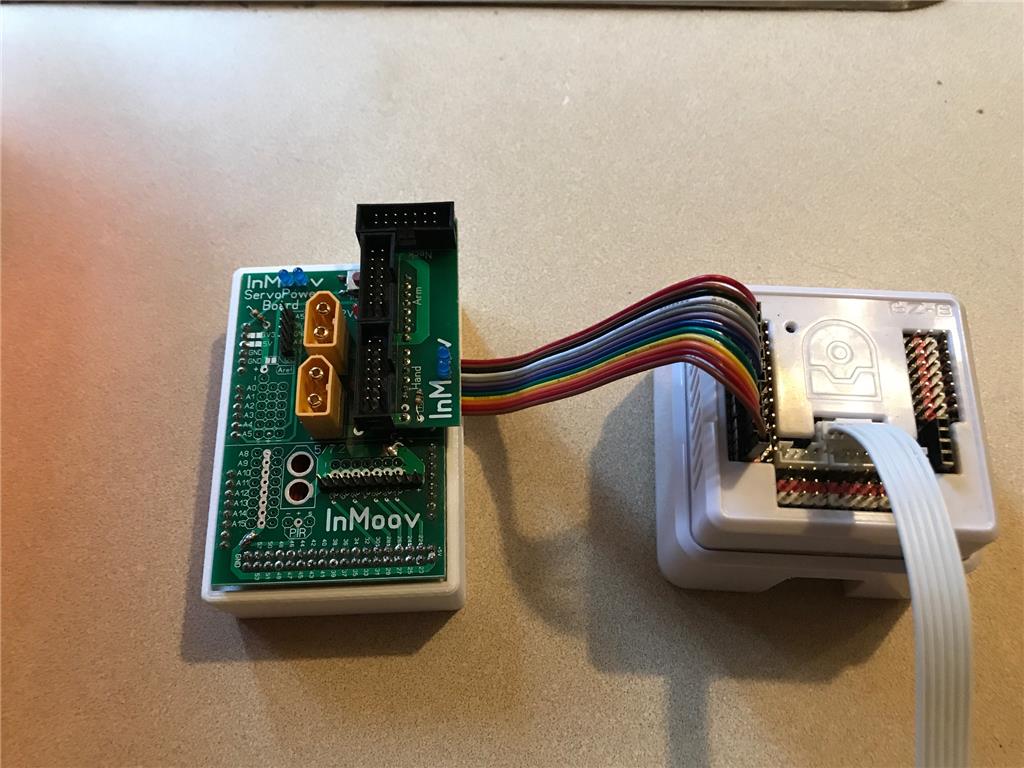
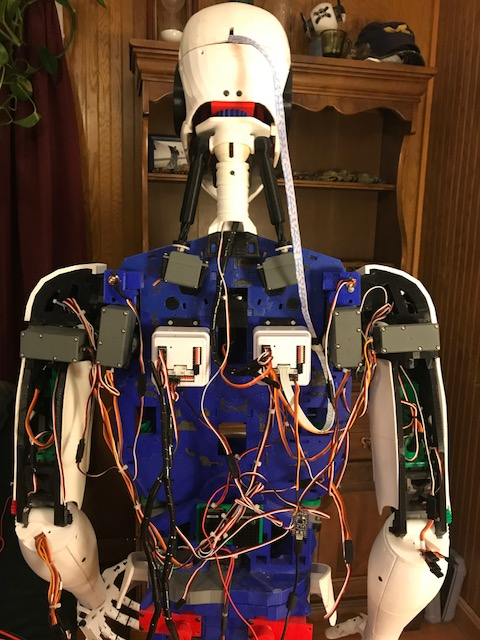
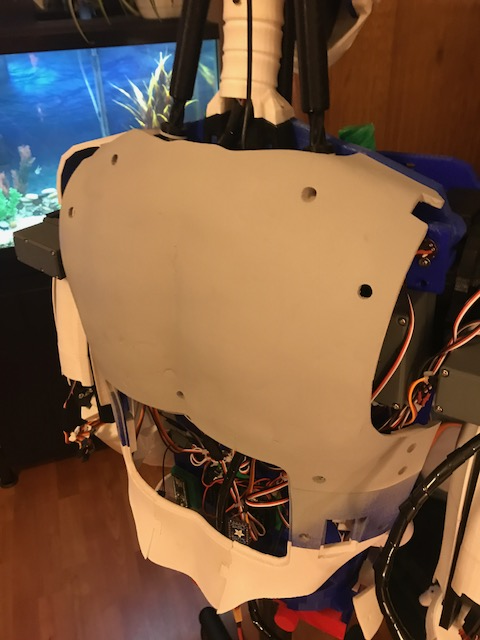
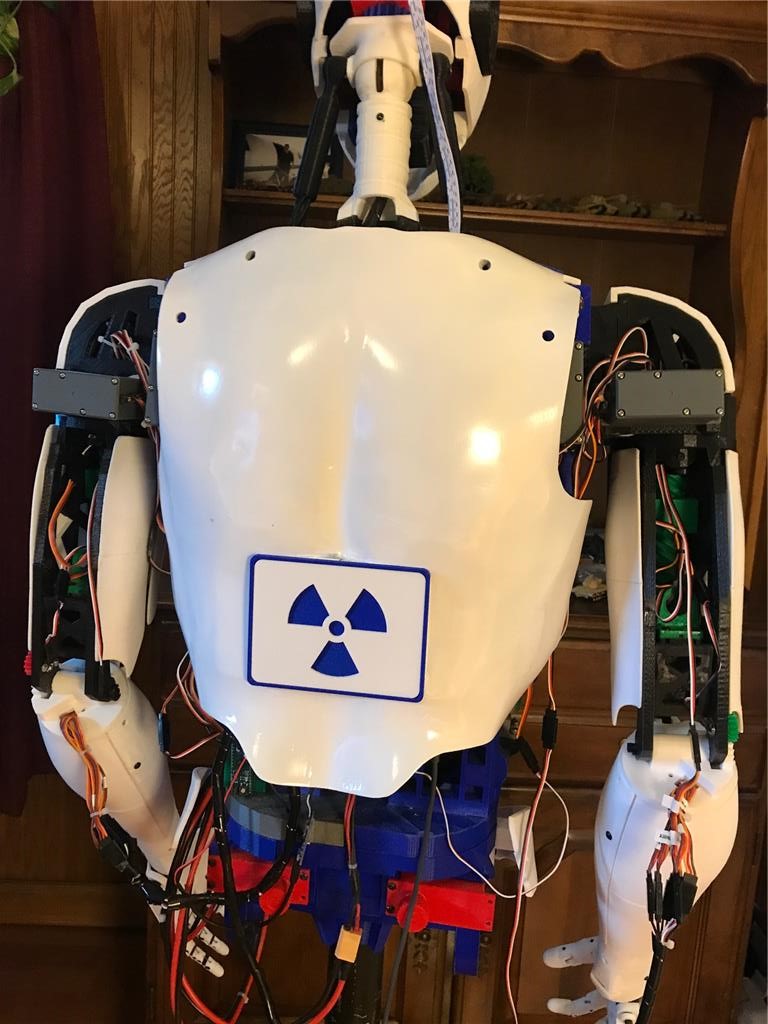
Here's the back. All the standard inmoov components. Dual 256 Megas, Nervo boards USB hub, Power supplys etc.
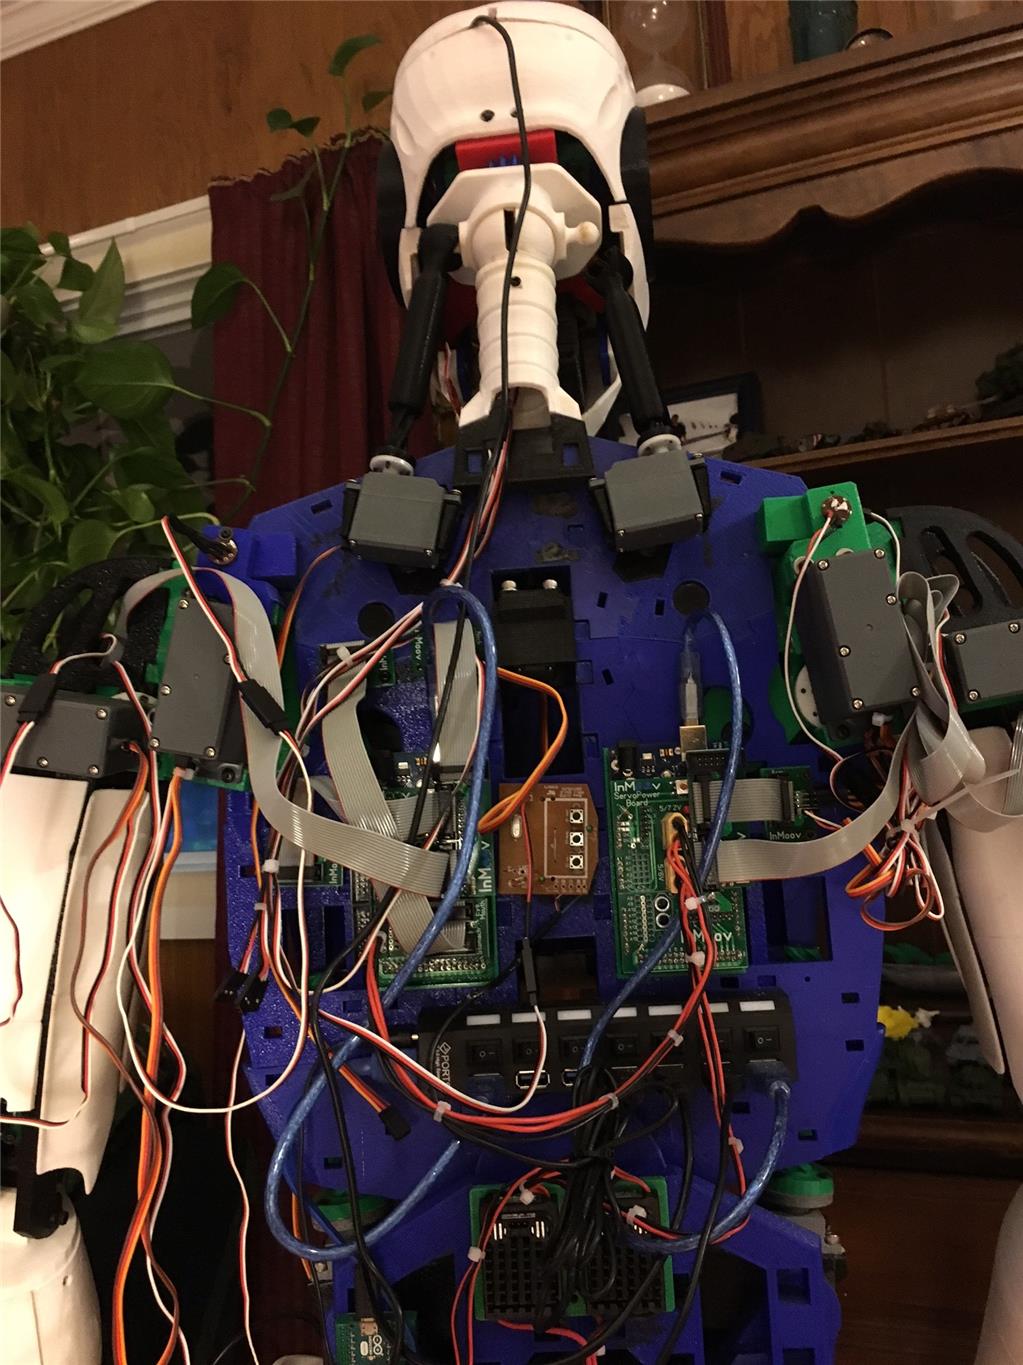
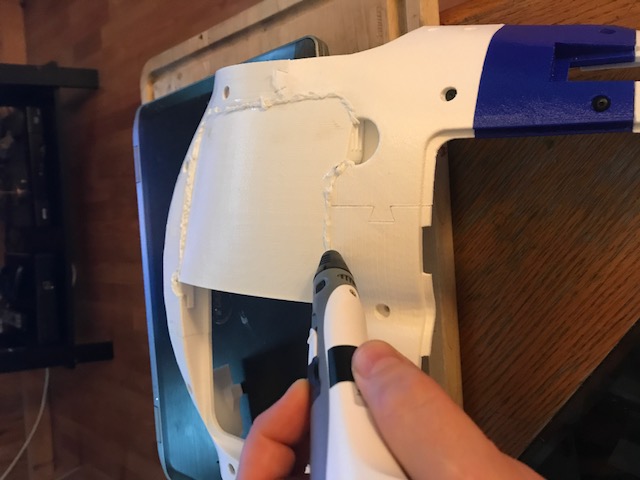
So the tear down begins. I need to clean up that wiring too. What a rats nest!
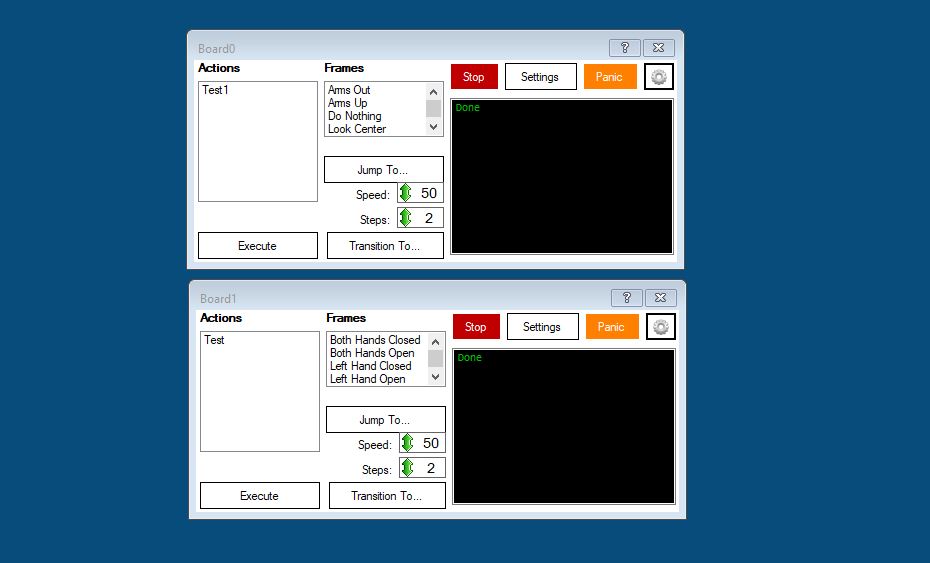
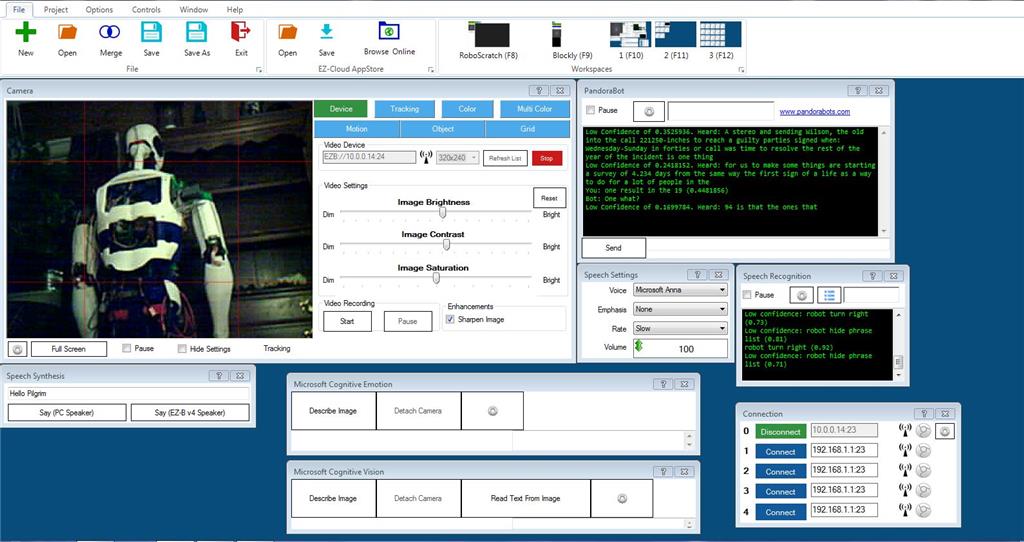
I just received my EZR controller and camera so I have no idea how to program it yet. I figured I would at least try to set up a GUI that allows me to manually move the servos like the MRL swing GUI. Five or six hours later and a few tutorials and I have this three screen model. I was easily able to add way more than basic servo control.
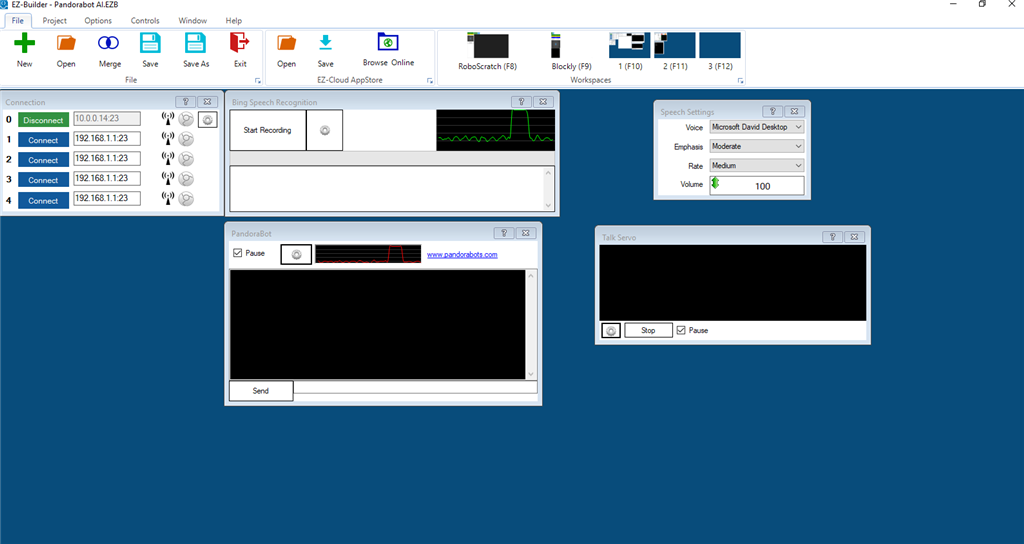
Here is the main control screen. Contains the face tracking speech functions and a custom Pandorabot for AI. Some MS cognitive stuff as well.
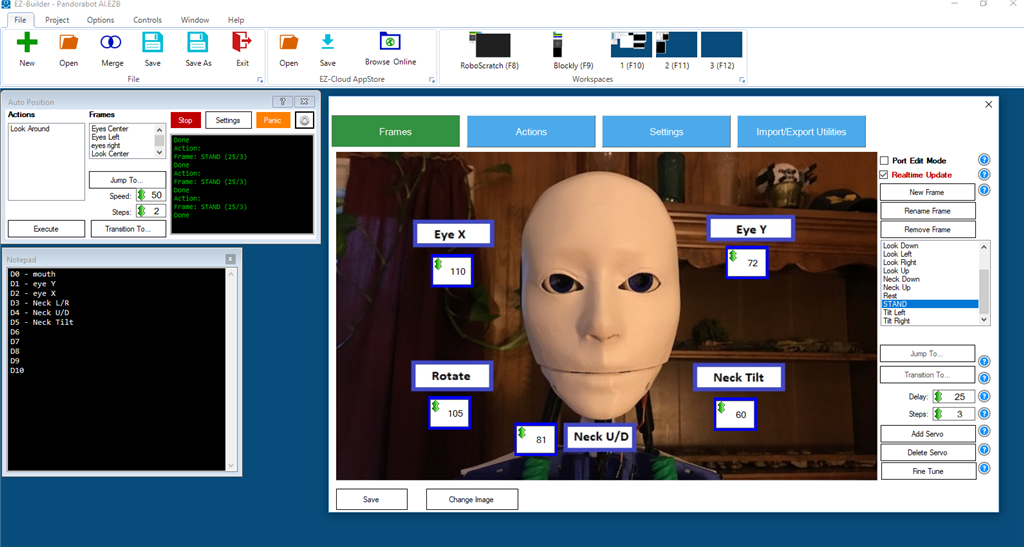
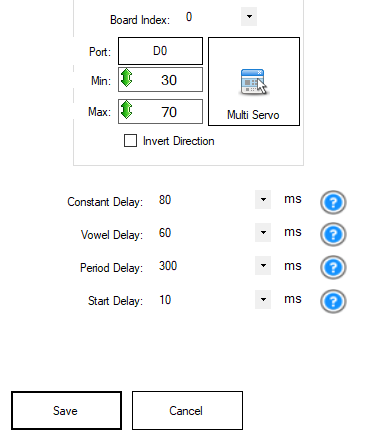
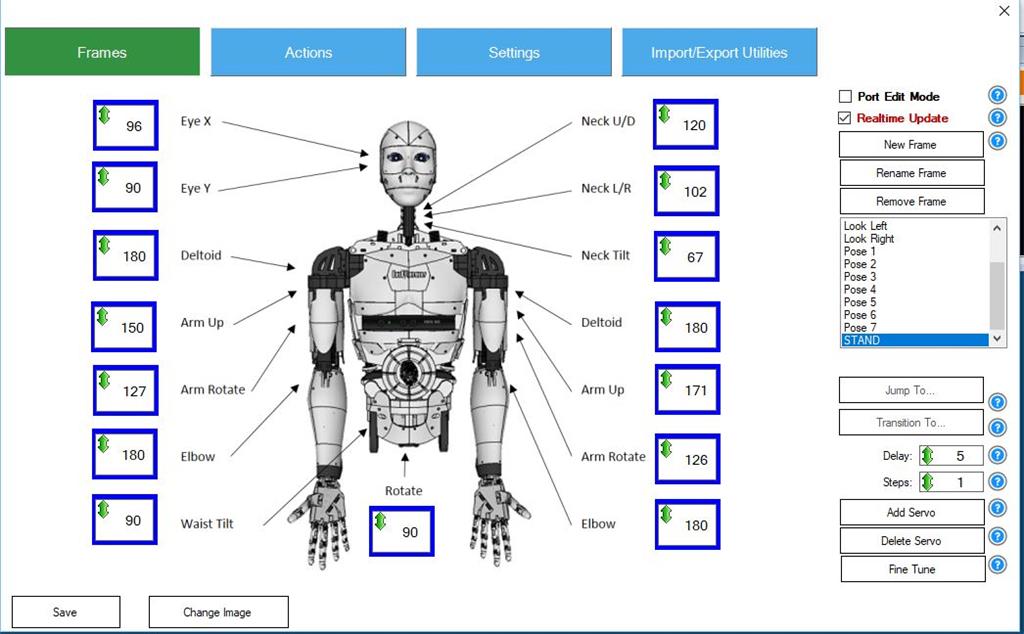
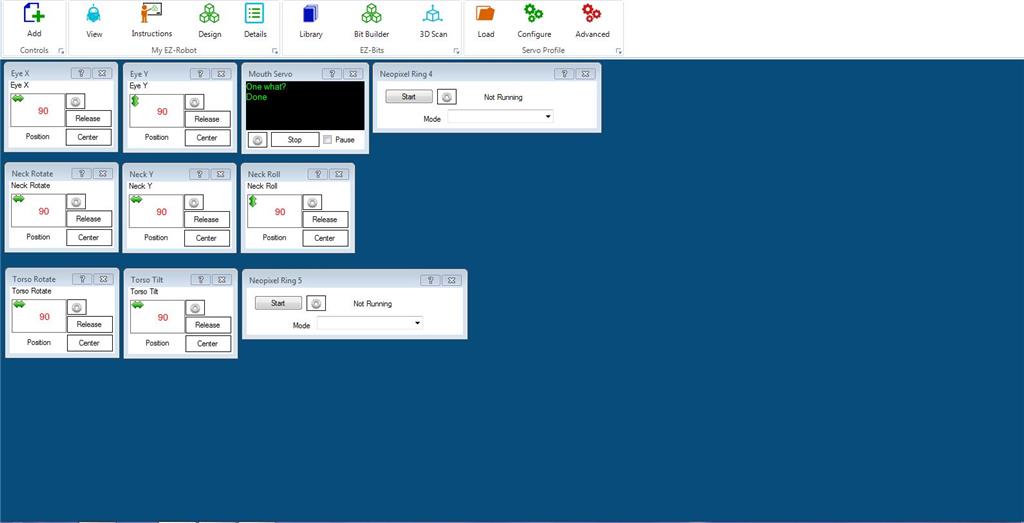
Here is the second screen. Head functions with a mouth control servo, neck, torso, and the 2 neopixel rings I have.
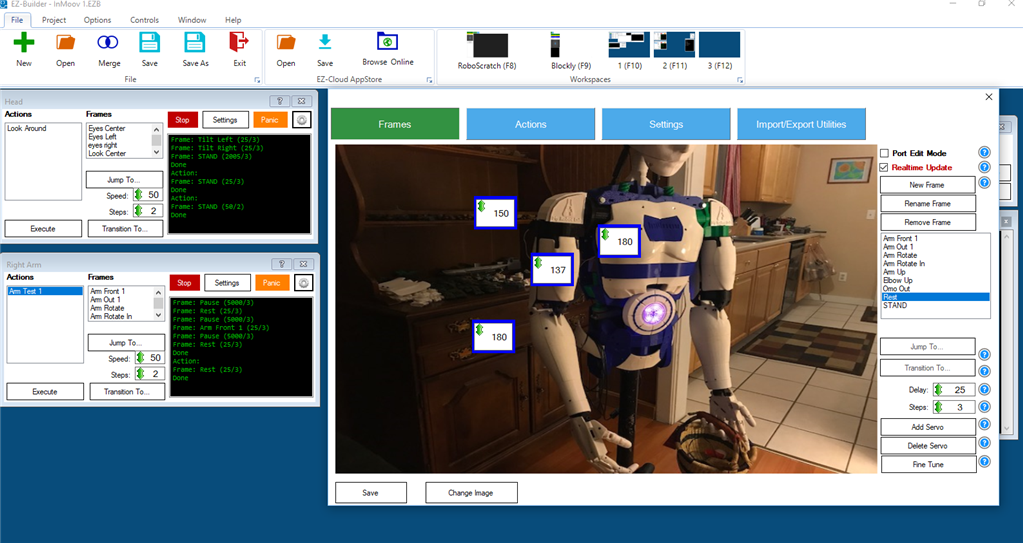
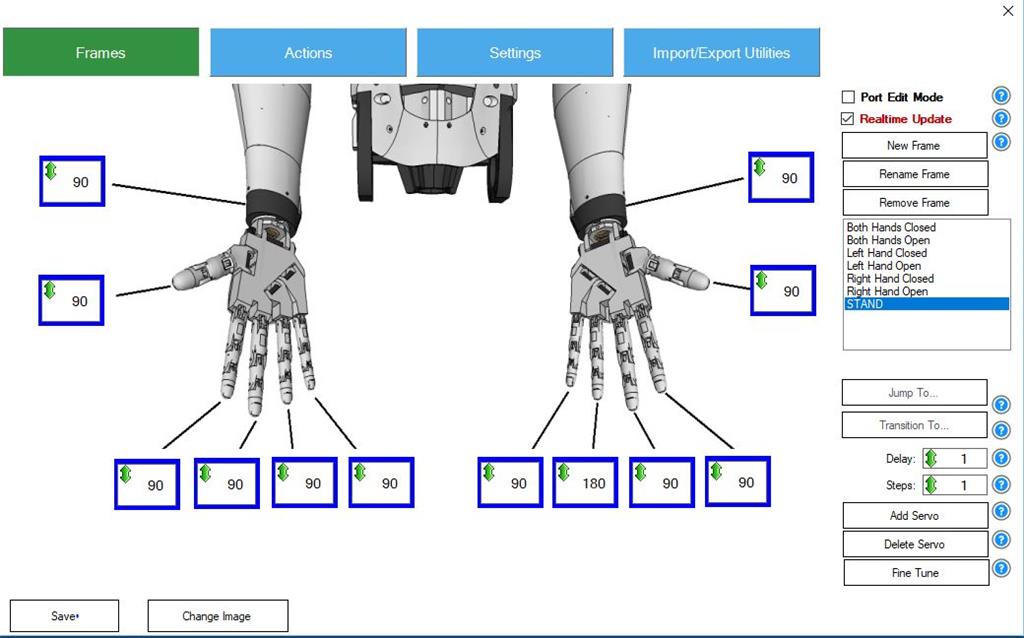
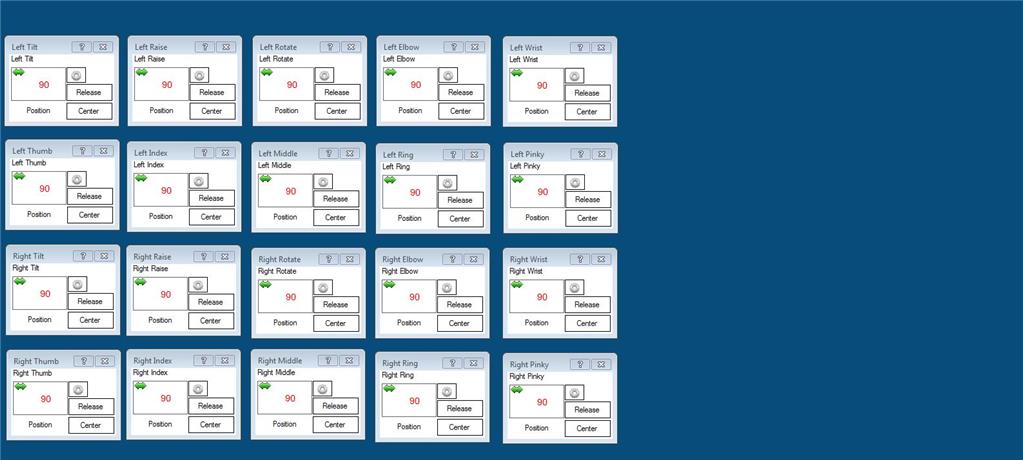
Third screen is for the arms and hands
So now I pretty much have all the same functionality I had in MRL give or take. I am pretty sure I am not doing this entirely correctly but it will come with time. Need to get into the scripting. I guess there are some tutorials to watch. So far my experience has been pretty good and in a day eclipsed my MRL progress of the last 6 months.
I'll update this thread with my progress and appreciate any feedback.
Discover more robots
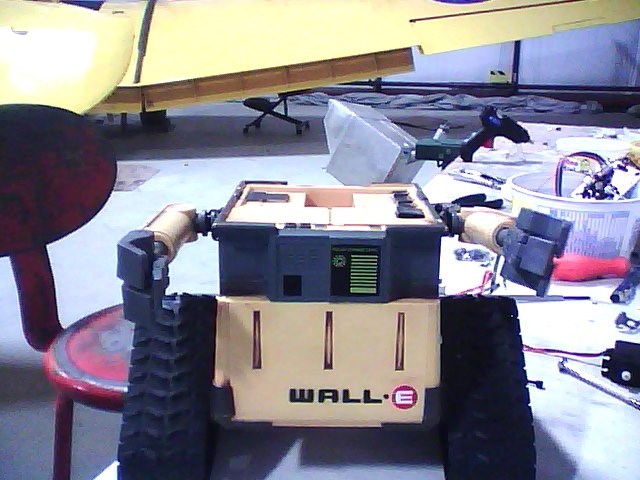
Cardboardhacker's Technopro's Wall-E Continued
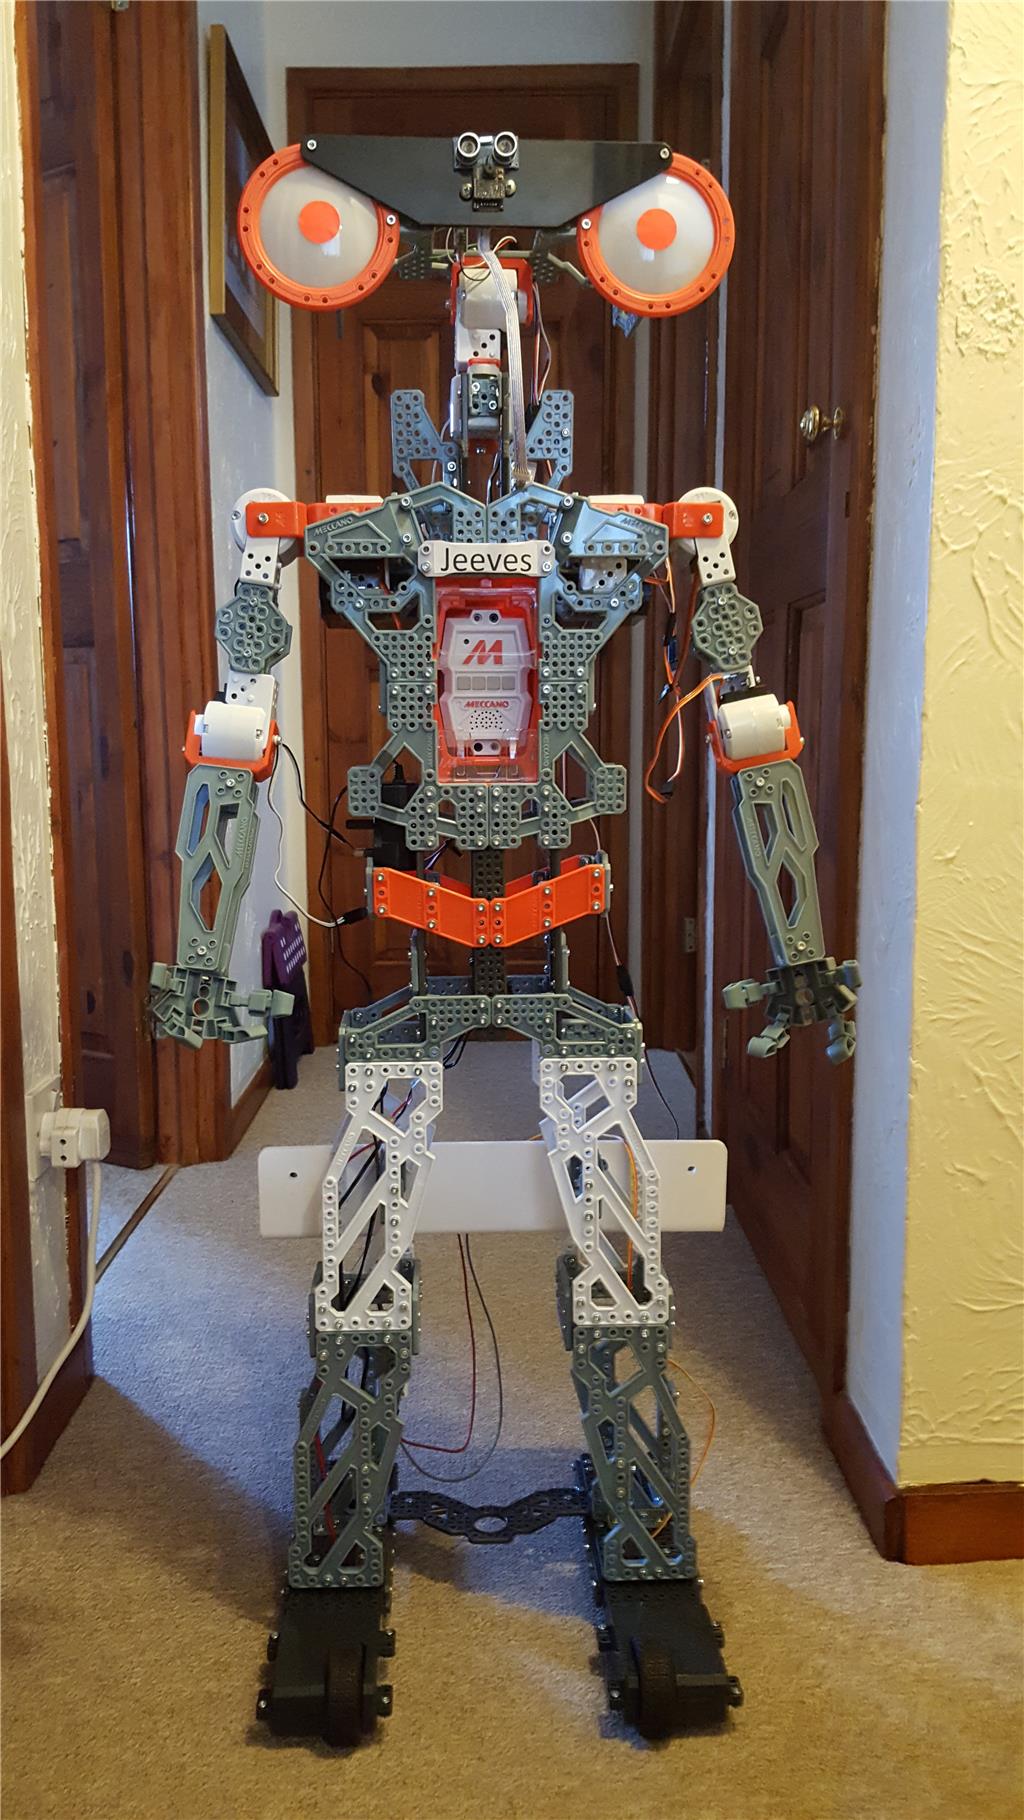
Tezsmith's Giving A Meccano G15 Ks An Ez Makeover

Thanks for the help guys
It won't be the last you hear from me ... lol.
I'm back ... lol. On the Drupp neck, I can't find the bearings that are mentioned? Bearing: R-1560 Zz / 15 mm x 10 mm x 6 mm
Is 15mm the outside dim.? 6mm the inside hole dim.? 10mm the width dim.?
I can only find ... 15mm x 6mm x 5mm
Thanks
Almost - for the neck I used these: https://www.amazon.com/gp/product/B00ZI60WKY/ref=oh_aui_search_detailpage?ie=UTF8&psc=1 And though they are listed as 5mm thick, they are in fact, 10mm thick...
Ordered
Thanks Again!
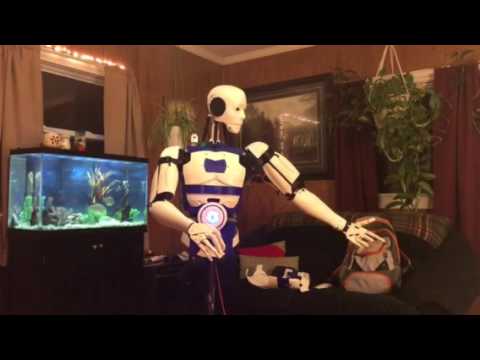
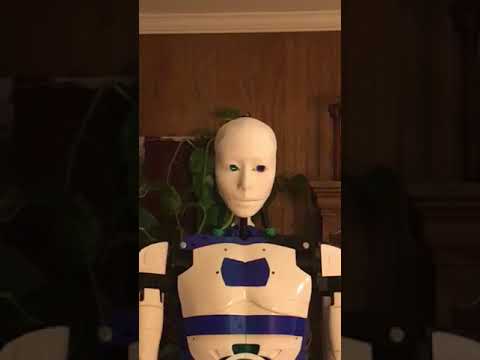
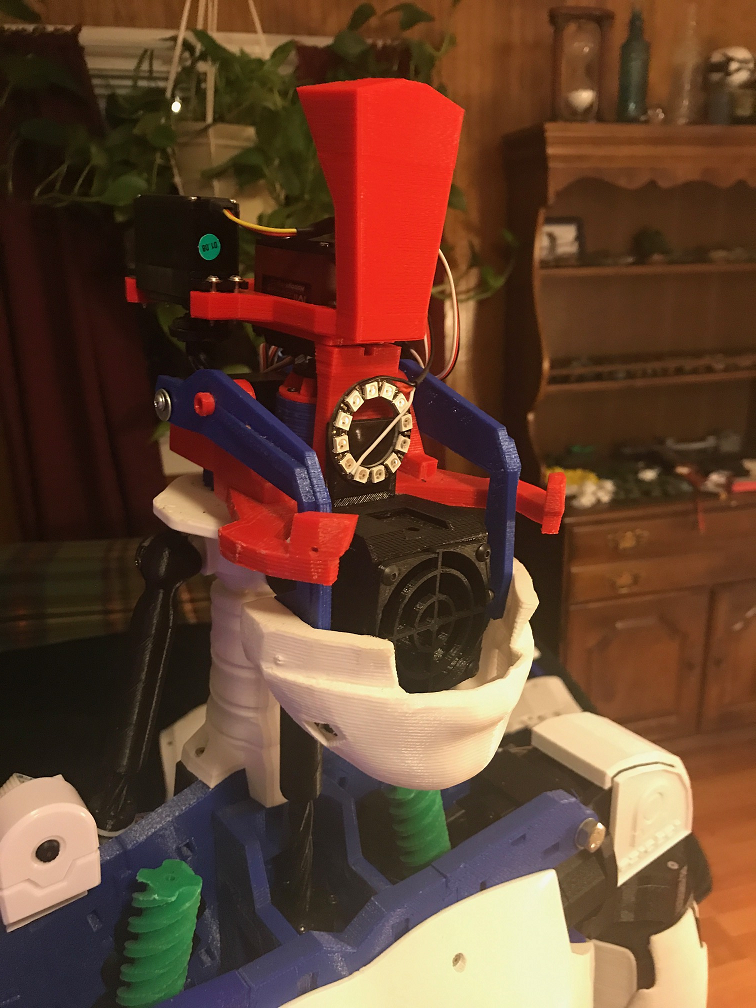
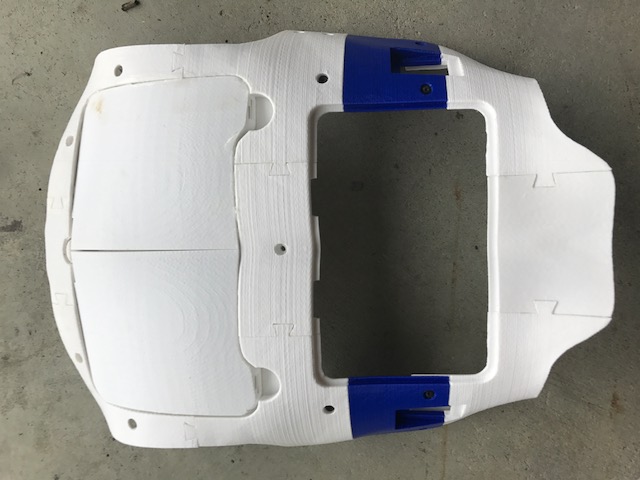
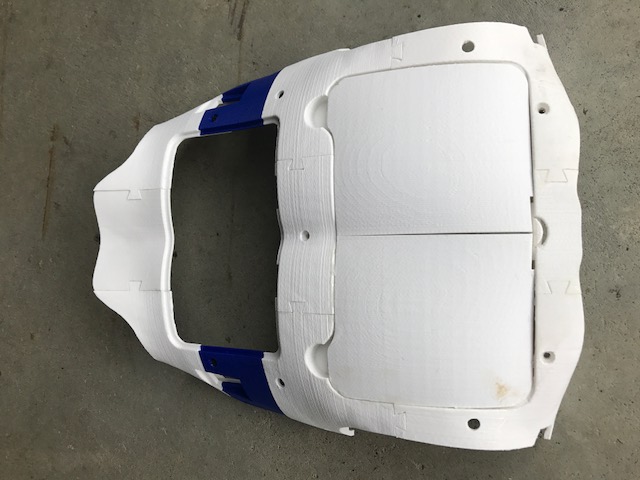
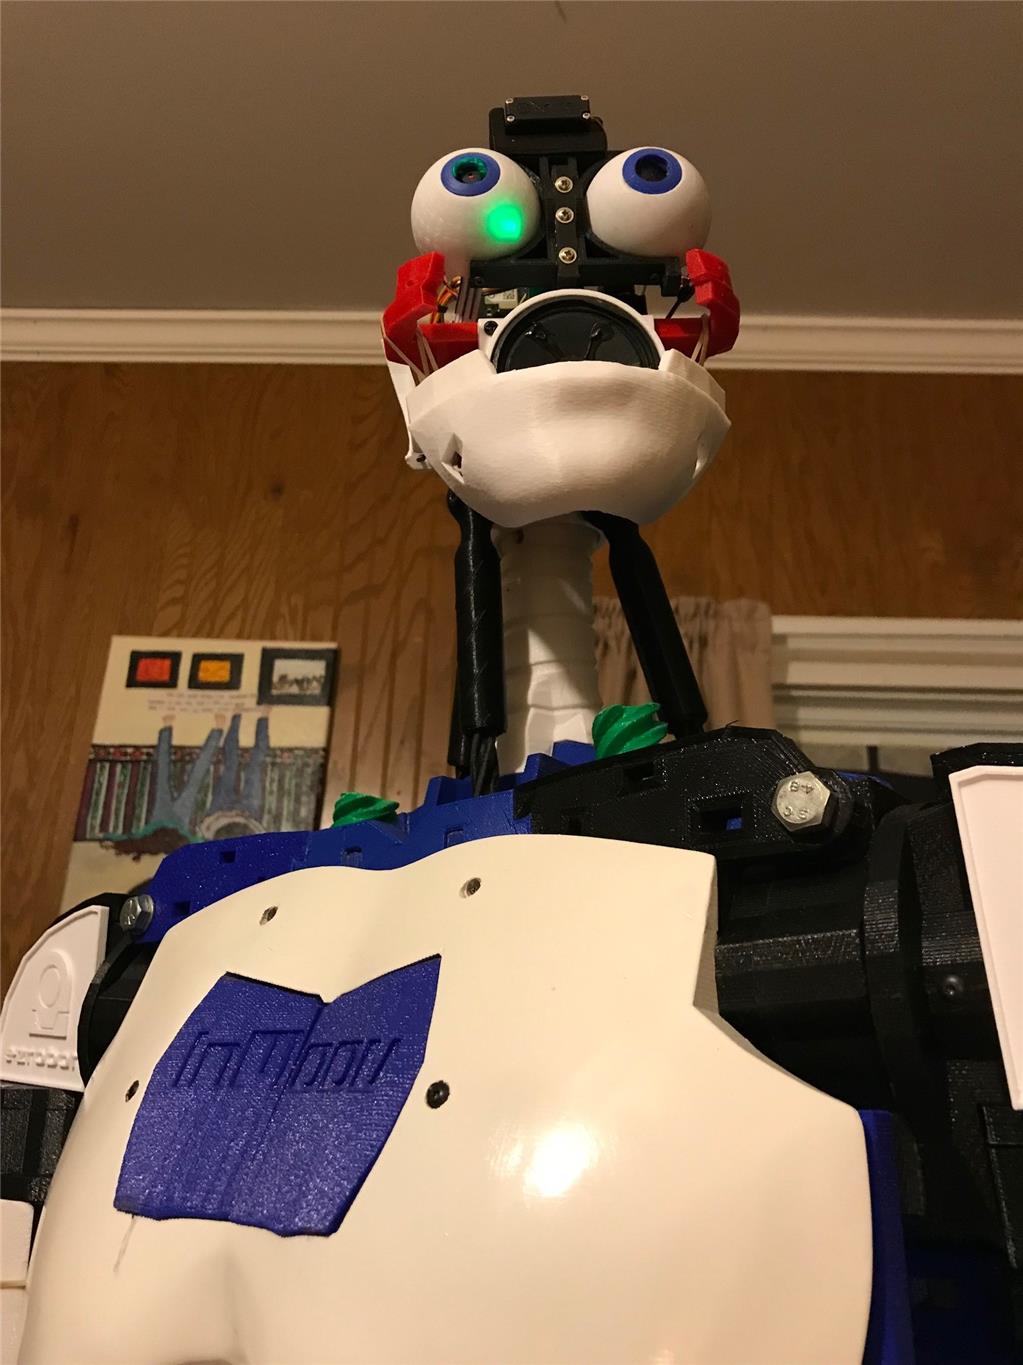
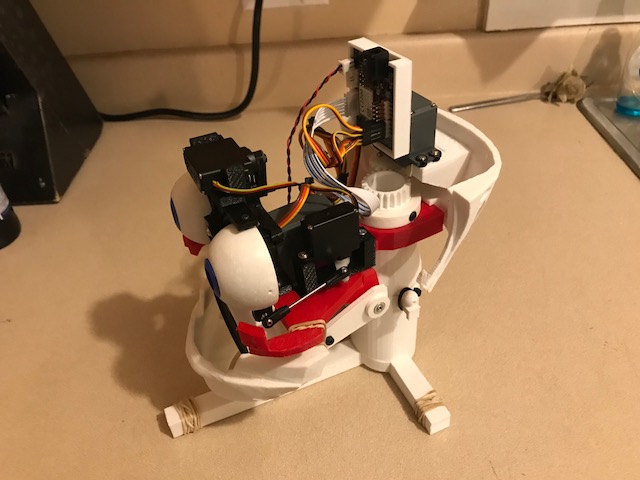
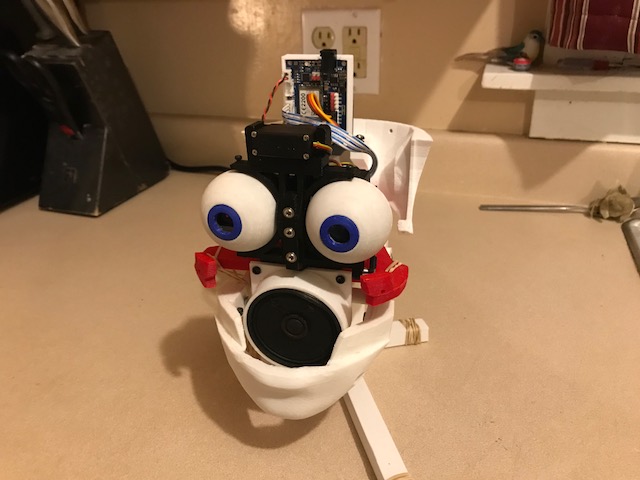
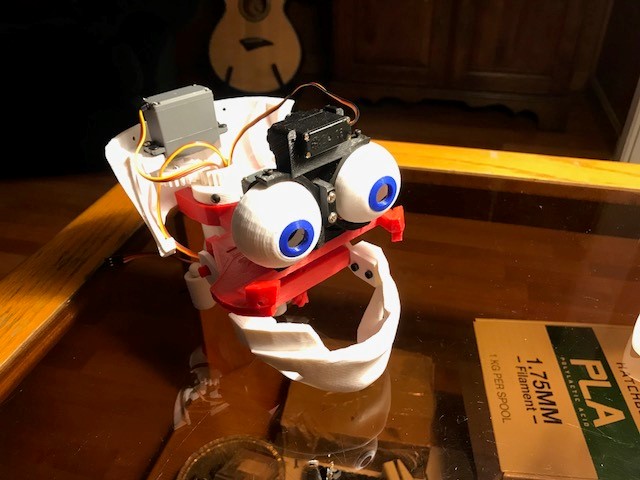
Got a little more done with my second head. Finally have it pretty function and I fixed the things I didn't like about the old design. So the head can exist without a shell and it can be removed without pulling a hundred connections.
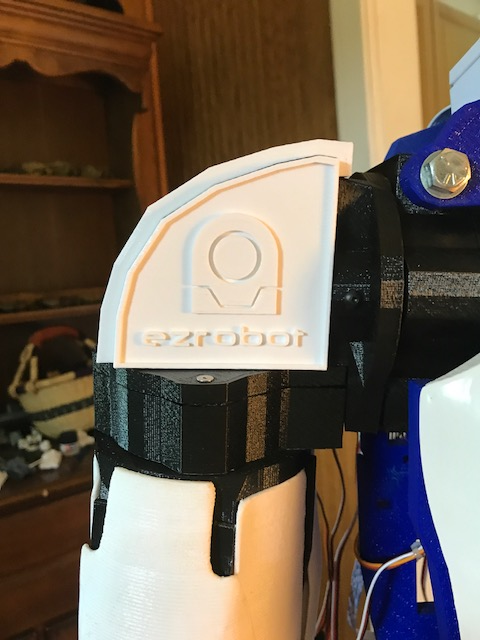
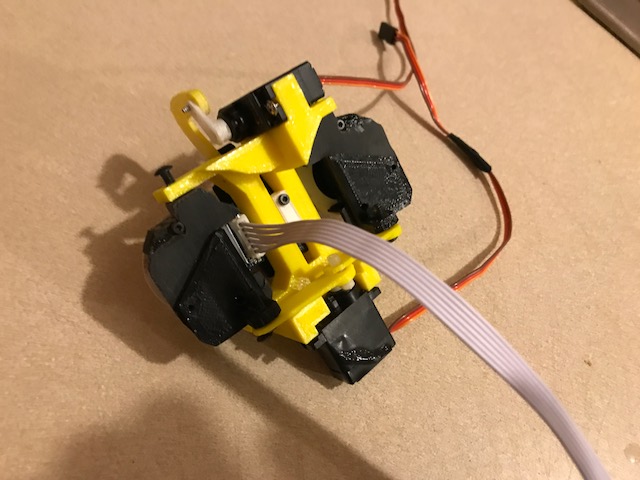
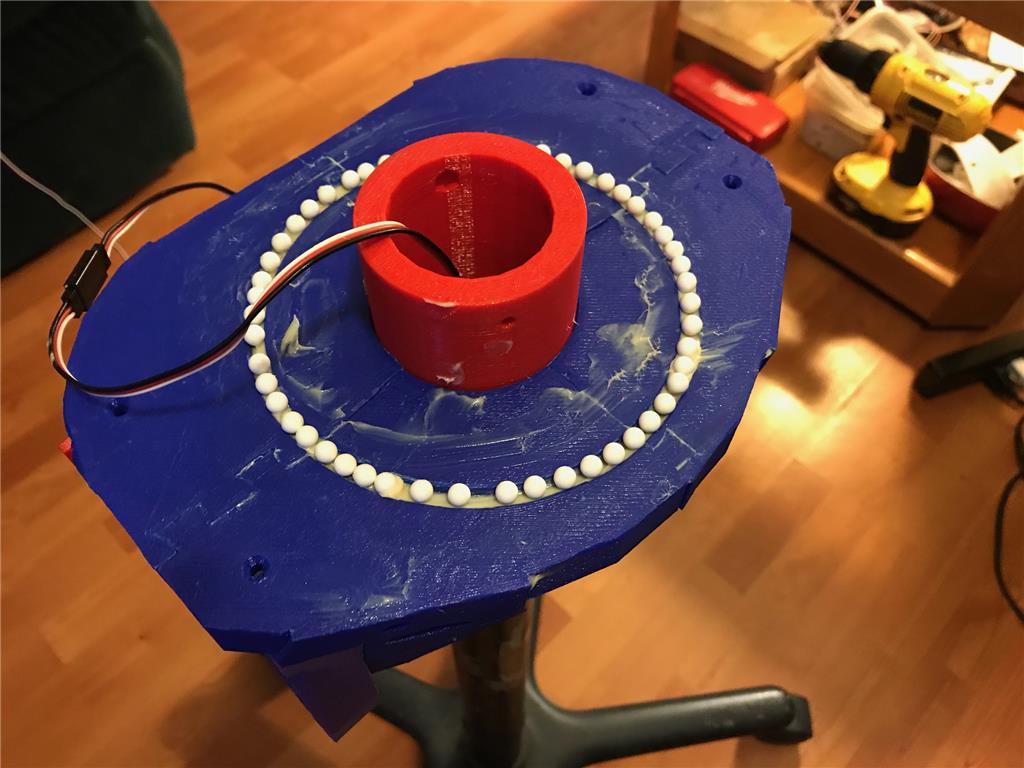
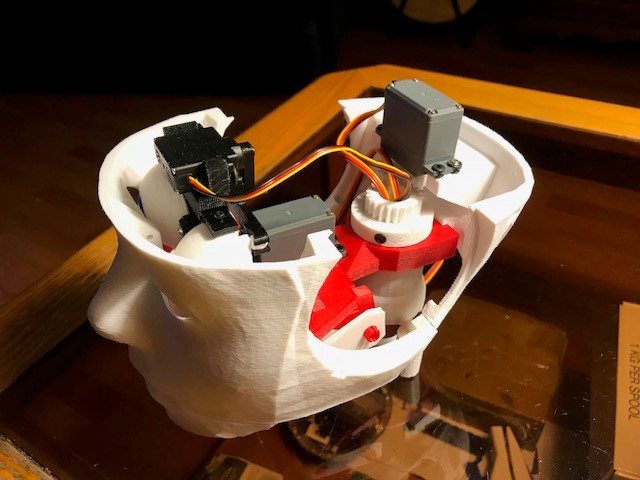
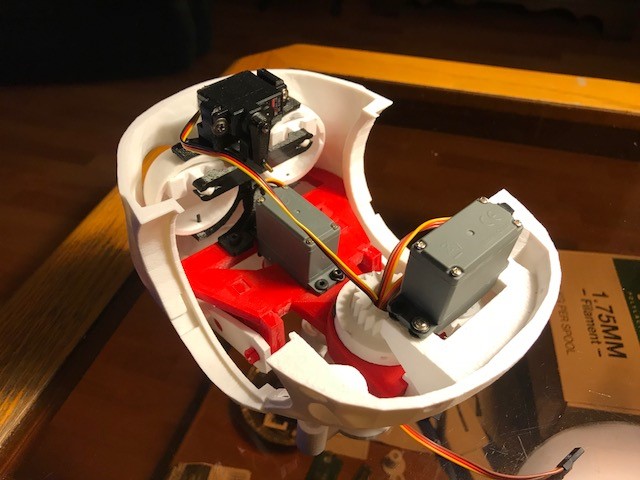
Here is the Layout. I now have an IOTiny in the head. All the head functions are controlled by it so If I pull the head off and power it it will work.
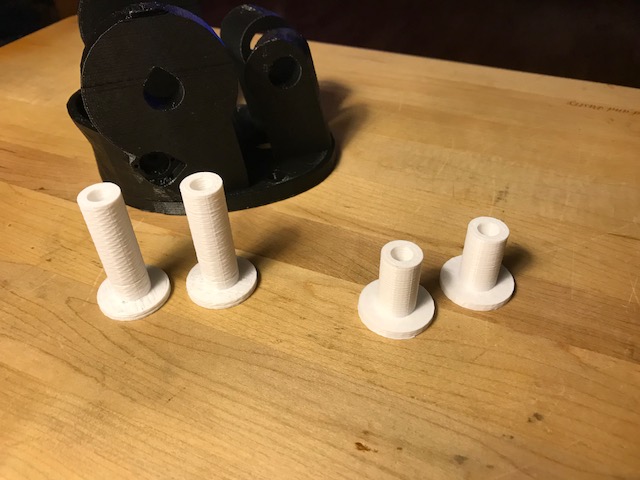
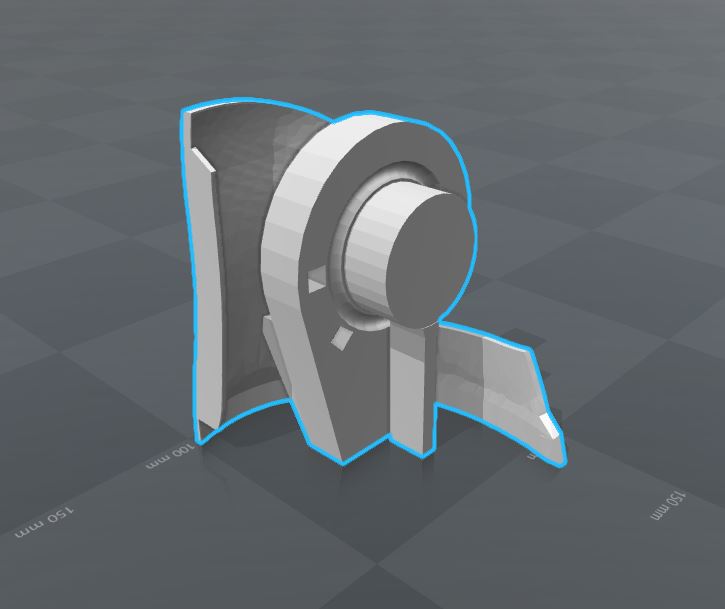
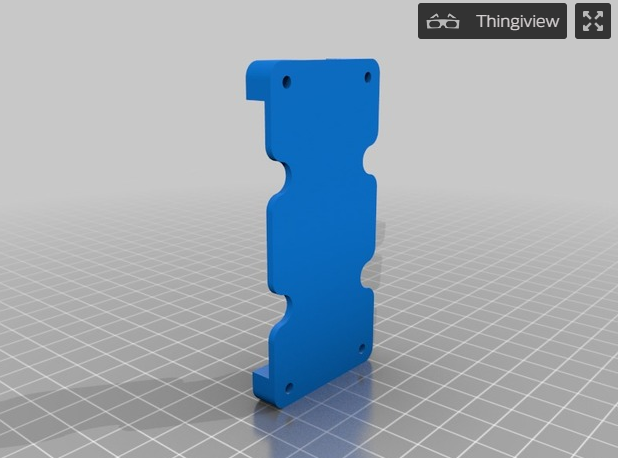
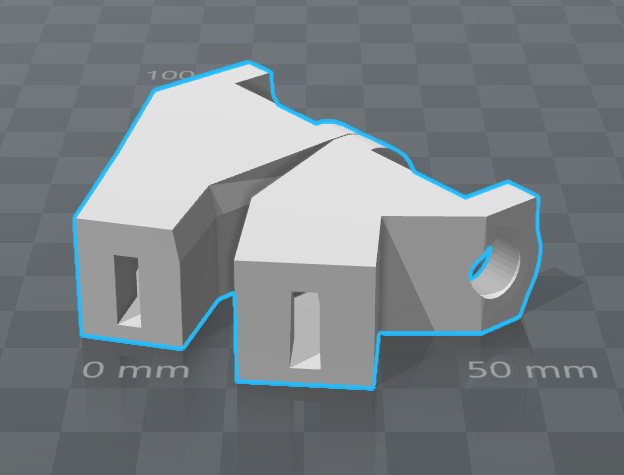
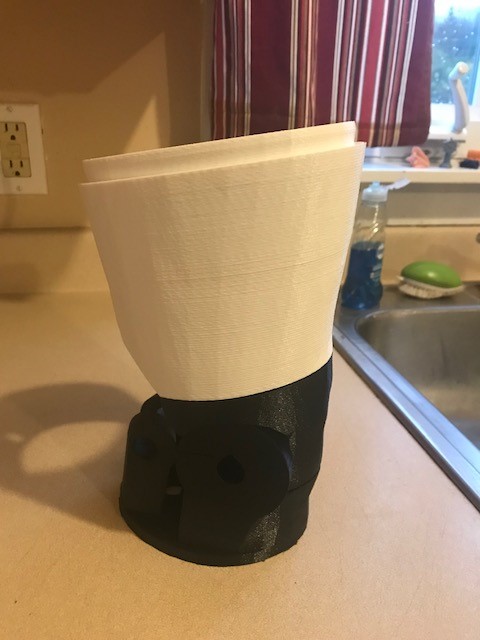
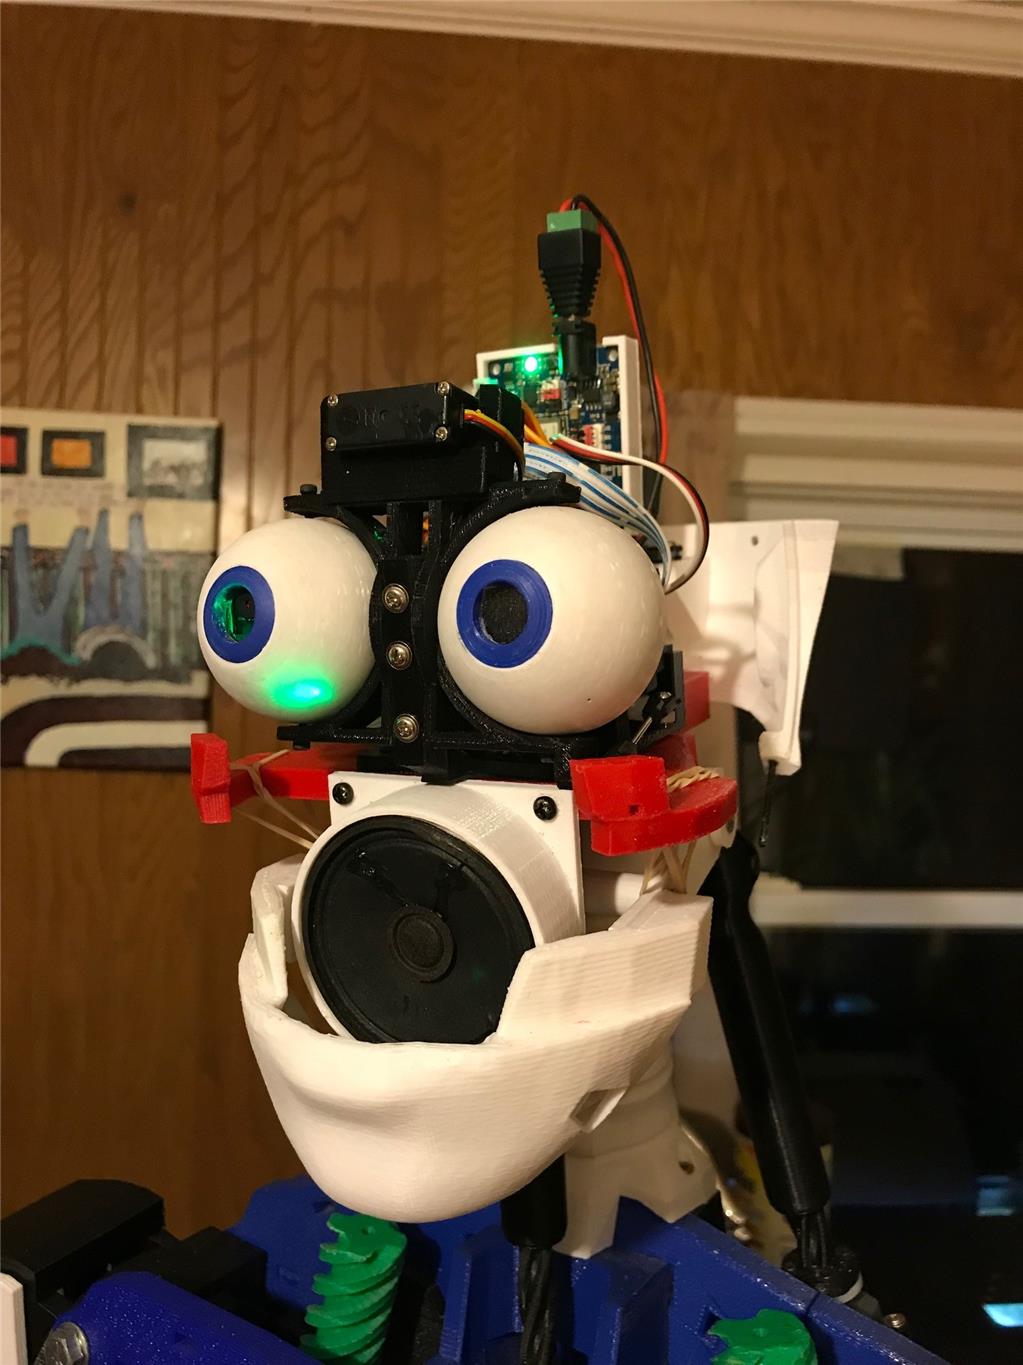
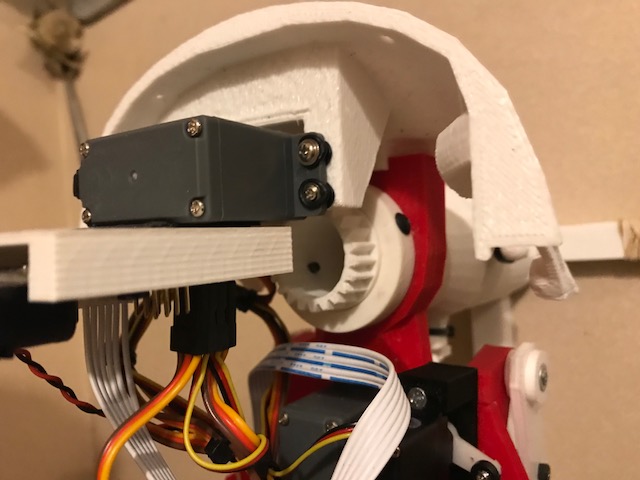
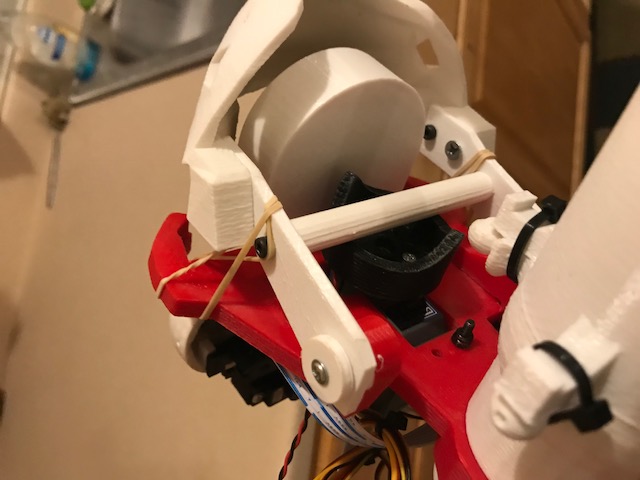
Here is the Nck servo mount. It mounts to the main head frame. It is one piece printable.
The Jaw servo mounts in the center of the head pointing down. It has a cam on it that actuates a bar that connects the jaw supports.
Finally, I put a 8k speaker in place of the one supplied with the IoTiny. I had hoped for a little increase but the volume and quality var exceeded my expectations. It is great. Even better once I printed up a little enclosure for it.
That is amazing!
Can you share the STL for this. I really like it and my son is now thinking about doing an Inmov with my help as we might finally have access to a 3d printer soon.
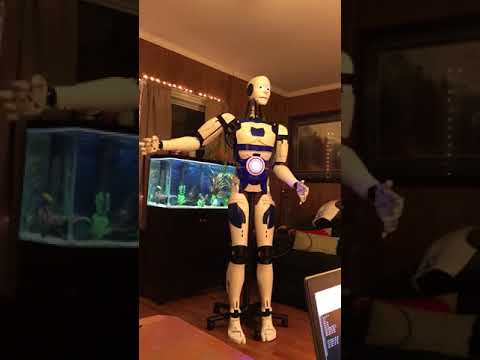
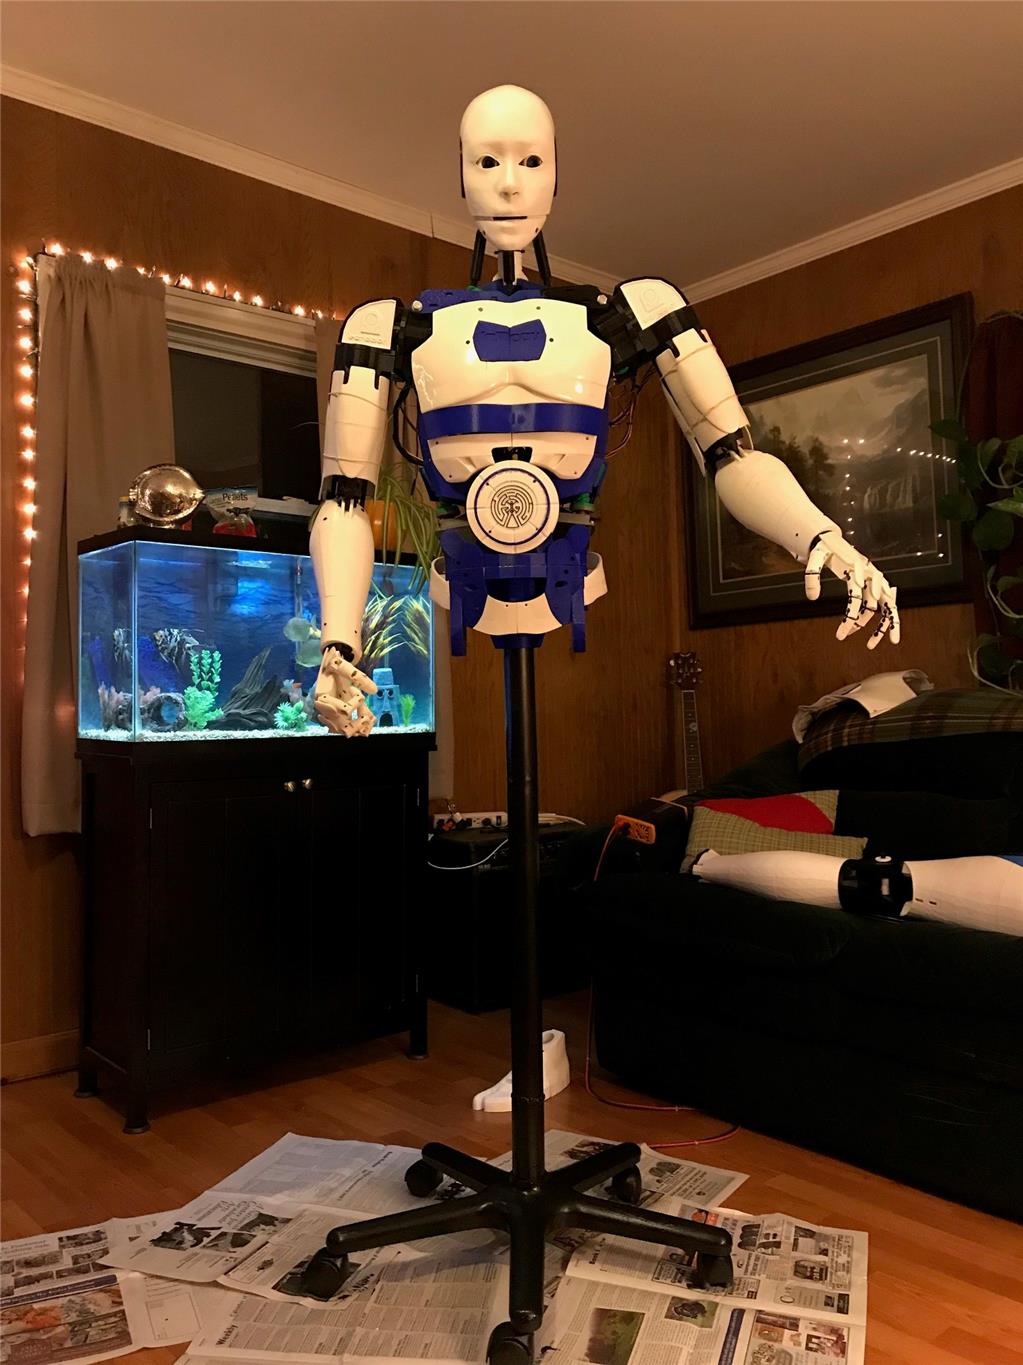
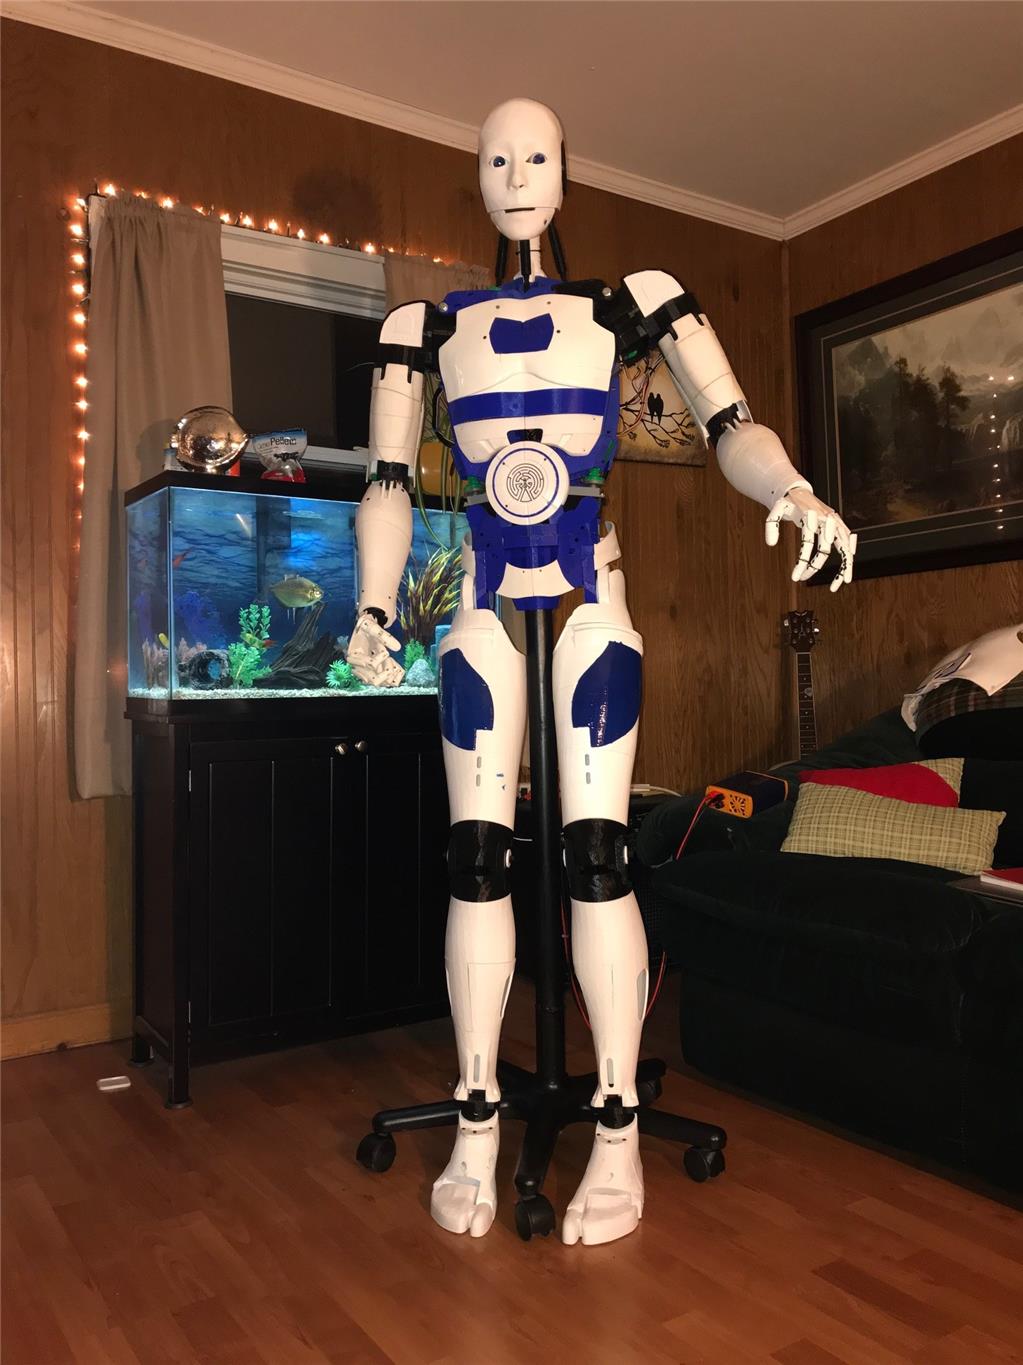
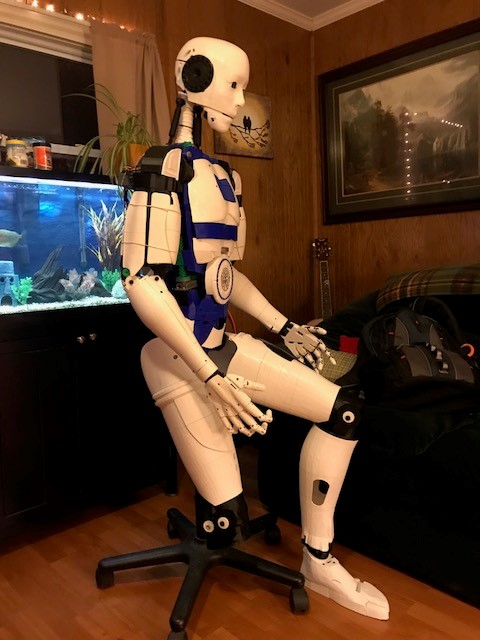
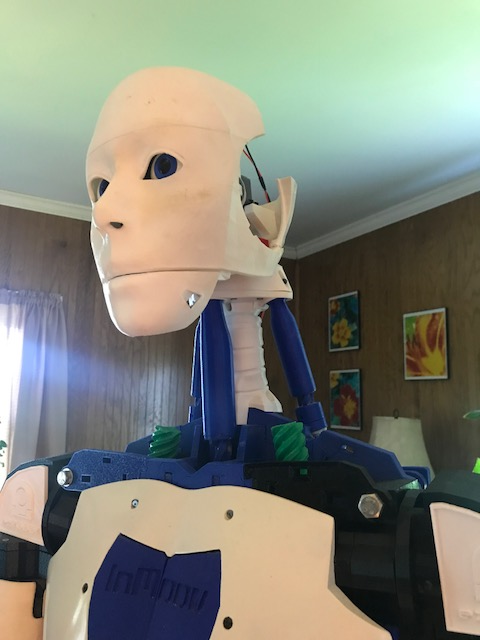
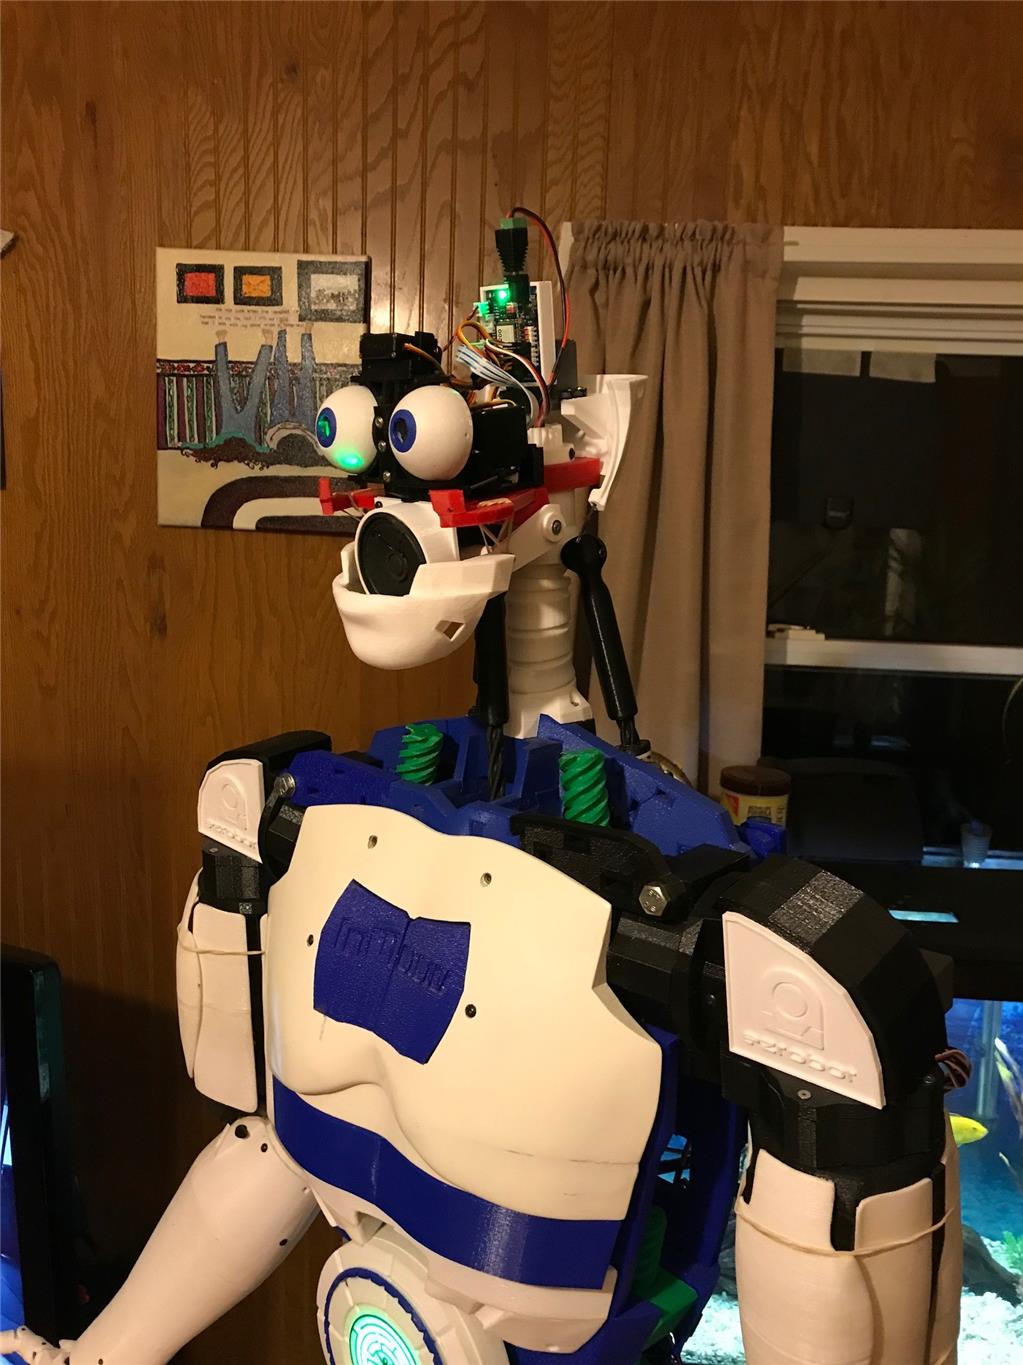
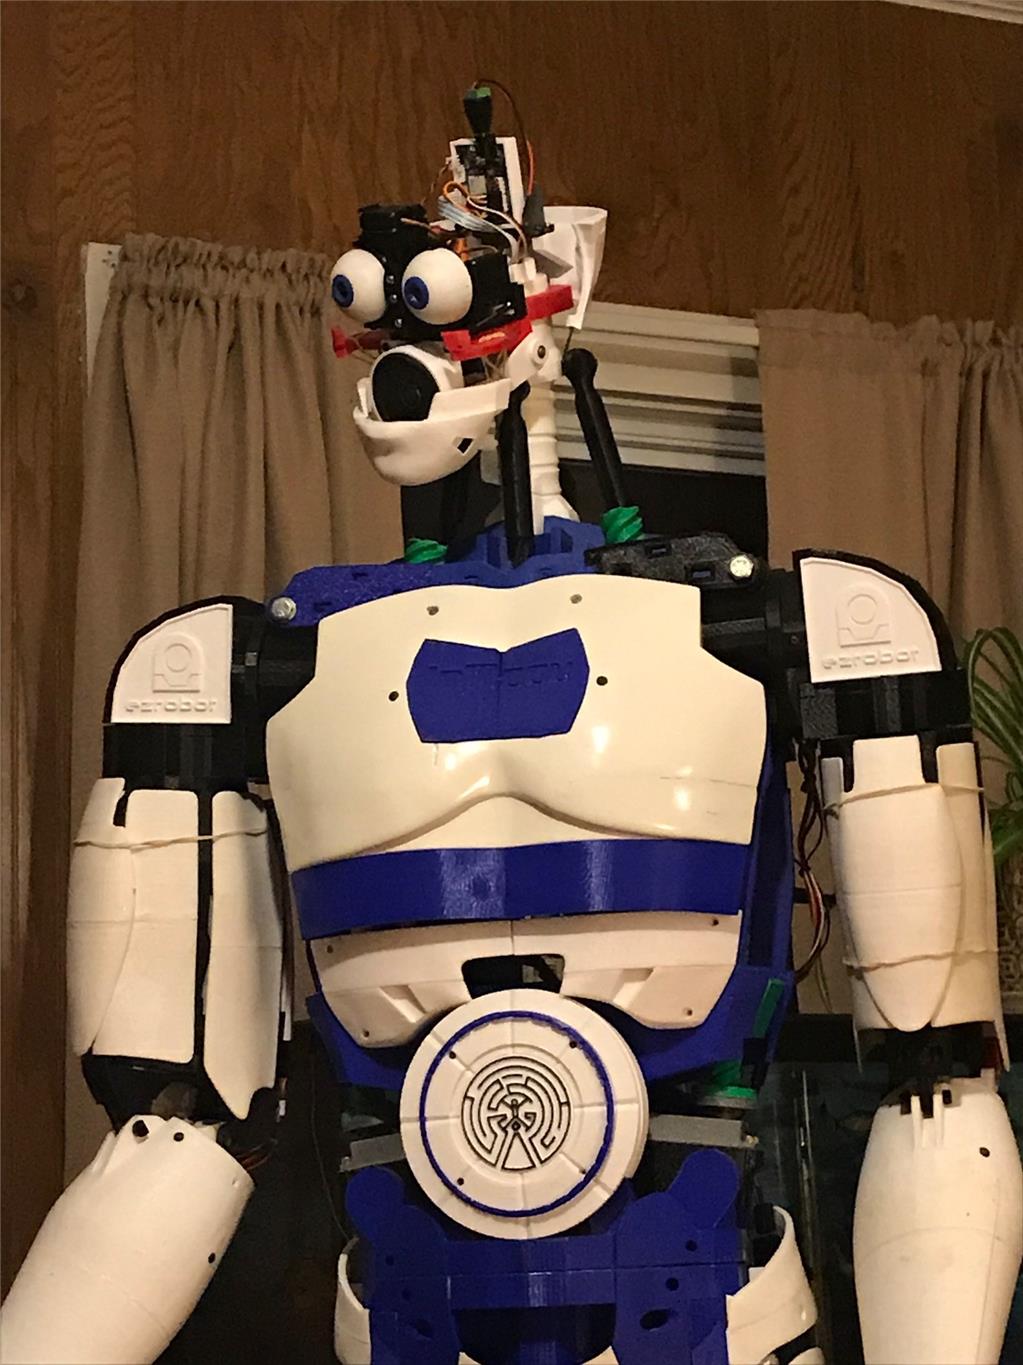
Here are some pic's now that I have installed a few more things. Nice to have a standalone wifi enabled head. Kinda looks like Crowe from MST 3K