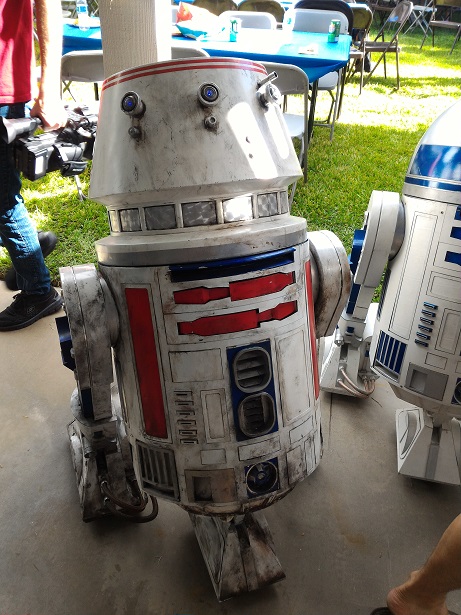
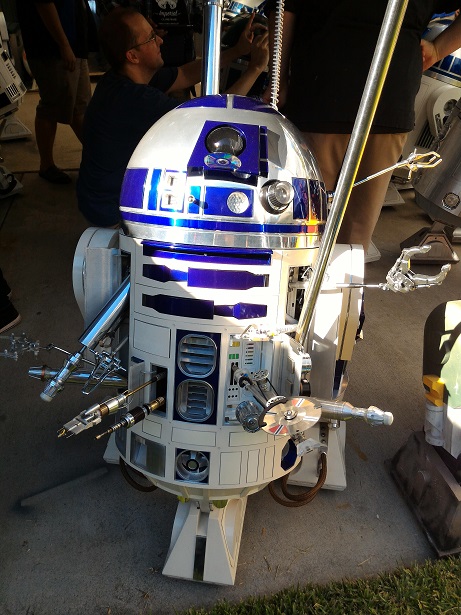
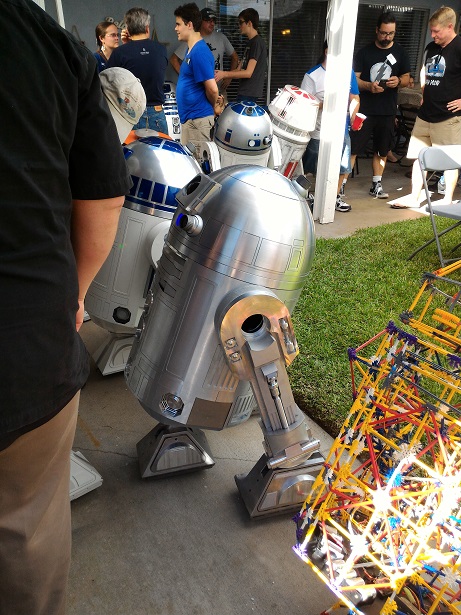
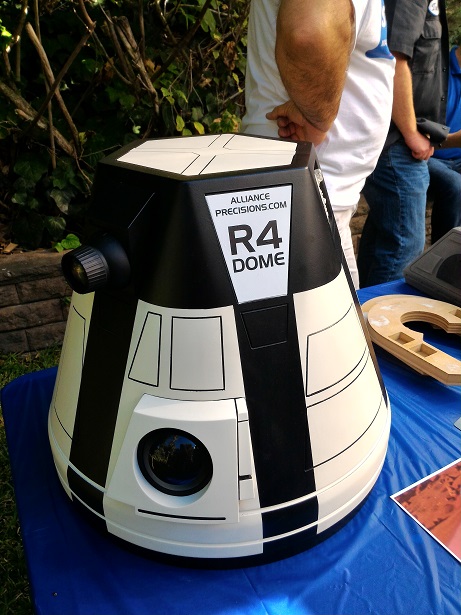
Astromech Droid

robot56

USA
robot video thumbnail

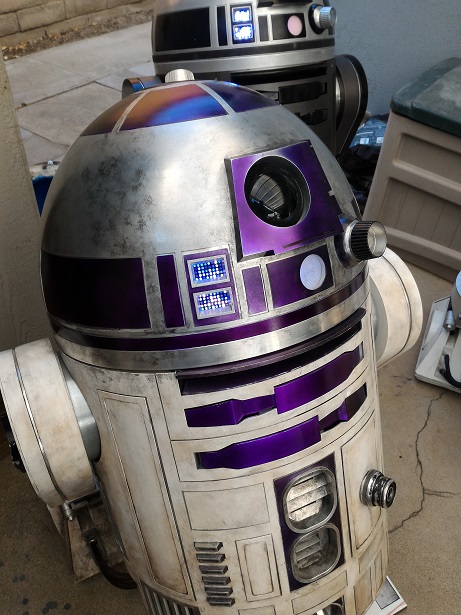
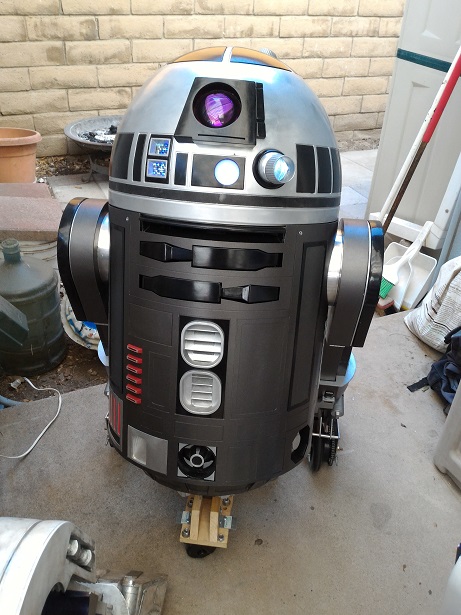
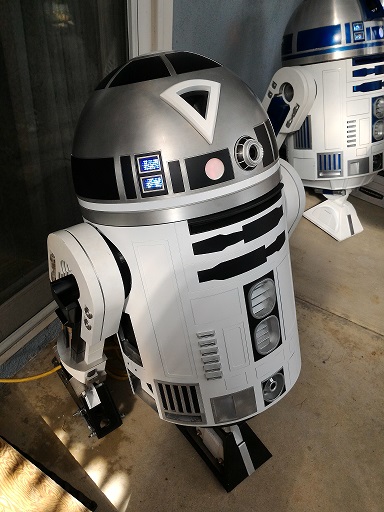
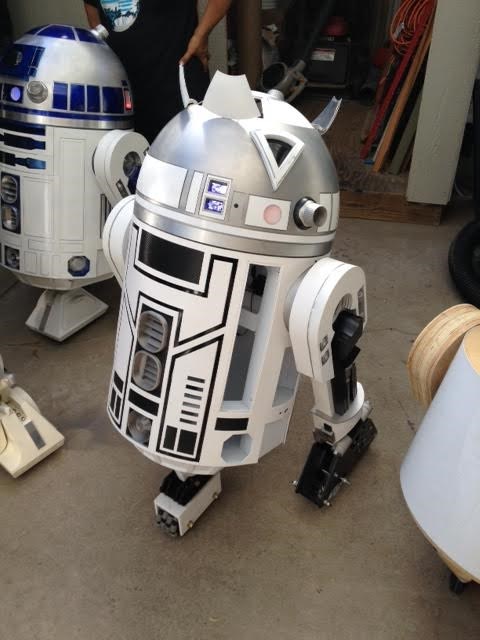
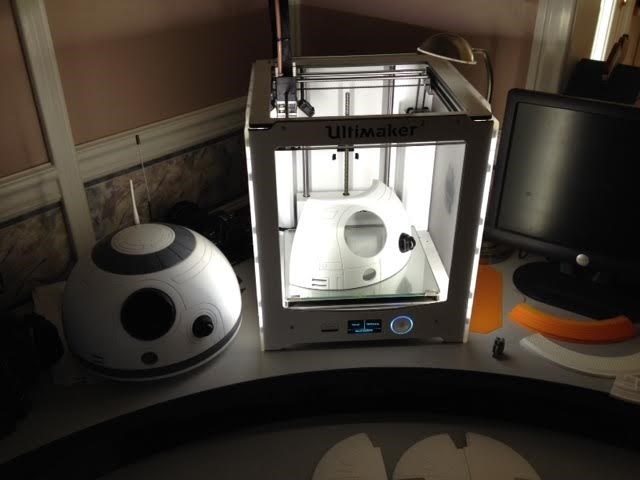
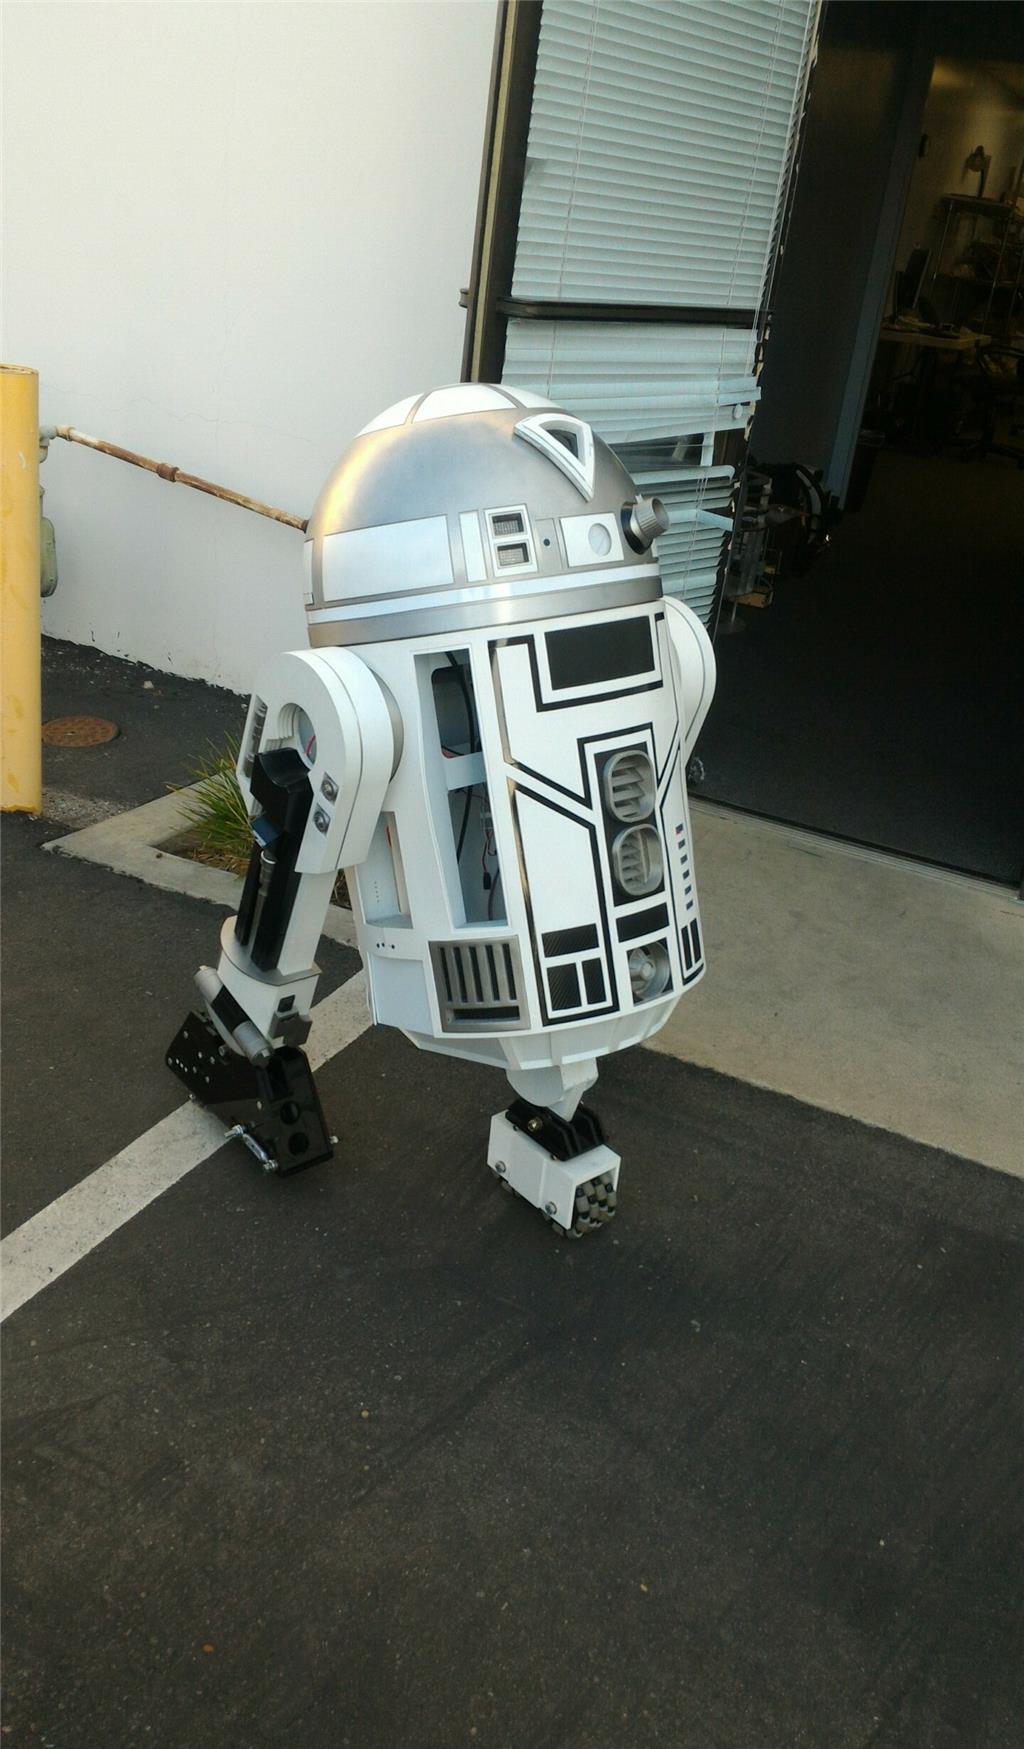
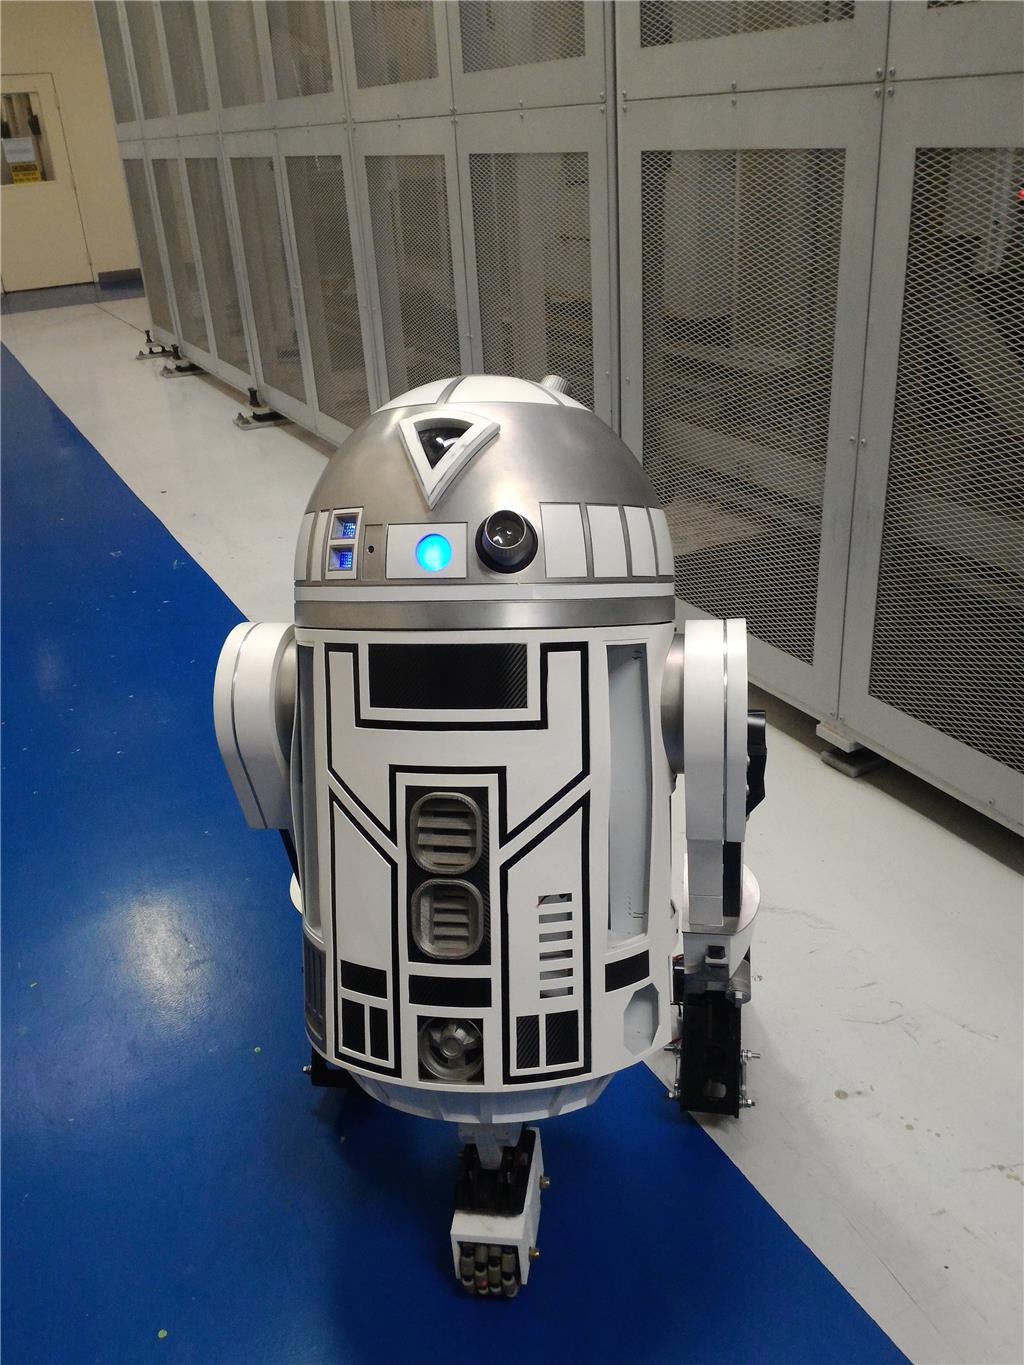
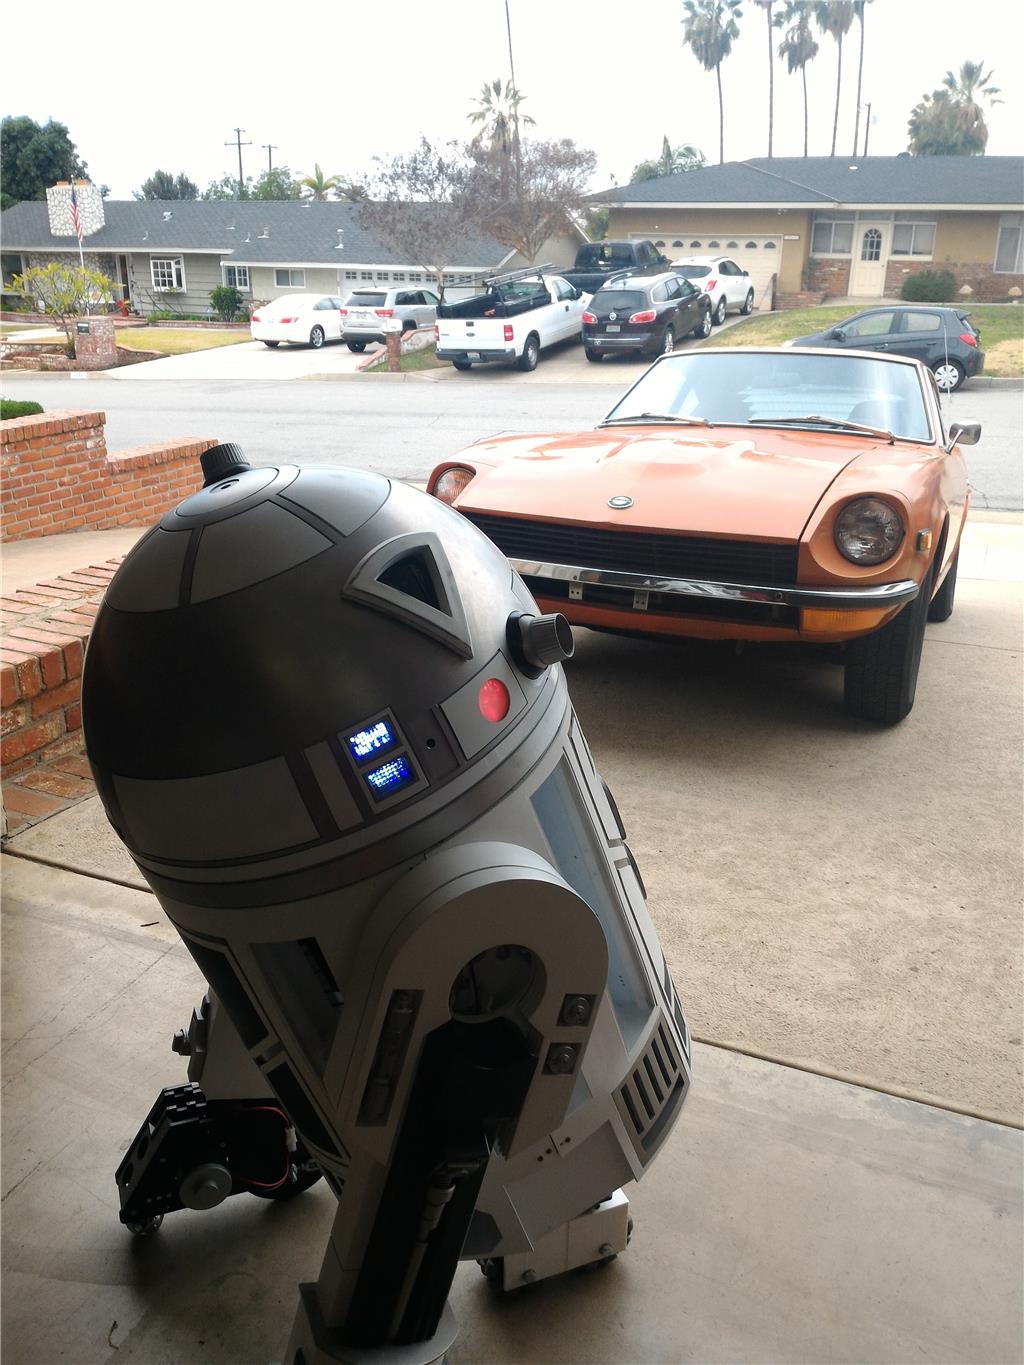
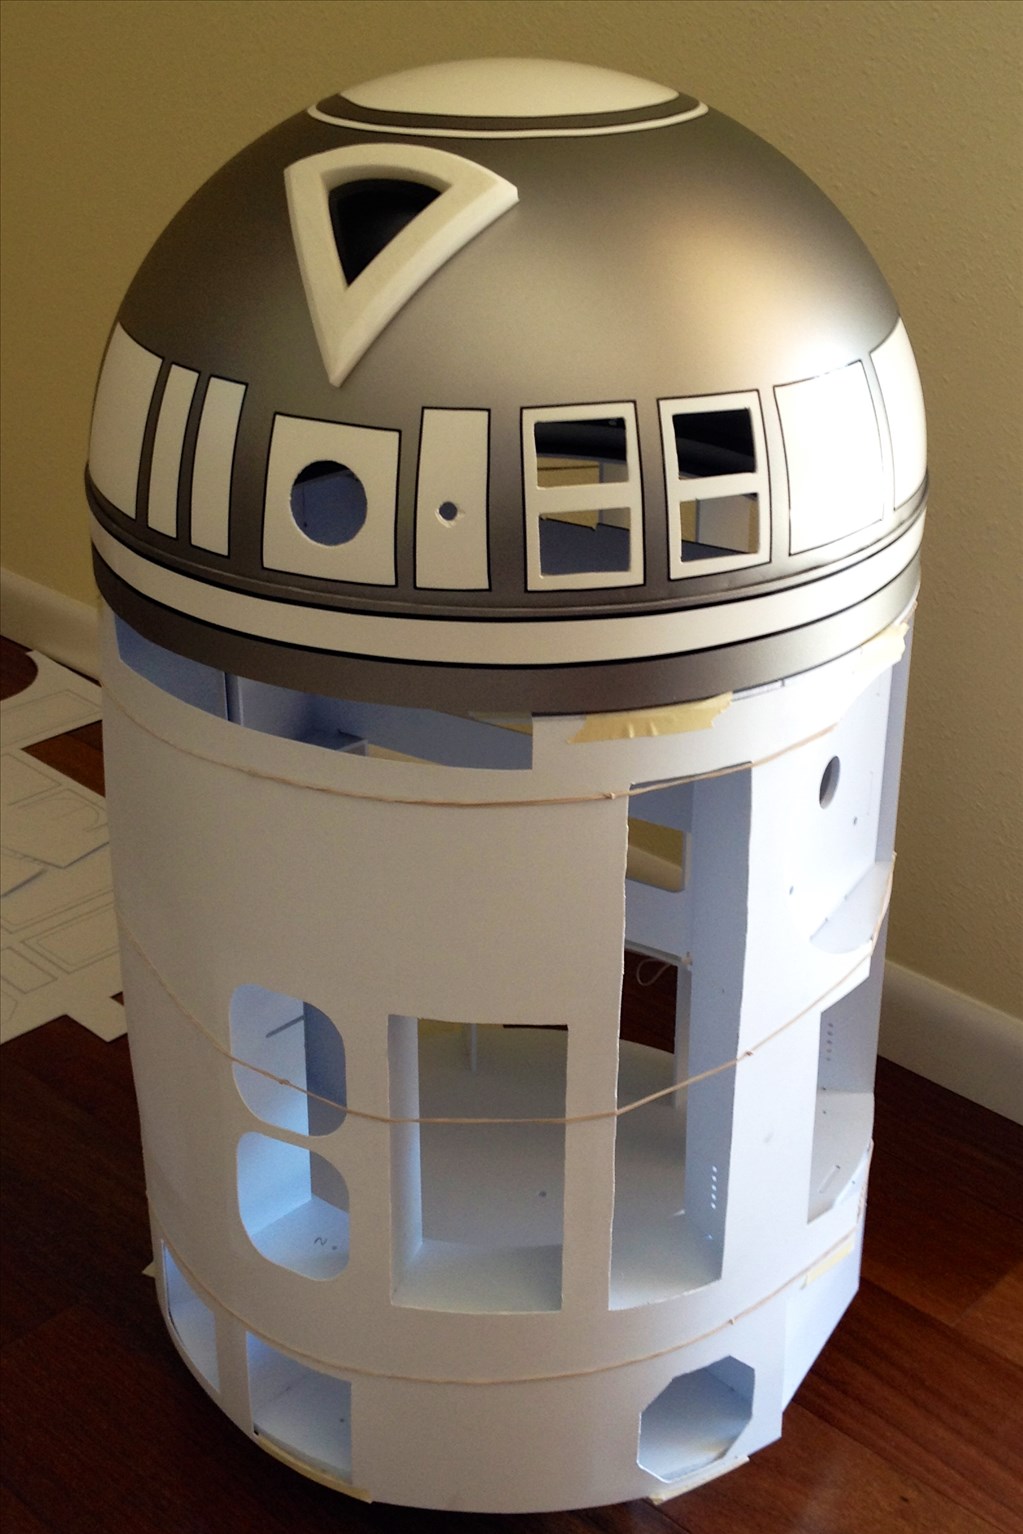
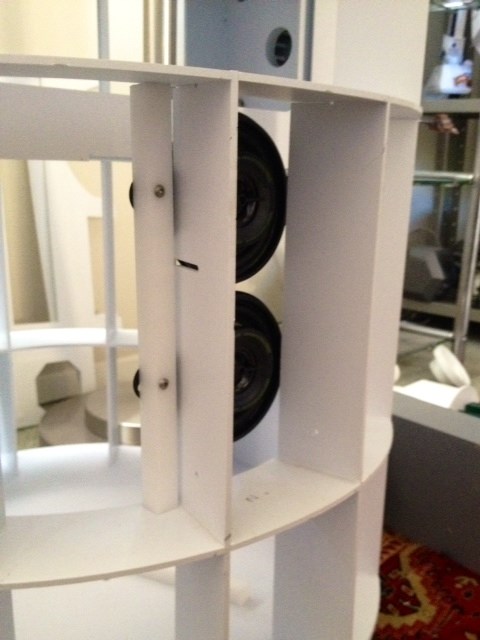
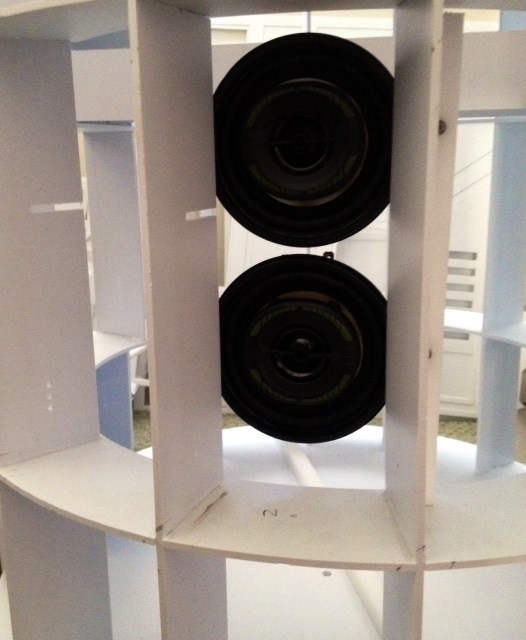
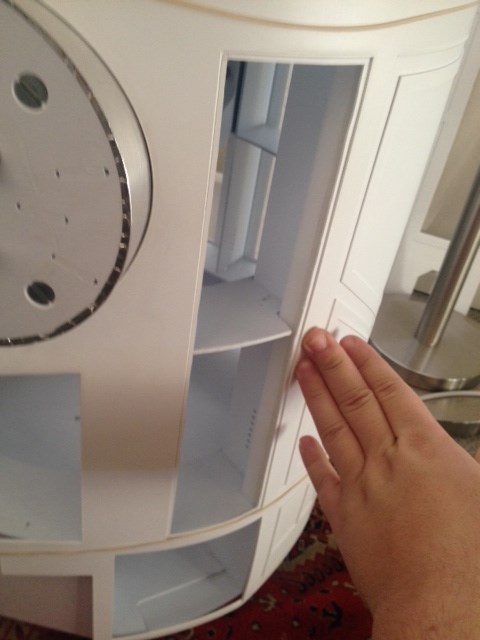
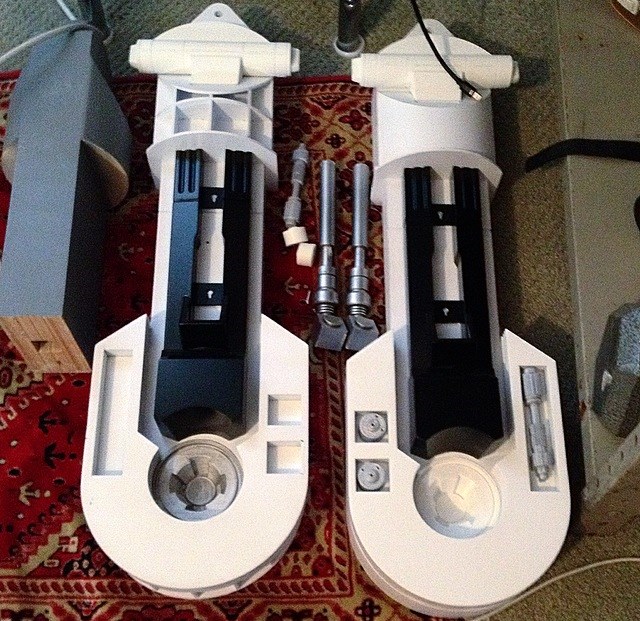
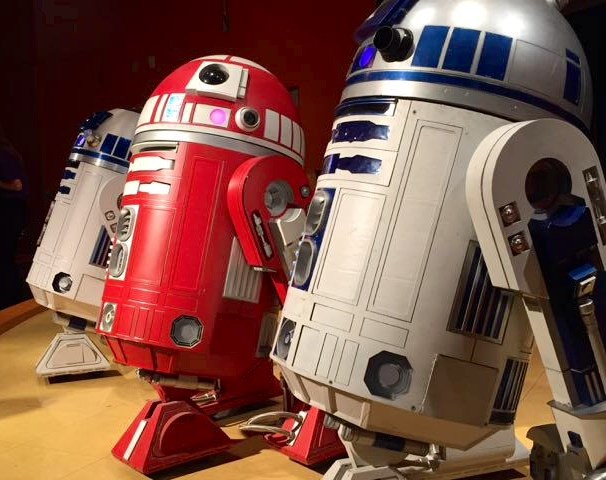
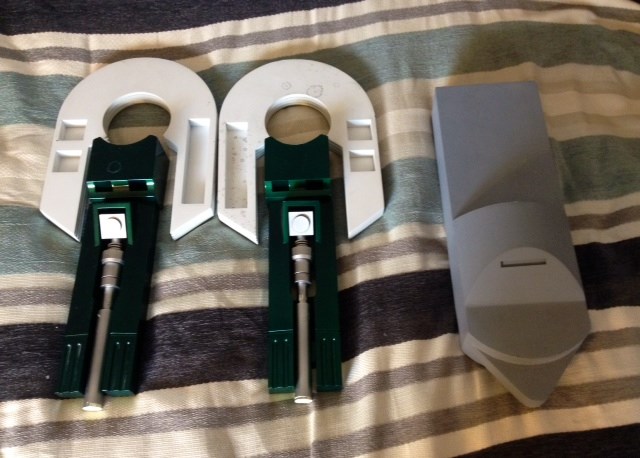
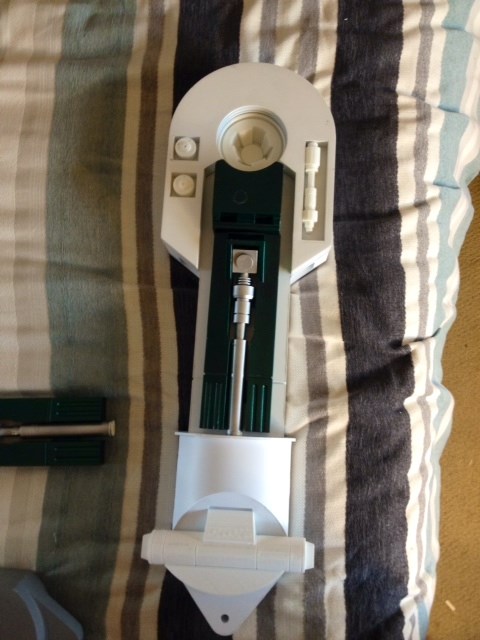
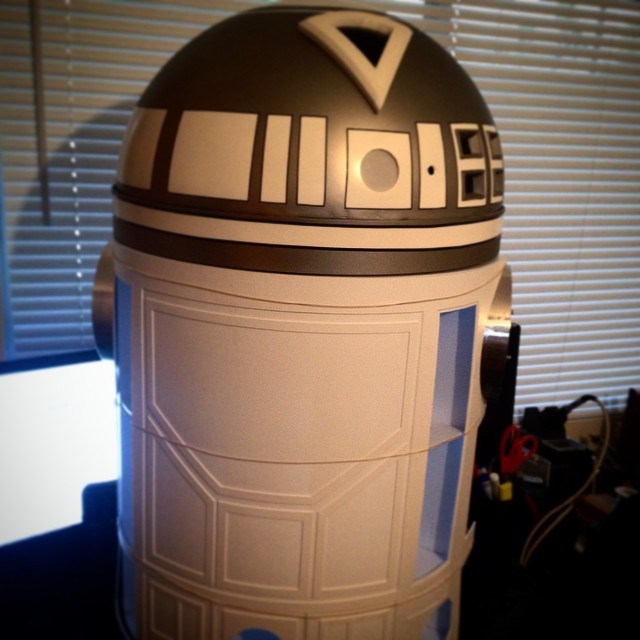
Hello everyone:) so i have begun building my full size astromech droid! I know that this project is going to take a long time but I feel it will be worth it in the end. My droid will be built from styrene and 3d printed parts. The dome is actually a security mirror but requires a 2" riser made from a floral craft ring and styrene cover.

User-inserted image

User-inserted image

User-inserted image

User-inserted image

User-inserted image

User-inserted image

User-inserted image

User-inserted image

User-inserted image

I wil be loading larger and not sideways photos soon.... stress

By — Last update

ARC Pro

Upgrade to ARC Pro

ARC Pro is more than a tool; it's a creative playground for robot enthusiasts, where you can turn your wildest ideas into reality.

United Kingdom
#1  

Looking good so far, keep it up. We are all here if your motivation runs low (as it can do with big projects) :-)

#3  

I actually have a CNC cut styrene frame on order to do this same thing. It certainly takes a lot of parts to build one of these things accurately, and a long time to accumulate them.

I have found acquiring a dome to be the hardest and most expensive part.

#4  

I am in a rut on my half scale build I'm making from wood(scratch). We'll have to see who does better. Mini or life size!:D

#5  

Thanks guys! There are so many parts and little details to these droids... Luckily I have a 3d printer and have access to most of the pieces as an .stl

Obtaining a dome is by far the single hardest part. An astromech's dome is actually an ellipctical/egg cross section and makes it impossible to go out and buy something accurate (unless its made in a club members parts run). I told myself however that I am going to do this astromech my own way and if there were small differences like the dome being a raised hemisphere that it wouldnt be the end of the world. i nabbed the dome for free from work because they were going to throw it away... its a hemisphere unfortunately but the price sure makes up for it lol in time when there is a run of domes available i will pick up a couple.:)

There is actually a gathering at the end of september for all of the astromech builders in southern California. My hope is to get the dome automated and rotating around with camera tracking and sounds by that time. Im sure some of them have never seen Ez-robot! many are just completely remote controlled and are essentially a giant rc car... There are plans for mine to be fully autonomous but that wont be for a while:D
#6  

Large robots and large plans use up large amounts of time and moo-la in order to get done. Glad to see another member get started.

#7  

User-inserted image

User-inserted image

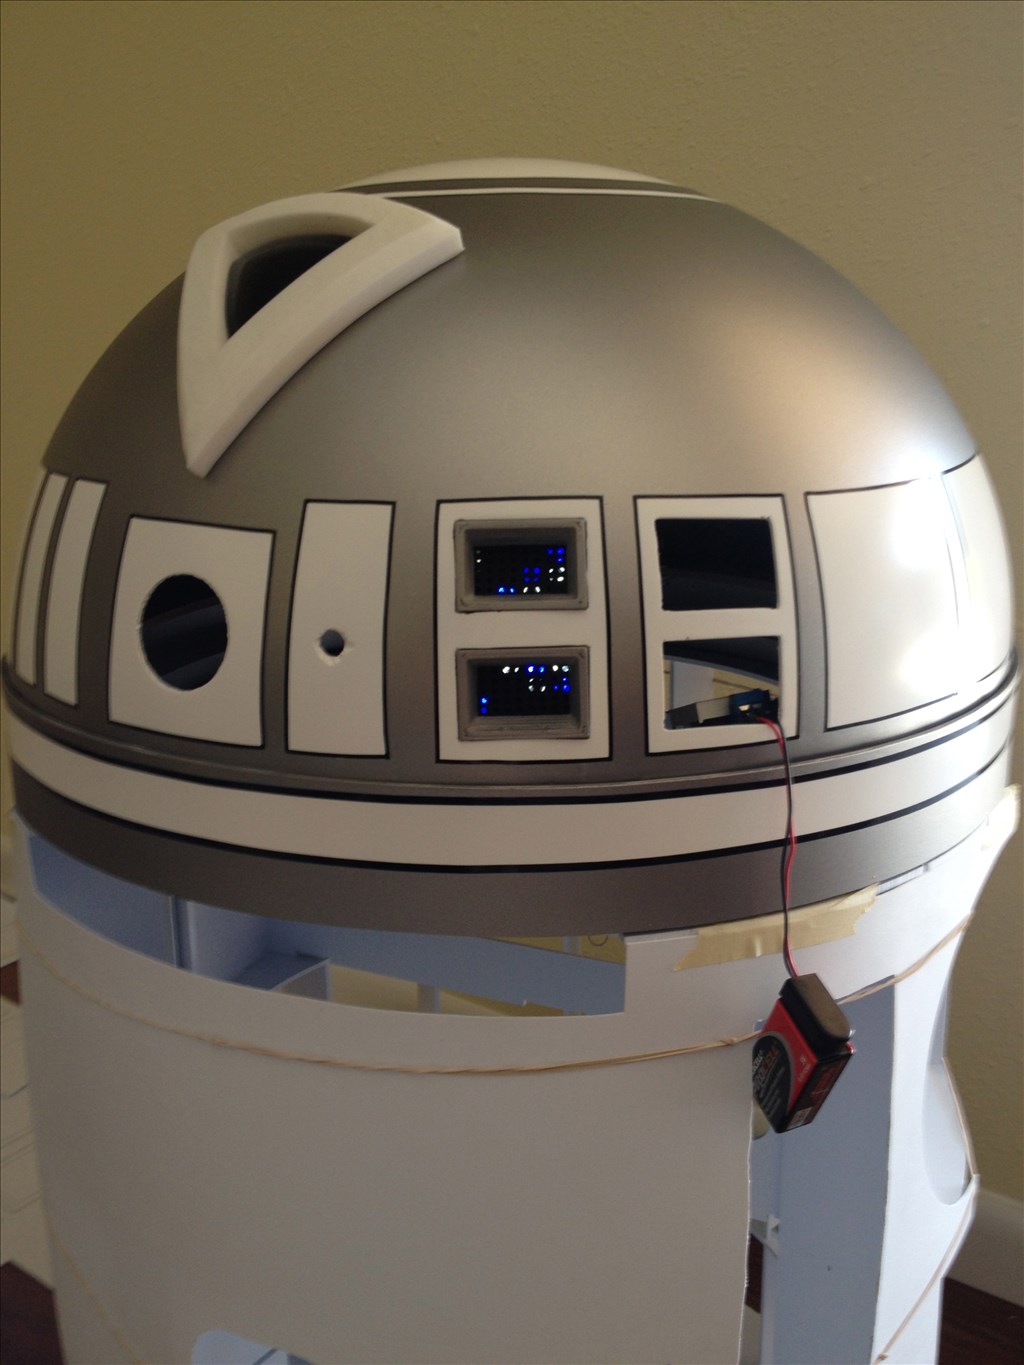
The dome is all painted up:) came out decent and even got a chance to mount 2 out of the 4 data lights!

#9  

Thank you! the dome is actually a plastic chrome security mirror that i painted and built a 2 inch riser for to get the height correct.

The appropriate dome for these droids are actually ellipses (more egg shaped) where mine is a hemisphere... Domes are hard to come by though so this was my next best option.
#10  

How did you make the cutouts on the dome.I also used a large security dome.Not easy to make nice even openings.

#11  

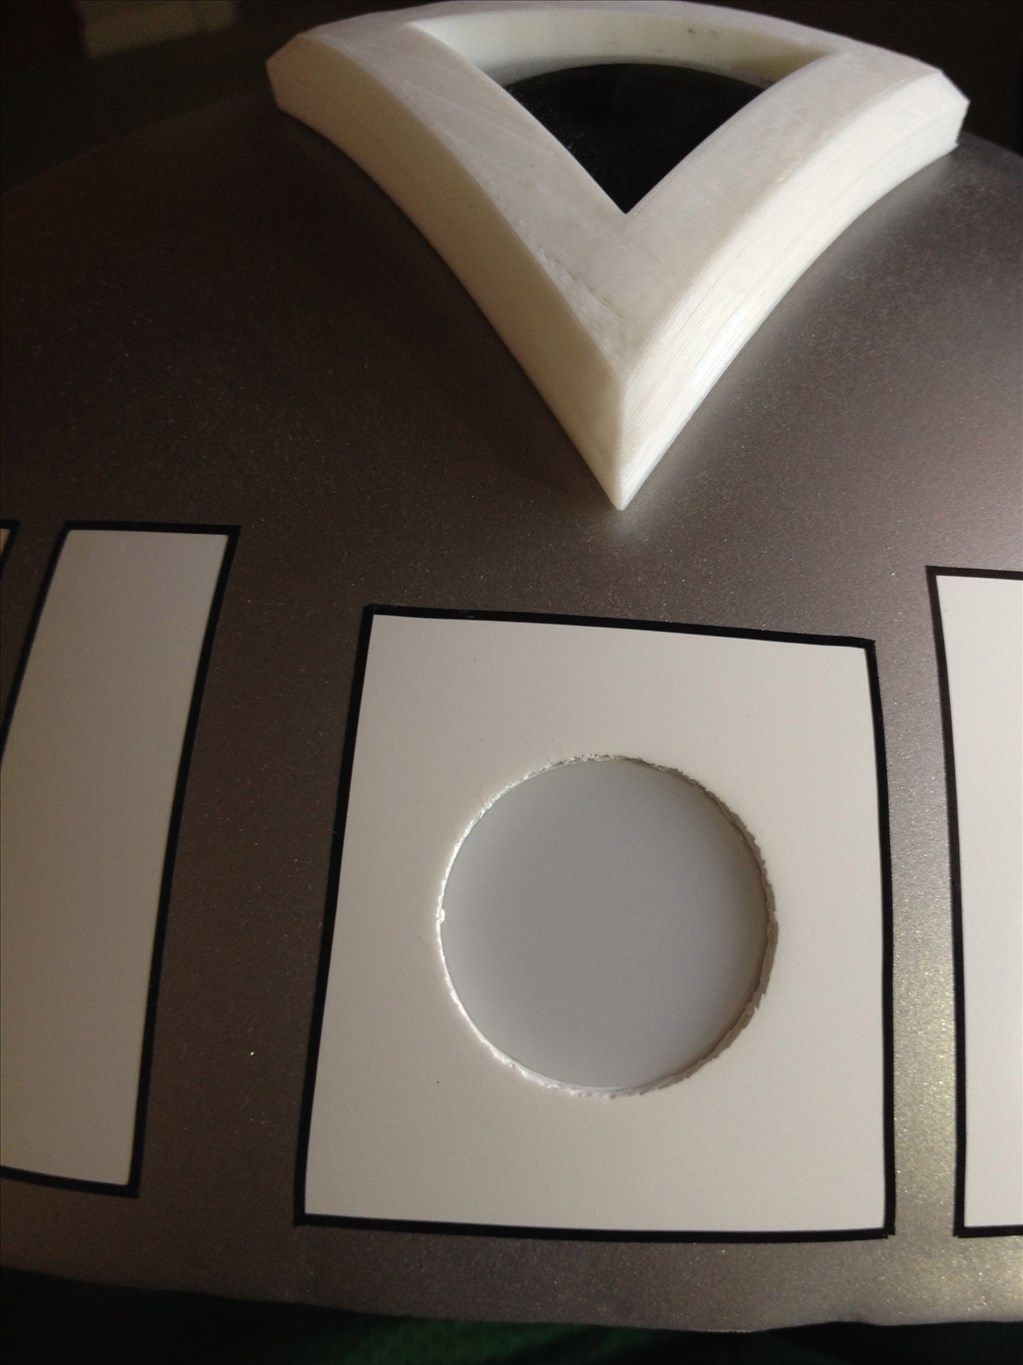
@rb550f the larger round hole was from a 1.5" hole saw drill where i had to go super slow ensuring not to chunk out the plastic. the rectangular holes are actually just cut using a dremel and cut off wheel. it was very time consuming I wish I had a better way to cut them..
#12  

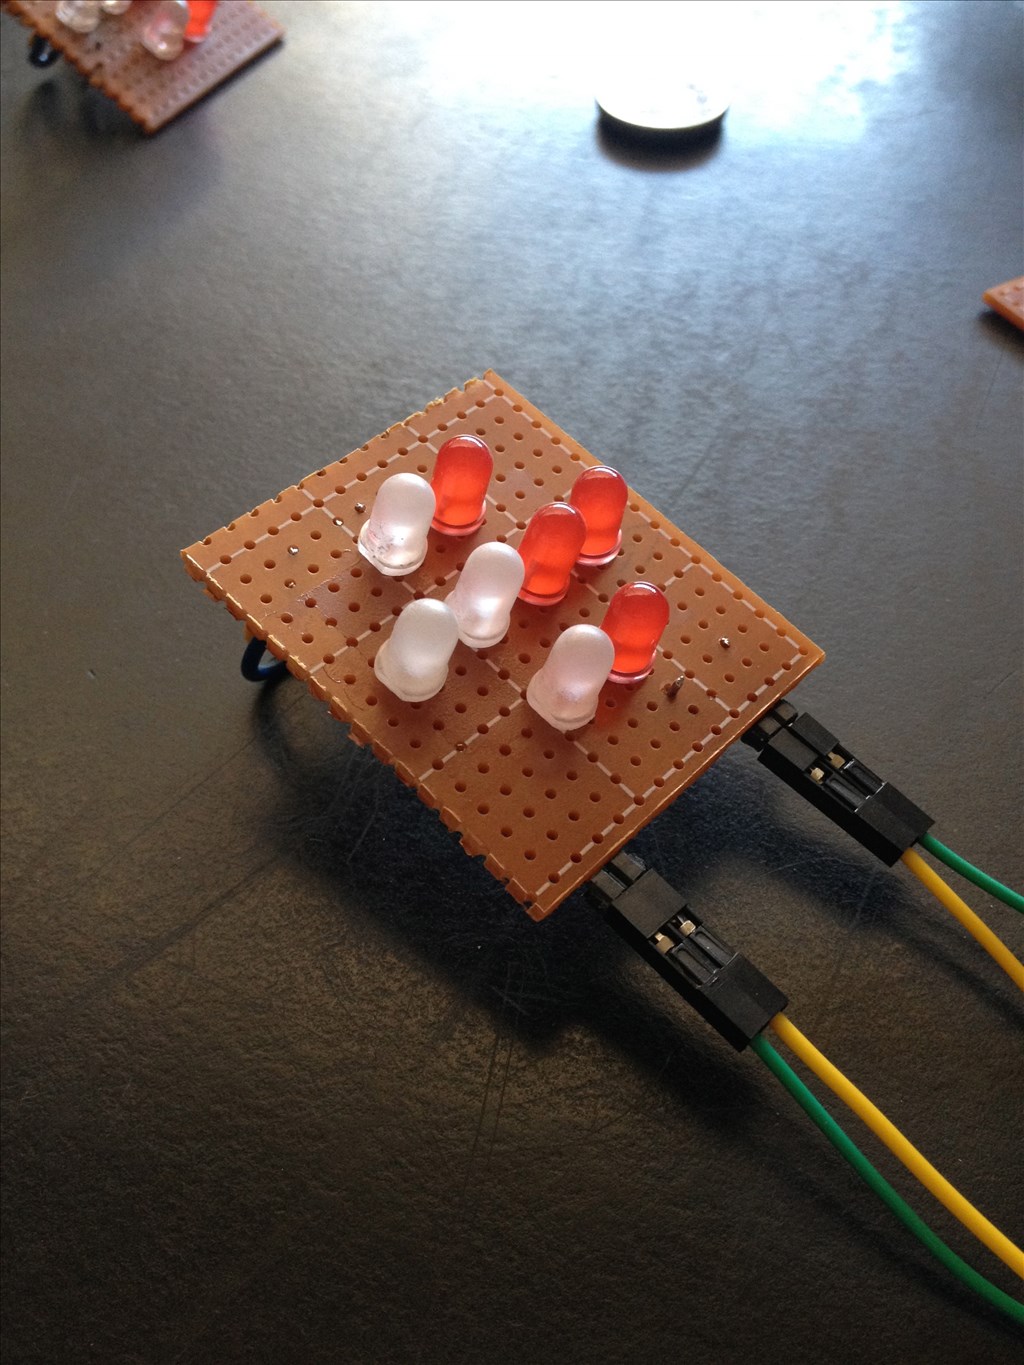
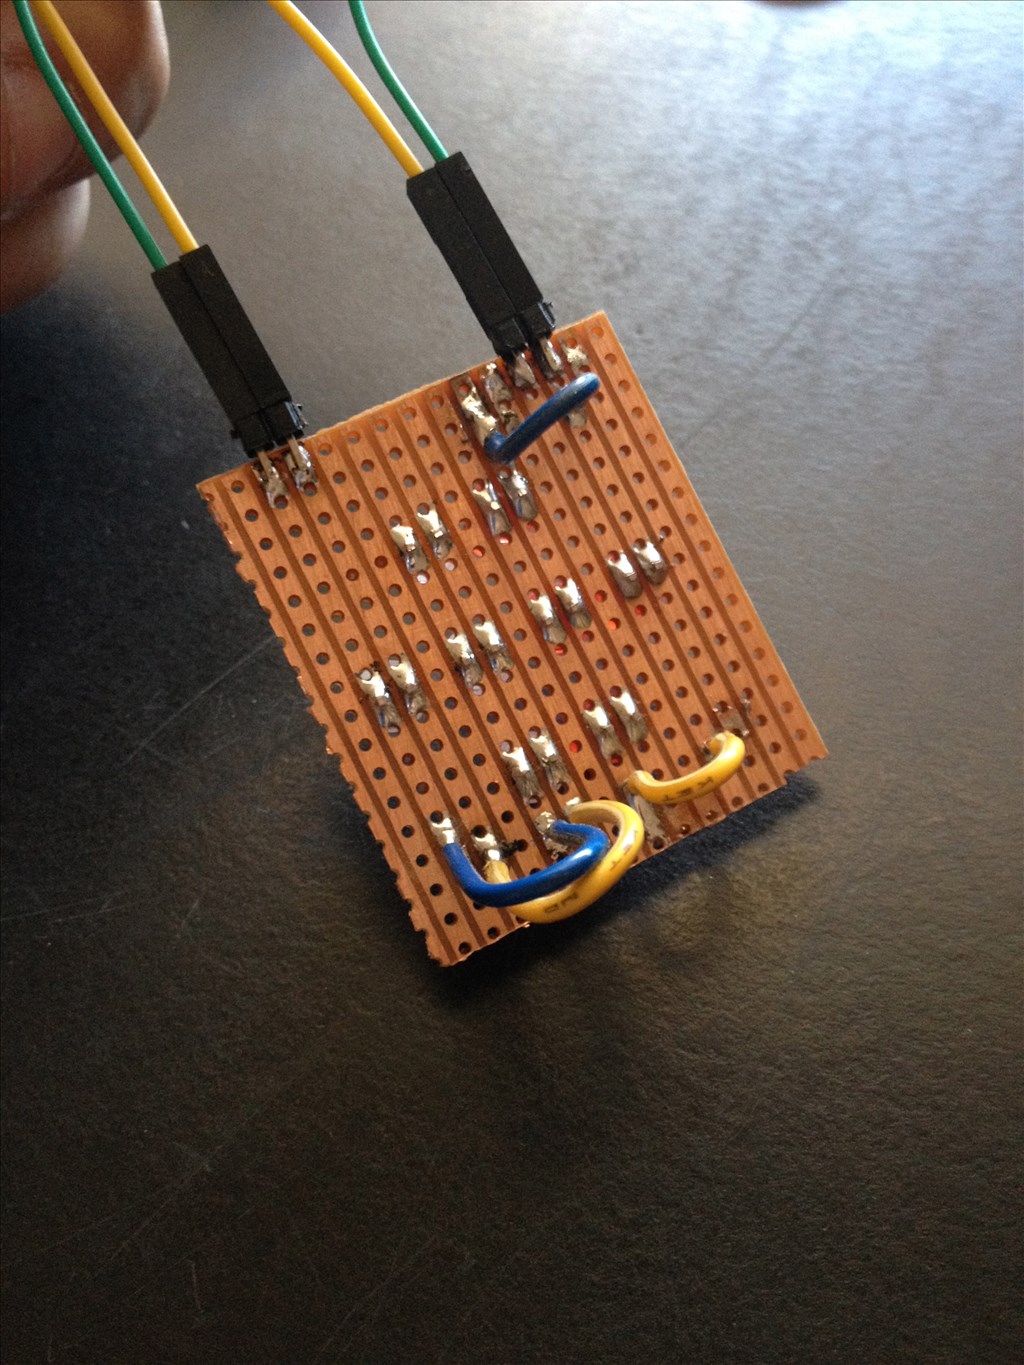
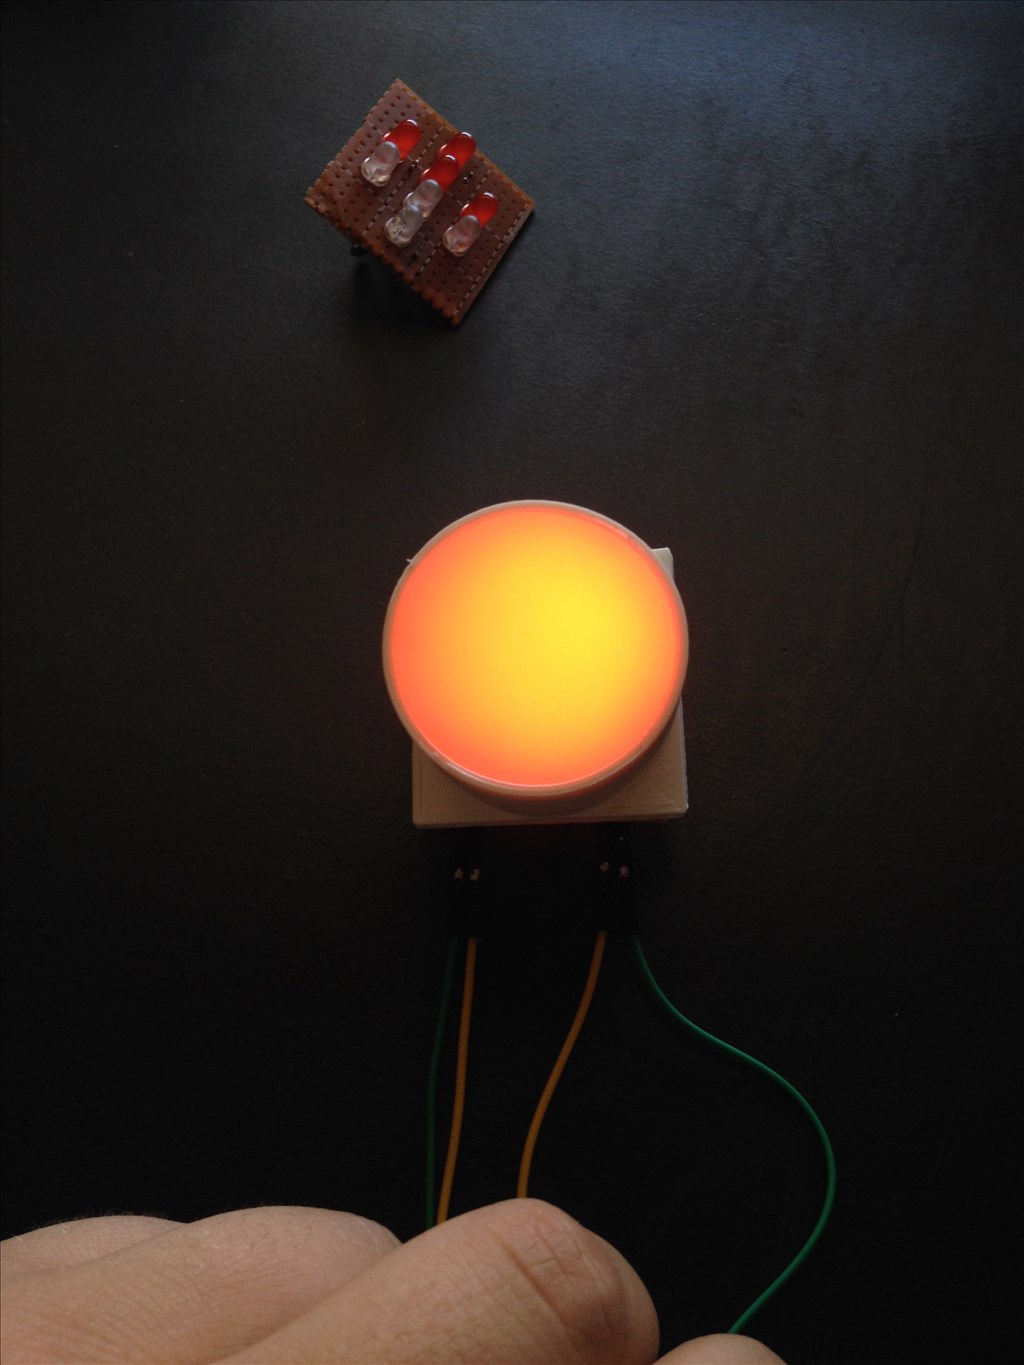
ok so I've made some progress on my droid! Although its not a lot of progress I am still pretty pleased with it... I am trying to make whatever I can myself so it took some testing to get the LED's how i wanted.
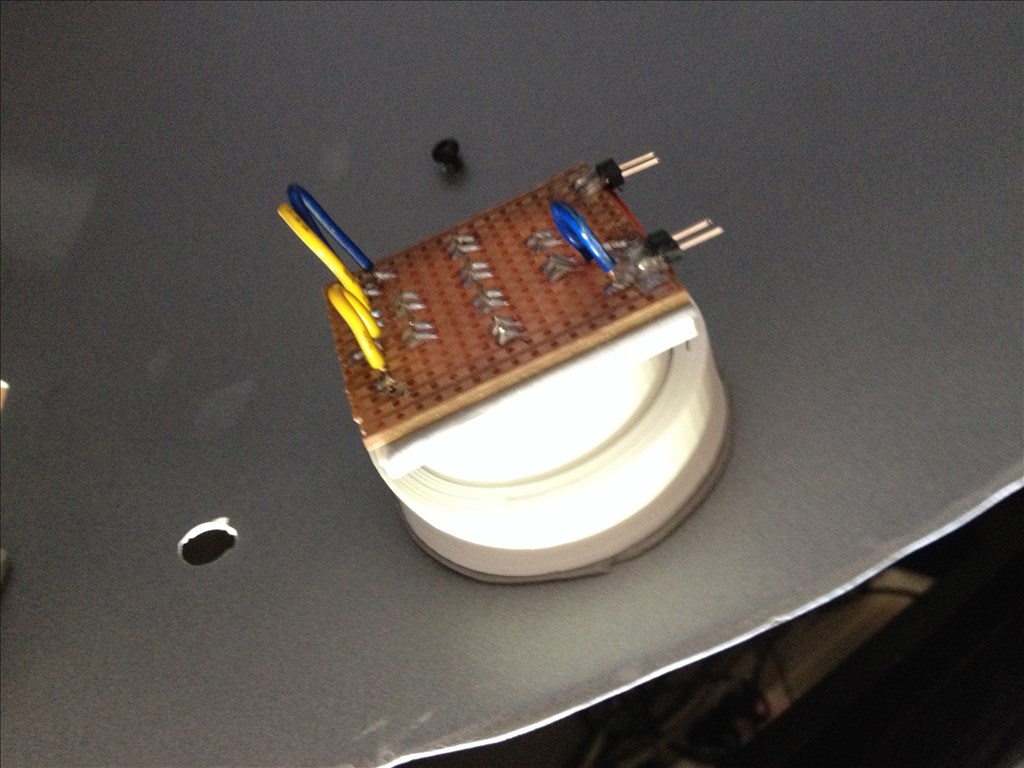
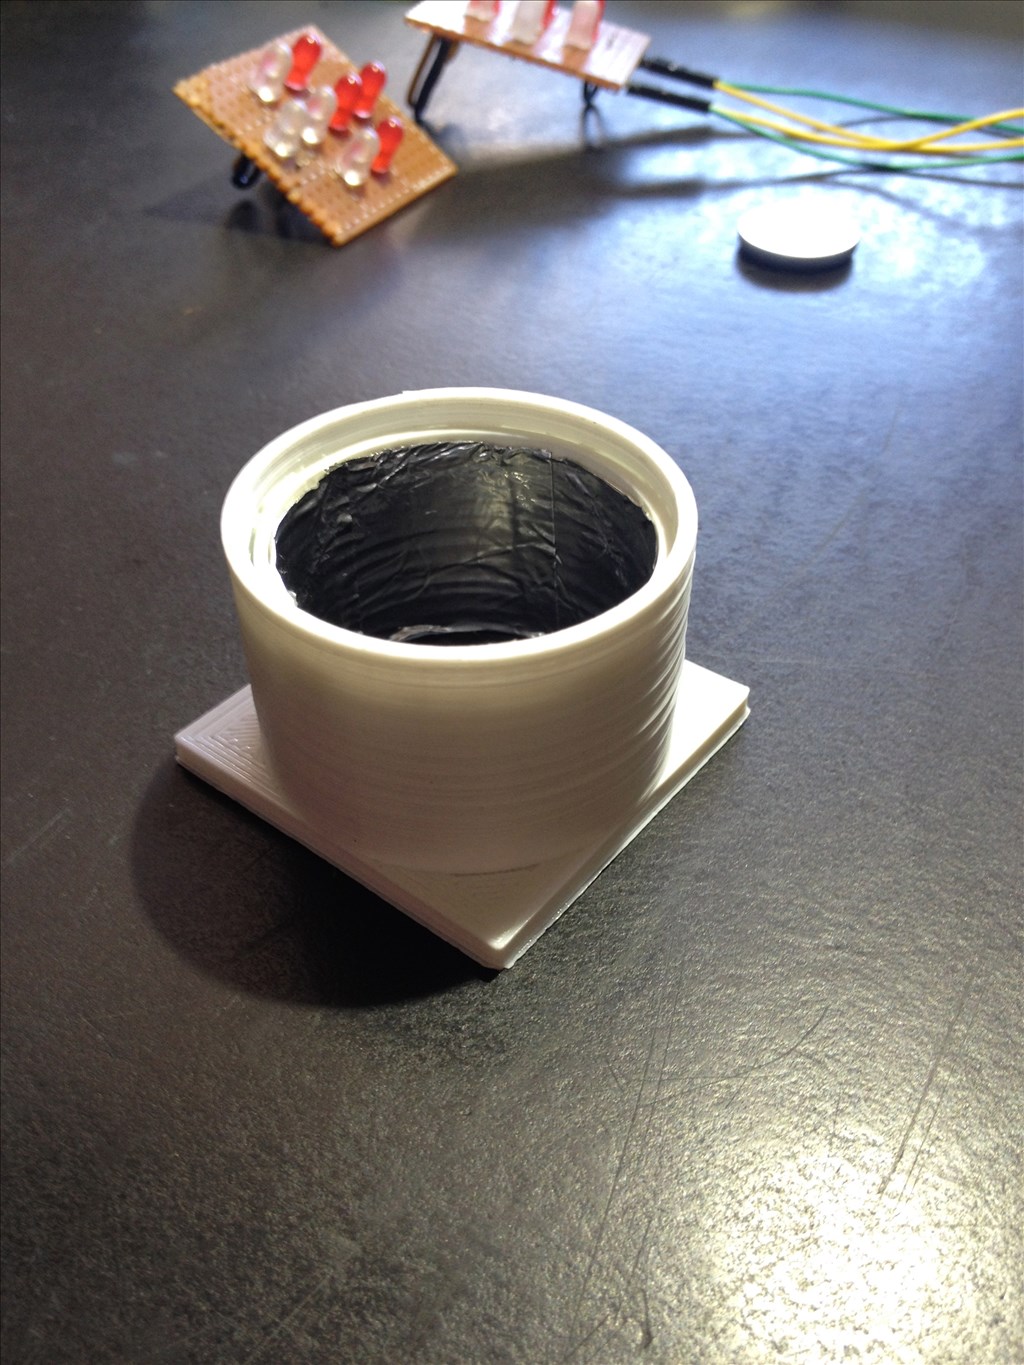
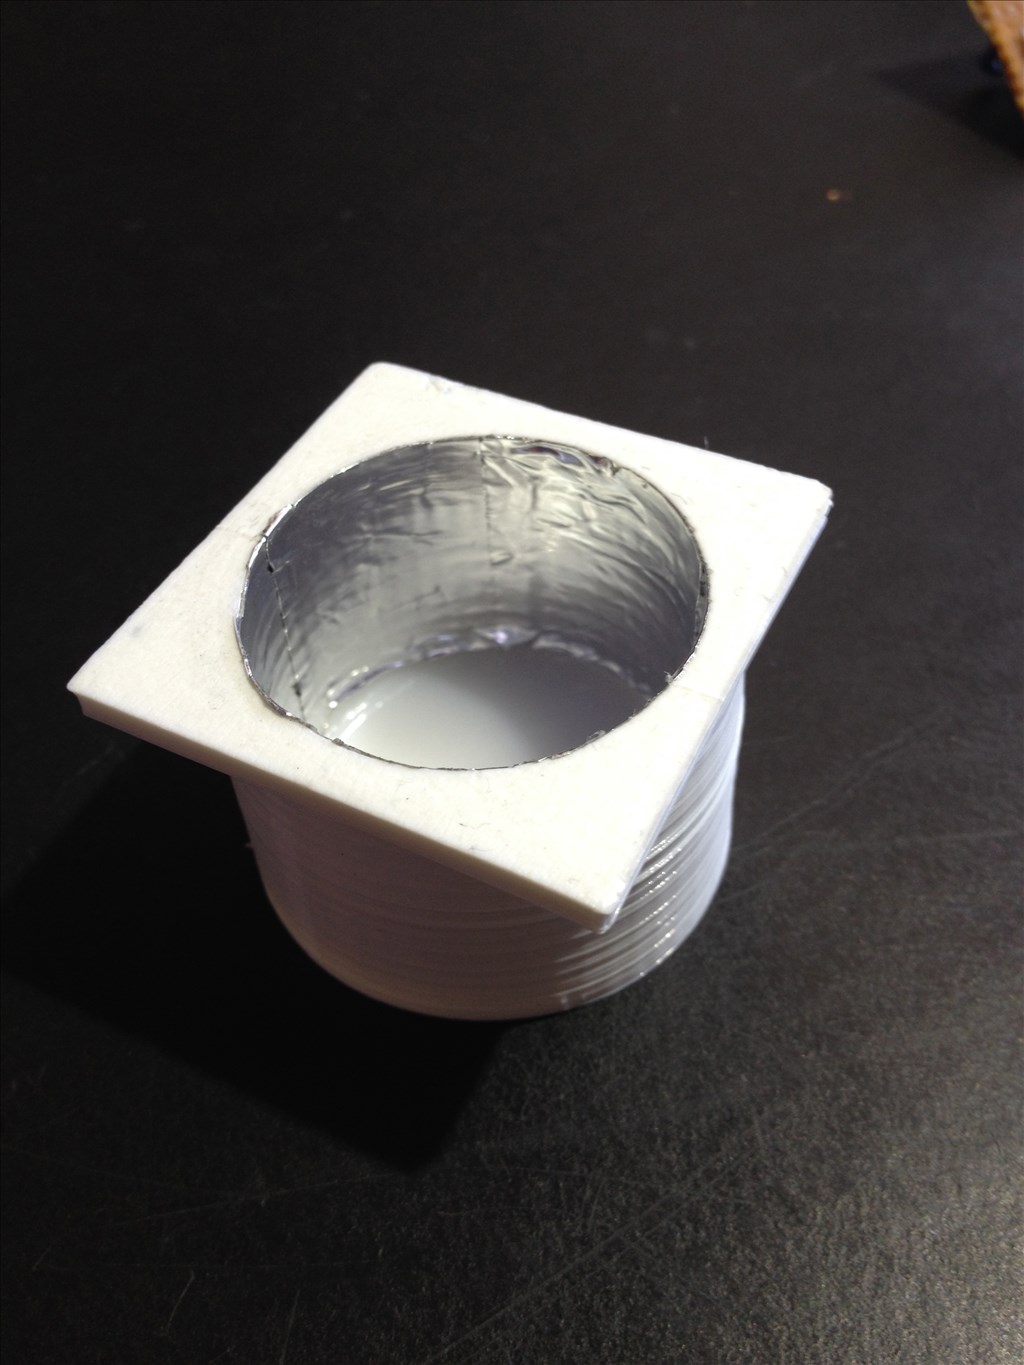
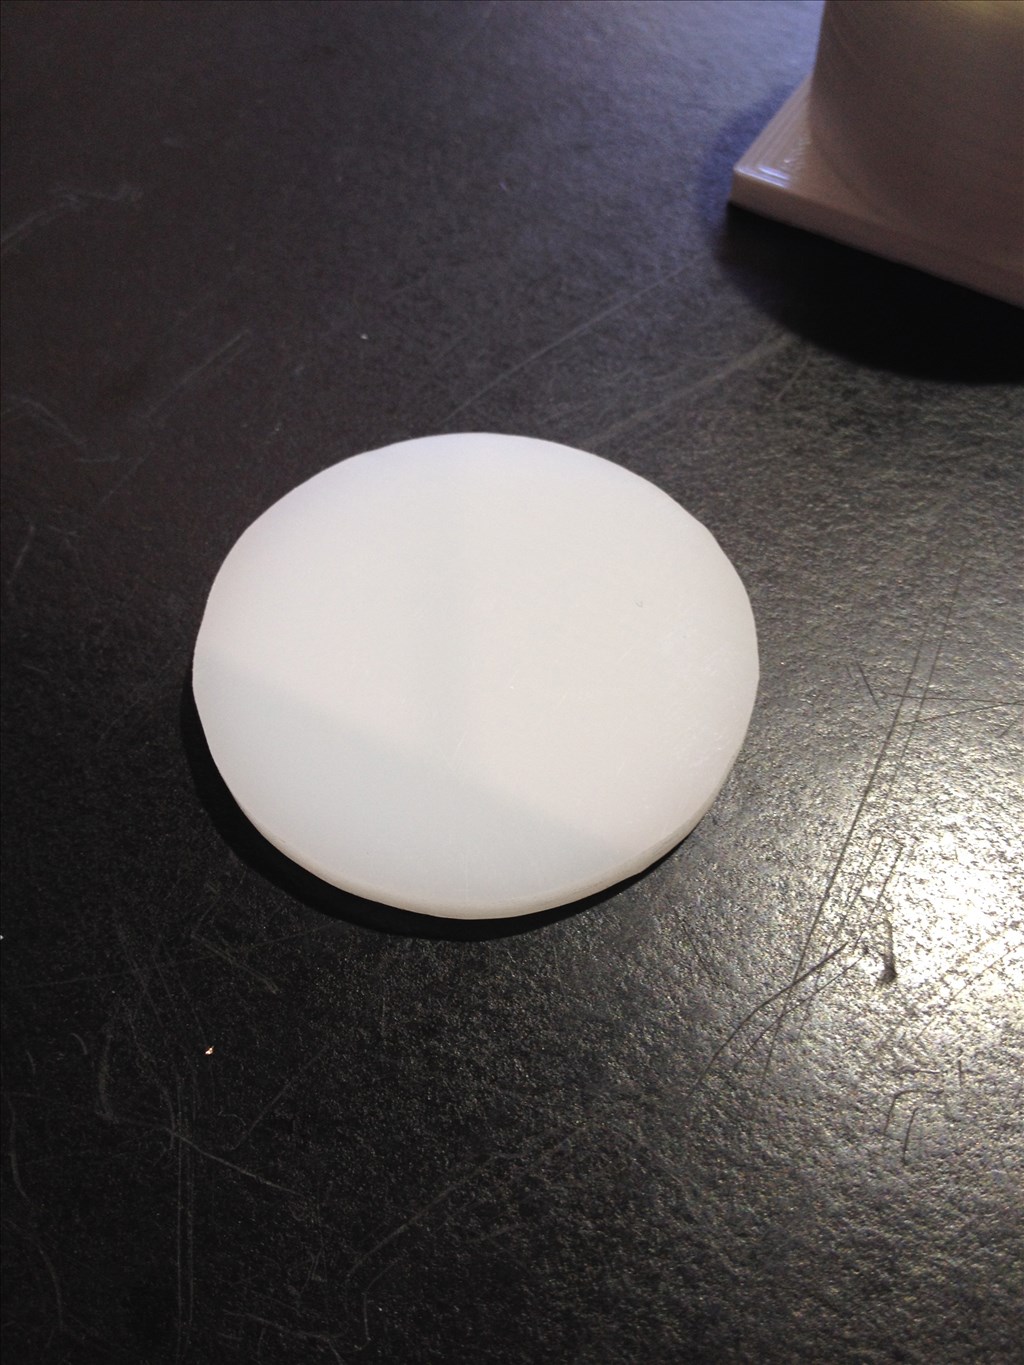
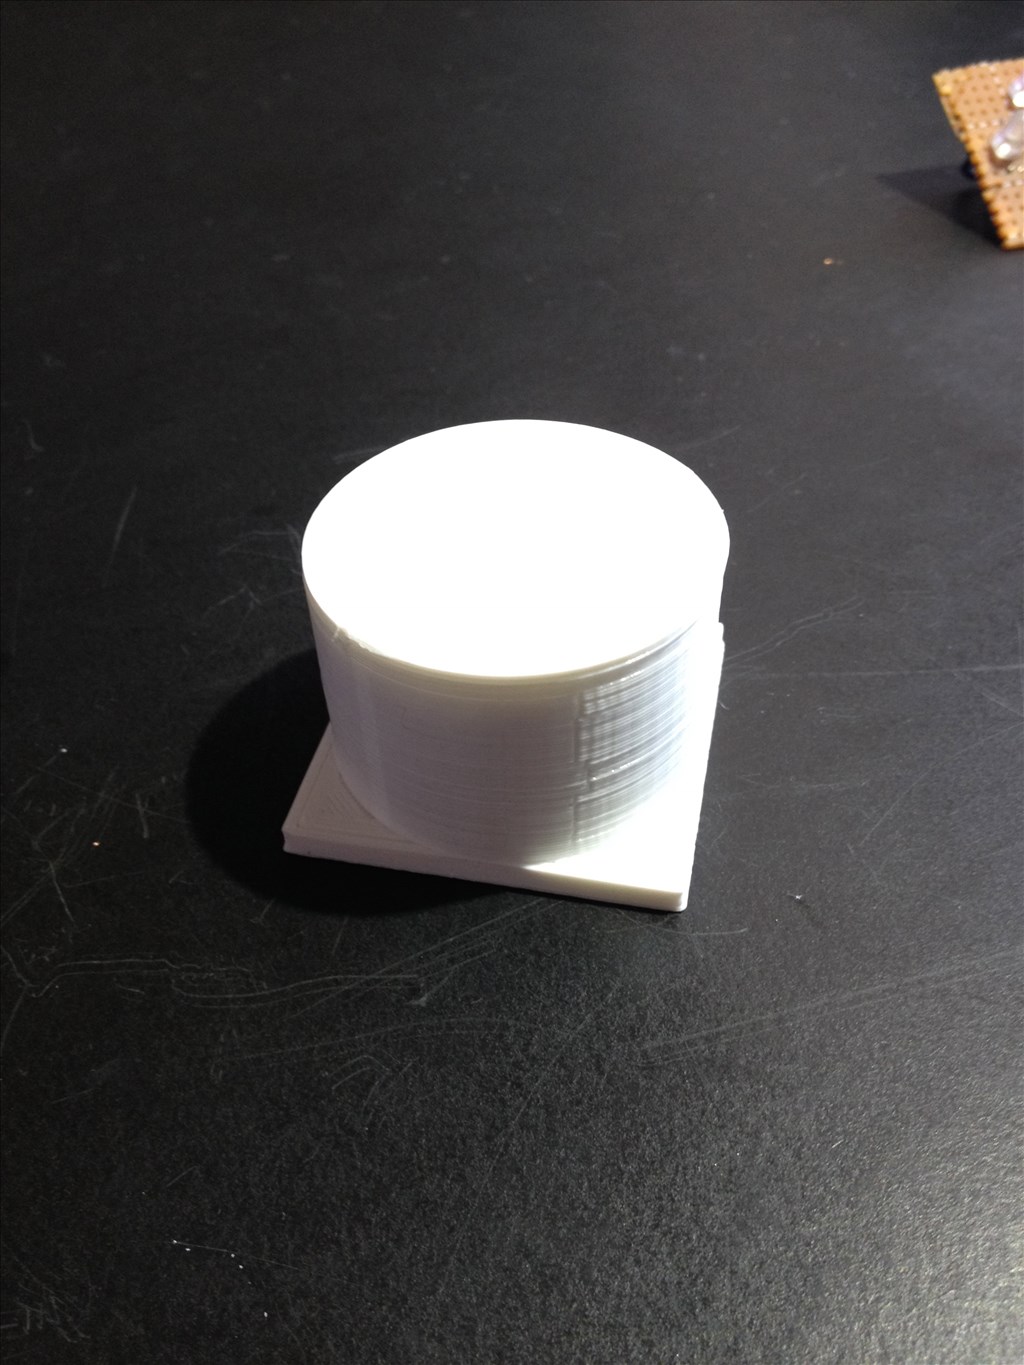
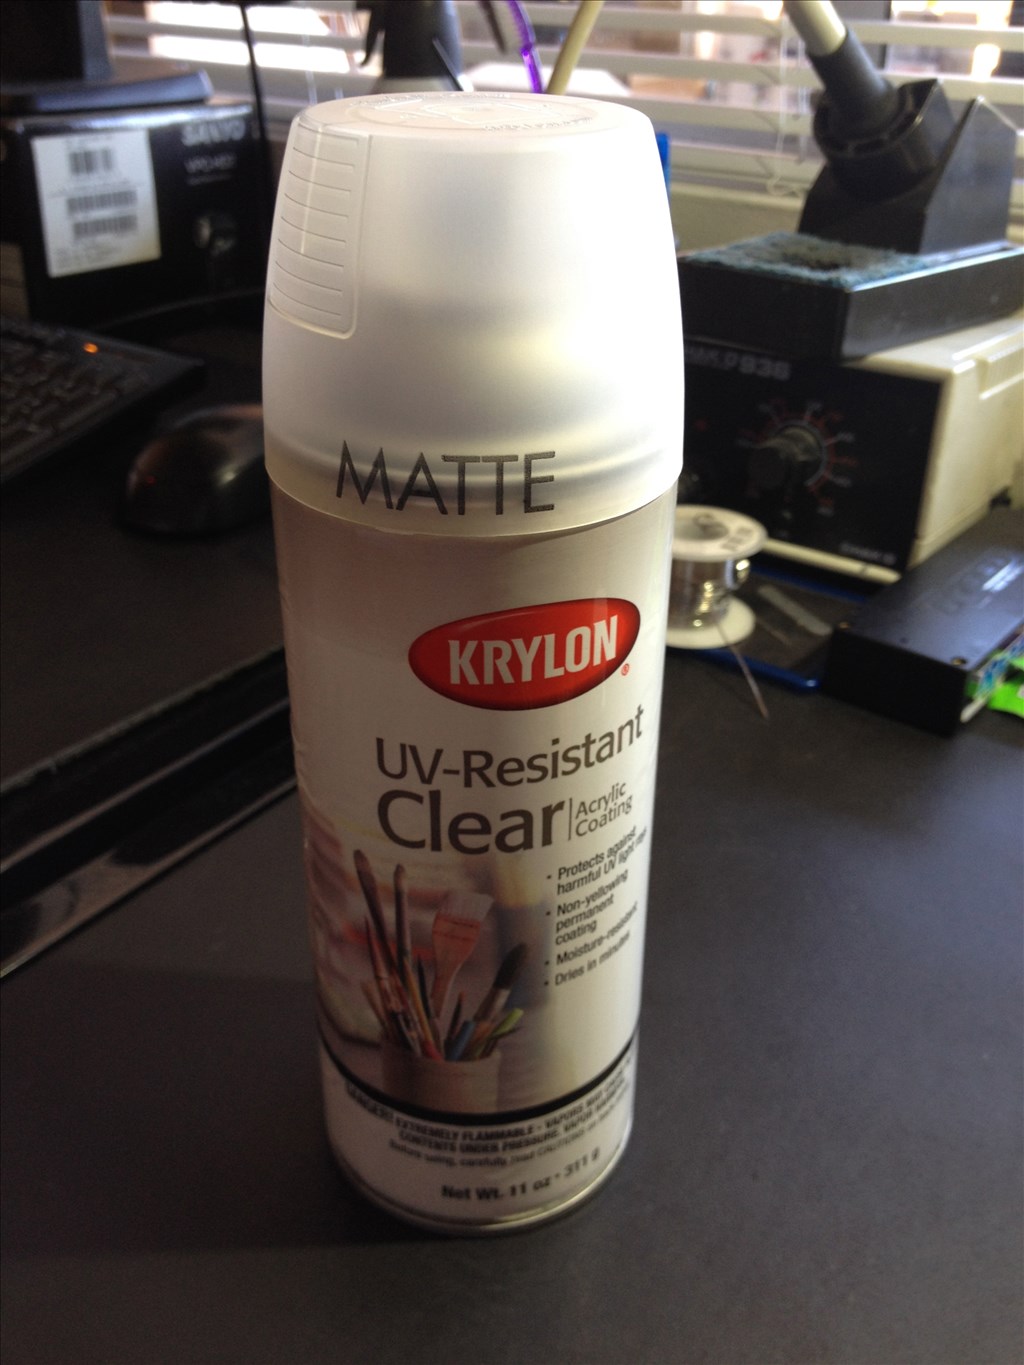
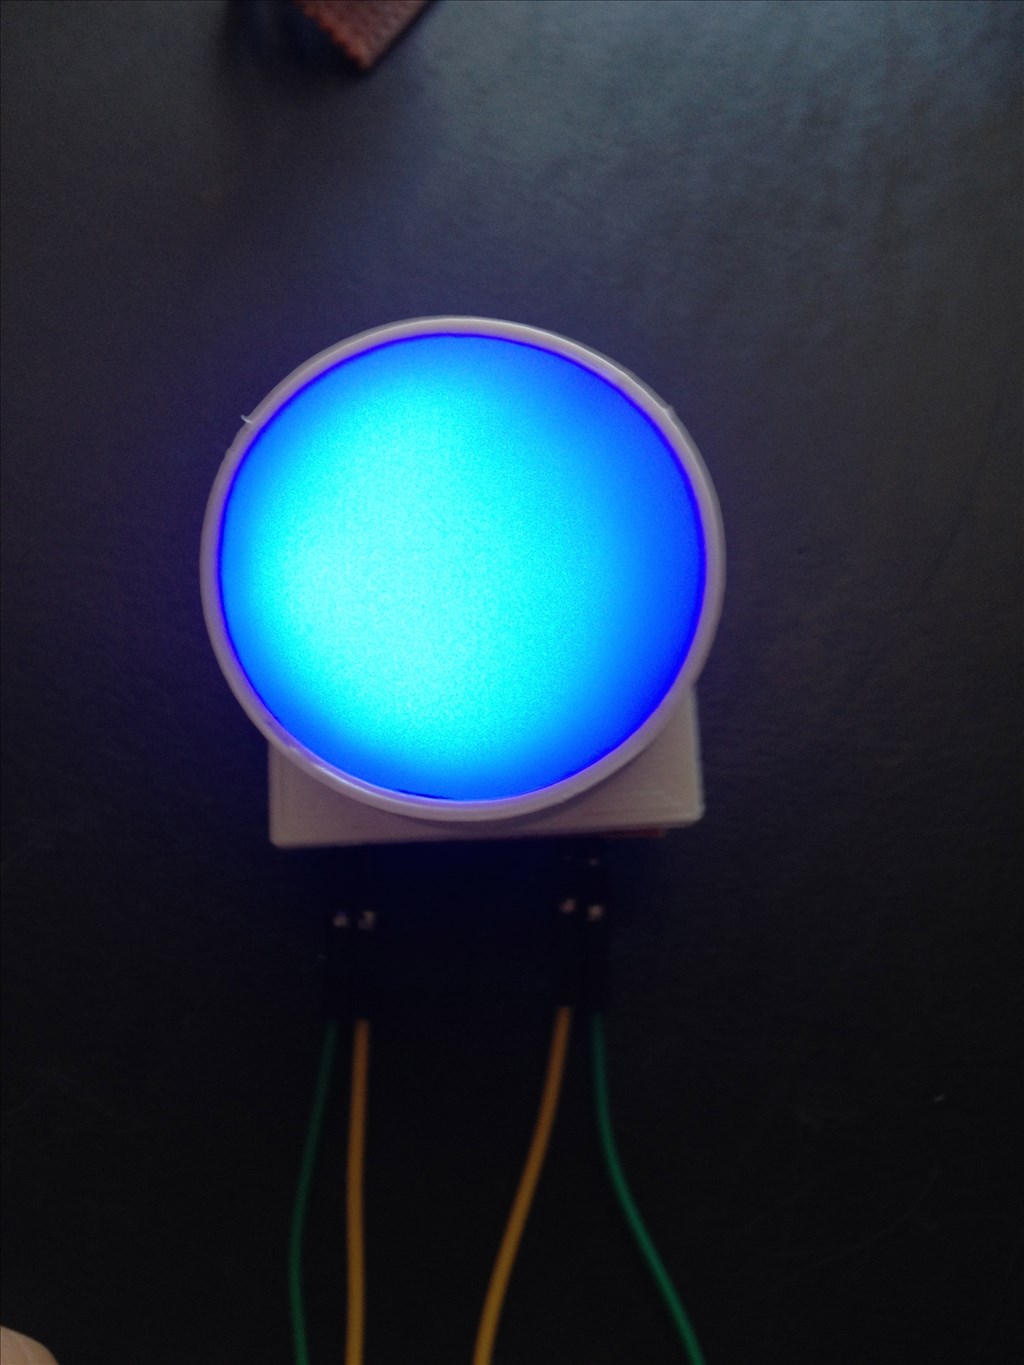
This is the light that transitions from blue to red in the front of the droid. The LED's were originally clear but I did not like how you could see the individual LED's behind the fogged cover. I used a krylon matte finish paint and fogged the led's until i got the desired effect i was looking for:) The base is 3d printed and the fogged screen is a piece of cutting board that i cut and mounted to the mount. I also added some aluminum tape on the inside of the bezel to distribute the light more evenly.

User-inserted image

User-inserted image

User-inserted image

User-inserted image

User-inserted image

User-inserted image

User-inserted image

User-inserted image

User-inserted image

#13  

Also here is a video of 2 out of the 4 logic displays that will be mounted in the dome of my droid

#15  

User-inserted image

User-inserted image

User-inserted image

I had a little bit of time today and decided to mount the PSI light bezel and the 3rd logic display:)

#16  

User-inserted image

User-inserted image

PSI's are all mounted and am now finishing up the last Logic display. next on the list is motorizing the dome and attaching it to the frame:)

#17  

I have a few pictures to update my thread!

I have completed and taped up the shoulders as well as mount the rockler to the frame Still need to figure out a good way to mount the main dome to the riser though... I would like to be able to take it apart so I cannot simply glue it in place as I originally planned to do!

User-inserted image

User-inserted image

User-inserted image

R7 is looking quite comfortable in the corner of my room as I am now working on finishing up the legs and ankles. soon he'll be sort of standing lol

User-inserted image

Aaron

#19  

thank you @Richard R I am trying to get as much done as I can for Star Wars Celebration this April at the Anaheim Convention Center:)

#20  

robot56 Have you considered using some Velcro strips for securing the main dome ?

#21  

@robert56 that is a good idea! maybe I can print some mounts that fit the contour of the inside of the dome:) my only fear is people looking at the droid will want to touch and pull everything... im not sure how velcro will hold up. it only takes one kid to realize the dome comes off to start a frenzy hahaha

#22  

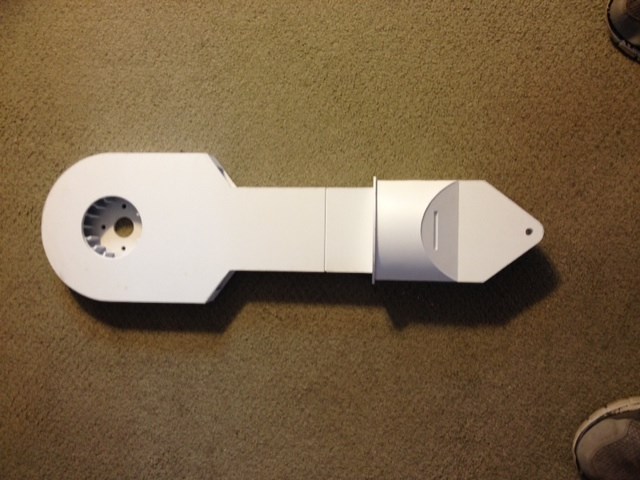
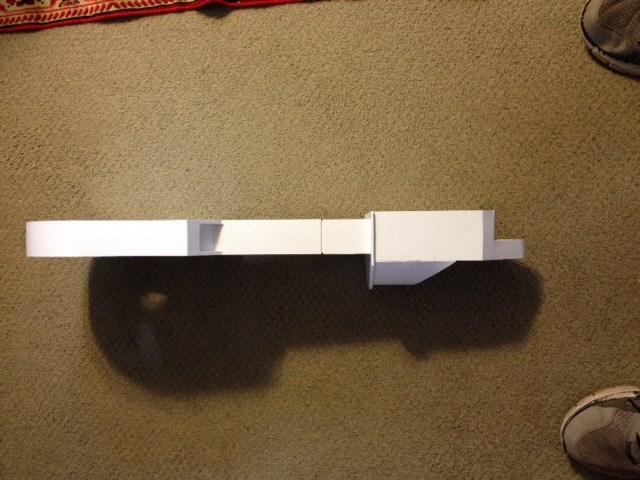
I got some work done on the legs today! I just need to glue the outer skins onto the leg framework so that i can finish and sand the parts for paint!

User-inserted image

User-inserted image

User-inserted image

User-inserted image

User-inserted image

User-inserted image

User-inserted image

The legs are bolted into place but do not have the skins glued down yet:)

#23  

Very nice progress. Looking good! 3D printing is opening up so may doors for building so many things.

I cant decide if my next robot build will be an R2 or Robby the Robot. After watching your build I'm getting excited about doing an R2.

#24  

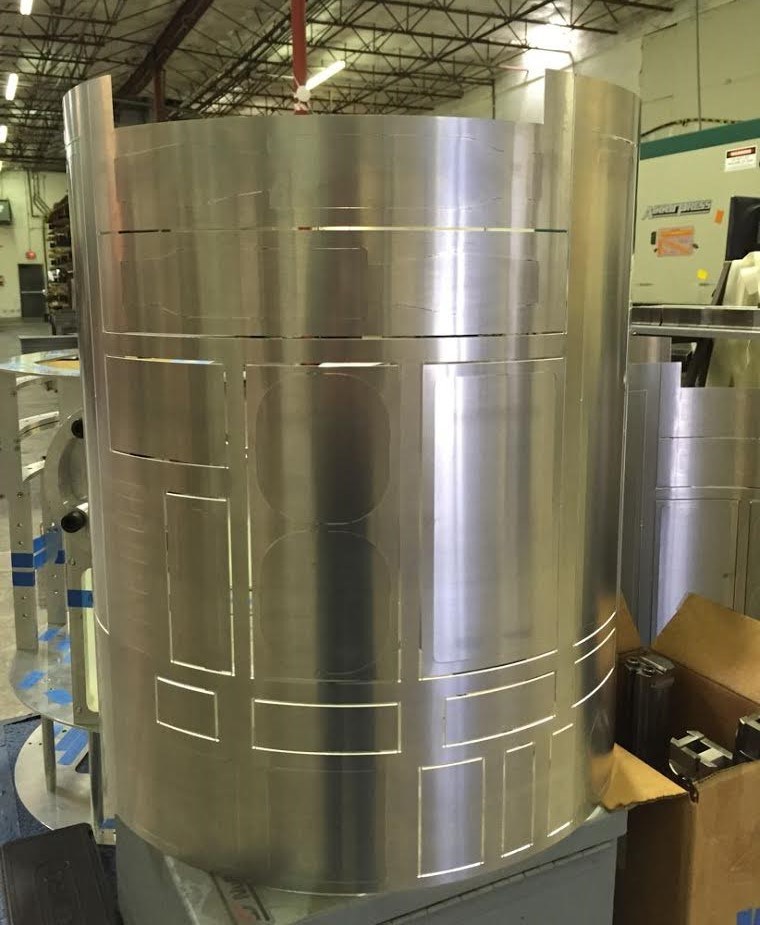
My skins have come from the laser cutters!:D

User-inserted image

User-inserted image

They look amazing.. better than I could have done by hand! I still need to cut out all the panels so that the skins have depth but I was too excited and tied them up to the frame so that way R7 didnt feel so naked haha

User-inserted image

User-inserted image

It's starting to look like an Astromech:)

#25  

@robot56... How much of your R2 (mentioned in another thread) did you print out on your 3d printer?... Is there STL files available for this?... looks awesome!

#27  

@Richard R all of the structural components of the droid are styrene. But the detailed pieces (vents, panels, light bezels, leg details, etc) will be 3d printed:) There is a yahoo group where many of the members from astromech.net post files. One of the folders has club approved stl files that you can download!

@Zap Brannigan My skins were cut by A&A on astromech.net i still need to finish cutting all the way through the skins to give the panels more depth though

Aaron

#29  

I missed the A&A run this time around. I hope they will do another one soon. I have the plans printed out to hand cut the skins but I don't have faith in my ability to cut them as smoothly and cleanly as I'd like.

#30  

@Zap Brannigan I would honestly get your skins through A&A... They're way nicer than i expected. I had hand cut skins but did not come out as nice as these. Plus they offer the "extras" with the skins and include most all of the body vents, power couplers, etc. One of the best decisions i have made on my build thus far

#31  

User-inserted image

User-inserted image

User-inserted image

User-inserted image

My legs are finally all glued and sanded together! luckily thanks to a couple of local builders I was able to pick up some of the larger detail pieces (horseshoes and booster covers). The white detail parts are 3d printed from my home printer so they still need to be primed and sanded for paint.. so next is finishing the detail pieces for new paint and mounting them to the leg frame:)

Aaron

#32  

User-inserted image

good news! skin layers are glued together and now waiting on delrin square stock to mount them to the frame!

I have registered my droid for Star Wars Celebration in mid-April so I really need to get working lol 75 build days left:)

#33  

User-inserted image

I printed out some brackets to attach the dome to the riser.

User-inserted image

I am using velcro between the dome and riser plate so that I will be able to separate the two if need be.

User-inserted image

User-inserted image

I also drilled holes and cut out the mounting plate for the dome motor.

User-inserted image

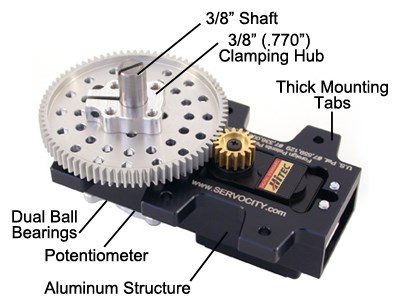
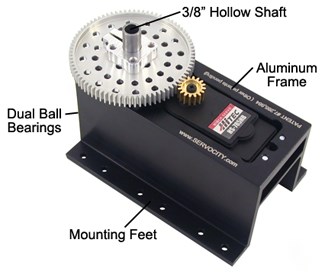
For the motor I will be using a servo powered gearbox from servo city.

#34  

I got some more work done on my astromech this week!

I ordered some 0.5 inch delrin square stock and will be using it as the speaker and skin mounts on the frame. For the skins I got some high grade velcro and will be using it to mount the main portion of the skins to the frame. At the skin seams however I will need to screw the skins to the frame to ensure the seams dont move around.

User-inserted image

User-inserted image

User-inserted image

I was also able to sand and paint the booster covers black. I need to finish up one of the legs and I will be able to then paint and finish up all the leg details

User-inserted image

Over the weekend I was fortunate enough to go to the Discovery Science Center in Santa Ana, Ca for their engineer's week. A few of the R2-Builders were there with their droids. The group did a presentation about the club and answered questions about how they are made. I cannot wait to get me V4 wired up and start impressing people with the functionality of ez-robot

User-inserted image

#35  

Really good work so far. Is that a Media Creations frame? It looks like one. I have one too. I have it put together but have been too chicken to permanently glue it.

#36  

@Zap Brannigan yes the frame and main legs are both media creations:)
His quality of cnc parts are amazing! I was afraid at first too but as long as everything is straight and flush with the outer rings the frame glues together perfectly.

in my experience so far with the styrene frame: I am not gluing the skins to the frame so my frame has quite a bit of flex to it. To reduce flex I am screwing in the delrin square stock to both mount the skins and stiffen the frame up. If you're gluing the skins to the frame though you will not have any problem with flex lol

#37  

@Robot56 I bought the frame and the skirt. The frame is high quality, but the assembly instructions are sketchy so it makes me nervous. The "glue" actually welds the parts together so once it's done, it's done. No second chances.

#38  

true the instructions arent the best... the legs were even worse than the frame.

I used weldon 4 ( thinner than water and an applicator bottle) to "tack weld" the frame together initially. you can usually break the weld if you really need to fix or change something. Once I was happy with the fit and finish I then used weldon 16 (ticker like syrup and comes in its own application tube) to finish and really weld all the joints together. weldon 16 also dries a lot slower so you have the ability to move things around before it sets up:)

#39  

Great work ! I am the lazy guy from instagram ( the one who is slow to post updates on my build process ) you commented on my R2 build:) @robot56

#40  

@jayutmb haha hey small world!

I'm super jealous of your build so far. After seeing yours with ez-b I really want to get some wiring into my droid and at least get the dome lit up and spinning on it's own

How did you control the dome movement? Is there any position feedback or is it just a continuos motor like what most of the builders use?

#41  

for now it is just a polo motor running from syren 10 motor driver and EZ-B. I wanna maybe hook a pot switch to the dome so I can get a sorta close form of feedback ( not looking to spend alot on that aspect and pot switch is really cheap) I do need a slip ring however... I have tried to get around the build with out one... no such luck.

#42  

my way around the slip ring was to use a servo gearbox from servo city that has a 3/8" hollow shaft in the middle of the driven spur gear.

User-inserted image

That way i can run the wires through the hollow shaft and then just use a 9 or 24 pin serial port connector to use a single plug when powering my dome from the ezb.

User-inserted image

#43  

got some more legs details painted today! just a couple more little things left and the legs will be done

User-inserted image

I started working on how I would mount some of the electronics and made a board that slots into the frame and will allow me to take out most of the electronics with one board. the ezb will be mount on top of the board so that i can get to the servo pins easier. all of the audio parts will be mounted underneath since they will be less used.

User-inserted image

User-inserted image

User-inserted image

#44  

Outstanding! Looks great so far.

Just wondering why your using a Sparkfun MP3 trigger when the EZB streams voice files right from your laptop so nicely?

#45  

Thanks Dave:)

I used the mp3 trigger because the droid will most likely be controlled 100% of the time from a tablet instead of a laptop. I just wanted to ensure that the droid will always have audio. I wasn't entirely sure how the sound would work from a tablet so i got the mp3 trigger to be safe. It may be entirely overkill though haha

Aaron

#46  

Oh, that make since. I love overkill! No such thing as too much in my book. cool

#47  

@robot56 - Amazing. I started working on a mini astromech but ruined most of it. Turns out, I'm not the greatest engineer but, I learned a lot from the experience and am only out about $20-$30. I def want to give it another go in the future. Your's is looking amazing. Very inspirational. Nice work.

#48  

Thank you so much @Antron007

It has been a lot of work so far... With school and work finding the time to work on it can be really difficult but it will all pay off in the end. Have you been over to astromech.net ? its a worldwide club that builds astromech droids:) you might find some good ideas/parts and build another one!

Aaron

#49  

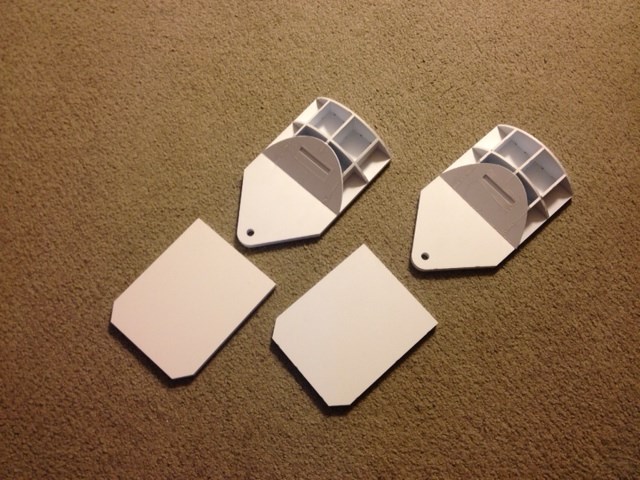
last night between studying for midterms I printed out these brackets to accept the 1/2 inch delrin square stock. I am using these to make the servo gearbox mounts that will key in between the frame rails and the gearbox. this will allow me easy access to the electronics without having to remove hardware. I still need to print up another set of mounts though for the other side

User-inserted image

User-inserted image

User-inserted image

User-inserted image

#50  

I am definitely going to school on this build, so keep it coming.

#51  

You are quite welcome. I've been to AM.net. its been about 6 months since my last visit there though. There's never enough time it seems lol. I've relocated twice in February and I've finally found a job in the IT field and started this week so my nerdiness is kicking back into full gear. Keep it up. I love the way yours is looking.

#52  

well.... its official.... WE HAVE MOVEMENT!:D

Its a proud day for me lol Aaron

#53  

@robot56

Beautiful build man. \m/

#54  

up next this weekend will be to get the dome lights wired in and to get the audio equipment up and running!:) seeing the dome spin was a huge boost of motivation for my build

#55  

@robot56 Nice. I was curios how fast the dome would move with the servo and gearbox setup. Can you document with pictures how you set all that up? I don't think I have seen a dome movement setup done like this and I am definitely interested in how you did it.

#56  

Of course I'd be happy to!:) I will take pictures and do a more detailed post as soon as I get home from work today. It's nice to have some people actually interested in the droid. I've been planning this build for almost a year now and have even solid modeled most of the parts to ensure that everything will fit together how I want. astromech.net doesn't seem to be too fond of R7 units hahaha I'm sure more people from that club will be interested after Star Wars Celebration though because I plan to have the camera, lights, dome, and sound system all up and running.

#57  

ok so I took some more detailed photos of the domes drive system:

User-inserted image

User-inserted image

this is the servo gearbox mounted with the 4 mounts that I printed. I used 1/2 inch delrin square stock to space out the mounts and to bolt down the servo gearbox. bellow you can see how the gearbox is floating between the frame rails and is easily removed.

User-inserted image

I used a piece of plastic to key in the main spur gear and the outer bearing.

User-inserted image

User-inserted image

User-inserted image

Finally the 2 inch riser is placed onto the outer bearing and the dome is velcro'd to the top of the riser:)

#58  

that is really kick ass! I tried something similar with mine.. but could not get the torque right and it was killing the servo trying to spin the dome. Well done!

#59  

I love it! I think your doing a fantastic job. Makes me want to start building my own.

#60  

hey guys I have a small update and need some help with my build.

Yesterday I went to Orvac electronics and got a 12 volt battery and a power distribution board with a built in fuse box incase the worst happens...

User-inserted image

I mounted the power distribution board into the frame and connected the amp and the V4 to the 12 volt power source. I was super pleased with how it looks and the fuses are easily changed from the top. I need to lower the amp though so that I can easily adjust the sound..

User-inserted image

User-inserted image

User-inserted image

The problem I'm having though is when I power both the ezb and amp from the same power board, the servo moving the head no longer rotates and makes a strange buzzing noise. To try and diagnose the issue I separated the amp and ezb so that way they were powered by their own independent battery. When I did this the servo worked perfectly. I then reconnected the ezb back to the power distribution board, without the amp, and the servo would still not rotate correctly. Therefore I have isolated the issue to the power board/fuse box. confused

this is a picture of inside the power distribution board:

User-inserted image

I think that there may be a ground issue within the power board that i bought? Any suggestions would be great..

Thanks guys Aaron

#61  

Also I got the sound system up and running!:) the sound quality is way better than i expected

#62  

R7 finally has some personality:)

PRO
Canada
#63  

Looking great! I'm a big R2 fan so I'll be sure to follow this thread as you update your bot!

By the way, did you figure out your possible grounding issue?

#64  

Your build is looking great! Very cool!

#65  

@jeremie Thank you! Yes I did figure out the problem.. the voltage regulator sold in the ez-robot store, as a servo extension, is only rated at 1 amp. I ended up getting another voltage regulator so that I could power the servo and ezb separately. After powering the two individually the servo motor ended up working normally:)

thank you @mcsdaver

#66  

@robot56 Everything is really coming along nicely. I like everything that you have done.

One thing I have noticed, and please don't take this as a criticism, but there is a bit of drift with the dome movement when it is stopping. Is this something that you are just going to live with or are you working on more precise starts and stops?

Also, with that gearbox you are using for the dome, what gear ratios did you go with?

#67  

@zap thank you! I don't consider it critisim at all:) I have noticed that the dome seems to want to drift at the end of it's rotation.. I'm thinking that the drift is because the domes weight as it is spinning. As the servo is locating it's position the inertia from the dome keeps the dome rotating slightly longer than it should be? I'm using a 2:1 gear ratio but one of the things on my list to try is a higher gear ratio since the gear are cheap to buy separately. Hopefully then the drifting will be reduced as the servo has a bit more torque to stop the dome.

#68  

It could also probably be programmed to be more accurate by scripting? The servo always seems to find center and the desired position proberly.. However it almost seems like there is a deceleration built into the servo at the end of a rotation lol

#69  

I have spent the last few days cutting and fitting skin mounts to the frame of my astromech. along the middle section/doors I used delrin that holds velcro to locate where the skins need to be lined up. then i made delrin mounts that screw to the frame on the side of the seam lines. The skins will be countersunk so that the screws sit flush with the side of the body:) Its finally starting to look like something!

User-inserted image

User-inserted image

User-inserted image

User-inserted image

User-inserted image

User-inserted image

#70  

With Star Wars Celebration fast approaching and the added bonus that R7 needs to be loaded/displayed inside the facility a day before the convention starts it was time for me to start making some simple scripts. My goal is to make him as lively as possible for people walking by the display. I set up the camera to follow motion and faces, as well as wrote scripts for randomized audio files to be played within a certain interval. i will have an Ipad mounted by one of his lower doors to show people that he has a camera inside the dome. Next to his name display board I plan to have a QR code that will lead people to the ez-robot forum page and this build. :) hopefully people get a kick out of him as most the other droids just sit there with no movement whatsoever... I still have the skins and legs to paint before I can apply the black/carbon fiber vinyl and mount all of the other detail pieces.

For the first audio clip I need to find a file that isnt cut off but all in all for being completely randomized sound and movement i think he looks decent?

#71  

Looks fantastic in my opinion. Have fun at celebration!

#72  

Awesome and well done! thanks for the vid! If you can, send a few pics back from the Star Wars Celebration

#74  

Really nice work. Love the smooth movement of the dome. How is your motion tracking working? Does the dome move properly with someone walking past?

#75  

Droid fans will love him! Looks amazing!

#76  

thank you so much for the compliments guys! Its been a really really long process and I still have a ton to do but all in all I'm pretty please with how he looks:)

I will definitely be taking photos and videos at celebration of people reacting to the droid. :D

@nomad18.08 I have been playing with this website all day thank you!

@Dave Schulpius the movement tracking works fairly well but i am still playing with the sensitivity and object size as sometimes he can get lost in all the movements on the screen. he tracks faces perfectly though and have scared my girlfriend walking into my room several times lol

#77  

hello,

Is there someone knowledgable about the ARC mobile version that can help me out or clarify something for me:

I have built a mobile app for my robot and it all seems pretty straight forward. I am able to get the connection/LED control/camera/and random sound buttons to work flawlessly. I run into trouble though when i "cc" a script from the script manager. The script will never be activated. Does the mobile version support the script manager? Do i need to physically type the code into the assigned button?

Also I am having trouble saving servo variables to the slider.. has anyone else run into this problem?

Thank you any help/knowledge would be great Aaron

#78  

@robot56 Yes you need to type the script into the assigned button. I made a button called "Salute" and typed in the commands below. Now when the button is pressed my robot will salute, say "Yes Sir" and then go back into home position. I also setup a voice command using the same script so I can say "Salute" and he will do it. The buttons works very well to make your robot move and talk from a mobile device.

cc("Auto Position",AutoPositionAction,"Salute") SayEZB("Yes Sir") Sleep(2100) cc("Auto Position",AutoPositionAction,"Home")

Salute and Home are actions I programmed using the AutoPosition window. The smiles were added by the forum software and should be right brackets.

#79  

@mcsdaver thank you for the help!:) so i discovered that the script manager is not supported within the ARC mobile version.

Instead I am using the EZ-Script window and activating it with:

cc("ez-script", scriptstart)

the sounds within the scripts work just fine but now I am having a problem where the servo in the head will not rotate during the script. even just a script to center the head will not work on the mobile app.

The buttons, servos, sounds, lights and other functions all work perfectly when I run the mobile app from my computer within ARC... confused

Any thoughts on how I can get the servo to move within the mobile app?

#80  

well the first day of celebration has ended and R7 did great! He ran all day with zero issues. People walking by loved that the robot had a camera and was able to interact with them.

I decided against the mobile app and bought a Winbook tablet for $70 on amazon that runs a full windows 8 and was able to run the normal ex-builder:)

User-inserted image

User-inserted image

User-inserted image

User-inserted image

#81  

Well done! That little Droid looks great. I can see how he was a hit. I understand your pride. I wish you had some videos to share.

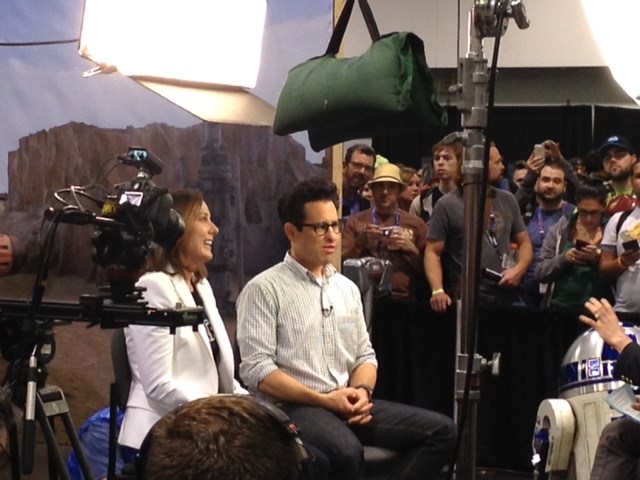
Who's in your first picture?

#82  

For starters I am super jealous that you are there:)

So two questions: One I heard chatter that EFX made an announcement there that they were releasing a full scale RC R2?

And next how was the Ez B received from the Astromech "purists" builders?

#83  

@Dave Schulpius thank you! There was a line to even get into the room so videos are hard. I will try and take more today! the first picture is of JJ Abrams, the director of the new film, and Kathleen Kennedy, the producer and now president of lucasfilm.

The two year wait has far surpassed my expectations:) @Jayutmb

  1. Yes EFX did make an announcement of the full scale R2D2. It is also remote controlled. They however wouldnt fill us in on the price so Im sure it is a small fortune...

  2. At first I sort of got the feeling from the purists like "of that's cute" haha but once JJ walked through before the show started and there were many fans giving my droid attention they saw how cool it was and started to be a lot more curious. A few of them by the end of the day had the website up on their phones! I think once they saw it in action it was well received:)

#85  

Couldn't watch the video for some reason, but the pictures are great!

#86  

Try again I'm not sure why the video was set to private:)

#88  

R7-A2 was all ready to go and eager to meet all the crazy fans this morning. There were so many people I dont know how we all survived!

User-inserted image

User-inserted image

User-inserted image

User-inserted image

User-inserted image

#89  

Well.. it has been a week since Star Wars Celebration and my droid is completely torn apart lol

I ended up winning an hydro aluminum dome from the club and will now be able to make the dome completely automated! to make life easier the dome will receive its own EZB:D it will be another project in itself but I think it will be totally worth it. already with just the radar the dome is looking amazing:) I still need to drill and screw in the 3d printed servo mount to key in the aluminum frame.

User-inserted image

User-inserted image

User-inserted image

User-inserted image

I also got some really good ideas from other builders on how they are mounting their electronics. I bought a 12X18" cutting board from walmart for $5 and was able to make a slider electronics tray that will house all of the components.

User-inserted image

User-inserted image

User-inserted image

Currently I am printing channel backing and hinge mounts for the long front and rear doors of the droid. my printer is fairly small so I needed to split it up into 3 different segments. So far thought the parts seem to be fitting nicely

User-inserted image

#90  

I cannot believe it has been 3 months since I have updated my build thread.... I have been feverishly working on the new aluminum dome and getting all of the fancy flashy lights up and running in the dome.

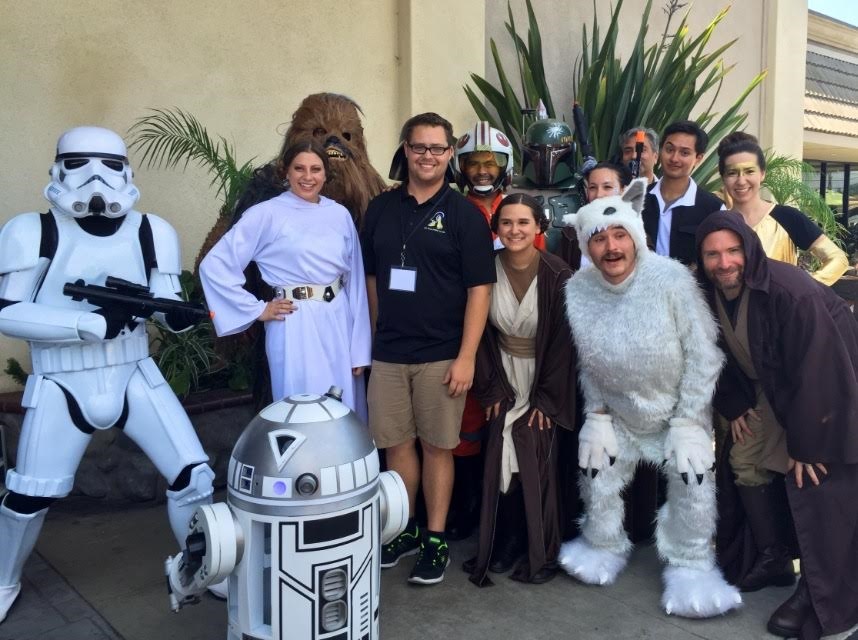
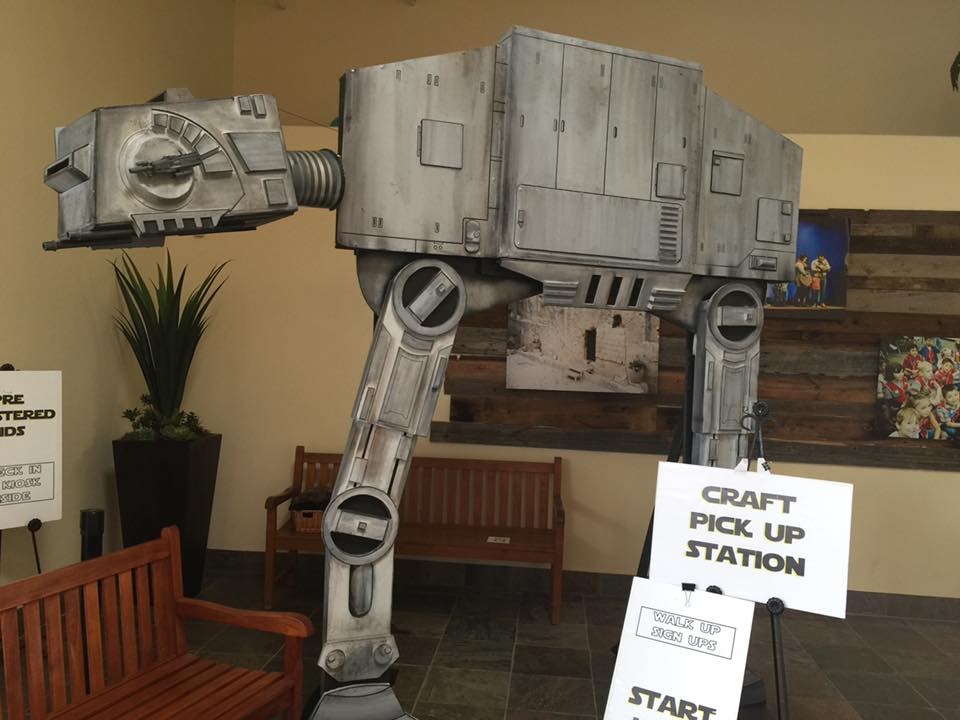
this friday R7 and I are going to my local church's vacation bible school to take part in their star wars themed event. I wish he was more complete but they were happy to have him as he is. I will be sure to post photos of the dome wiring and R7 at the event!

User-inserted image

User-inserted image

#91  

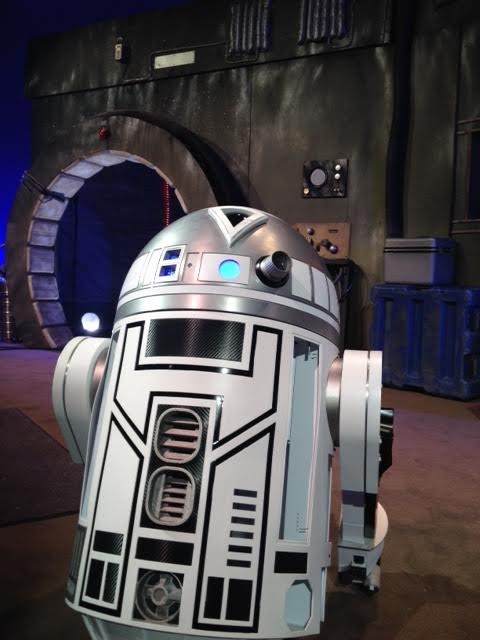
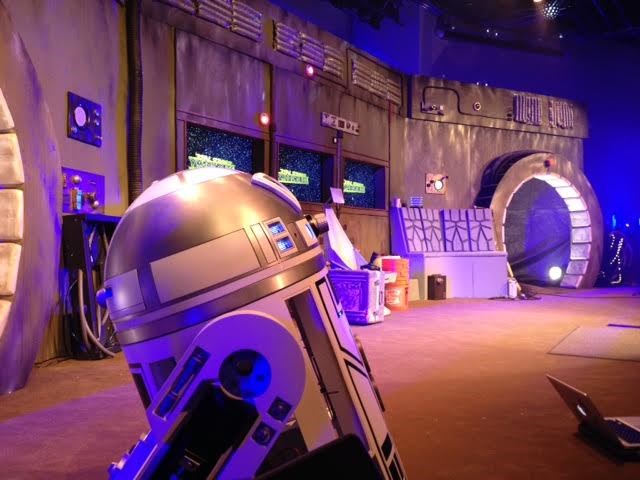
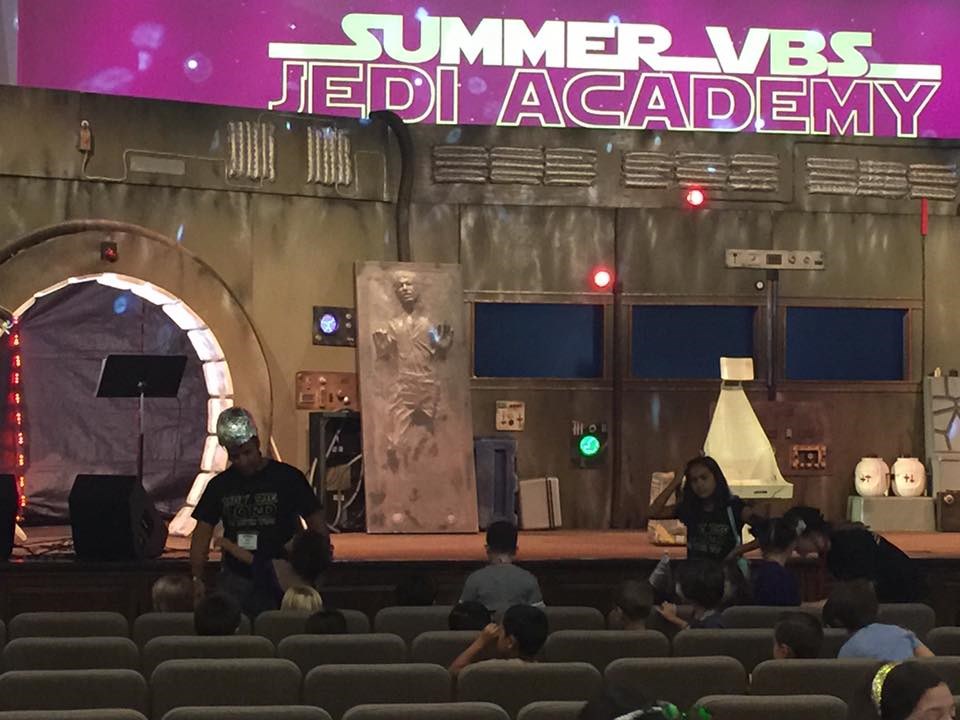
I had such a blast today bringing R7 to the star wars themed vacation bible school! the set and people were awesome.. I cant wait until next year when the droid is more complete

User-inserted image

User-inserted image

User-inserted image

User-inserted image

User-inserted image

#92  

Wow that's awesome. He looks great. Love the set and the lighting.

#93  

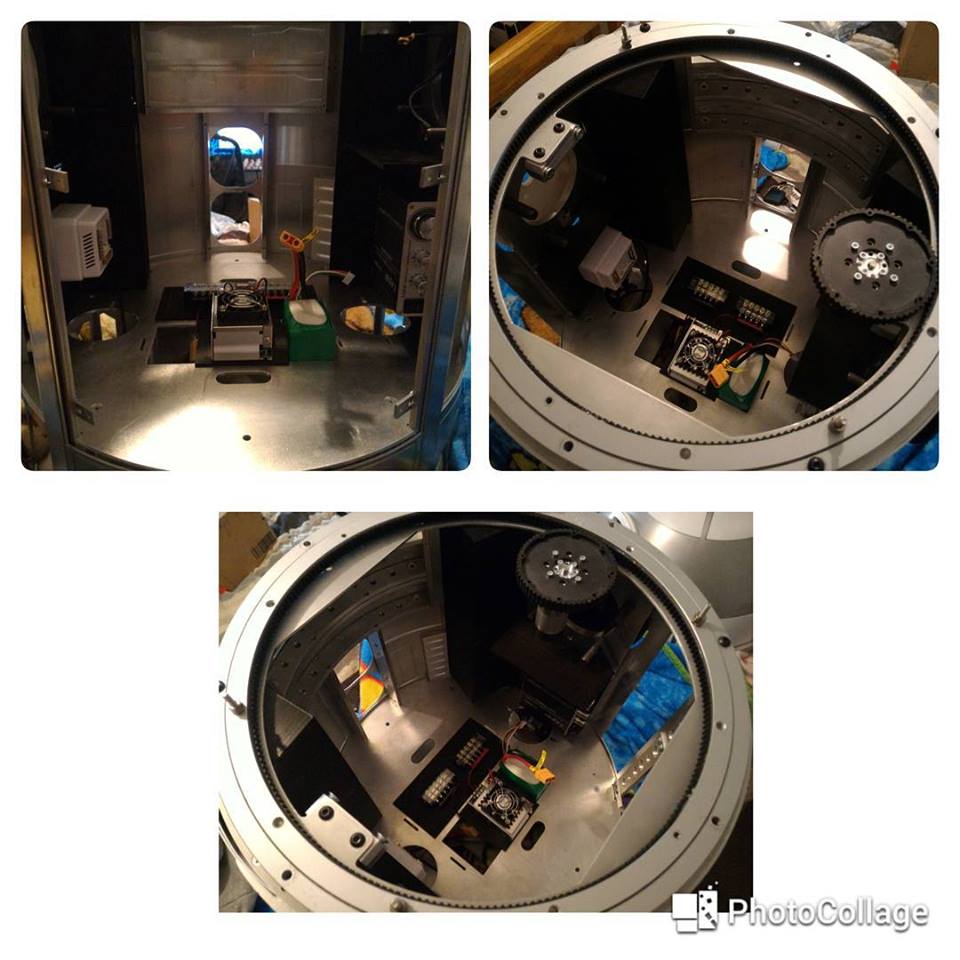
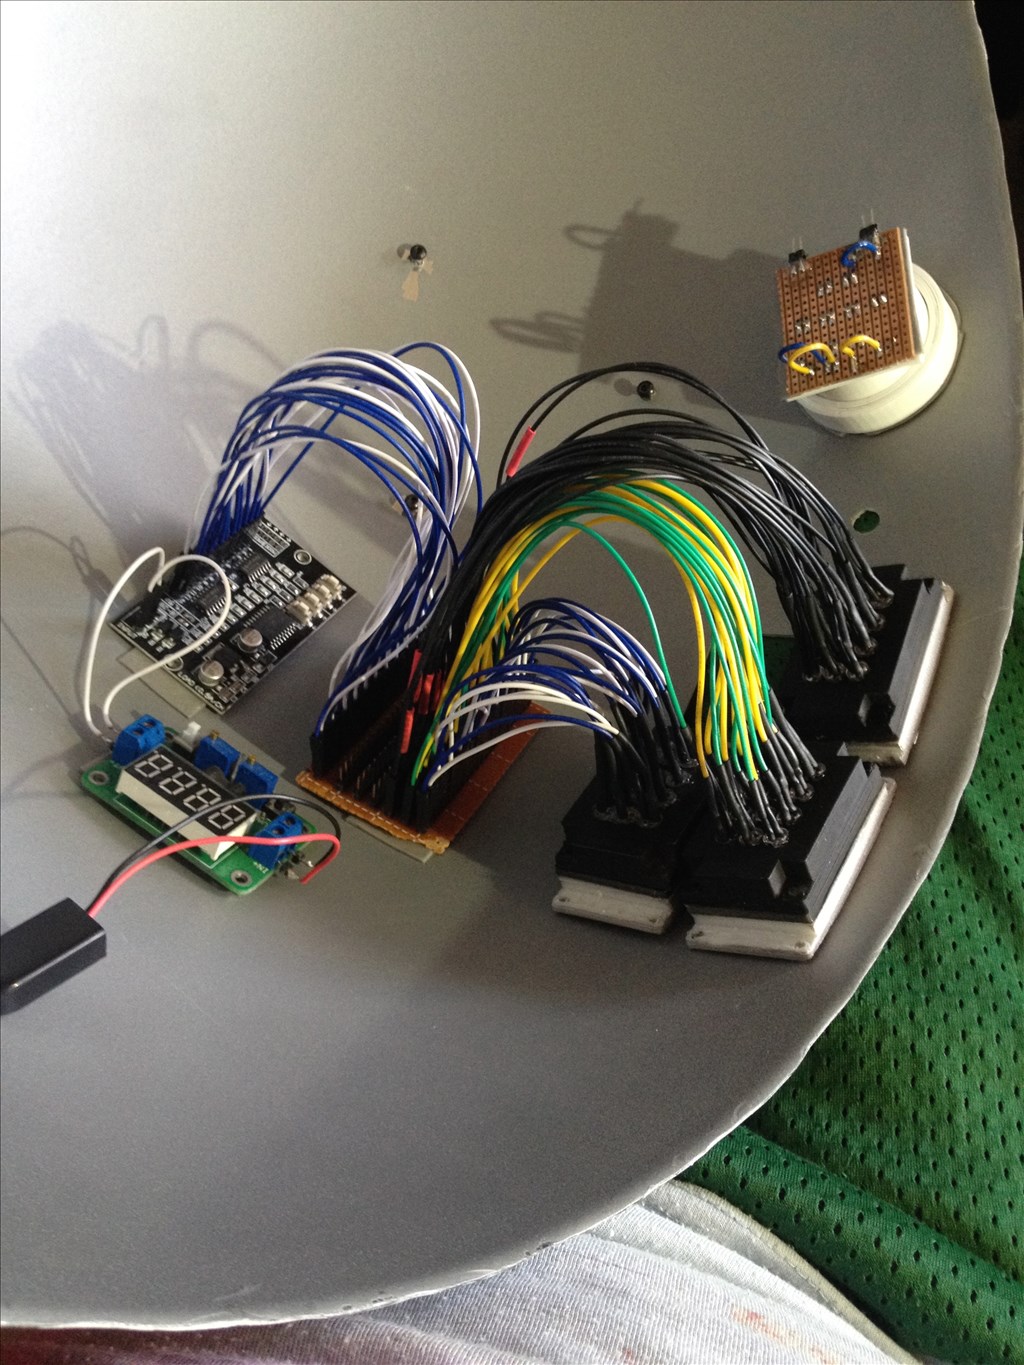
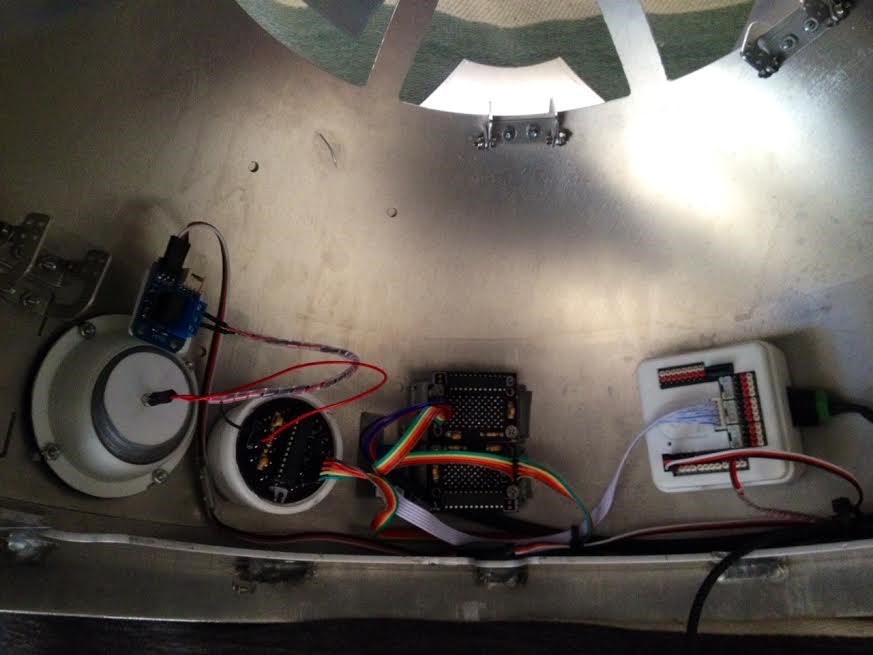
Here are some pictures of inside the dome and how I have everything wired up. I still need to organize some of the wiring but I think I will have plenty of room for everything I wanted to squeeze into the dome:)

User-inserted image

User-inserted image

User-inserted image

User-inserted image

#94  

Beautiful work. Looks professional. I see your using a ServoCity gearbox for your dome rotation motor. Nice choice! Those little work horses are amazing. I'm using one in my B9 robot arm and I'm amazed at how much weight it will allow the servo to lift.

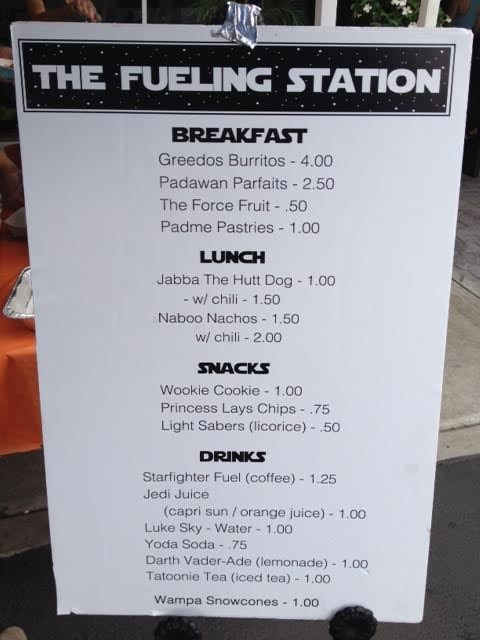
Hey, I want some Princess Lays chips and Jabba the Hutt dog! blush

United Kingdom
#95  

Make mine a Wookie Cookie with a cup of Jedi Juice...:P

Seriously though, you have done some great work so far. R7 is looking great. After reading through your thread a couple of times now, your work and the details you have shared so far are inspiring me more and more to start work on my own droid.

Nice to see you back with some updates, and keep up the great work.:)

#97  

@Dave Schulpius

The servo city gearbox was a life saver for getting my dome to have both motion and position feedback. On my downtime I am designing a new frame that will use these to allow the droid to transition from 2 to 3 leg mode :D

@Steve G

Thank you for the kind words! Its tough to find the time with both school and work but it surely pays off when I can bring him to events like this past weekend. it only makes me want to work on the droid more lol

@Zap Brannigan

They are the teeces 3.2 logics powered by an arduino. After making my own and coding them through ARC it just made more sense to let the arduino handle the blinky lights and free up some ports and computing power for more important tasks on the v4... eek

United Kingdom
#98  

It did look like a great event looking at your photos. It looked like a lot of fun and R7 looked right at home there.

Well, you've gone and done it. Looking at your showcase was not only inspiring me to build my own droid, I am indeed inspired, as I have just dug out some old plans I had for an R/C build I never got around to building, and purchased some materials. Work starts this week. I'm going to follow your idea of doing a buid diary which I will start tomorrow.

Thanks again for sharing your excellent work (and for helping make my wallet a little lighter, lol).:P

Steve.

#99  

That's cool. I was looking at the tecces set. You are a bit ahead of me so I'm going to school on your build. I know Astromech.net has a lot of build threads but there's too much noise over there to sift through it all.

#100  

@Steve G

hahaha you're so welcome!;) It will be the most painful yet rewarding time of your life! what materials are you going to build it from mainly?

@Zap Brannigan

every since celebration astromech.net has been super crowded and parts are even harder to come by. I think my build thread is already on the third page since posting about the dome... It can definitely be difficult to find information on there nowadays. I got my teeces lights made for me by marsprops.com. they also have a facebook page. He is a builder on the east coast and is club approved. after pricing out how much it would be to order the PCB's and lights myself it was silly to not have him make them for me. I think they were $250 shipped. I thought it seemed like a lot until i added up how much it would be to do them myself stress

United Kingdom
#101  

Thanks. I'm looking forward to getting stuck in to a new project. I'm mostly going for an MDF build with some kind of sturdy yet flexable plastic shell, which I haven't figured out what would be the best to use yet. I see you used a styrene cover for R7, so maybe something like that.

#102  

I found a site that can build domes of different sizes HERE

User-inserted image

#103  

@Robot-Doc My original dome that I made for my droid was actually by using a company similar to this! It worked out well for a time but the cross sectional shape started to bother me.

R2-D2's dome is actually an elliptical (egg-shaped) cross section rather than a hemisphere. I tried to make a riser for the hemisphere to get the dome height similar but it never looked quite right to me.

Now on astromech.net you can actually order an uncut styrene dome that is the proper cross section for under $100.00! If i were to start over again I would have used the styrene dome before anything else.

dome link

Aaron

United Kingdom
#104  

@robot56.

I wanted to put a couple of questions to you if you don't mind.

First off, what is the thickness of the styrene skin you are using?

And second, what are your plans for the flaps on the main body, mainly shaping the ones that will open and close to the contours of the body? I ask because I'm trying to think of a way to have the flaps that will open and close curved to go with the body shape on my build, but can't think of a way to do it except for using a heat gun and melting them in to shape.

#105  

@Steve G The skins he used, and the ones I purchased, are laser cut styrene skins that are to "club spec". They also have plans for laying out and hand cutting your own skins but I deciced on the pre-cut route. The R2 Builders Club has done a lot of research and come up with a standard specification for all "Astromech" parts. The skins are included in this. There is a inner skin and an outer skin and a lot of math was done so that all the skin openings line up when the outer is put over the inner. This is all based on a standard diameter frame. With yours being "non standard" in diameter, any of the skin plans that you may find will be a bit off.

I don't remember the exact thickness if the skins but it is pretty thin. I'll try and look it up later since my work has decided they need to block access to astromech.net from here. To answer your question about the doors, in order for them to hold their shape, I believe most folks have to make some sort of thin metal frame that is bent at the correct diameter. This also allows you a place to mount hinges for the doors to open and close. The hinges themselves are a special hidden type.

When I embarked on my own R2D2 build, I had no idea how technical it would get and how hard it would be to accumulate the parts. And, my goodness at the number of parts....

United Kingdom
#106  

@Zap.

Thanks for the reply and for the useful info. I read about the club spec skins from different different sources and the skin thinness seems to vary. I'd already planned do do my own, but want to dial in what thickness is best before I purchase some high impact styrene sheets.

The thin metal frame makes sense for the flaps so thanks for the tip.

Yeah there a lot to think about doing this kind of build, but I'm up for the challenge. I just hope it comes out at least half as good as @robot56's build.

#107  

good luck on your journey its alot of fun !

P.S.

Its gets kind of confusing with the R2-L and R2-R as there are a few differences in specs when you start looking around Astromech just a heads up:)

United Kingdom
#108  

Thanks for that @Jayutmb. It's been great so far.

#109  

I found some info on the page of the guy that I got my styrene frame from. He is going to start making skins. It looks like he is using .040" for both the inner and outer skins.

United Kingdom
#110  

Wow, they are thin. That's good to know and gives me something to go on. Thanks again Zap.:)

#111  

My skins are made out of 2 layers of 0.04" or 1mm sheets of styrene:)

You definitely want to watch out for the CS:L and CS:R variations. My droid is base off the CS:L measurements:)

My original plan was to cut my own skins. Make sure to have lots and lots of sharp blade replacements and an 18" long metal ruler for guiding long cuts! There is a guy on astromech who will lazer cut the styrene skins for around $100-120 dollars. After getting halfway through my hand cut skins I decided to opt out and buy some that were cut perfectly straight.

Your droid is looking great! At the rate you're building yours will be done long before mine eyeroll

#112  

For my main doors I first 3d printed a piece with the curvature of the door as the profile and then skinned the 3d printed part to make it match the exterior of the droid.

I haven't put them on yet because secretly between you and everyone in this forum I will most likely (time permitting) be making my own lightweight 232 frame ising aluminum skins :D

Styrene skins really need to be glued or bonded to the frame to keep the door curvatures tight to the body. thats why mine bow out... I wanted to try and have them be removable but so far am not pleased with how they turned out. For now though they will have to do... stress

United Kingdom
#113  

@robot56.

Thanks for getting back to me. Yes I've decided to try my own skins, so with the info @Zap gave me, I've got some 1mm sheet on the way (although it won't be fitted for a while). Your little secret sounds great. That is something I would love to see.

Same as yourself, I kinda want to make an opening maintenance panel on the back so that's going to take some thought. Anyway, thanks your kind words and for the feedback. It's much appreciated.

#114  

I wish that there was a type of tube that is the proper diameter that would allow you to just glue on an outer skin:( PVC pipe that big is only available in 20 foot lengths lol

I will be posting a few pictures later on of my center foot assembly. I finally have it all together but just need to finish skinning the leg and foot

United Kingdom
#116  

Excellent. That has given me food for thought. Thanks Zap (and to Slee for sharing the photo).;)

#117  

So the frame work of the center foot and leg is mainly done. I just need to finish up the skins and shells for both. the 3d printed omni-wheel mount is just a prototype (they didnt come out very well) and will be replaced with aluminum once I can find a way to bend the plating. The foot uses four 4" omni-wheels from Vex robotics and allows the droid to pivot without requiring conventional casters to rotate before turning. I'm hoping that this setup will be more stable and have better dampening because of the springs between the wheels and leg.

User-inserted image

User-inserted image

User-inserted image

United Kingdom
#118  

That looks great. I love the idea of having the suspension springs. Interesting choice on the actual wheels though. It will be interesting to see how they work out instead of casters.

#119  

Finally made some progress on the aluminum skin run and I should be getting these bad boys soon! no more wavy panels and cracking:)

User-inserted image

United Kingdom
#120  

Yep, that'll do it. And that's how an Astromech droid should be... Metal. R7 is going to look awesome when the new skin is fitted.

#121  

i cant wait to hear how the omni wheels turn out! I would love to switch my casters out for that set up if it pans out ( hint: i will be pilfering your design:) )

#122  

Yes, I love the look of new shiny aluminum. There's something very manly about it.

#123  

It has been a while since my last update.

I have to tell @Jayutmb that the Omni wheels are a god send haha they are far superior to the casters! I will have a video of it moving around soon but I can tell you that it does way better over bumps and during turning. I am also surprised that the 3d printed mounts have held up so far. I really expected them to break quickly

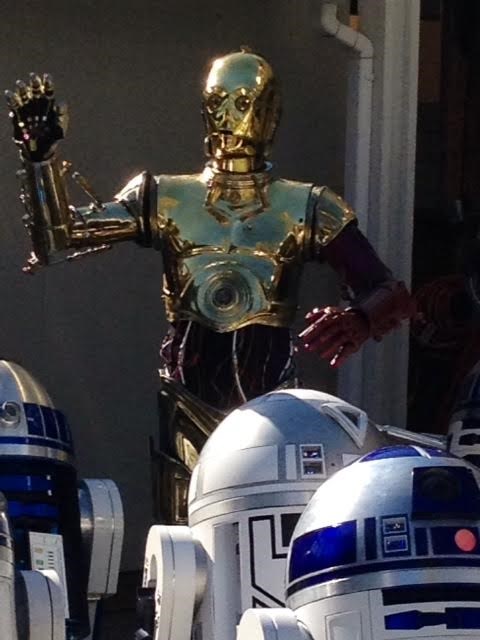
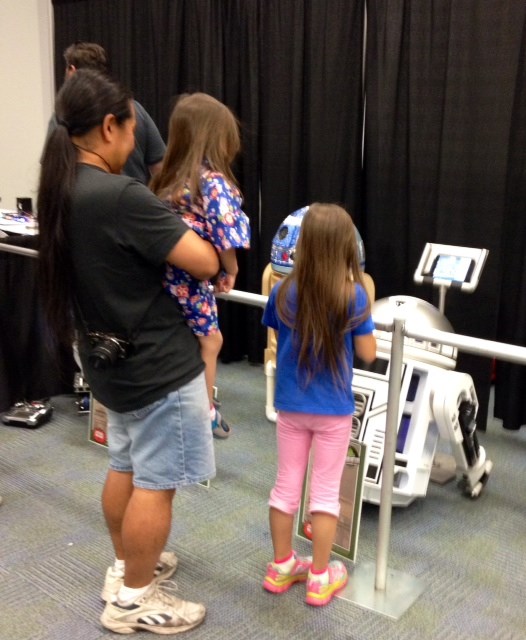
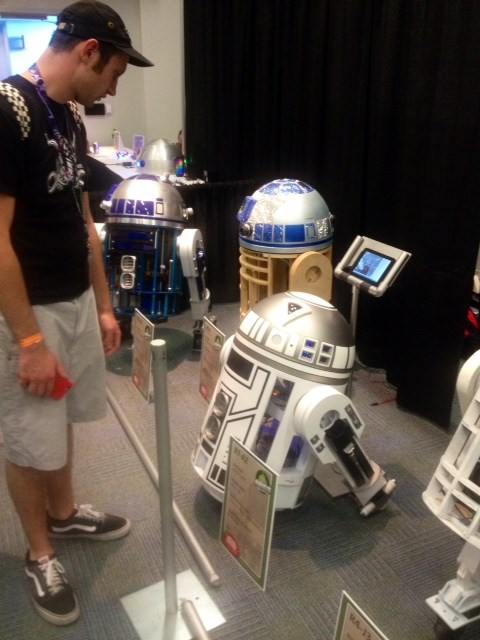
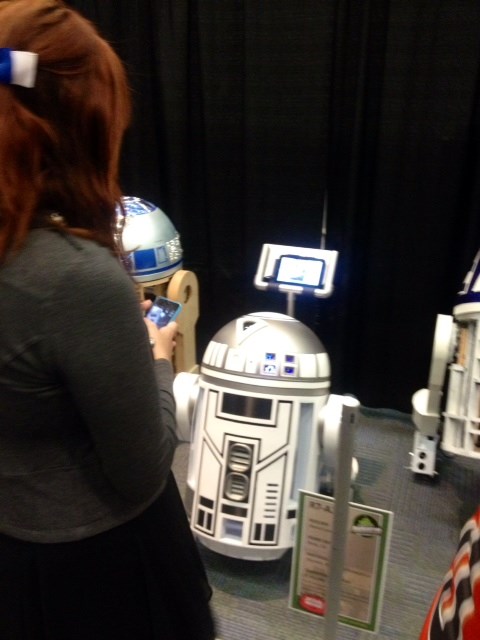
R2LA was this last Saturday. It is a chance for the local builders to get together and share notes and look at the new parts that people are making. It was a really hot day but a ton of fun! I was also interviewed briefly on tested.com for my astromech:)

User-inserted image

User-inserted image

User-inserted image

User-inserted image

User-inserted image

User-inserted image

User-inserted image

User-inserted image

One of the local builders also took a video of some of the droids. You can see my droid and ez-robot periodically throughout the video:

#124  

I am anxious to see how those Omni wheels perform. I had wondered why no-one was using them. I suspected it had something to do with forward speed. I think they would be cool on all three legs.

#125  

@Zap Brannigan going full speed you can hear them a little more than casters on hard surfaces.. but they are just so much better on bumps and during turning that I don't see the noise bothering me. the droid is also much more stable and planted with a larger surface area on the ground

United Kingdom
#126  

Nice update. The event looked like it was fun, and great to hear about the interview. I'm having some electrical system issues at the mo (another story), but that "Minion Droid" really made me laugh.

There's a great selection of Astromechs in you photos, but I have to say that your lil droid really does stand out from the crowd. Thanks for posting the photos.

(Second time I've posted this reply, as the website went down when I hit "Reply" the last time, lol).

#127  

NICE! So awesome to hear! I shall copy cat you ASAP:)

Brazil
#128  

Hi! what amazing work! I'm building my on (it is not as beautiful as yours) but can you give me a hint ? what did you use to control wheels ?.. i'm using Scooter motors, but still don't know how to connect them to ARC...

User-inserted image

User-inserted image

#129  

d.cochran gave you a good answer in your other post. A lot will depend on how much power (Amps) your drive motor require. Then you can determine what sabertooth H-bridge you need.

Brazil
#130  

I'll take a look... But I think it's 7 amp if I'm not wrong... Thanks!

#131  

The 2x5 is probably too small. The 2x12 would be plenty.

Do your motors have encoders?

To control the motors, there are various options. The Simple servo mode would probably be fine if there are no encoders. These are very simple to use.

#132  

@tevans robot doc is correct. It vastly depends on how heavy your droid is and what terrain you're driving it on.

My droid is styrene and is lightweight compared to a lot of them.

http://astrogreeblies.com has many sabertooths and gives a good indication of which one you will need based on your droids weight:) those are the motors that all of the astro builders use so you should be good!

#133  

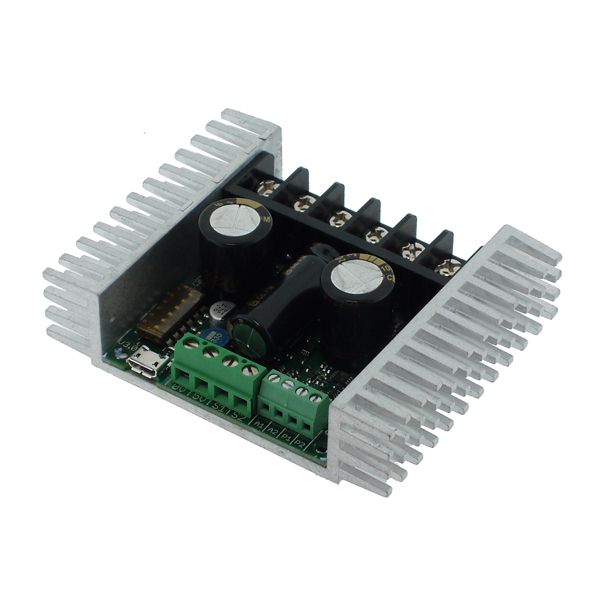
so it has been a while since any kind of update but thanks to some of the forum members I got my sabertooth 2x32 working using the custom movement panel.

User-inserted image

my DIP switch settings are:

1-4 OFF 5-6 ON


Code:


# Both motors stopped, I also use this to initialize the board,
SendSerial(D0,9600,0)

# Forward
SendSerial(D0,9600,127) # motor 1 127 is full speed
SendSerial(D0,9600,255) # motor 2 255 is full speed

#Turn Right
SendSerial(D0,9600,255) 
SendSerial(D0,9600,1) 

#Turn Left
SendSerial(D0,9600,127) 
SendSerial(D0,9600,128) 

#Reverse
SendSerial(D0,9600,1) 
SendSerial(D0,9600,128) 

the lighting is terrible but I was really excited to see it move on its own. I will be making another video out in the daylight tomorrow. And aluminum skins are finally on their way from across the pond!:)

Aaron

#134  

Now, is this done with three omni wheels or just one in the center foot?

#135  

@Zap Brannigan

It is with 4 vex Omni-wheels in the front foot and a main drive wheel and ball caster in each rear leg. the belt setup was a lot easier since the belt spur gear and wheel are one molded piece of plastic.

I haven't had time yet to fix the belt tension so I slowed down the turning speed in the code. still slips a lot though. Midterms kill robot building lol So the grinding/clicking noise is the belt slipping on the drive gear teeth... but at least in this video you can better see the front omni-wheels and rear drive feet.

Aaron

#136  

@ robot 56 wow a small platoon of r2's that is just cool very nice builds yours is awesome it would be nice to have such camaraderie close but there is no robot clubs near me keep up the awesome work thanks for sharing

#137  

Sorry for being dense and asking all the questions....I just like some of the unconventional stuff that you have done. So the Omni-wheels do not provide any drive? They just act as casters for rotation?

#138  

@Zap Brannigan

Don't worry about questions!:) I'm glad that there are some people interested in it enough to ask!

The omniwheels are not driven. I originally made it to use the traditional caster setup but after watching how unstable some of the droids were during turning around at star wars celebration I decided to go with something else. With the omniwheel you are getting a HUGE footprint for the weight of the droid to rest on (not just 2 little wheels) and when the droid rotates the smaller outer casters spin so that the wheels never have to physically turn. There are a couple guys on astromech using this type of a setup now. I hope it becomes standard because the droids are much more stable and not so terrifying to drive with the omniwheels lol

I wanted to use omniwheels in the rear legs too instead of the small ball casters but ran out of room trying to get everything to fit. The main drive wheels are way too big:(

United Kingdom
#139  

Nice video update. He moves around really well. The omniwheels make a great difference. Shame you couldn't get any on the side legs too, but it moves around so well, I don't think it would have made much of a difference as he is moving around great as it is.

Keep up the good work.:)

#140  

Awesome. I really like that setup. Can you point me to the specs on it?

#141  

@Zap Brannigan yeah no problem! I also 3d printed the omniwheel hub that bolts up to the a&a front ankle. I have the files if you ever wanted to print or modify them for your needs. I believe there is a picture of the full ankle assembly a couple of pages ago.

Vex Pro Link:

mcmaster carr link:

what I used:

from vex robotics: 4x 4" omniwheel 217-2584 4x 3/8" flanged bearing 217-2732 1x 1/4" acetal spacer with 3/8" hex 217-3260

from Mcmaster Carr: 4x flanged sleeve bushing 6338k414 1x 3.5" long 3/8" steel bolt 92240A950 3/8" nylon lock nut

#142  

Excellent astromech, were you using any of the dave everett styrene plans? Very cool droid.

#143  

@r2d2tech01 sorry for the late reply! I haven't logged onto my thread in a while! my frame is based off of Dave's but the legs were cut by Frank over at media conversions:) thank you!

#144  

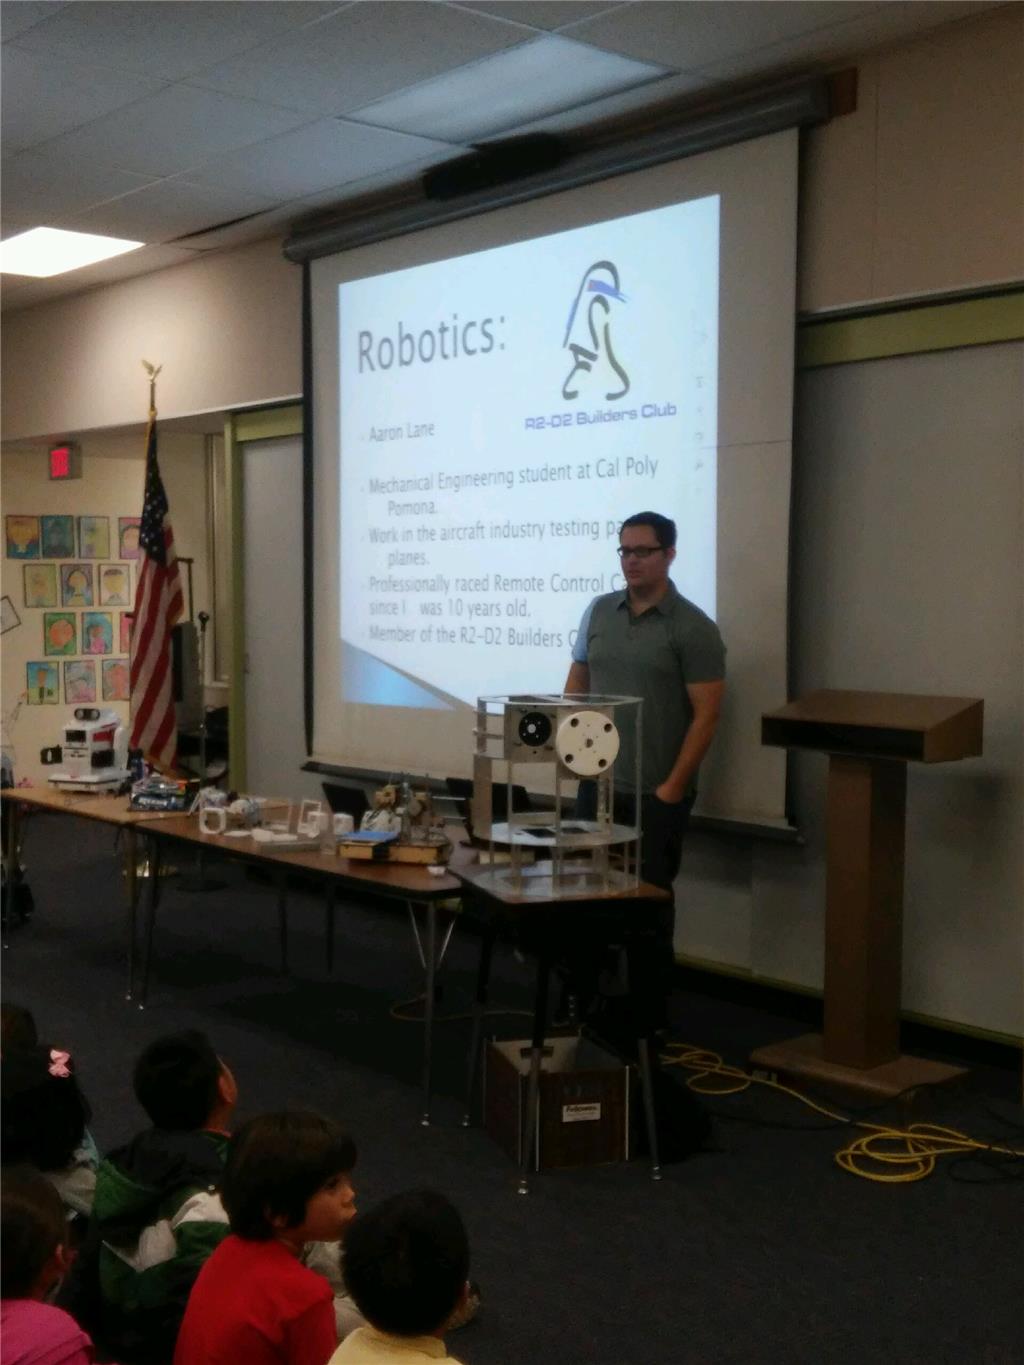
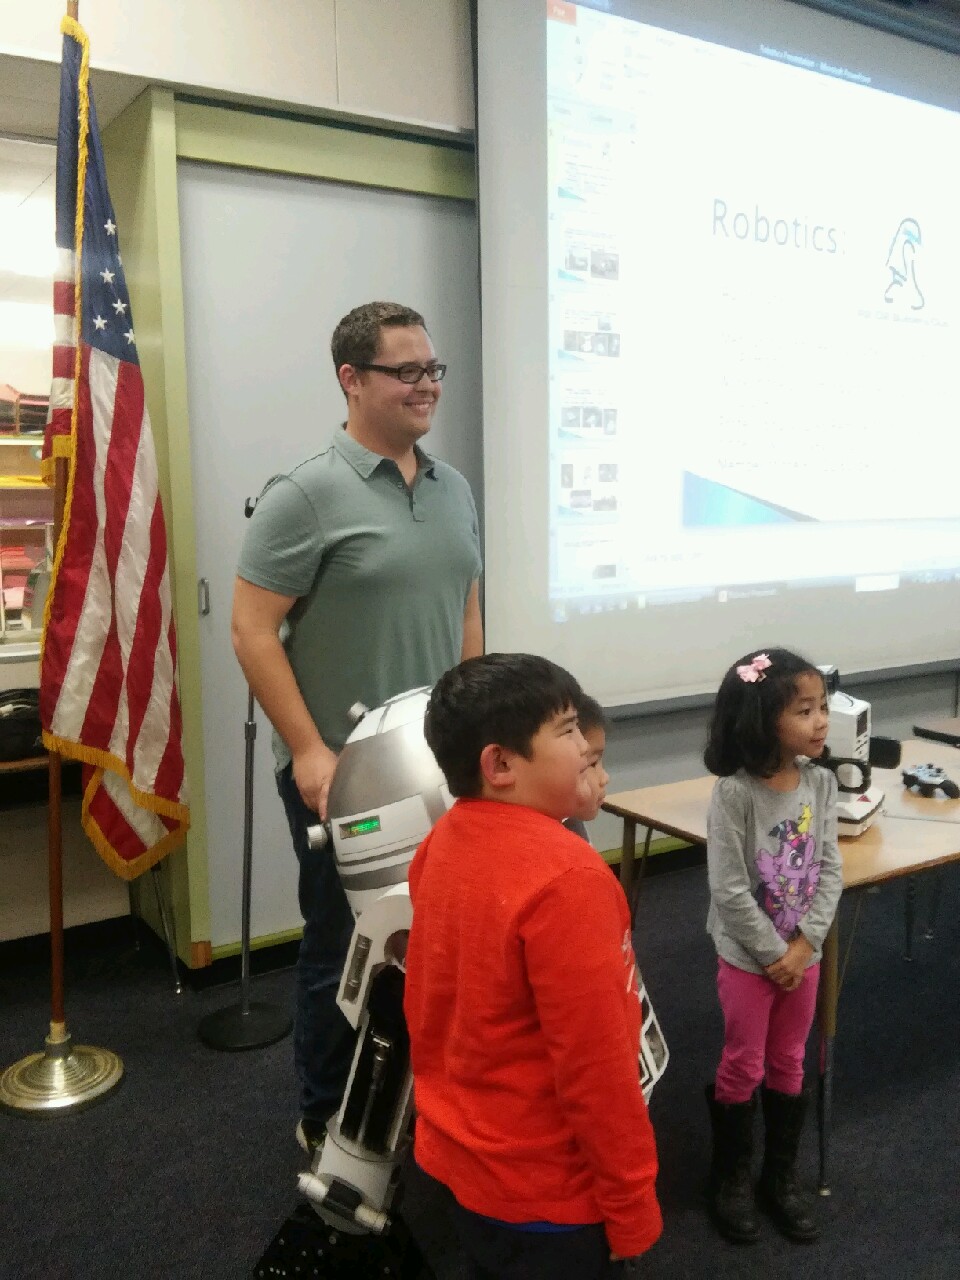
I got to take my droid to work the other day because I had to leave early and give a presentation to a local elementary school about robotics and coding. The production of my job was zero for the 4 hours the robot was in the building lol

The school uses a website called coding.org and is a great way for kids to start learning code. The principal asked if i would be willing to bring my robot and do 2 thirty minute presentations to k-6th grade.

All went well and the kids really enjoyed seeing the robot in action:)

Aaron

User-inserted image

User-inserted image

User-inserted image

User-inserted image

User-inserted image

PRO
Canada
#145  

Awesome! @Robot56 Thanks for sharing and inspiring up and coming roboticists!

#147  

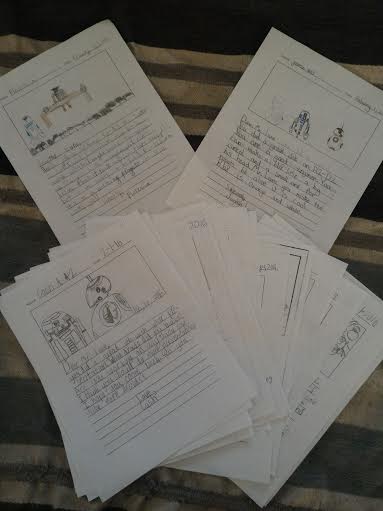
I was so shocked when I got this envelope in the mail! All of the kids from a class wanted to write me thank you letters for showing off the robots. Makes all the robot building totally worth it:) I hope to be able do the same thing again next year

Aaron

User-inserted image

#148  

I love that they all did drawings. Very nice.

Alan

#150  

as of right now the dome is autonomous but the body is remote control. the droid weighs around 100 lbs and has no sensors. one day soon I hope to get some sensors put in the body.

my senior design project is a robot that follows a person so I will implement that once my senior project is completed

Aaron

#151  

the aluminum frame is coming along slowly but surely.. one task a day during my final semester of mechanical engineering.... stress stress stress

Aaron

User-inserted image

#153  

That was awesome! Great job. Bet that is gonna be fun to show off.

#155  

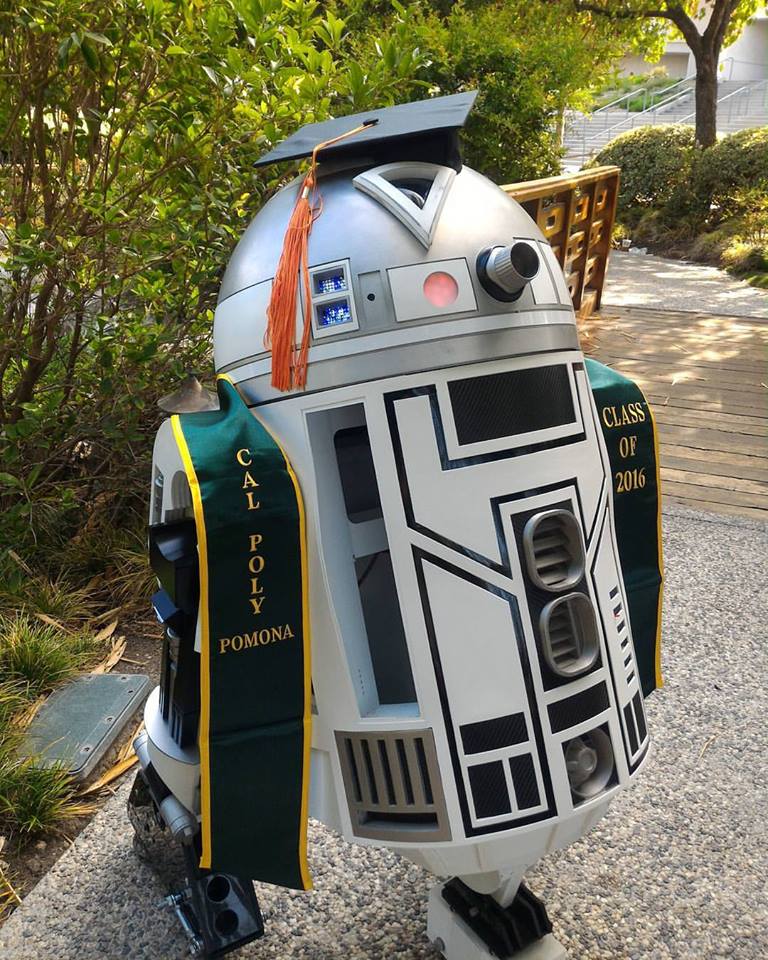
This is what my parents meant when they said that they wanted grad pictures right...?:P Finally graduating with my degree in Mechanical Engineering from Cal Poly Pomona

User-inserted image

#157  

I used to manage a group of new college graduates in the Oil and Gas industry. These were all programmers. I used to chuckle around Christmas, April and Summer when these students realized that this times that they became accustom to being off were gone forever.

Seriously though, Congrats on your achievement. It is a huge one in your life.

#158  

@CochranRobotics Thank you its going to be a huge change:)

I've had several interviews already. One at Motiv Space Systems and just recently with Textron Specialty Vehicles. Luckily though I have been working in industry for 3 years so the transition shouldn't be so bad! haha

#160  

Congratulations! ! You're a talented guy. You'll be just fine and go as far as your imagination and drive will take you.

Love your last video. Can't believe I missed it. Very smooth rotation and nice speed ramping. I almost fell off the chair when he farted, er, I mean vented. :P

#161  

Hey guys,

This project is not ez-robot powered yet but once I get control of how all the dynamics of the drive system and balancing work i will be making a phone app and installing a ezb.

I have been working on this for about 3 months and it weighs 32 pounds

happy building Aaron

PRO
Canada
#162  

Wow, That's a clean build Aaron, nice work! I'm definitely looking forward to seeing you convert it over and make an iPhone app for it:)

#163  

Very cool BB8! Looking amazing already!

#164  

User-inserted image

User-inserted image

User-inserted image

User-inserted image

User-inserted image

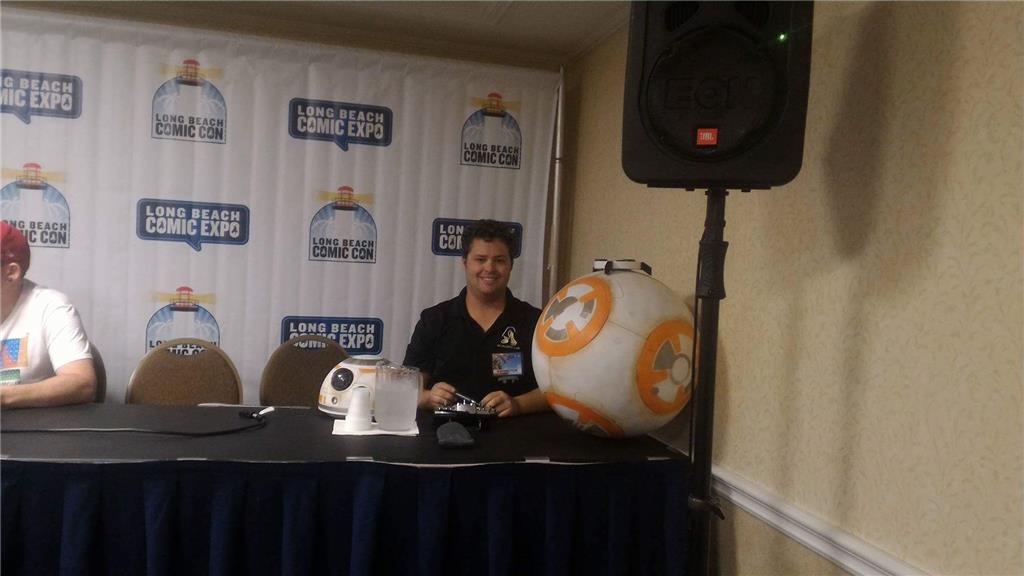
Had a blast at the Long Beach Comic Con. Everyone loved the droids and many of the other builders in the club are starting to realize the potential of ez-robot for their droids!

I also was part of a panel on sunday talking about robotics and how to get involved! ez-robot came up many times in my discussion

#167  

Outstanding BB-8, that is definitely tricky to get going. Keeping it real in SoCal, I miss SoCal

#168  

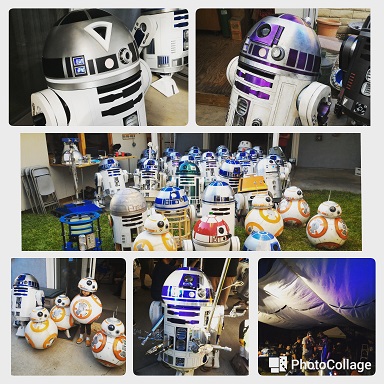
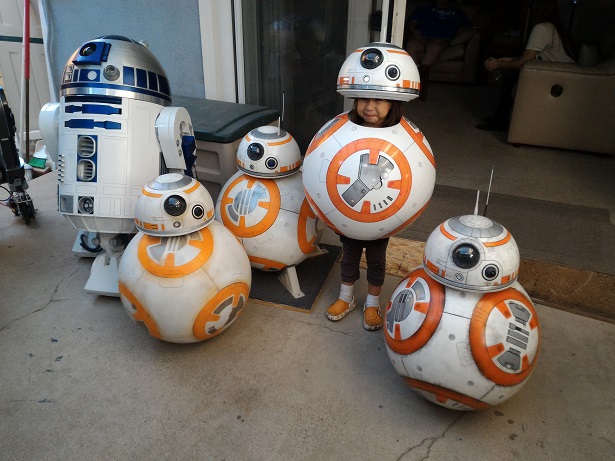
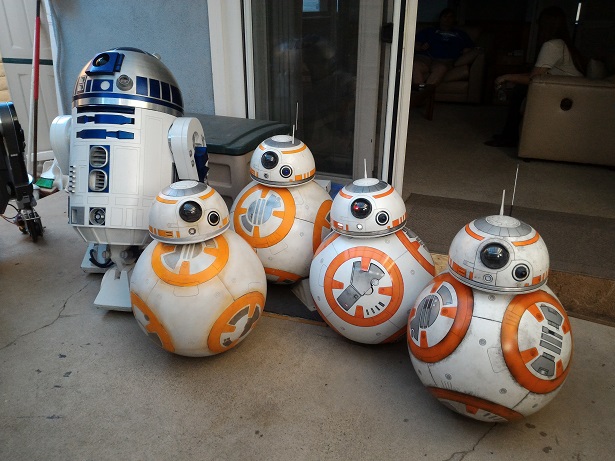
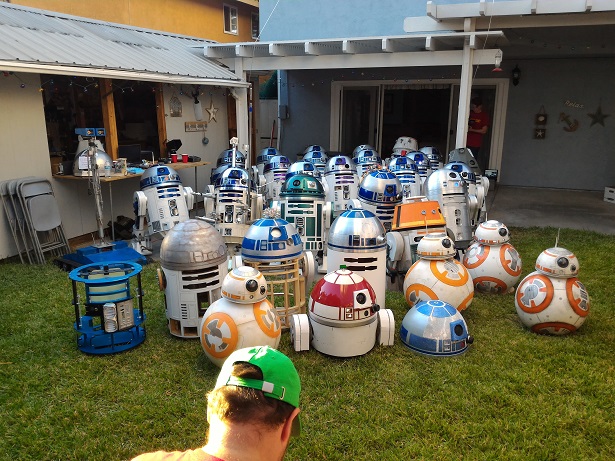
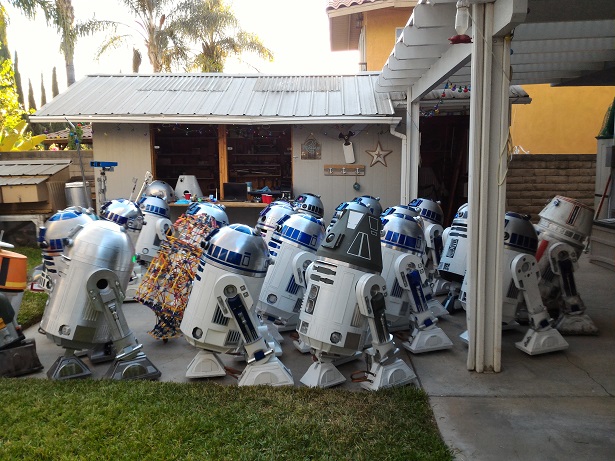
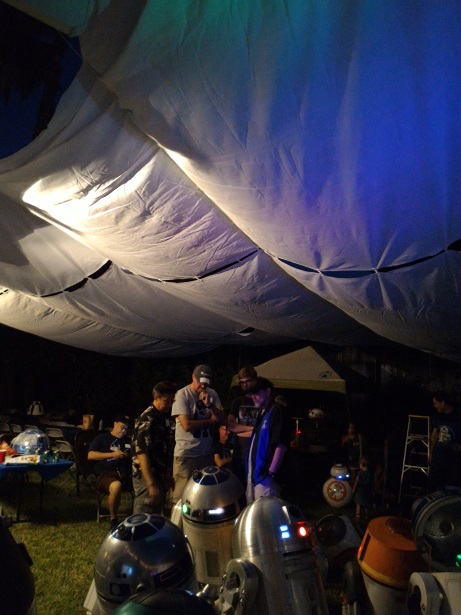
more adventures from R7 and BB8

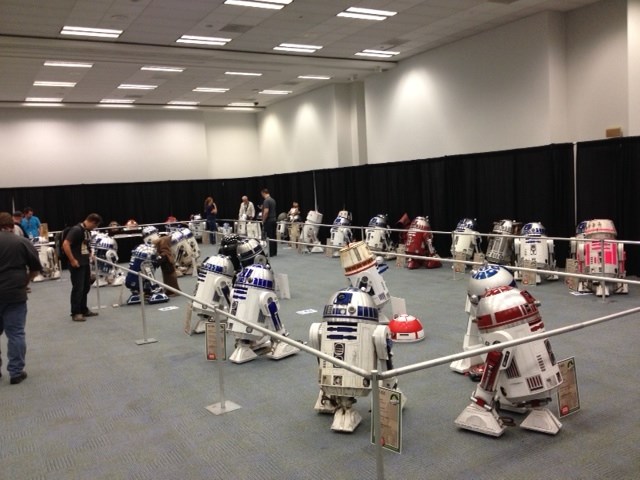
Our annual R2 Builders Club Meeting in Southern California

User-inserted image

User-inserted image

User-inserted image

User-inserted image

User-inserted image

User-inserted image

User-inserted image

User-inserted image

User-inserted image

User-inserted image

User-inserted image

User-inserted image

User-inserted image

User-inserted image

User-inserted image

#169  

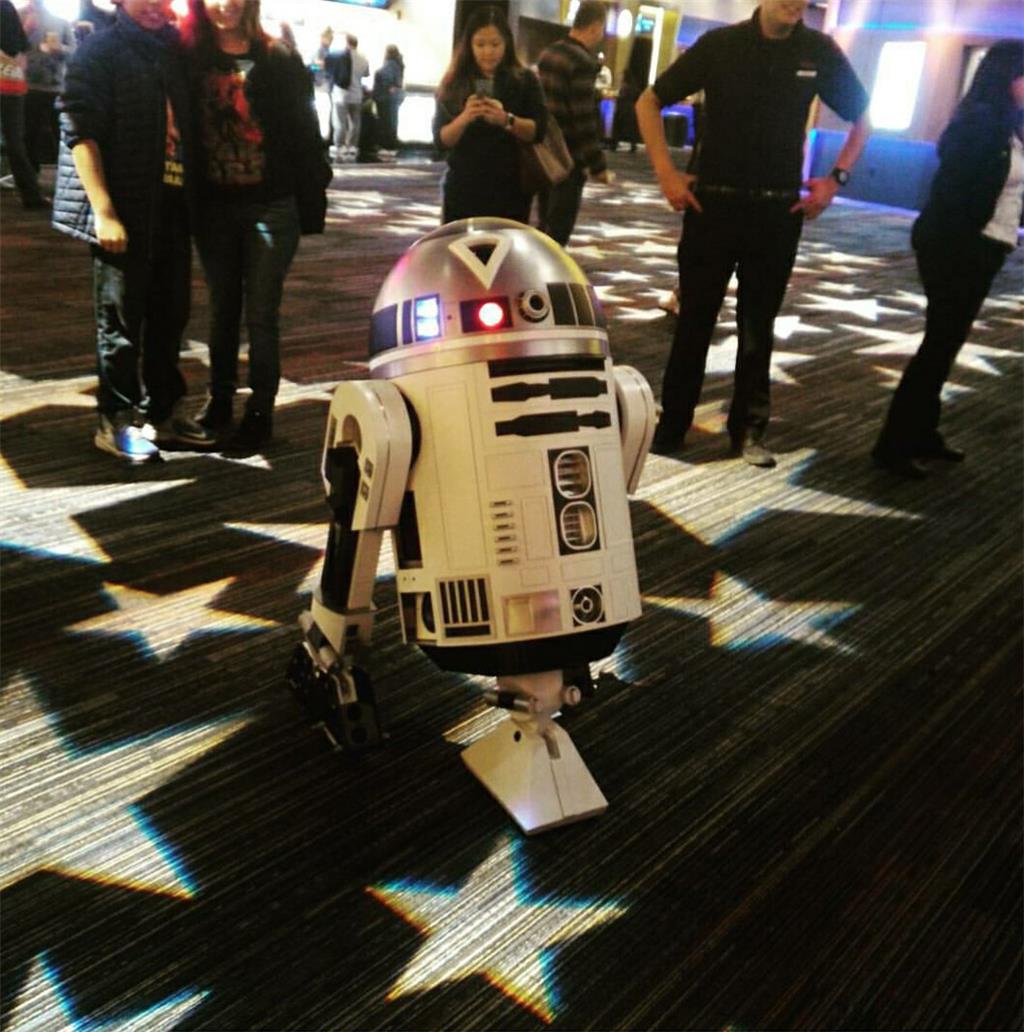
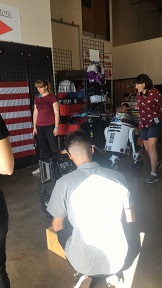
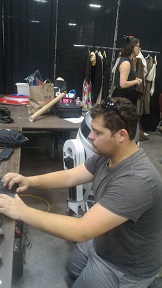
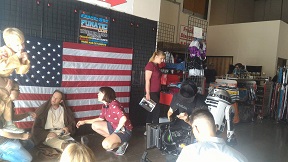
Both R7 and BB8 did an appearance in a small movie at Frank and Sons Collectibles the very same morning as our annual club meeting.

User-inserted image

User-inserted image

User-inserted image

#170  

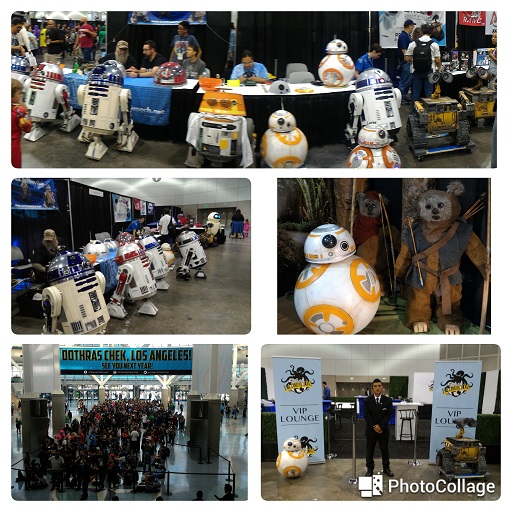
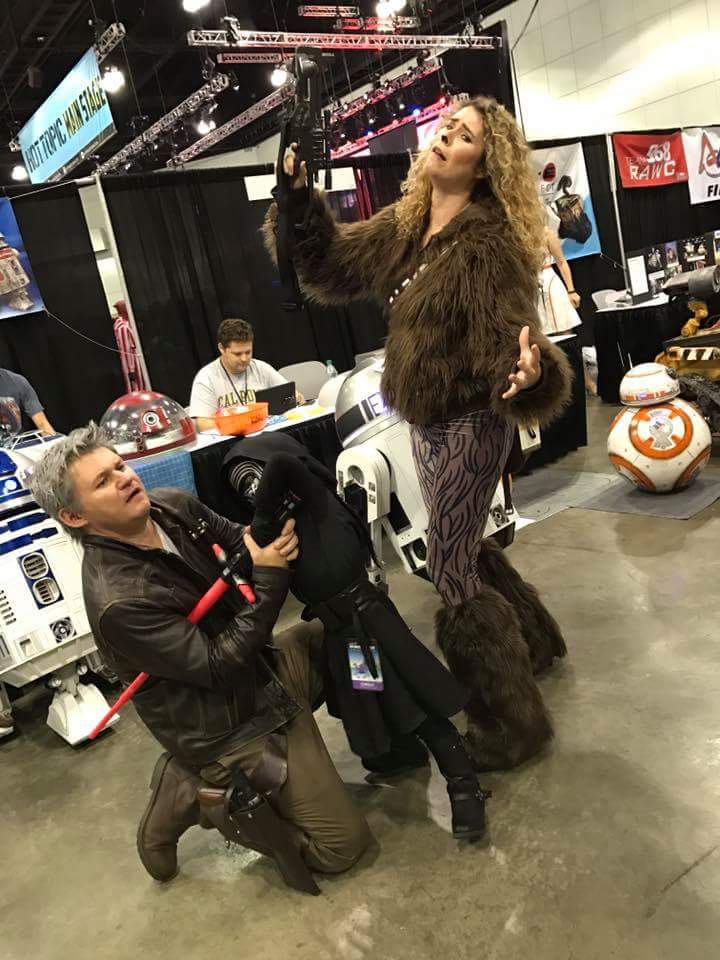
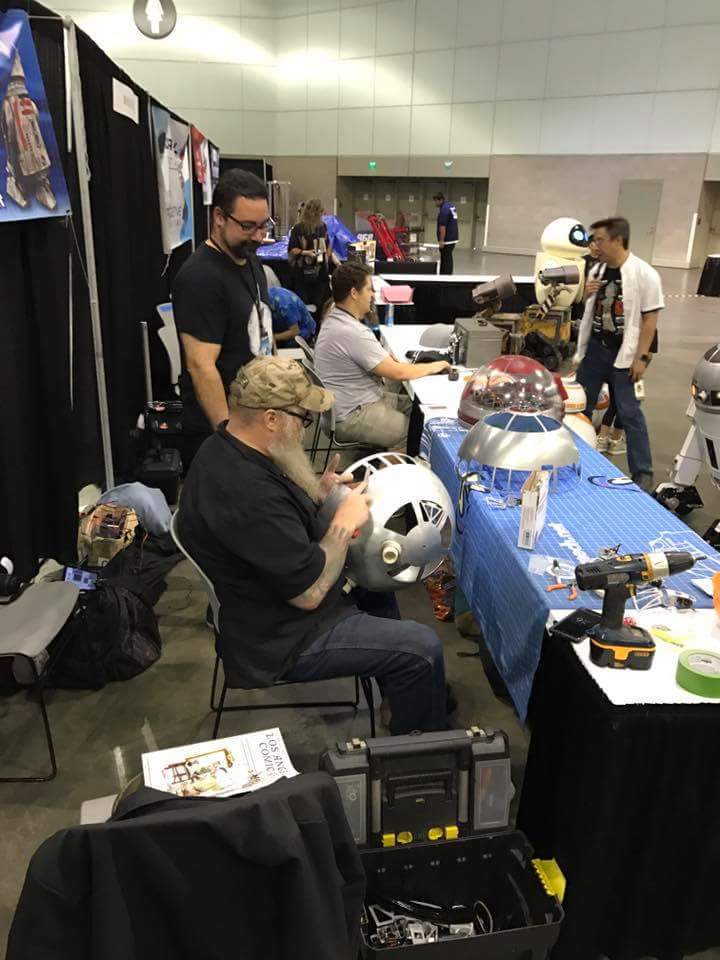
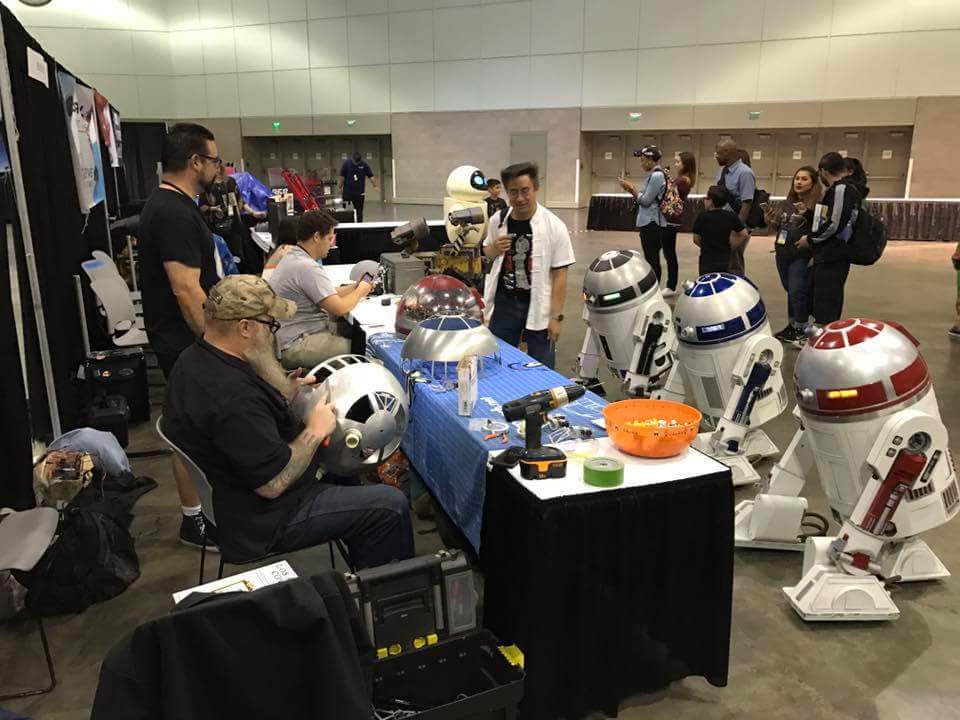
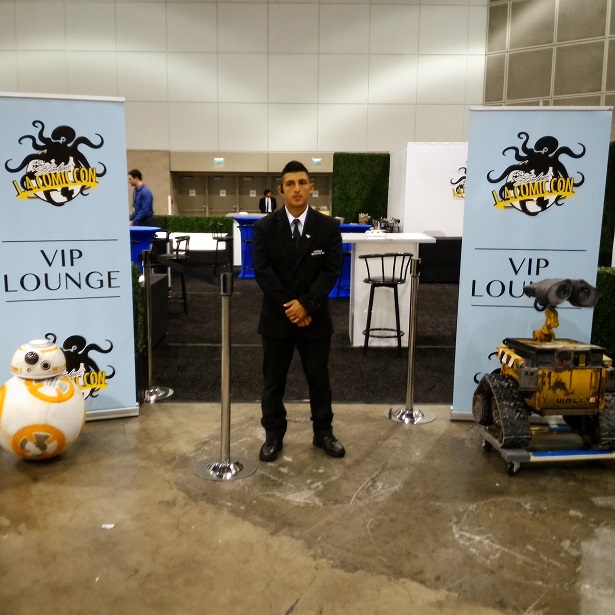
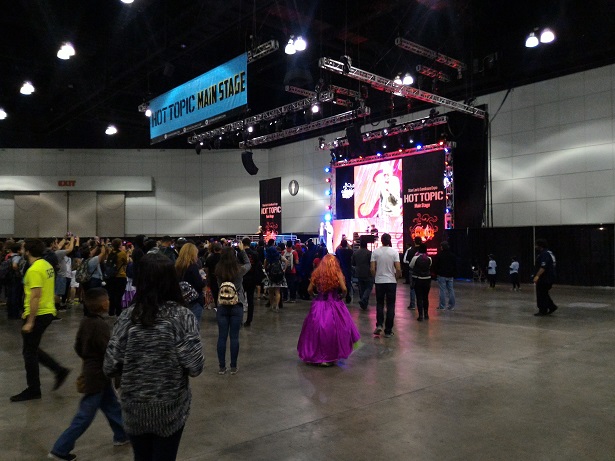
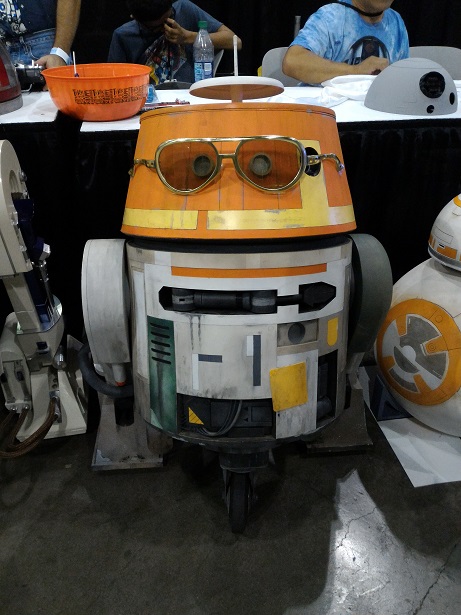
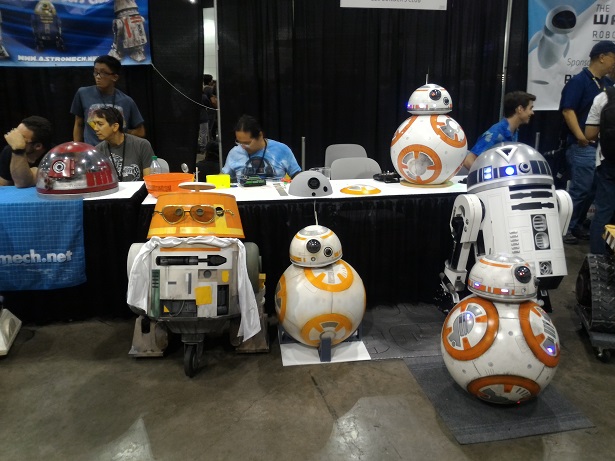
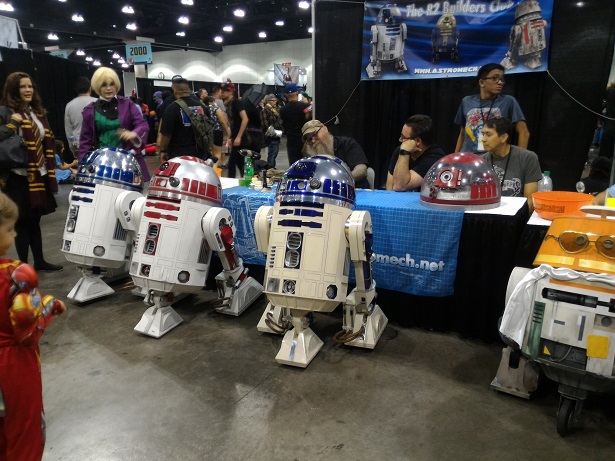
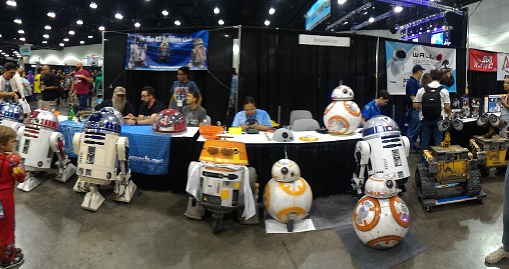
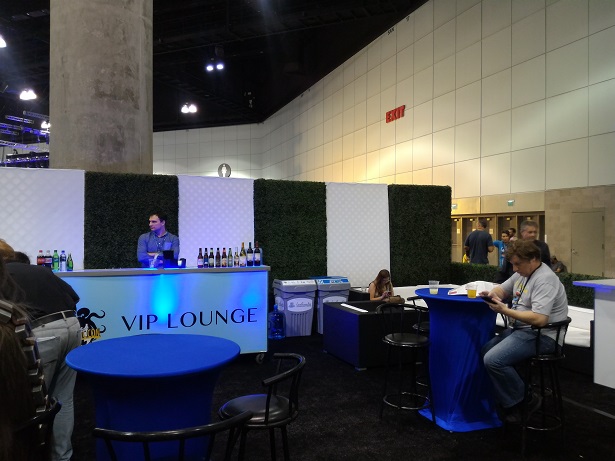
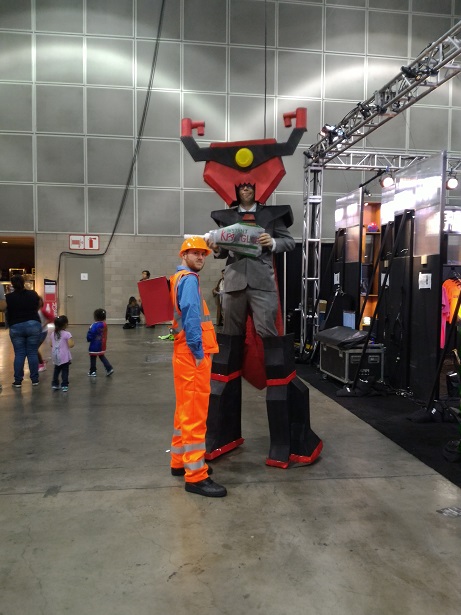
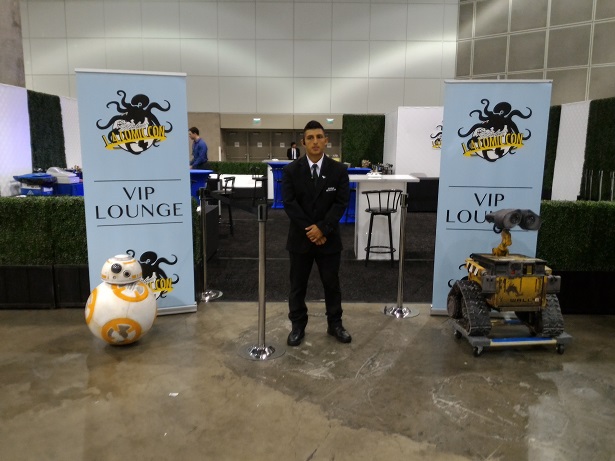
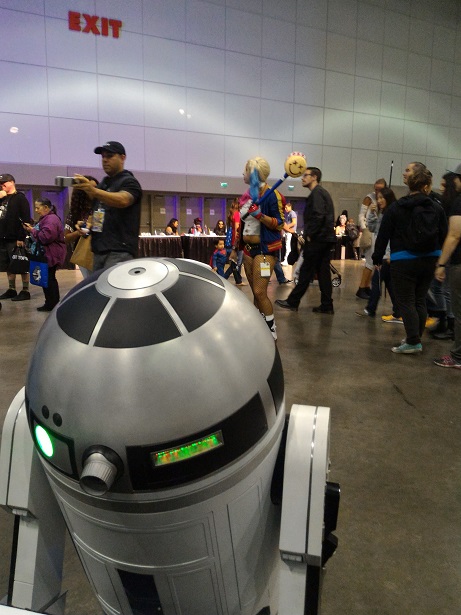
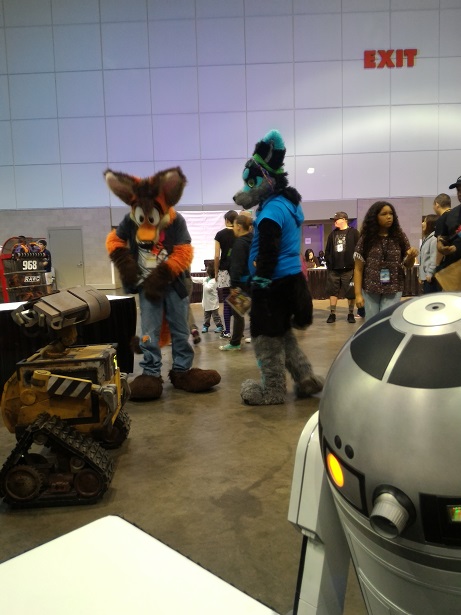
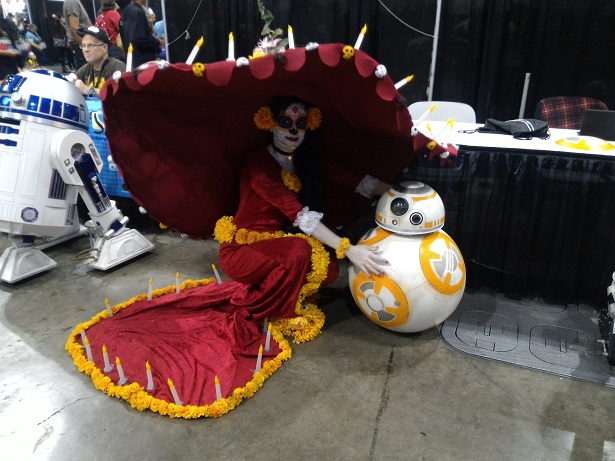
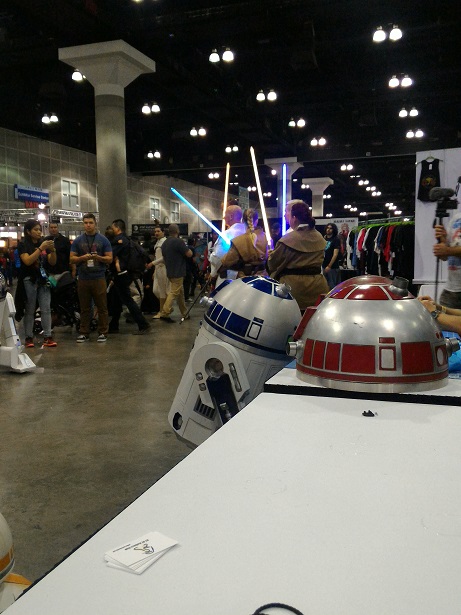
Lastly the droids were at the Los Angeles Comic Con over Halloween Weekend:

User-inserted image

User-inserted image

User-inserted image

User-inserted image

User-inserted image

User-inserted image

User-inserted image

User-inserted image

User-inserted image

User-inserted image

User-inserted image

User-inserted image

User-inserted image

User-inserted image

User-inserted image

User-inserted image

User-inserted image

User-inserted image

User-inserted image

User-inserted image

User-inserted image

User-inserted image

User-inserted image

User-inserted image

PRO
Canada
#171  

Man, those are some impressive builds! Thanks for sharing all those photos @robot56

#172  

That all looks like so much fun! Great looking little droids. Thanks for showing these. It made my day. :D

#173  

Rogue One premiere last night was a blast:)

User-inserted image

#174  

Hello! Do you sell the internal hardware-software for BB8? Thank you.