


-636113389122355023.jpg)
-636113389180472117.jpg)
-636113389229237163.jpg)
-636113389290829174.jpg)
-635785172055556250.jpg)
-635785172158993750.jpg)
-635785172247743750.jpg)
-635785172413525000.jpg)
-635785172535868750.jpg)
-635539160746588750.jpg)
-635539160942370000.jpg)
-635539151418620000.jpg)
-635539151686276250.jpg)
-635506236904022500.jpg)
-635506236982460000.jpg)
-635541830861718750.jpg)
-635541830952968750.jpg)
-635542009881406250.jpg)
-635542010005625000.jpg)
-635542010164062500.jpg)
-635542010239375000.jpg)
-635550292359666250.jpg)
-635550292425760000.jpg)
-635550292762791250.jpg)
-635550292882166250.jpg)
-635588389714074531.jpg)
-635588389830012031.jpg)
-635588389903605781.jpg)
-635588390025480781.jpg)
-635740342543525000.jpg)
-635740342848525000.jpg)
-635740343052275000.jpg)


-635654945956718750.jpg)
-635654946193593750.jpg)
-635654944503750000.jpg)
-635654944608125000.jpg)
-635654945569687500.jpg)
-635654945677031250.jpg)
-635654945774843750.jpg)
-635654947723906250.jpg)
-635649848340668750.jpg)
-635649848423325000.jpg)
-635649848495512500.jpg)
-635649848636293750.jpg)
-635649848698012500.jpg)
-635648558878637500.jpg)
-635648558955200000.jpg)
-635648559038168750.jpg)
-635751639905293516.jpg)
-635751639972481016.jpg)
-635751640035137266.jpg)
-635608349000797500.jpg)
-635608350446578750.jpg)
-635608350539860000.jpg)
-635608350602672500.jpg)
-635611773195797500.jpg)
-635611774051735000.jpg)
-635611774942985000.jpg)
-635611775598766250.jpg)
-635611775696110000.jpg)
-635611775779235000.jpg)
-635609741260641250.jpg)
-635609741333610000.jpg)
-635609741411735000.jpg)
-635609741477828750.jpg)
-635614157409705000.jpg)
-635614252981416015.jpg)
-635614253073603515.jpg)
-635614253146416015.jpg)
-635614265943447265.jpg)
-635629208523613281.jpg)
-635629208617050781.jpg)
-635629208700644531.jpg)
-635629208828769531.jpg)
-635629208897675781.jpg)
-635629208978769531.jpg)
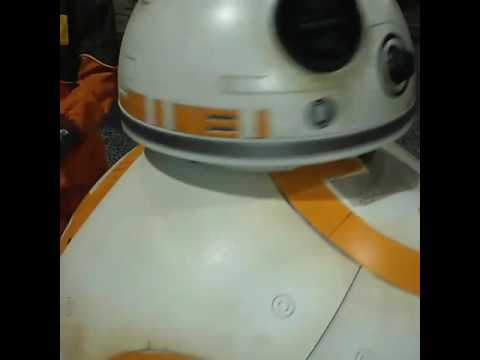
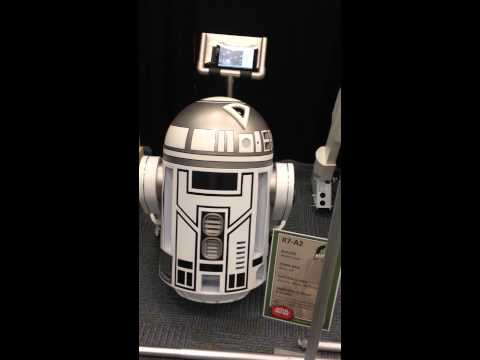
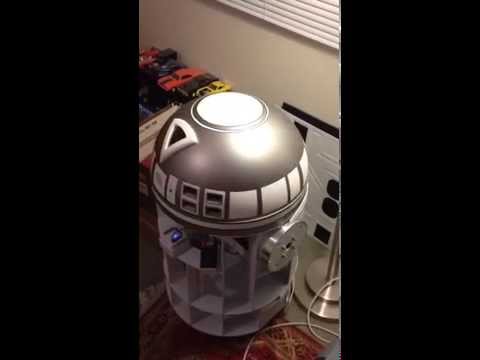
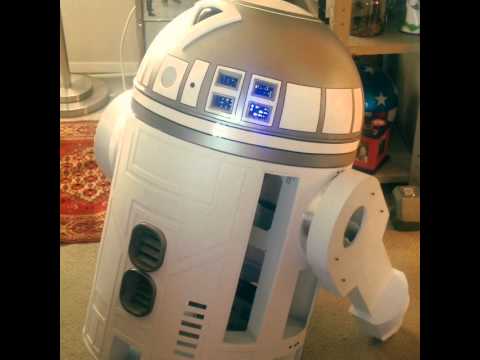
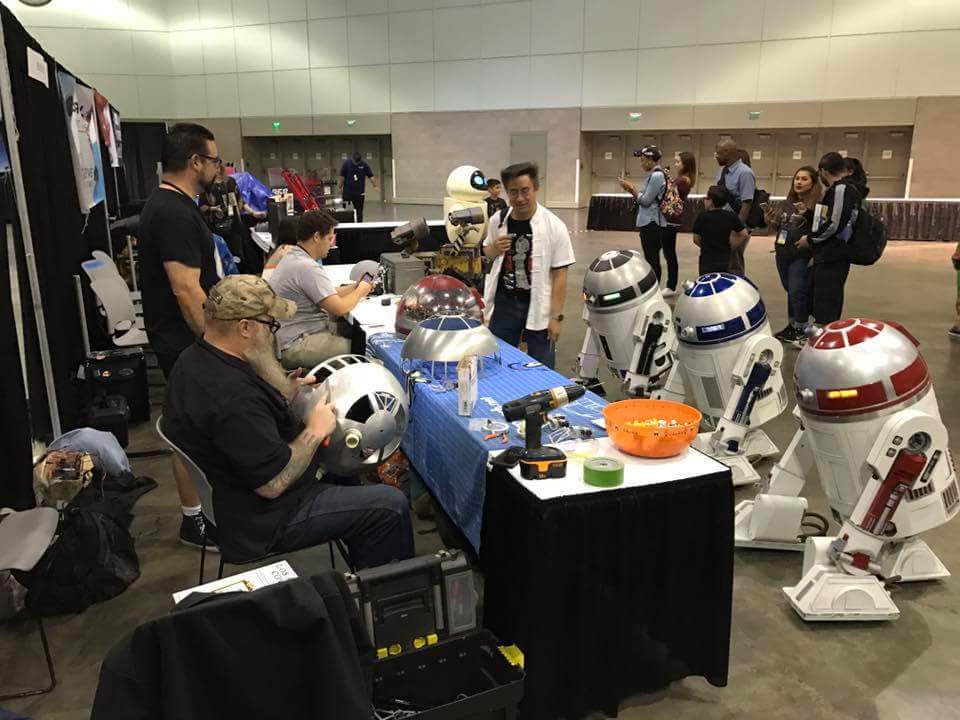
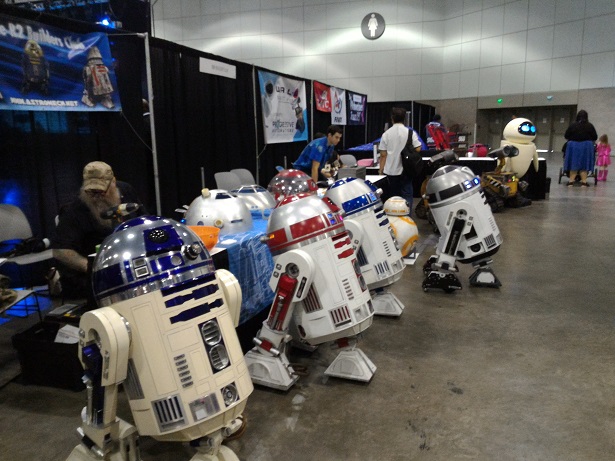
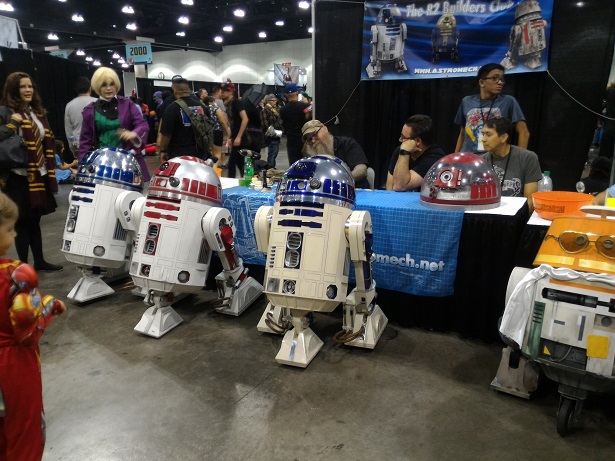
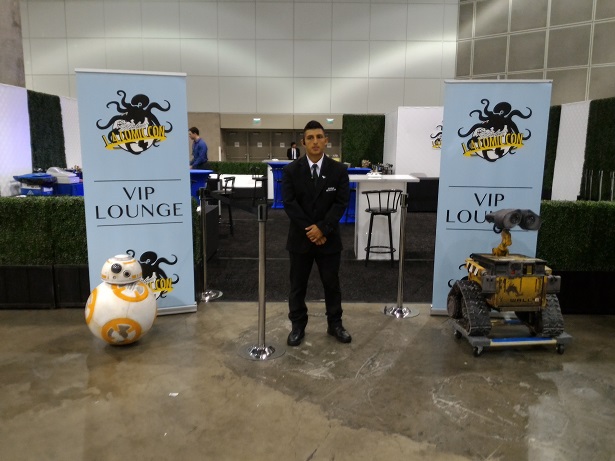
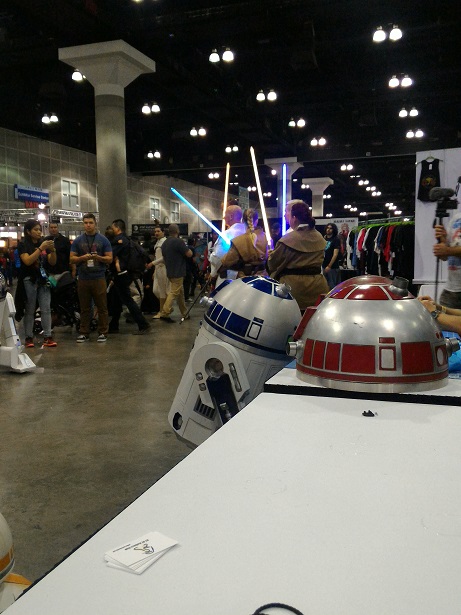
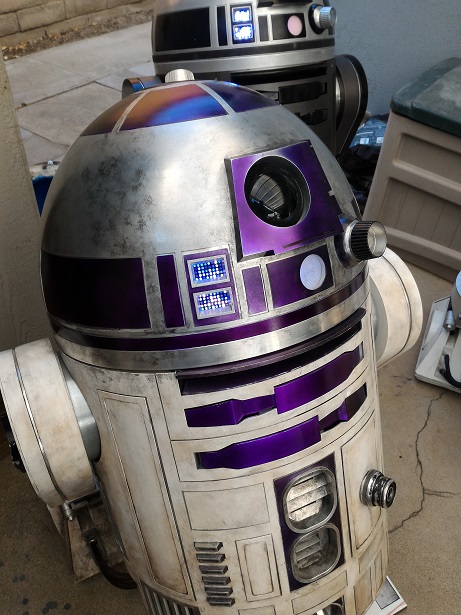
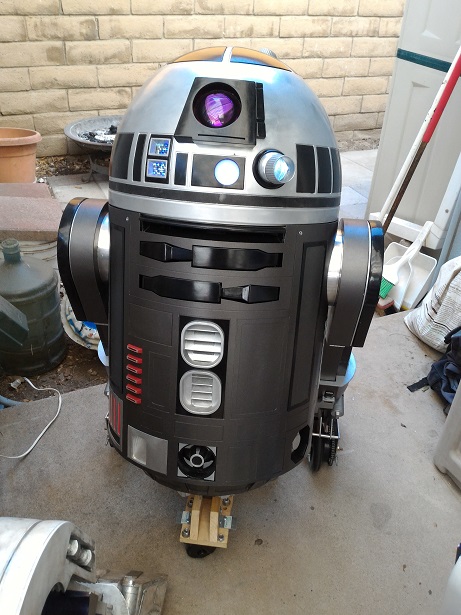
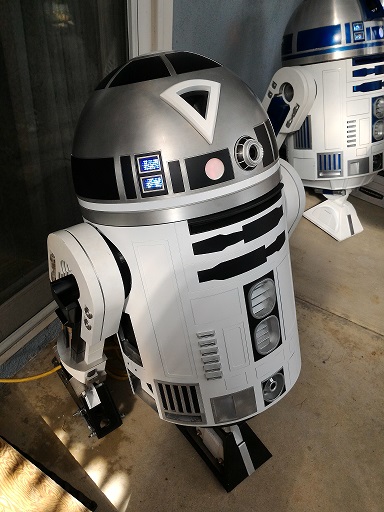
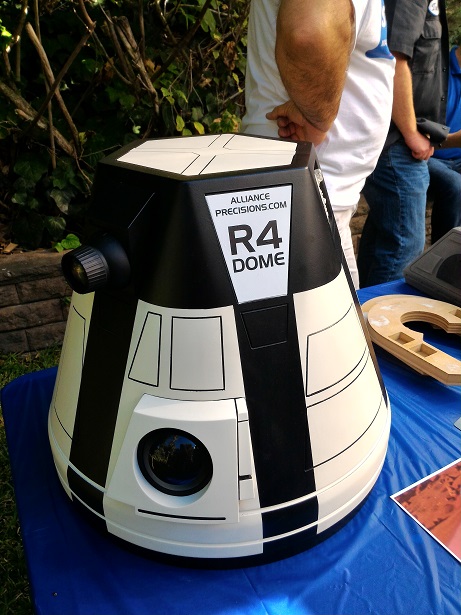
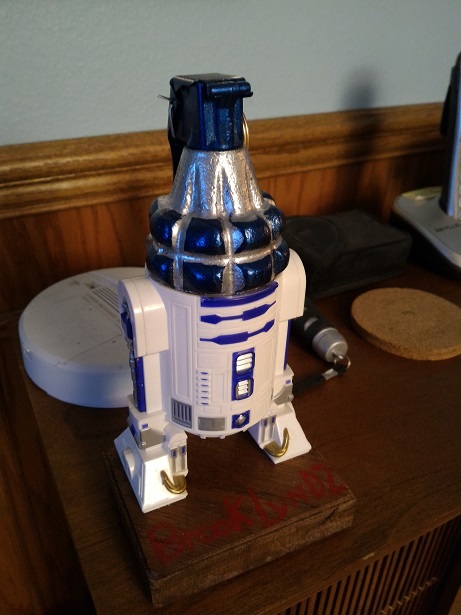
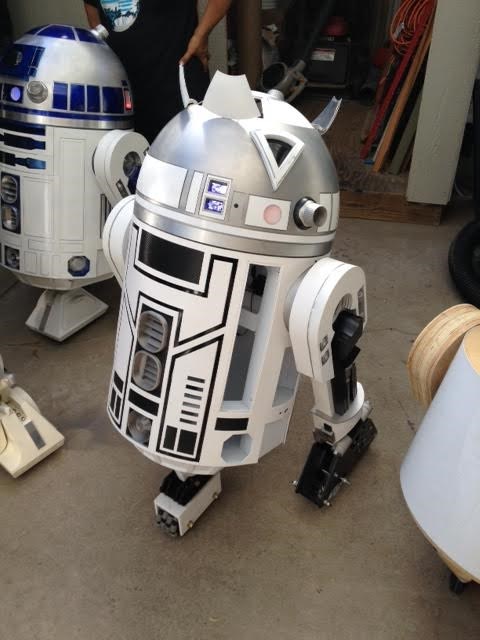
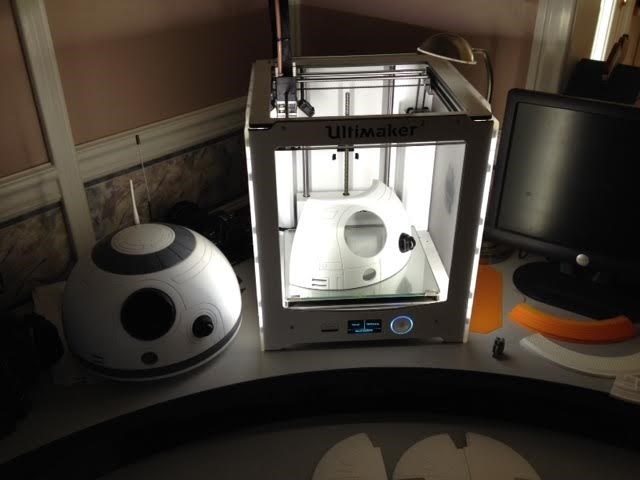
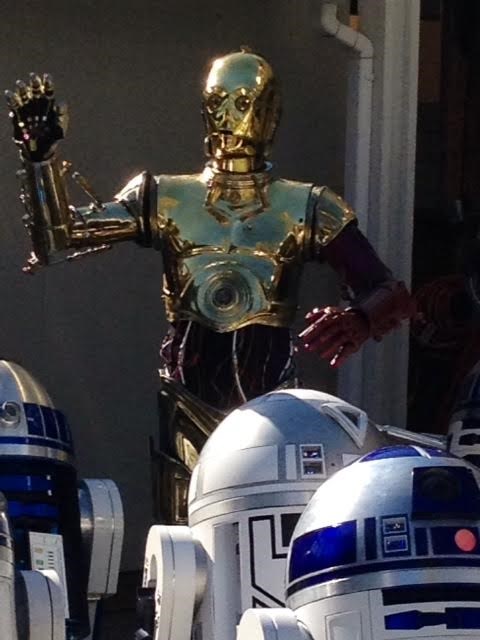
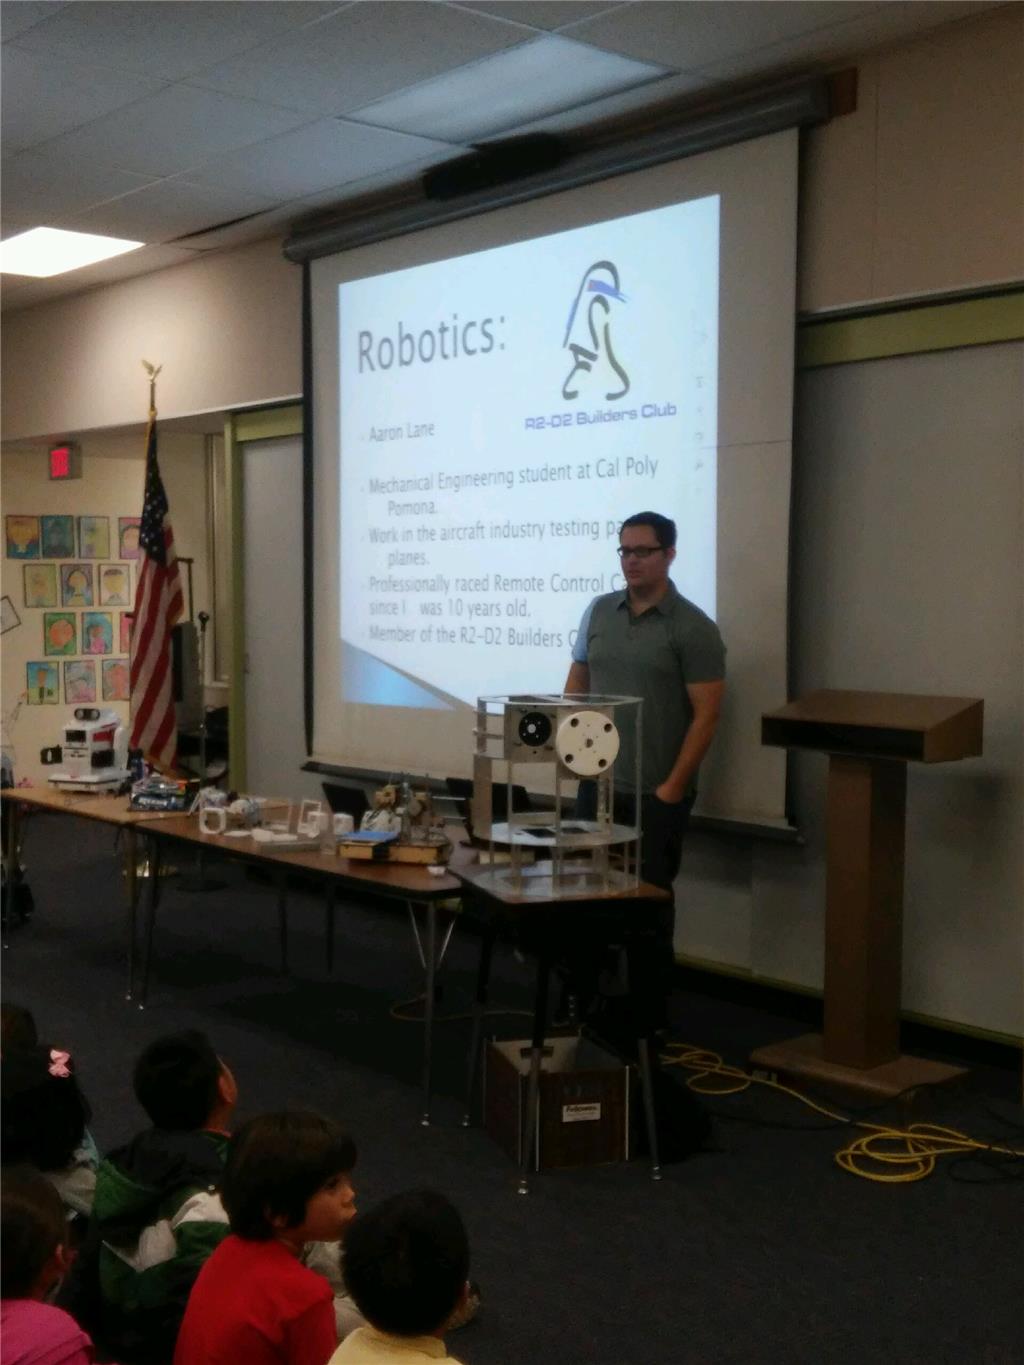
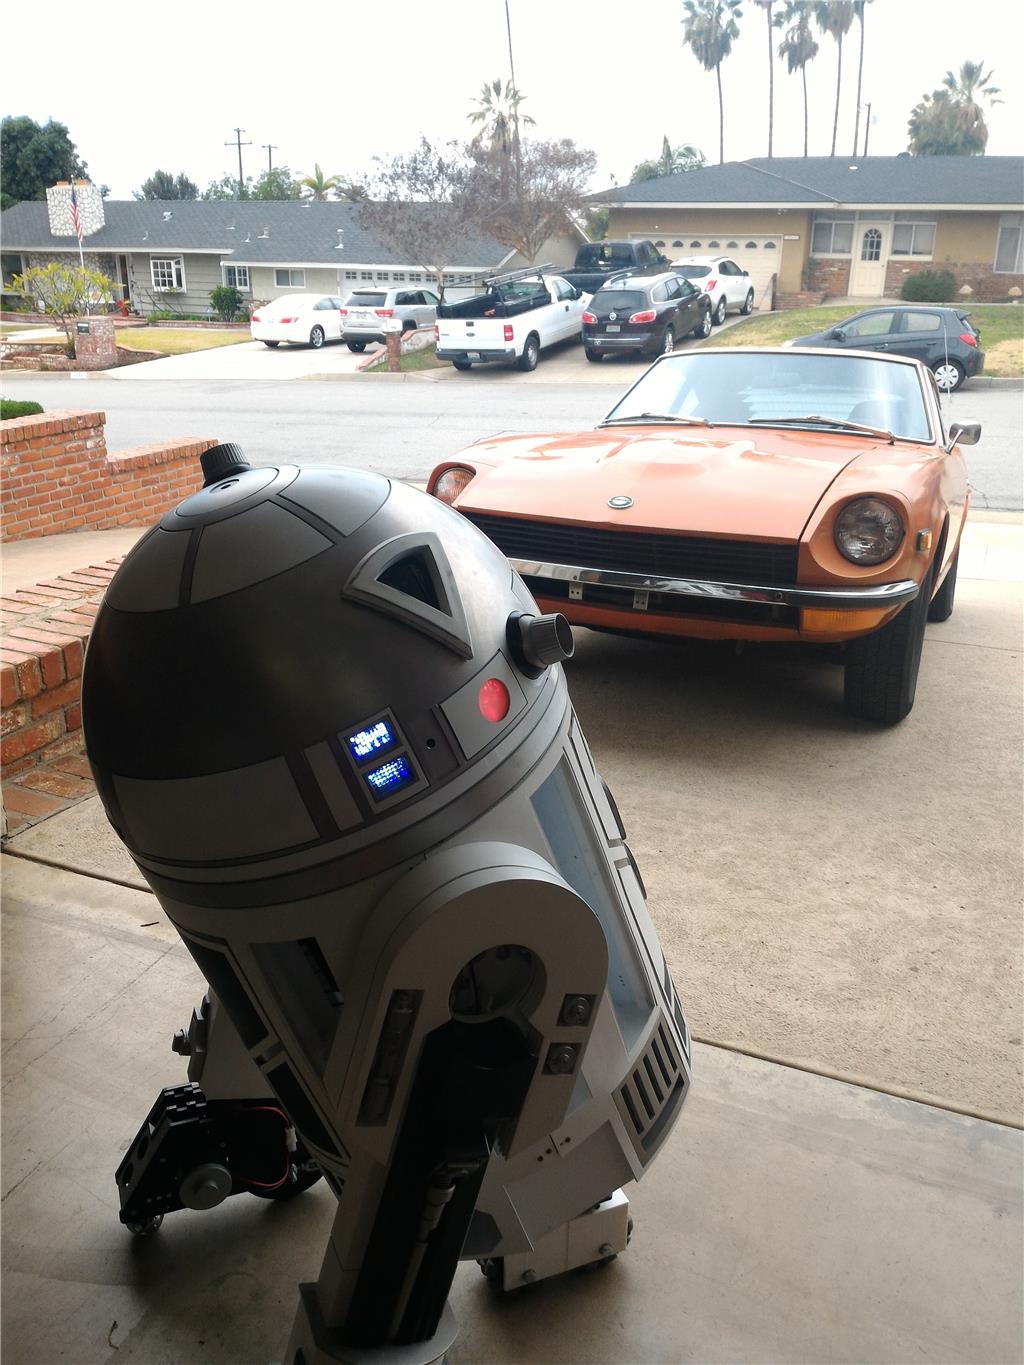
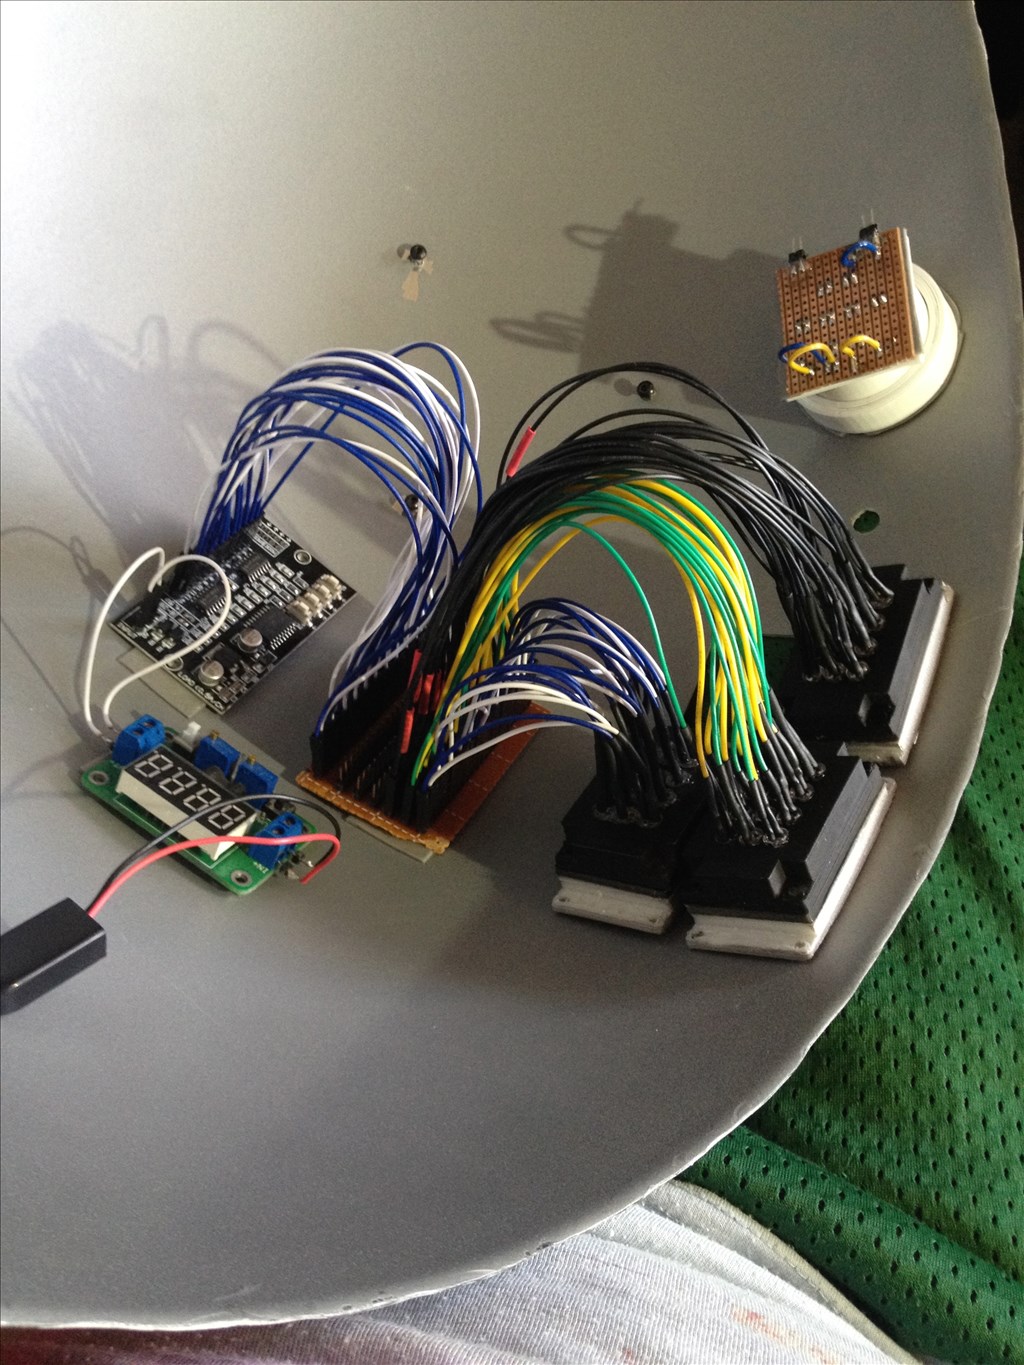
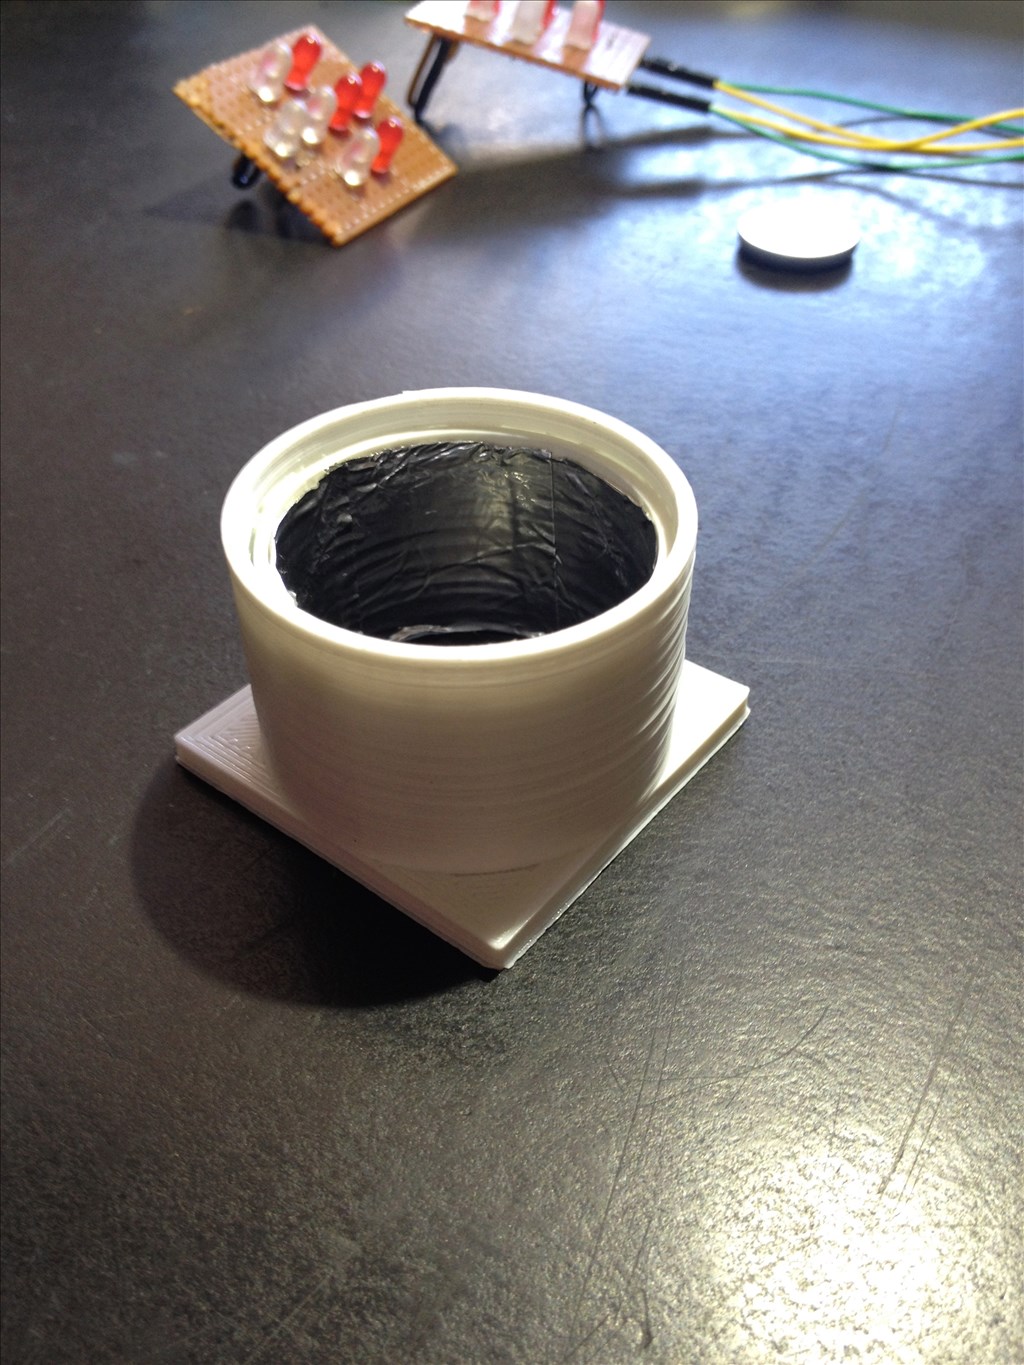
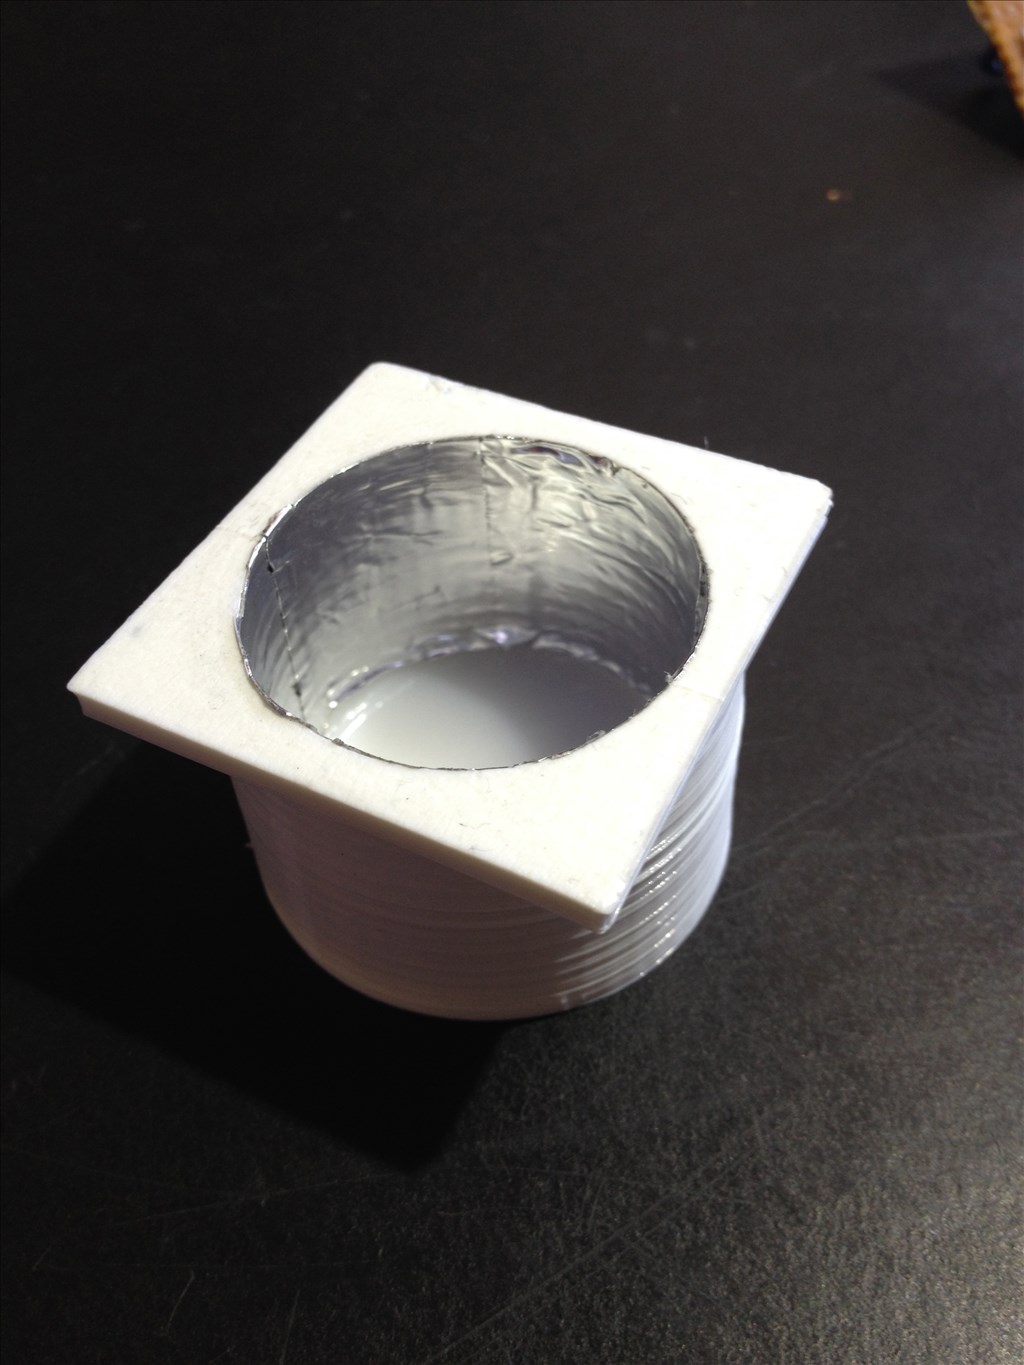
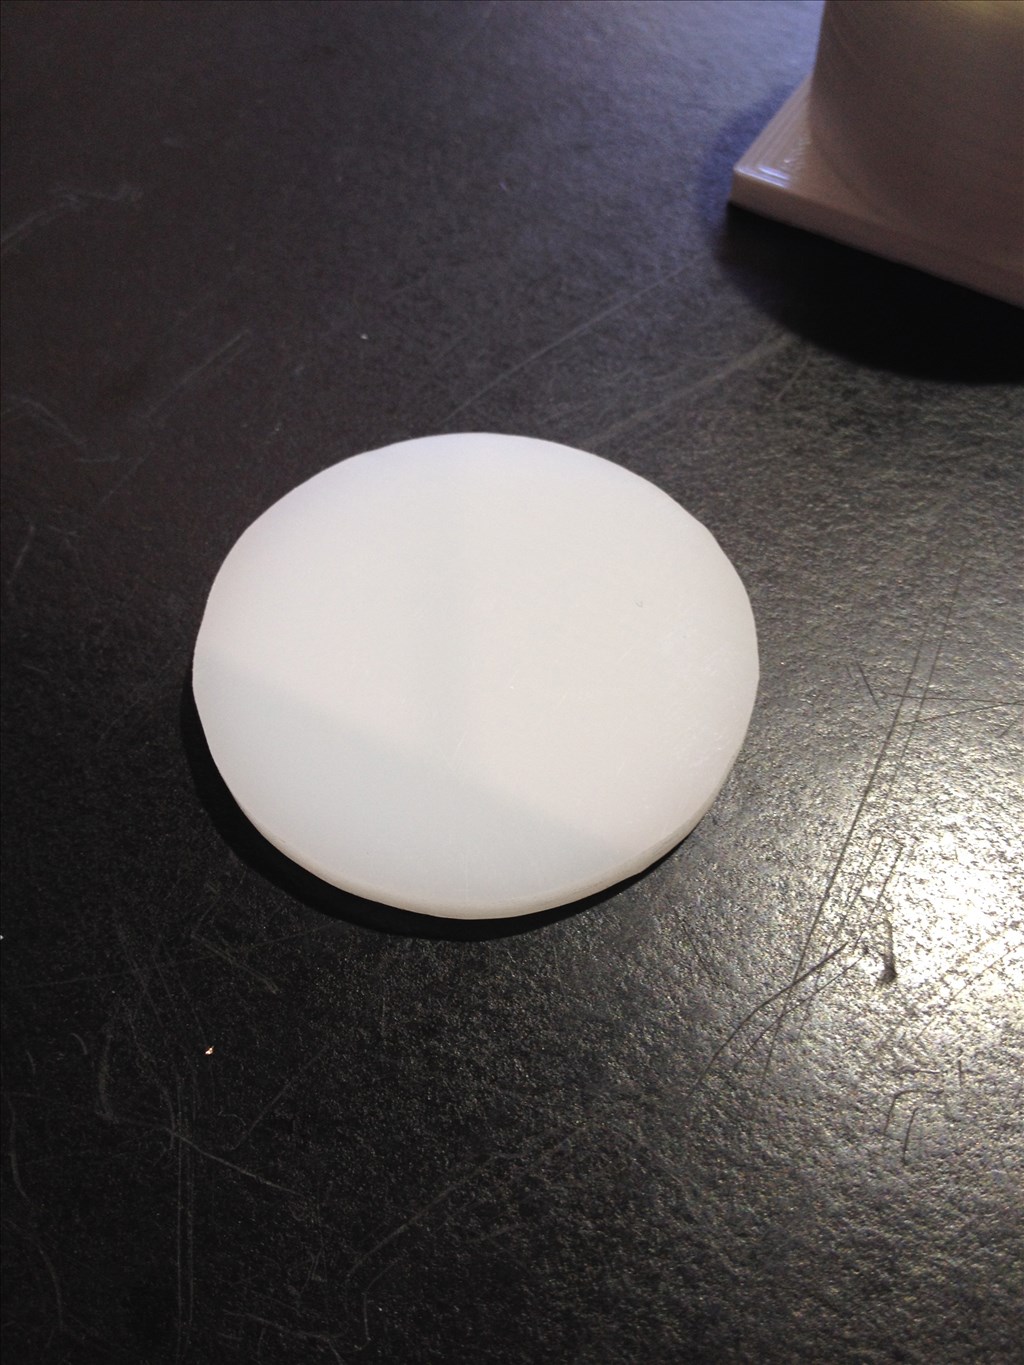
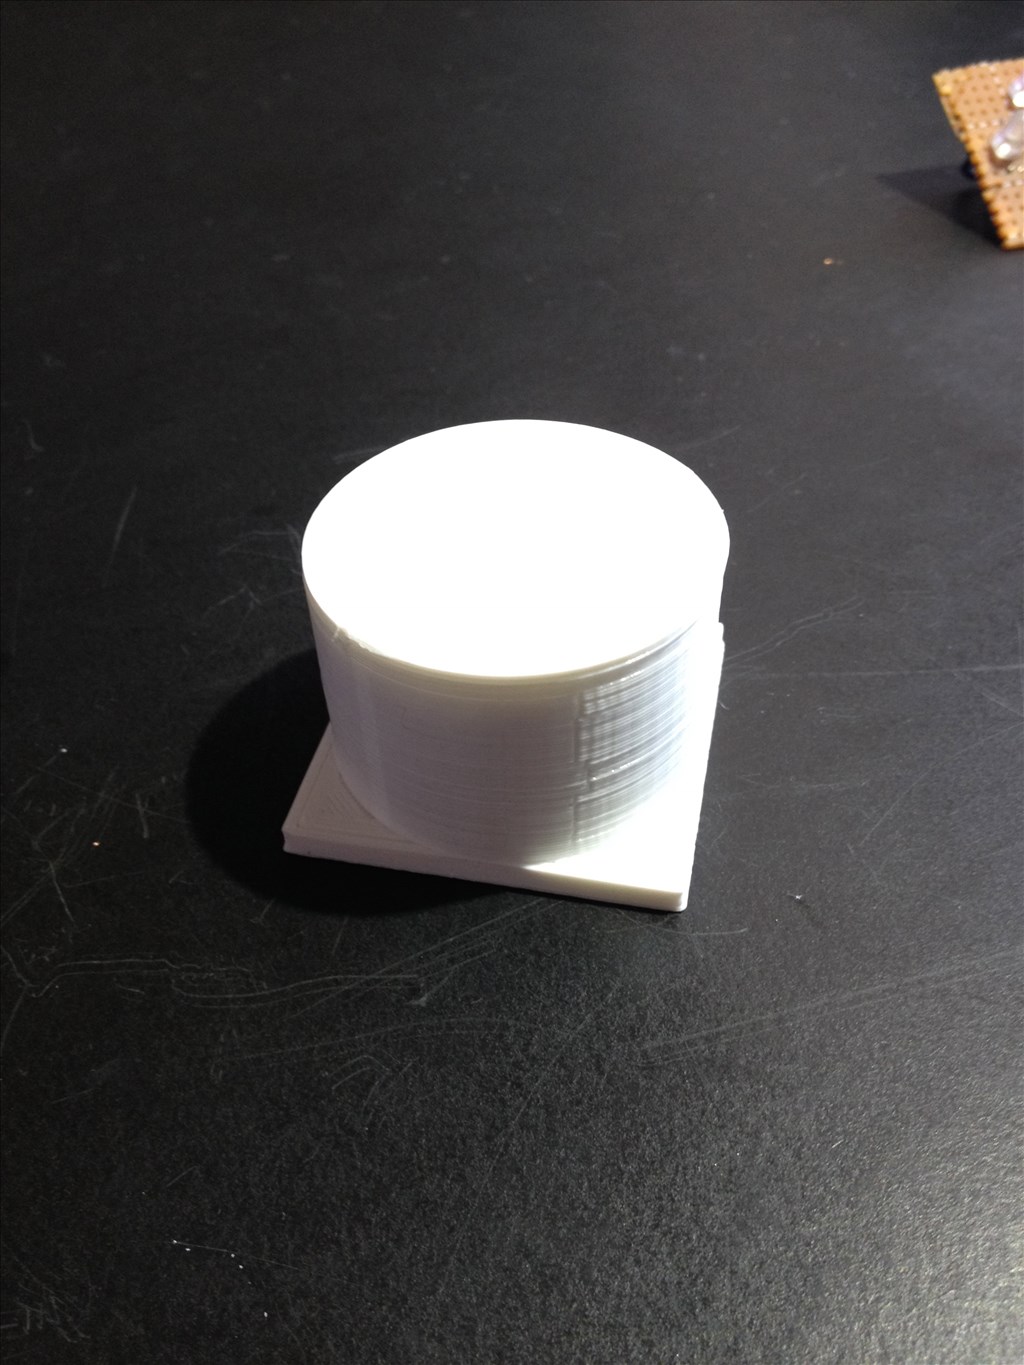
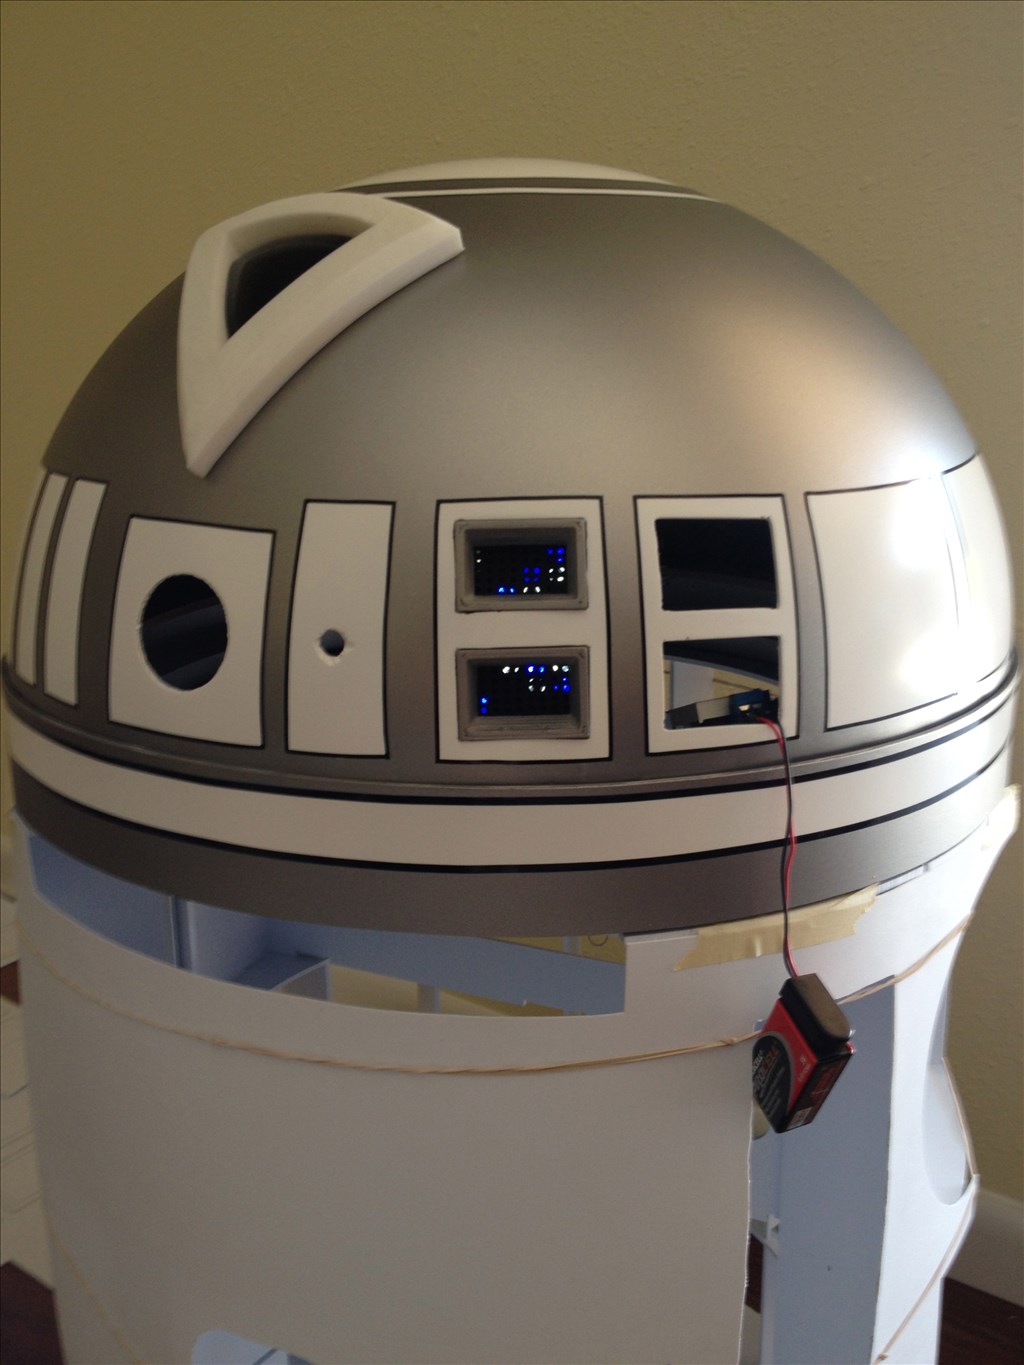
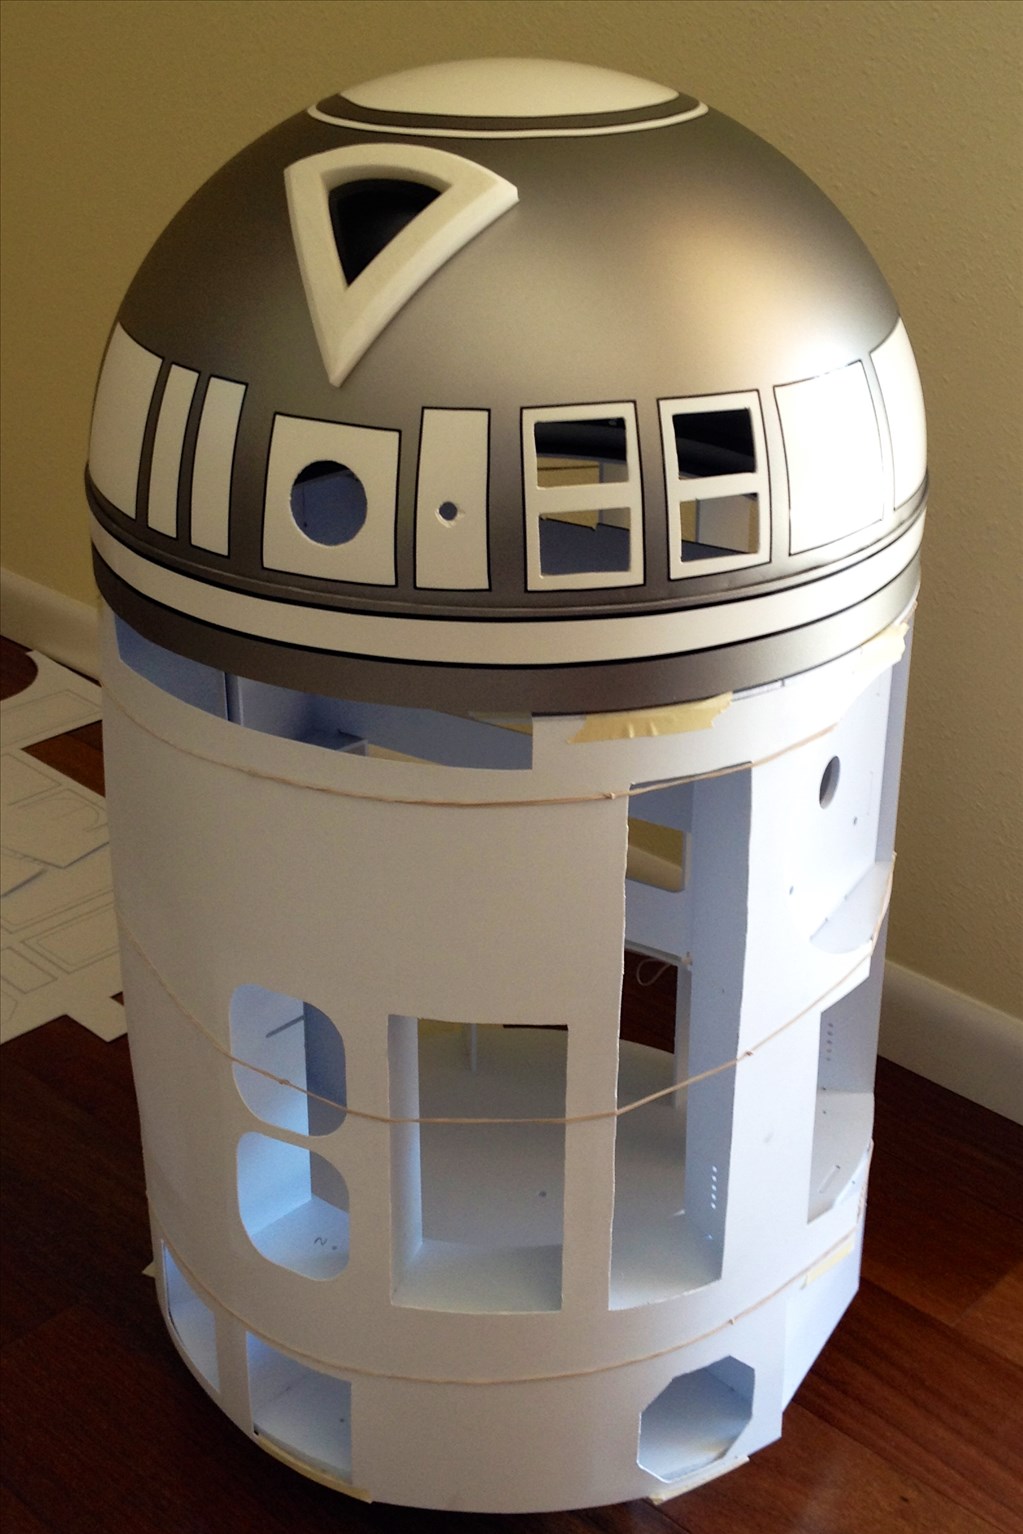
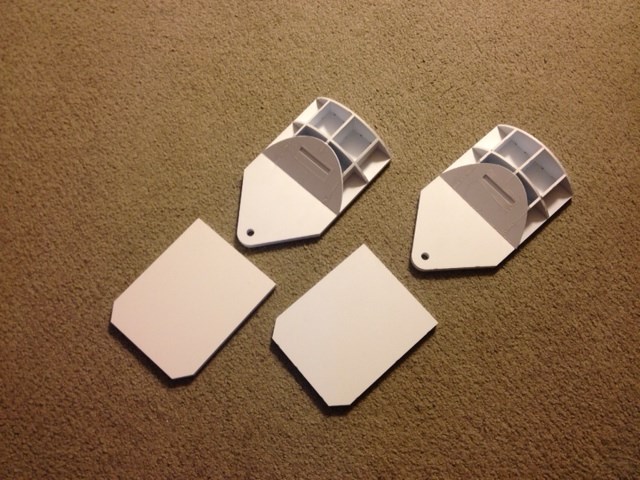
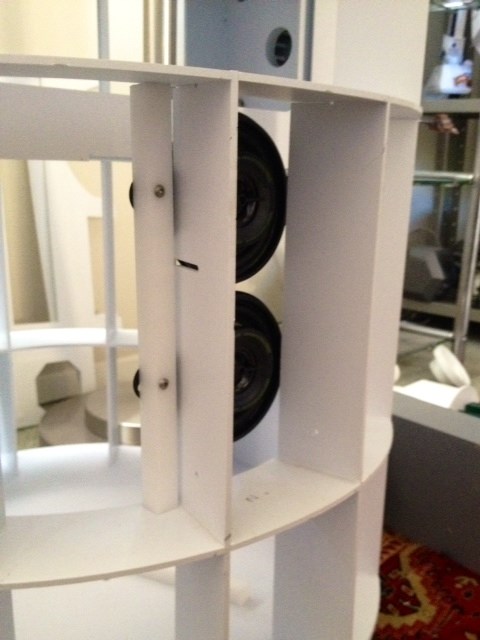
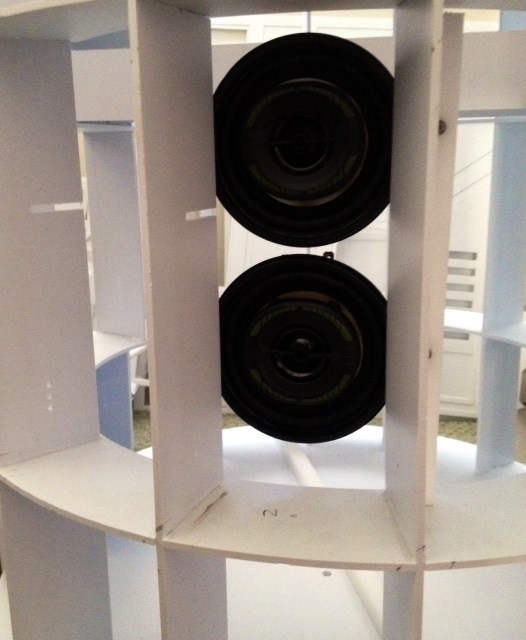
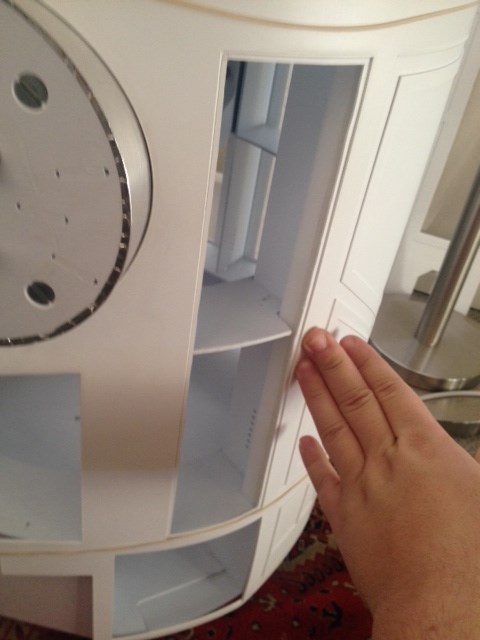
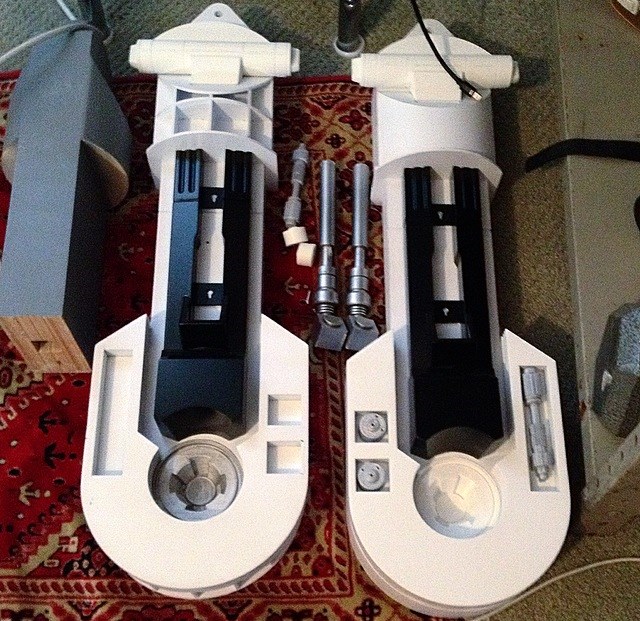
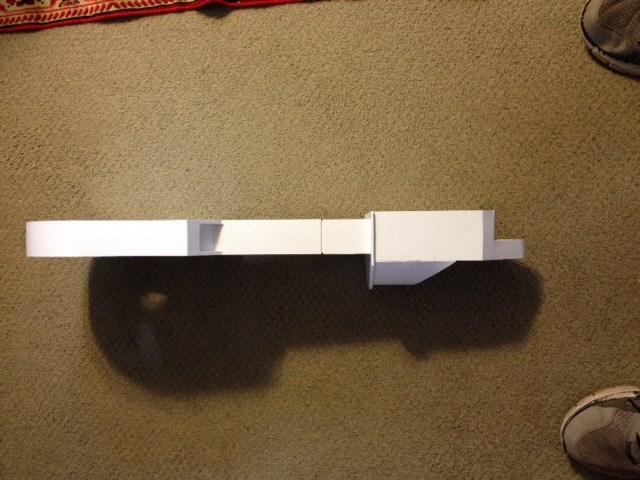
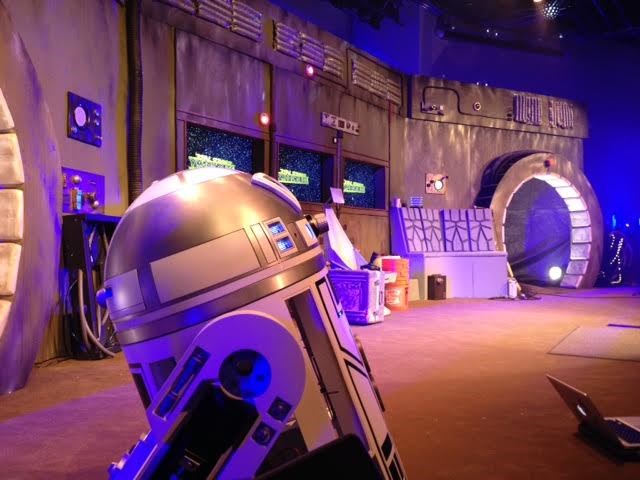
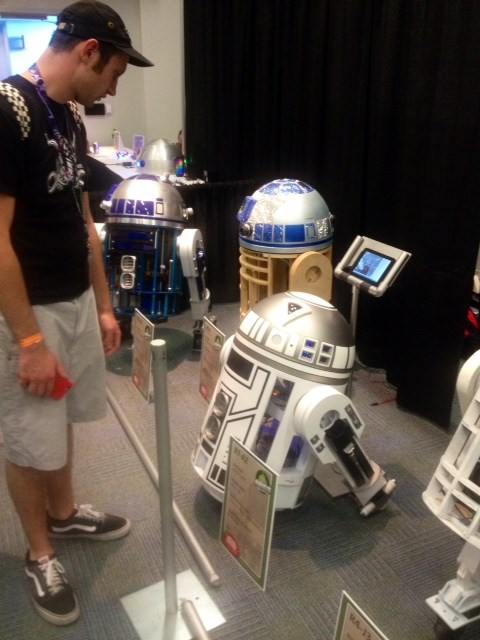
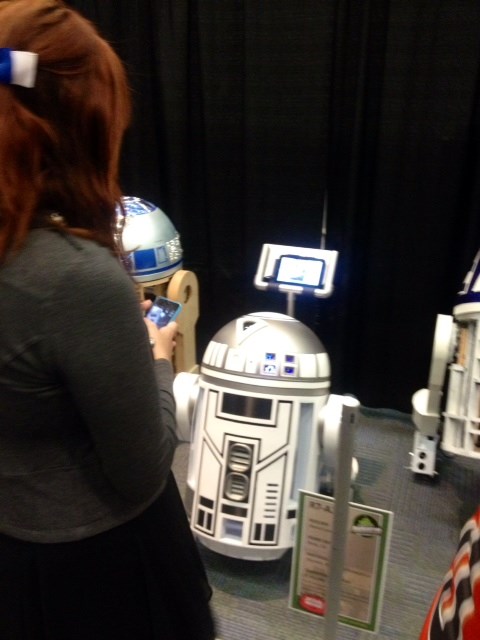
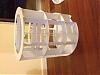
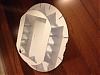
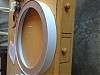
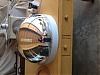
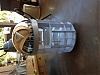
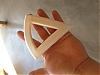
Hello everyone so i have begun building my full size astromech droid! I know that this project is going to take a long time but I feel it will be worth it in the end. My droid will be built from styrene and 3d printed parts. The dome is actually a security mirror but requires a 2" riser made from a floral craft ring and styrene cover.
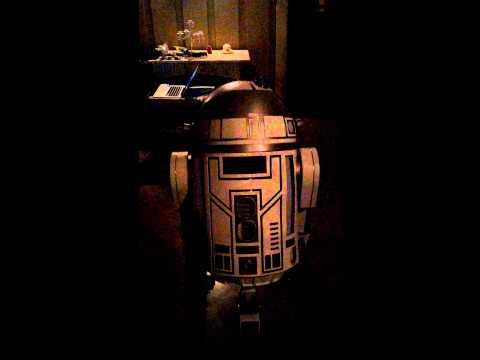
I wil be loading larger and not sideways photos soon.... stress
By robot56
— Last update
Discover more robots
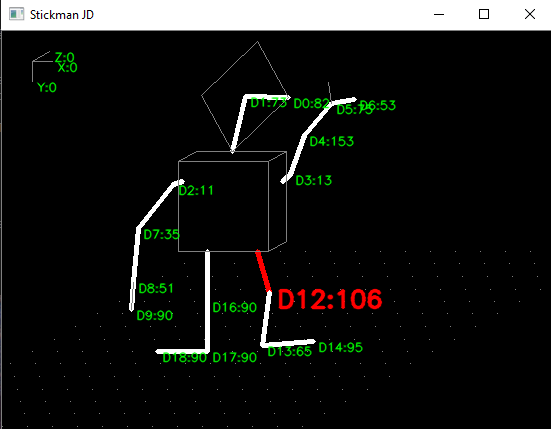
Goldenbot's Stickman JD Robot V1.1
Control JD Humanoid in Synthiam ARC with Stickman JD: 3D joint dragging, rotate view & floor grid, works with EZ-B...
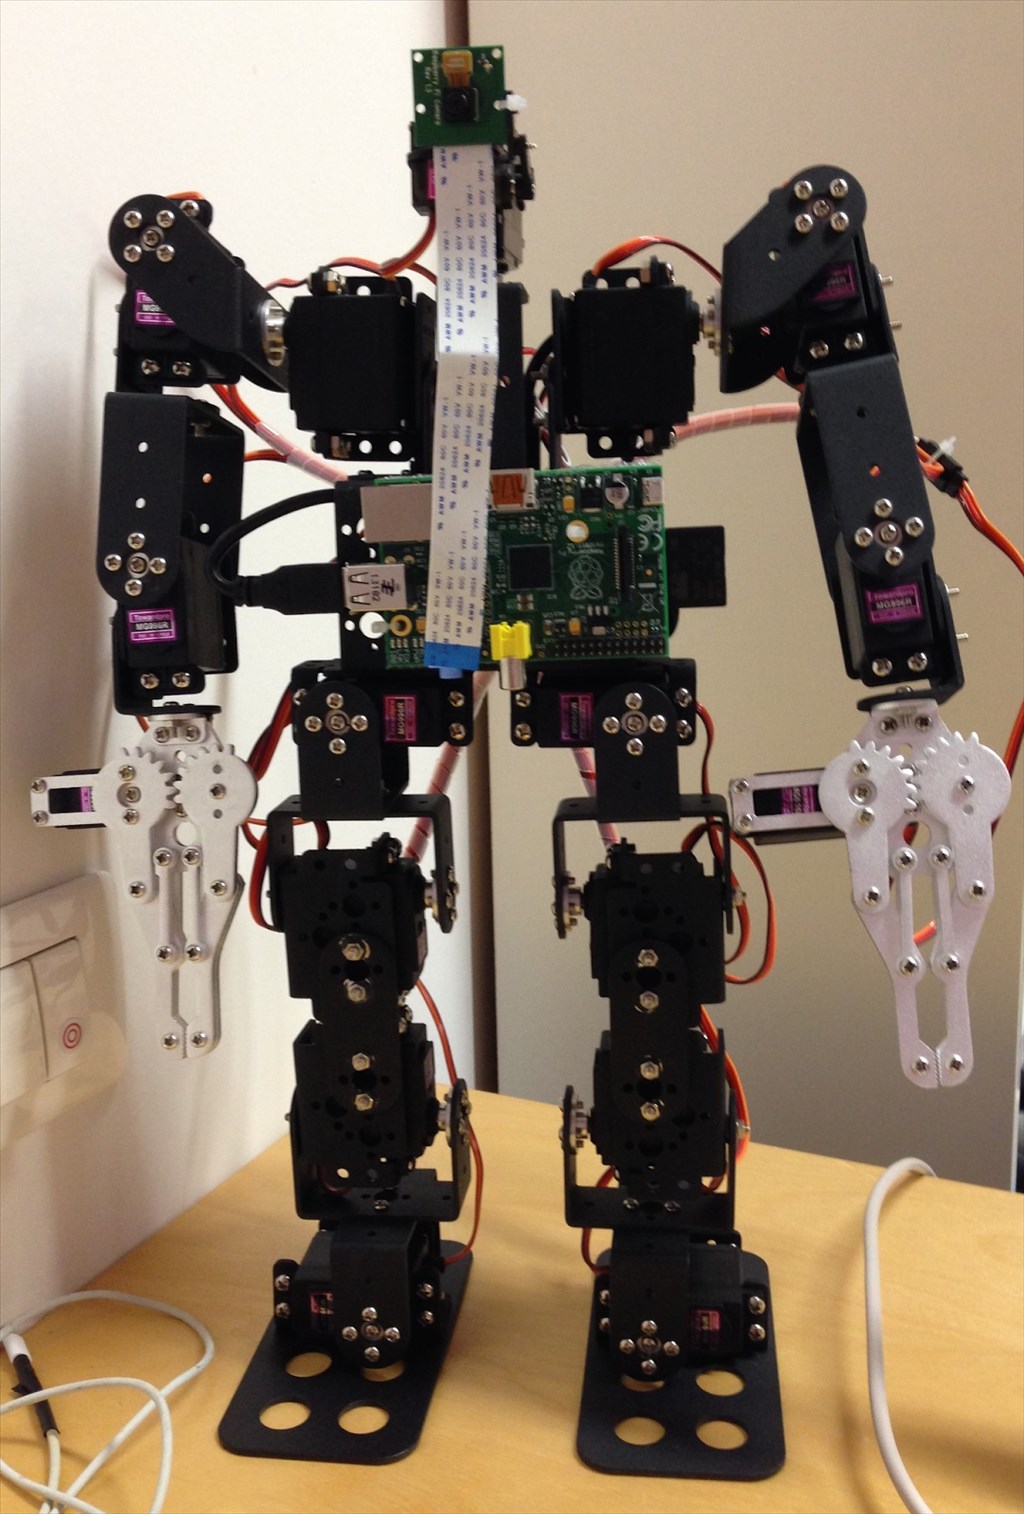
Crivellarodiego's How To Automate The Robot
Create an ARC project to migrate your Raspberry Pi-based robot to Synthiam ARC, configuring hardware, scripts, and apps...
Waynea's Tall Tower Light Controller - Ezb V4
Monitor 19 broadcast tower strobe lights remotely with EZ-B v4-easy relay integration, fault signaling and simple alerts...

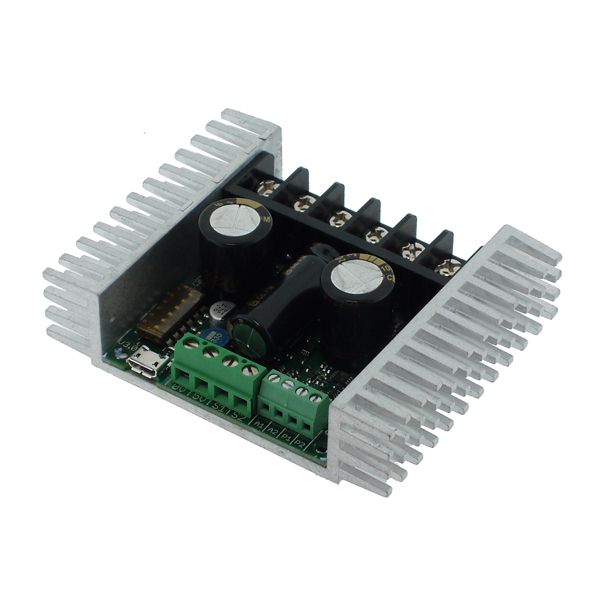
d.cochran gave you a good answer in your other post. A lot will depend on how much power (Amps) your drive motor require. Then you can determine what sabertooth H-bridge you need.
I'll take a look... But I think it's 7 amp if I'm not wrong... Thanks!
The 2x5 is probably too small. The 2x12 would be plenty.
Do your motors have encoders?
To control the motors, there are various options. The Simple servo mode would probably be fine if there are no encoders. These are very simple to use.
@tevans robot doc is correct. It vastly depends on how heavy your droid is and what terrain you're driving it on.
My droid is styrene and is lightweight compared to a lot of them.
https://astrogreeblies.com has many sabertooths and gives a good indication of which one you will need based on your droids weight those are the motors that all of the astro builders use so you should be good!
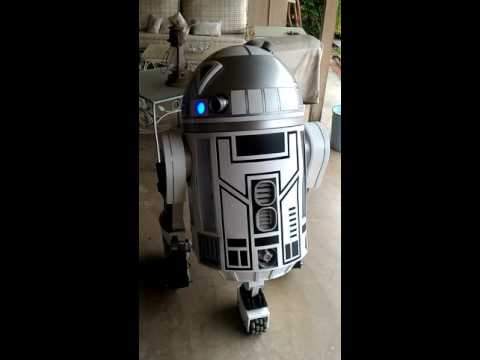
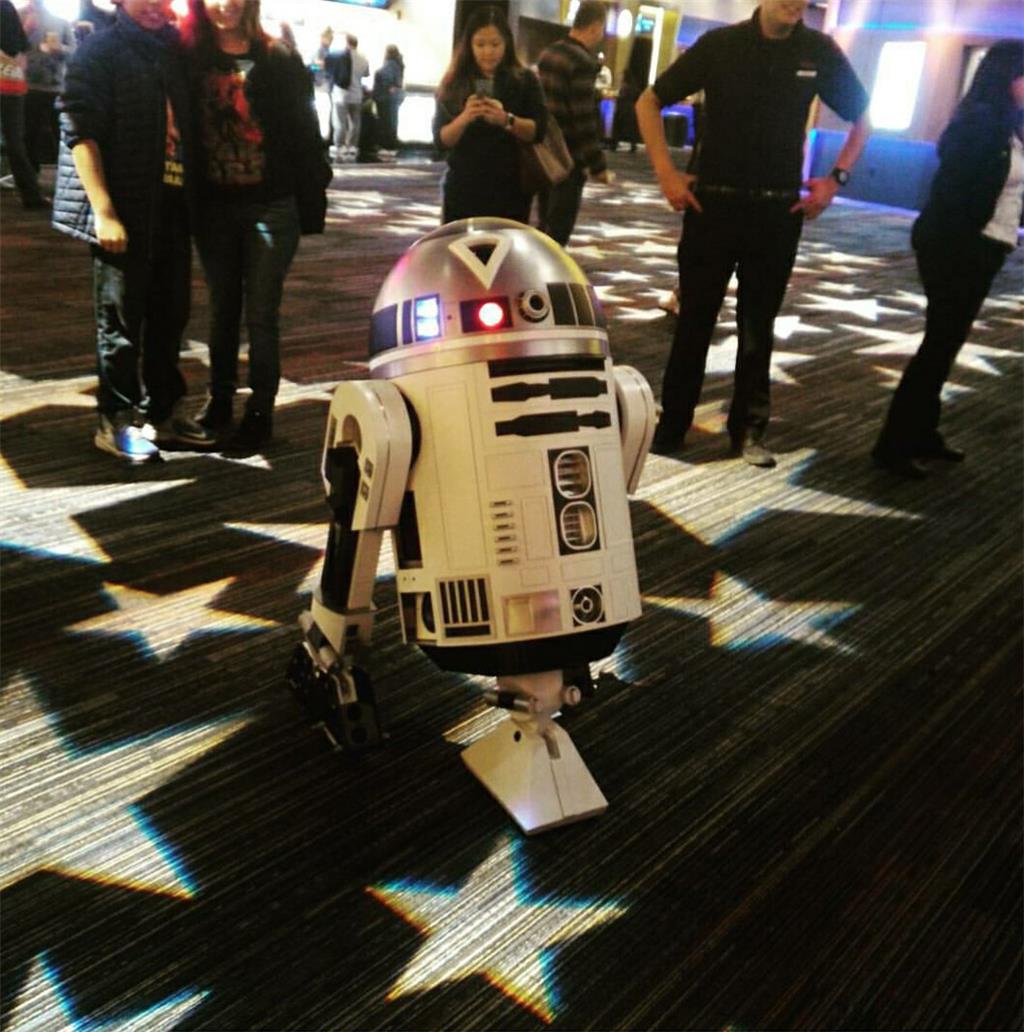
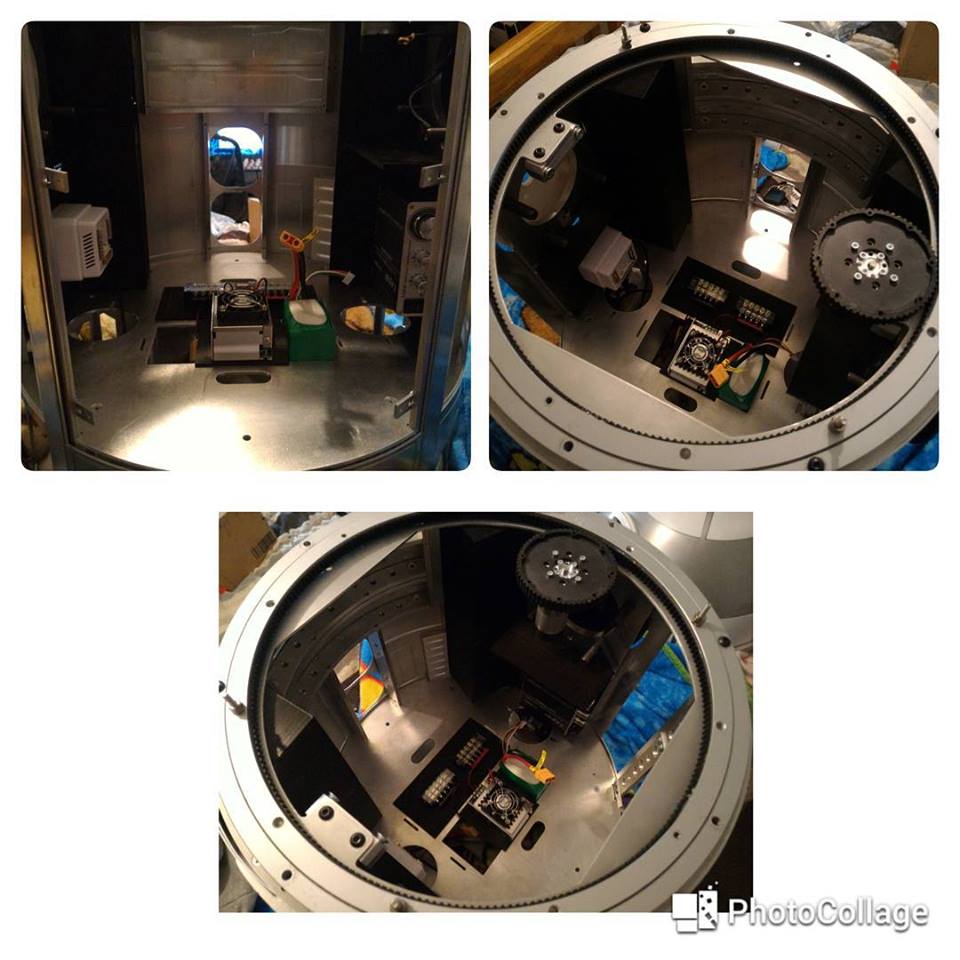
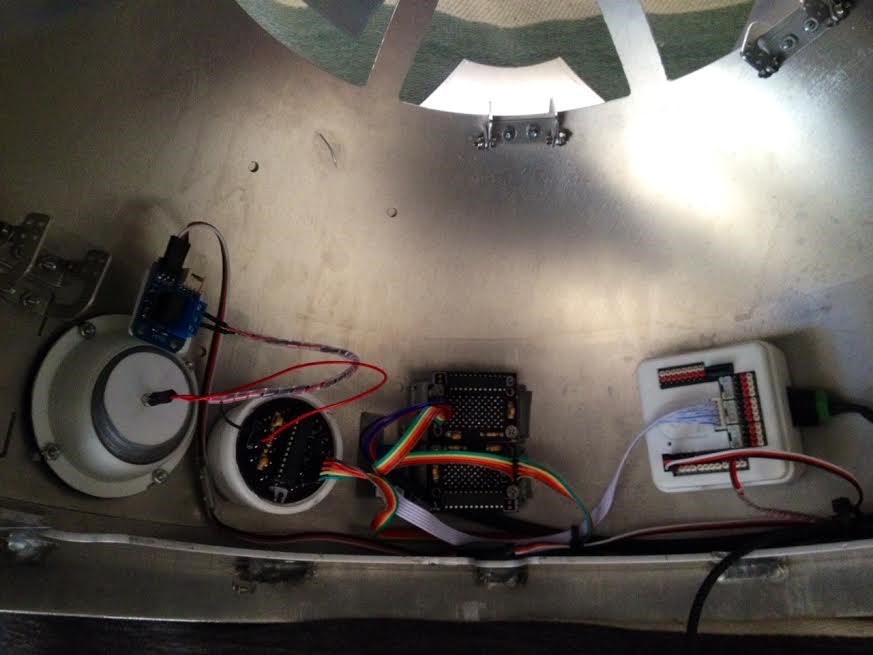
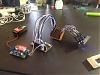
so it has been a while since any kind of update but thanks to some of the forum members I got my sabertooth 2x32 working using the custom movement panel.
my DIP switch settings are:
1-4 OFF 5-6 ON
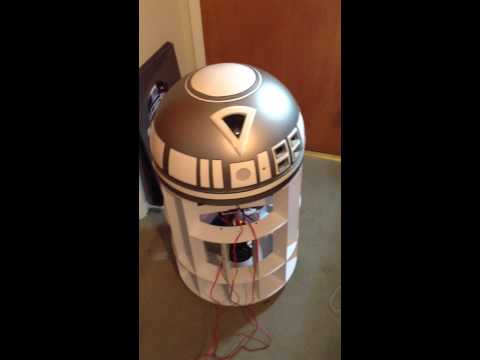
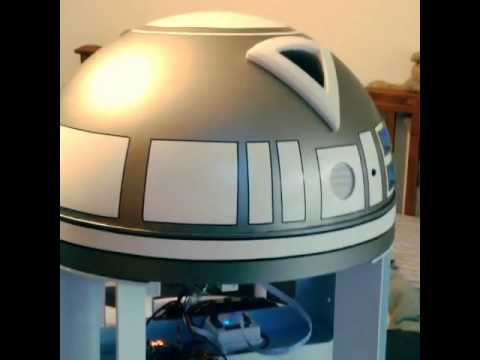
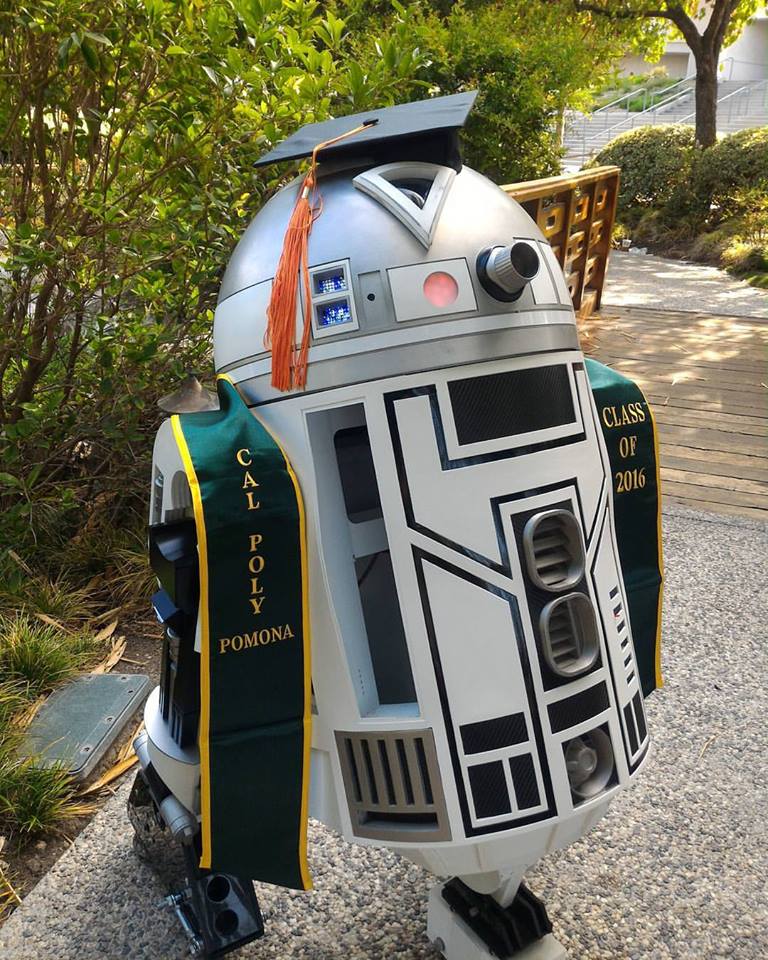
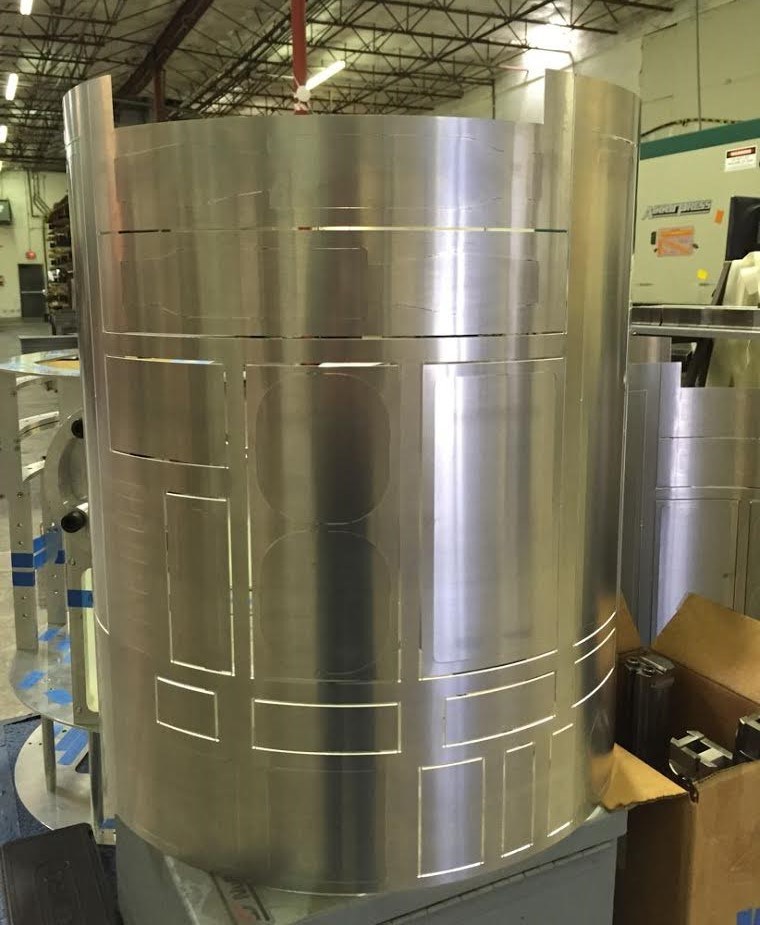
the lighting is terrible but I was really excited to see it move on its own. I will be making another video out in the daylight tomorrow. And aluminum skins are finally on their way from across the pond!
Aaron
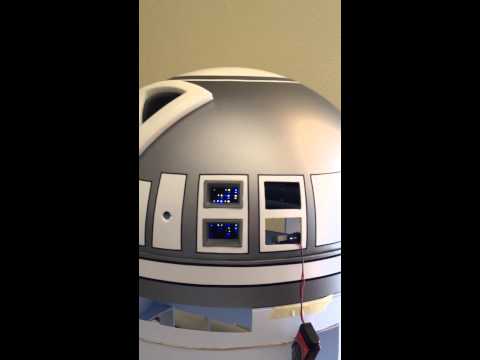
Now, is this done with three omni wheels or just one in the center foot?
@Zap Brannigan
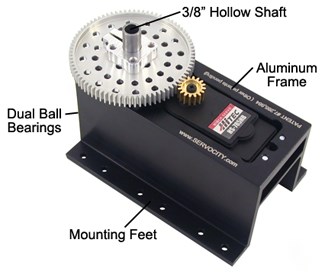
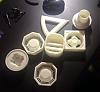
It is with 4 vex Omni-wheels in the front foot and a main drive wheel and ball caster in each rear leg. the belt setup was a lot easier since the belt spur gear and wheel are one molded piece of plastic.
I haven't had time yet to fix the belt tension so I slowed down the turning speed in the code. still slips a lot though. Midterms kill robot building lol So the grinding/clicking noise is the belt slipping on the drive gear teeth... but at least in this video you can better see the front omni-wheels and rear drive feet.
Aaron
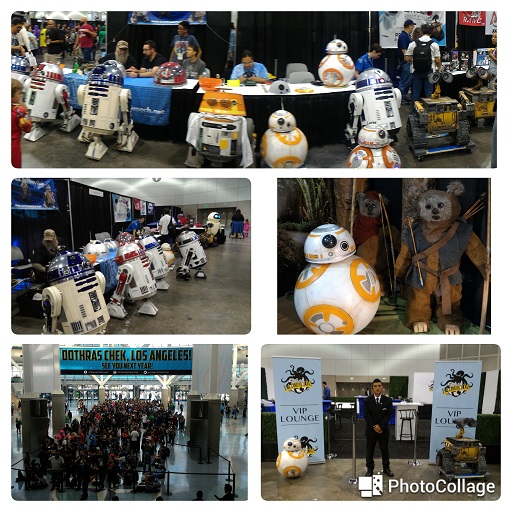
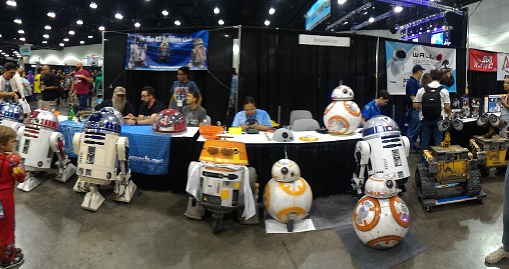
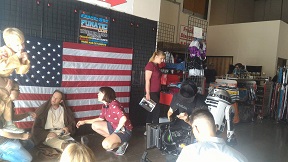
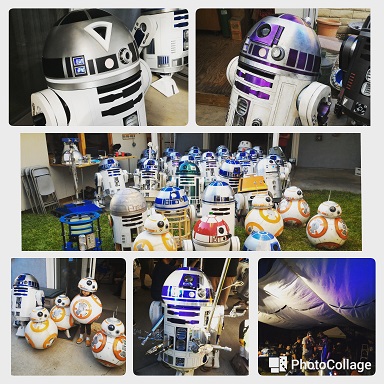
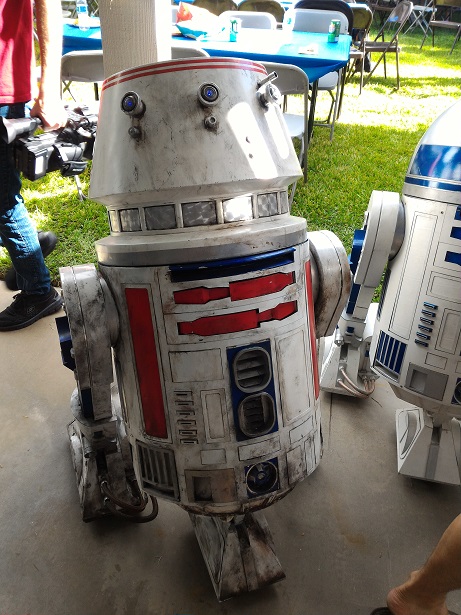
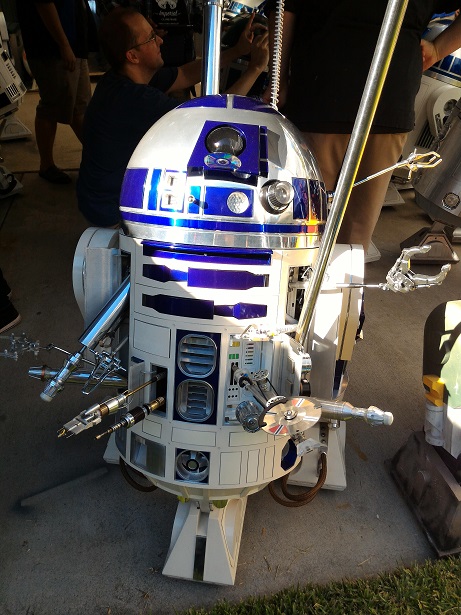
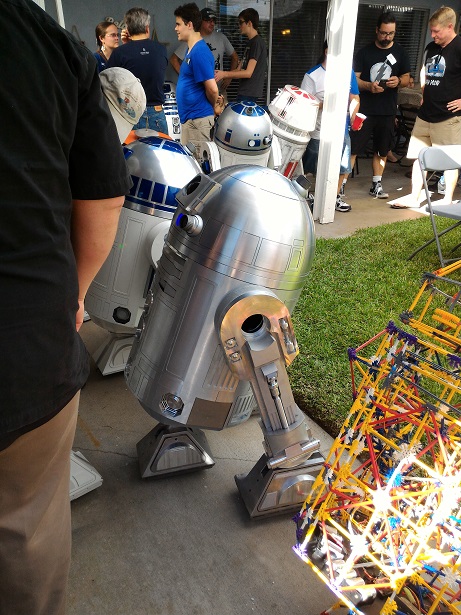
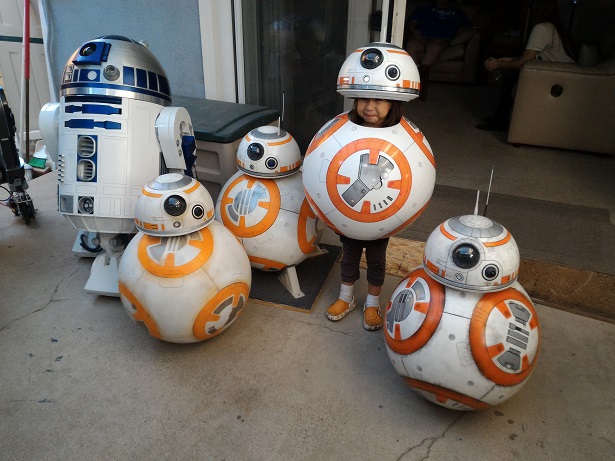
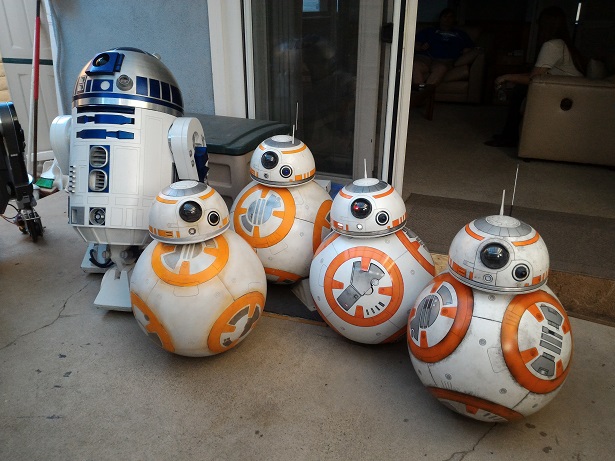
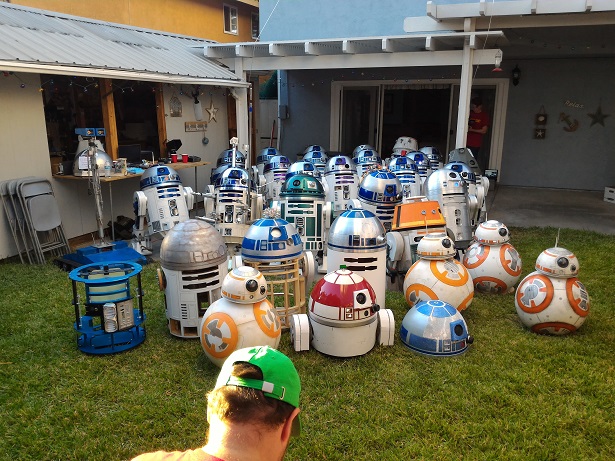
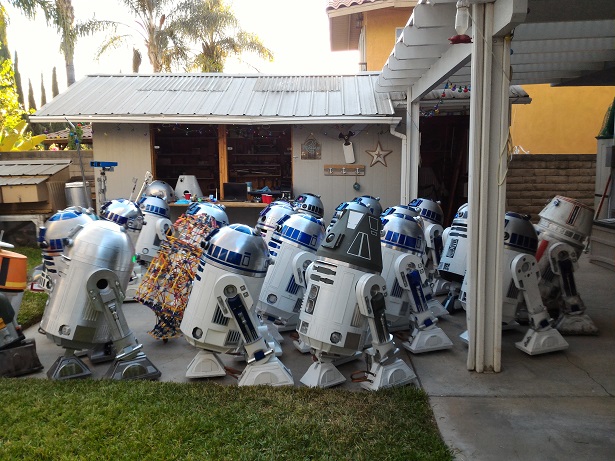
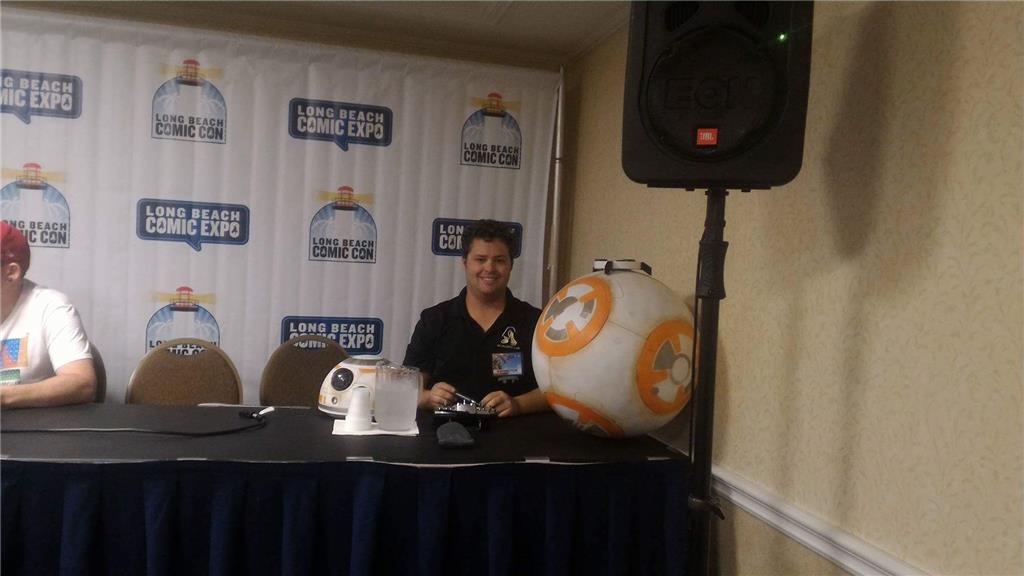
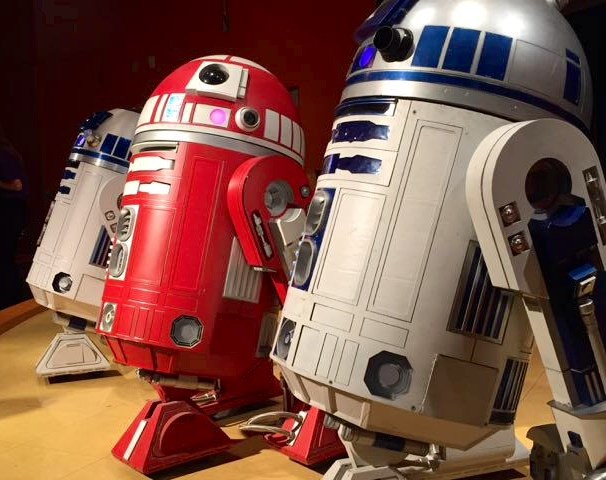
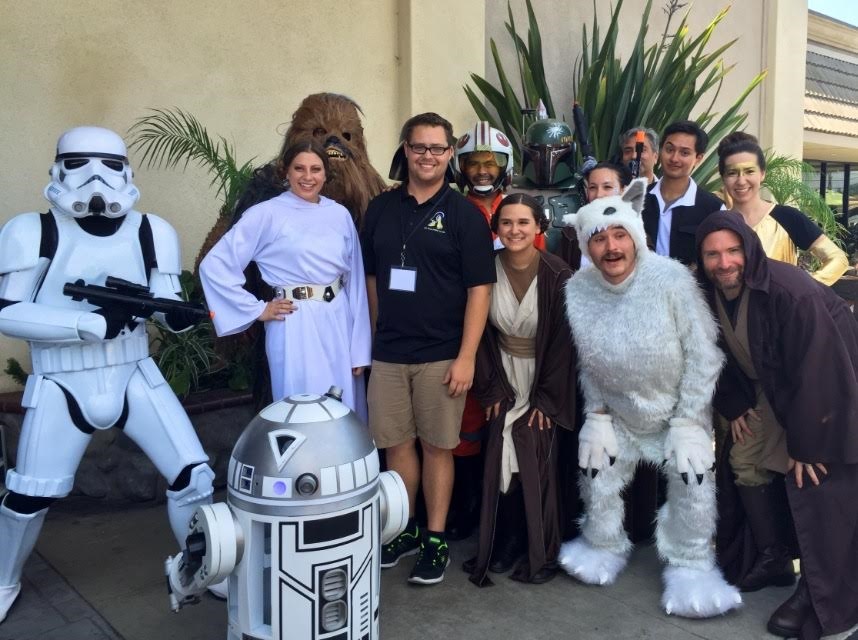
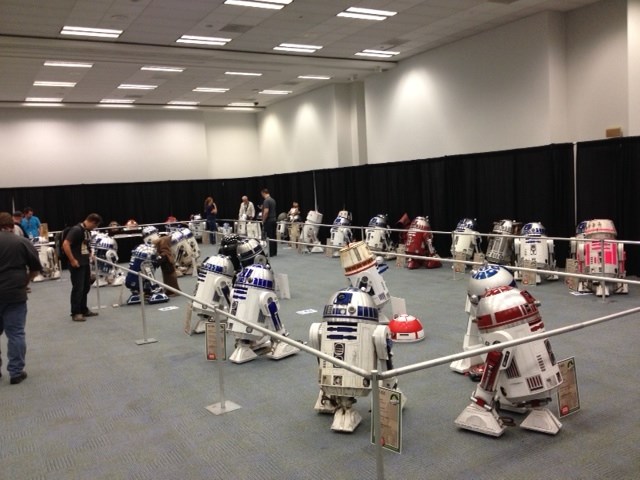
@ robot 56 wow a small platoon of r2's that is just cool very nice builds yours is awesome it would be nice to have such camaraderie close but there is no robot clubs near me keep up the awesome work thanks for sharing