
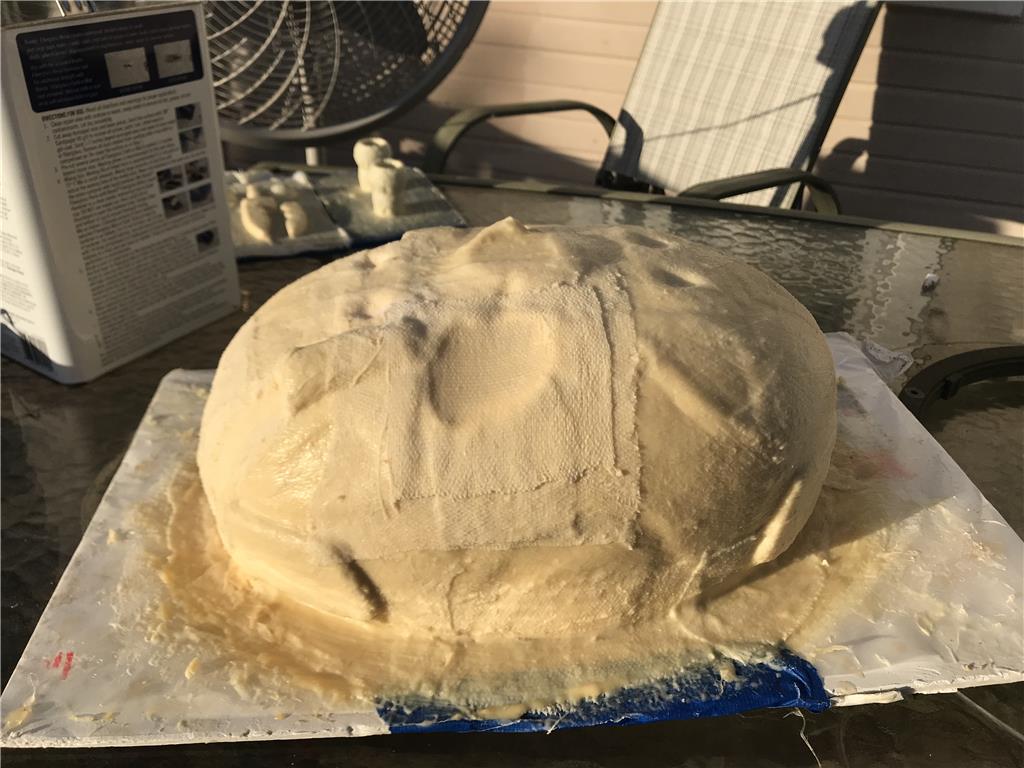
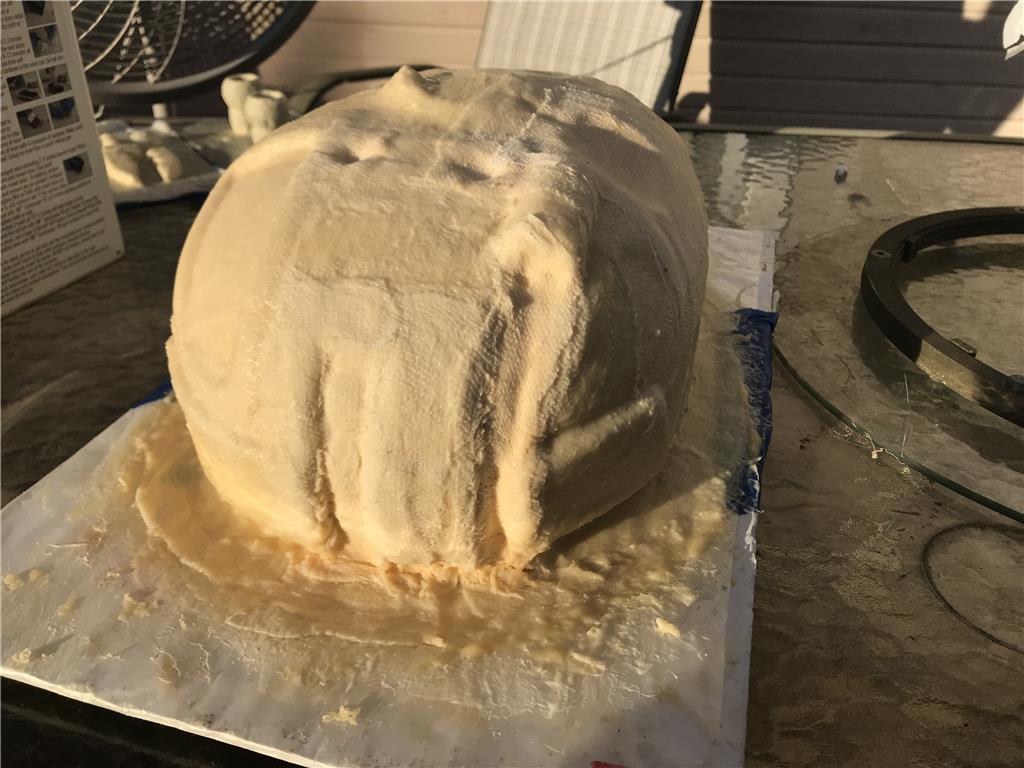
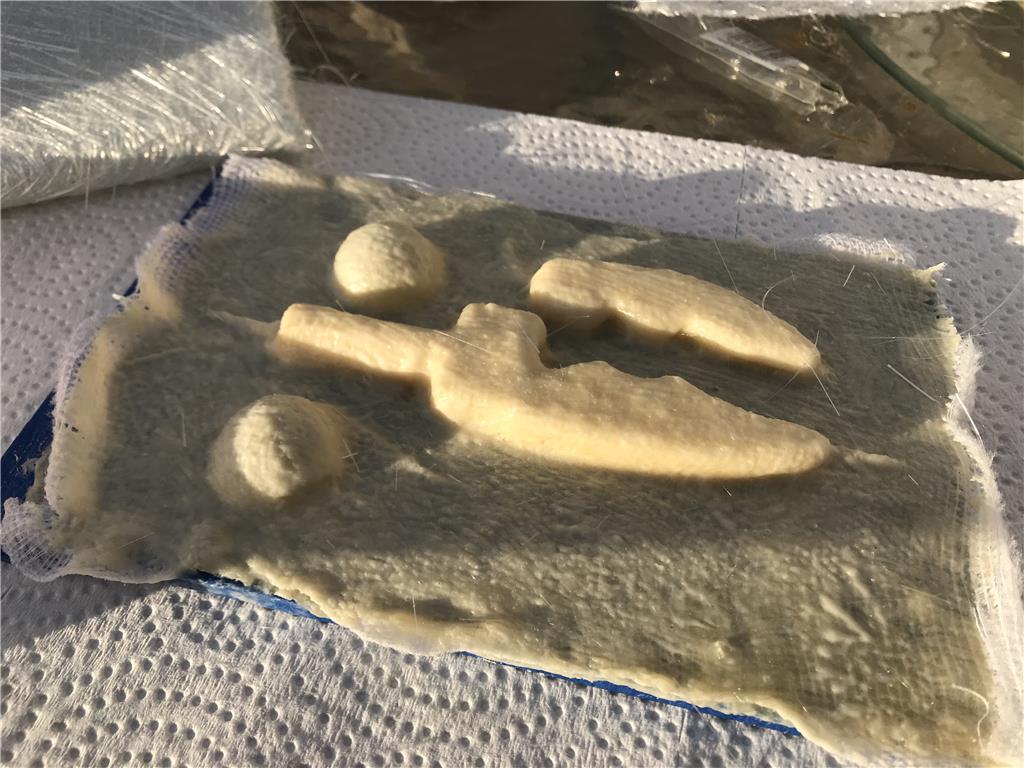
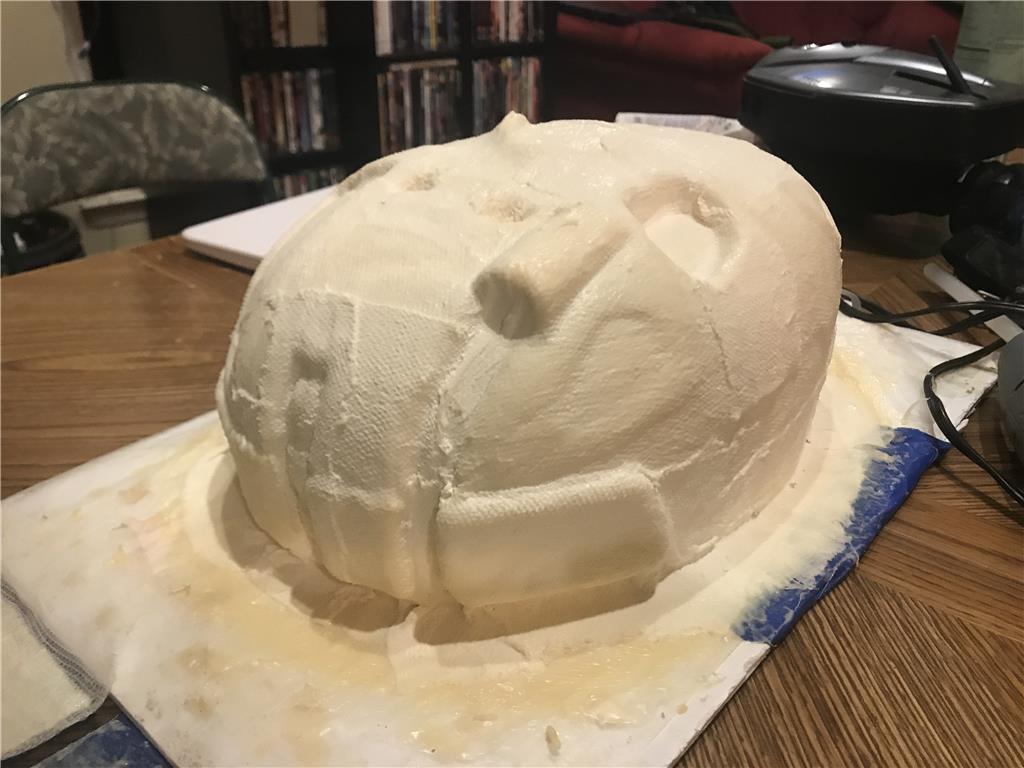
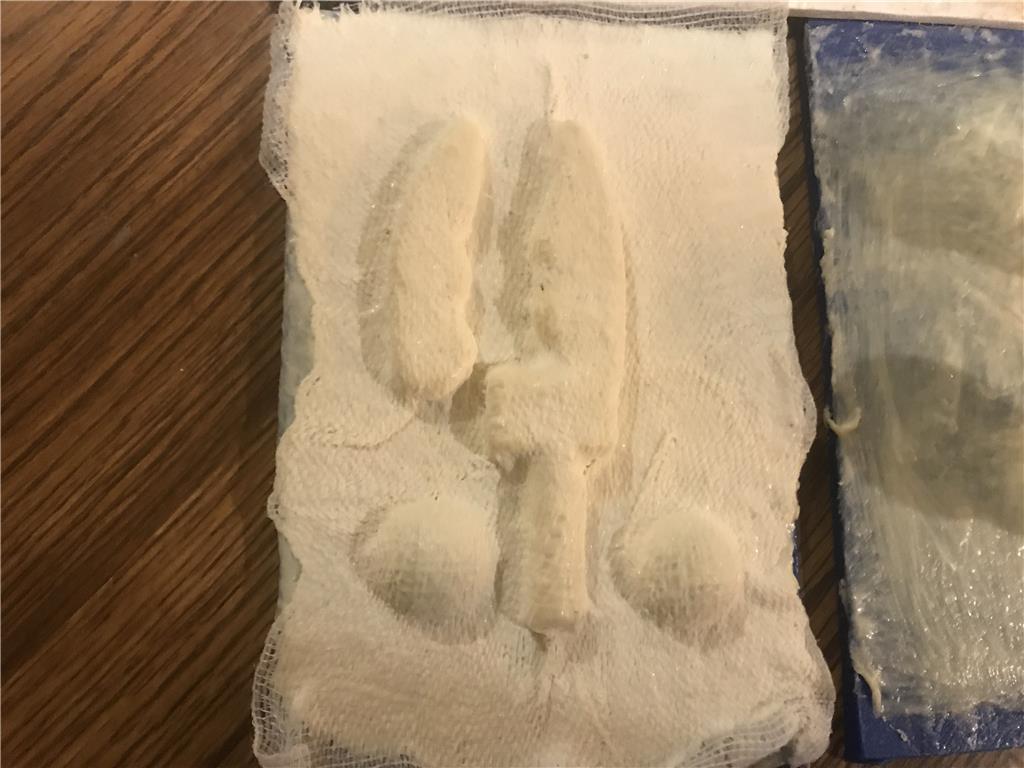
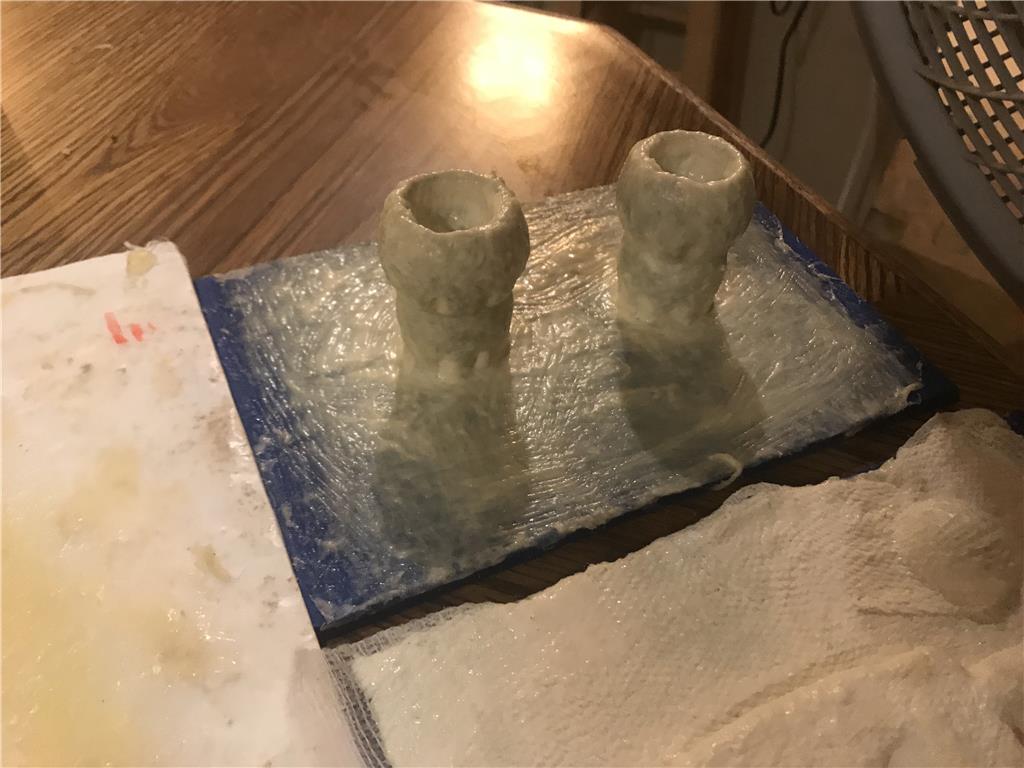
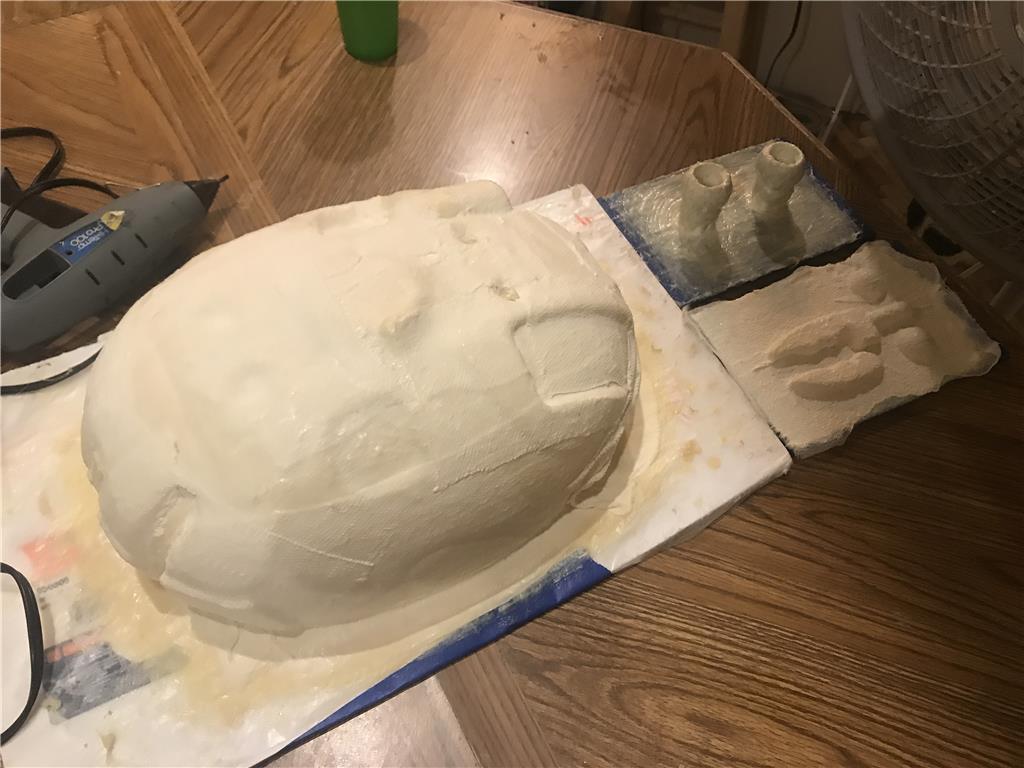
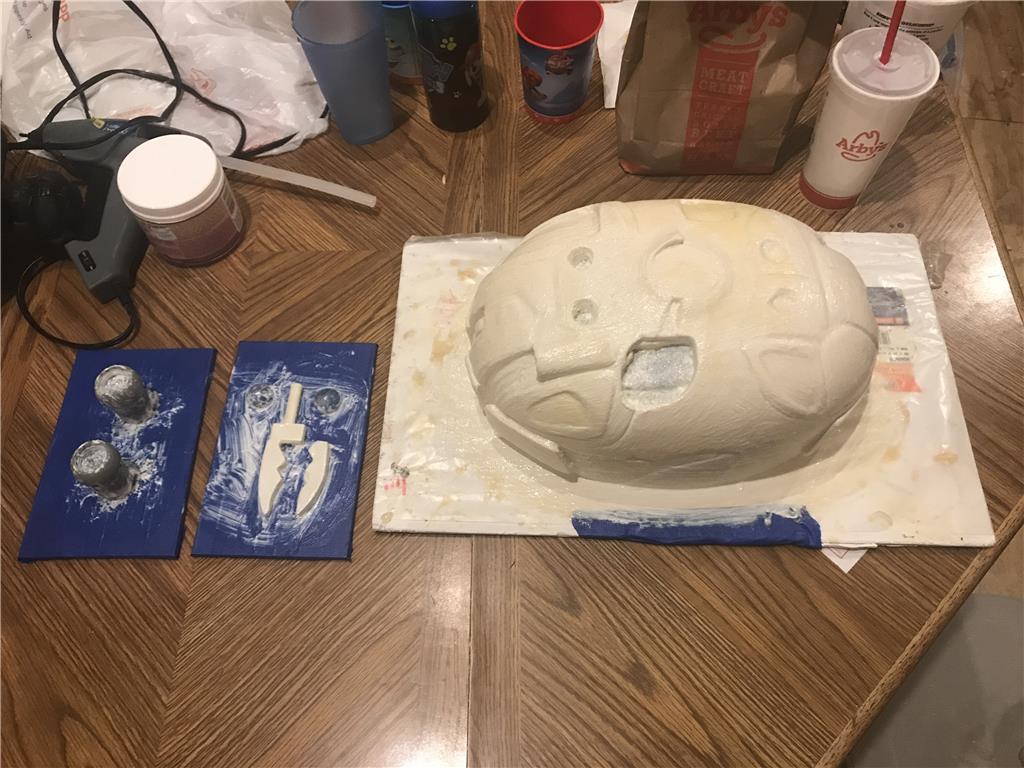
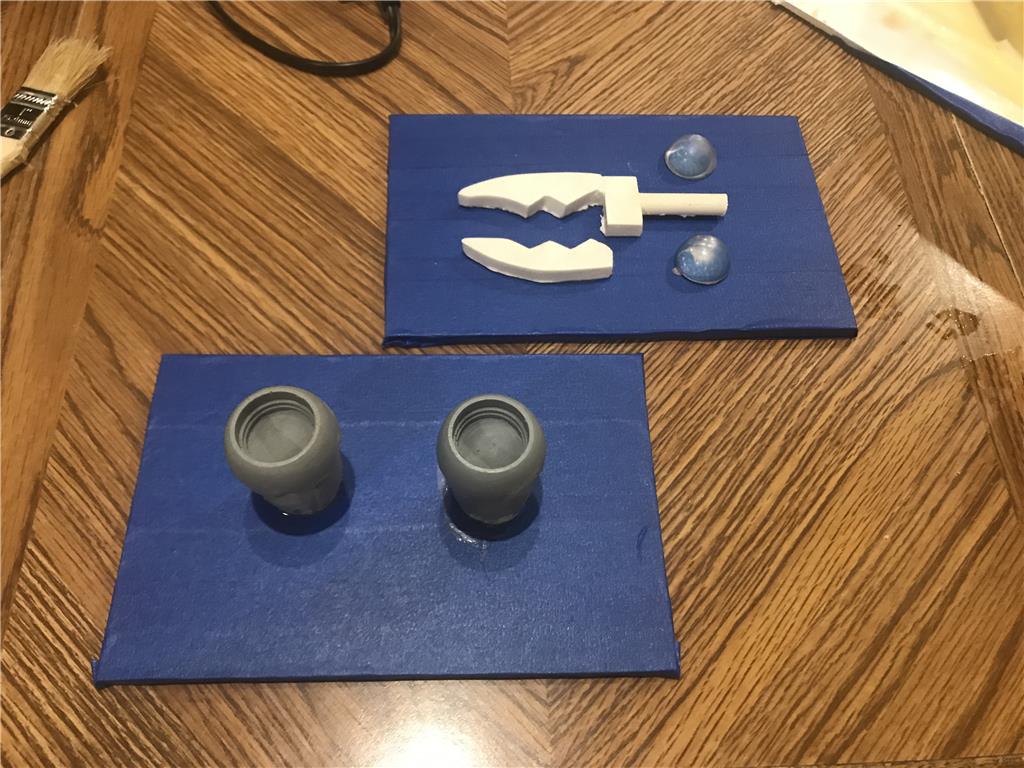
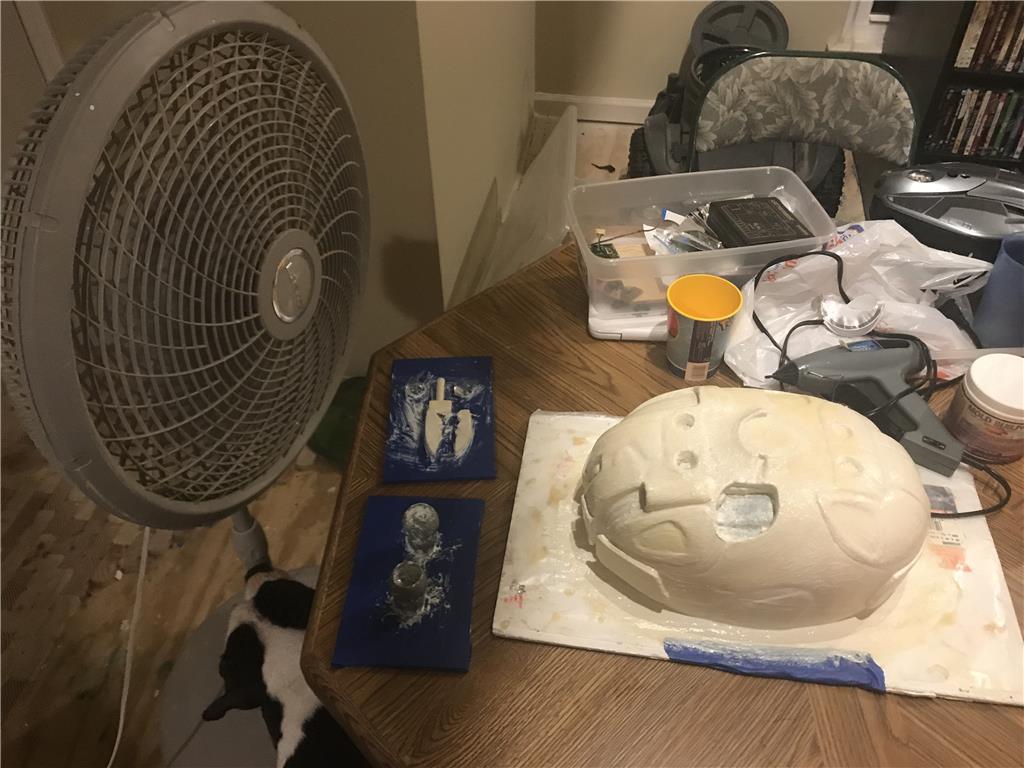
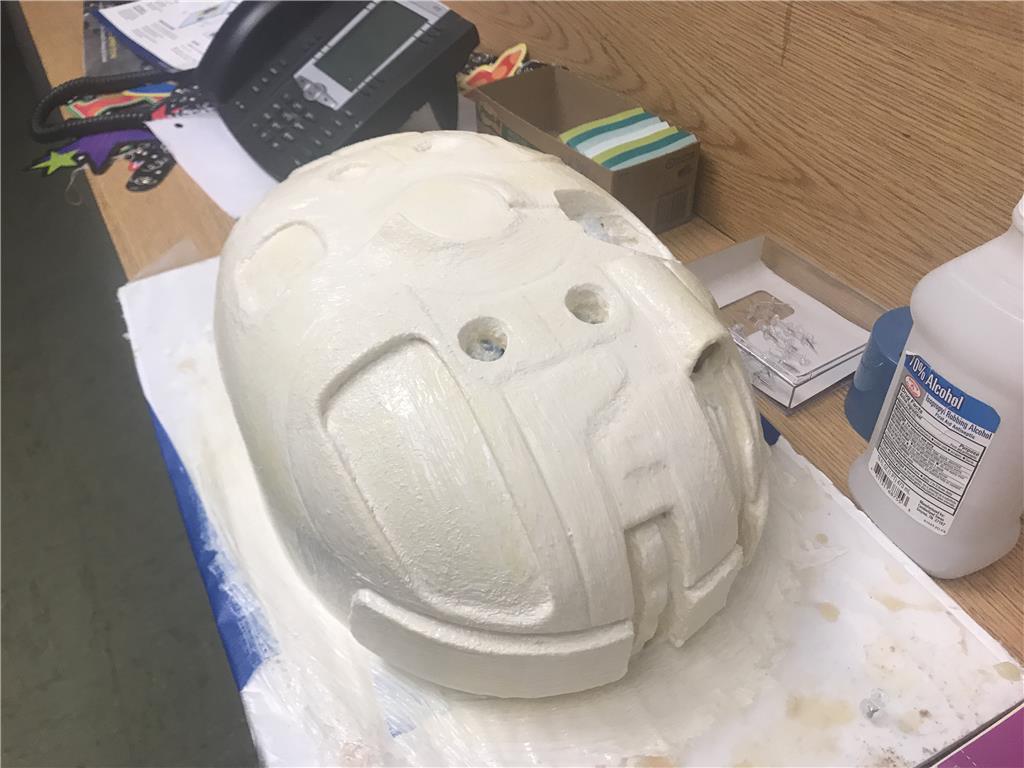
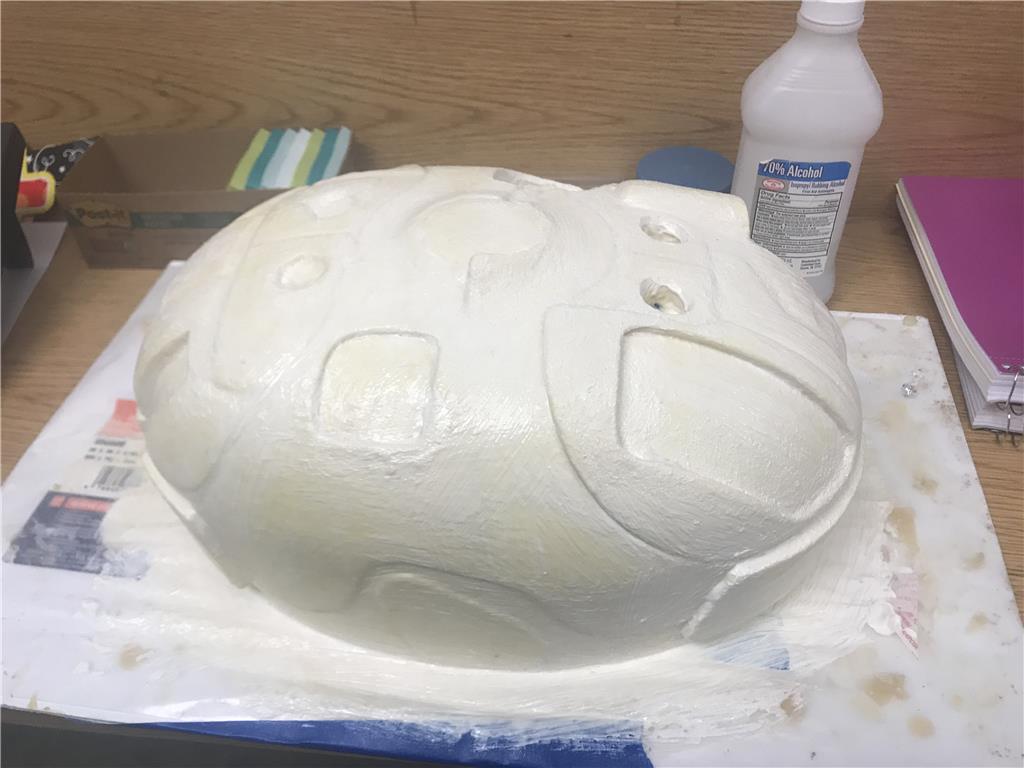
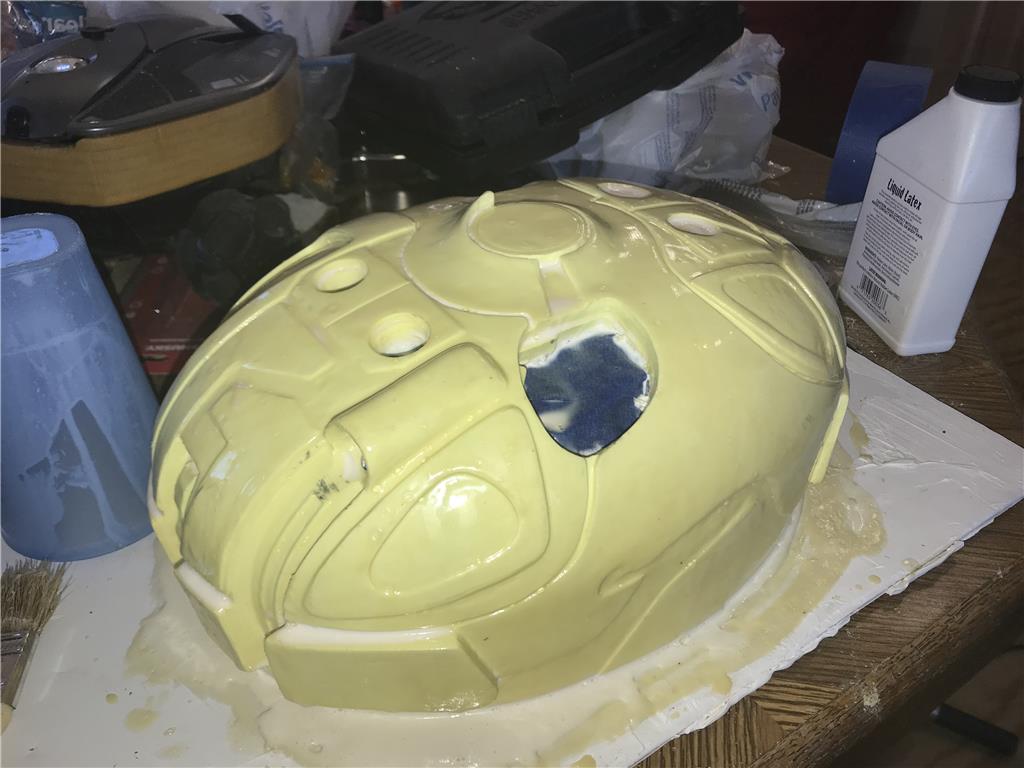
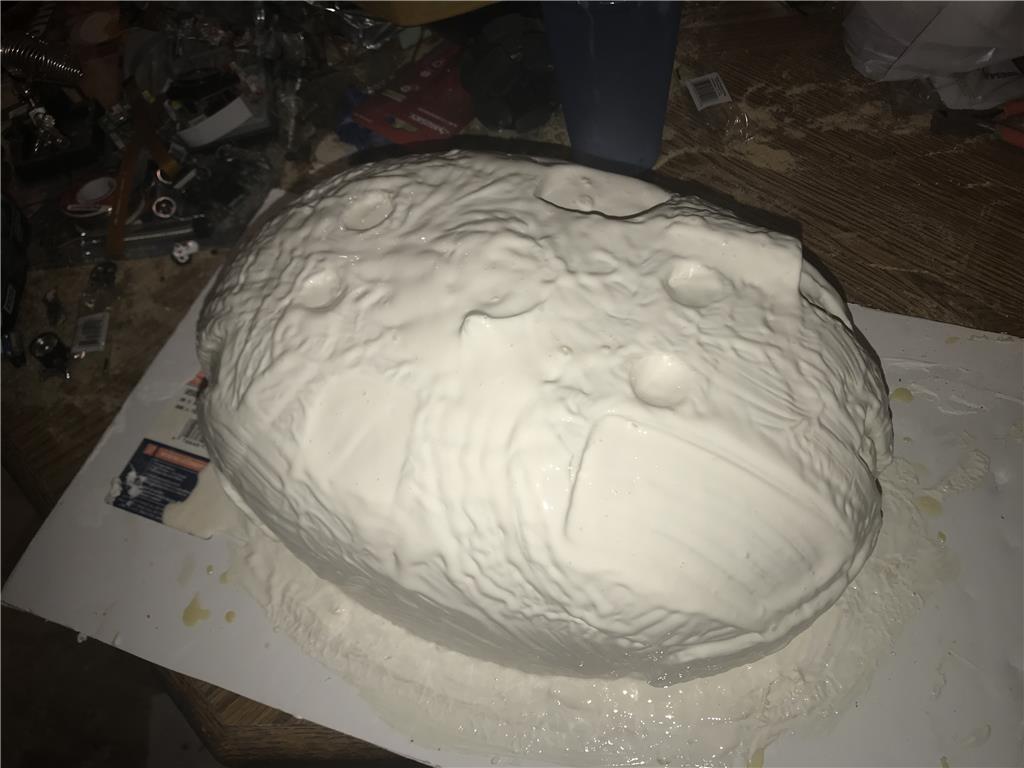
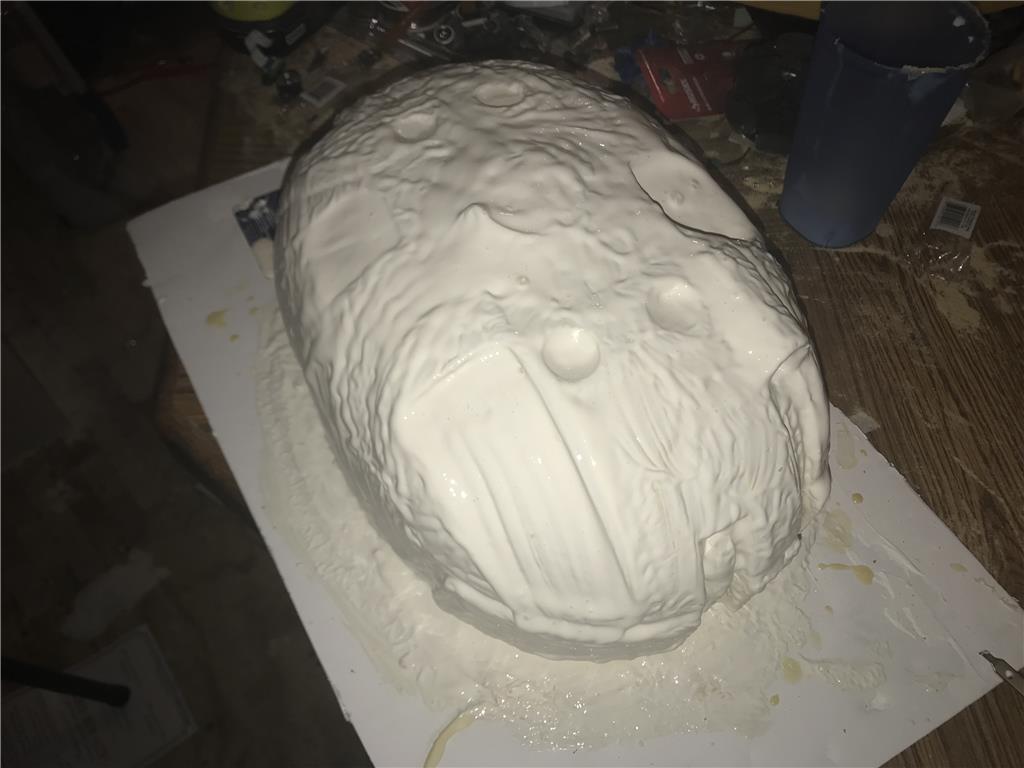
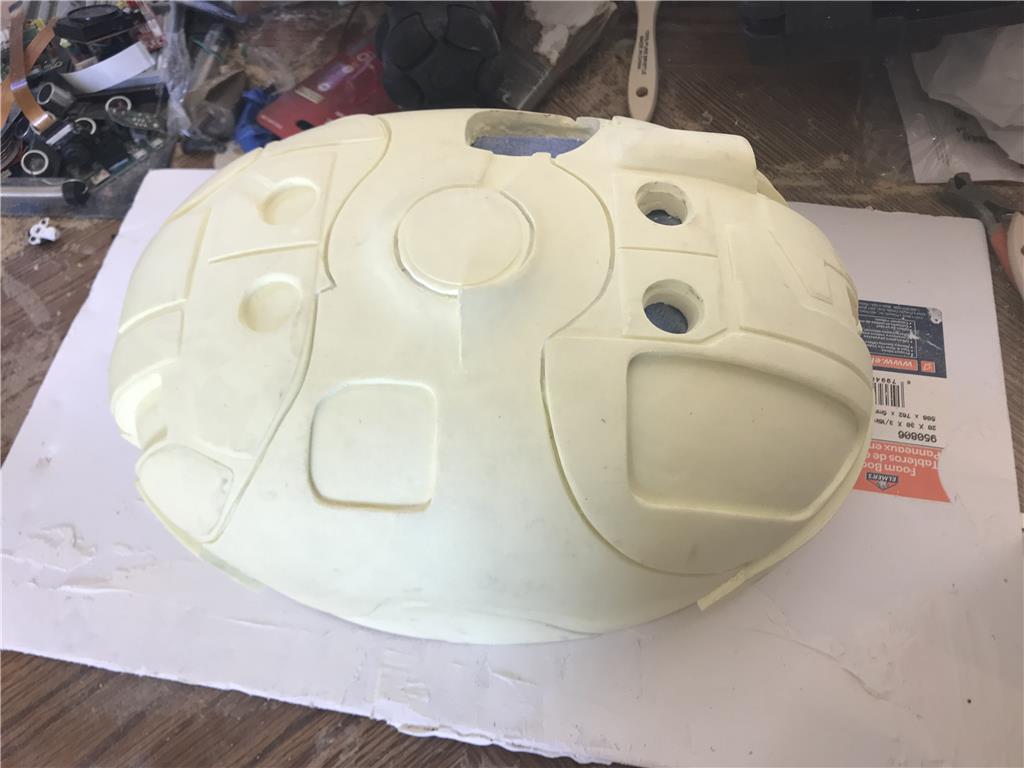
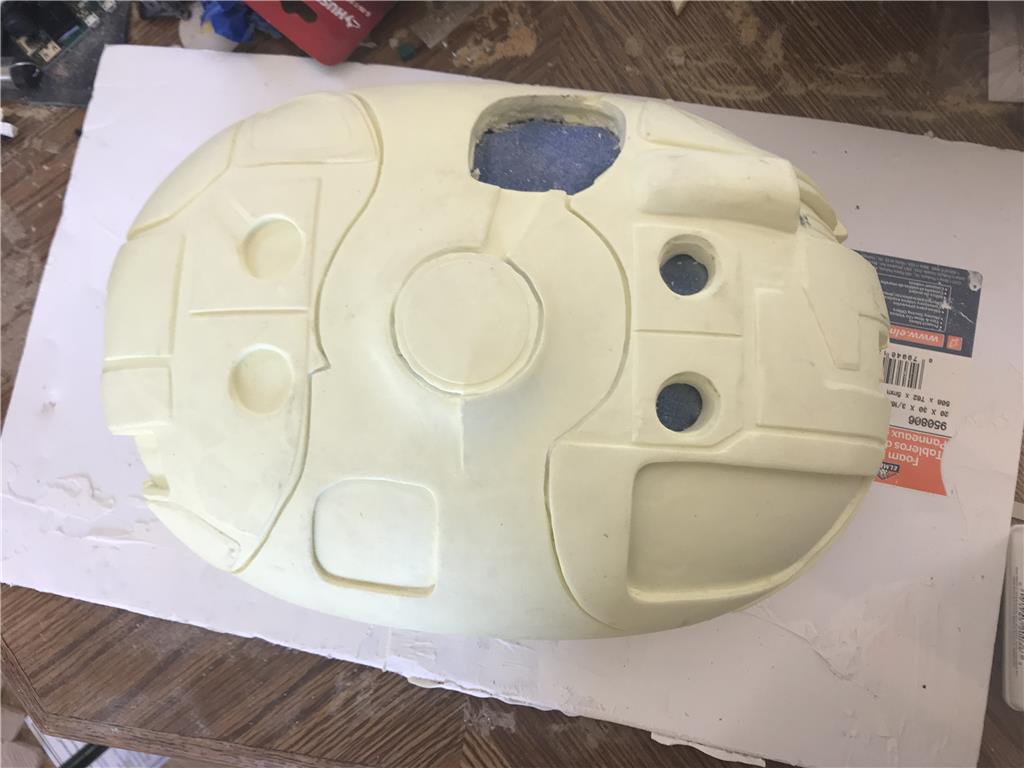
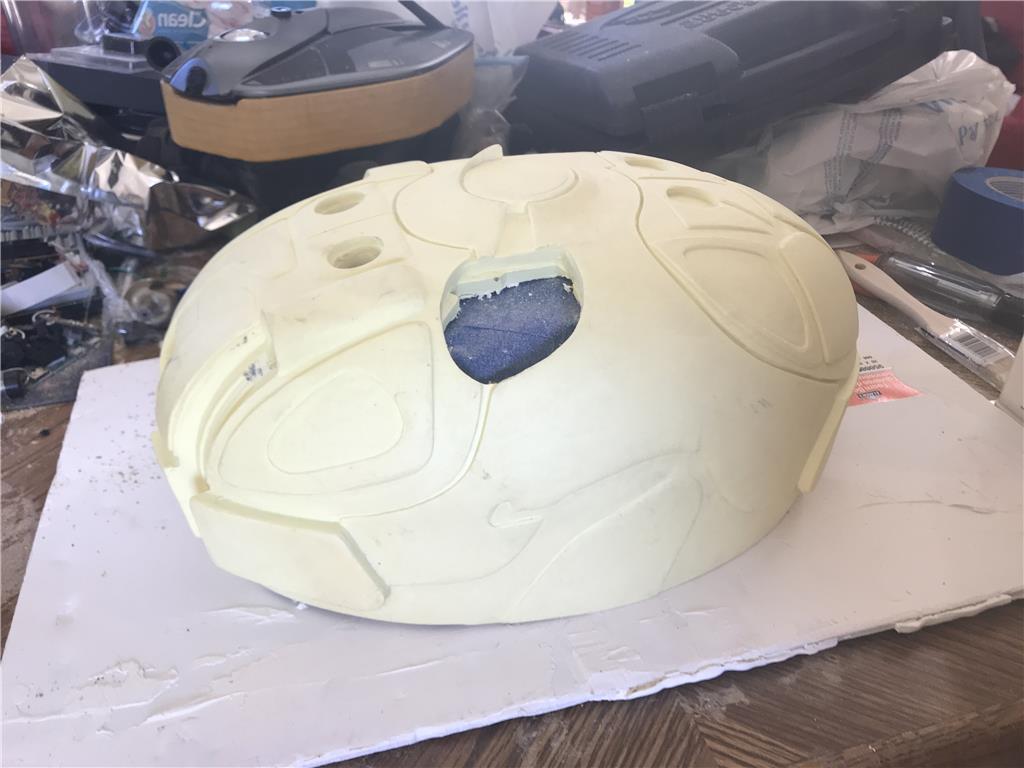
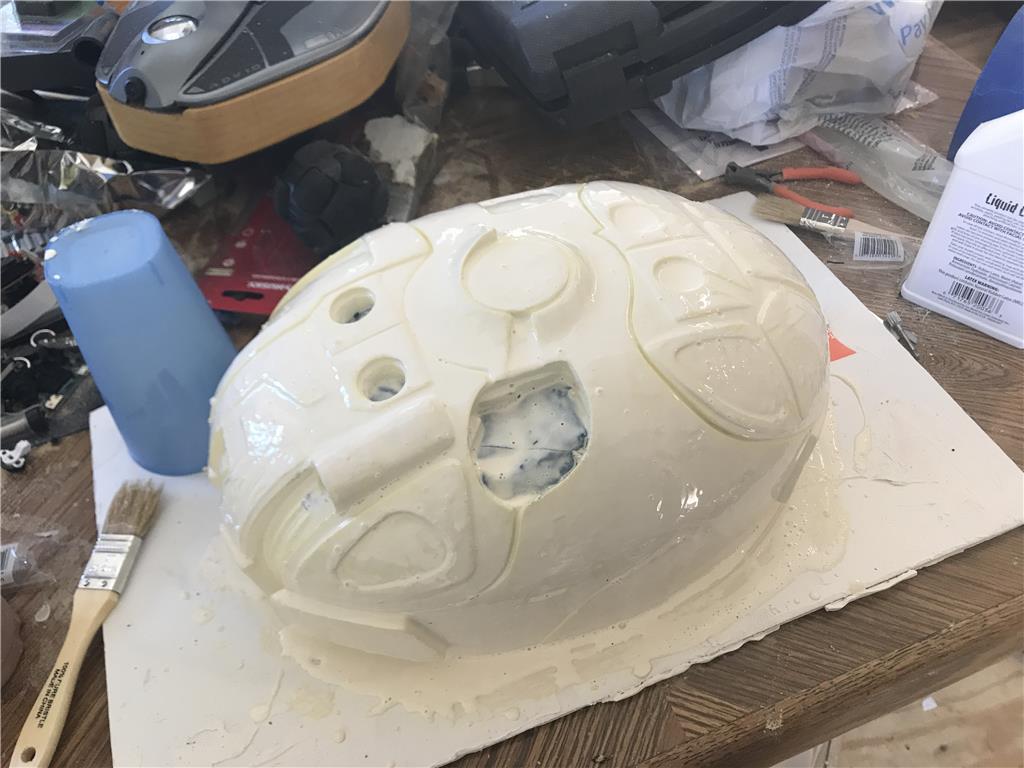
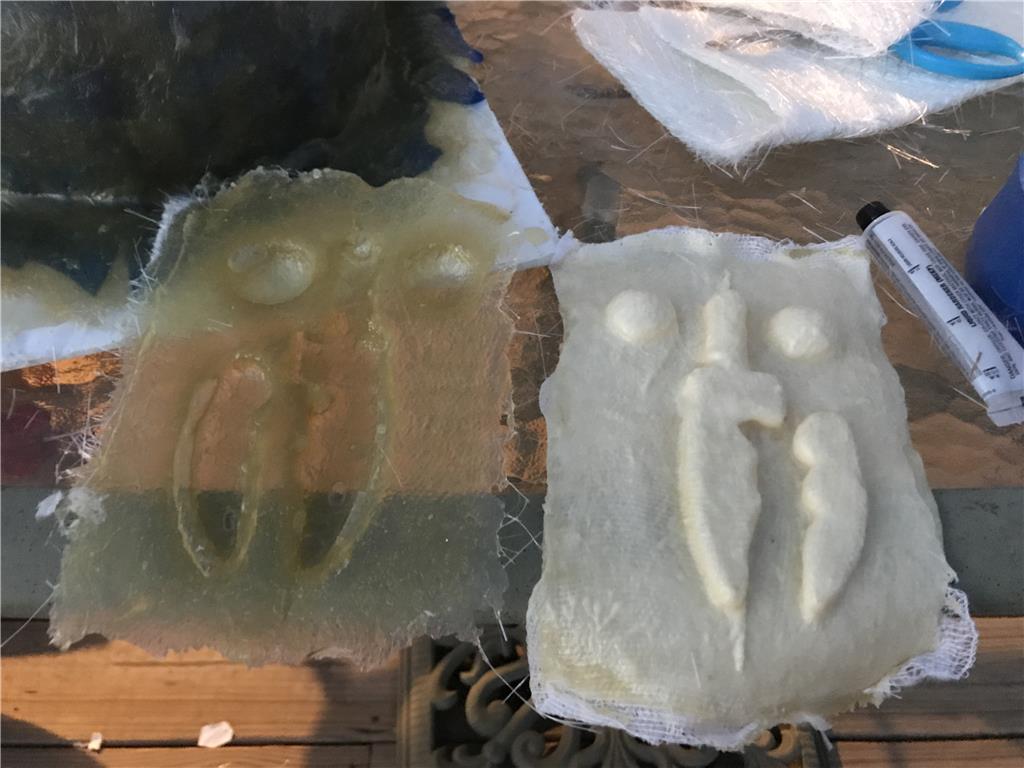
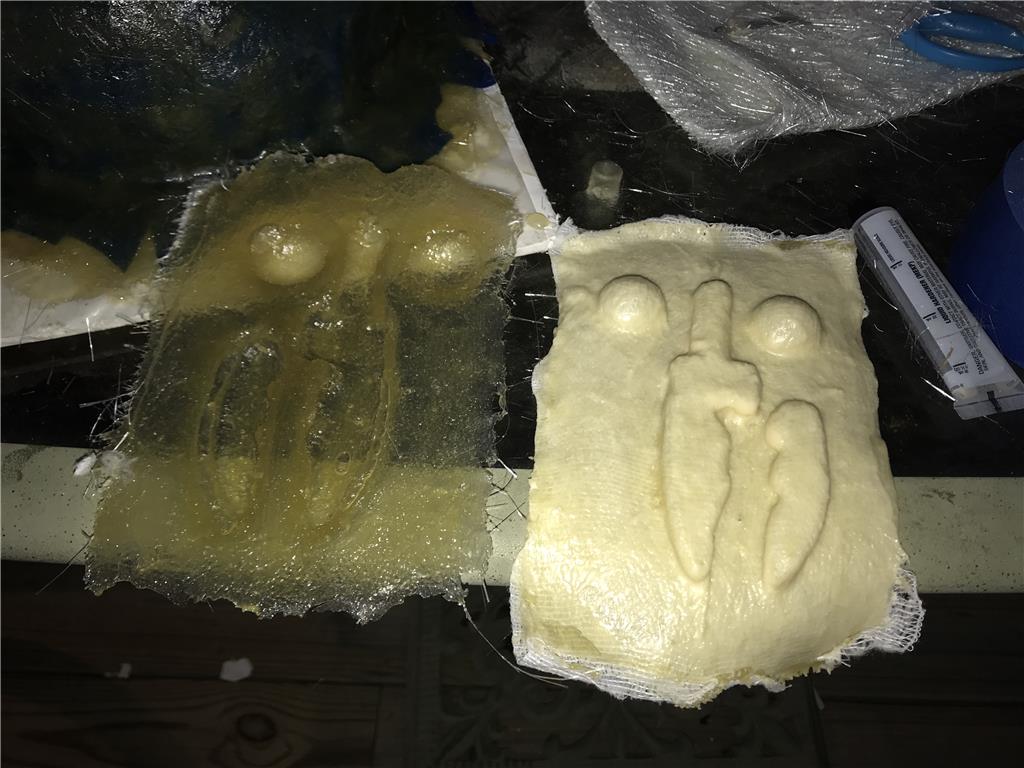
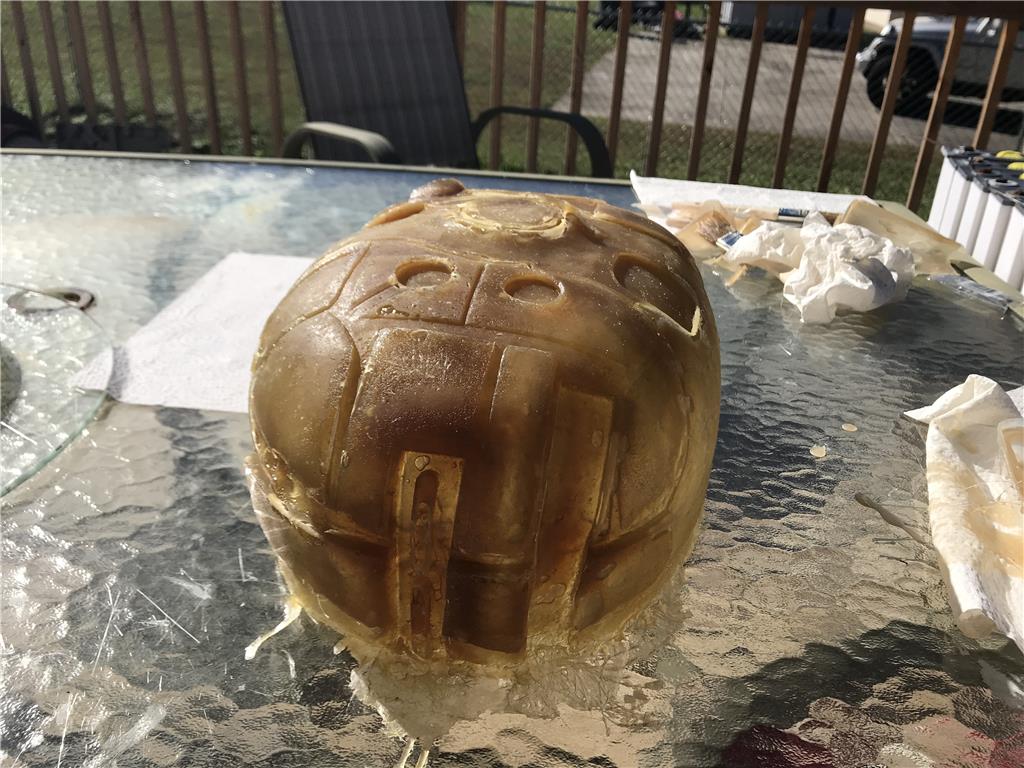
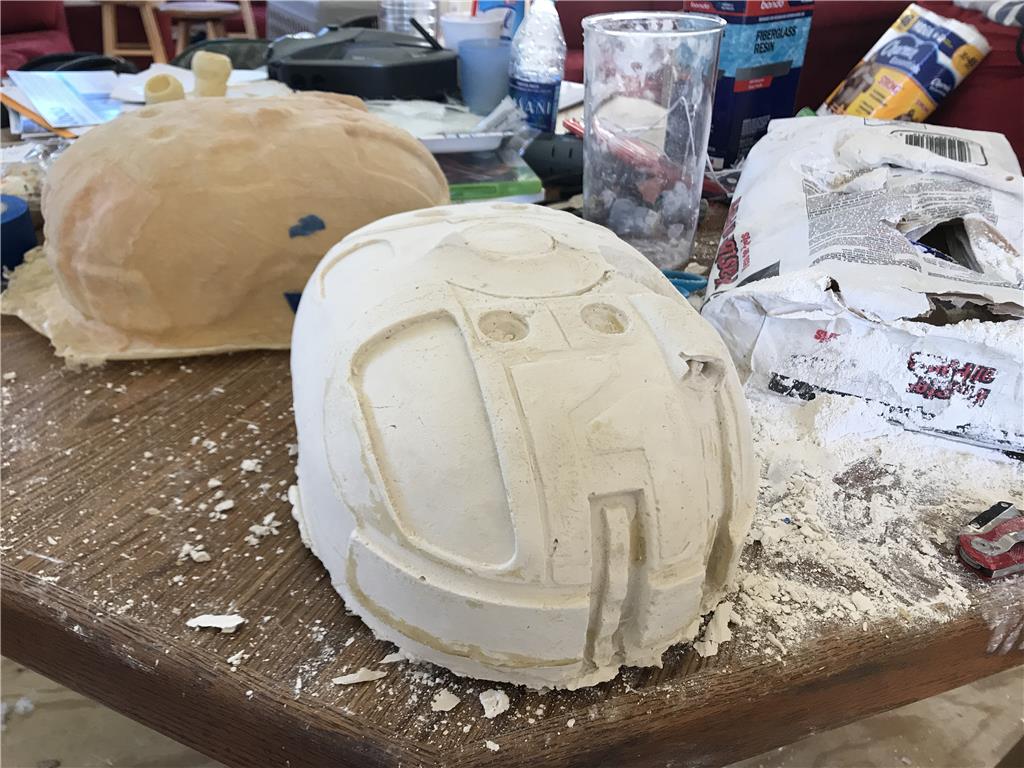
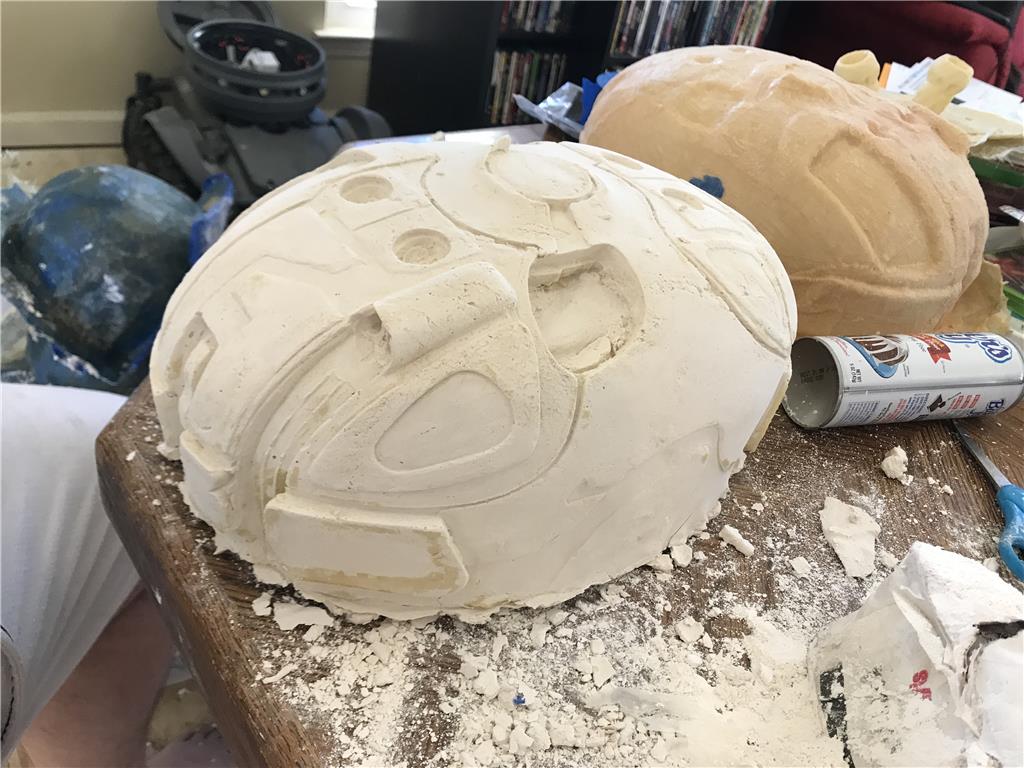
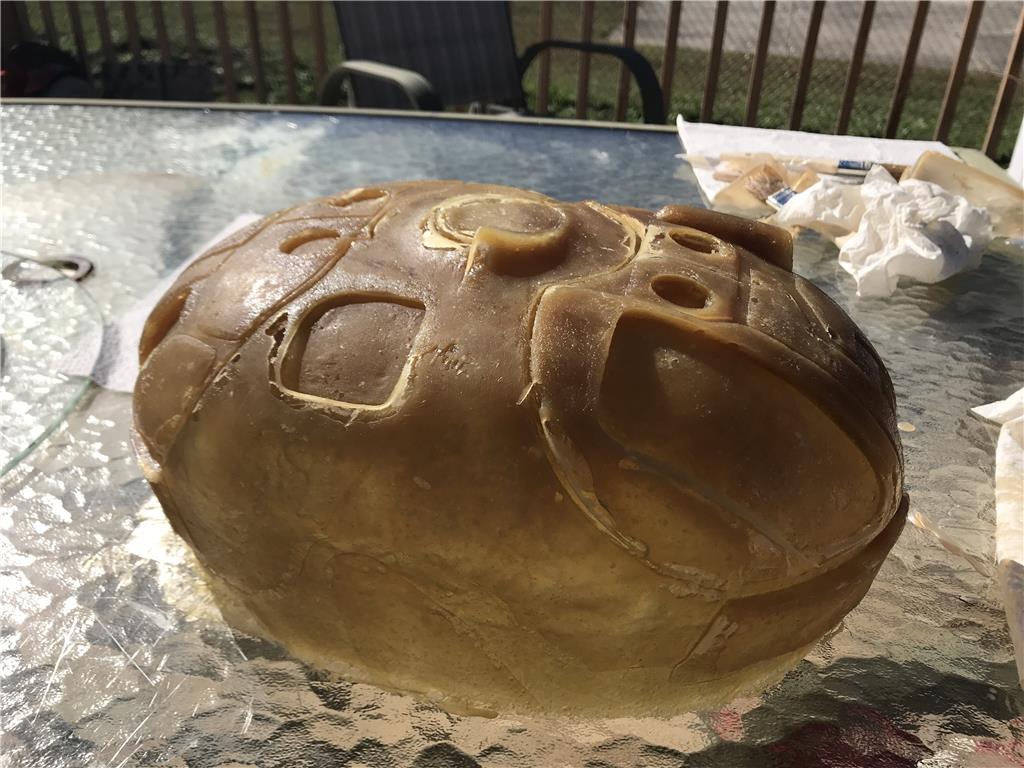
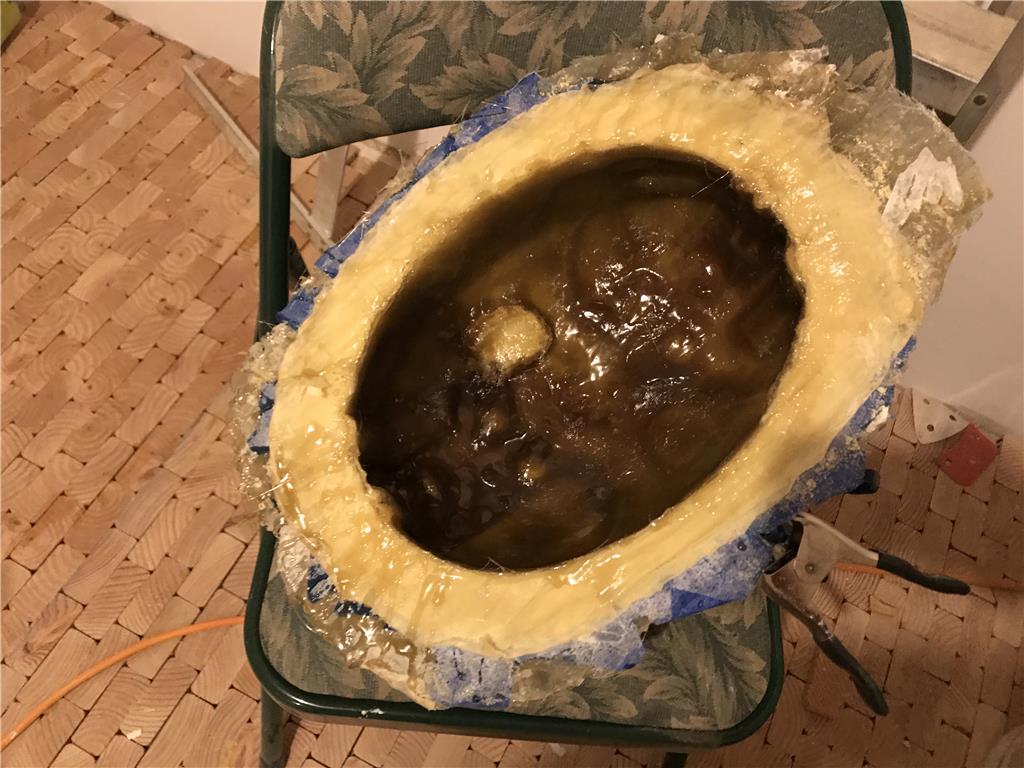
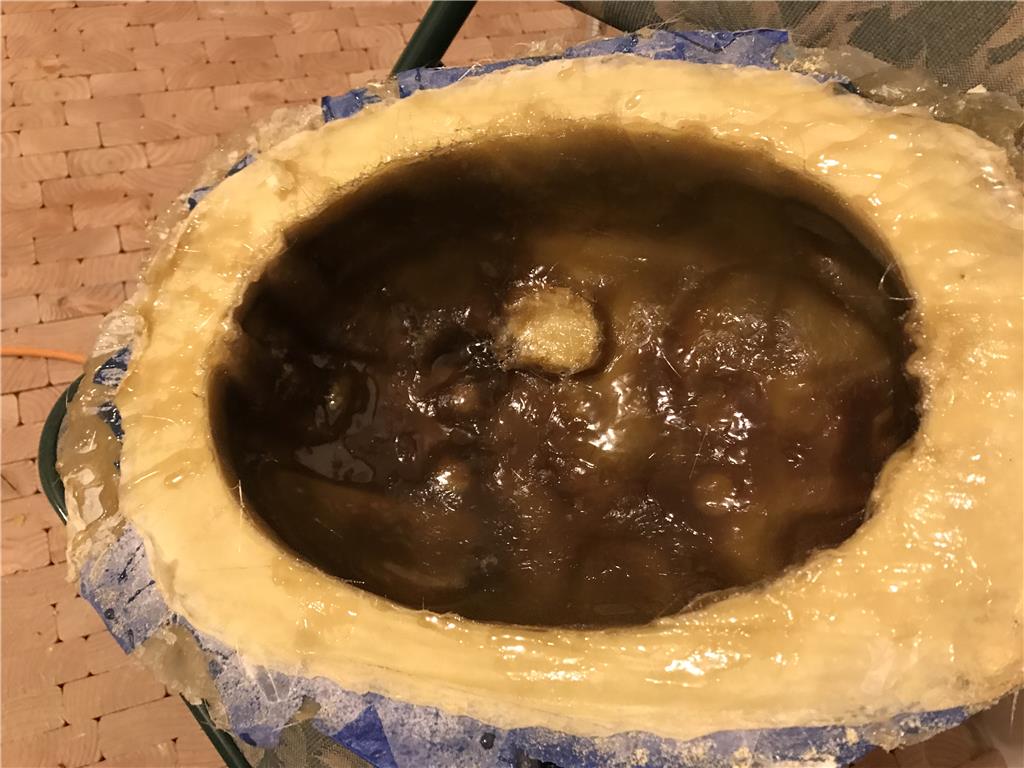
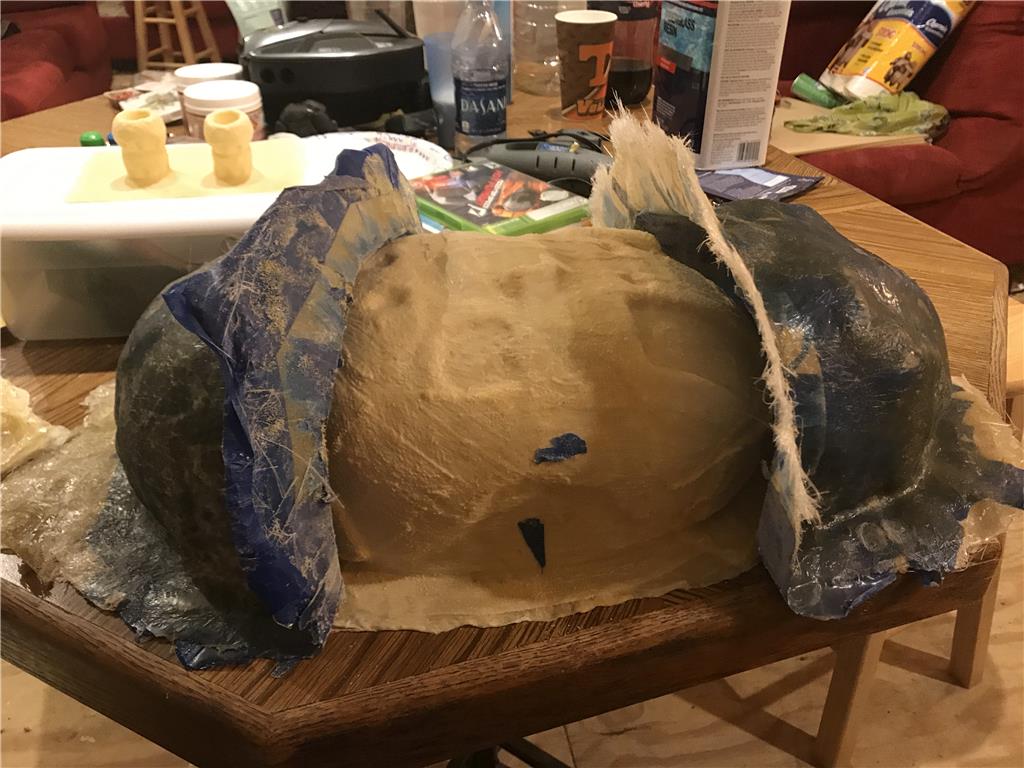
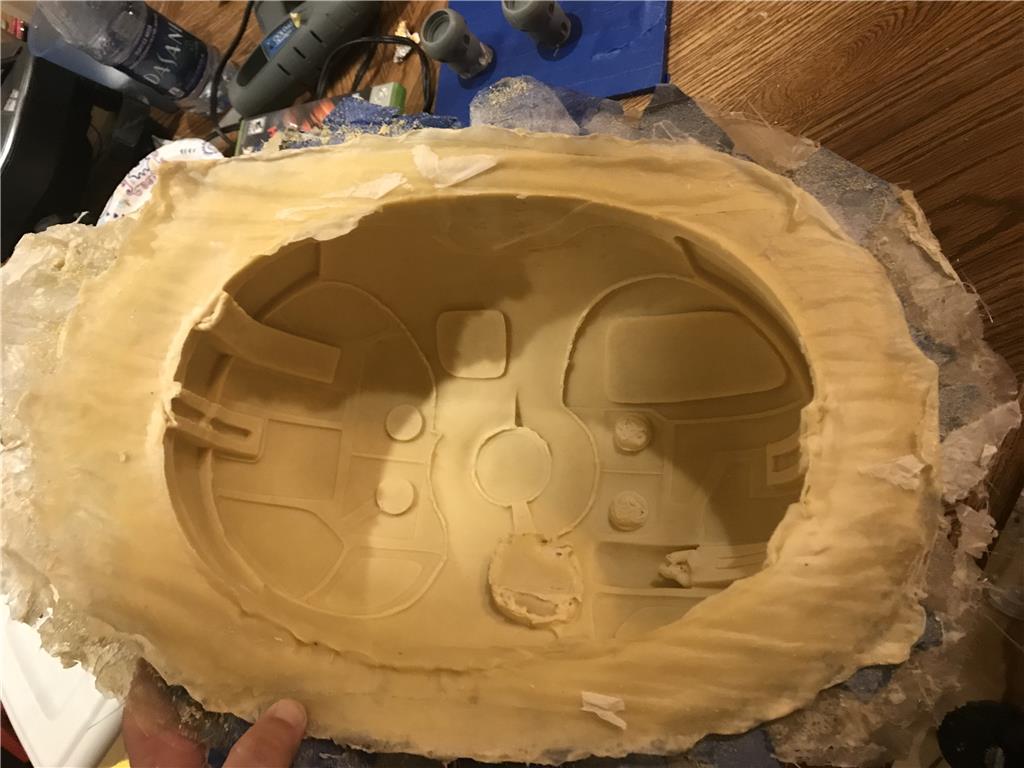
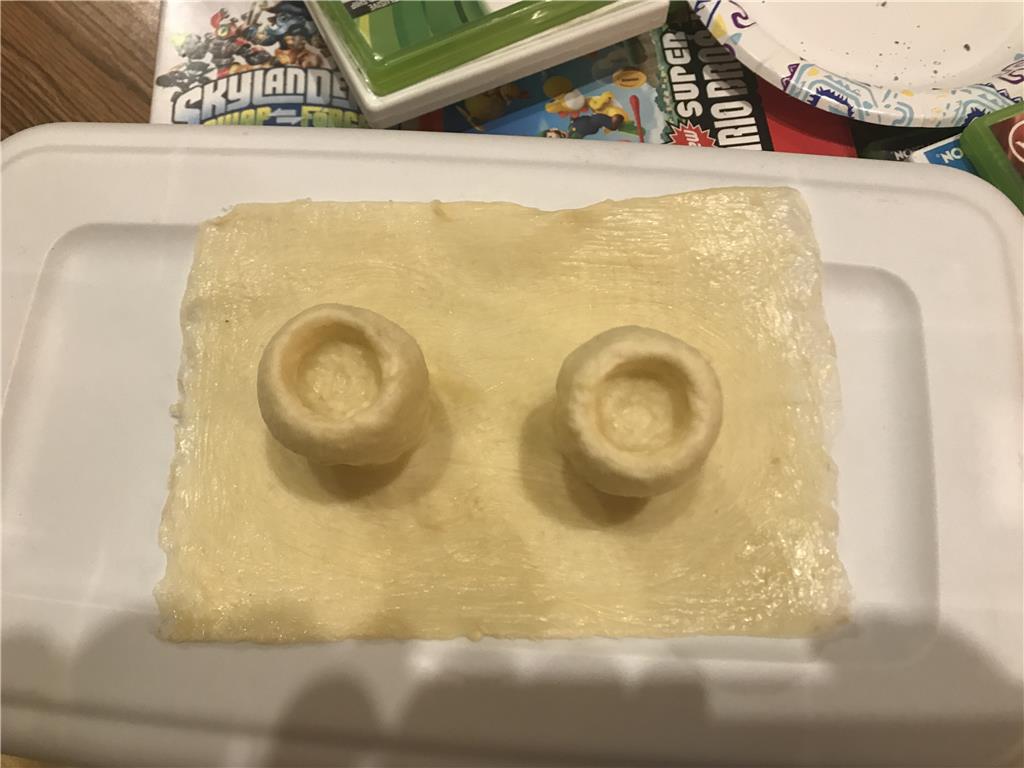
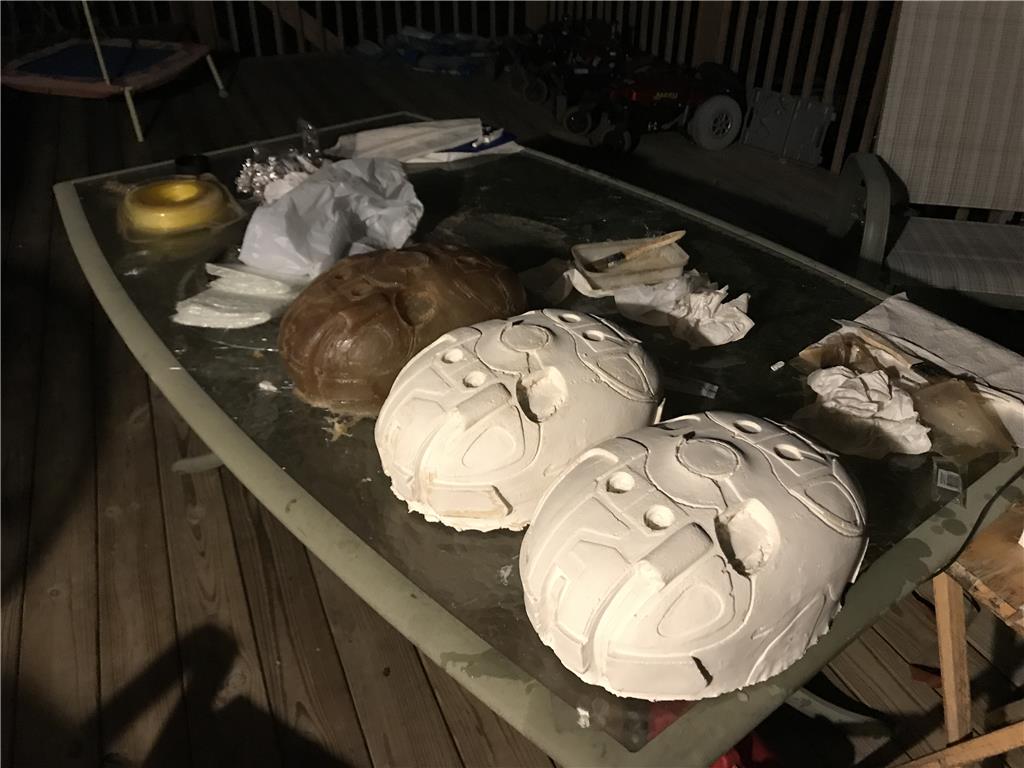
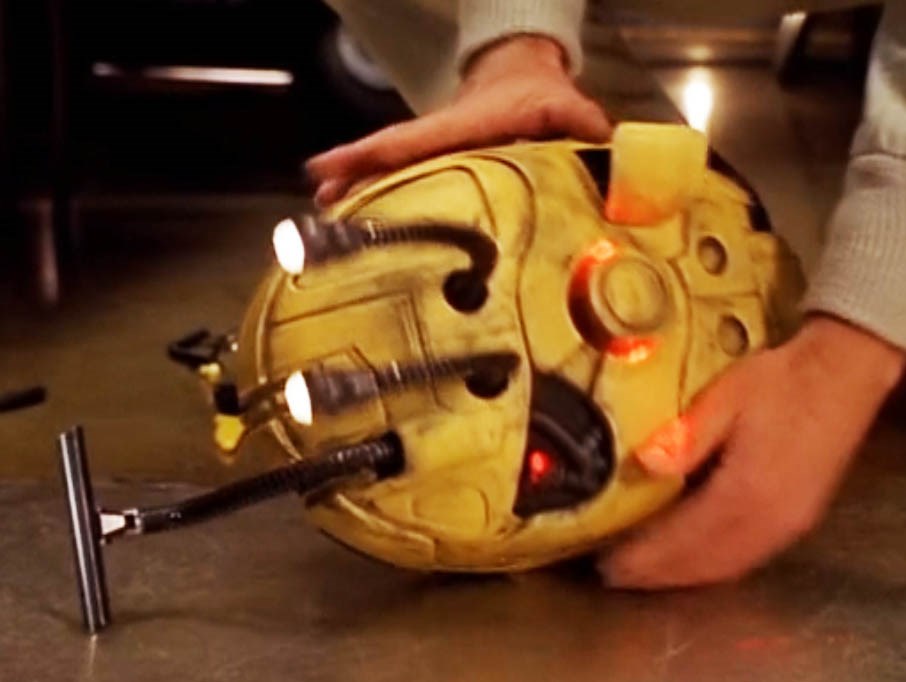
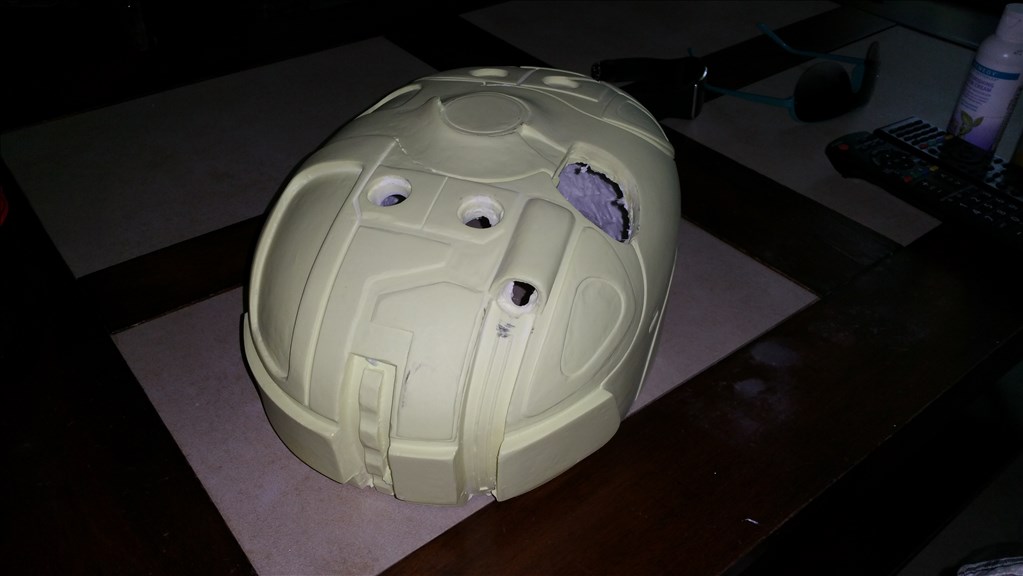
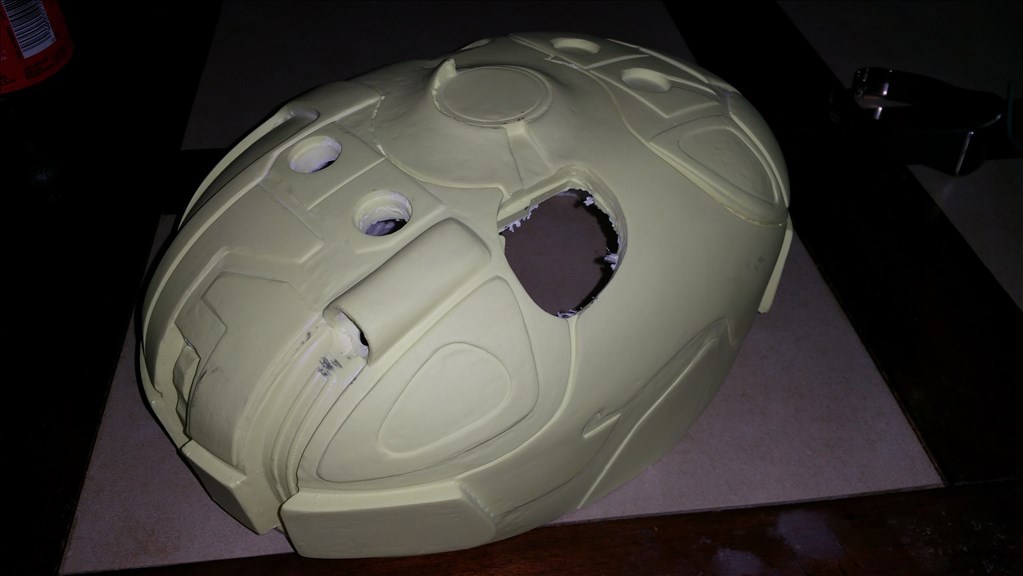
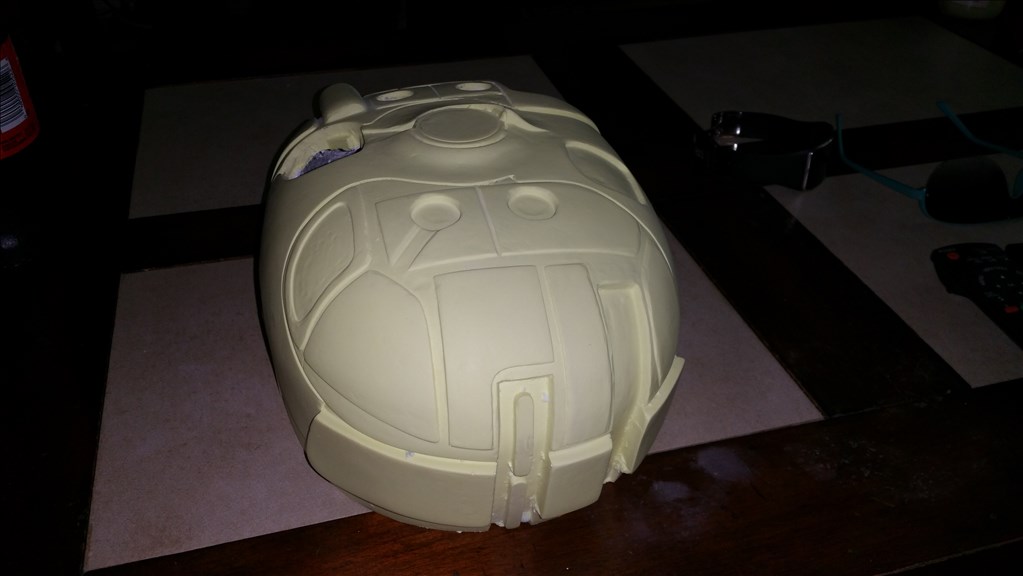
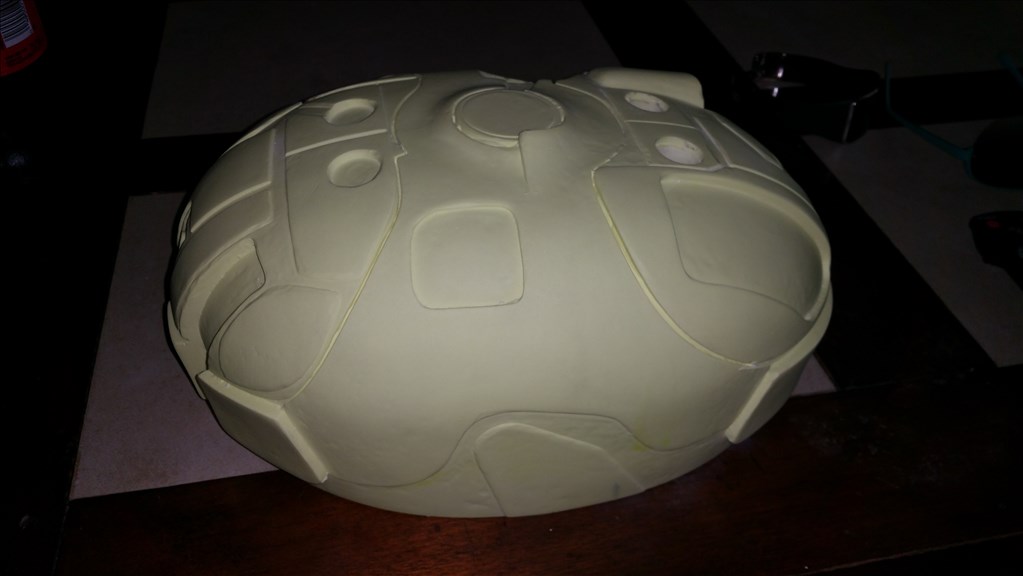
We poked around about doing this a year ago but where to start got us hung up! Due to the DRD Strange shape and size larger that the makerbot , 3d printing the whole shell as one piece was not possible. However drawing details and then applying them to a hand made oval body is totally doable! This is the start of the project , I wanted to get something together that could be shared with the rest of the community. Once details are glued on then you can use a DREMEL to dig out the cavities between details. This is what makes them POP!
By jstarne1
— Last update

Discover more robots
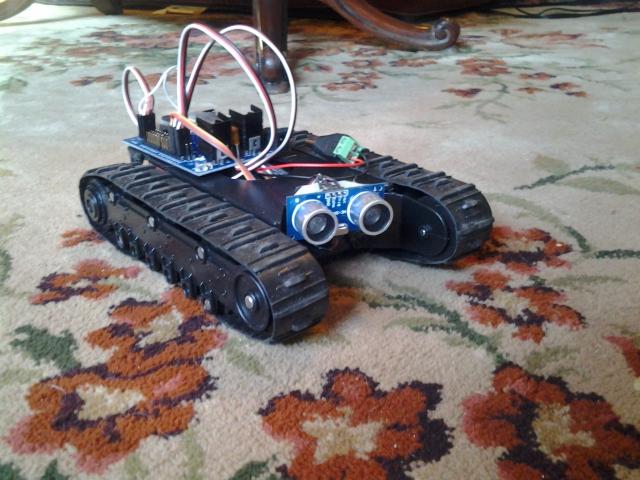
Ww321q's Testbot
Learning the software; experimenting now with plans to add camera and arm.

Lumpy's Lumpy's Robosapien
Customize Robosapien with an EZ-B controller and Wii remote: external battery, added laser, jetpack enclosure planned,...

Sssuhl's Late 2017 Wall-E (Yet Another Wall-E)
Build a Wall-E robot with EZ-Robot IoTiny and EZ-B v4 camera using Synthiam ARC for easy setup, tutorials, and...
It’s looking good! Thanks for the update Josh!
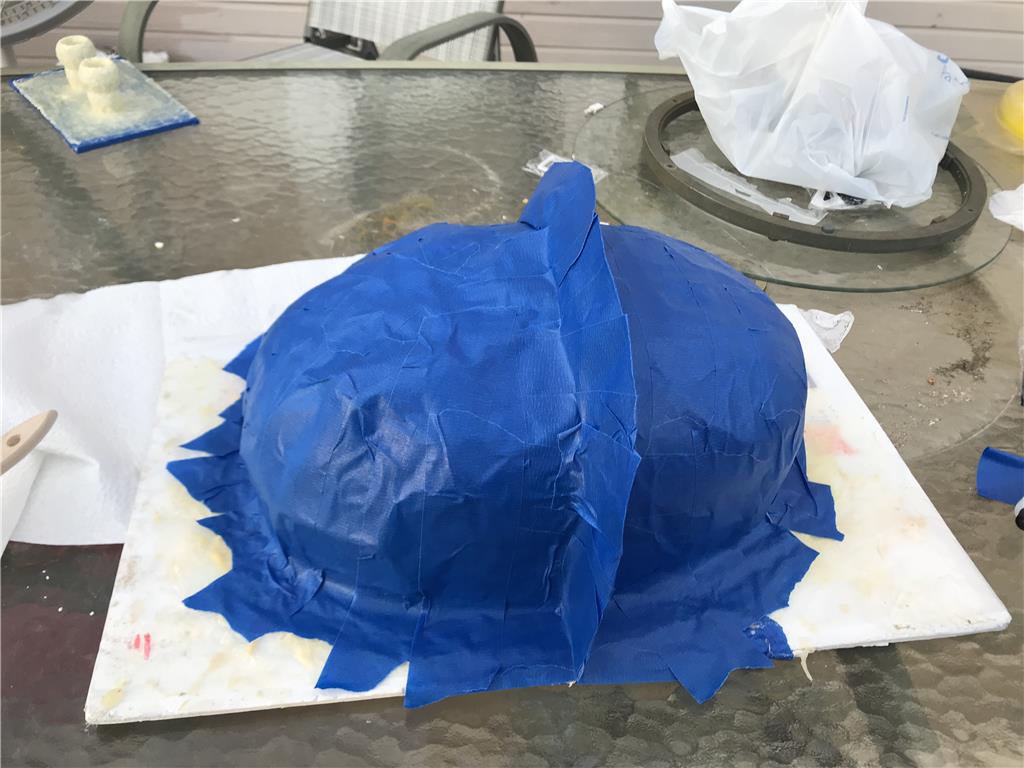
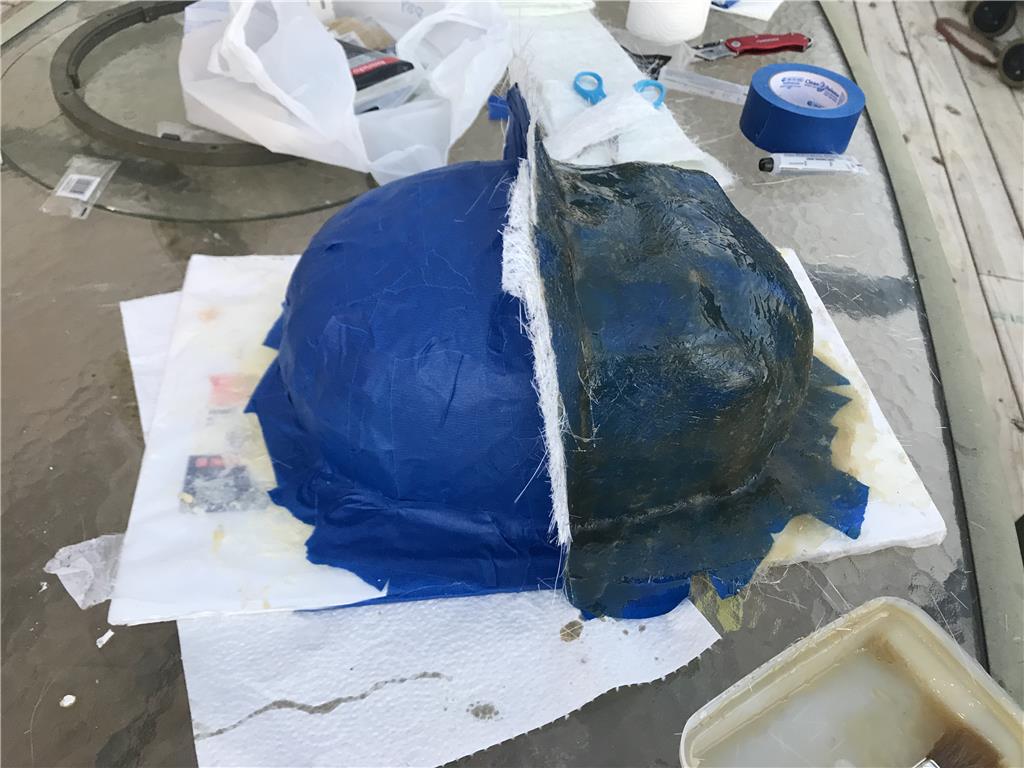
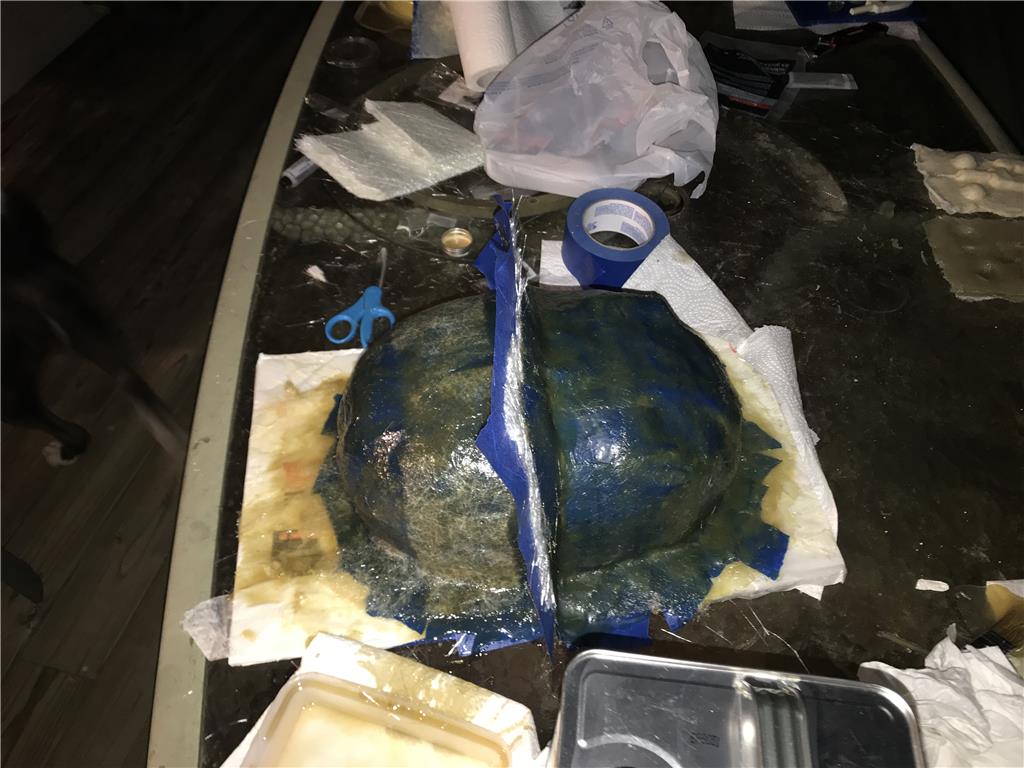
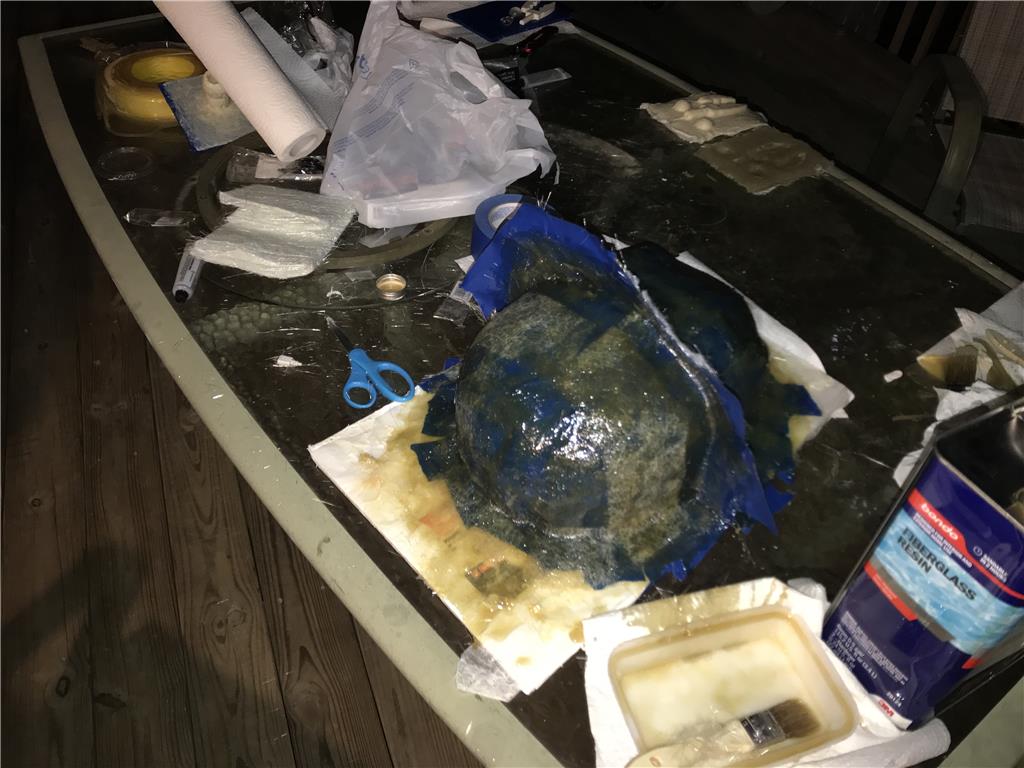
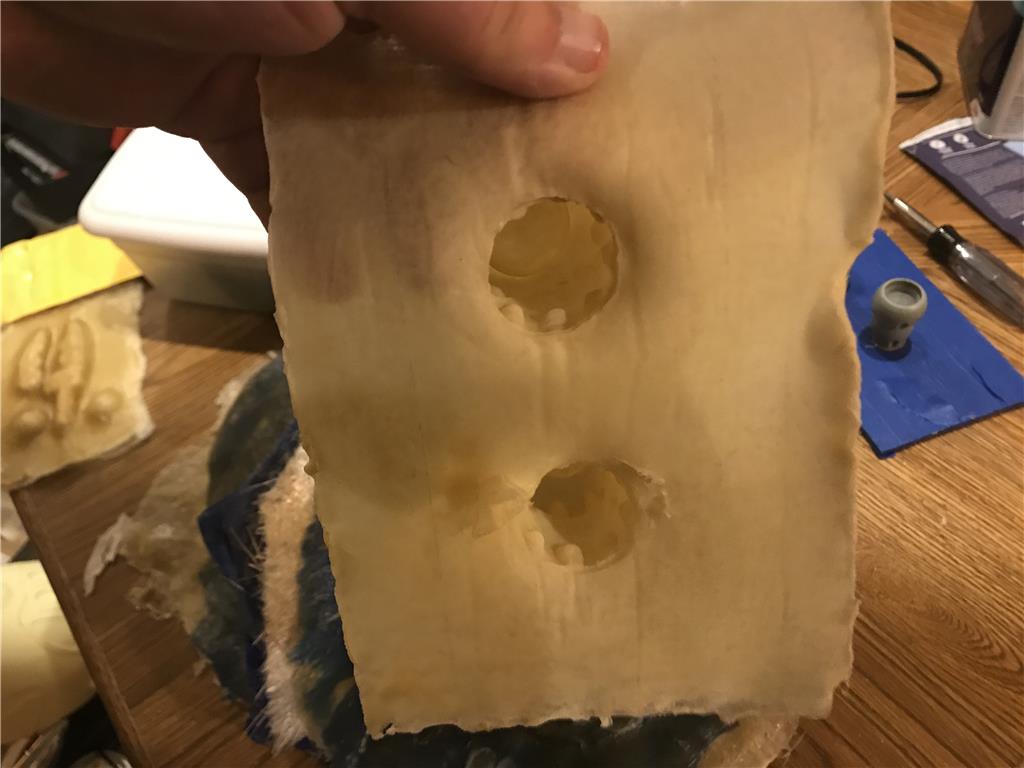
Ok update for today, the last of the latex has dried and I lost count of coats, maybe 13 or 14ish. I taped off the body and separated it with a tape divider. Next is fiberglassing the mother mold into two halves:)
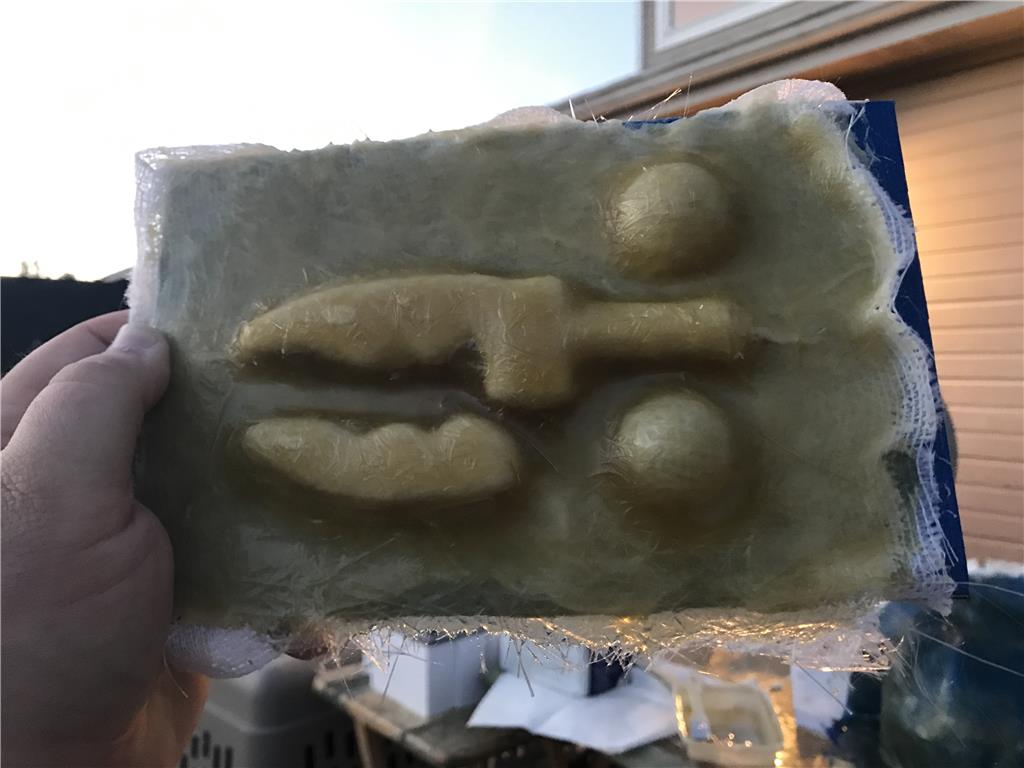
I will give this guy a hour to harden and then switch to fiberglassing the other side. I will let that harden an hour then use a deemed to shape the flanges and finally pull the mold apart for its first casting!
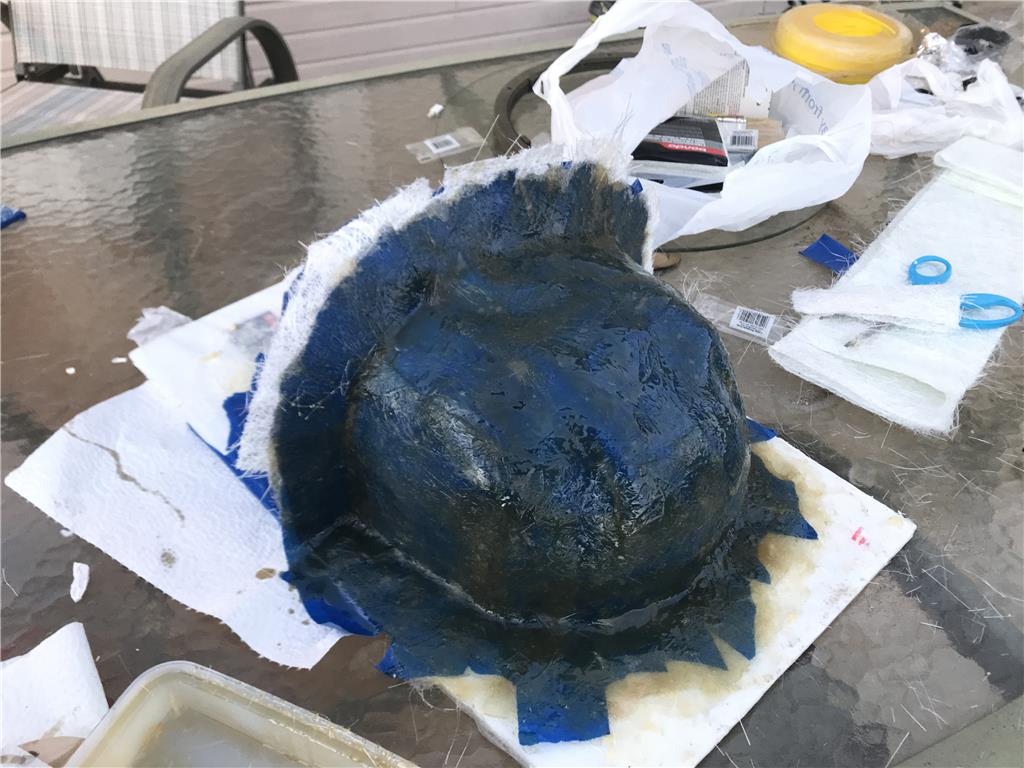
Side B was just fiberglassed with 2 layers of resin and Matt. The seam has a distinct lean so there is no possibility of assembly backwards.
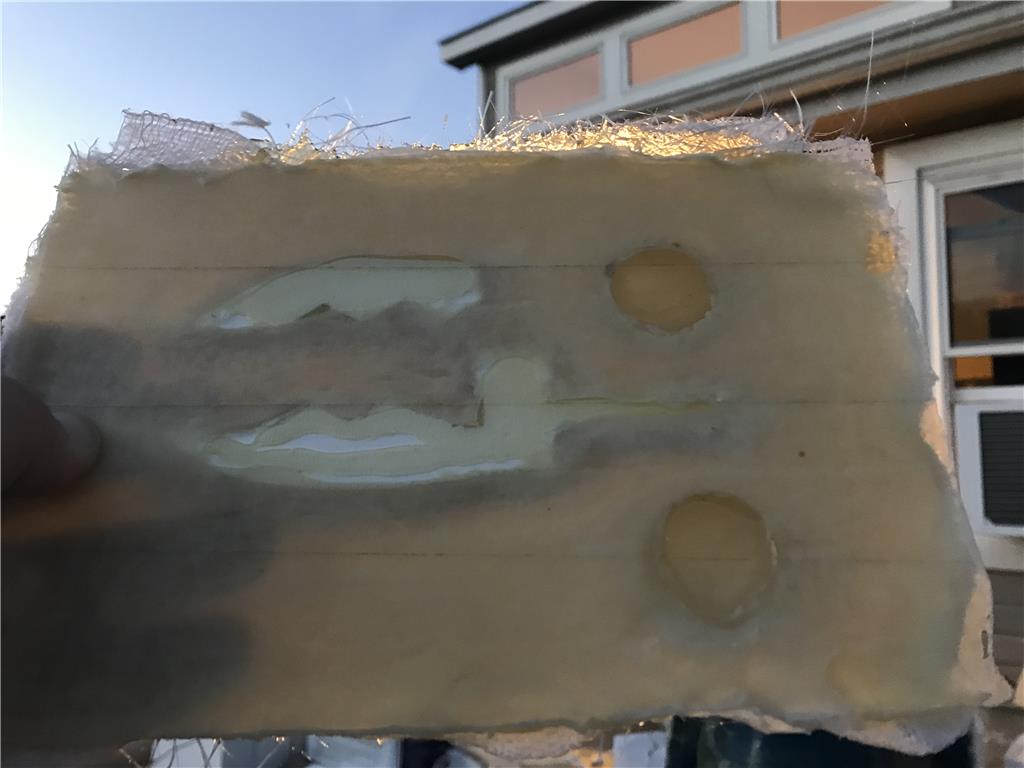
So Side A hardened fine but side B has not yet likely because the temperature dropped into the 50s shortly after I laid the fiberglass. If it is not hard by morning I will need to lay a HOT coat on top of this. That’s where you double up the hardening catylist and paint it on top of the partially cured resin to harden it up. I moved the piece inside where the temp is 67 which may help as well, we will see
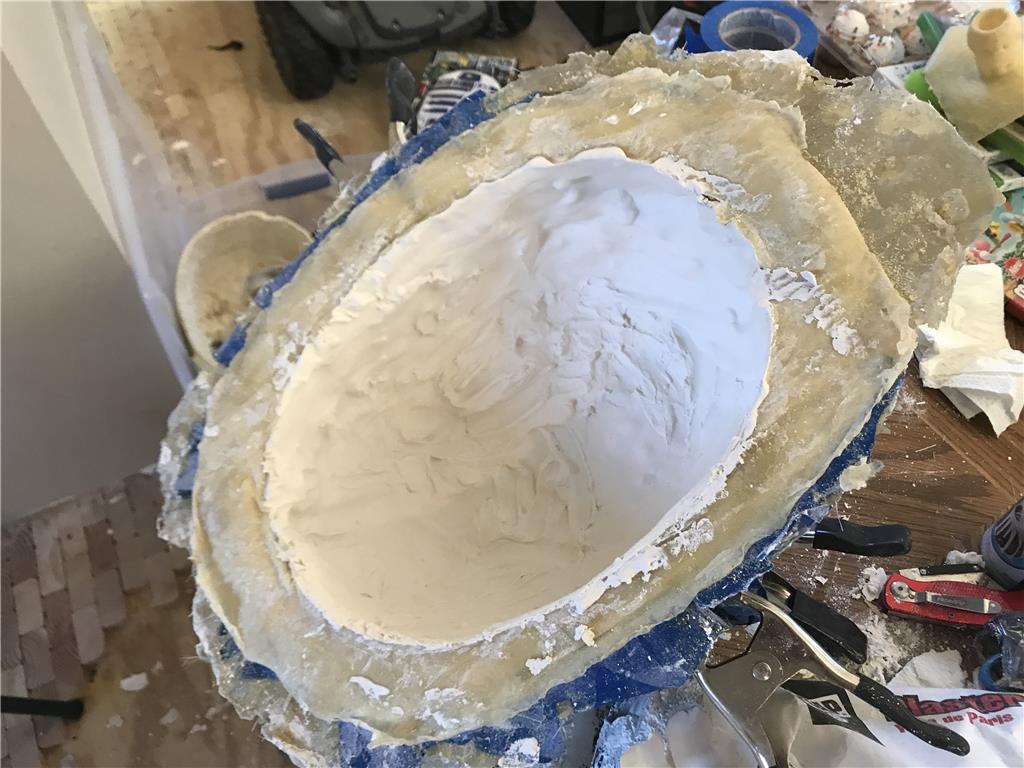
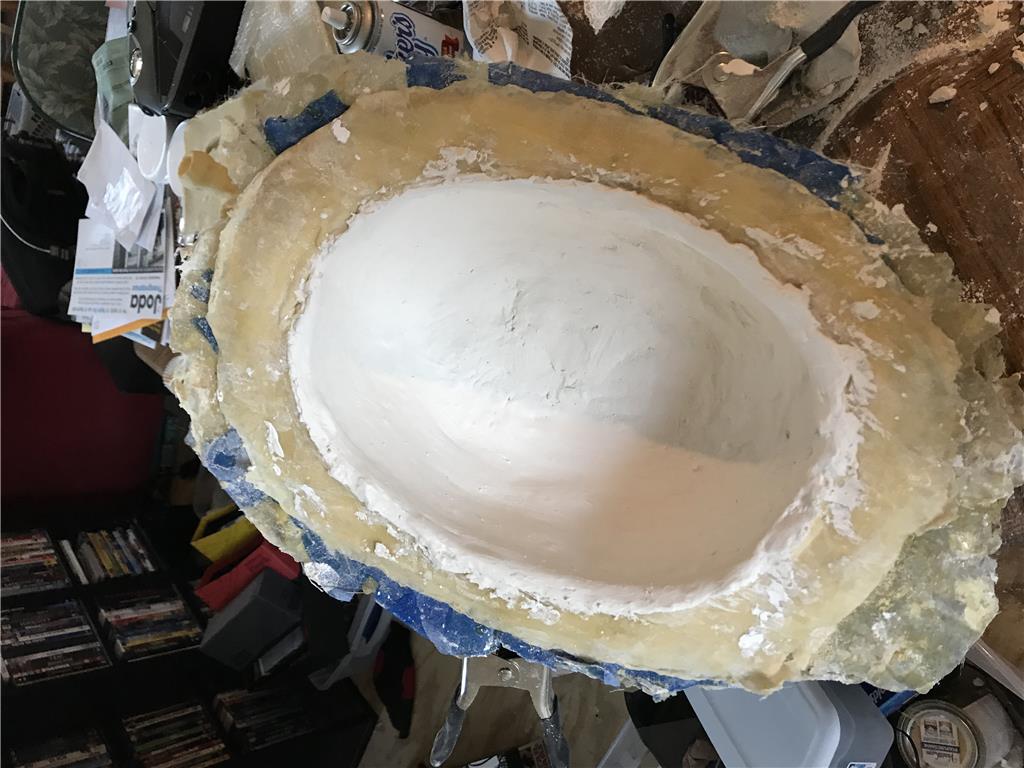
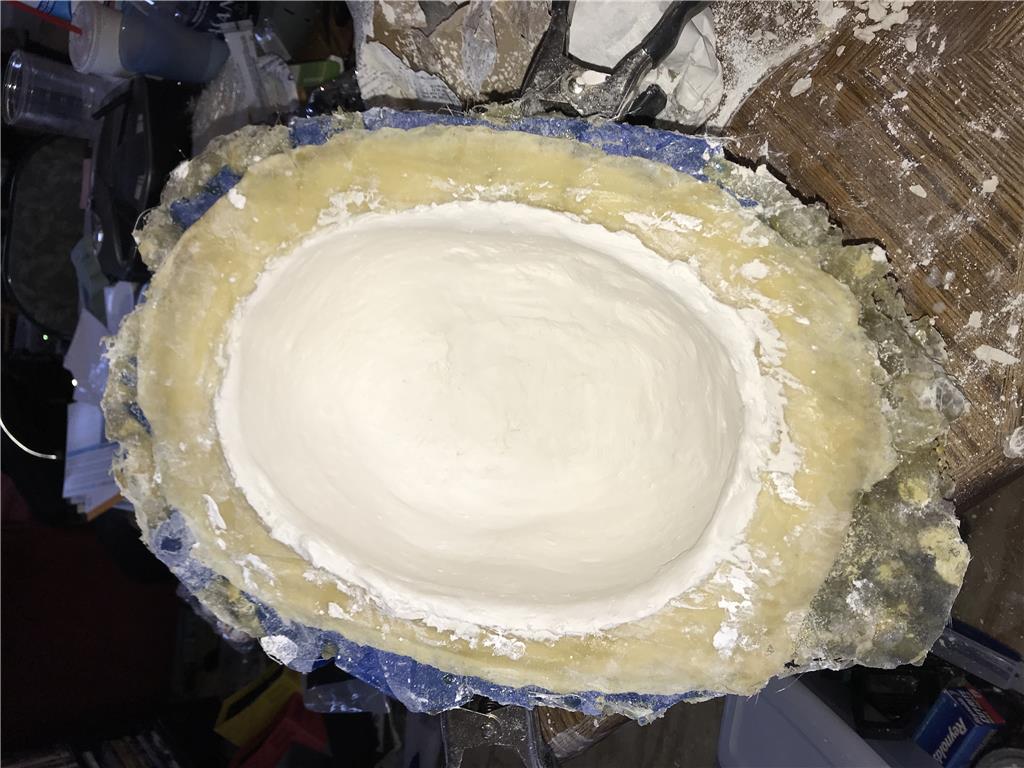
Checked this morning, it is 90 percent hardened so I think a once over with a hot coat is a good idea and that will finish it up. Then I can pull everything apart and start the first casting ! Excited.
All molds are finished, now before any casting they need to be coated with a release agent to prevent sticking and then I can start. I really dislike this setup, I prefer urethane or high strength silicone and it takes the pain in the axx out of this process.