Add Some Buttons
Now that the MainForm has been created with the example project, it will be the form that users see when using your plugin. The form is currently only containing a label with some text, making it a boring skill. In this step we will add two buttons to move servos between different positions.
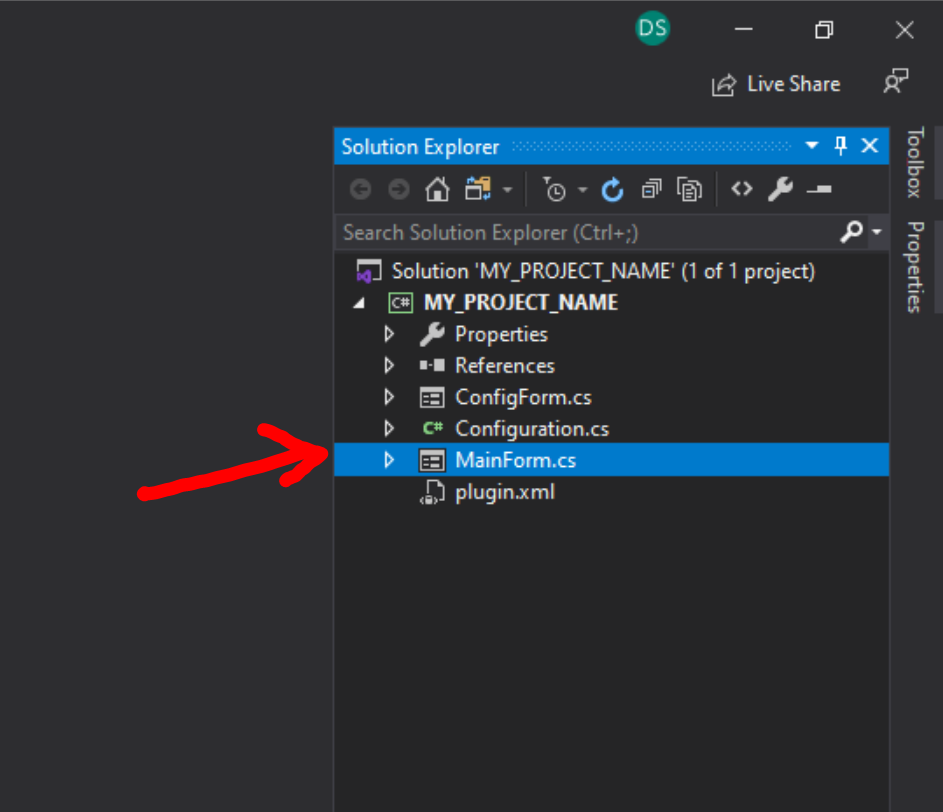
Locate the MainForm in the Solution Explorer and double click.
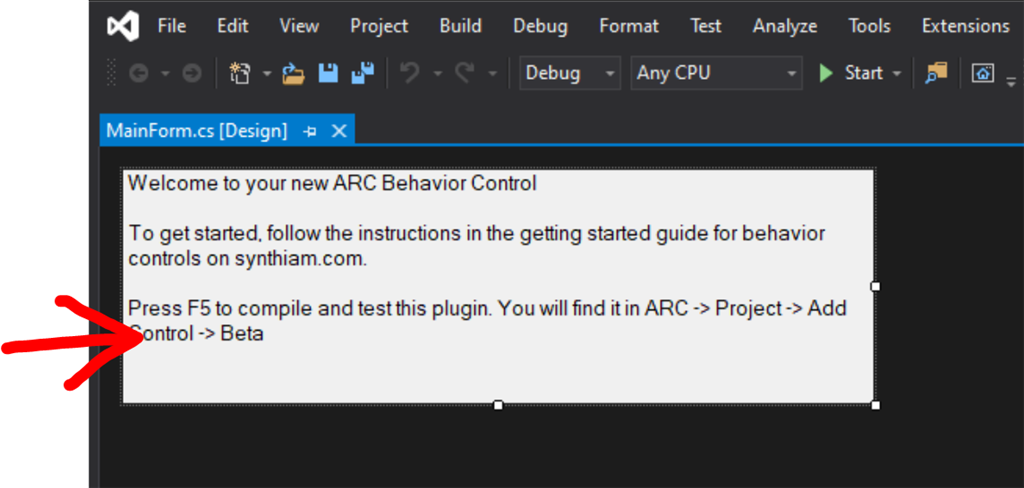
When the MainForm designer loads, click on the text and press Del to remove the label from the form. This will leave you with a blank form.
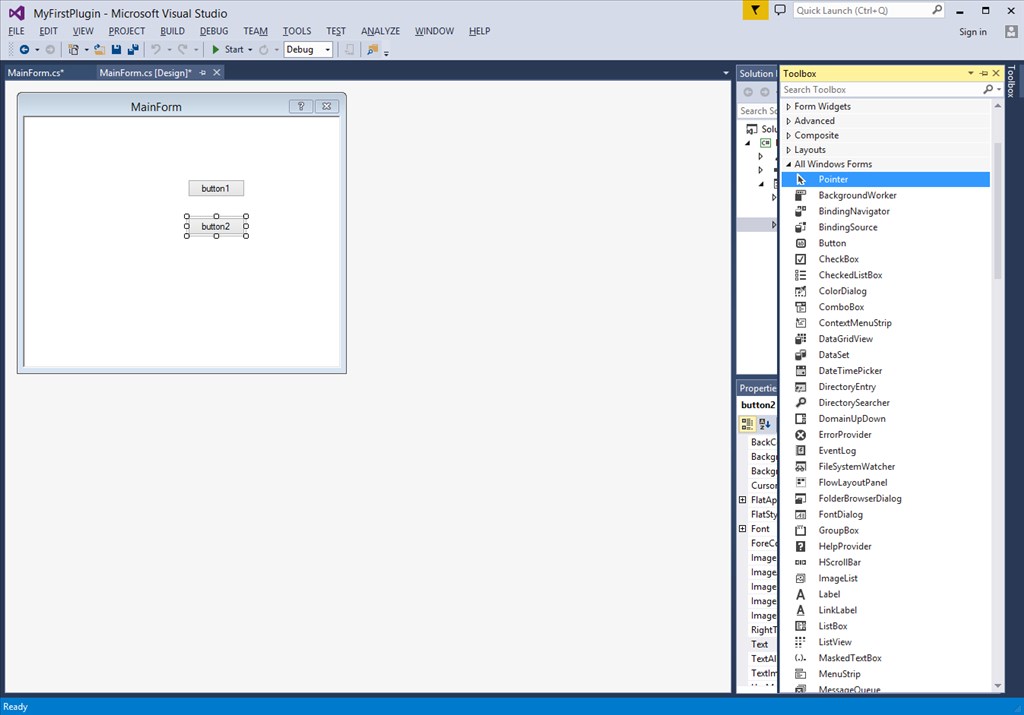
Locate the Button under All Windows Forms in the Toolbox. Drag two buttons anywhere onto your MainForm.
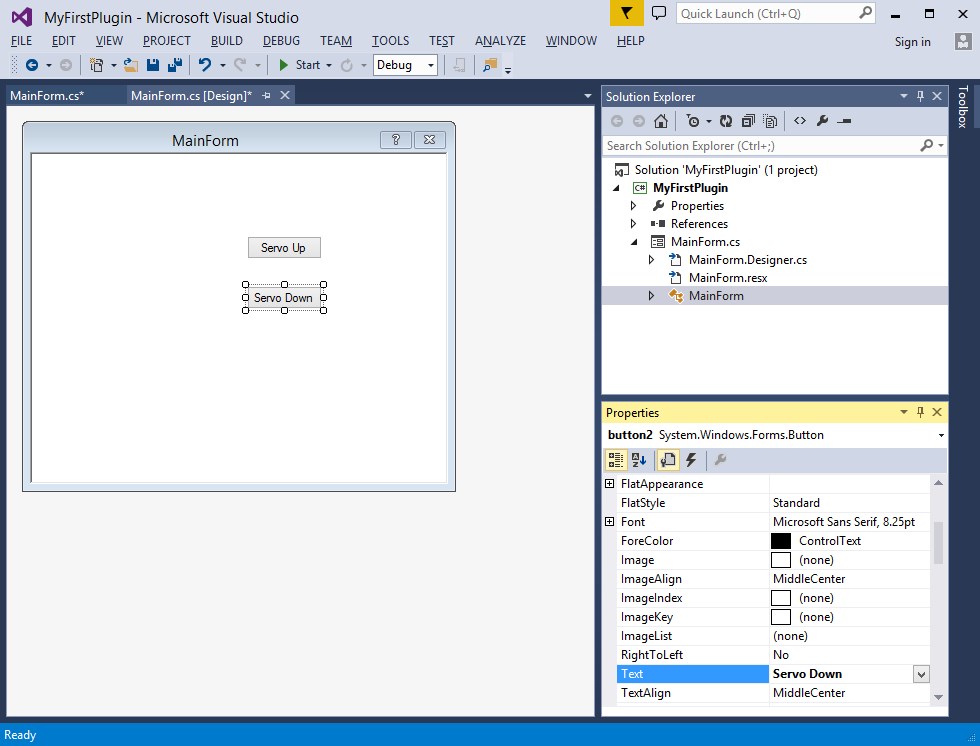
Give the buttons readable text that tells the user what they will do. In this tutorial example, we will be programming the buttons to move a servo between two positions. Click on each button and locate the Text field in the properties window.
Double click on each button in the Designer and code will automatically be generated for the Click event of each button. This means that when a user clicks on the button, the code within the function will be executed. The functions are automatically inserted into your code when you double click on them from the designer.
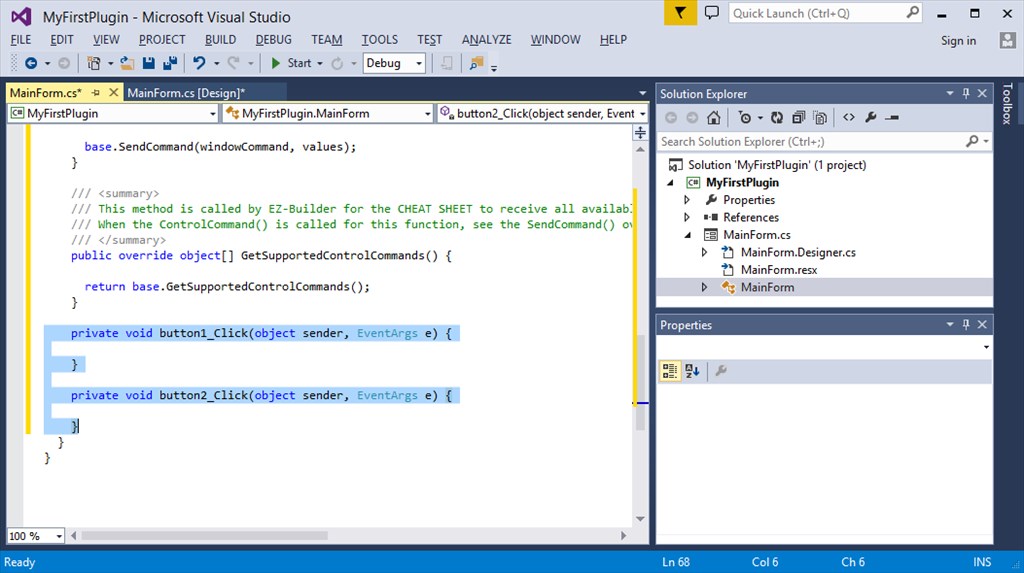
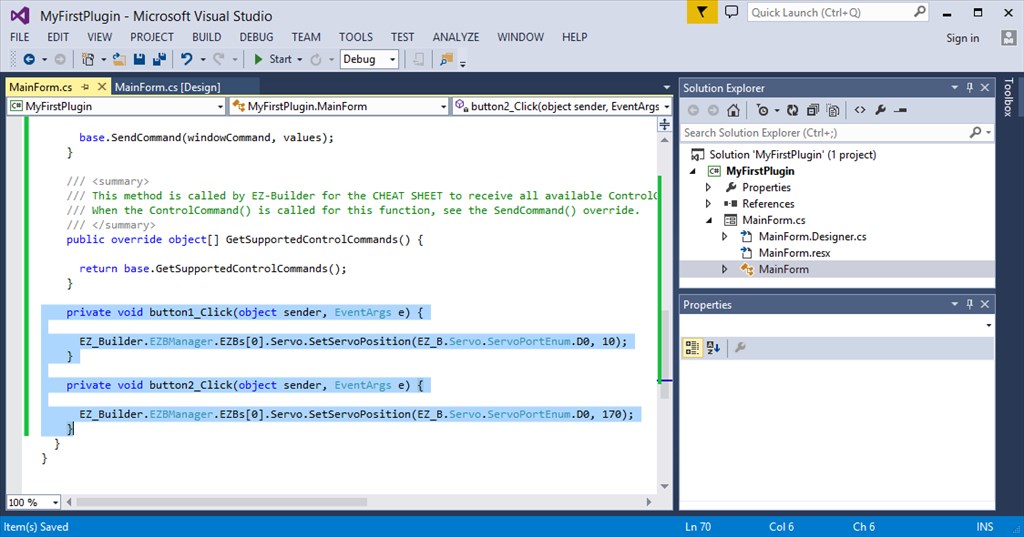
Insert code into each of the button click events to move a servo. The command to move a servo is located within an EZB class. Because ARC allows more than one EZB connection, the list of EZB's available is an array. It is safe to assume that the first EZB is used the most. Here is the code which will move the servo connected on the EZ-B port D0 between position 10 degrees and 170 degrees when the buttons are pressed.
    private void button1_Click(object sender, EventArgs e) {
      EZ_Builder.EZBManager.EZBs[0].Servo.SetServoPosition(EZ_B.Servo.ServoPortEnum.D0, 10);
    }

    private void button2_Click(object sender, EventArgs e) {
      EZ_Builder.EZBManager.EZBs[0].Servo.SetServoPosition(EZ_B.Servo.ServoPortEnum.D0, 170);
    }
When your code has been entered, it will now look like this.
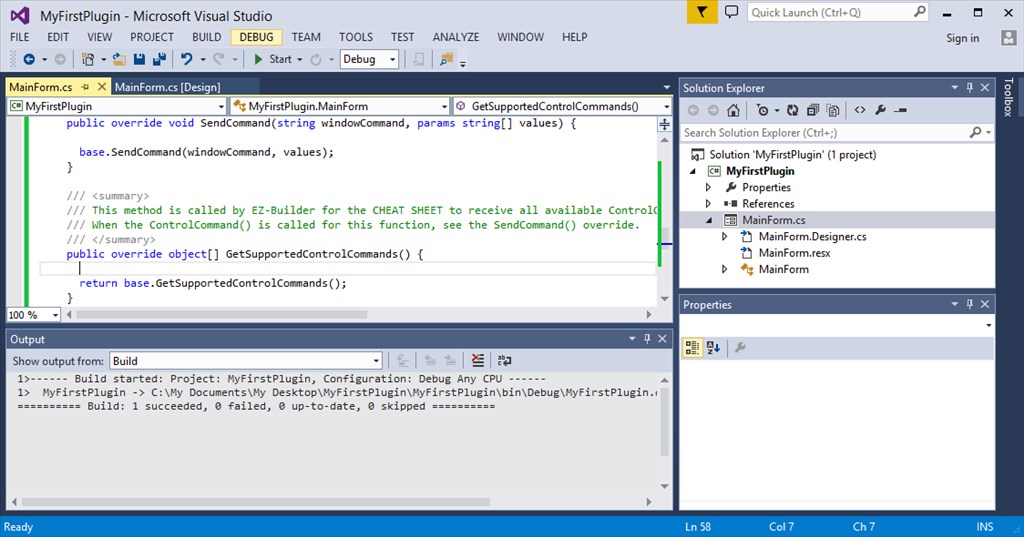
Let's compile your project to ensure there are no errors before continuing to the next step. Press CTRL-SHIFT-B and watch the Output window for any error messages. If everything compiles okay, you will see a similar message result to the screenshot below.
Assuming you have no errors and everything compiles fine, press F5, the project will compile and load ARC. Add the robot skill plugin to your workspace and test it out!

Thanks for the quick response.
This what happens when you are working on robotics when its way past your bed time.
You miss the obvious
No problem - i get it
Sorry but can I ask you something why I didn't see the ARC library when I added visual studio even though I set up the C ++. DLL library and there's another way to execute it and send / receive console in out but I don't know how to do it with EZ_builder?Please follow the tutorial. It’s impossible to know why you’re plug-in isn’t showing up without asking you if you followed each step of the tutorial . Reviewing your screenshots, it doesn’t appear as if any of the tutorial steps have been followed.
Hi i fixed it. thanks
Hello, I am trying the tutorial to get the robot to speak. I am using Visual studio. Currently, the sound is output from the pc instead of the robot. Is there a code I can attach so that the sound comes from the robot speakers instead of the pc?
Look in this tutorial for the step labeled "output audio from ezb". It’s lower down in the list. There’s instruction examples for either playing audio (ie mp3) or text to speech.
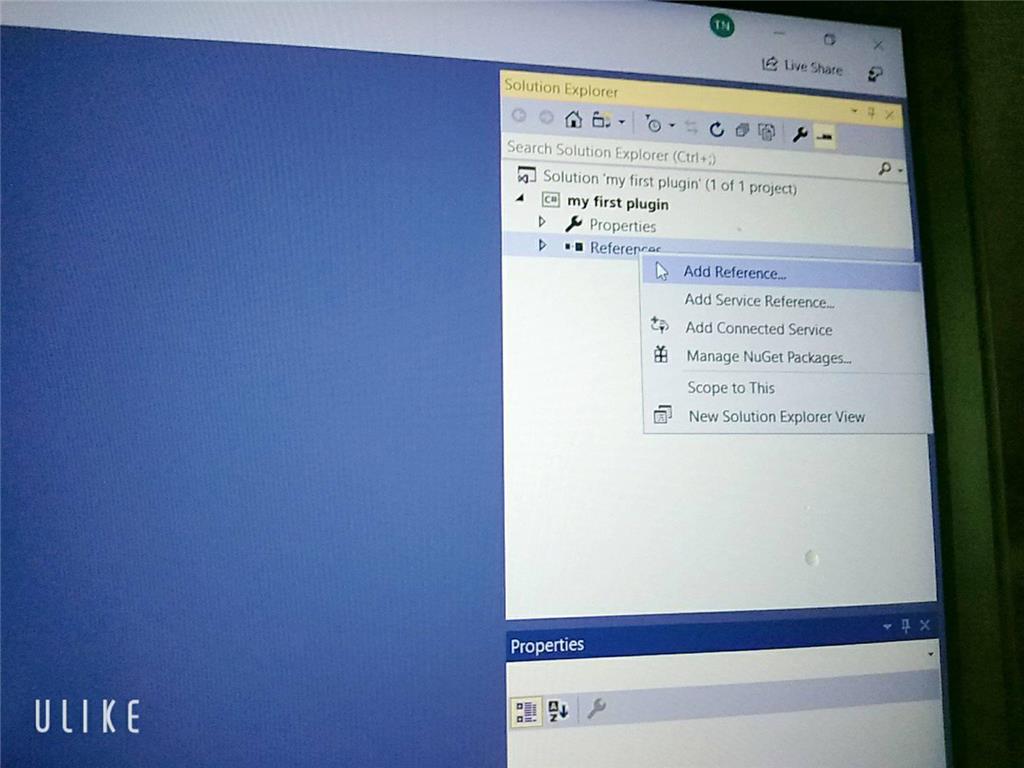
Error: the referenced component" EZ_builder,EZ_B" could not be found, DJ Sure i hope you can help me !

Joinny, you have to add the referencing by following the instructions in this tutorial. They are outlined with step by step to easily follow. Click add references, and browse to the appropriate files as directed in the tutorial. I can’t write anything clearer in response. The step to add references is incredibly clear but you’re skipping it.