Example: Camera Control
Your plugin can access the camera by attaching itself to an existing camera control. Attaching to an existing camera control is a friendly way of sharing the camera video stream with other plugins and maintaining the camera control's features.
This is demonstrating one method of finding a control within the workspace. There are a number of methods that make this easy. Take a look at the Example: Finding Other Behavior Control section of this tutorial for a more detailed explanation.
In this example, we will search for an existing camera control and attach to frame event.
Step 1 - Declare a global camera control variable
Your plugin will need to search the project to find a camera control. When it finds the camera control, it will need to keep a reference to it for future actions. Specifically, your plugin will need to keep the camera control reference so it can detach from the video frame event during dispose or close.
namespace Camera_Example {

  public partial class FormMain : EZ_Builder.UCForms.FormPluginMaster {

    // Global variable within your  plugin class
    ARC.UCForms.FormCameraDevice _cameraControl;

    public FormMain() {

      InitializeComponent();
    }
  }
}
Step 2 - Create an attach() method with Frame Event
This method will search the project for an existing camera control, add a reference to it and attach a method to the frame event.
void attach() {

  // detach in case there is already an attachment to an existing camera control
  detach();

  // get all camera controls in the project
  Control [] cameras = ARC.EZBManager.FormMain.GetControlByType(typeof(ARC.UCForms.FormCameraDevice));

  // if there are no camera controls, inform the user
  if (cameras.Length == 0) {

    MessageBox.Show("There are no camera controls in this project.");

    return;
  }

  // get a reference to the first camera control we find, in the case there are many
  _cameraControl = (ARC.UCForms.FormCameraDevice)cameras[0];

  // attach to the New Frame event
  _cameraControl.Camera.OnNewFrame += Camera_OnNewFrame;

  ARC.EZBManager.Log("Attached to: {0}", _cameraControl.Text);
}

// We will add code to this method later in this example
void Camera_OnNewFrame() {

}
Step 3 - Create a detach() method to detach from the camera control
Now that we have created an attach() method, there will need to be a method to detach as well. The detach is necessary specifically for your plugin's Closing event. Be sure to add the detach to the Closing event as in this example.
private void FormMain_FormClosing(object sender, FormClosingEventArgs e) {

  // detach the event handler from this  plugin when it closes
  detach();
}

void detach() {

  // only perform detach if there is a reference to a camera control
  if (_cameraControl != null) {

    ARC.EZBManager.Log("Detaching from {0}", _cameraControl.Text);

    // Detach the from the camera event handler
    _cameraControl.Camera.OnNewFrame -= Camera_OnNewFrame;

    // Set the camera control reference to null
    _cameraControl = null;
  }
}
Step 4 - Create a button to Attach()
Your plugin will need some way to let the user attach to the camera control. You could do this when the plugin is initiated, but you may wish to give the user the ability to attach/detach on their own. Just in case they do not wish for it to be active right away. Create a button on your plugin which will have this code in the OnClick event. This code will attach() if there is no reference to a camera control, and detach if there is. The code will work as a toggle between the two states.
private void btnAttach_Click(object sender, EventArgs e) {

  if (_cameraControl == null)
    attach();
  else
    detach();
}
Step 5 - Create ControlCommand() attach/detach
Be friendly to your users by giving them the ability to attach and detach your plugin via EZ-Script ControlCommand() syntax. These two override methods will do just that...
// Override is called when  ControlCommand() is sent to this control
// If an applicable command is passed, execute it. Otherwise execute the base which throws an exception to the user
public override void SendCommand(string windowCommand, params string[] values) {

  if (windowCommand.Equals("attach", StringComparison.InvariantCultureIgnoreCase))
    attach();
  else if (windowCommand.Equals("detach", StringComparison.InvariantCultureIgnoreCase))
    detach();
  else
    base.SendCommand(windowCommand, values);
}

// Return a list of available ControlCommands() to the ARC UI
// This list is presented to the user when they are editing  EZ-Script and viewing the Cheat Sheet
public override object[] GetSupportedControlCommands() {

  List cmds = new List();

  cmds.Add("Attach");
  cmds.Add("Detach");

  return cmds.ToArray();
}
Step 6 - Do something in the video frame event
Now that you have successfully created attach and detach methods to the camera control, let's do something with the video frame event. The video frame event was created earlier in this project, and was empty. Now let's simply add some code to get the image and draw on it.
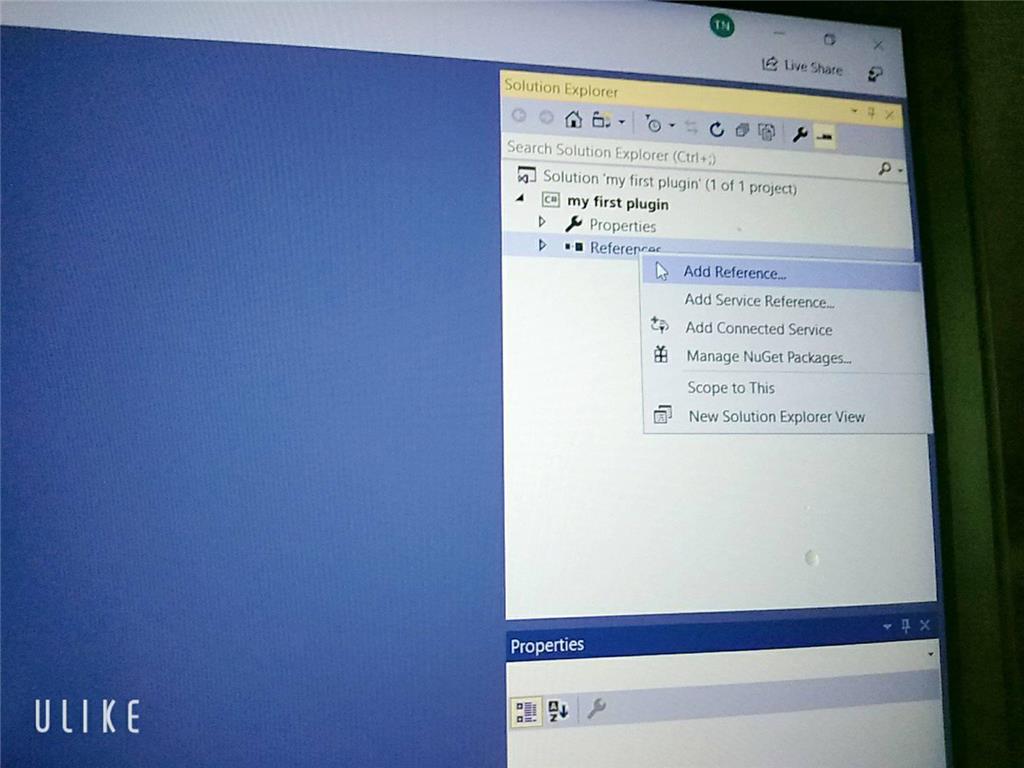
Add a reference to the aforge.dll in the ARC program folder. This is the same folder which you added the ARC.exe and EZ_B.dll during the plugin setup. The aforge.dll library is a fantastic open-source project with direct memory access to image buffer for manipulation, which is faster than using GDI (System.Drawing).
In this example frame event code, we will draw a solid square around the object which was detected during tracking. For testing, you will need to enable a tracking type.
void Camera_OnNewFrame() {

  // Exit this method if there is no reference to a camera control
  // This may only happen during a dipose/detach if the frame is already executing
  if (_cameraControl == null)
    return;

  // If no object is detected, display a message to the user in the camera image
  if (ARC.Scripting.VariableManager.GetVariable("$CameraIsTracking") == "0") {

    using (Graphics g = Graphics.FromImage(_cameraControl.Camera.GetOutputBitmap.ToManagedImage(false)))
      g.DrawString("No object detected", SystemFonts.CaptionFont, Brushes.Red, 0, 0);

    return;
  }

  // If we got this far, an object must be detected
  // Get the camera control variables for the detected object location and size
  int objectX = Convert.ToInt32(ARC.Scripting.VariableManager.GetVariable("$CameraObjectX"));
  int objectY = Convert.ToInt32(ARC.Scripting.VariableManager.GetVariable("$CameraObjectY"));
  int objectCenterX = Convert.ToInt32(ARC.Scripting.VariableManager.GetVariable("$CameraObjectCenterX"));
  int objectCenterY = Convert.ToInt32(ARC.Scripting.VariableManager.GetVariable("$CameraObjectCenterY"));
  int objectWidth = Convert.ToInt32(ARC.Scripting.VariableManager.GetVariable("$CameraObjectWidth"));
  int objectHeight = Convert.ToInt32(ARC.Scripting.VariableManager.GetVariable("$CameraObjectHeight"));

  // Draw a Crosshair using the aforge library fast draw functions
  AForge.Imaging.Drawing.Line(_cameraControl.Camera.GetOutputBitmap, new AForge.IntPoint(objectCenterX - 8, objectCenterY), new AForge.IntPoint(objectCenterX + 8, objectCenterY), Color.FromArgb(200, 240, 100, 200));
  AForge.Imaging.Drawing.Line(_cameraControl.Camera.GetOutputBitmap, new AForge.IntPoint(objectCenterX, objectCenterY - 8), new AForge.IntPoint(objectCenterX, objectCenterY + 8), Color.FromArgb(200, 240, 100, 200));

  // draw a filled rectangle with opacity
  AForge.Imaging.Drawing.FillRectangle(_cameraControl.Camera.GetOutputBitmap, new Rectangle(objectX, objectY, objectWidth, objectHeight), Color.FromArgb(100, 50, 50, 250));
}
You're Done!
You have successfully created methods required to attach/detach from existing camera controls and perform drawing on the frame image!

Thanks for the quick response.
This what happens when you are working on robotics when its way past your bed time.
You miss the obvious
No problem - i get it
Sorry but can I ask you something why I didn't see the ARC library when I added visual studio even though I set up the C ++. DLL library and there's another way to execute it and send / receive console in out but I don't know how to do it with EZ_builder?Please follow the tutorial. It’s impossible to know why you’re plug-in isn’t showing up without asking you if you followed each step of the tutorial . Reviewing your screenshots, it doesn’t appear as if any of the tutorial steps have been followed.
Hi i fixed it. thanks
Hello, I am trying the tutorial to get the robot to speak. I am using Visual studio. Currently, the sound is output from the pc instead of the robot. Is there a code I can attach so that the sound comes from the robot speakers instead of the pc?
Look in this tutorial for the step labeled "output audio from ezb". It’s lower down in the list. There’s instruction examples for either playing audio (ie mp3) or text to speech.
Error: the referenced component" EZ_builder,EZ_B" could not be found, DJ Sure i hope you can help me !

Joinny, you have to add the referencing by following the instructions in this tutorial. They are outlined with step by step to easily follow. Click add references, and browse to the appropriate files as directed in the tutorial. I can’t write anything clearer in response. The step to add references is incredibly clear but you’re skipping it.