Connecting Arduino To ARC
Programming Arduino
On the previous step, you were instructed to download a firmware soucecode zip file for the Arduino that you'd like to use. Extract the contents of your zip file somewhere on your hard drive. I create a Arduino folder in My Documents and keep them in there.
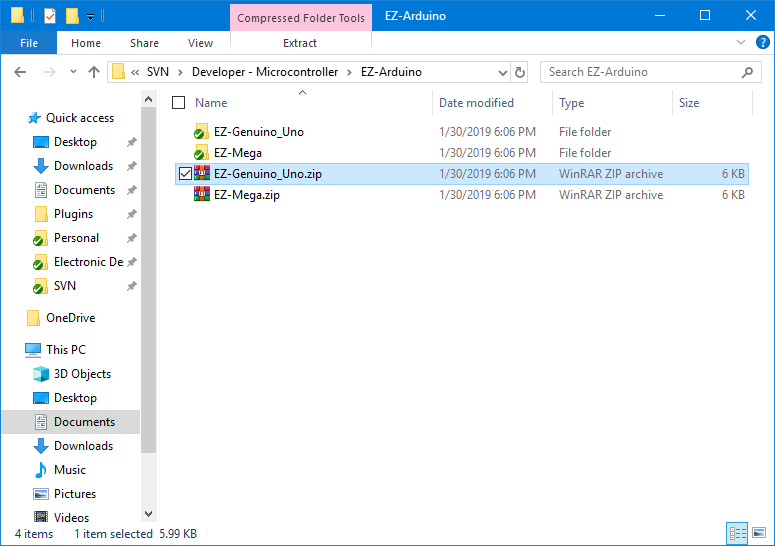
Enter the folder with your Arduino firmware source file. I'll use the Arduino Mega as an example, but the process is the same for the other Arduino versions.
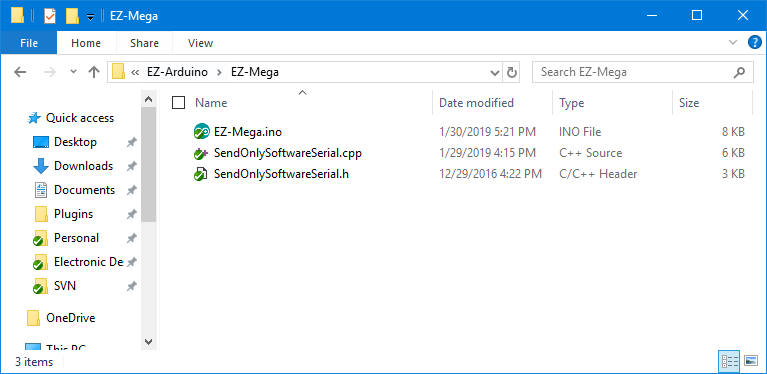
Do you have Arduino IDE programming software installed? If so, double click on the *.INO file and it will load the project into the Arduino IDE software. Otherwise, download Arduino software from HERE.

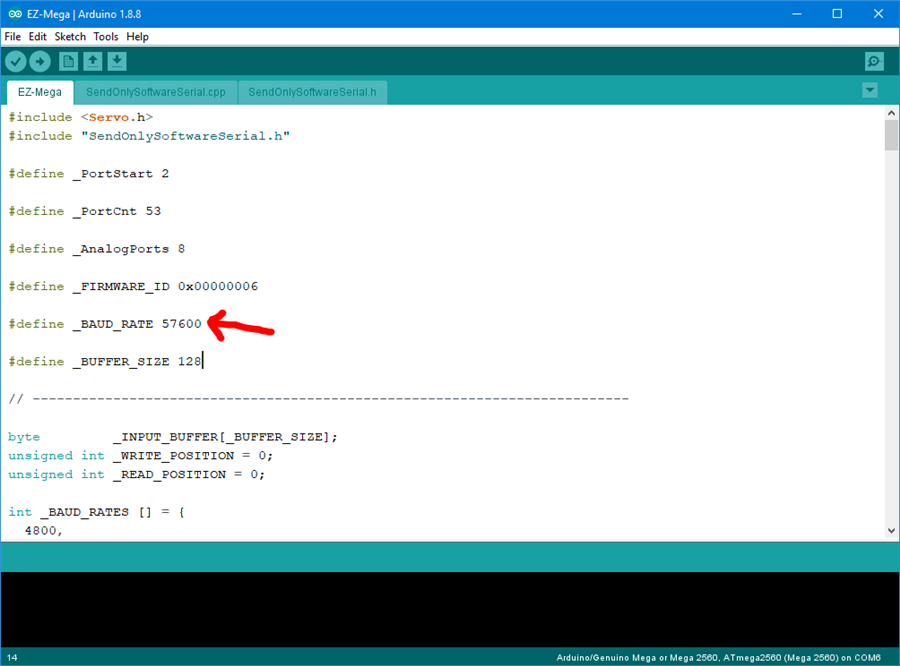
When the software loads, the main file will be the EZ-B firmware. The only field that really matters for you to notice is the BAUD_RATE. You will need to know the BAUD_RATE when connecting to ARC in the next step of this tutorial.
Connect your Arduino to the PC via the USB cable
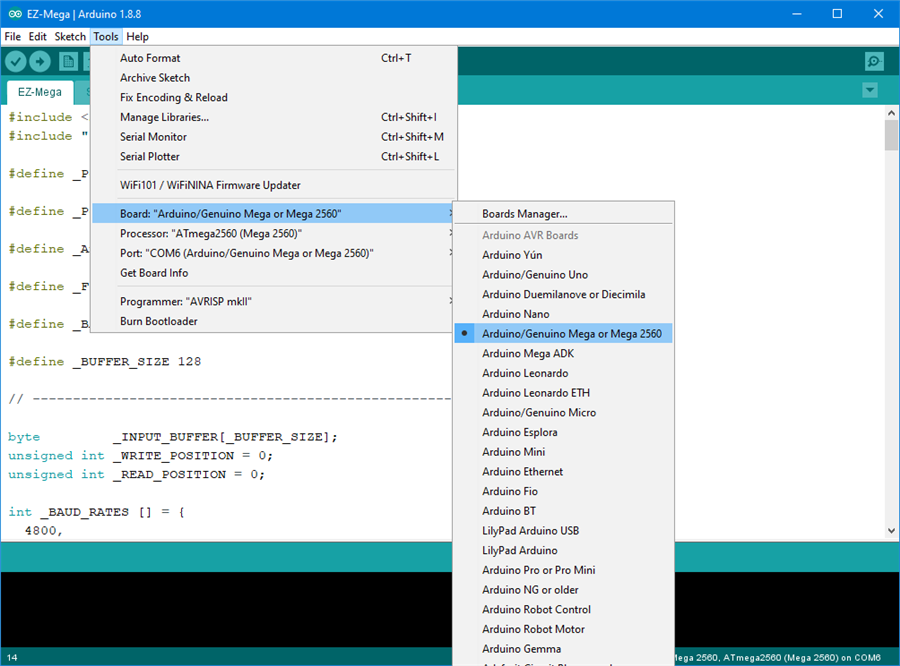
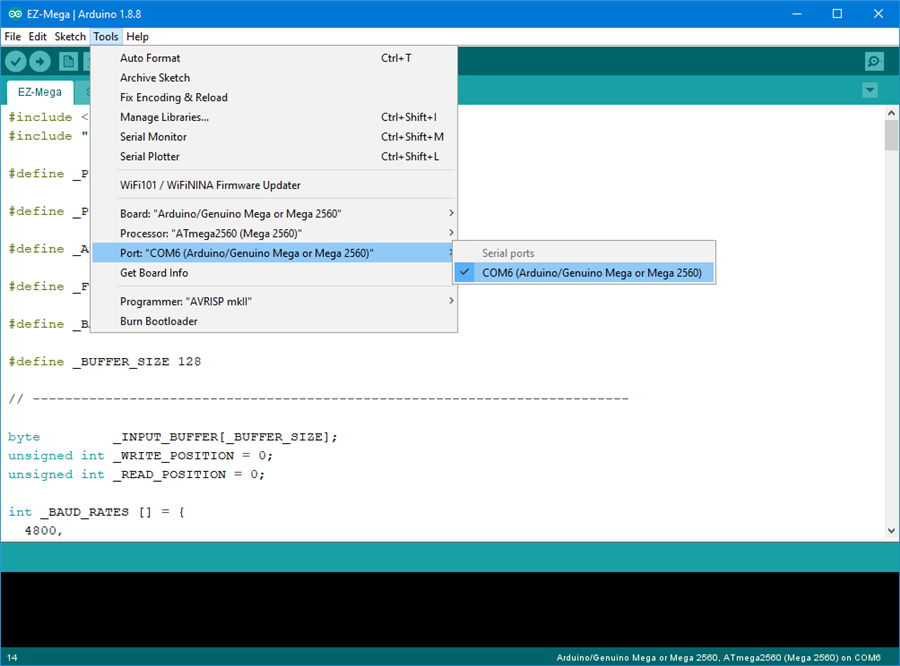
Let's configure the Arduino IDE for your Arduino board. In my example, I'm using the MEGA so I selected that. If you're using an UNO or Duemilanove, select that instead.
Specify the COM PORT for your Arduino to be programmed
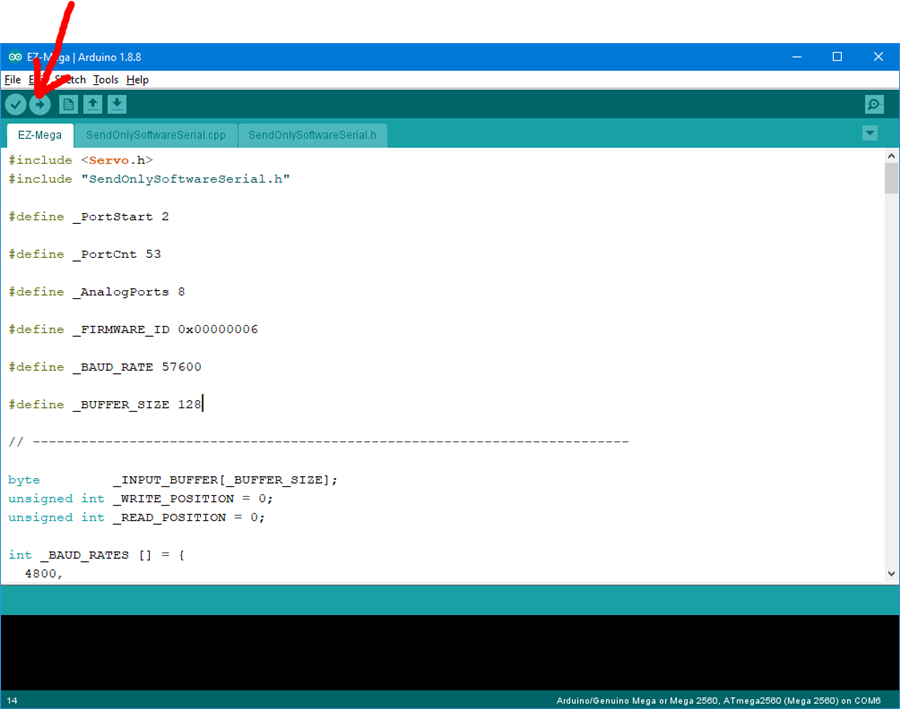
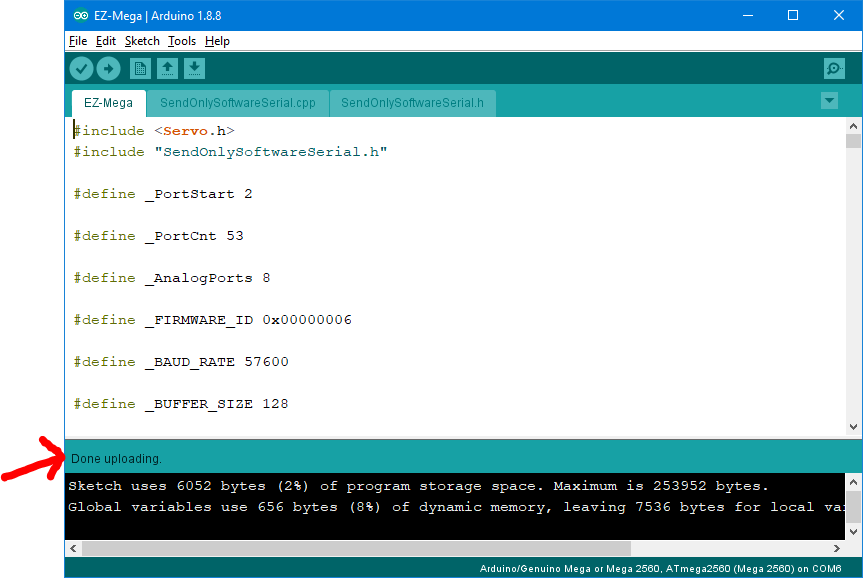
Press the UPLOAD button, which will compile and program the Arduino to become an EZ-B
There you go, the Arduino has been programmed and is now an EZ-B. The next step will demonstrate how to connect ARC to the EZ-Arduino. Or is it EasyDuino? OR EZDuino?
Remember, you don't have to perform these steps each time. The Arduino will remember the programming when it is turned off and back on again. The program is inside of the Arduino memory until it is reprogrammed. So, feel free to close the Arduino IDE program and move to the next step.

I have an idea for you, but it’ll take a few days to make
DJ Sures, Thank you so much for your response. If you do think of a way that would really be great. You have no idea how much I've already struggled. I knew I was already taking on a big challenge. Thank you!
I have some ideas. Running a few excitements but the plan is to allow a robot skill to extend the servo ports into the Vx ports for arduino firmware. Stay tuned and thanks for the kind words
Im excited, thank you again!
I presume you will use your Arduino Mega to control a mix of servos and digital ports.
One easy option: change the firmware code to map: EZB 0-23 servos to control arduino mega servo ports 0-23. EZB 0-23 digital ports to control arduino mega digital ports 24-47
so you can control 24 servos and 24 digital ports, is this ok ?
Oh that’s a good idea - it would be easiest change right away. Smart Ptp
DJ taking in consideration Arduino Mega hardware limitations:
I would map the following: Analog: A0-A7
Servos: mega ports D22-D43 = 22 Servos = EZB 0-21 mega ports D68-D69 = 2 Servos = EZB 22-23 Total = 24 servos
PWM Ports: mega ports D02-D10 = 9 ports = EZB 0-8 mega ports D13 = 1 ports = EZB 9 mega ports D44-D46 = 3 ports = EZB 10-12 Total = 13 pwm ports
Digital Ports: EZB 0-12 = same as PWM ports in mega (above) EZB 13-14 = D11-D12 = 2 ports EZB 15-20 = D62-D67 = 6 ports Total = 21 ports ( 8 exclusive for Digital IO and 13 shared with PWM ports)
pin 0 and 1 are serial port 0 / usb port (avoid these ports)
and you have the following: Serial1 on pins 19 (RX) and 18 (TX), Serial2 on pins 17 (RX) and 16 (TX), Serial3 on pins 15 (RX) and 14 (TX).
I2C: D20 - sda D21 - scl
With the above setup: 24 servos 13 pwm ports / digital ports 8 digital ports 8 analog ports serial ports available/free i2c available/free
Super smart. I like it! I’ll make changes and publish. This will be much easier. Thanks again for the idea ptp