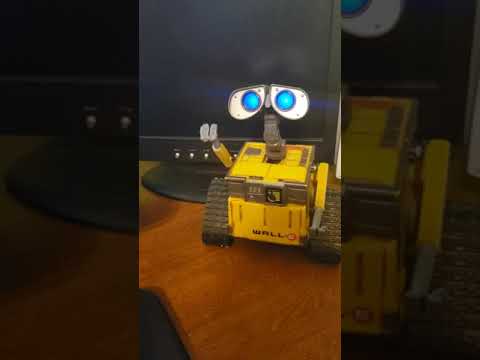
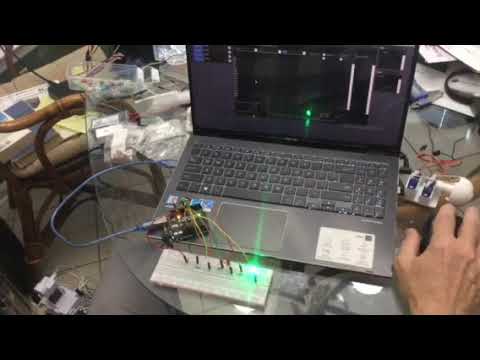
I'm not brave enough for "live hacks" yet, but this shows me updating my software, explaining how I built him, trying to remember which ports his servos are connected to (oops) and how I was able to use the stock toy switches with some resistors on 1 ADC line. I'll have to actually make him do something cute in a future video.
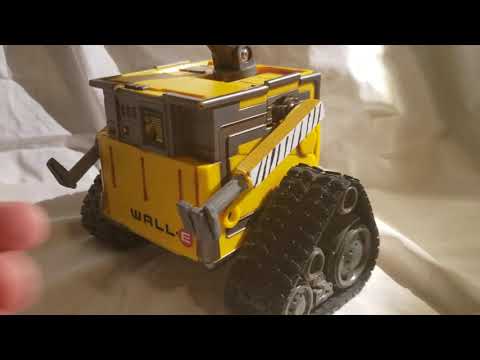
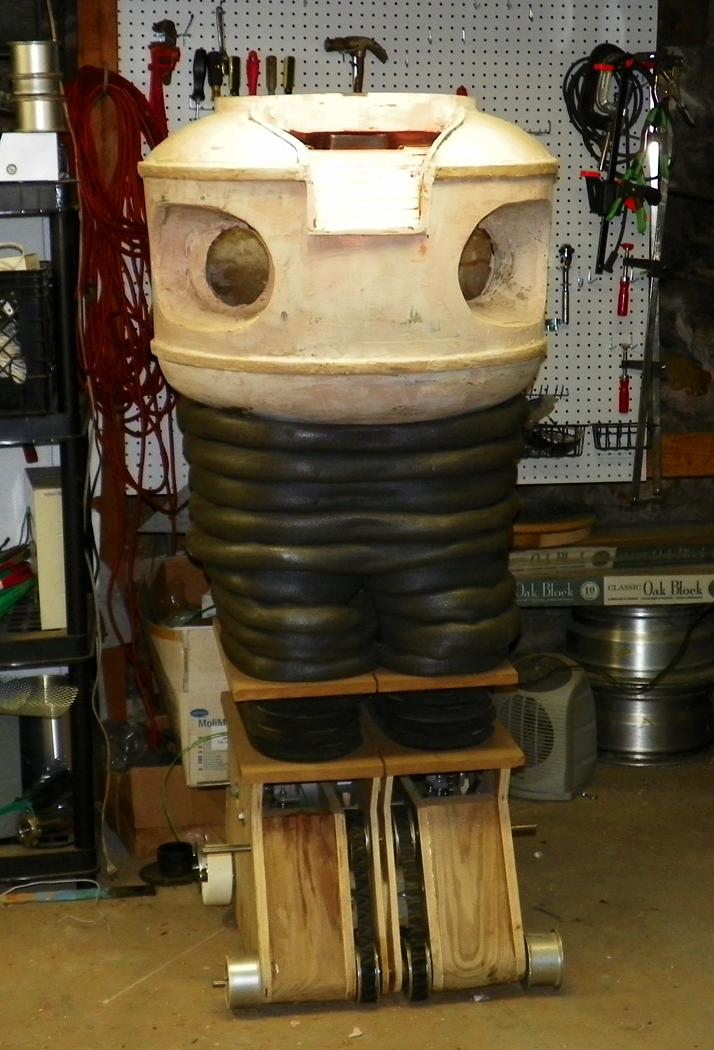
He is not the Ultimate wall.E that most builders get to hack, I accidently got a smaller non-motorized version (which I don't recommend due to size) but I've come to like the little guy.

By JustinRatliff
— Last update
Discover more robots
Rich's Jarvis Add-On #1
Automated direction-aware staircase LED lighting using Synthiam ARC, EZ-B and IR sensors with EZ-Script for runway-style...
Ezang's Photoresistor Project With ARC, Arduino, Python...
Photoresistor project using Synthiam ARC, Arduino and Python: red LED lights at high resistance, green LED at low...
Danger!'S My B9 Robot
Full-size B9 Lost in Space replica with hinge W waist mechanism powered by a salvaged drill motor; testing EZ-B...

That's not the window telling you there's an update. It's telling you what version you're running in BETA. It's merely a beta message window
thats a nice mini wall E.
I never made it that far into the video on my first watch. Wow it’s real cool. You’re very talented
Nice job Justin! We need HD video next time...this one uploaded 460 max...hard to see the ARC interface.
Agreed Will, when I generate my screen capture in the raw format it is 720p. Then when I produce it with windows movie maker and cut and splice everything its less quality. Anyone have advice on free or low cost (and non-fancy) software to improve what I'm doing with videos? I basically need video production software -JitterBug style I'm not sure that joke translates world wide - but in the US they sell these "JitterBug" brand phones for older folks
As Mr. Jefferson would say, Movin ON UP....to 1080p/4K....to that deluxe video, in the SkYYYYYYY. I think I found some new software. We will see how my next video turns out and I'll share what I'm using too incase it rocks - or stinks - we will all know
Yay good find...looking forward to it!
I'm using ApowerREC now for my screen recorder and VideoPad Pro for my video editor because it gave me close to the features of my old Windows Movie Maker. I can produce videos in 720P or higher now. After watching the video on YouTube I think it's better, but I think I'm going to have to enlarge code sections or my whole screen in the future because the font there is still small - or I think it will be since I didn't script today.
BUT, ApowerREC gives me annotation and whiteboarding functions that I did not have before, so I can go all "John Madden" in future videos.
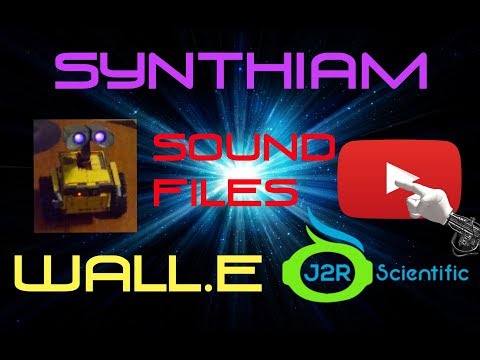
This video is just me adding to wall.E's sound board.