DJ, was able to obtain photos of the real hero Johnny 5 robot torn appart & put back together for measurement along with the Cad Files for the robot; will be working on a life size J5 robot & would like to use the EZ-Robot system to control it, what possible ez robot robot kit would allow this a reality? Hence using lightweight parts rather than the orig heavy duty parts.... Thanks so much for your time!:-) Drew
By Clip2Trigger
— Last update
Other robots from Synthiam community

Robot's First Attempt Building An Android App For The Irobot...
Upgraded Dirt Dog speakers to 8 ohm 2W 1in and hidden inside the dust bin, gaining extra space after removing the vacuum...

Morbeious's My Printer Revolution Six
Custom Revolution Six robot dances after 3D printer and wiring fixes, ready for scripted dance routines.
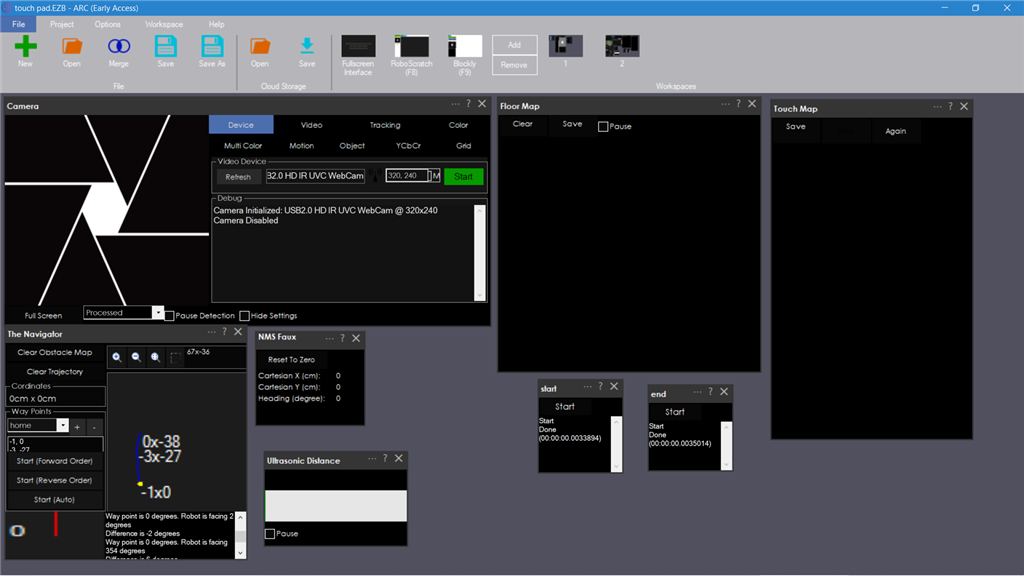
Ezang's New Video - Using Floor Map And Touch Path Maps And...
Floor Map, Touch Path and Navigator enable simple path following; IoTiny hotspot guides your car-Intel RealSense...

Hello Drew, Get the EZ-B v4 Developer Kit and a bunch of metal gear servos! This kit gets you the V4 robot controller and a video camera, sonar, charger, lipo battery and some great servos. You will need more servos and might want some wheelchair motors for the drive system. Wheelchair motors will move J5 with ease even with you riding along. The video camera allows your robot to see objects, colors, motion and faces. V4 has a built in speaker so J5 will be able to talk. You can use the voice that came with Windows, download other voices or play back mp3s of J5's voice from the movies. Also the clip and play bits might help. They are light weight and make building robot arms easy.
David
David:-) Thank you very much for the info!:-). Doing this project on my own is a bit tough, will take some time I'm sure. Building a life size J5 has been a dream my entire life & now the real deal... With EZ-Robot now this dream can be a reality!:-) thank you DJ for making EZ-Robot! Now just gotta get the parts:-) (all ready have the head built) Drew:-)
@Clip2Trigger, welcome.
I look forward to seeing how you progress with his one. We all loved Johhny Number 5 growing up!
And Just to correct what @mcsdaver mentioned about the SDK Dev Kit.
The kid does not come with a Lipo battery and Charger. It does have all the other amazing bits tho. I am starting with this kit, and it's a great way to get into the EZ-Robot products.
You can just expand on your initial kit as you go on.
Kit content includes.
1 x EZ-B v4 Wi-Fi Robot Controller ARC robot control software & SDK 1 x EZ-B v4 Camera (without ABS plastic shell) 1 x HC-SR04 Ultrasonic Distance Sensor 4 x Heavy Duty Servo 2 x Continuous Rotation Servo 2 x Extension Cable 1 x 6xAA Battery Holder 1 x Power Shell 2 x 69mm diameter by 7.62mm wide wheels Servo attachments
See it here:
SDK Dev Kit
Hi and welcome.
I thought I would throw my 2 cents worth in on the things you are going to run into building a life size Johnny 5. Your biggest problems will be weight and leverage. While the EZB-4 control unit will be fine for doing the control and bringing the unit to life, you will find the clip and play servos associated with the Revolution robots are useful mostly for small robots. Once you start scaling up they soon become inadequate for the major subsystems. Though there are ways to stretch their capabilities, as I will discuss below.
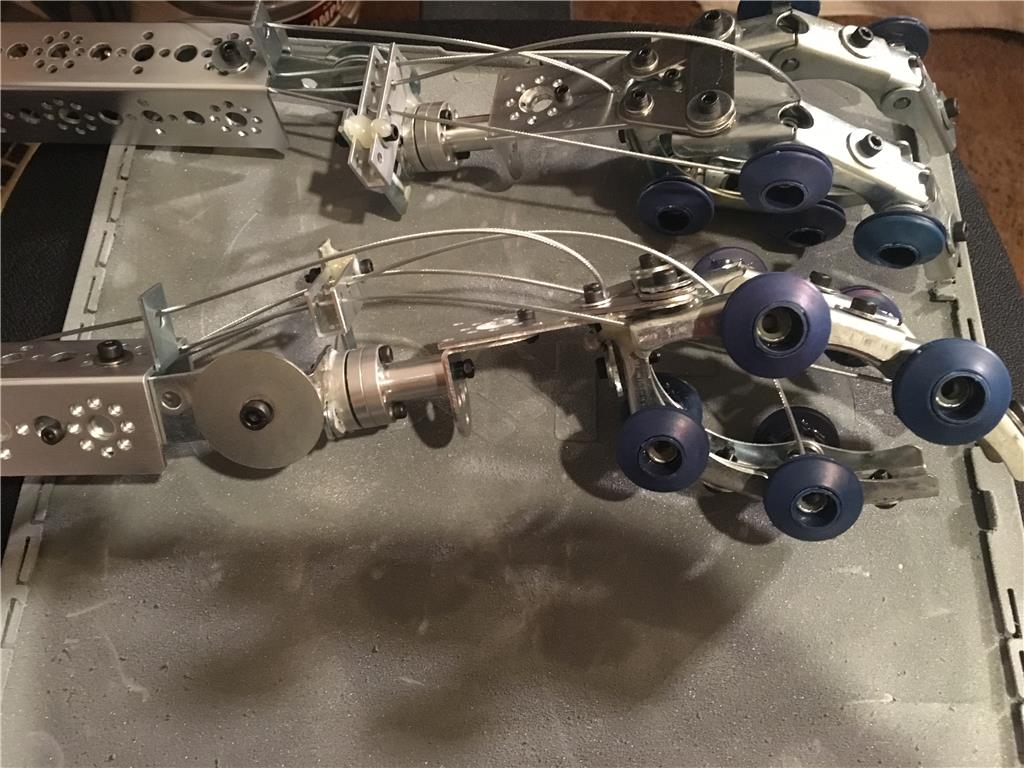
One thing about the unit from the movies was that it was a puppet. The arms, for example, moved by people literally pulling strings. There were no servos or linear actuators doing anything in the arms. The propulsion system and the raising and lowering of the body did have actual actuators and motors running them, but not much else. You will find actually doing that will be a daunting task. Especially if you want it to be able to pickup anything other than Styrofoam. Just the weight of the arms will be difficult to move, let alone anything the robot may be holding. And the longer the arms, the greater the load will be. As will be whatever the robot is holding.
The place where the servos from EZB will come in handy will be for doing small jobs like moving the eye shades or flipping open the eye lenses. That sort of thing. You may find you will need linear actuators for actually moving the head in the 3 basic directions, rather than servos. It looks kind of heavy even now. Fergelli has a nice line of linear actuators, including some small ones which can be controlled directly from a PWM signal like the EZB-4 puts out.
OTOH, servo City has a great line of hardware for making custom mounts and bases for just about anything you can come up with. One of the things they have are "Servo Blocks". They are aluminum assemblies which take the radial load off servos which helps a lot in getting them to drive heavy loads. I used several of them in creating a 3 axis movement system for the neck of a robot I have been working on. Helped a lot in controlling wobble as the units are very stiff, and the head has gotten kinda heavy with all the stuff I put on and in it. servo City also has a line of heavier duty linear actuators which can be controlled directly by the outputs of the EZB-4 as well.
One thing about linear actuators is that they will hold position under load with no power being applied. That's a great advantage. Doing the same with servos means the servo will have to be powered all the time, sometimes with quite a bit of current, for it to hold position under load. I have found, however, much of this load can be alleviated by using springs to counter-balance it. This can ameliorate the current needed and help keep the load from crashing into some part of the robot when power is shut off. I used that technique on the head of my robot. It used to drop all the way down into the body when power was cut. Now it holds position. Basically I found that the spring(s) counter tension was about right when you could move the load (like the head) in most positions (with no power to the servos) and it stays there. Also, you can save power and heating up the servos by only allowing them to be under load for short periods. For example, tilting the head to one side, holding it a few seconds, then putting it back to a more neutral position (for having it do a puzzled look). You want to leave the robot in it's neutral position as much as possible with only brief excursions into heavily servo-loaded positions.
Finally you might want to check out the life-size B-9 Robot project as done by Dave Schulpius (https://synthiam.com/Community/Questions/2263). He has had to deal with a number of these issues and you may find his posts useful.
PS ... Brookstone still has a Buy one get one free sale on some EZ Bits devices. Including both the lever and rotary servos. It's a good time to stock up on those items. Just do a search for EZ at Brookstone to see them all. One caveat, however, EZ Robots will be going to digital servos sometime in the relatively near future. I don't know when. The current analog servos will still work with the new stuff (I think) whatever it is, but it's something to keep in mind before you buy too many of the analog ones.
Just a little info I thought you might find helpful, good luck!
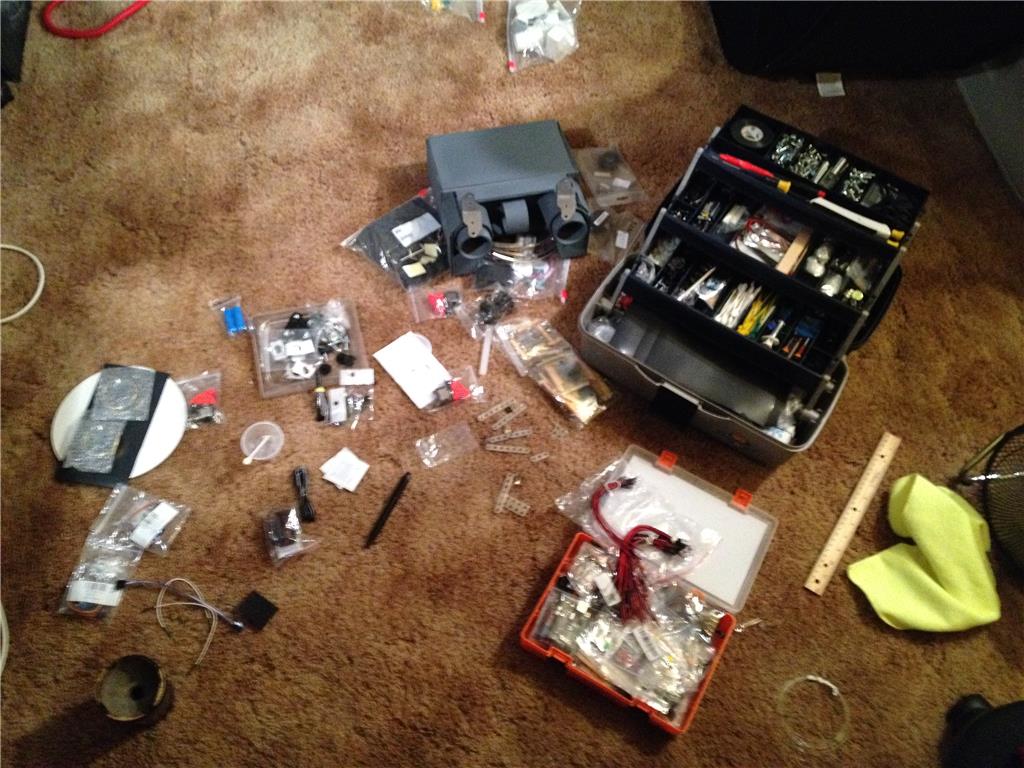
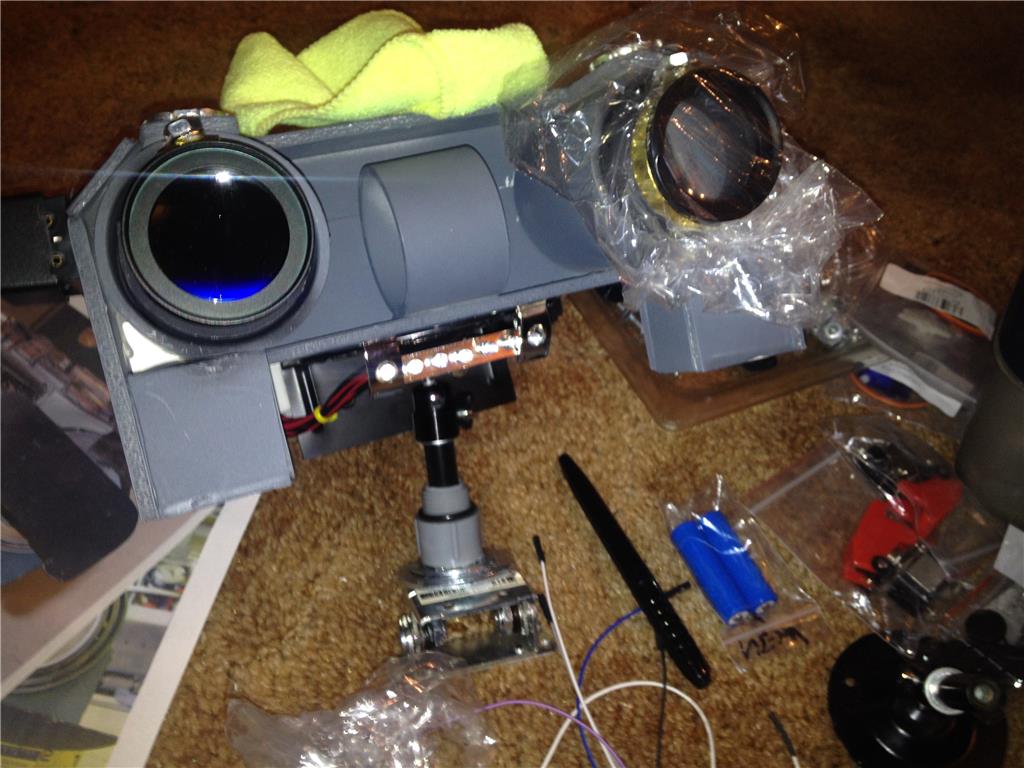
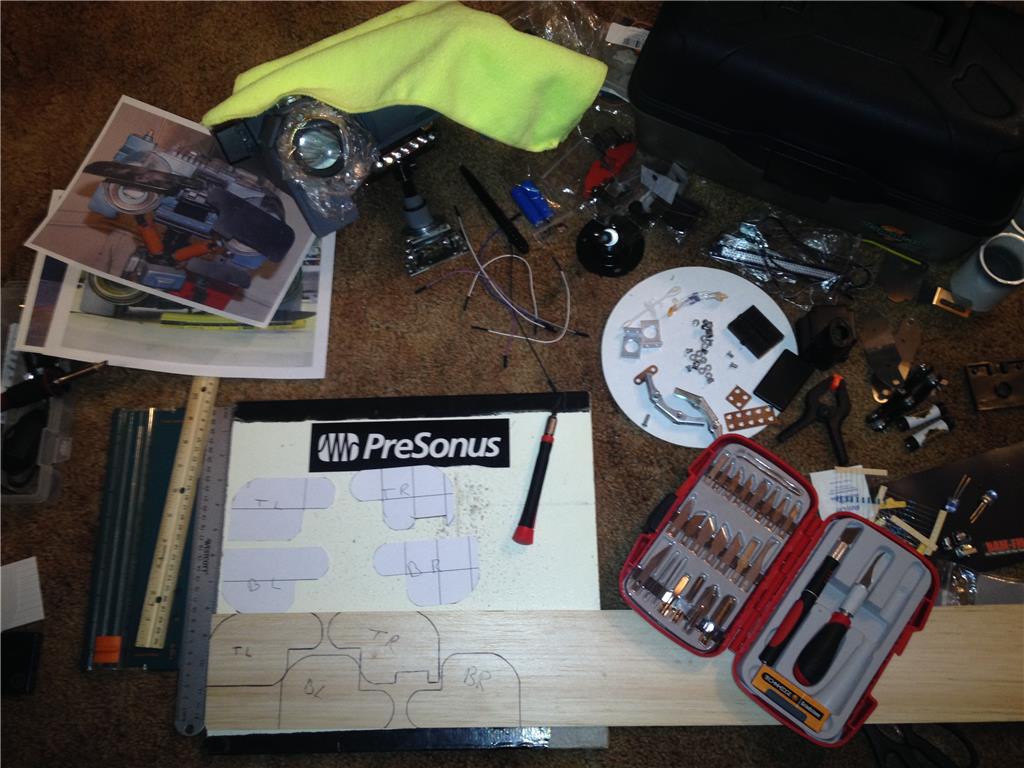
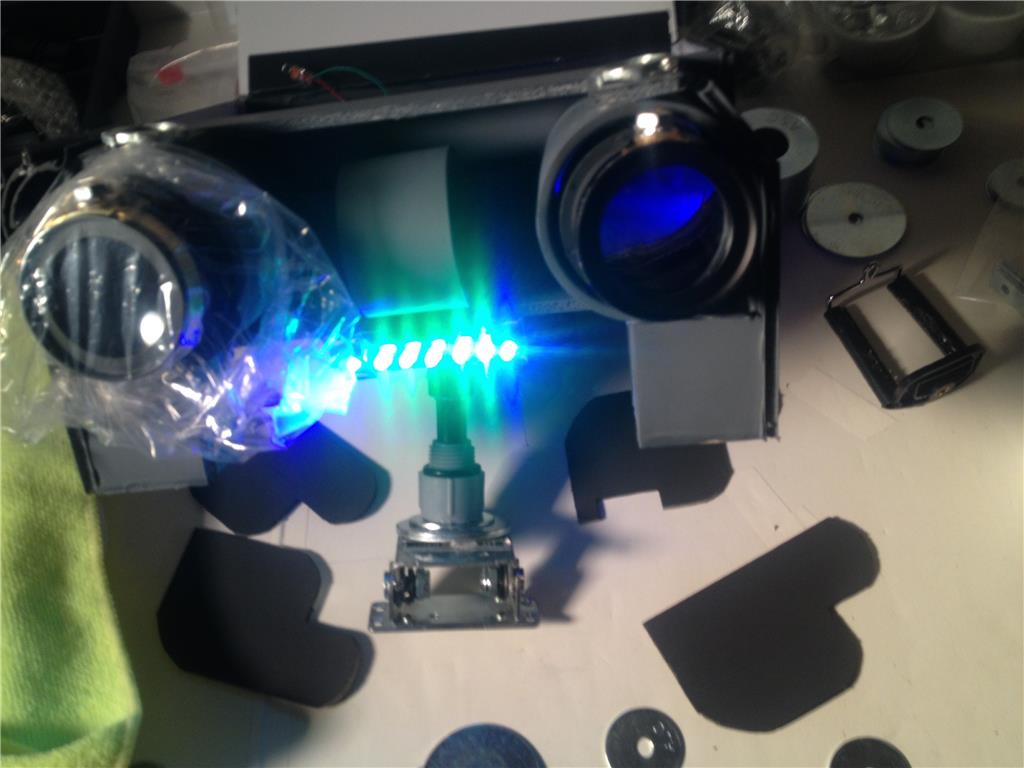
Than you guys so much!:-) this has been a lot of help & have added these notes to my J5 project note-book..... In the cad files received for J5 some of the parts required are massively too heavy for ideal servos to move his head; in a case of the heads side to side movement requires air powered cylinders, but I have bypassed this part with RC shocks (same size & work perfect)..... Not quite ready to add J5 head to sholder mount due to again cad files requiring some heavy duty metal; so in my case I've gotten a mini computer monitor C-shock mount that's the same size as cad files, this C-shock mound will allow 2 servos to connect to it with some rigging for left/right - up/down movement... So far his head is only 3lbs (not too bad) instead of the massive 4.5f 209mm raptar copy lenses that were used for the hero robot eyes/irises (I cannot locate these lenses anywhere online) have come up with a different design of 50mm convex lenses with Copper ring and behind lens a 2" X 2.5" PVC adapter, no clue what to use for his eyes iris just yet, will keep searching for the real deal ones them swap out.... Again thank you guys for the help and I want to also thank DJ for inventing EZ-Robot so this can be a reality! The EZ B brain is ideal for this type of project and will make this possible:-) Drew Damion Northern MI
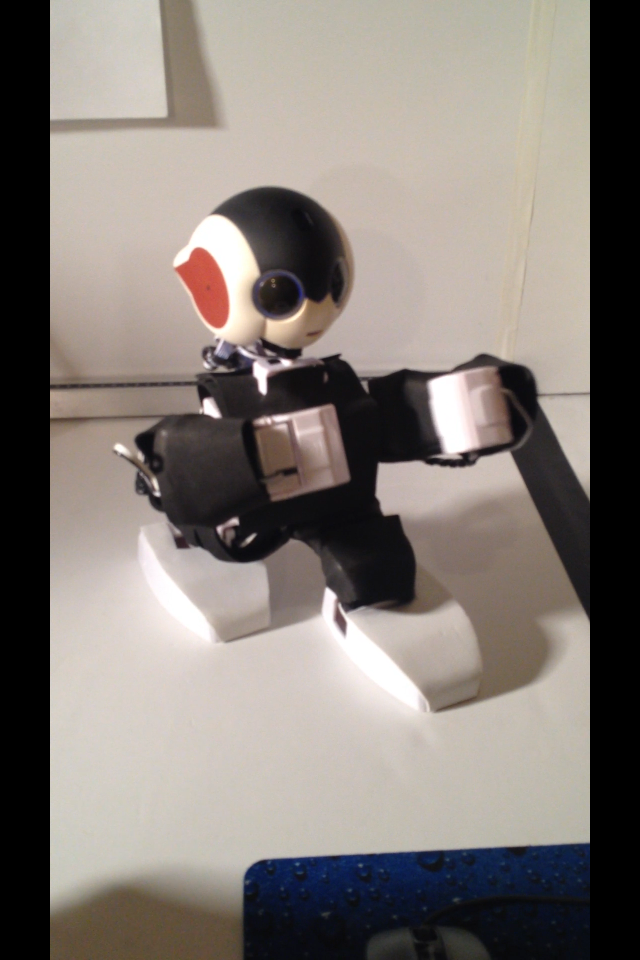
Ps... Last year bought a JD EZ-Robot and he's amazing! Wanted to modify him a little bit so had made a silicone body suit along with Robi the robot functioning head; turned out amazing! A great robot for stem & education....
This is a thread that I will be keeping my eye on
NICE! a lifesize Johny5?! I'm jealous, hehehe. How did you find cad drawings? I've been looking for years. Would love to build or buy the same type of track system for a simular project. Look forward to seeing how you progress with it too! :-)
Was looking for the cad files for years also, had joined a fb group titled; I want to customize my Johnny 5 robot toy.... Using a PC or Mac at the top there's a button titled (more info on the page). They have put 2 MEGA cloud links; one is all the photos from Terry Andrews trip to Eric Allards place (Eric was the finial creator/ hero owner of J5 who had taken the art photos & turned them to life in his shop... The other file are the real life size J5 cad files... Both files are huge as just for the photos there's over 1000...... Took me a very longtime in research to find this group & get the files; it's been an adventure so far; a passion that keeps me going....
Keep in mind you had a few choises, I do not have a 3D printer but have a mill & lathe; these cad files for me are being printed out & hand made; now that's passion....