


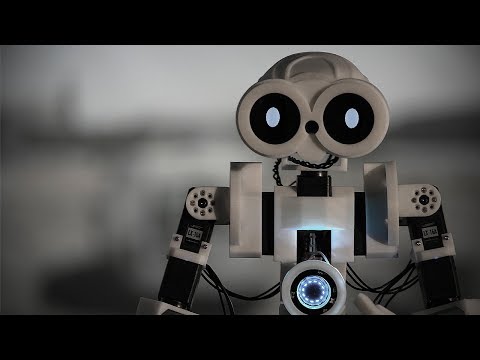


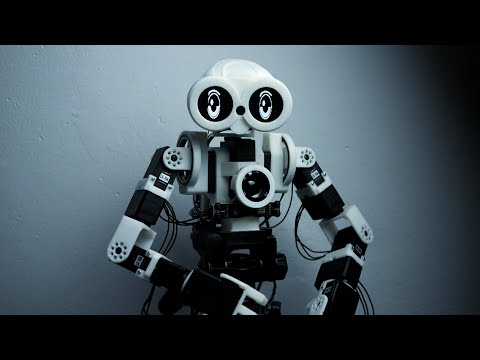
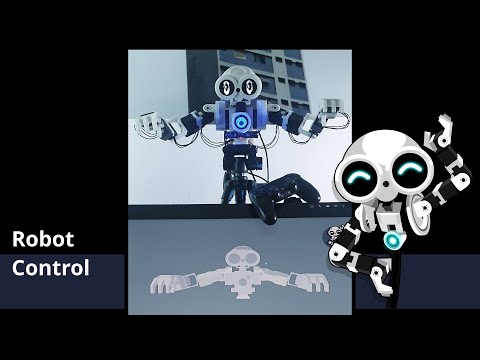
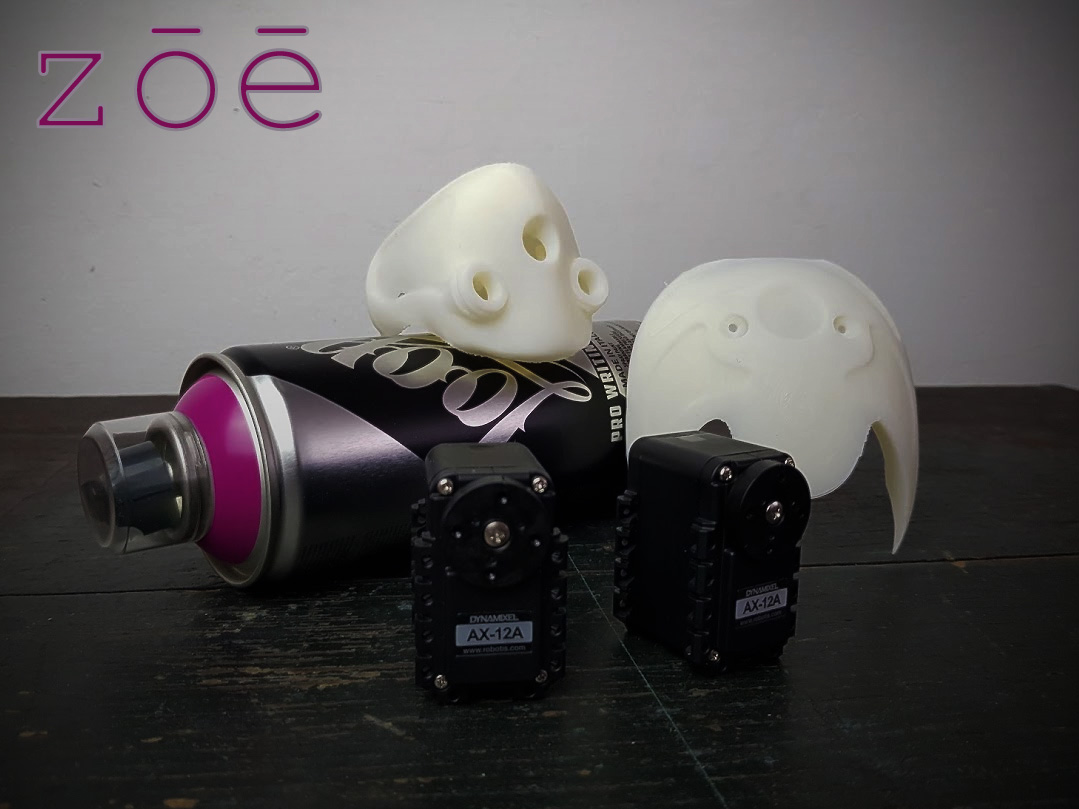
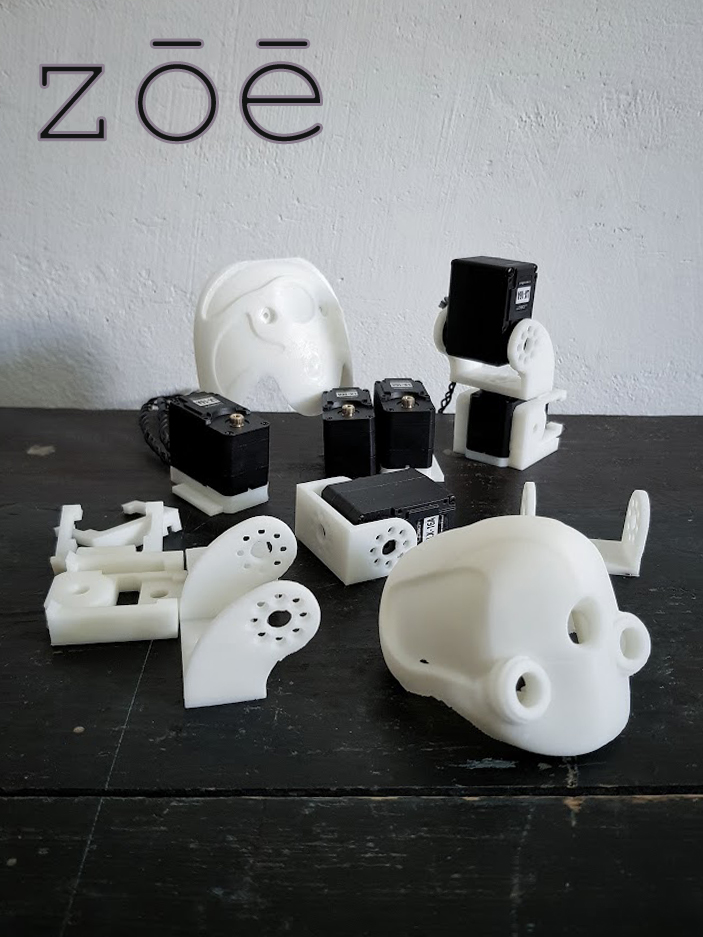
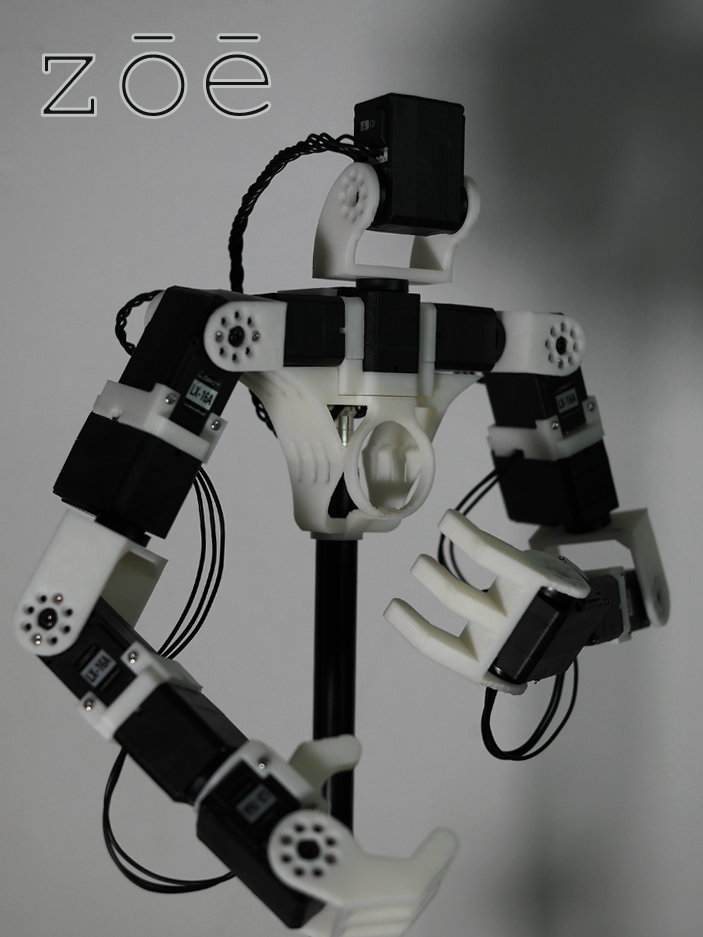

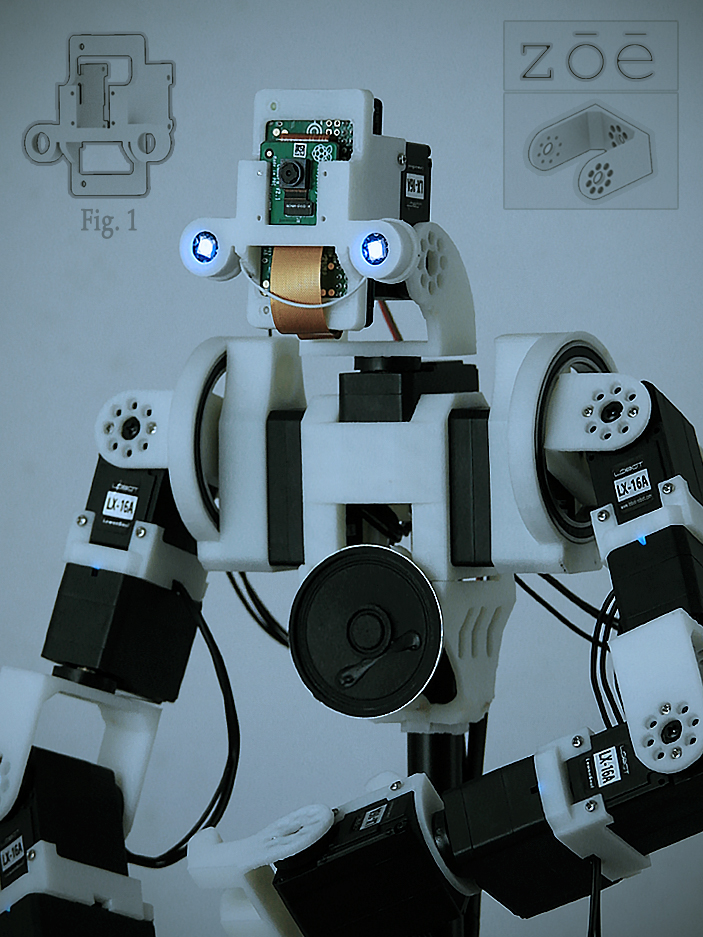
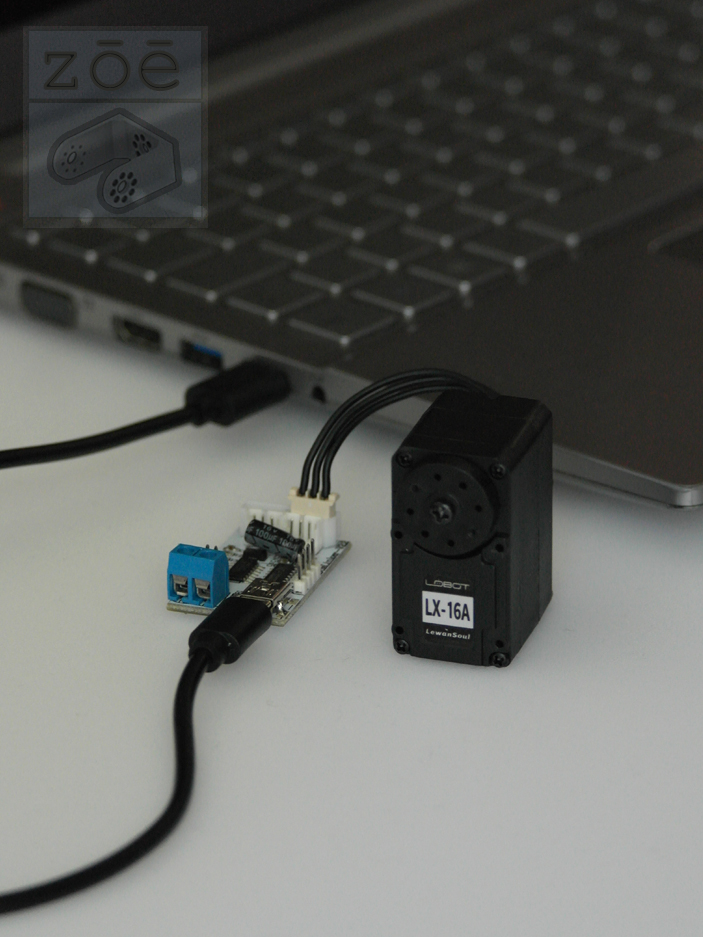
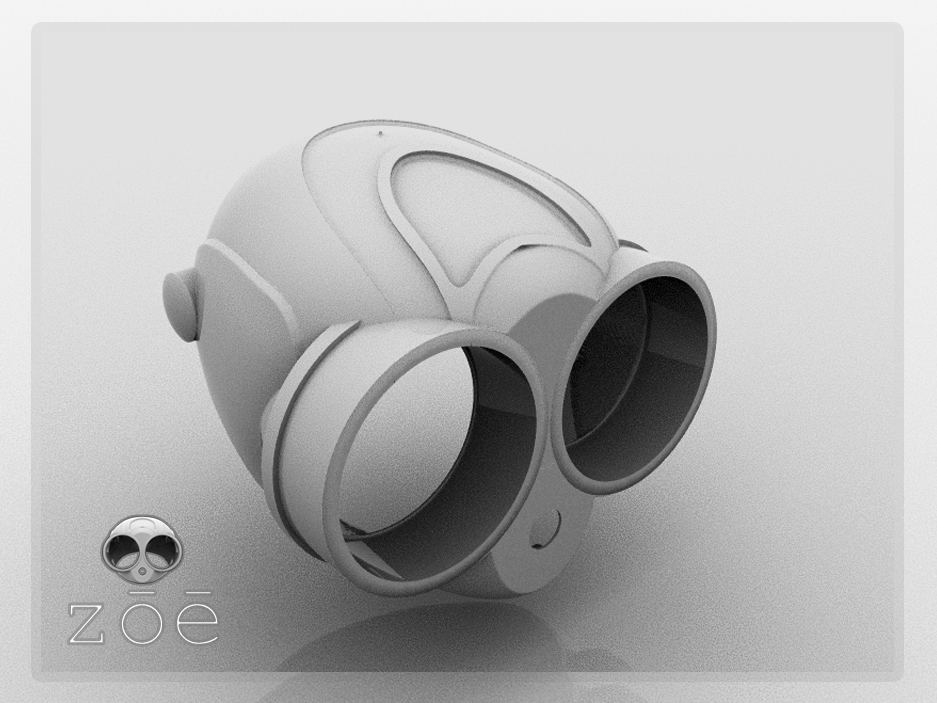
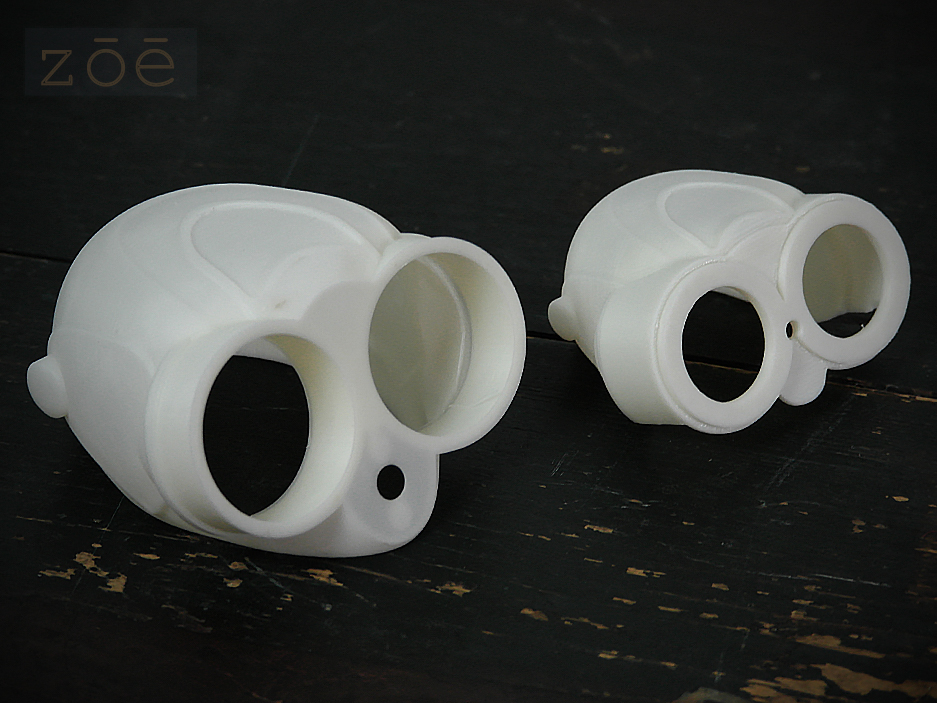

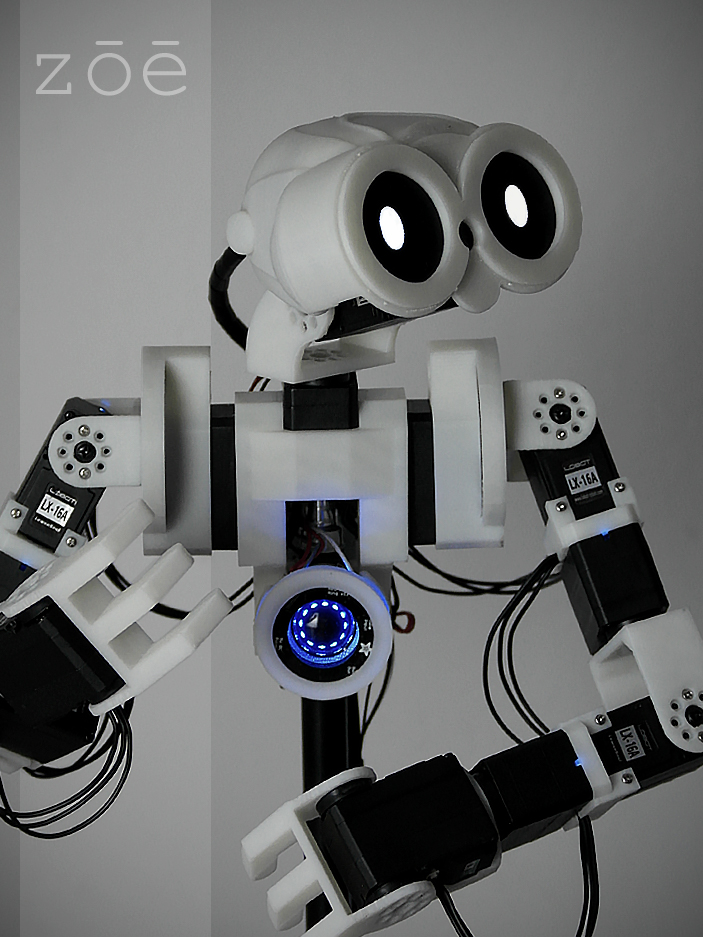
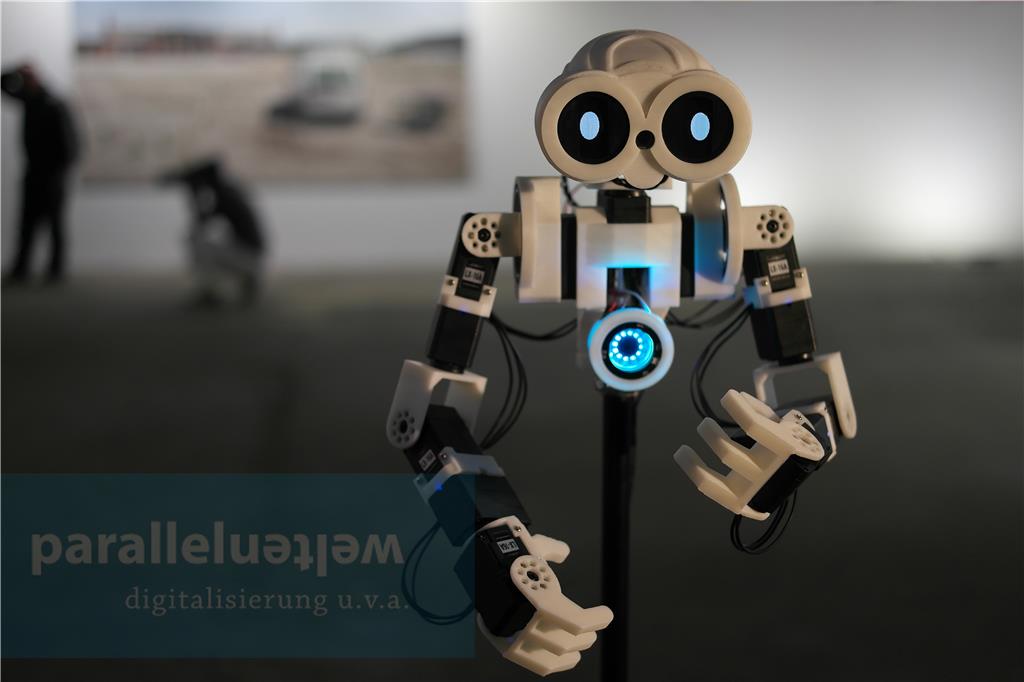
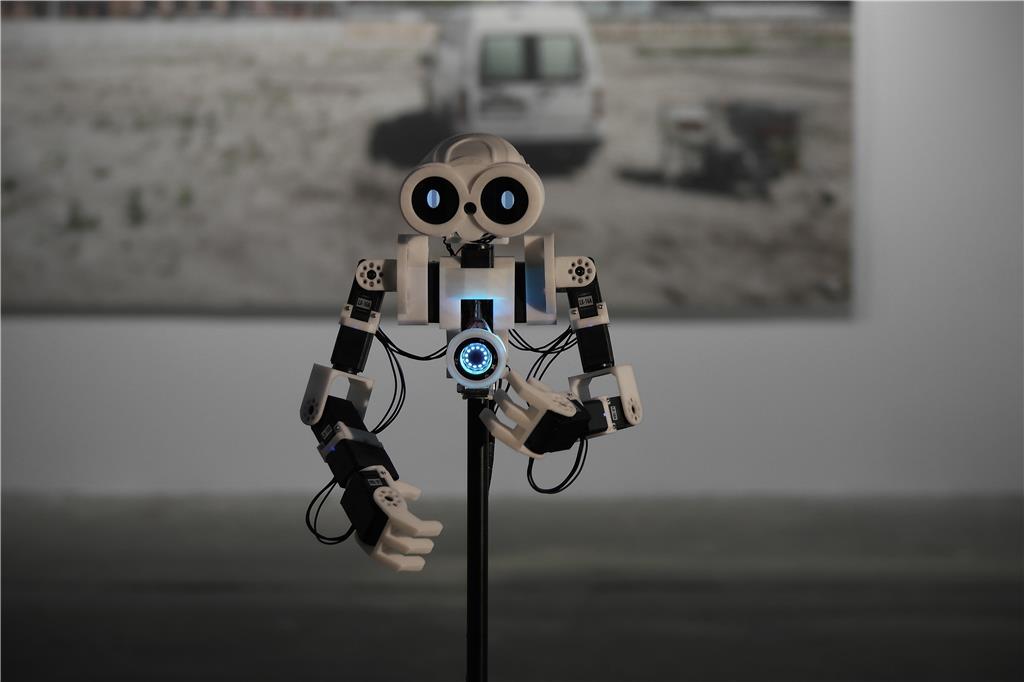
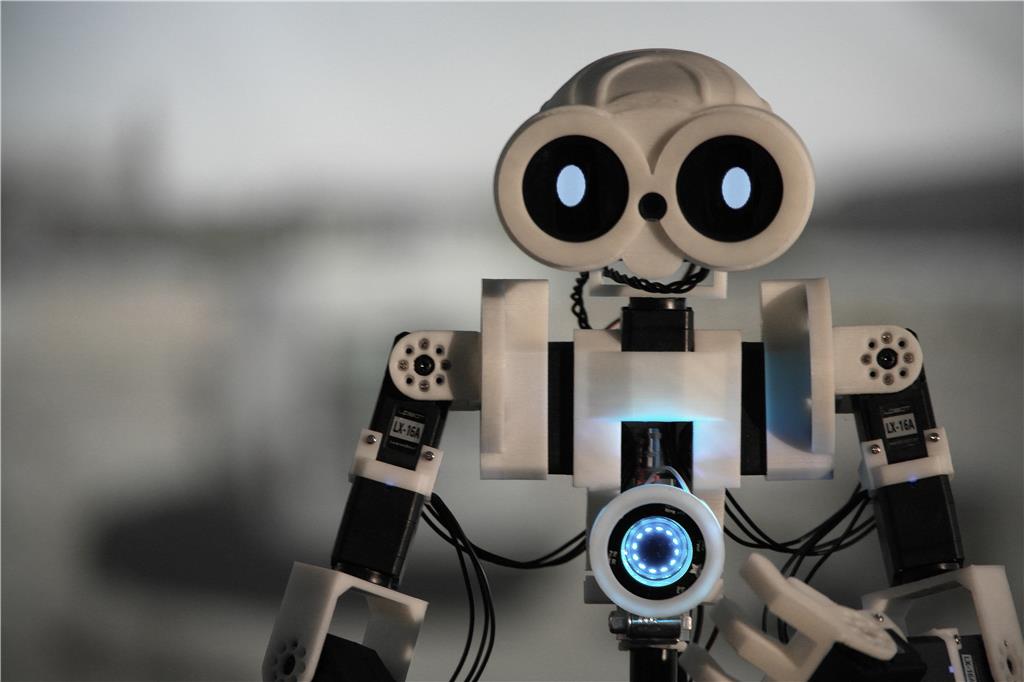
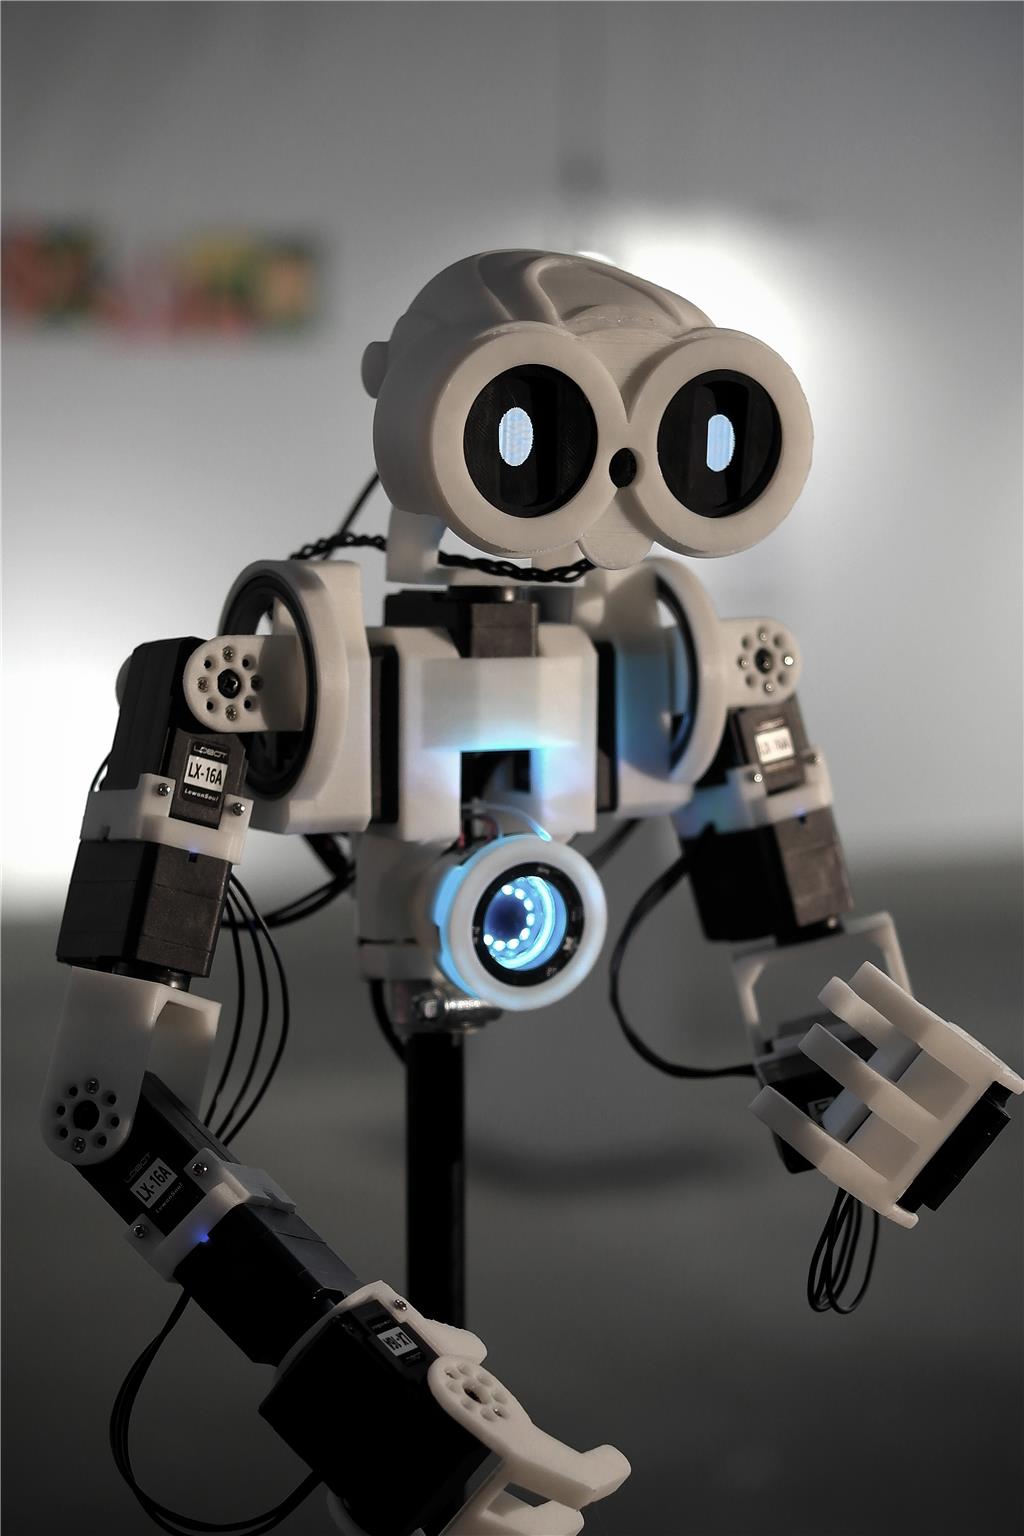

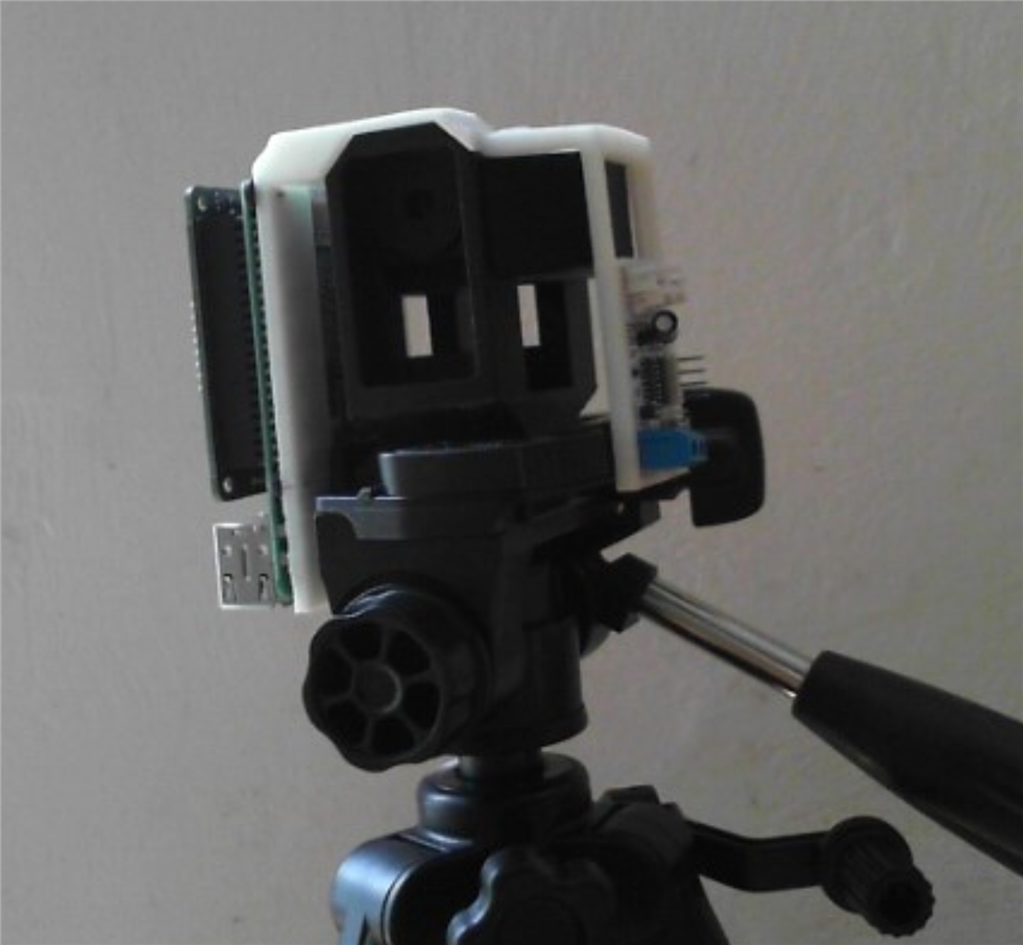

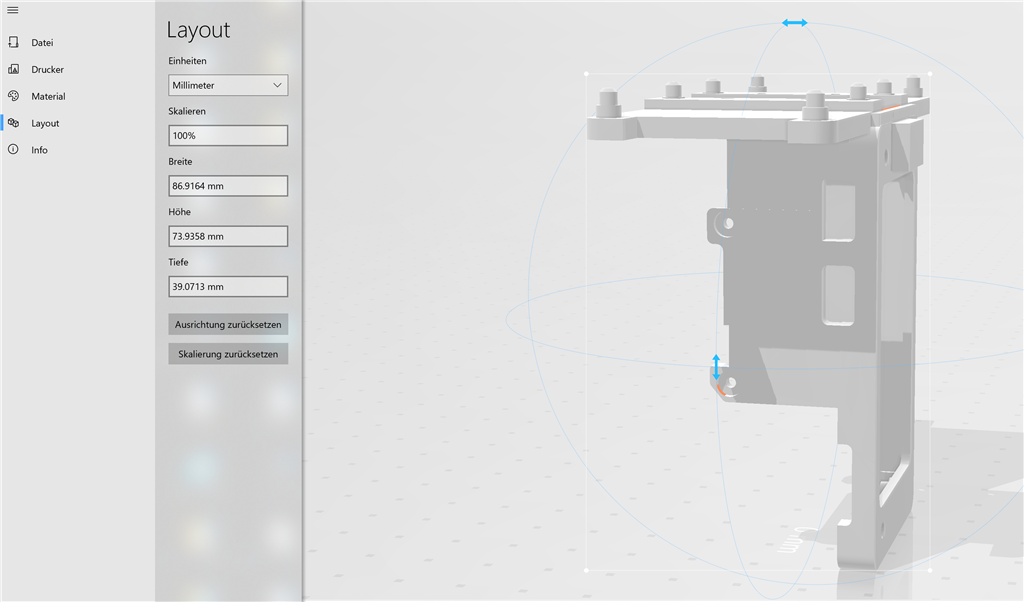
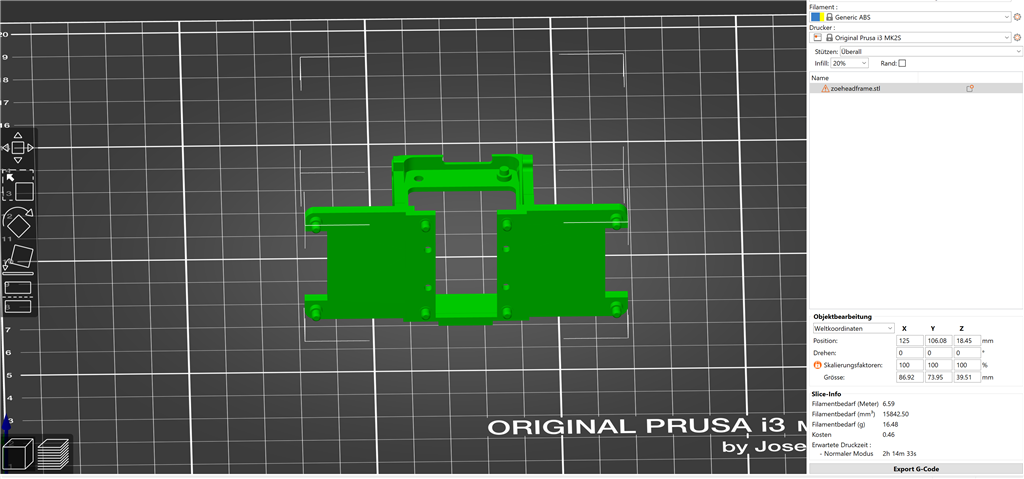
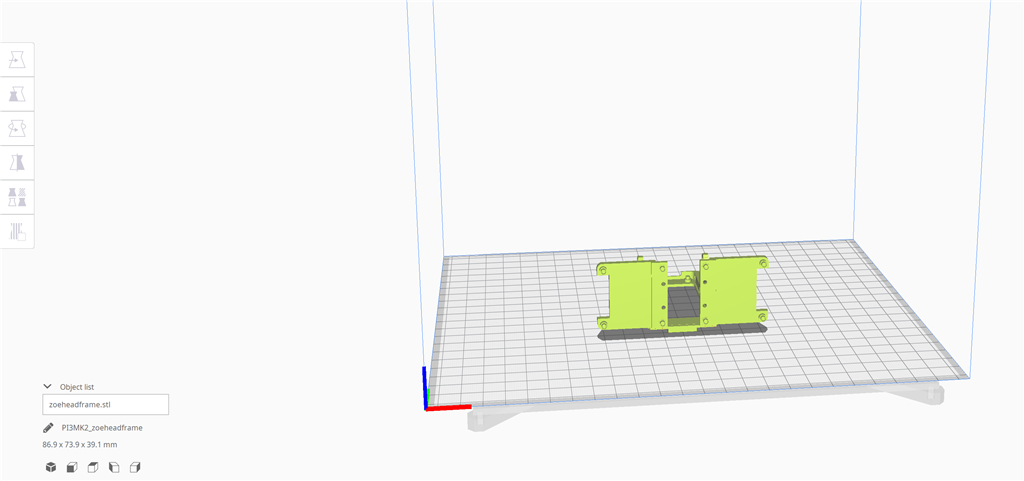
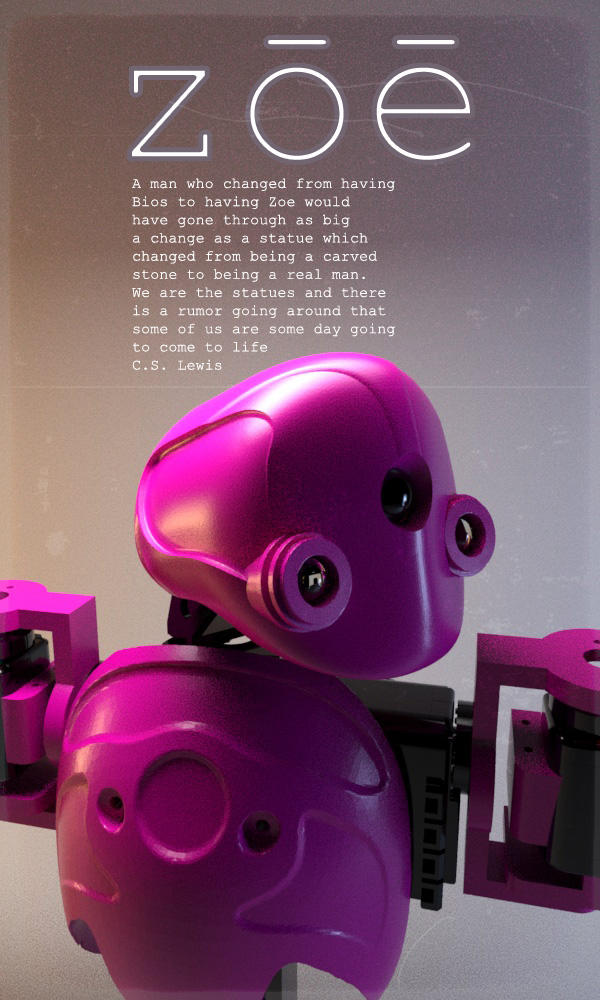
Since my robot is running on a Raspberry Pi, which is now supported by ARC, I decided to evolve my current project K[8] into a new one called ZOE... First steps will creating a new servo setup which supports Dynamixel Servos, and a new Conceptual design!!
By Mickey666Maus
— Last update
Discover more robots

DJ's Teddy Ruxpin Robot Version 1
Animate a Teddy Ruxpin by replacing internals with servos and an EZ-B; control and script behaviors using Synthiam ARC.
Gwen4156's The G-Bot (Gwen's B9 Robot Project) Gets His...
G-Bot outdoor test: handling lag and ramping issues, tips to use wireless controller and prevent tread snags, successful...
Joseph4760's Project X-Men Juggernaut
Merge an MGA-1 Quadtrax with a Robosapien torso: hack the circuit, remove canopy, mount torso, run on EZ controller then...

@Nomad 6R You are welcome. I never have that much luck if I have to change filament while printing, most of the time it makes a defect on the print. so I make sure I have enough for that print job. running a 3d printer has a steep learning curve.
it seems very easy to do.when printing there appears a page on the printer called TUNE. you have to stay on that page. so 1 press tune,2 see below says change filameny click on that, it will puch out the remaning filament.3 puch in new filament untill it comes out the nozzle. 4 click start printing.
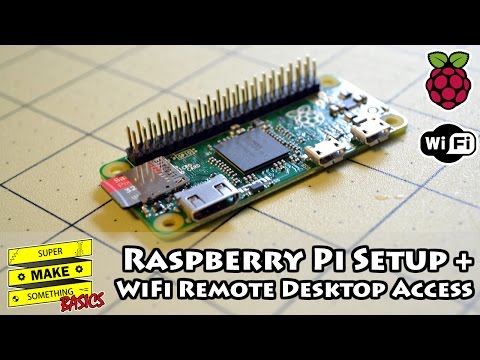
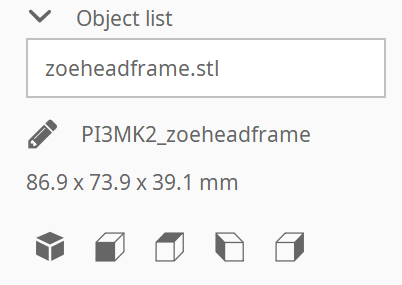
my first zero board has arrived.what can i do now with this board?
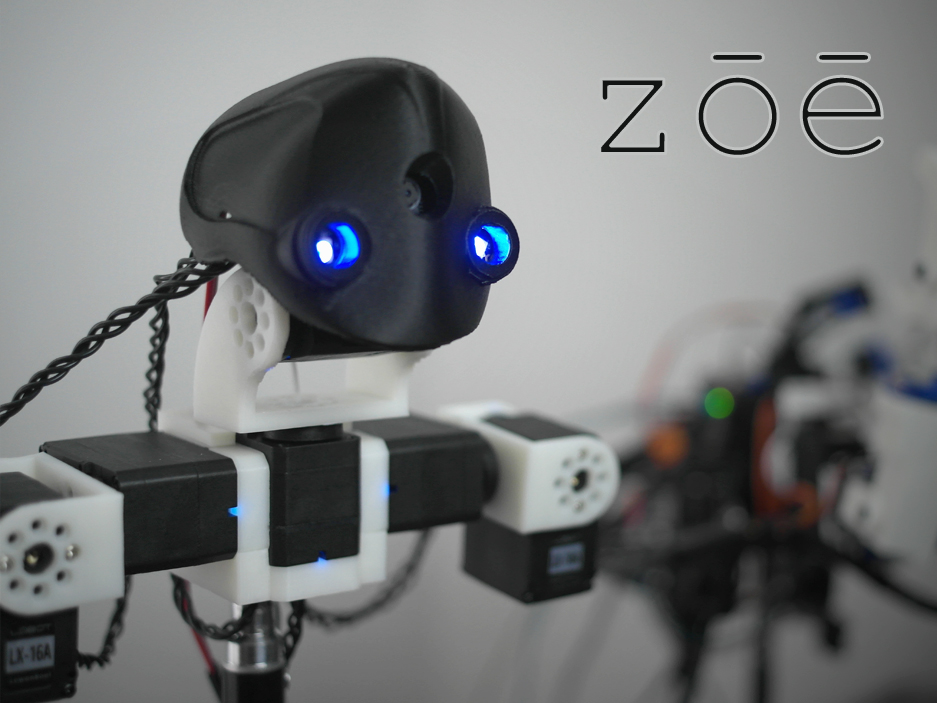
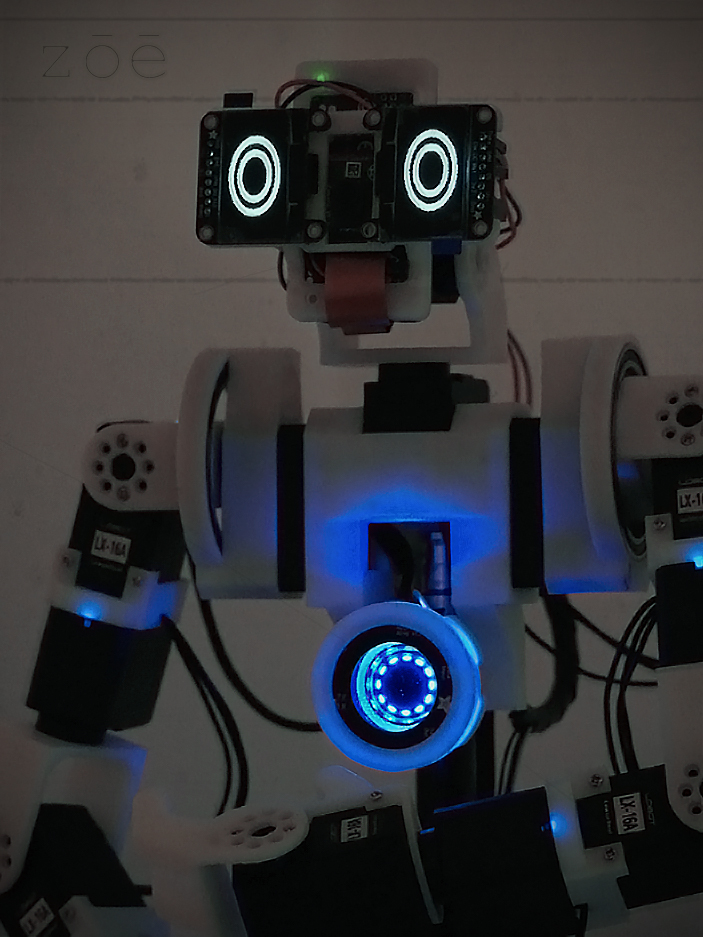
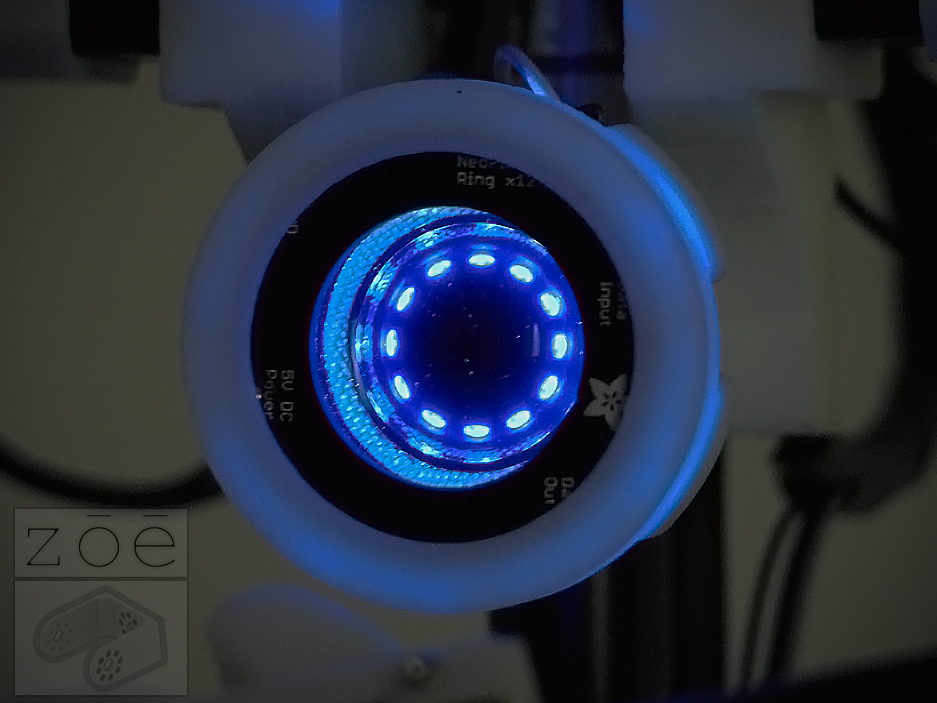
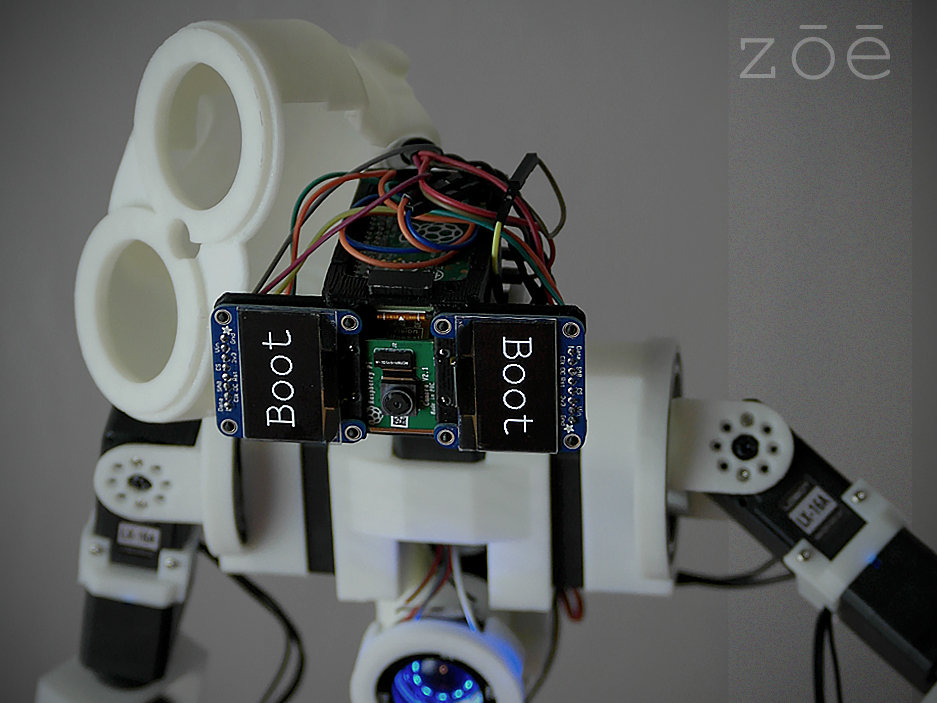
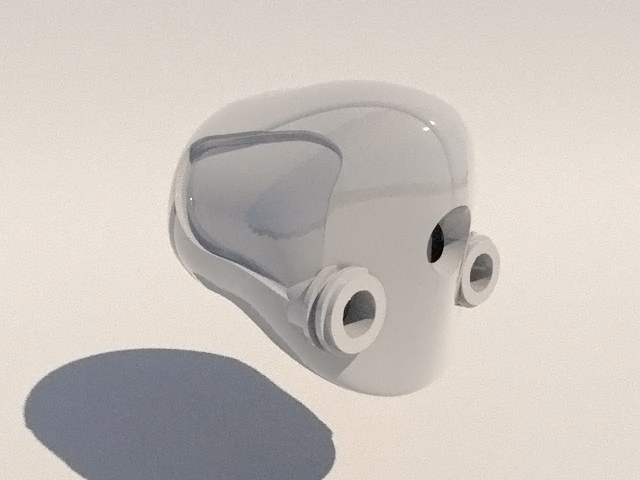
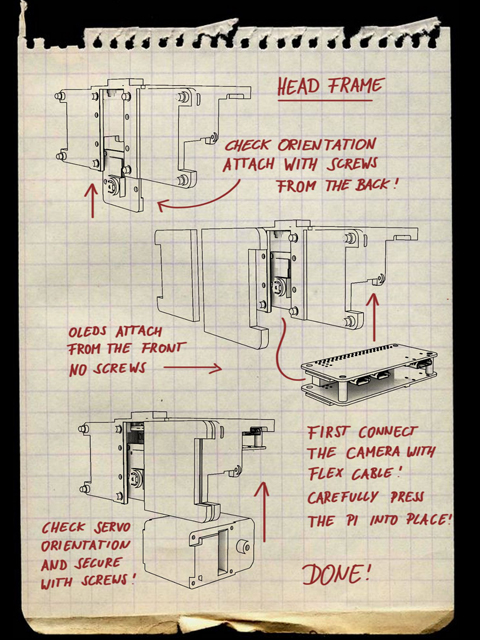
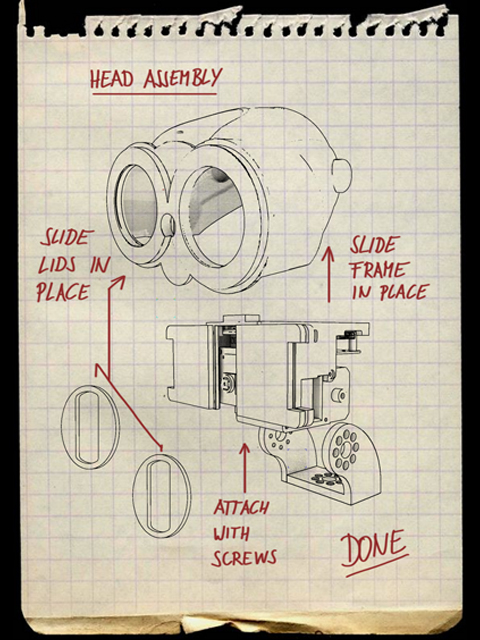
Hey Nomad, this will go into the head of ZOE, also you can attach the camera to this board... You can use this board also like EZB, you can look here on the forum. I can also help you to set it up!
Do you have the camera? Do you have an SD card for the board?
hi mickey
i dont have the camera yet.i do have an new sd card from 32 GB. i have also an ezbv4 on stand by.i can sure use all help. ( thanks ) i have a nokio adptor output DC 5v 2amps,is this useble?
@Nomad: Watch this tutorial video: https://www.youtube.com/watch?v=TUz2mVtJVsM to understand what you have ahead.
is like taking a bath: Wash, Rinse, Repeat, do it as many times you need to understand. You can post questions on YouTube link too, maybe the video creator or someone else will help with your question.
before you start your setup you will need:
To connect the RASPBERRY PI to a HDMI Monitor Mini HDMI Plug to Standard HDMI Jack Adapter : https://www.adafruit.com/product/2819 or something like this: https://www.amazon.com/CableCreation-Mini-HDMI-Female-Adapter-Support/dp/B01HQ2H6OW/
To connect the RASPBERRY PI with Keyboard, Mouse OTG USB: https://www.amazon.com/MakerSpot-Accessories-Charging-Extension-Raspberry/dp/B01JL837X8/
Power Supply you need 5V / 2.5A https://www.amazon.com/MUZOCT-Supply-Charger-Adapter-Raspberry/dp/B073JDFML5/
SD CARD pre loaded with (NOOBS) https://www.amazon.com/Raspberry-Pi-32GB-Preloaded-NOOBS/dp/B01LXR6EOA/
if you have already a sd card check this video: https://www.youtube.com/watch?v=zJC0JykWnMs
Other stuff required: PC USB keyboard PC USB mouse Monitor with HDMI input
You will need to watch carefully, and follow all the steps, if you miss a step start from the begin, until you get your PI working.
Good luck
hi ptp
hmm takin a bath.to me it looks allreddy like a swimmingpool.xD thanks for all the links.bying more stuff will be for next month.
Hey Nomad, dont stress..take your time, learn the new hardware and dont worry!
You can ask for help anytime, or we Skype...no problem!
Looks complicated now, but its easy!!