Controller IO Tiny Robot Roomba Red Poppy the Robot Head Temp sensor Light sensor
Purpose: amuse the Cat.
By mstephens_42
— Last update
Other robots from Synthiam community
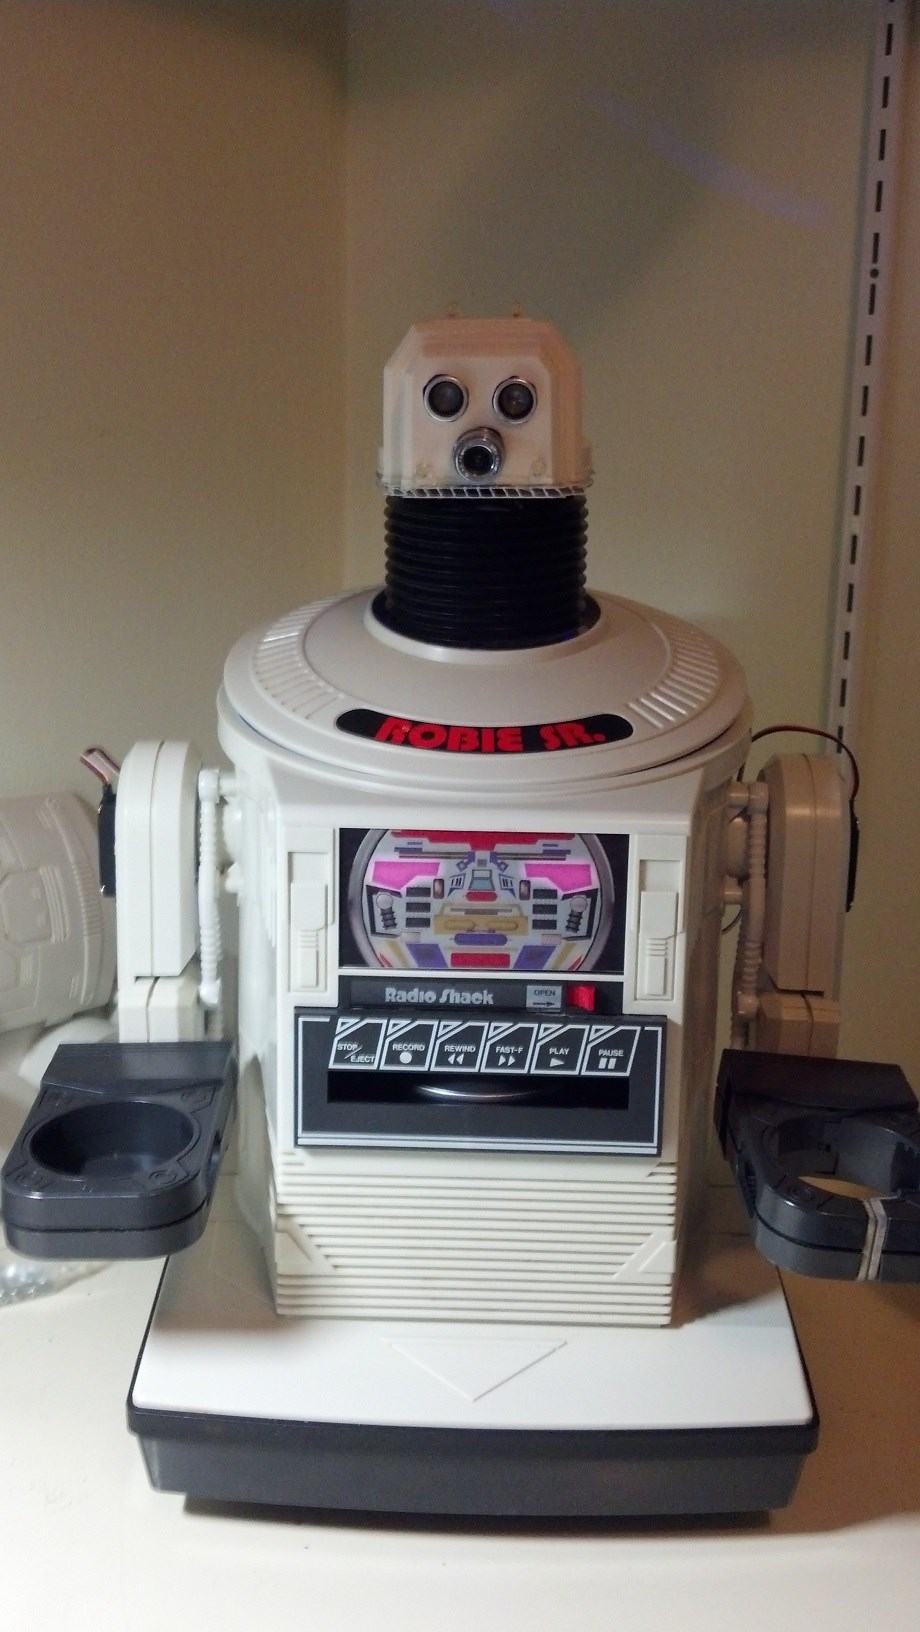
JT's Jts Robie Sr.
Its about time I jumped in the pool. Just dont expect too big of a splash at first! Got this Robie SR. off eBay back in...
Gary's RALPH
OK, so I am building an InMoov robot with Drupp neck. Nothing new there. However, I want it to be multi-lingual so I am...
Jeffmorris's Homemade Biped Robot
I built a biped robot but I found out that the servos that came with the EZ-Robot kit are not strong enough. The hip...
Robert Redpurred R2-Purr 2 Purrminator Kitty's Hairy Godmother Katbot Ralph
Should I continue?
R2-Purr2 is an awesome name! That’s my favorite so far!
@mstephens_42
Very nice.. Catnip?
Are you power from the DIN connector? Any step down regulator?
Are you running in Full or Safe mode?
Regards, Frank
Instead of K-9.. What about K-8? (kate) haha
I actually ran extra wires from the Roomba battery clips up through the chassis and went through a small voltage regulator to get it to 8v for the IO Tiny.
In the video I am running the robot around manually. You can start and stop the motors on the robot via the control panel.
The head is from Thingiverse where someone made a Poppy style head for their JD robot.
https://www.thingiverse.com/thing:2740165
I took my camera and LED array and hot glued them inside the head. The halves of the head are held together by screws. Thinking of using a speaker out of a hacked Roomba inside the Poppy Head as the main speaker. Would be louder and give the robot more personality.
Also thinking of 3D printing a torso and attaching arms, etc.
DJ, could you add an adjustment for the Roomba control panel so that you can control the speed of the wheels separately? This would help with making the Roomba track straight.
I'm also tapping the battery on my Roomba 650, but it's a bit harder as it's connected via spring clips soldered directly to the motherboard rather than the clips used prior to the Roomba 500 series batteries
The reason I asked about Full vs Safe mode was when I noticed it hit an obstacle
Thanks, Frank
Another possible name... Vincent aka Vince the Vac. A bit of a nod to the V.I.N.CENT robot in the movie The Black Hole...
V.I.N.CENT
Pronounced: See-AH-Tee
Spelled: C.A.T.
@faengelm lol I instantly thought of the name Catnip as well
I also wanted to mention to you, as you are likely already aware, that you can tap off the battery voltage from the DIN connector as well instead of having to solder to the motherboard.
Other name ideas:
Cat-o-nator 2000 Pop goes the Feline Cat-a-clysm
Hmmm the head is Poppy and the robot is red, there's got to be a name in there that refers to the flower
Hi @Jeremie, Thanks for the tip on the power in the mini-DIN connector. I was using that to power an EZB-v4 and camera and it worked fine.
However, since the power is limited I was unable to operate a servo to push the CLEAN button to get the Roomba out of sleep mode. The Roomba goes into Sleep mode after 5 minutes in the Passive mode.., the OI document says it won't charge in Safe or Full mode
Although the Create 2 OI spec states that its listening for a Start command even when the OI is off, I have not been able to get this to work. Versions of Roomba prior to the 500 series had a pin on the serial port for just that purpose
Have you found a way to start a Roomba 500 or 600 series without manually pushing the clean button?
Regards, Frank
@mstephens_42, If you are looking for some ideas for a shell for a Roomba robot, you might want to follow this thread when @Nink is starting a body for a telepresence robot...
synthiam.com/Community/Questions/10953
I'm still working out the issues of powering everything from the Roomba internal battery, waking it up remotely and handling control/video over the Internet
Regards, Frank
i have been away for a week so haven't worked on it. That version is too tall as it "Tipped over" when it went up a bump. Problem is I want it to be tall enough to interact with people and be able to sit at a conference table.
I am beginning to think it is time to build my own base and not use a roomba. I really like what @jstarne1 did with the Jazzy power chair. I think if we could recreate the way the irobot docs and charges with a Jazzy chair would be a perfect platform to build on.
Thinking....
@Nink Have you considered a telescoping head?
I have thought about using a Jazzy base too
If you decide to pursue that let’s start a new thread
Do you know if any of them have a docking station or are they making users plug them in?
Thanks, Frank
Thanks Frank!
I wasn't aware of the limited current from the DIN connector, thanks for the heads up. I'm guessing the manual I have is still from the old days and doesn't mention that. The EZ-B and Camera draw just under 200mA but you're right to add anything else you would need power from elsewhere.
On the older Roombas Pin 5 was the DD pin and could be used to wake the Roomba up without pushing the Clean button. I wonder if the new Pin 5 function would still do that? The DD pin was active low, so you sent it a low signal to wake up.
Hi @Jeremie, Here is a link to the Create 2 Open Interface (OI) spec
www.irobot.com/~/media/MainSite/PDFs/About/STEM/Create/create_2_Open_Interface_Spec.pdf
The Create 2 is a reconditioned Roomba 600 series and I believe the spec also covers the 500 series
Pin 5 (BRC) is now designed to change the baud rate.
The BRC pin can also be pulsed low to every few minutes keep the Create 2 awake. This looks like a good aproach, but would not help for inital turn on or if the Create 2 was somehow turned off, e.g. EZB v4 temporally looses its Wi-Fi connection
I'm designing for the remote telepresence Use Case for an elderly Aunt
Regards, Frank
@Nink, In regards to the tipping over issue, I'm not sure it would work in your case but iRobot suggests a dust bin modification for Create 2 that adds a rear caster holder using the same caster as used in the front.
www.irobotweb.com/-/media/MainSite/PDFs/About/STEM/Create/Create_2_Bin_Modification.pdf?la=en
You can 3D print the bin or buy a completed one at.
www.shapeways.com/product/LXWNV8M8S/create-2-bin-longer-version
for $122.94 !
Regards, Frank
The other day I came across another potential name for the robot:
Cat-a-strophy Cat-a-strophic
:)
...this might be too late, unless you have not settled on a name yet?
...if you have picked a name, can you share it with us?
Chealse, In the end I picked R2-Purr 2!
...That was probably the best option Thanks for the update- I was dying of curiosity! Great name.
Hi Chelsea, What is that EZB climbing over your shoulder...
Frank
poppy the red vacummer
@faengelm My companion and teacher