


EwgBPwKcw0cz!~~60_1-634877148220156250.jpg)

EwgBPwKcw0cz!~~60_1-634870572001250000.jpg)


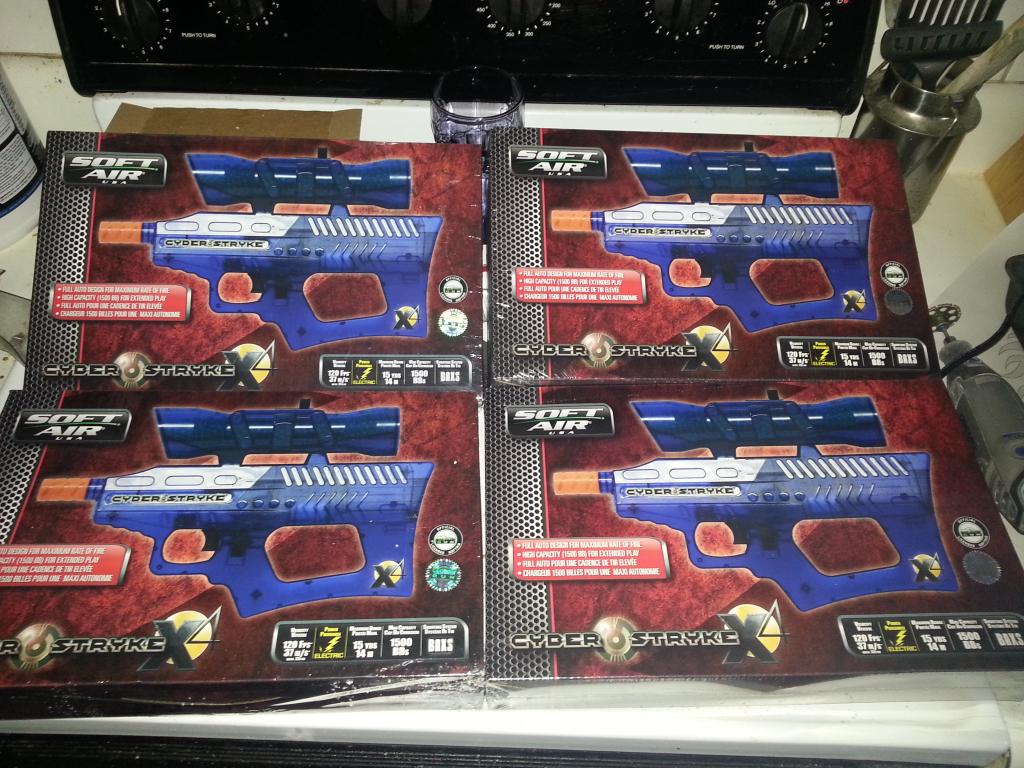


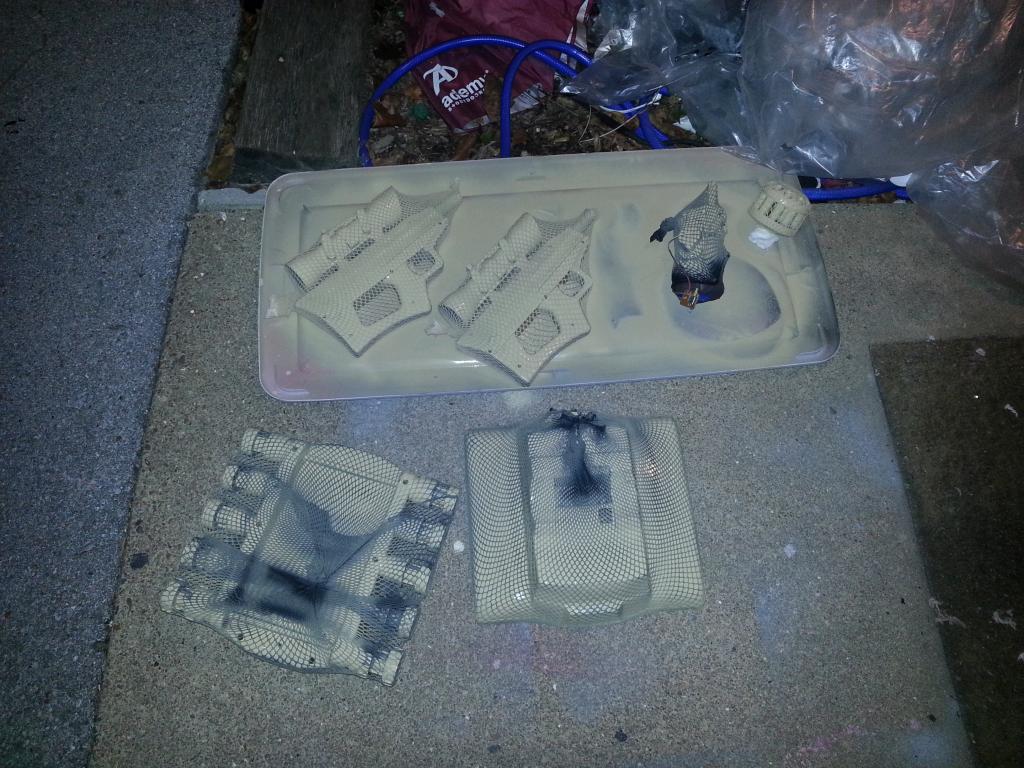
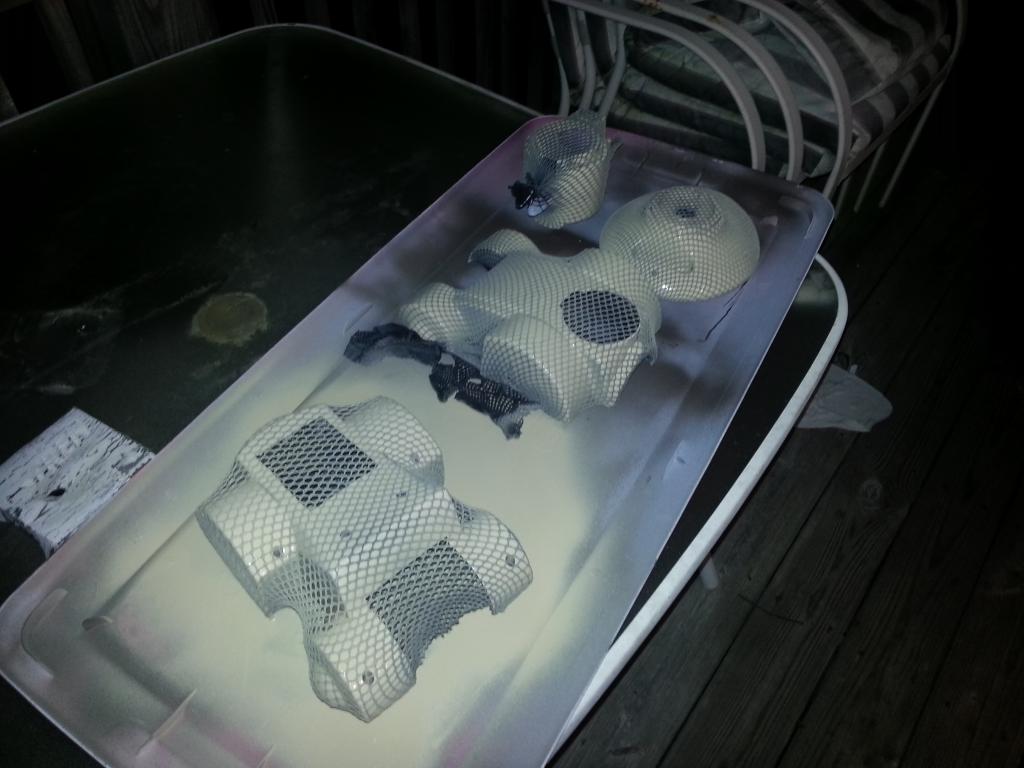
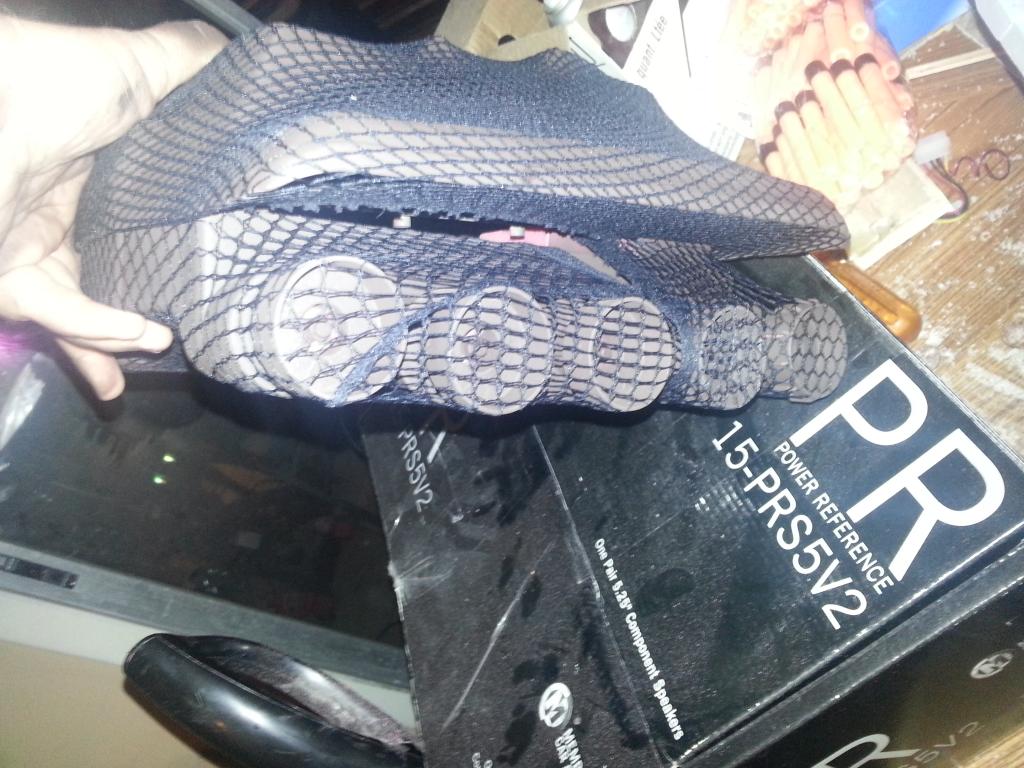
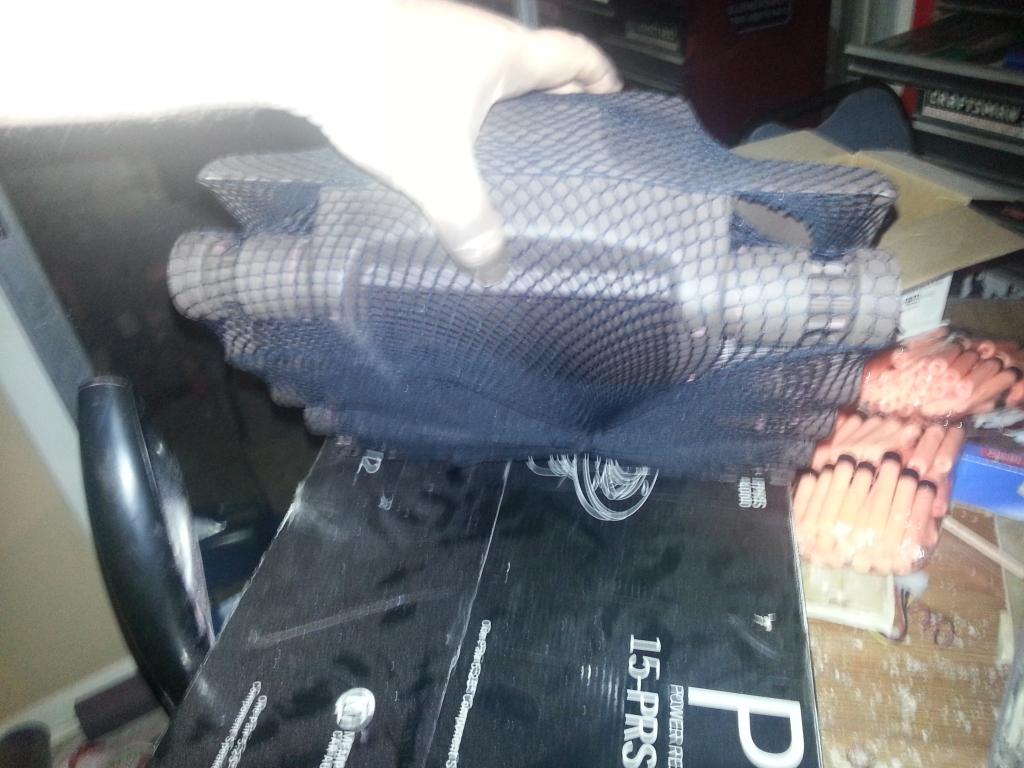
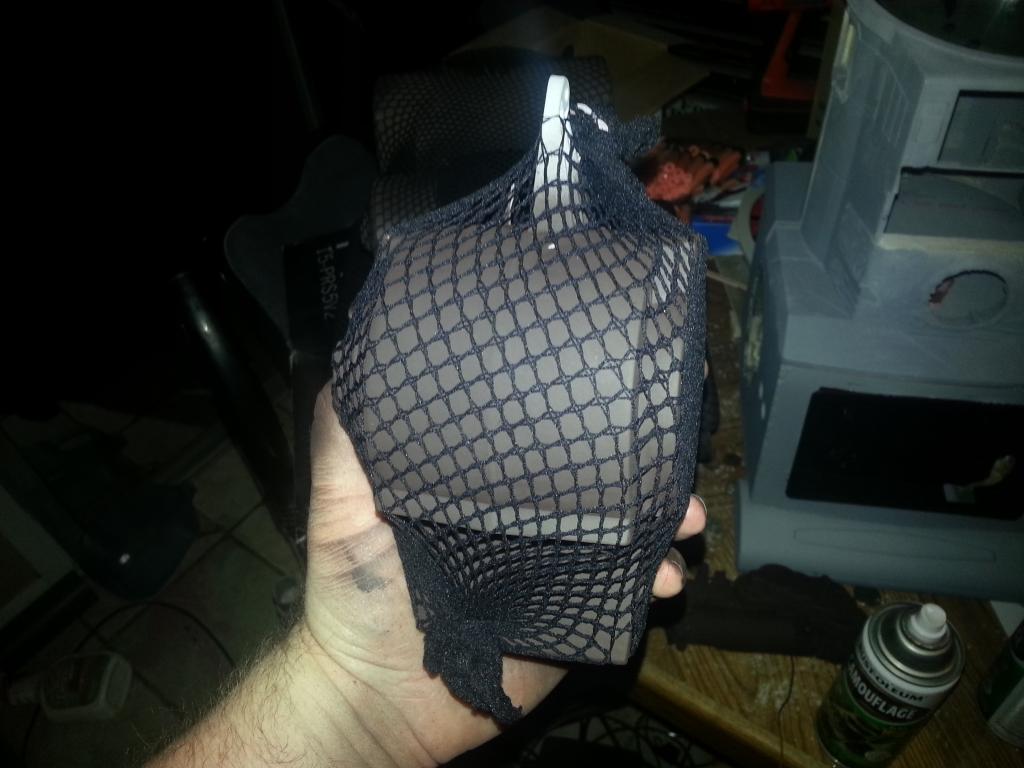
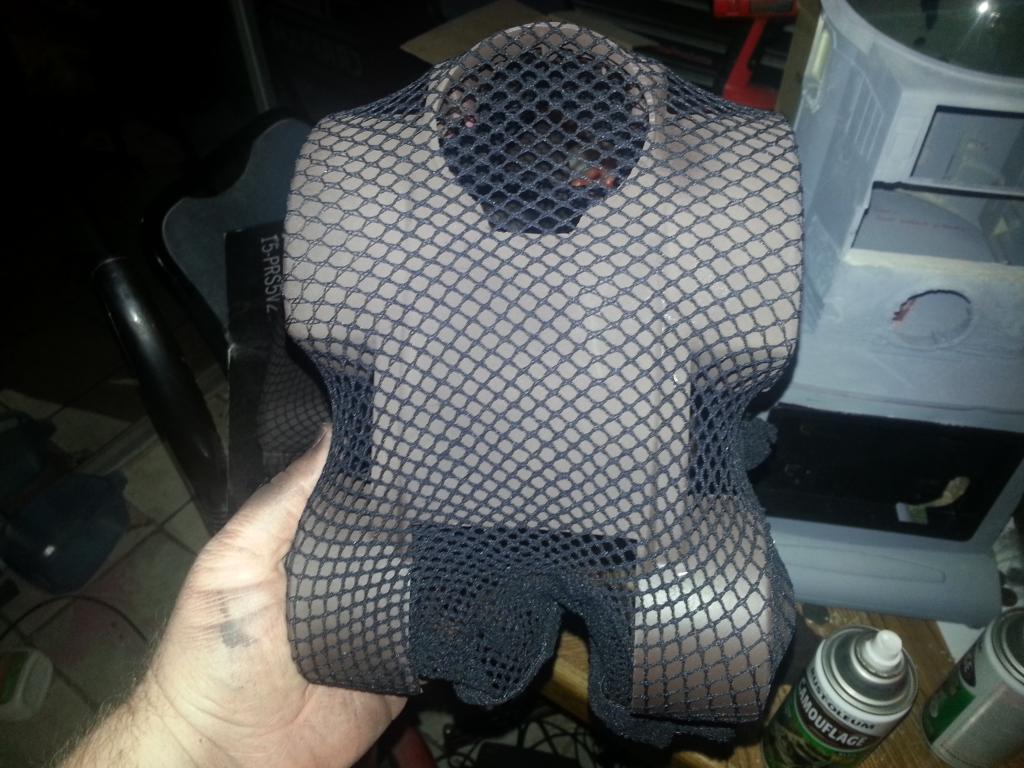
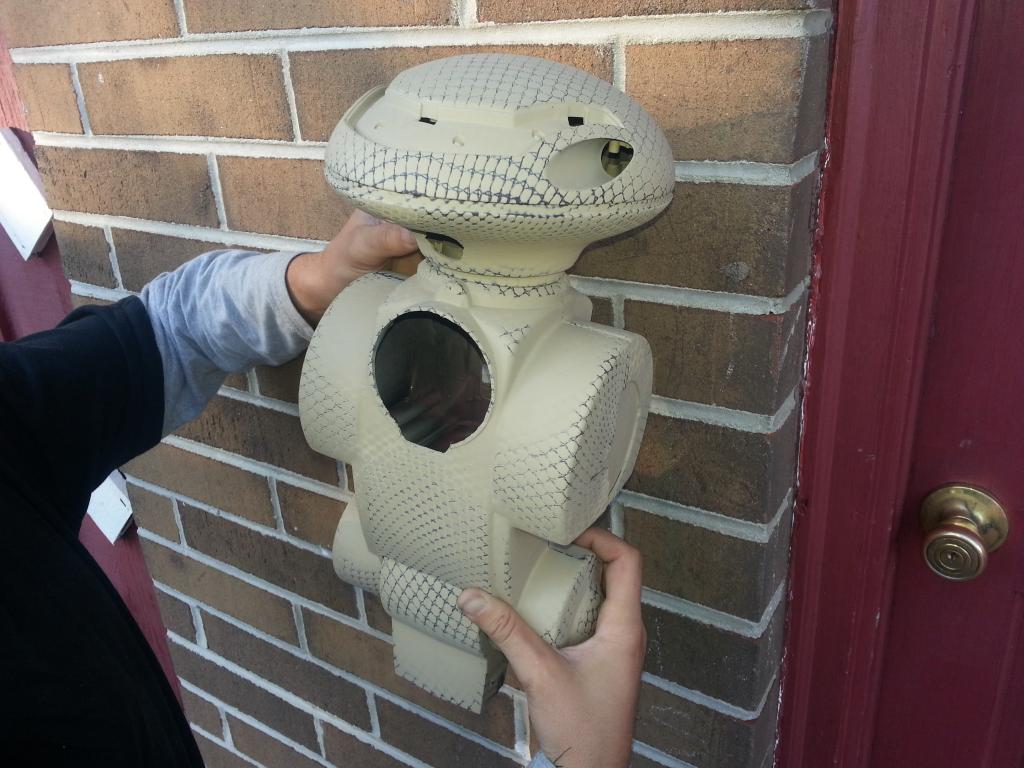
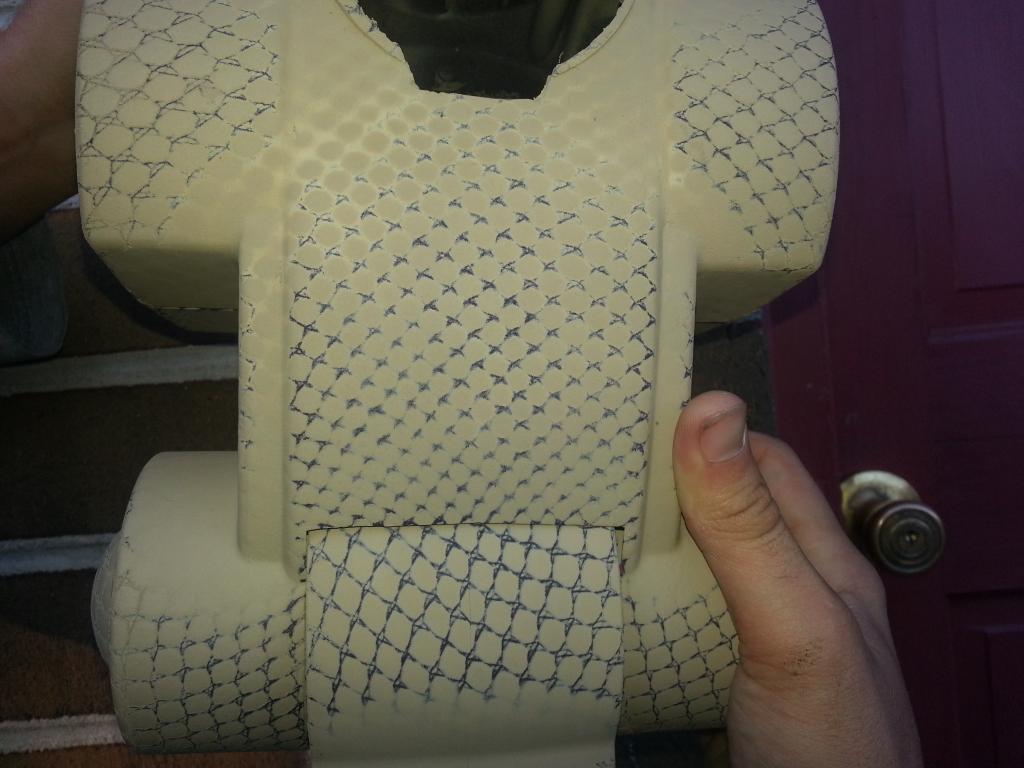
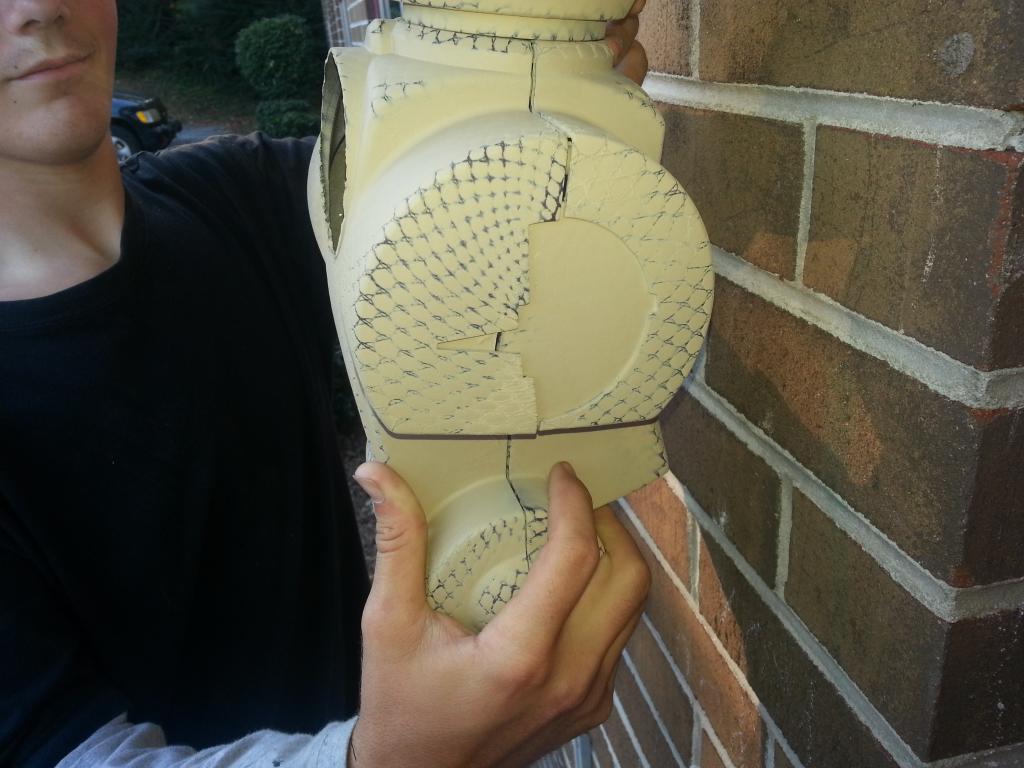
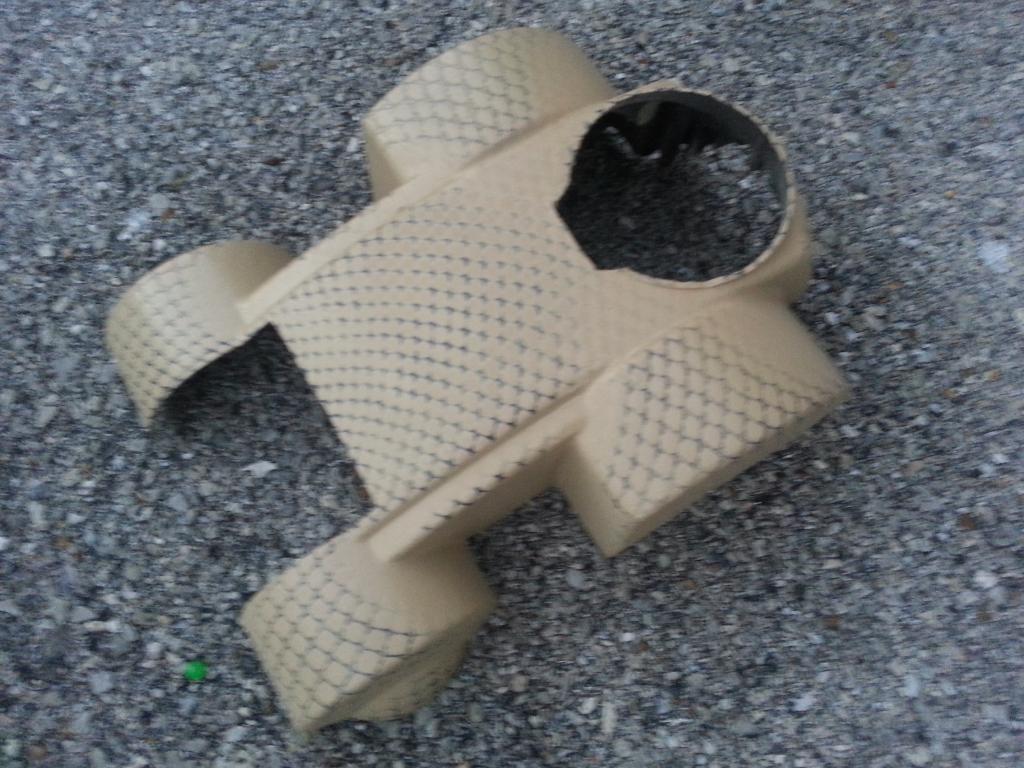
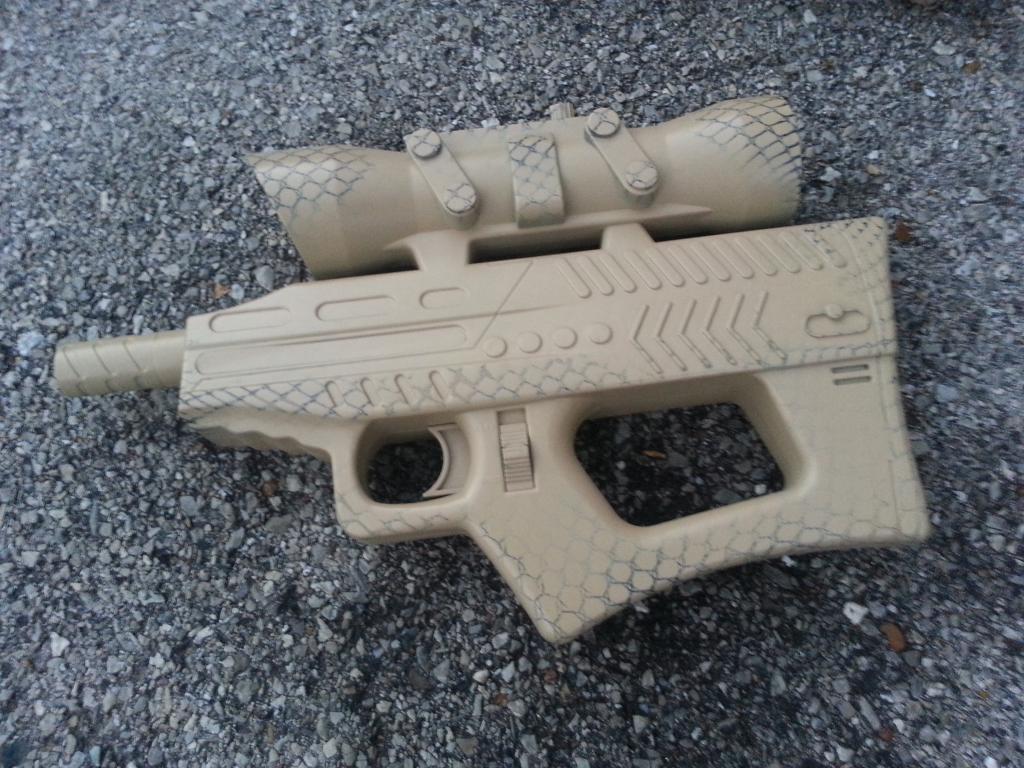
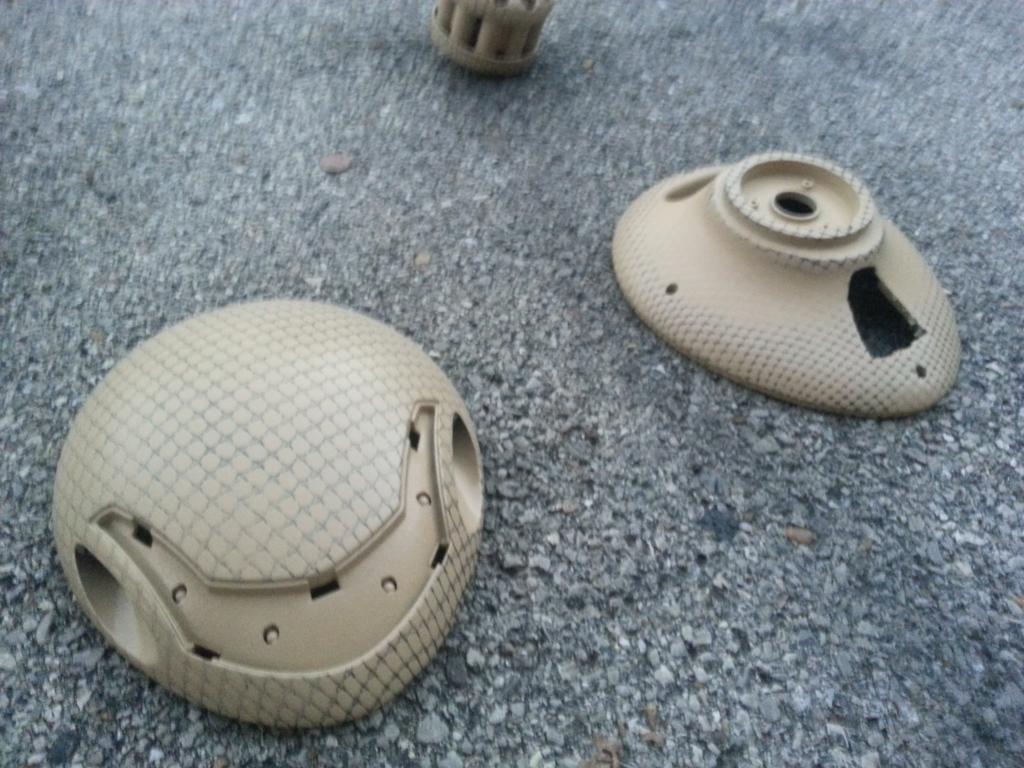
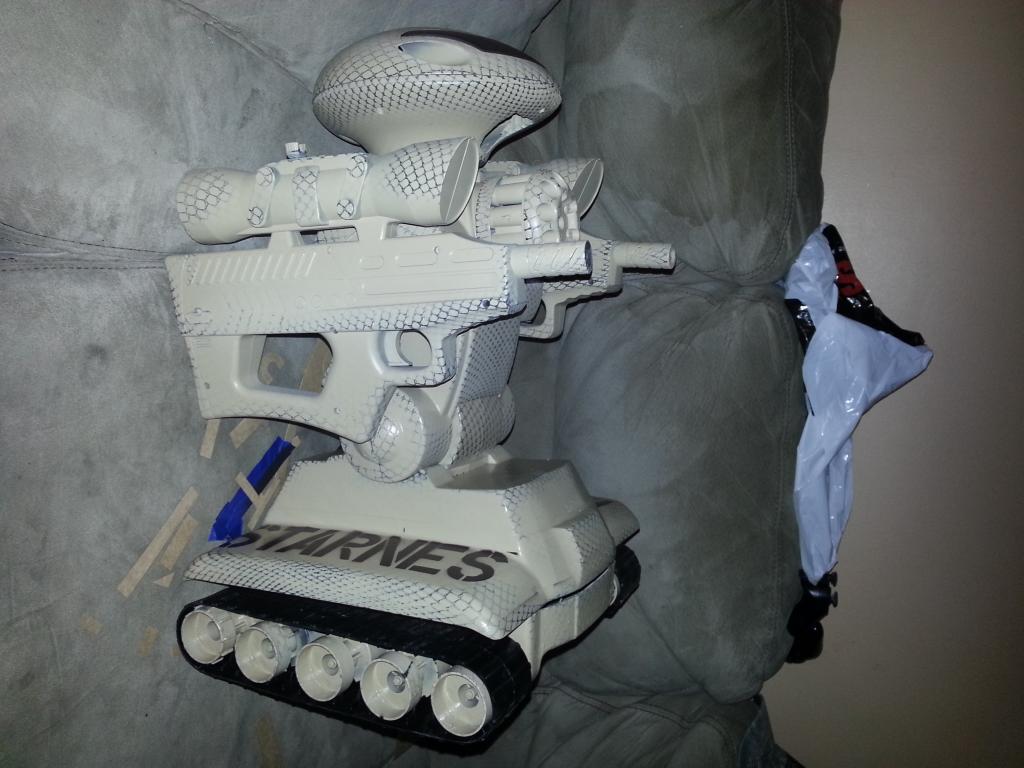
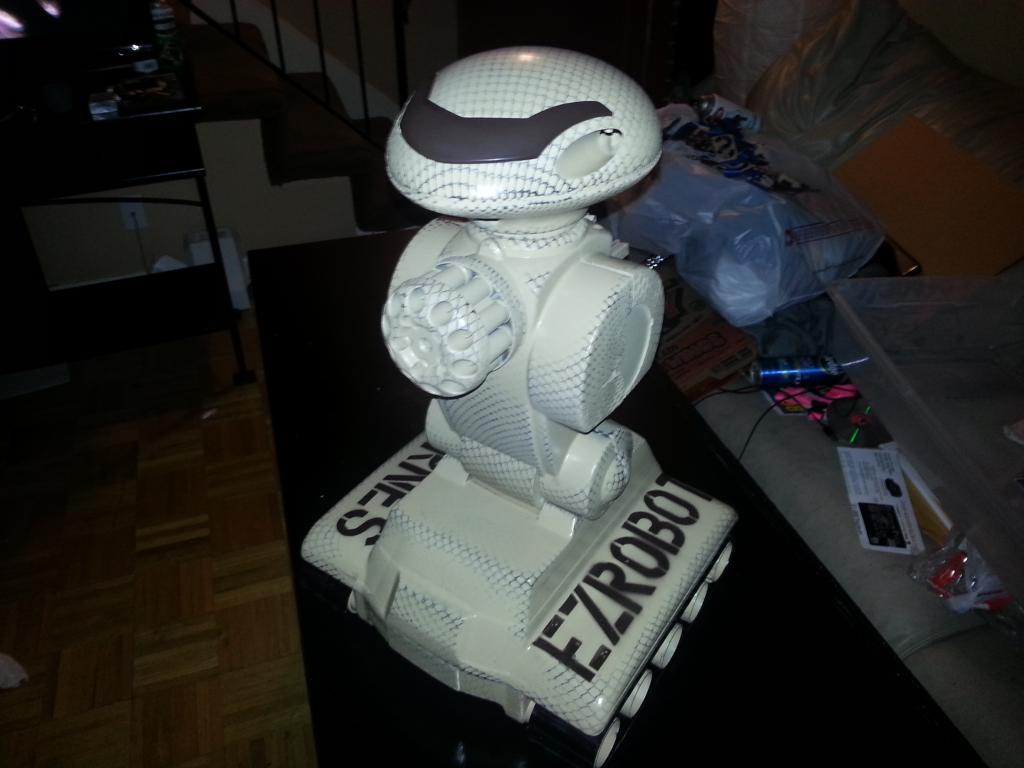
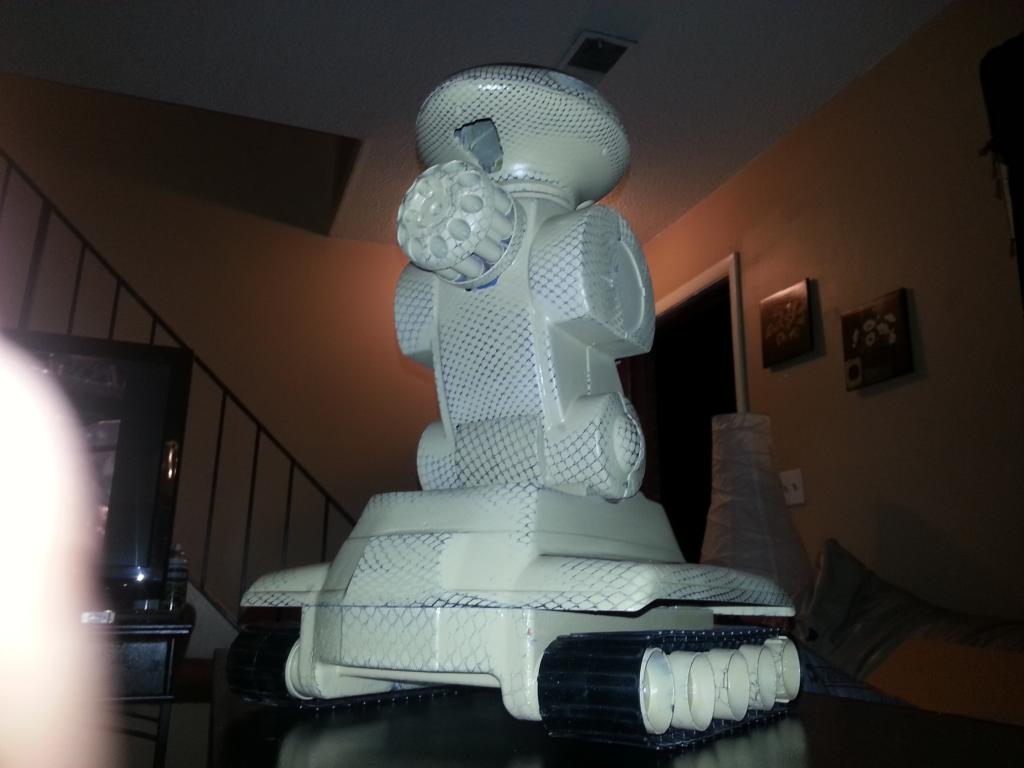
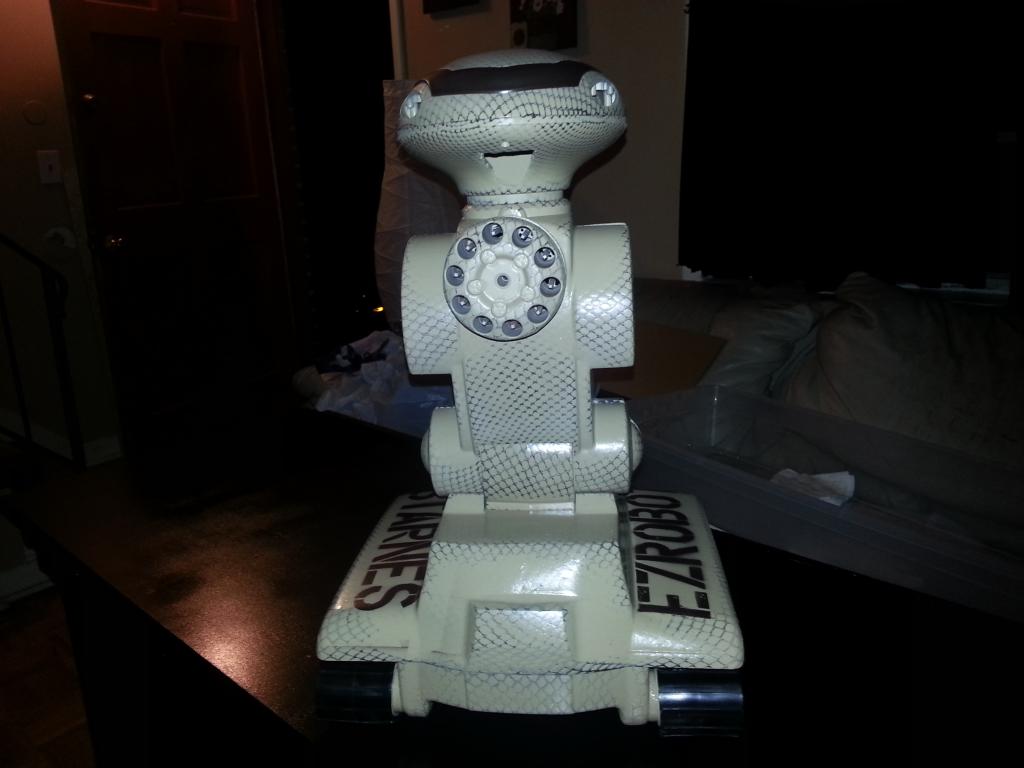
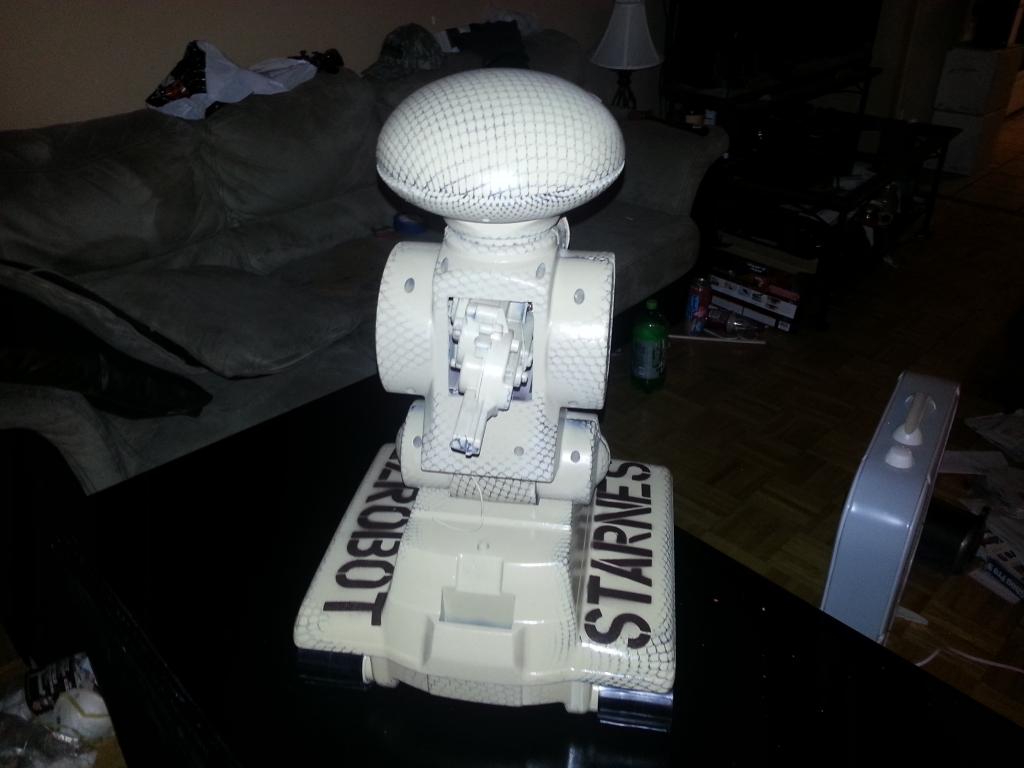
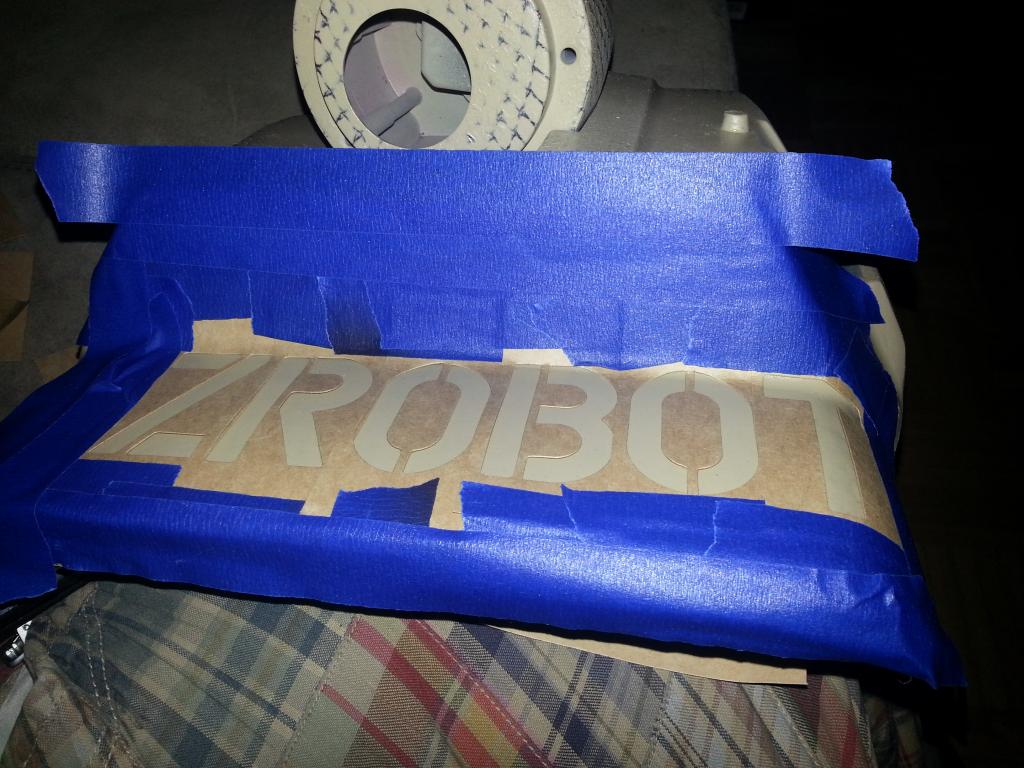
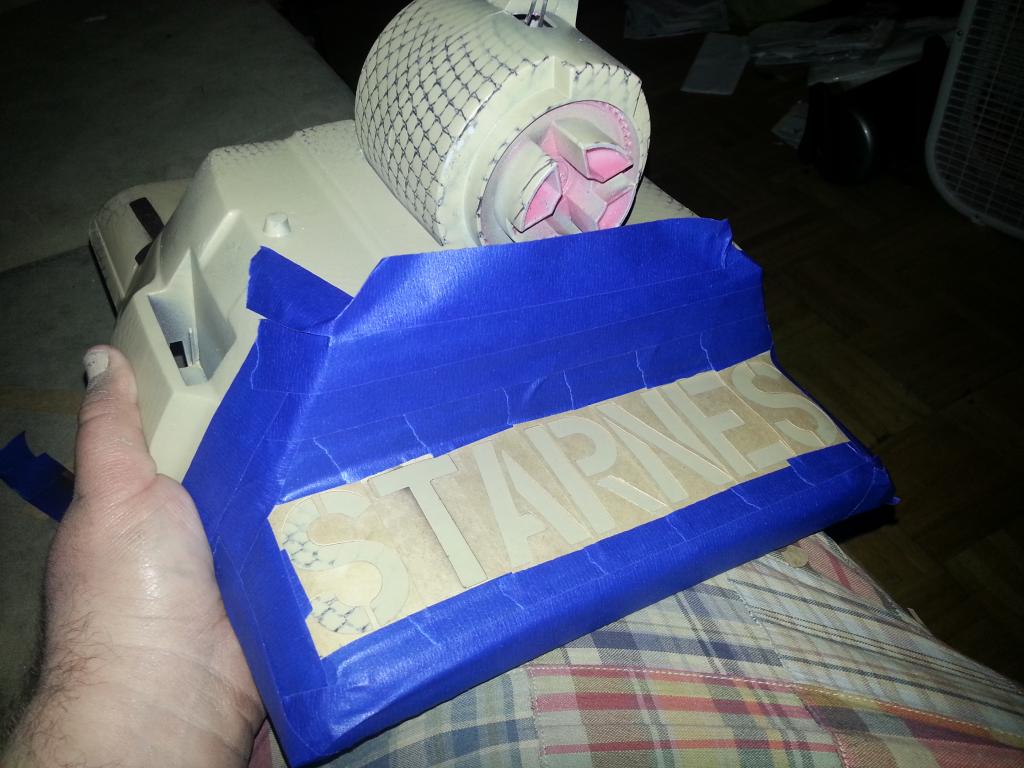
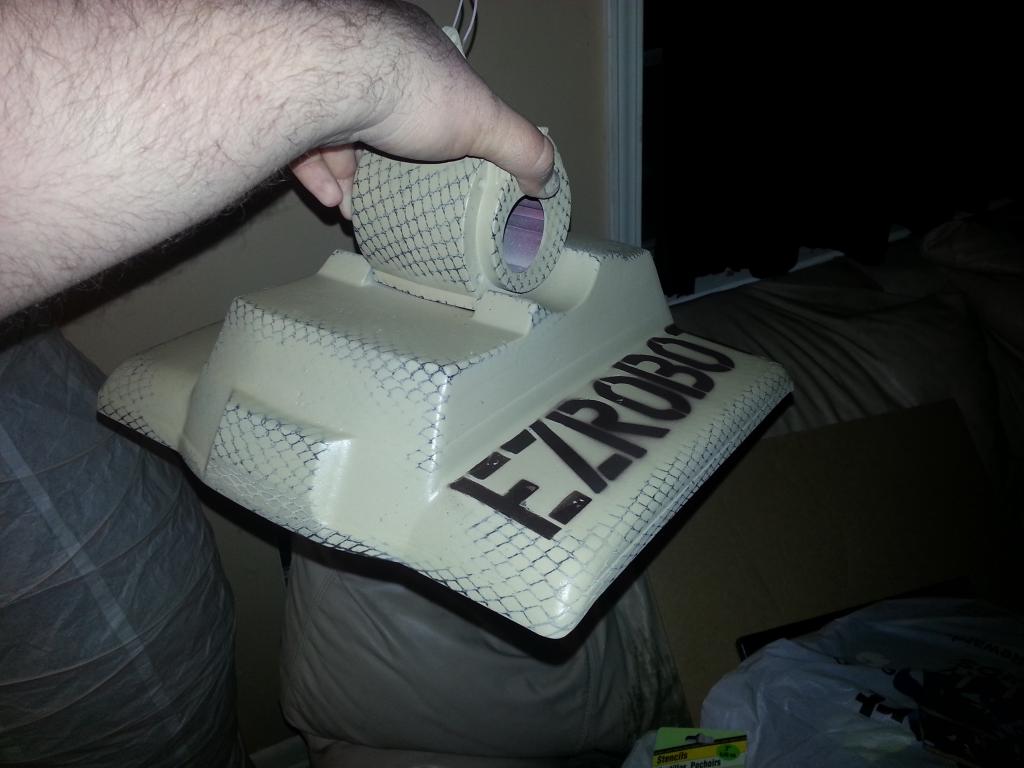
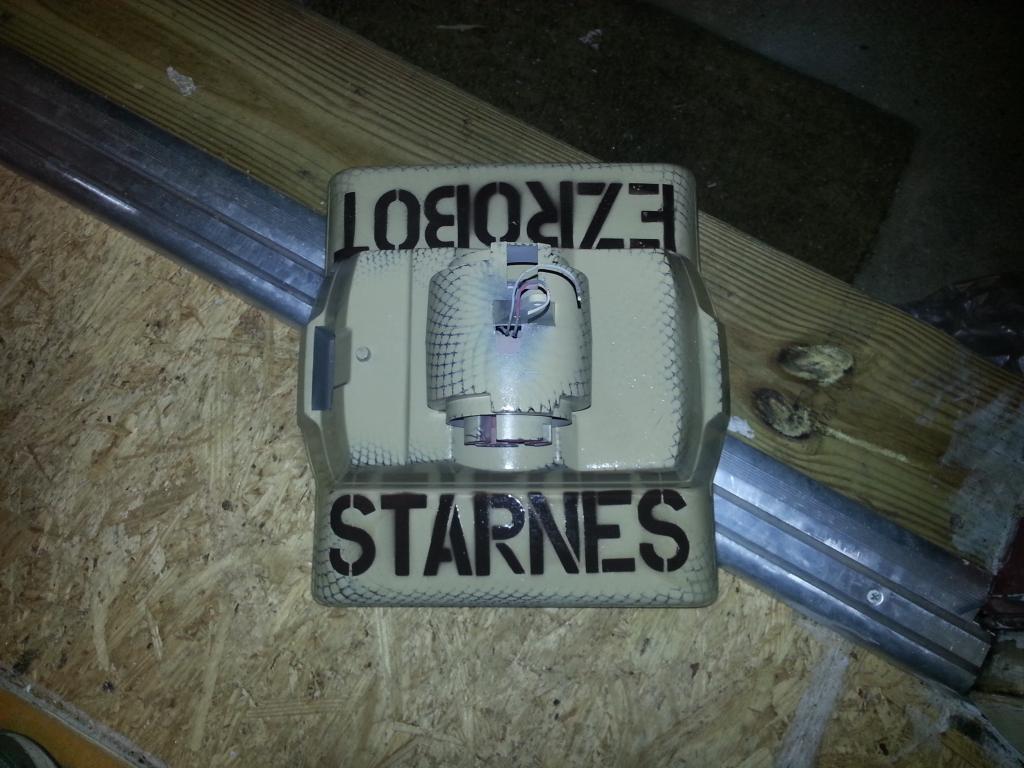
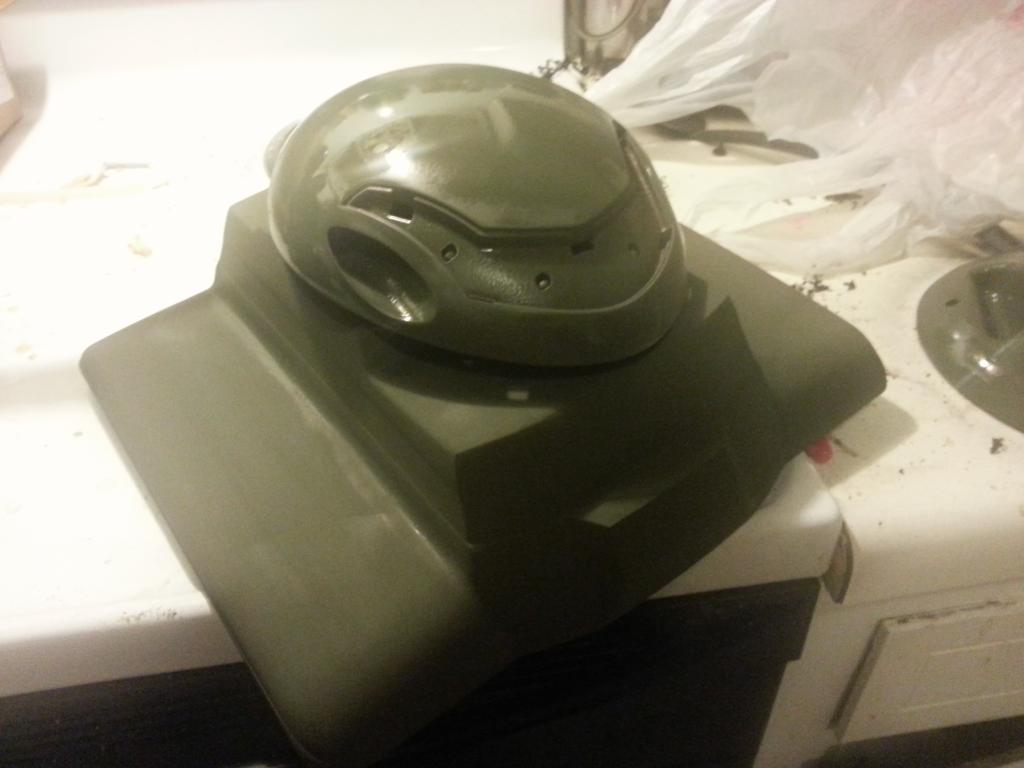
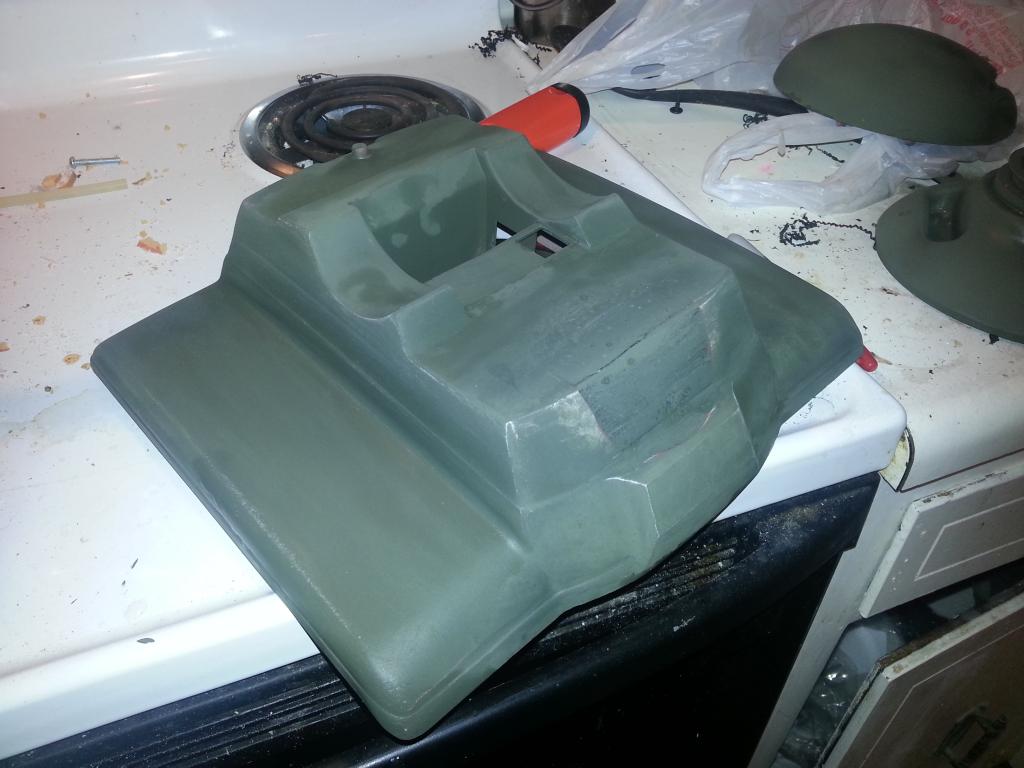
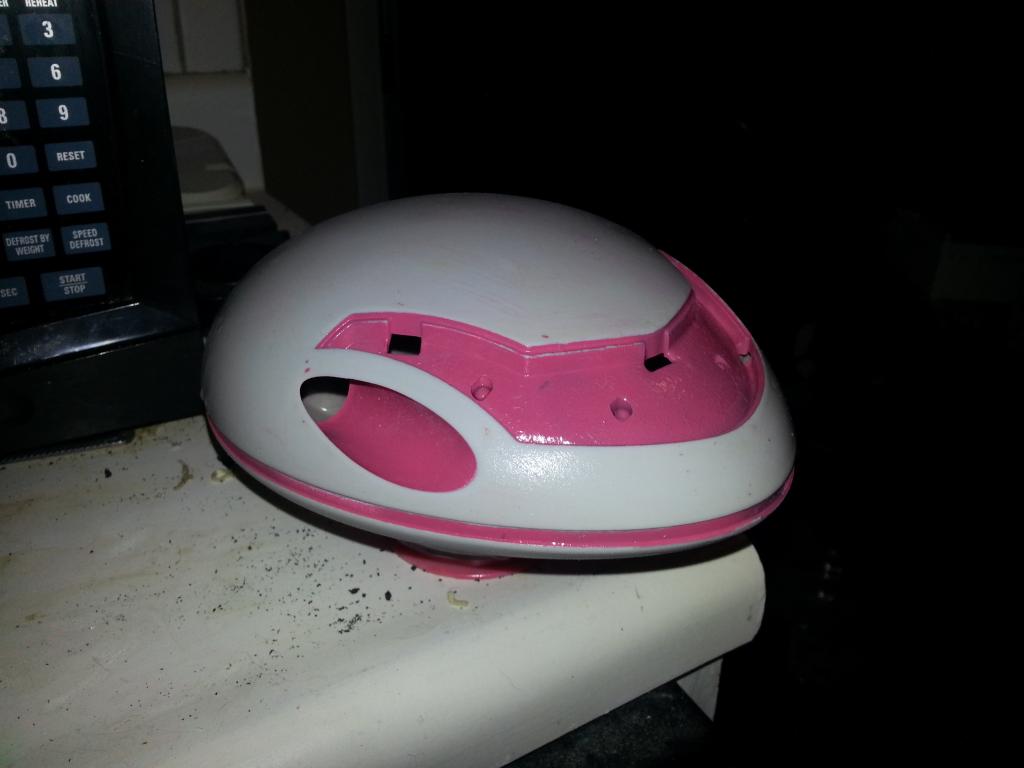
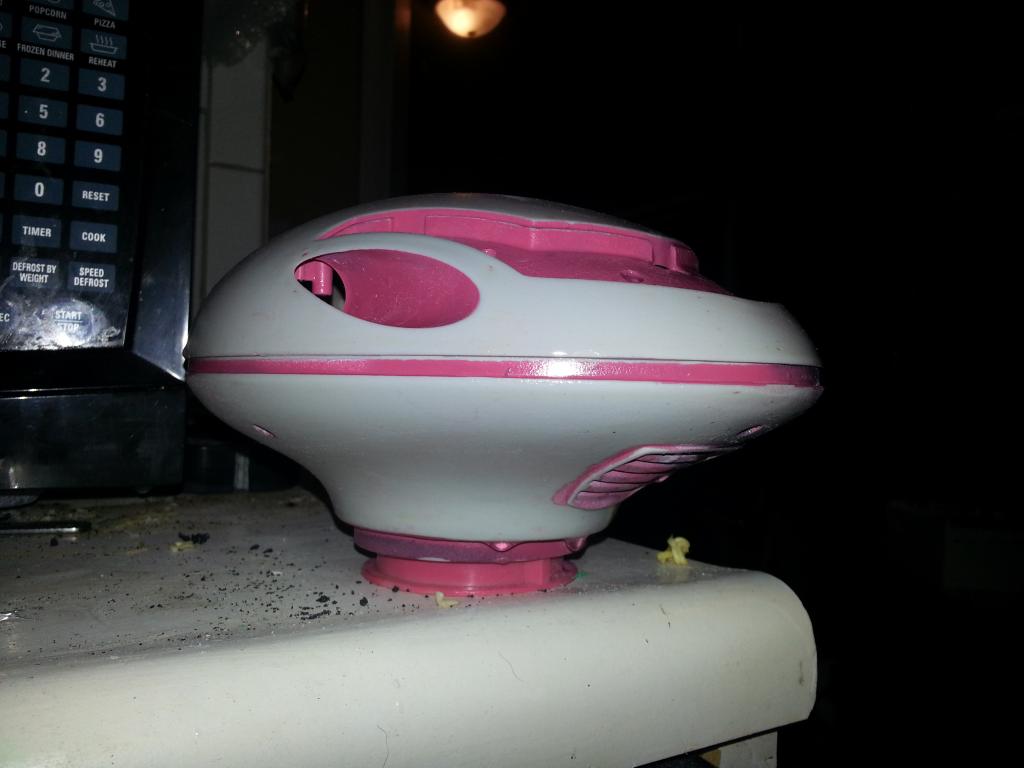
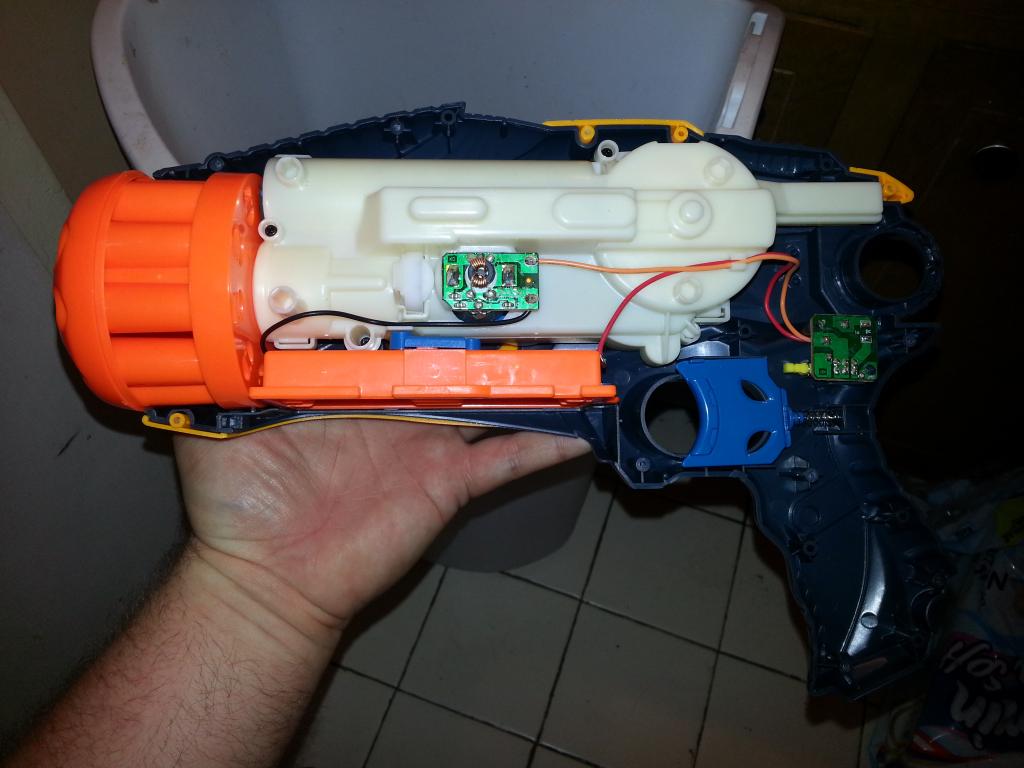
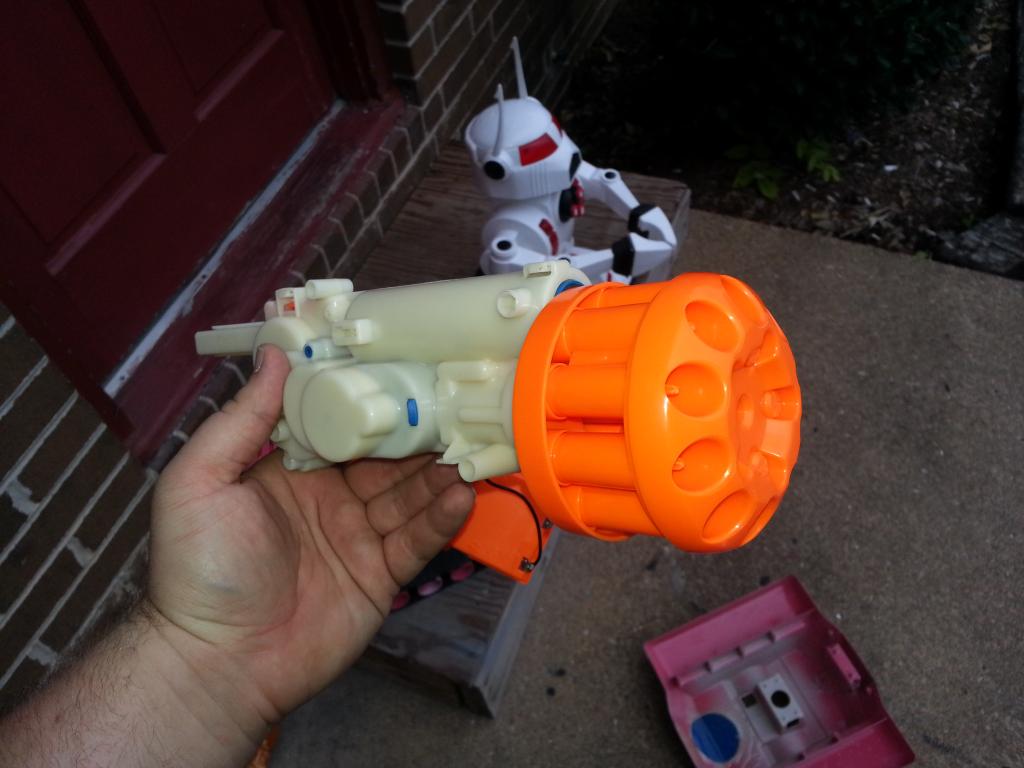
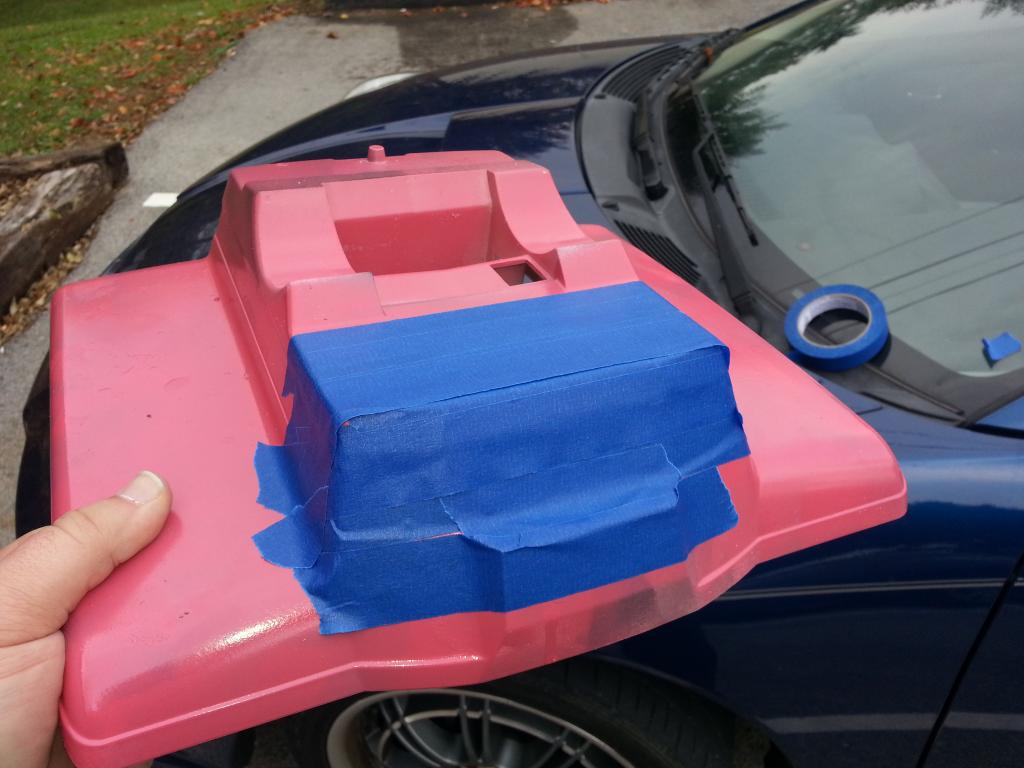
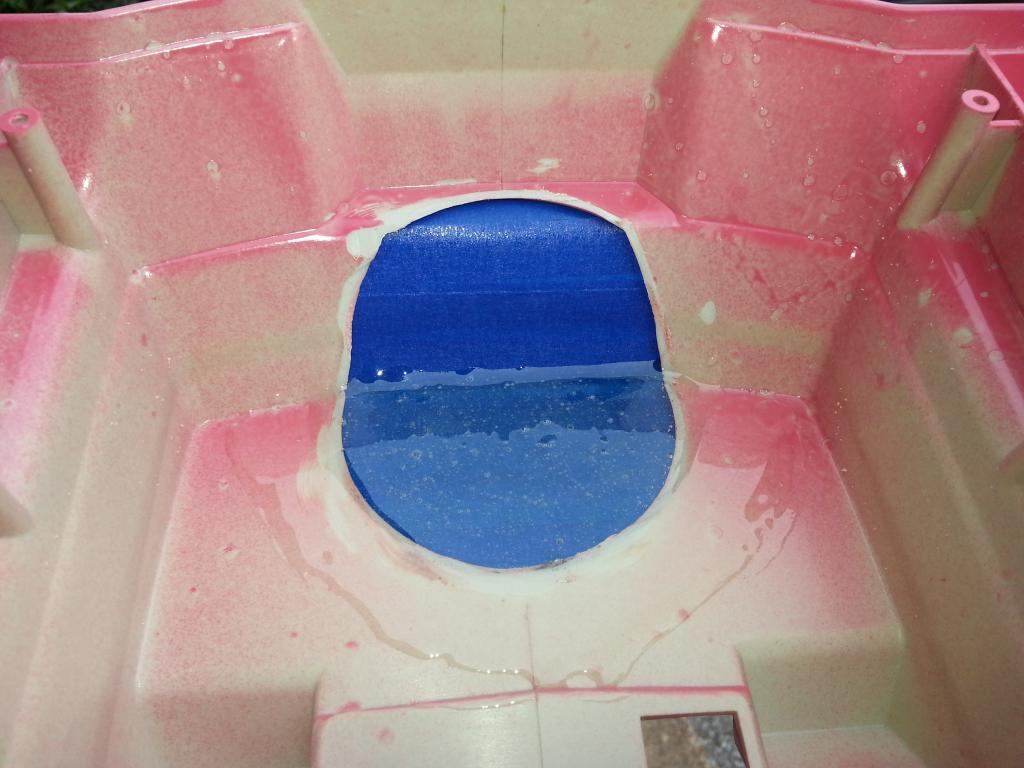
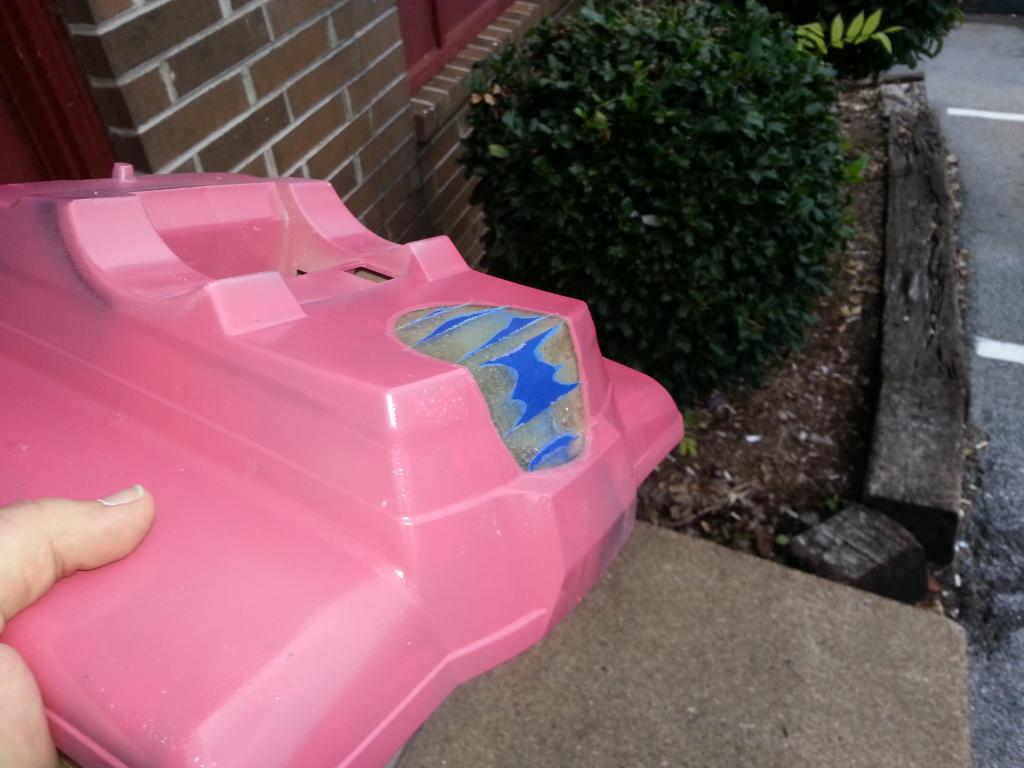
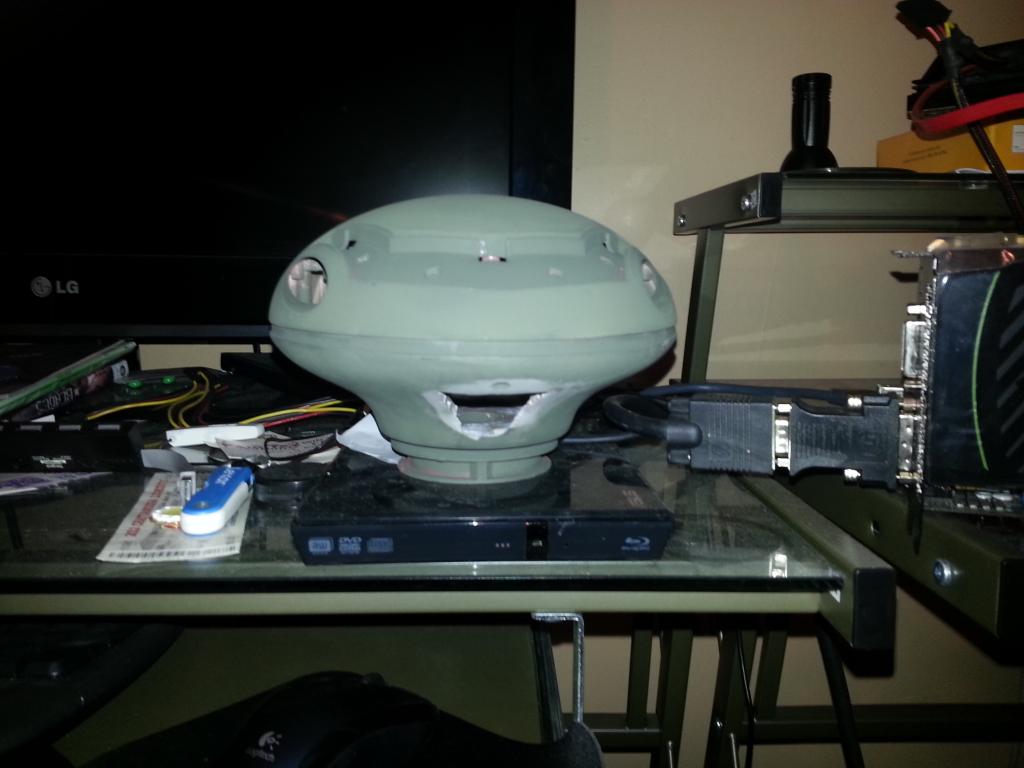
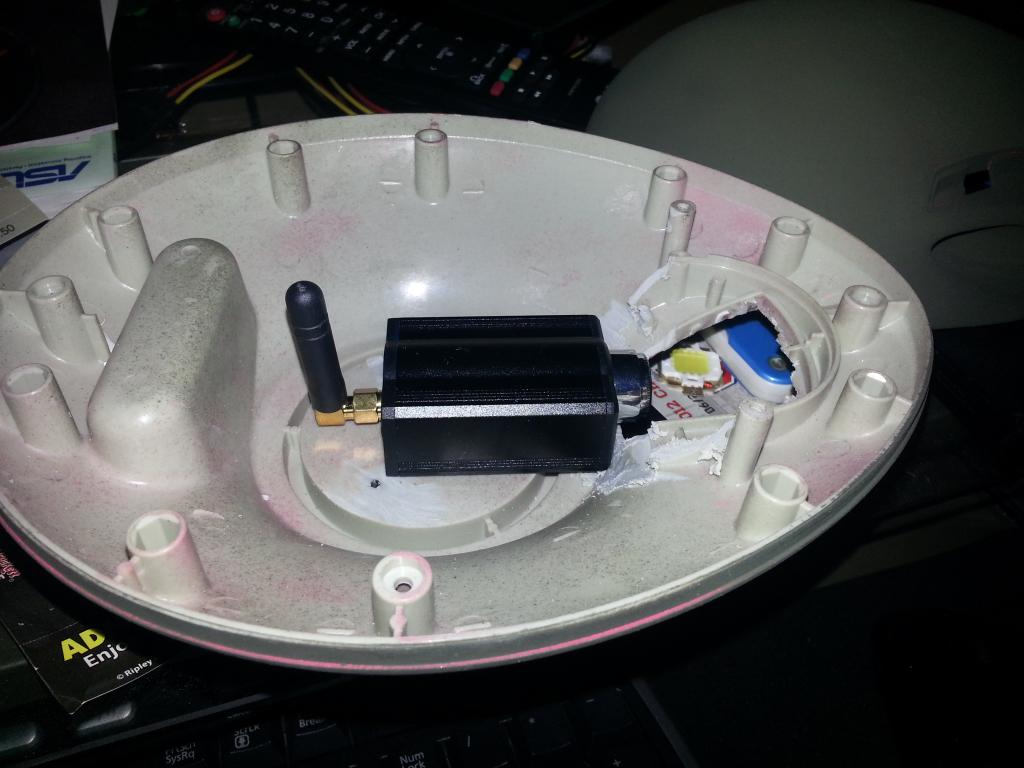
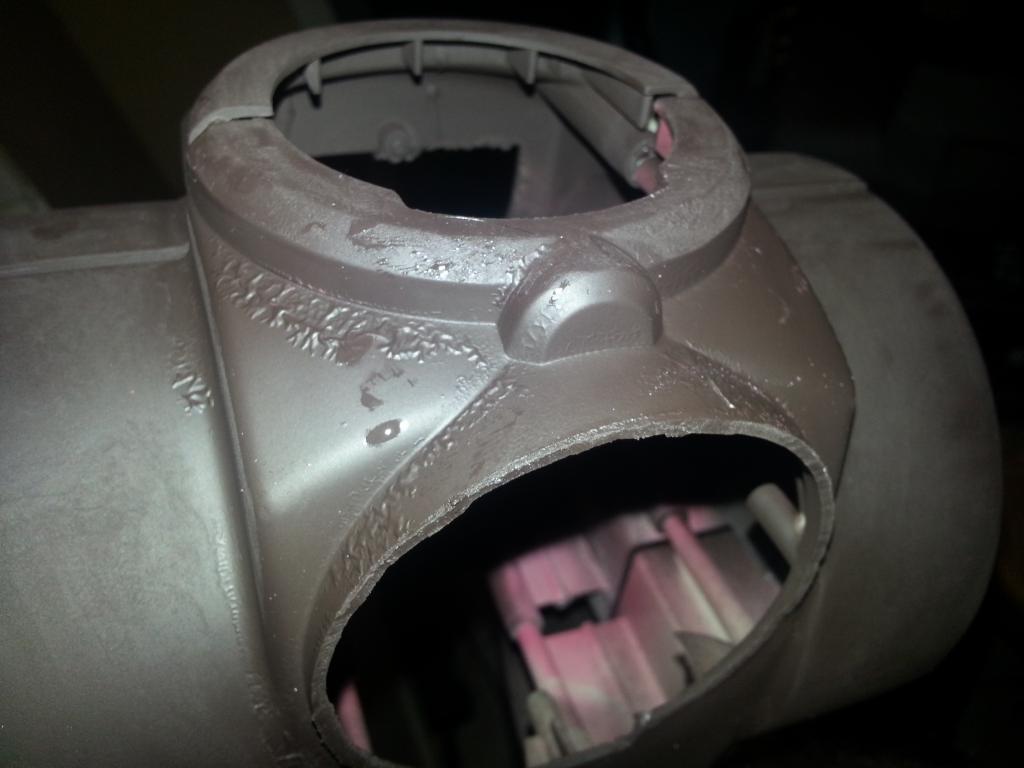
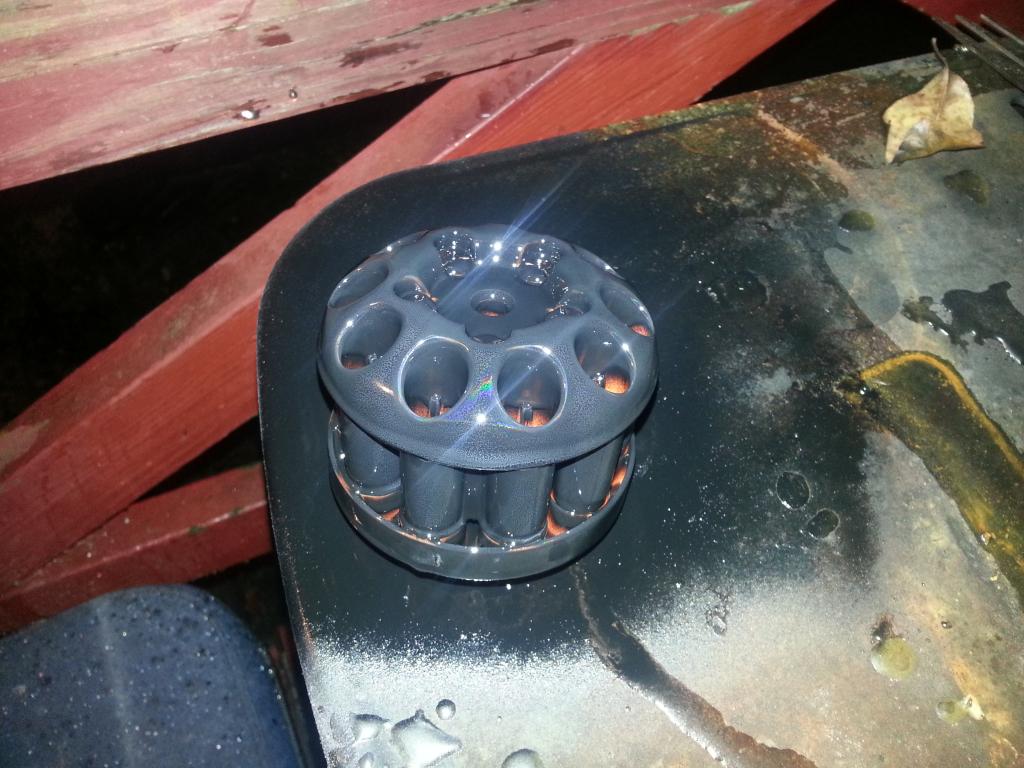
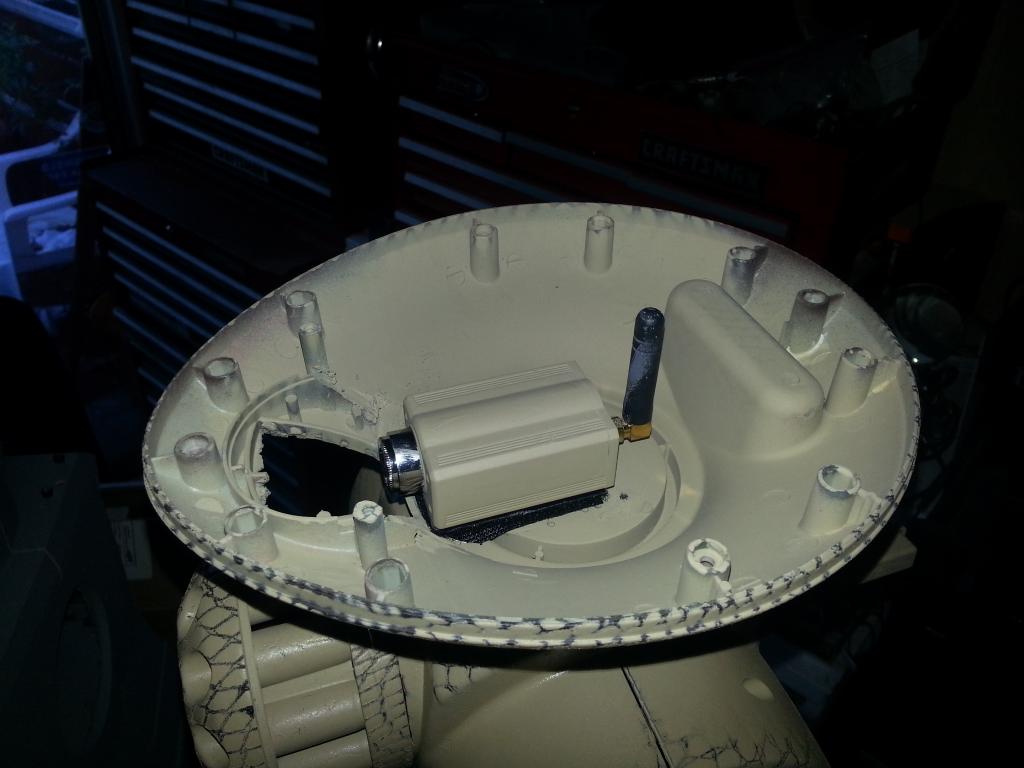
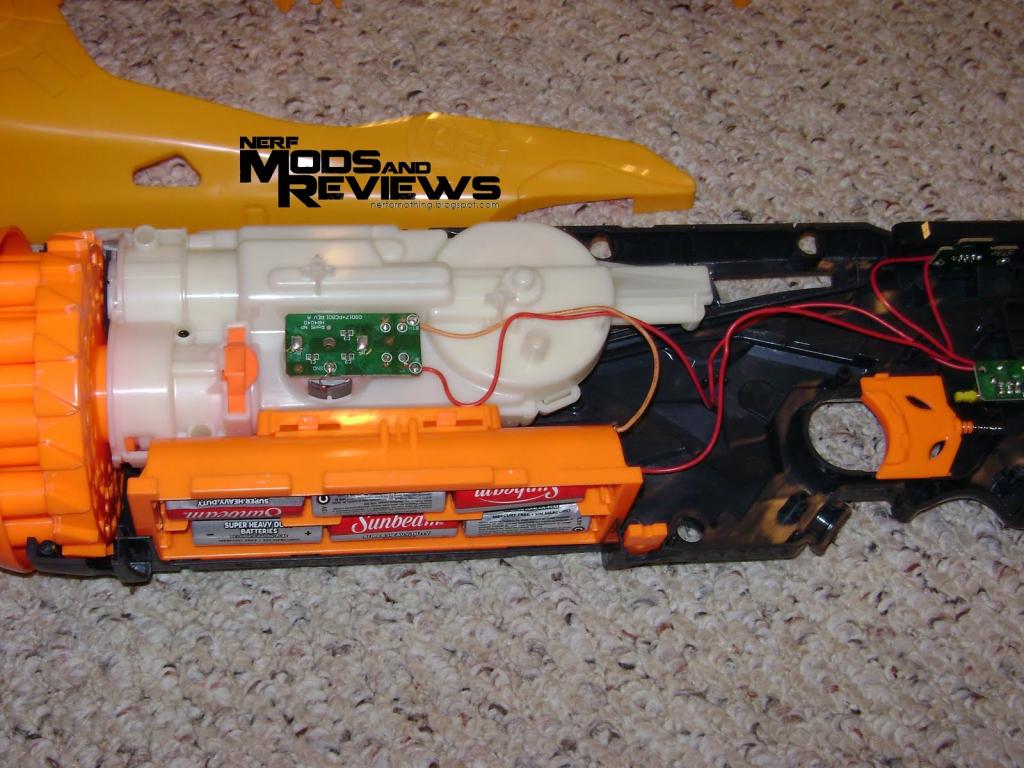
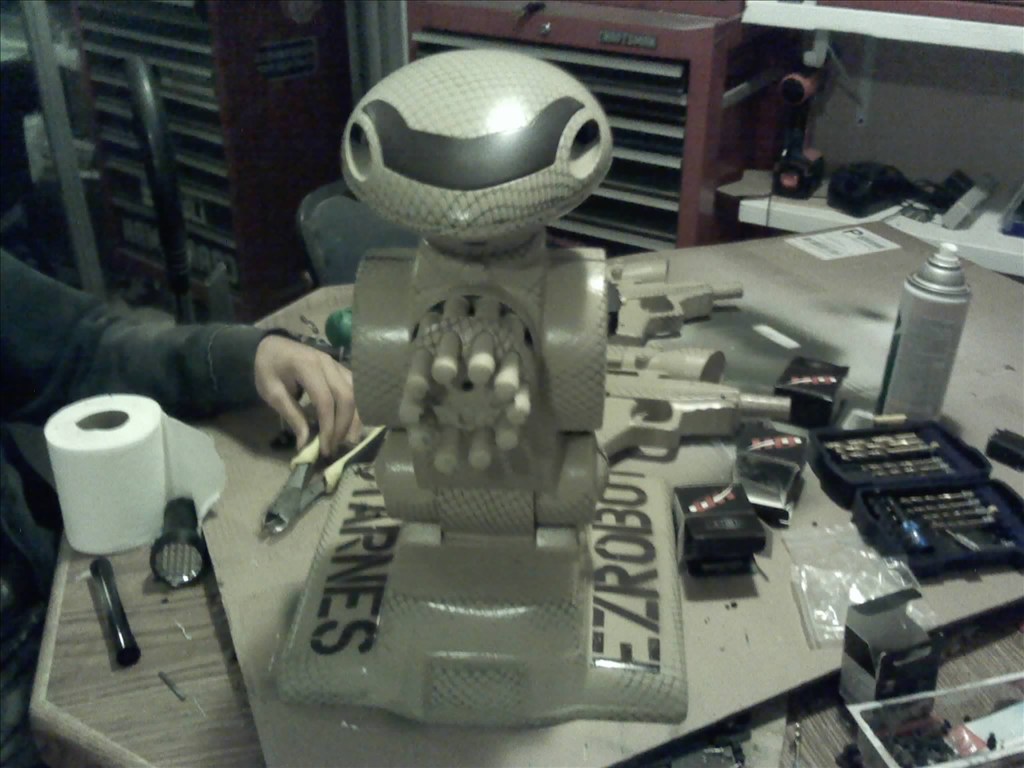
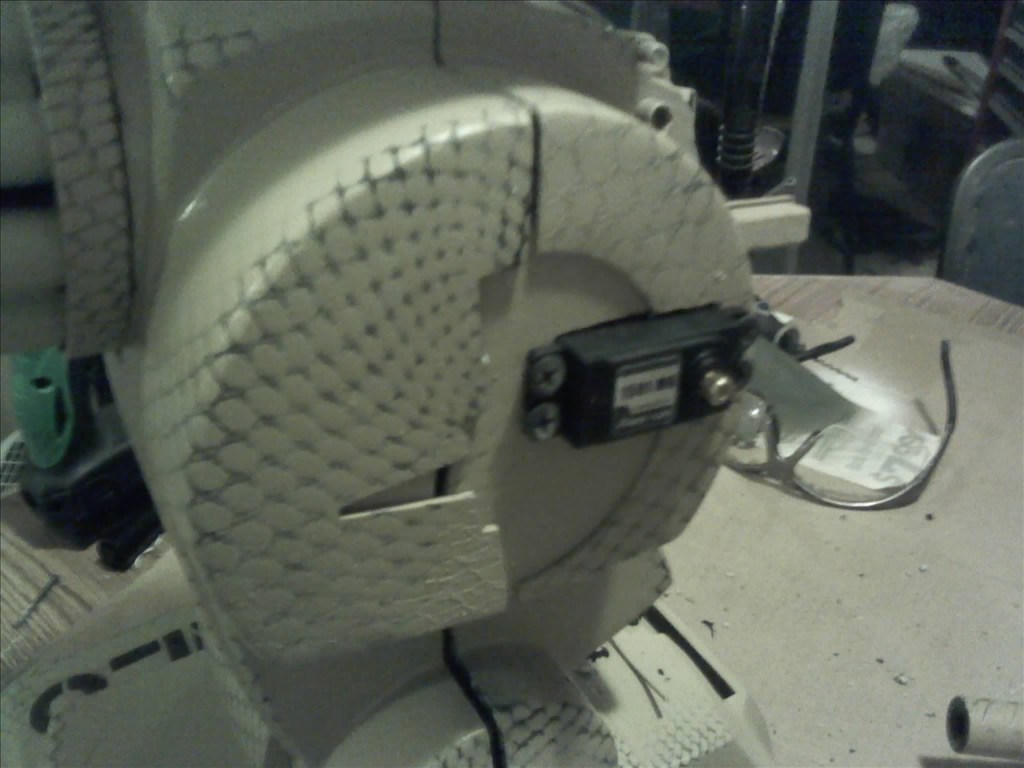
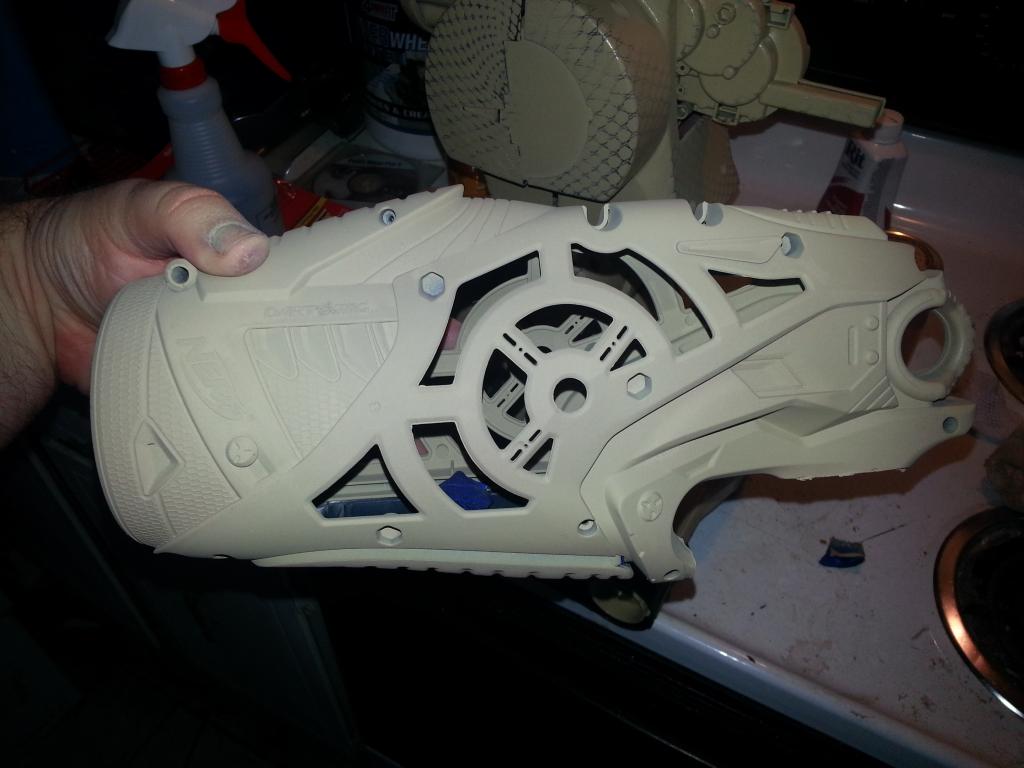
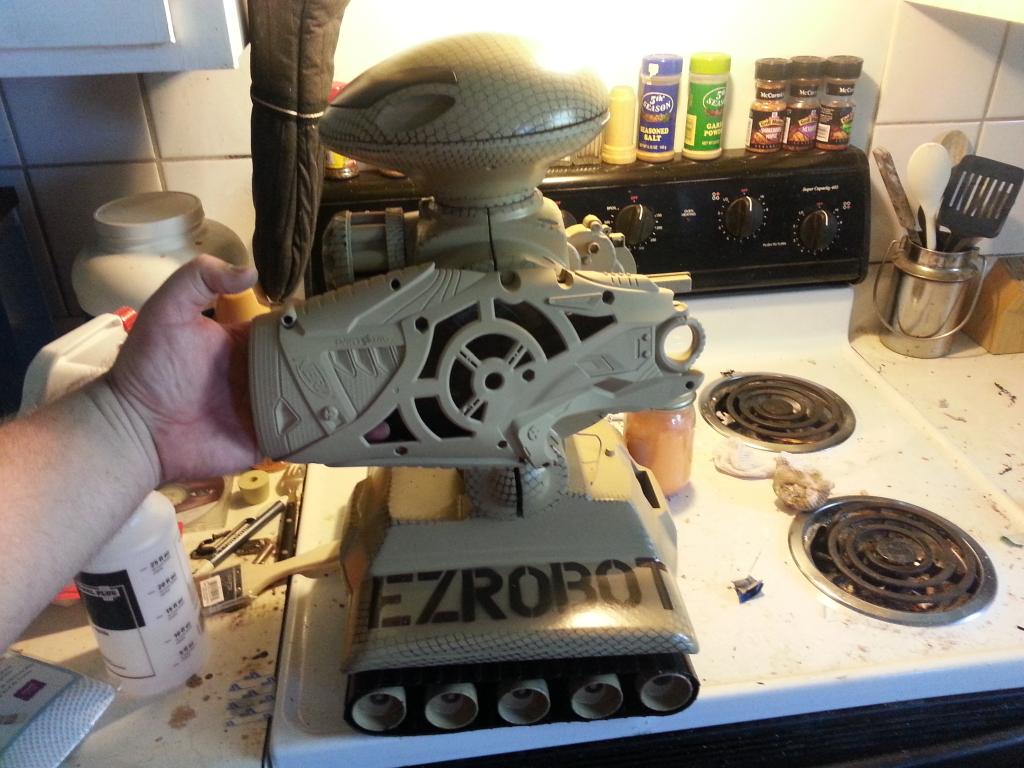
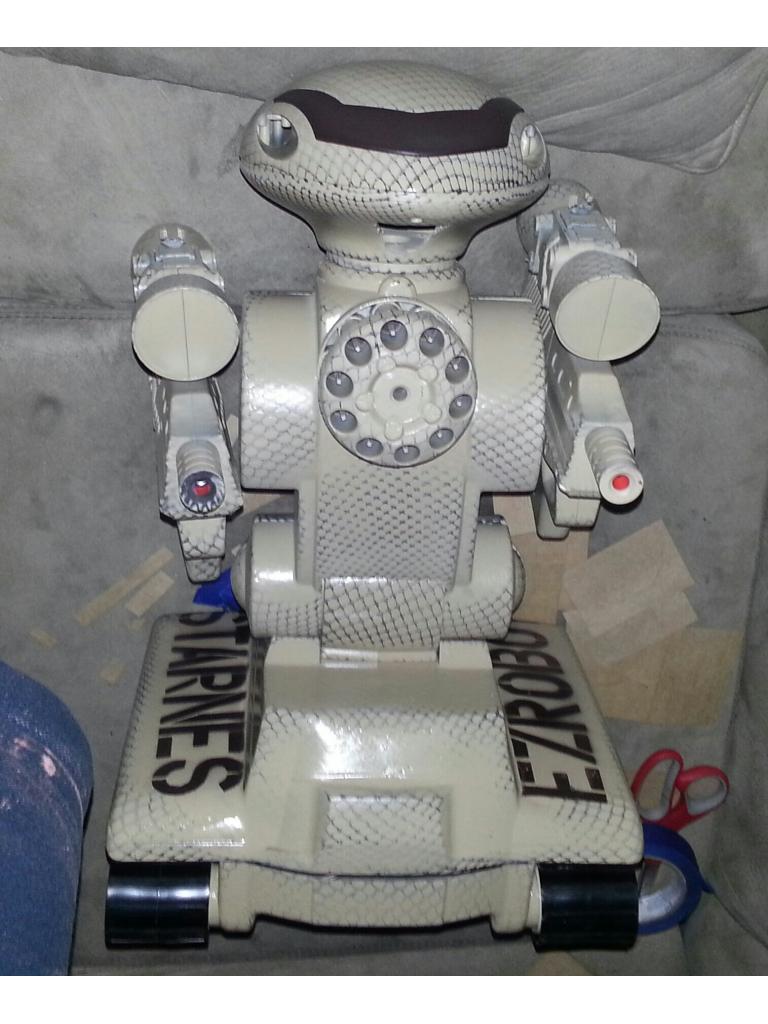
Ok this is the third of a trio of robots made to run around outside with first person view ez robot wireless cameras. Each has airsoft automatic guns and some kind of dart launcher.
By jstarne1
— Last update
Discover more robots
Donesvarc's Printed - Revolution Six
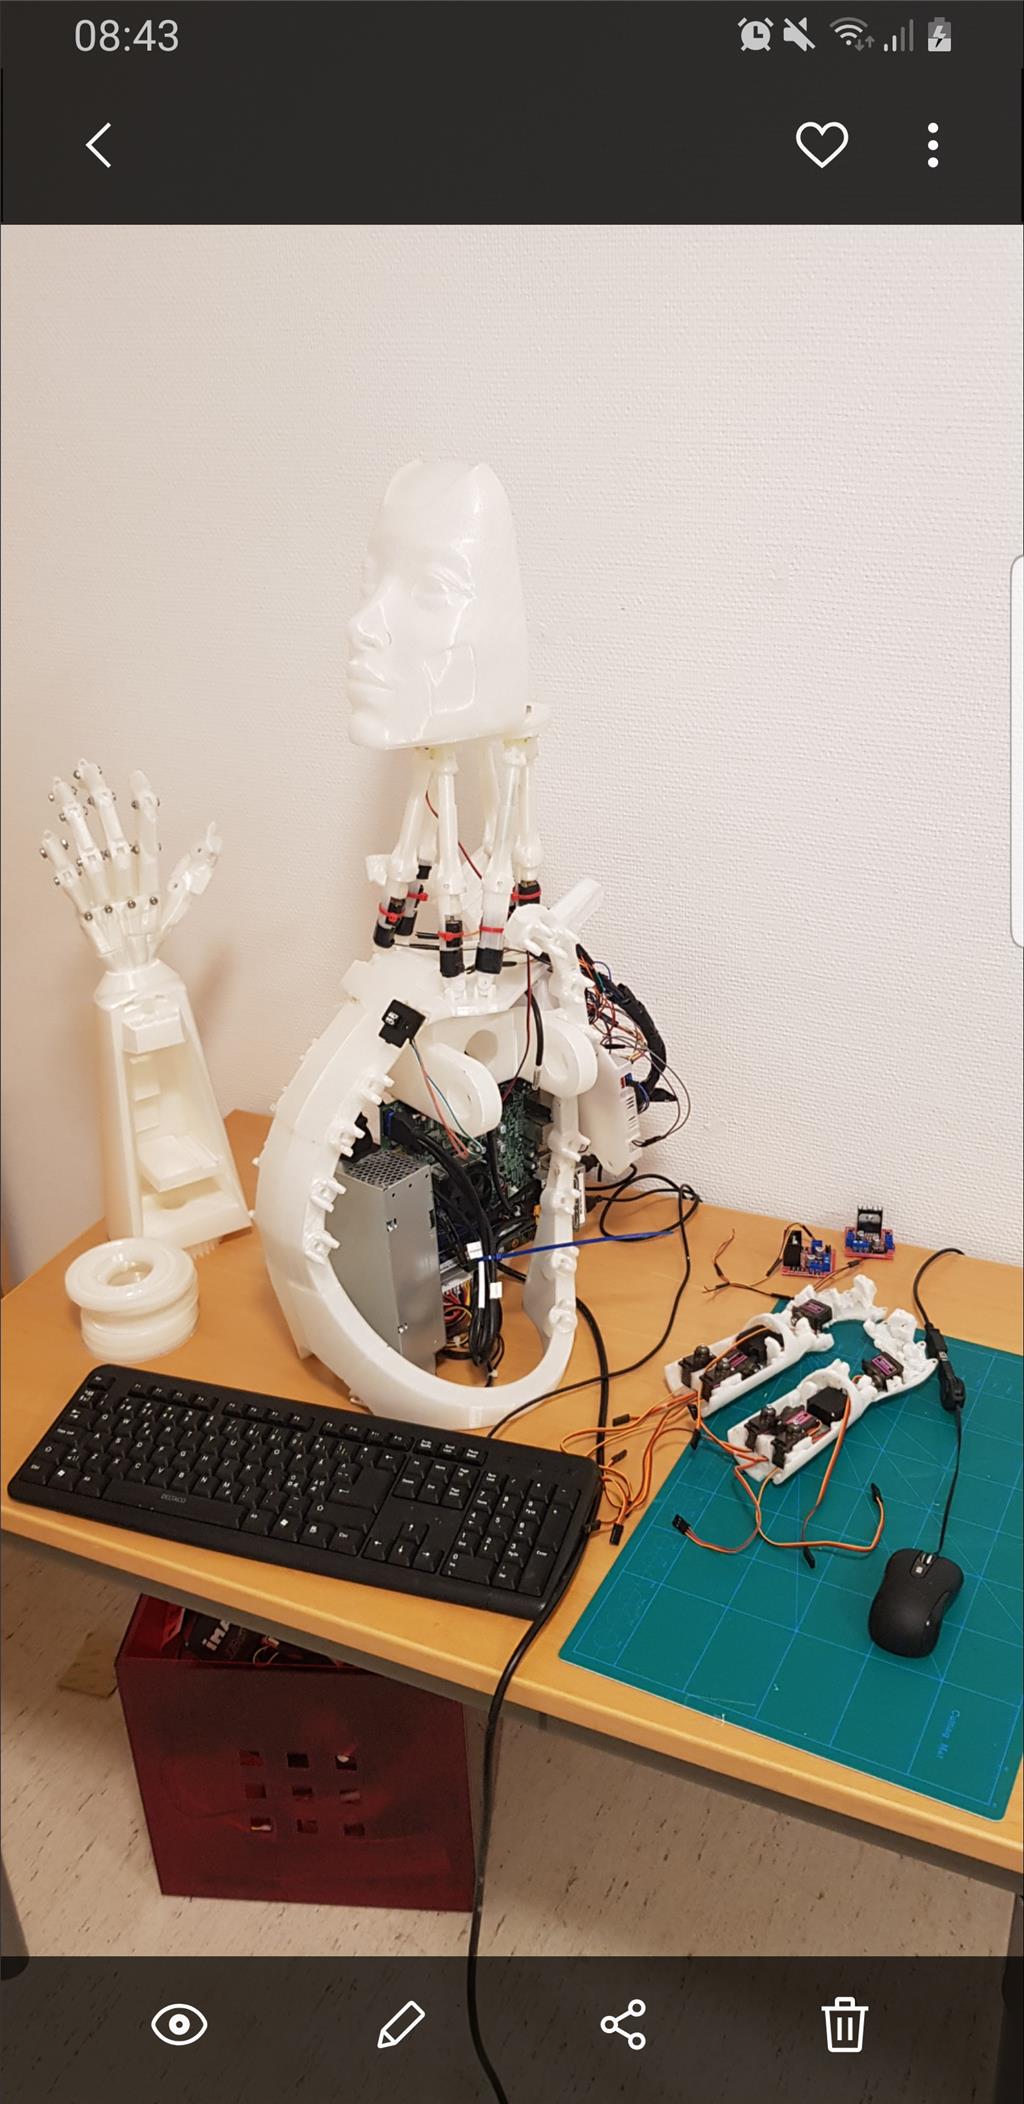
Synthiam ARC: reverse EZ-Robot servos with Auto Position Panel to fix inverted servos on EZ-V3/EZ-V4 Wall-E Six...
Sleenard's Ampdroid S1
Welded robot frame prototype mid-build with contour pieces and planned aluminum platforms; next steps include head and...
Animator28's AVA (Advanced Visual Android)
Program robots with Synthiam ARC on Windows 10-add projector faces, extra EZ-Bs/Arduinos, 3D printed legs; free...

Thankyou guys
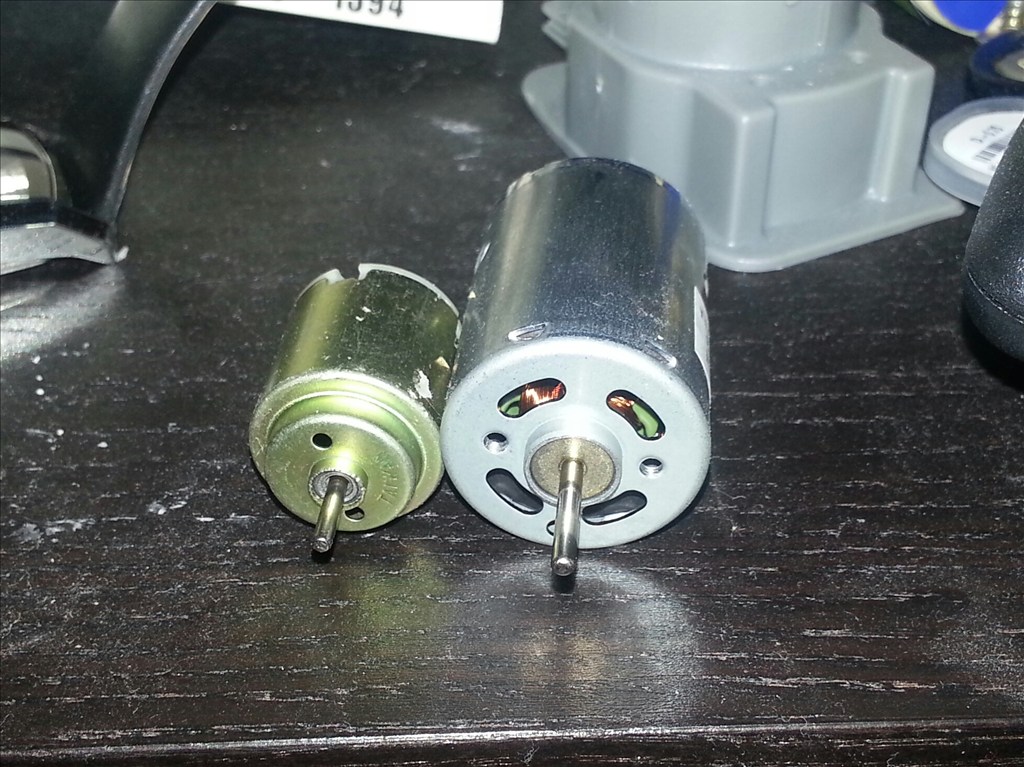
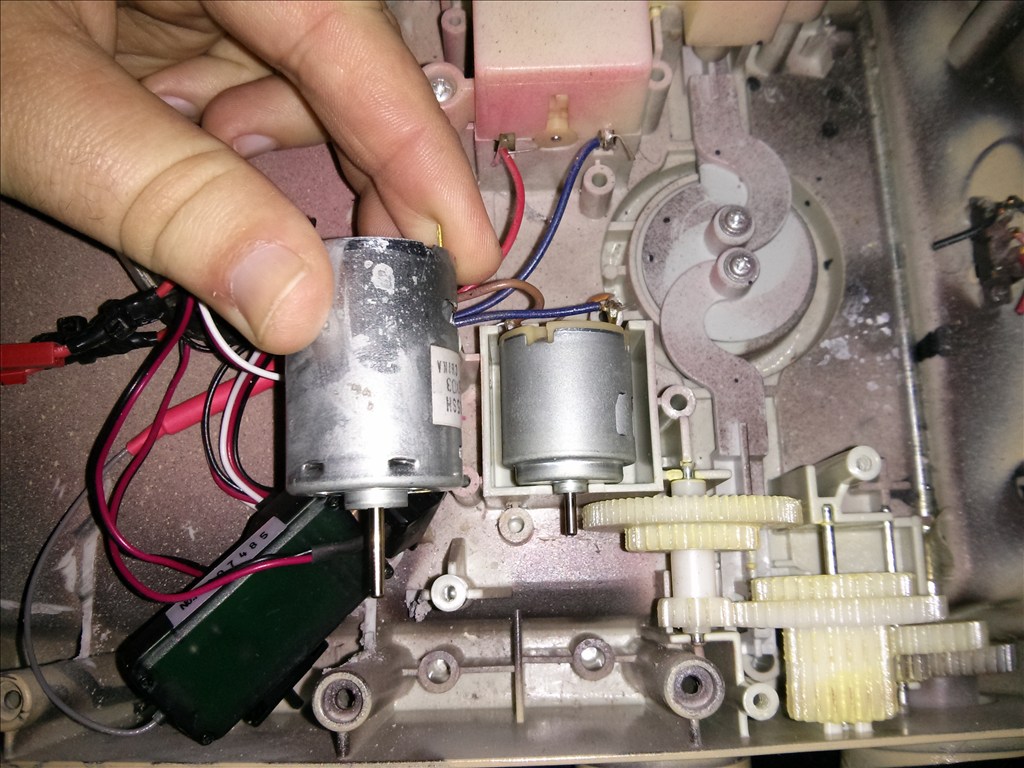
Alright new mabuchi motors came in. Here is a side by side view. Just turning the shaft I could imagine these guys have tons more torque. Being a larger motor with lower rpm range I will most likely keep the rad base in high gear and there should not be any reason to use low gear with motors like this..
The shaft does appear to be a little thicker but only by a hair. If I needed I could drill out the original pinions or maybe heat the tip of the shaft and slide the pinion on that way. Any suggestions?
Do you have any motors out of an omnibot base? I found those pinions are a good match and they will fit that shaft perfectly. I would be cautious about heating up the shaft. Drilling the others out may work, but my fear is the reason the one is slipping is because it is cracked (very hard to see) so drilling wouldn't help on that one.
Just my two cents.
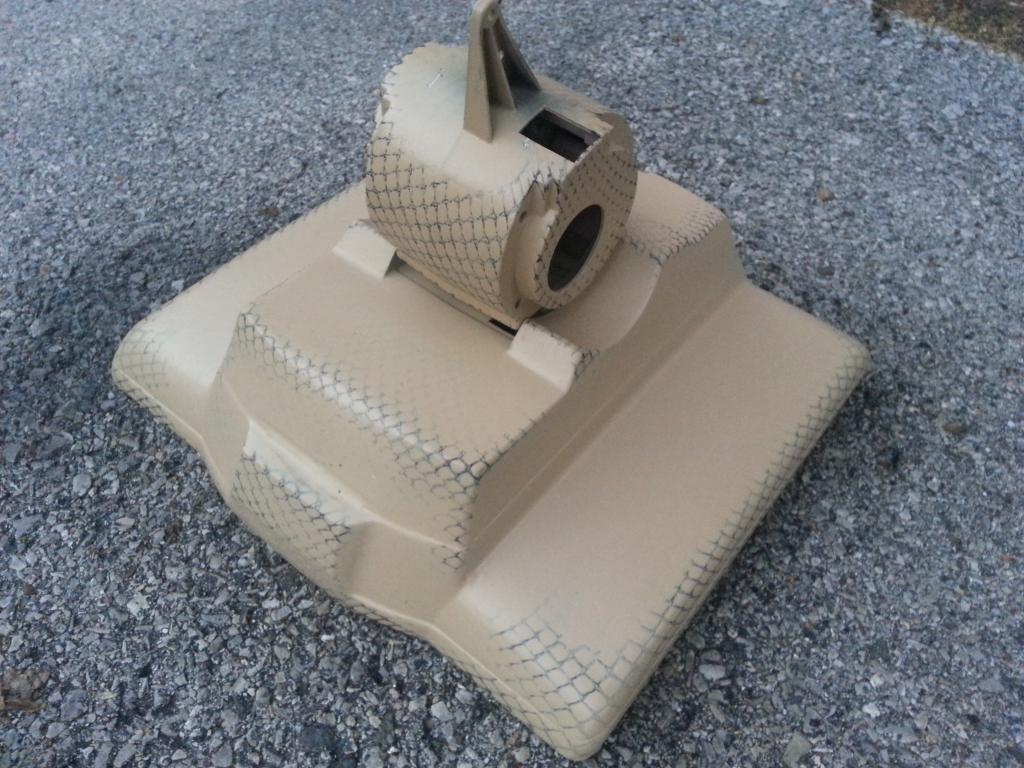
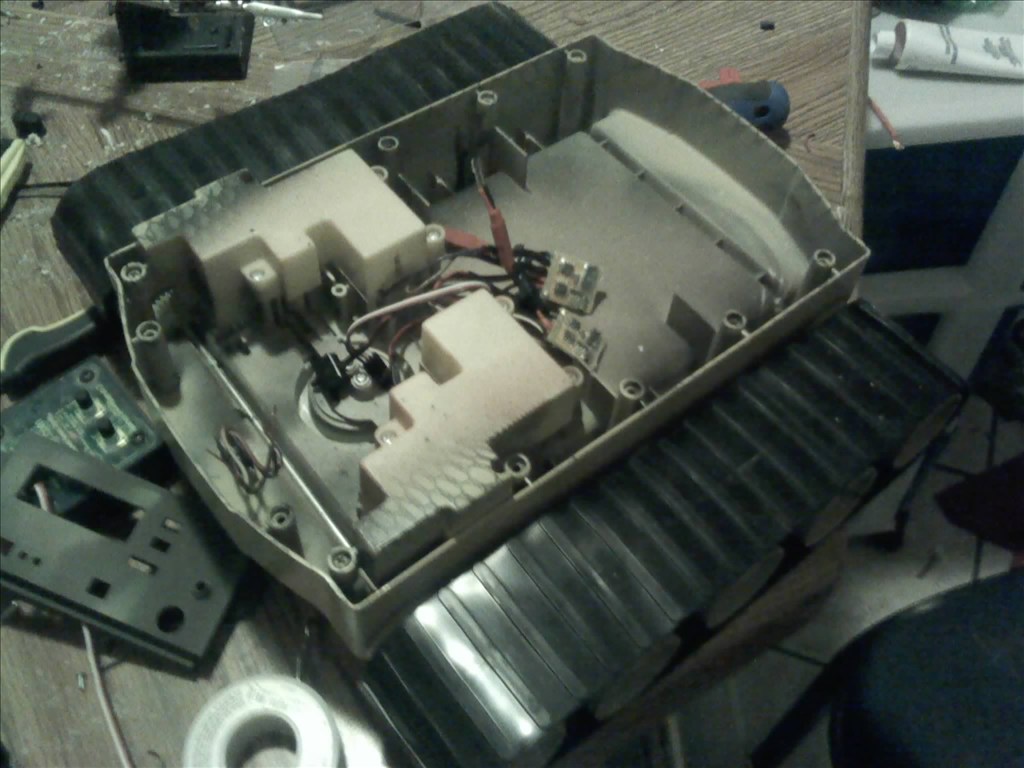
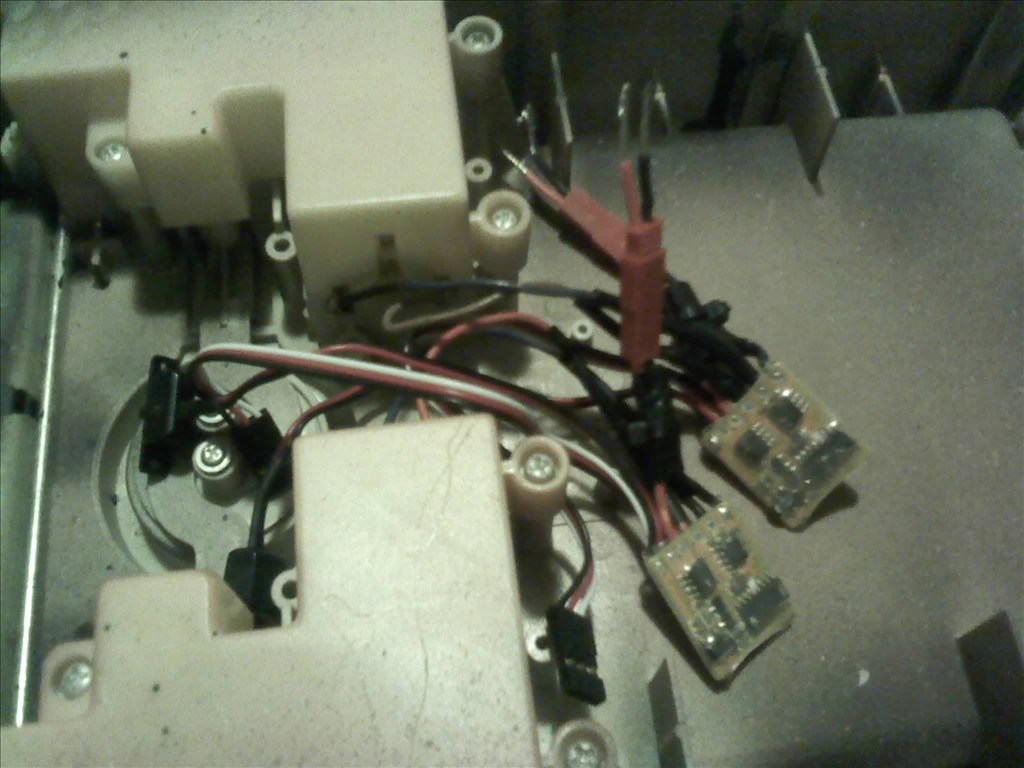
Hey guys , I have been feeling better since that funk I had. Wow I was drained all the time! Well I found the kryptonite that was zapping my strength and I'm back at it while catching up in laundry I pulled out my air soft not and took the base off. After putting a little mad scientist together with a bit of my inner junkyard warrior I started cutting.... I also tighten the treads up by making the wheelbase longer.

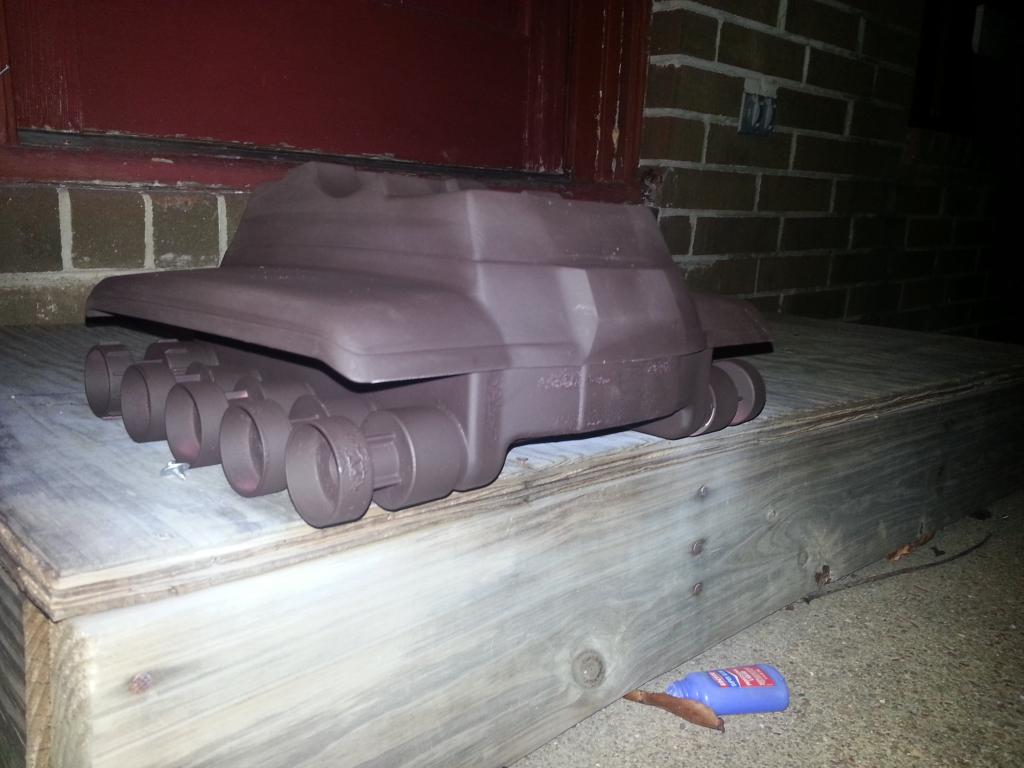
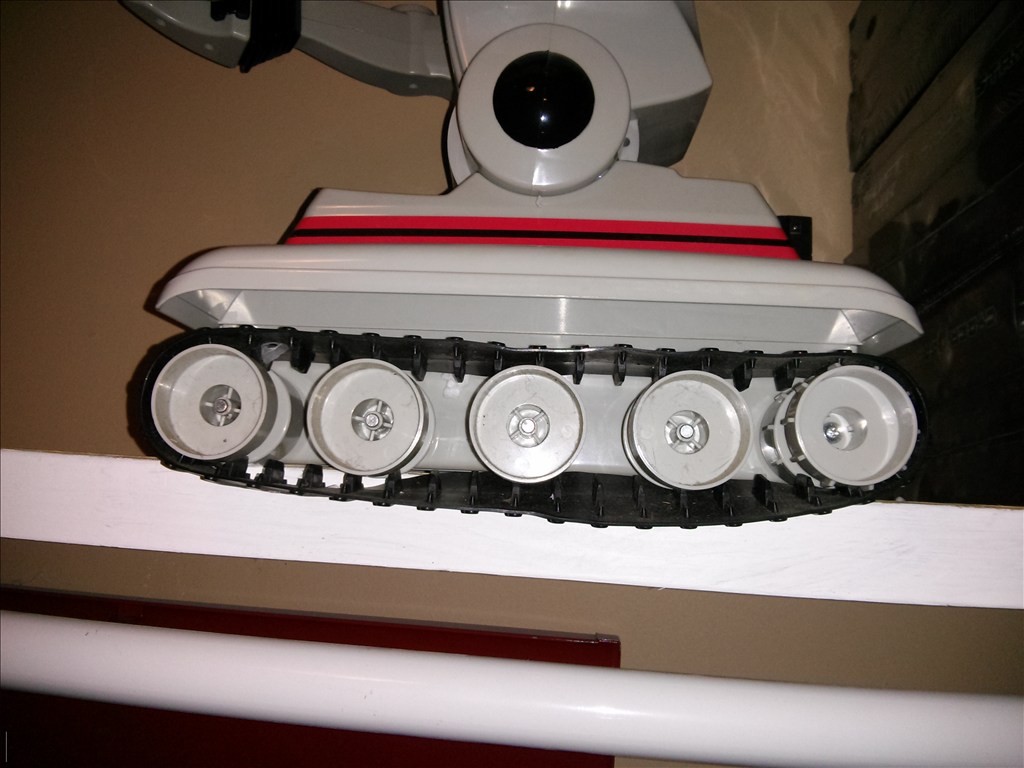
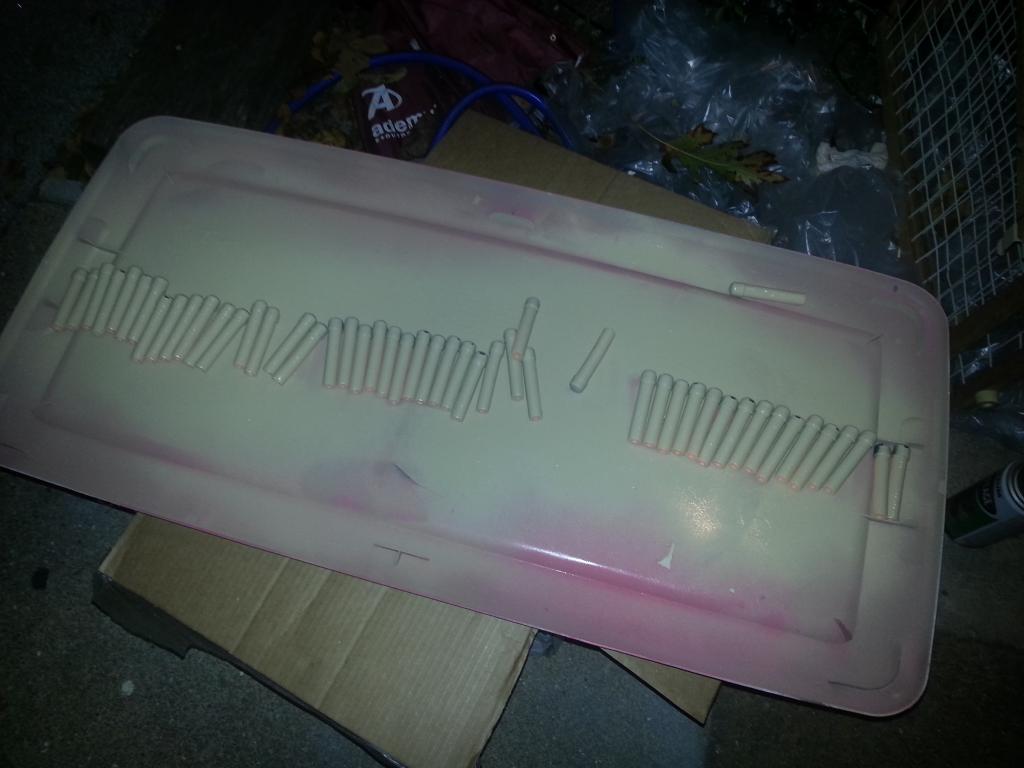
Before pic... Saggy flabby treads. Dang these guys need a gym membership.
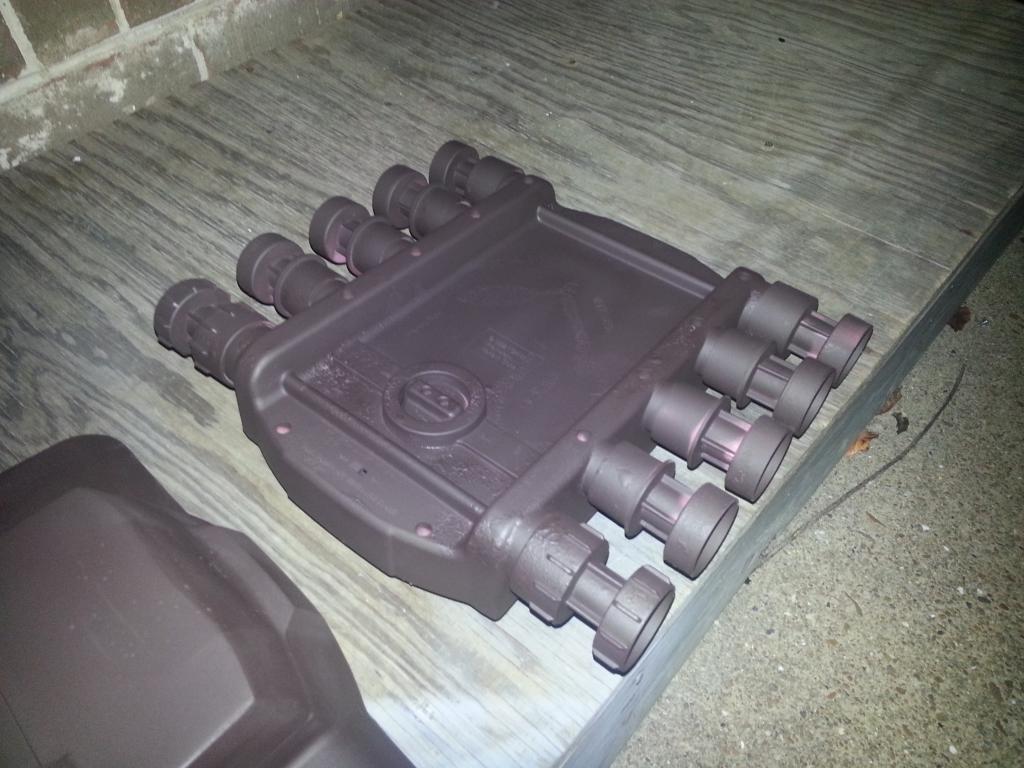
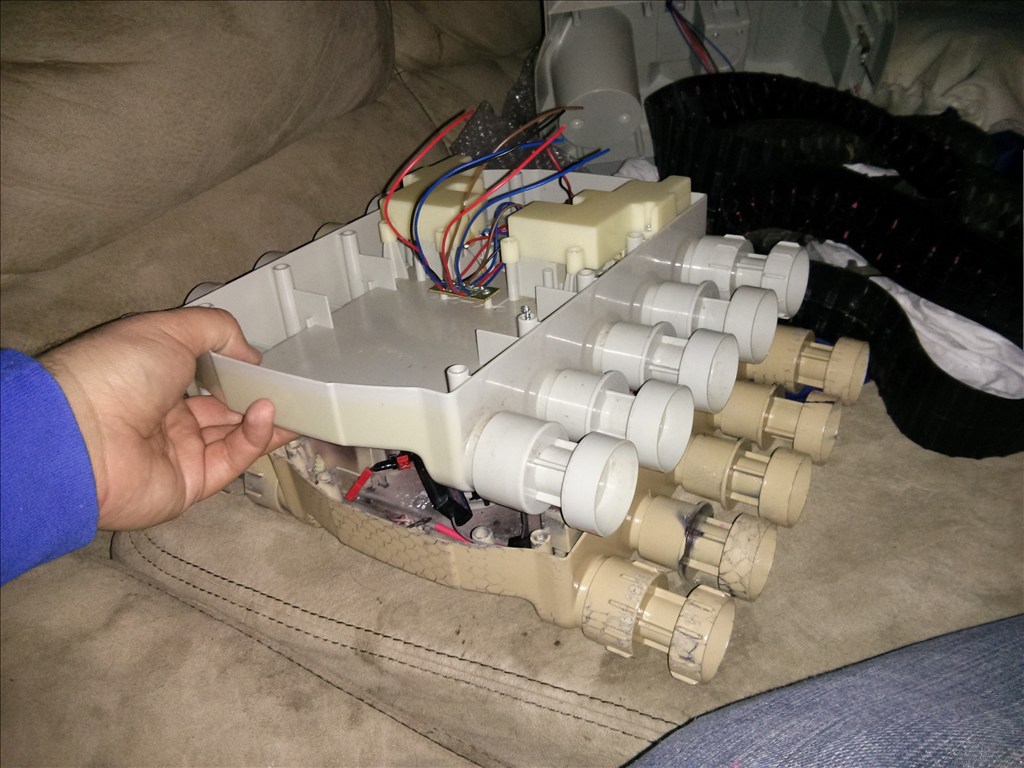
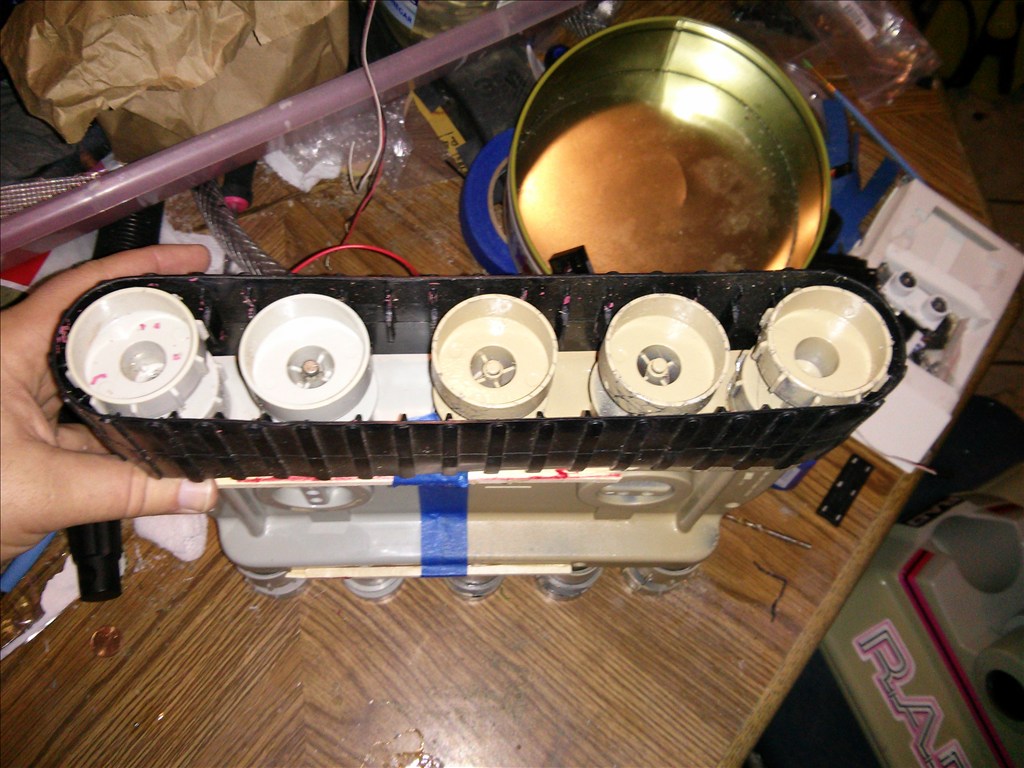
Here I compare the donor base and original. My challenge is I could not just cut it in half. There is a wheel and mount dead center and 5 wheels on each side..... I scratched my head a bit.. Pulled out a sharpie.. And started tracing around the mounts and wheel hub.
Ta DA! OK I am not even close to done but I really held my breath on this one because millimeters matter for alignment of the parts .
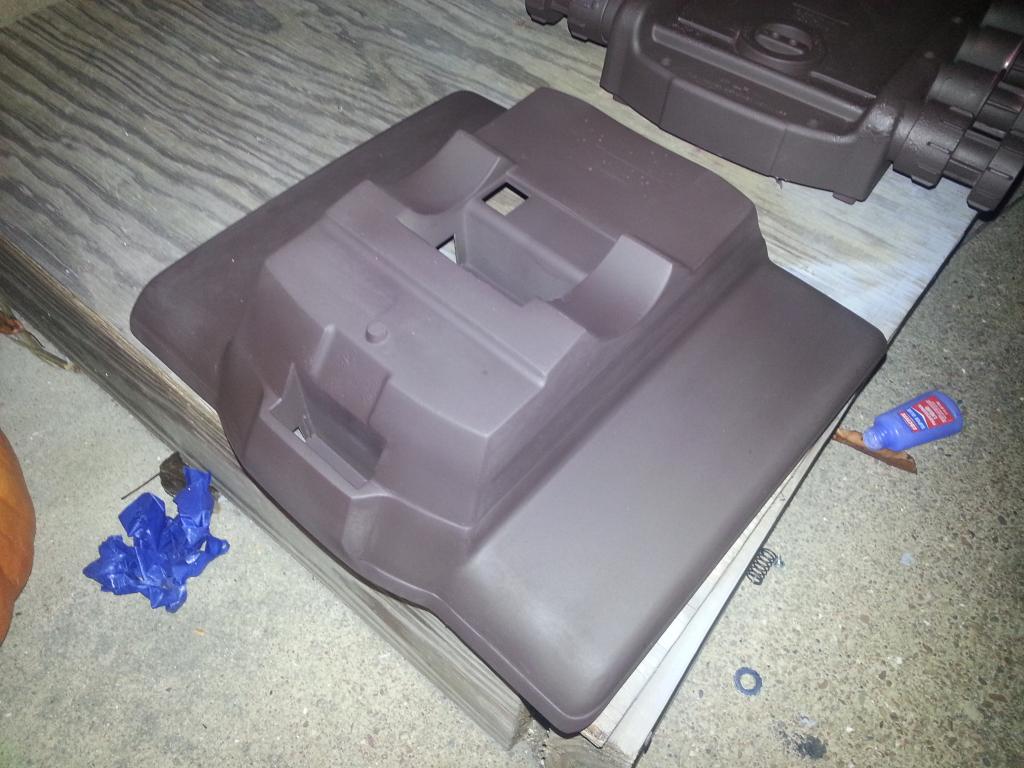
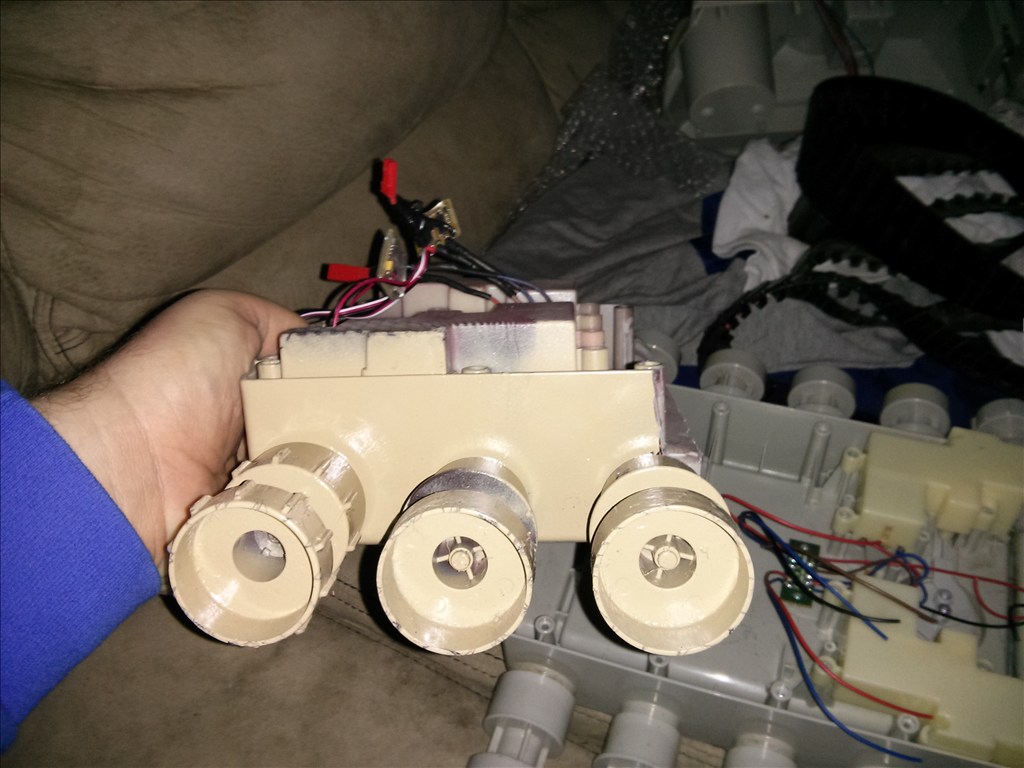
I used square dowels and some super glue to use as a temp brace to ensure the base doesn't shift while I'm filling the gap from the cuts.
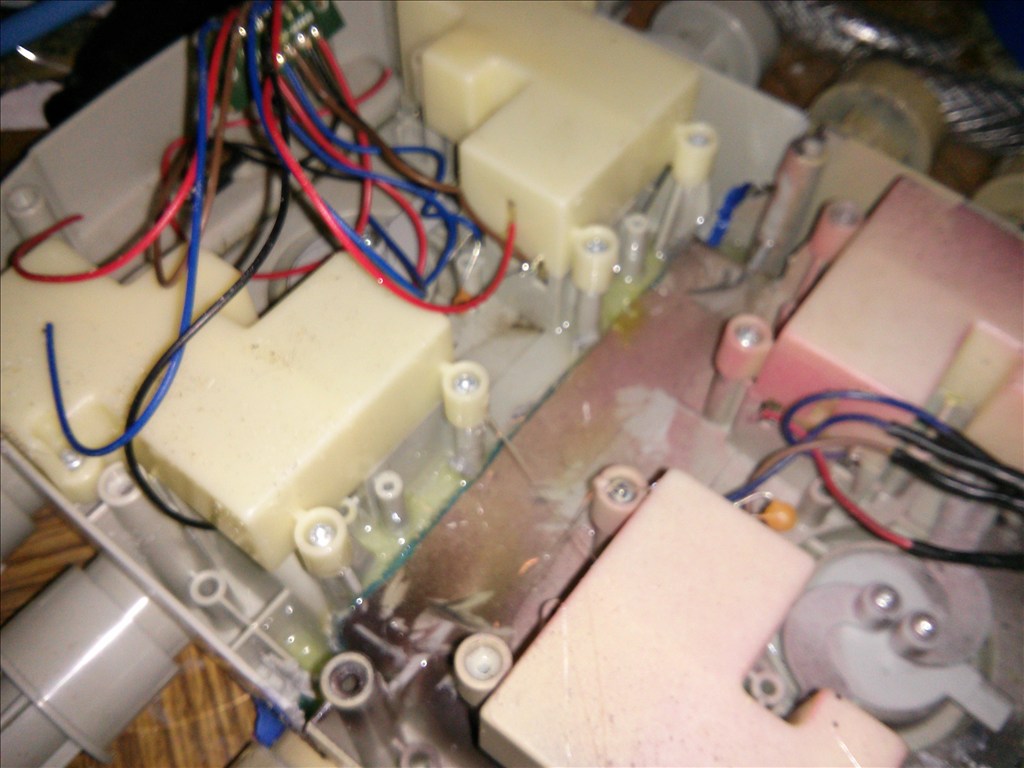
Once the dowels were firm I brushed in epoxy , about 2 ounces worth of permatex. I used masking tape to keep the epoxy from running through until it hardened enough to peel the tape off. I always found the tape comes off easy before it completely hardened while it is still having the exothermic curing reaction from the hardener.
Woo baby . that tread fits on tight now! No more flabby slack like in the first pictures. I believe this will solve my derailment issue. All the motors are still stock but I do still have these huge motors I bought on eBay...
I'm going to see how well this quad gearbox works with the original motors but I cannot help but wonder if I should upgrade all 4 to the monsters I haveLooks like loads of fun. I hope it works like you want it to.
THat is a fantastic Frankenbotmod. I really like how you added the 2nd gearbox. It is going to be awesome!
This is why I bought the extra rad robots for parts. I may not even need to use the bigger motors with this 4wd track setup. I am going to be strapped for room so I am considering using a 3s 11.1v turnigly lipo for power and a step down converter for the 6v needed for the arm servos and guns.
@ Bret thanks man!