
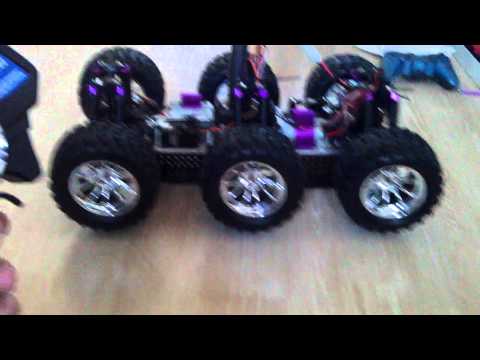
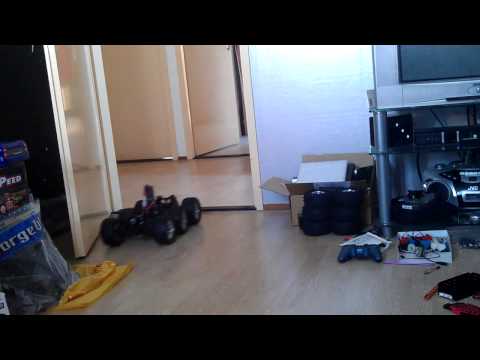


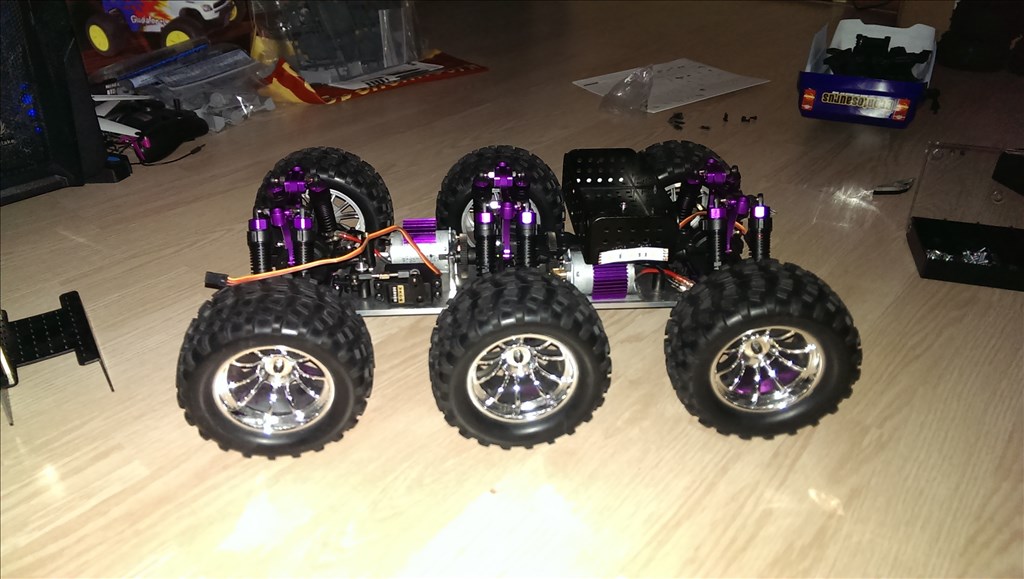


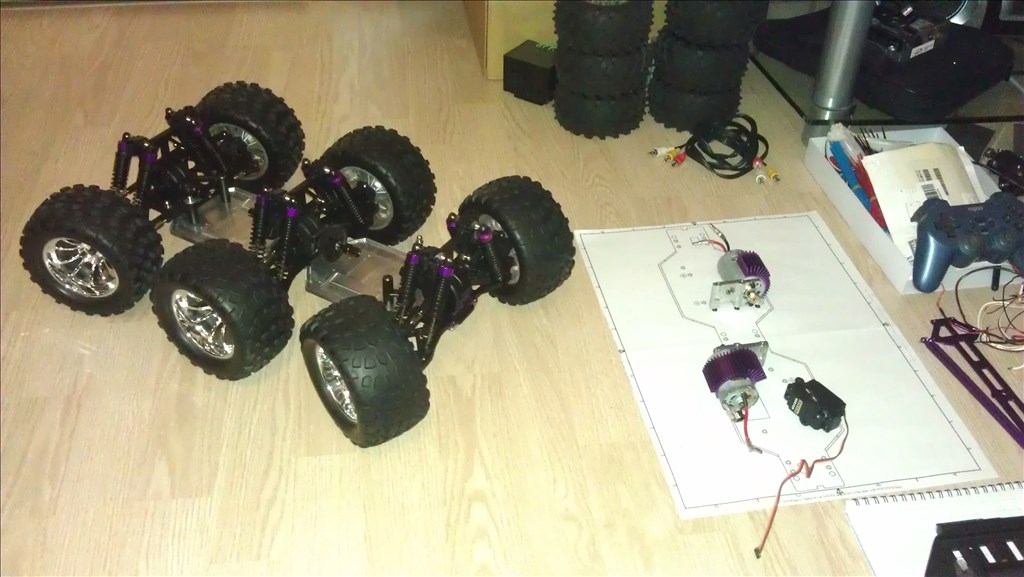
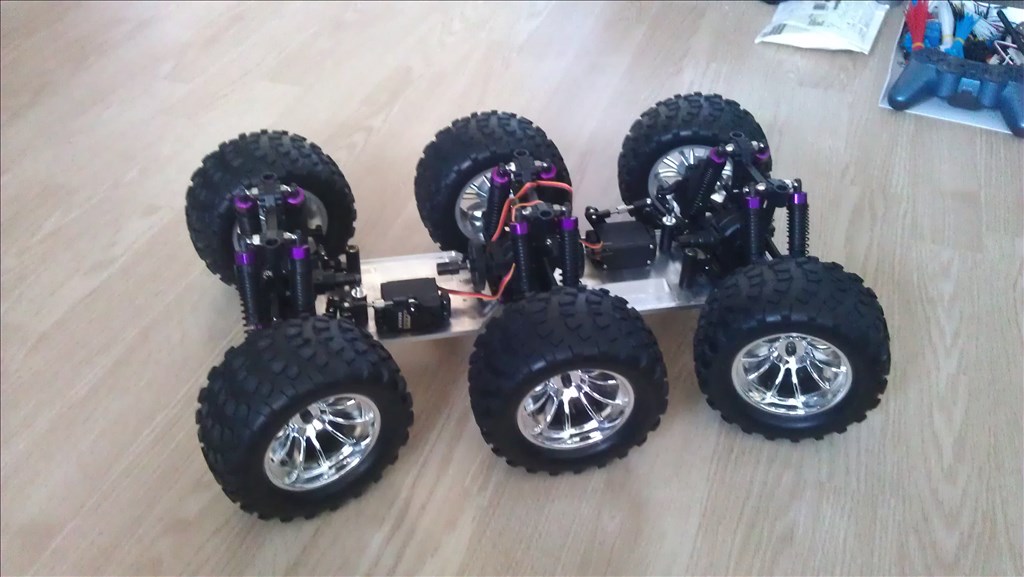


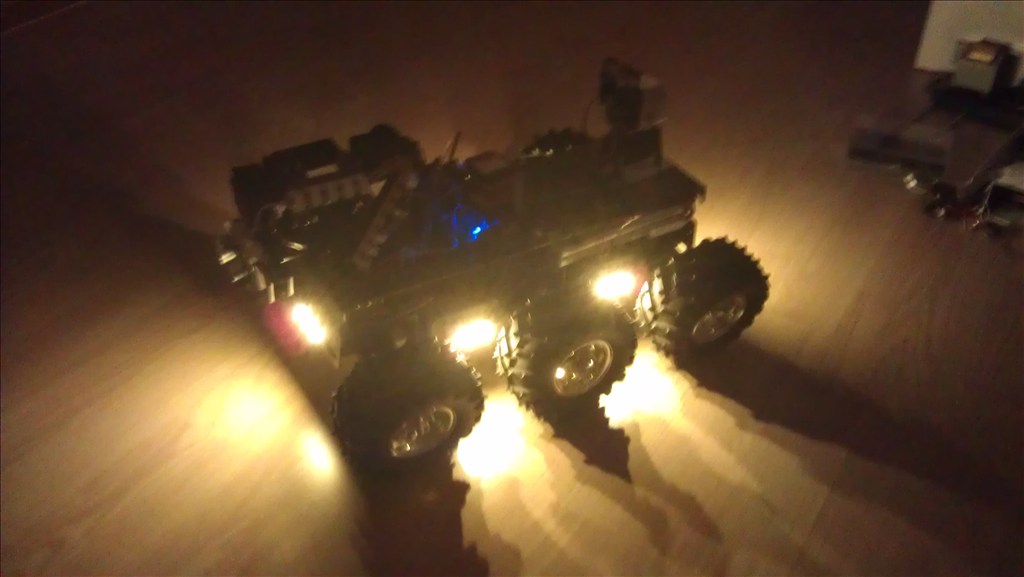


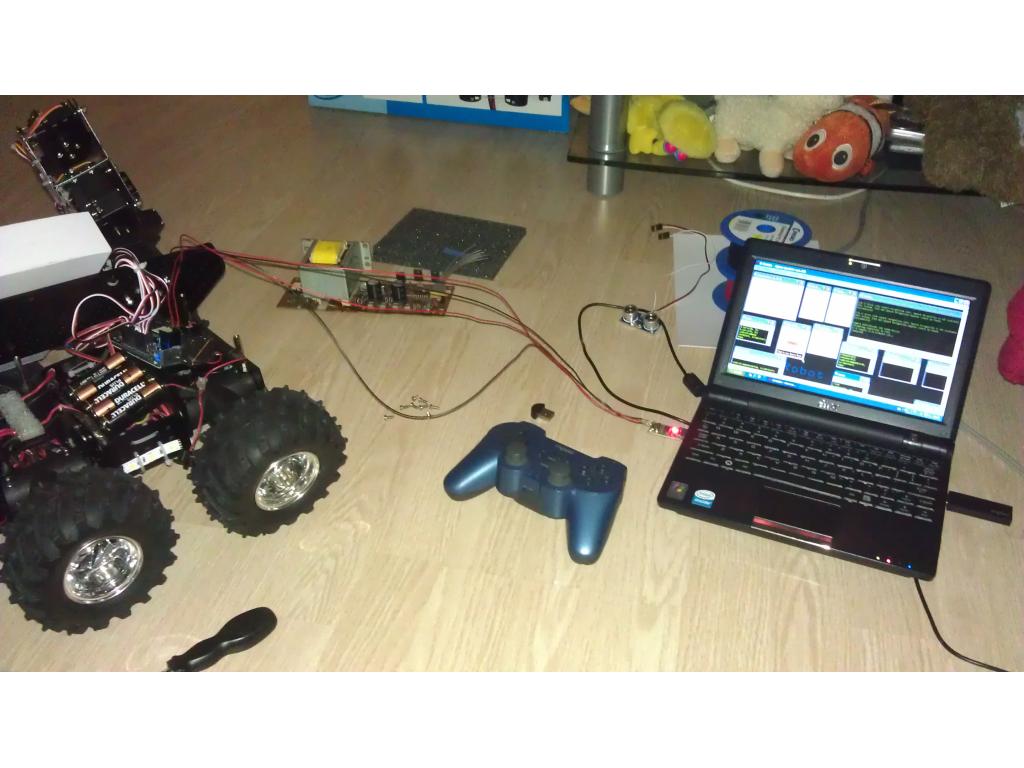

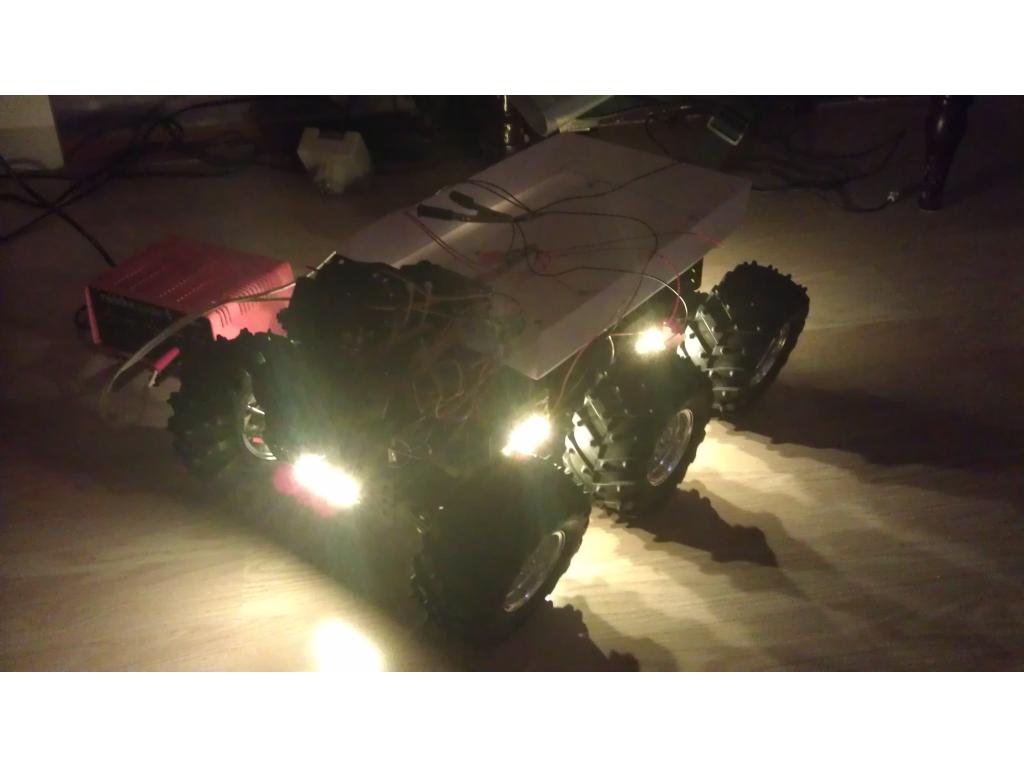
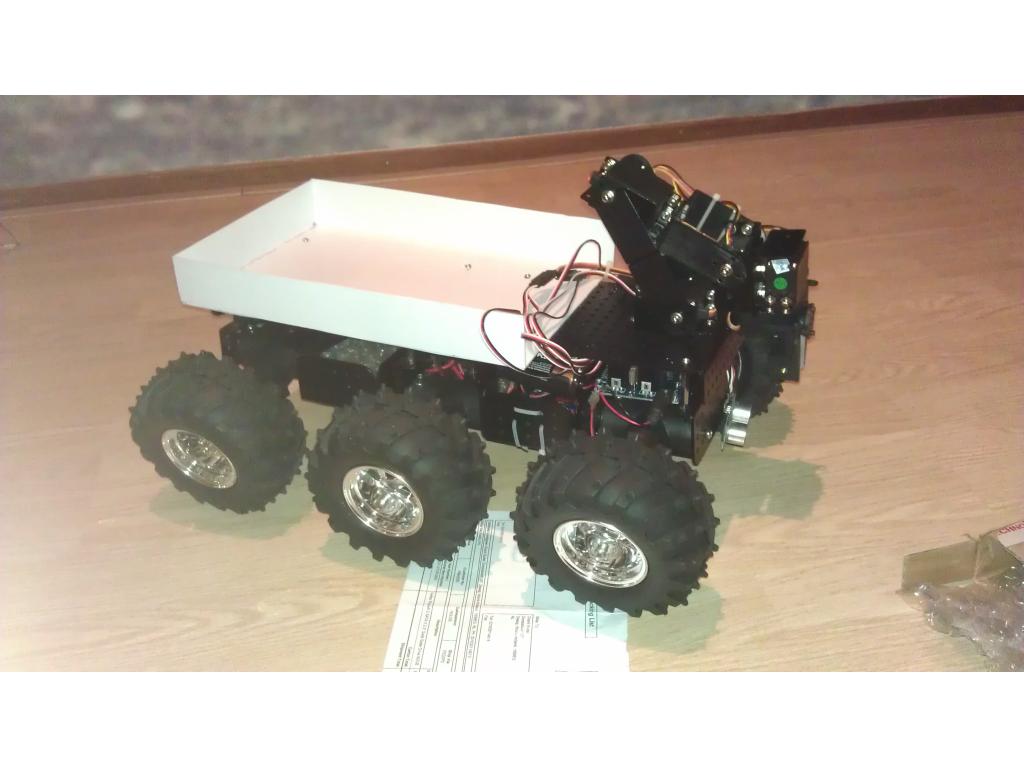
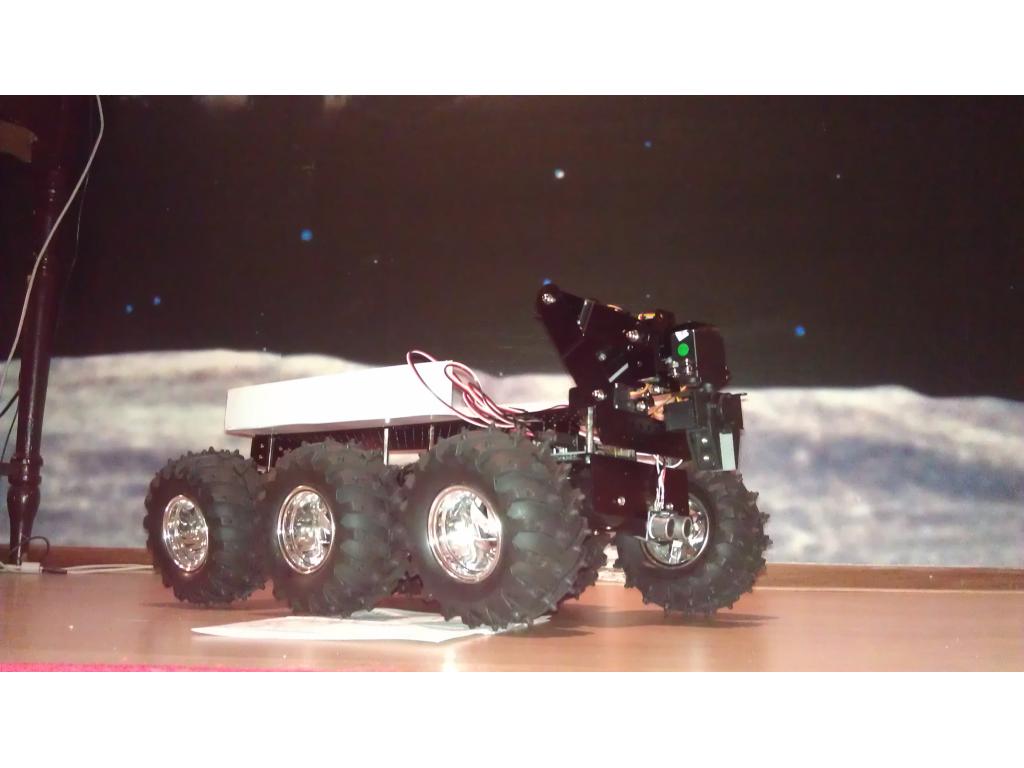
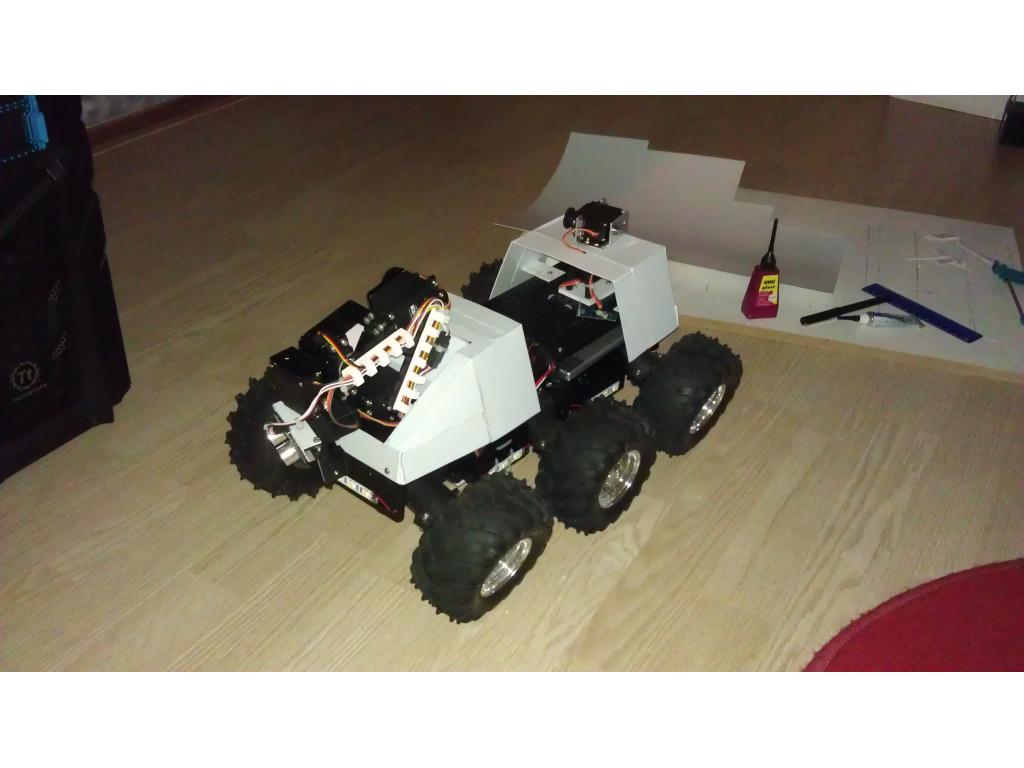
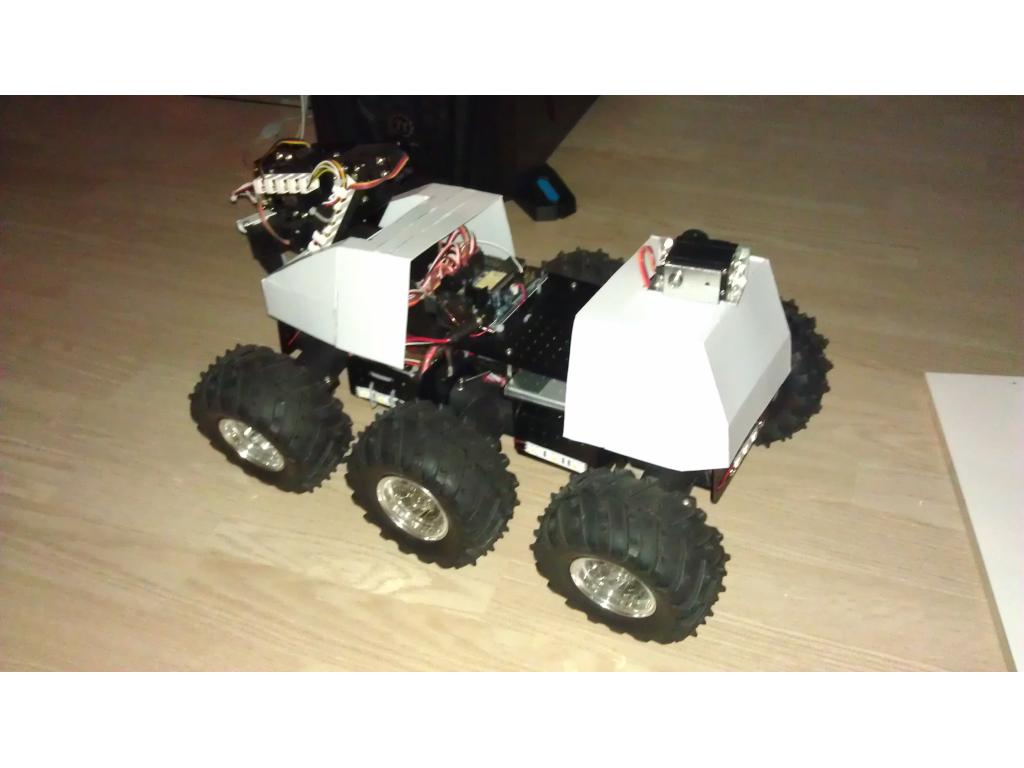
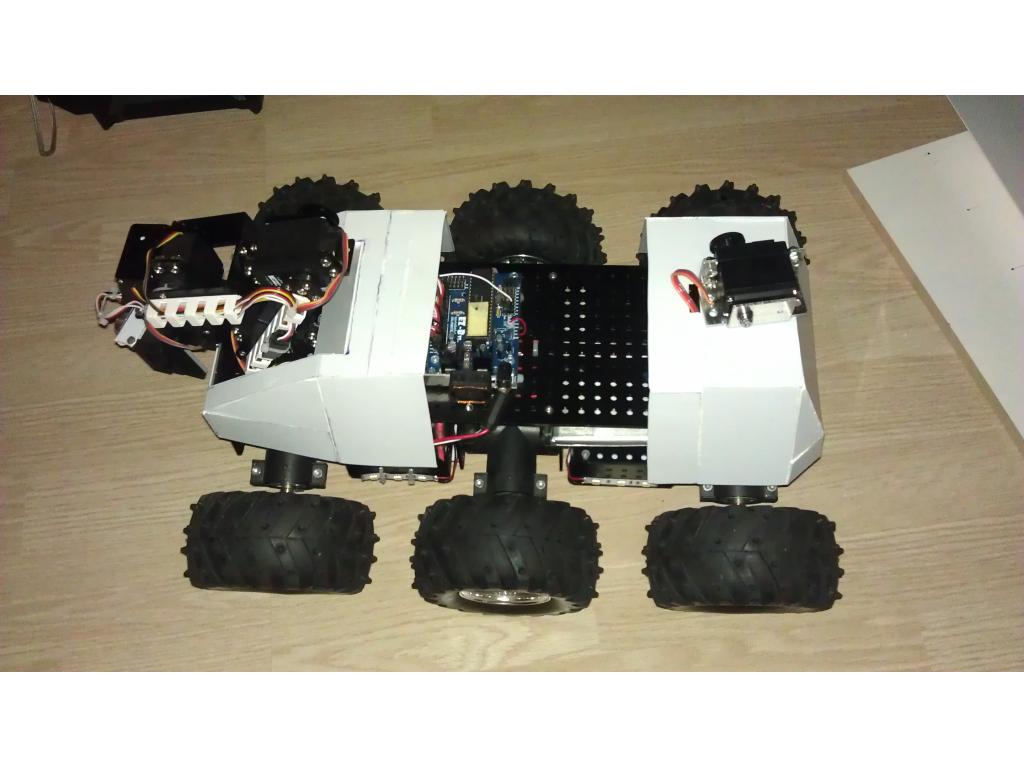
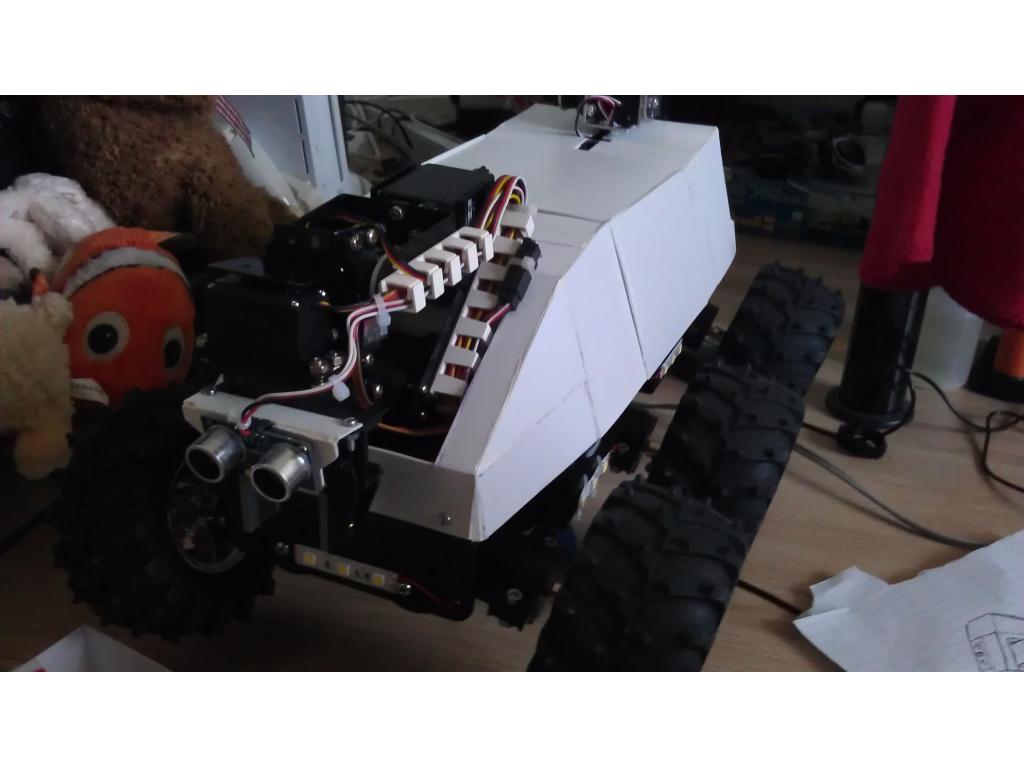
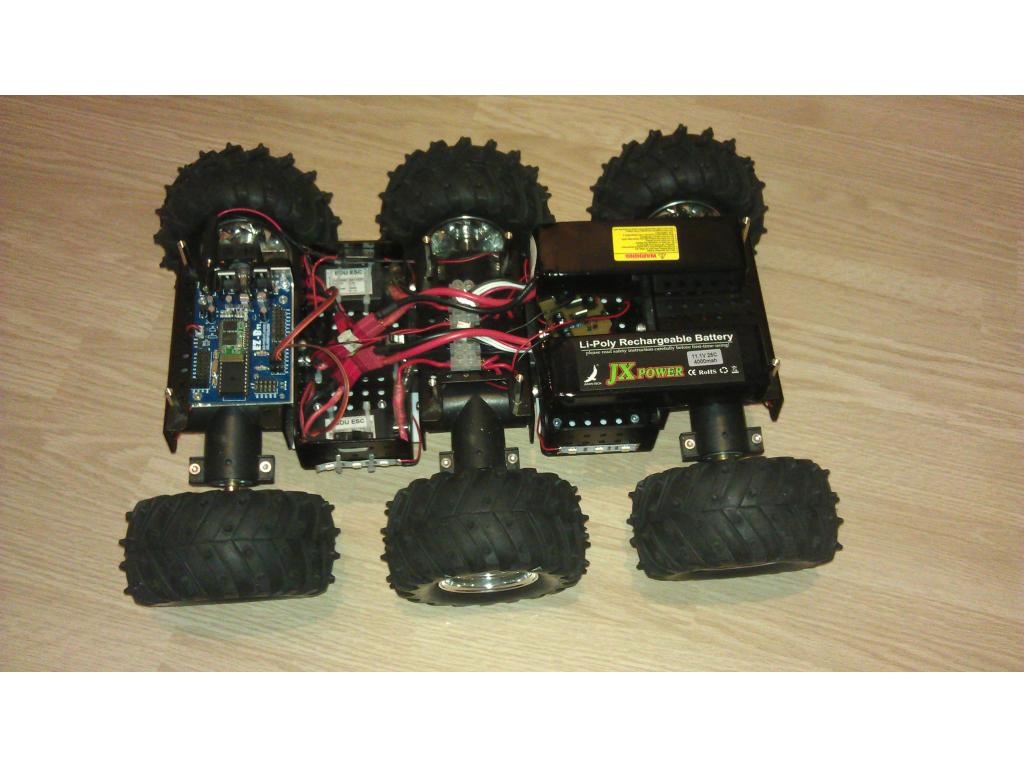
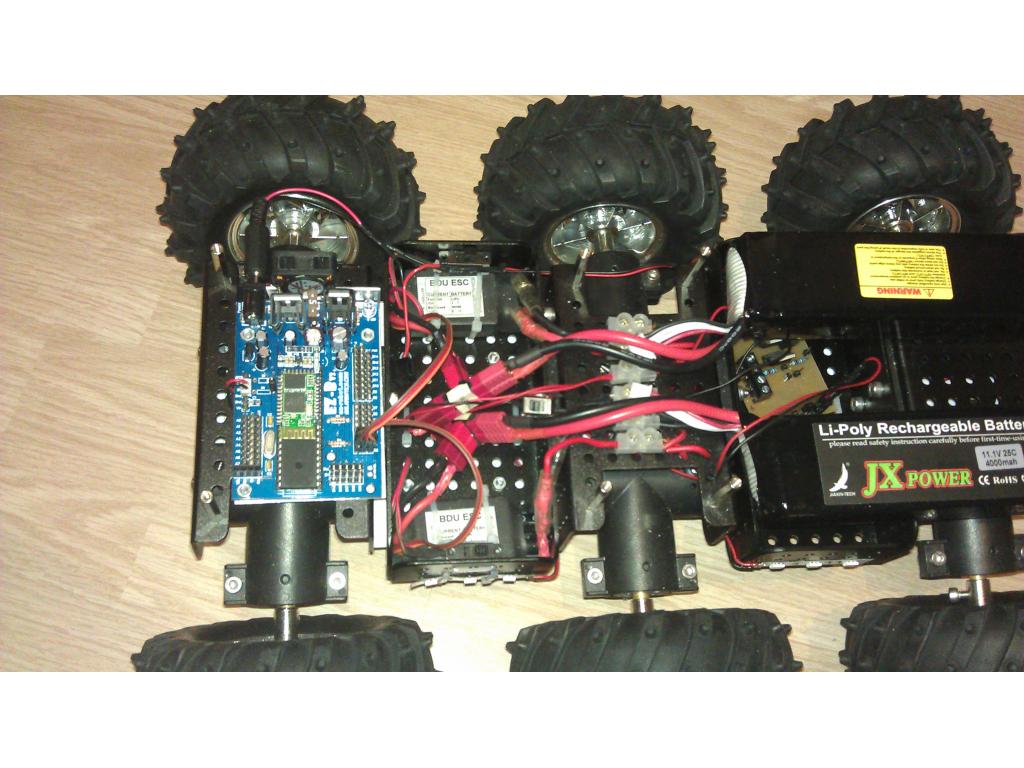

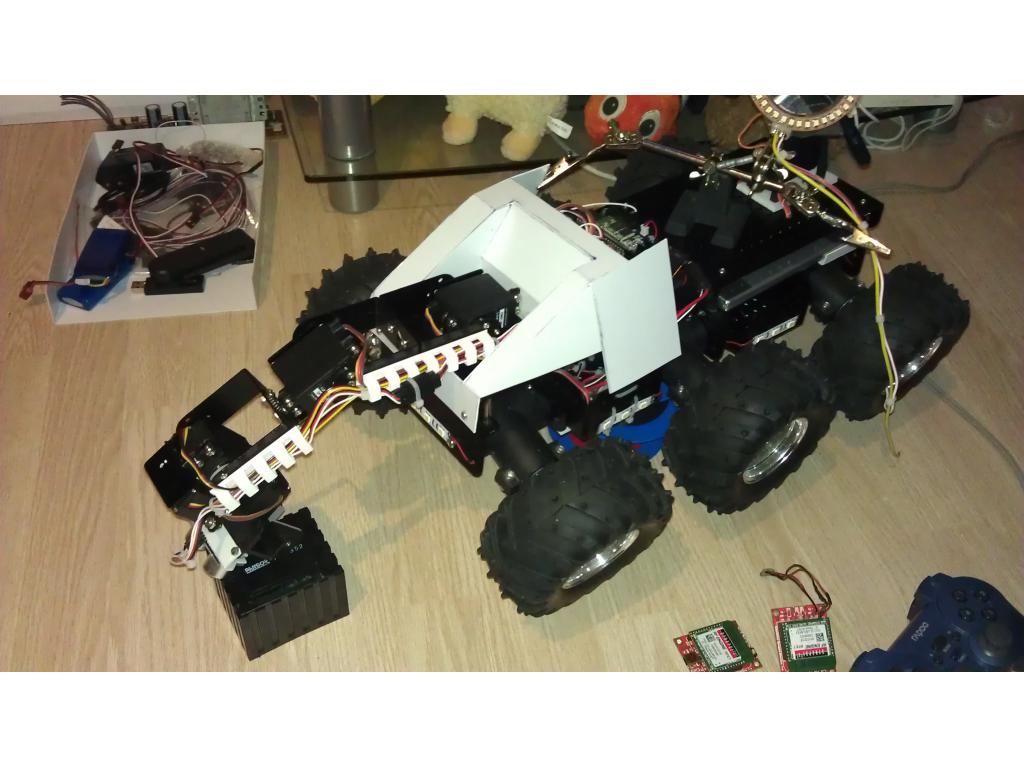
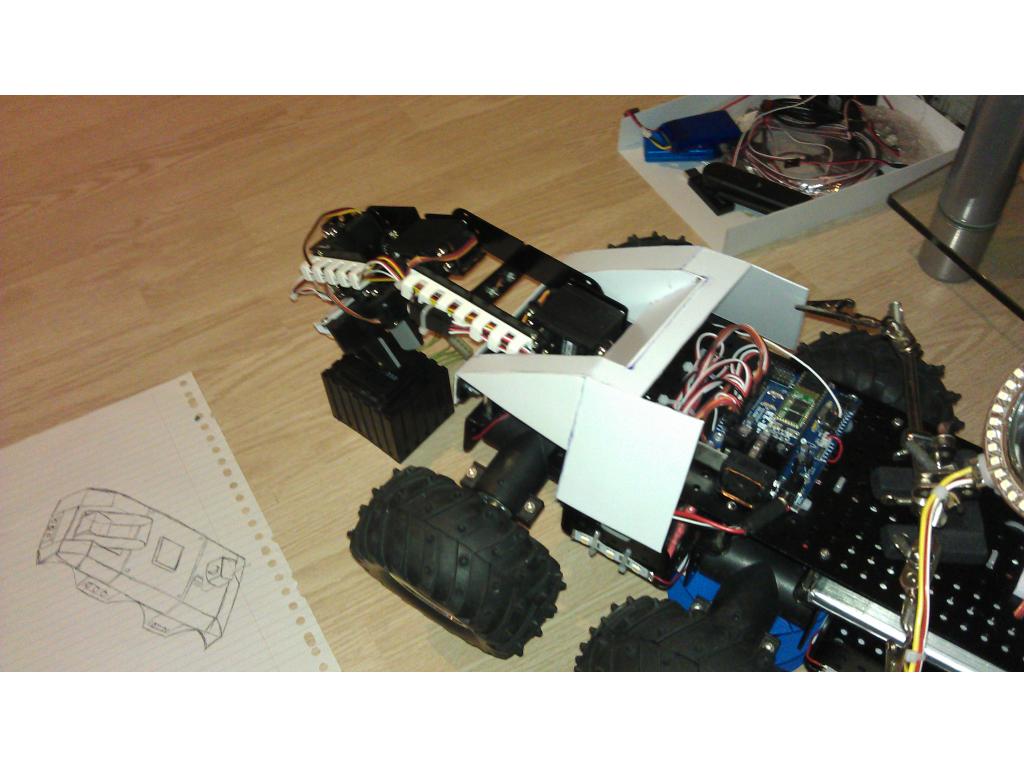
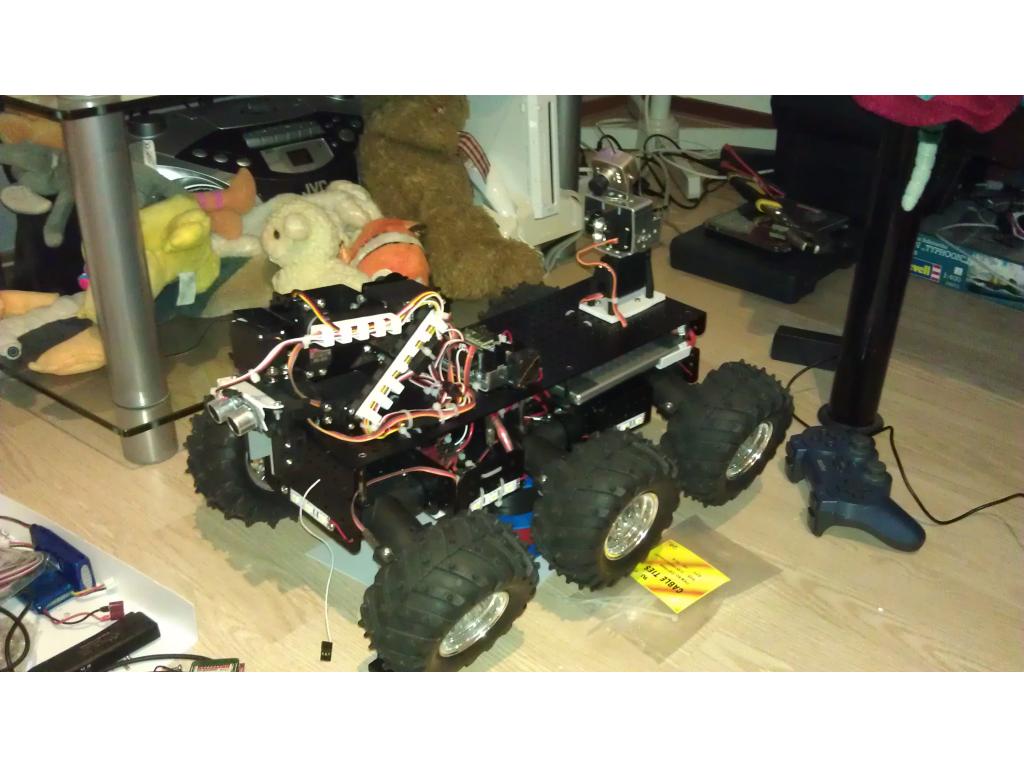


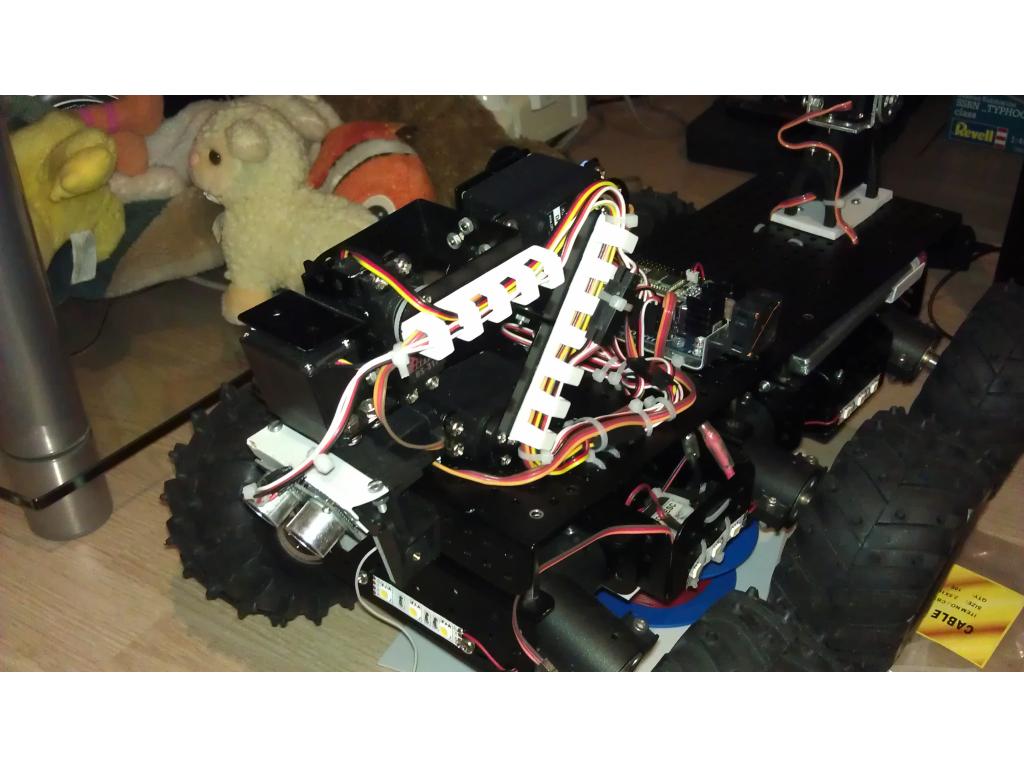
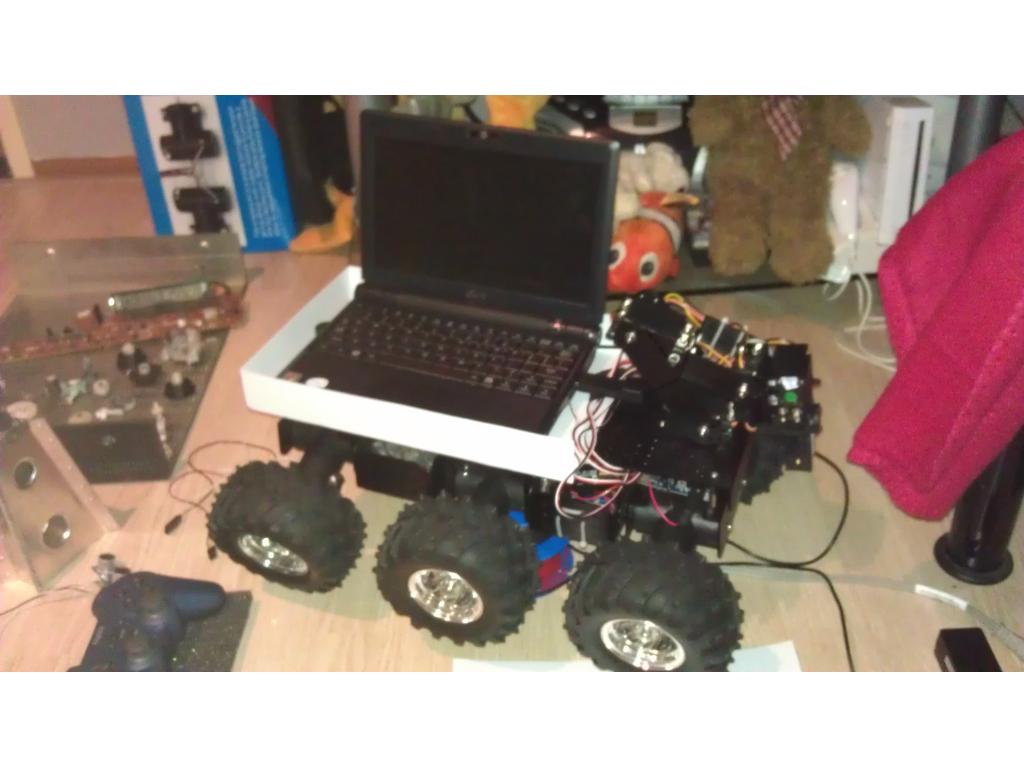
Hello fellow EZ-B'rs, As I finally discovery how to upload photos I thought it was time to share my robot with the world. It's called R.O.O.S.T.E.R which stands for: Remote Online Operating Scientific Testing Electronic Robot (took me about an hour to come up with that, but I like it).
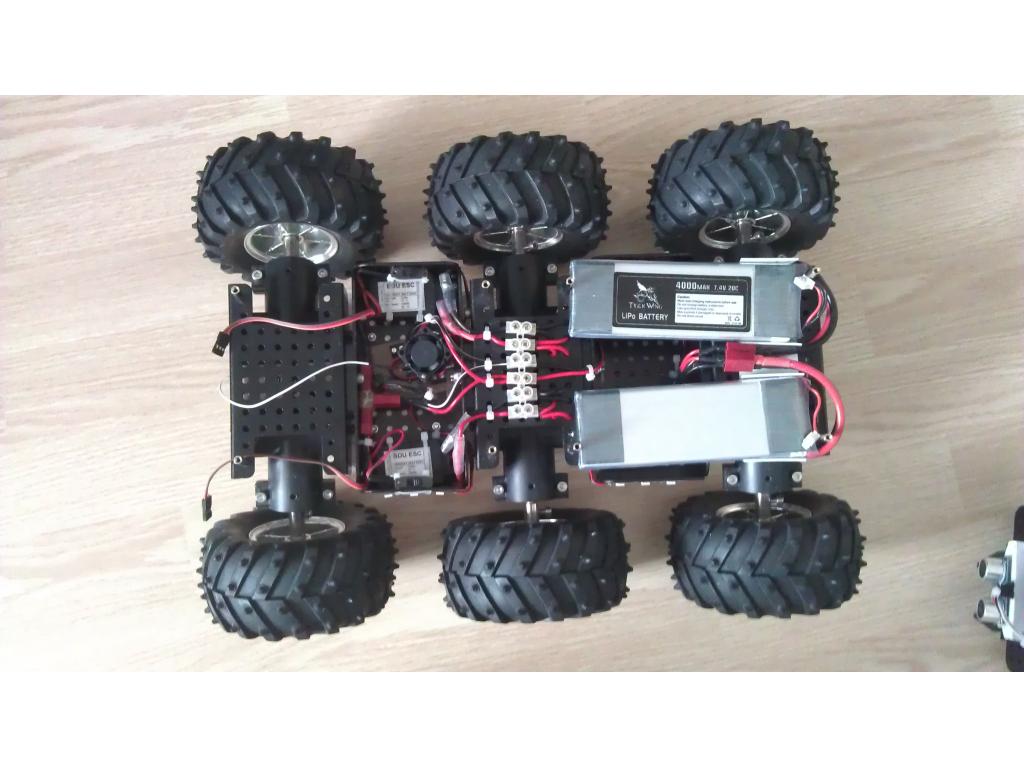
The specs:
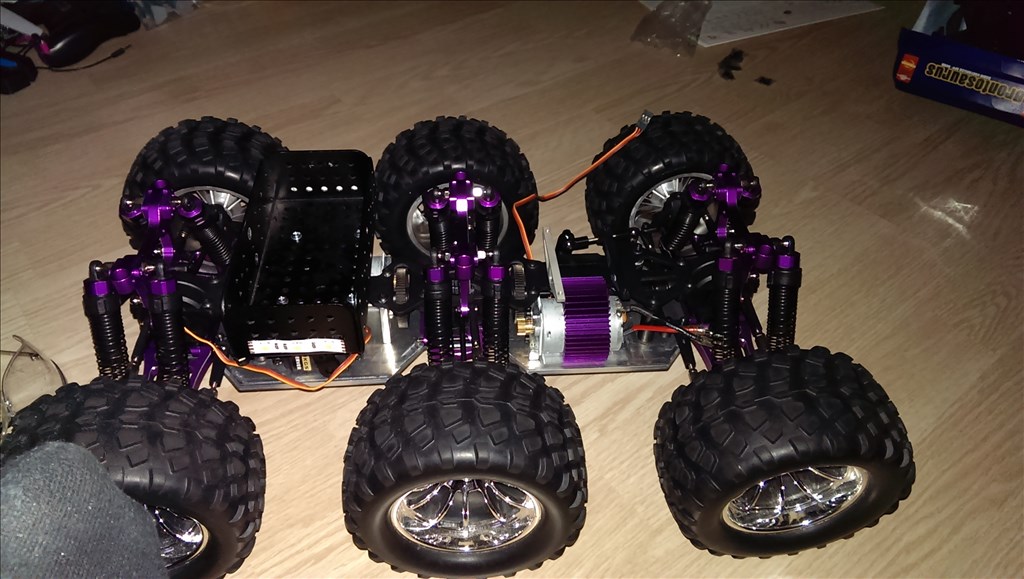
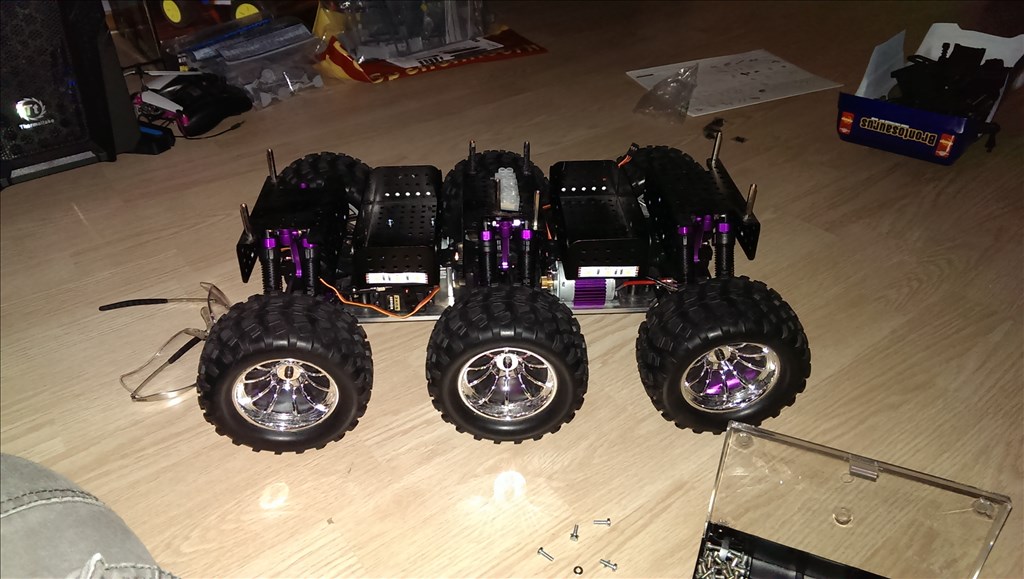
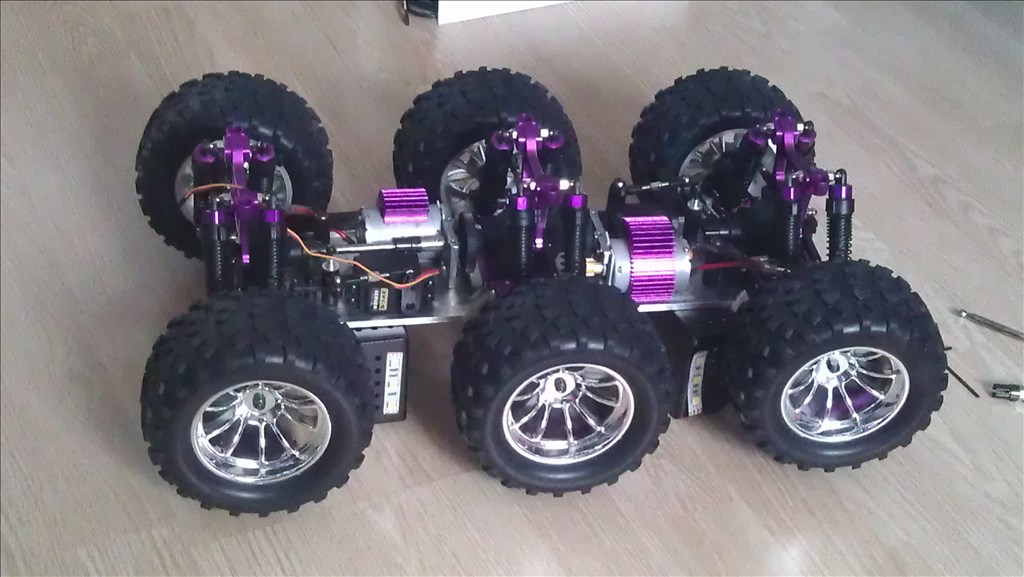
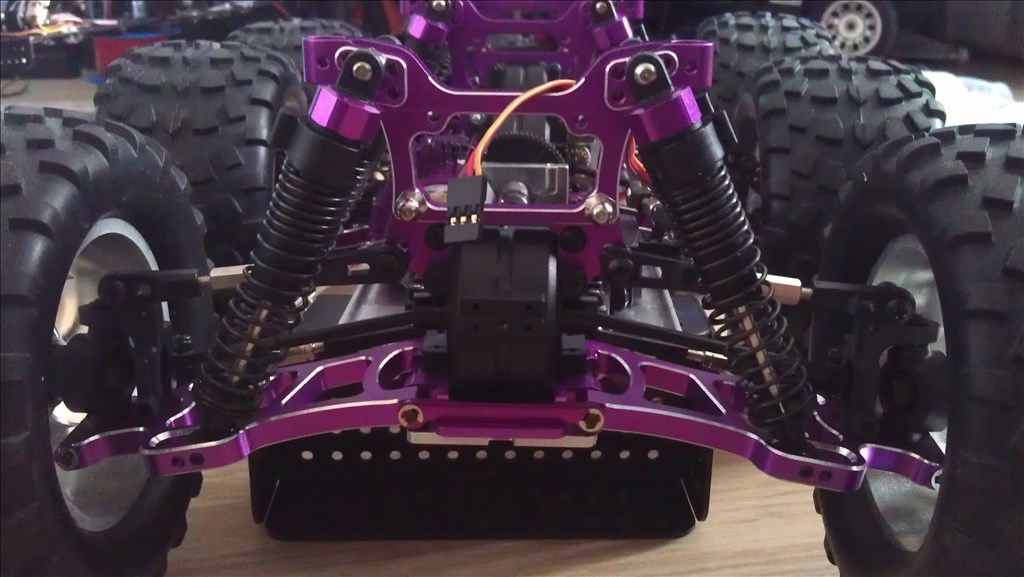
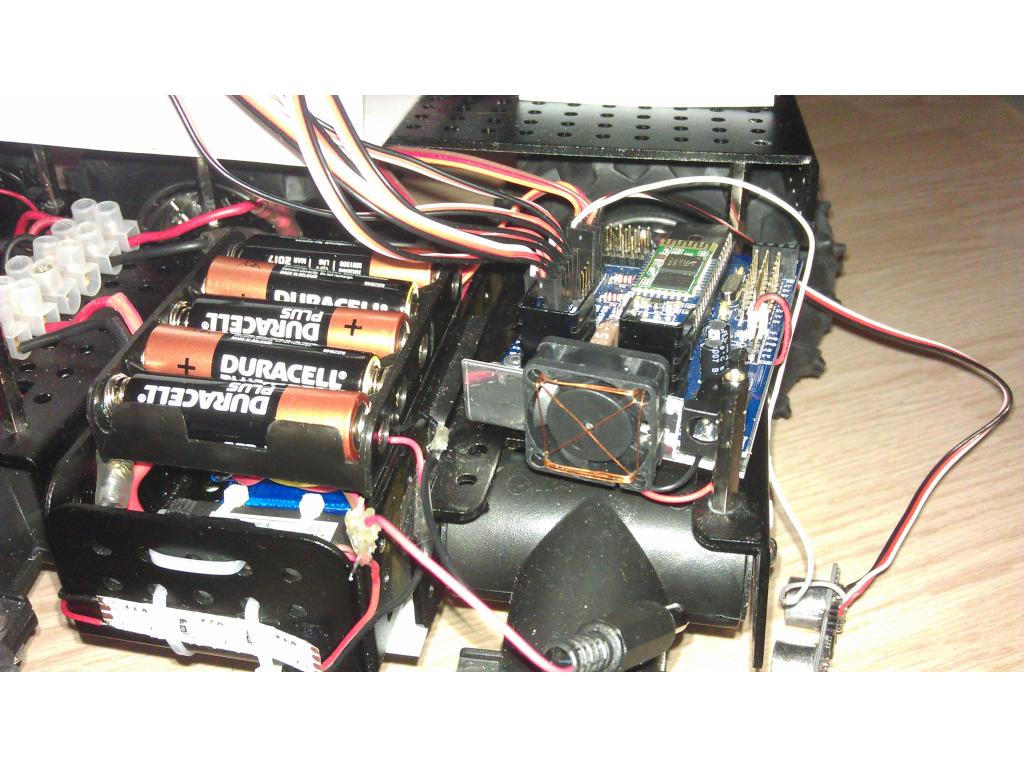
- 6x 6v 6A motors
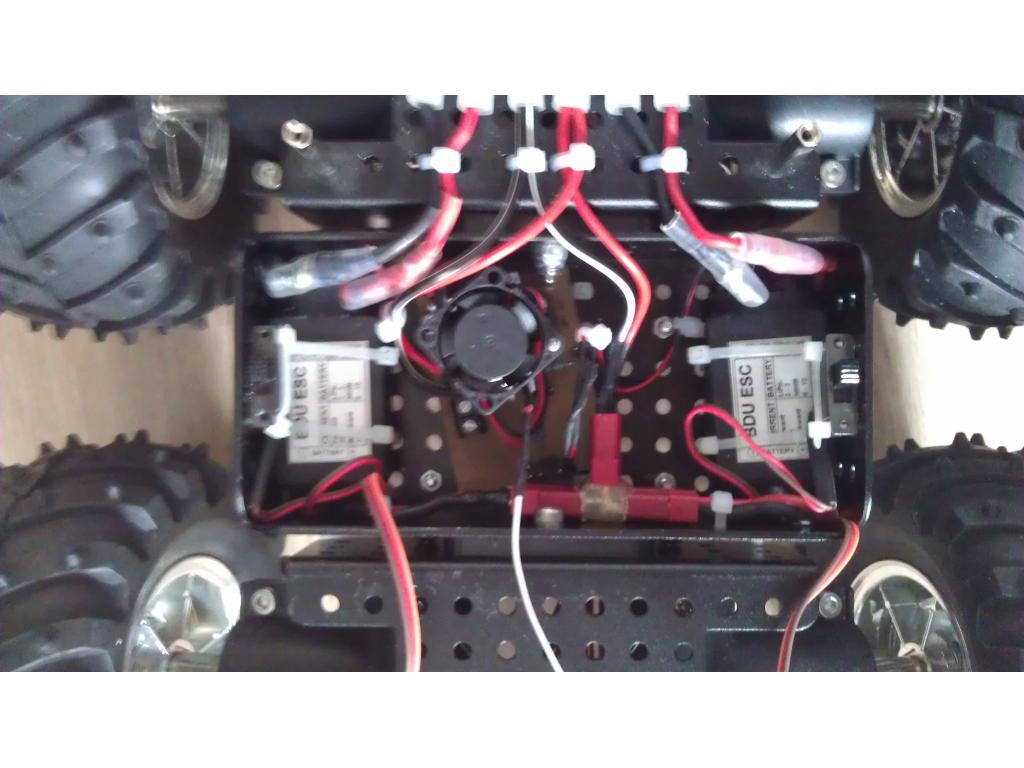
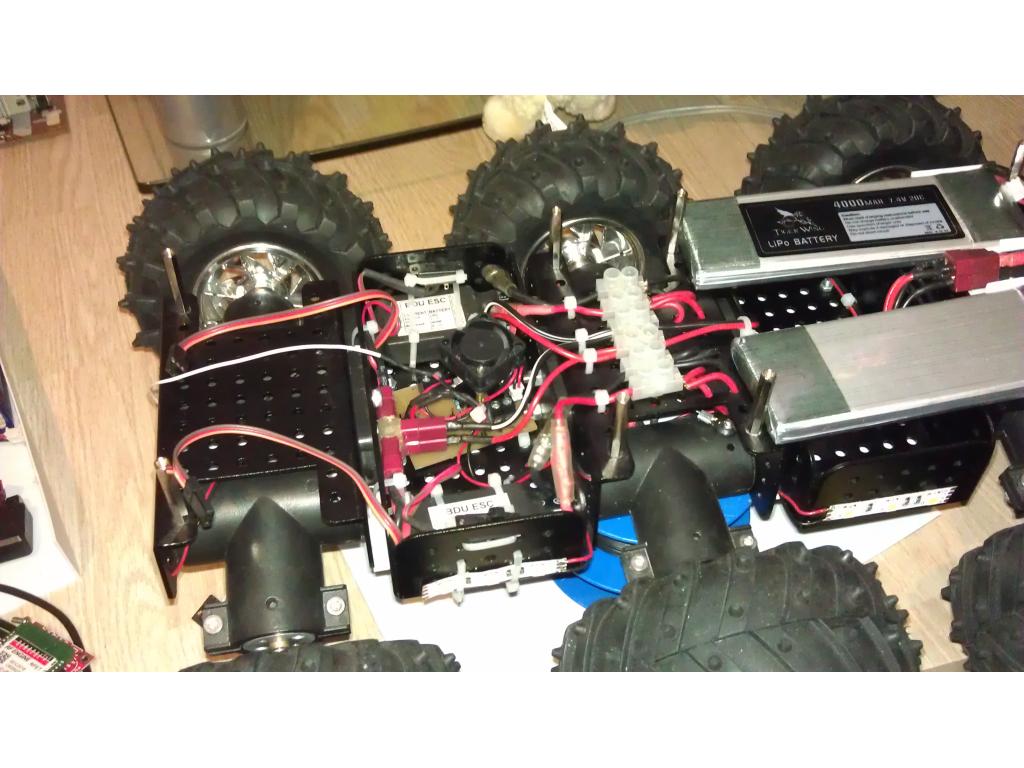
- 2x 20A Rc Car ESCs
- 2x Reddragon 2s 25c 1200mAh
- Ofc the Ez- B
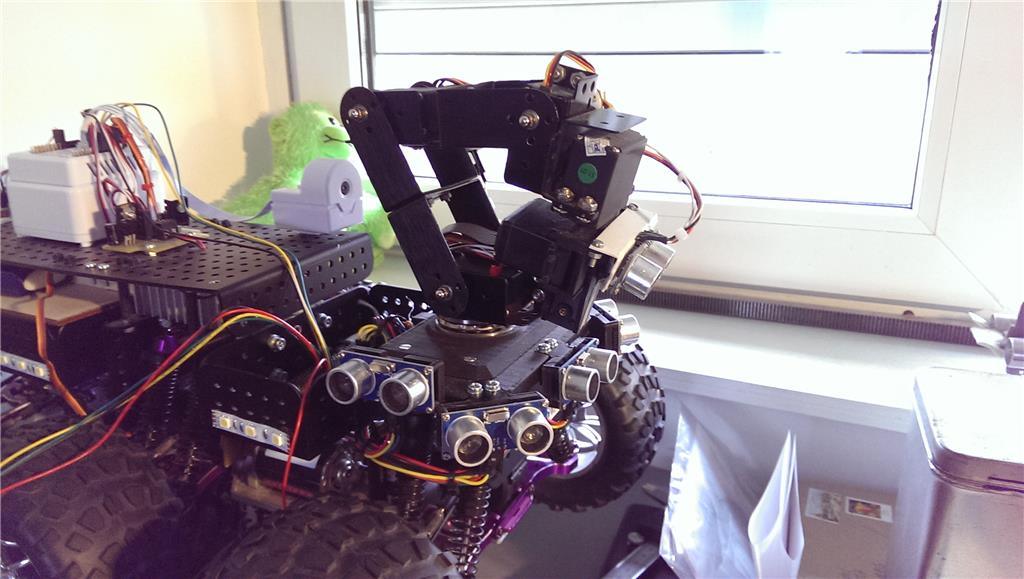
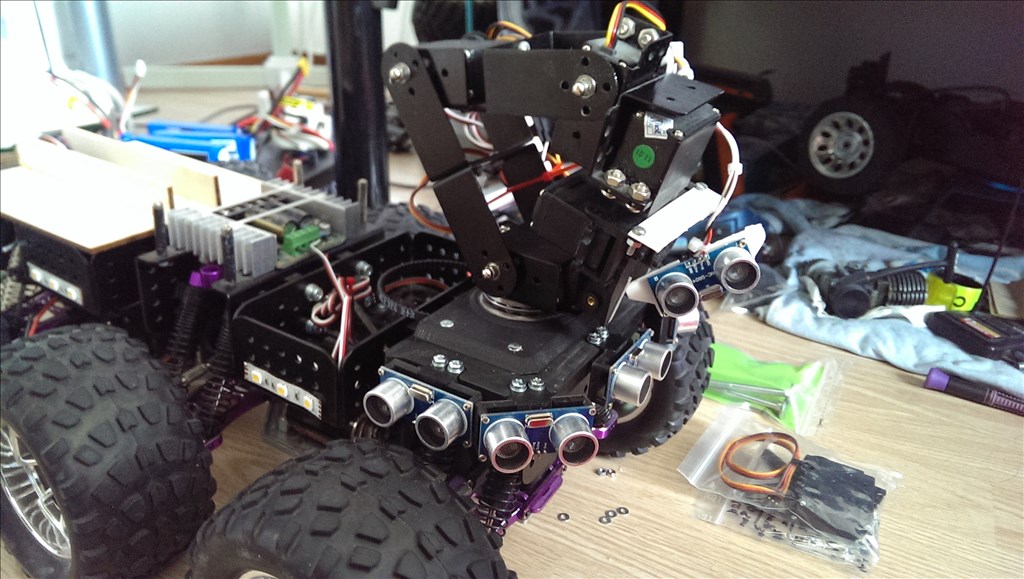
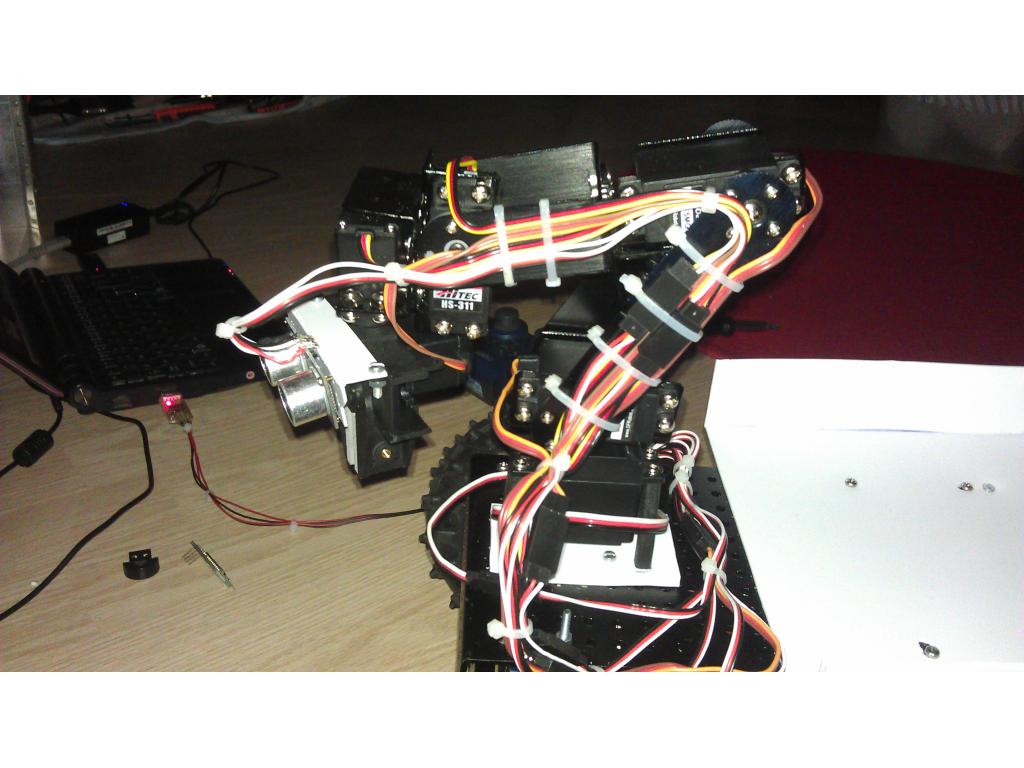
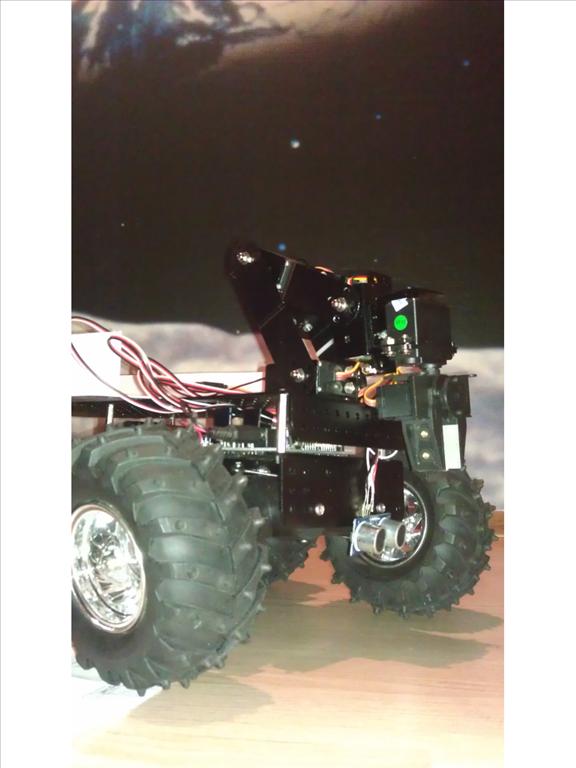
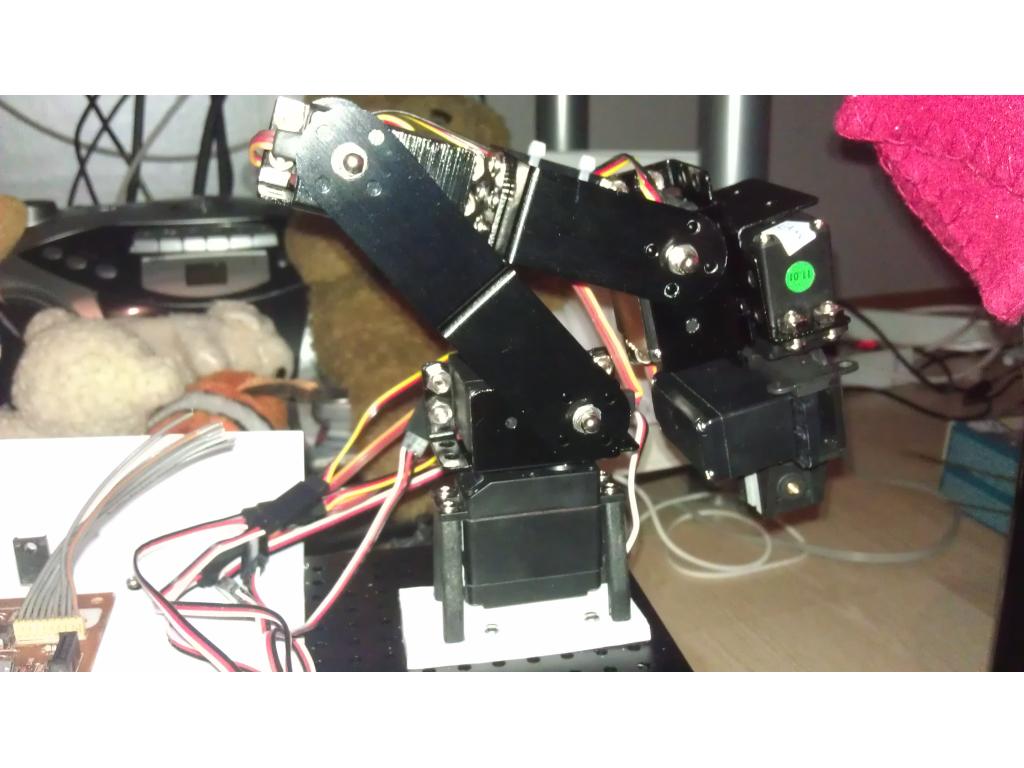
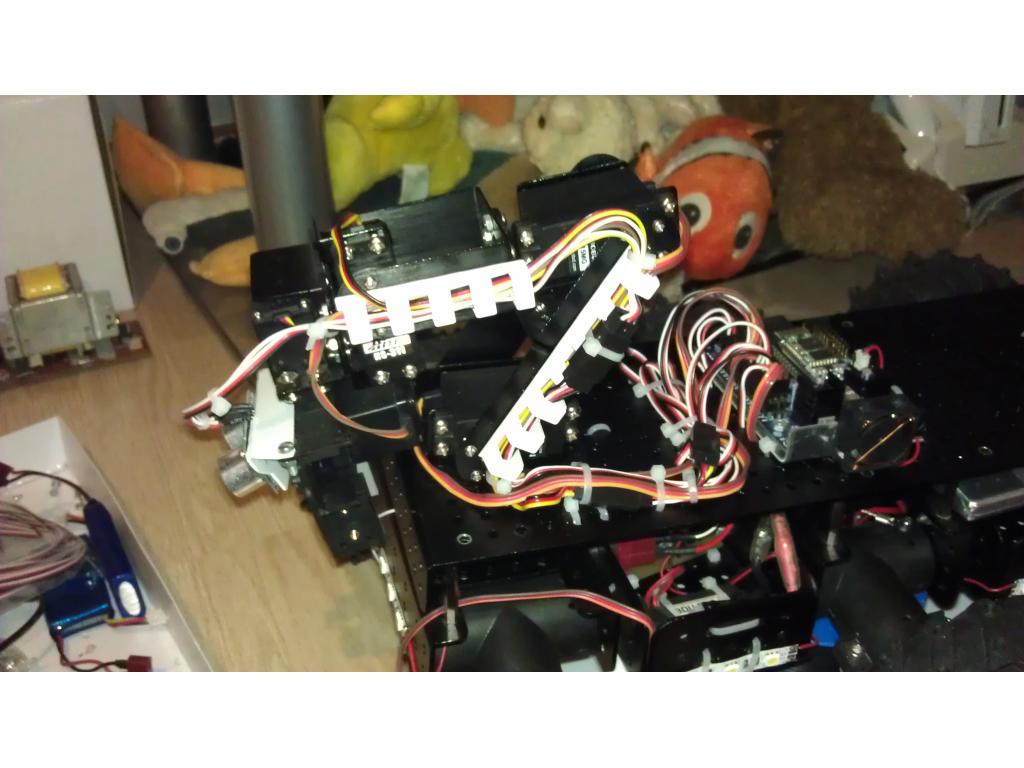
- Dfrobot 5dof robotic arm
- Asus Eee pc 900hd
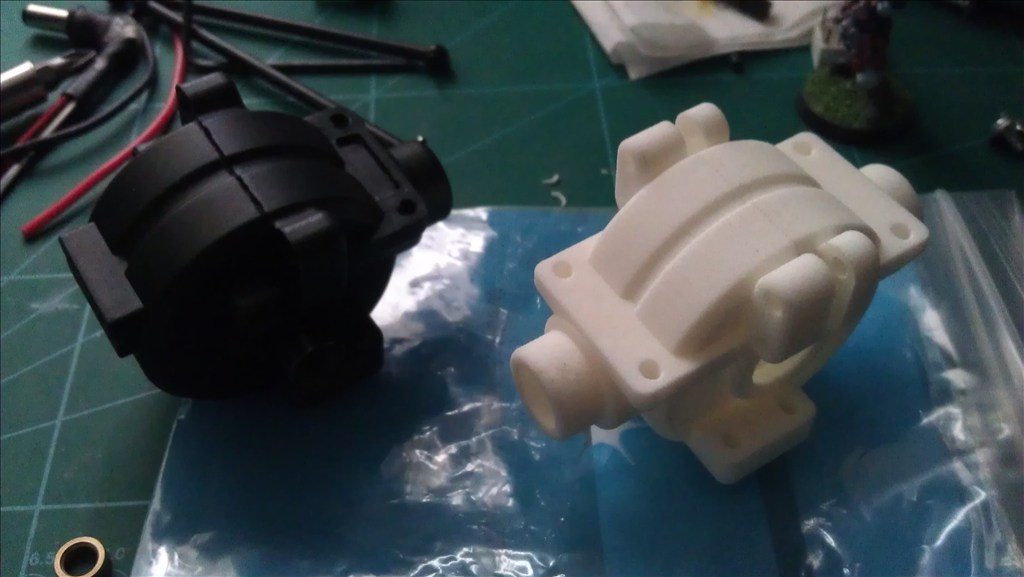
- Ping sensor (well... I sort of broke it... It got stuck between the robot and the wall...)
Why I'm building it? Because I can, robots are Awsome, the EZ-B rules and I got tired of burning/shocking myself when I'm testing one of my "crazy" contraptions.
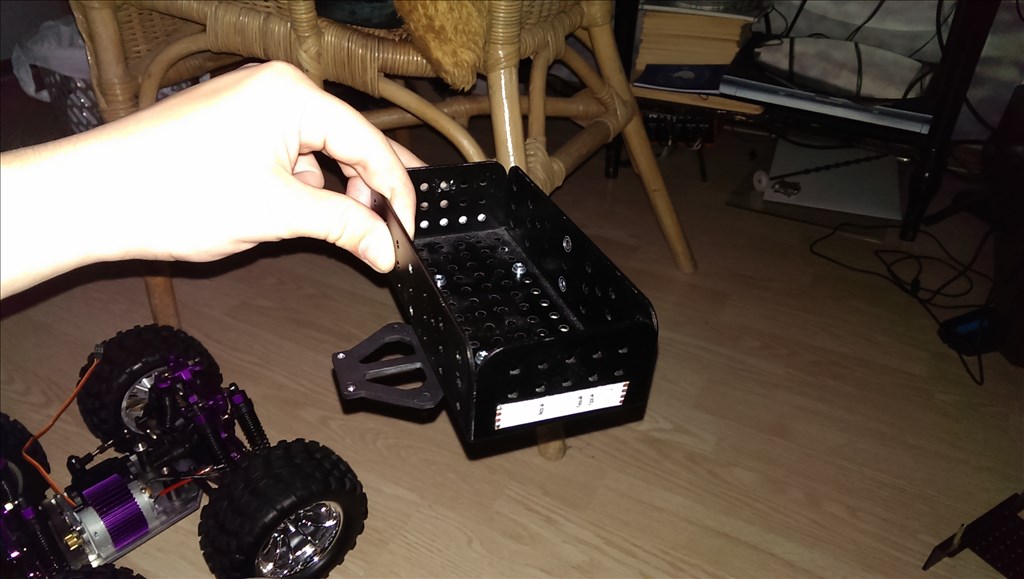
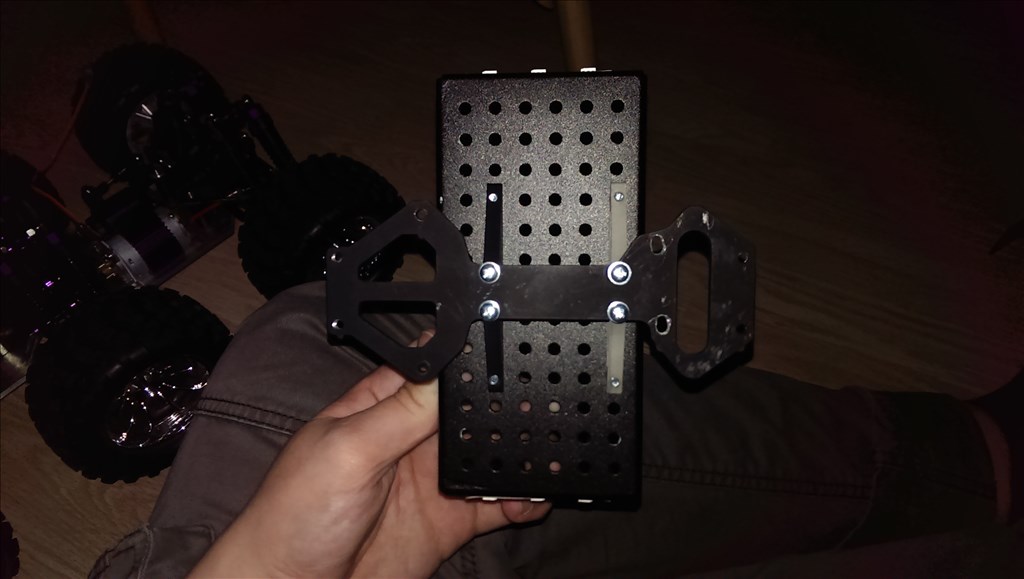
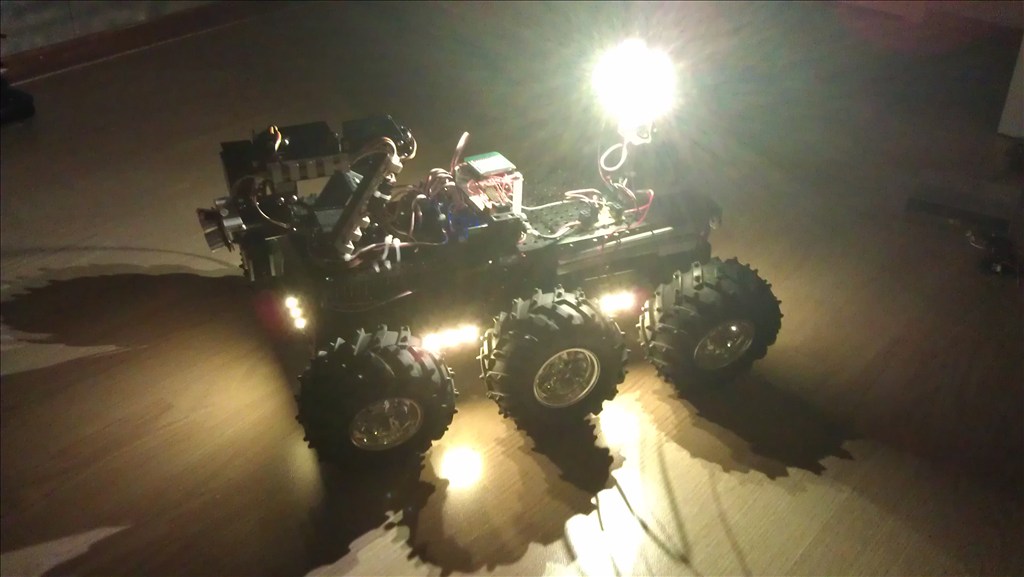
Up coming updates for robot:
- A rotationplatform for the arm.
- 2 gigantic lipo batteries.
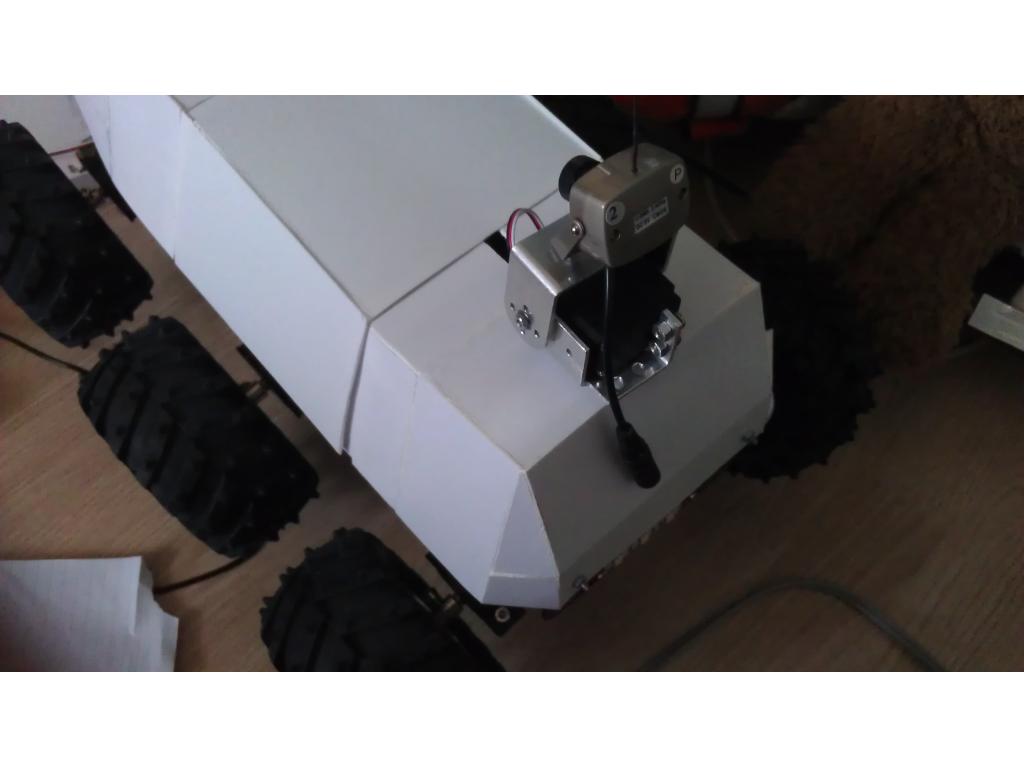
- camera+ pan/tilt turret.
- Small rockets
- mini mini-gun
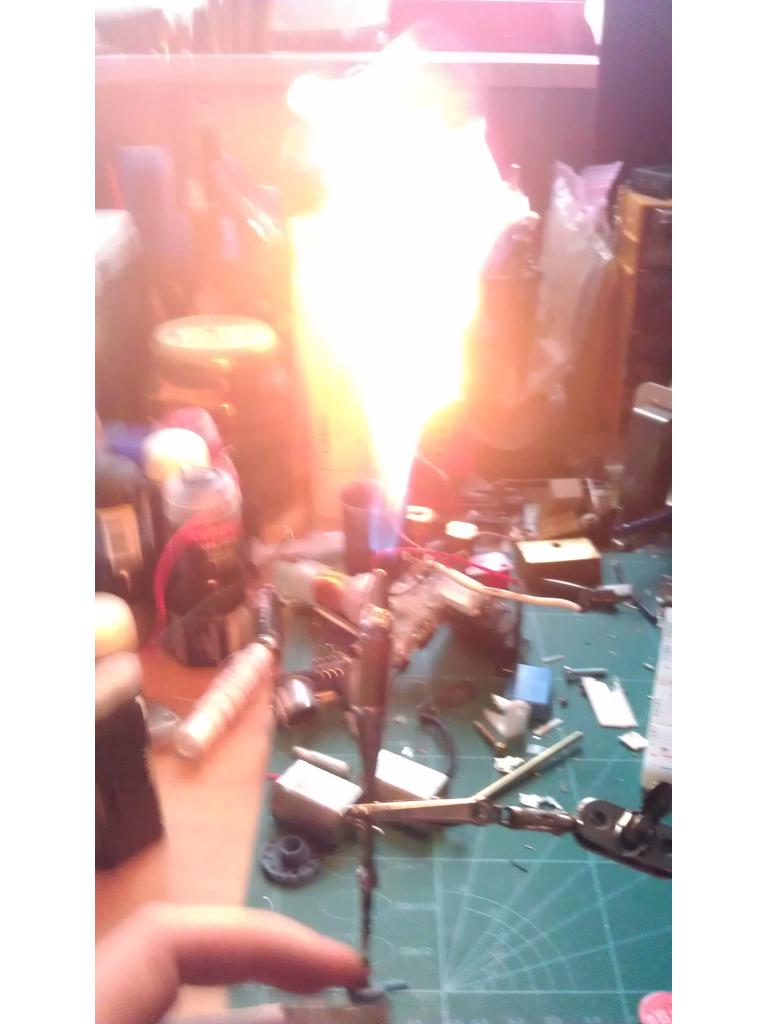
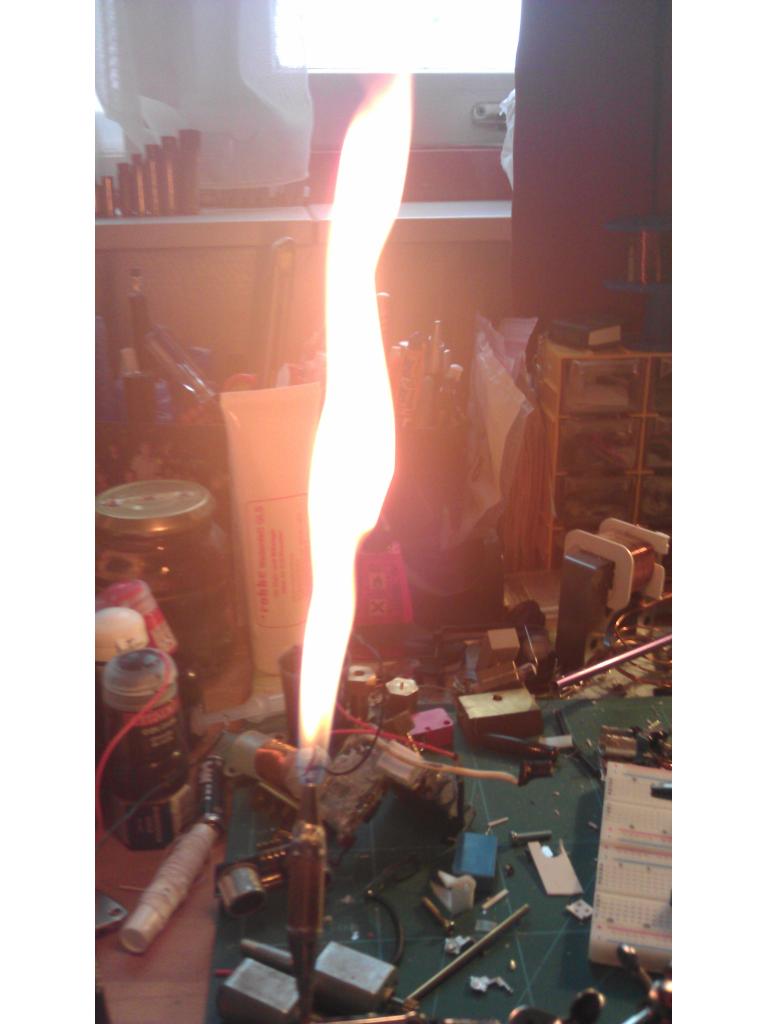
- Flamethrowler (a failed version of a liquid fueled rocket, but it's working if you call it something else)
- coilgun
- railgun
- Lots of other things I can come up with.
By budel0
— Last update
Discover more robots
Ezang's Let's Have Some JD Robot With Voice Commands
JD robot voice control with left-right head movement for natural, responsive interactions
Nomad's Adventurebot Cherry
Pink & cherry AdventureBot - complete original unit repainted; cherry camera, light-pink dome, painted wheels and...

Jstarne1's Security Cam Robot, This Droid Is Watching For...
Project update: MagPi magazine to feature project build with step-by-step instructions and a fresh new look.

oeps video is privet
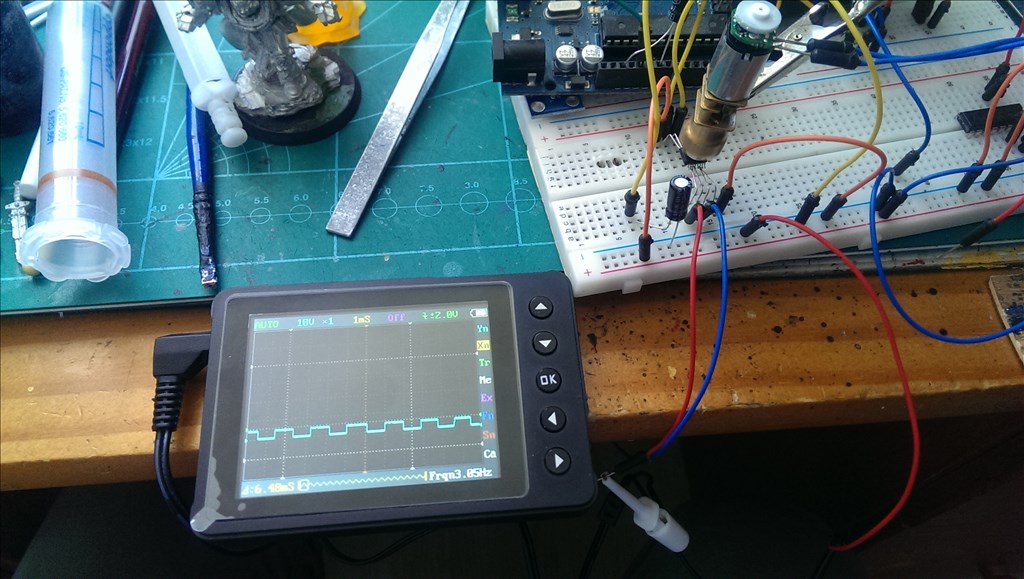
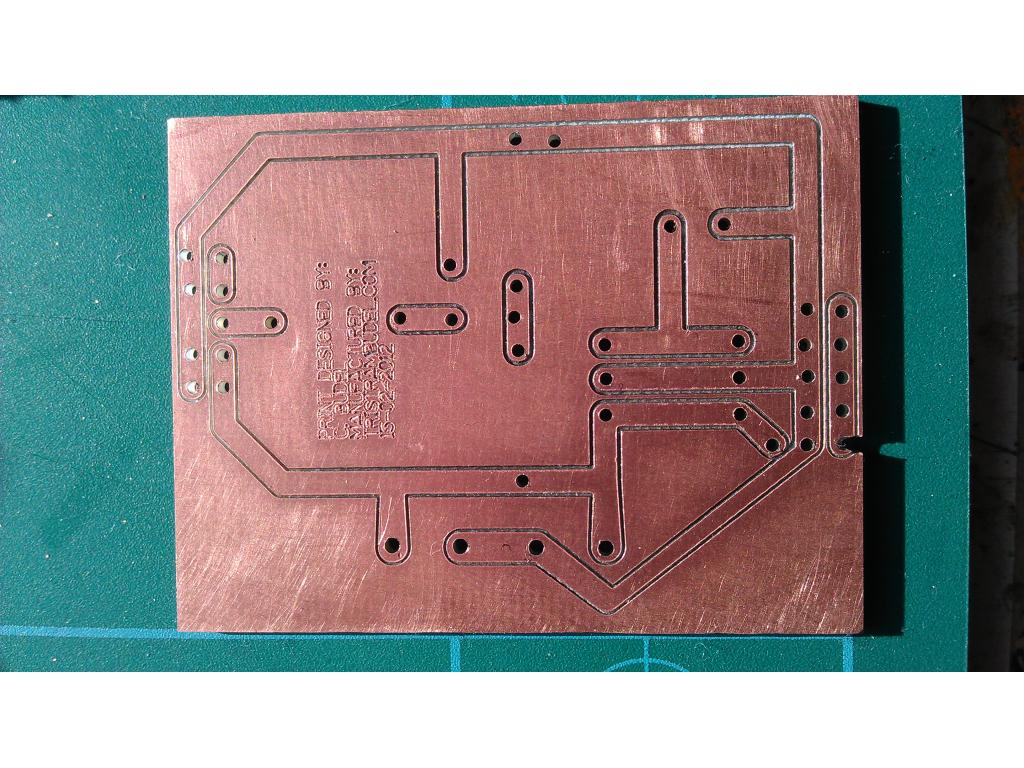
For the last year I've been working on and off on getting a Kangaroo X2 up and running. The problem was that I never managed to get any of my encoders to work. They would either bang around too much or wouldn't fit at all.
So here's attempt number 3:
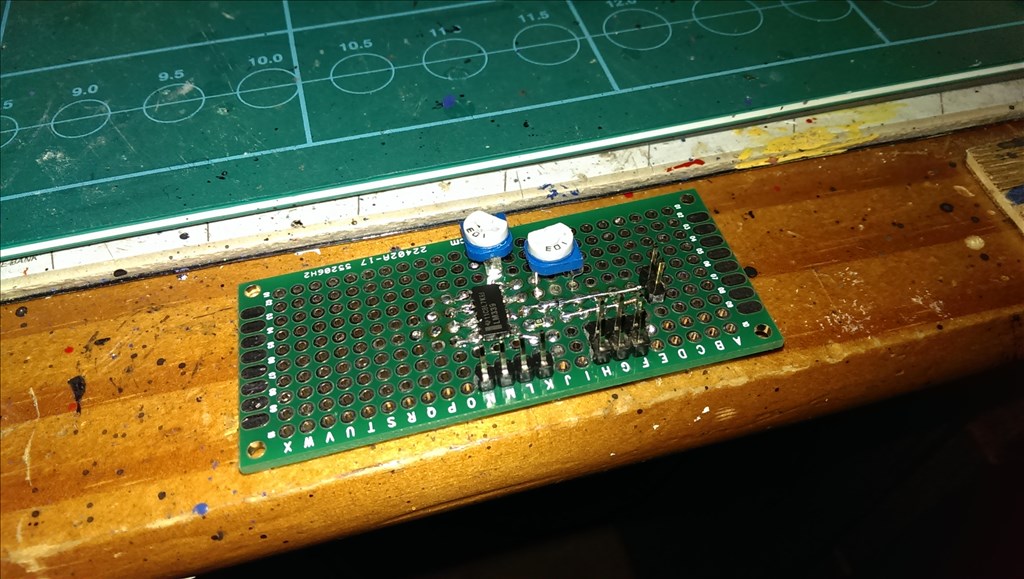
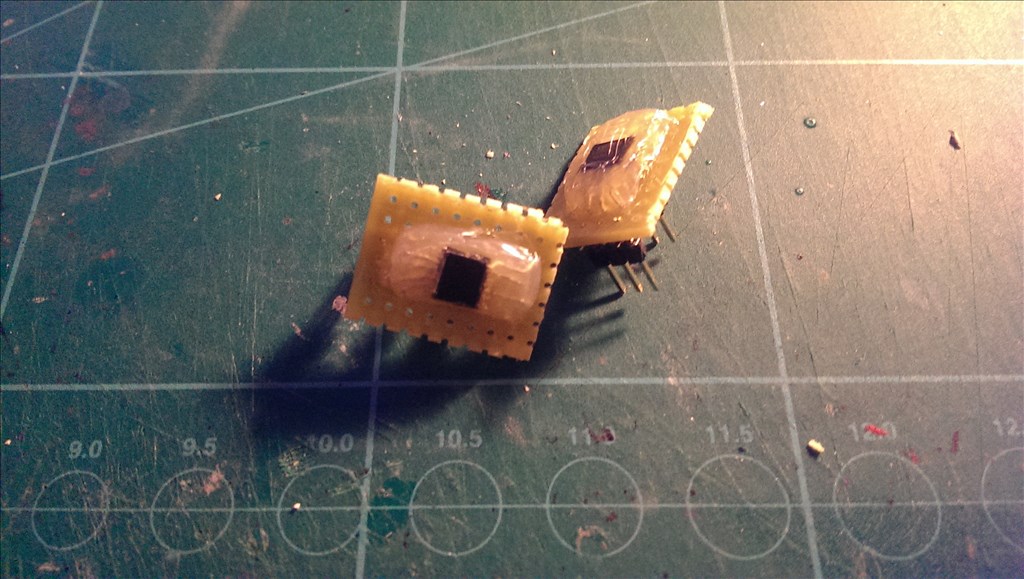
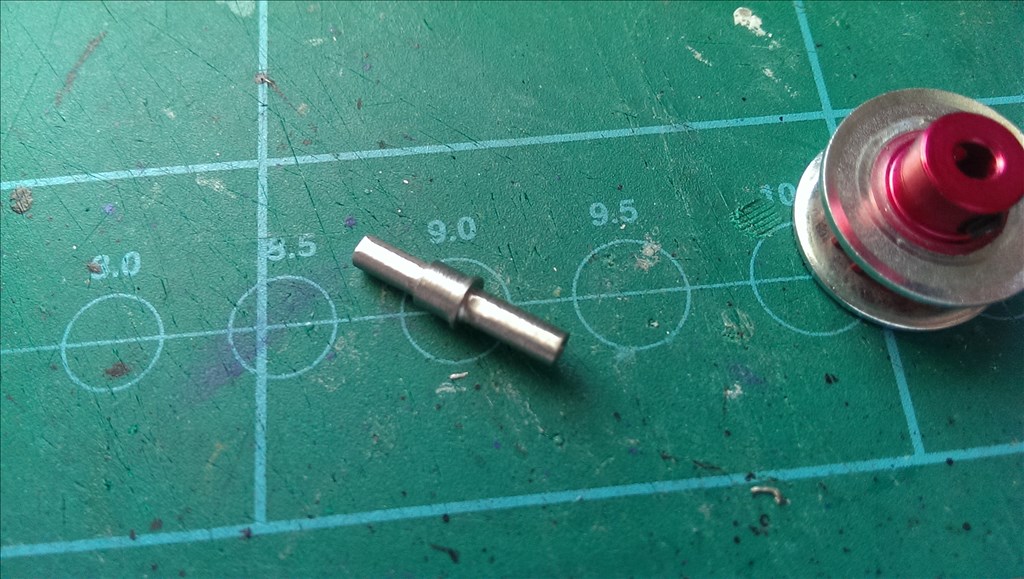
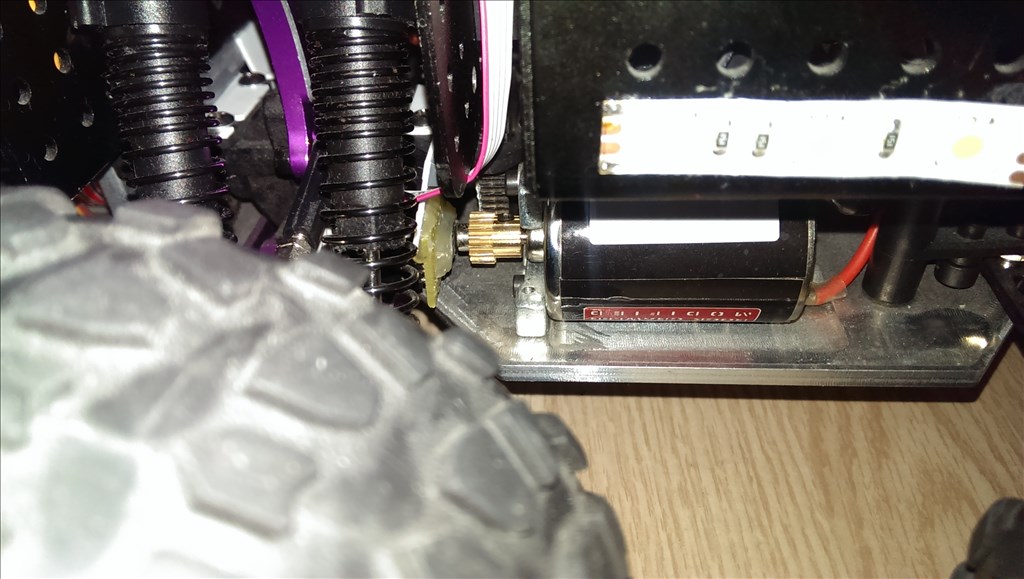
I'm using 2x ams as55035 8bit hall effect quadrature encoders and 2 diametric magnets. The first sensor took me about 3 hours to get it working... Lets just say I couldn't make a board on the mill so I had to solder pins to it and they wouldn't stick or fall off... And a certain smd almost received some free flight lessons... If you catch my drift... On the other hand, they work great and are small enough that they fit in line with my motors.
Next step is to test them in the robot.
Today... Today... Today... Approximatly 1 year, 4 months and some days after starting my Kangaroo journey I finally managed to get it working with my Sabertooth and my DIY sensors. After many attempts in making my own Quadrature encoders, I did it with just two 8,- chips en two diametrical polerized magnets...
The autotune took 3 attempts, in which I had to change from mixed mode to independant mode. This was necessary because both of my motors are connected to the same drive axle and in the final stage of the autotune in mixed mode it would try to rotate each of them in a different direction which results in it standing still. I also needed a larger tune area in my final tune then set to independant mode , but 3rd is a charm and it gave a succesful tune.
After the tune it gave me the best thing ever:

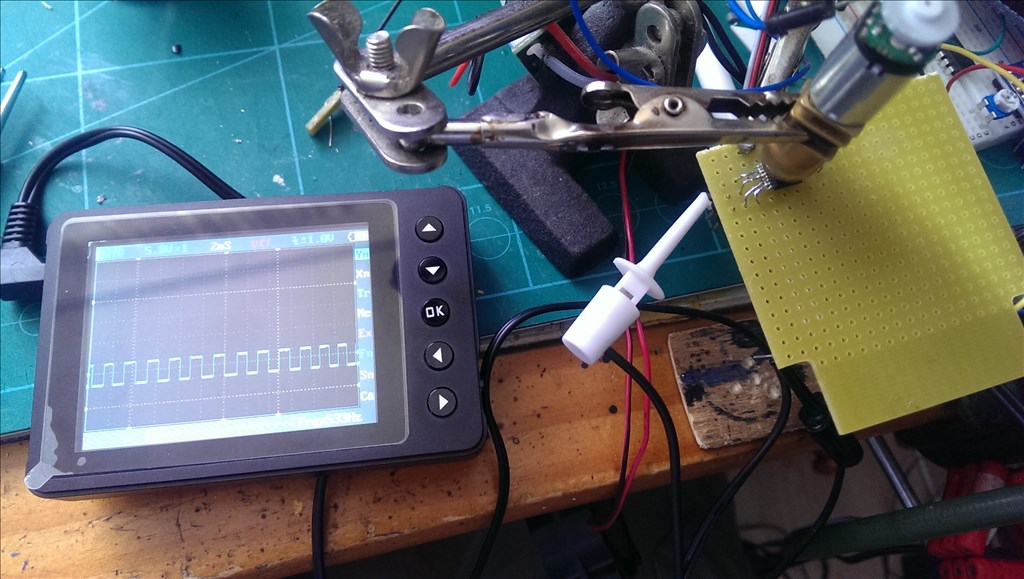
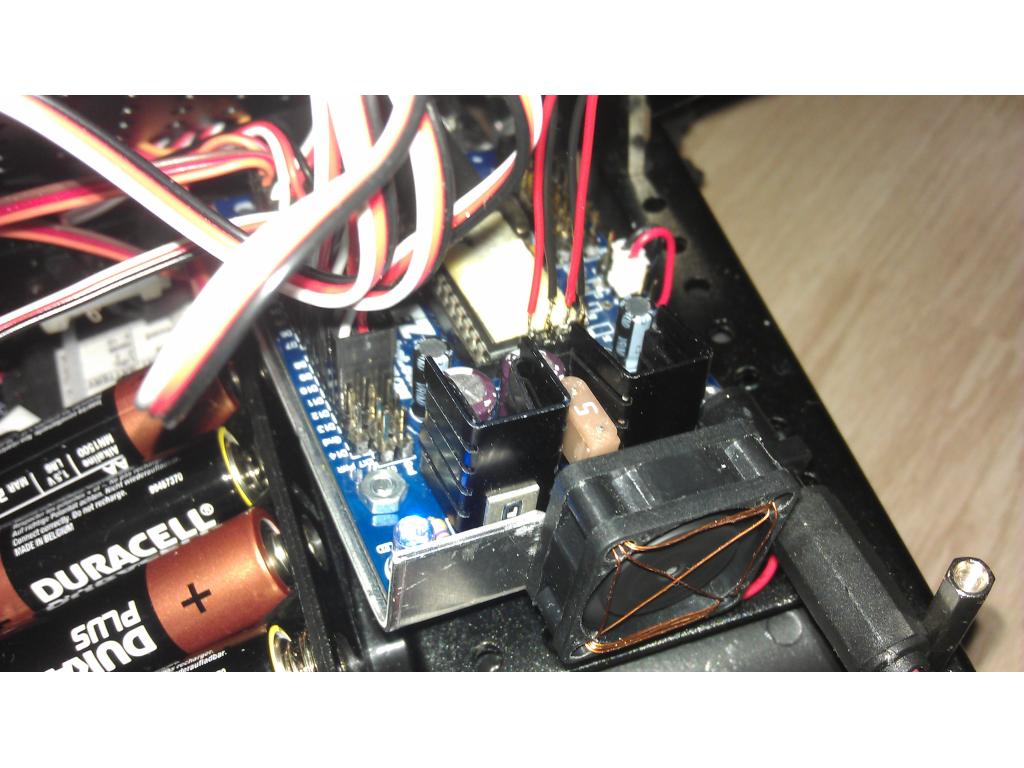
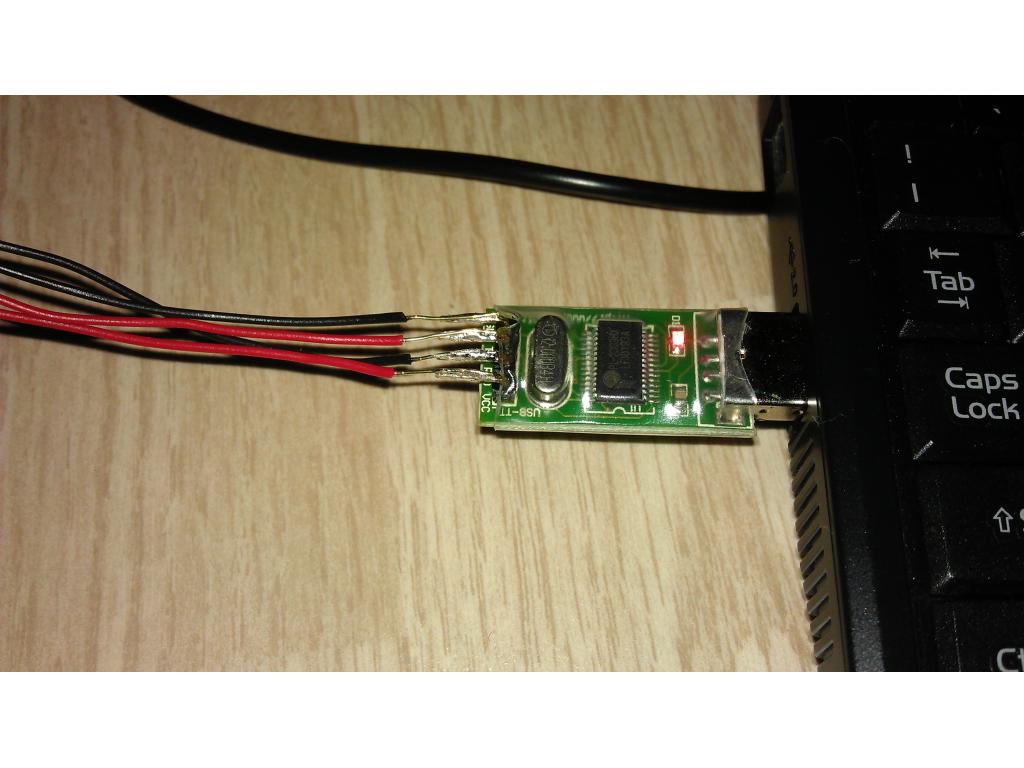
That yellow/orangy light on the Roo... Not blinking, but solid...Next step: making it work with the EZ-b and waiting for the USB to TTL to arrive. So I can use the DeScribe software to find the control values.
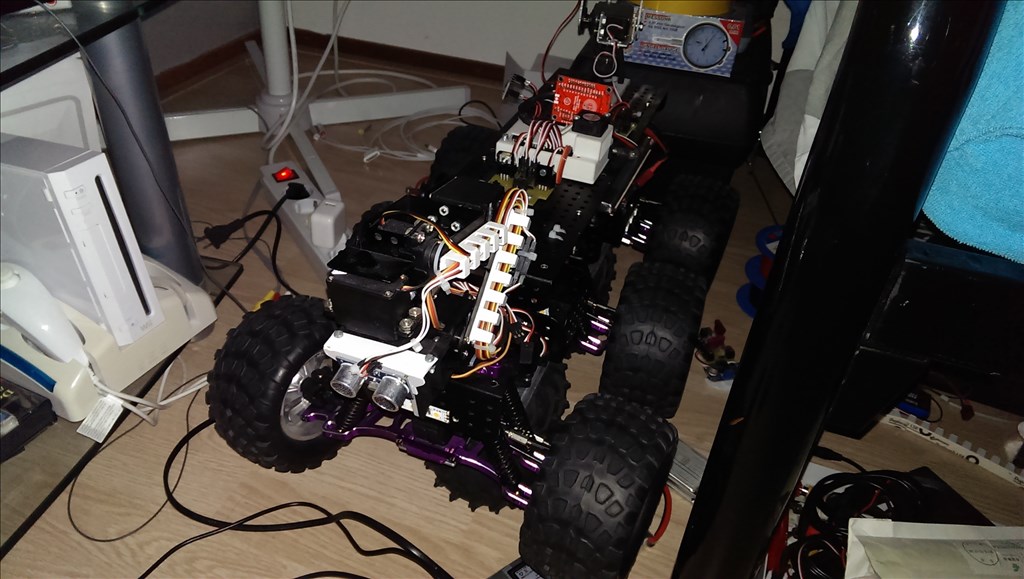
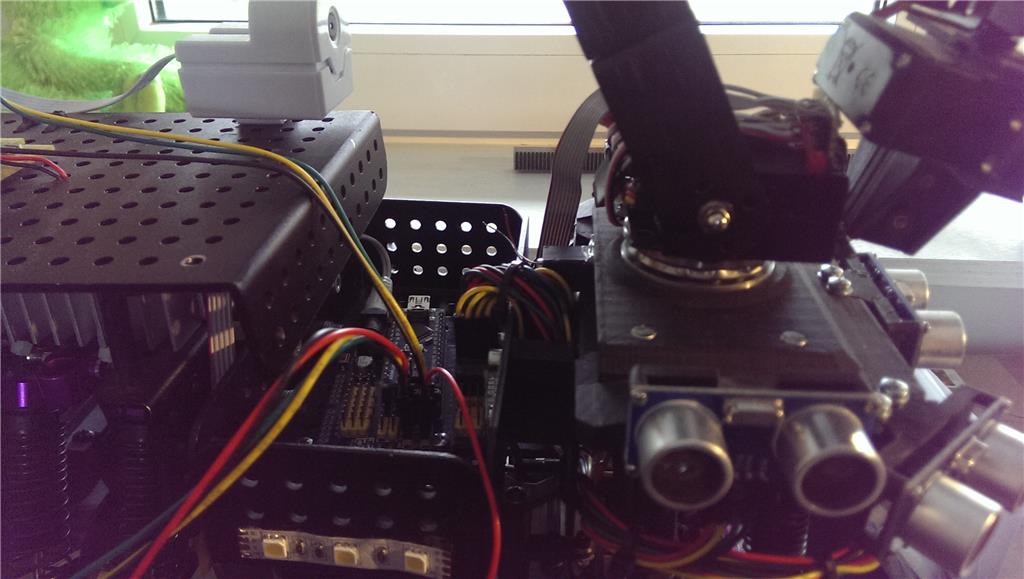
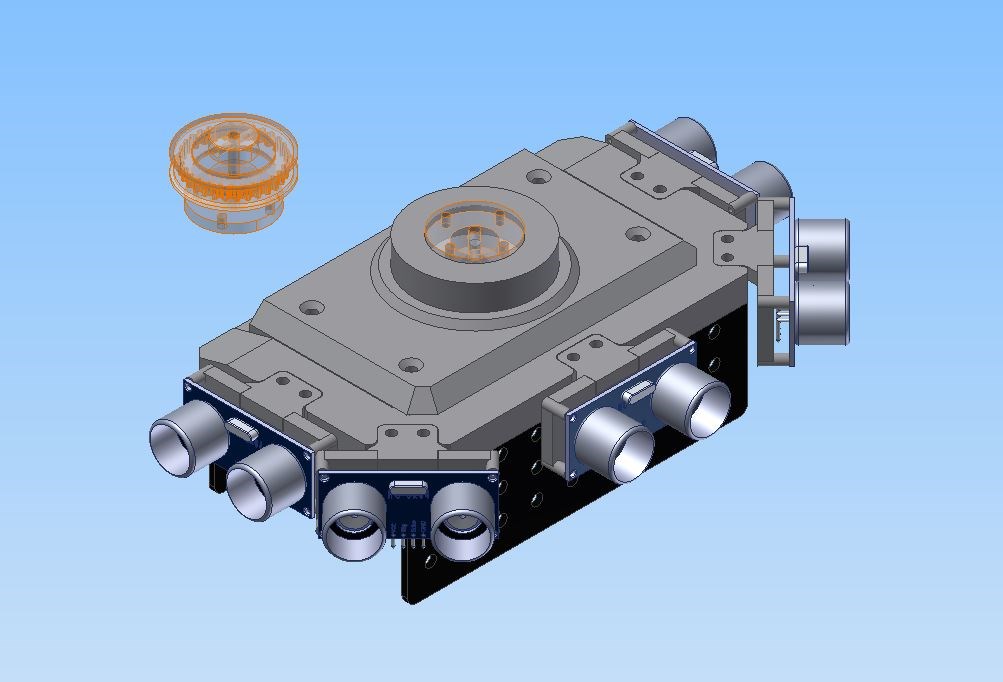
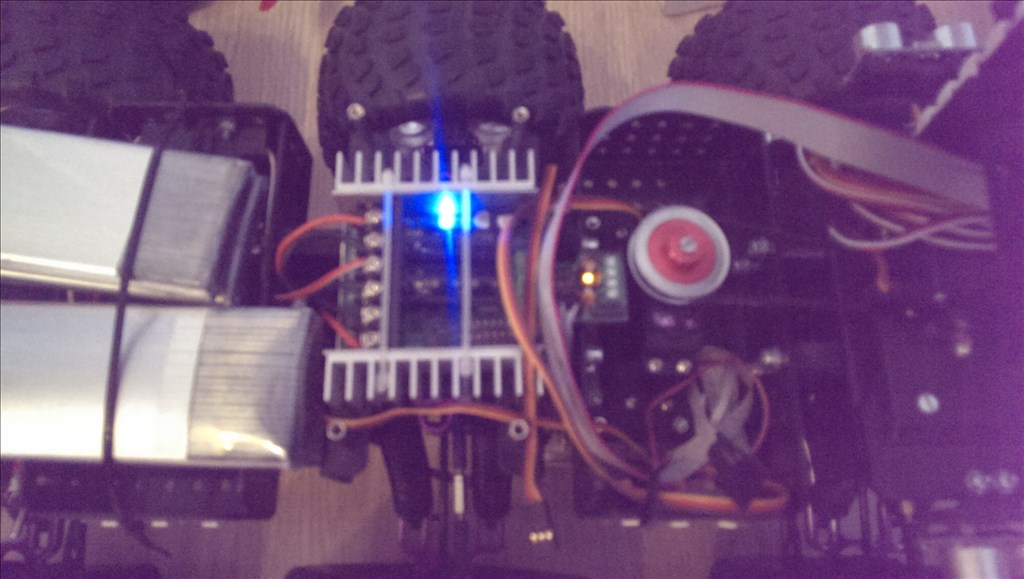
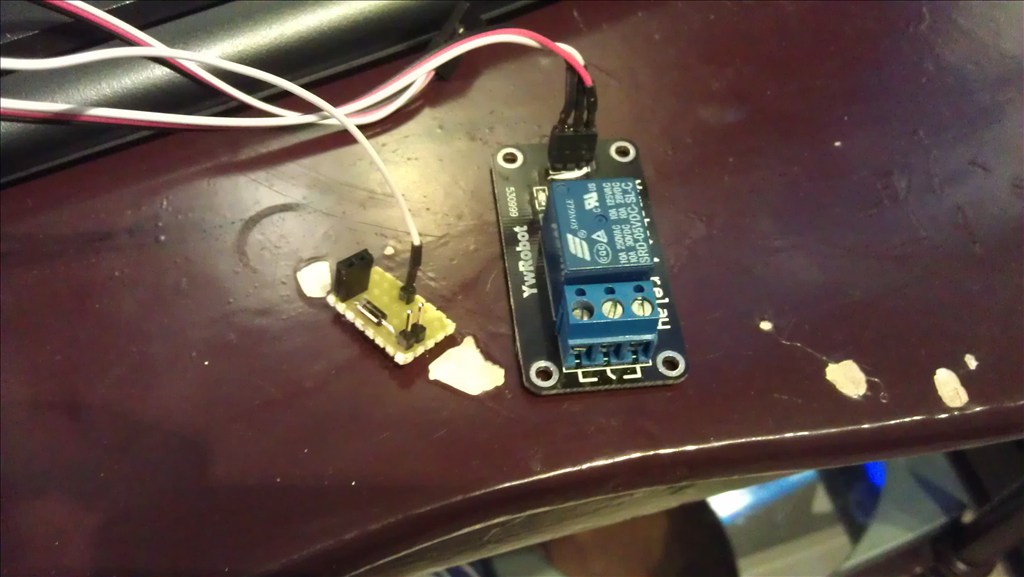
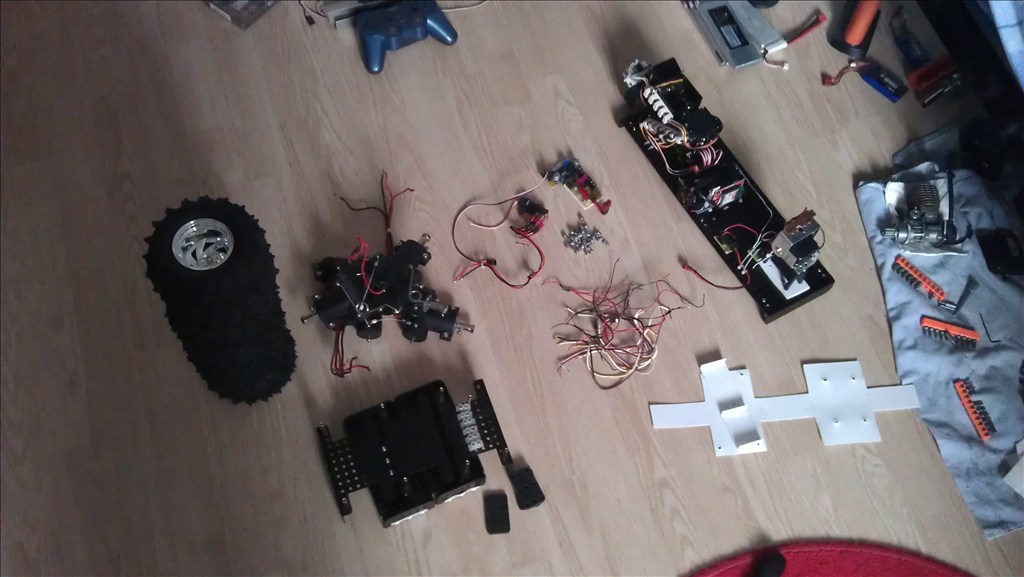
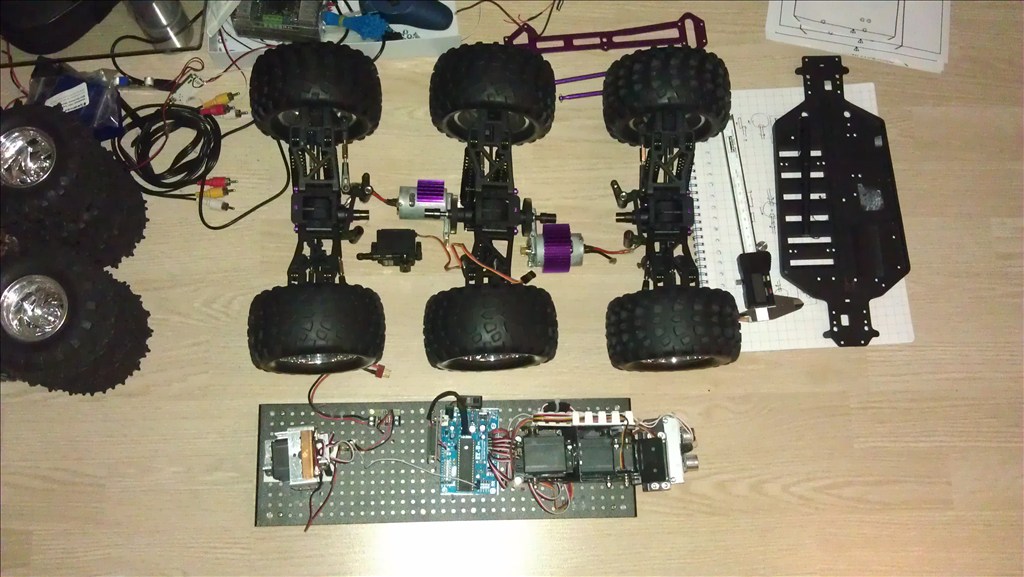
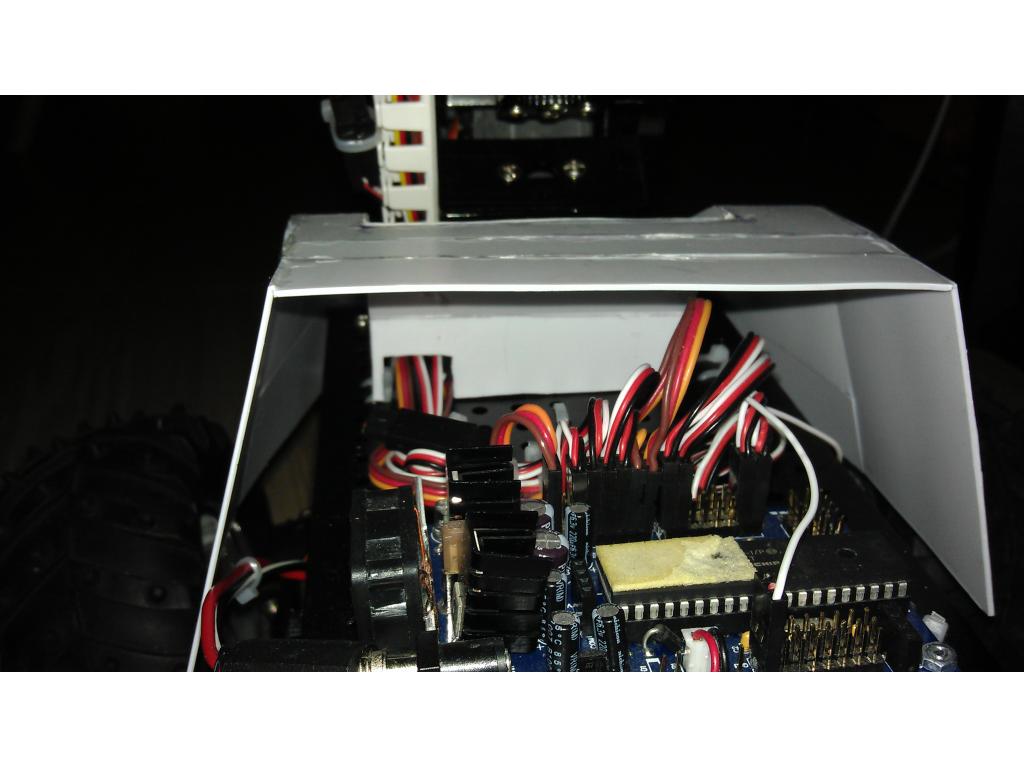
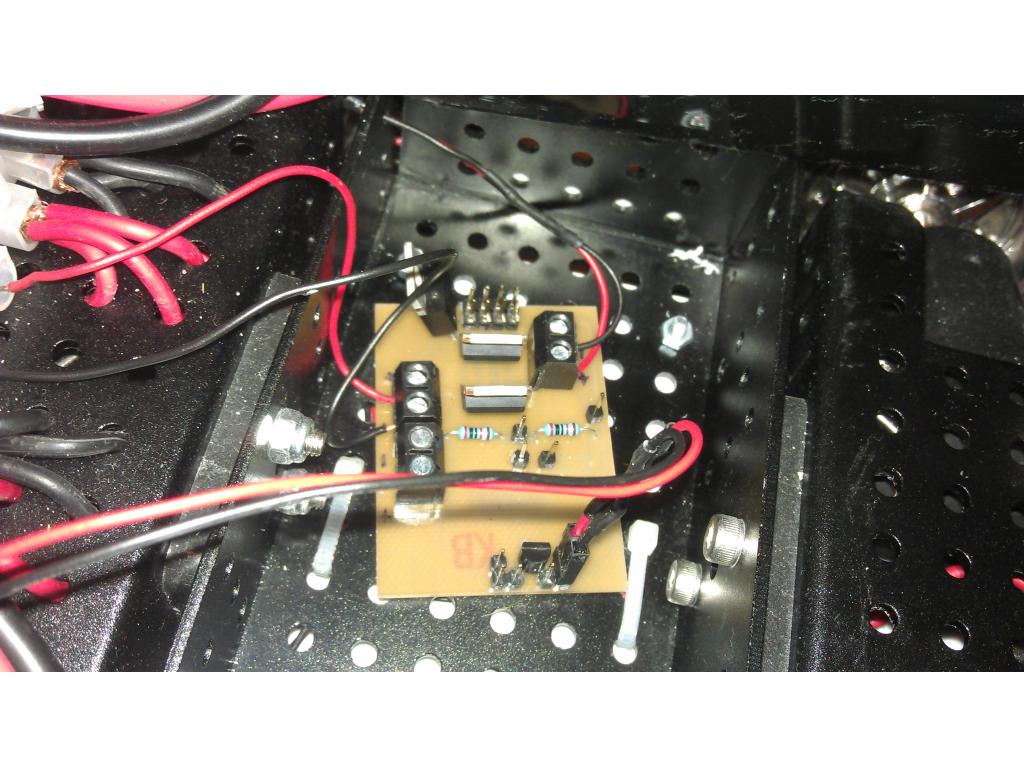
It has been a while since my previous post, I do have to say a lot of things have changed. Most of my time is now going in to my sub-project: Ping Navigation Plugin. And I found out that I couldn't continue any longer with the plugin without a platform to test it on.
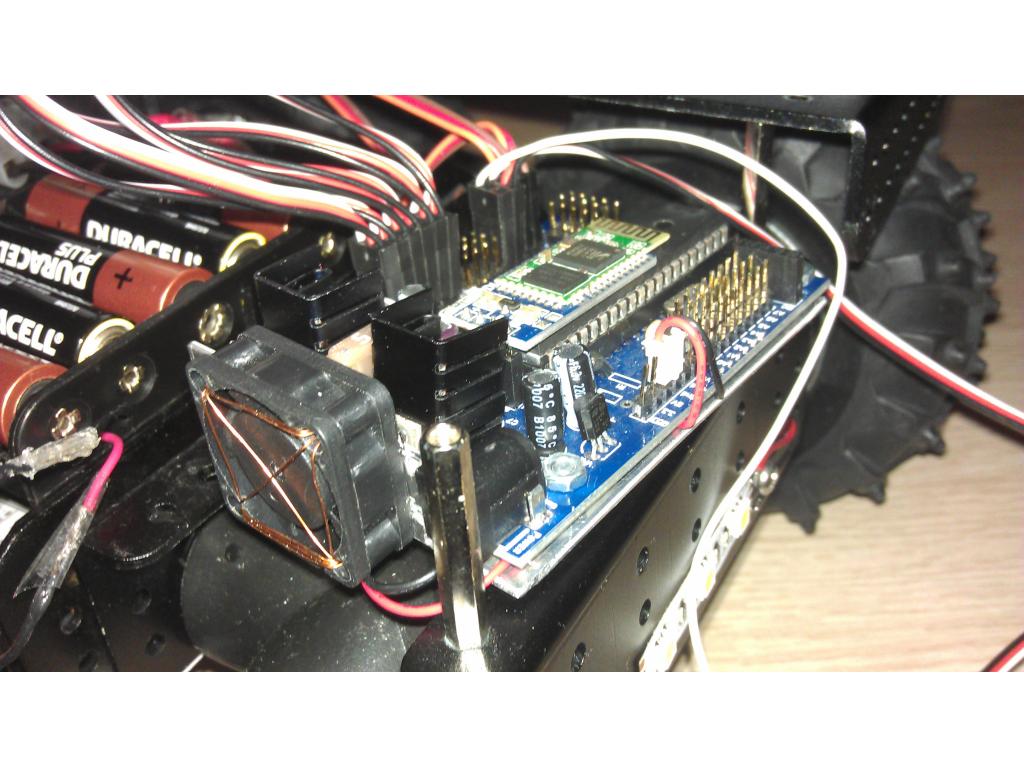
So I wired up all the ping sensors and installed an arduino nano to continuously read them out.
The sensors will be read every 29ms and on request of the EZ-B the arduino nano will transmit the measured distances. This means every 145ms all measured distances could be transmitted. Which is great, but I'll most likely request it at a much slower rate to prevent flooding the channel. I'm most likely to add another arduino or other microcontroller to talk with this one. I want to have sub systems each with their own job to improve the overal speed. I.e. if I add any process which takes longer than 29ms to this one arduino I have to stop the "ping sensor read" loop to do that process and restart it afterwards, thus adding delays and introducing slower responsetimes. But I could add another 6 ping sensors to this nano before it's full .
.
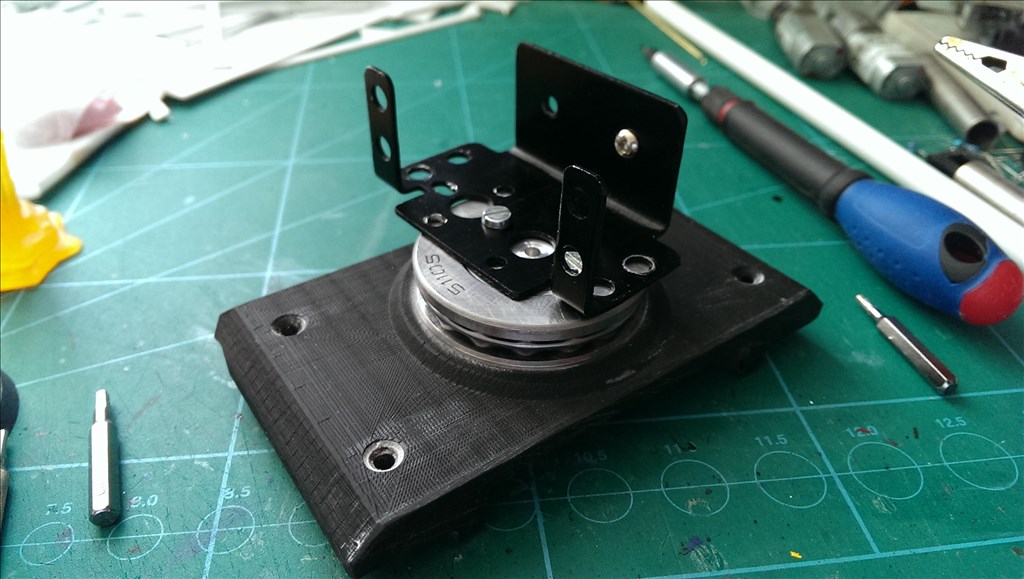
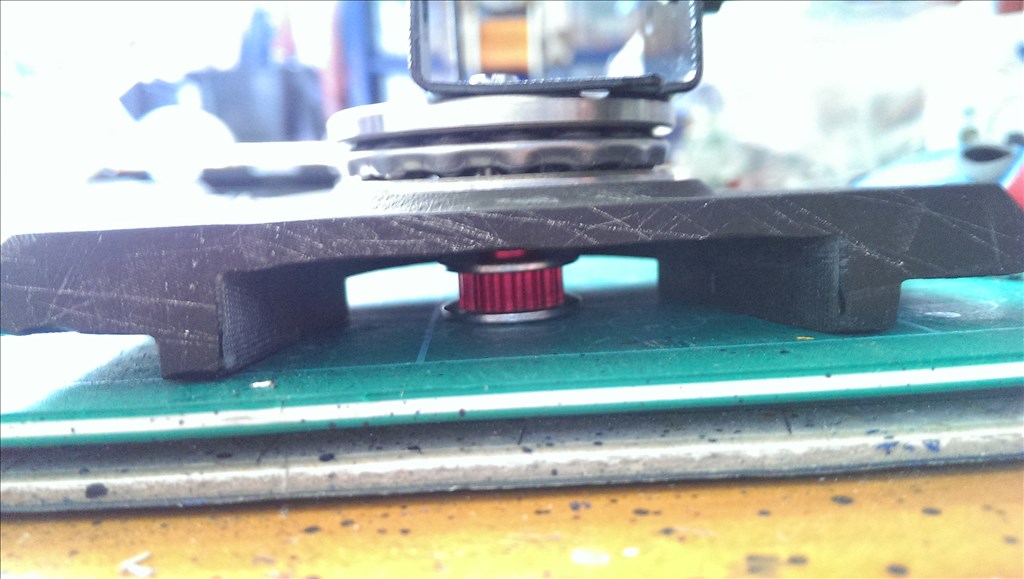
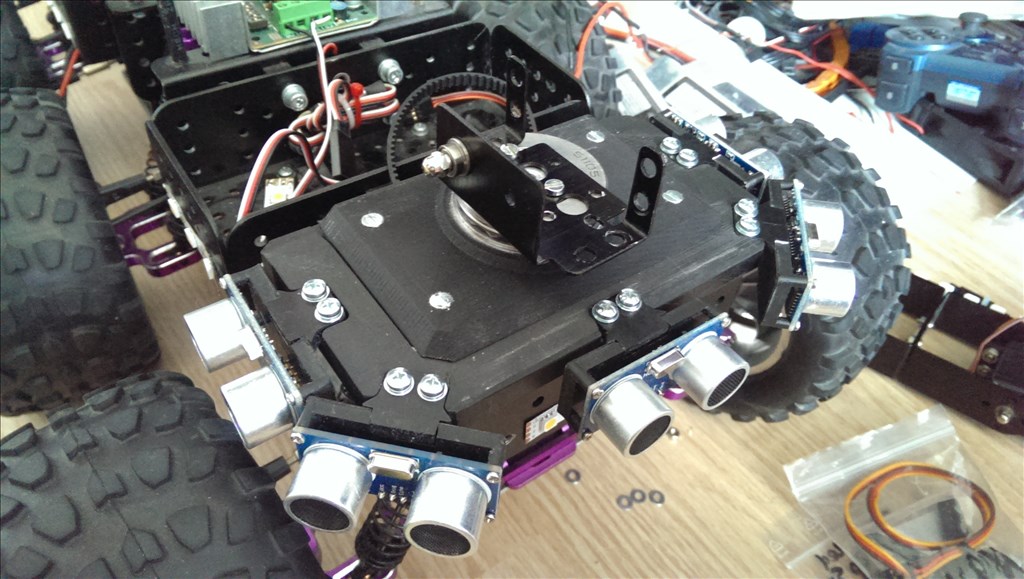
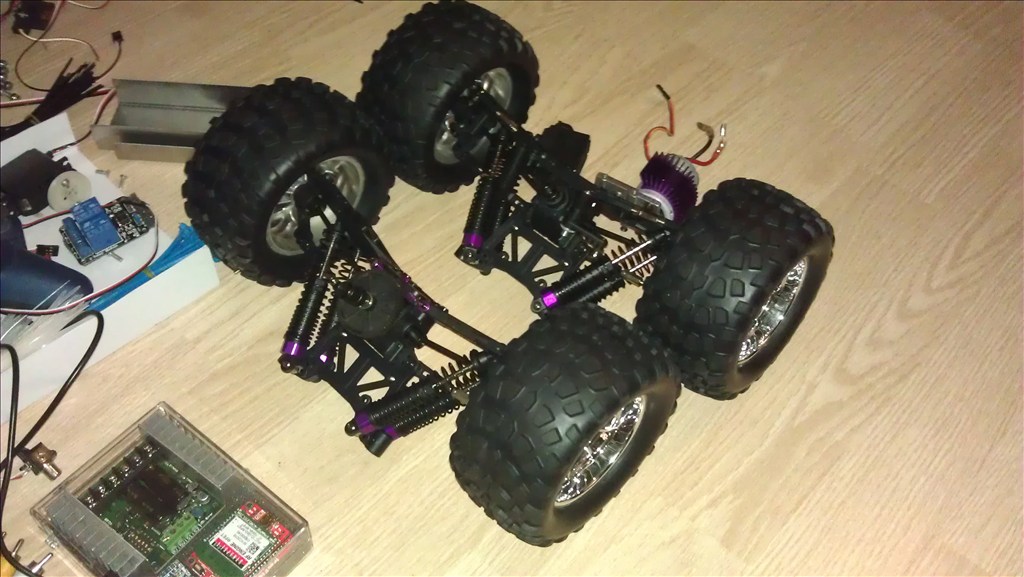
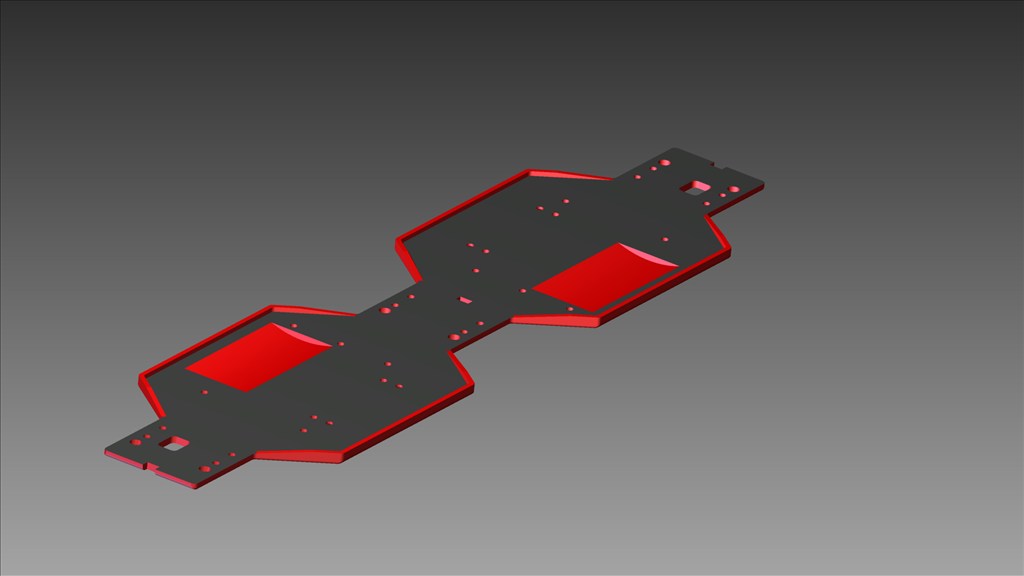
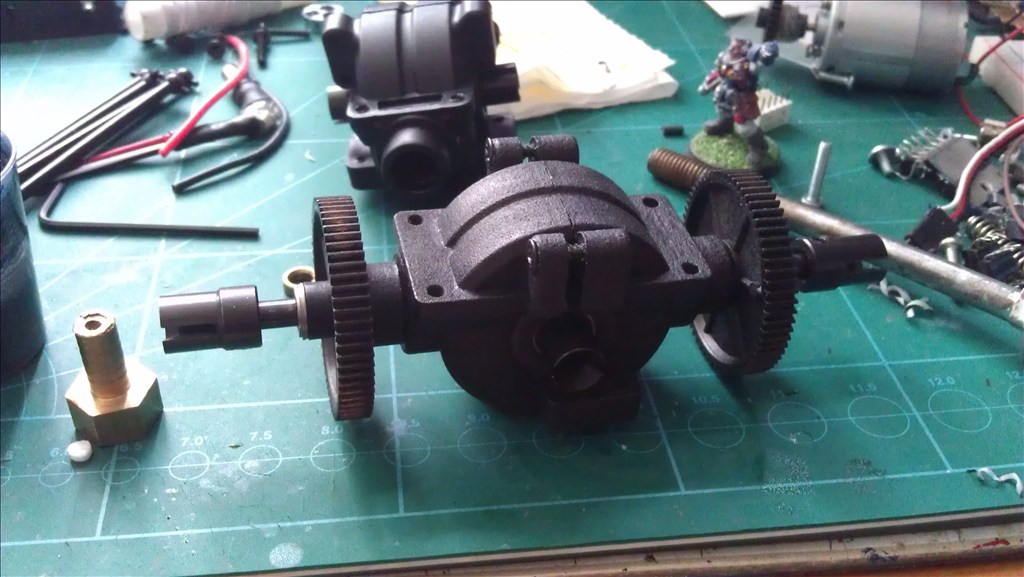
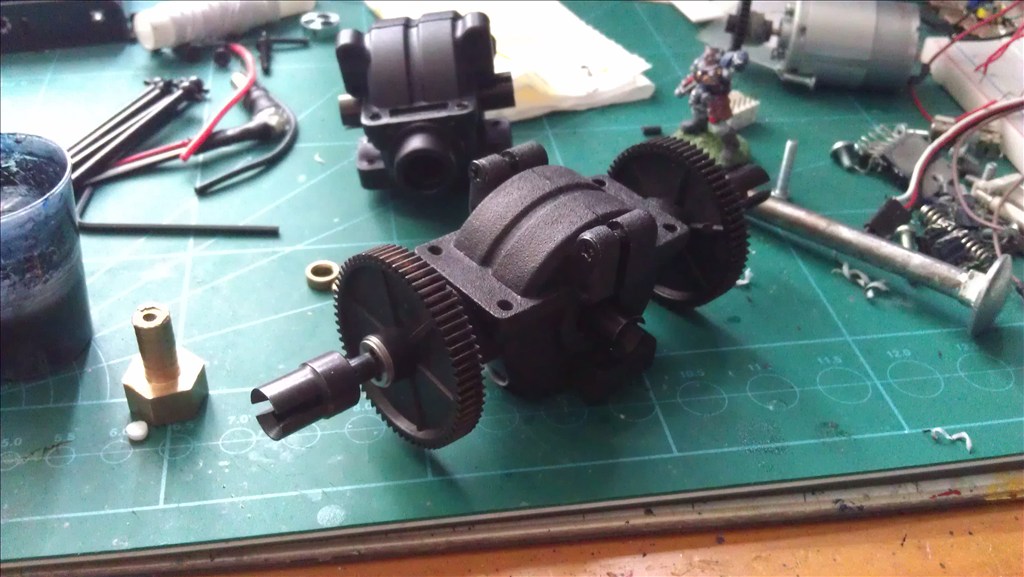
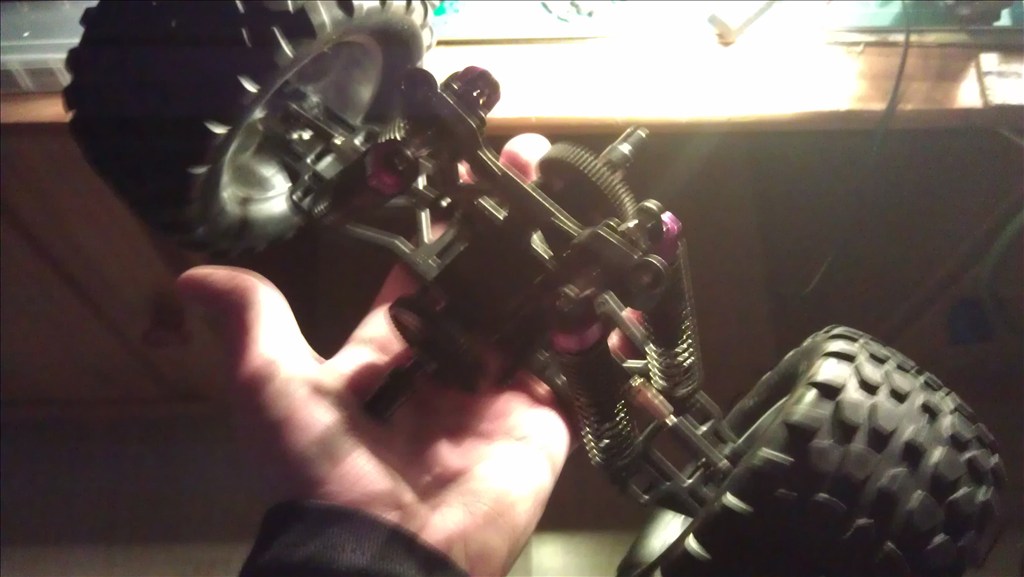
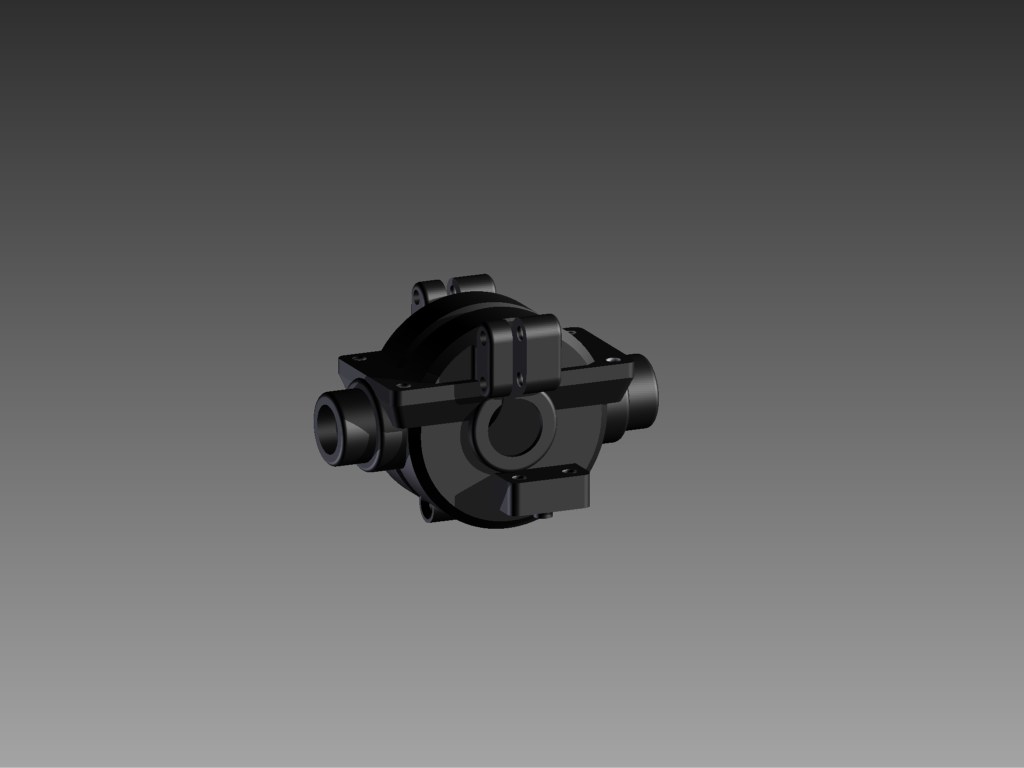
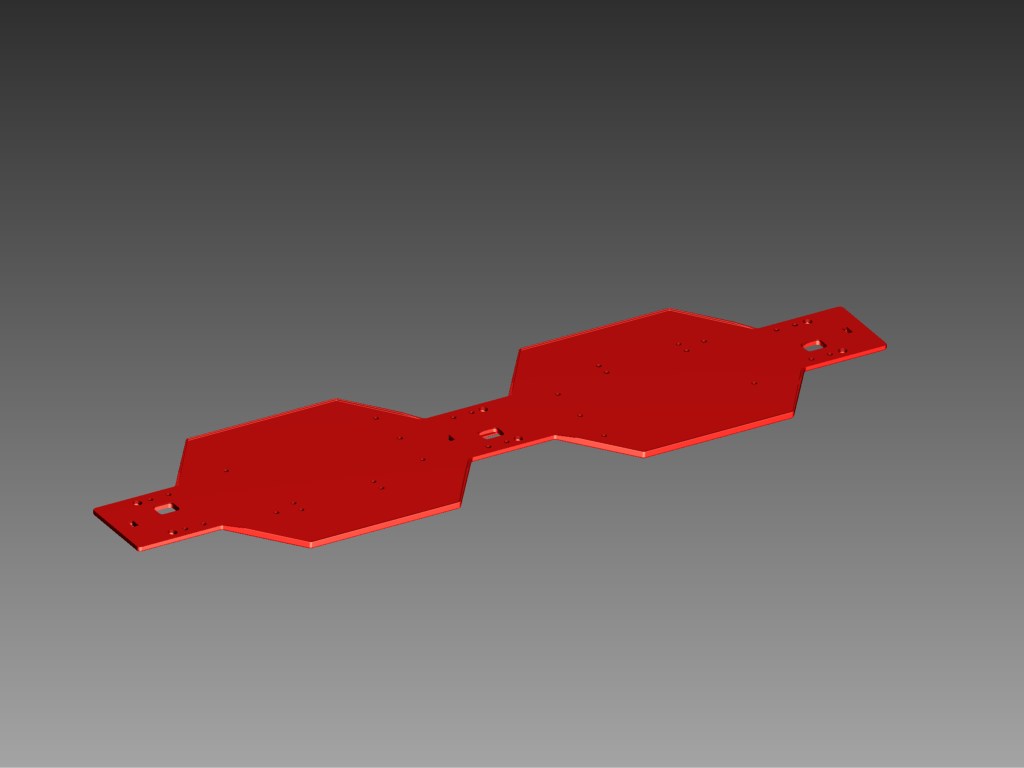
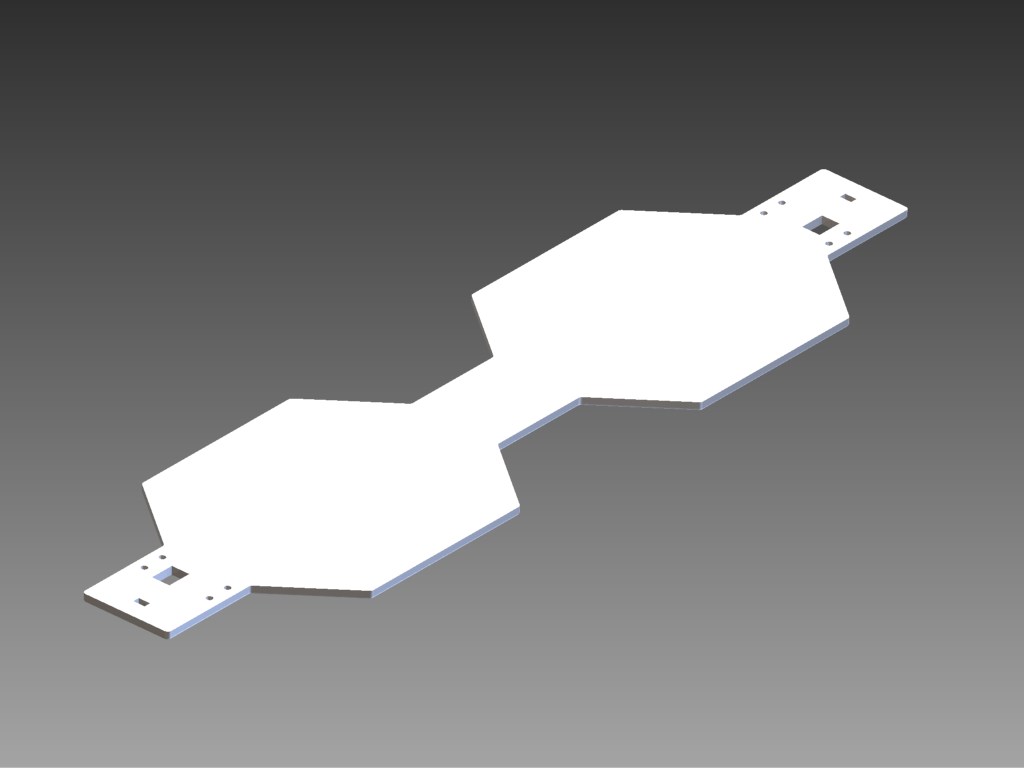
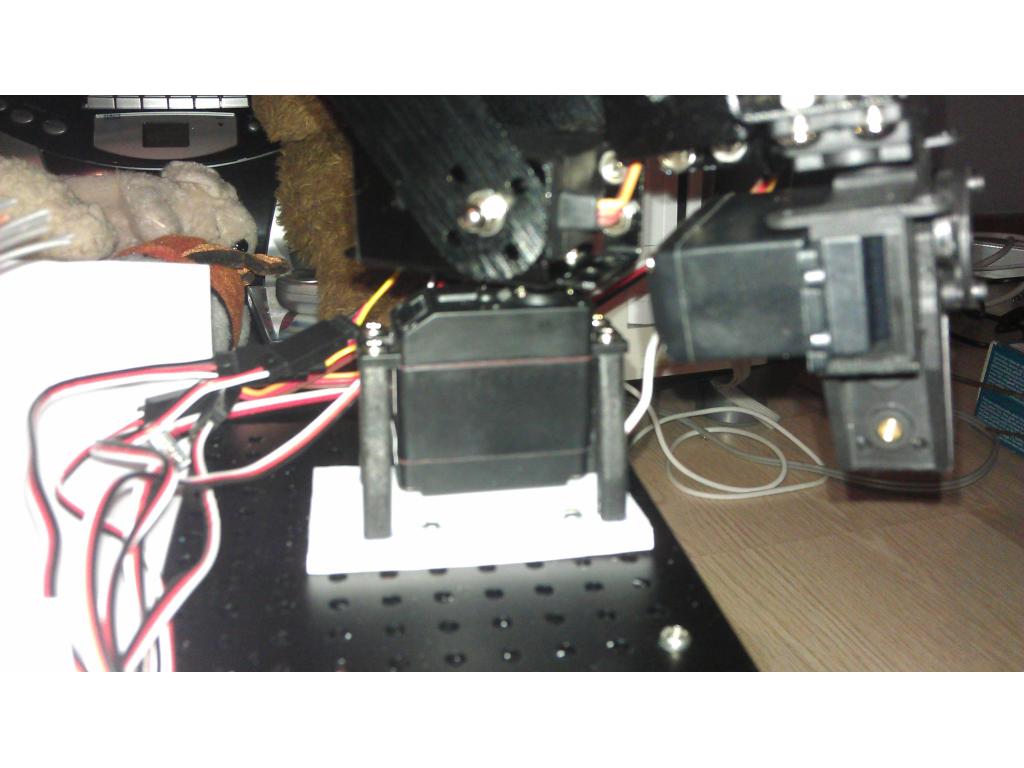
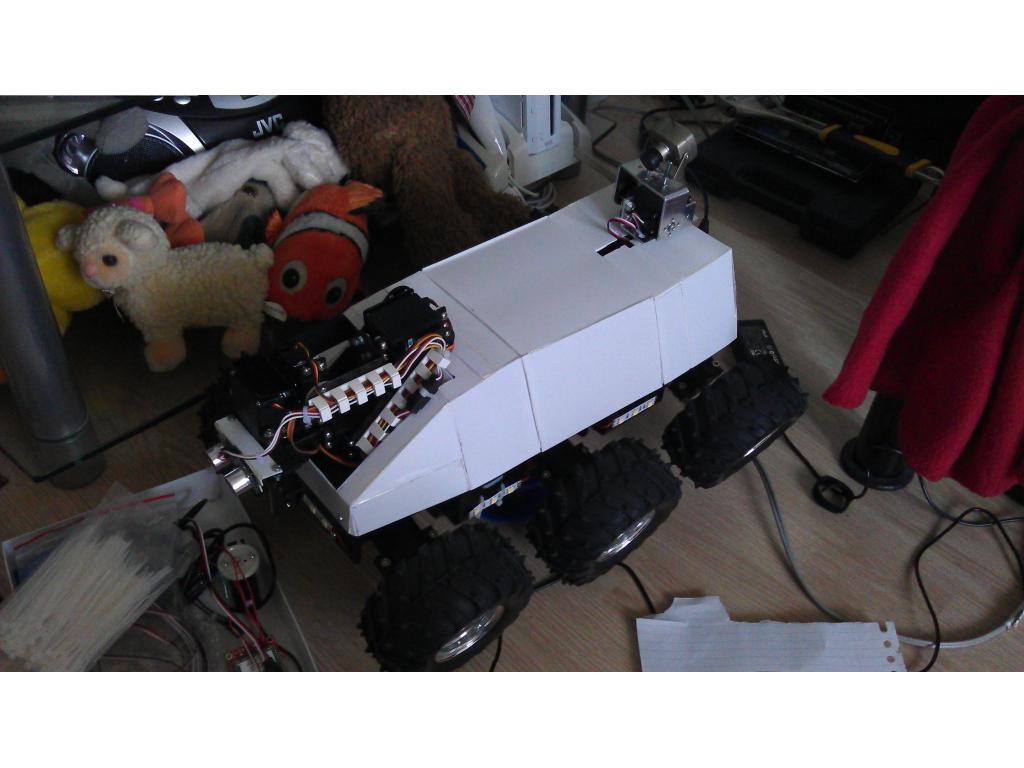
Furter more, I've completely redesigned the rotating mechanism of the robotic arm. I found out that without a propper belt tensioning system and a stiff enough frame, it's not possible to rotate the arm without having more than 5 degrees of play. So I took that belts and pulleys out and replaced them with a set of tiny worm gears and a pile of tiny ball bearings. Instead of using a servo for rotating, I've chosing to use a tiny motor which has a set of planetairy gears and plenty of torque to rotate the arm. I only have to hook it up to a tiny speed controller and the ez-b. There's still some play, but it's way less. The gear can slip on it's axle, which is fine, it prevents other parts from breaking. It will only slip if you hold the arm while the motor is on.
Next part of my project will be about finding and implementing a microcontroller that is small but also has multiple uart ports, besides another EZ-B. And I think it will be a Bluno with I/O expansion board. It'll add a ton of I/O and 5 uart ports. Not sure if I'll need the I/O but other wise I'll have to see if I can find something simular, which has multiple uart ports.
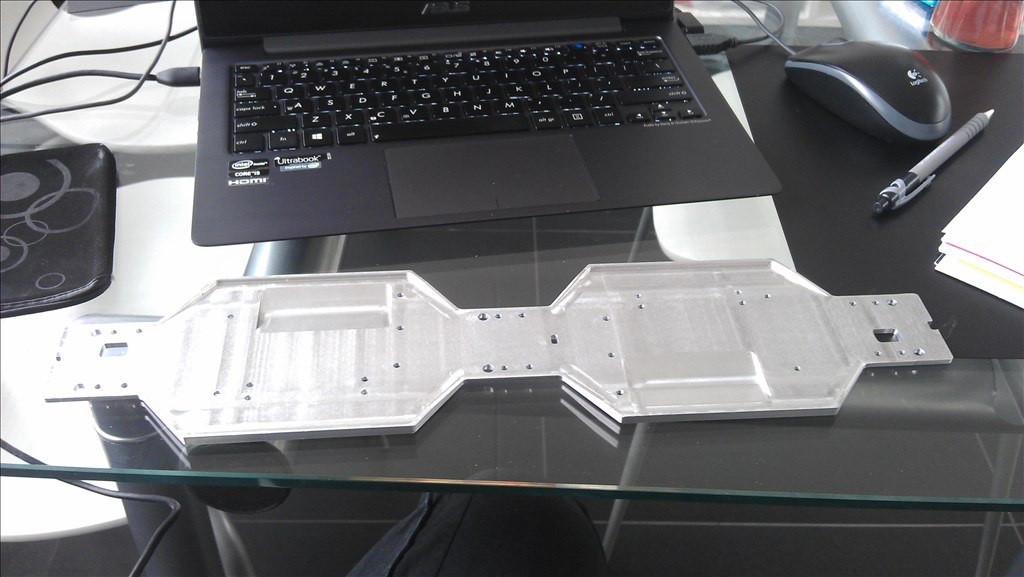
Wow 4 years and still going strong. Very impressive. It's a very nice design. Sweetly completed.
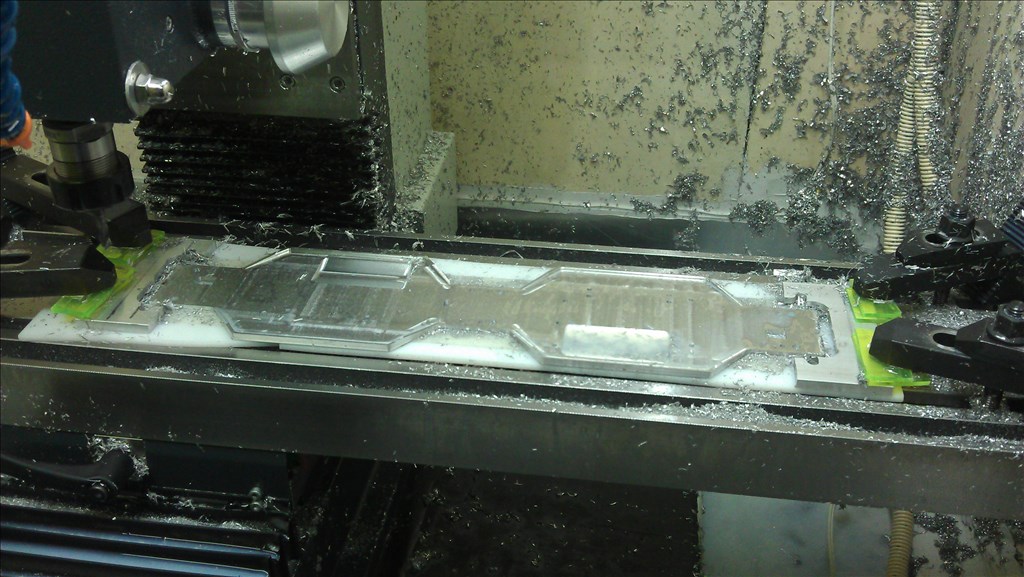
nice, a lot of metal !
Regarding your encoders, how many ticks per revolution ?
Thanks guys .
.
@ptp I'm using 2 AMS AS5035-ASSU encoders. Here's the datasheet:Link. They should have 64 ticks per channel, 256 edges per revolution, which equals 1.4 degree's per step. Or so the datasheet says.