


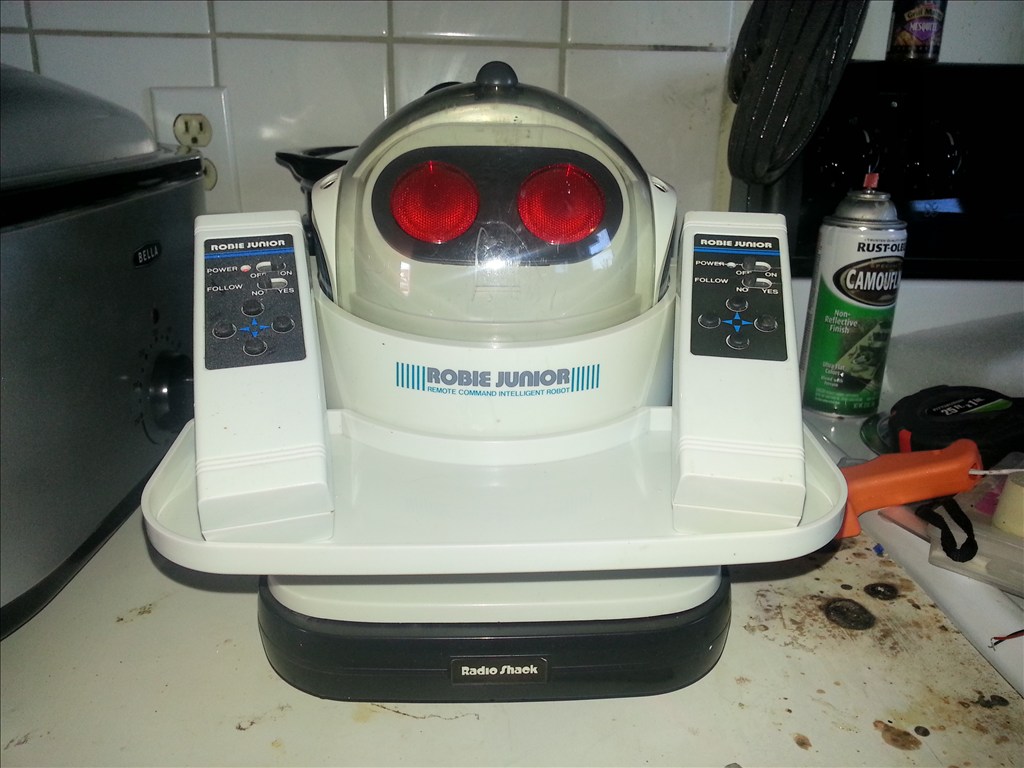


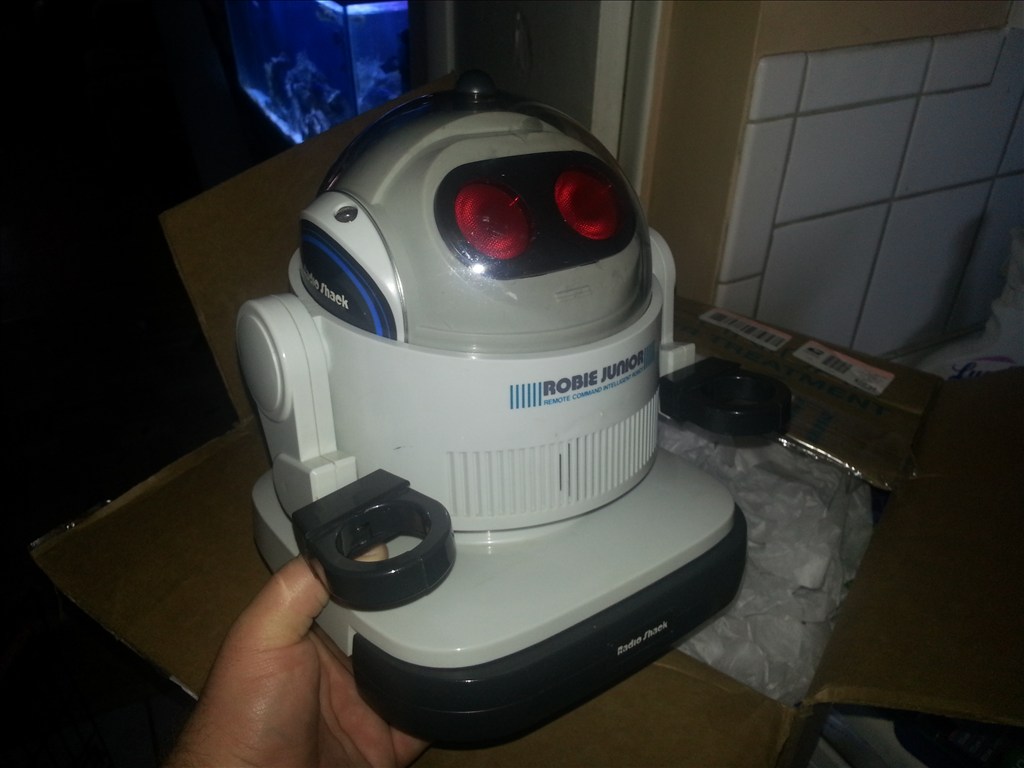
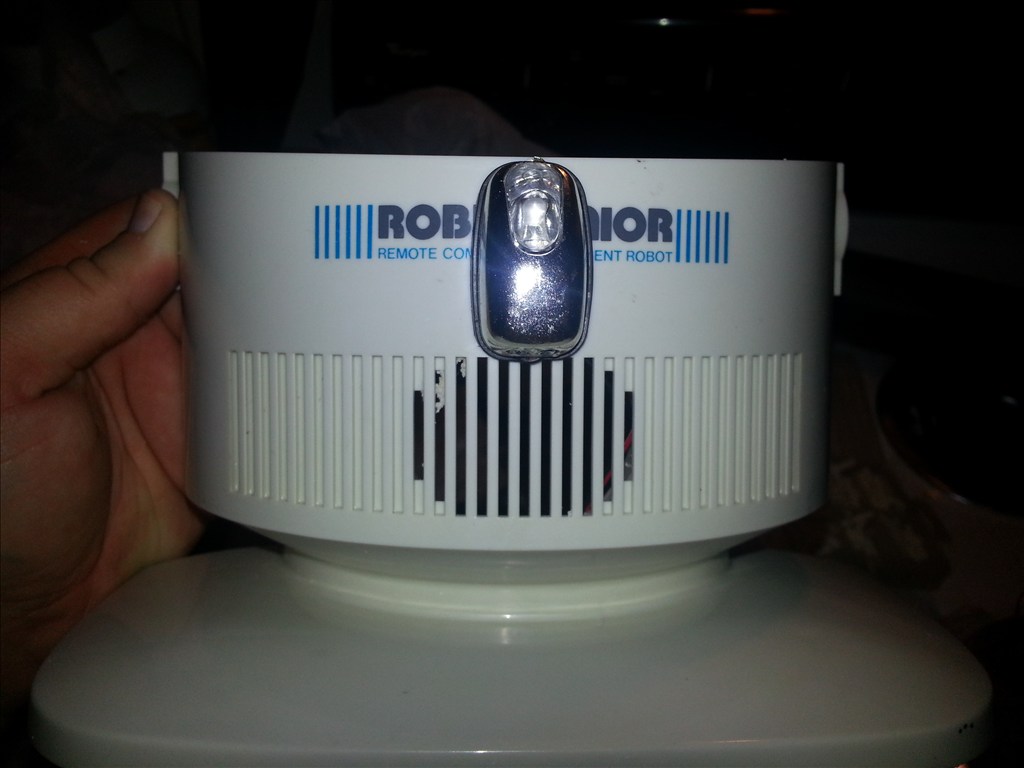


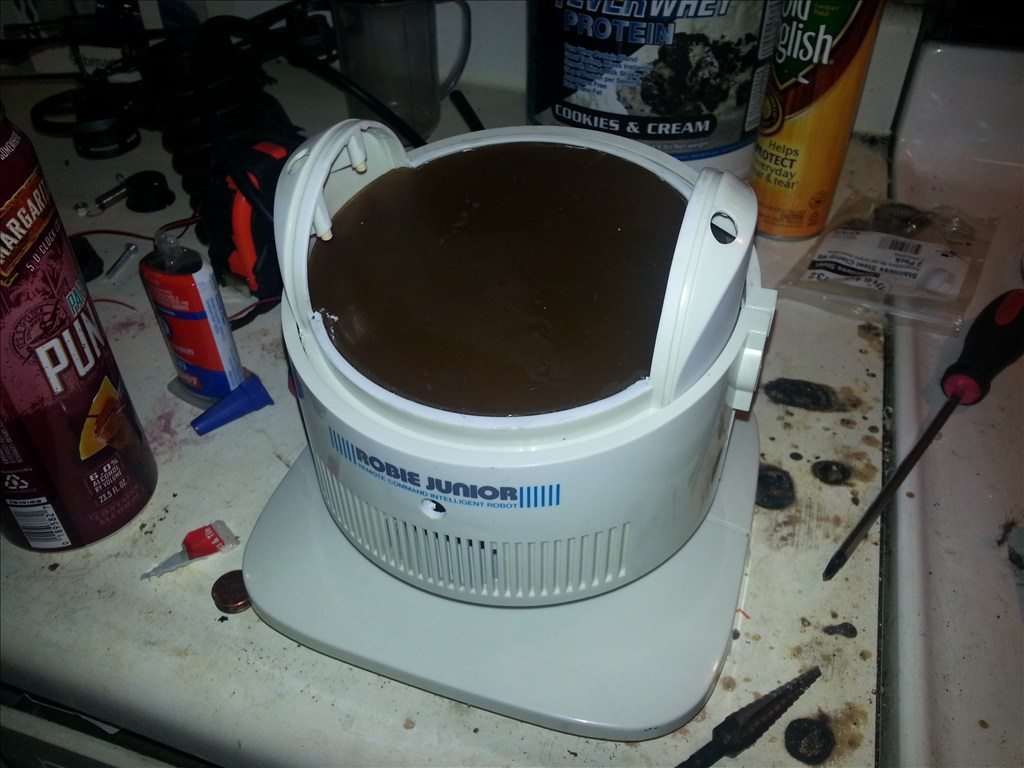


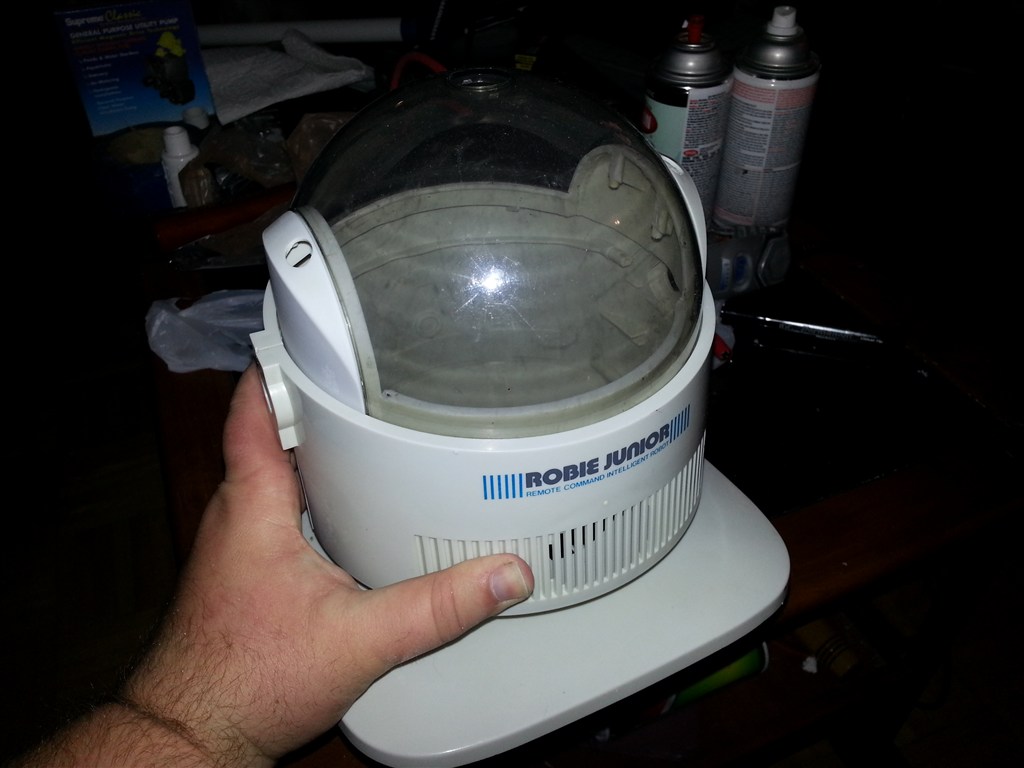
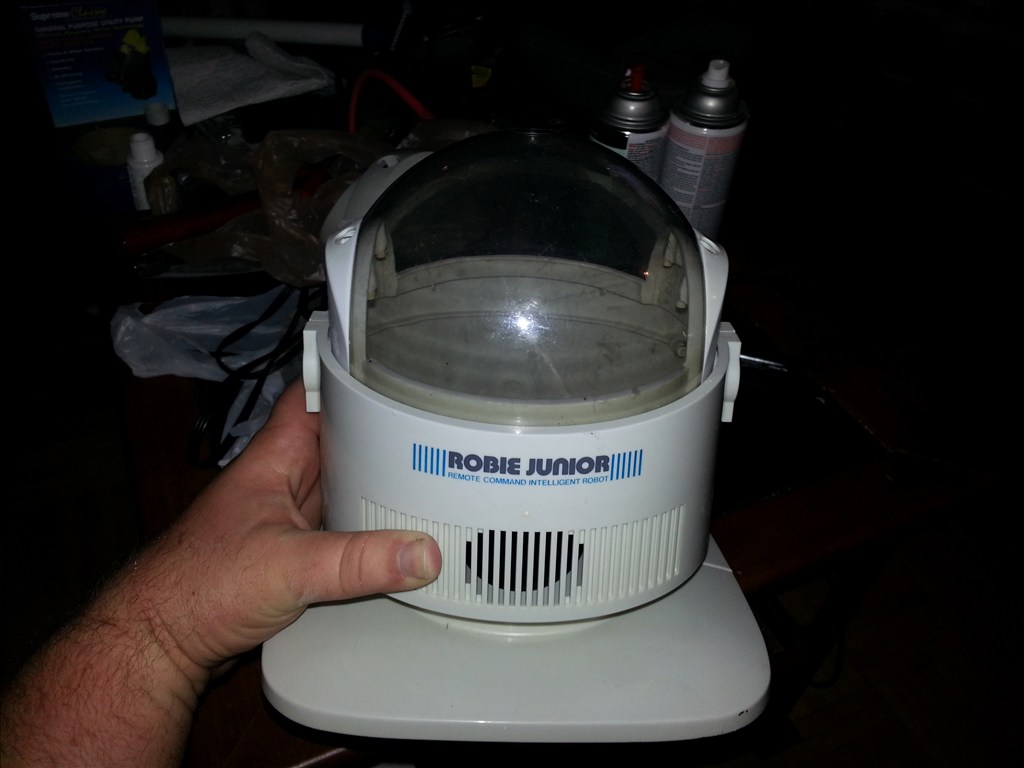


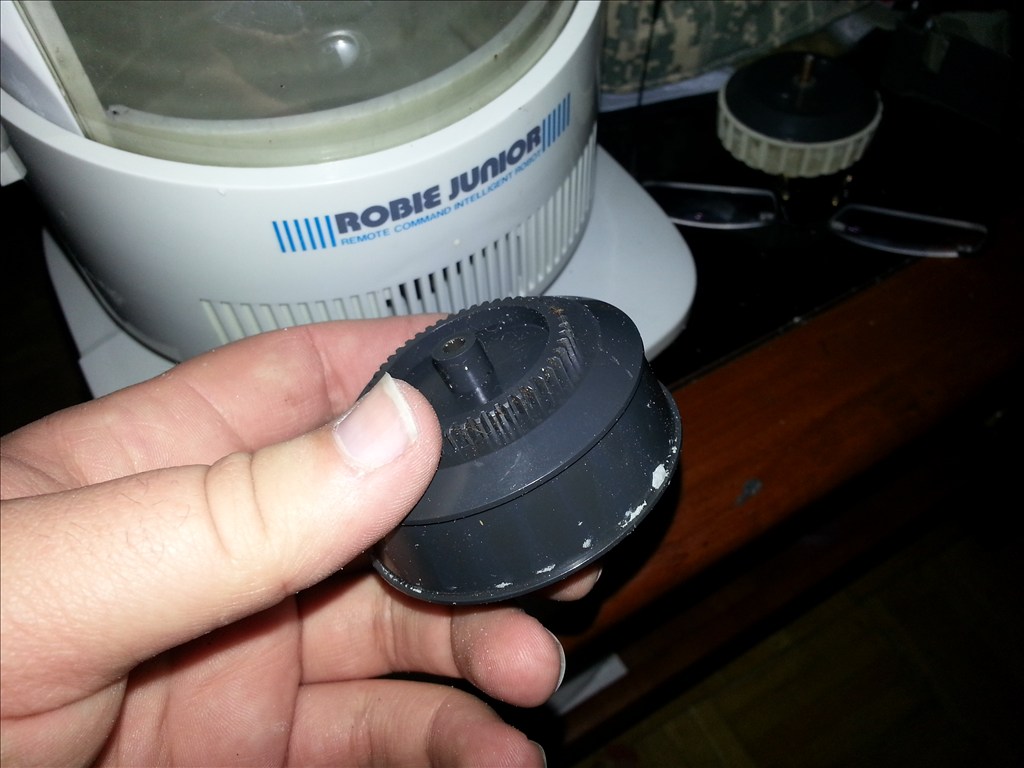


This is a simple project that hopefully I wont over complicate. Since he Squeegee needs to get as close to furniture and the toilet and bathtub as possible this my be a challenge. After all we spend most our time trying to get our robots to avoid the objects in the room. Im giving new life to a radioshack robie jr rc controlled robot.

By jstarne1
— Last update
Discover more robots

Smarty's Ez-Robot Halloween Witch Esmeralda
Esmeralda the Witch prop: 180 cm tall, 6.6 kg, PIR sensors, camera, light & sound sensors, loud onboard sound system...
Ezang's Mr. Big Bot For You See Laugh And Enjoy
My New Robot offers fun, entertaining demonstrations for you to see, laugh, and enjoy
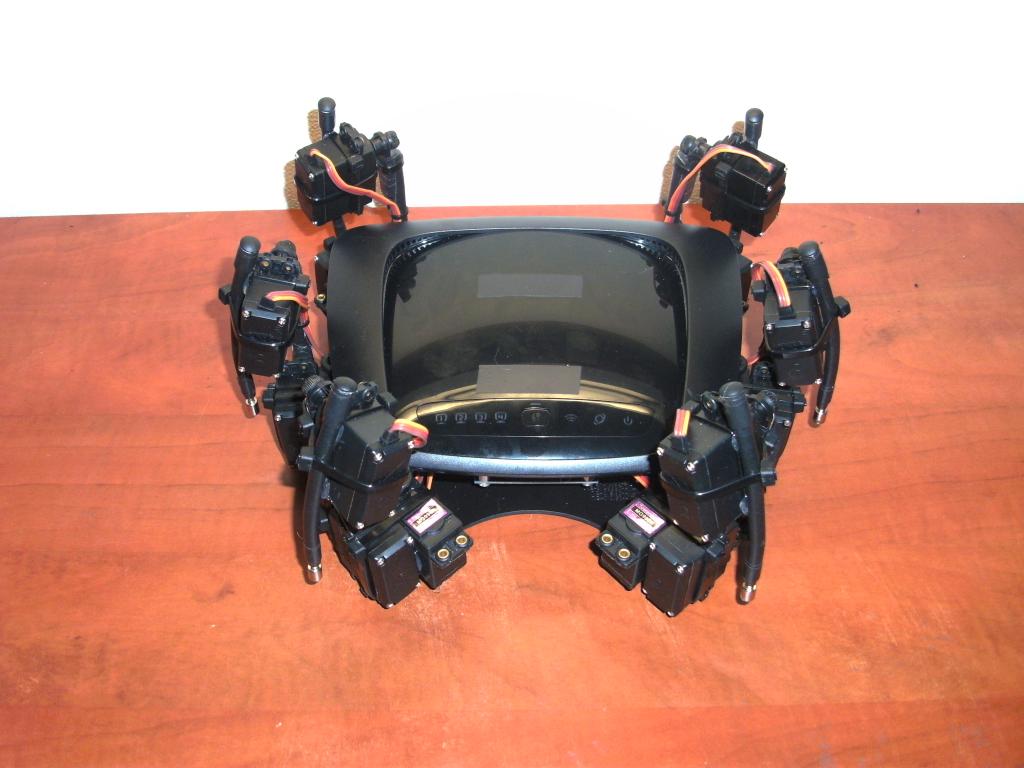
Okidey's Hank V1.0
Control an EZB hexapod (18 servos) with Synthiam ARC scripts; troubleshoot external servo power, brownouts, and...

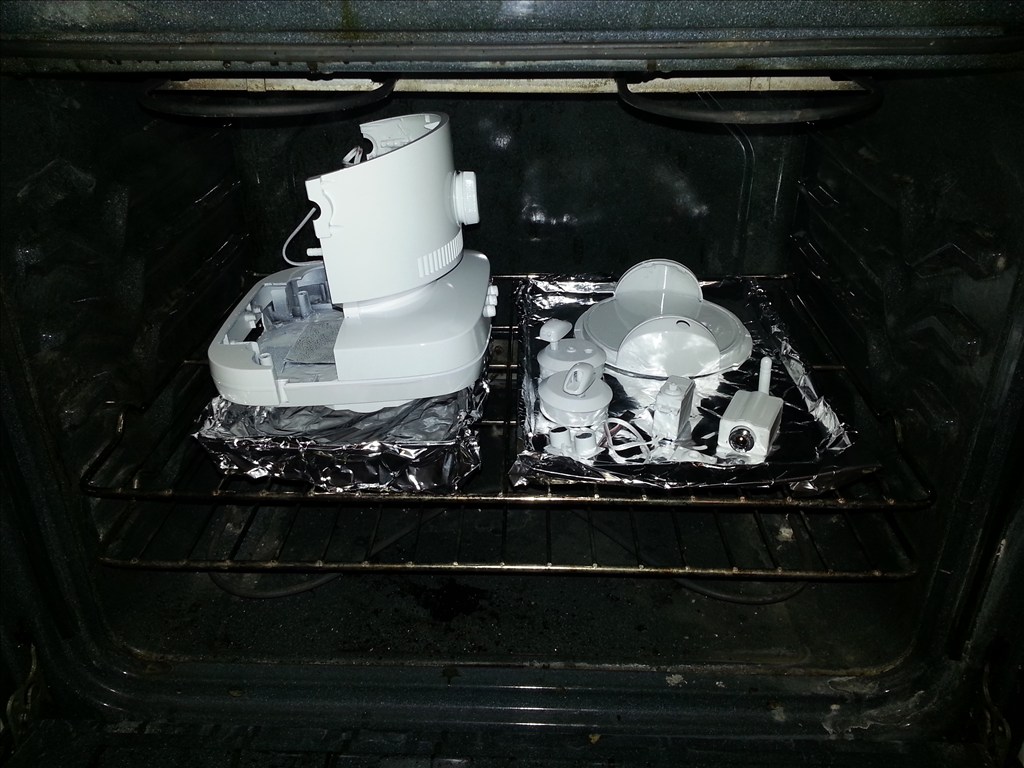
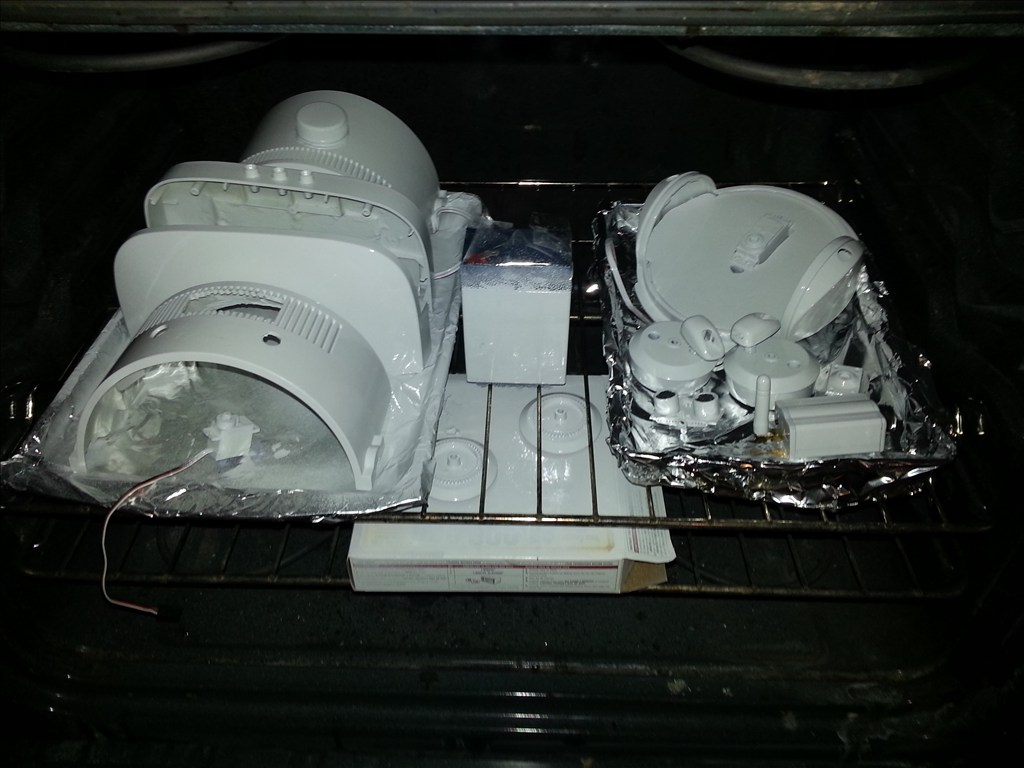
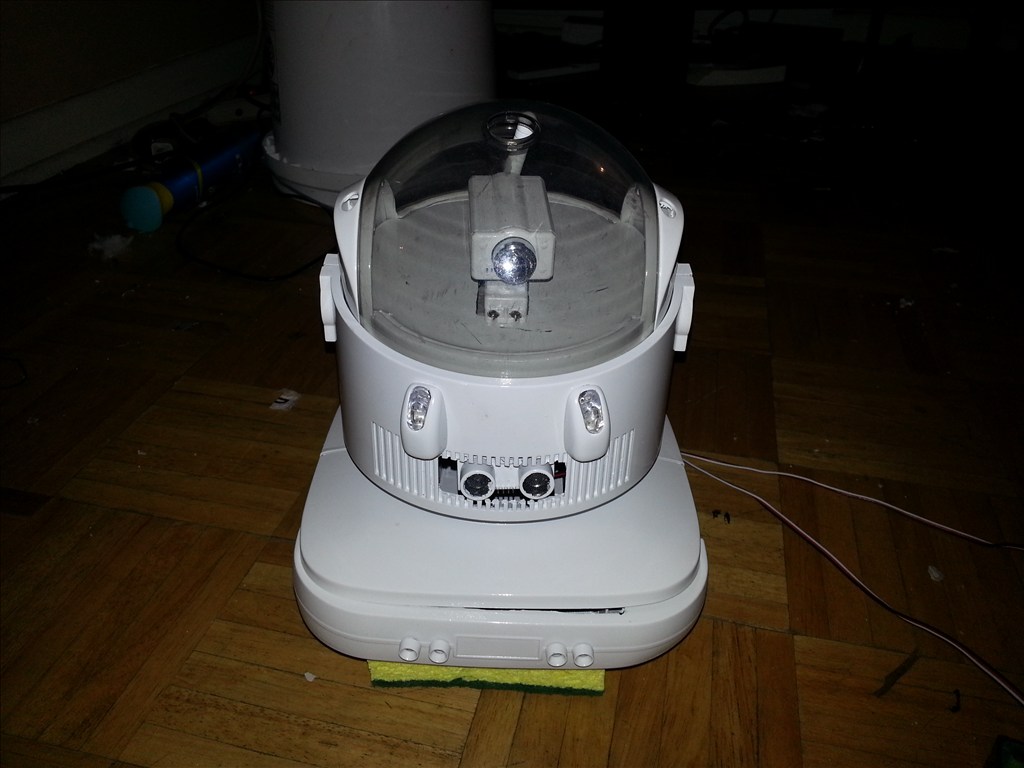
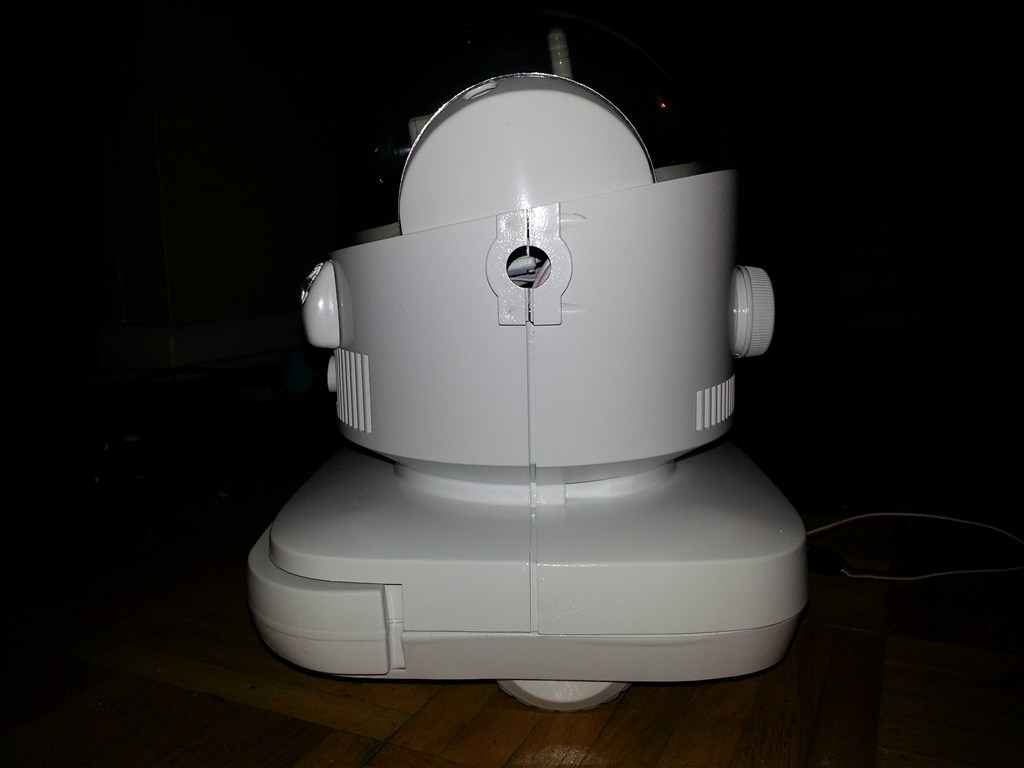
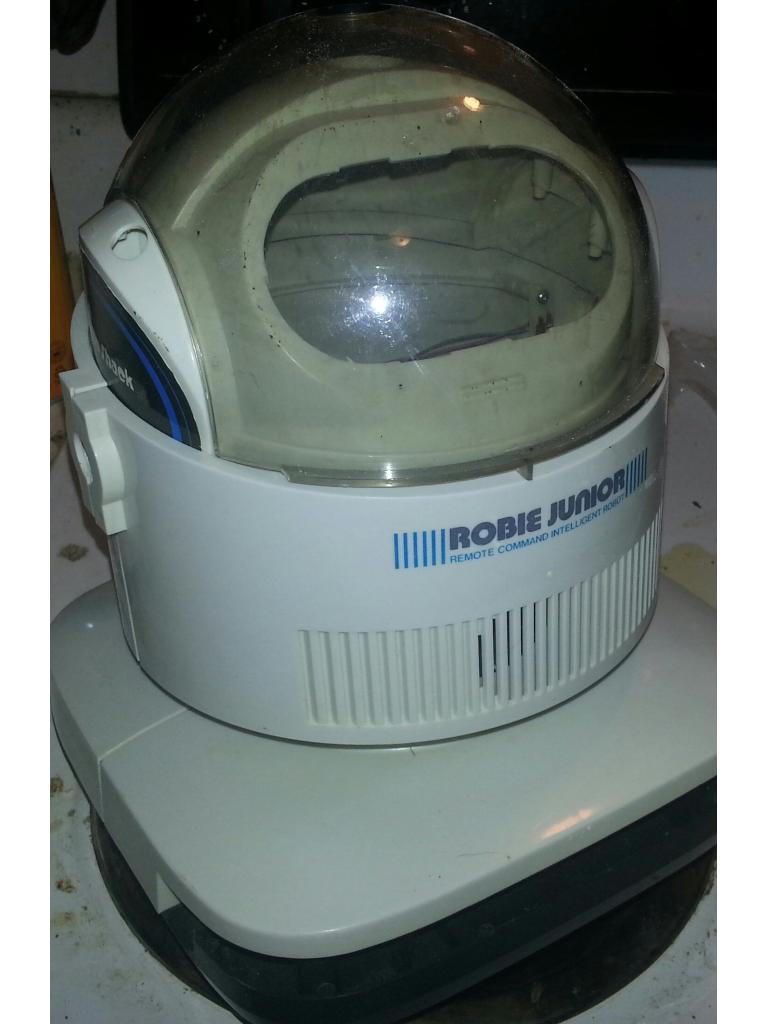
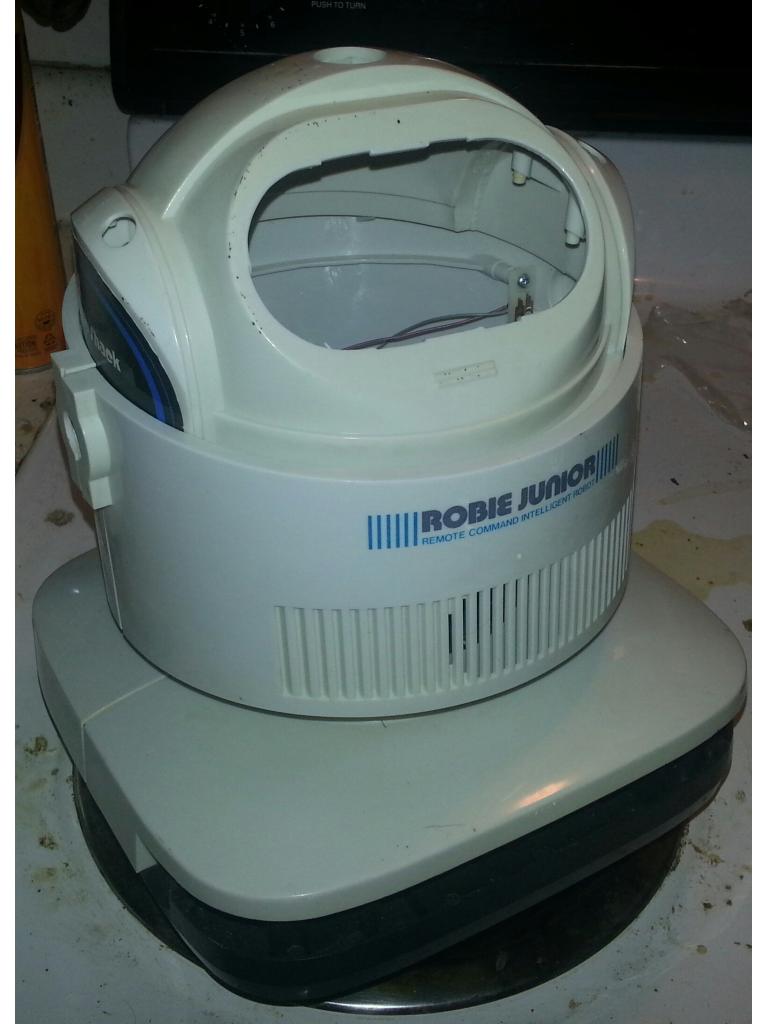
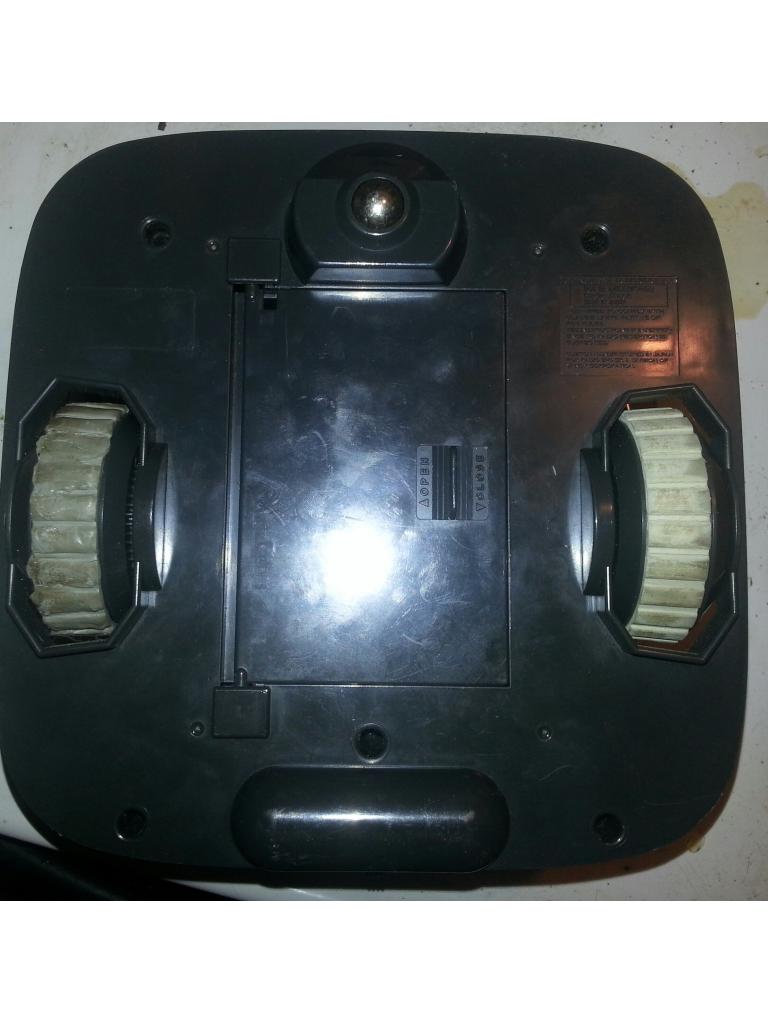
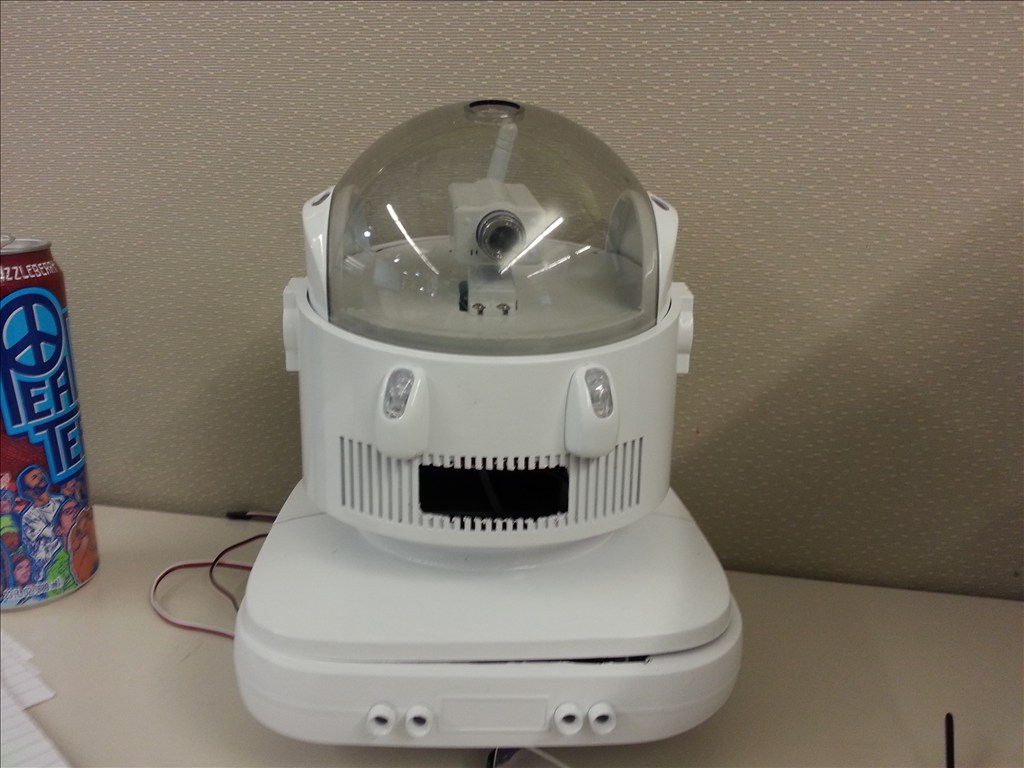
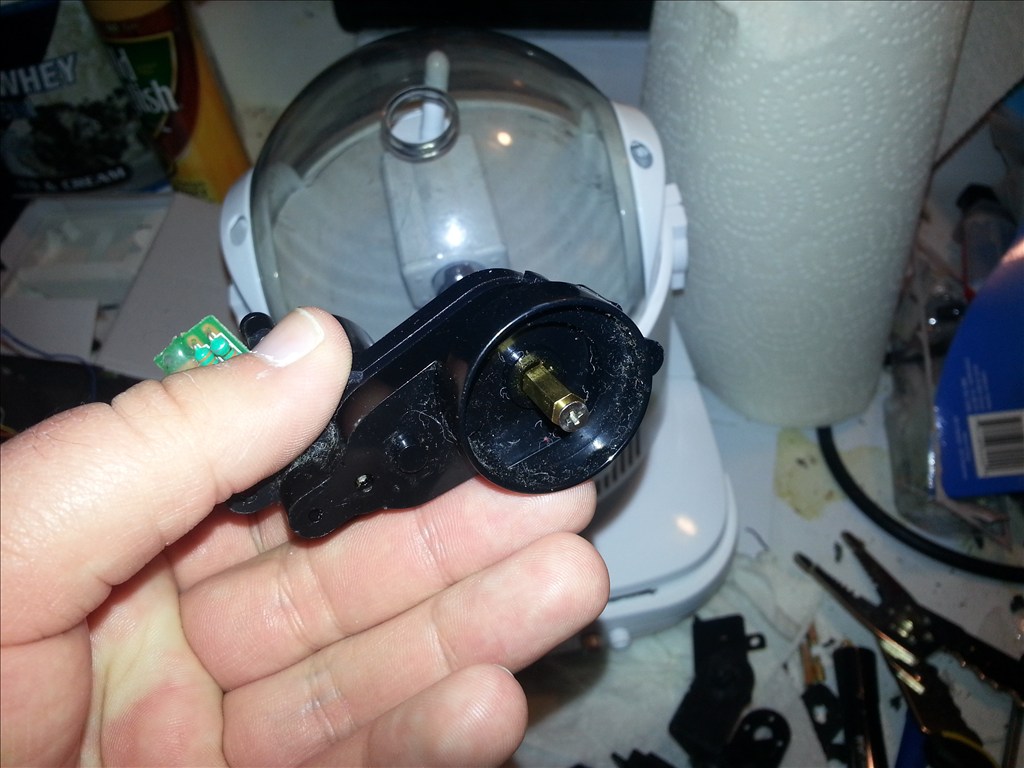
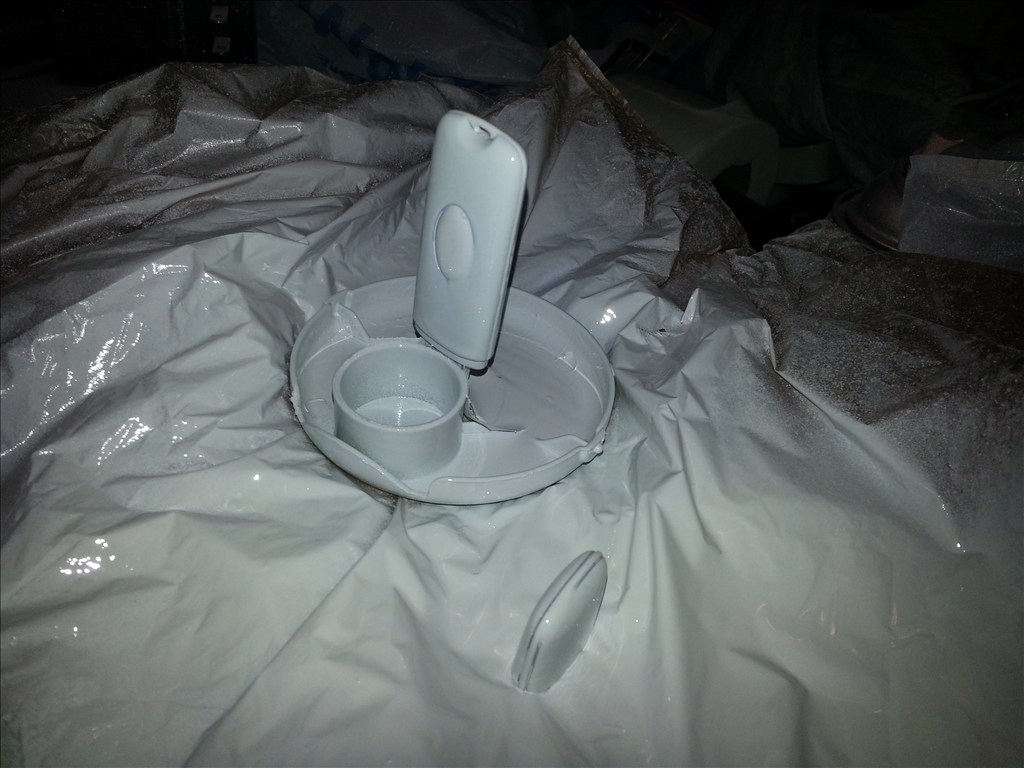
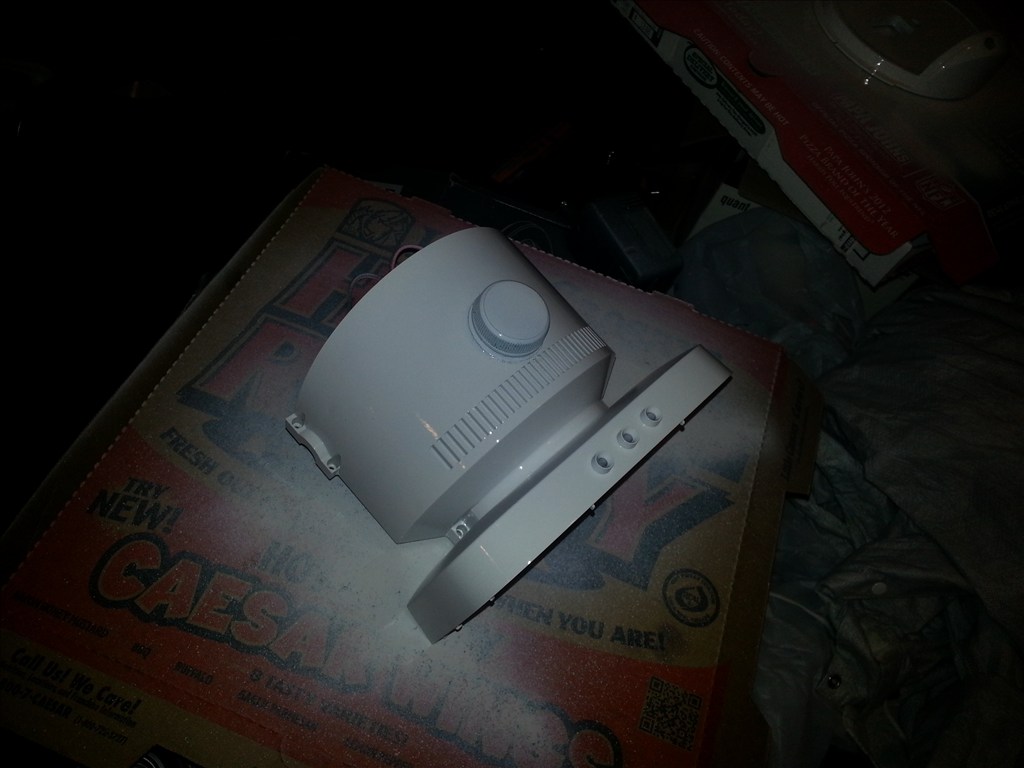
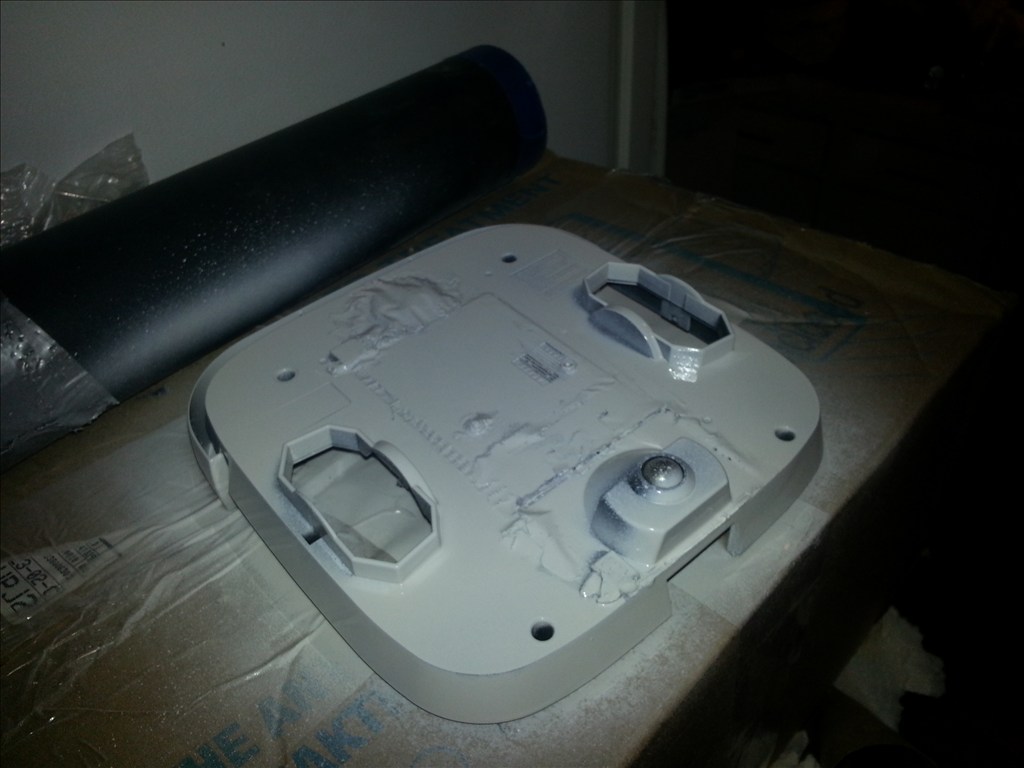
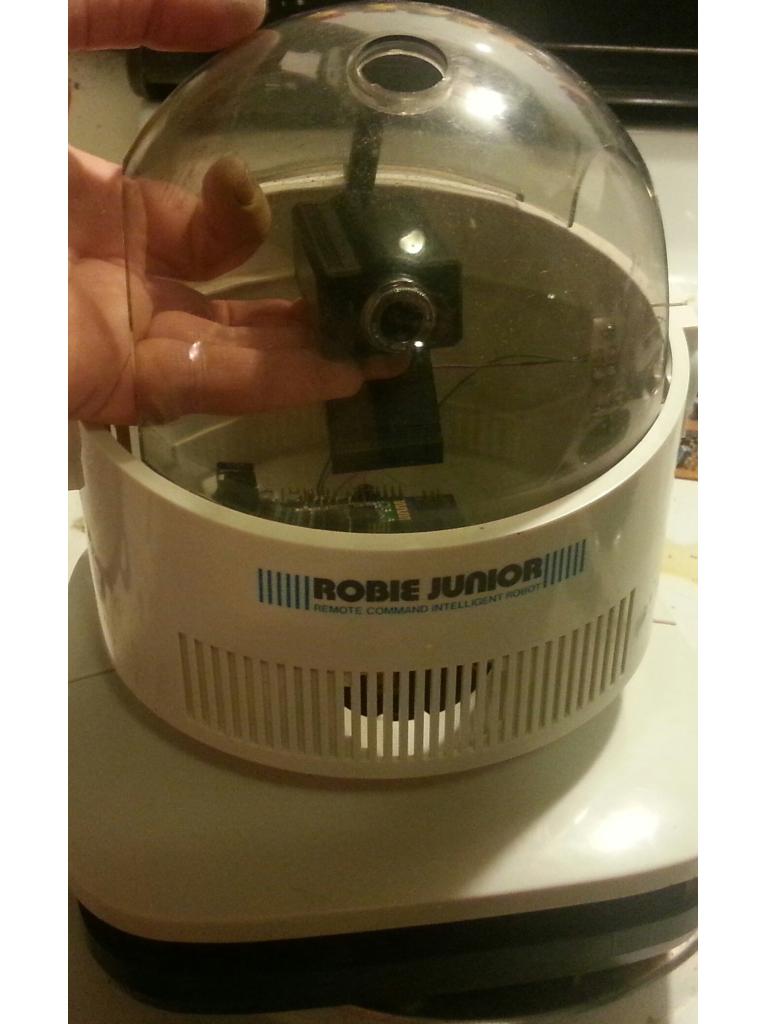
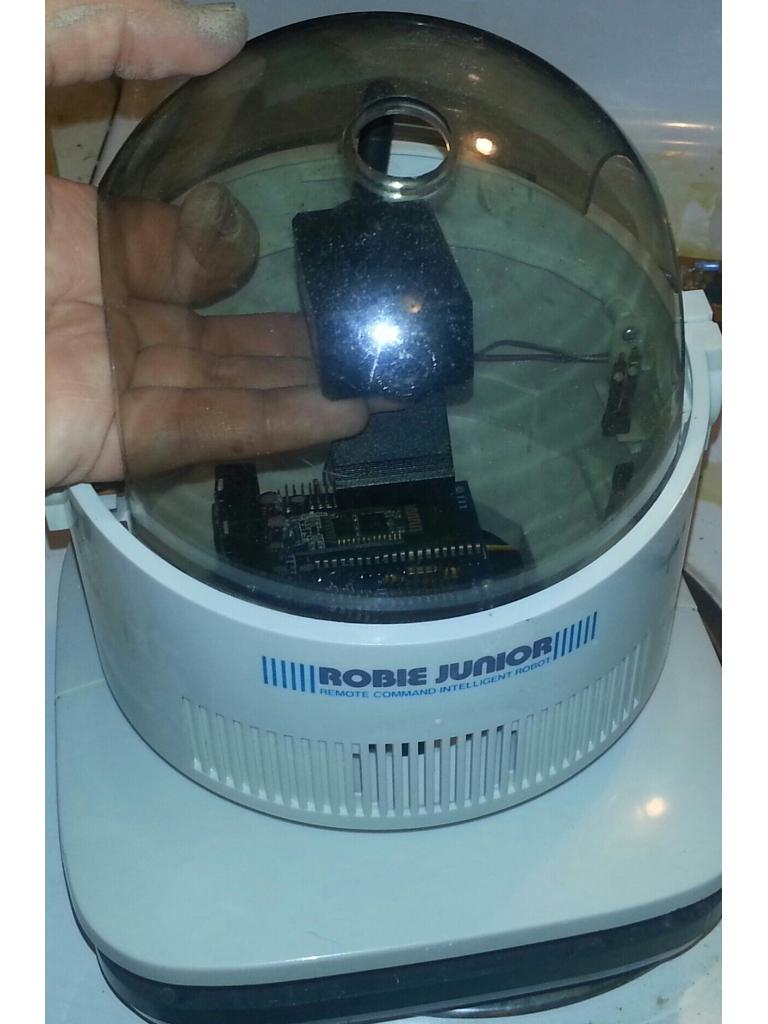
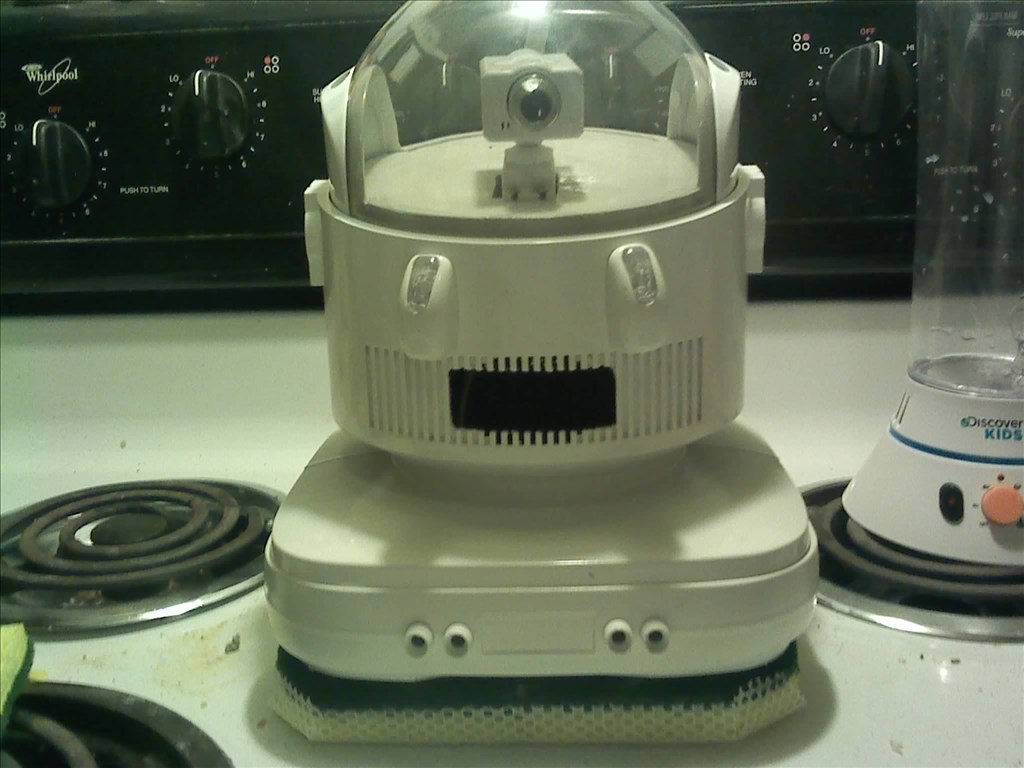
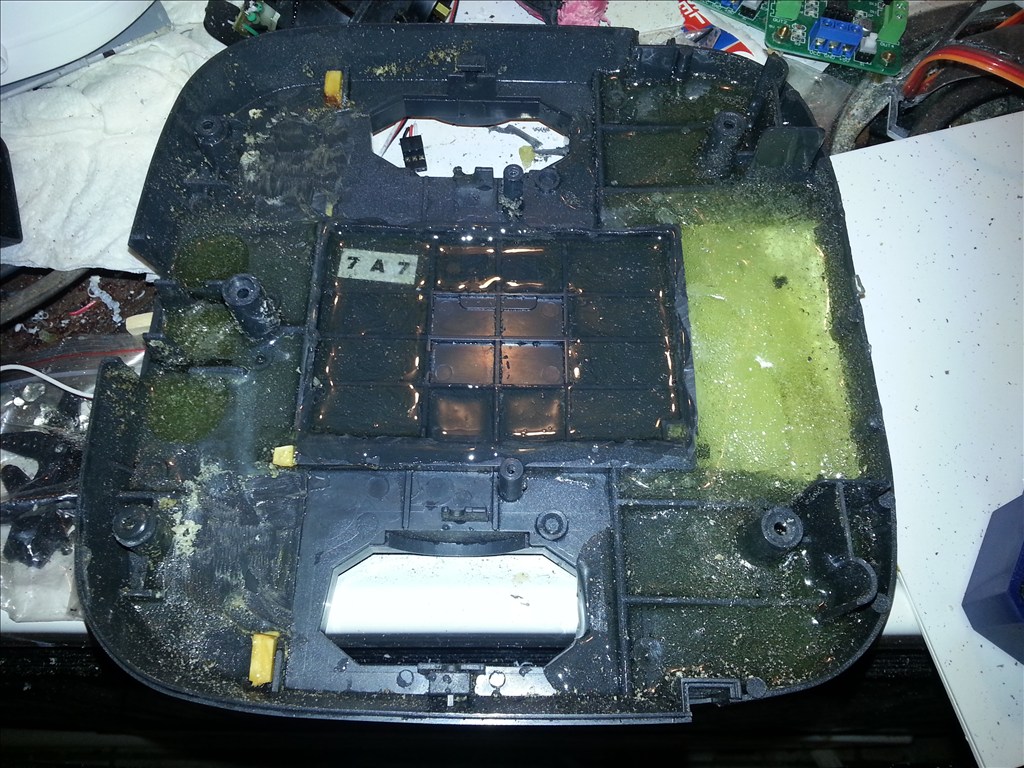
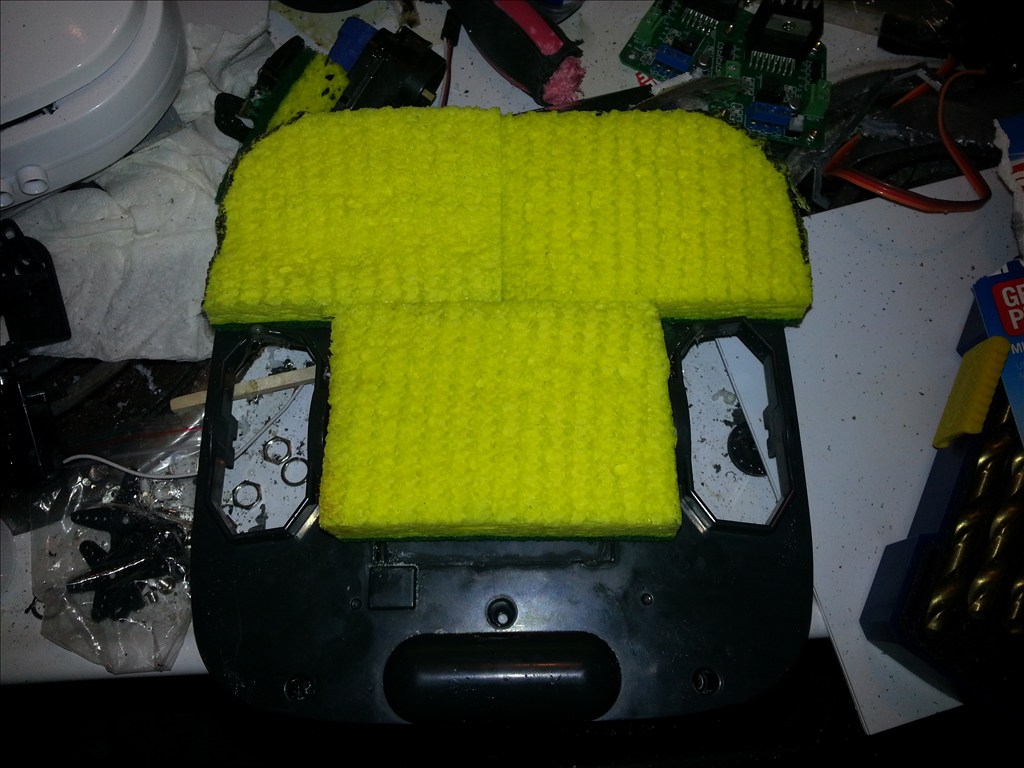
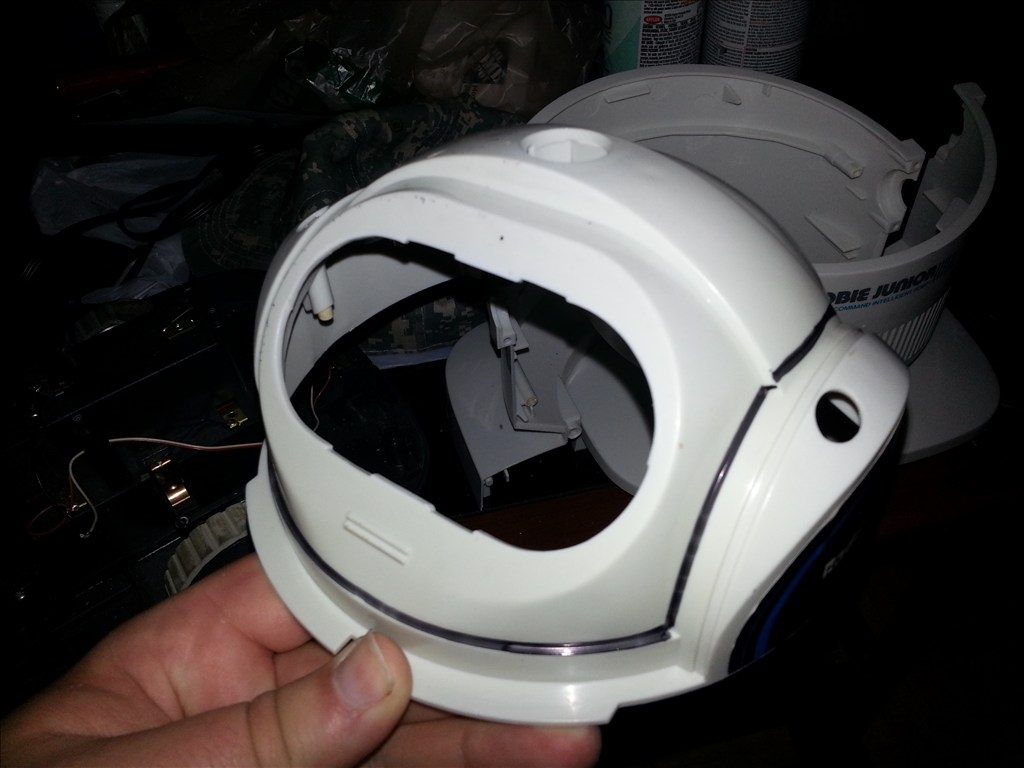
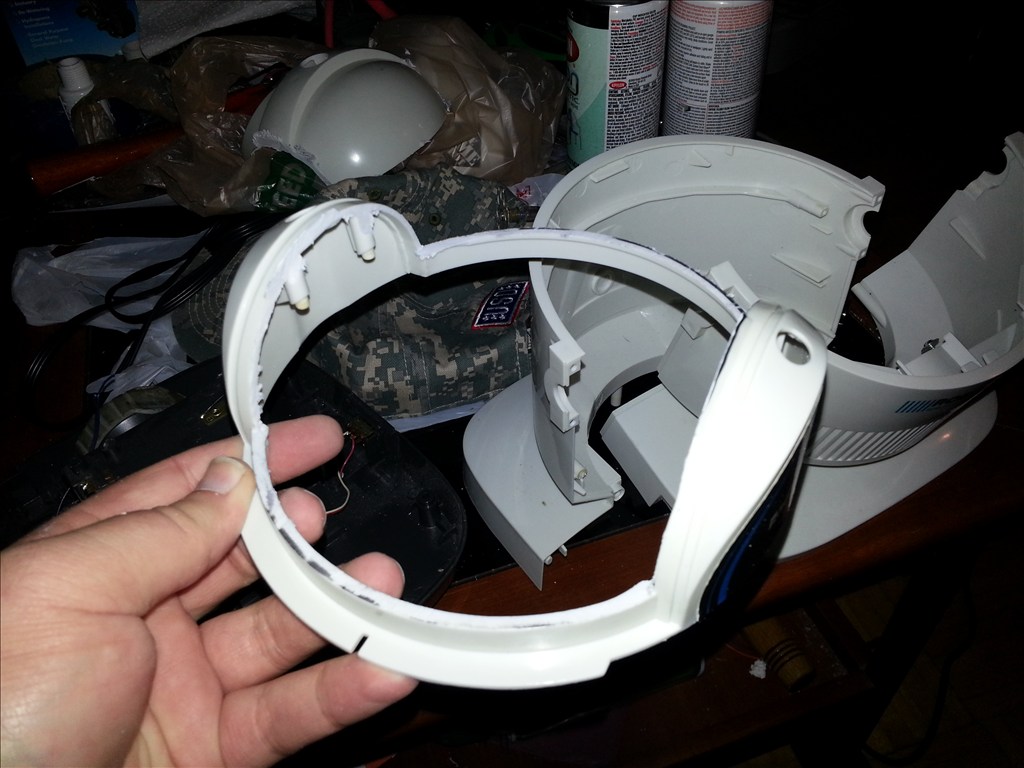
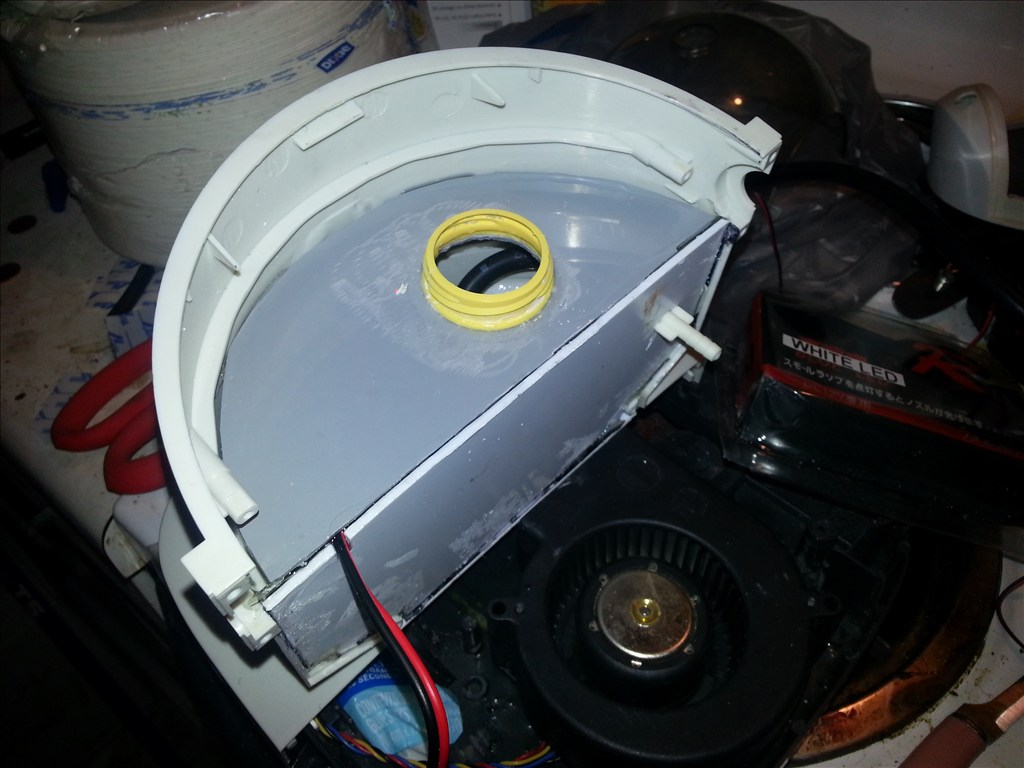
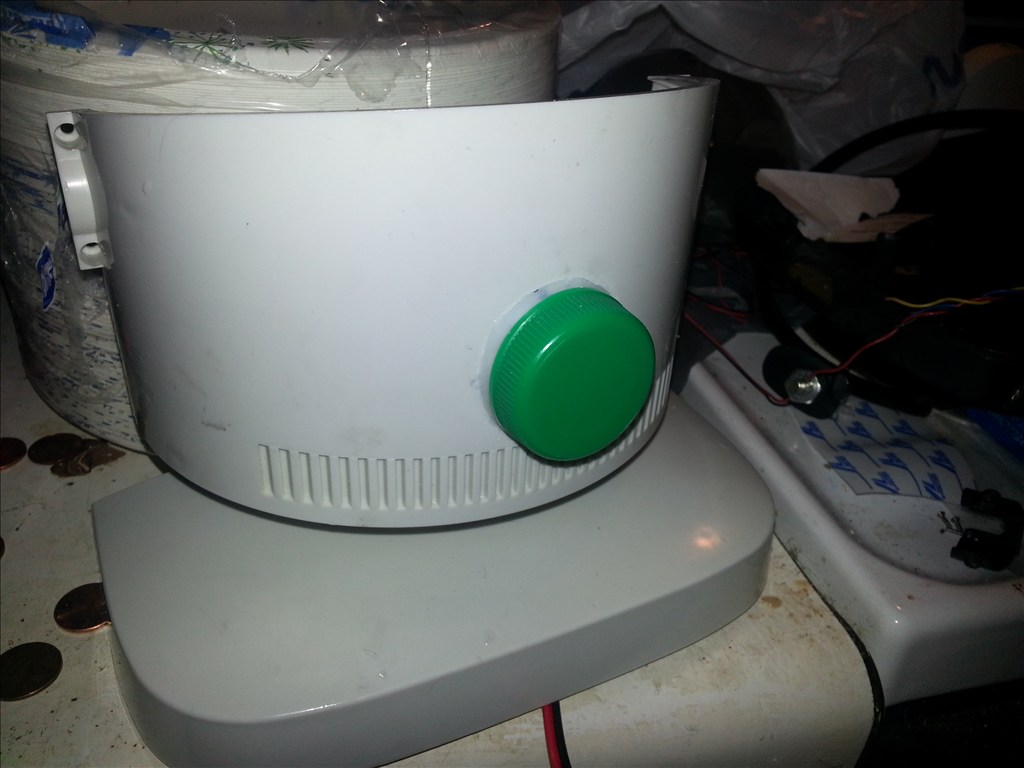
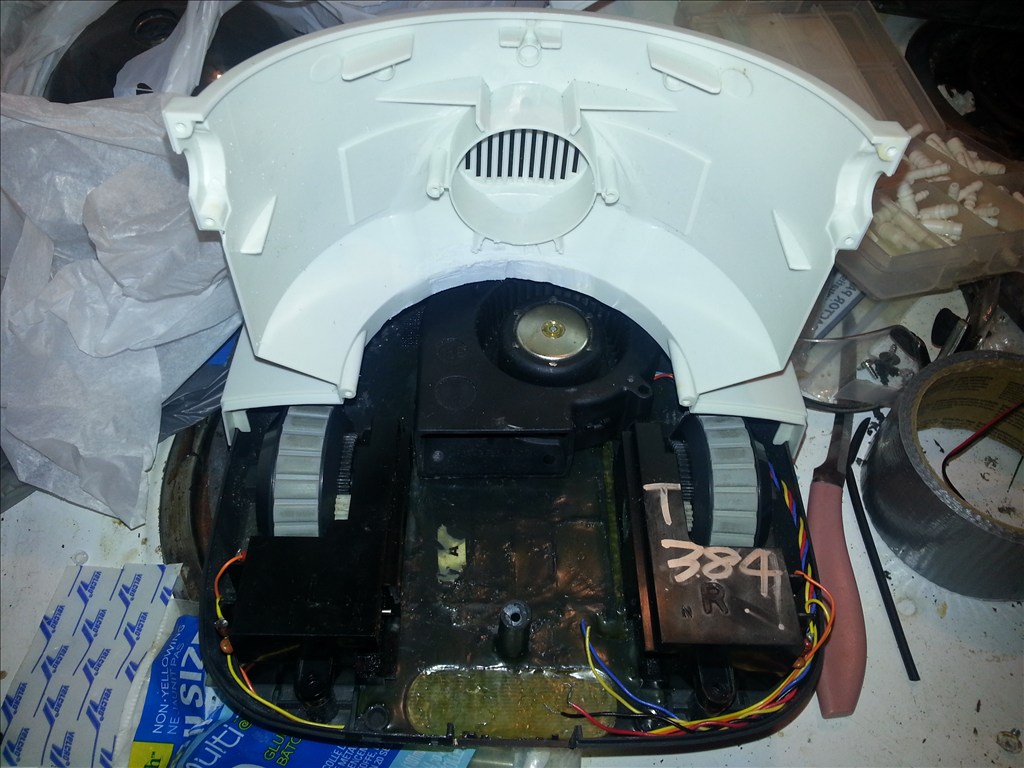
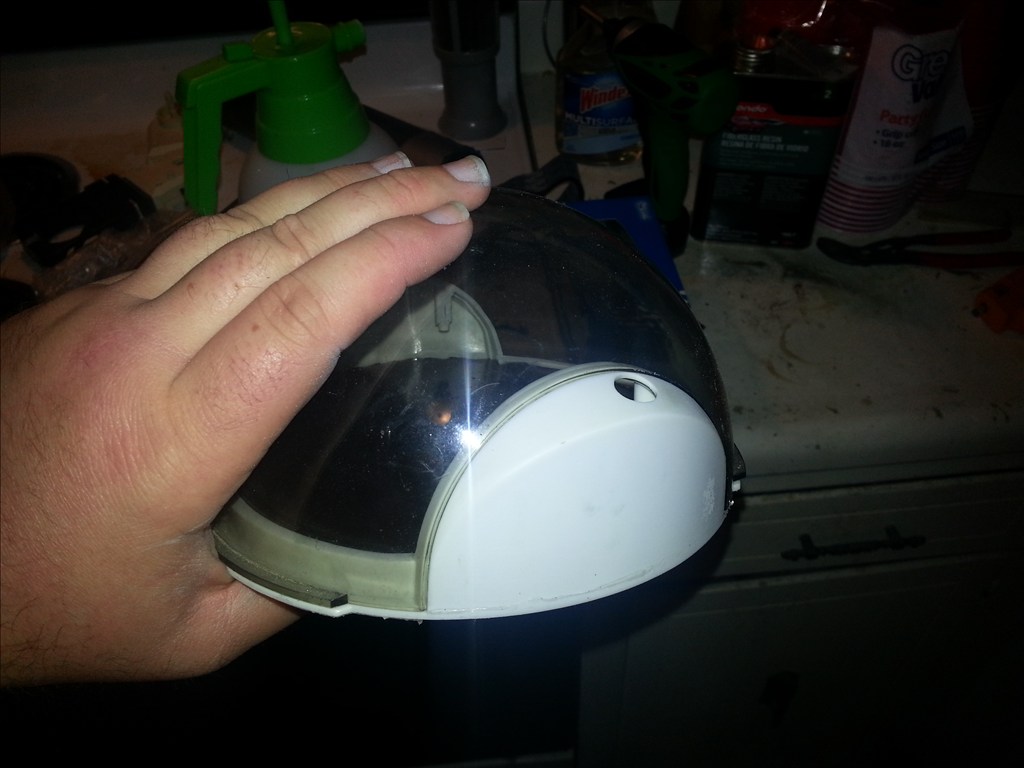
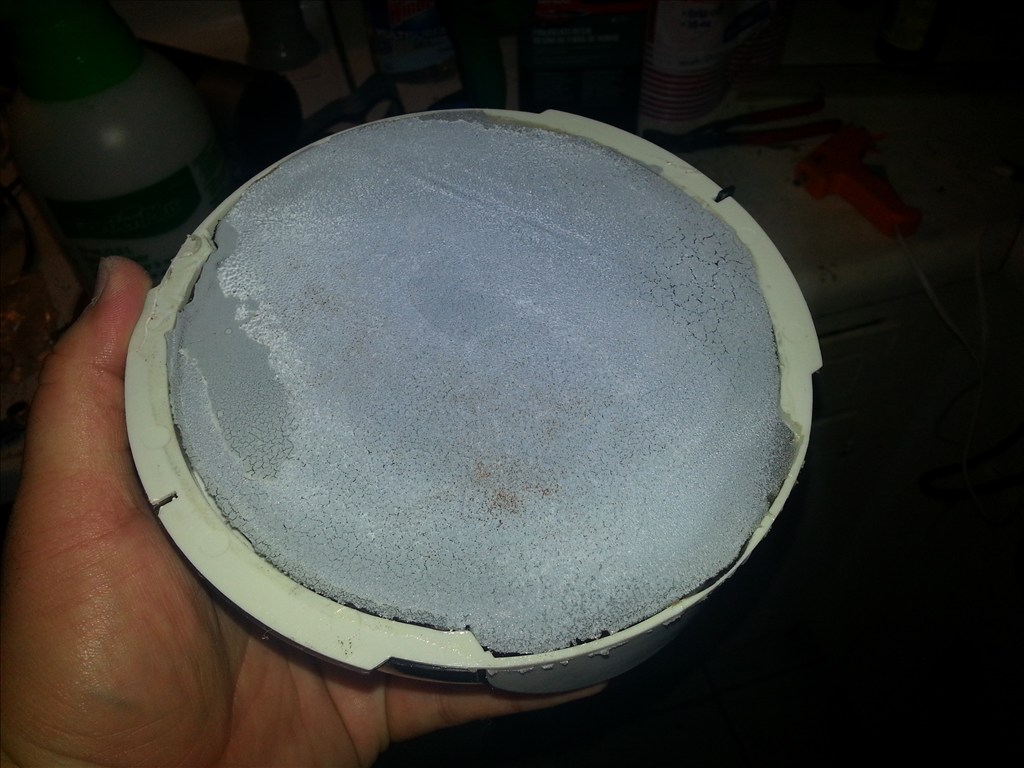
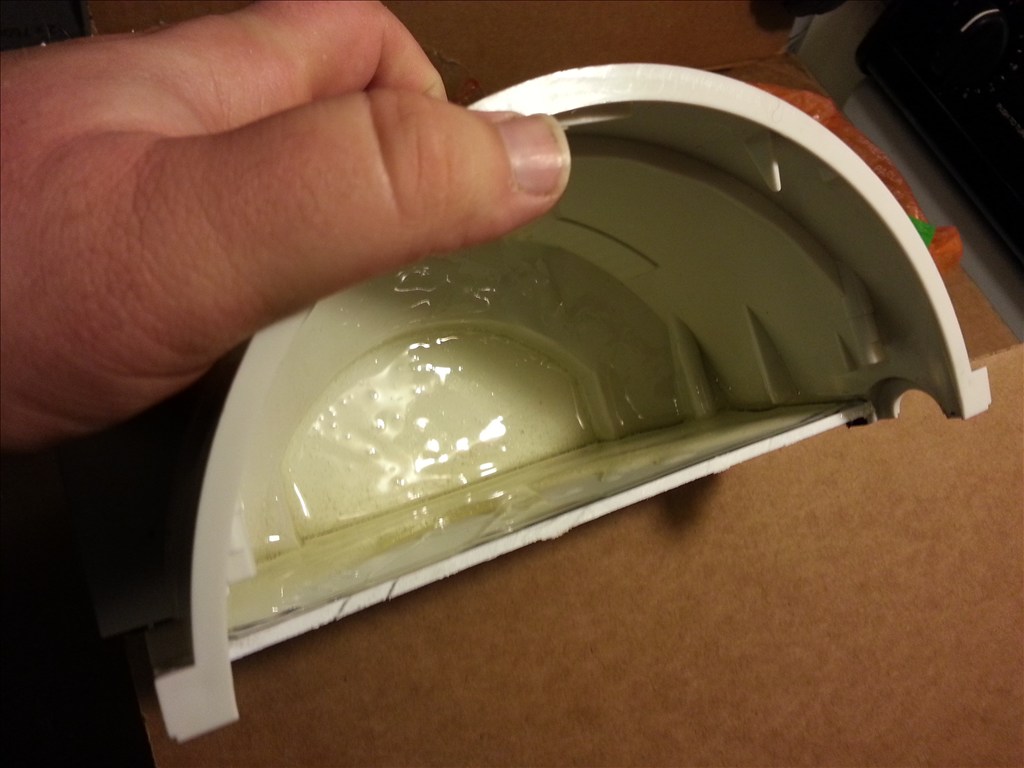
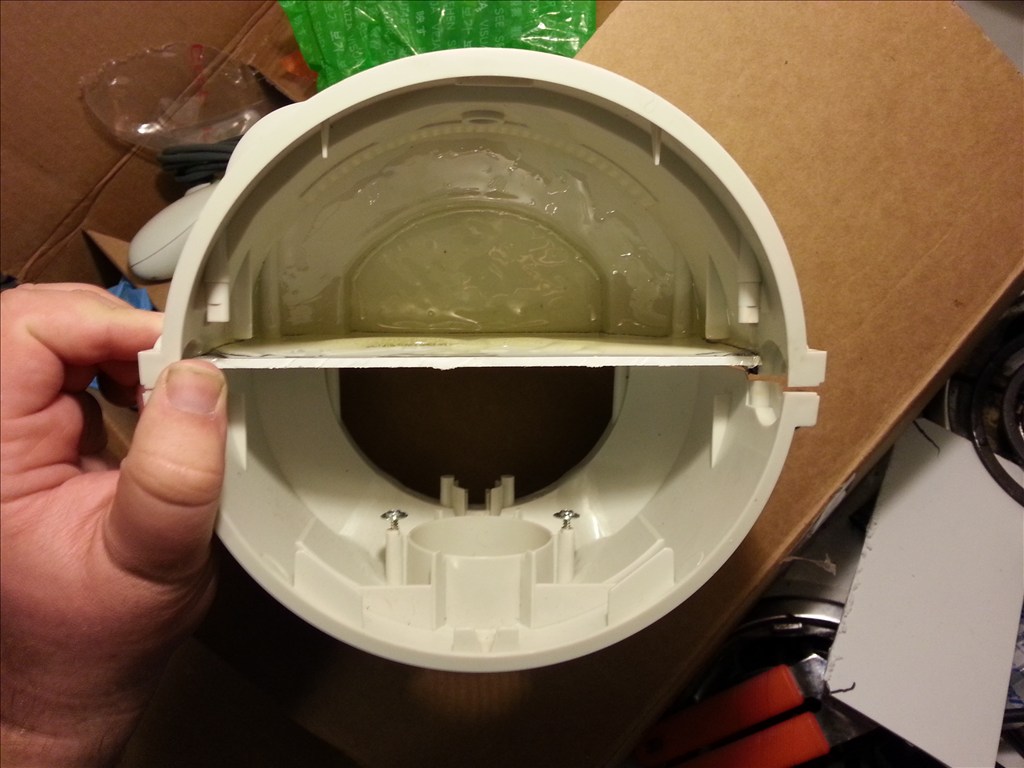
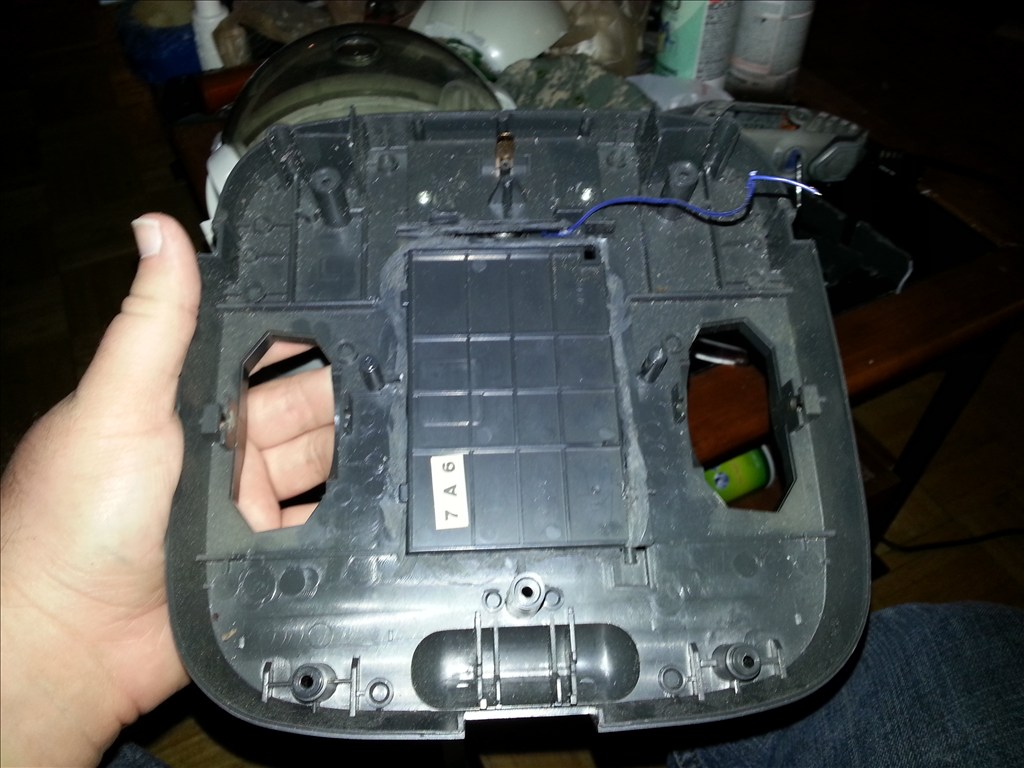
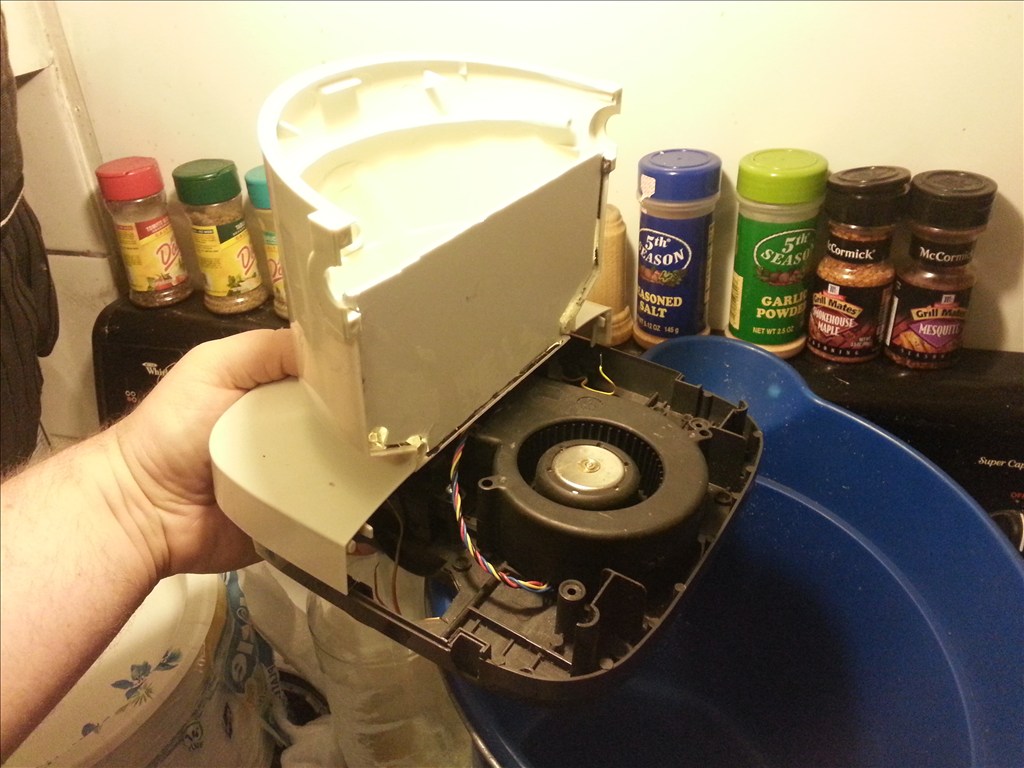
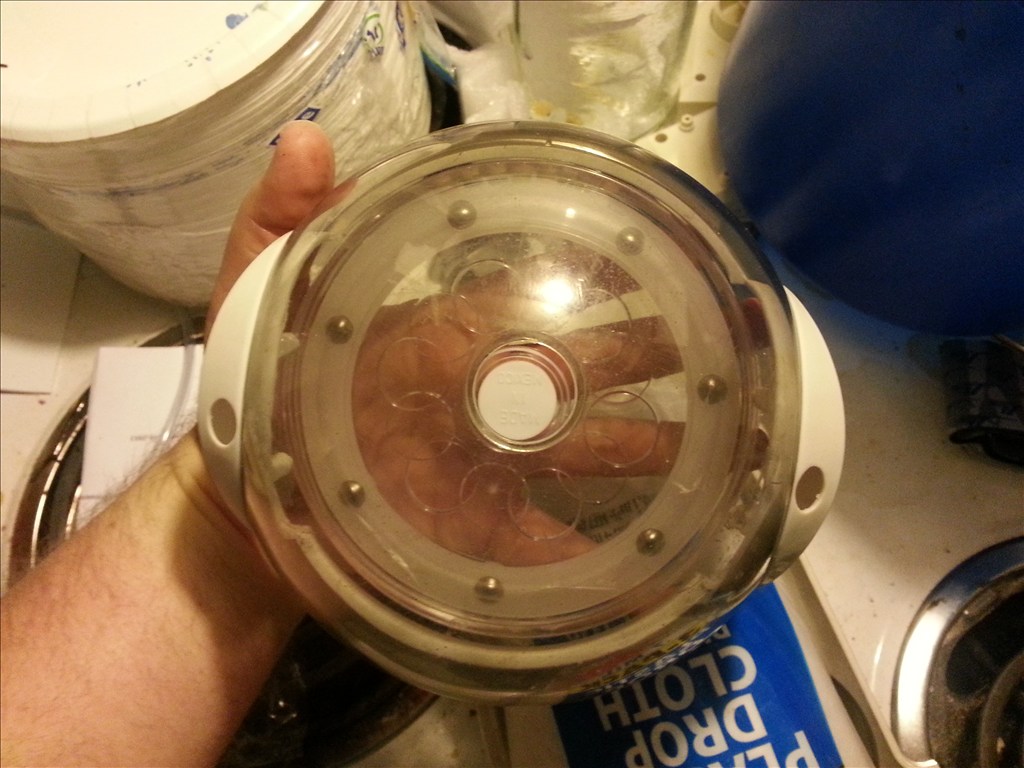
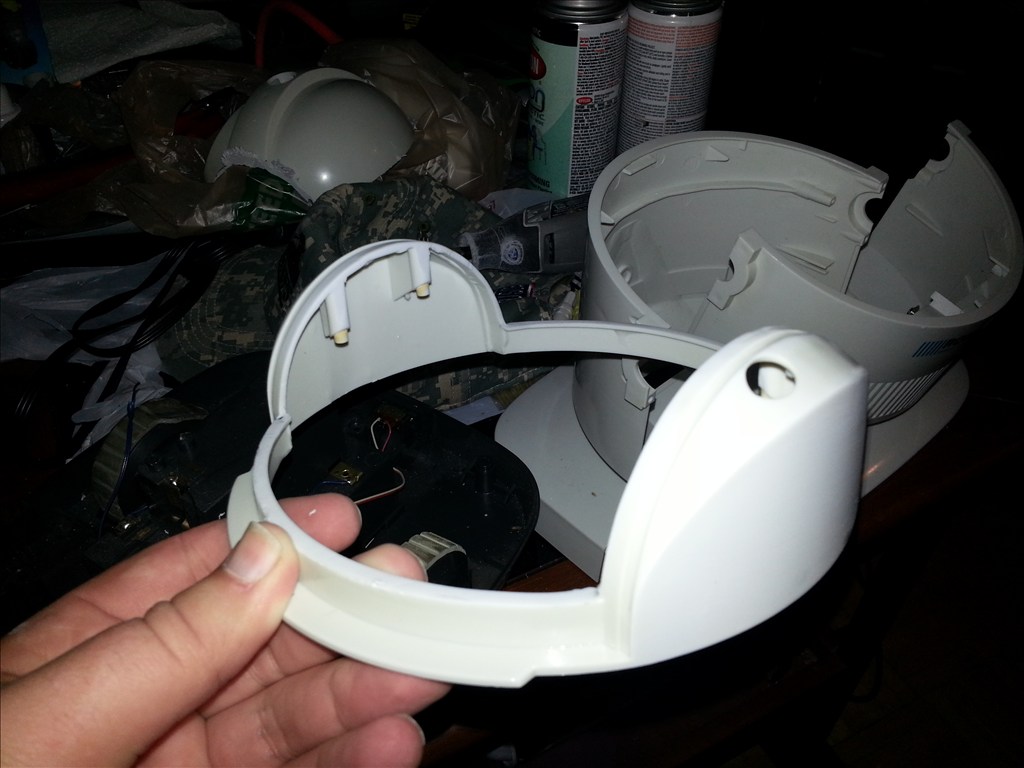
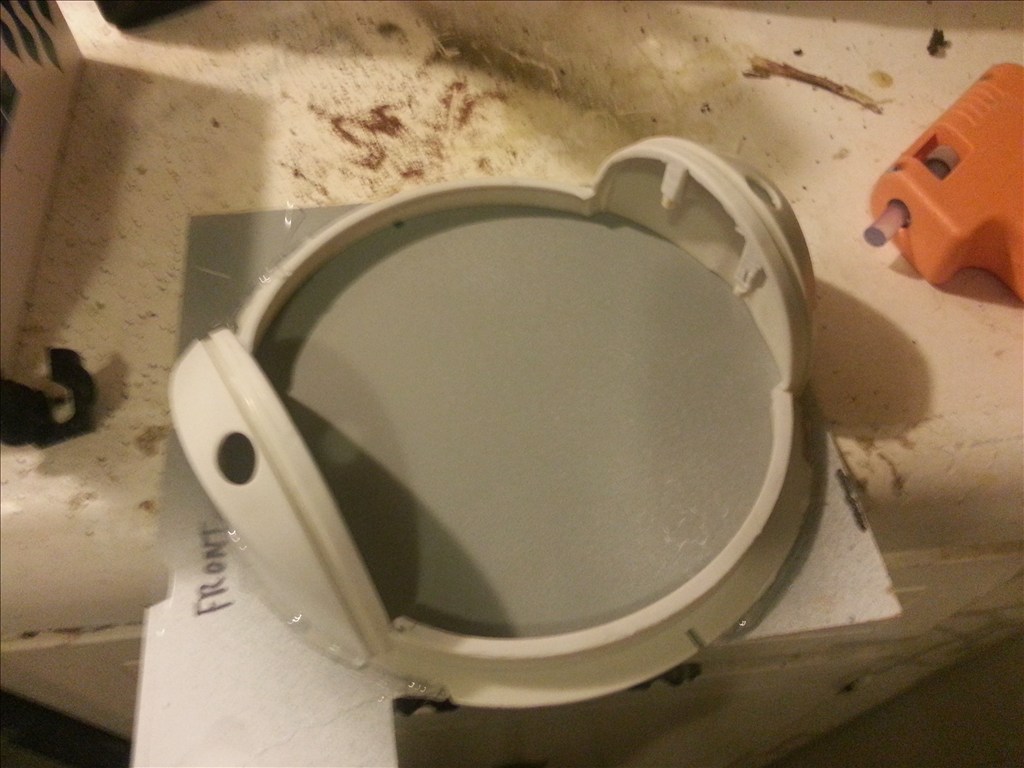
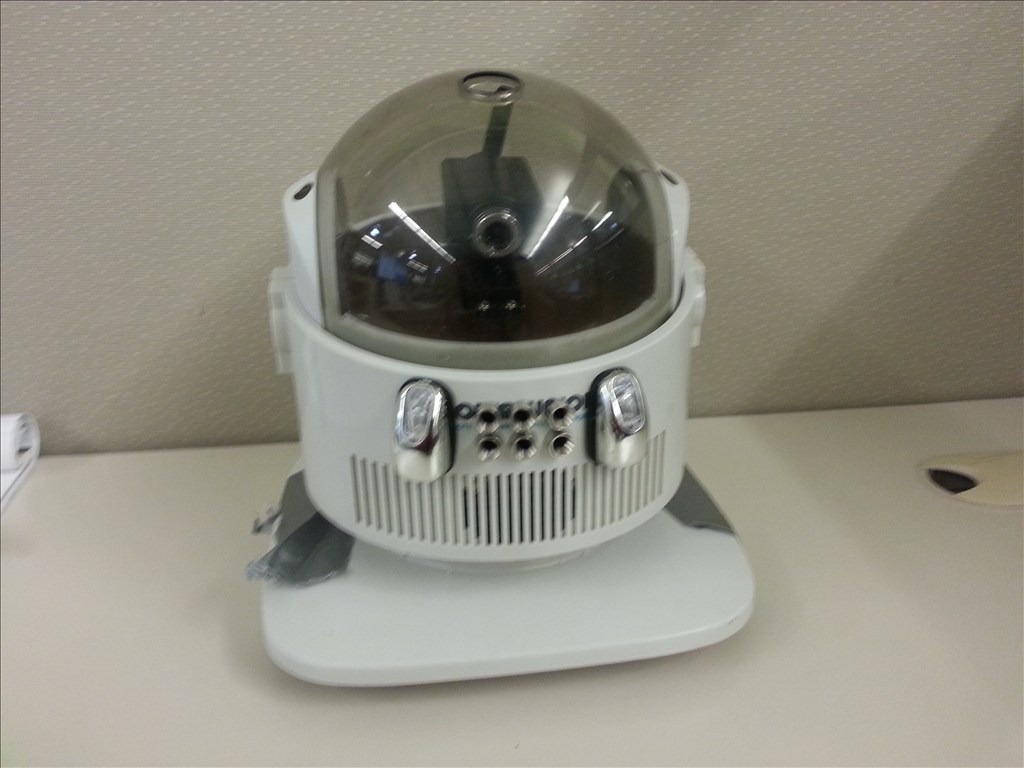
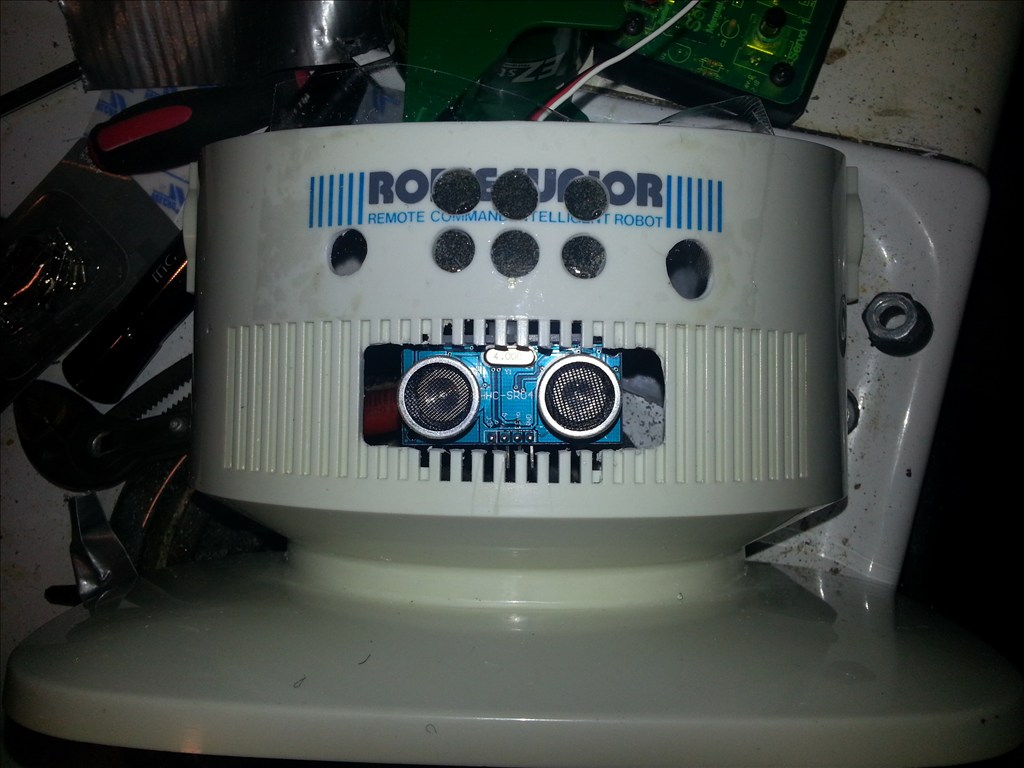
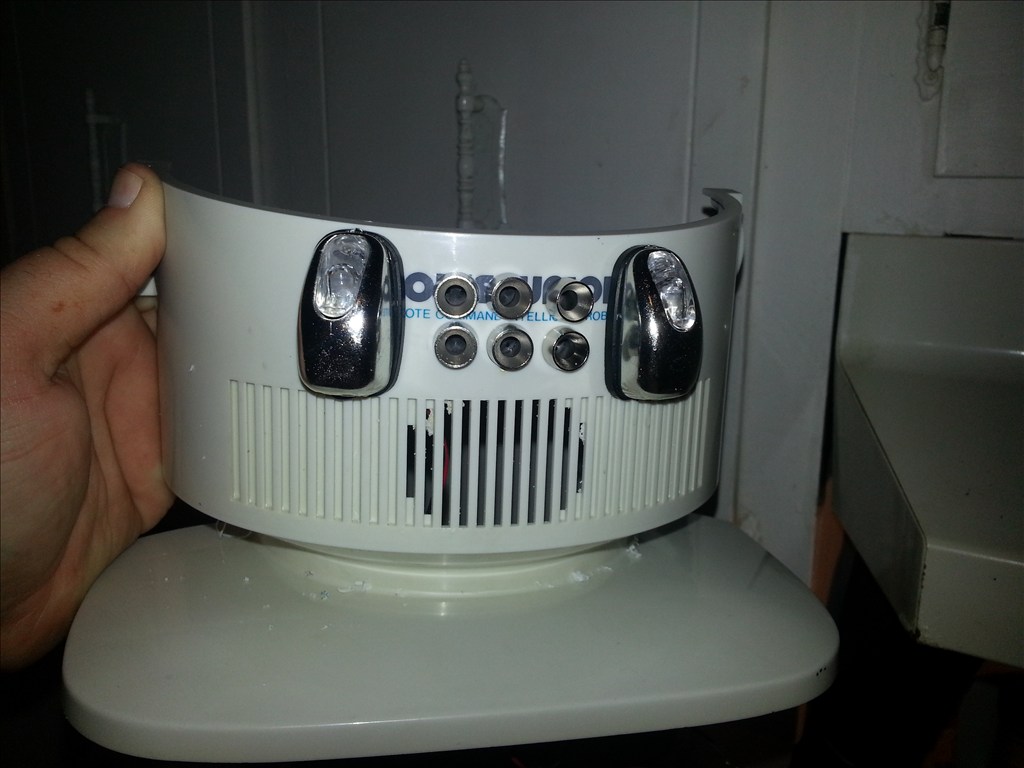
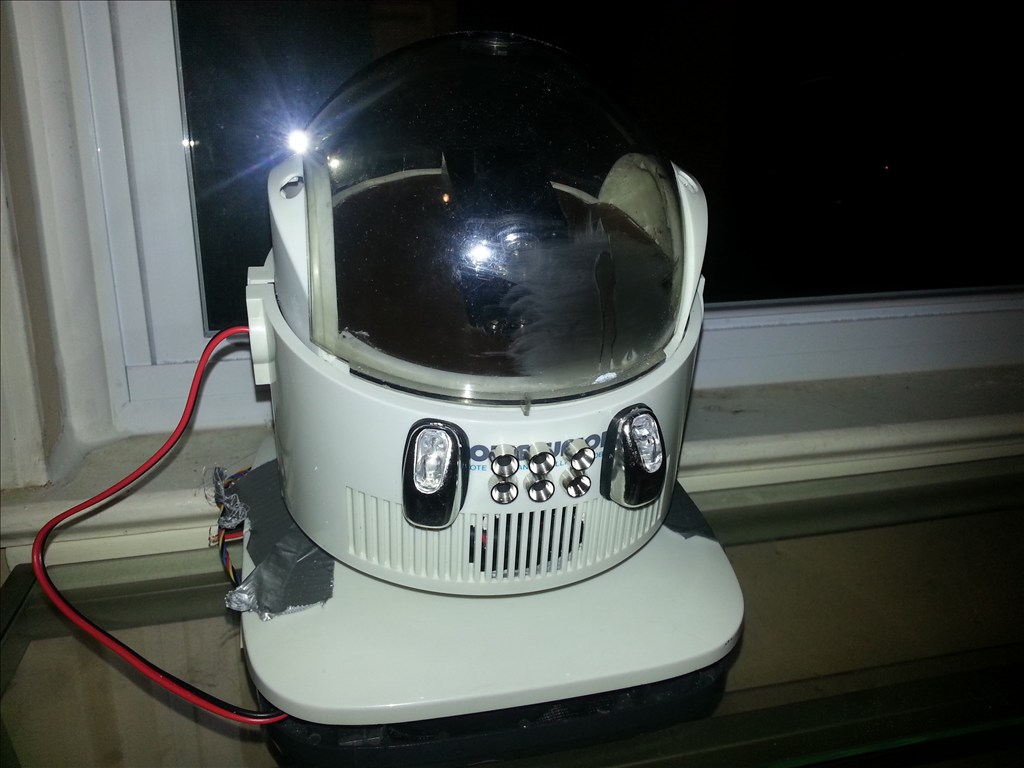
Ok first we need to see what we are working with..... I took the robot apart and removed most electronics and ran it through the dish washer. Now the robot looks very clean. I would like every ones opinion if I should use the dome or not.
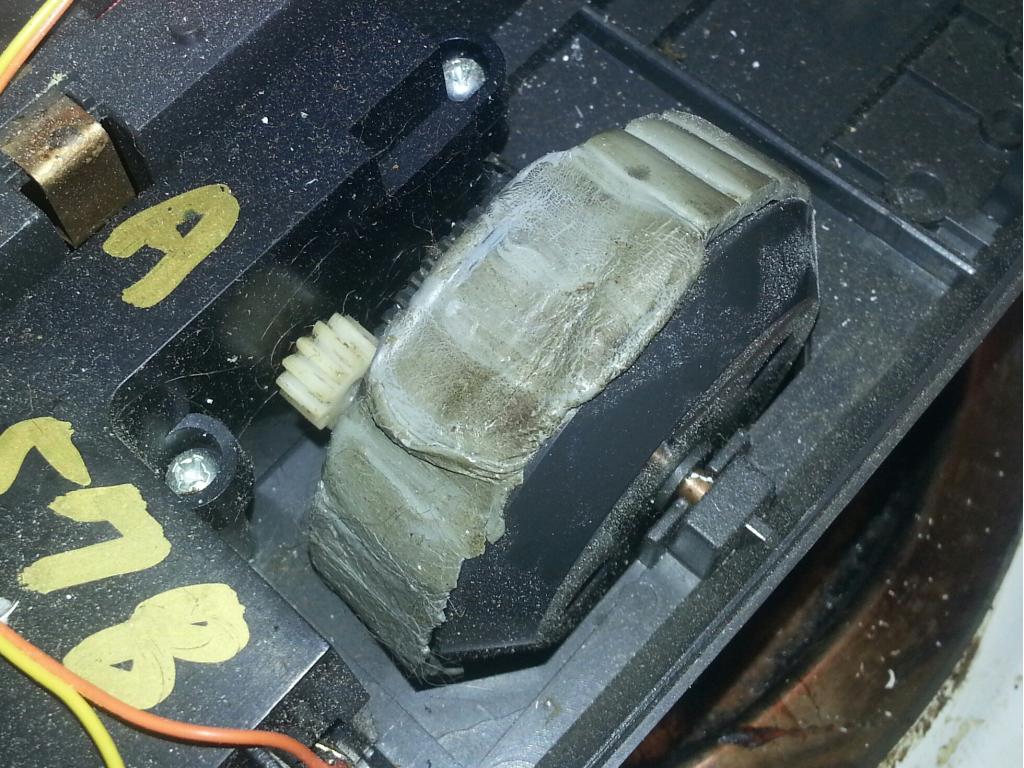
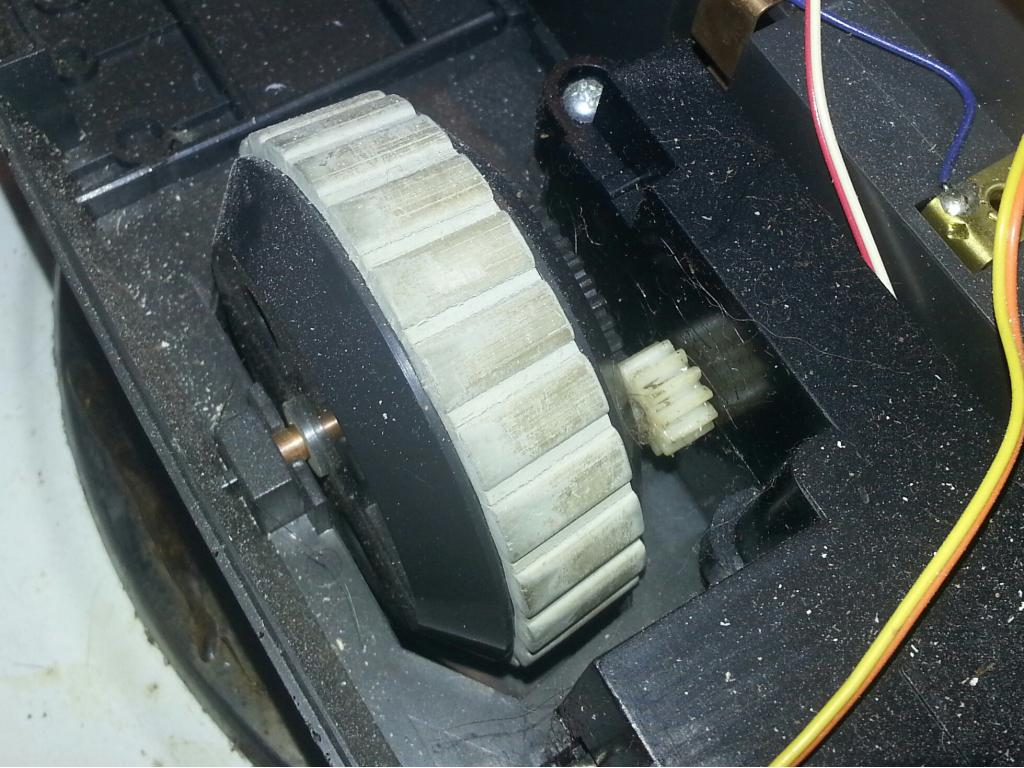
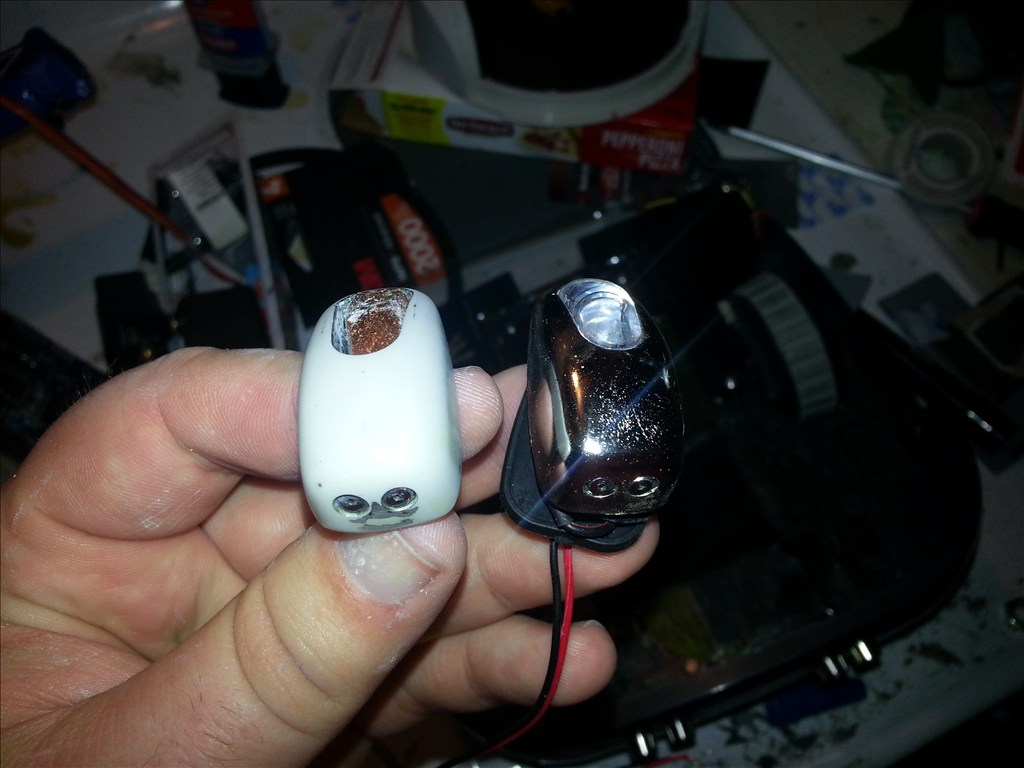
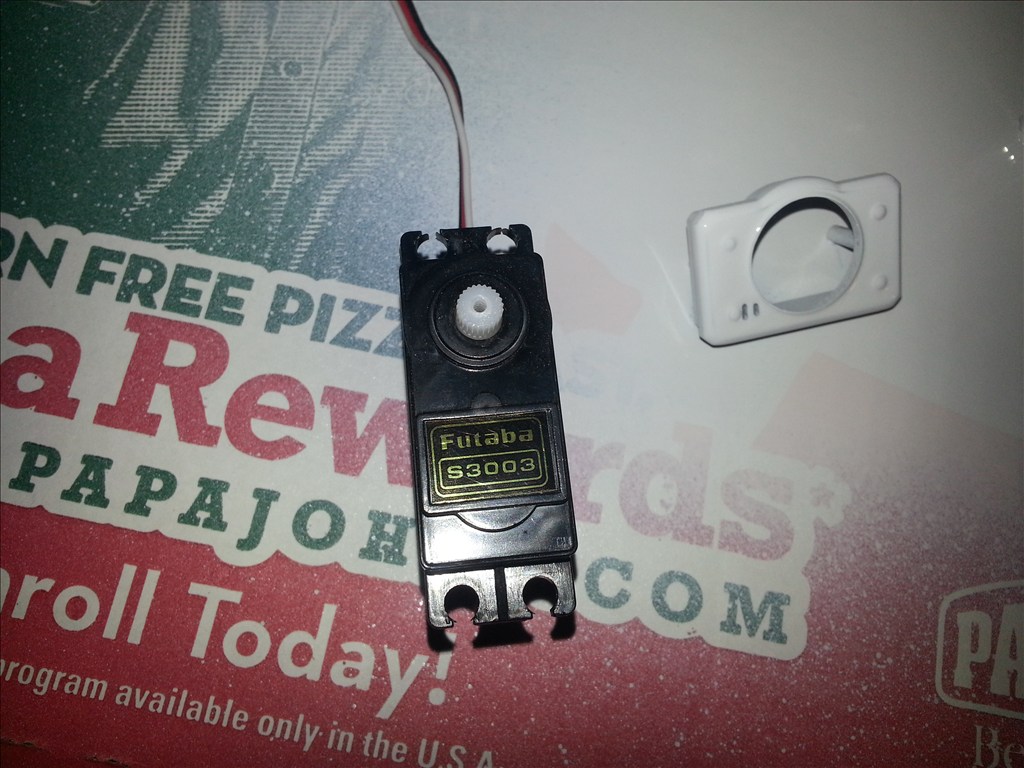
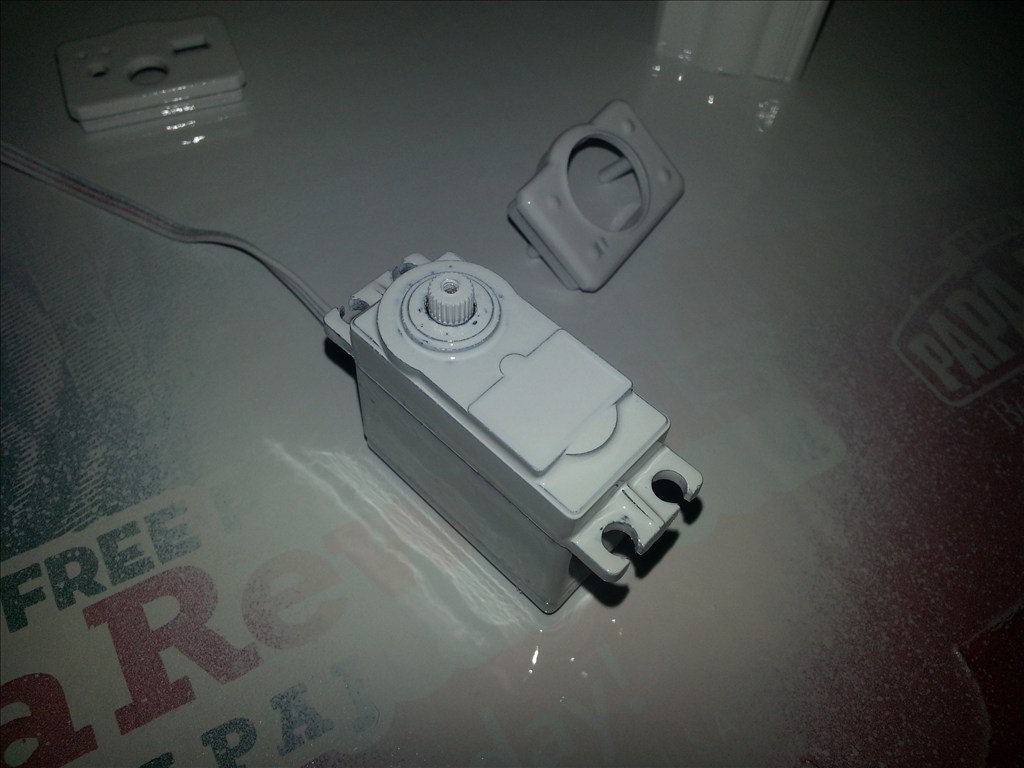
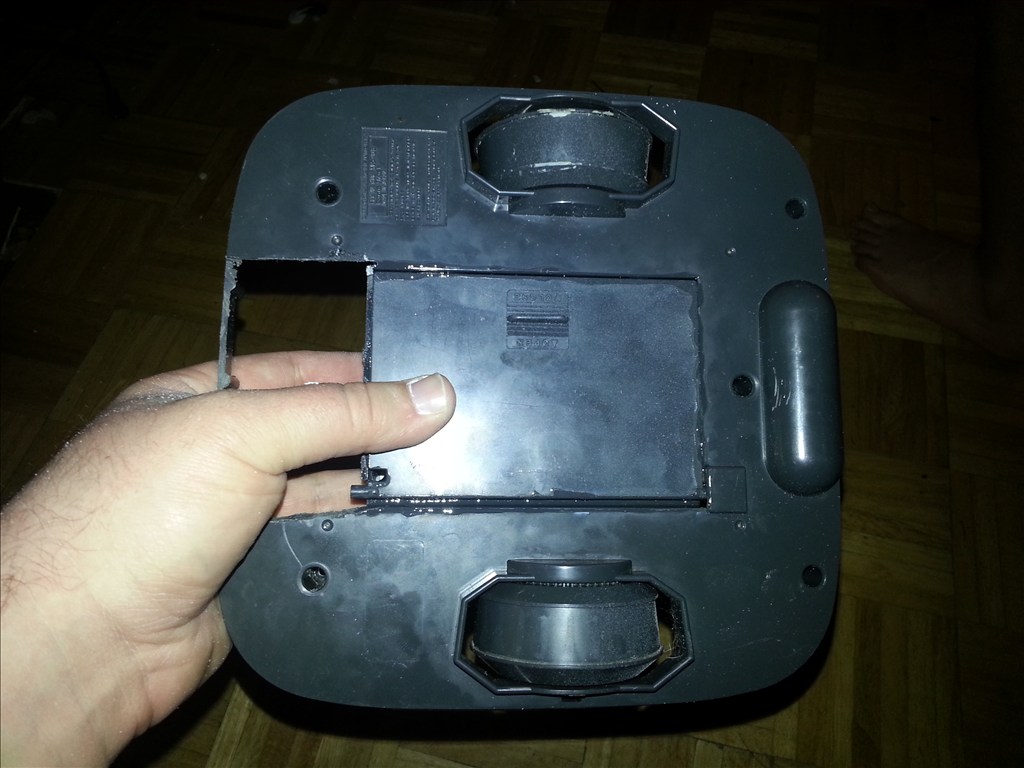
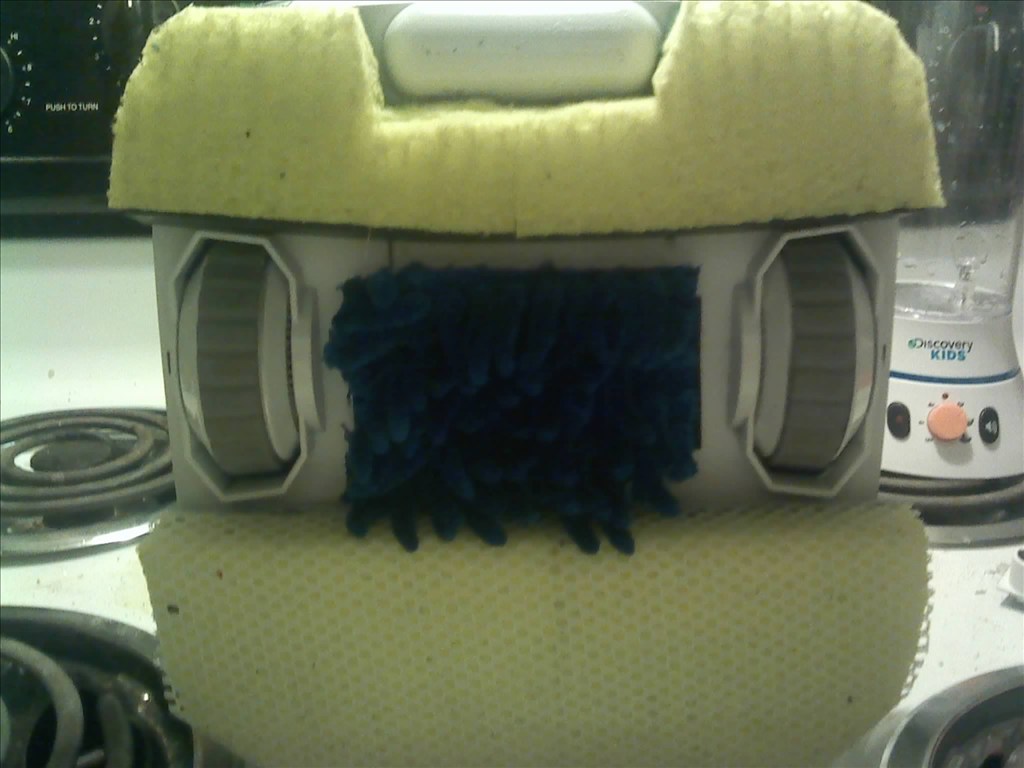
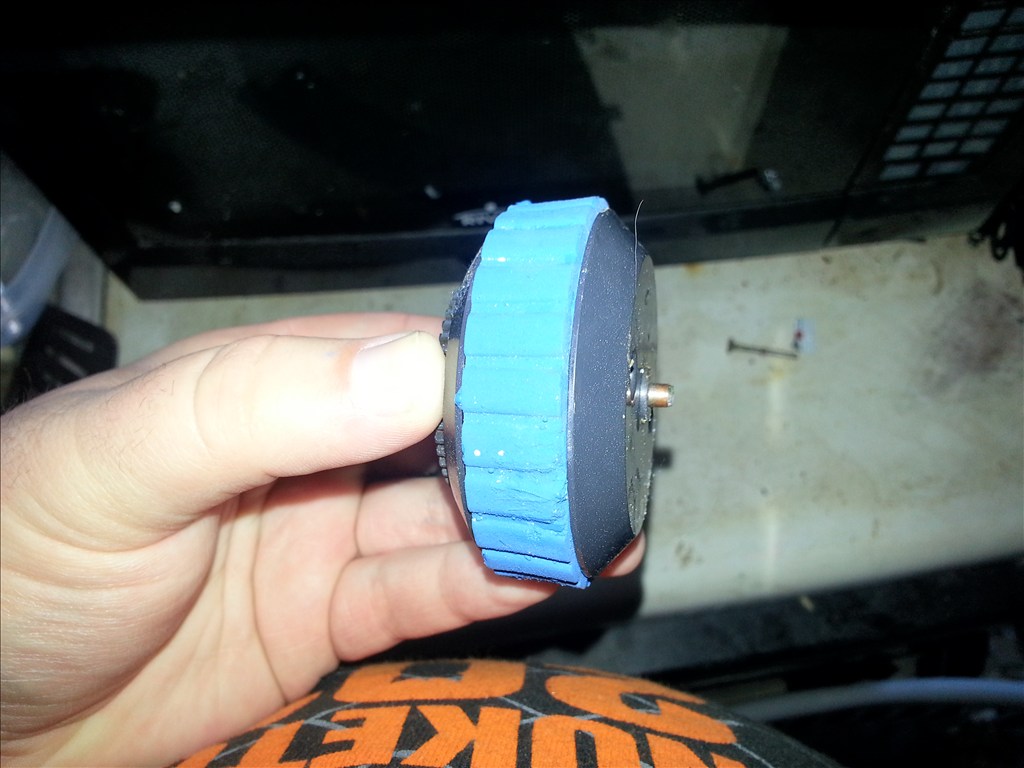
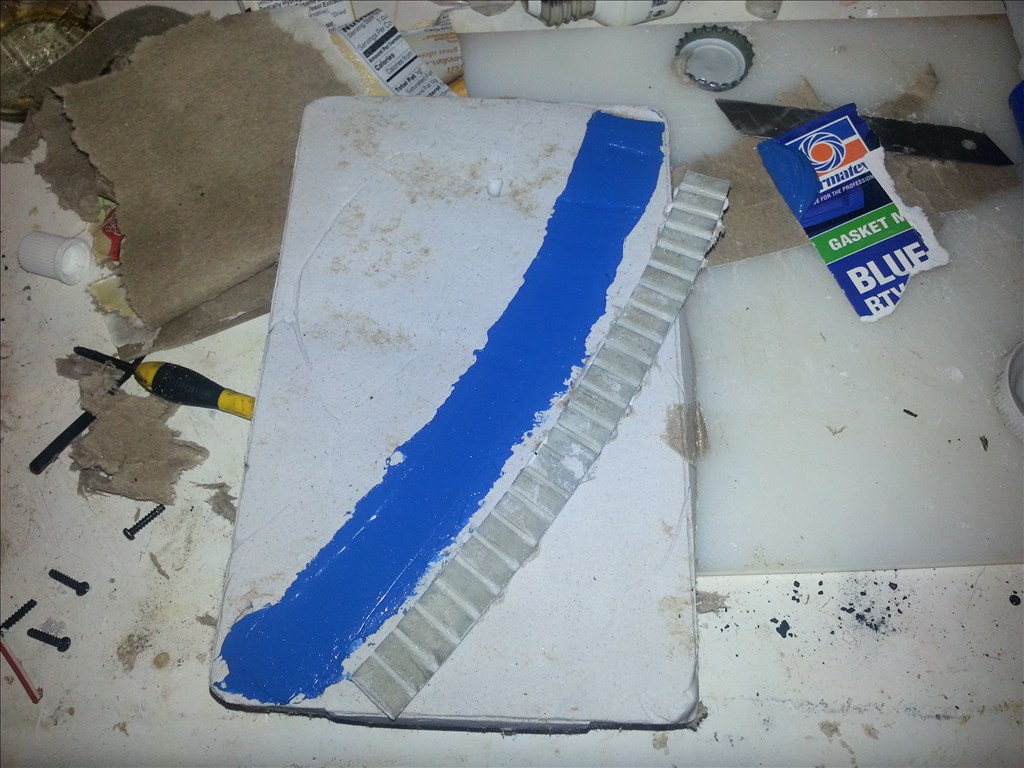
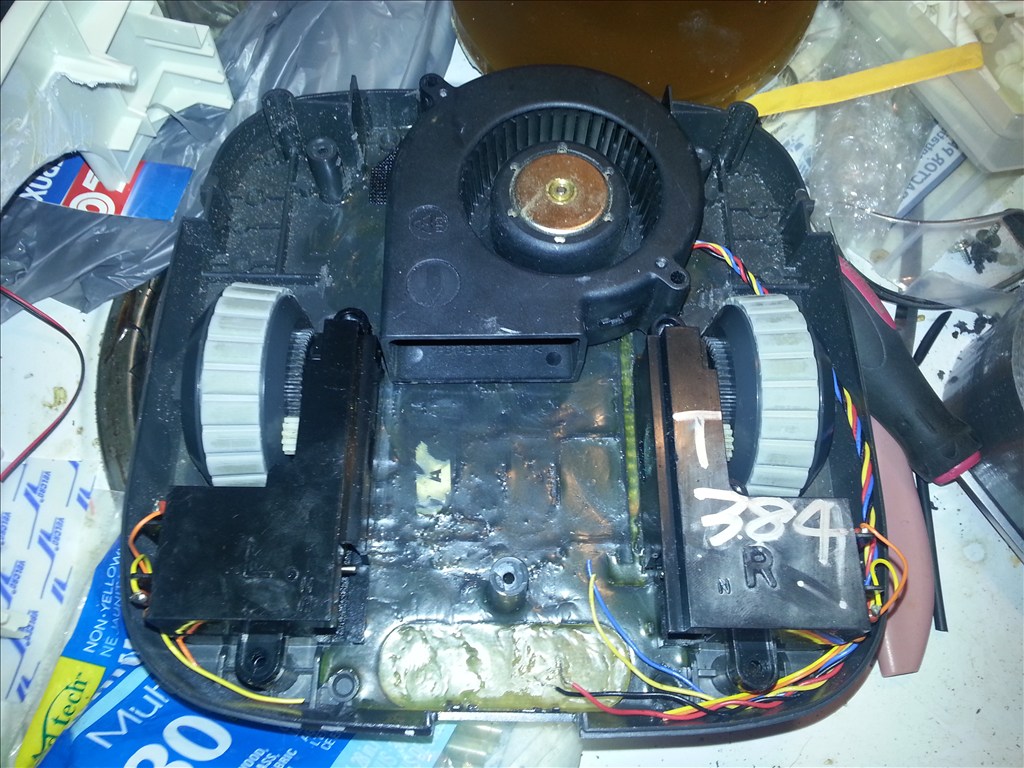
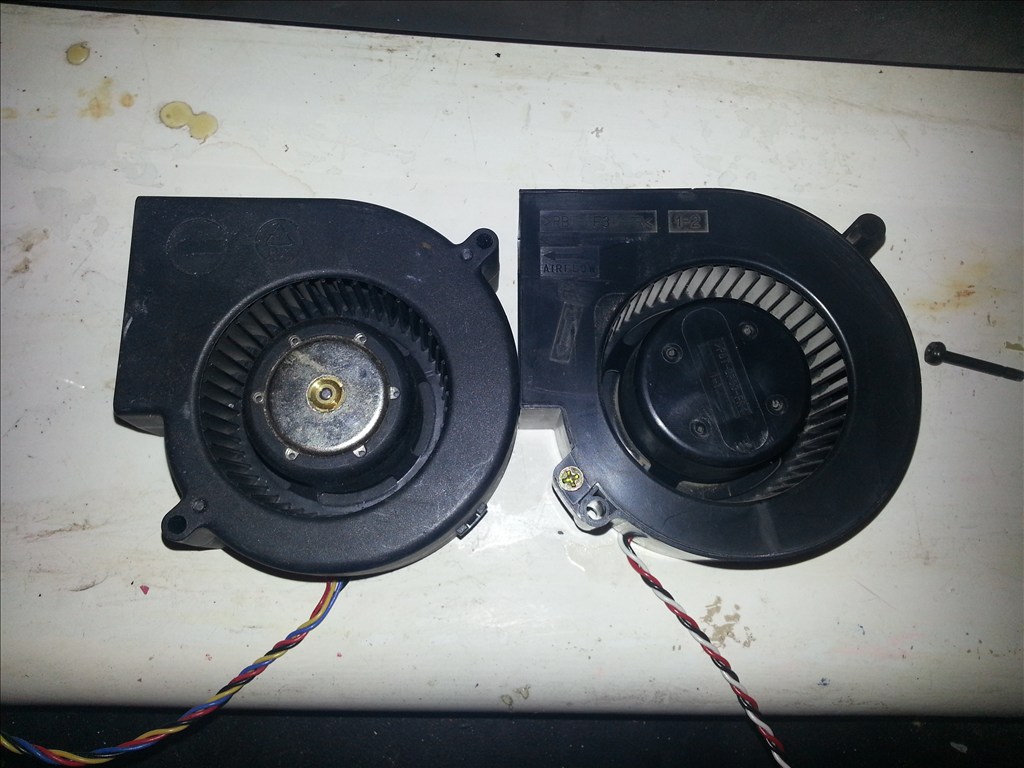
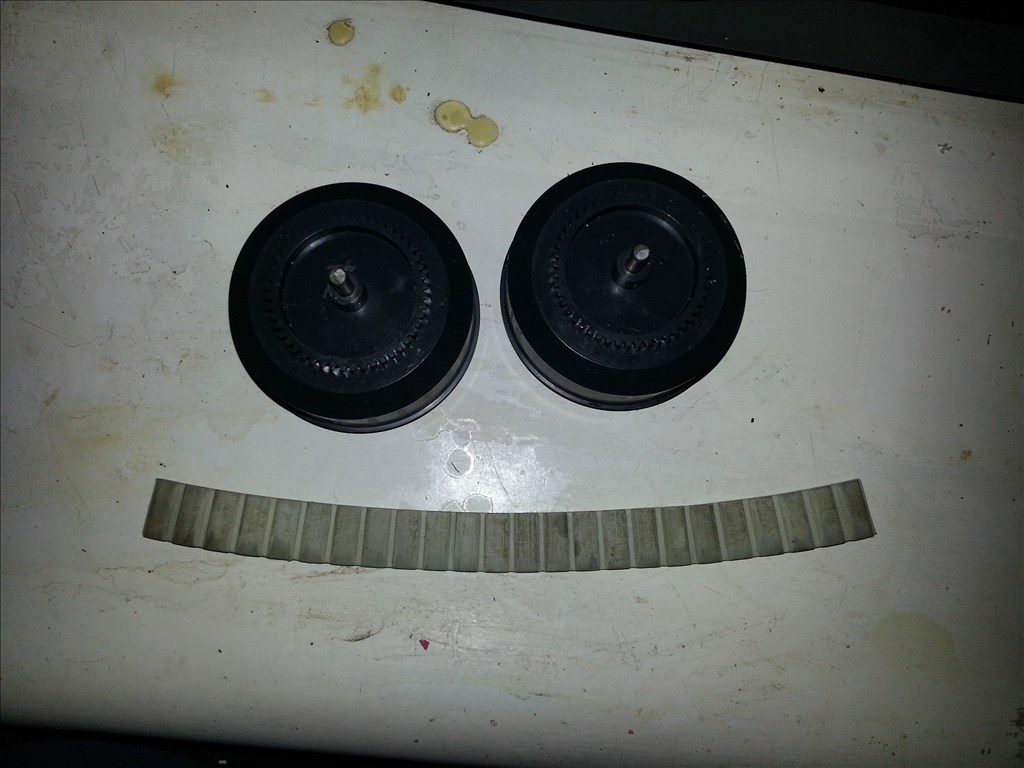
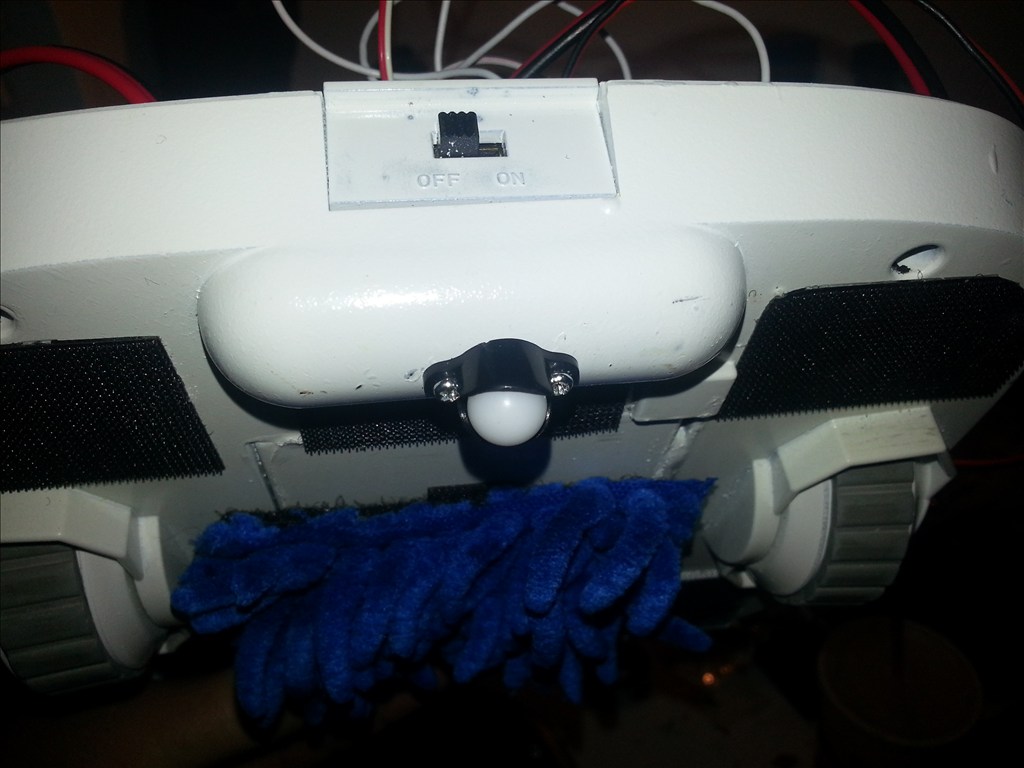
I have a small problem , one wheel has damage to the rubber. I am going to consider using continuous rotation servos and the tires with them. Well see if I can work my magic and make these wheels work. Somthing very important is that the drive train is quiet as this is really not a entertainment robot.
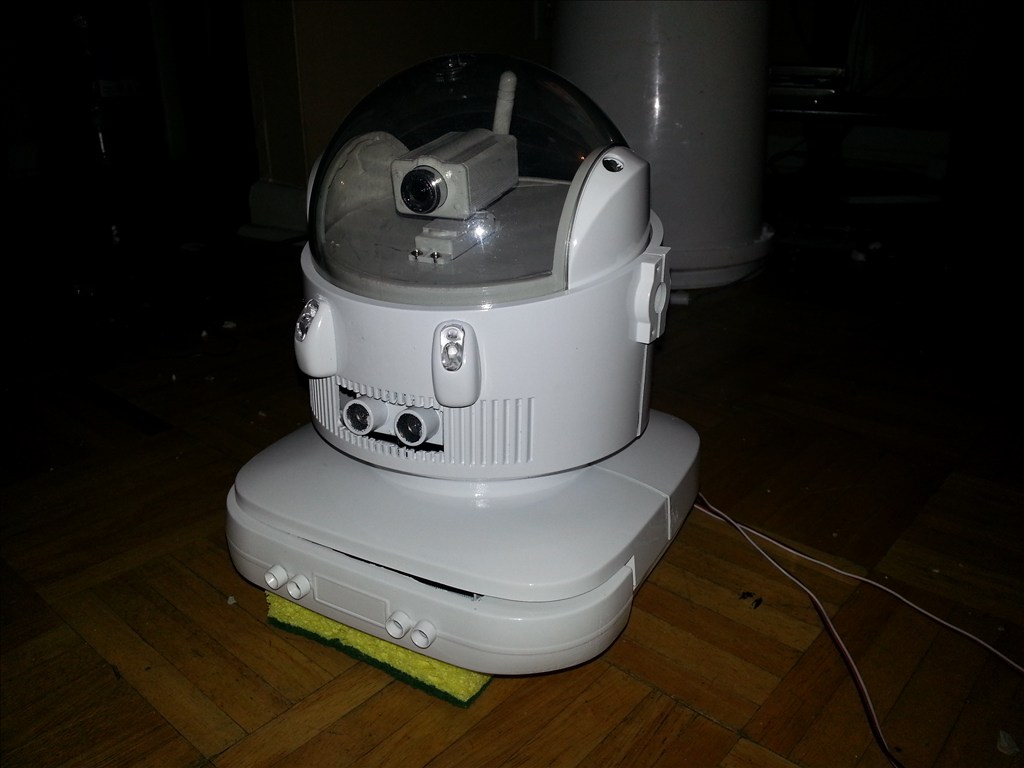
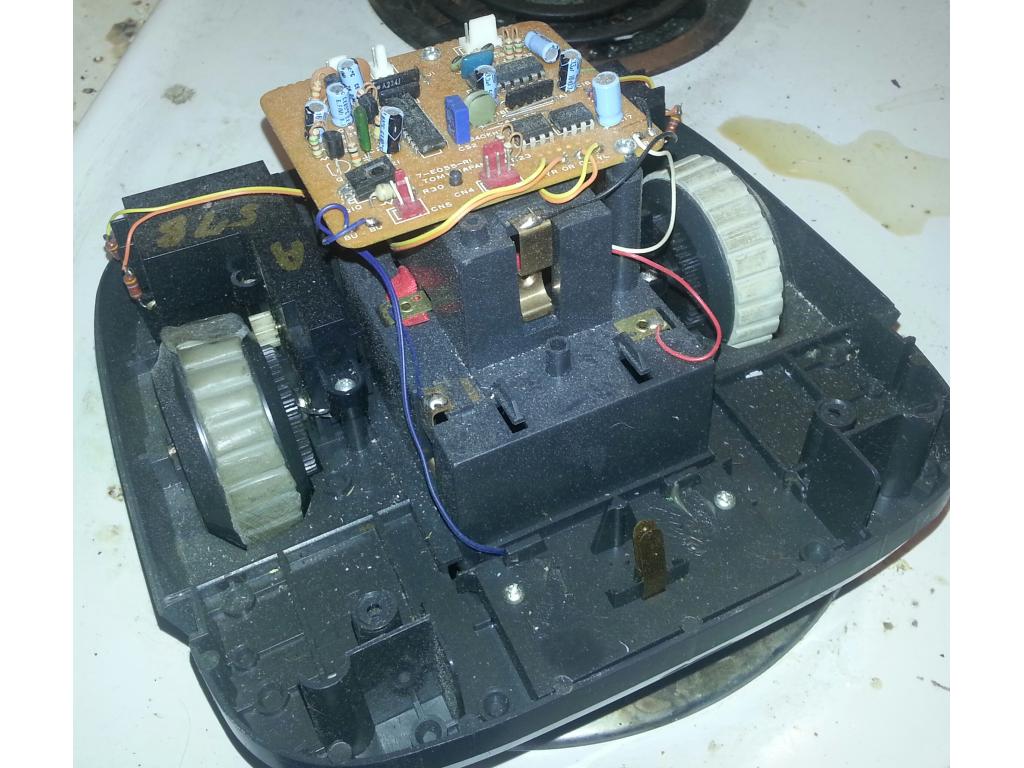
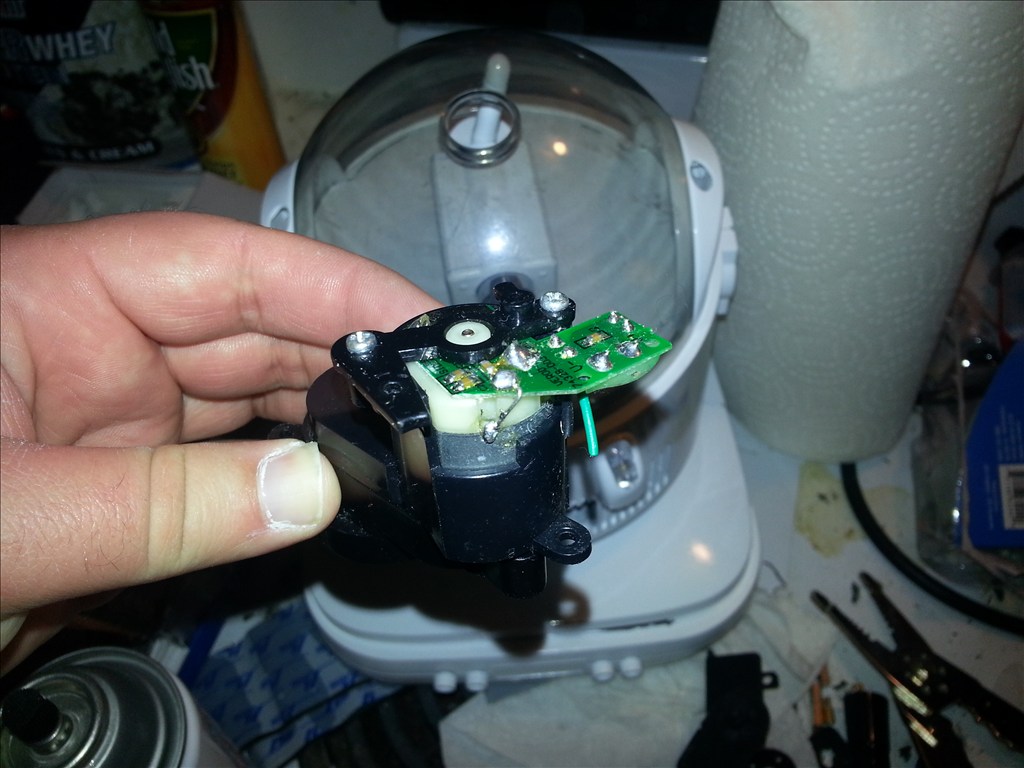
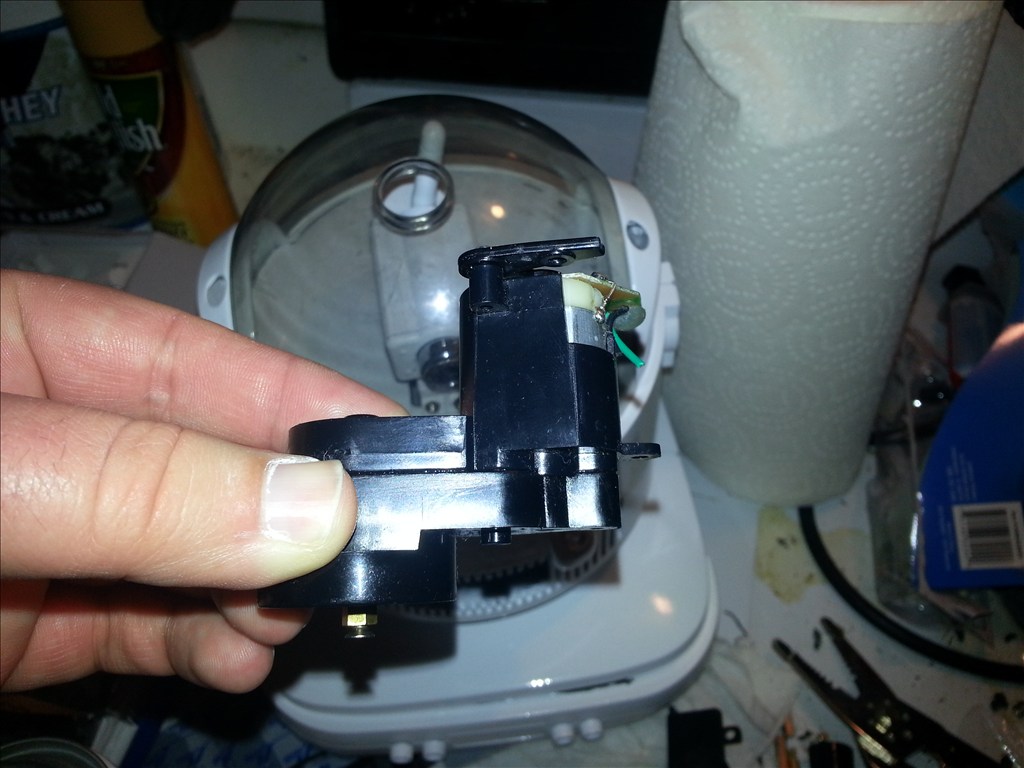
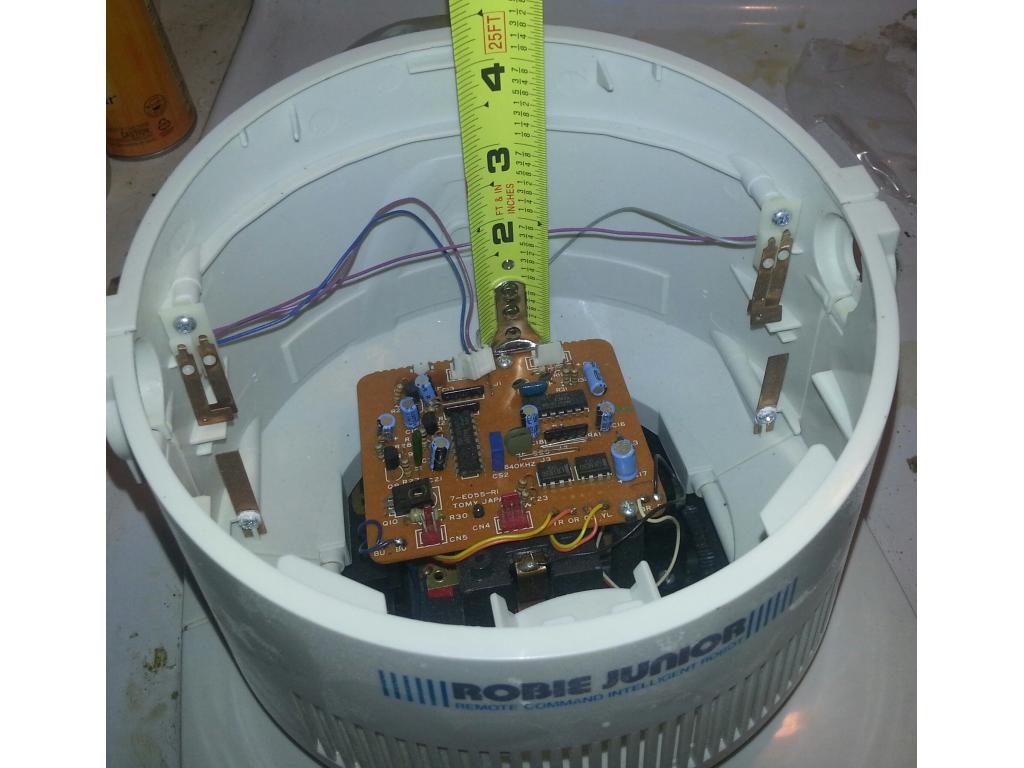
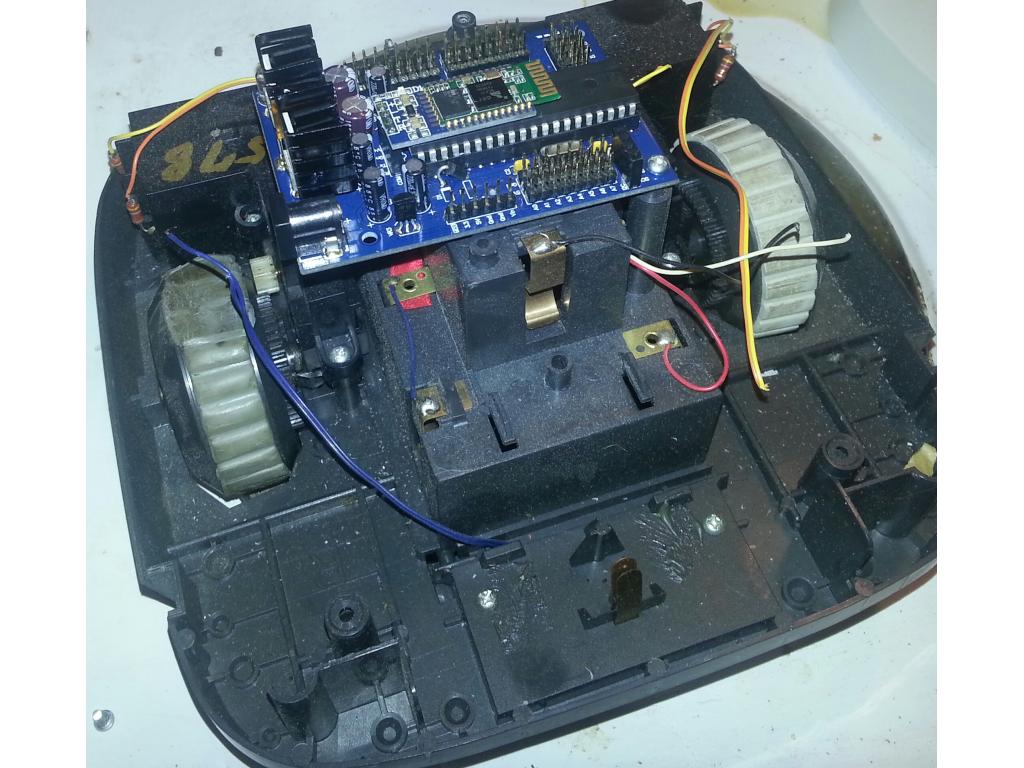
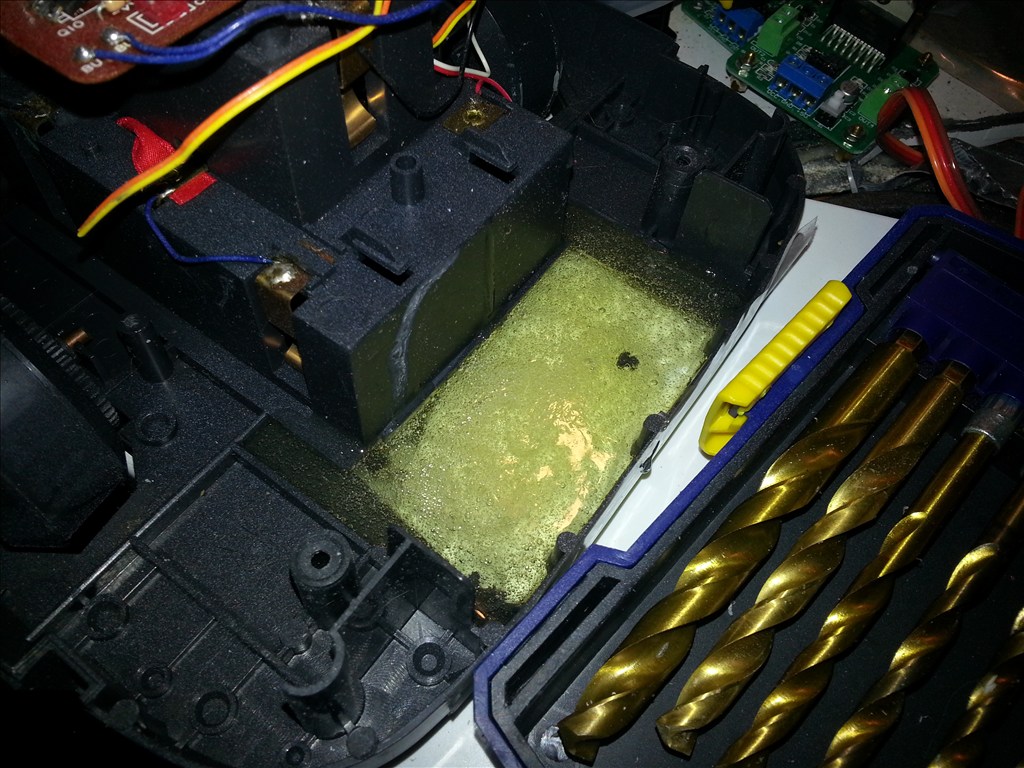
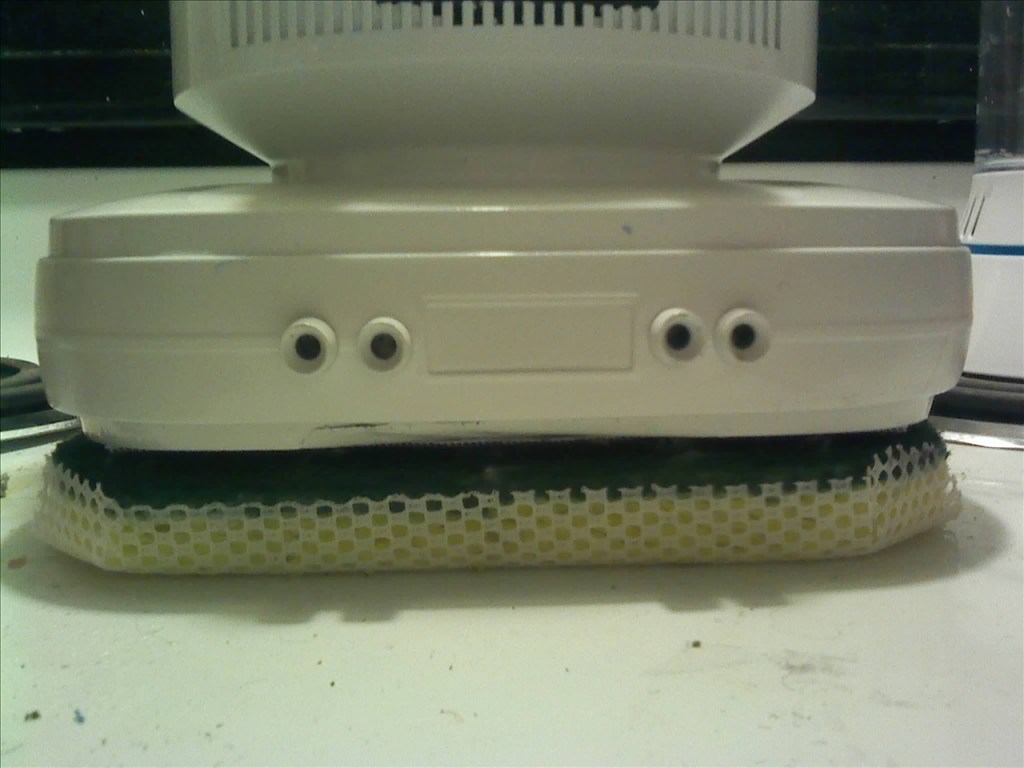
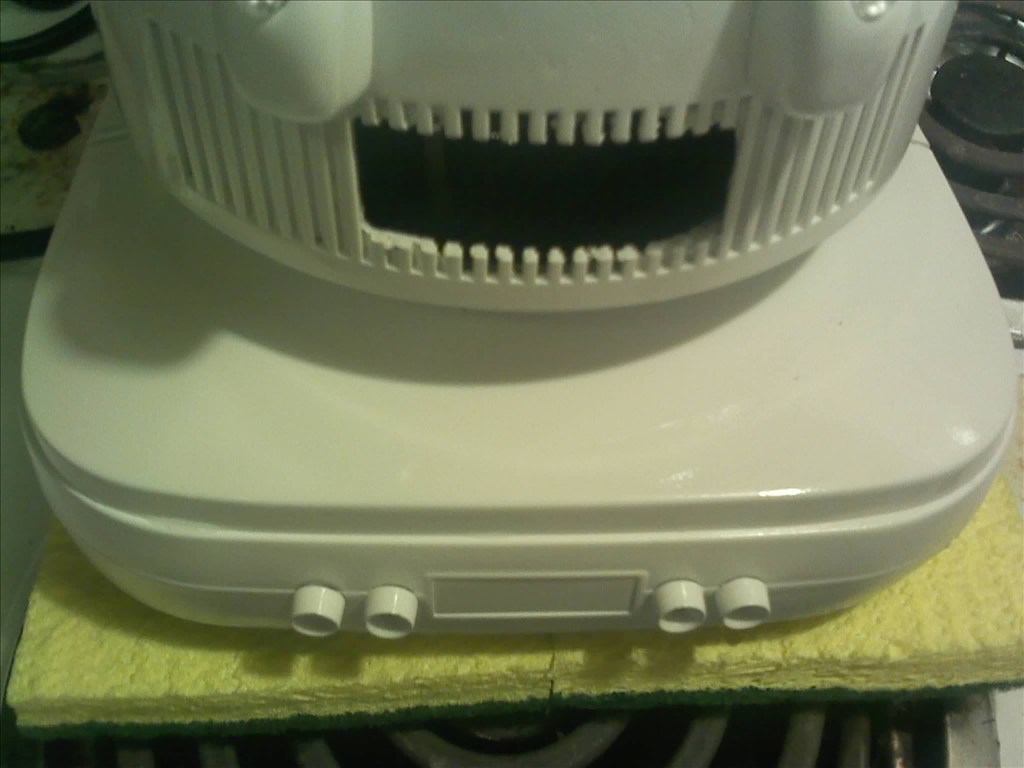
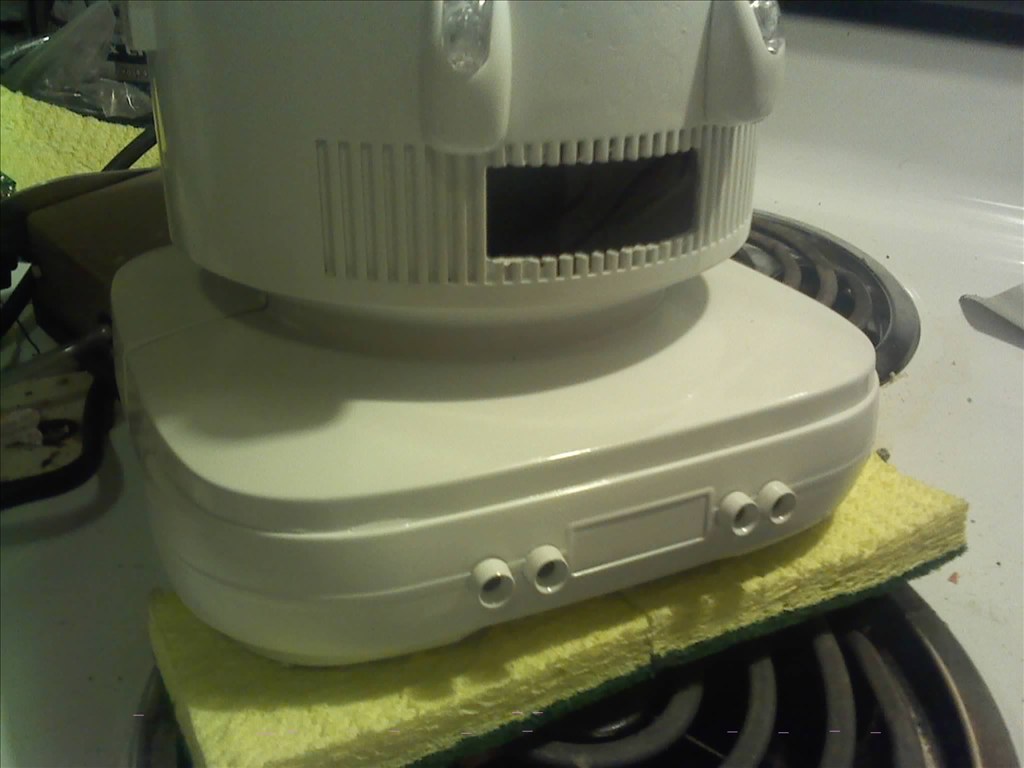
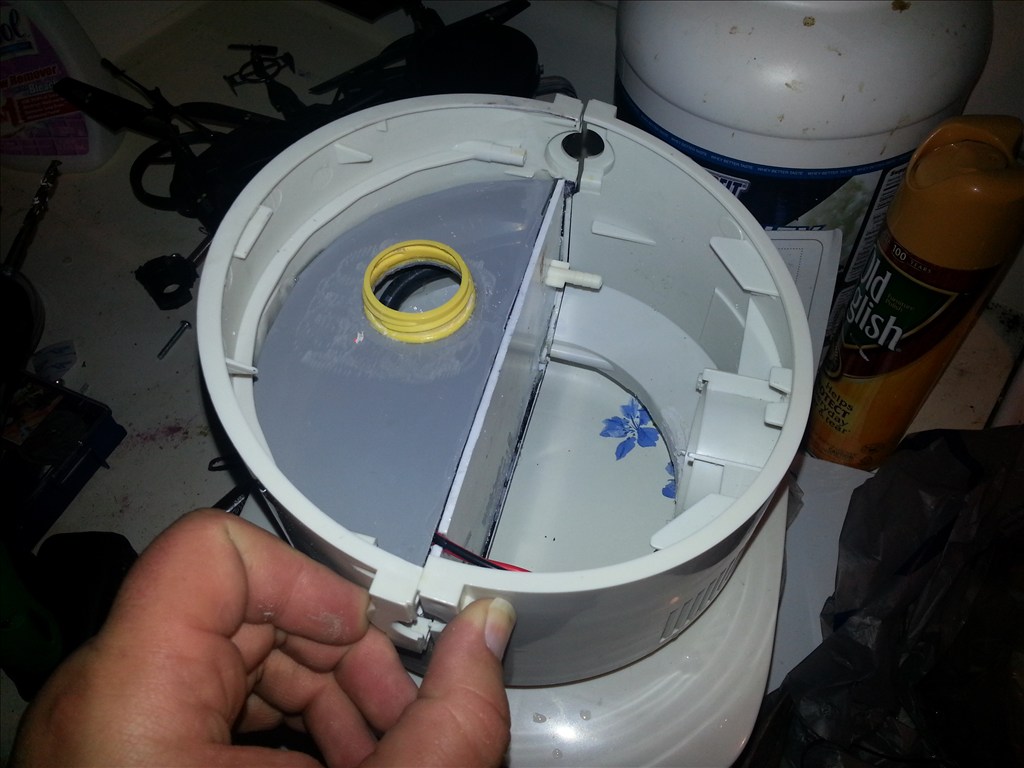
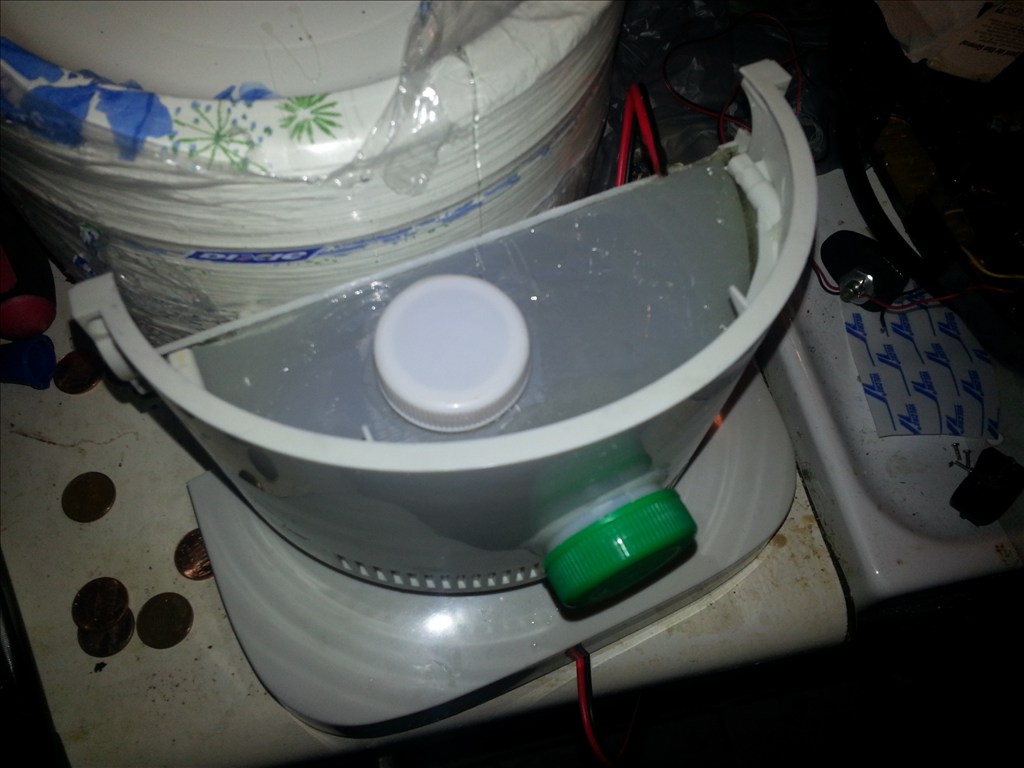
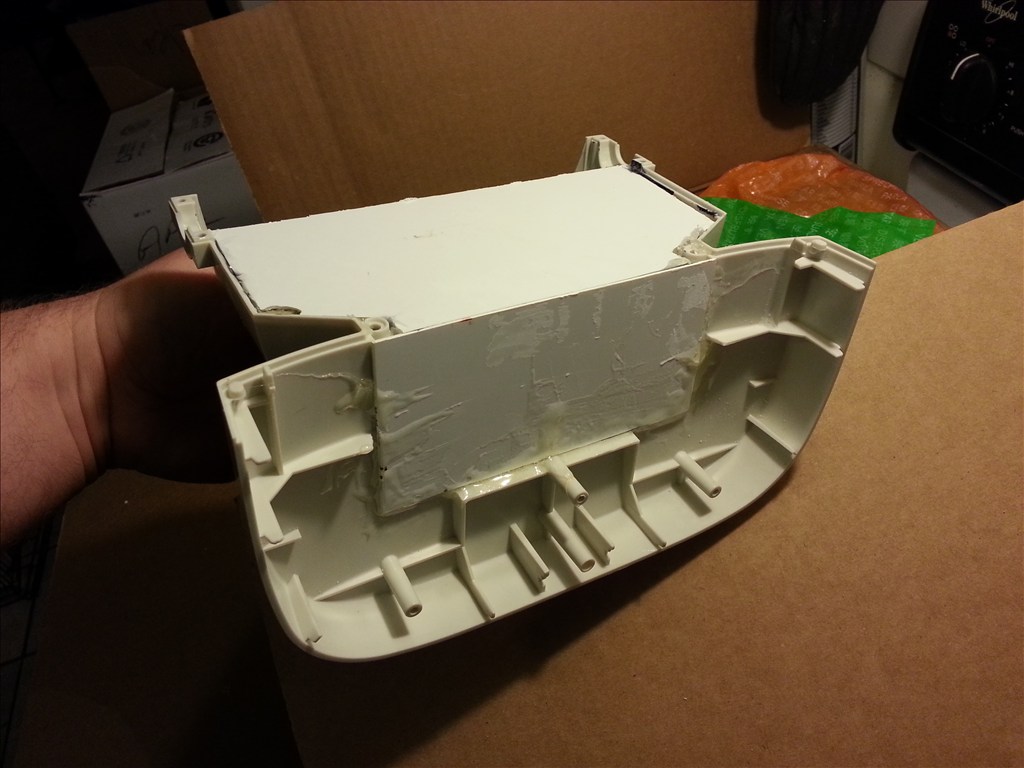
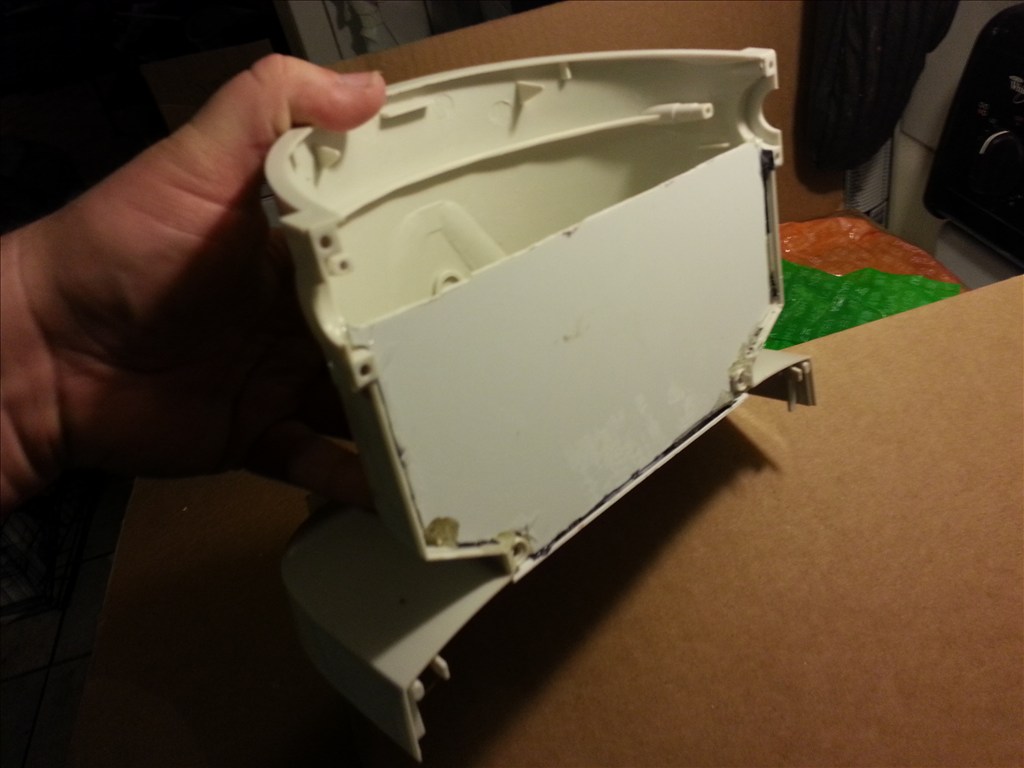
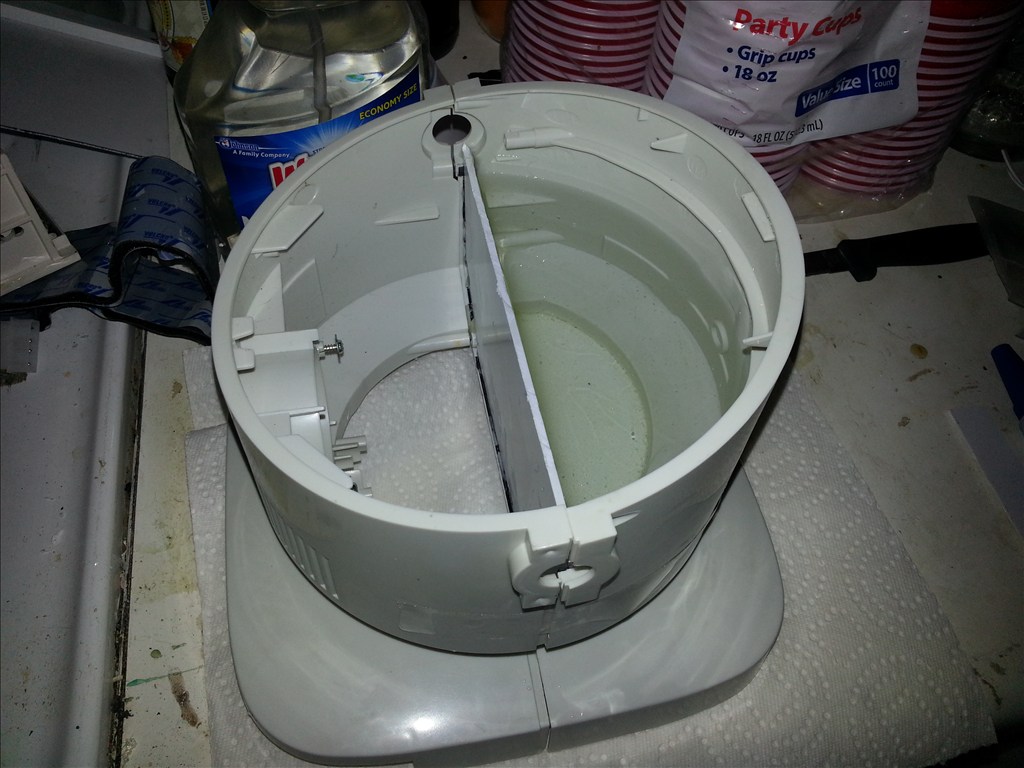
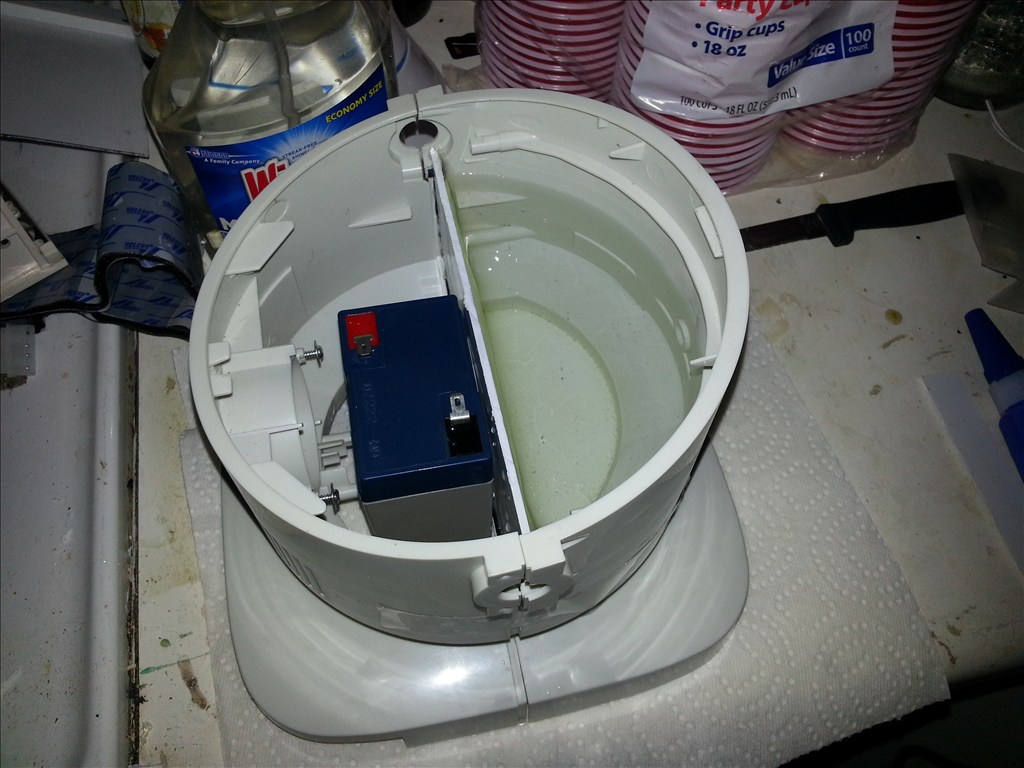
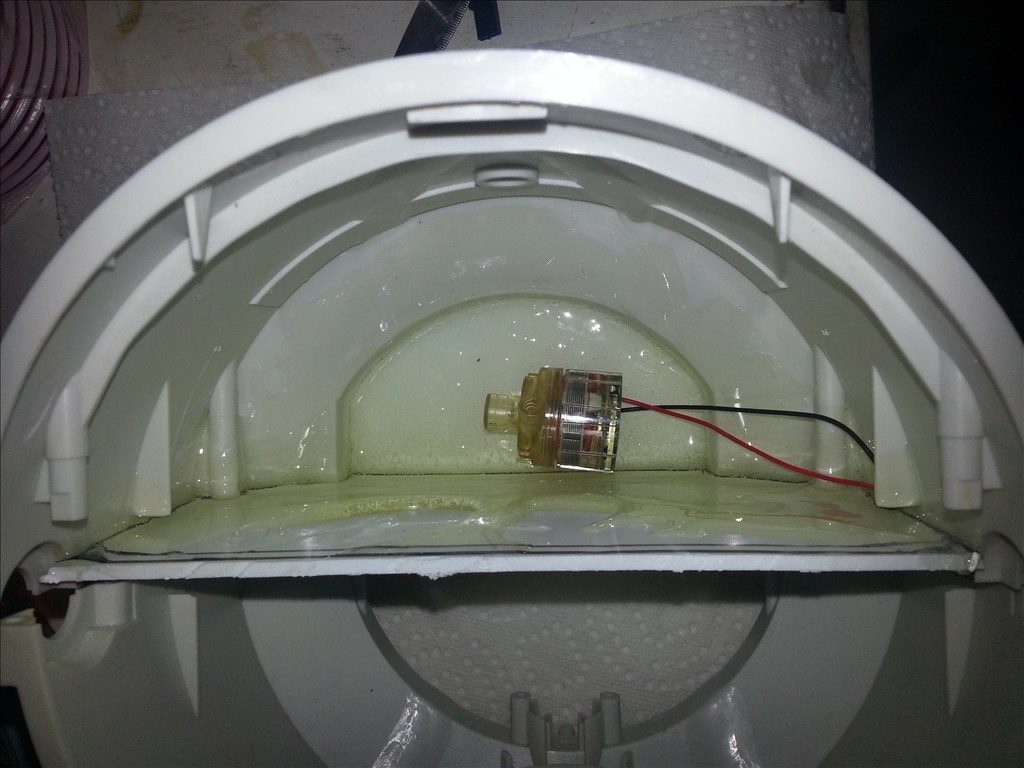
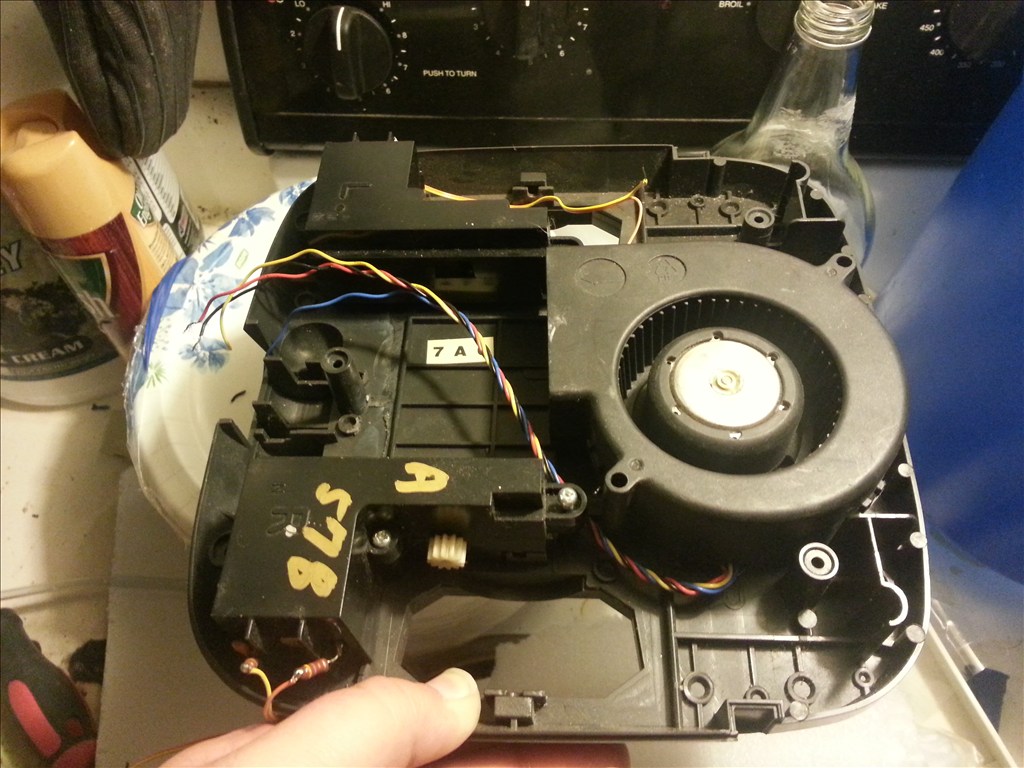
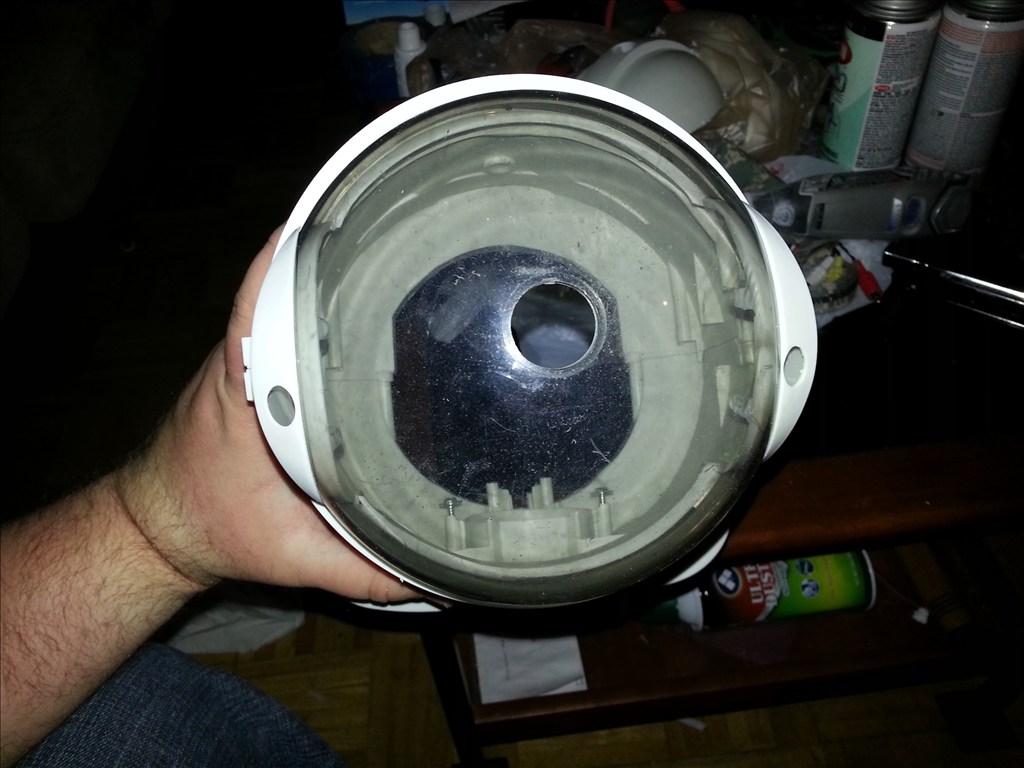
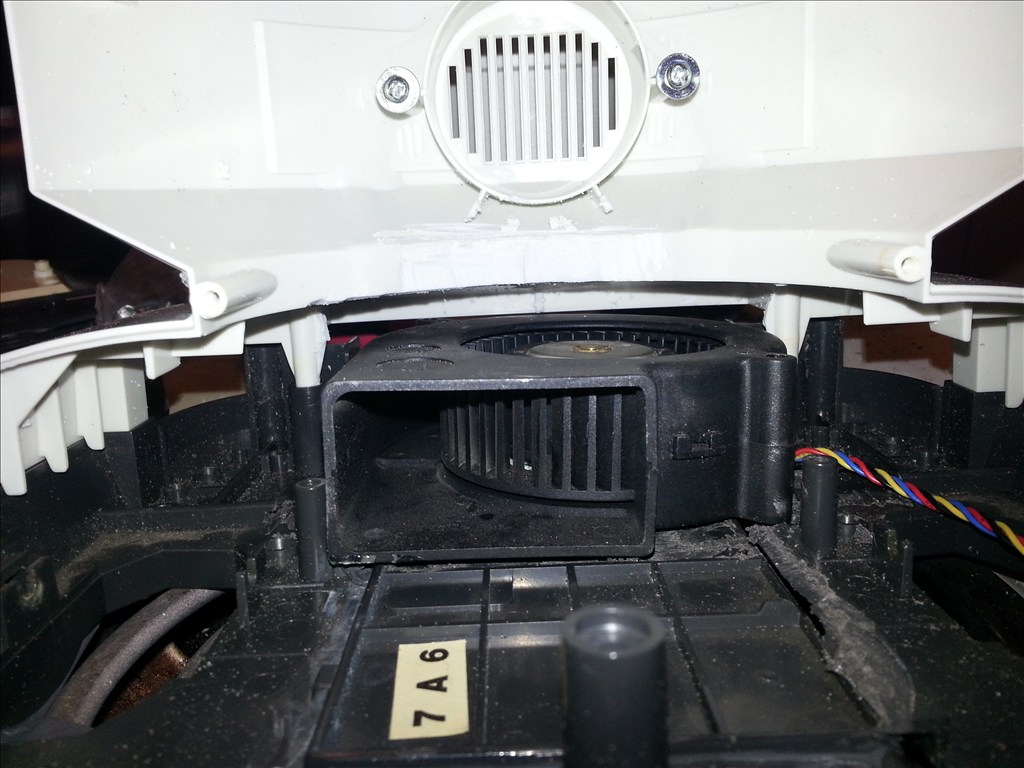
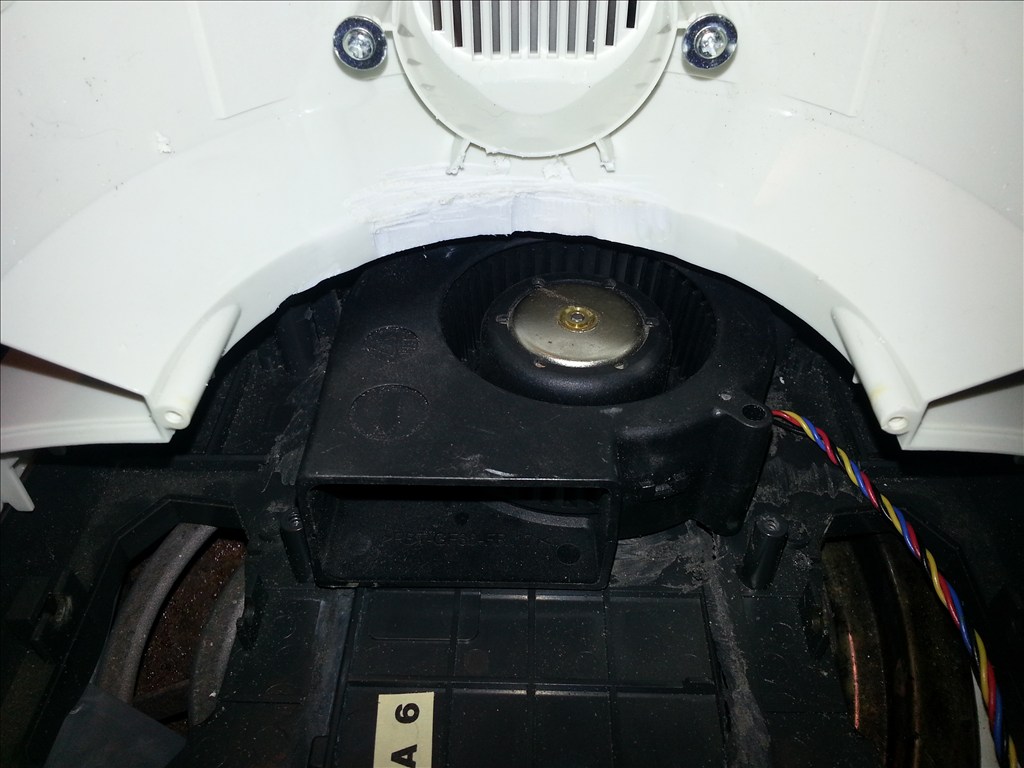
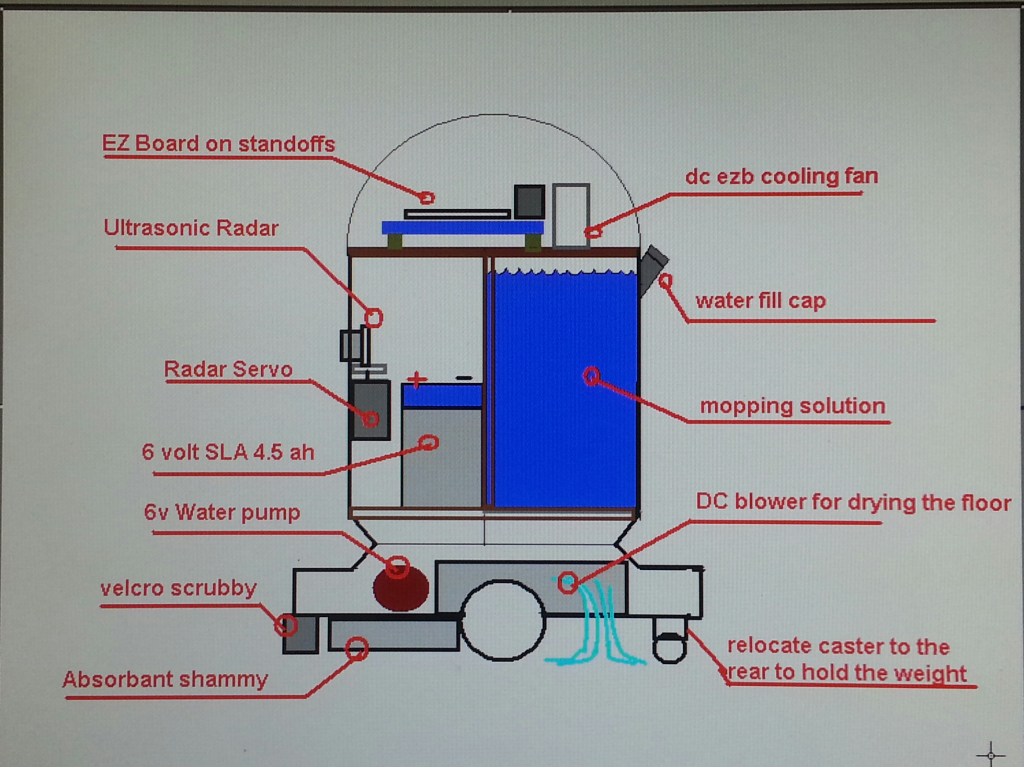
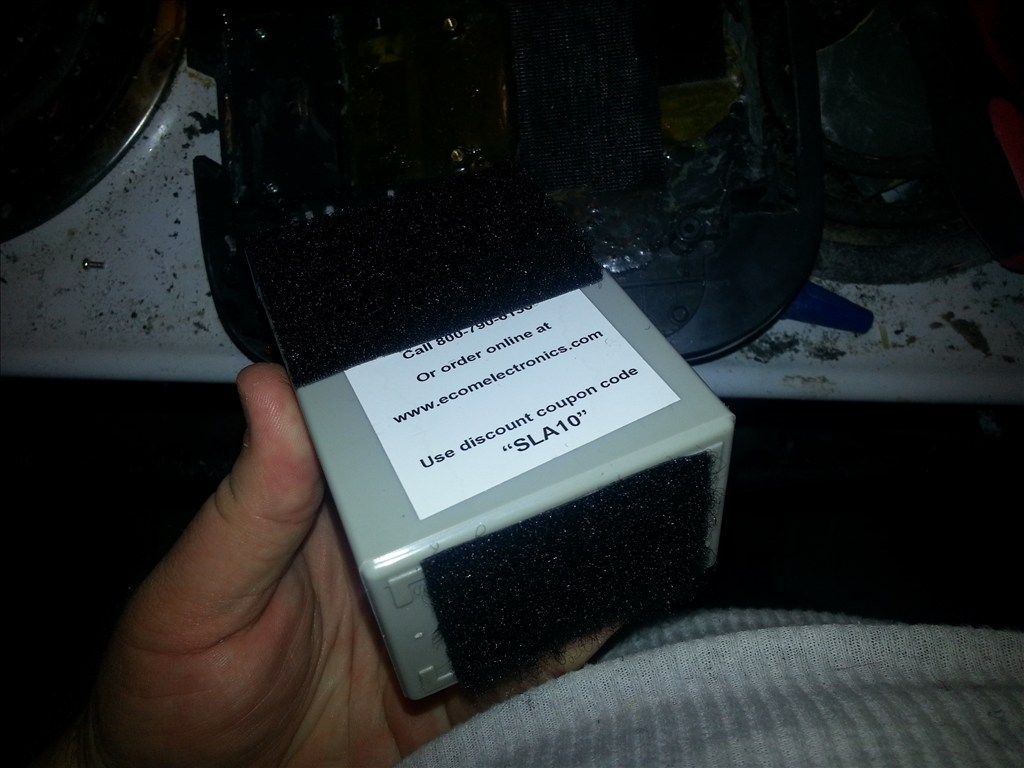
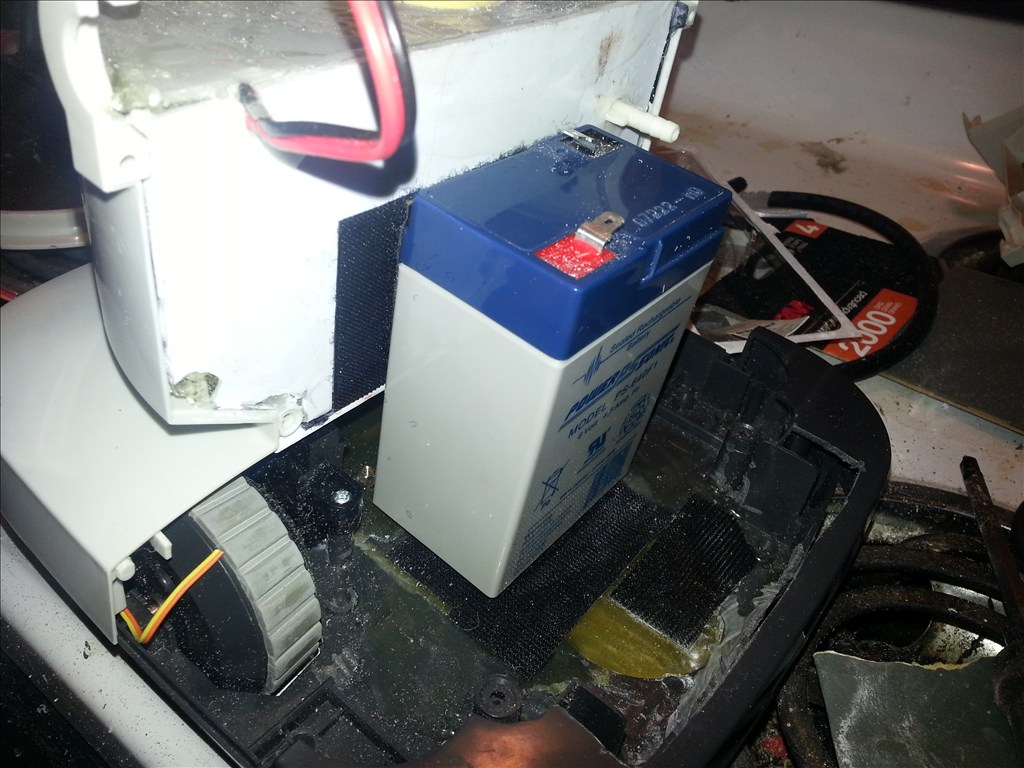
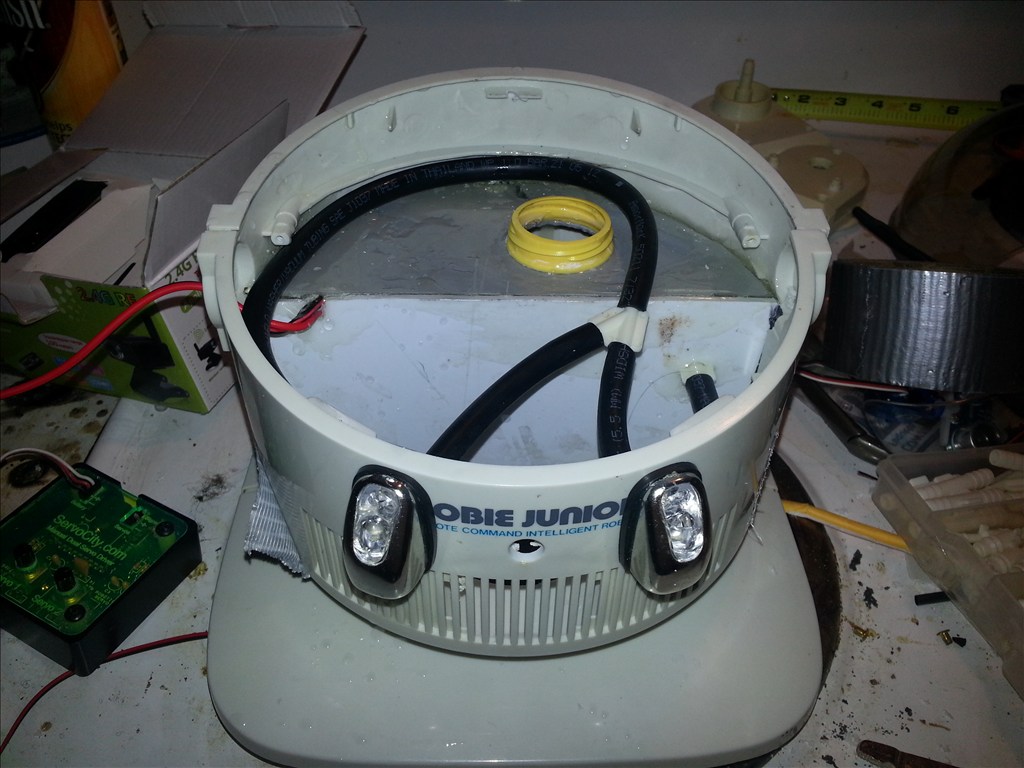
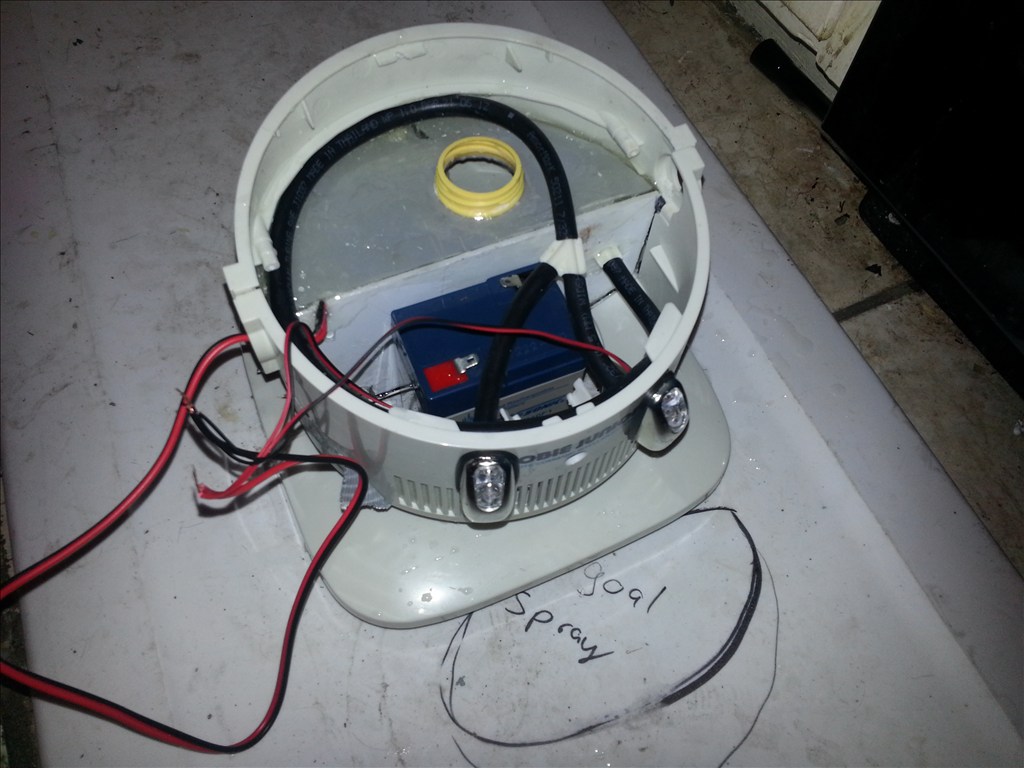
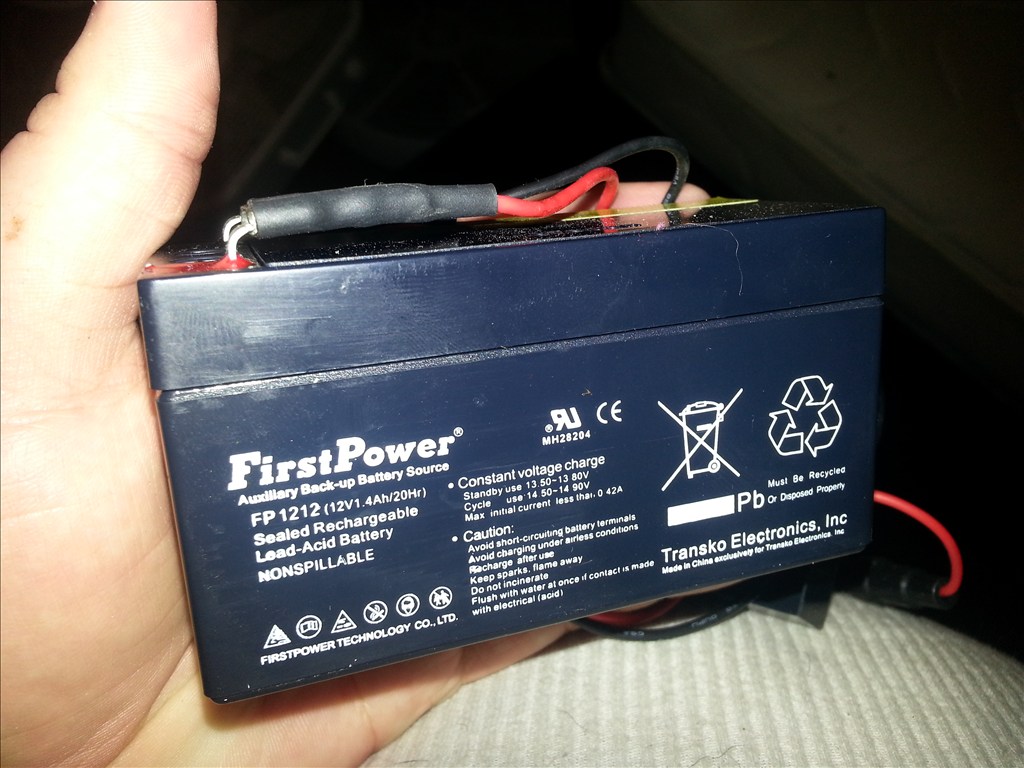
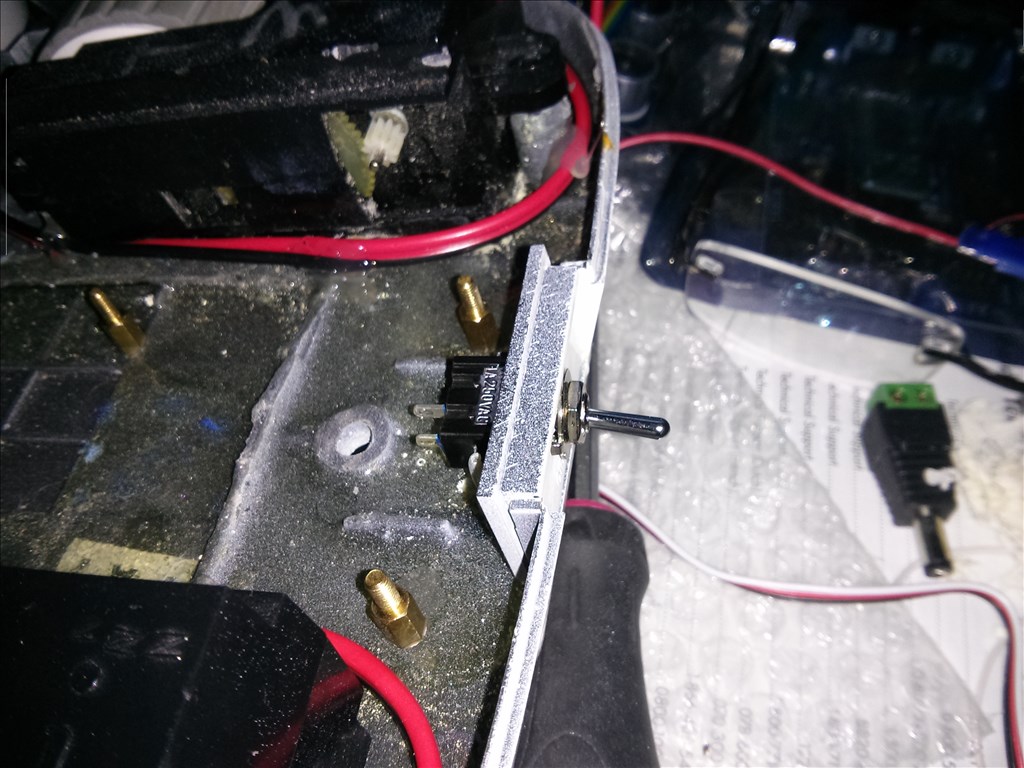
Now that the robot is generally clean we can take a look at how much room I have to work with. A huge section of the robot is dedicated to 8 AA batteries from the original manufacturer. We will see but that could be a possible mountingamounting area for a big lipo battery.
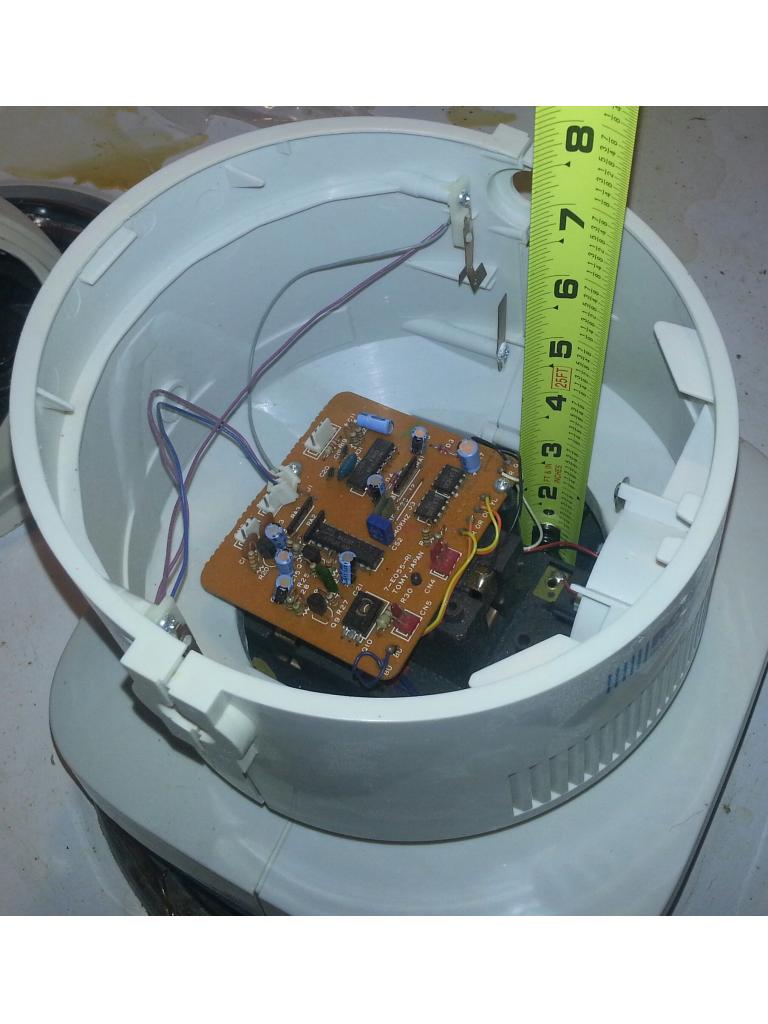
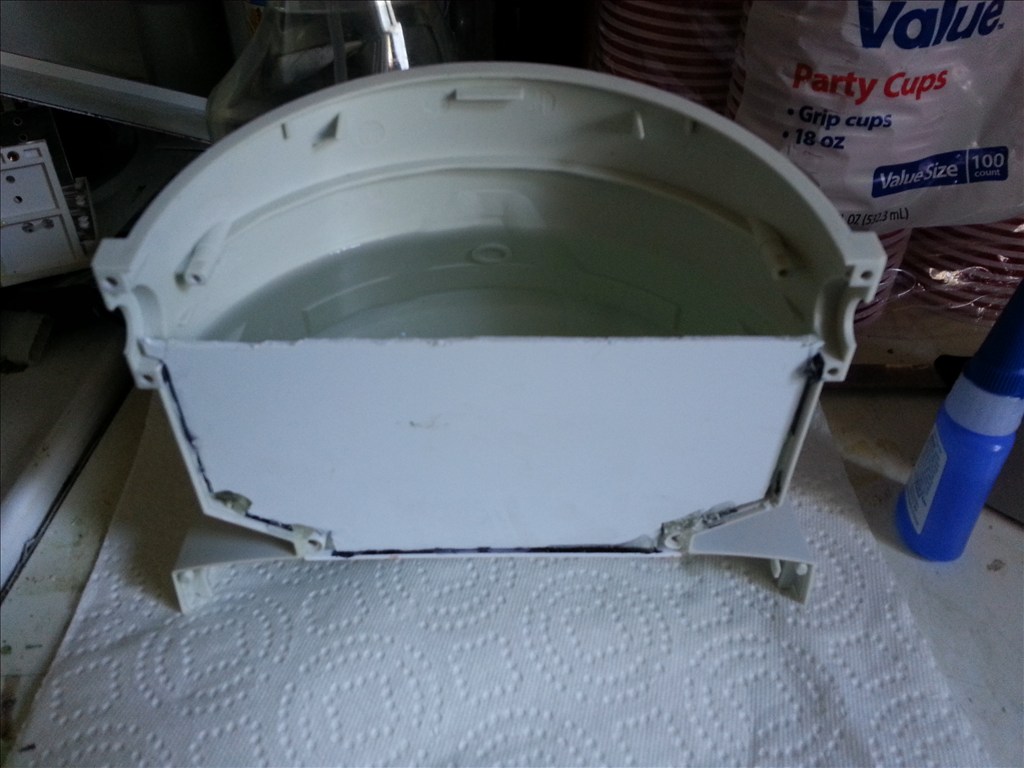
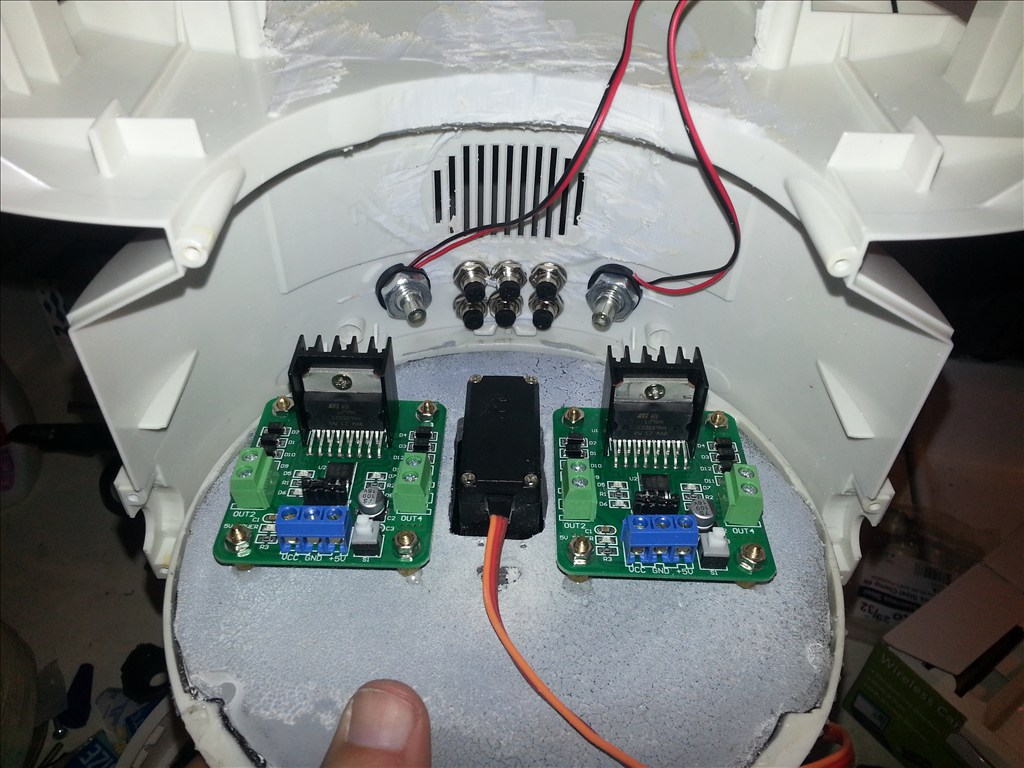
We see if you dont count the AA battery box there is 7 inches high of space and 4 inches to the collar from the factory pcb.
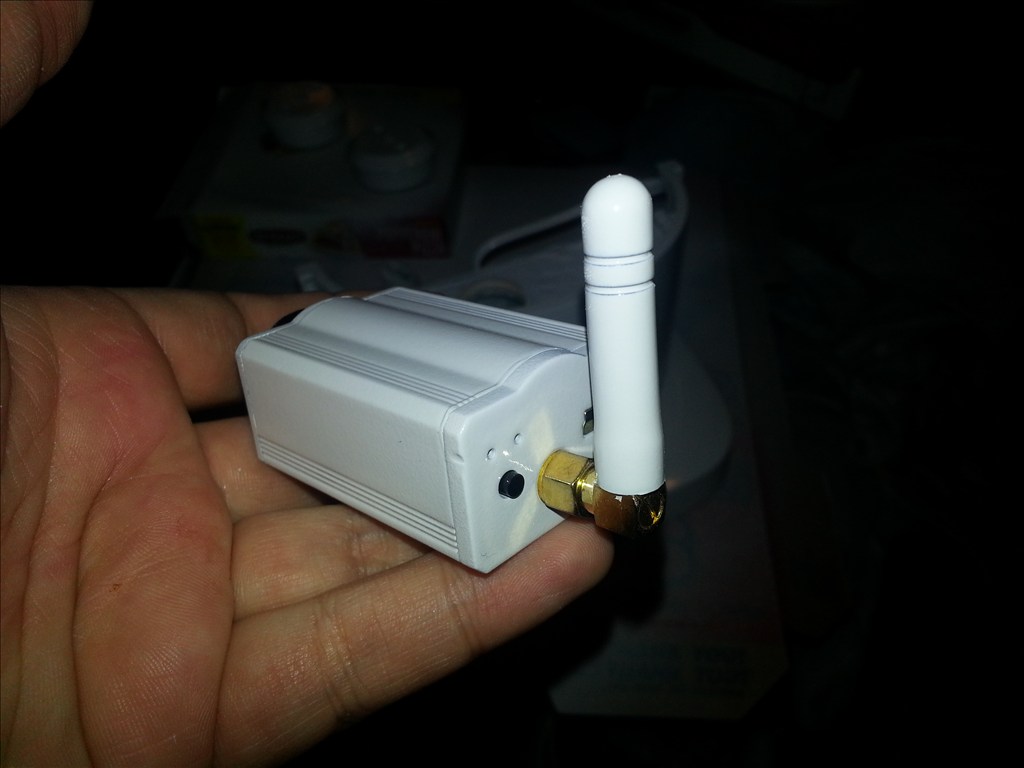
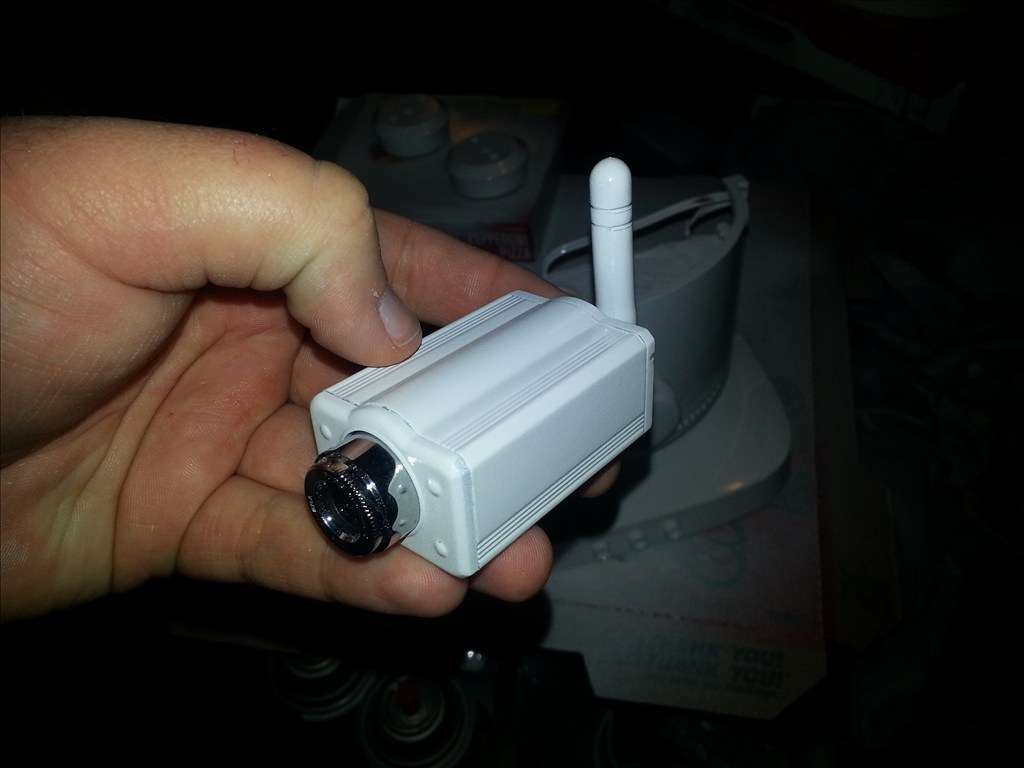
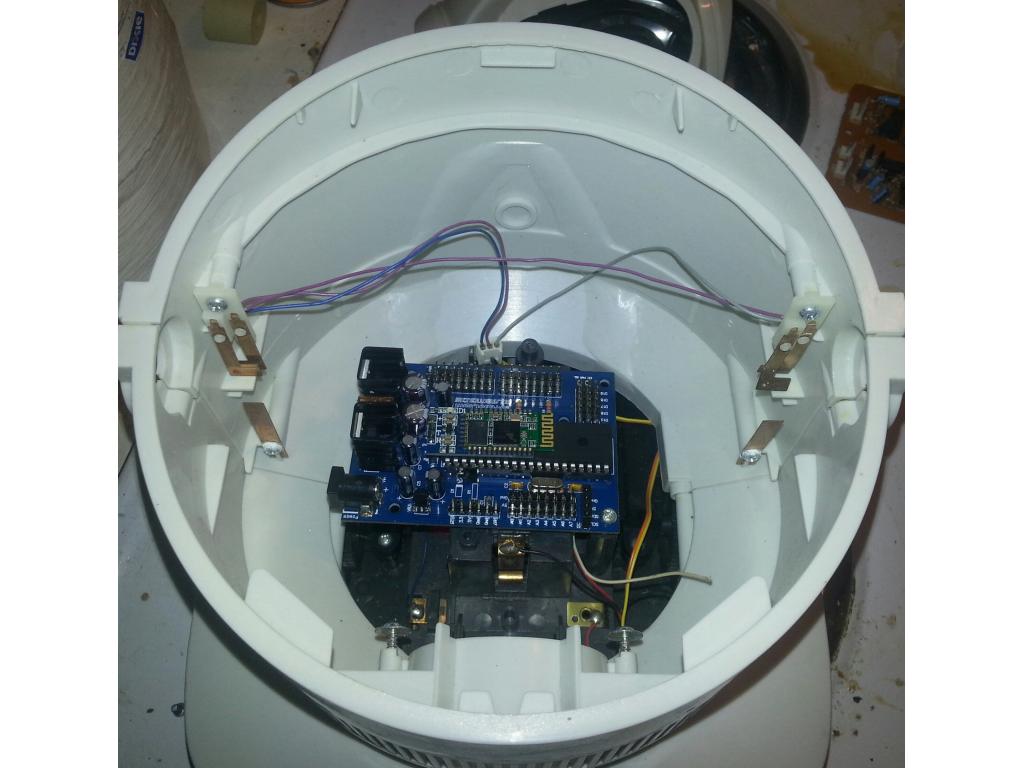
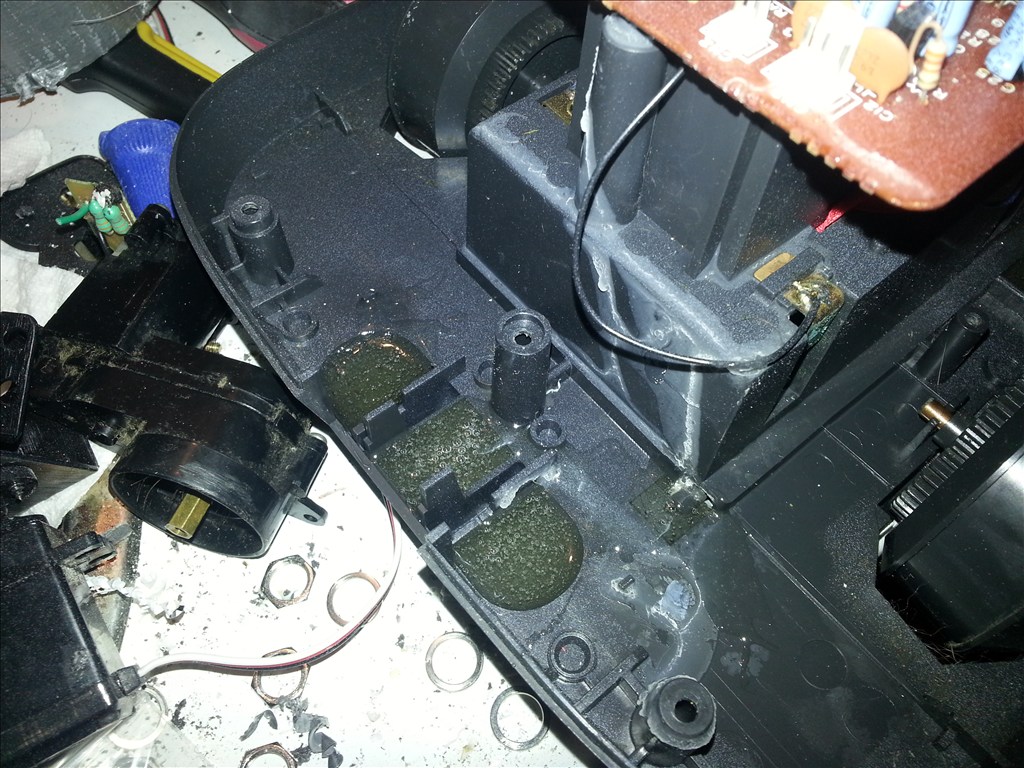
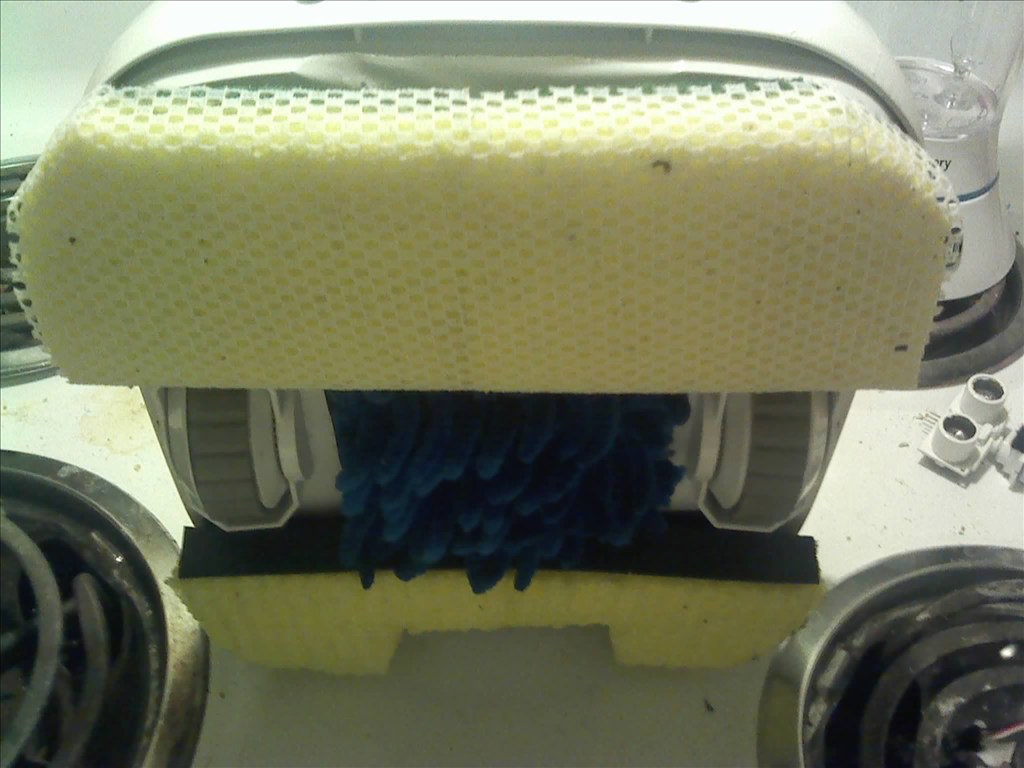
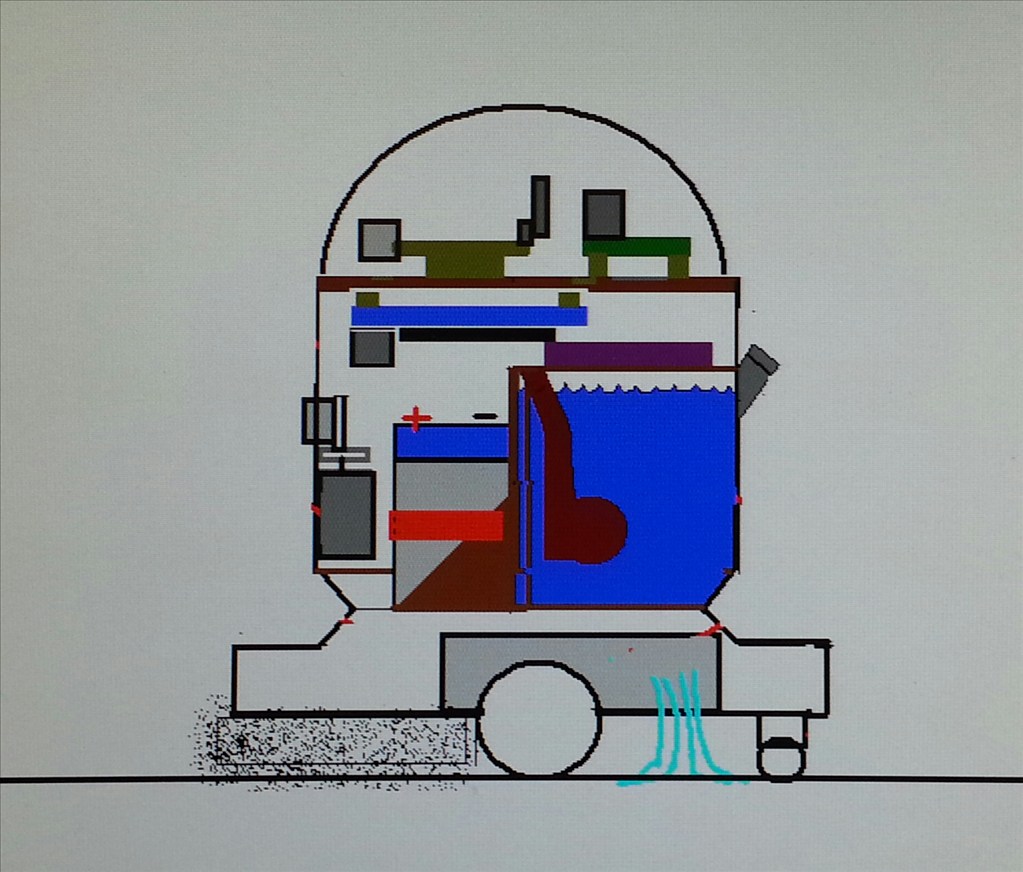
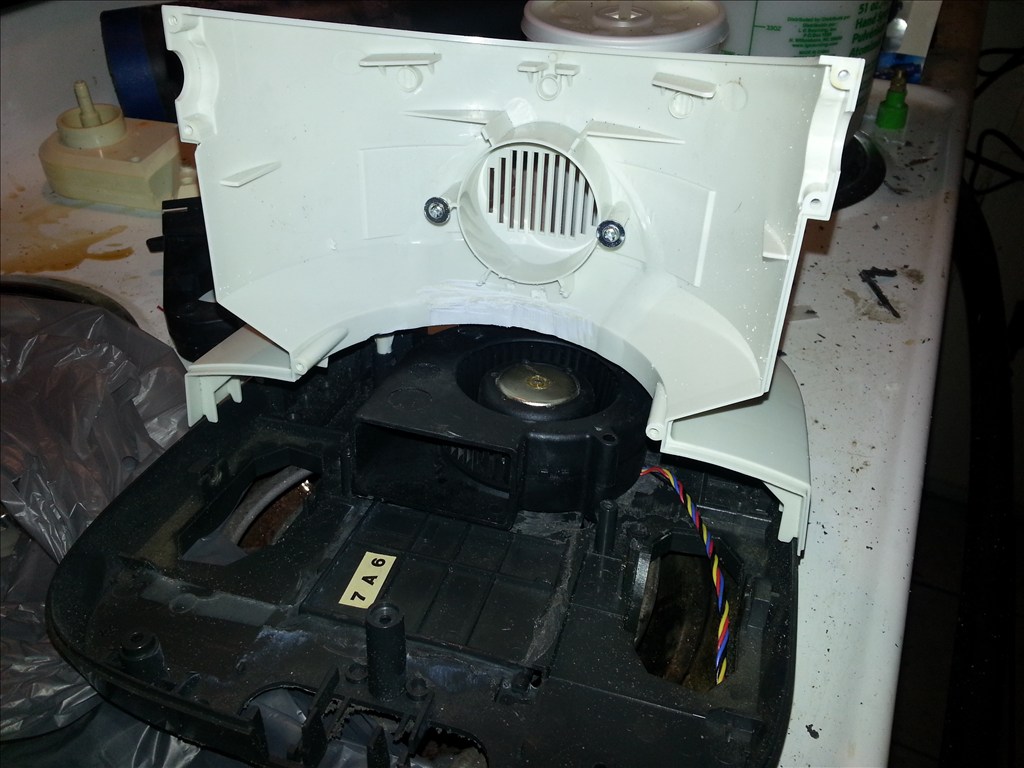
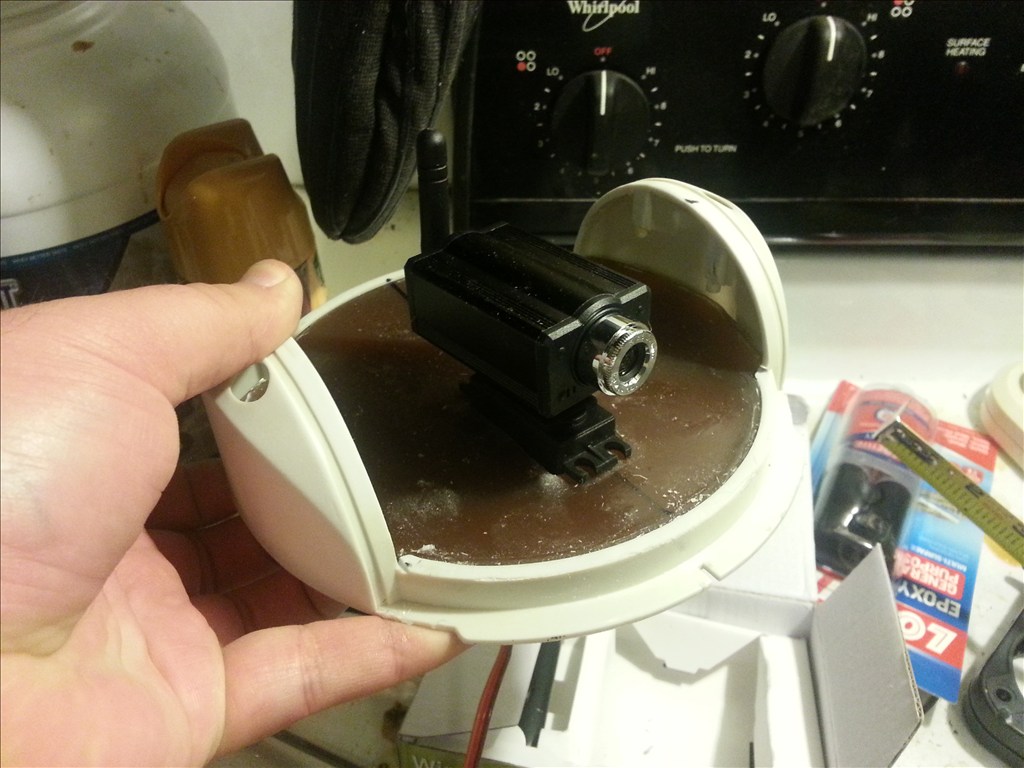
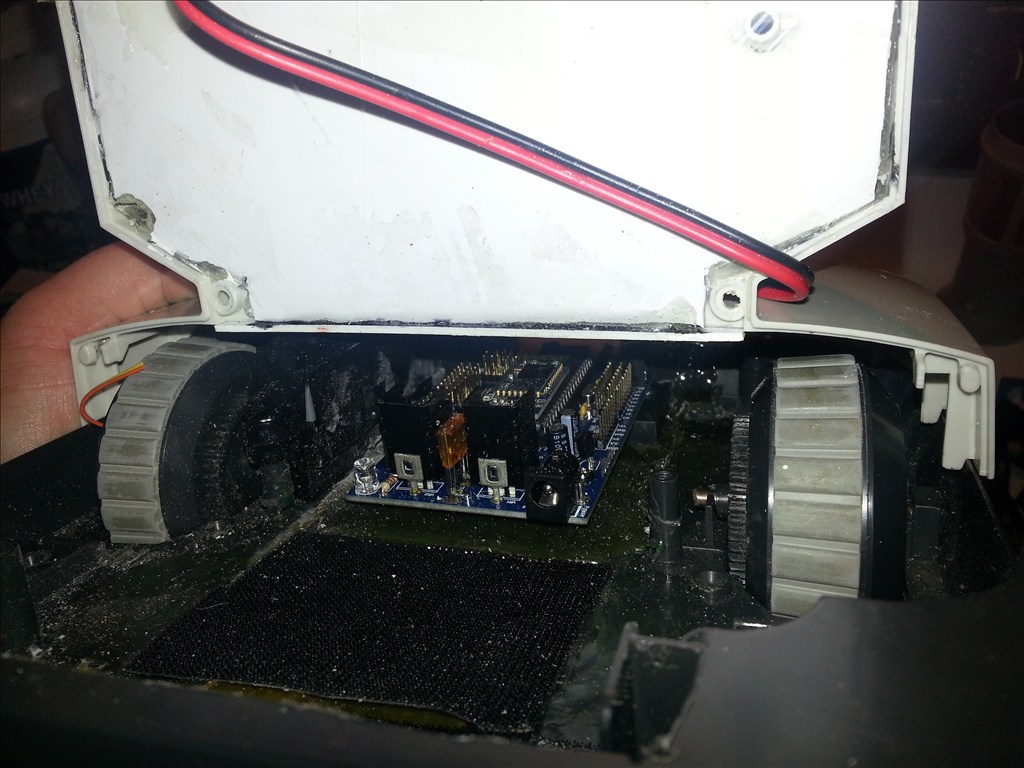
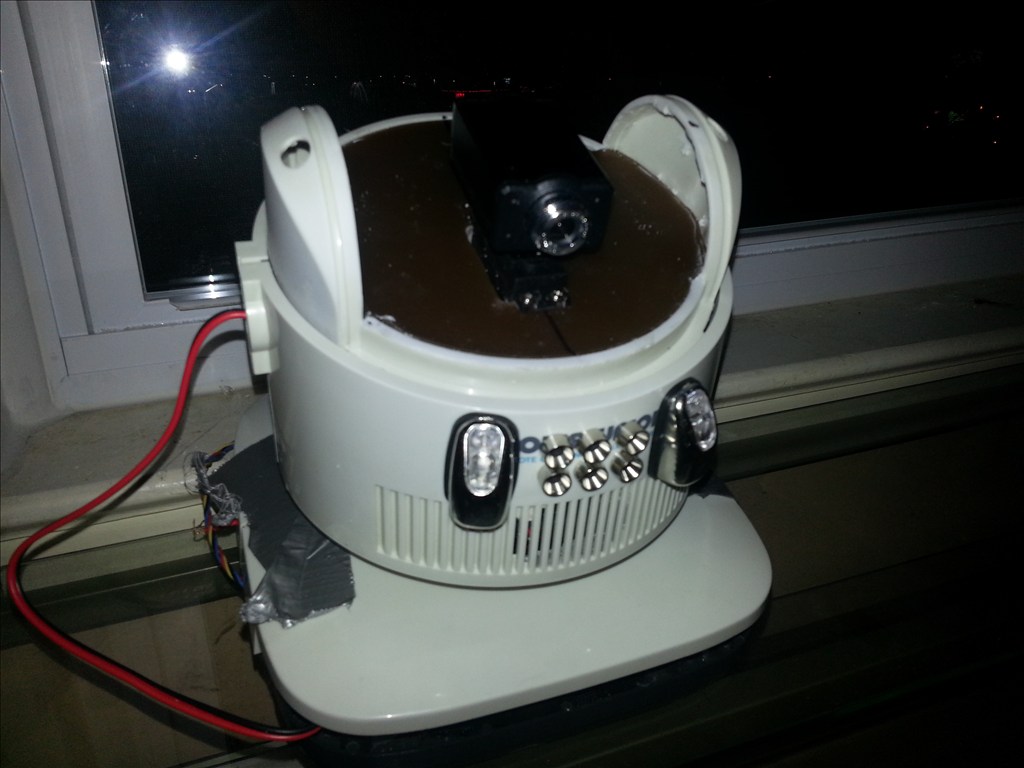
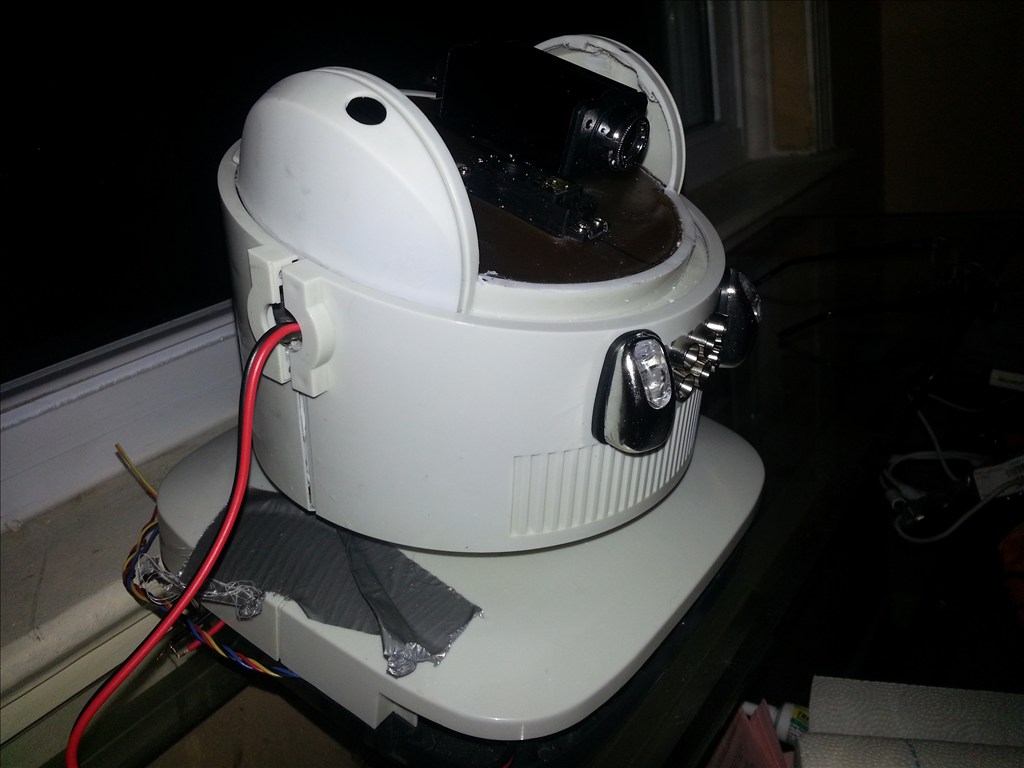
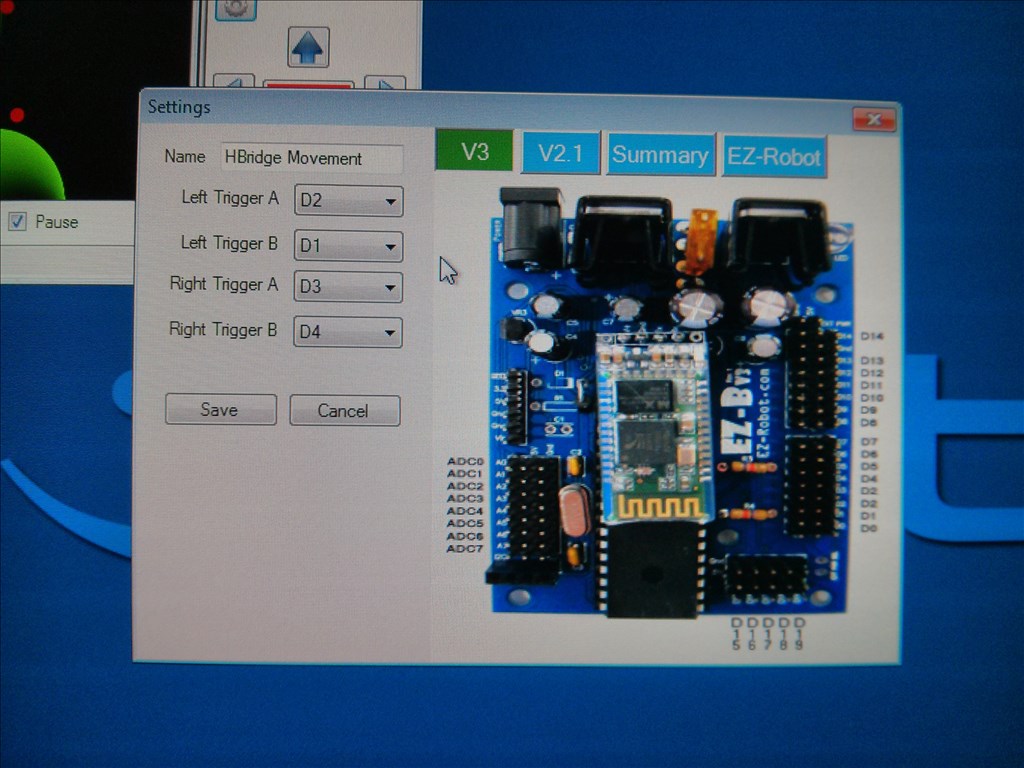
Test fitting ezb ? Sure why not
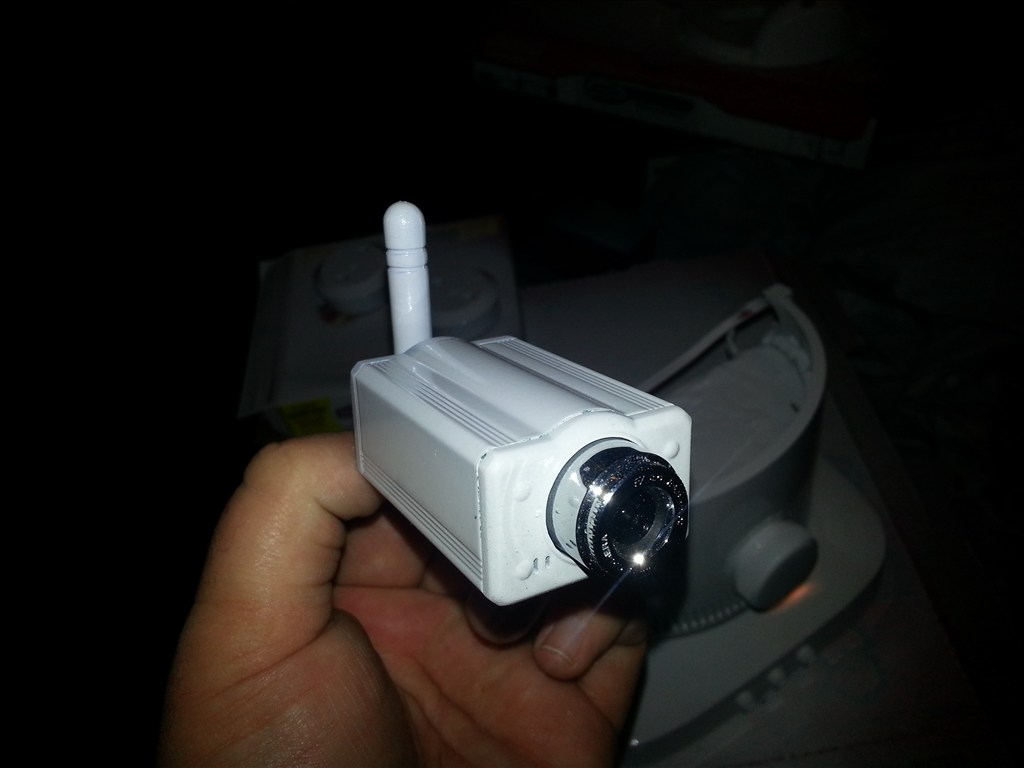
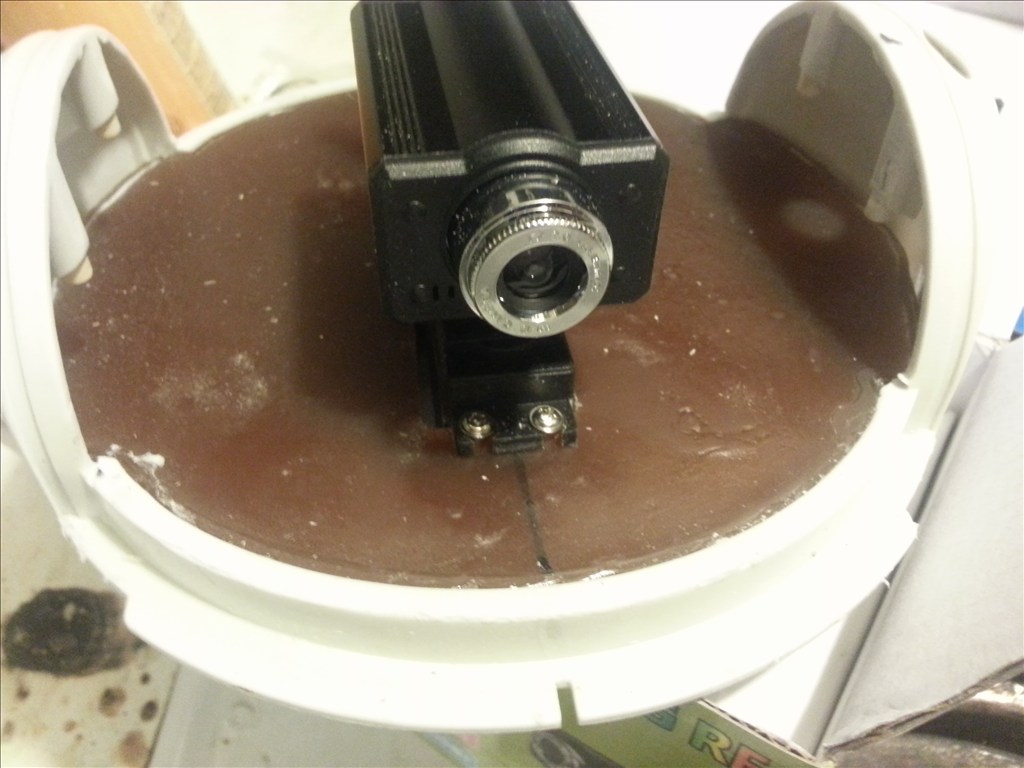
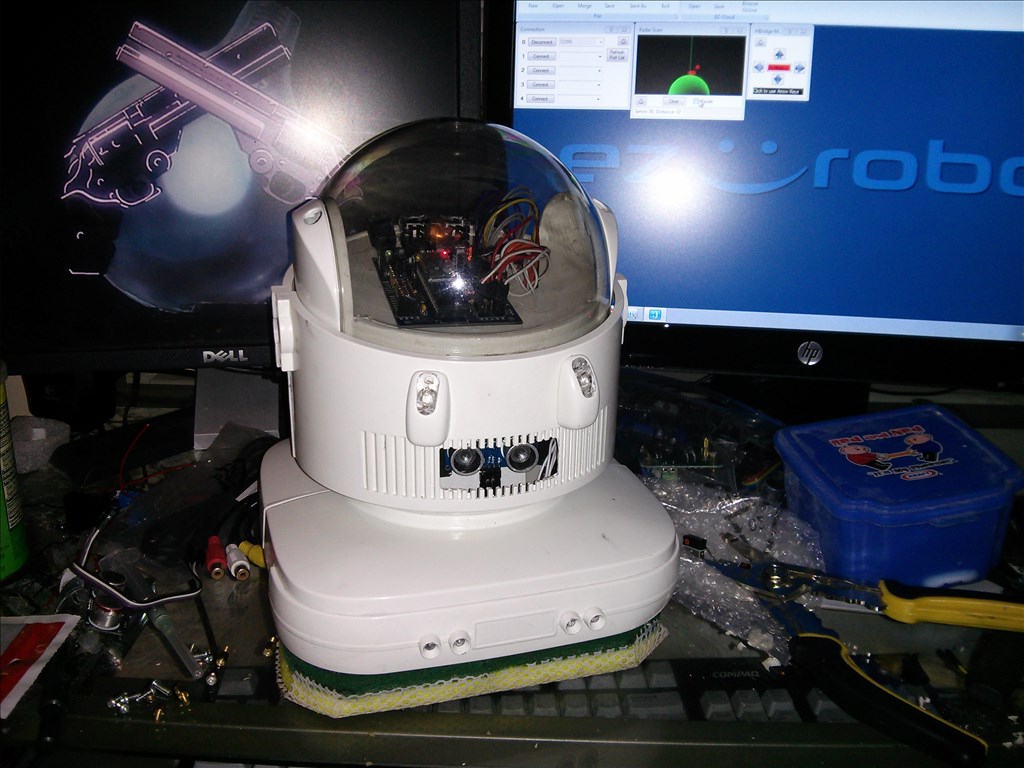
Looks like ezb fits right at home dead center of the robot. I may use a different position if I eliminate this AA battery box that is taking up soooo much room. I took a look at possible ez cam mounting positions as well.
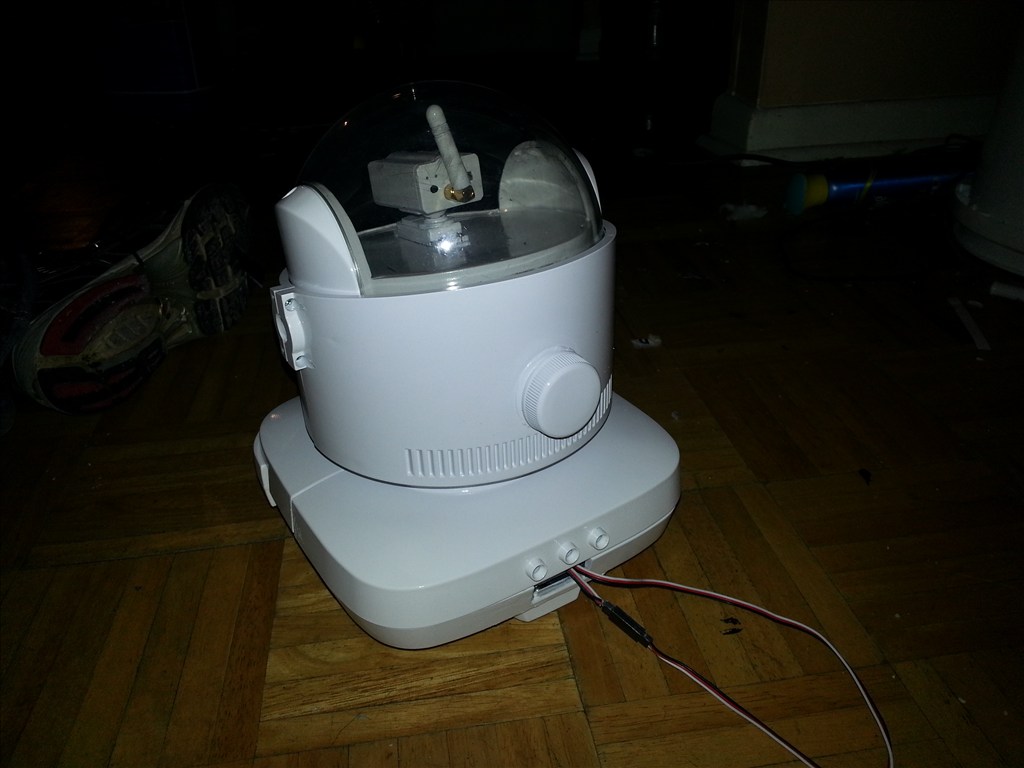
I like the dome Josh. And it goes along with his bigger brothers.
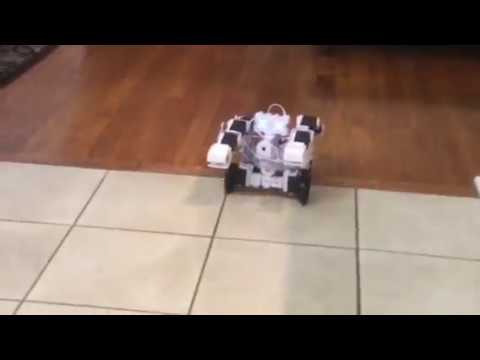
Cool pics and nice job ! Congratz ! Now some vids ?
Greetz, PhG
Probably no vids till something can move. I dont believe I will do any kind of pan or tilt on this robot but we will see.