


Now I have the EZ-B kit and the Hearoid it's time to start my Showcase thread.
I still haven't decided on a name for him yet, all suggestions are welcome.
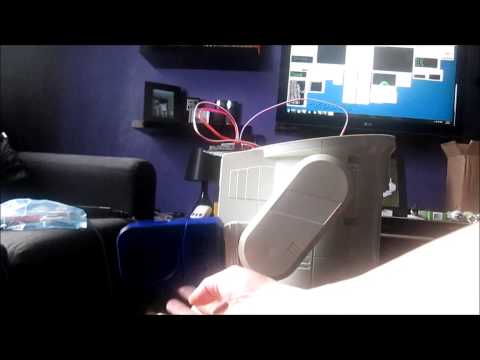
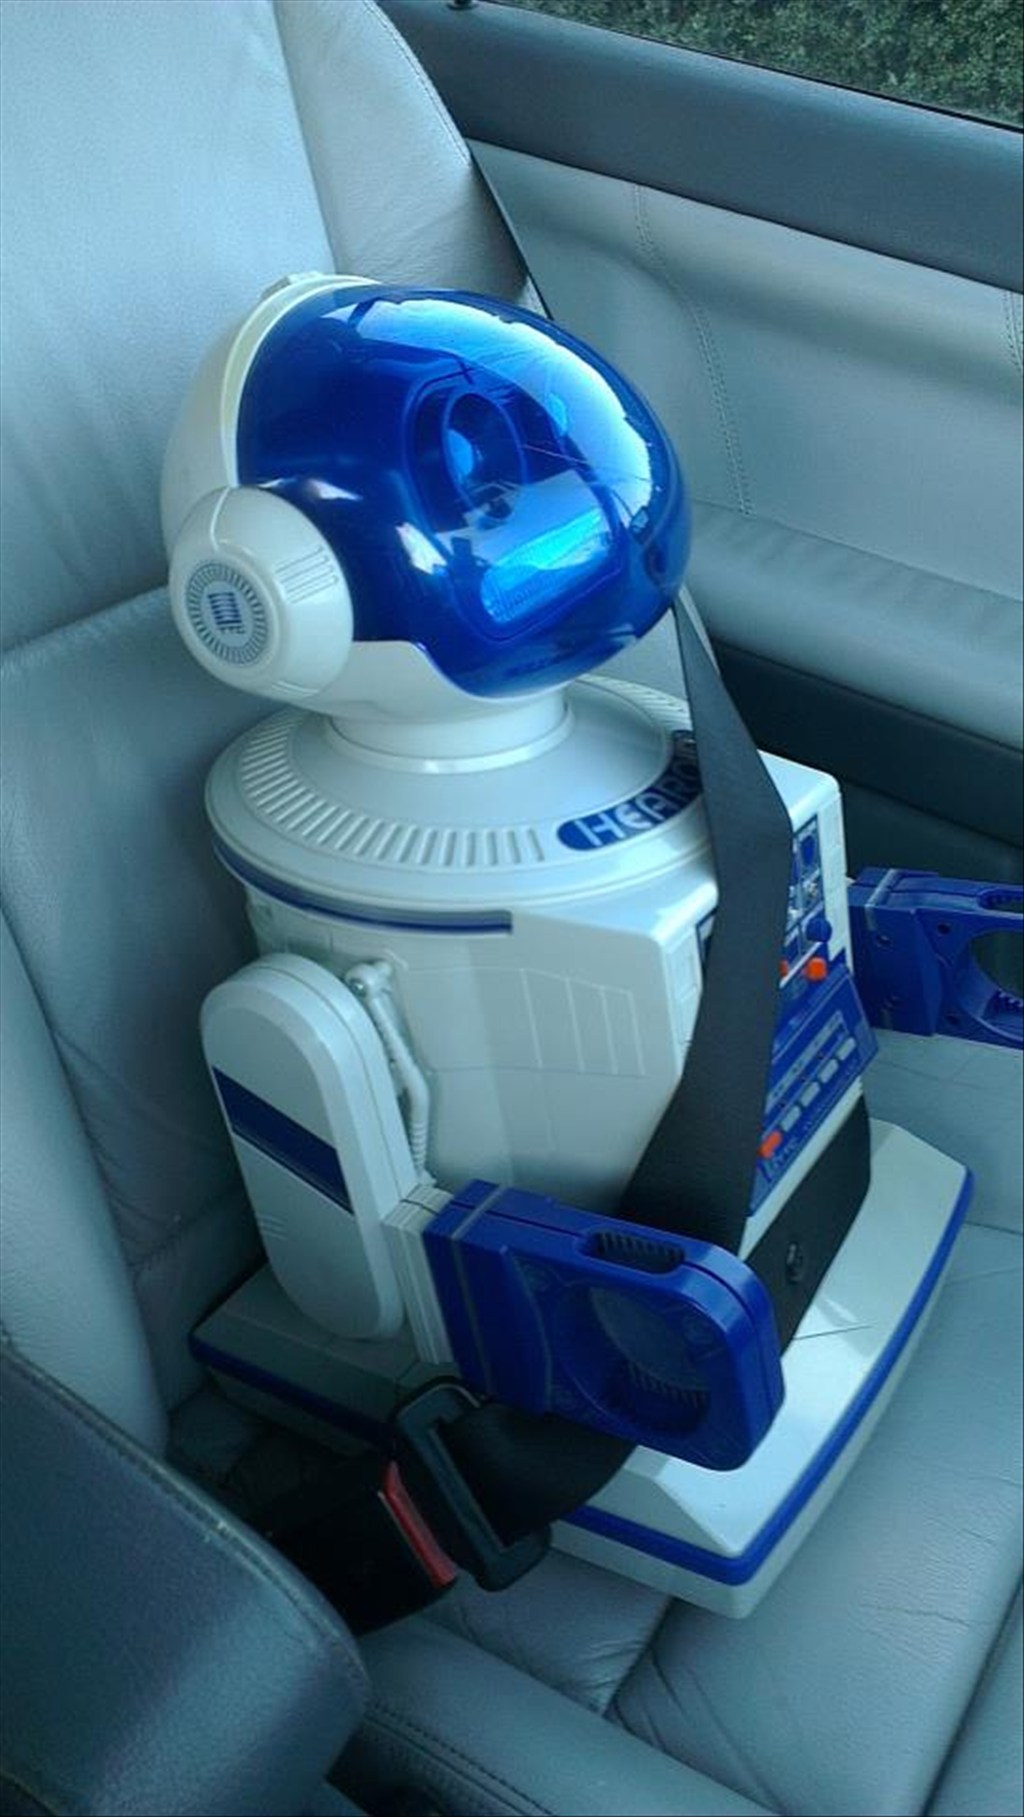
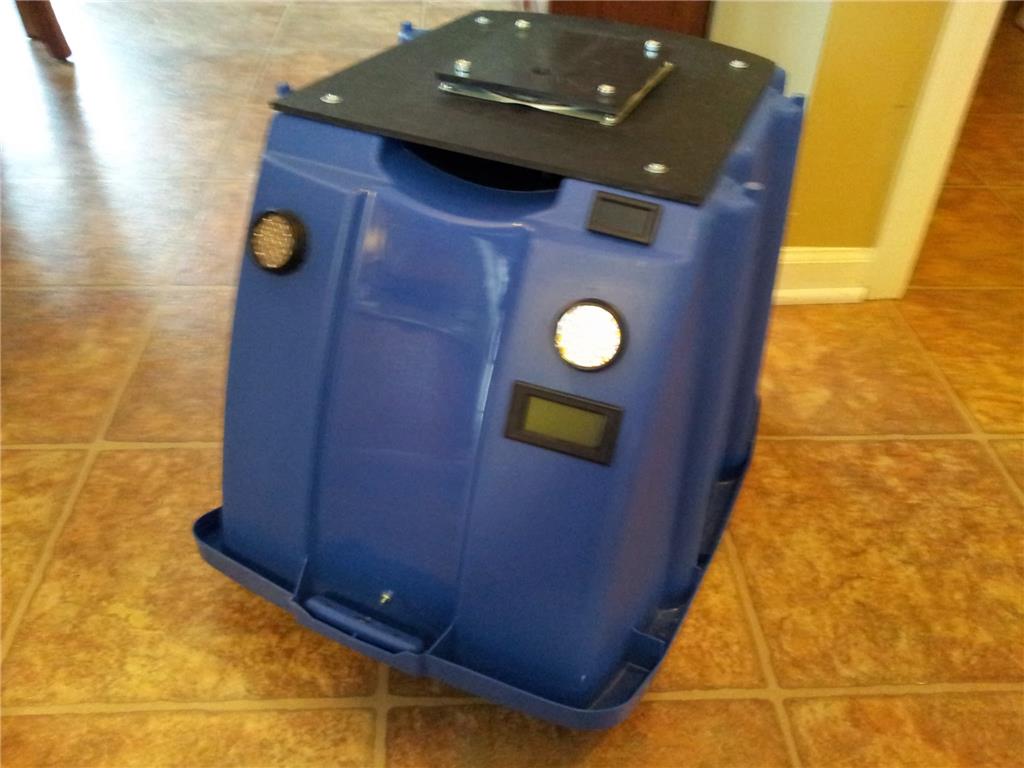
I won this robot on ebay weeks ago, for the past 2 weeks he has been waiting for me to collect him...
Today was the day, a road trip to pick him up and bring him back to his new home...
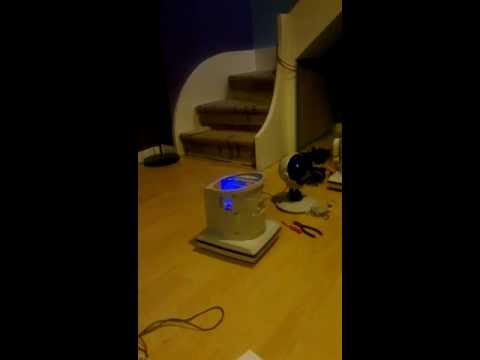
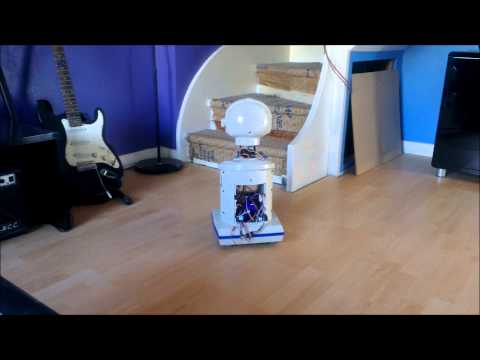
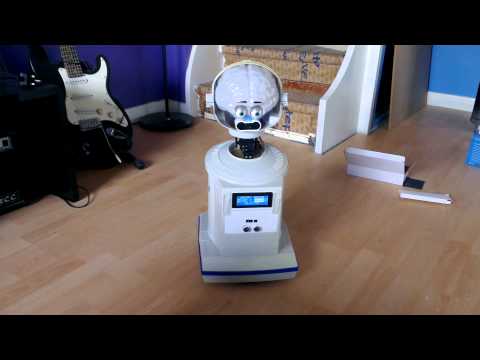
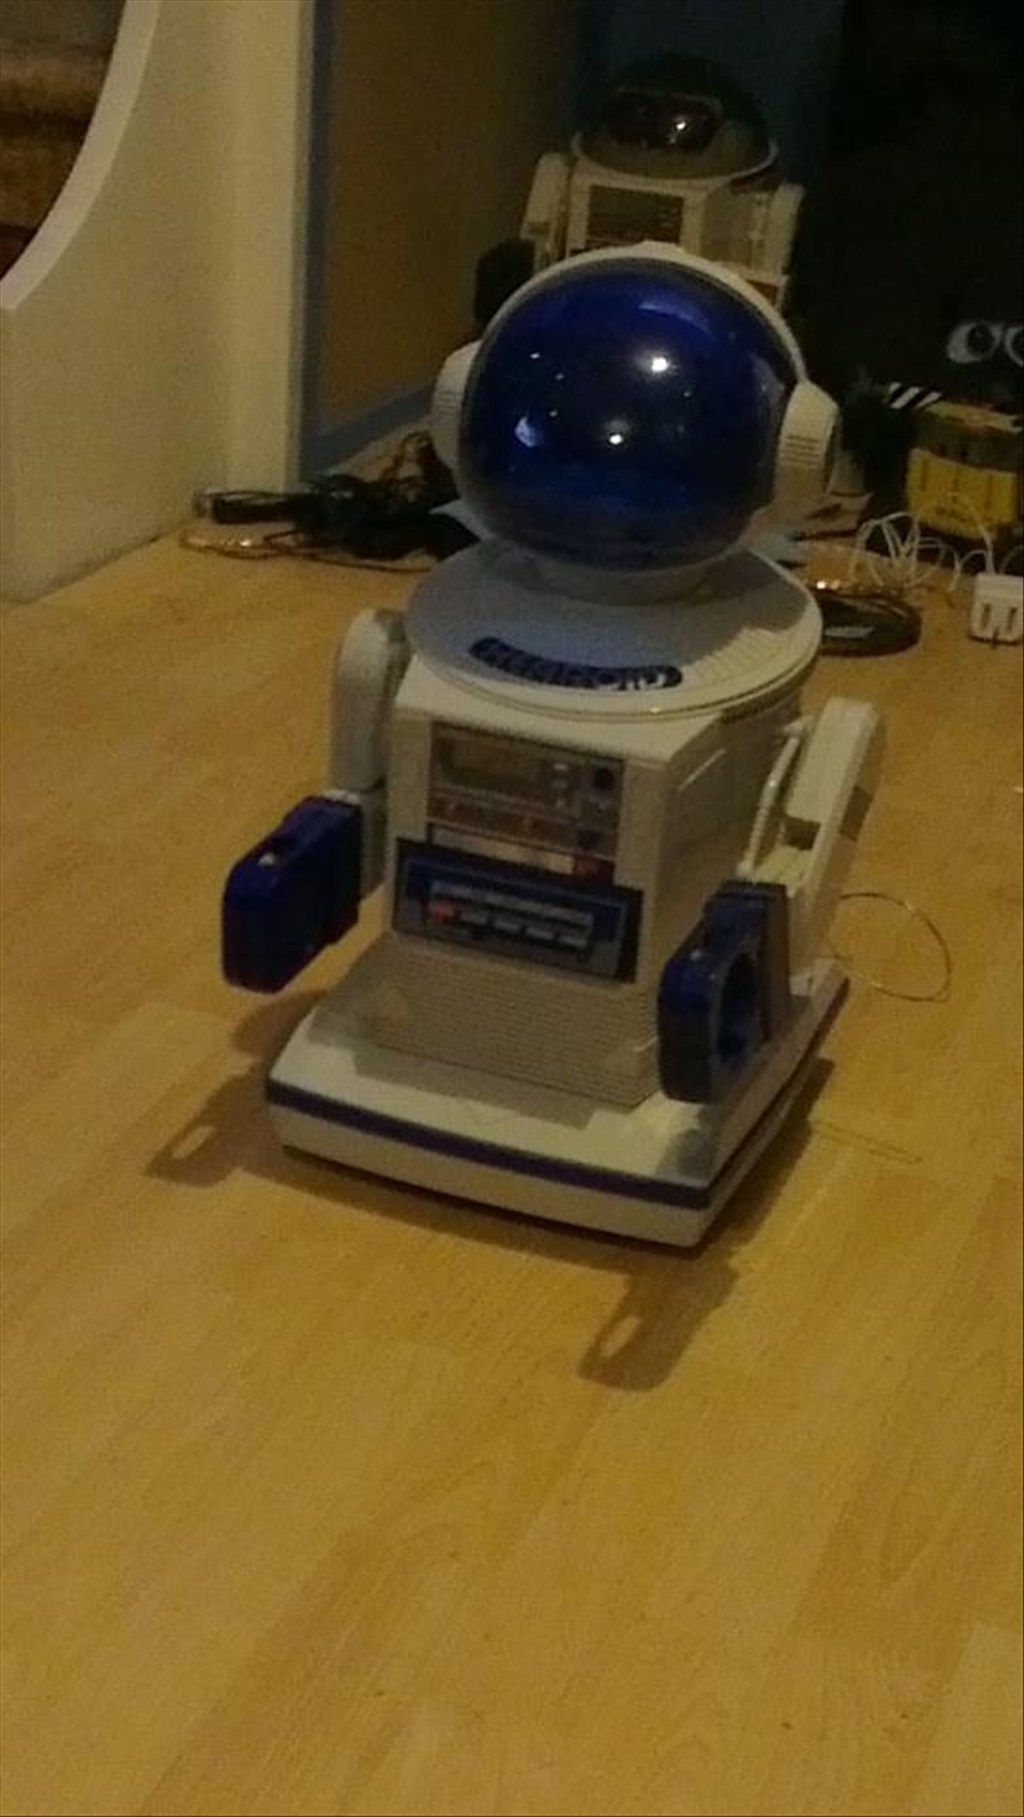
In his new home (with Omnibot and Wall-e in the background totally unaware they are next in line to be opened up)
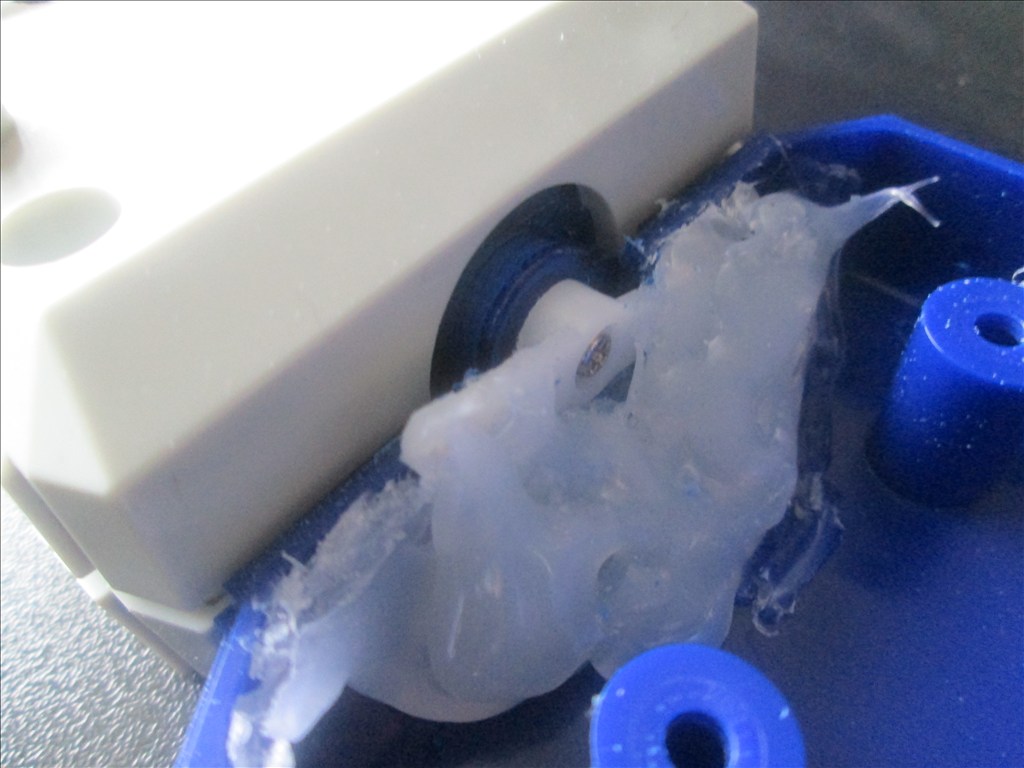
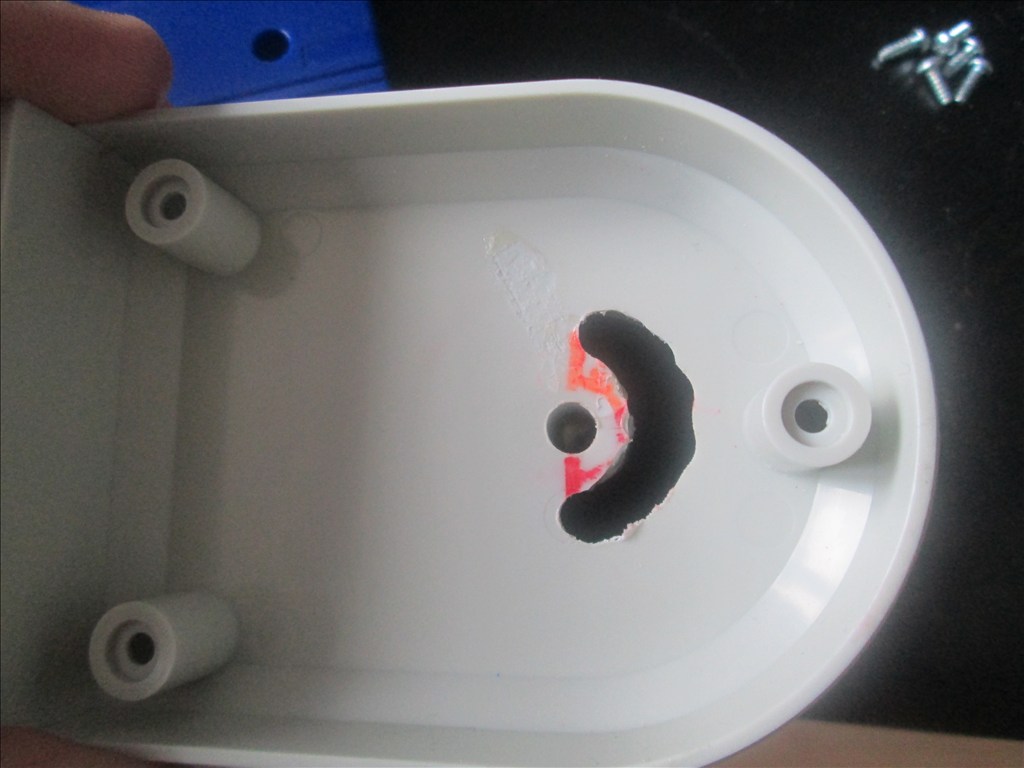
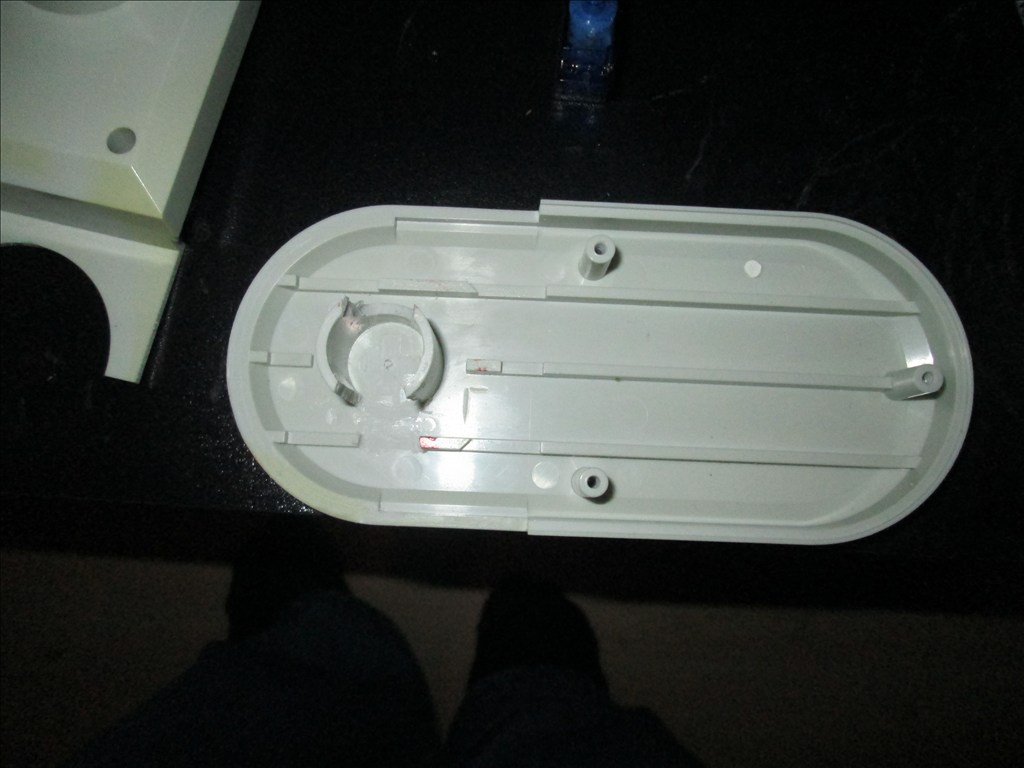
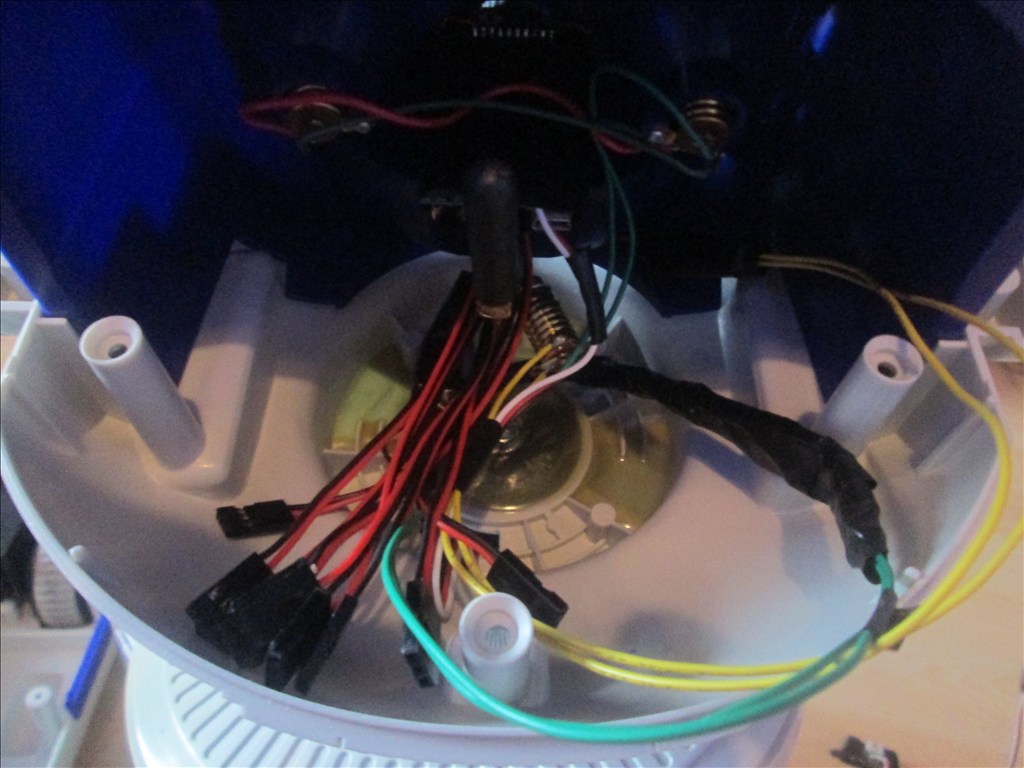
It wasn't long before this happened...
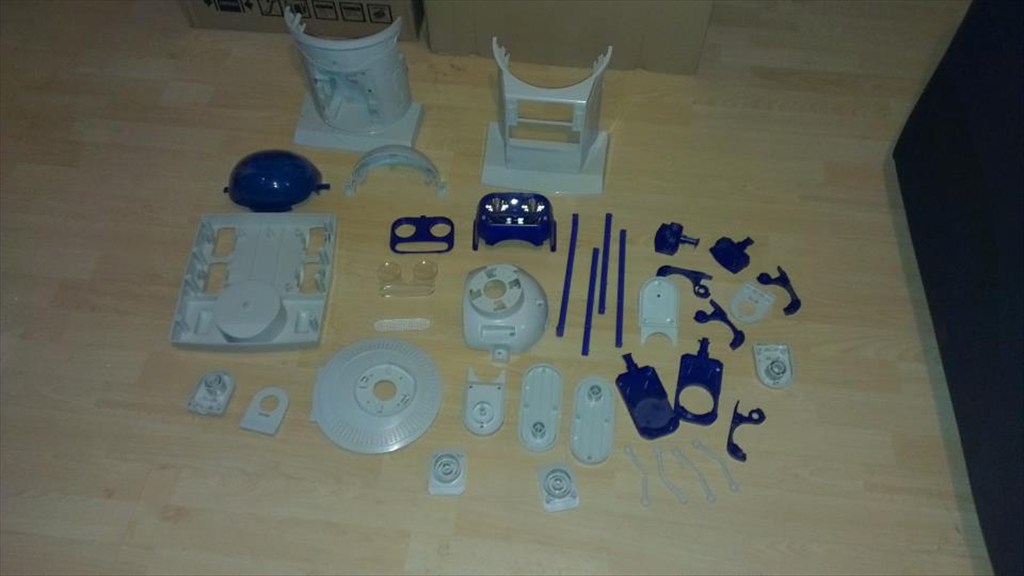
Now waiting to go in the dishwasher to get nice and clean.
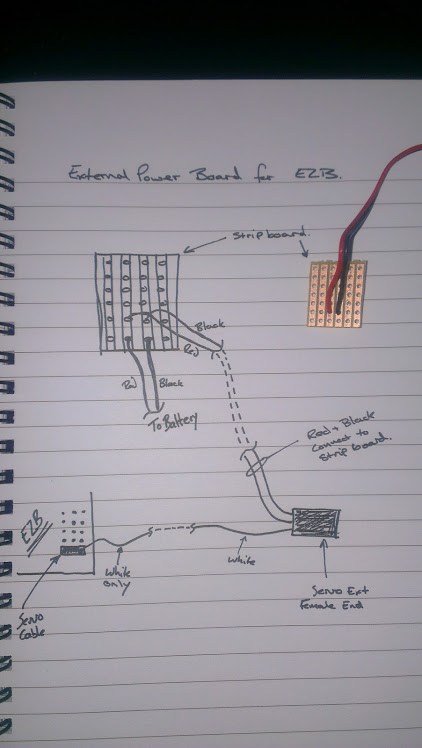
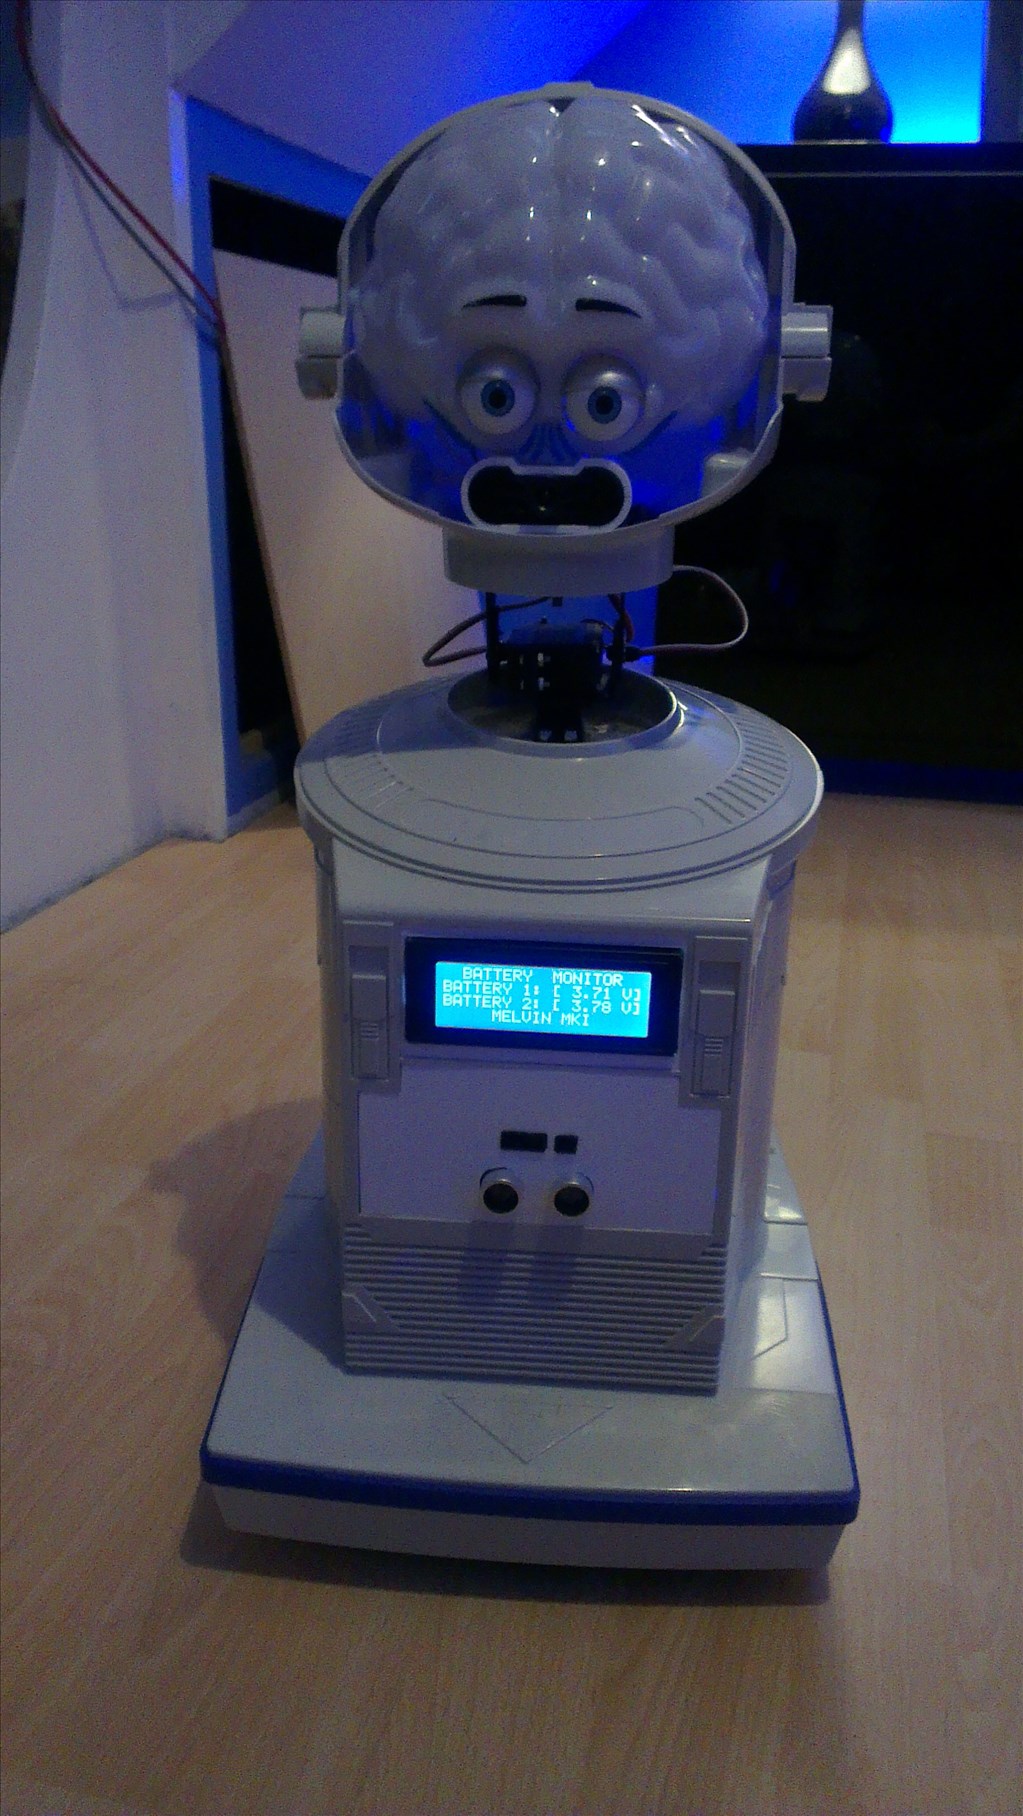
The plan is to make him autonomous, running 24/7 (except for when he knows to go charge himself up) but will also be adding in the various image tracking options.
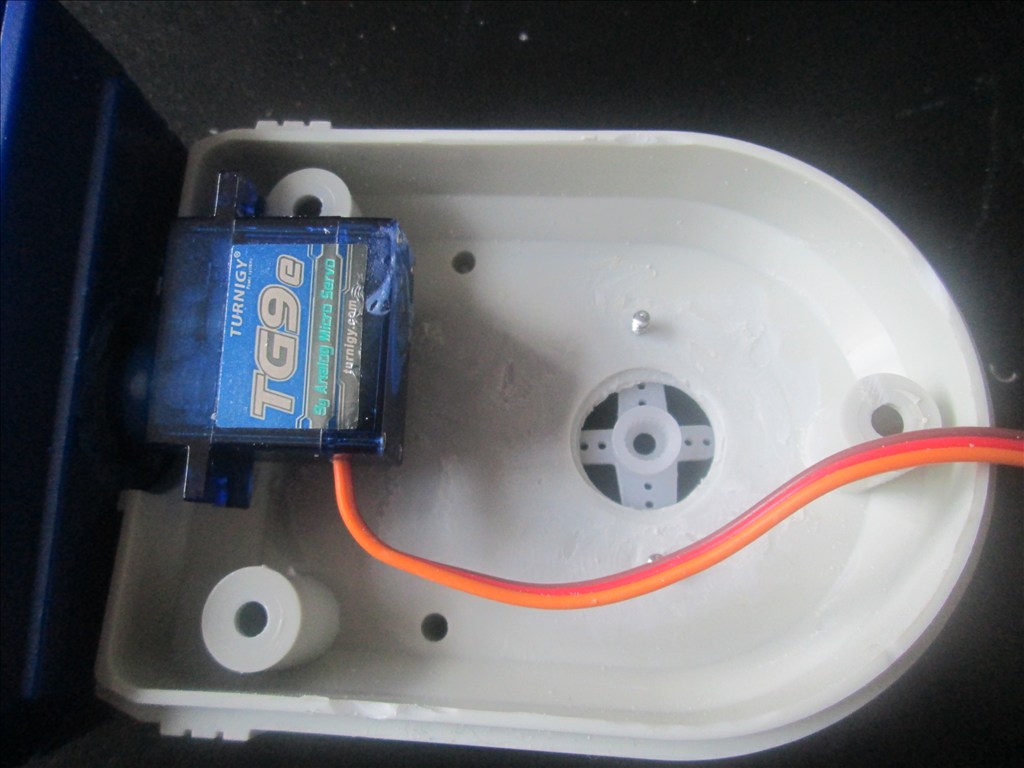
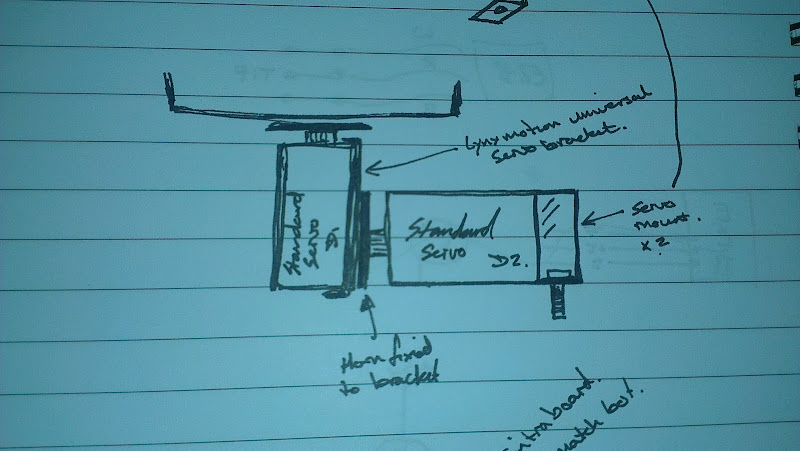
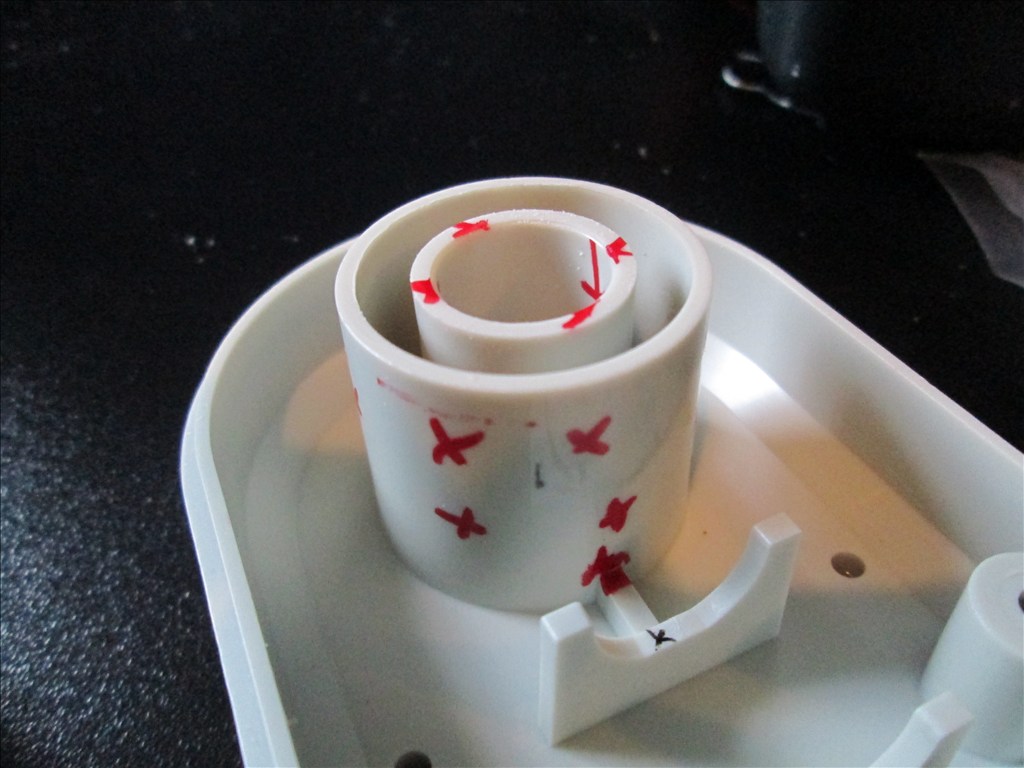
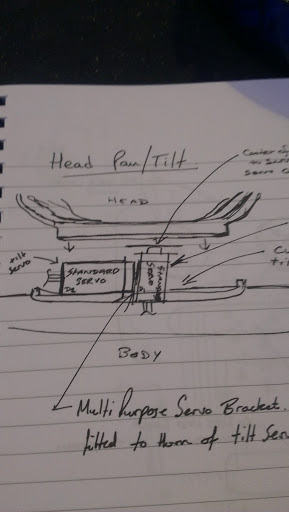
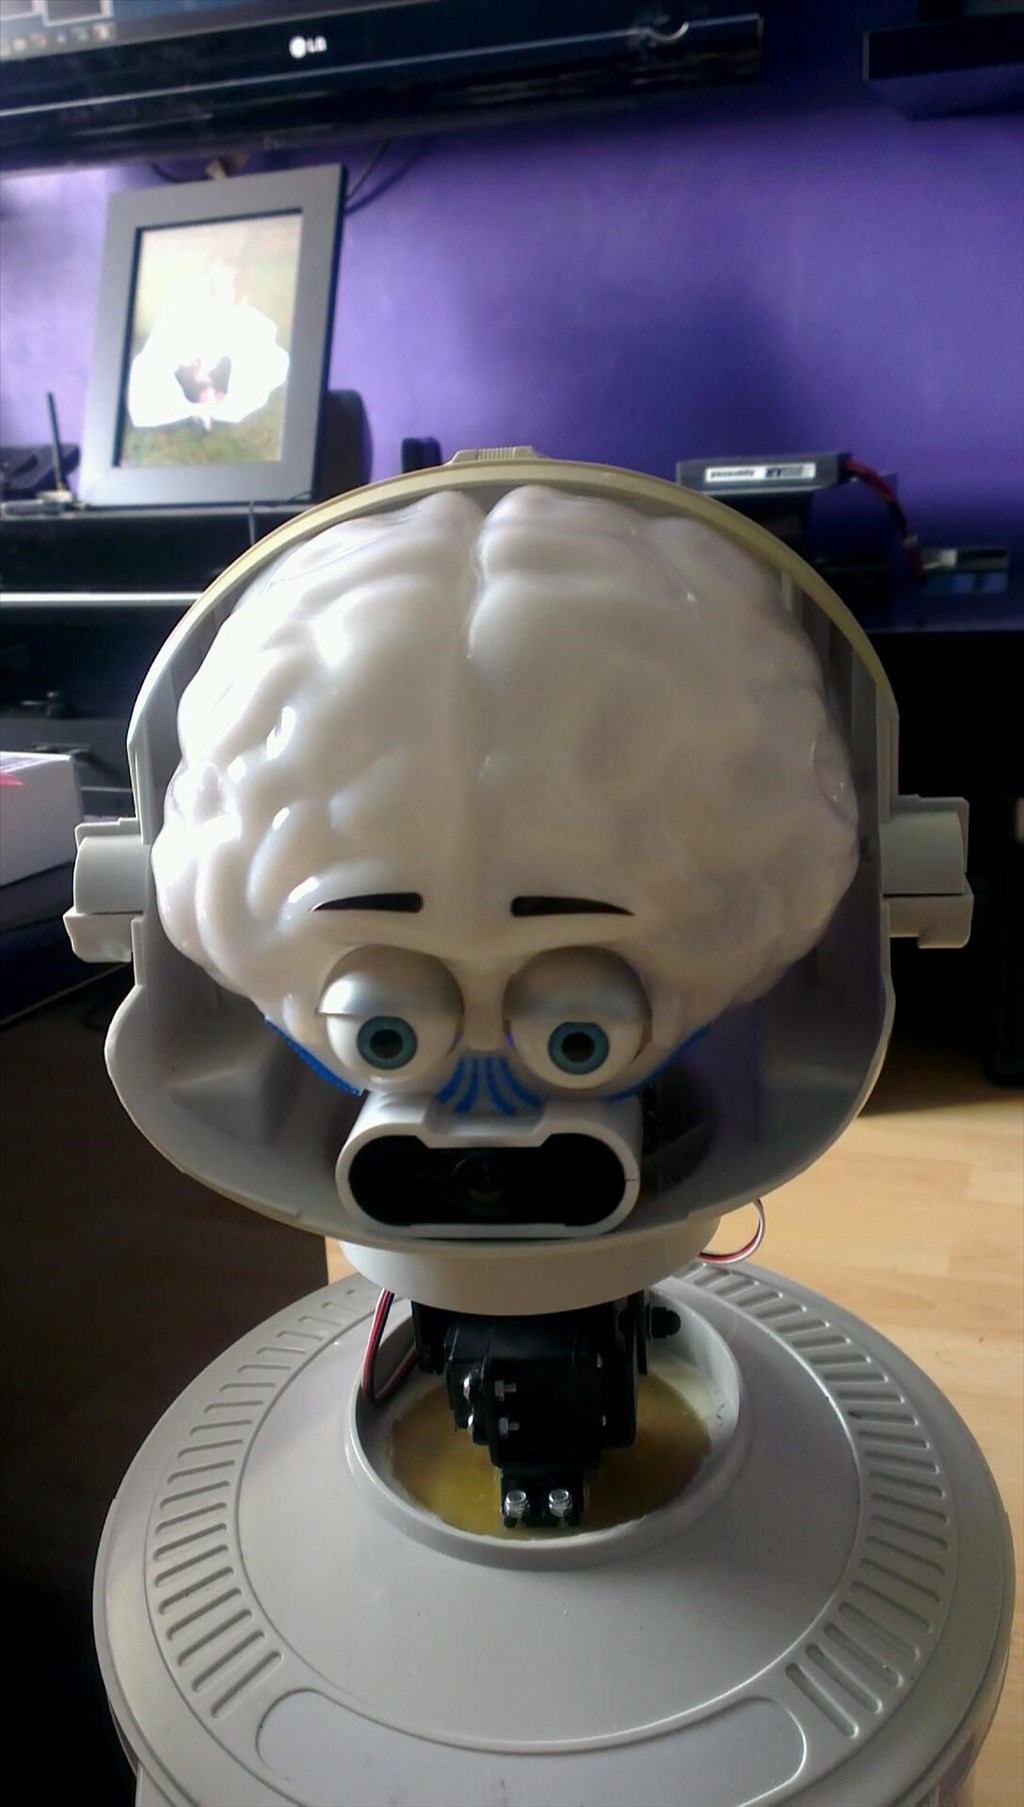
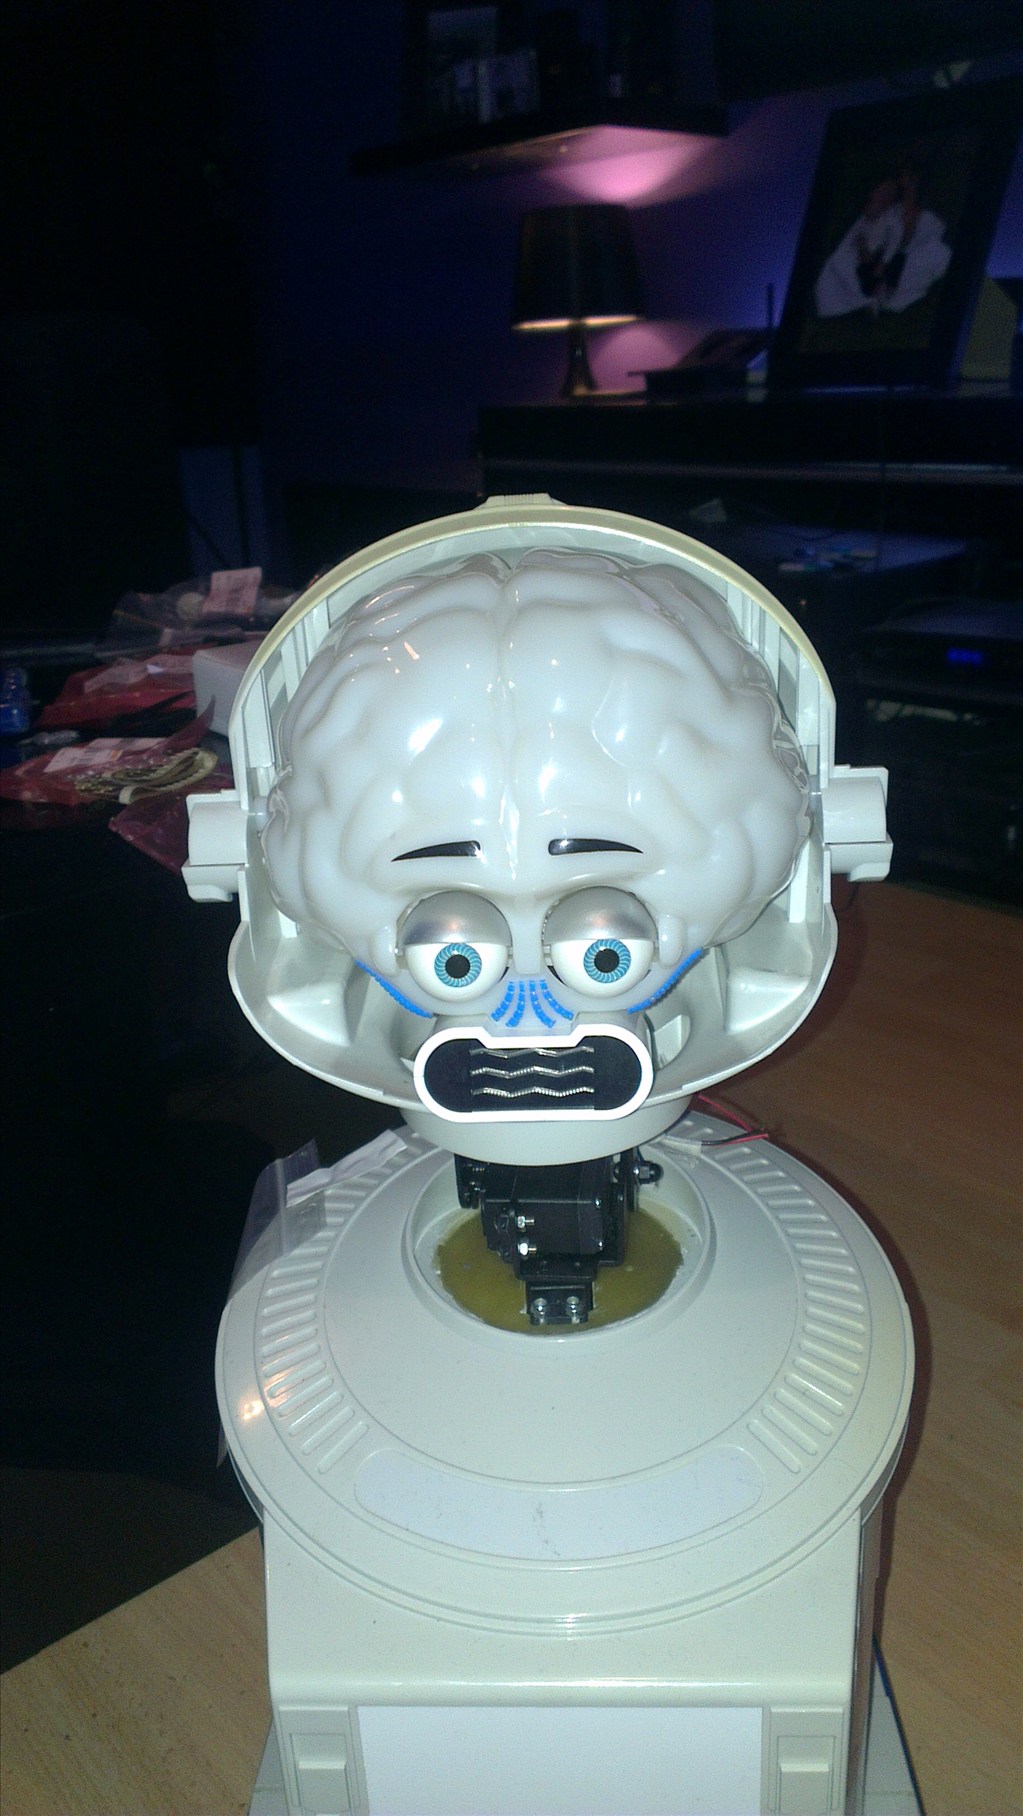
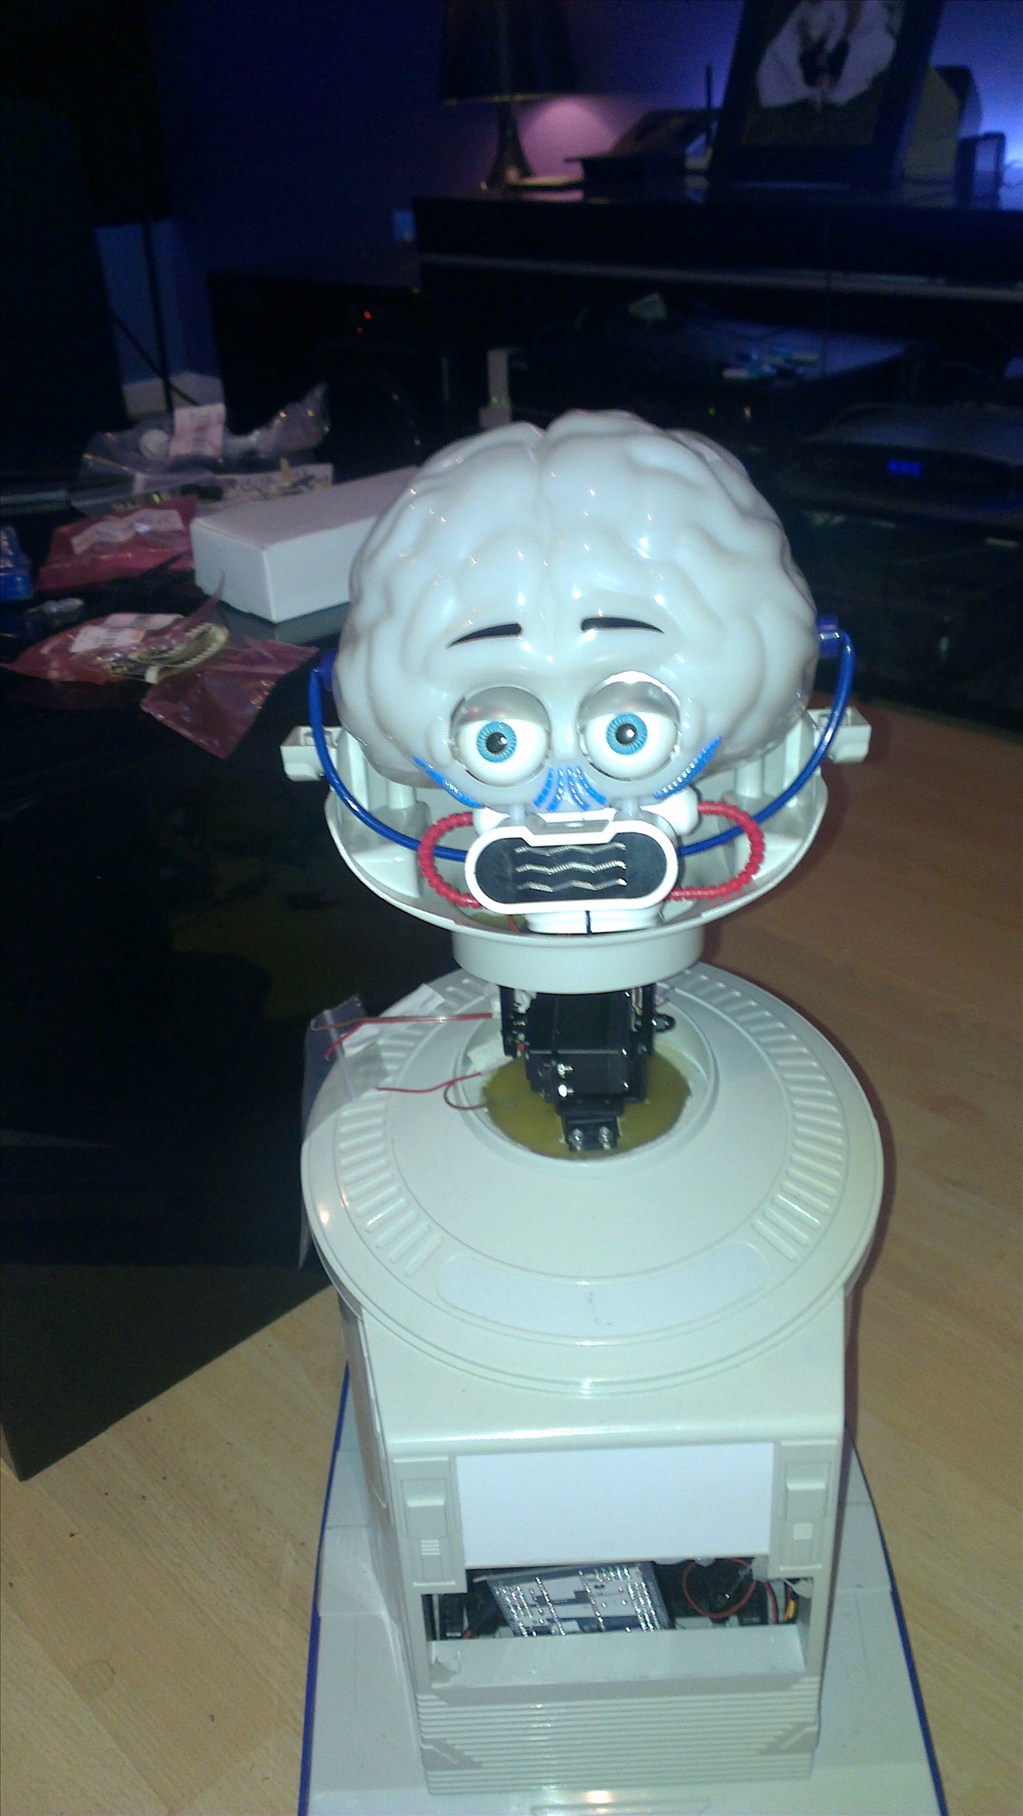
The only other slight modifications to be made to him are to convert the head to tilt & pan which will involve having to give him a small neck.
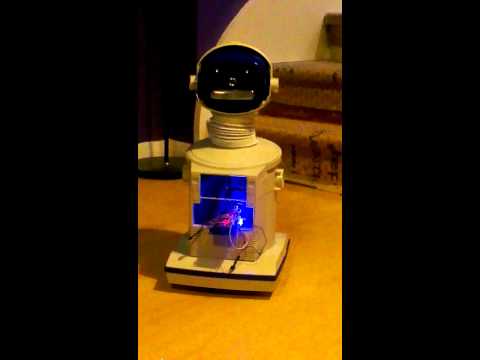
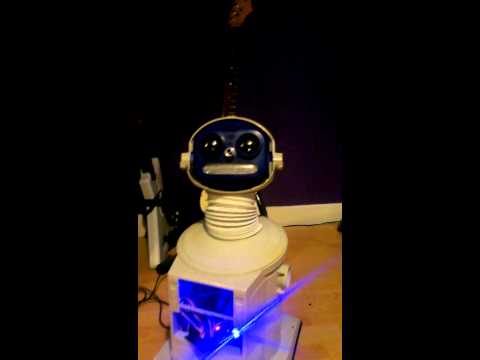
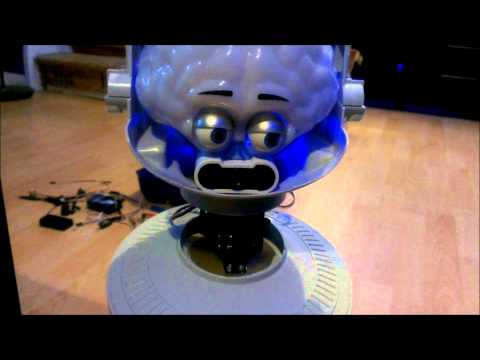
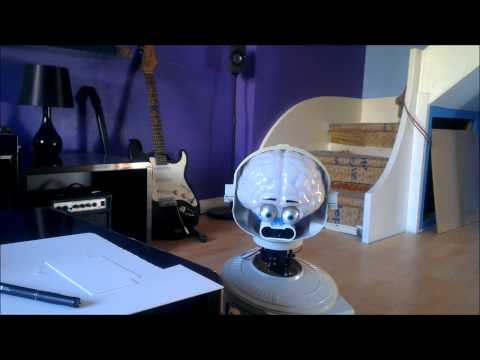
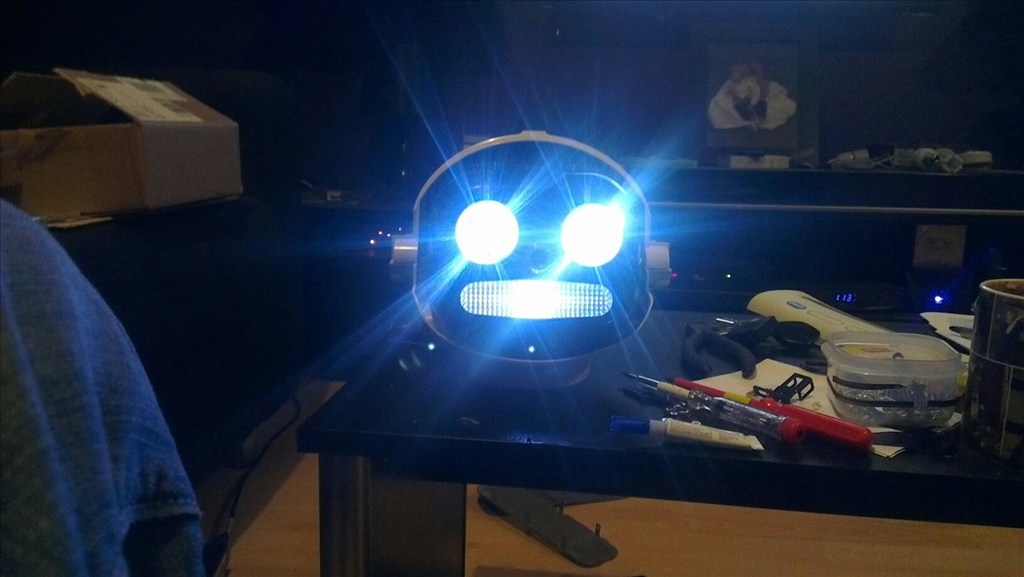
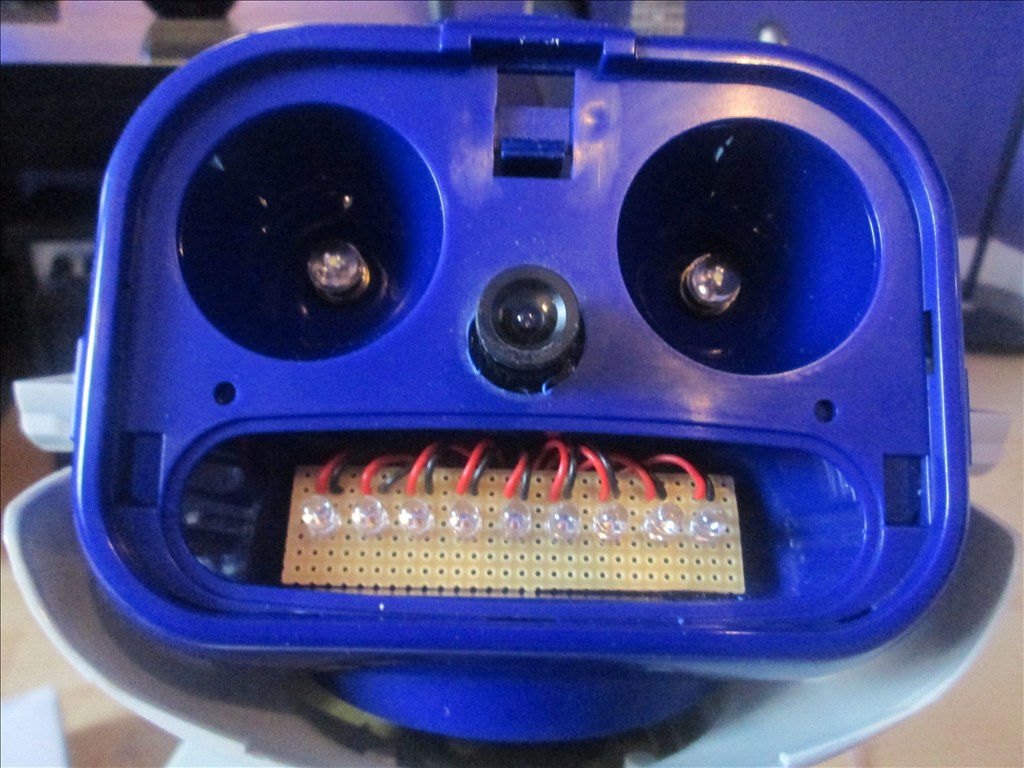
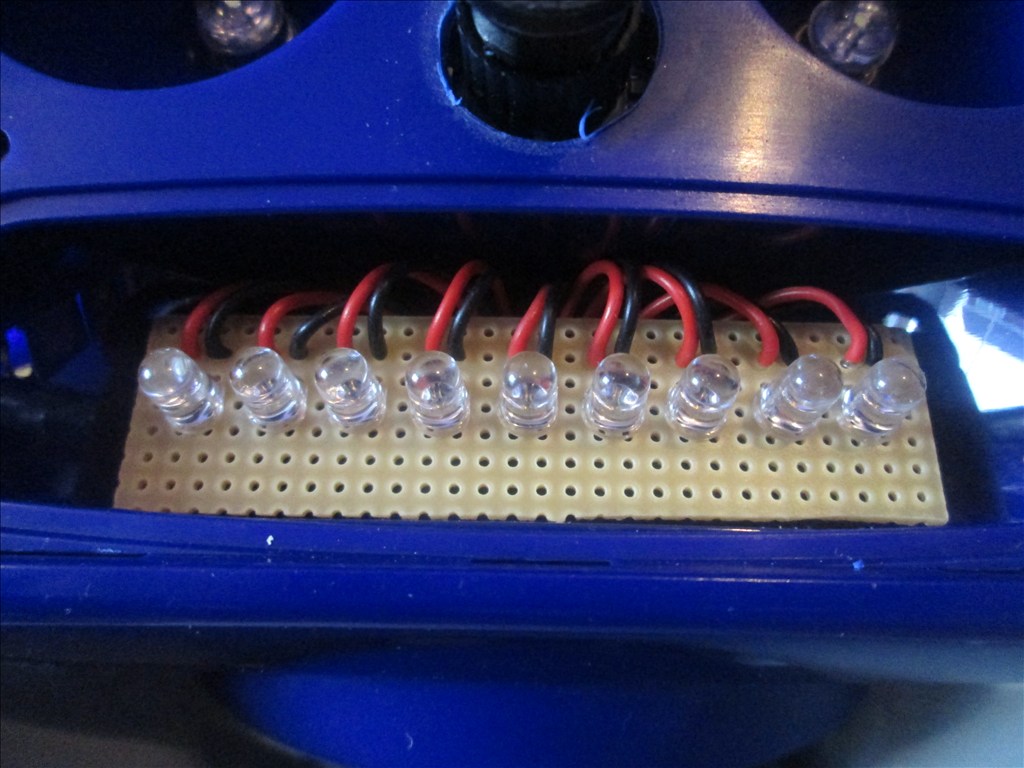
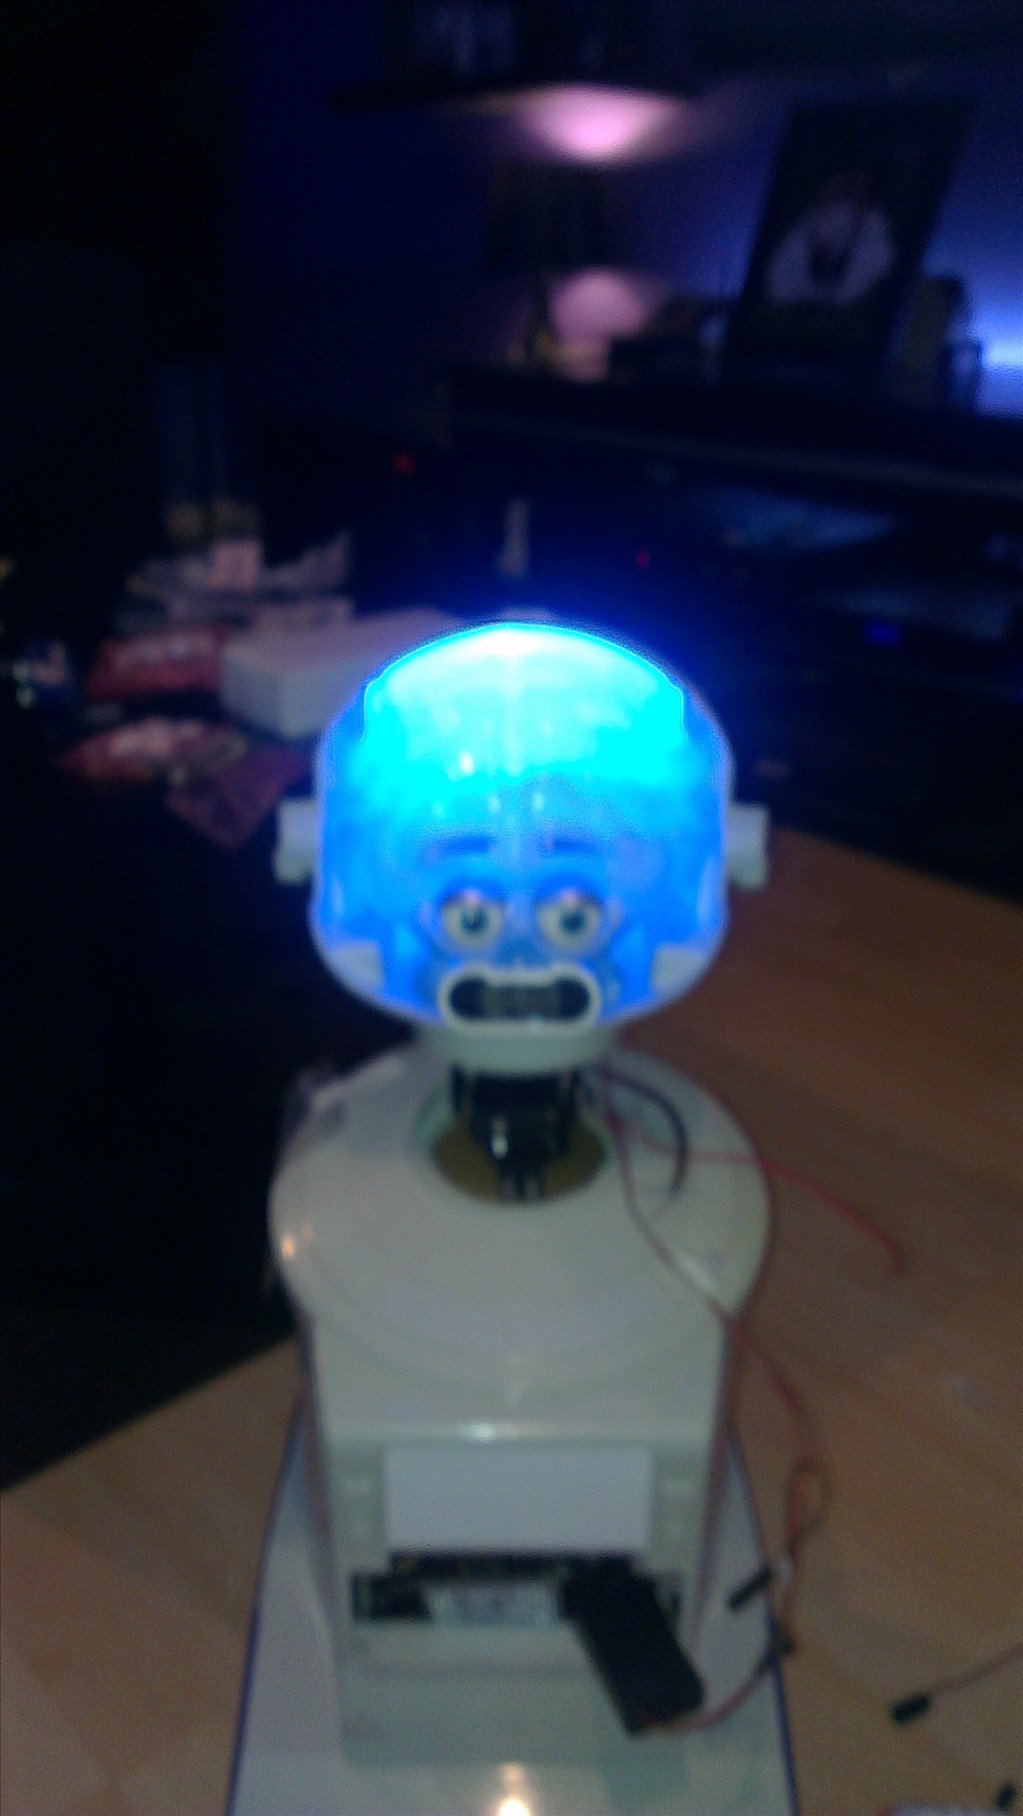
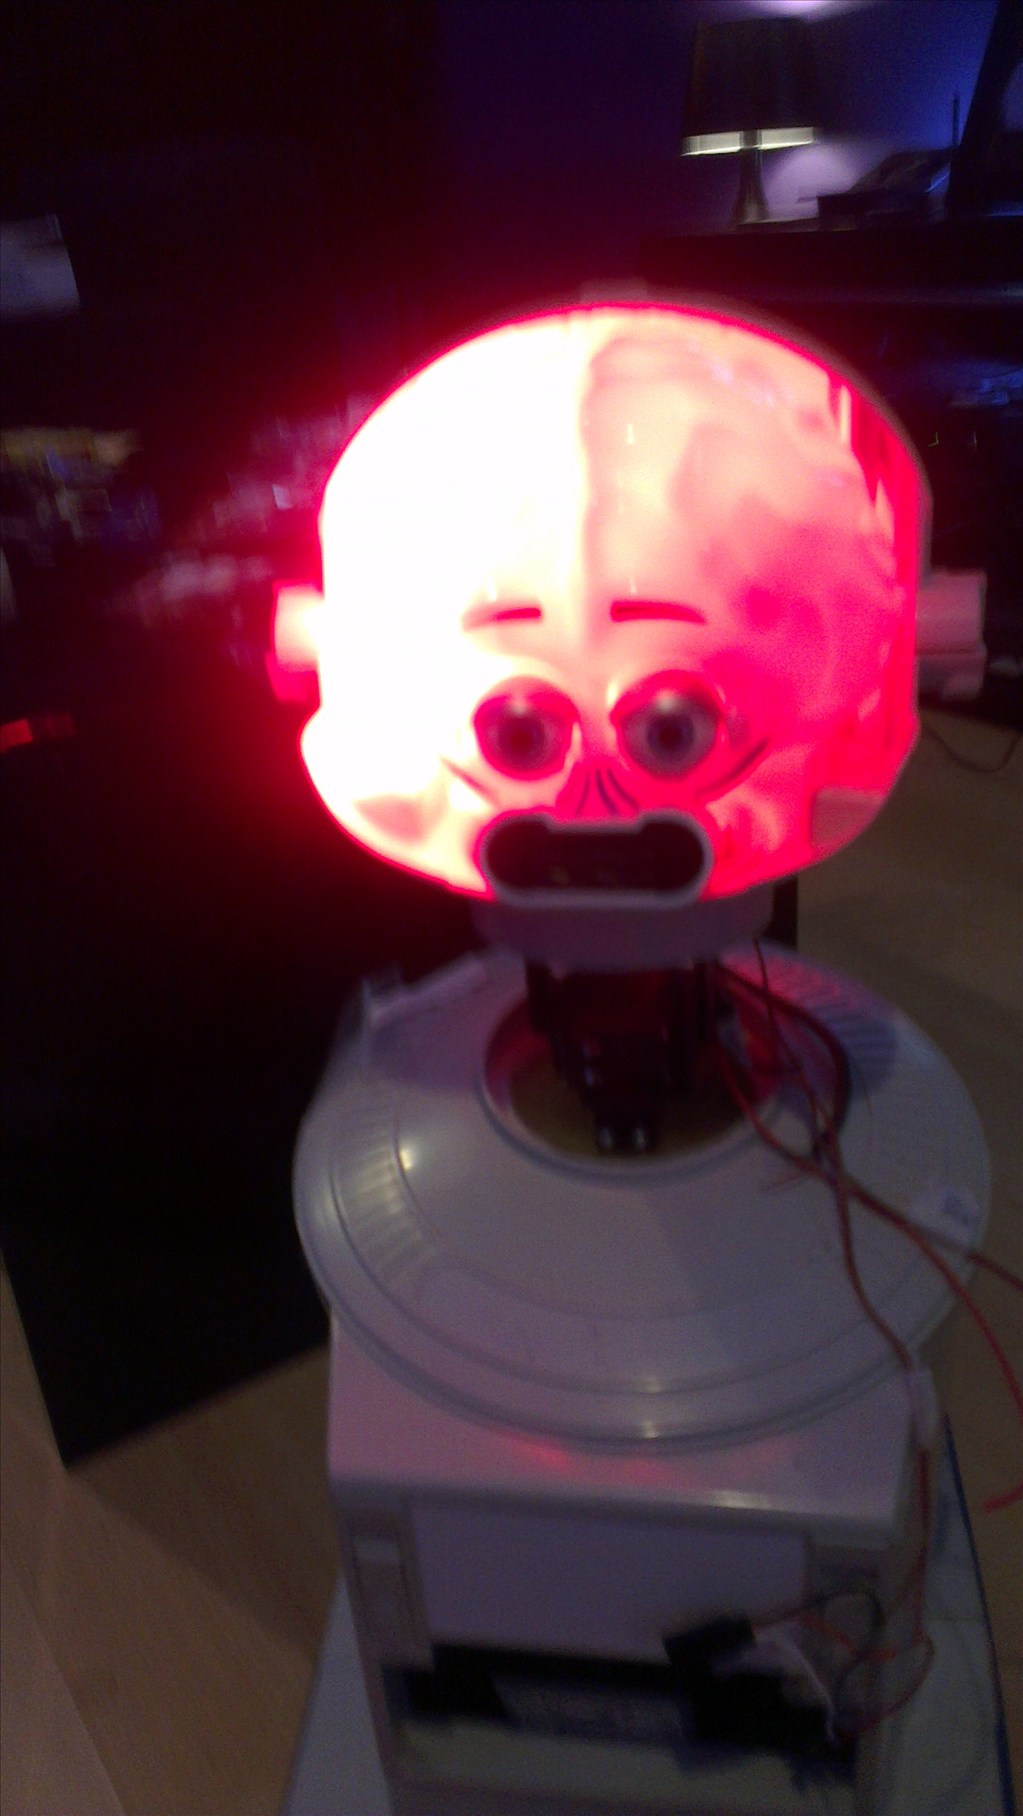
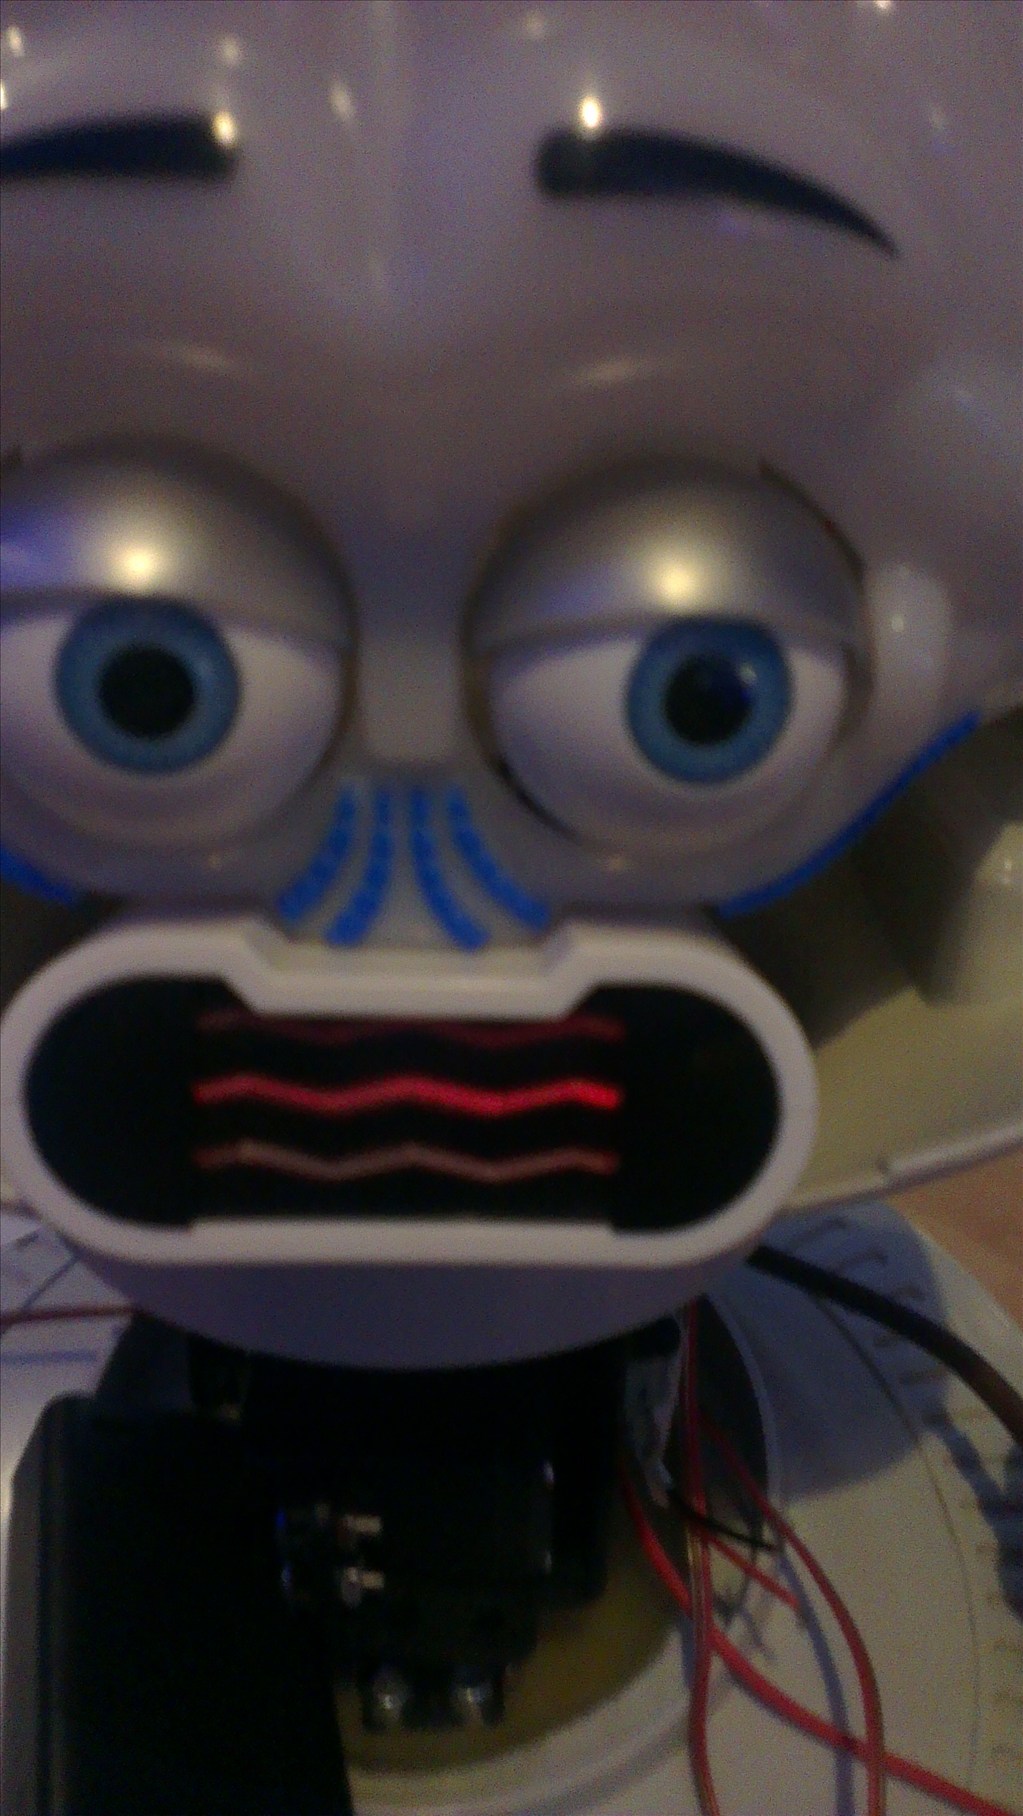
The head will include the camera. I haven't yet decided to fit it in one of his eyes or to make it his nose. The issue to overcome with this is the blue tint on the bubble head. The mouth will have a light or some lights in which flicker when he speaks.
The arms will be given some life with servos at the shoulder joints and the elbows provided I can get them to fit in there nicely.
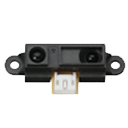
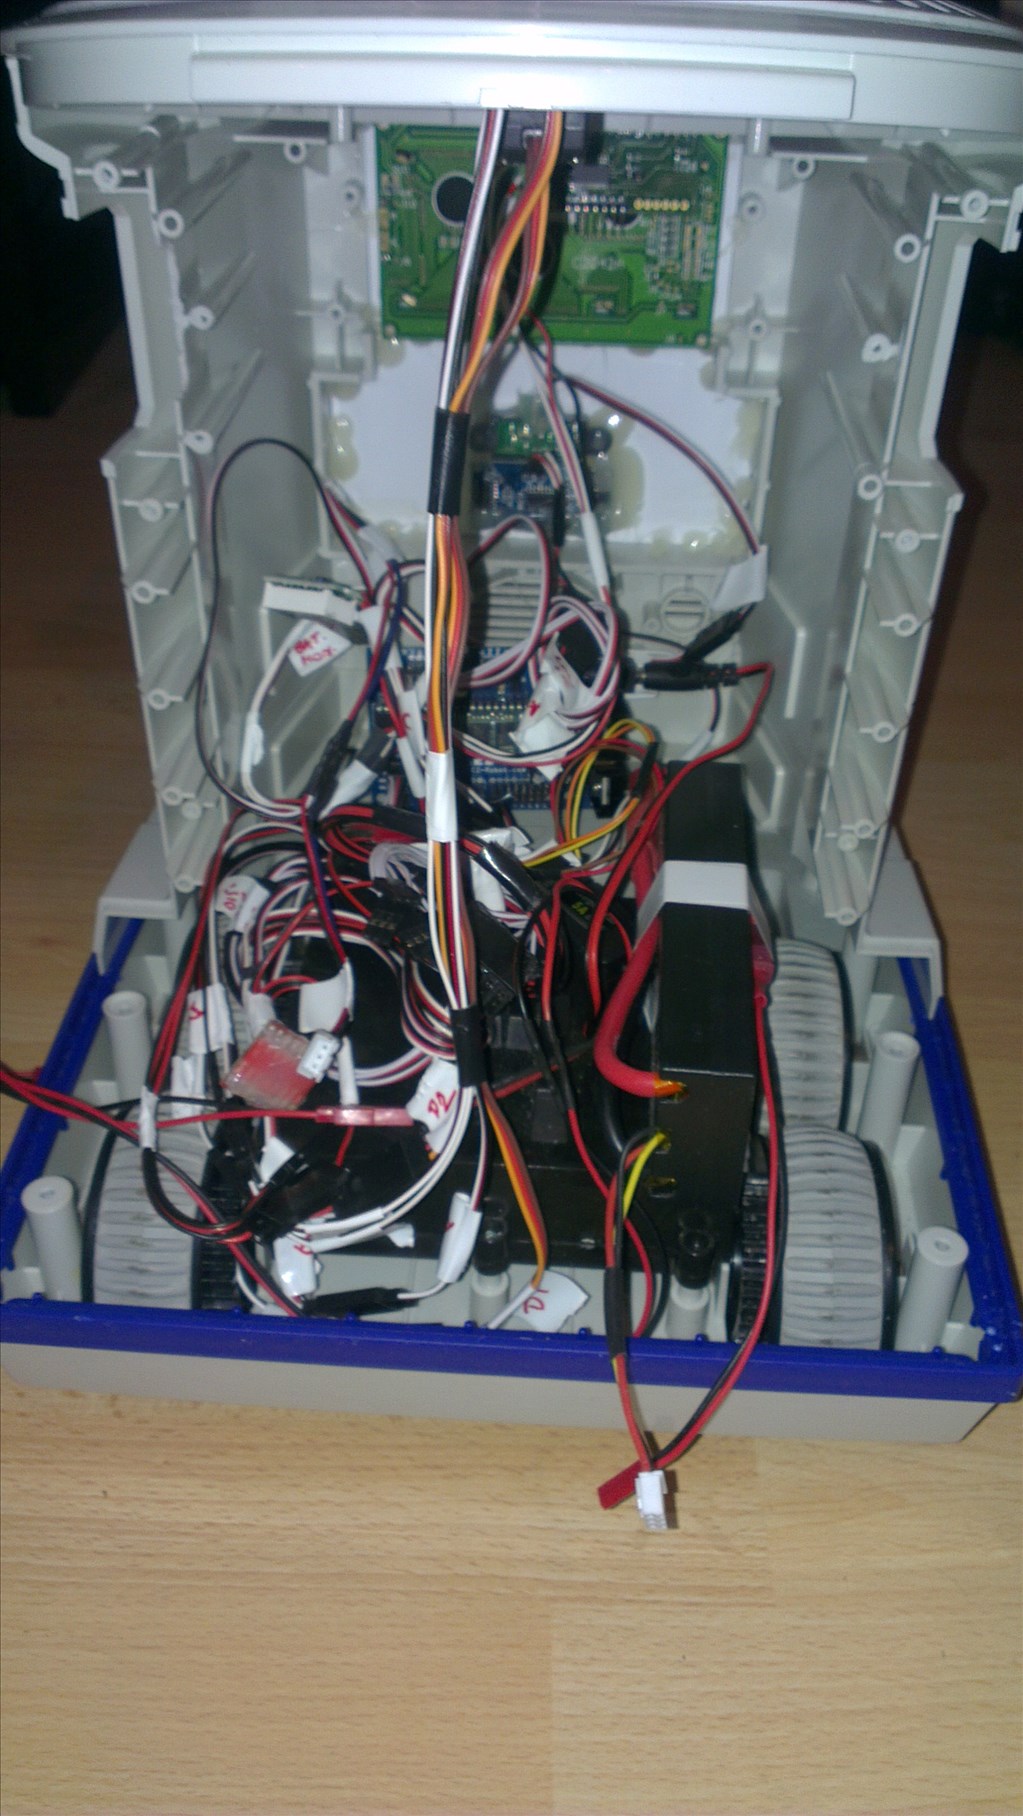
Ultrasonic sensor will be in his chest, probably on a servo to give a wider view.
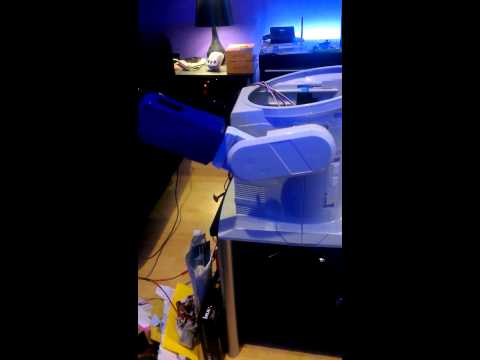
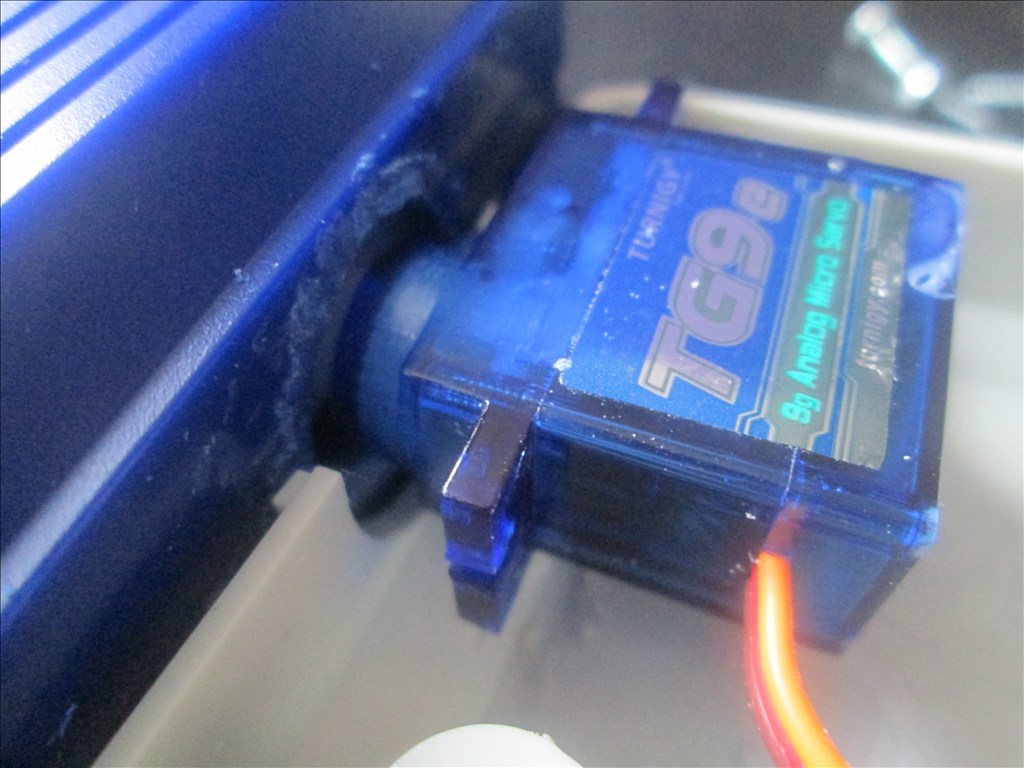
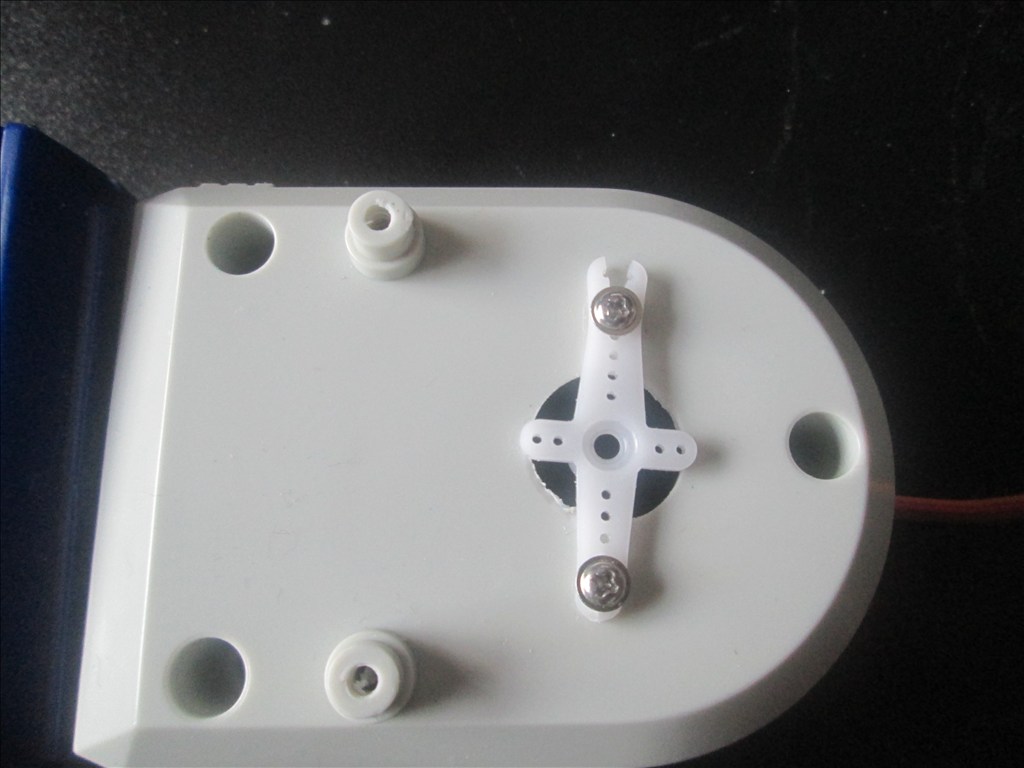
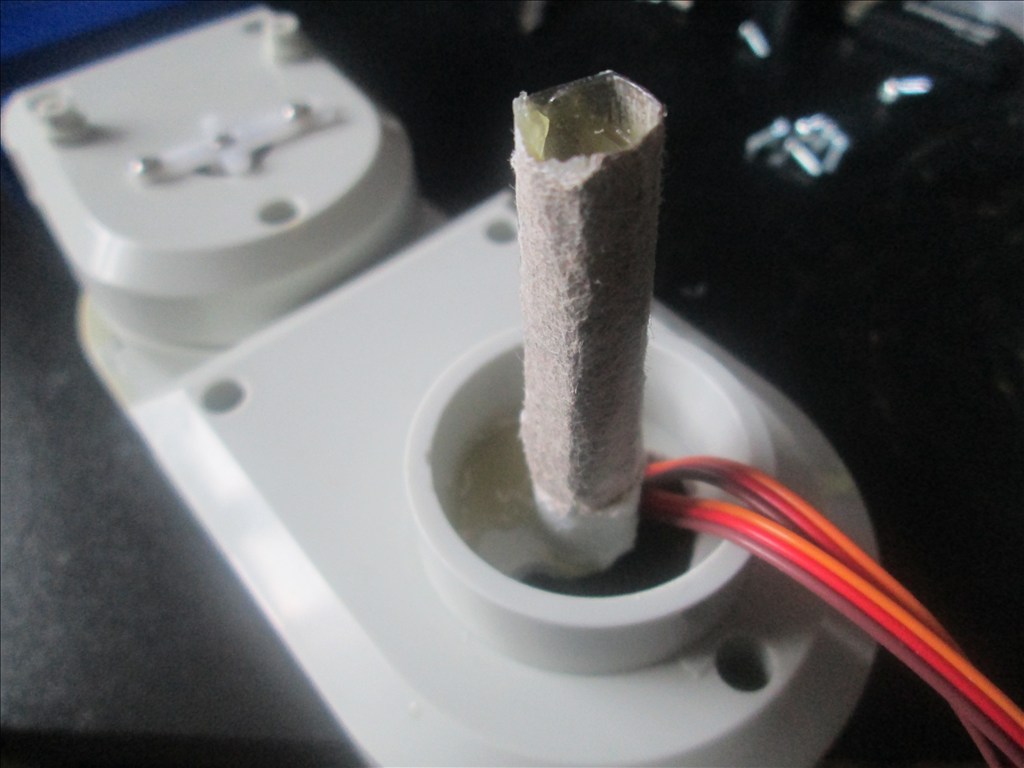
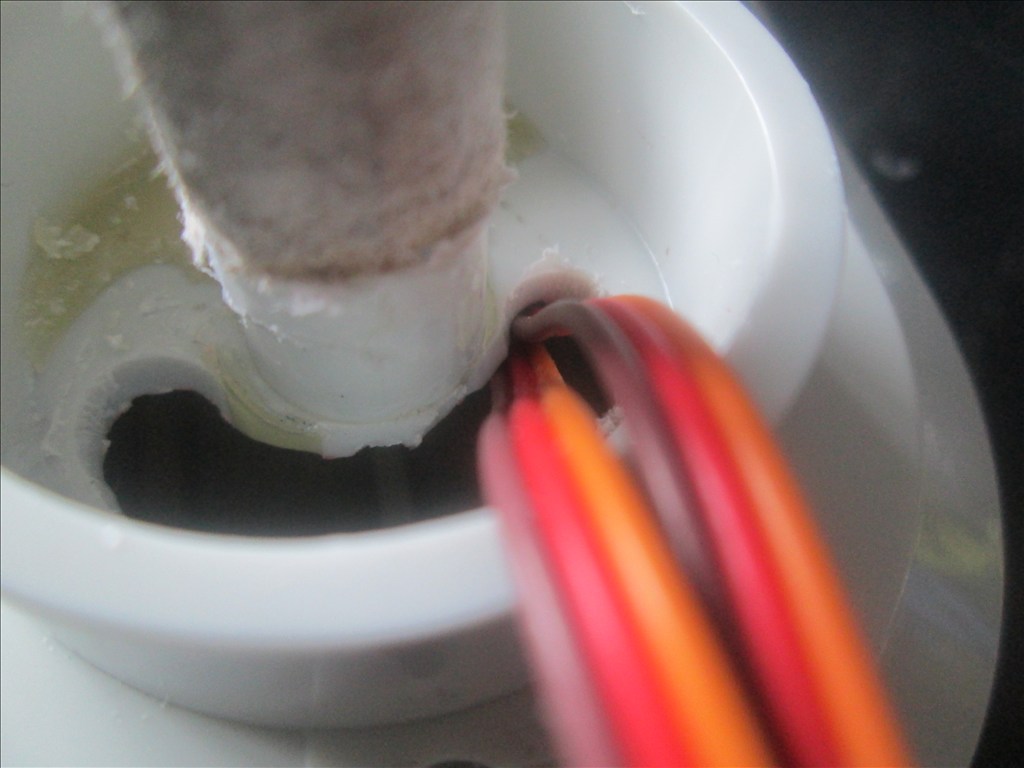
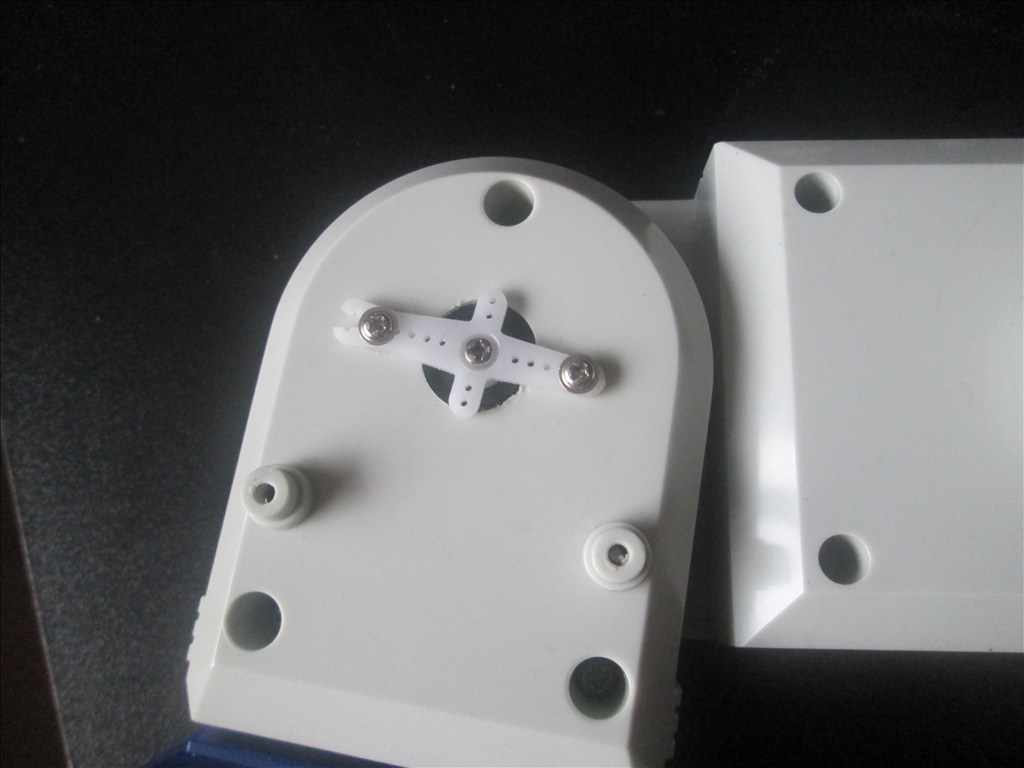
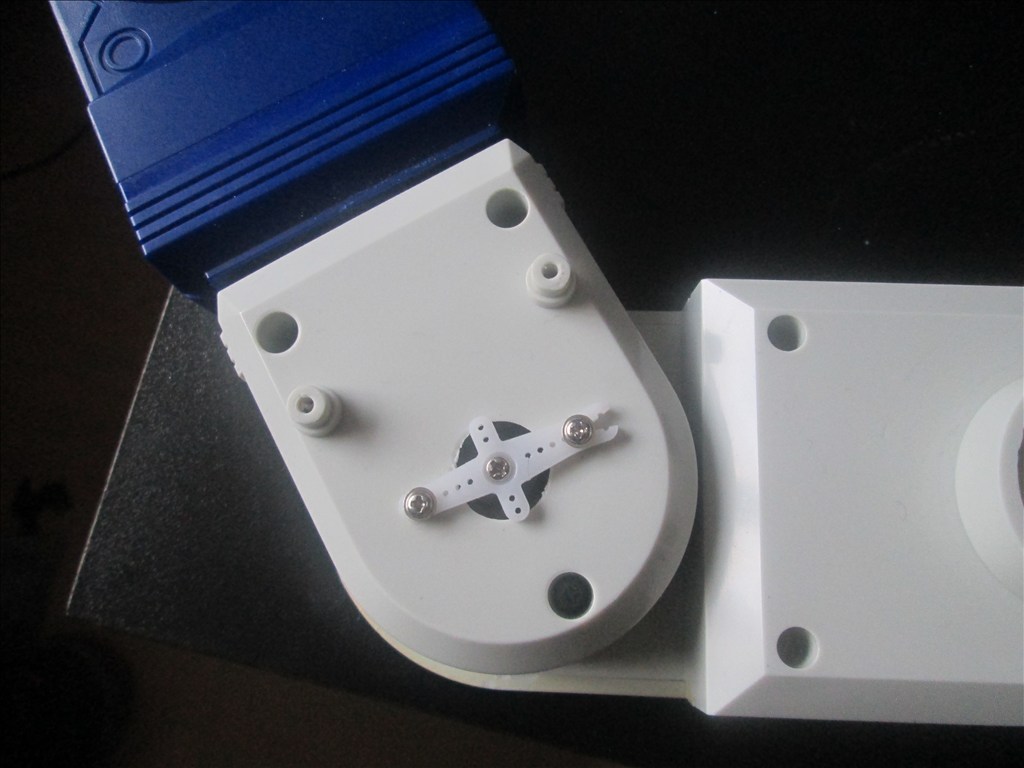
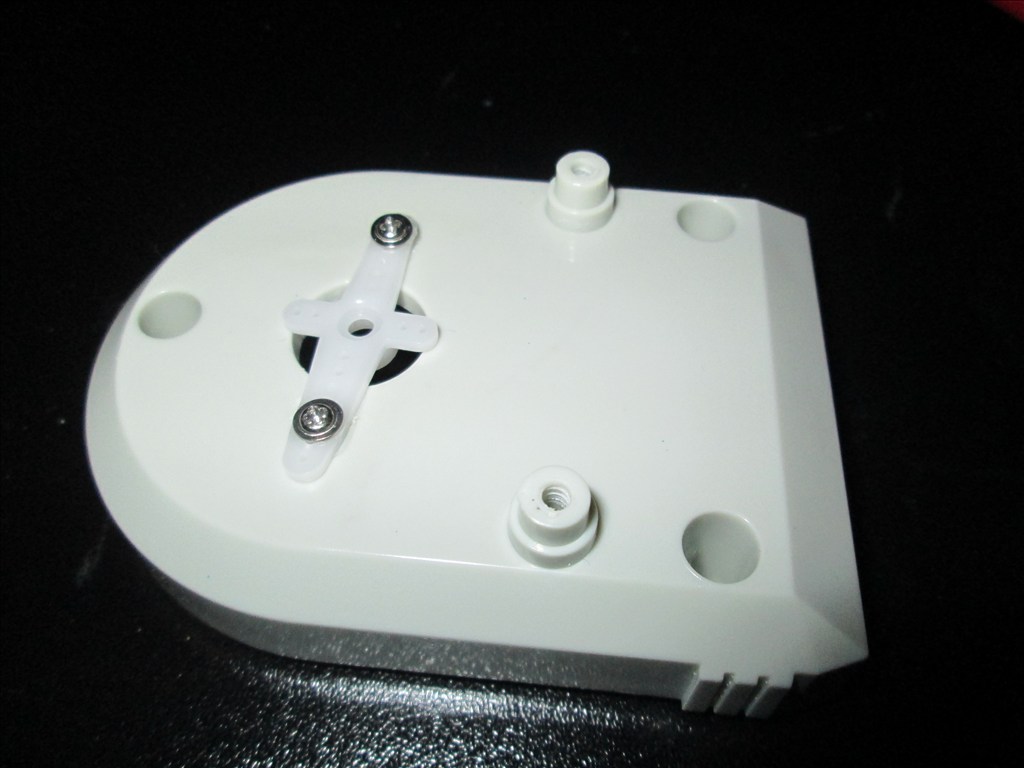
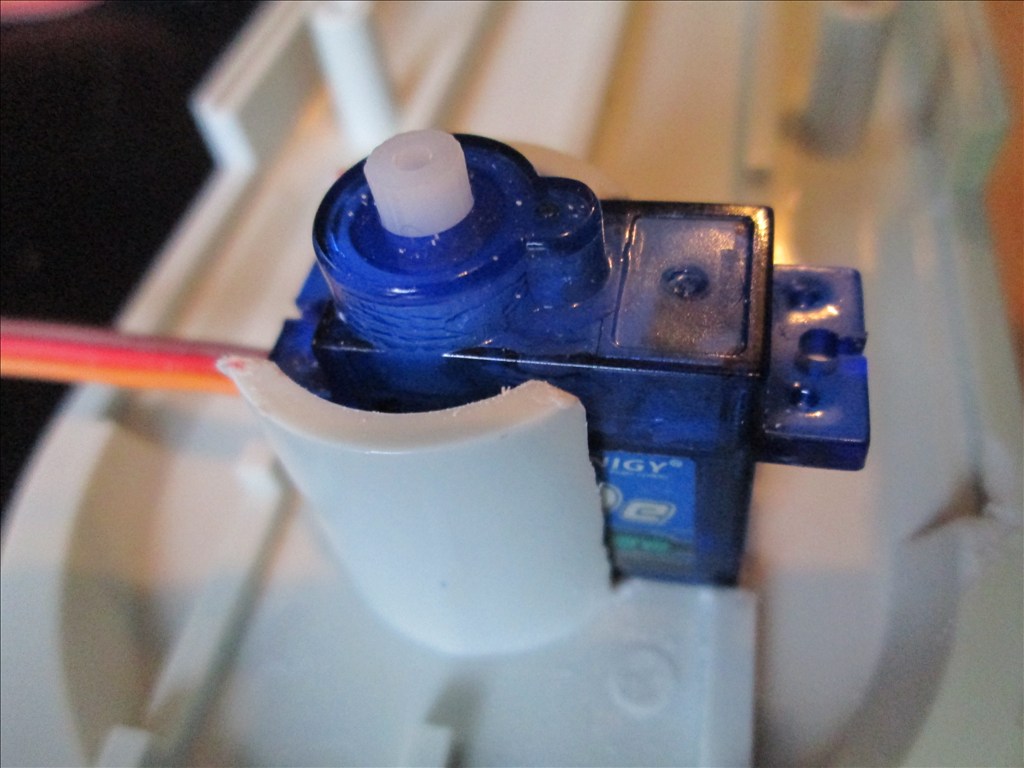
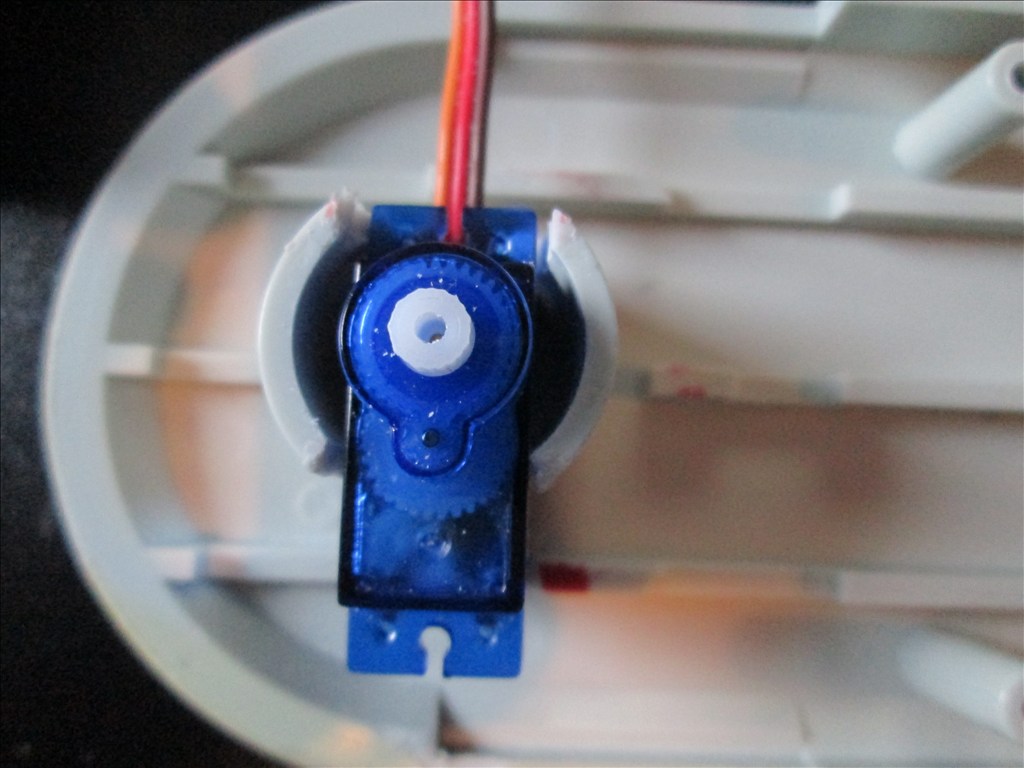
Original drive wheels and gearbox seem to be in very good shape so will plan to reuse those and just replace the existing motors for the modified servos if they can manage the task.
Speaker and microphone will be in the original positions - if it's not broke why fix it?
Not too big a project but enough to give me a test, help me learn and bring an old robot back to life.
Discover more robots

DJ's Voice Recognition Robot
Bumsteadsean's Sentrybot

It's being repainted.
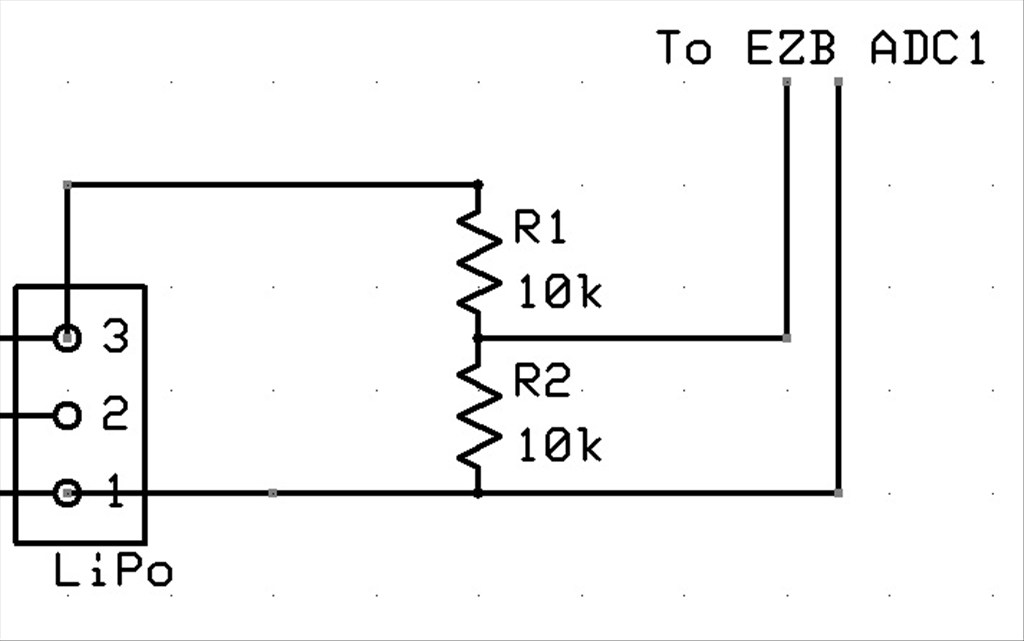
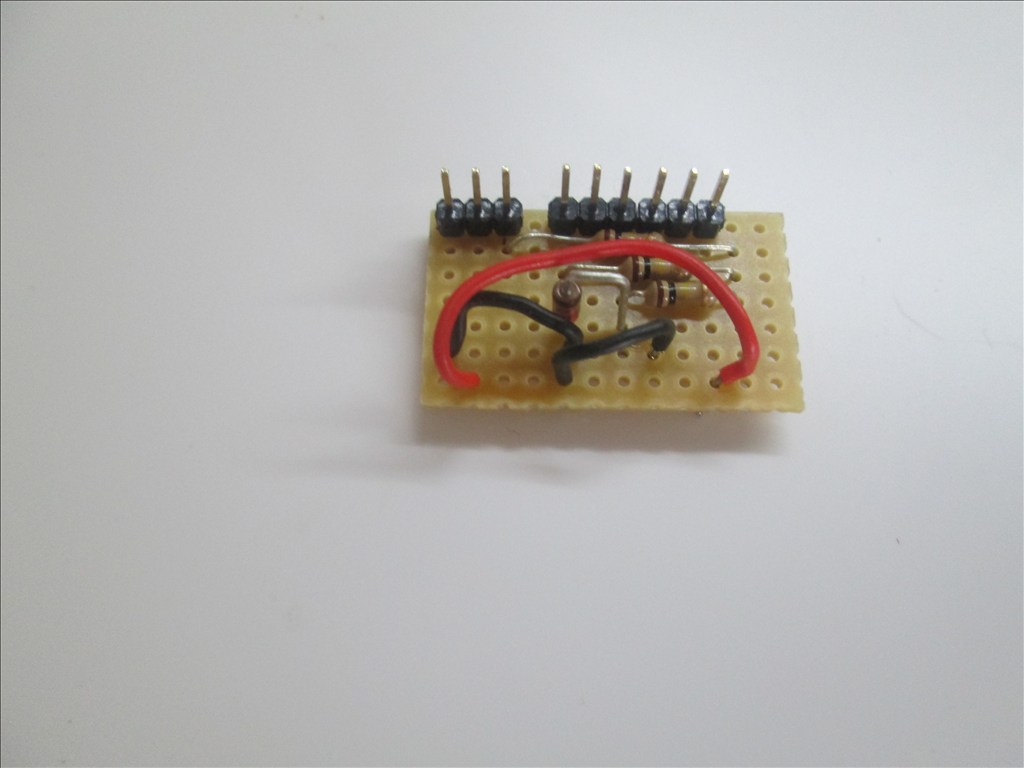
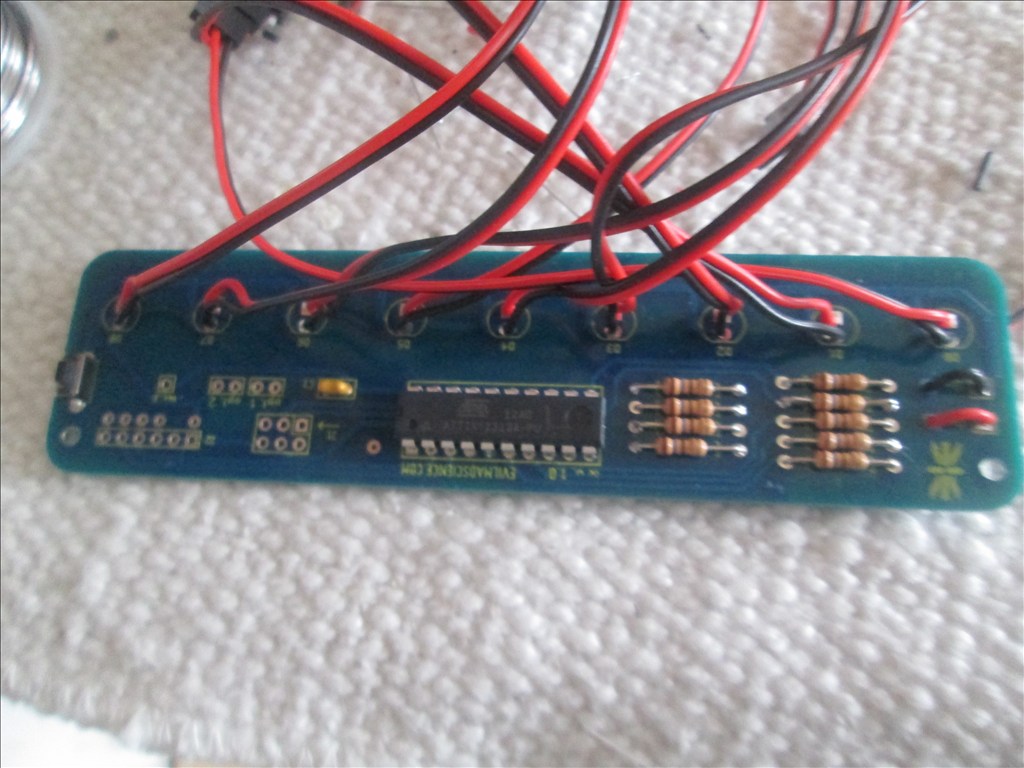
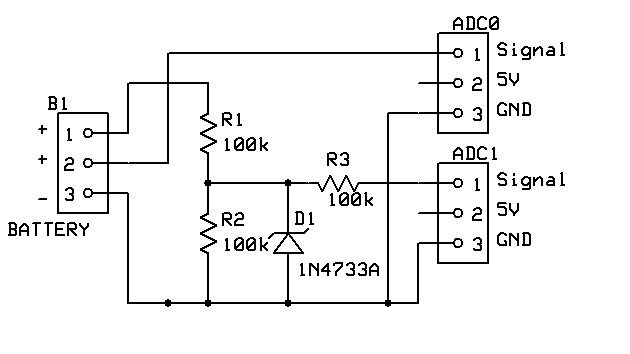
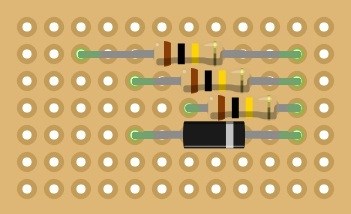
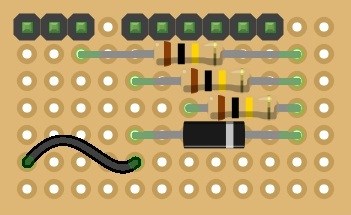
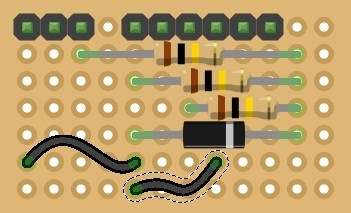
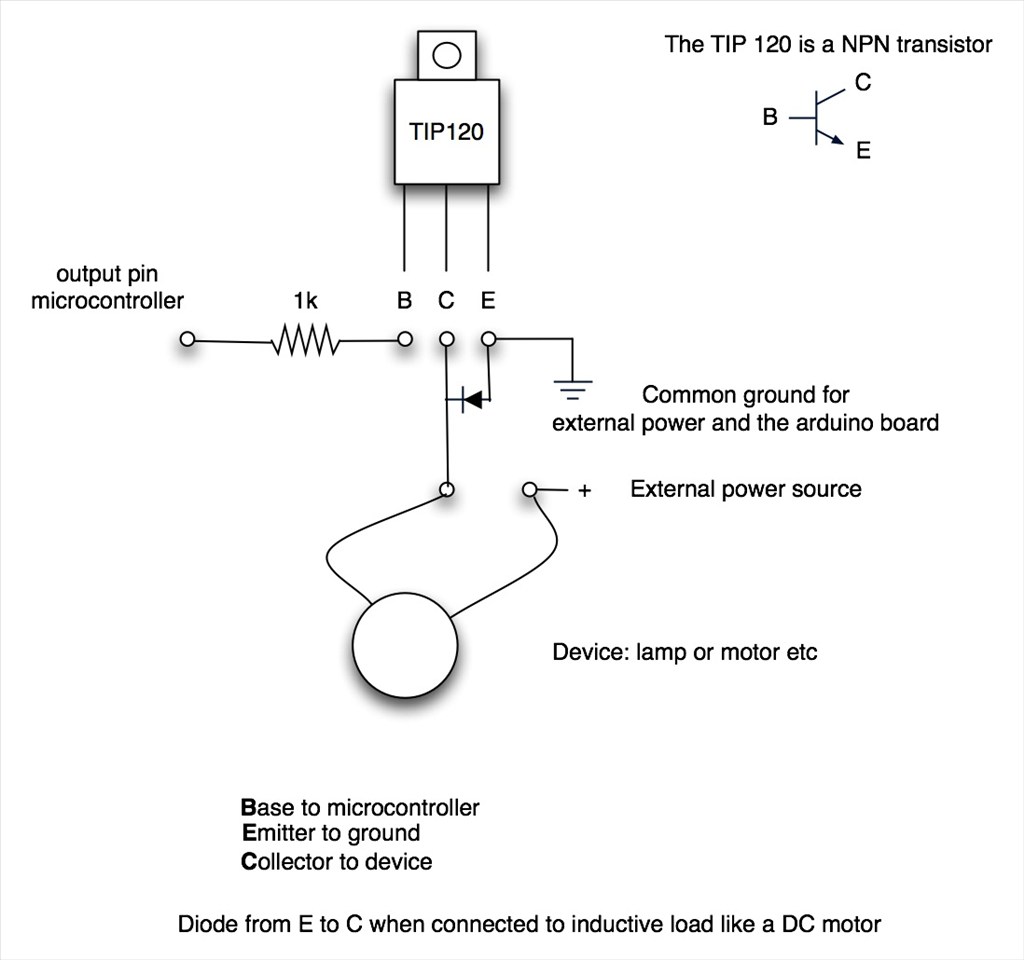
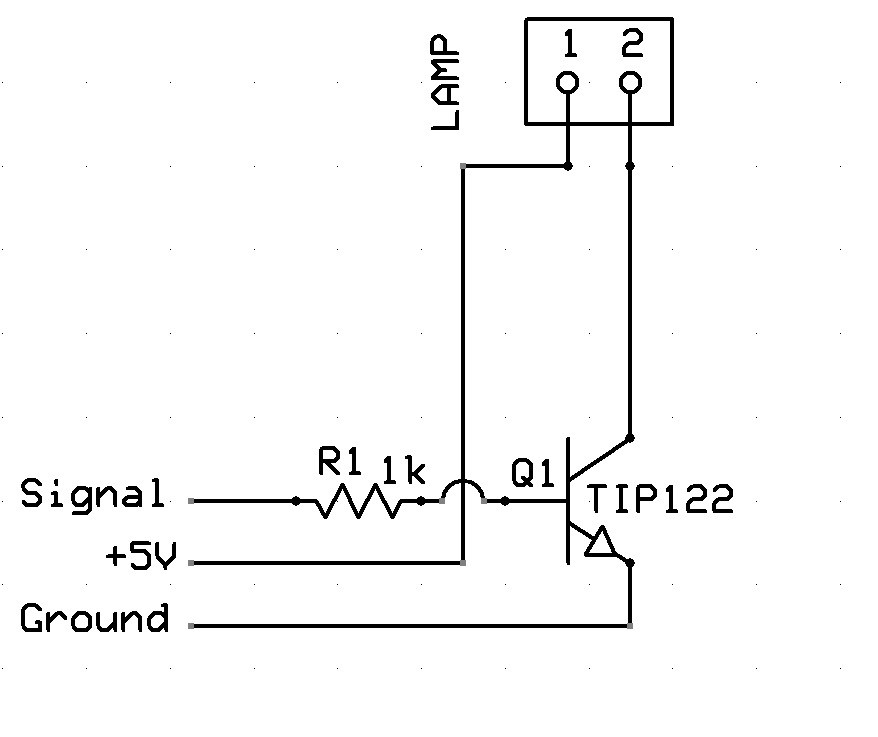
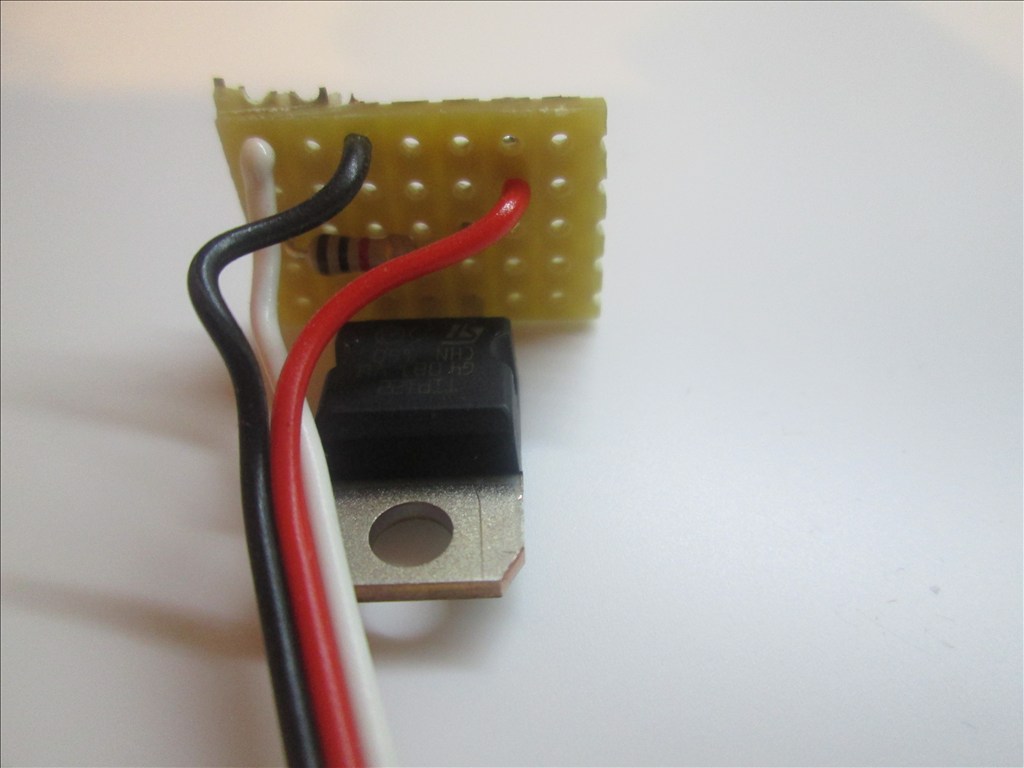
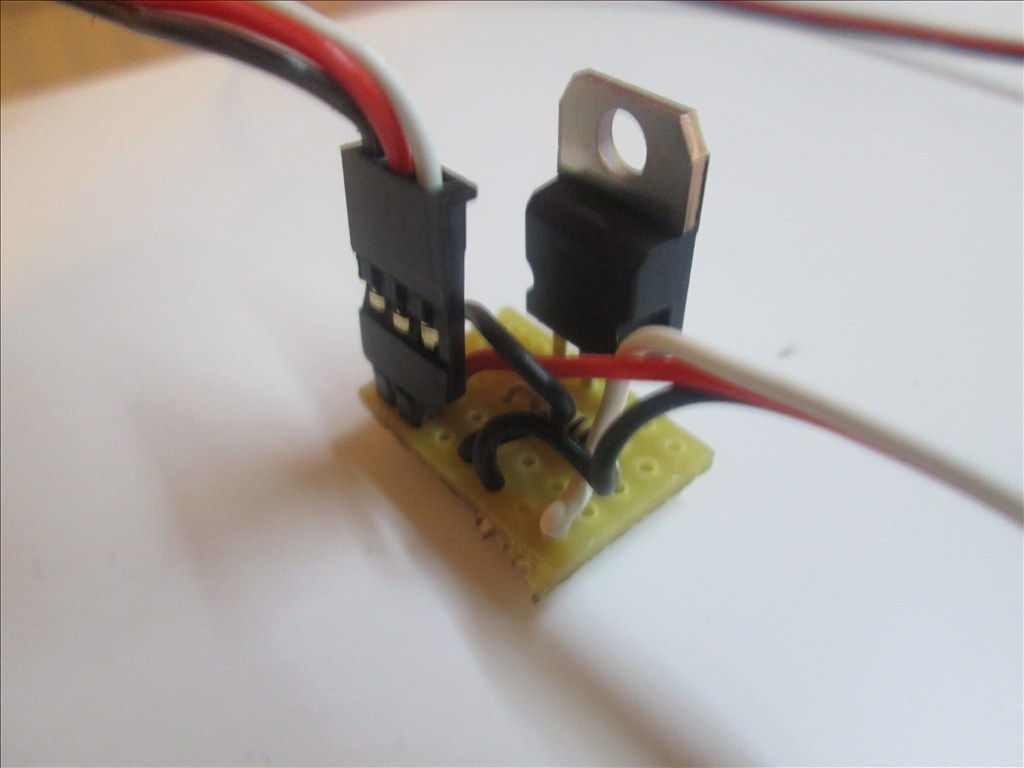
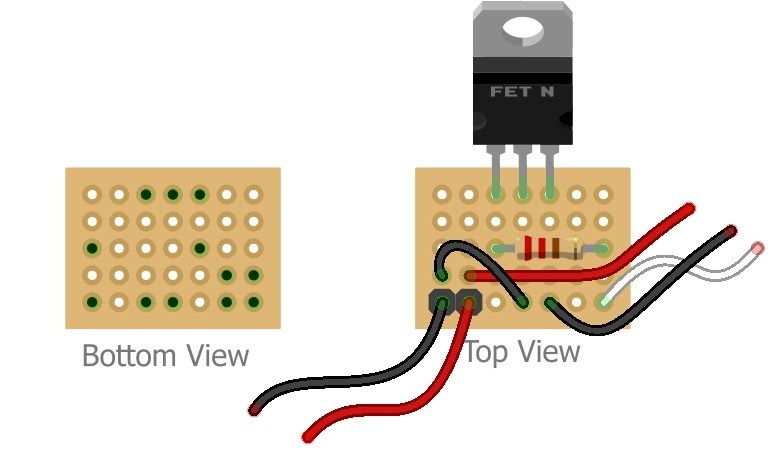
Yes, added the diode but in a different position to what you suggested, I have it directly across signal and ground rather than across R2. According to my calculations and various circuit simulators it works there and other information online suggested to put it after R3.
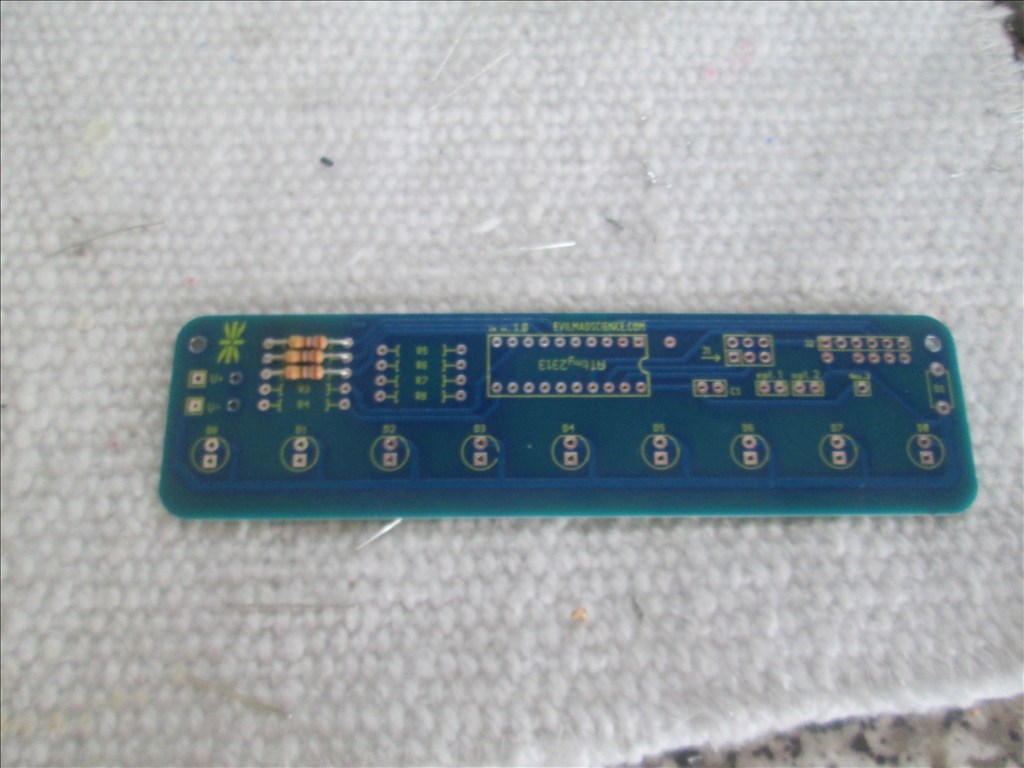
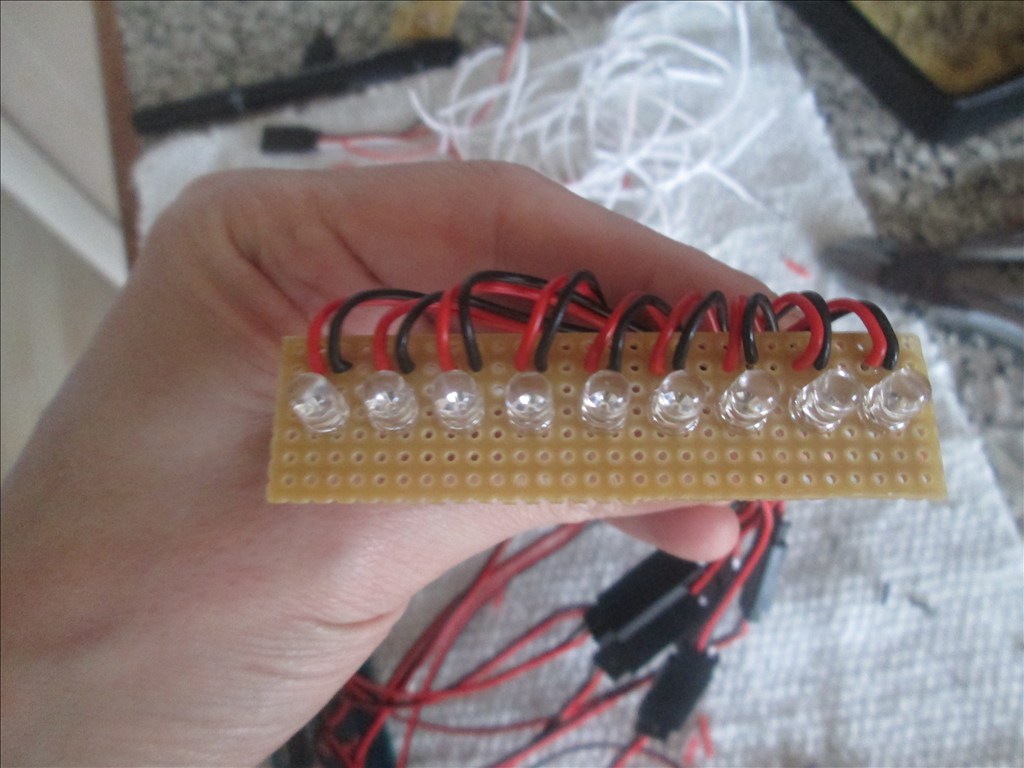
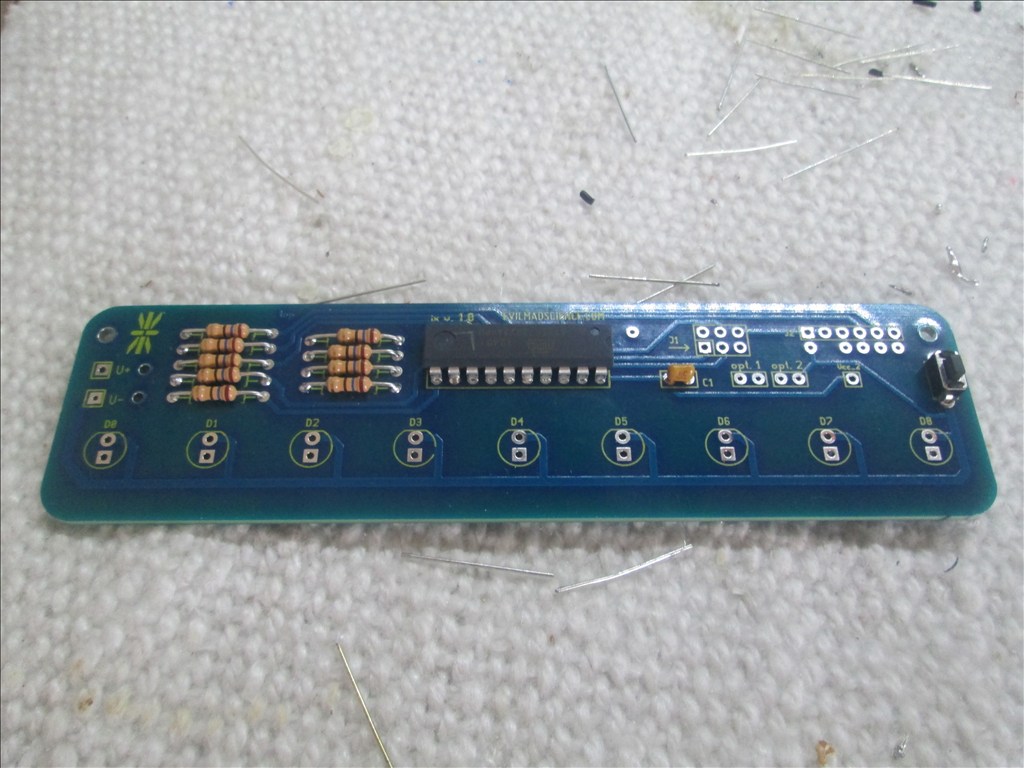
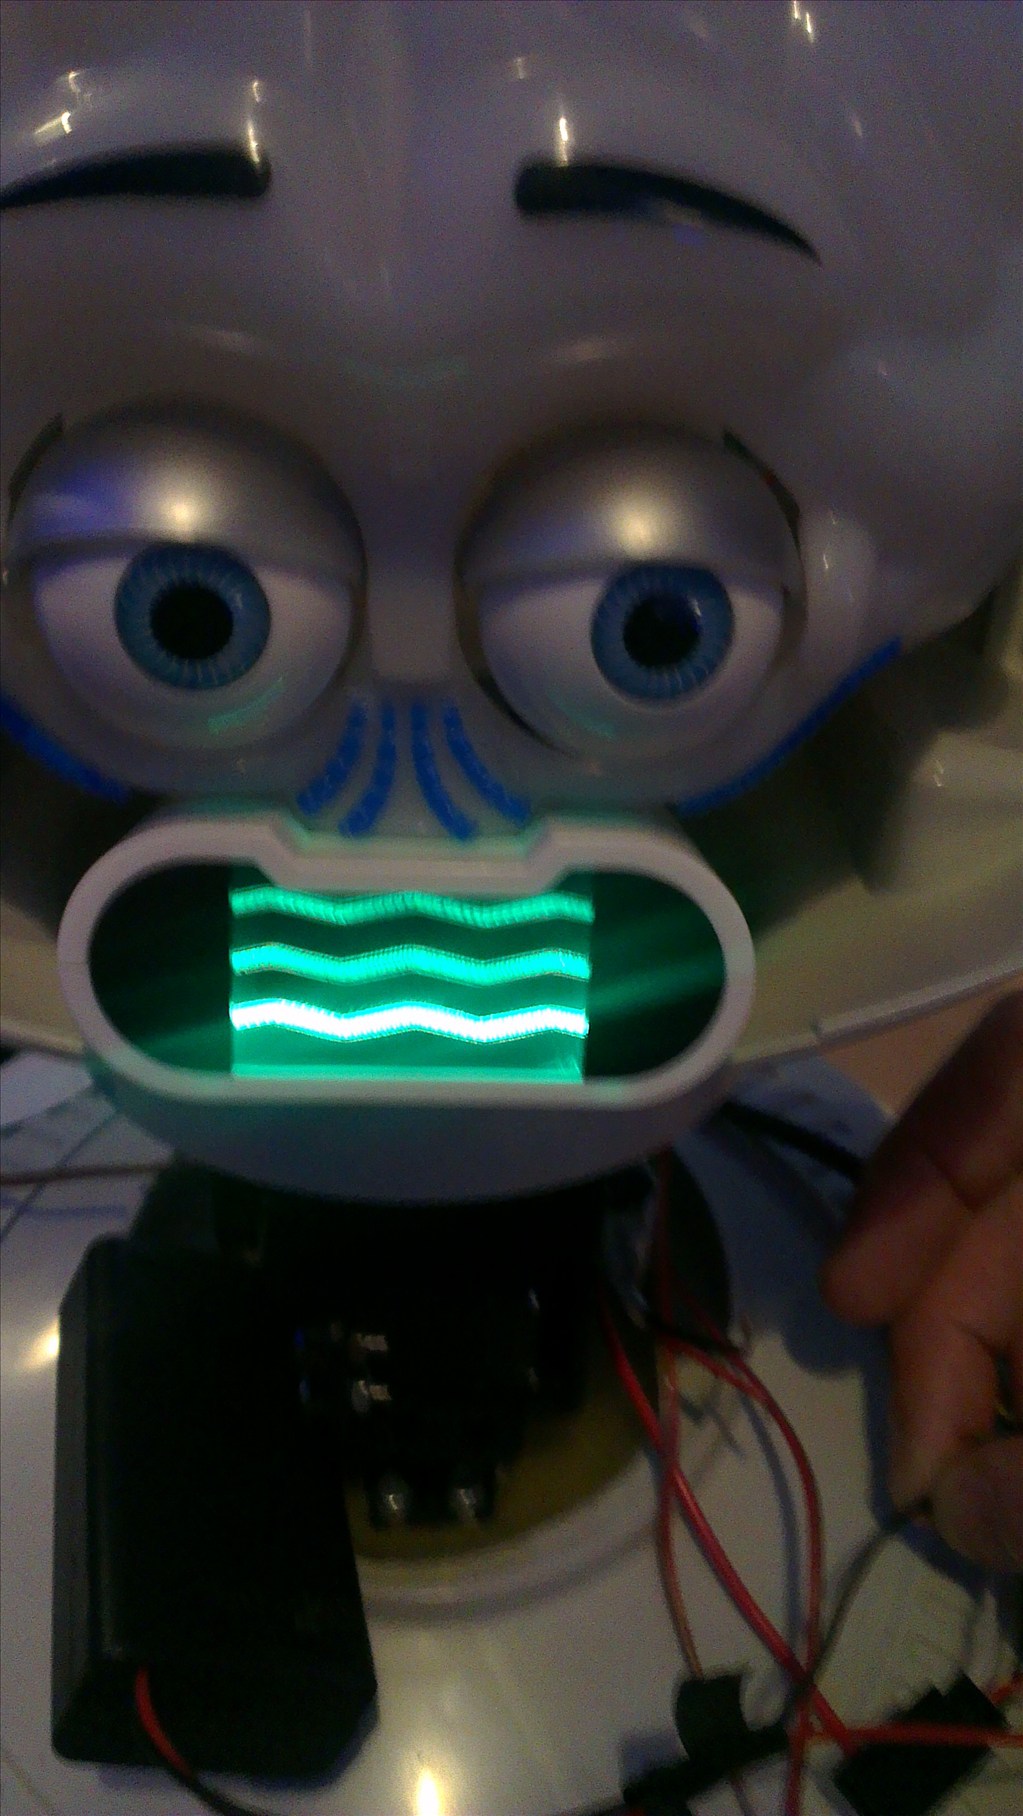
The Evil Mad Scientist Larson scanner is totally open source. The pre-programmed micro-controller (the ATTiny2313a) doesn't support sound input, it only offers 3 speeds, 2 brightnesses, narrow and wide eye and "tie" mode but could be reprogrammed if you want. I do not intend for it to be sound activated, it just needs to be a Larson scanner so the kit (or KITT if I was going for a pun) was perfect for my requirements. There are other Larson scanner designs about but this one suited my every requirement, was within my revised budget and offered suitable means of modification to work with my project without getting too involved.
The schematics, pcb layouts, code... everything is available from the Evil Mad Scientist Wiki, as mentioned it is completely open source. That details exactly what the ATTiny2313a does.
from the EVILMAD SCIENTIST site it says the old circuit uses 4017 and 55 timer i see the new one uses a micro.they must of made a change fairly soon
ON diode it can work on ACROSS R3 or R2 but protection is not as great,mostly because of a cold solder joint to ground,it can happen ,just not much often buthaving a double ground (diode and resistor to ground ) is better then one ground (only resistor to ground )
Main reason my designs are so perfect,use a lot of protection,plus low current to save on battery life
To me is most inportant item,less weight of adding big batteries and longger run time using LDO DC to DC CONVERTER is a lot of wasted power,but iguess only like it because because easy to wire in,NO SOLDER IS NEEDED
Useless post removed
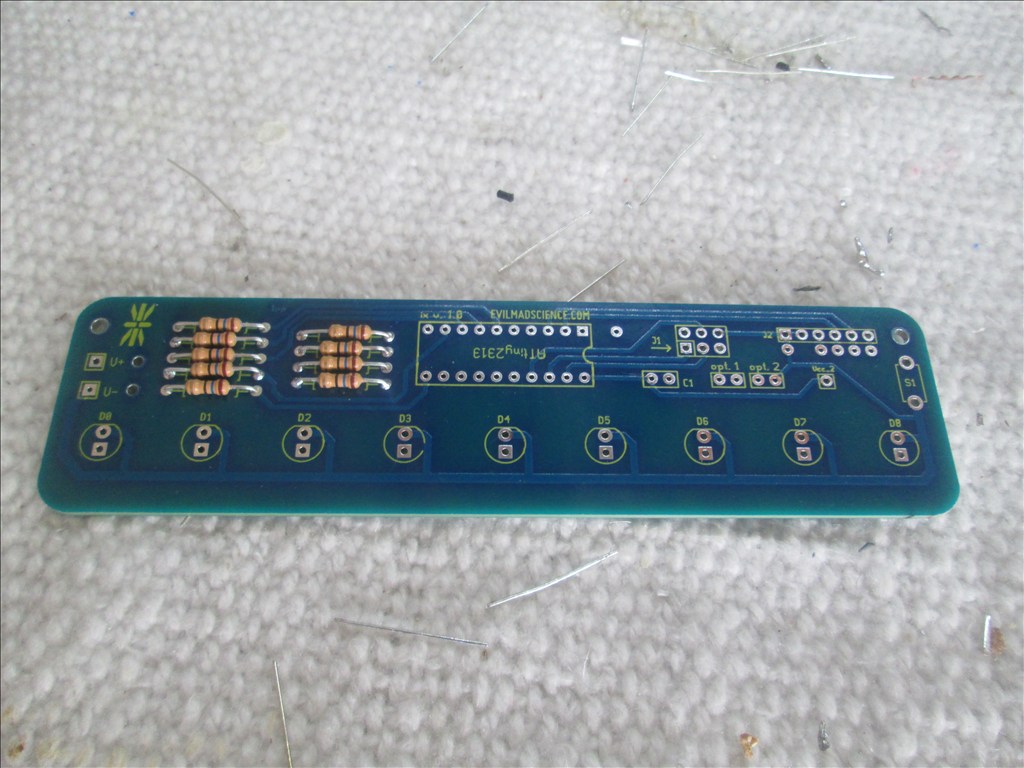
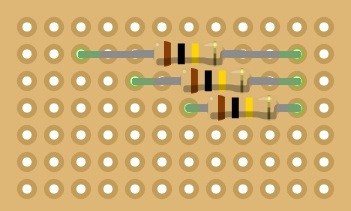
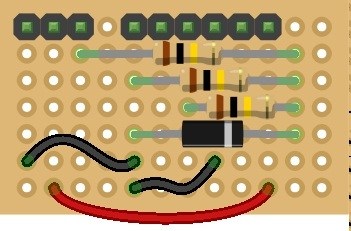
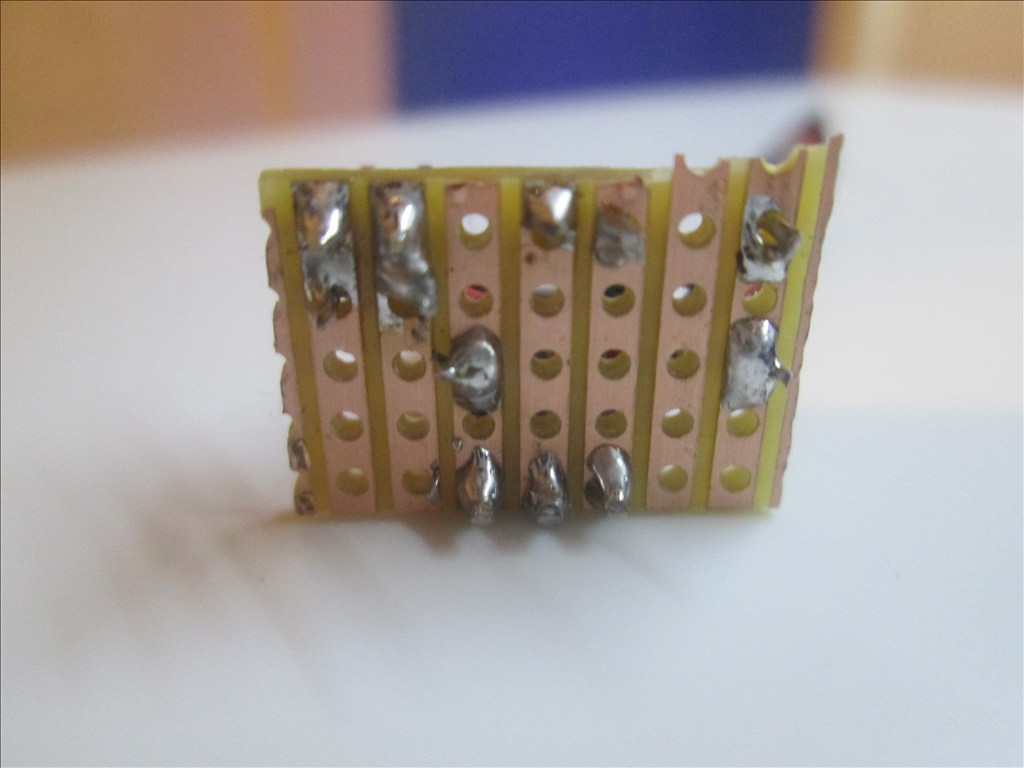
Replaced the resistors in the Evil Mad Scientist Larson scanner to 100 ohm and soldered the jumper on Opt1 in while I was at it. Now it should run off of a 5V supply (although I don't have one to test it until my bullet connectors come for the new LiPos (they come with 4mm, my old one had 5.5mm).
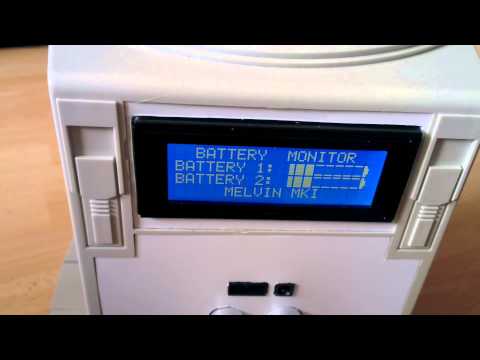
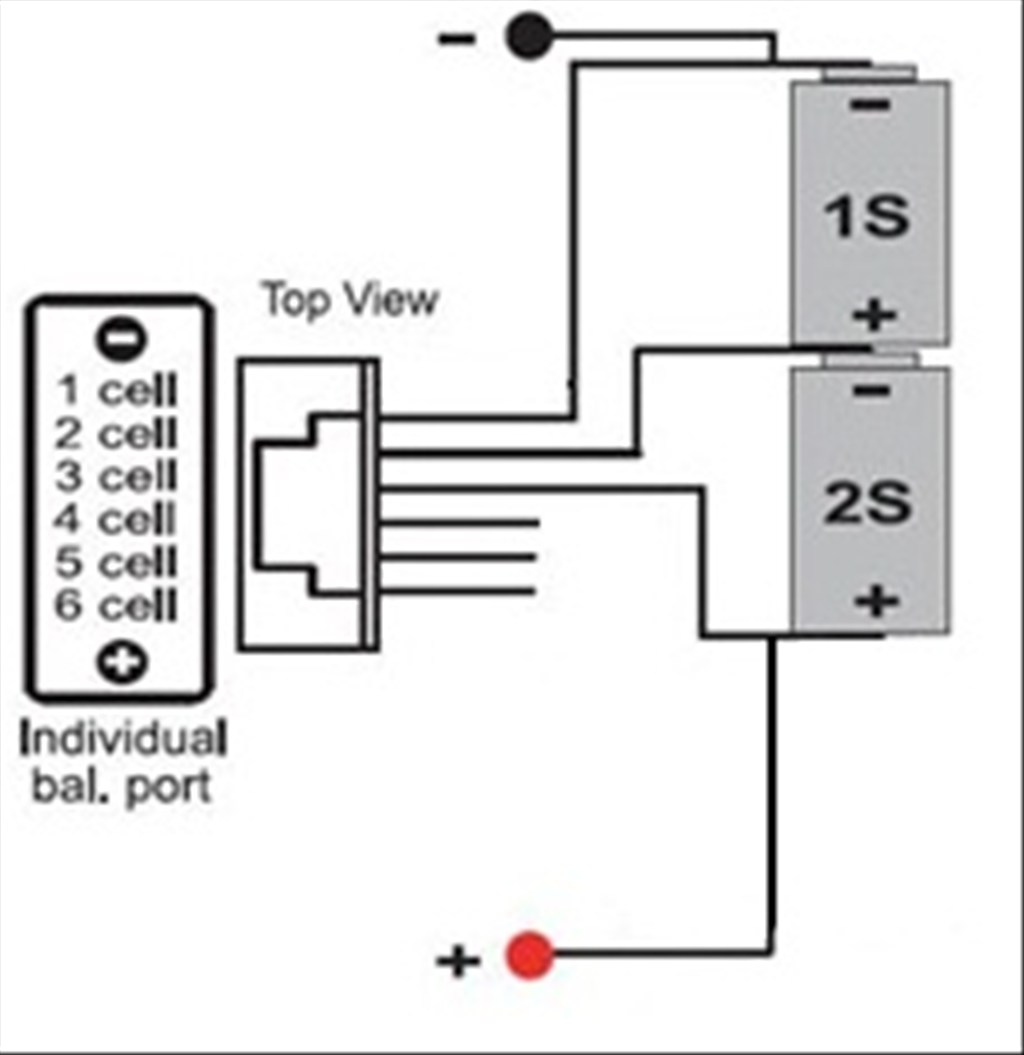
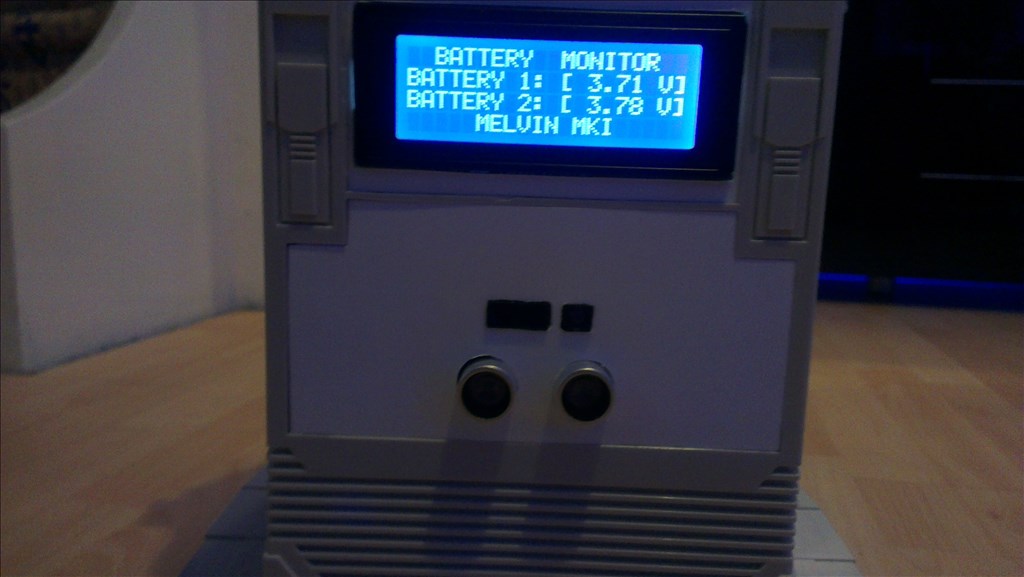
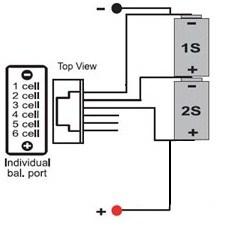
Not much time today with it being Mother's day in the UK so probably wont get chance to test out the LiPo balance port monitor, but it'll come soon enough
Rich, you have some great ideas! This robot is going to be nice when it's done.
Den
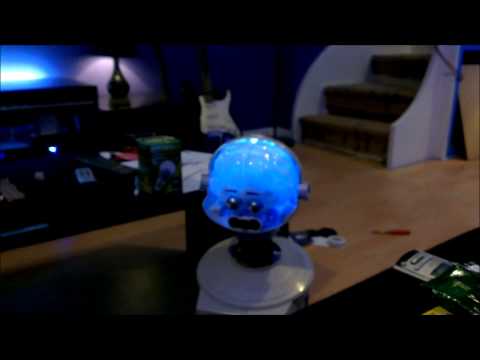
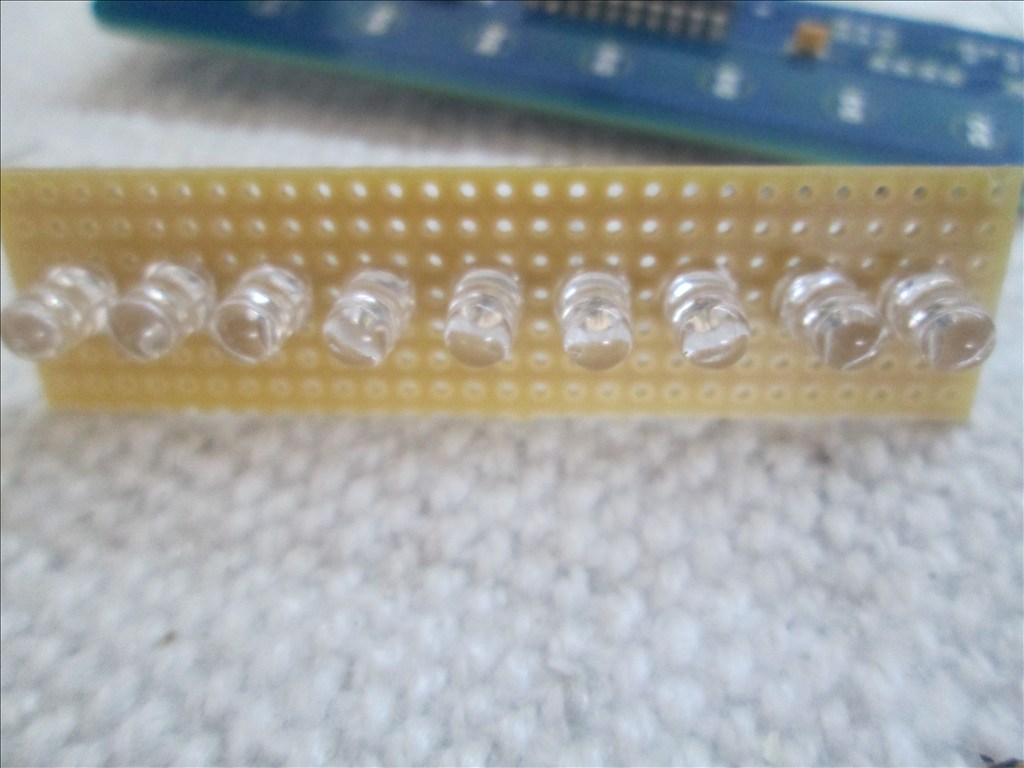
I love the Larson scanner, it looks really good in that mouth. This build is going very well and your work is very impressive. Also, you have a lot of good ideas. Thank you for posting them.
ONLY mention LDO because you are using dc-dc conveter in your project,just to give you another idea thats better,dont have to use it only a idea
Thanks Den & Bret.
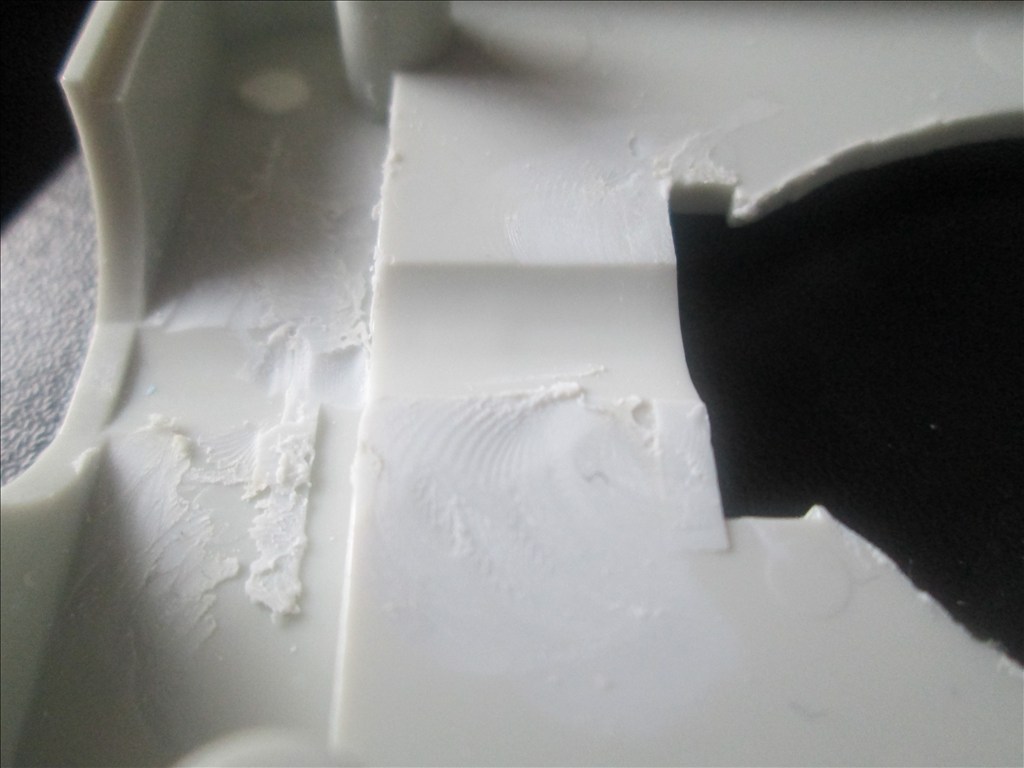
Being a perfectionist I don't accept anything that's not going to be great. It's a curse sometimes though, which is why my robot has no arms at the moment...
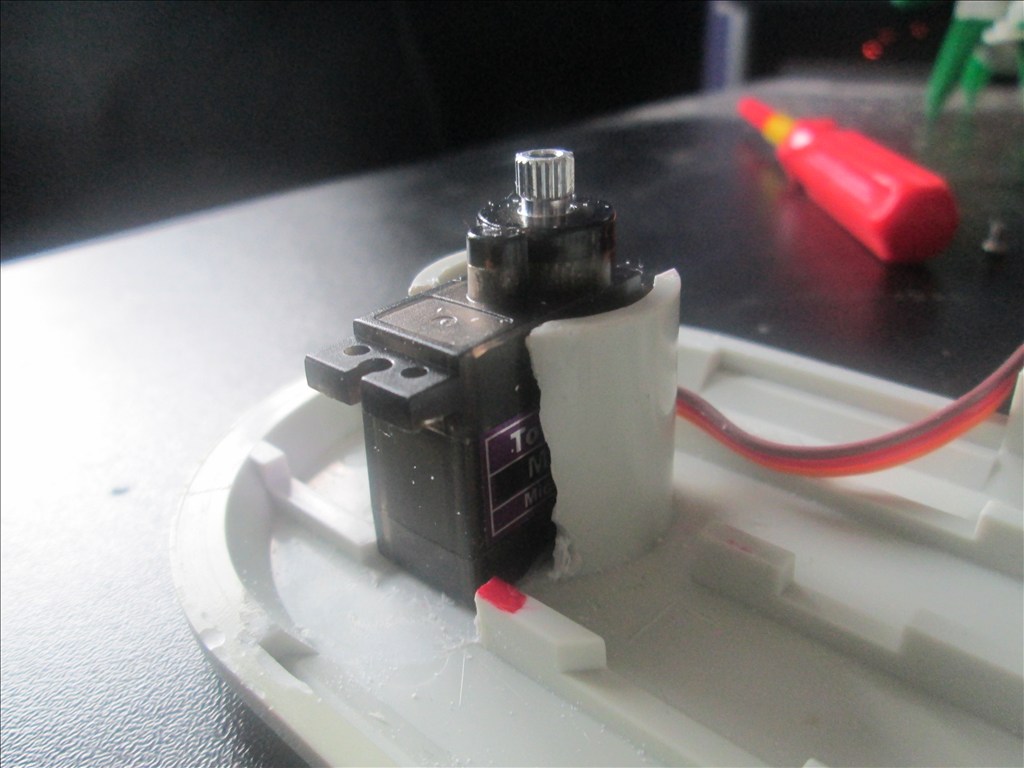
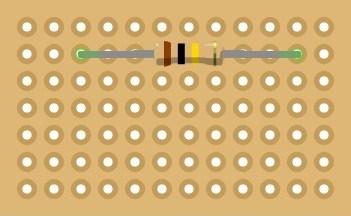
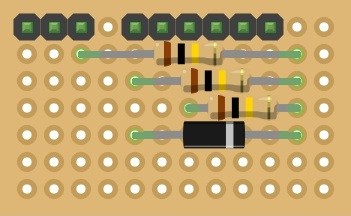
An example of how picky I am...
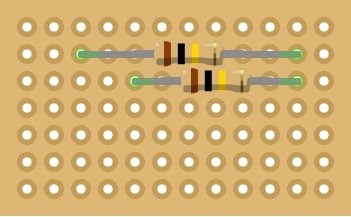
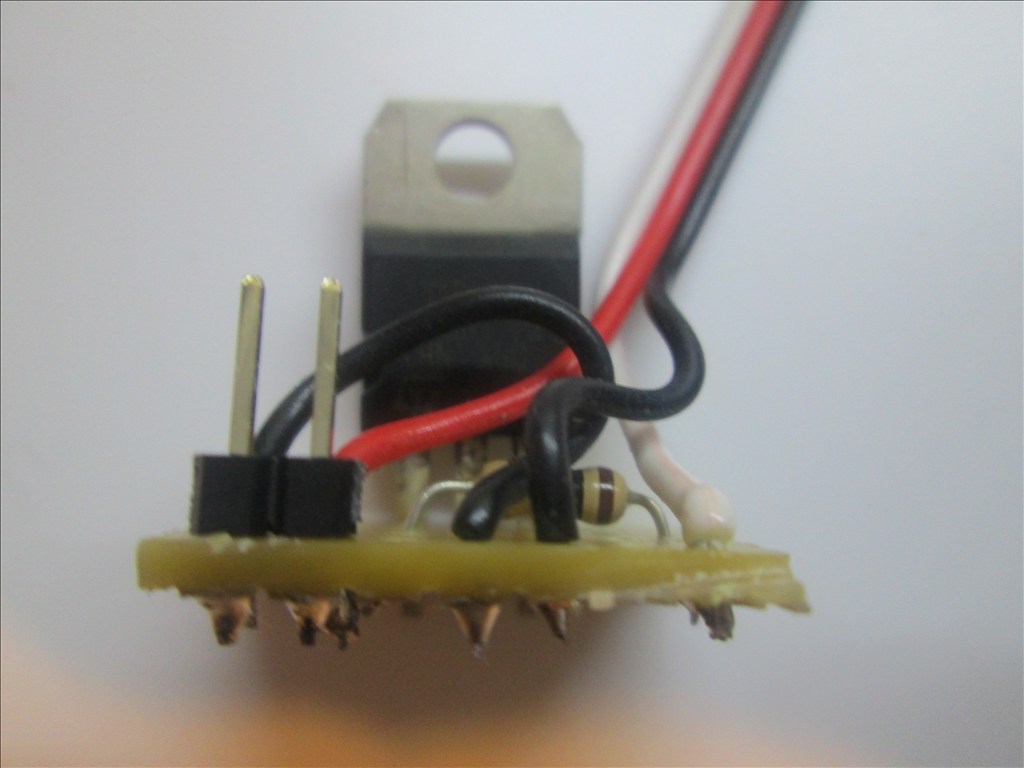
Look at the resistors, each one around the same way even though not required. All bar one perfectly centred (all are centred now I've changed them for 100 ohm). It just bugs me so much when people don't take the extra second or two to do things properly (you should also see every screw in my house, door handles, socket outlets, everything... all heads are the same way around).