


cE9s4PsOgeBQIORwjd5!~~60_1-634818020230156250.jpg)


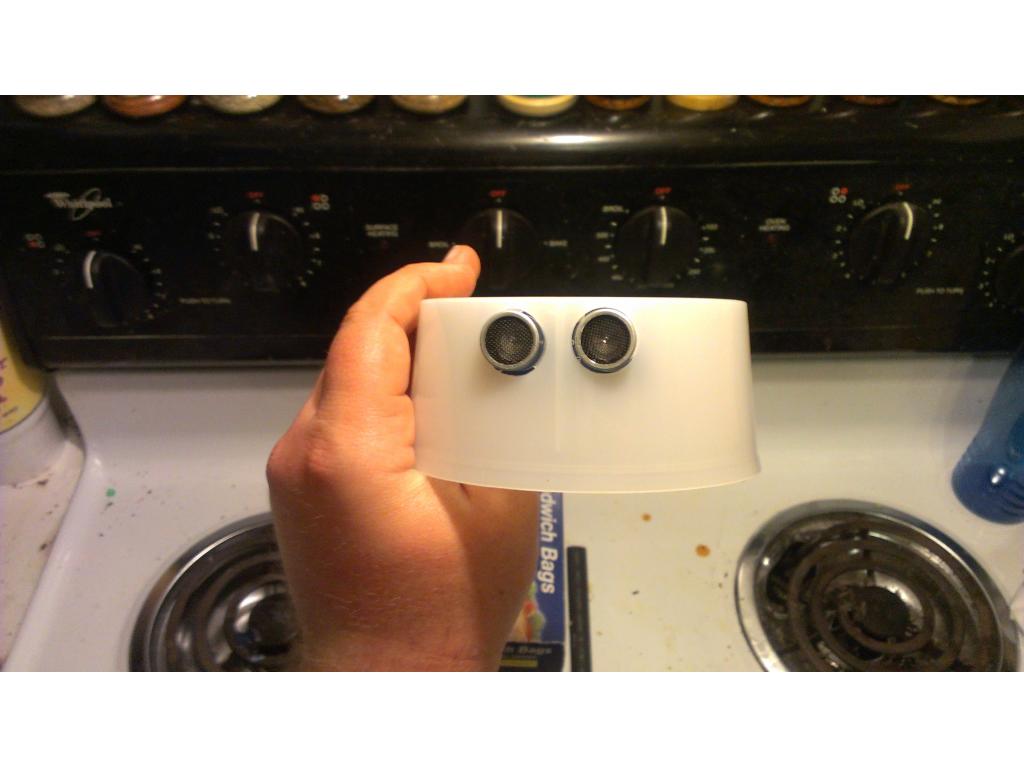
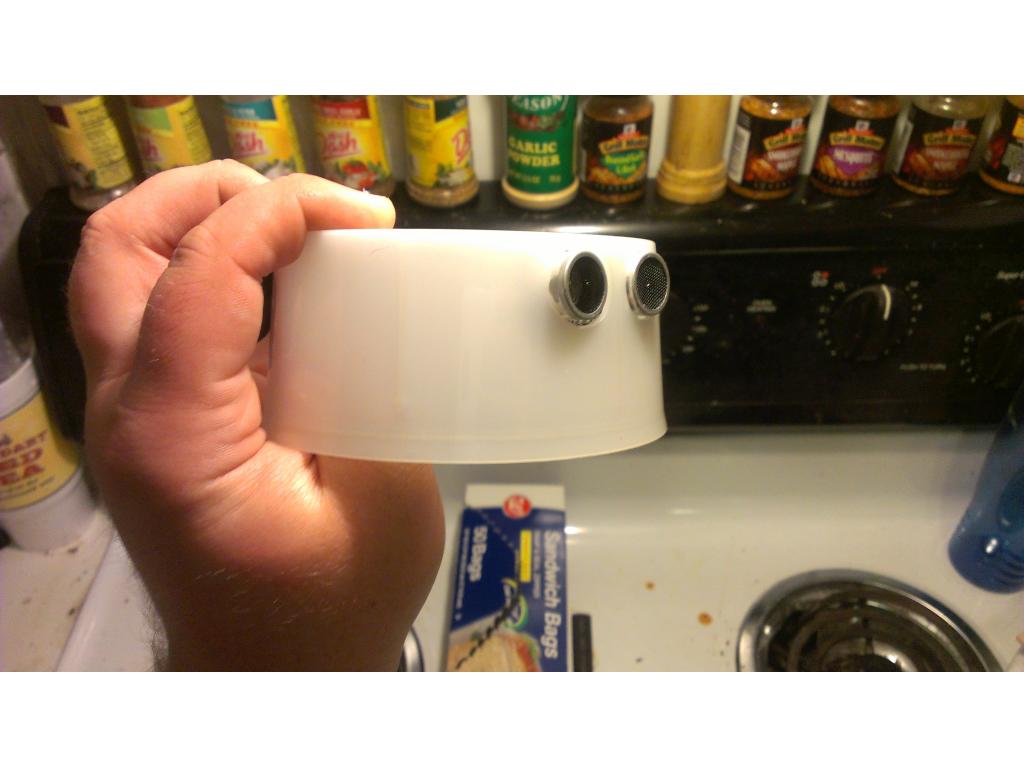
BO)Lupuc4g~~60_35-634706297915000000.jpg)
LupbT6!~~60_35-634706298769375000.jpg)


C5j!~~60_35-634655044863125000.jpg)


C5j!~~60_35-634659603510781250.jpg)


C5j!~~60_35-634651704046230469.jpg)
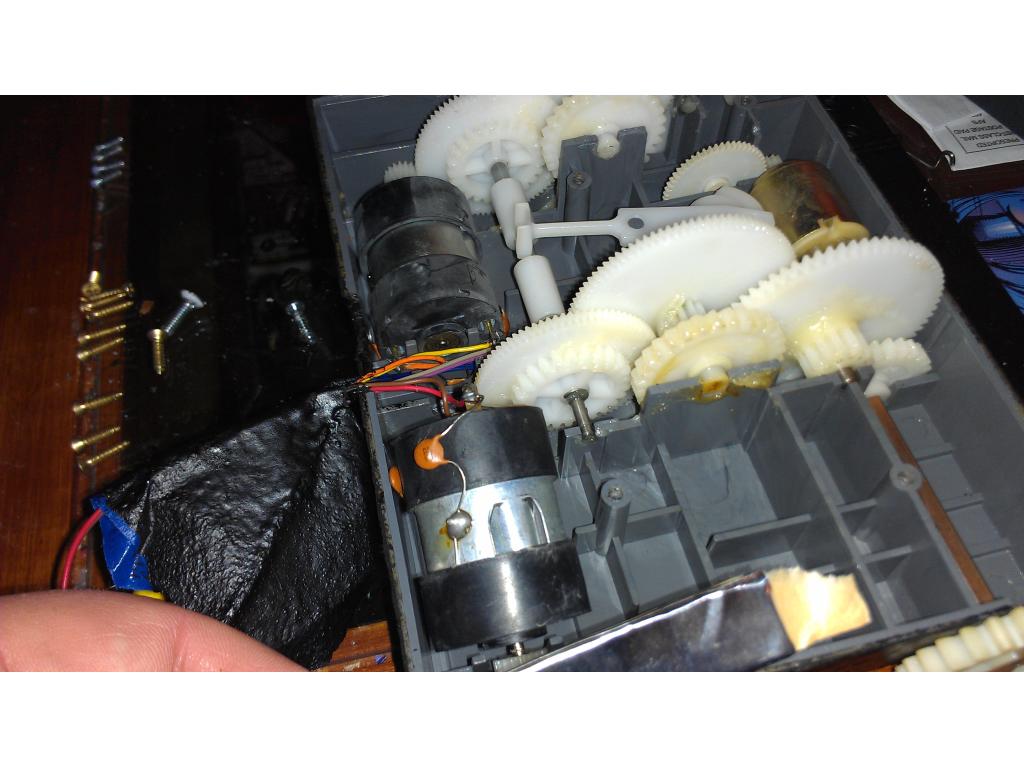


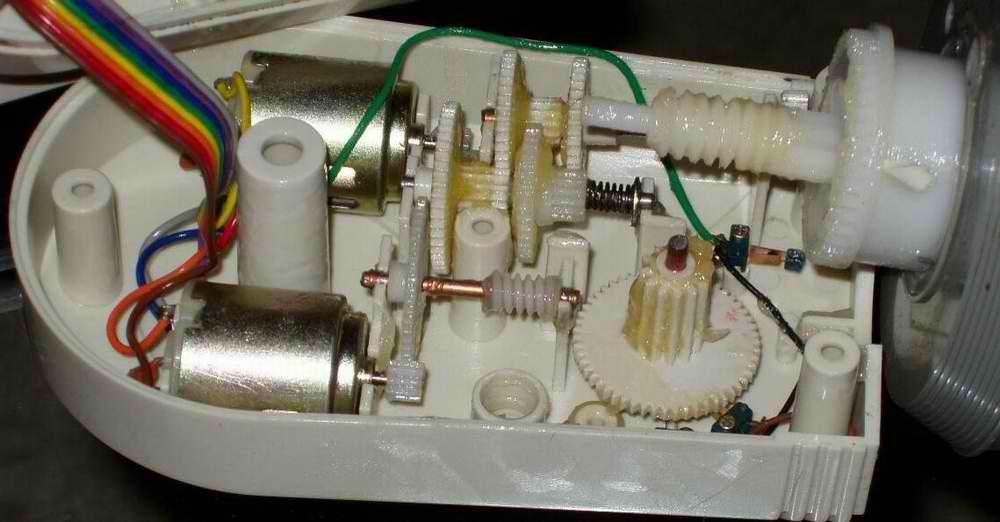
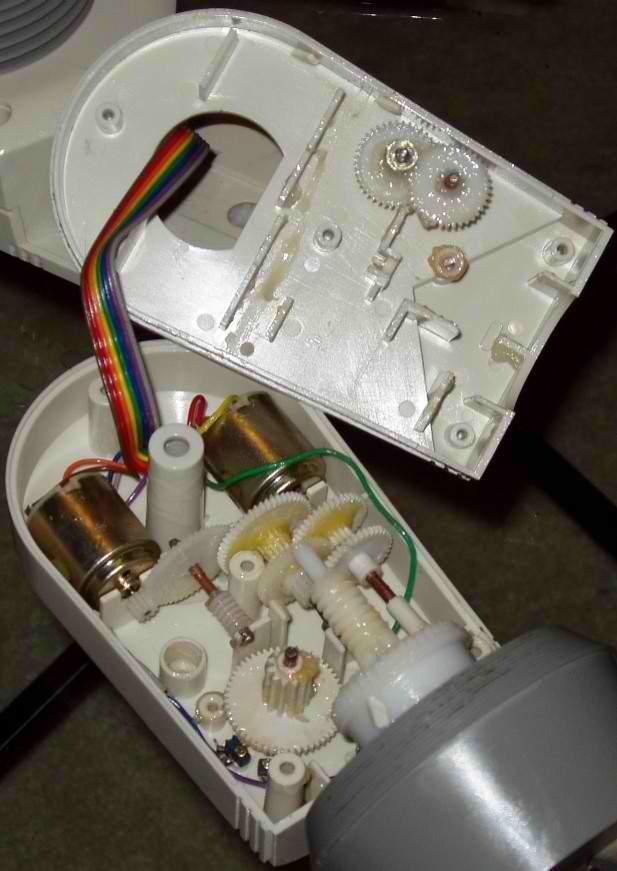

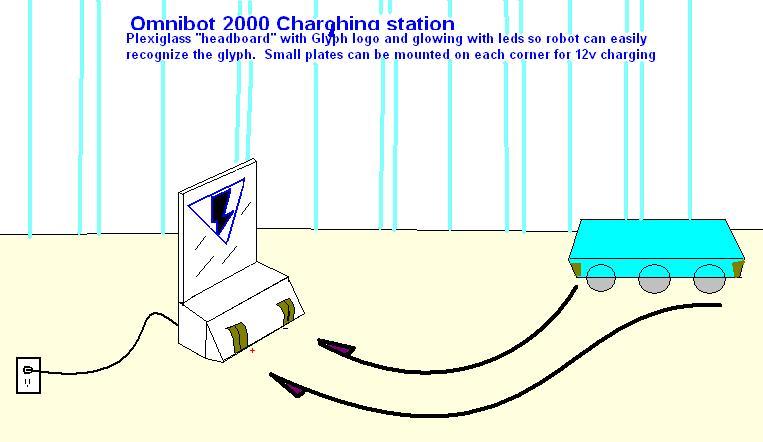


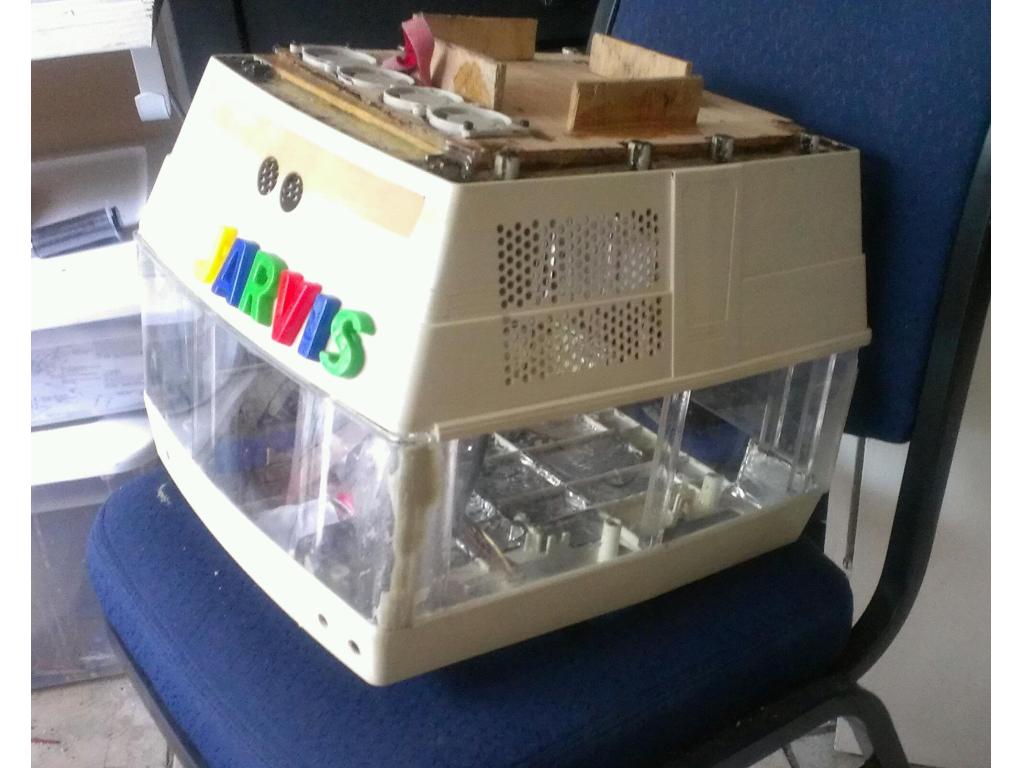


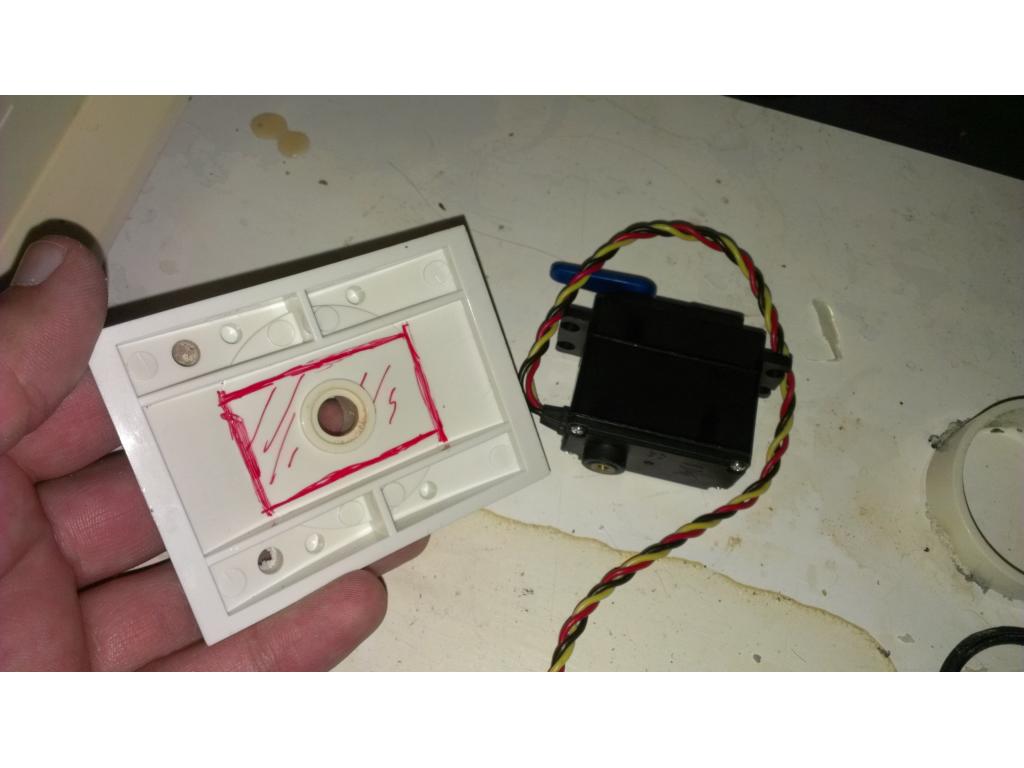
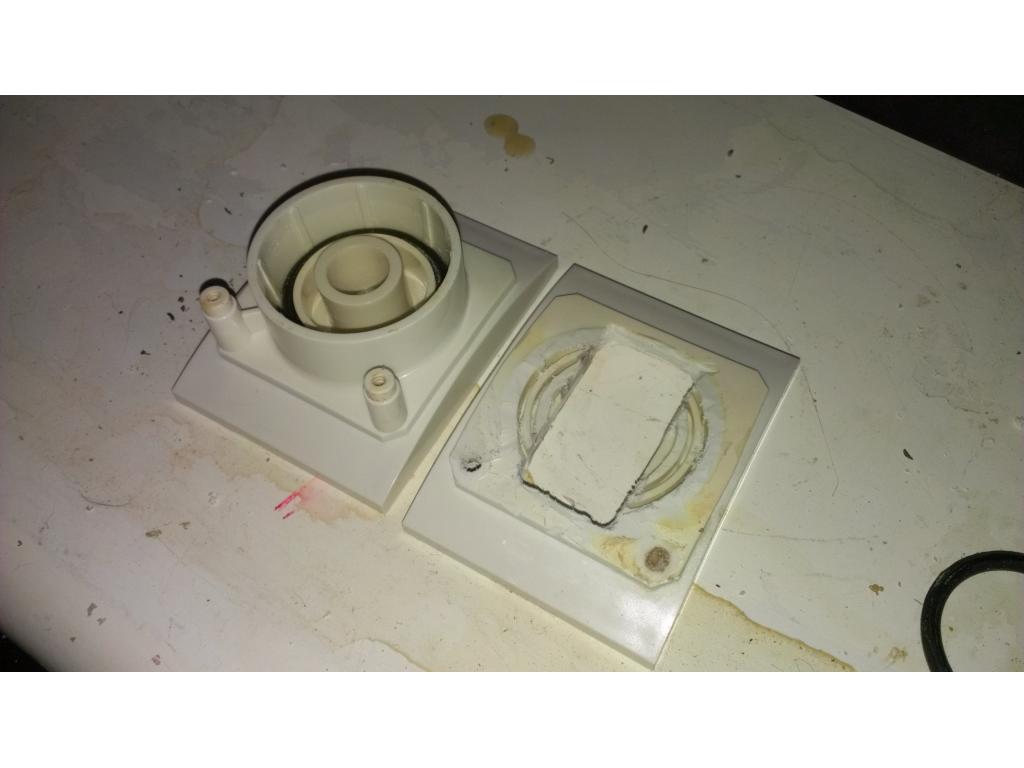
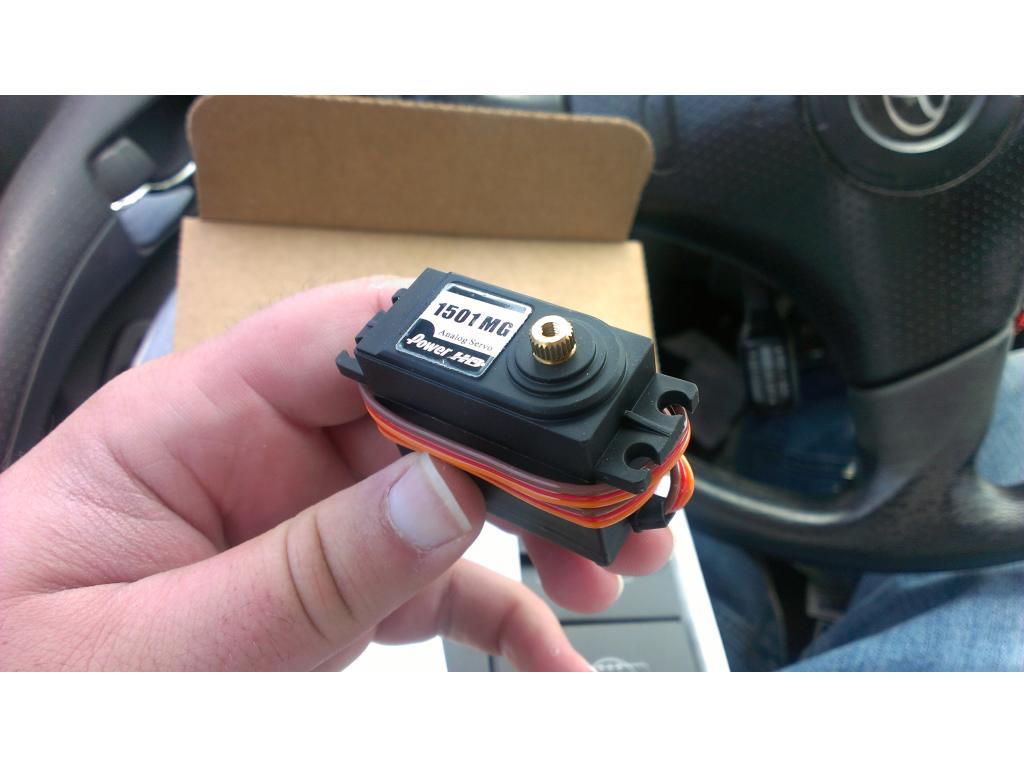


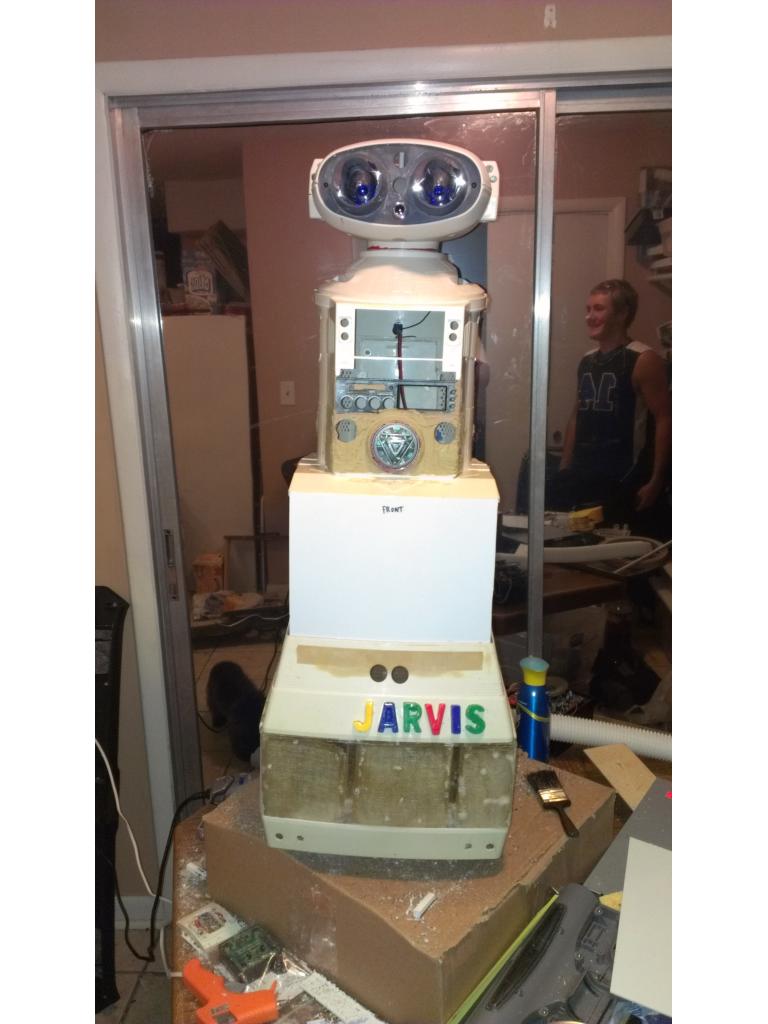

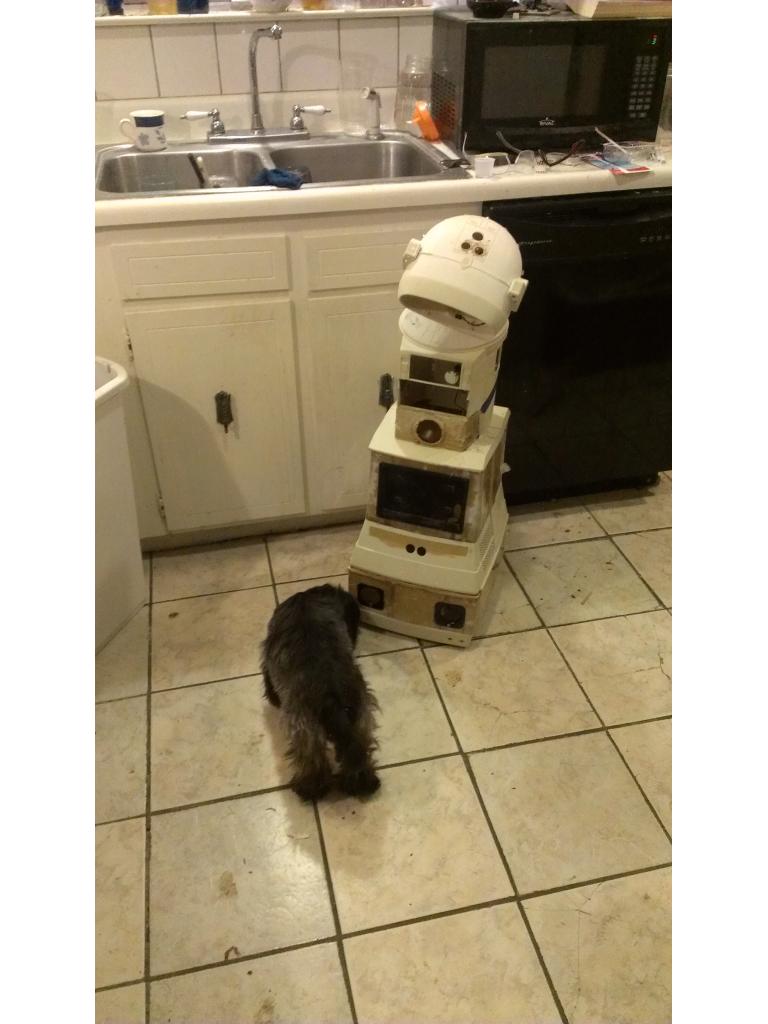


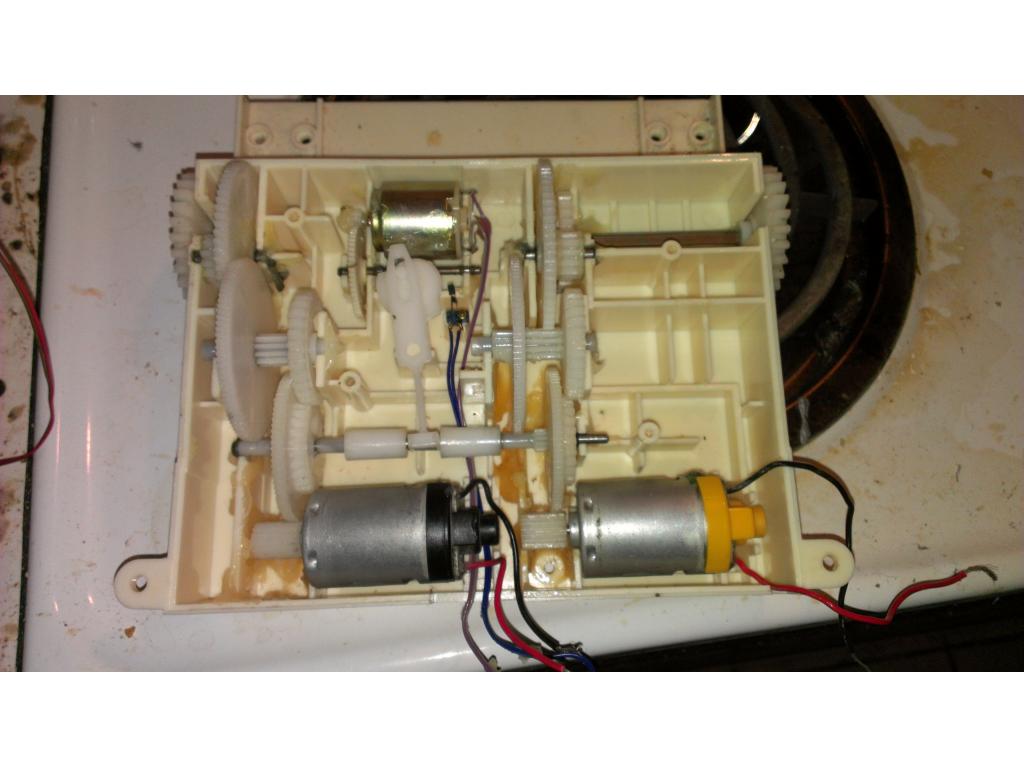
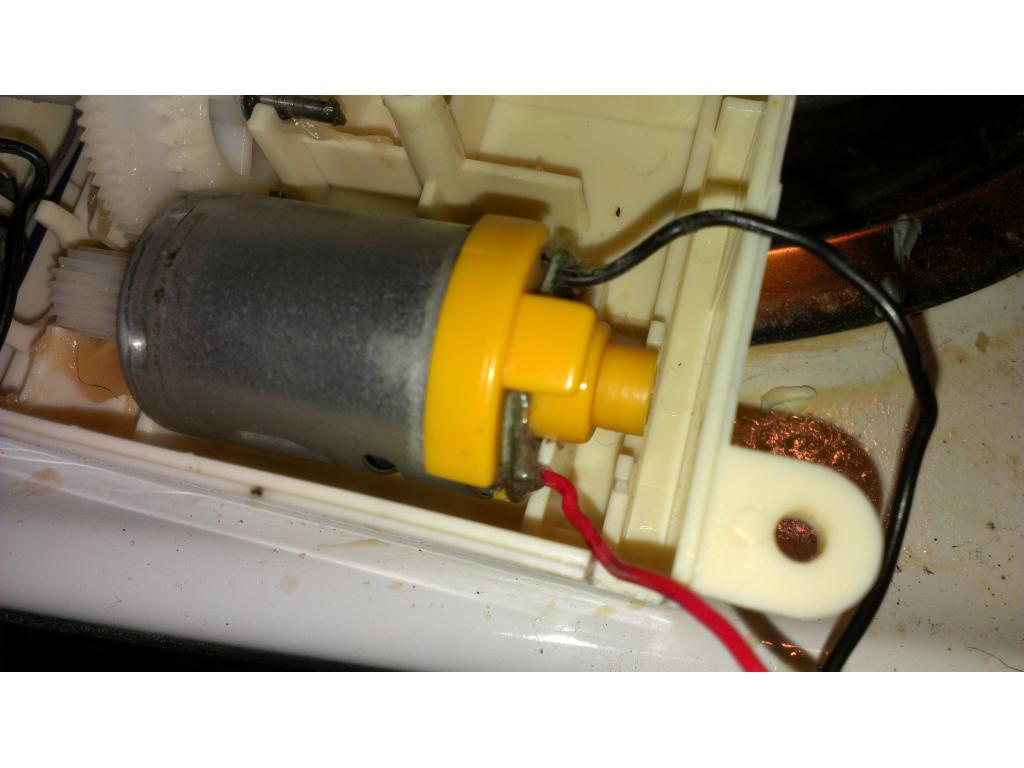
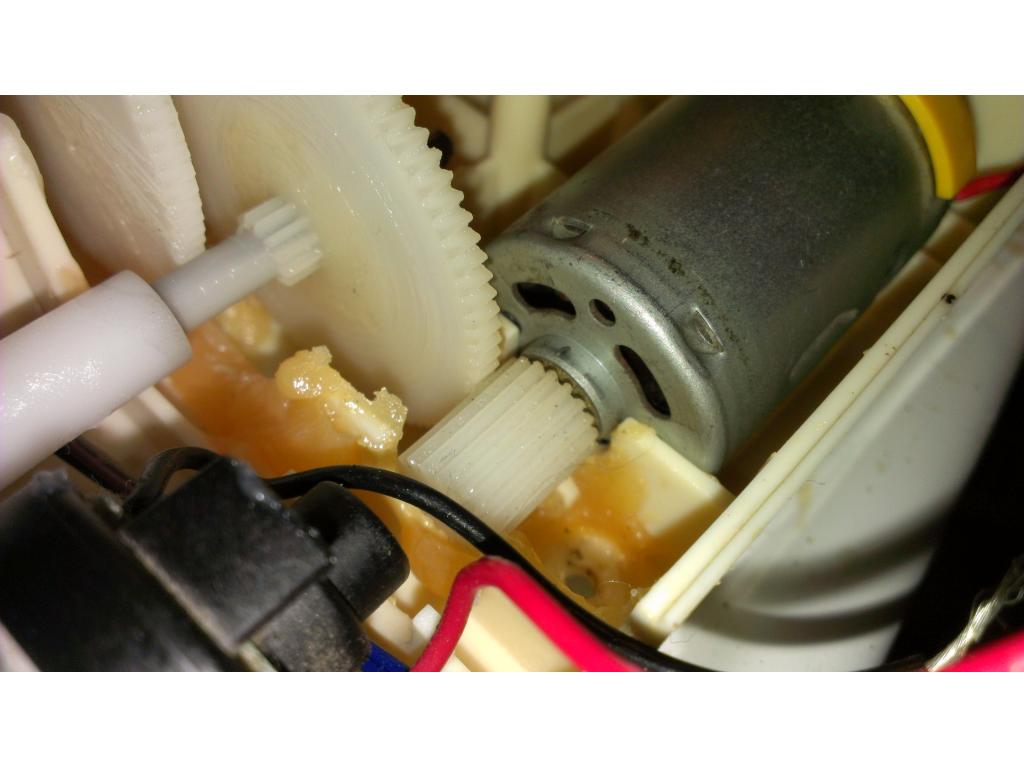
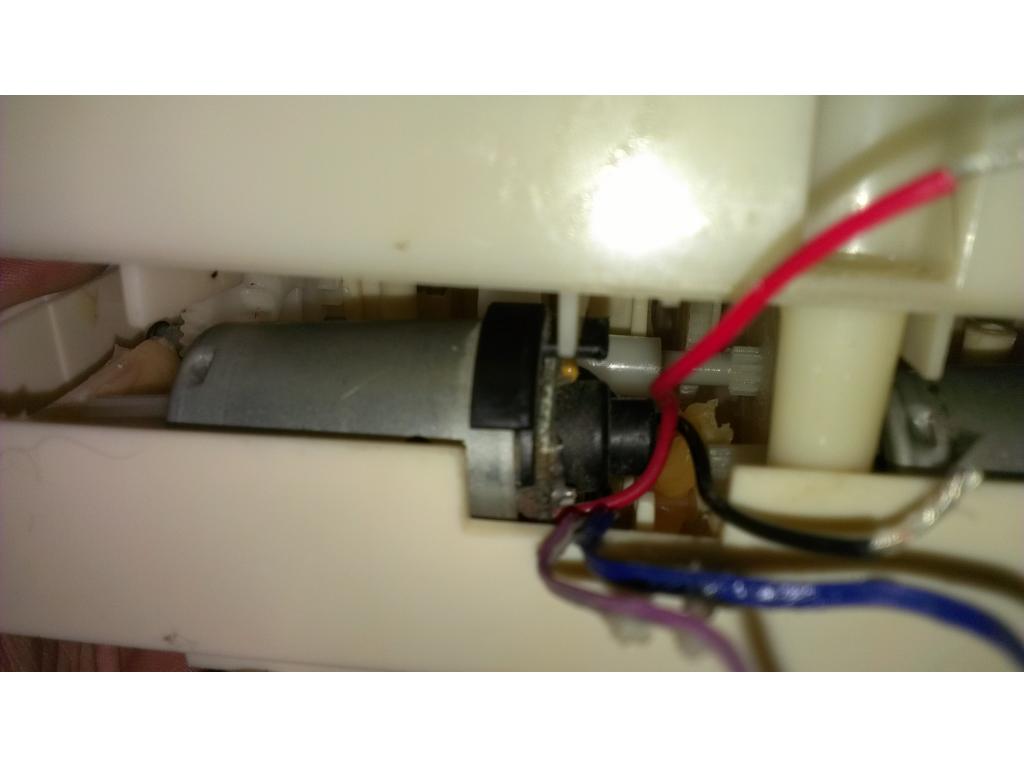
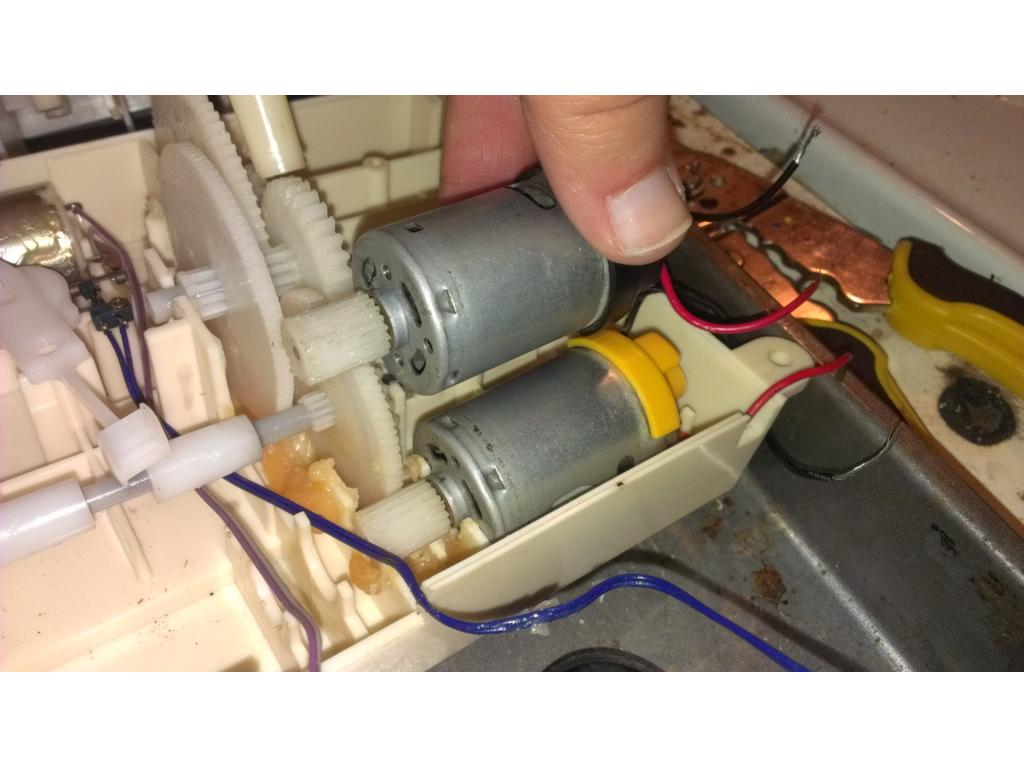
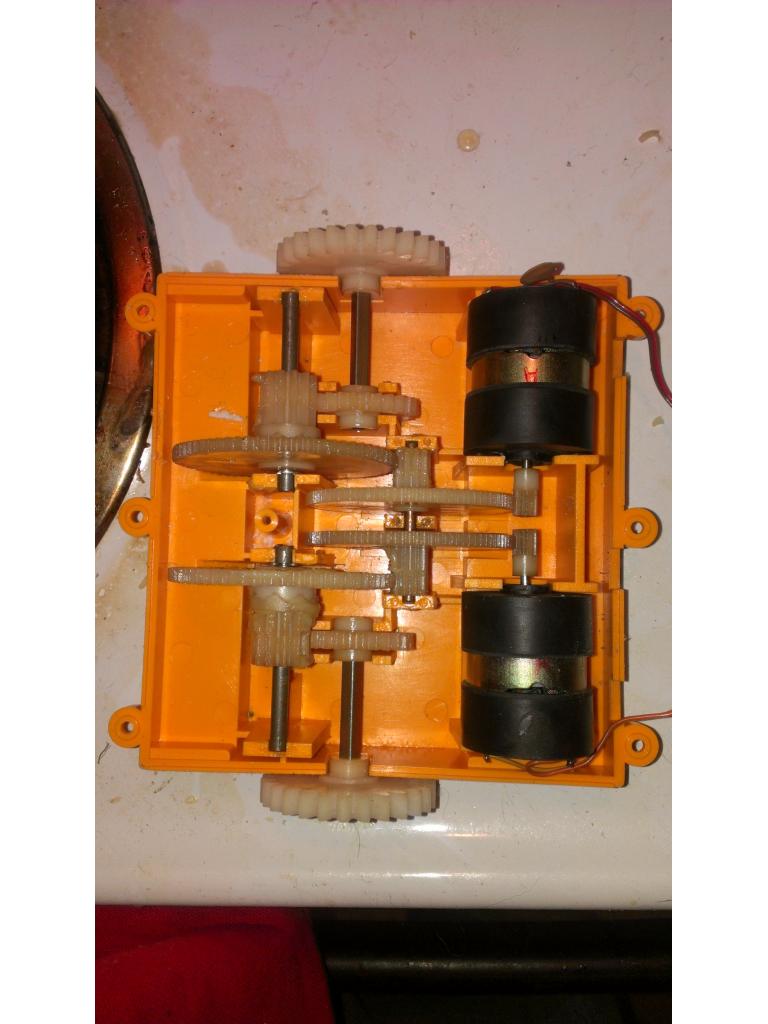
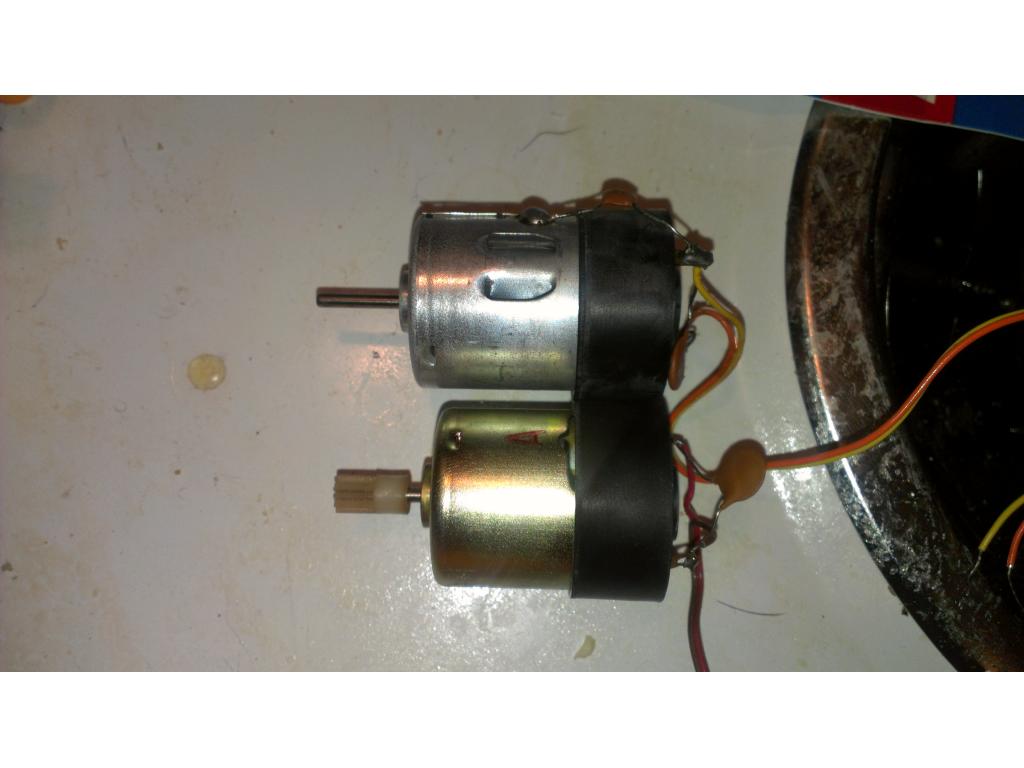
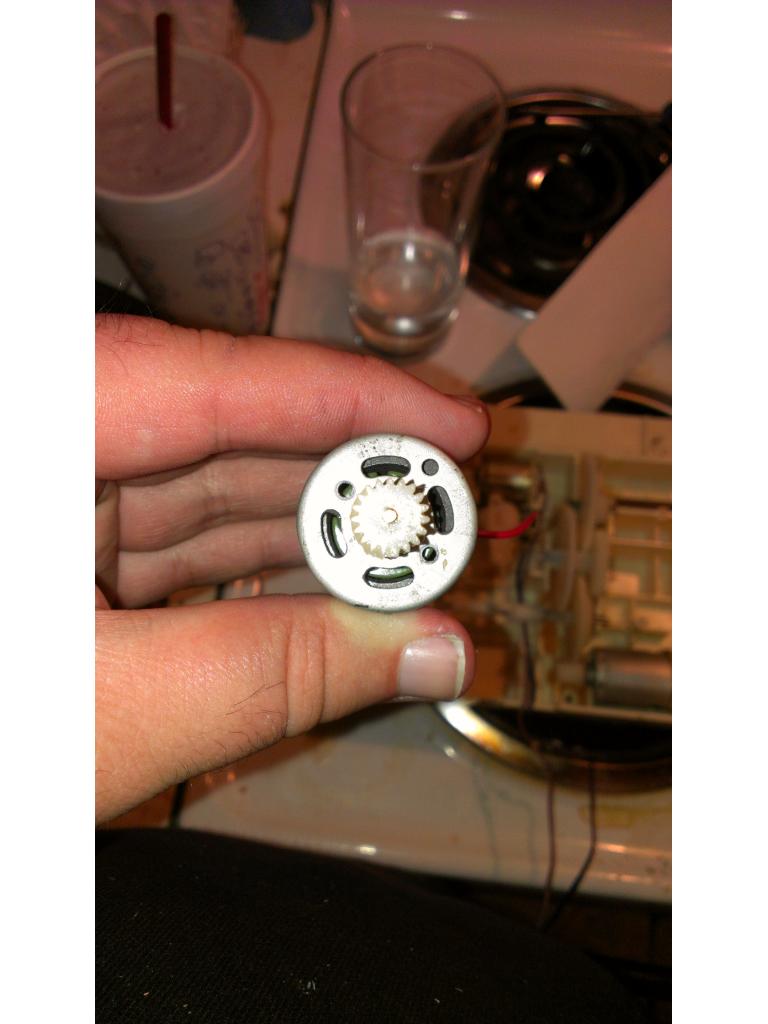


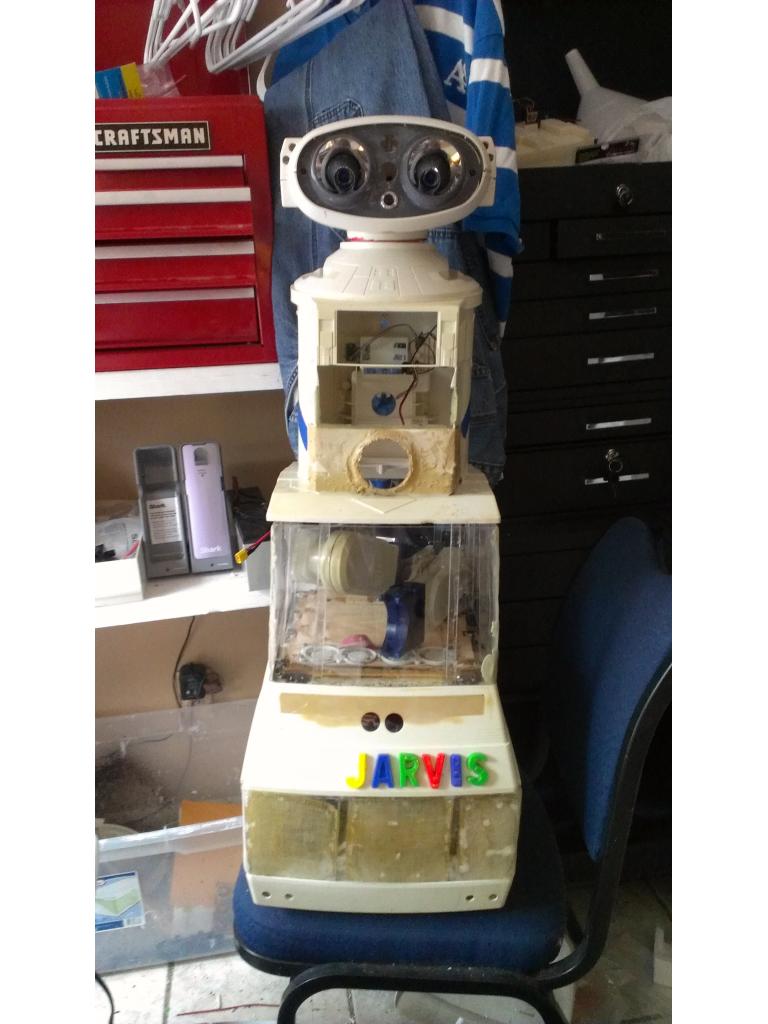


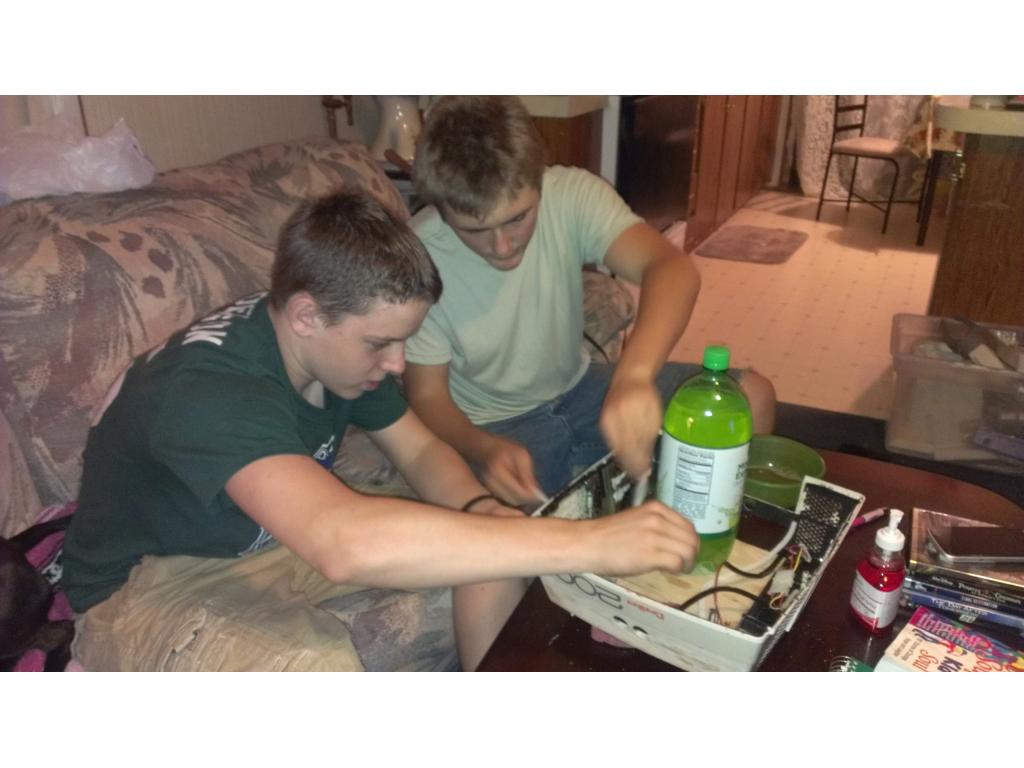


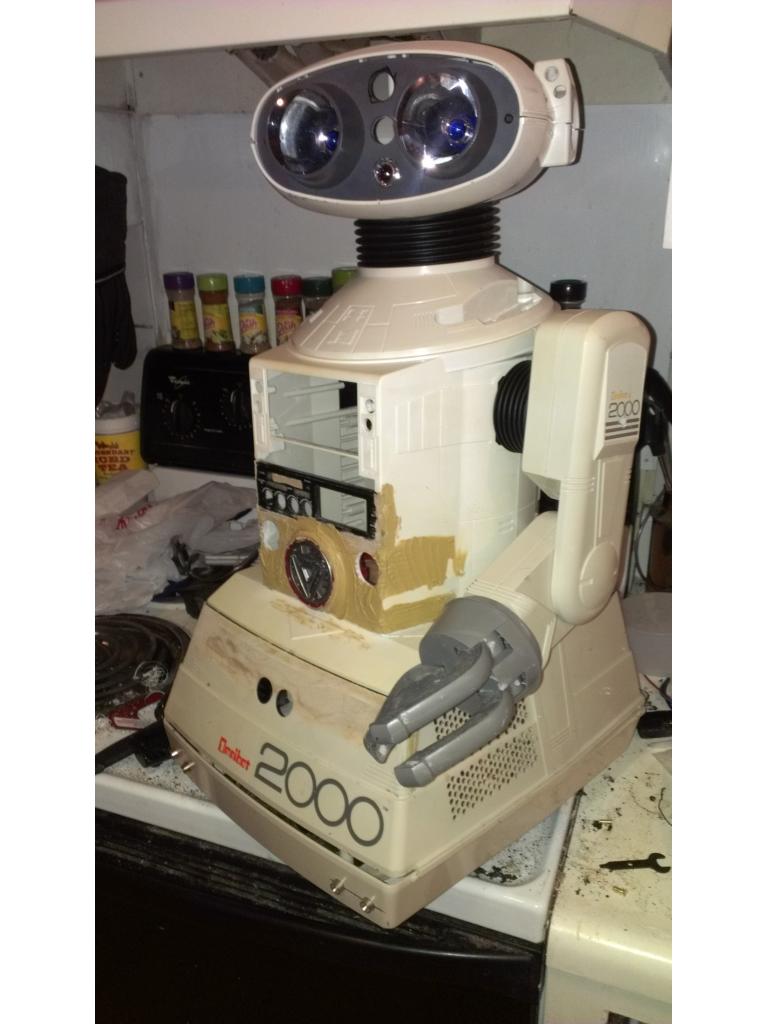
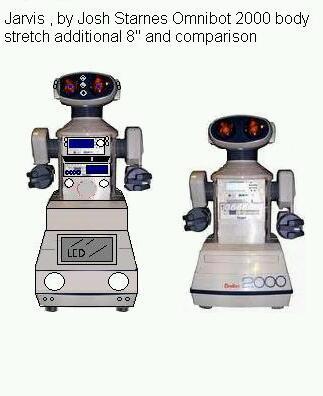

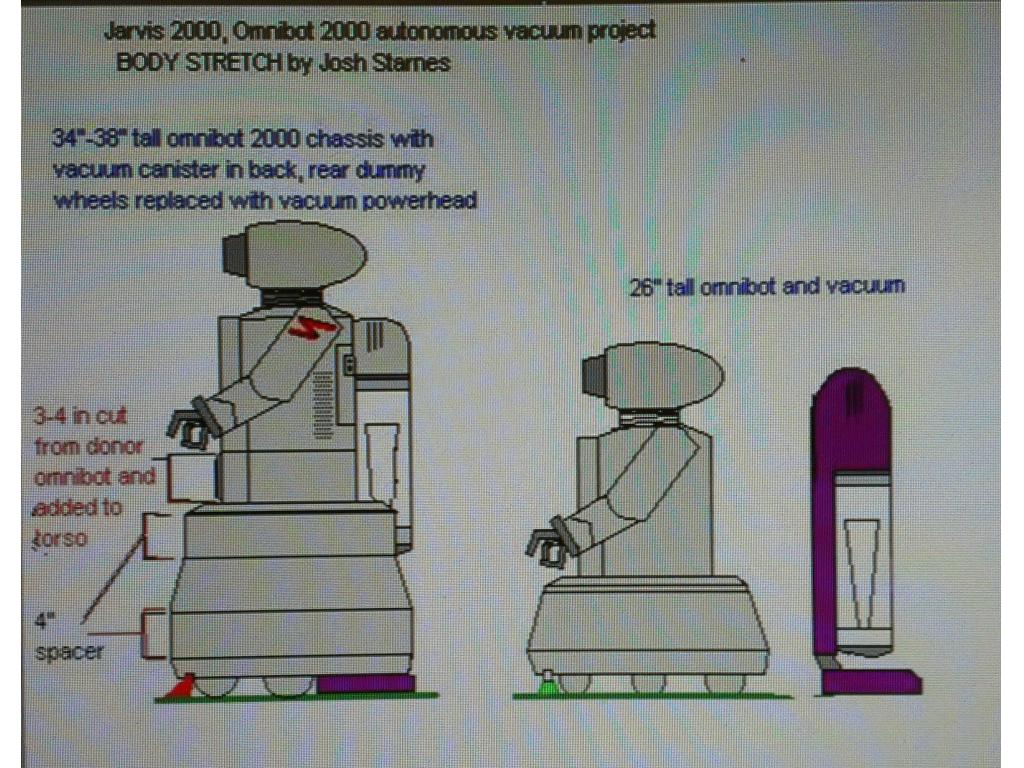


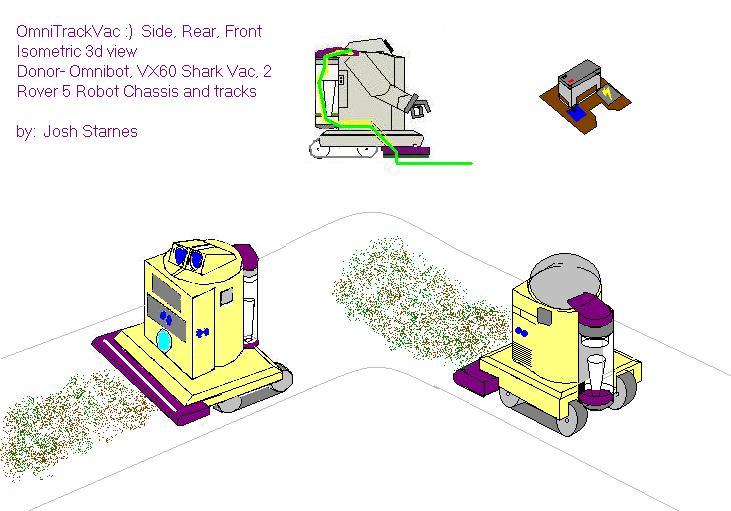

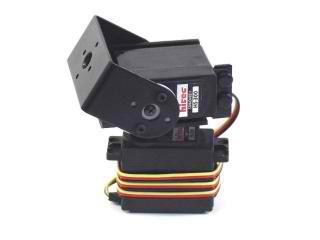

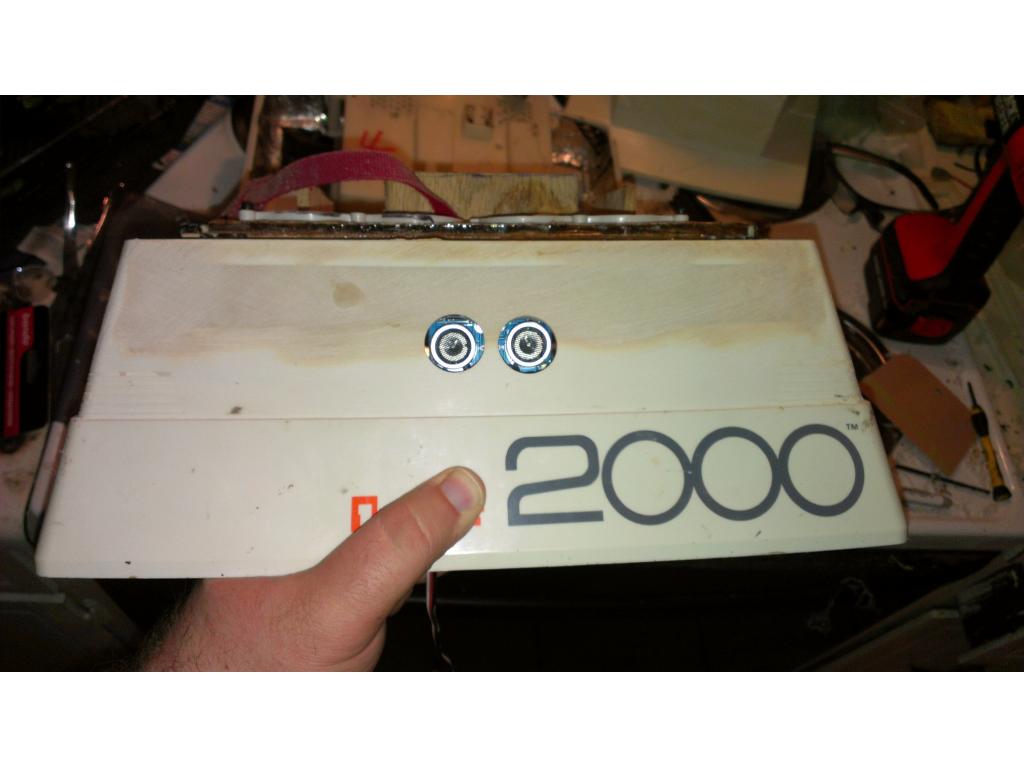
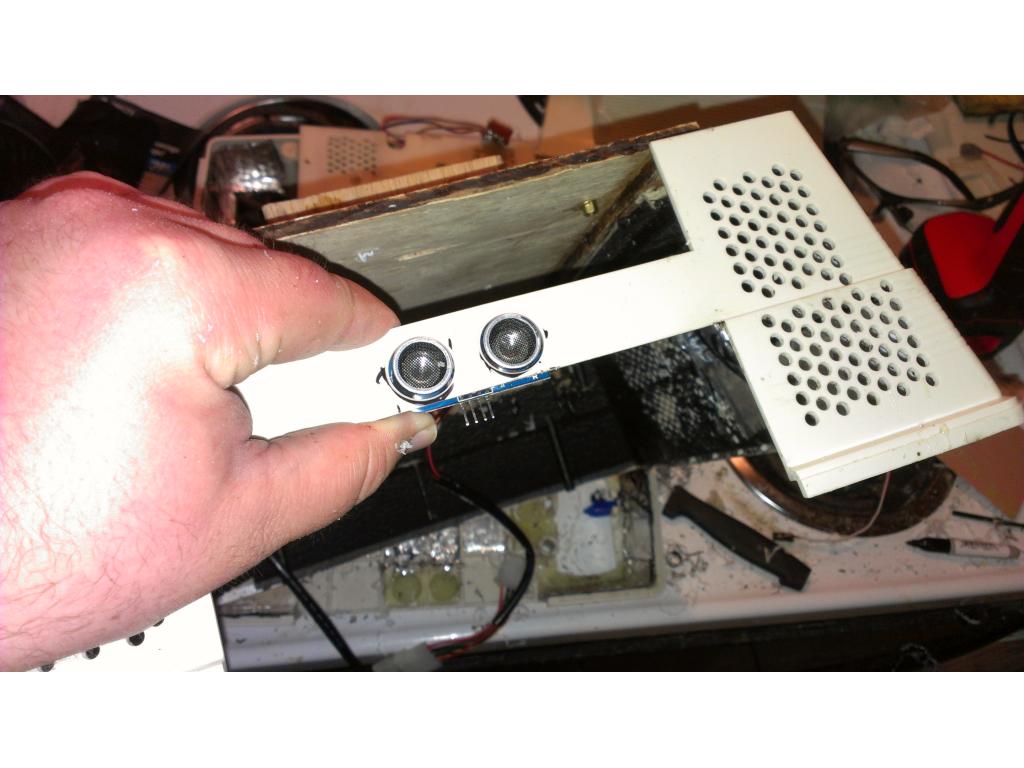
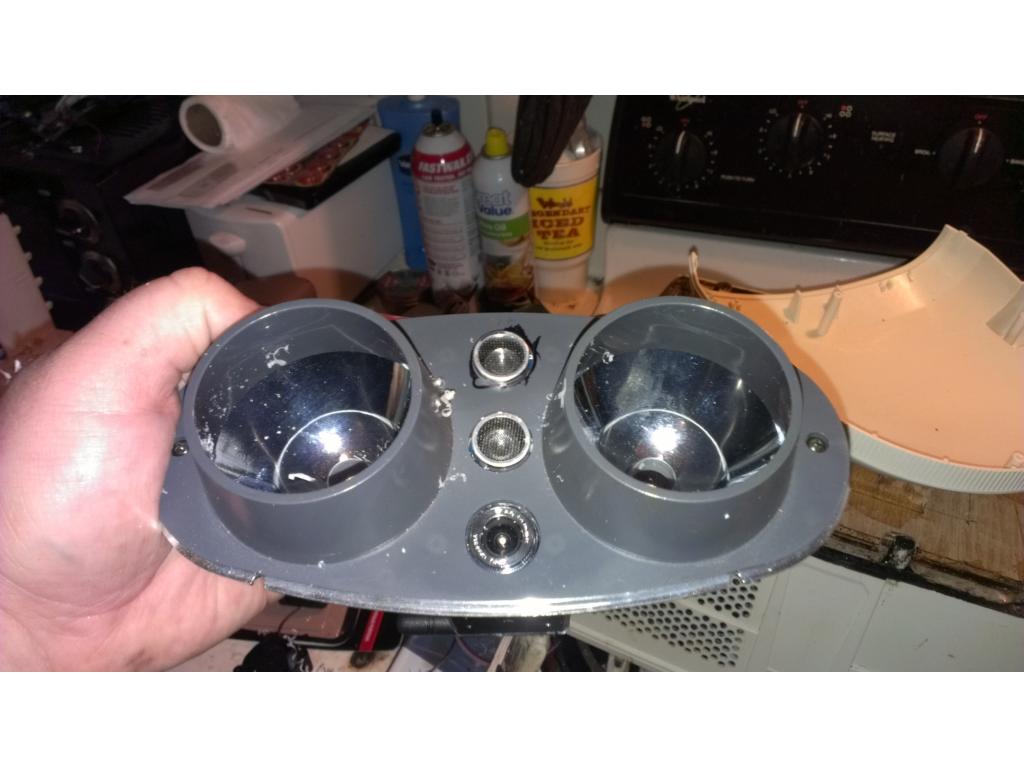
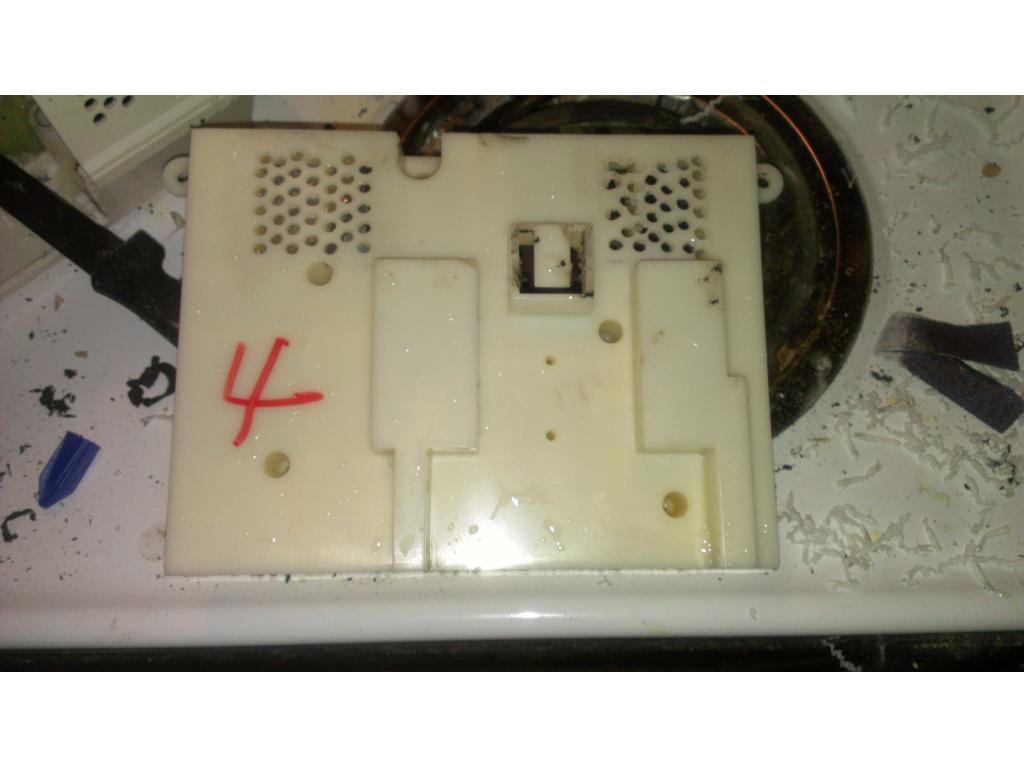


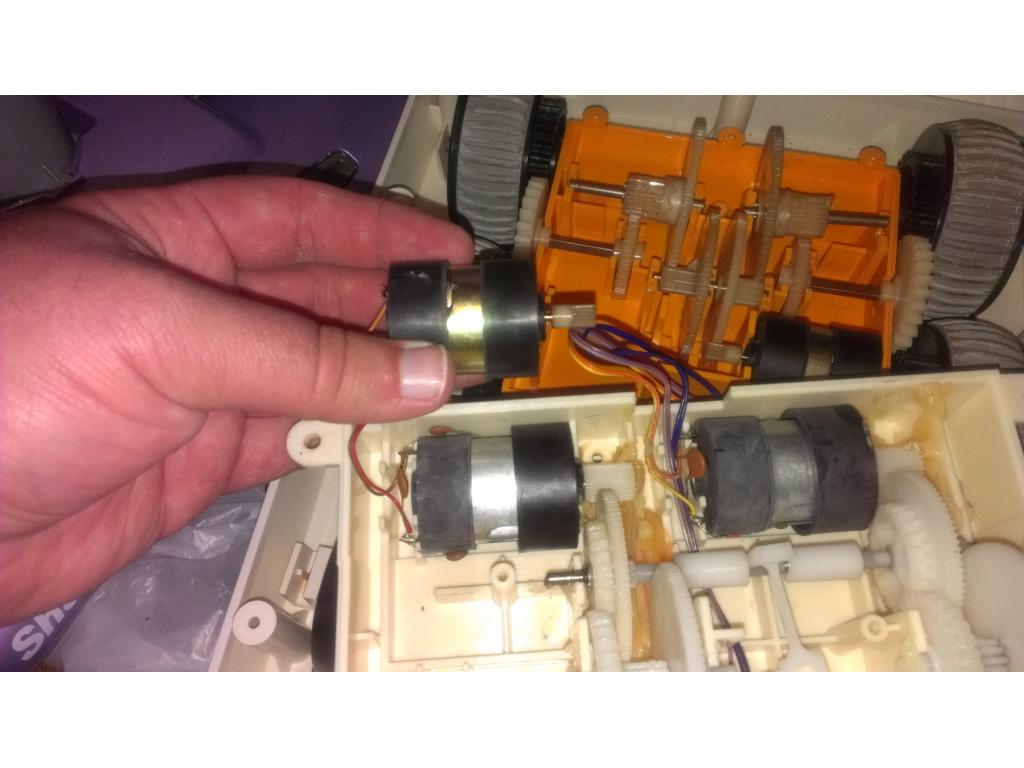


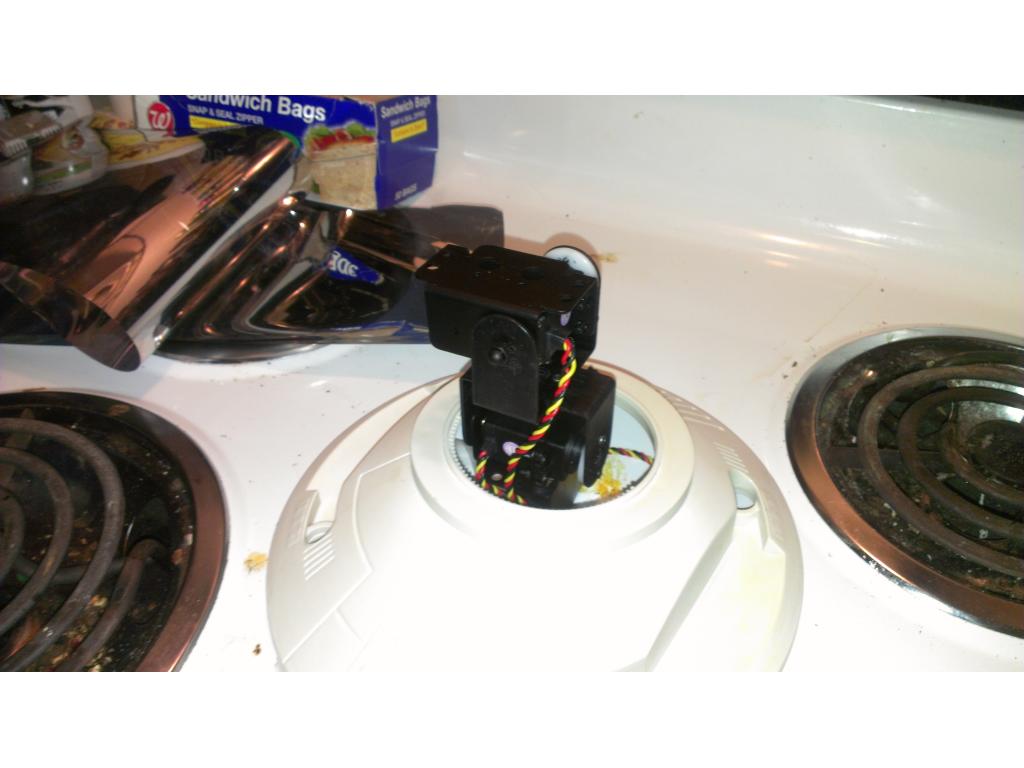
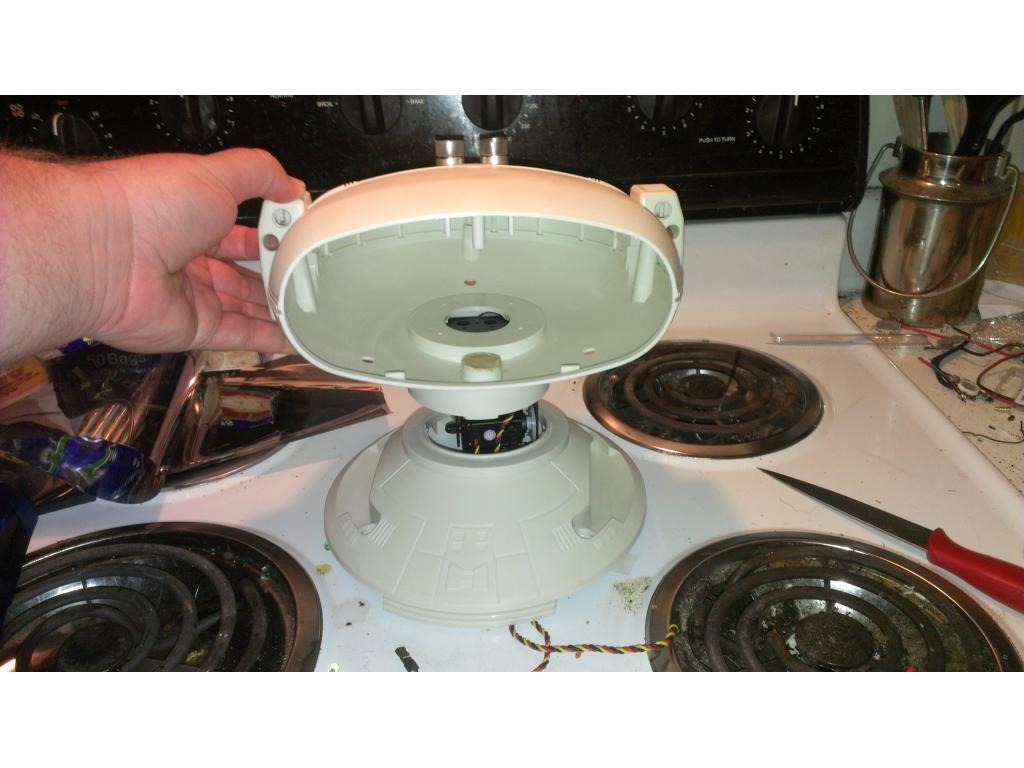
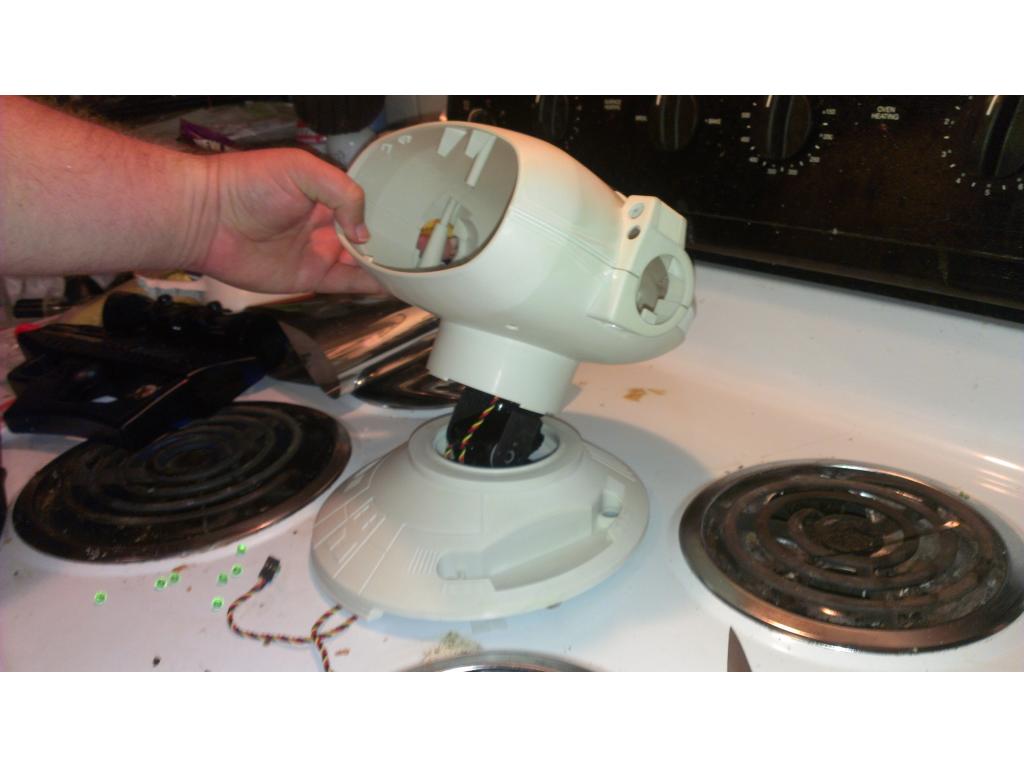

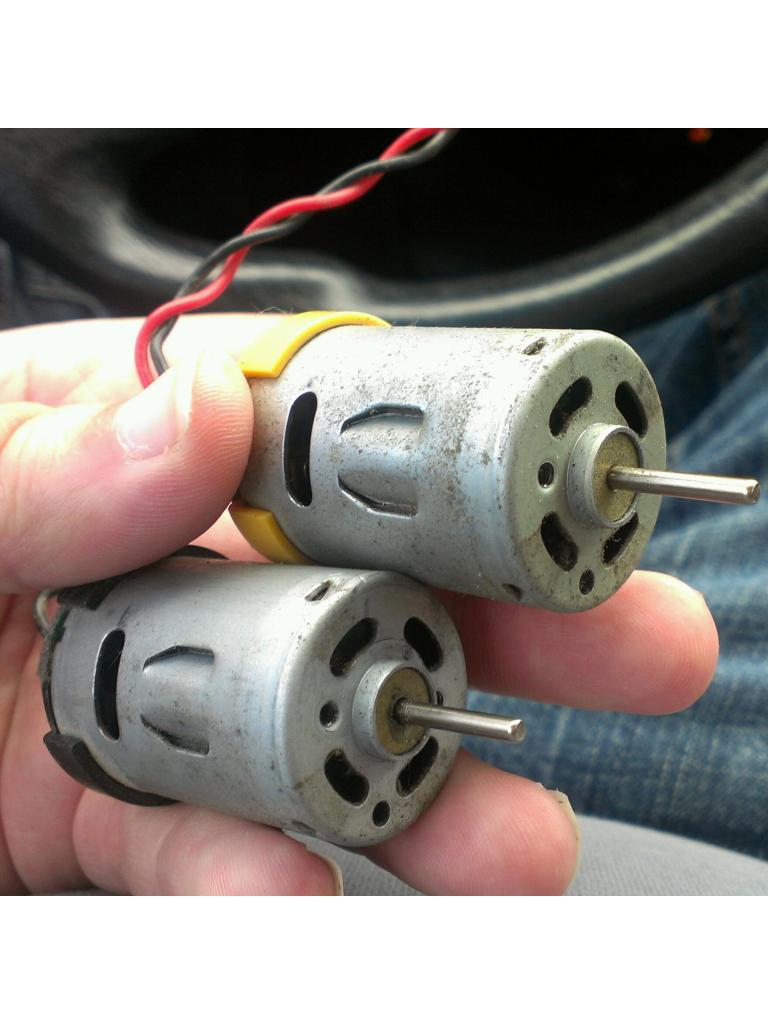
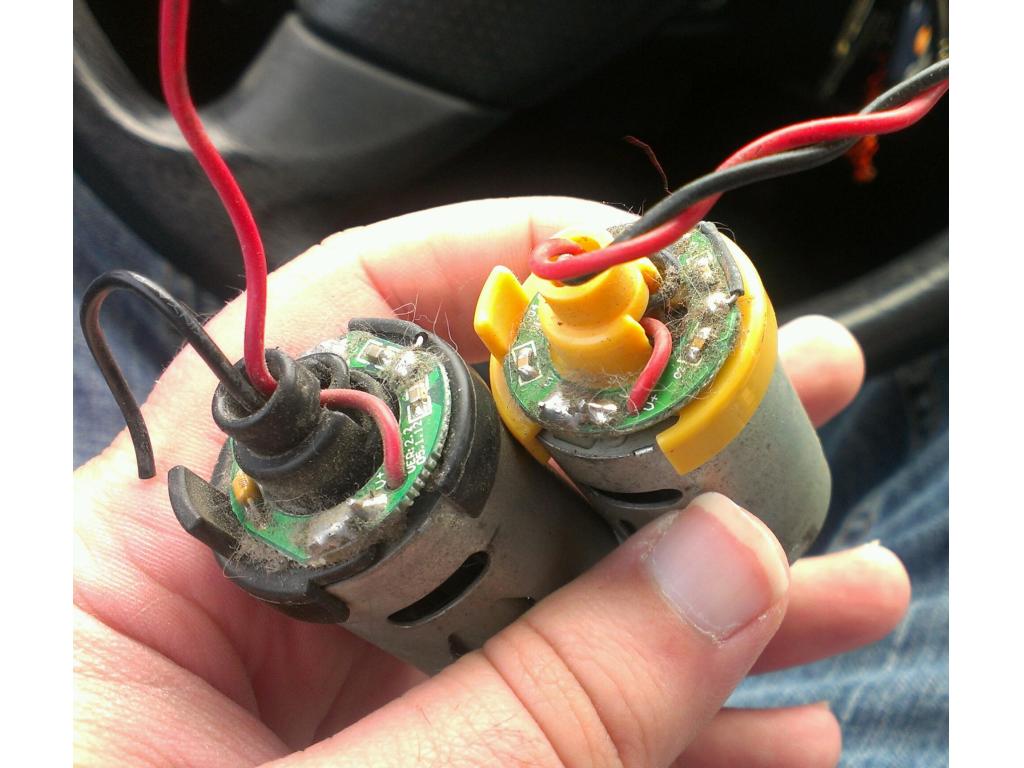
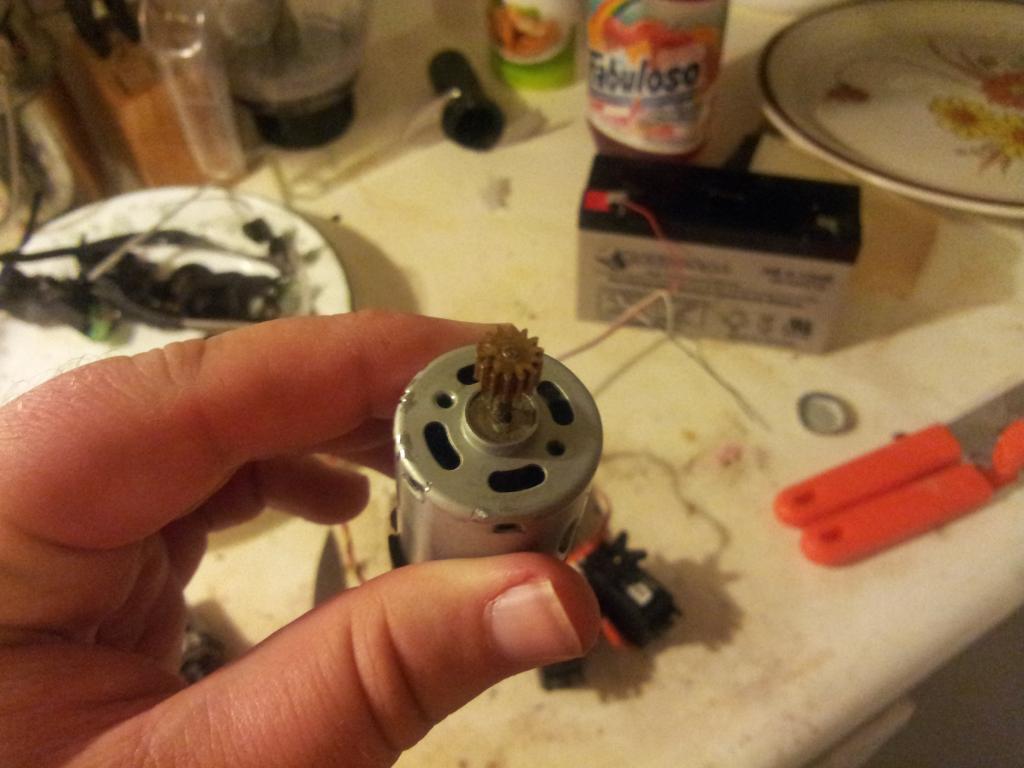
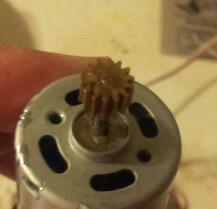
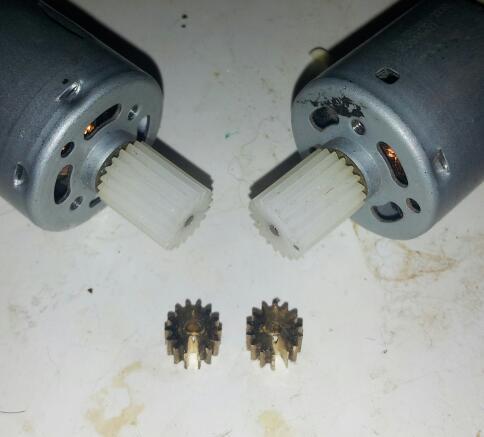
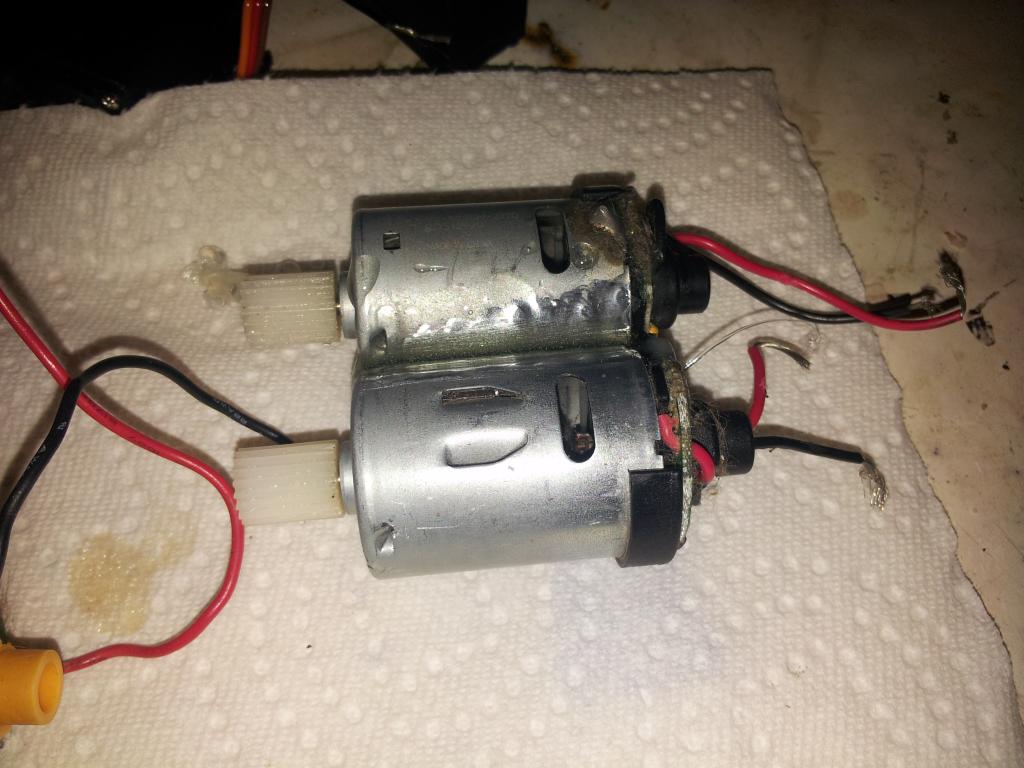
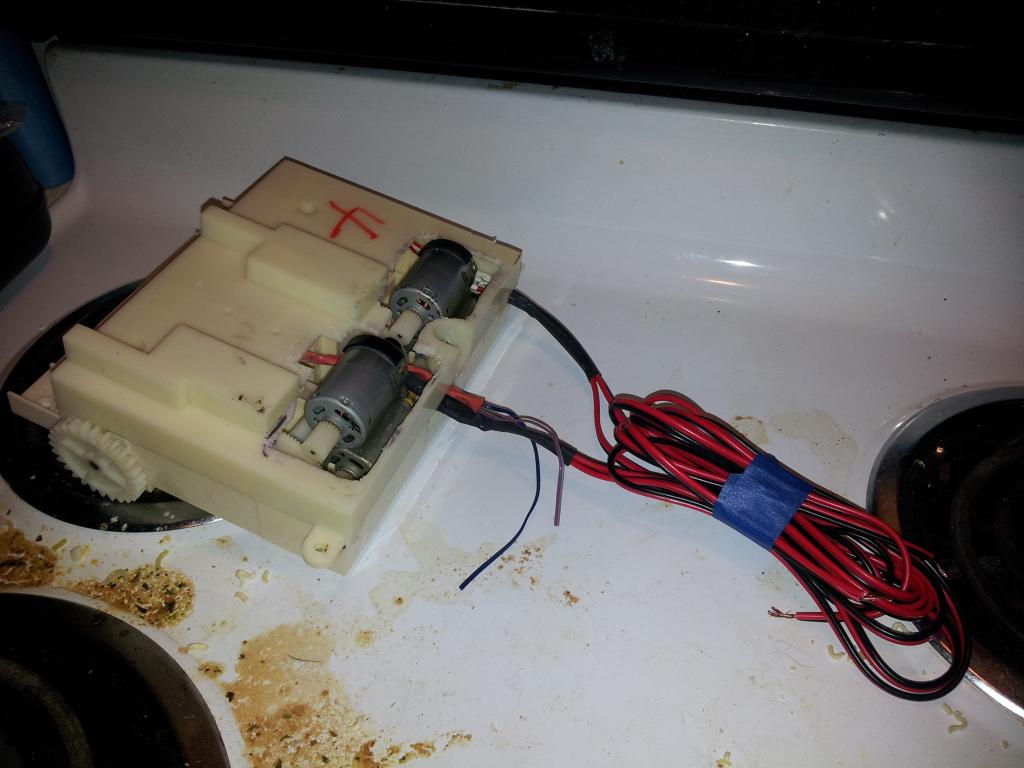
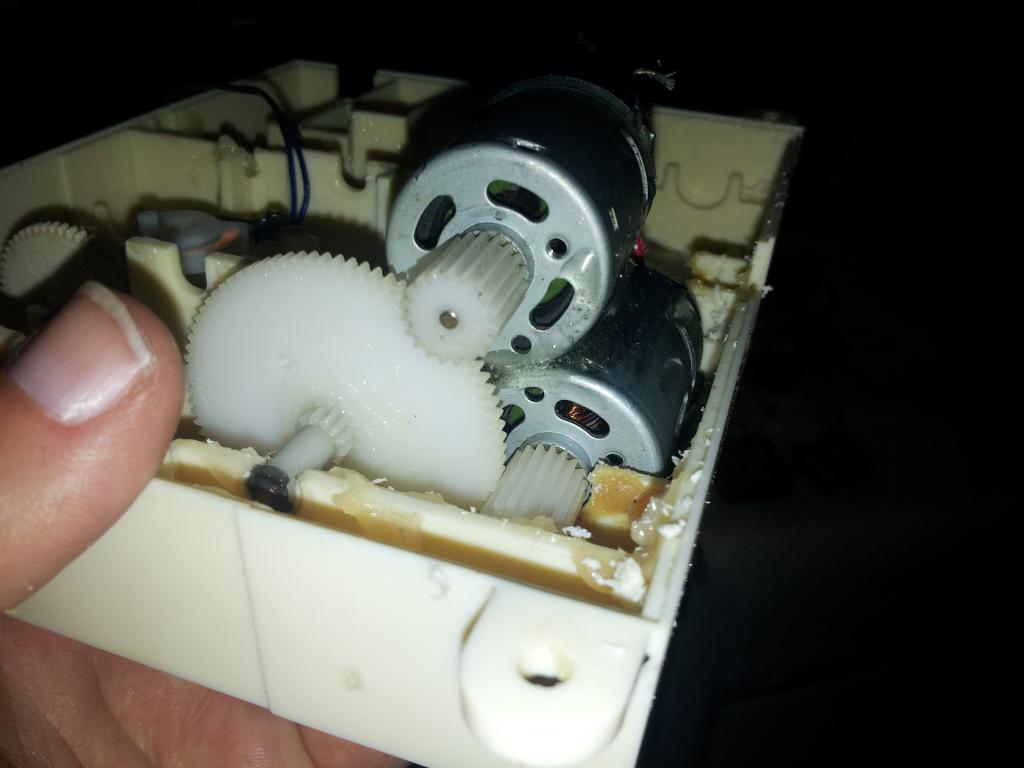
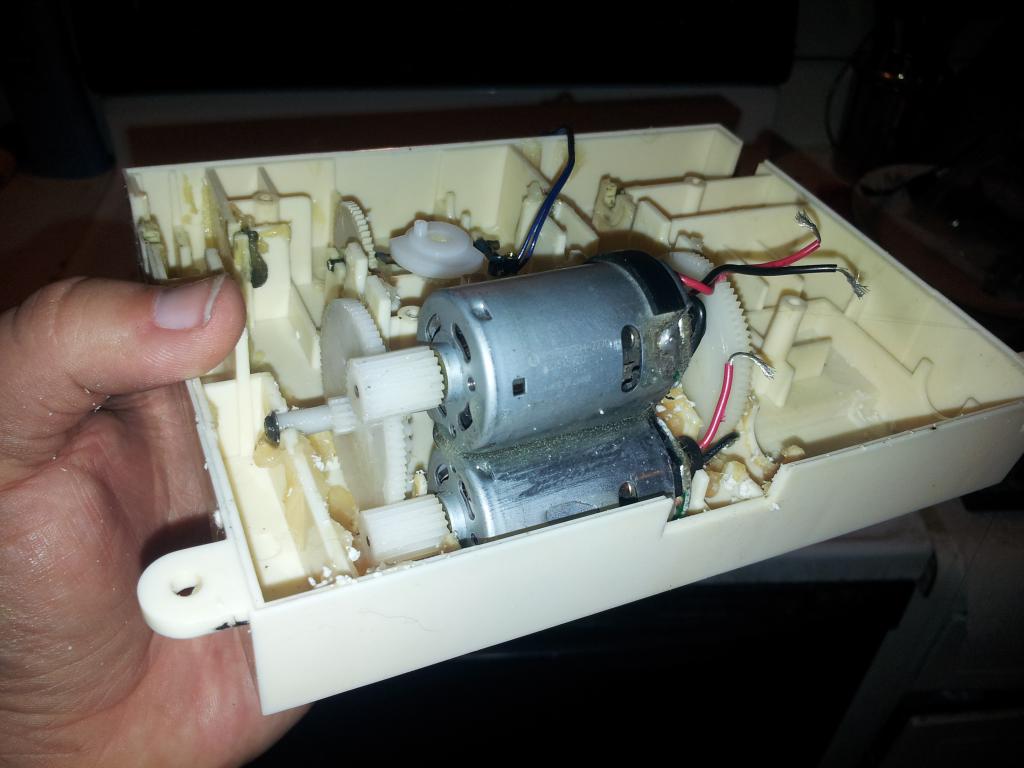
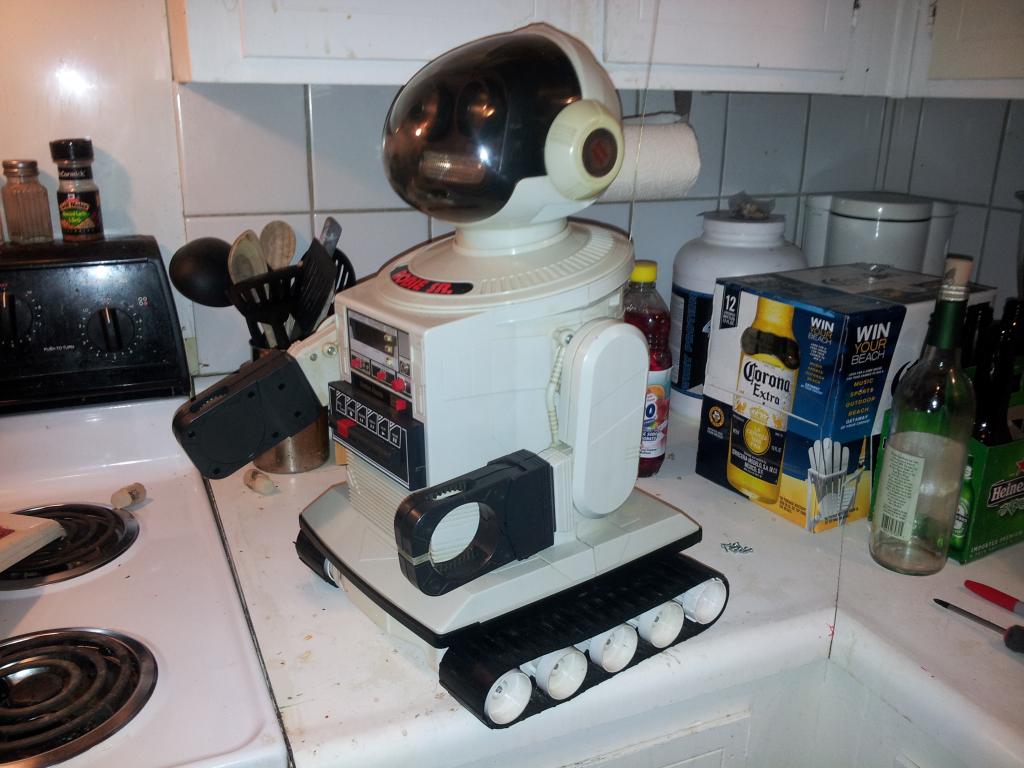
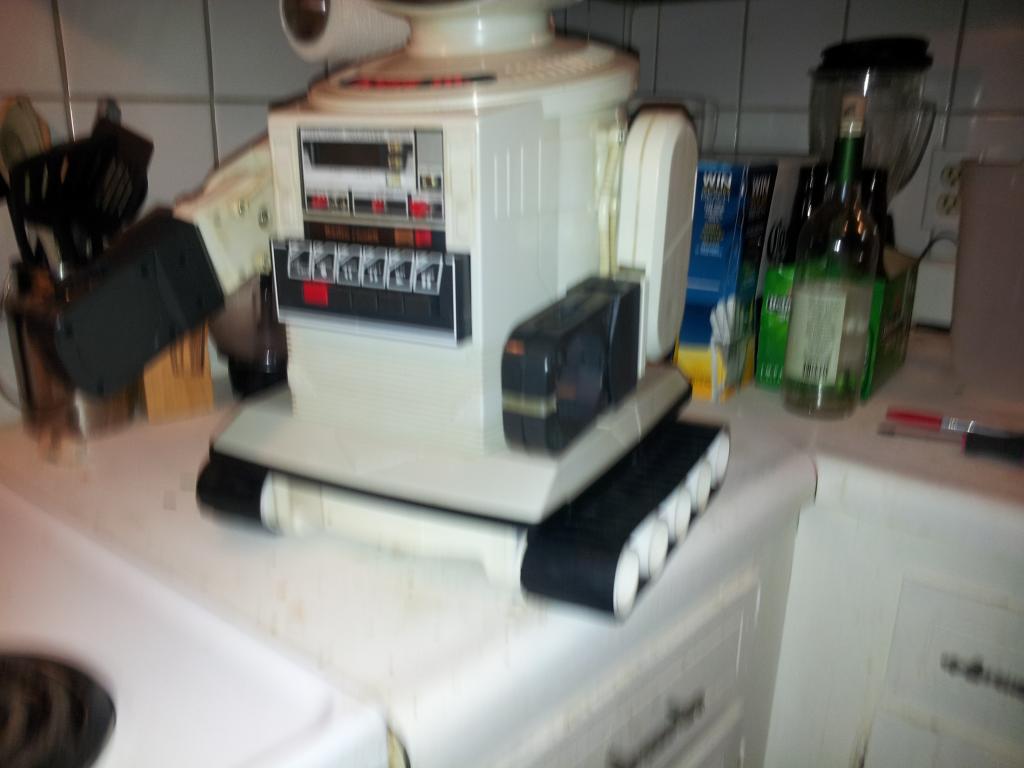
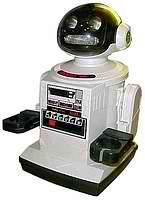
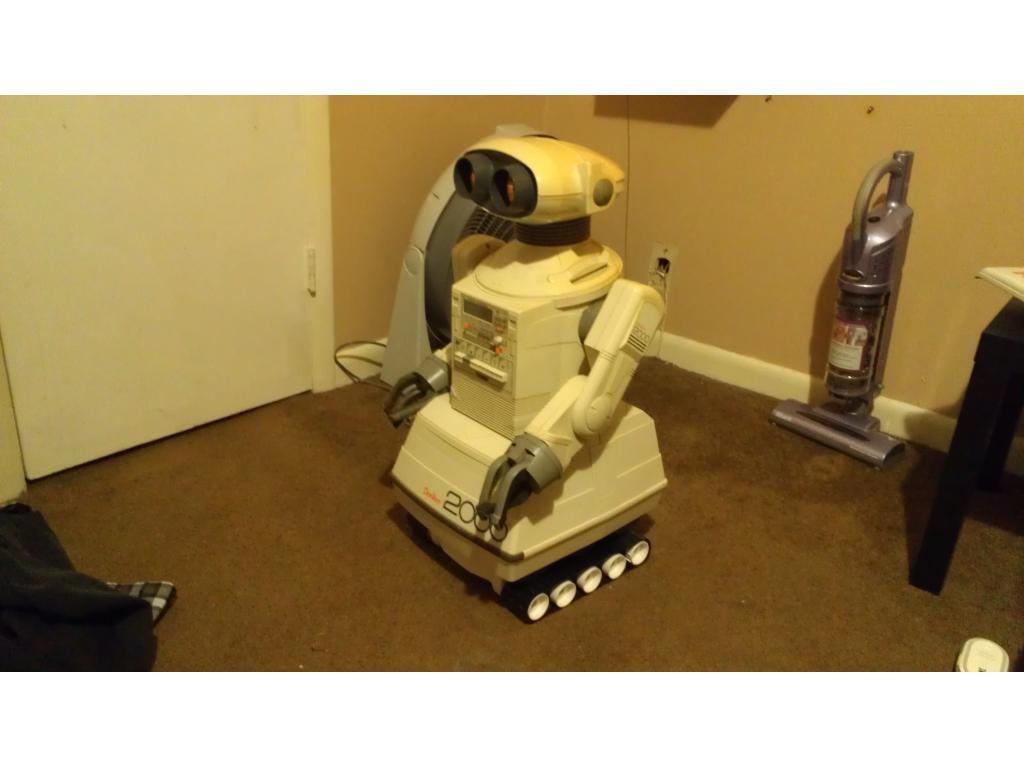
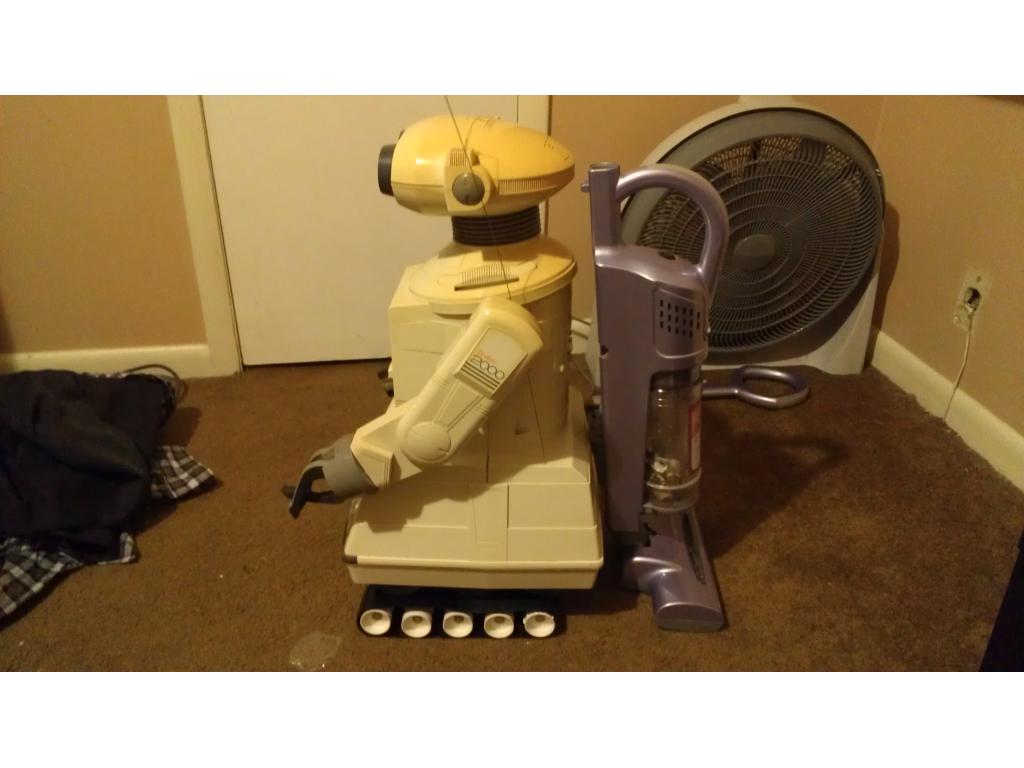
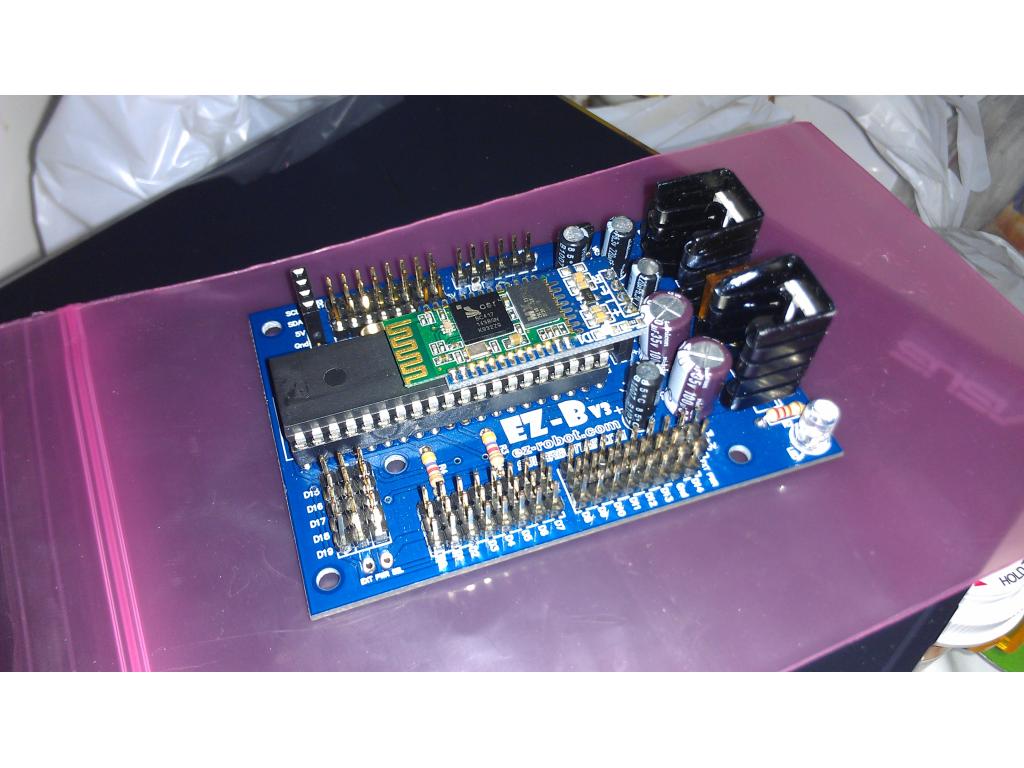
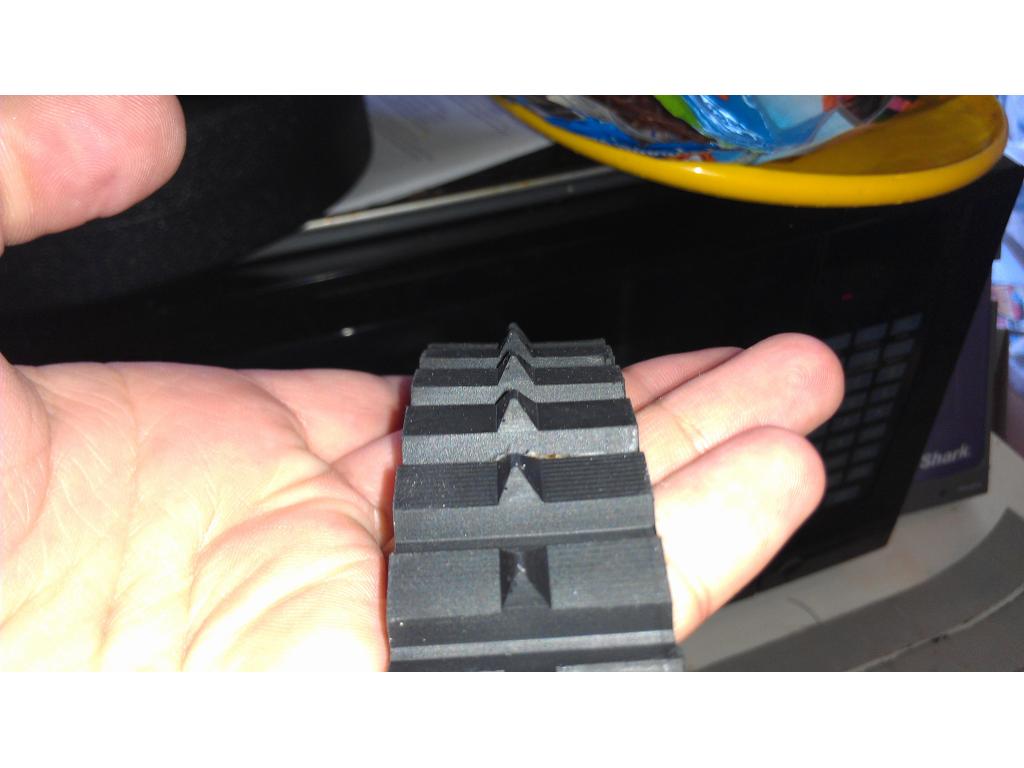
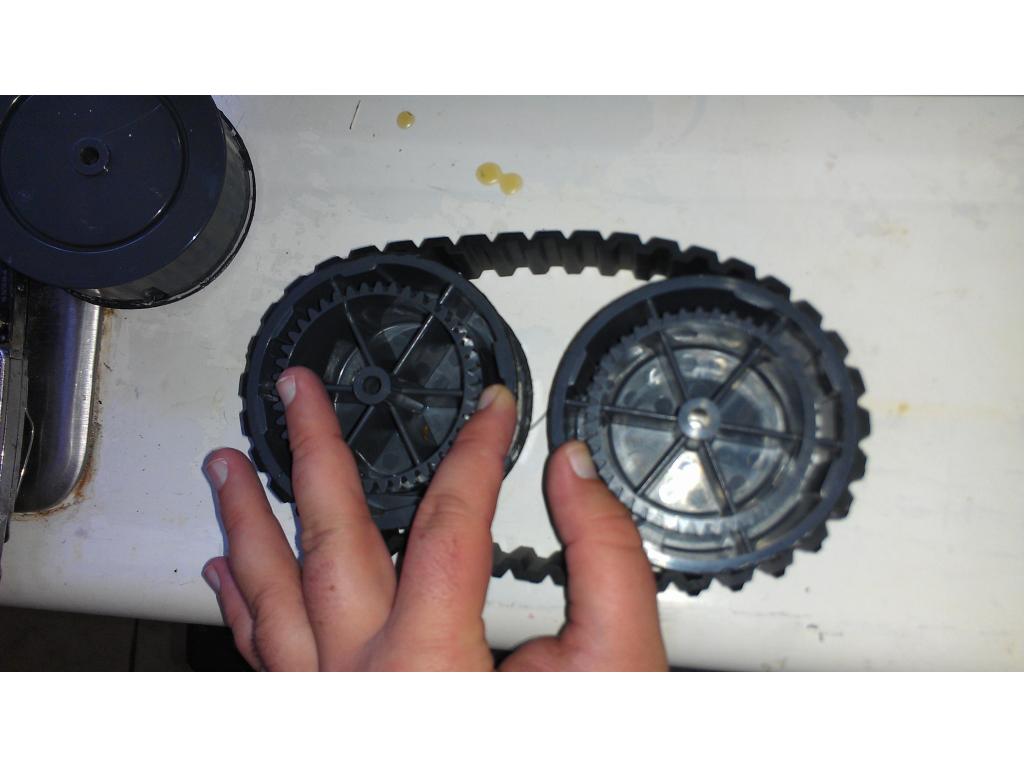
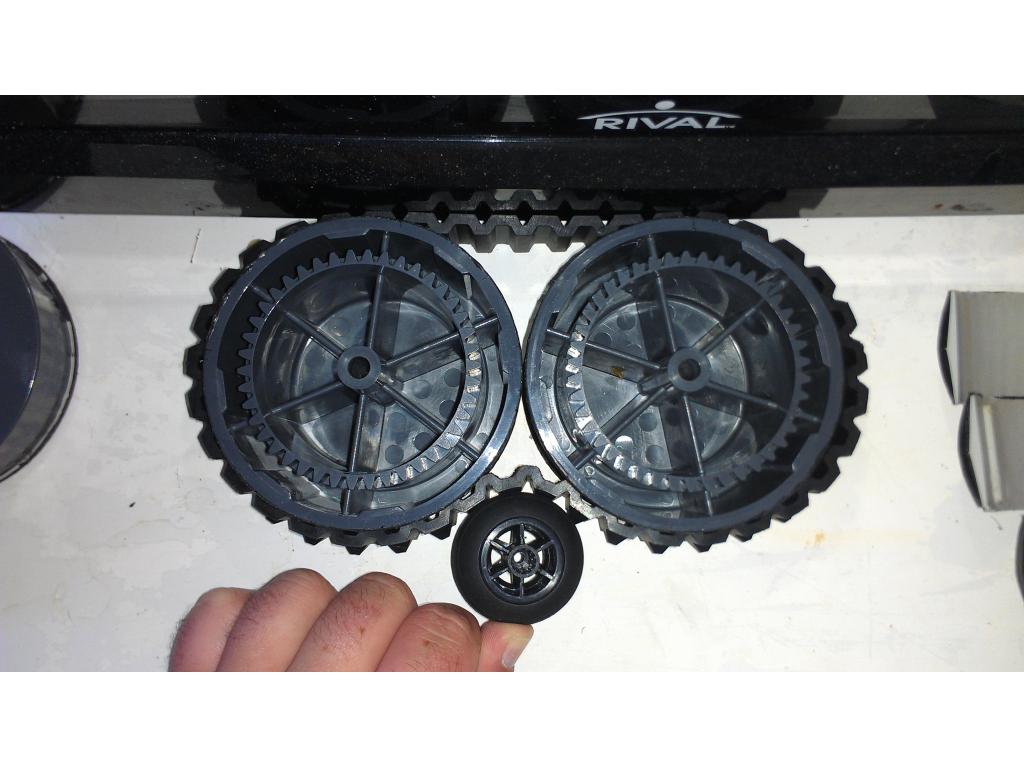
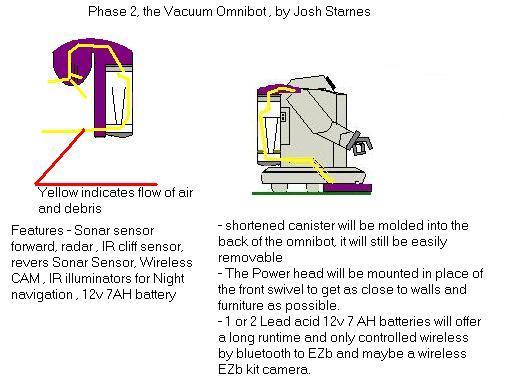
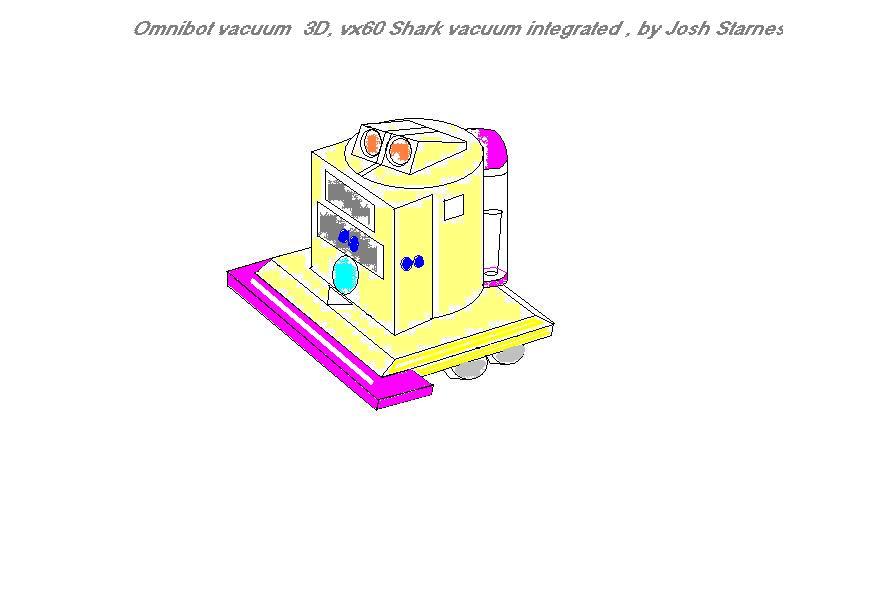
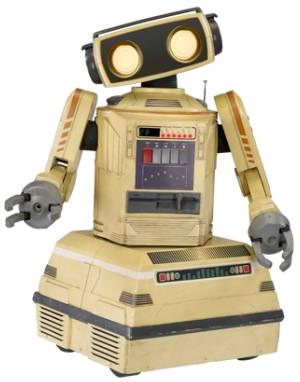
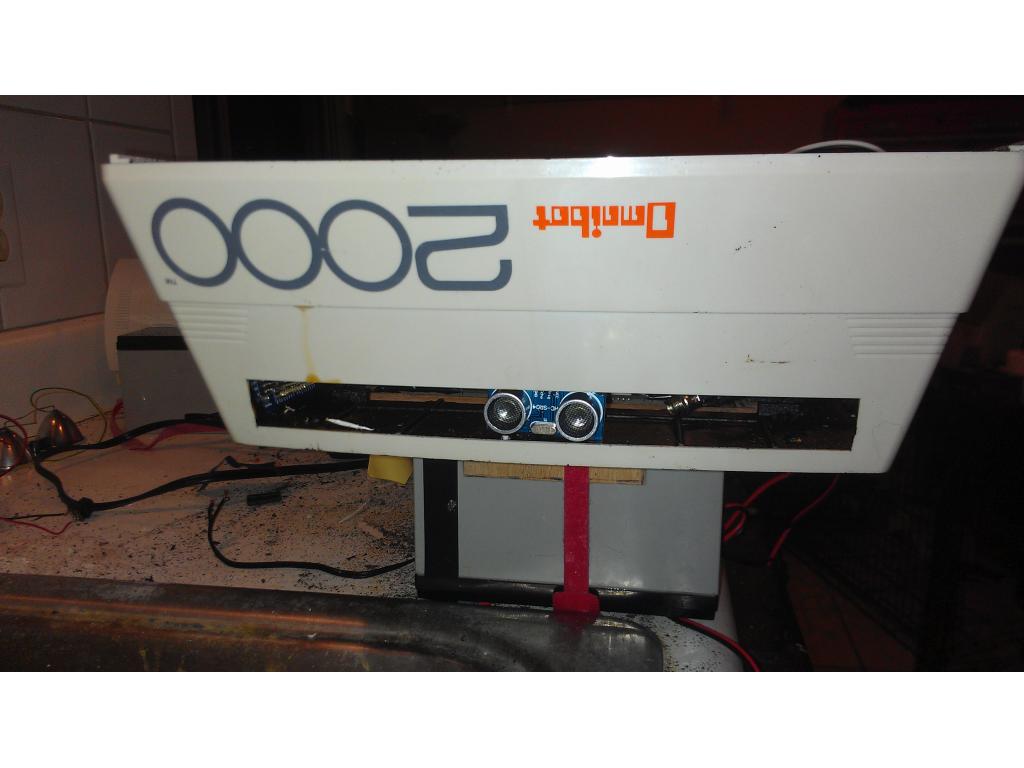
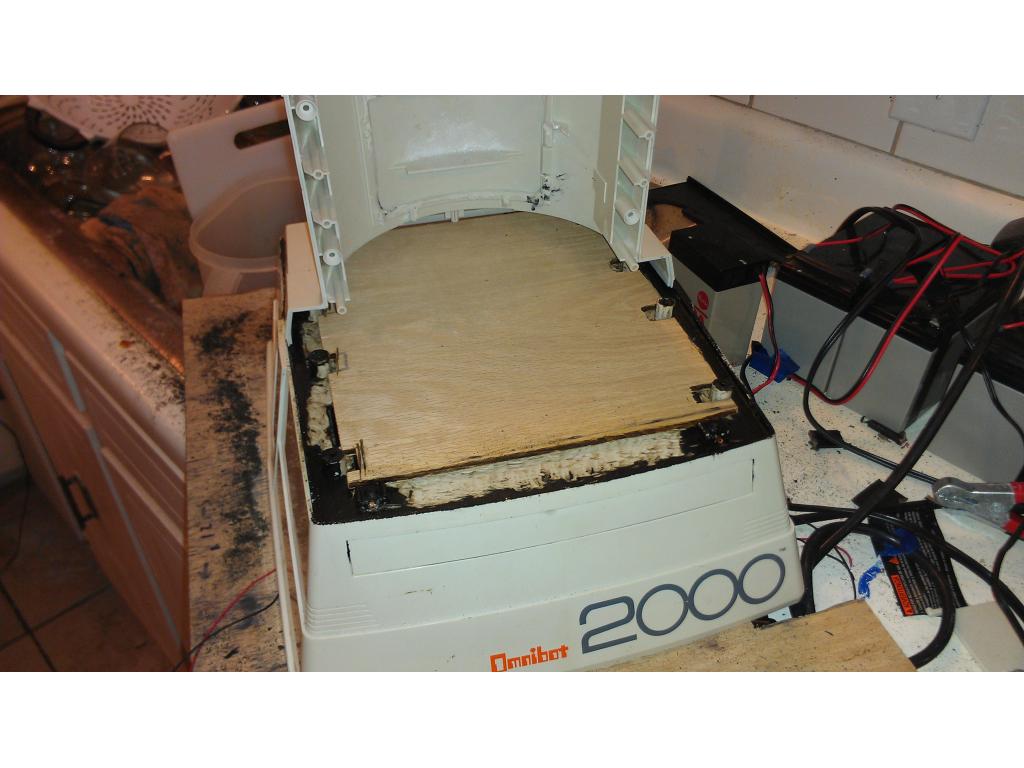
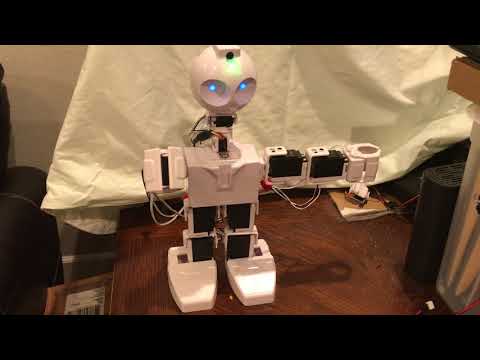
This project has evolved some , the basic rundown is I'm modding two Omnibots , one a regular the other a larger 2000 model. I will have two ezb kits , rad base idea was thrown out because of so much noise but could go back on the table if the omnibot drivetrain is too weak to pull it.


By jstarne1
— Last update
Discover more robots
Faengelm's Jd Plays Rock Paper Scissors
Play Rock Paper Scissors with EZ-Robot JD using voice recognition, AutoPosition arm motions, object detection and game...
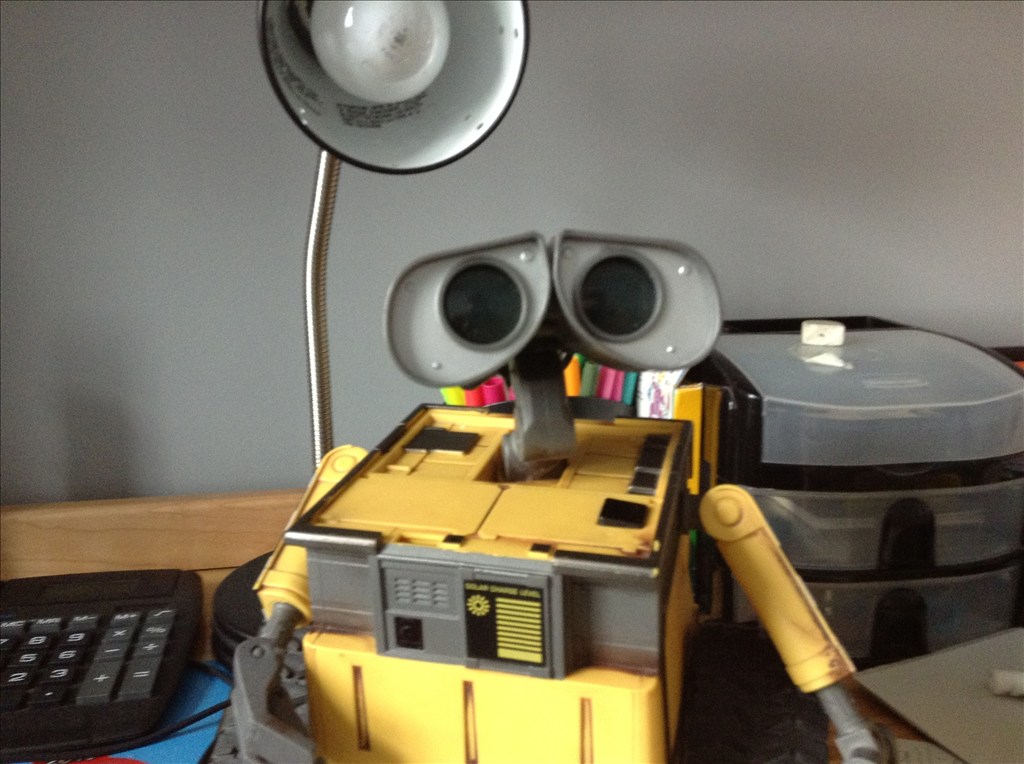
Cardboardhacker's Technopro Wall-E Project
Building a budget WallE robot: gutting a UCommand and repurposing parts while awaiting an EZKit to add electronics and...
Jeffmorris's Homemade Biped Robot
Upgrade EZ-Robot hip servos that can't lift biped legs with higher-torque servo recommendations for reliable leg...

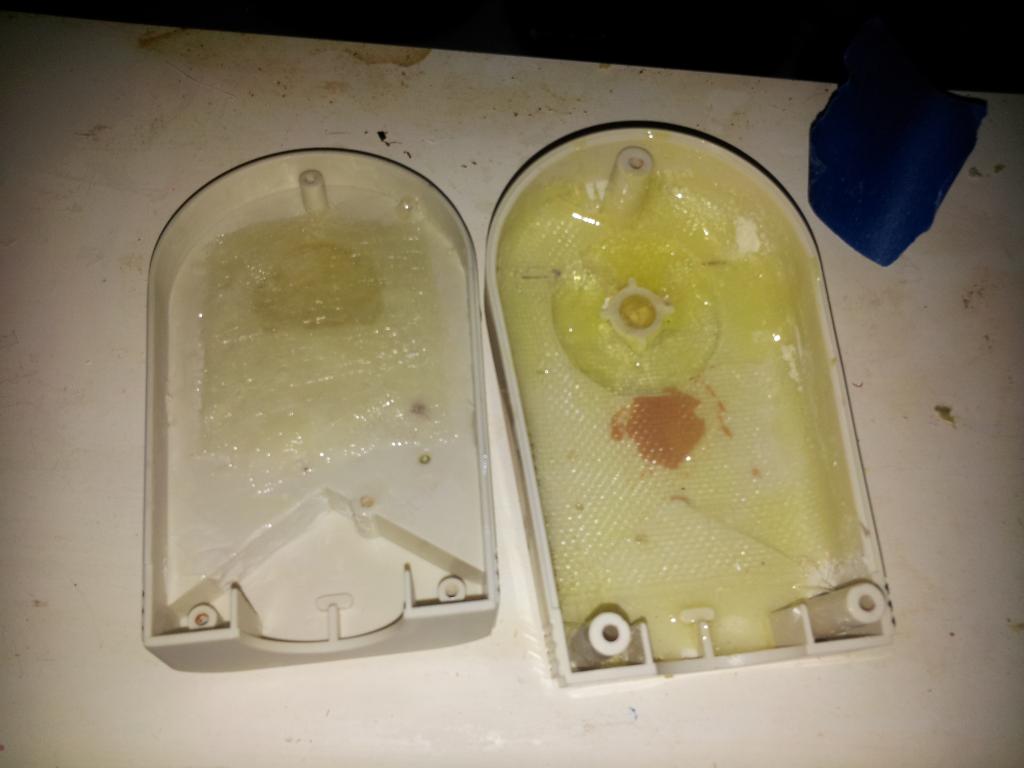
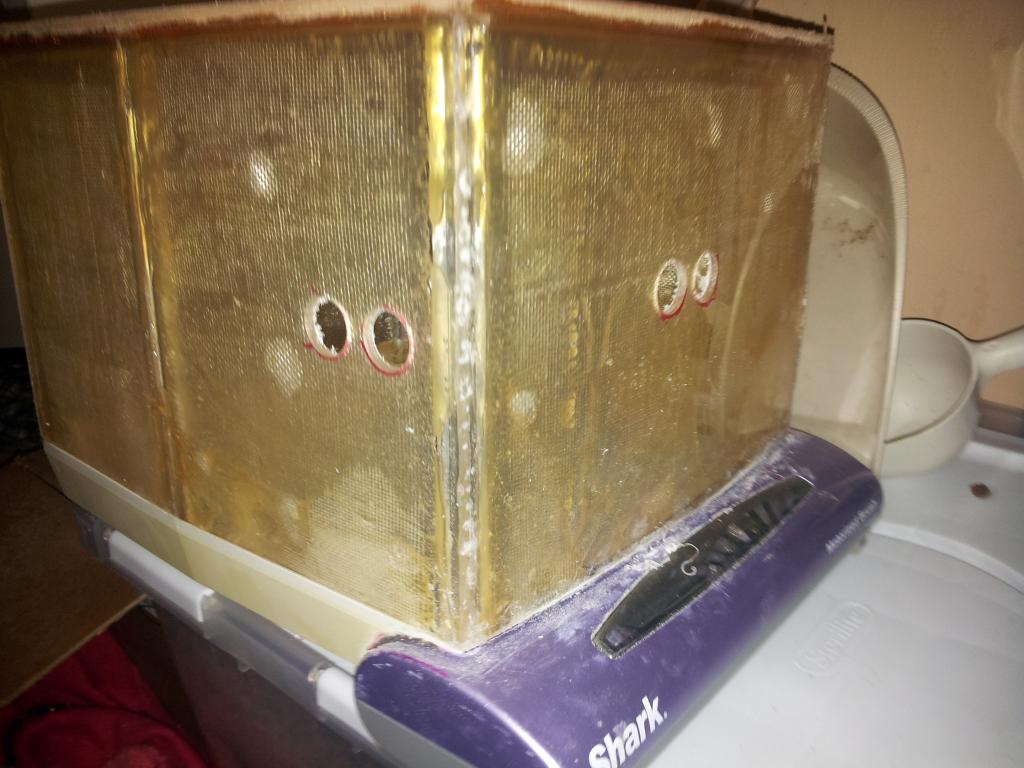
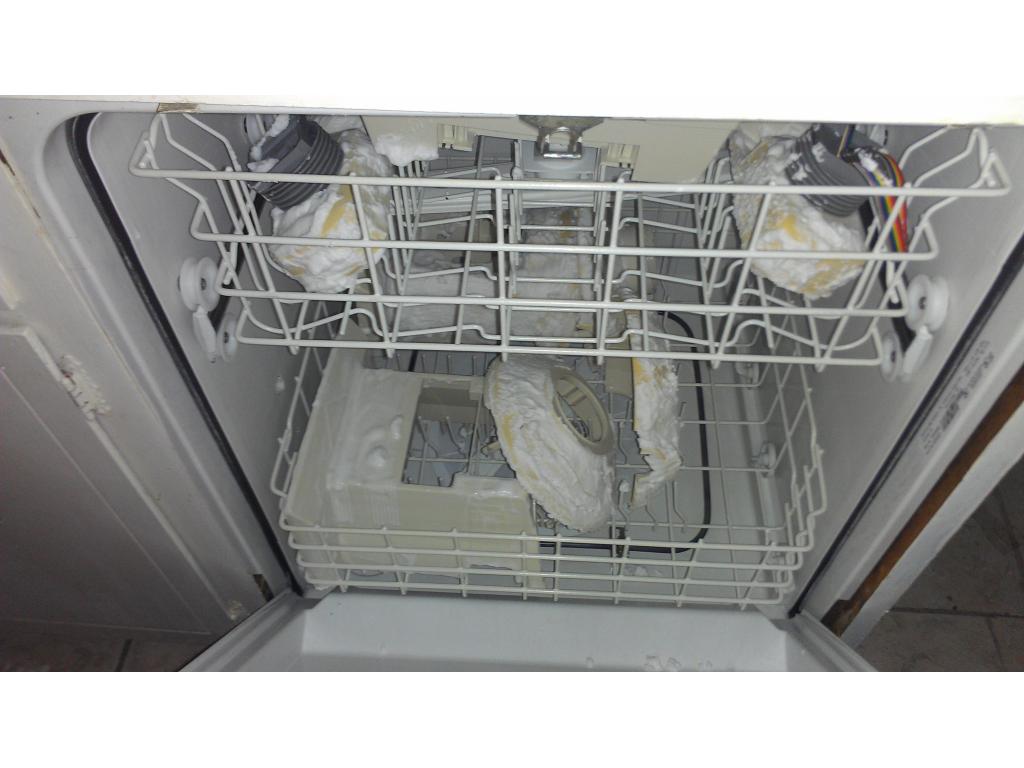
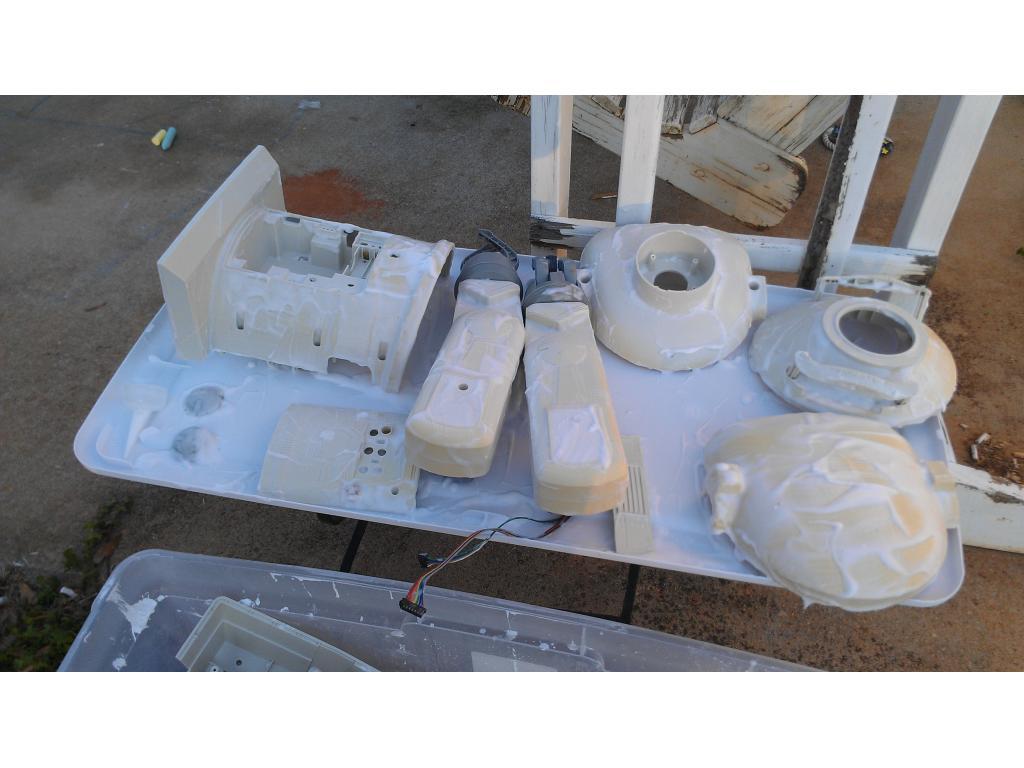
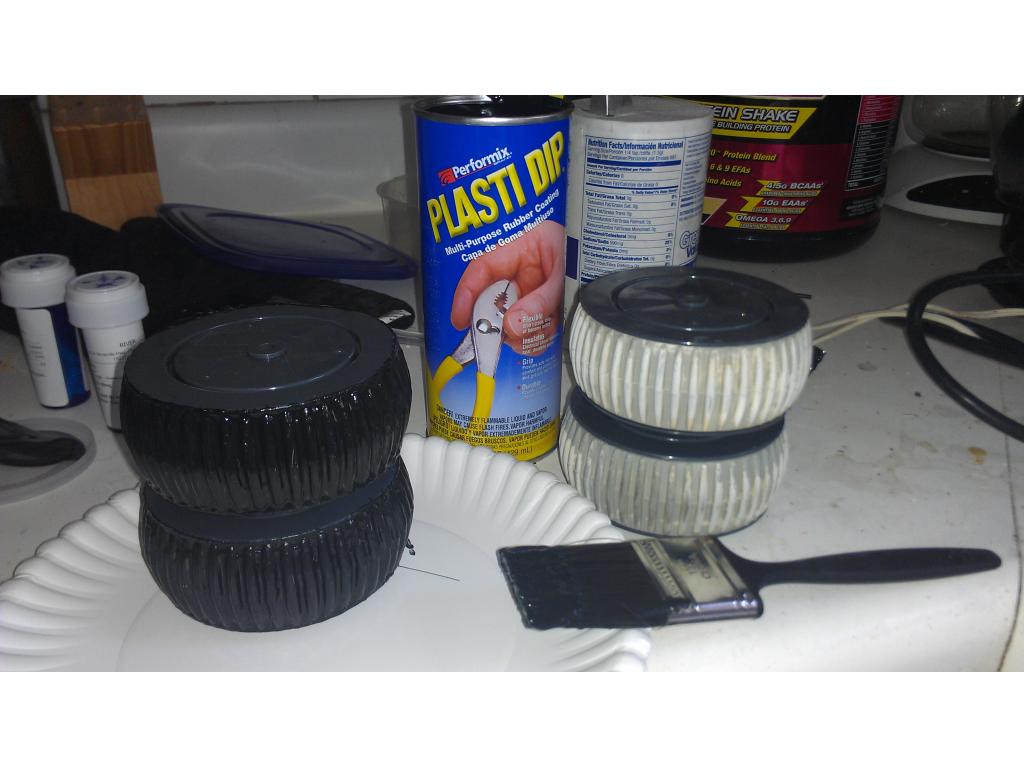
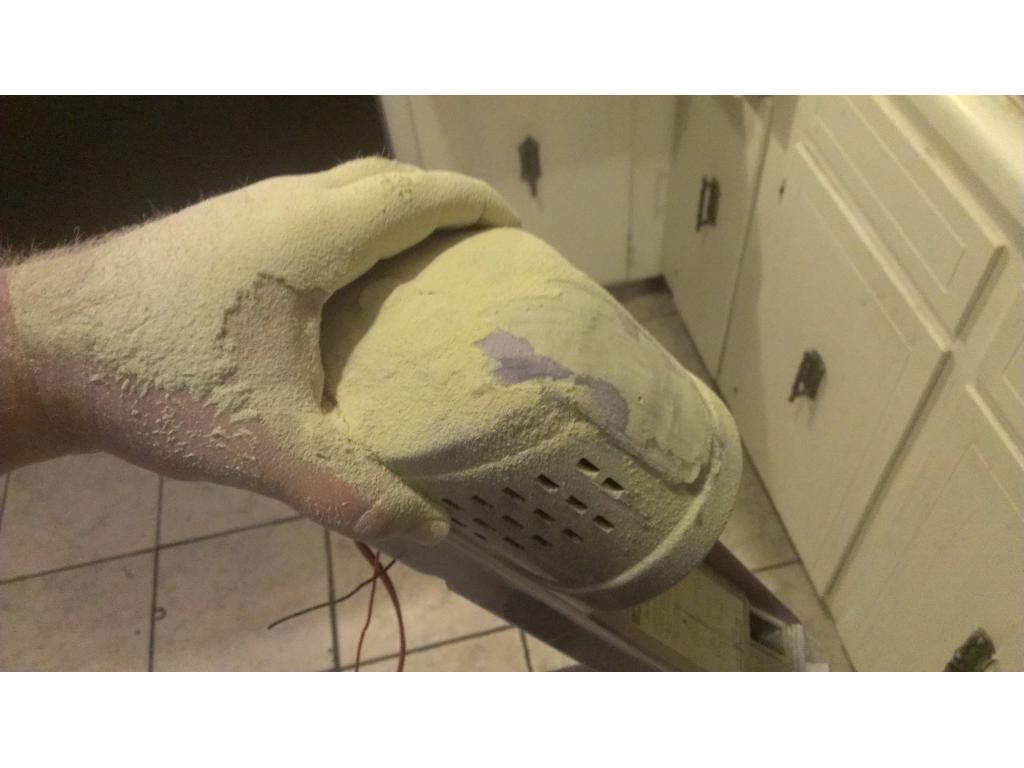
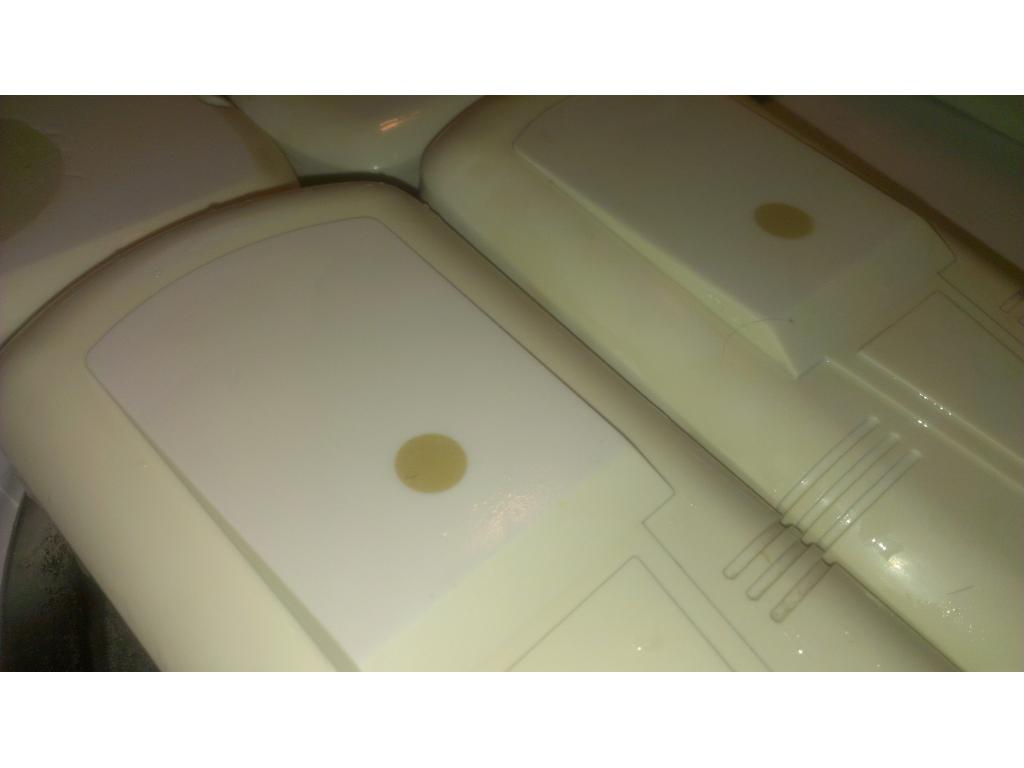
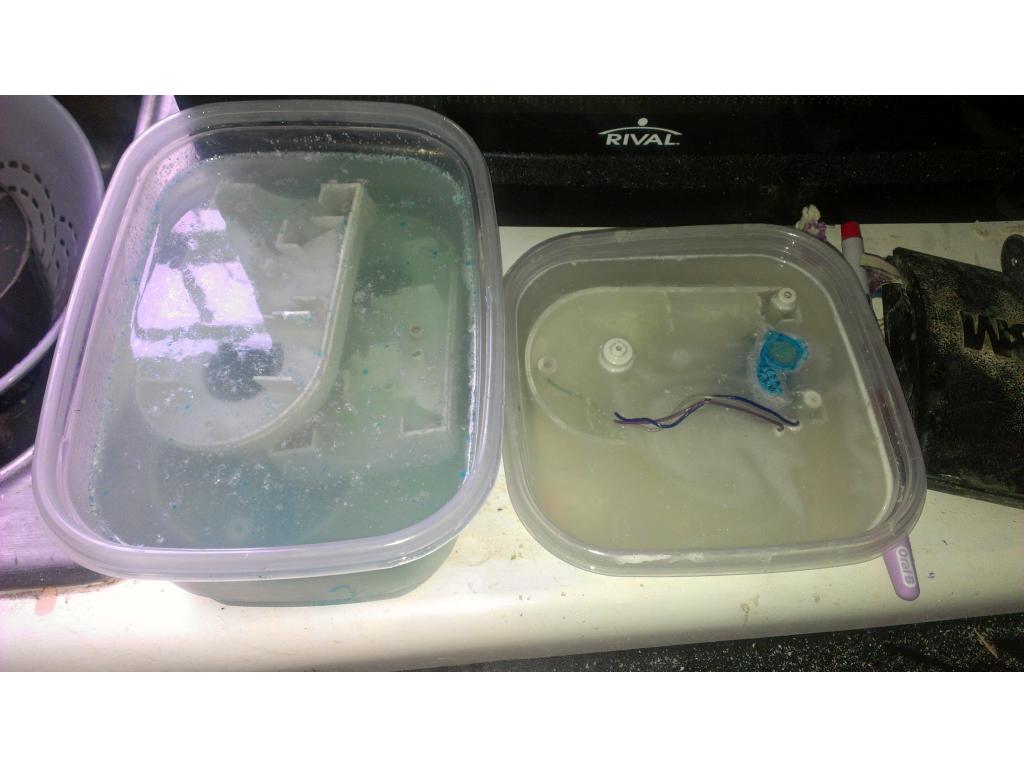
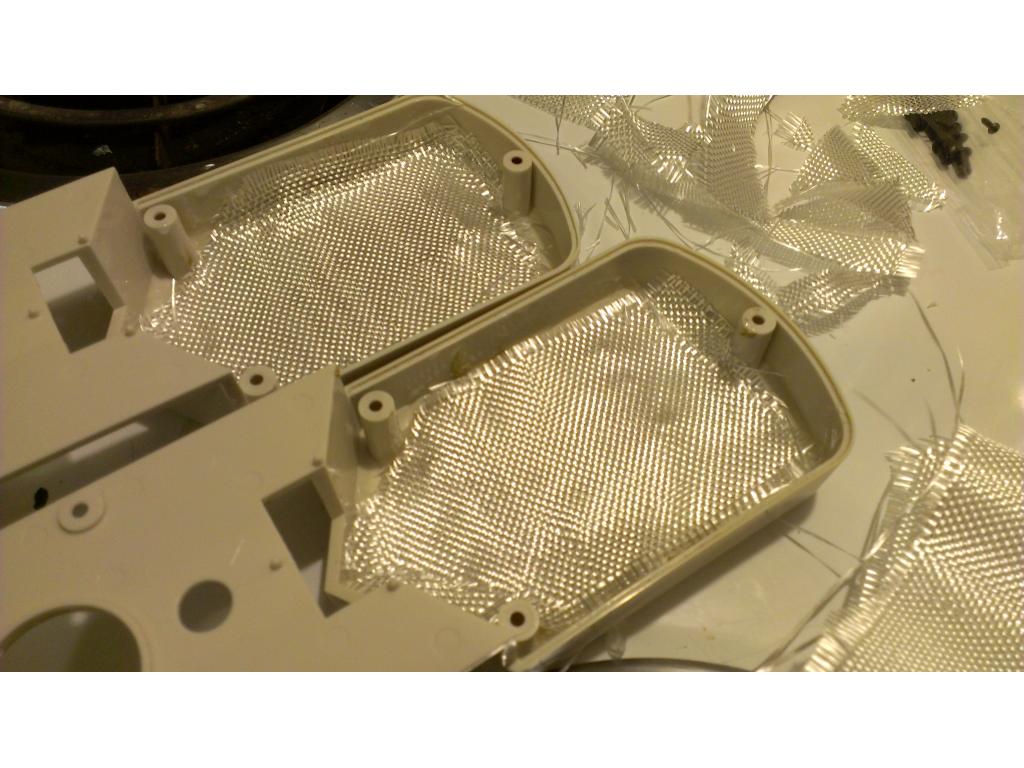
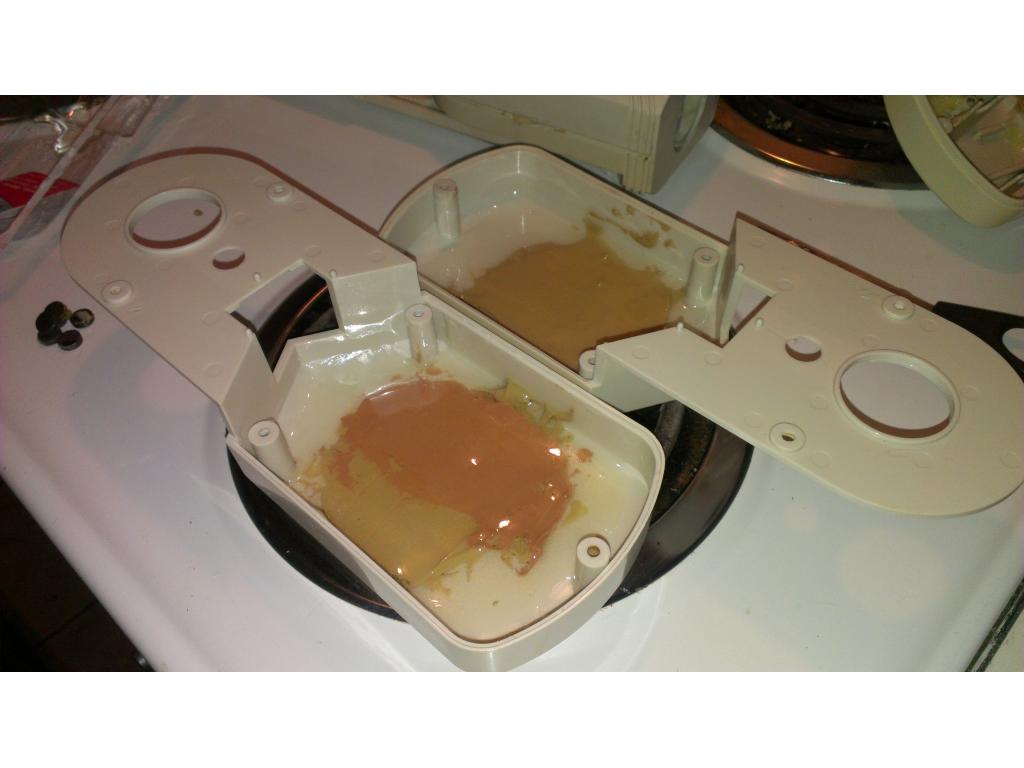
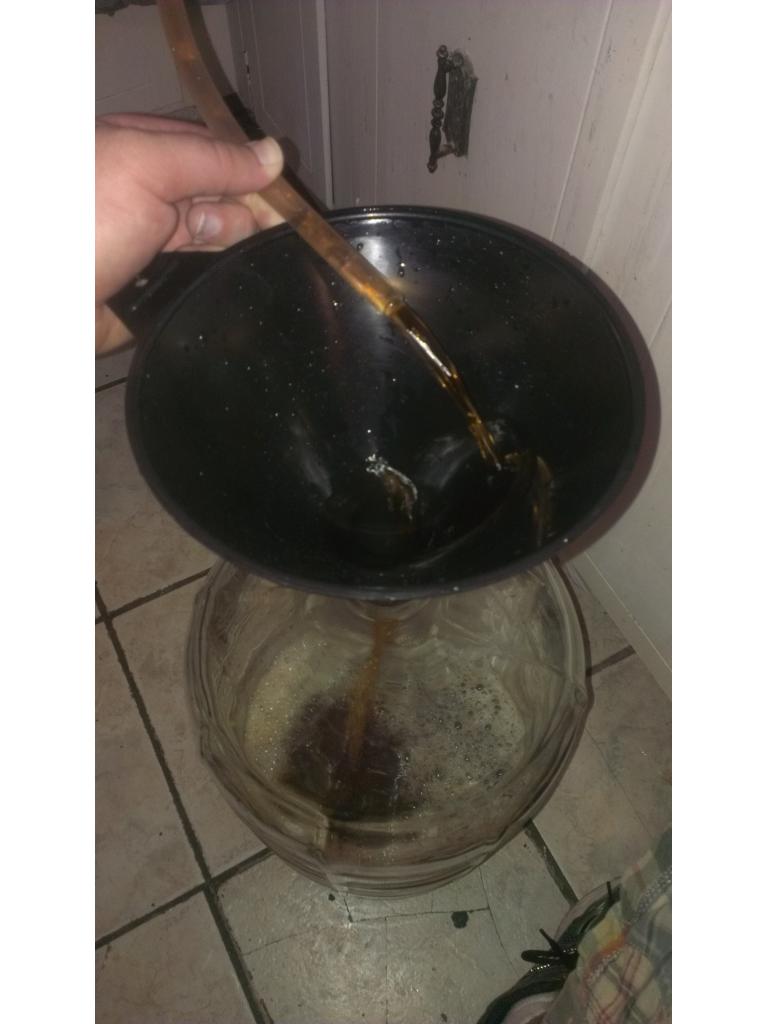
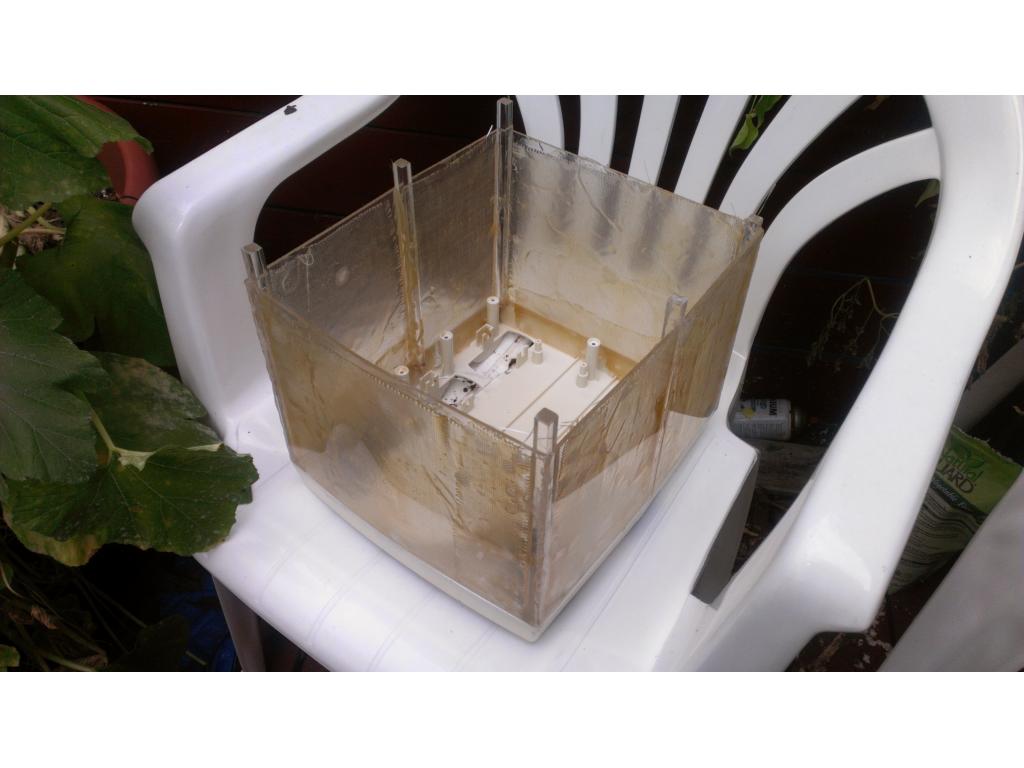
Ok I went to sallys beauty supply and got a large bottle of peroxide layup. That's peroxide that is already gelled. It was 3.50 USD. Then a tub of oxy clean powder for about 3.50 as well. Last night I washed parts in diswasher with 3 cups bleach and barely made a difference. So now I'm trying the retro bright peroxide method!
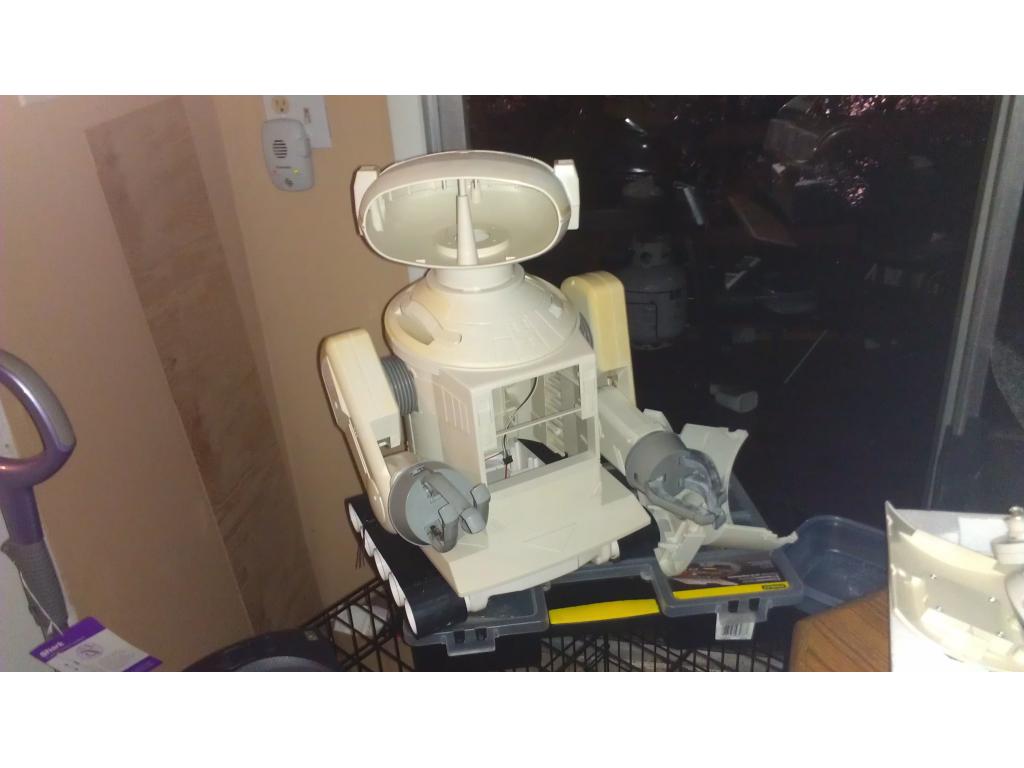
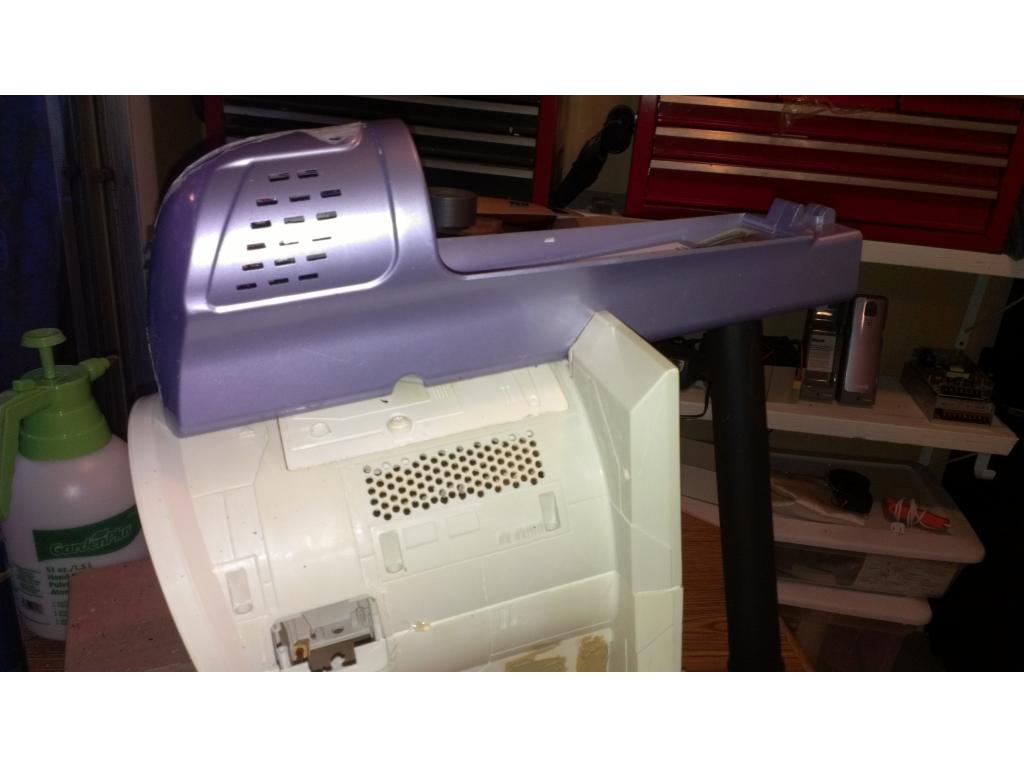
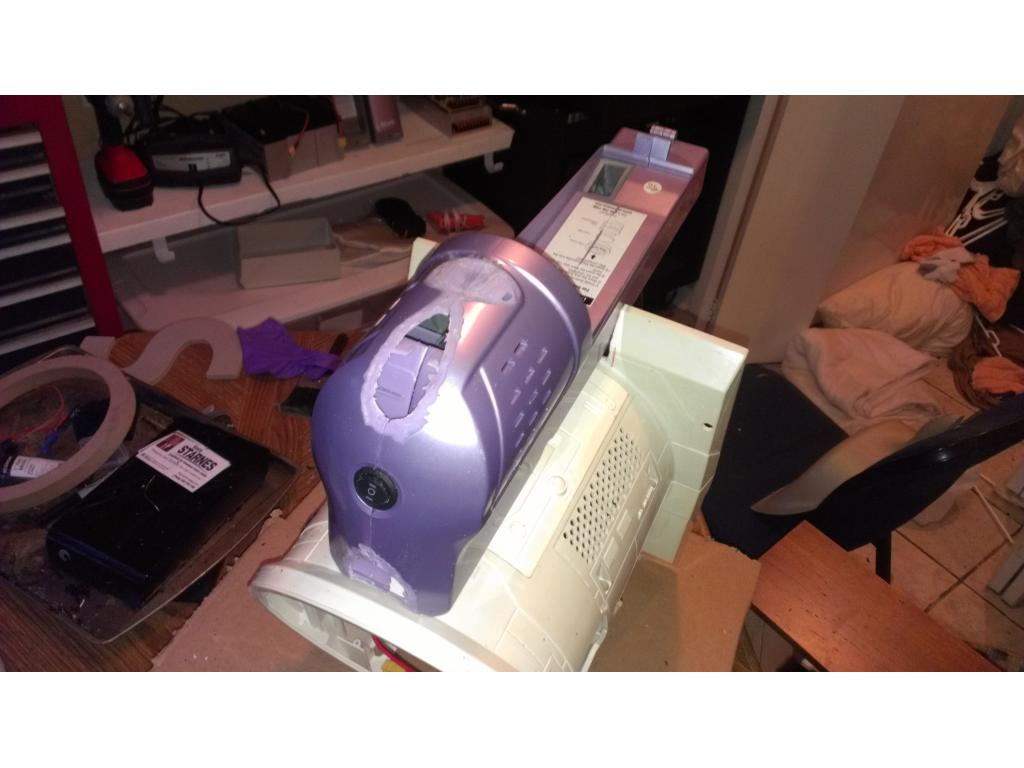
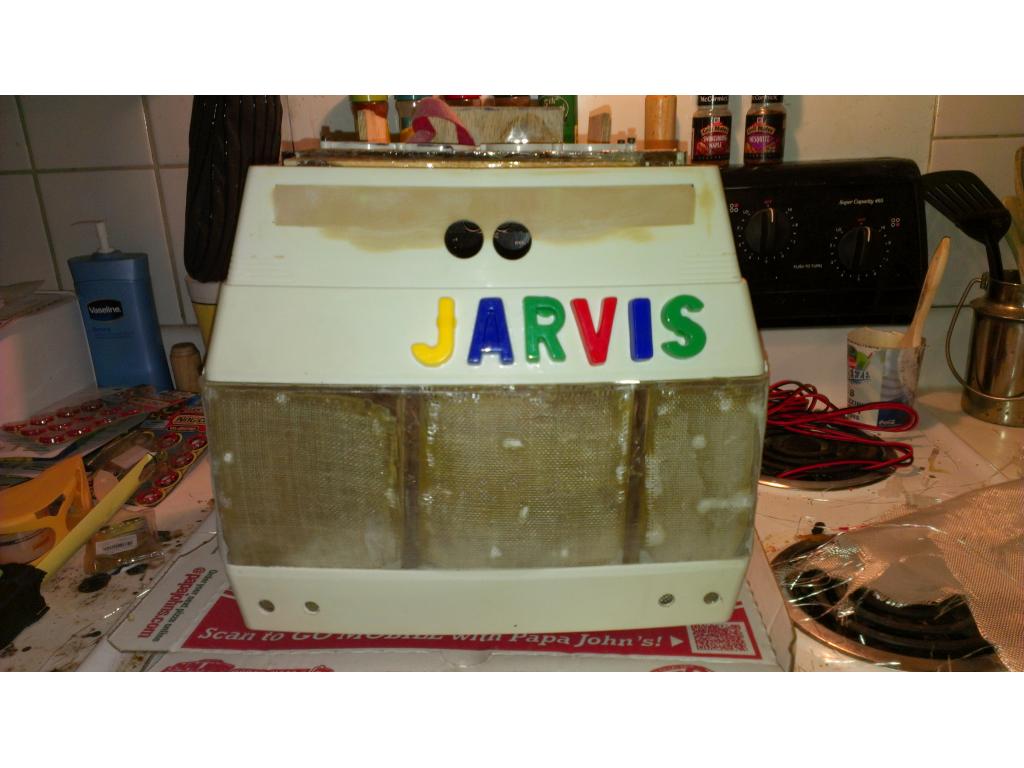
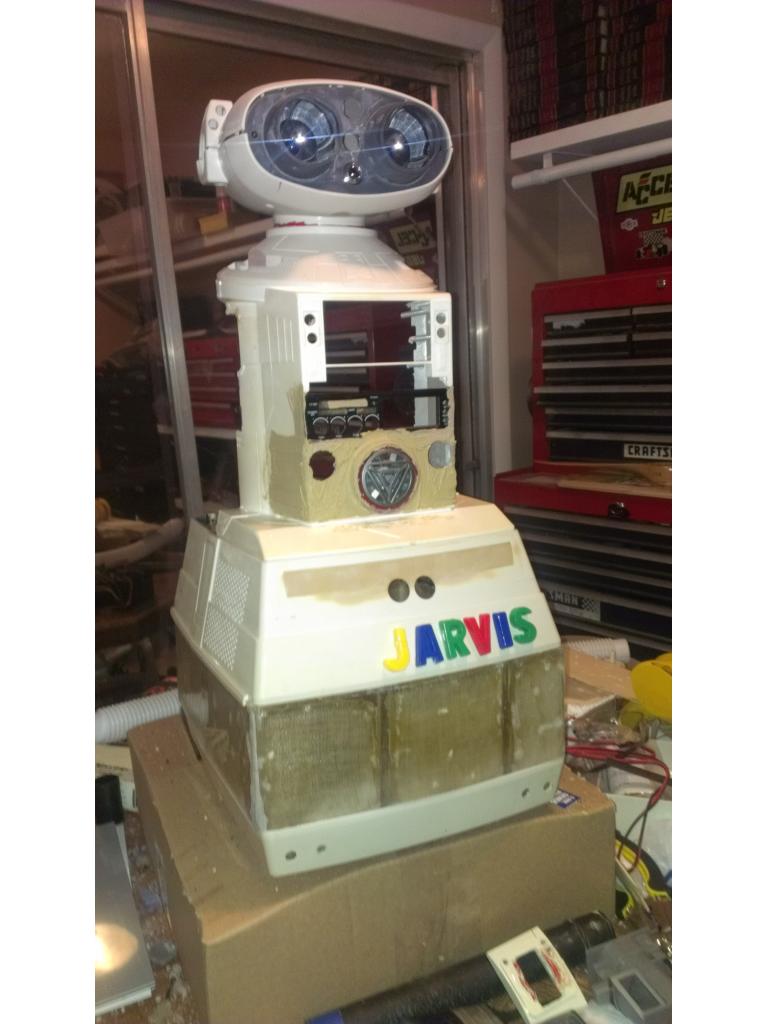
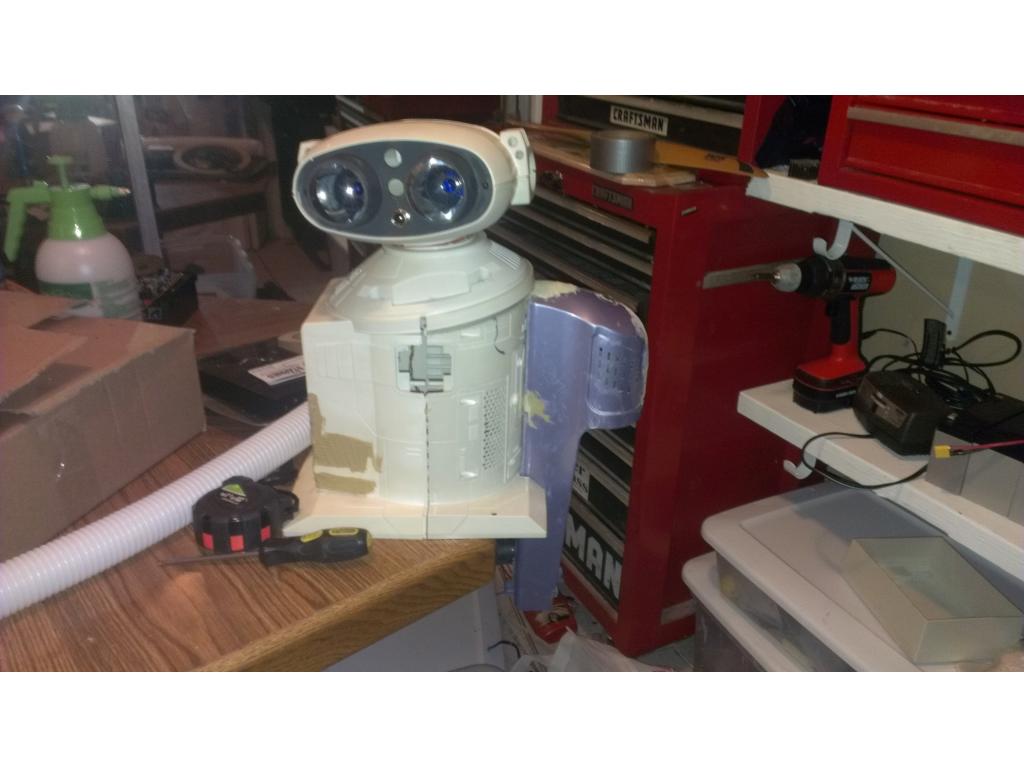
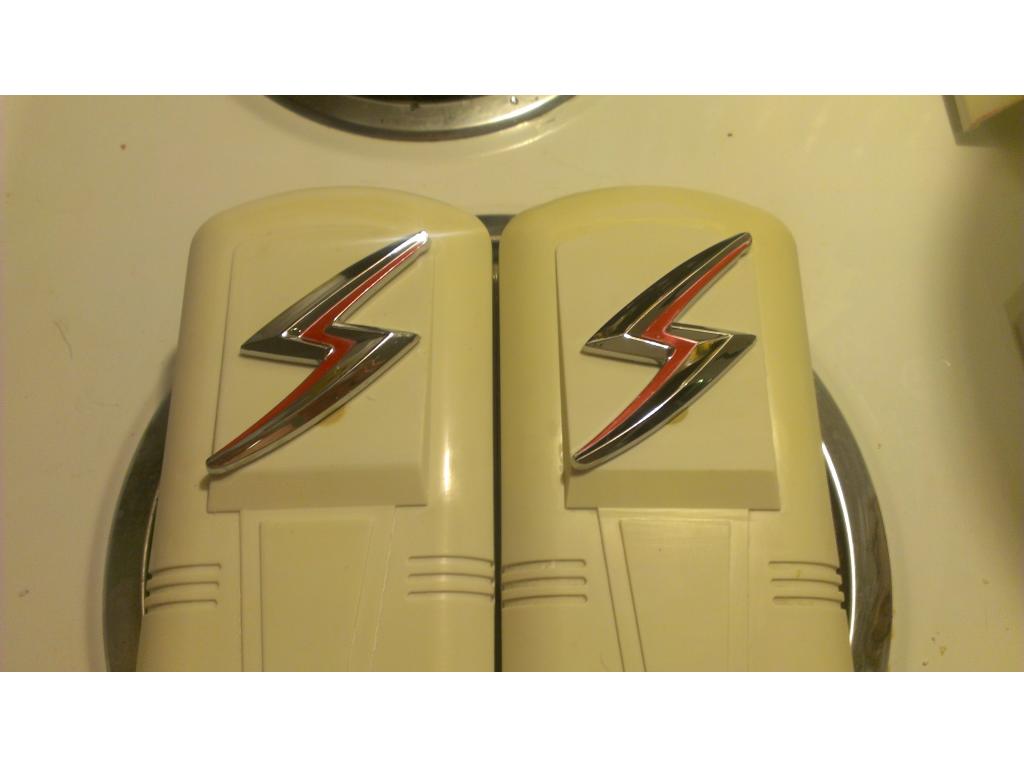
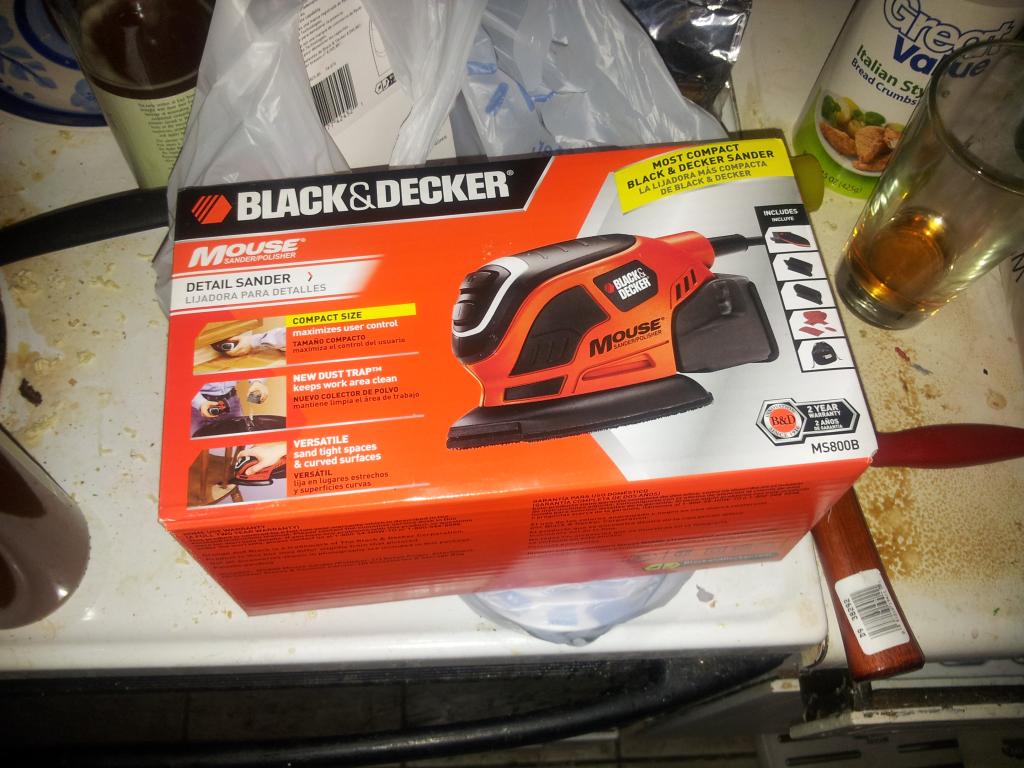
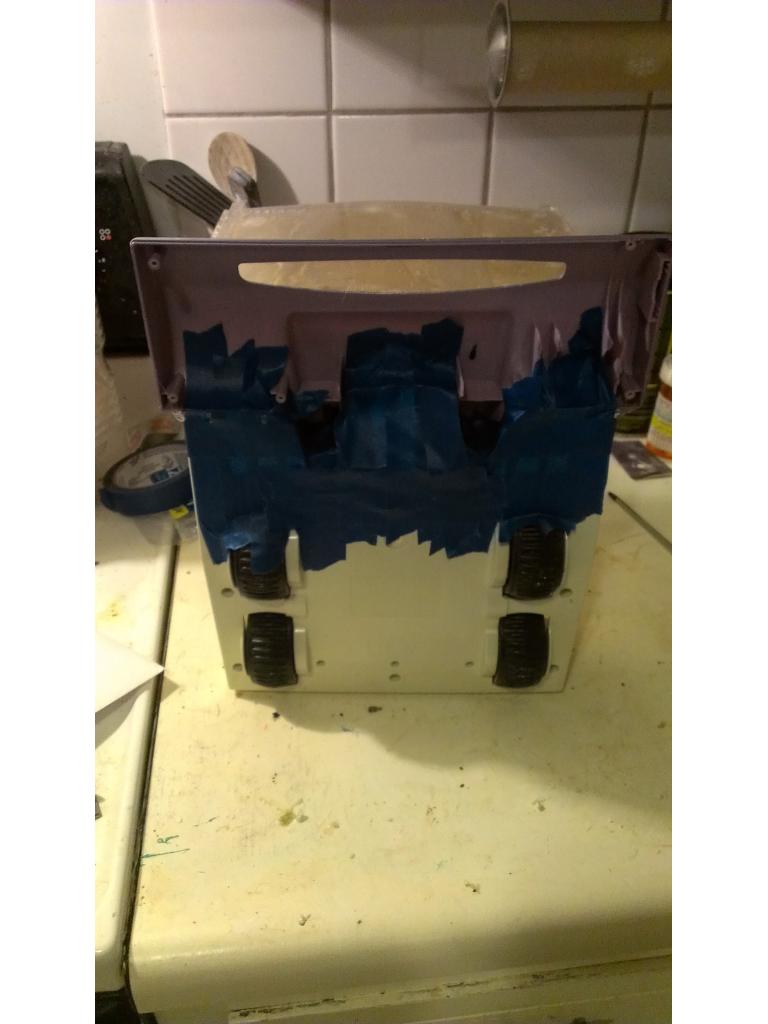
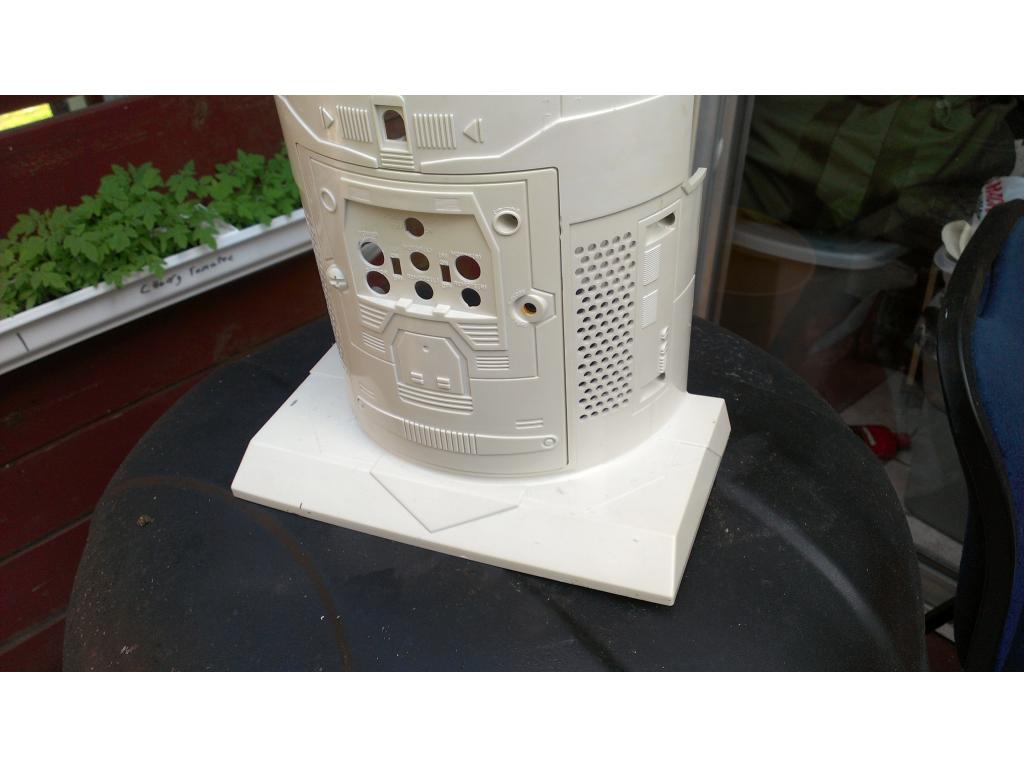
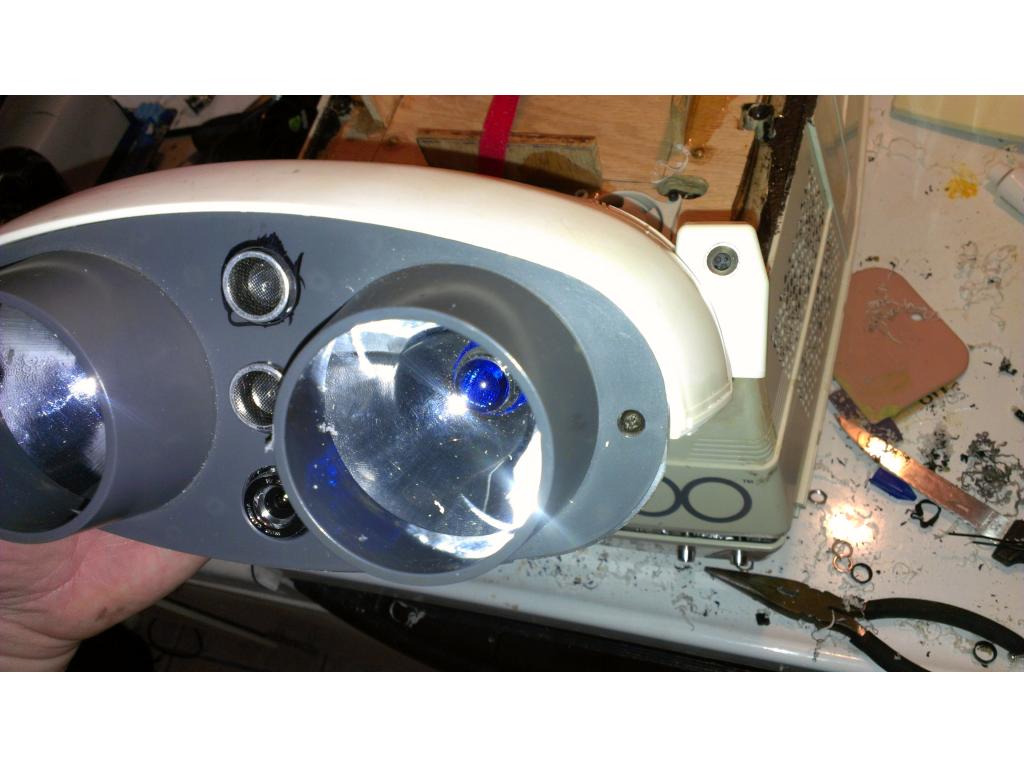
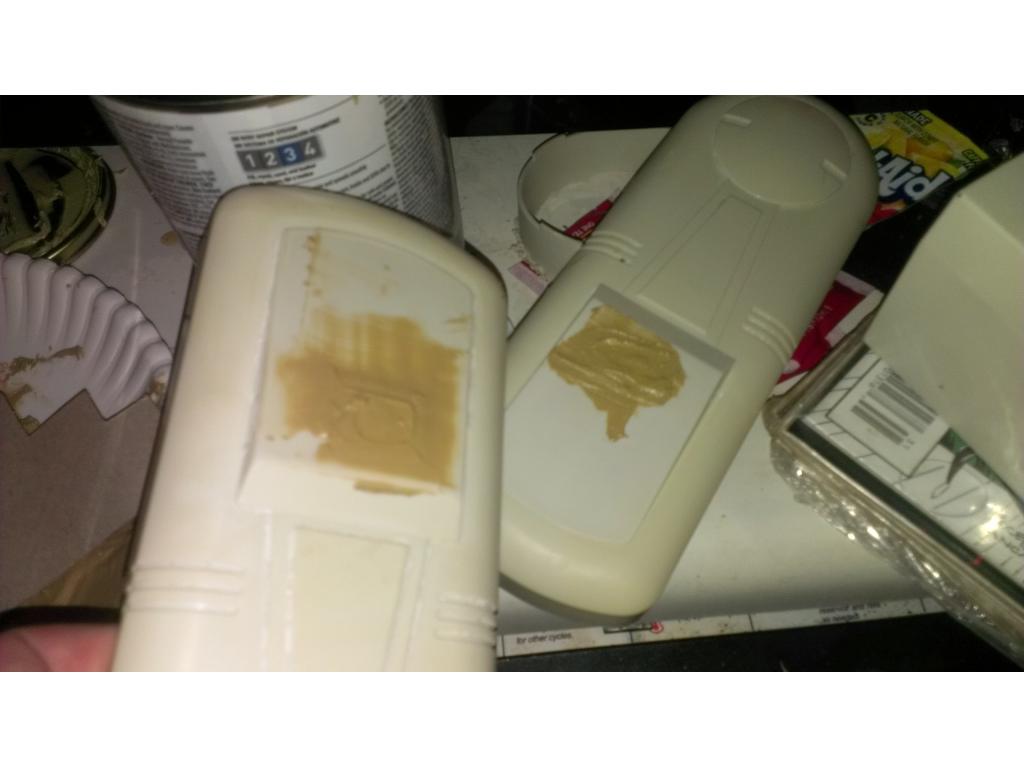
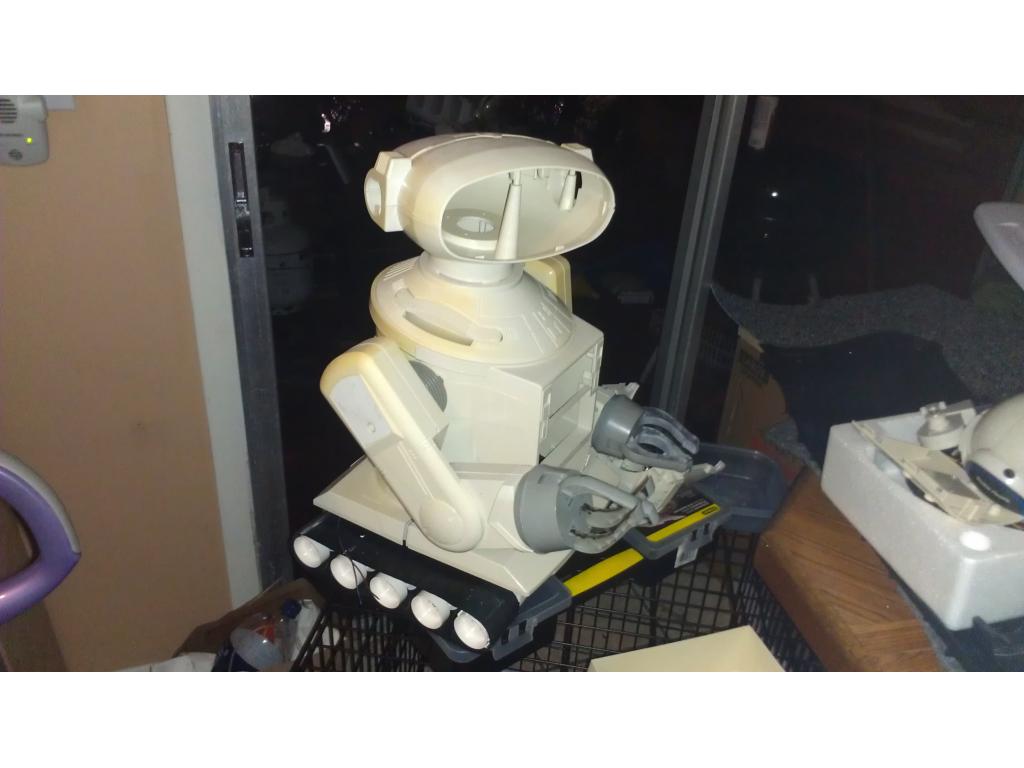
That all seemed like too much work to me so I just painted mine like DJ did his omnibot - I just changed the color scheme on mine. You can use plastic spray paint and it works really well.
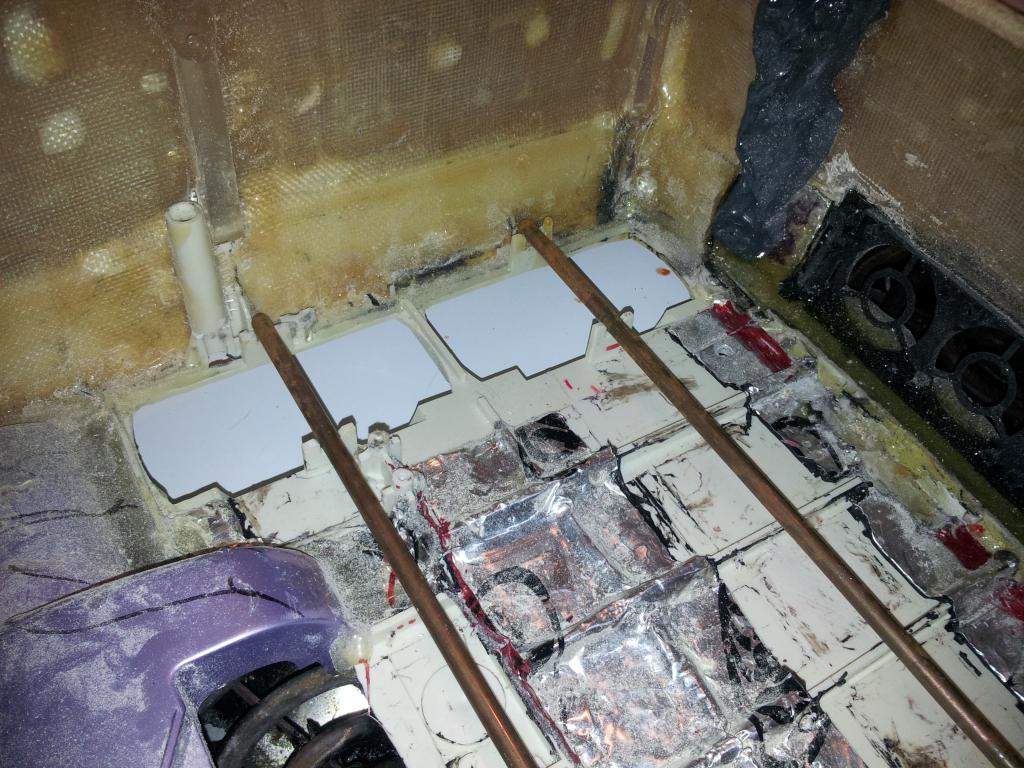
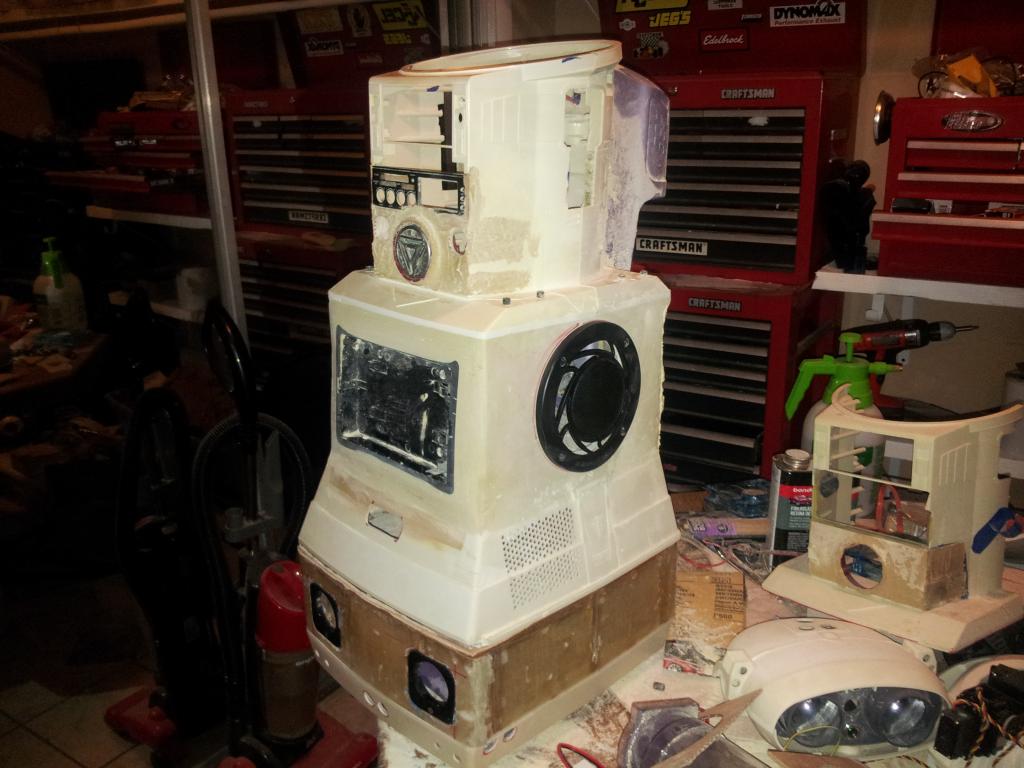
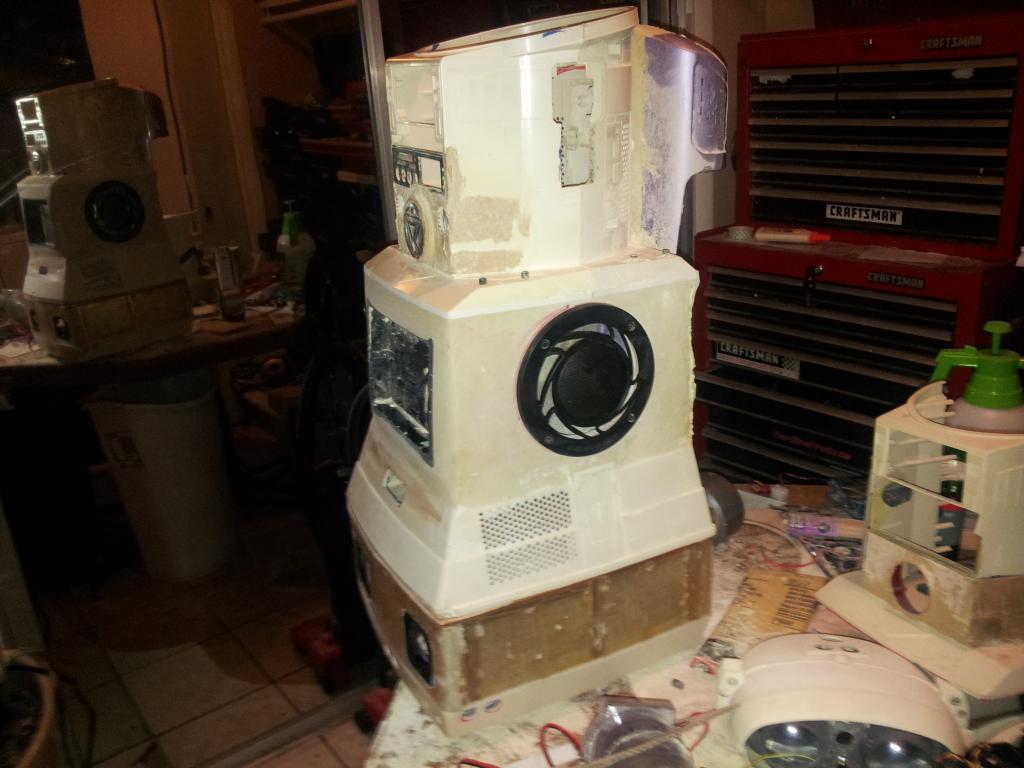
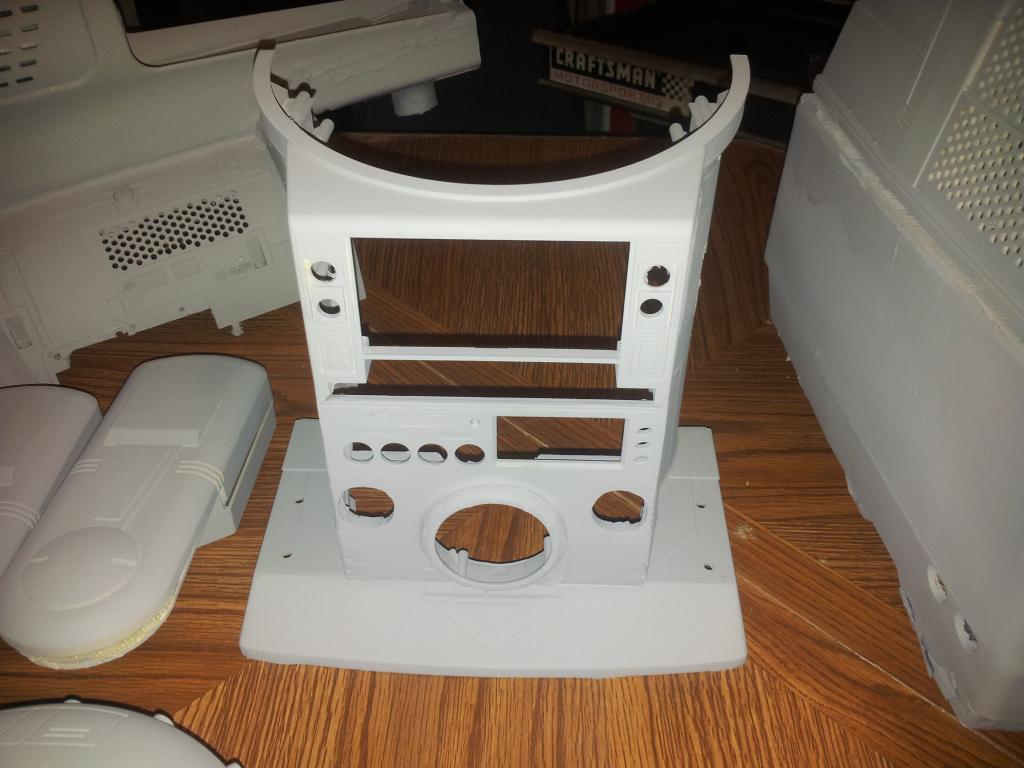
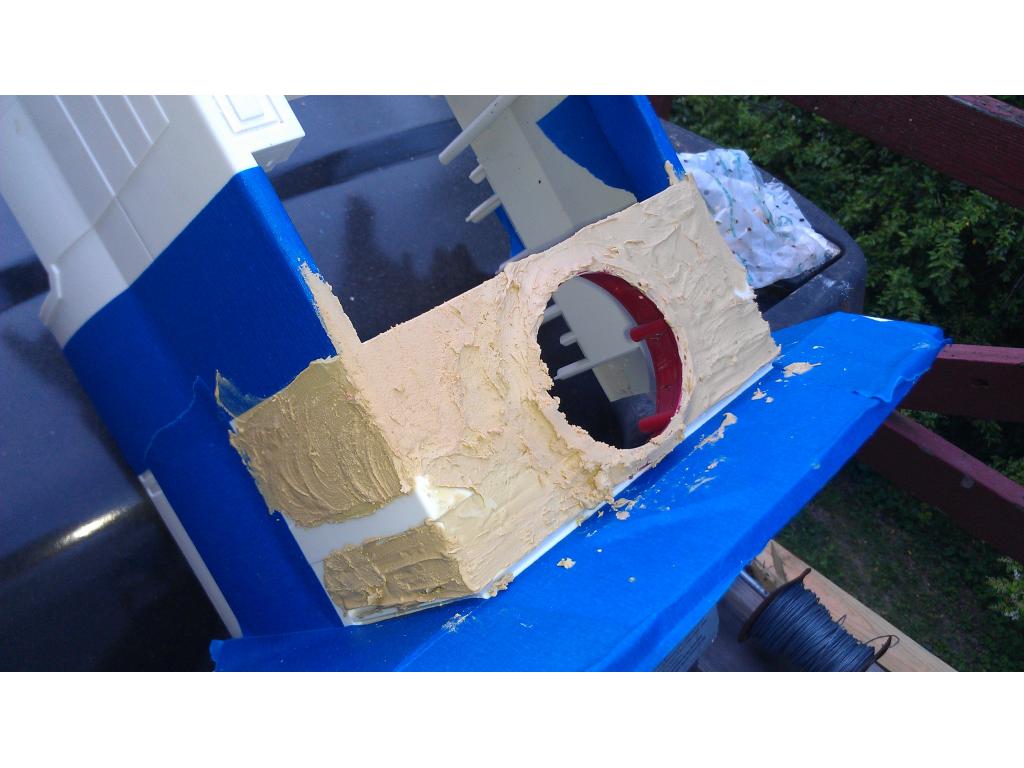
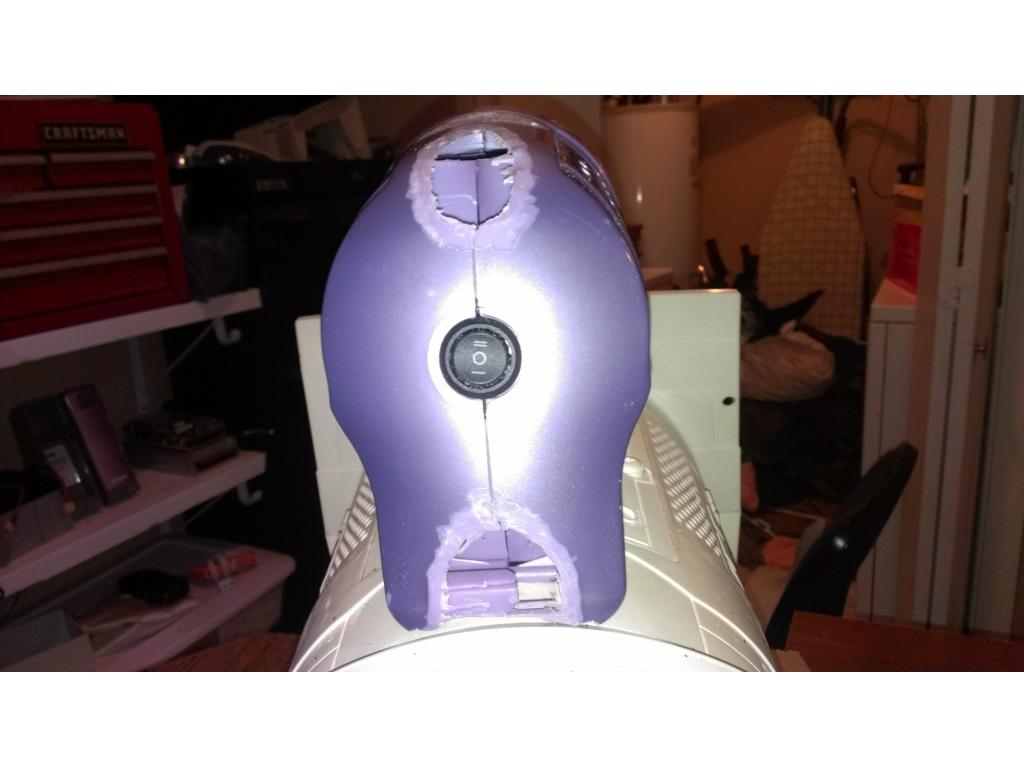
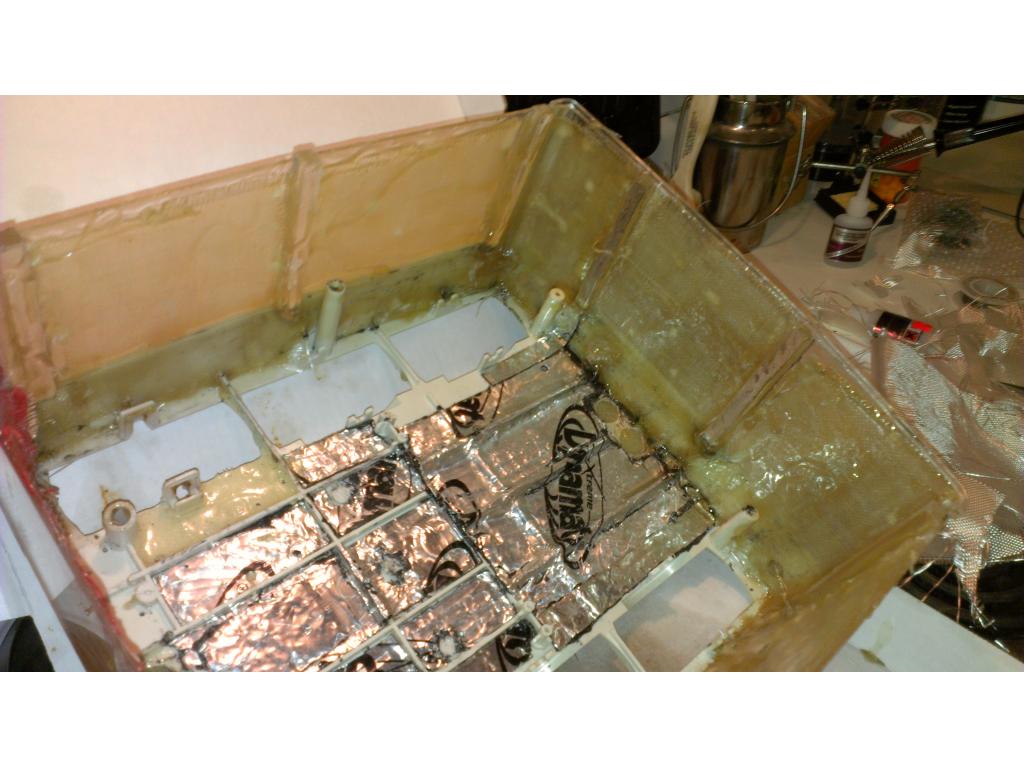
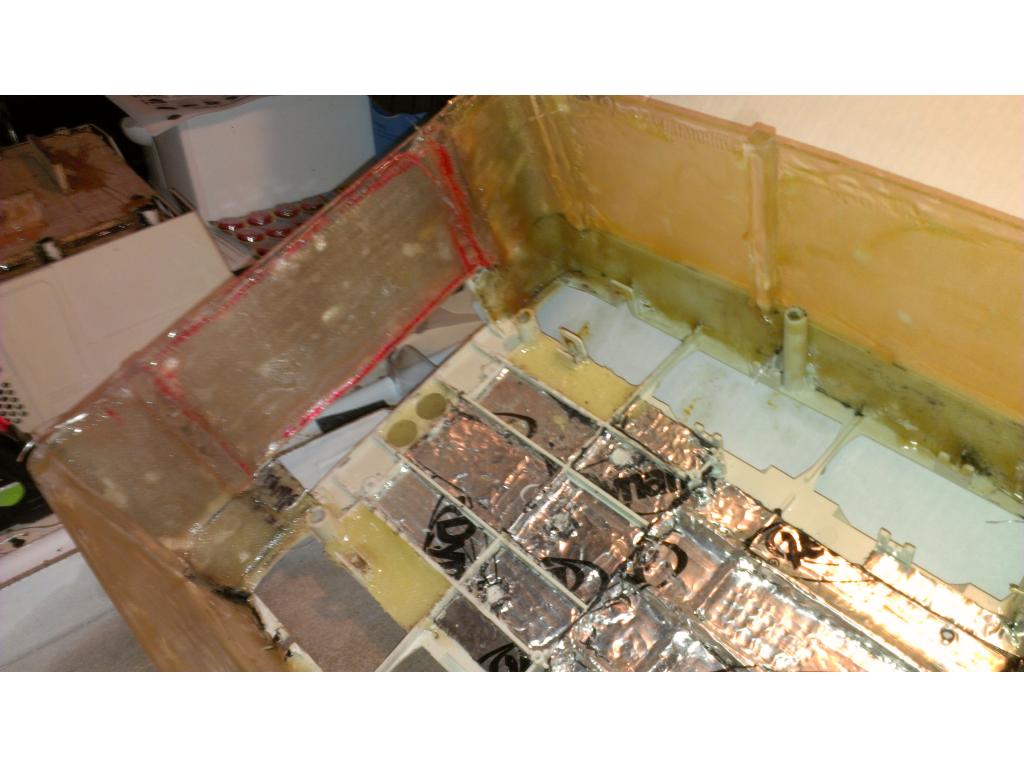
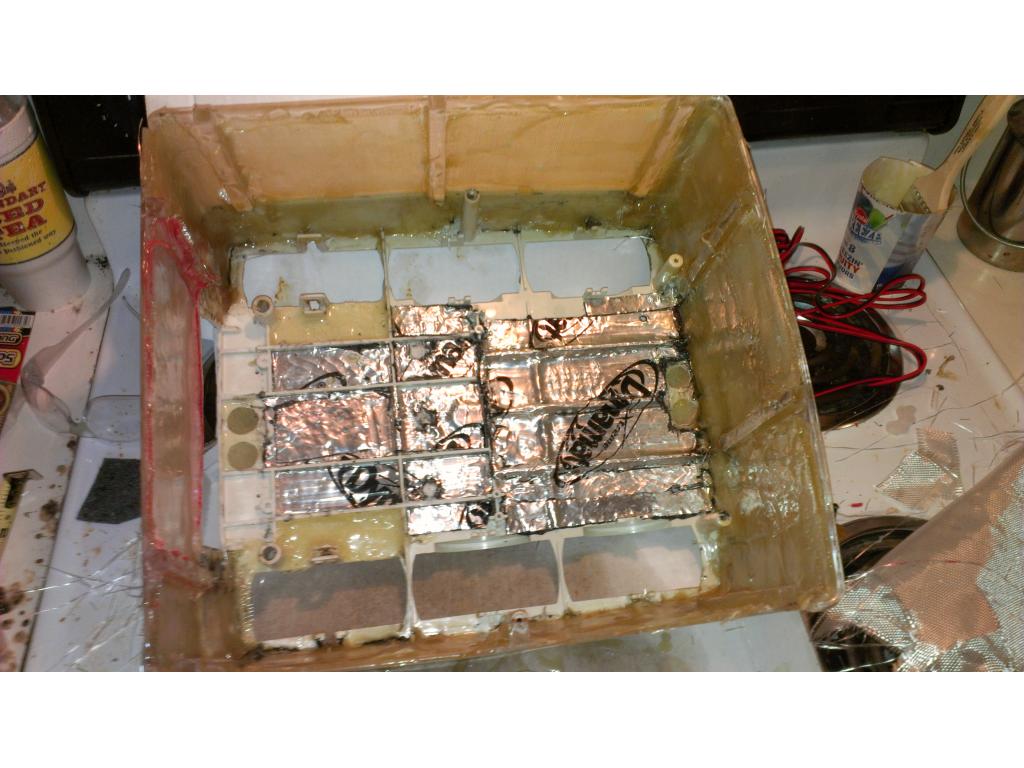
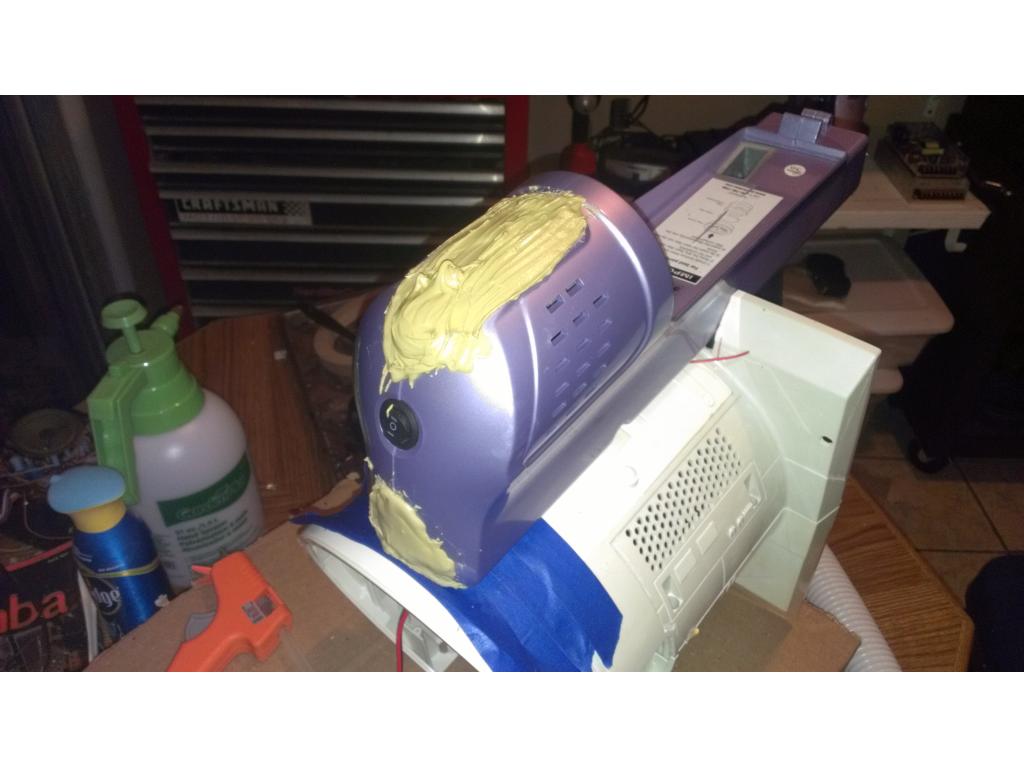
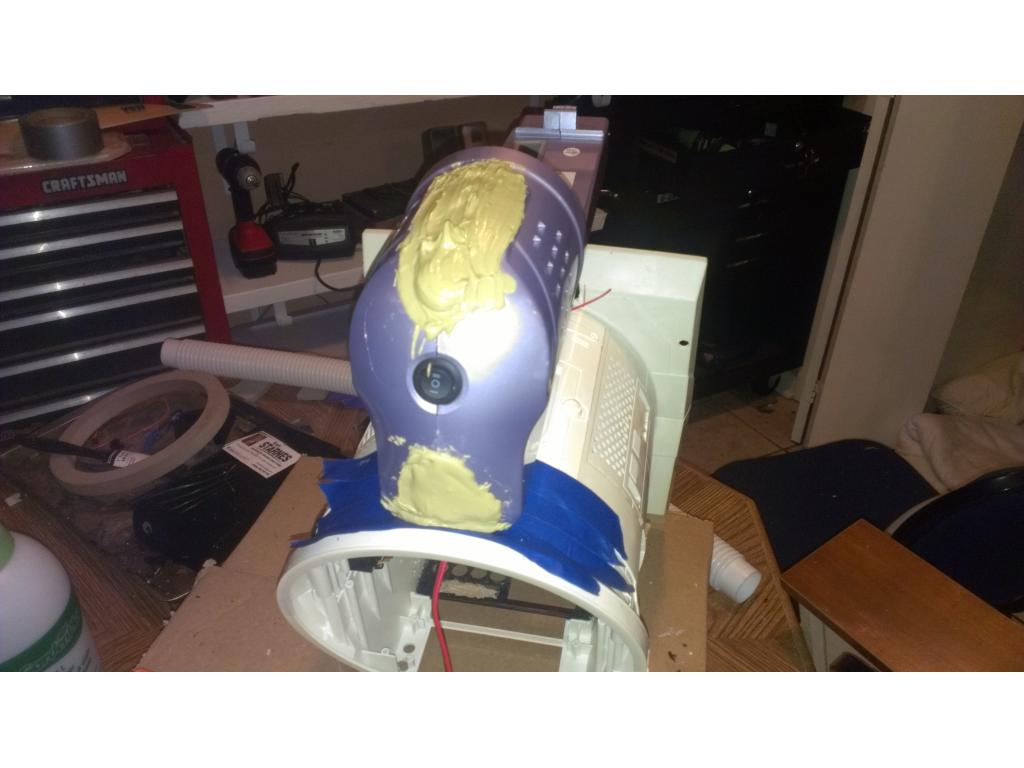
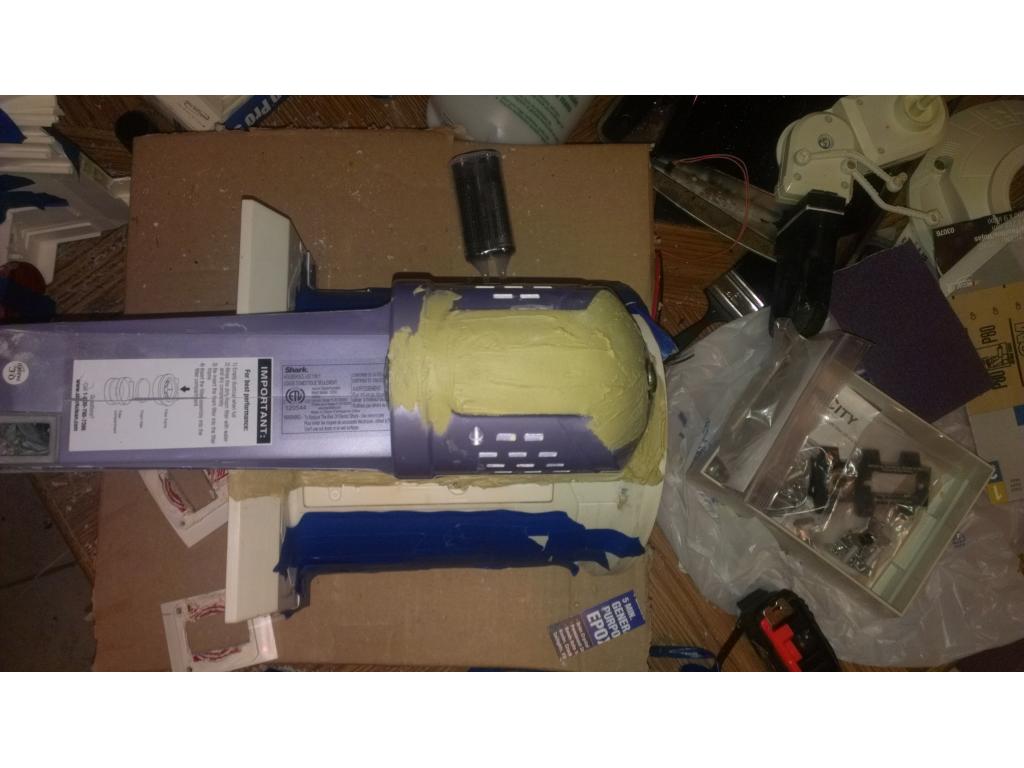
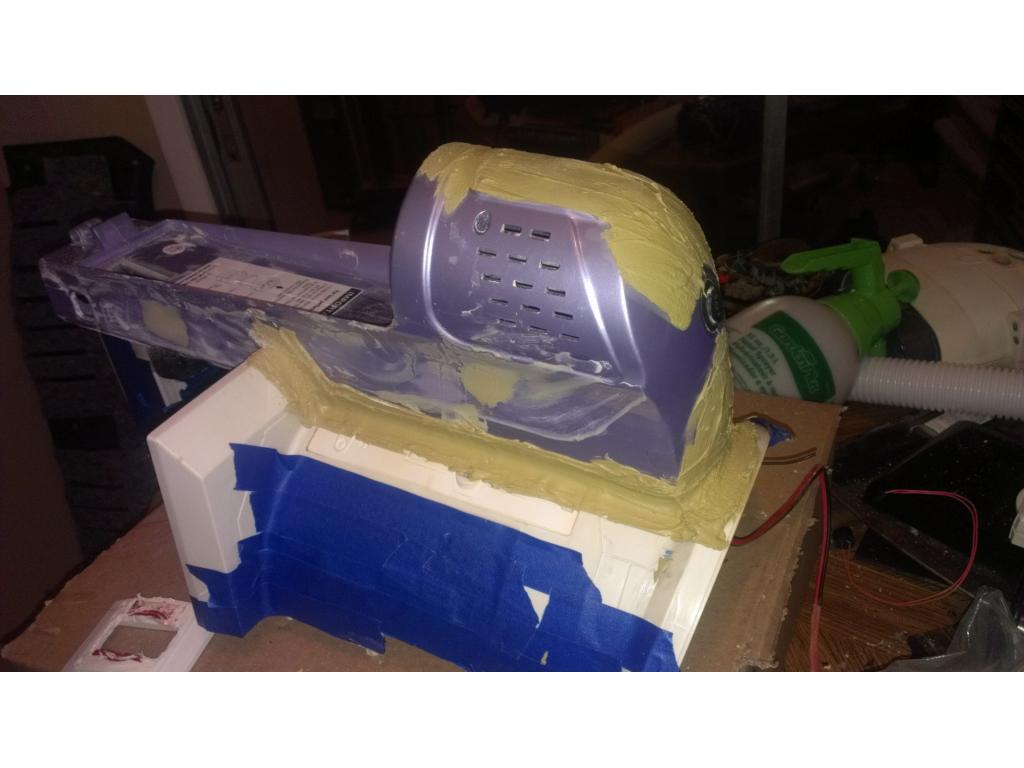
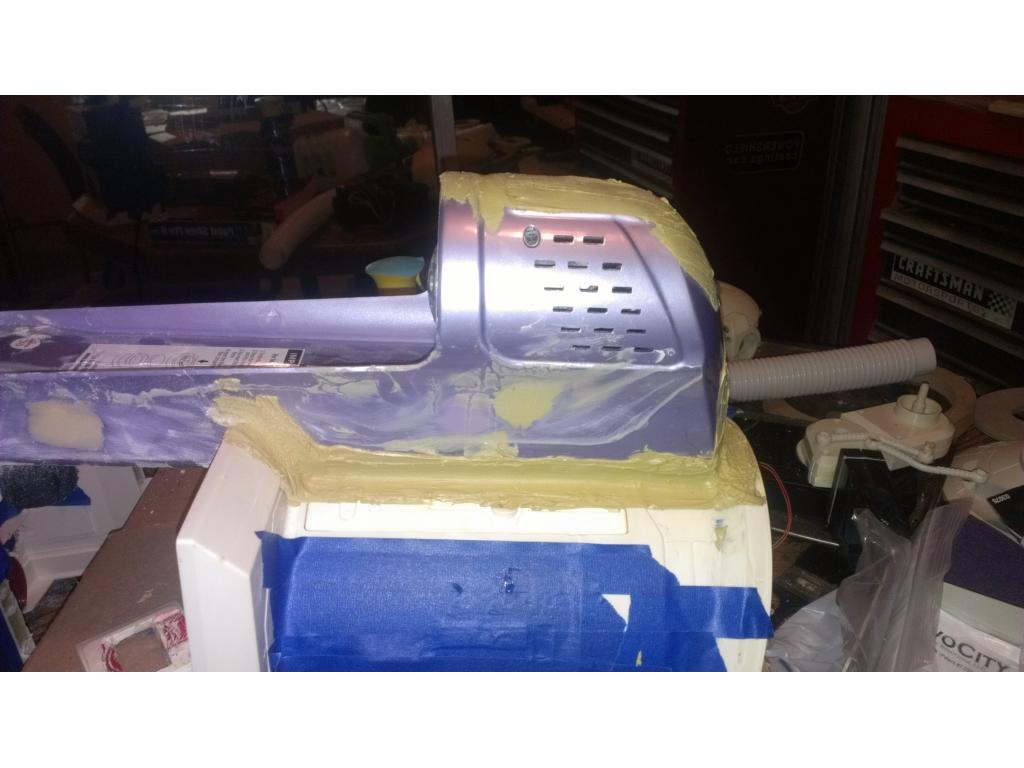
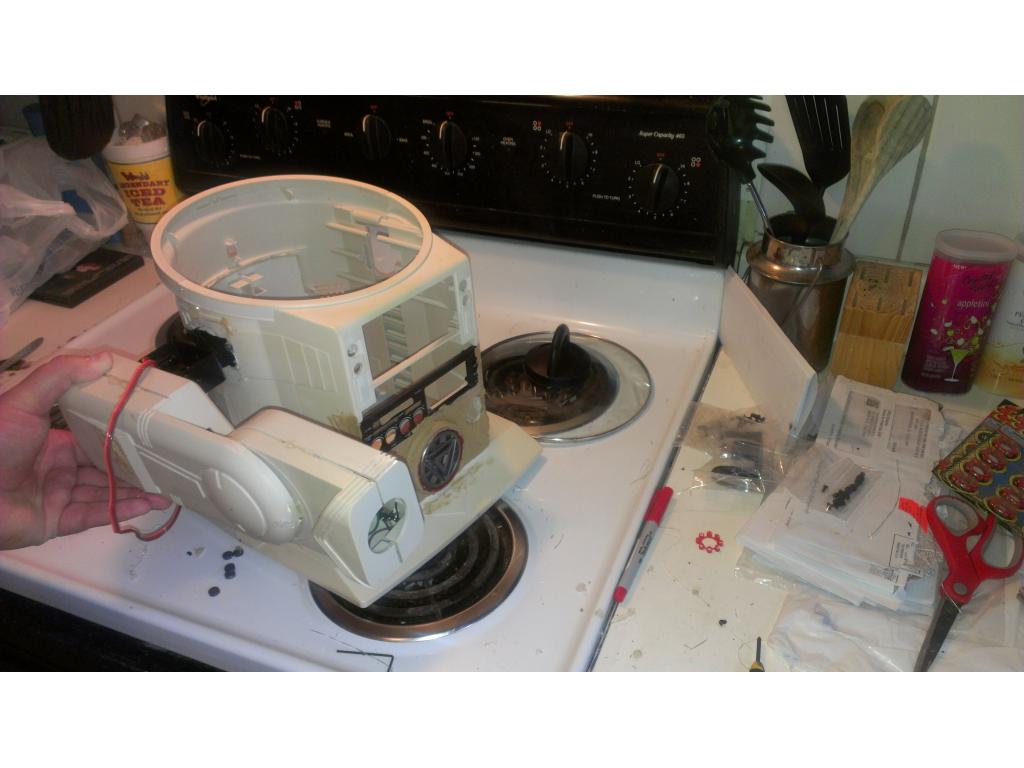
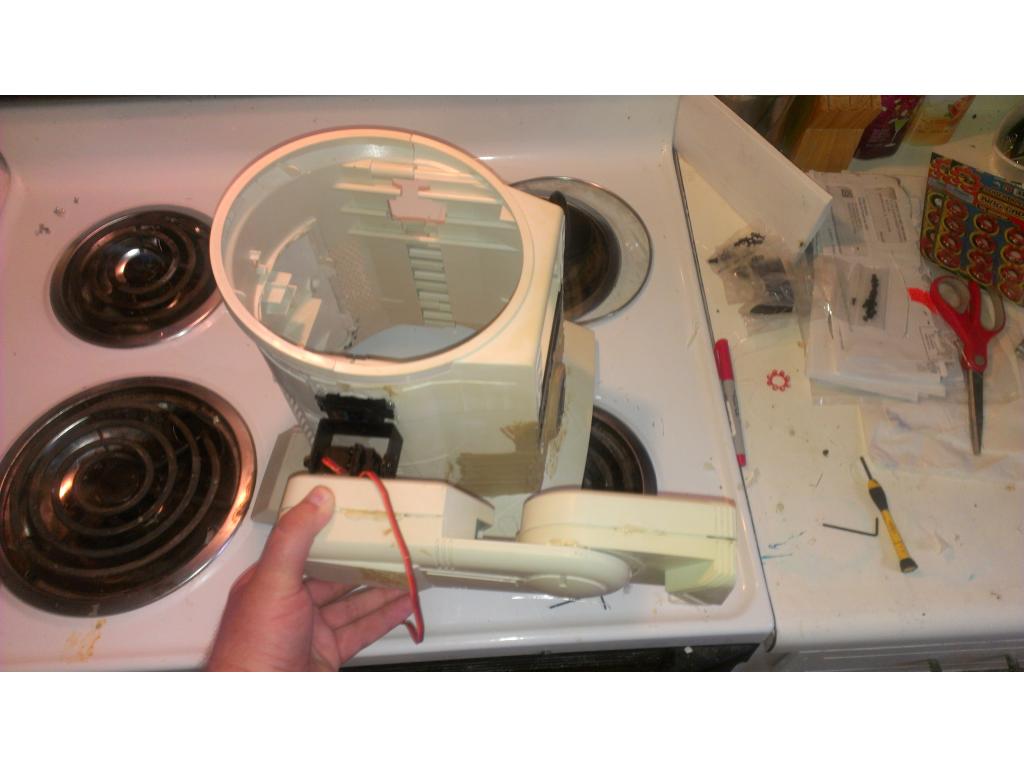
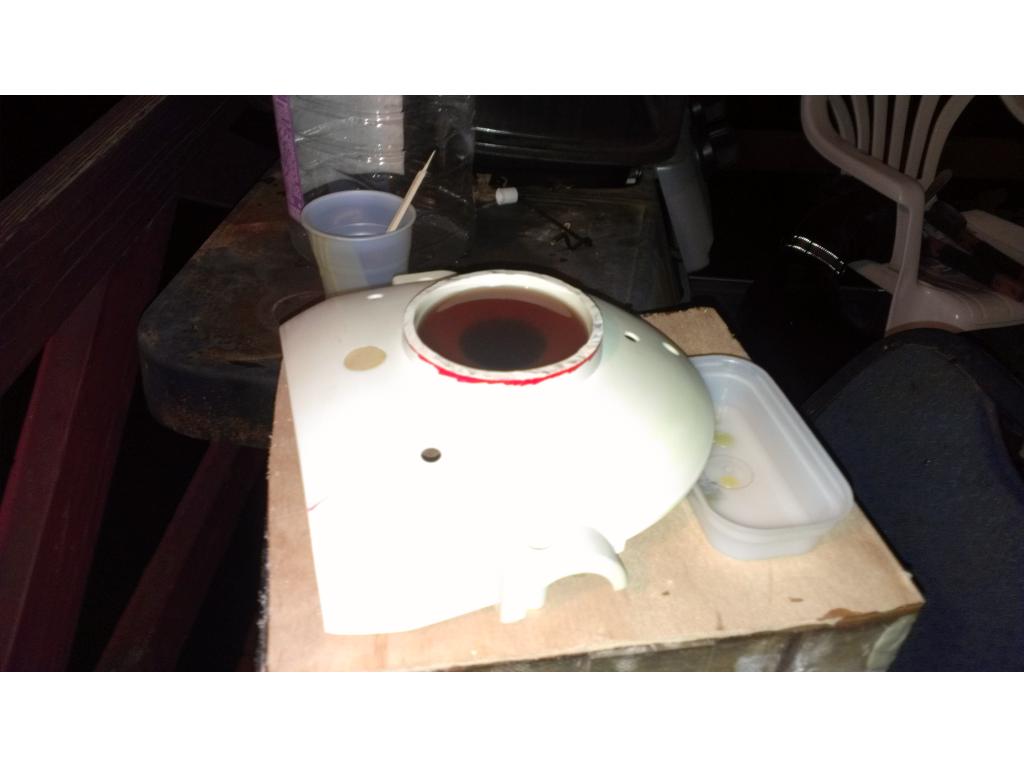
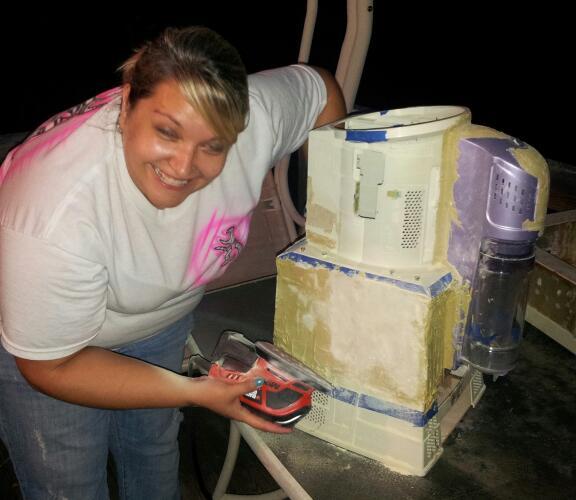
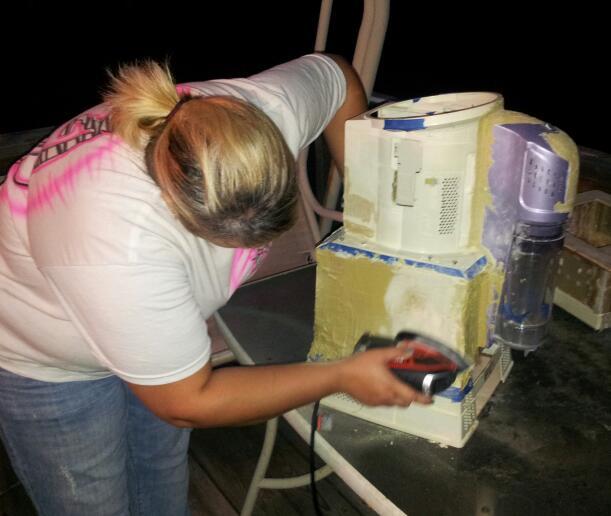
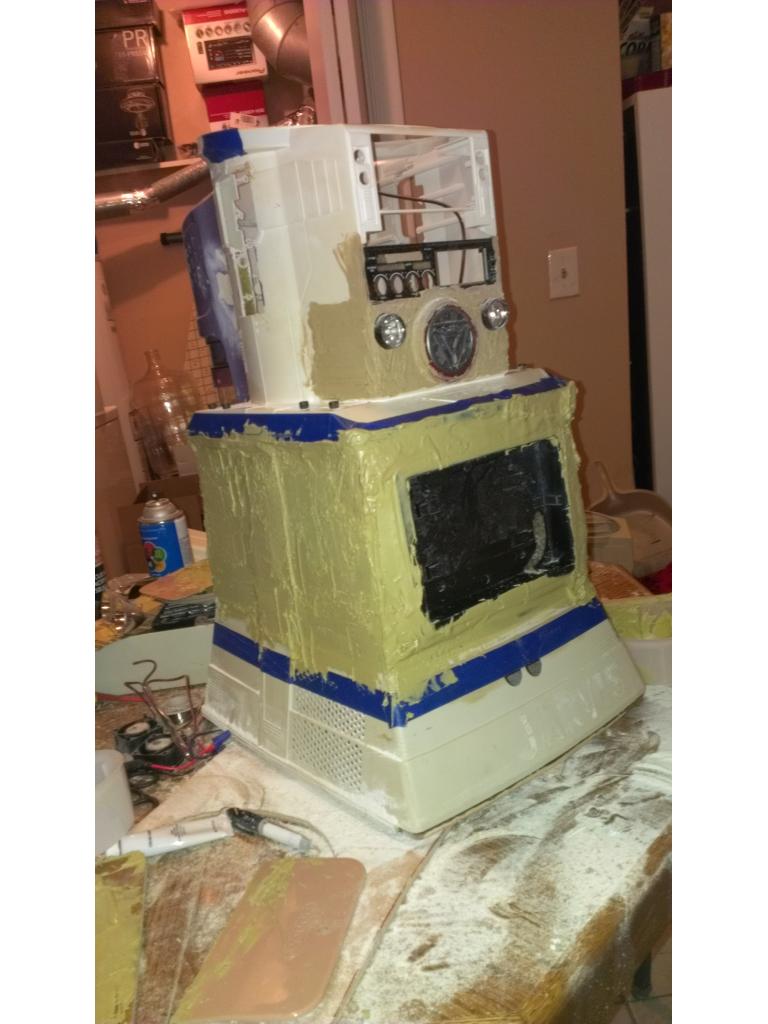
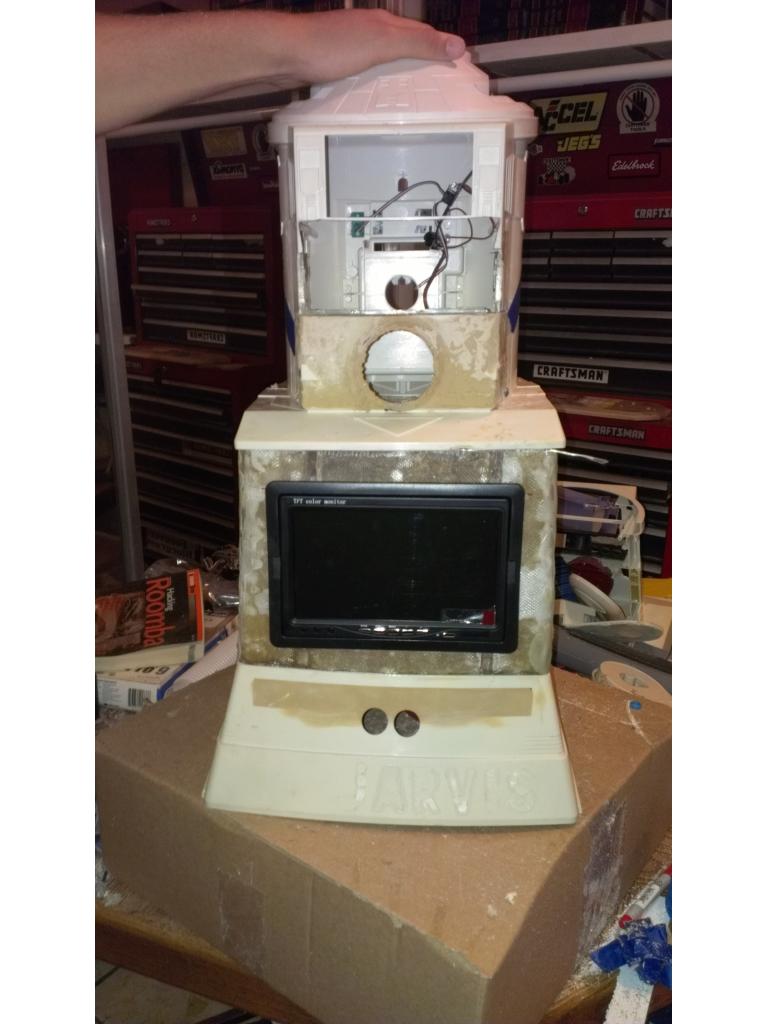
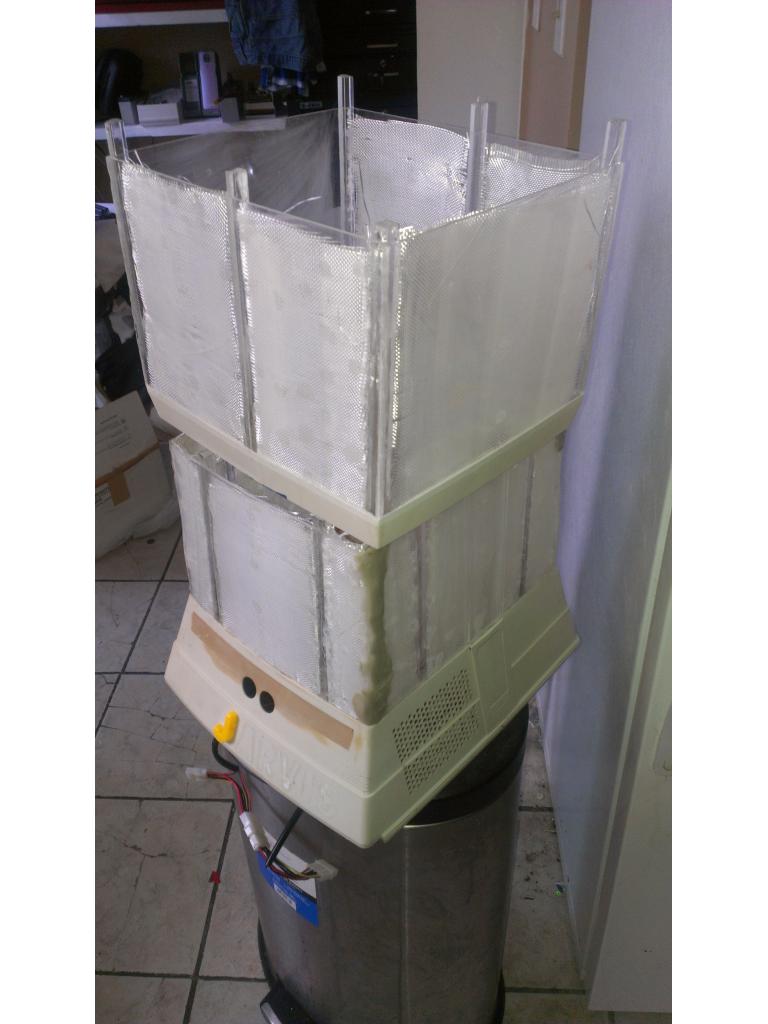
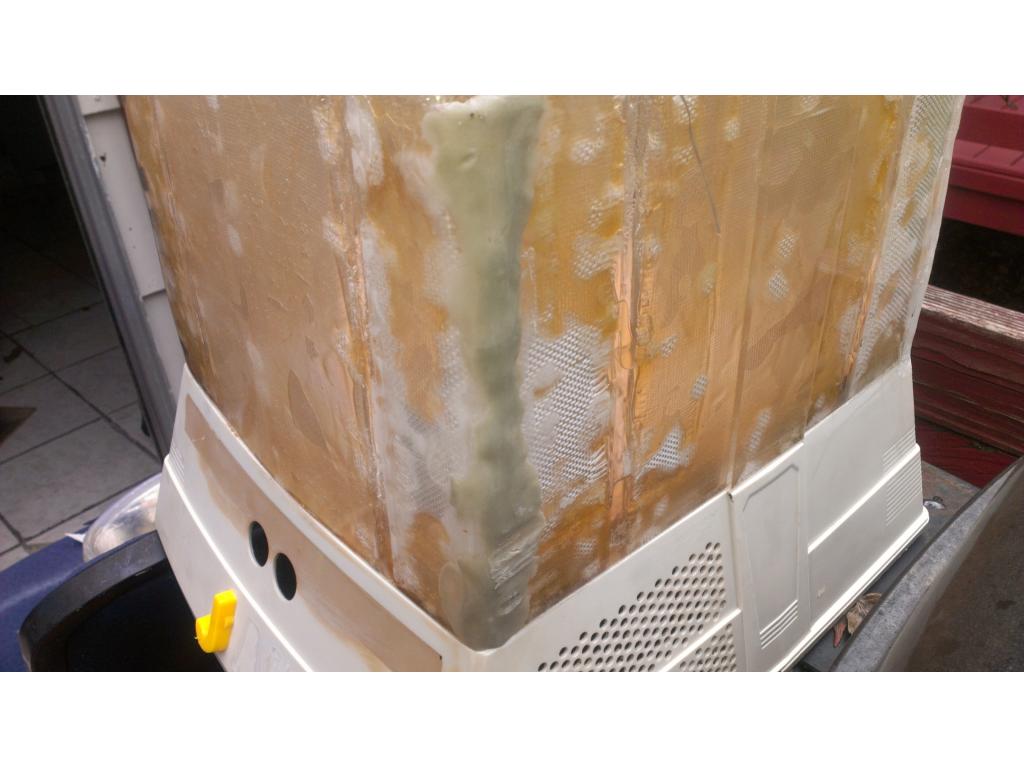
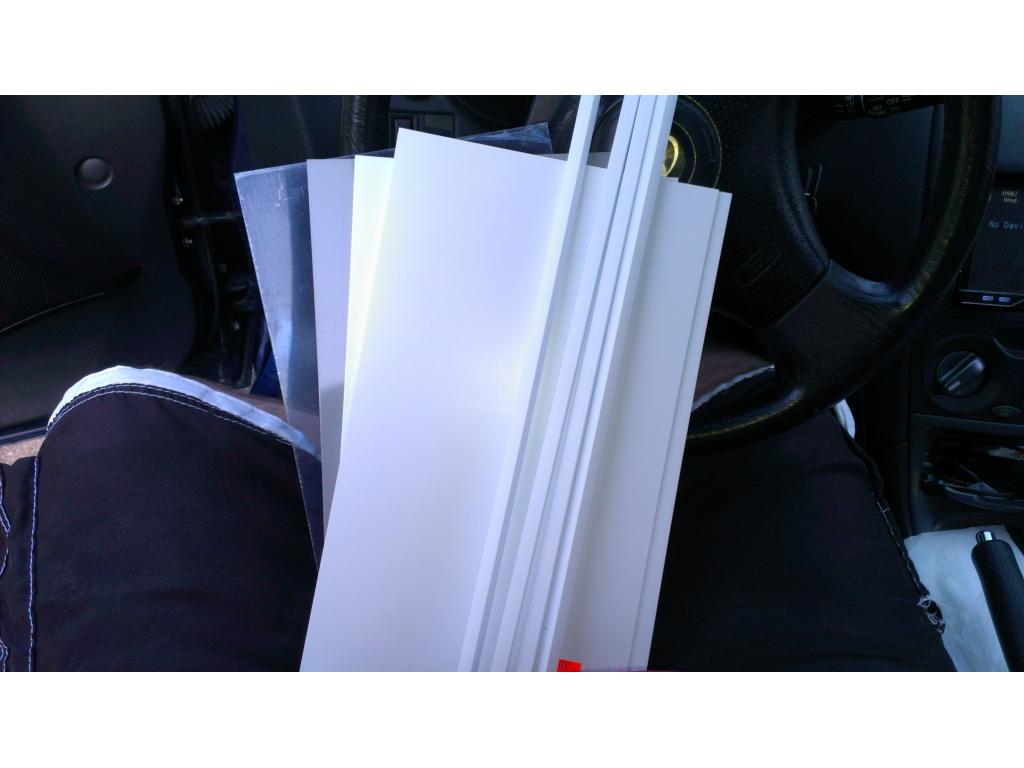
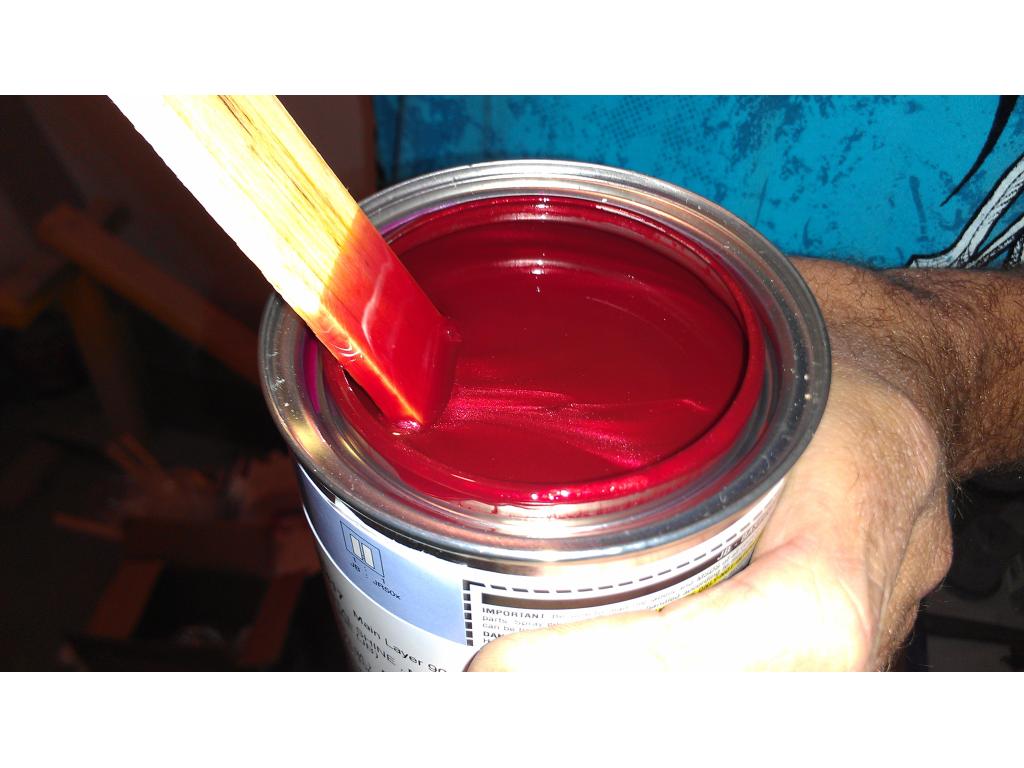
I have a weird thing about stuff being nice as possible before nodding. I actually plan on a automotive quality paint job from a body shop however I won't do that until all cutting , molding , fiberglass ext is done. So ill give it the college try but in the end its getting paint. but that could be 3 months from now so I like it to look good as possible in progress pictures.
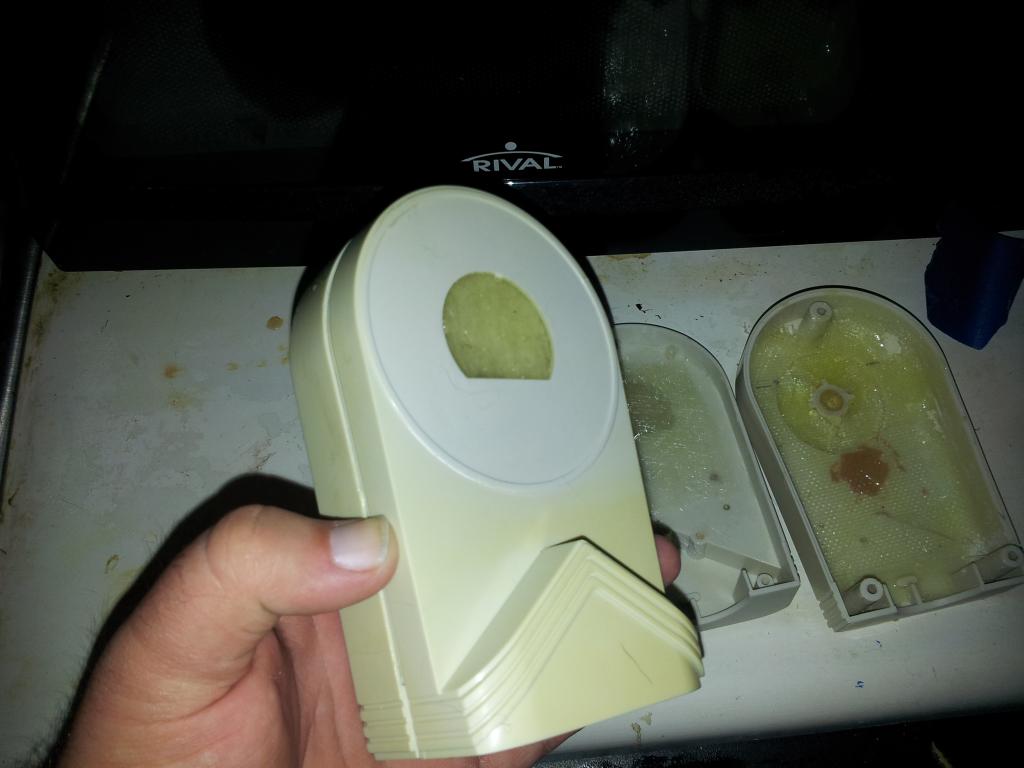
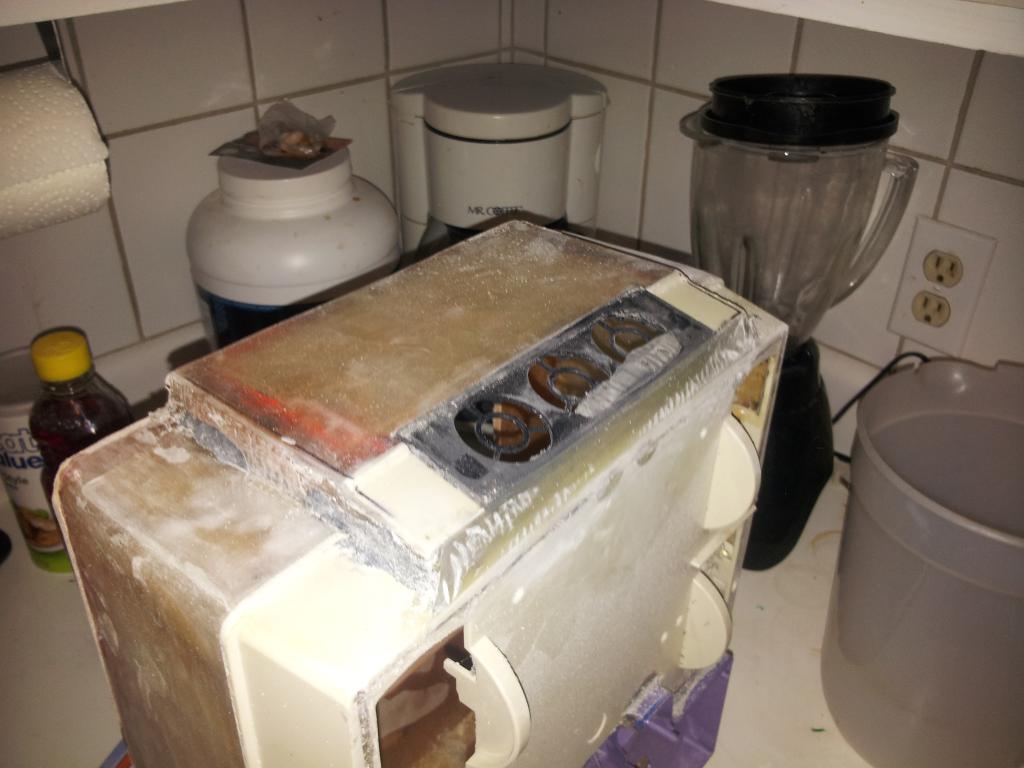
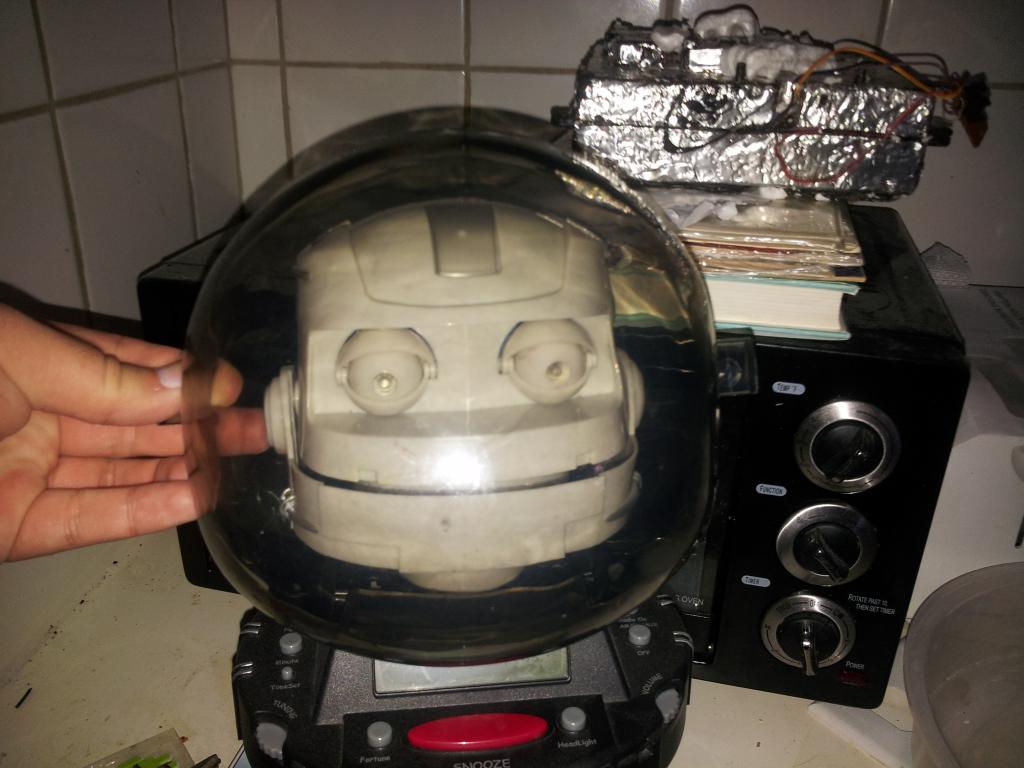
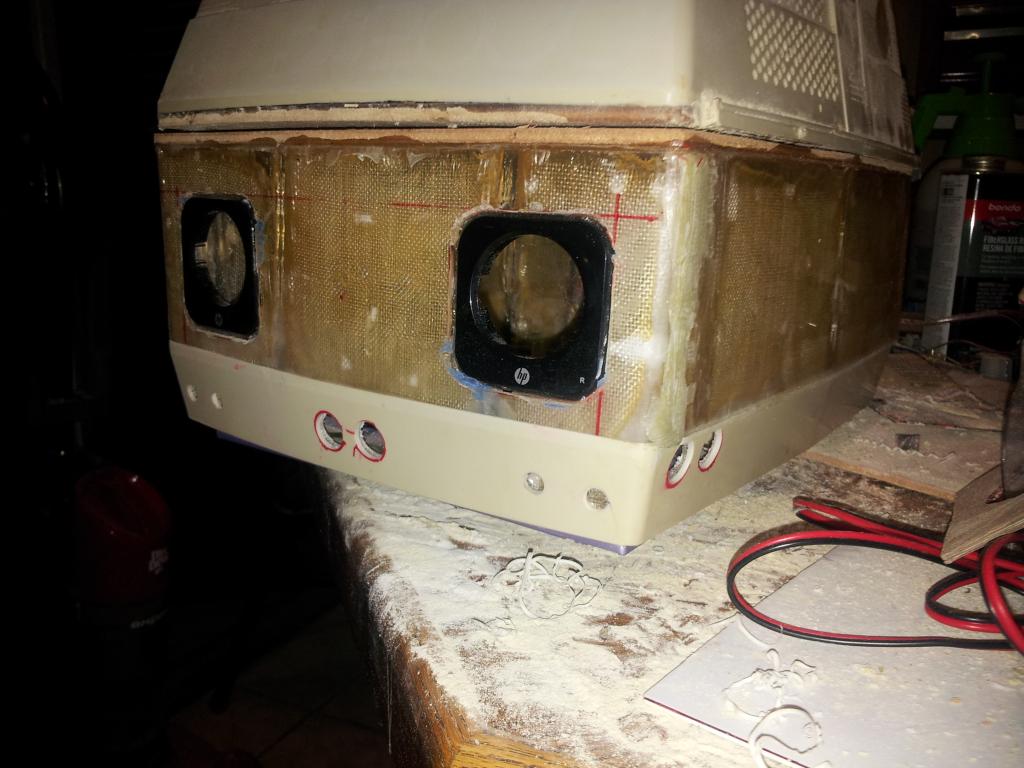
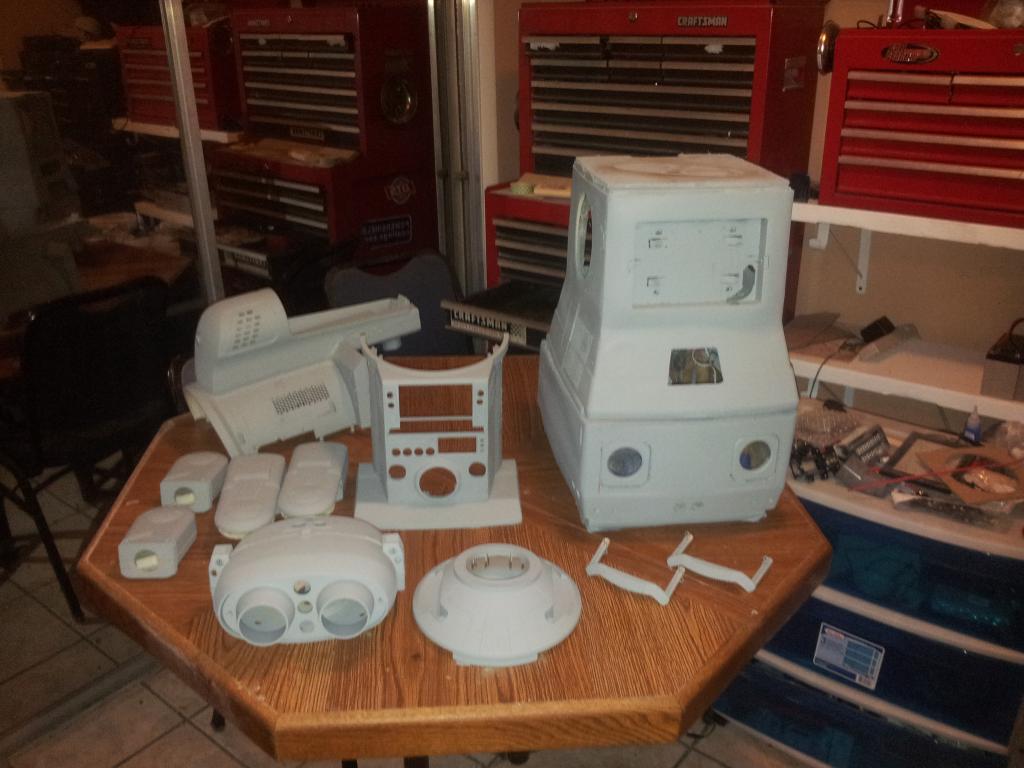
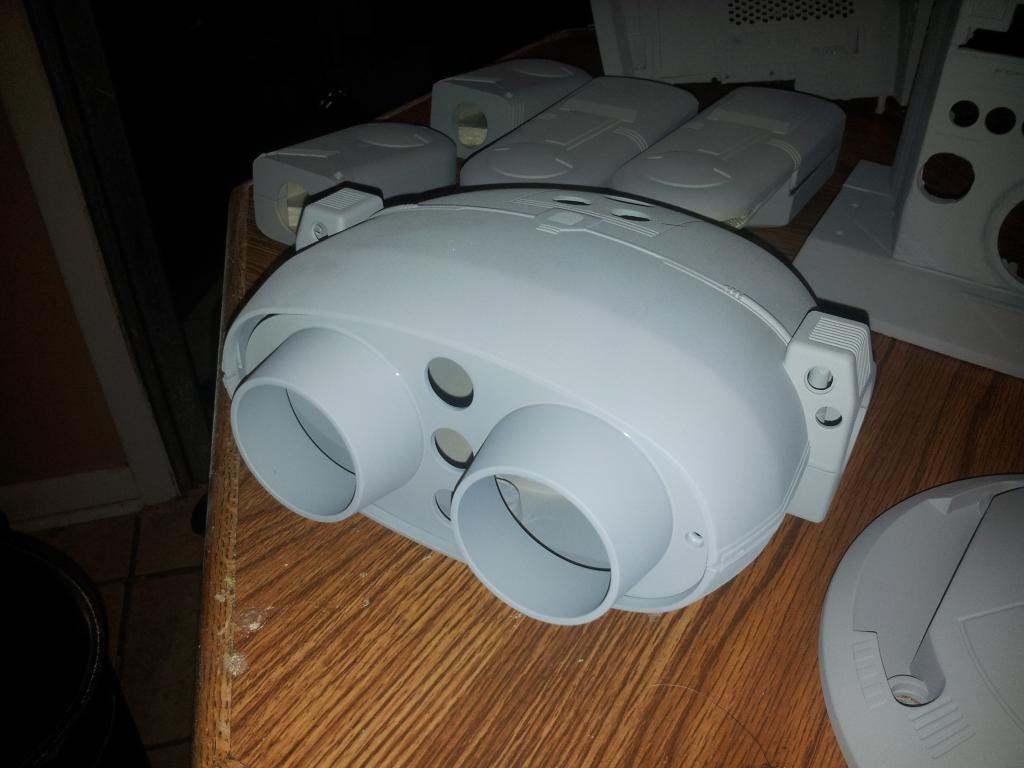
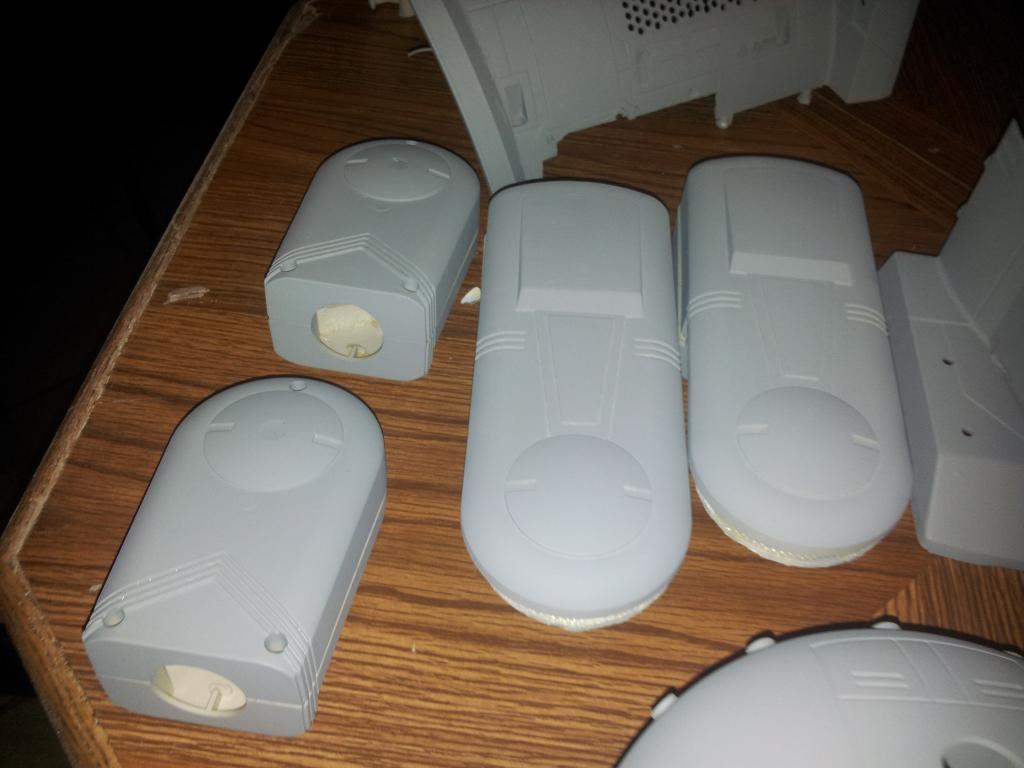
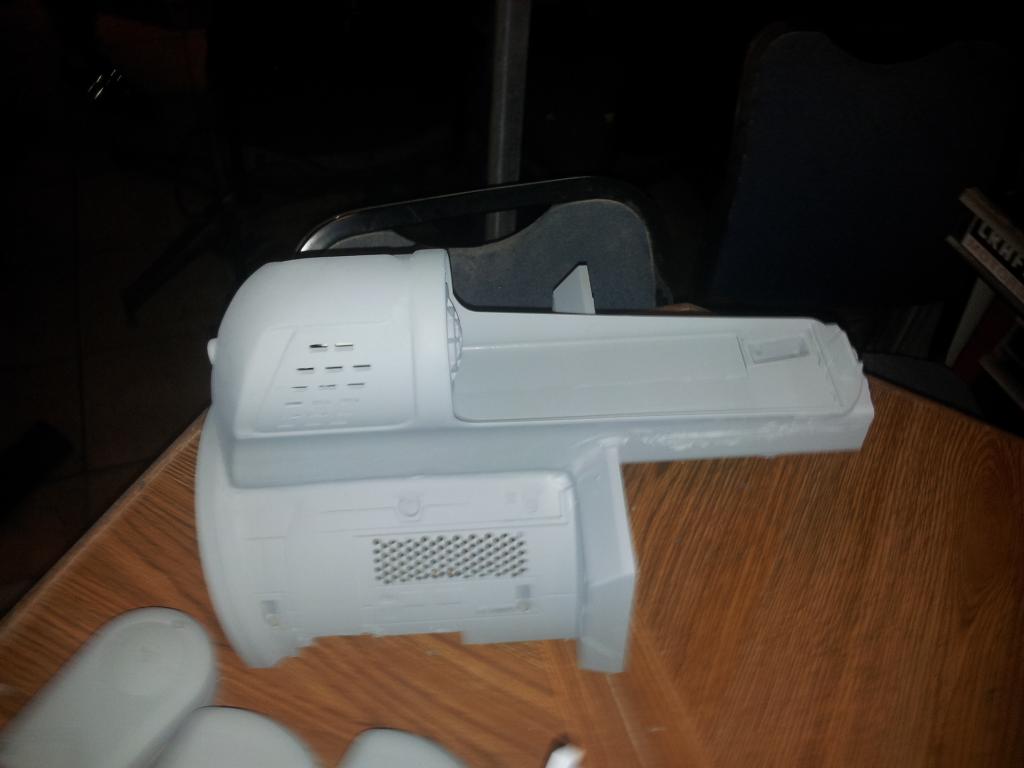
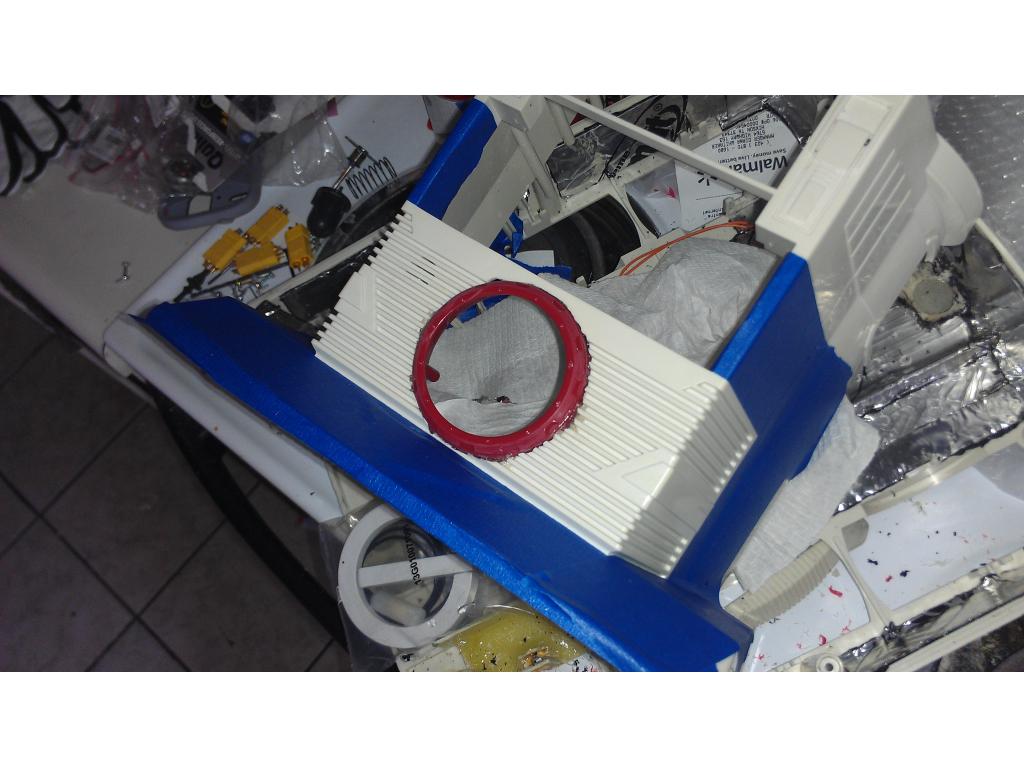
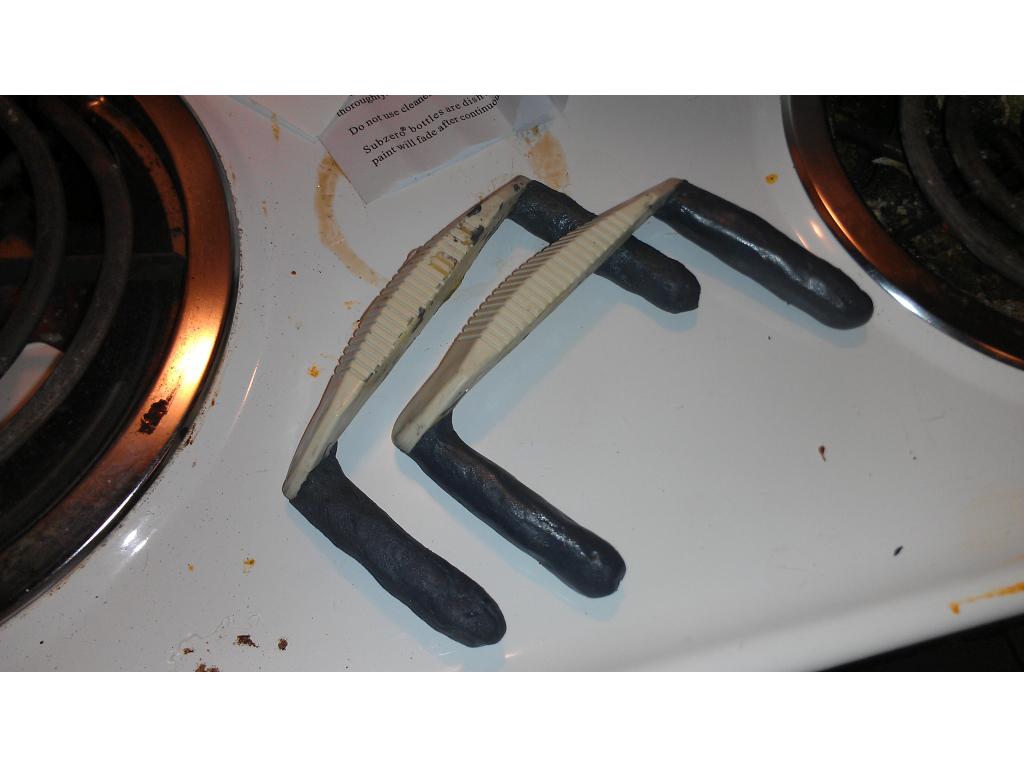
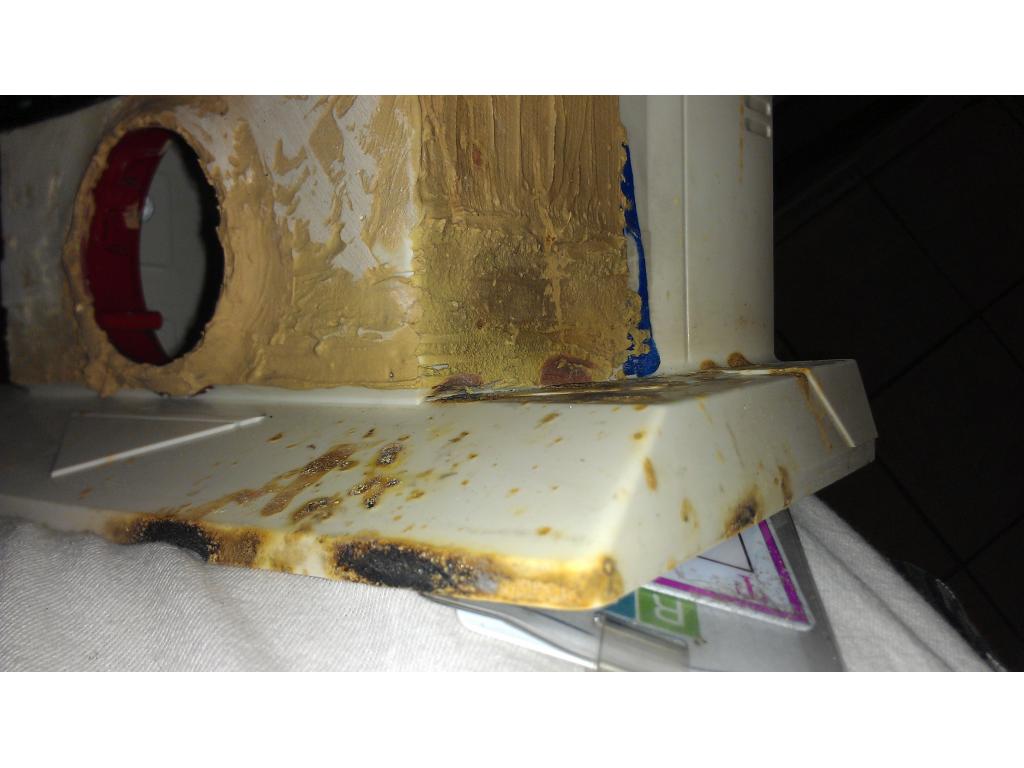
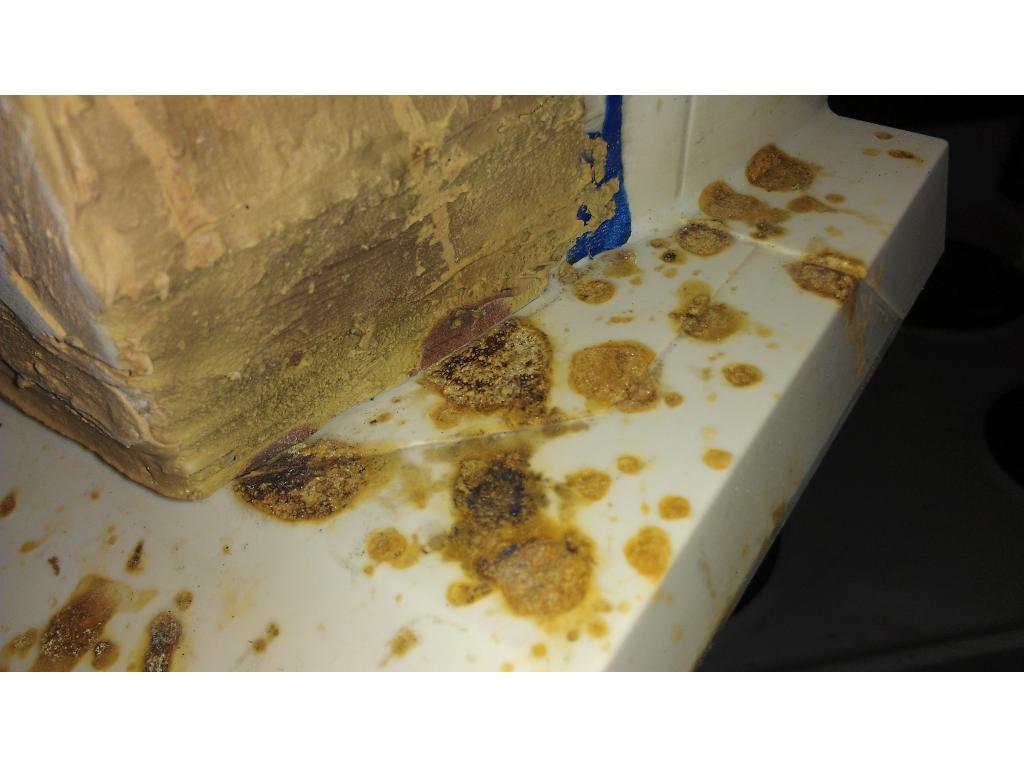
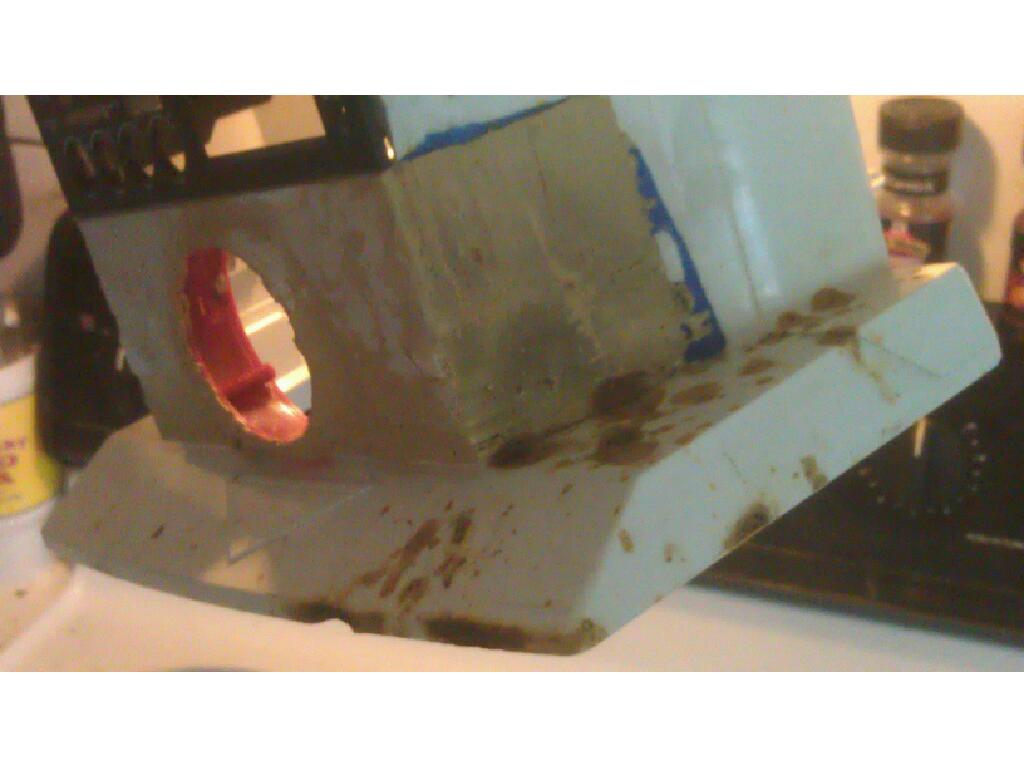
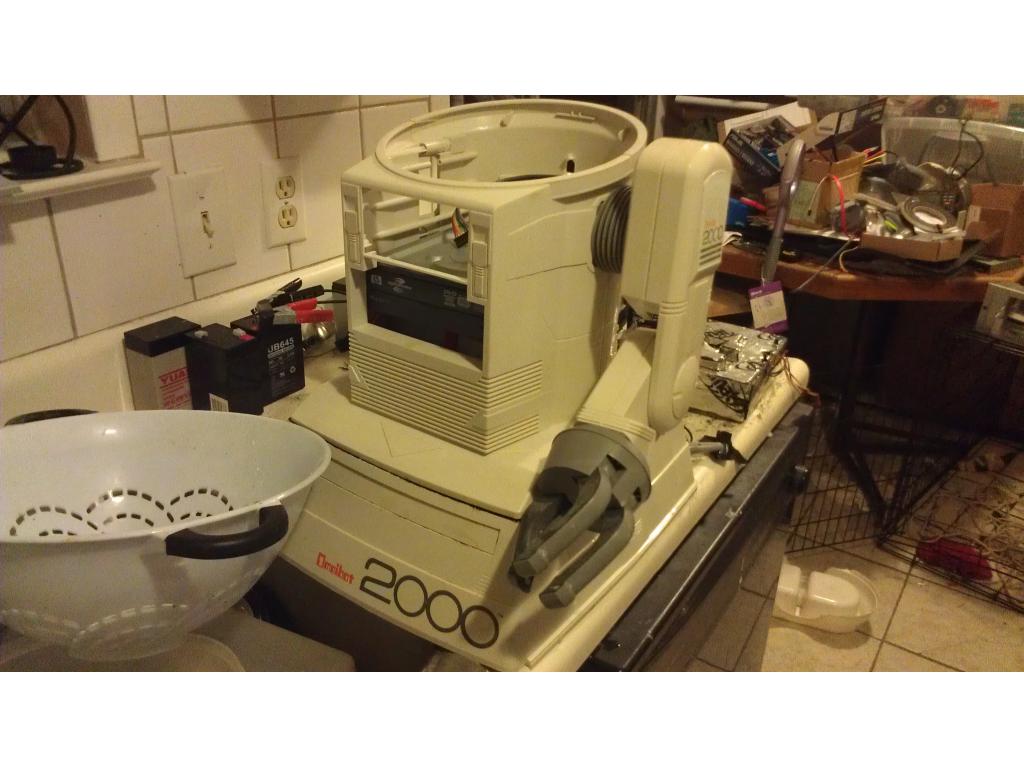
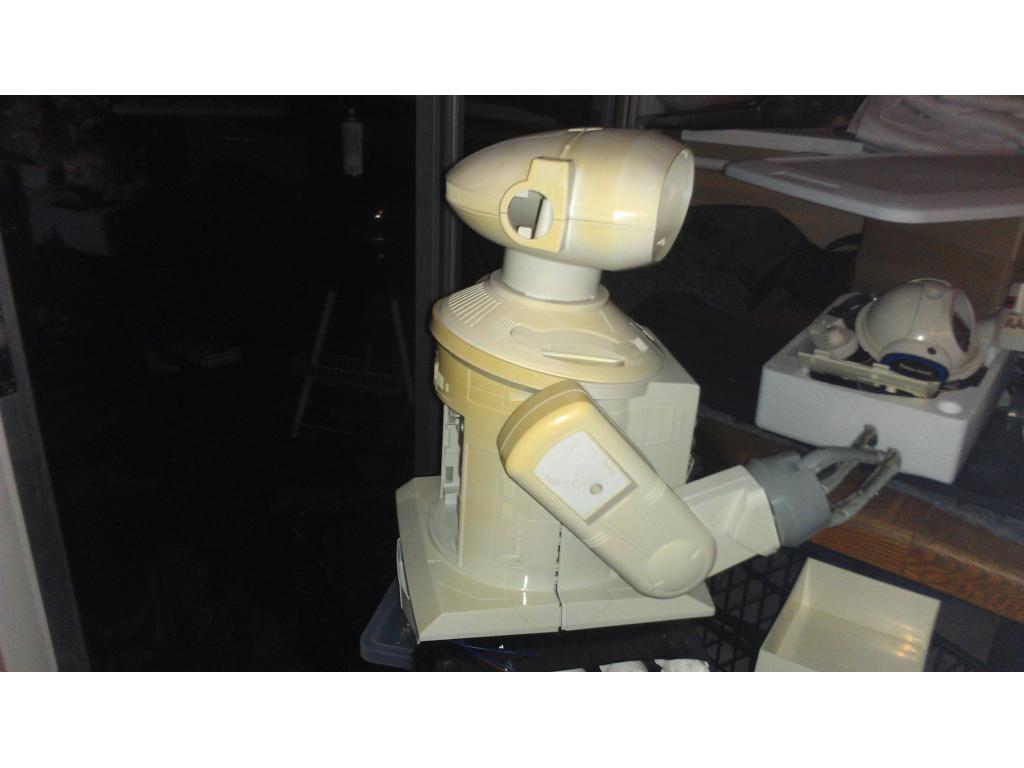
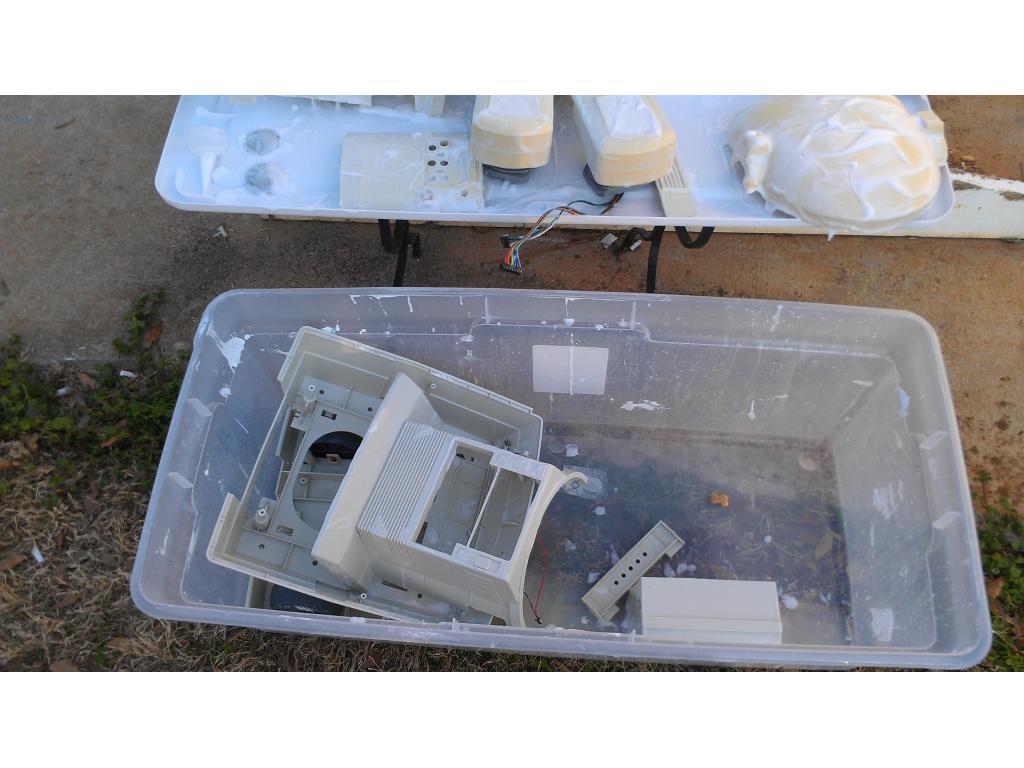
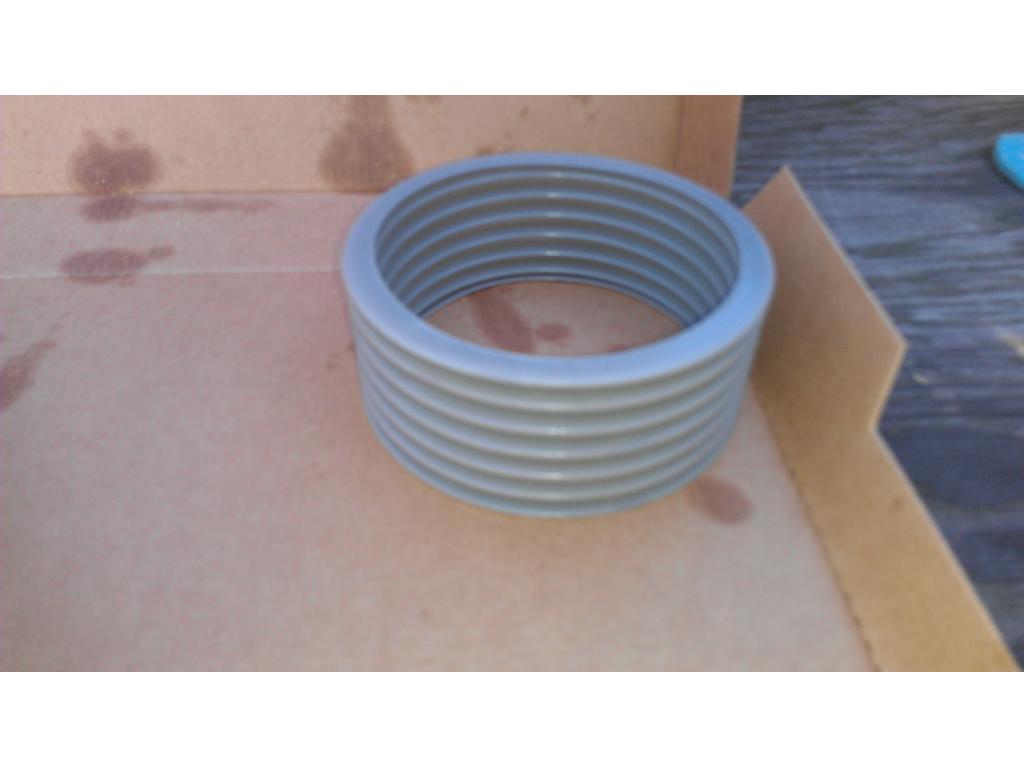
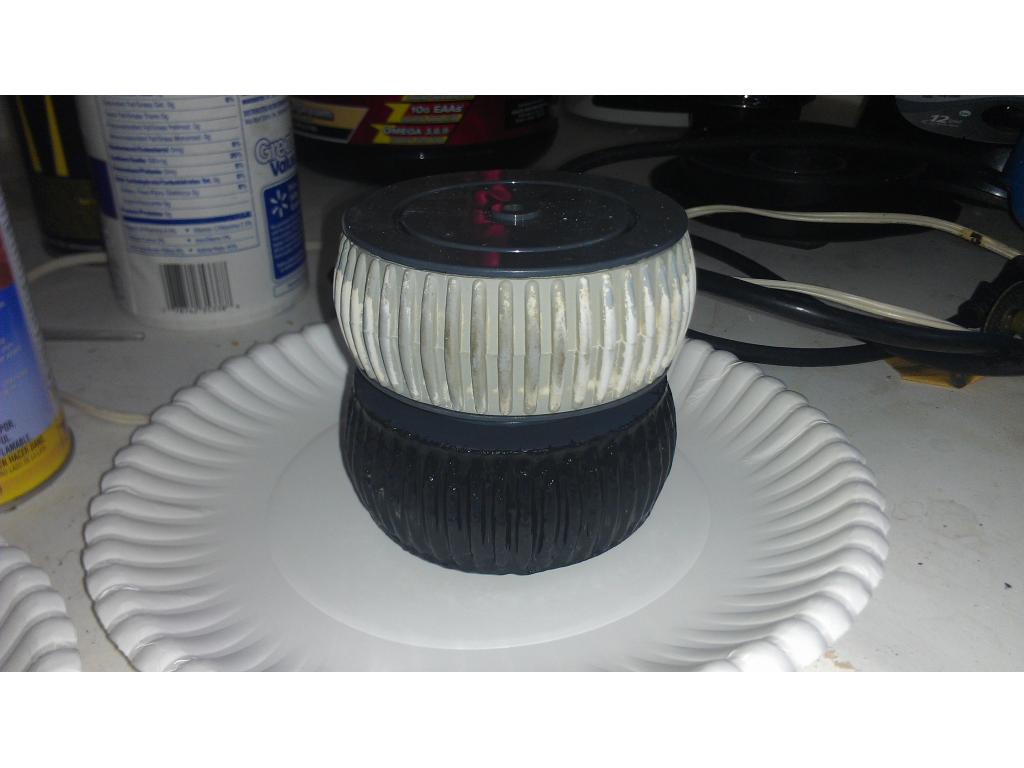
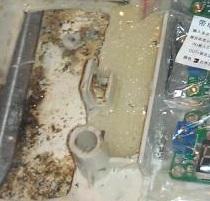
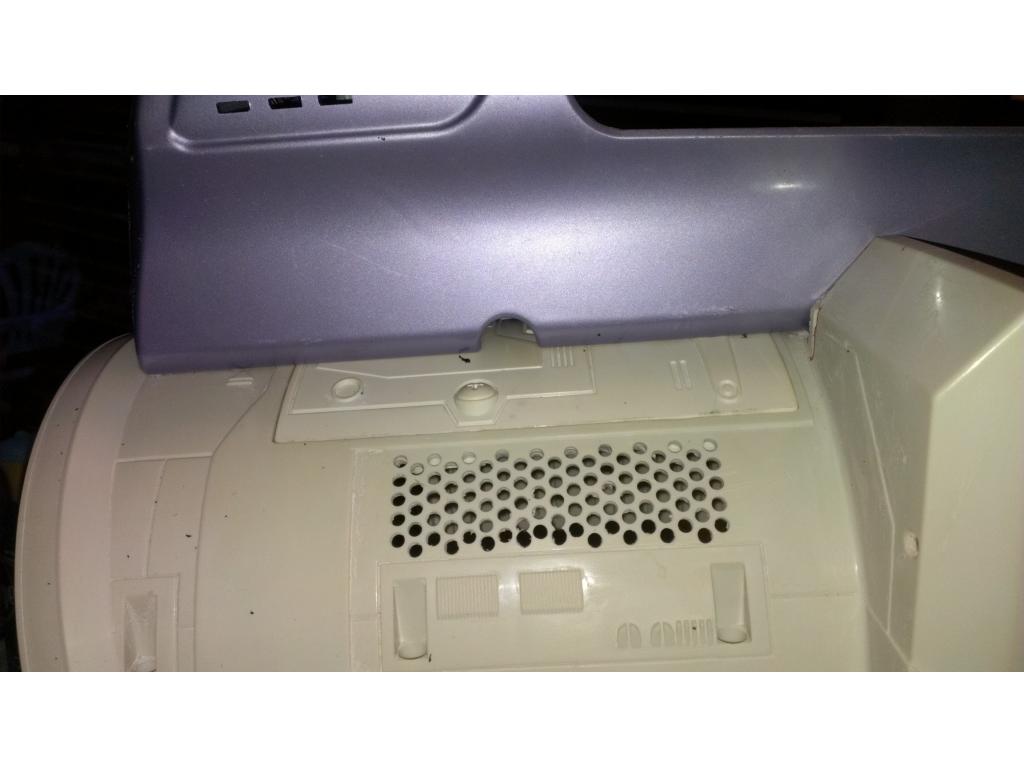
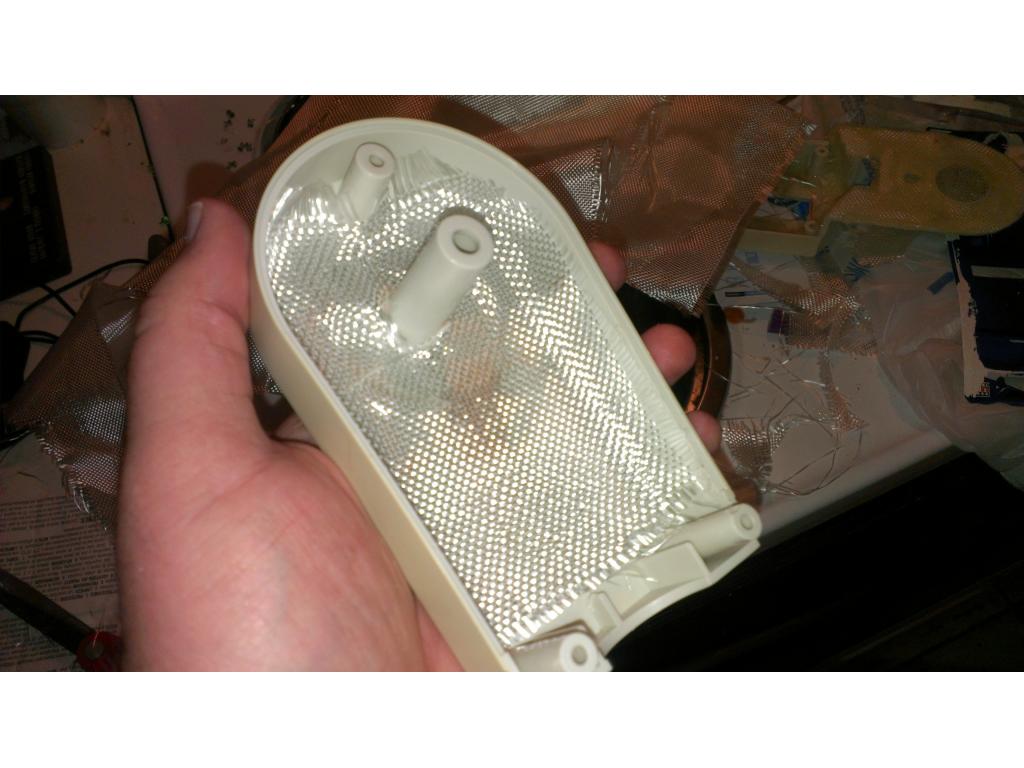
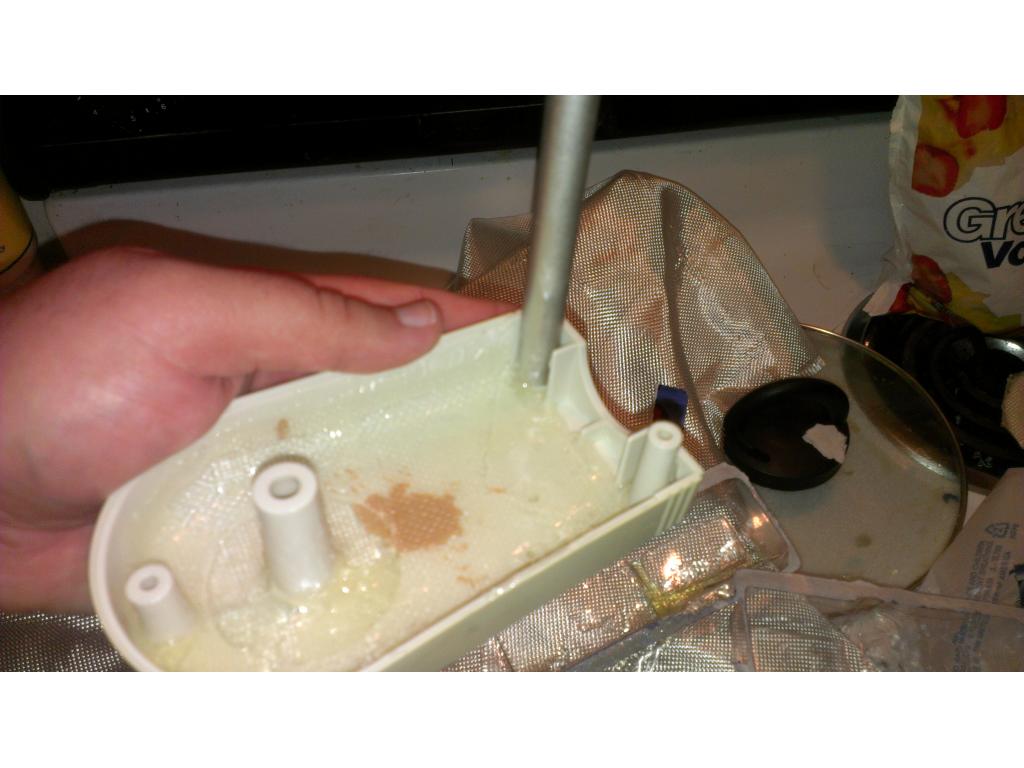
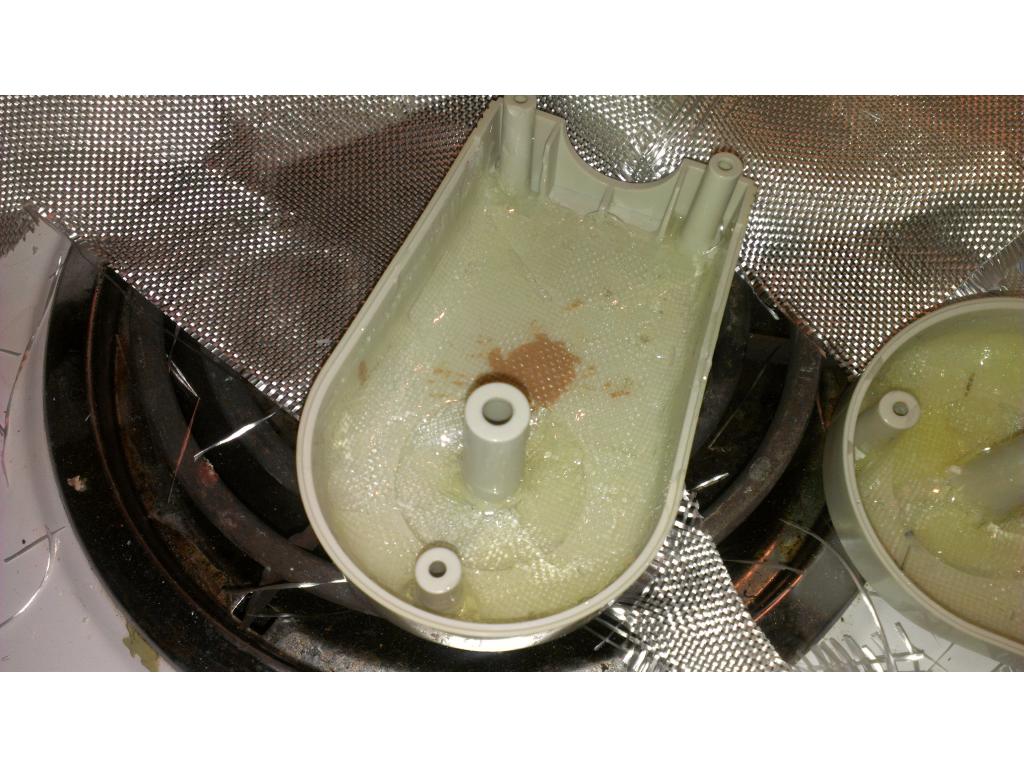
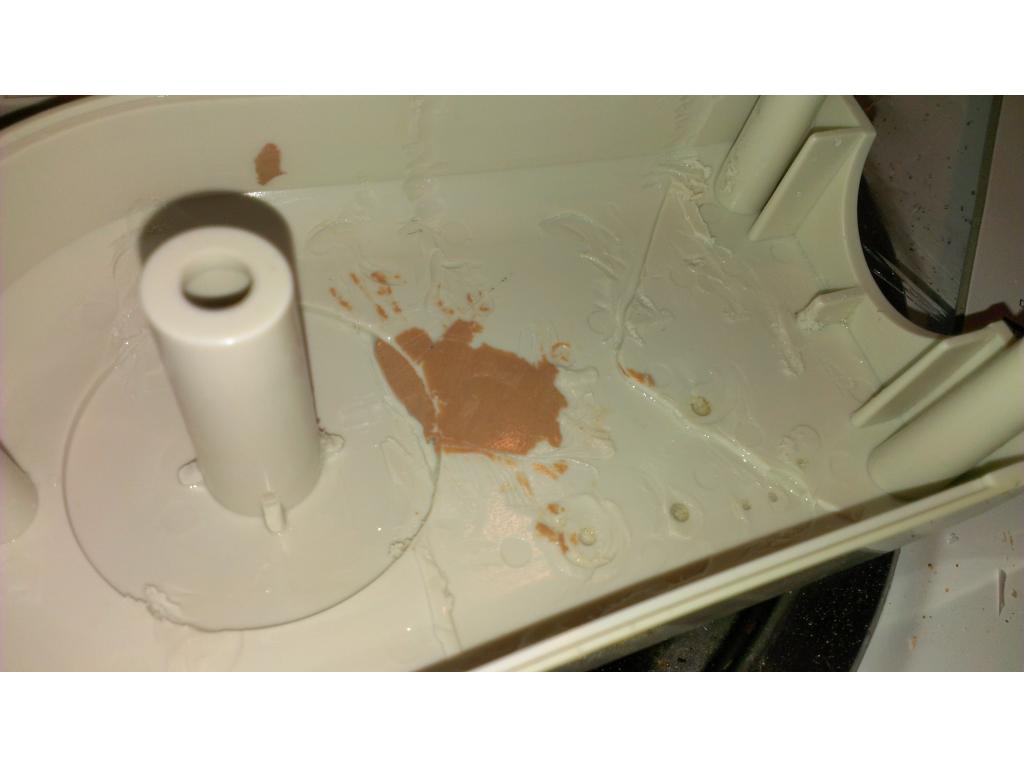
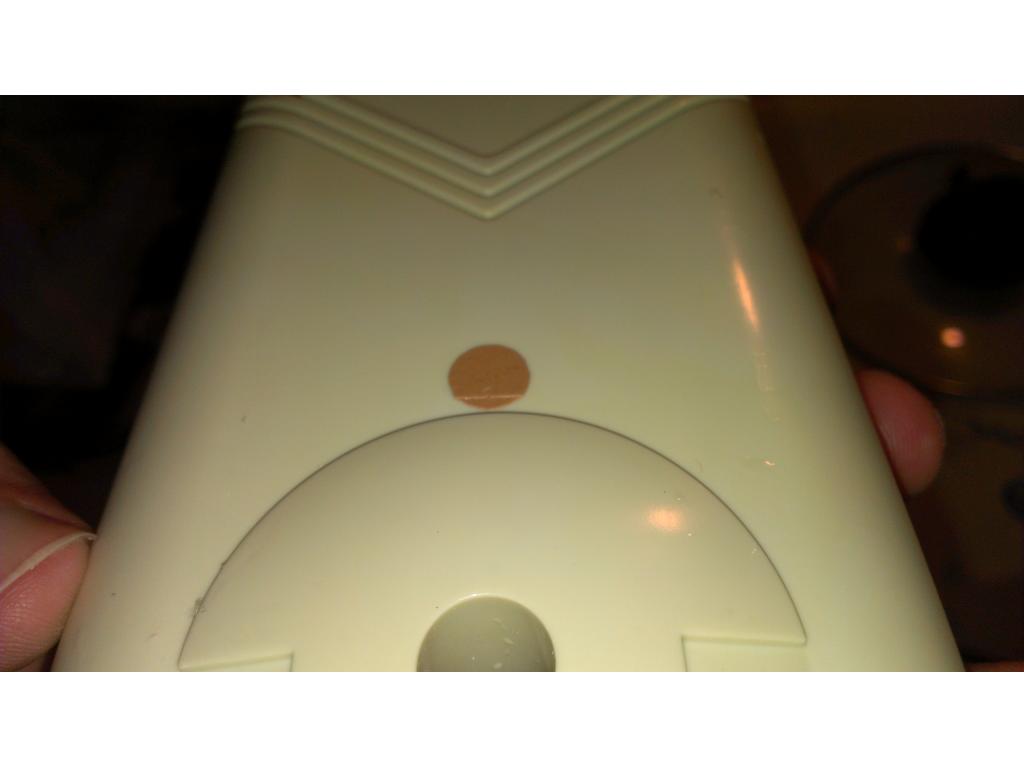
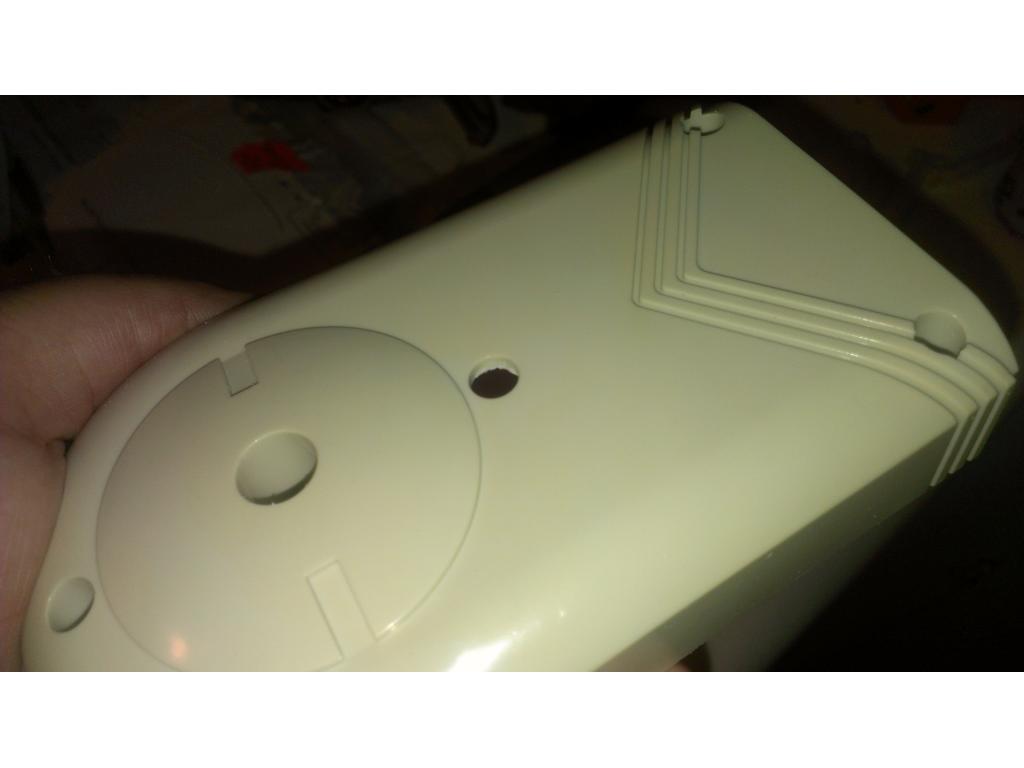
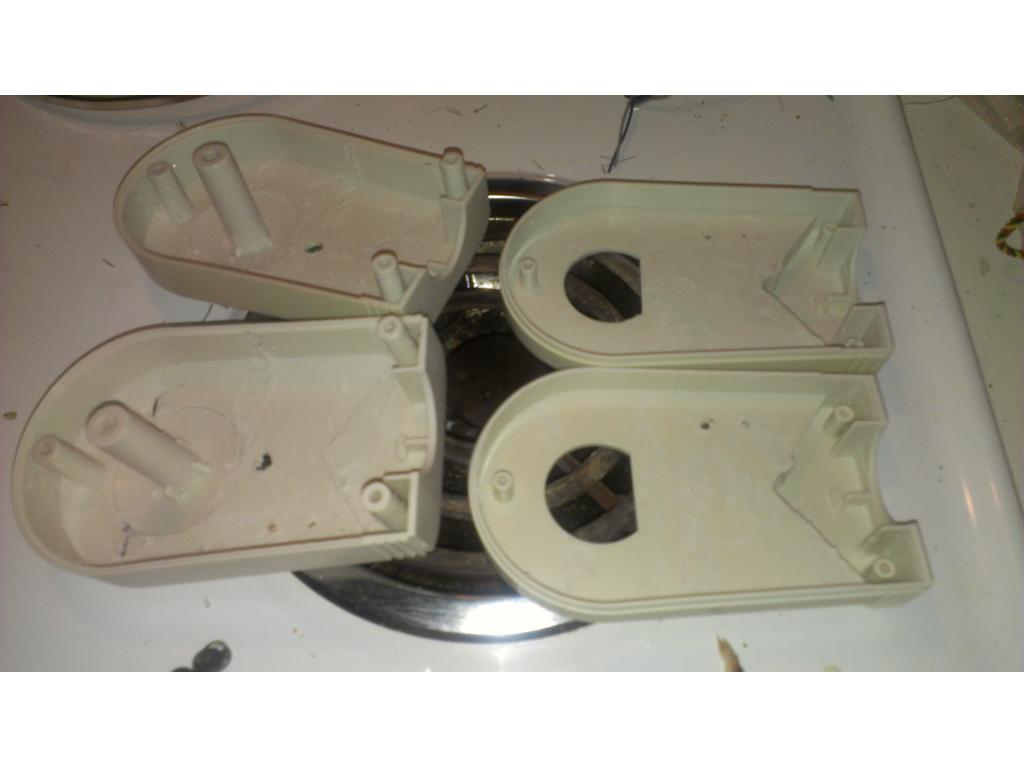
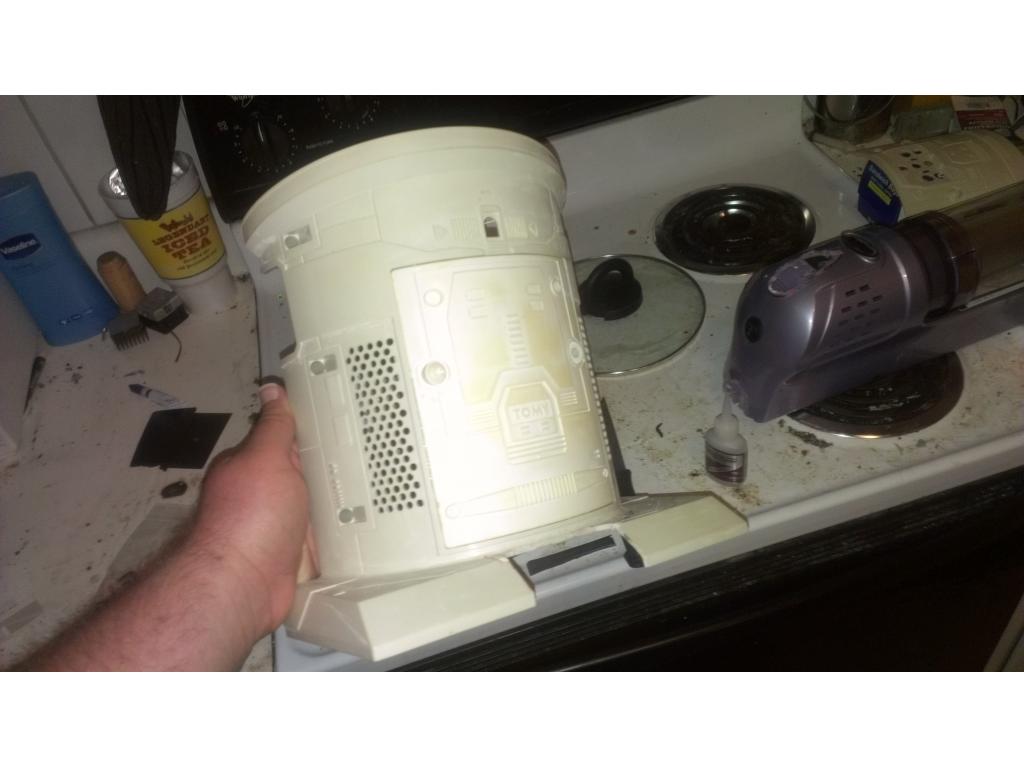
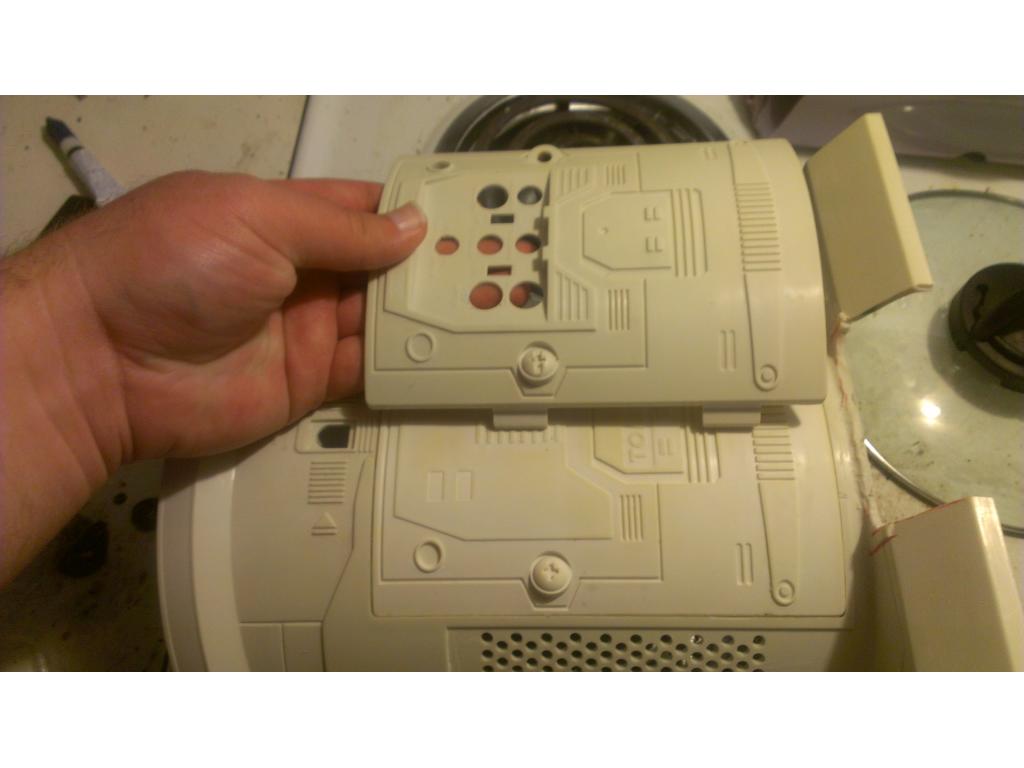
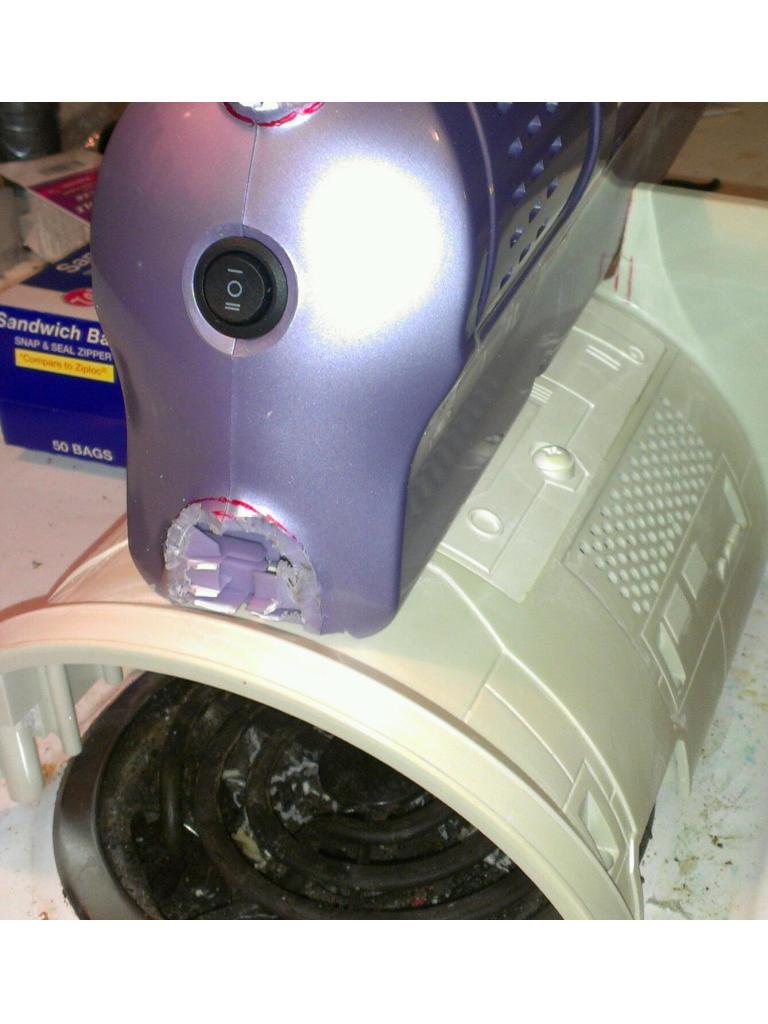
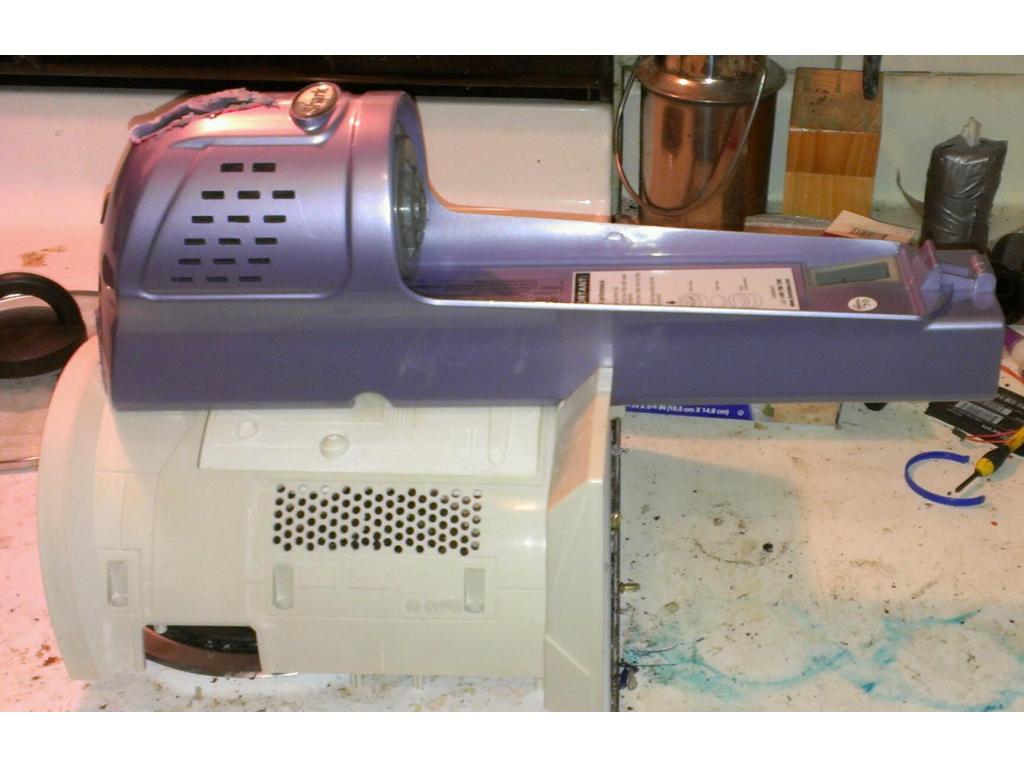
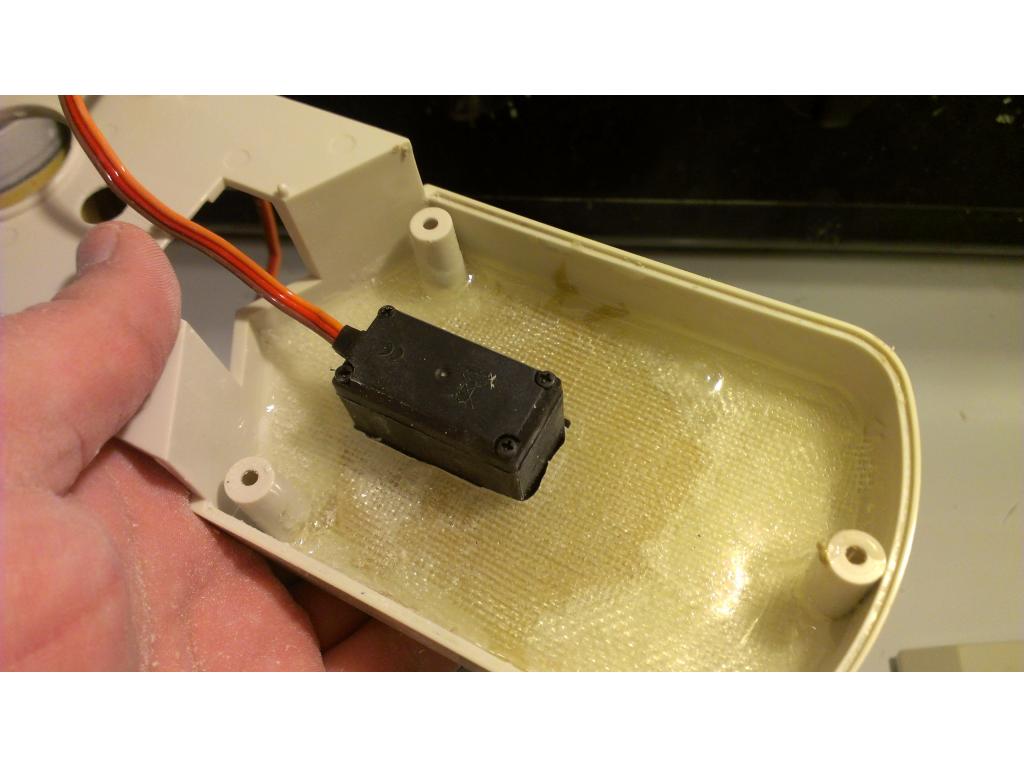
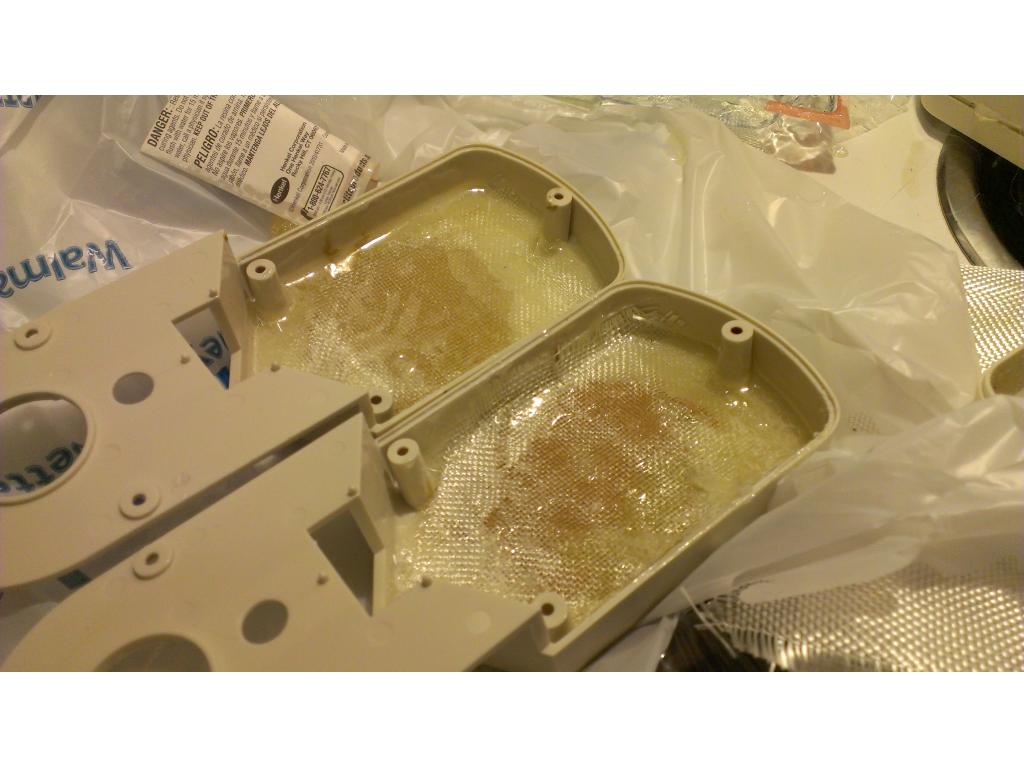
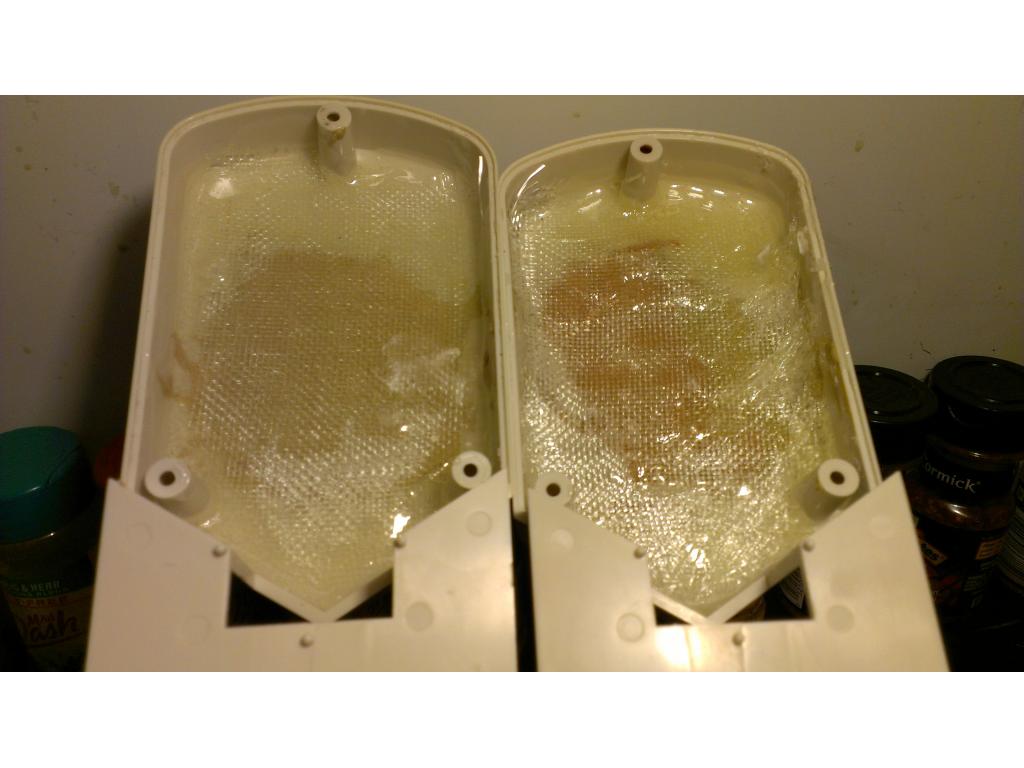
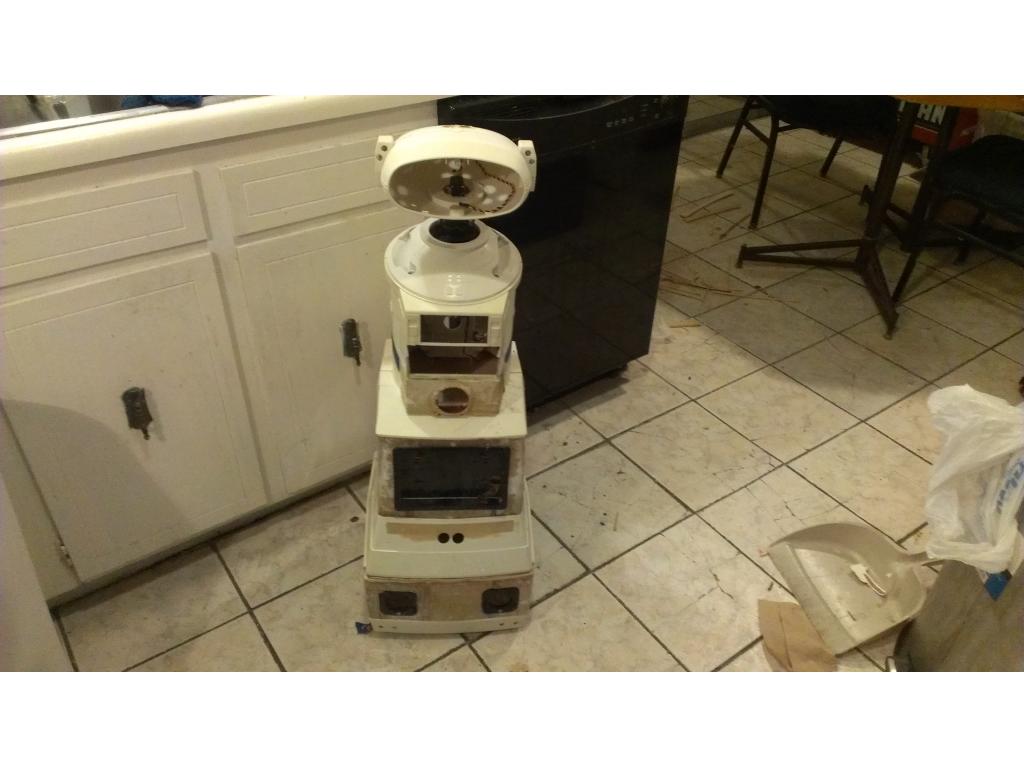
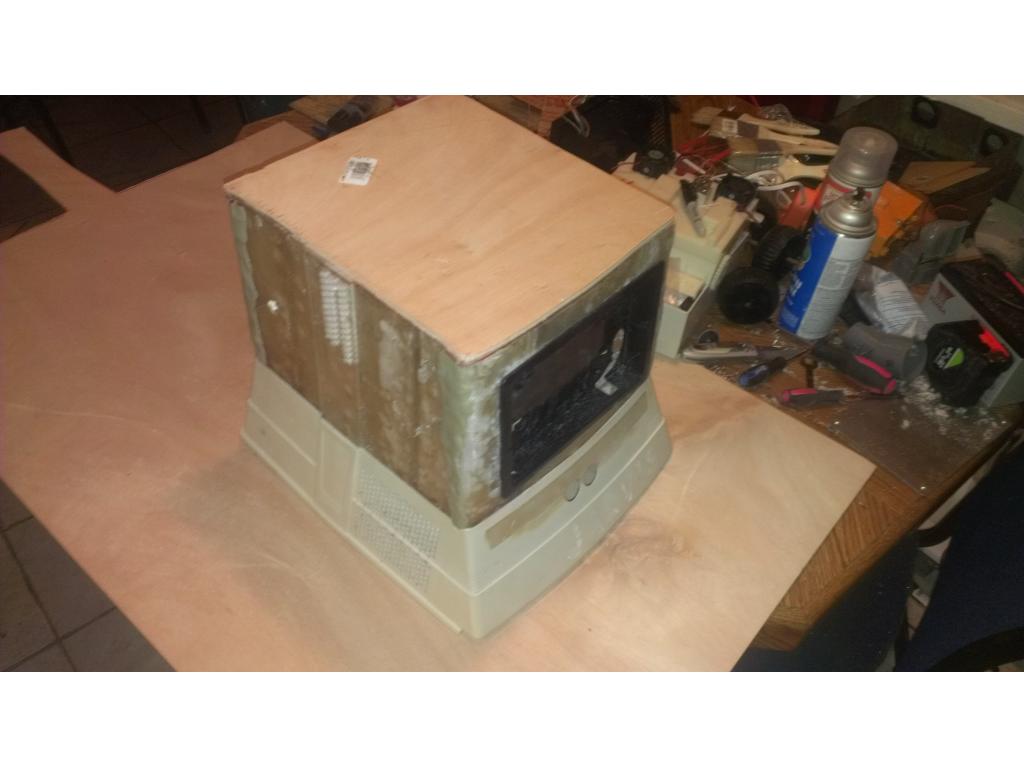
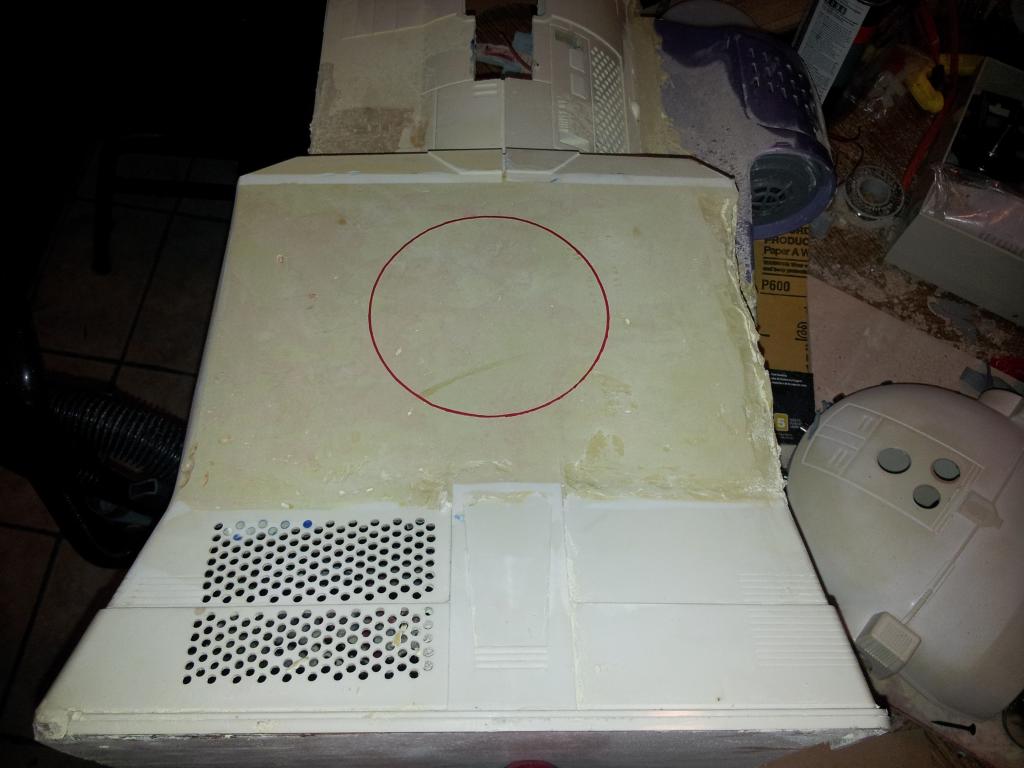
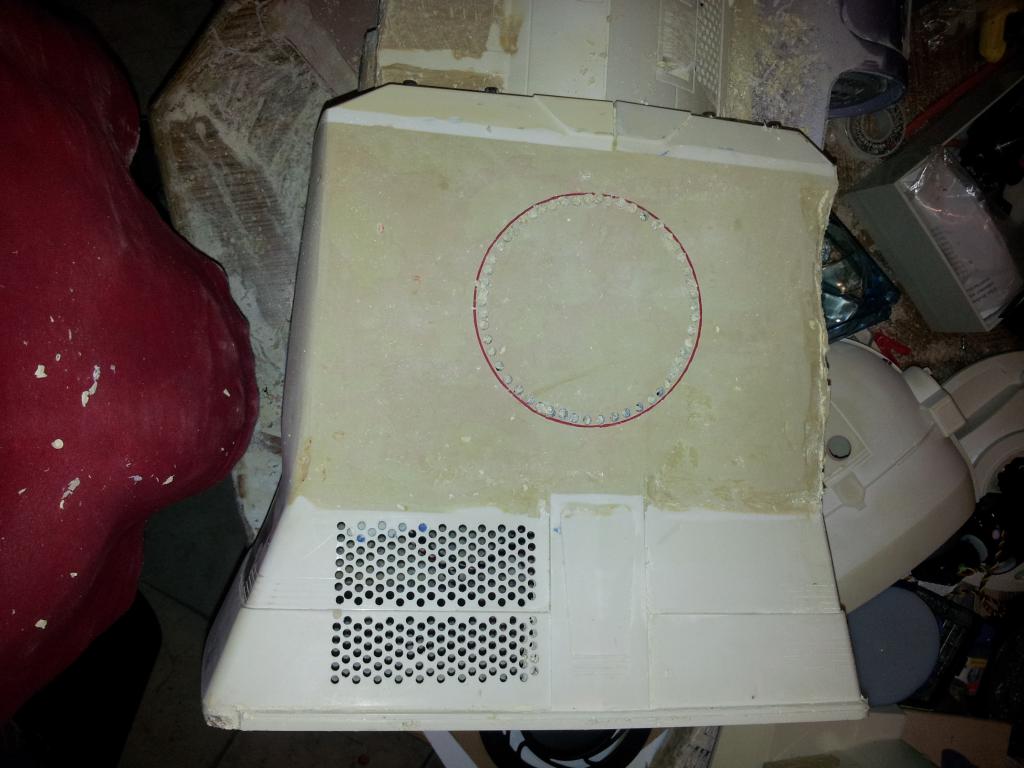
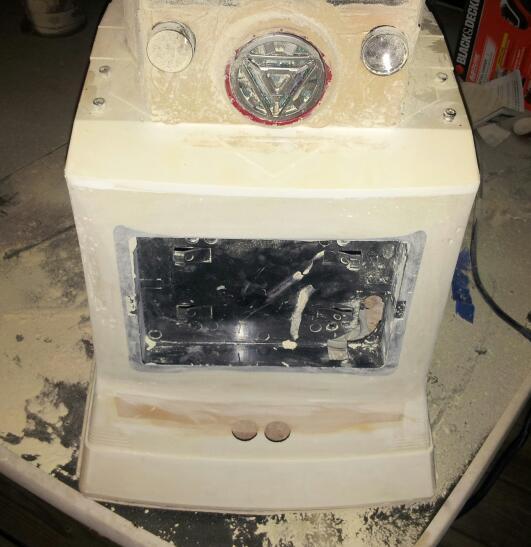
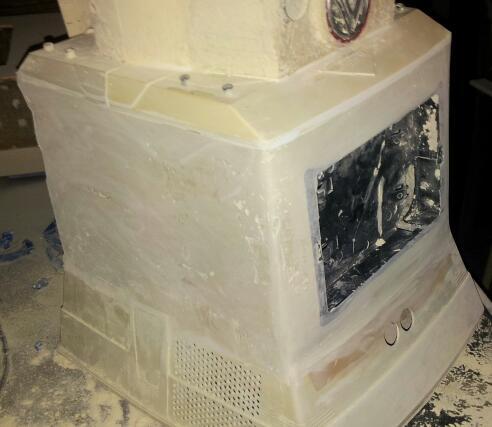
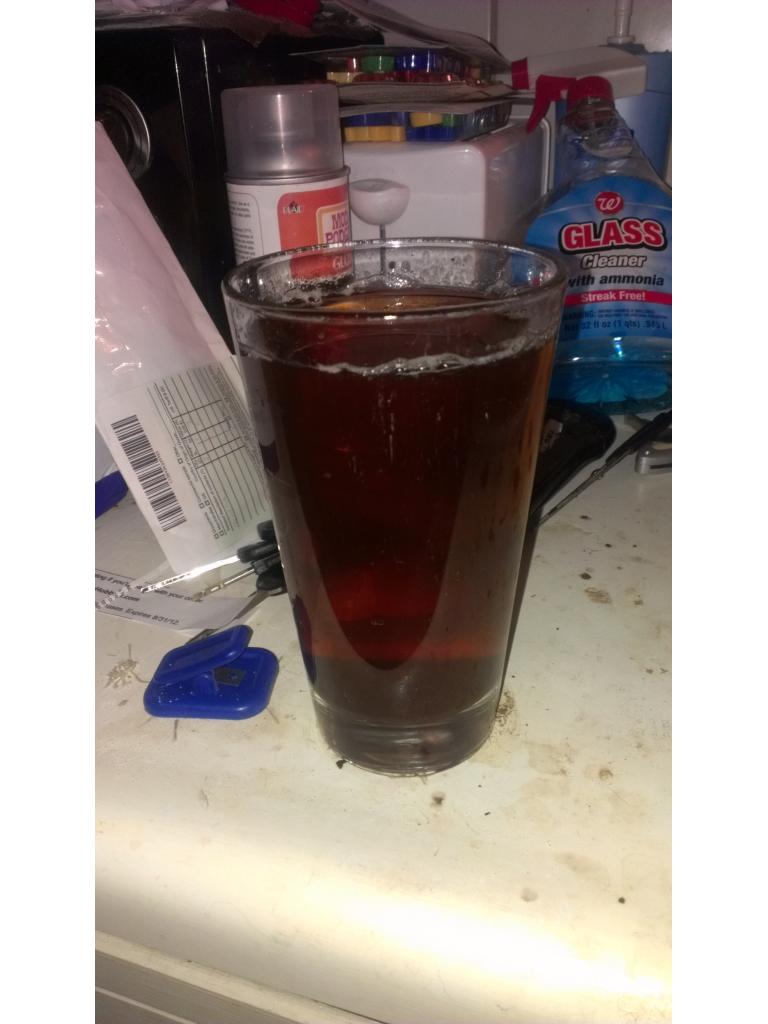
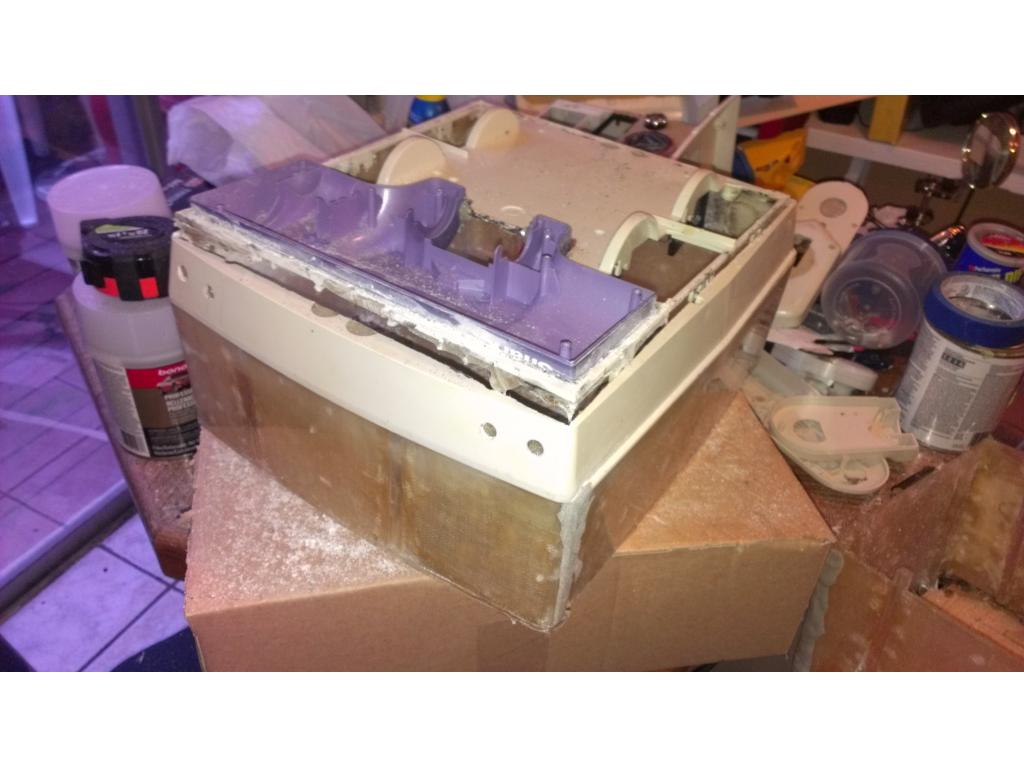
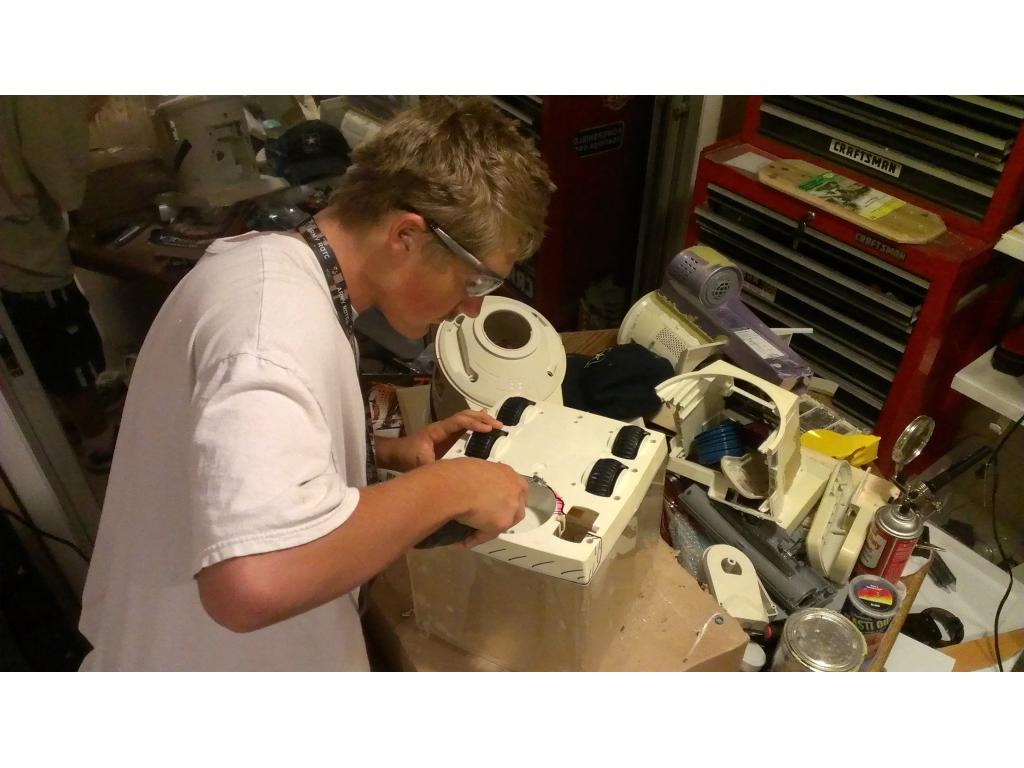
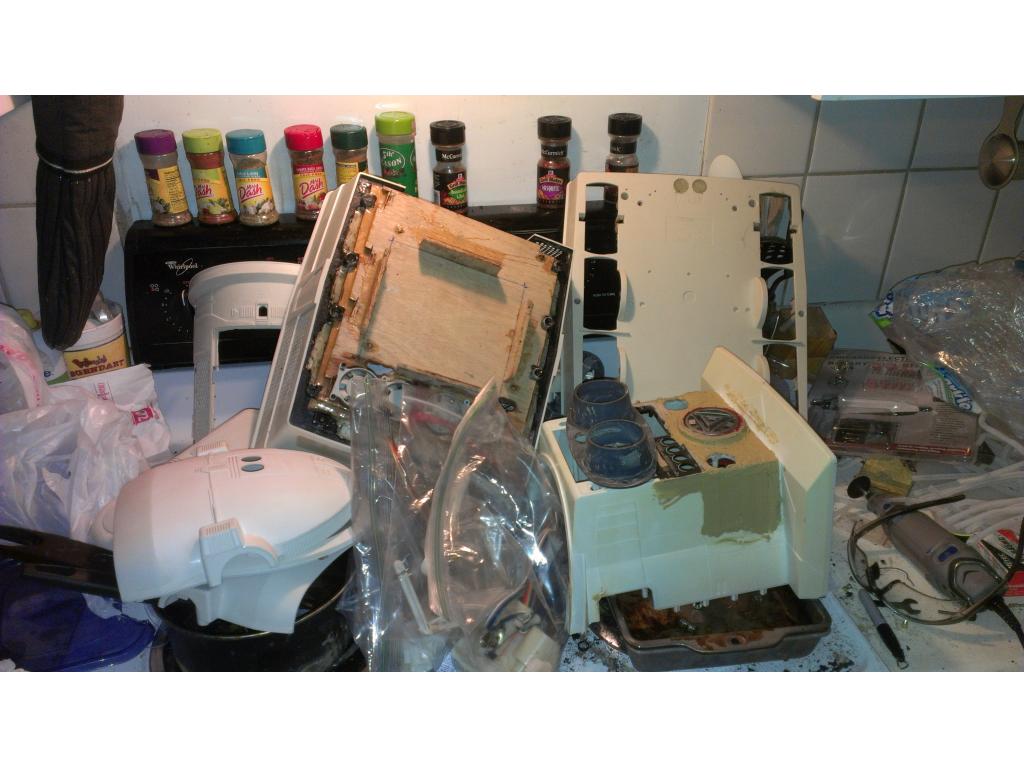
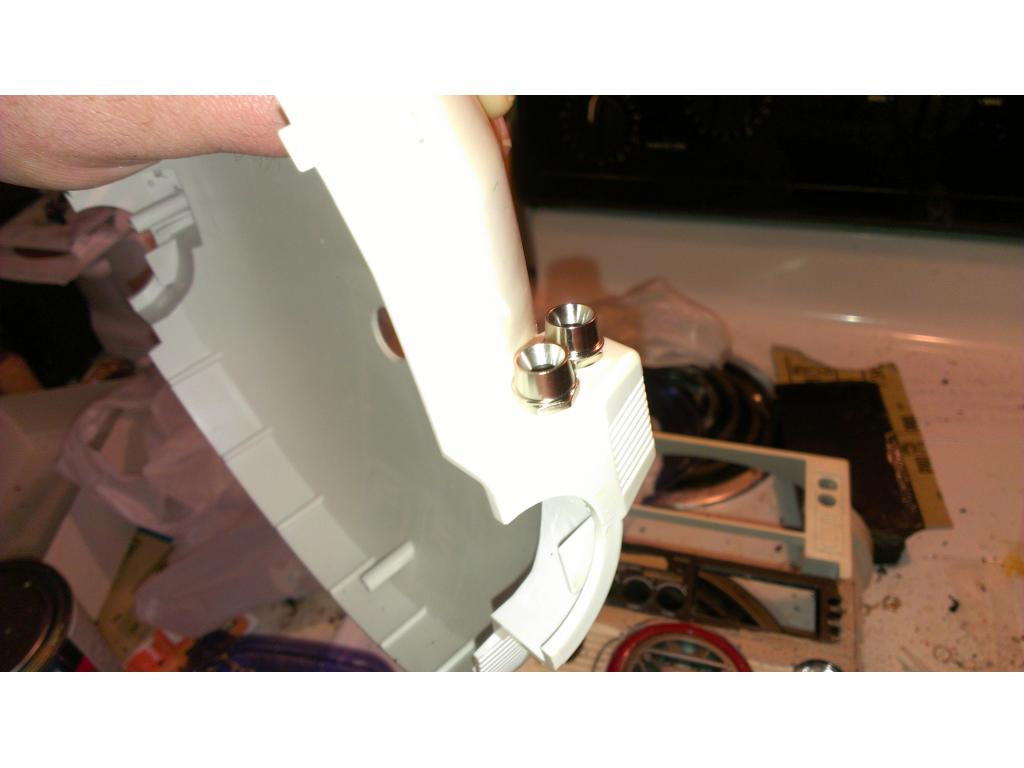
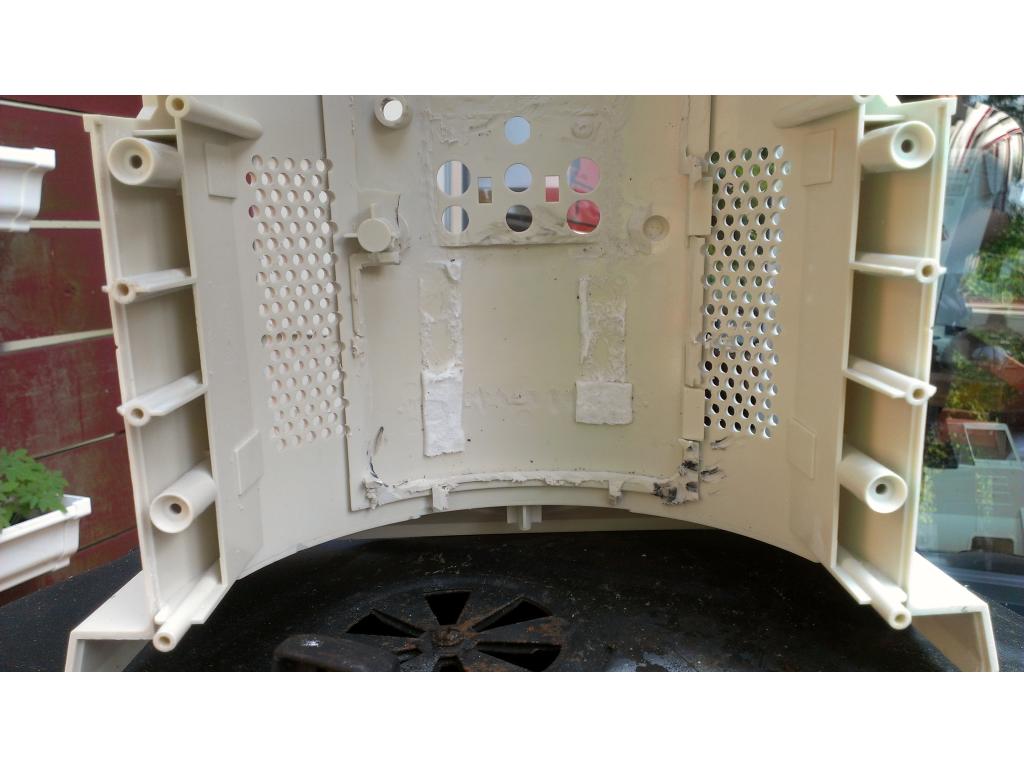
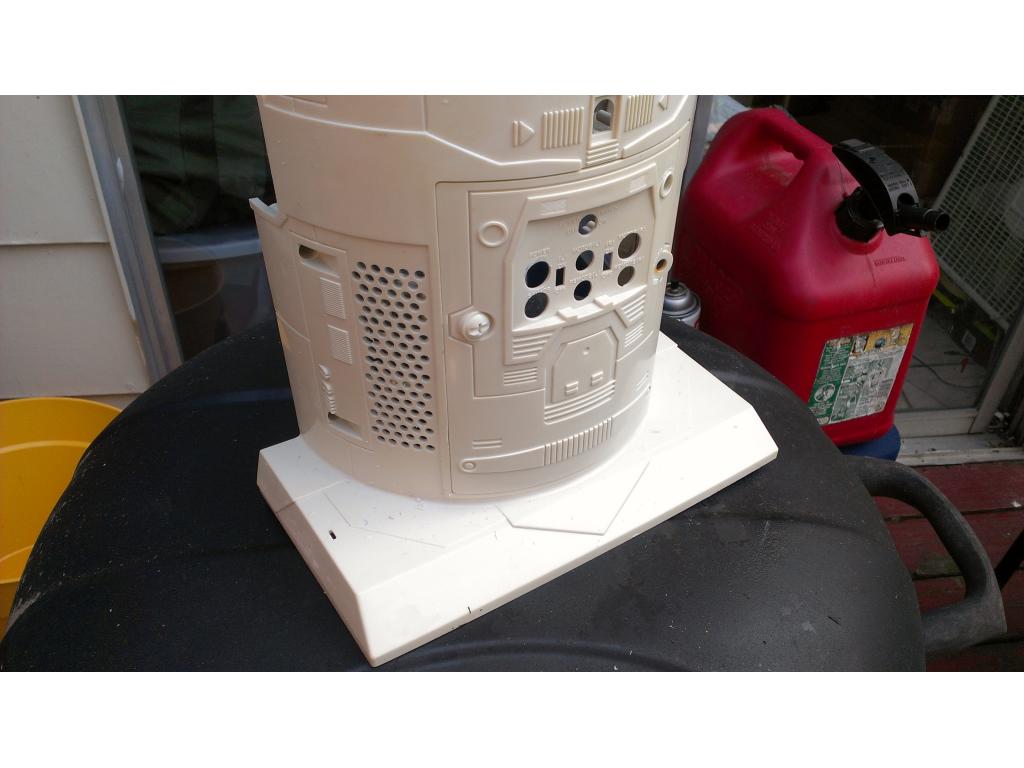
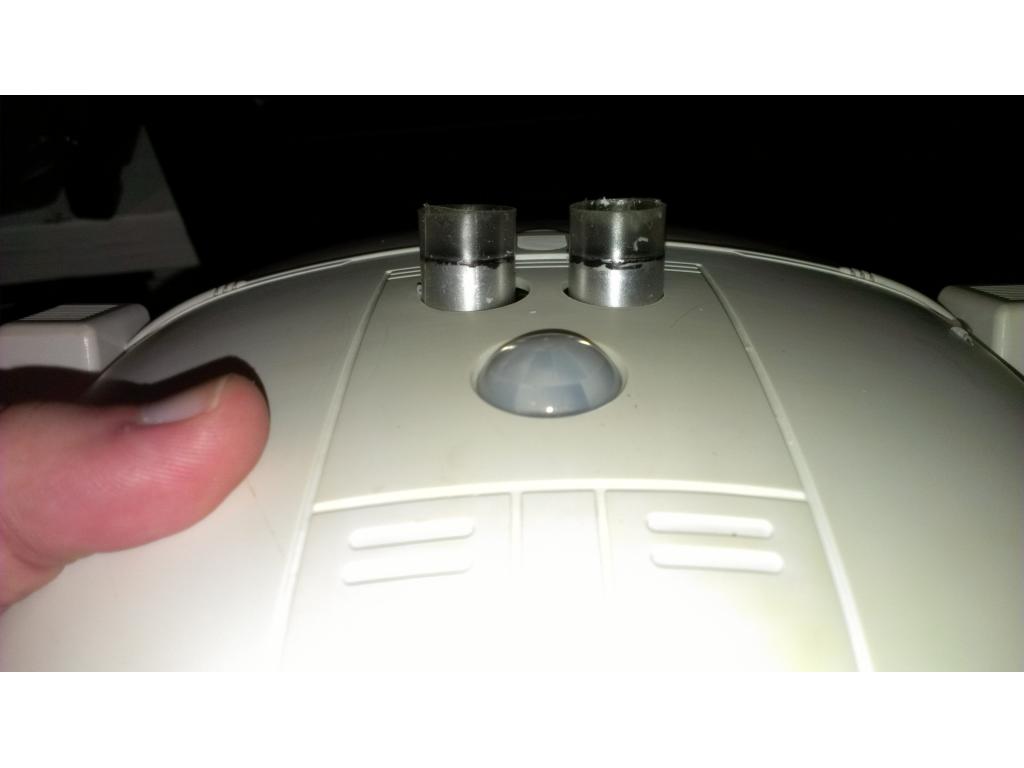
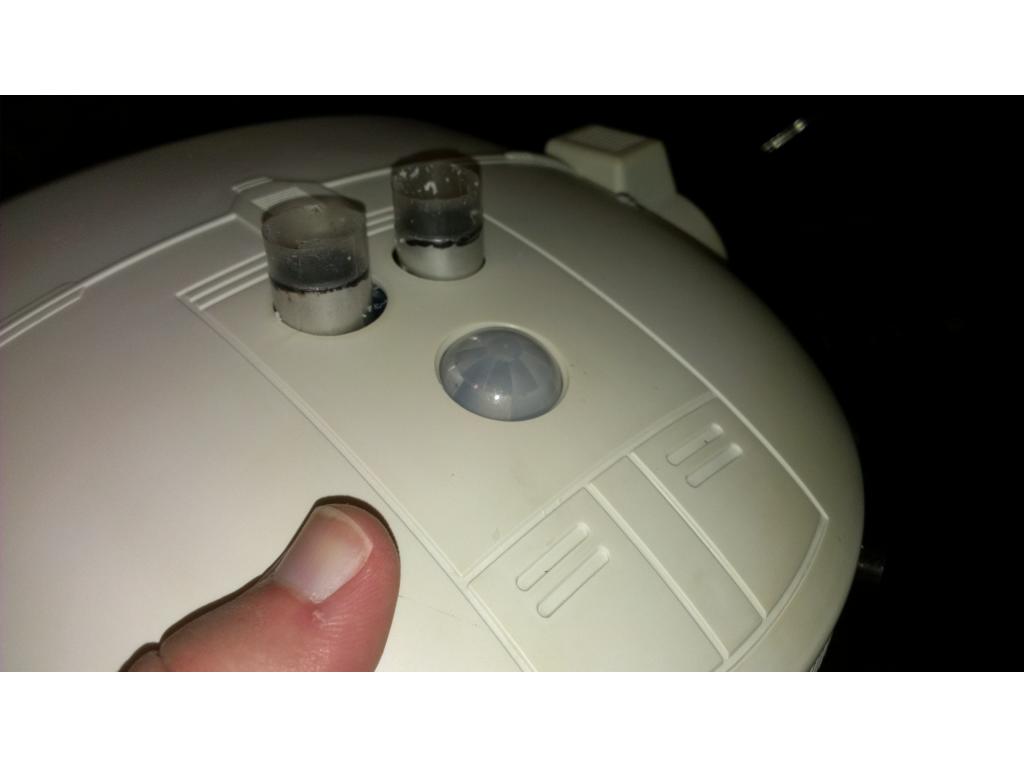
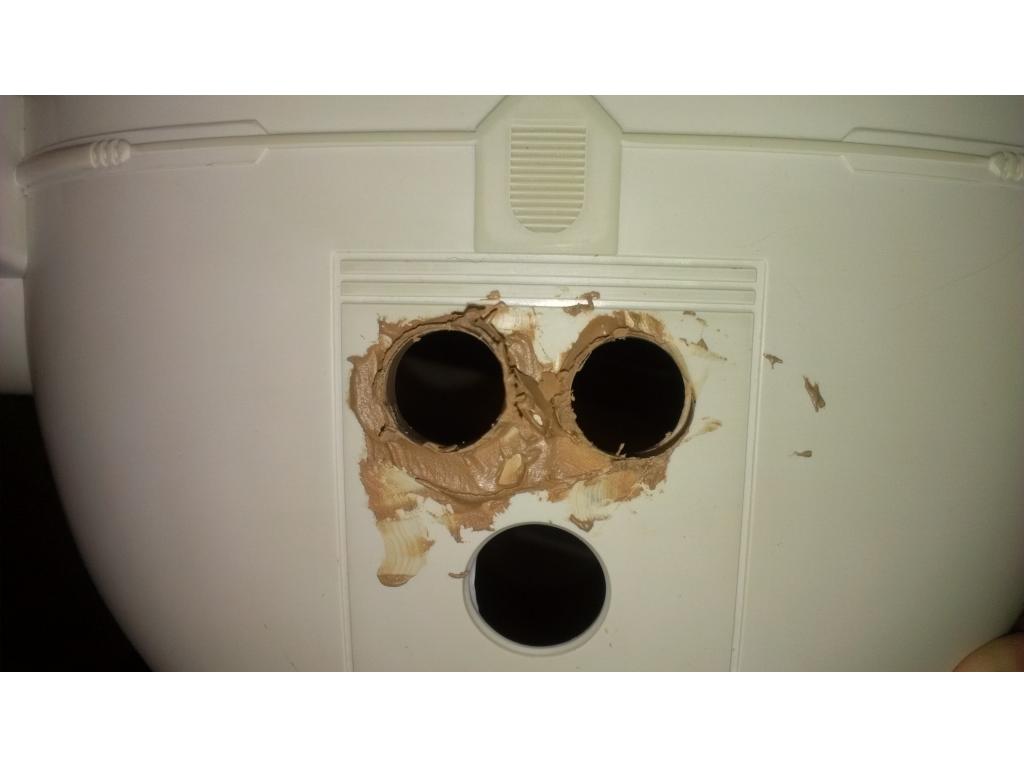
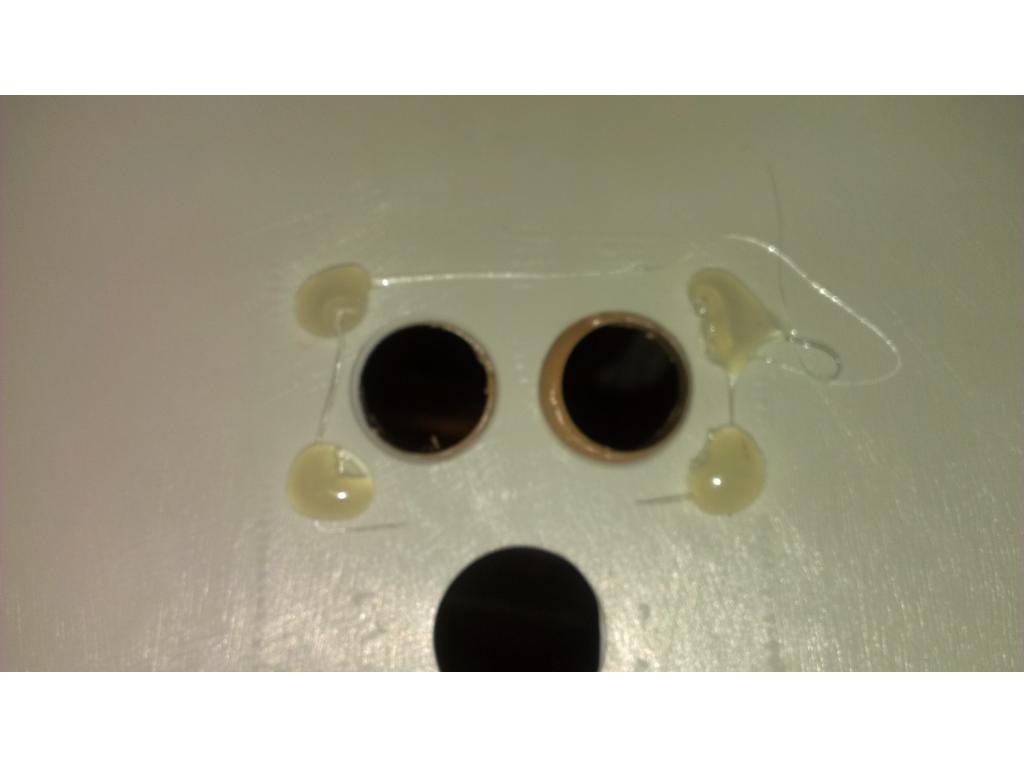
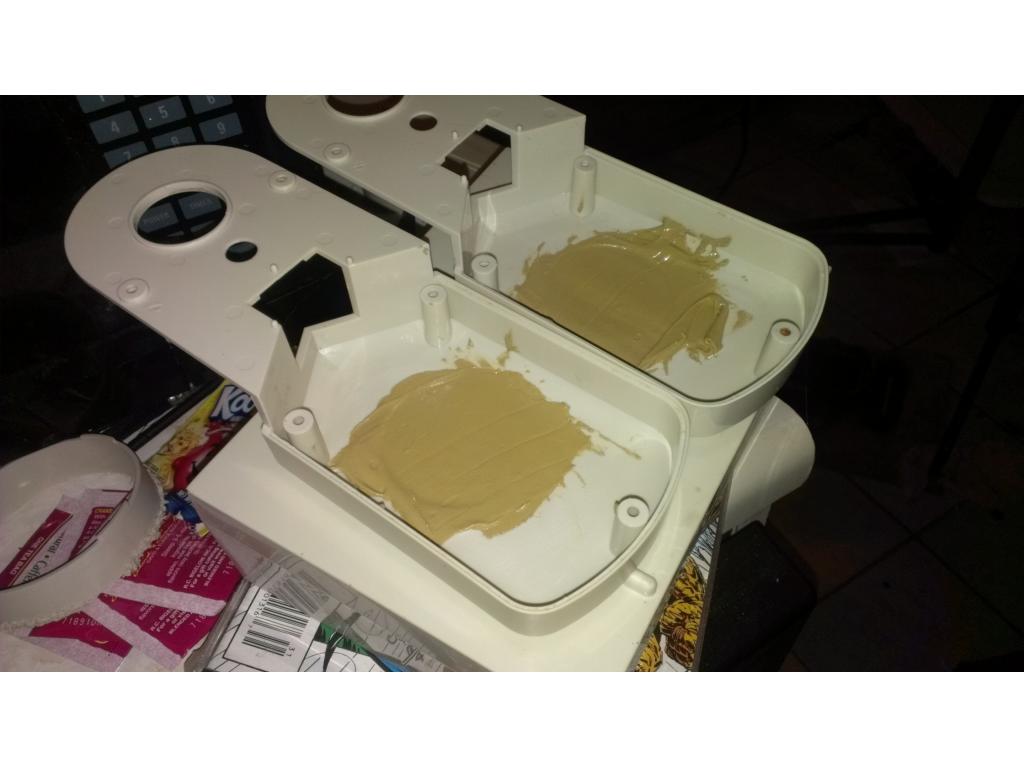
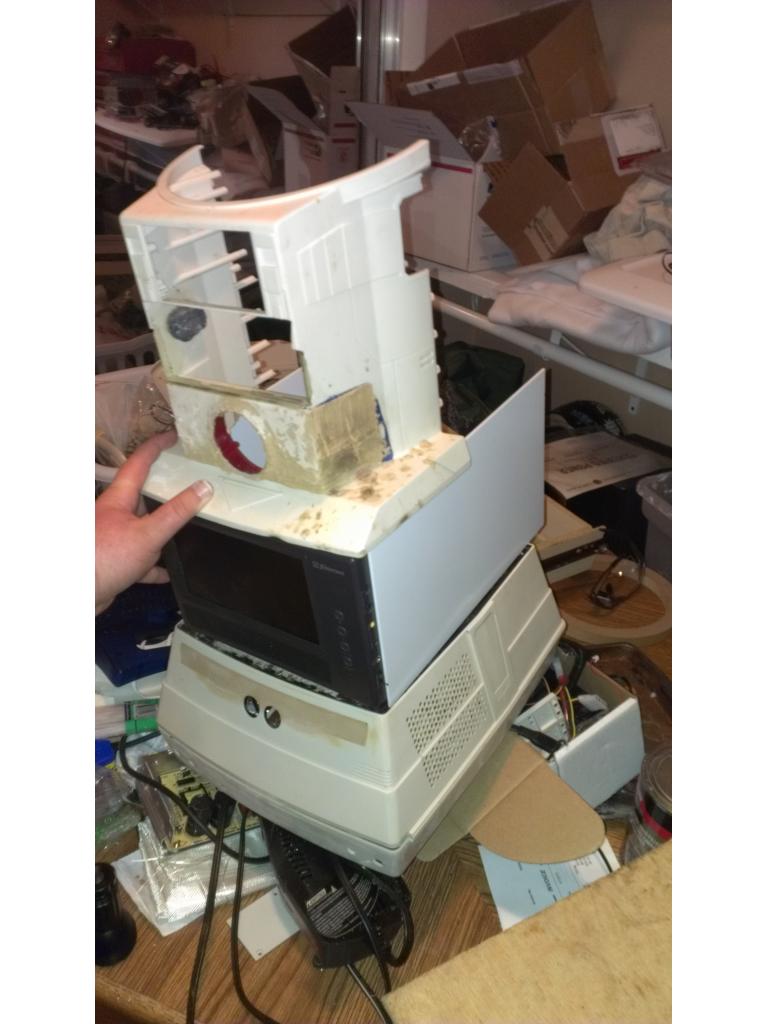
Ok update after 2 days of cleaning. I went through a bucket of oxy clean and a pint of 15 percent hydrogen peroxide and it definatly lightened the Brown iv damage. However they were only about half gone after many hours of treatment in the sun. So I took remaining oxy clean and added a couple scoops every cycle and ran it through my dish washer about 6 or 7 Times. This proved more effective than whitenening with retro bright type formula. Then before this last load I took 400 grit sand paper and soap n water to really stubborn areas which worked well from just a few minutes but your fingers will hurt tryin to get into those really sharp crevesas and curves. The front chest piece is completely clean , as well as bottom and lower half of omnibot. Now its just the edges if the arms and top of the head I need to clear up.
Cool! Pics?
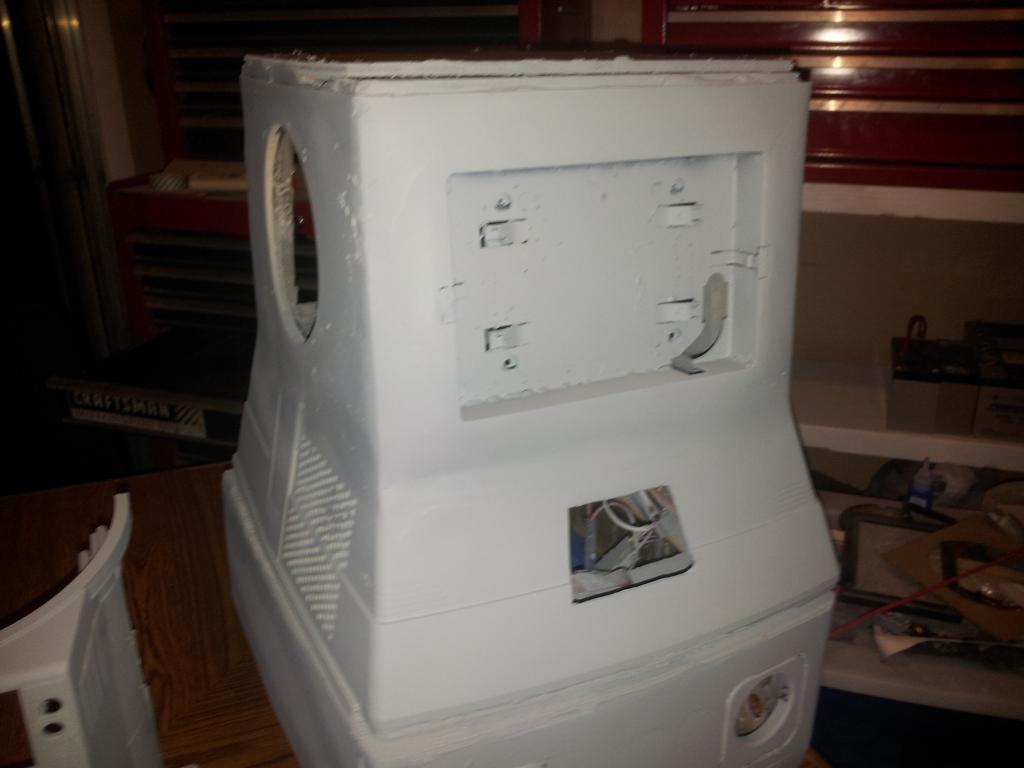
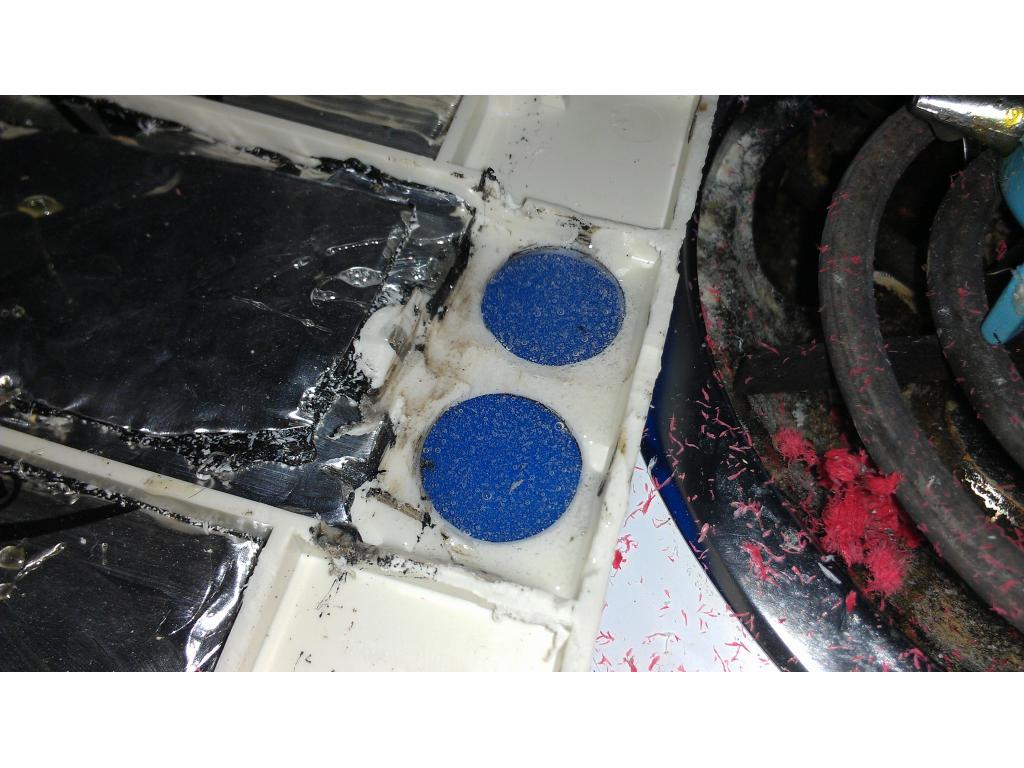
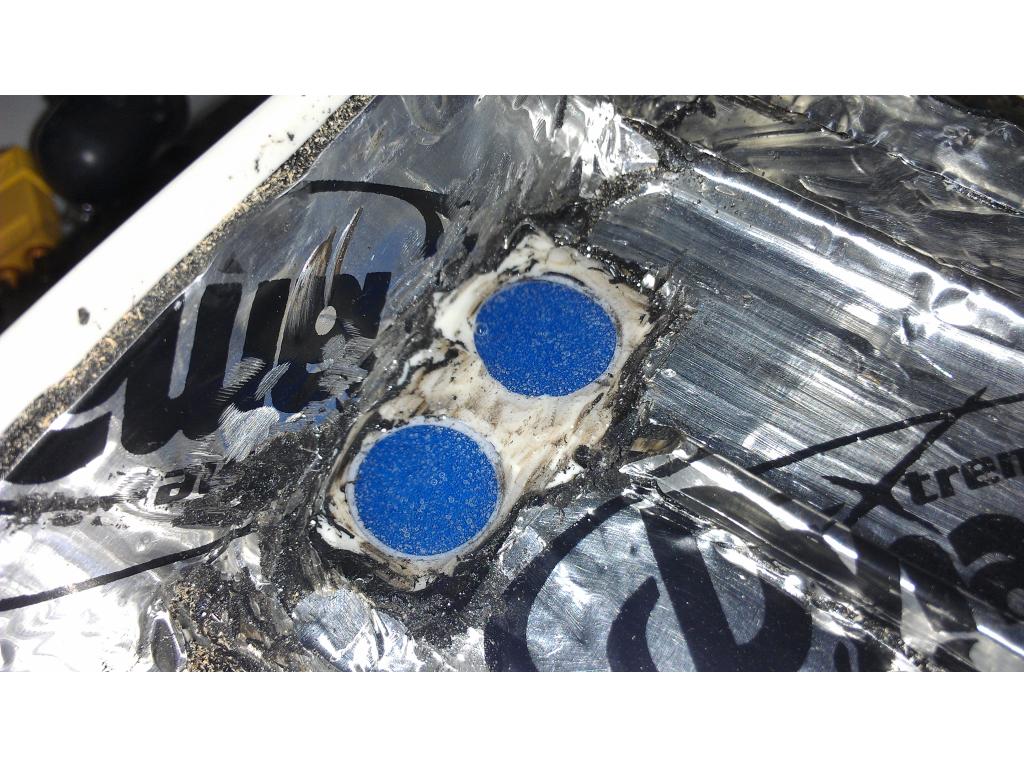
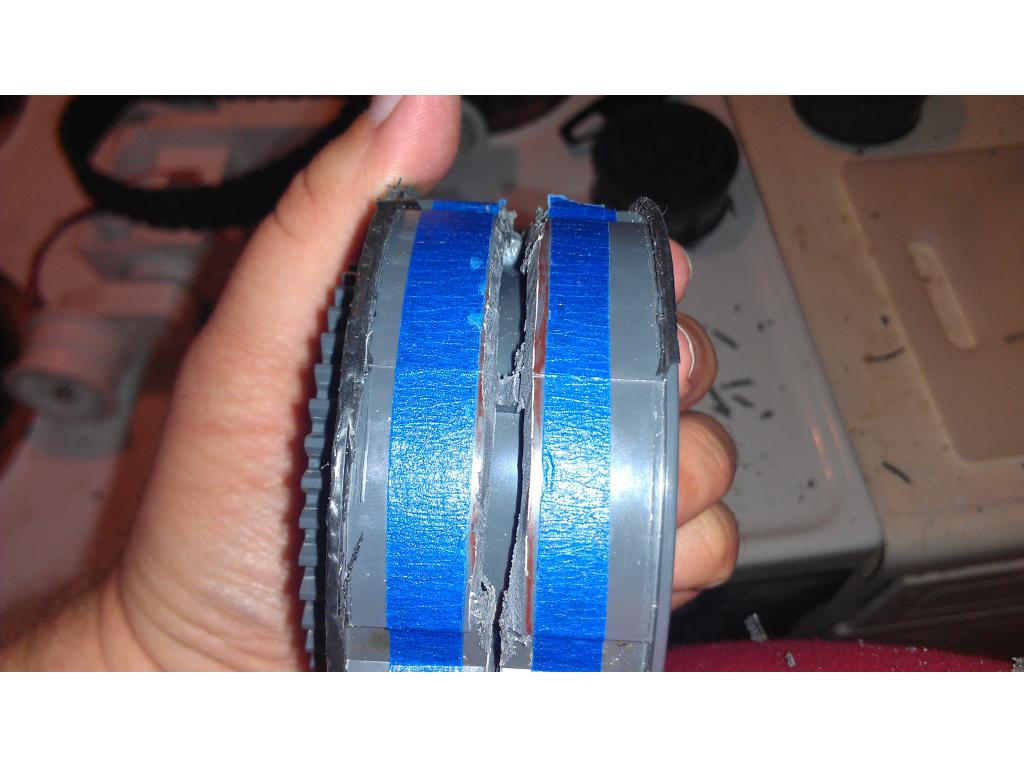
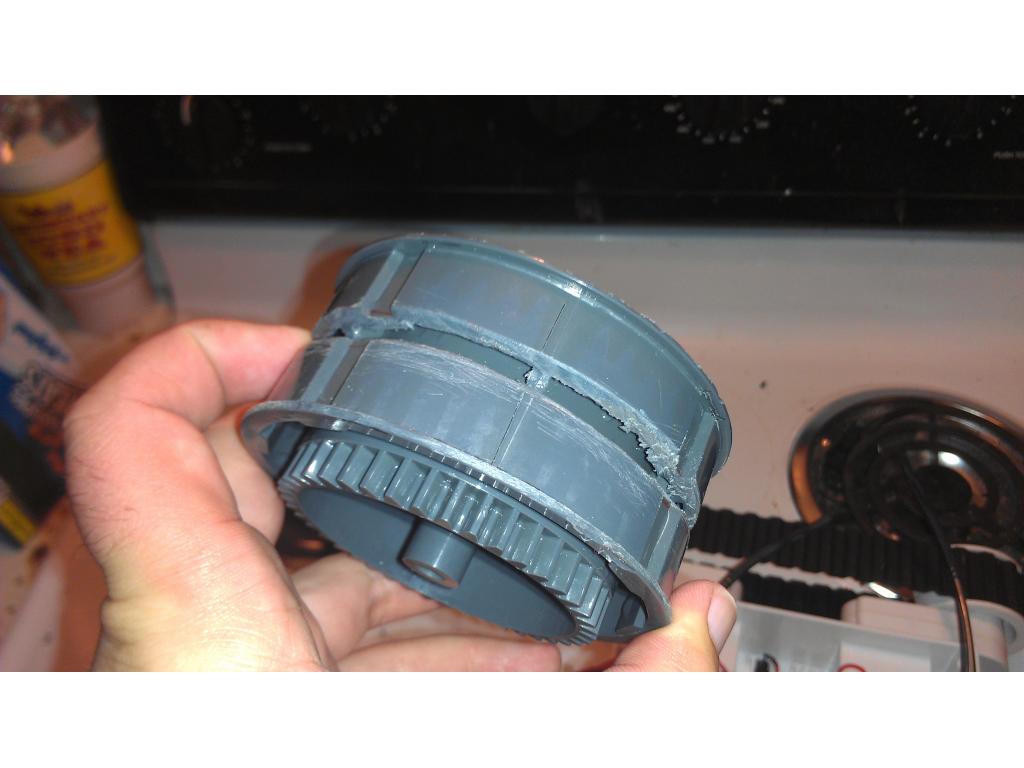
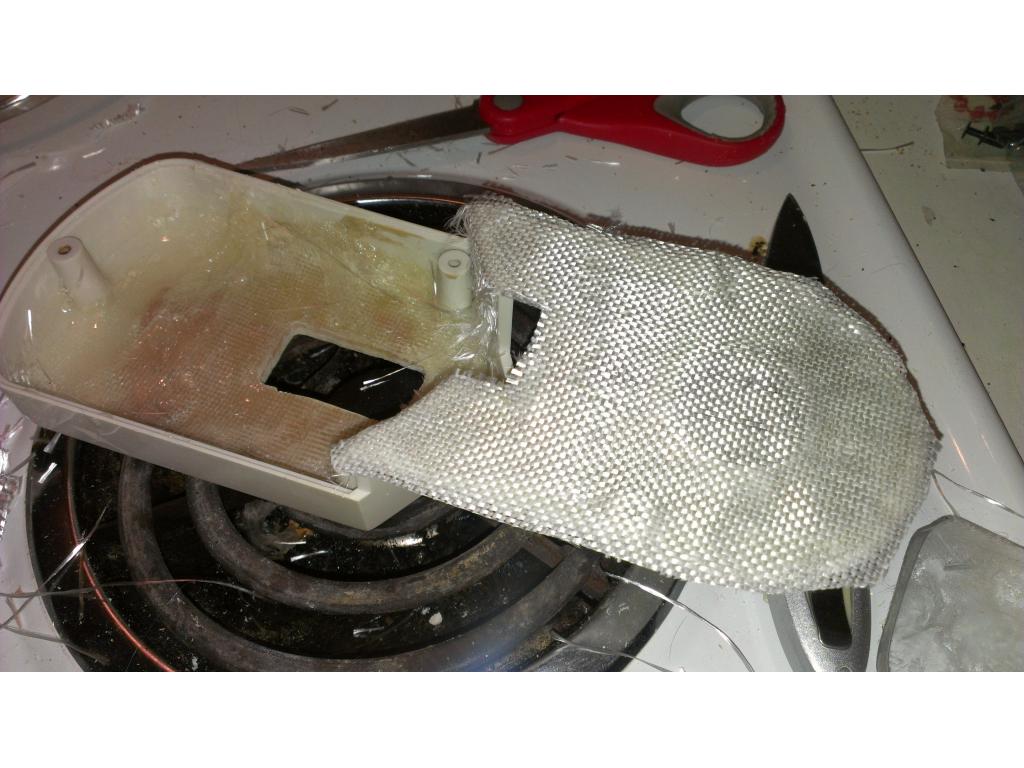
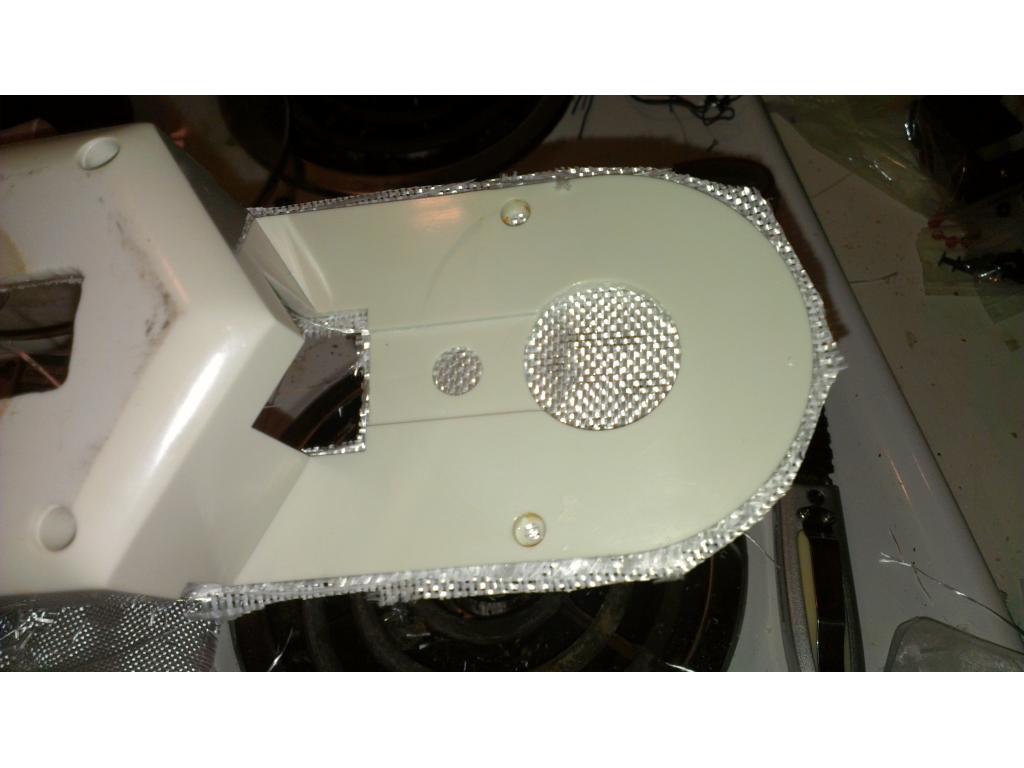
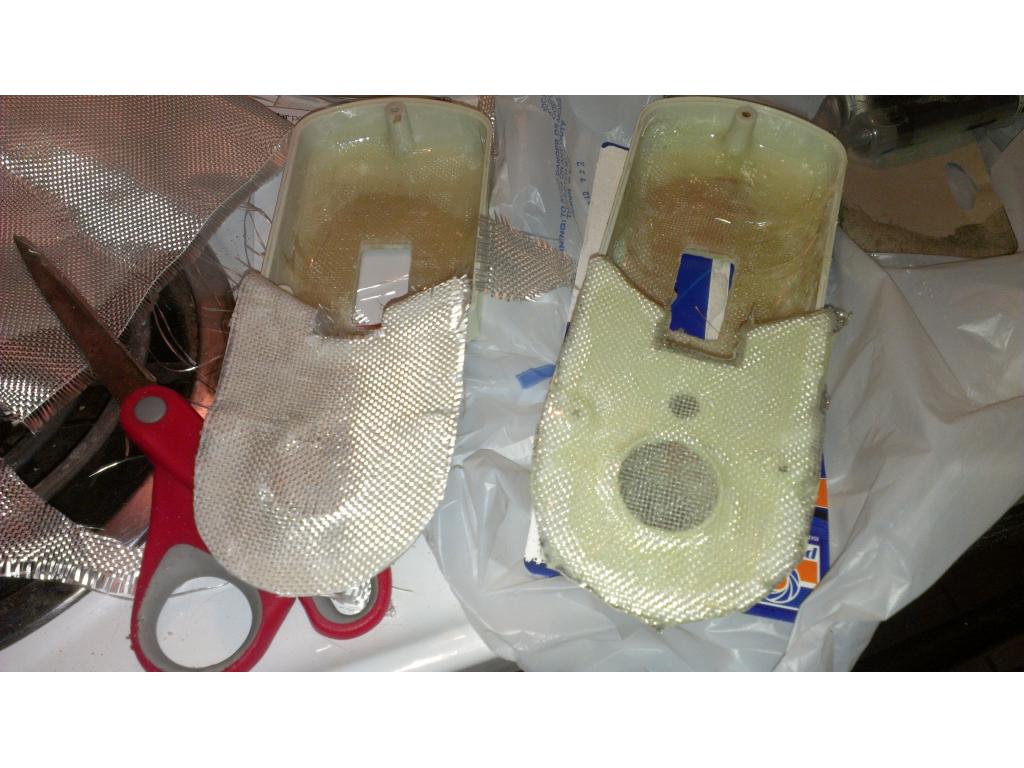
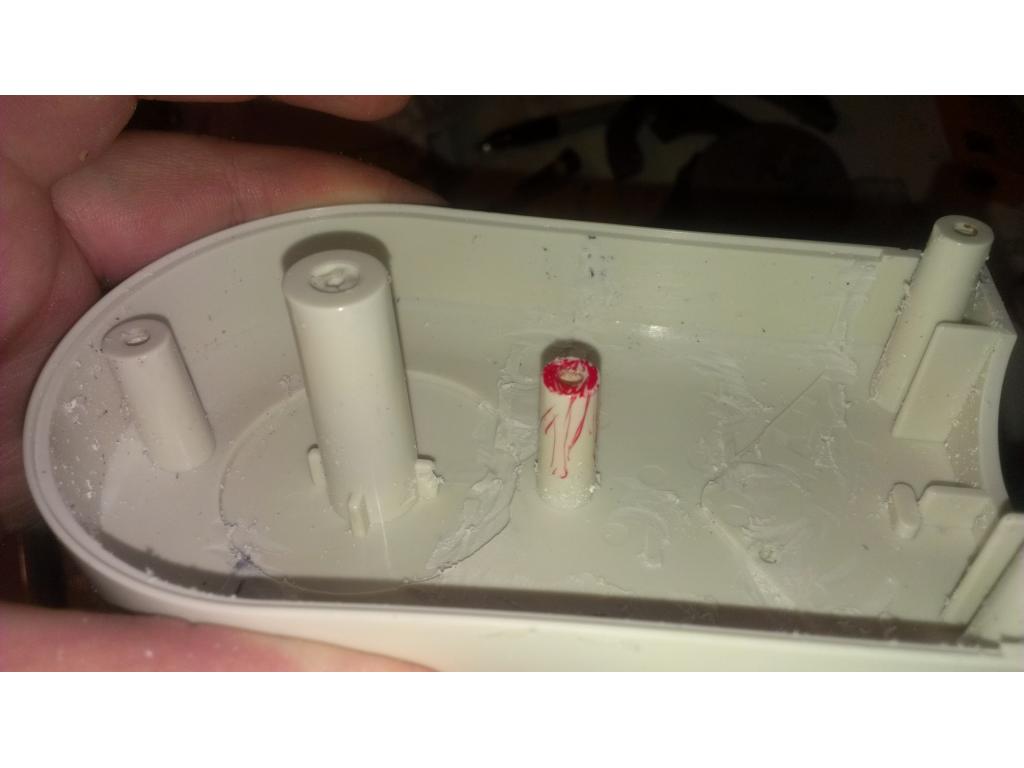
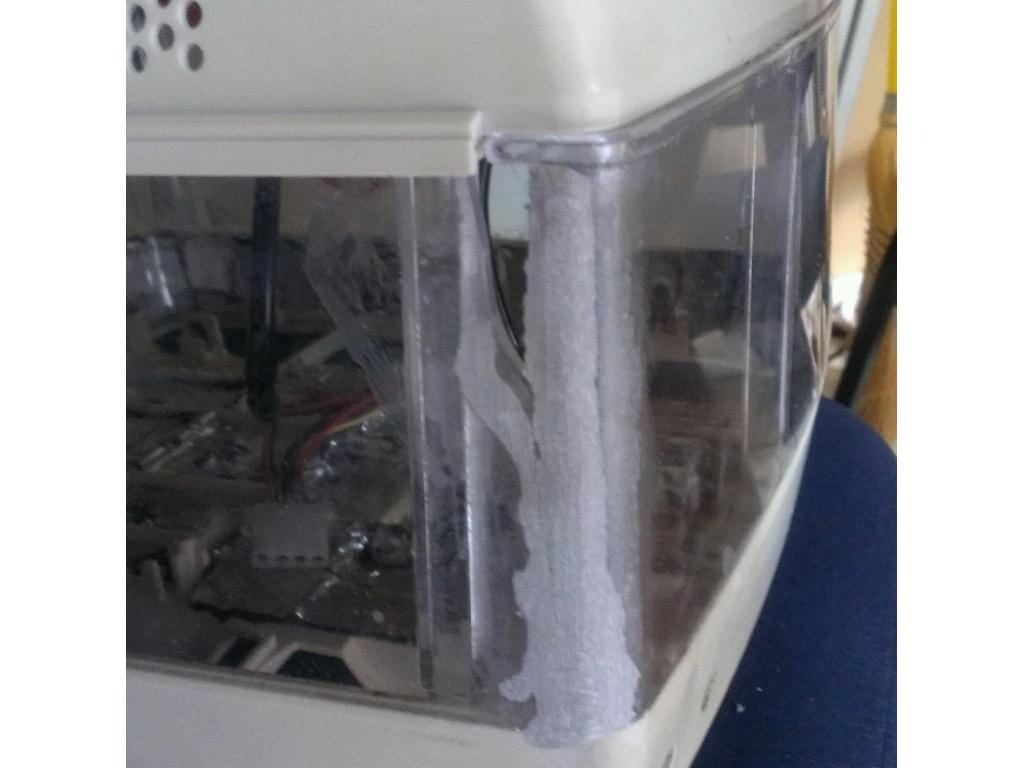
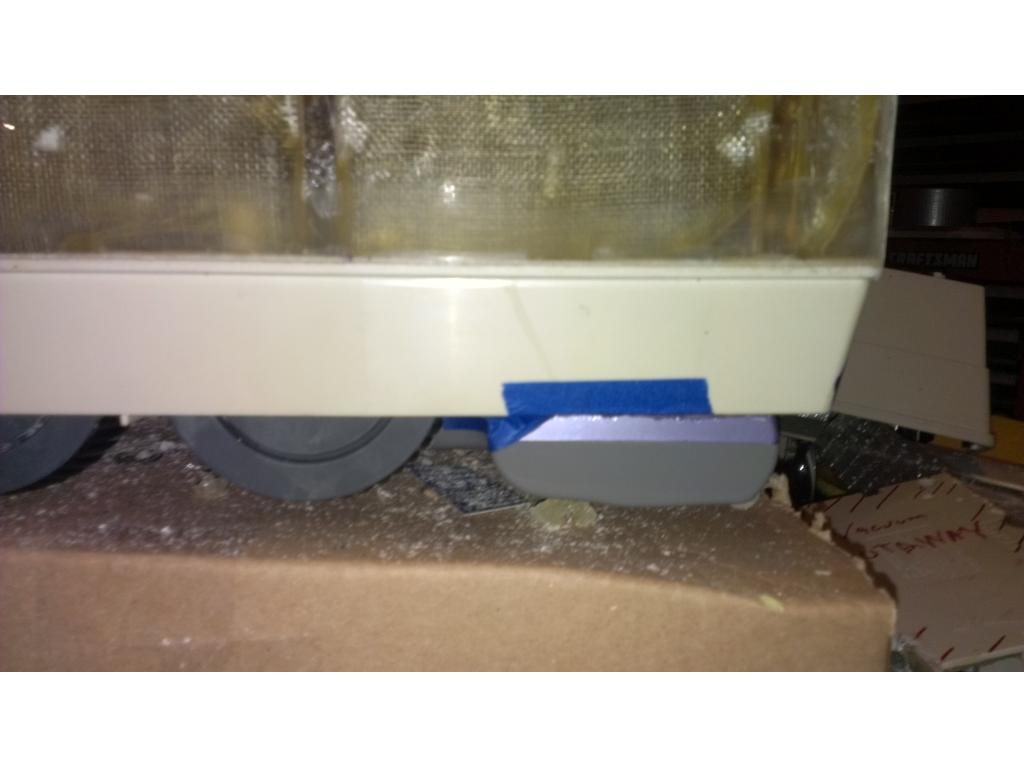
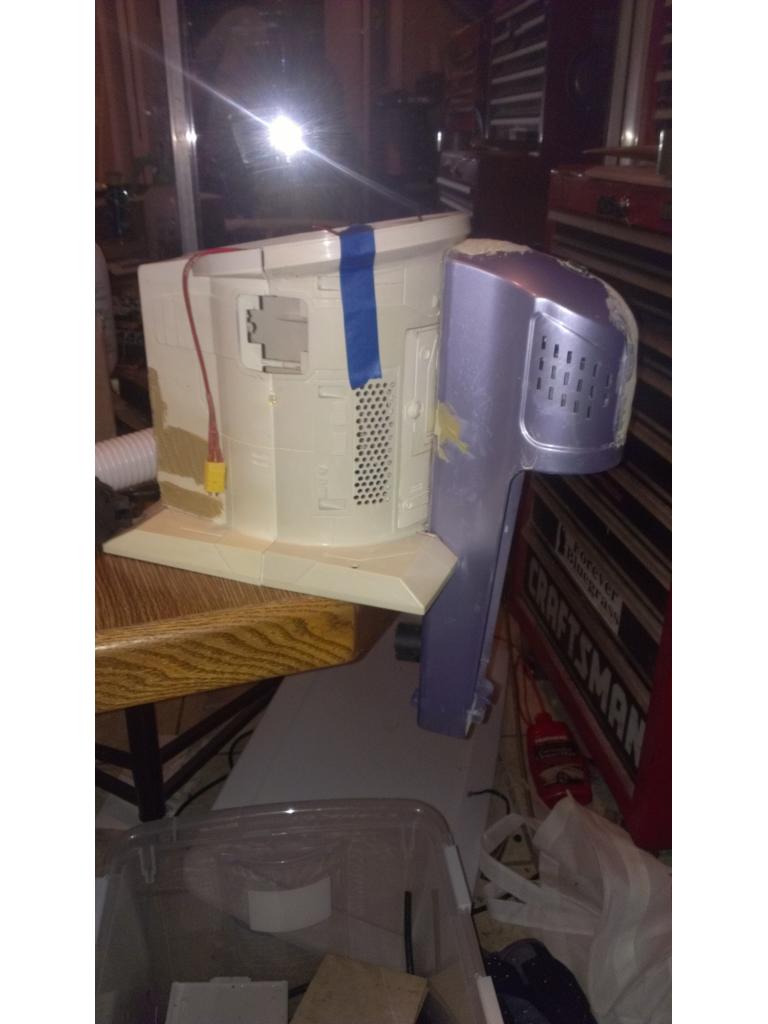
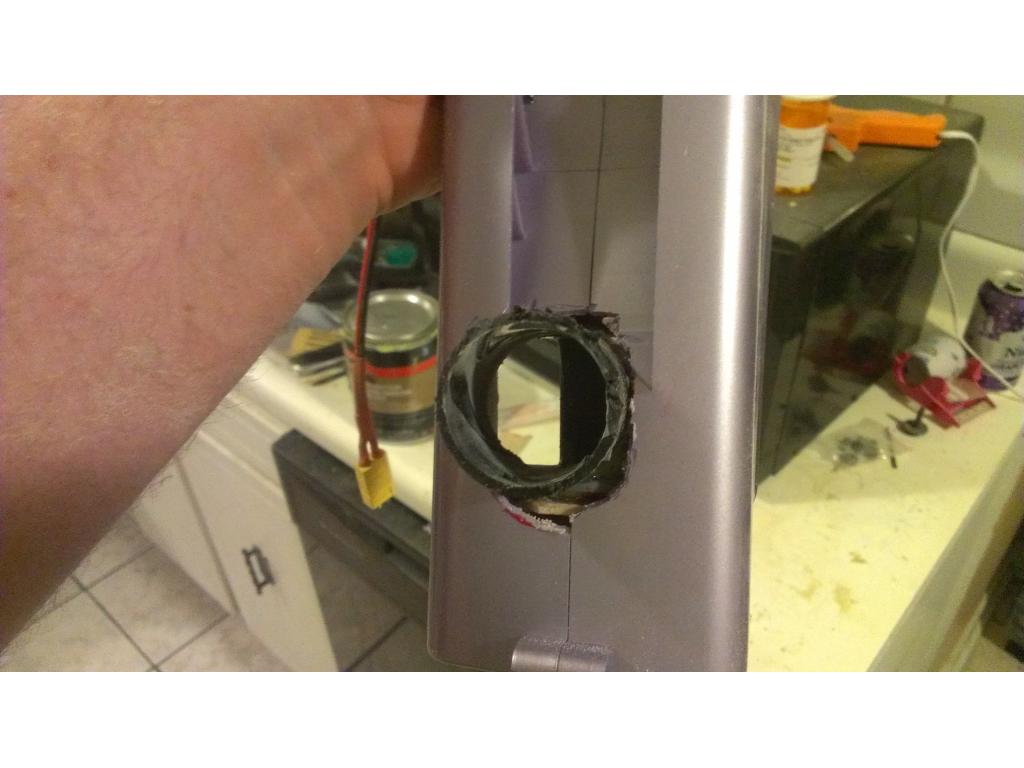
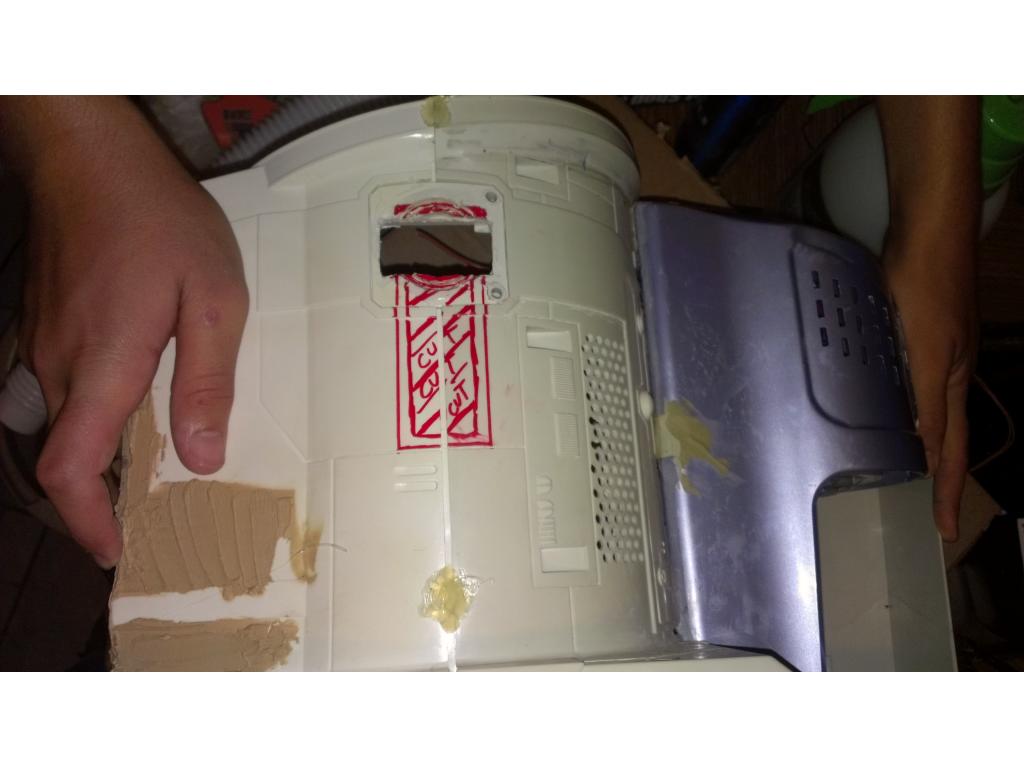
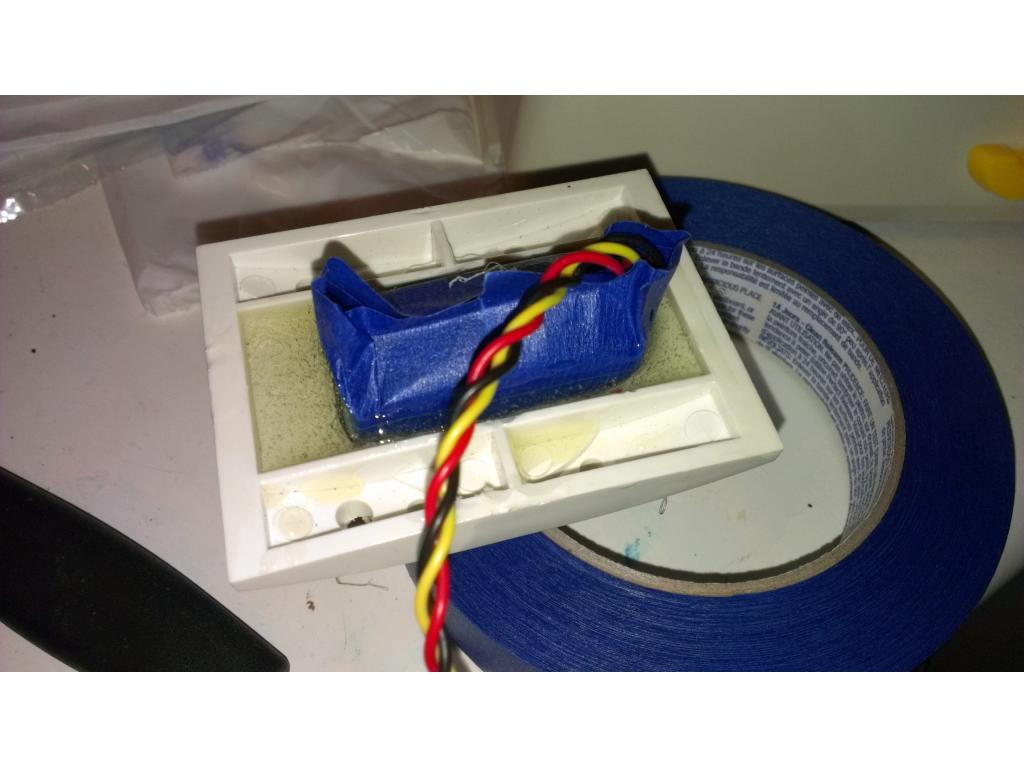
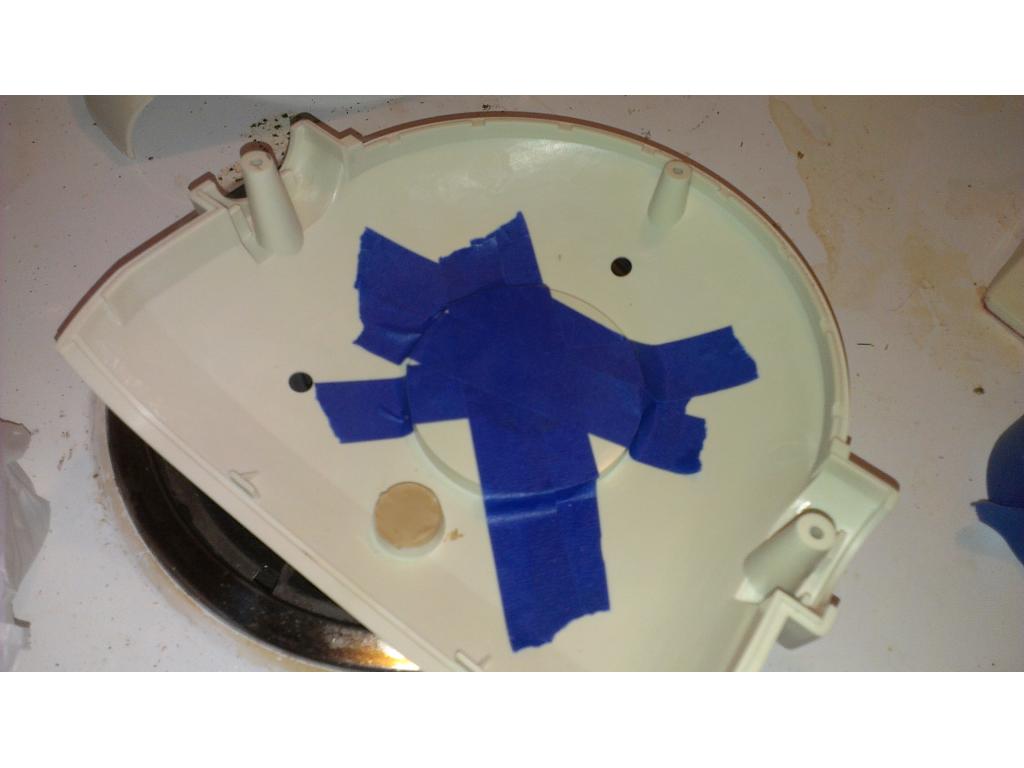
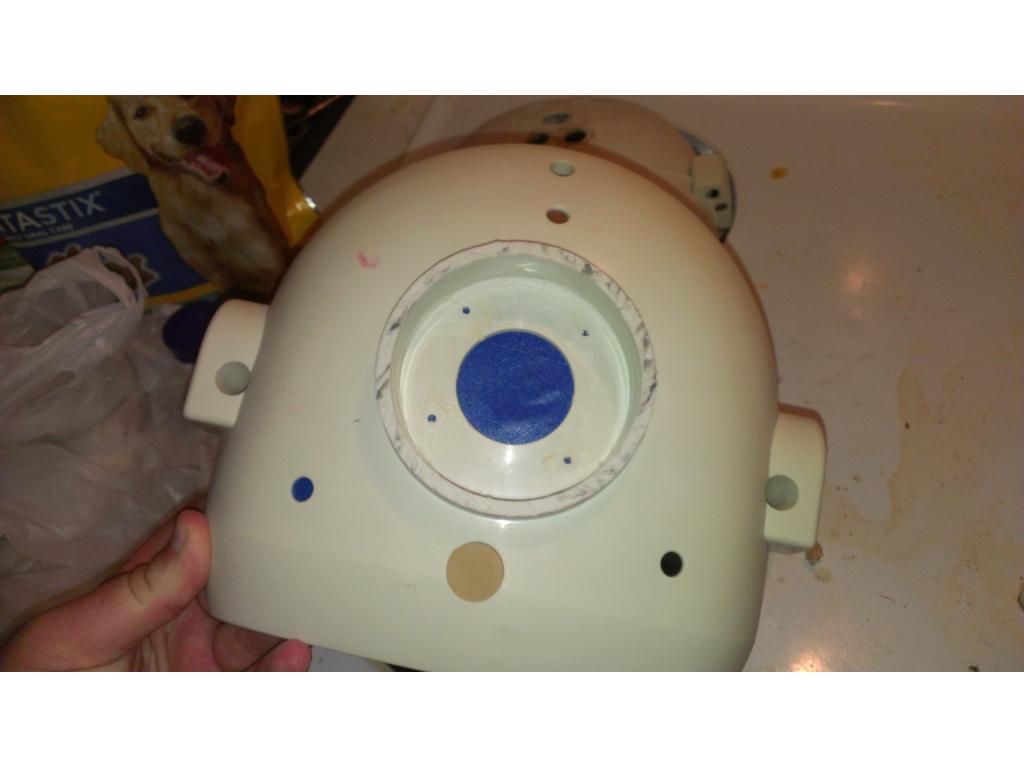
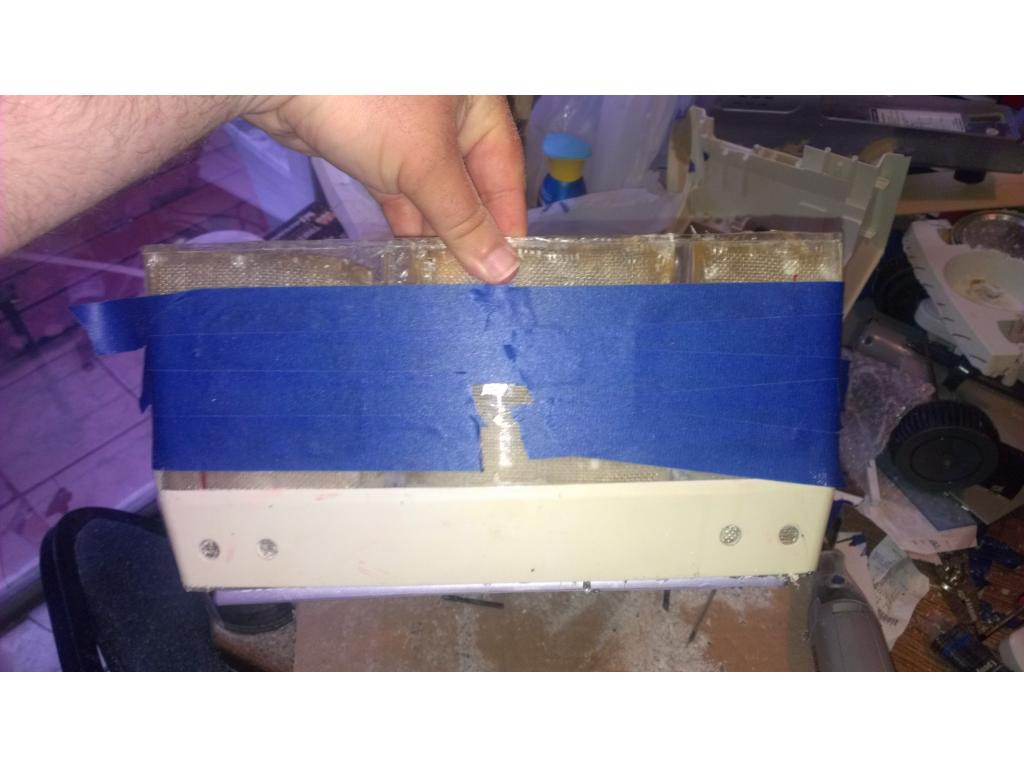
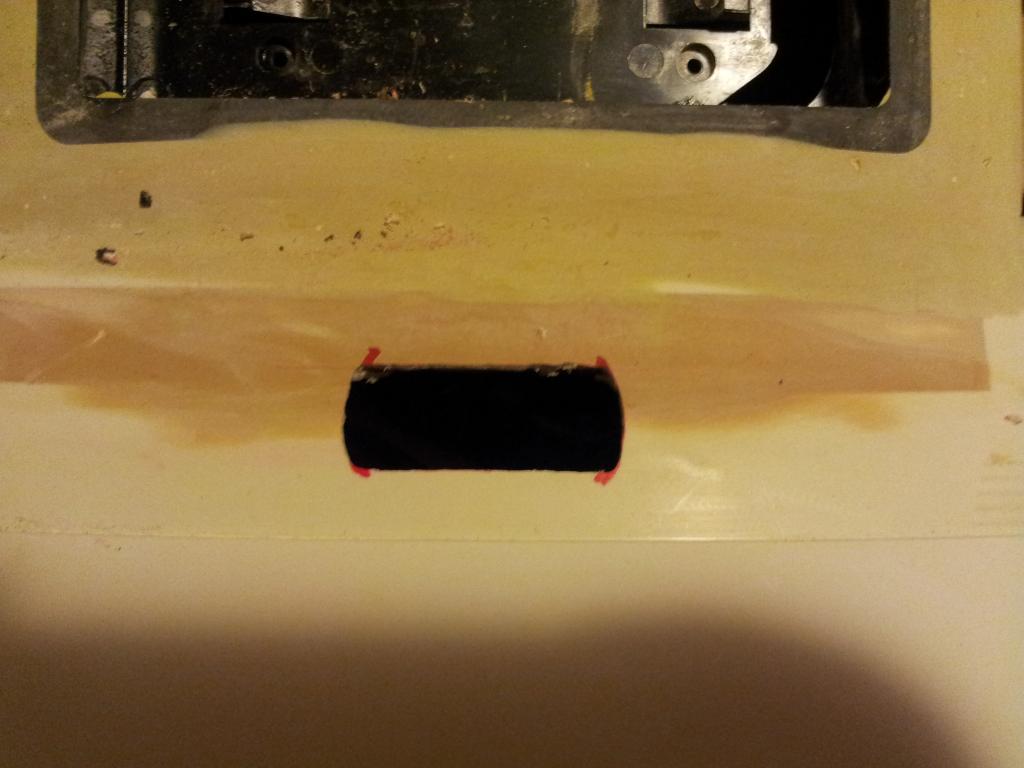
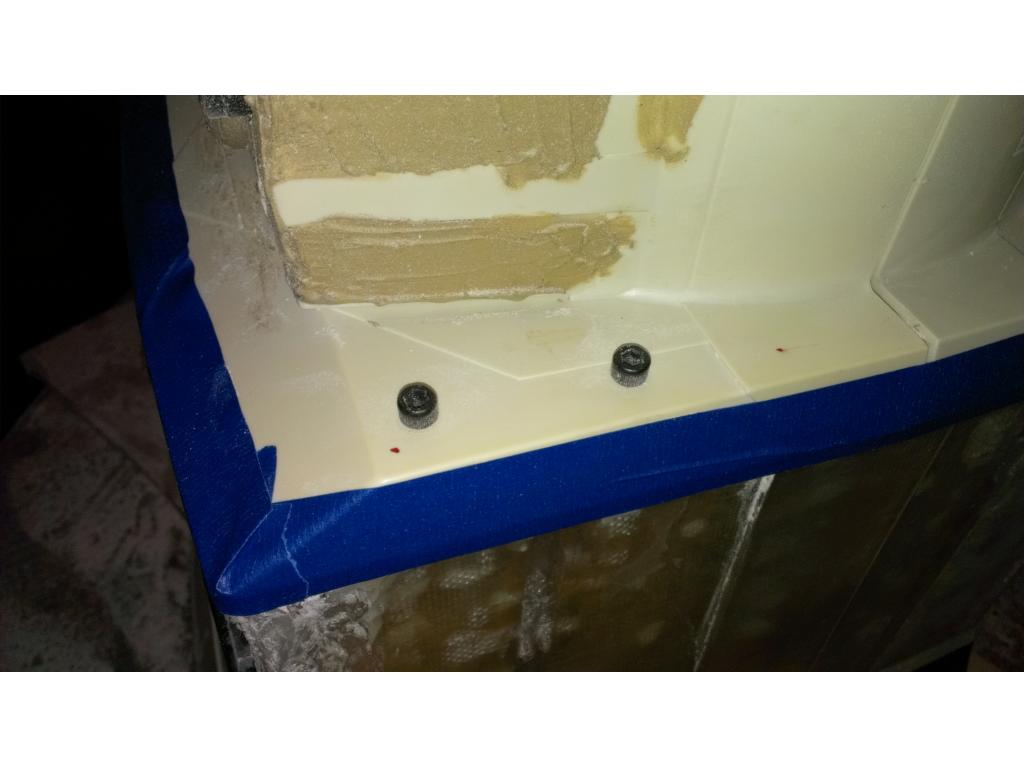
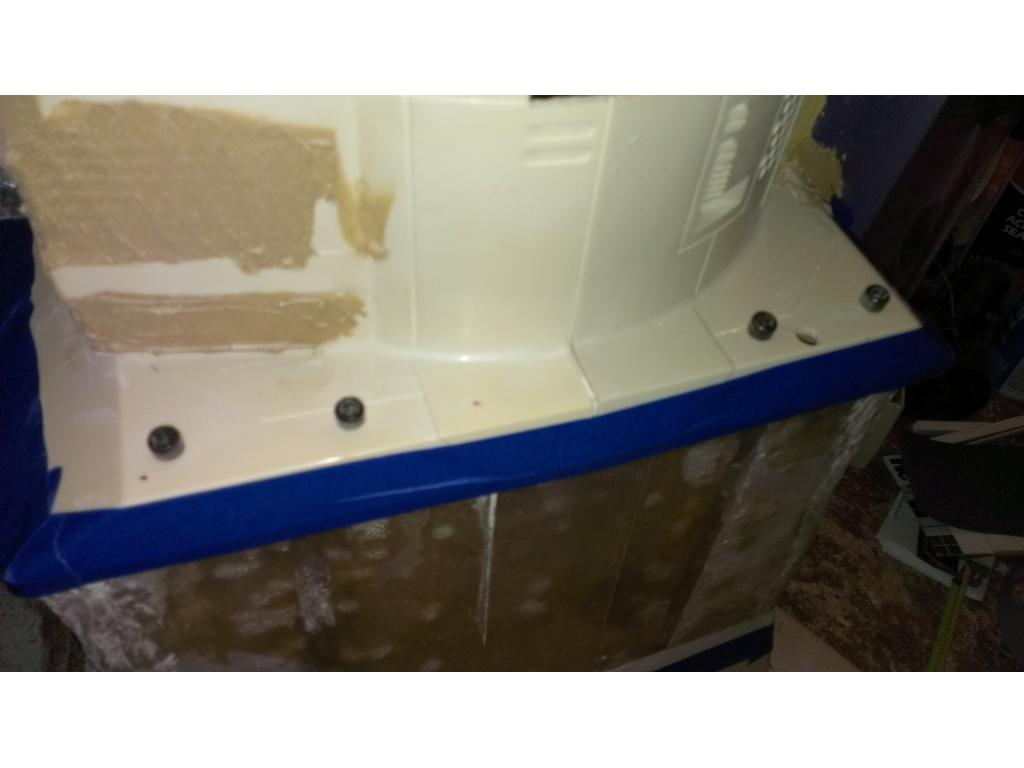
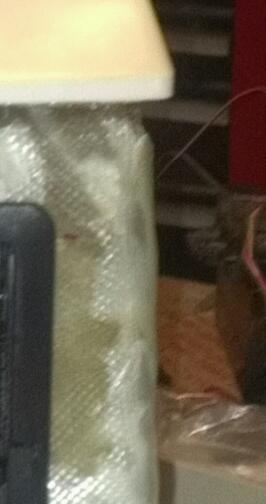
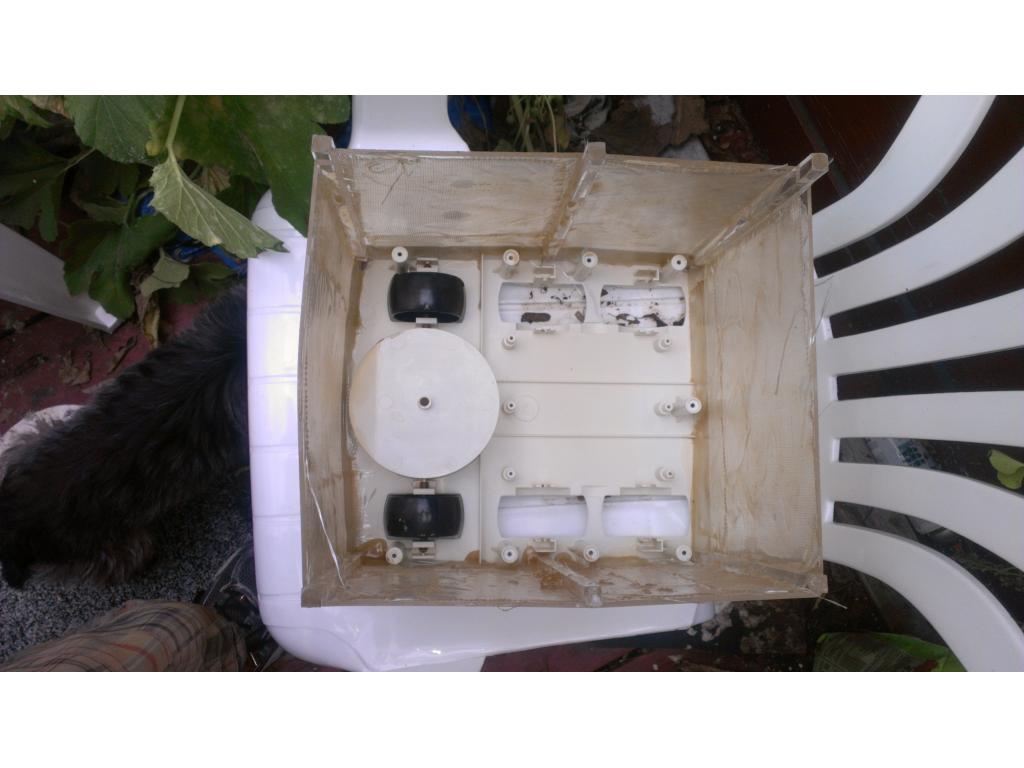
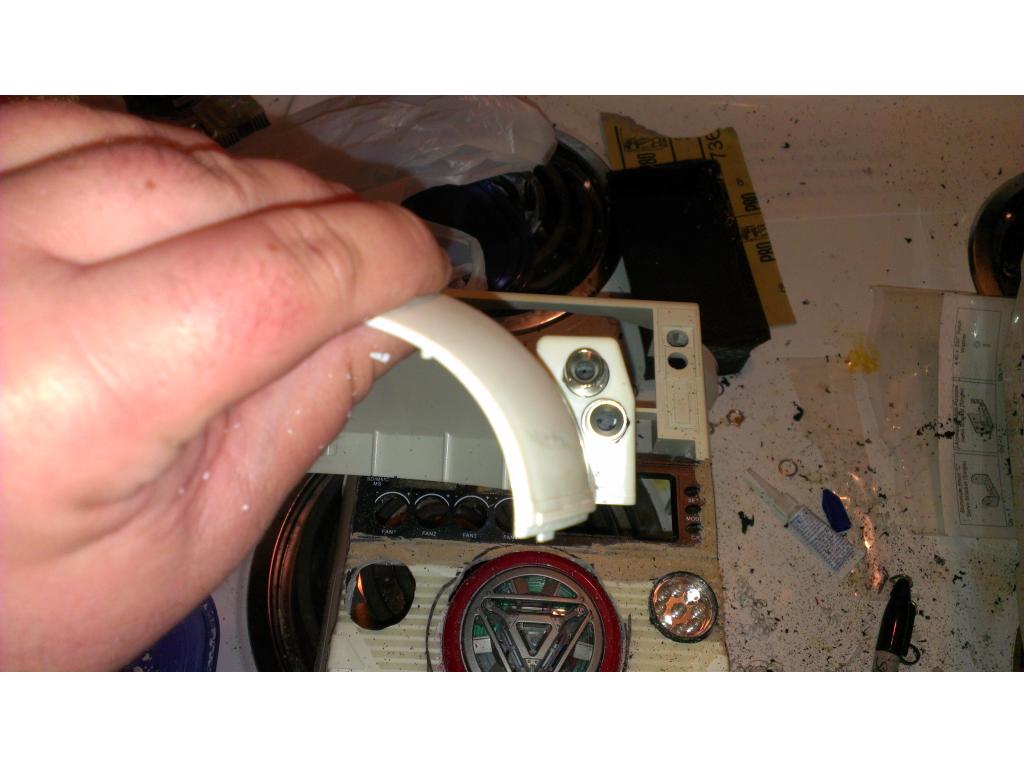
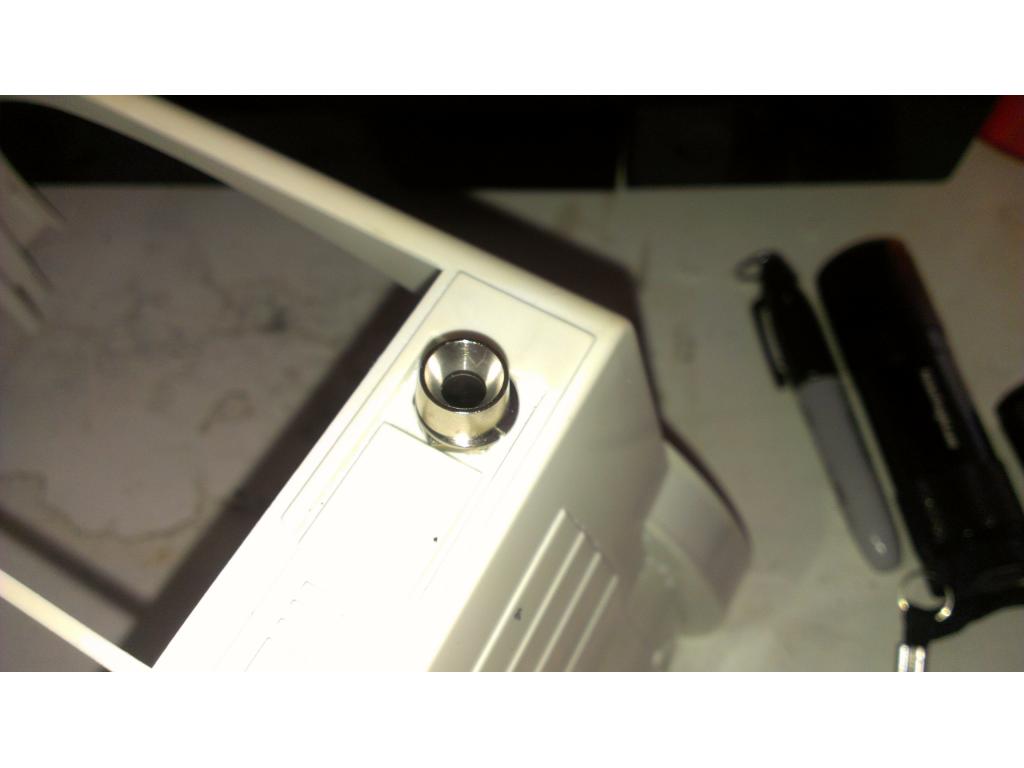
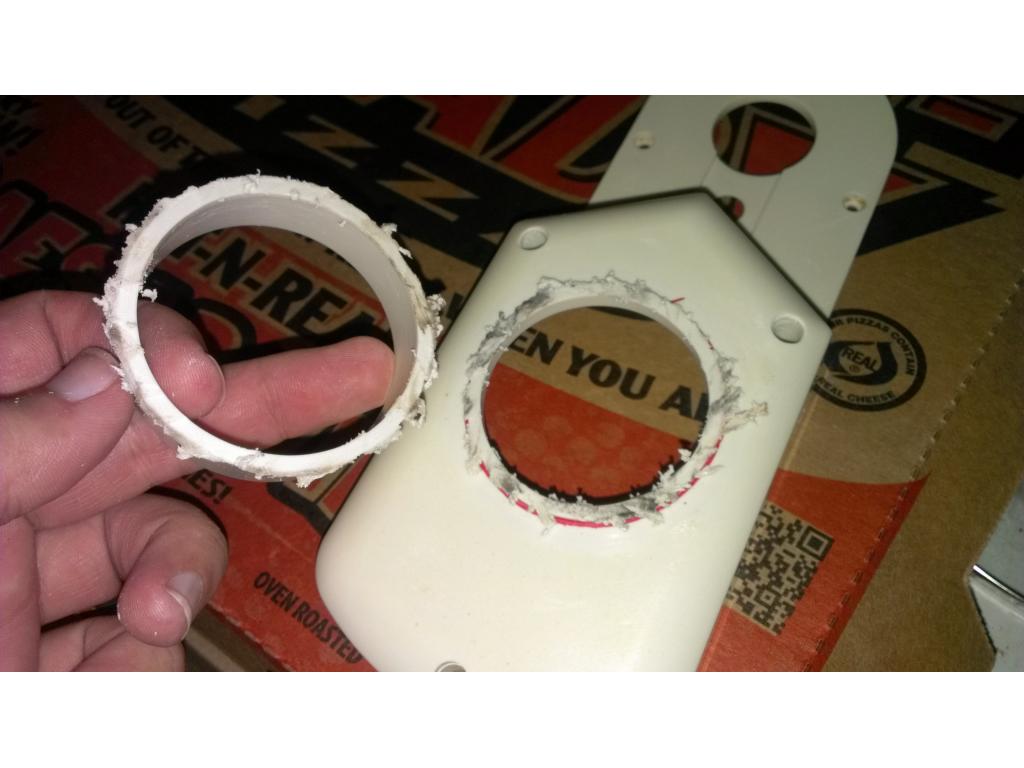
I'll post pics this evening hopfully after I've finished cleaning up the edges of arms and top of the head. In cleaning I've noticed small damages the bot has incited that has made cracks and splits in a few places. I will definitely fibreglass around these mounting points and cracked areas i previously couldn't see through the browned tar.
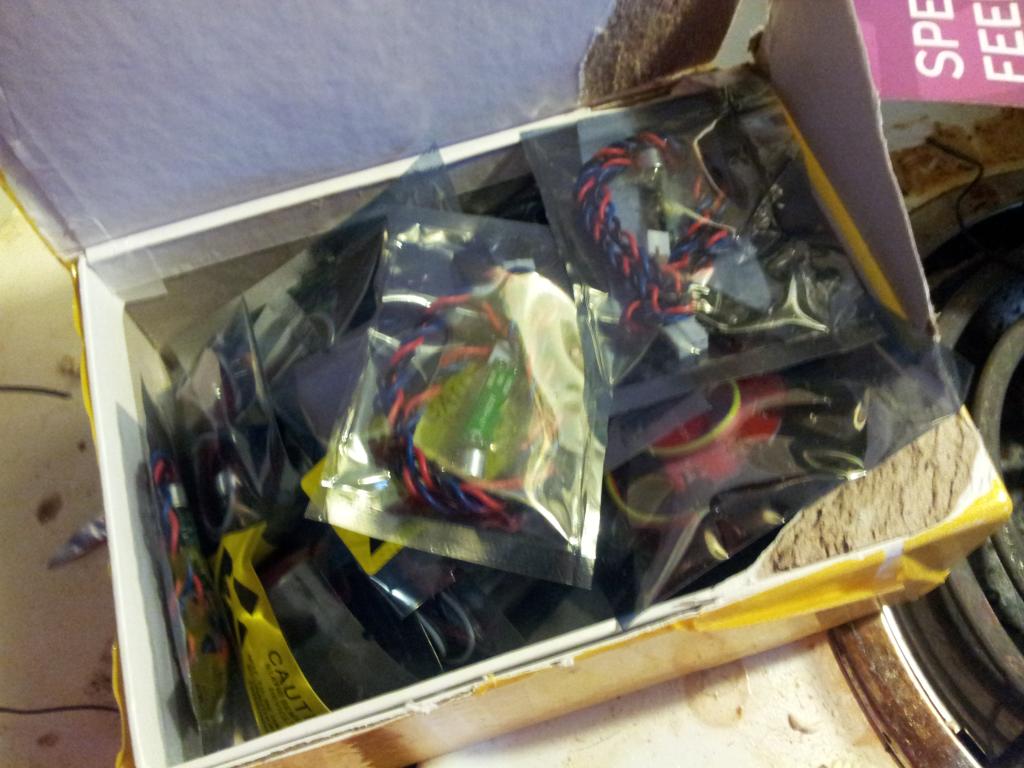
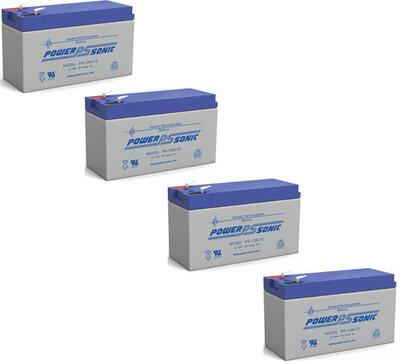
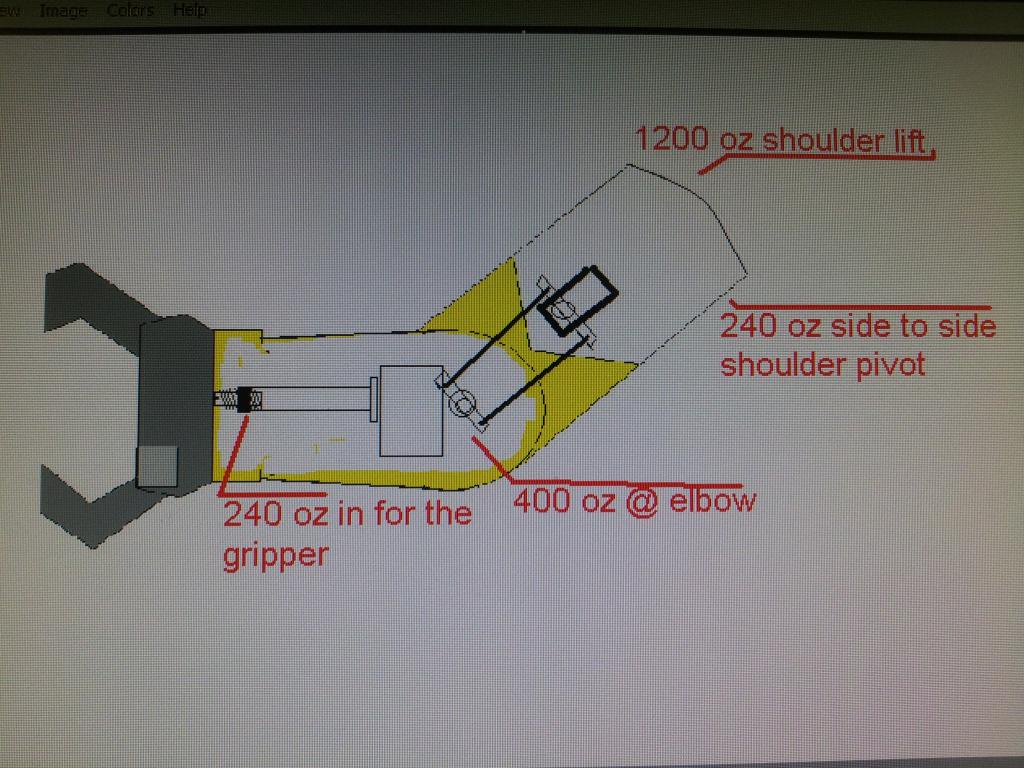
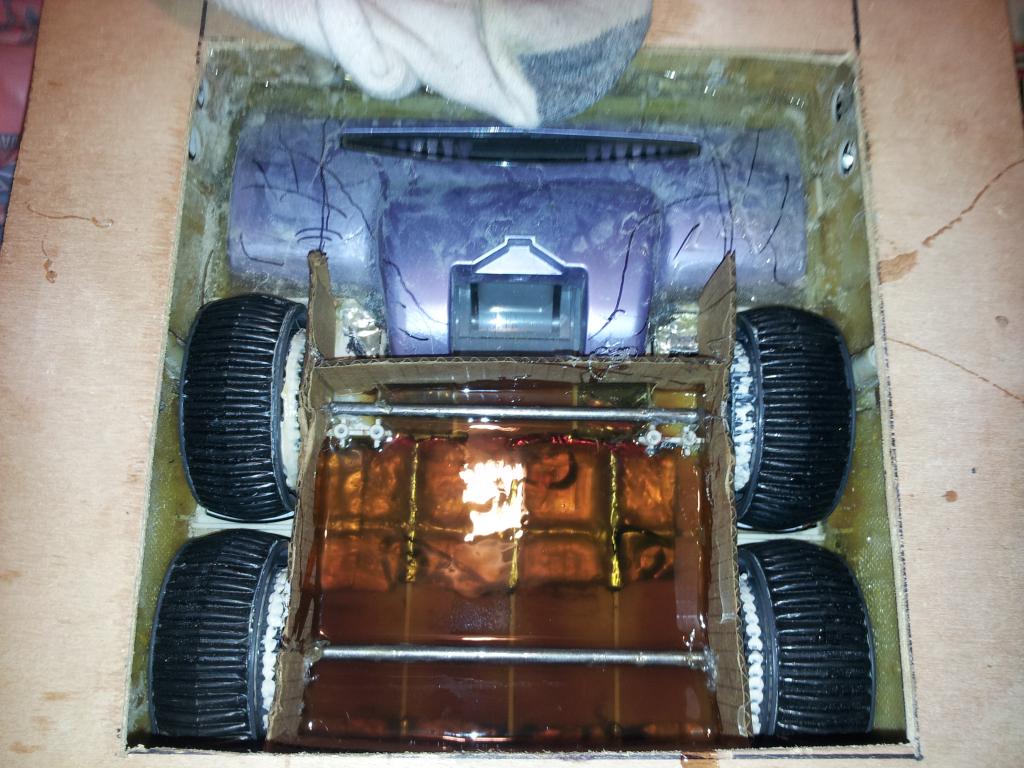
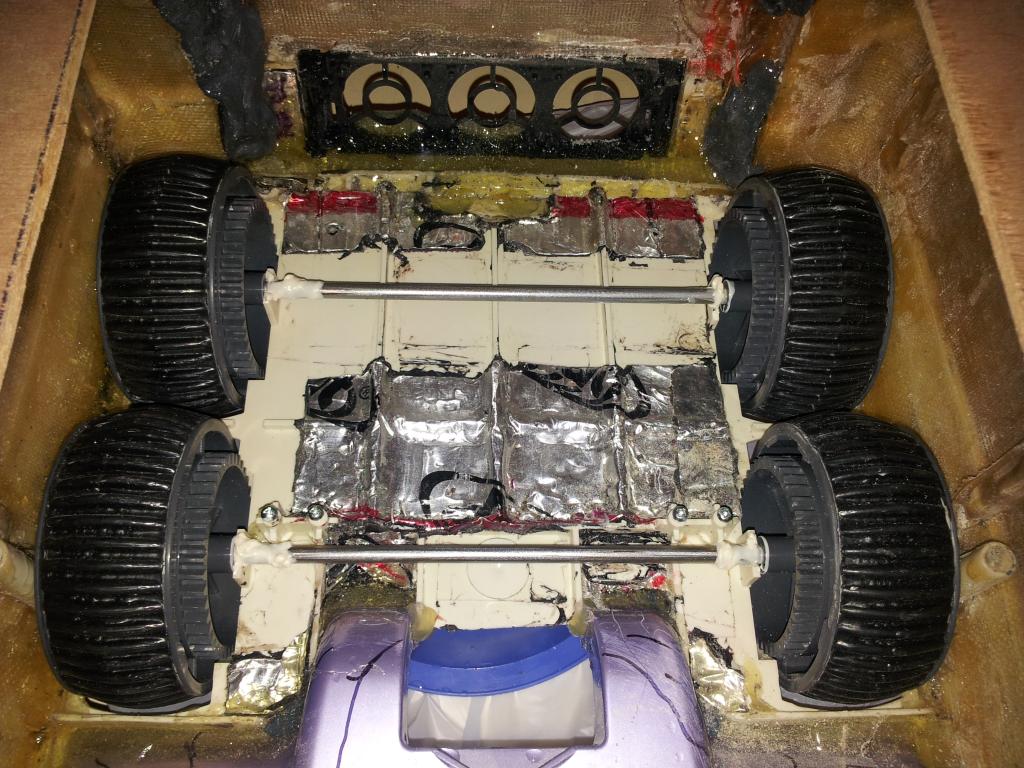
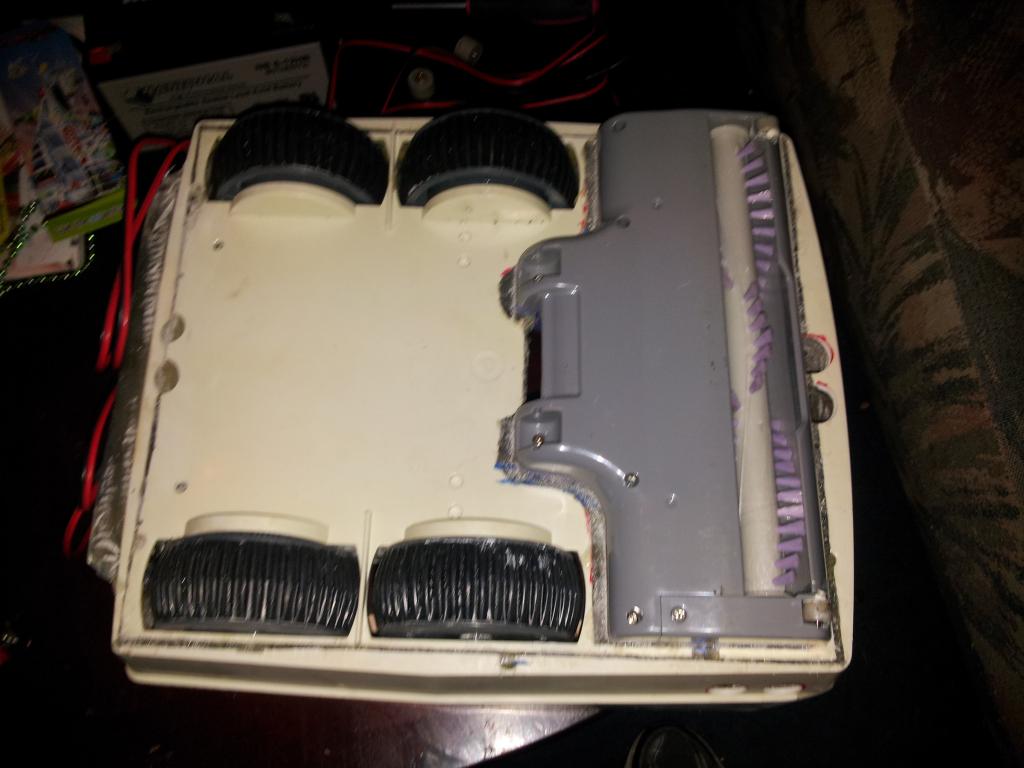
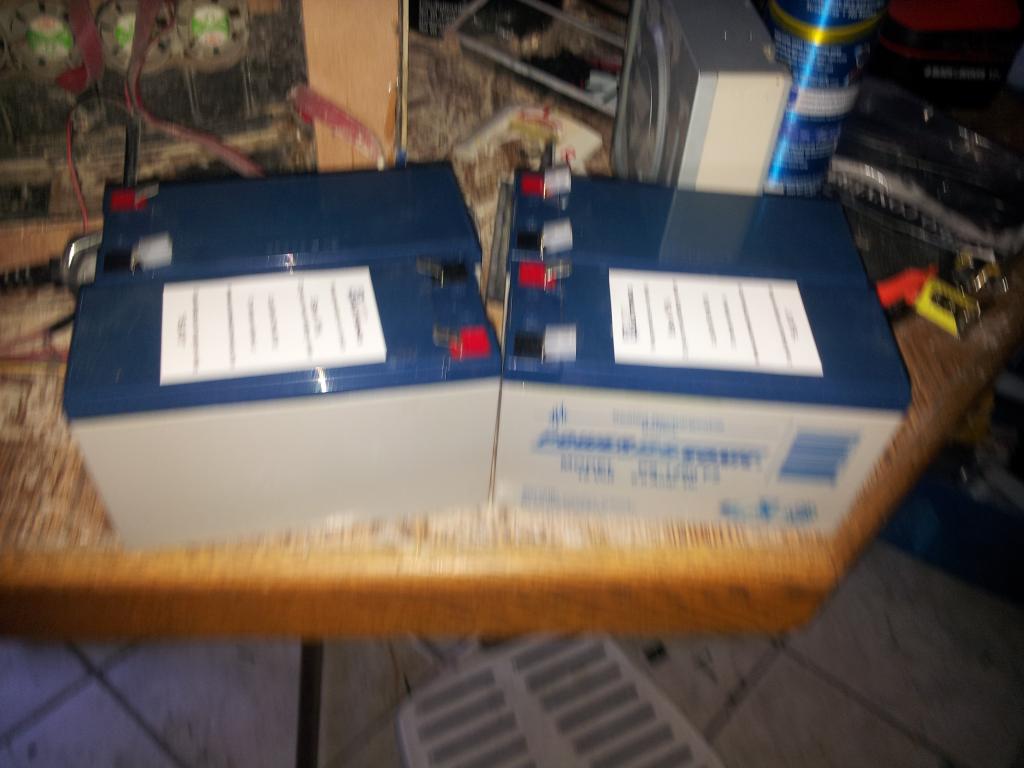
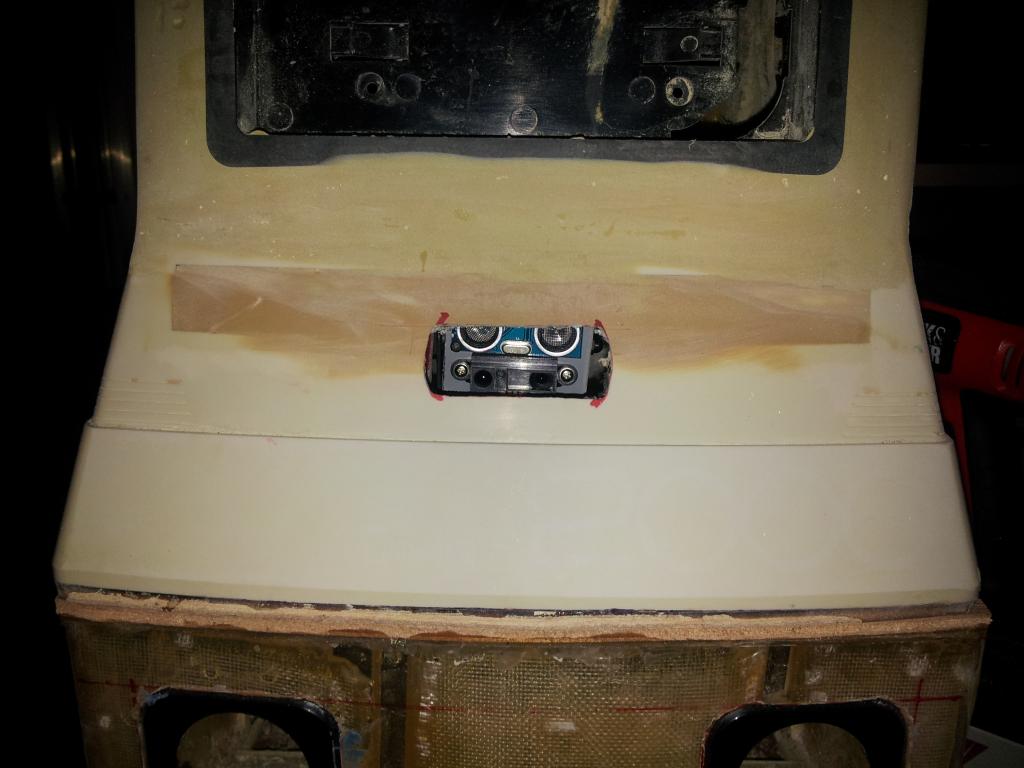
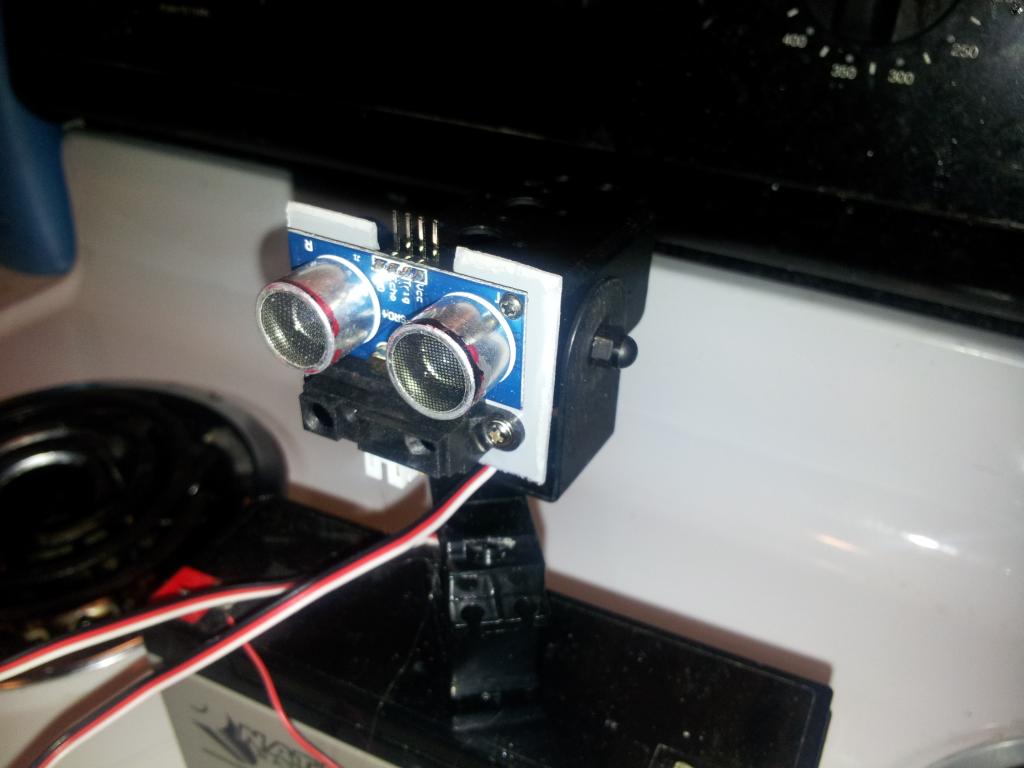
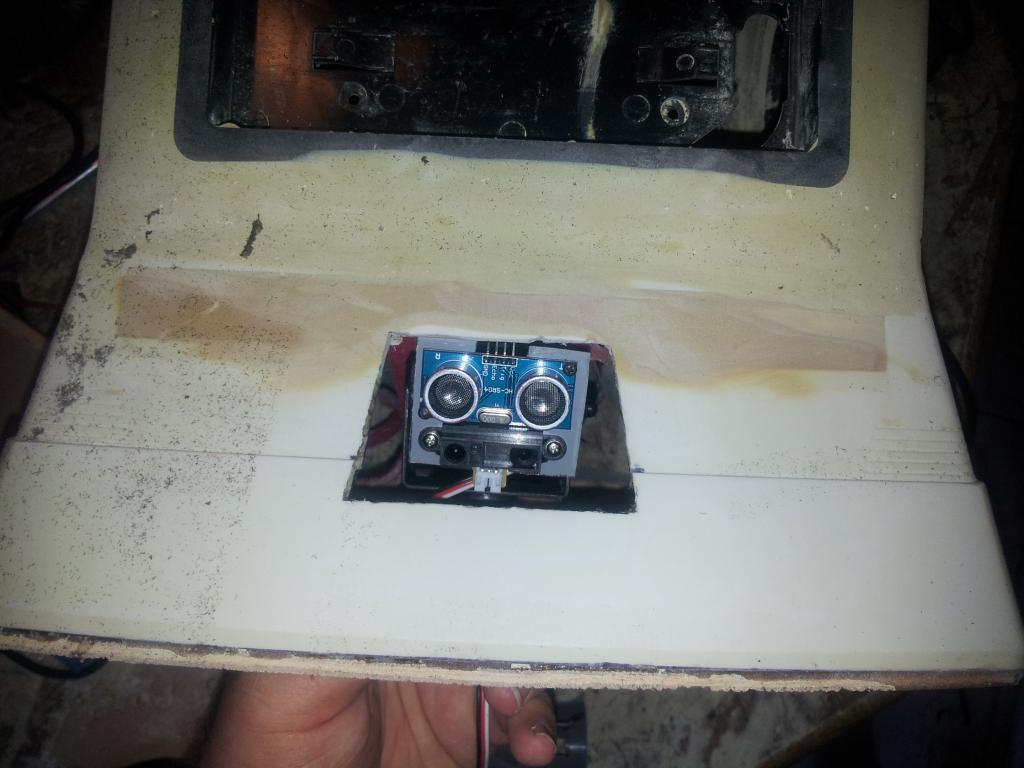
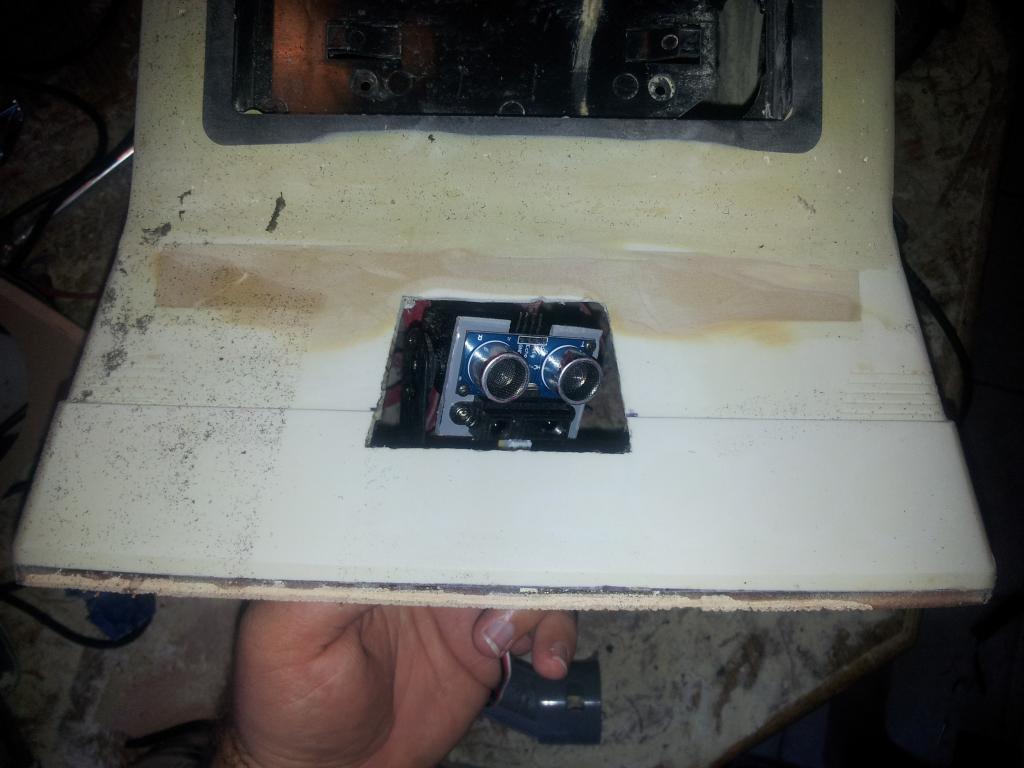
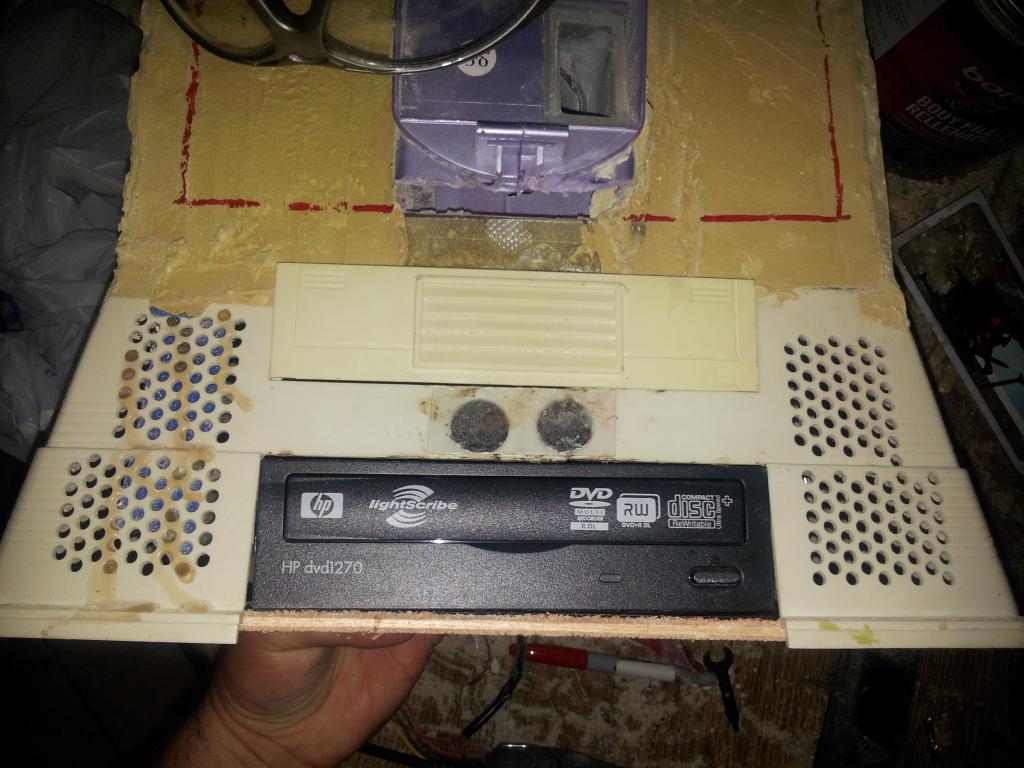
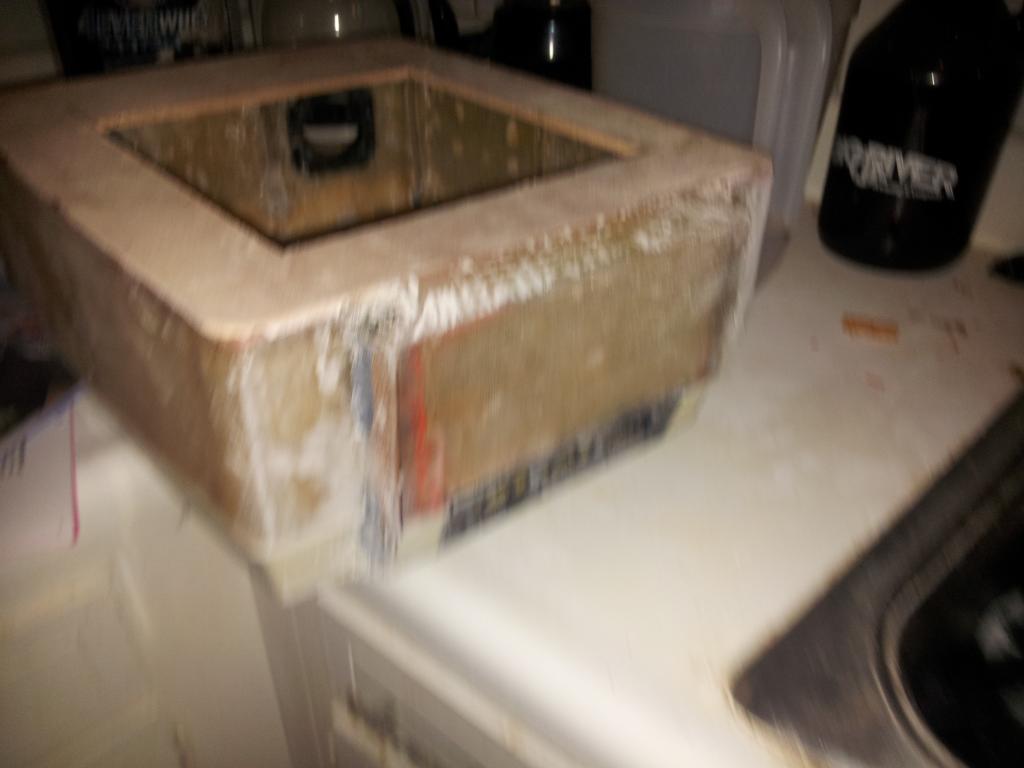
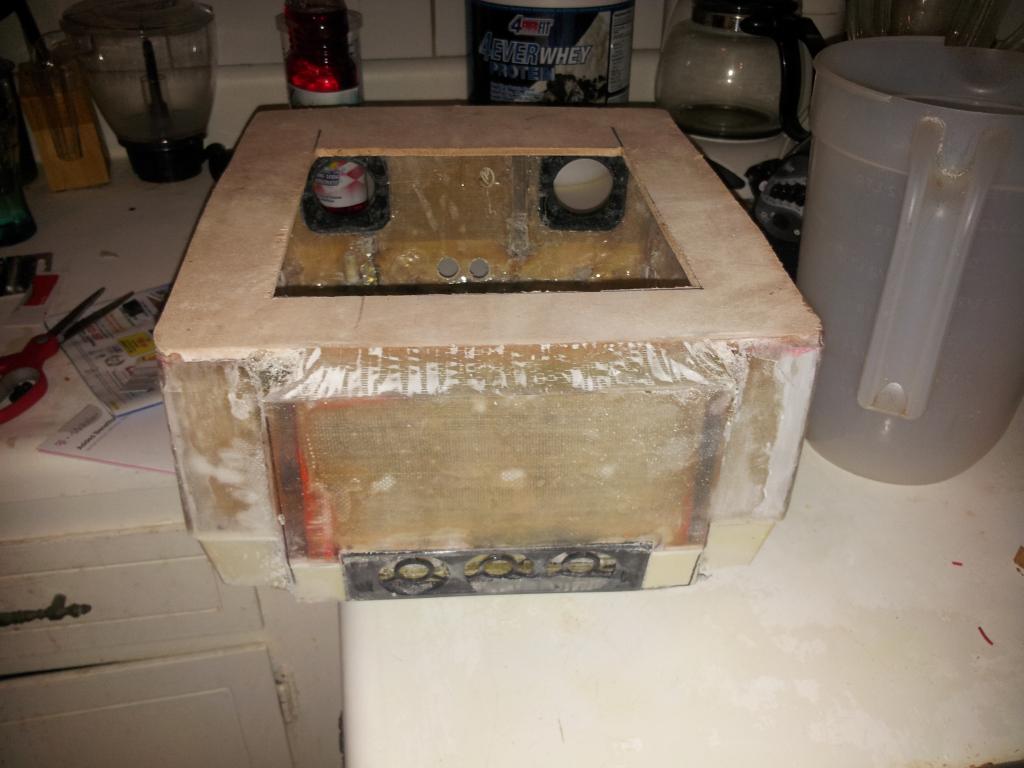
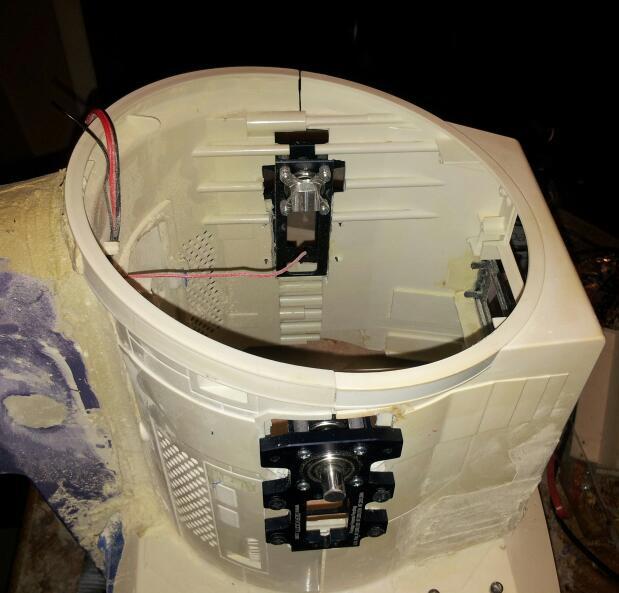
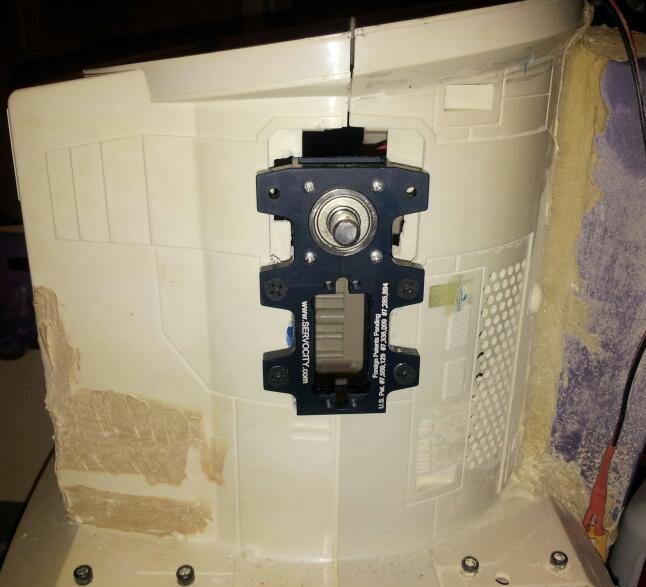
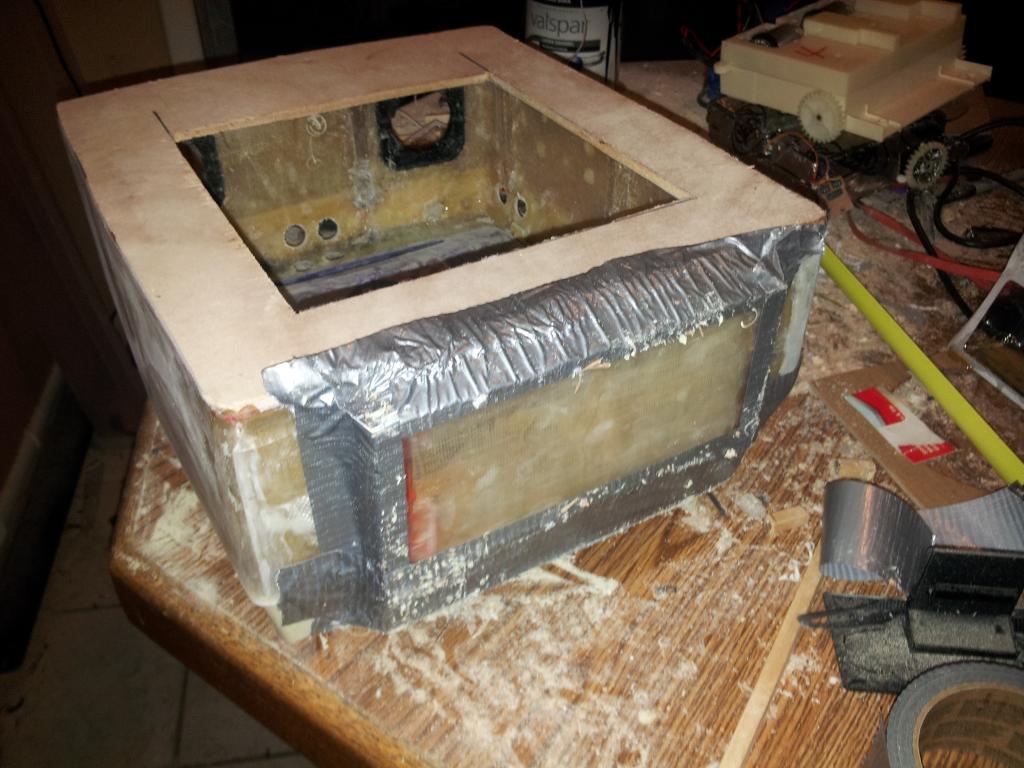
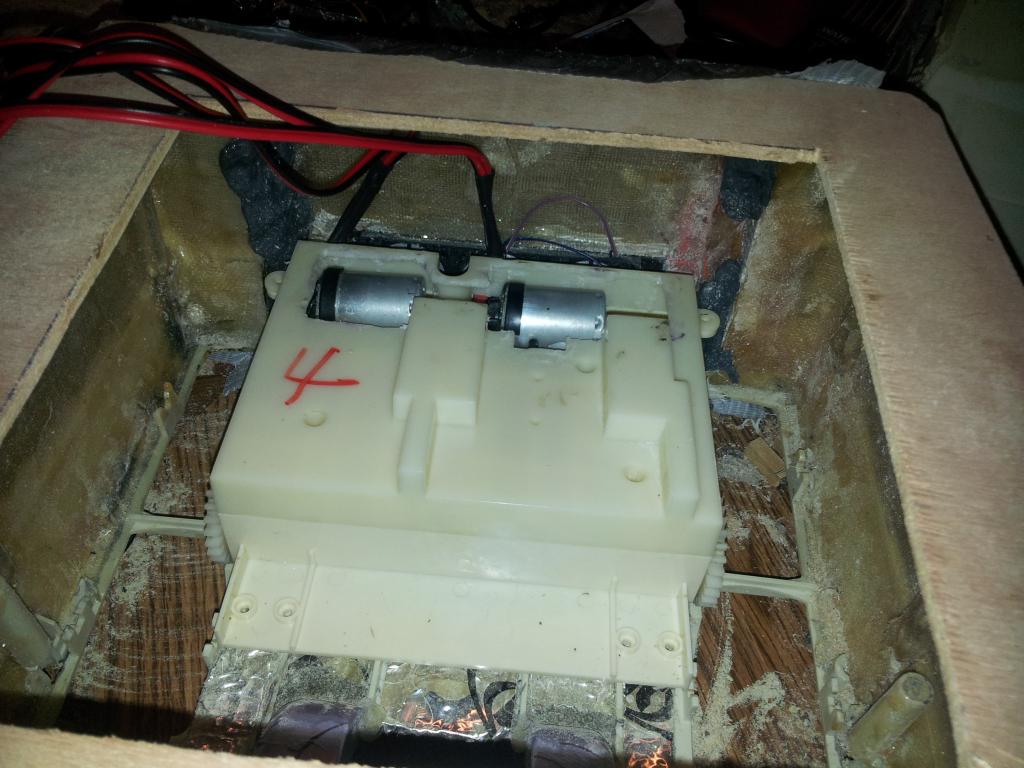
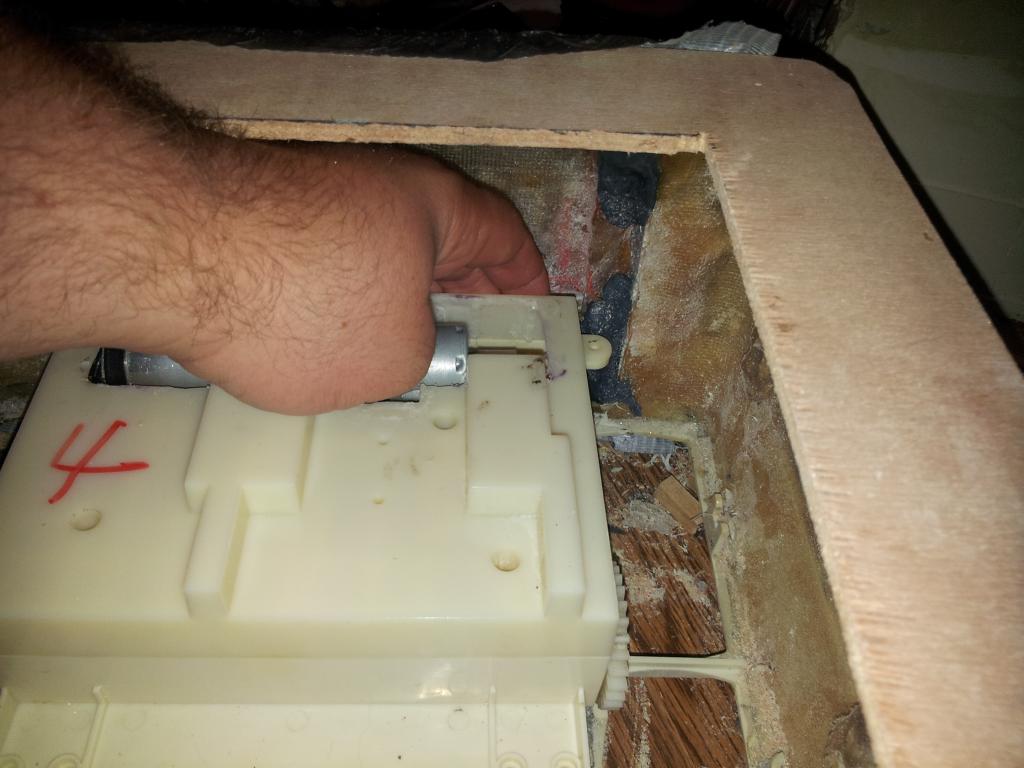
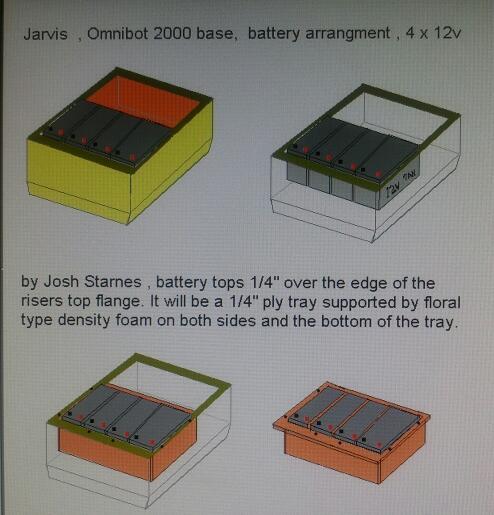
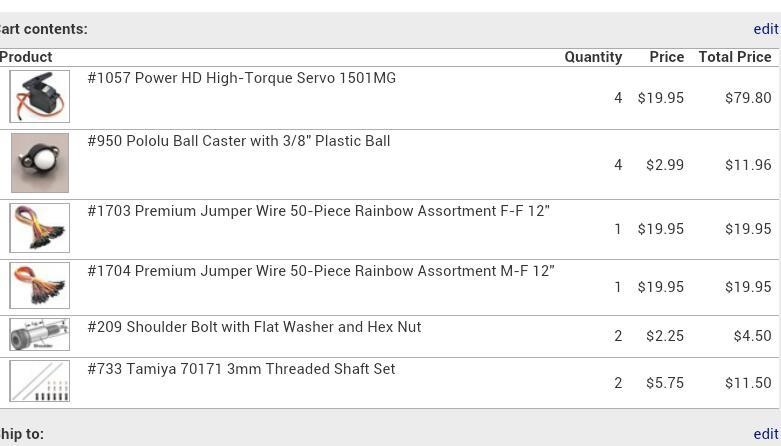
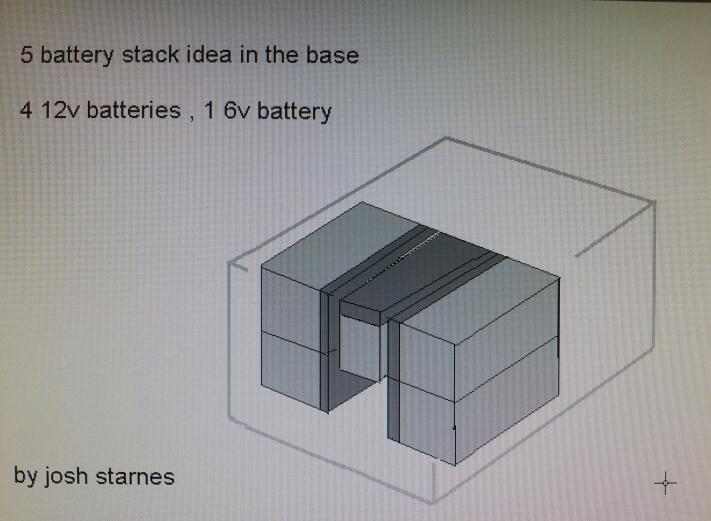
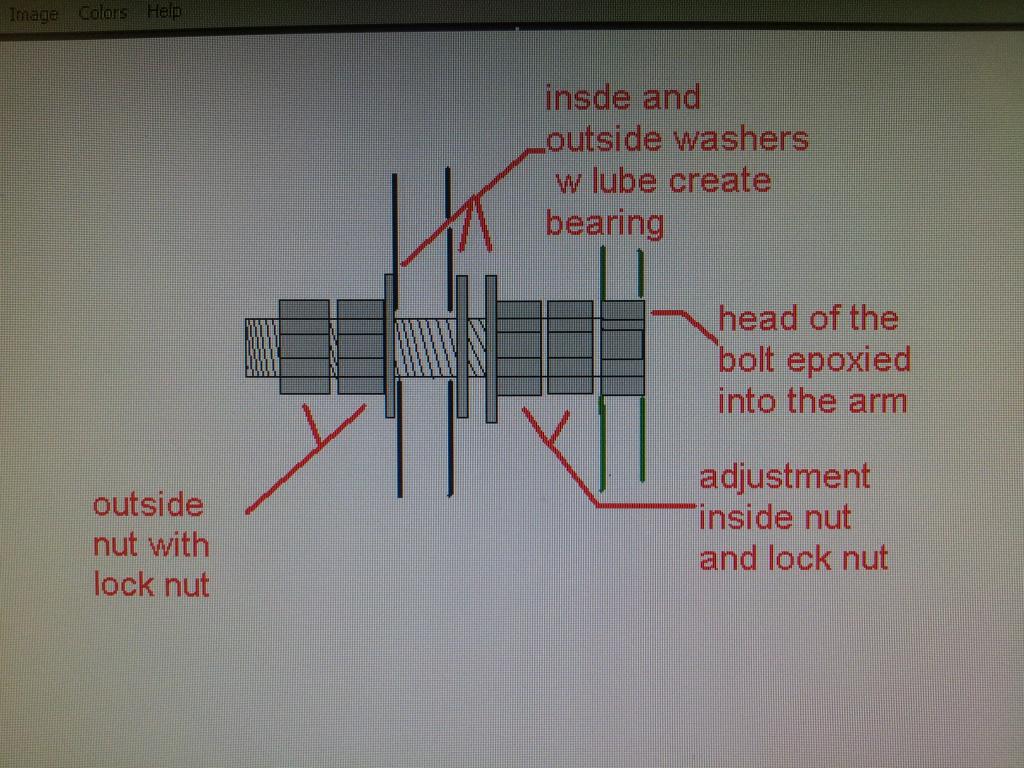
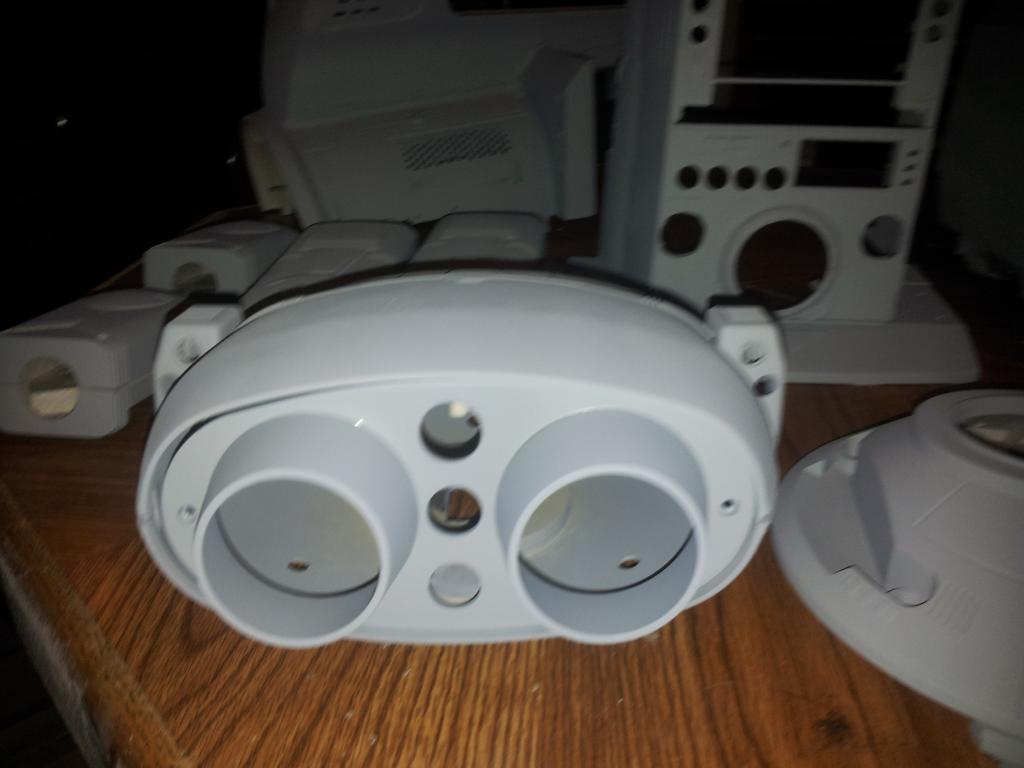
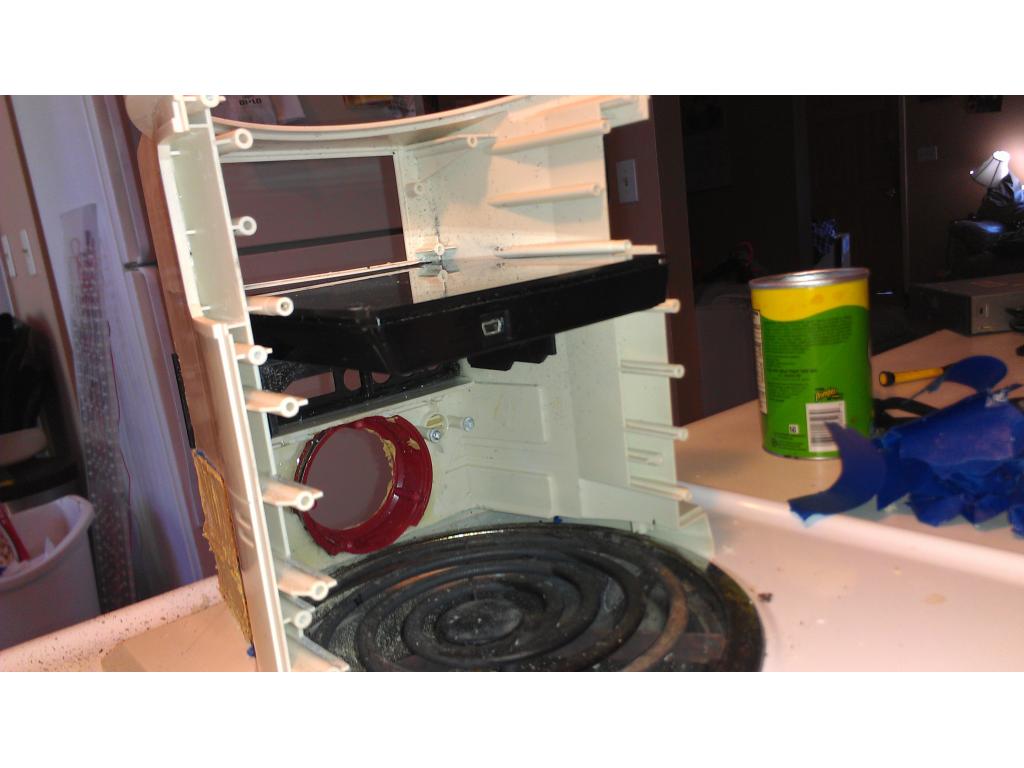
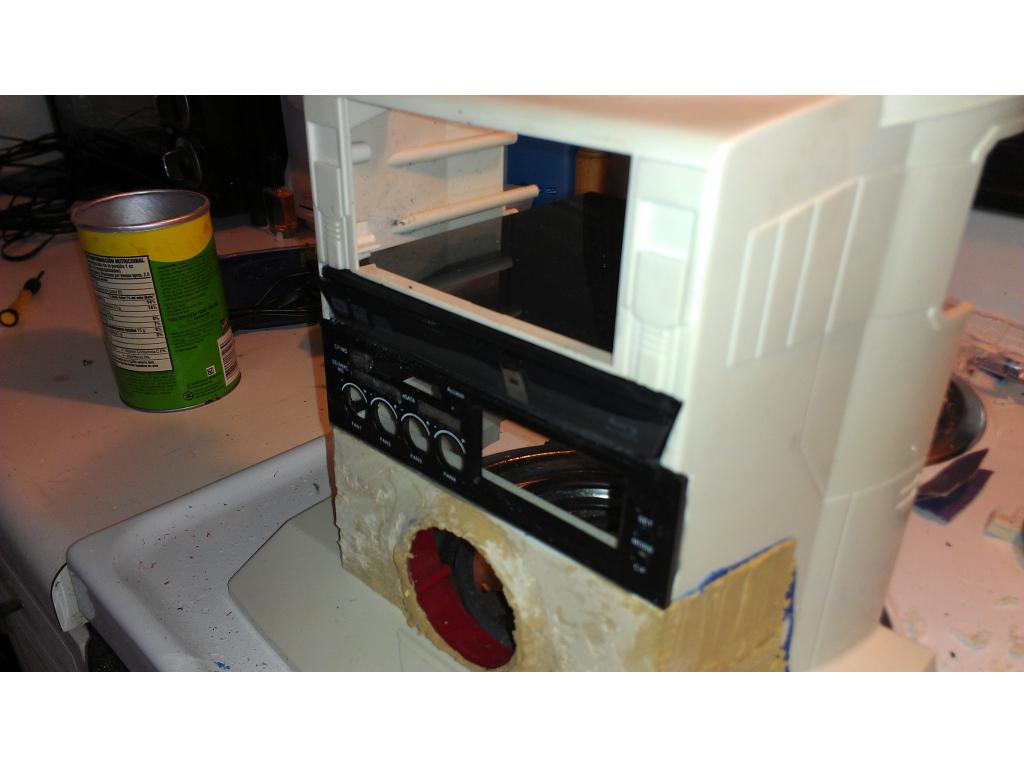
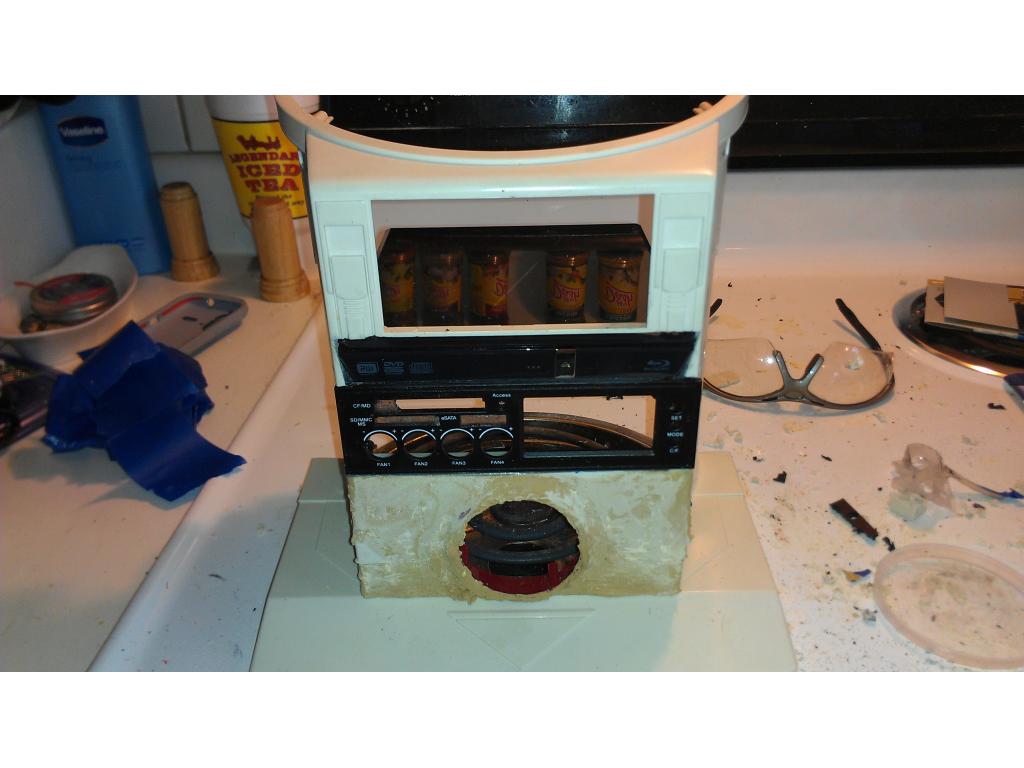
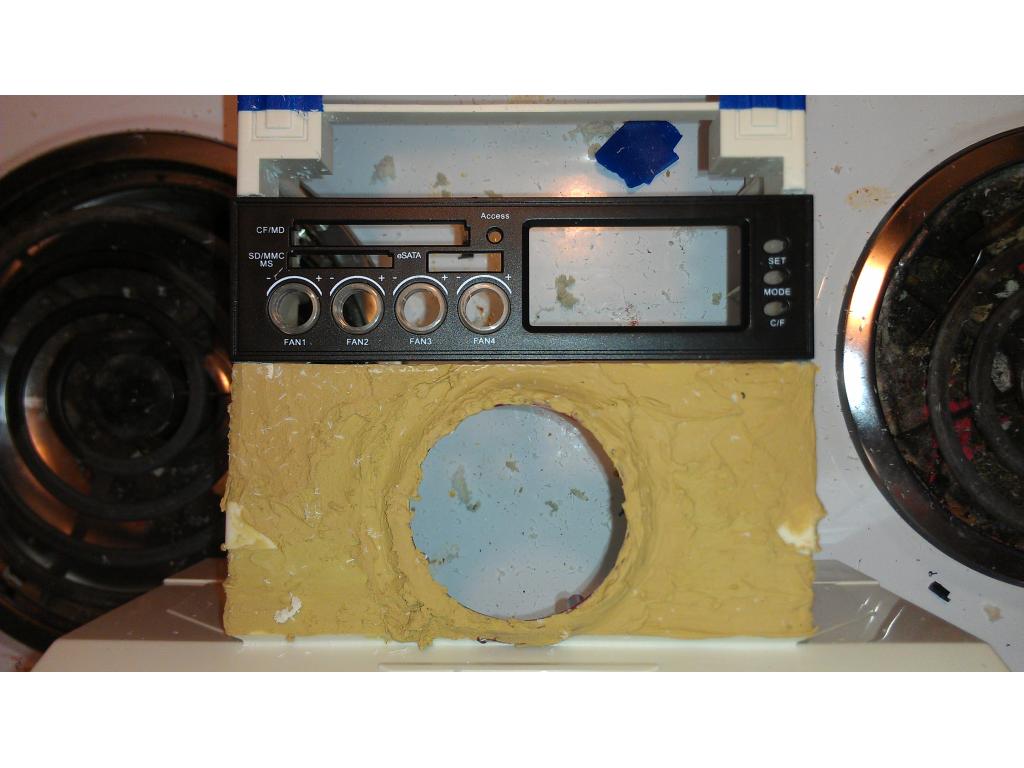
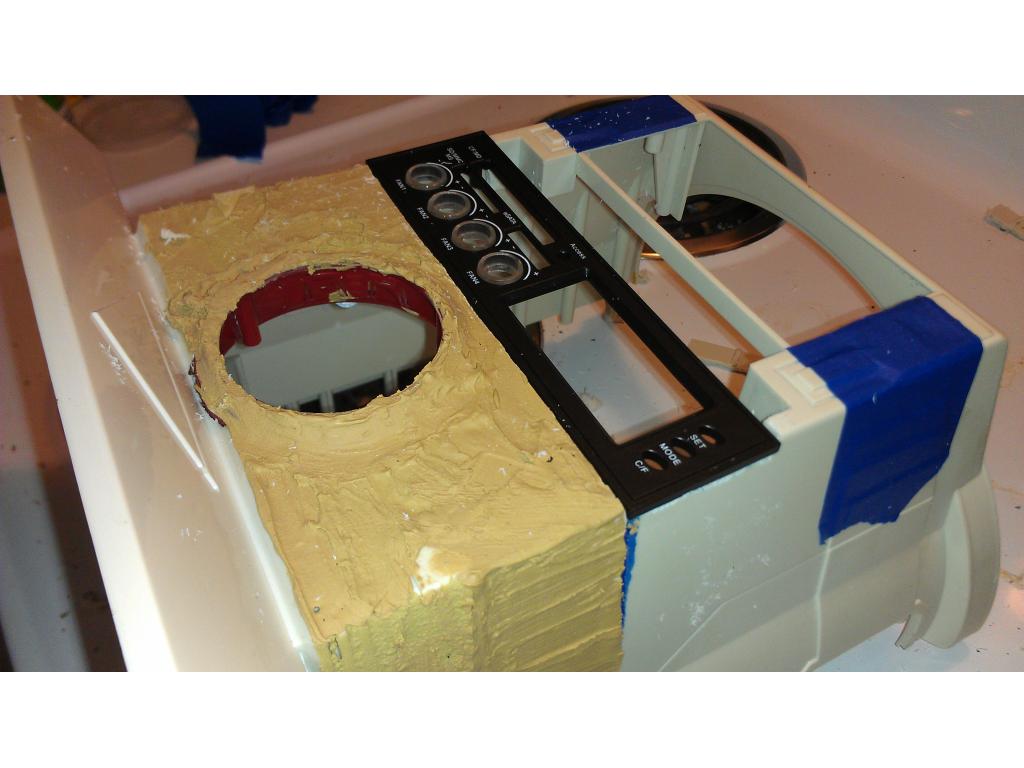
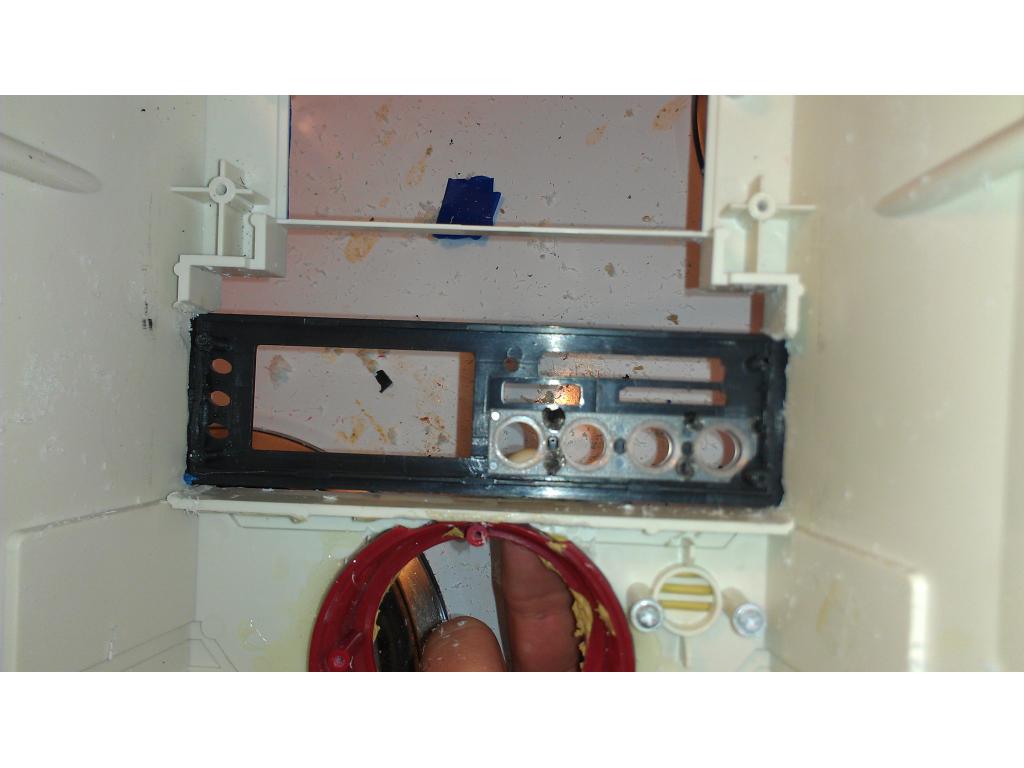
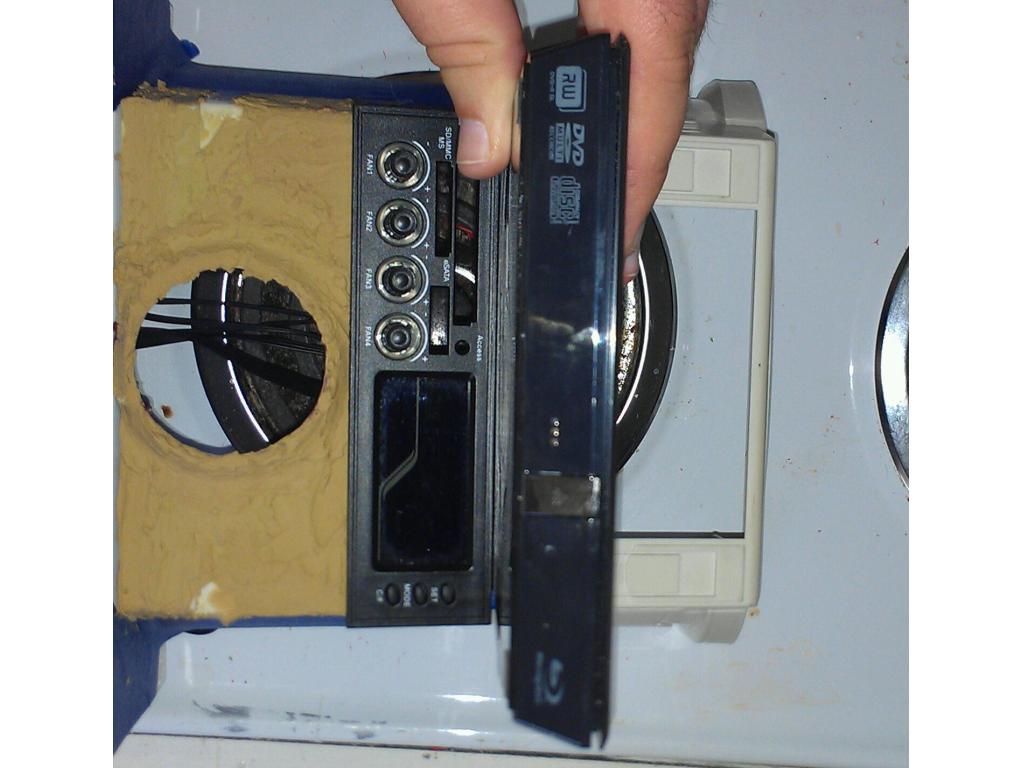
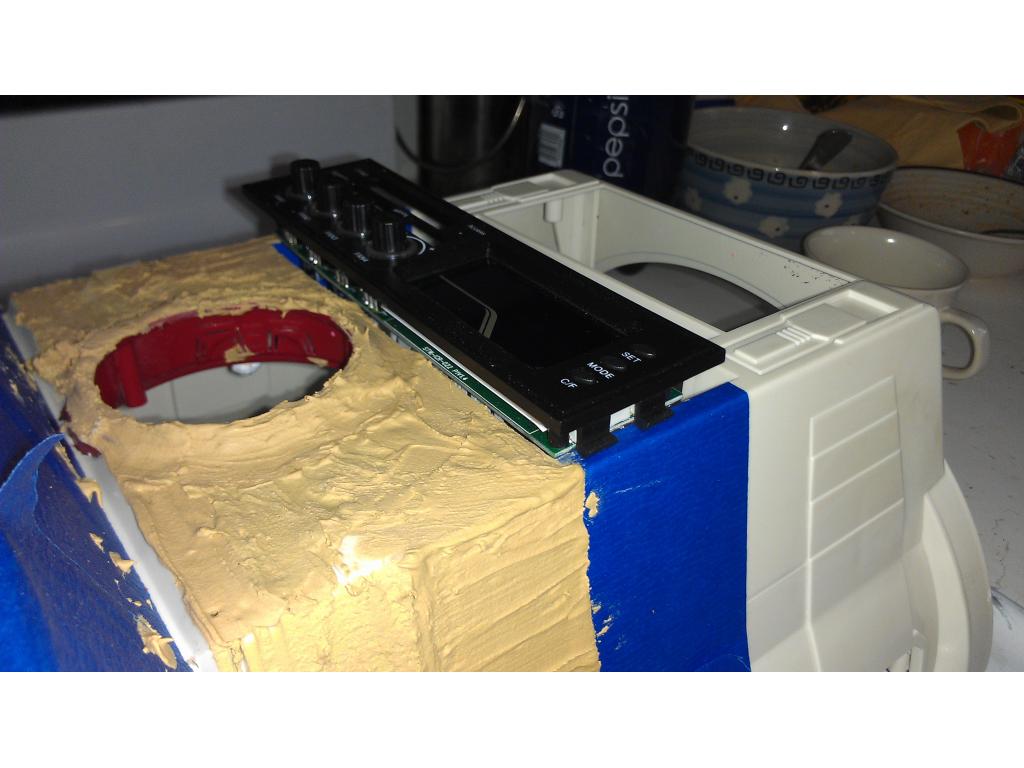
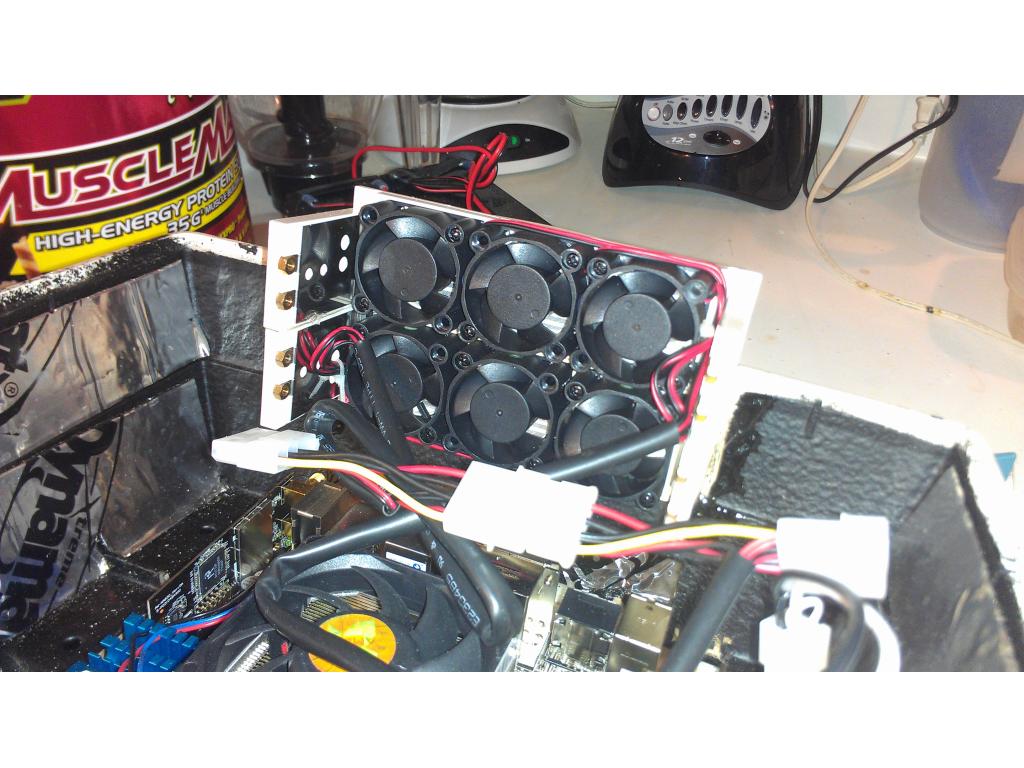
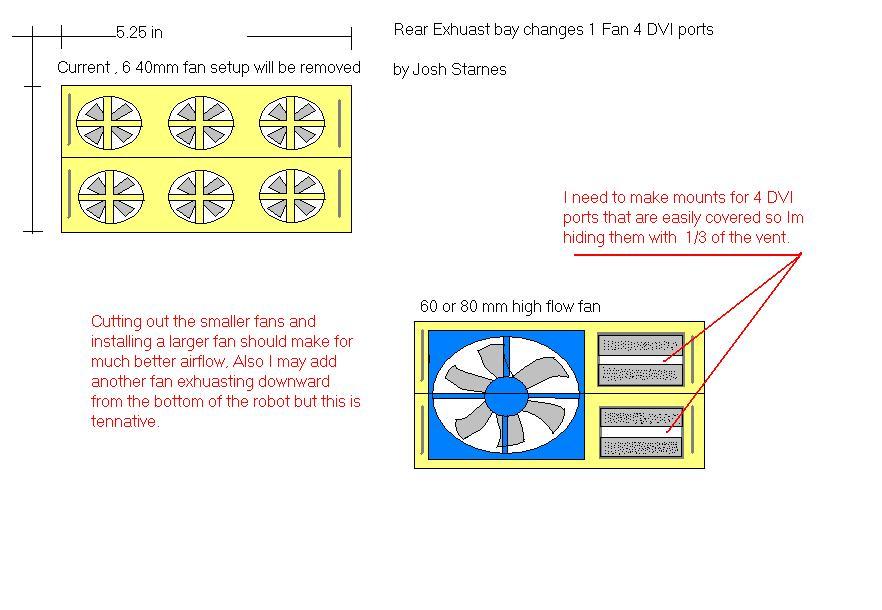
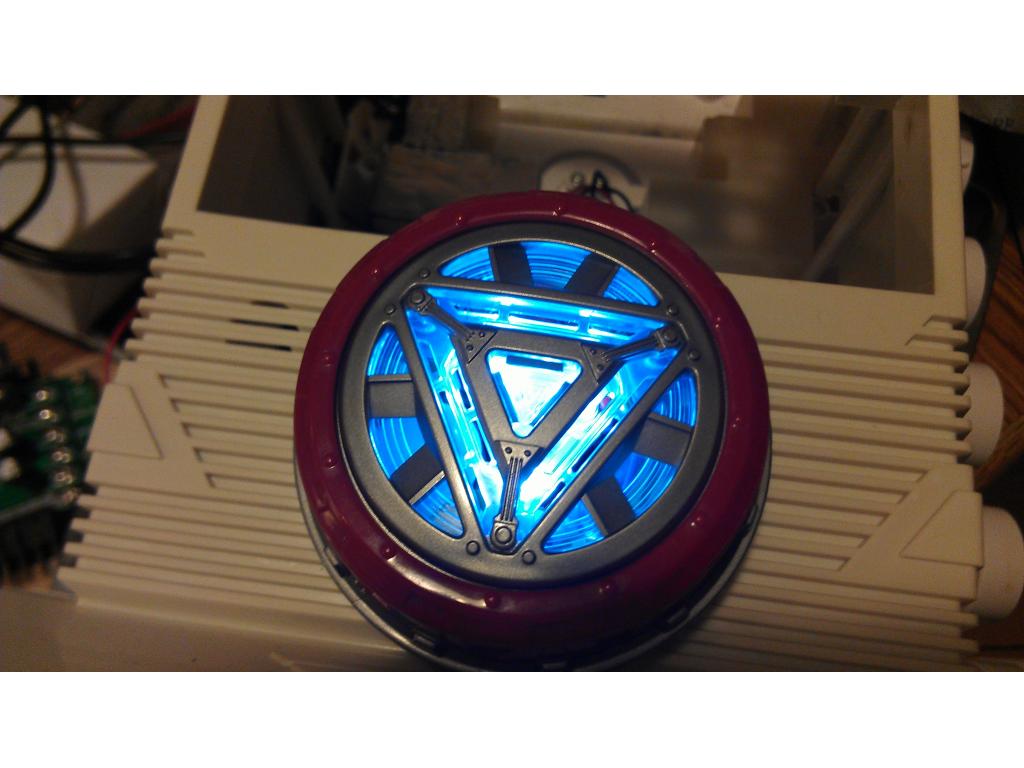
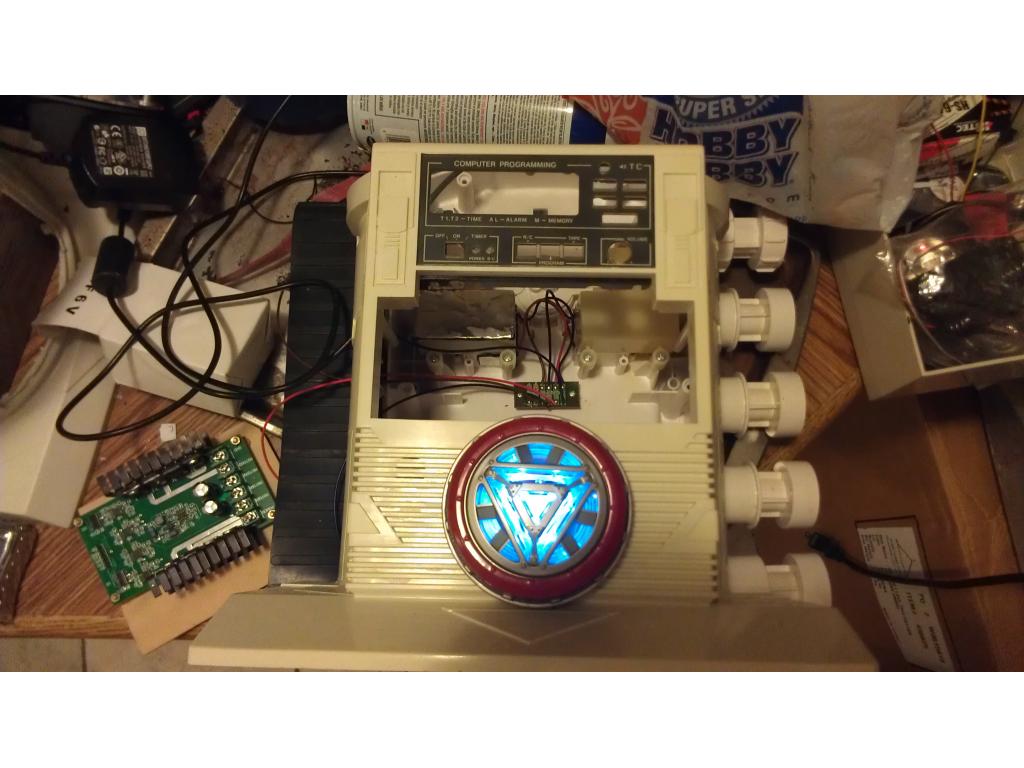
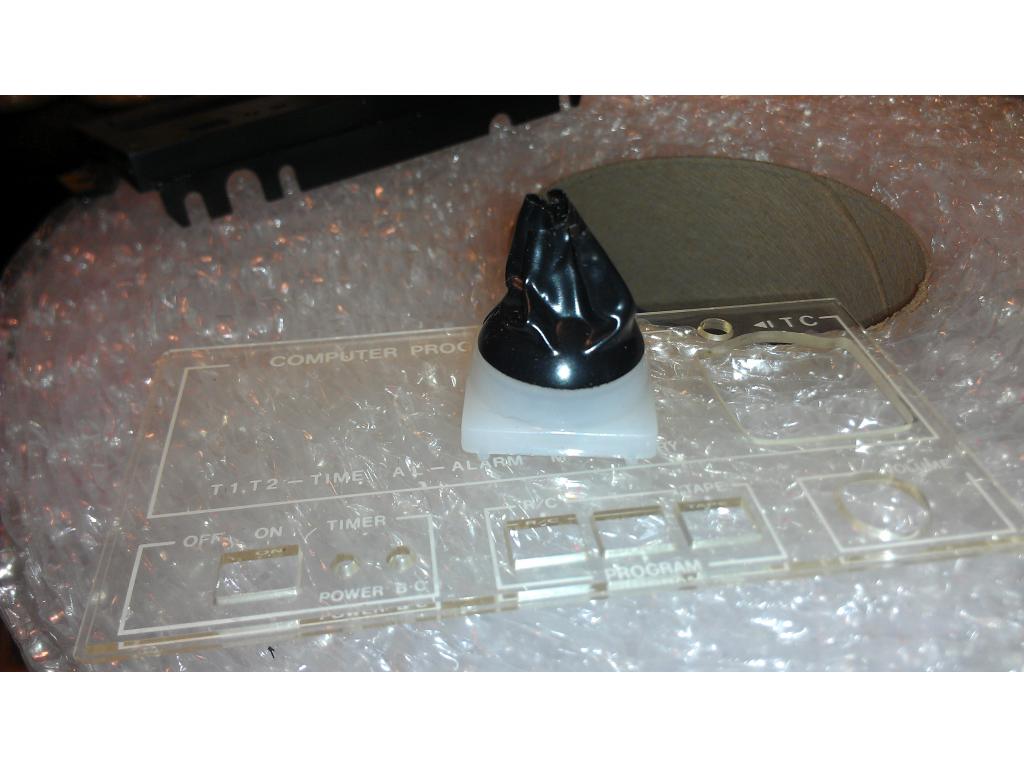
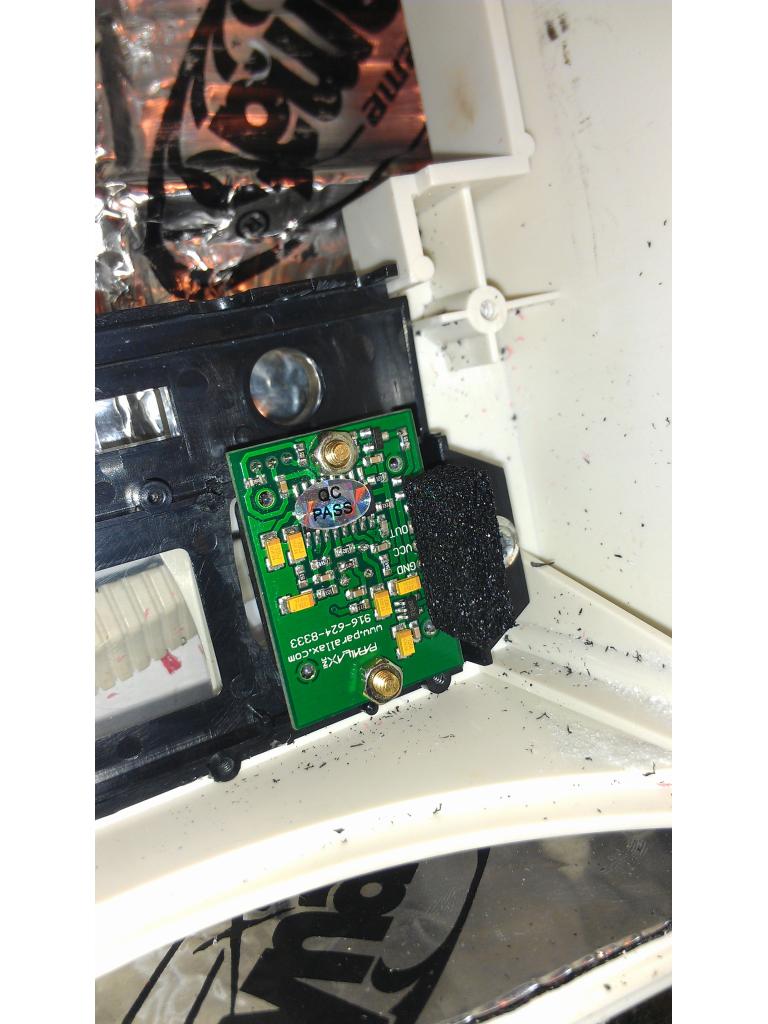
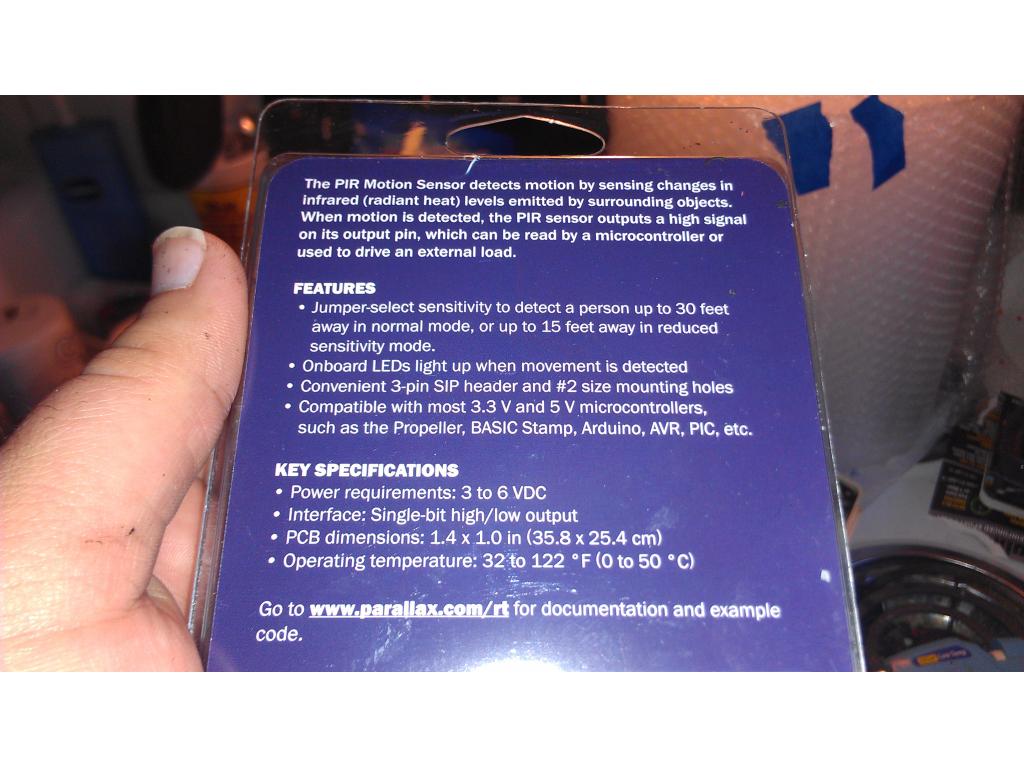
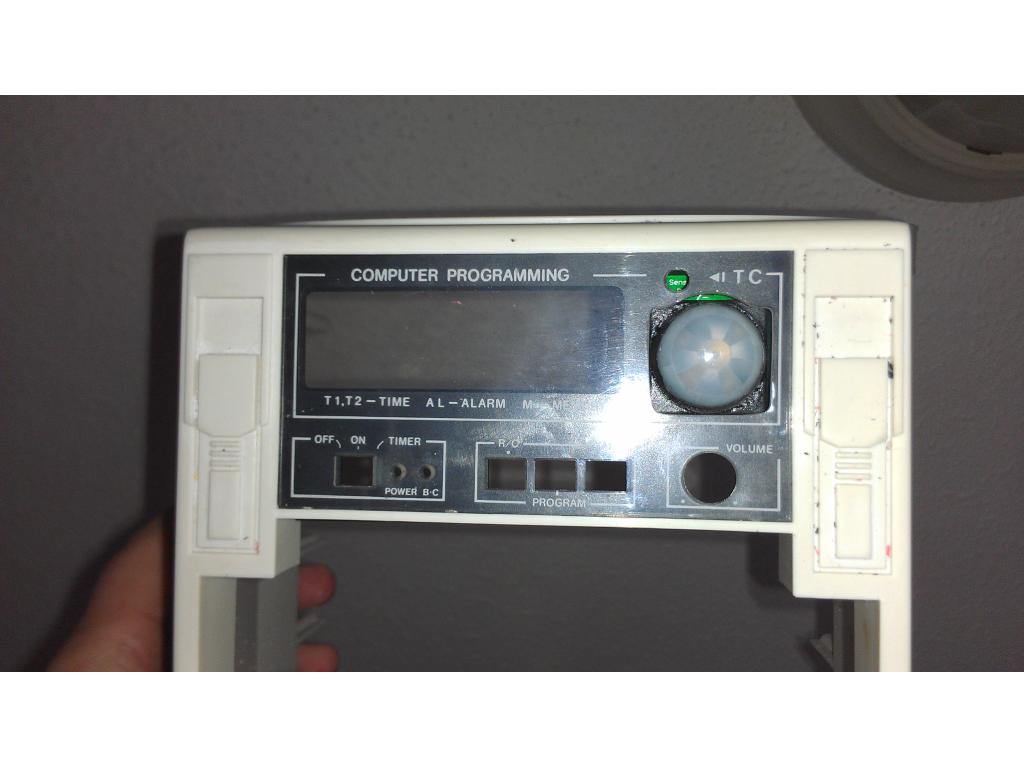
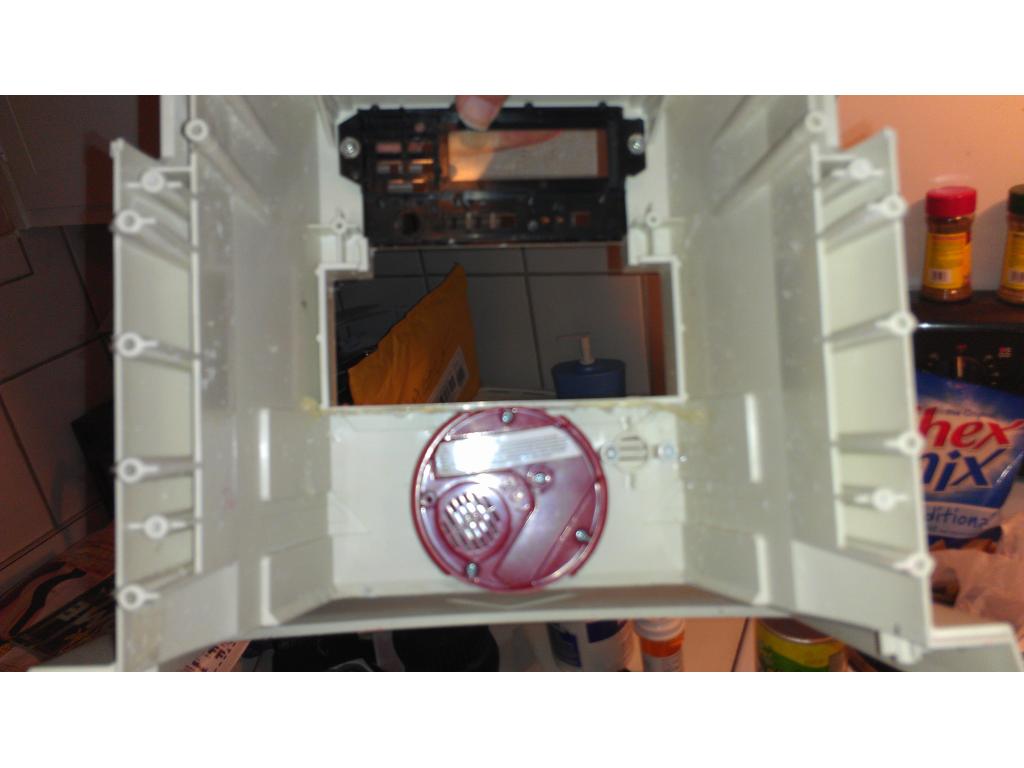
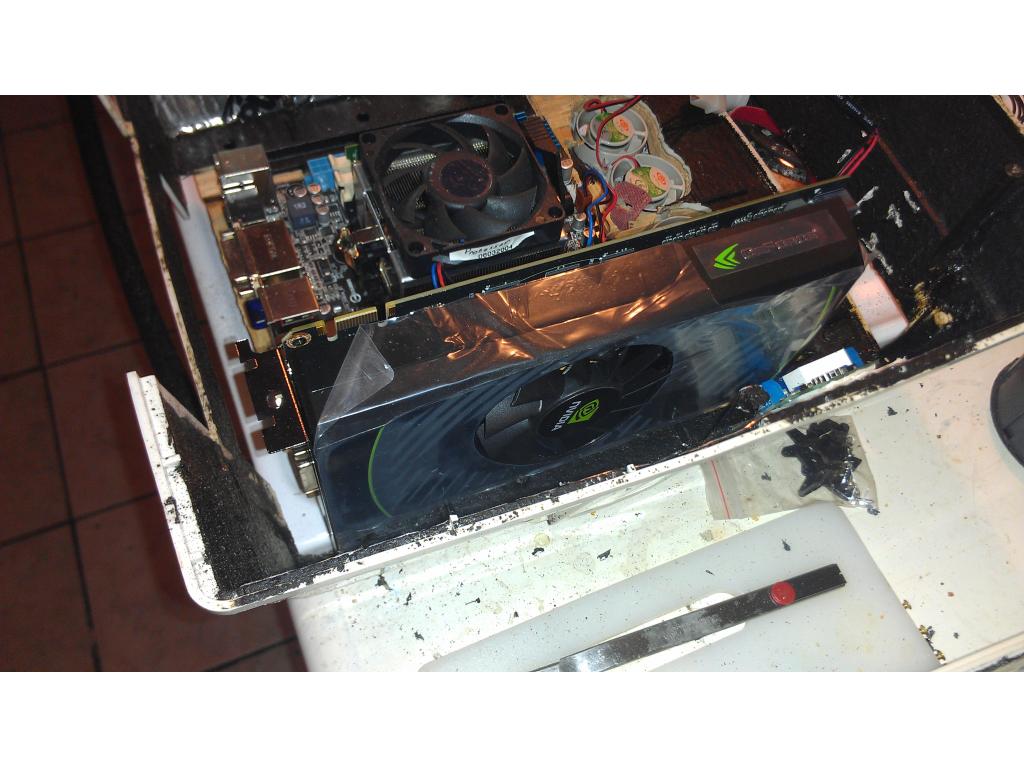
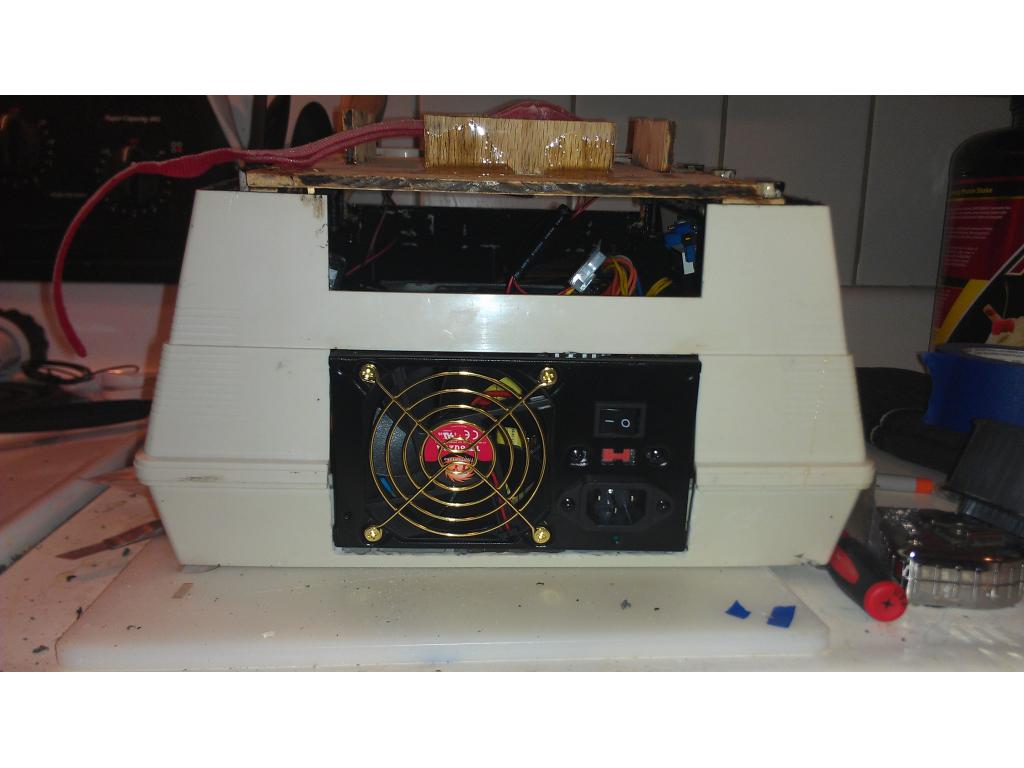
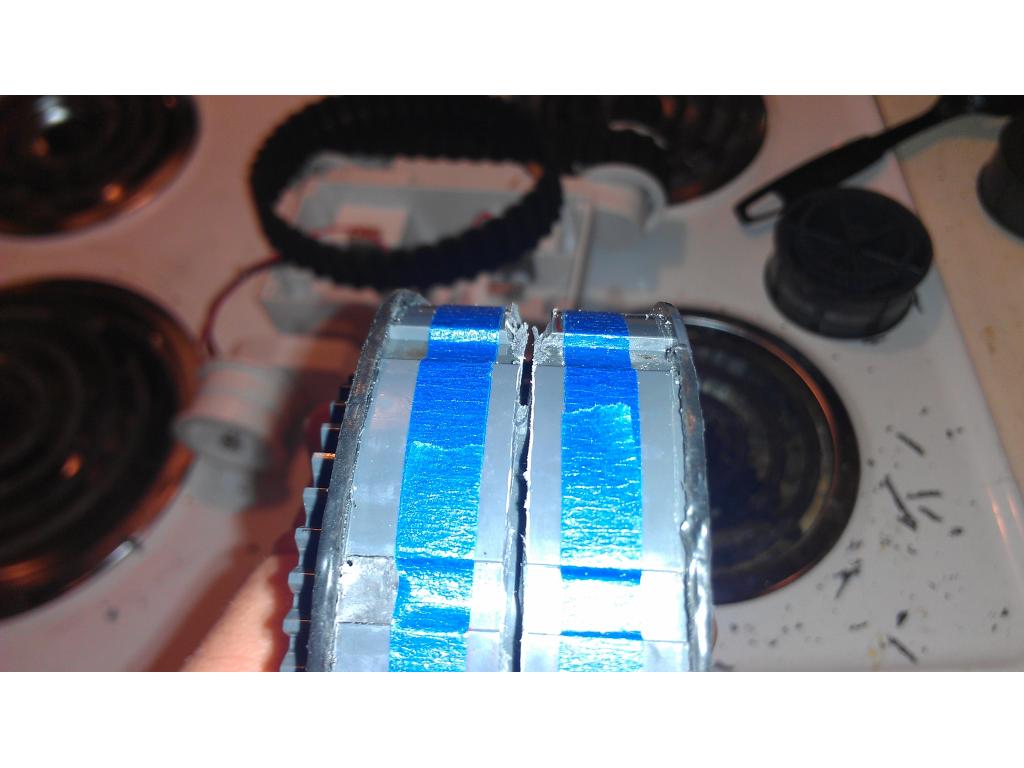
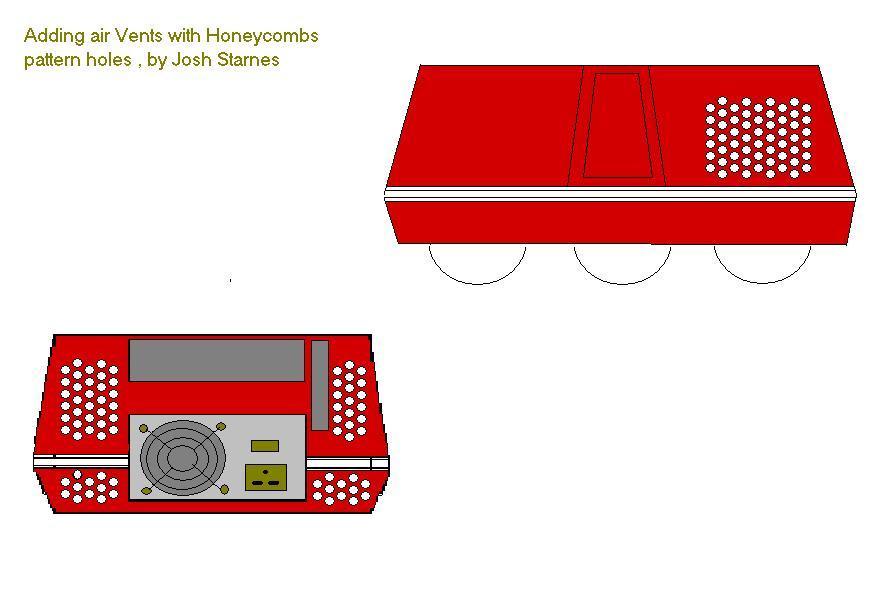
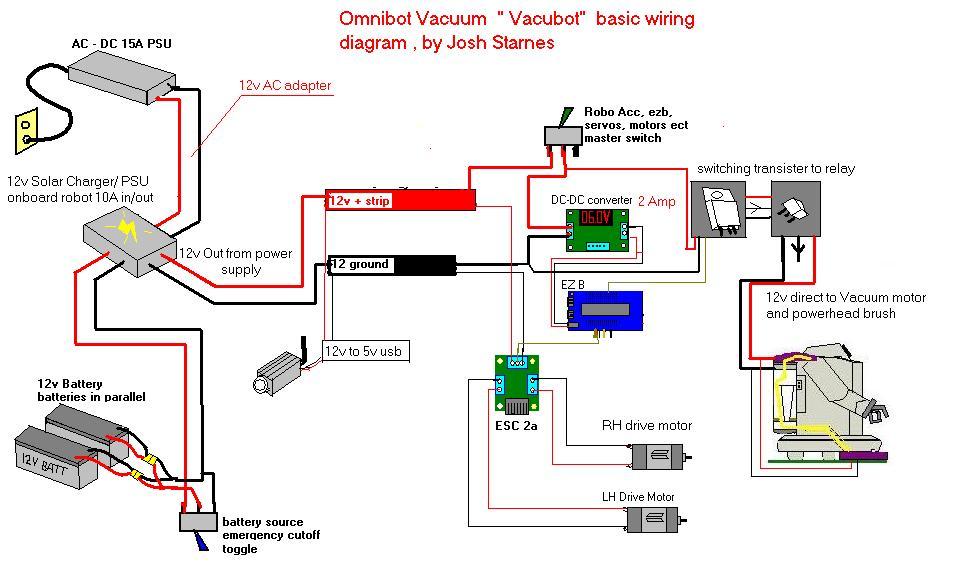
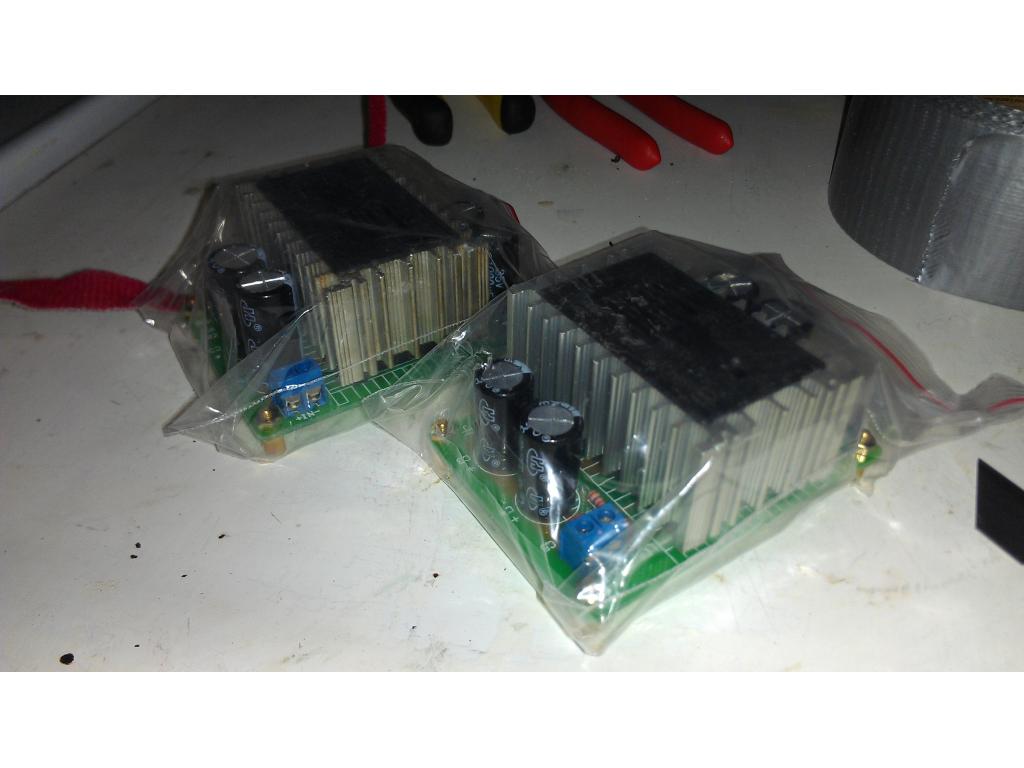
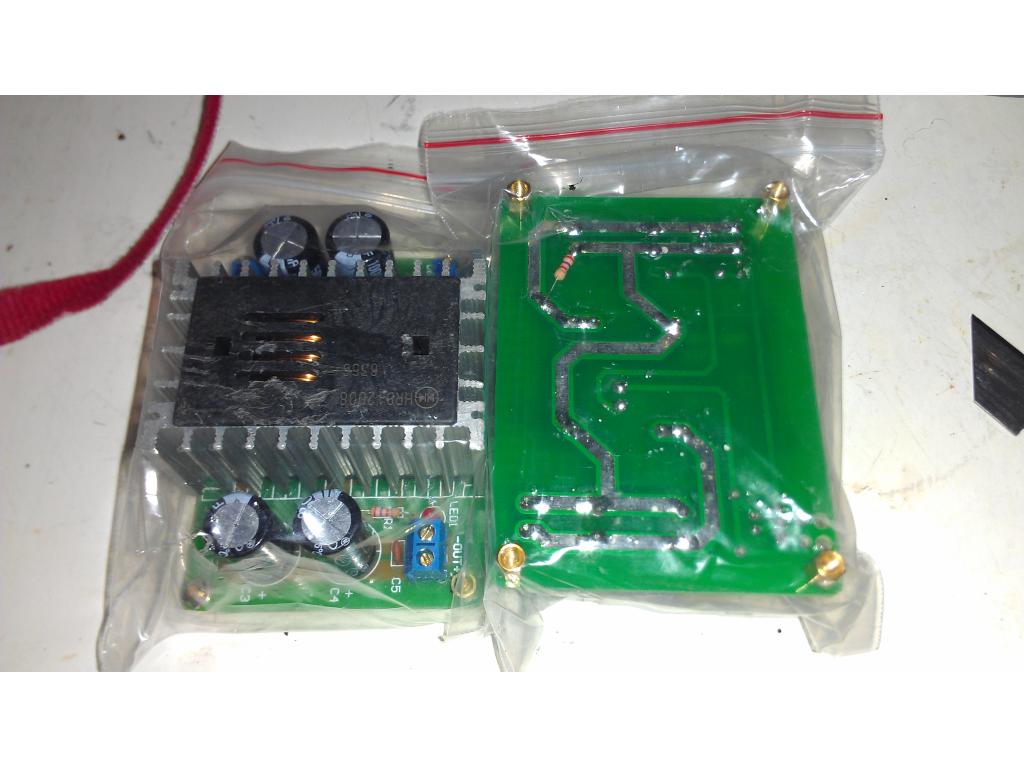
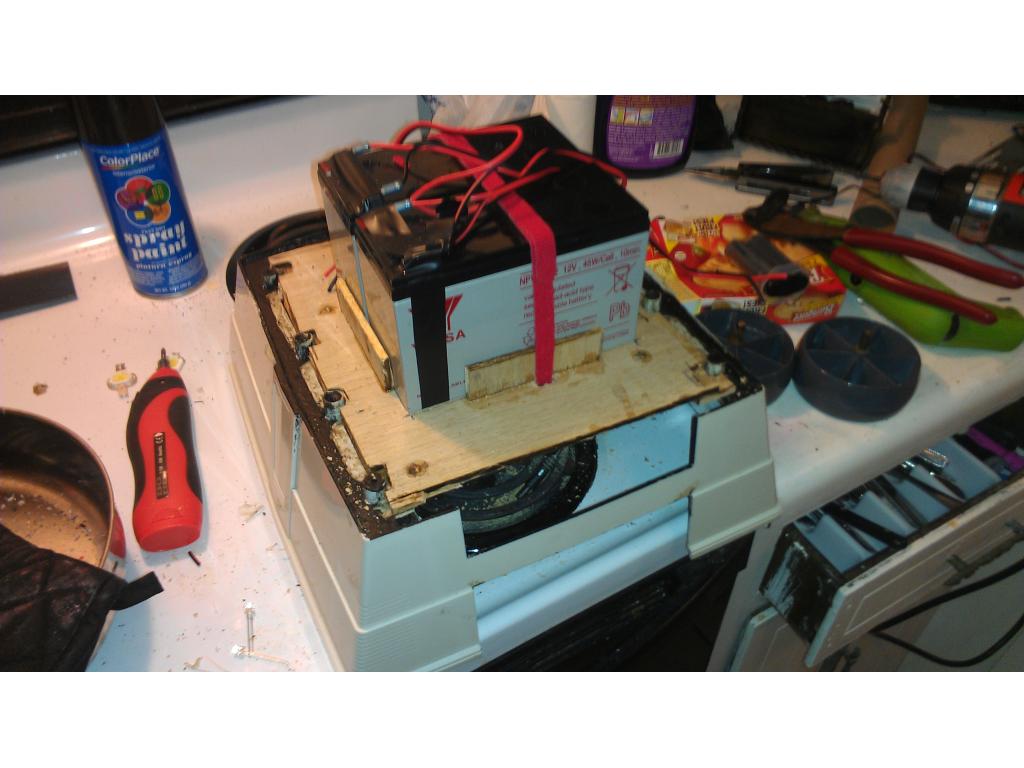
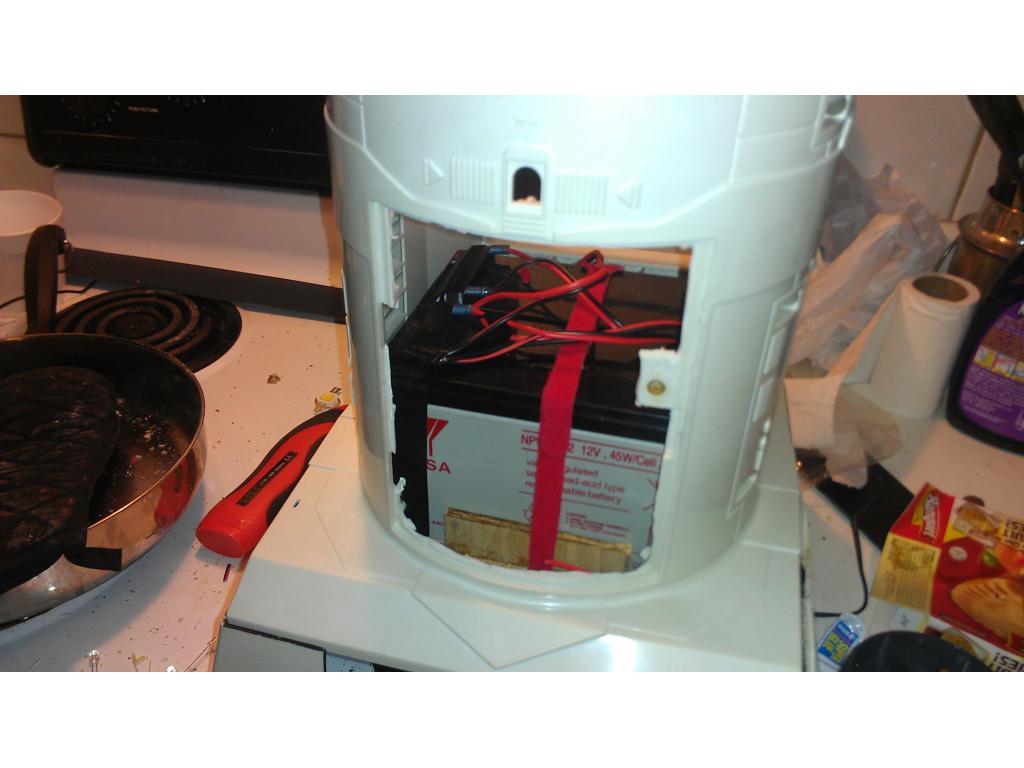
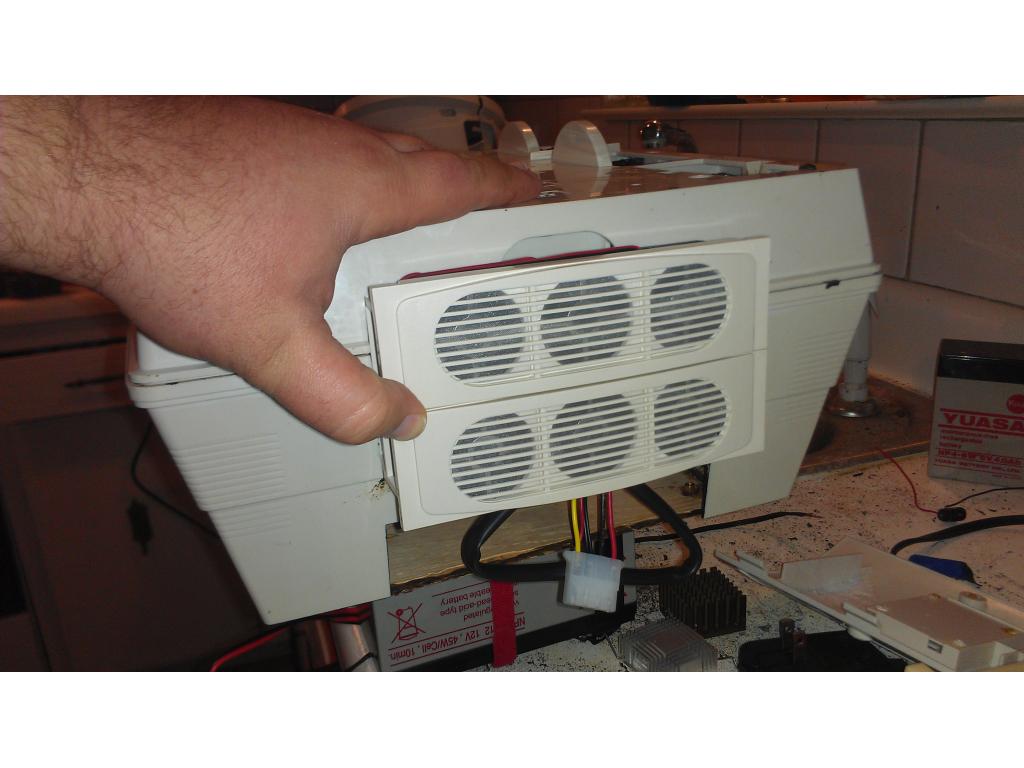
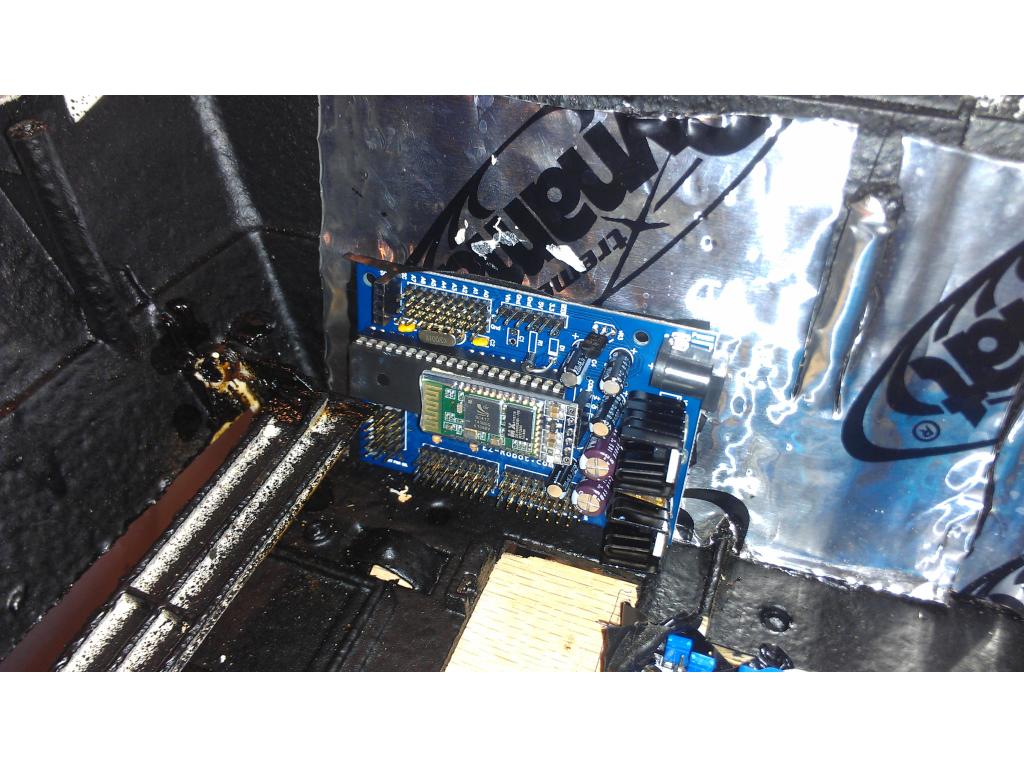
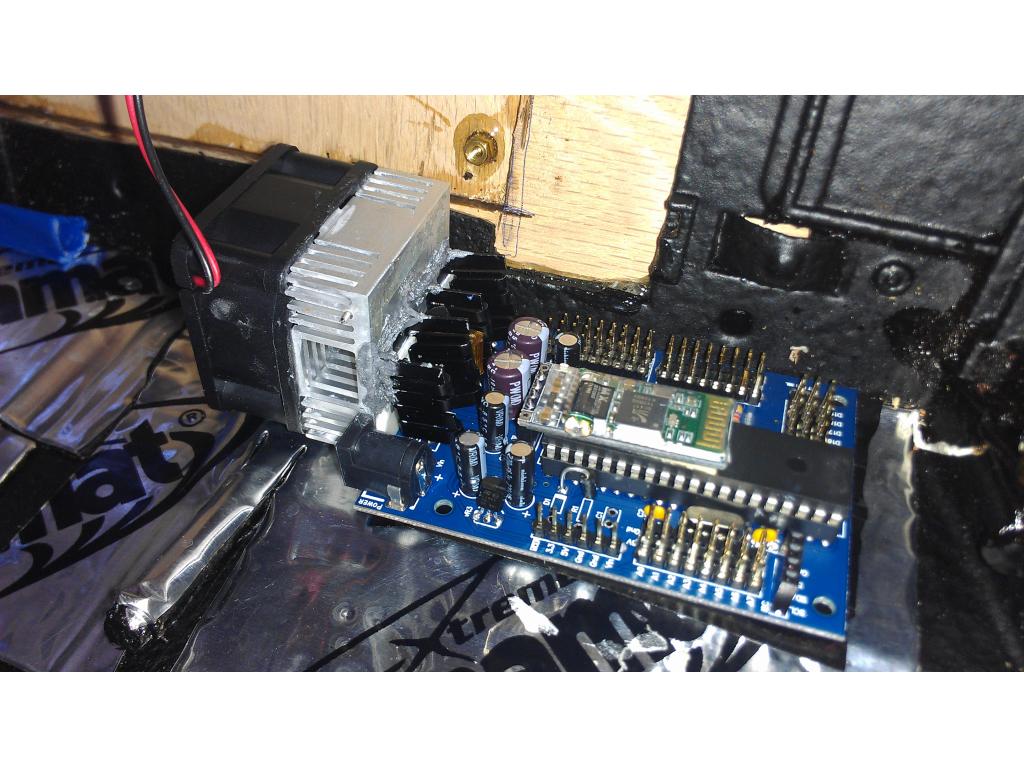
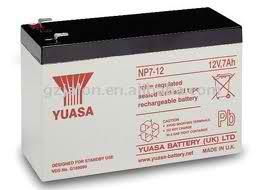
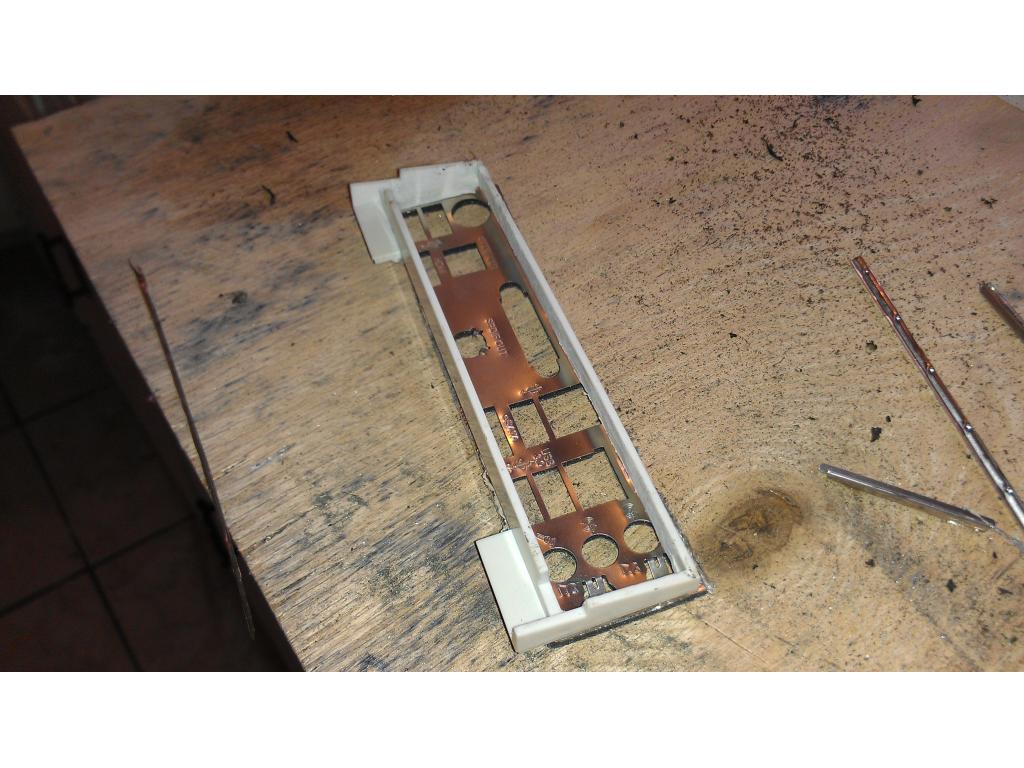
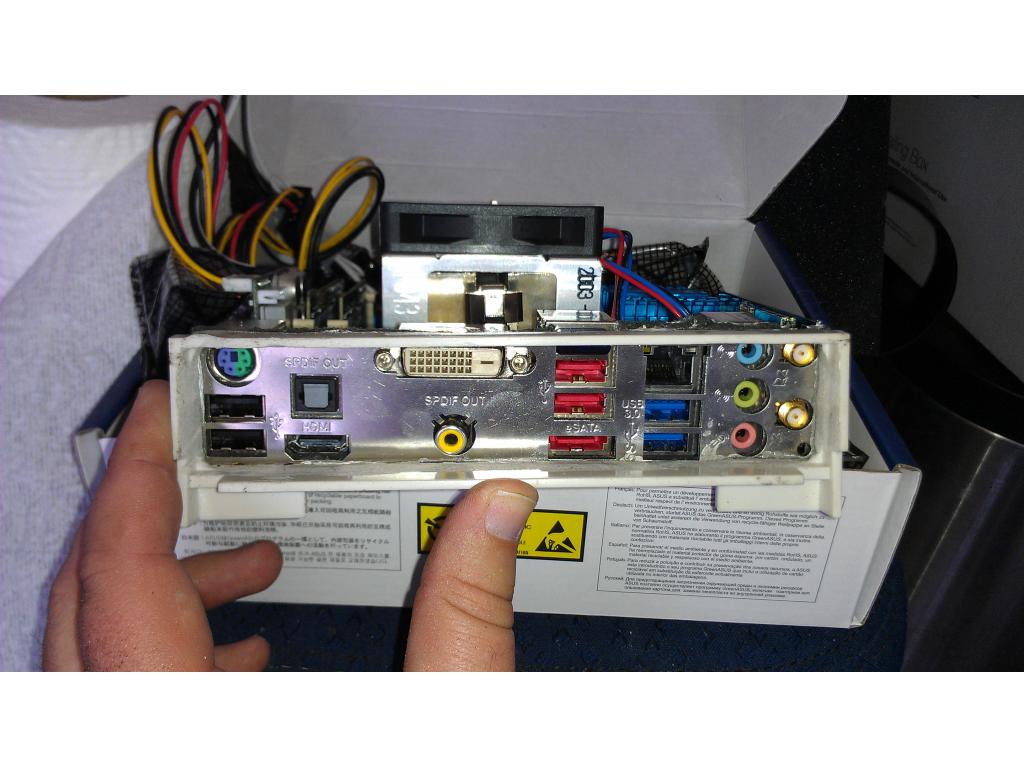
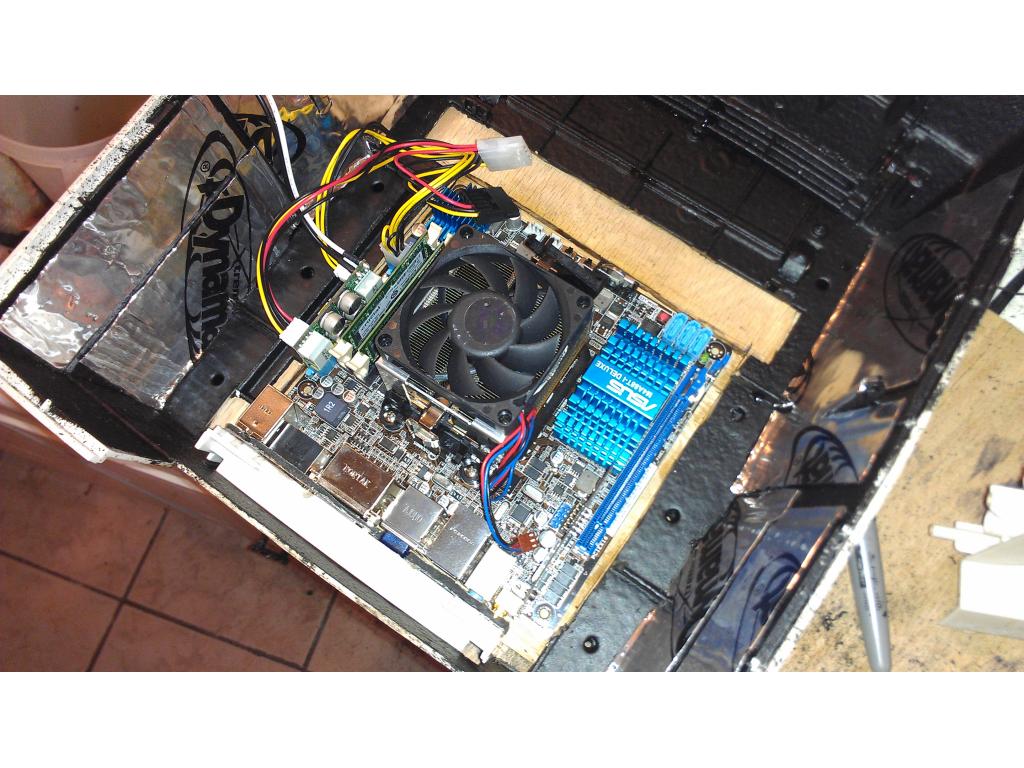
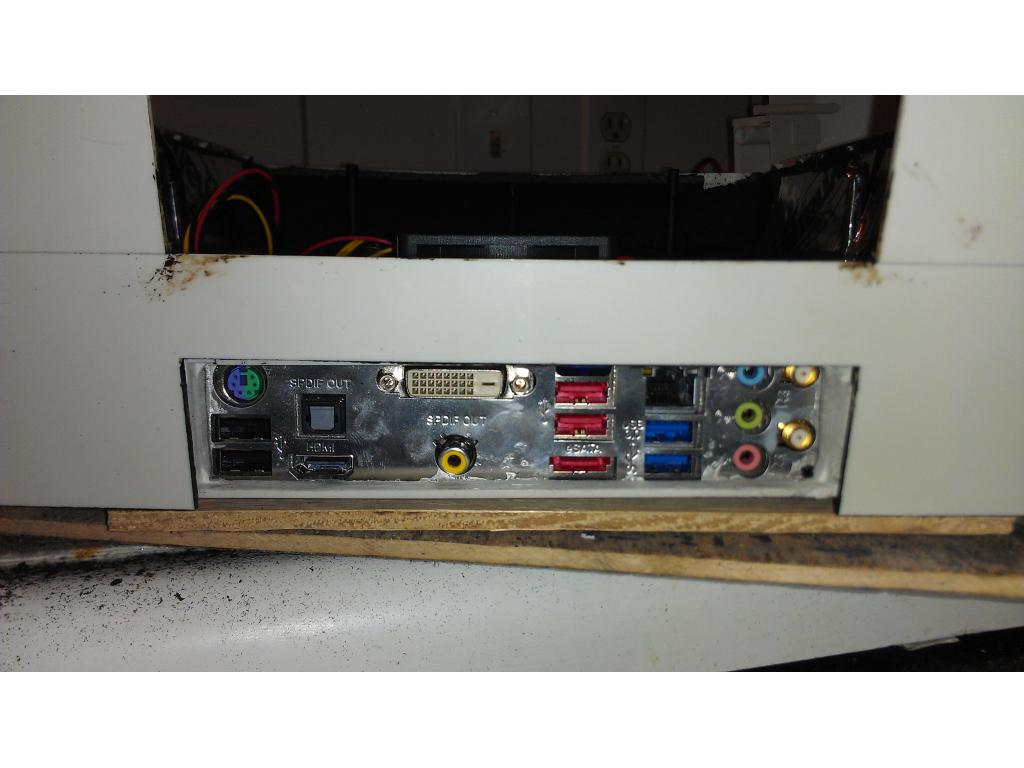
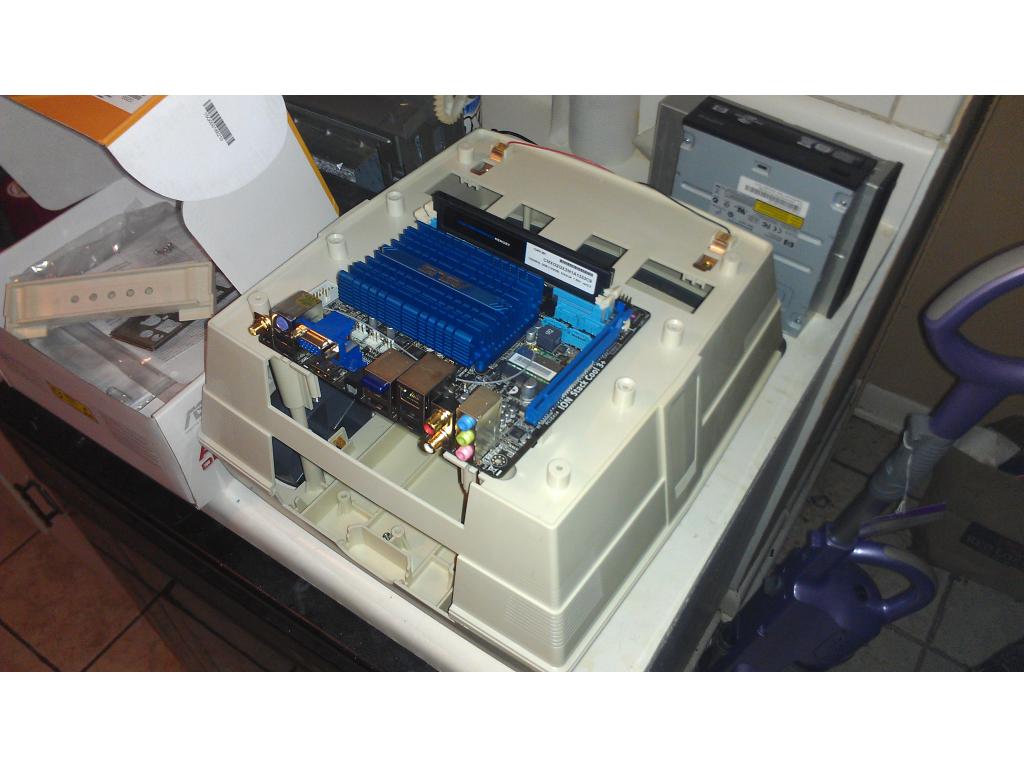
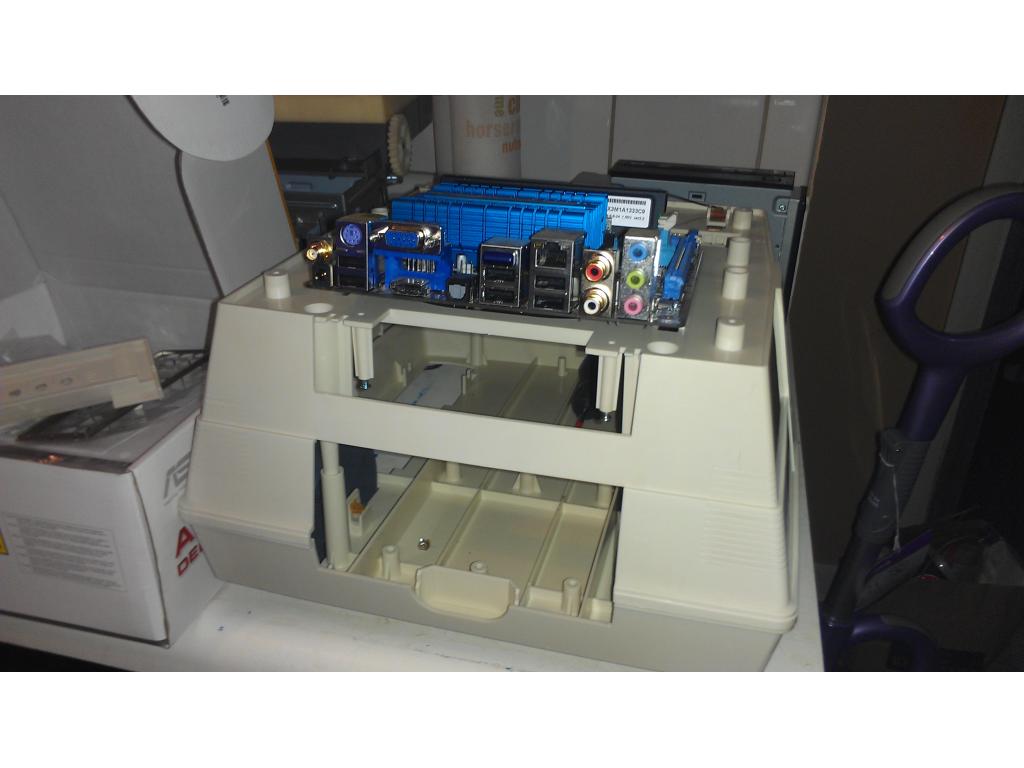
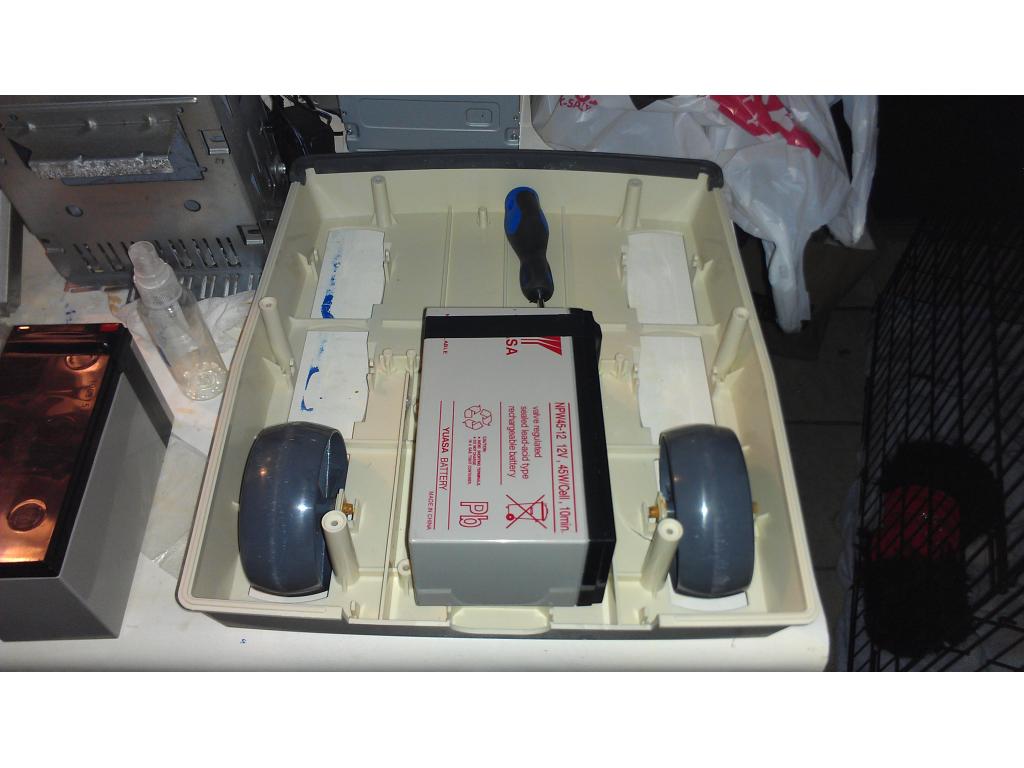
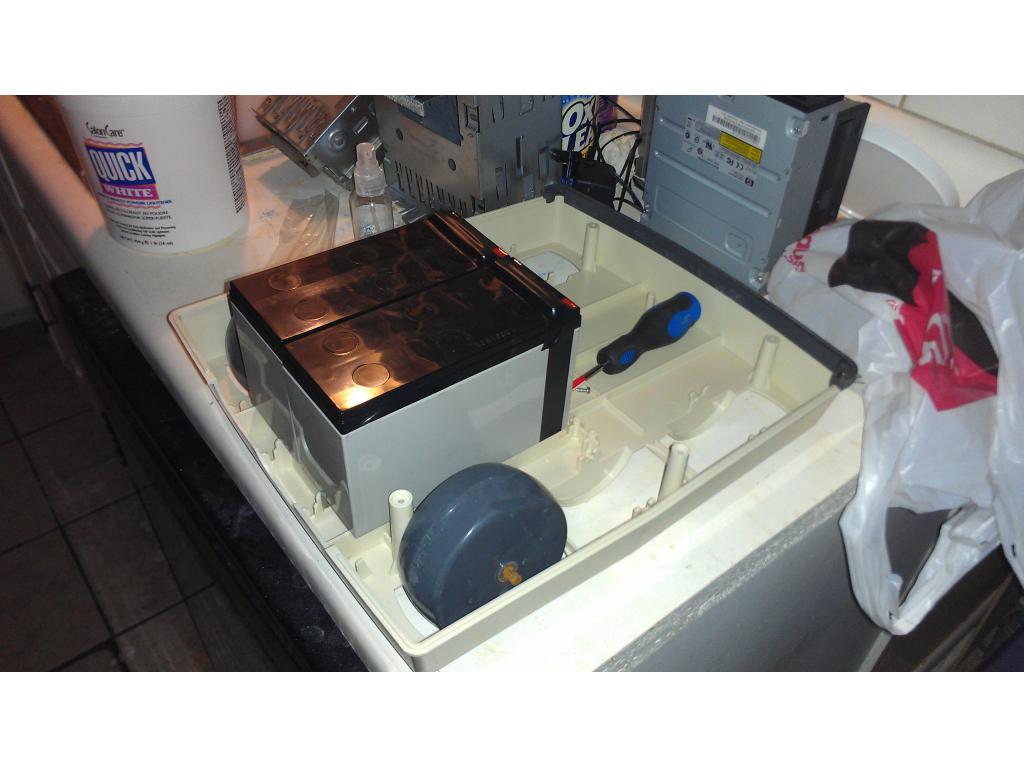
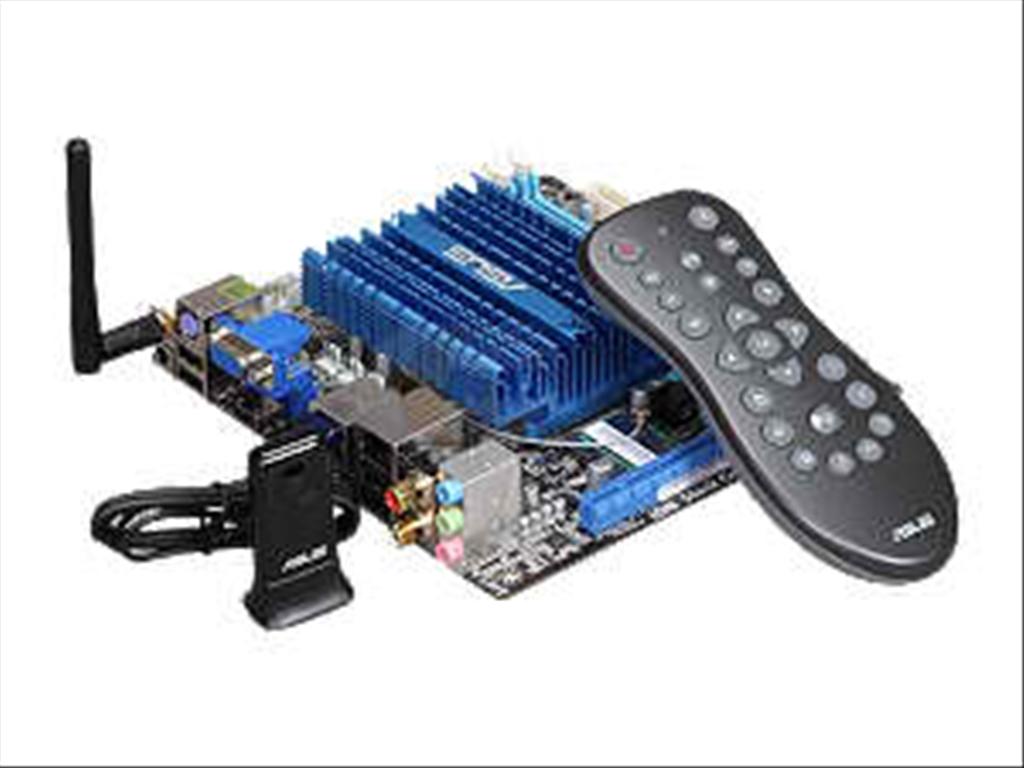
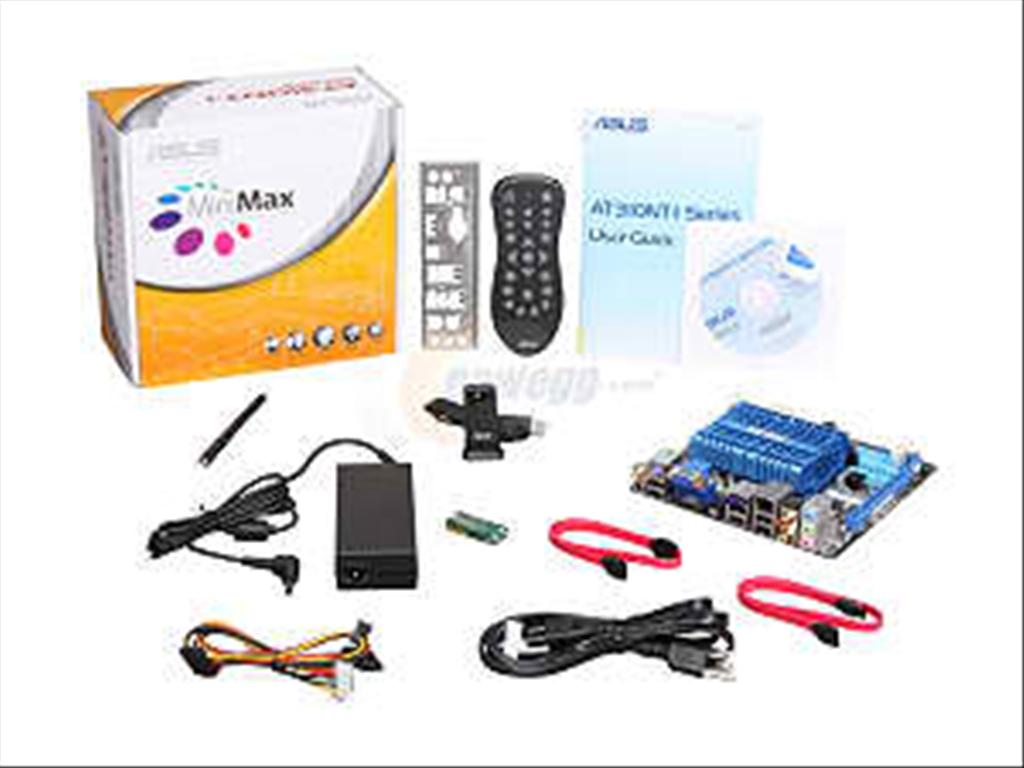
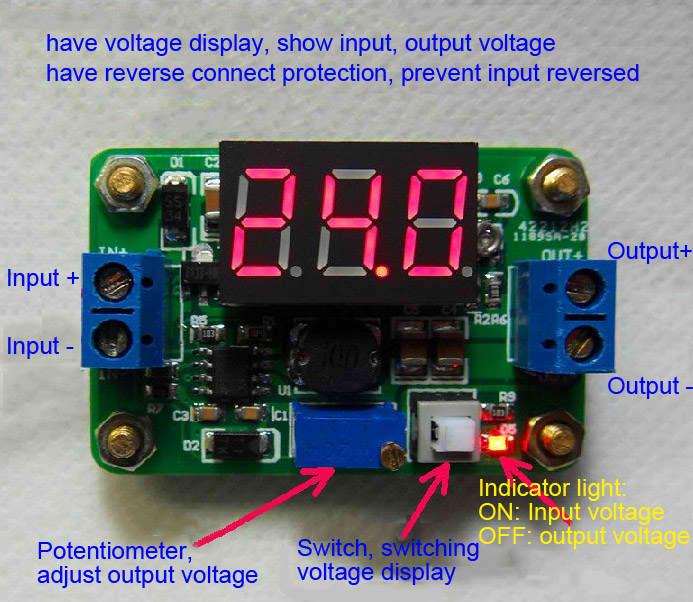
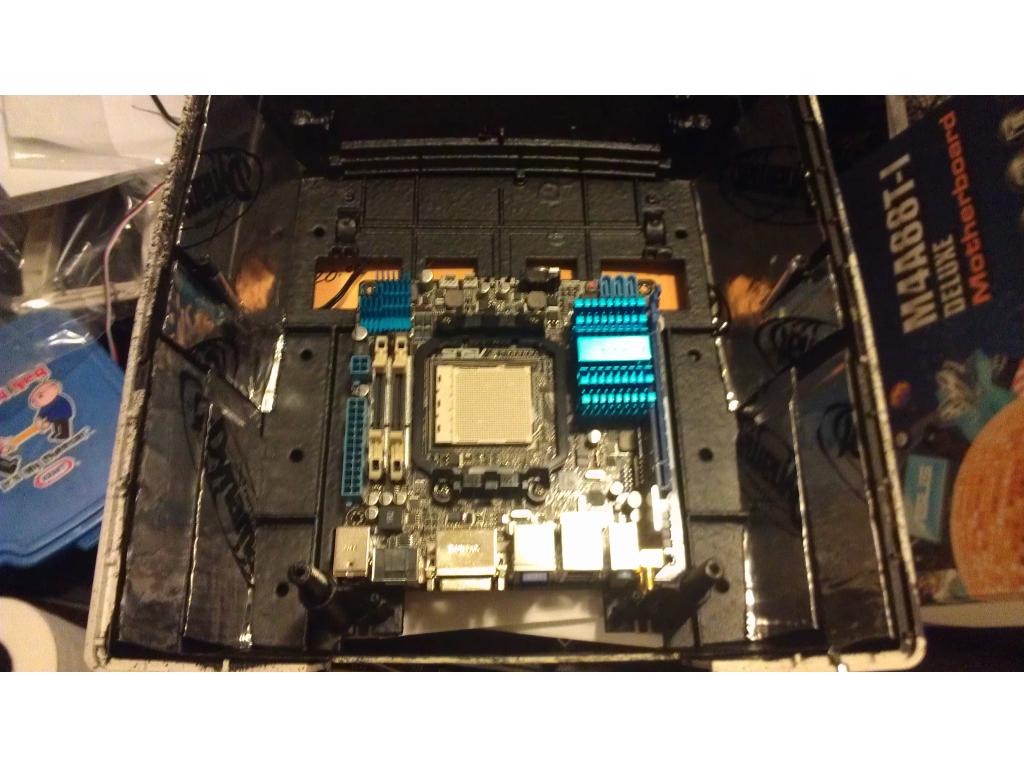
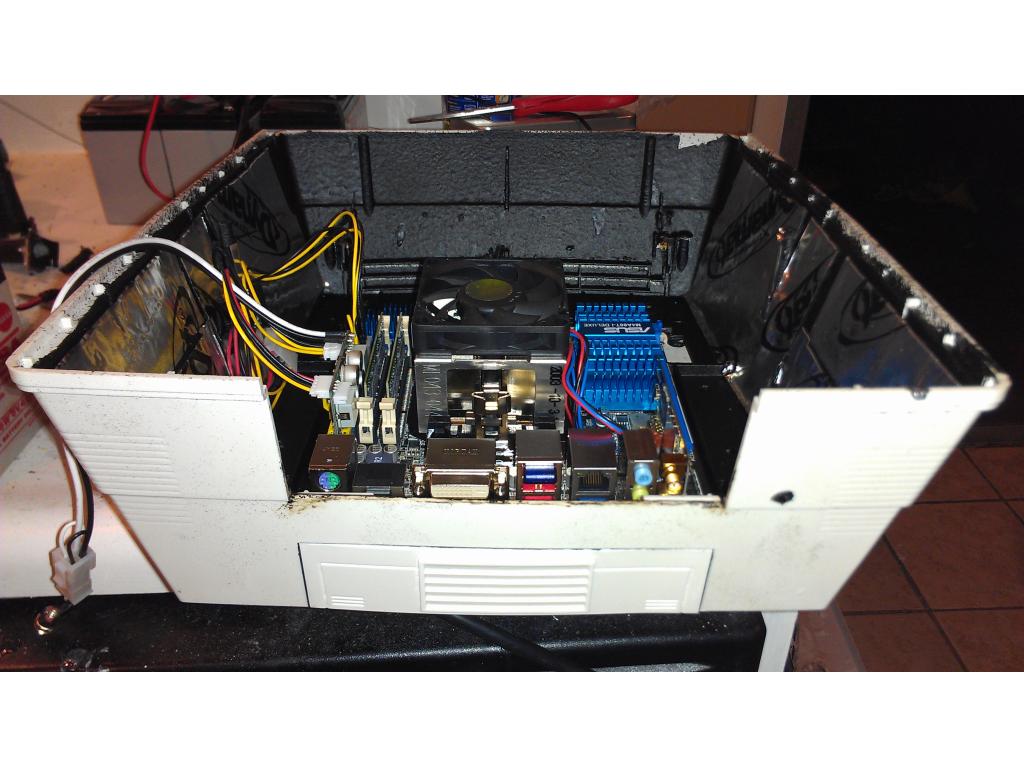
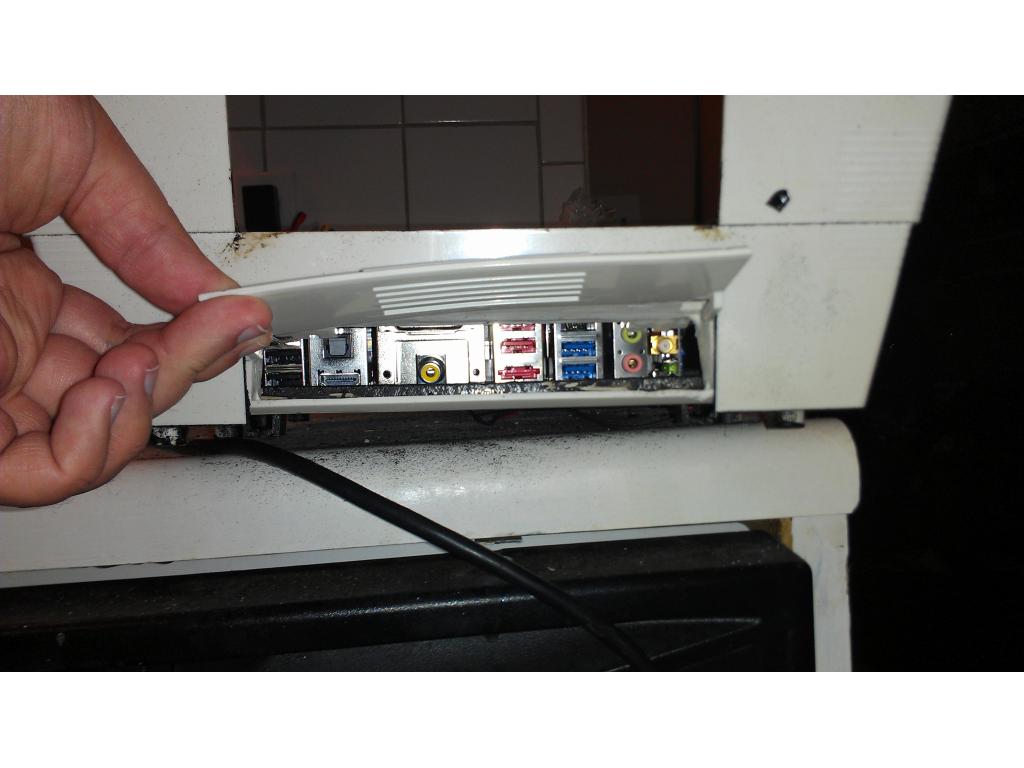
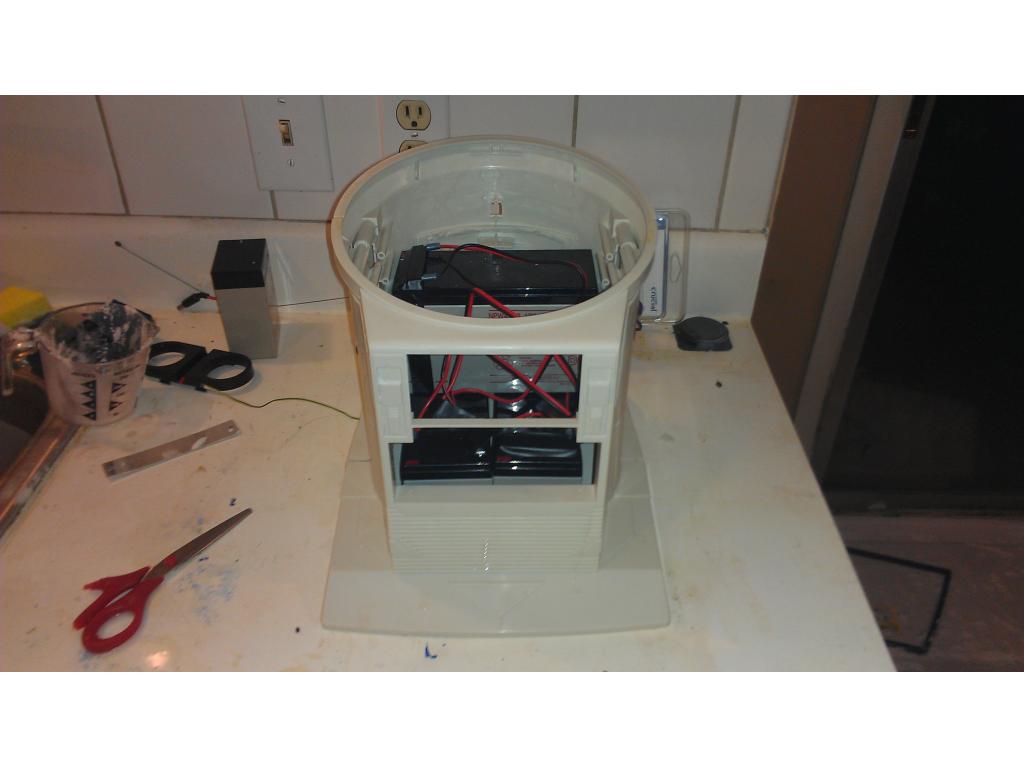
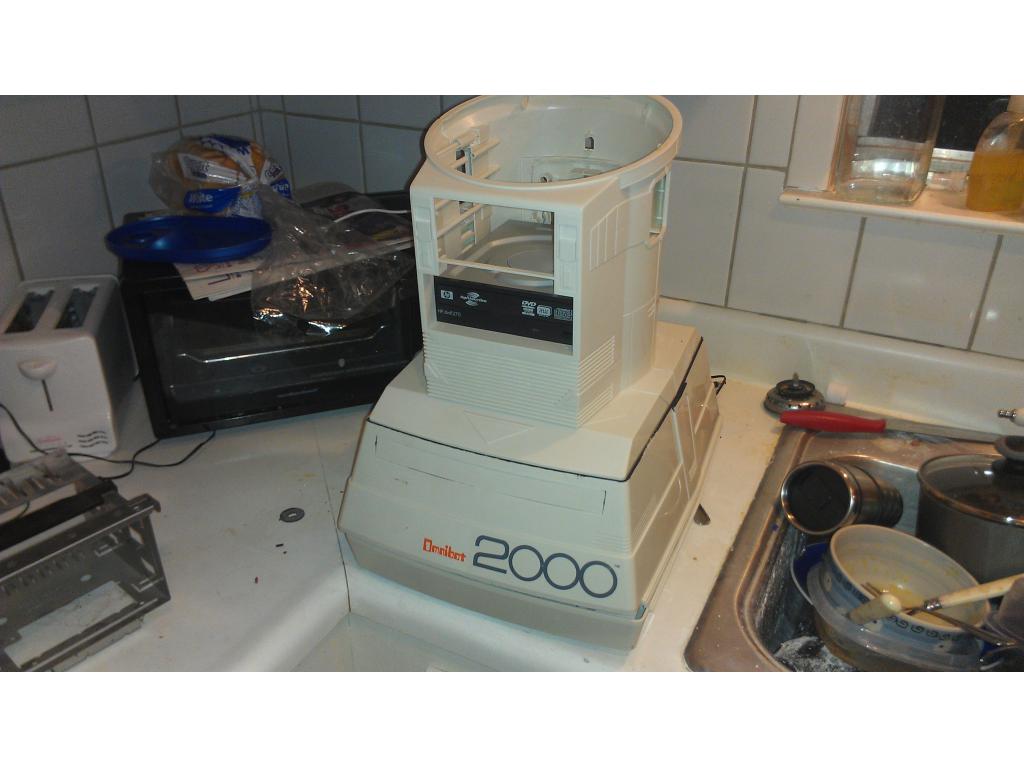
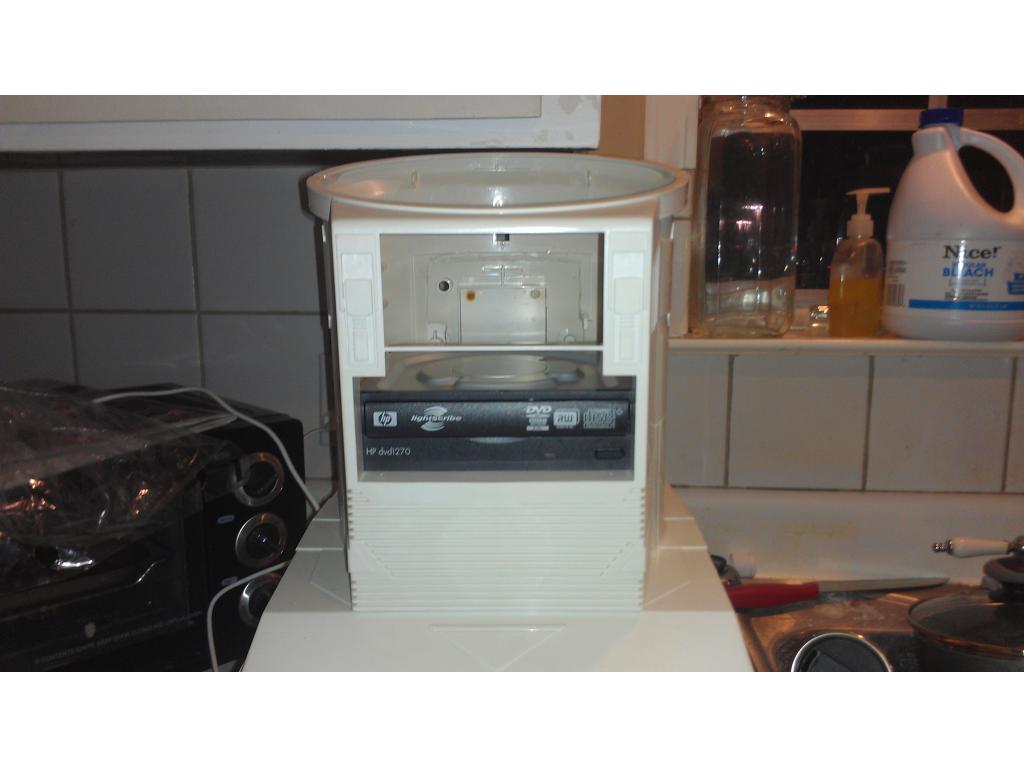
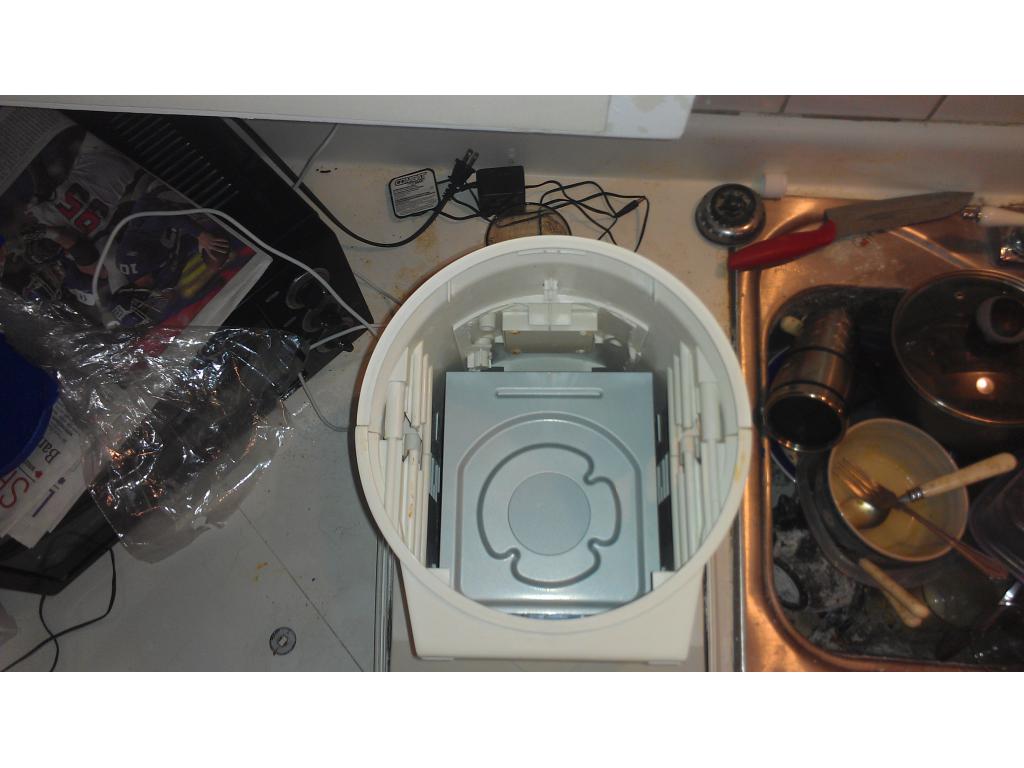
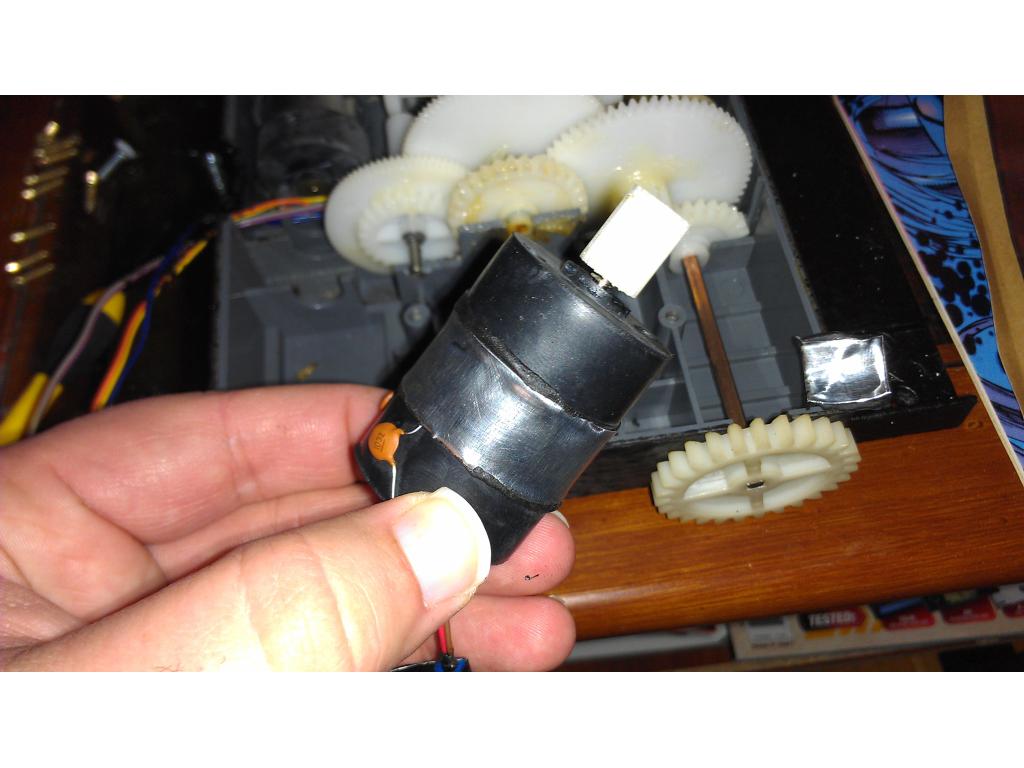
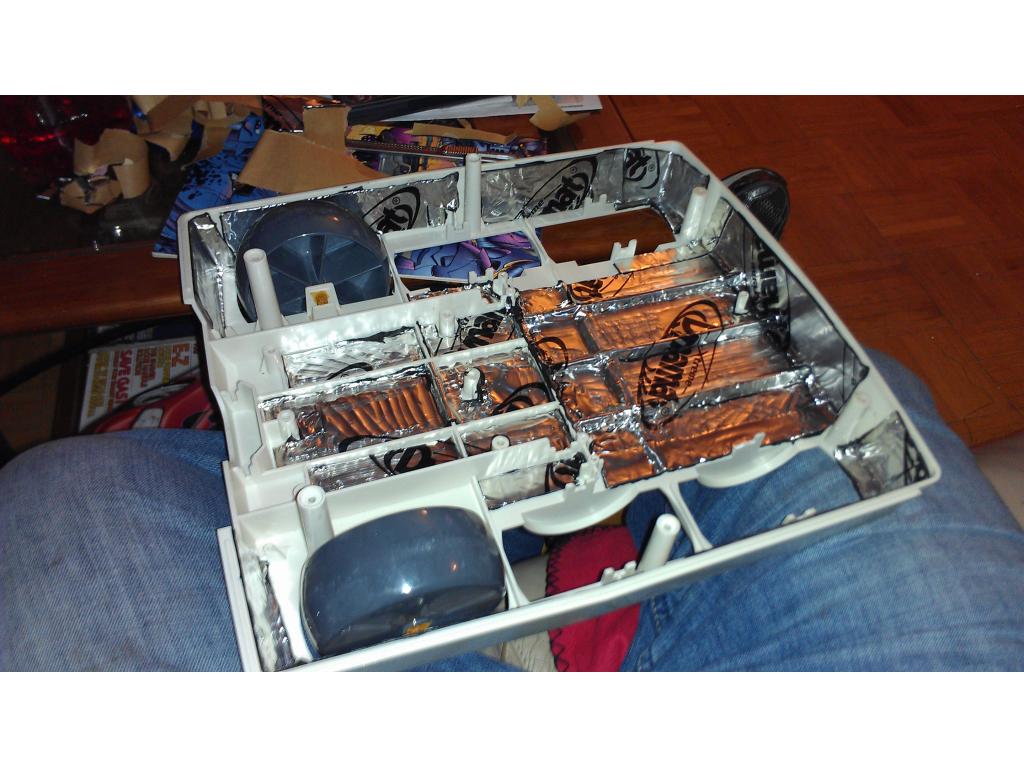
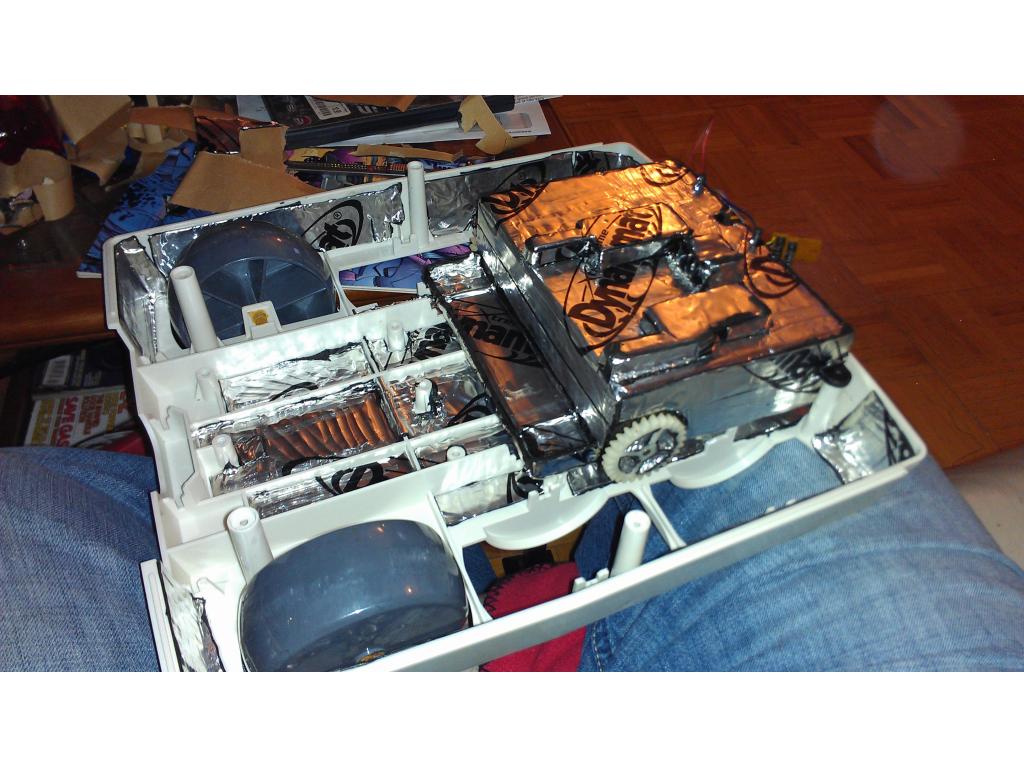
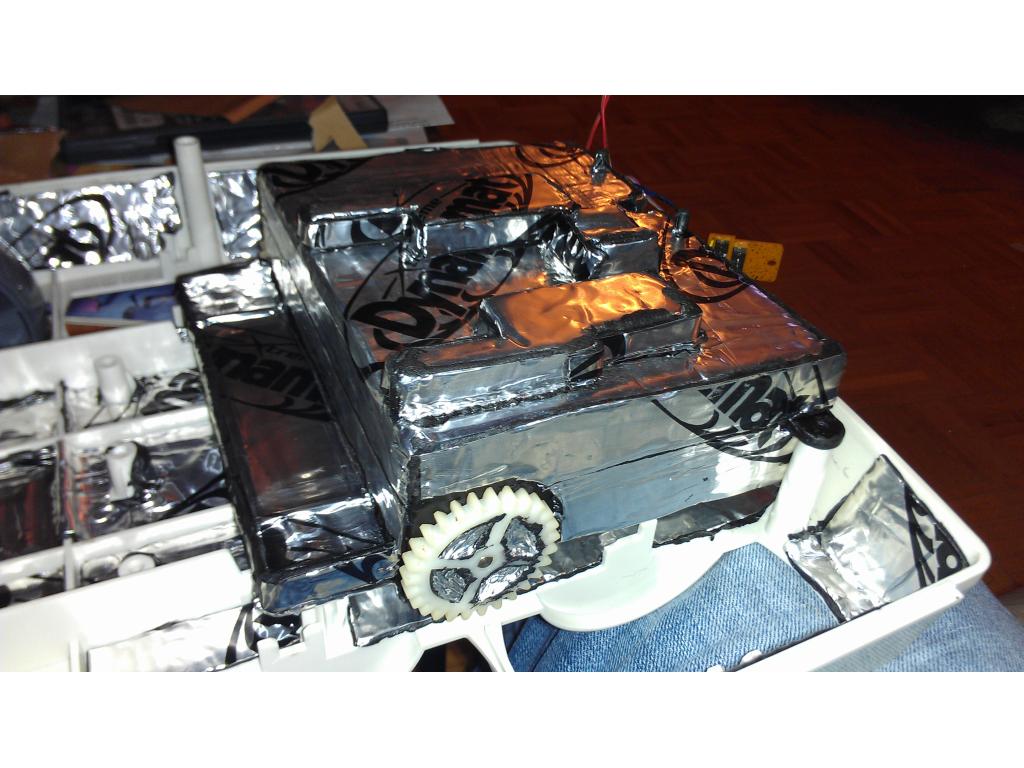
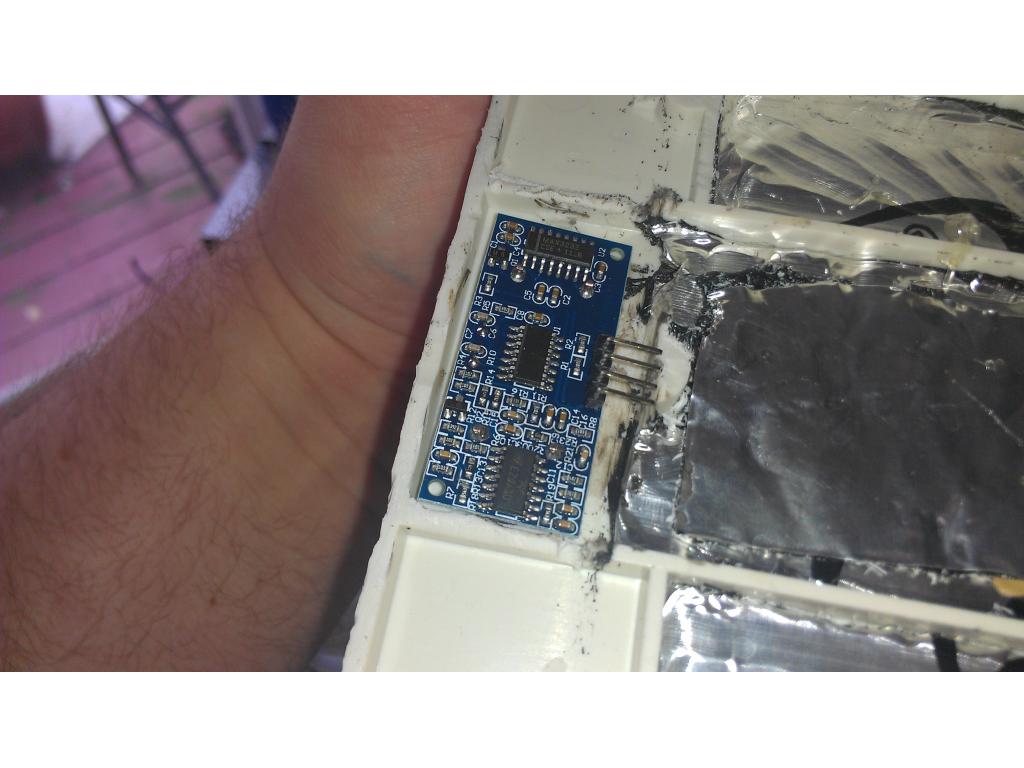
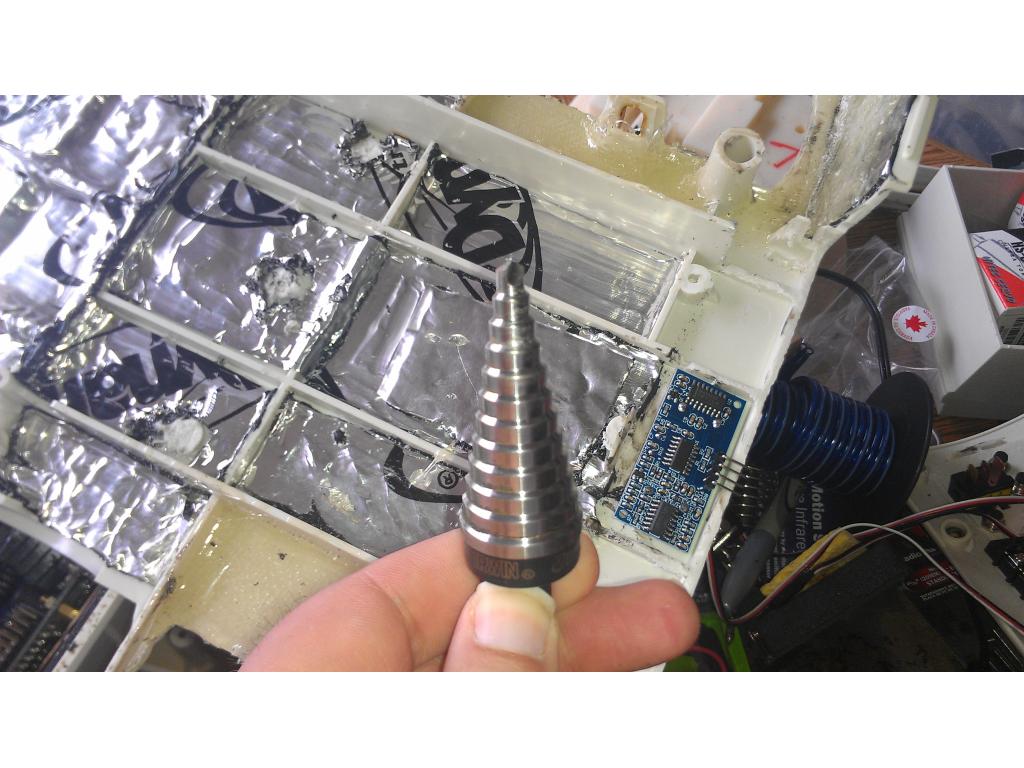
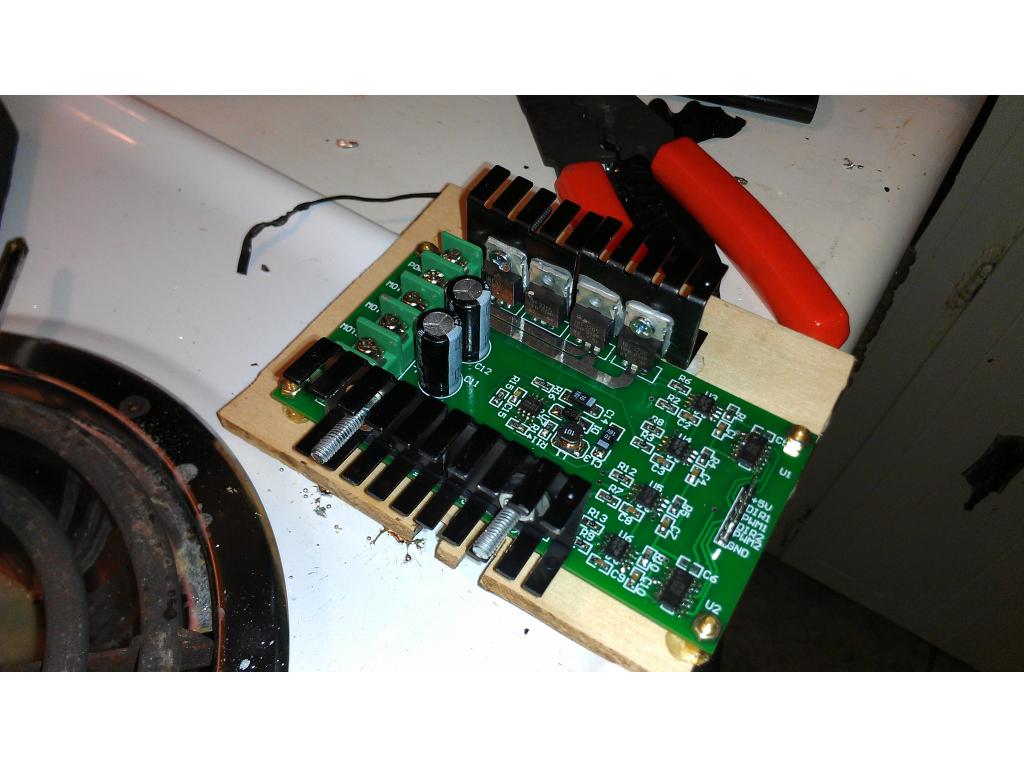
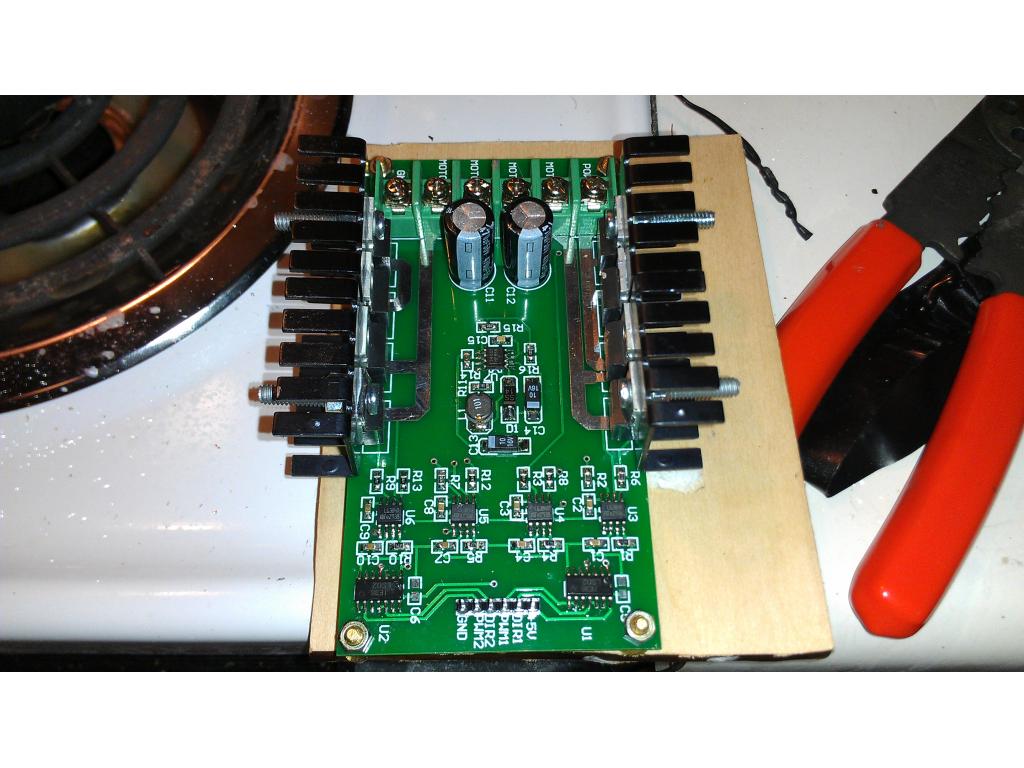
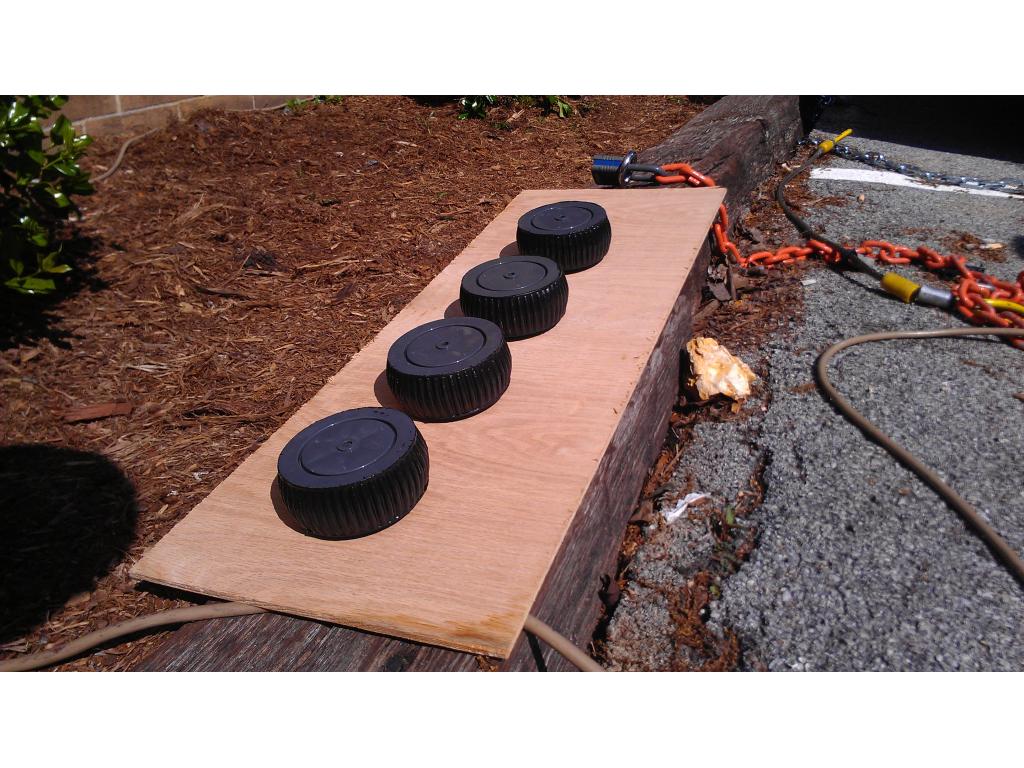
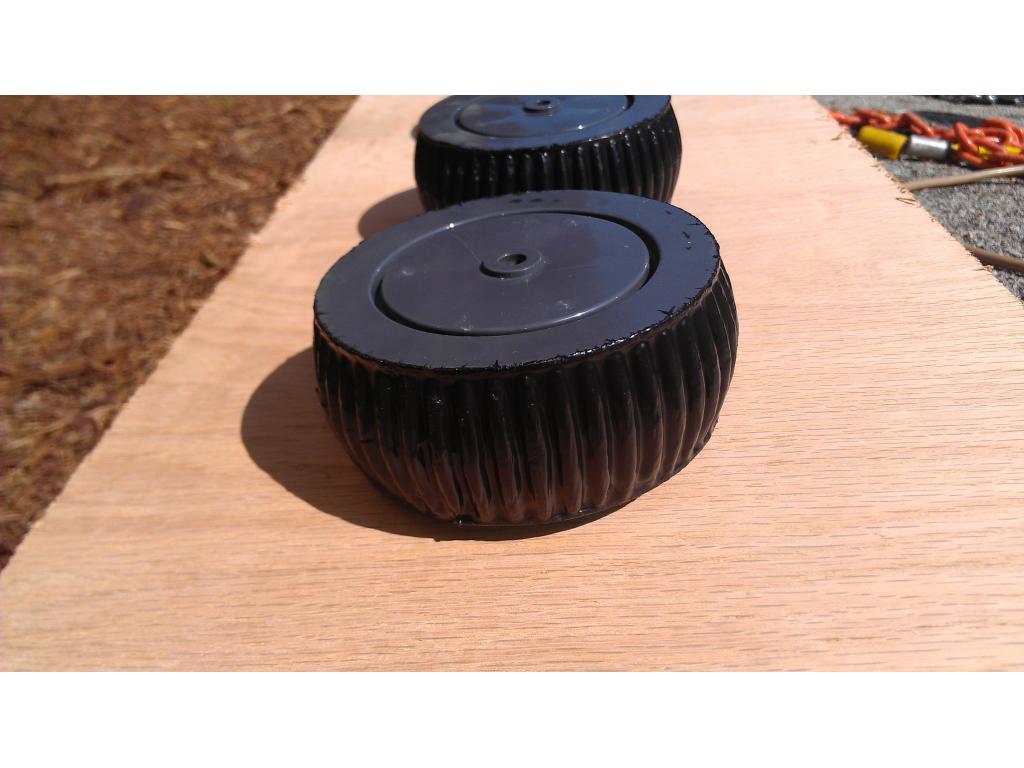
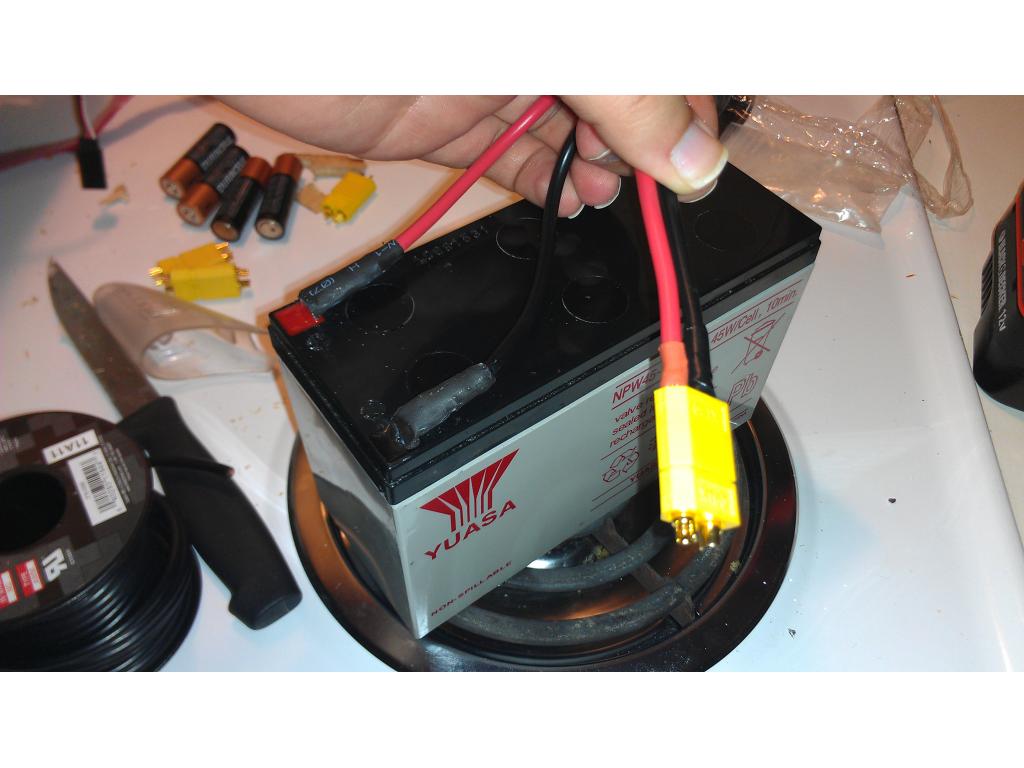
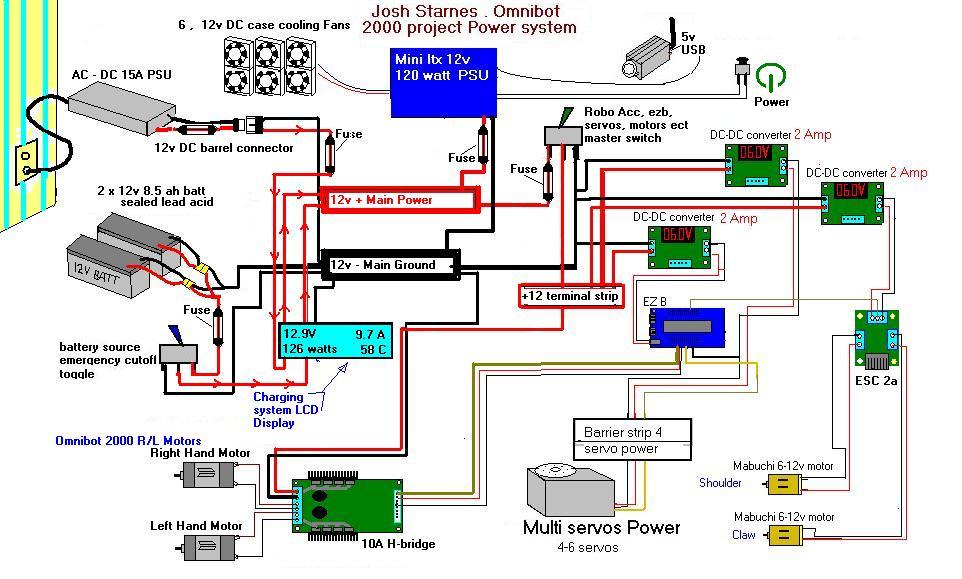
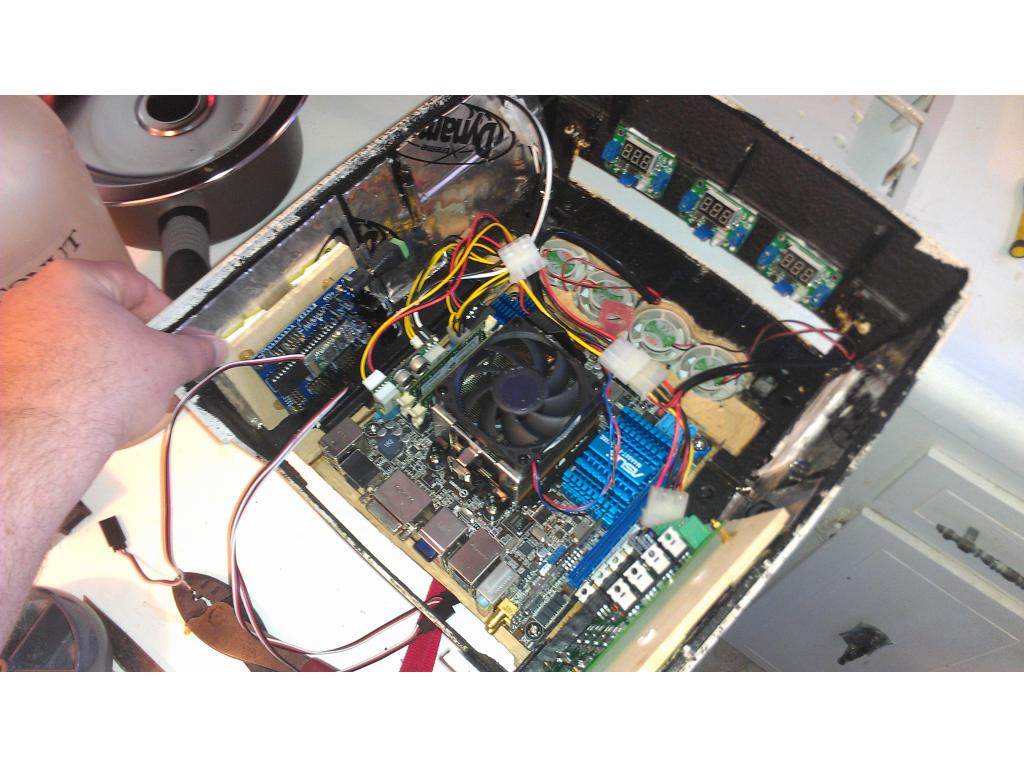
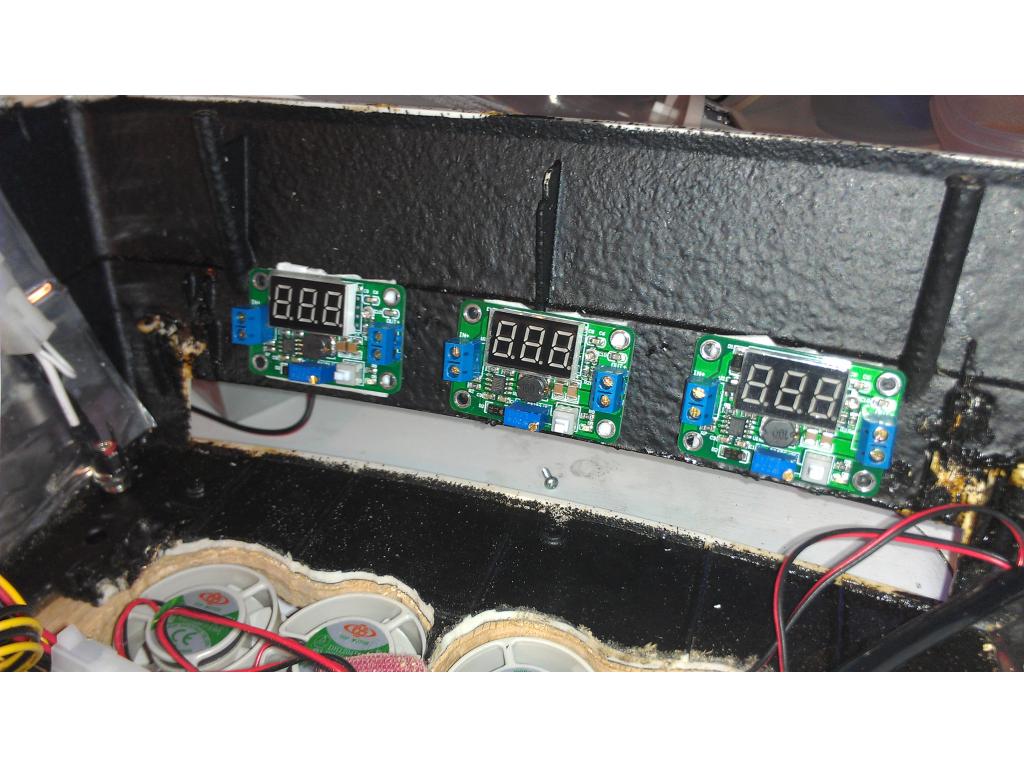
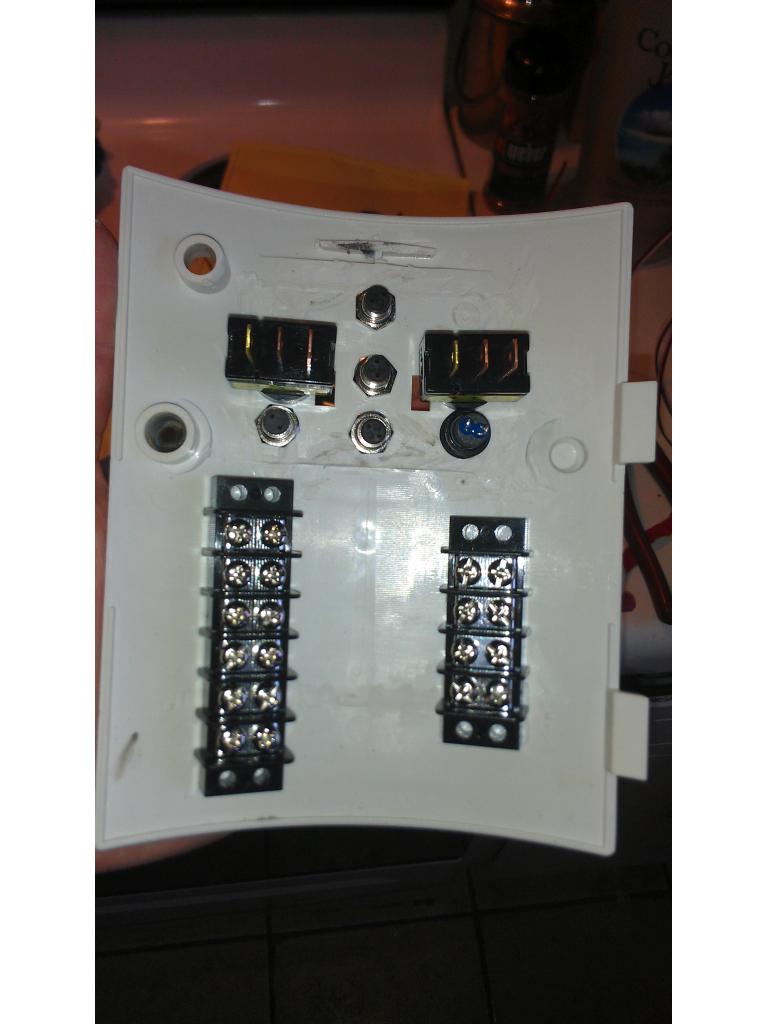
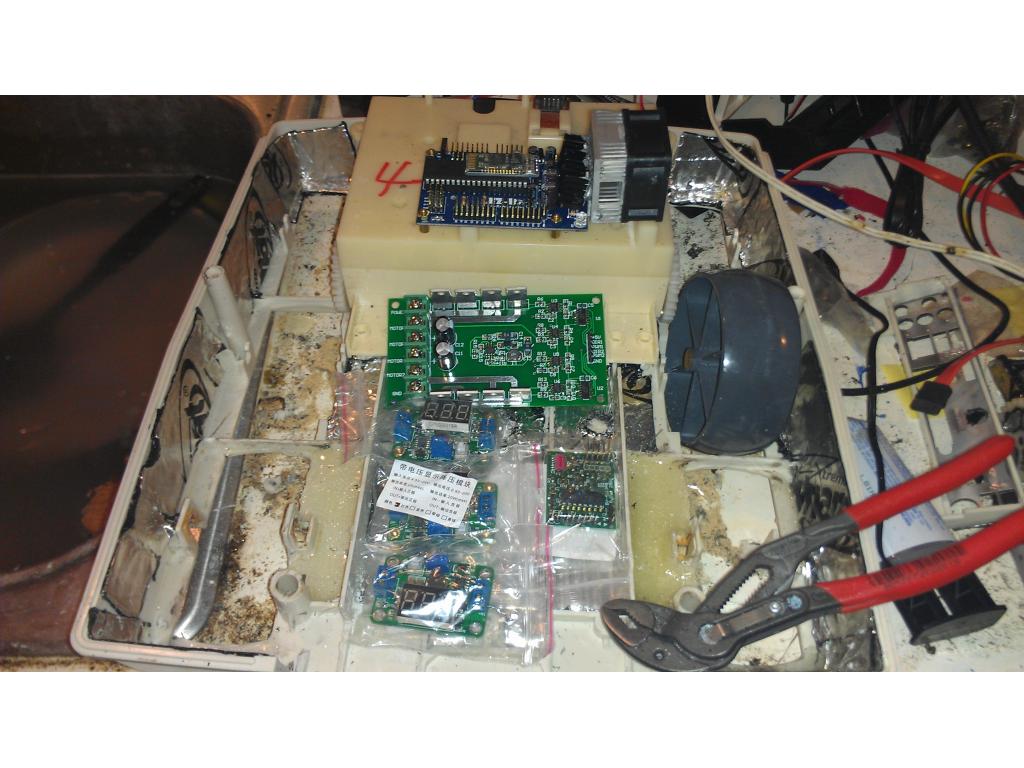
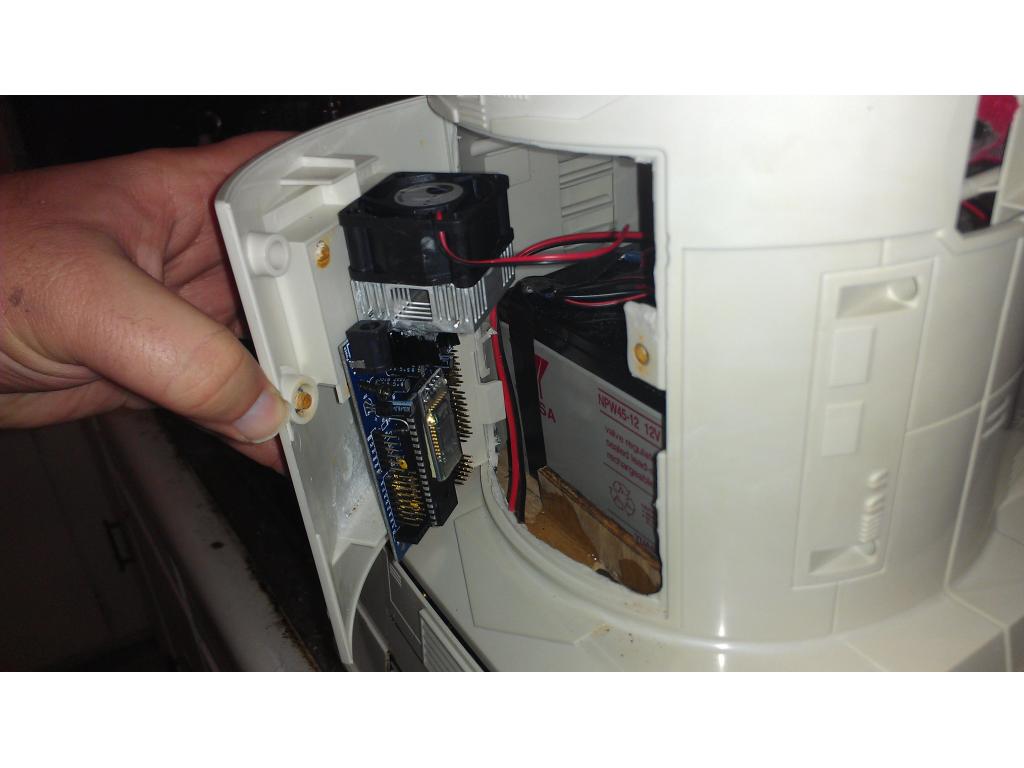
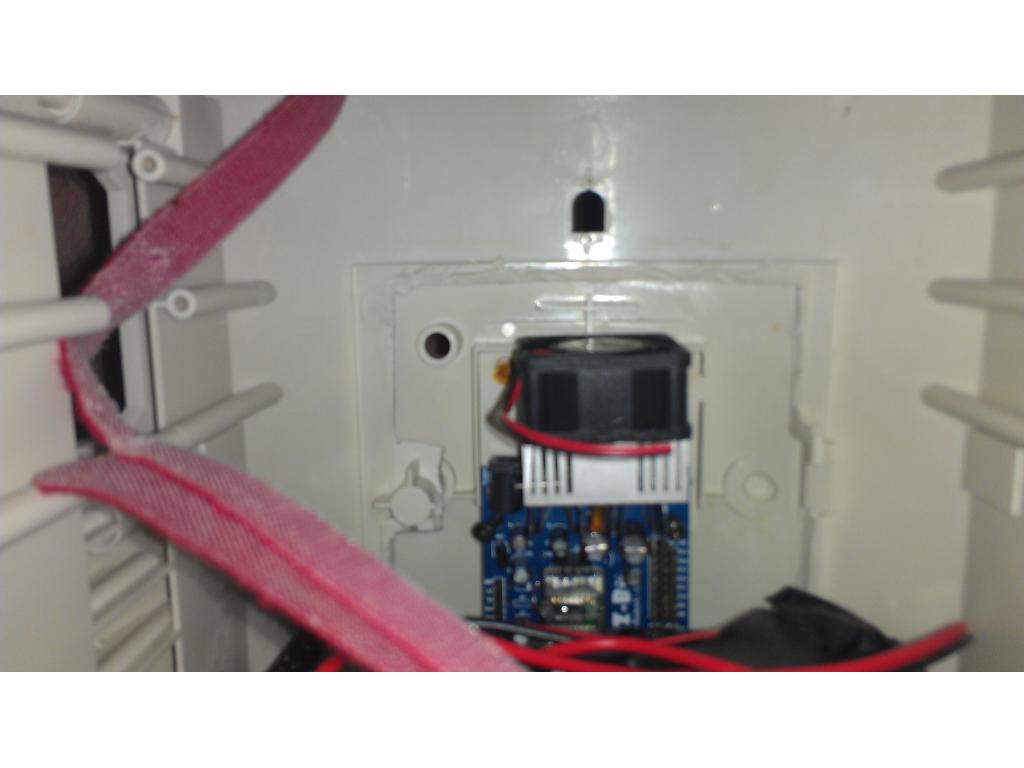
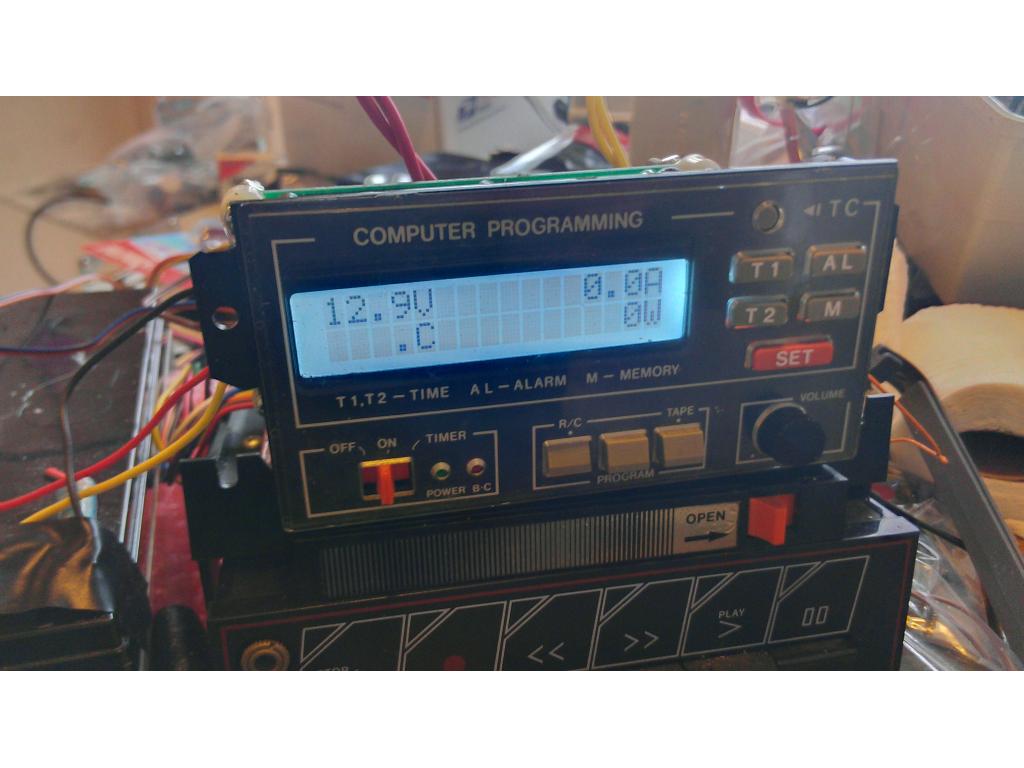
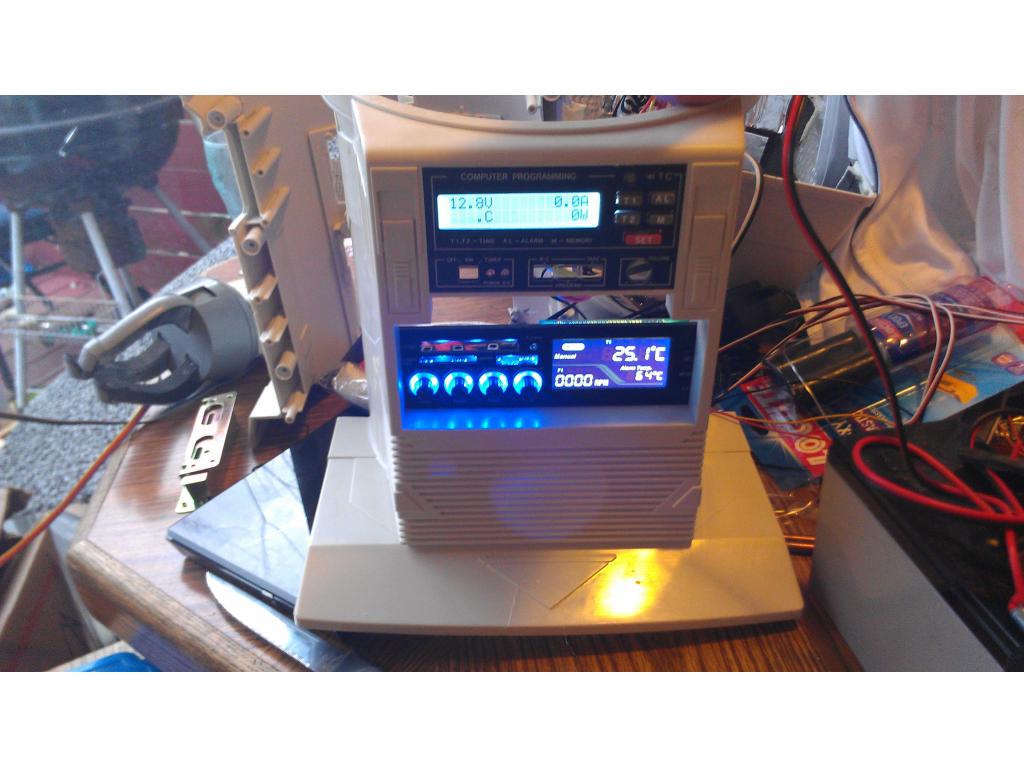
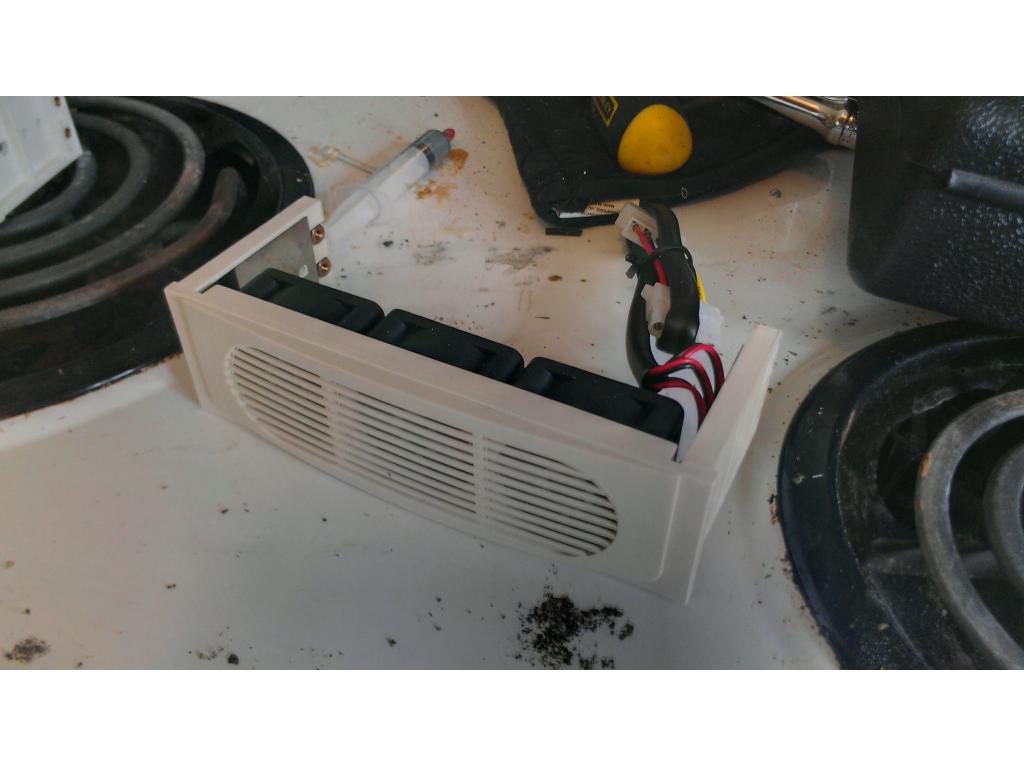
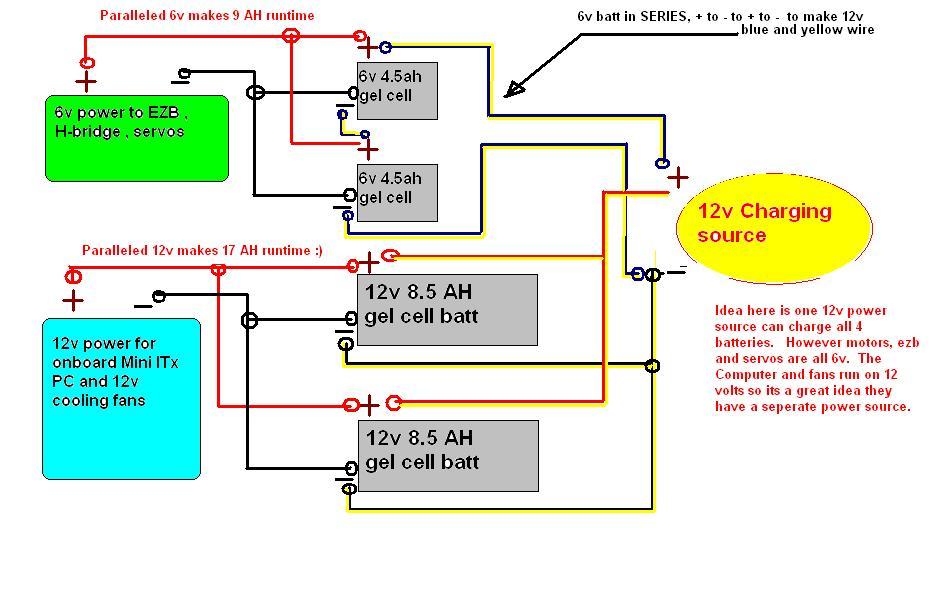
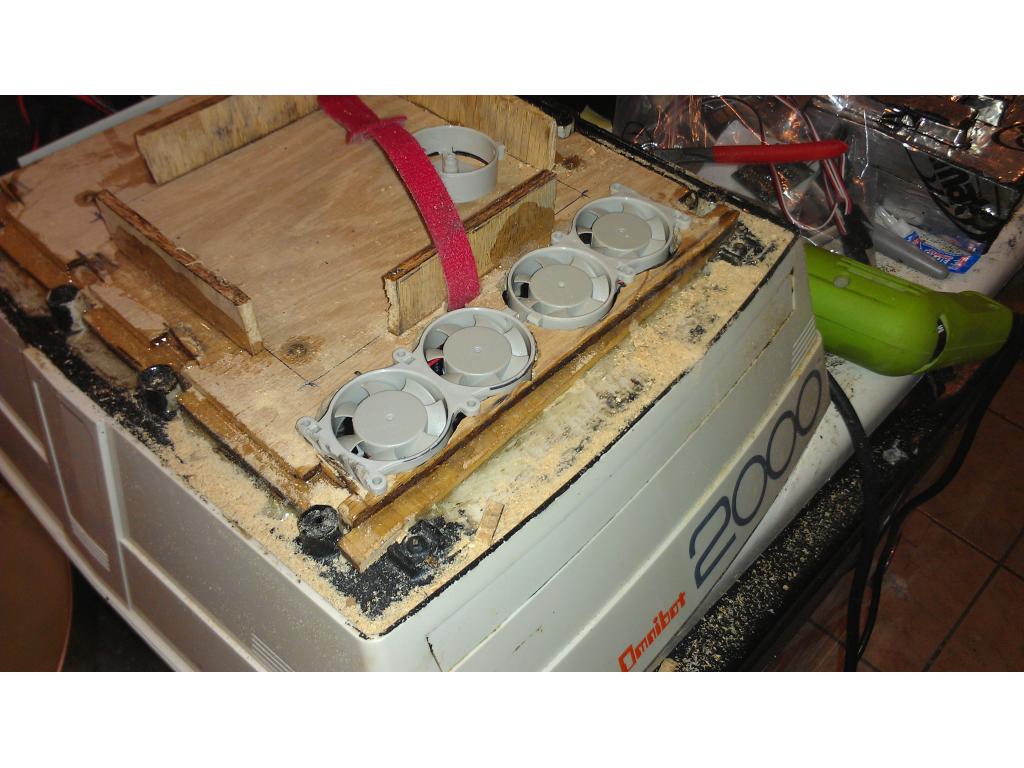
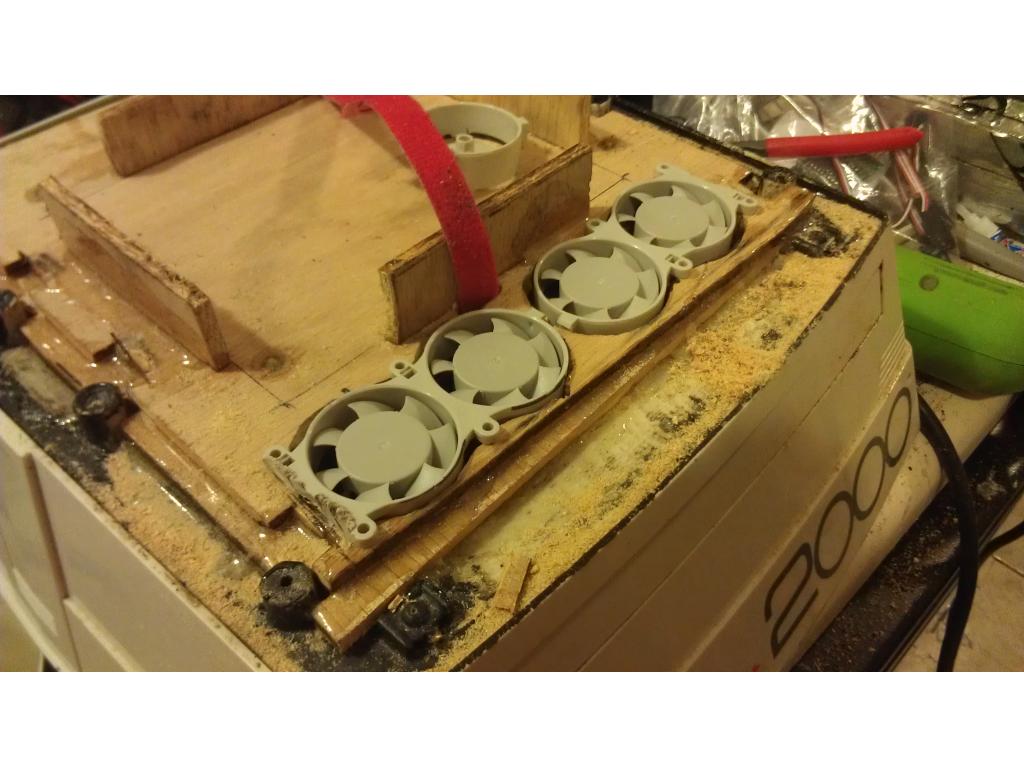
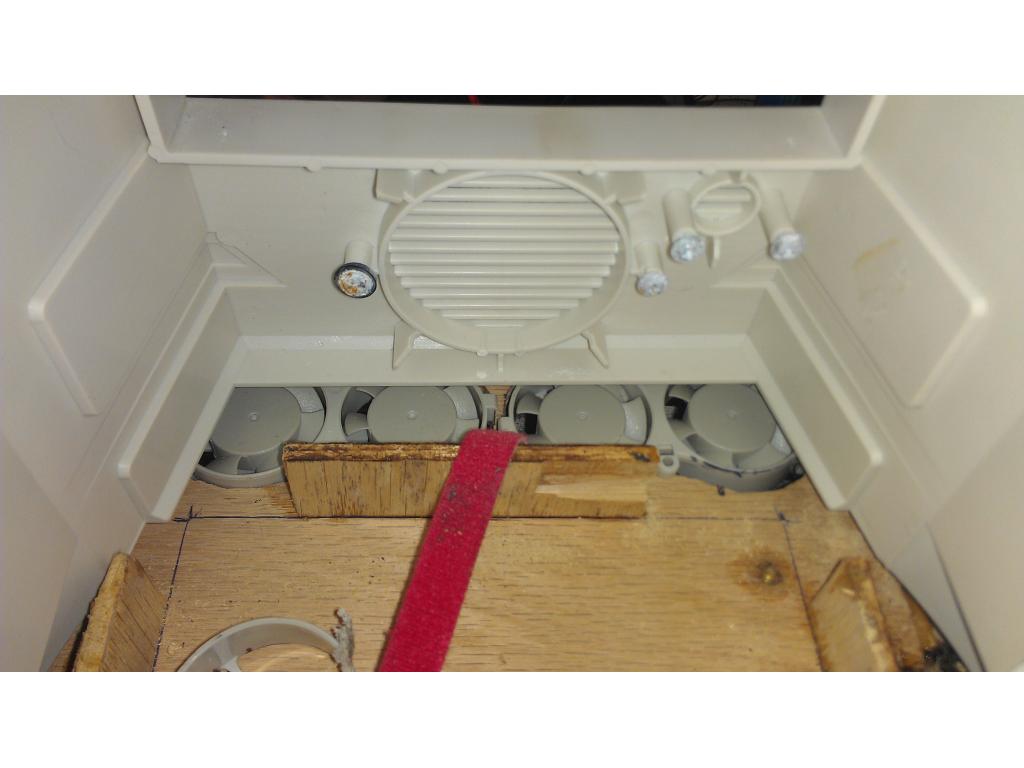
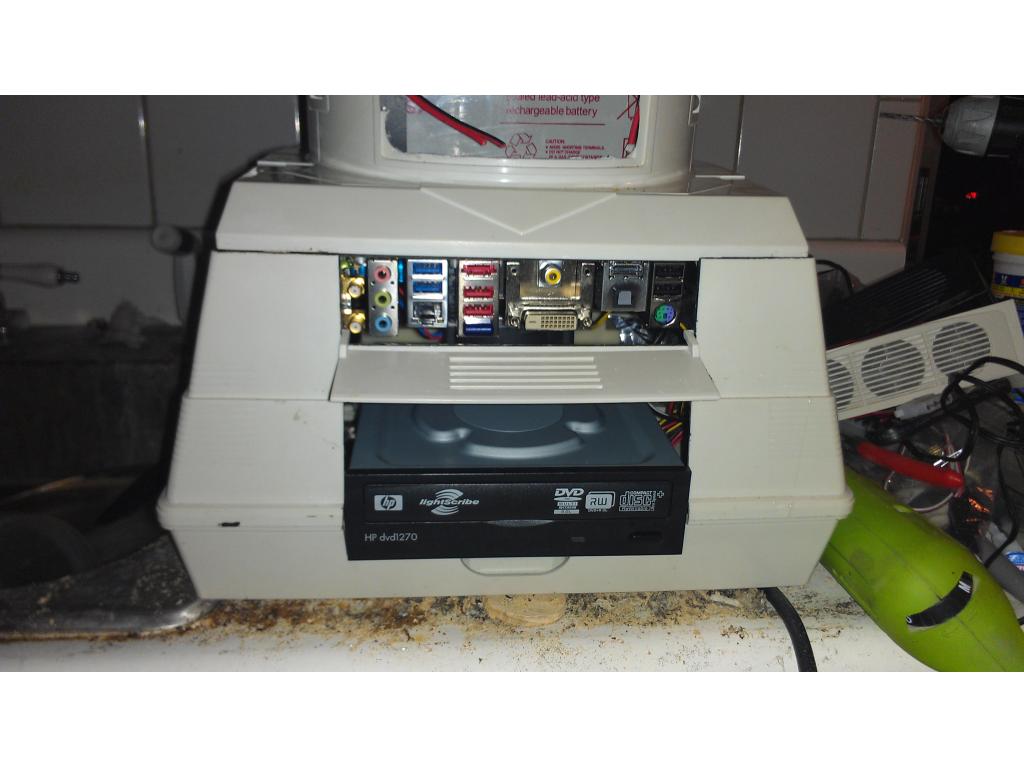
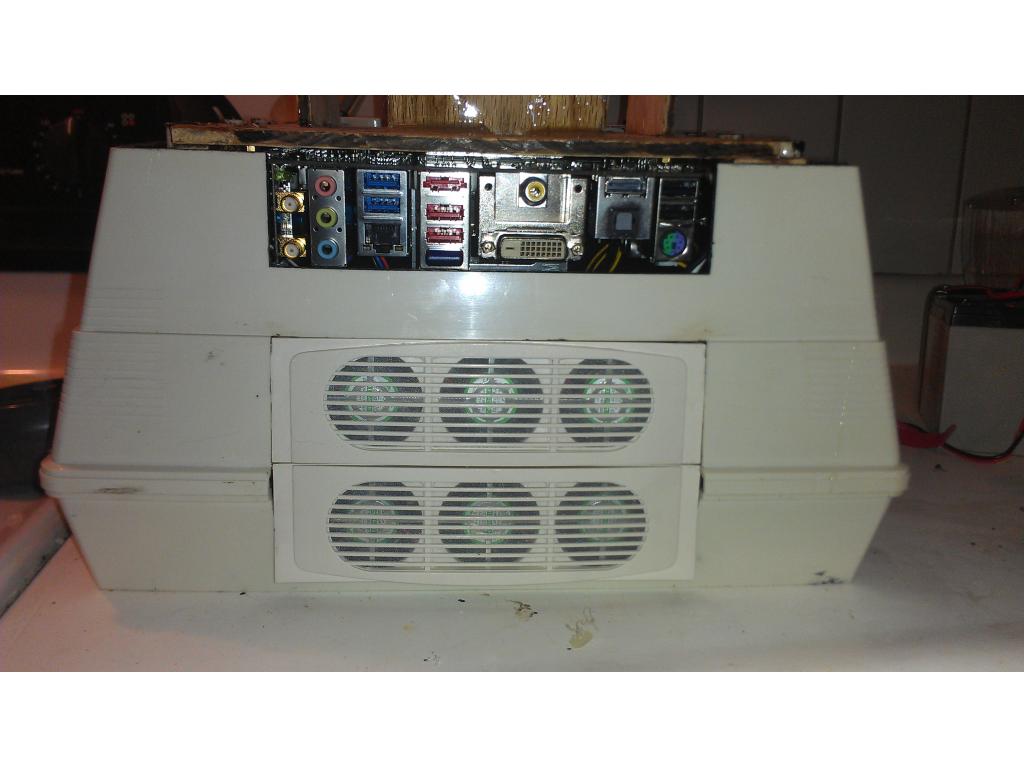
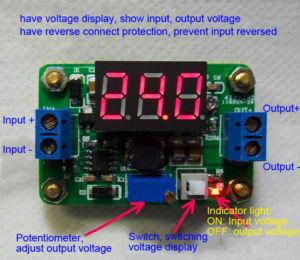
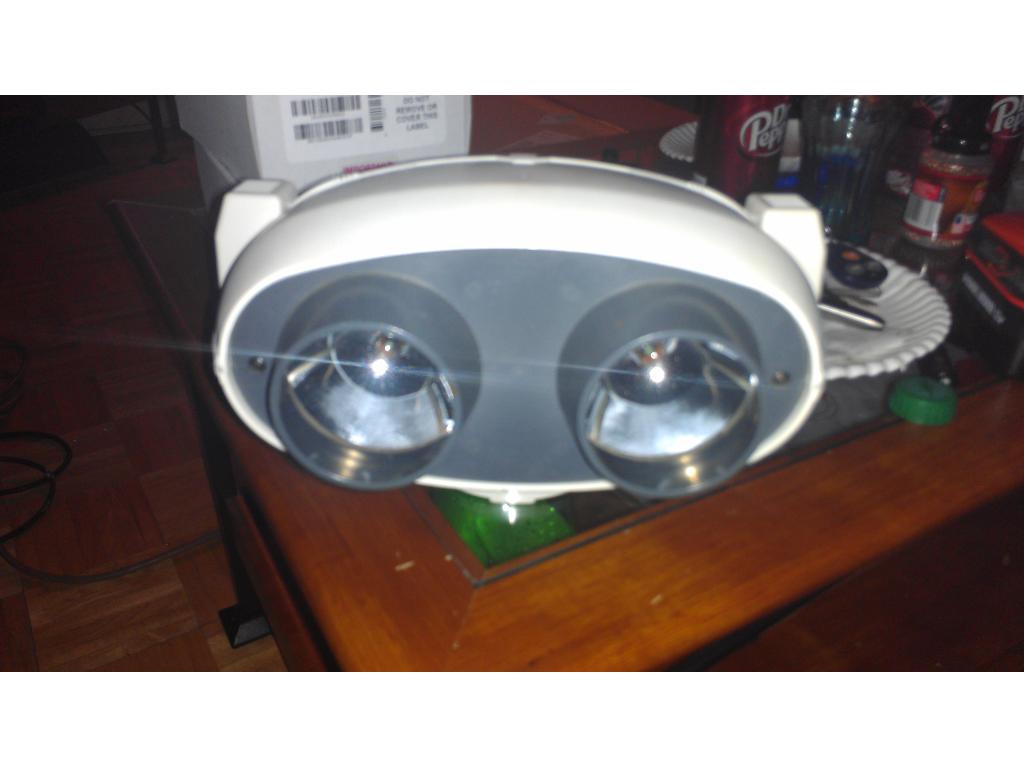
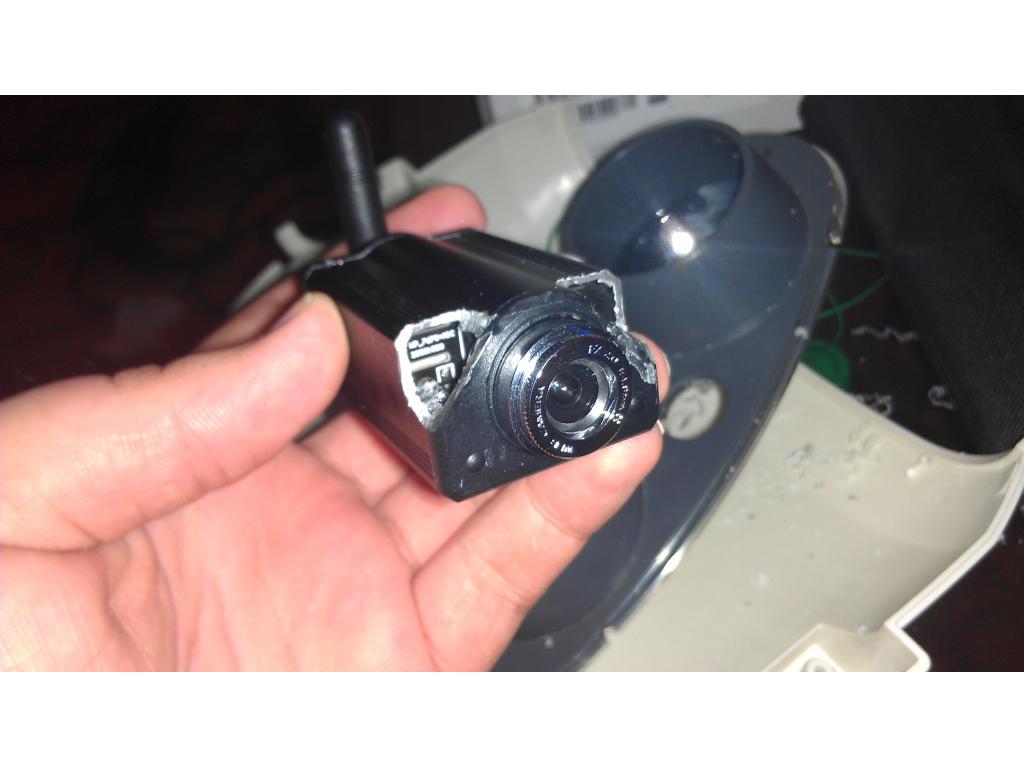
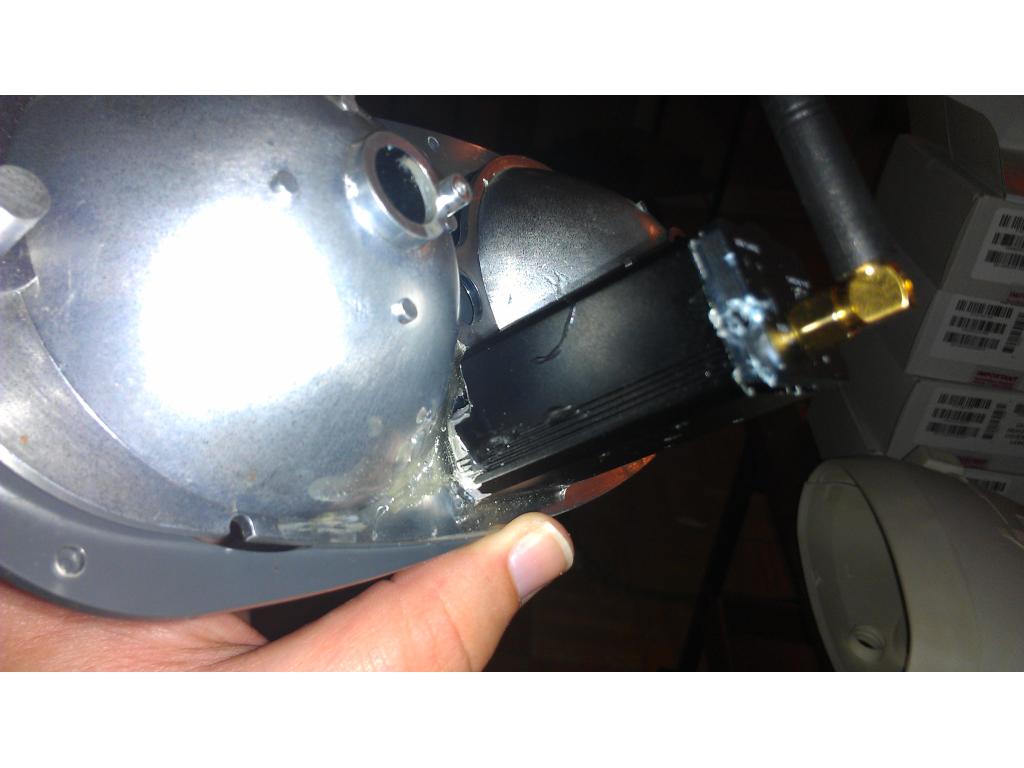
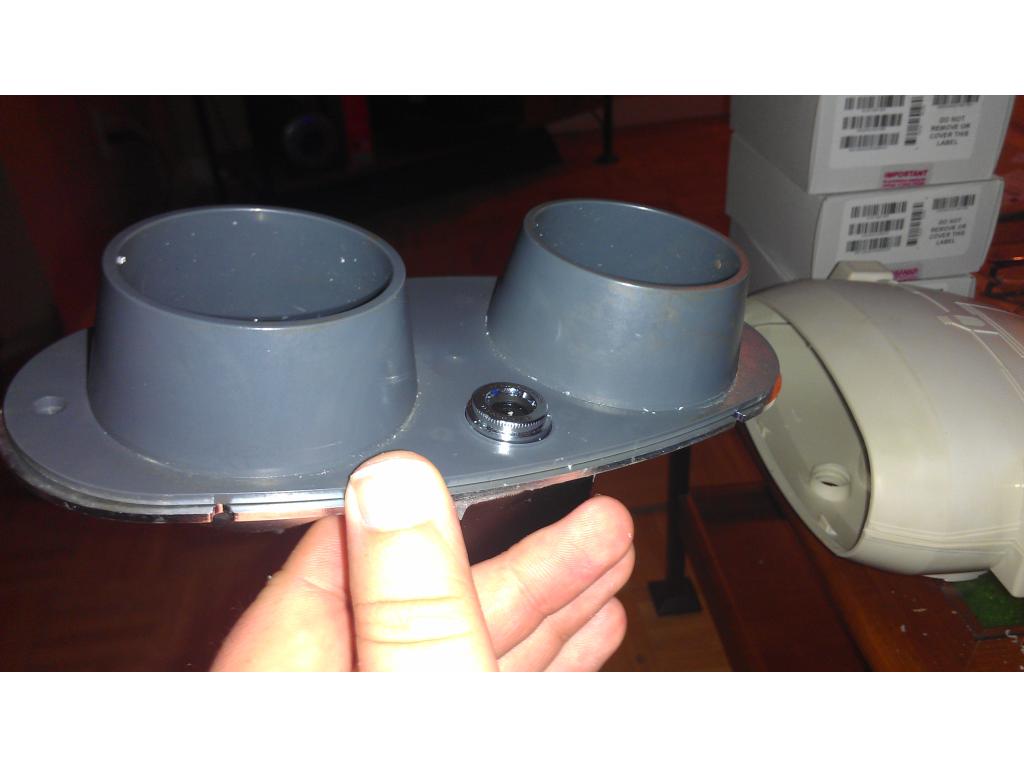
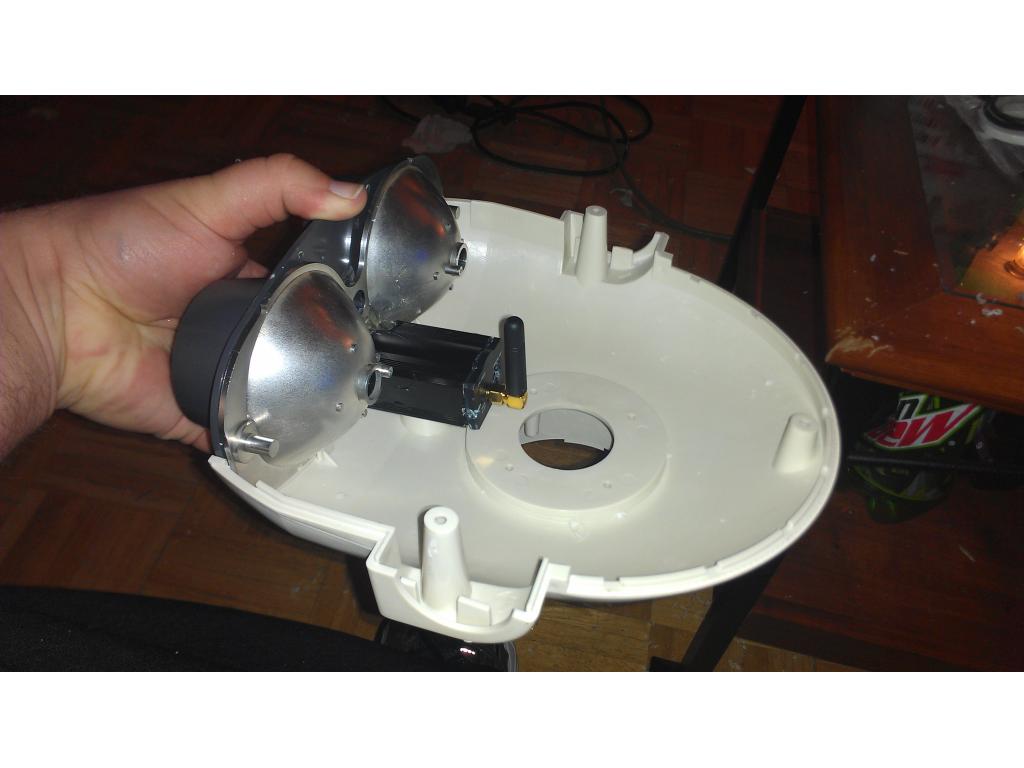
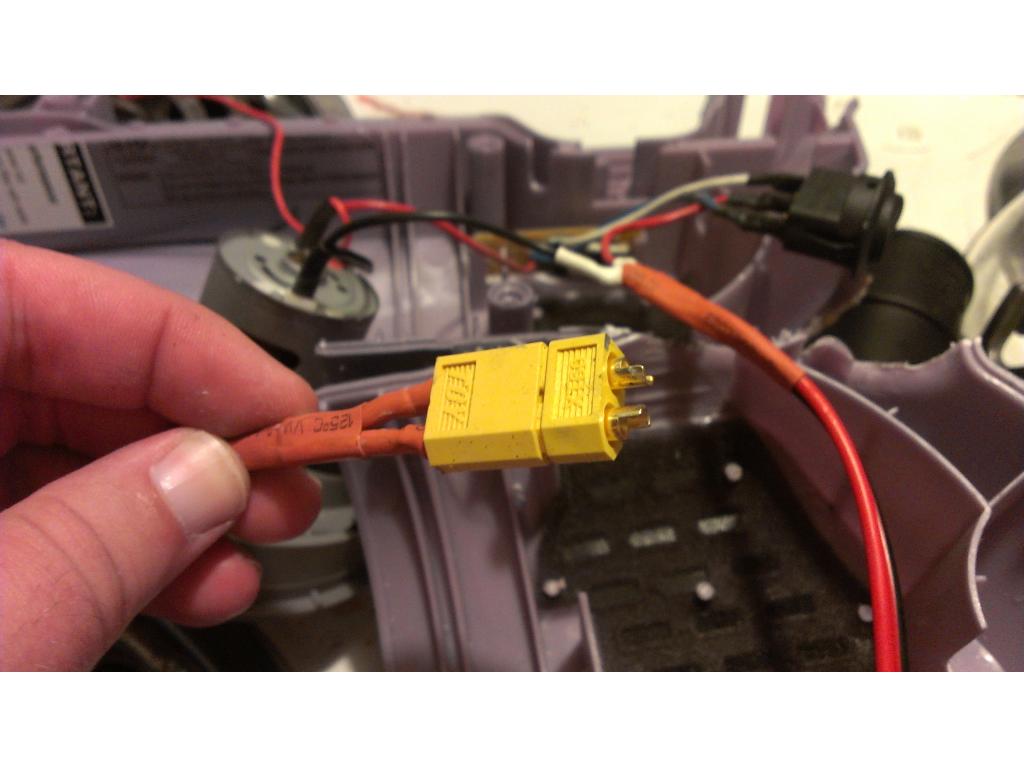
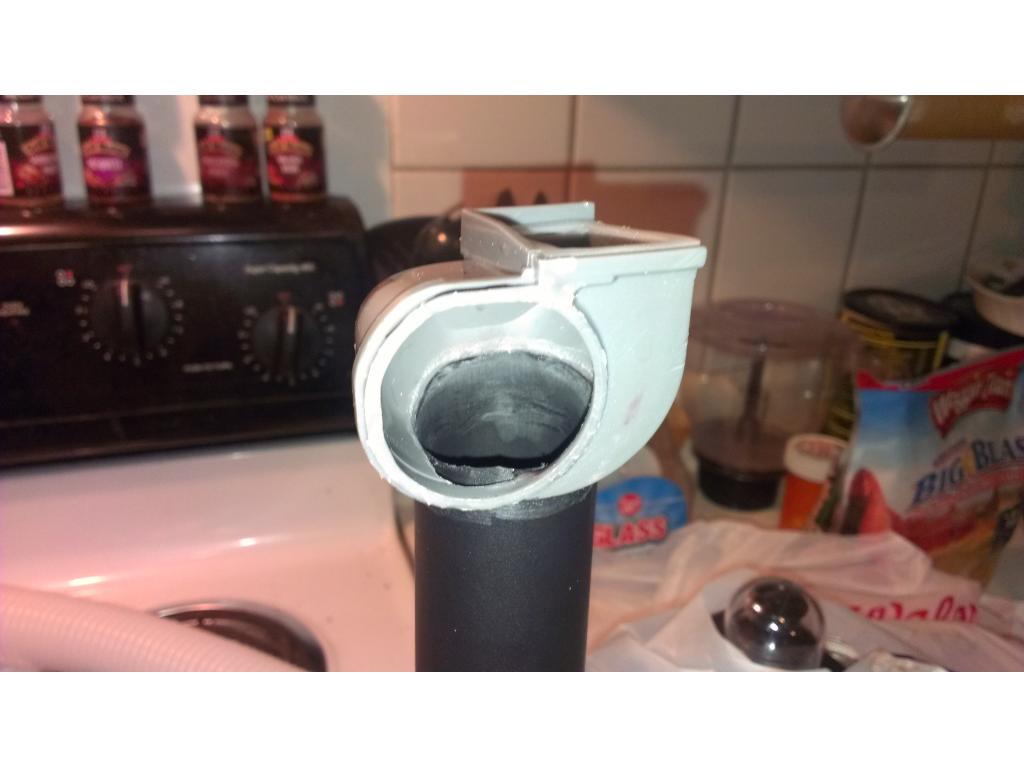
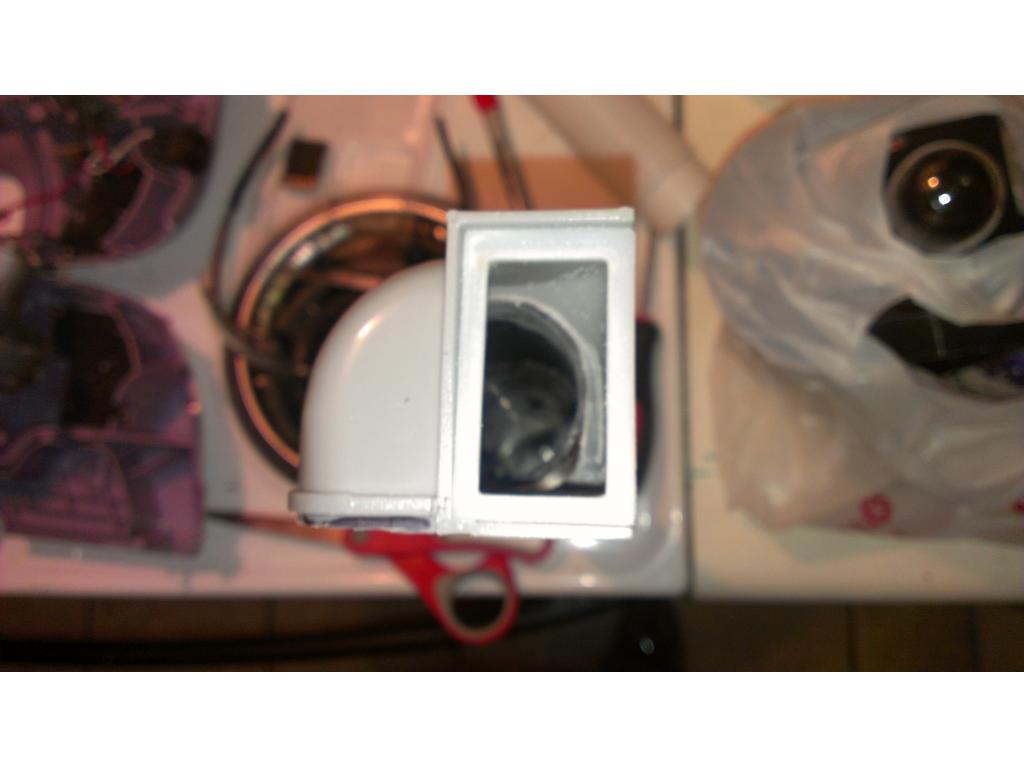
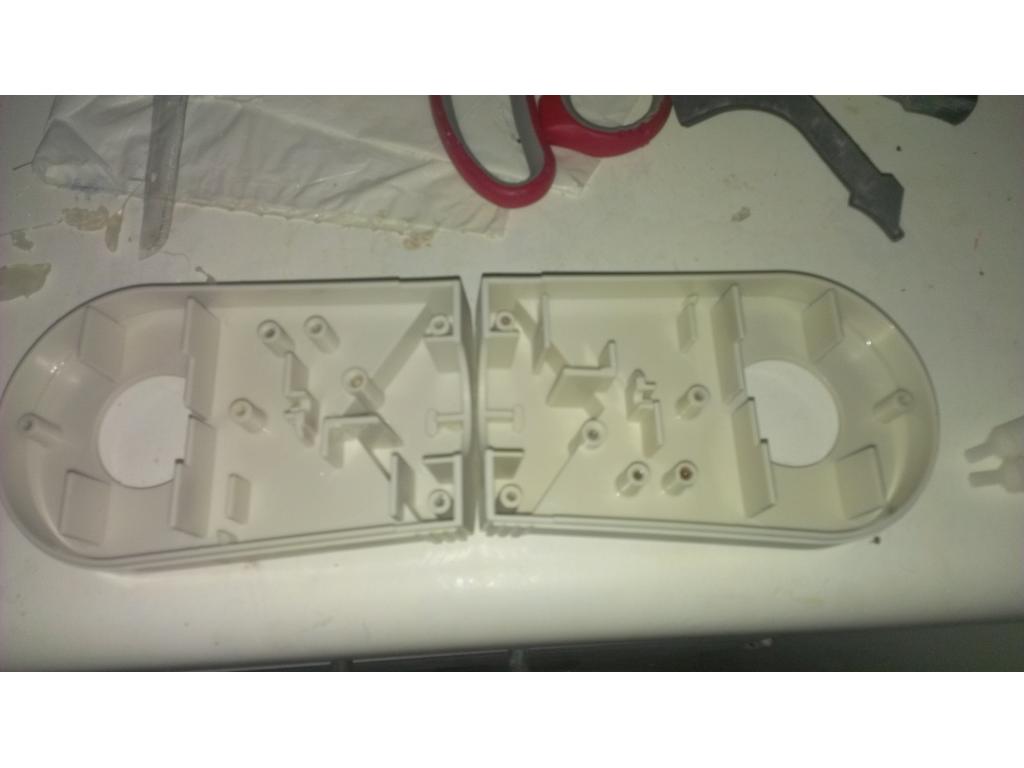
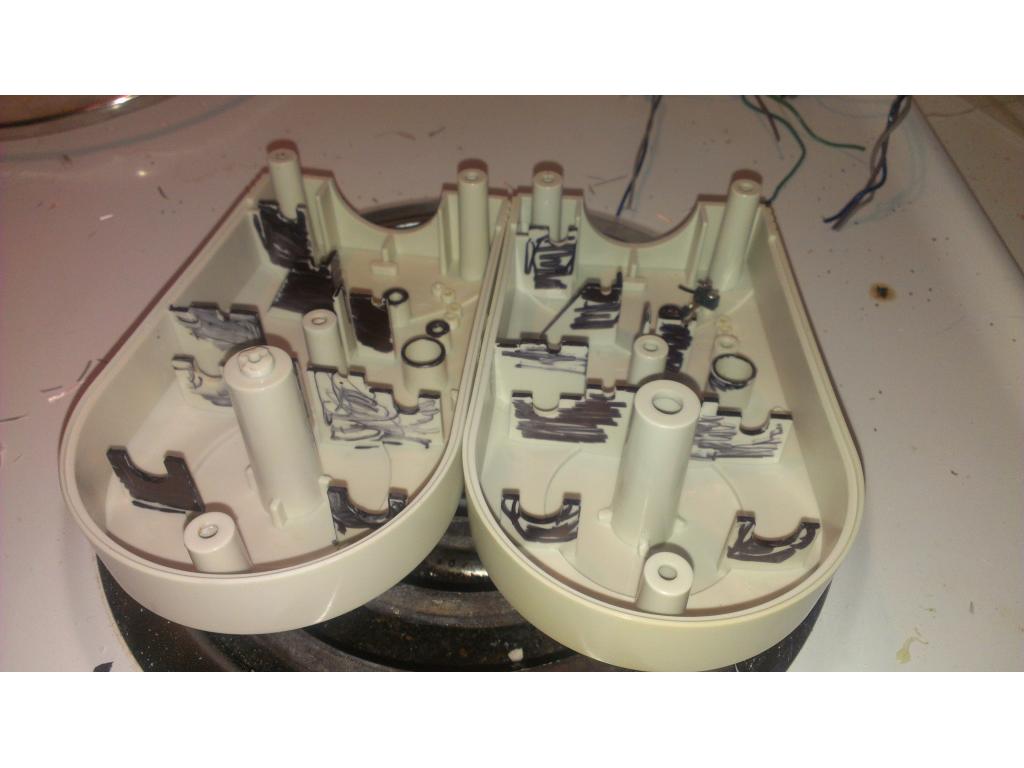
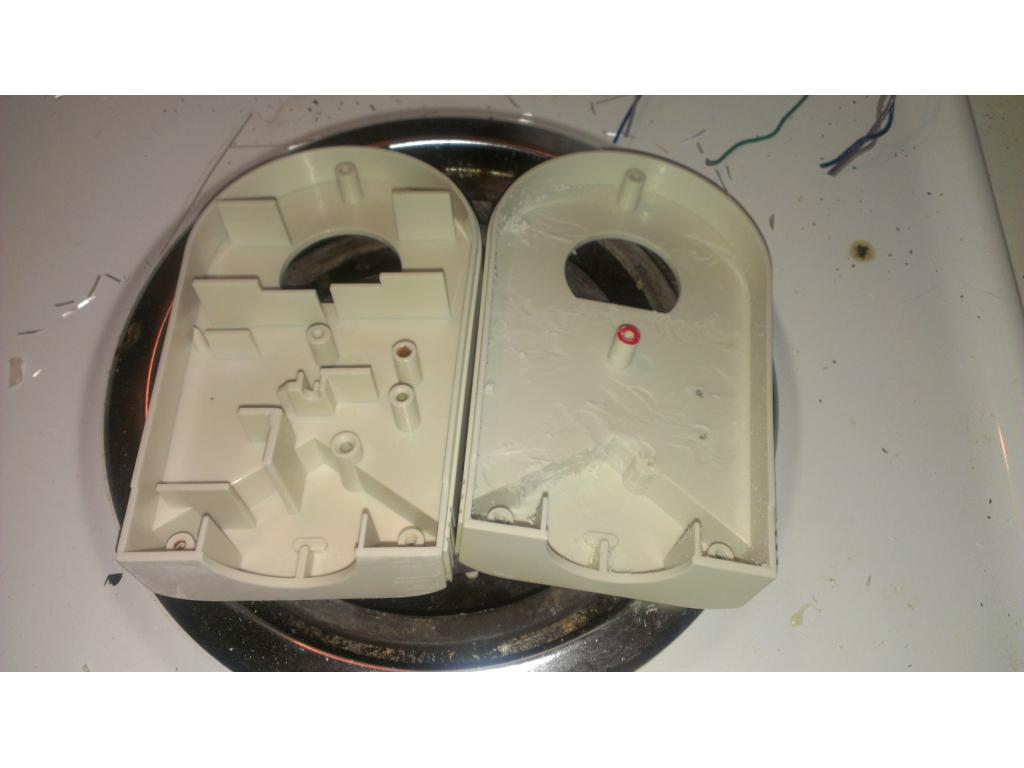
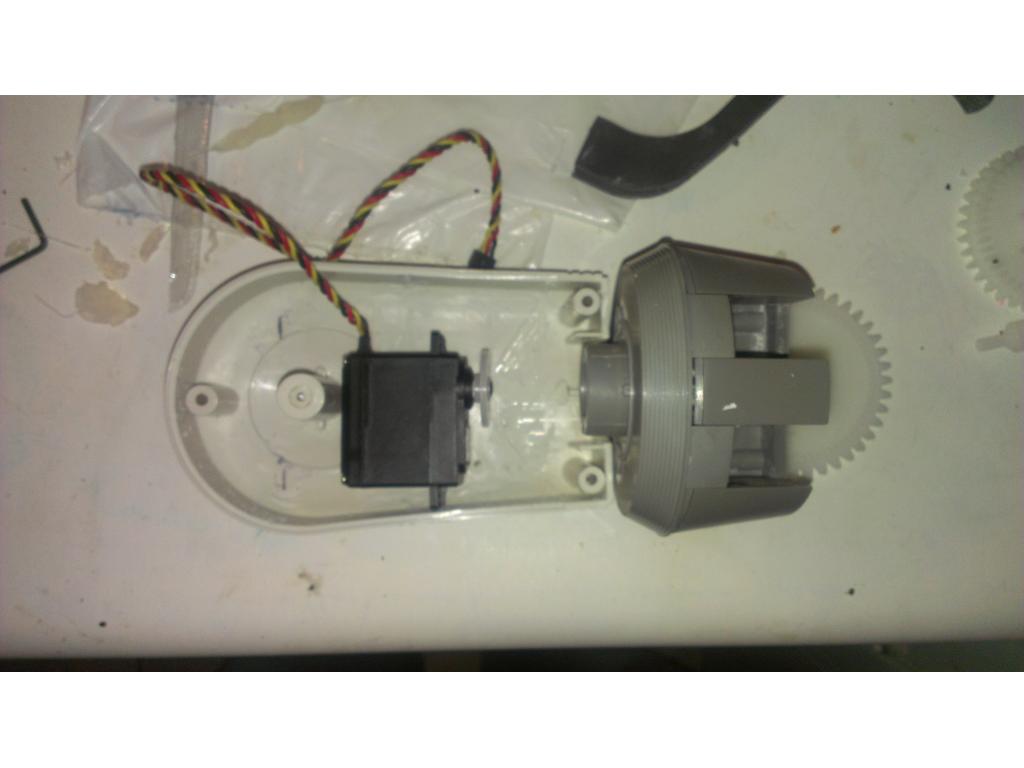
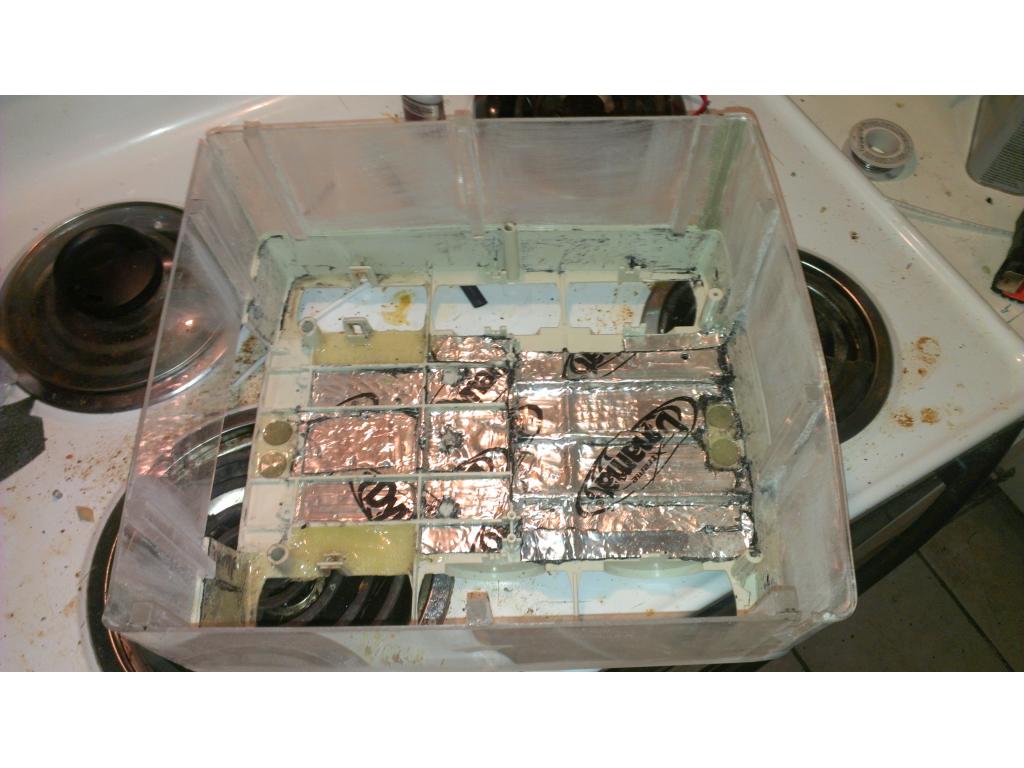
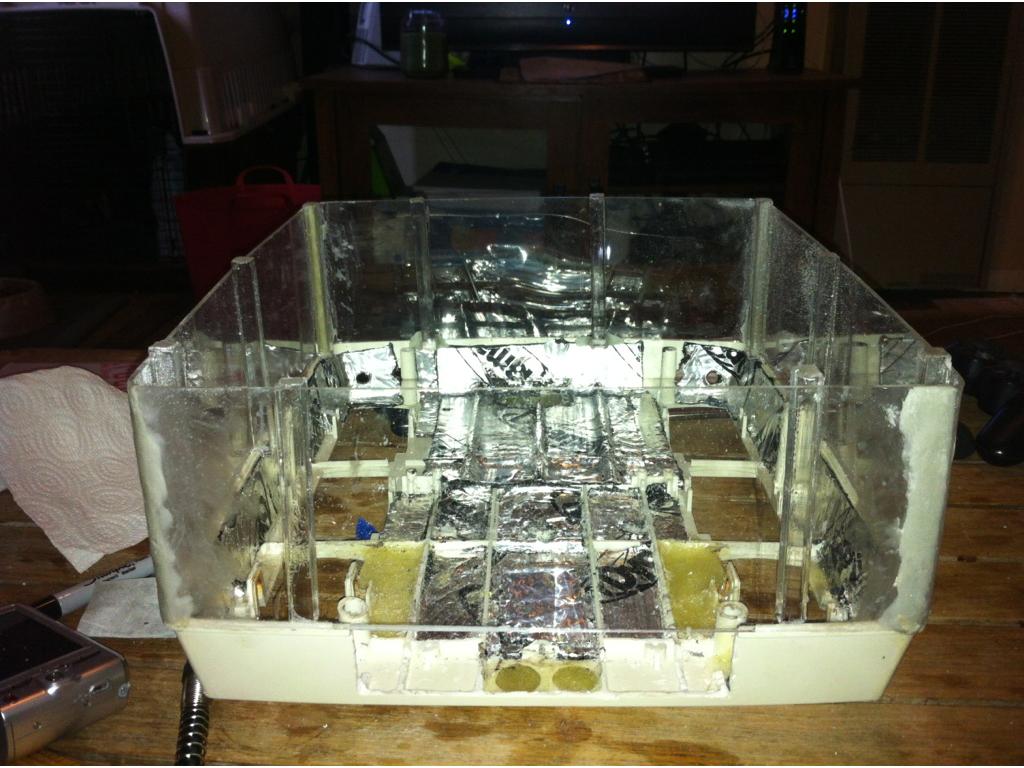
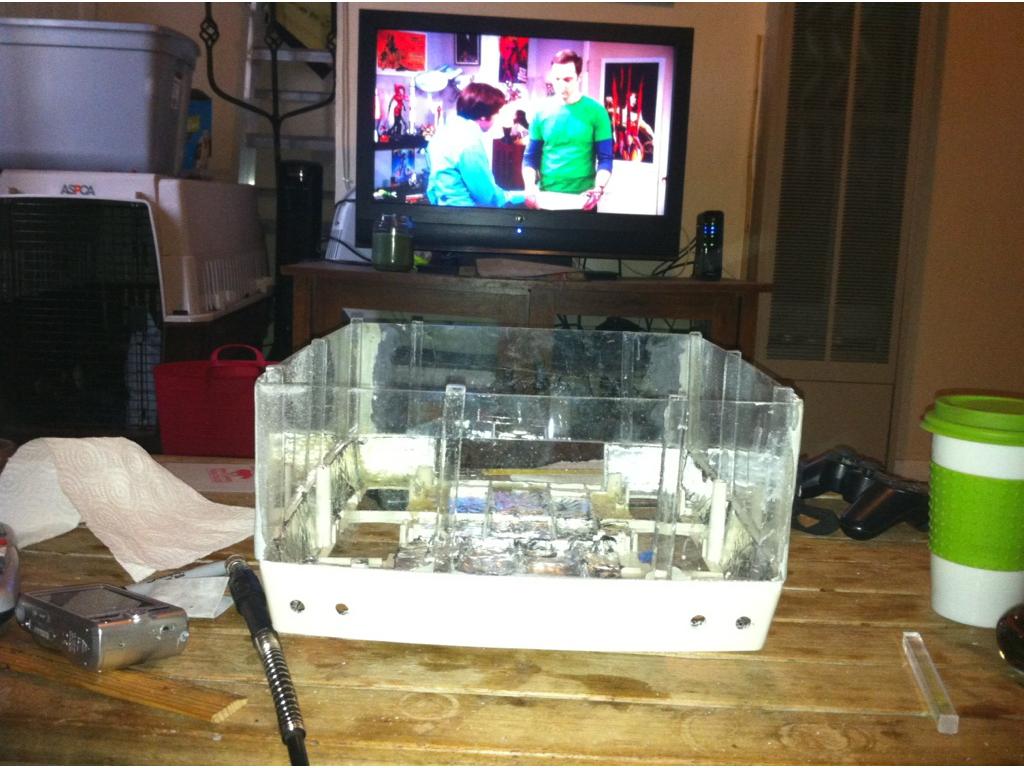
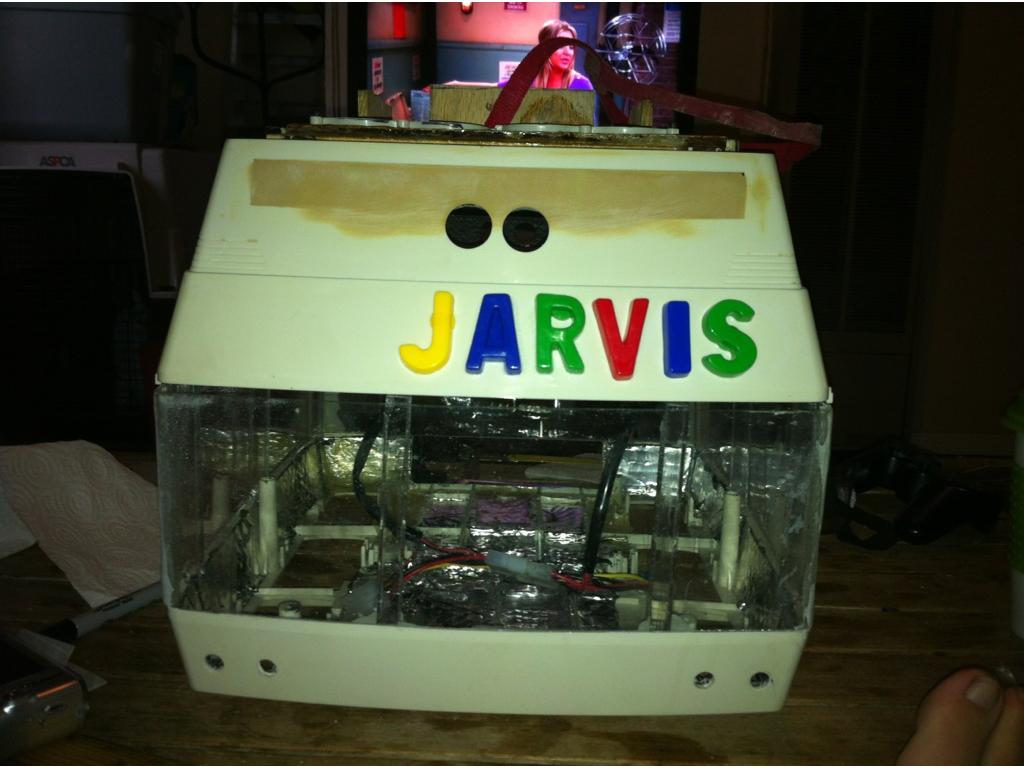
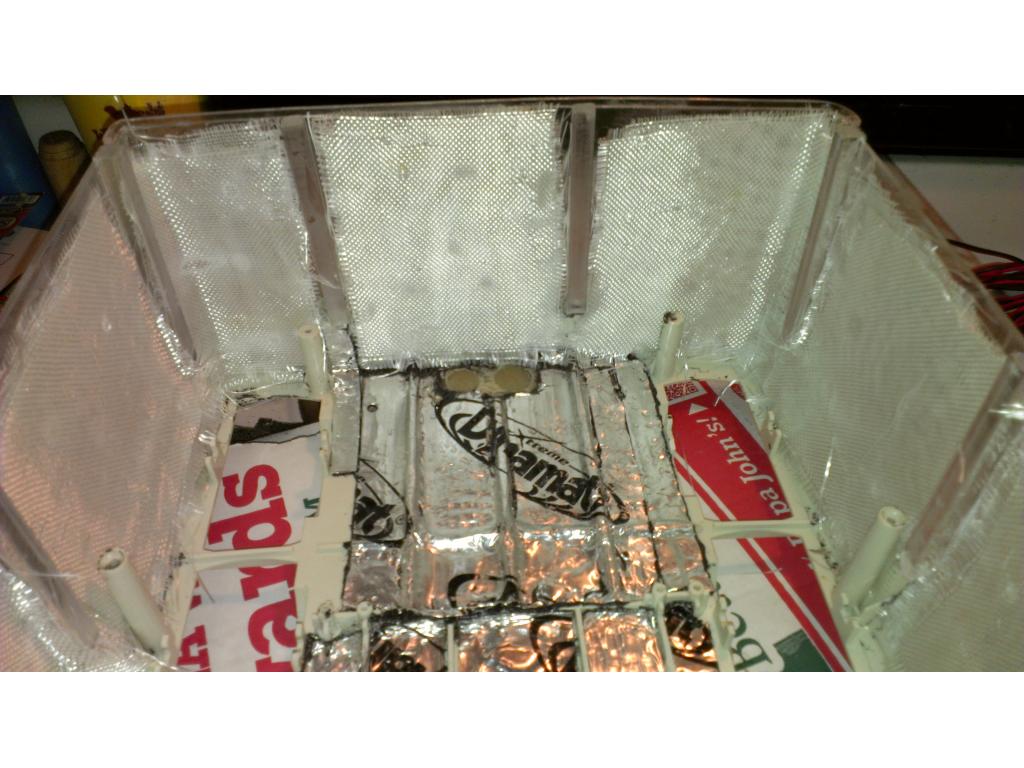
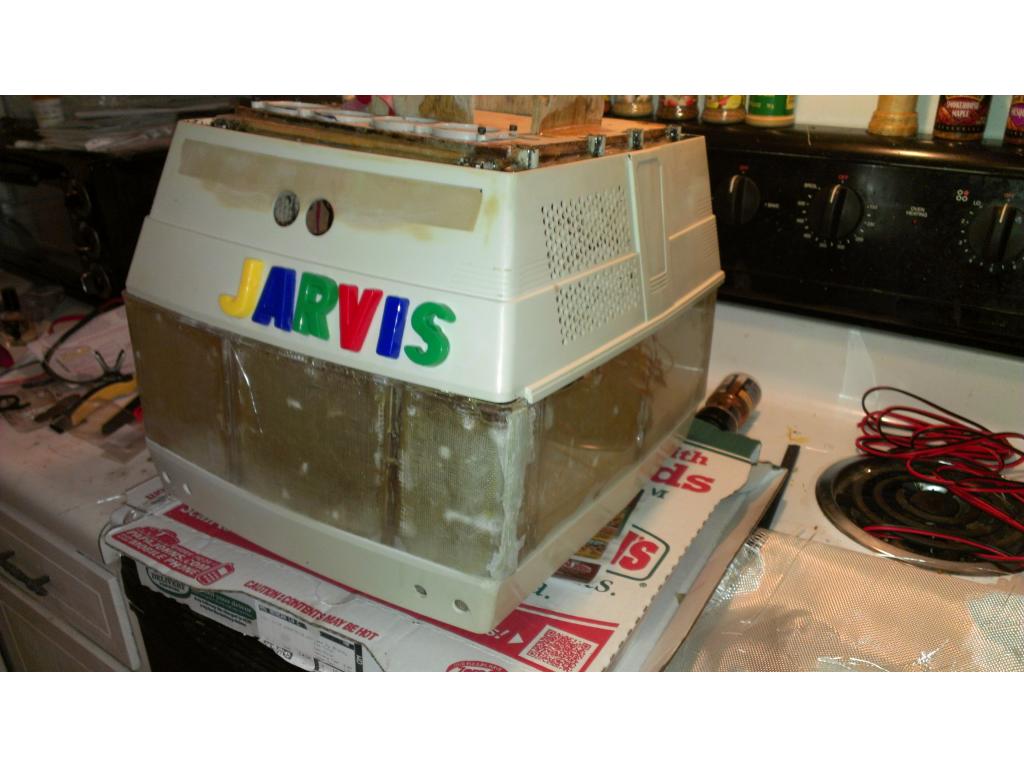
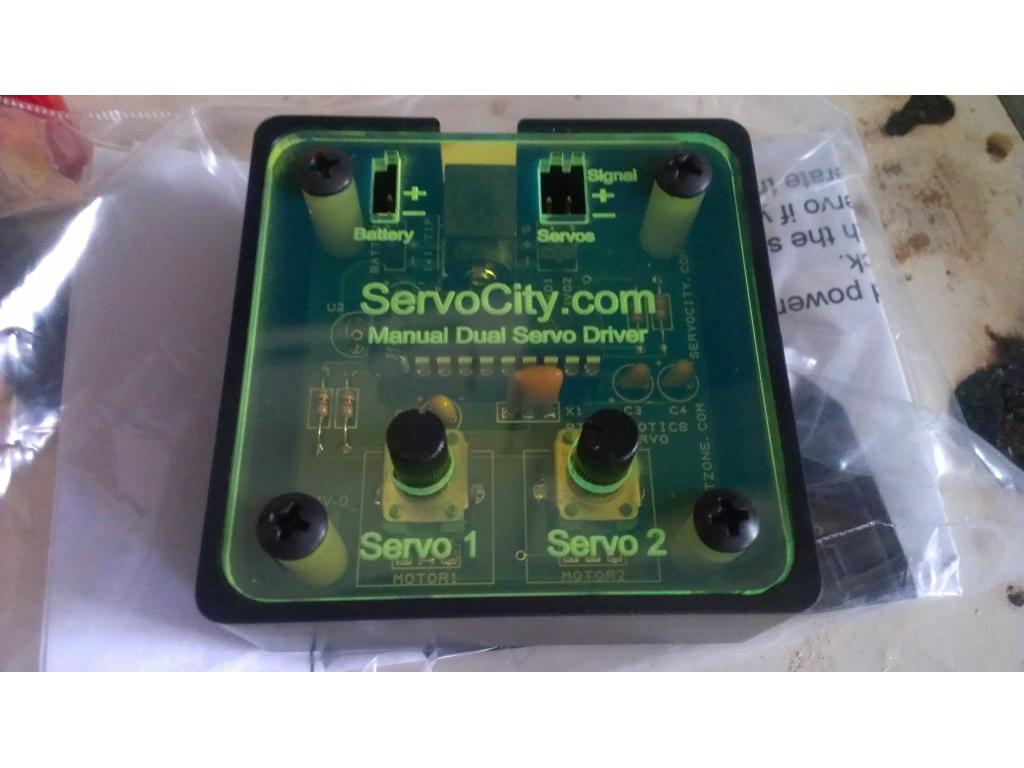
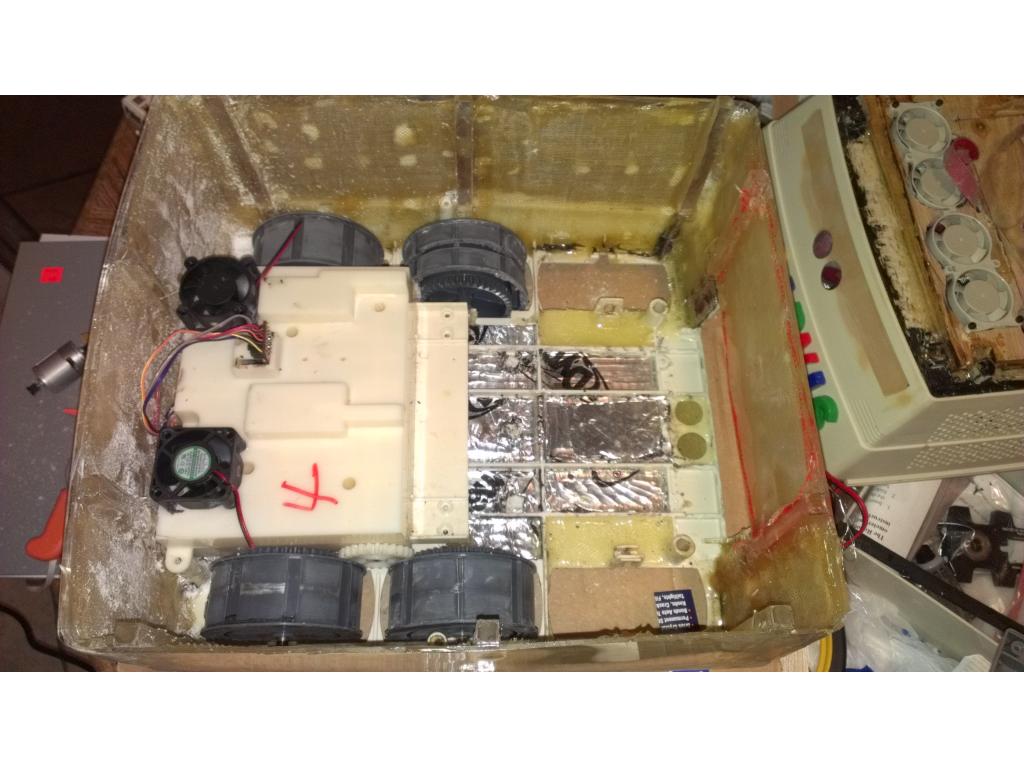
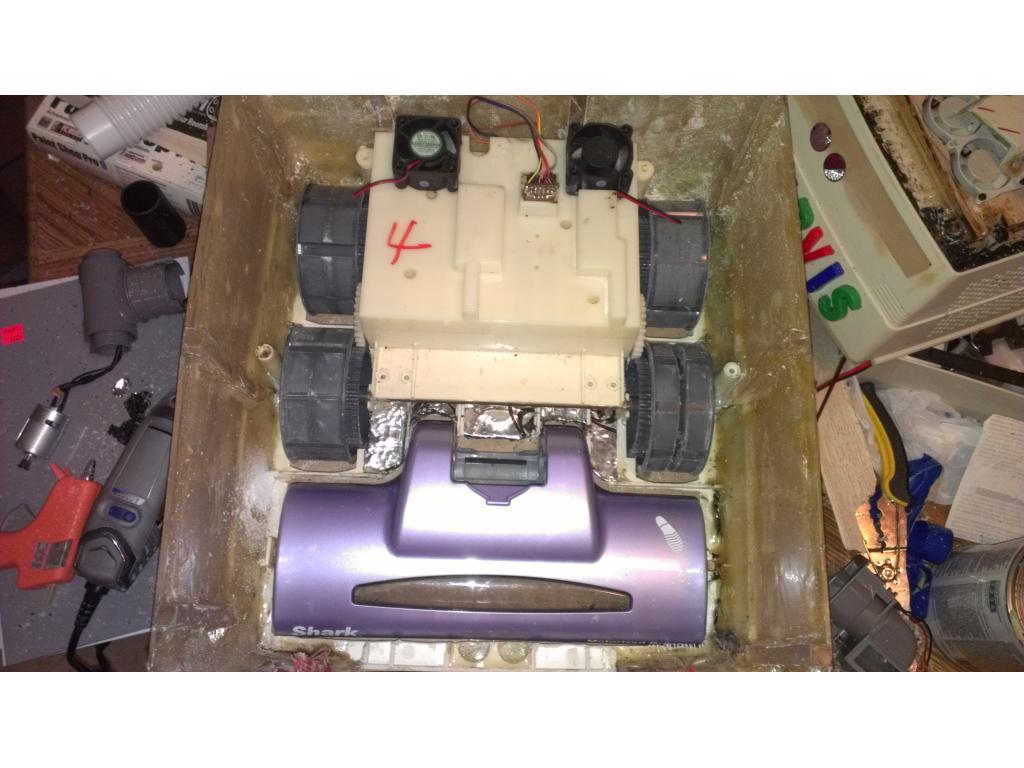
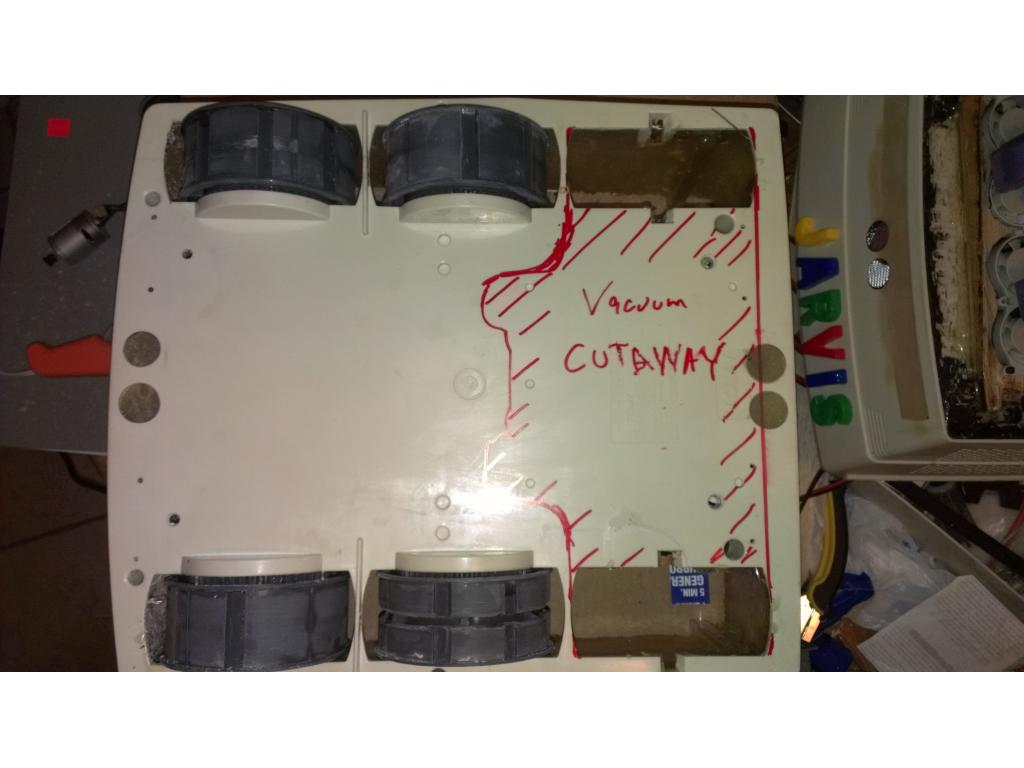
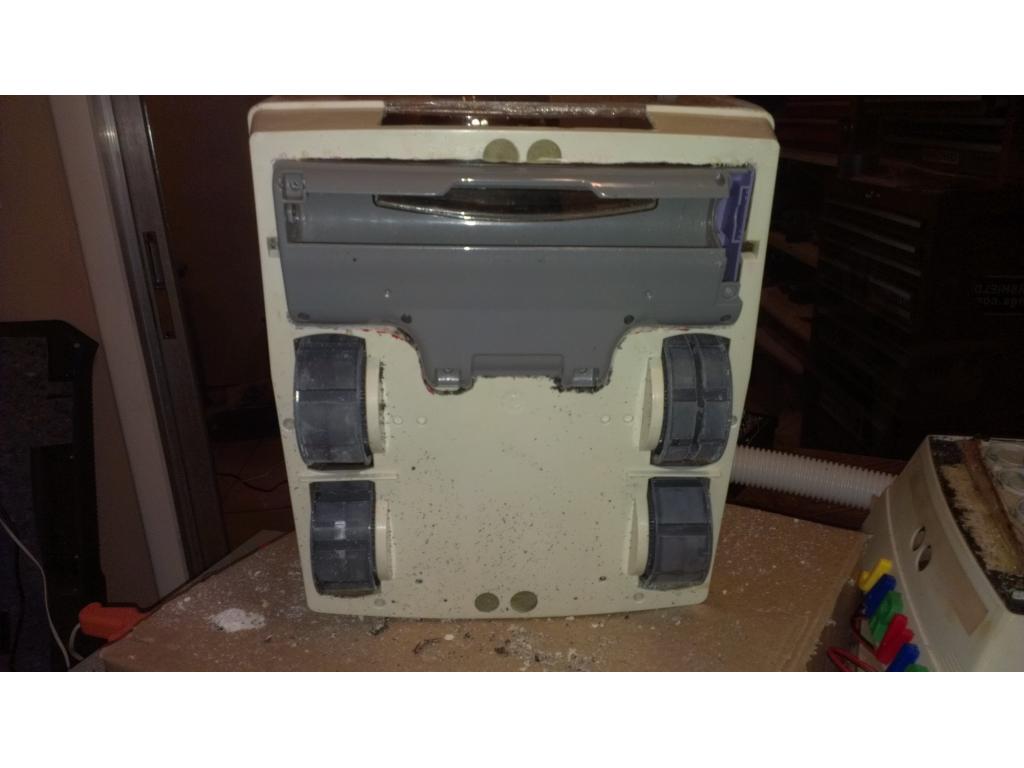
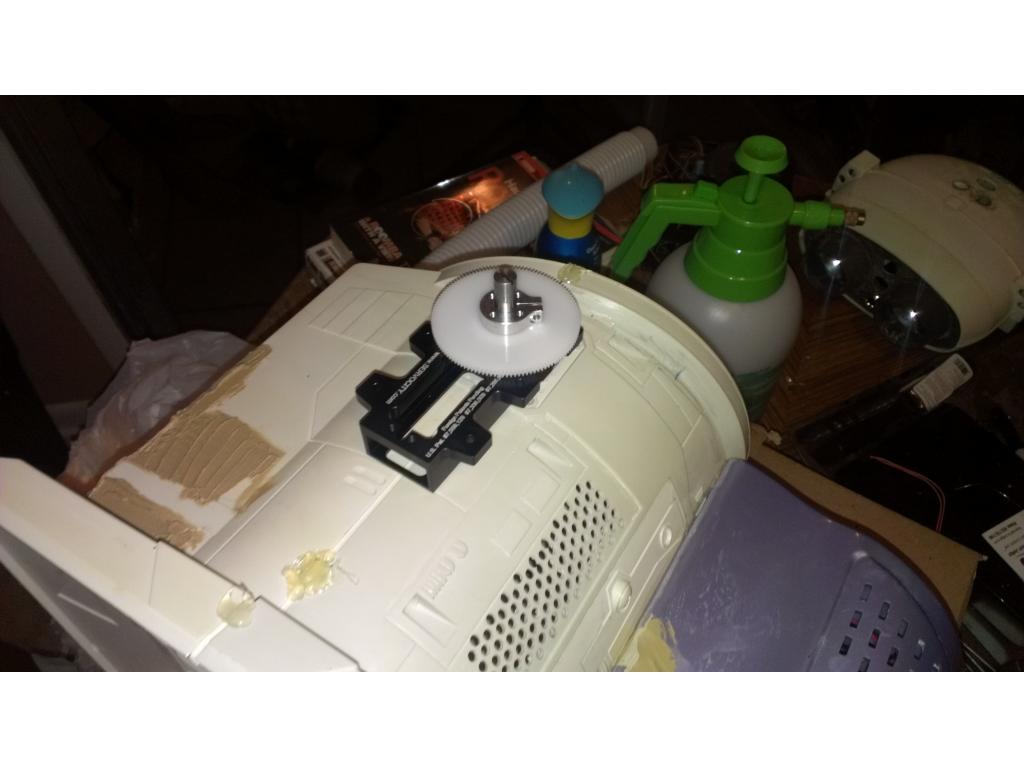
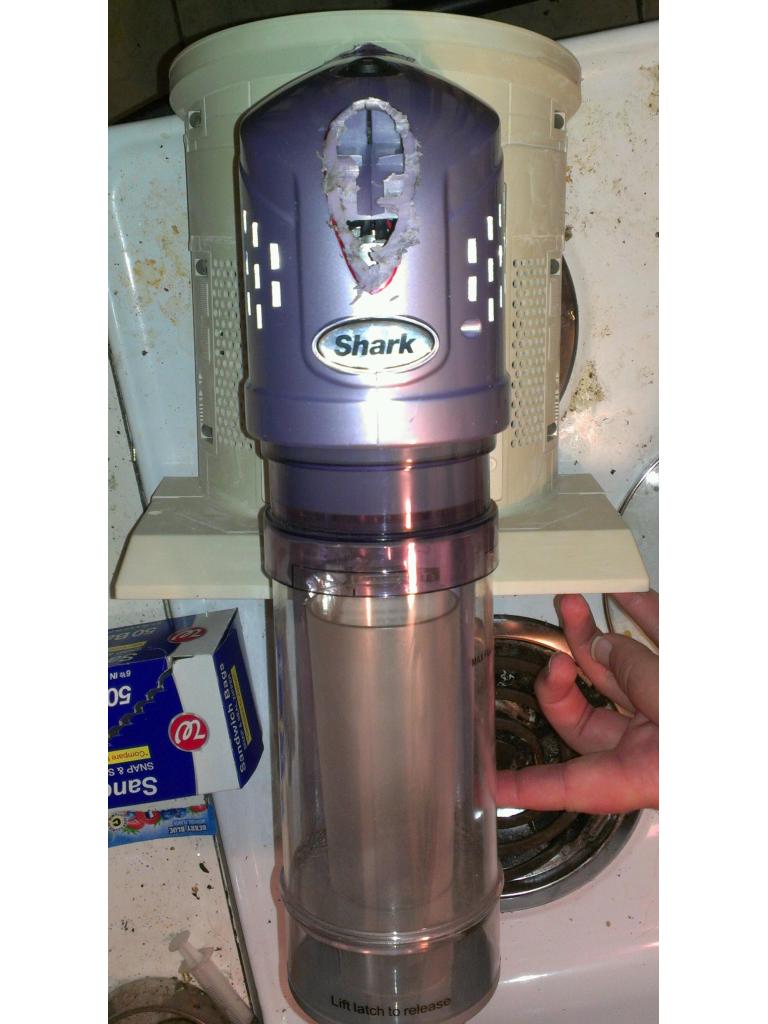
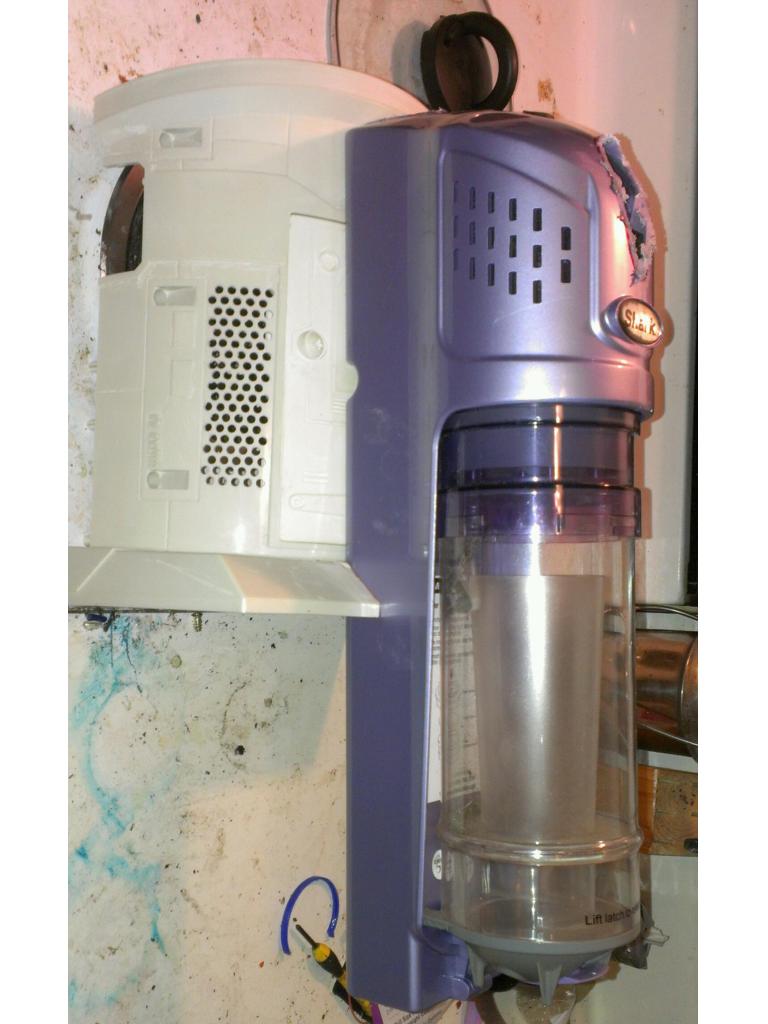
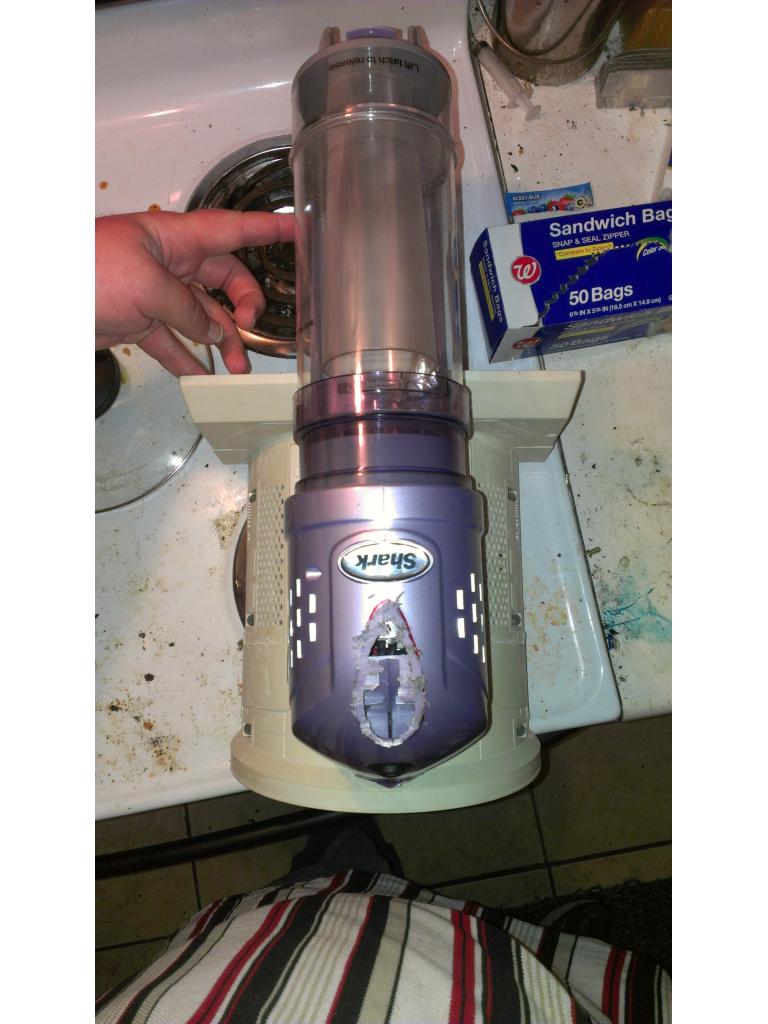
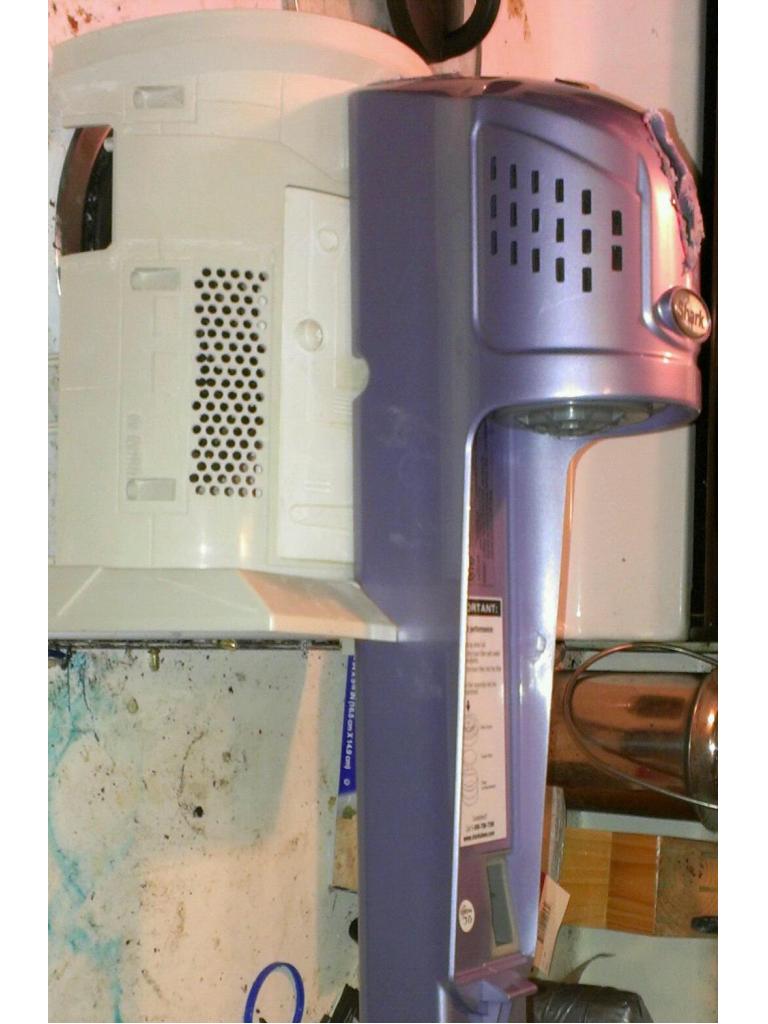
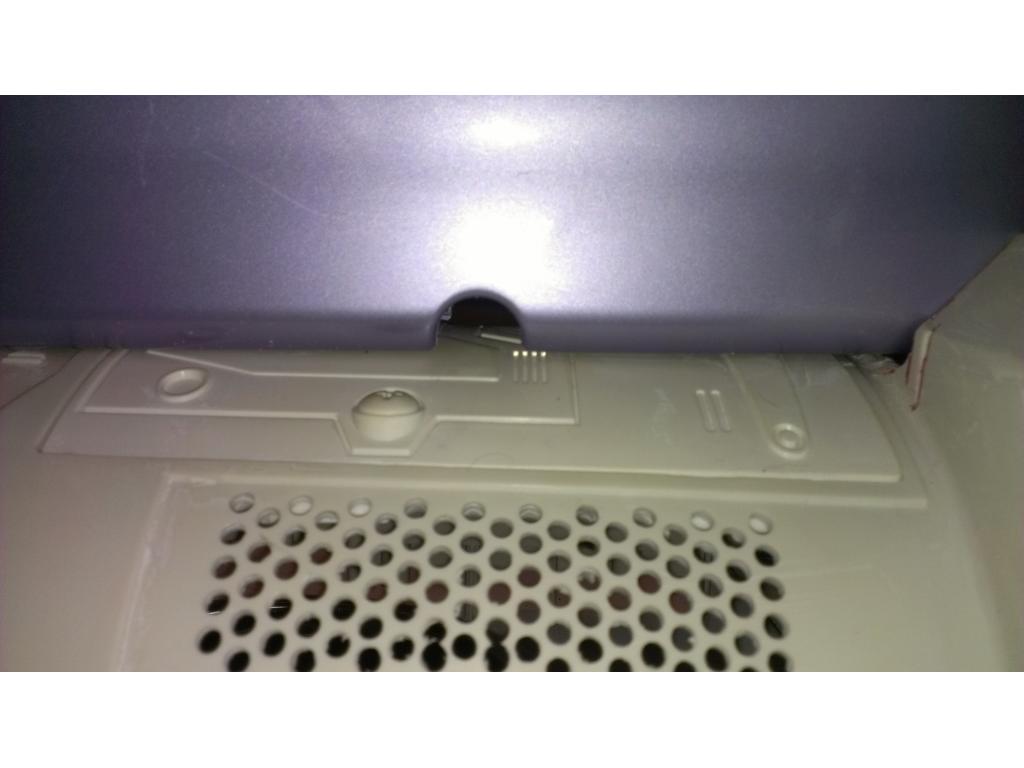
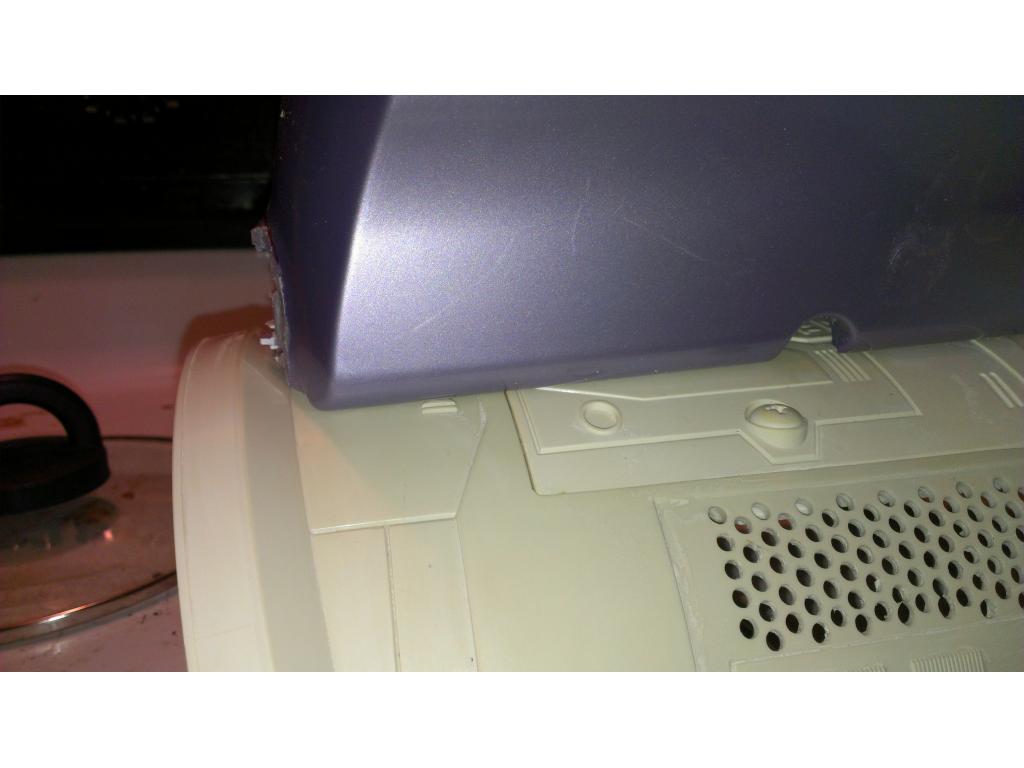
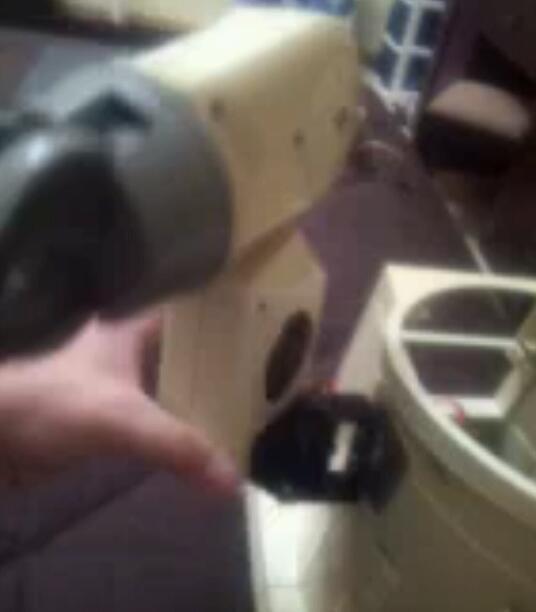
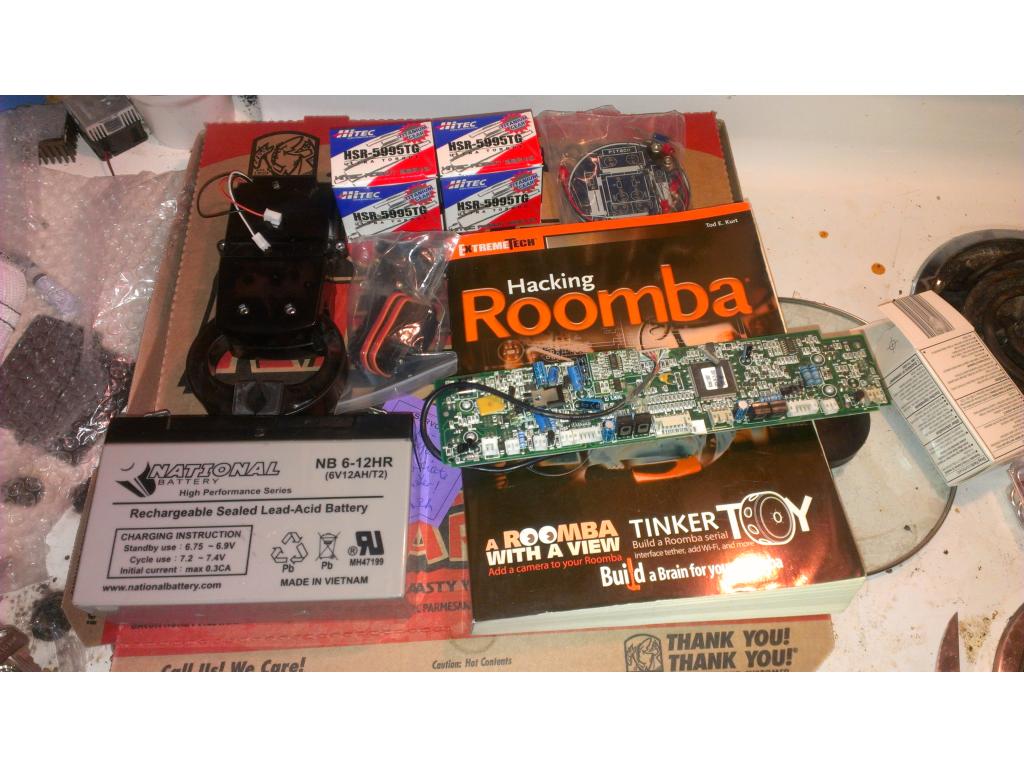
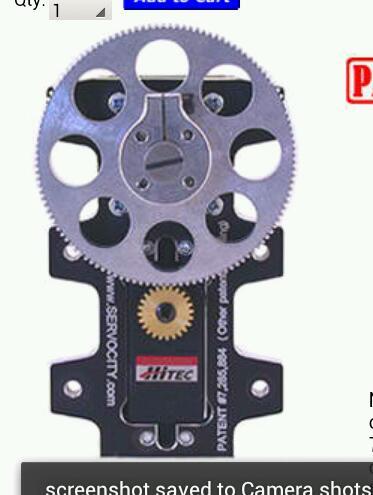
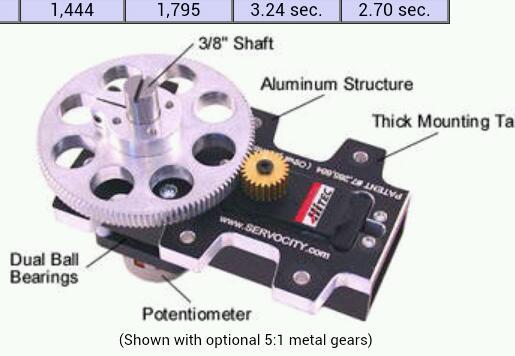
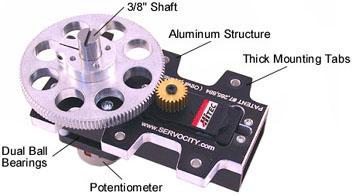
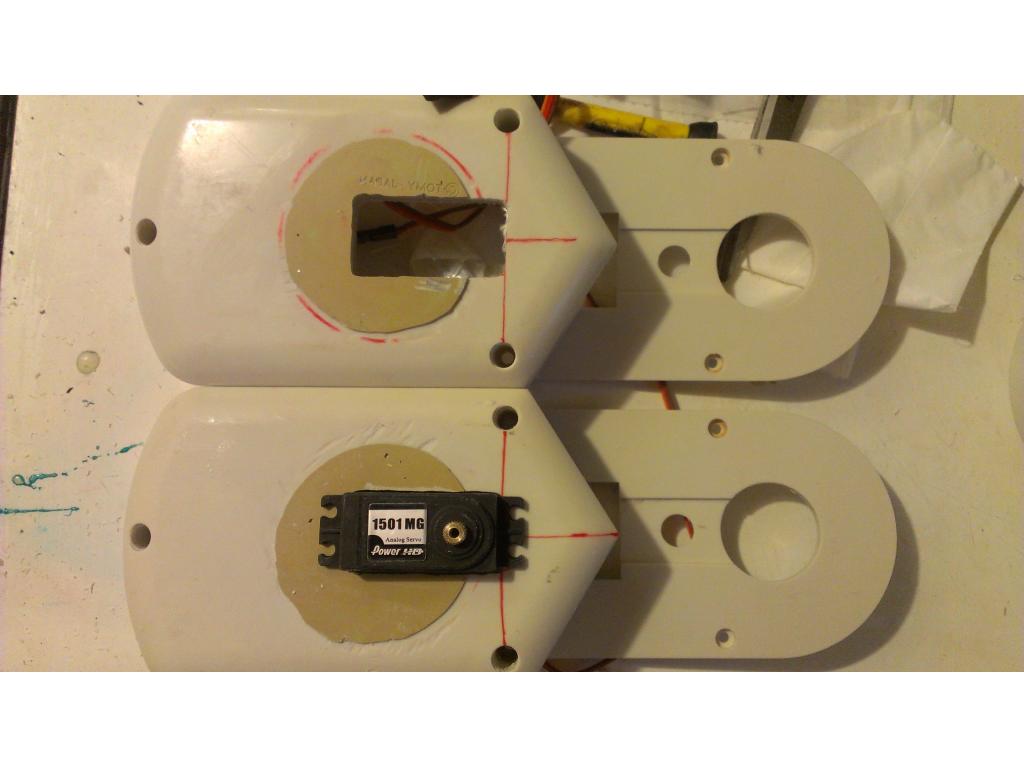
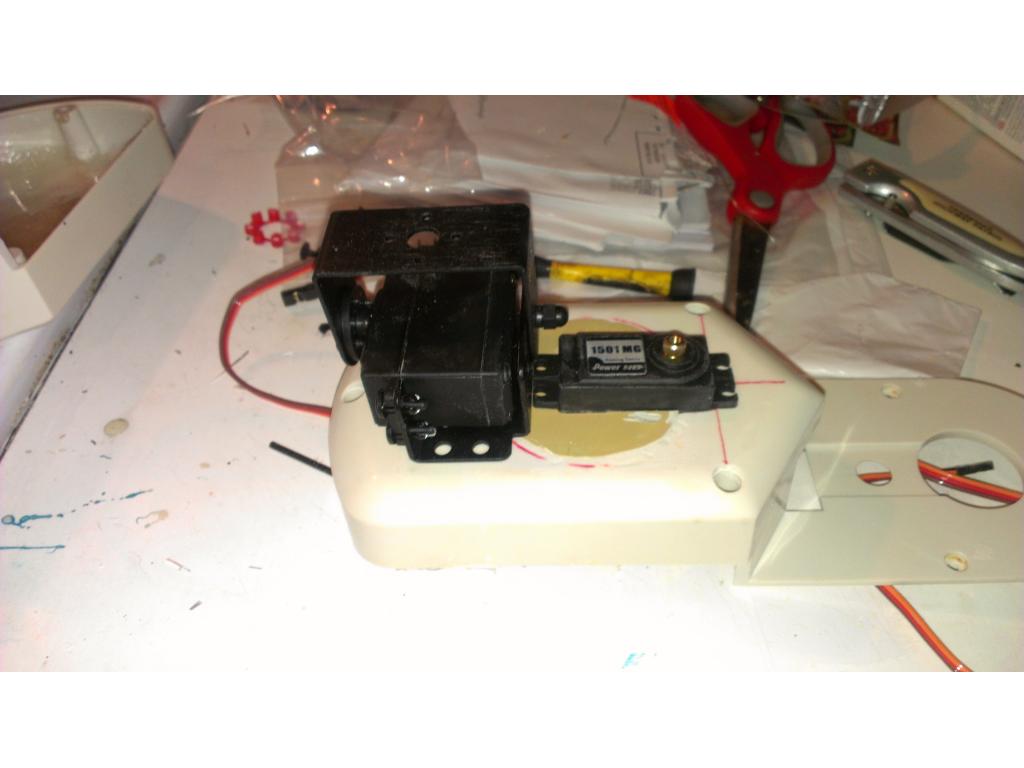
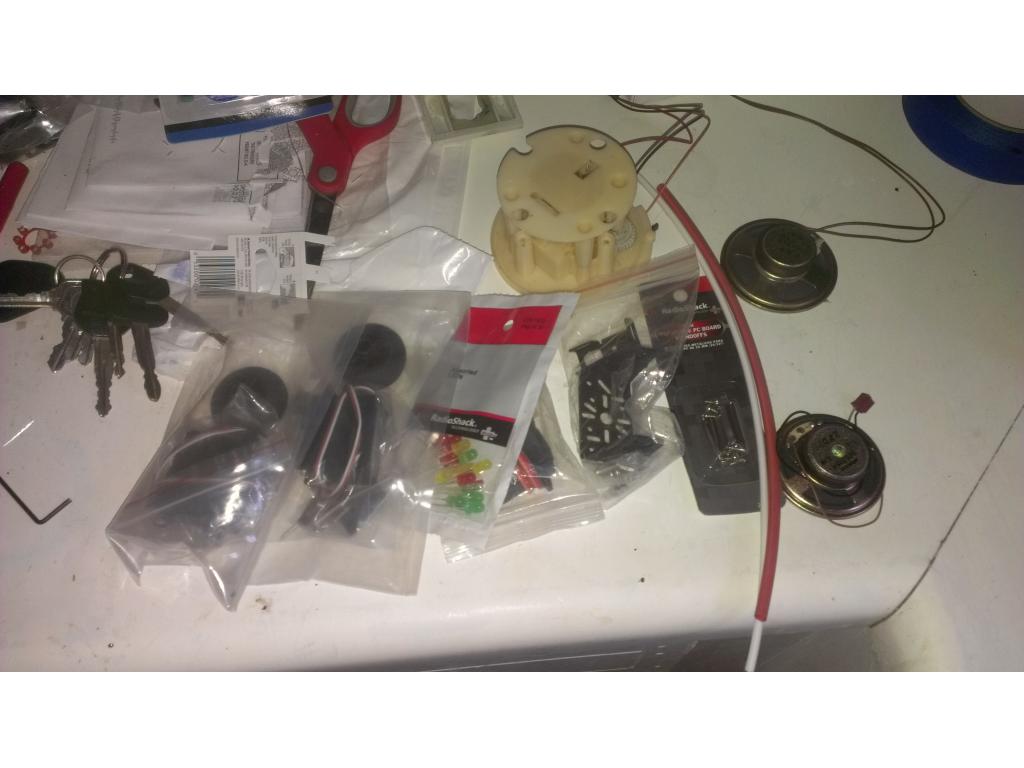
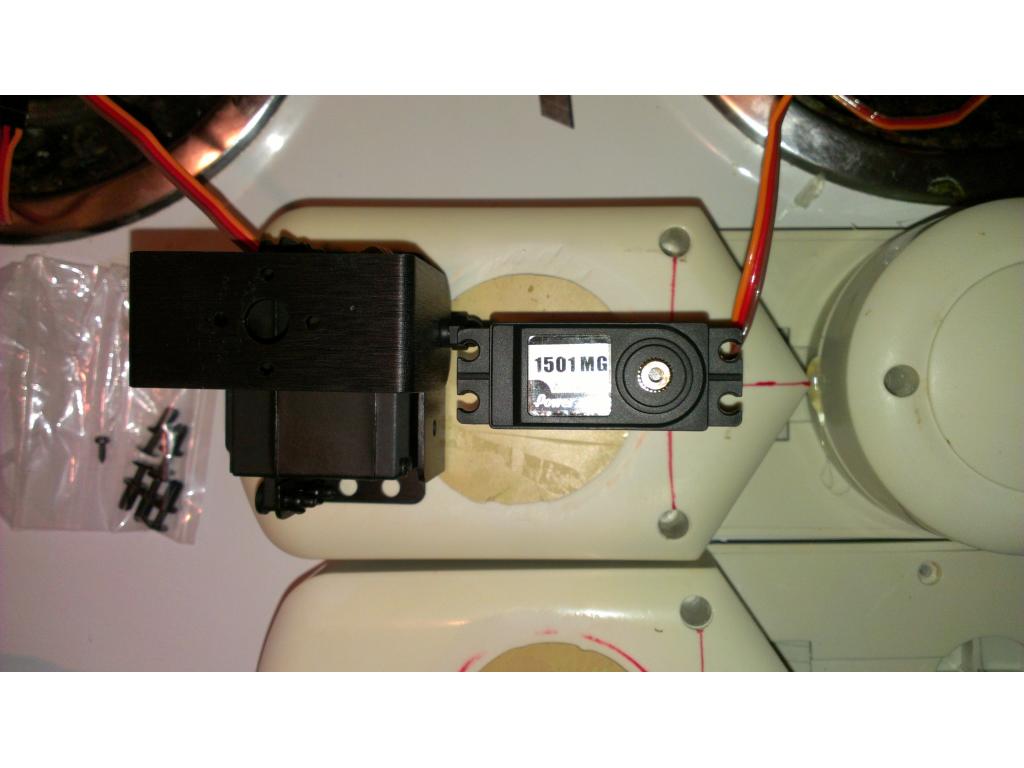
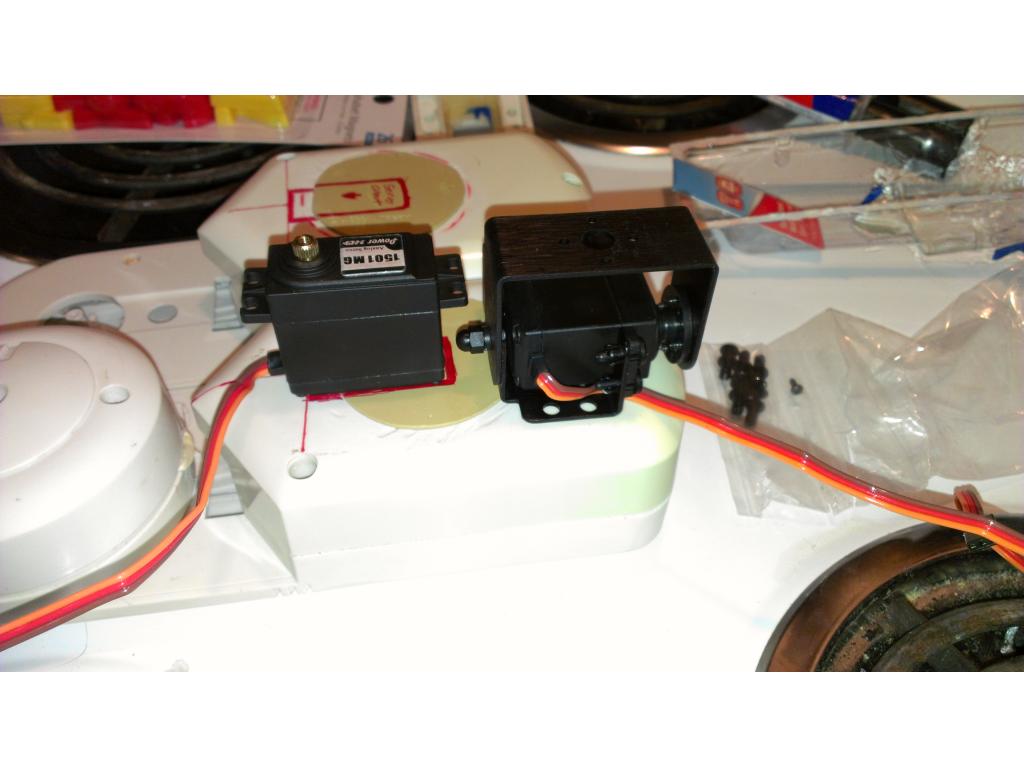
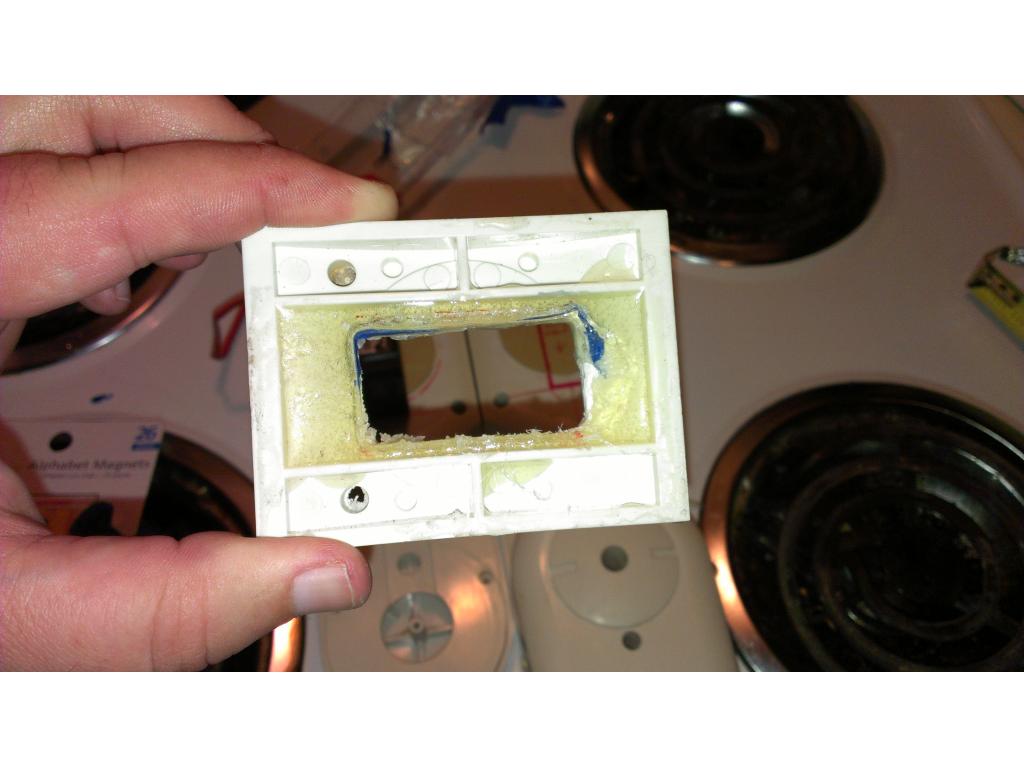
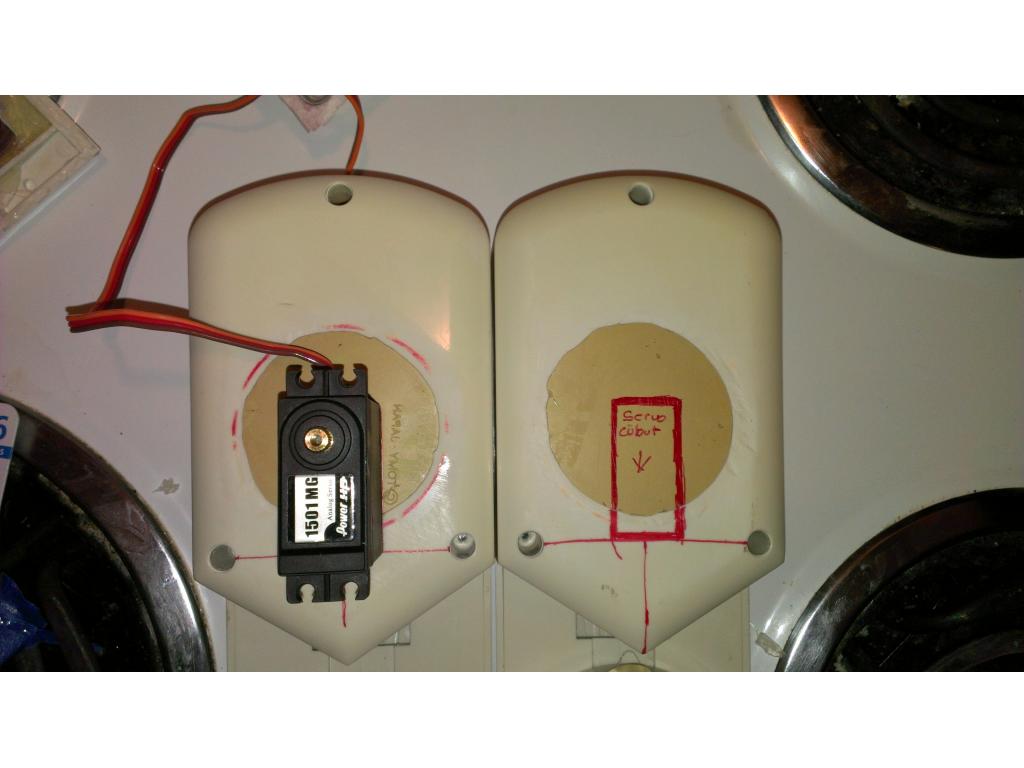
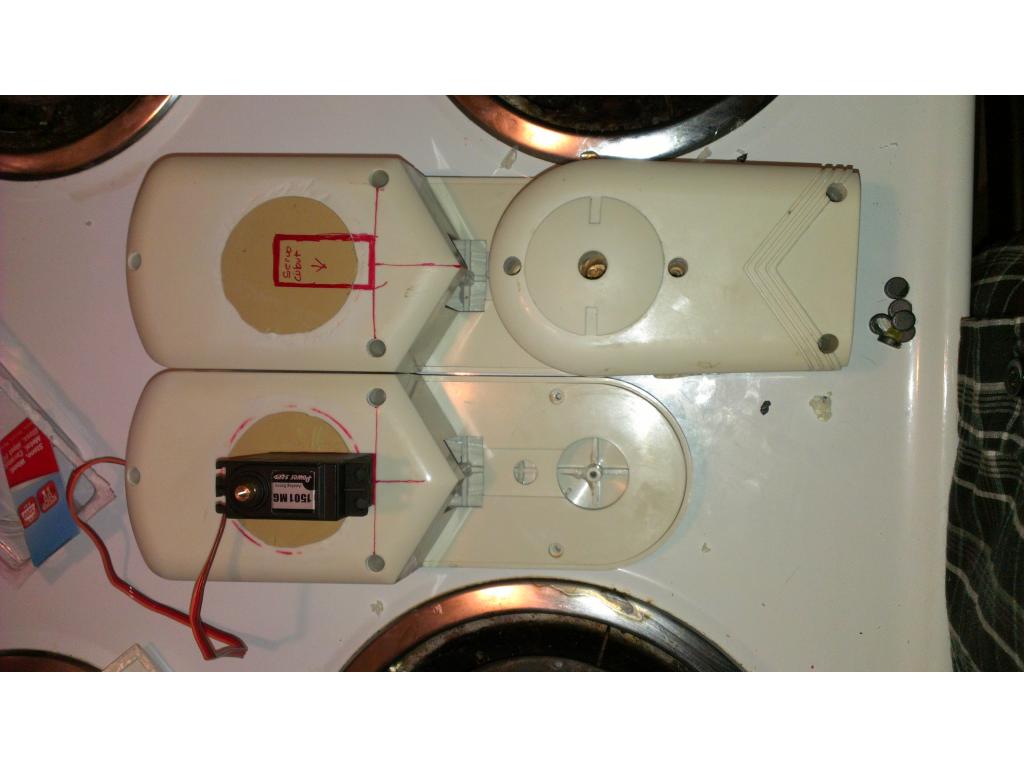
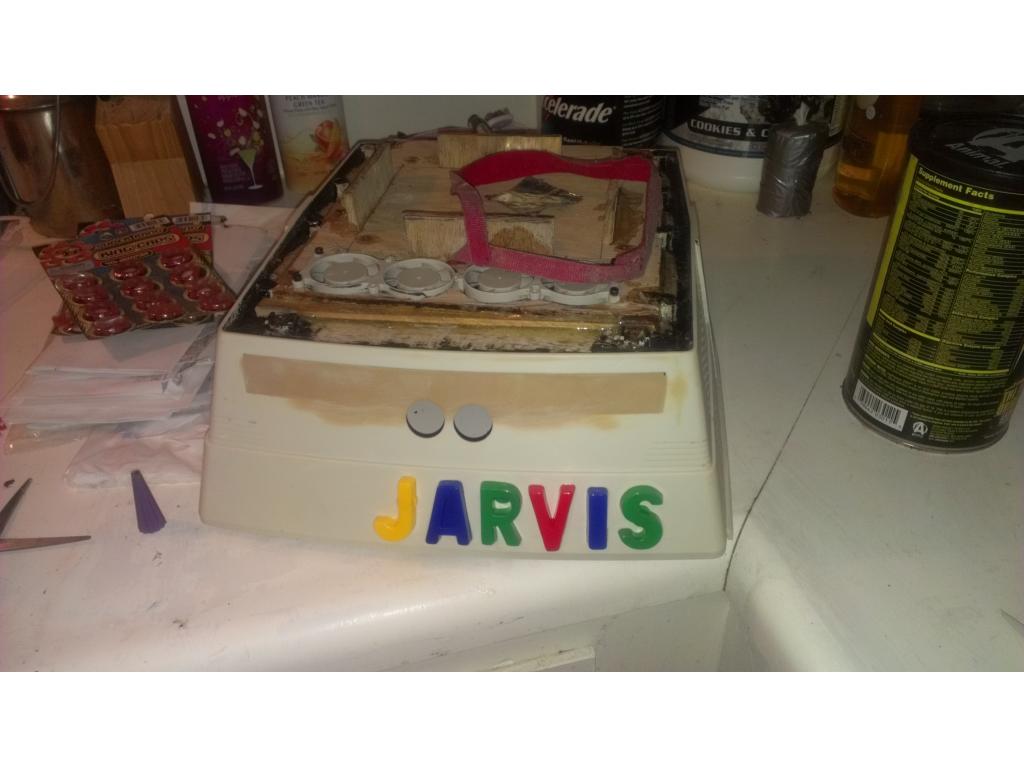
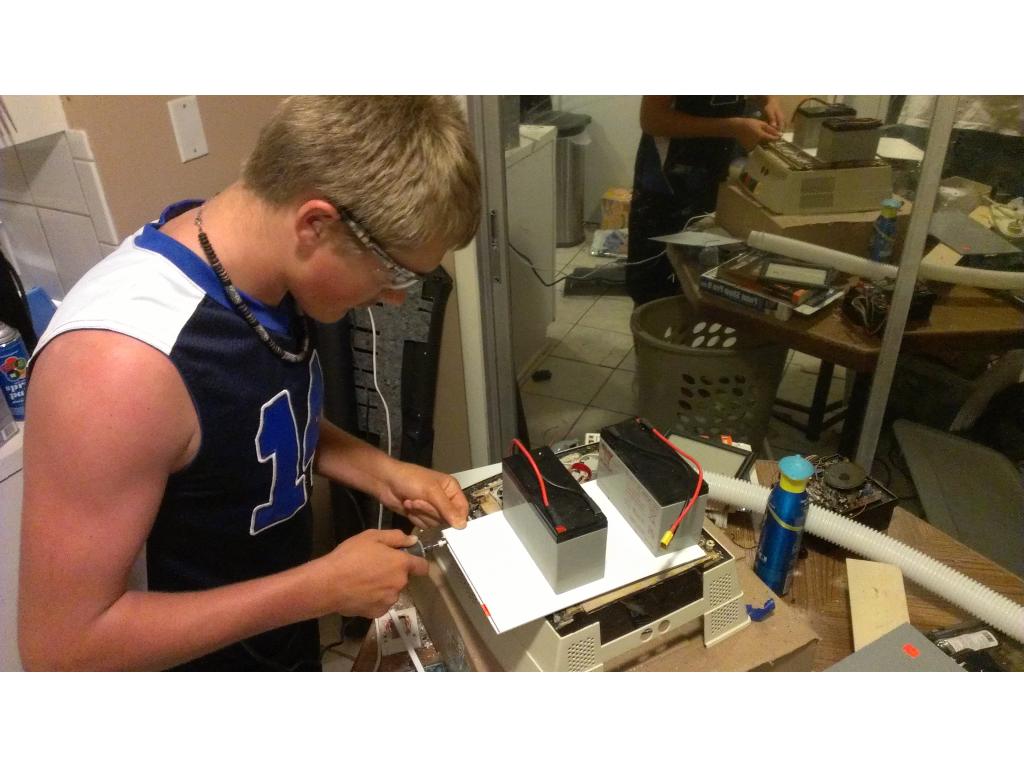
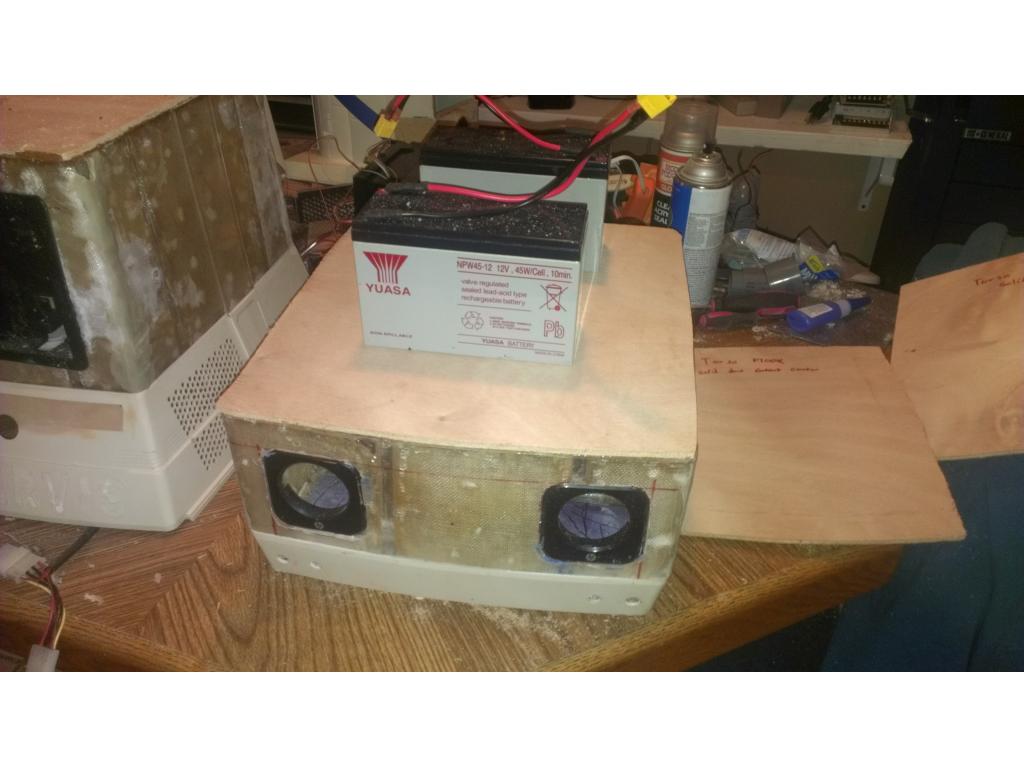
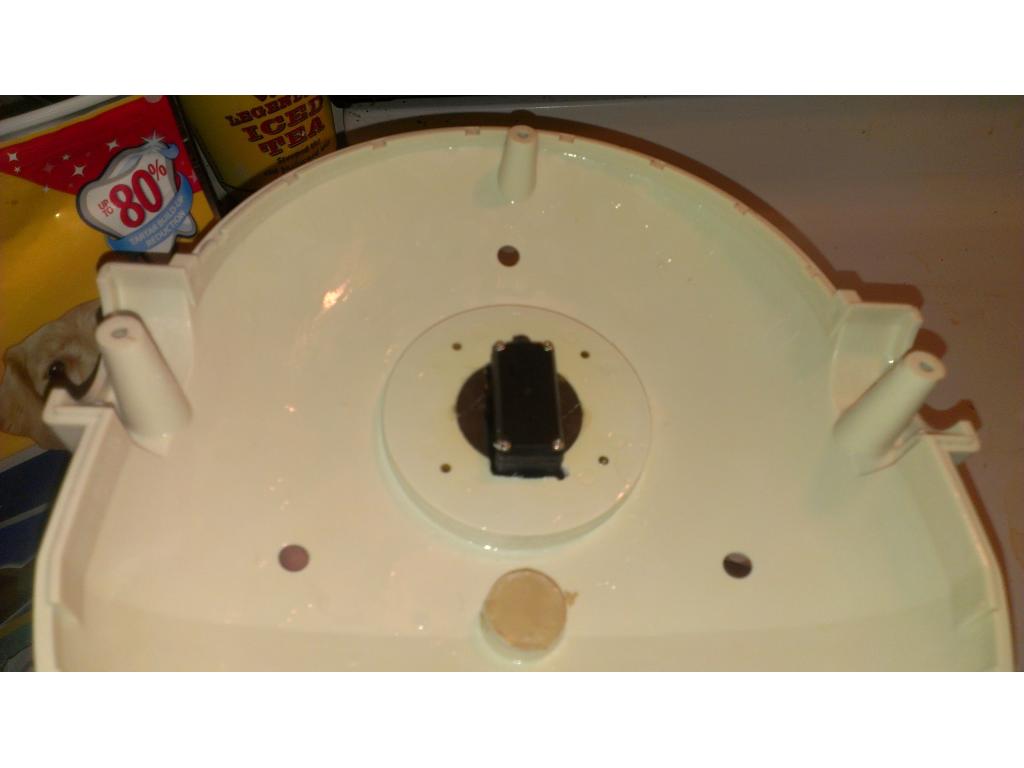
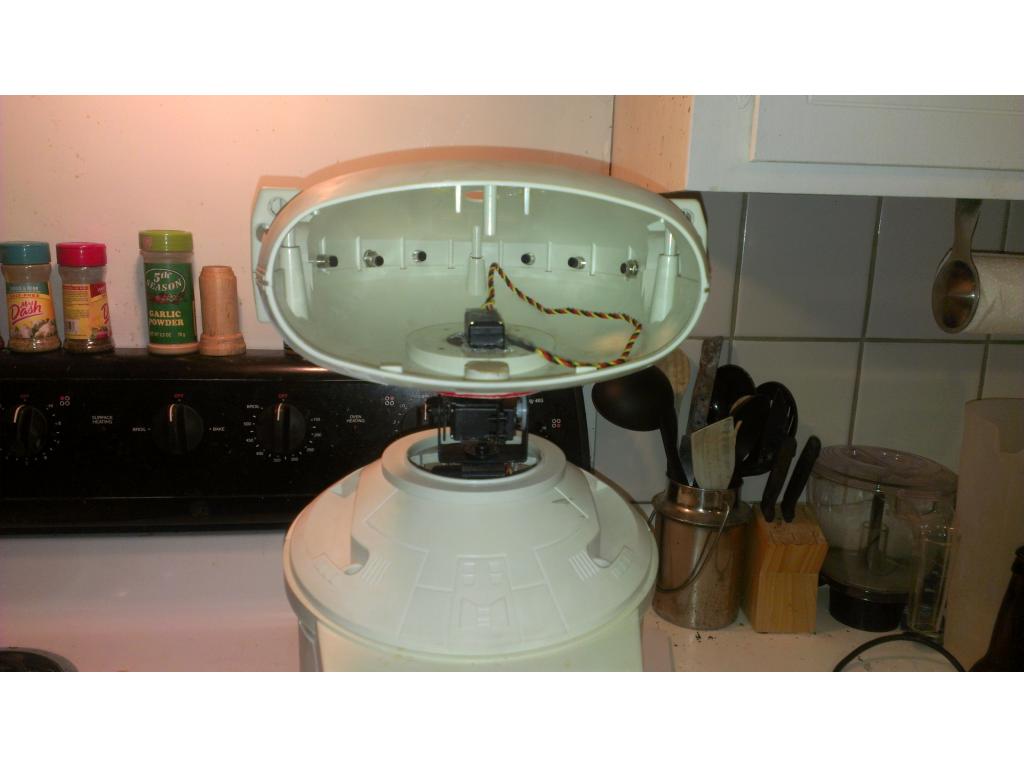
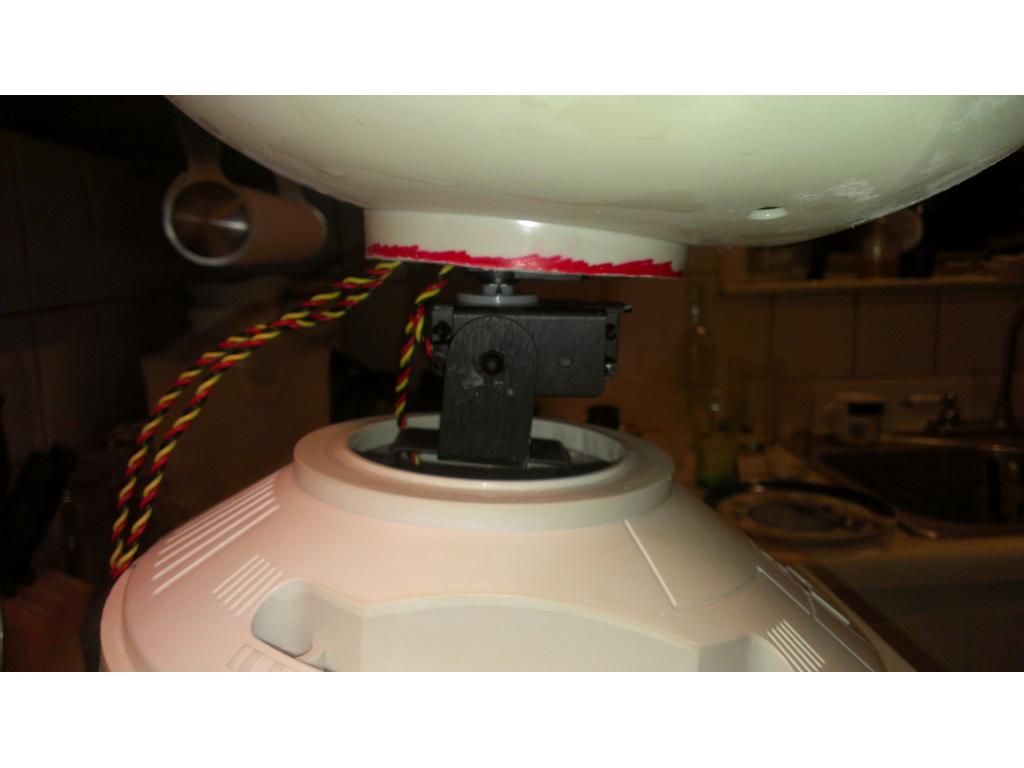
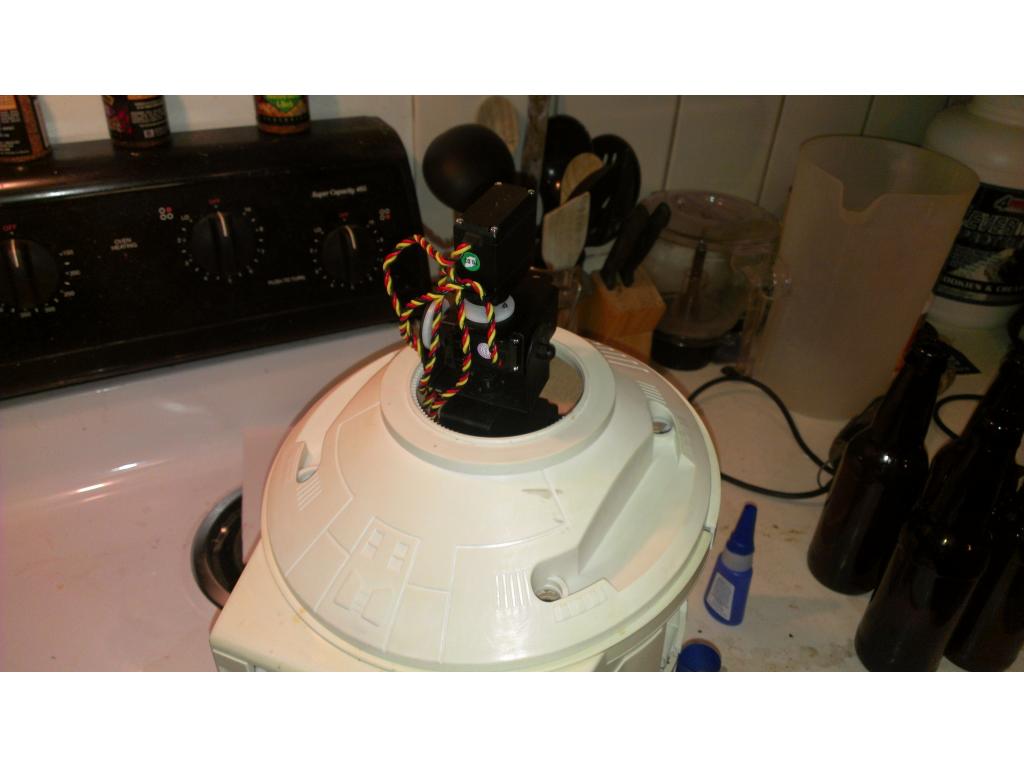
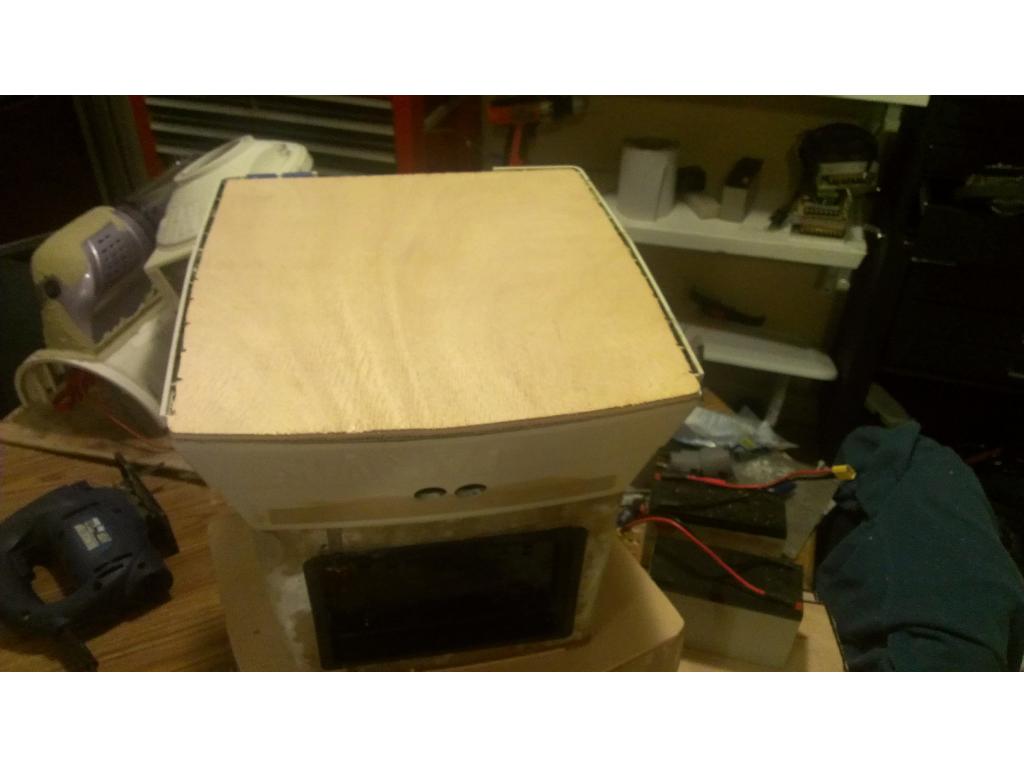
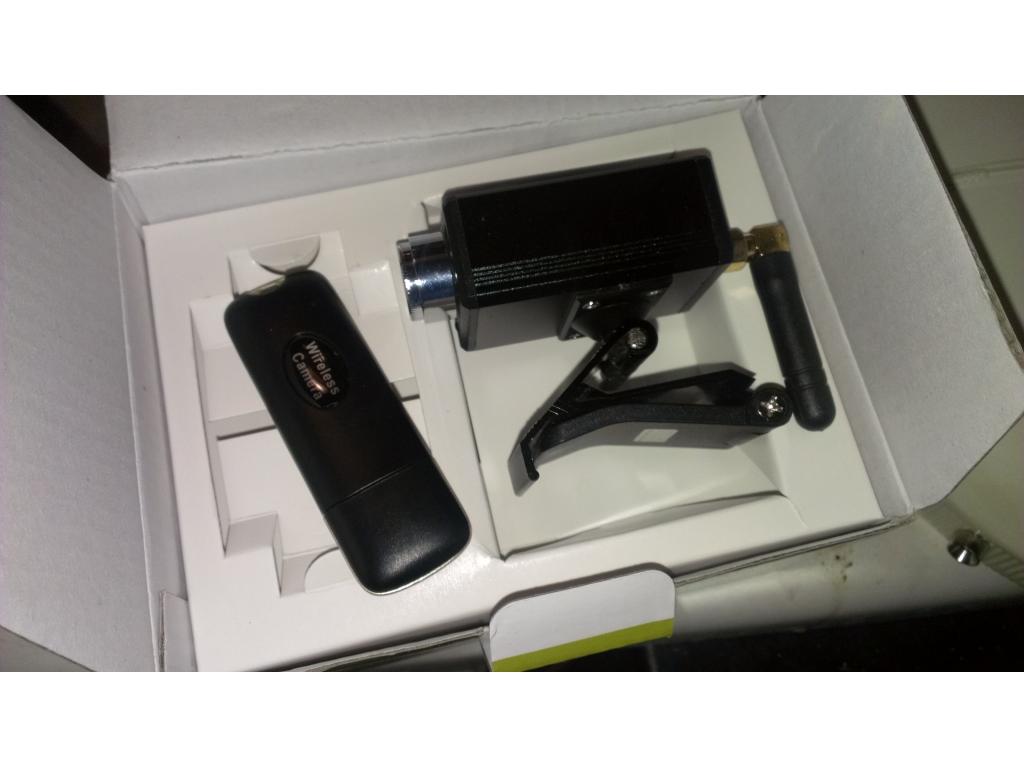
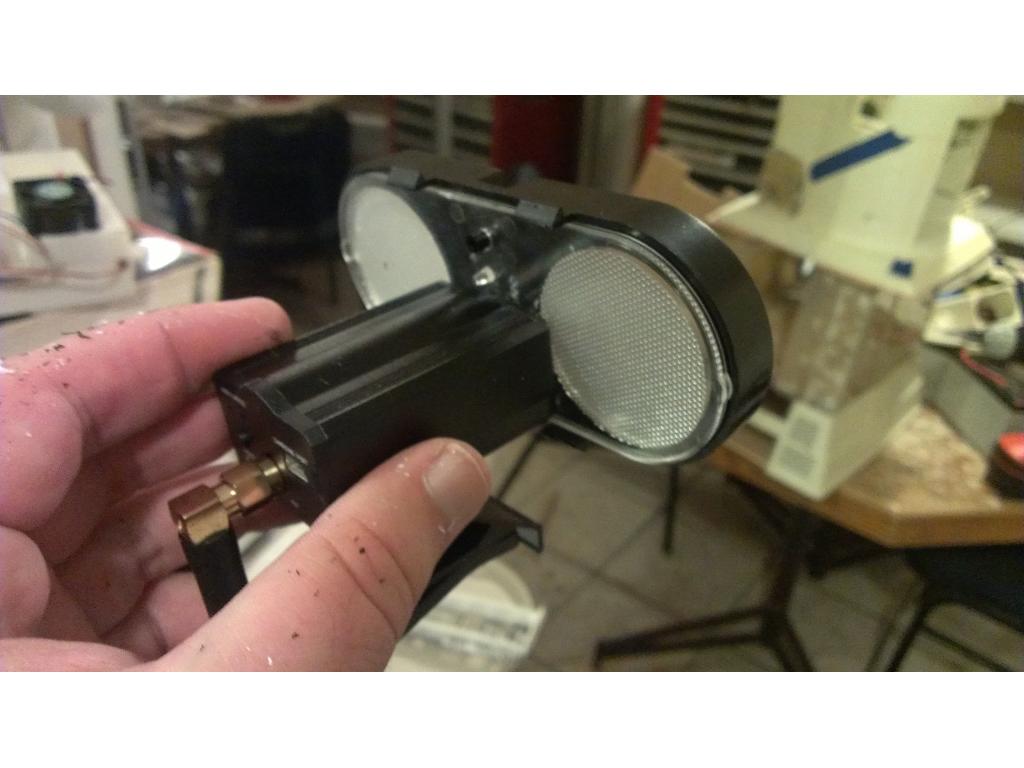
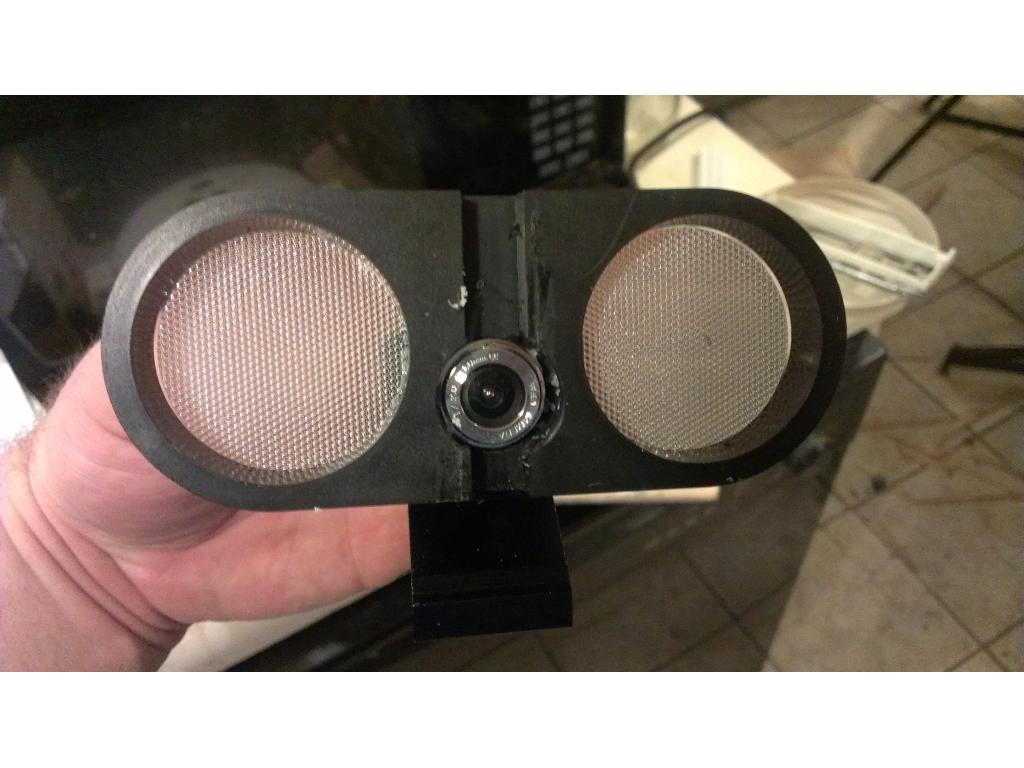
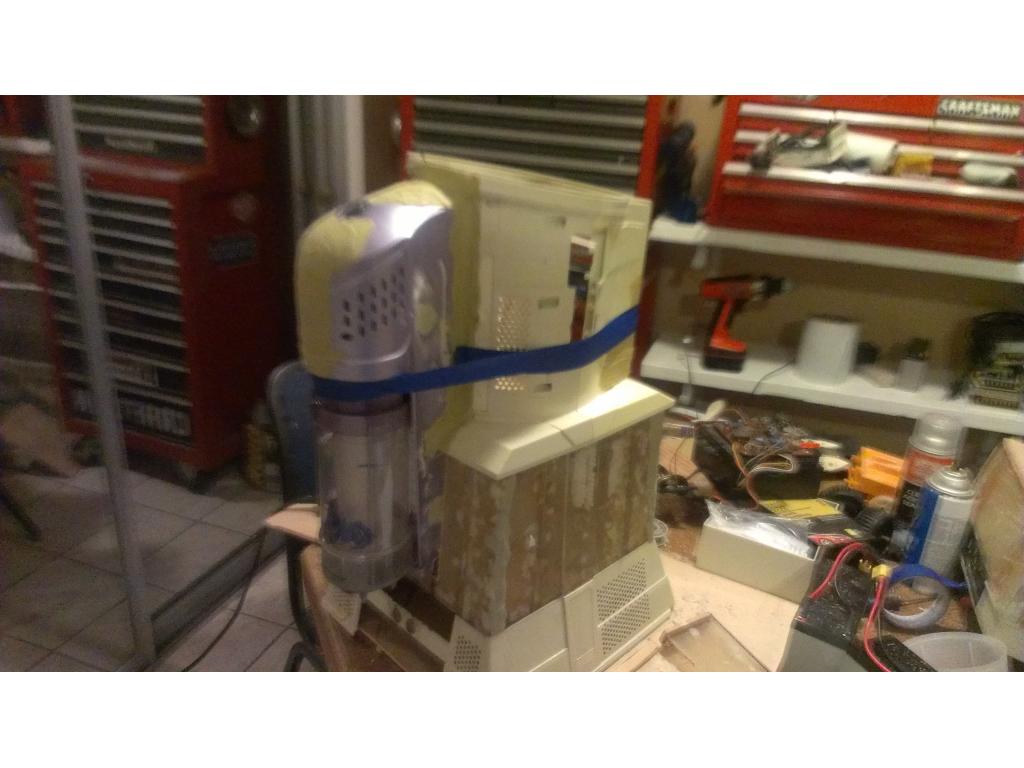
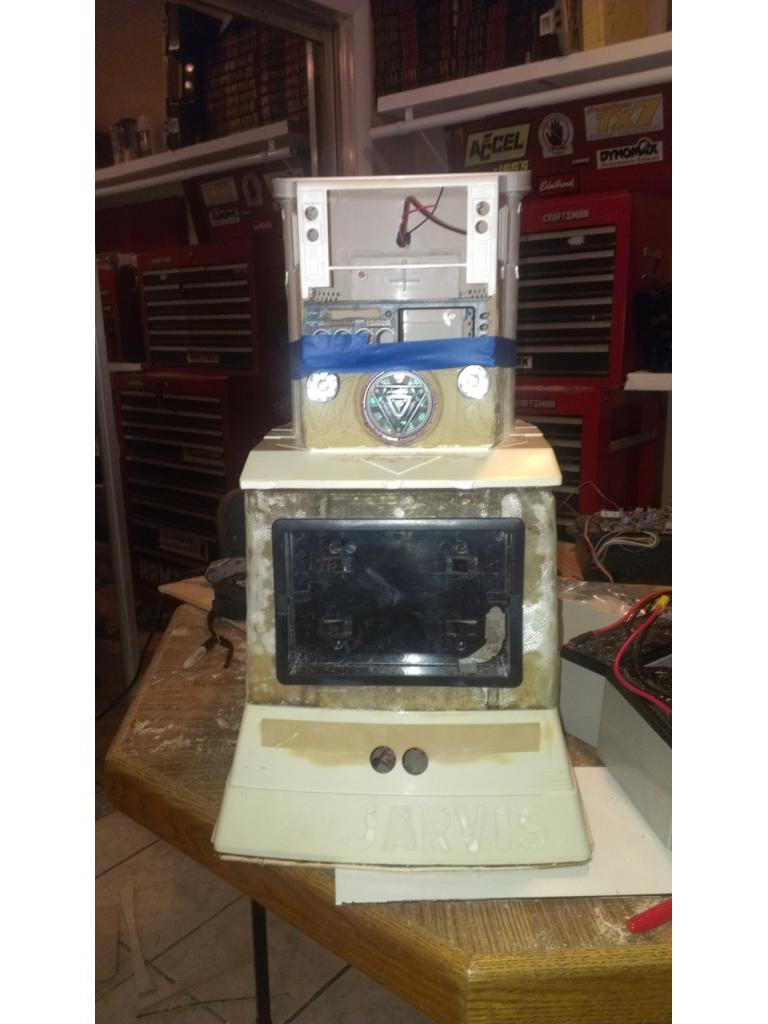
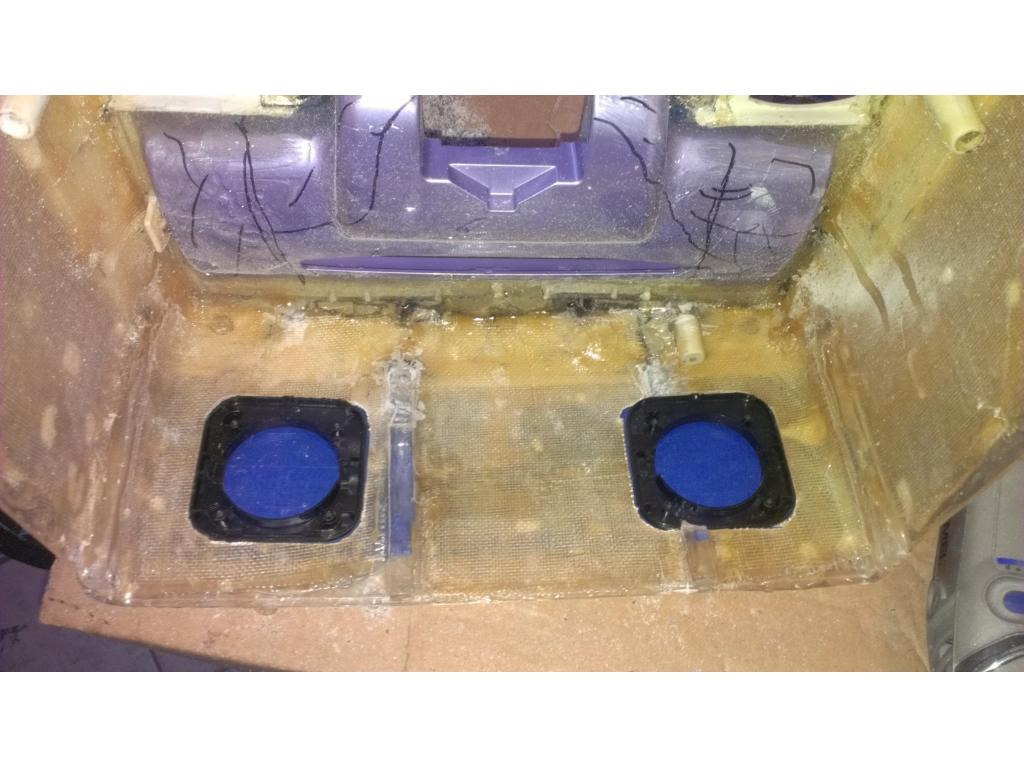
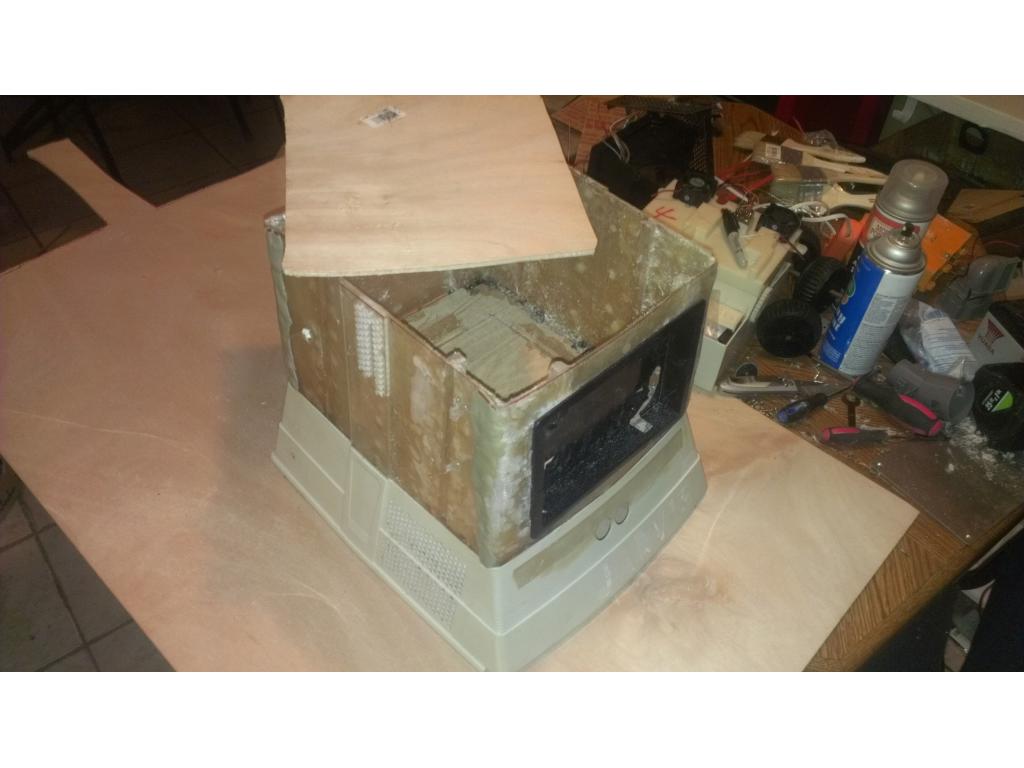
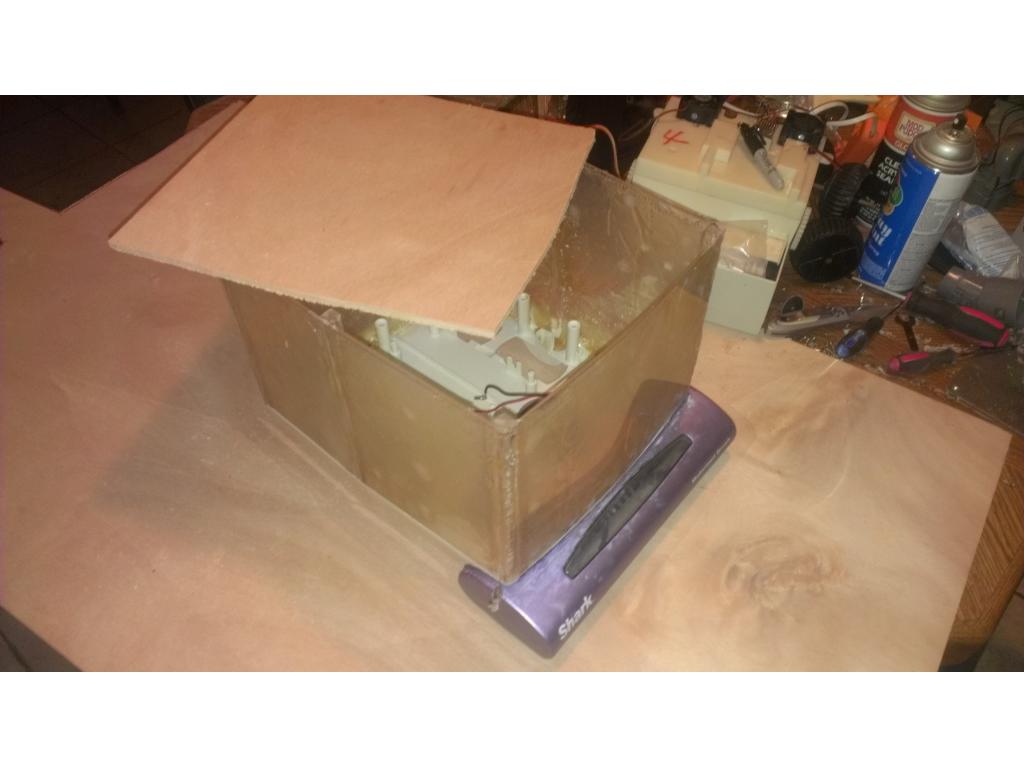
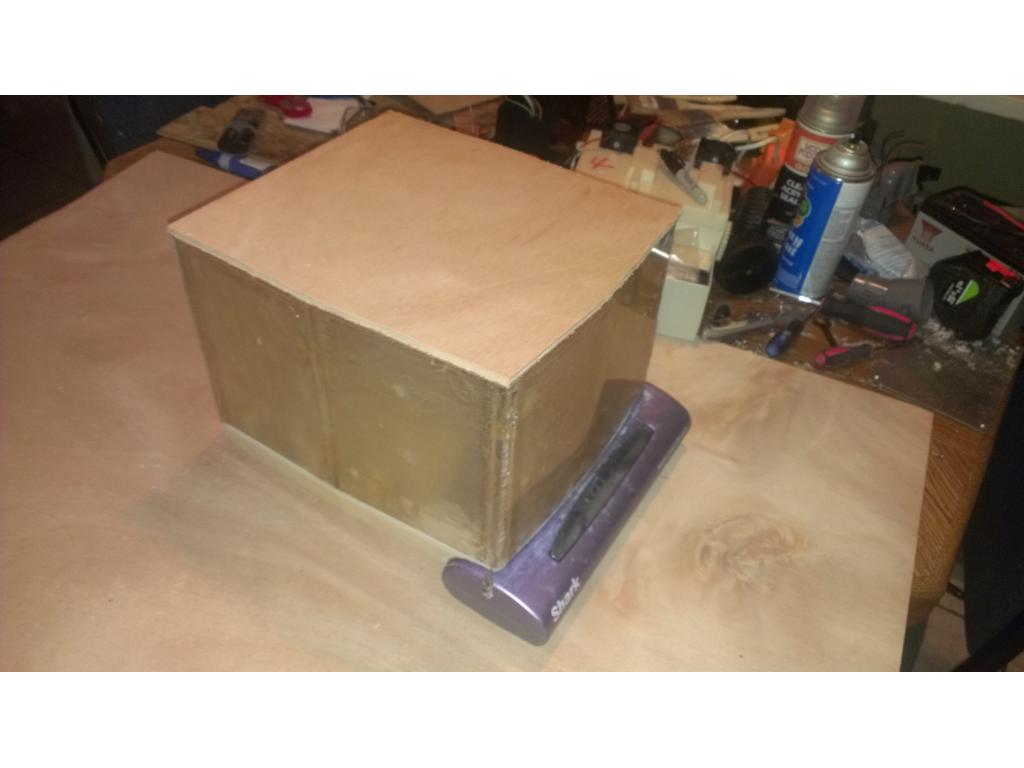
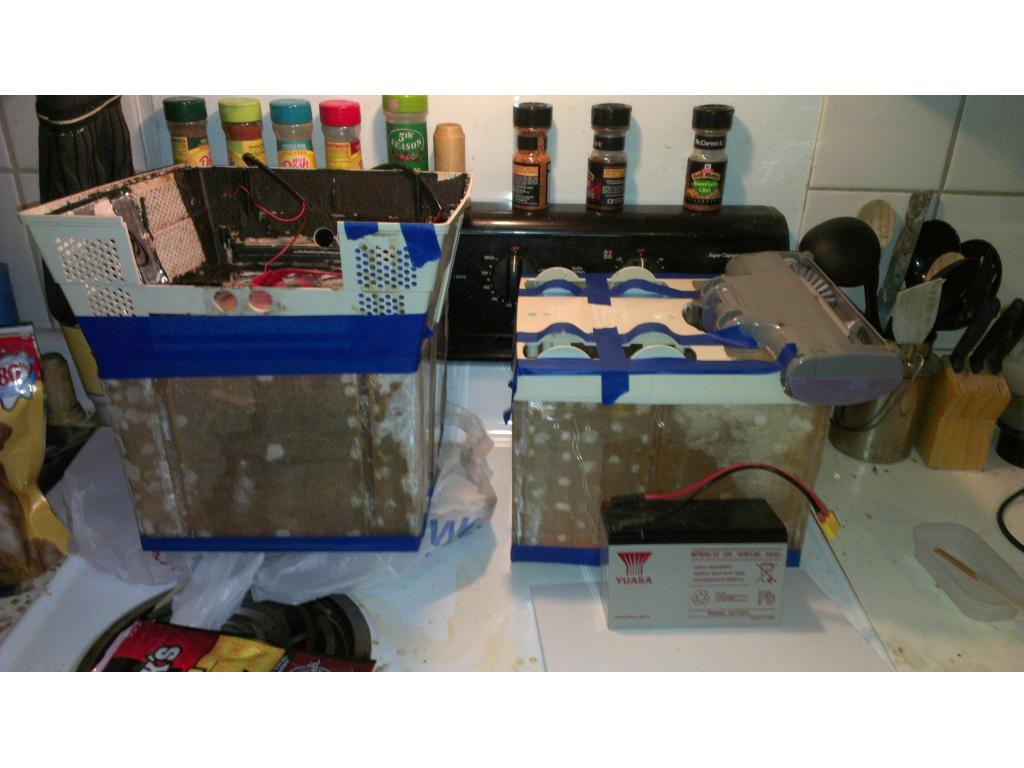
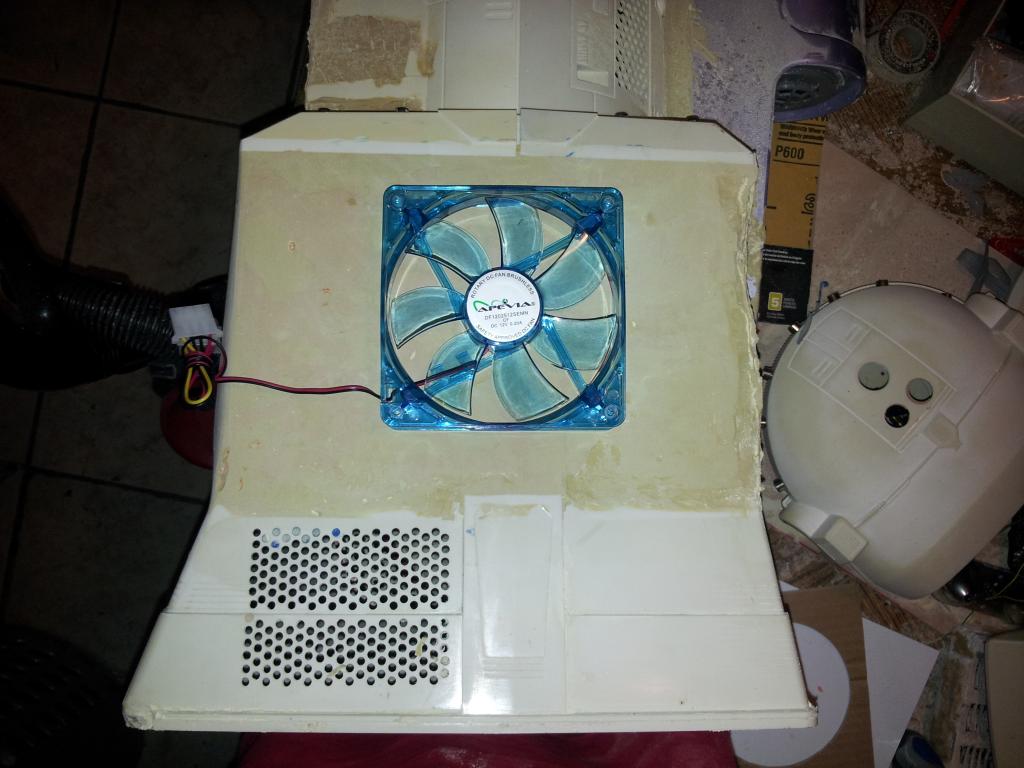
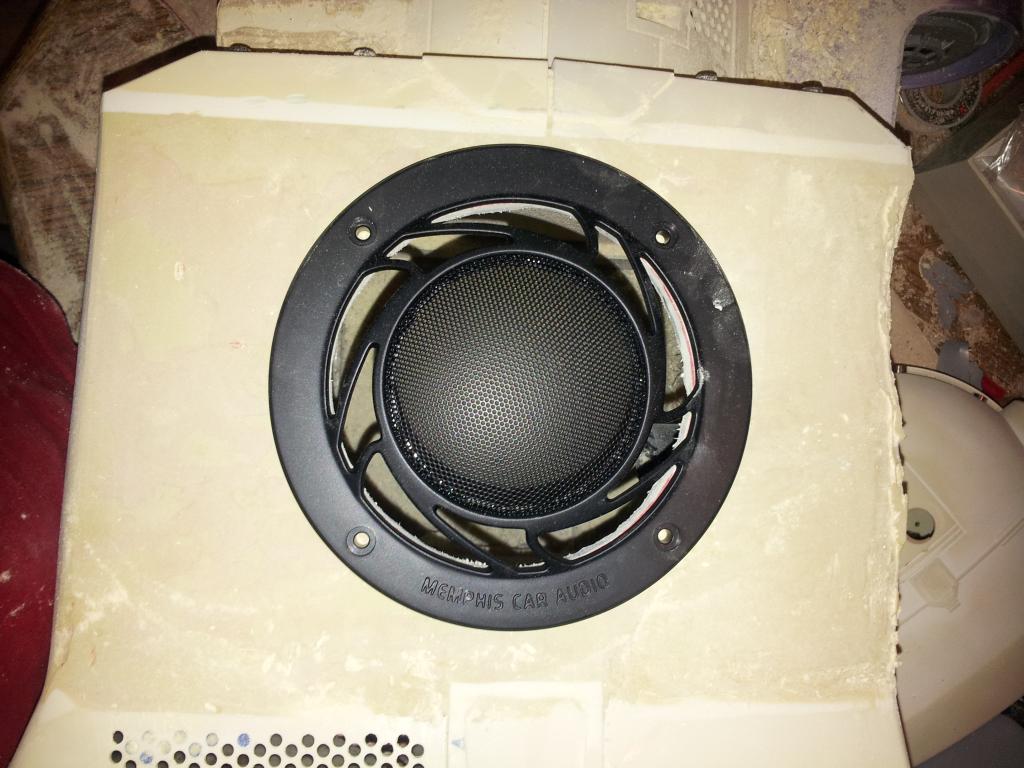
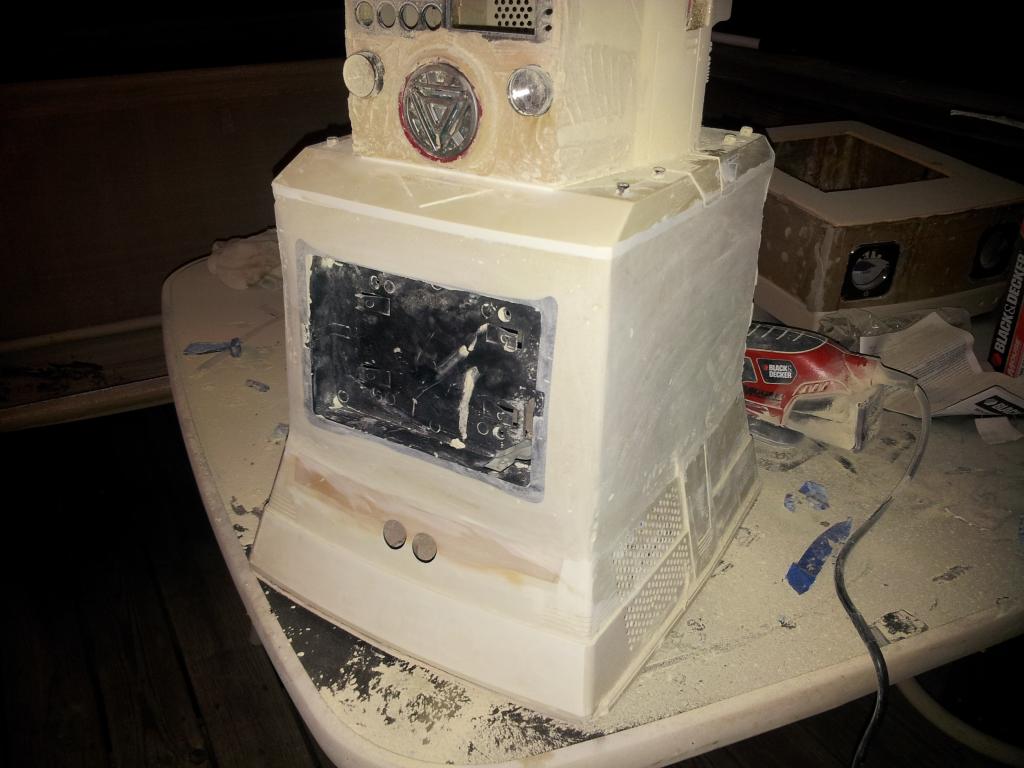
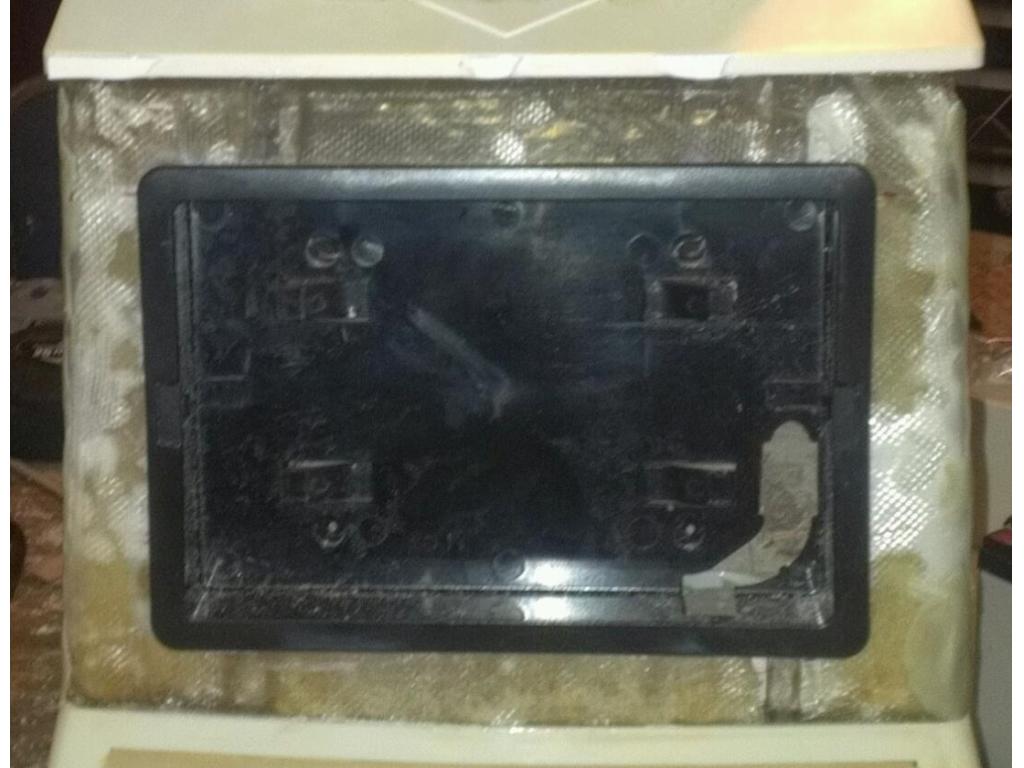
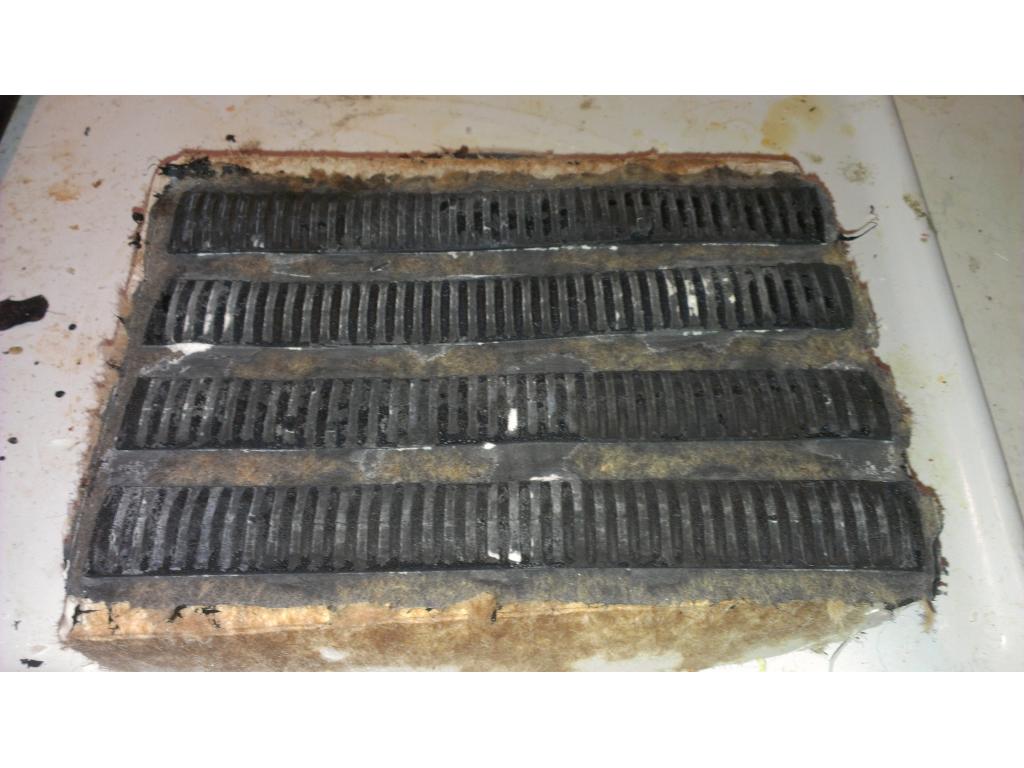
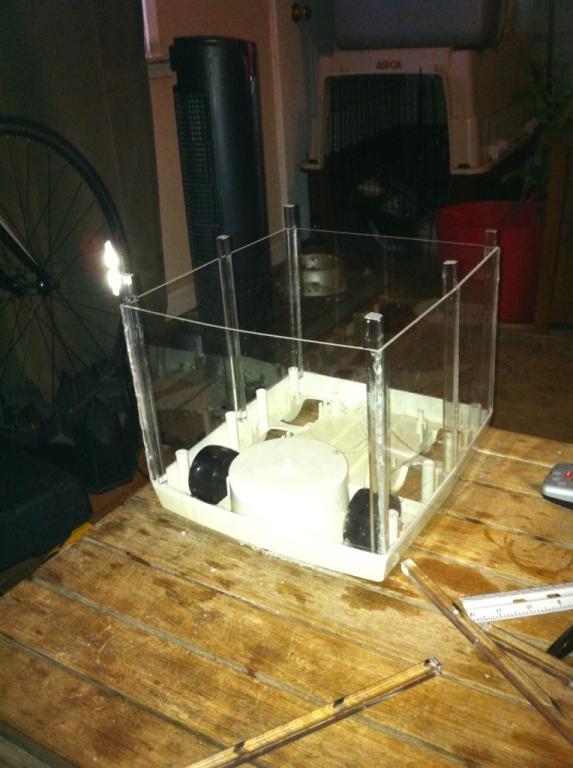
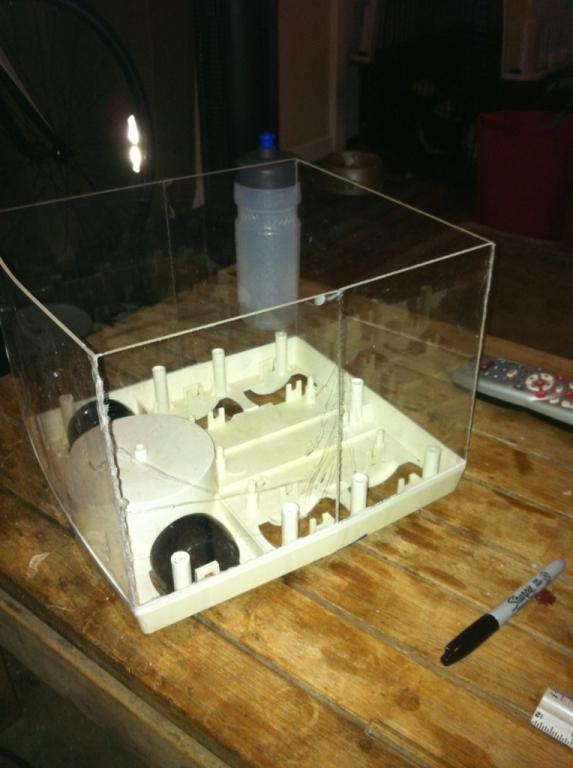
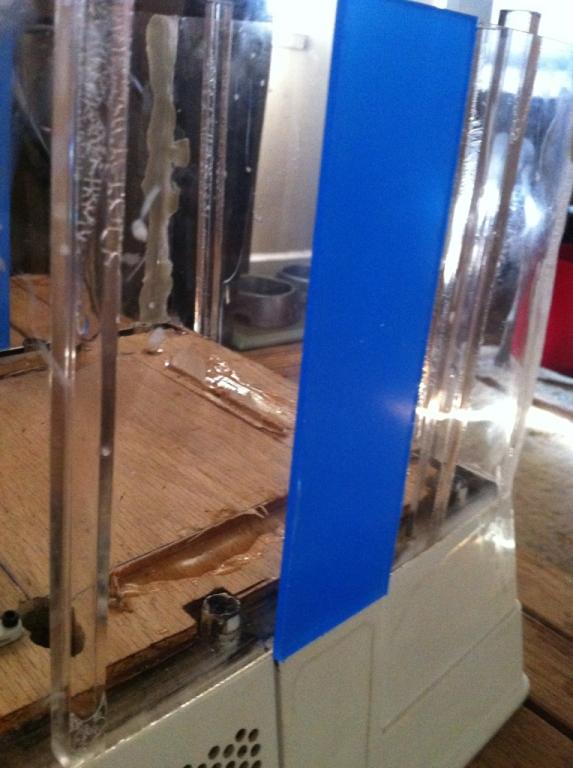
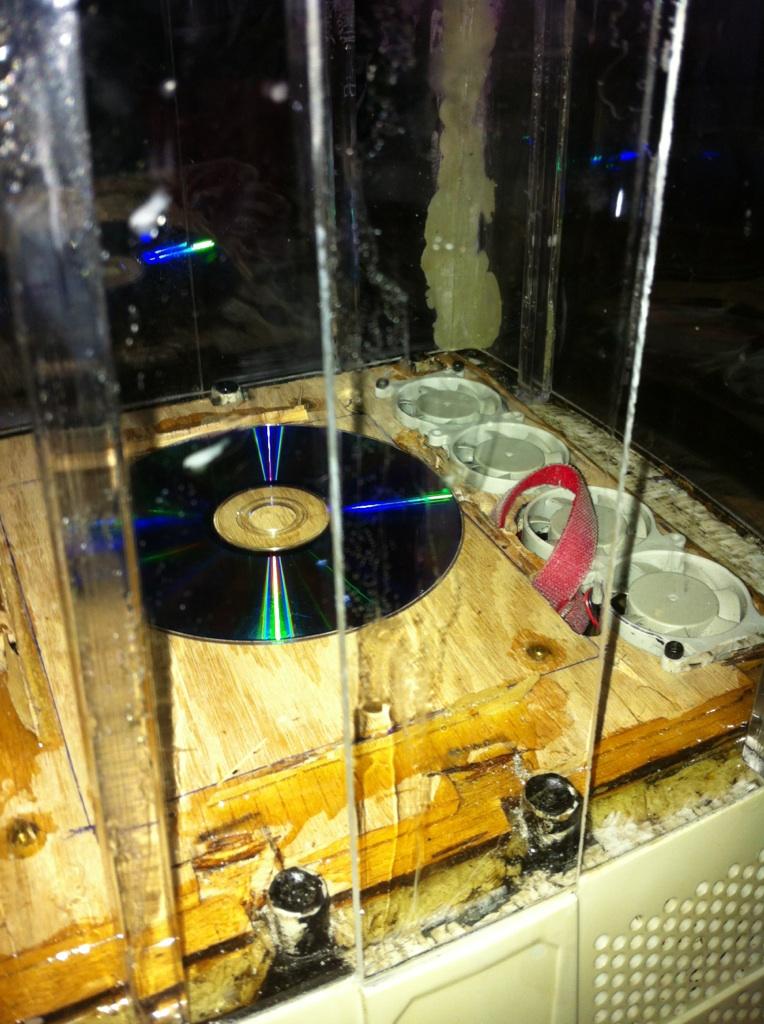
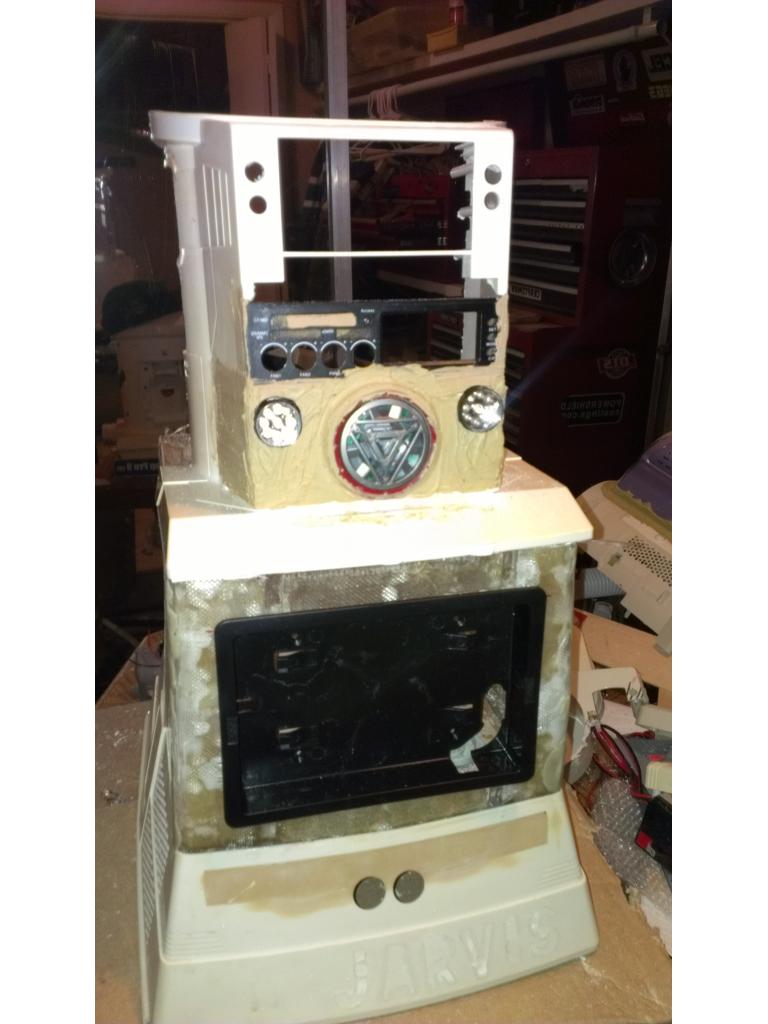
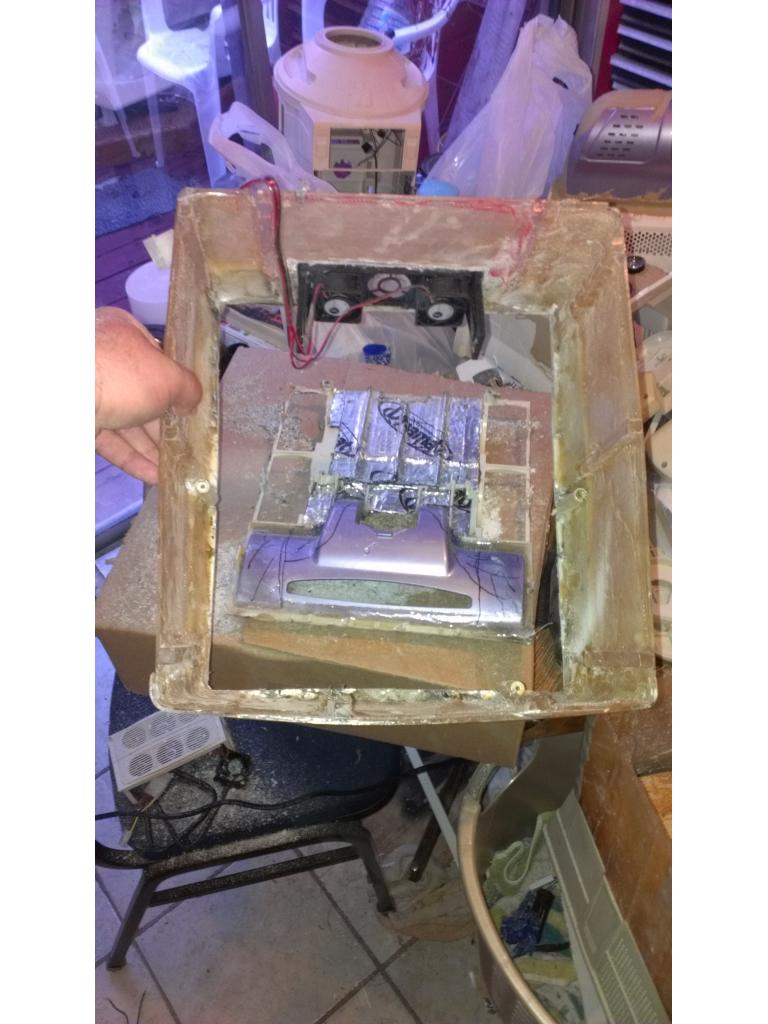
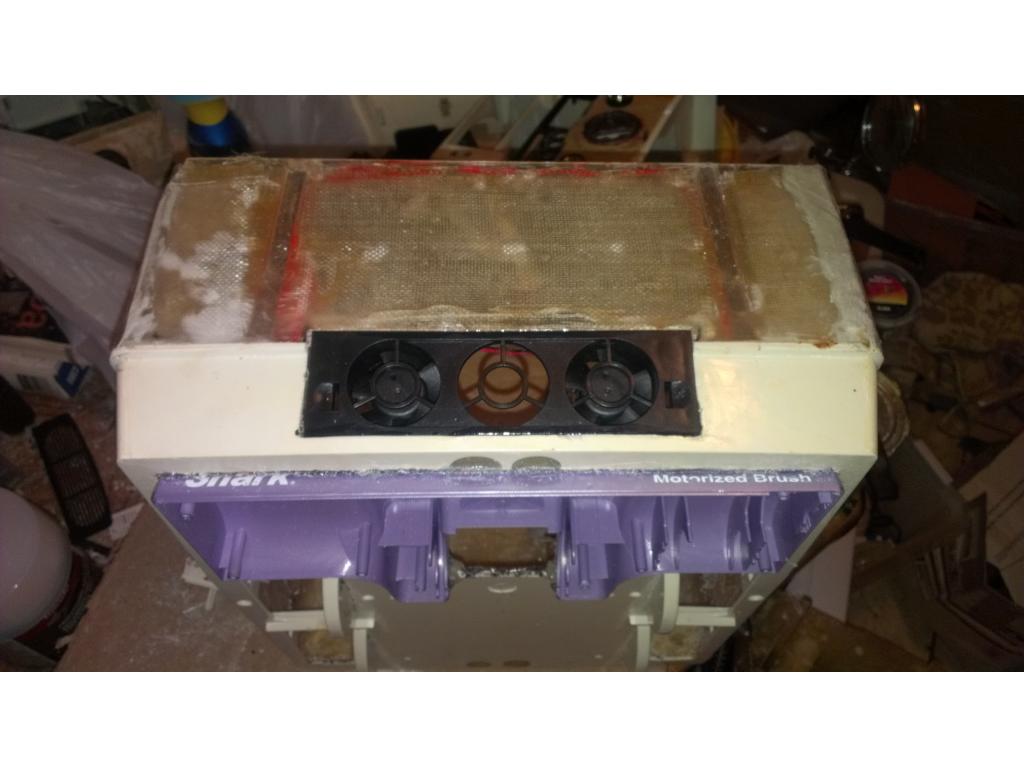
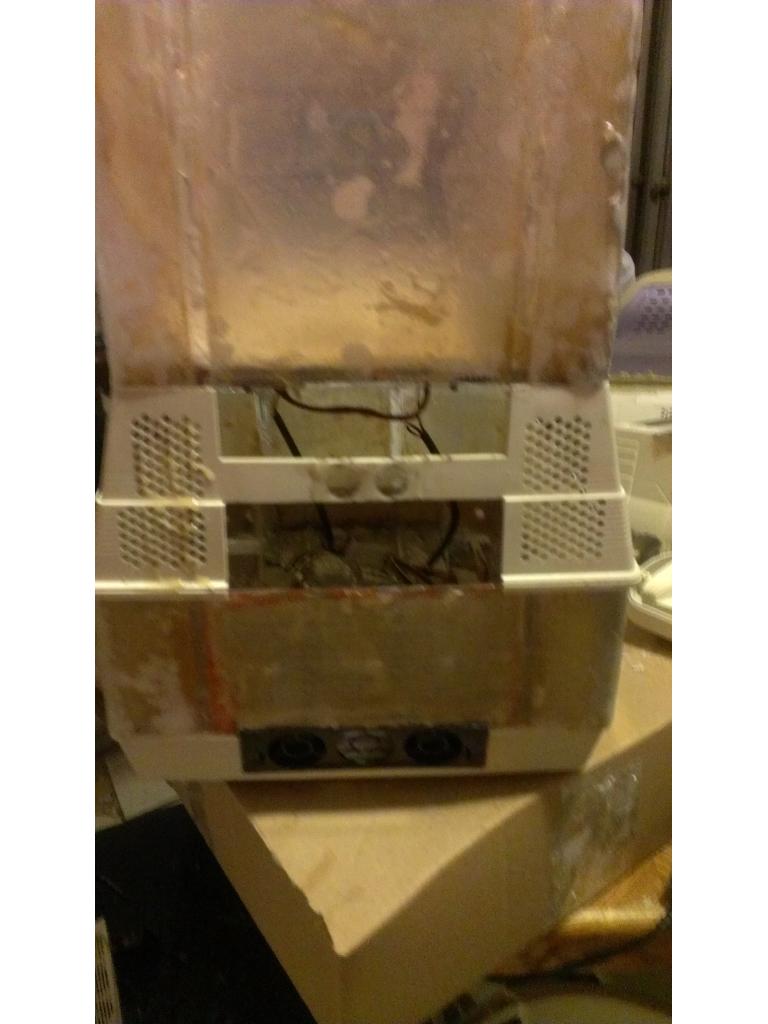
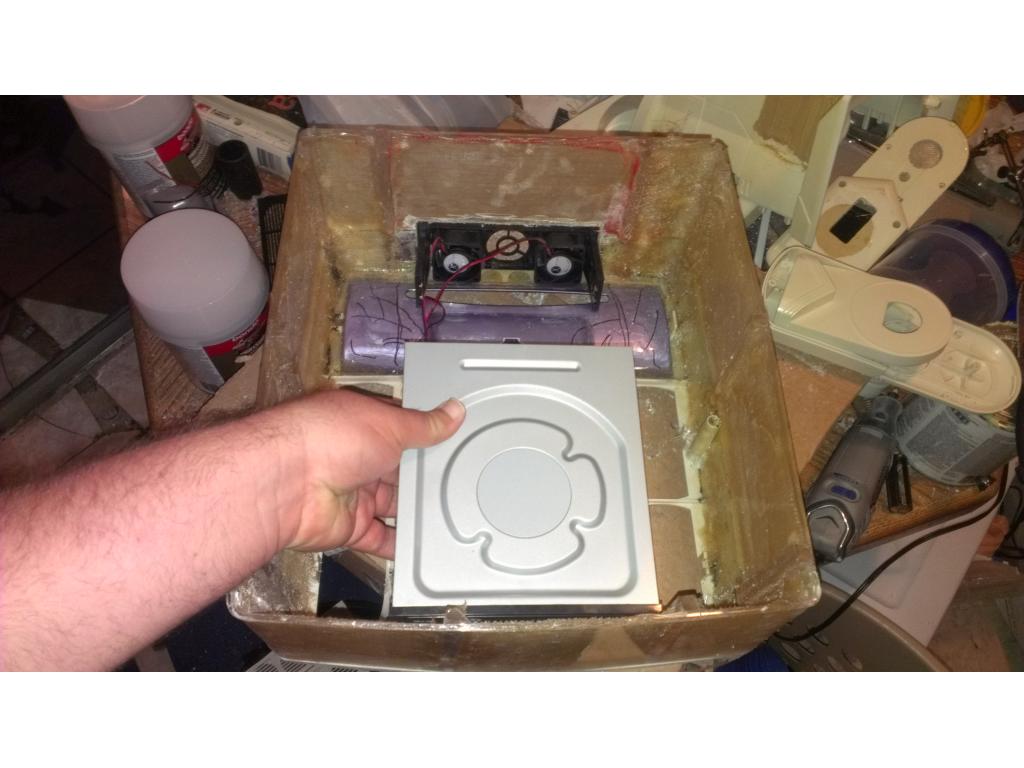
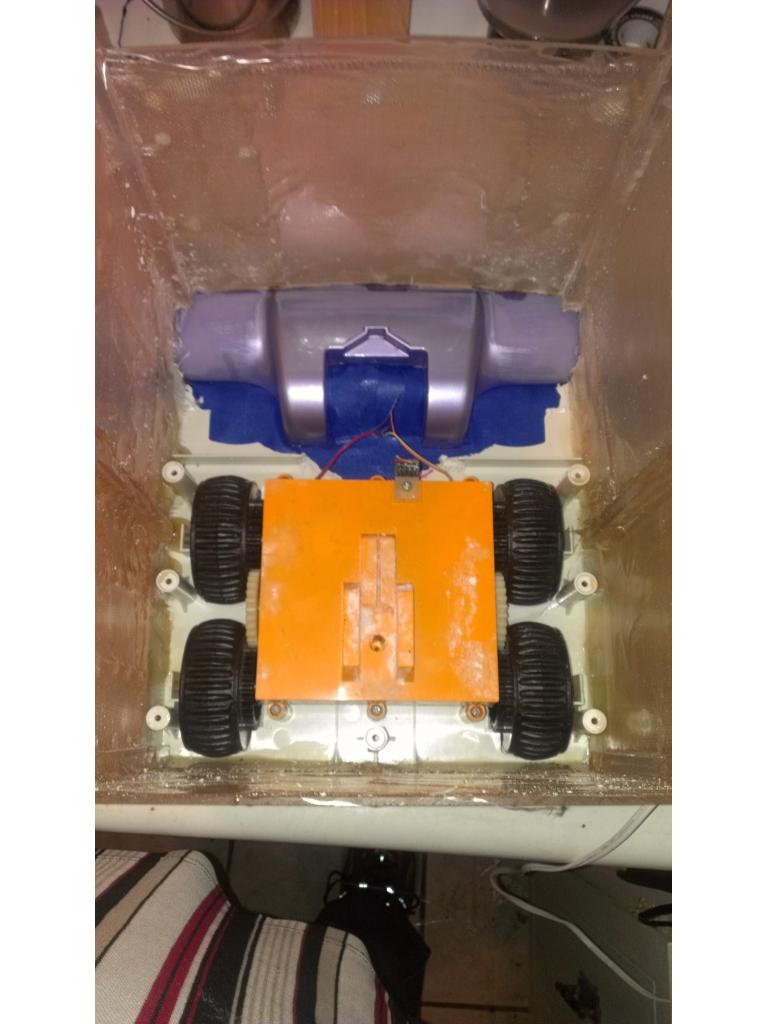
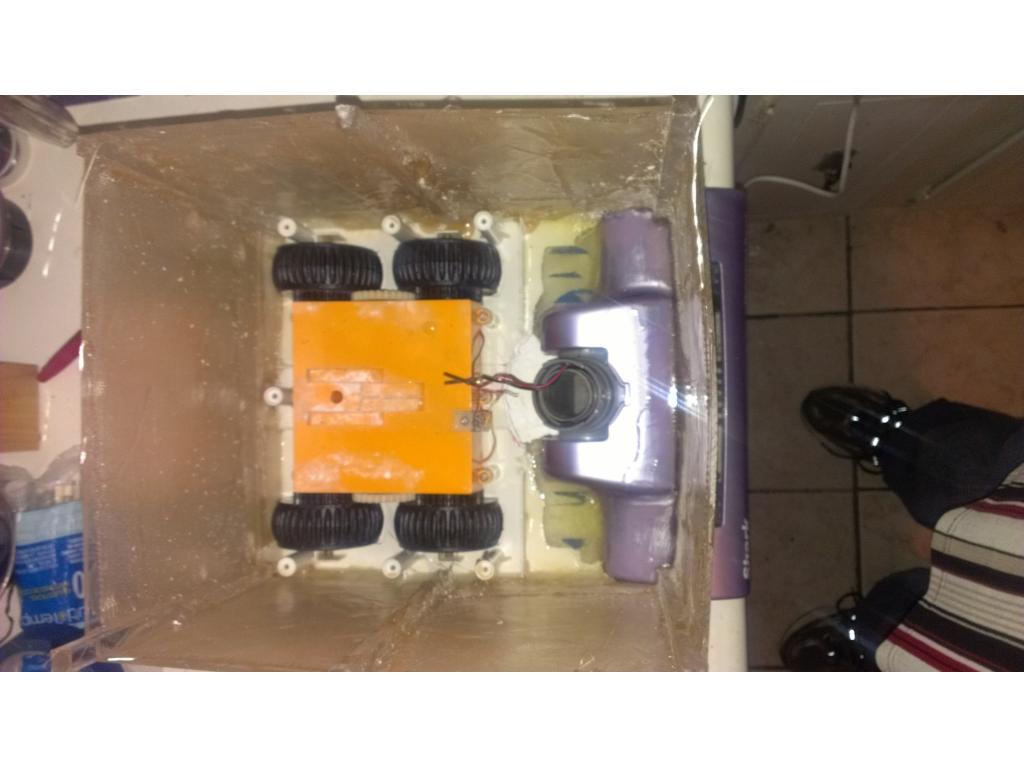
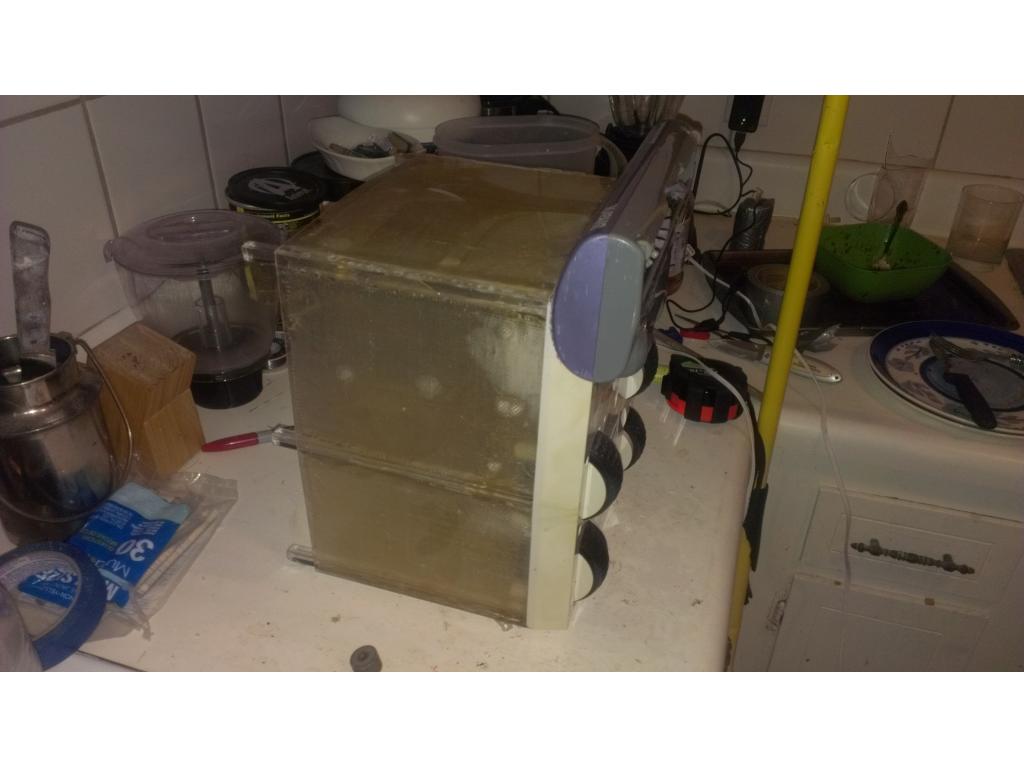
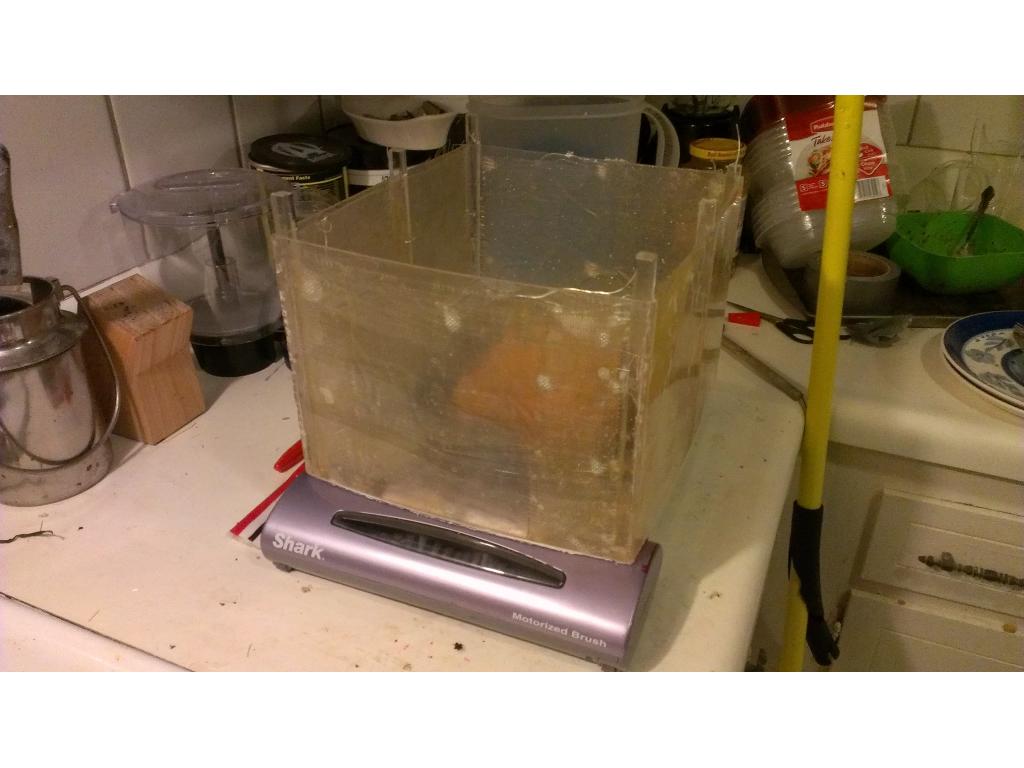
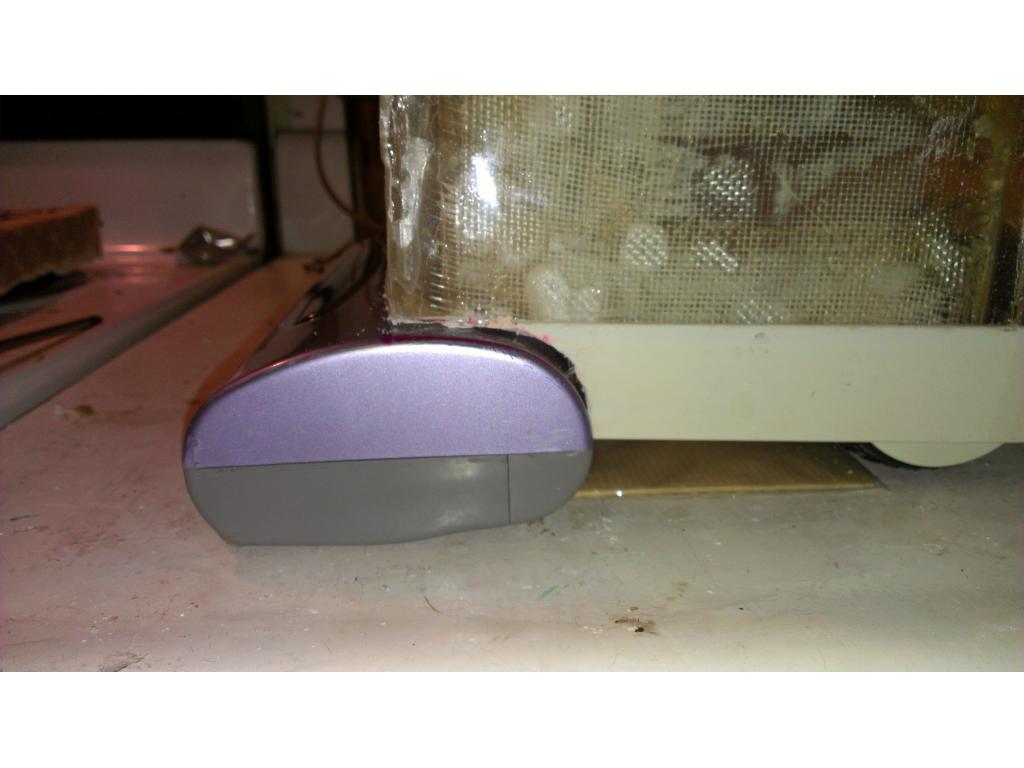
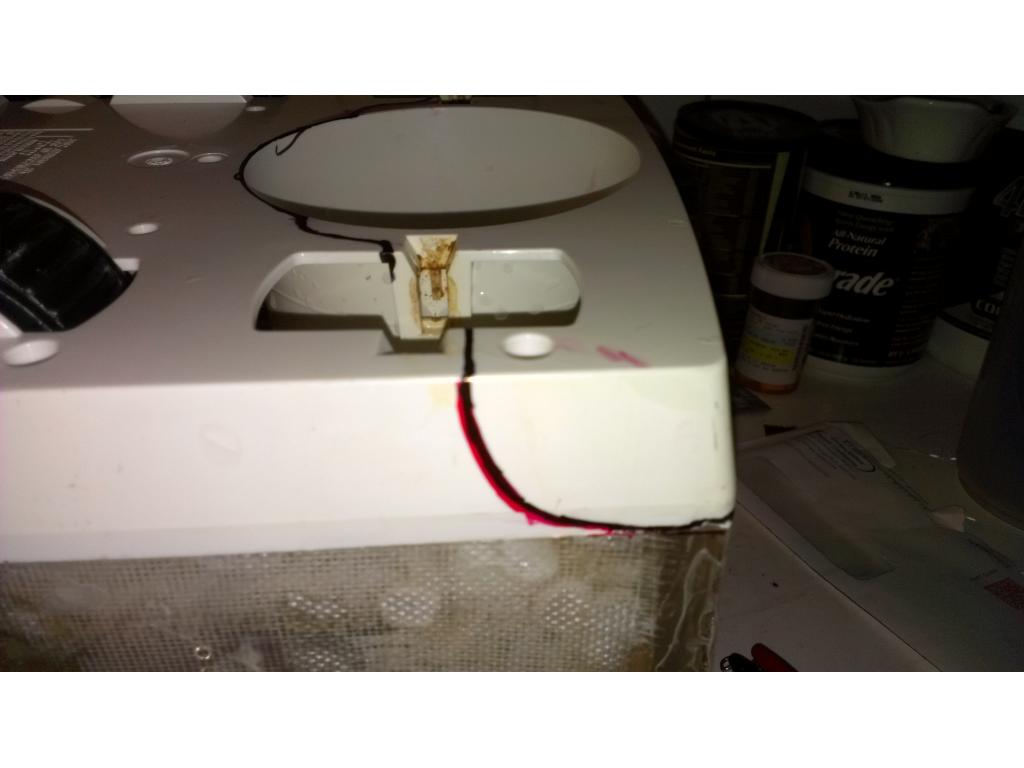
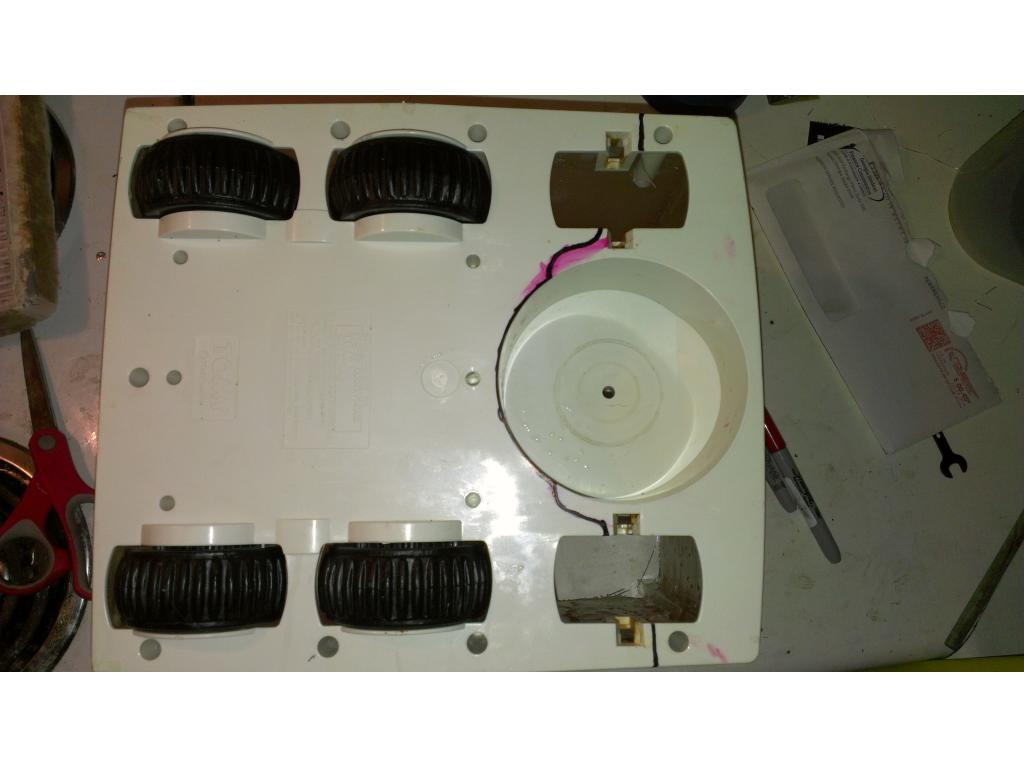
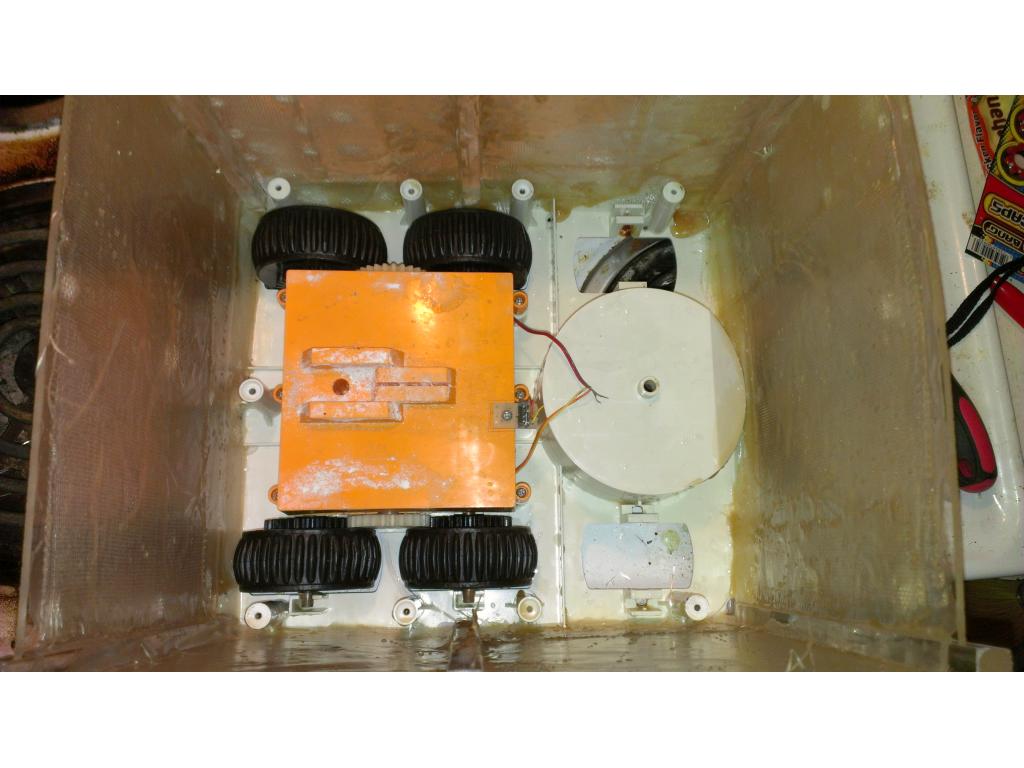
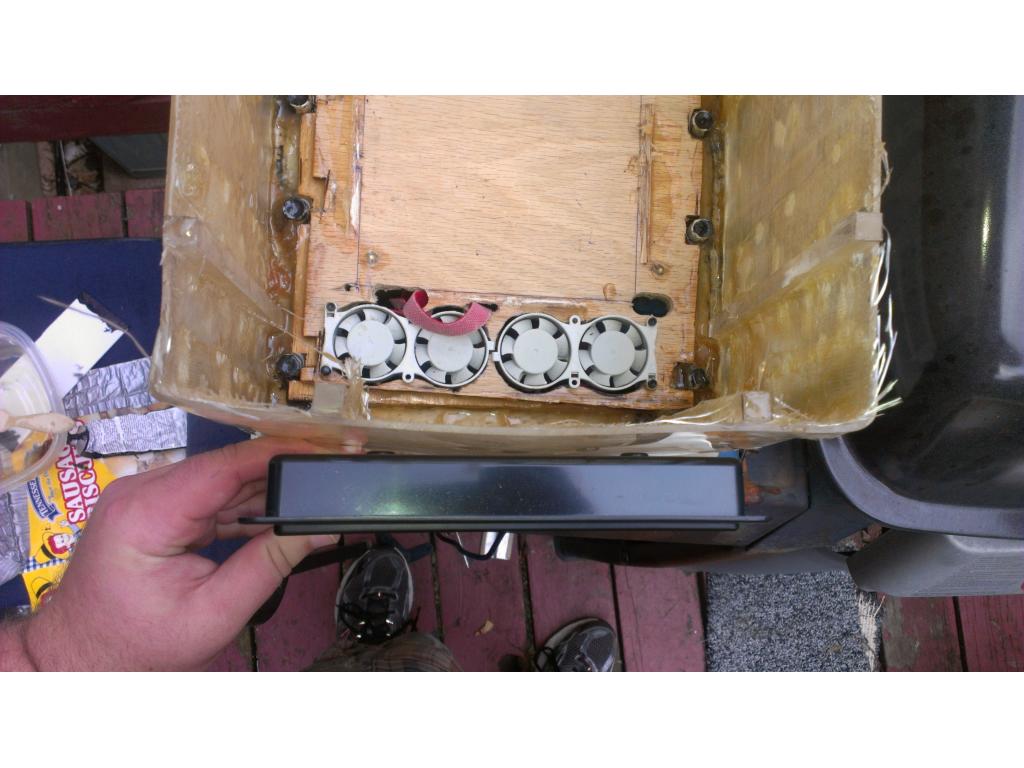
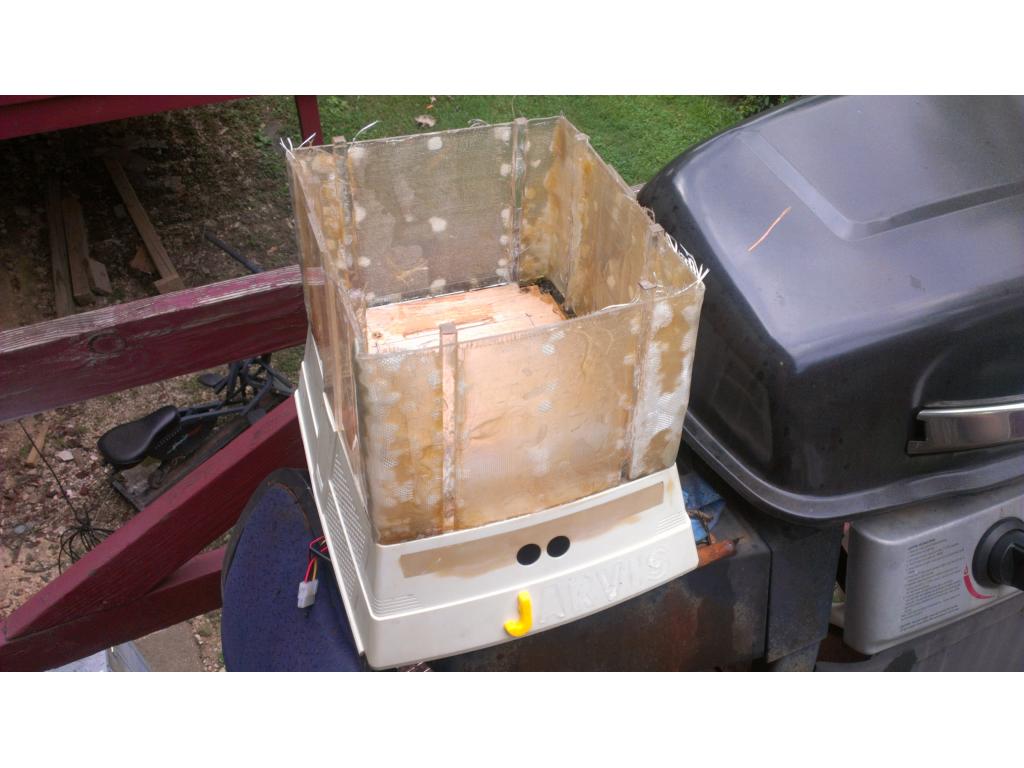
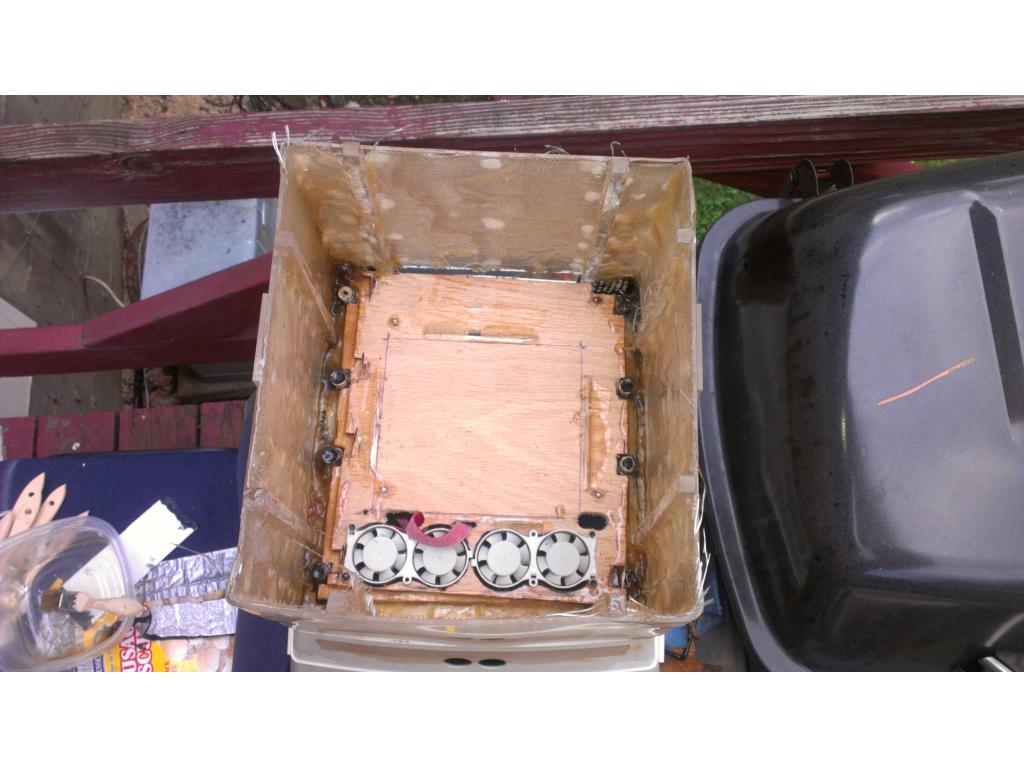
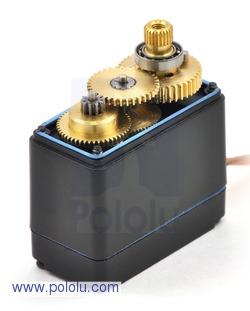
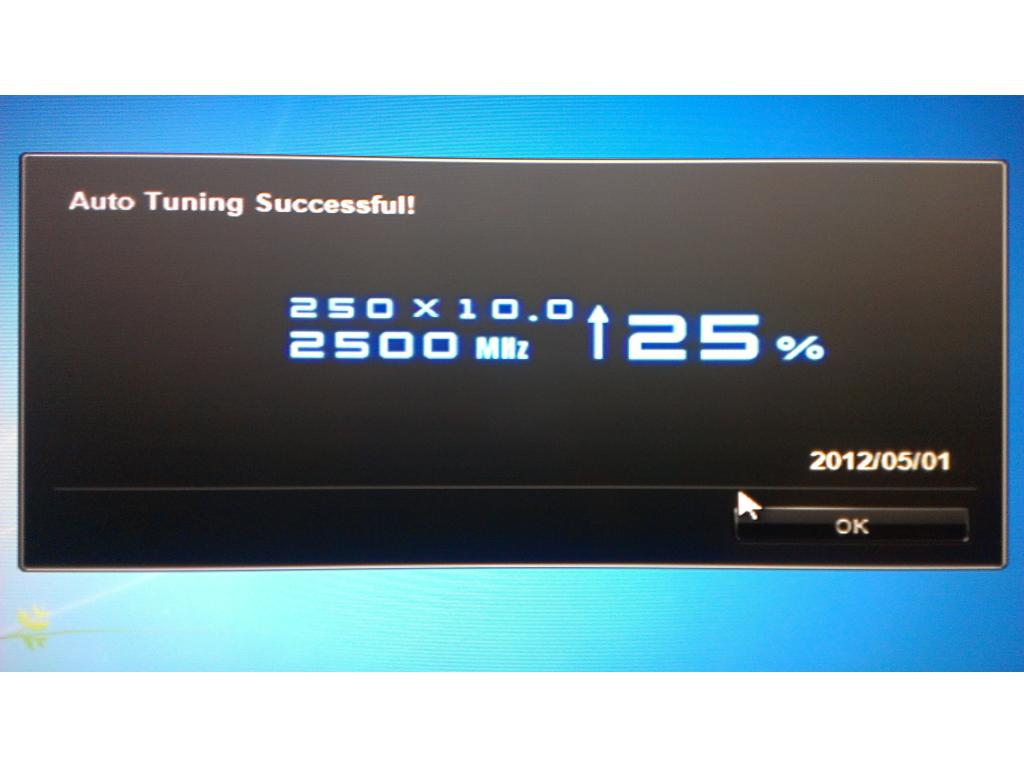
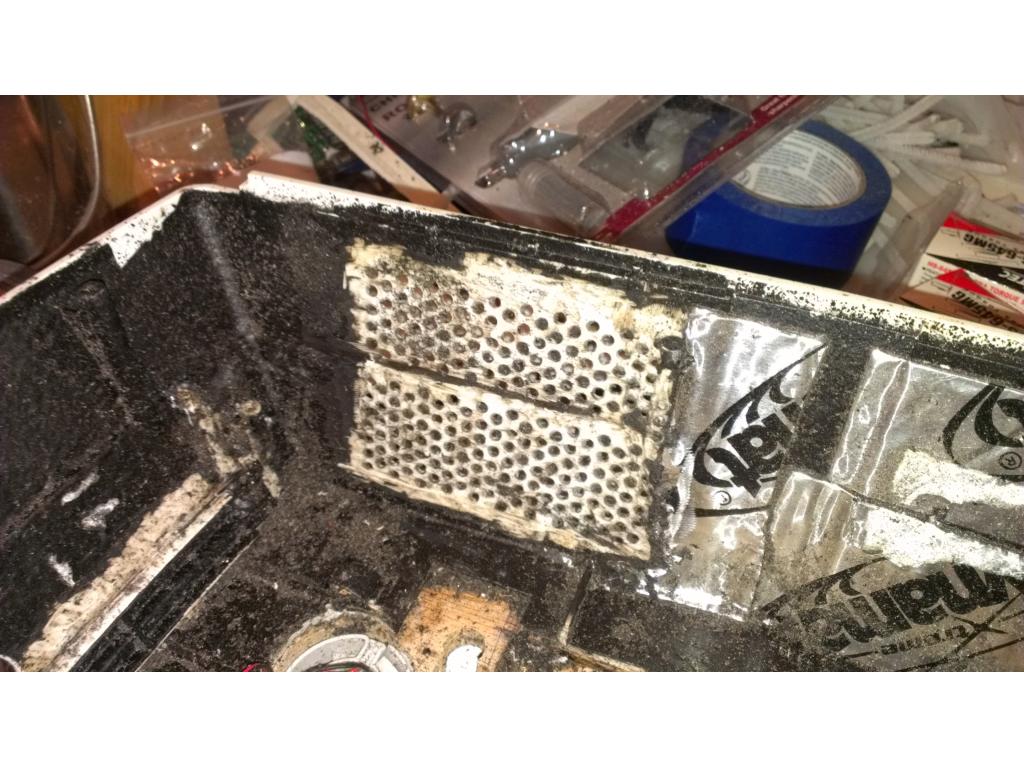
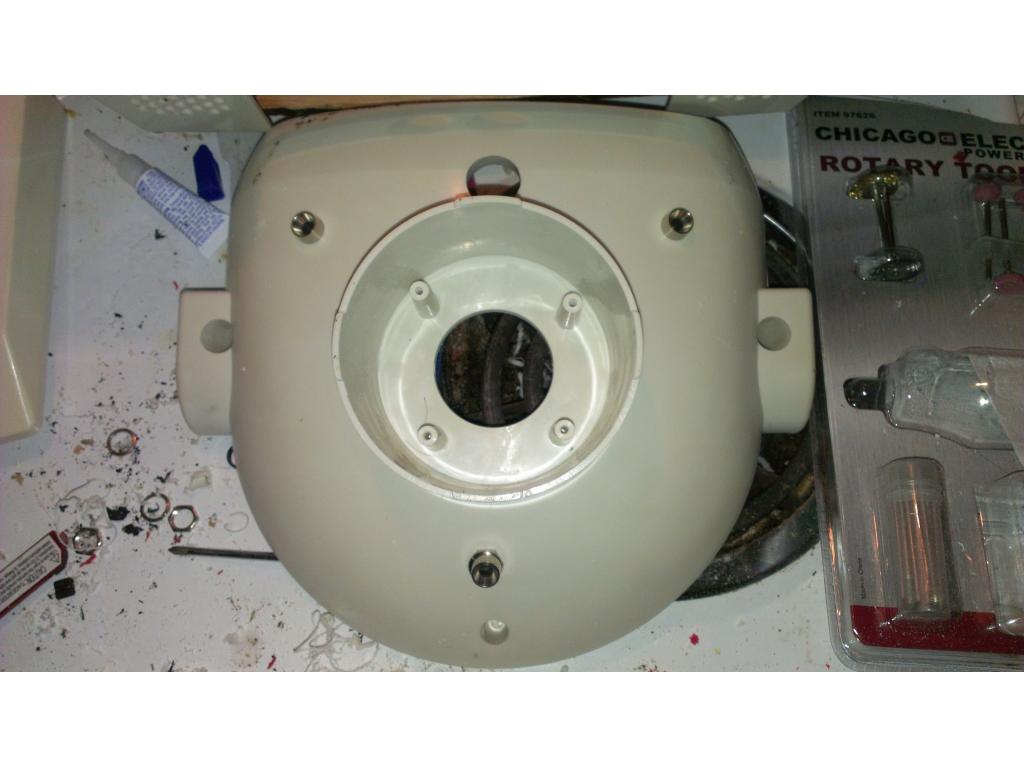
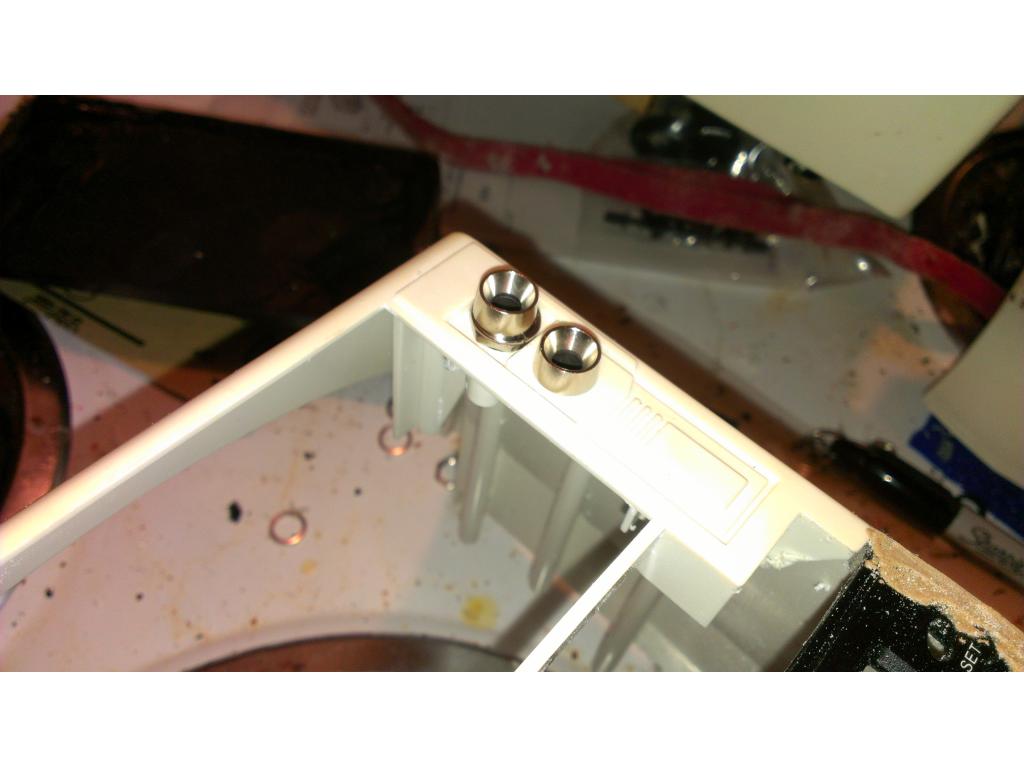
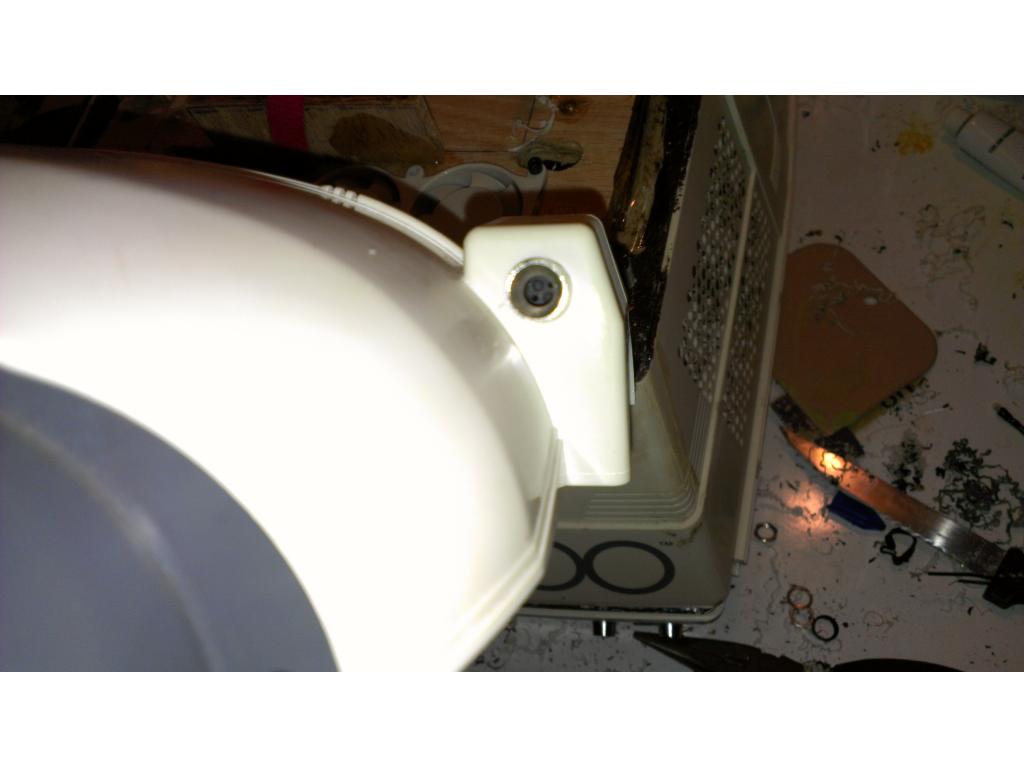
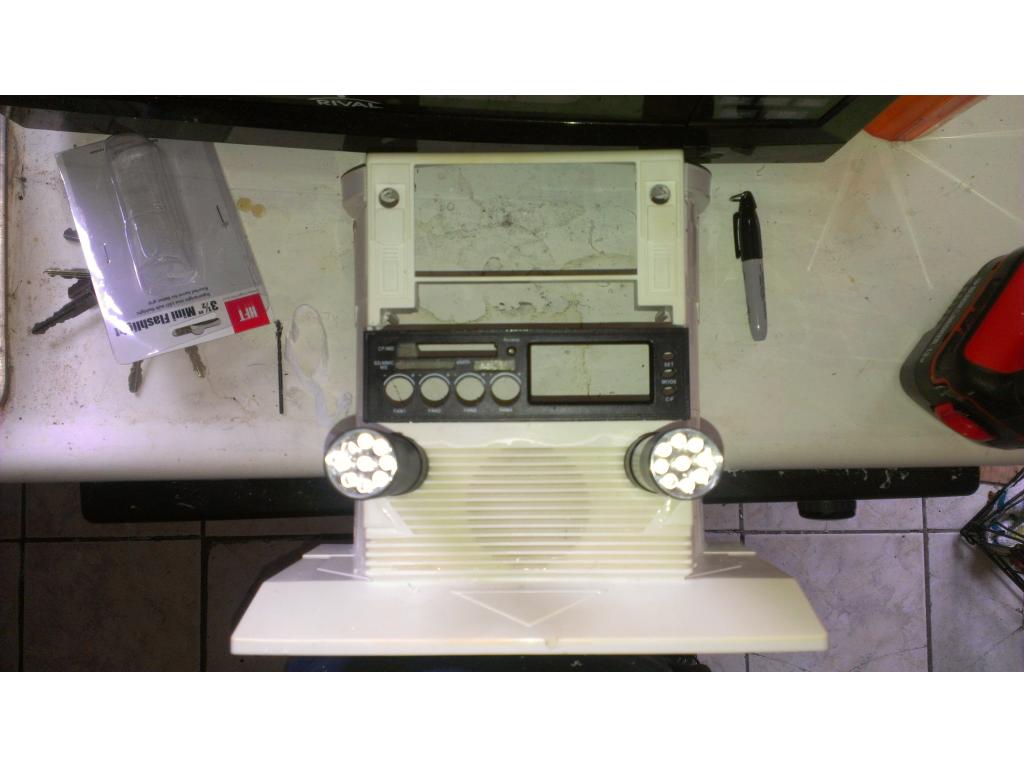
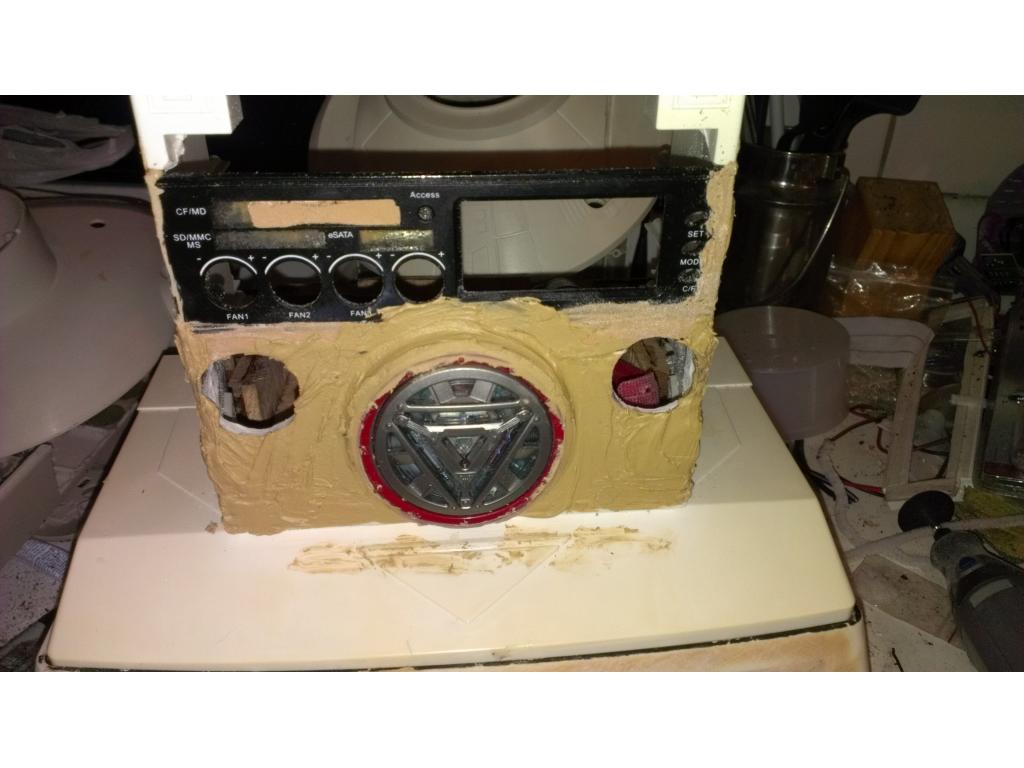
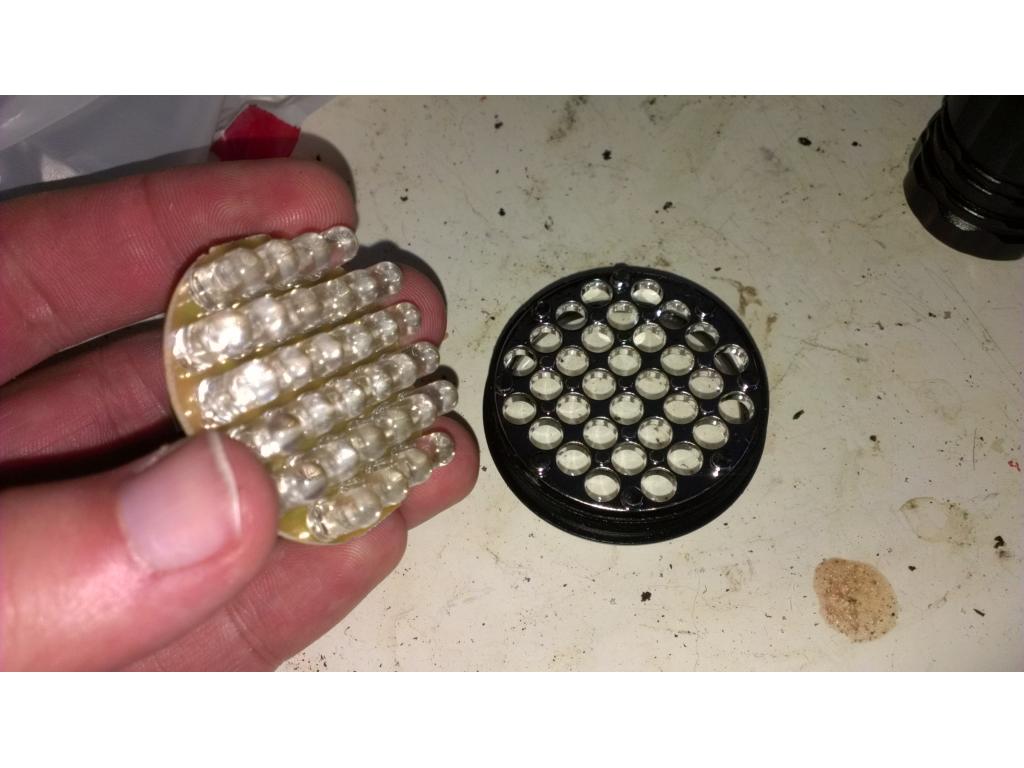
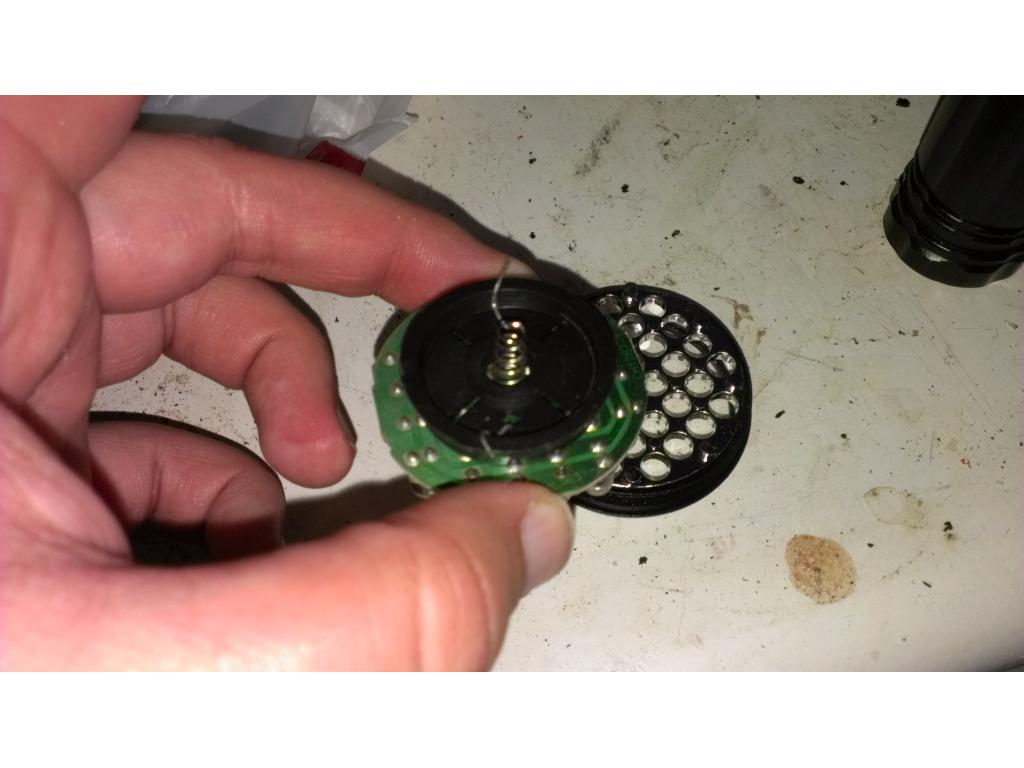
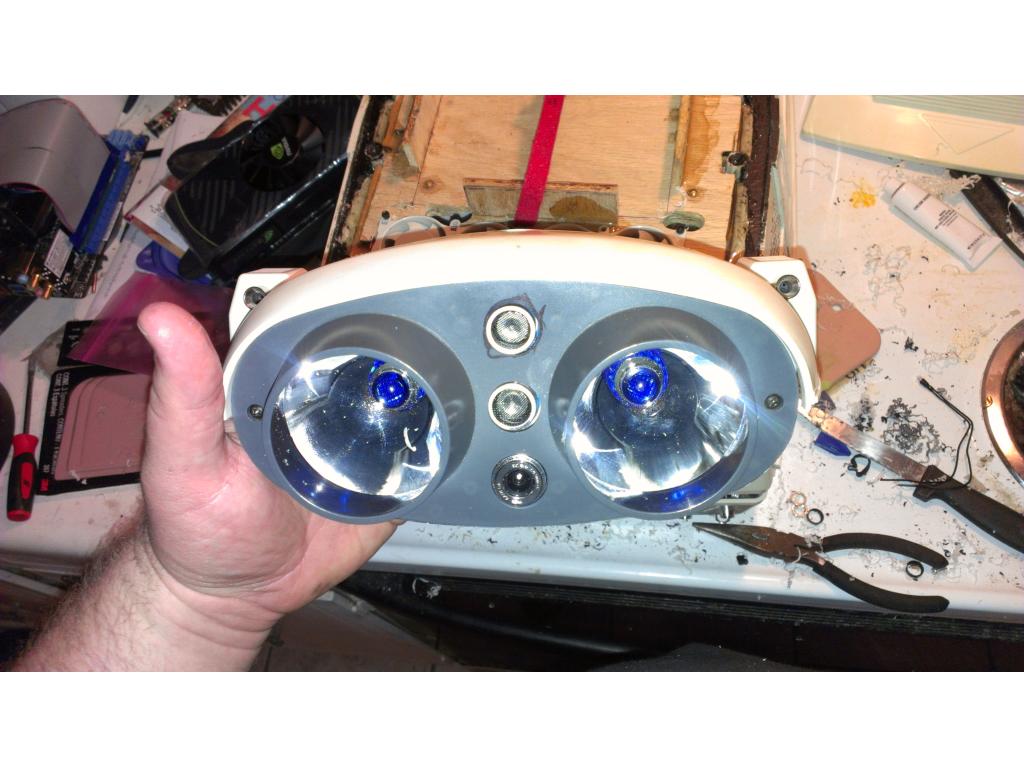
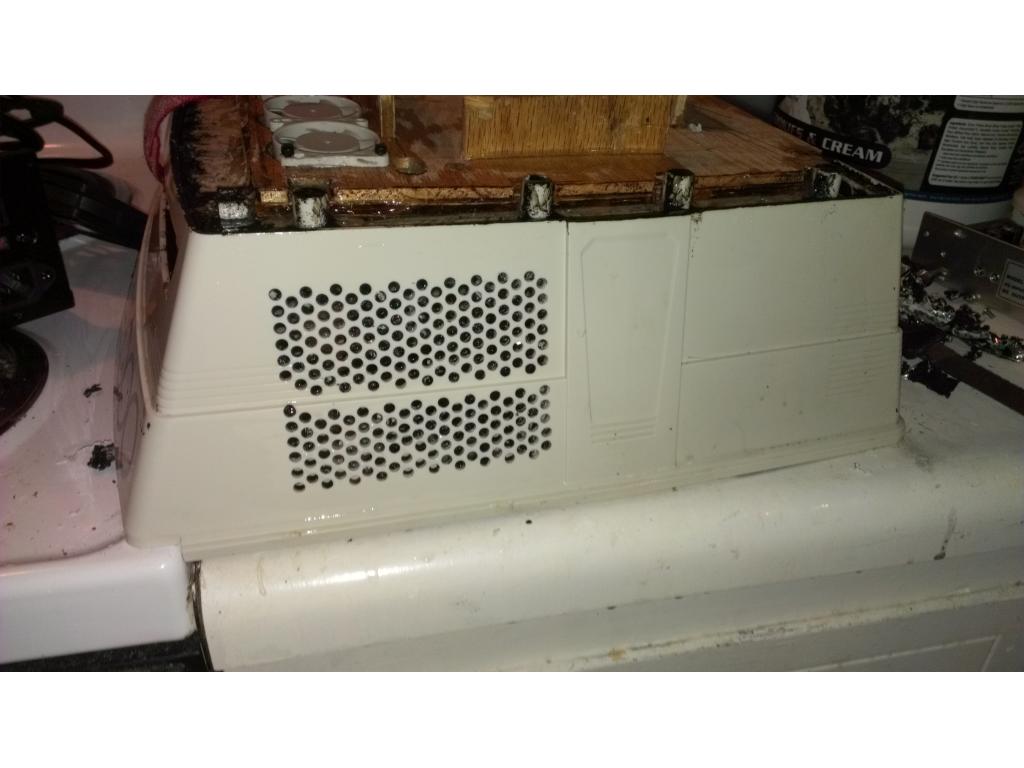
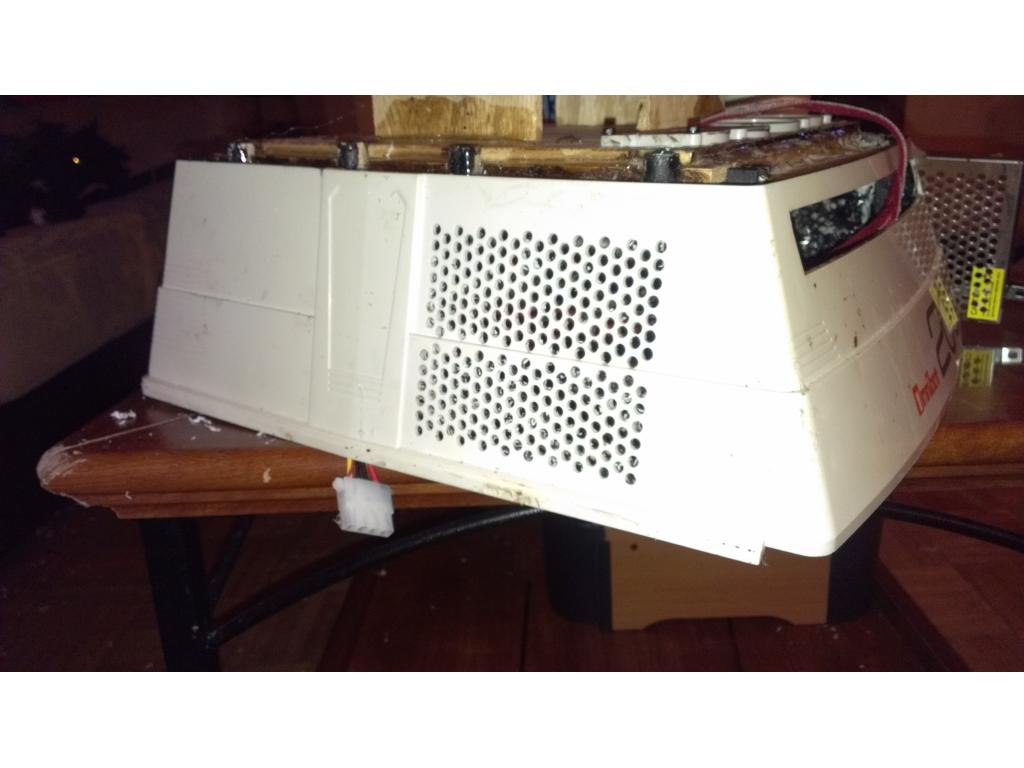
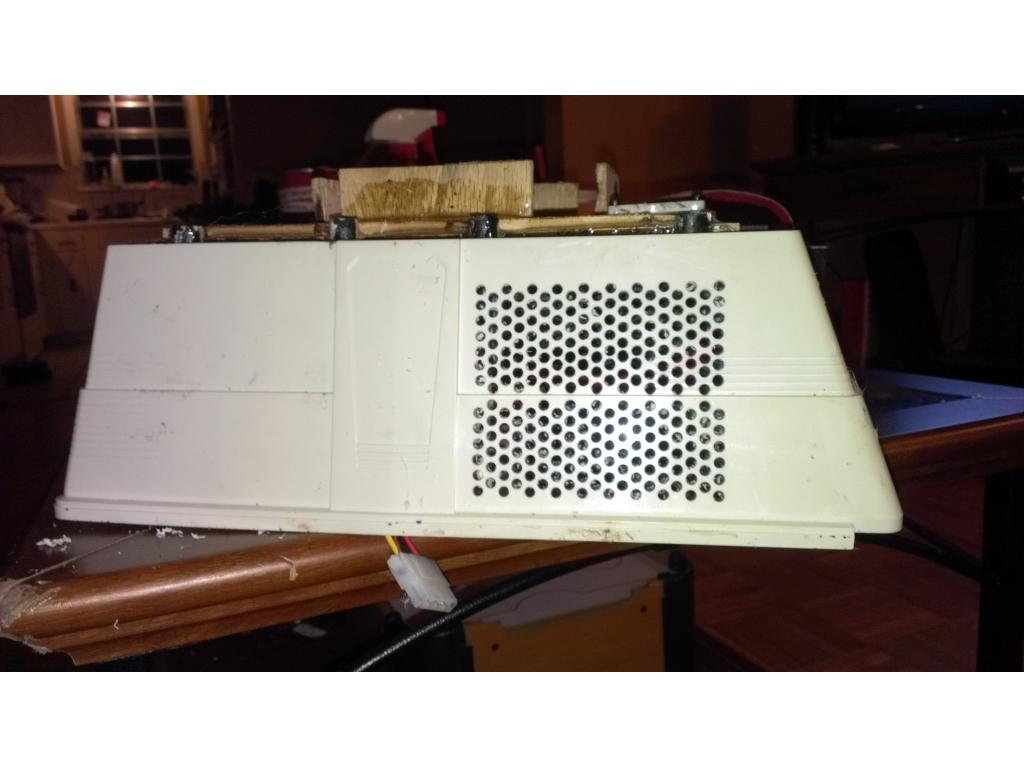
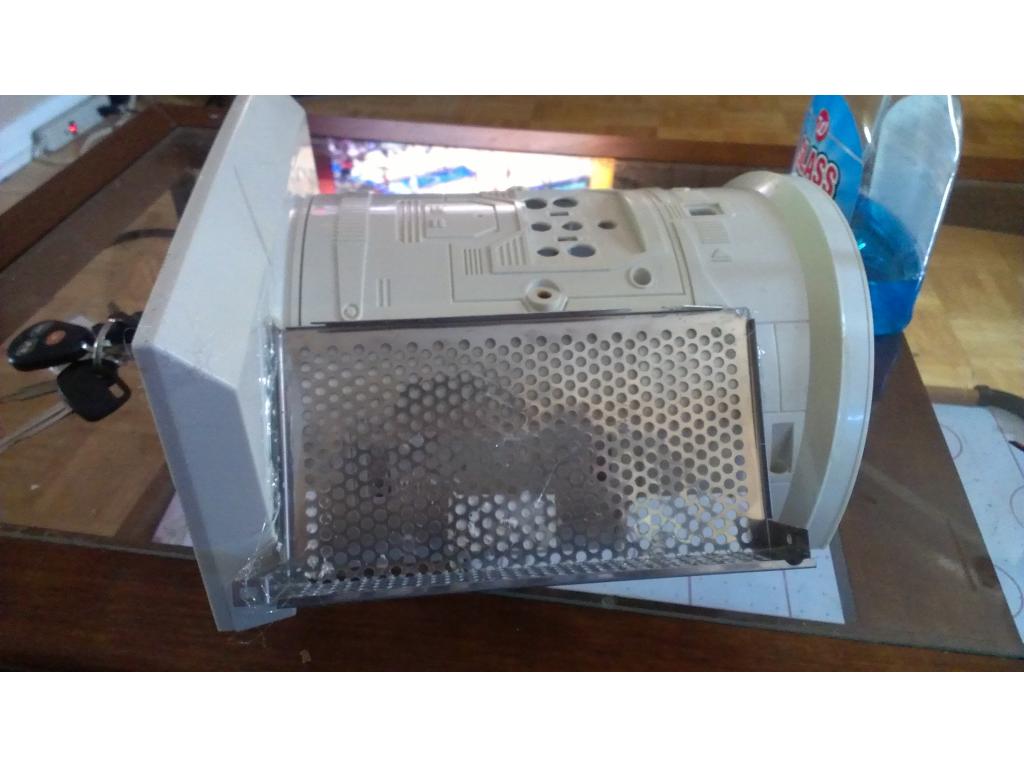
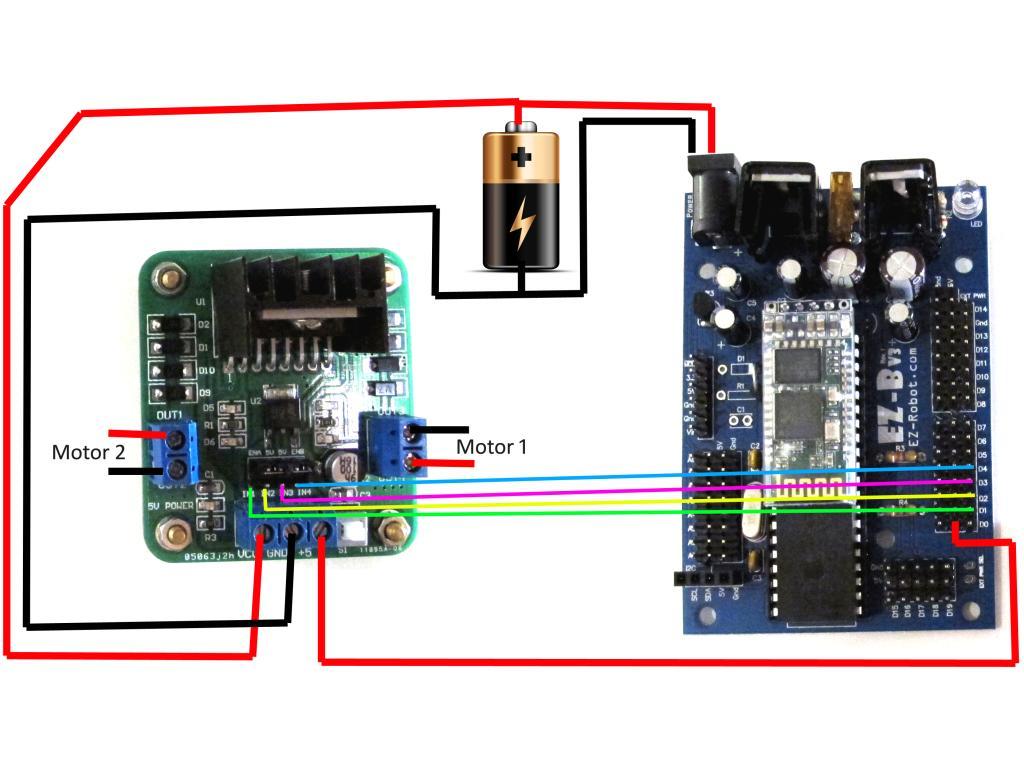
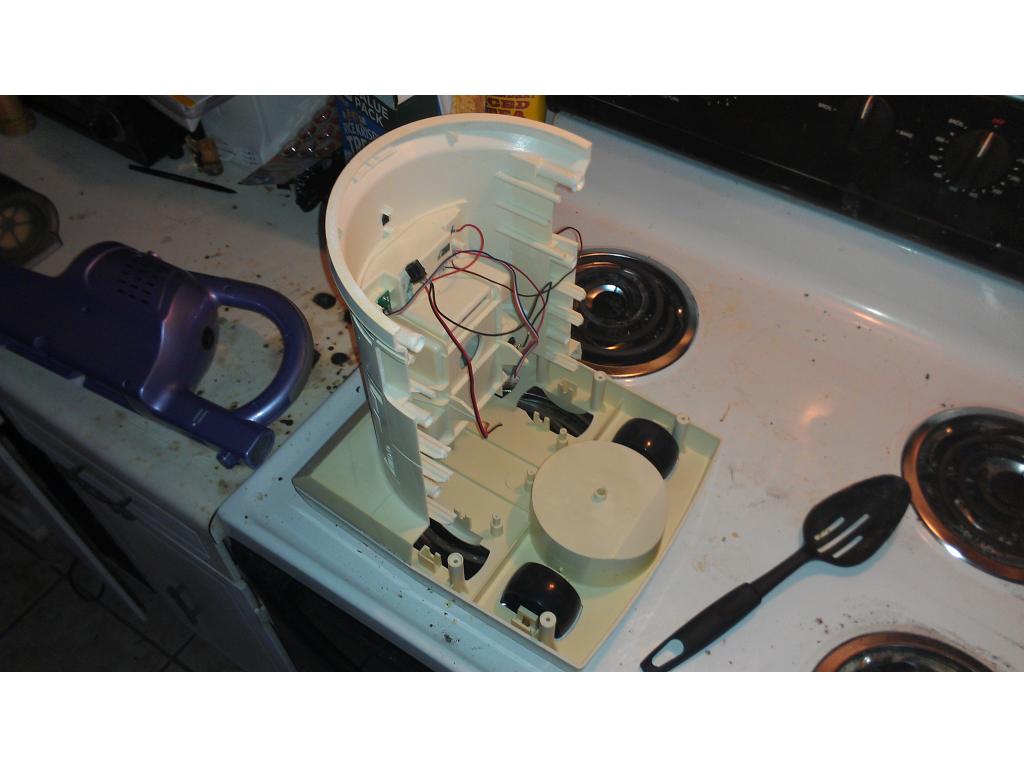
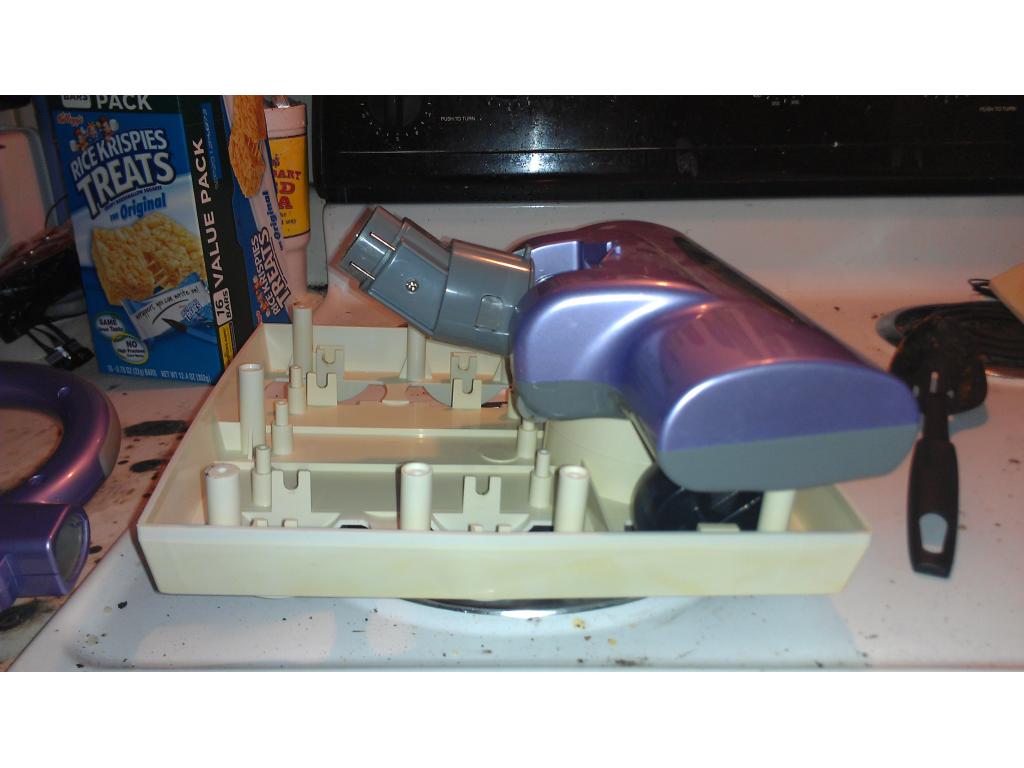
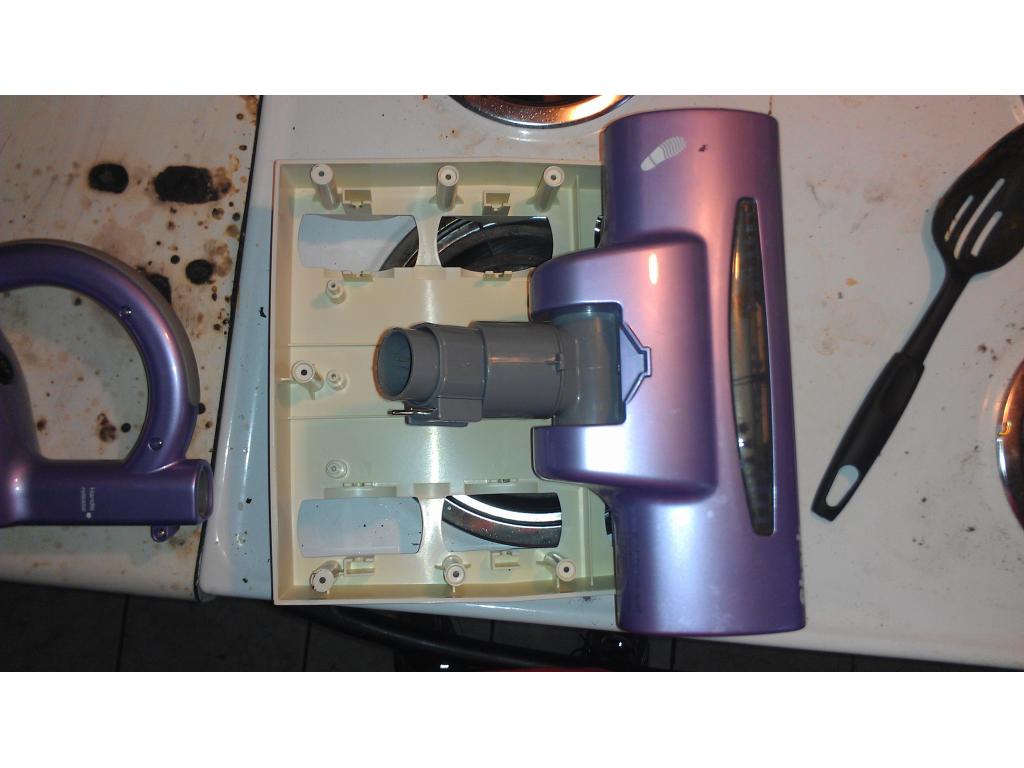
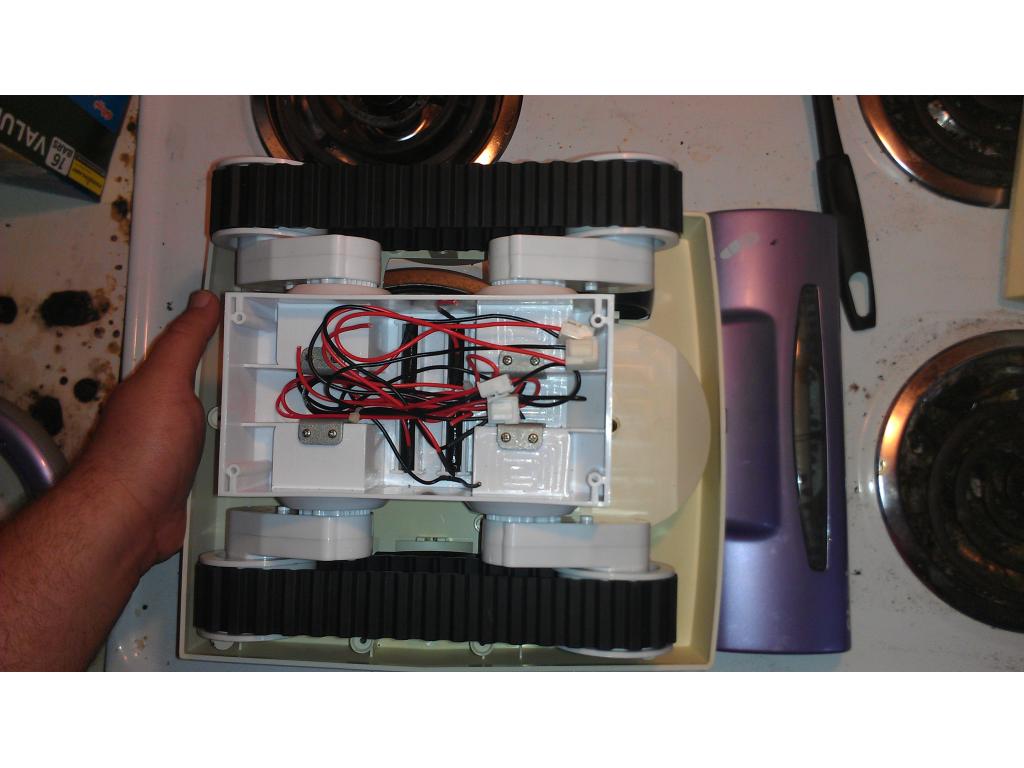
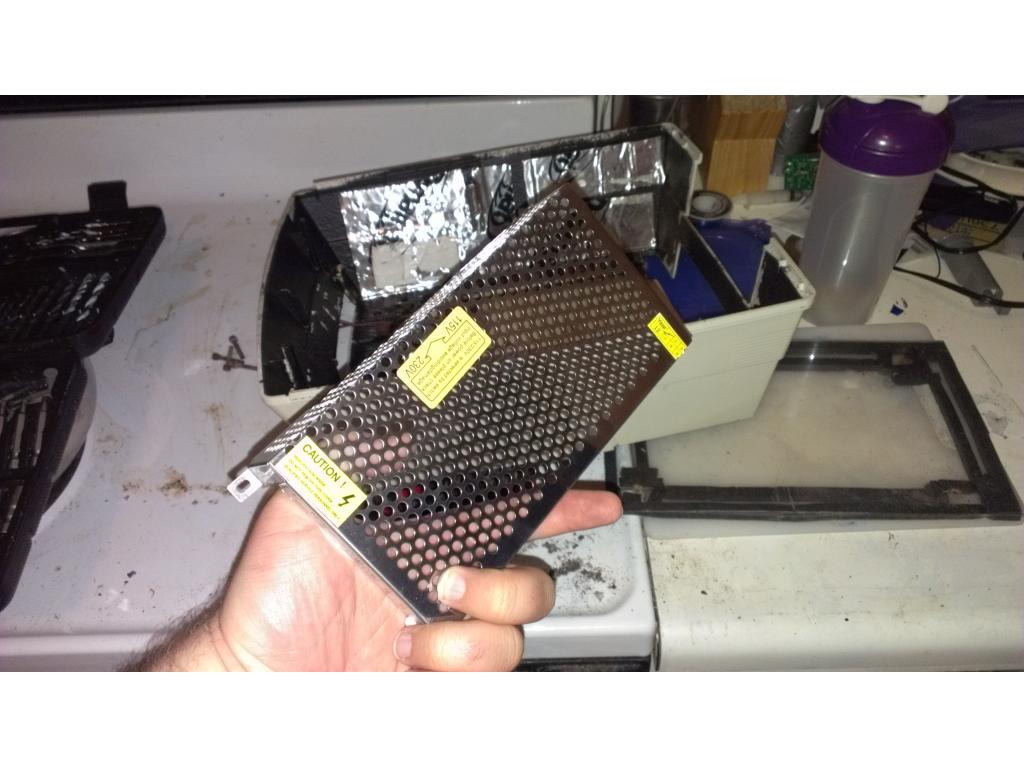
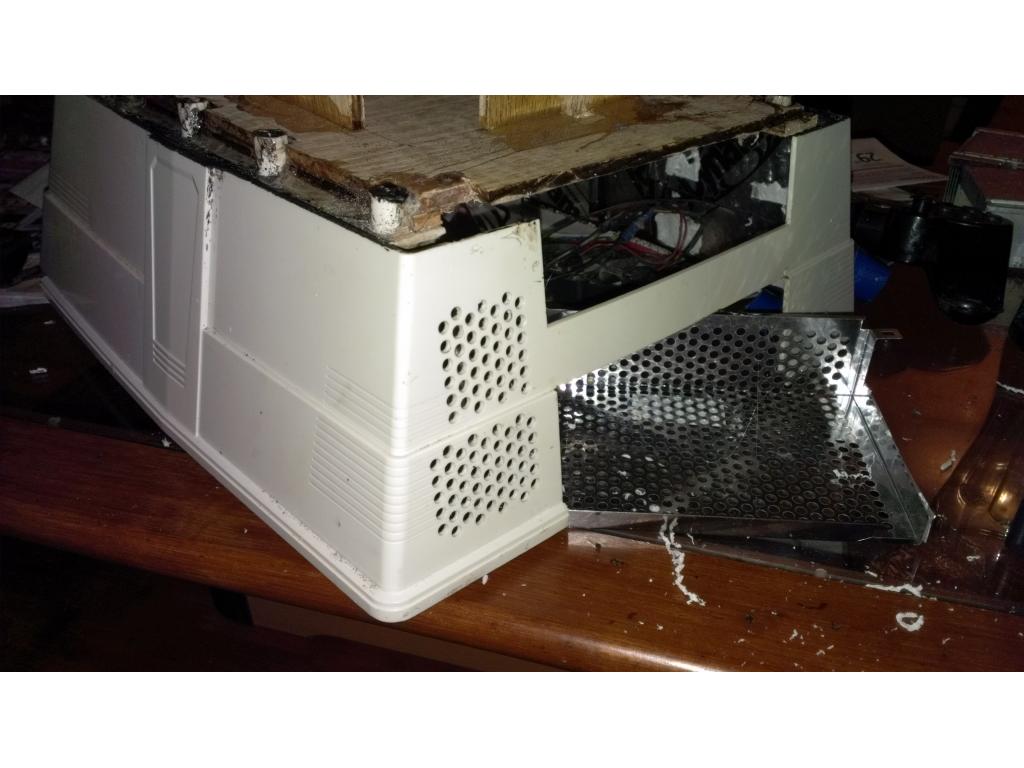
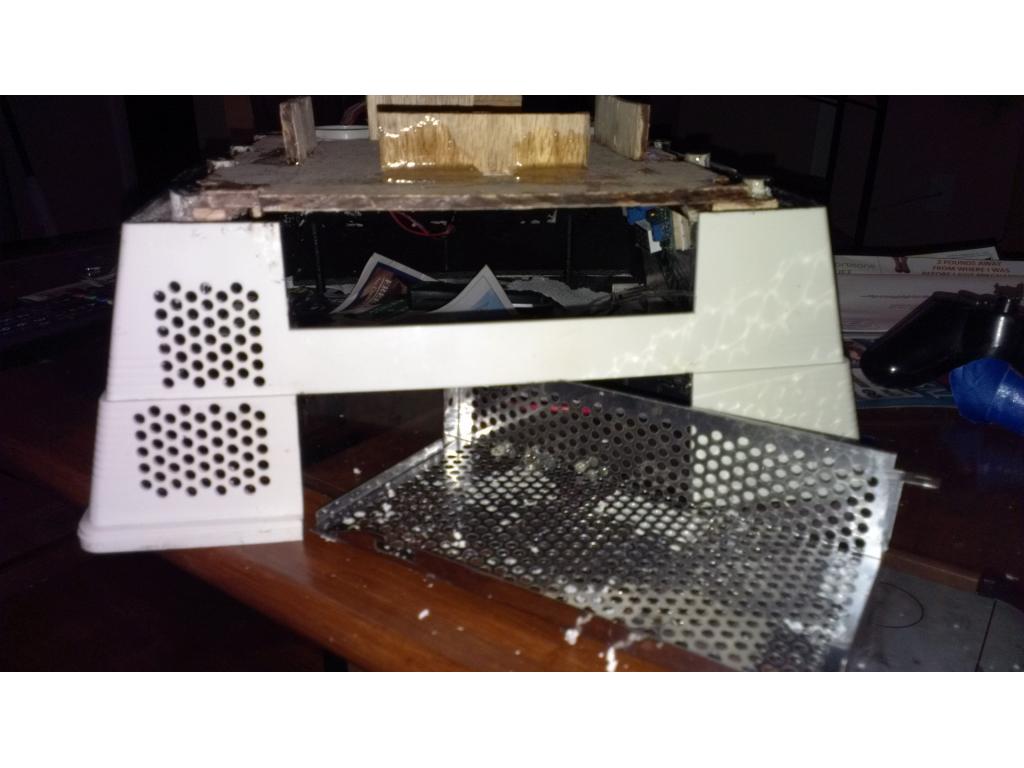
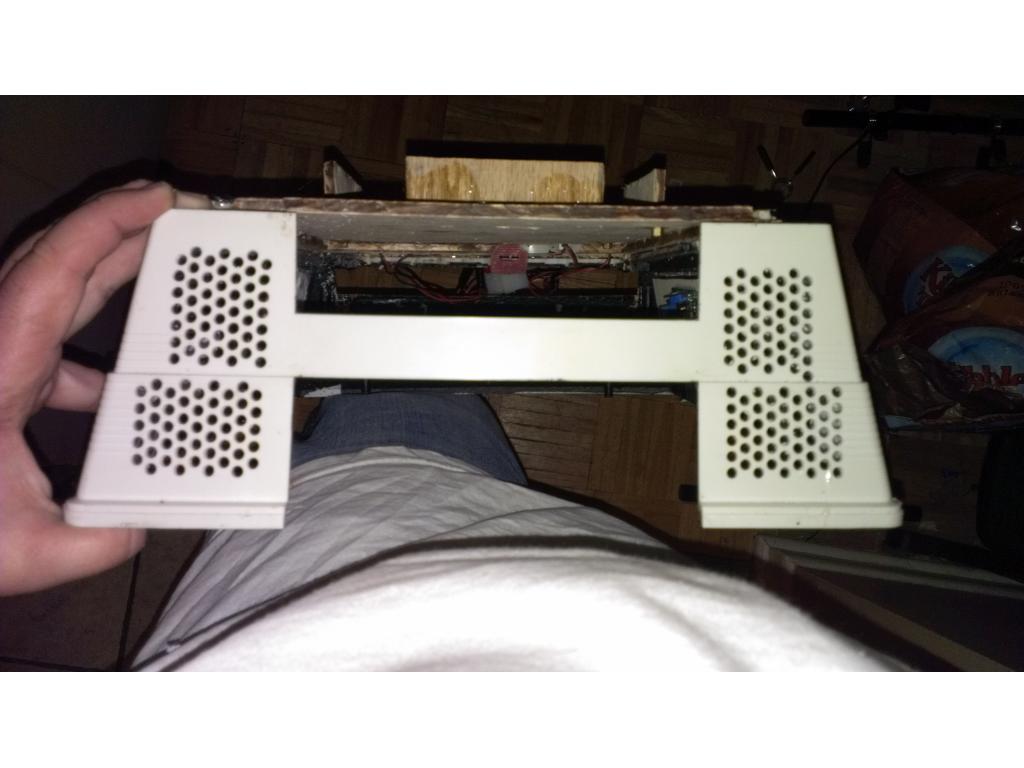
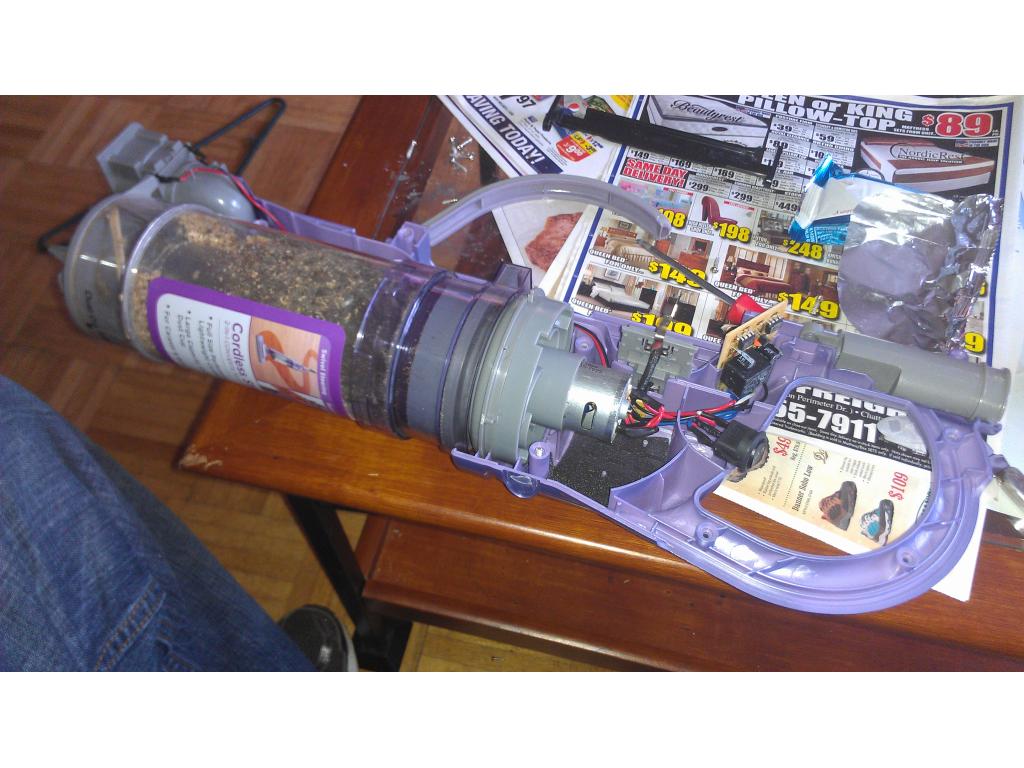
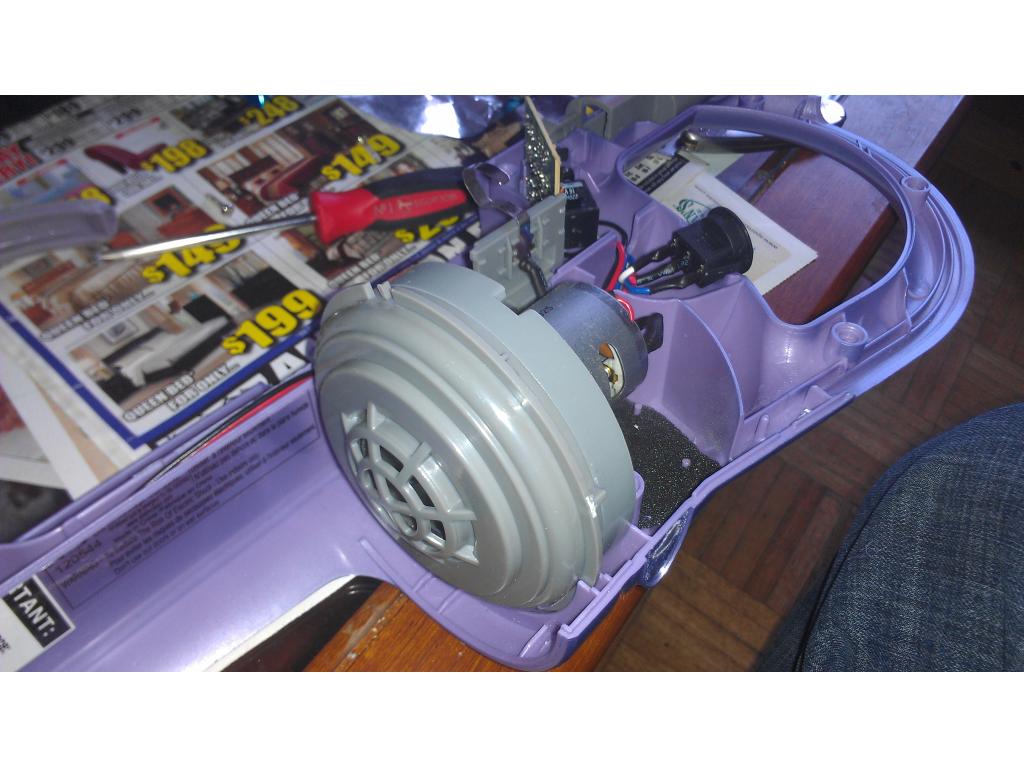
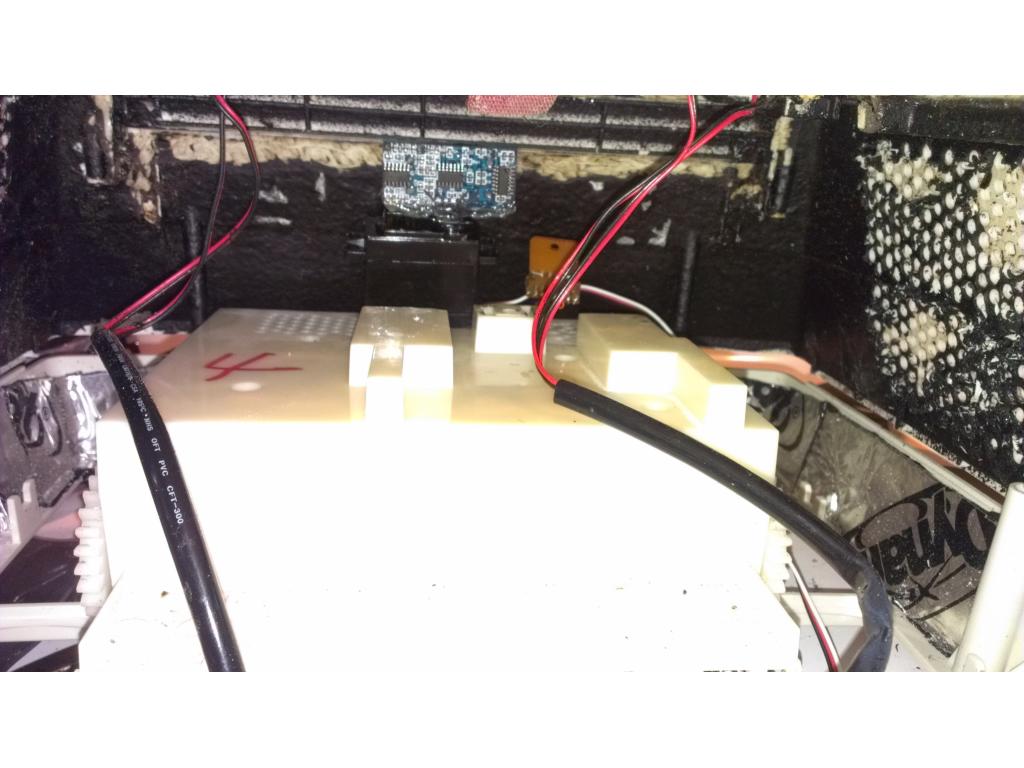
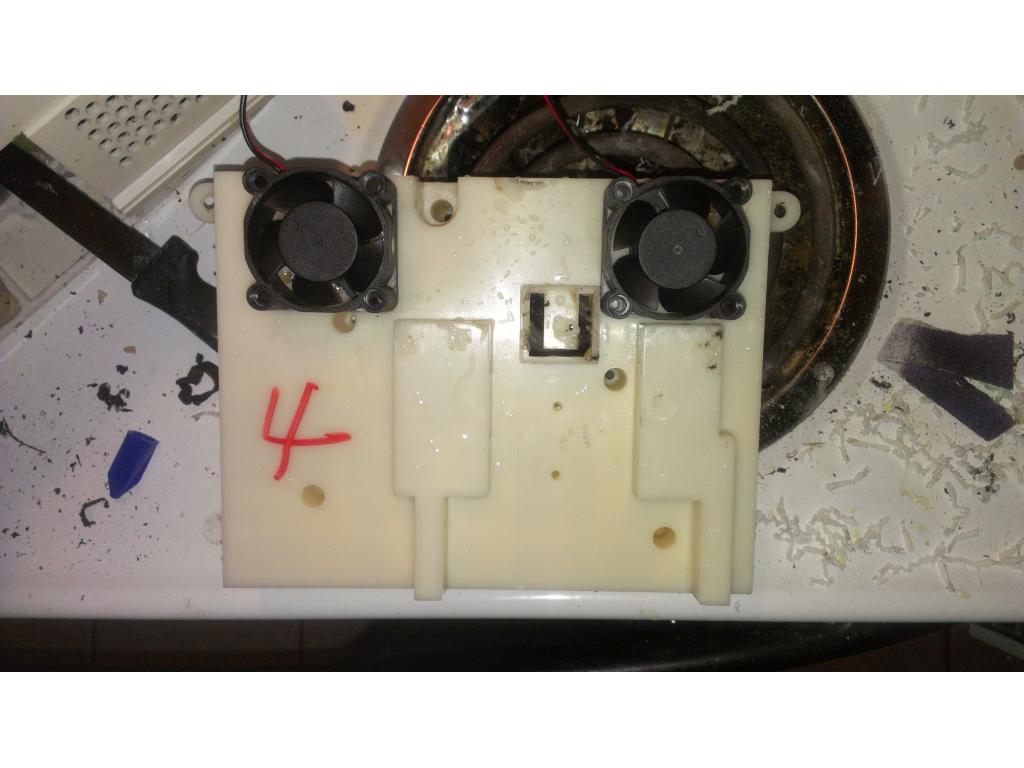
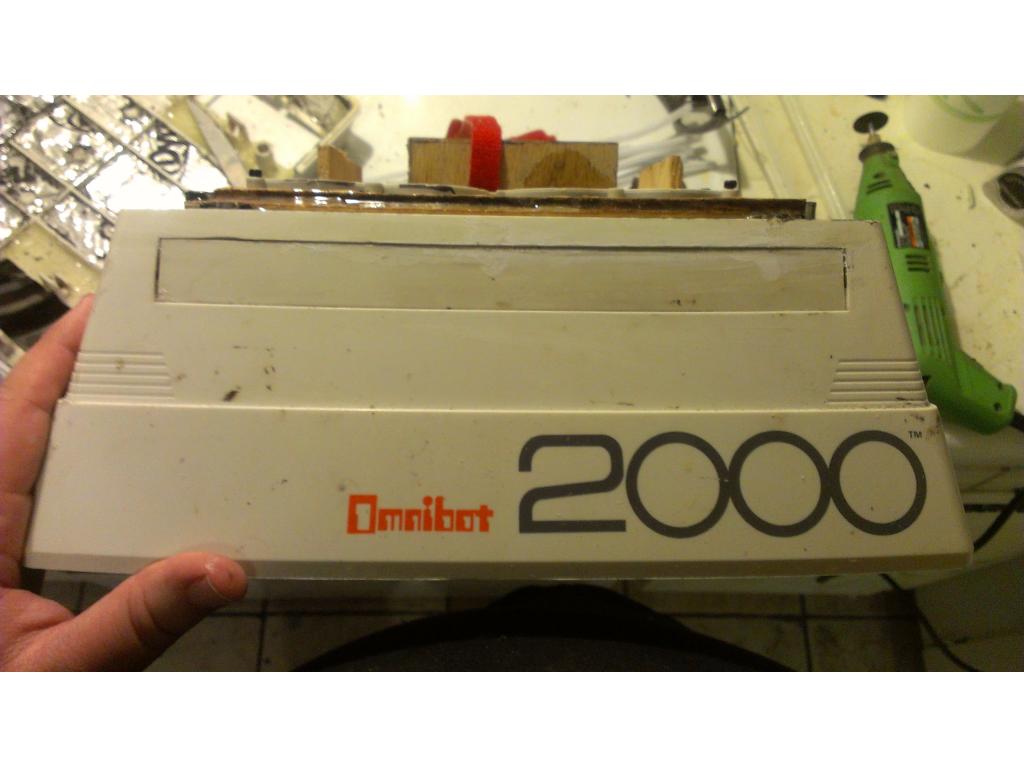
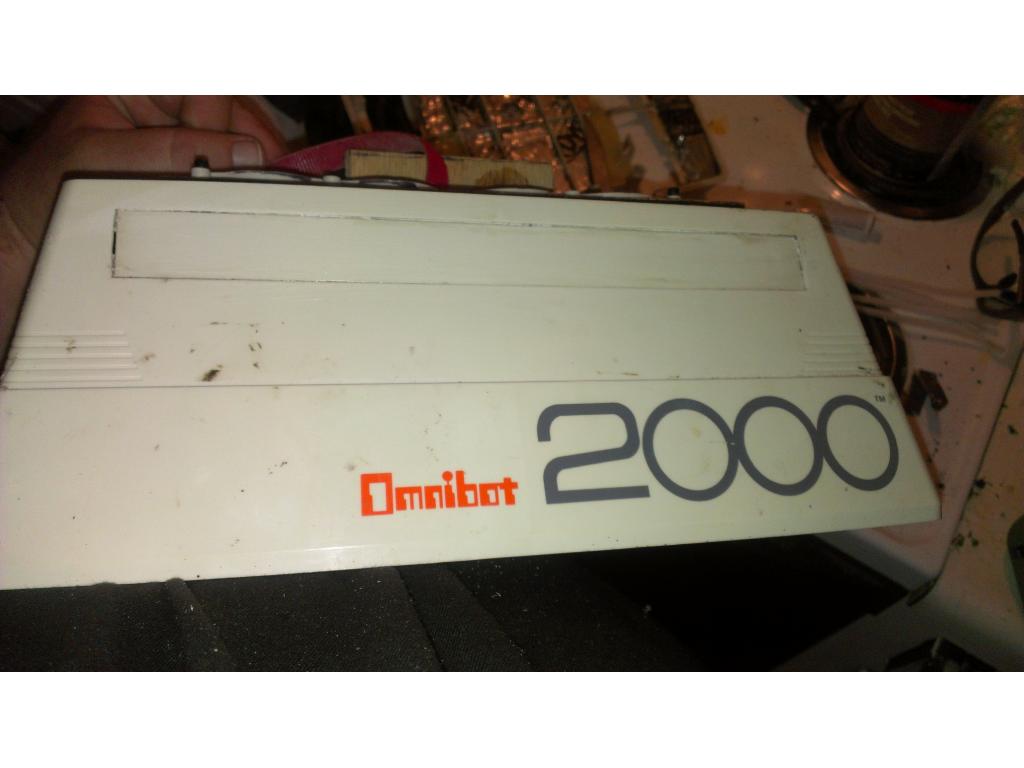
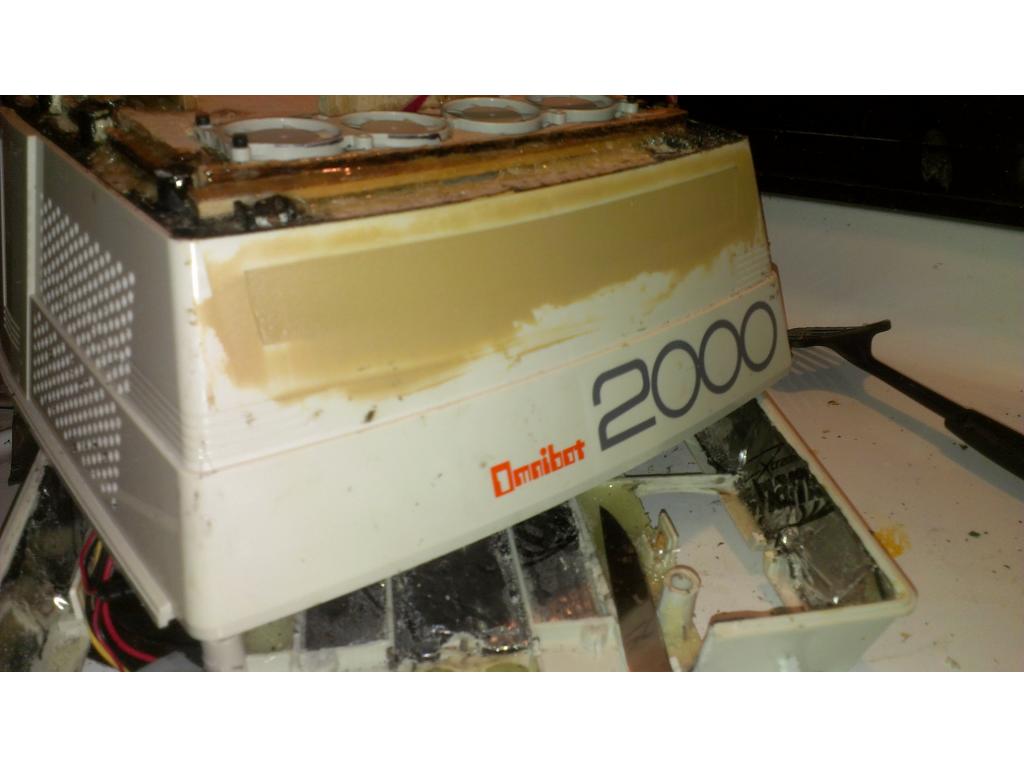
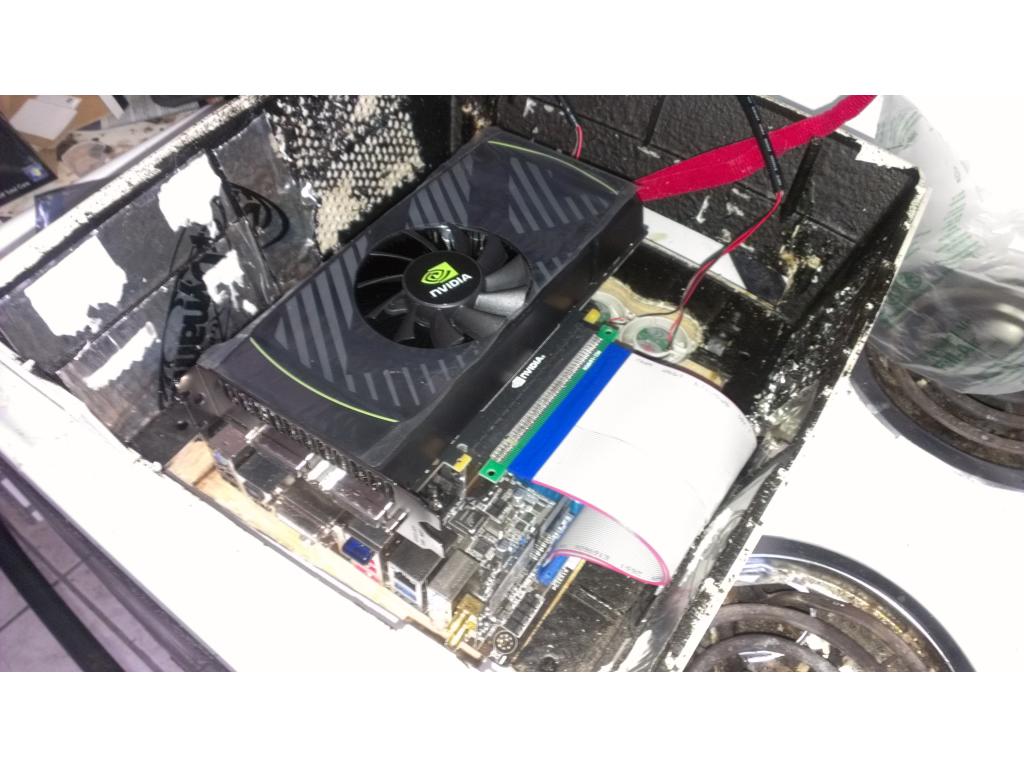
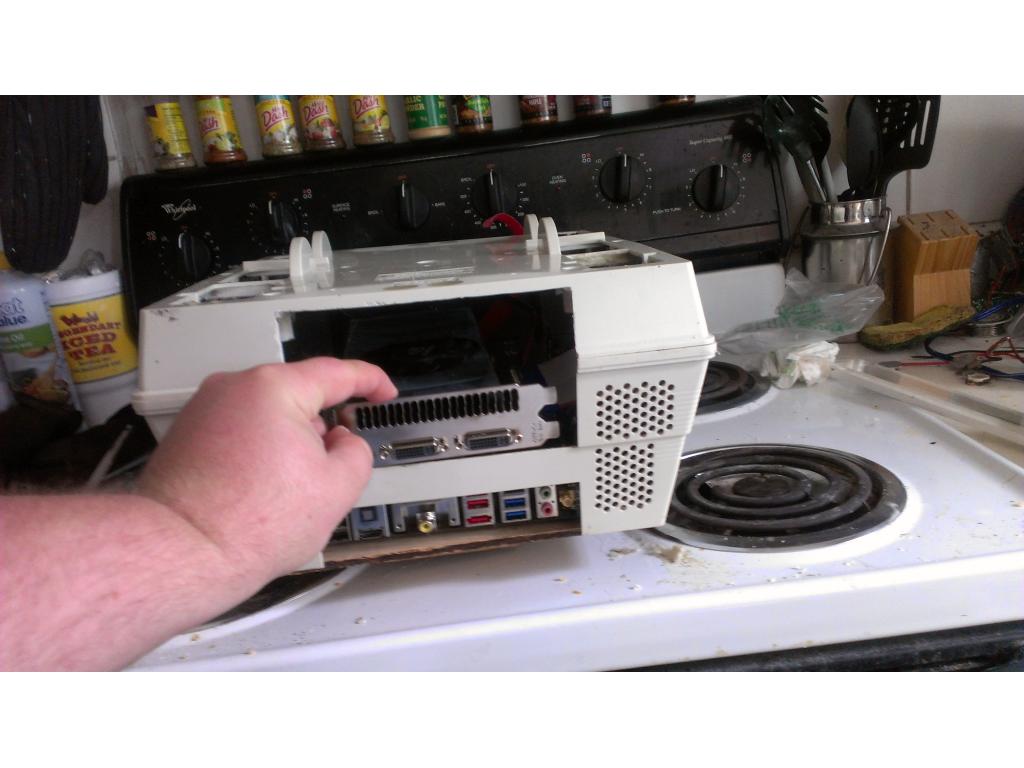
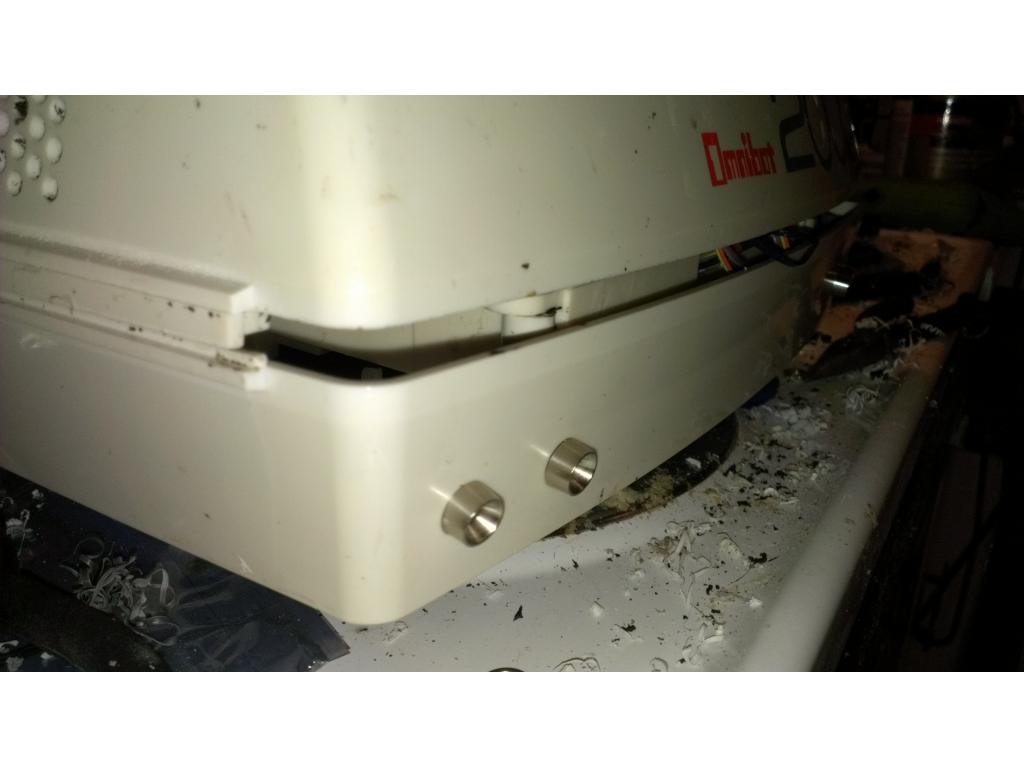
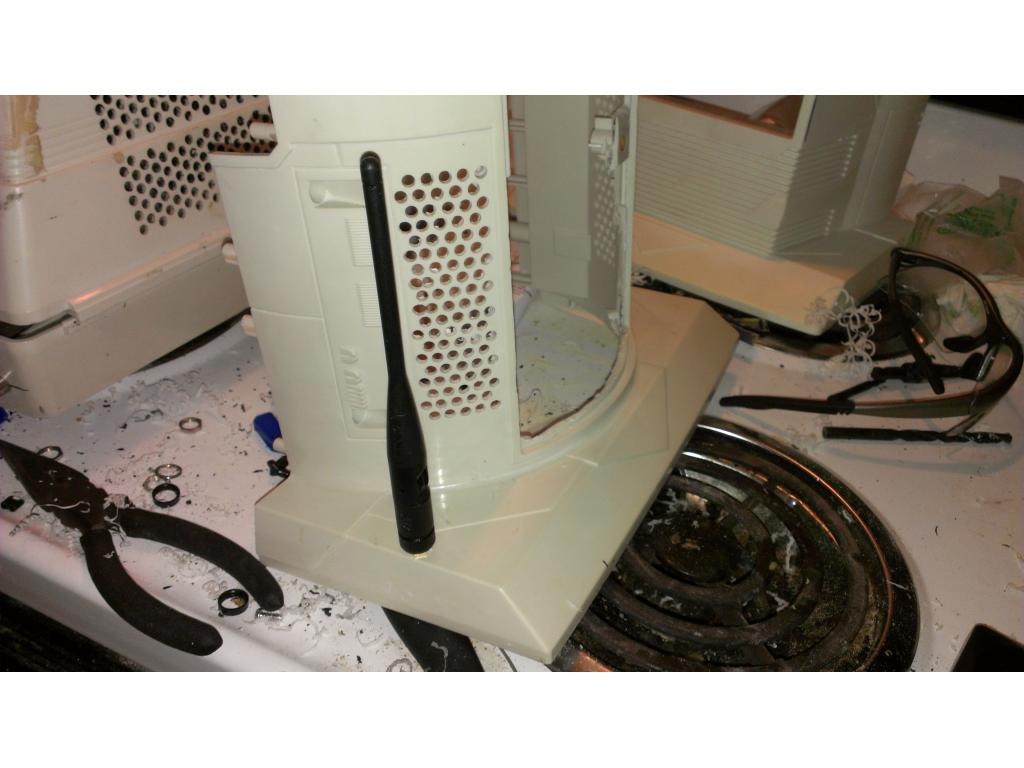
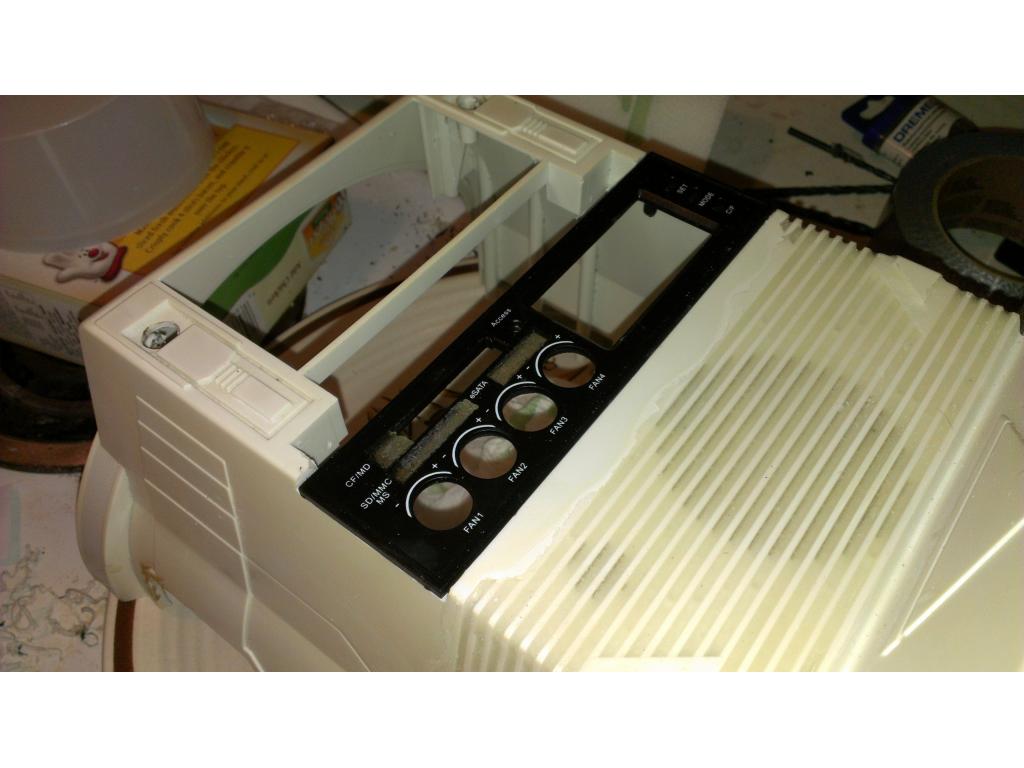
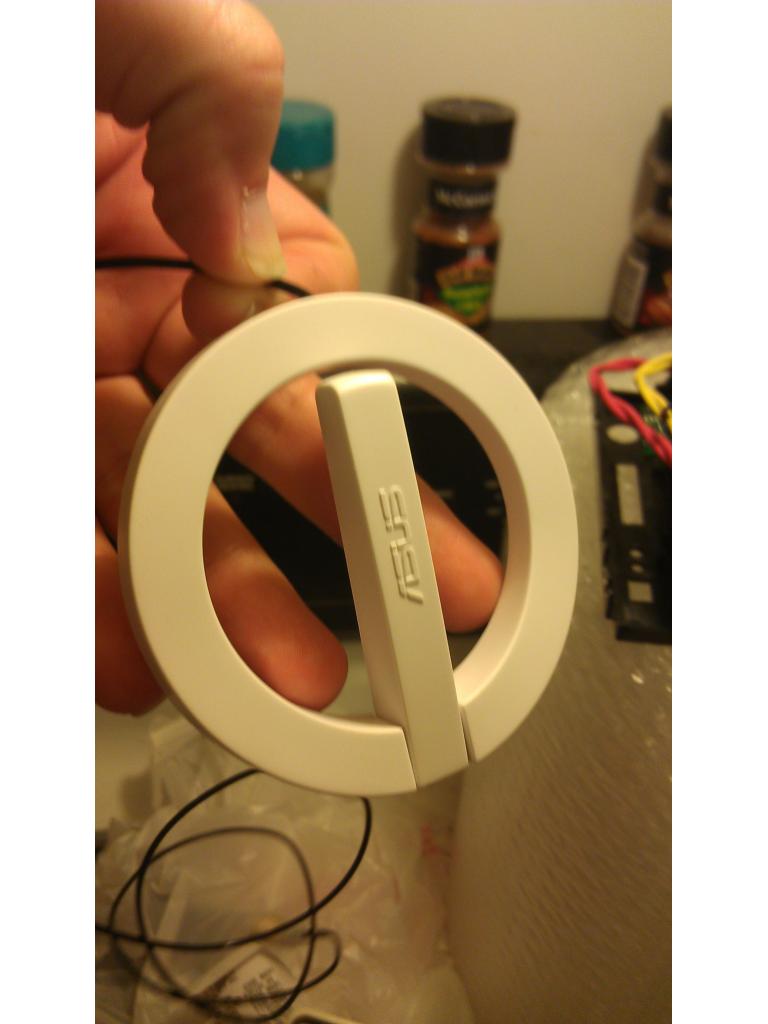
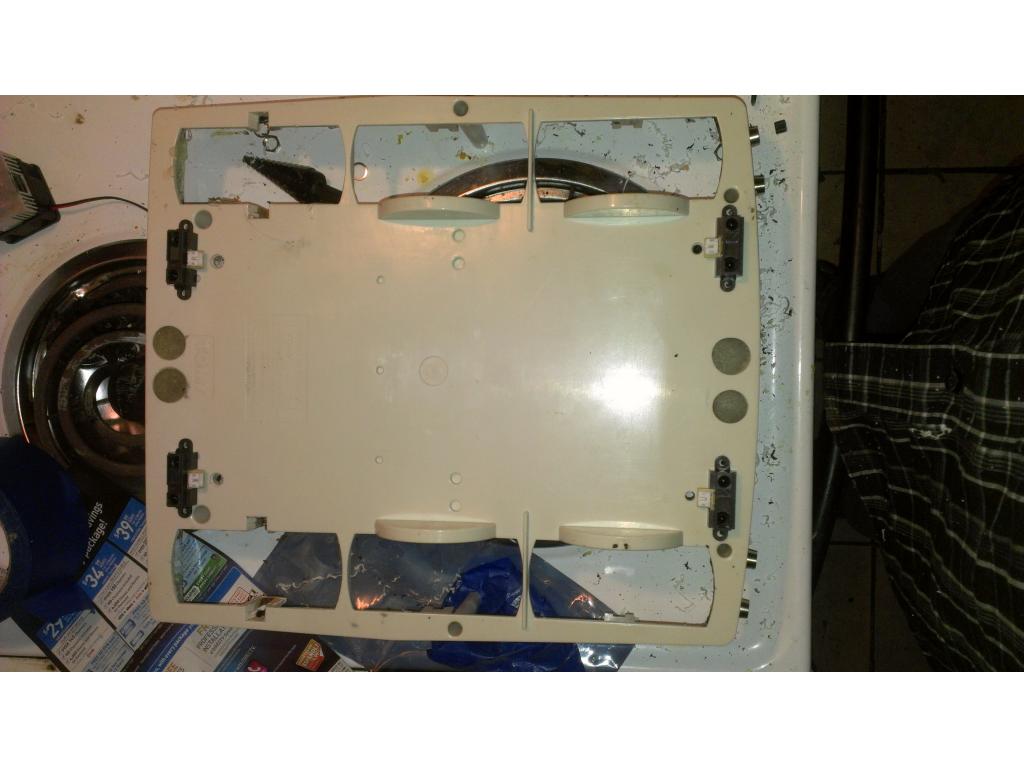
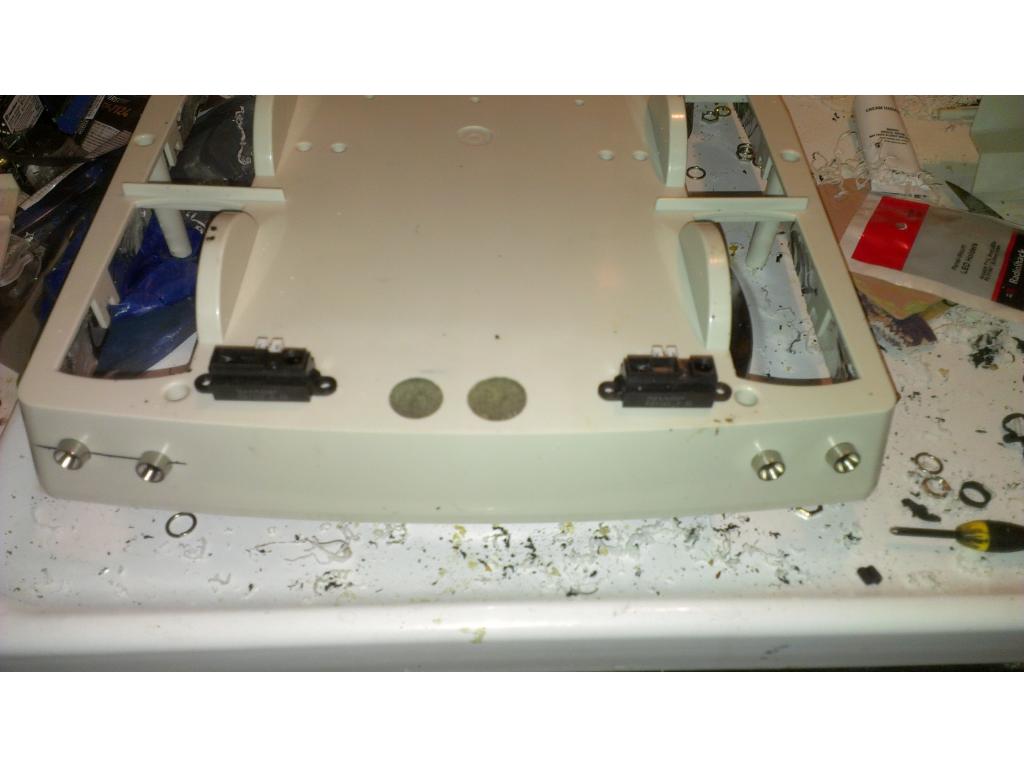
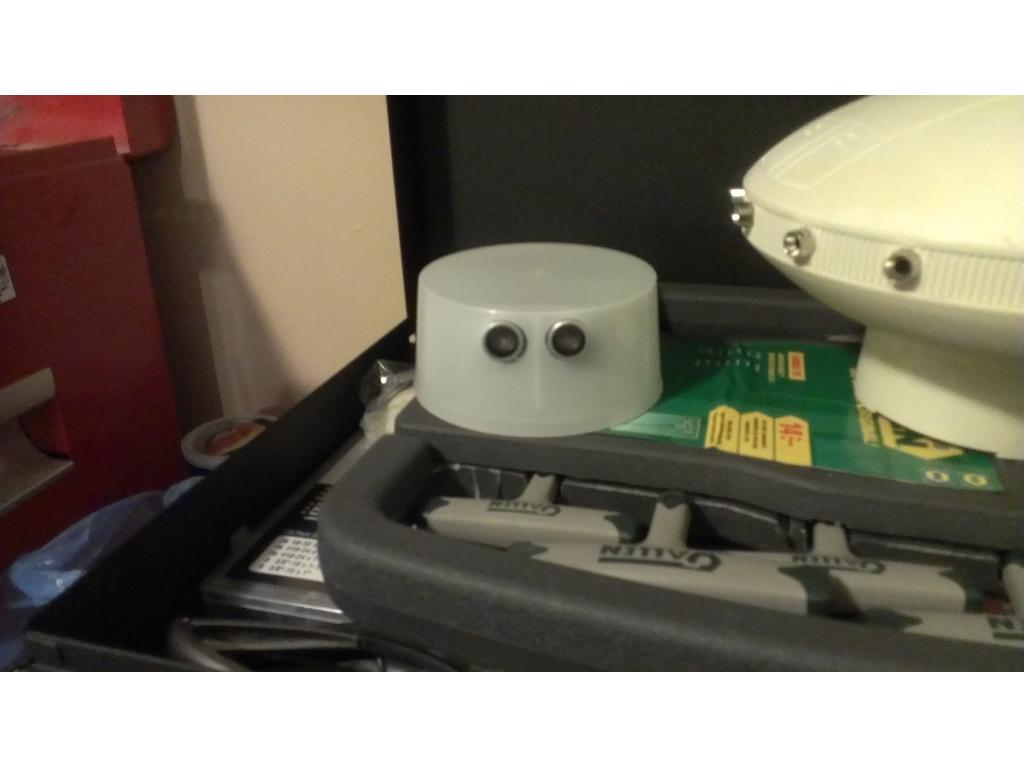
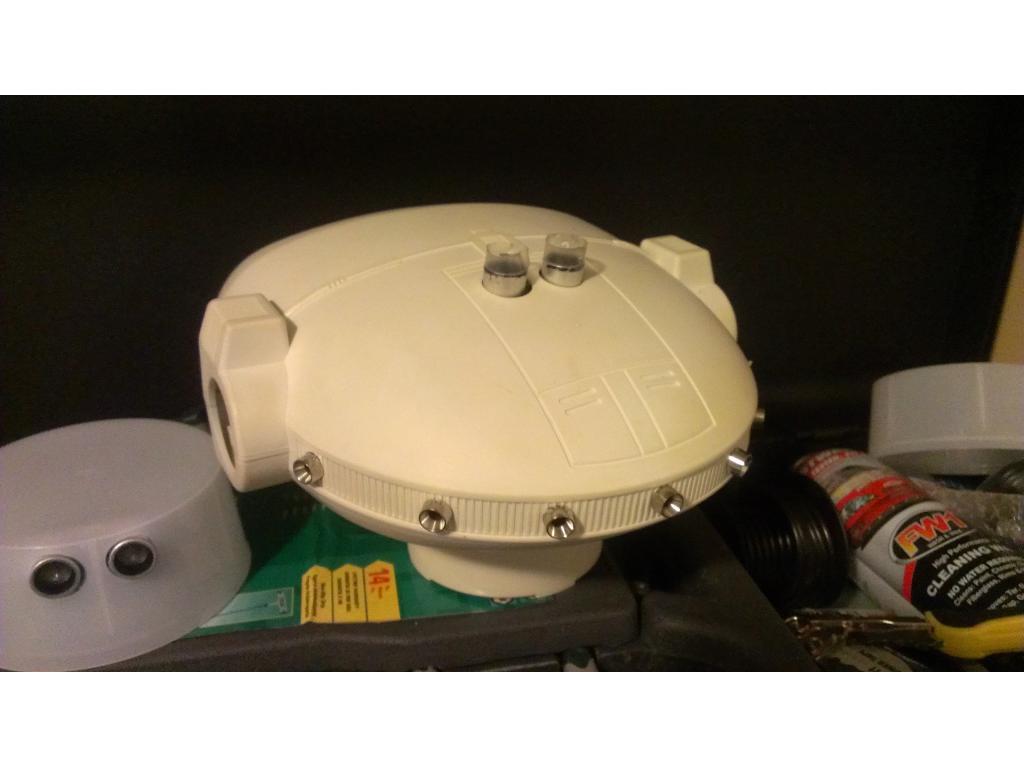
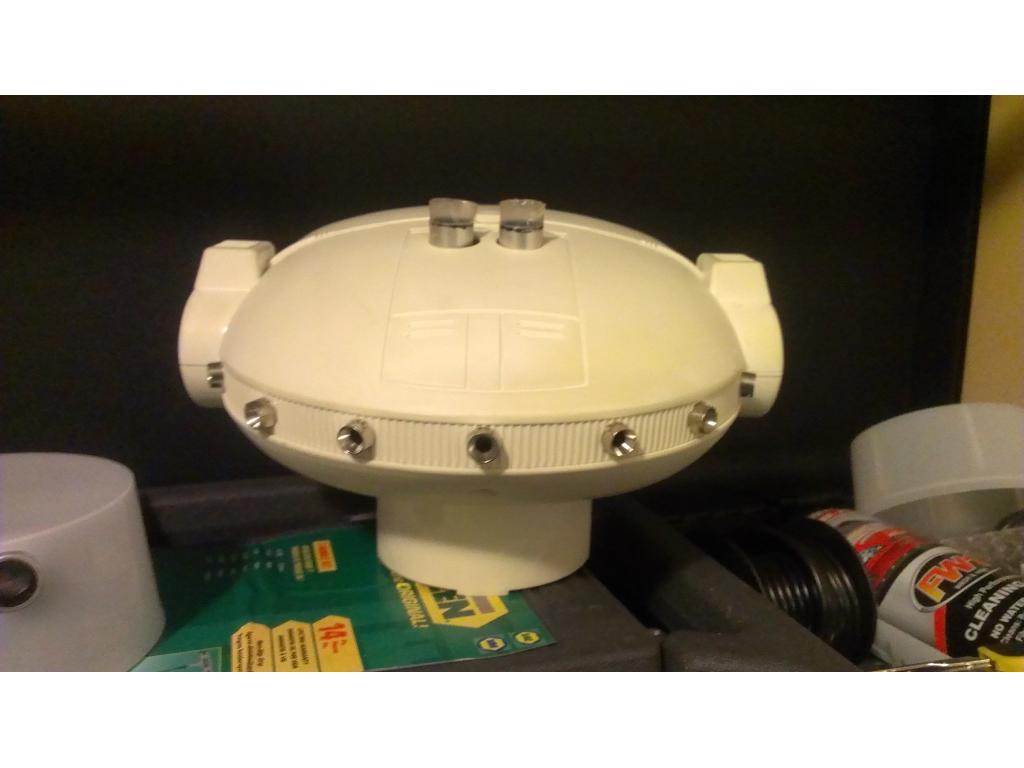
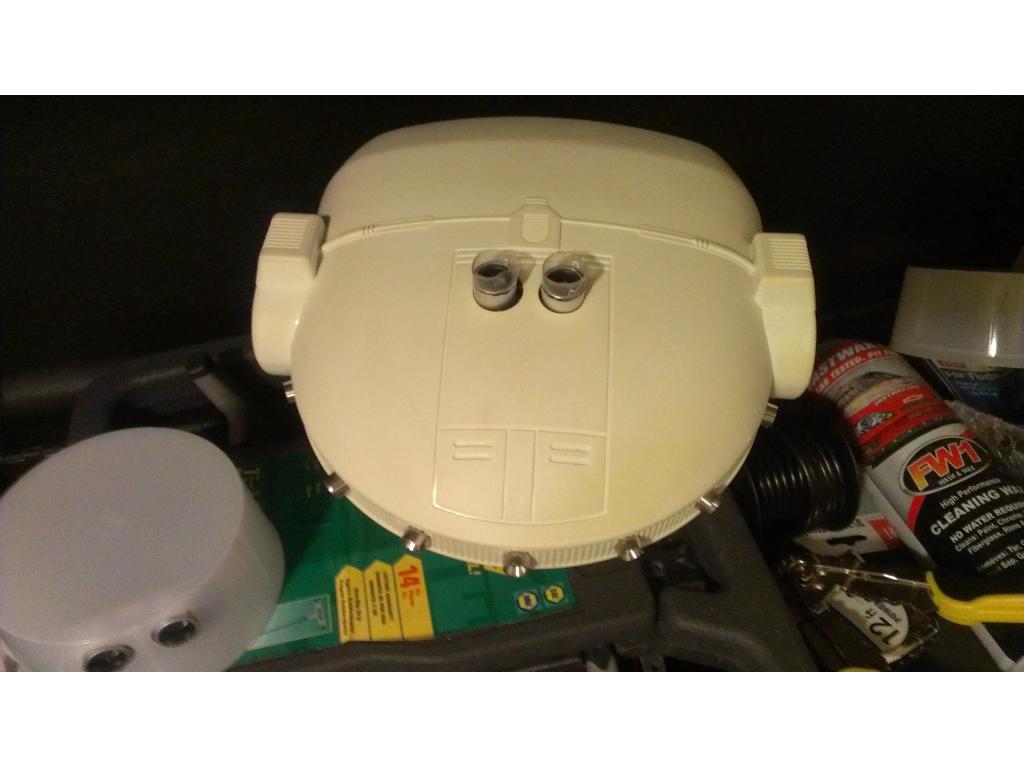
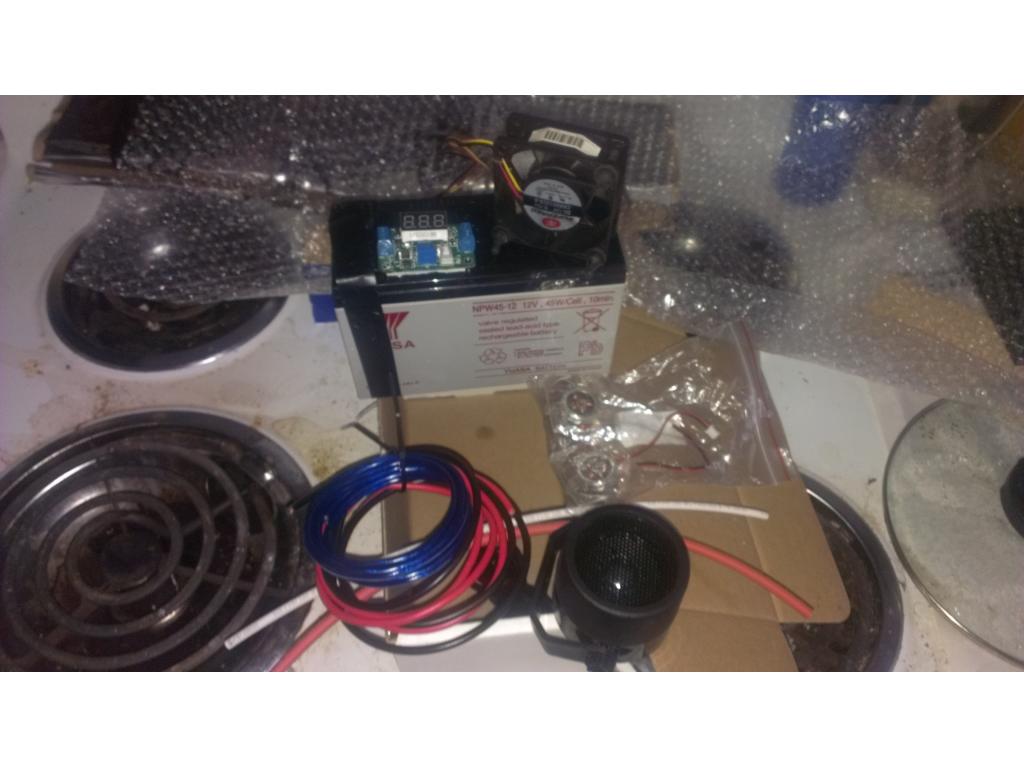
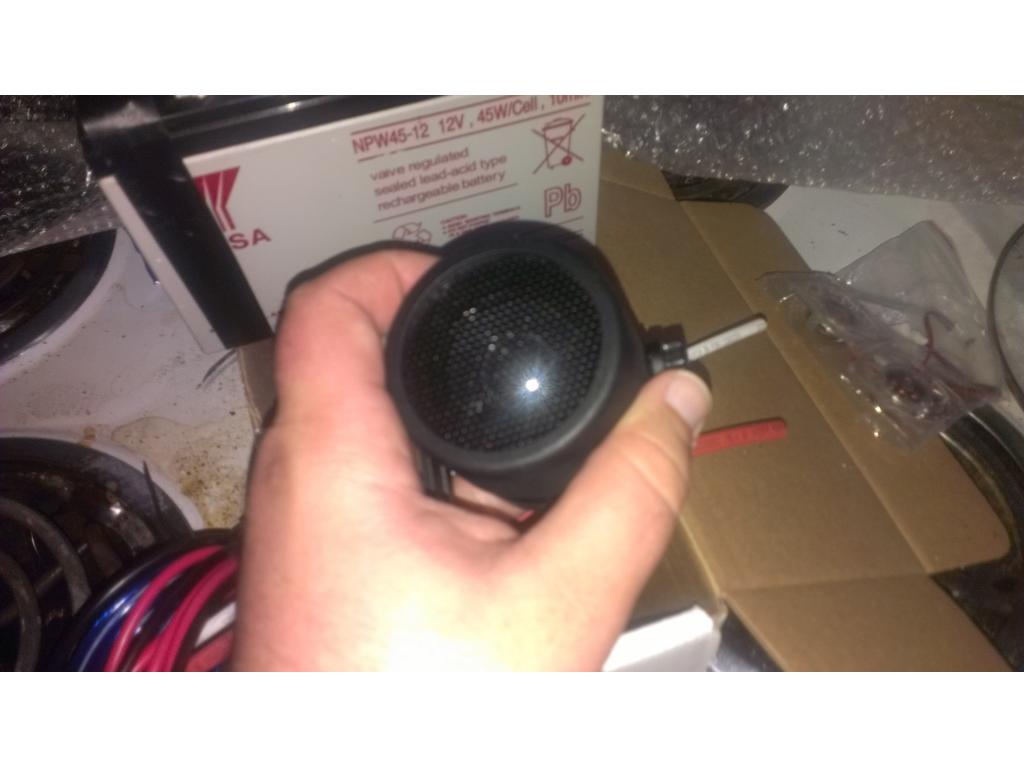
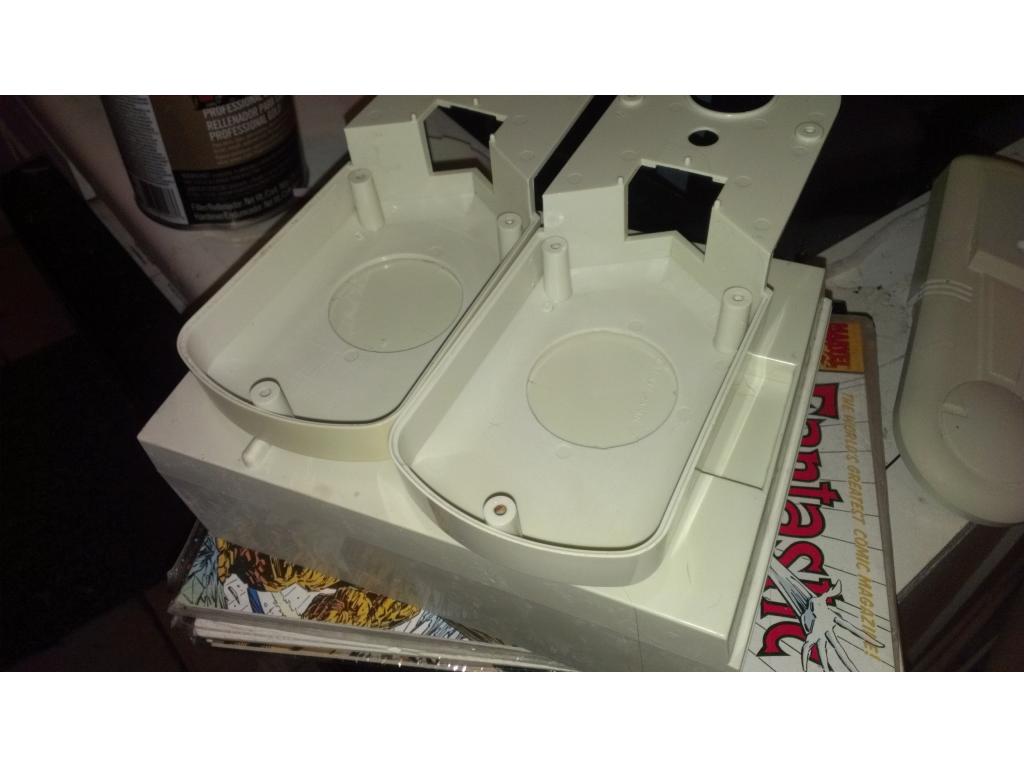
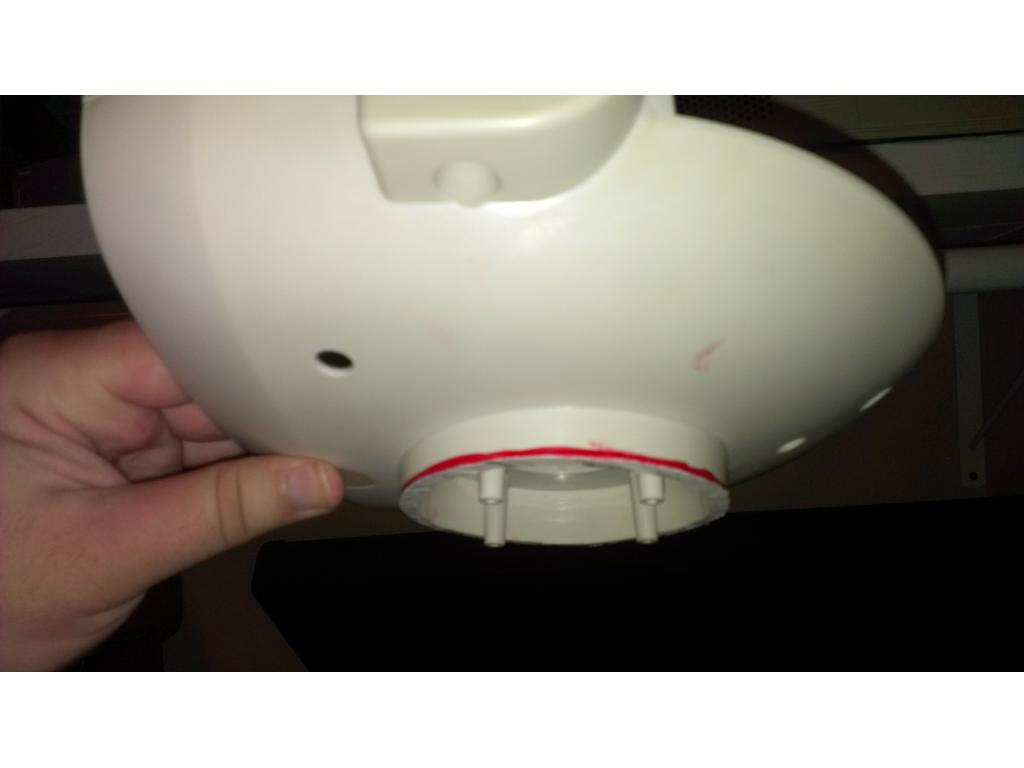
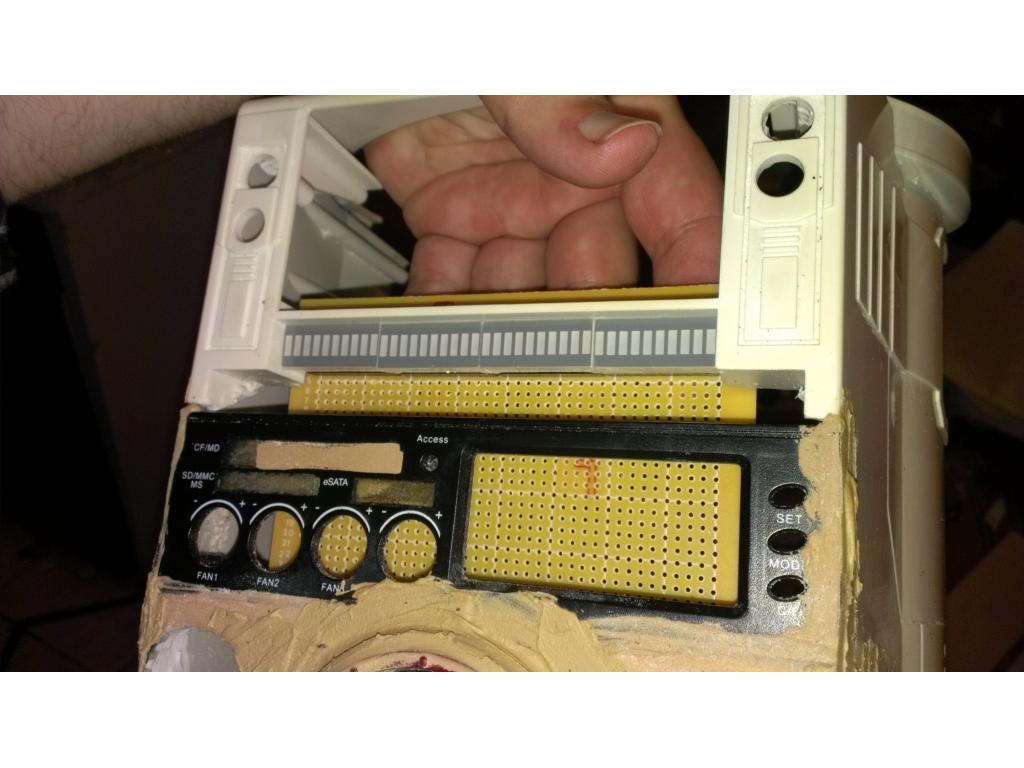
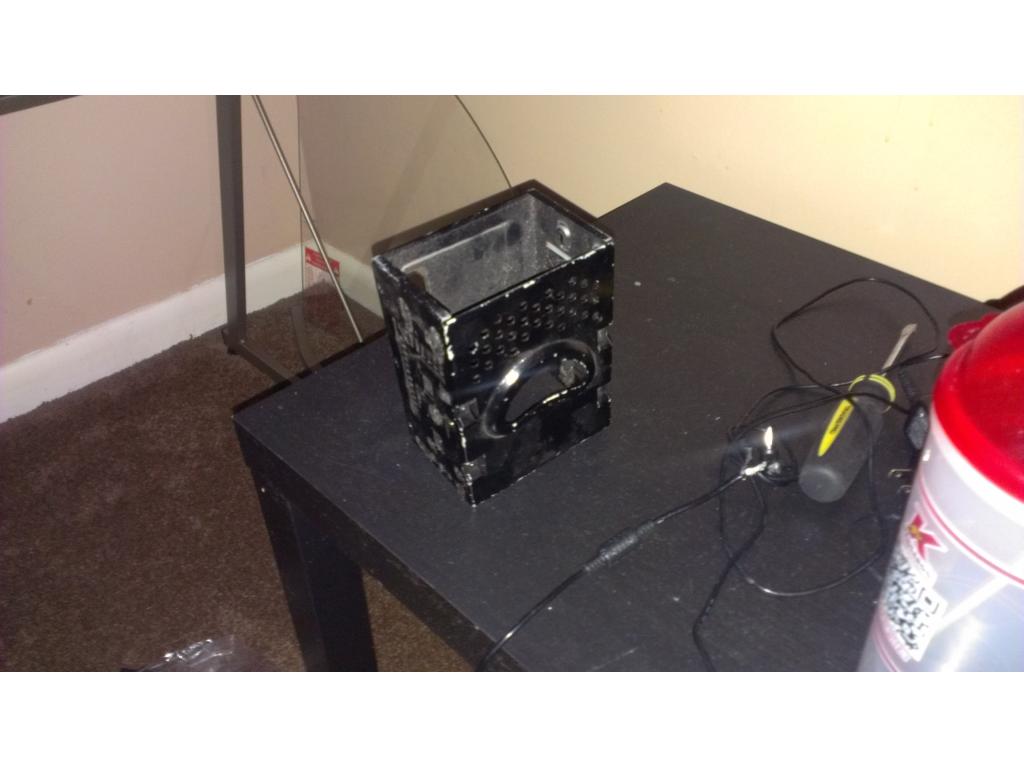
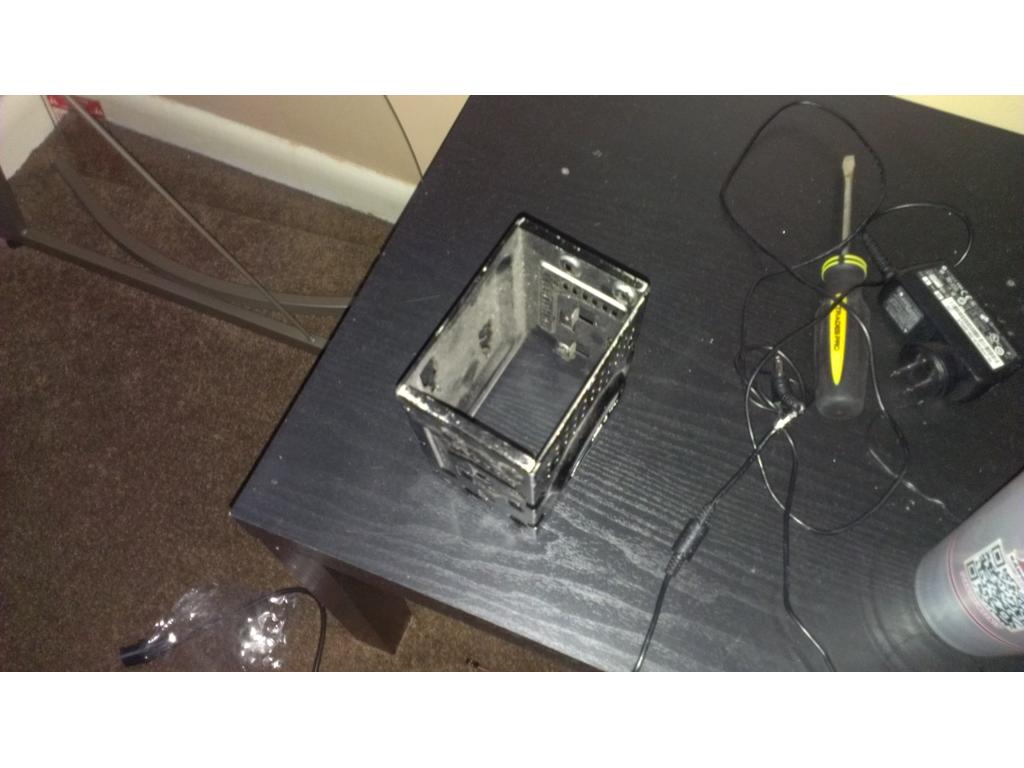
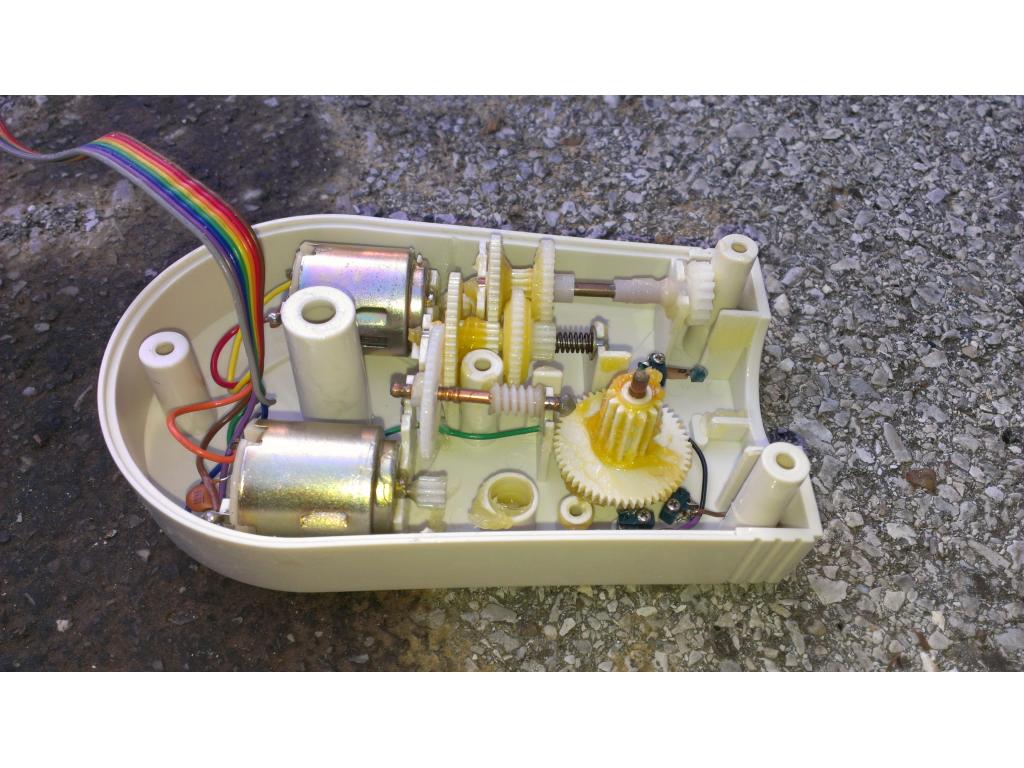
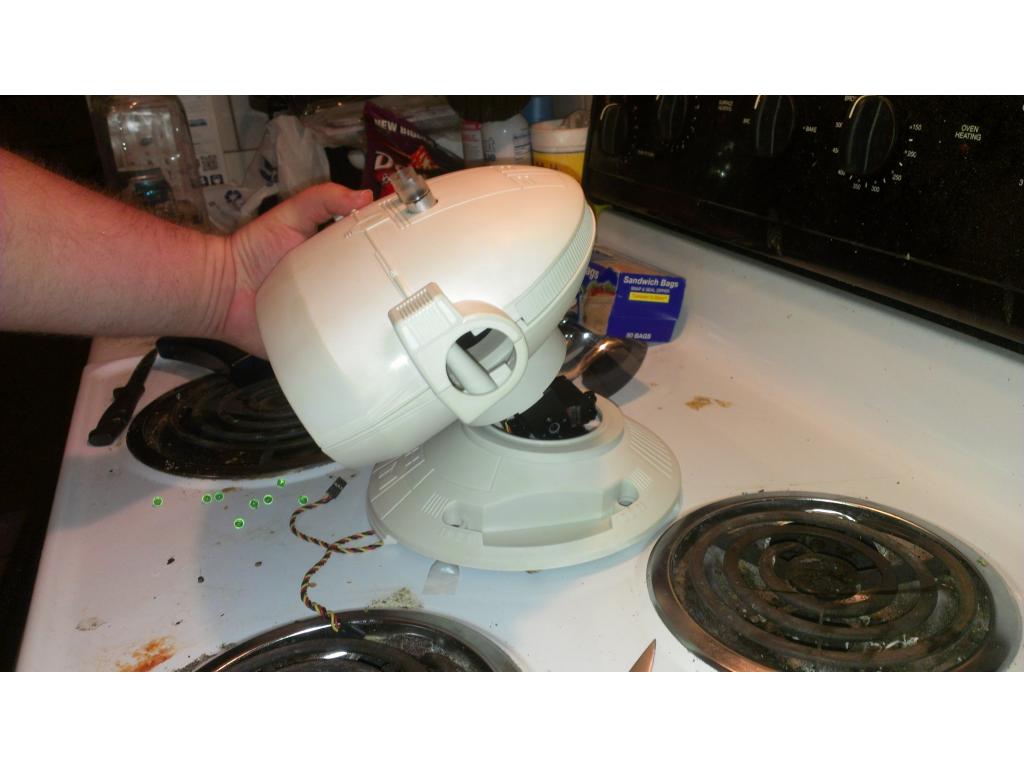
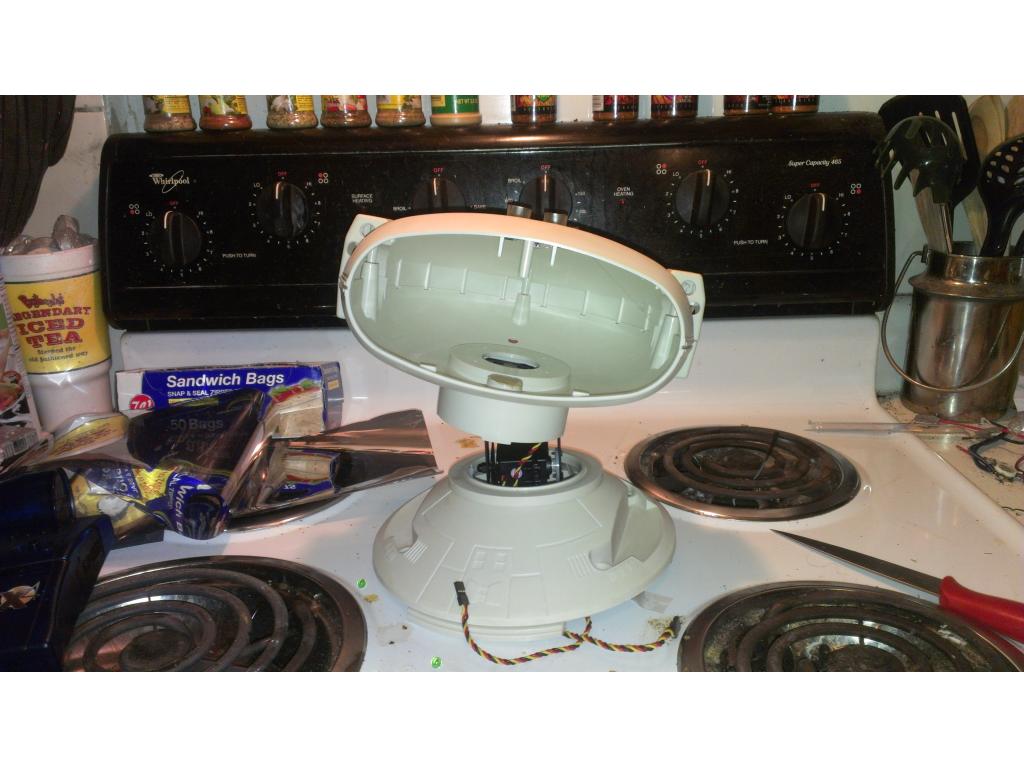
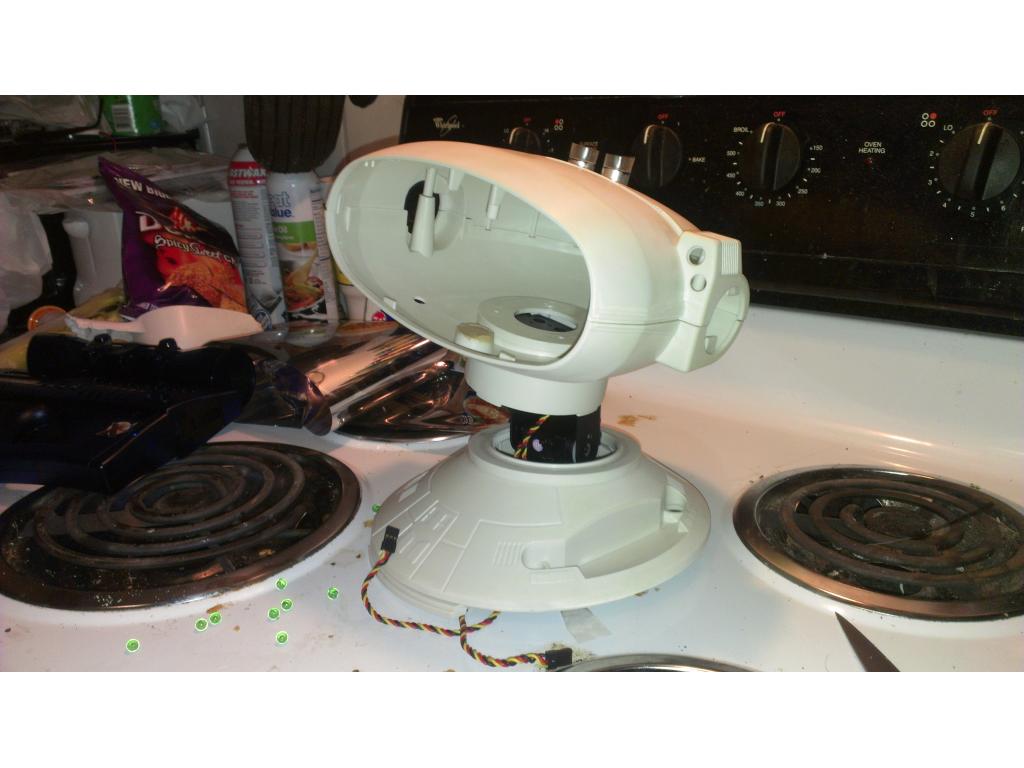
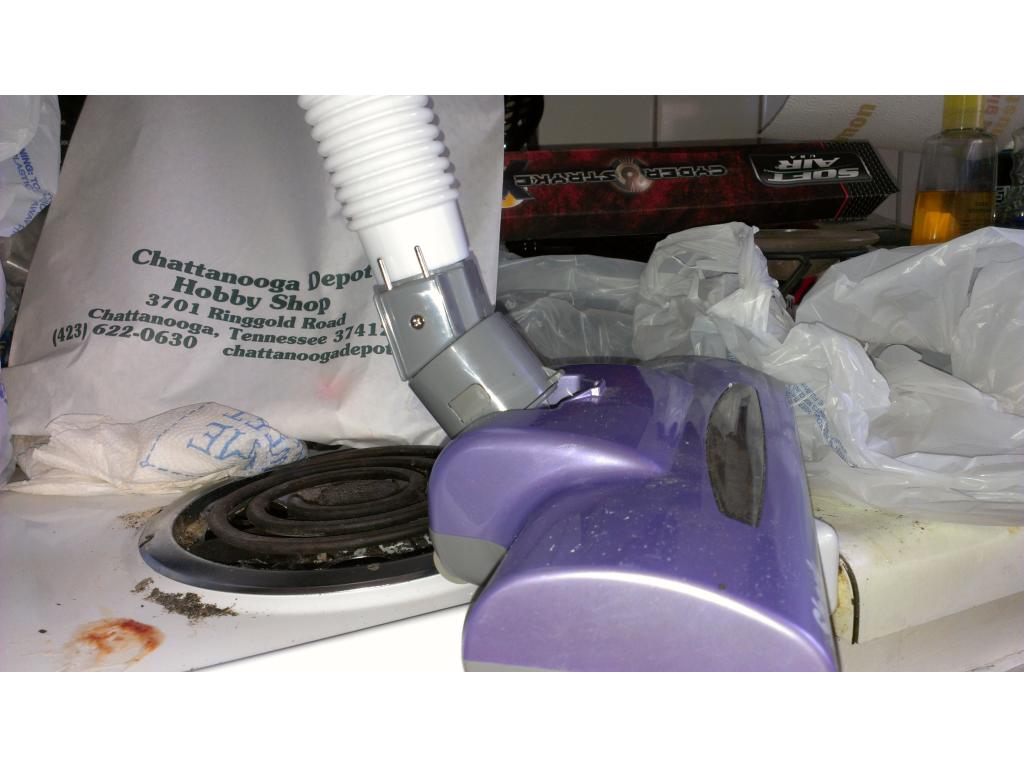
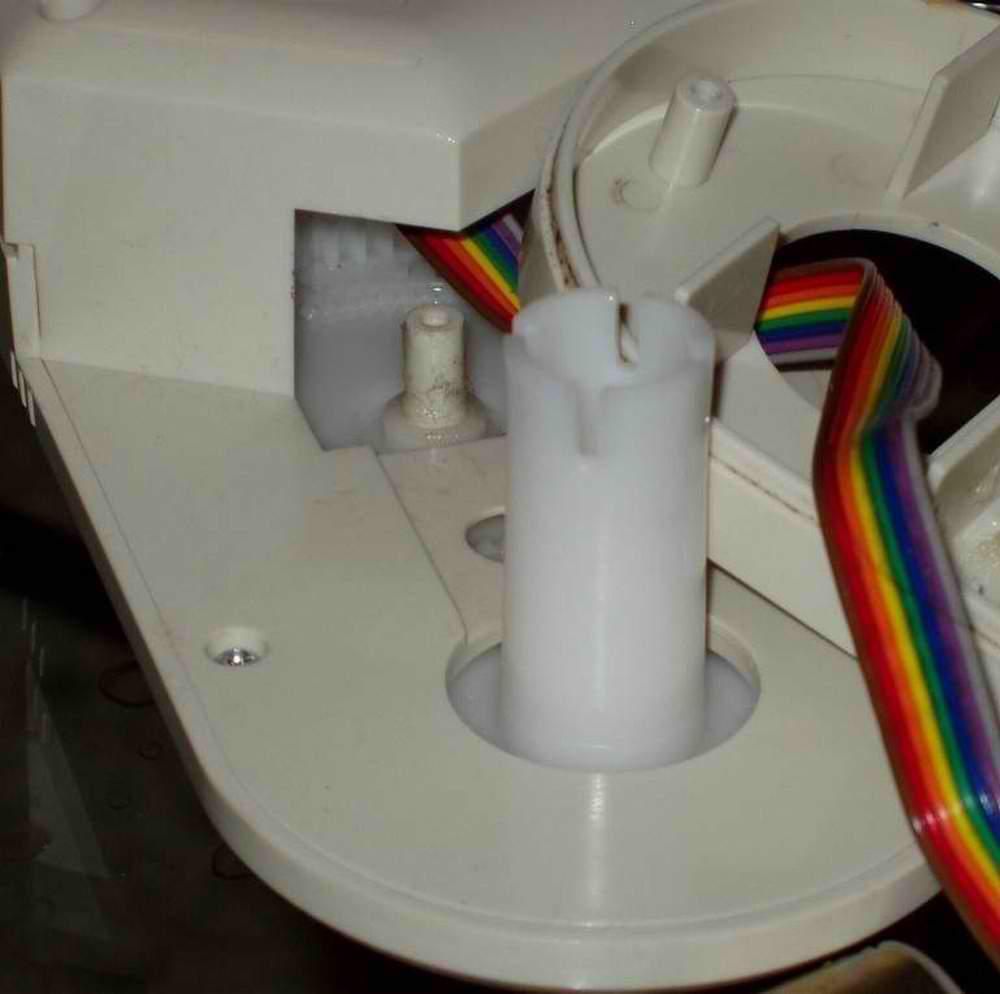
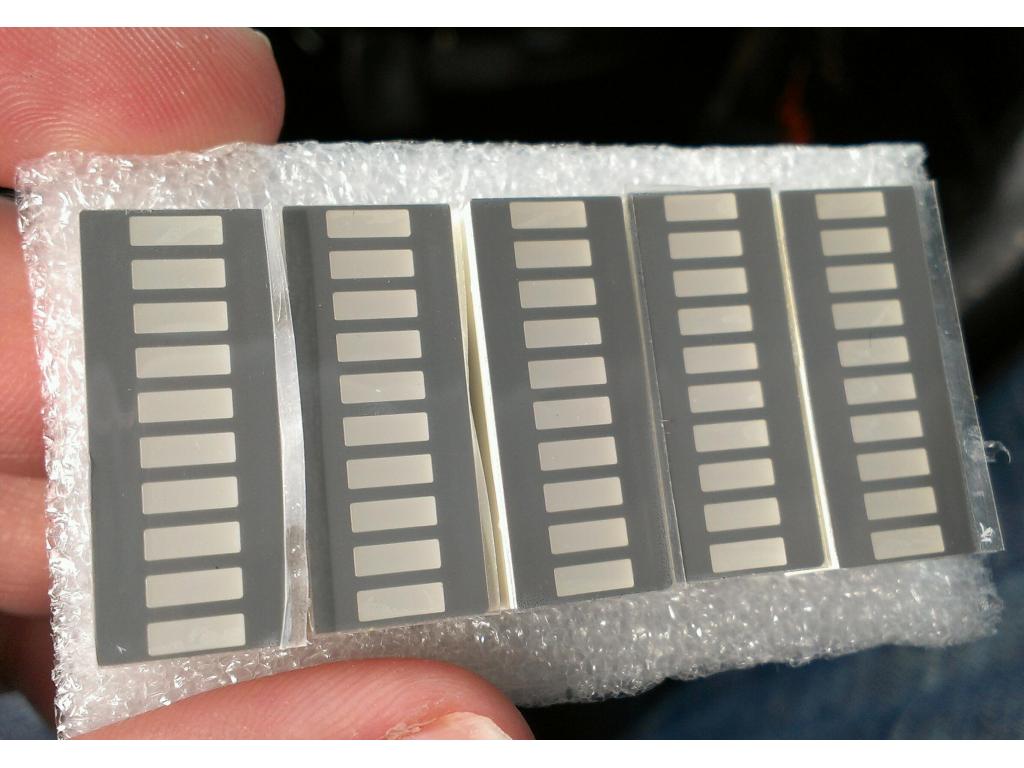
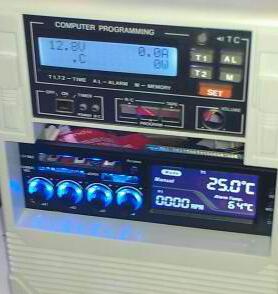
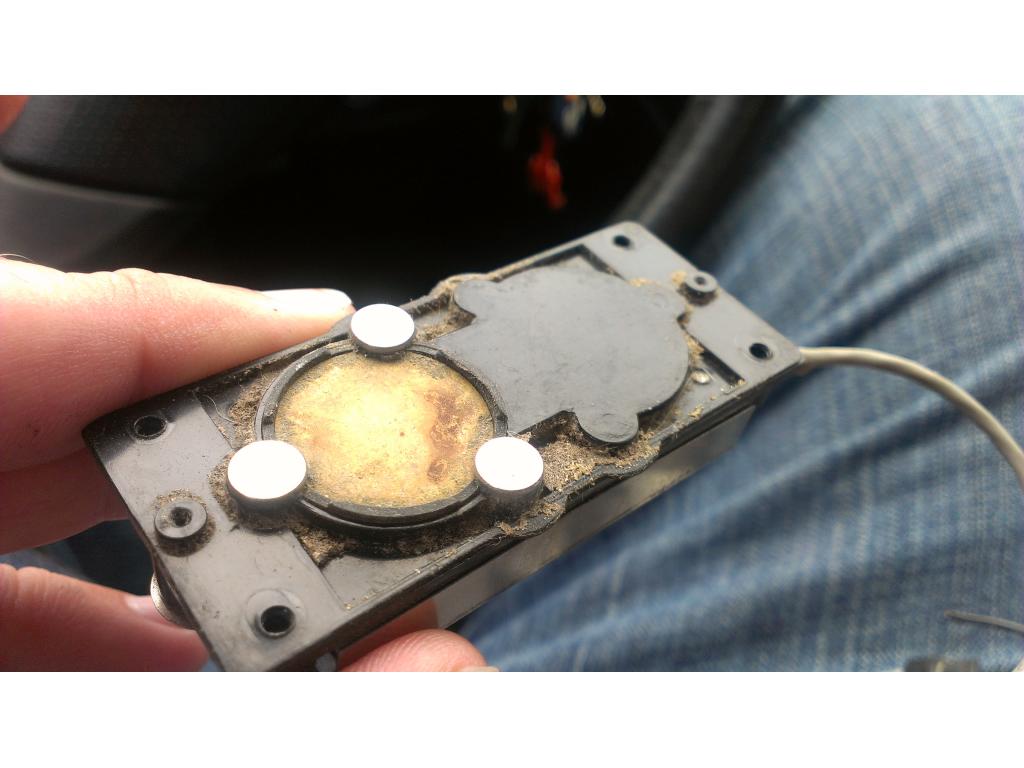
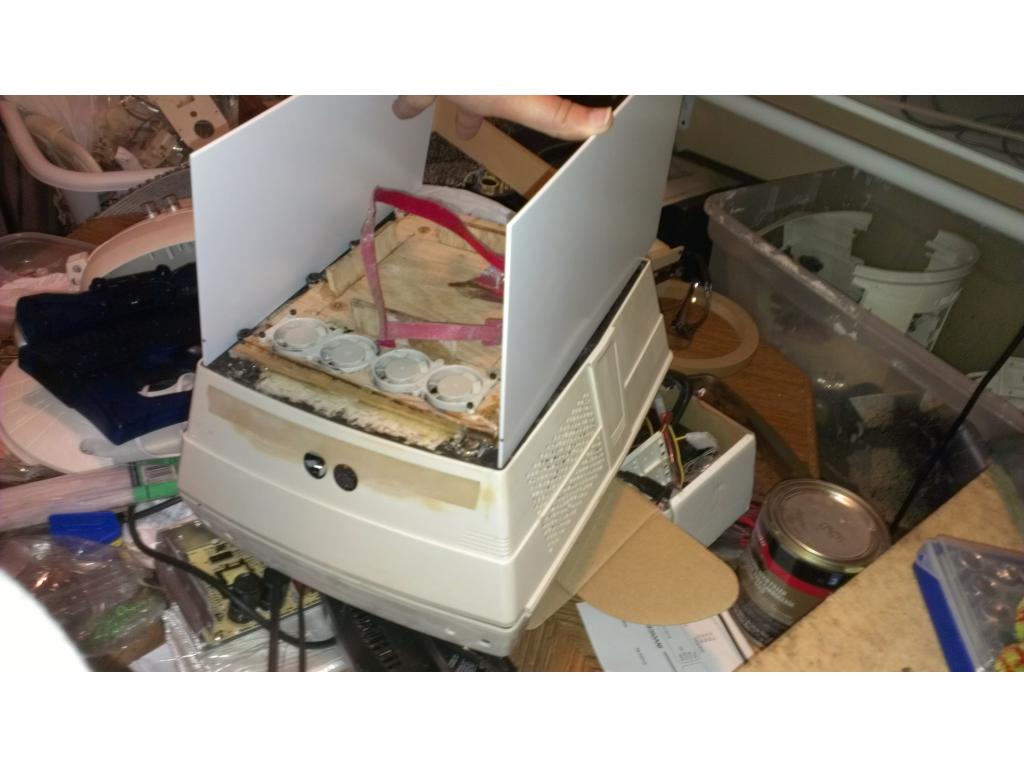
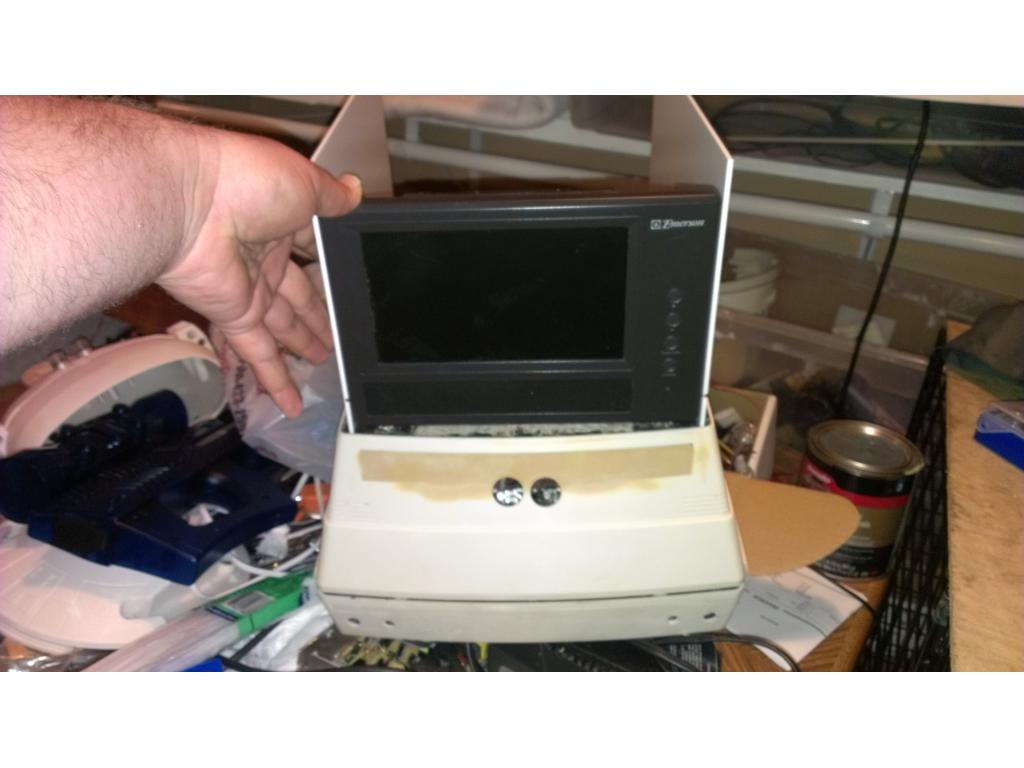
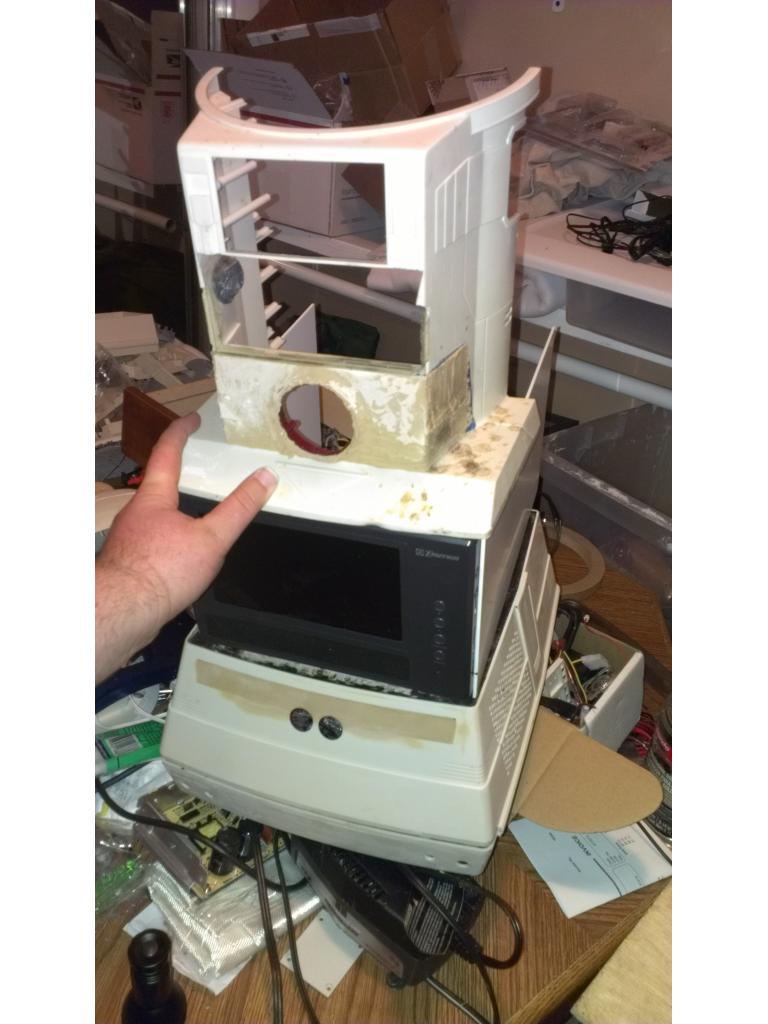
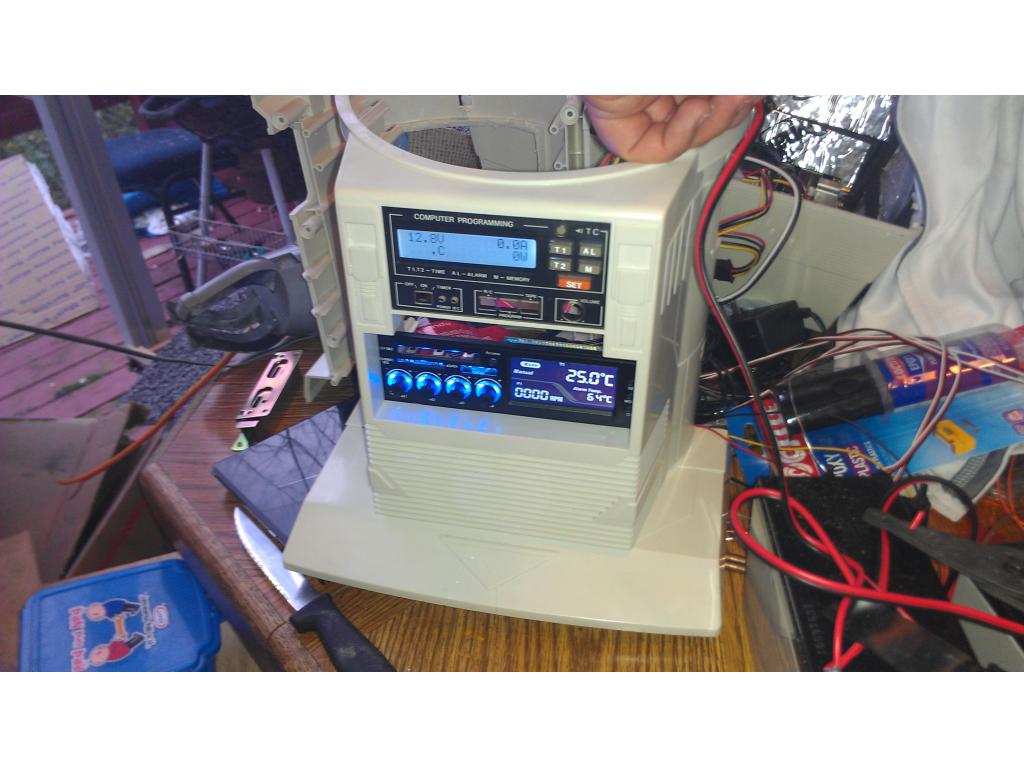
I gotta fit lots of stuff in this bot. I think need 20ah worth of batteries , I'm thinking of doing three 12v power sonic sealed batteries. The motherboard draws 90w max but more like 40w average. It's just a dual core atom 330 with nvidia ion gpu. This motherboard came with a its remote for powering on and off , playing music and DVDs ext. I have a New HP lightscribe DVD RW data for the project and standard size 3.5 in Western digital 250gig Hdd , (the PSU is build in onboard) , I also must install a dc to dc regs power supply. This protects the electronics from spikes or drops in voltage. I have the Asus it eye I need to mount somwhere for the remote. This mobo has WiFi and Bluetooth built-in so connection to keyboard and mouse wirelessly is easy. The mono is 6.5 in square and 2.5 in thick. I def need to open up some vents . I'm thinking 5 inch fans mounted horizontally, one above ez b and another above mobo and a exhaust fan somwhere low. I need to install a switching power supply (battery charger) onboard so that all I need to do is plug up a strong act adapter and it charges at the same time pc is running. I removed the bottom counterweight and cassette player/LCD from the chest since that's not useful.
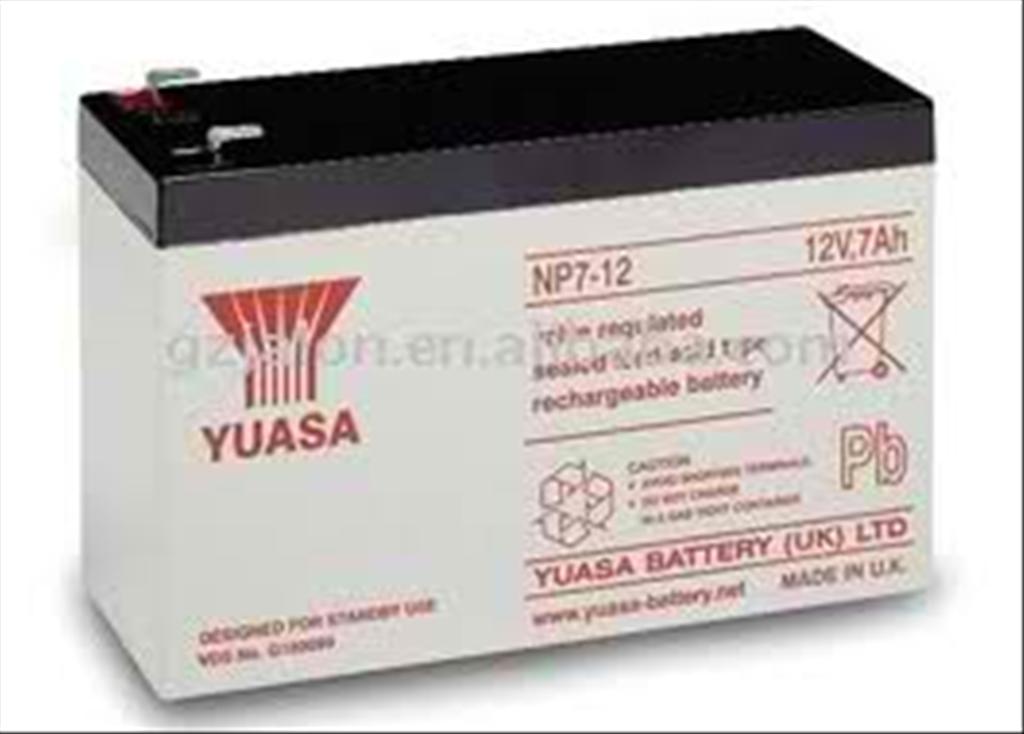
This is the batt I'm thinking off