


cE9s4PsOgeBQIORwjd5!~~60_1-634818020230156250.jpg)


BO)Lupuc4g~~60_35-634706297915000000.jpg)
LupbT6!~~60_35-634706298769375000.jpg)


C5j!~~60_35-634655044863125000.jpg)


C5j!~~60_35-634659603510781250.jpg)


C5j!~~60_35-634651704046230469.jpg)
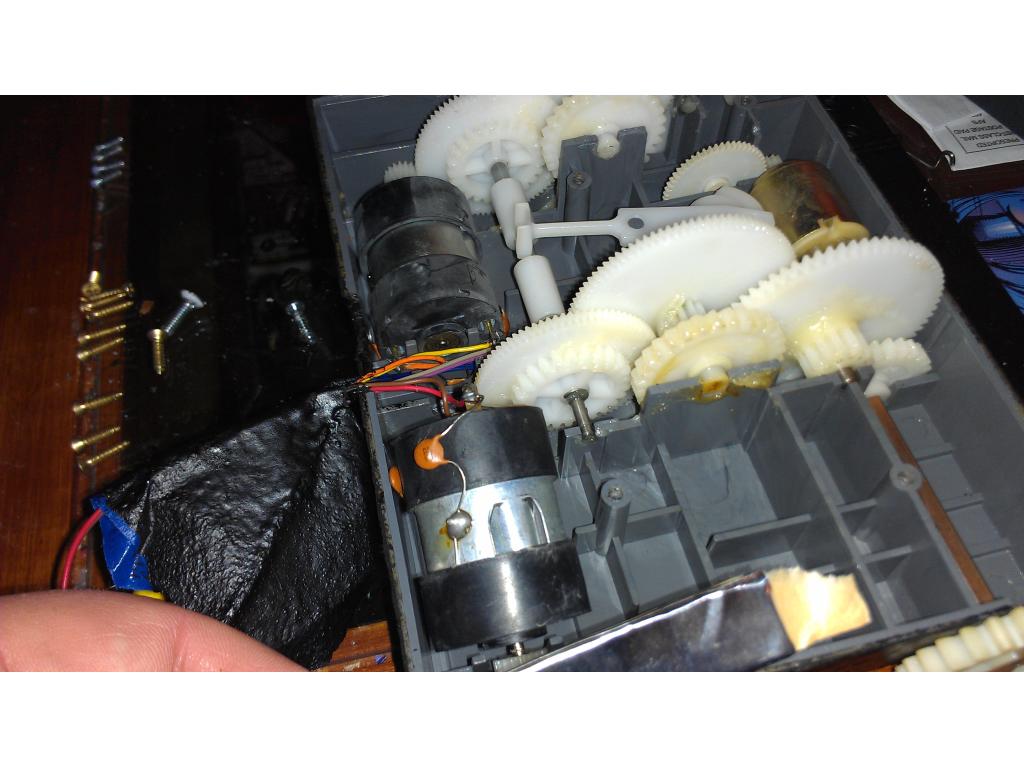


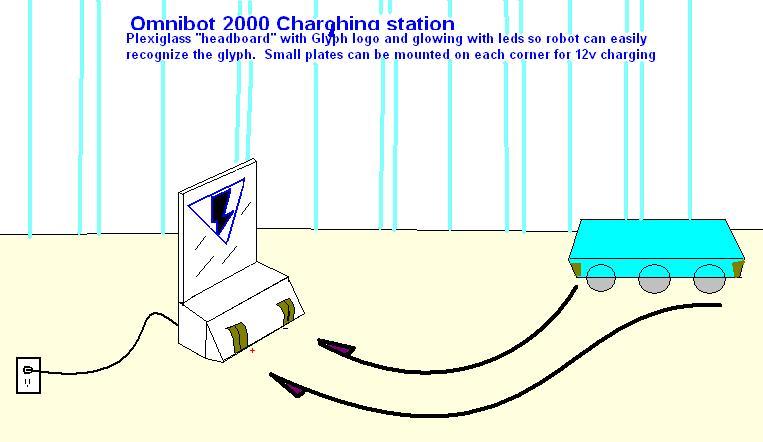


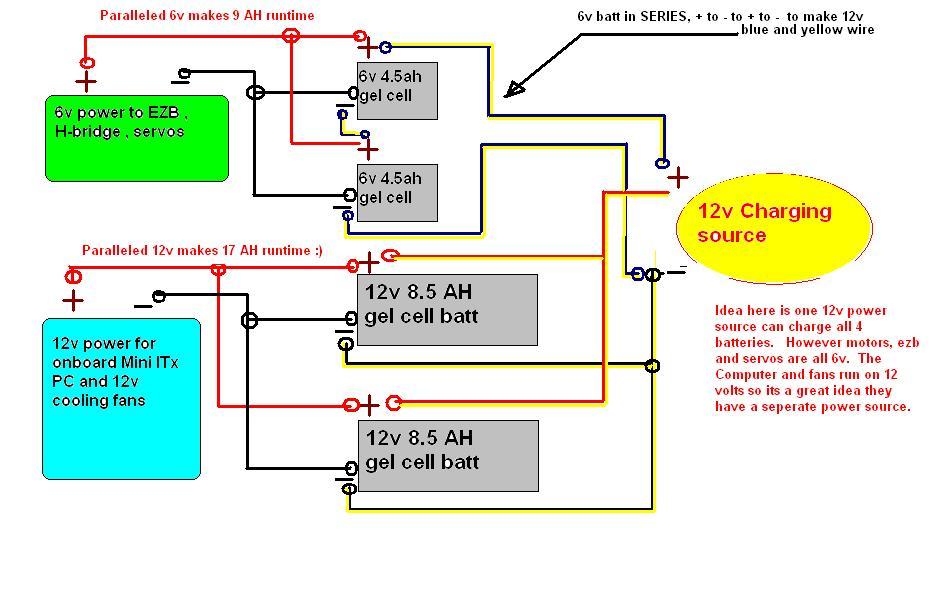


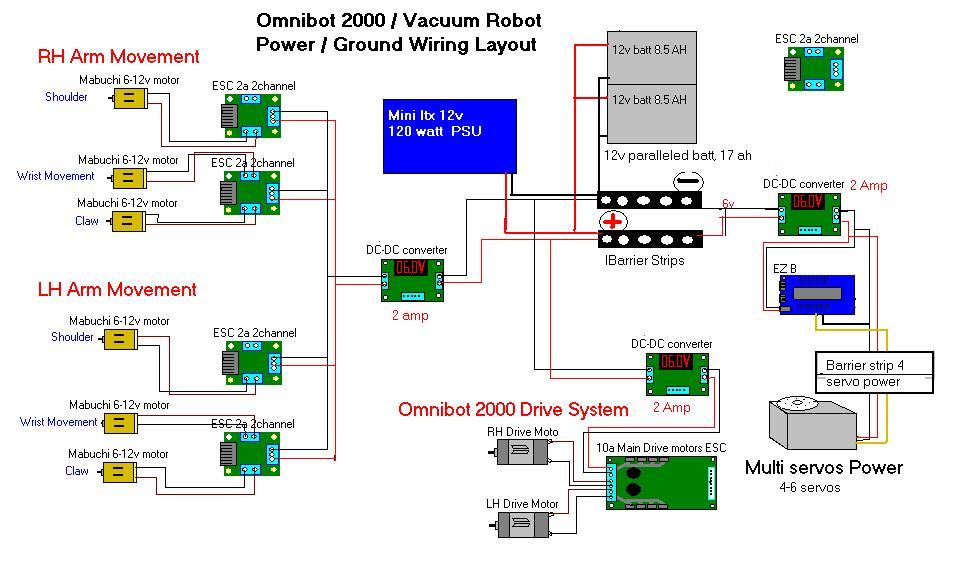


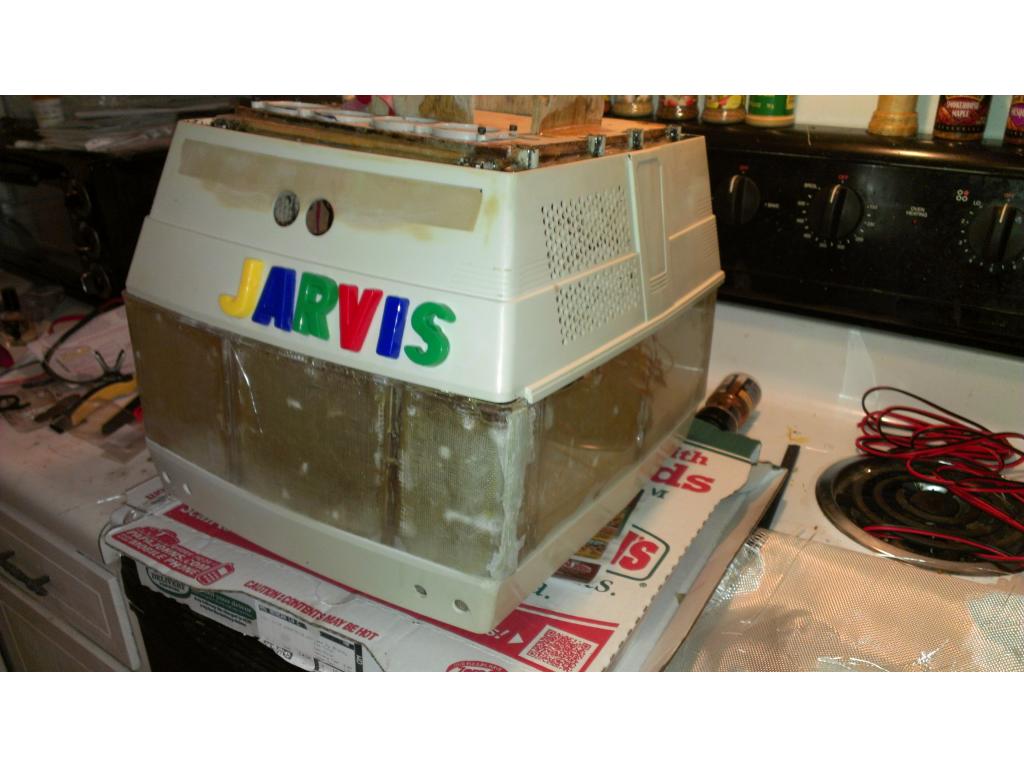


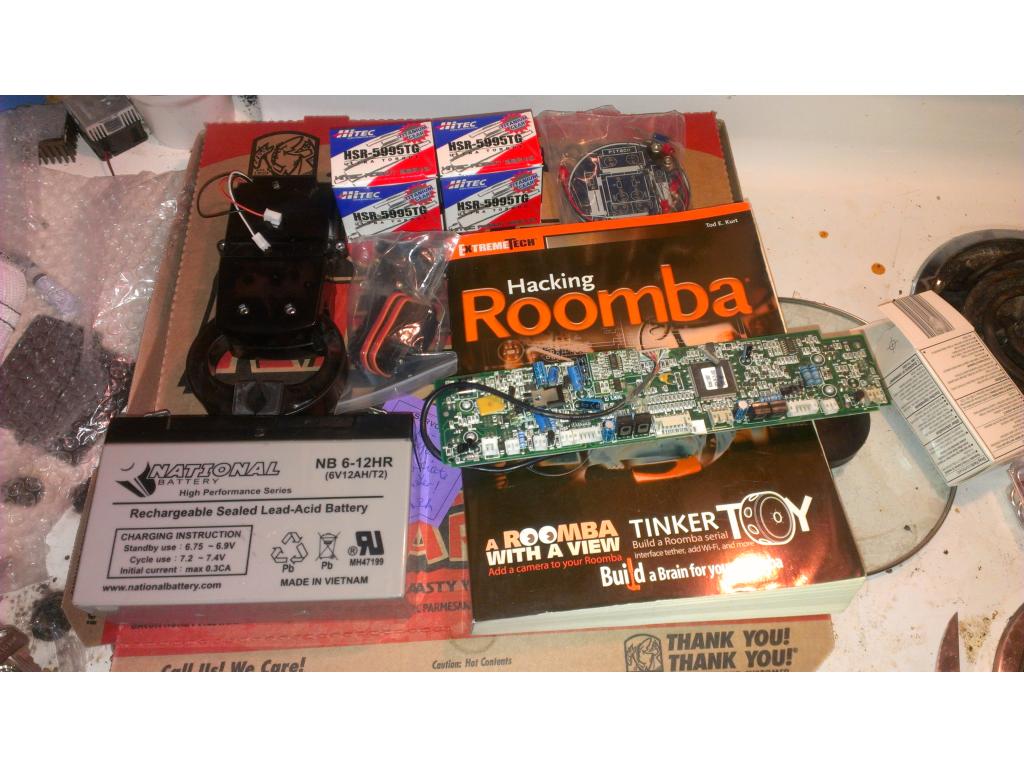


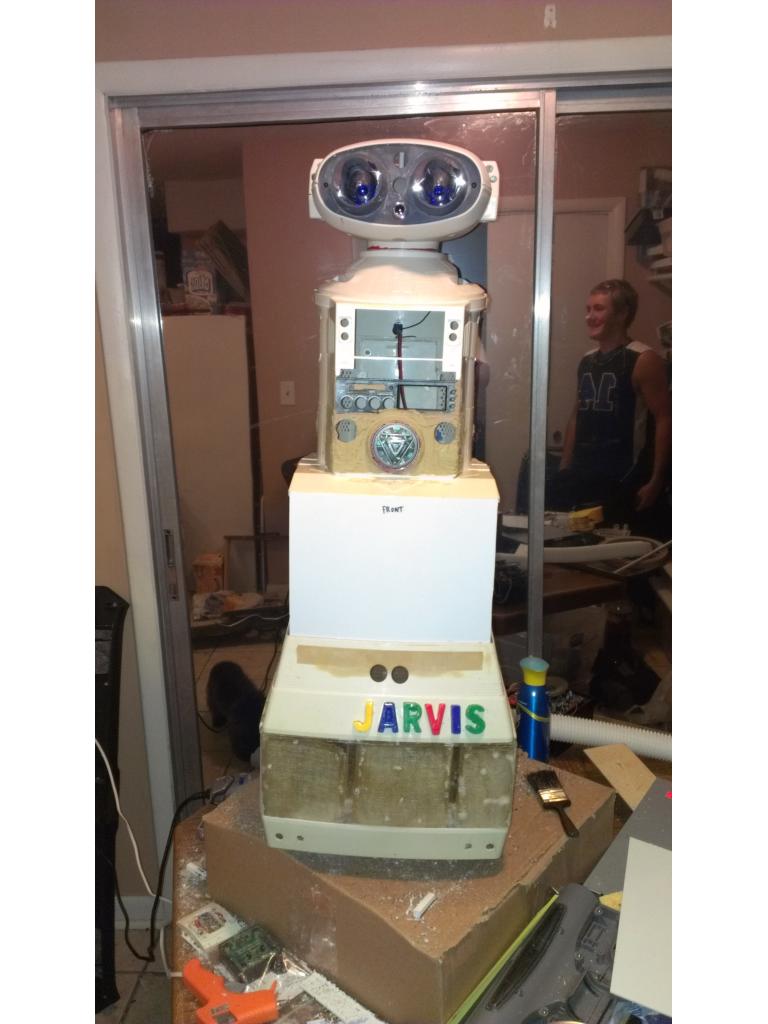

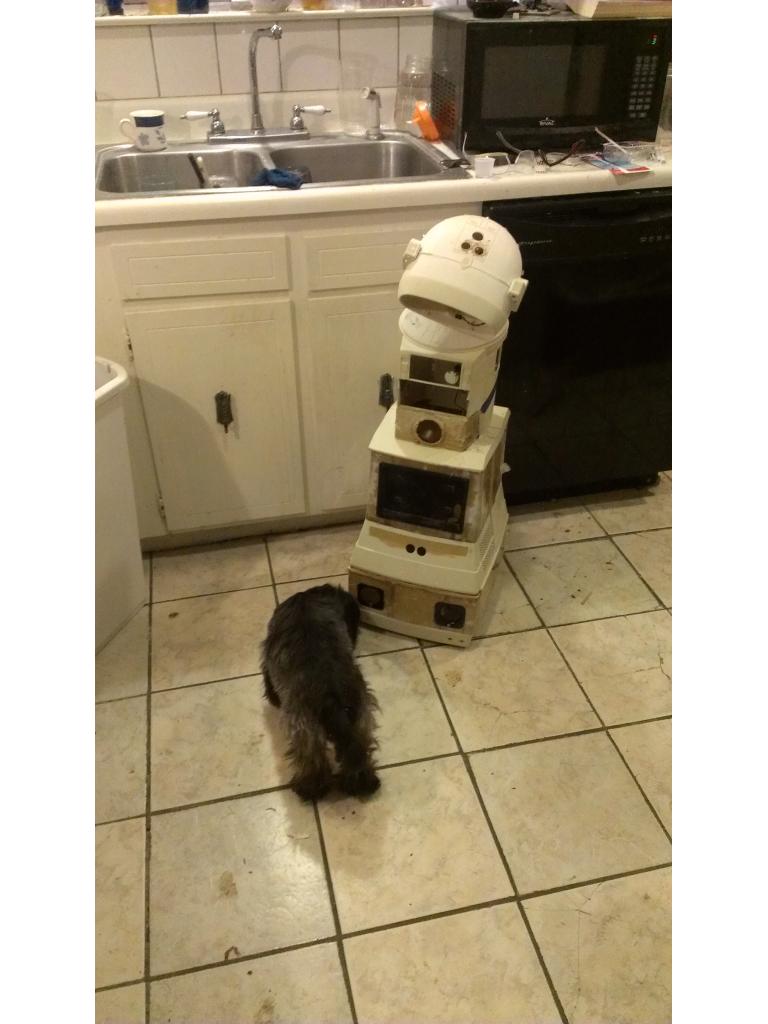


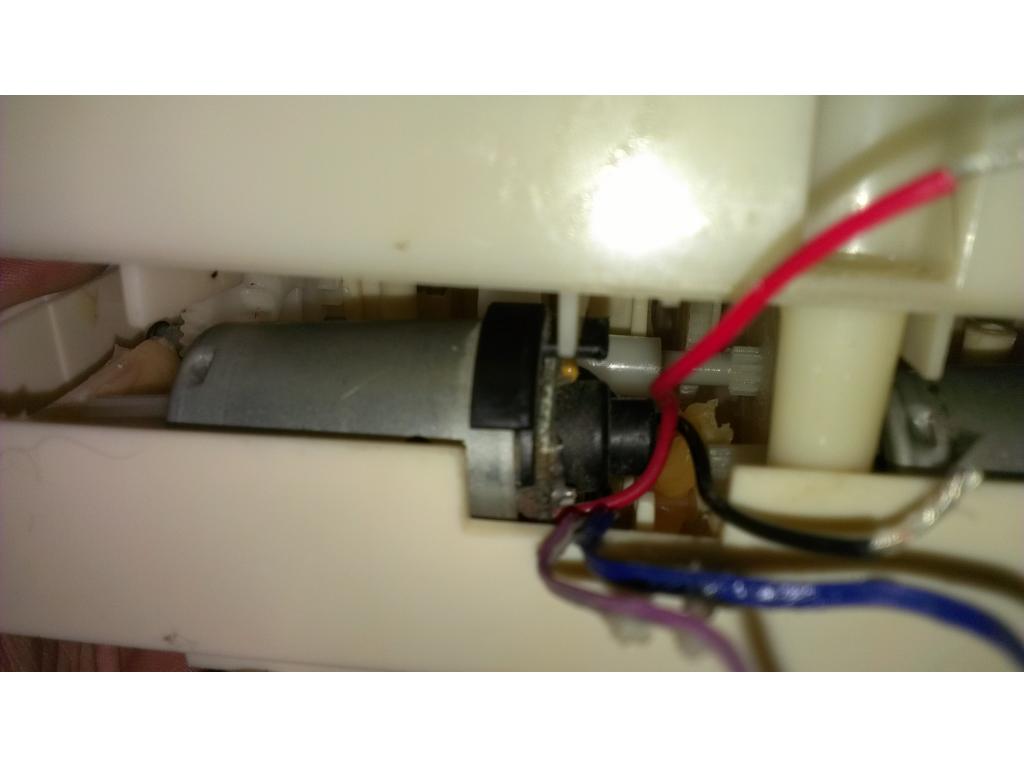
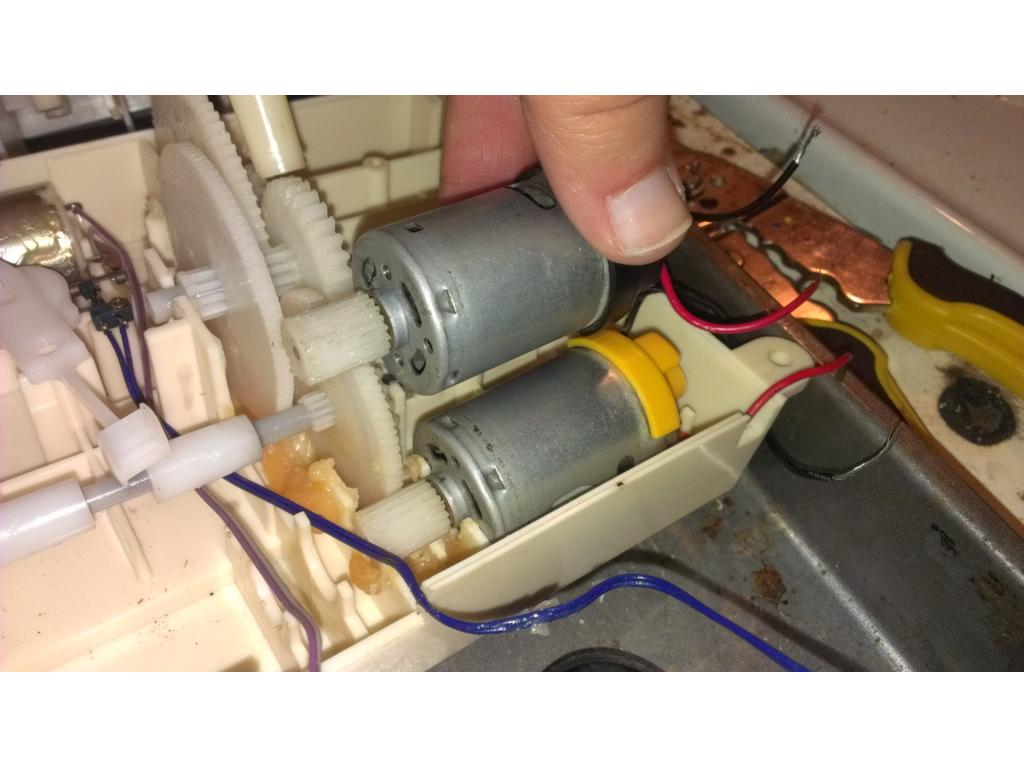


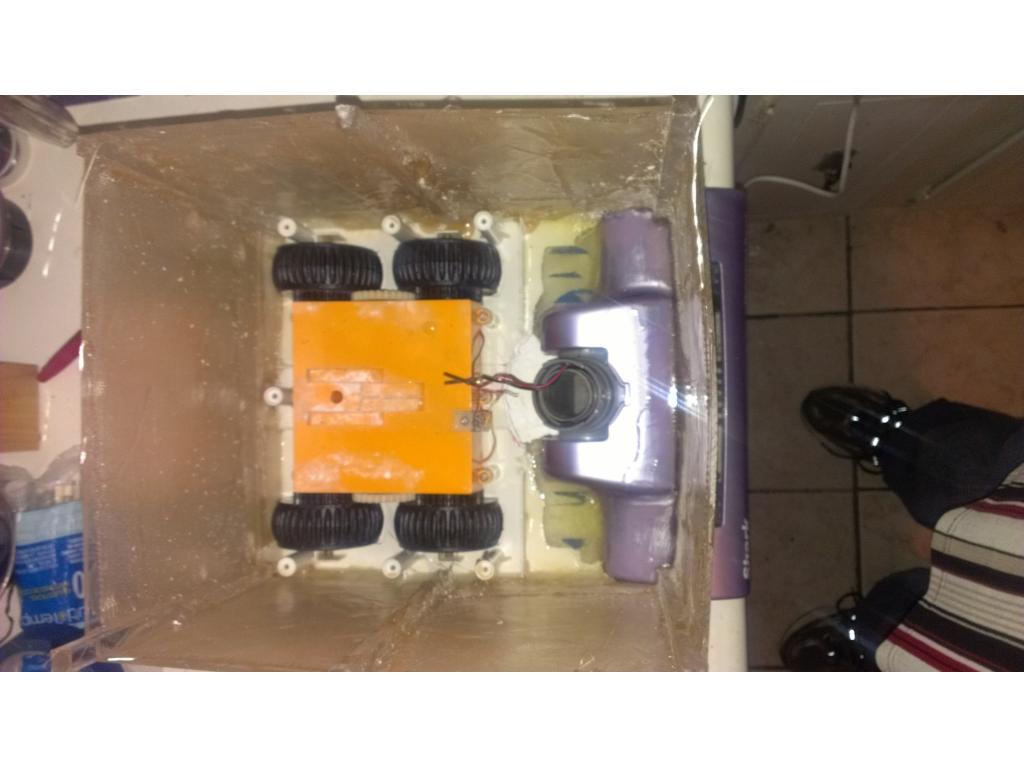

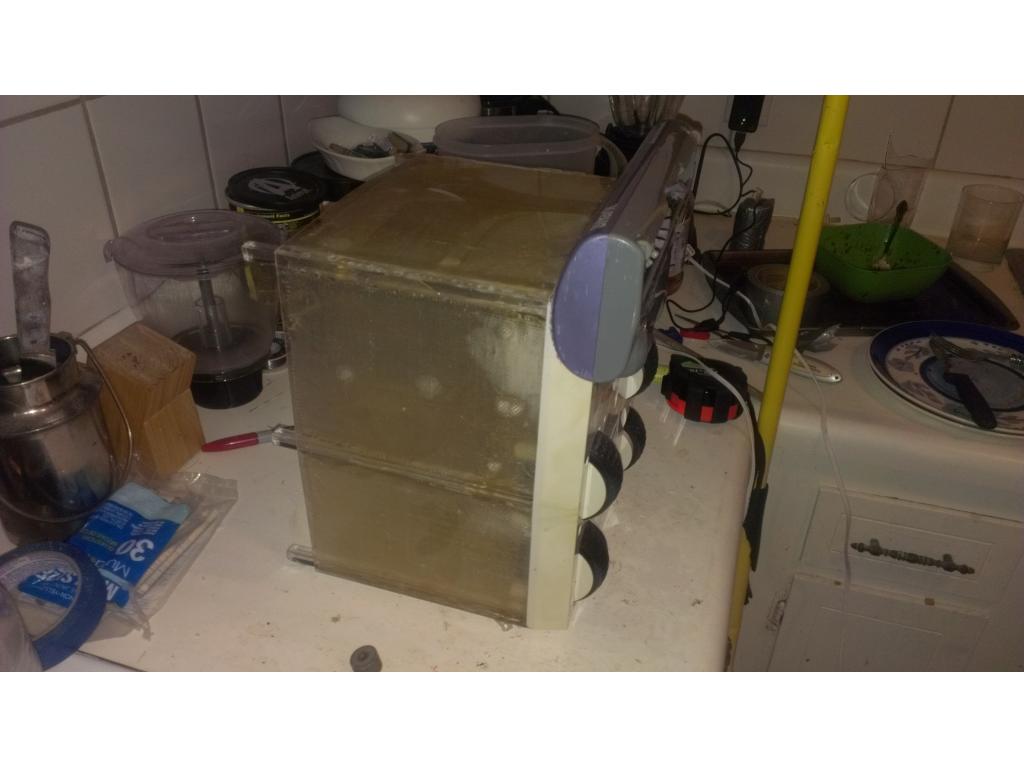
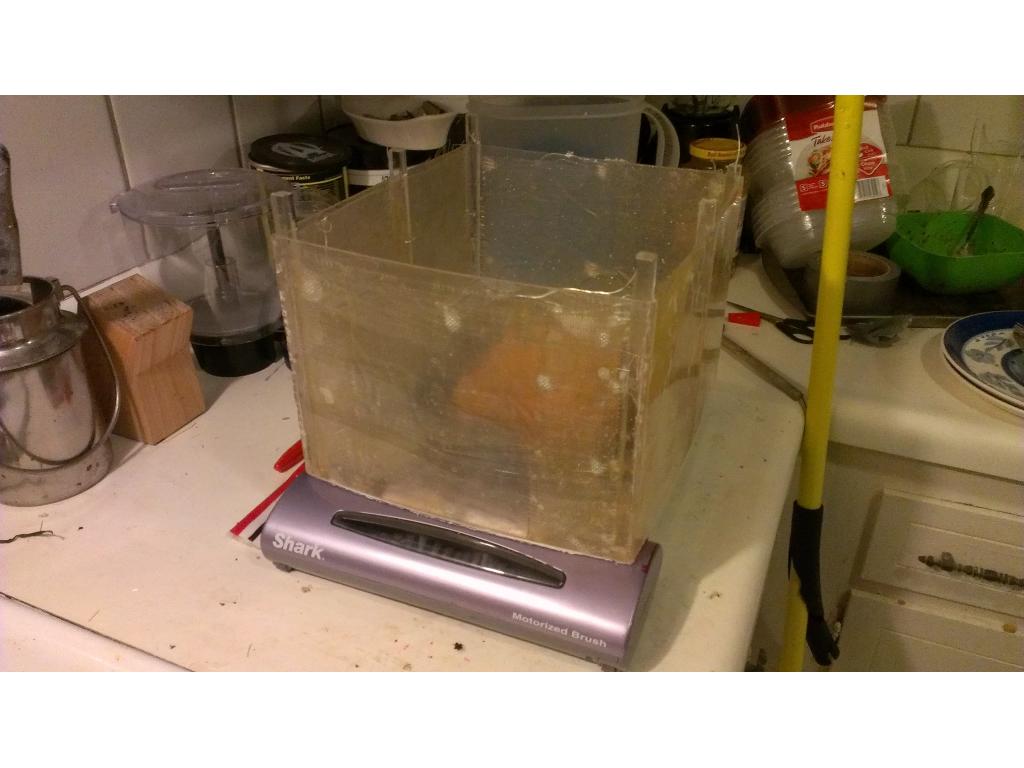
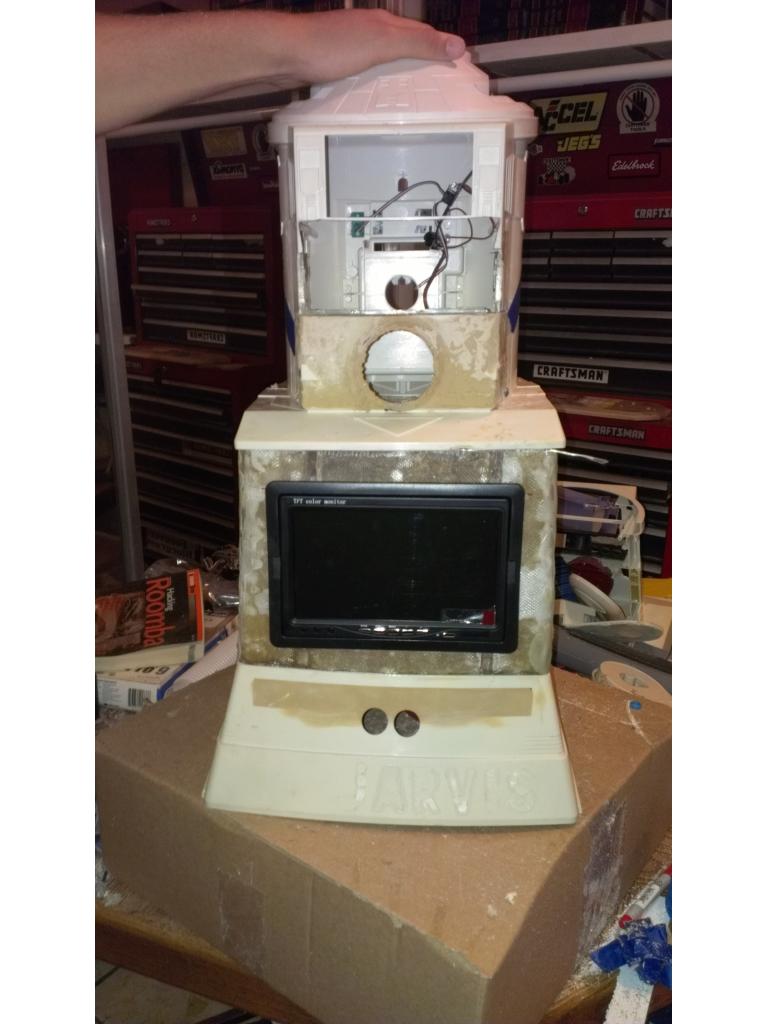
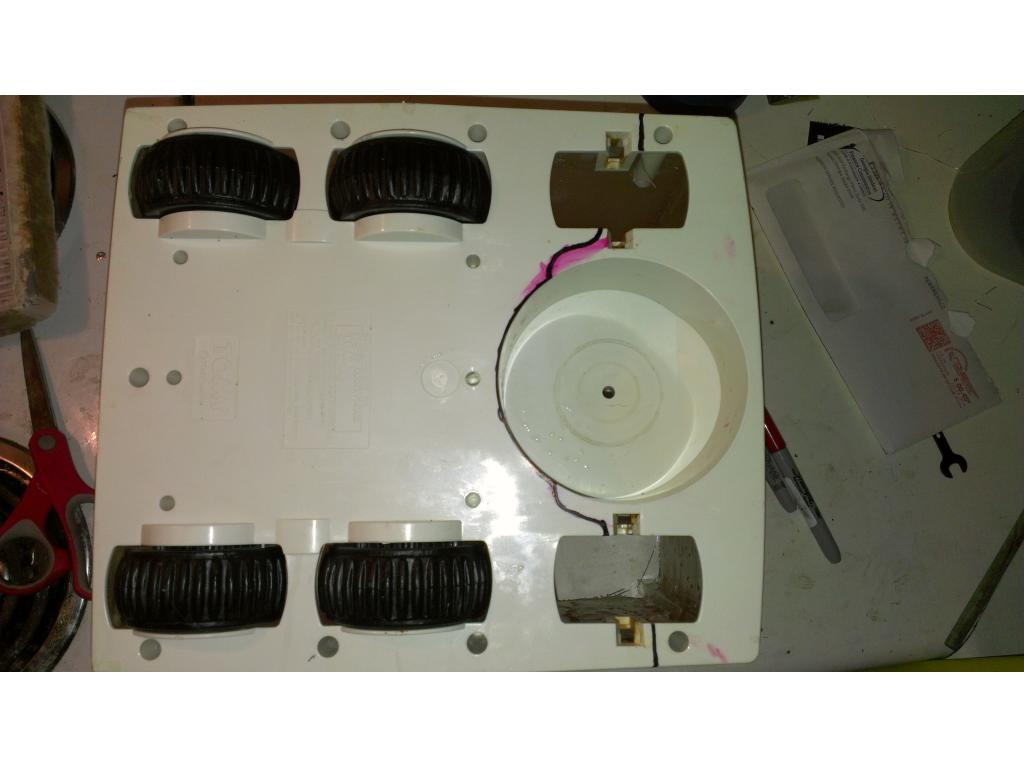


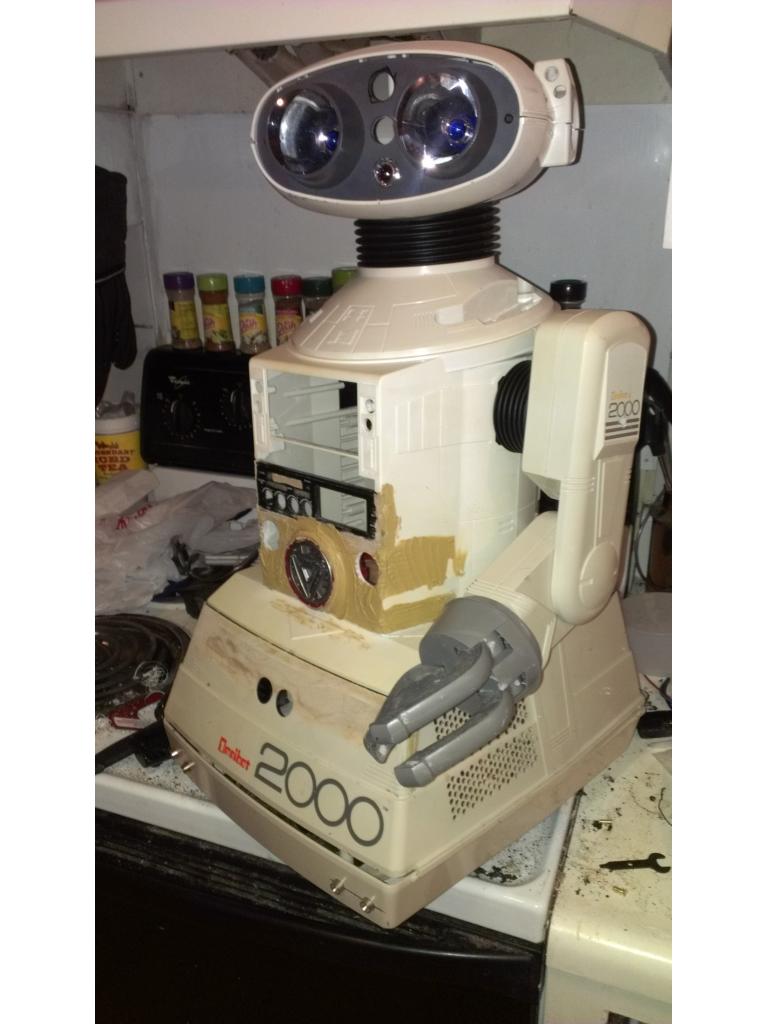
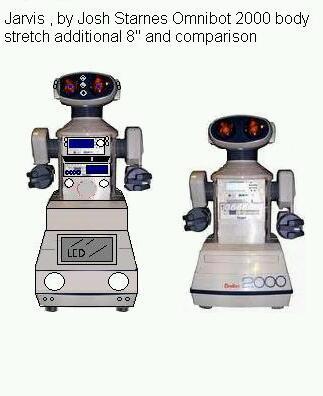

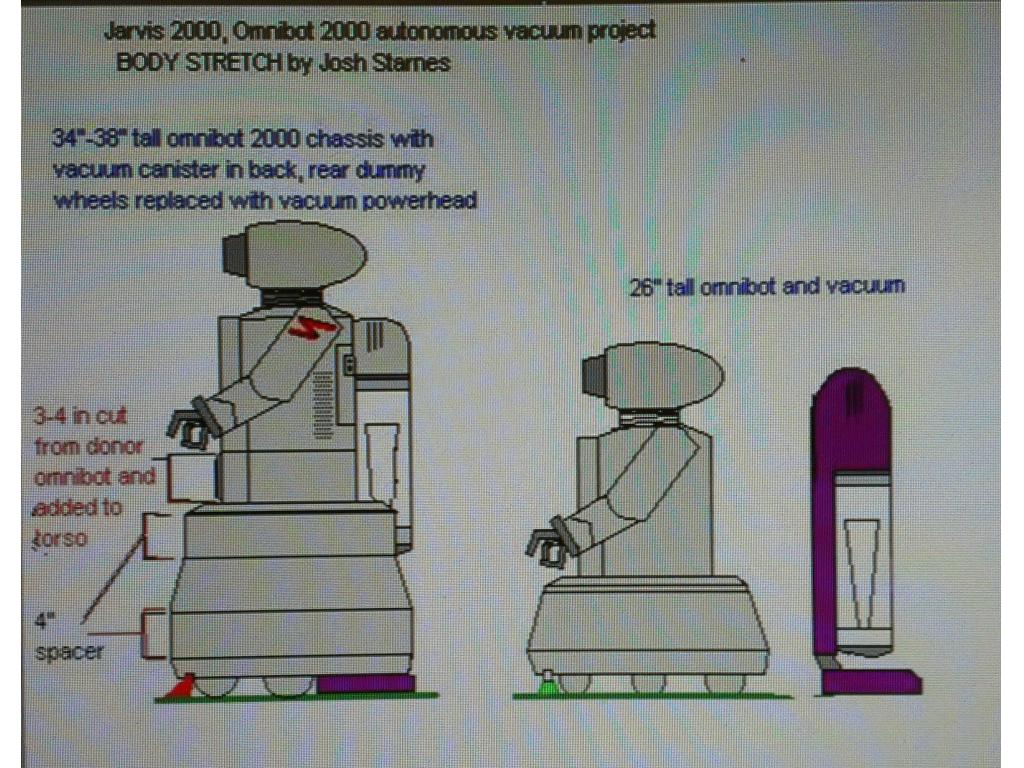


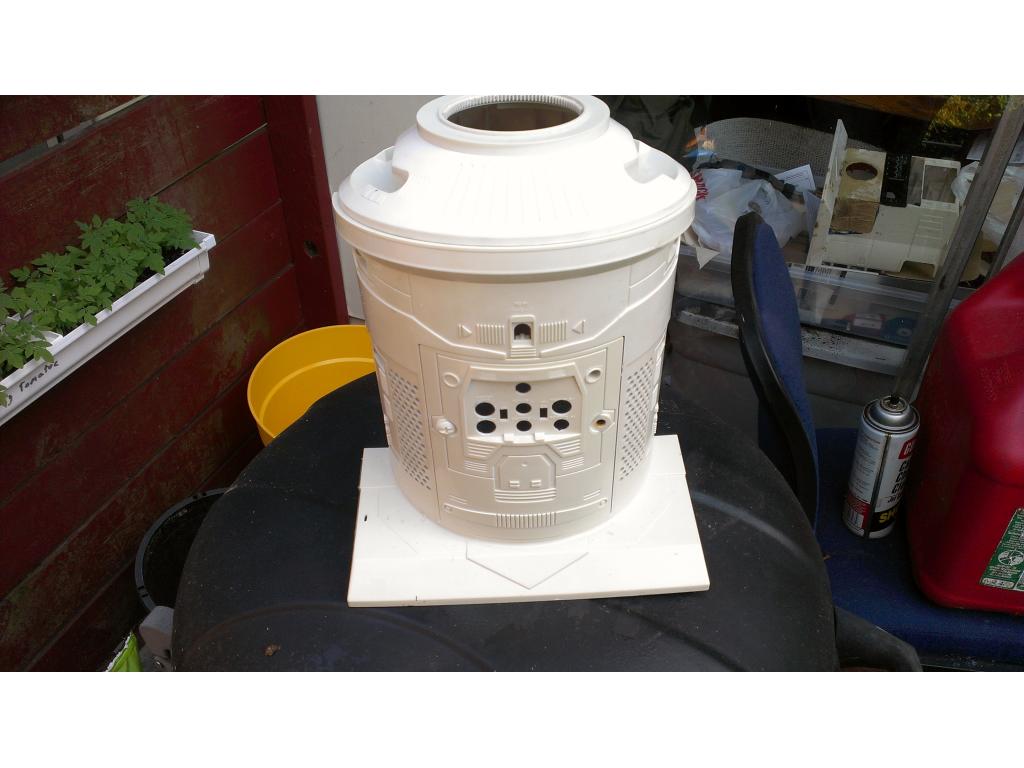


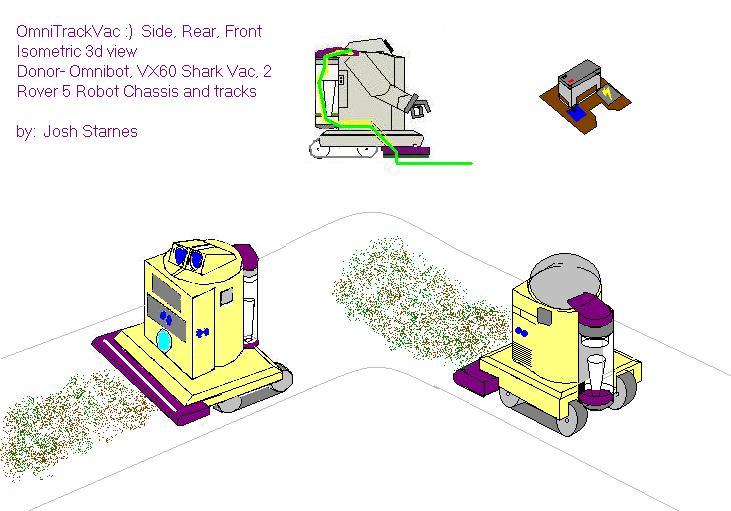

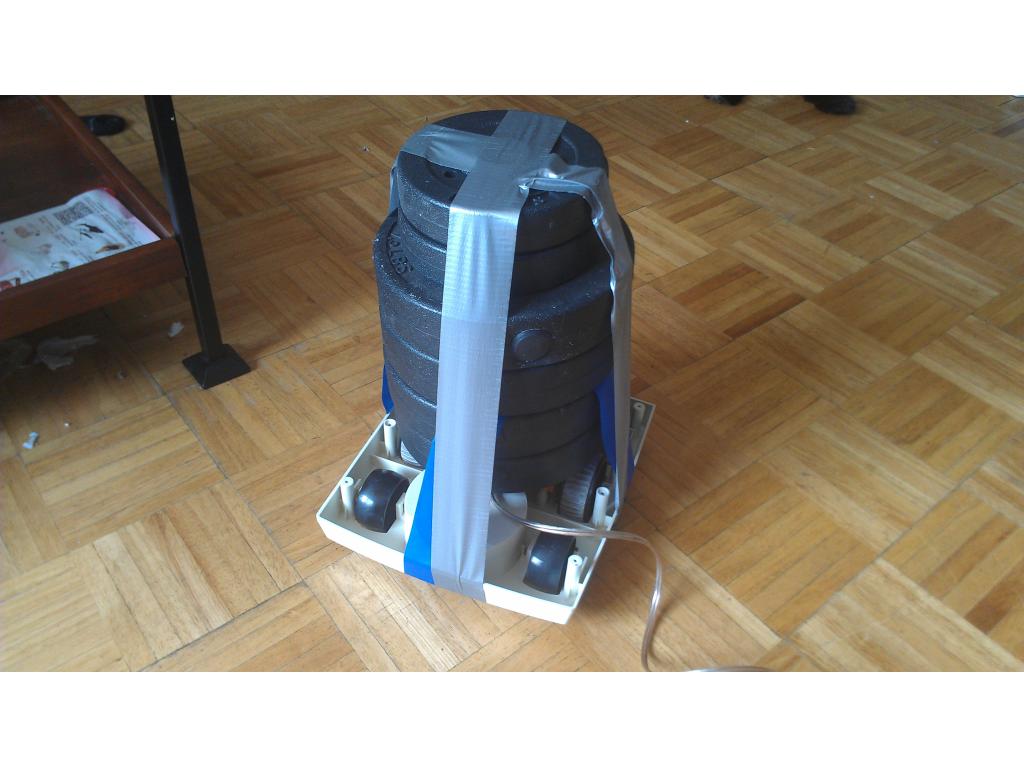

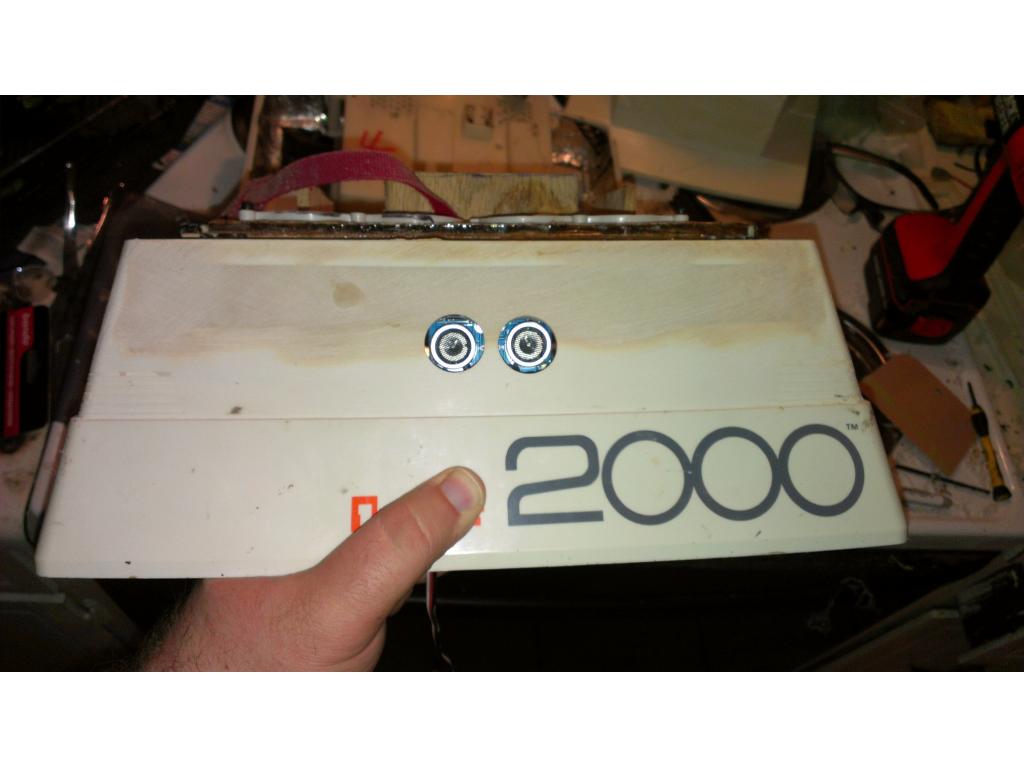
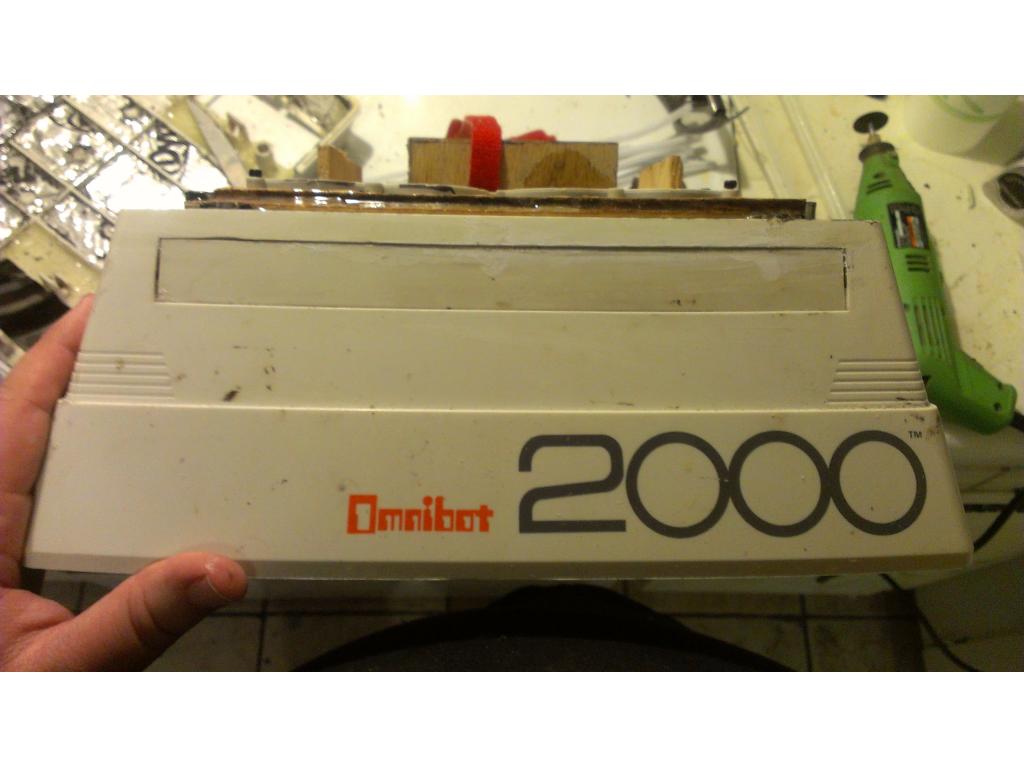
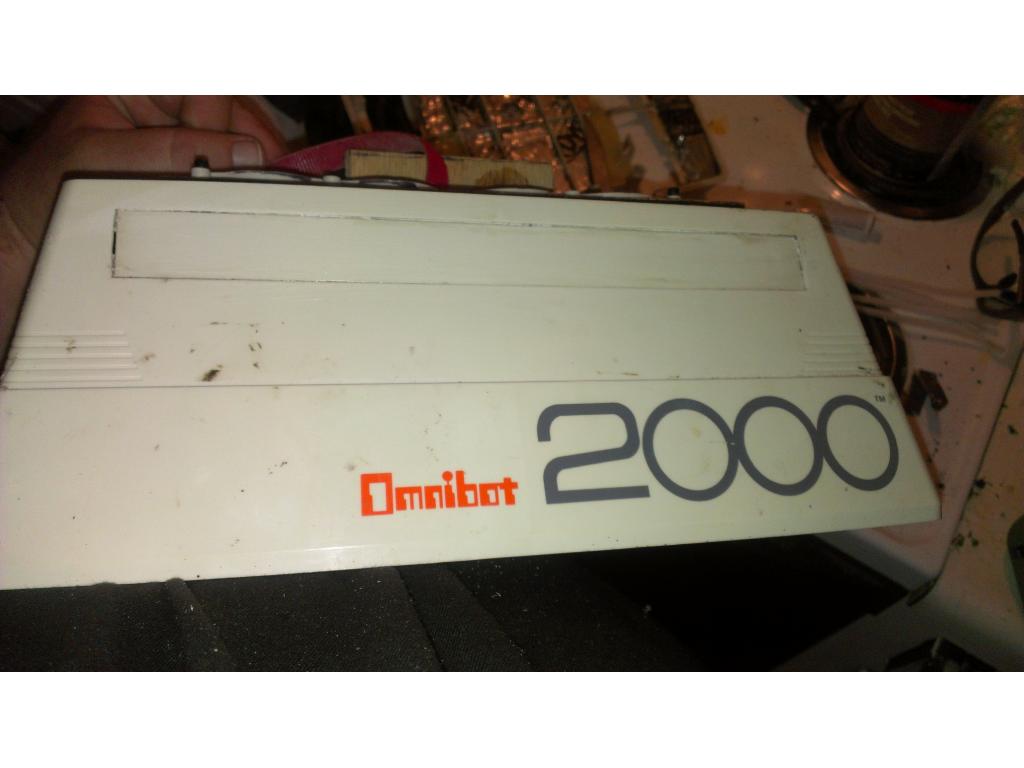
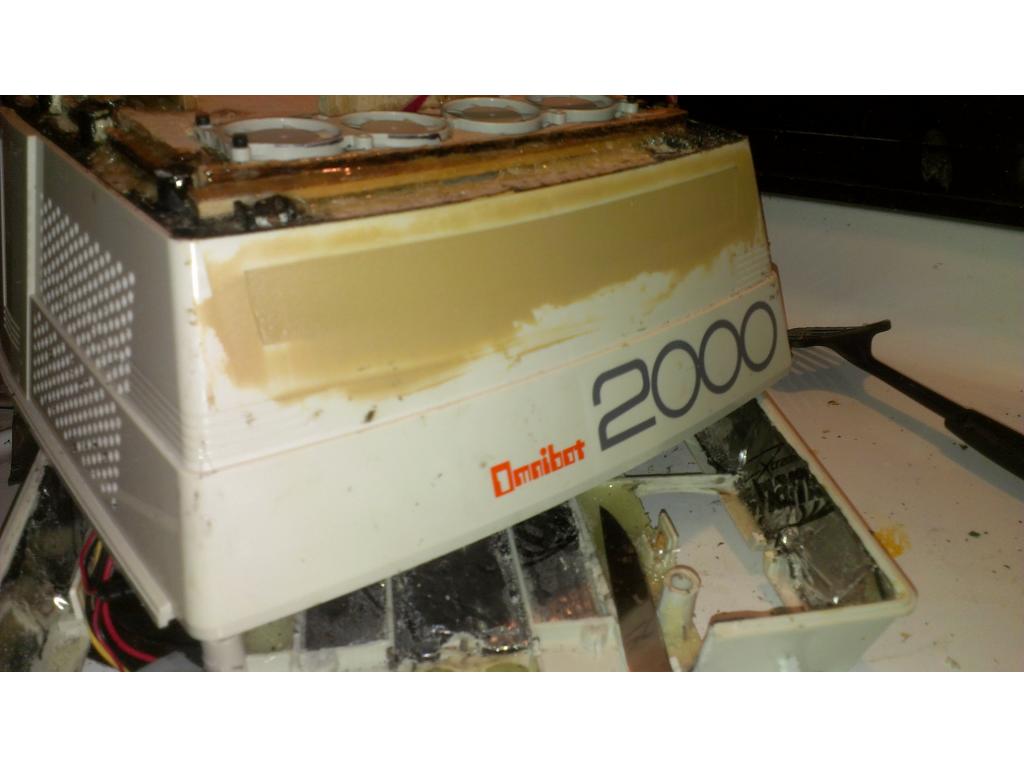


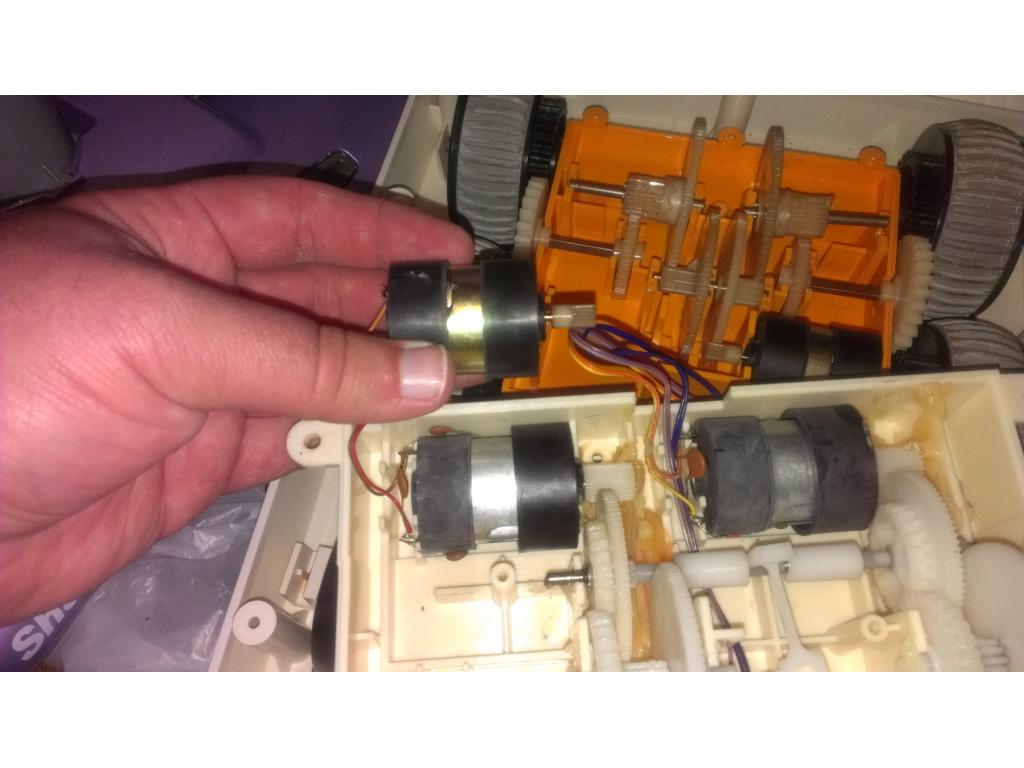


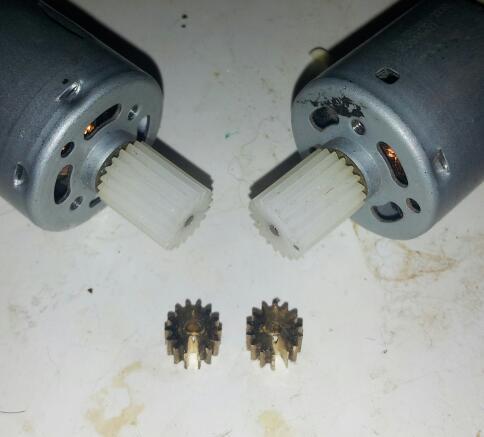
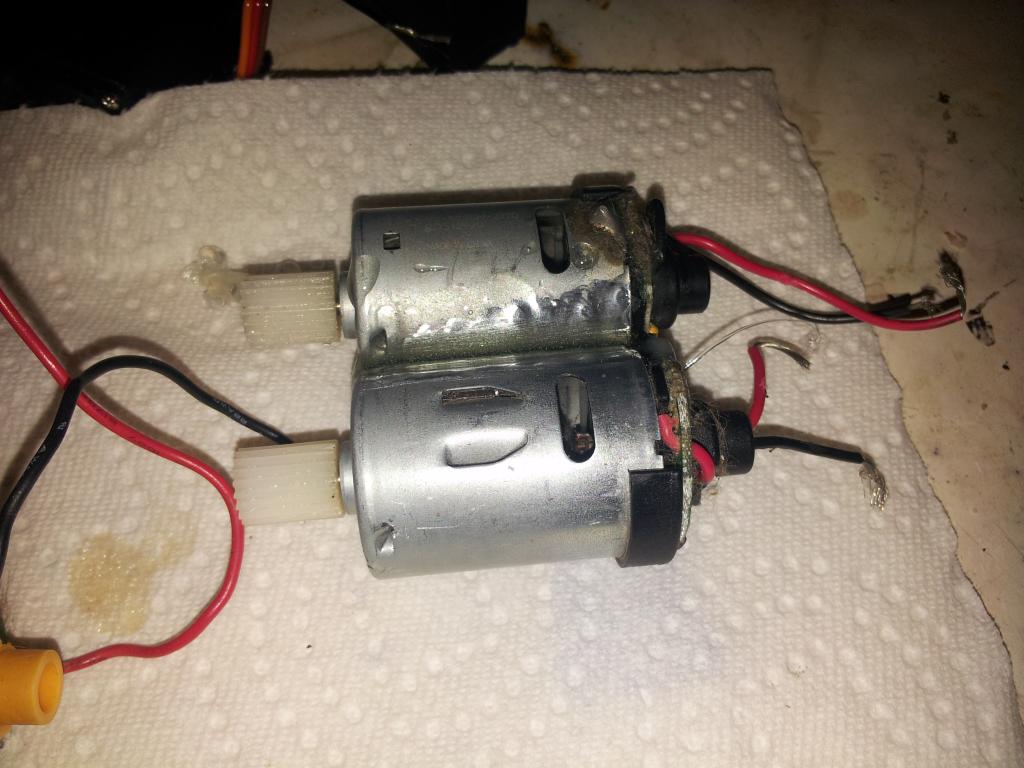
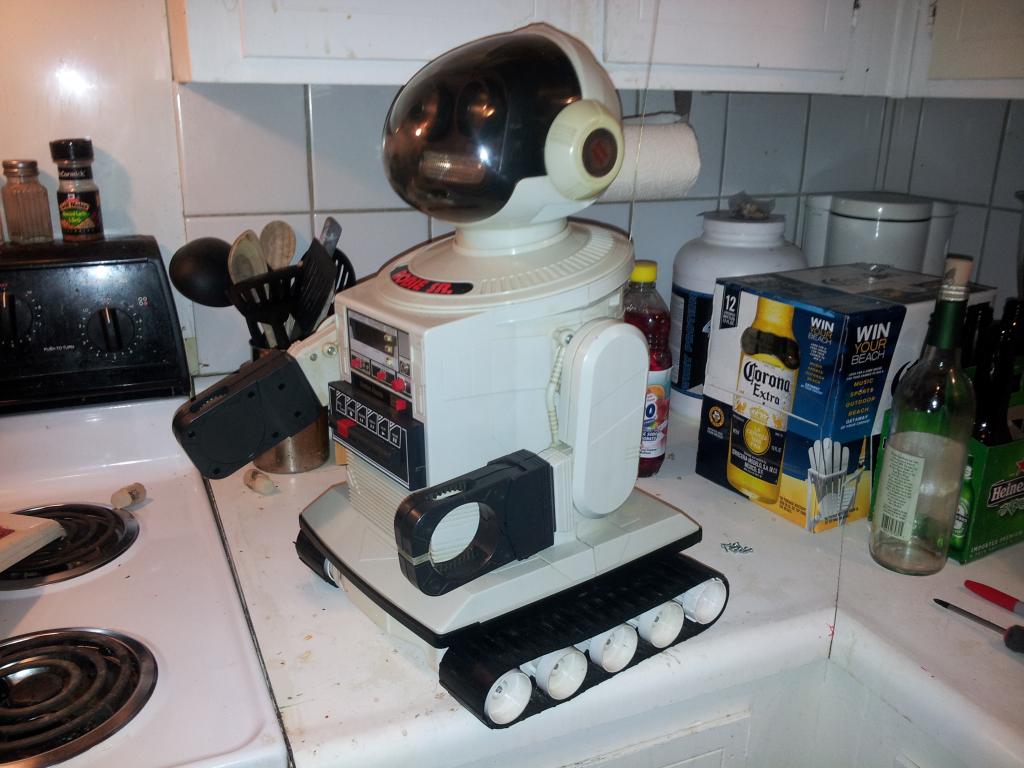
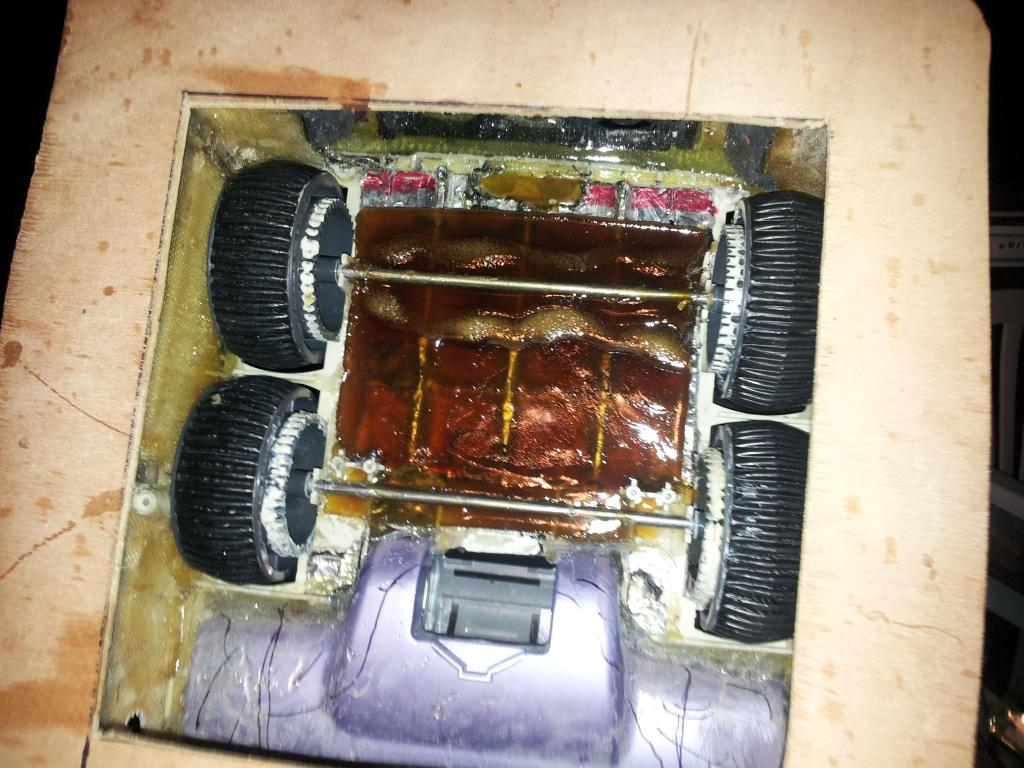
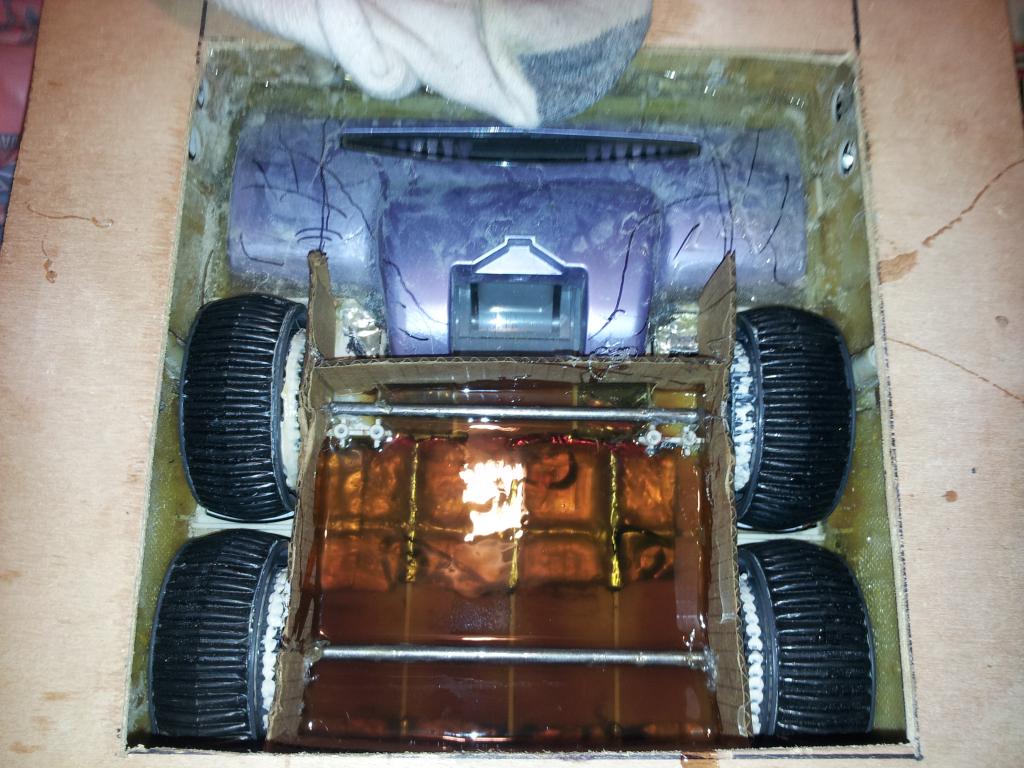
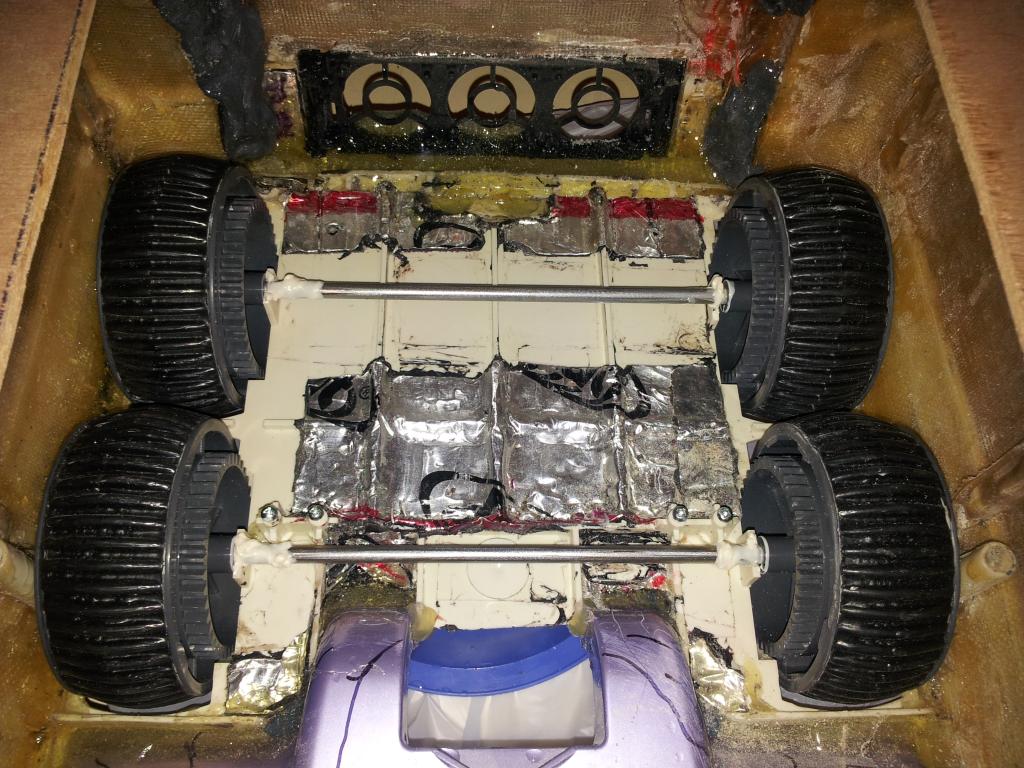
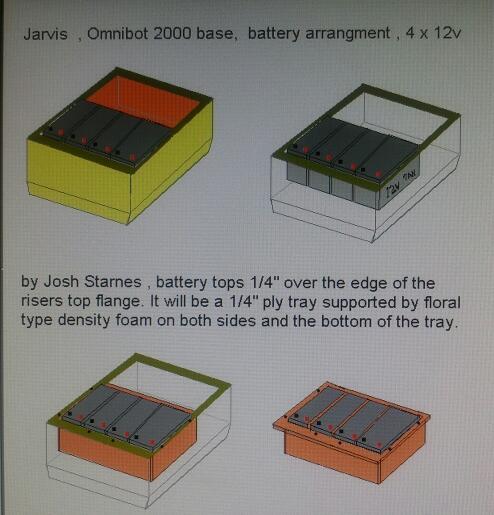
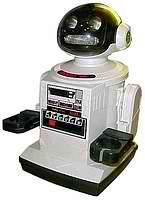
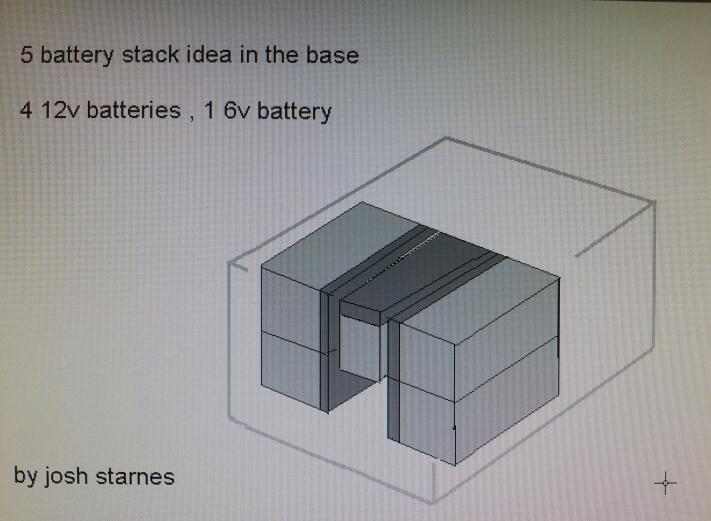
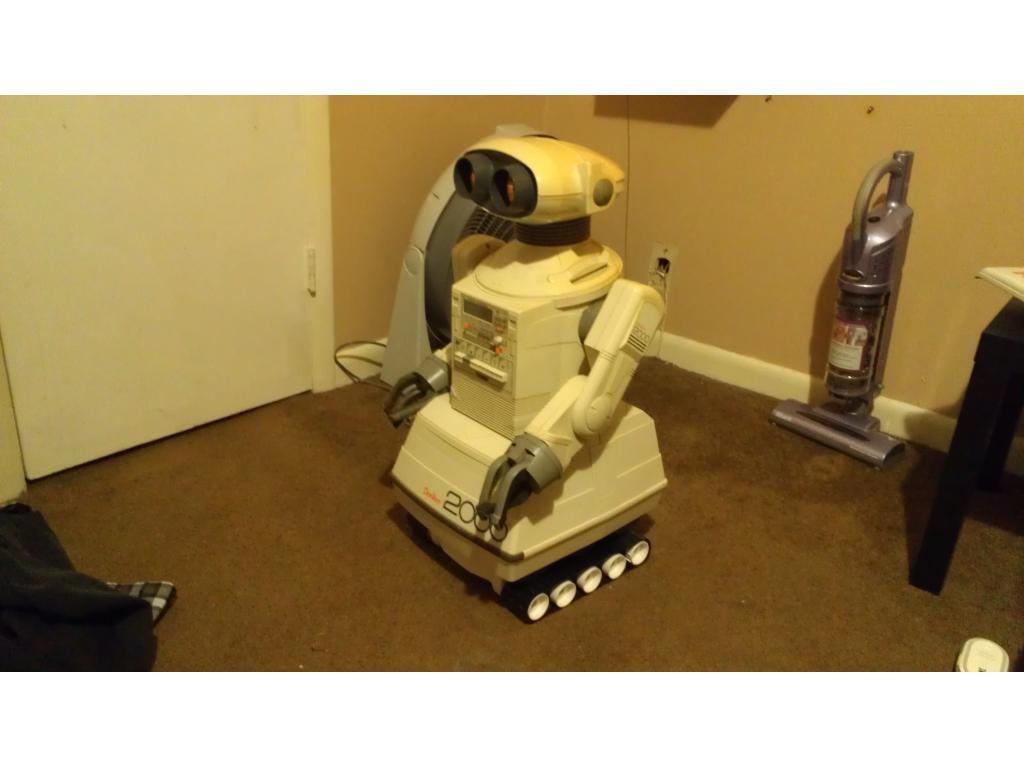
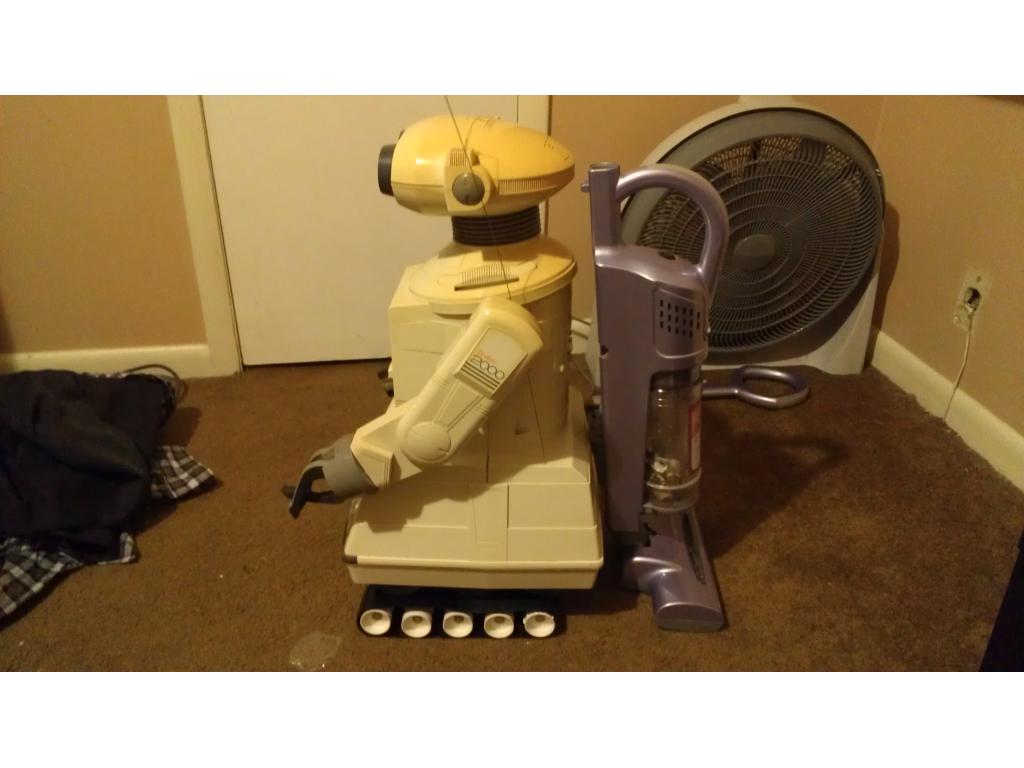
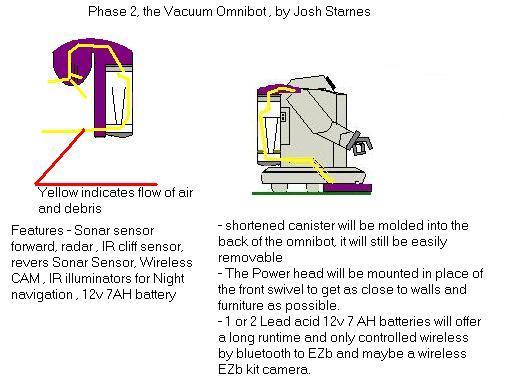
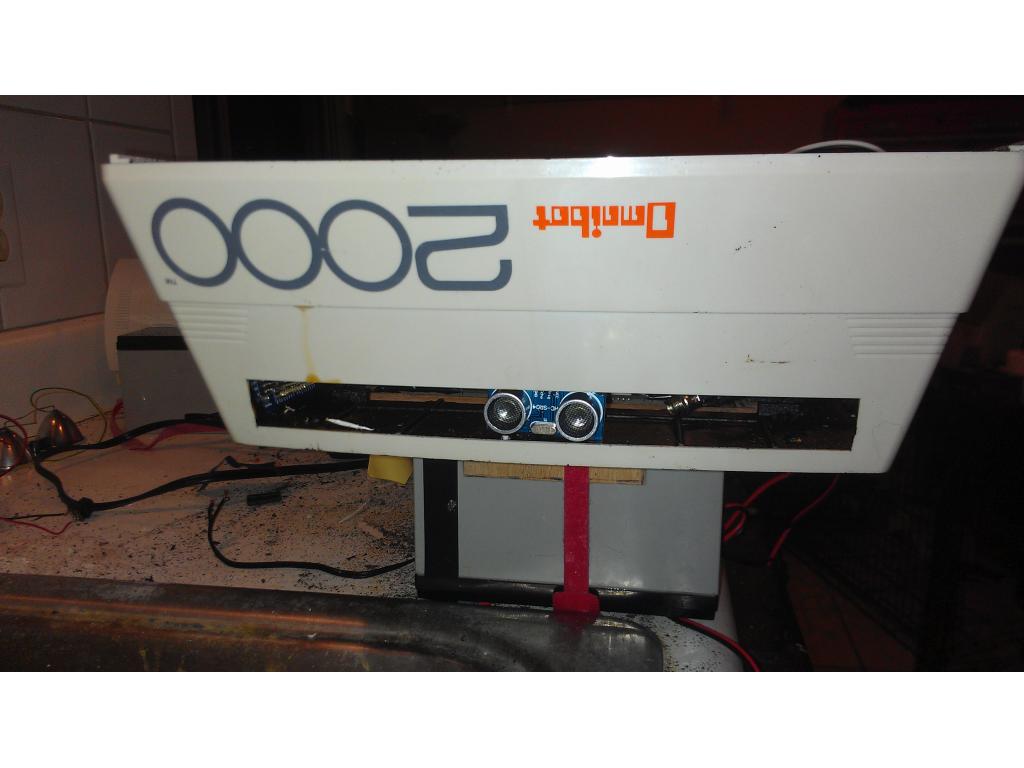
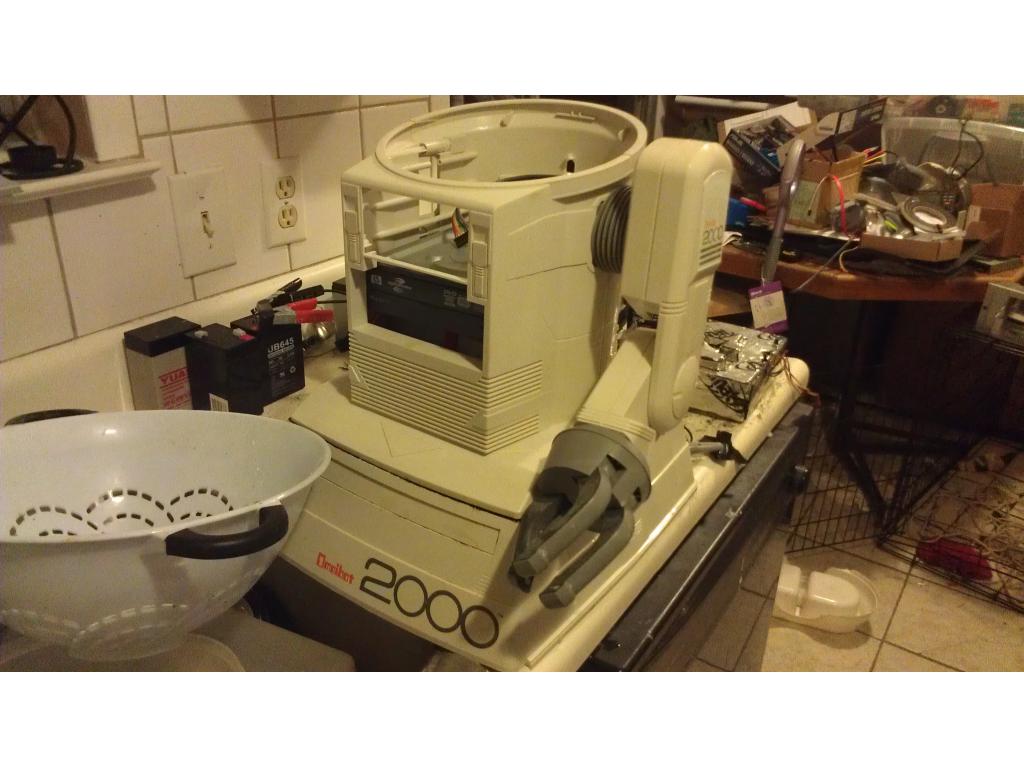
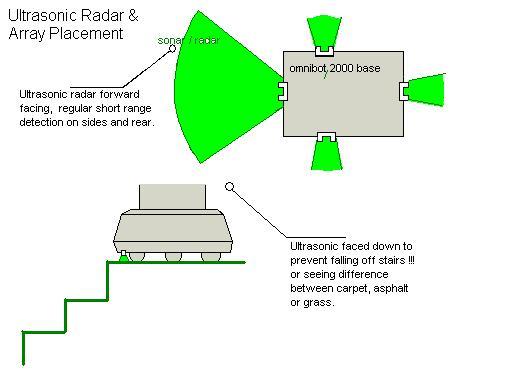
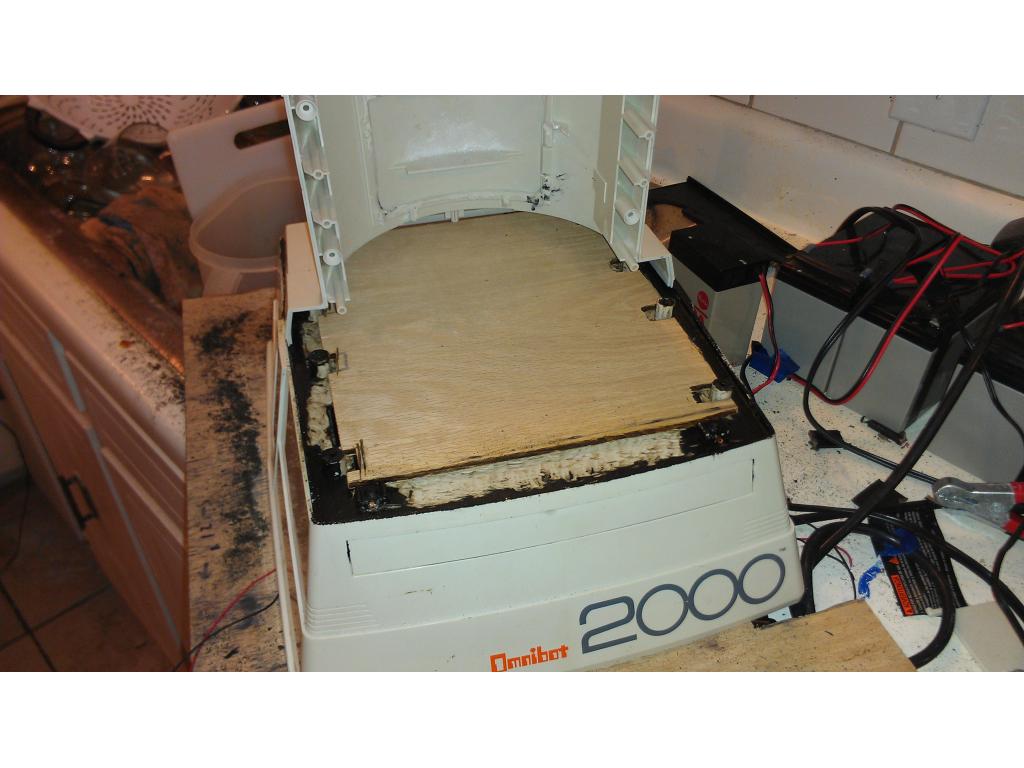
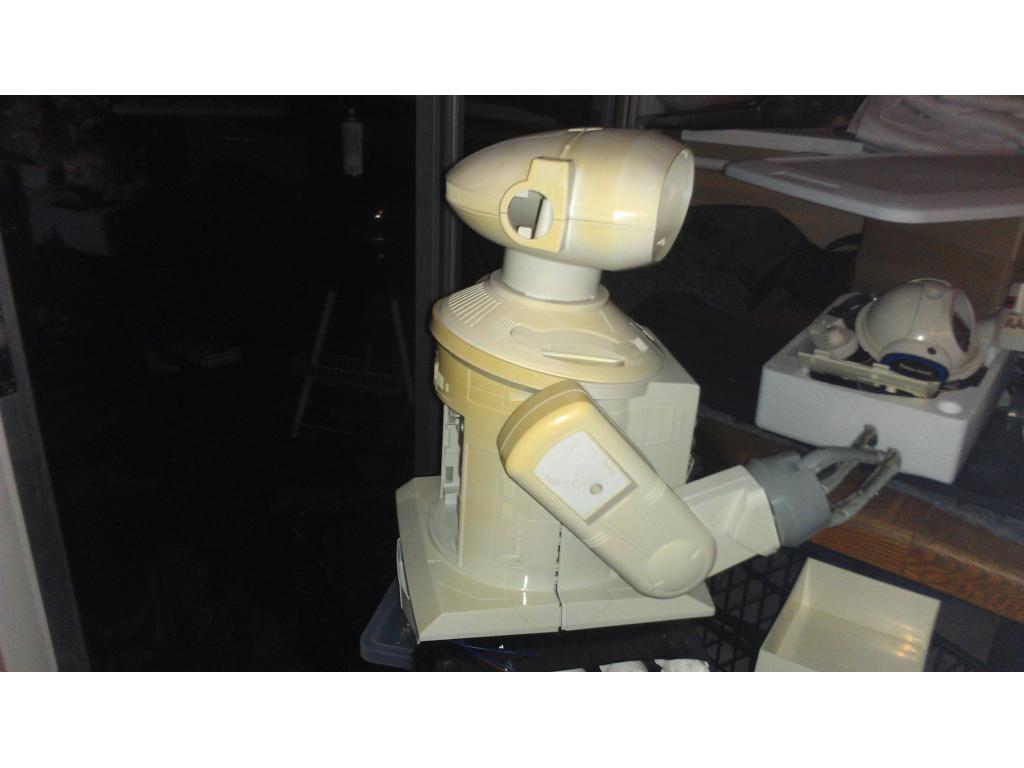
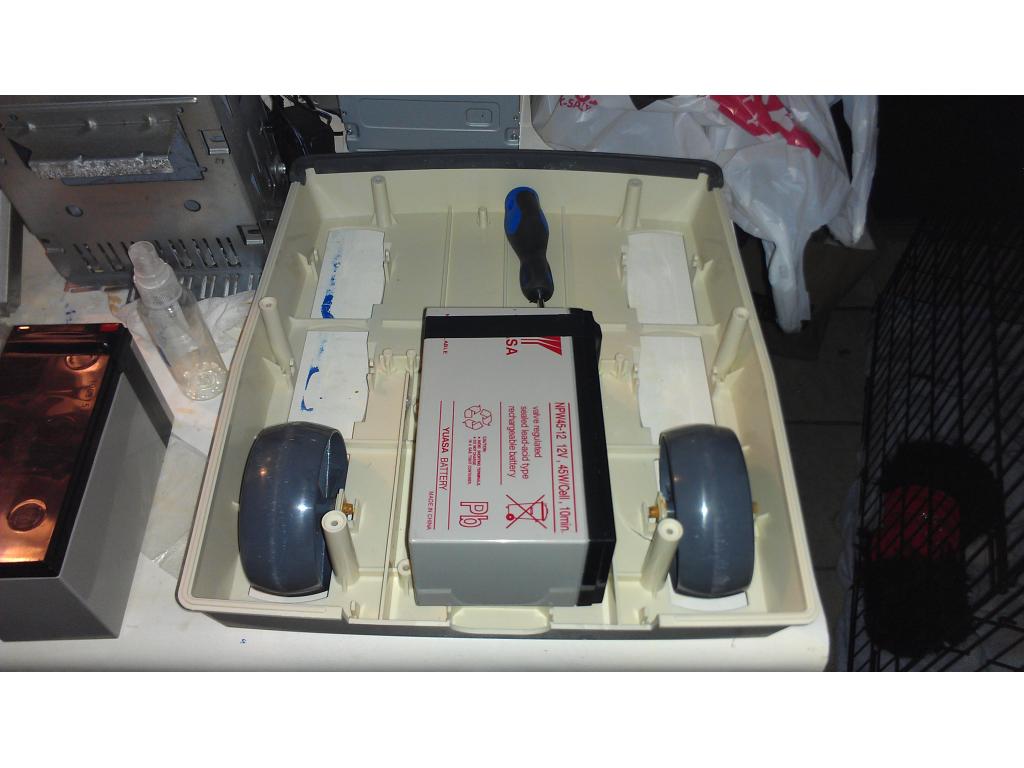
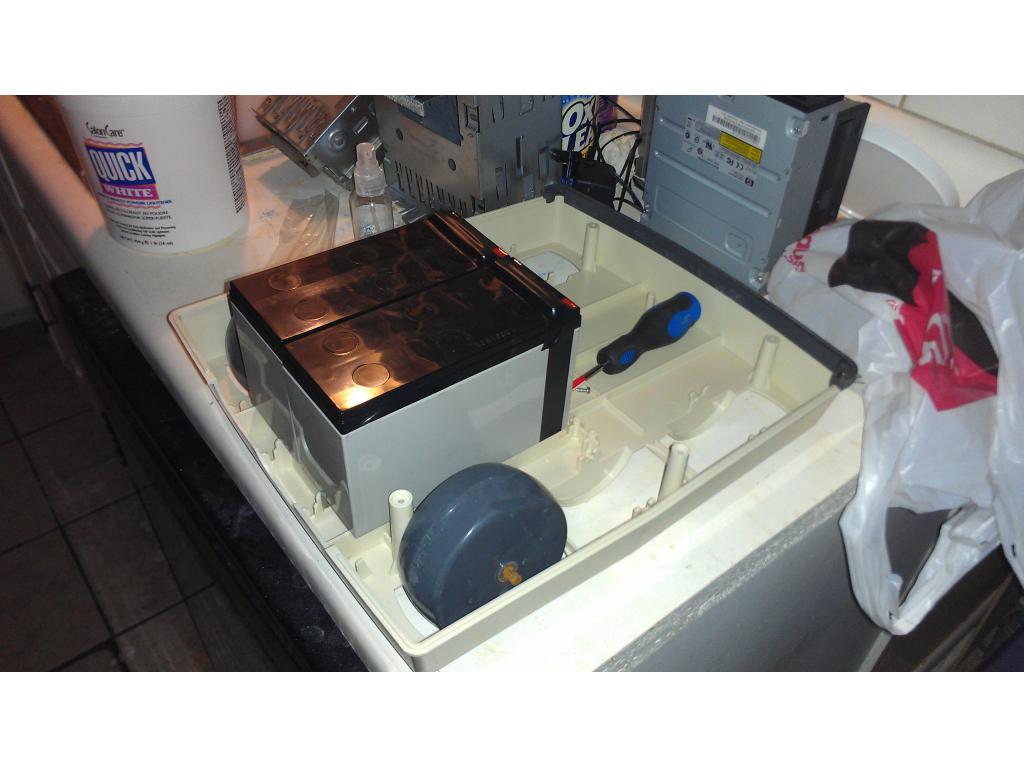
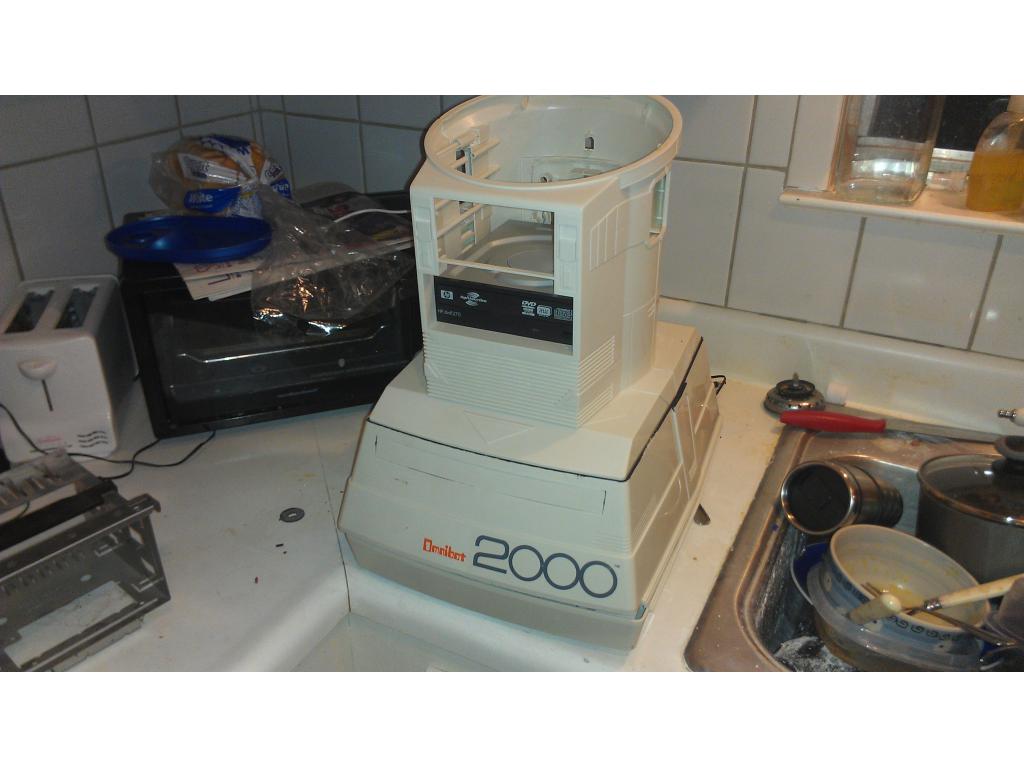
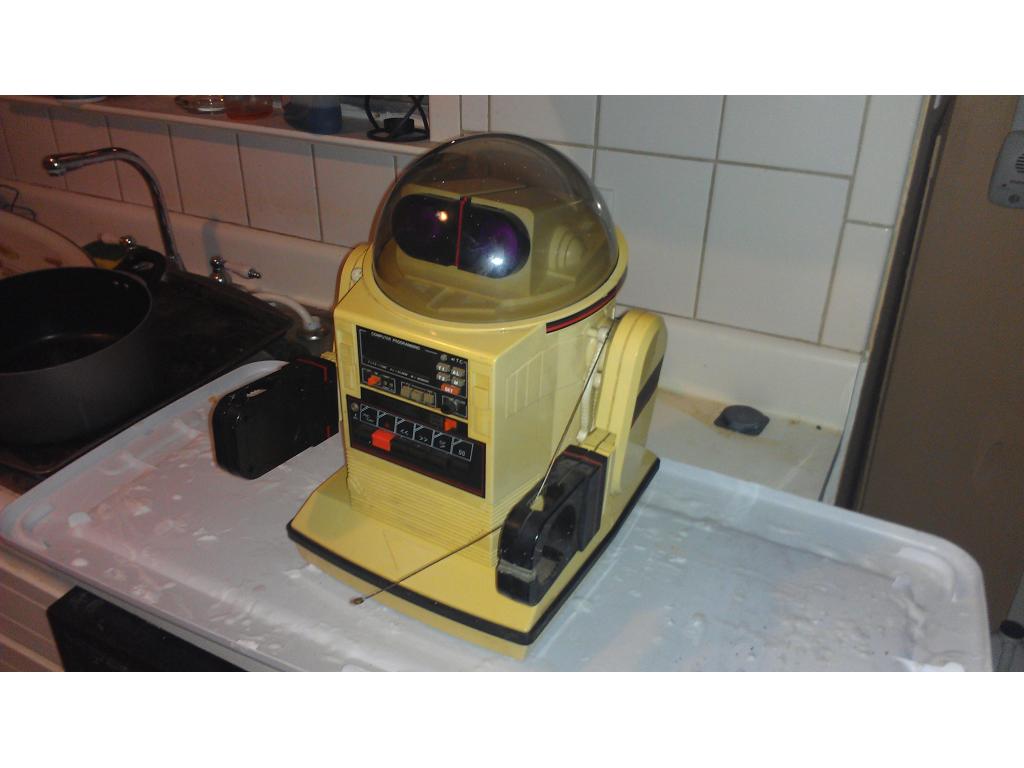
This project has evolved some , the basic rundown is I'm modding two Omnibots , one a regular the other a larger 2000 model. I will have two ezb kits , rad base idea was thrown out because of so much noise but could go back on the table if the omnibot drivetrain is too weak to pull it.


By jstarne1
— Last update
Discover more robots
Deuel18's Oculus Rift Is Out, Any Ideas?
Control EZ-Robots using Oculus Rift and brainwave interfaces-explore hacking, integration methods, and control options.
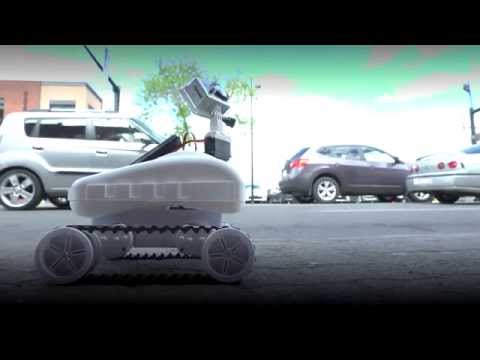
Jason's Roli Time-Lapse Video Robot
Roli time-lapse rig with printable GoPro EZ-Bit and simple code to nudge the chassis, plus a $25 film rail for smooth...
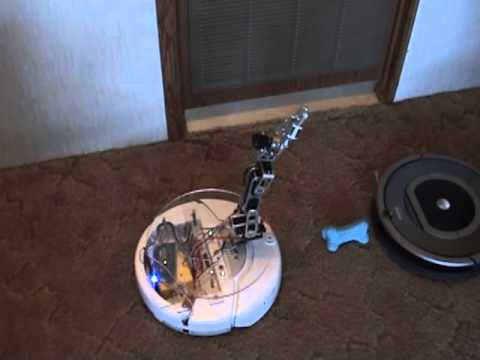
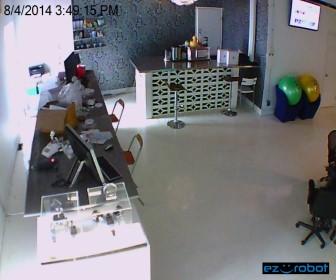
Robot's Irobot Create With An Arm
Control iRobot Create with V3 EZ-B and a 6-servo arm to help a Roomba clear obstacles in its cleaning path

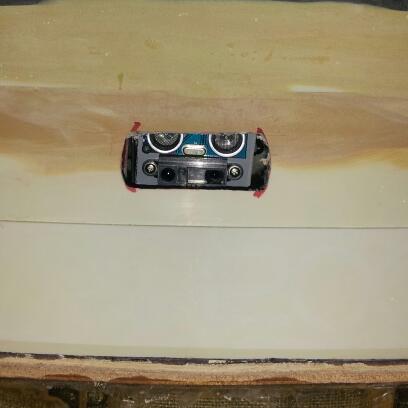
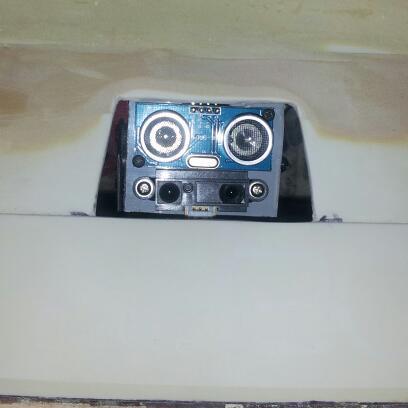
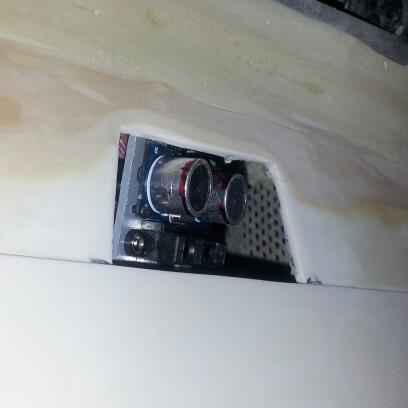
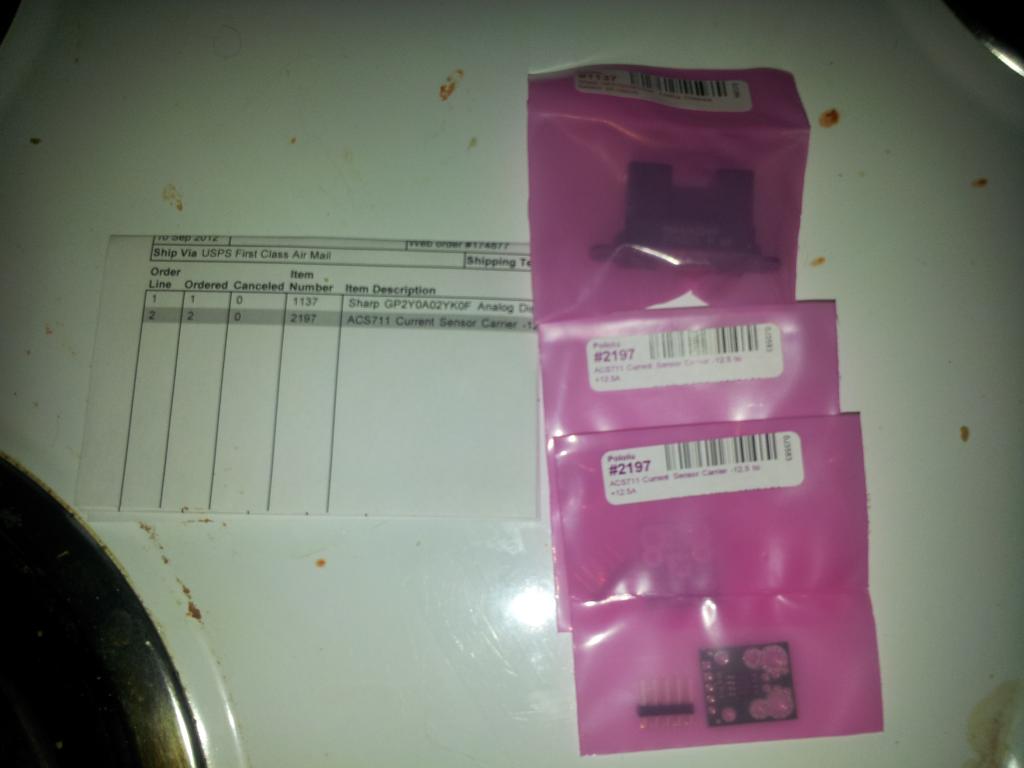
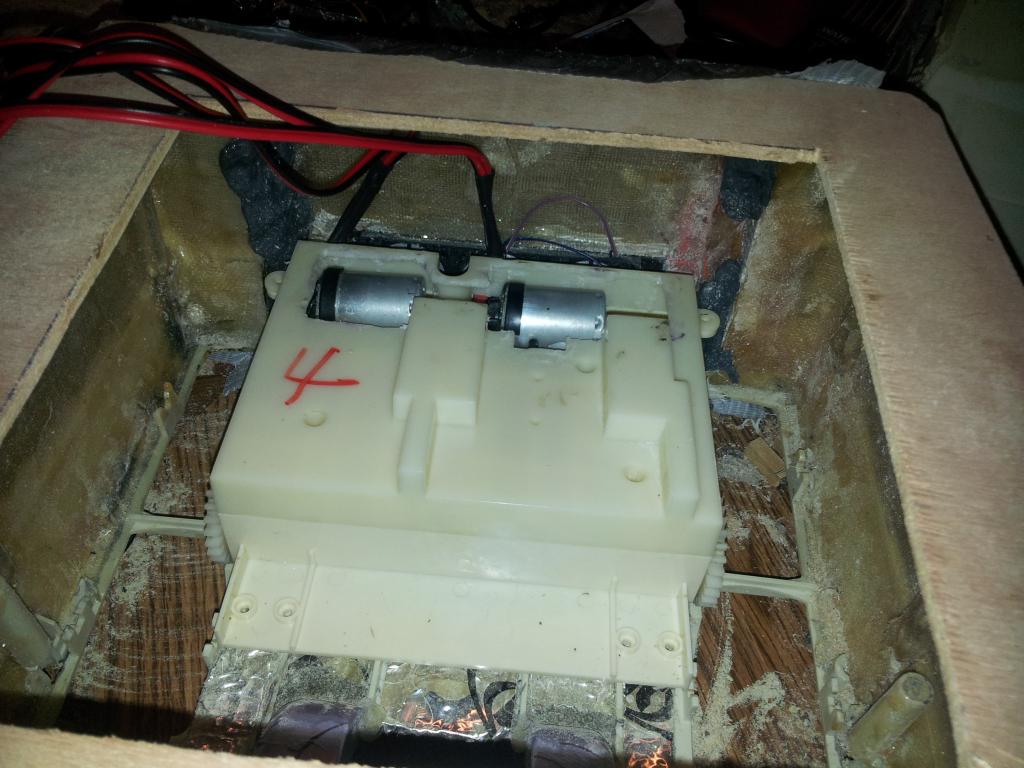
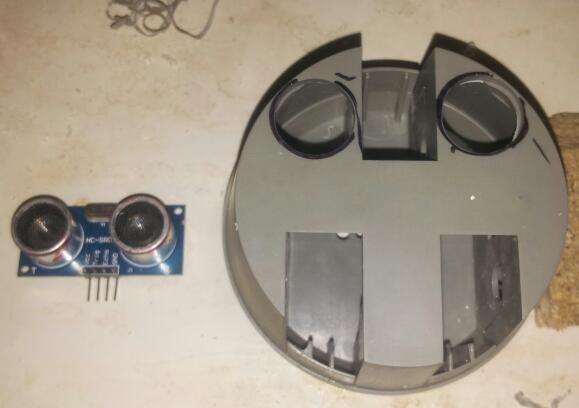
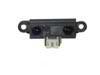
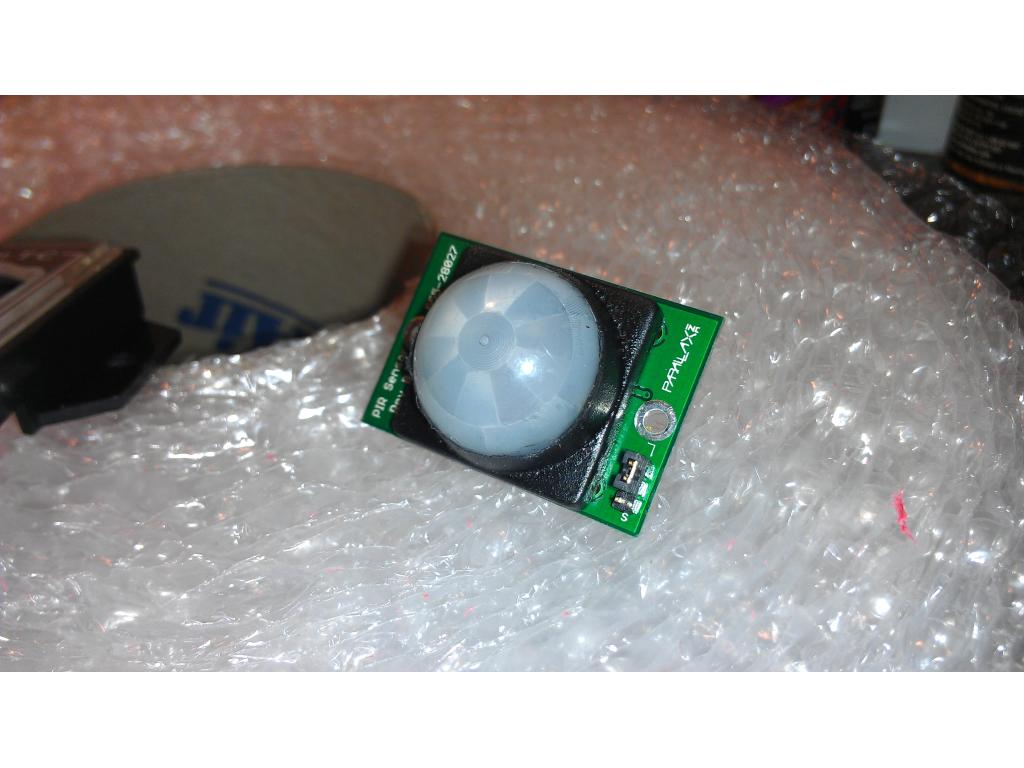
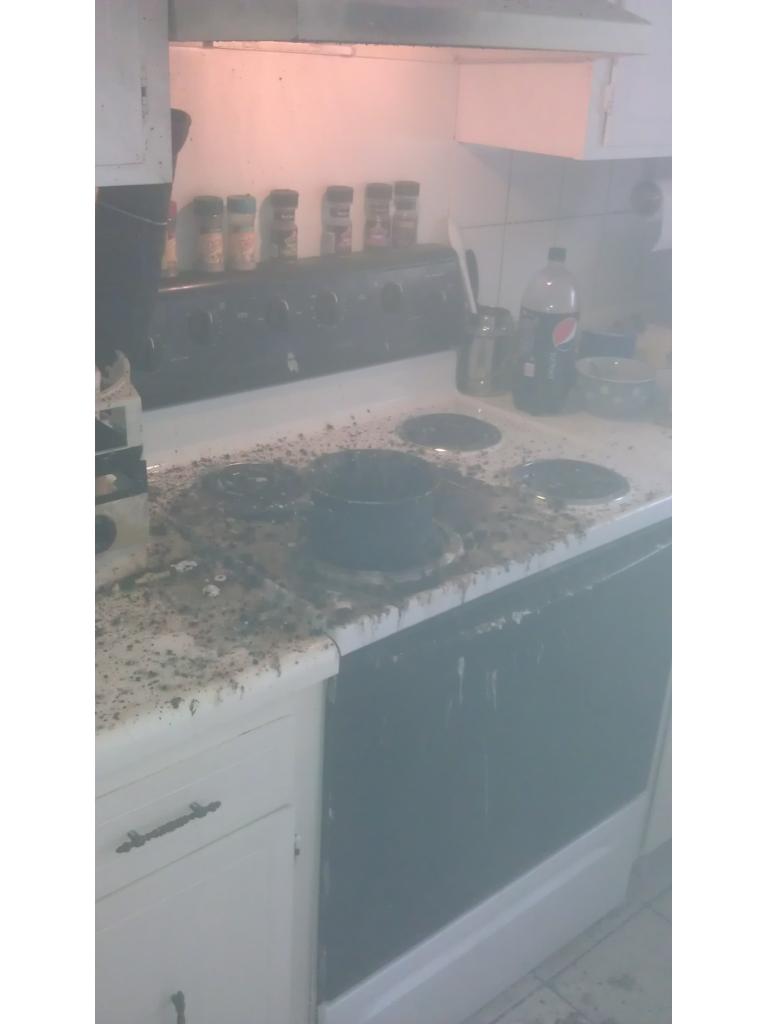
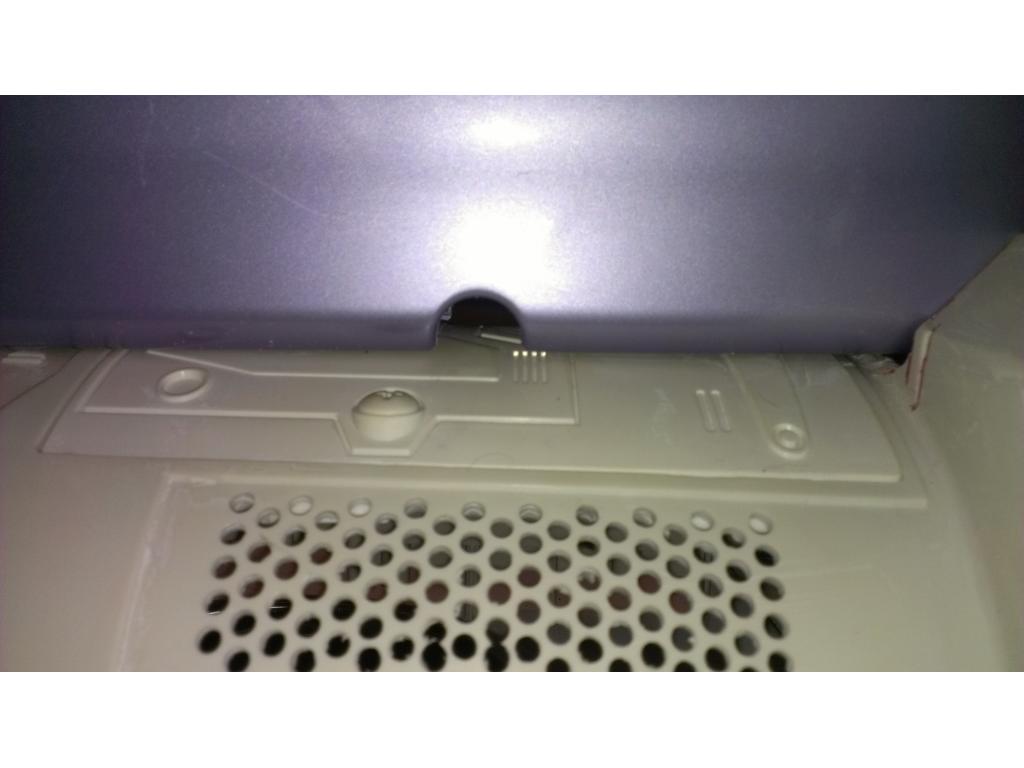
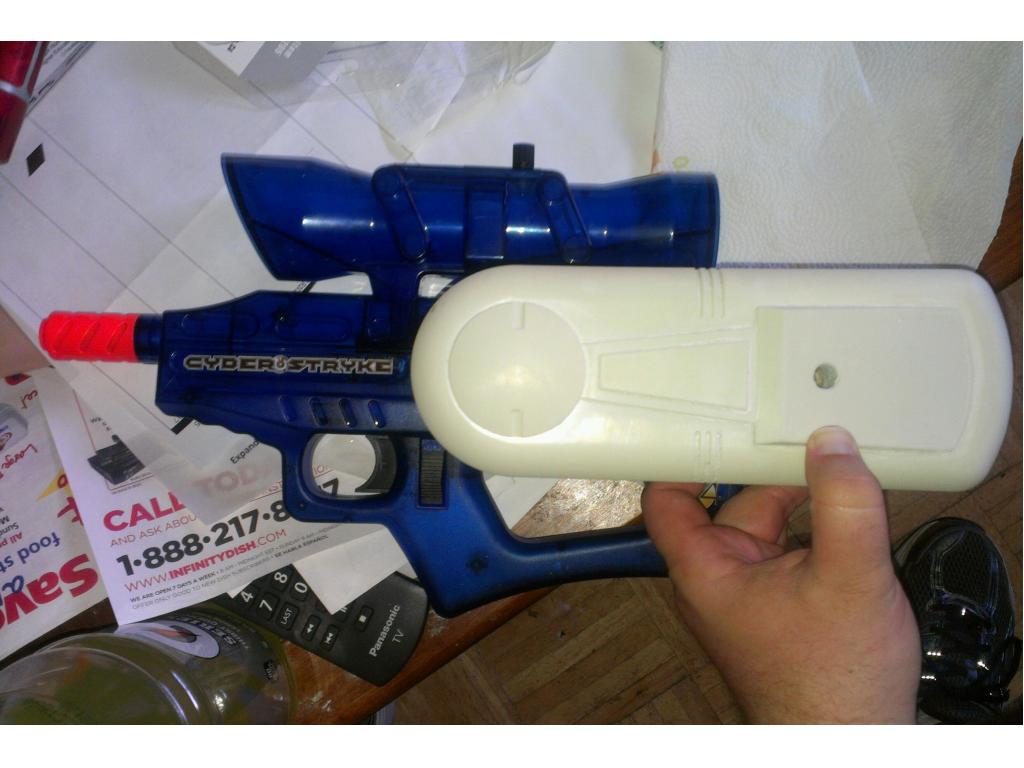
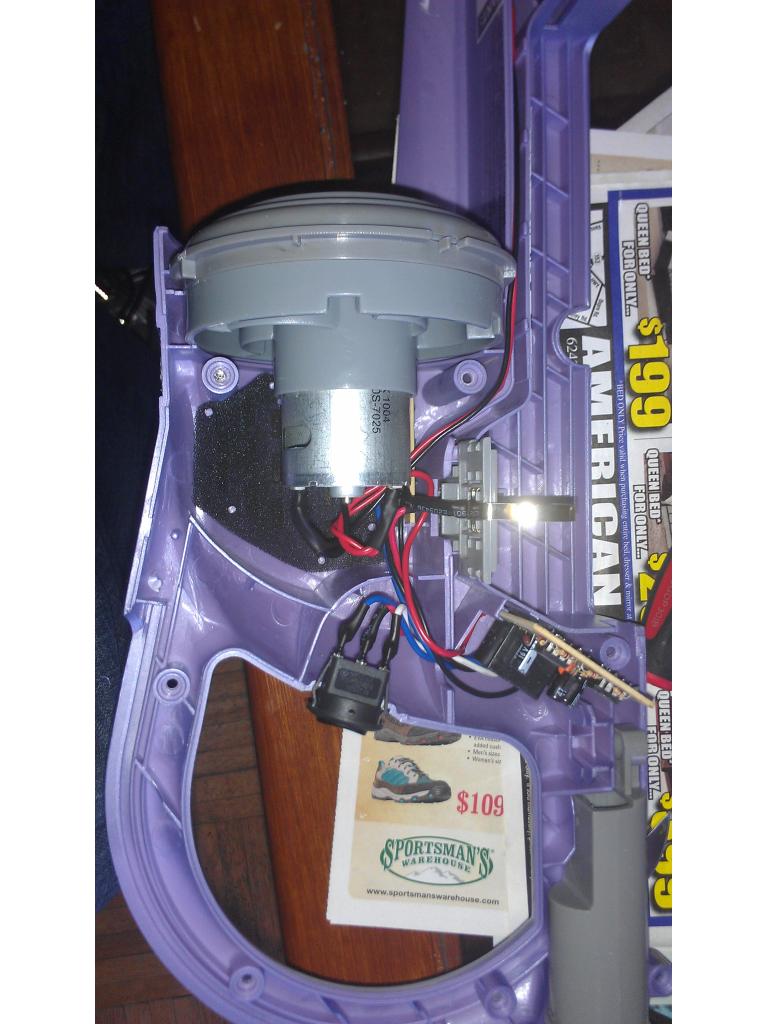
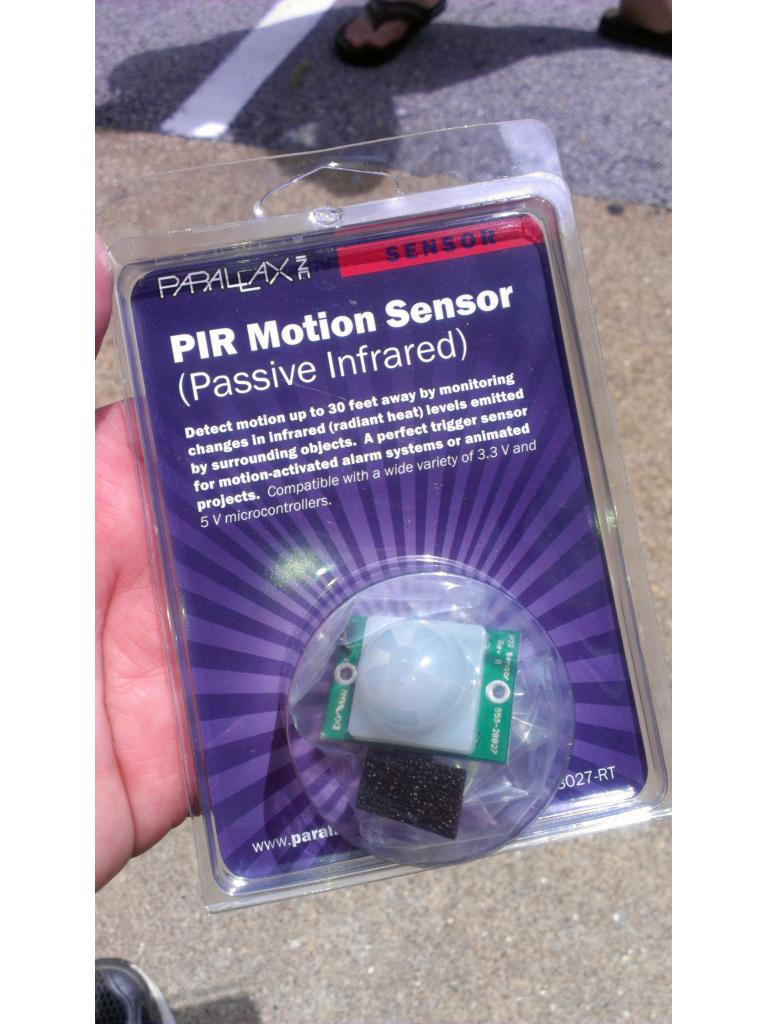
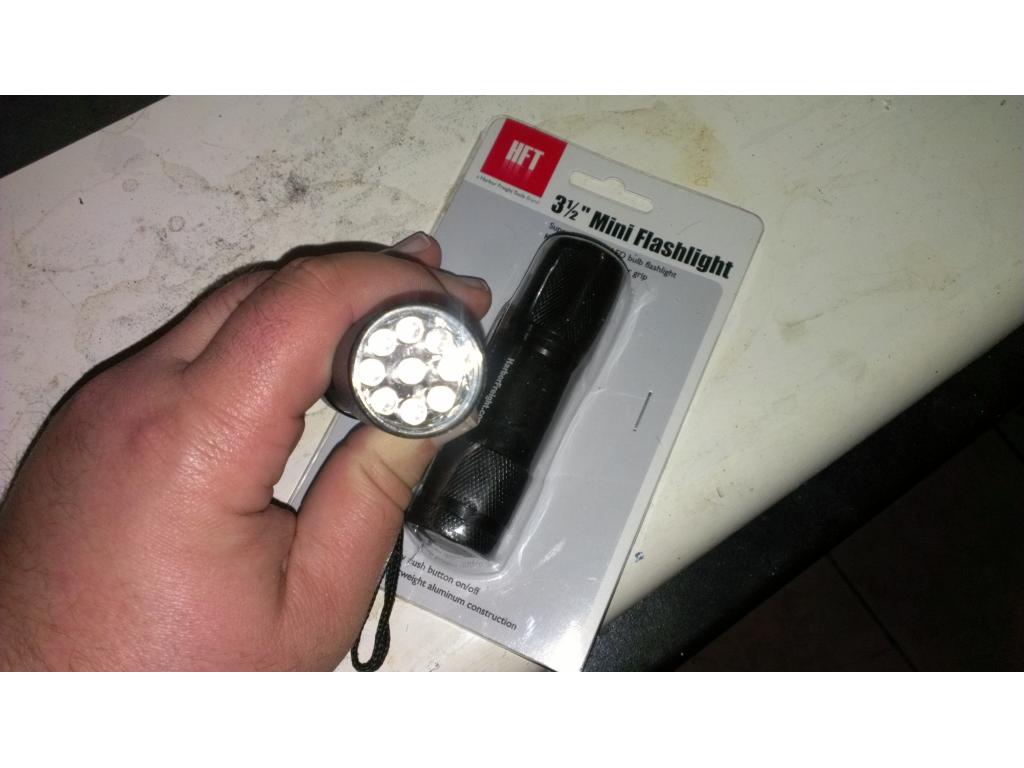
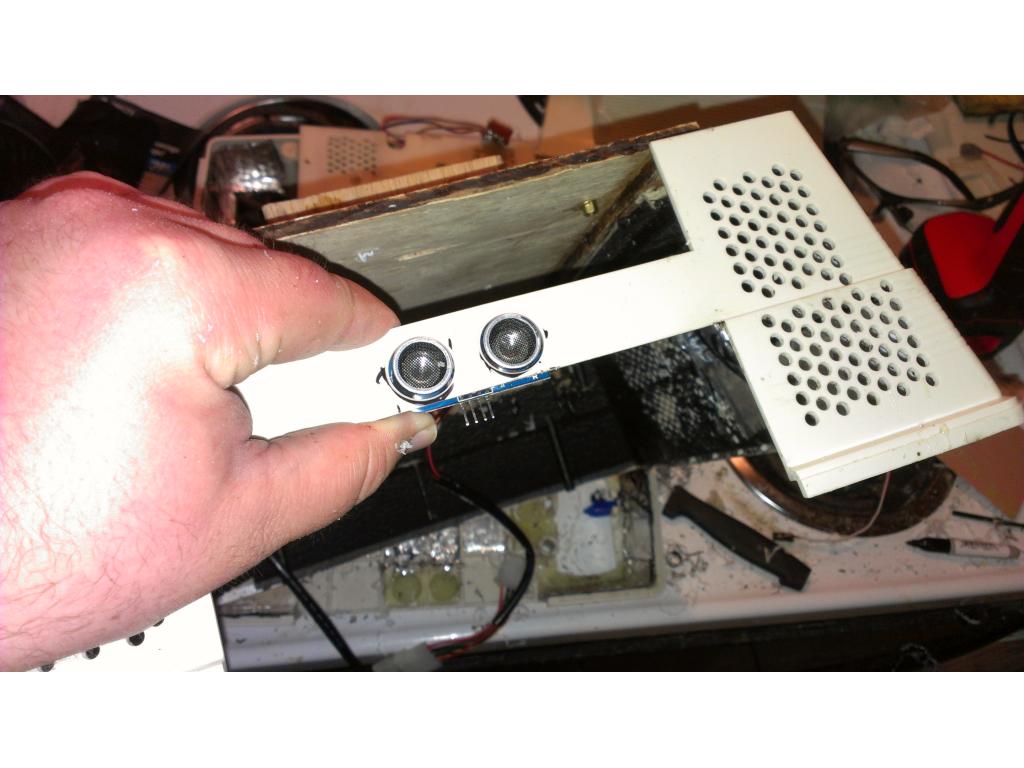
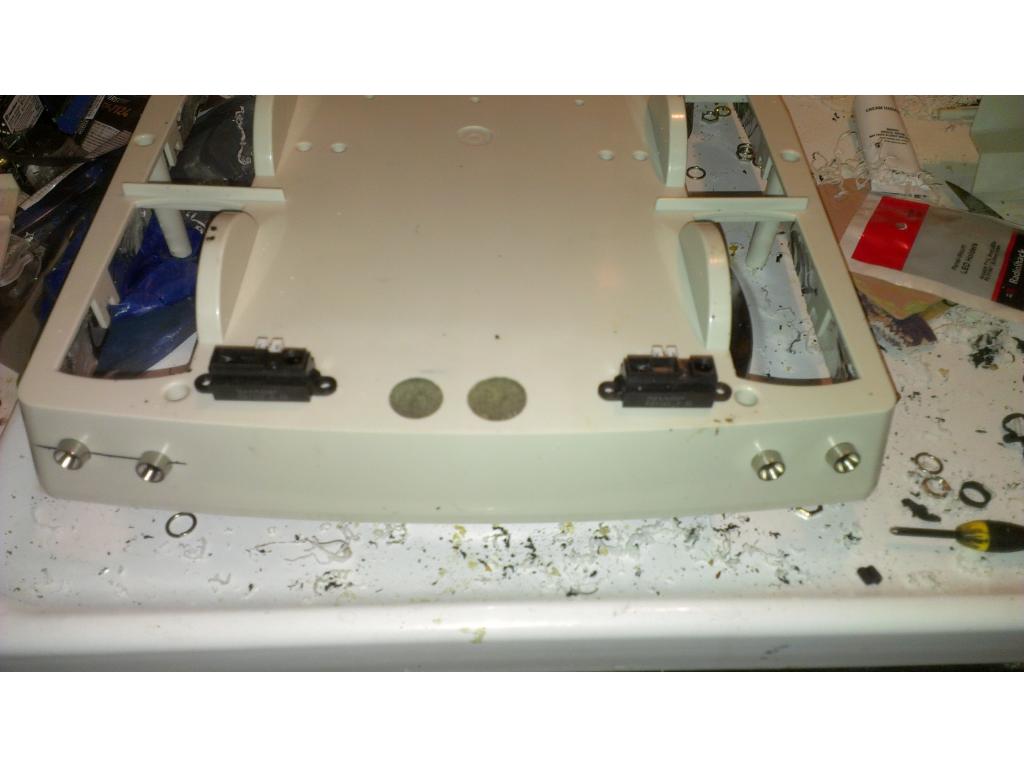
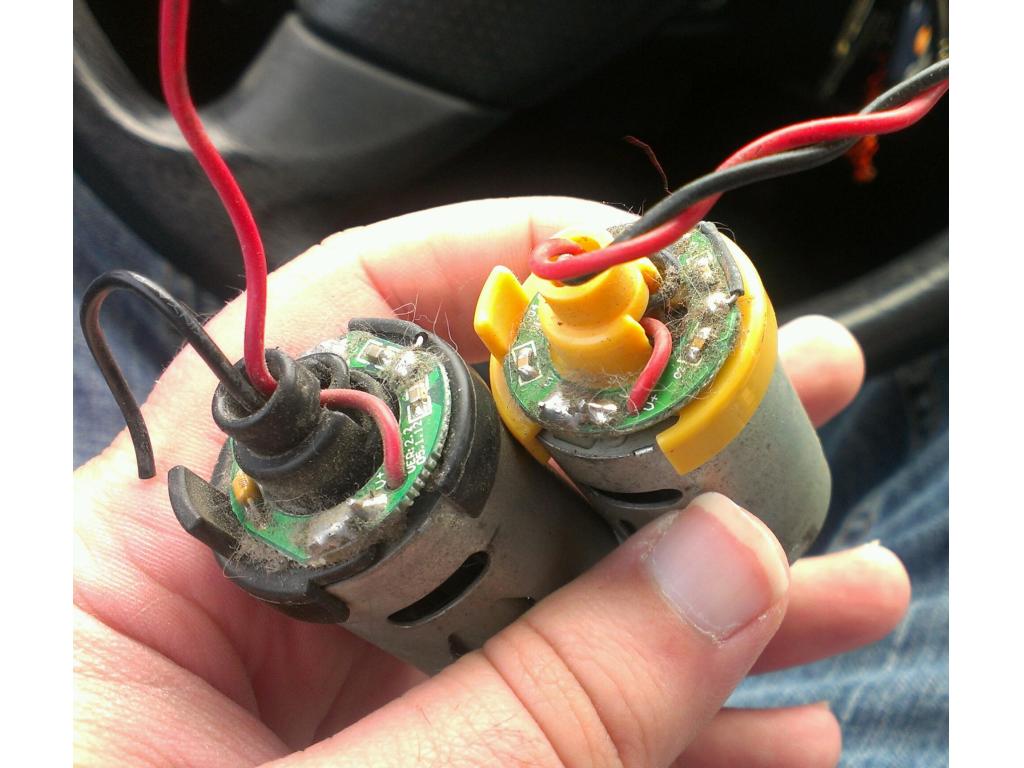
That's a spot I'm.looking.at. I'm gonna pick up some.light sensors in.a.minute and try that.out
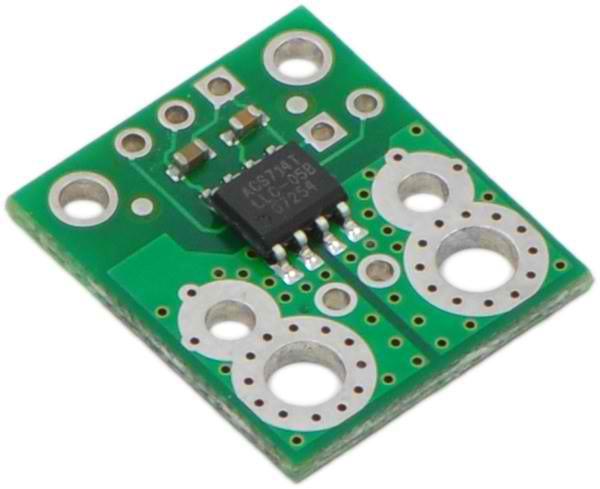
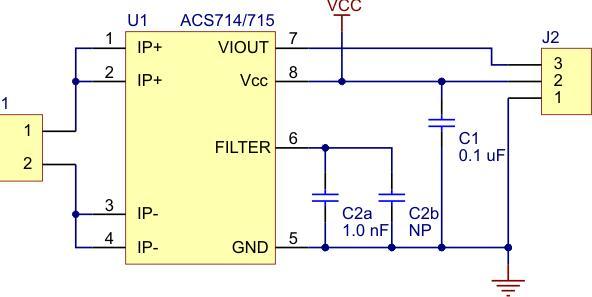
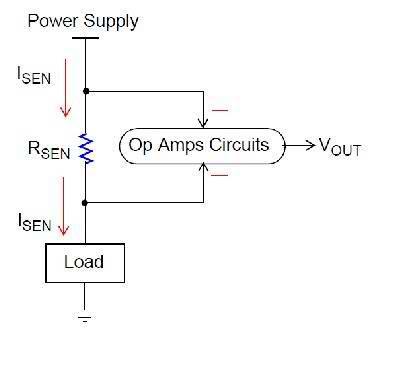
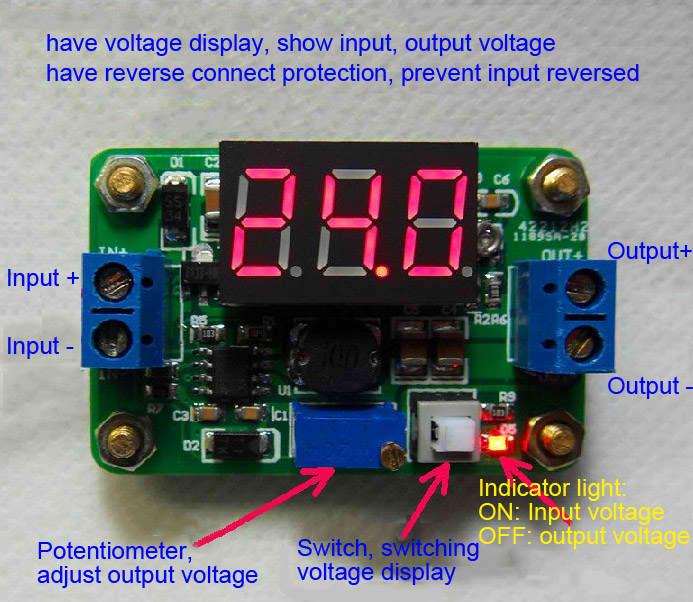
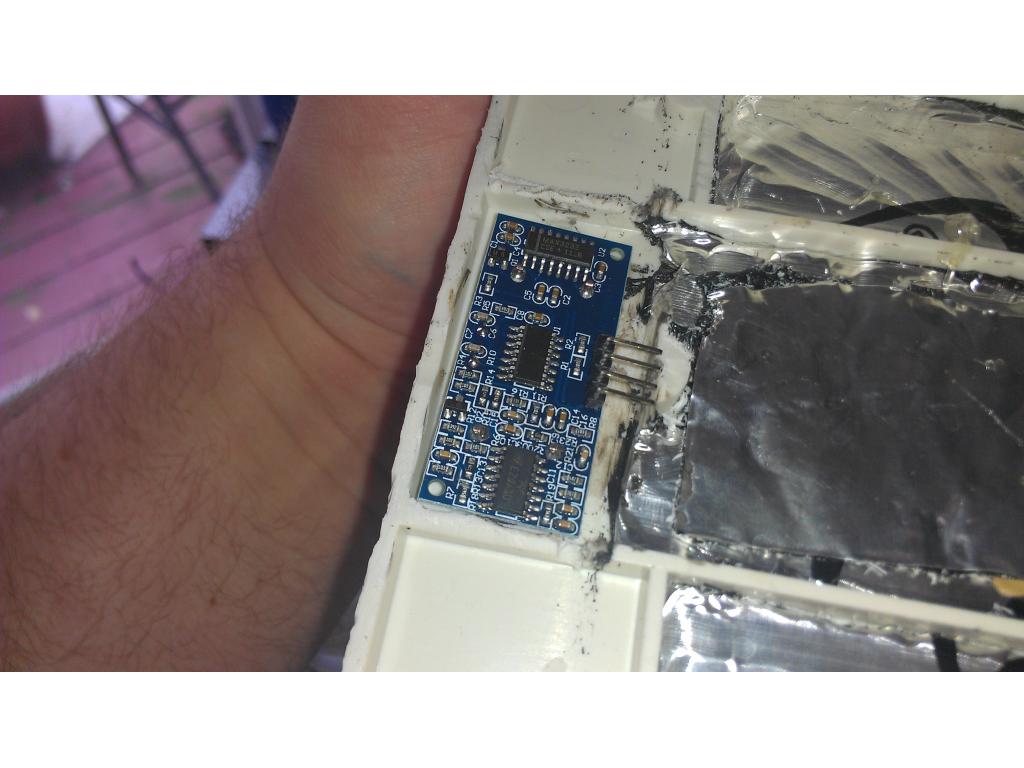
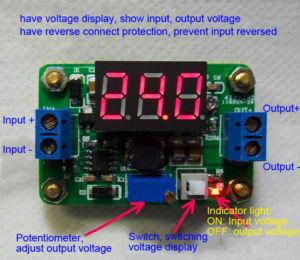
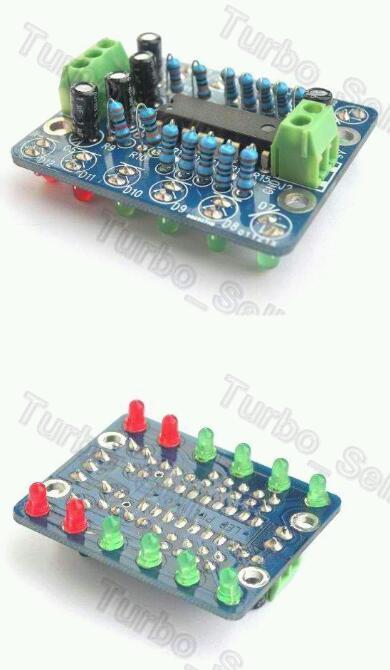
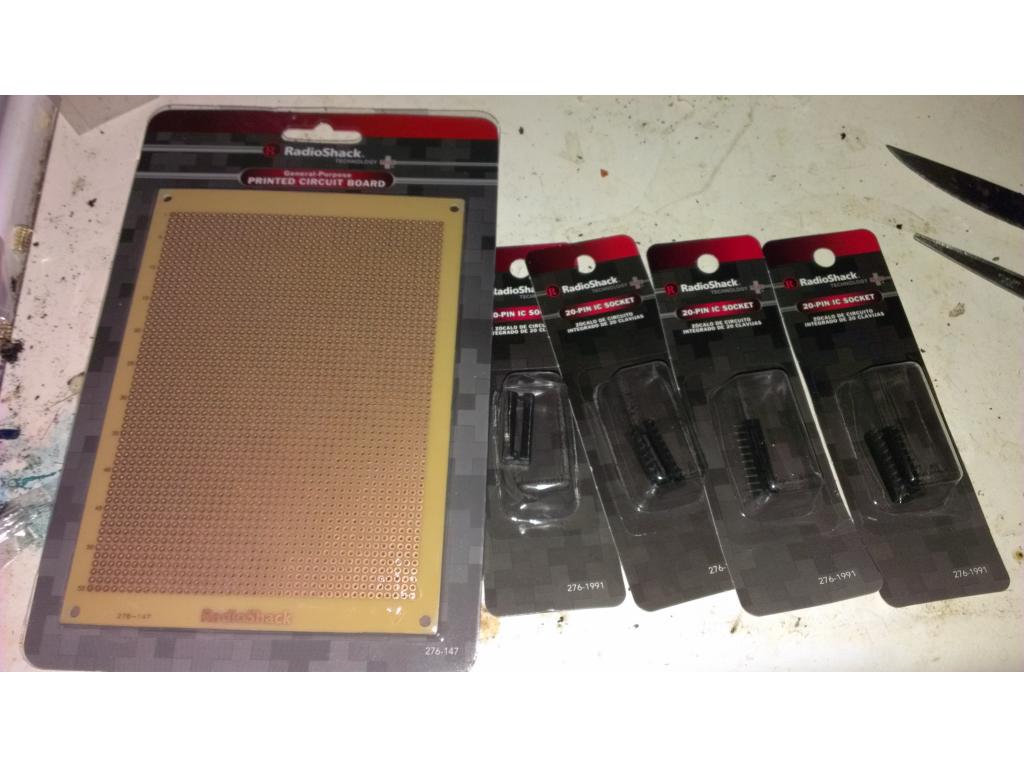
all you need is make a voltage divider ,or can make a simple comparator circuit to have a digital output and switch digita l output when light comes on,all is needed is a chip,few resistors and a trimpot chip is LM311 VERY COMMON COMPARATOR chip
Hi jstarne1
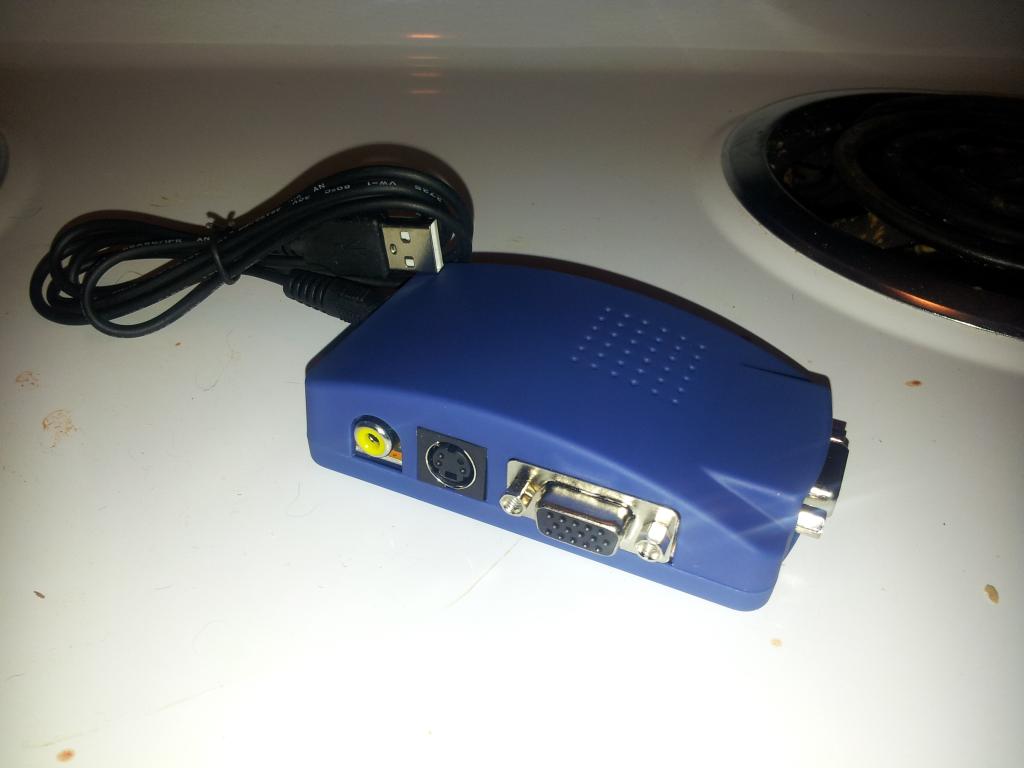
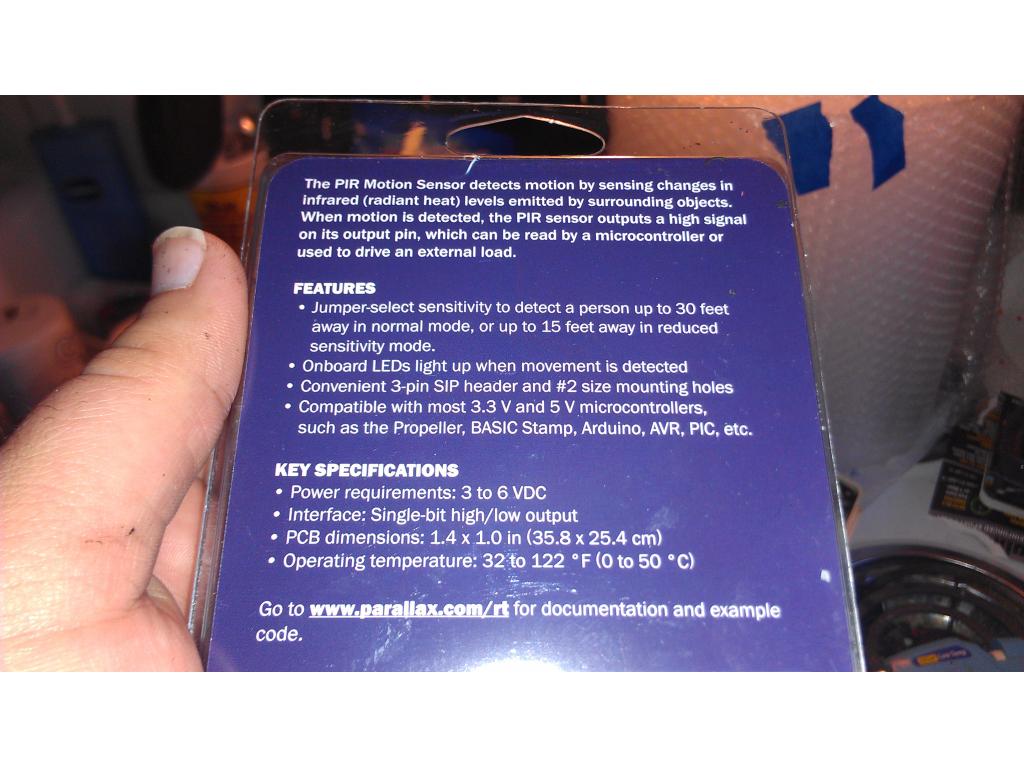
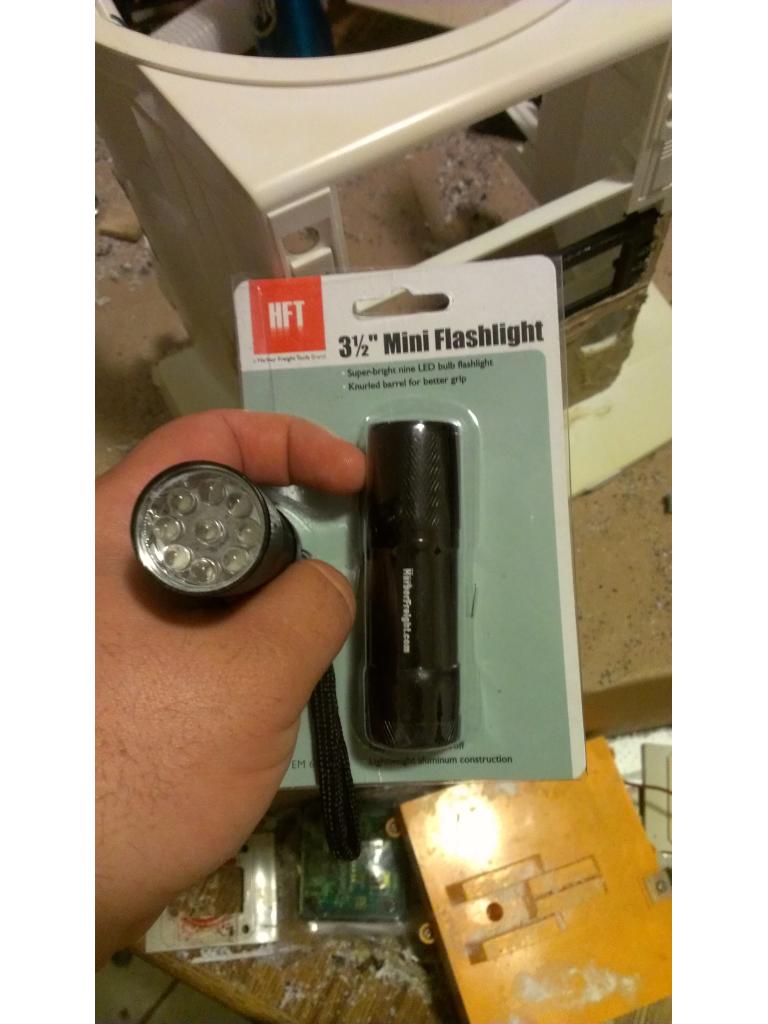
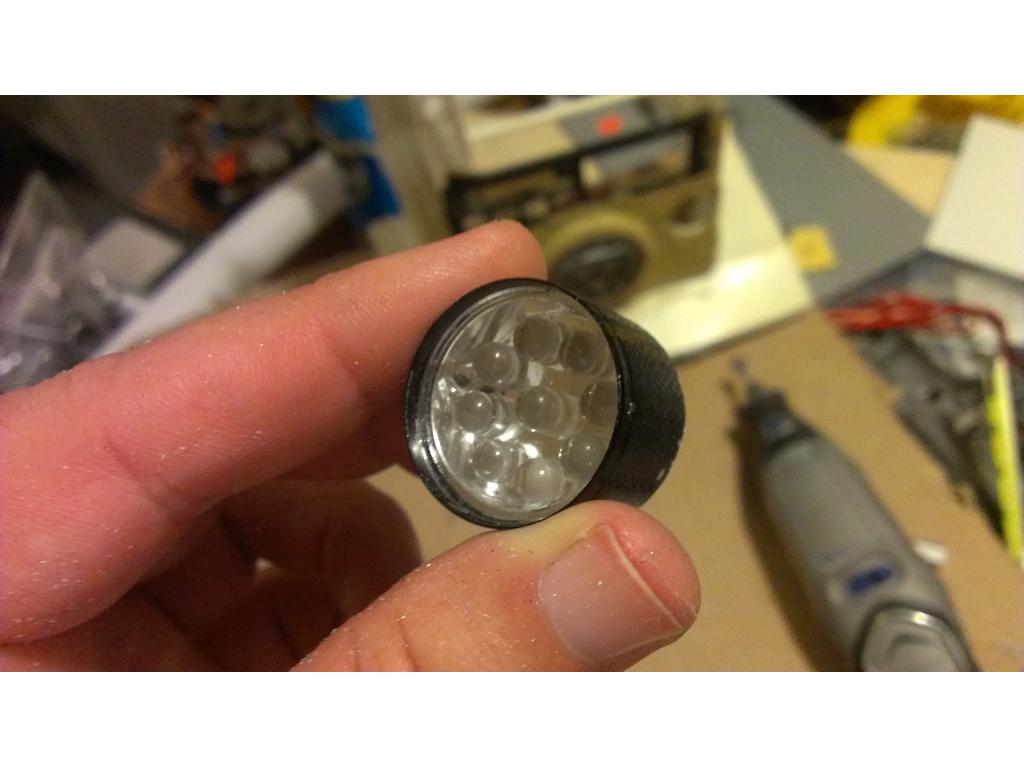
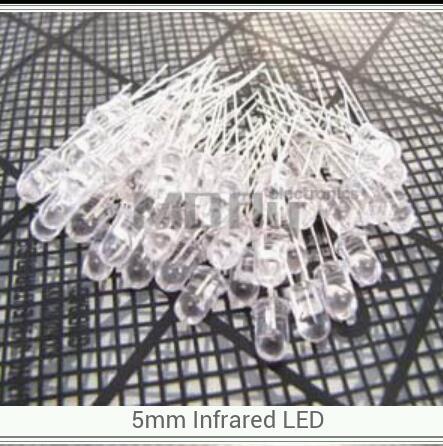
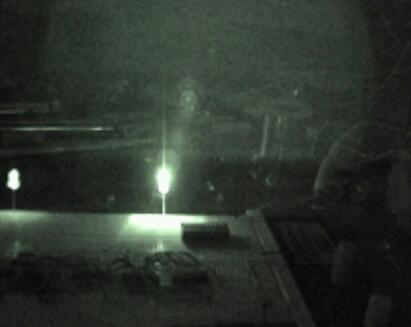
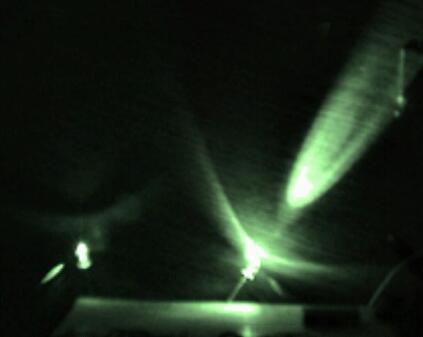
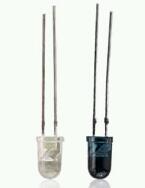
Regarding the flashlights you are thinking of installing. Have you checked if the camara you are using is infared sensitive . If so you could make a infared flashlight out of infared LEDs . and the little fellow could see in the dark.
Steve_c
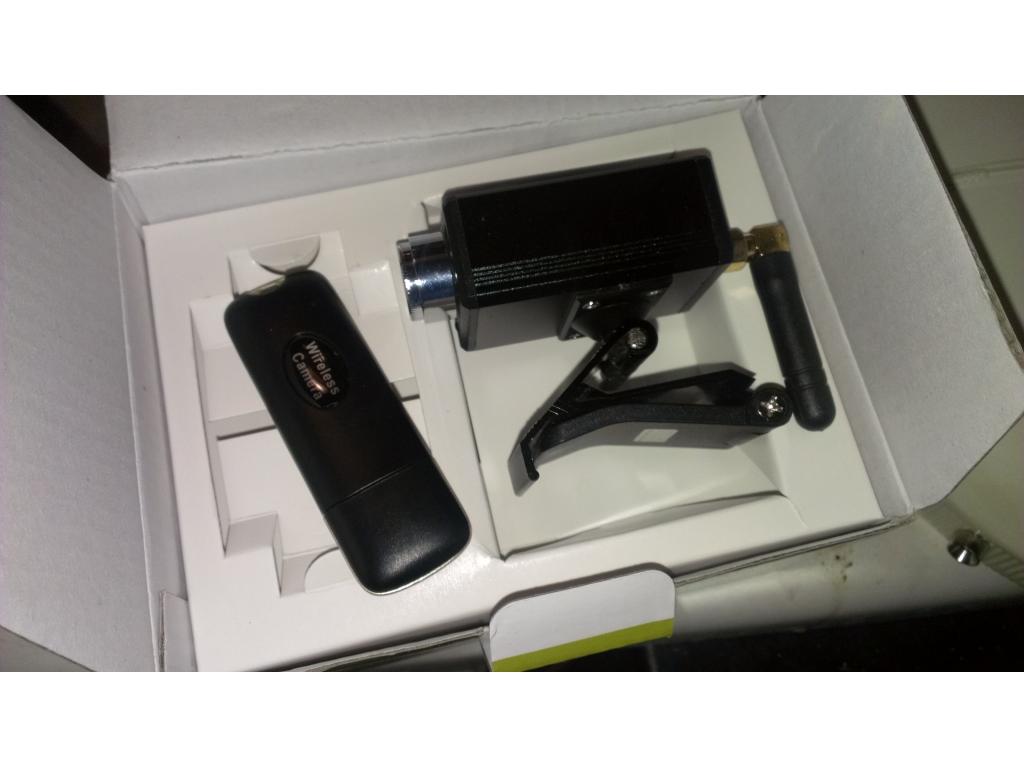
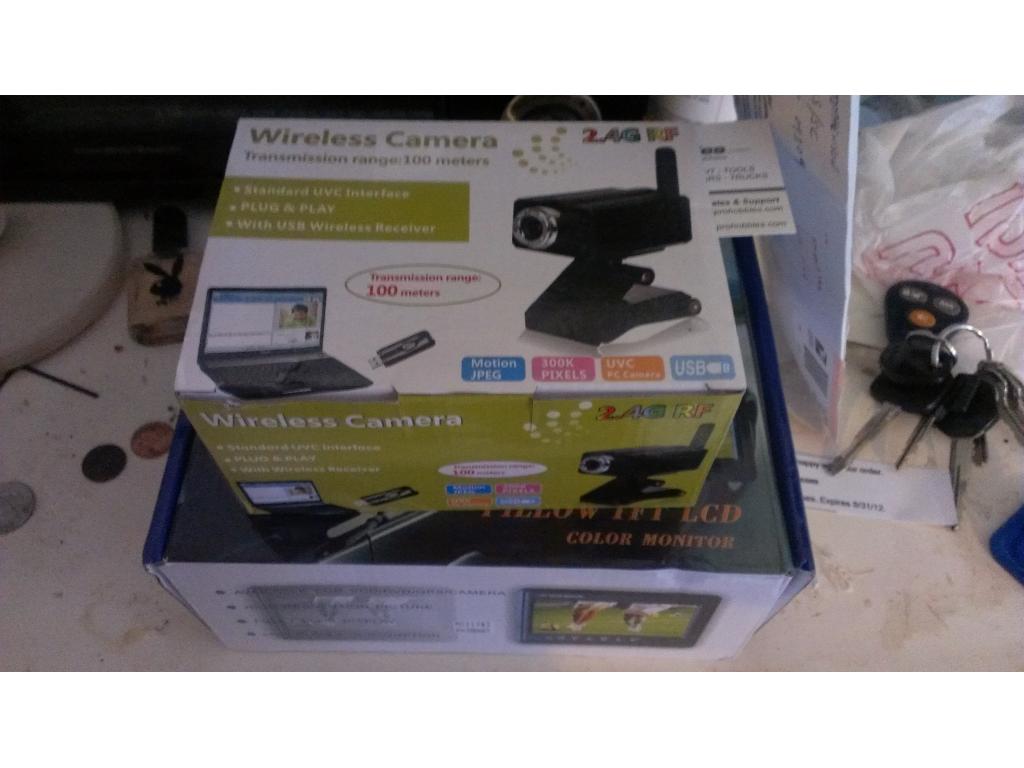
some webcams have that built-in ,ones on ebay with IR leds and about $10 or less f
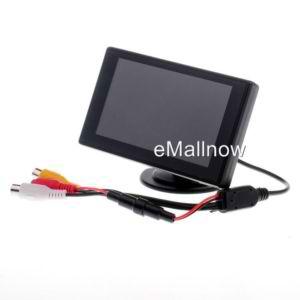
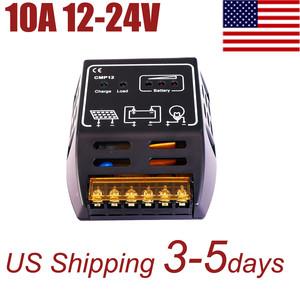
this one here was $10 from usa and now on sale for $5.29 with leds and 36mb camera,very good video when i tried it out
webcam with leds

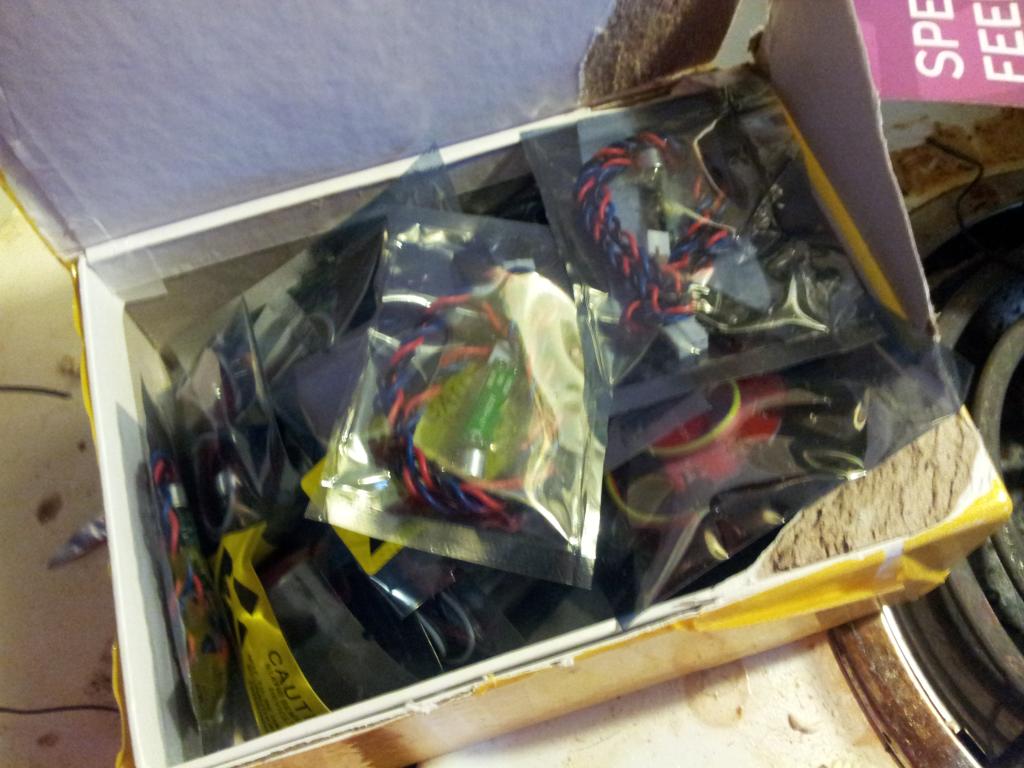
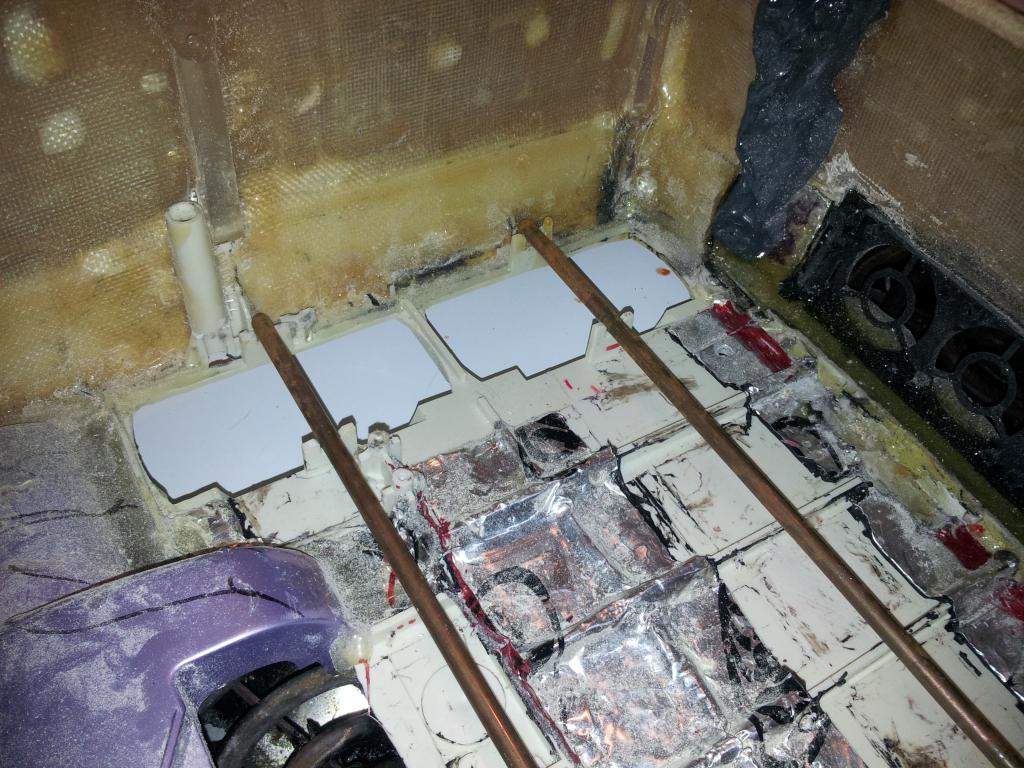
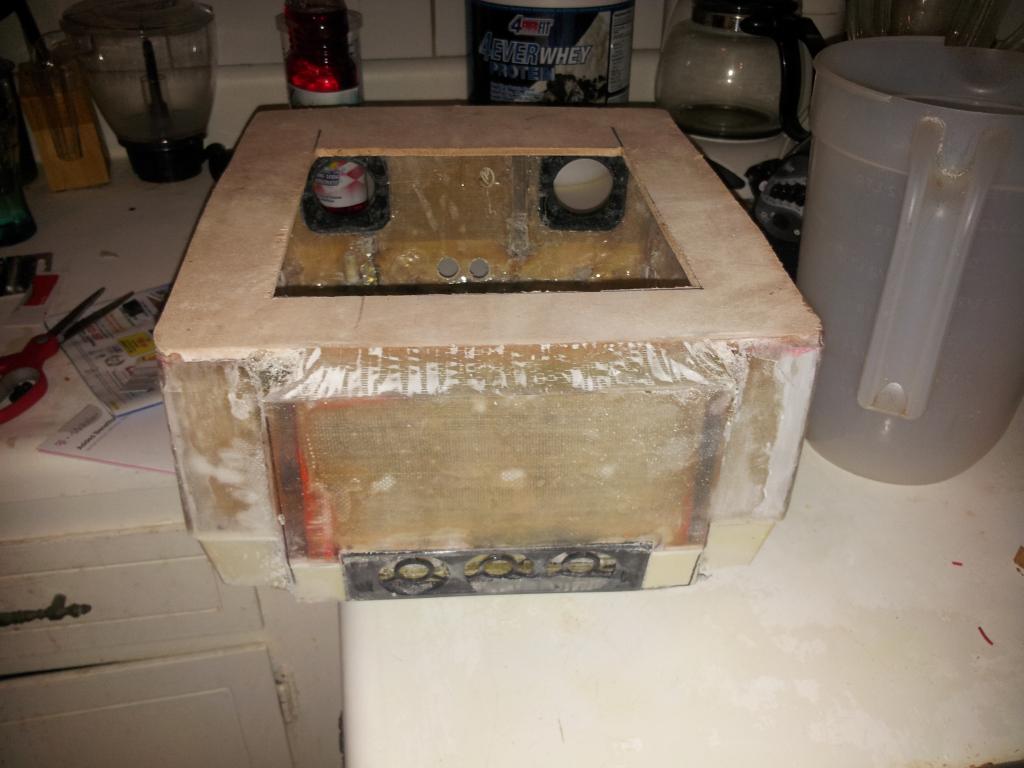
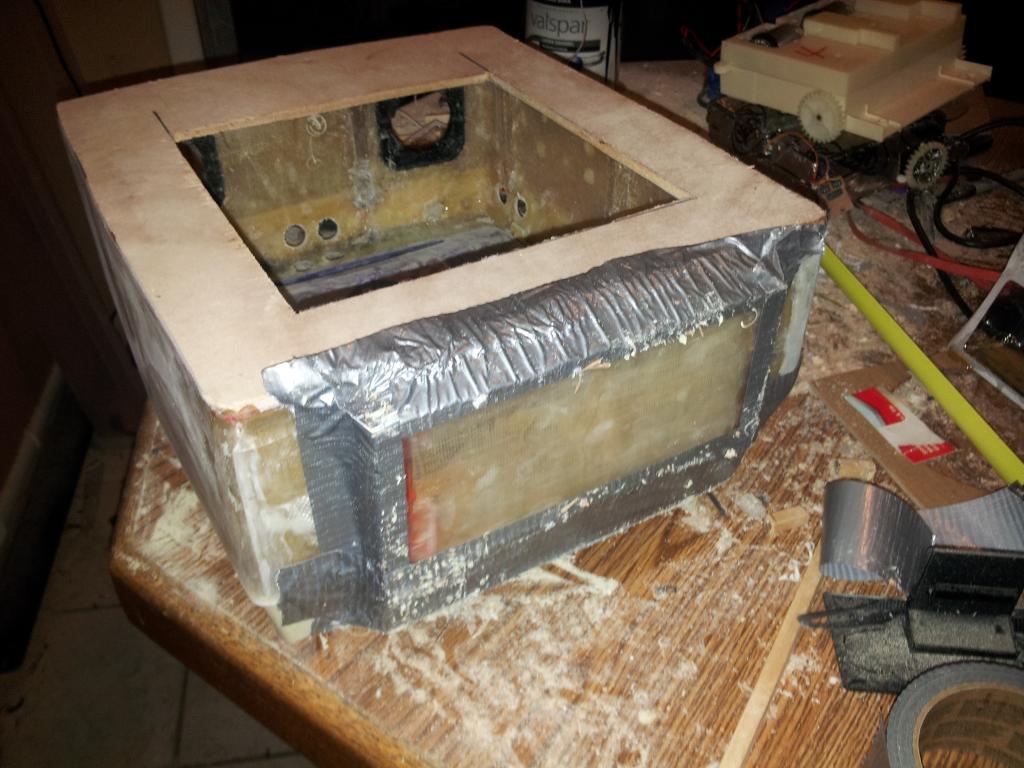
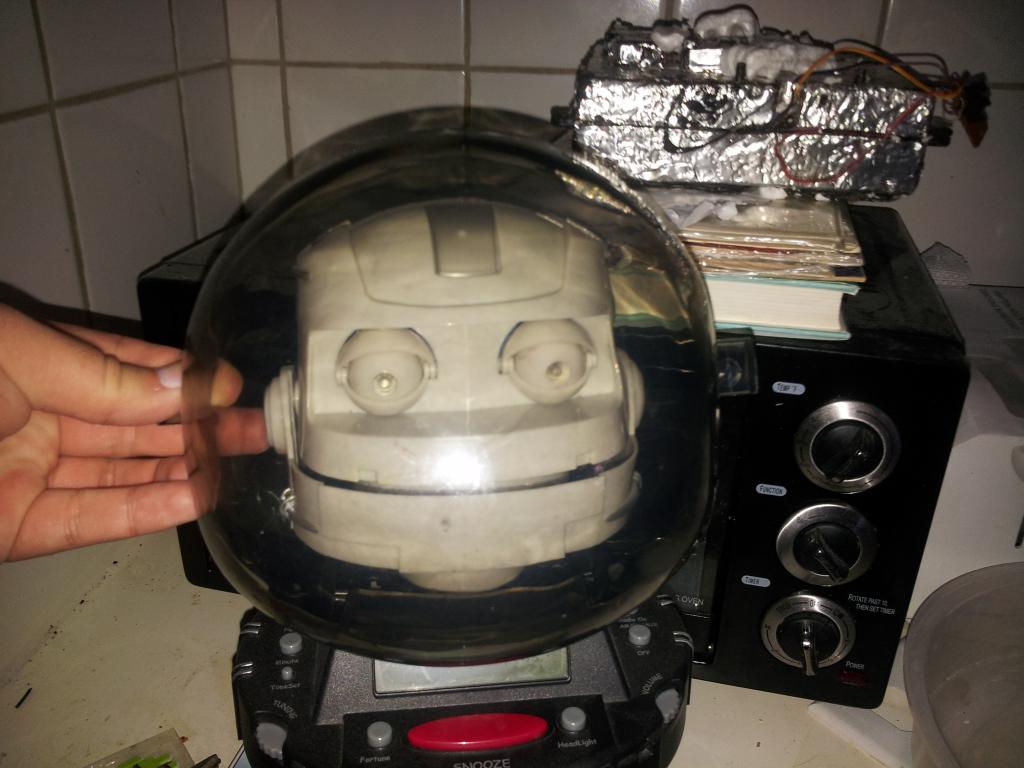
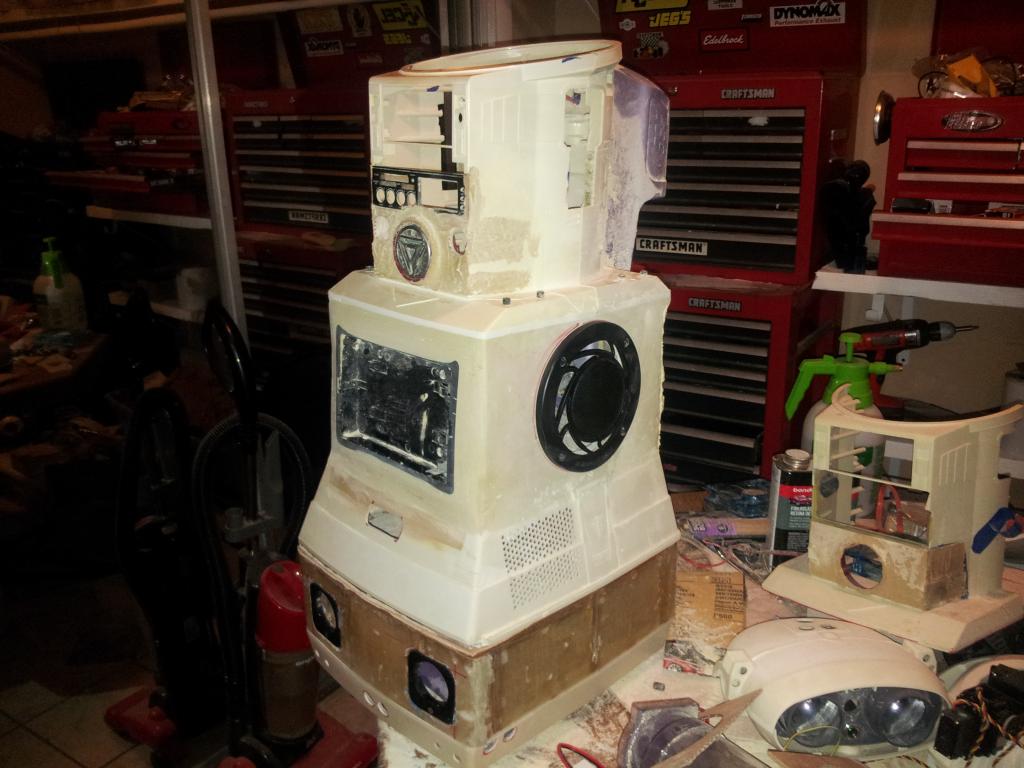
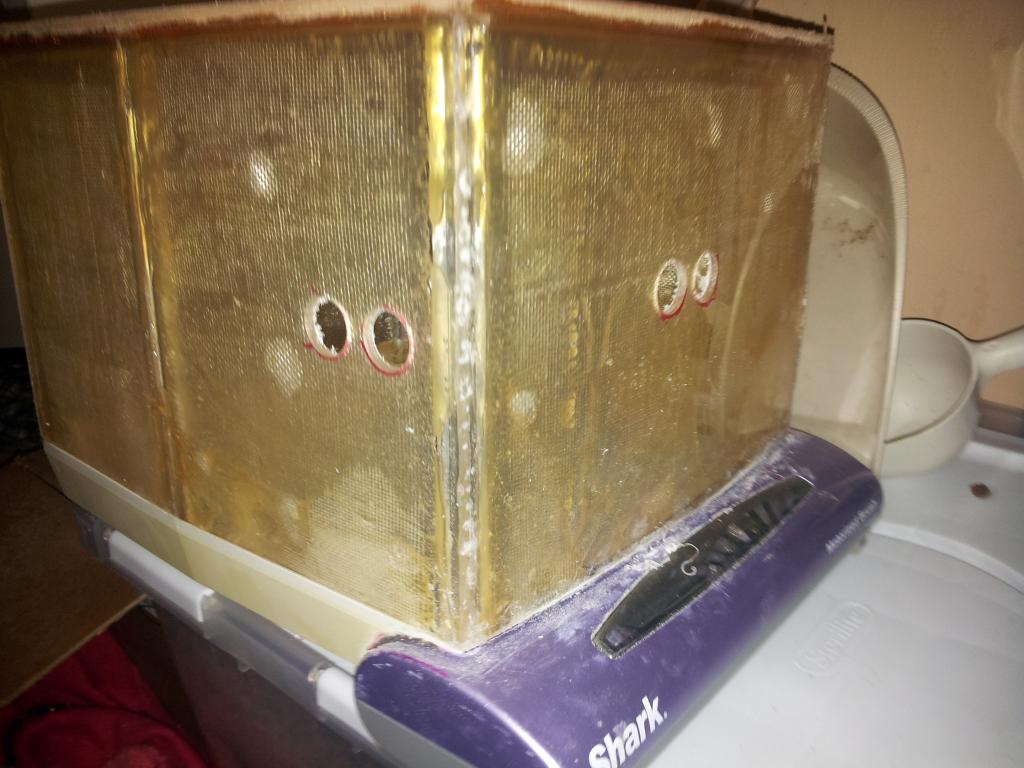
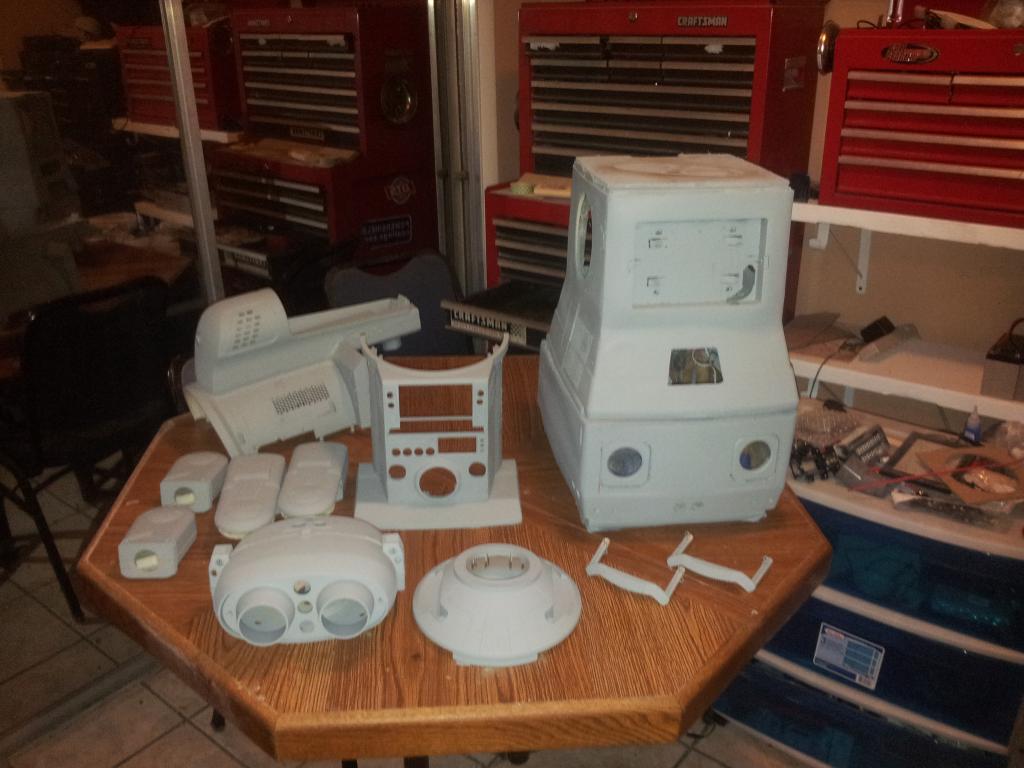
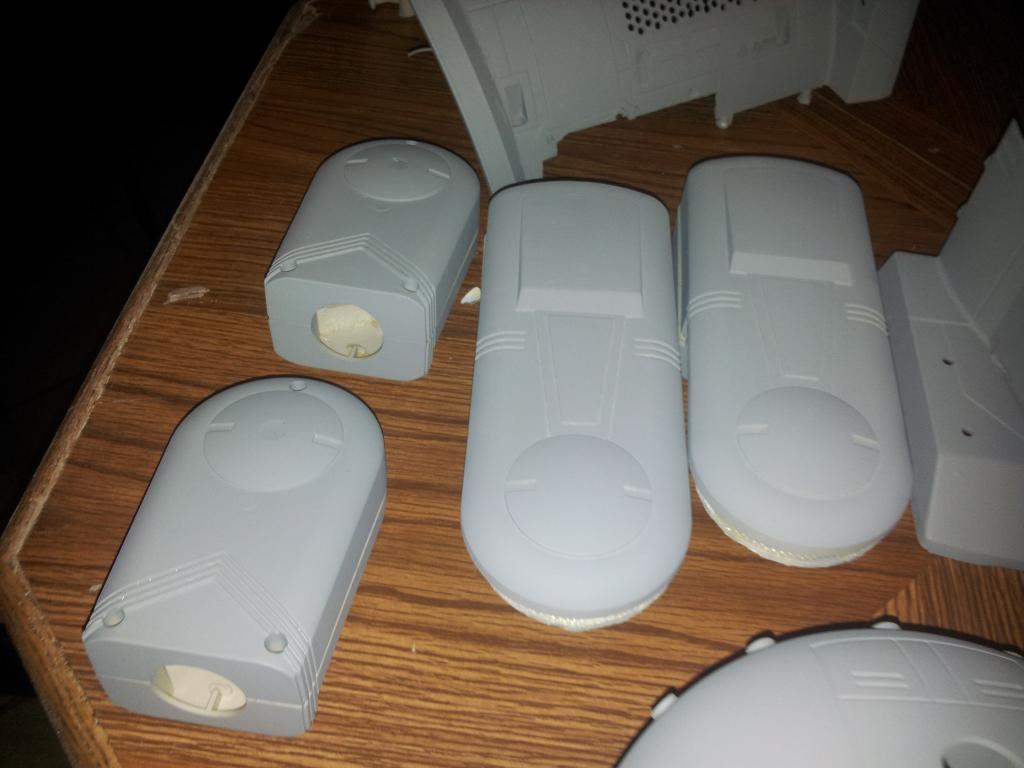
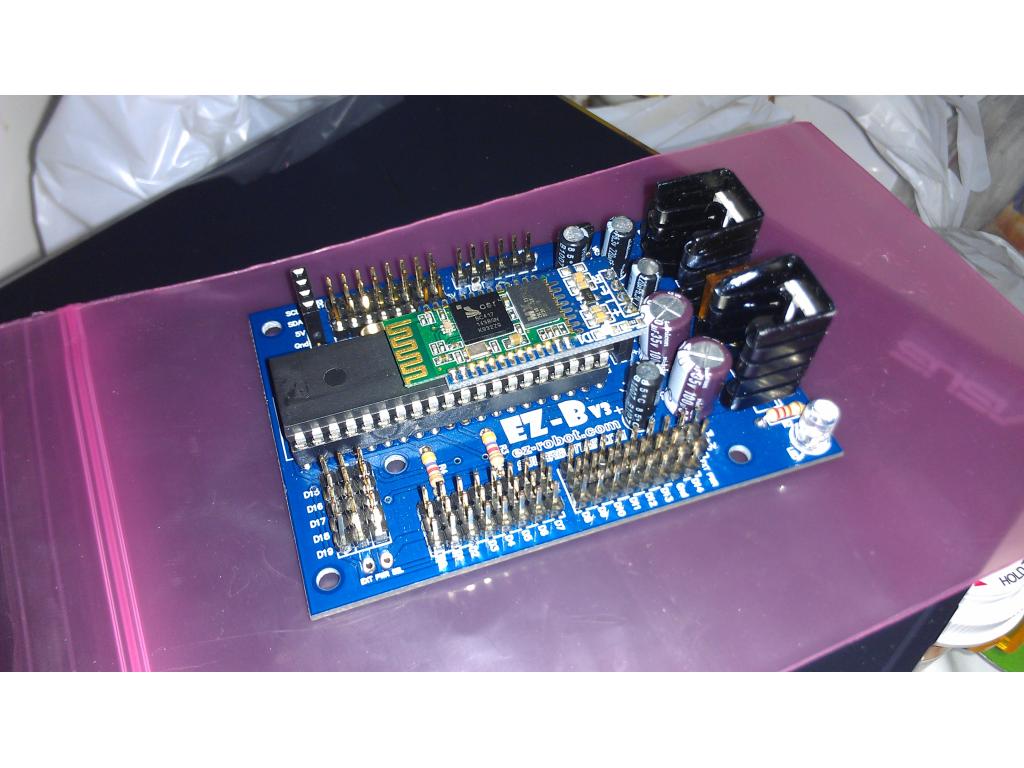
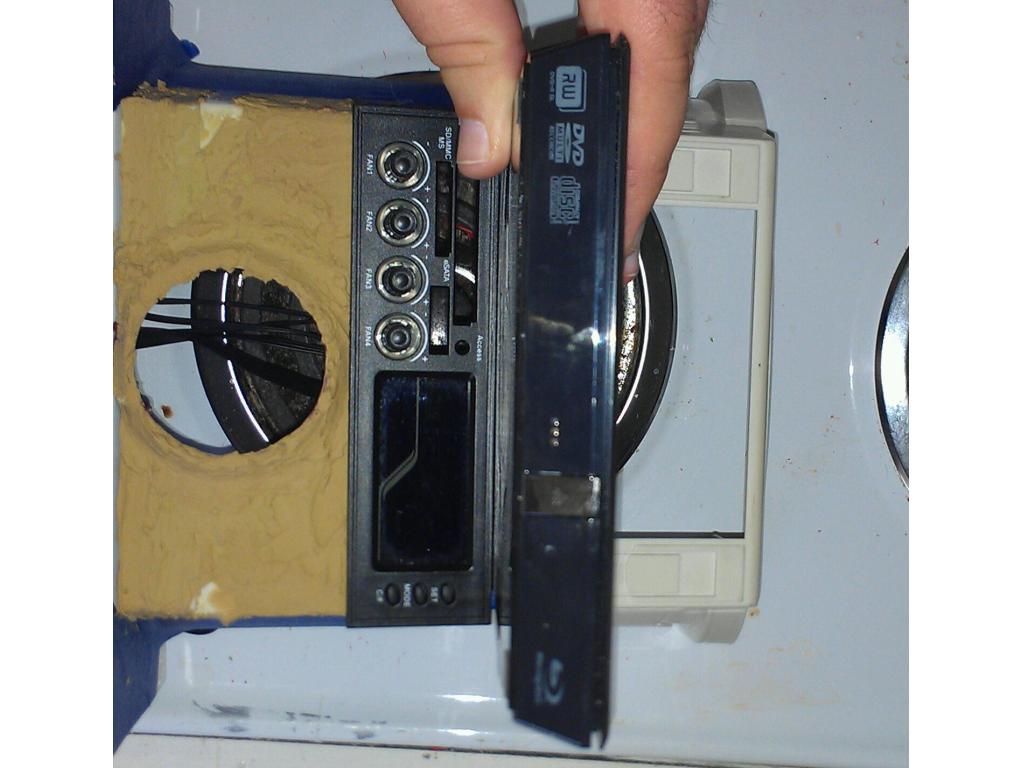
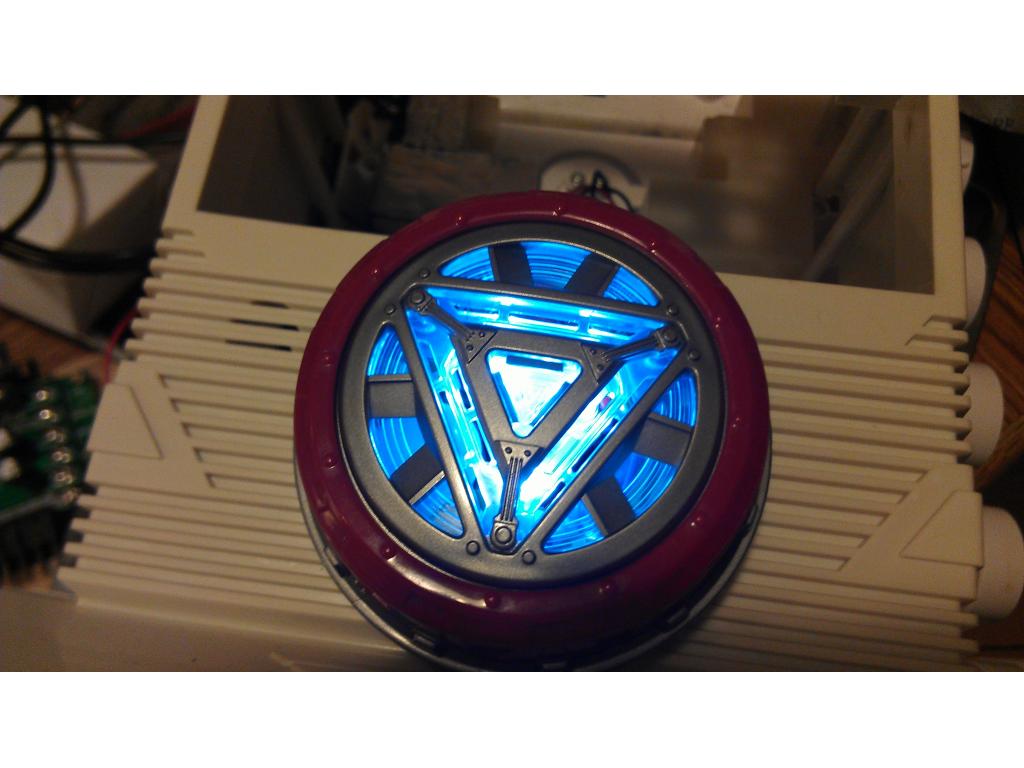
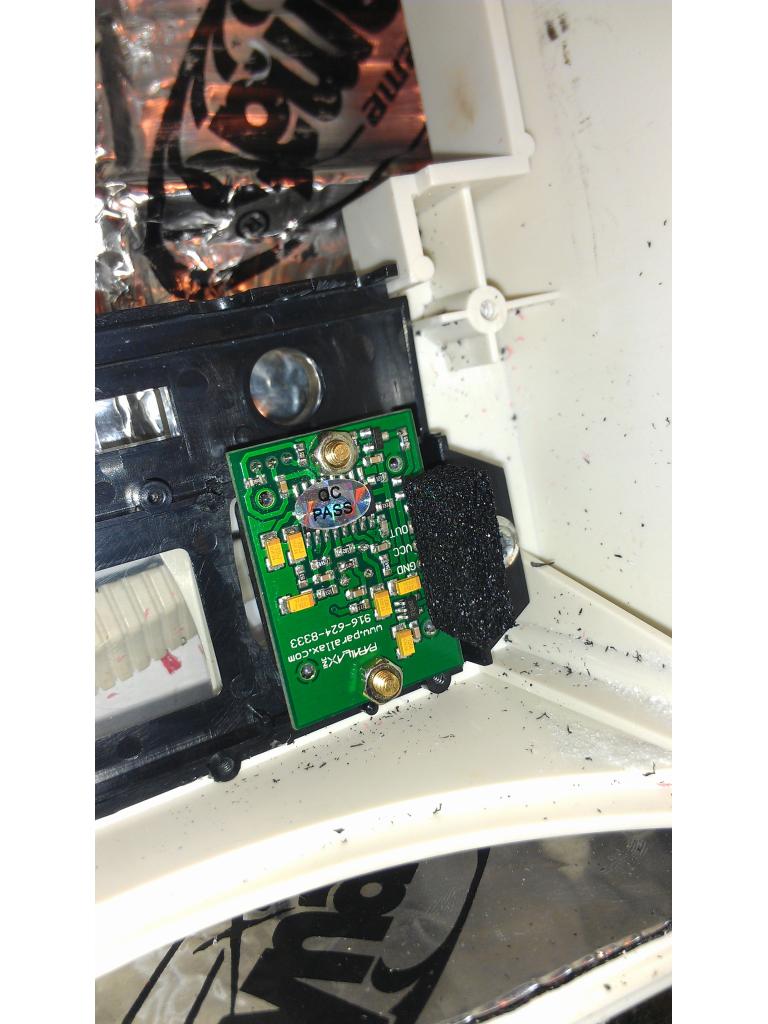
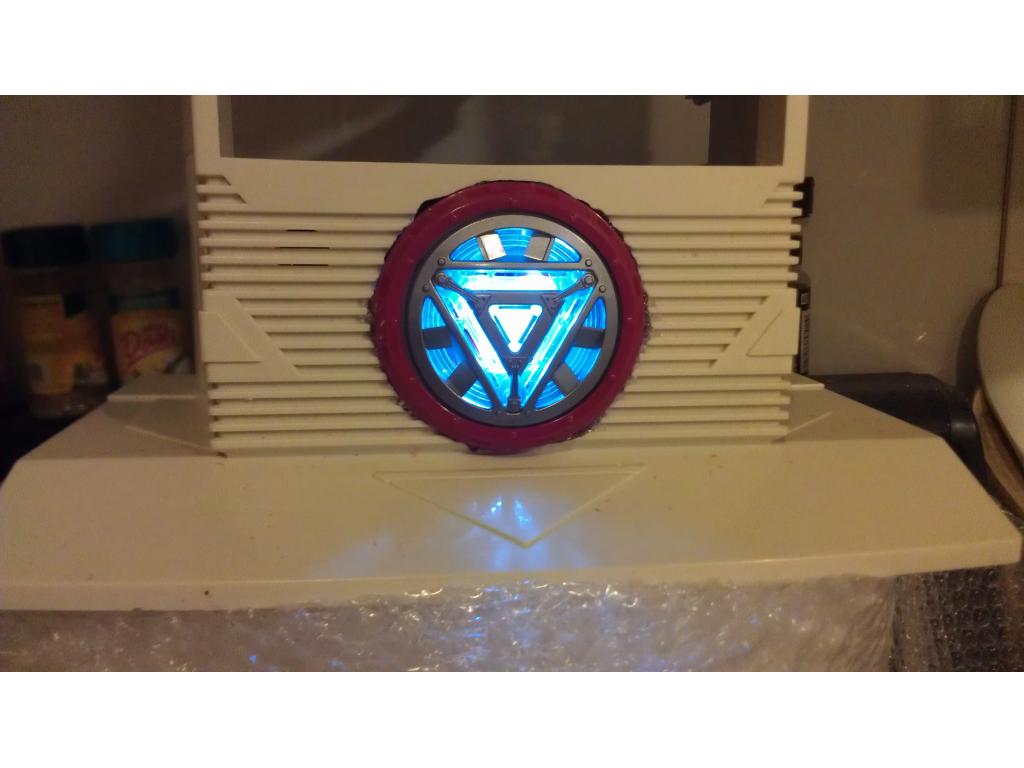
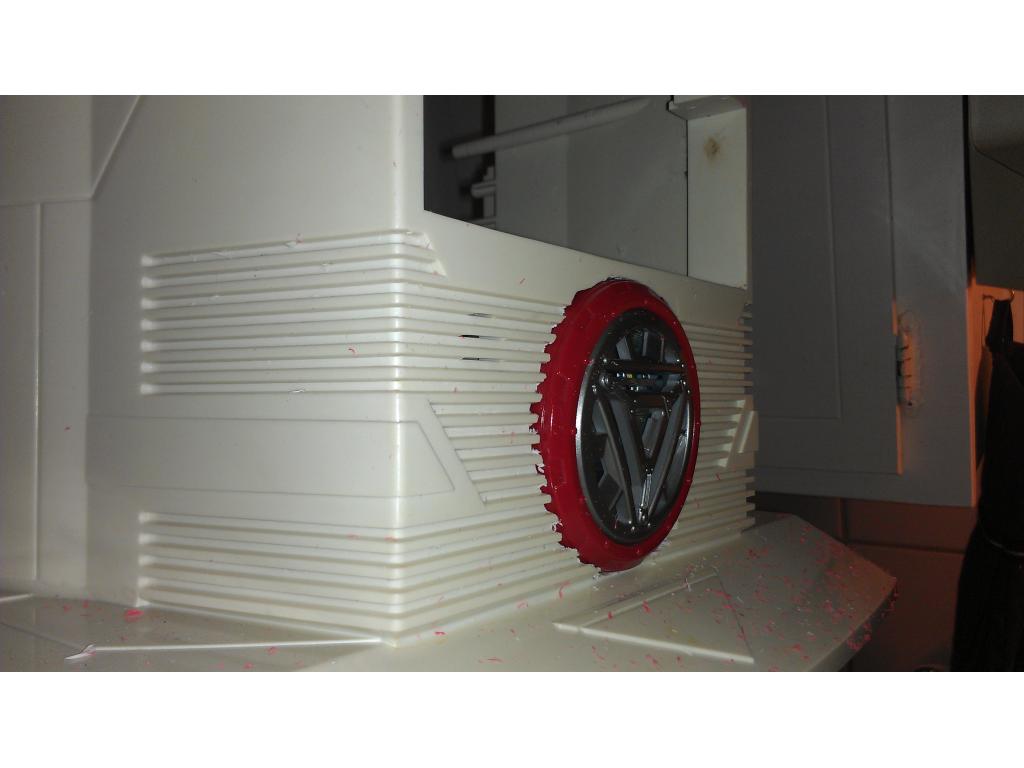
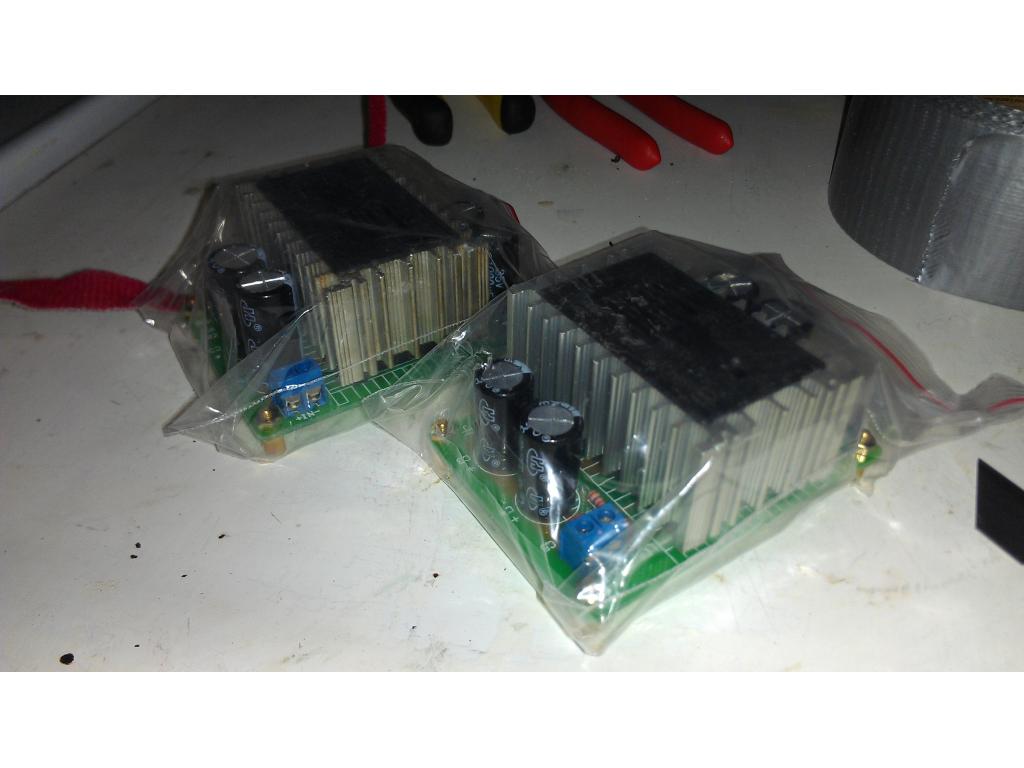
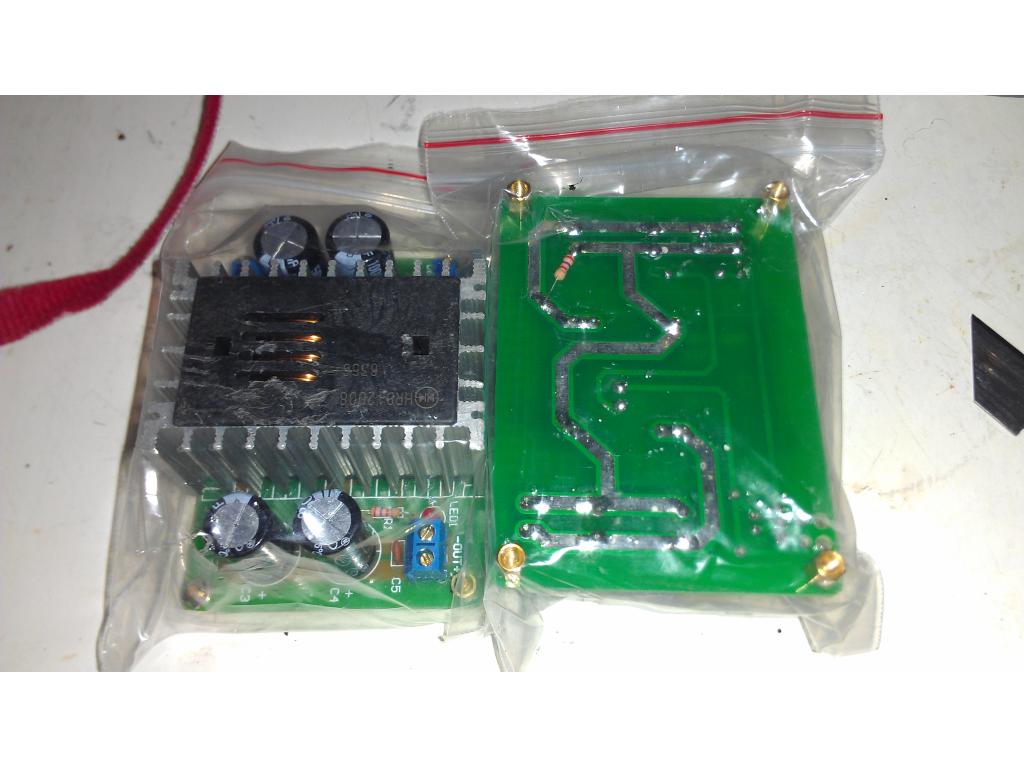
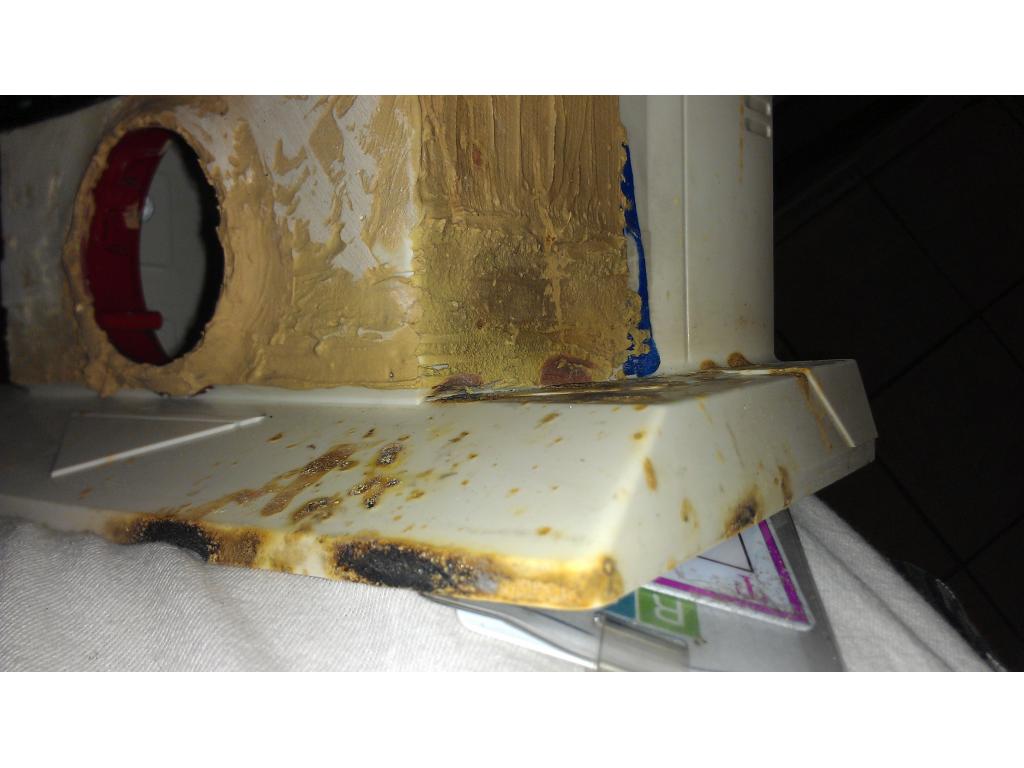
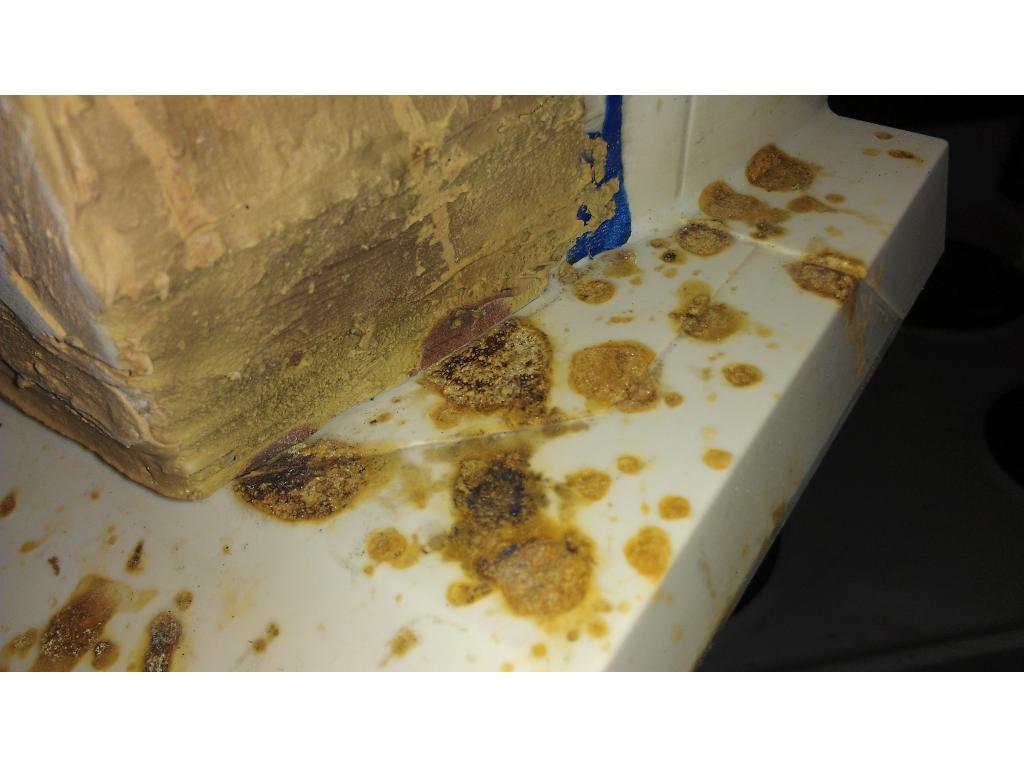
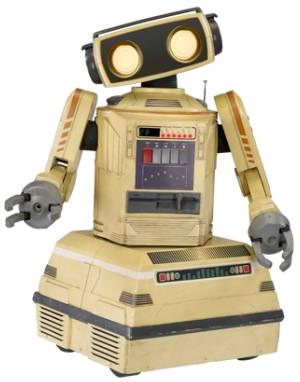
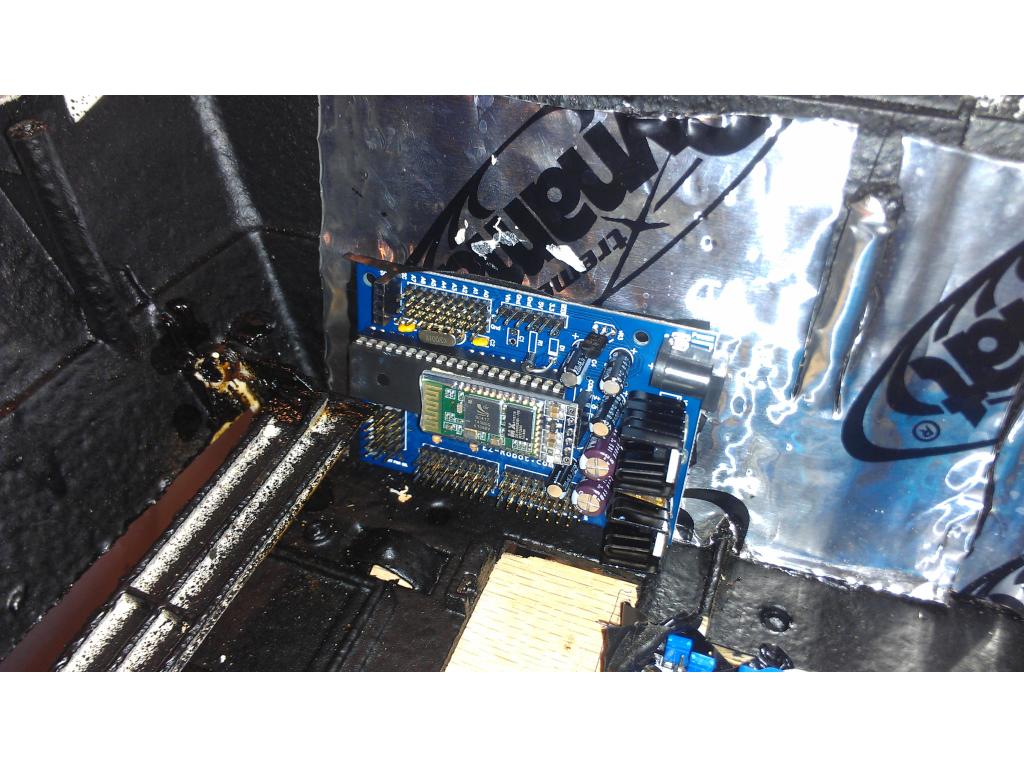
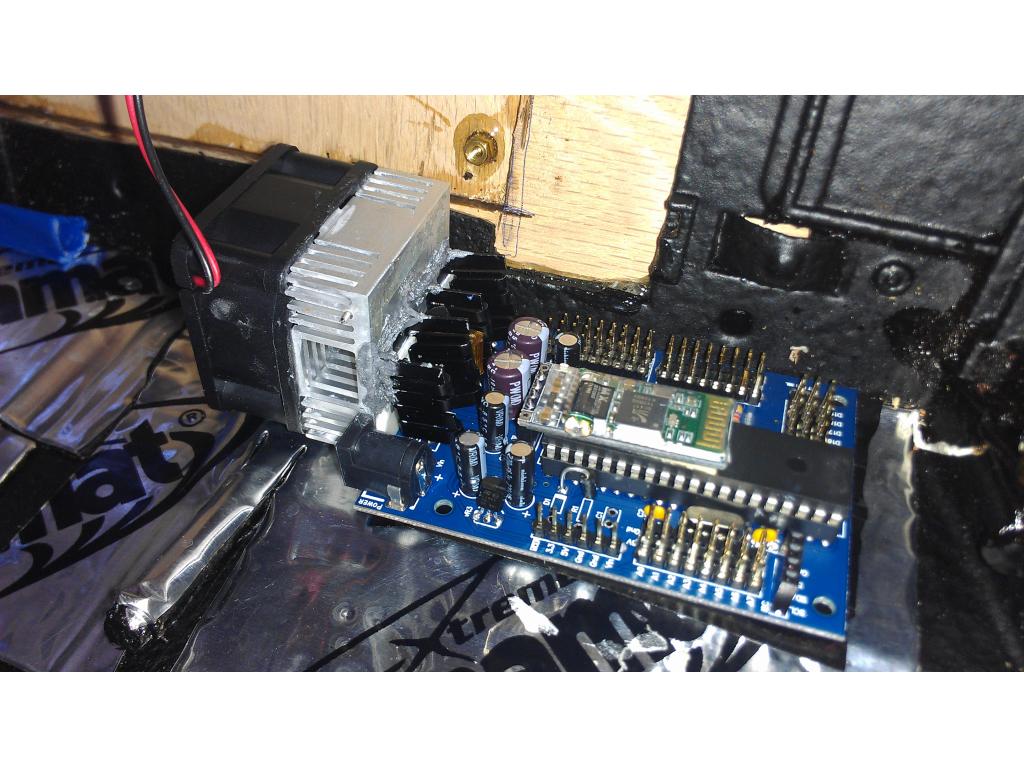
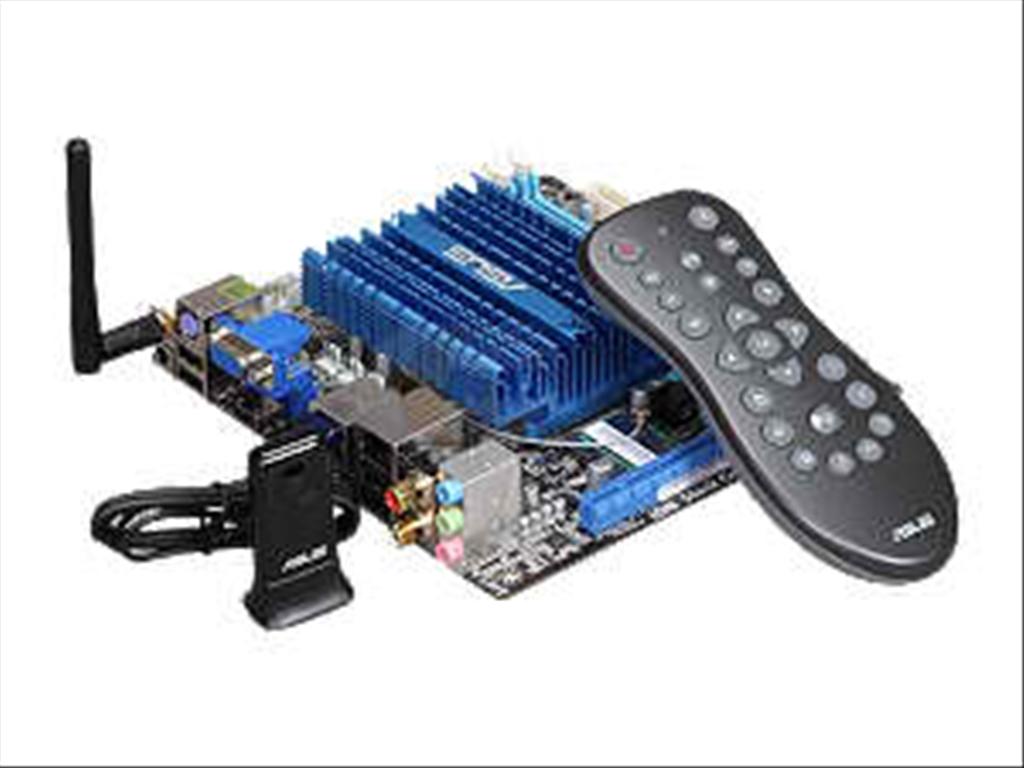
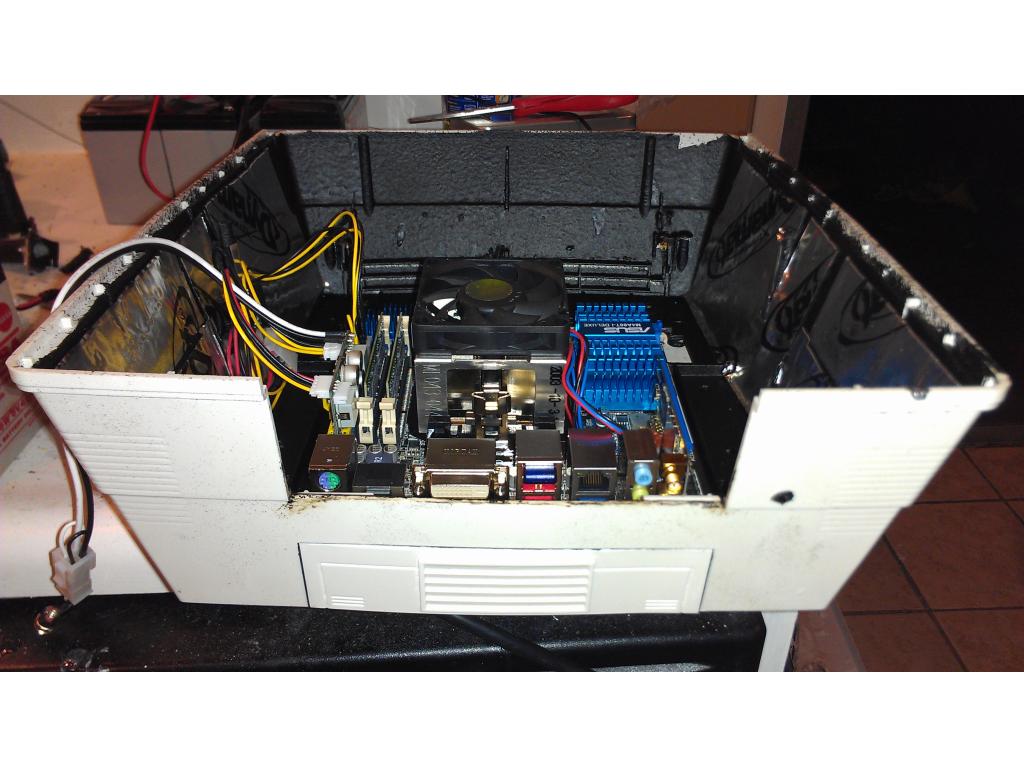
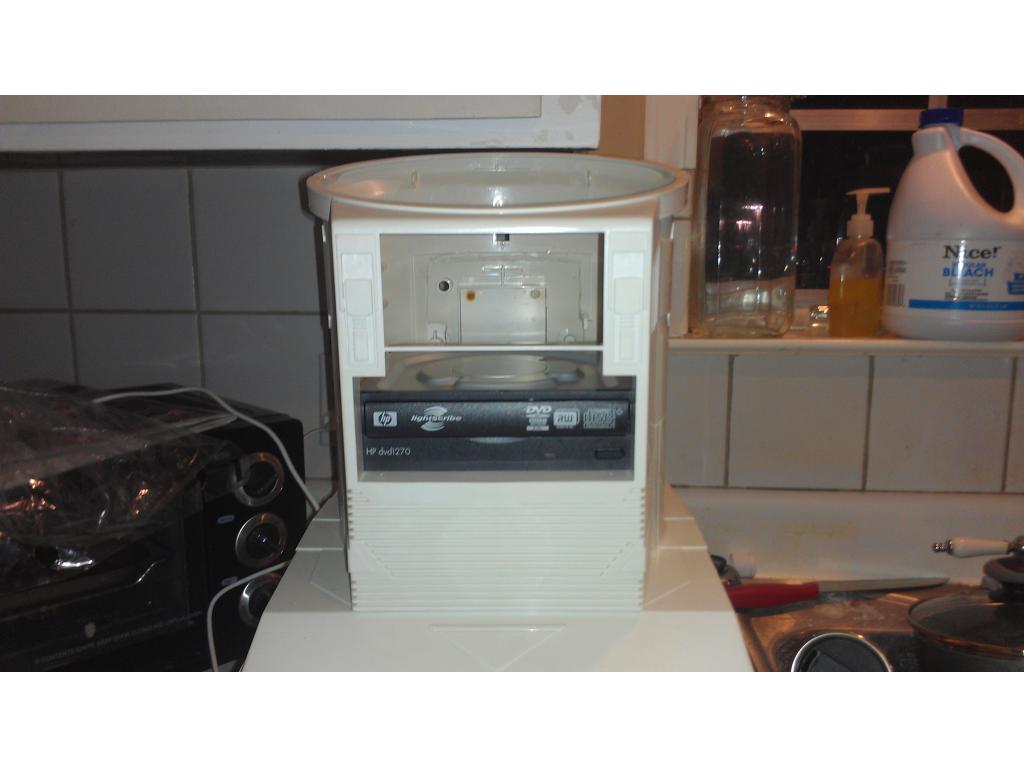
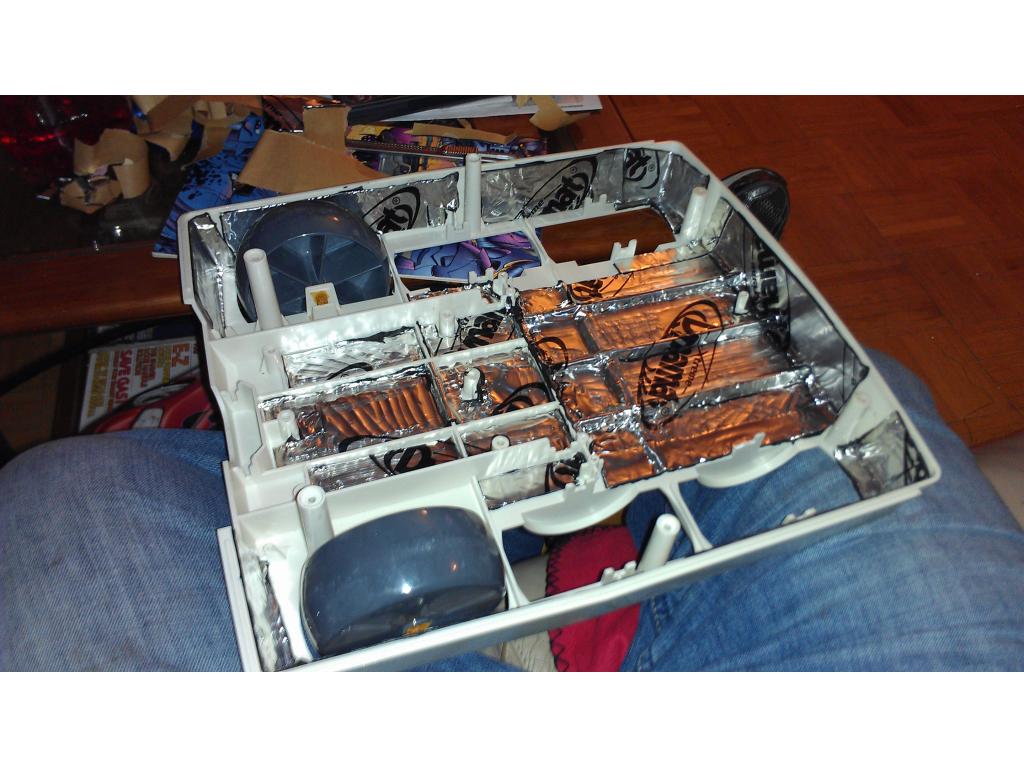
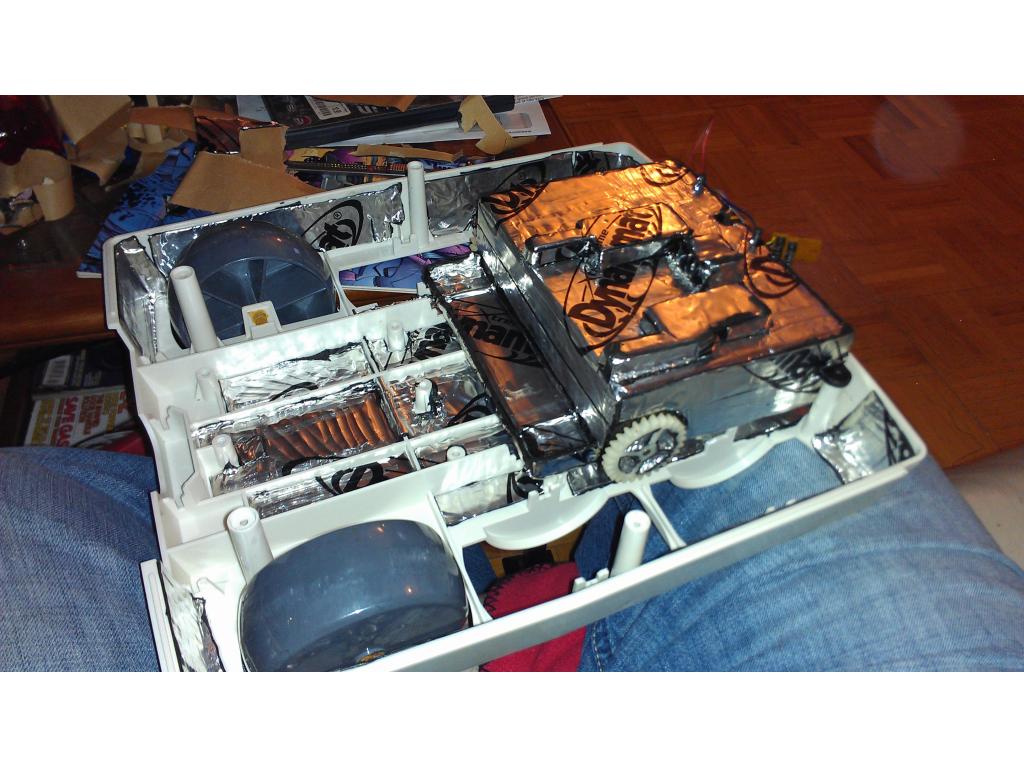
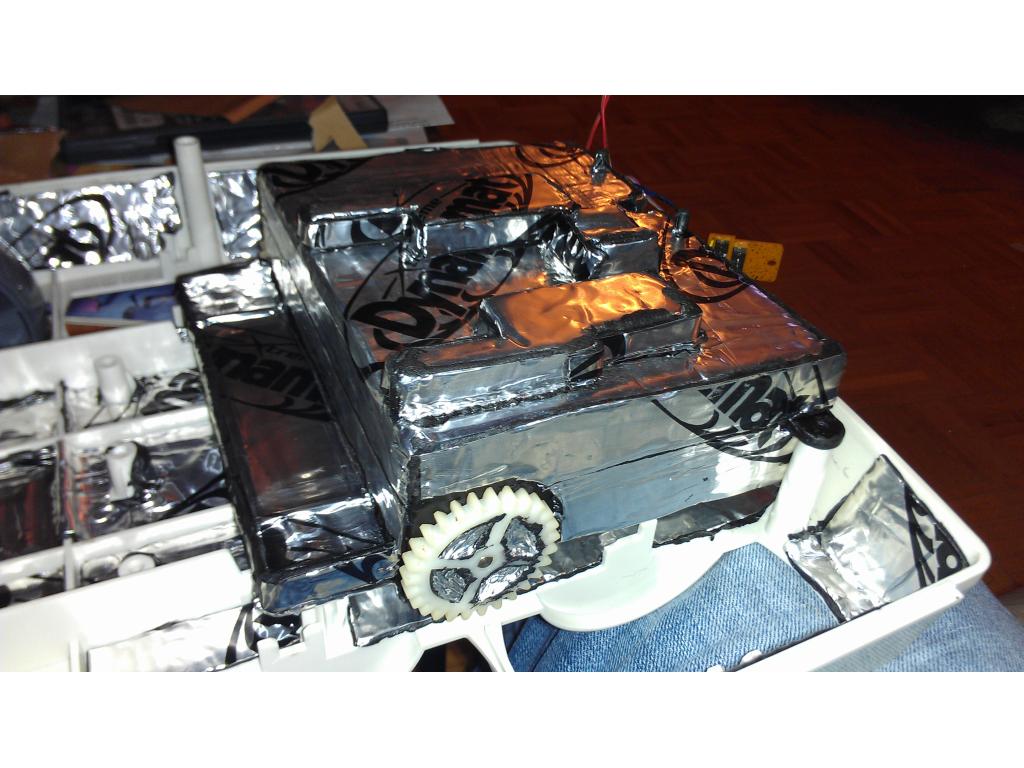
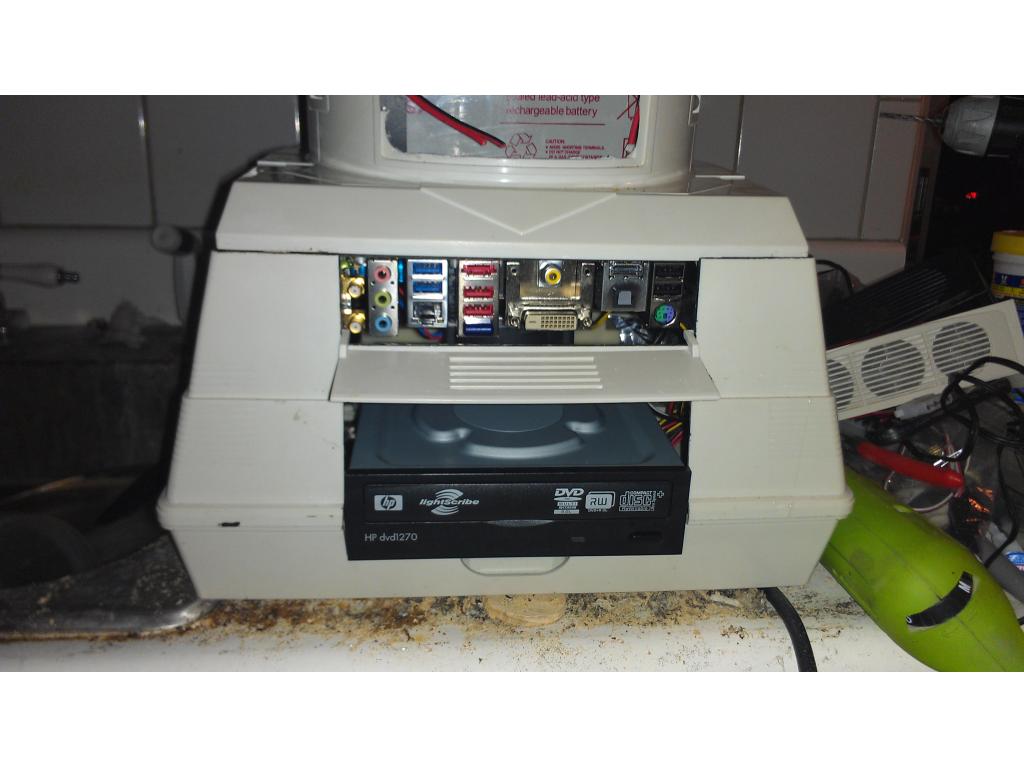
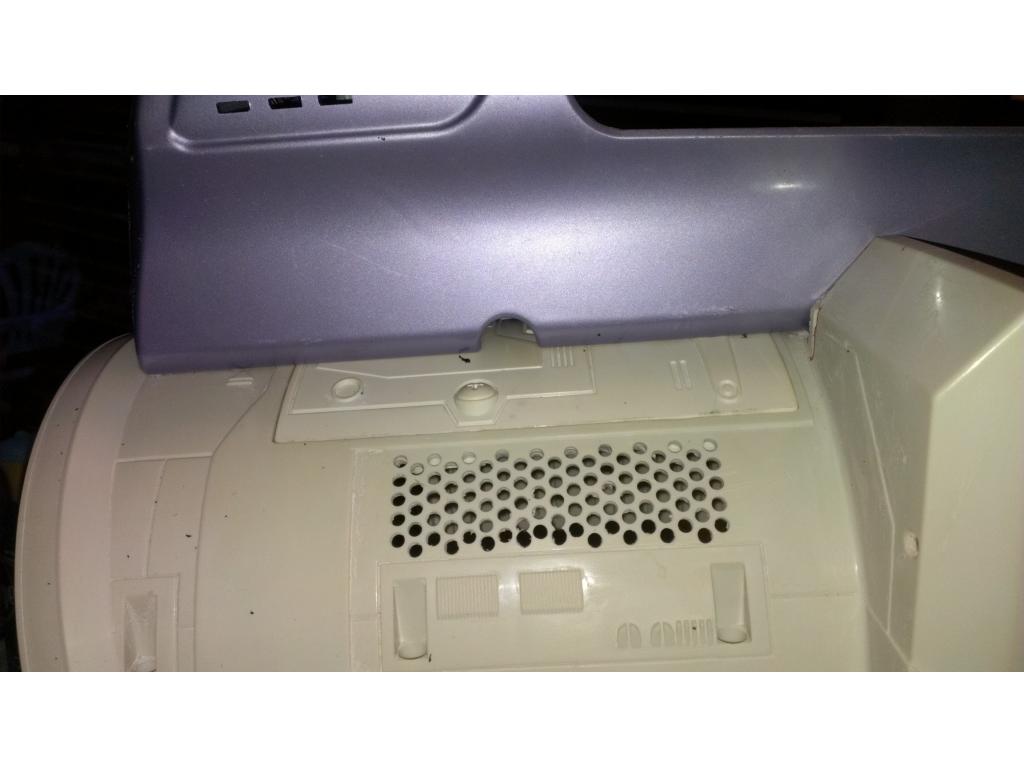
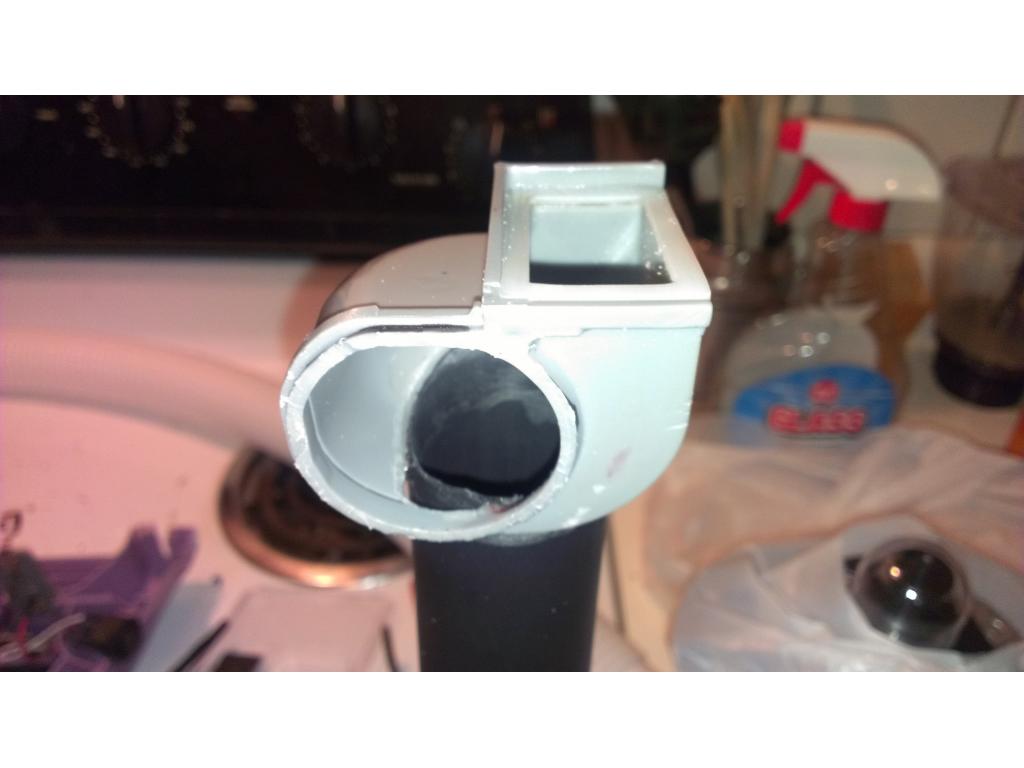
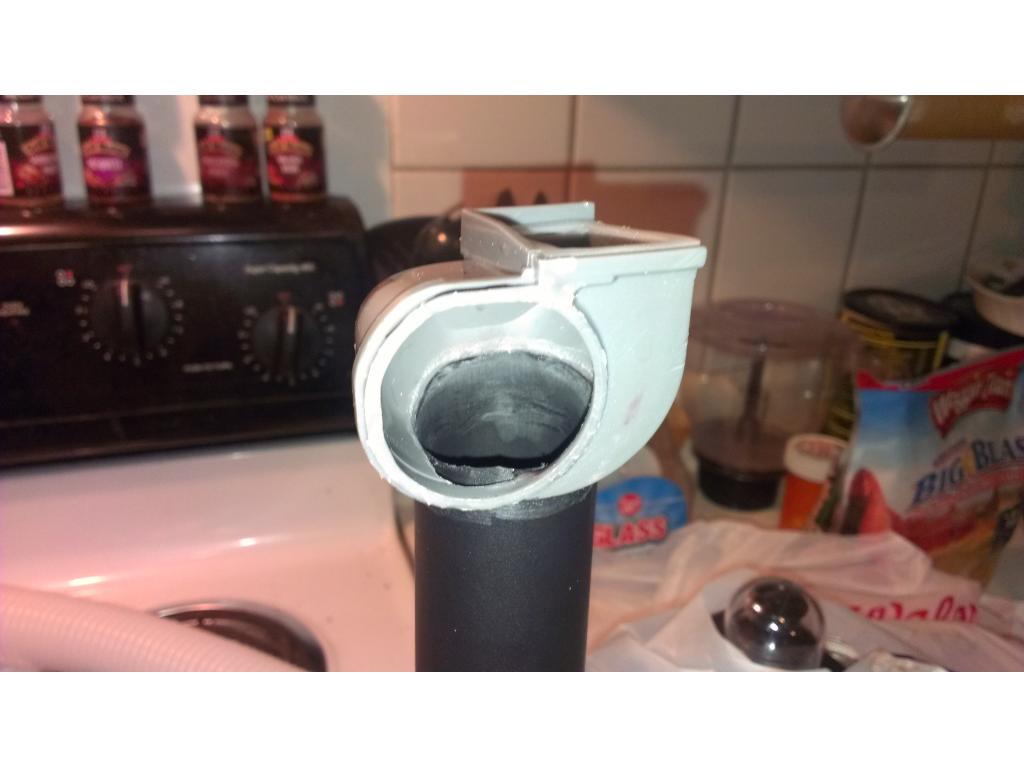
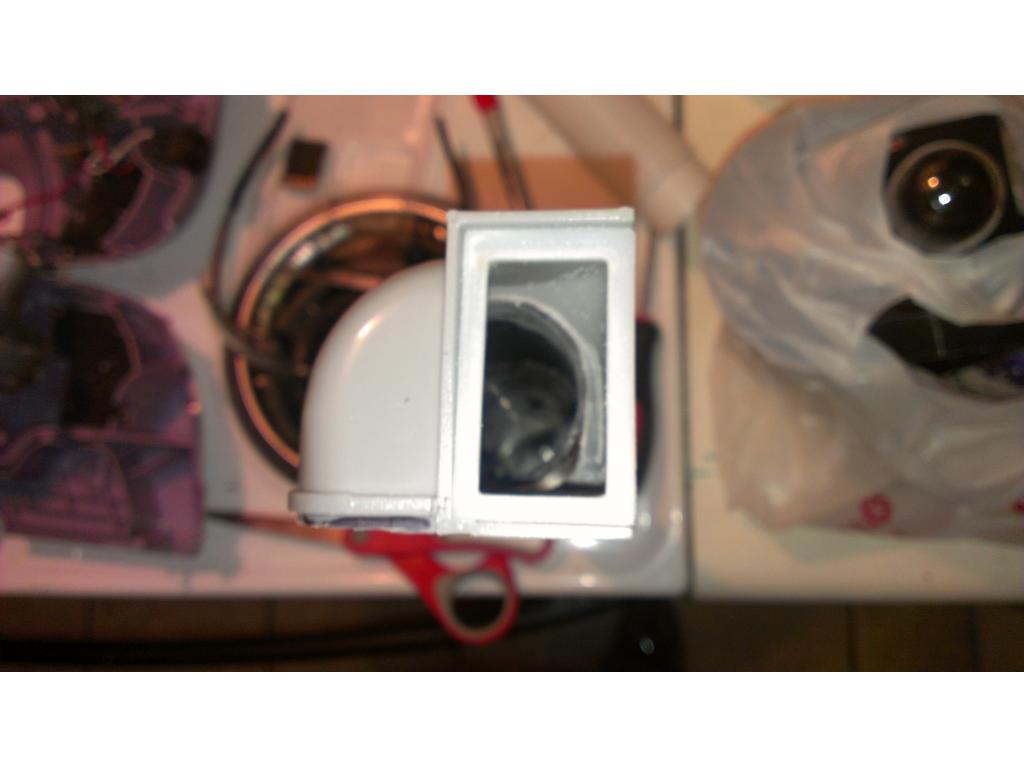
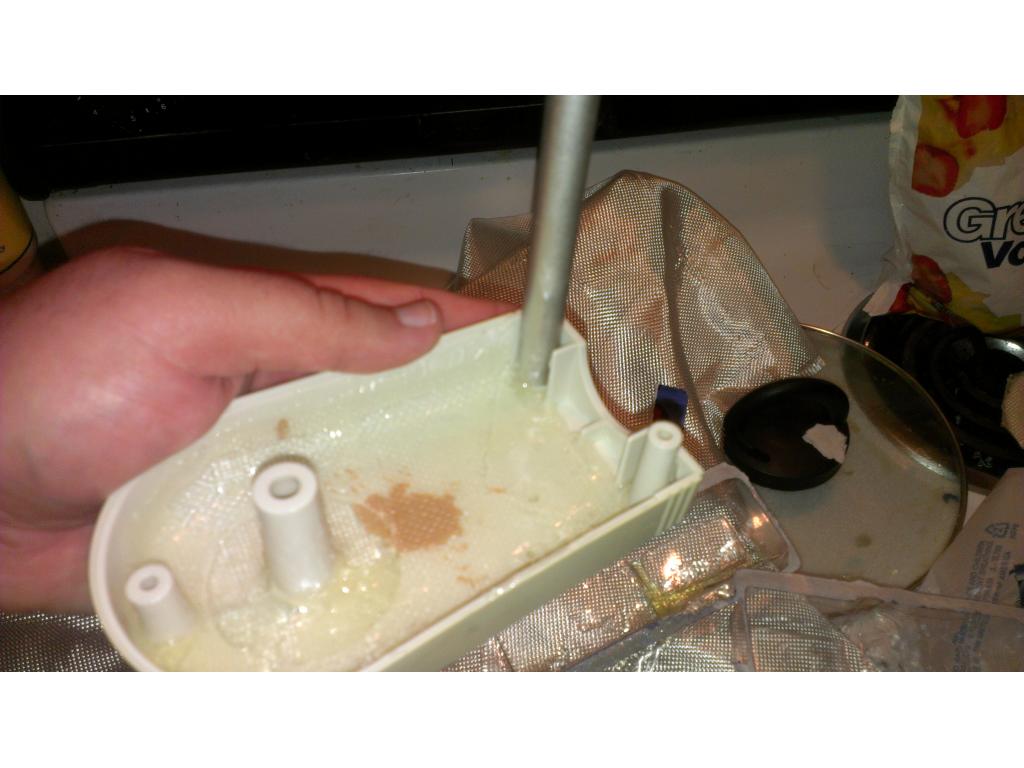
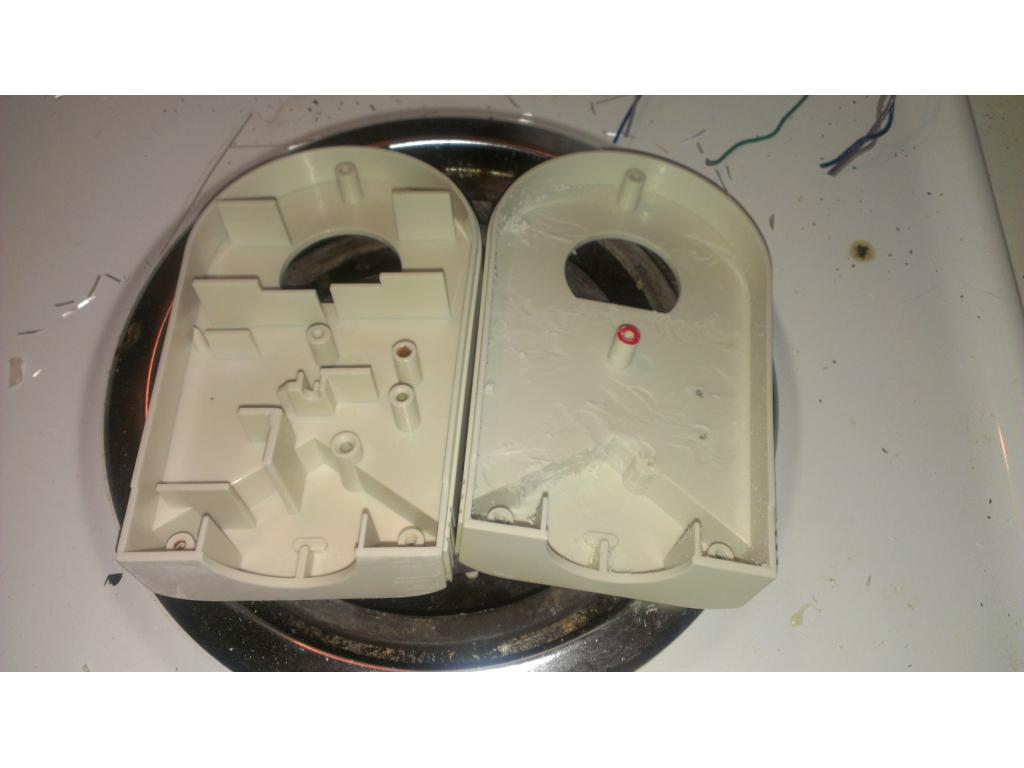
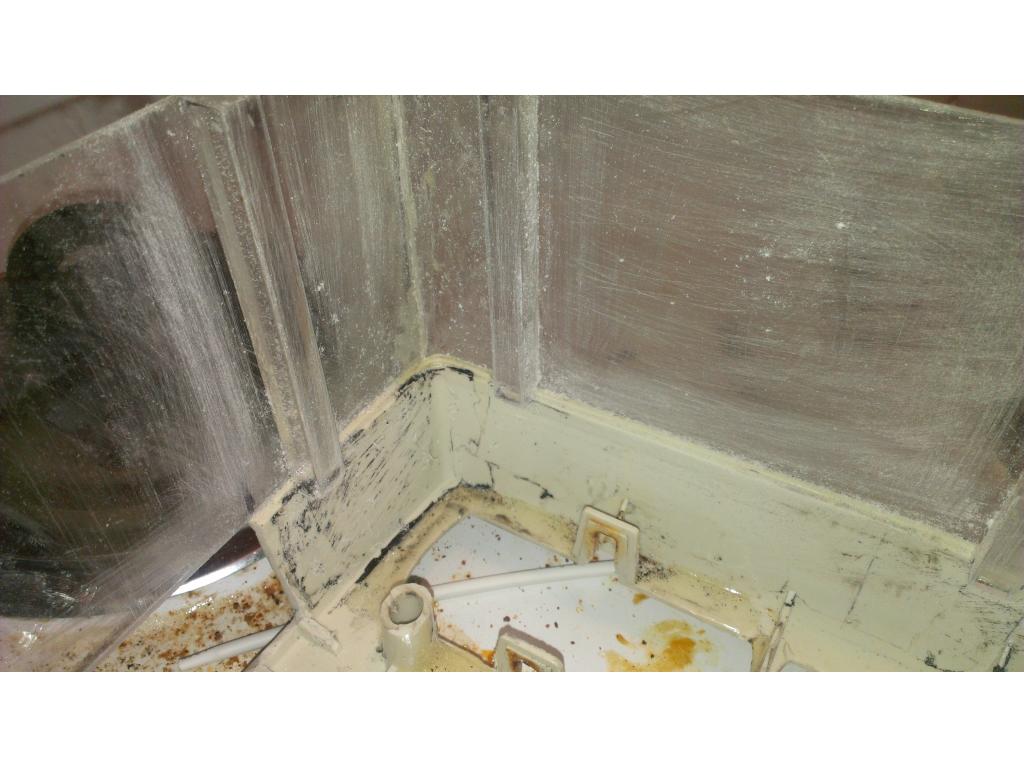
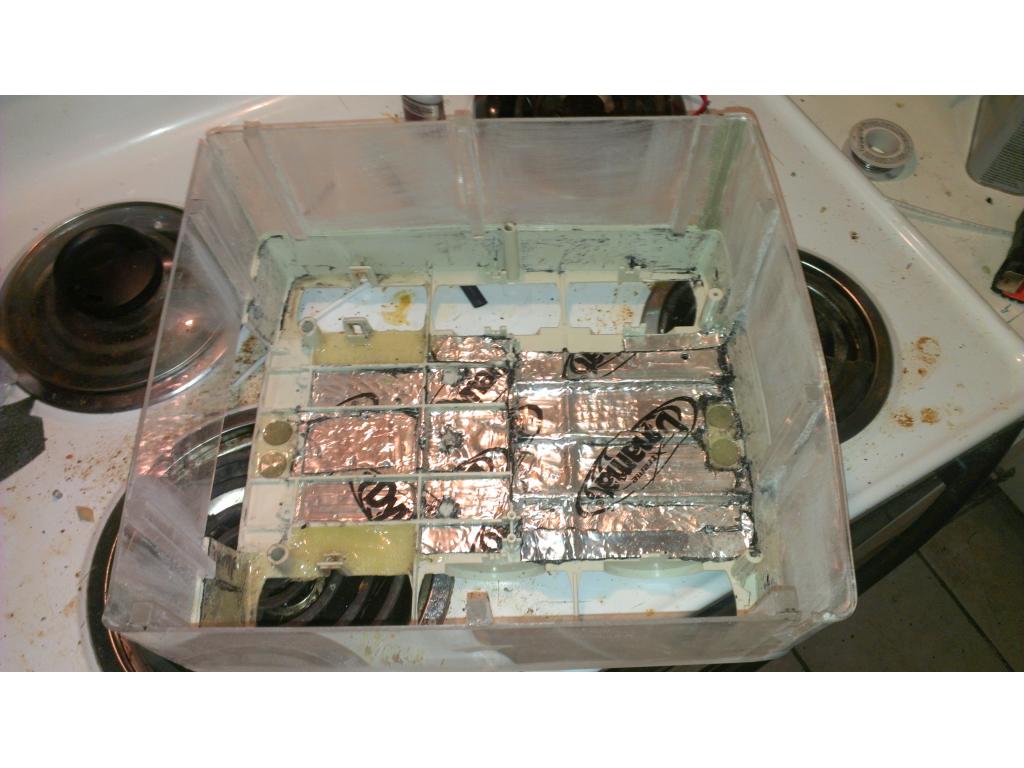
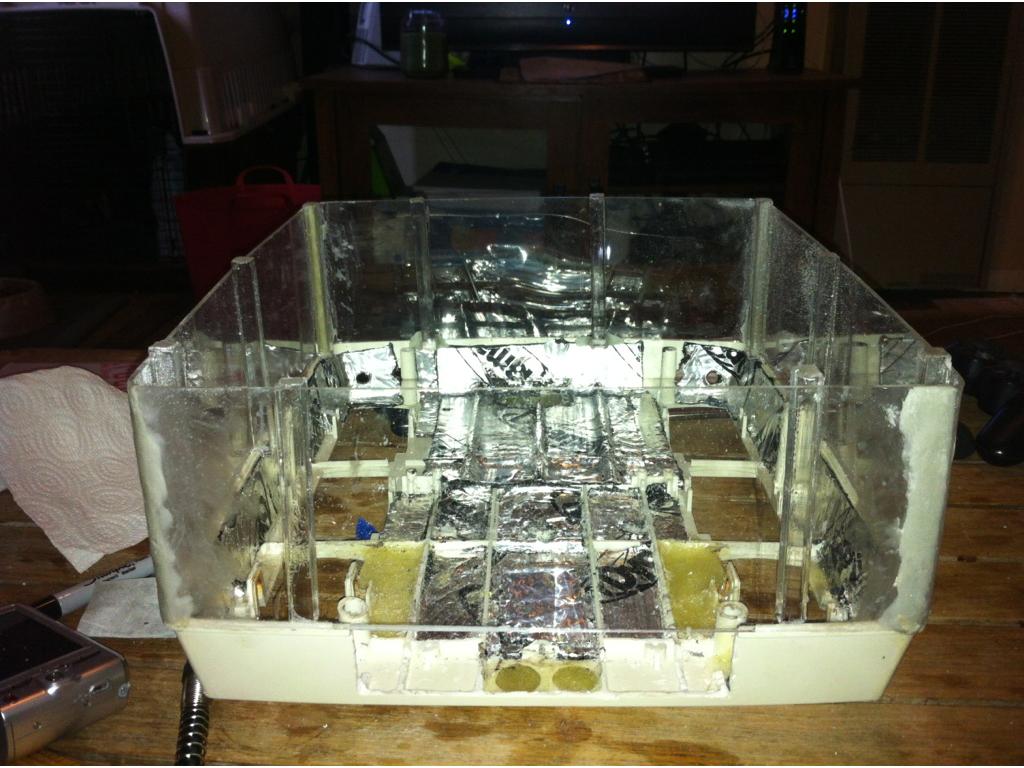
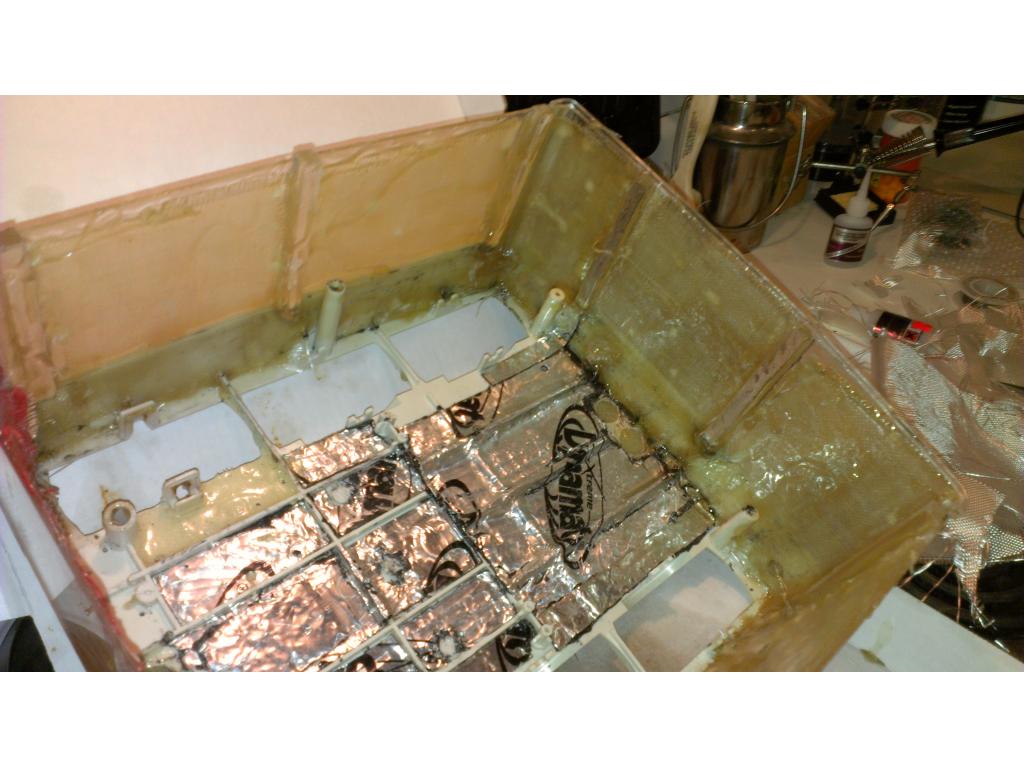
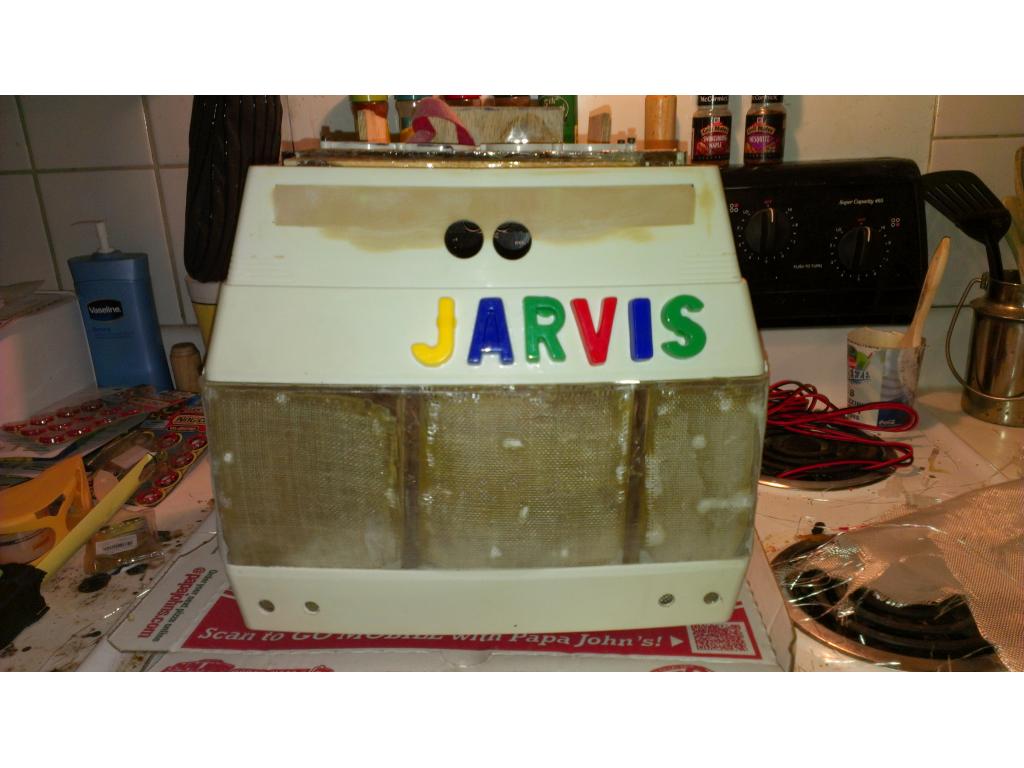
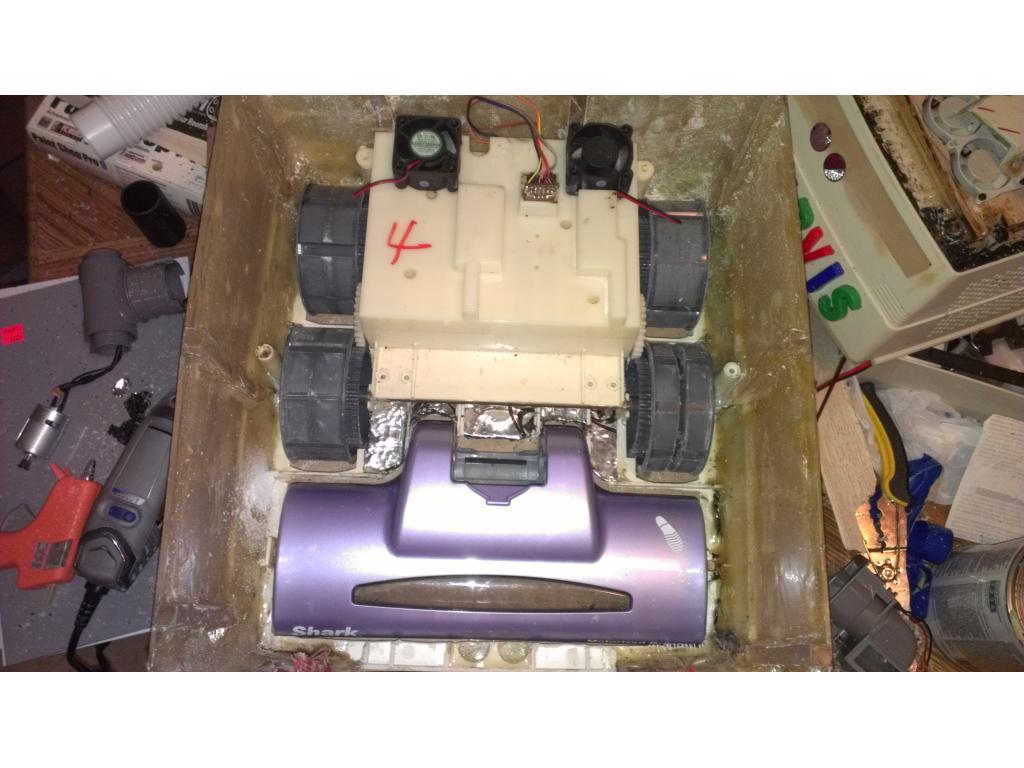
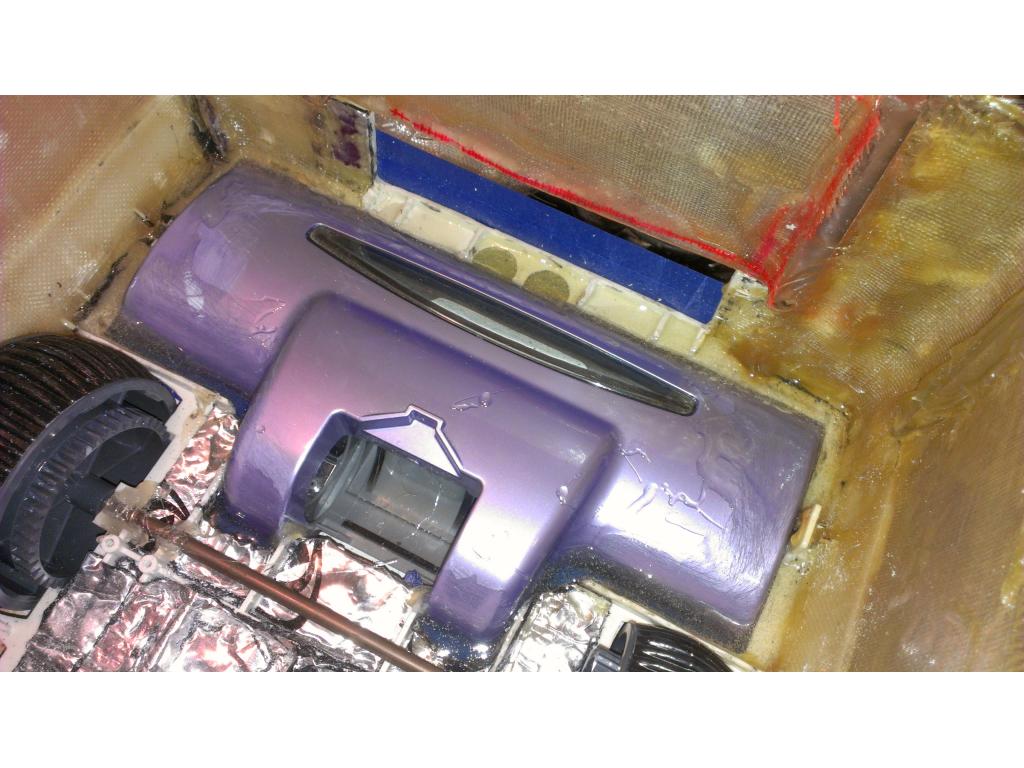
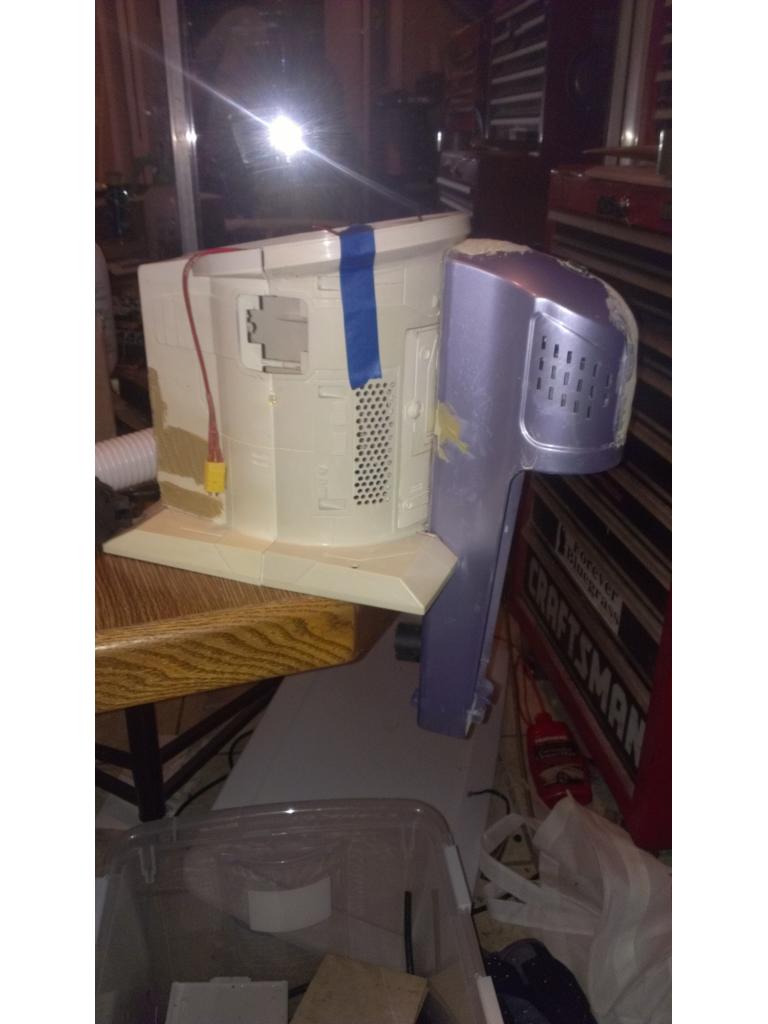
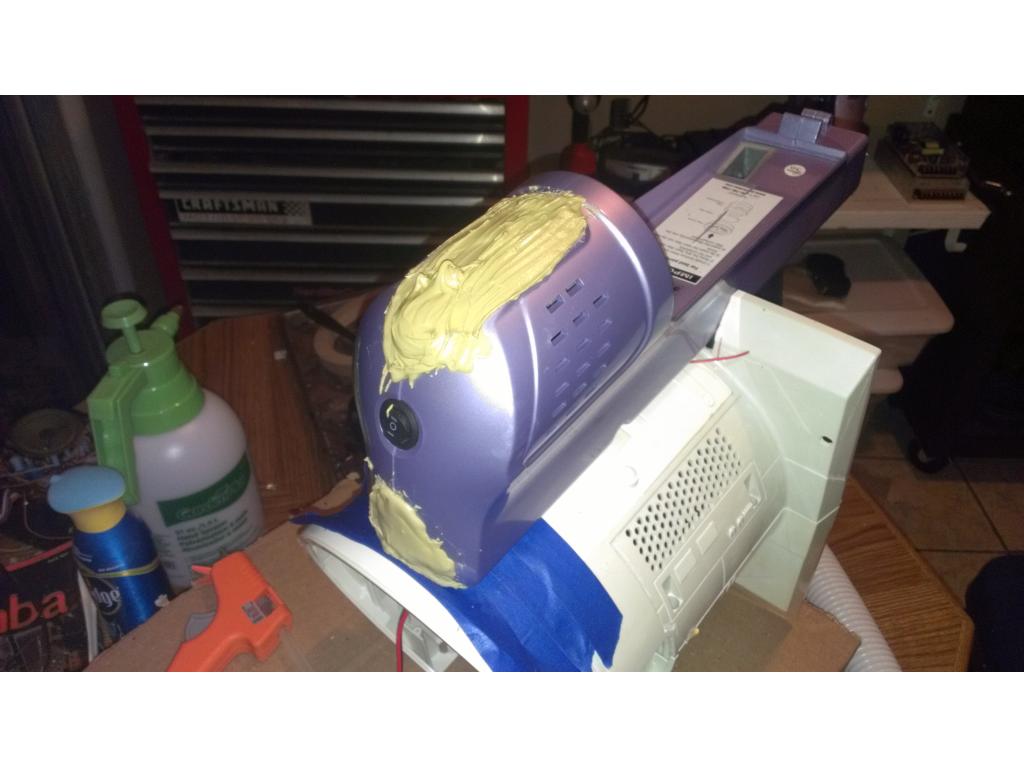
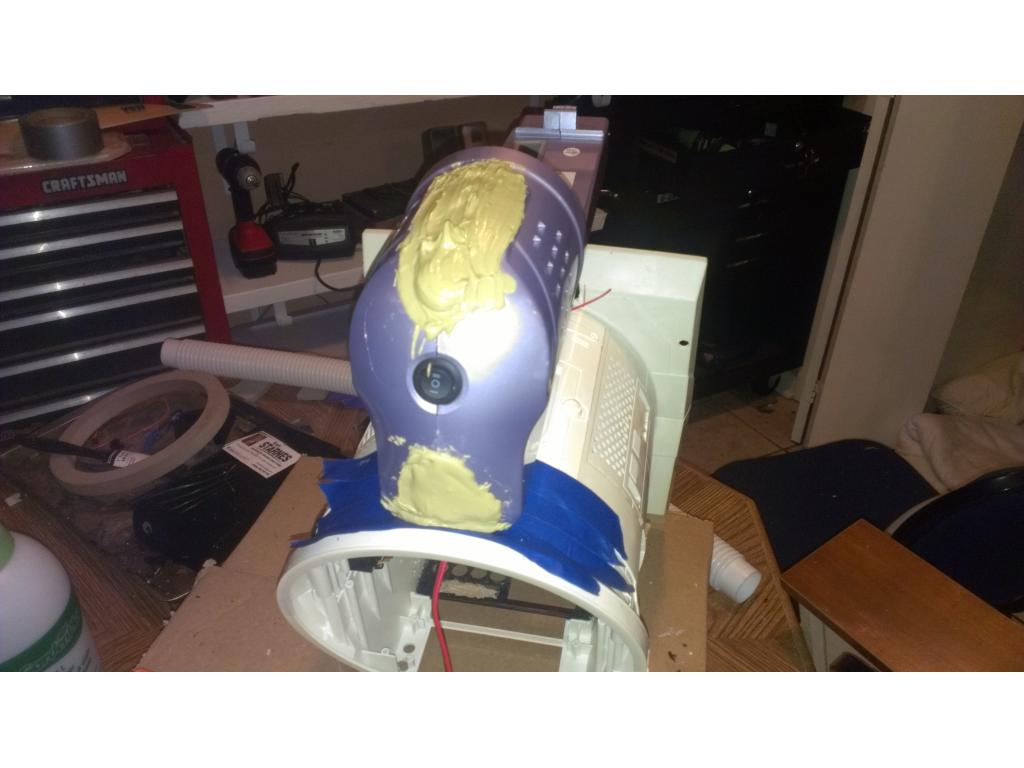
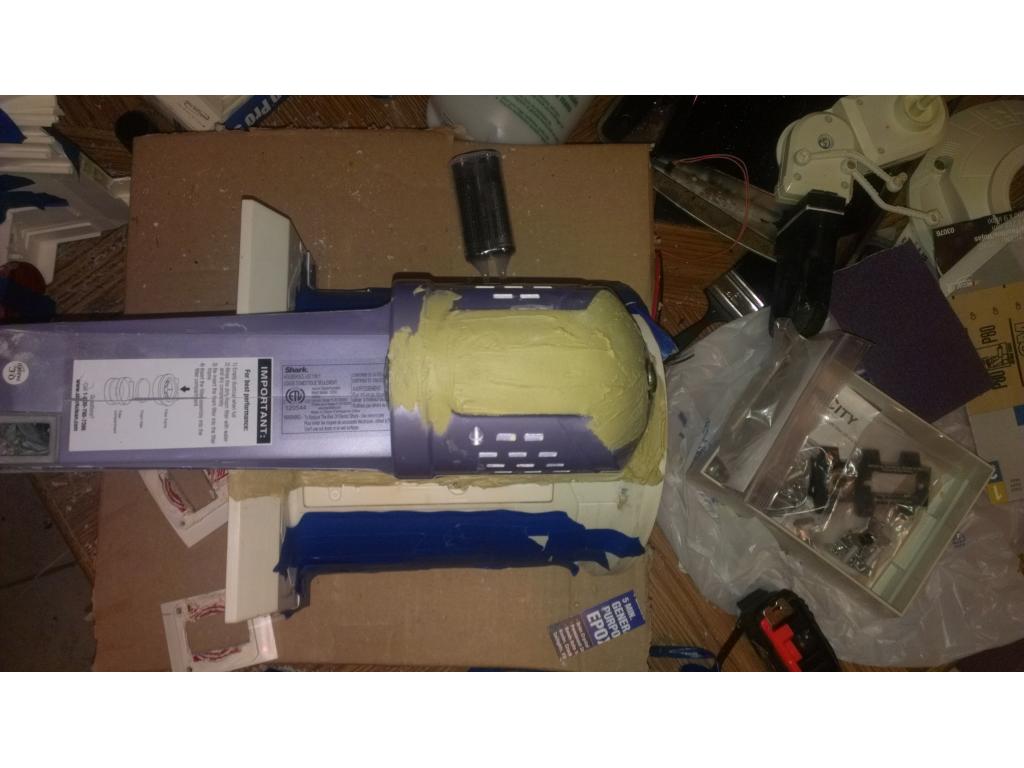
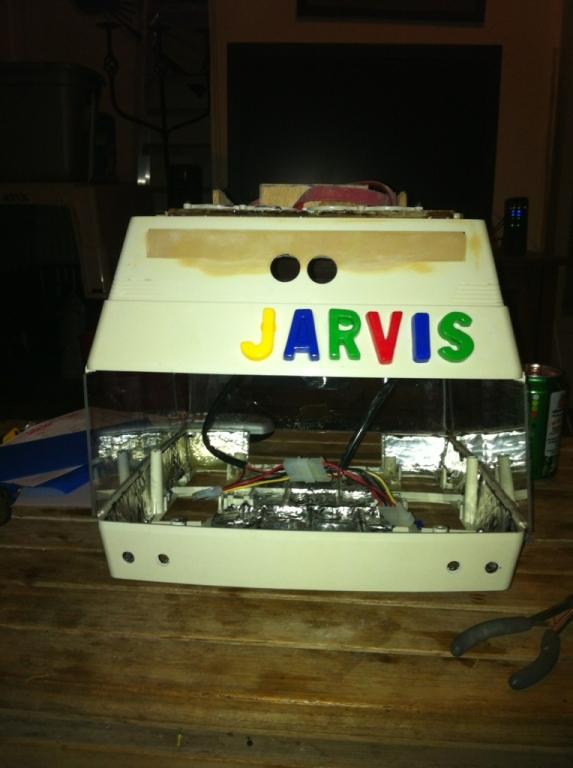
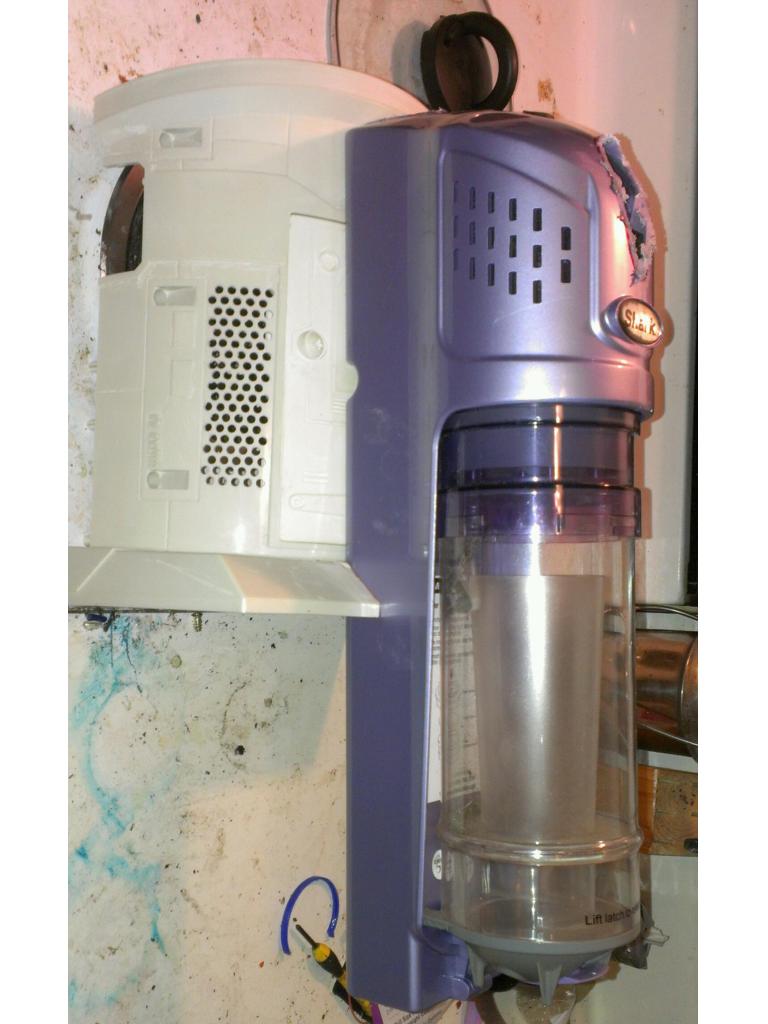
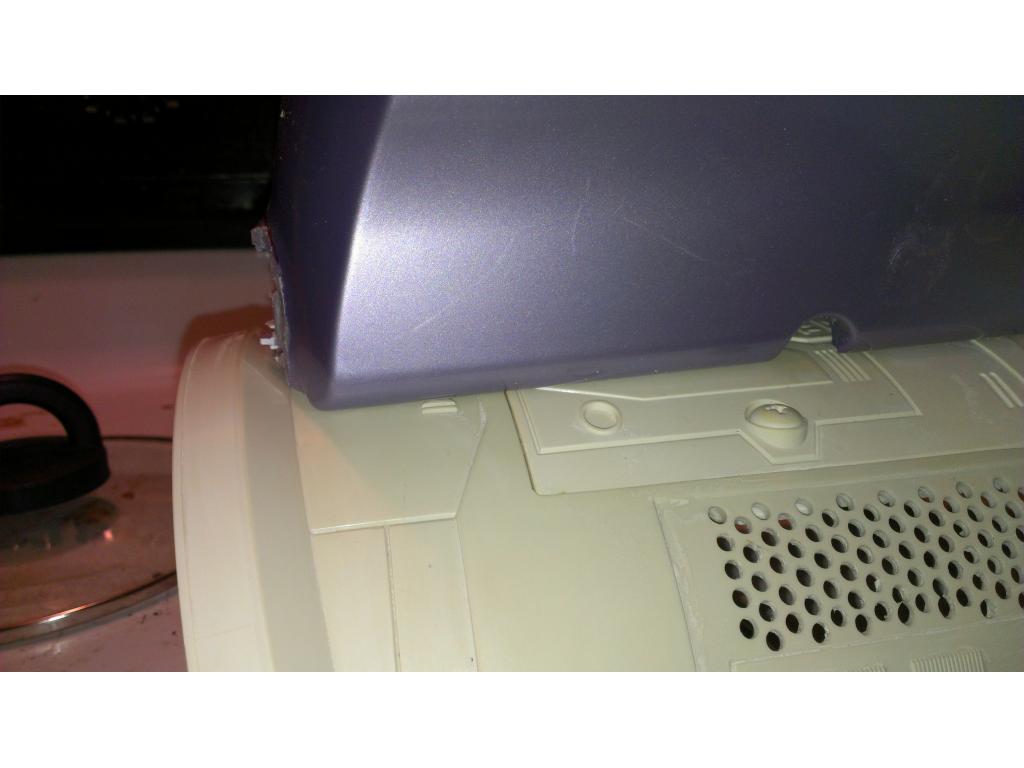
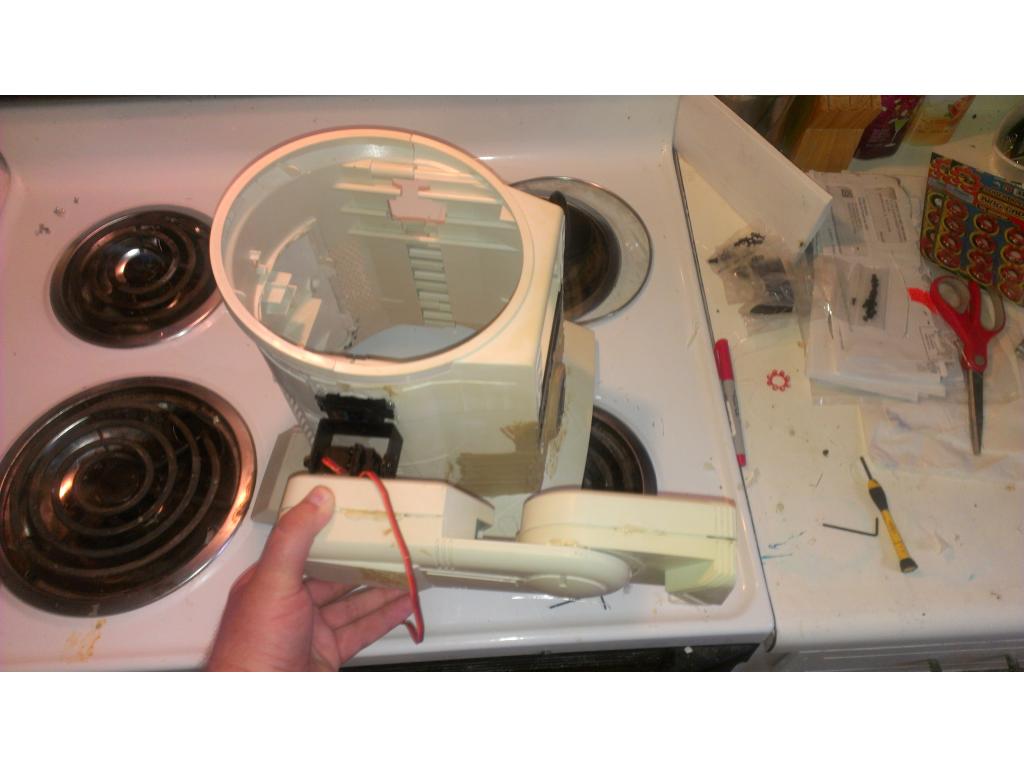
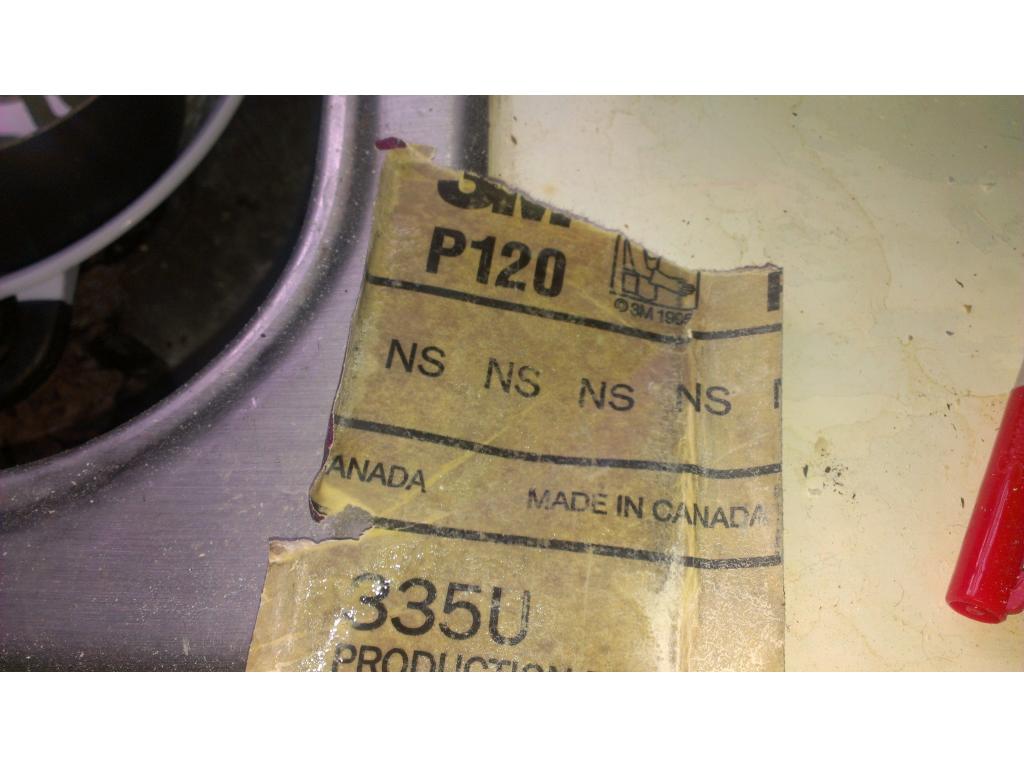
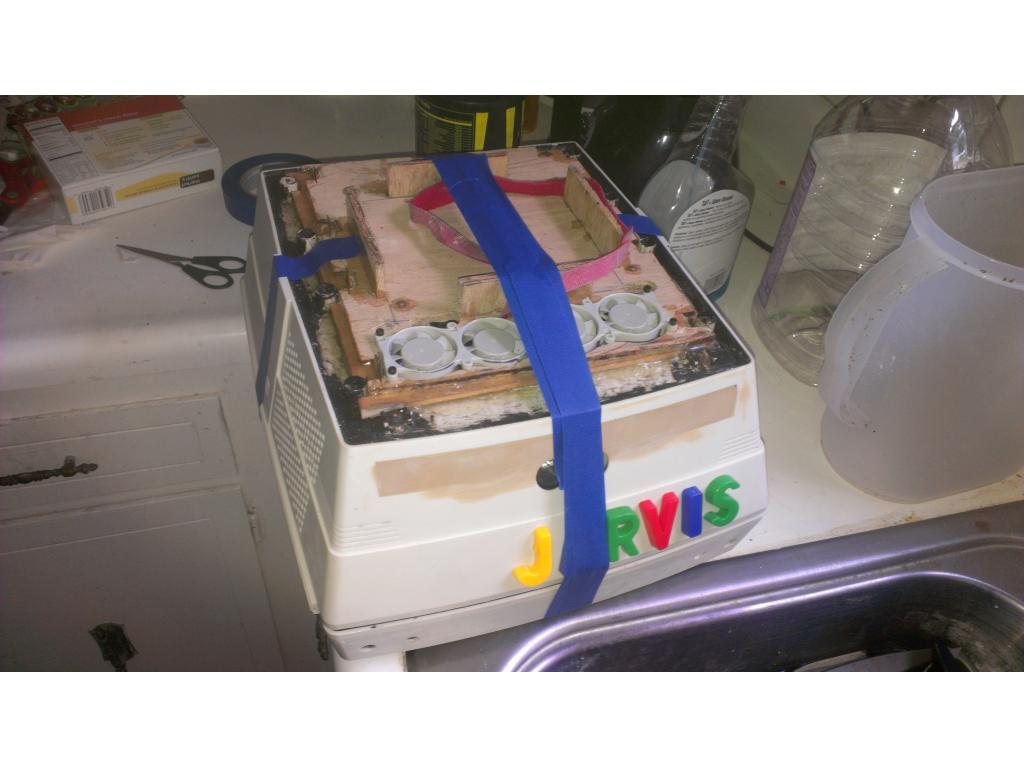
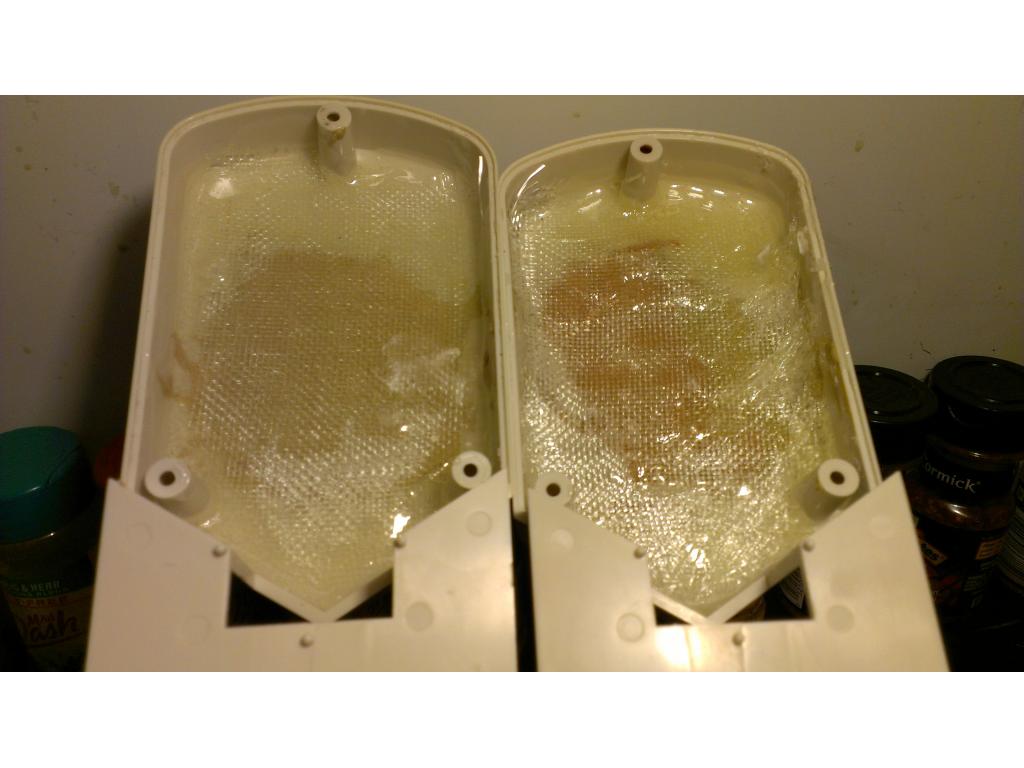
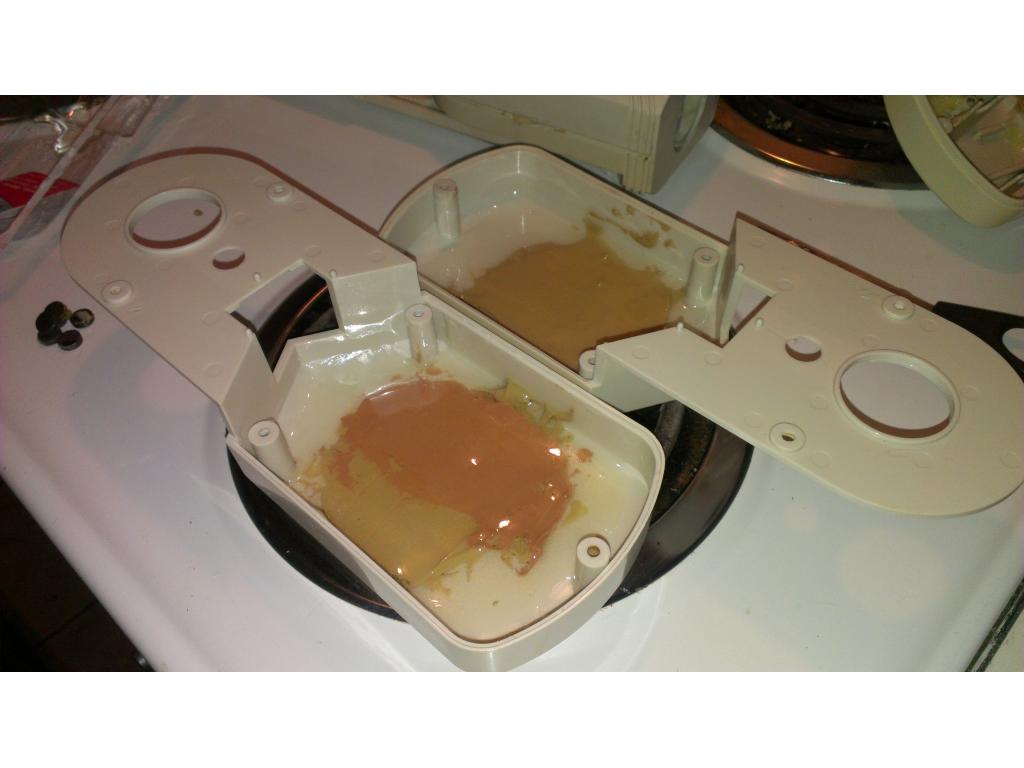
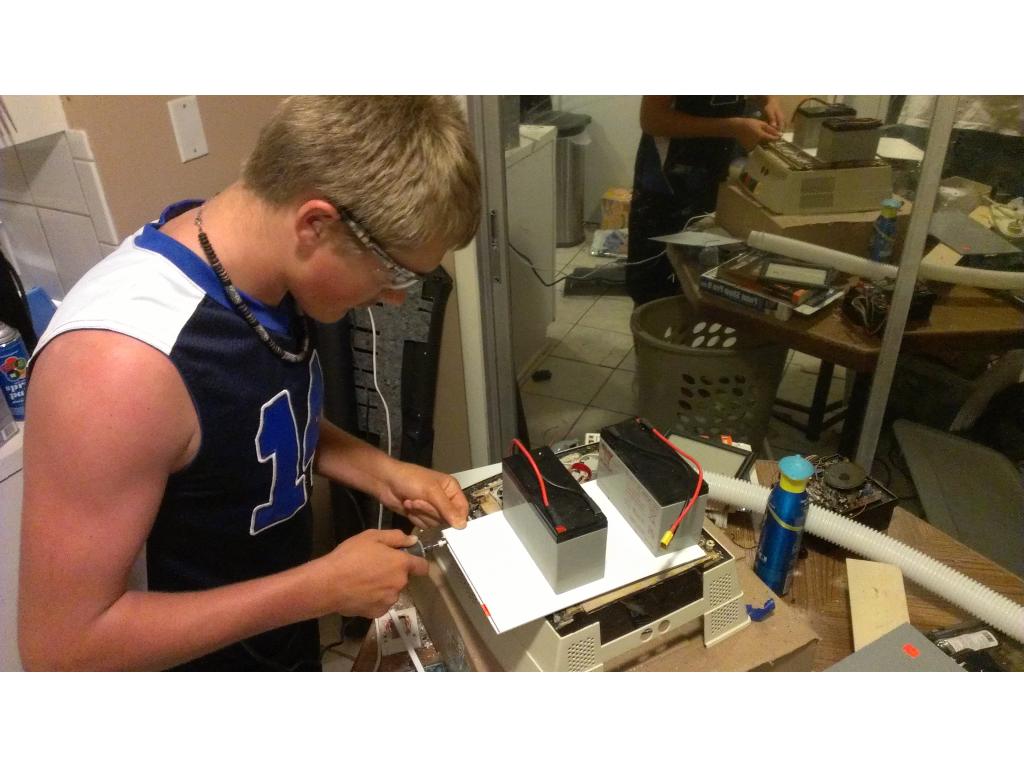
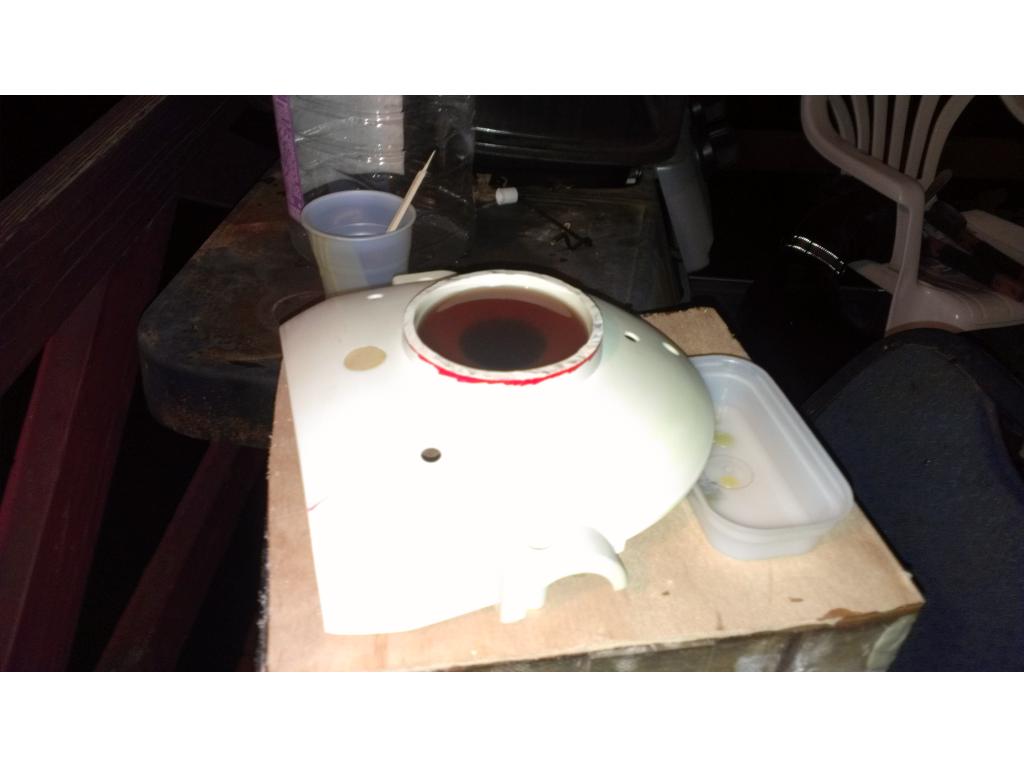
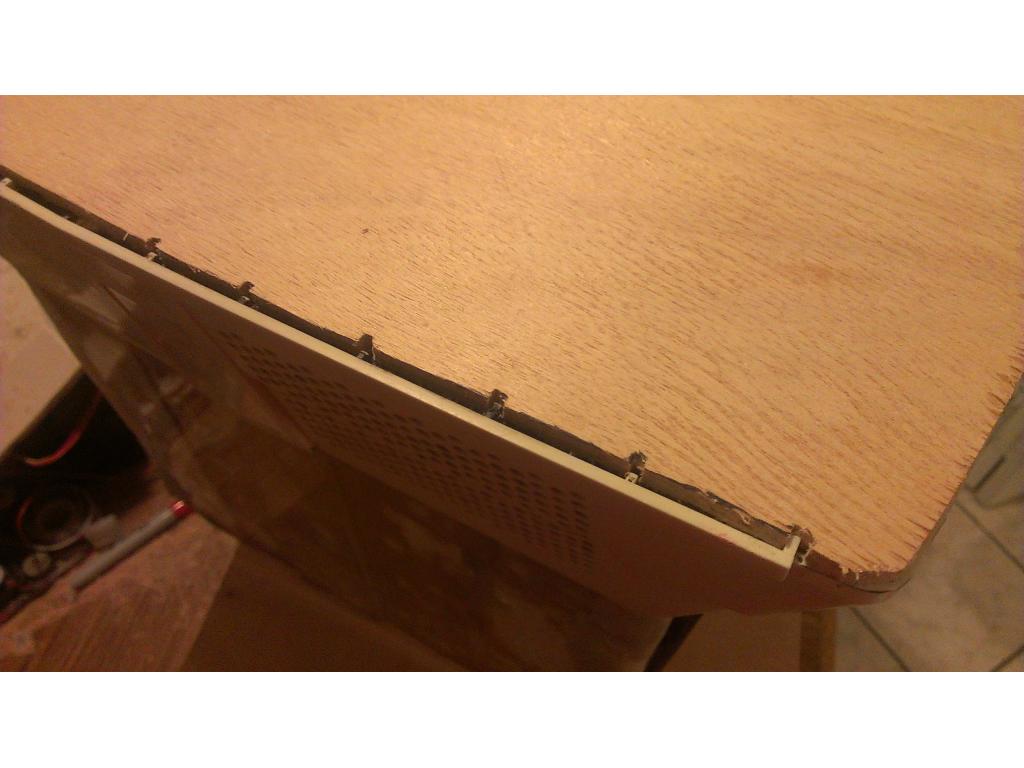
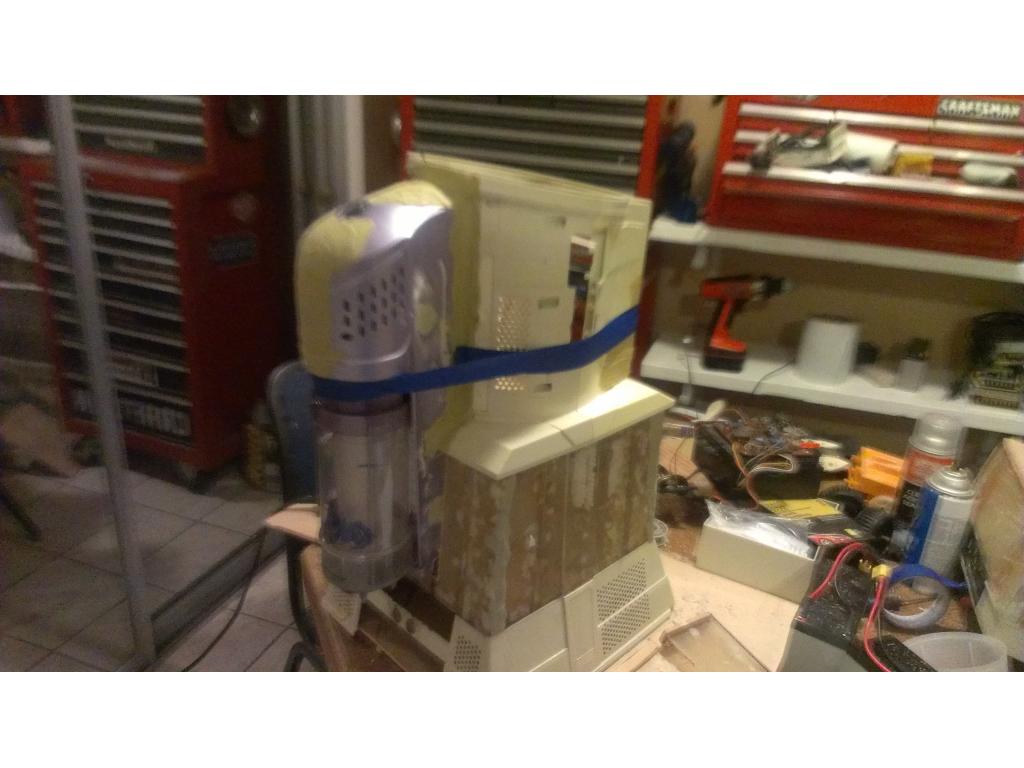
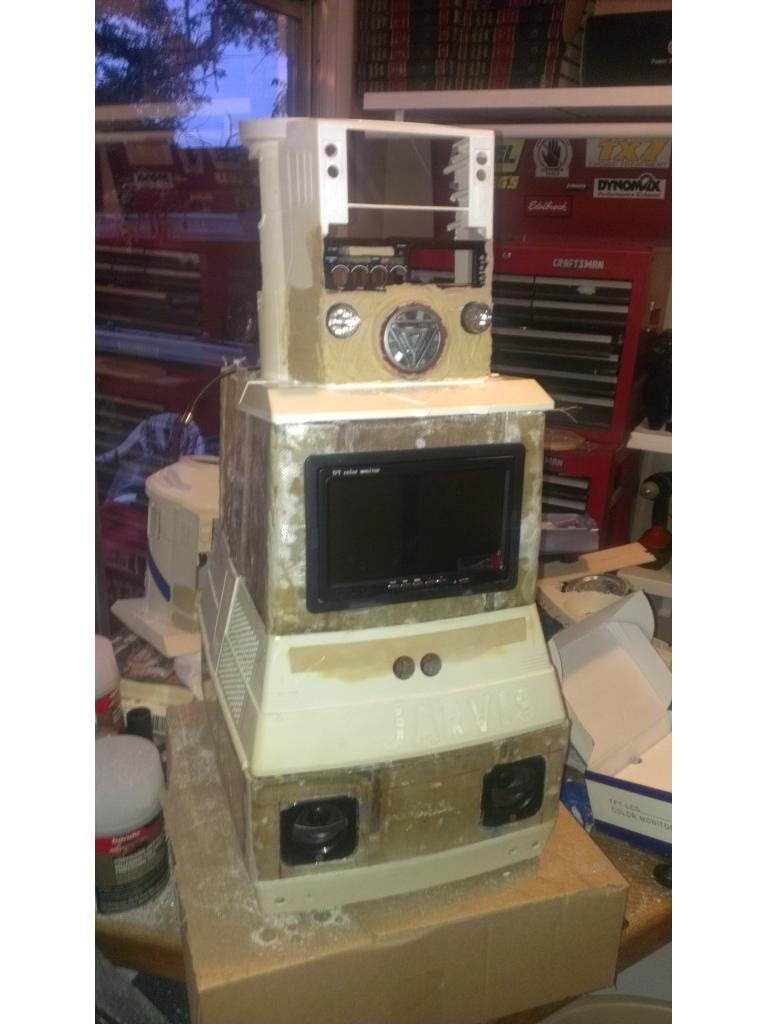
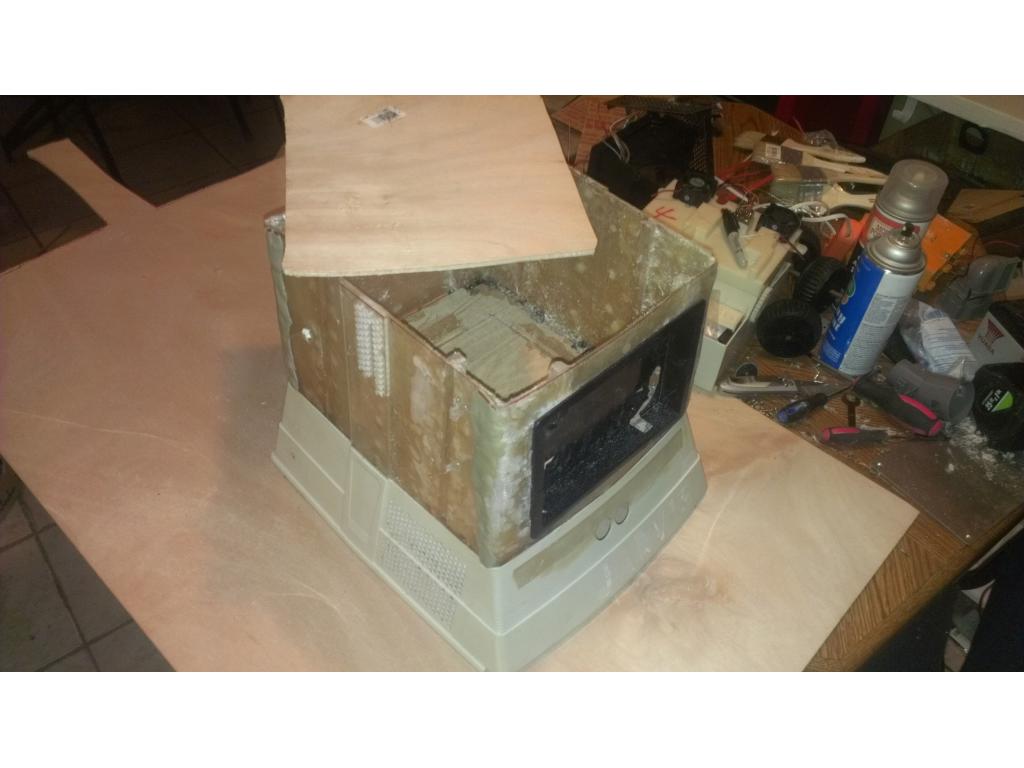
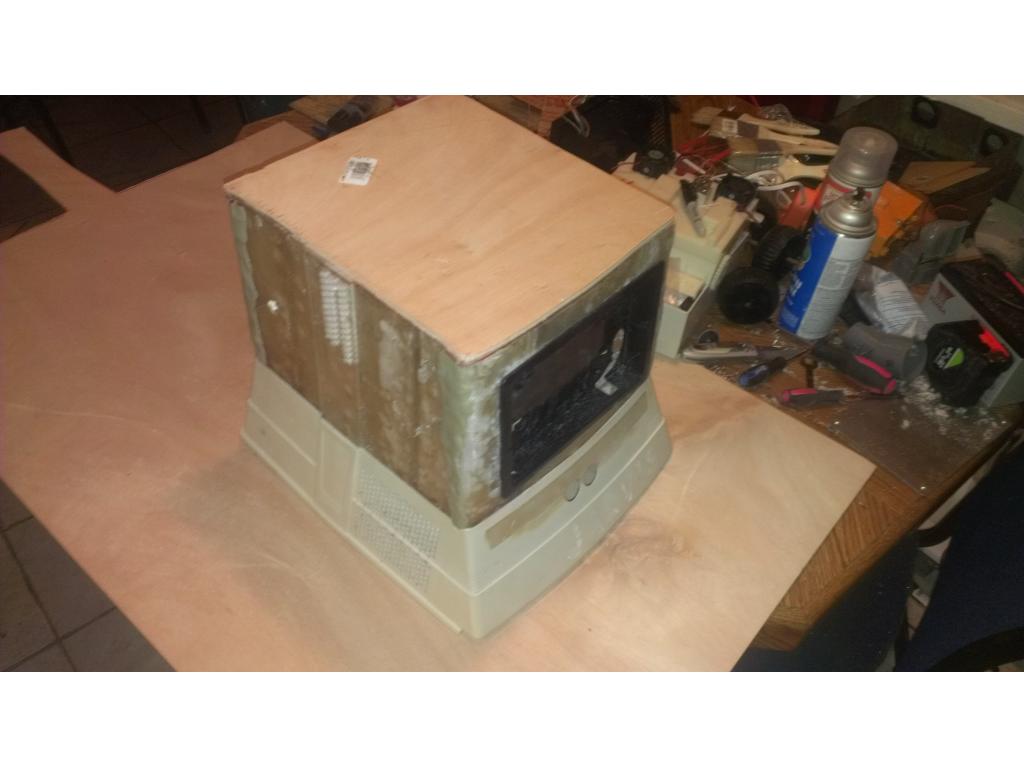
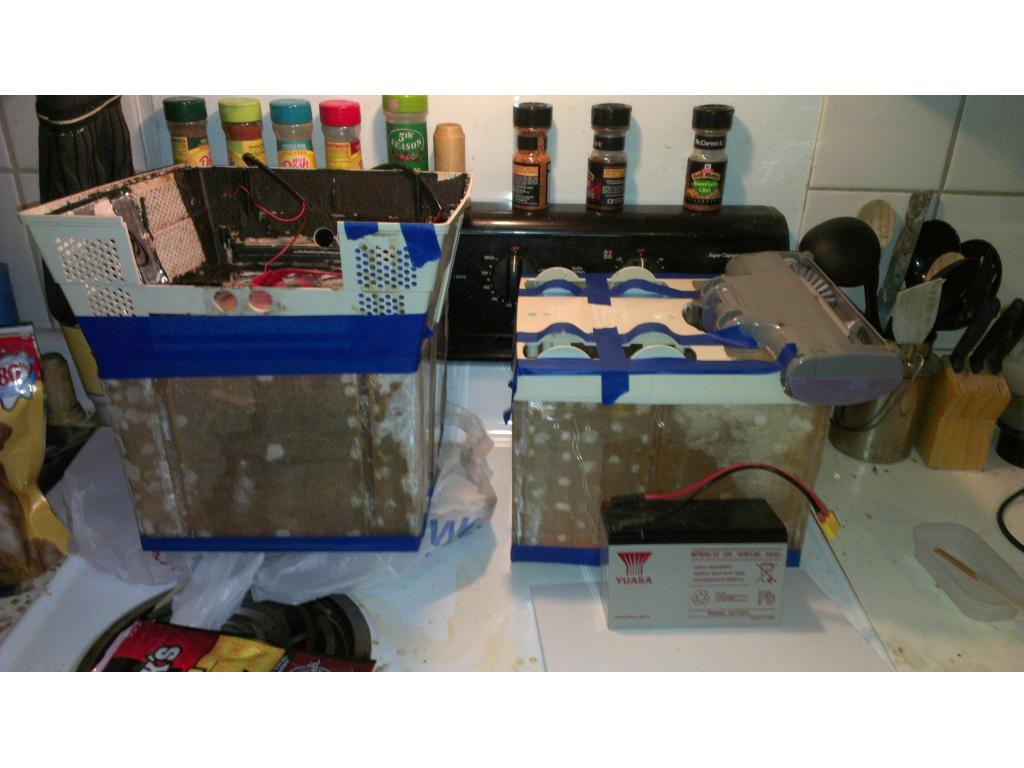
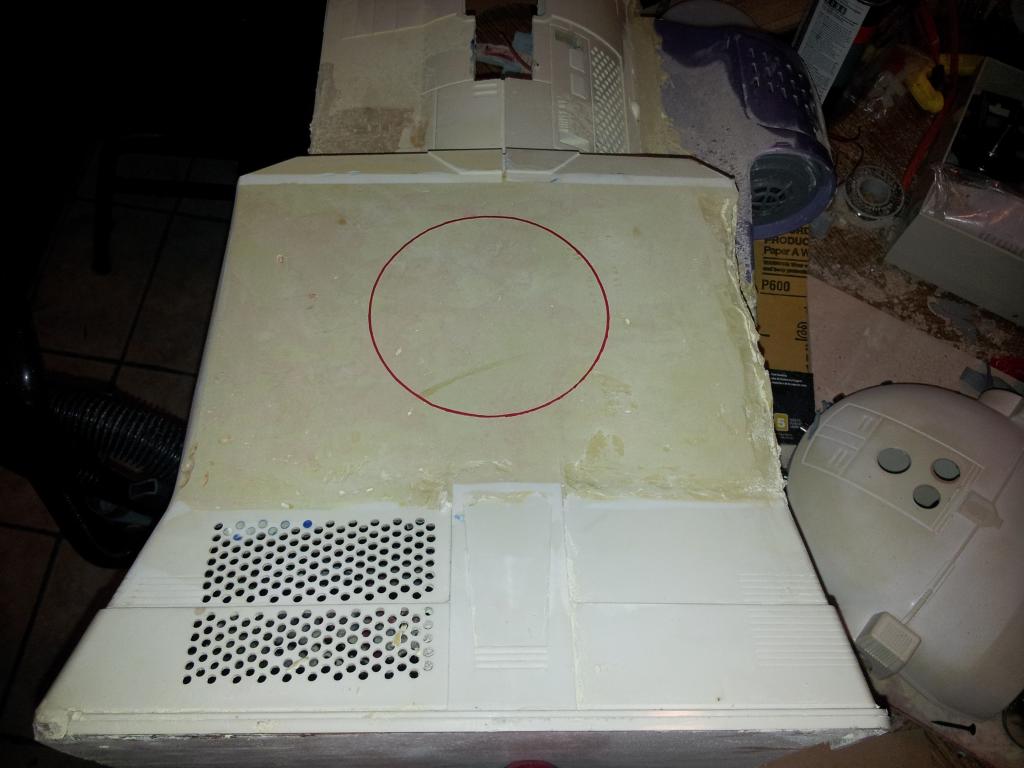
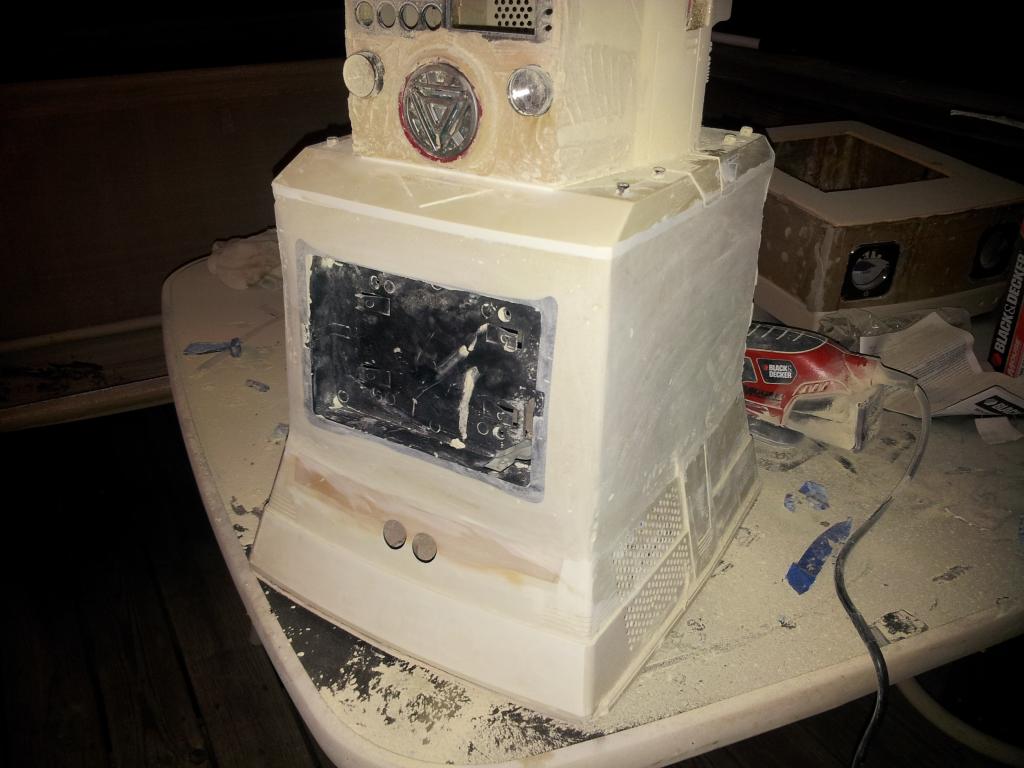
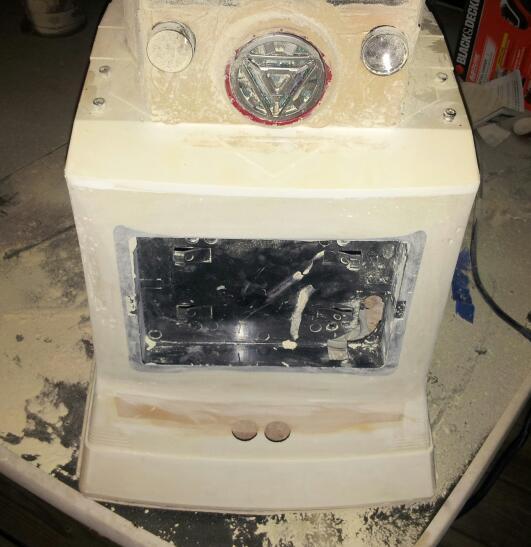
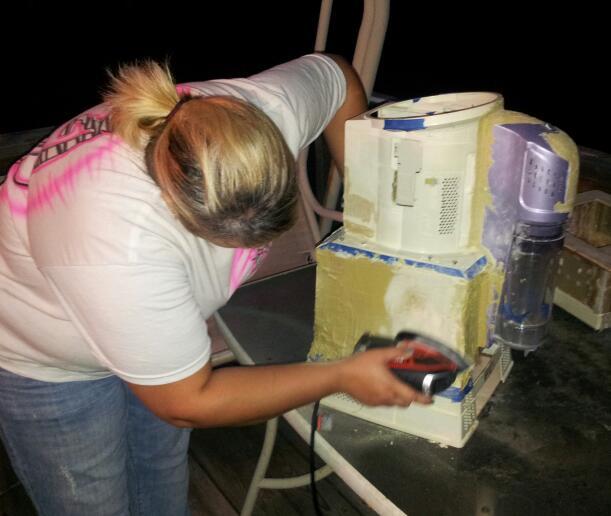
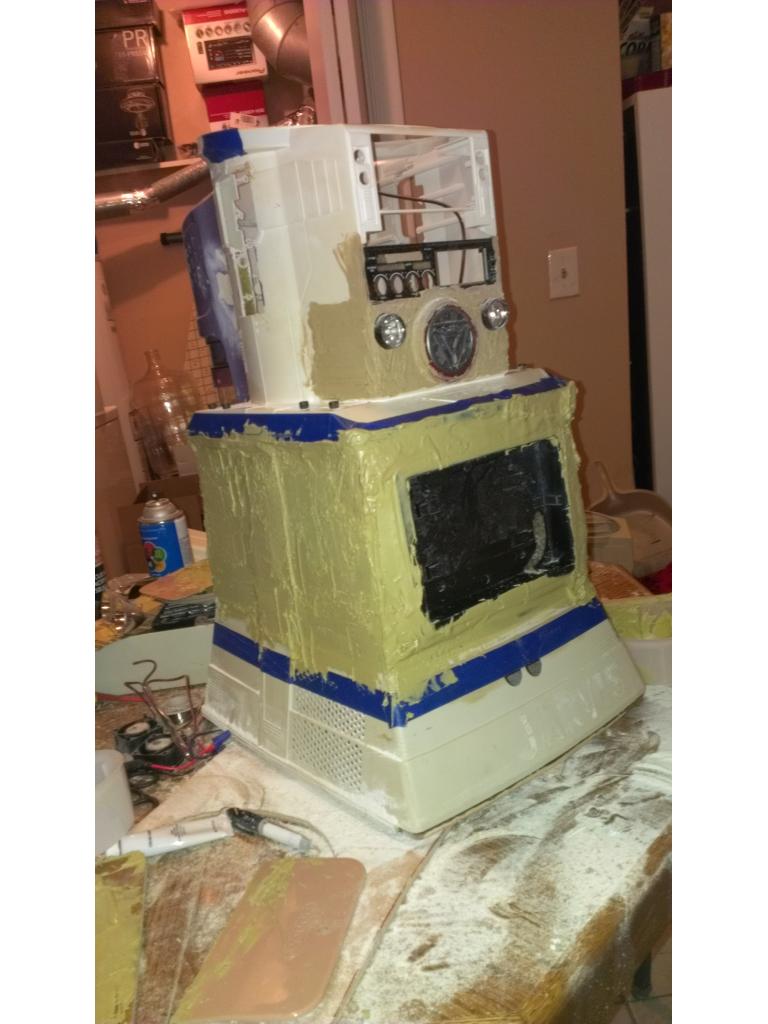
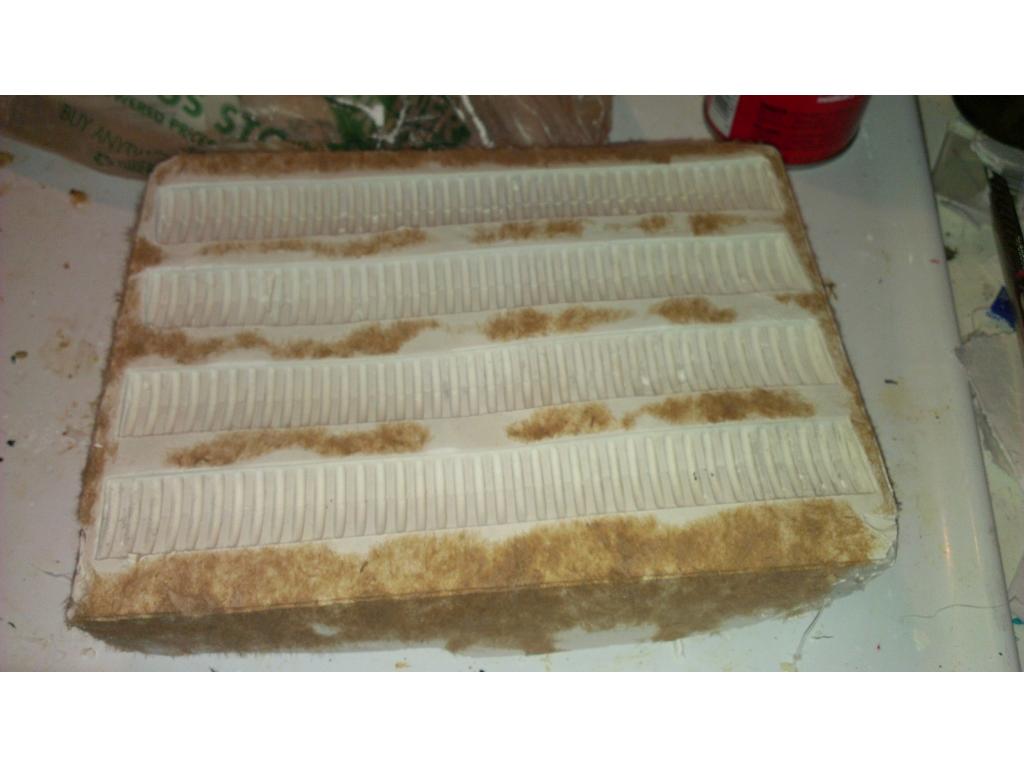
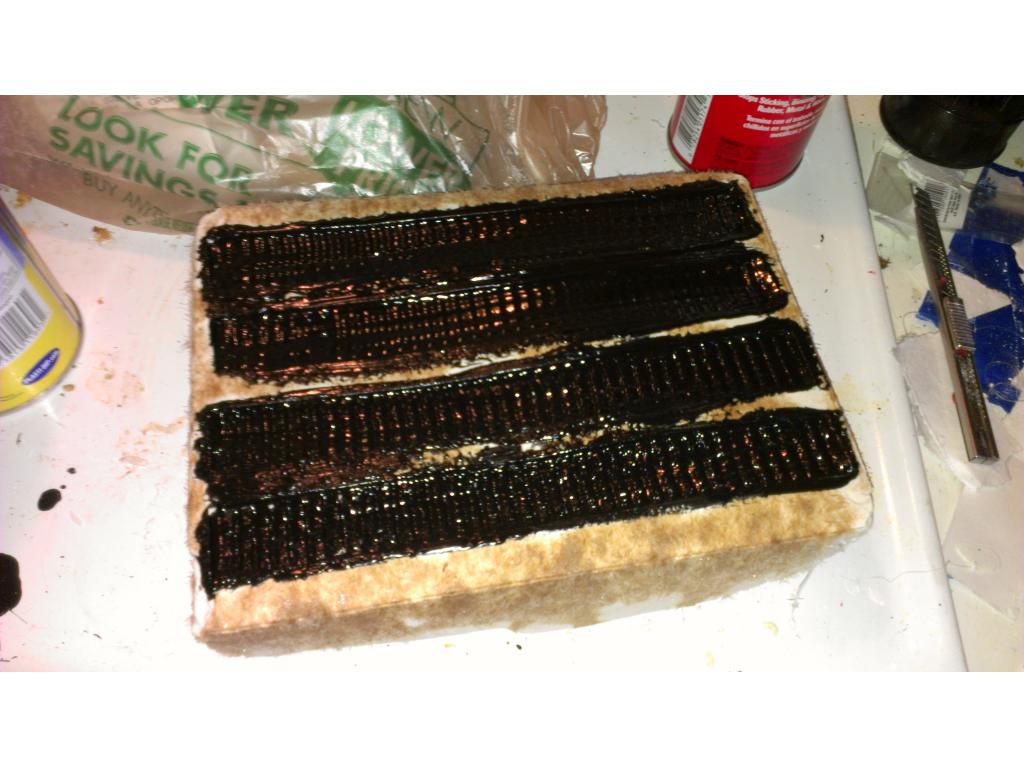
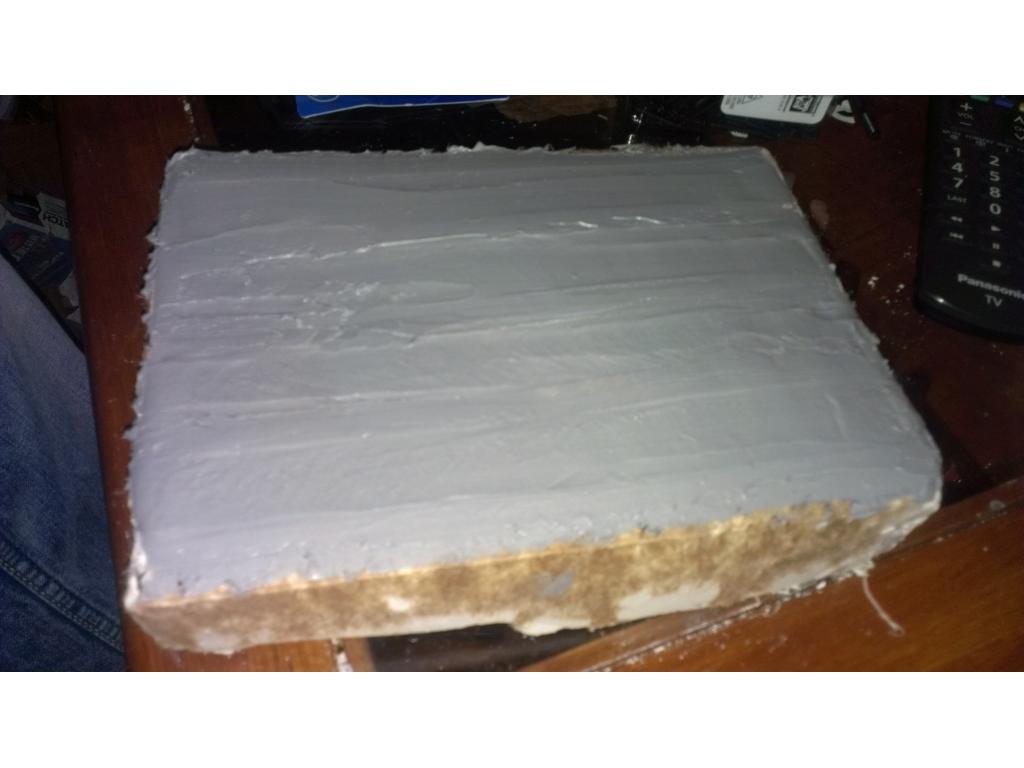
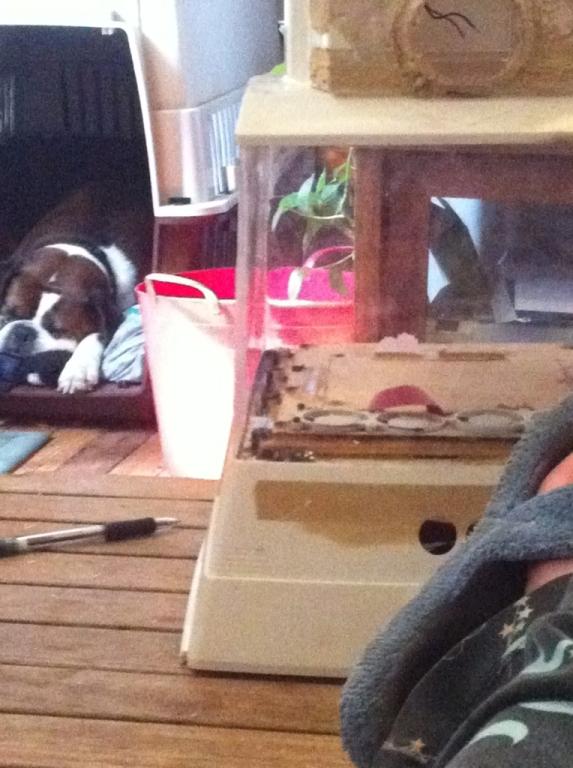
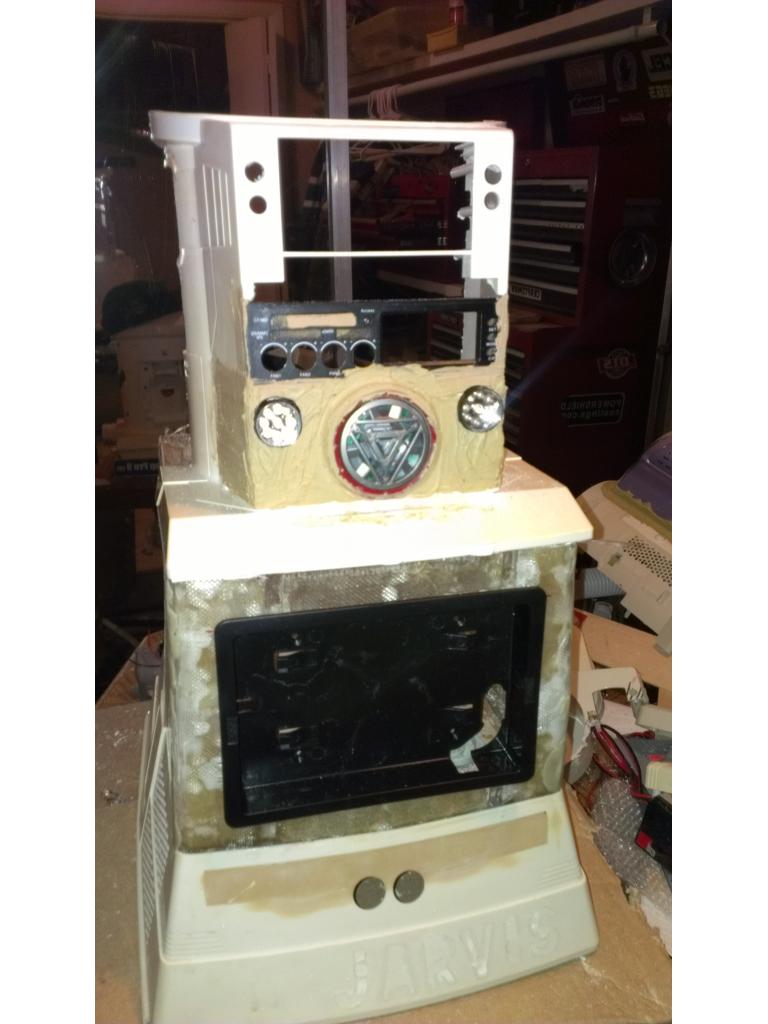
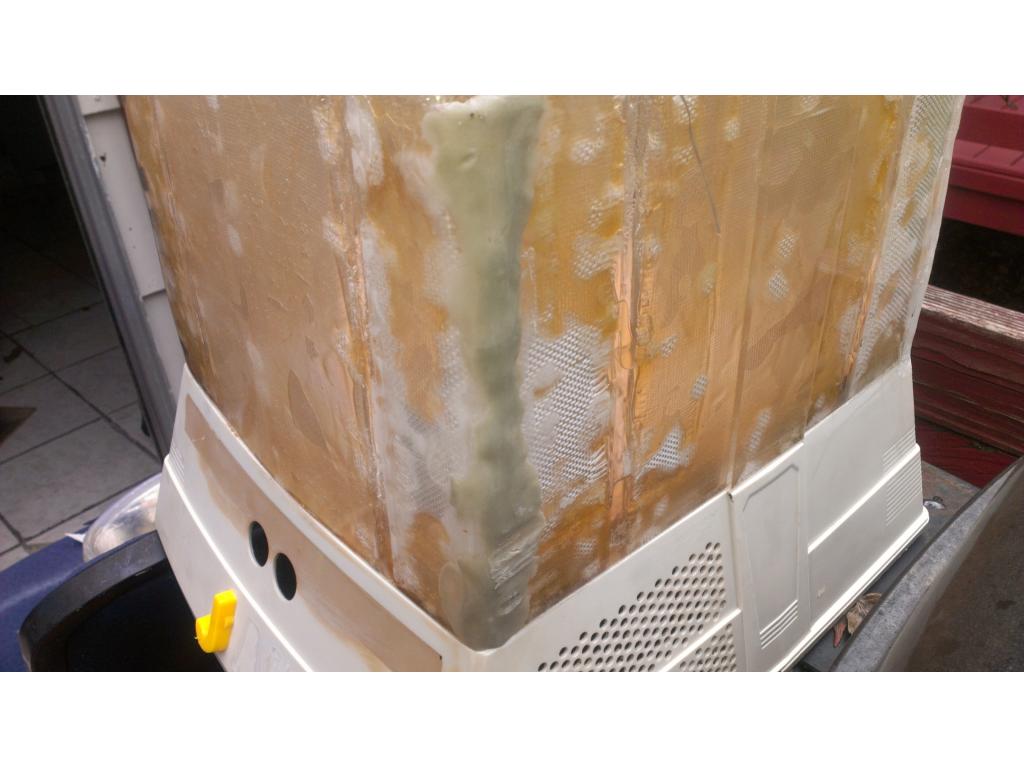
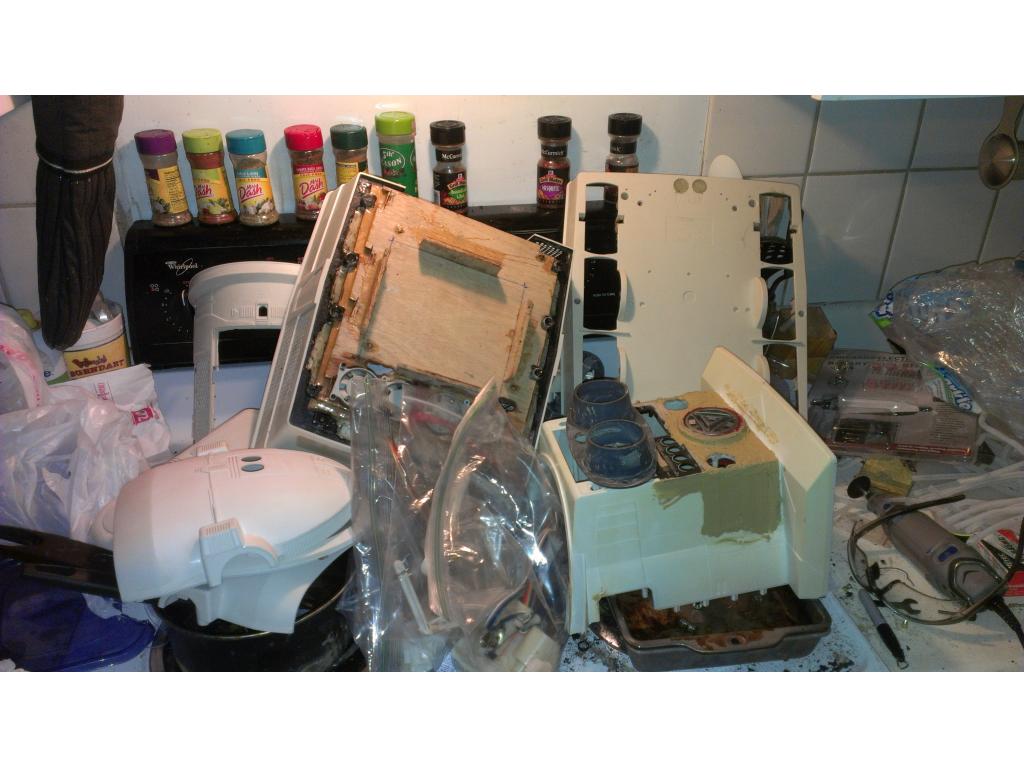
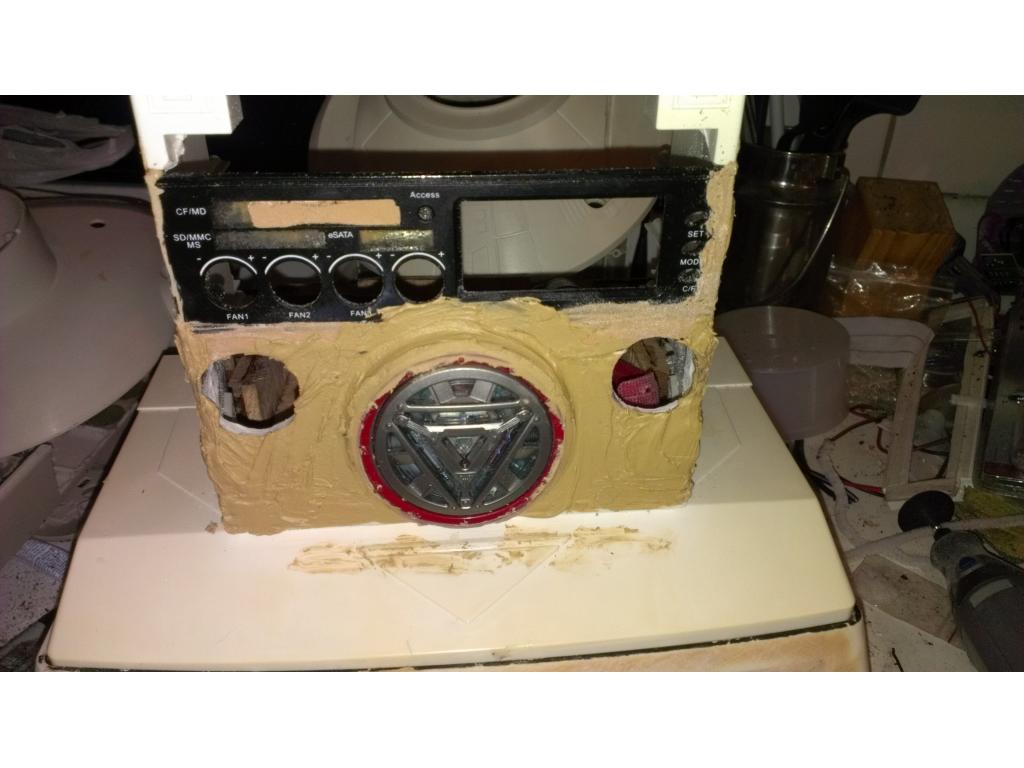
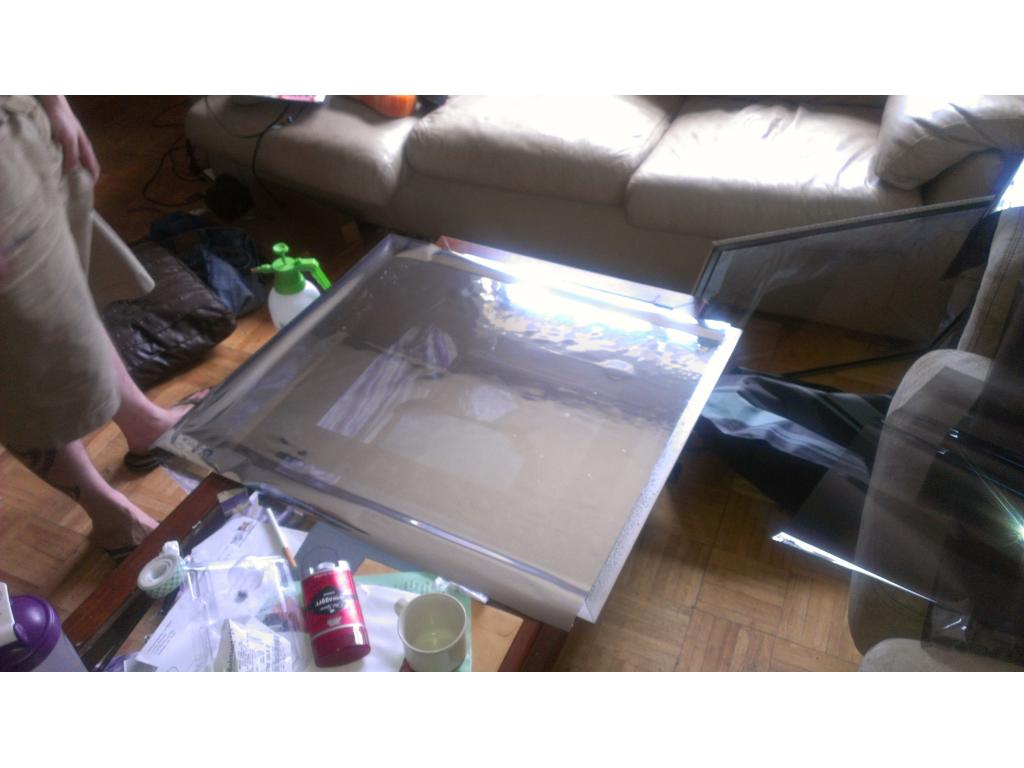
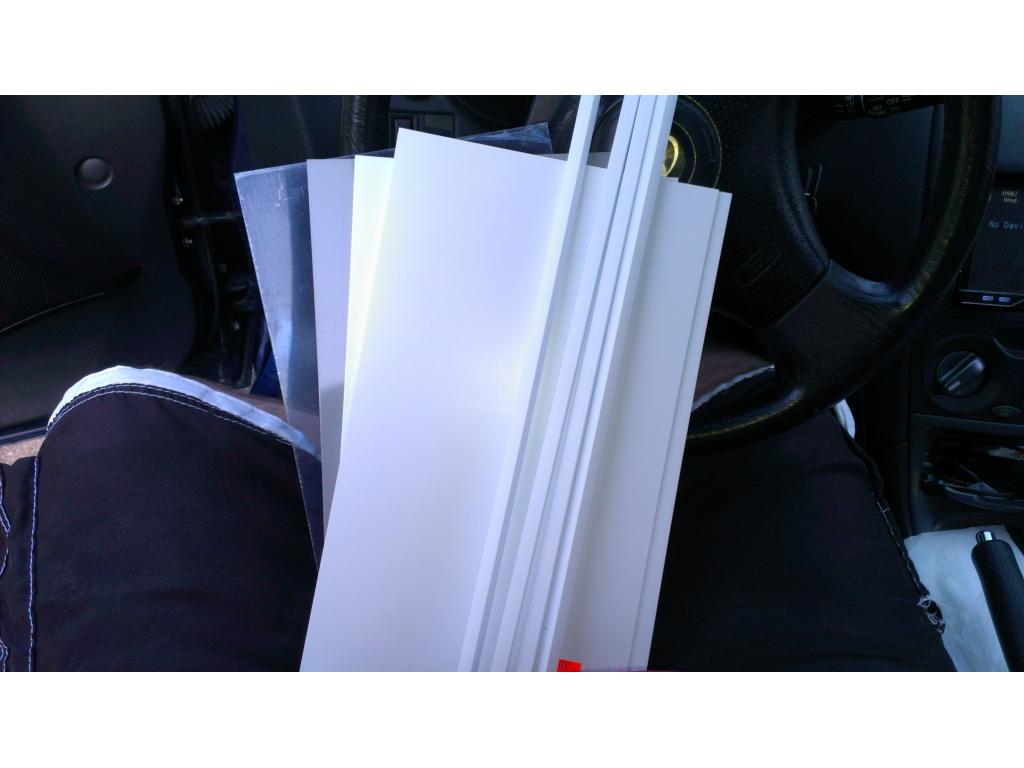
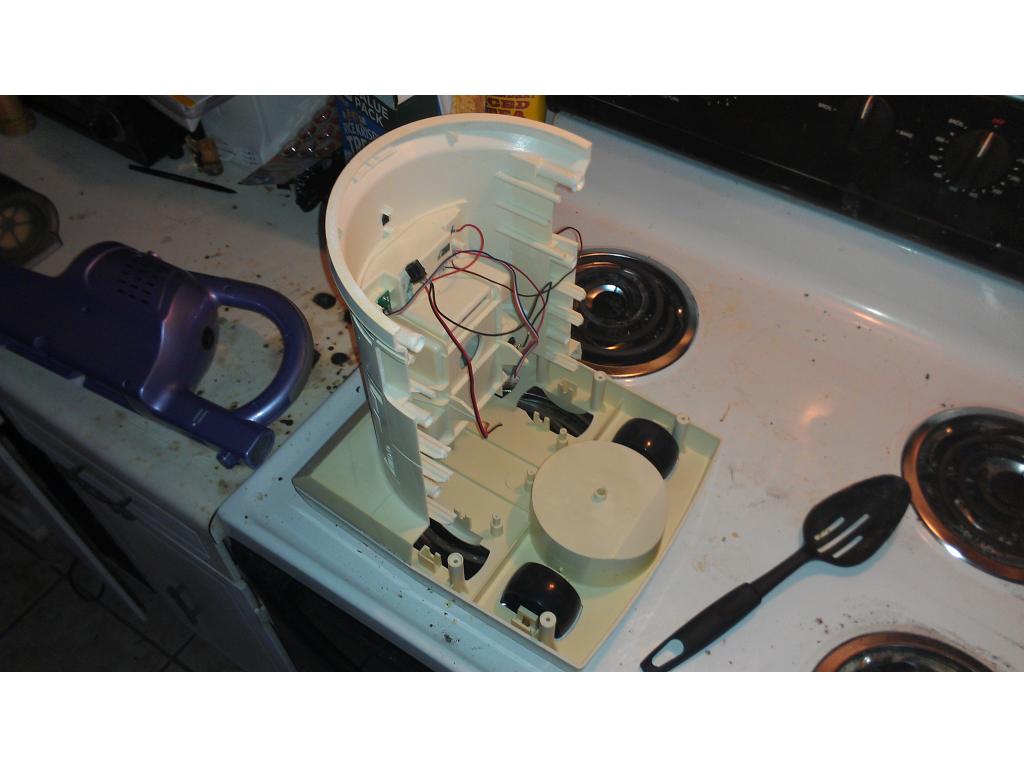
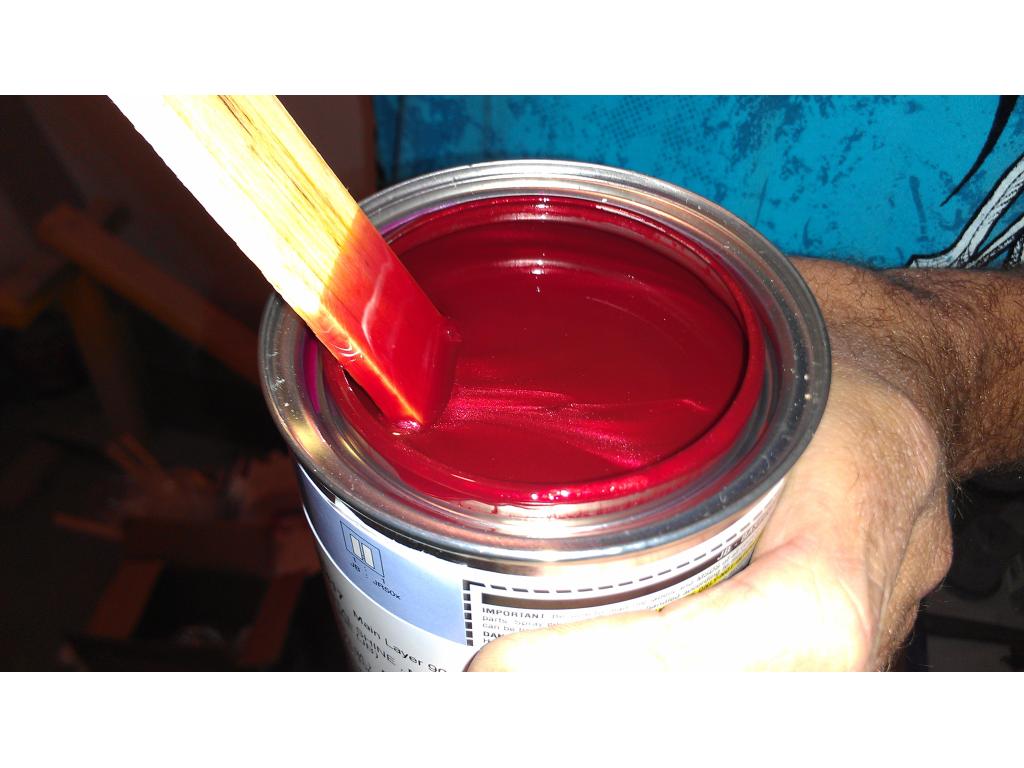
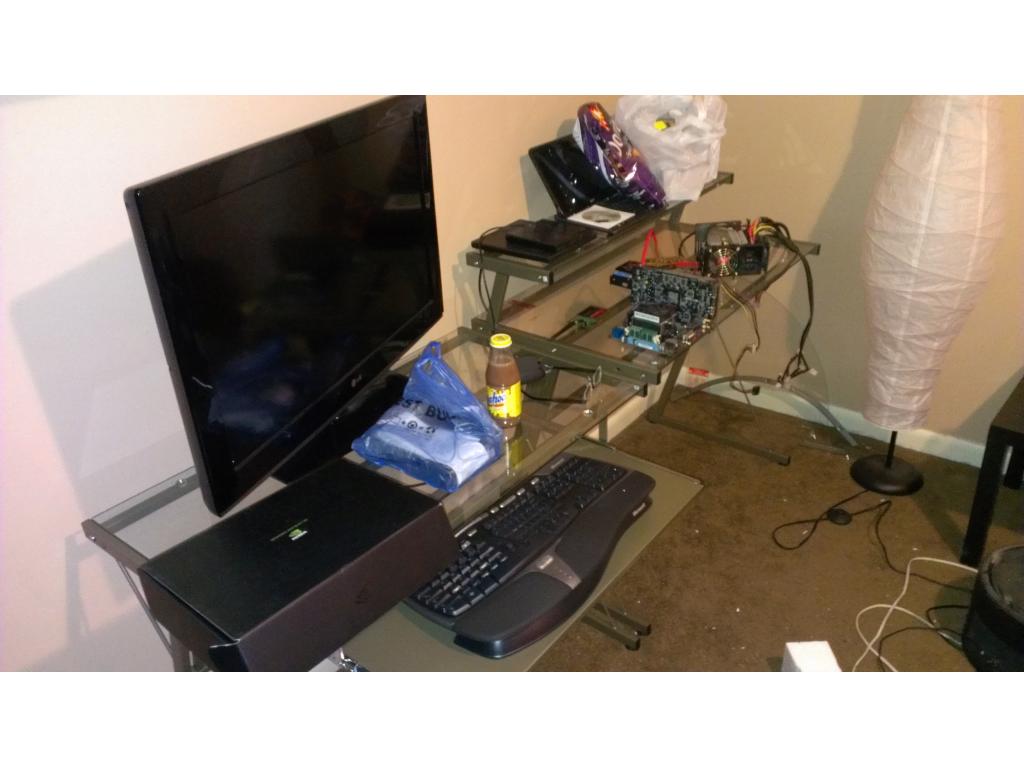
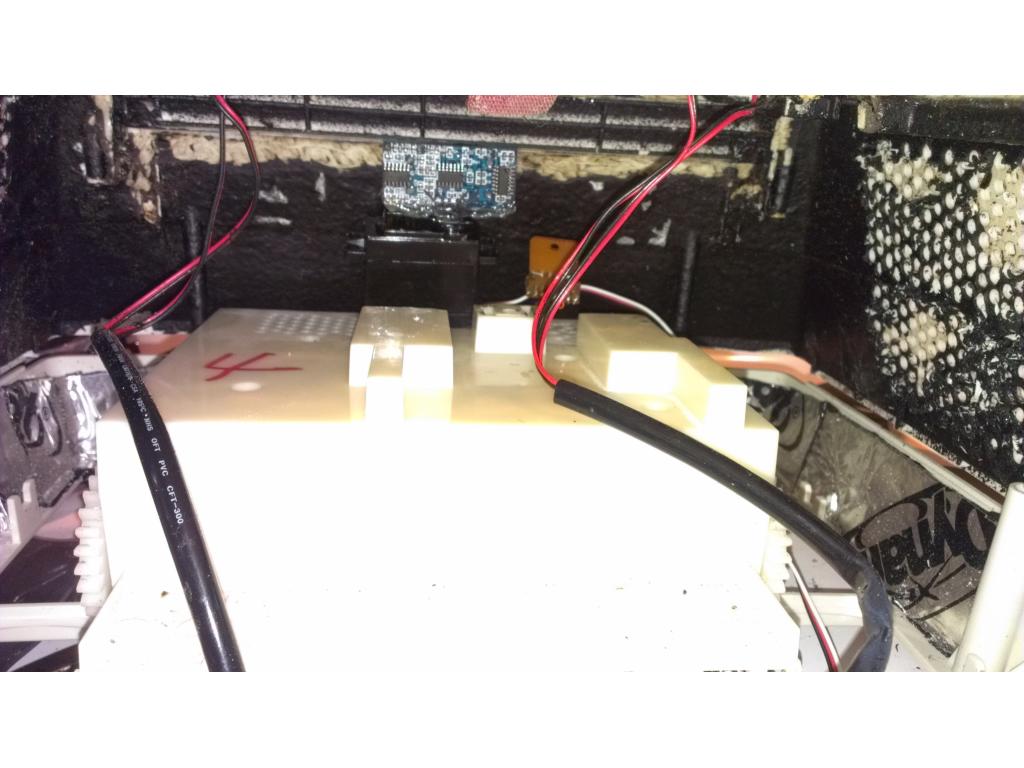
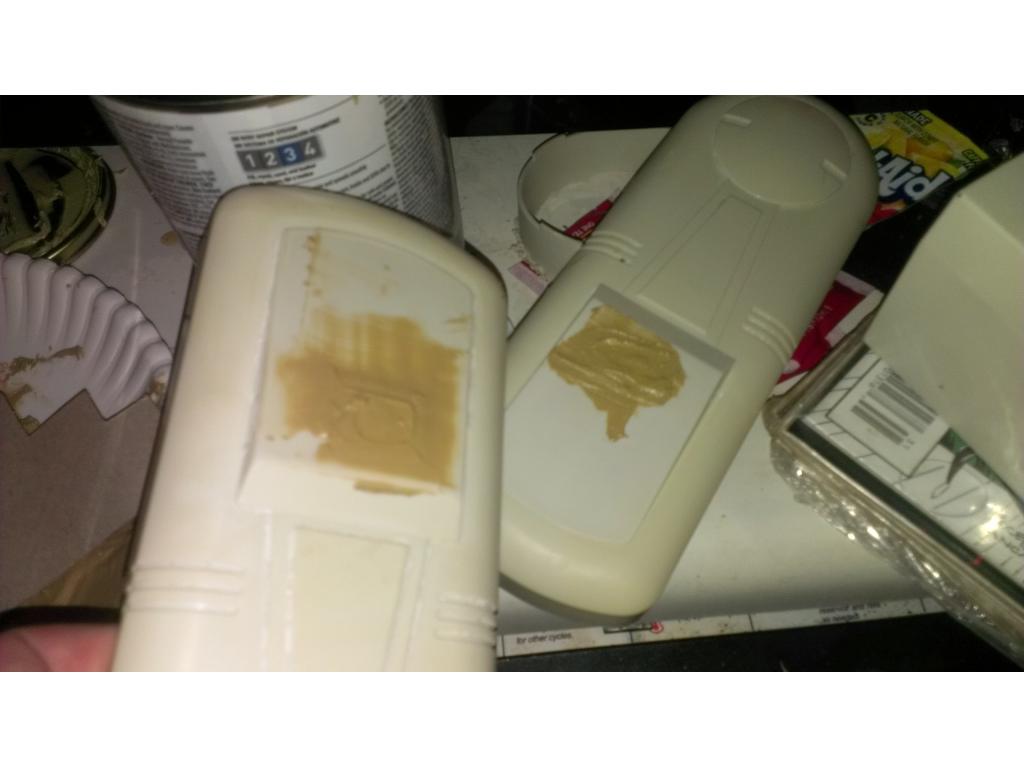
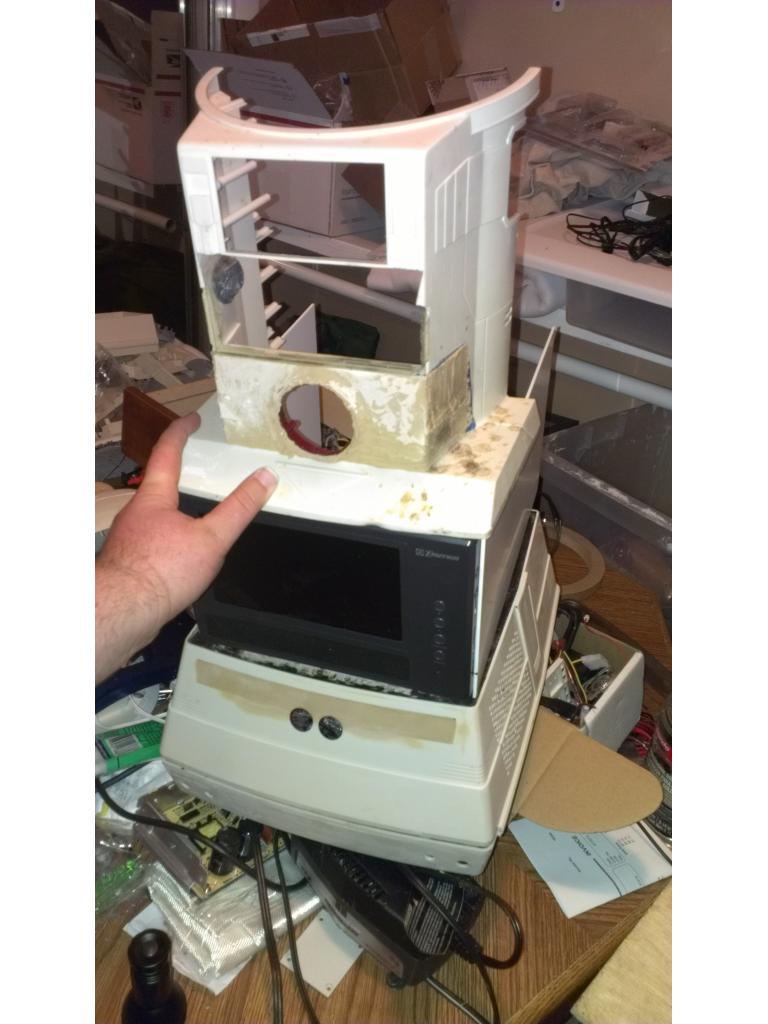
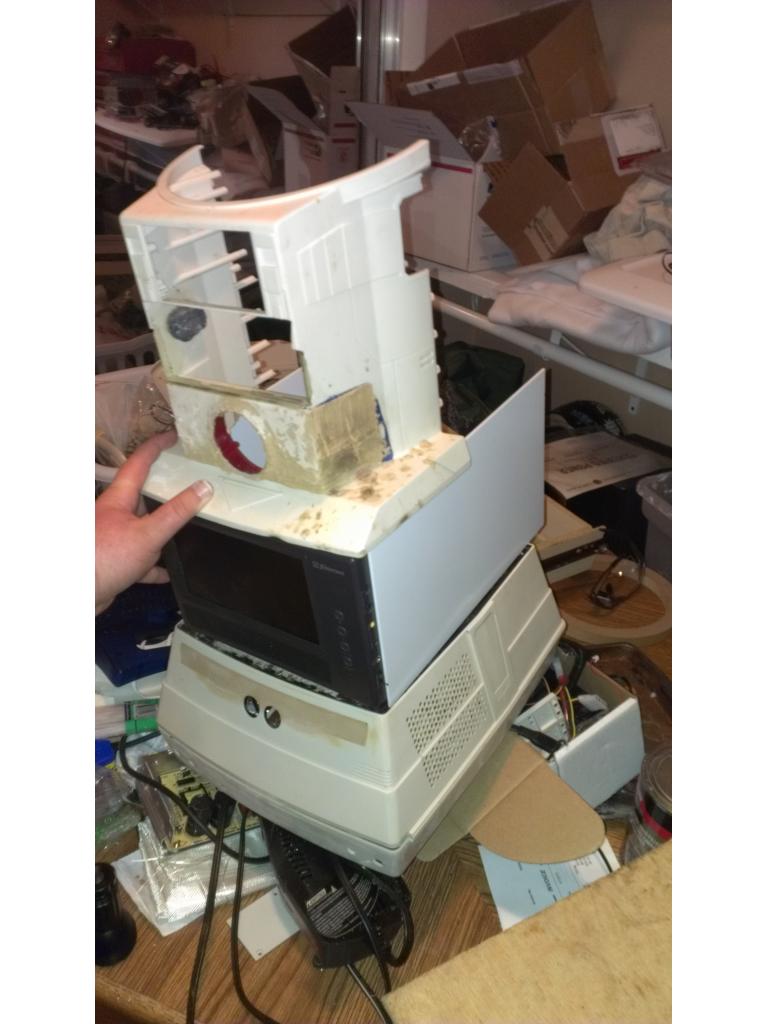
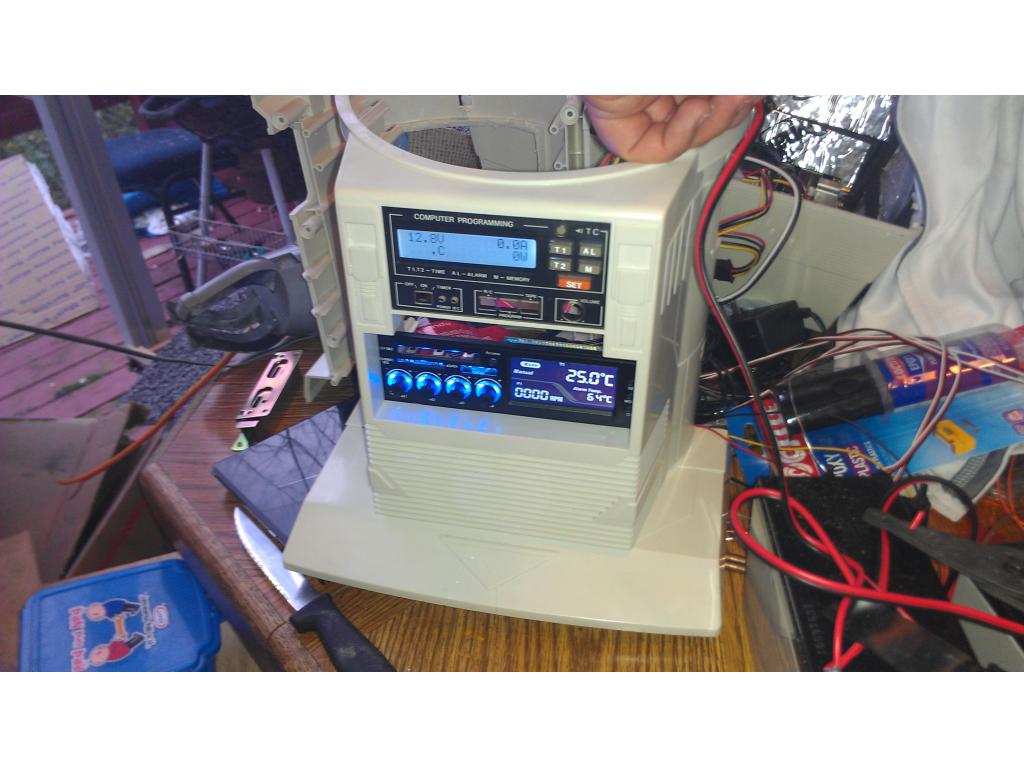
Ok my second ezb was just received , I noticed Somthing different. There is no clear PVC or.heatshrink type cover over the Bluetooth module.Ok ARC reactor being molded in and lines filled as well. I forgot I'm out of sandpaper so I'm running to get s bite to eat and sandpaper. 60 grit , 120 grit , 320 grit , 400 grit and 600 grit. Switch paper one after another makes this process easier. No matter what I'm looking at a couple hours though.
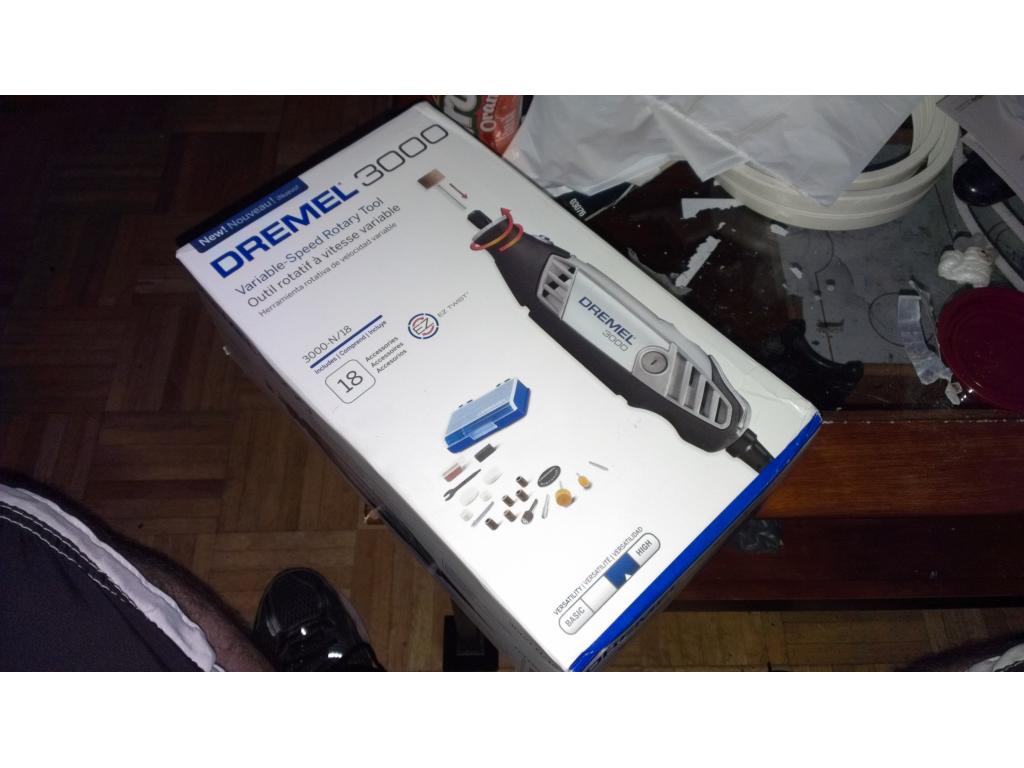
i thought the EZB didnt have heatshrink tubing on it,since all 5 of mine didnt have it on sandpaper why not ue a sanding disc on dremel tool or small sander then use 400 or 600 wet,dry sandpaper from work they gave me a good size box with all types of sandpaper,and some plastic or metal work i use thier machine shop,until i get my lathe and milling machine
Josh,
That is coming along quite nicely....great work!
v/r
Kevin
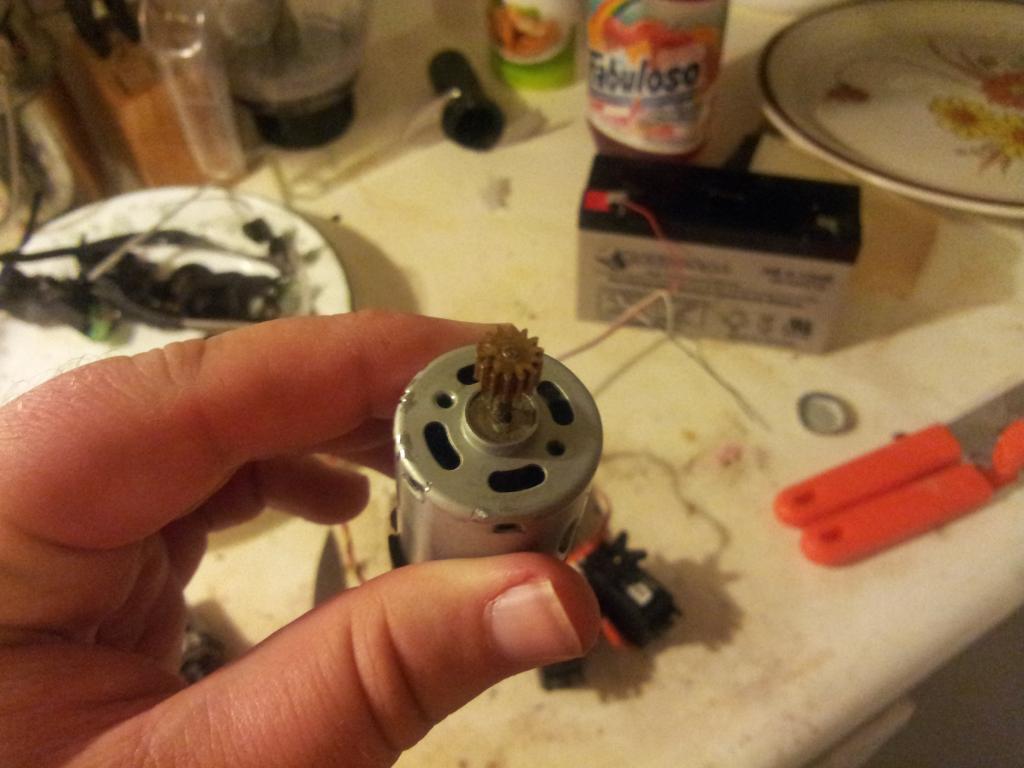
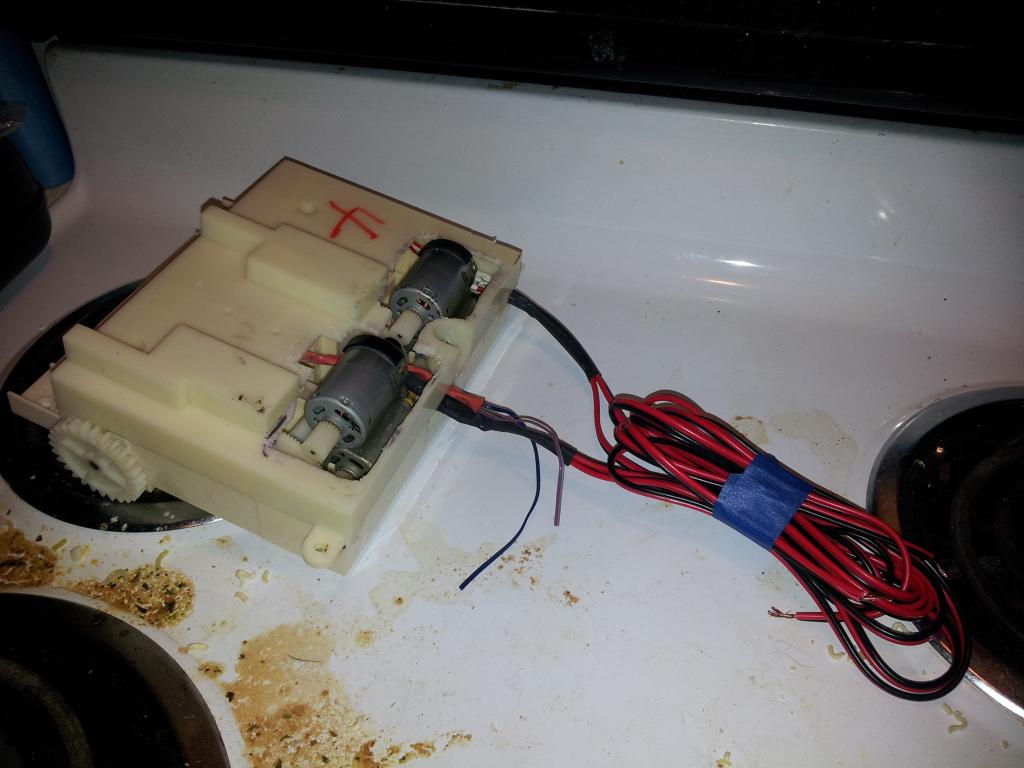
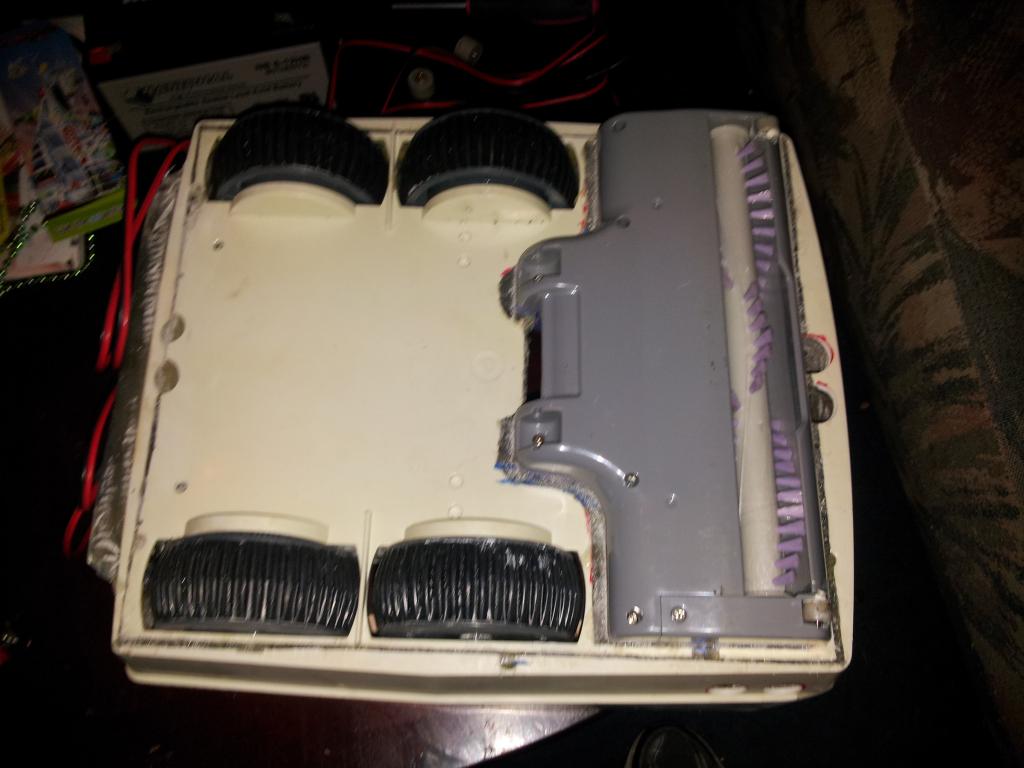
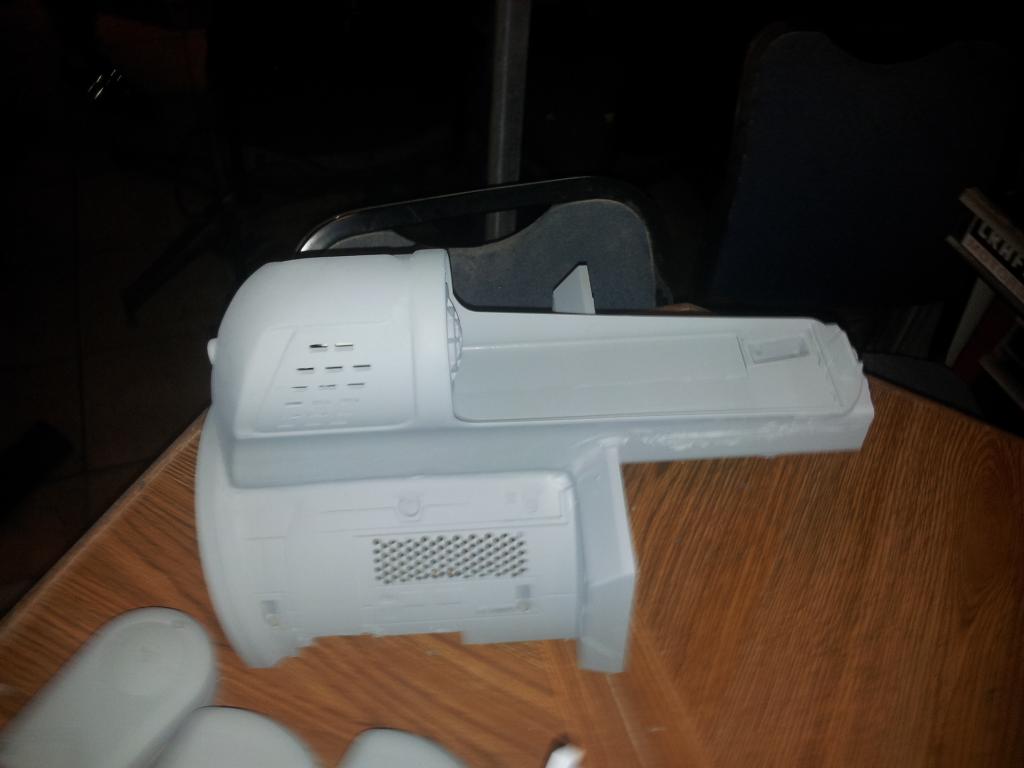
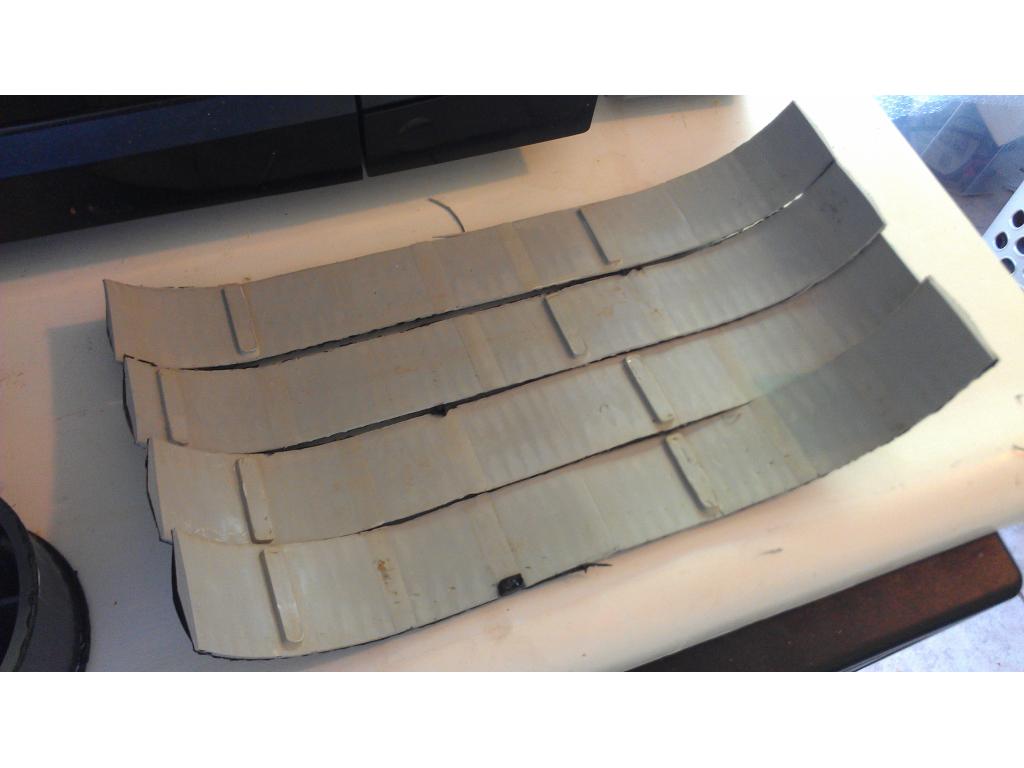
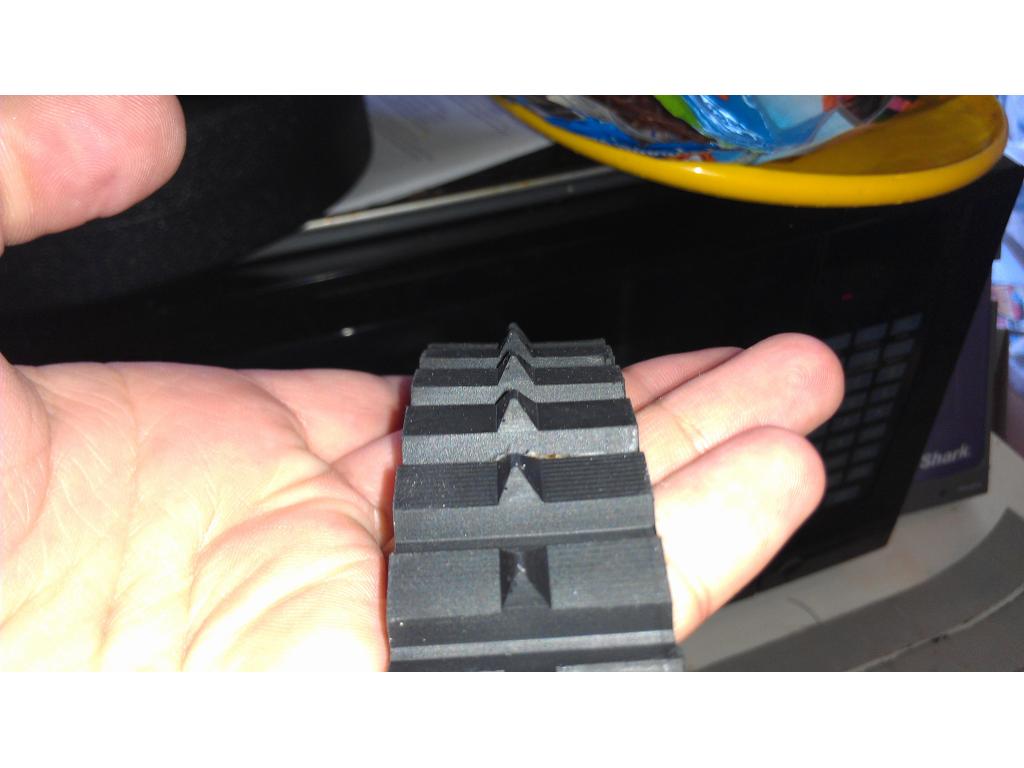
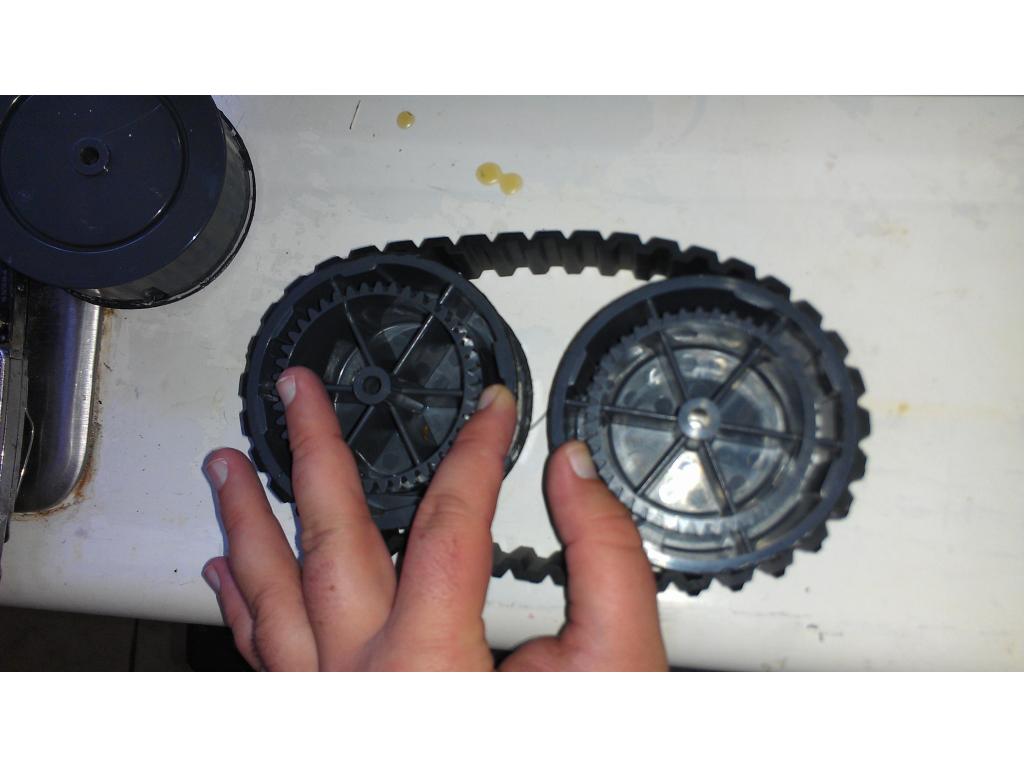
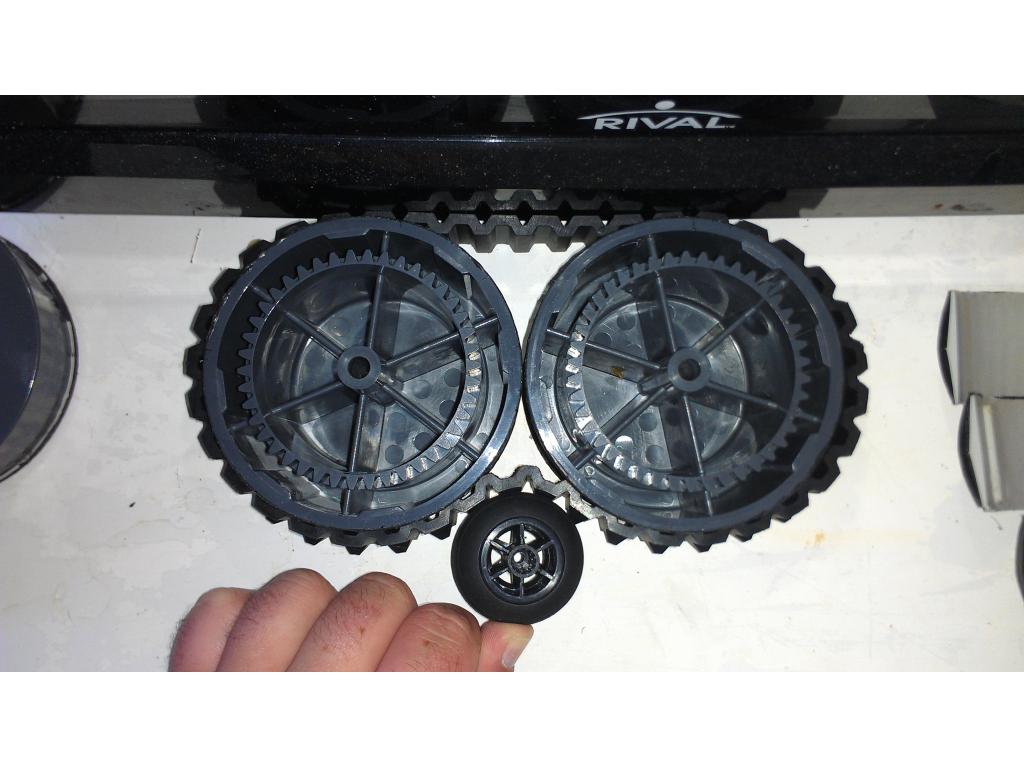
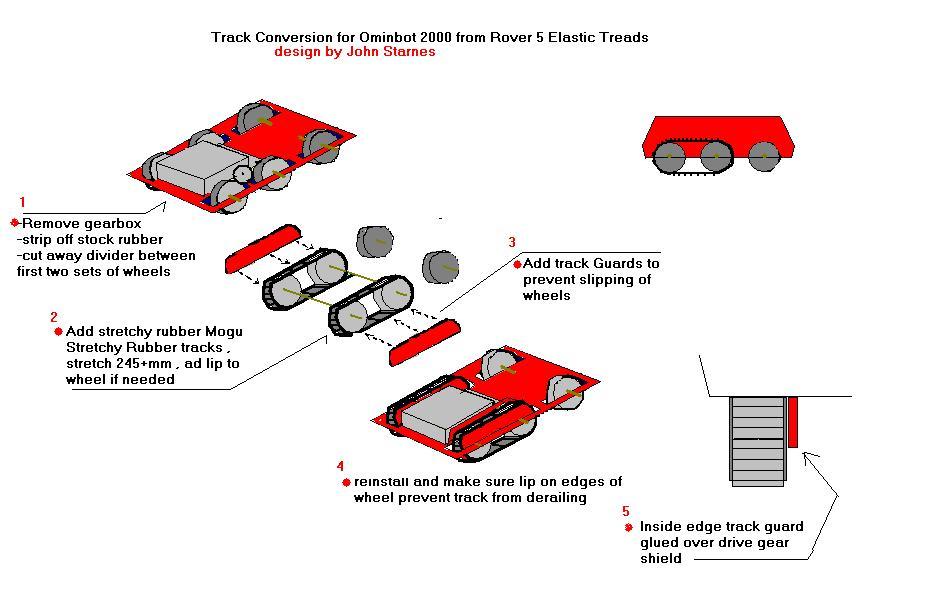
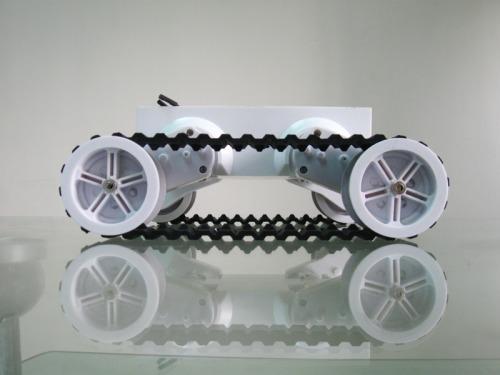
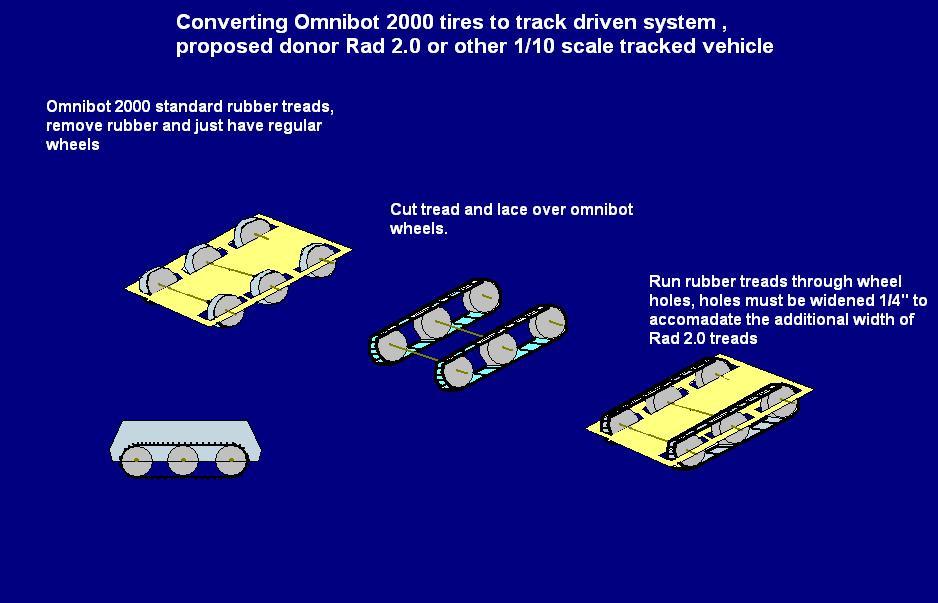
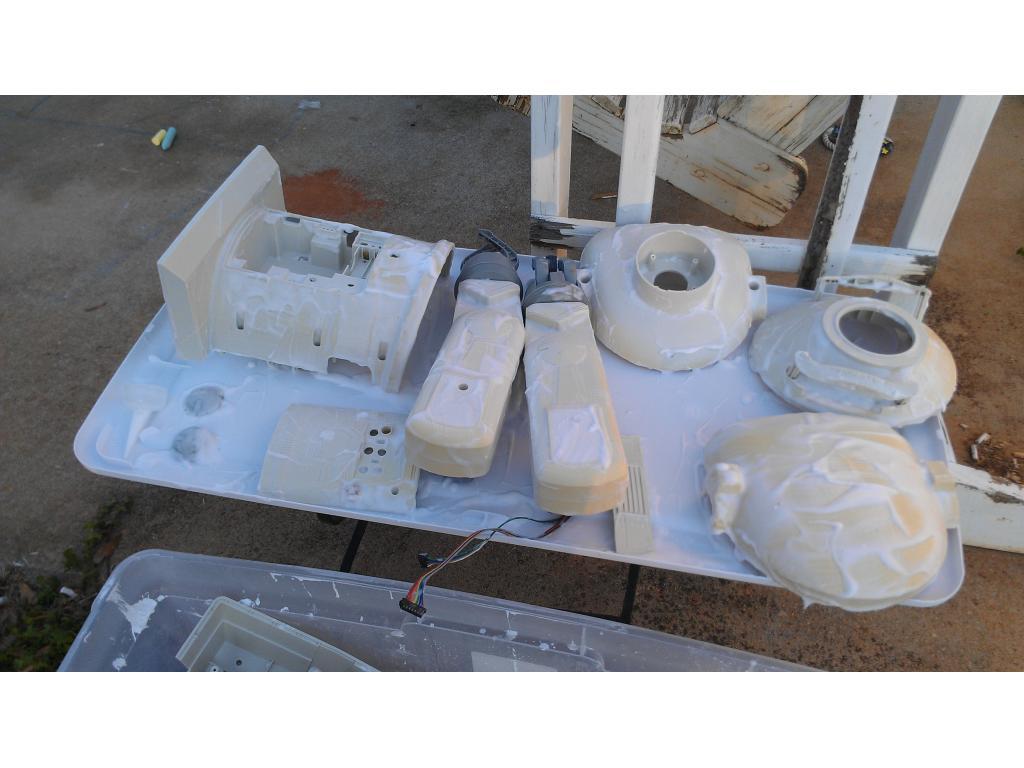
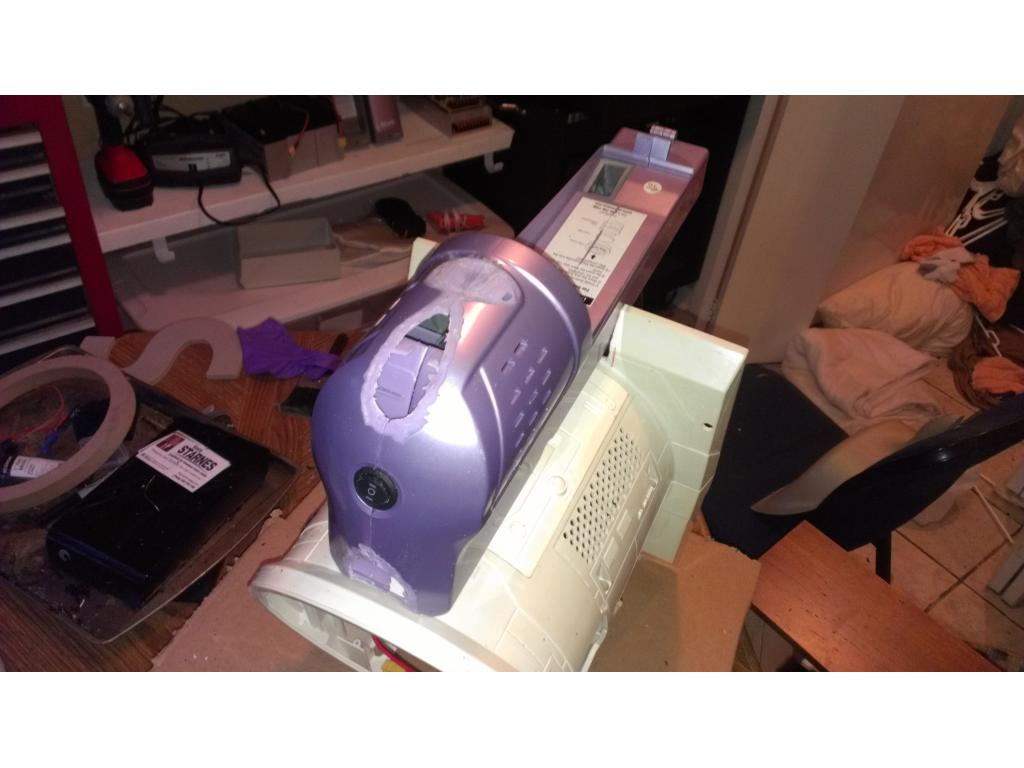
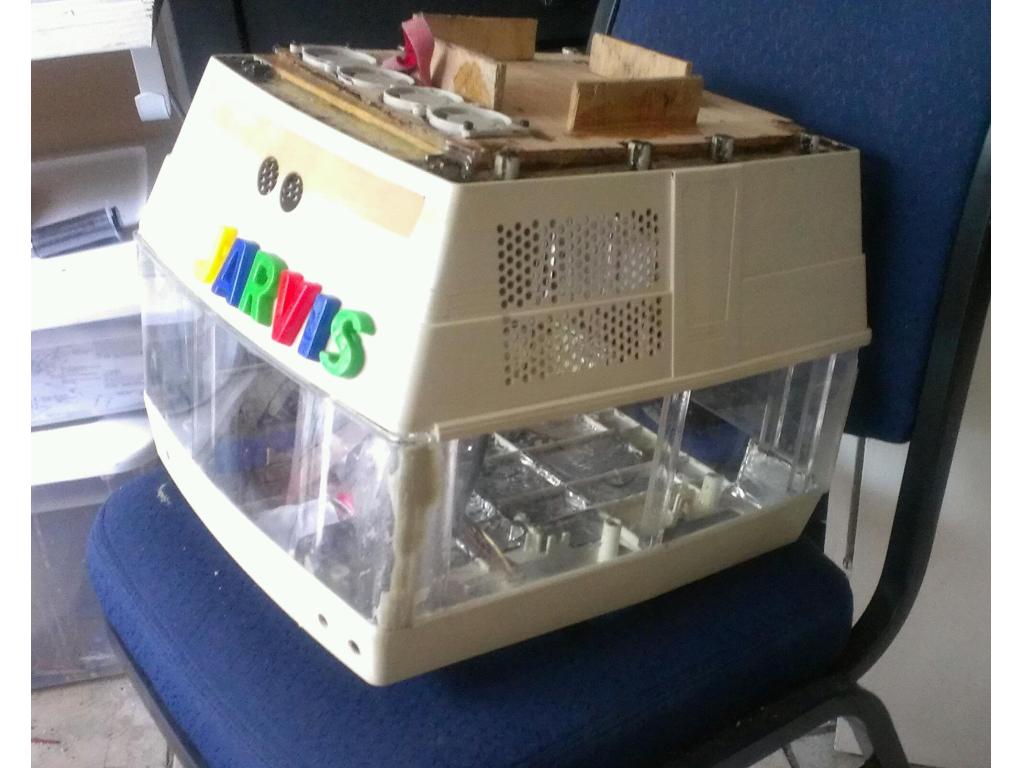
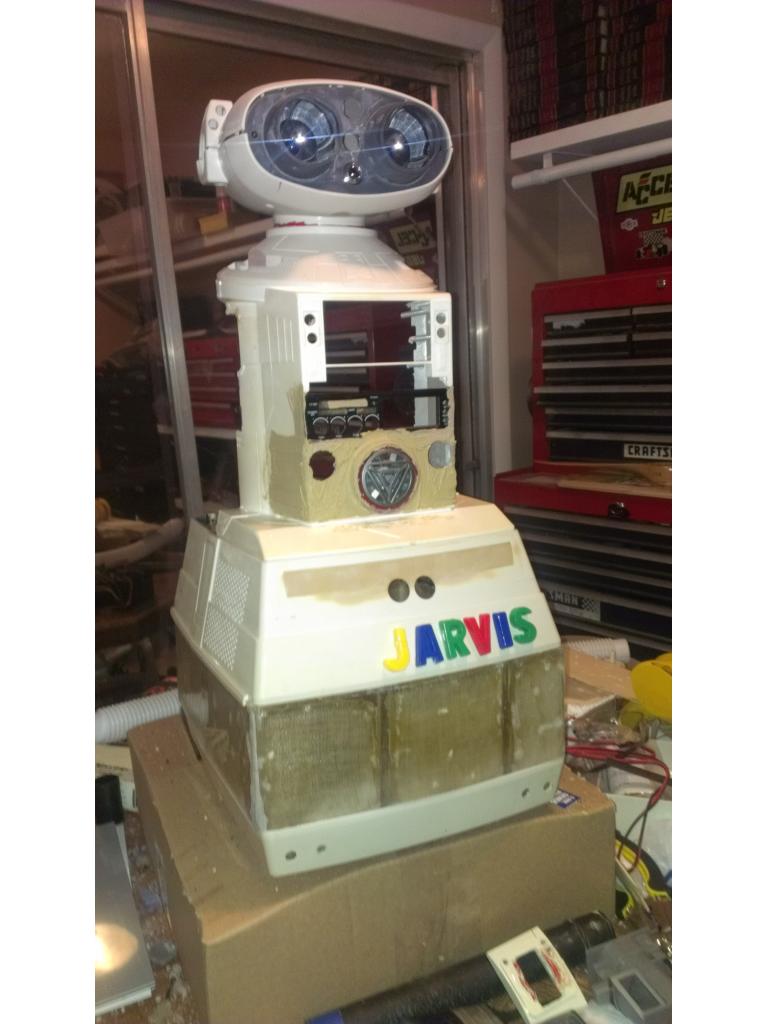
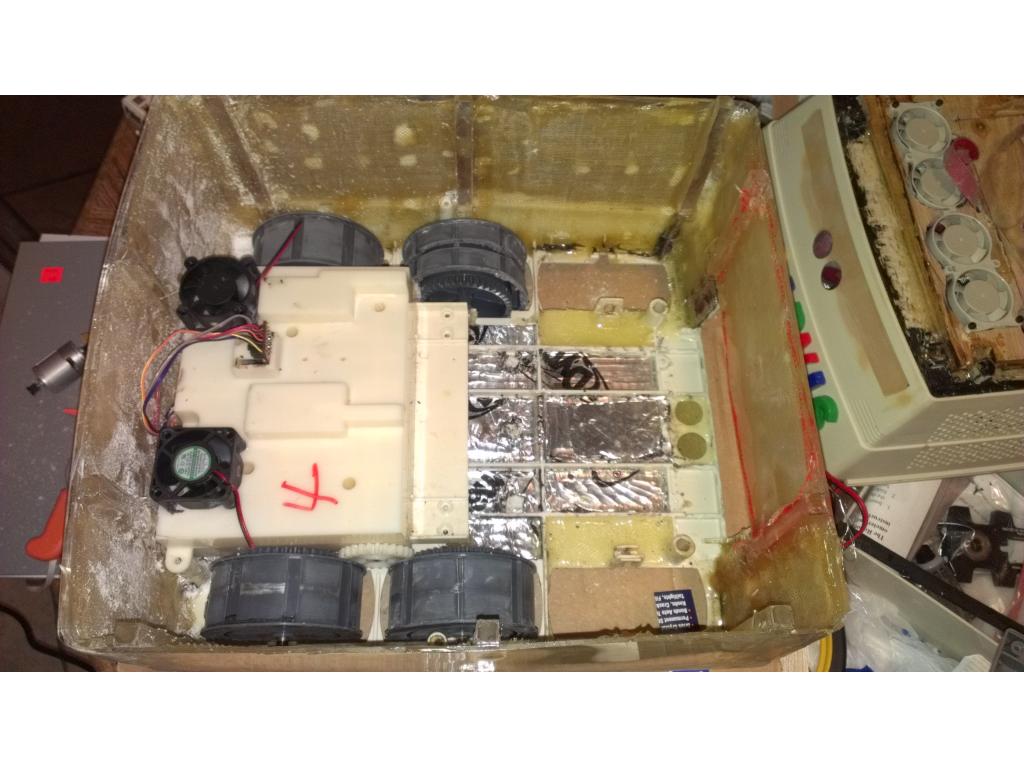
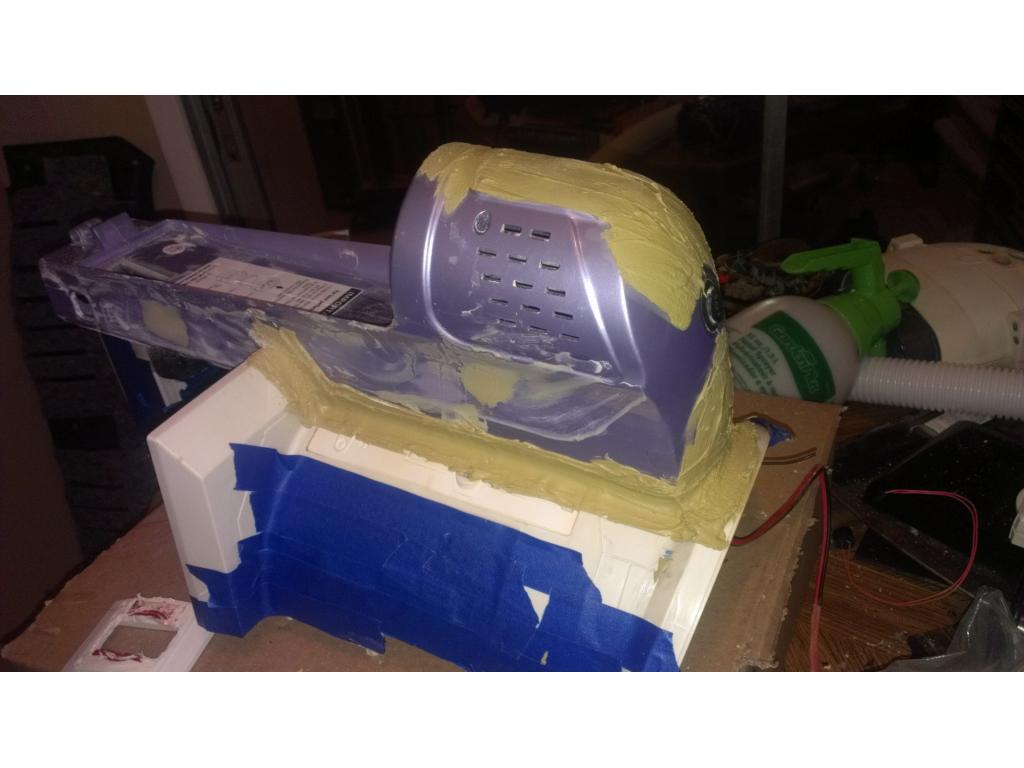
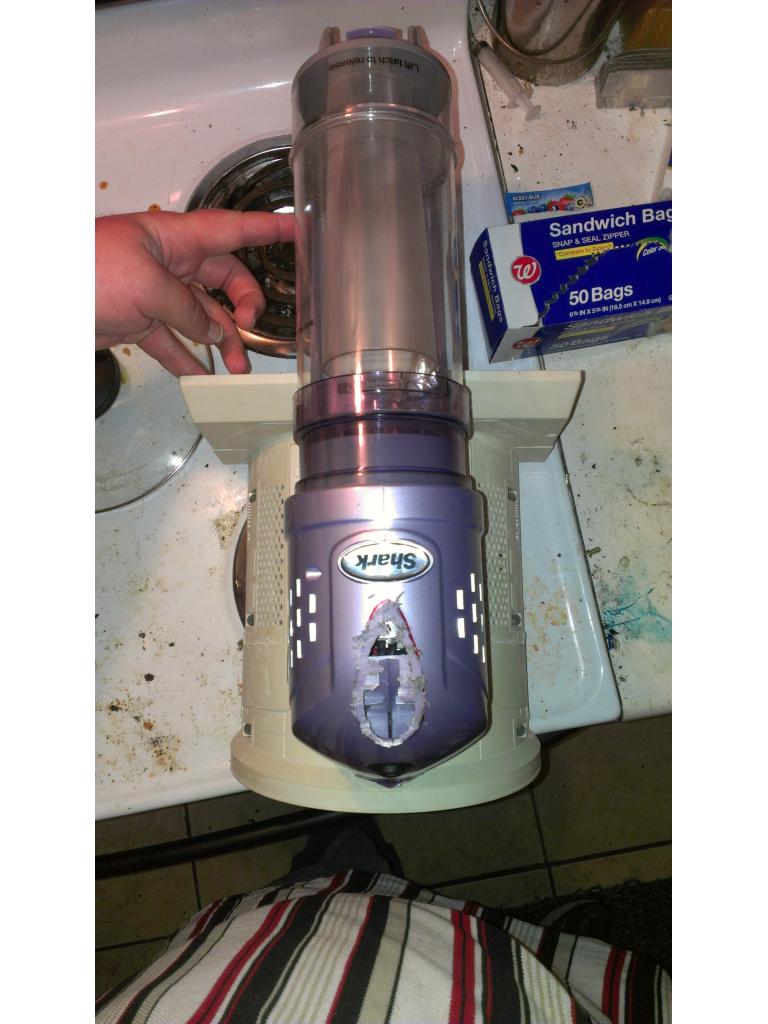
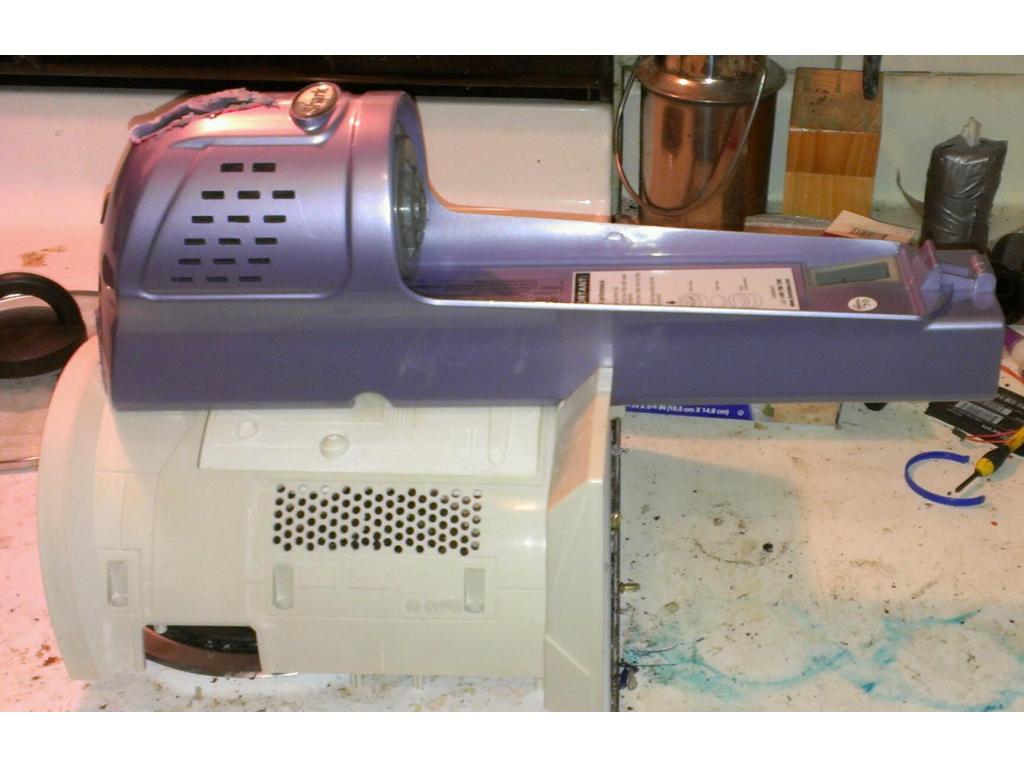
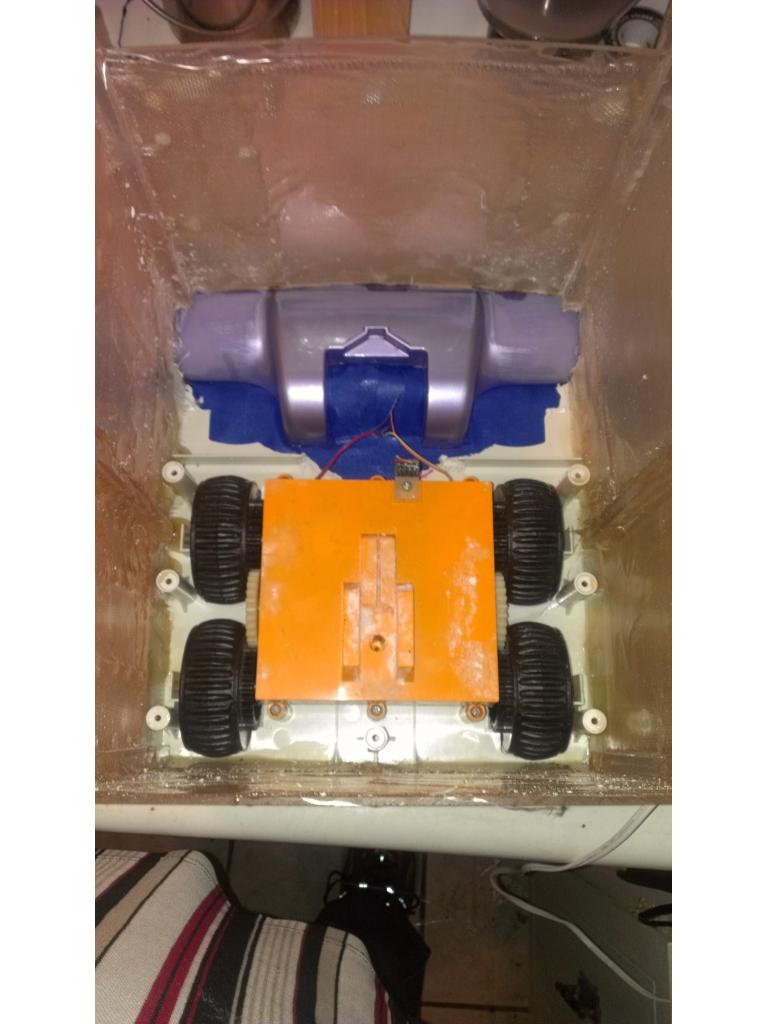
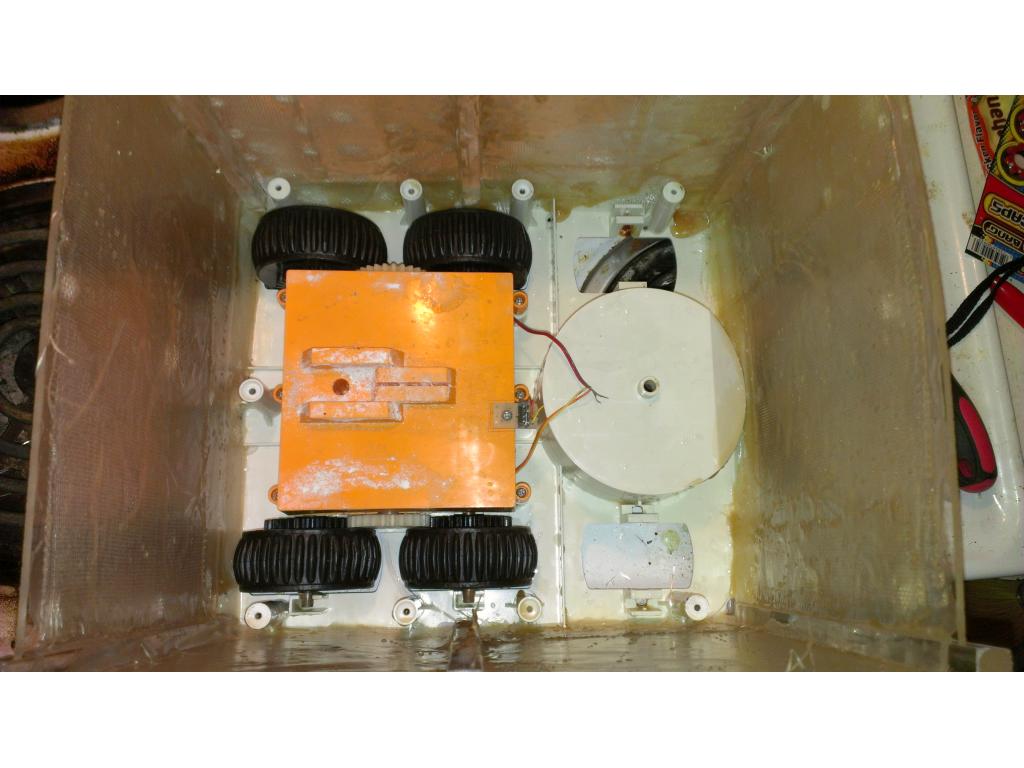
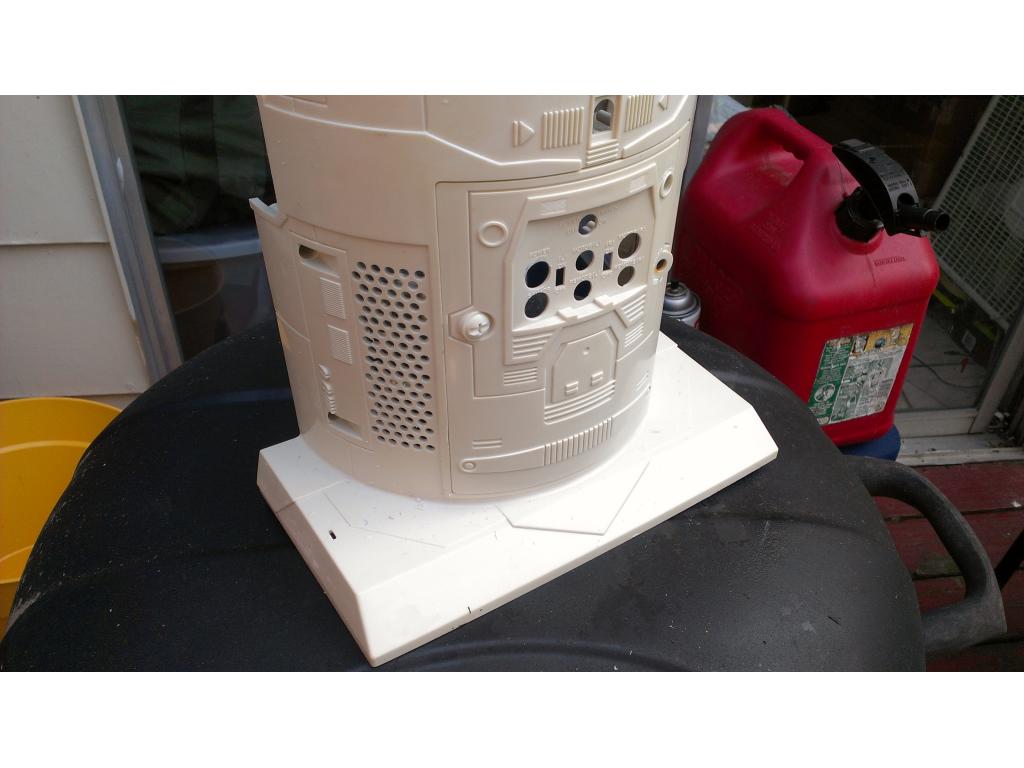
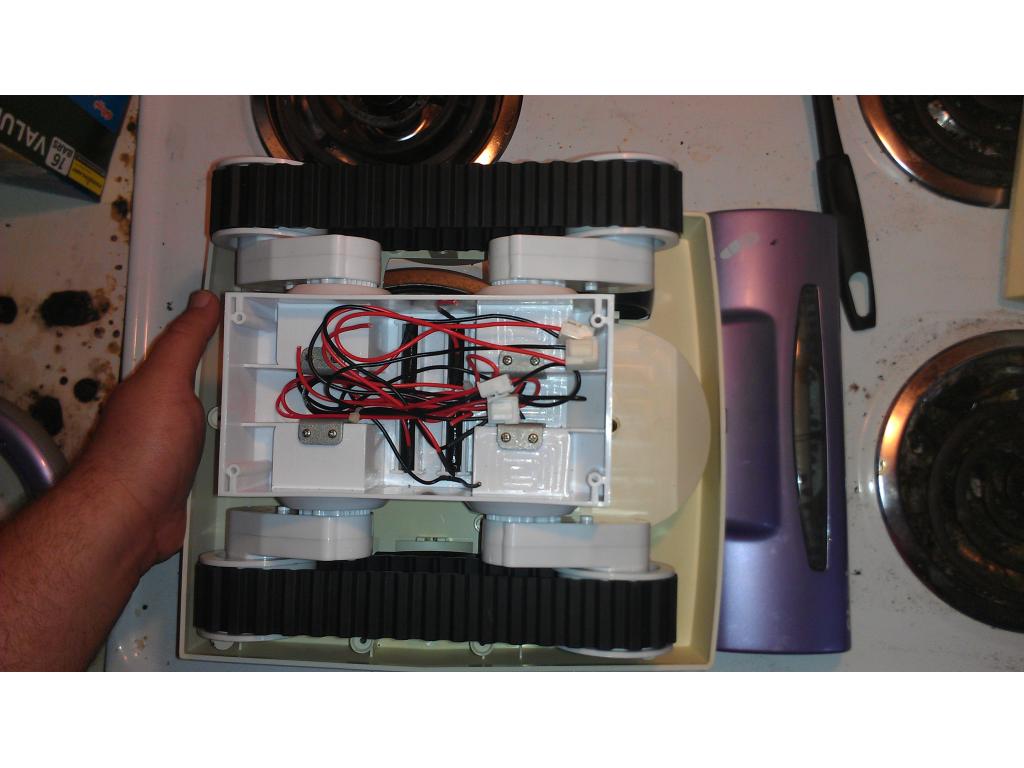
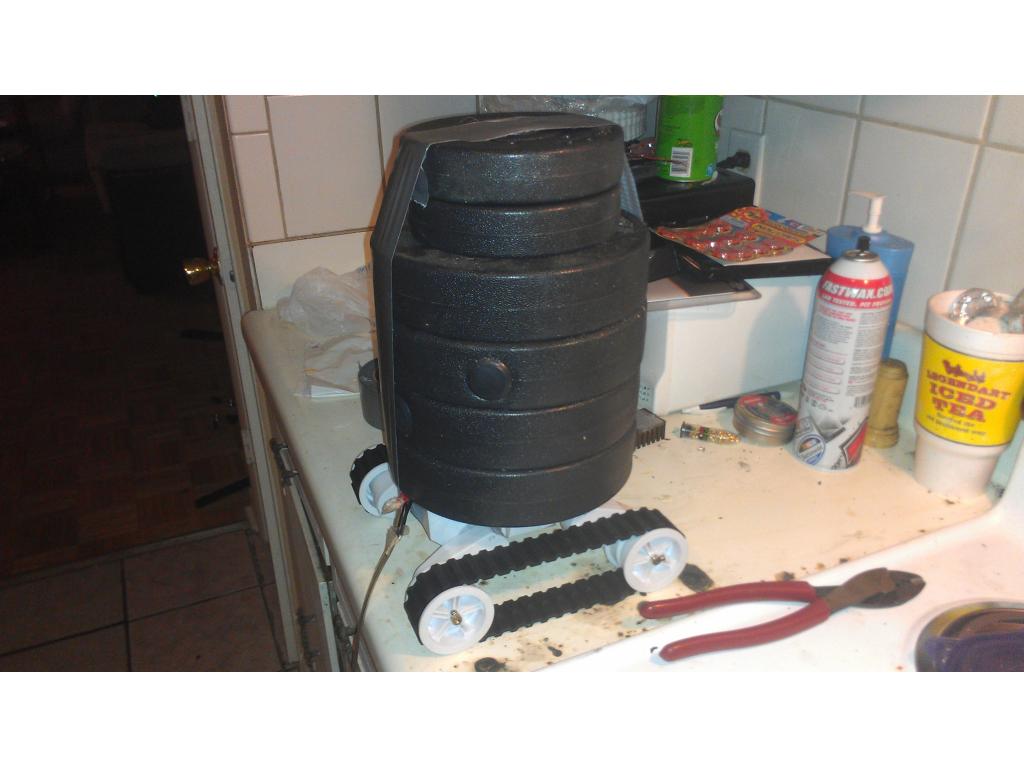
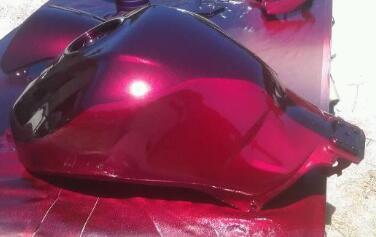
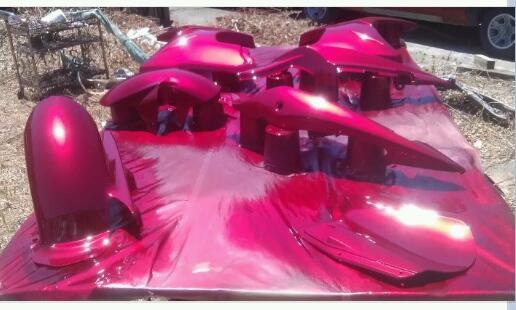
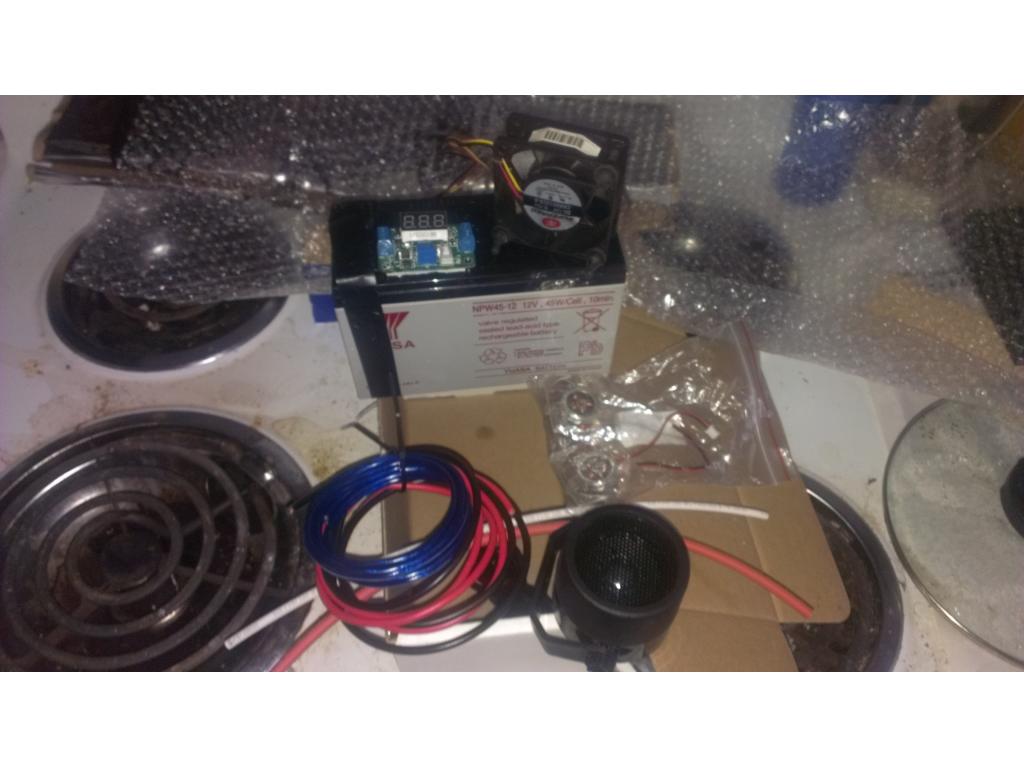
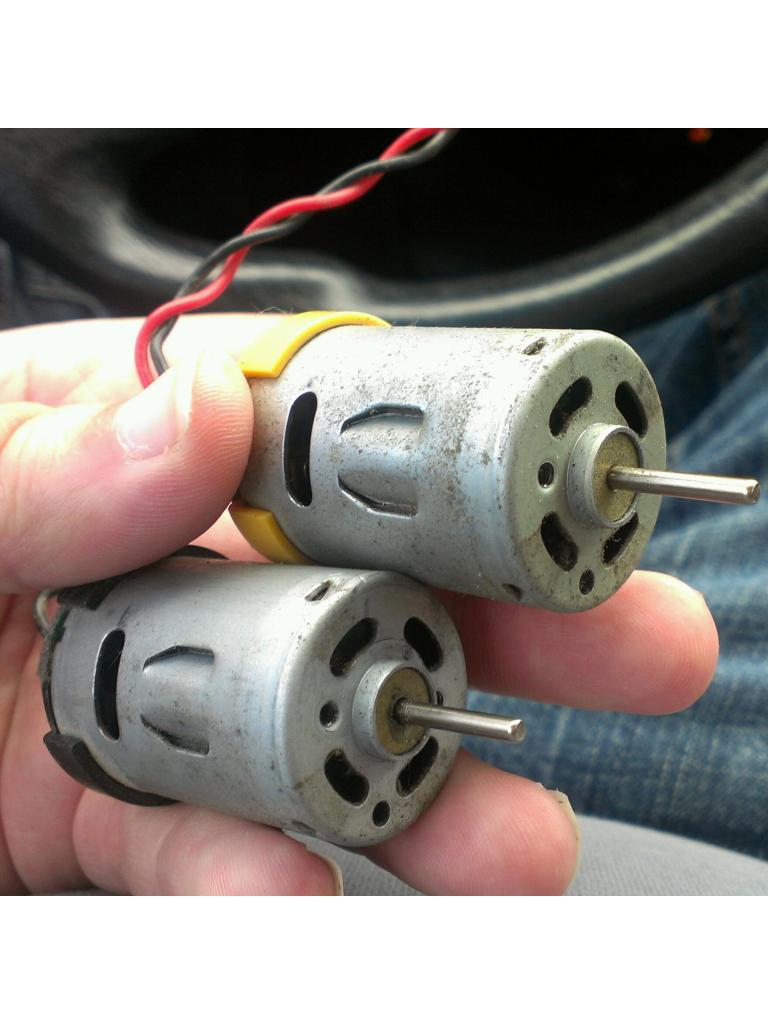
Thanks KKeast , hopefully ill have this guy to a stage I can get paint done soon. Still have a few odds and ends to do. Tommorow the rover 5 comes and well double check how much trouble it would be to convert to treads. I know treads will cause my amp draw to be a tiny bit higher but I would also have great grip regardless of surface. On the agenda for tommorow-
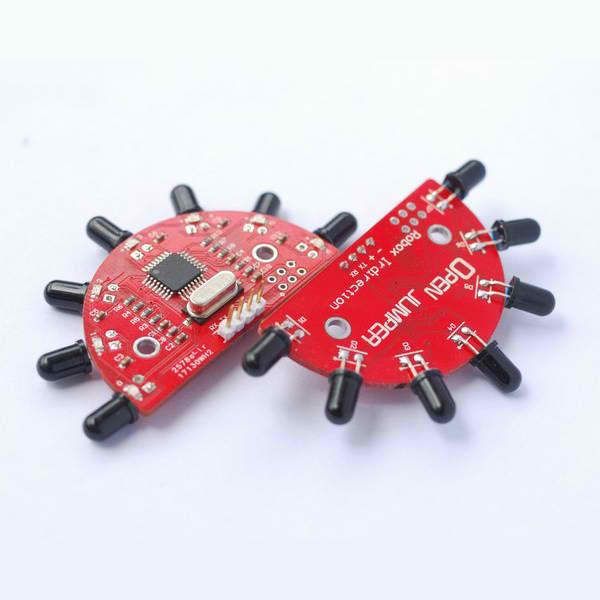
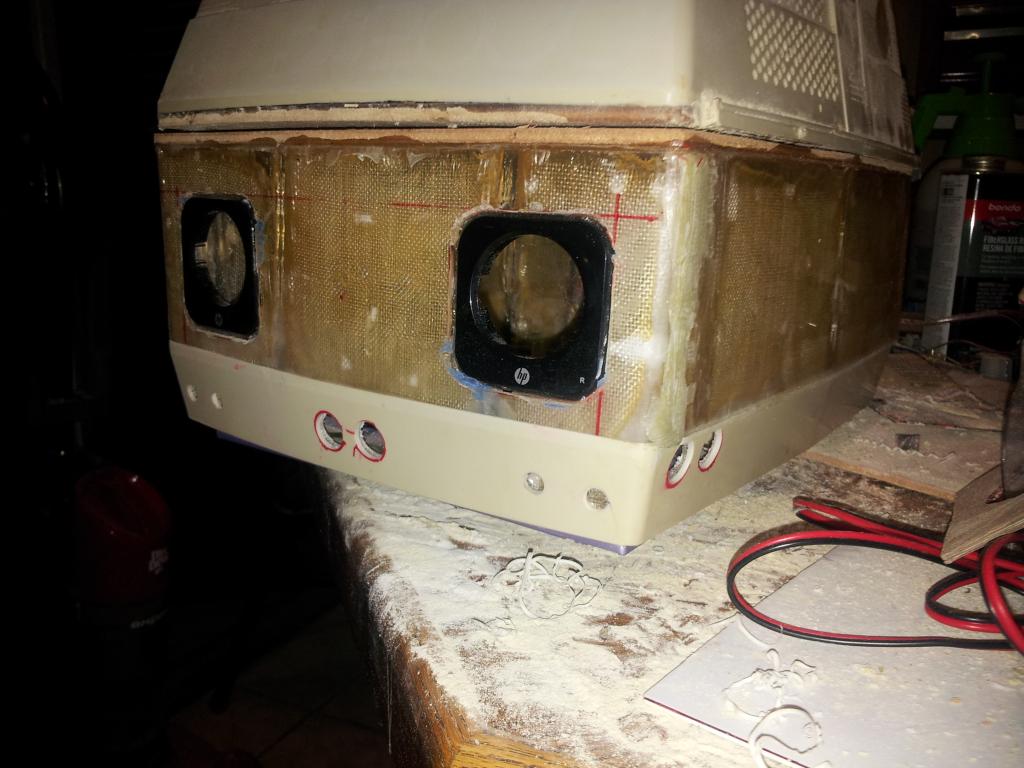
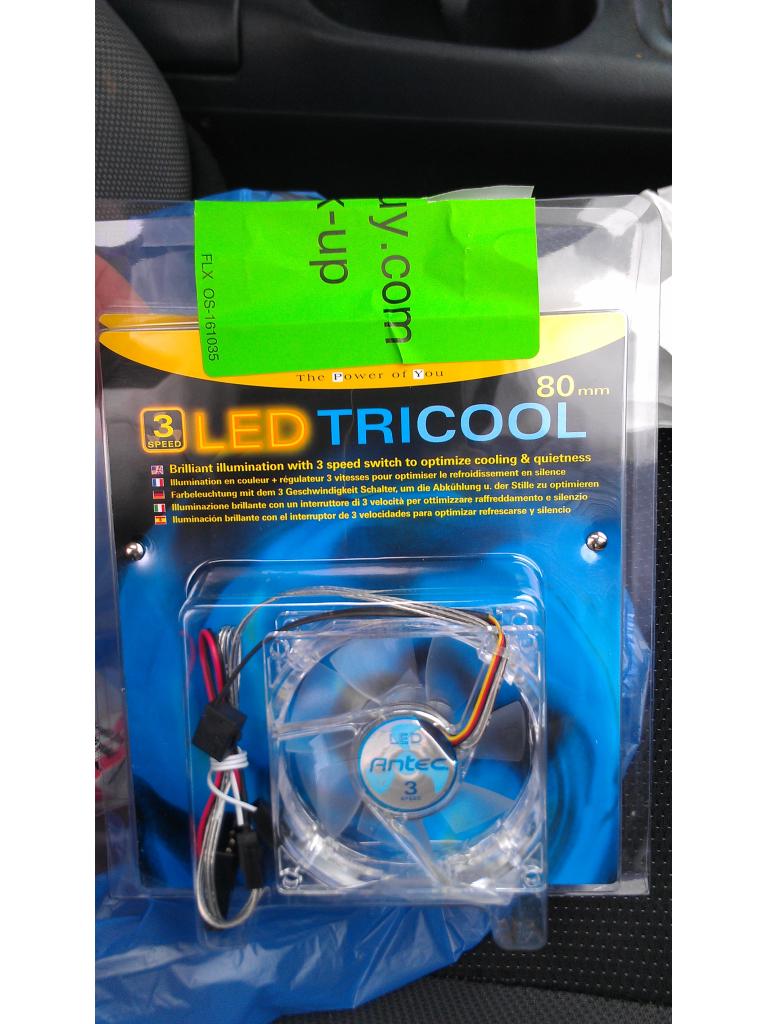
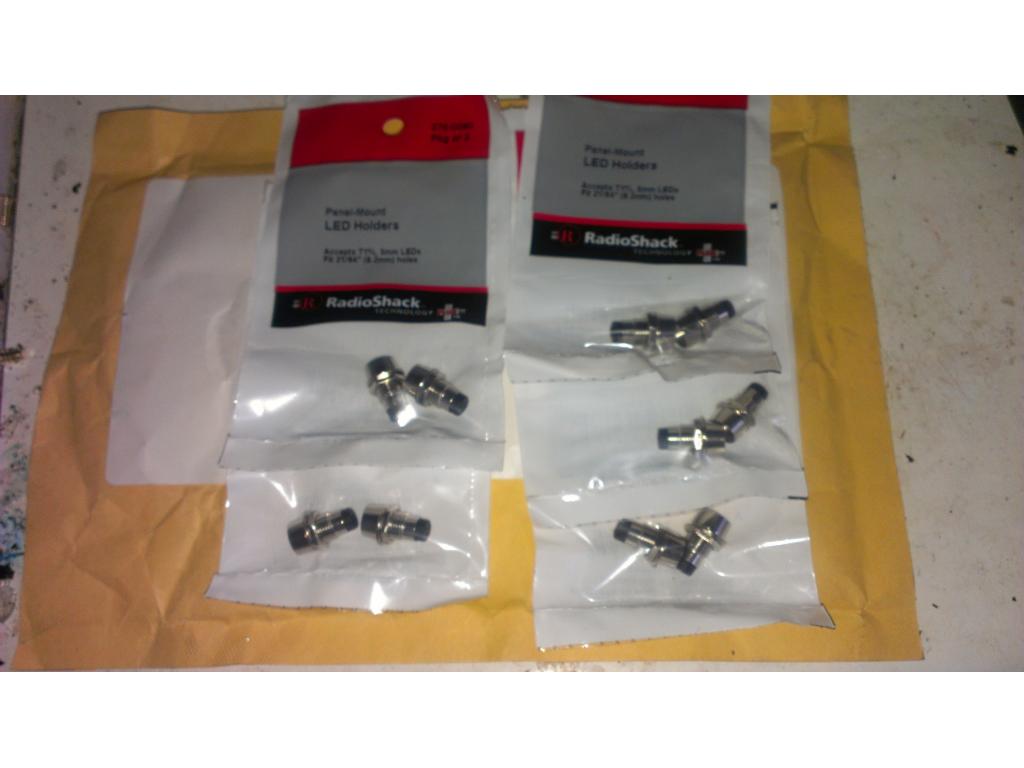
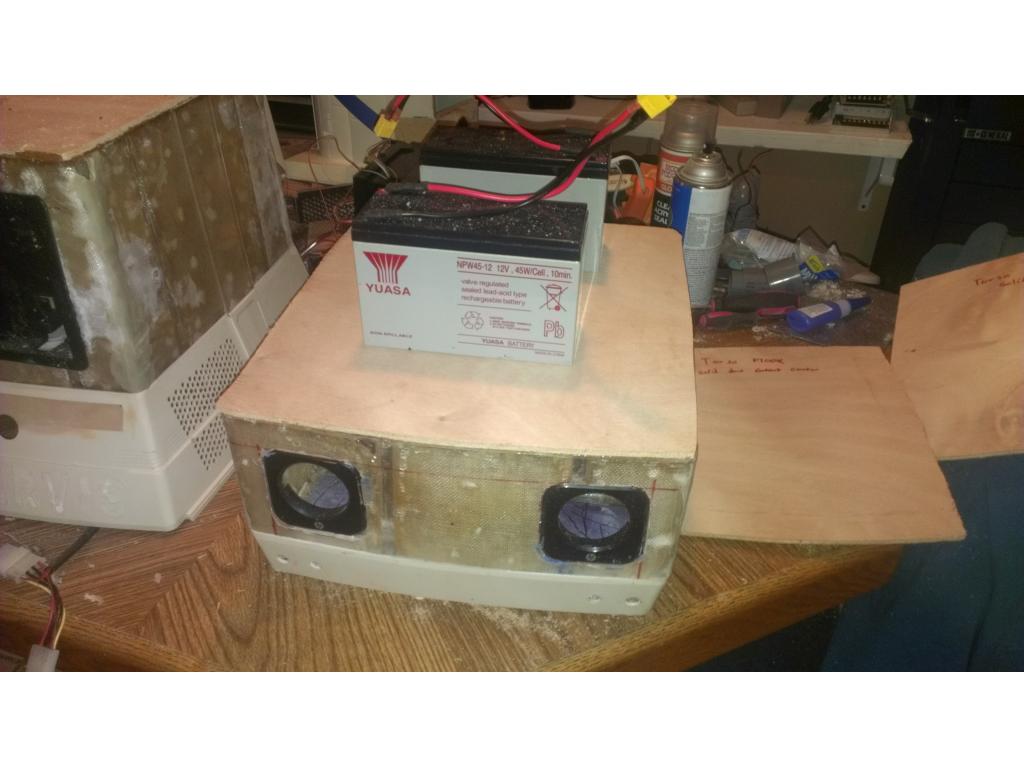
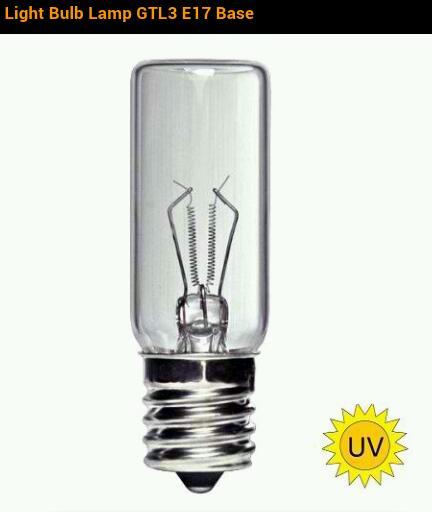
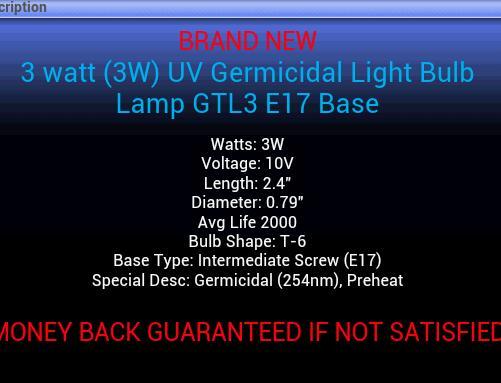
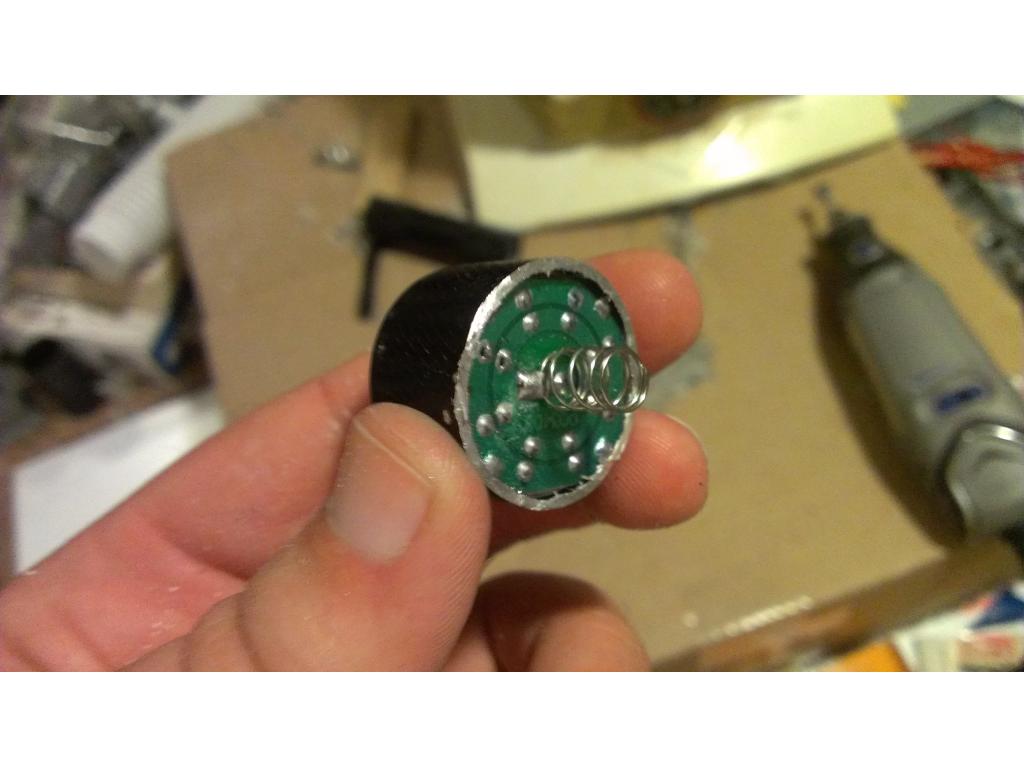
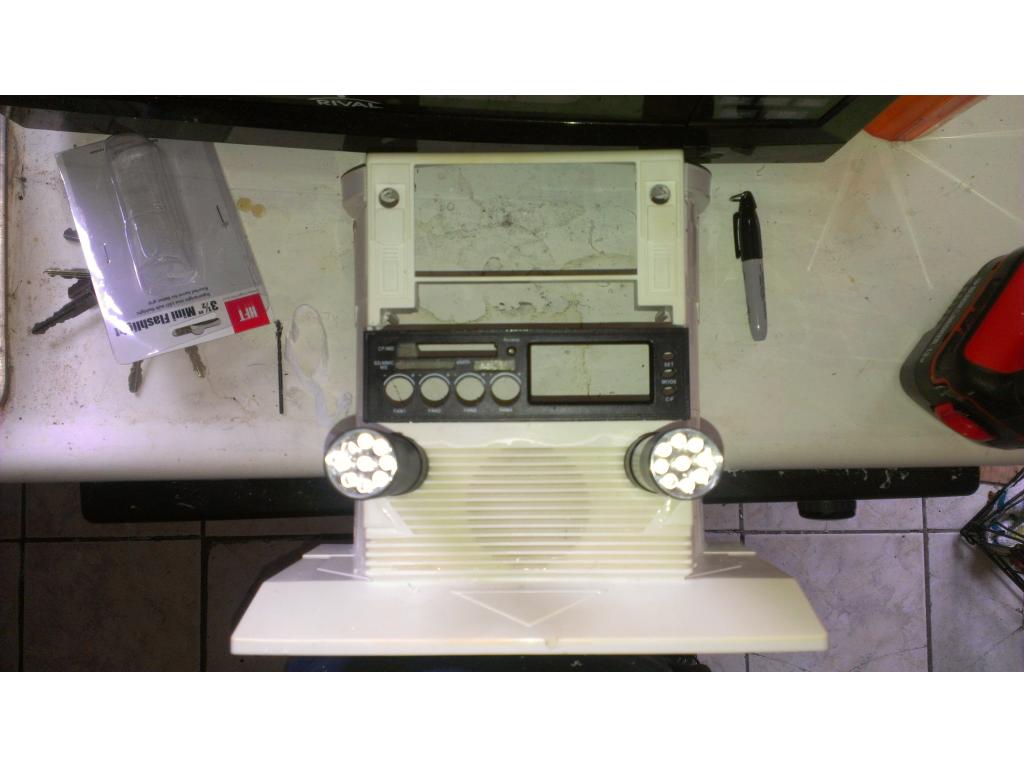
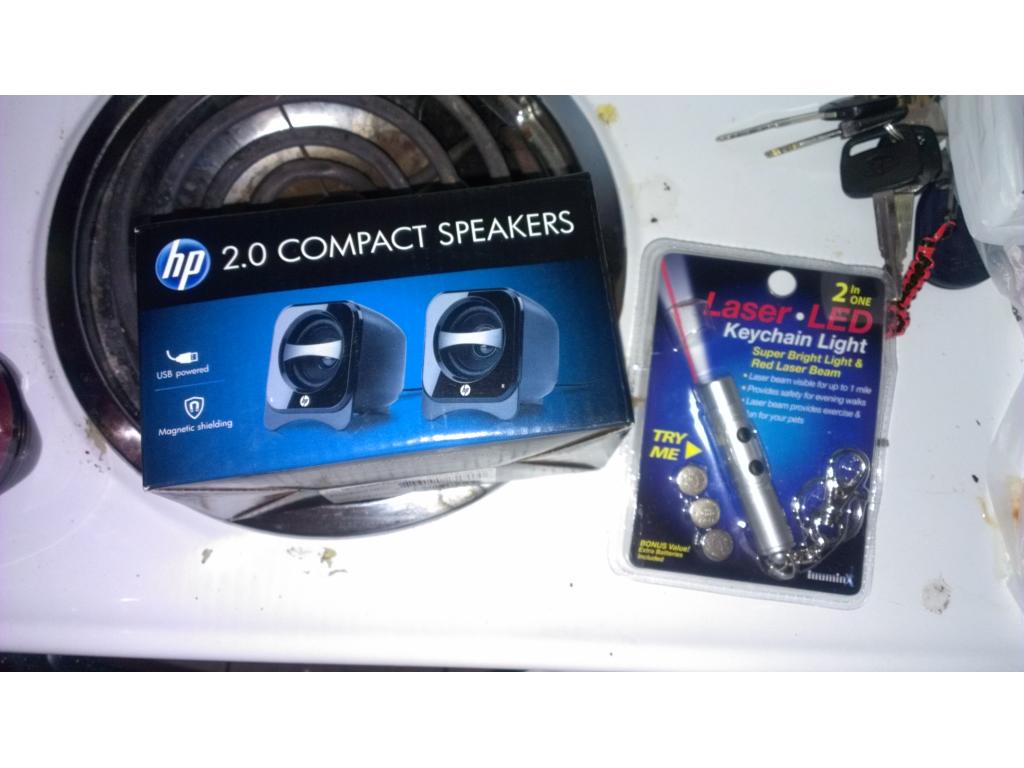
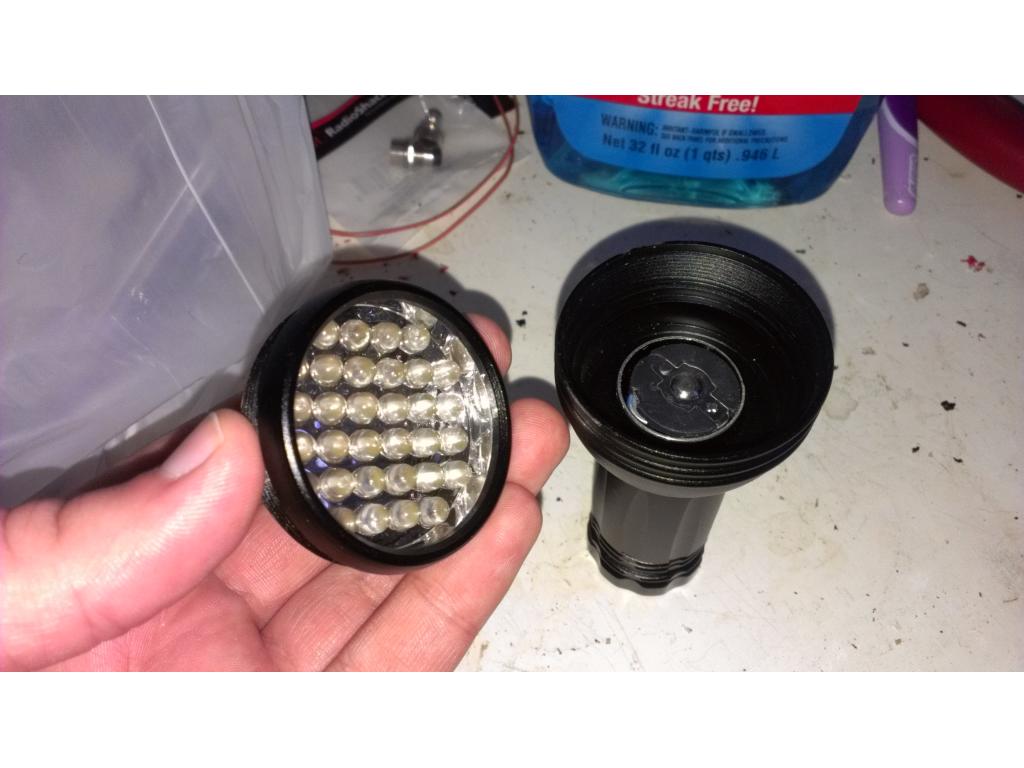
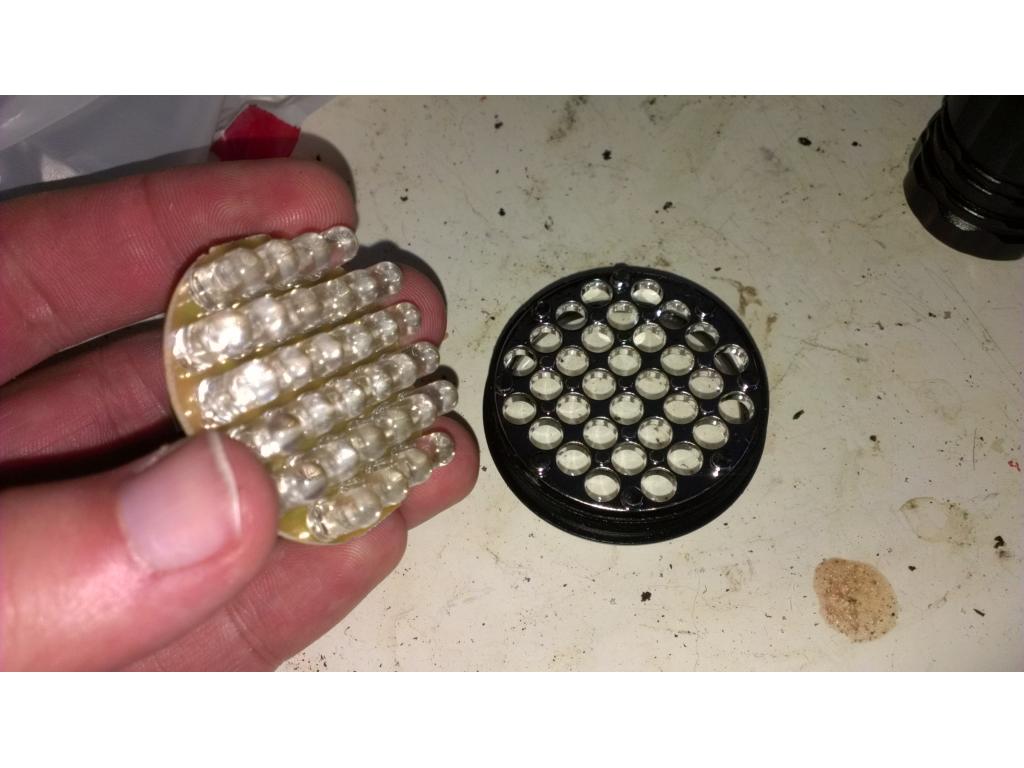
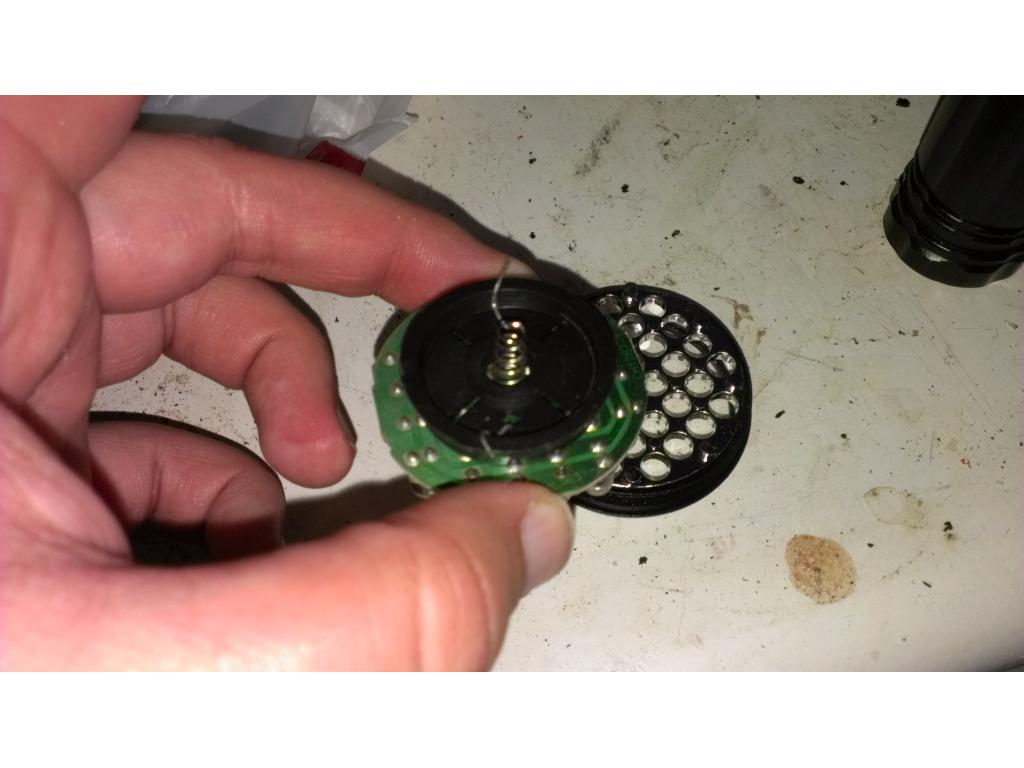
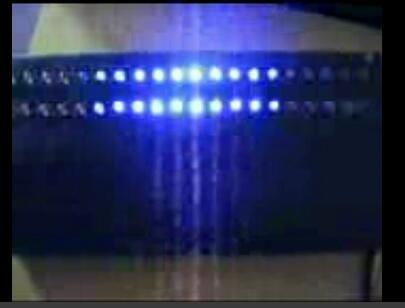
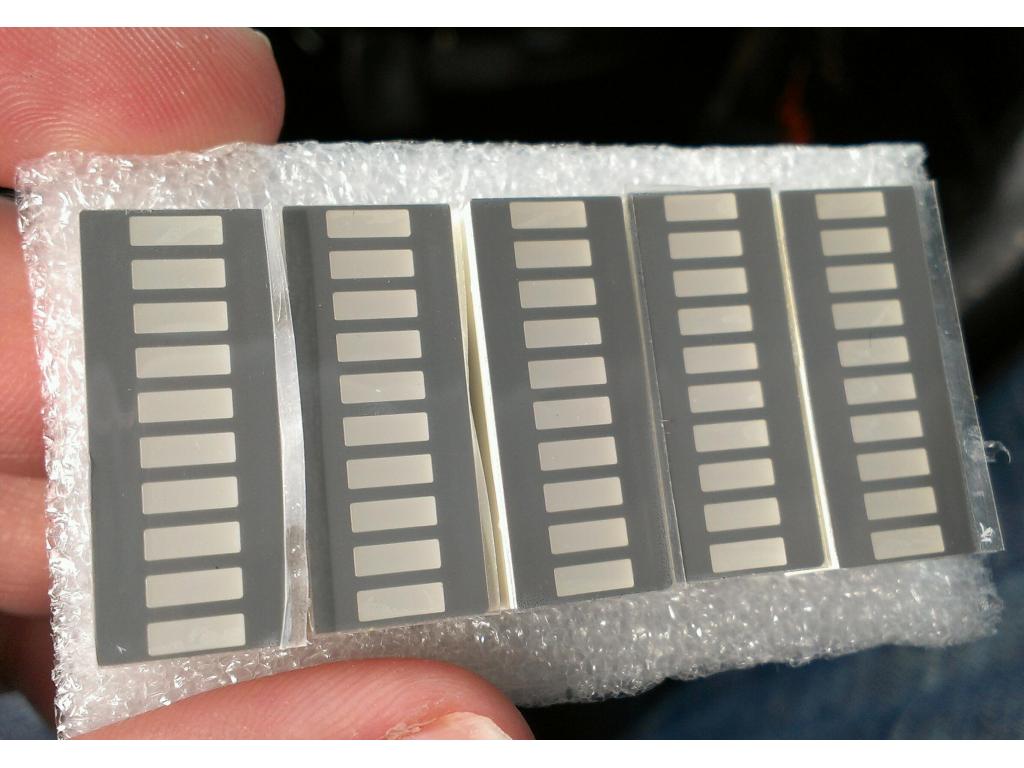
make IR / white led illuminators
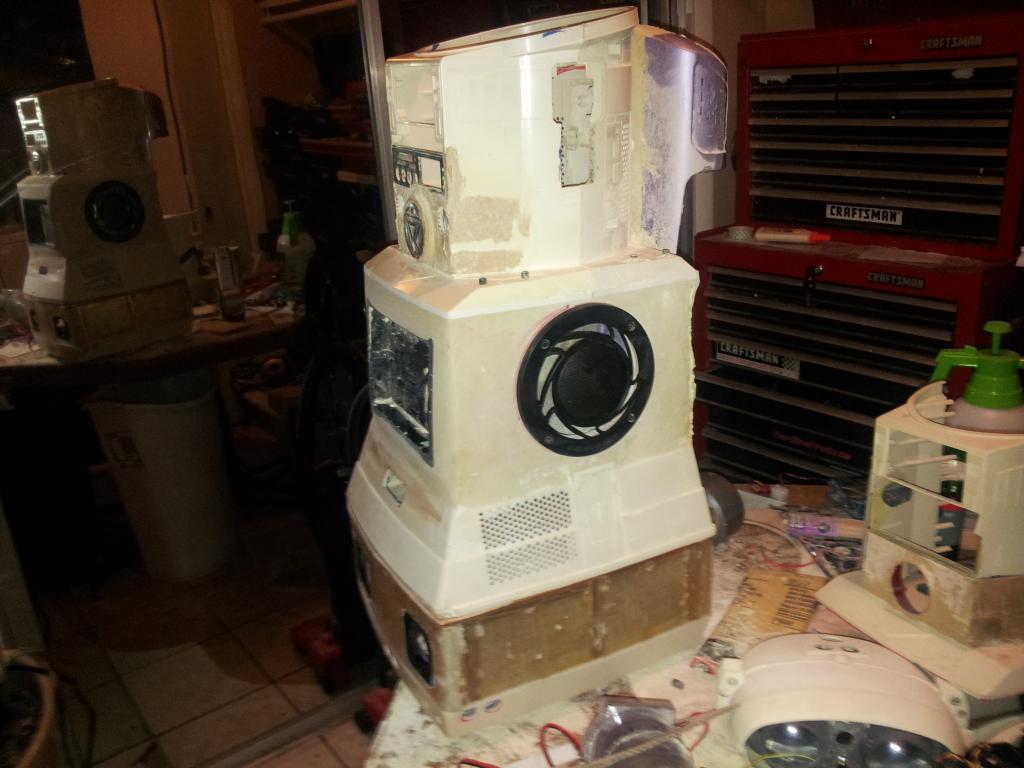
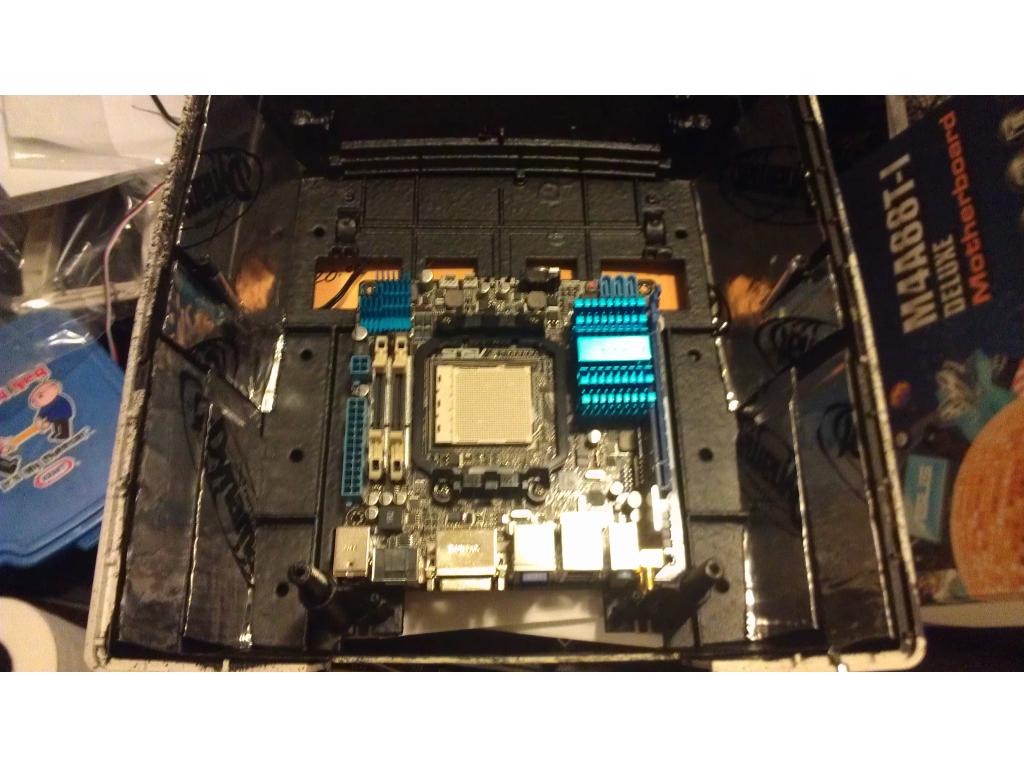
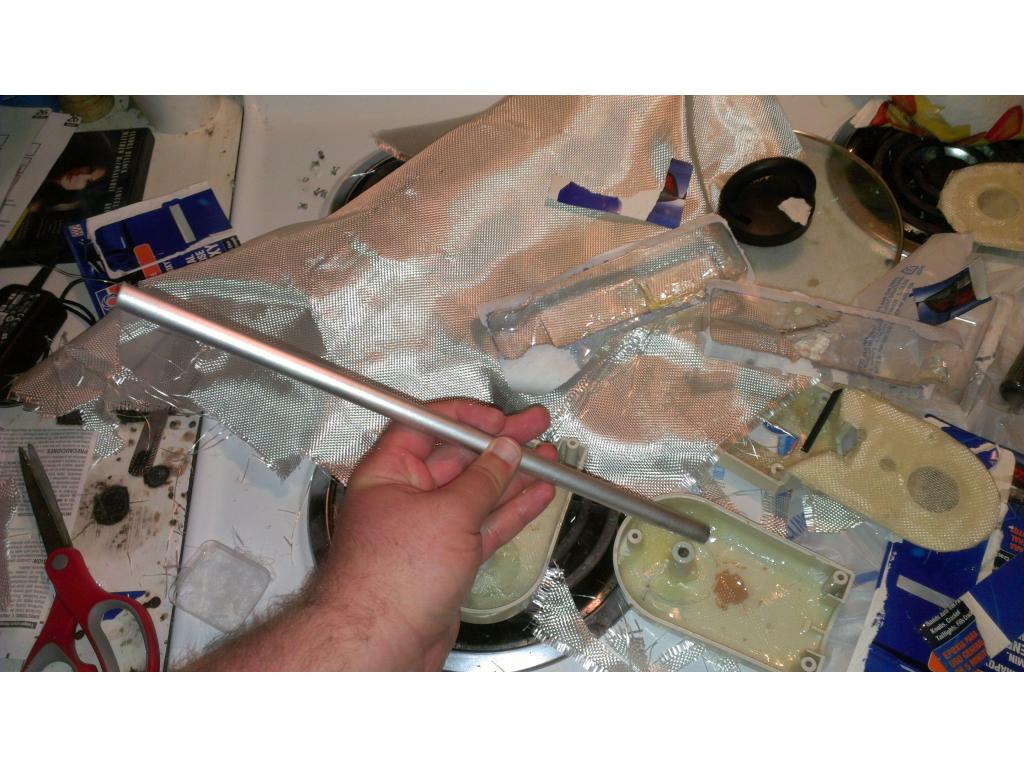
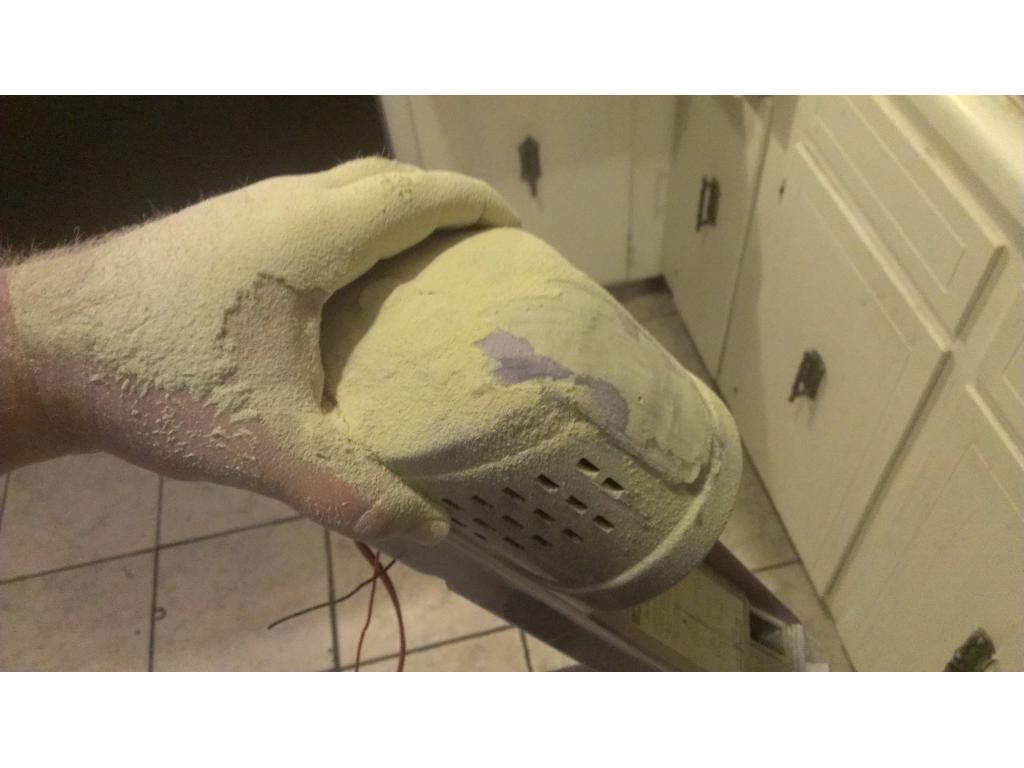
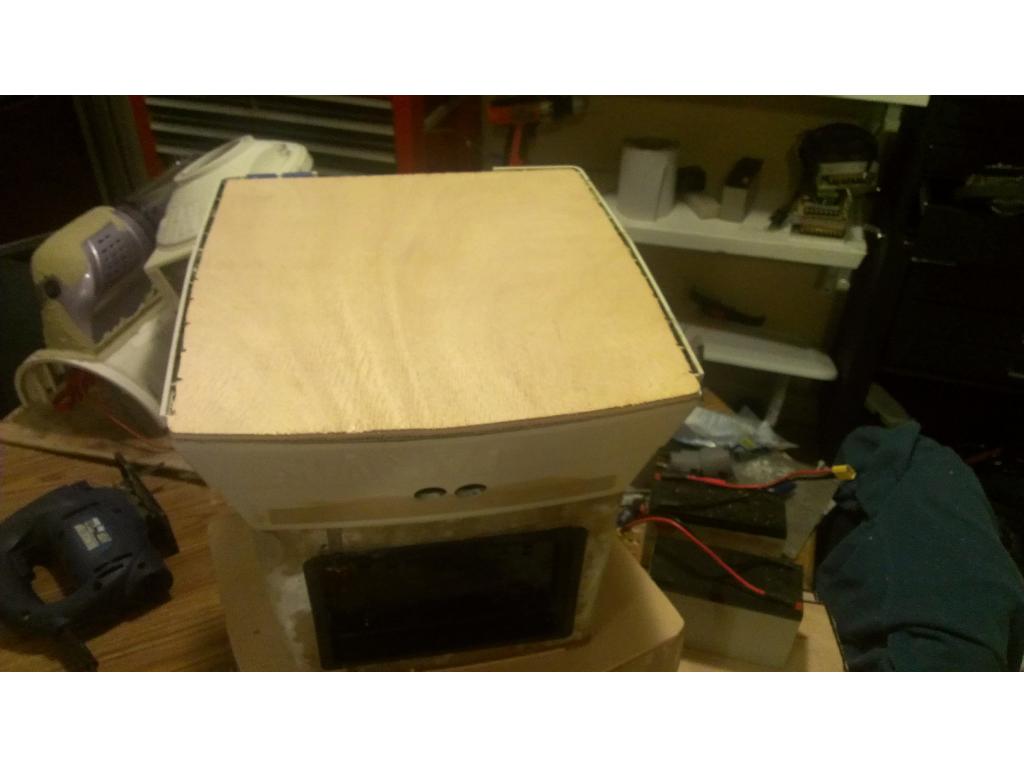
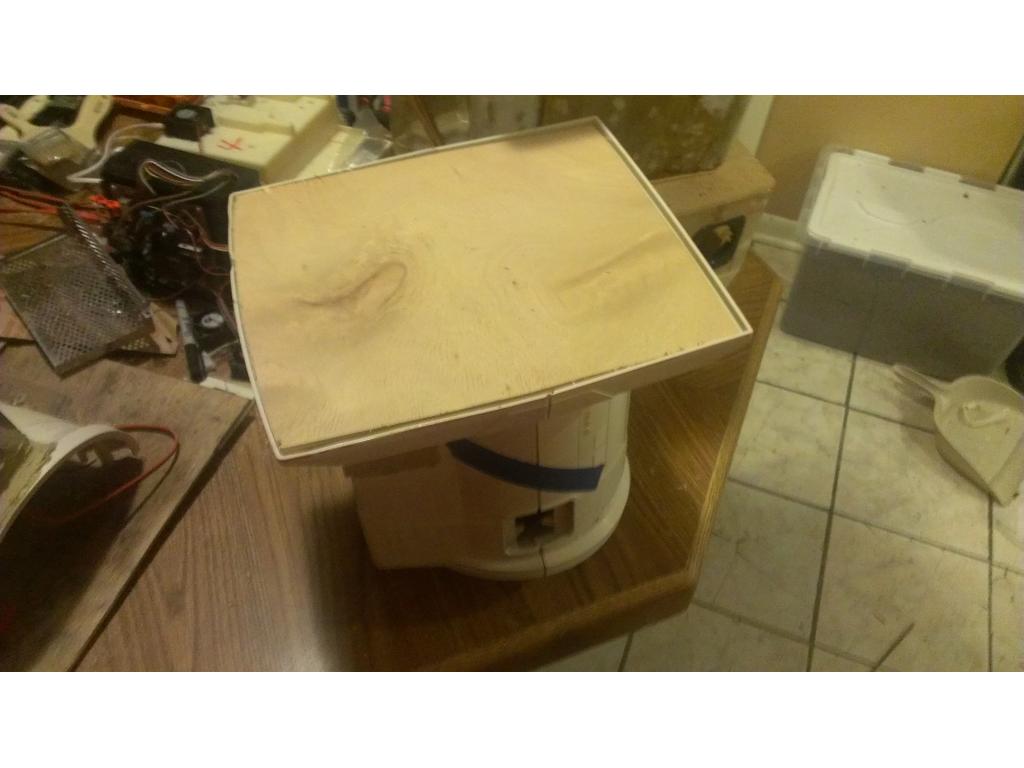
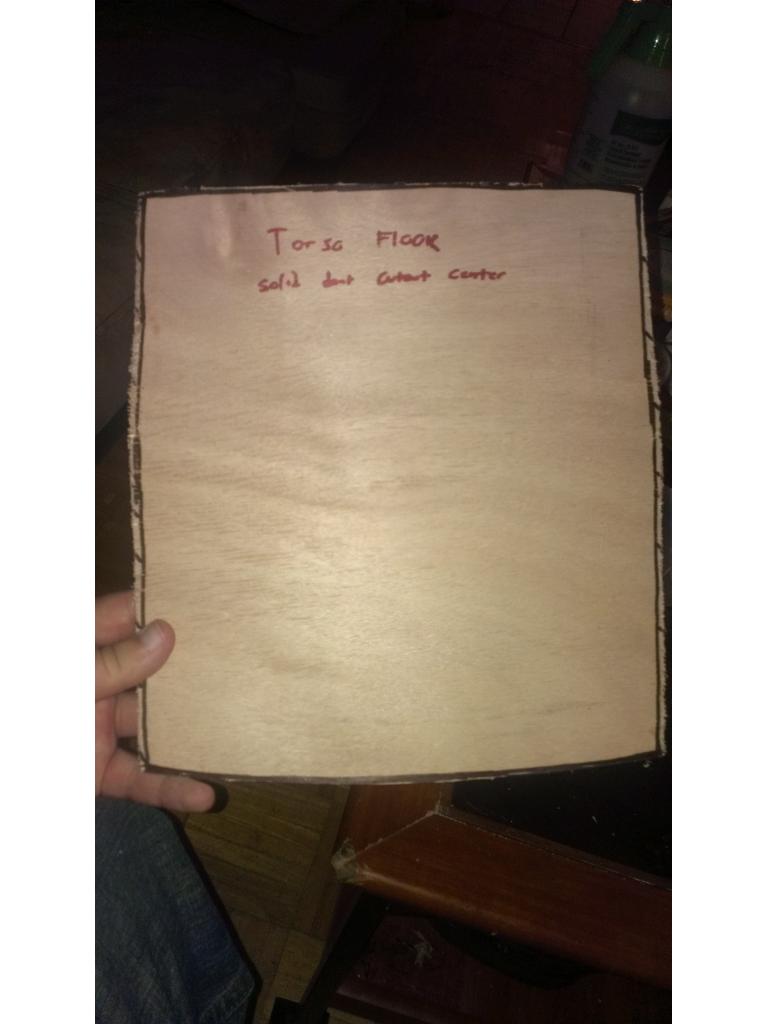
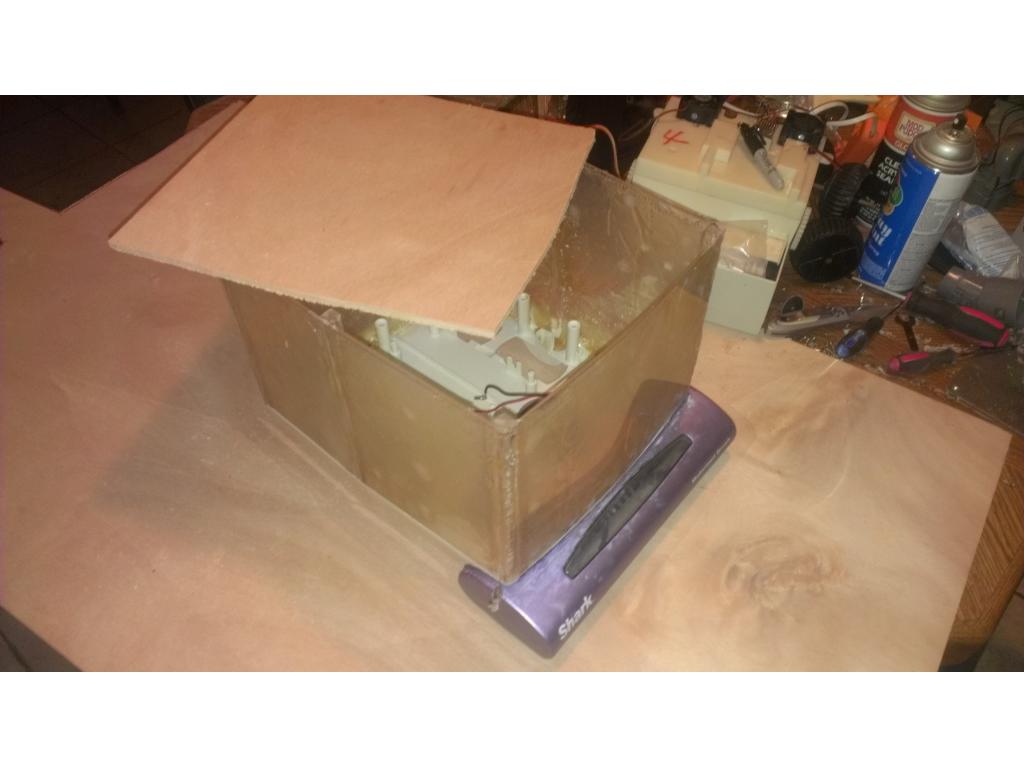
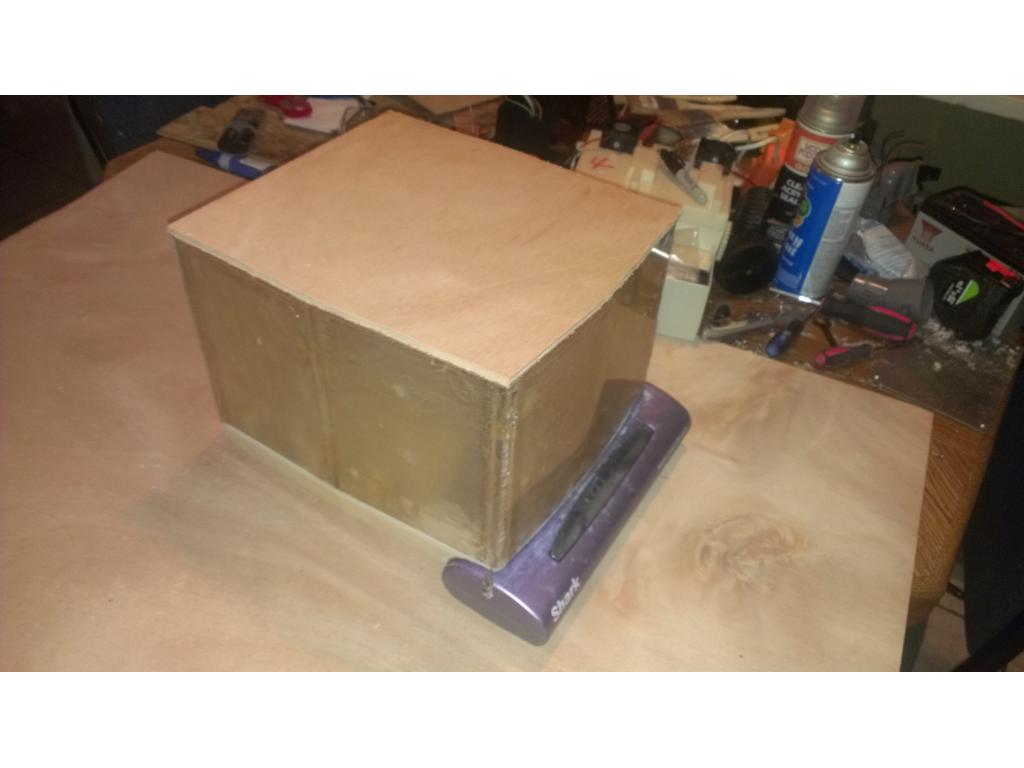
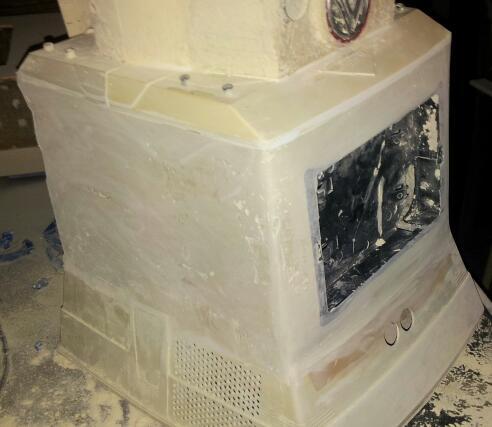
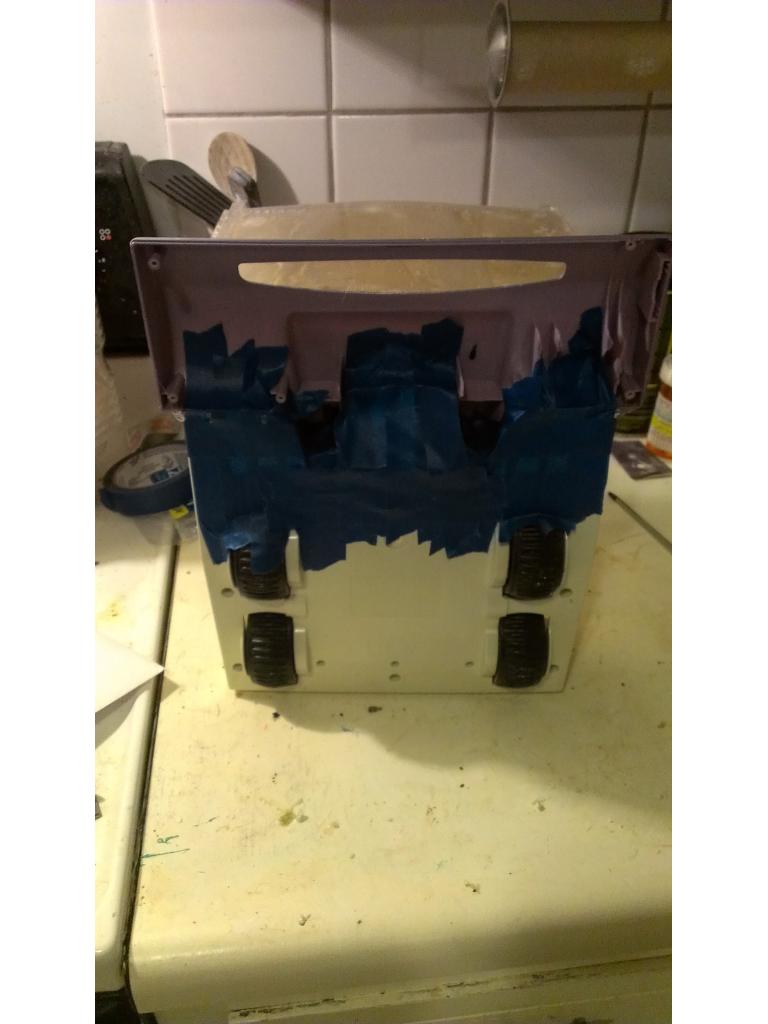
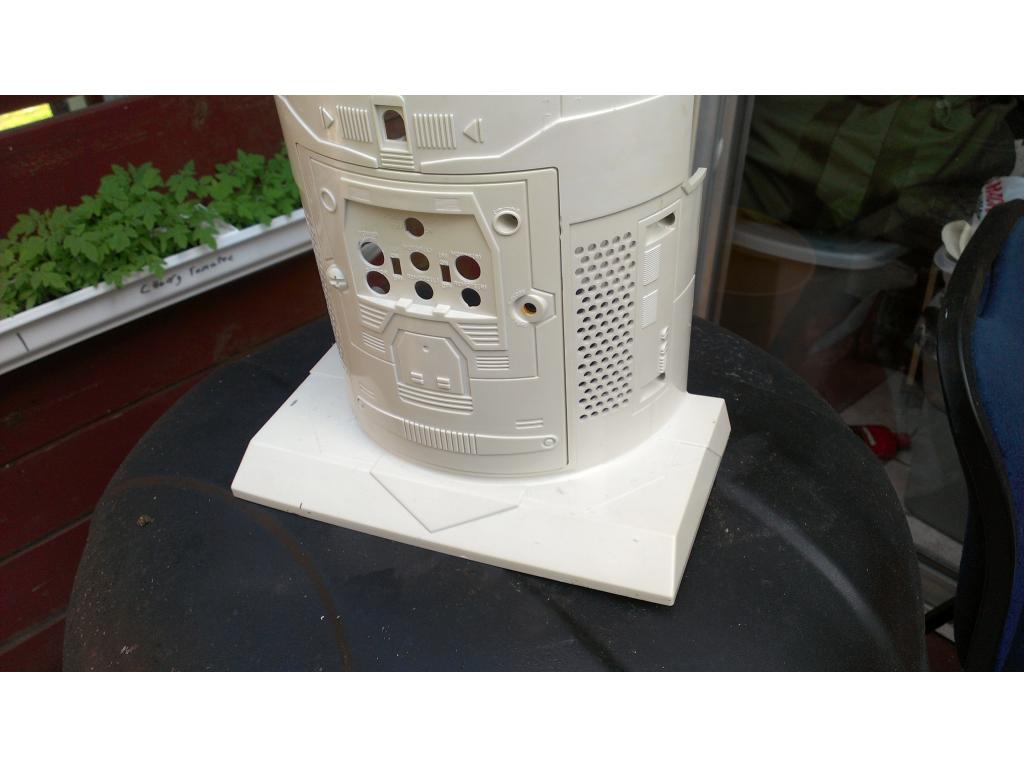
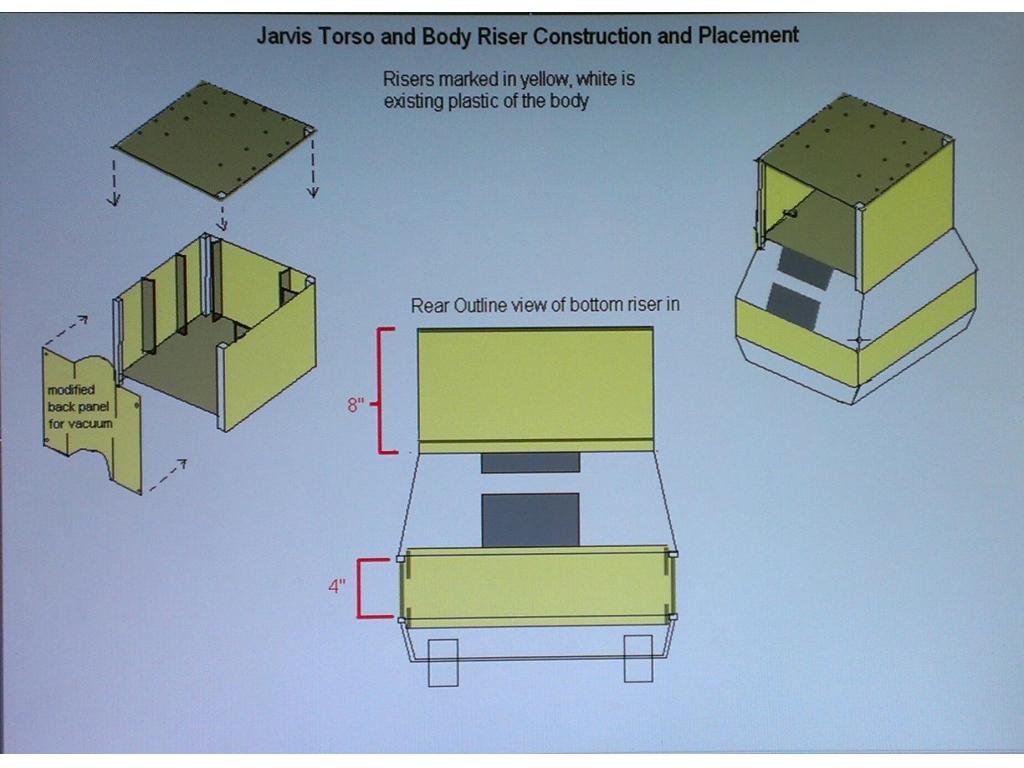
sand /shape torso
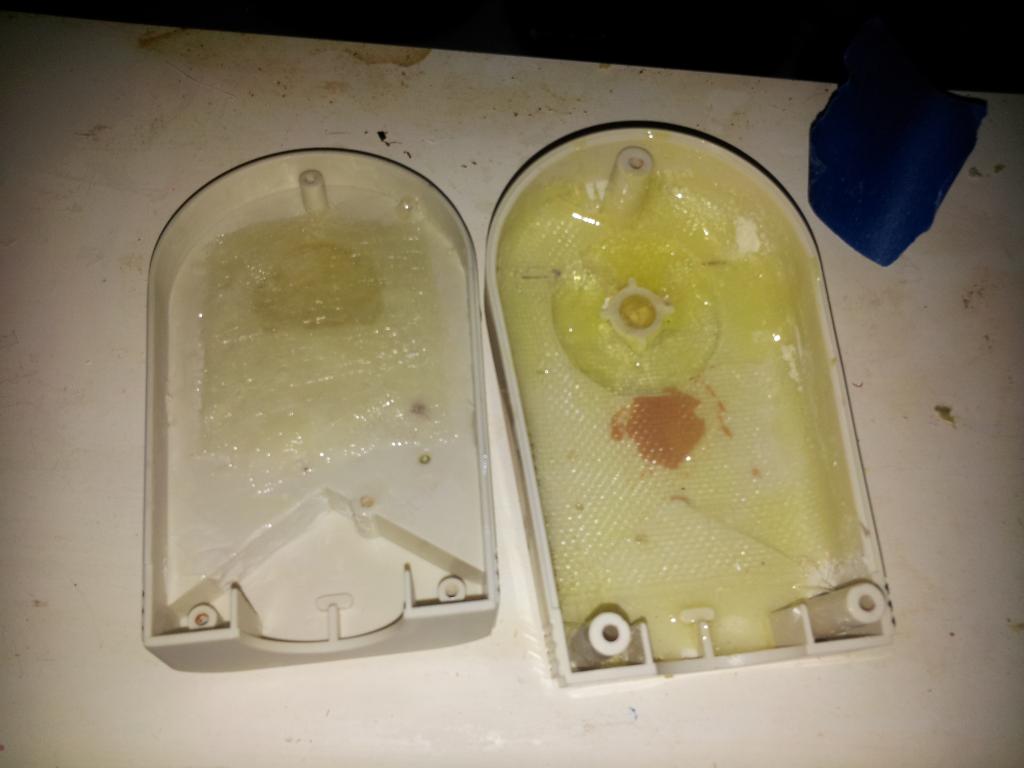
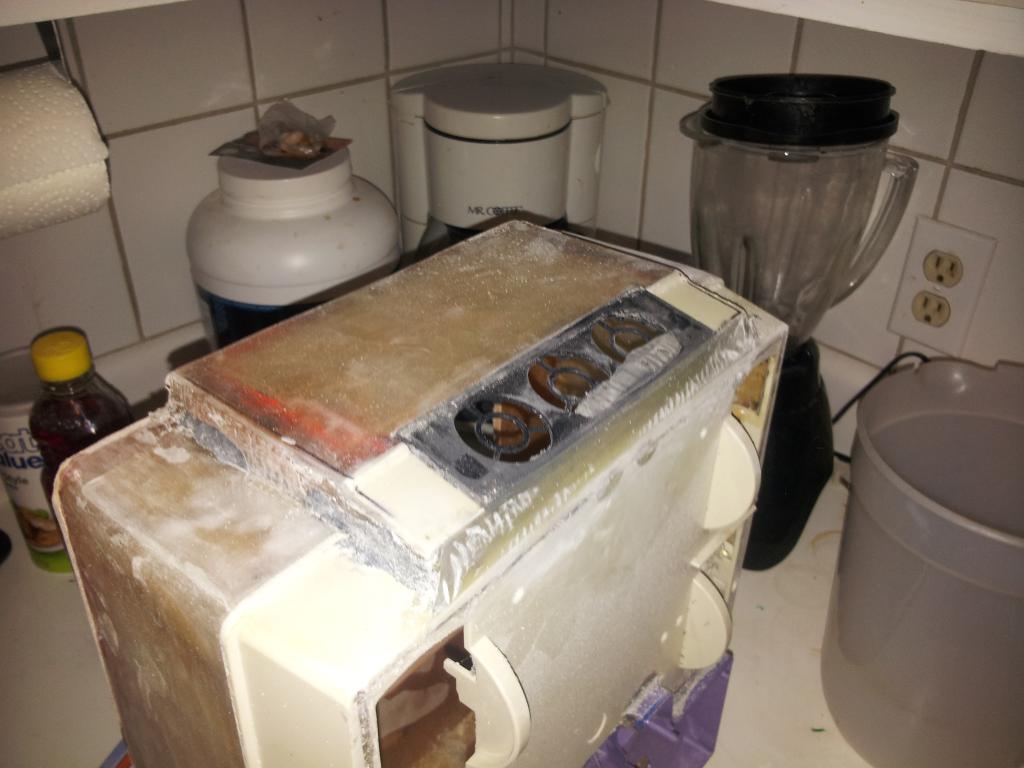
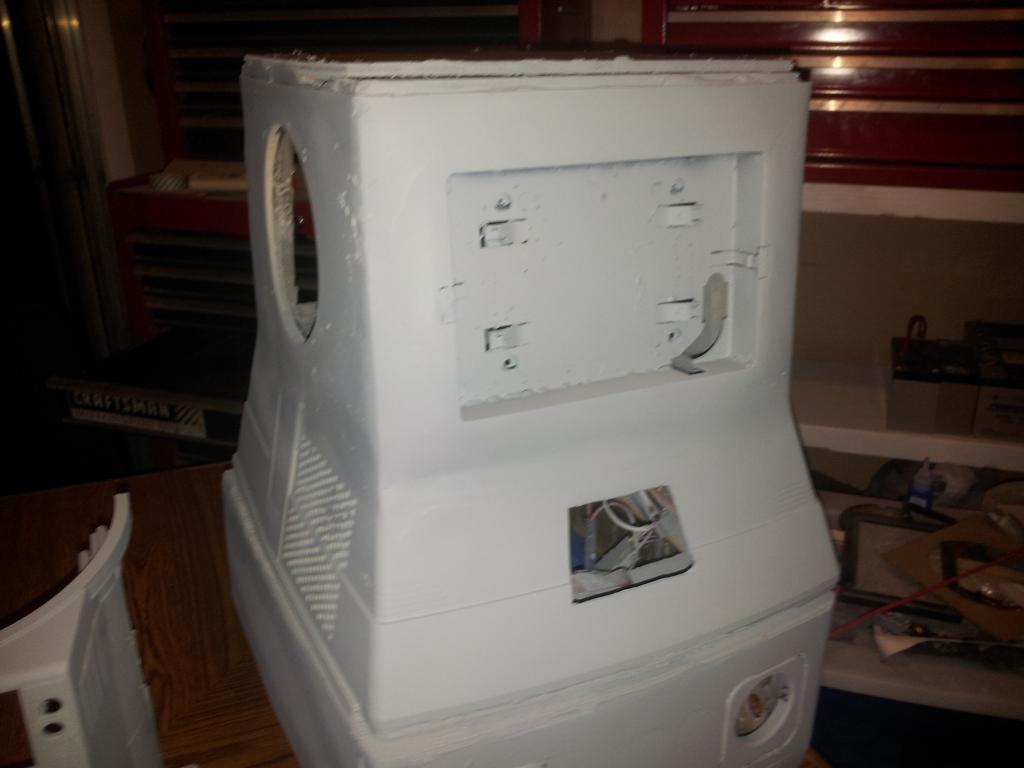
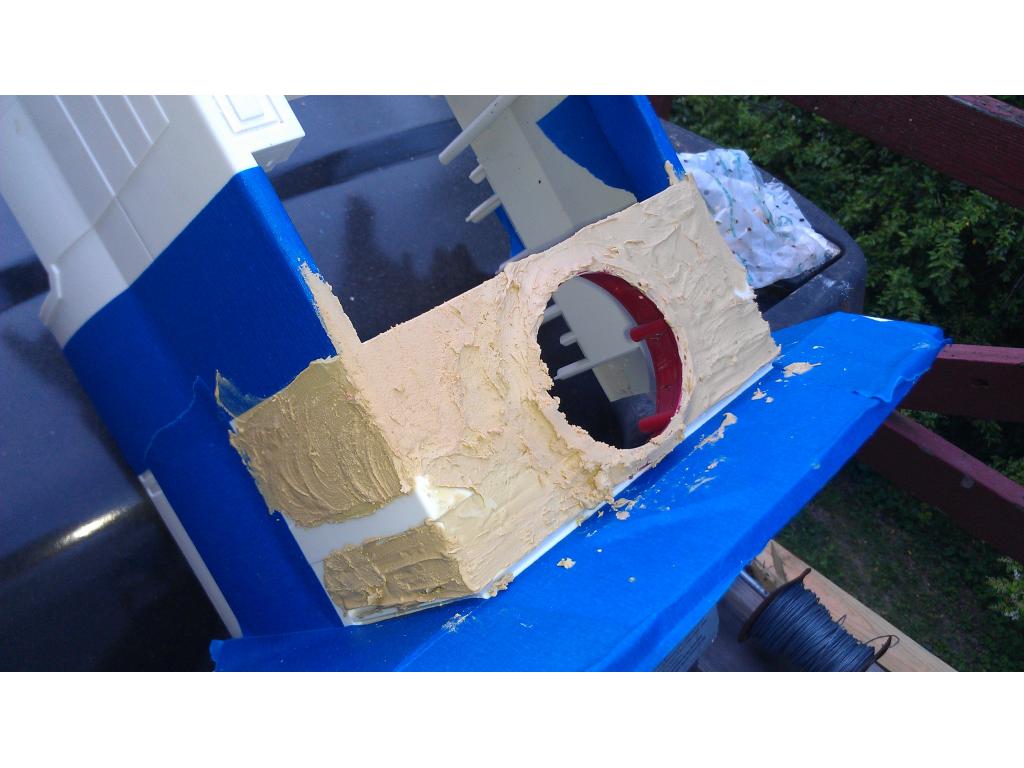
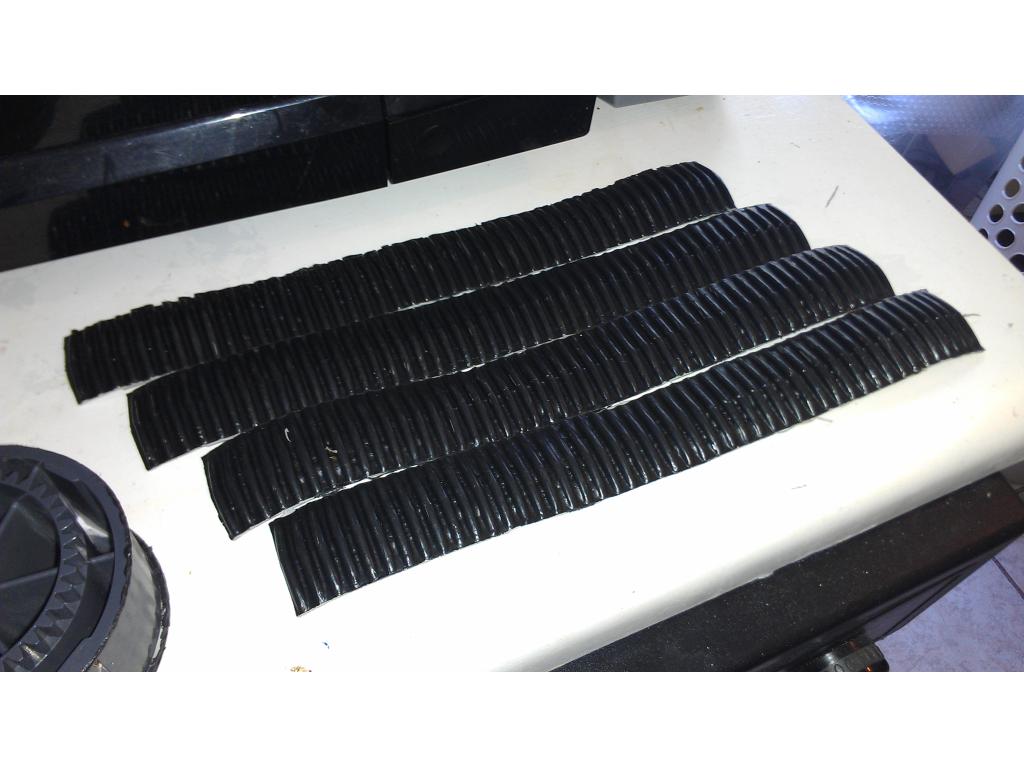
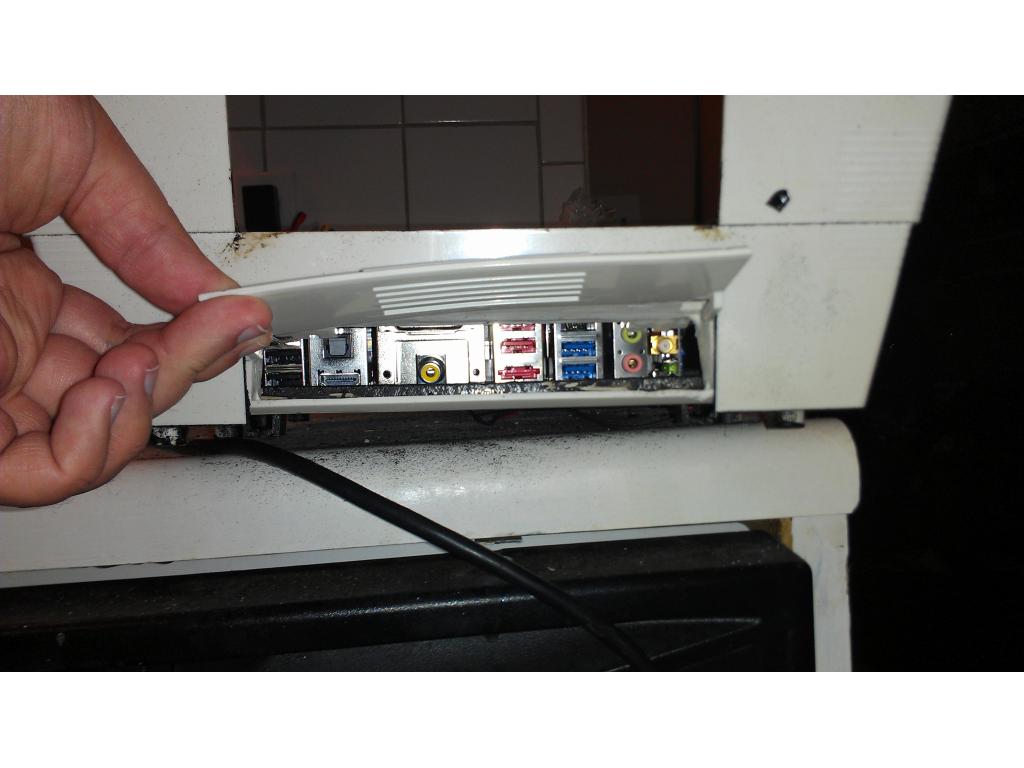
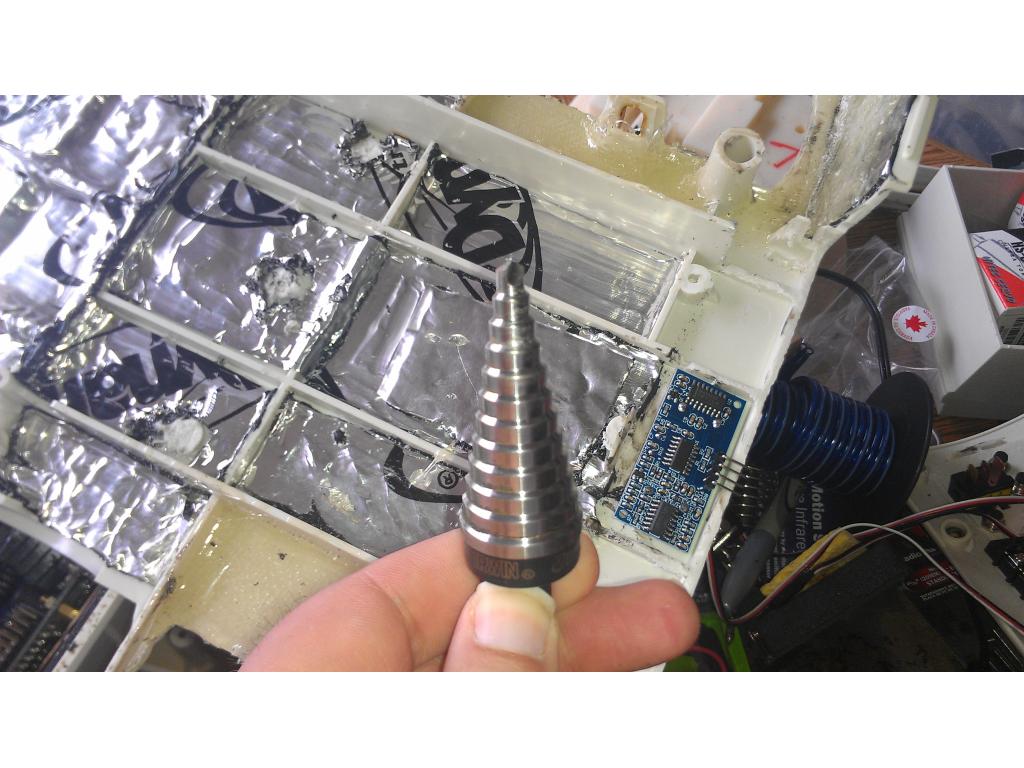
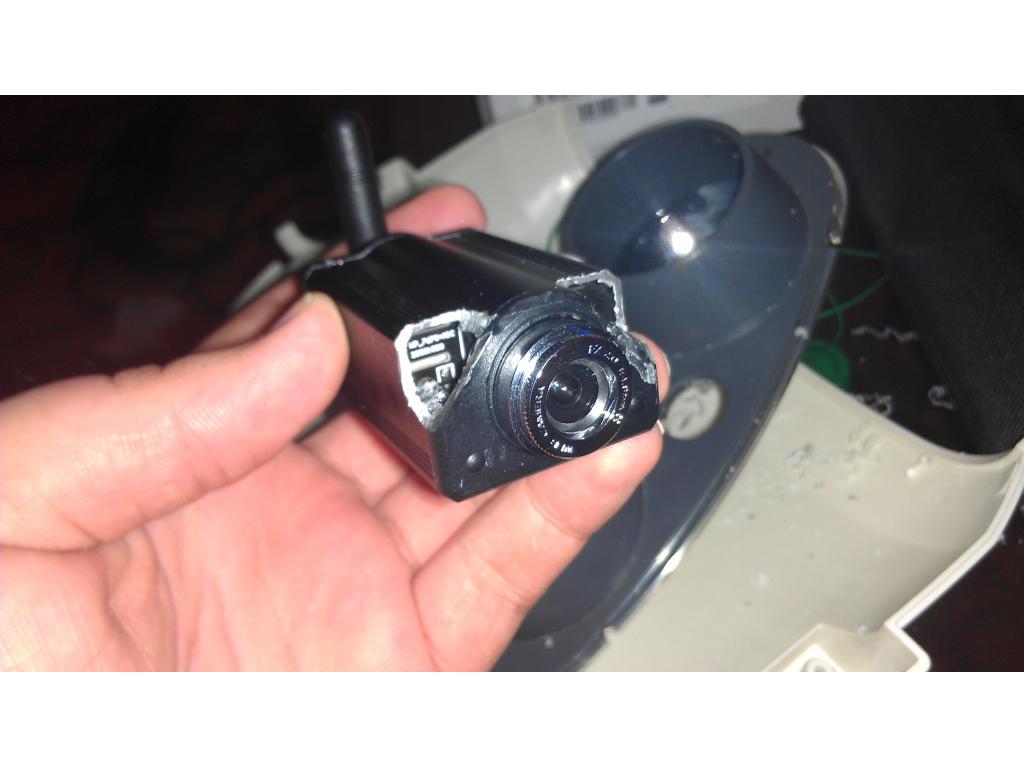
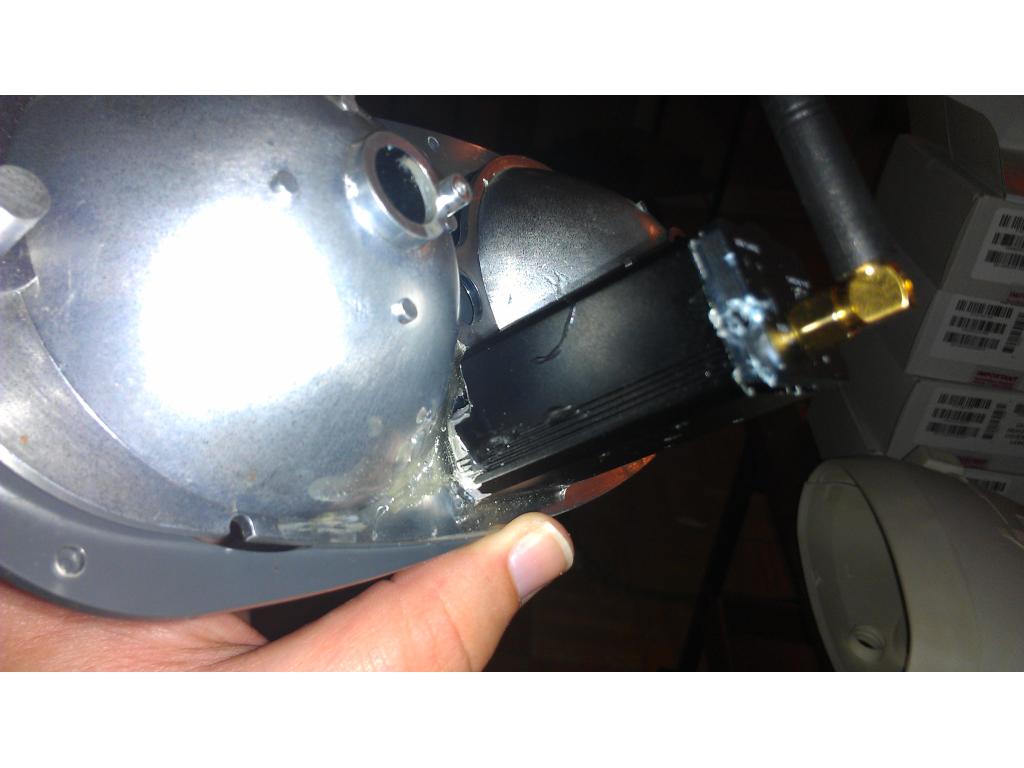
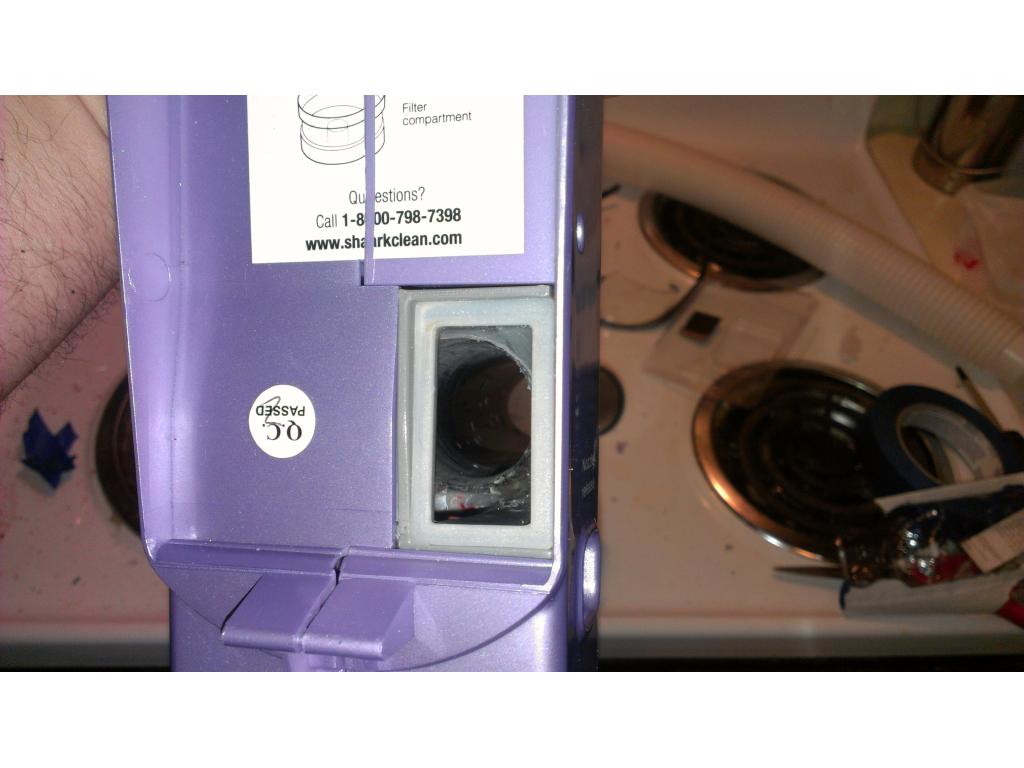
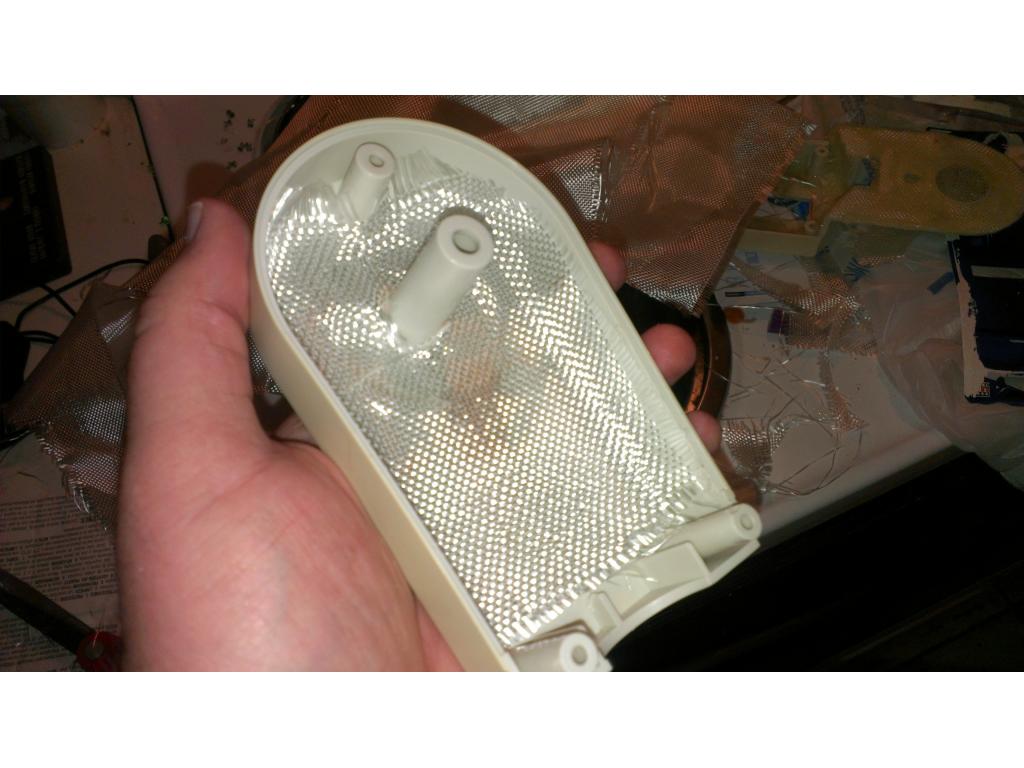
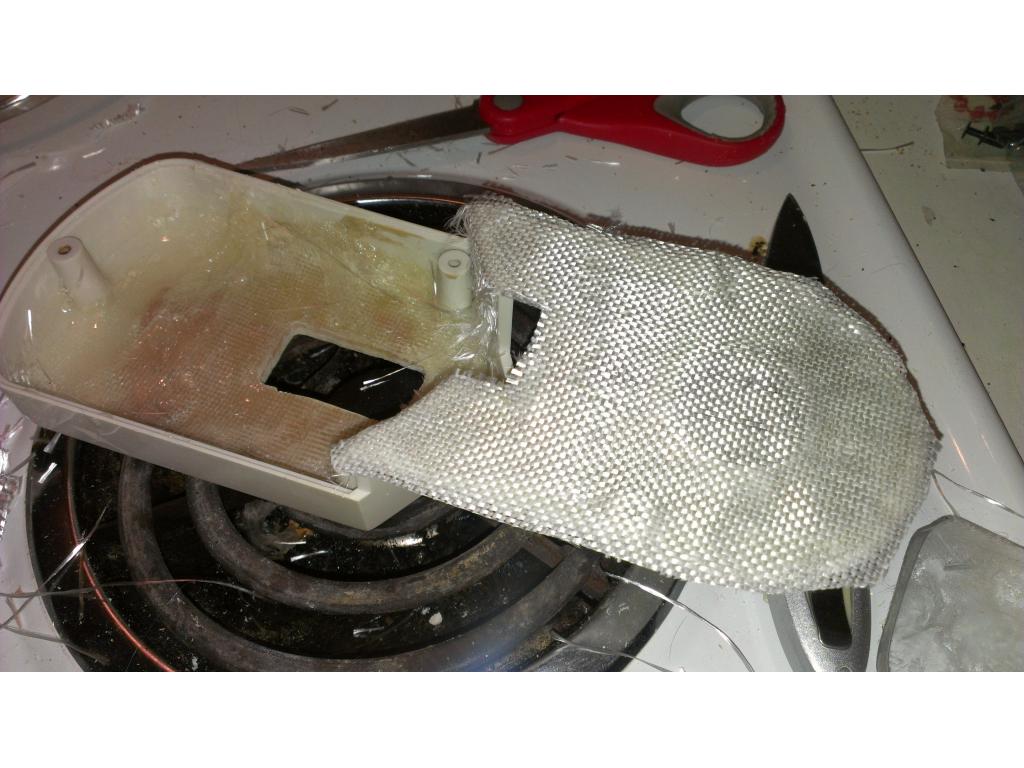
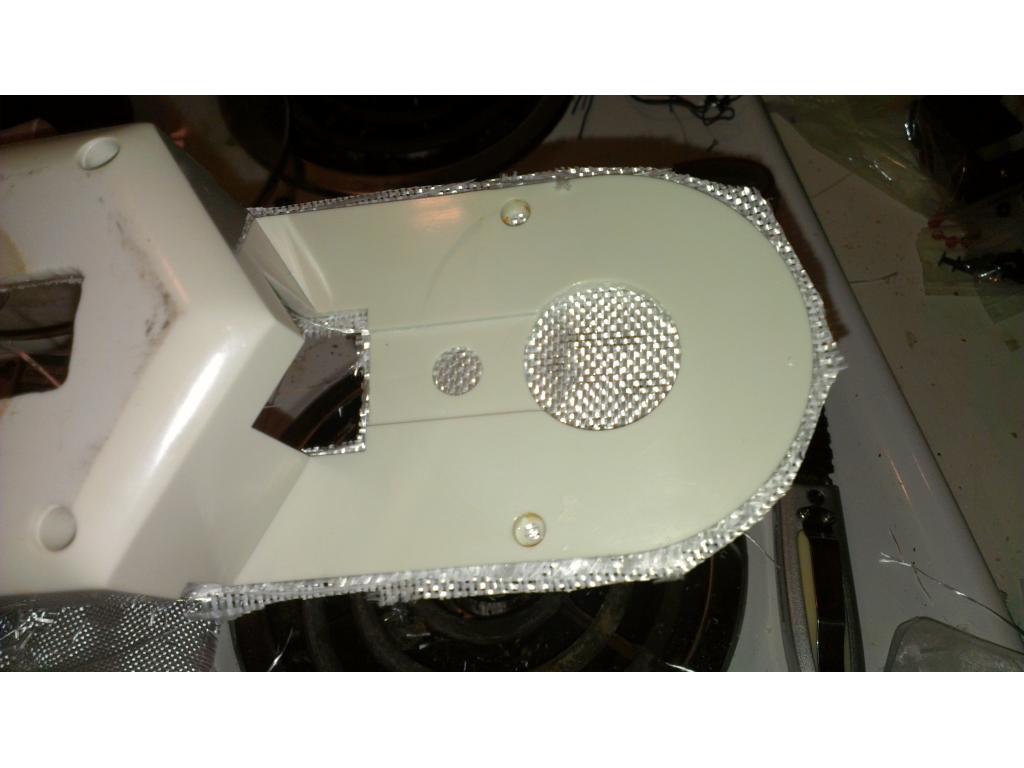
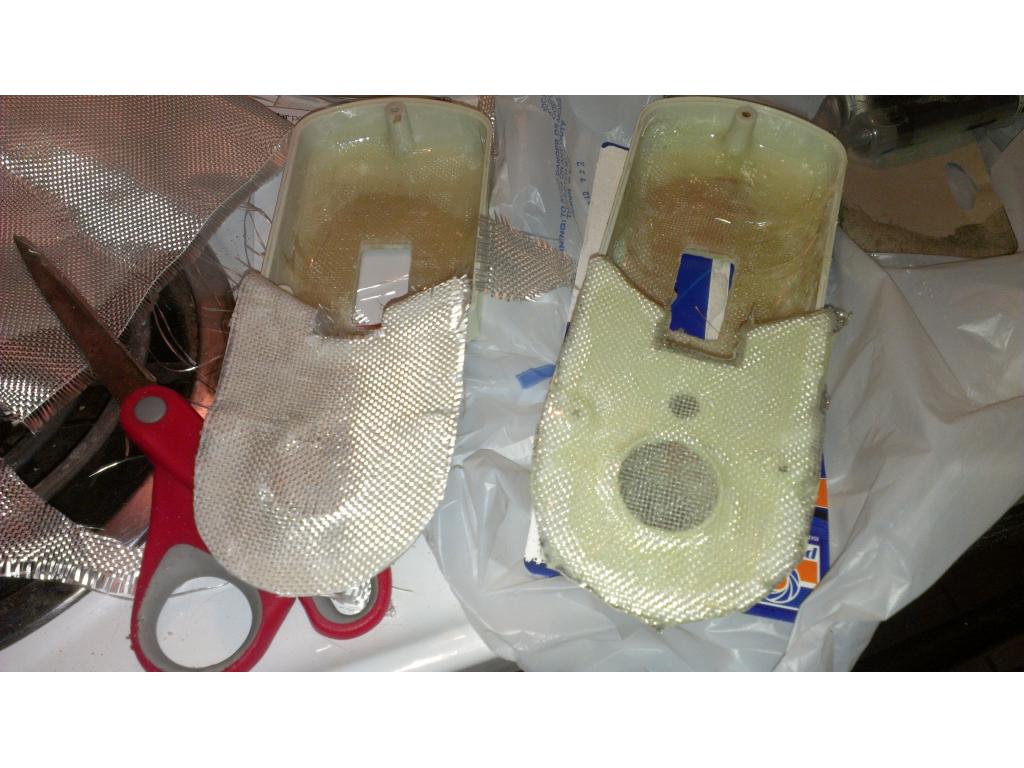
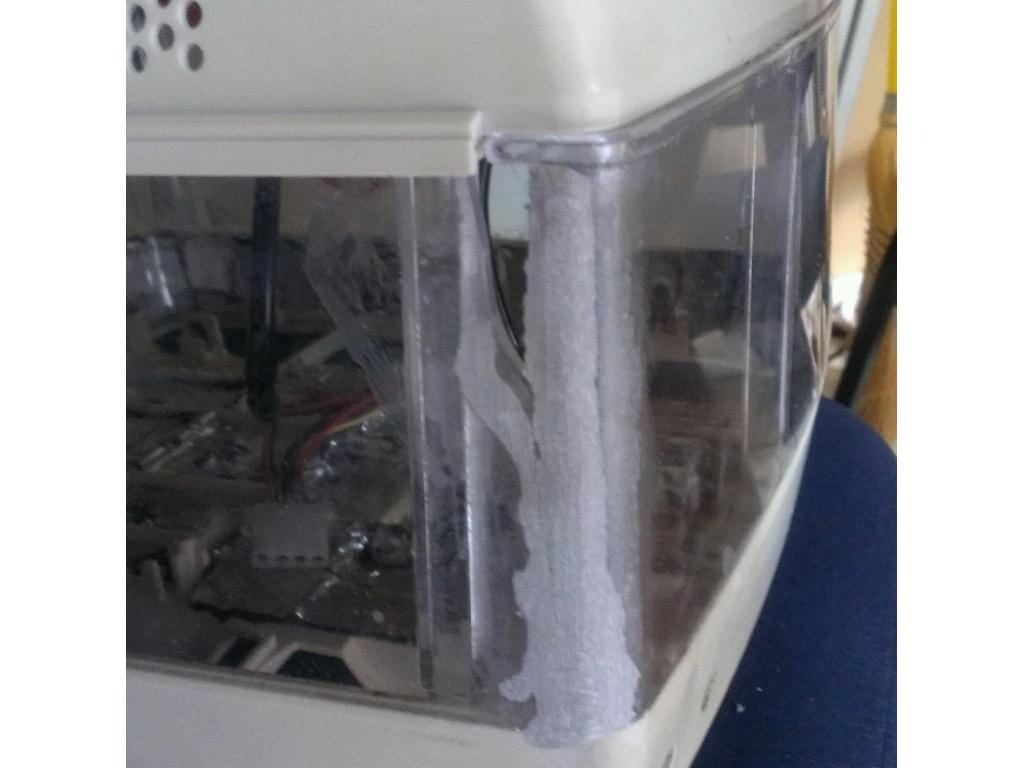
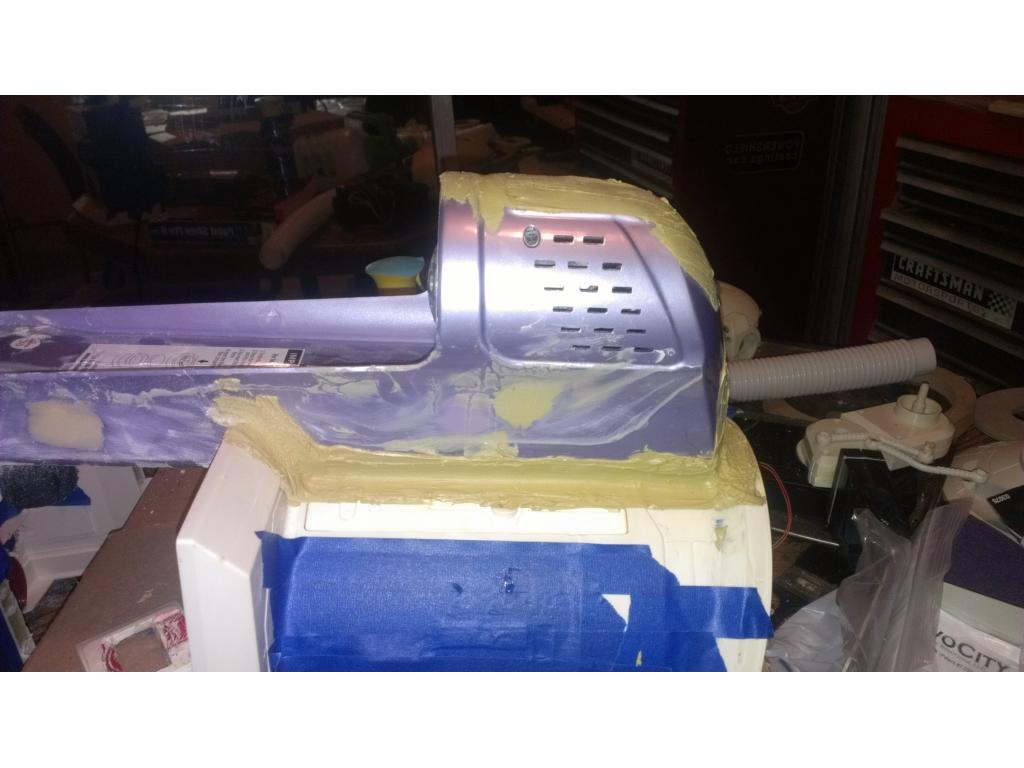
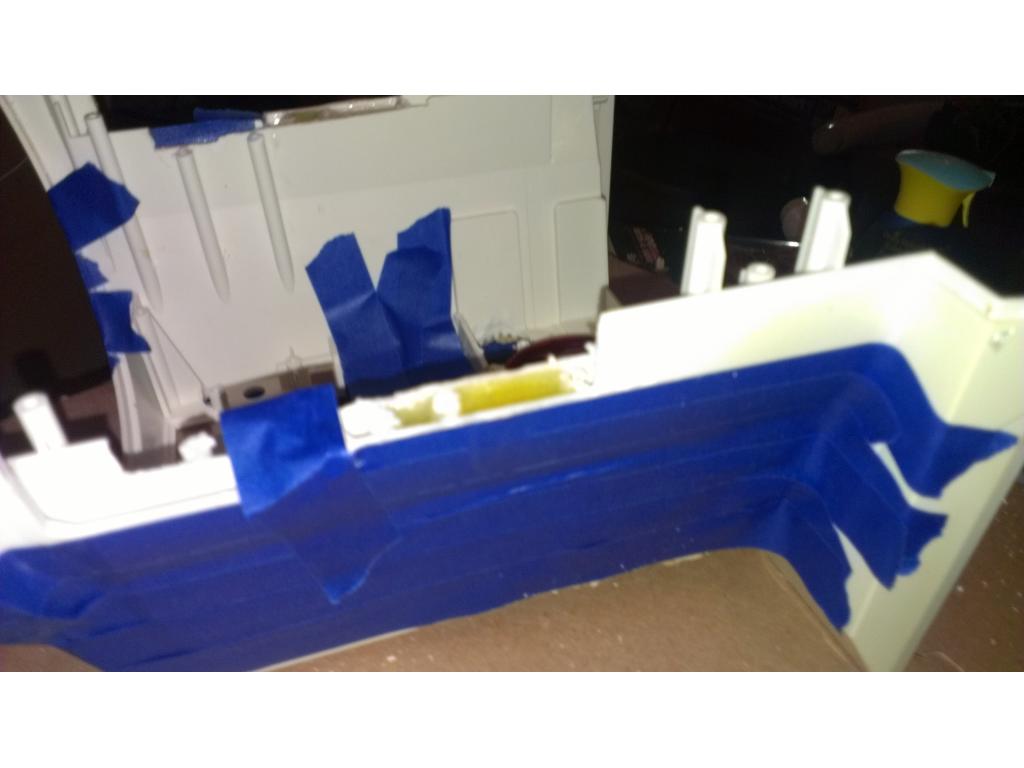
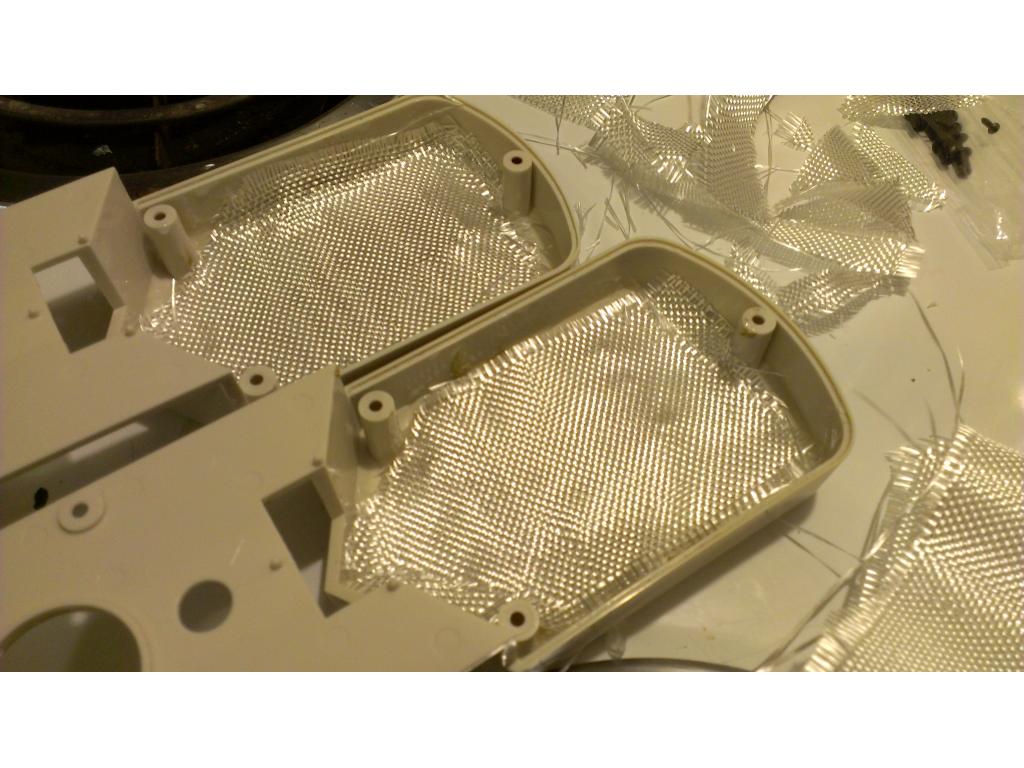
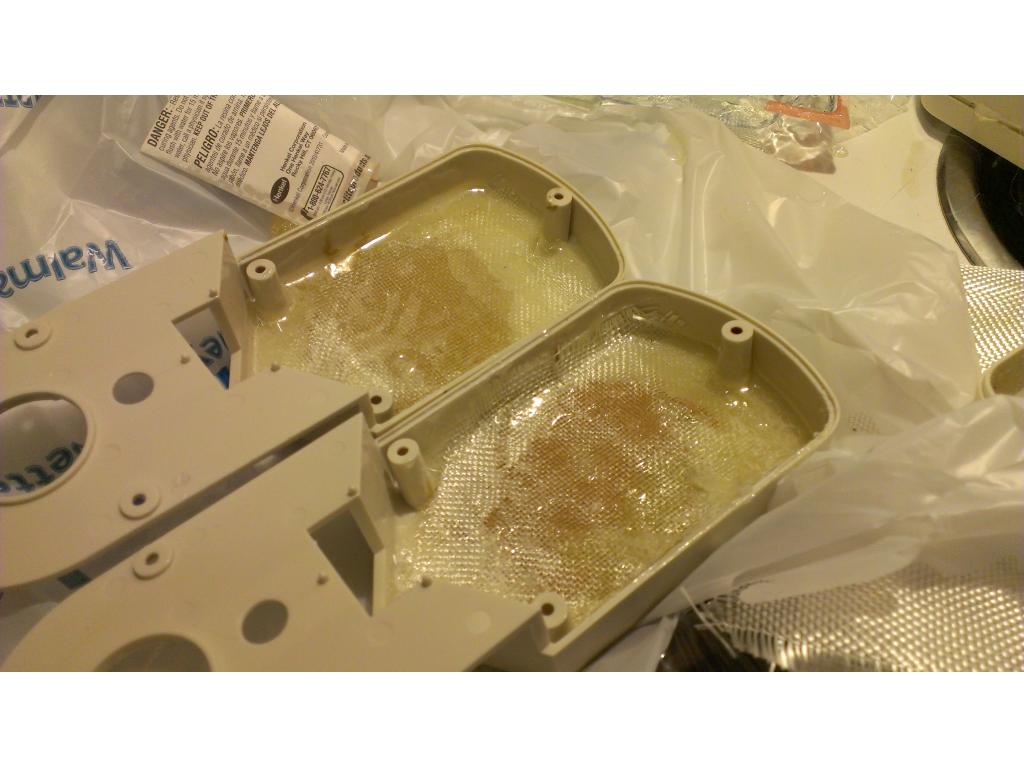
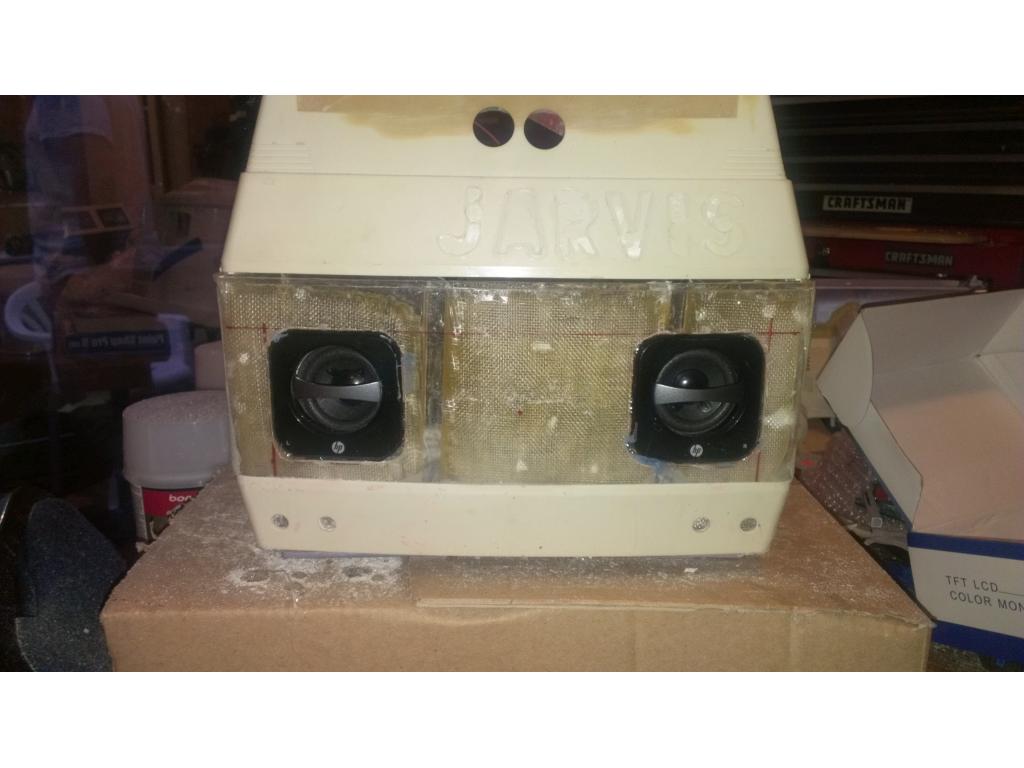
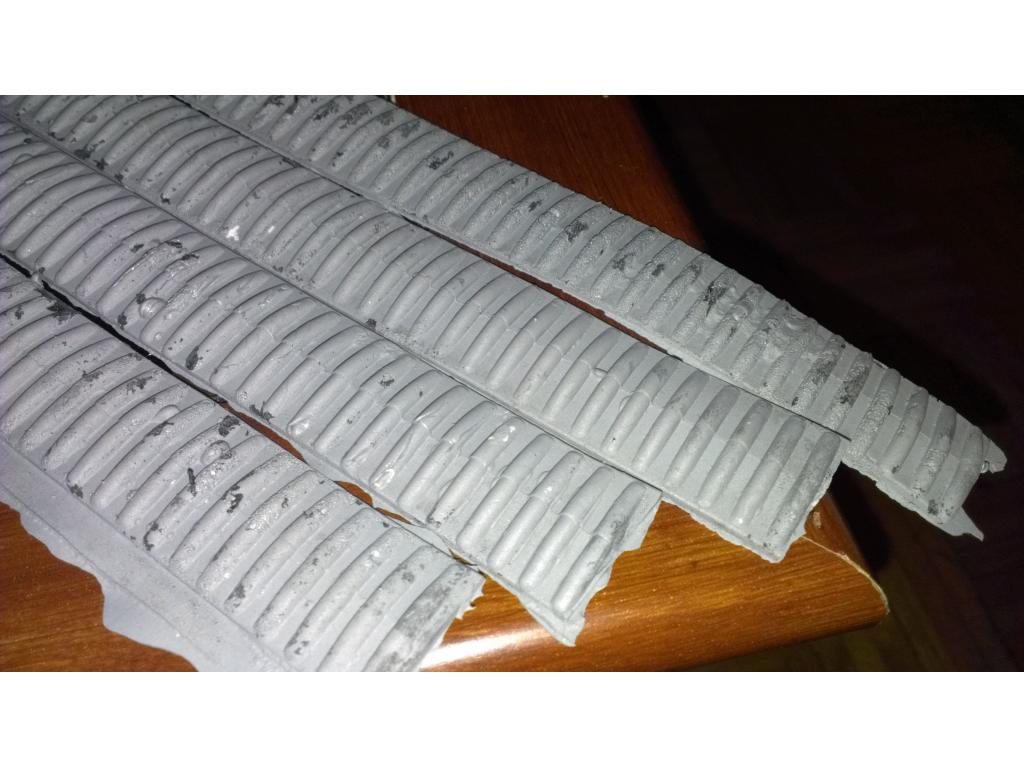
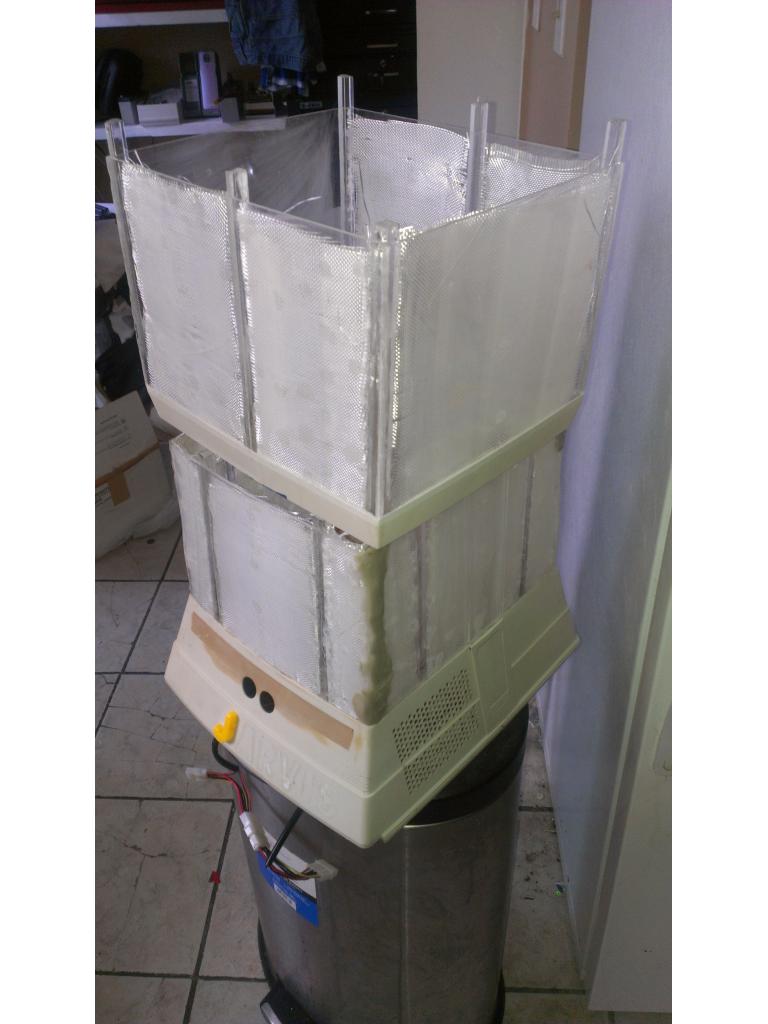
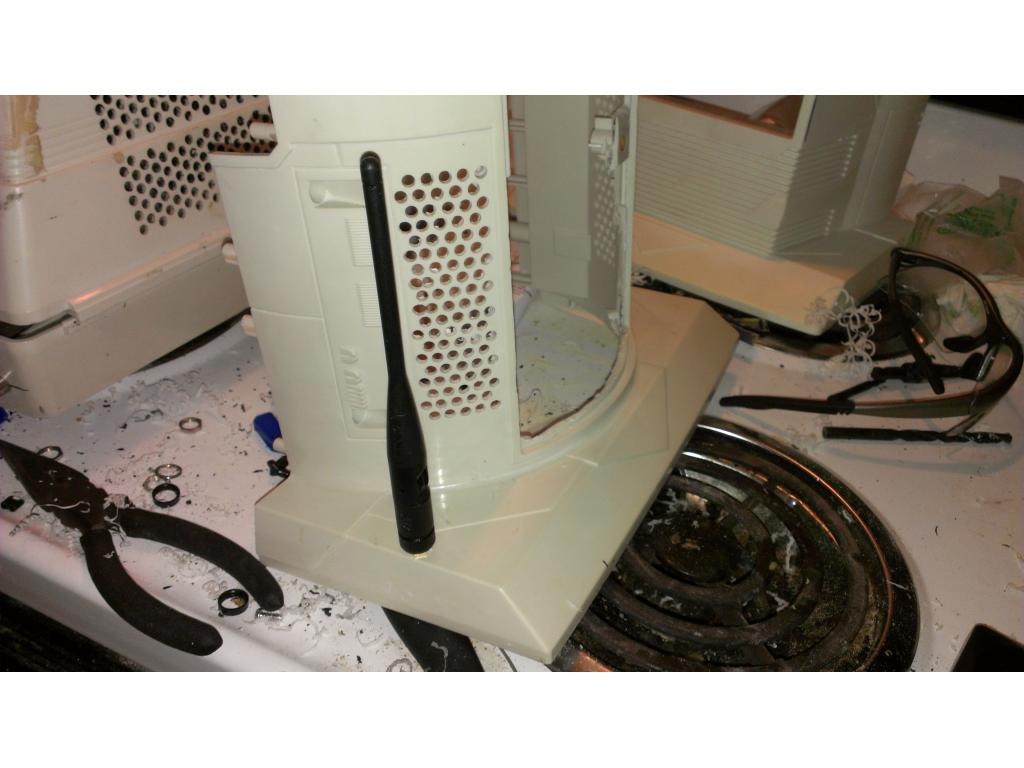
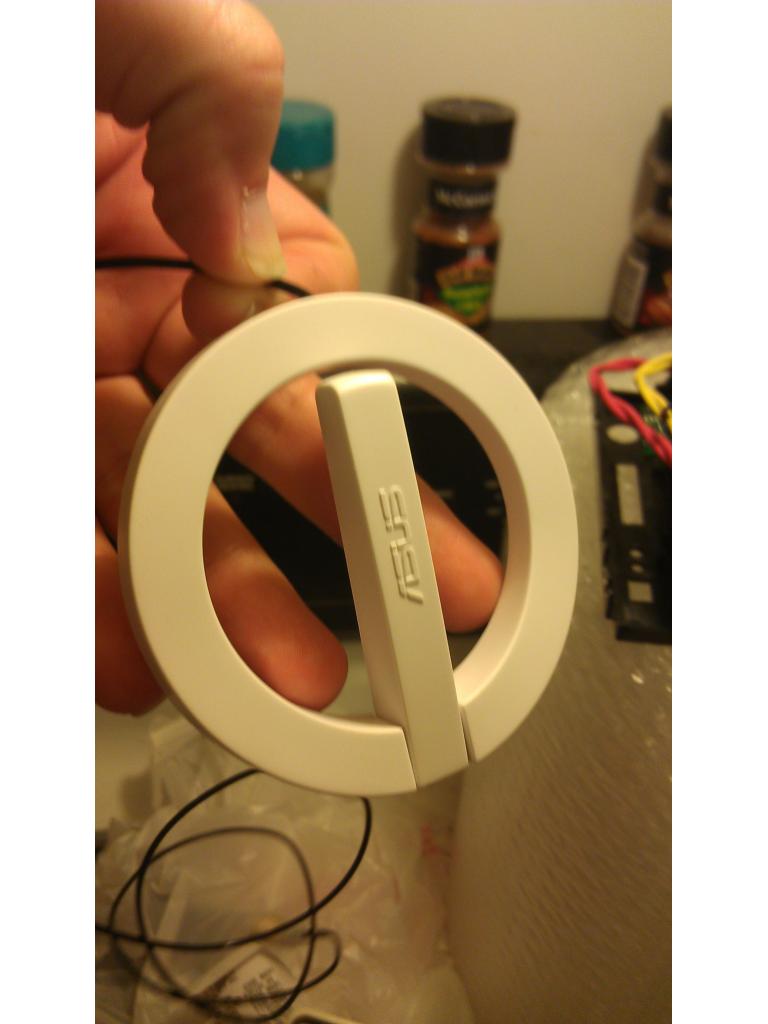
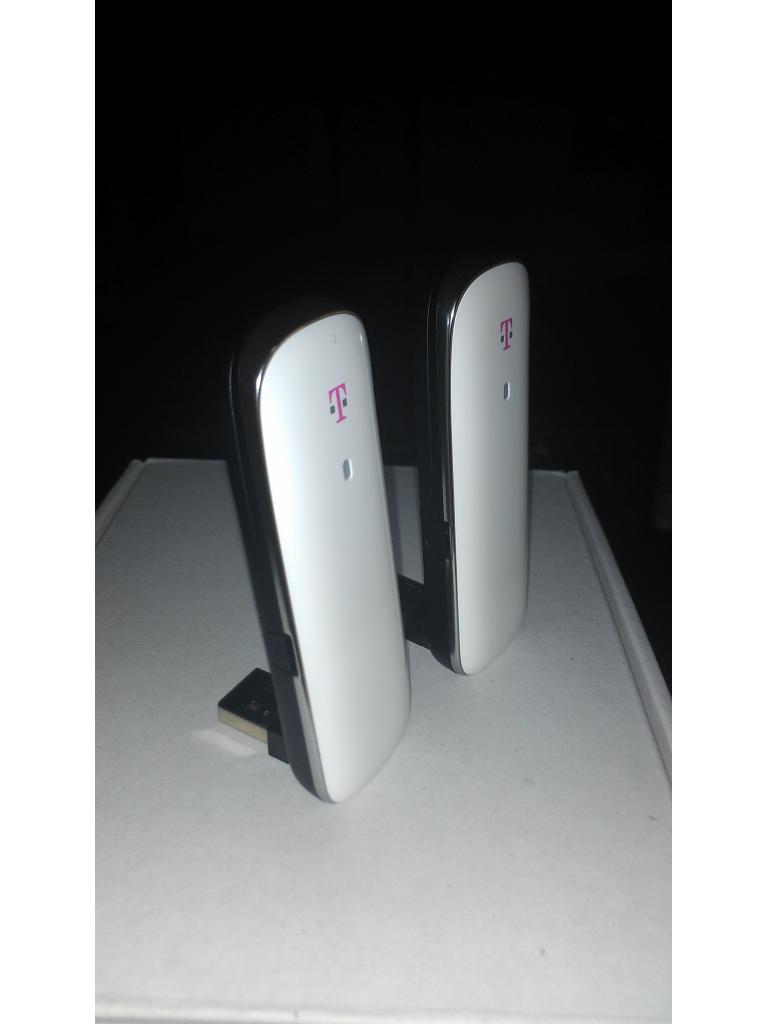
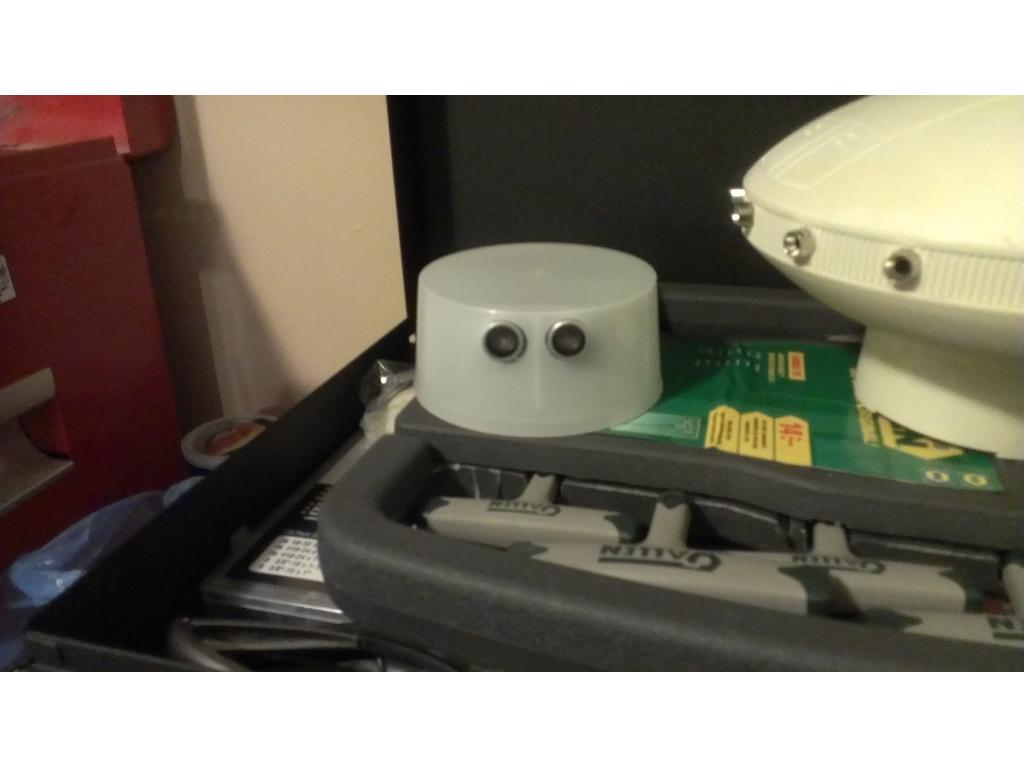
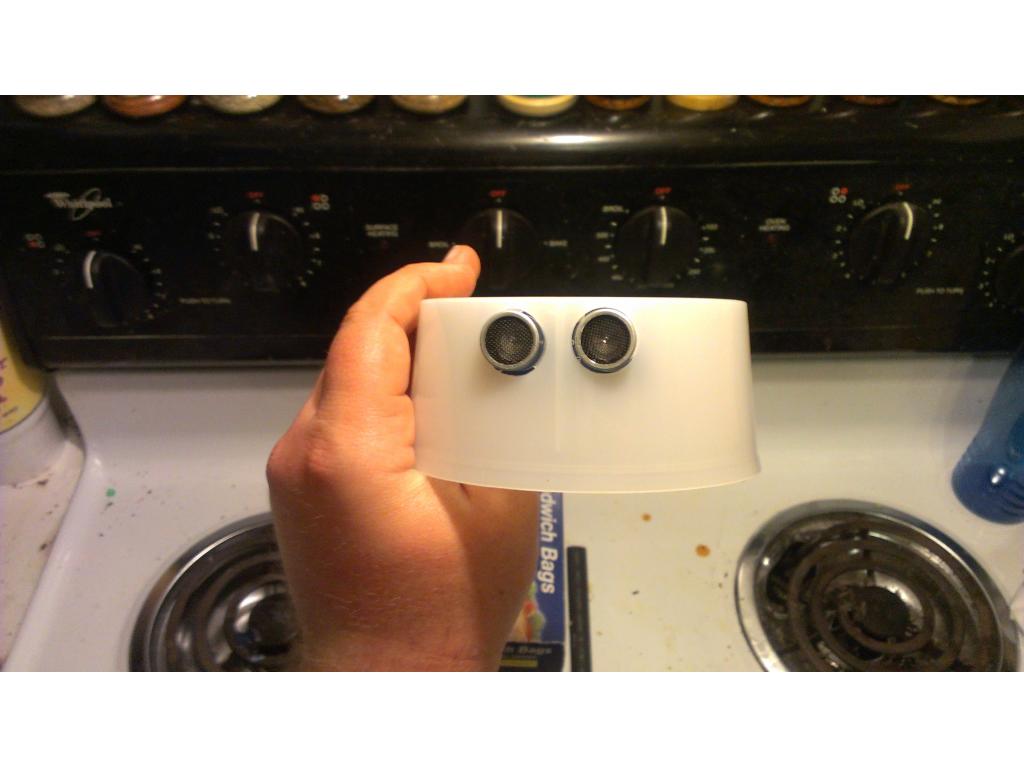
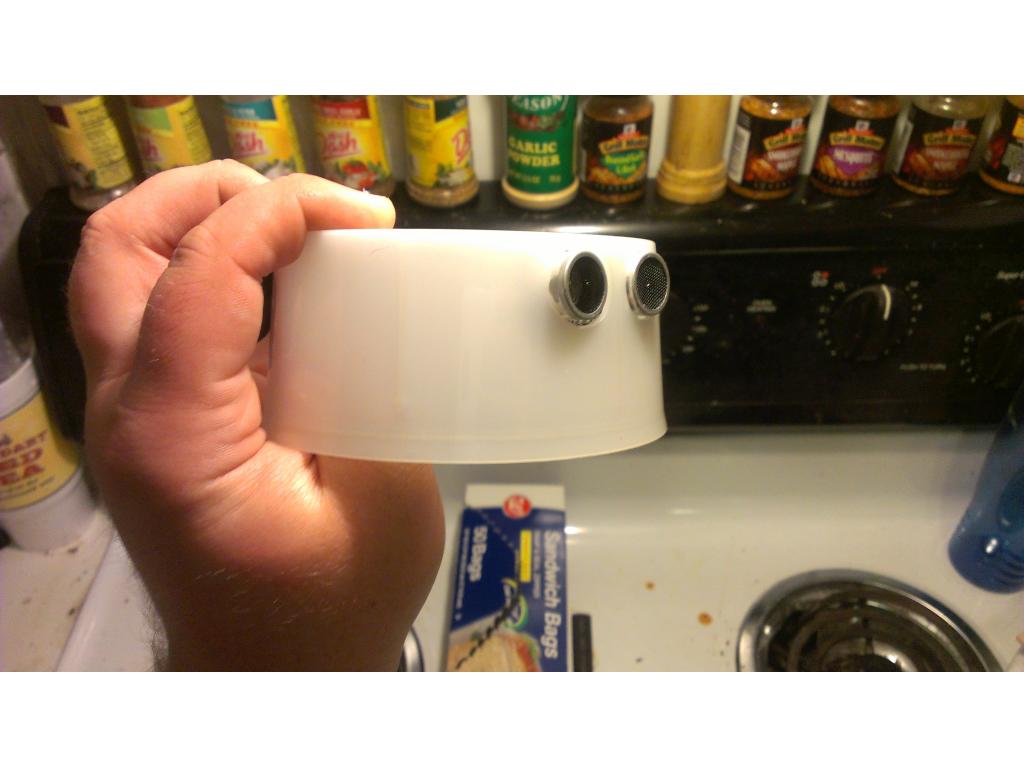
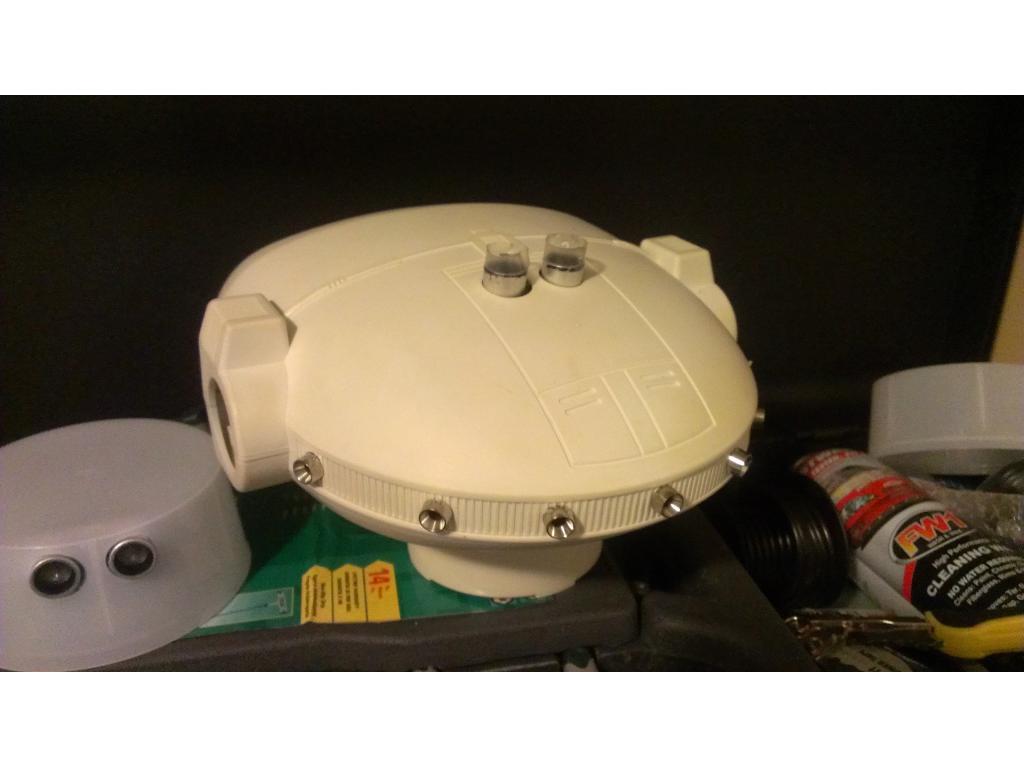
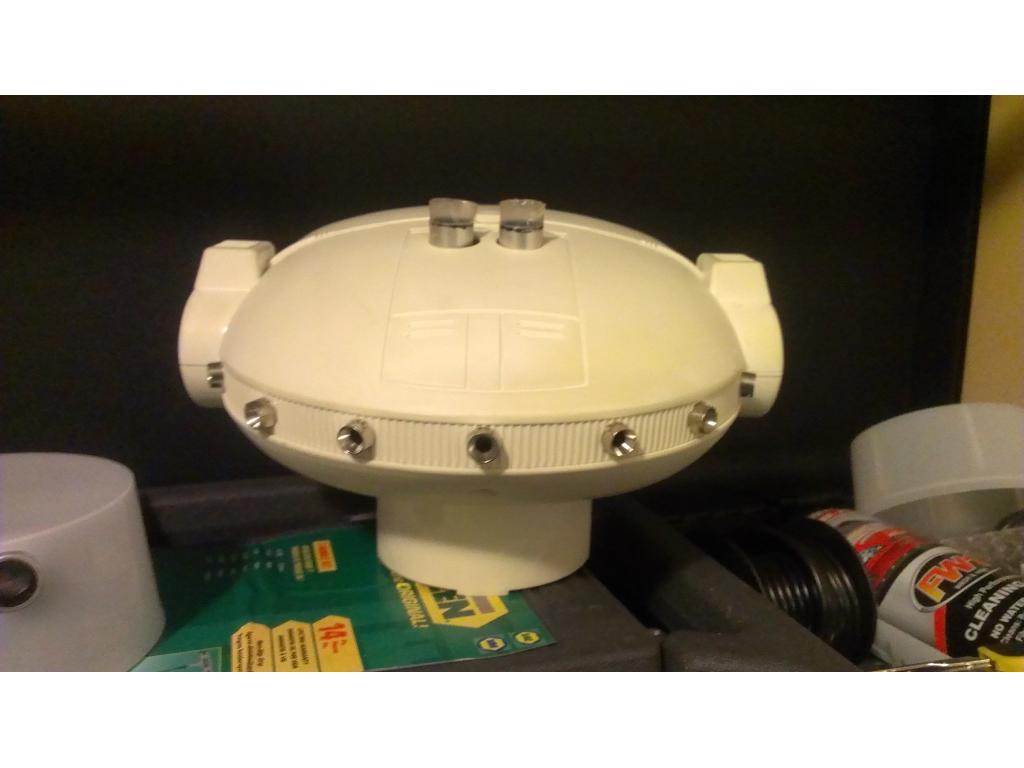
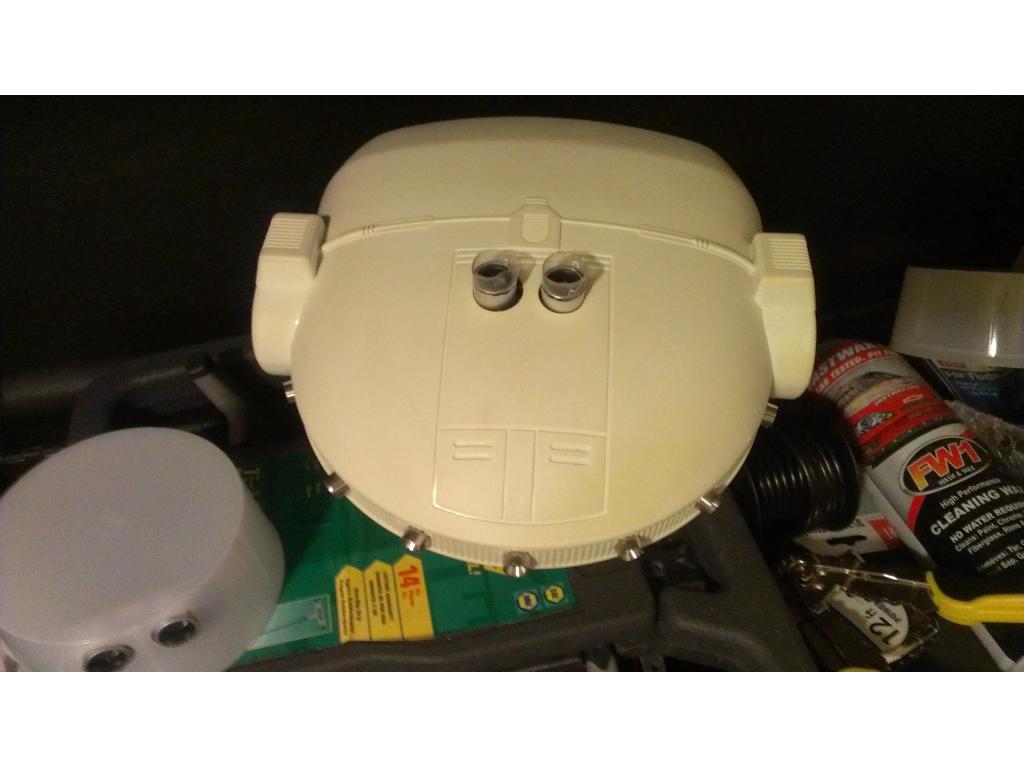
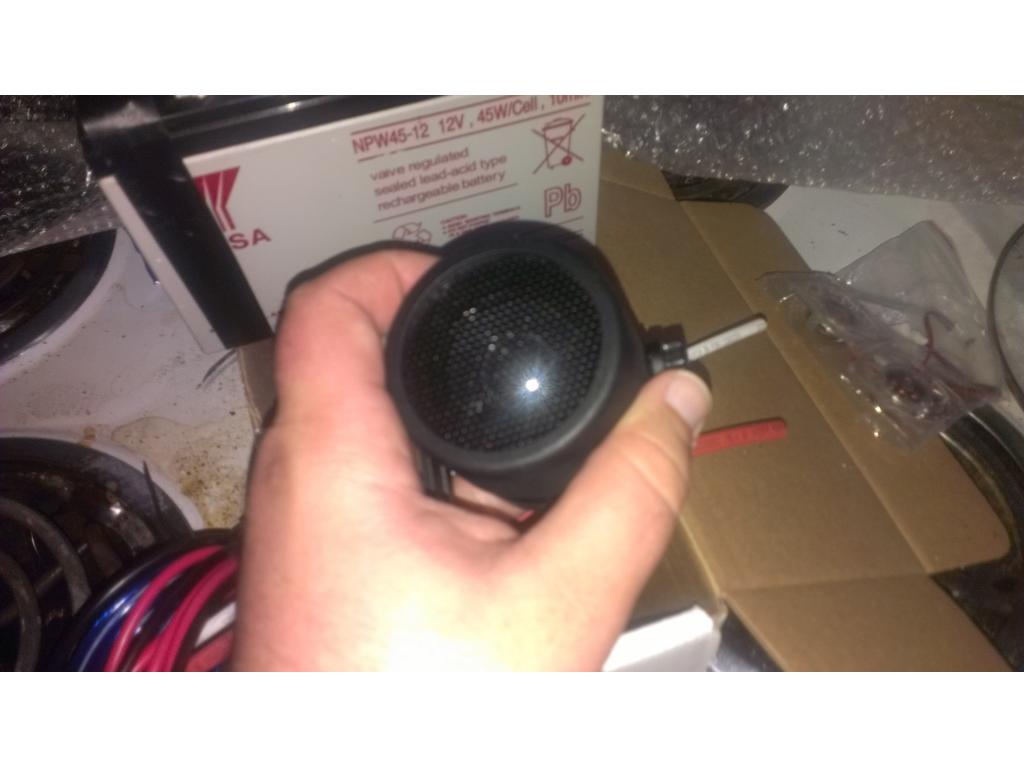
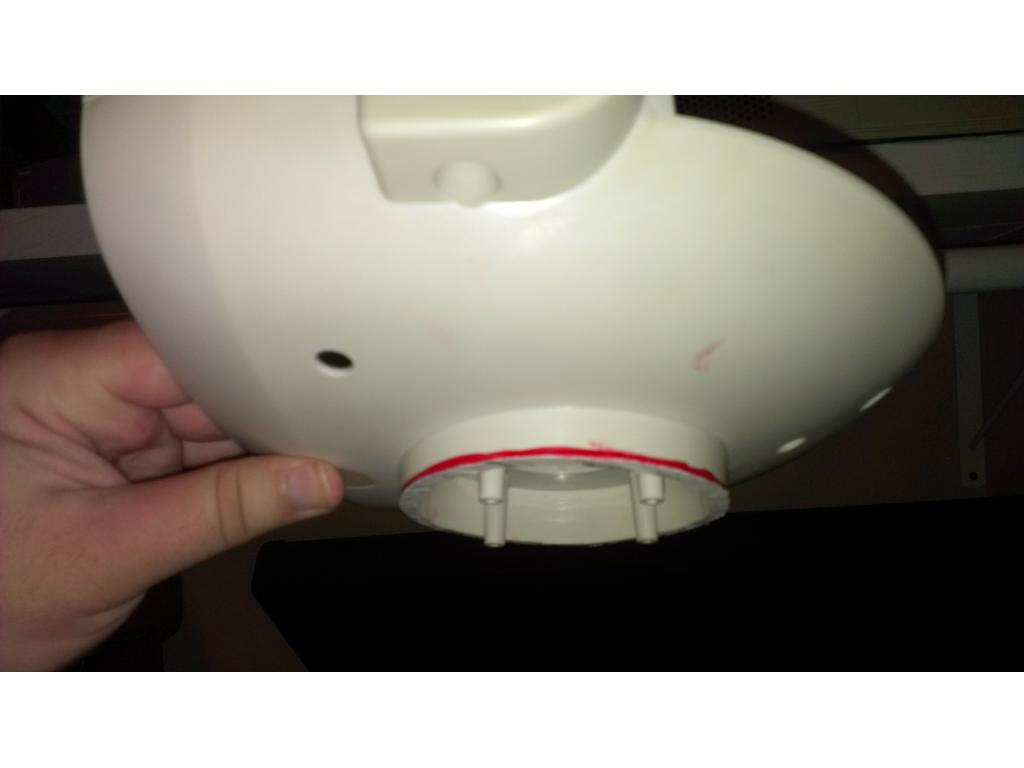
mount and mold WiFi antennas into sides of torso

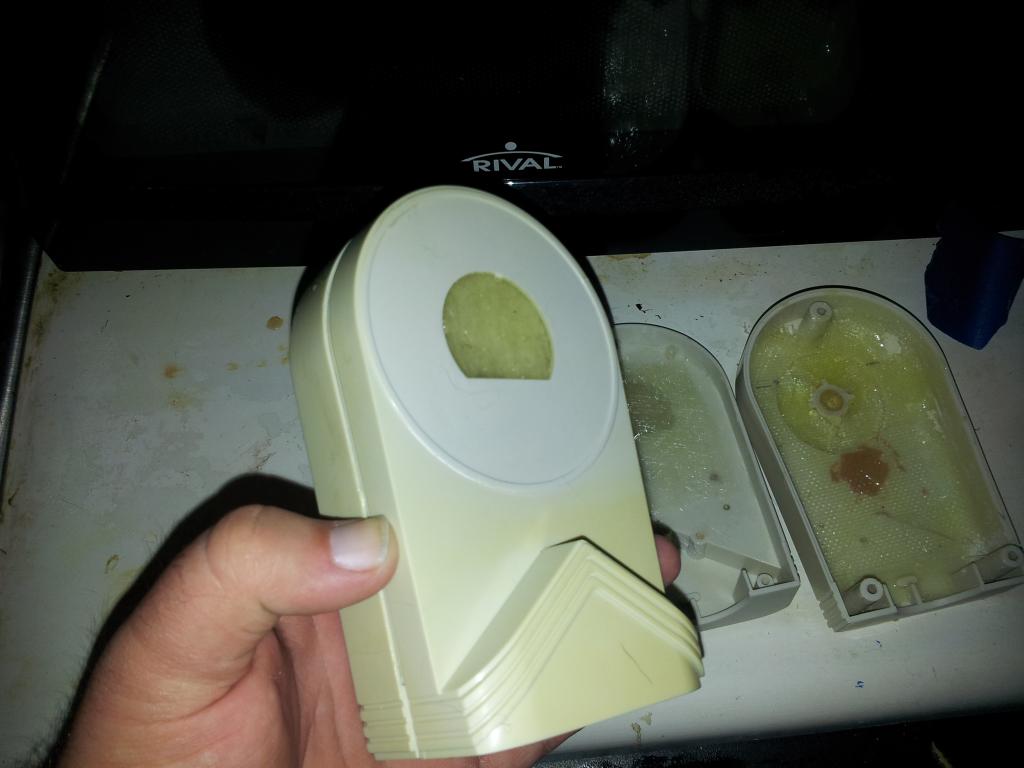
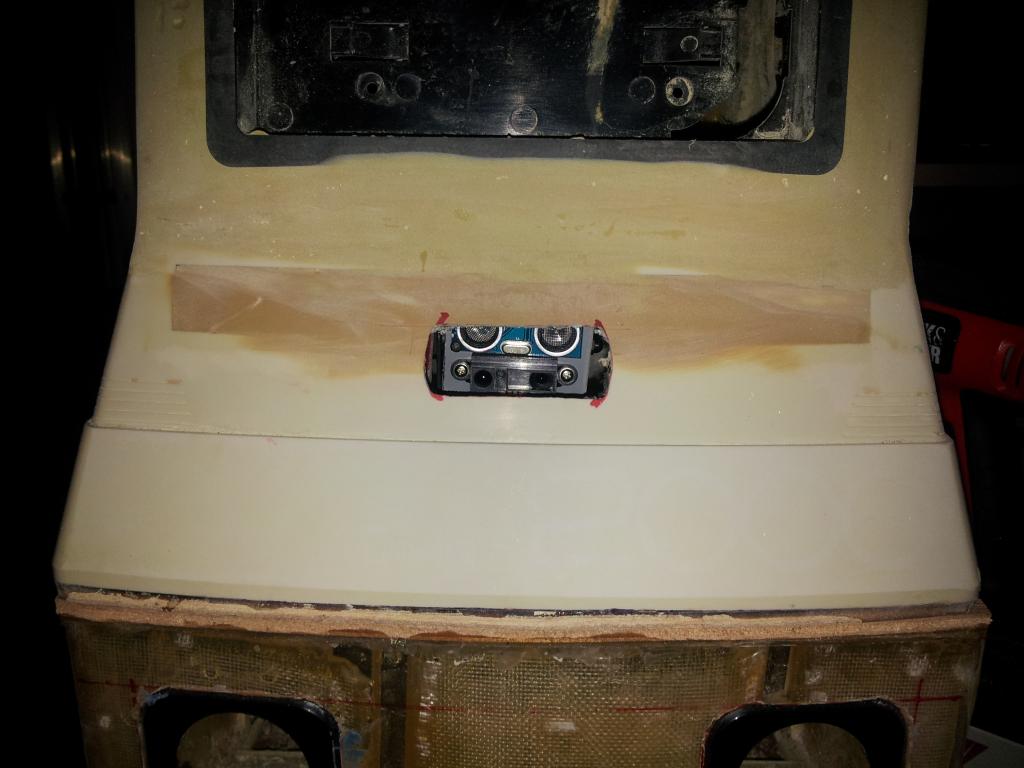
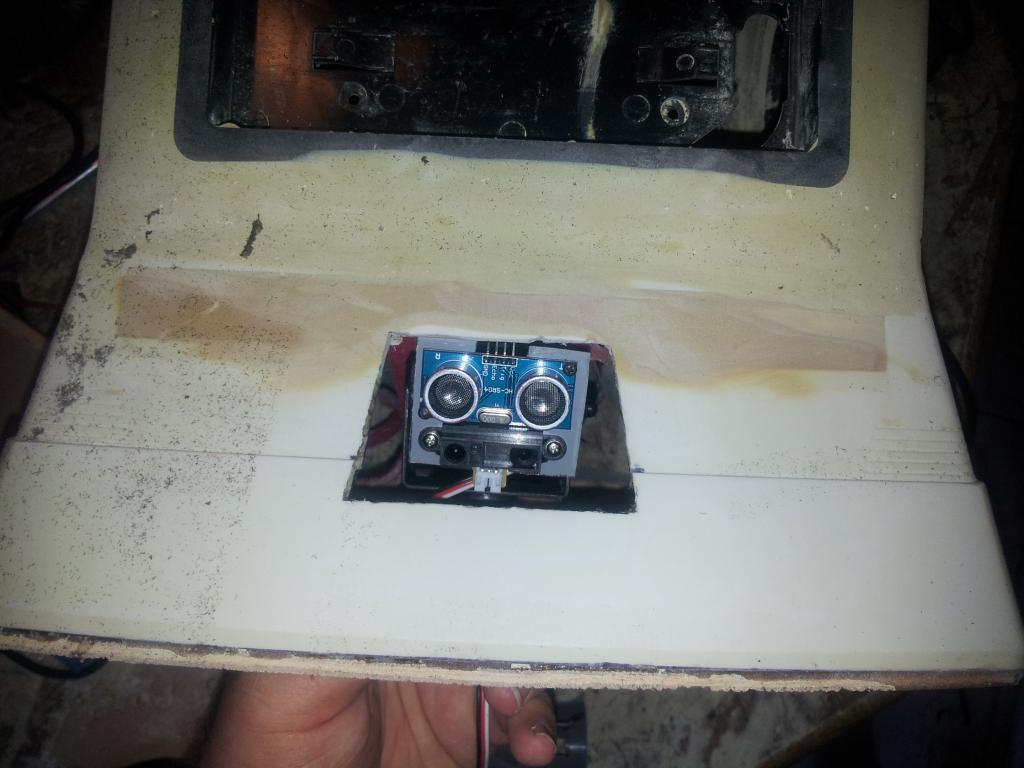
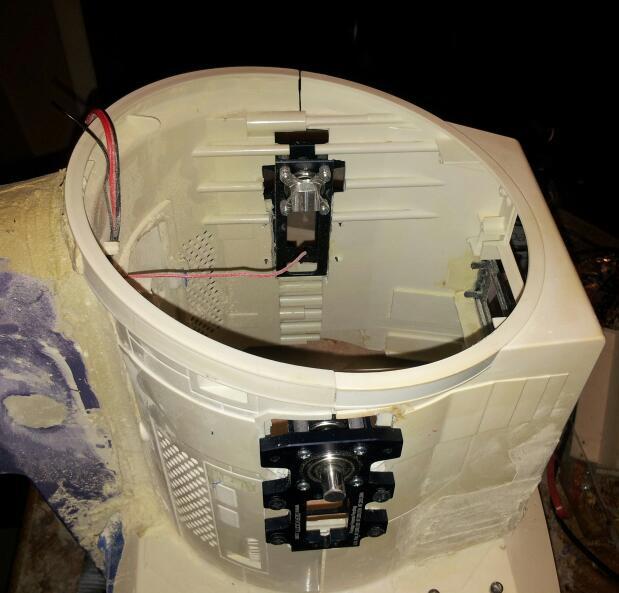
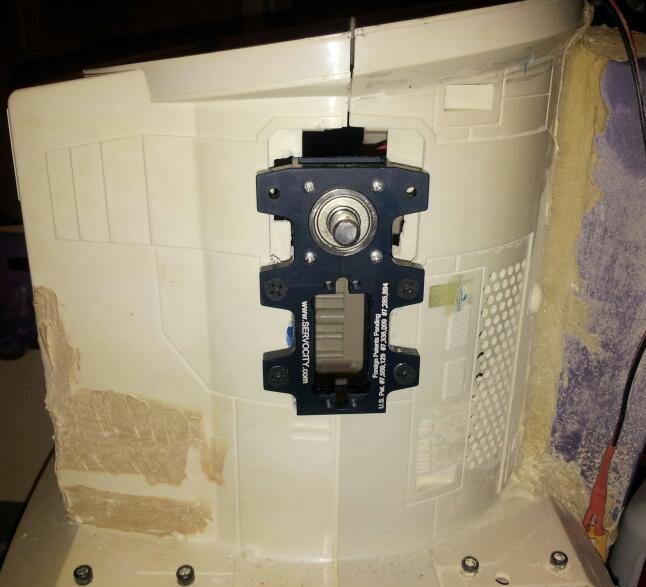
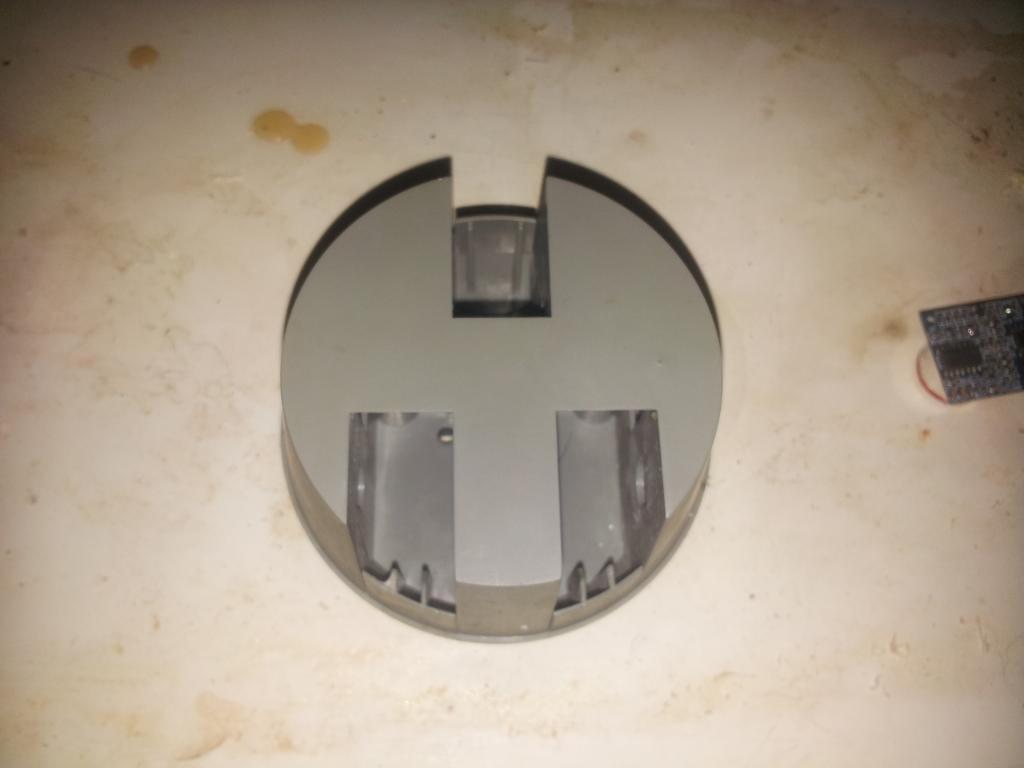
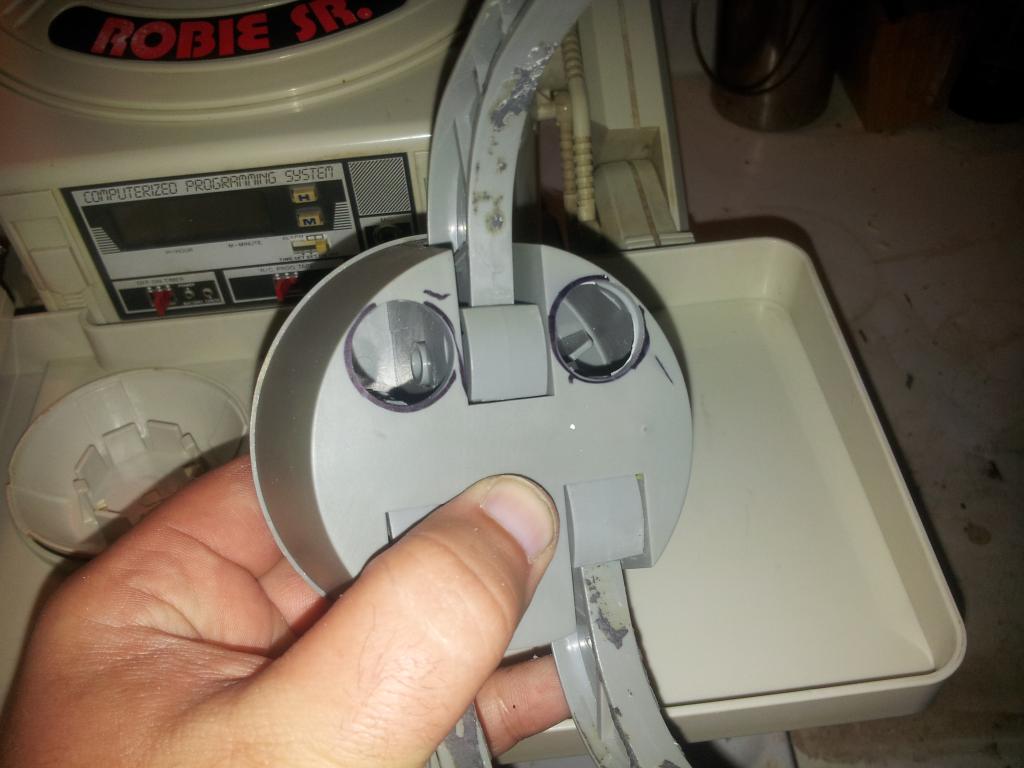
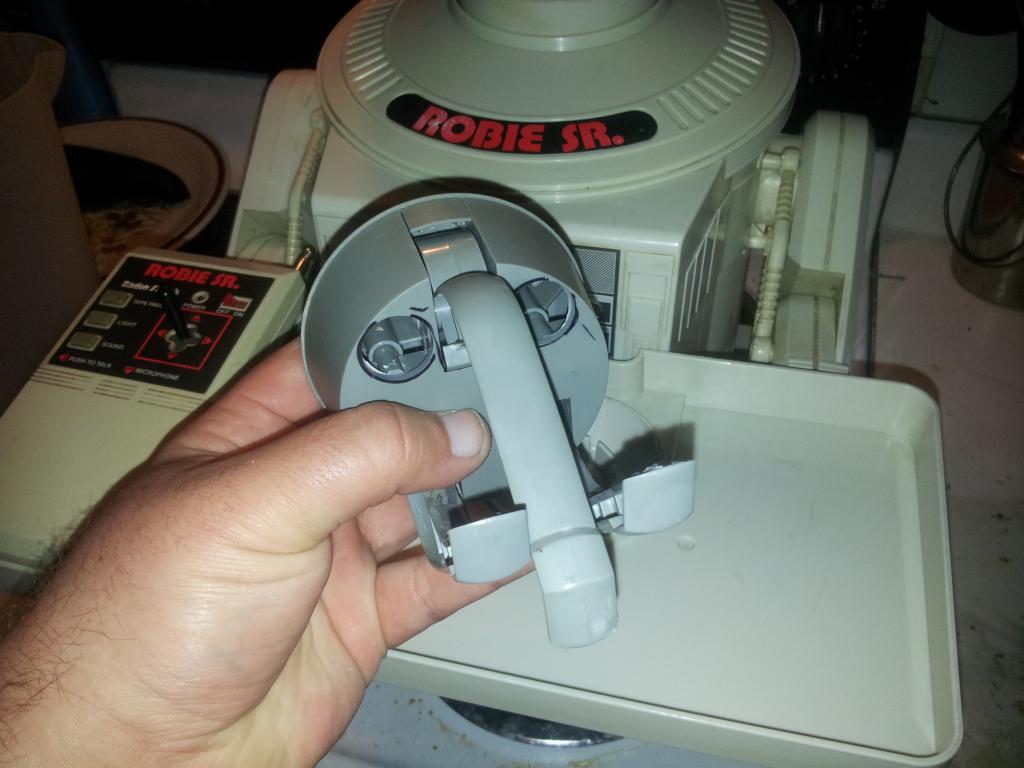
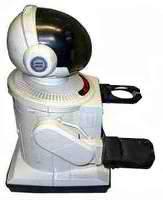
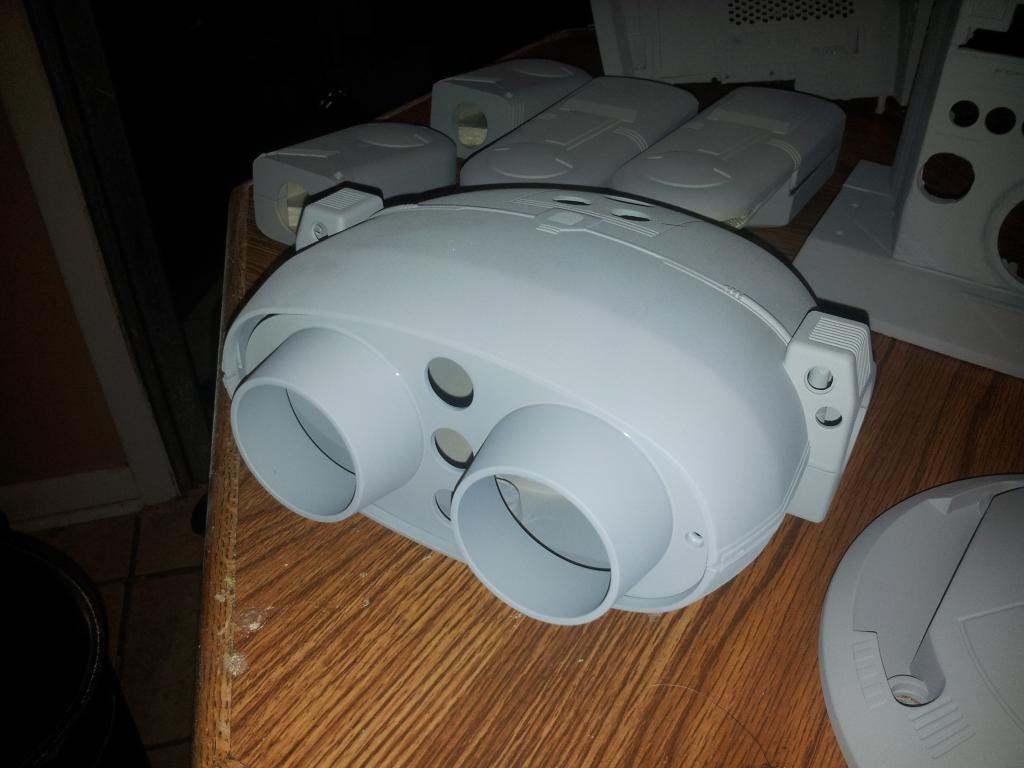
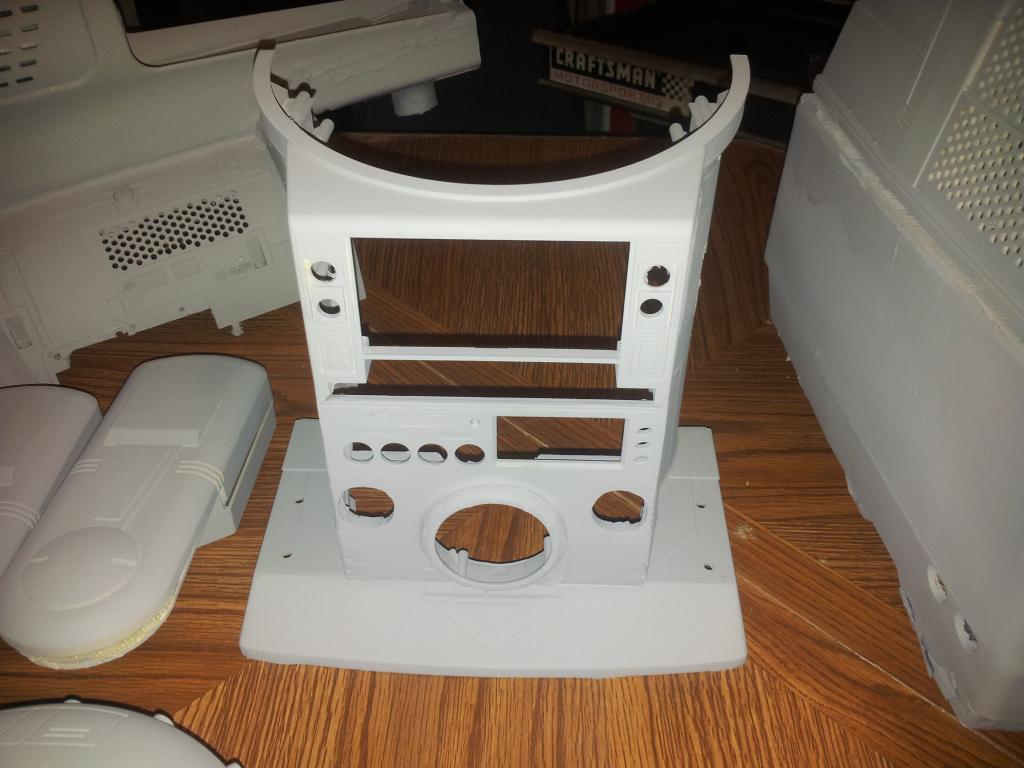
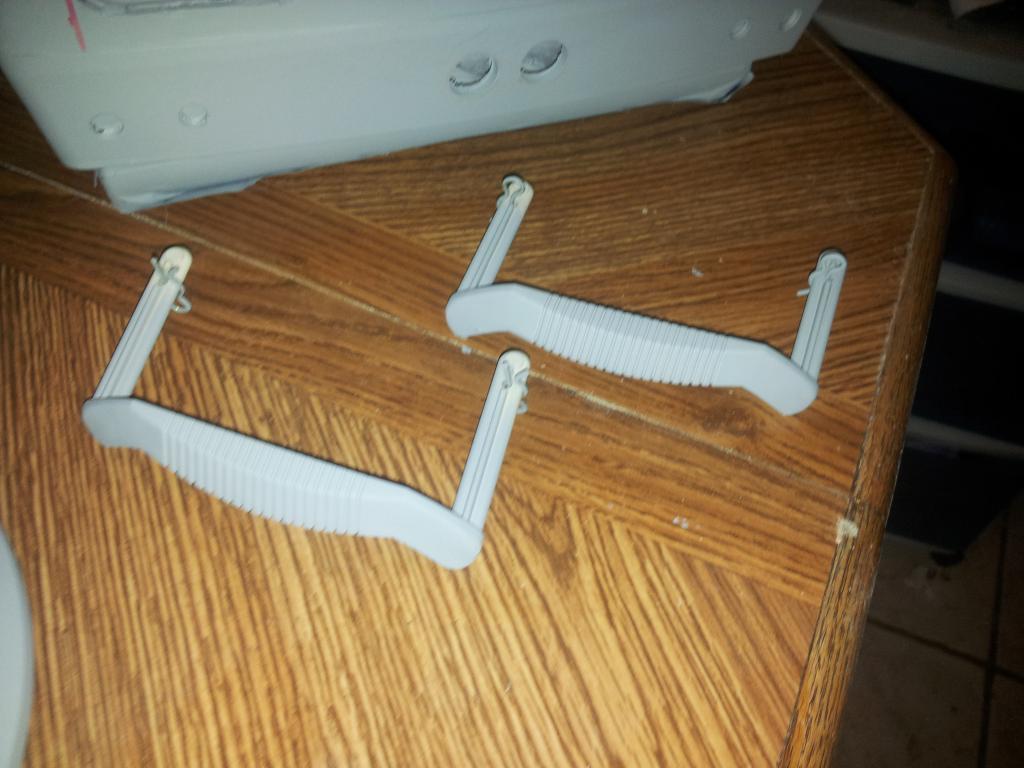
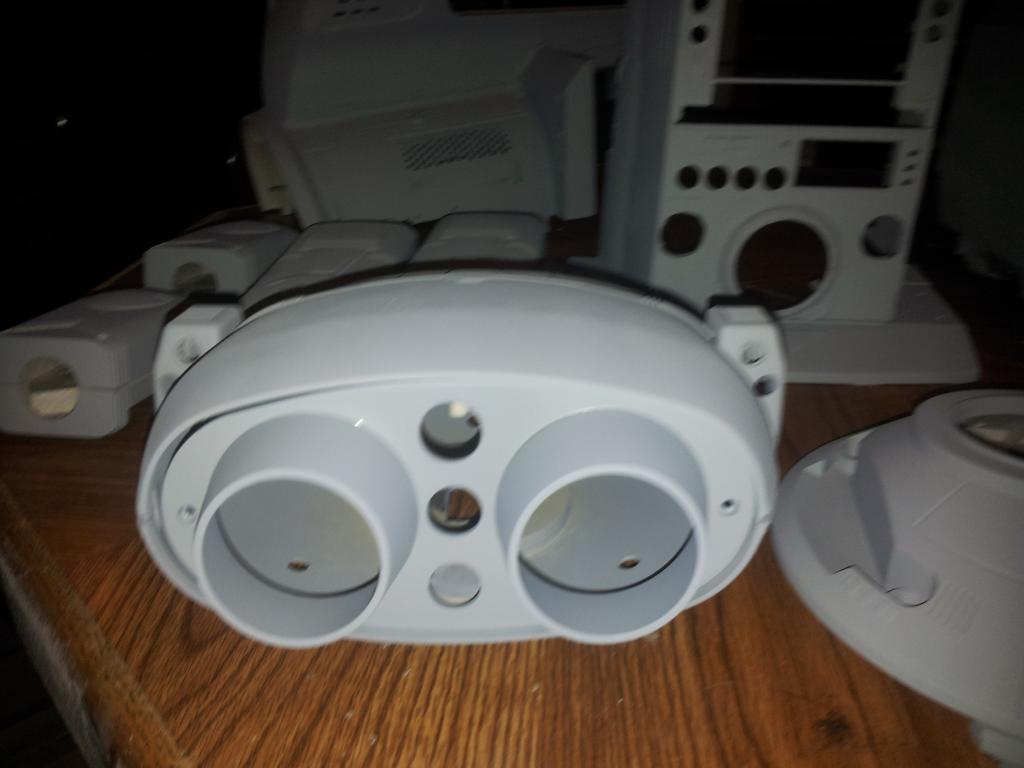
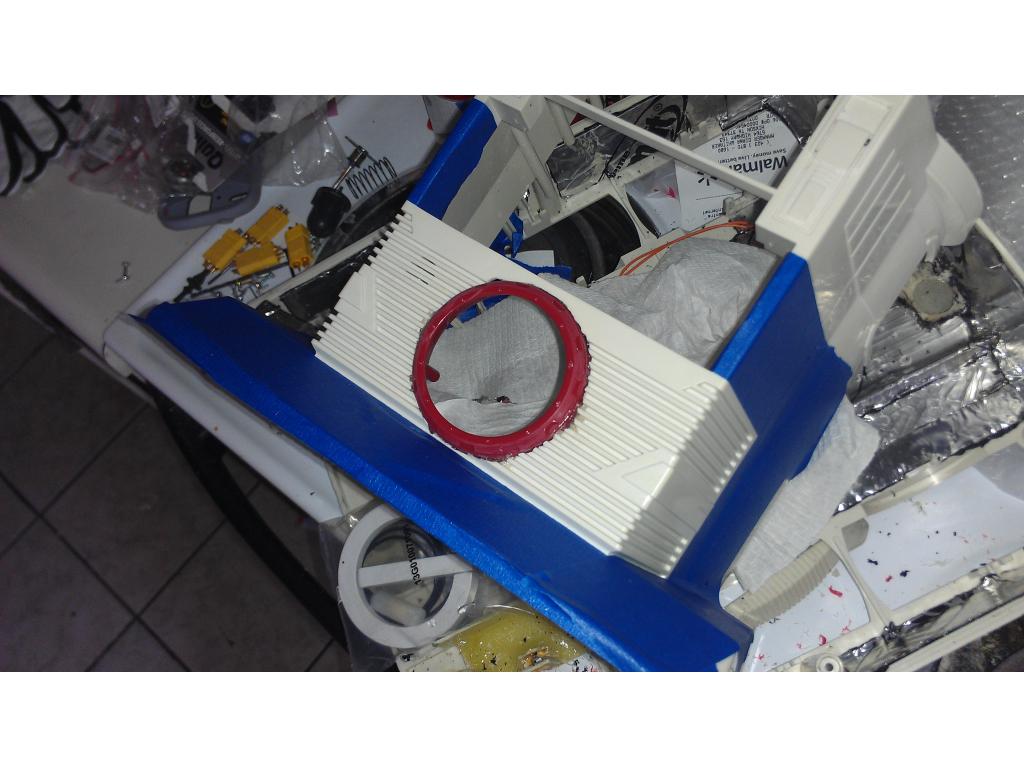
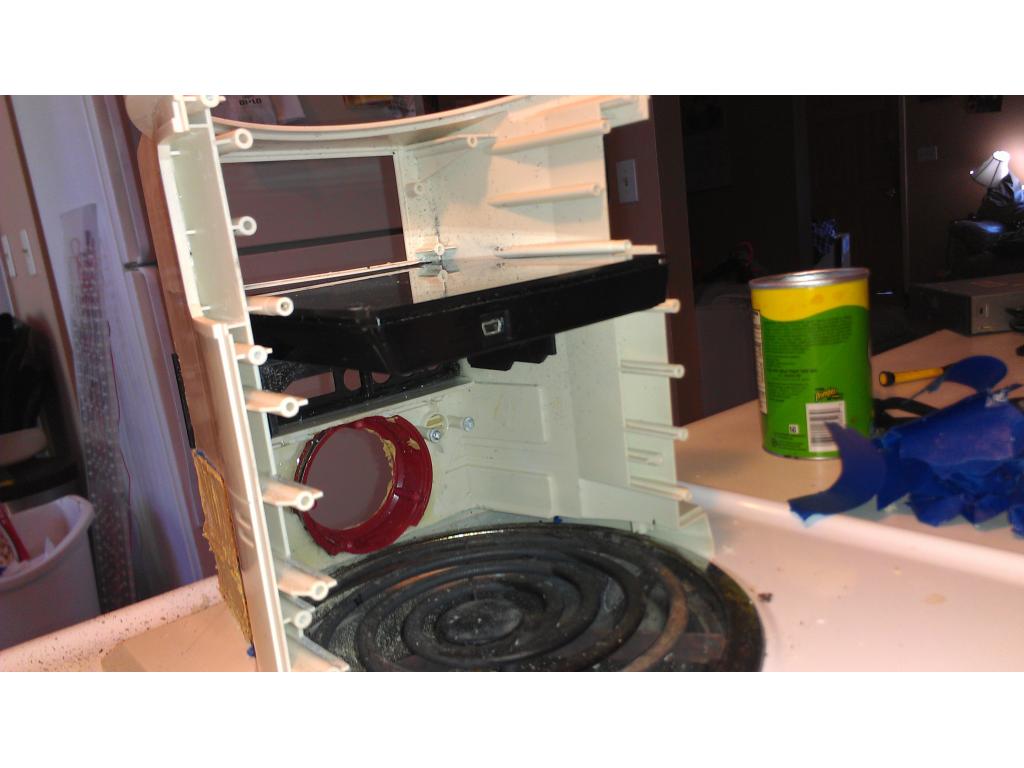
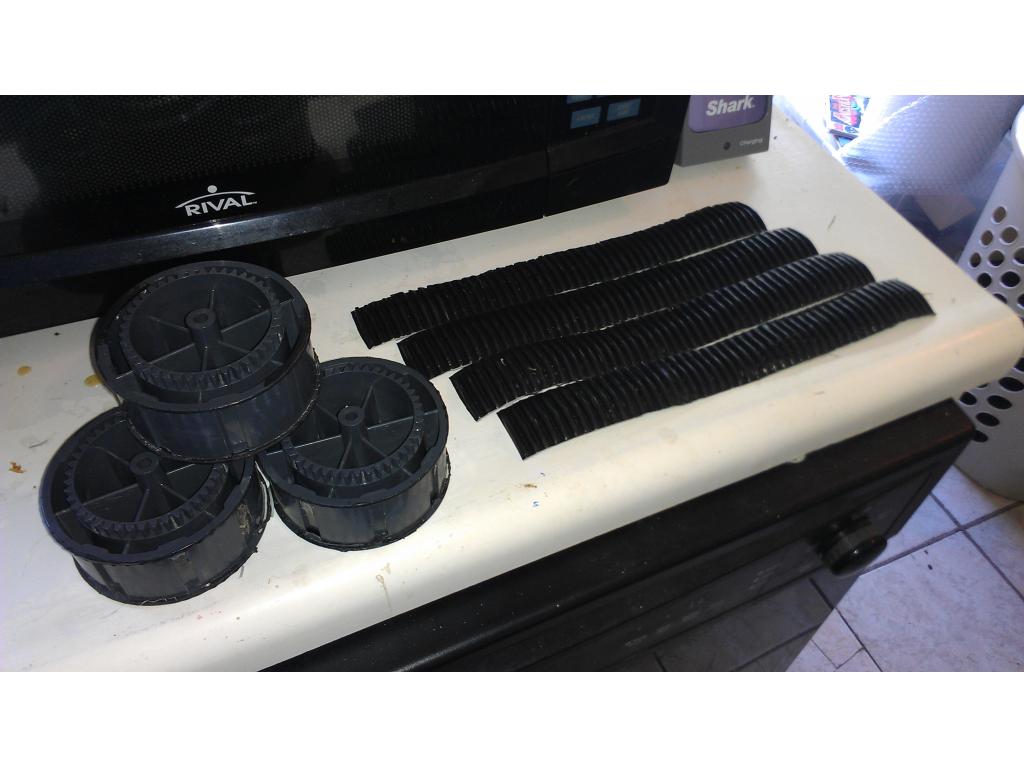
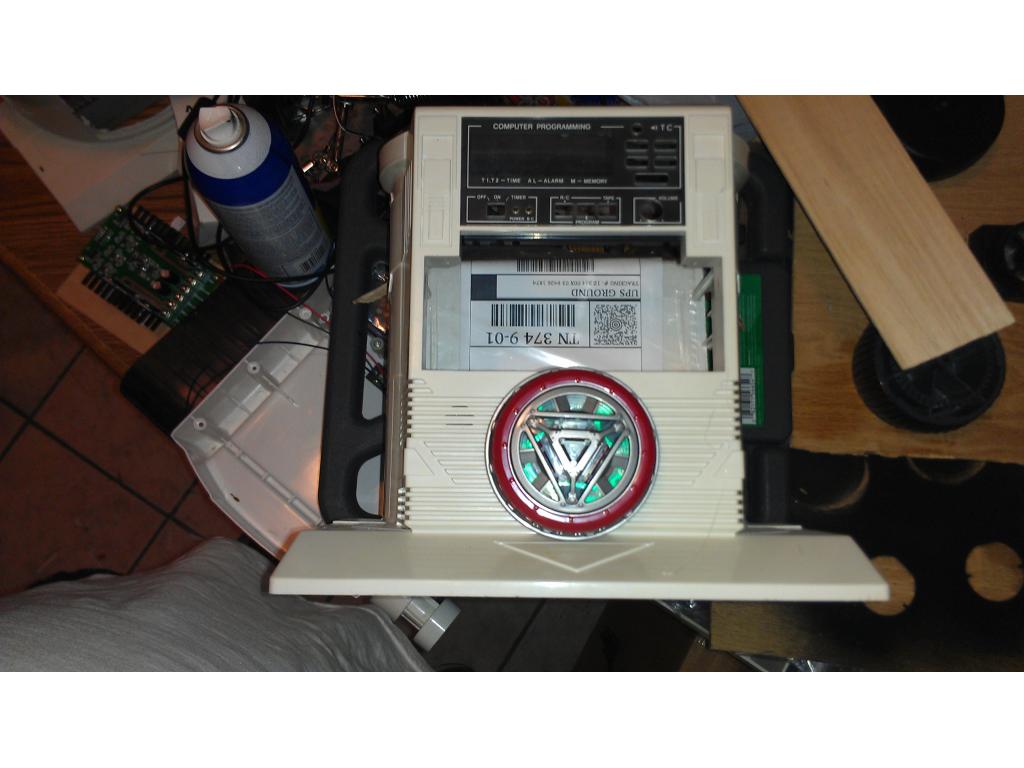
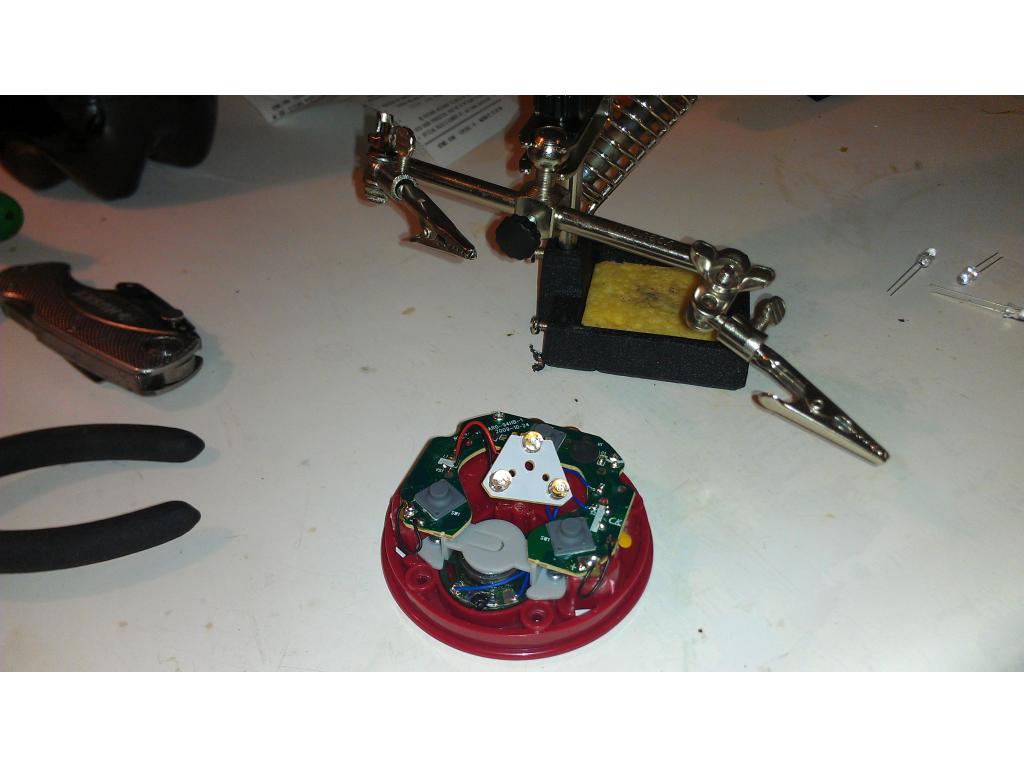
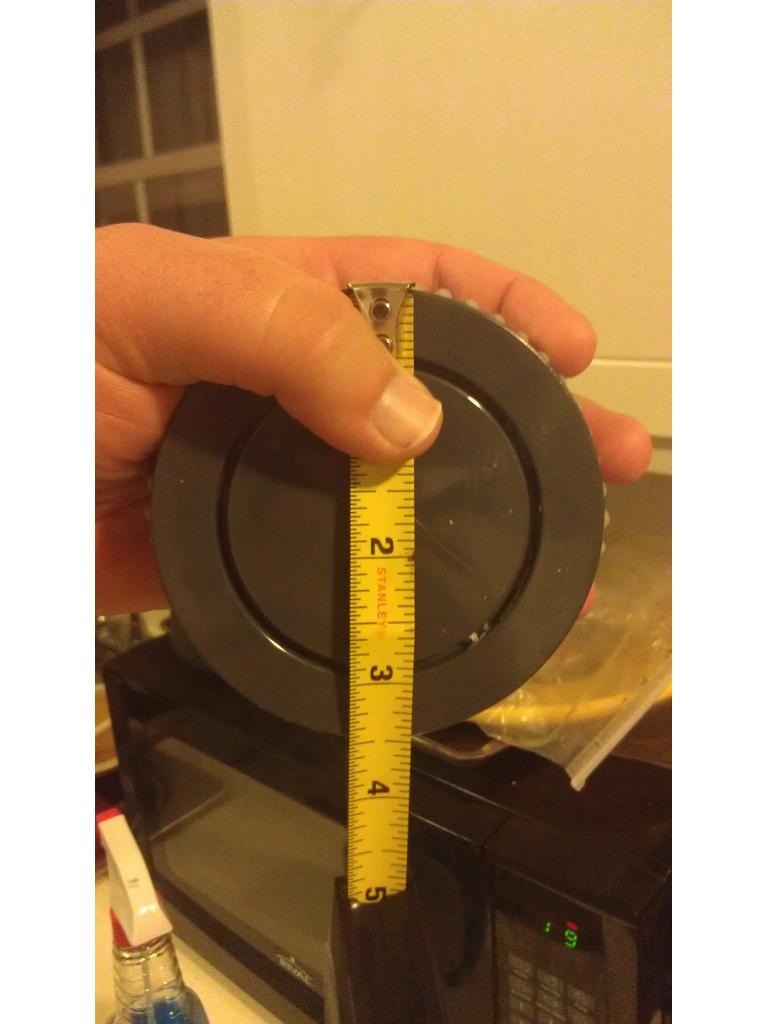
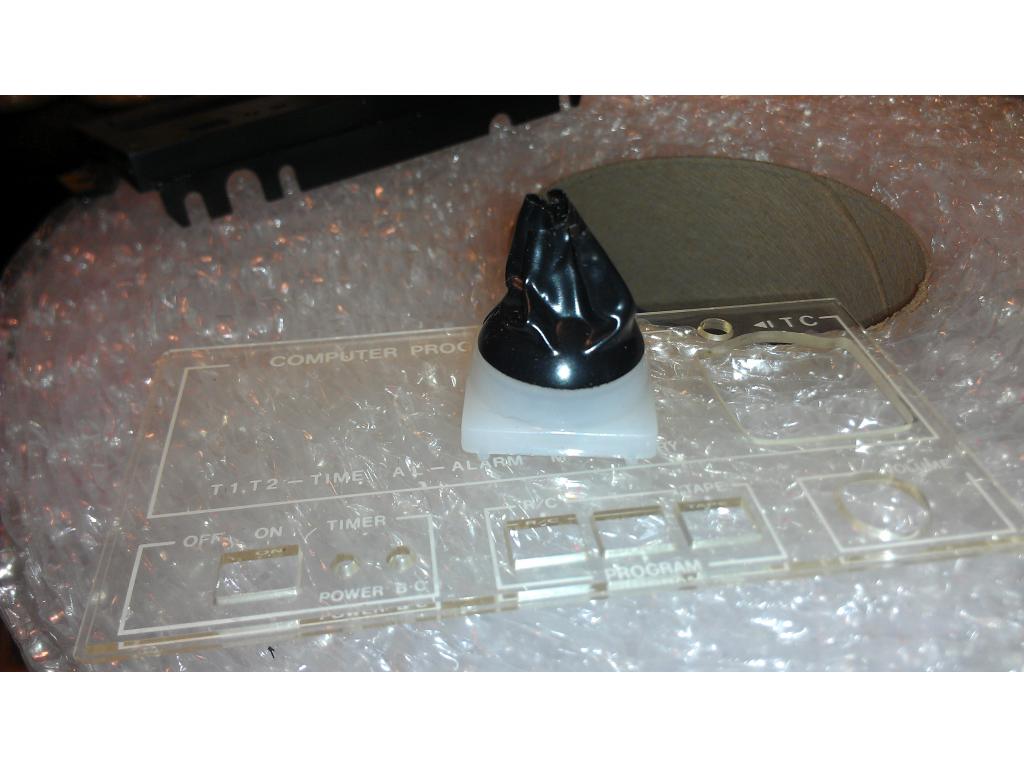
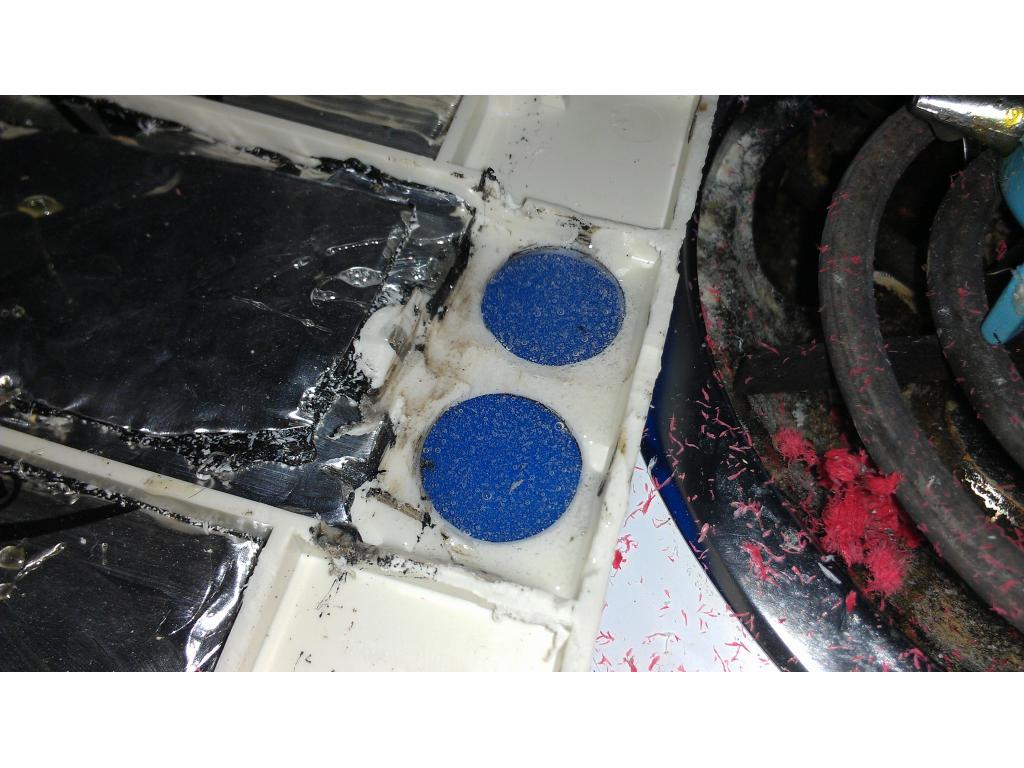
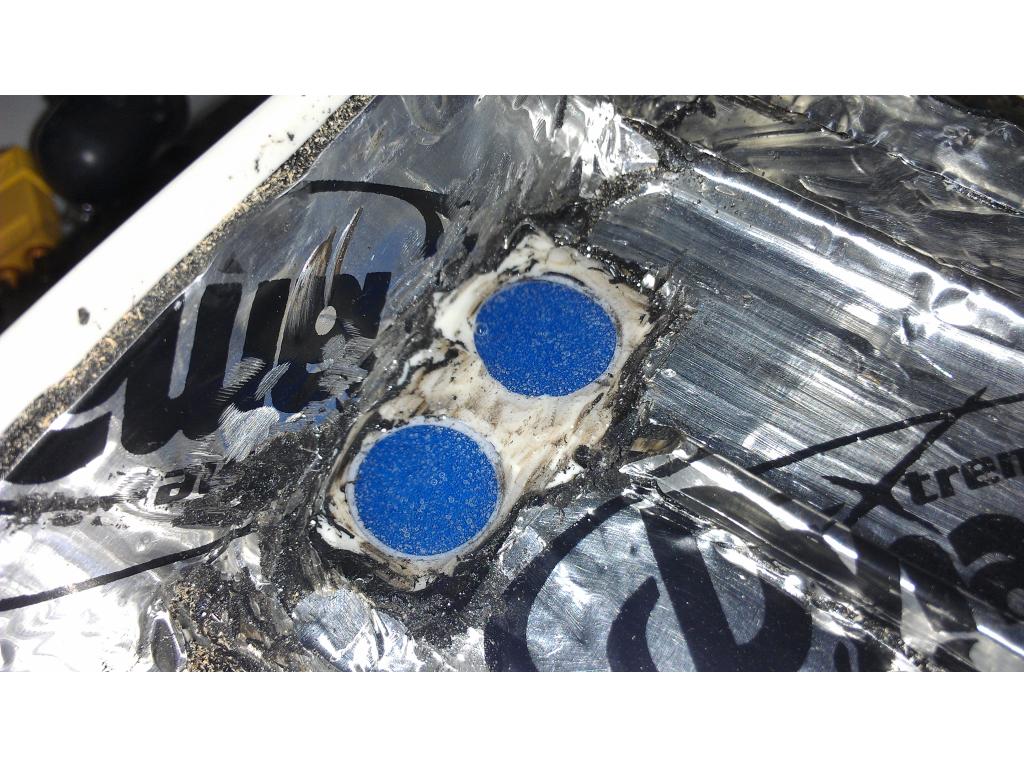
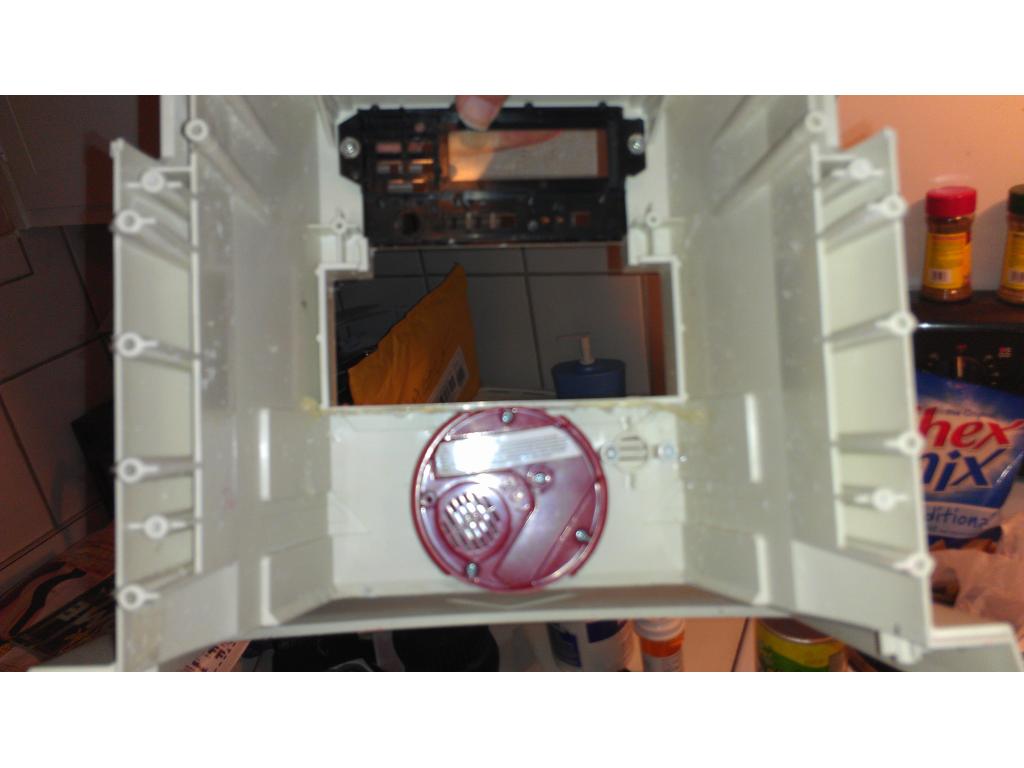
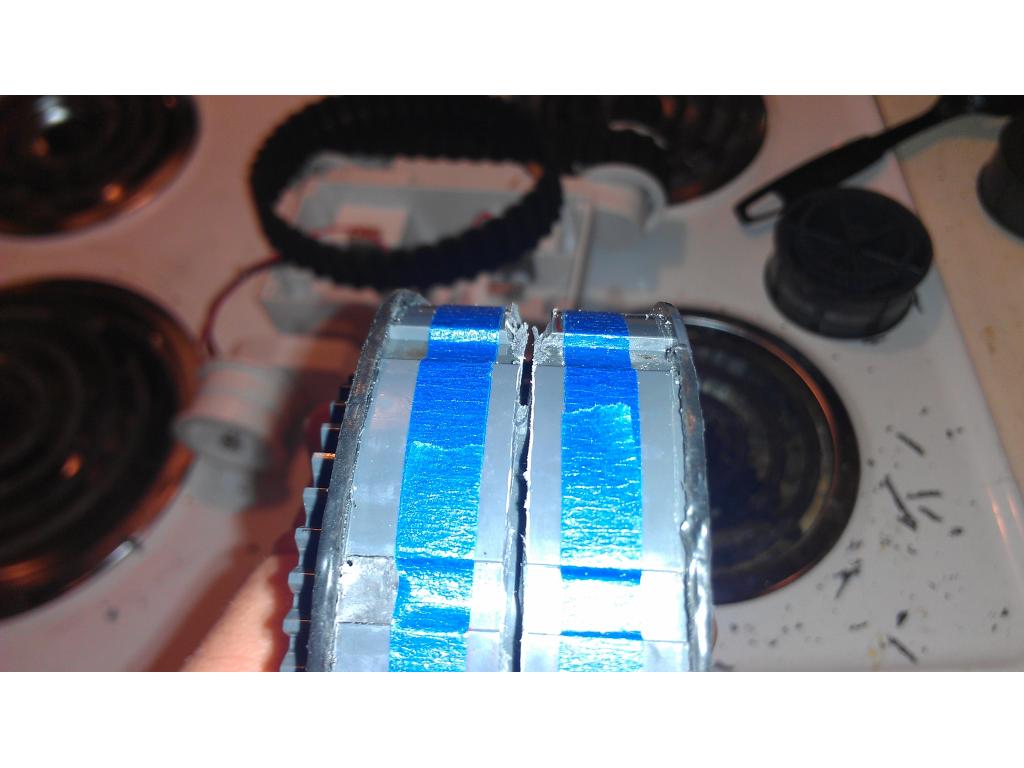
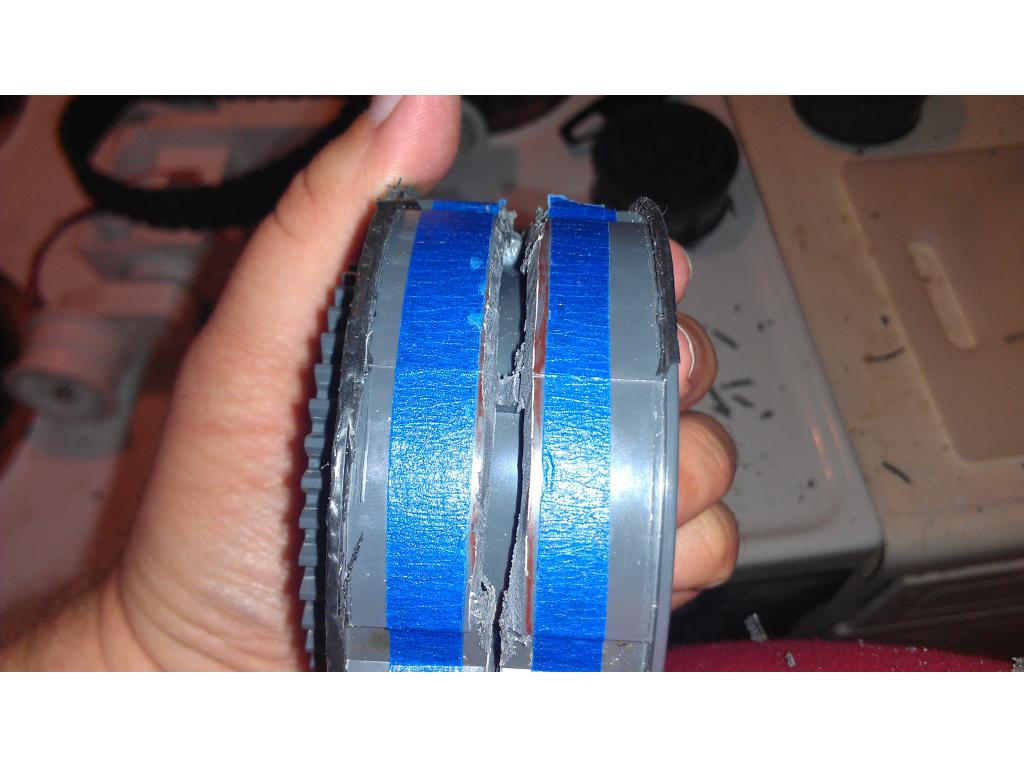
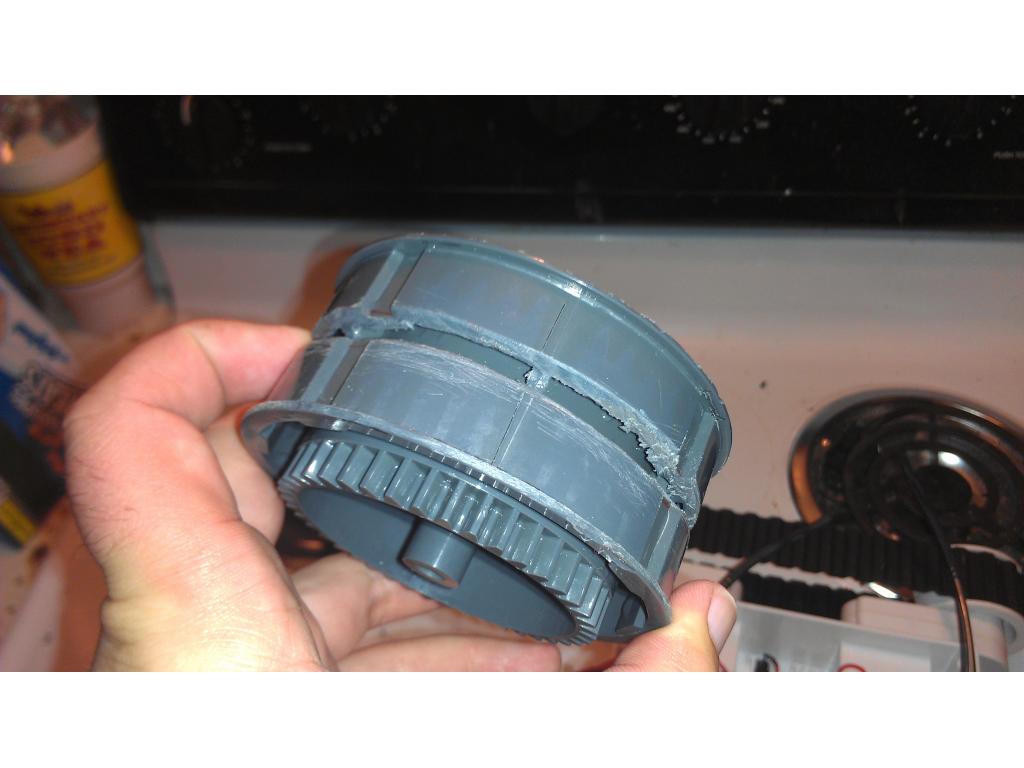
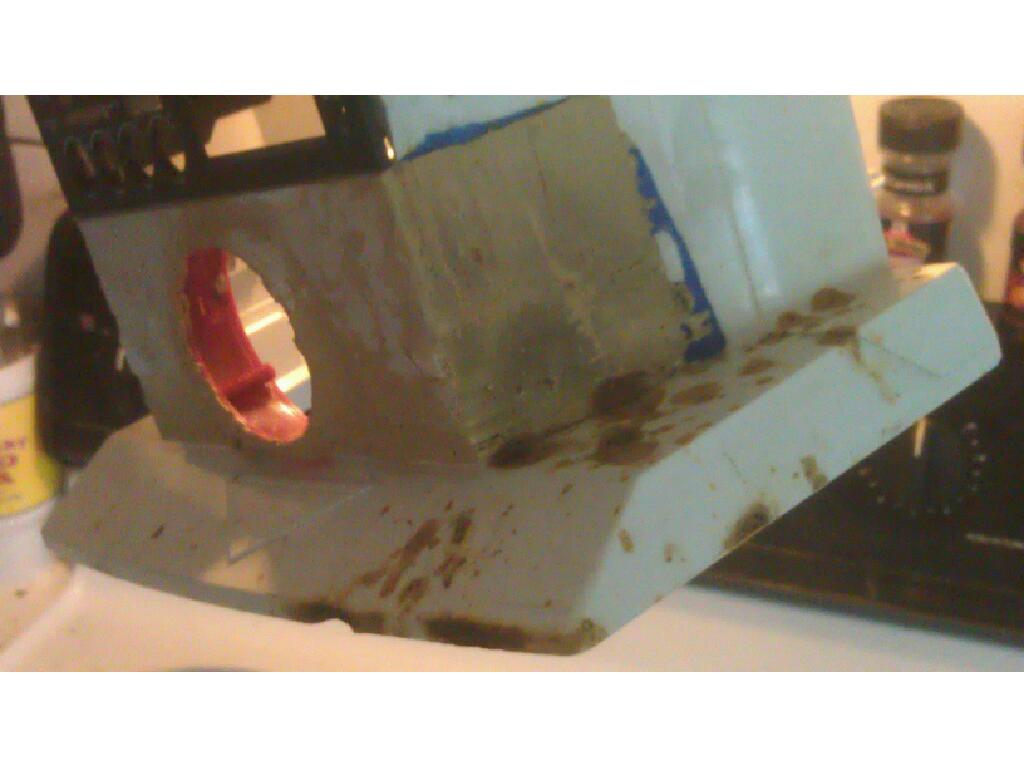
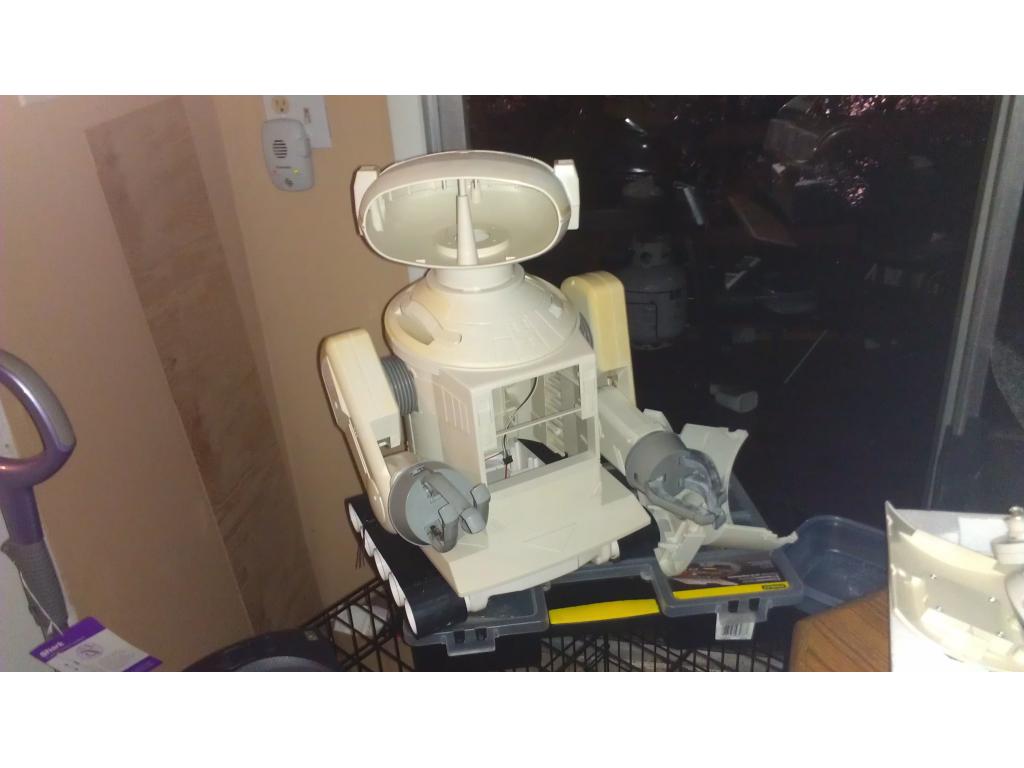
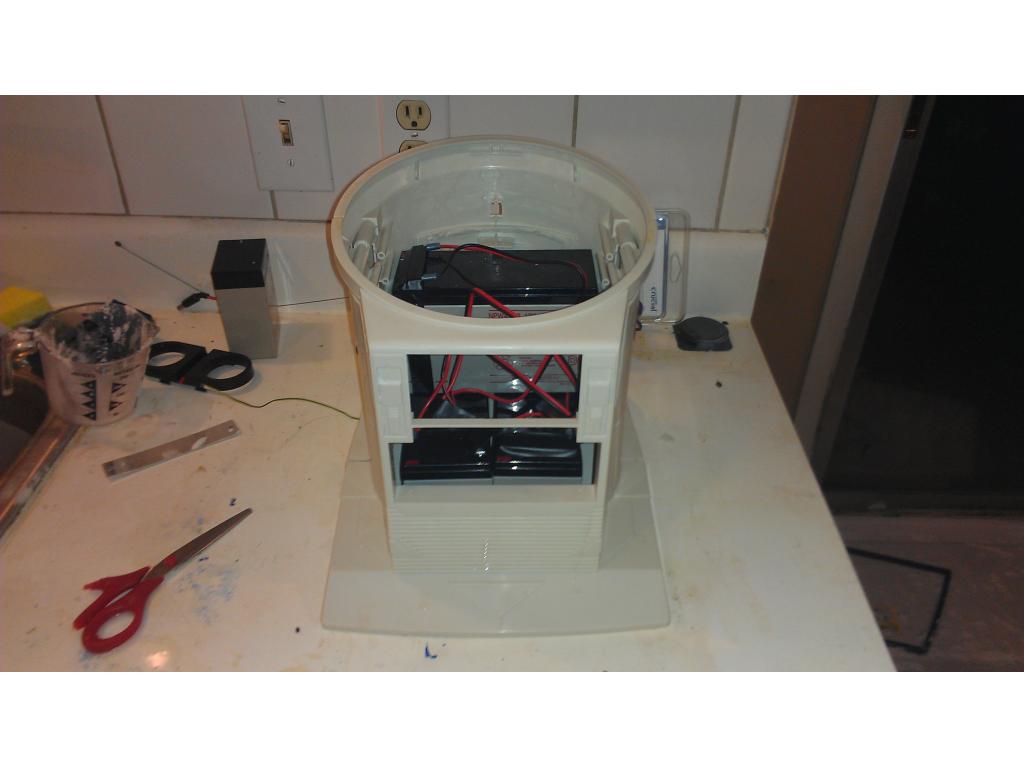
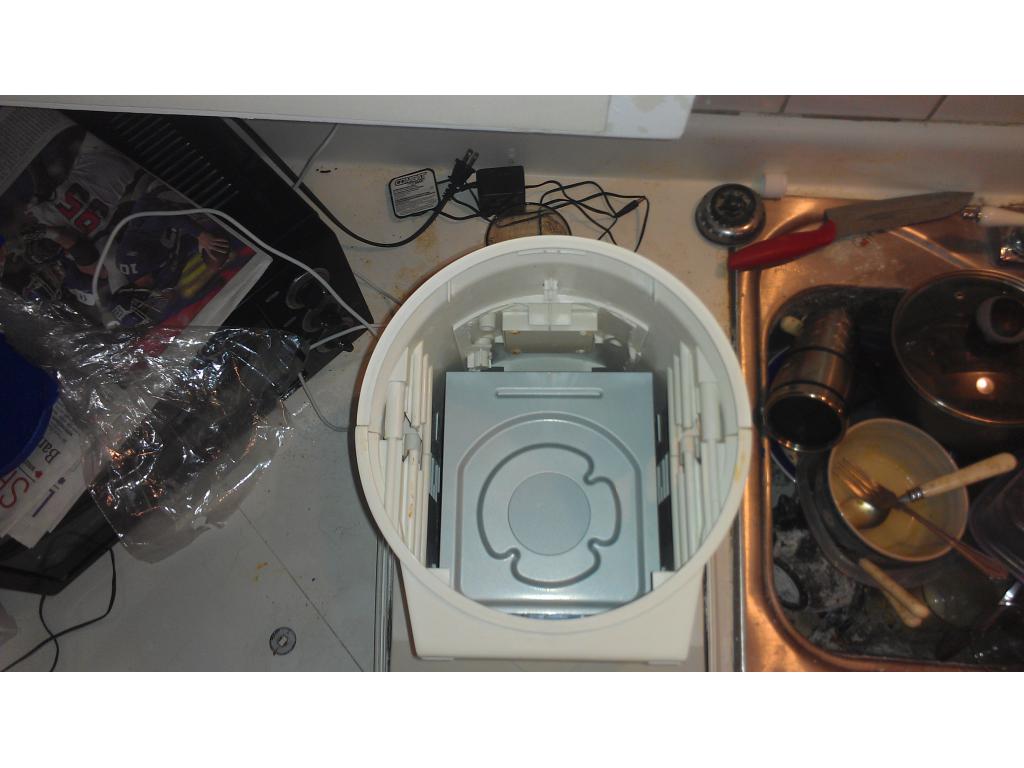
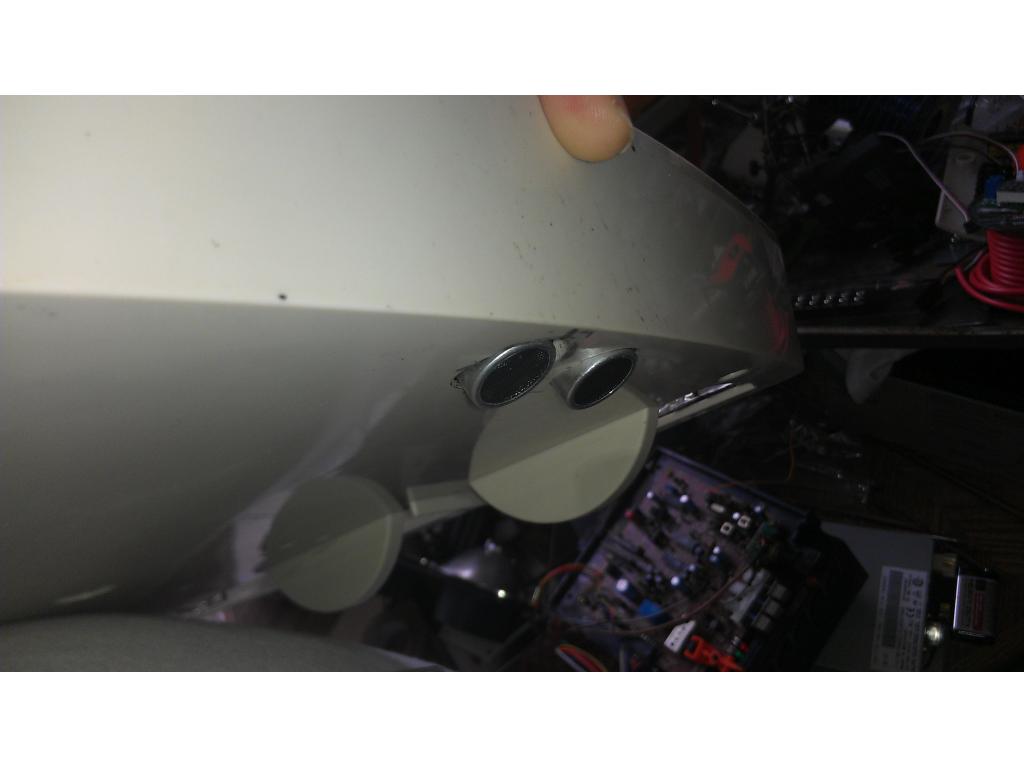
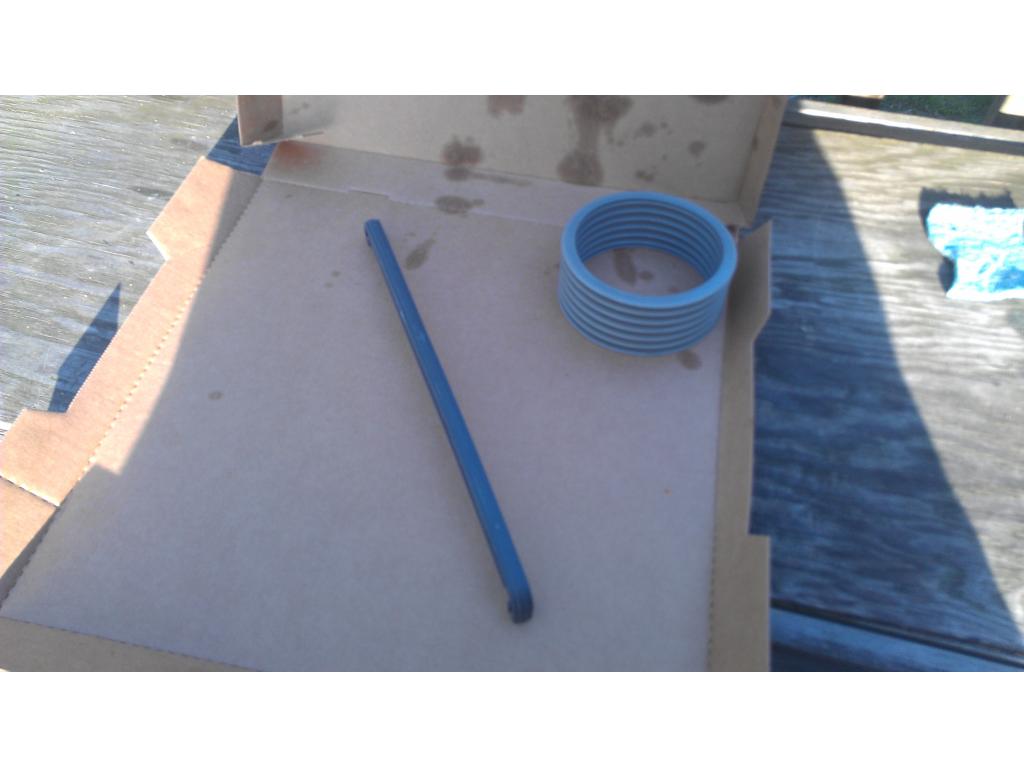
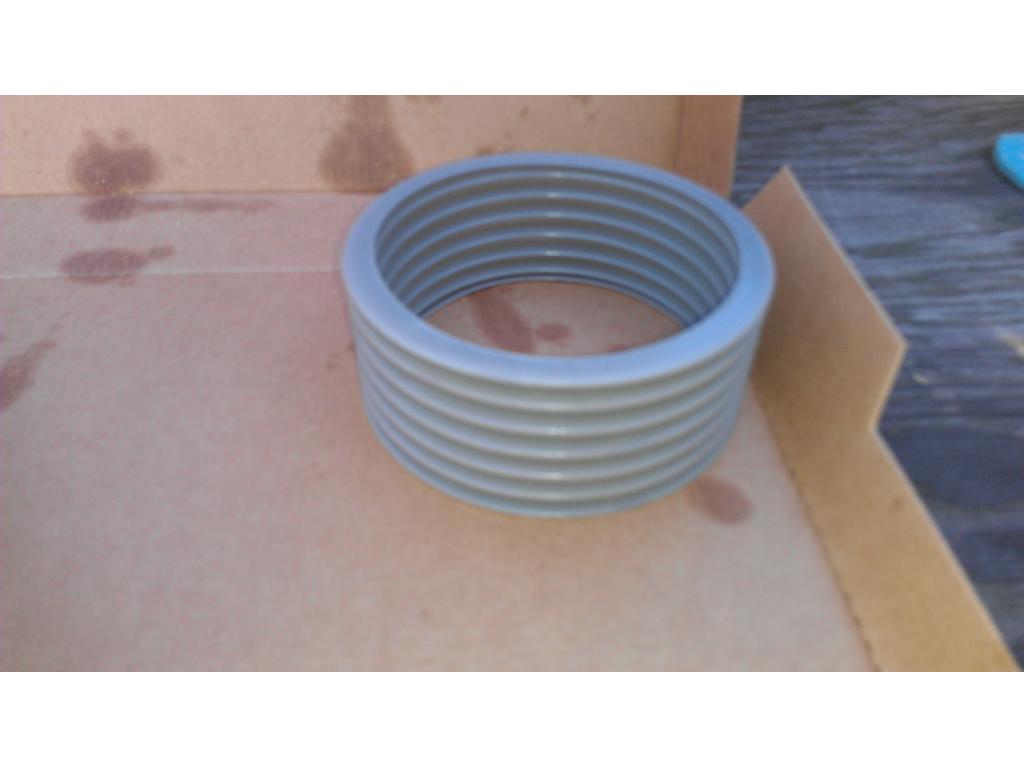
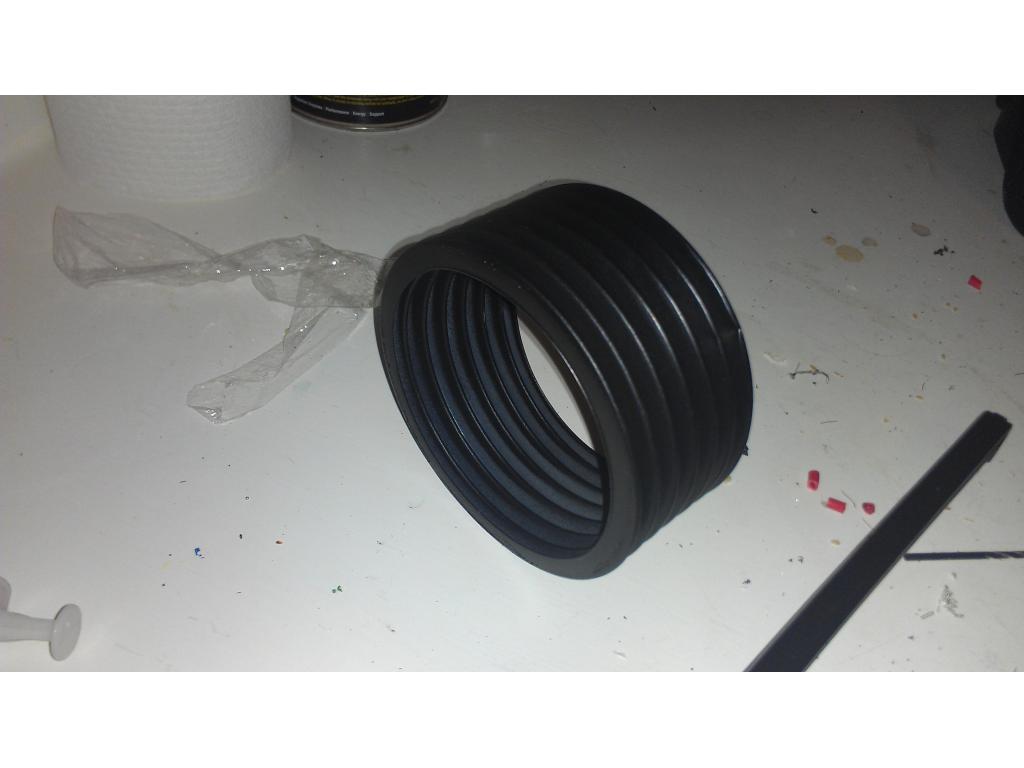
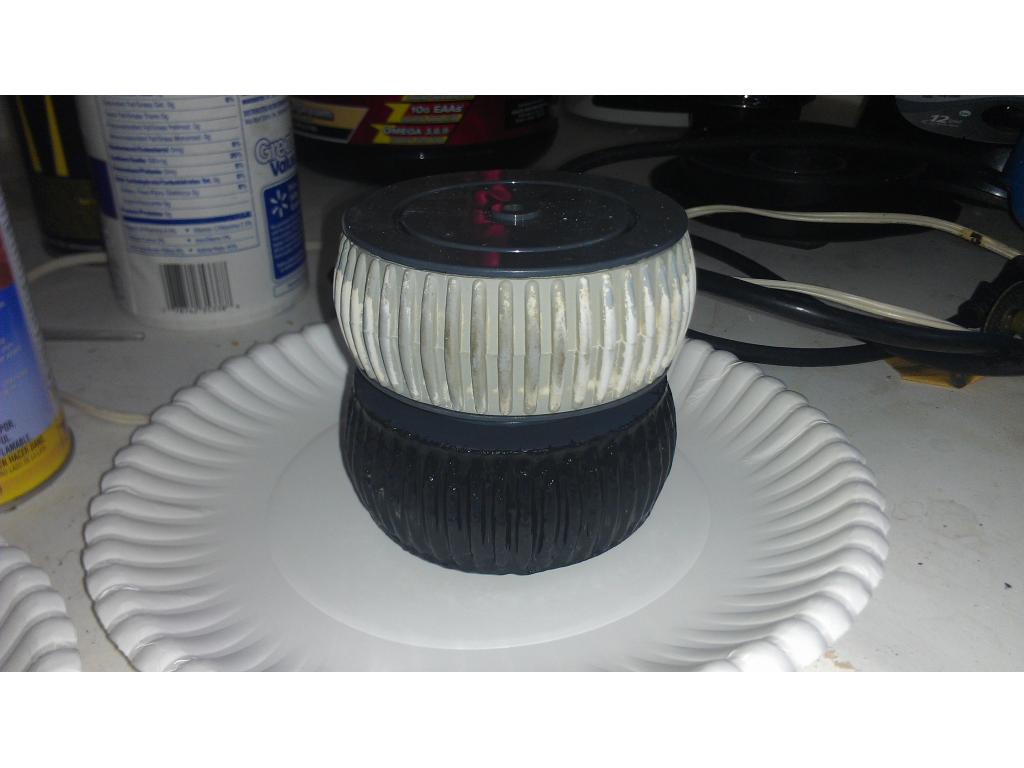
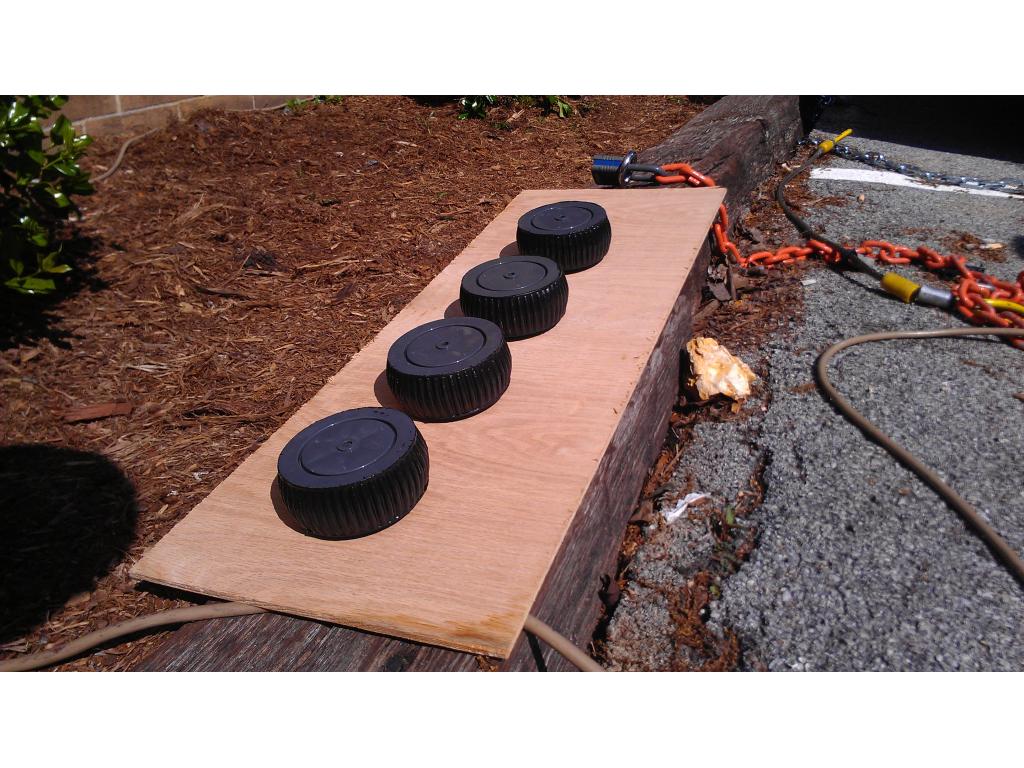
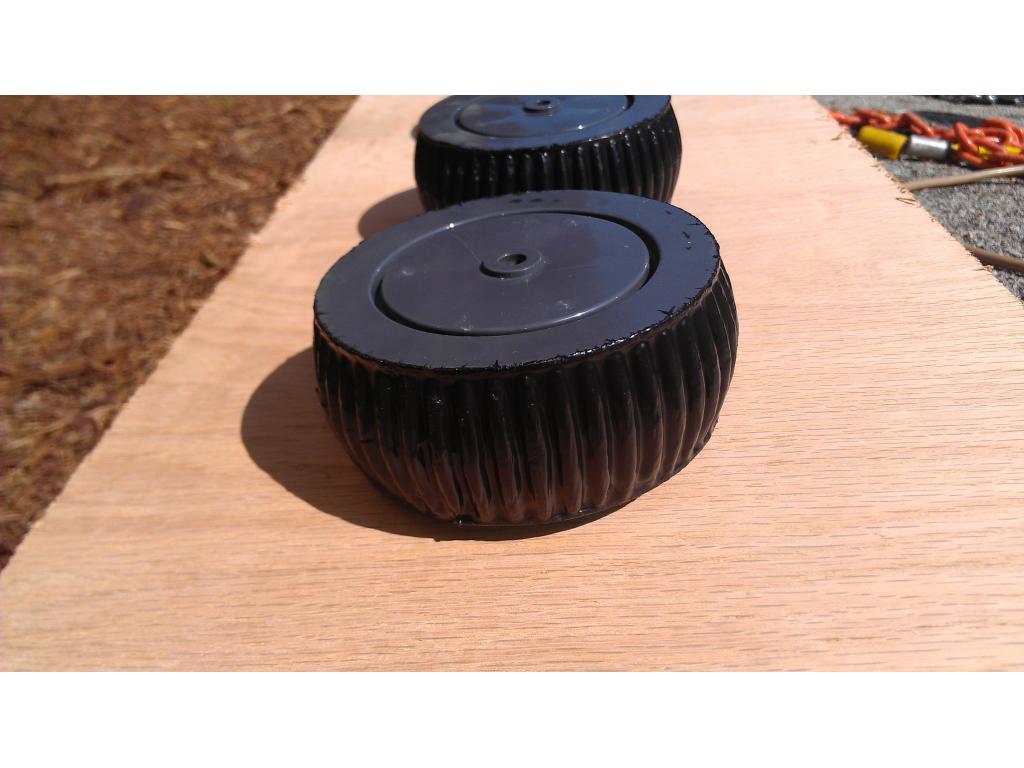
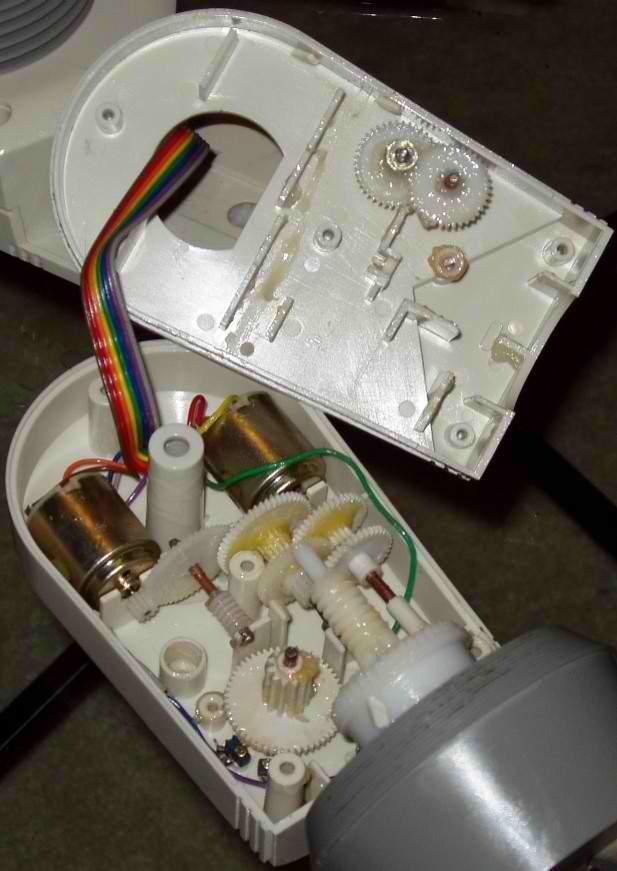
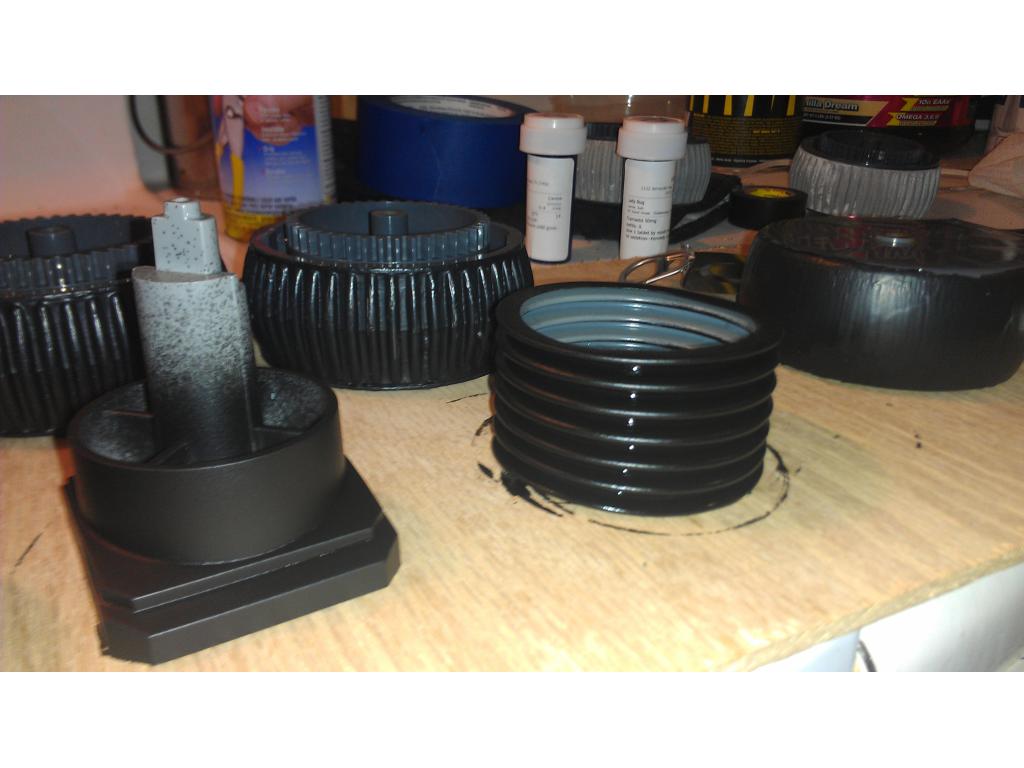
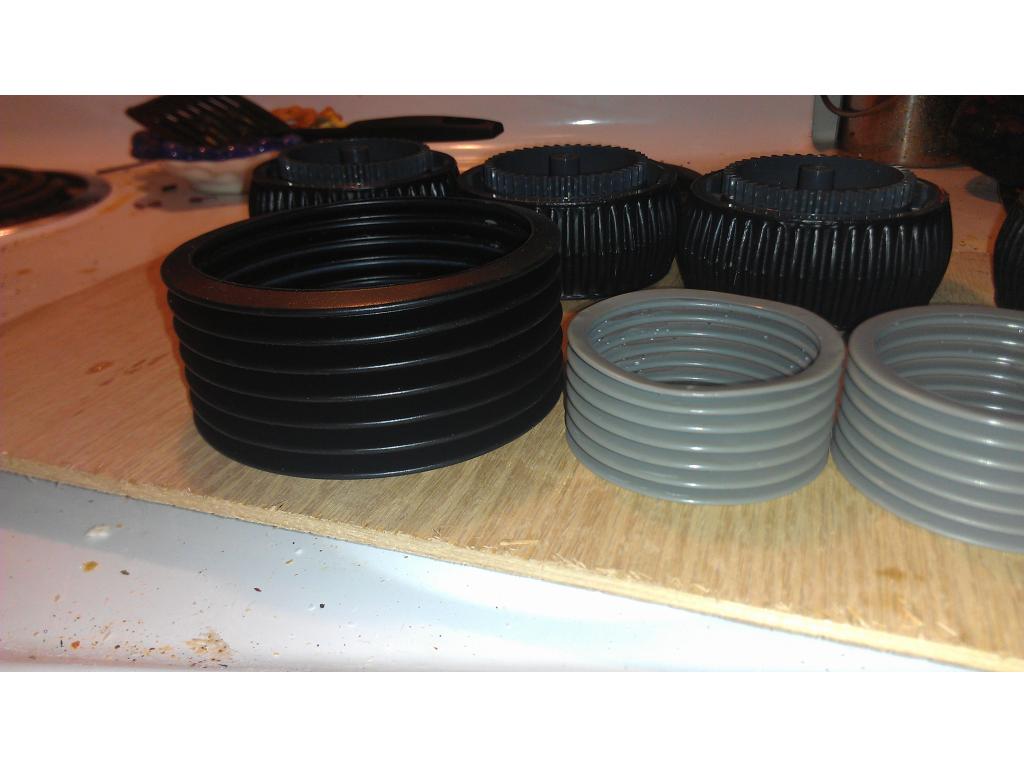
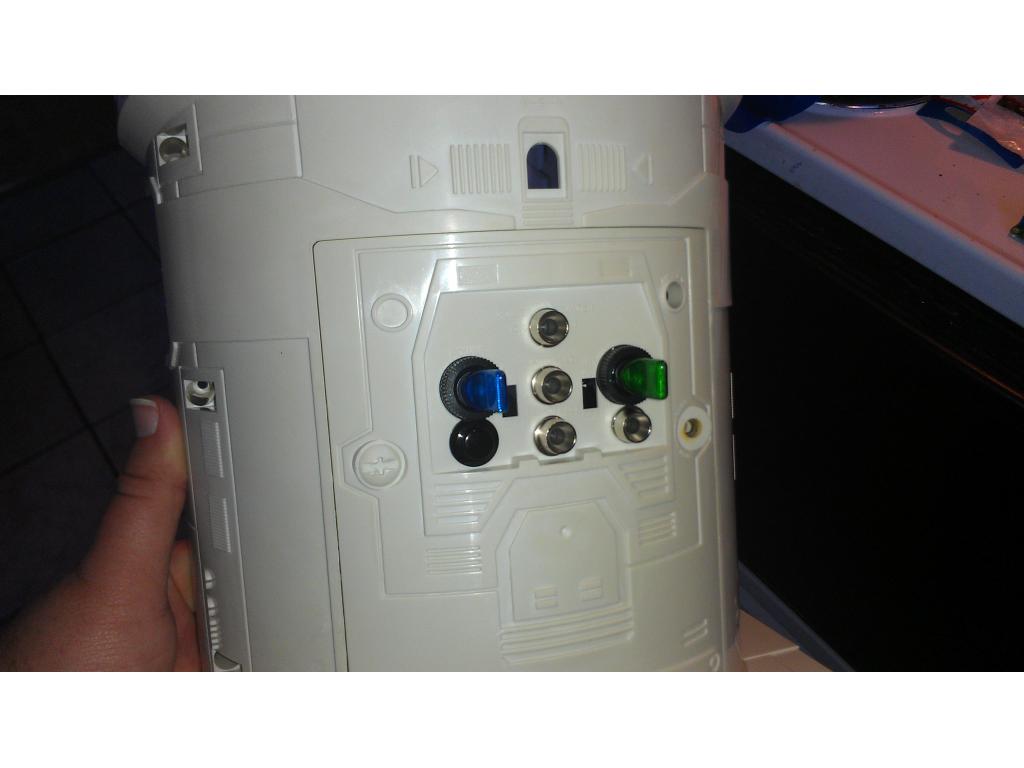
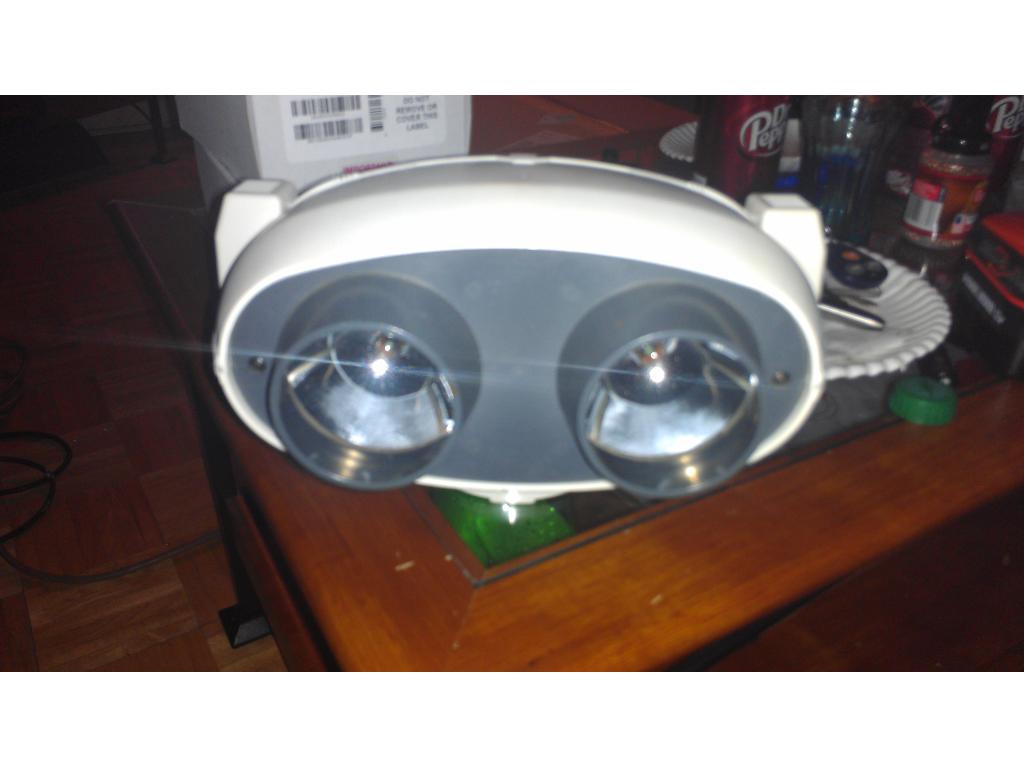
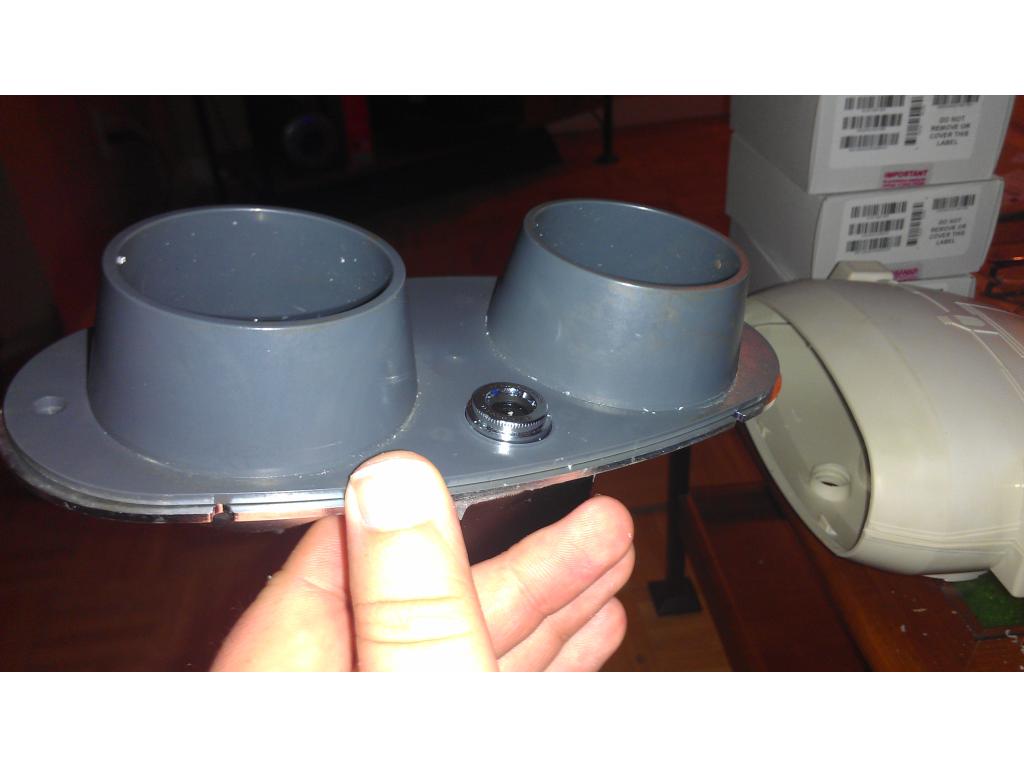
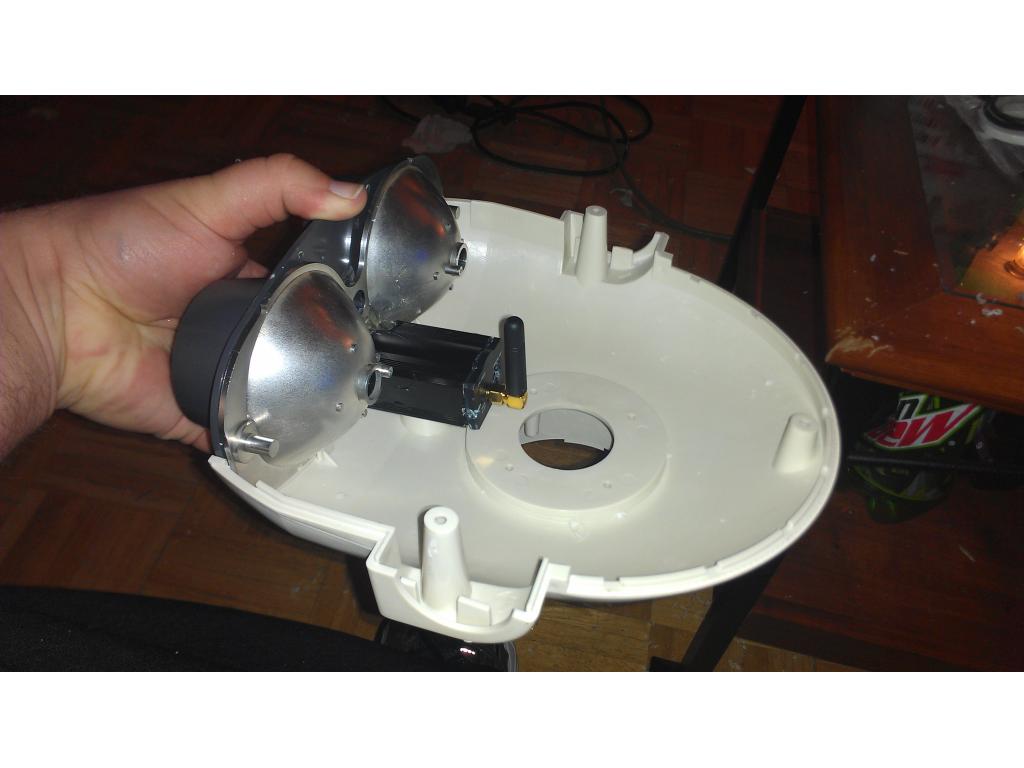
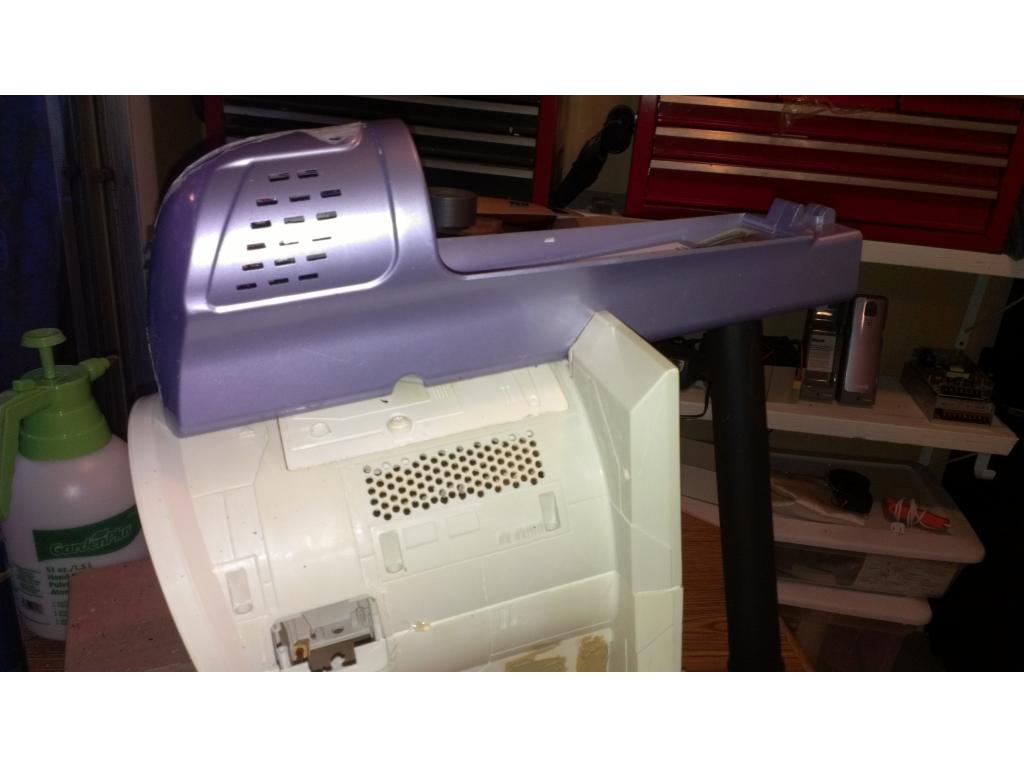
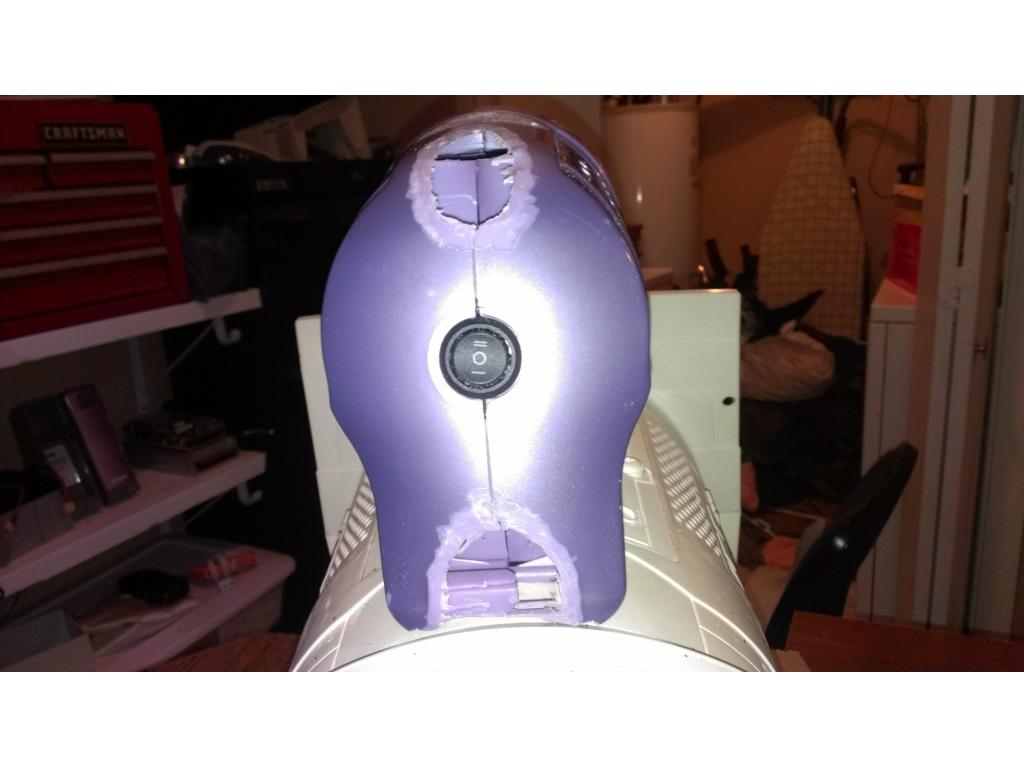
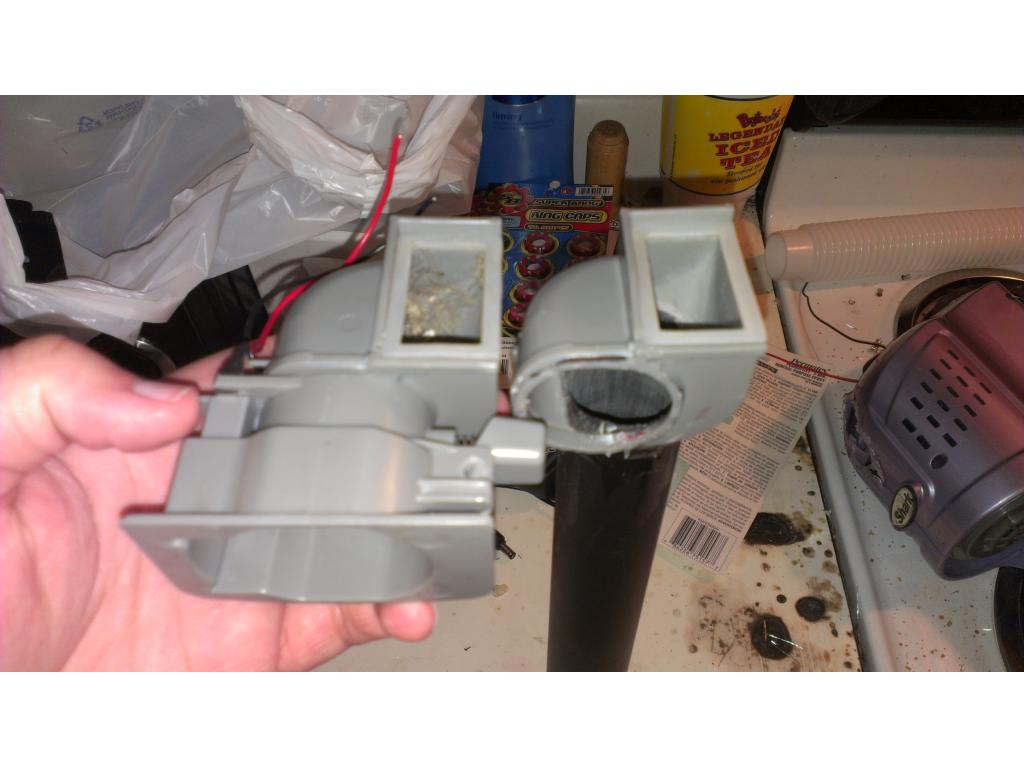
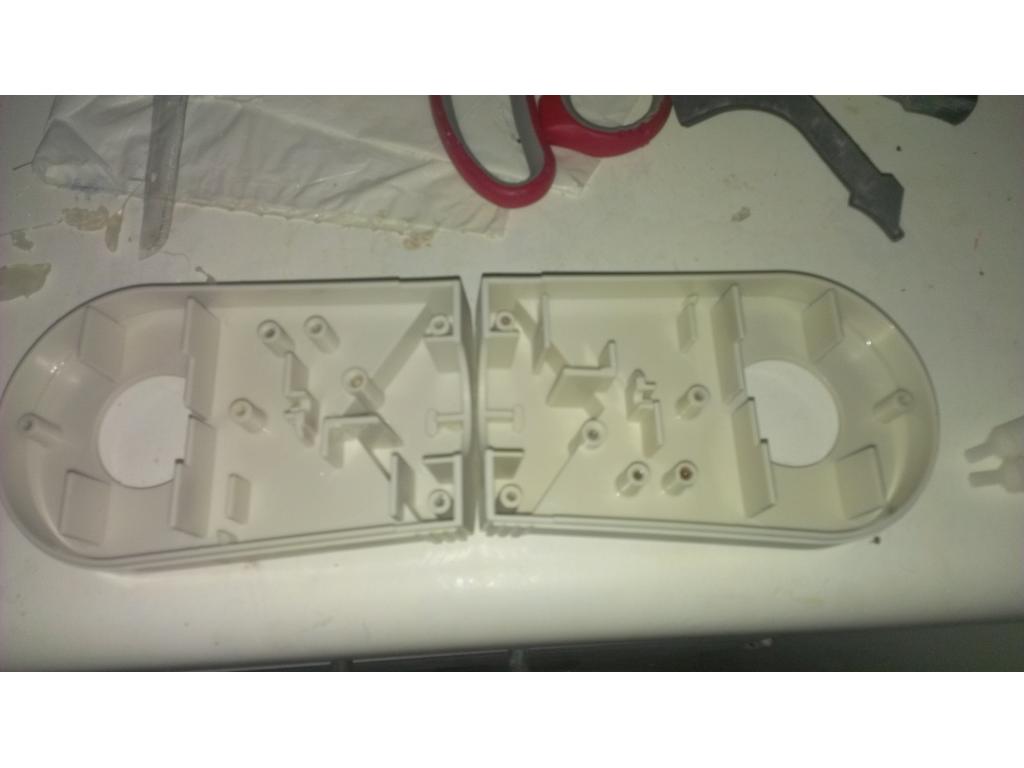
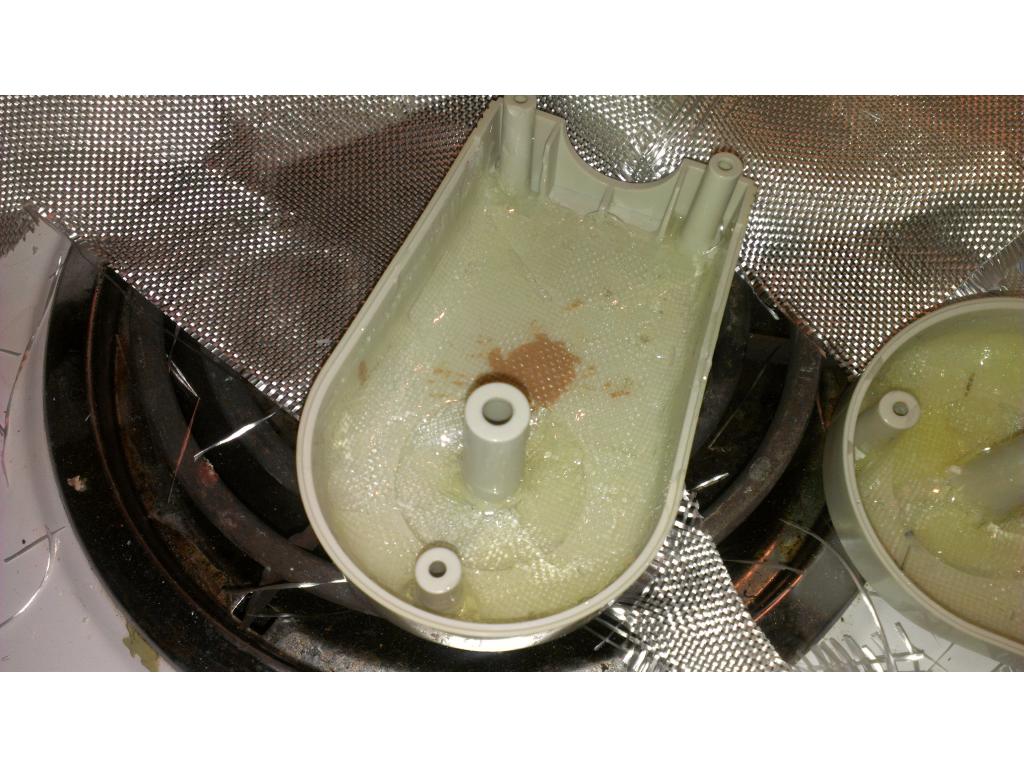
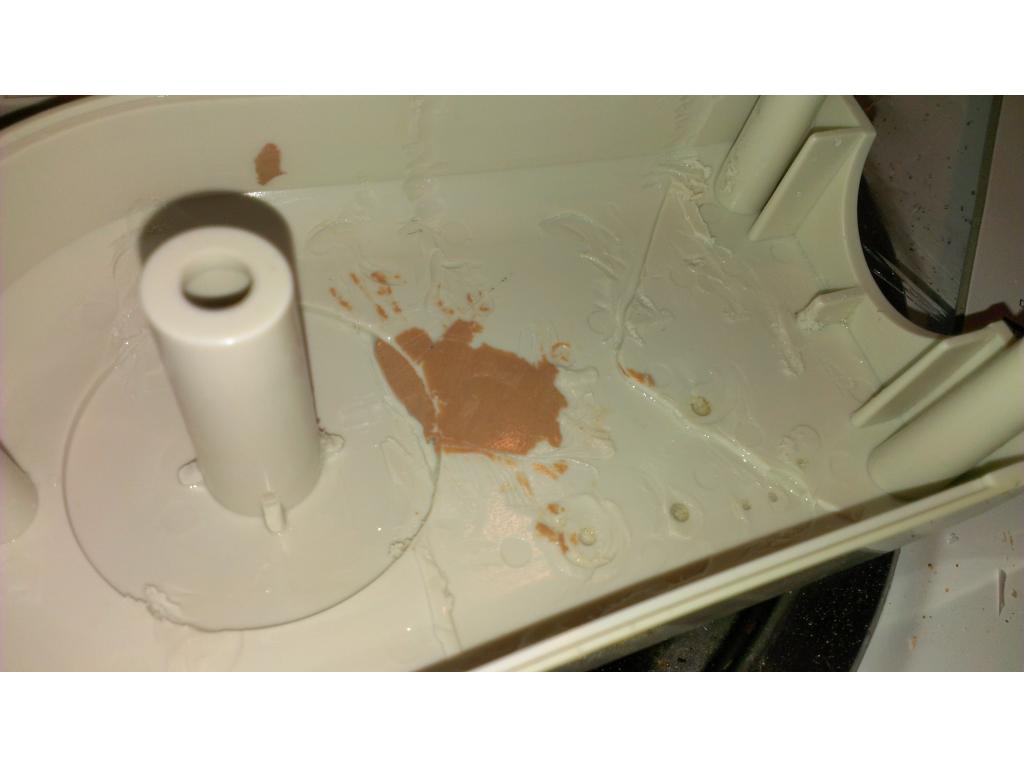
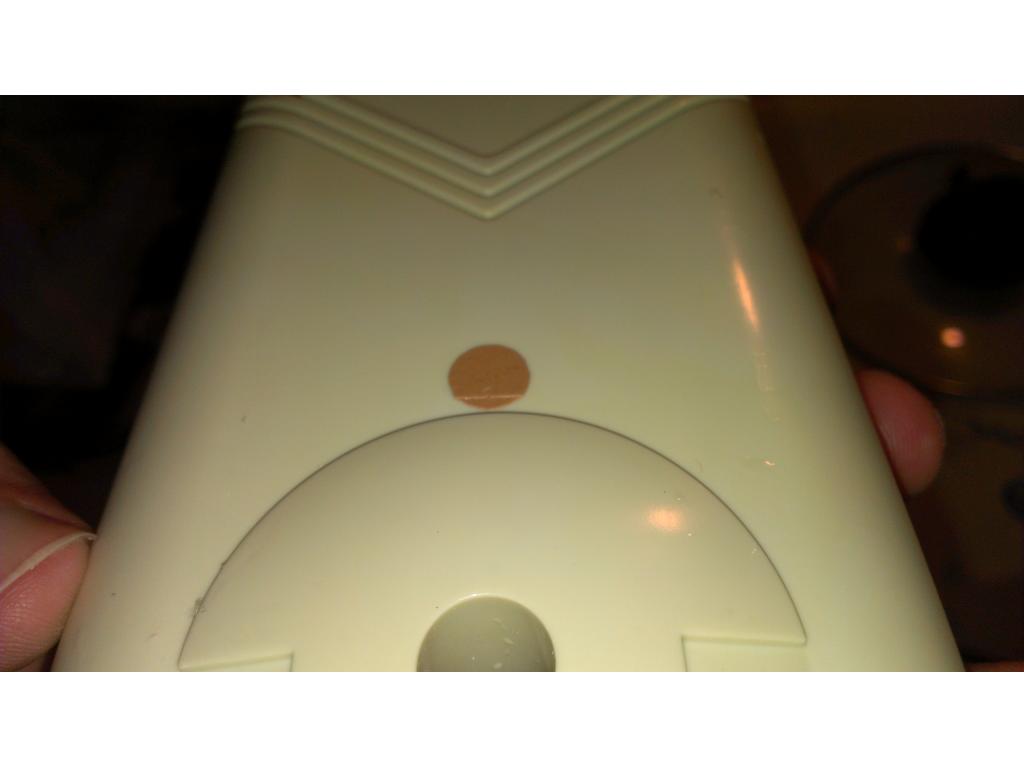
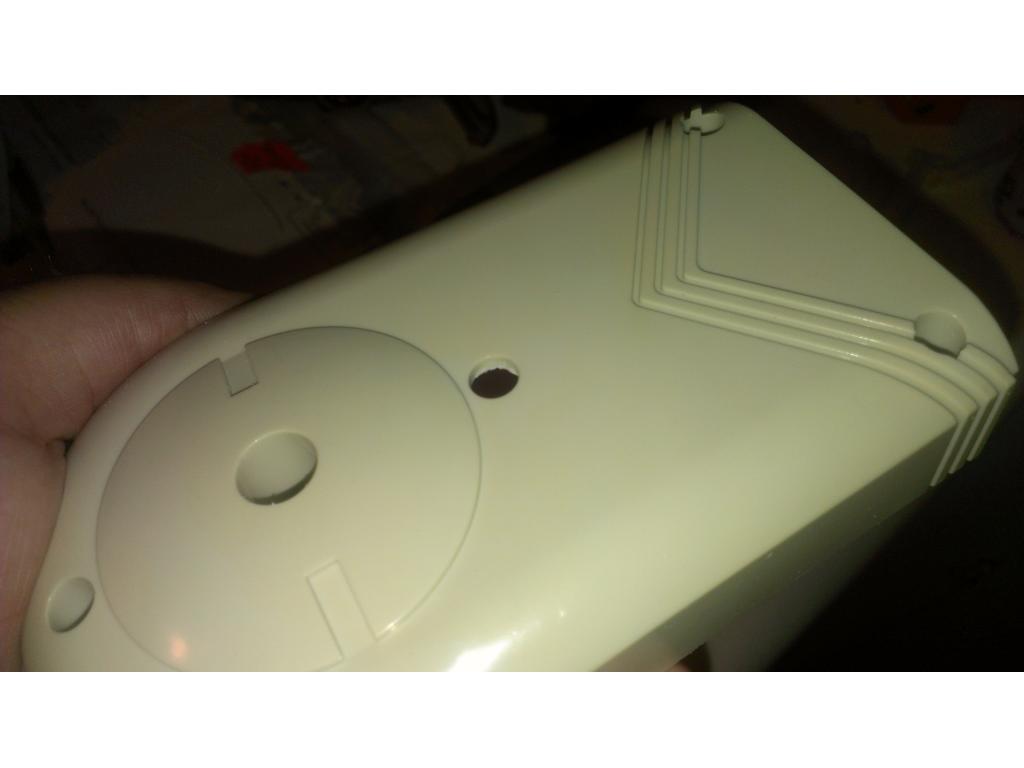
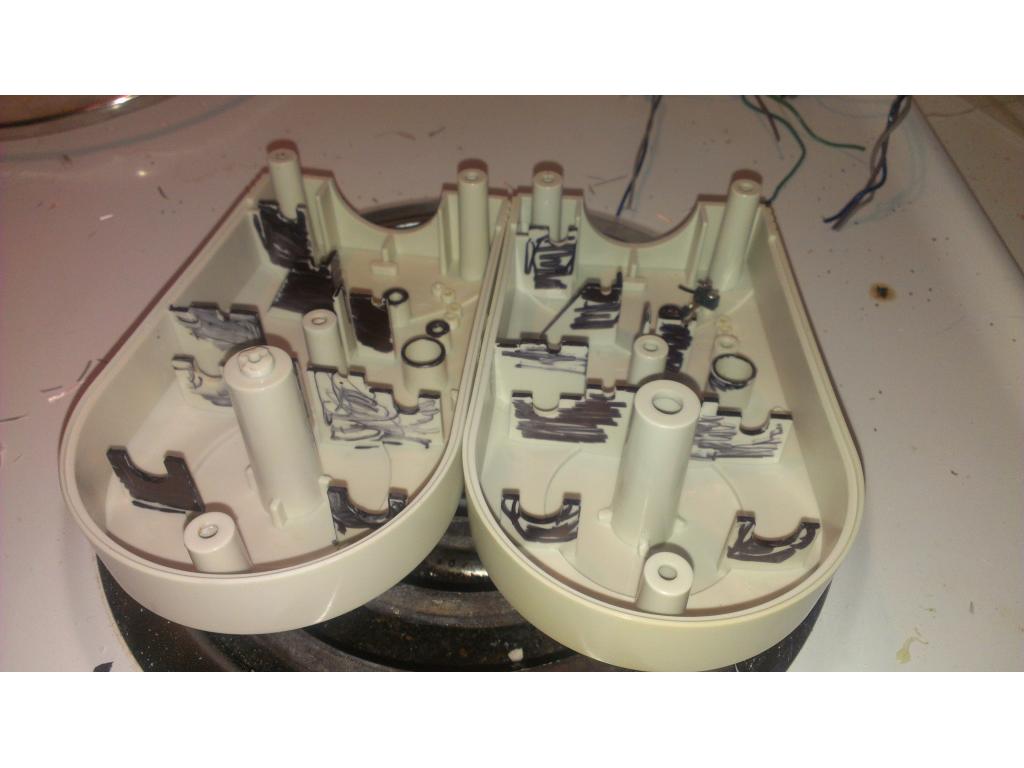
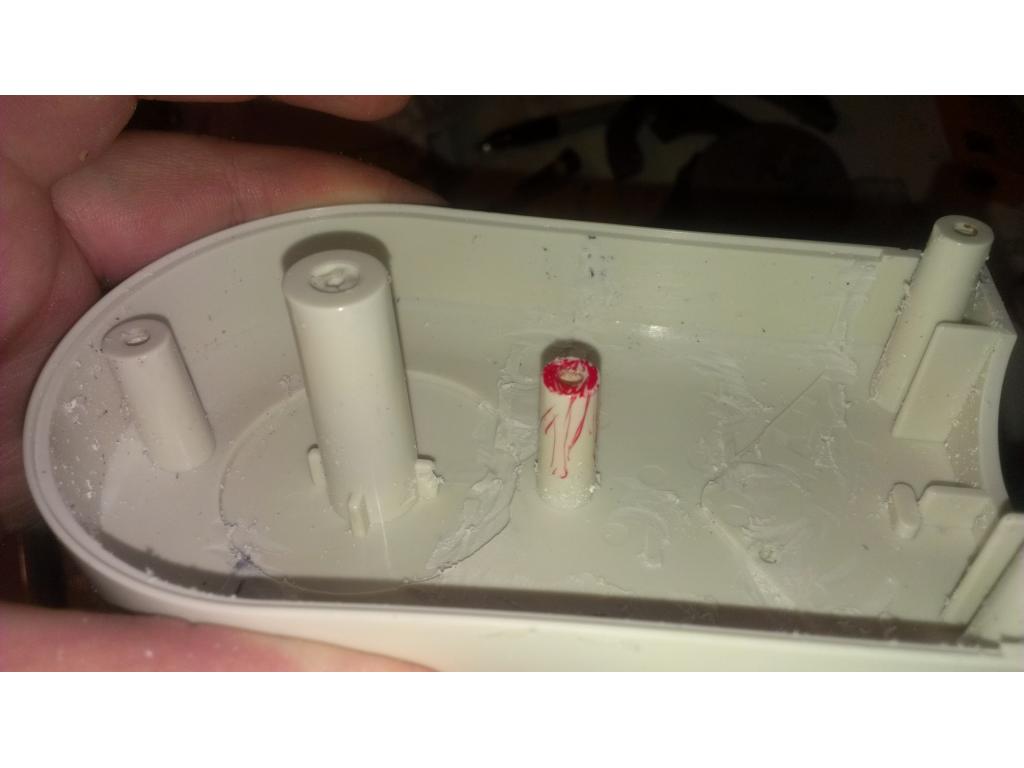
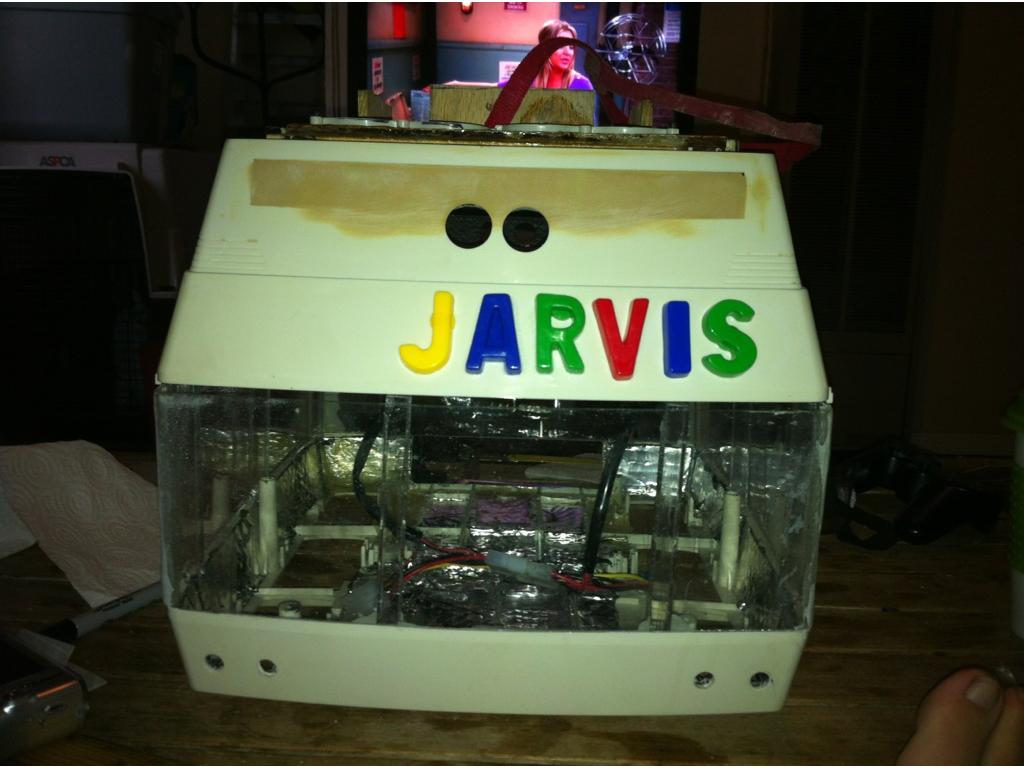
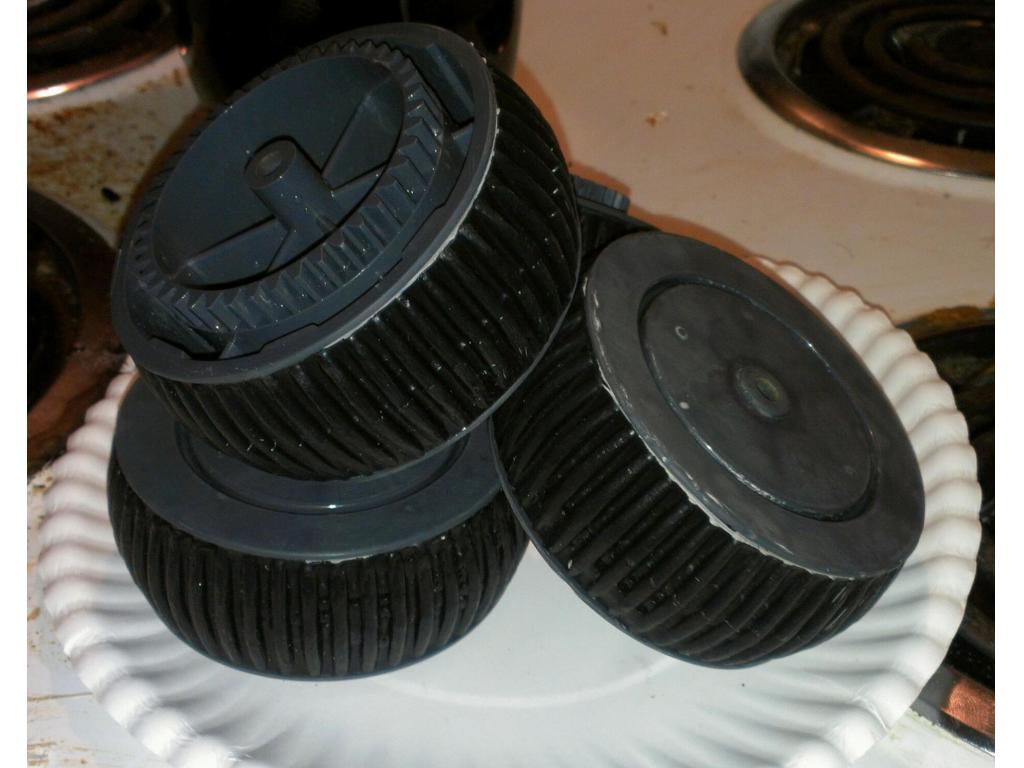
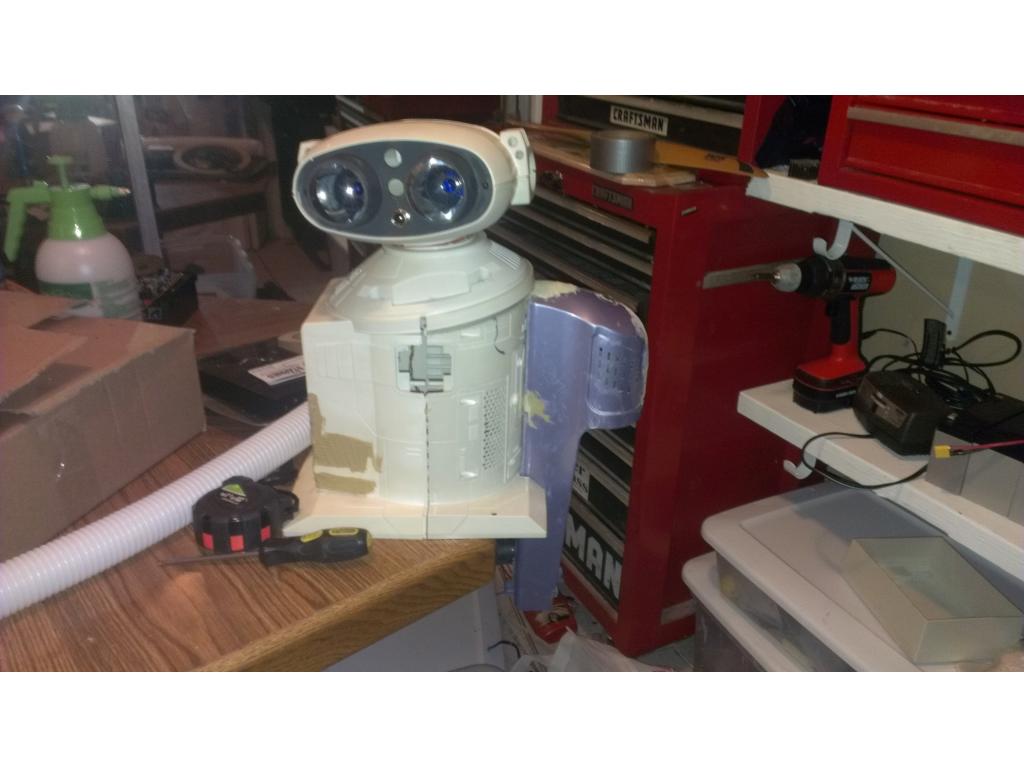
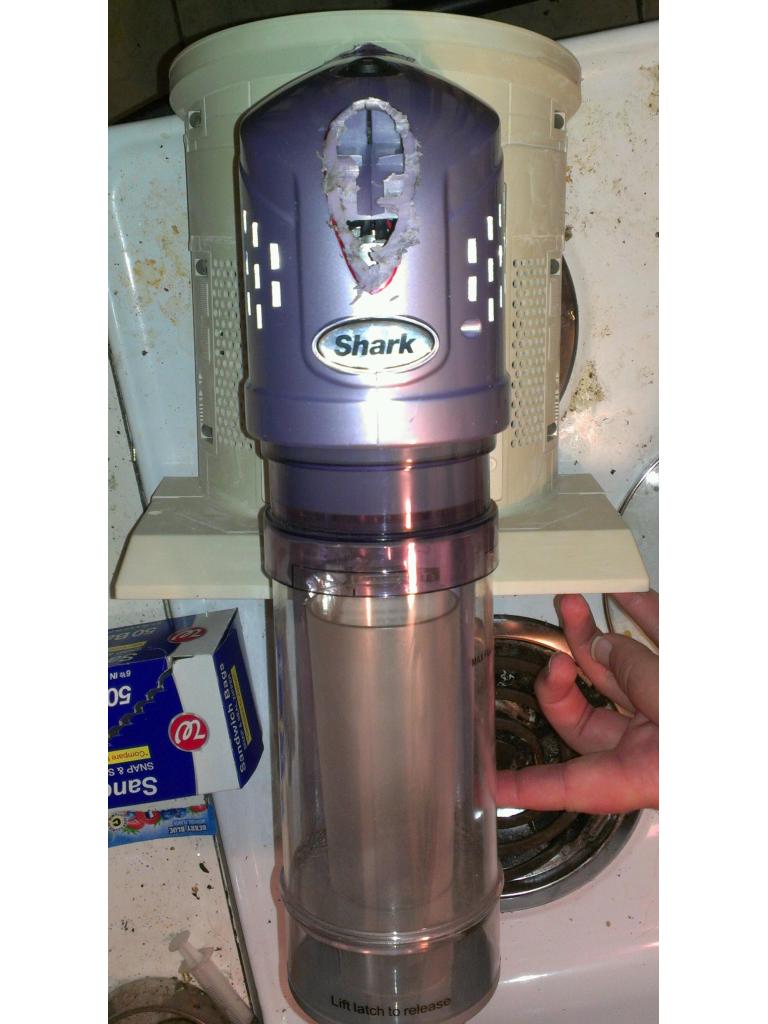
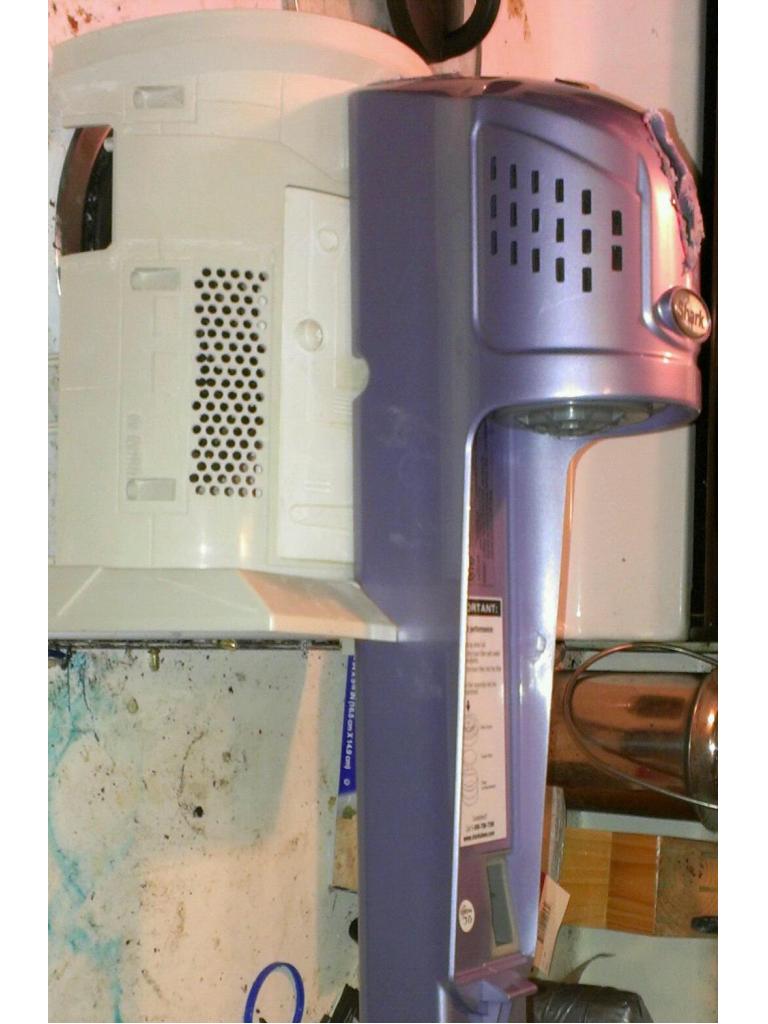
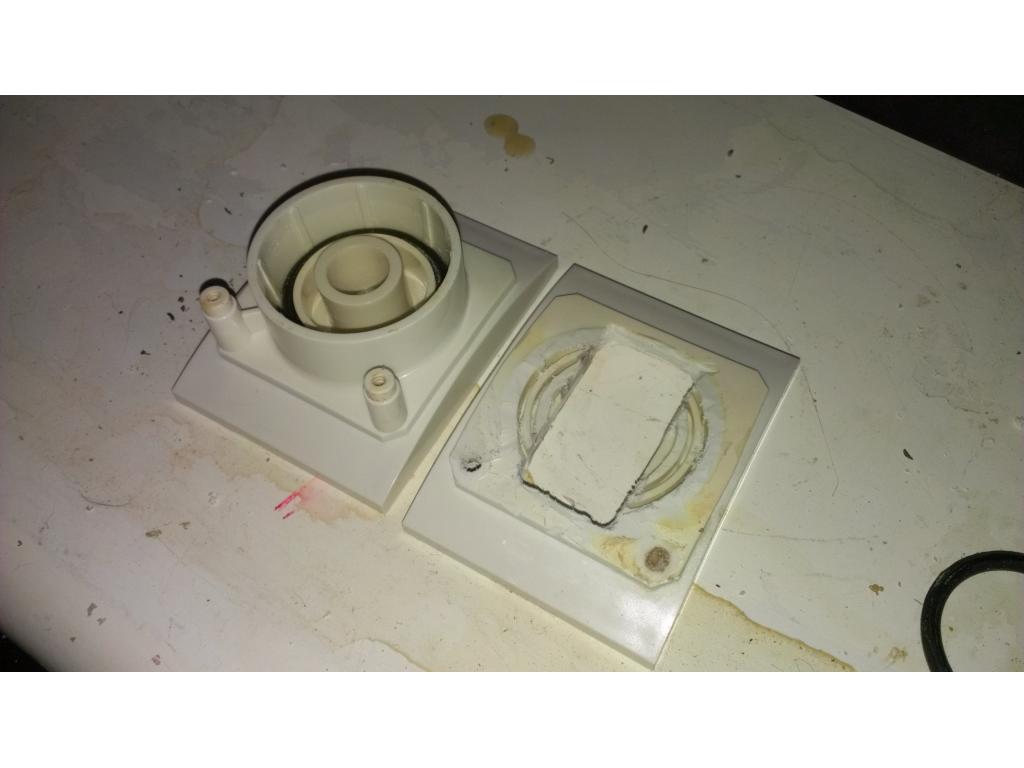
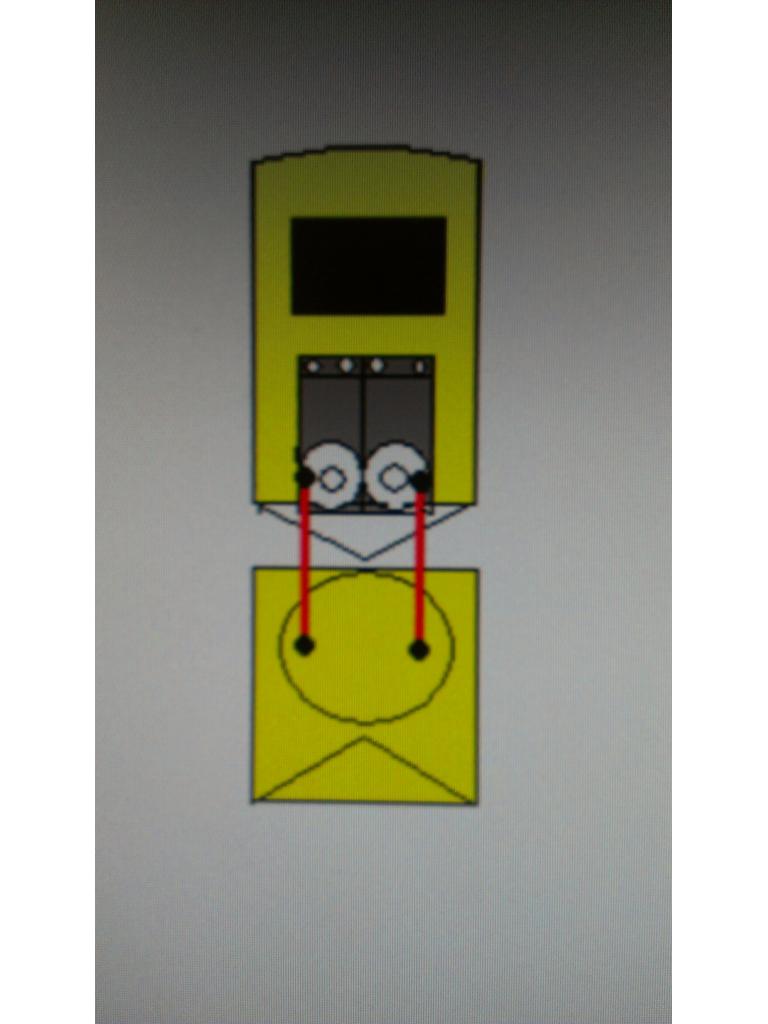
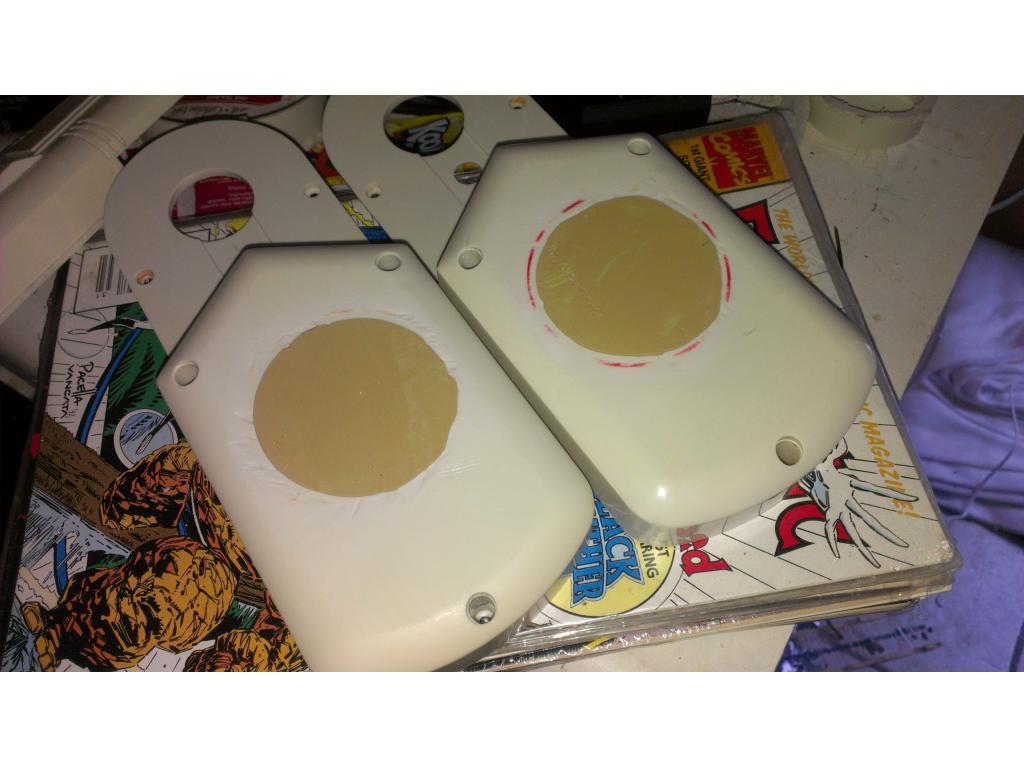
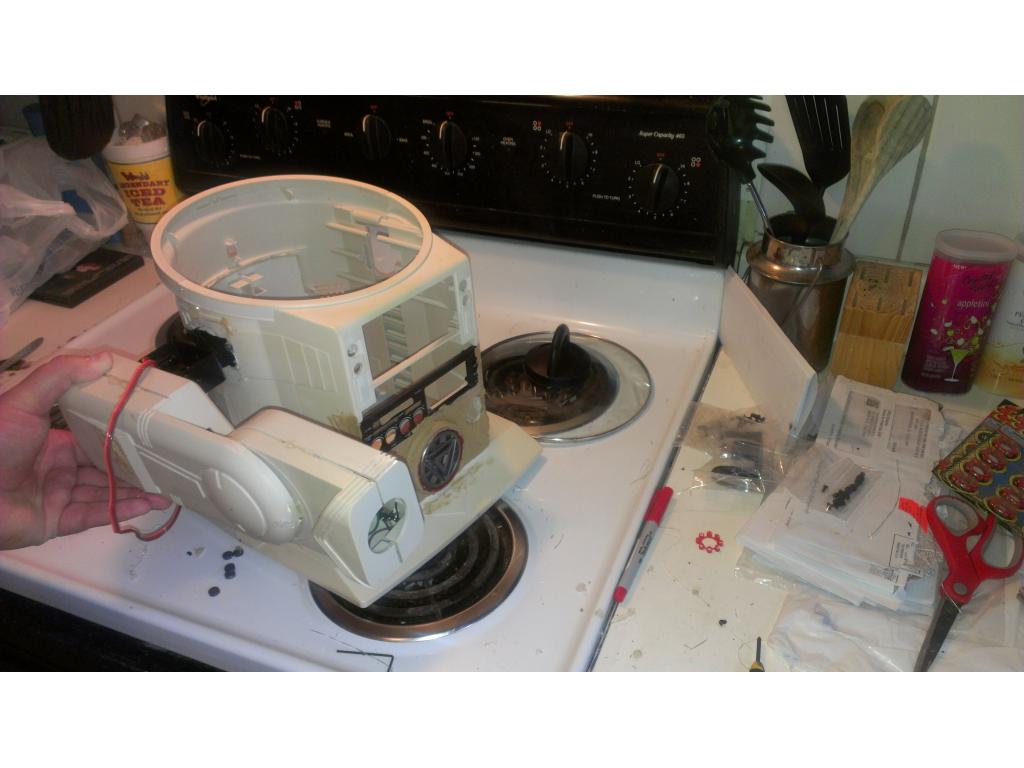
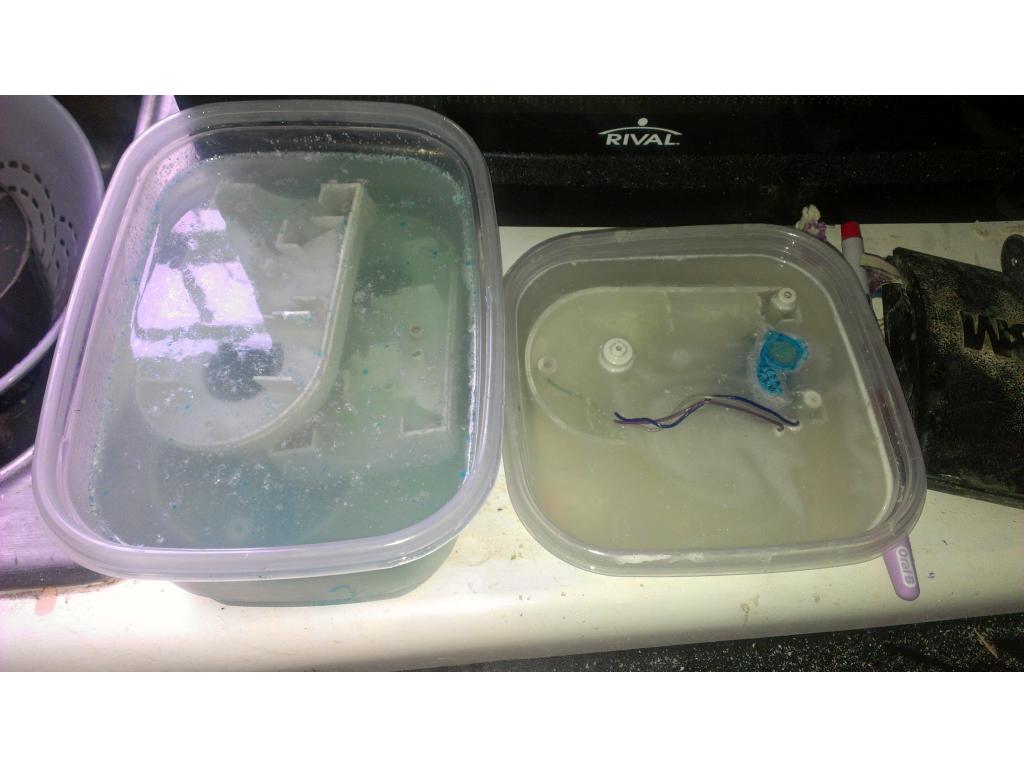
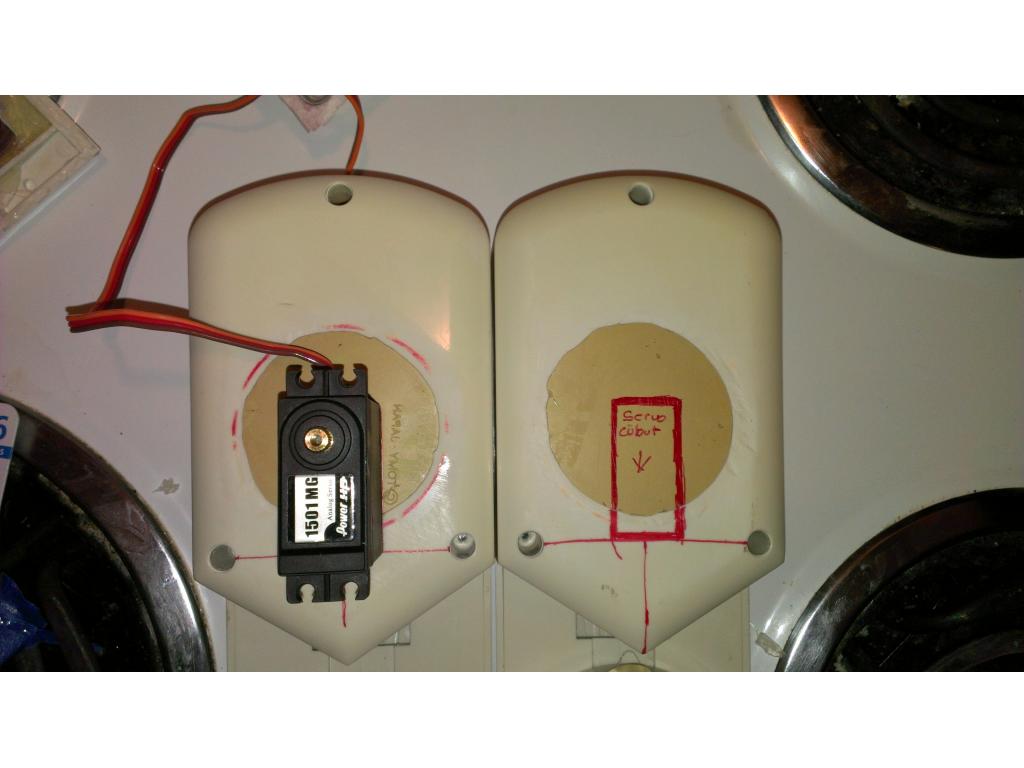
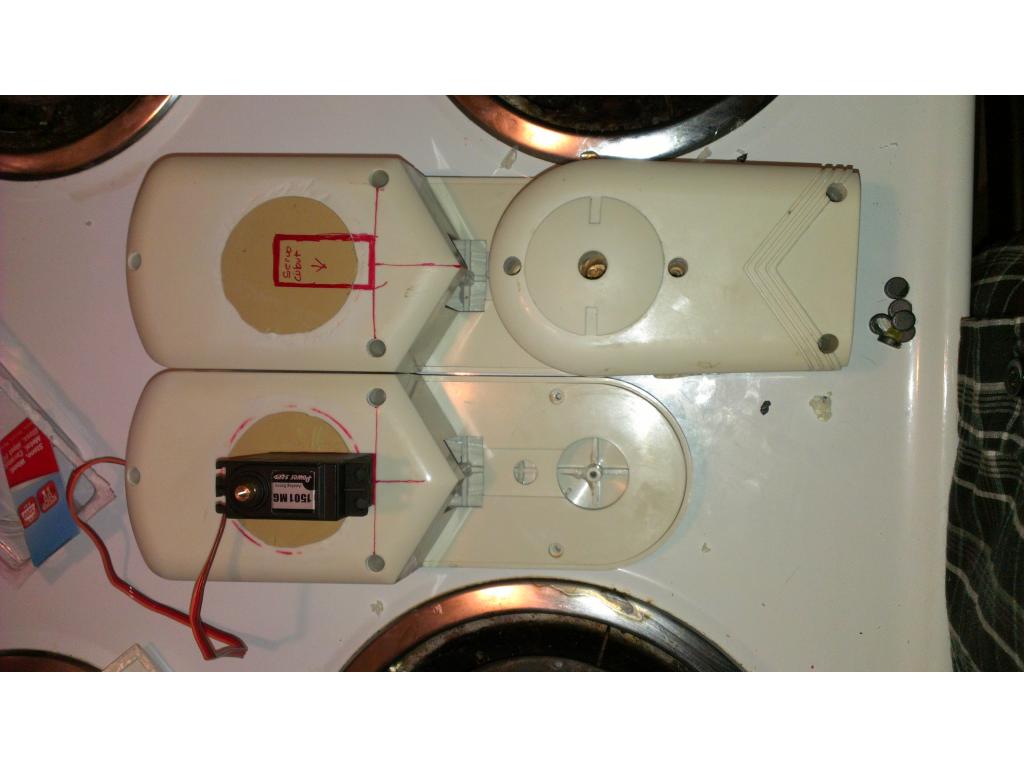
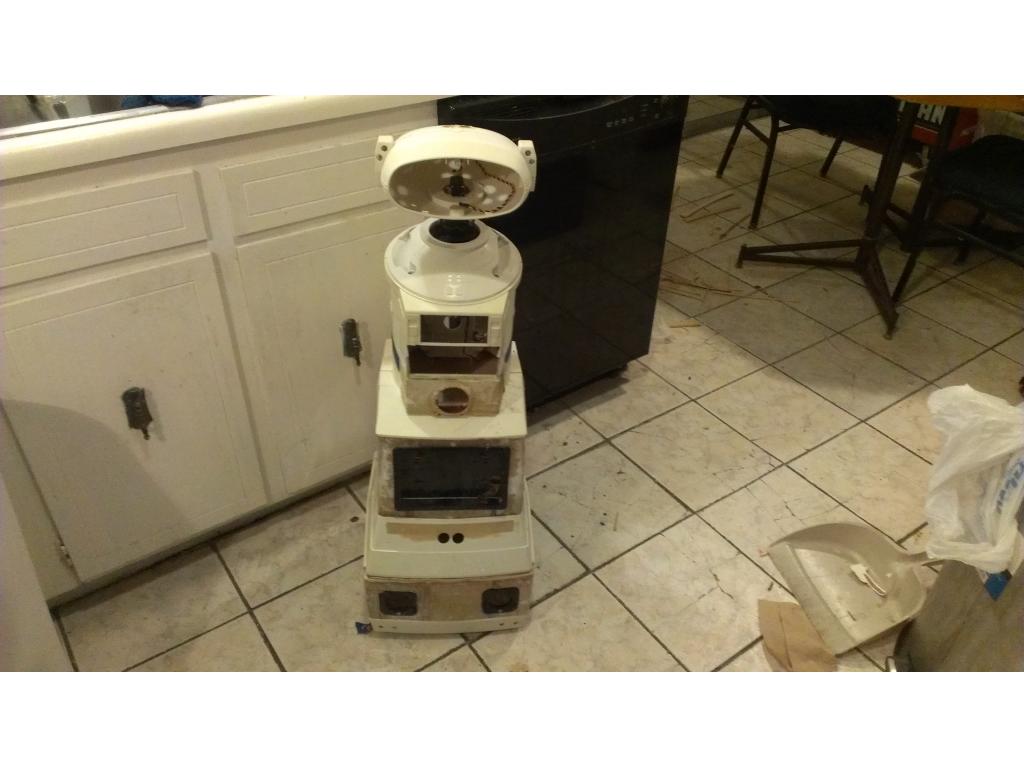
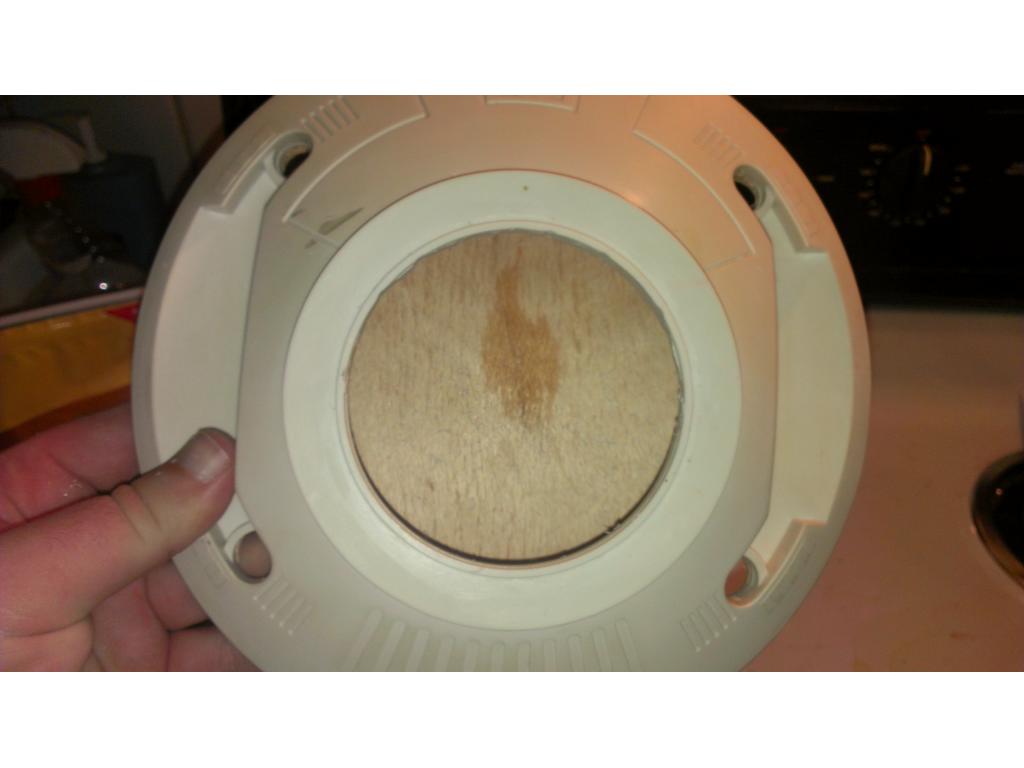
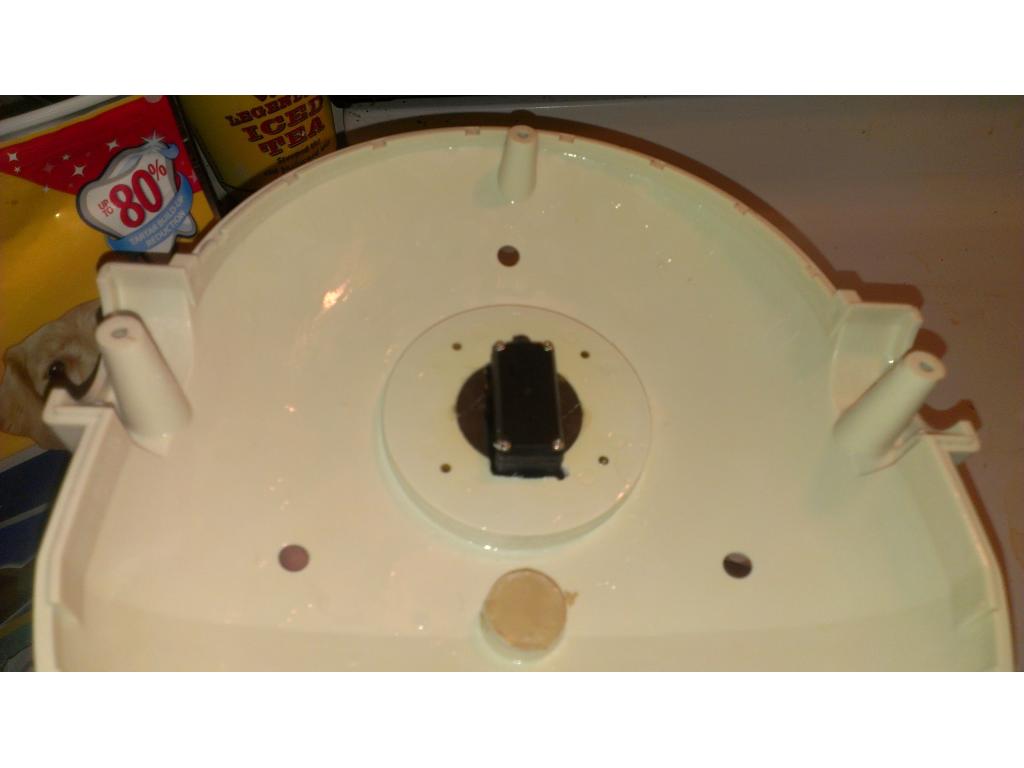
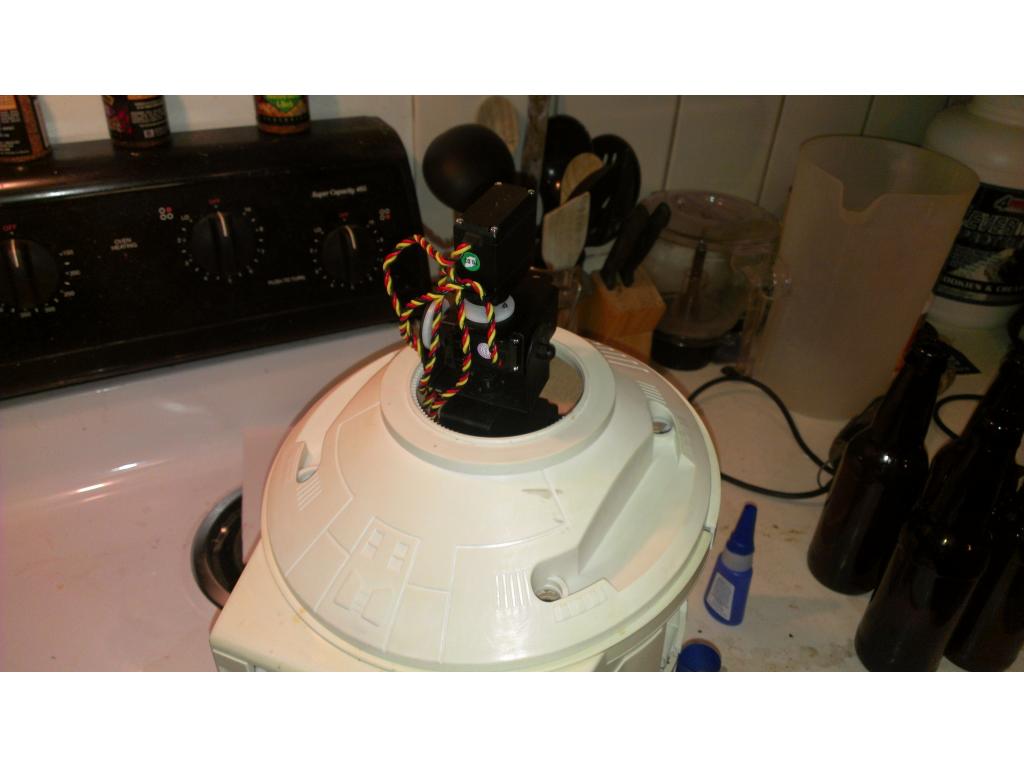
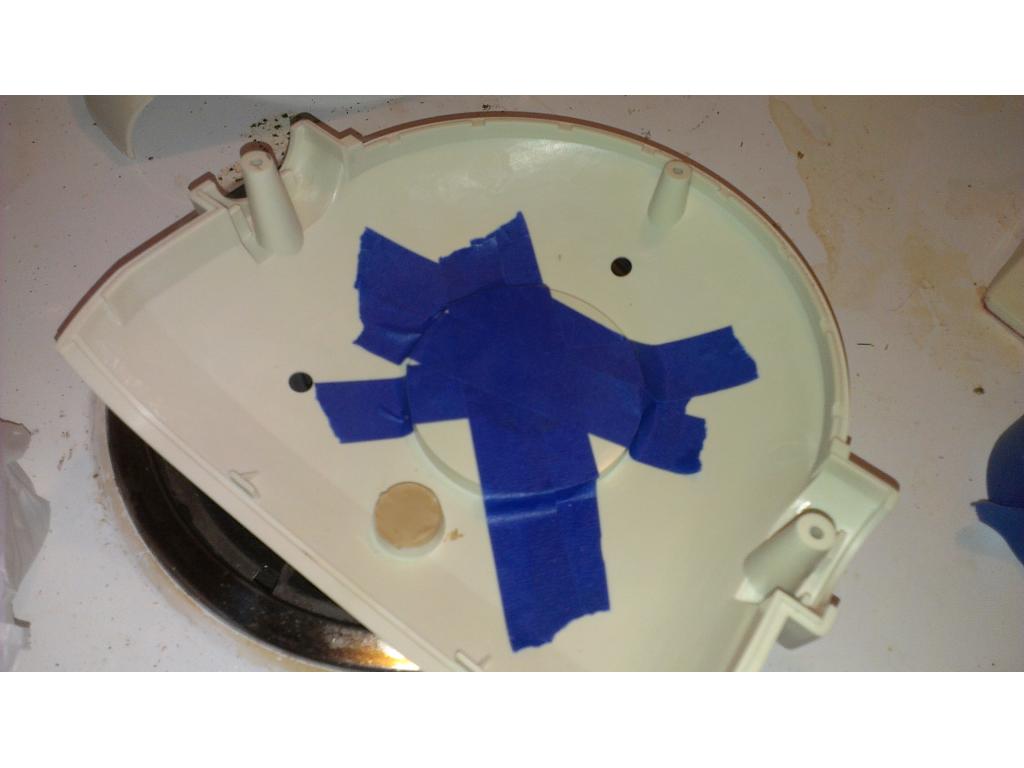
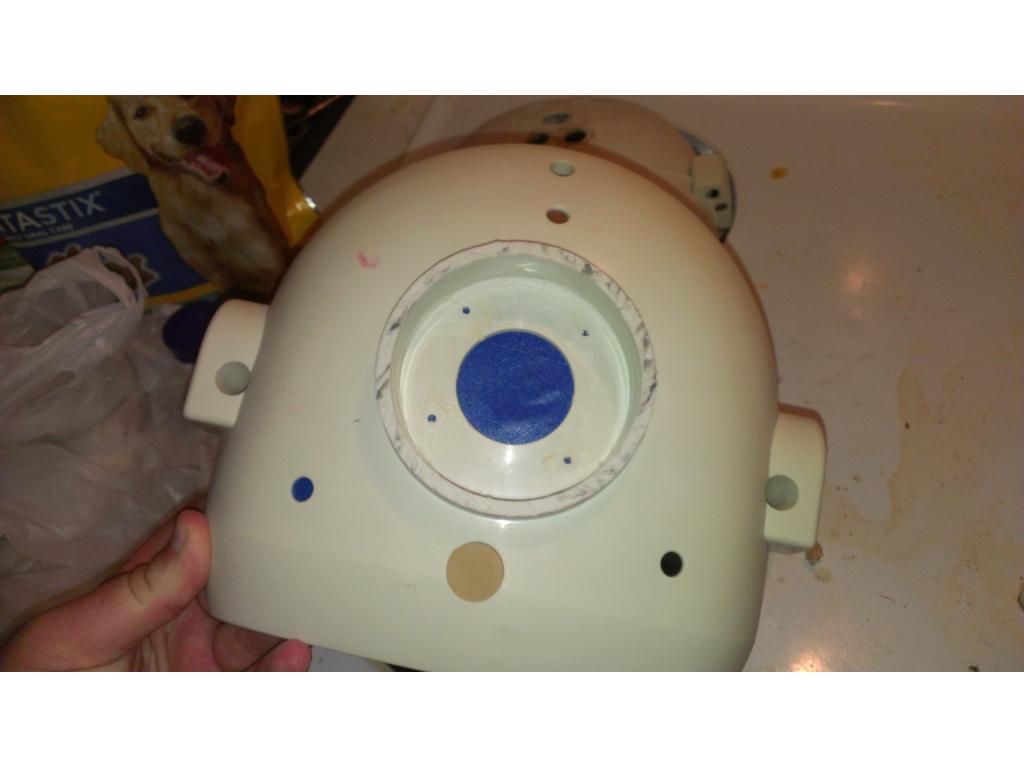
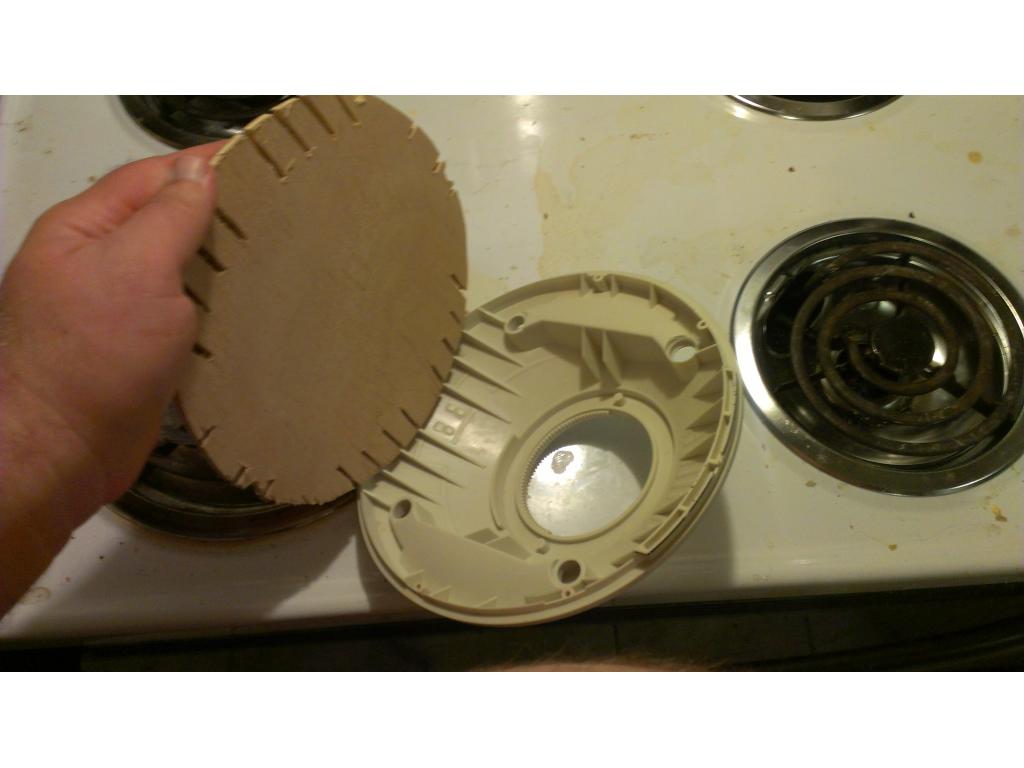
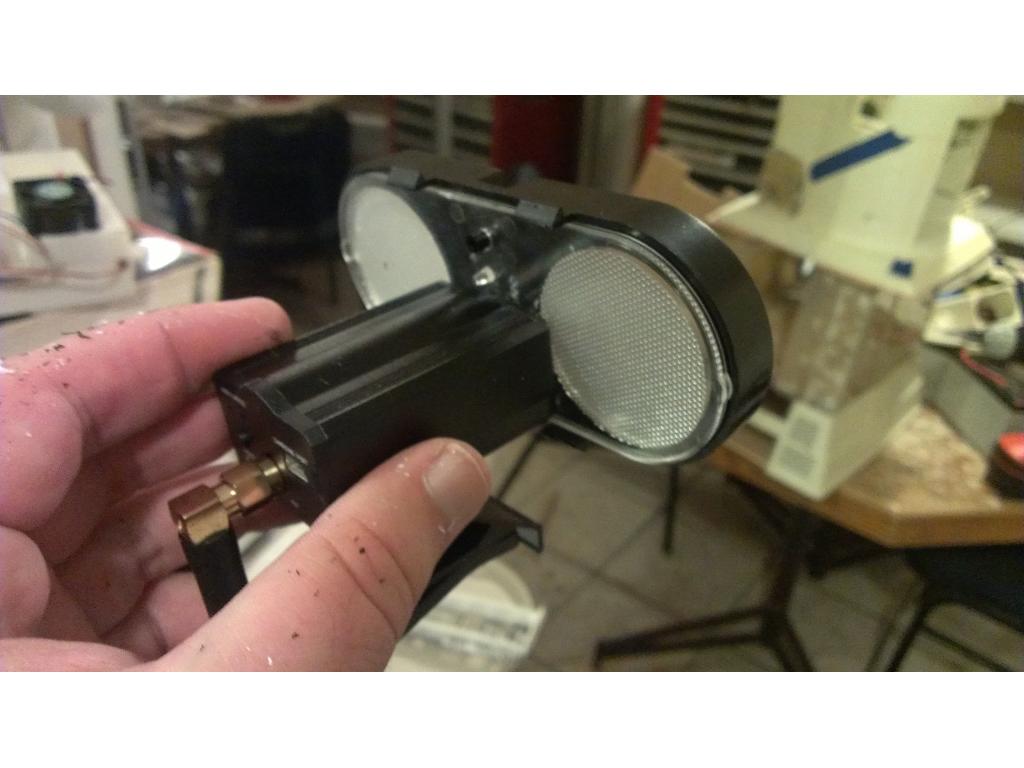
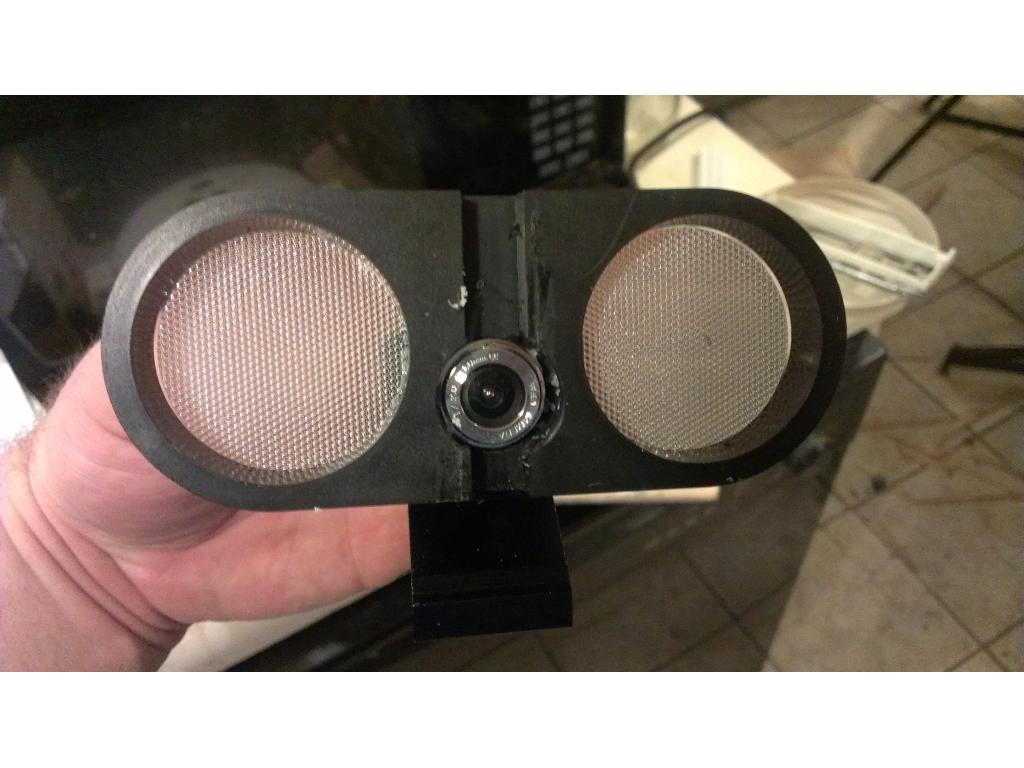
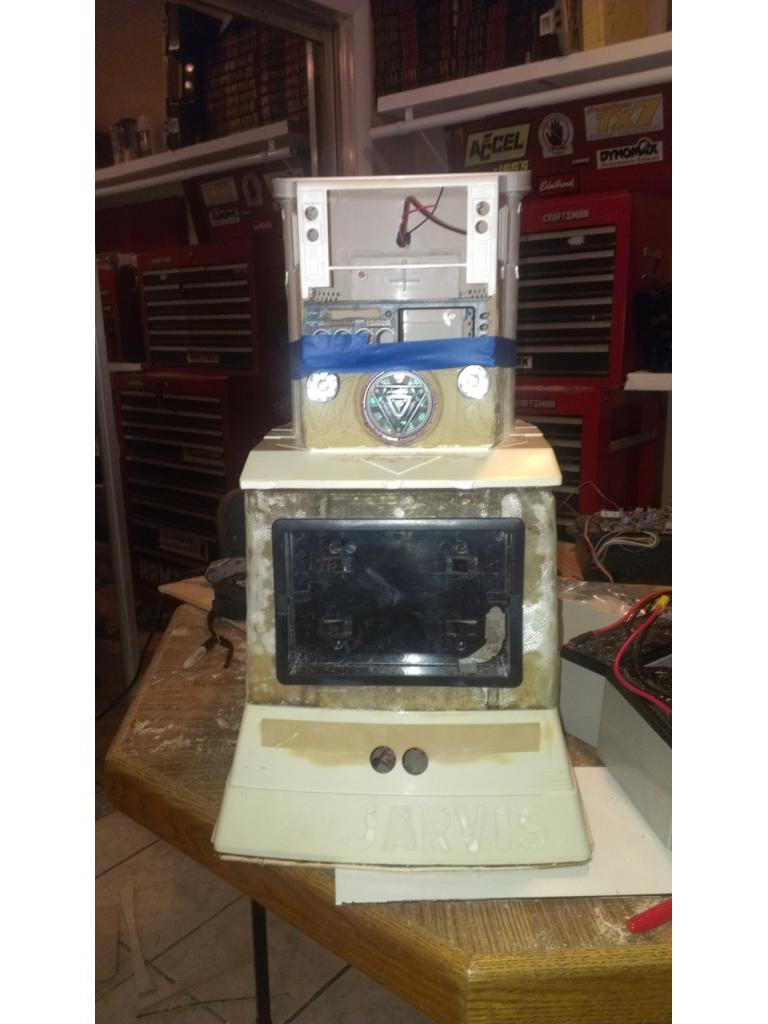
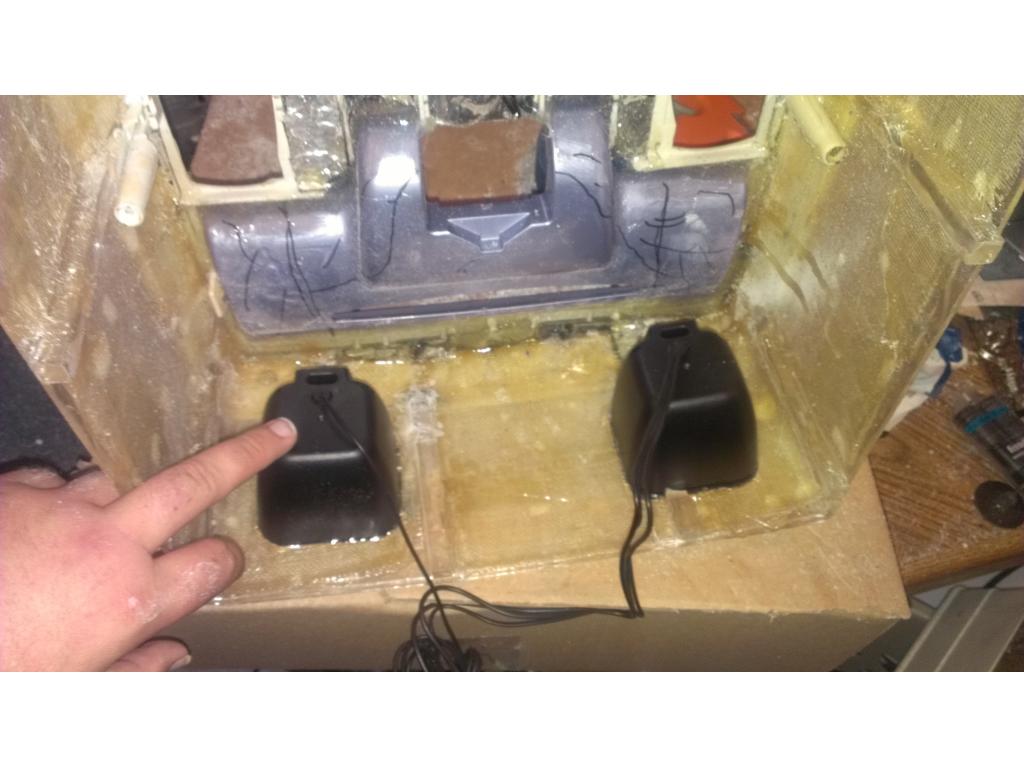
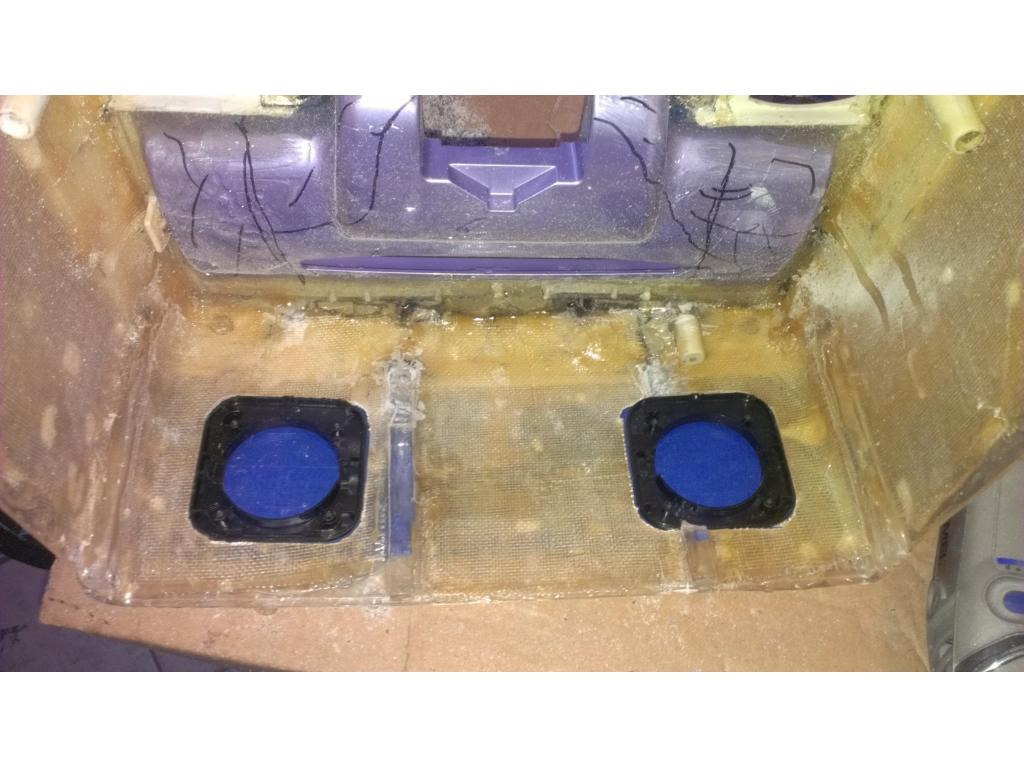
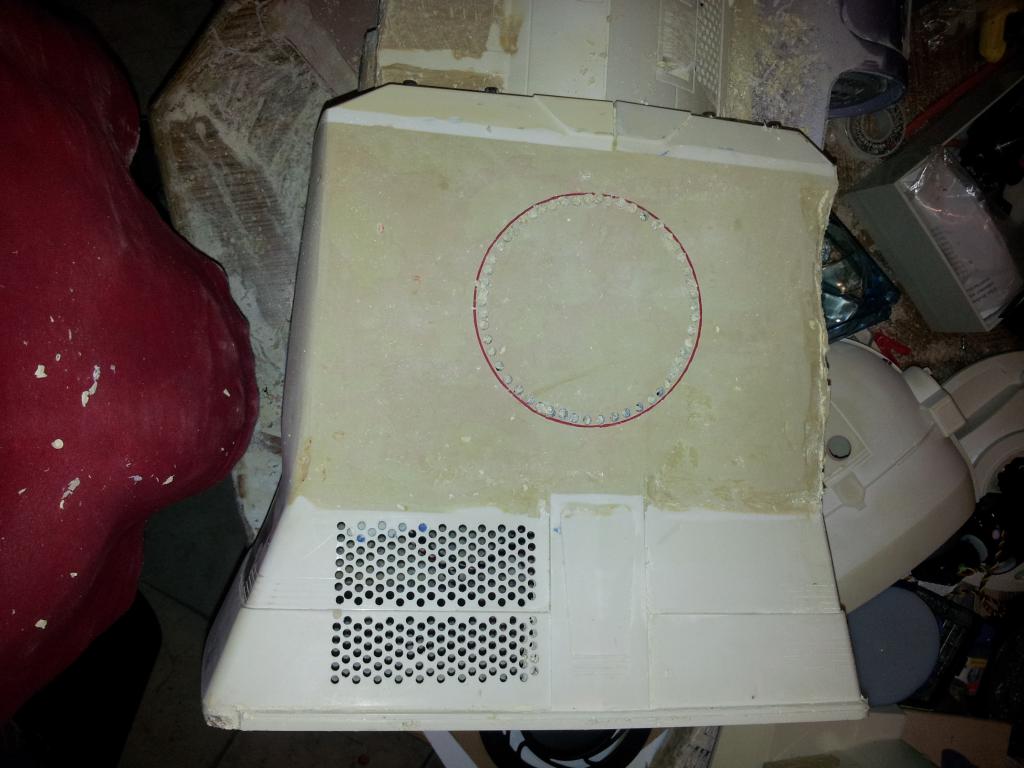
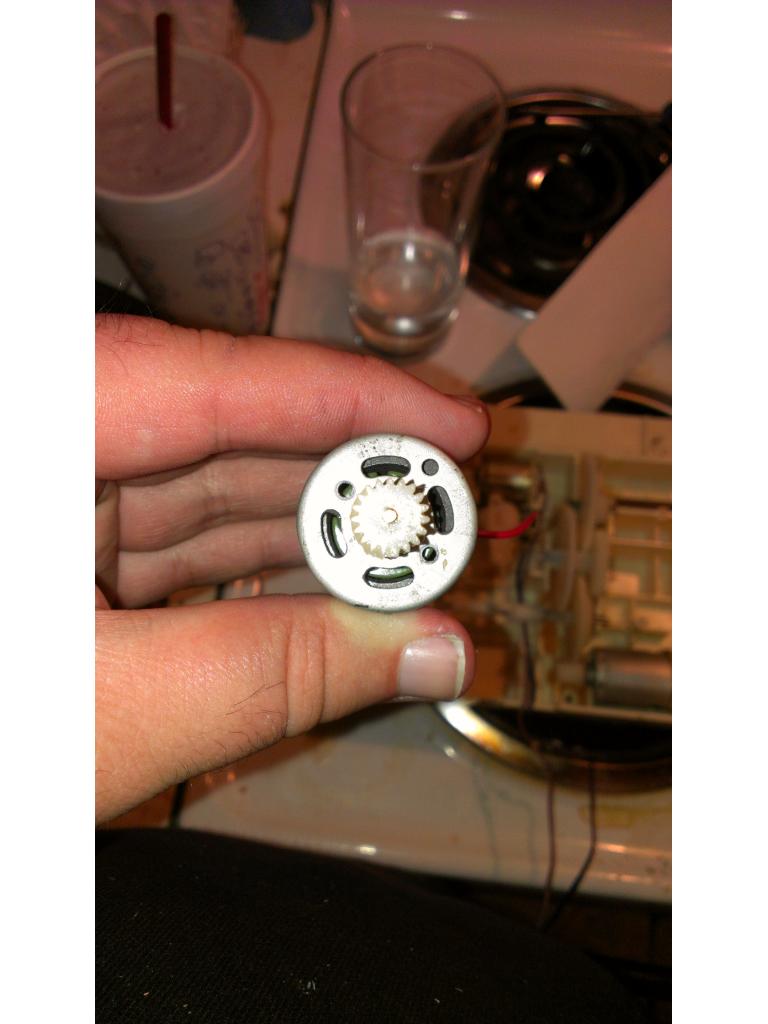
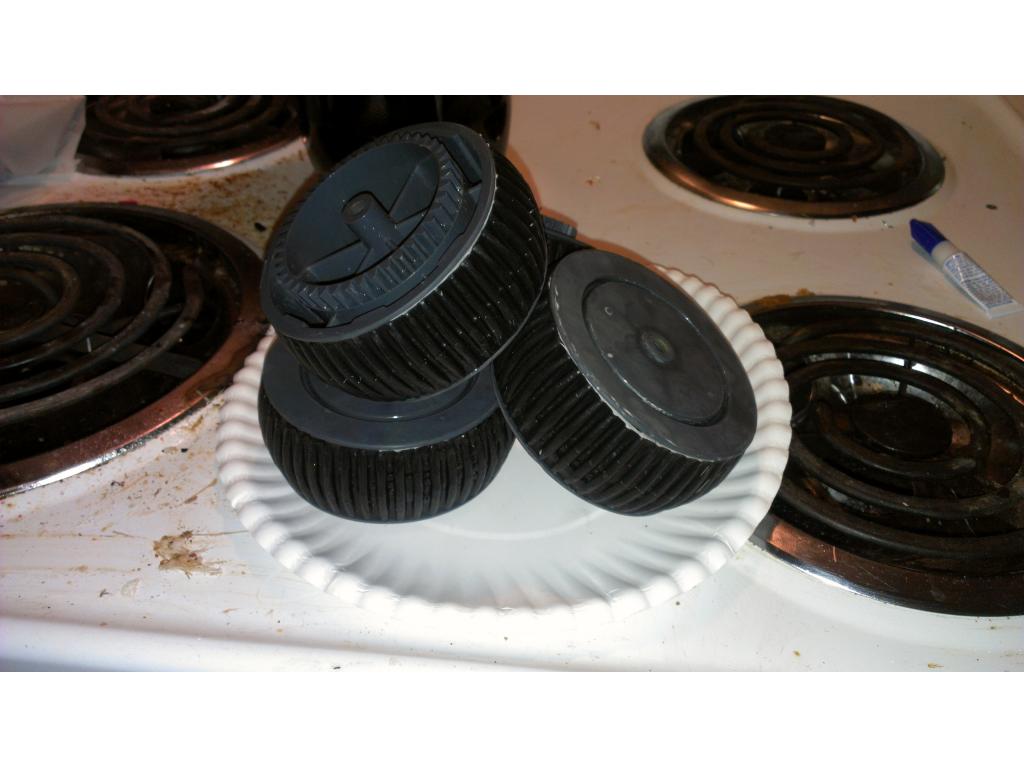
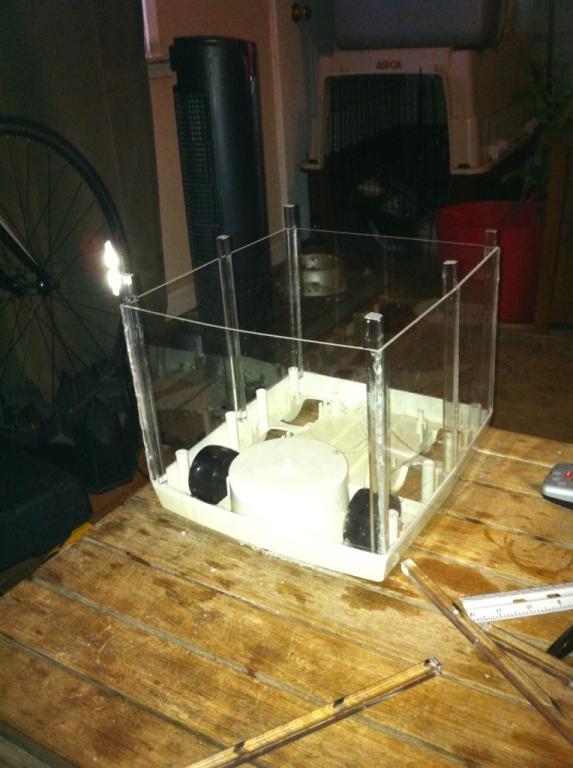
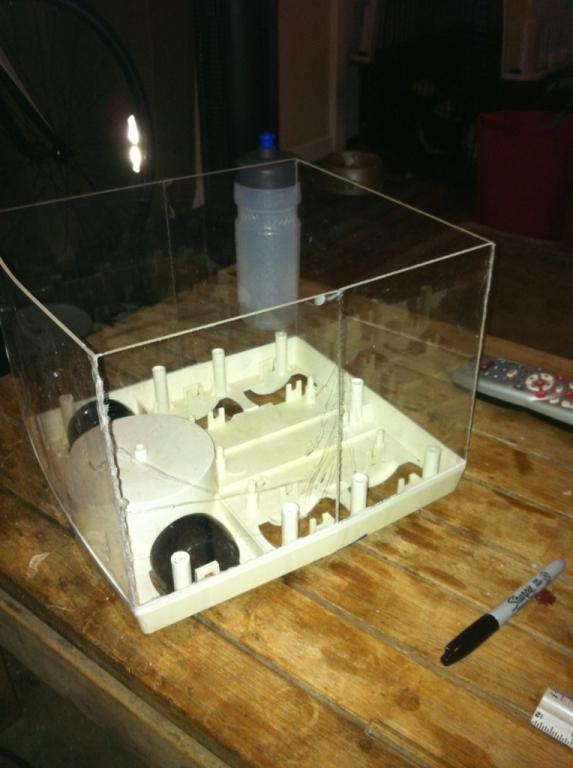
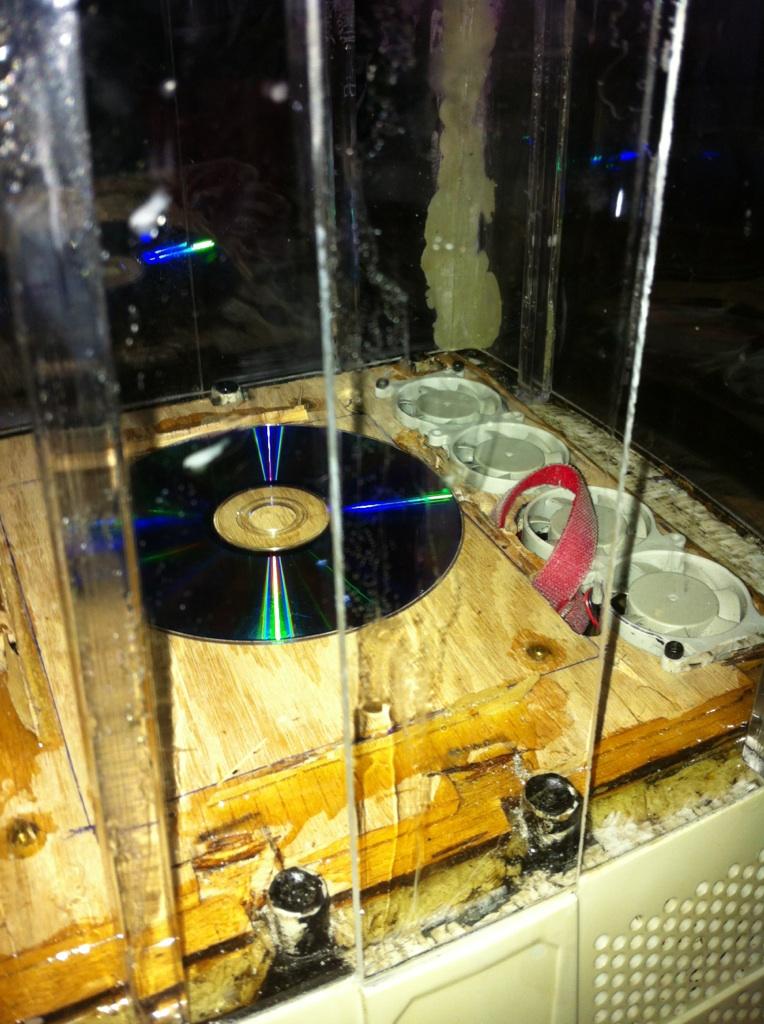
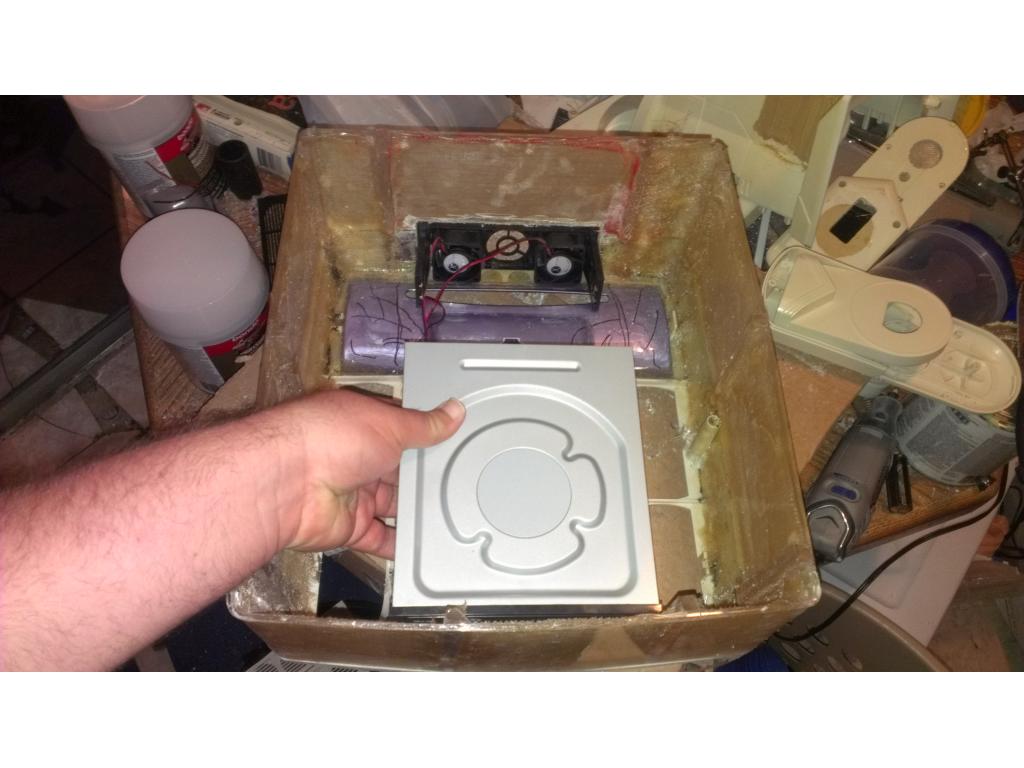
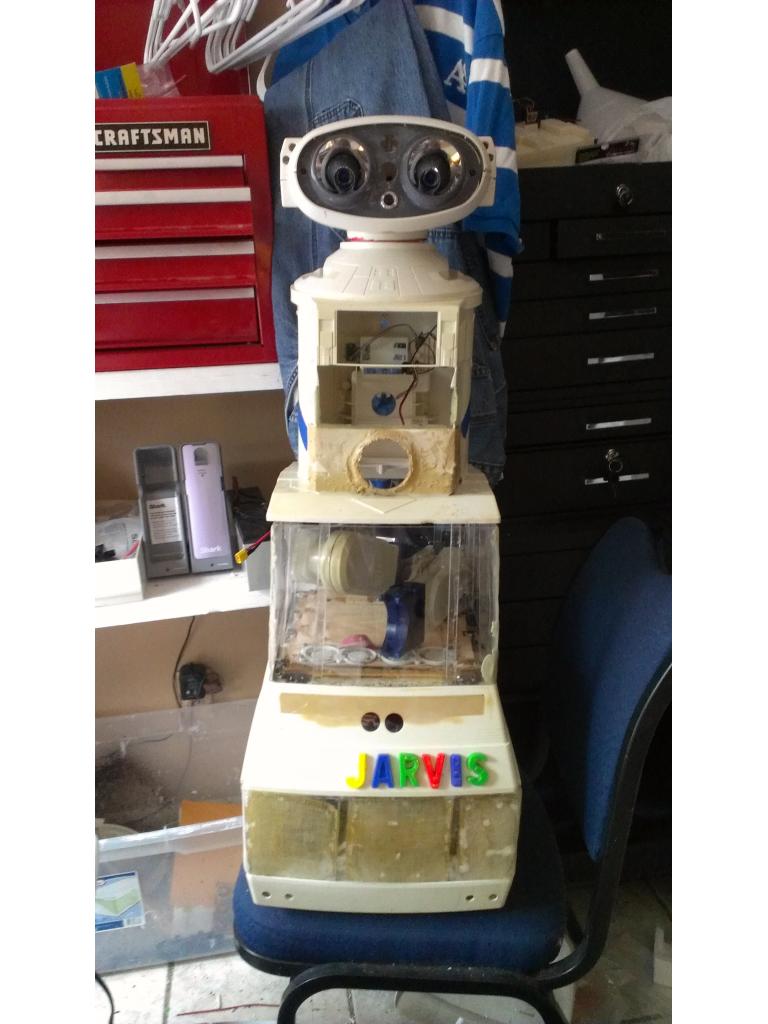
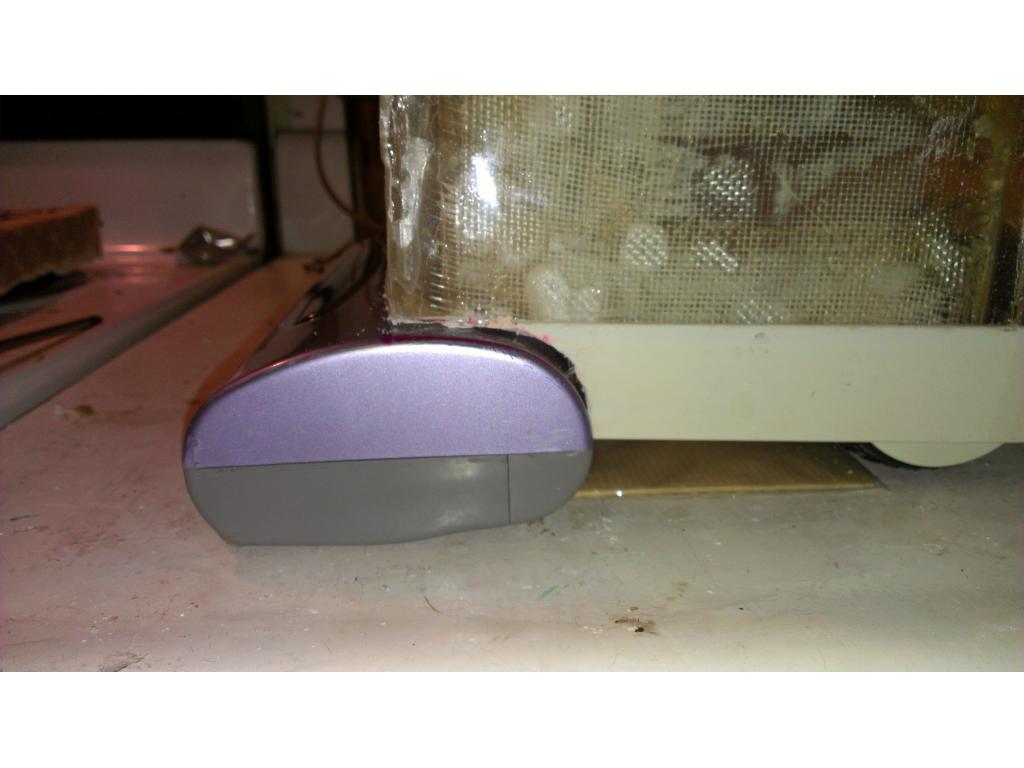
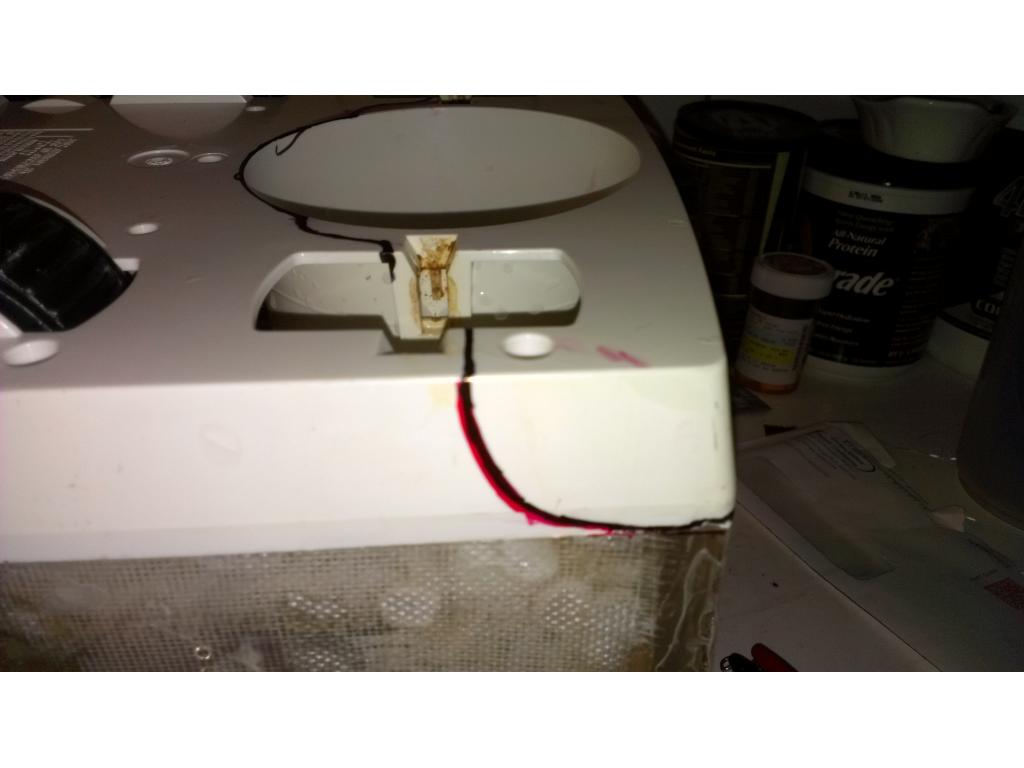
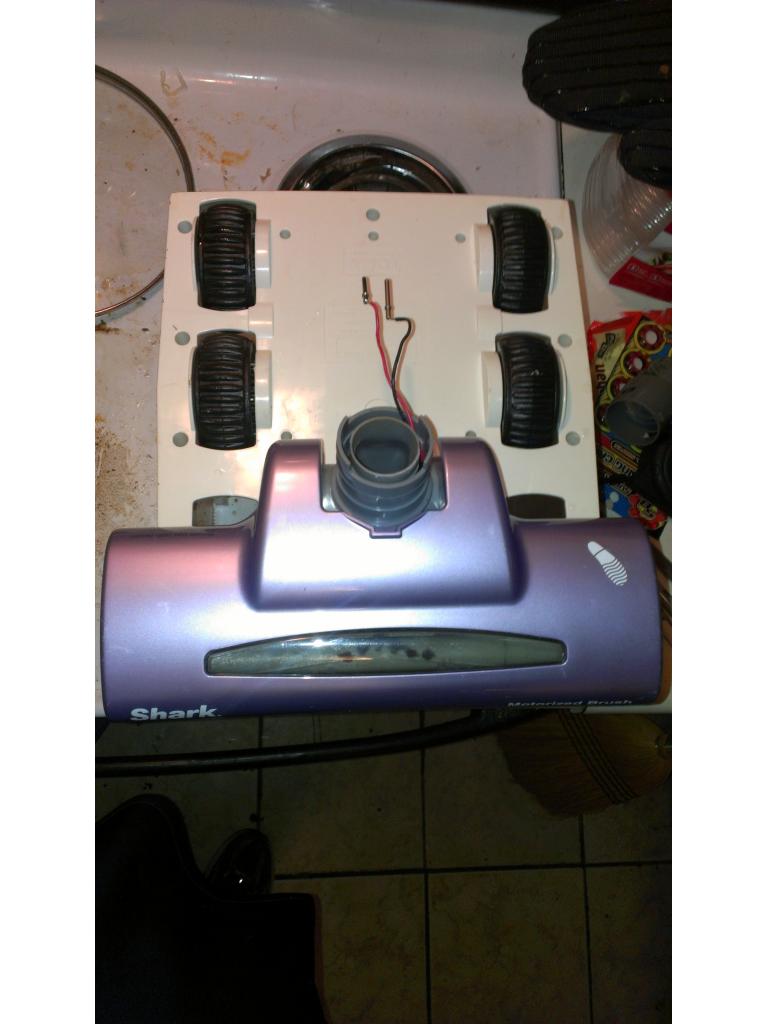
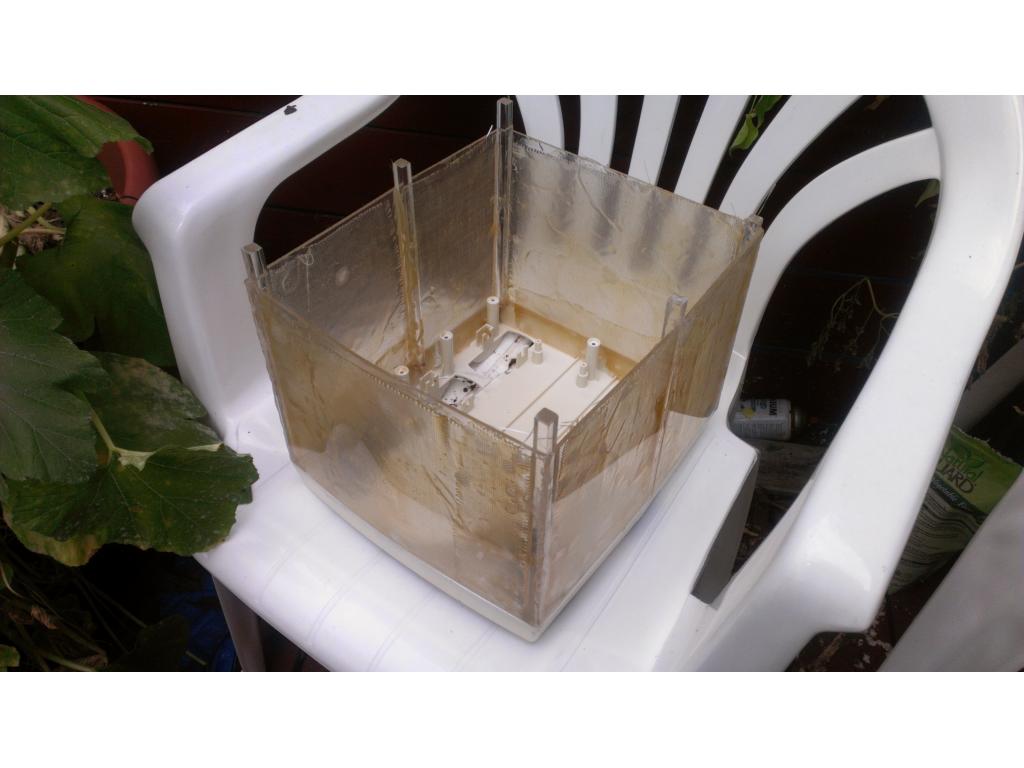
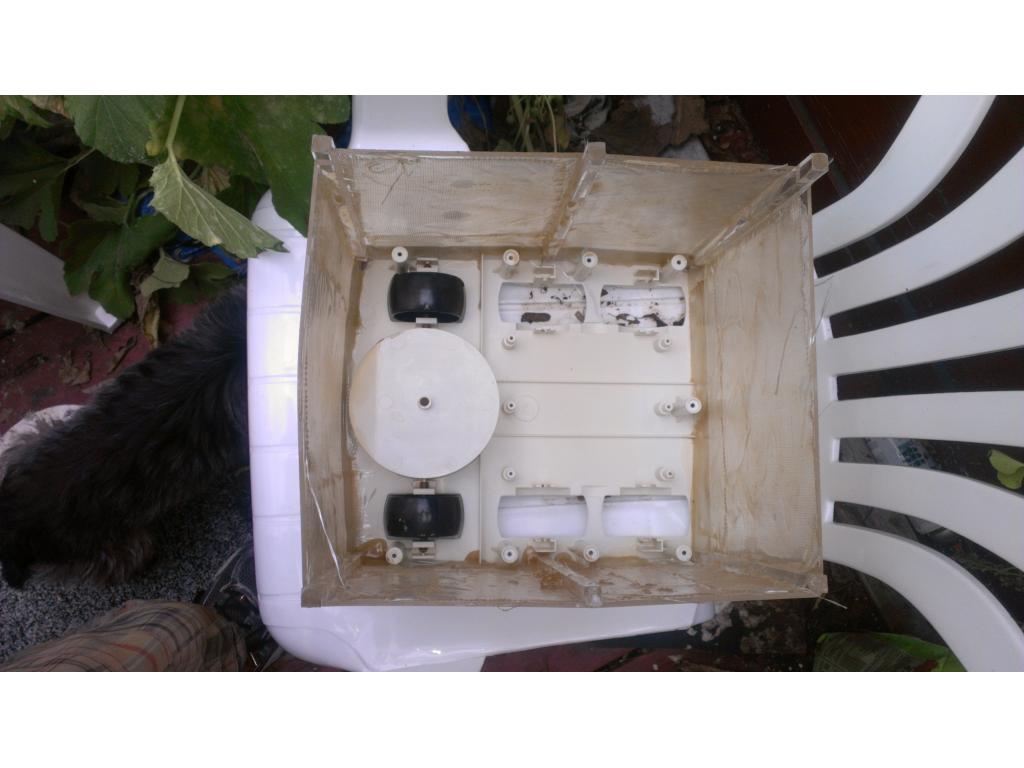
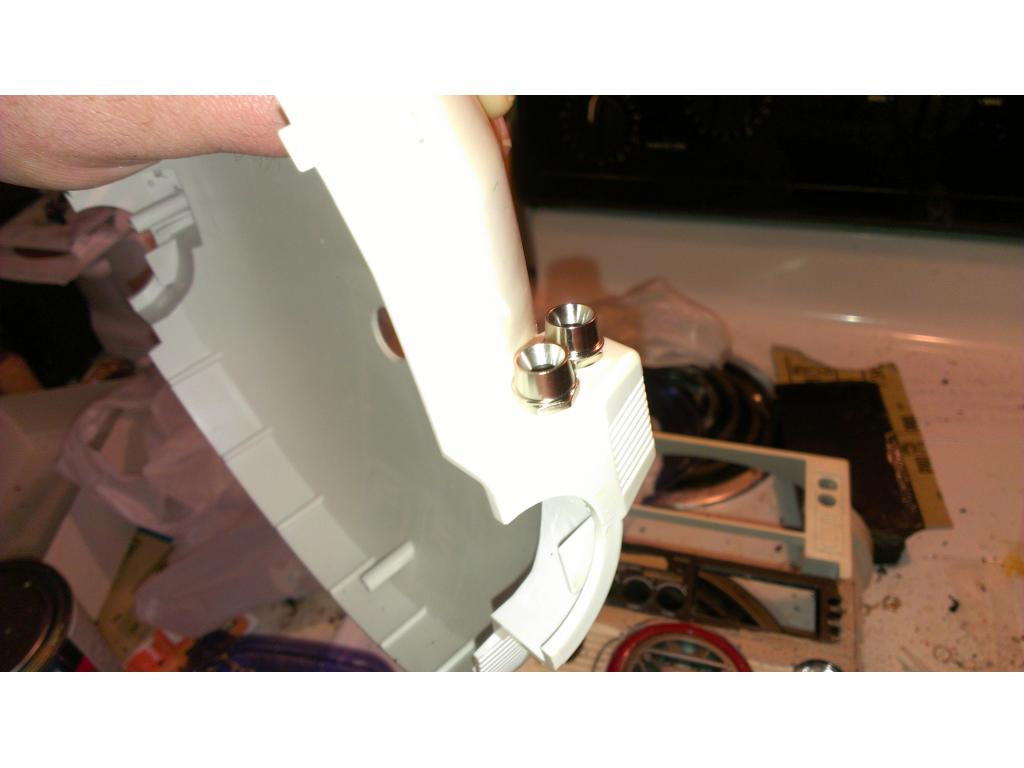
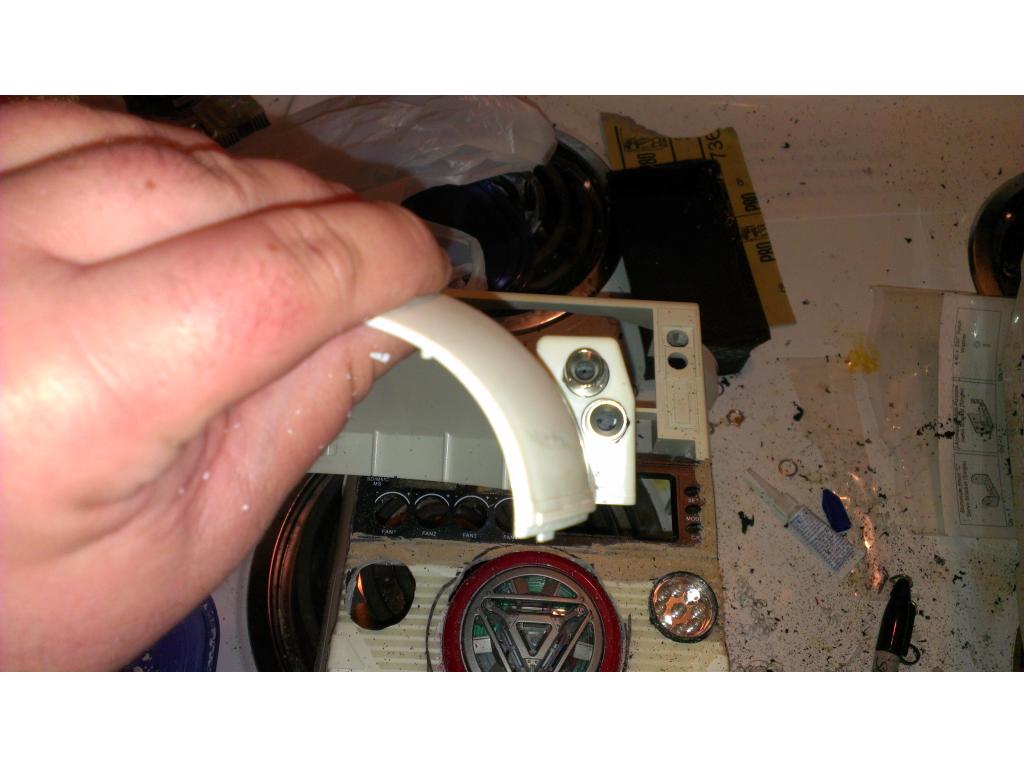
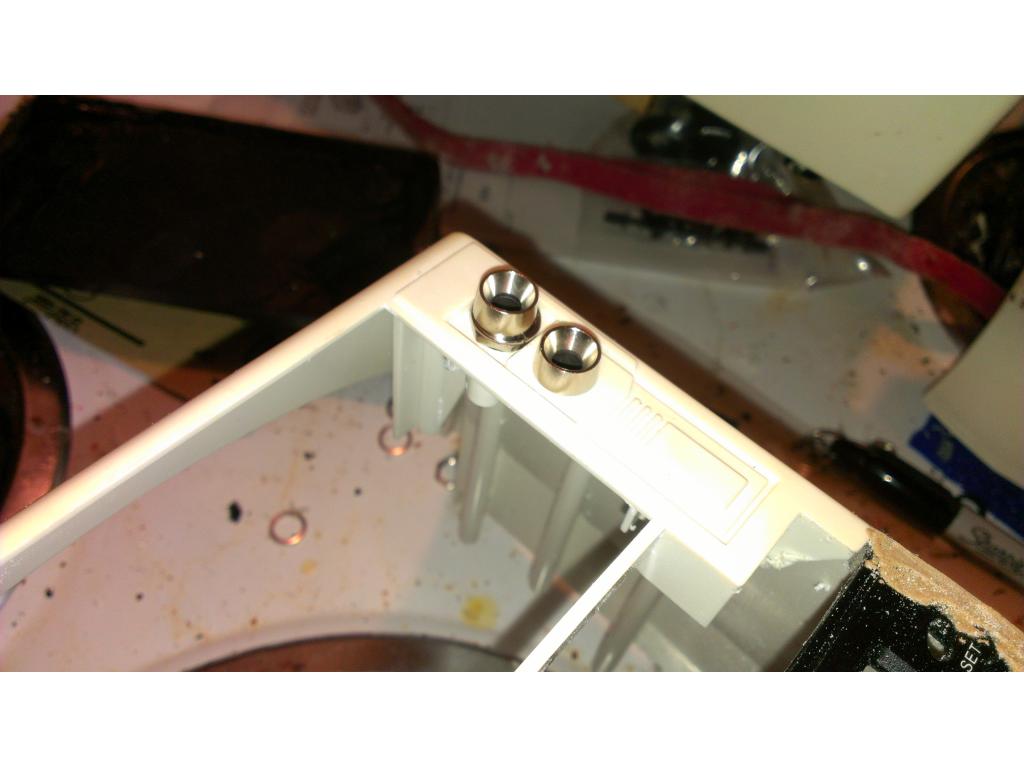
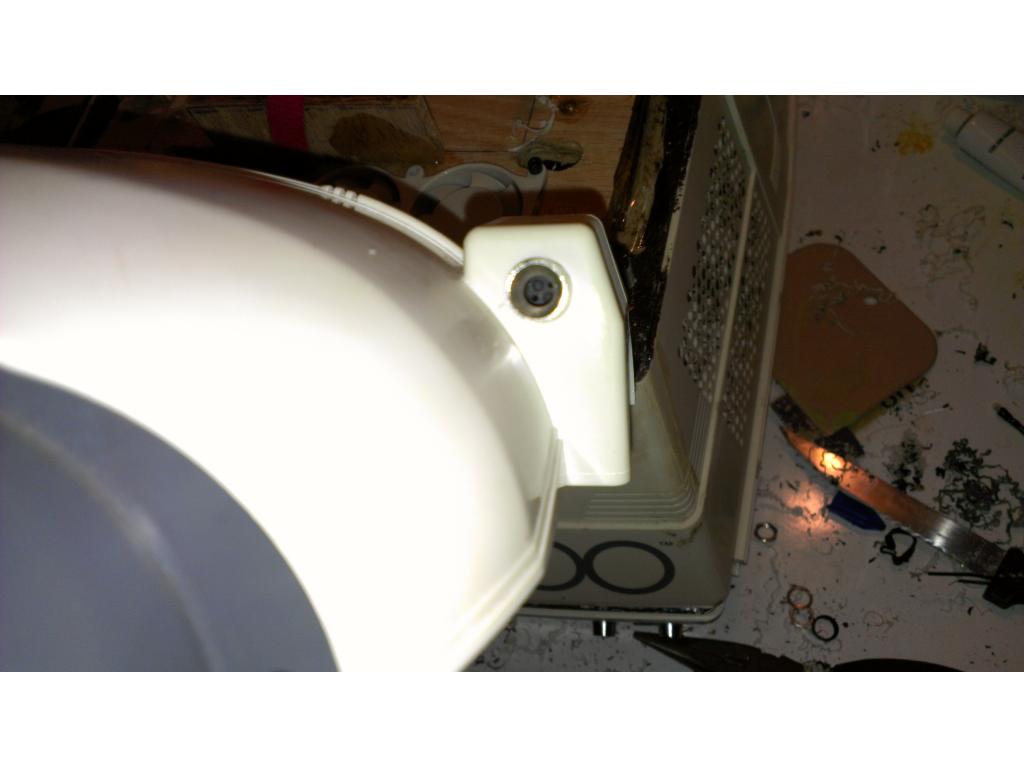
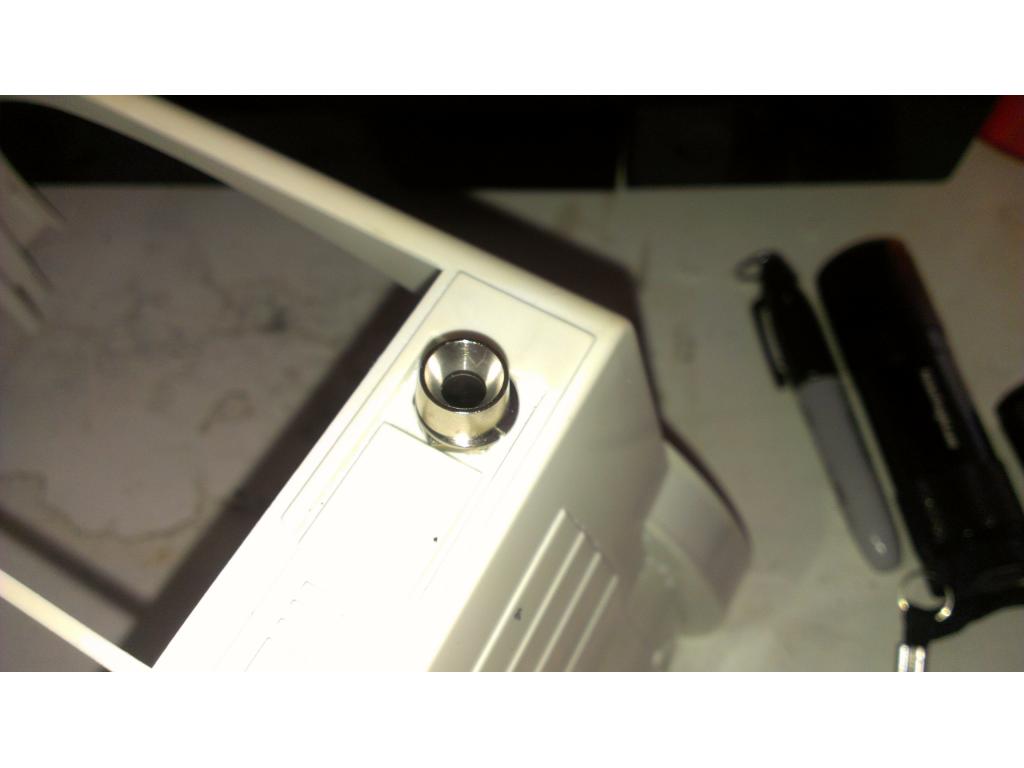
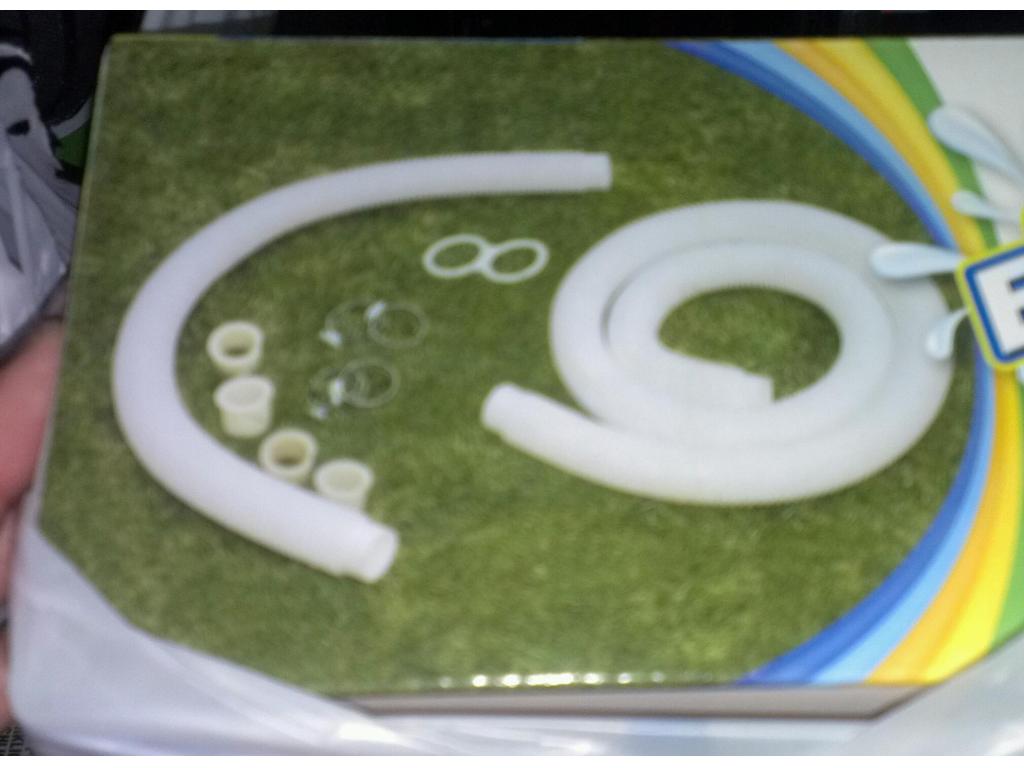
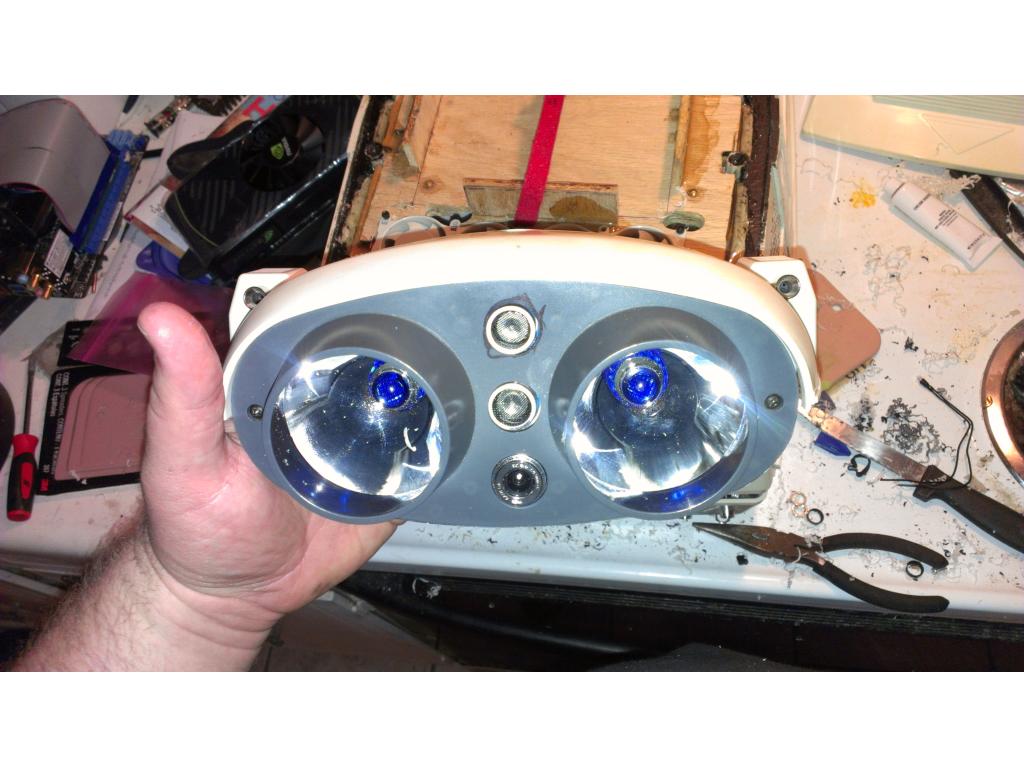
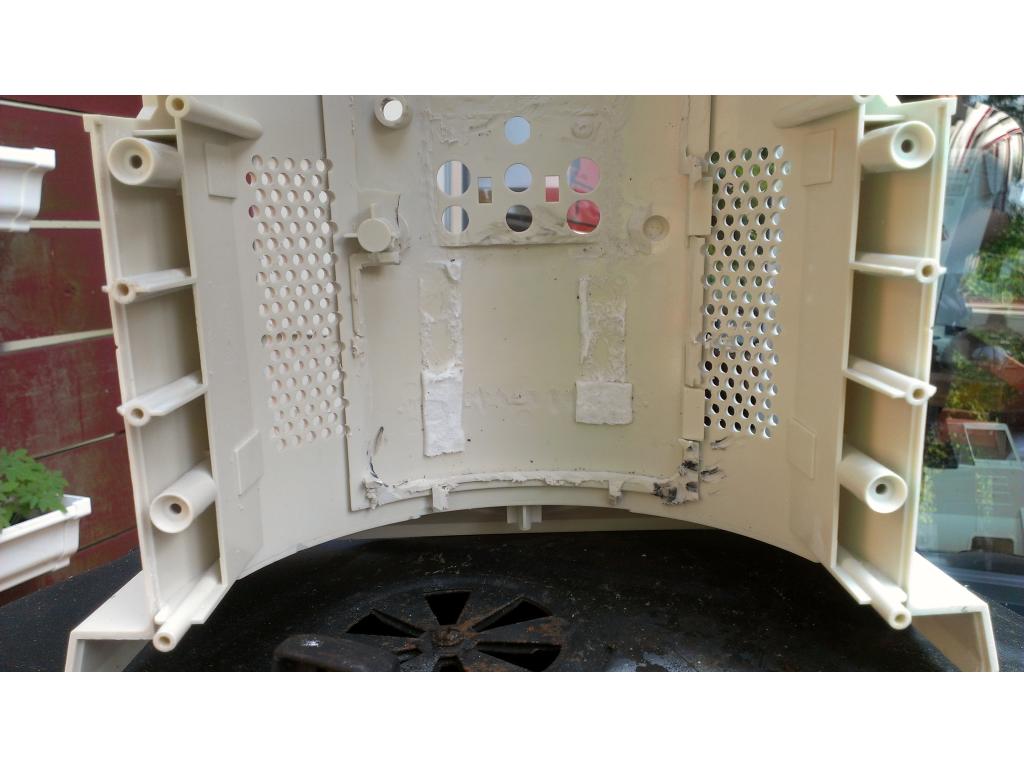
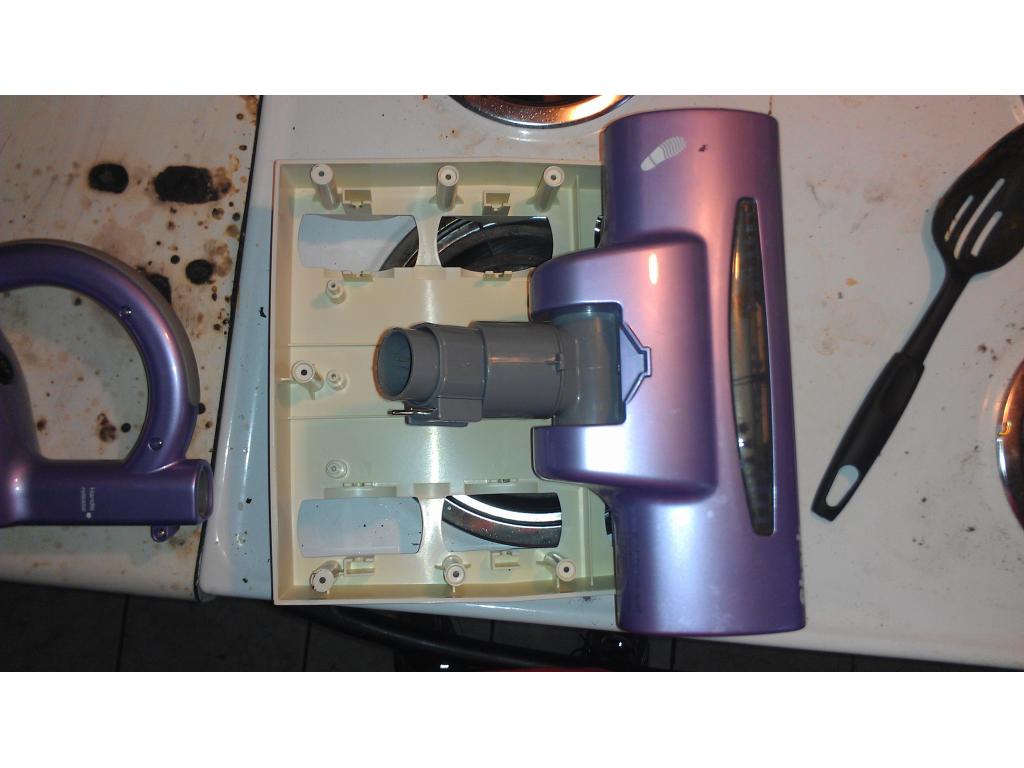
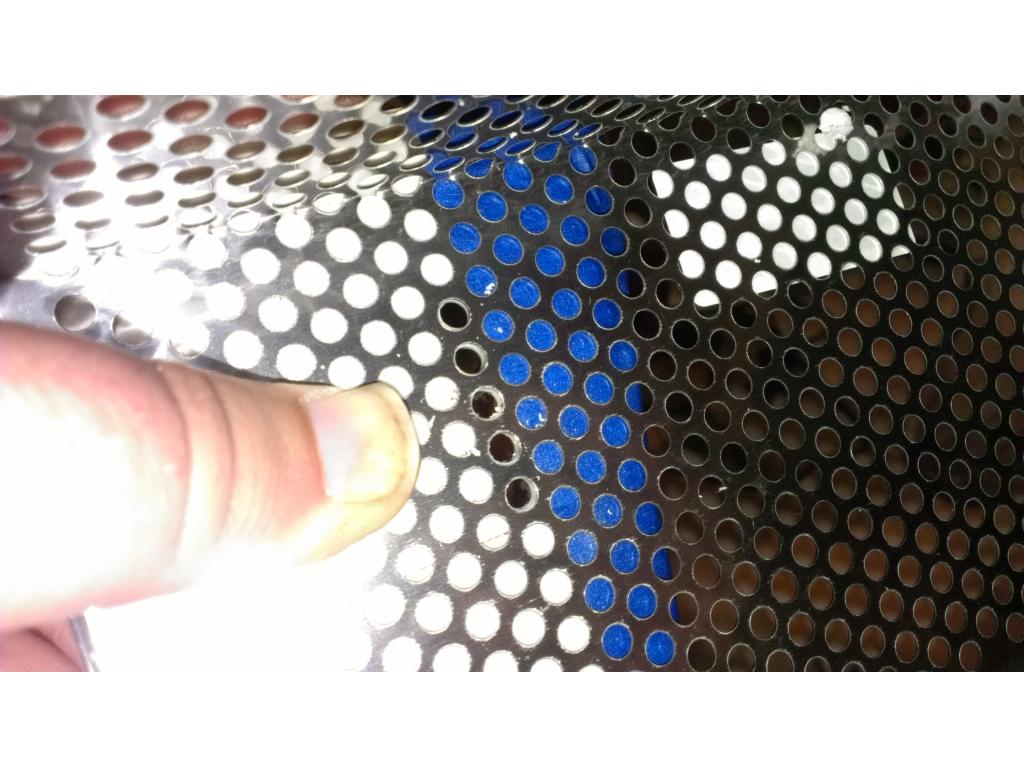
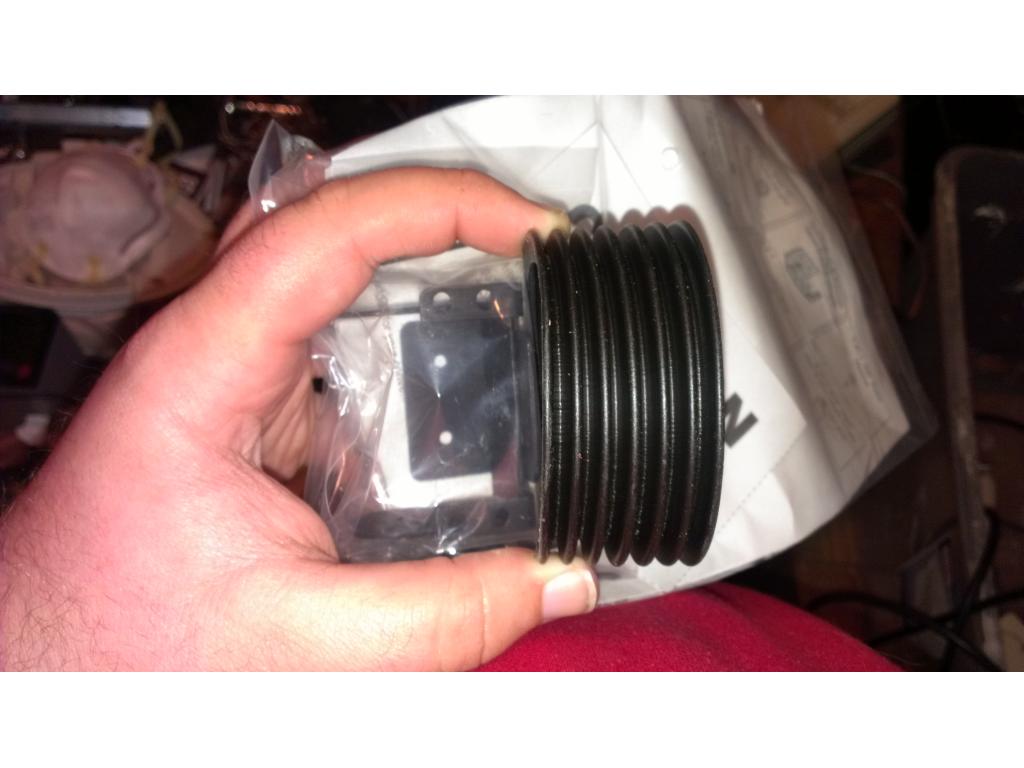
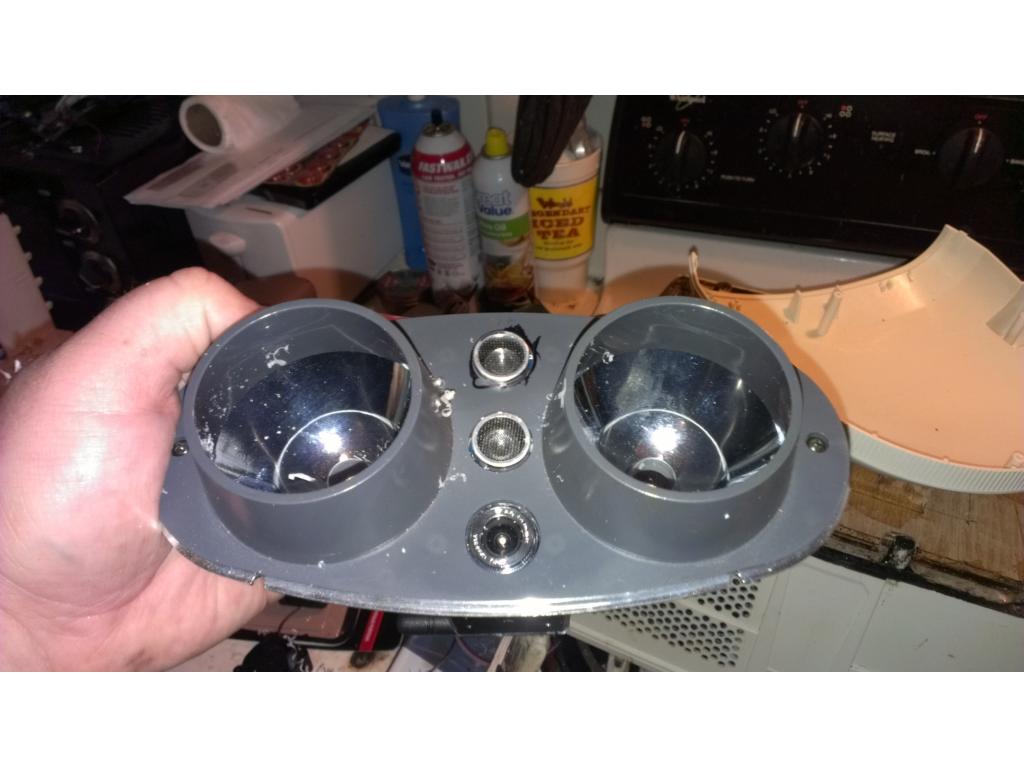
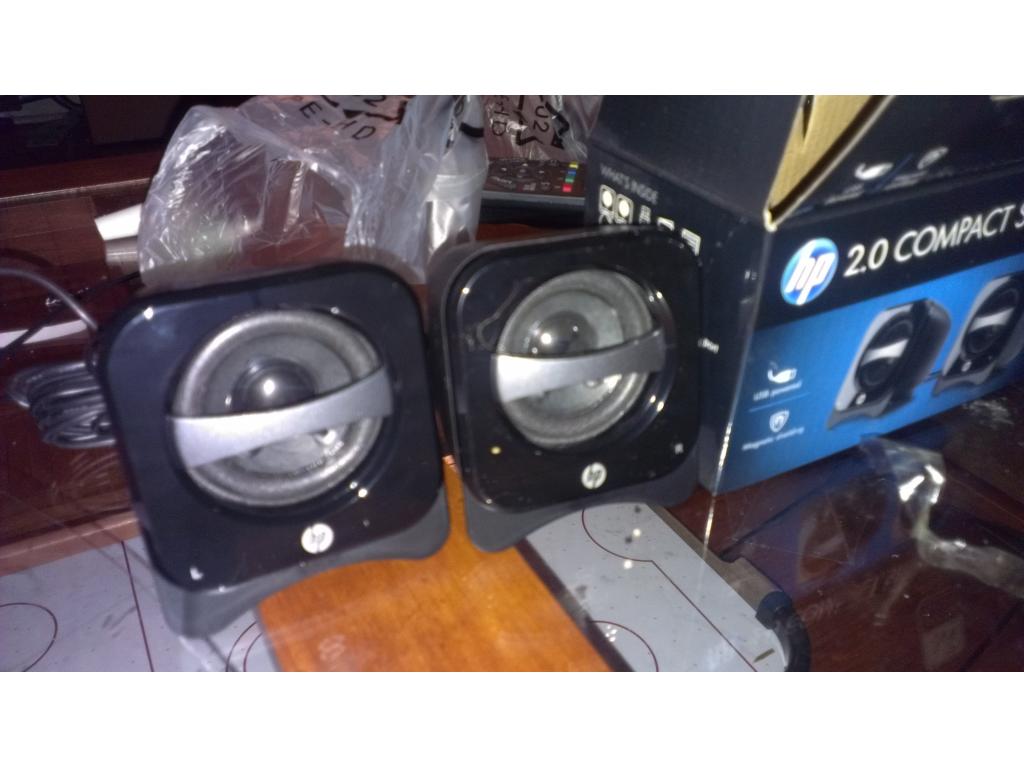
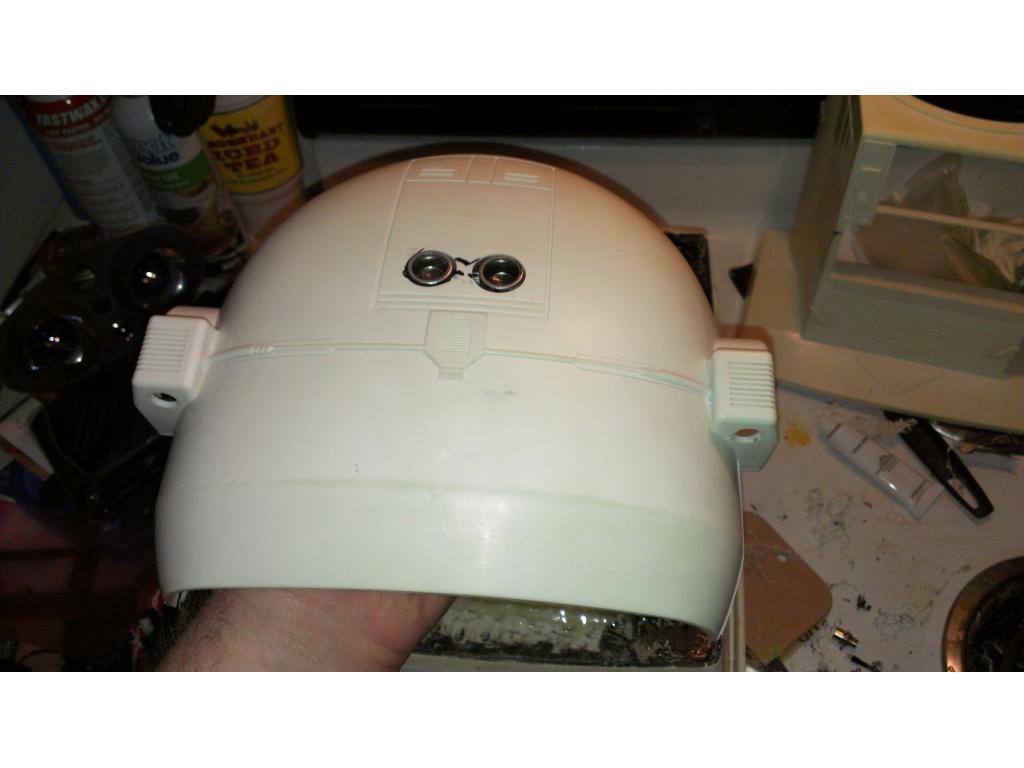
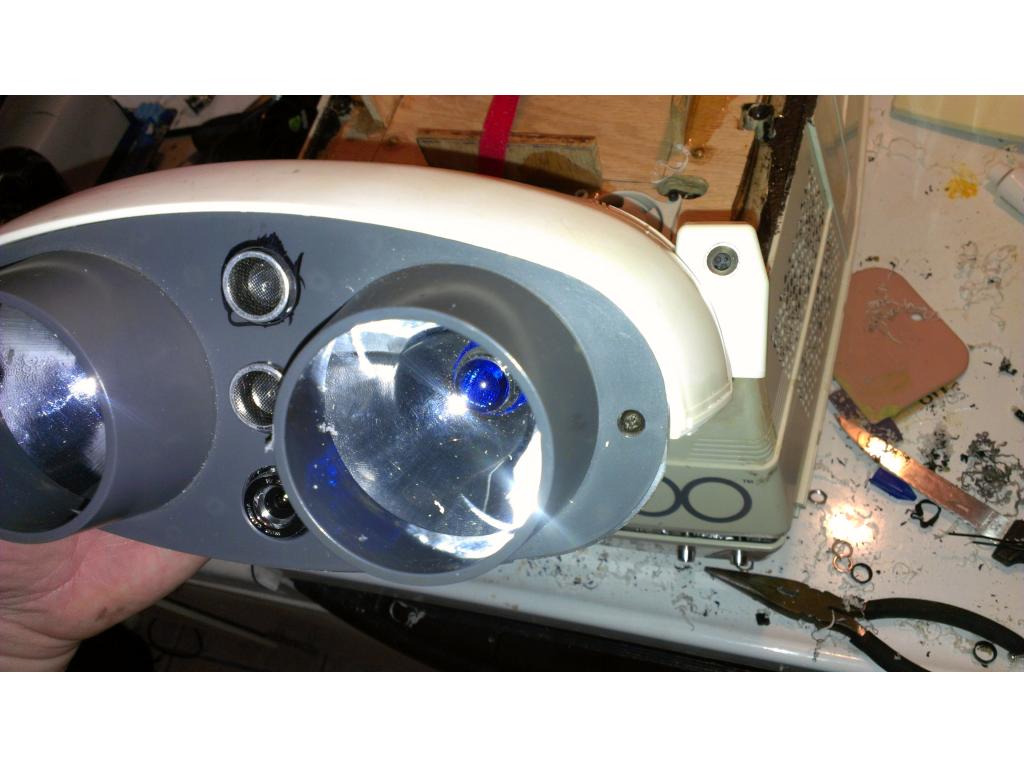
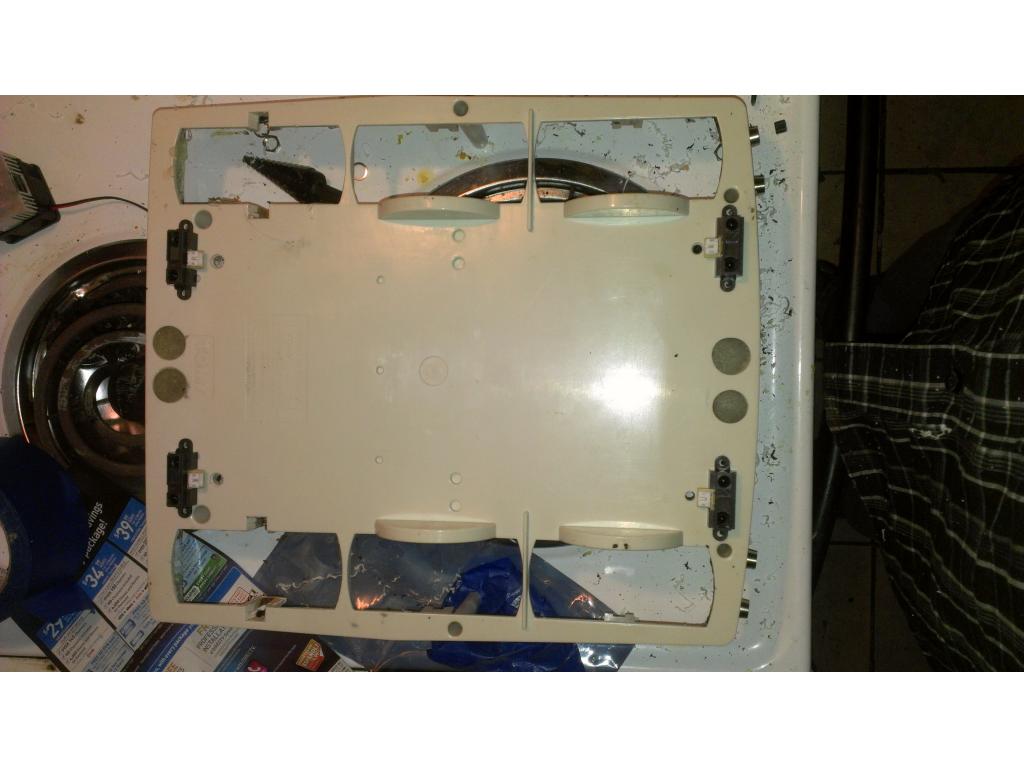
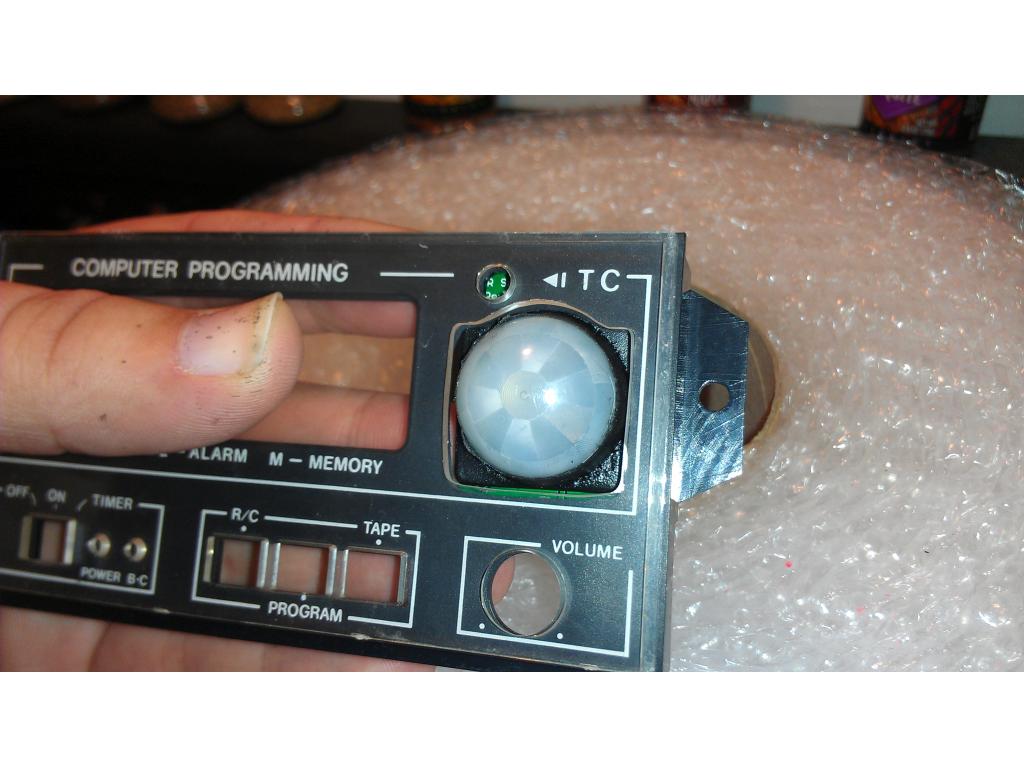
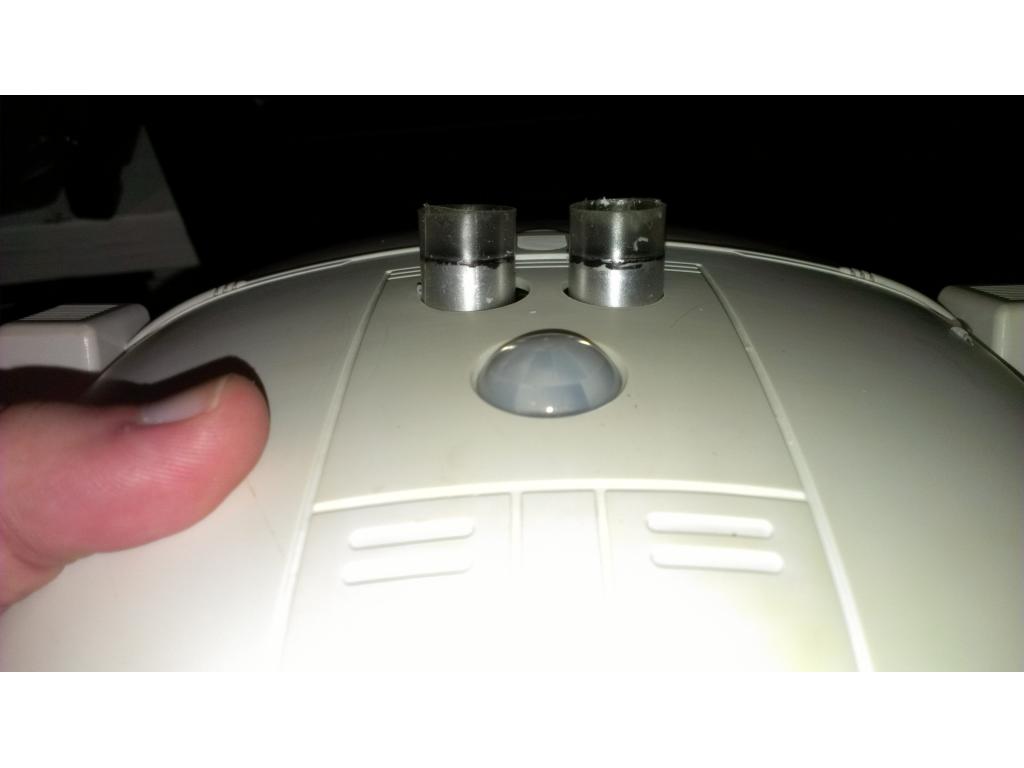
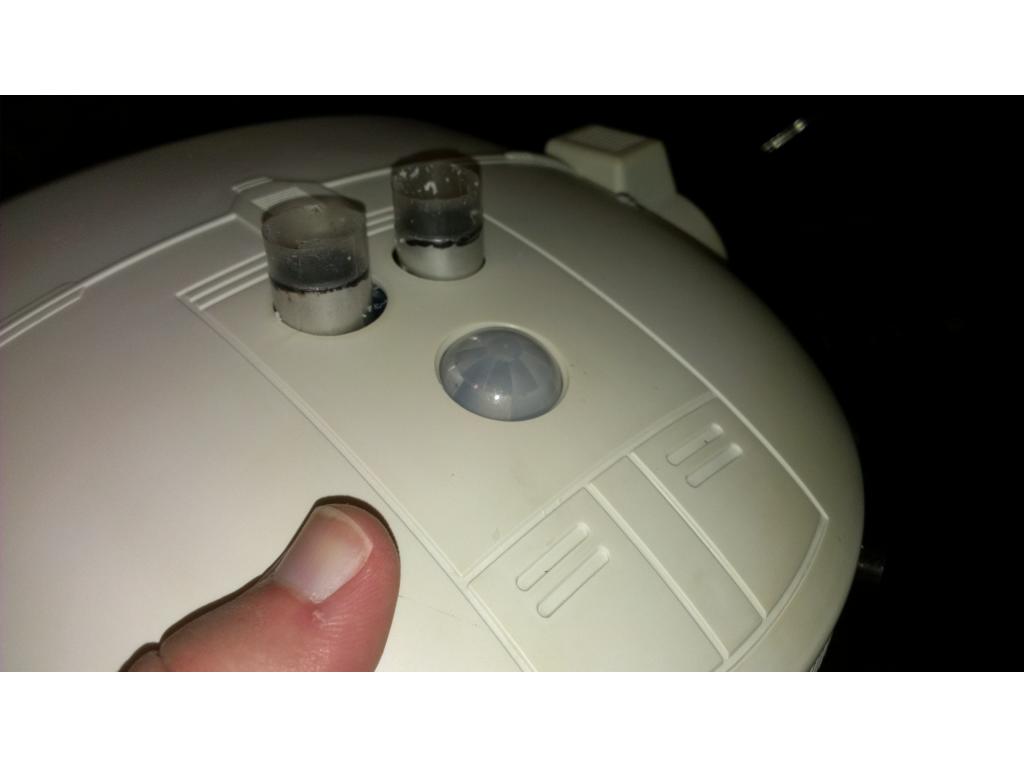
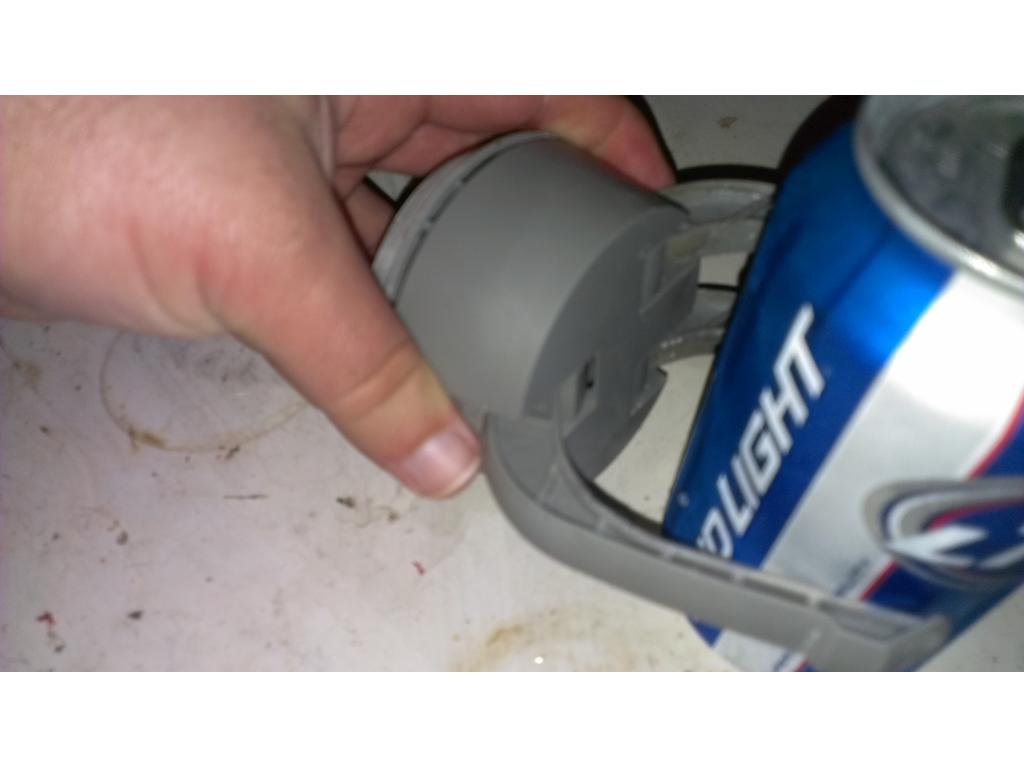
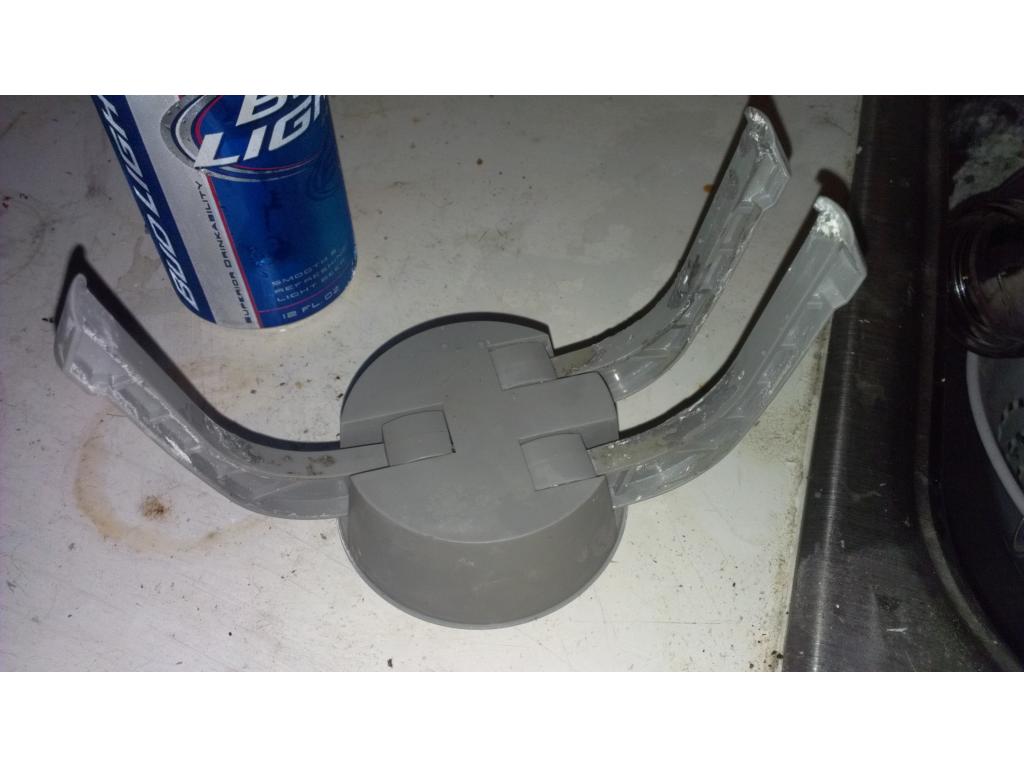
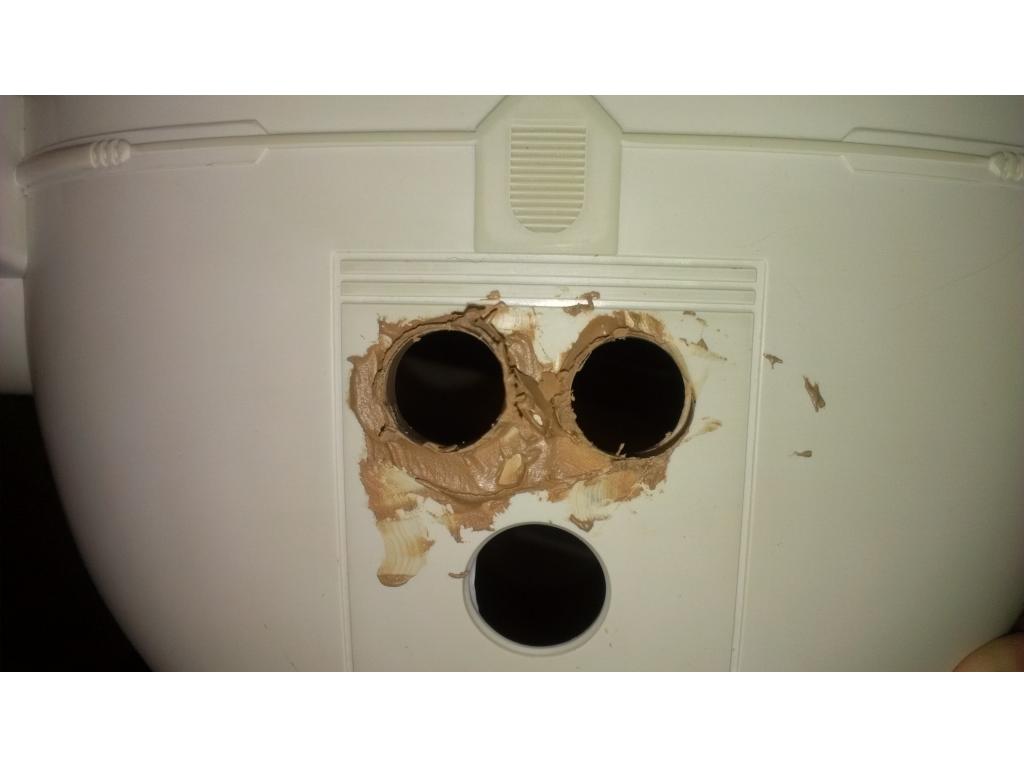
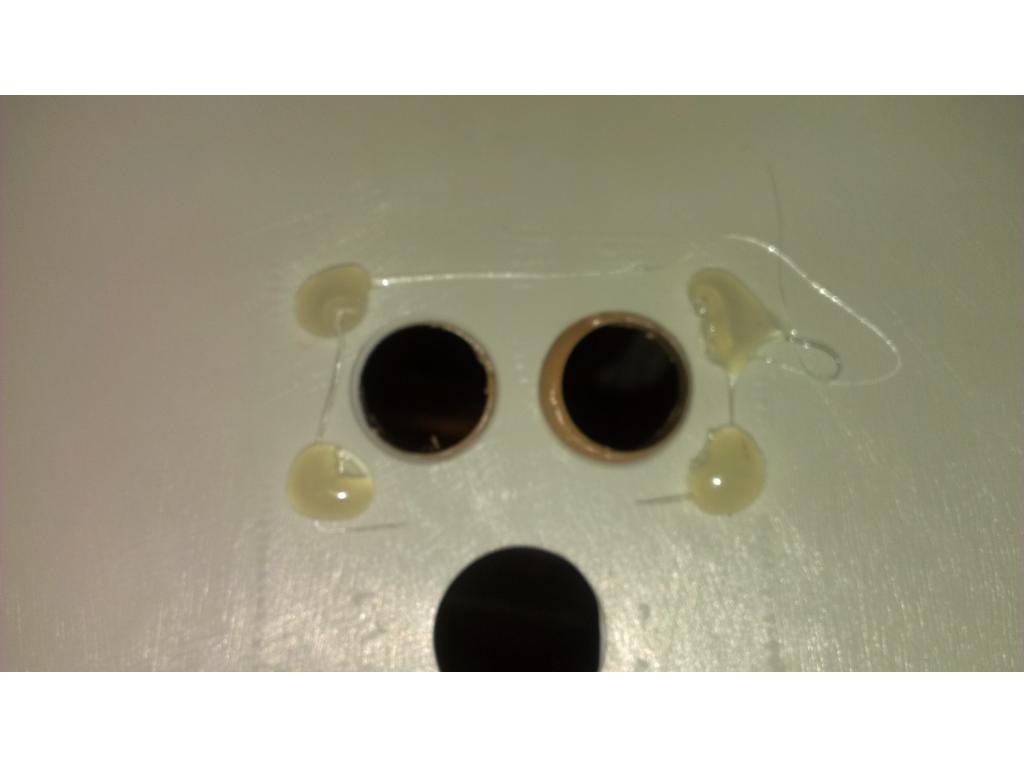
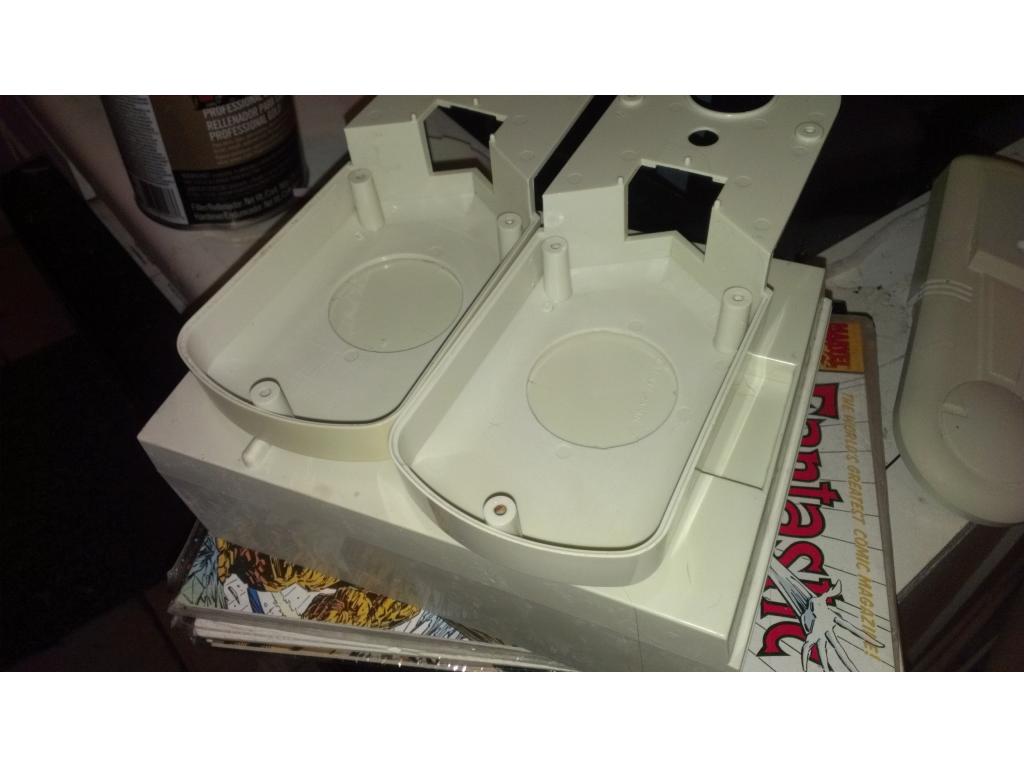
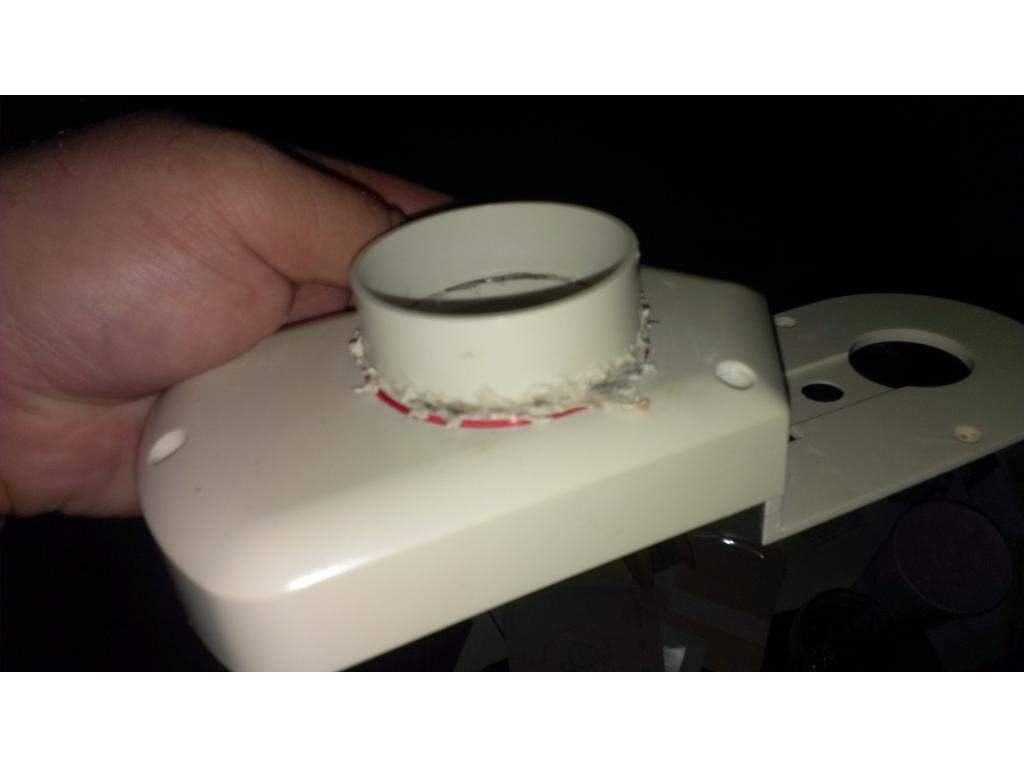
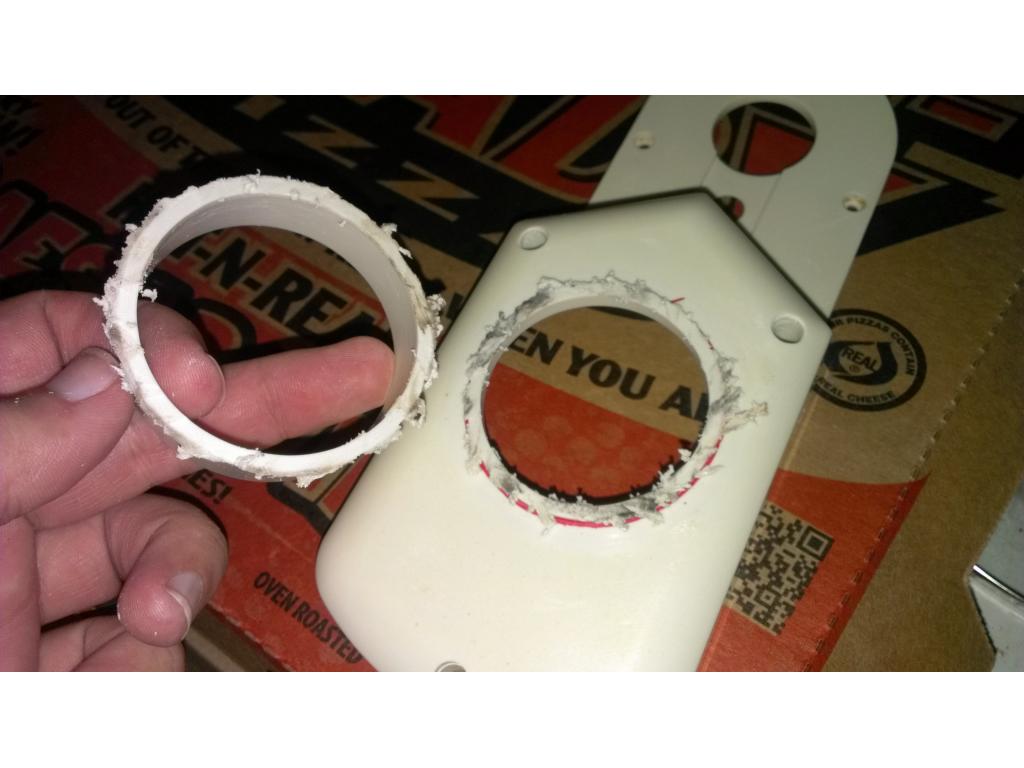
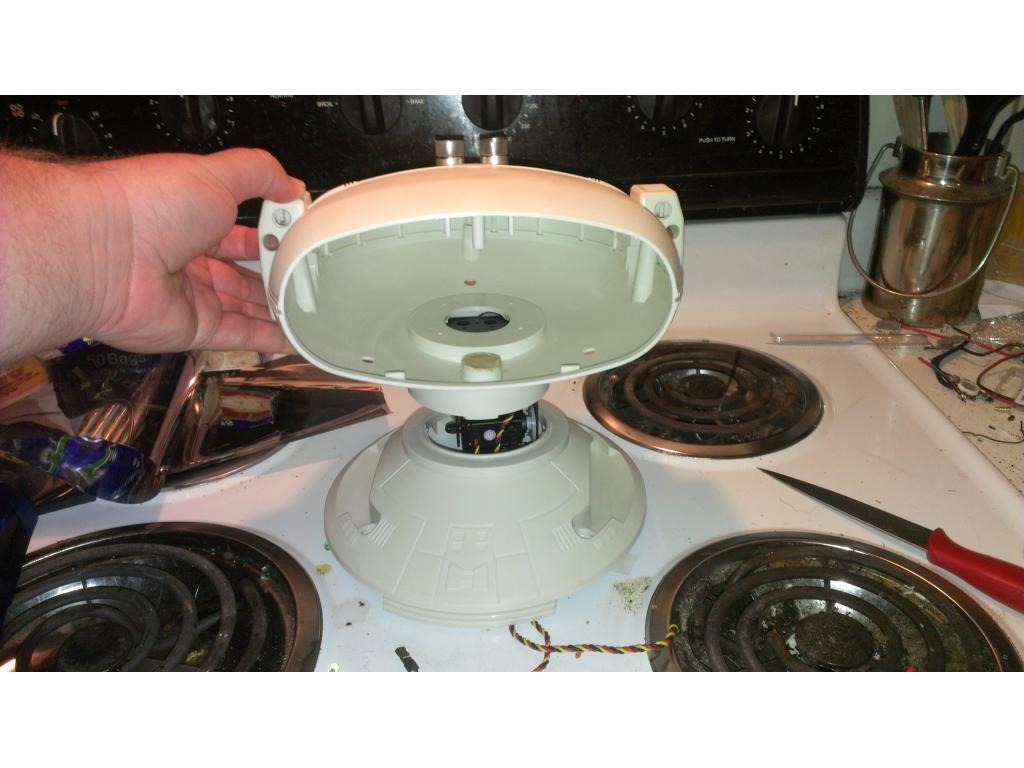
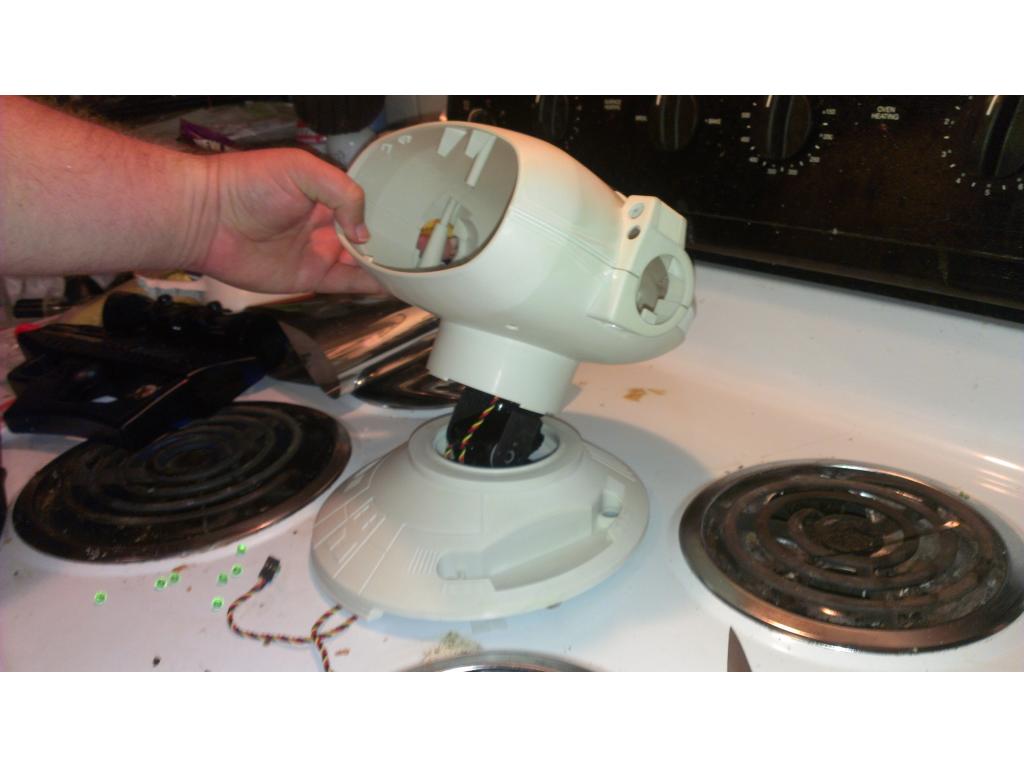
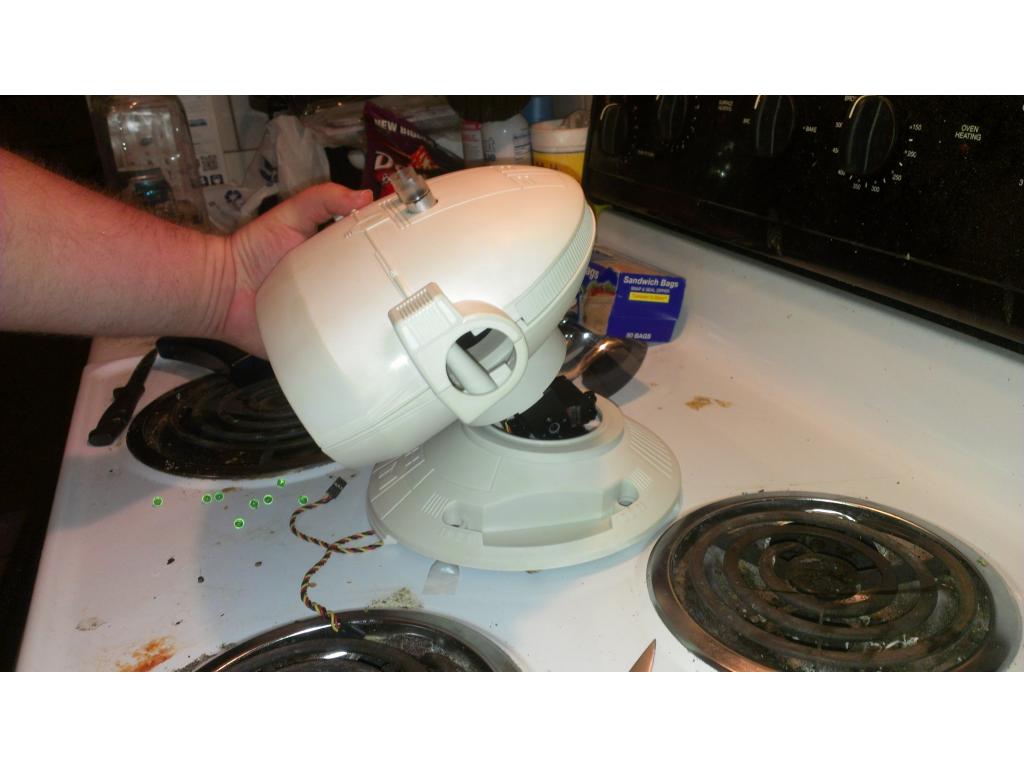
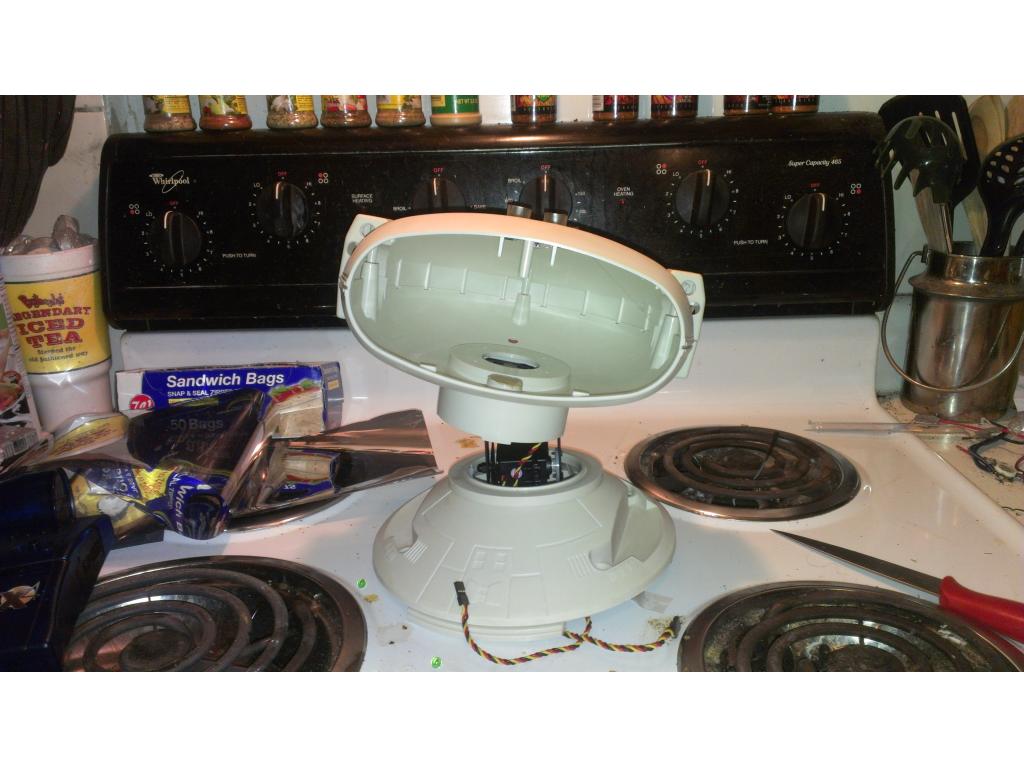
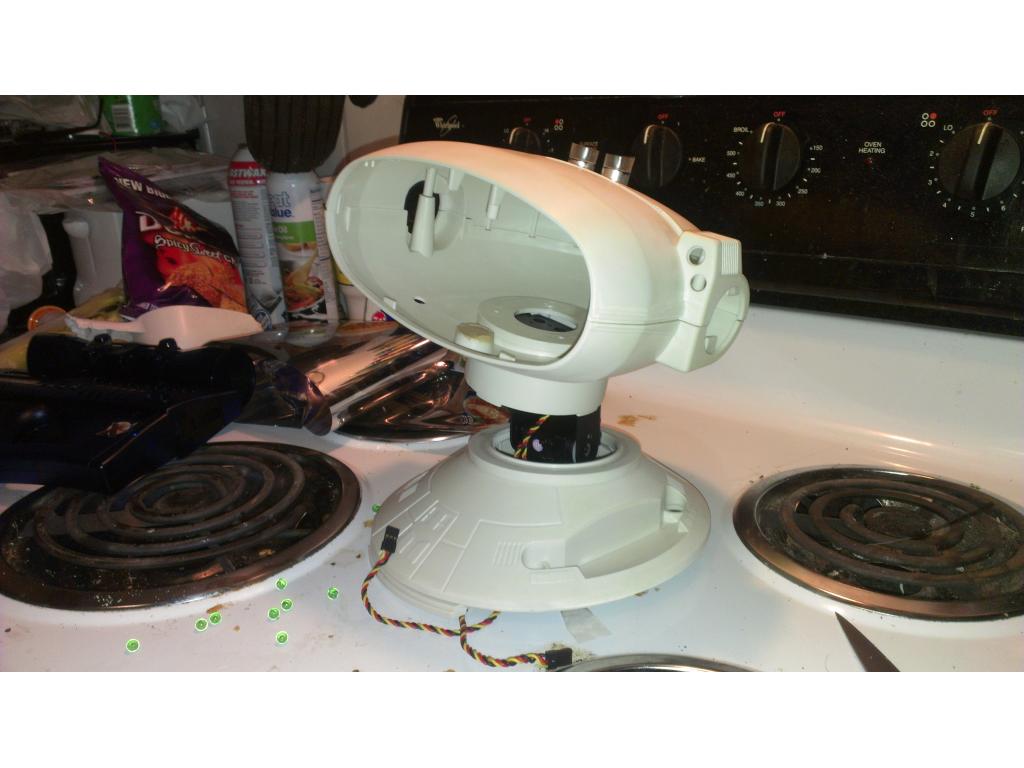
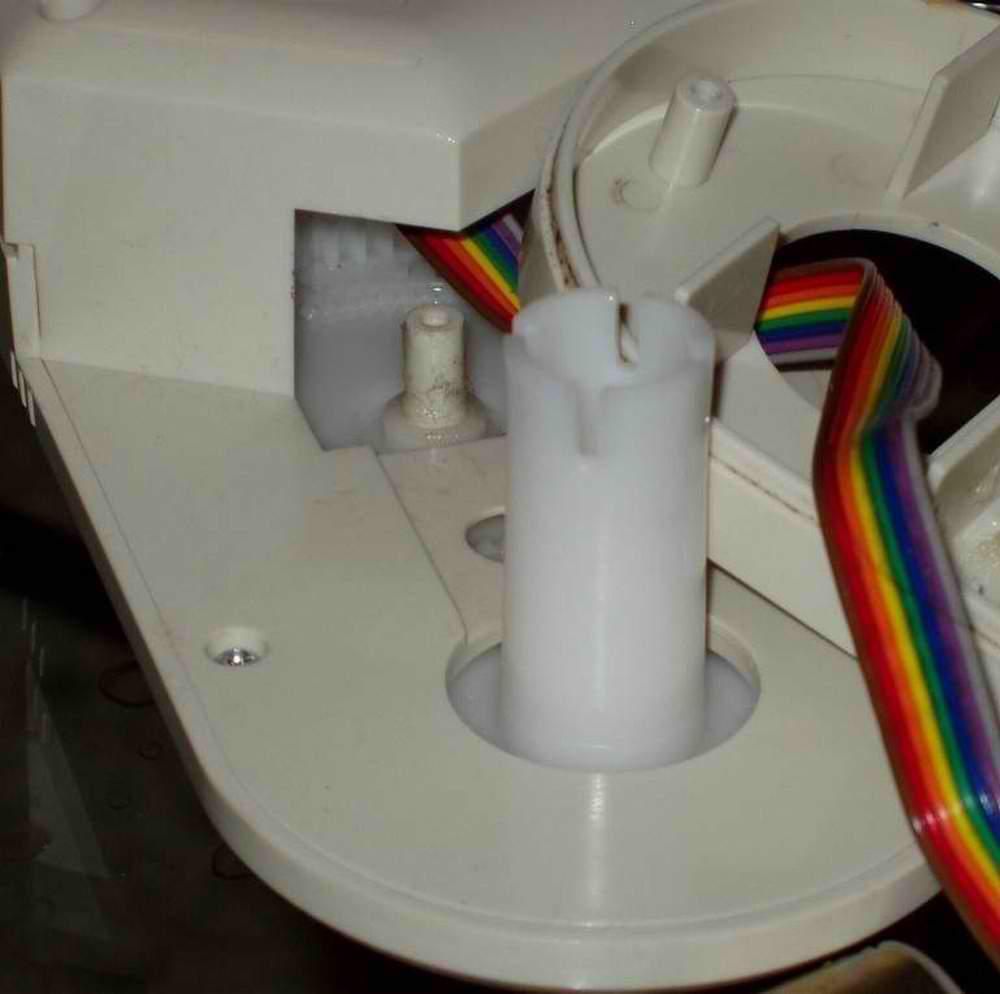
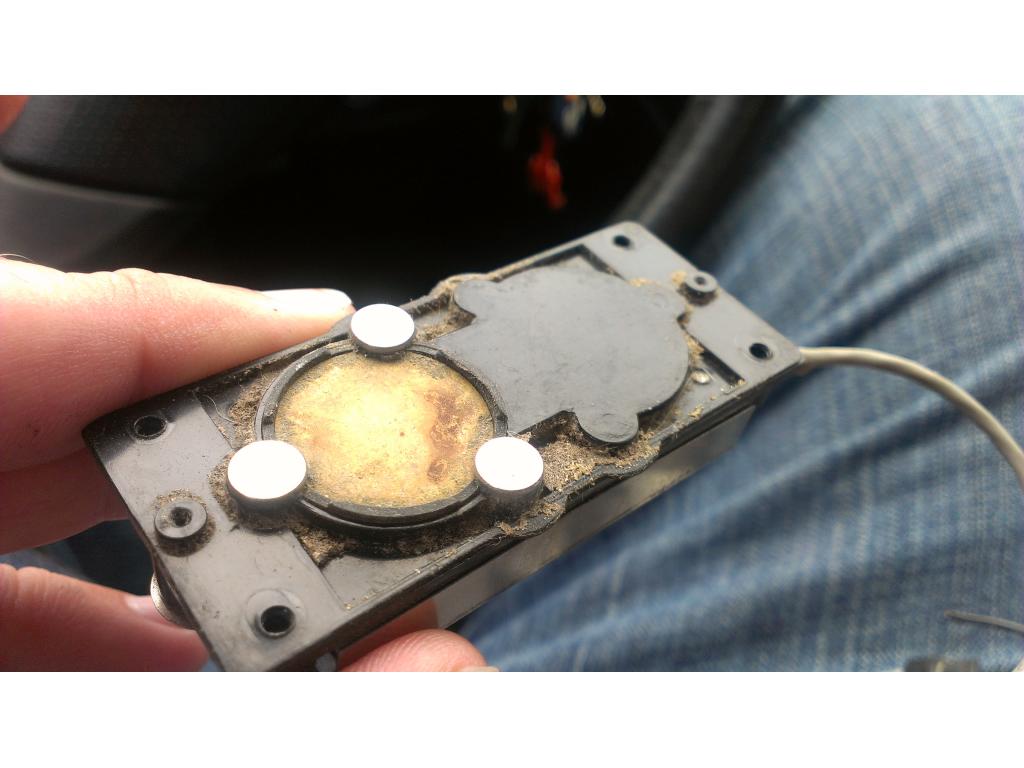
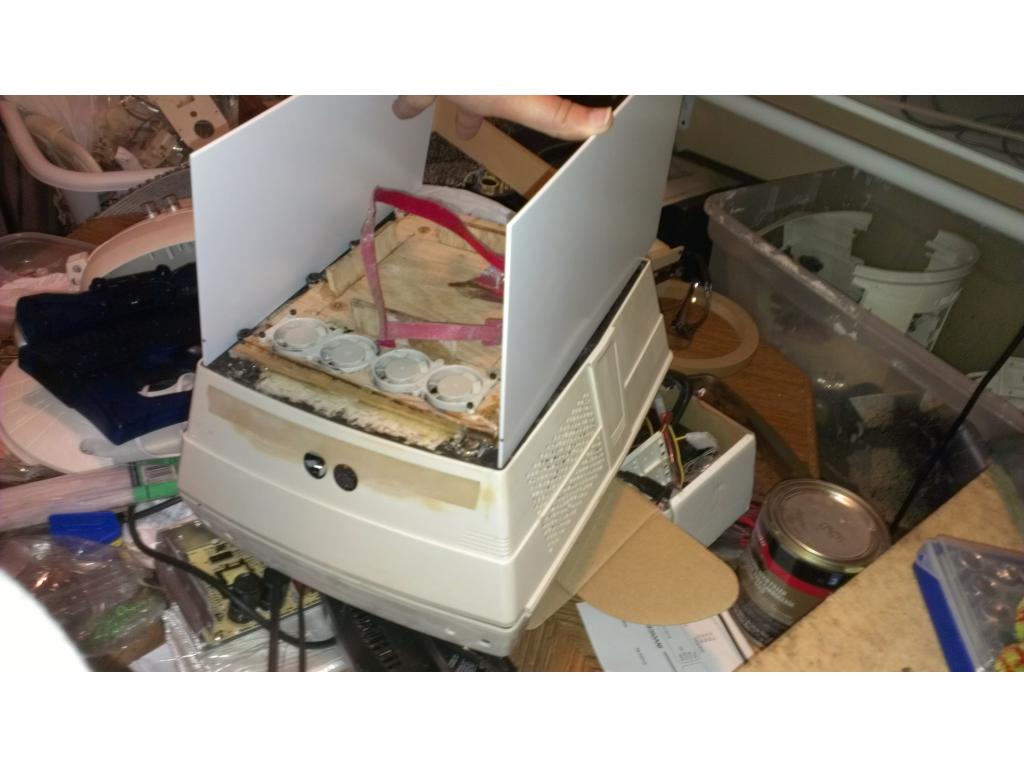
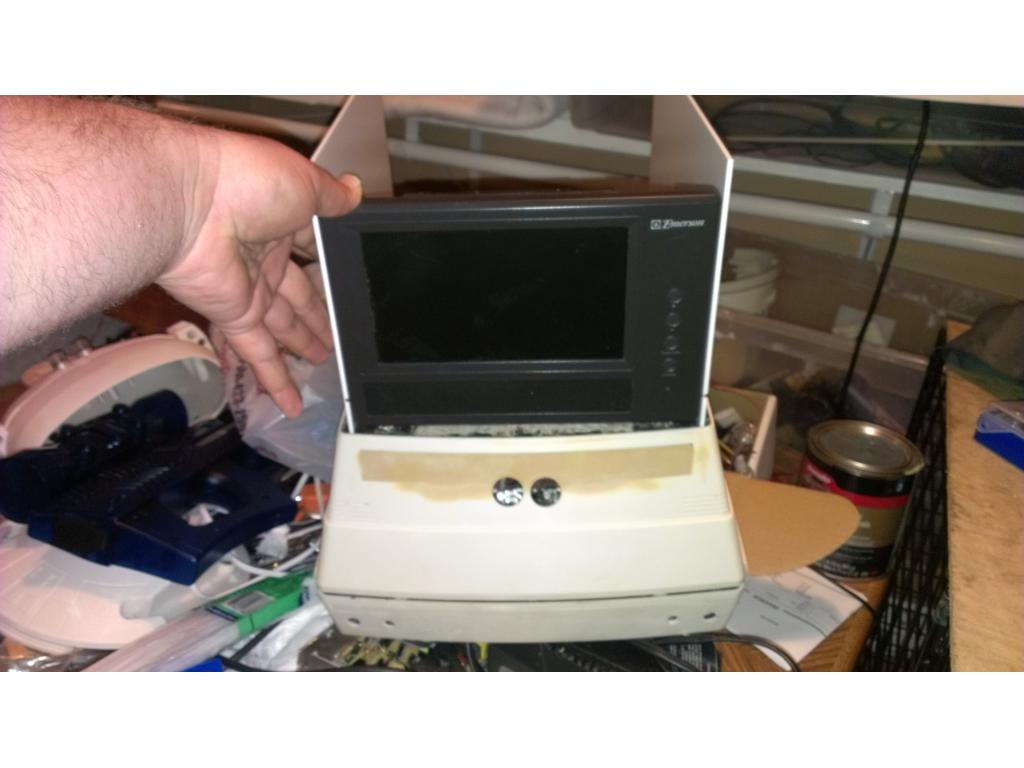
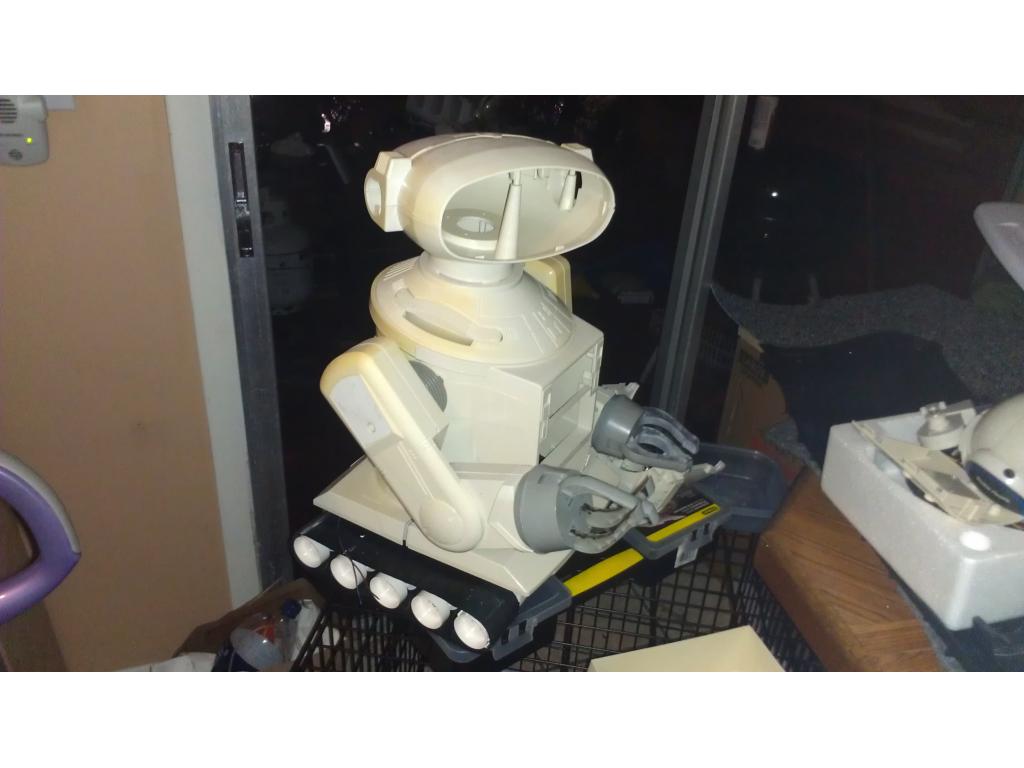
As you can see they are circular , the center normally flips up and ring is the stand. I will look inside and see if the ring is antenna too , if so I imagine there is no harm in epoxy them to sides of the torso and mold the outside edges. I the antennas being part of the outside surface is the way to go. Any thoughts on this everybody?I must finish the blue dots for eyes. I must drill out a blue indicator light and put in a blue led. The current led is white inside it and shows up a blue green color I wasn't satisfied with.
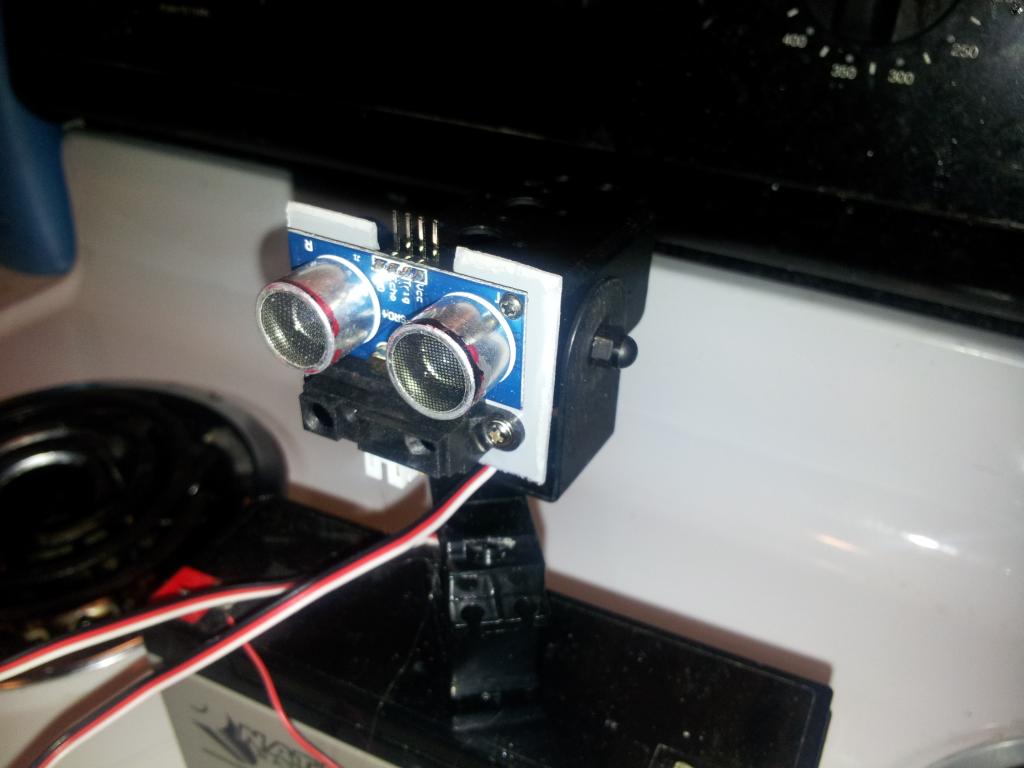
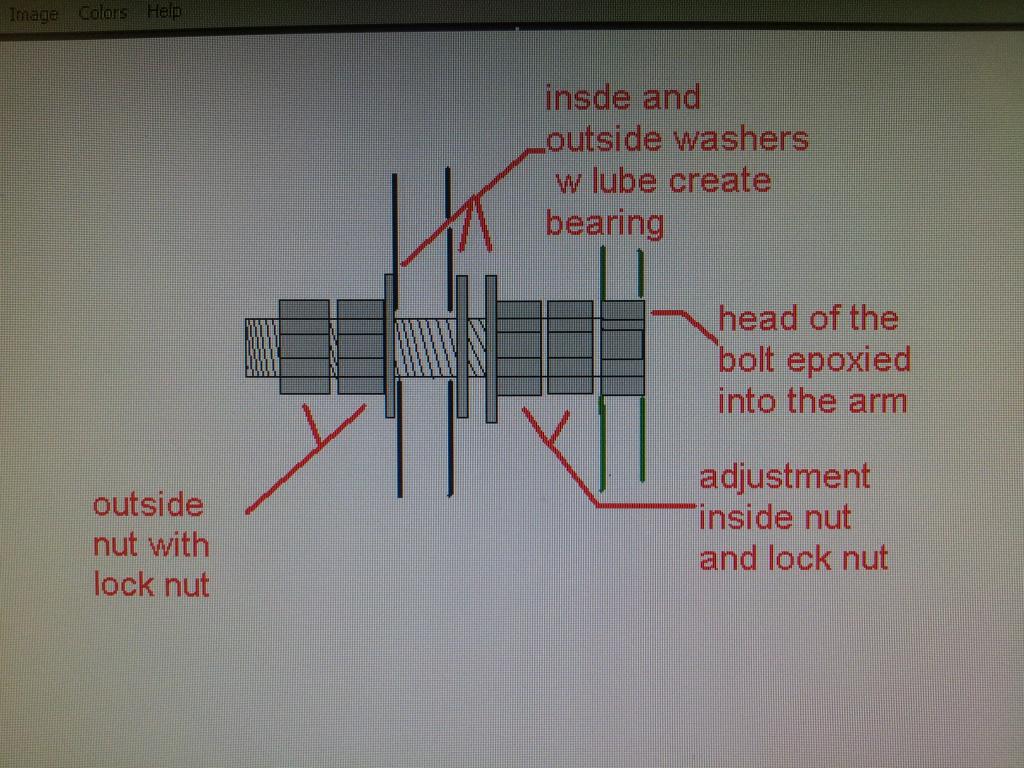
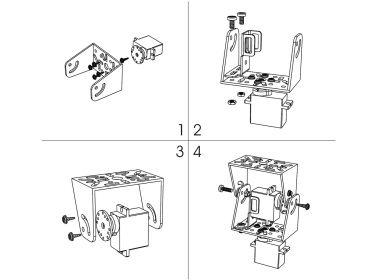
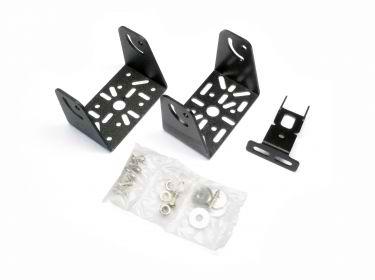
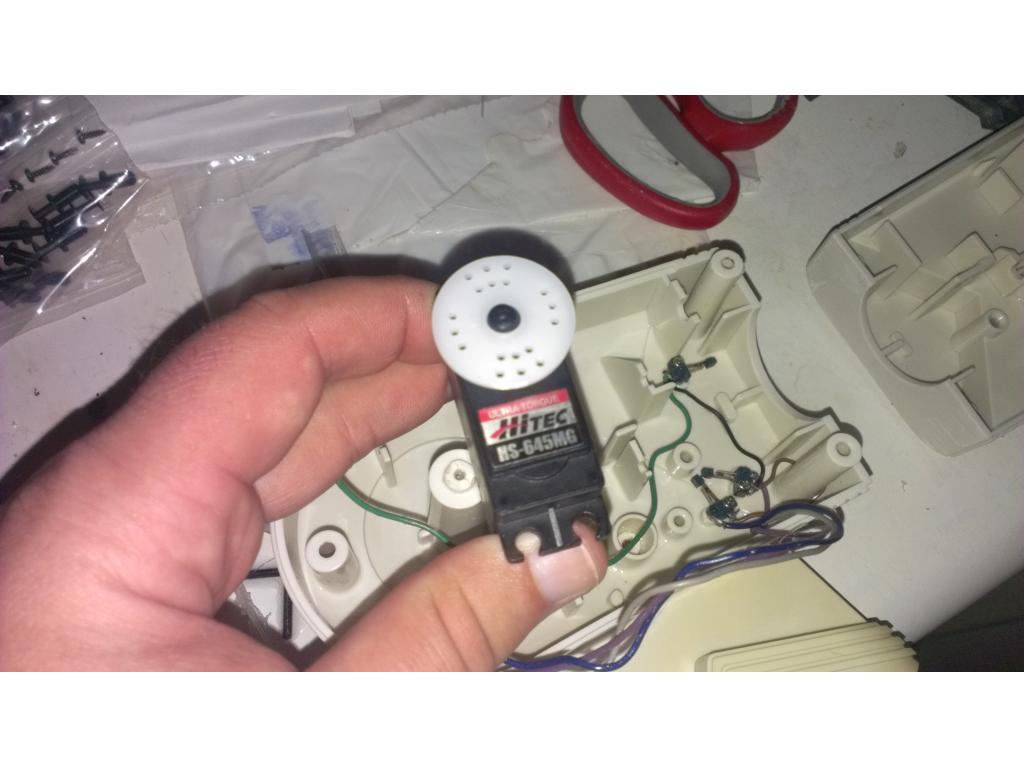
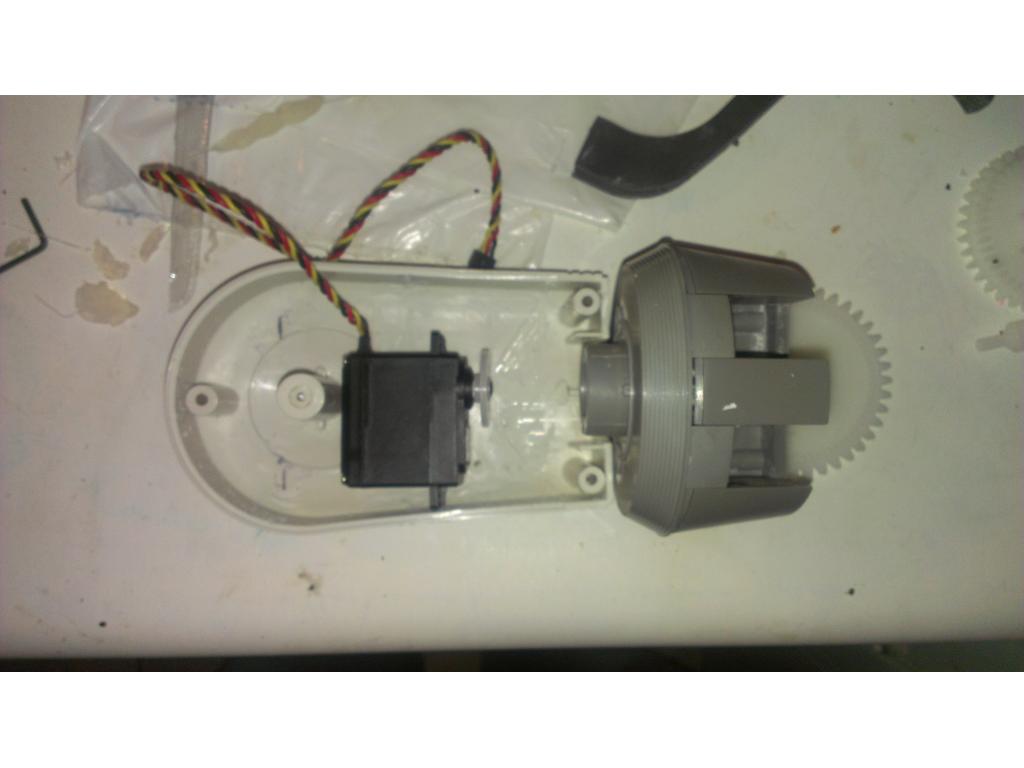
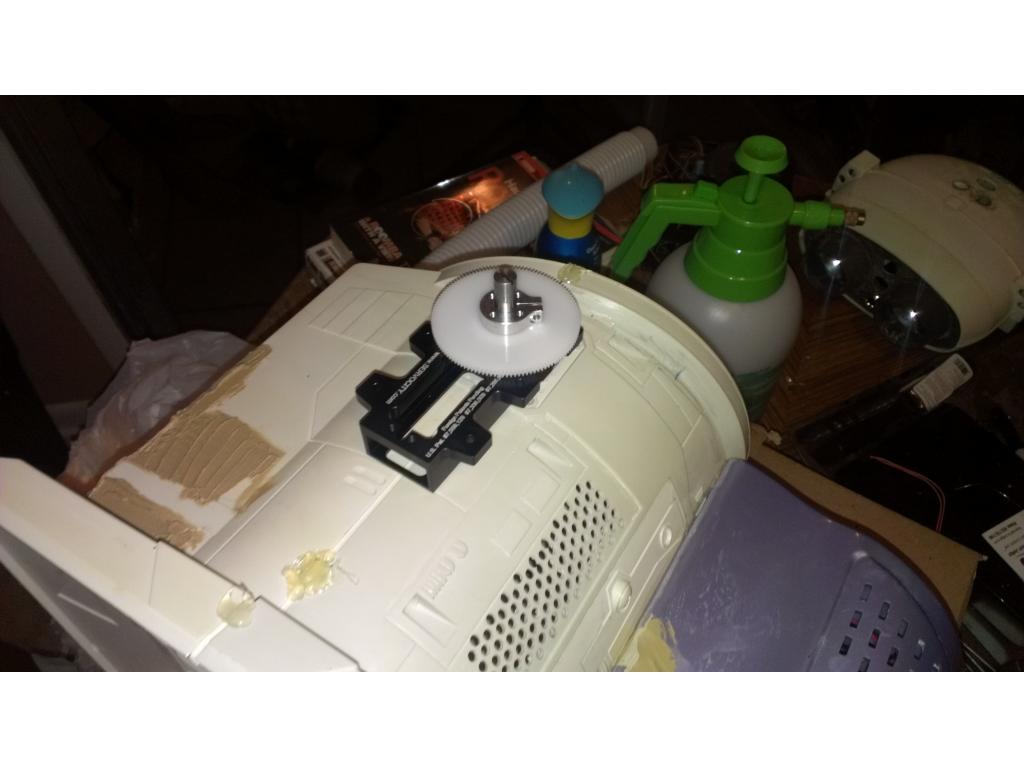
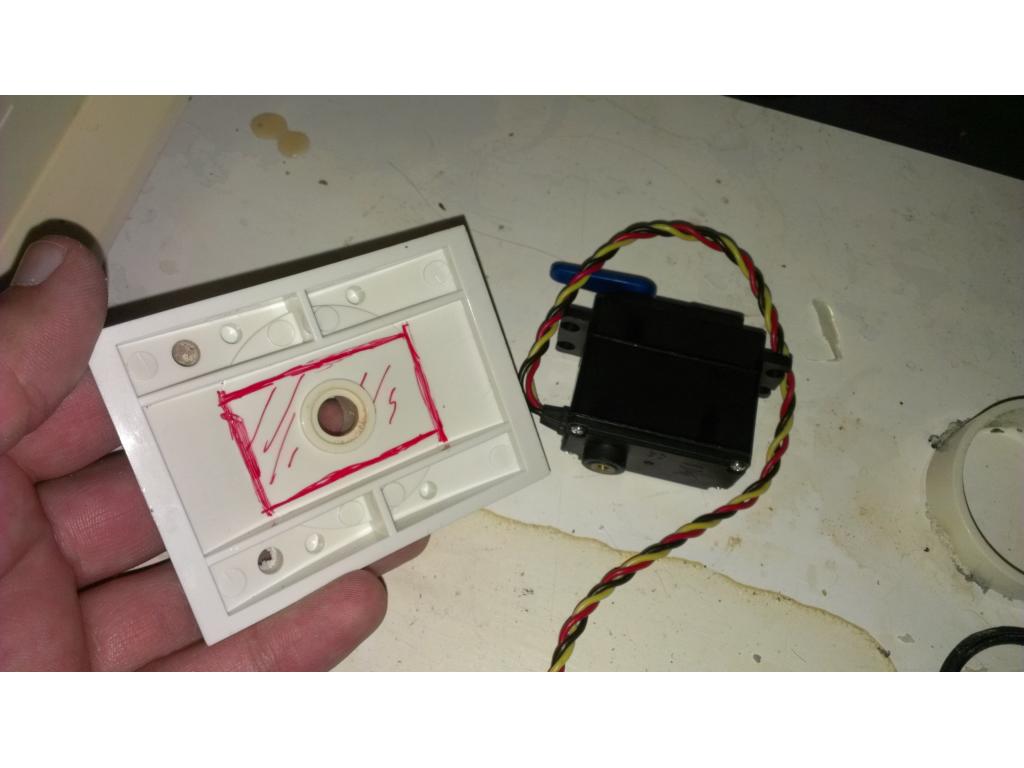
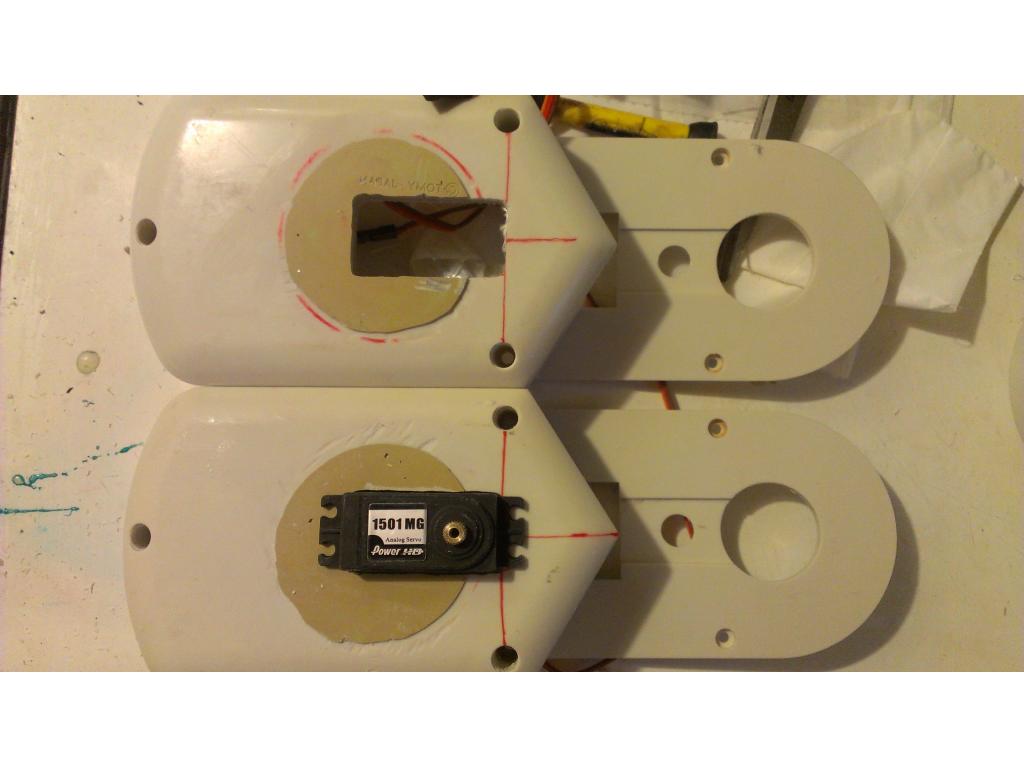
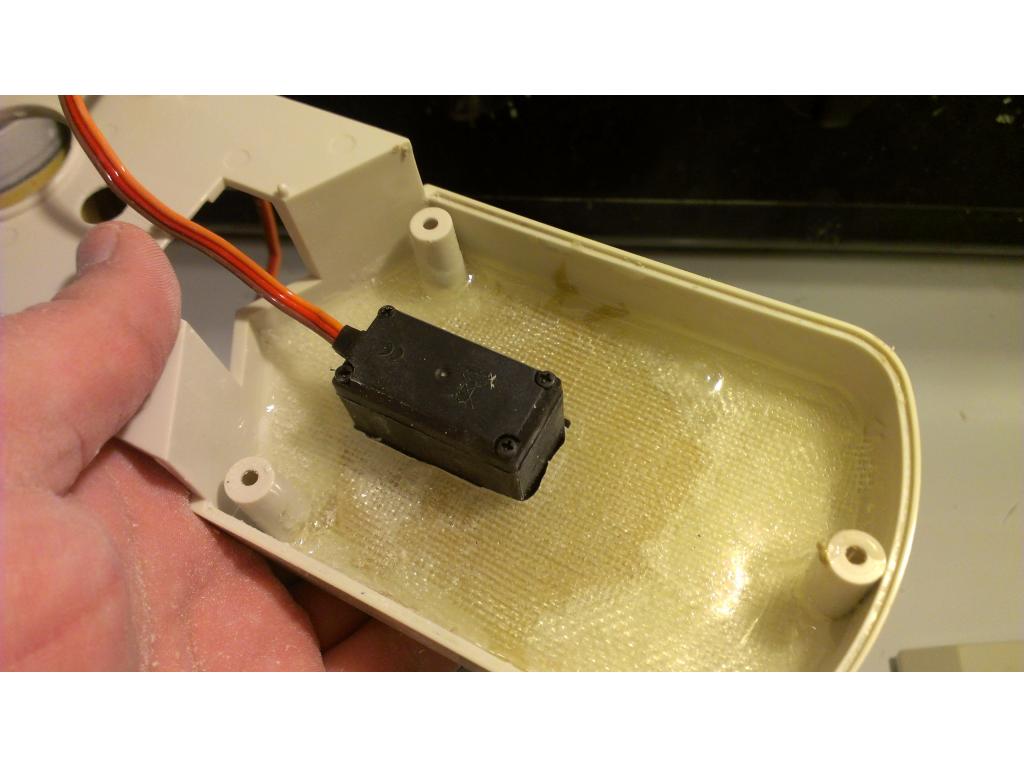
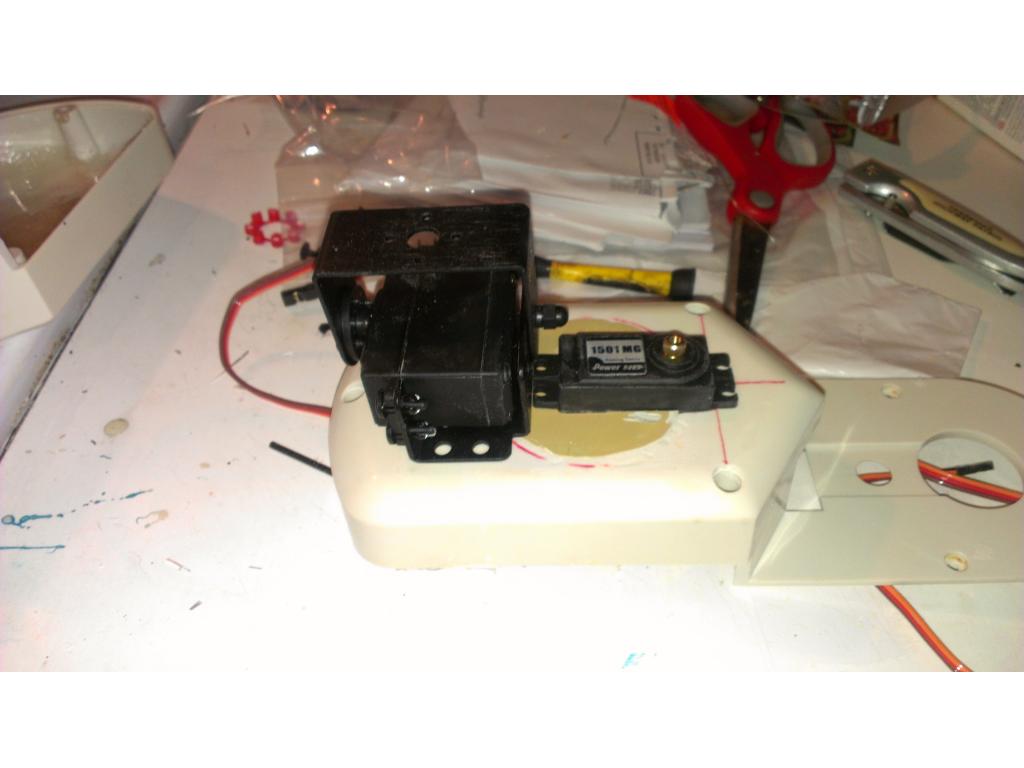
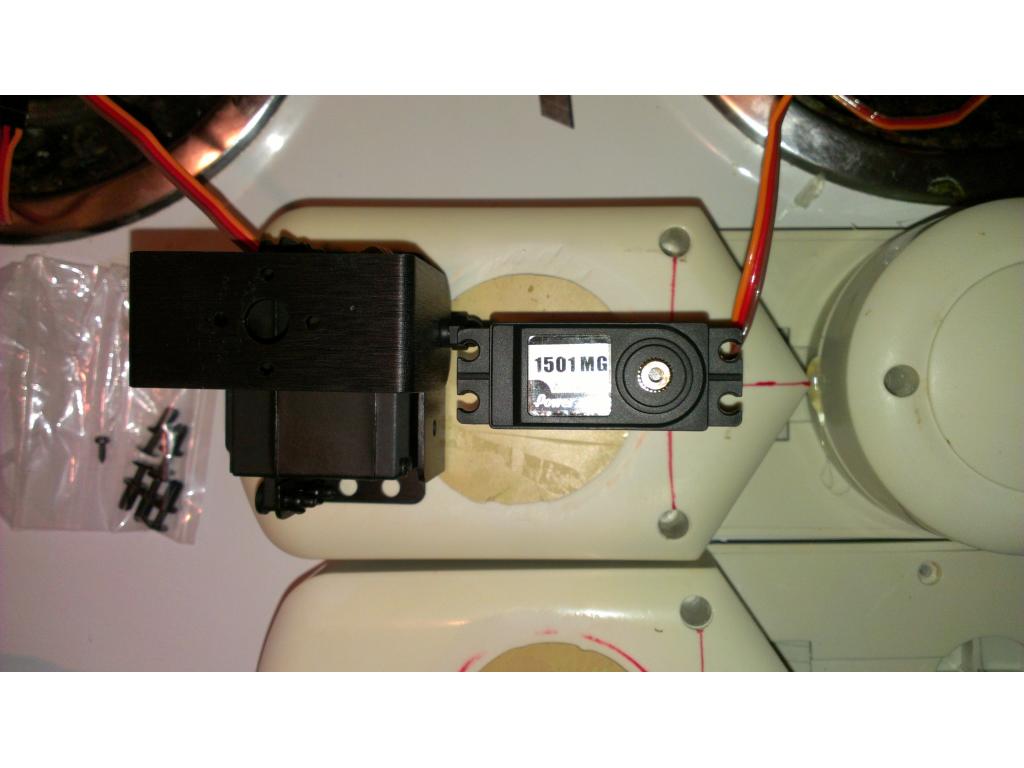
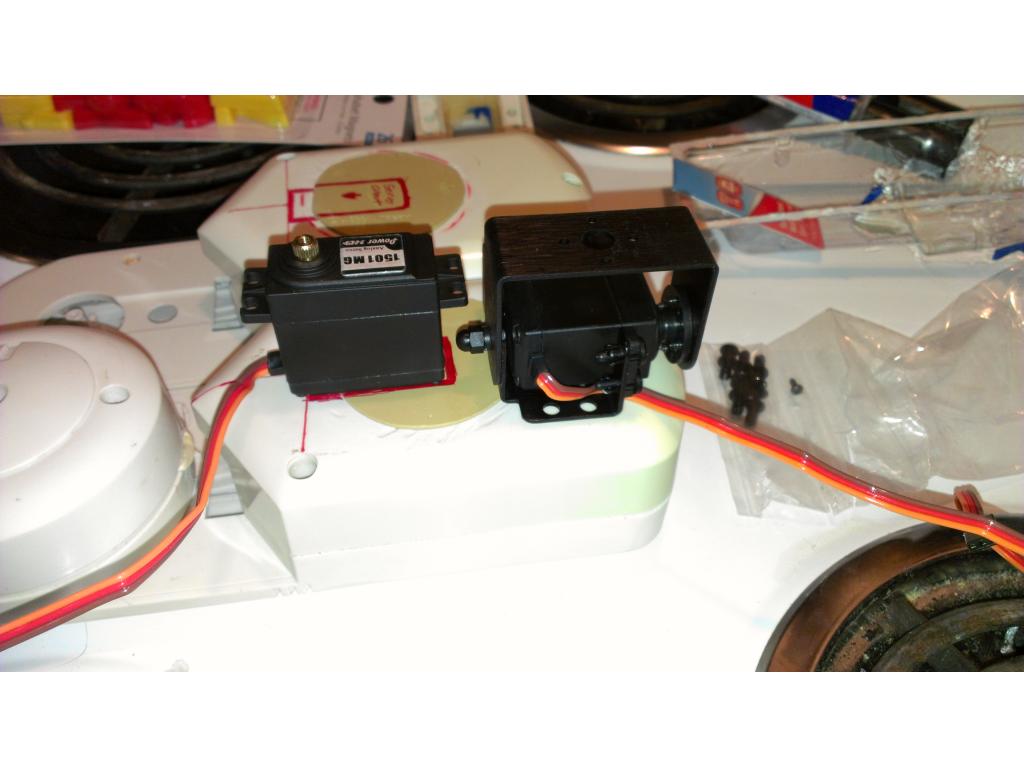
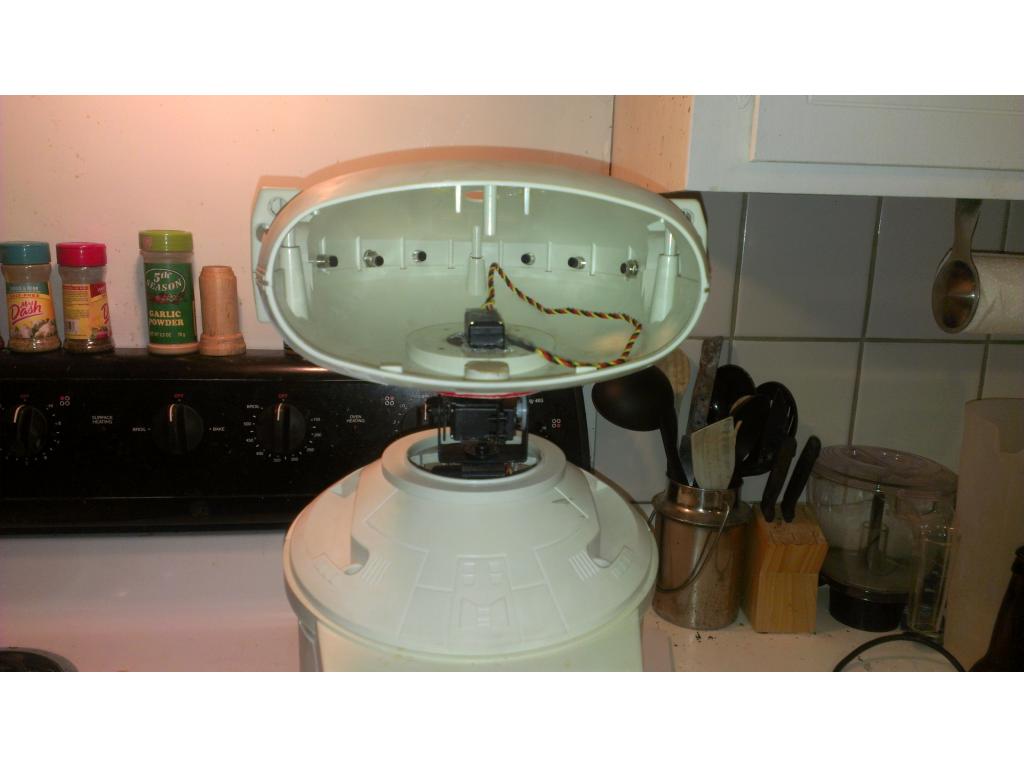
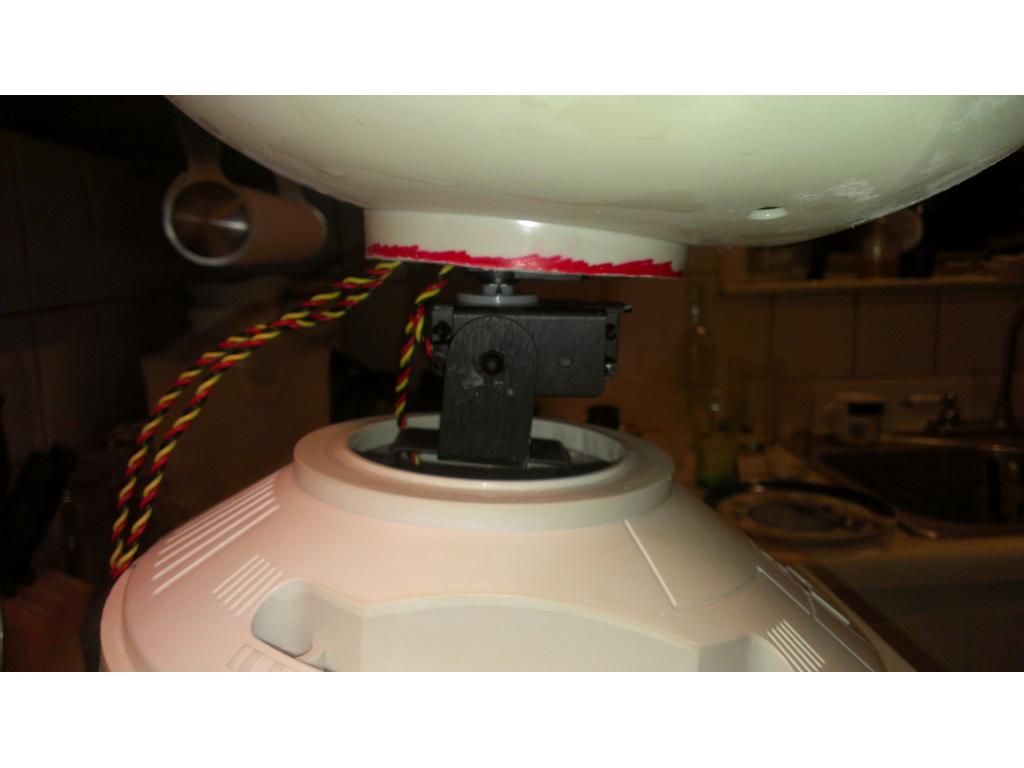
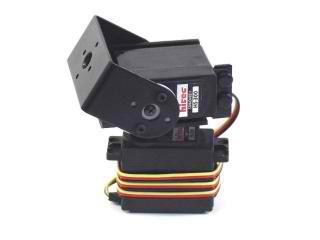
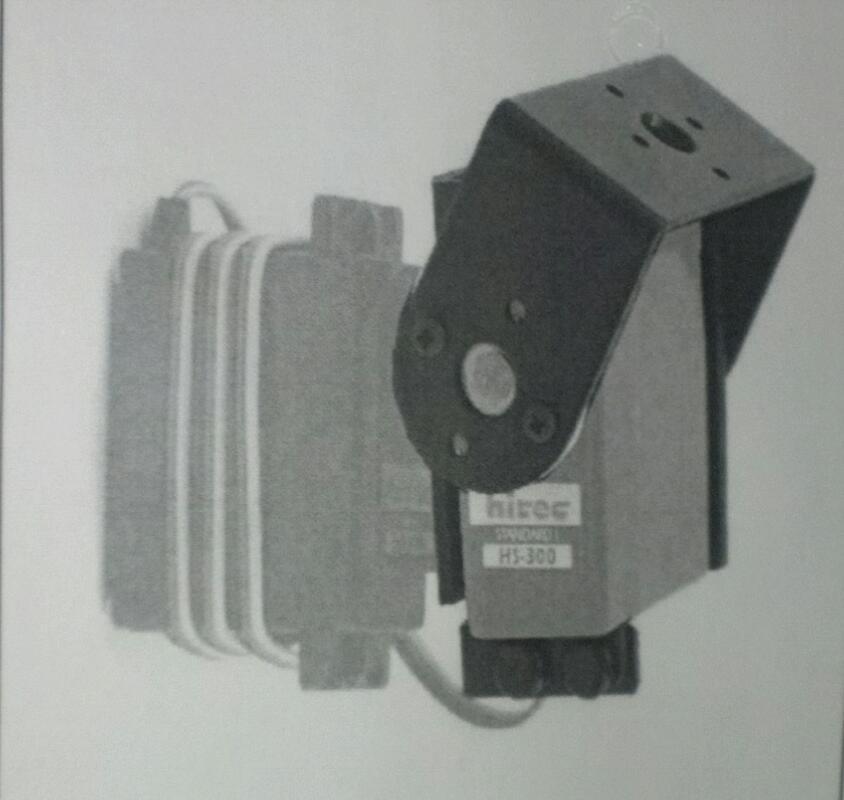
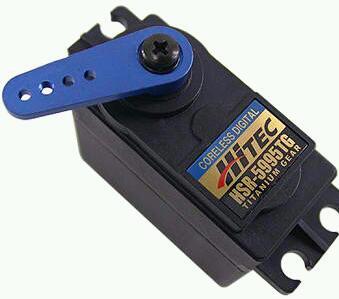
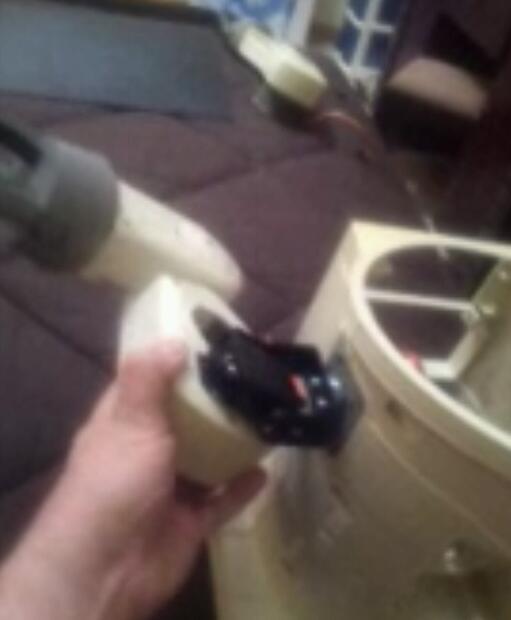
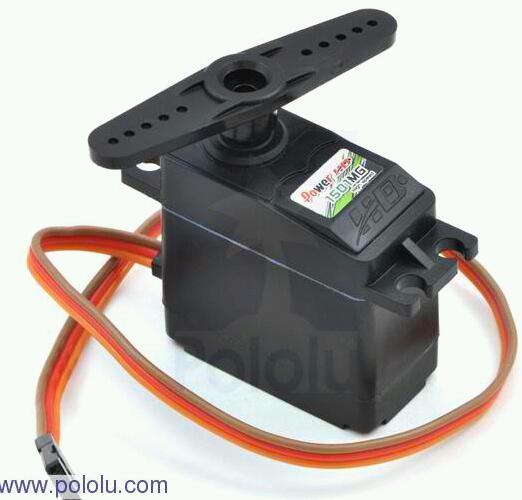
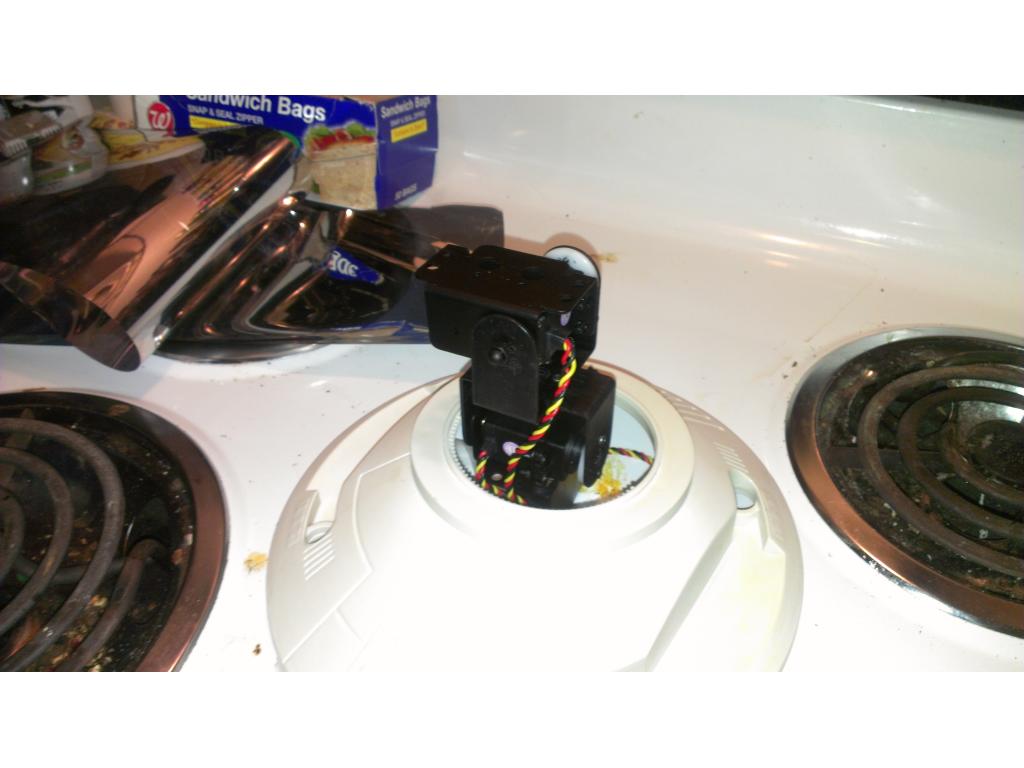
-i must make a mount of some kind and joint with servos so the head can turn left ,right , up down. Anyone have a simple yet effective design? Help with this is appreciated , remember I have servos from the ezb kit...
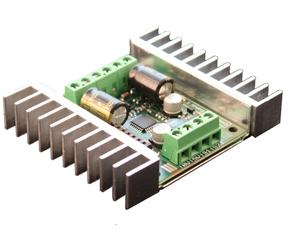
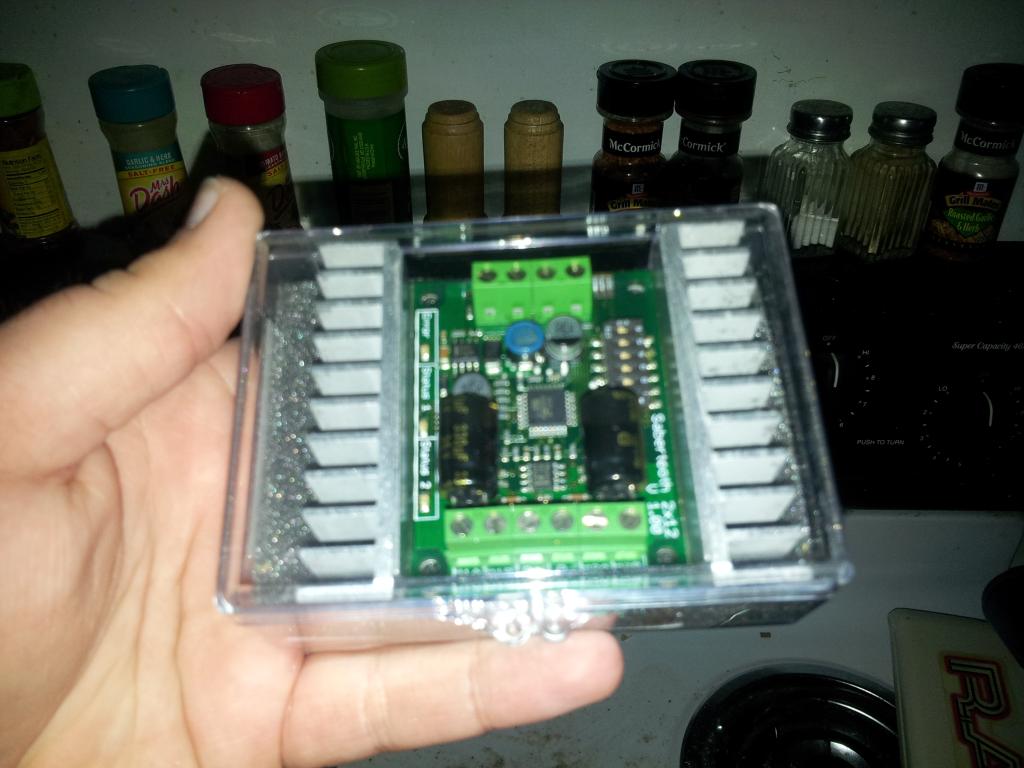
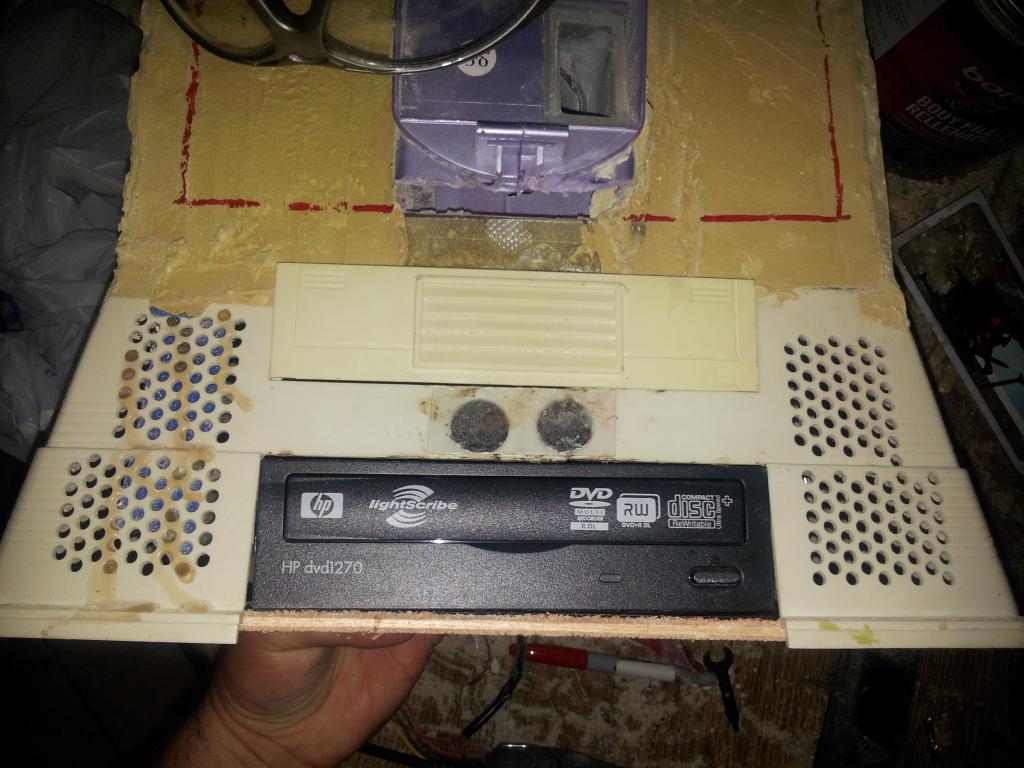
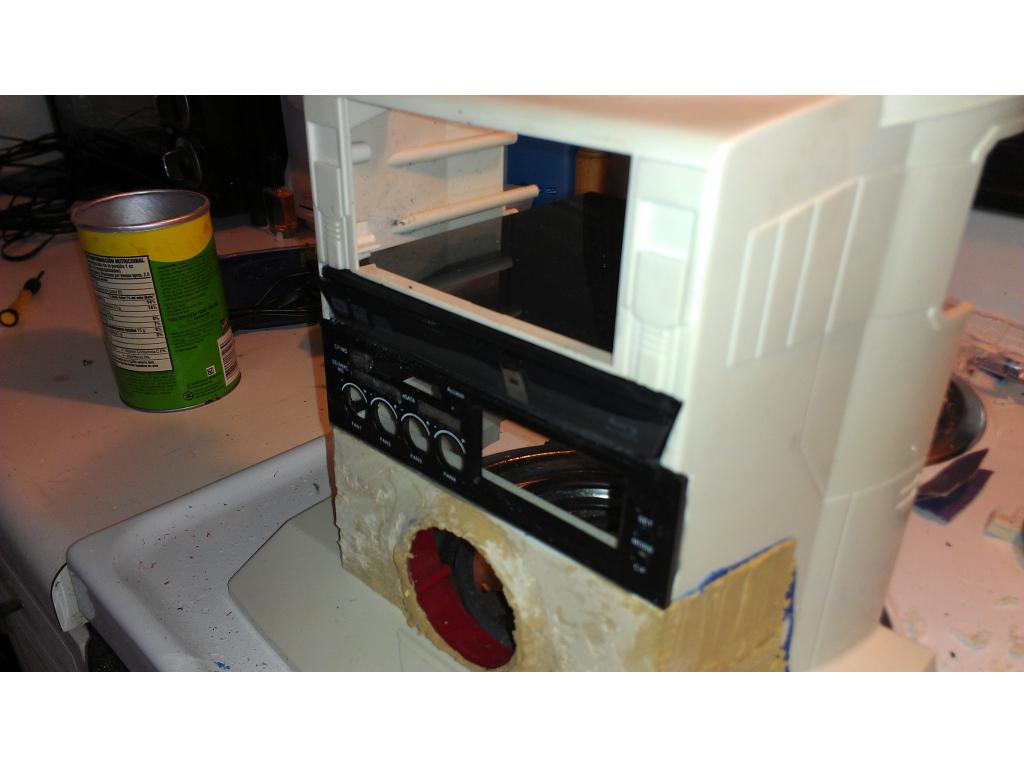
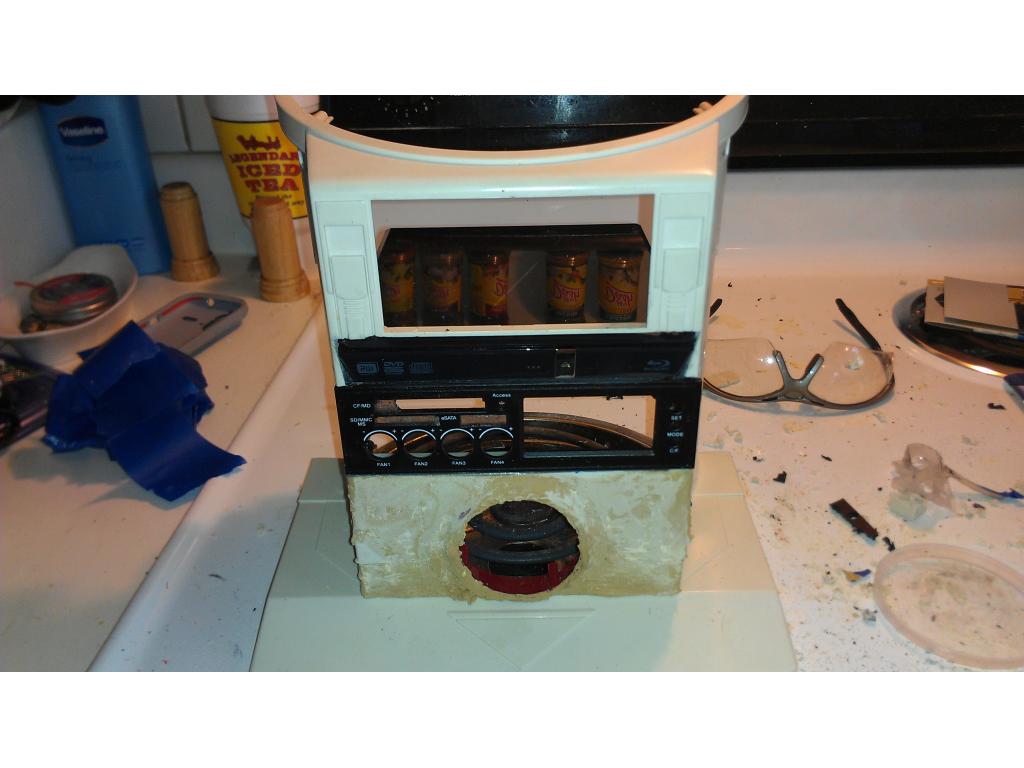
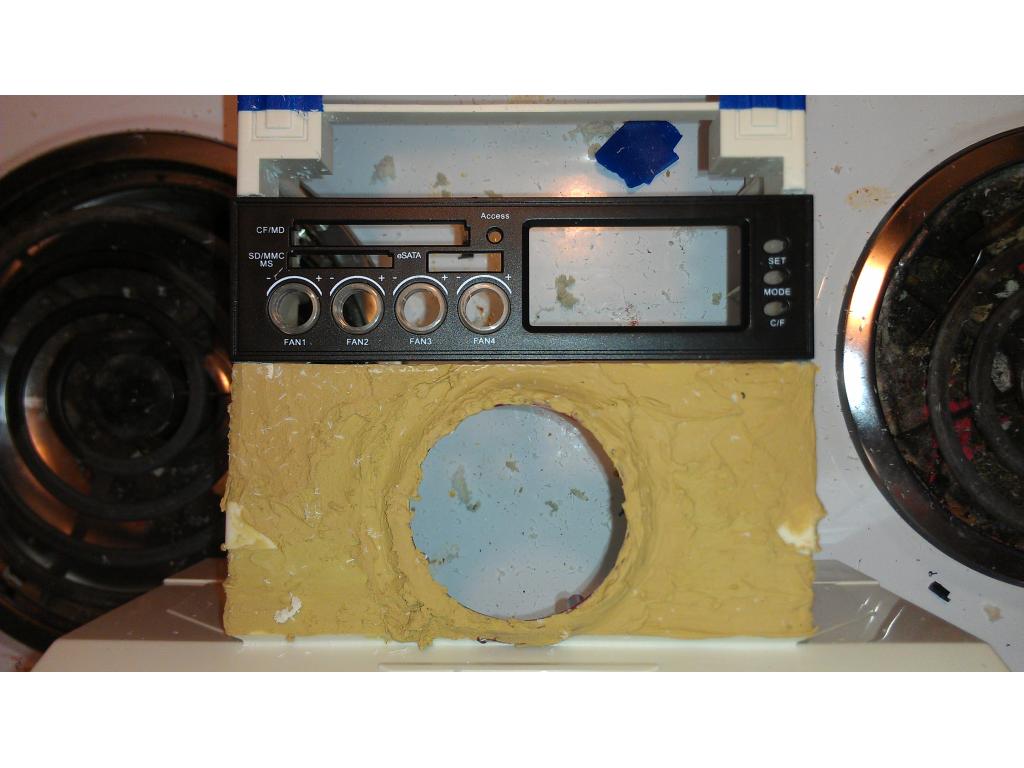
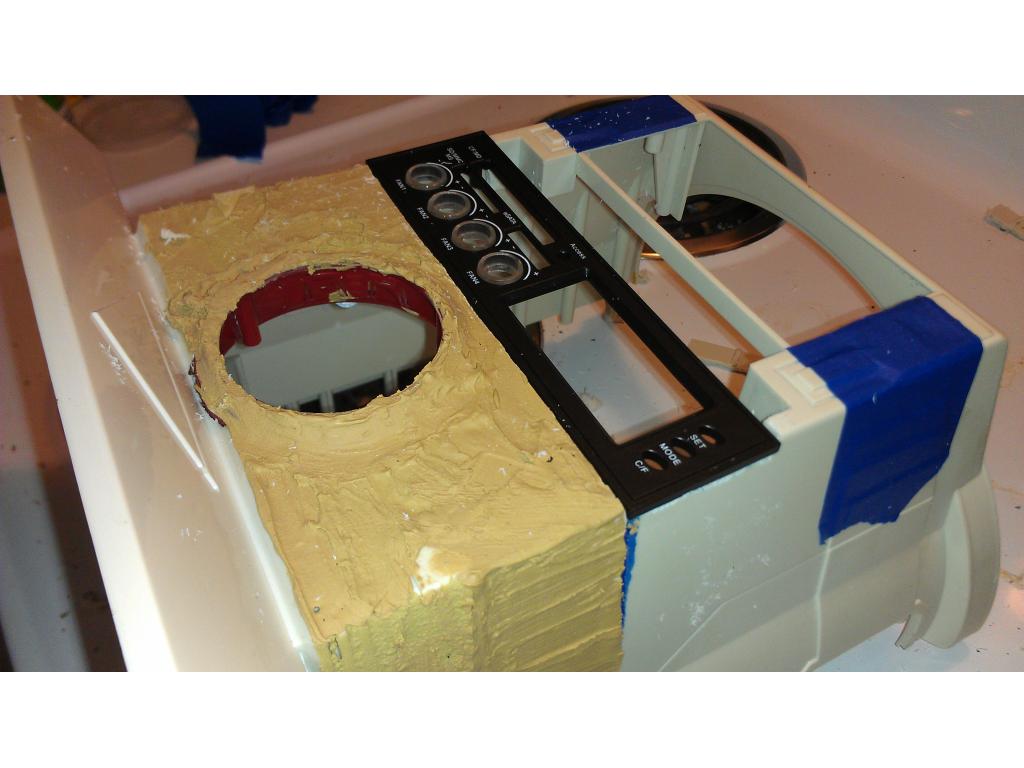
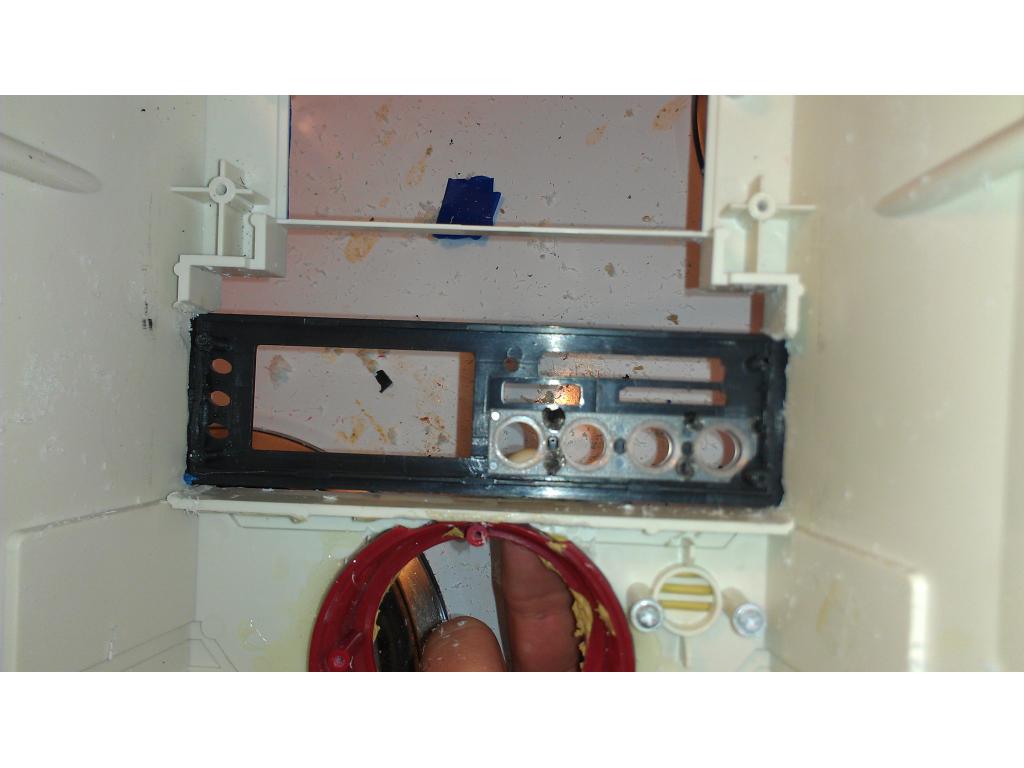
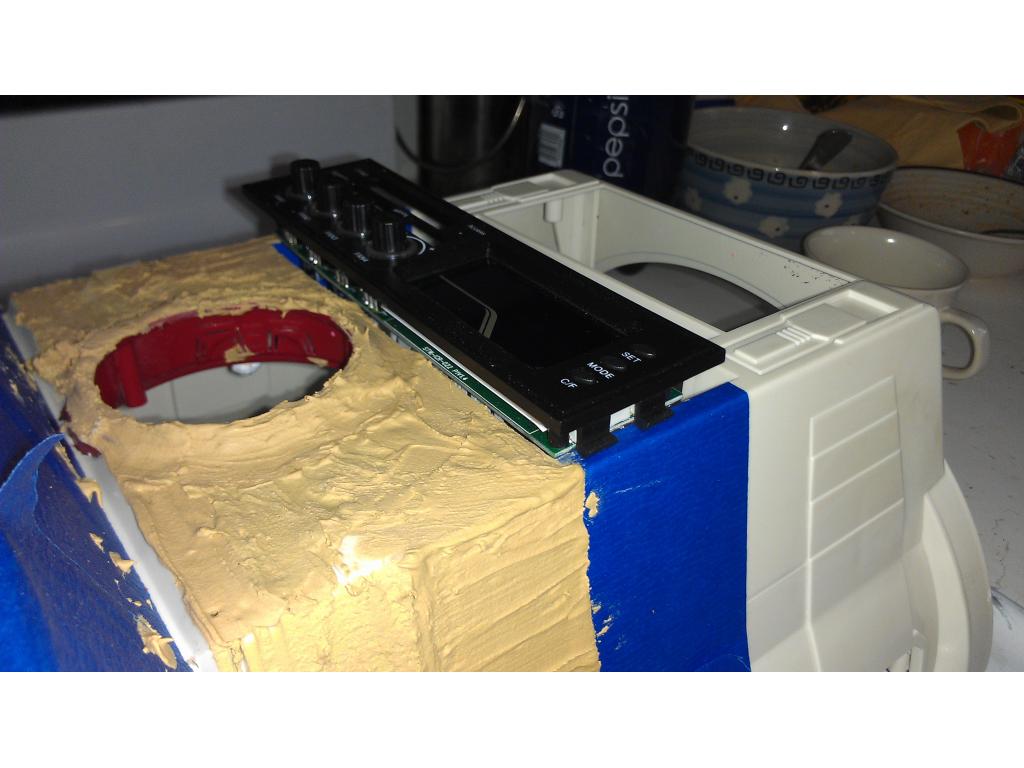
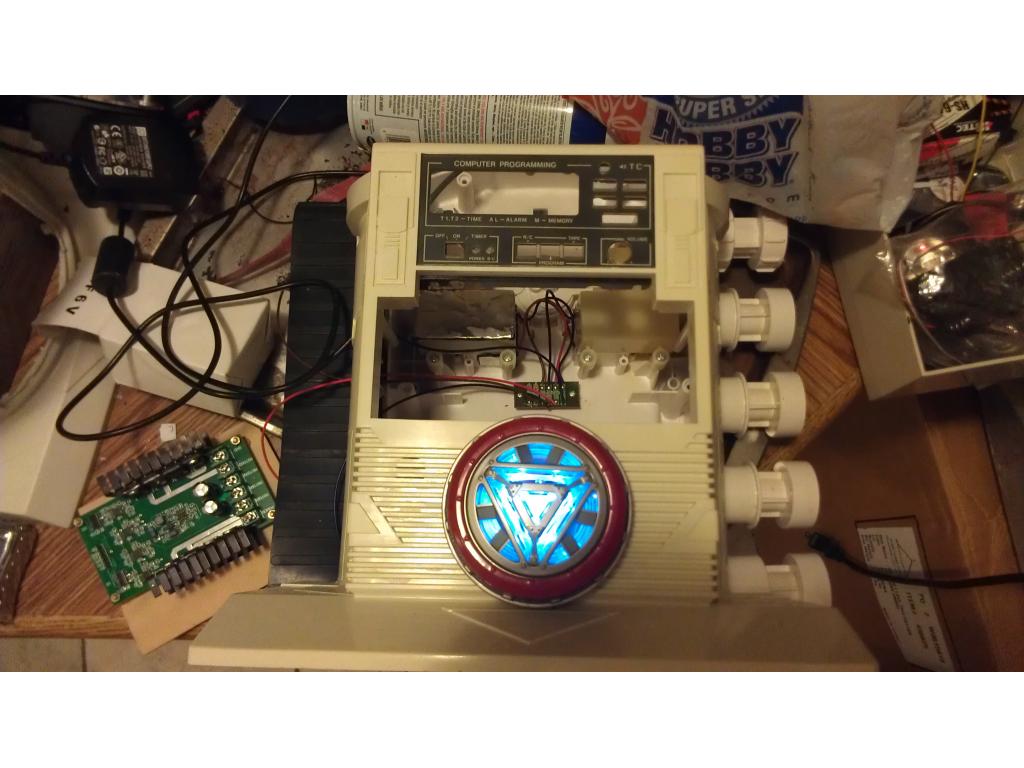
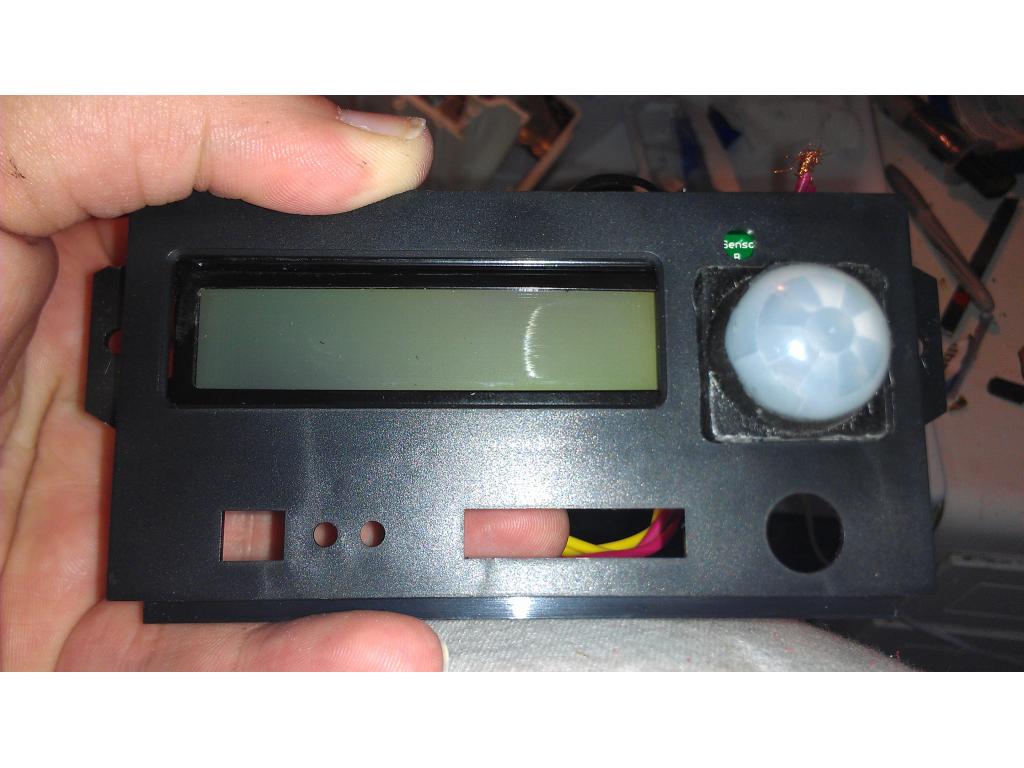
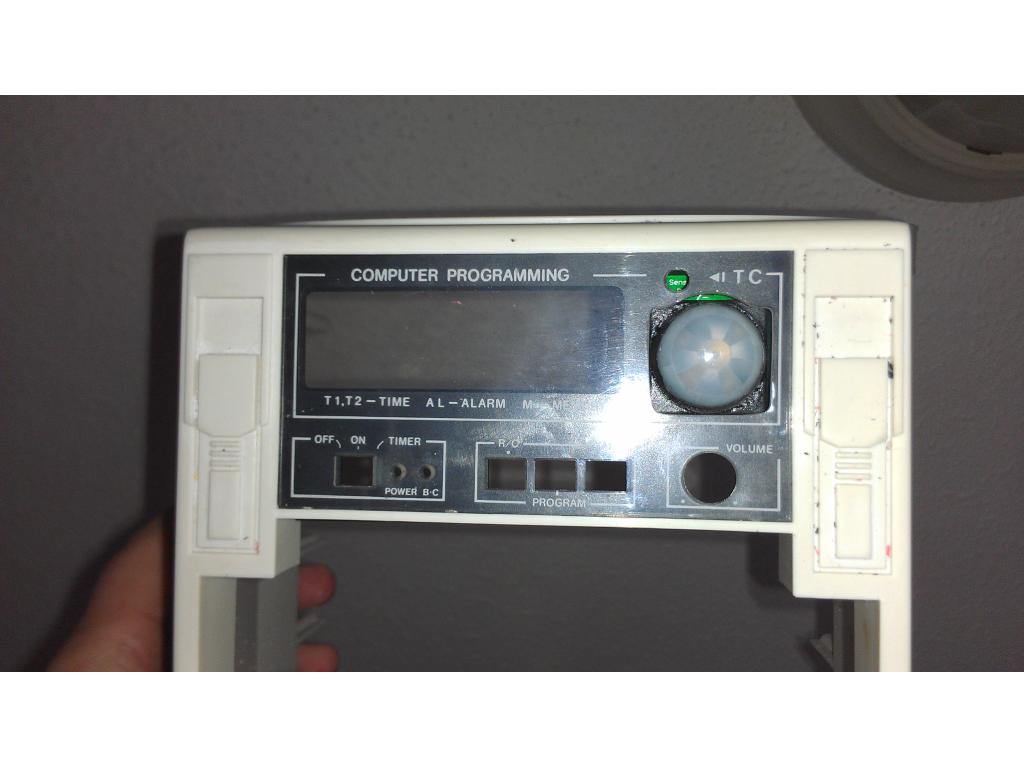
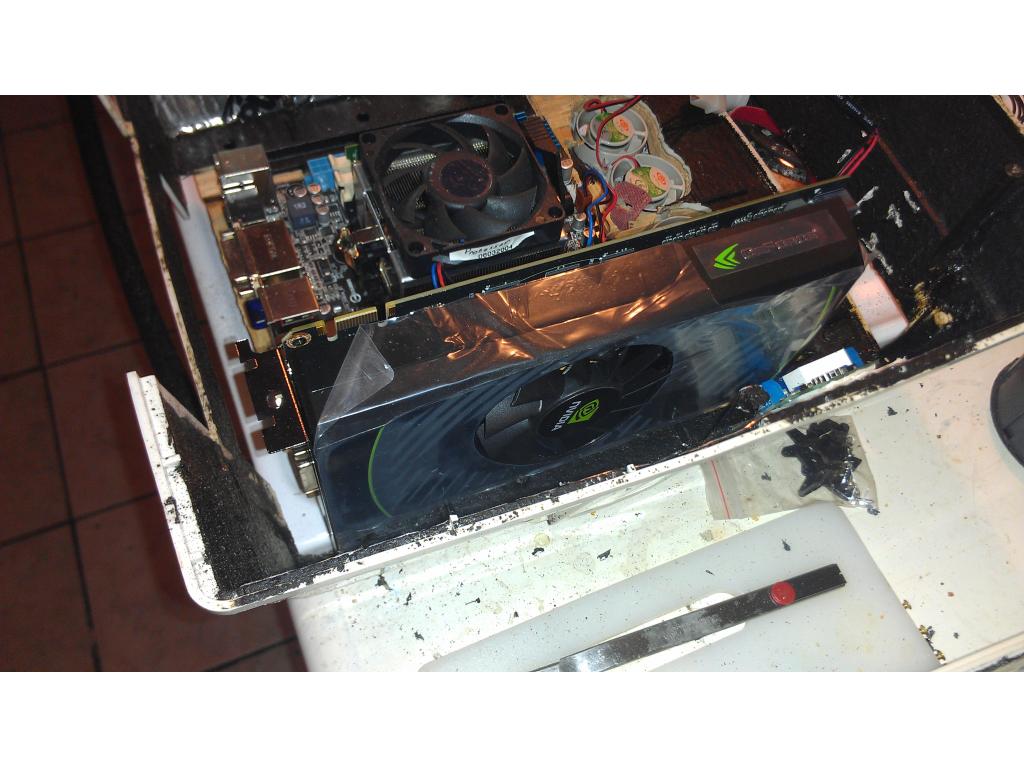
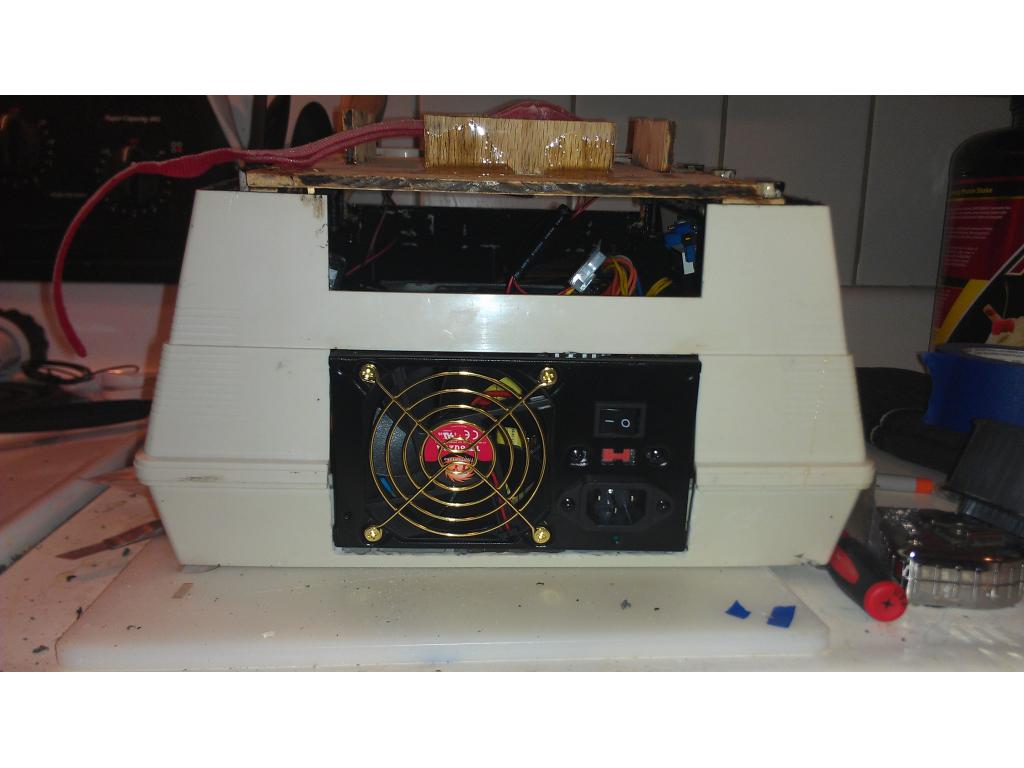
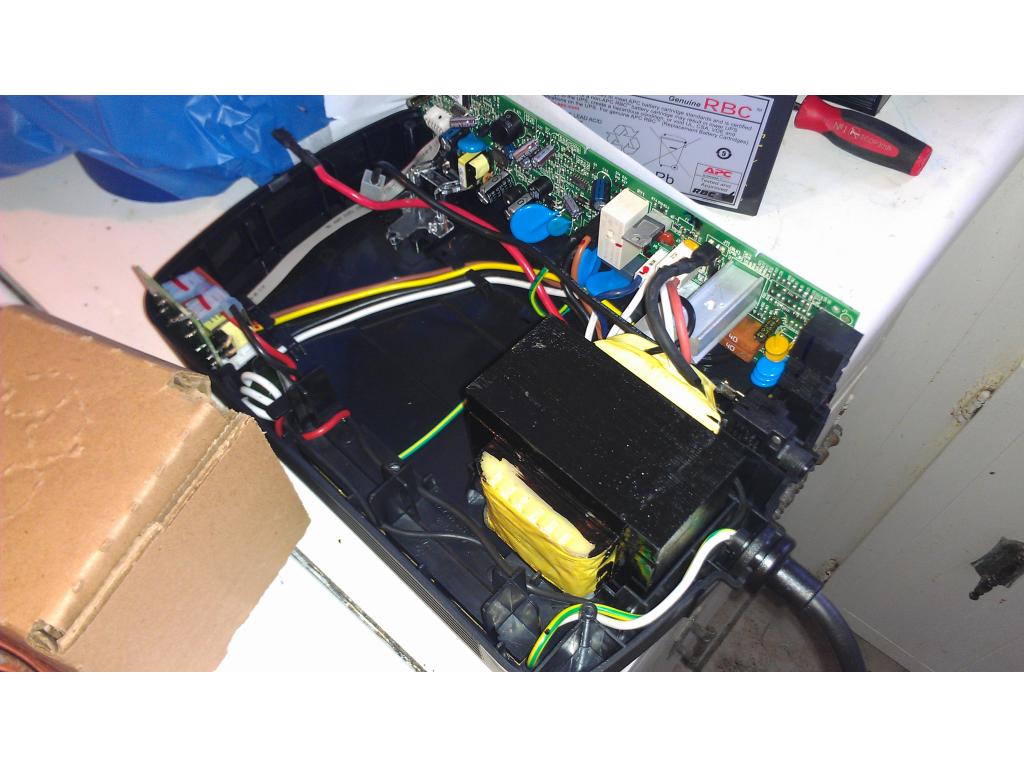
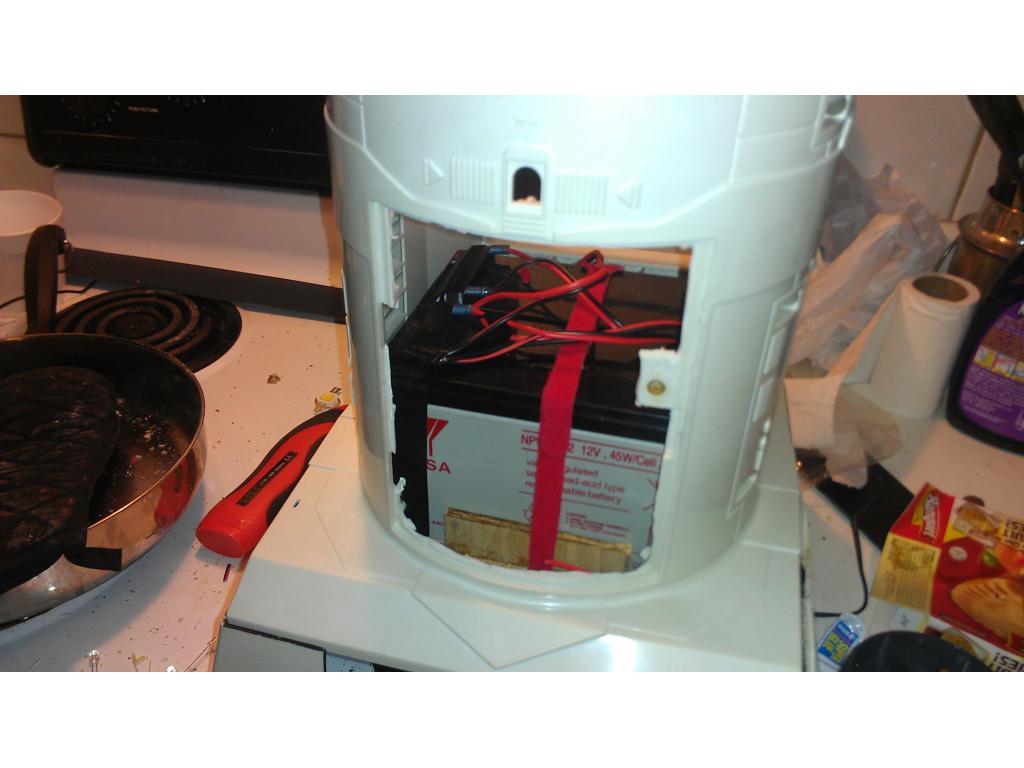
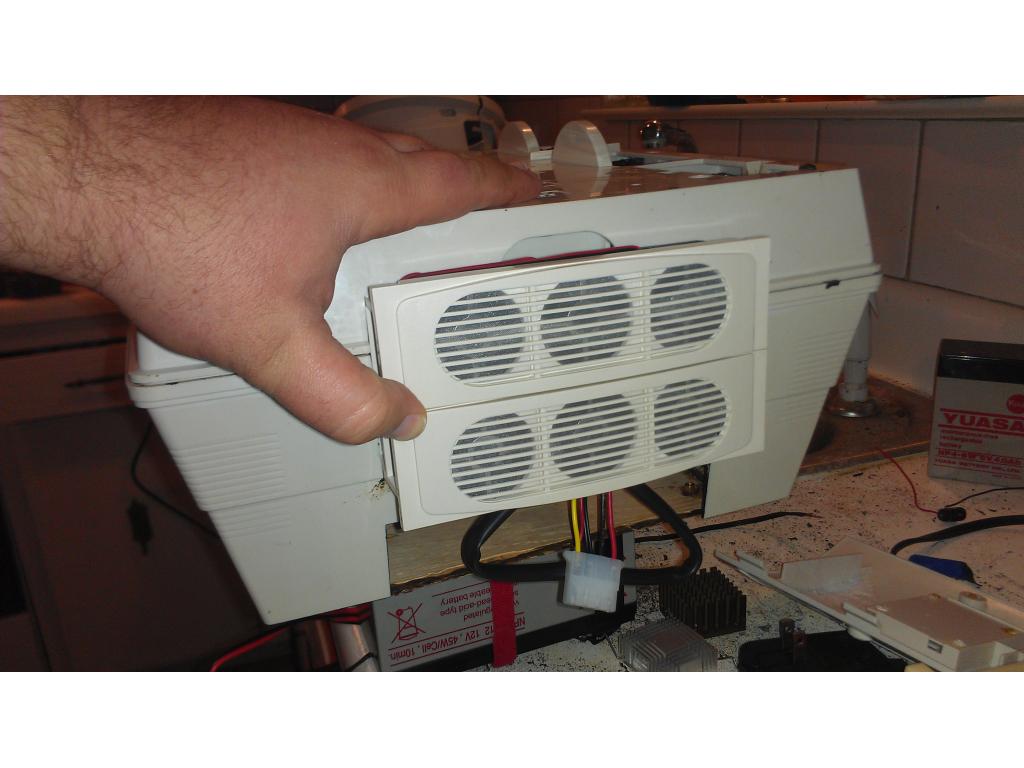
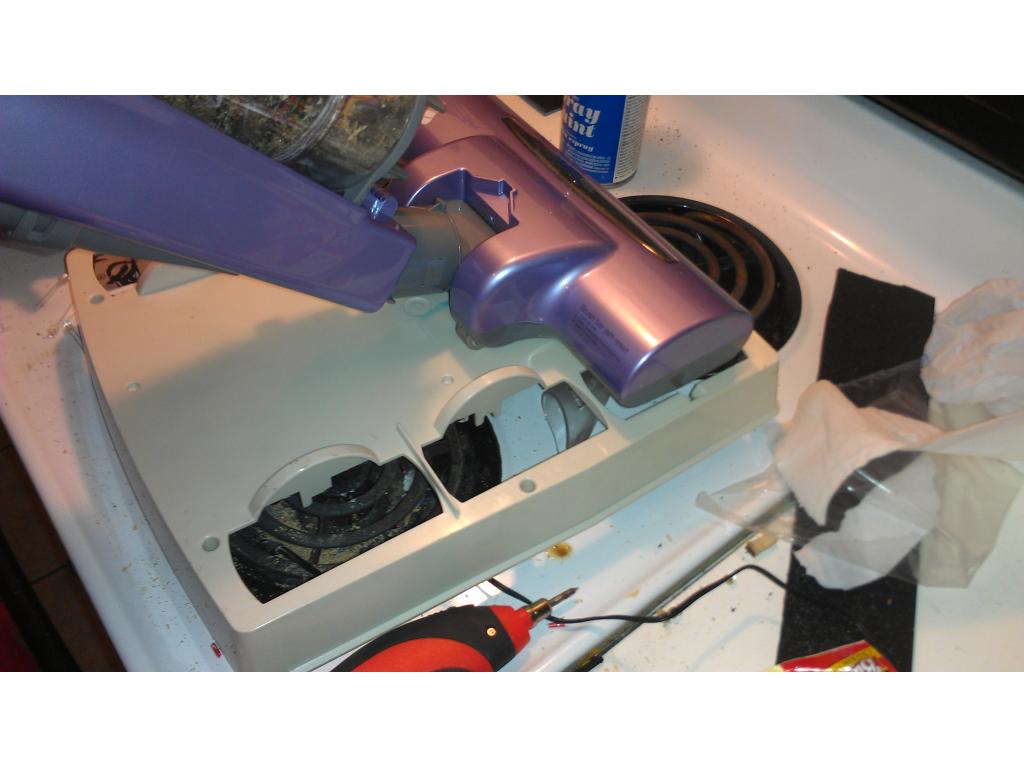
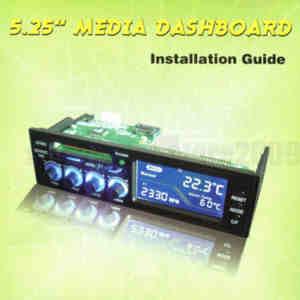
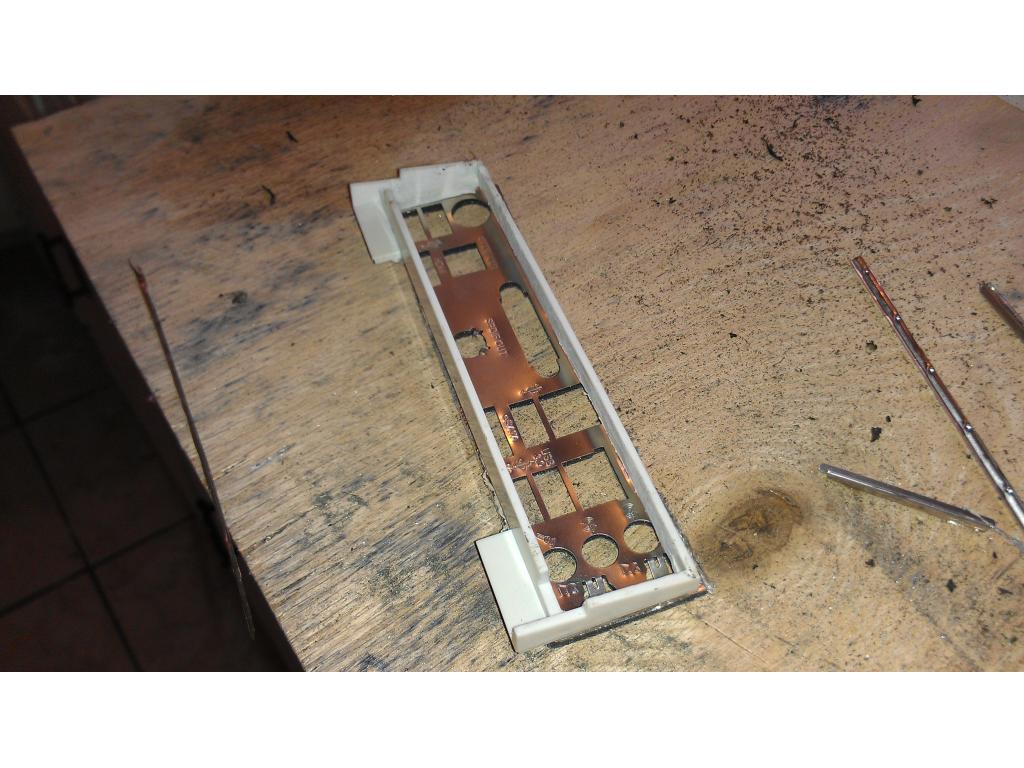
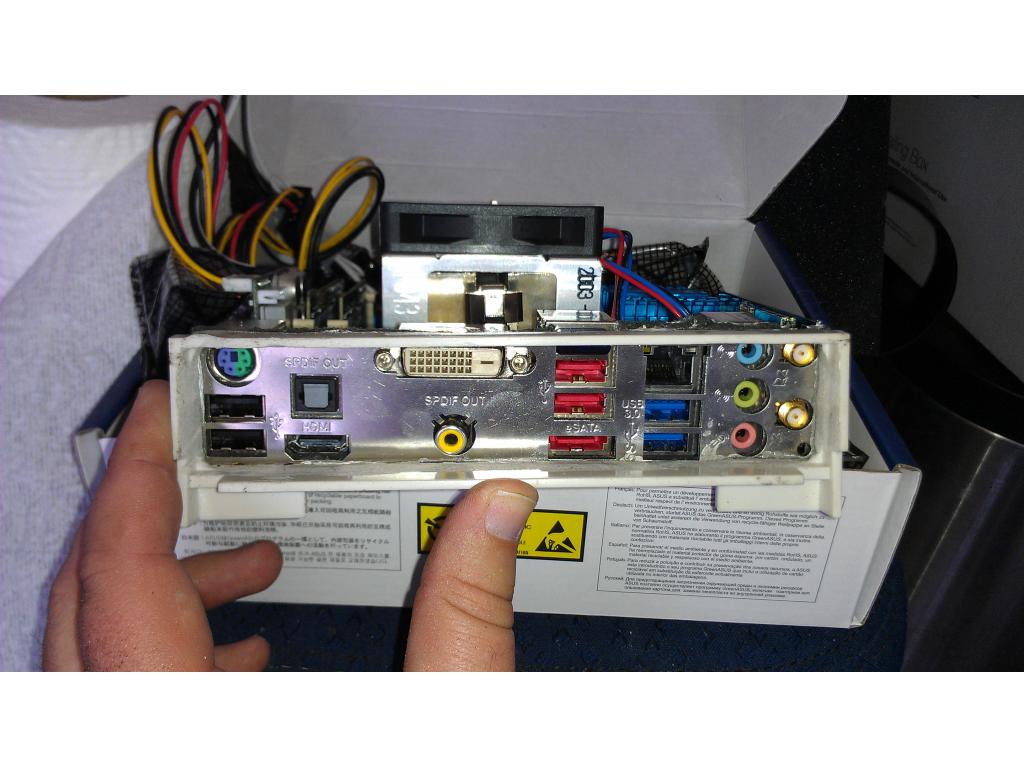
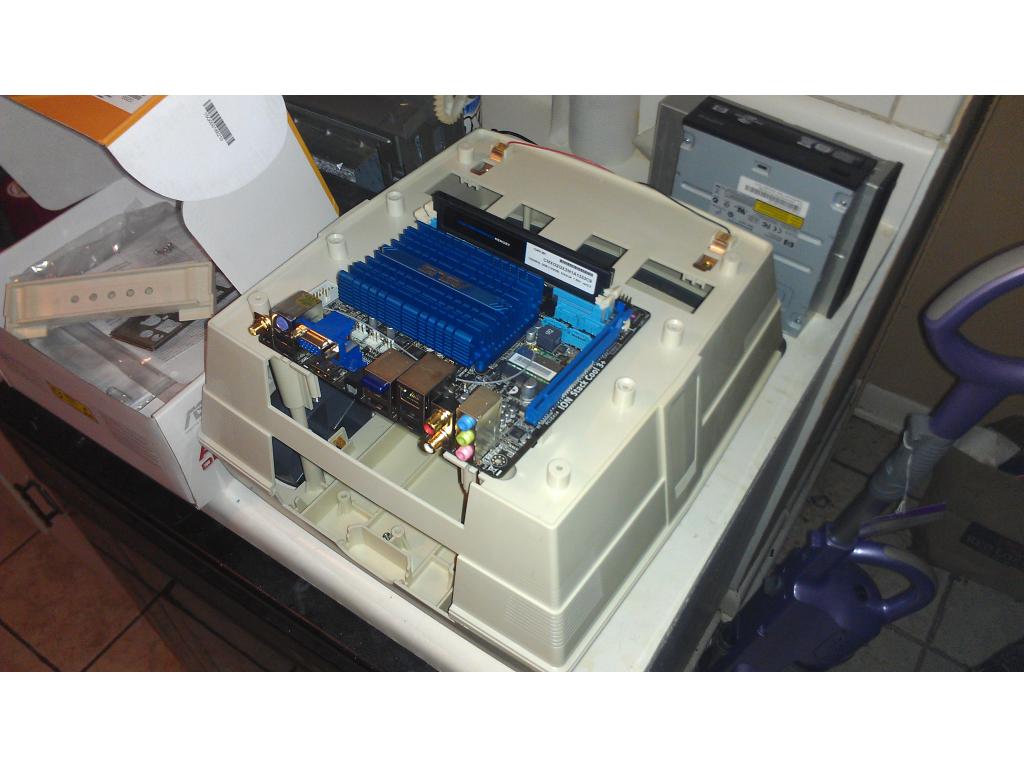
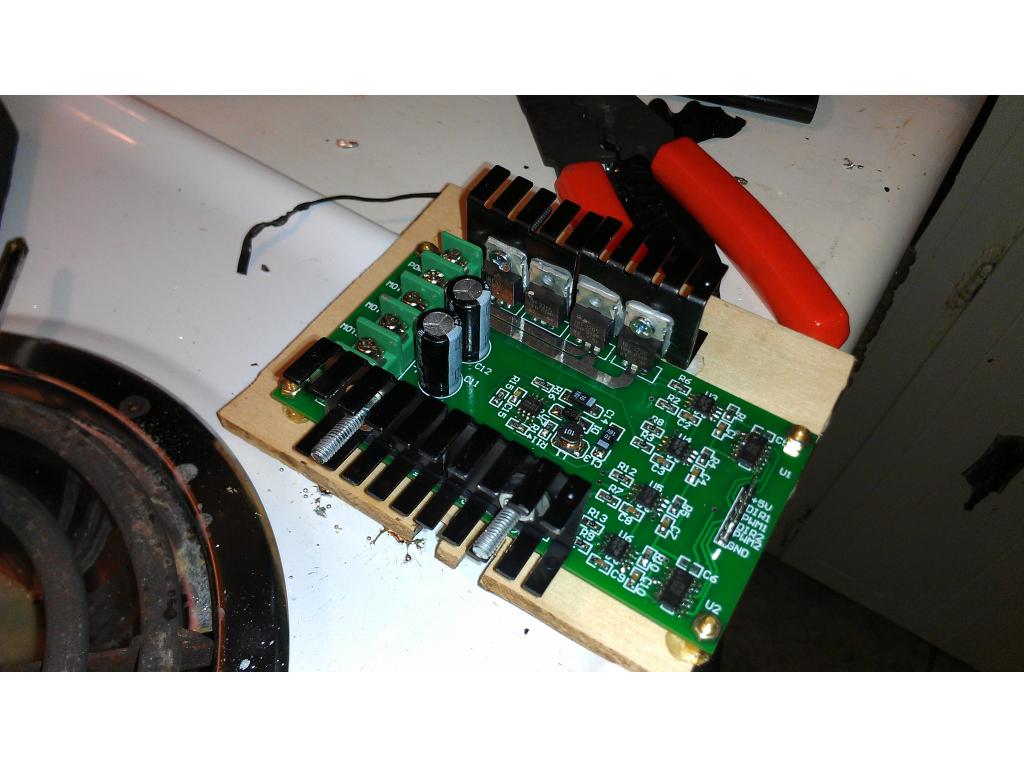
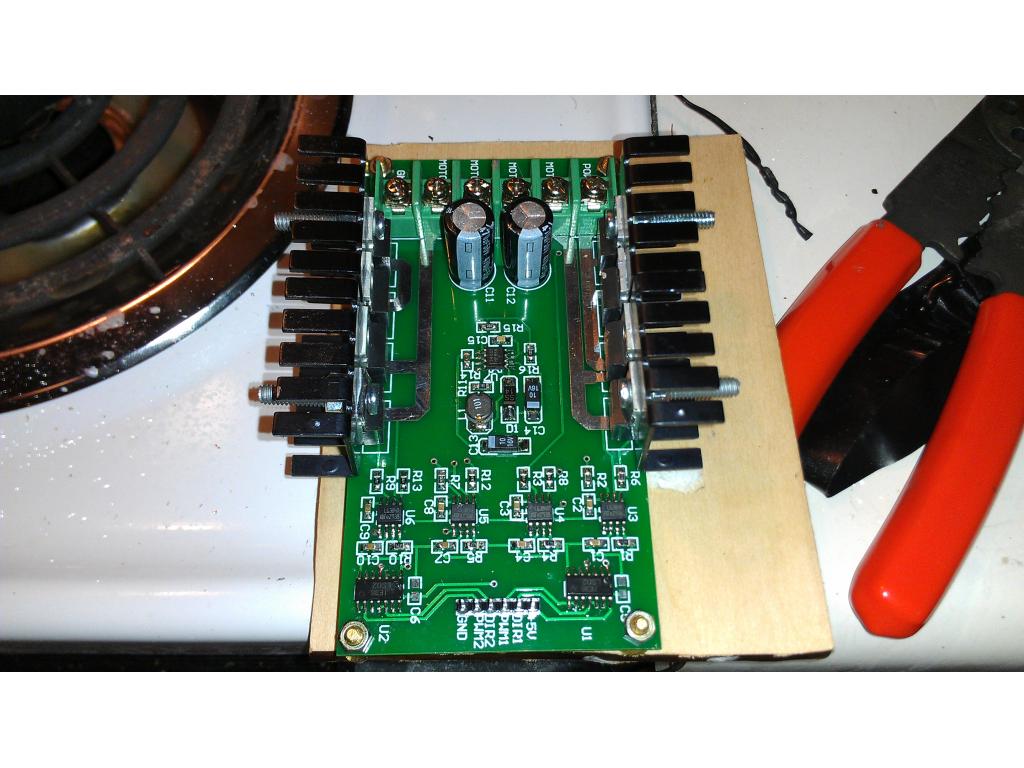
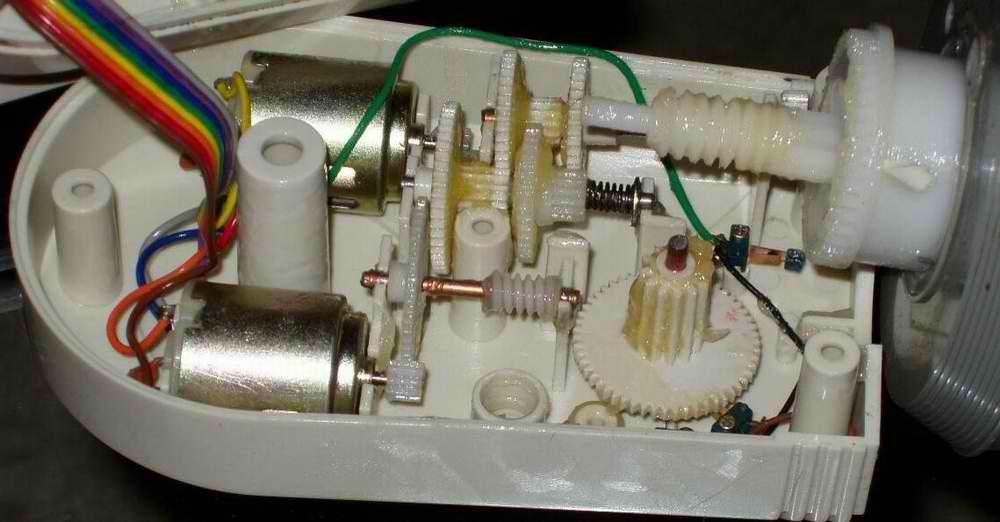
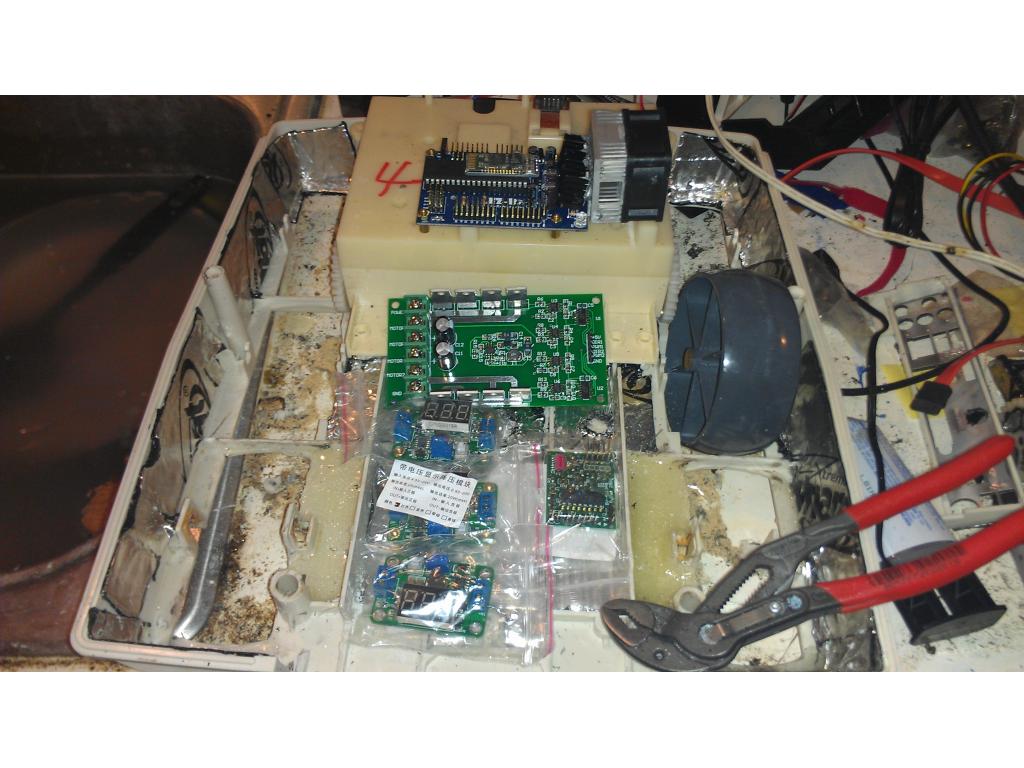
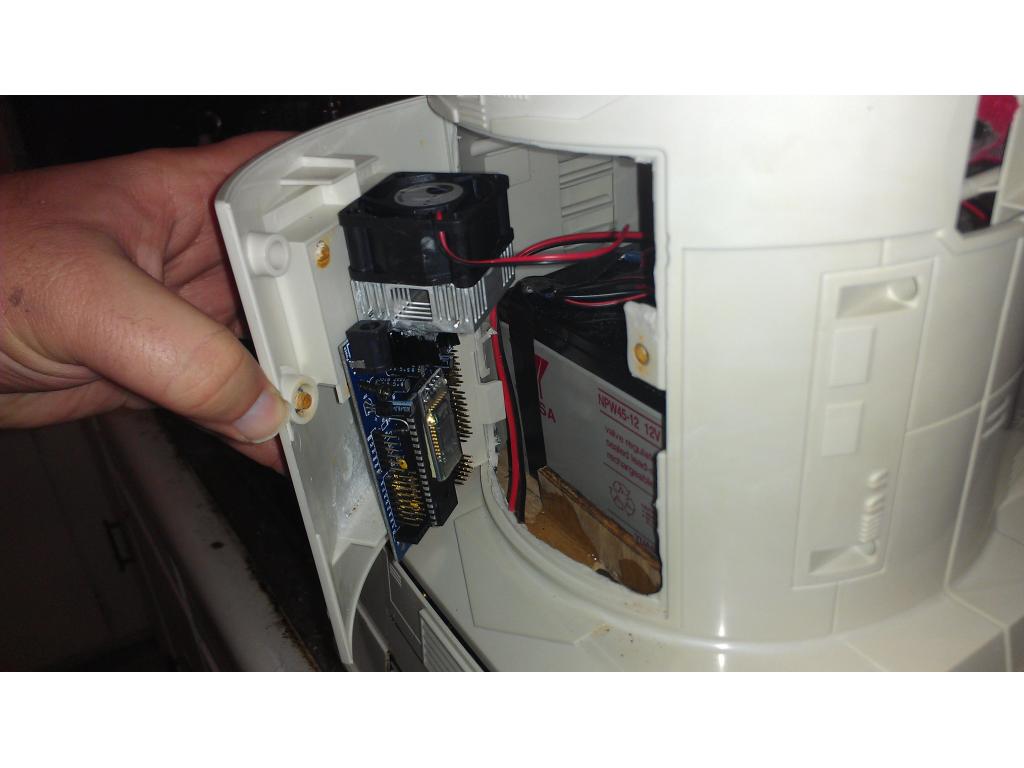
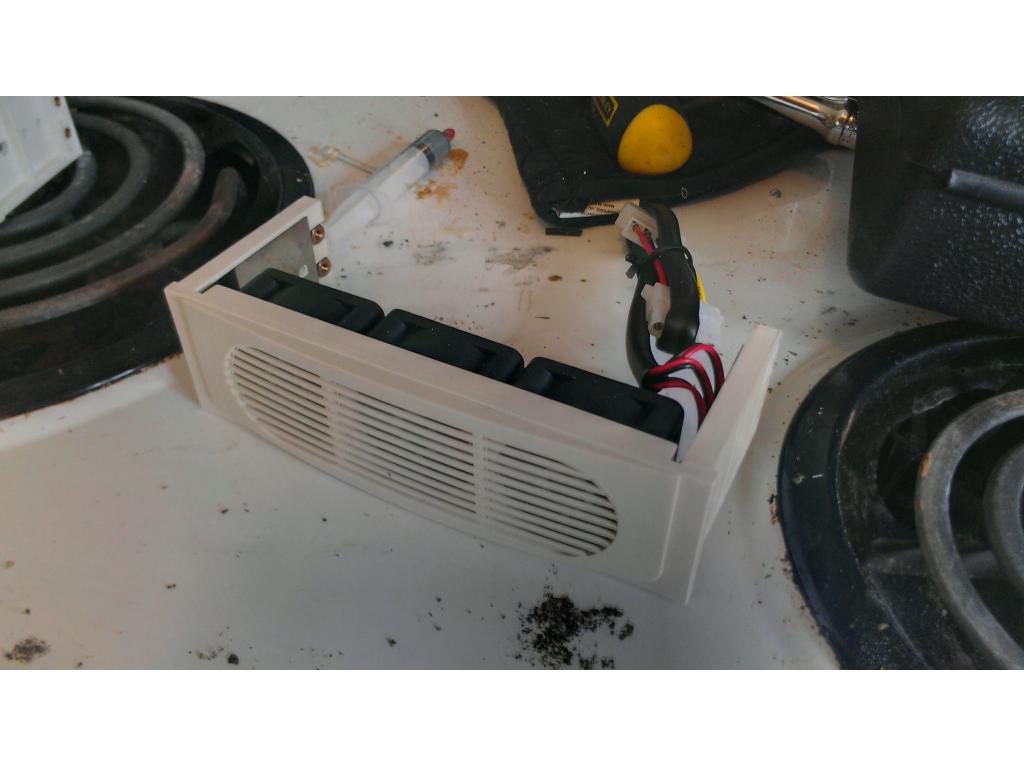
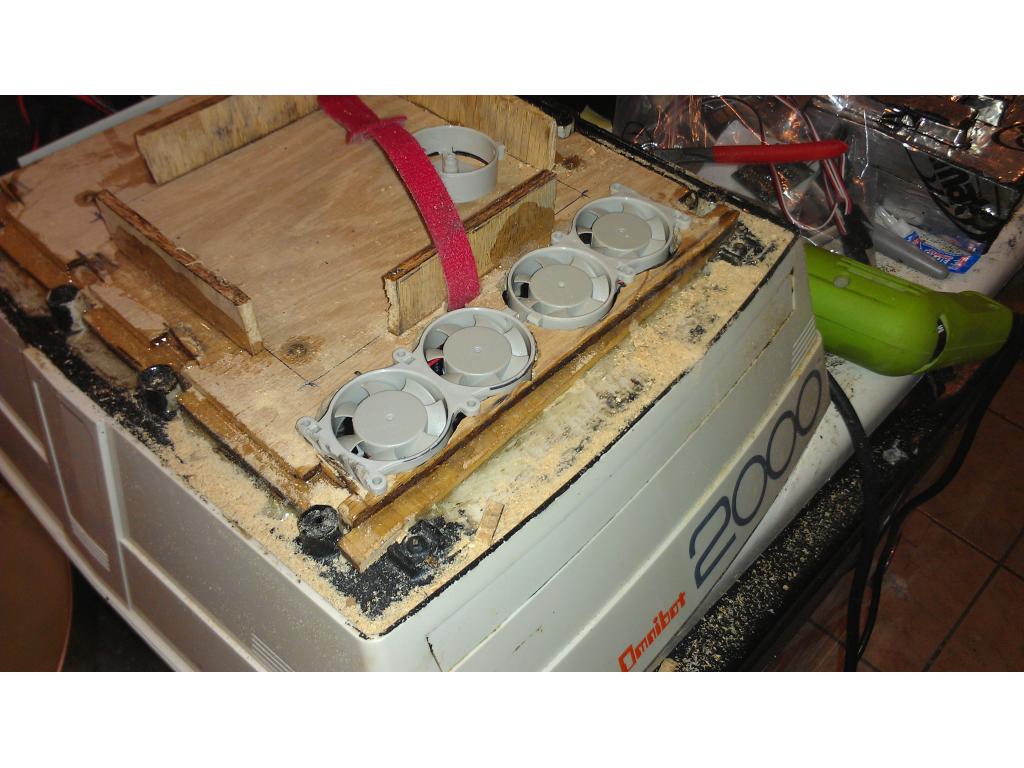
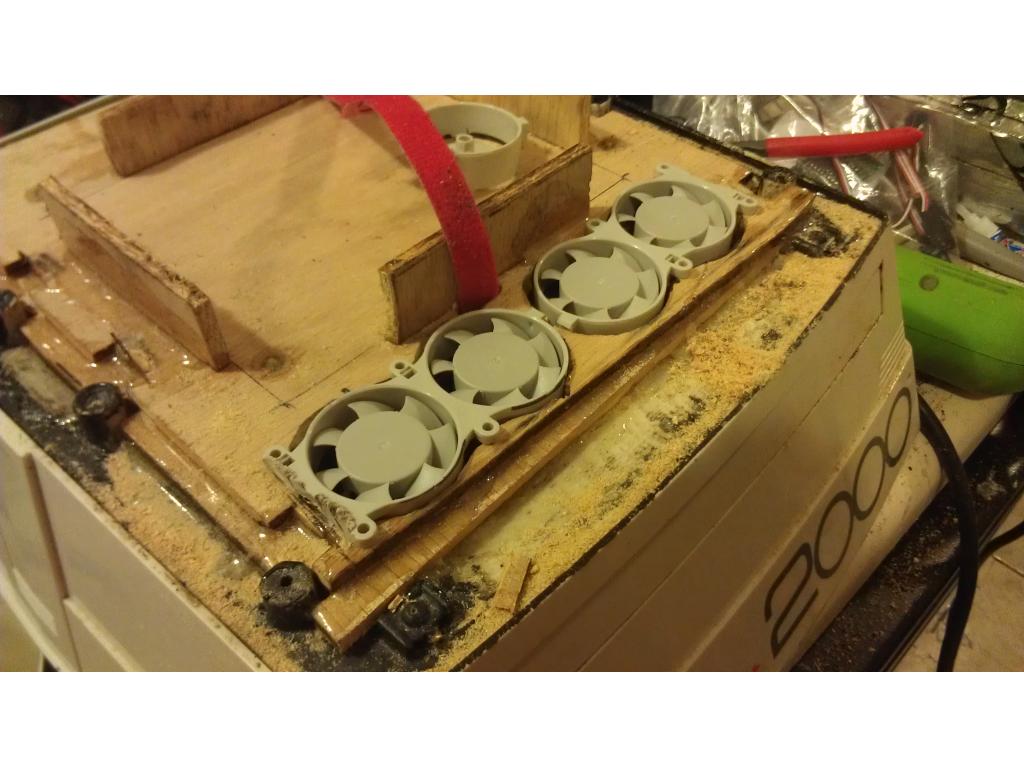
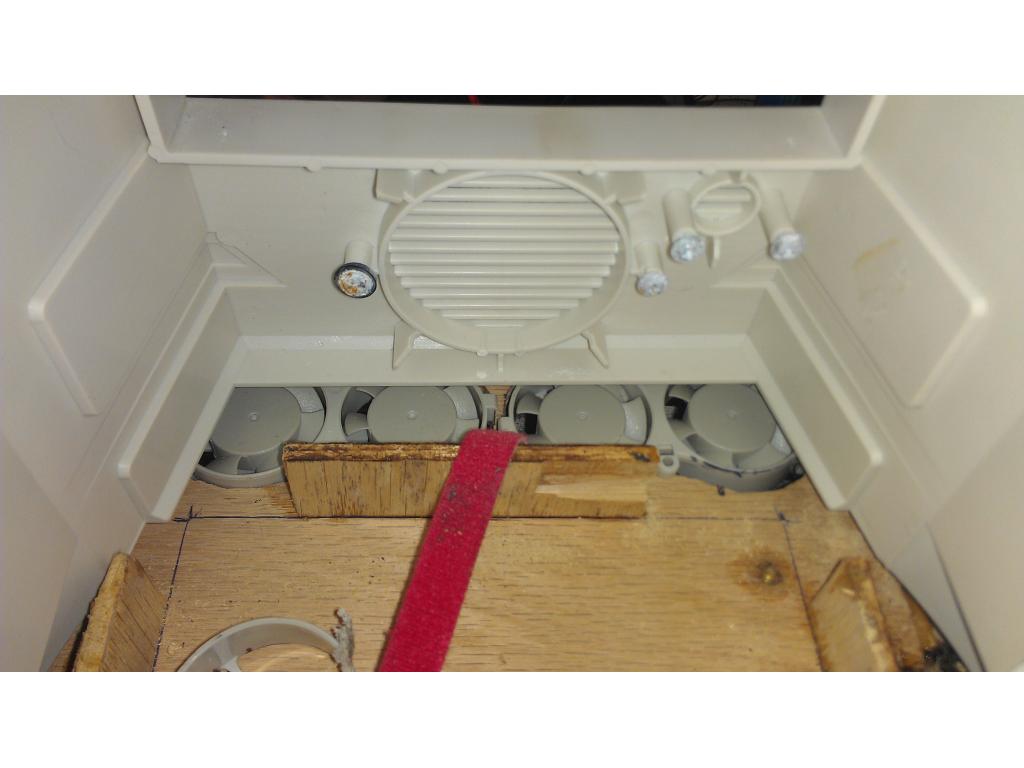
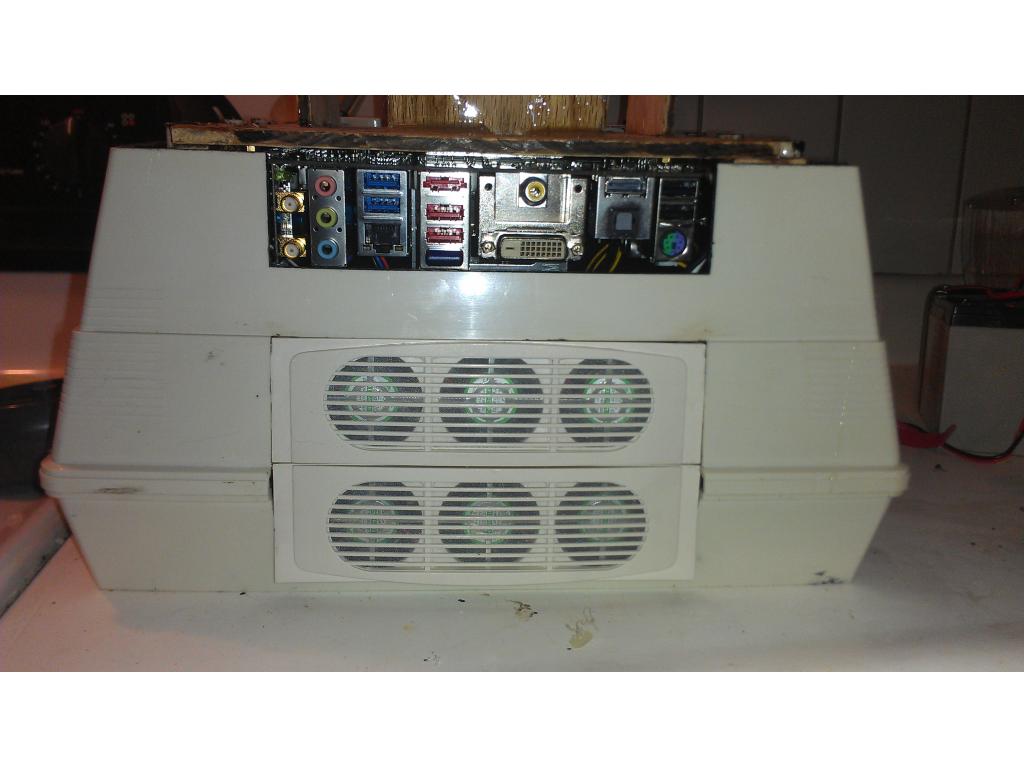
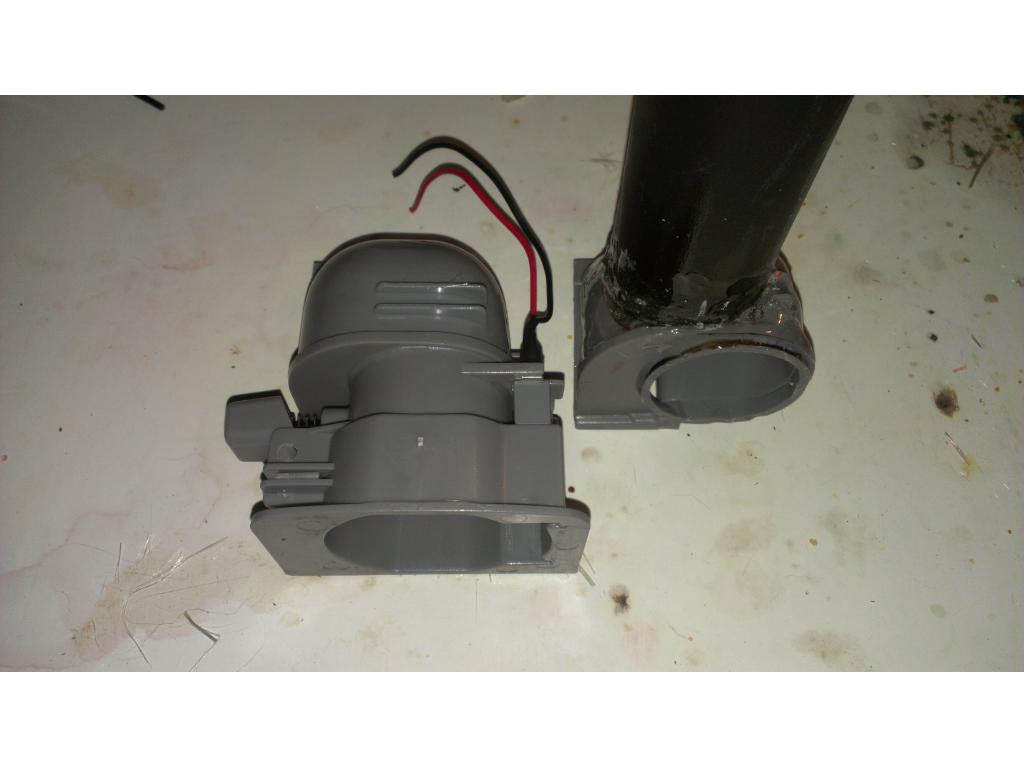
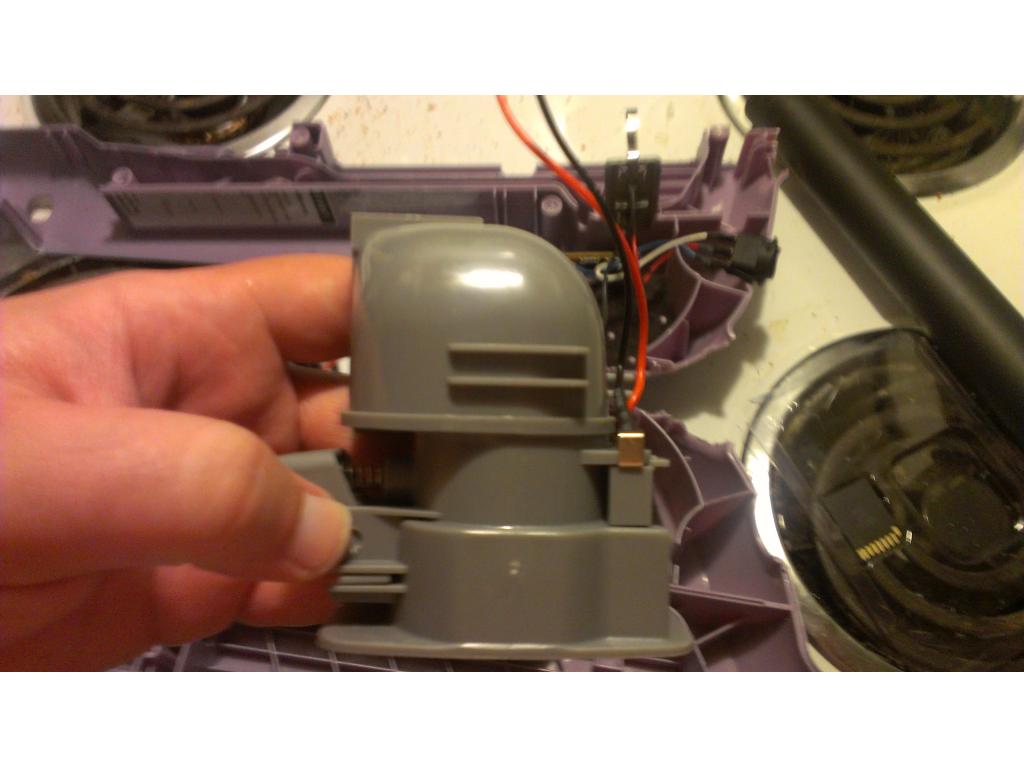
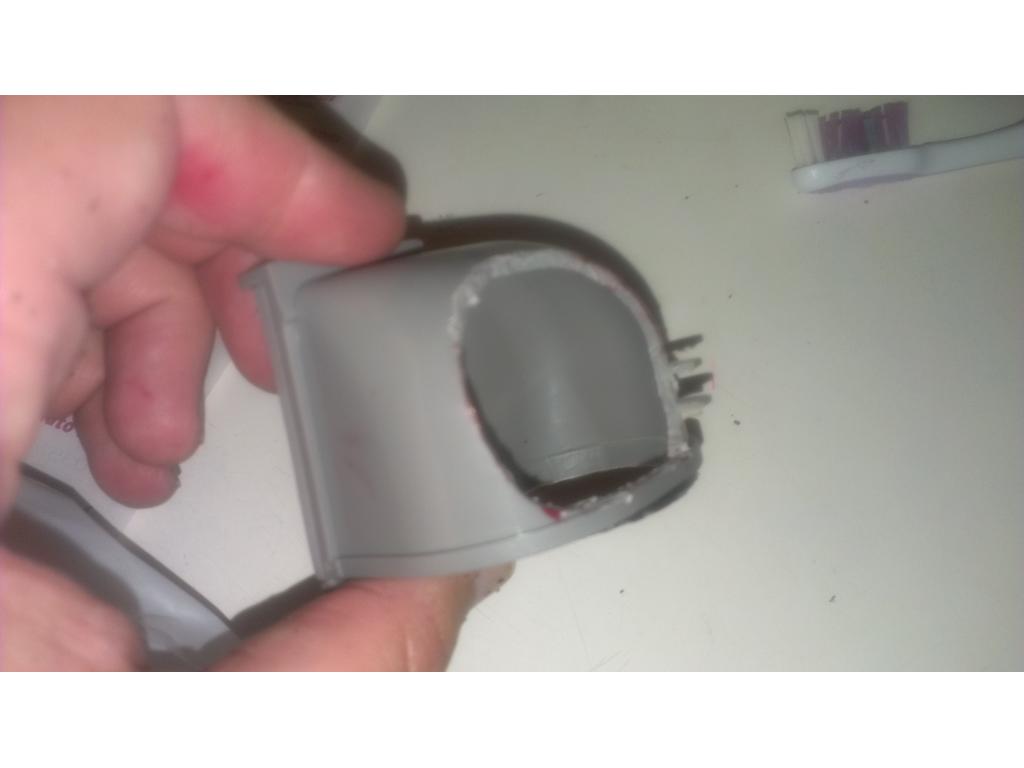
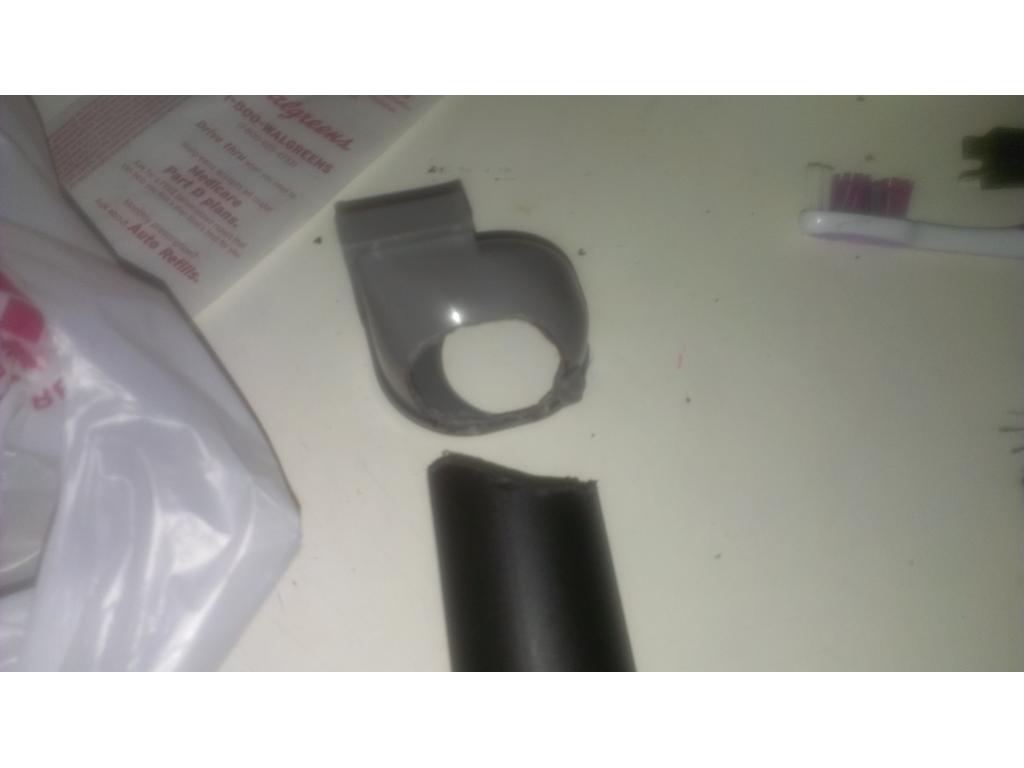
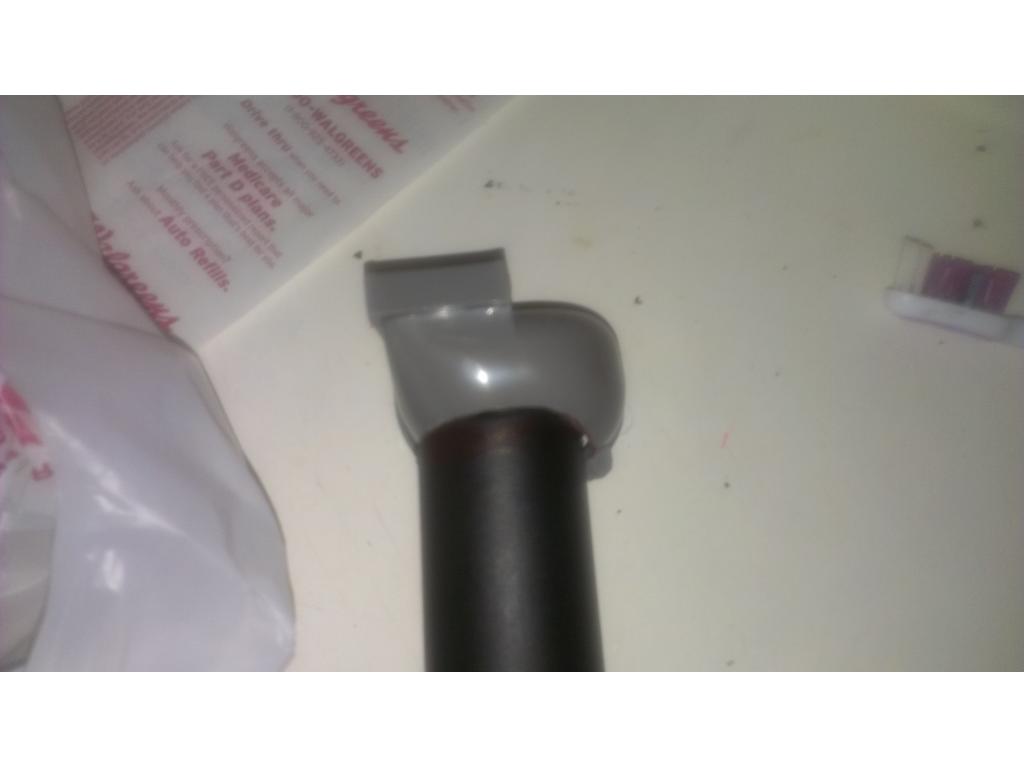
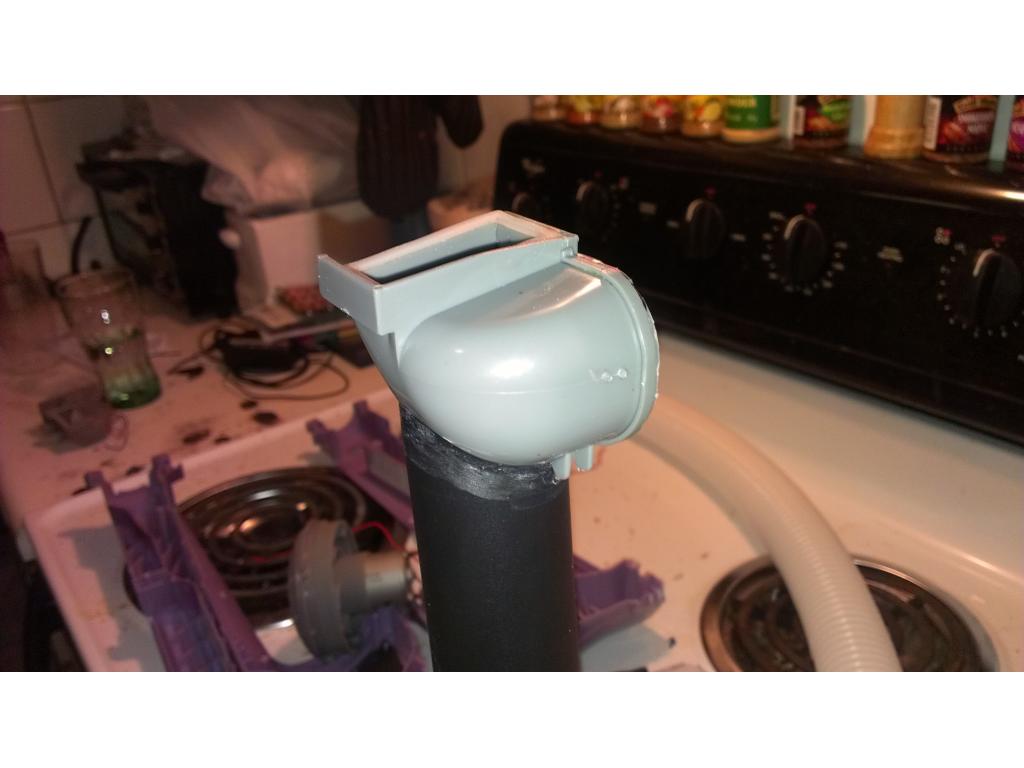
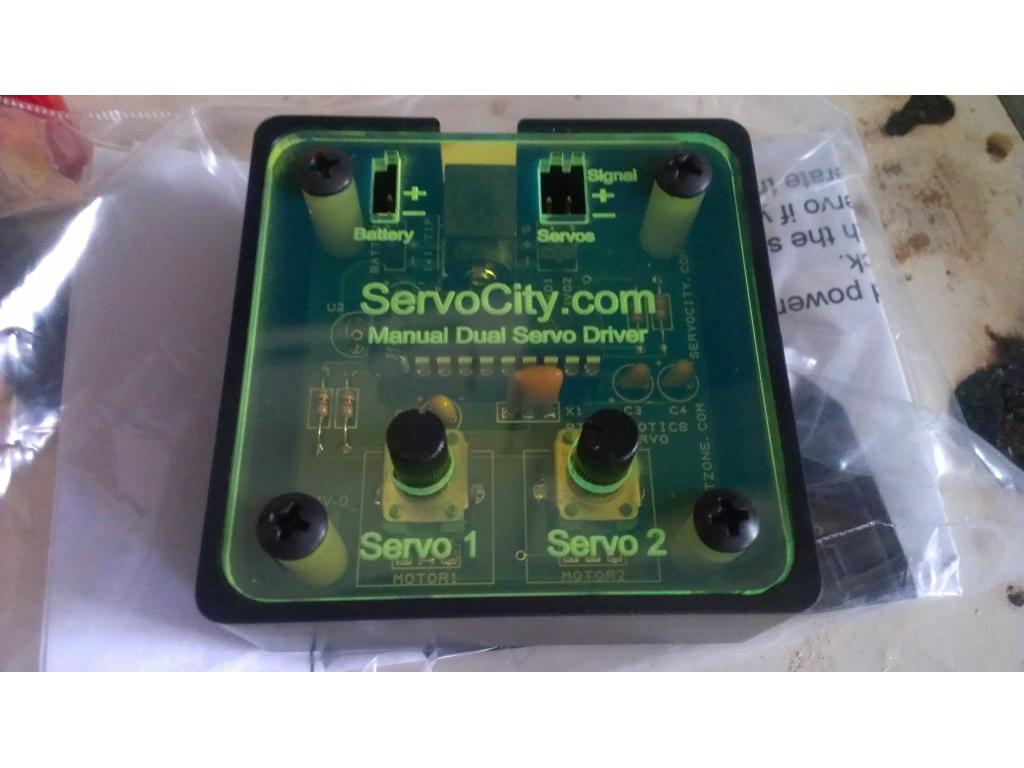
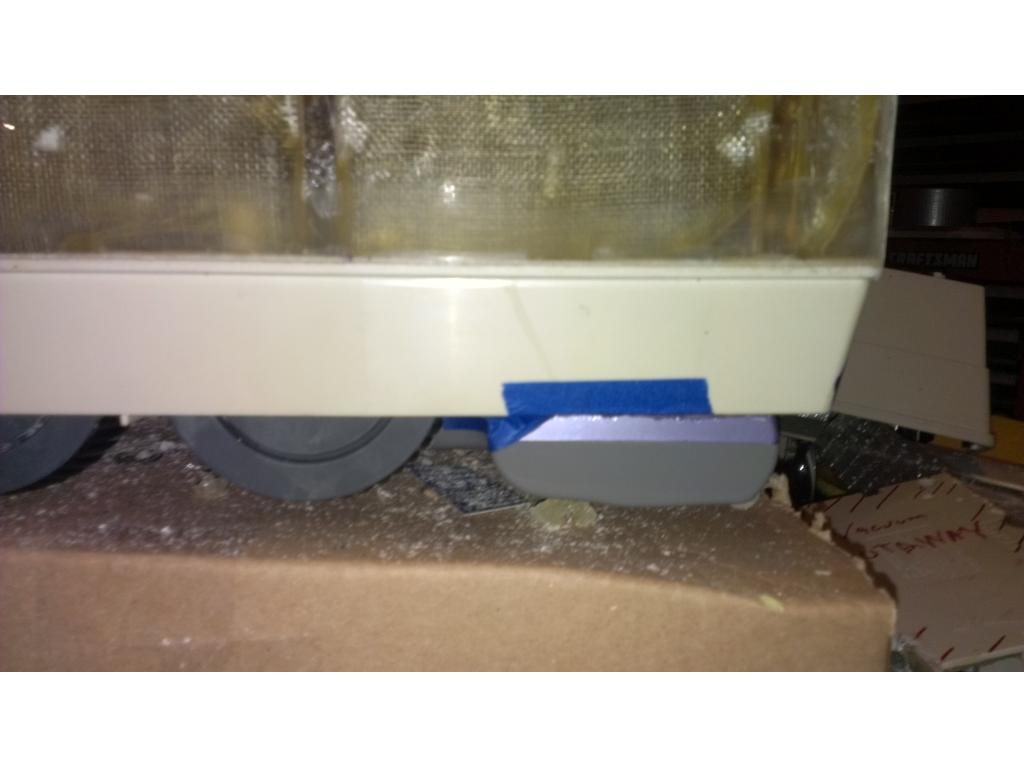
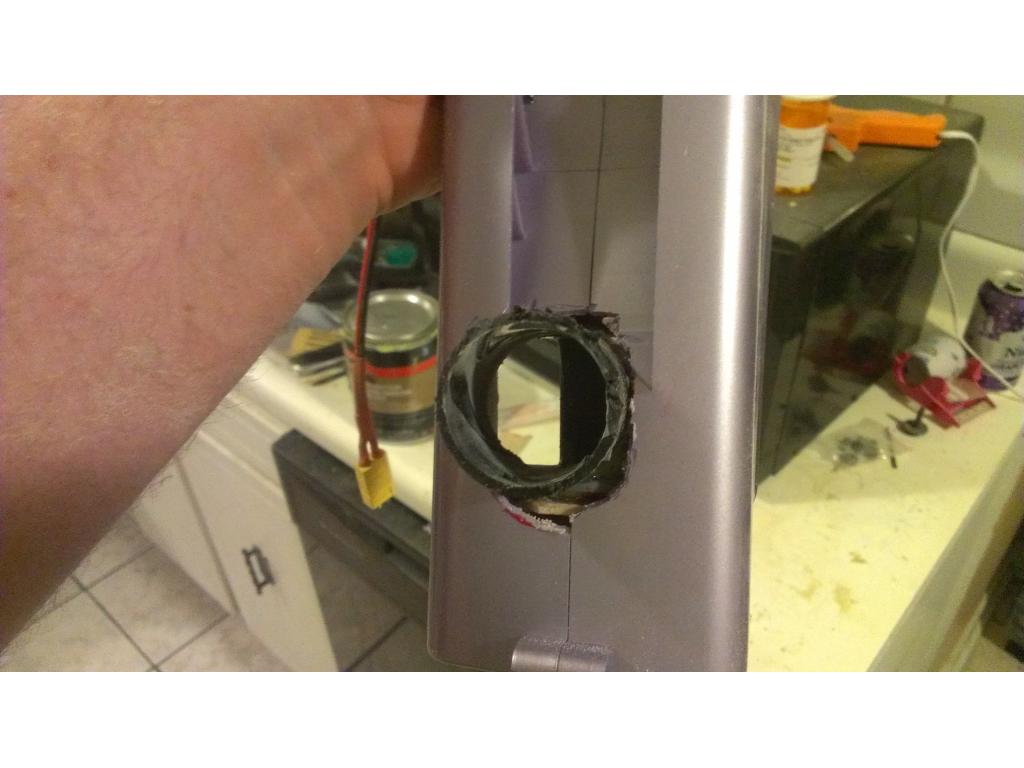
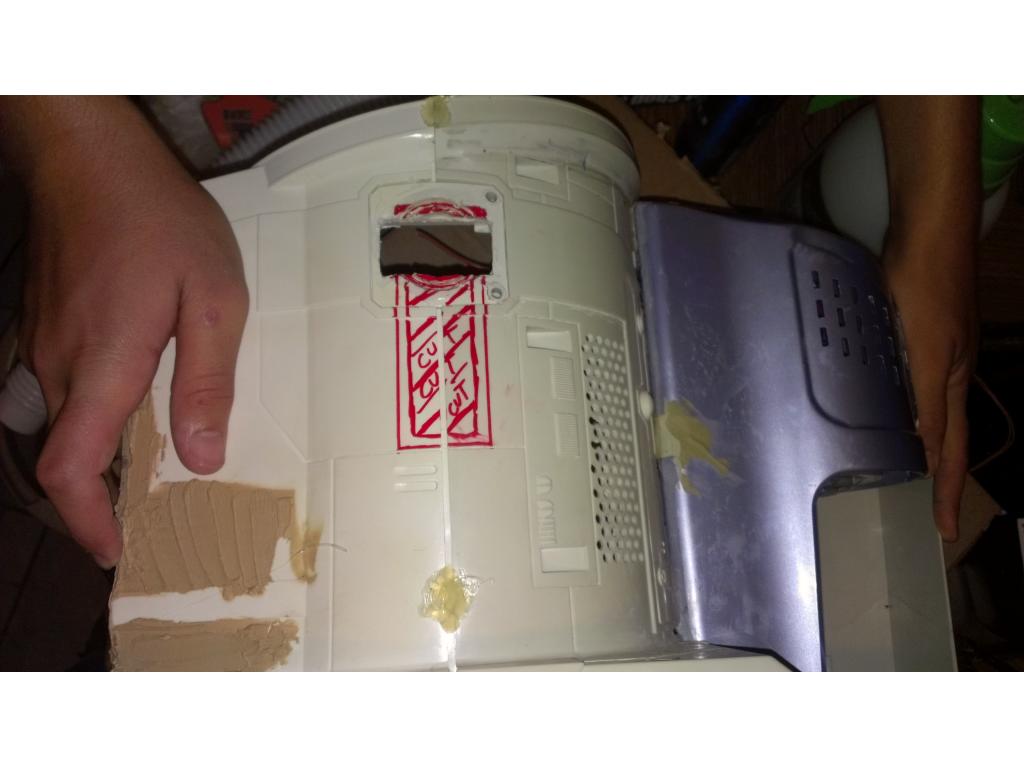
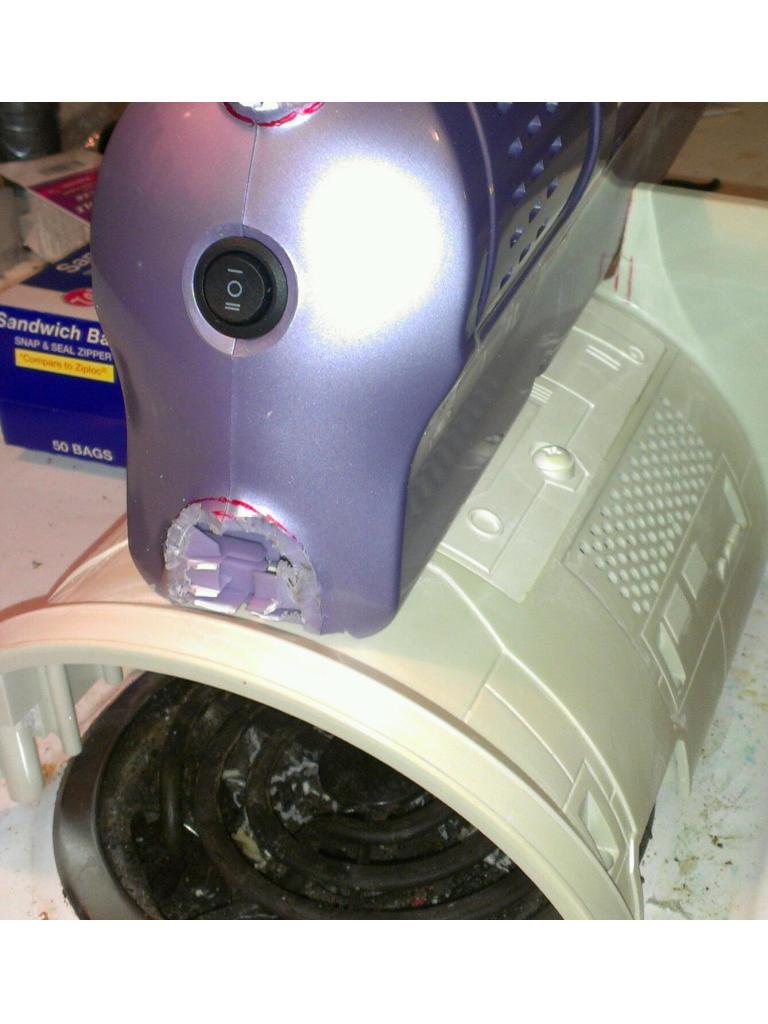
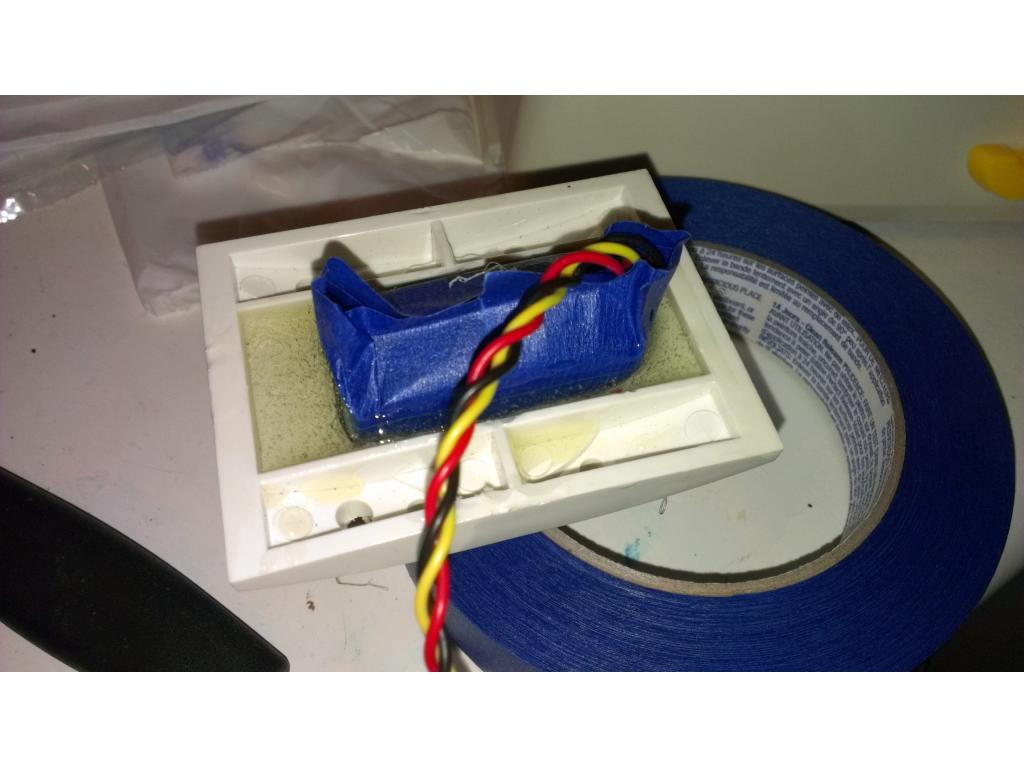
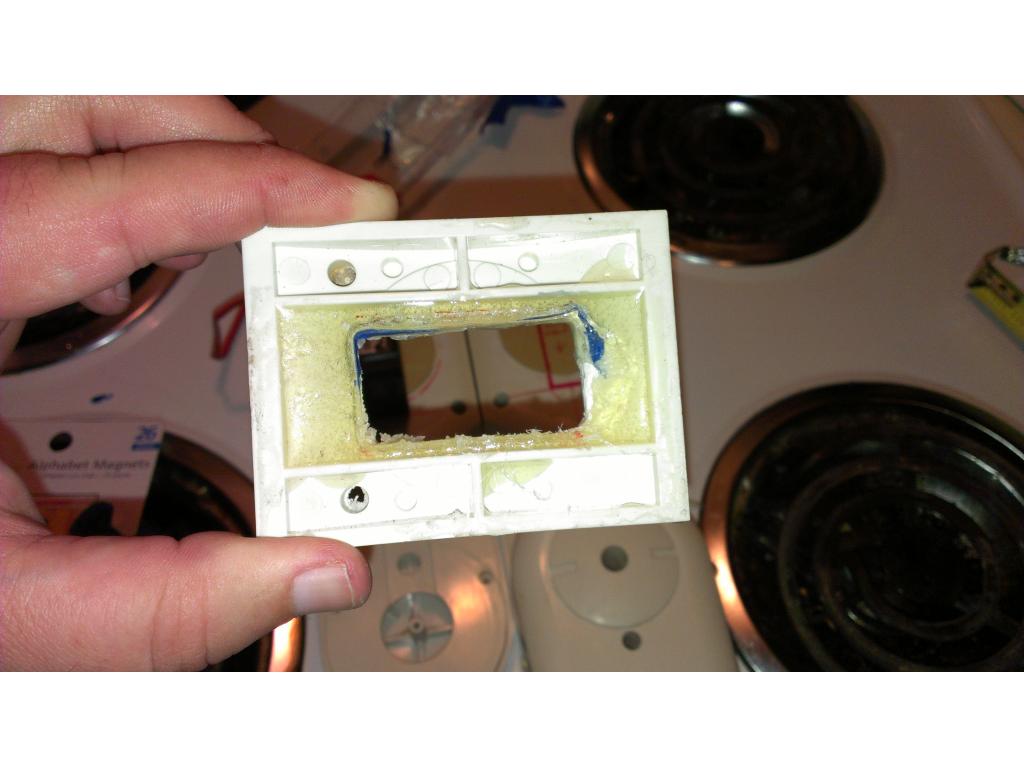
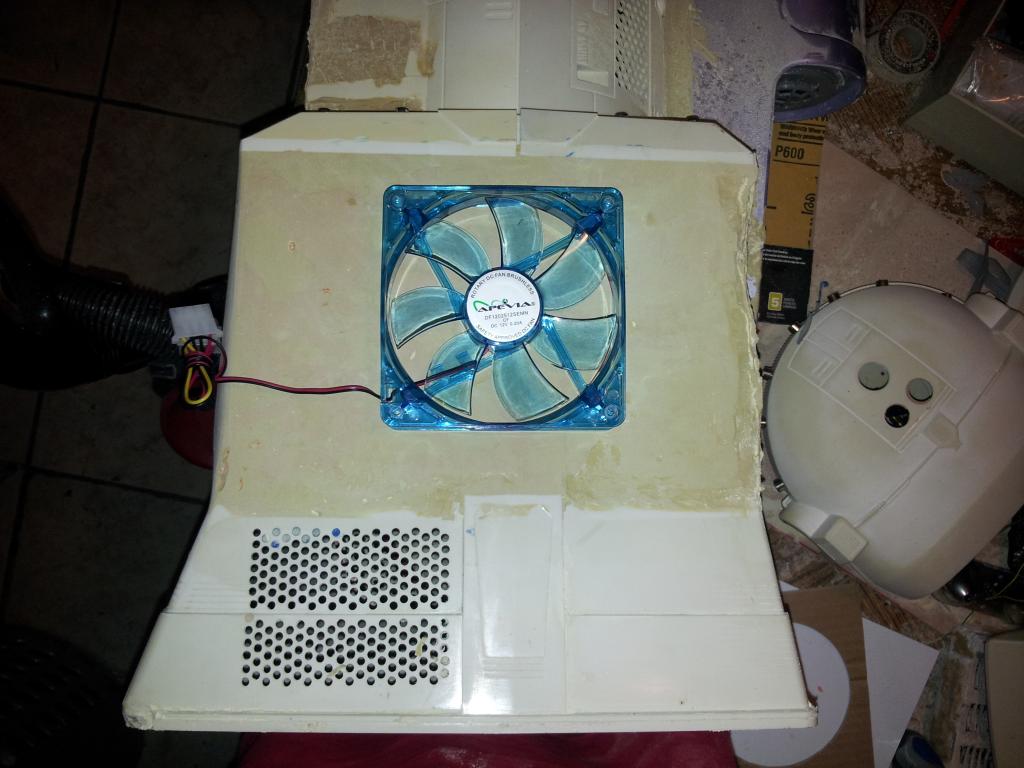
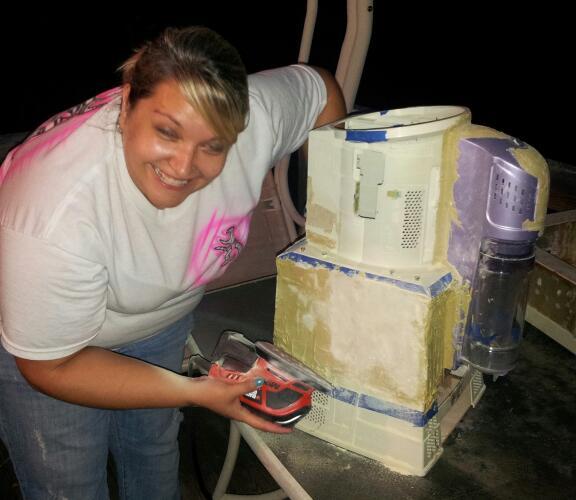
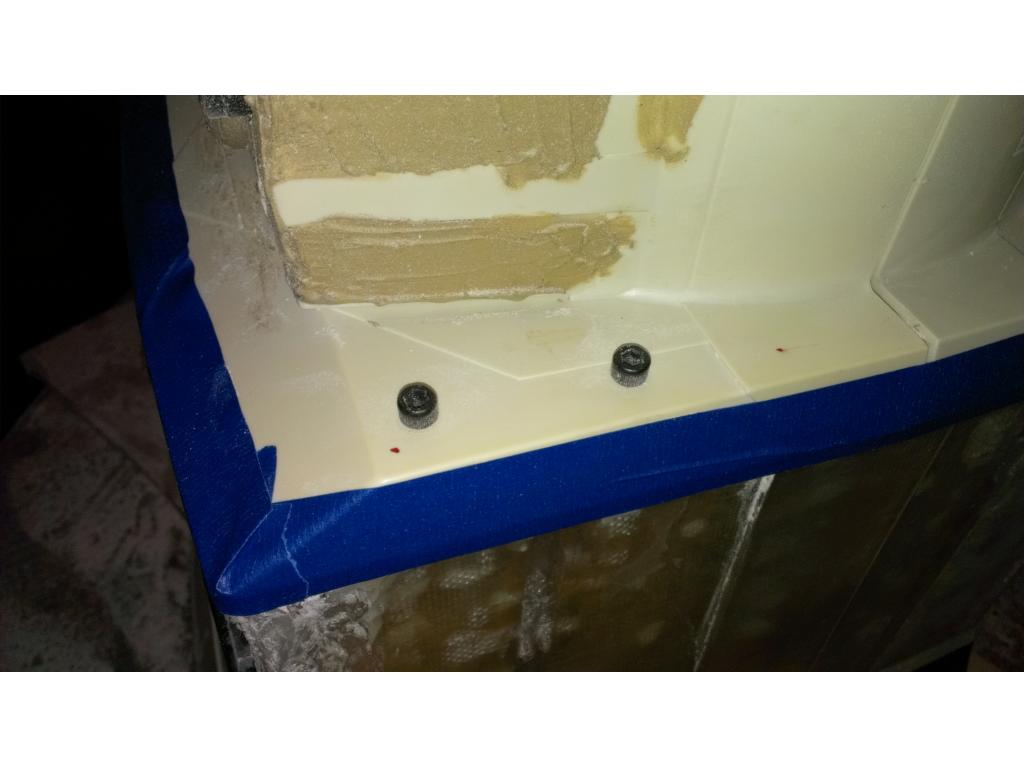
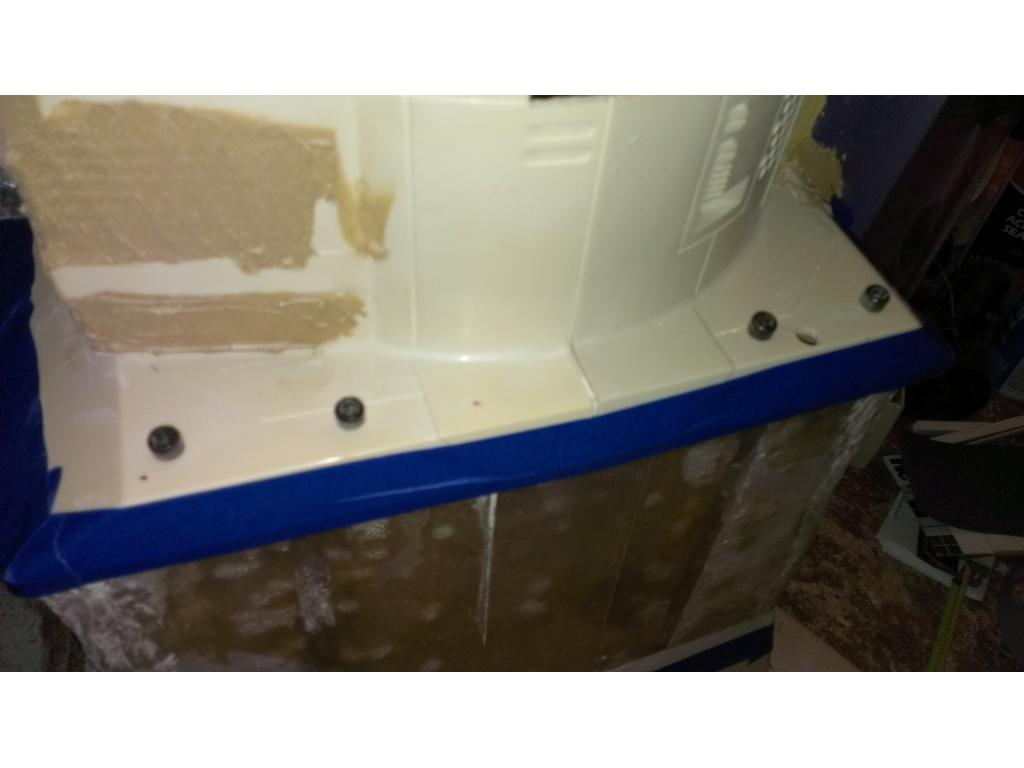
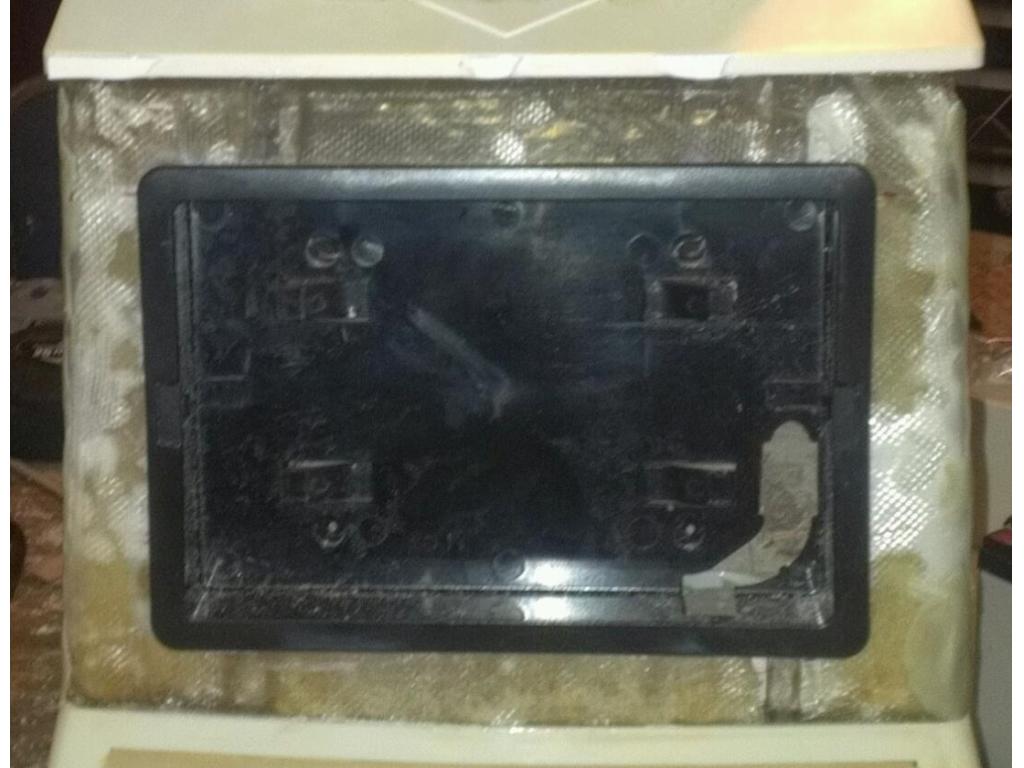
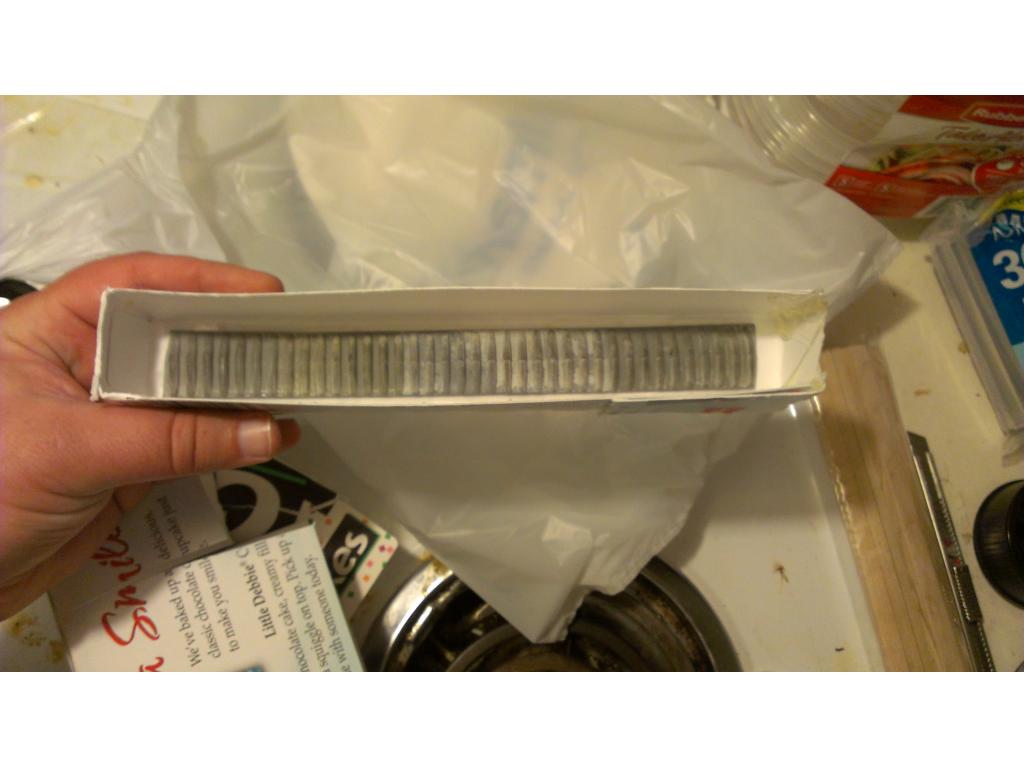
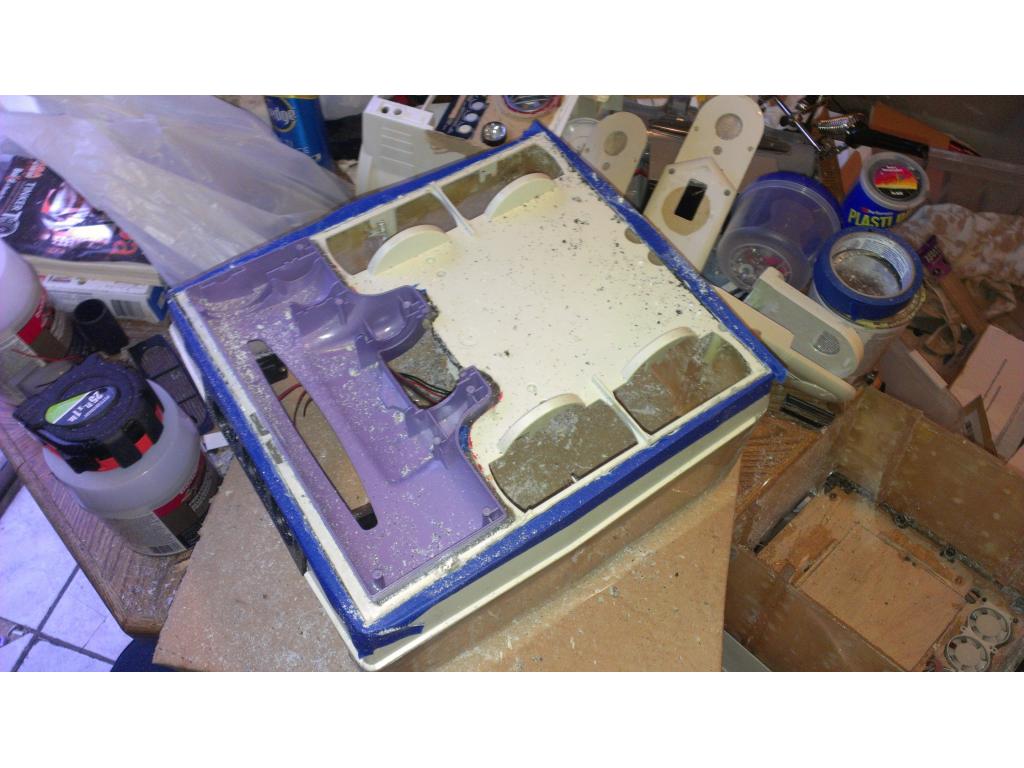
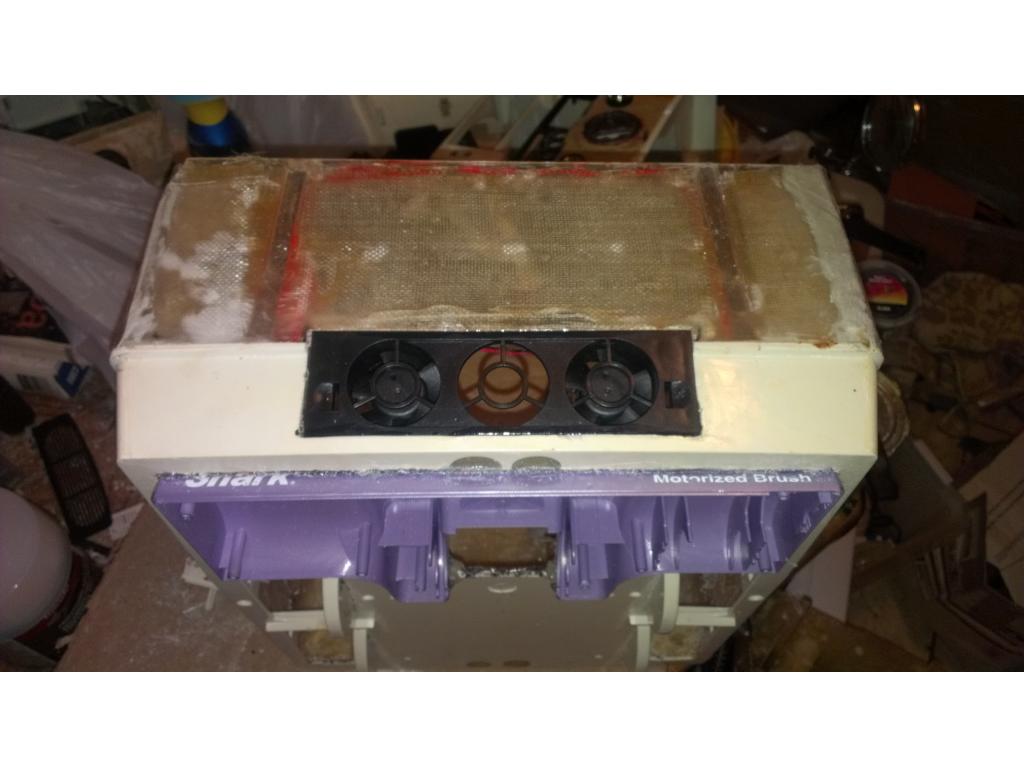
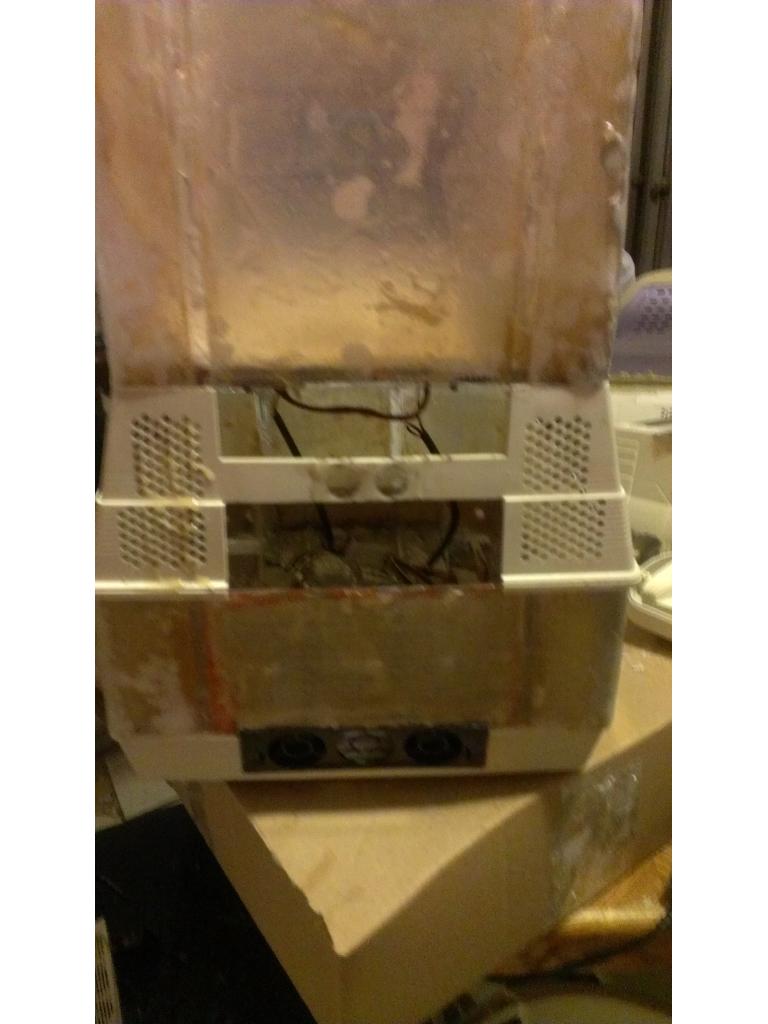
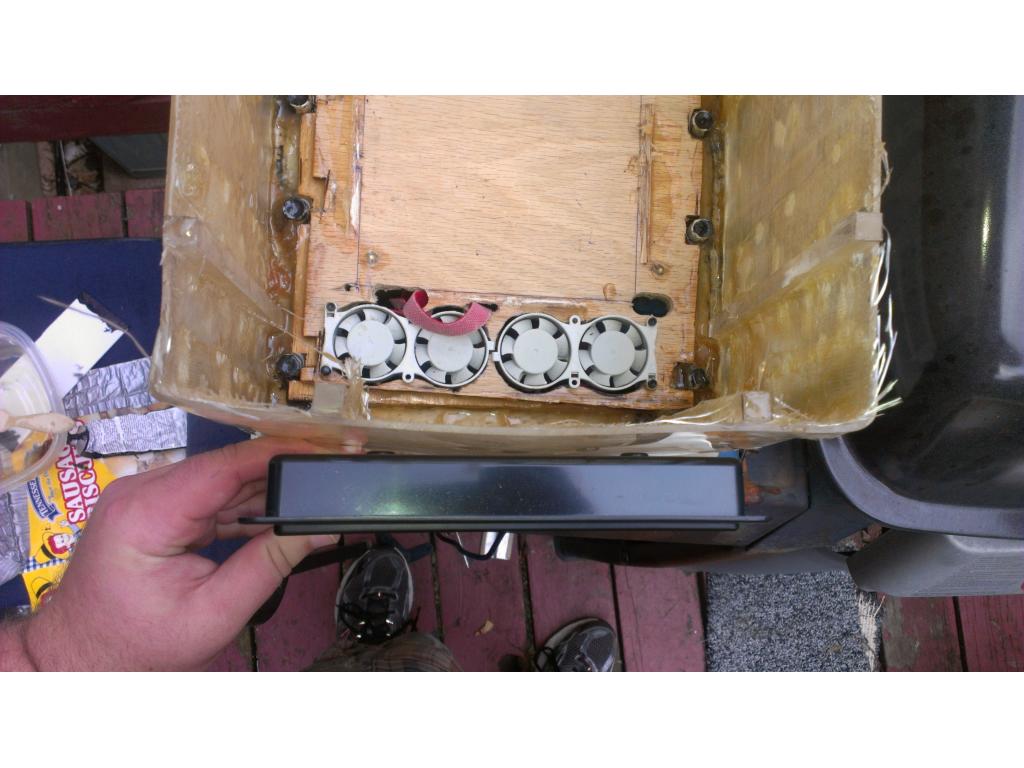
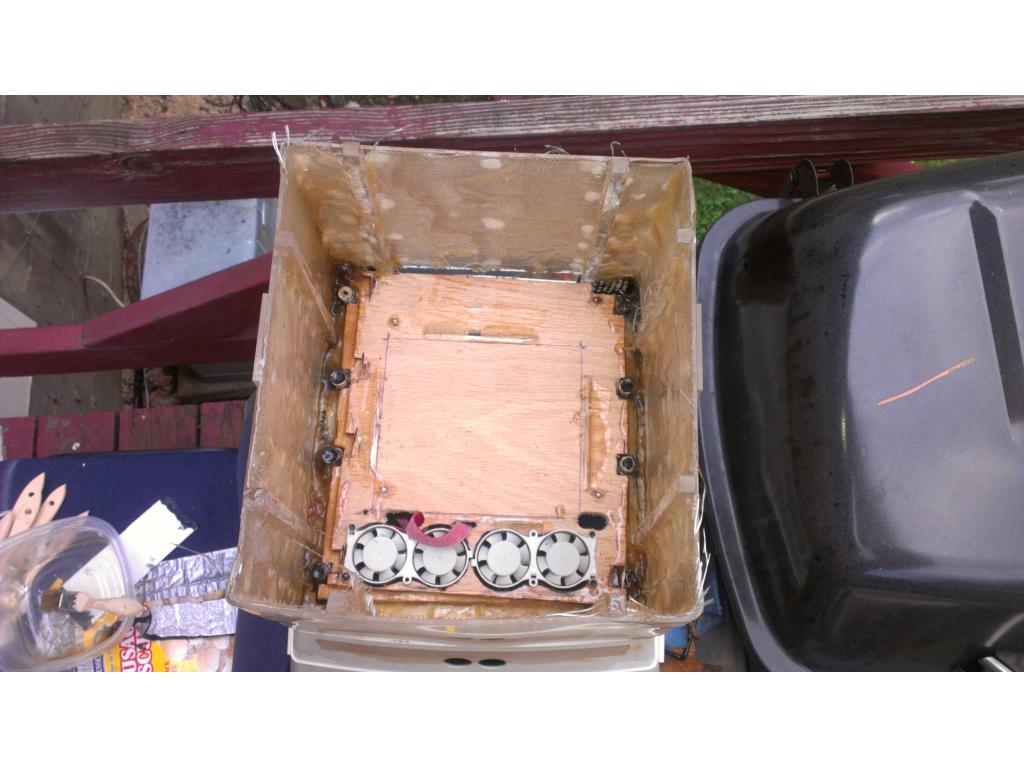
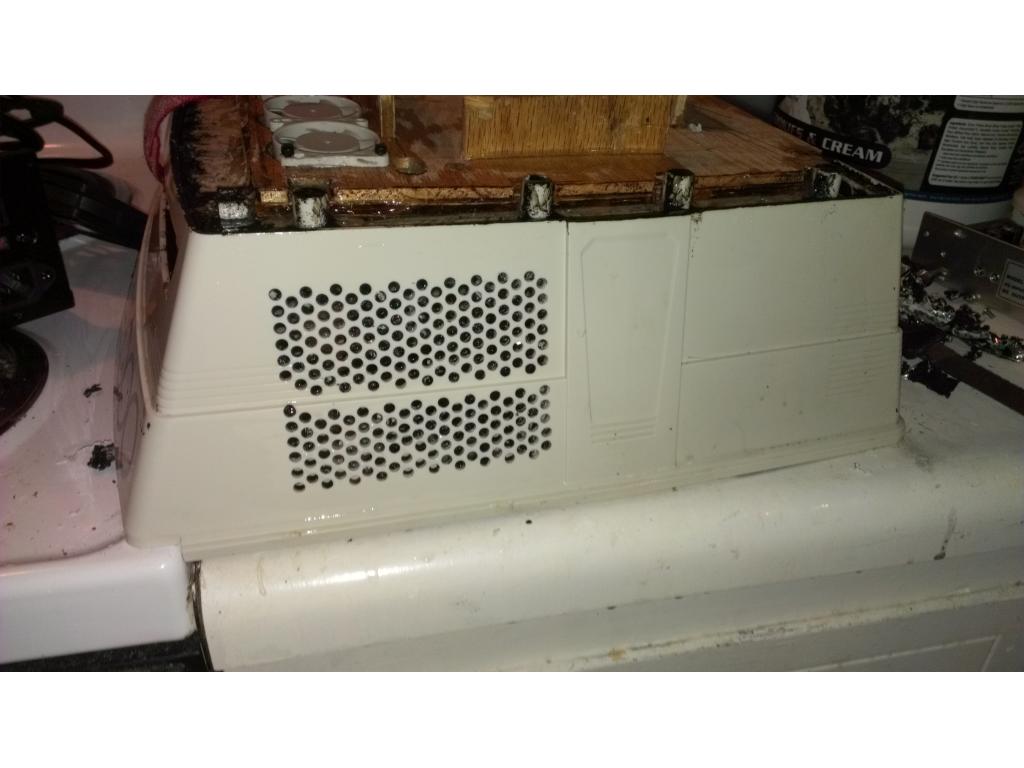
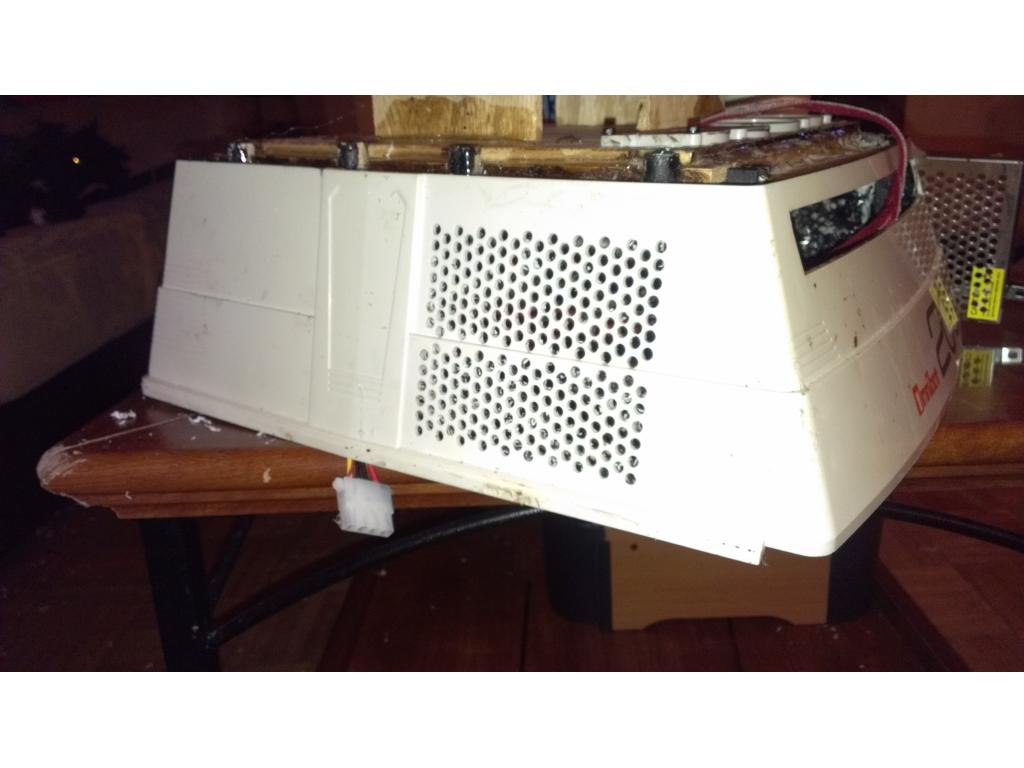
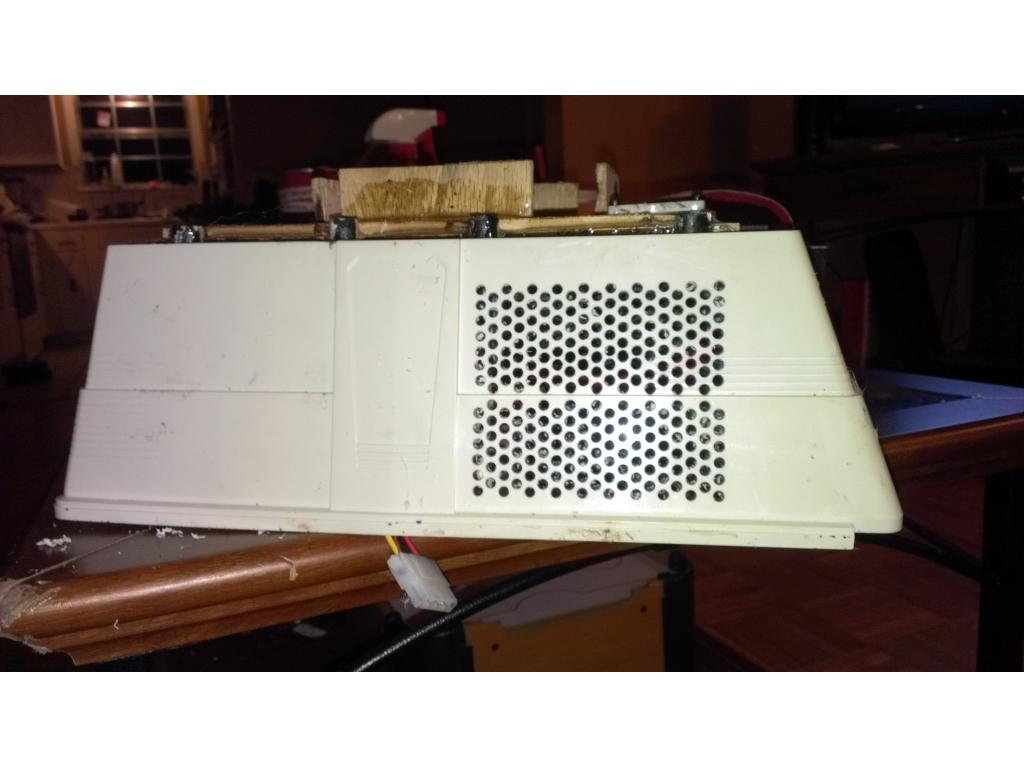
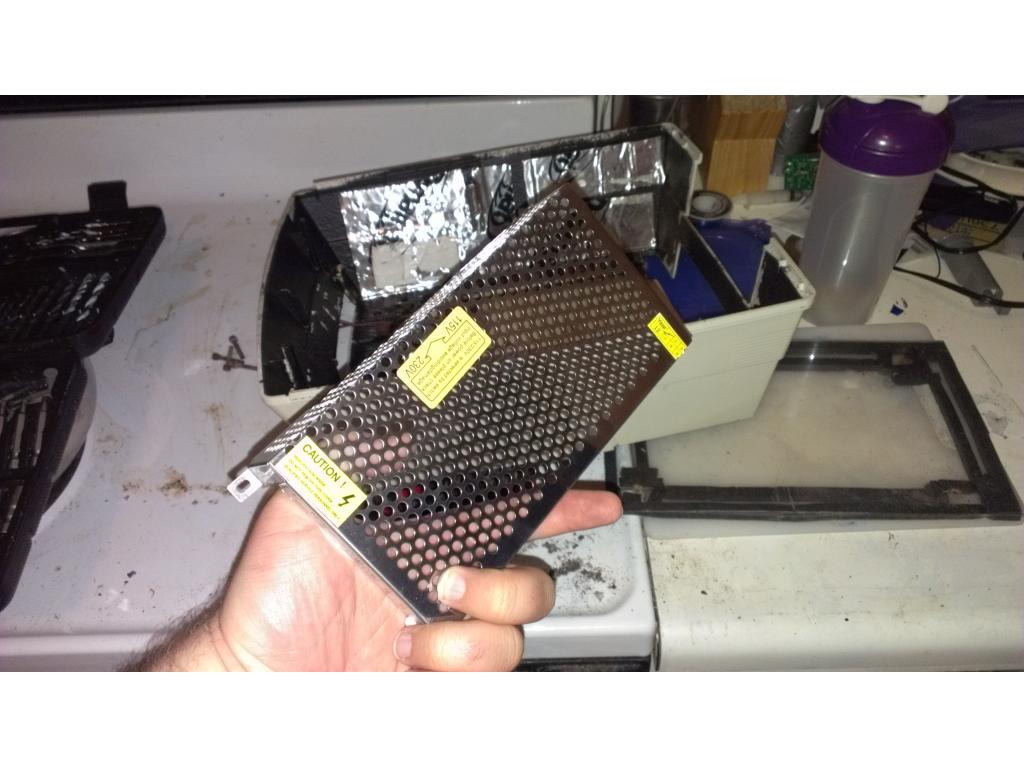
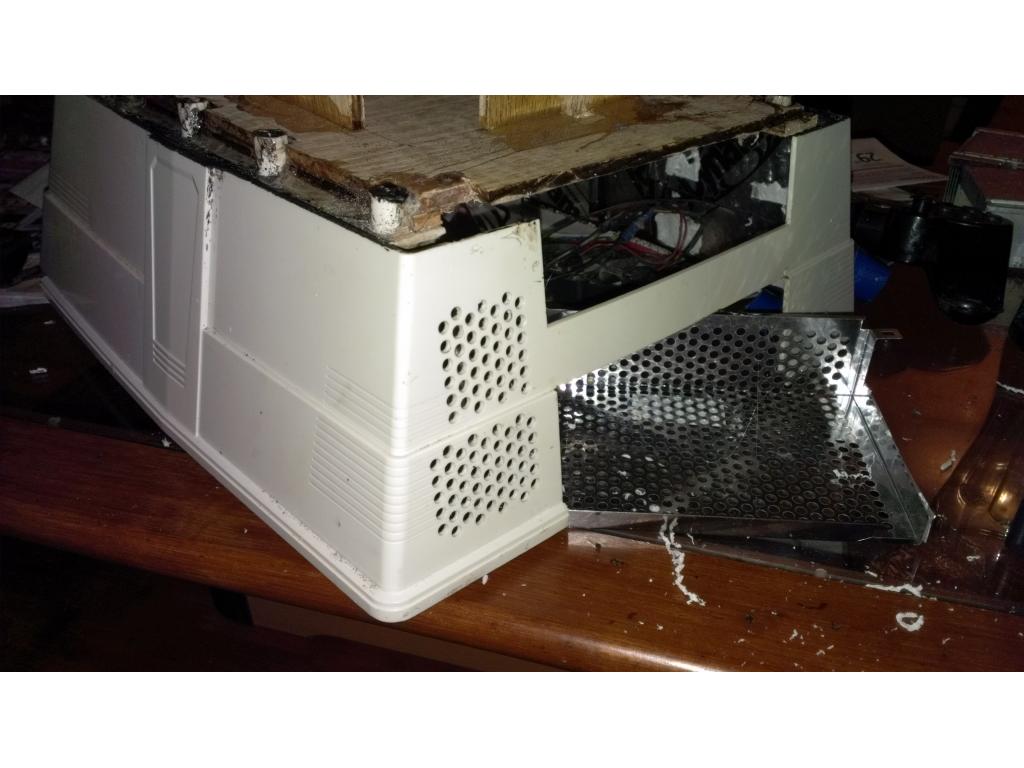
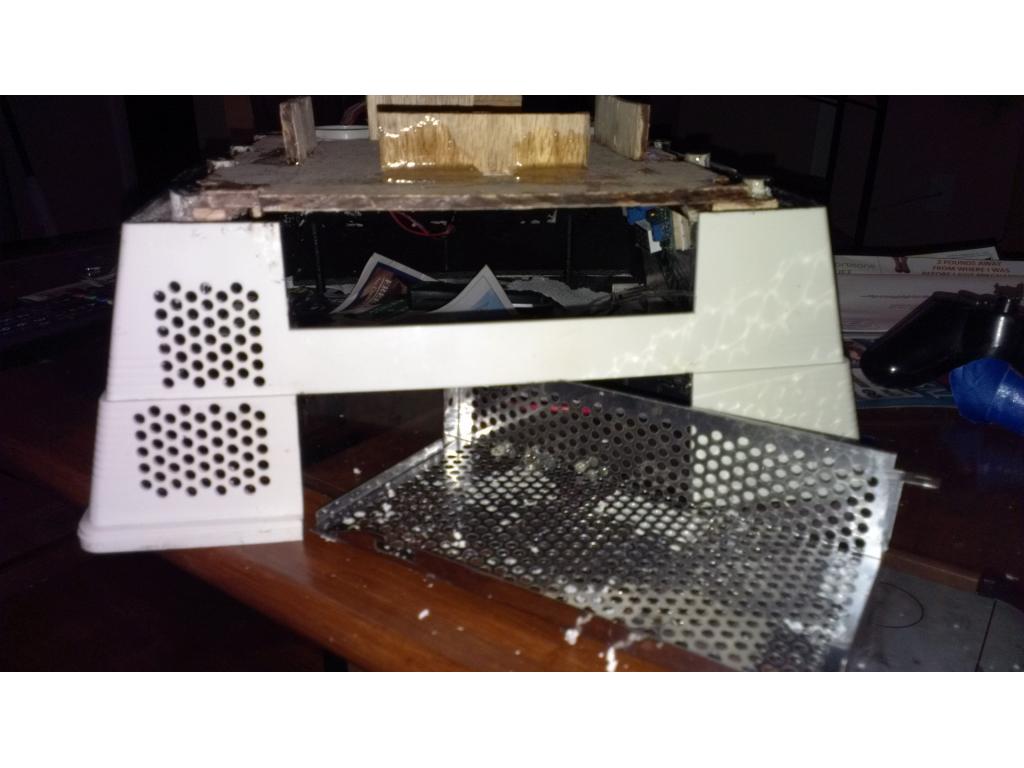
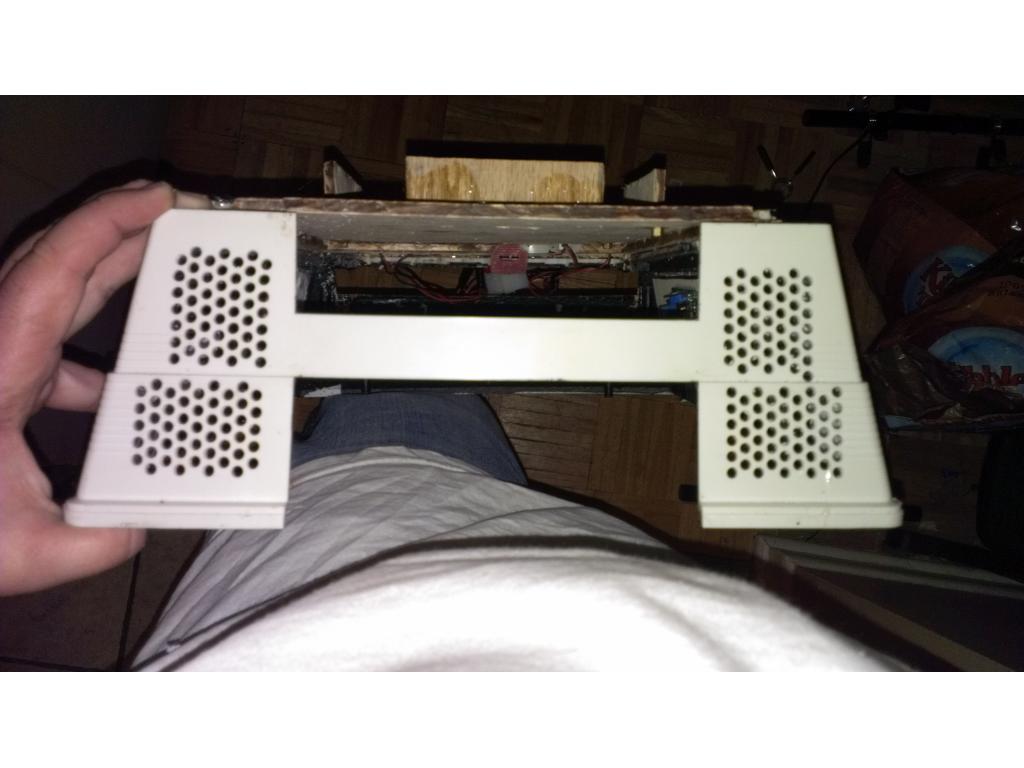
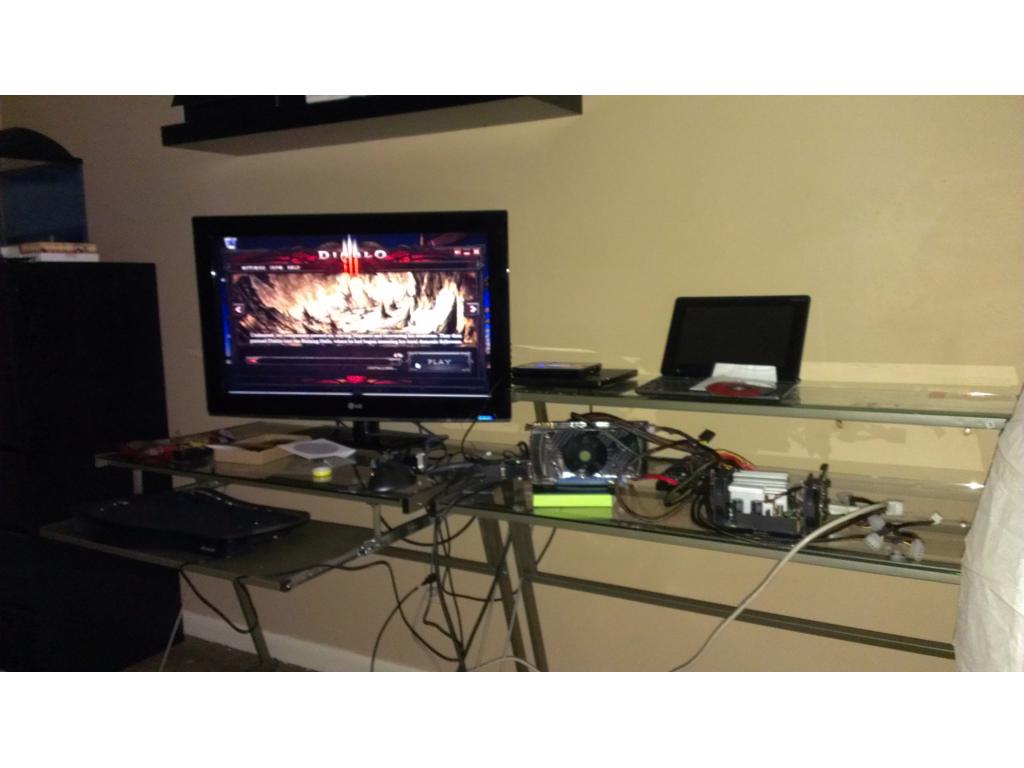
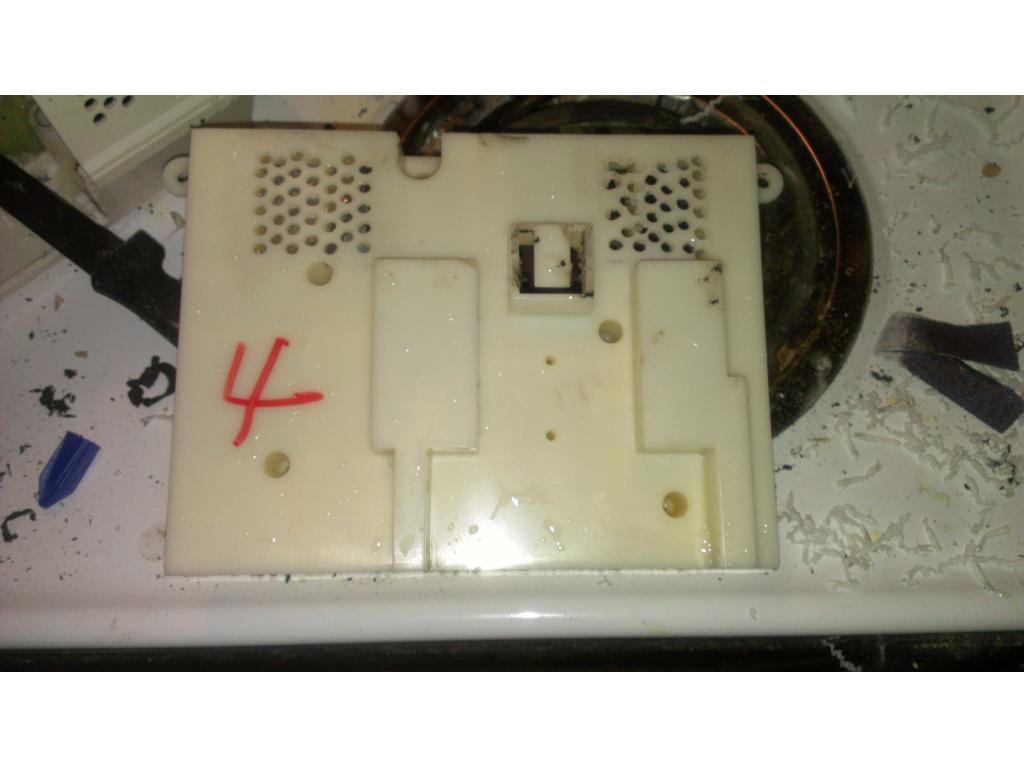
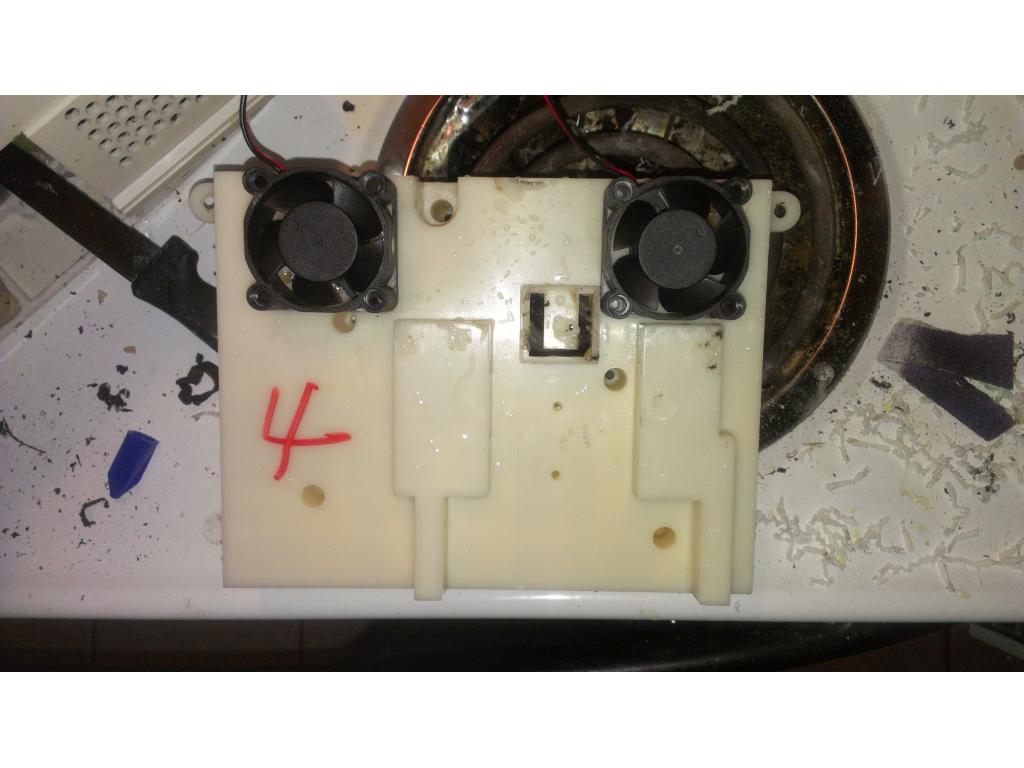
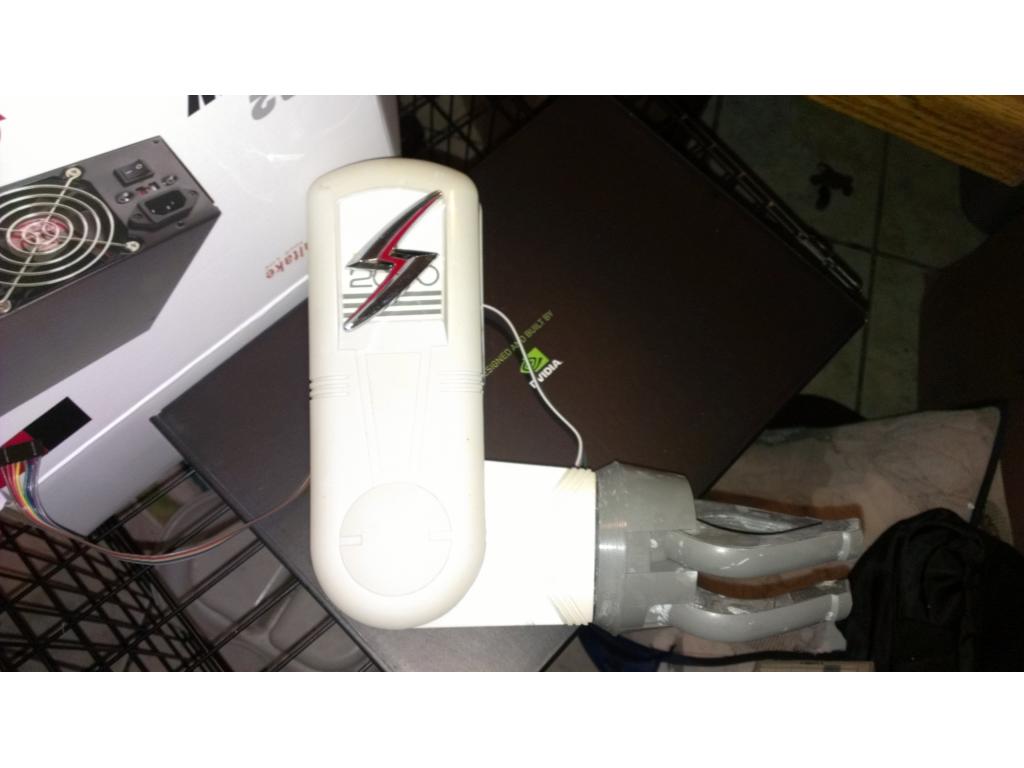
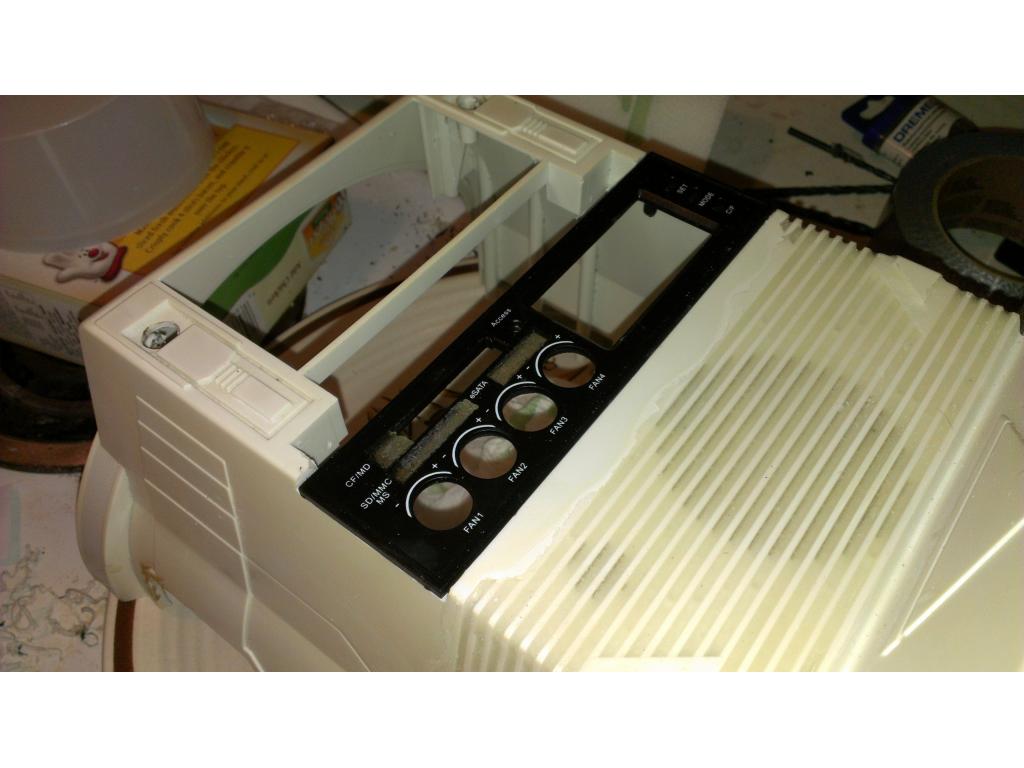
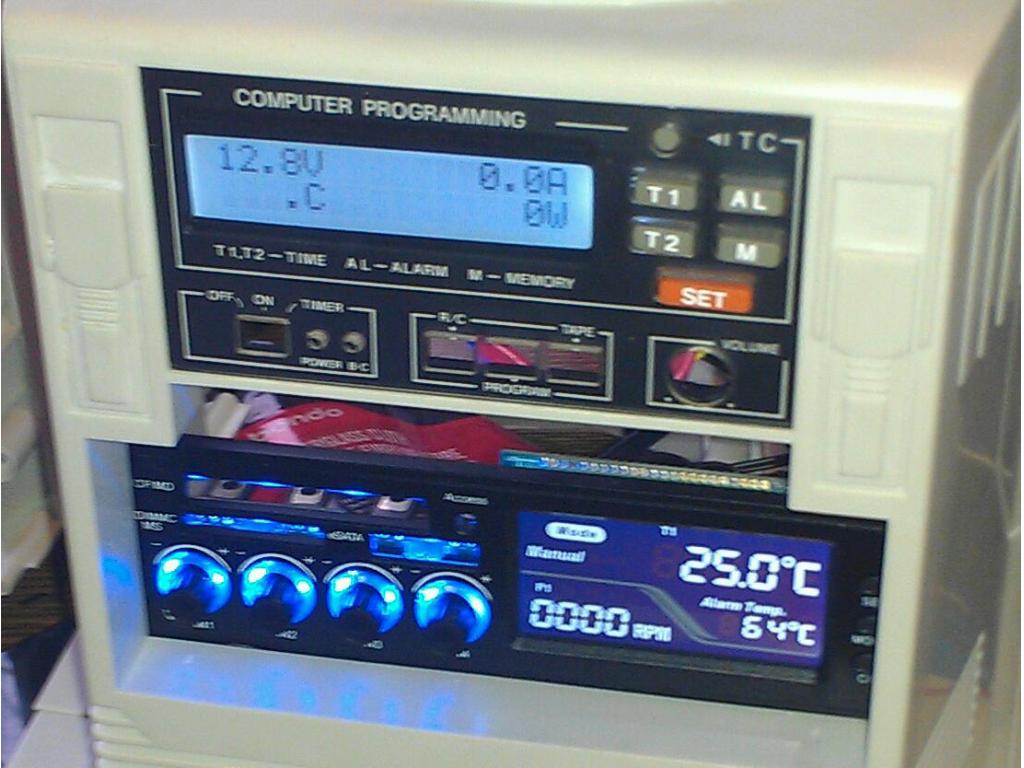
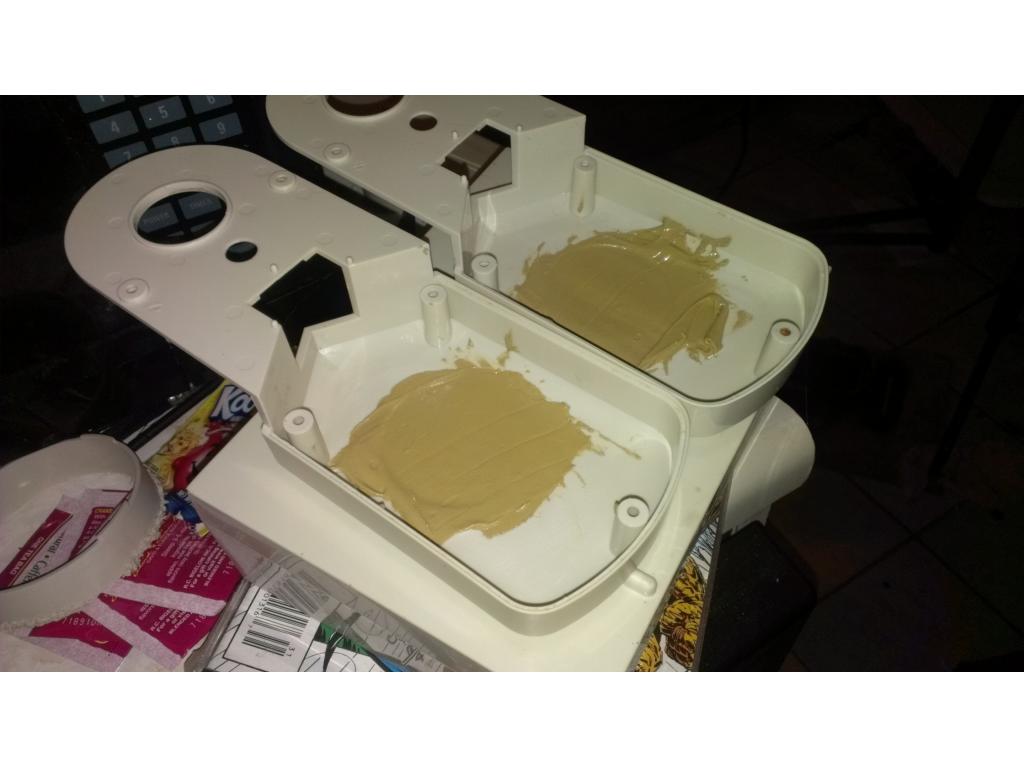
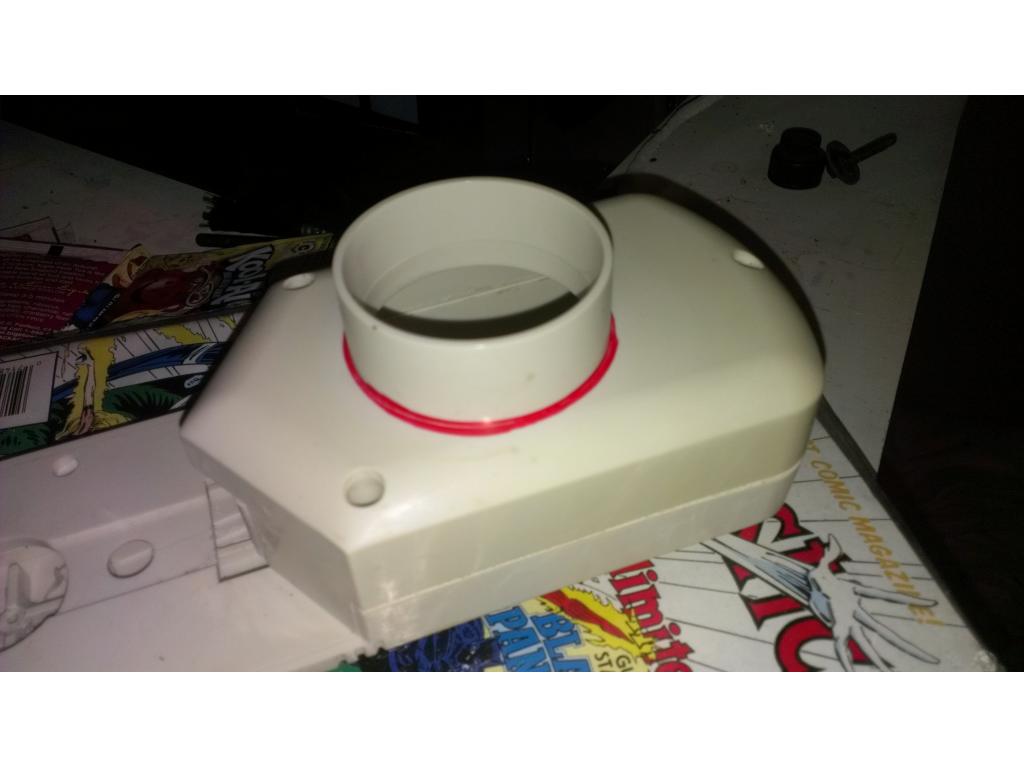
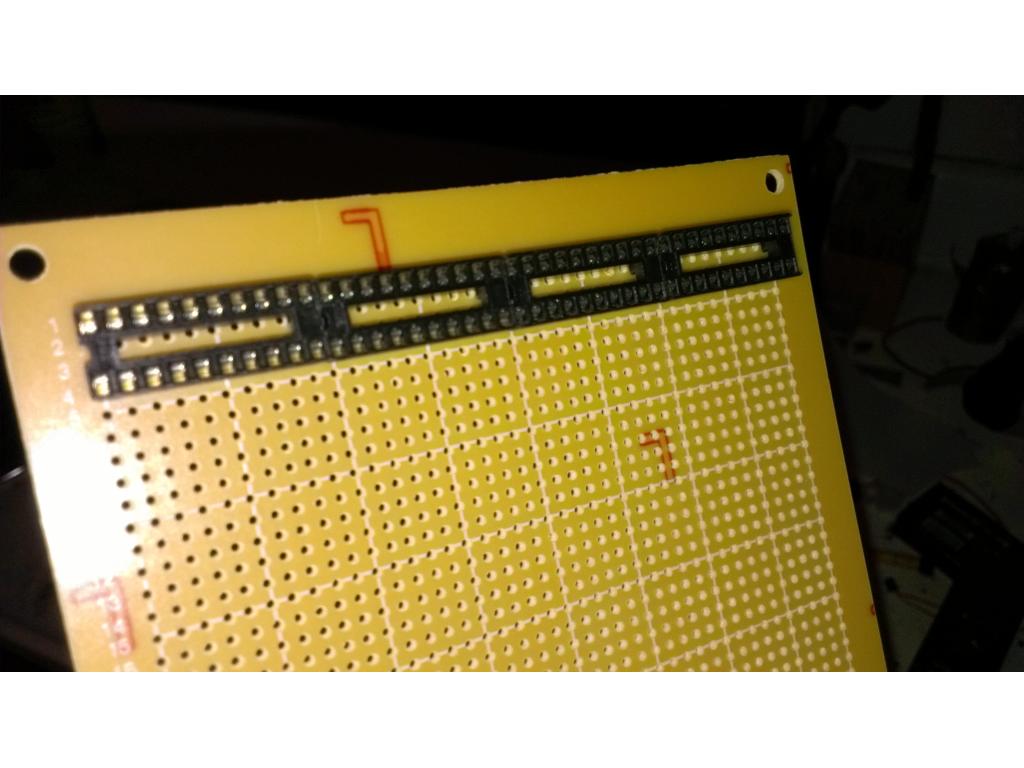
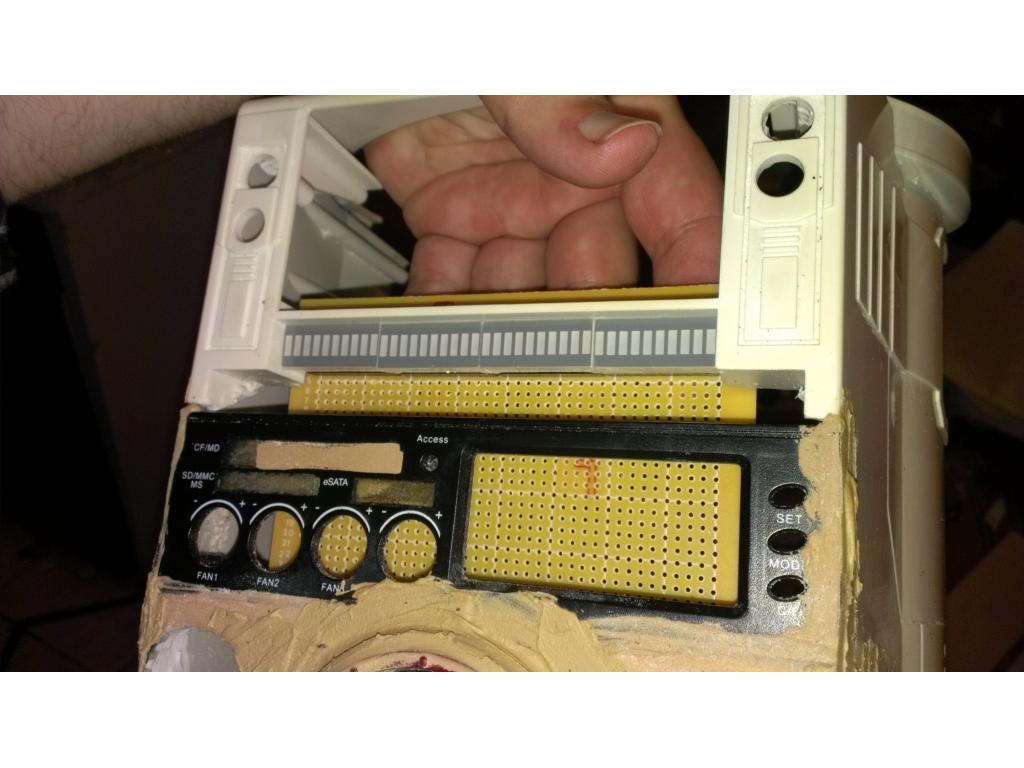
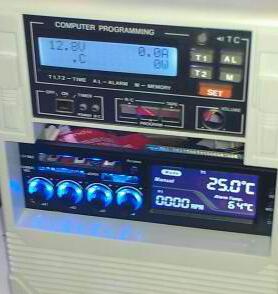
-i must modify and mount the fan controller casing into the torso , then mold it in.. , it will be painted same color red.