


cE9s4PsOgeBQIORwjd5!~~60_1-634818020230156250.jpg)


BO)Lupuc4g~~60_35-634706297915000000.jpg)
LupbT6!~~60_35-634706298769375000.jpg)


C5j!~~60_35-634655044863125000.jpg)


C5j!~~60_35-634659603510781250.jpg)


C5j!~~60_35-634651704046230469.jpg)
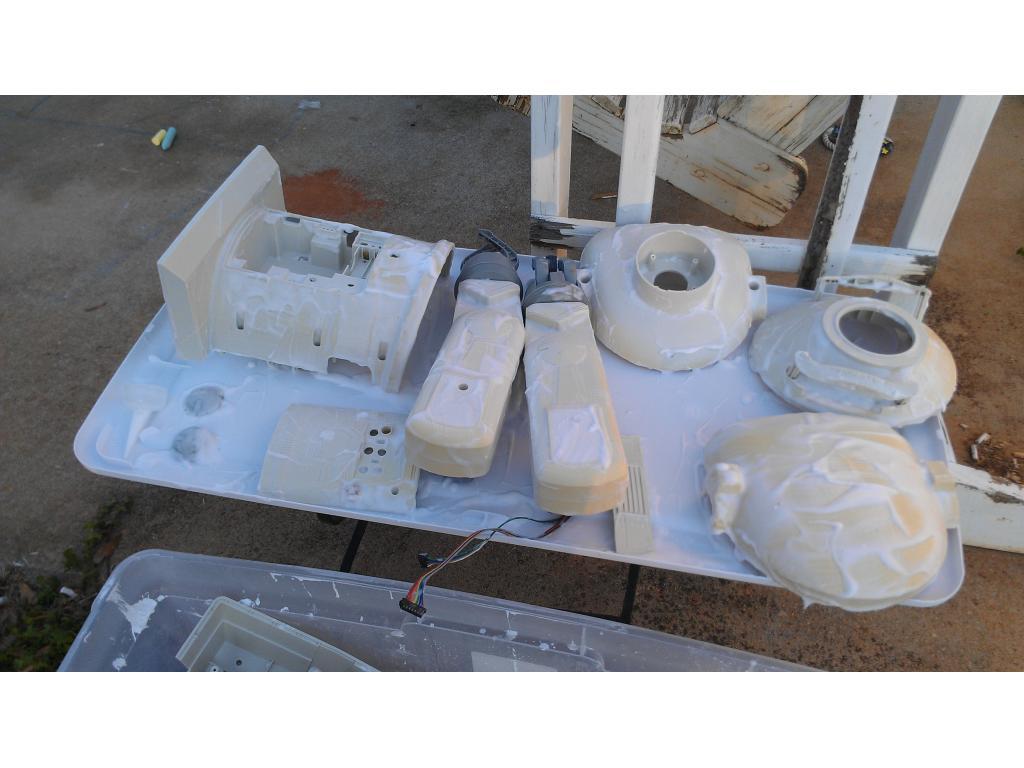
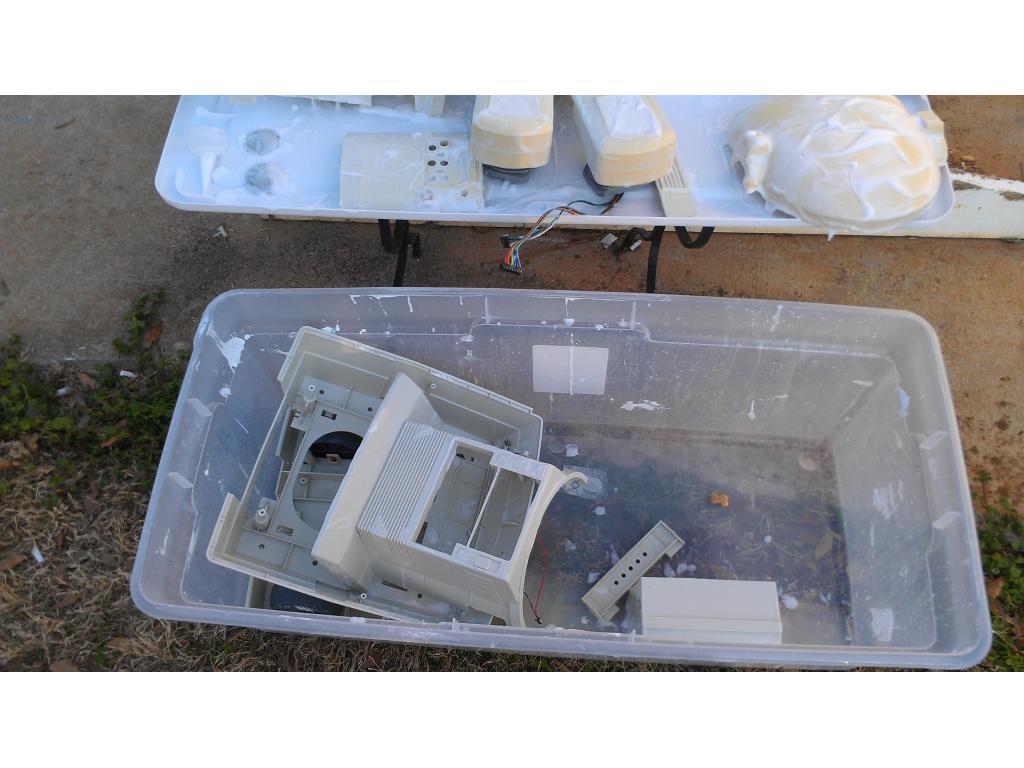
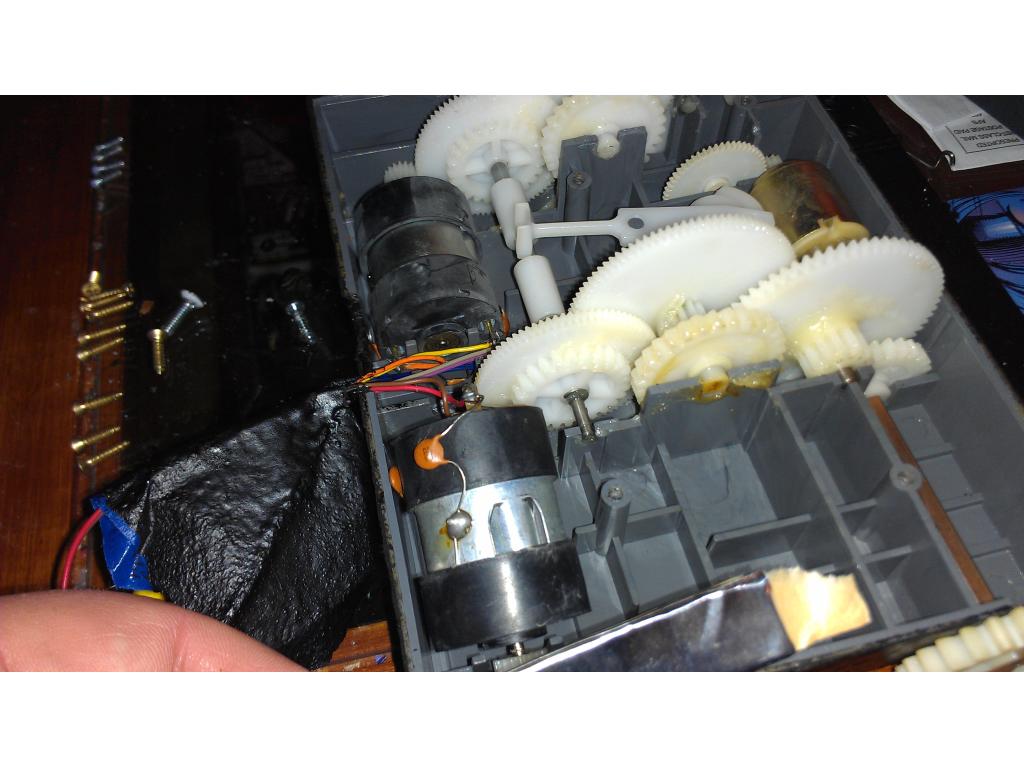
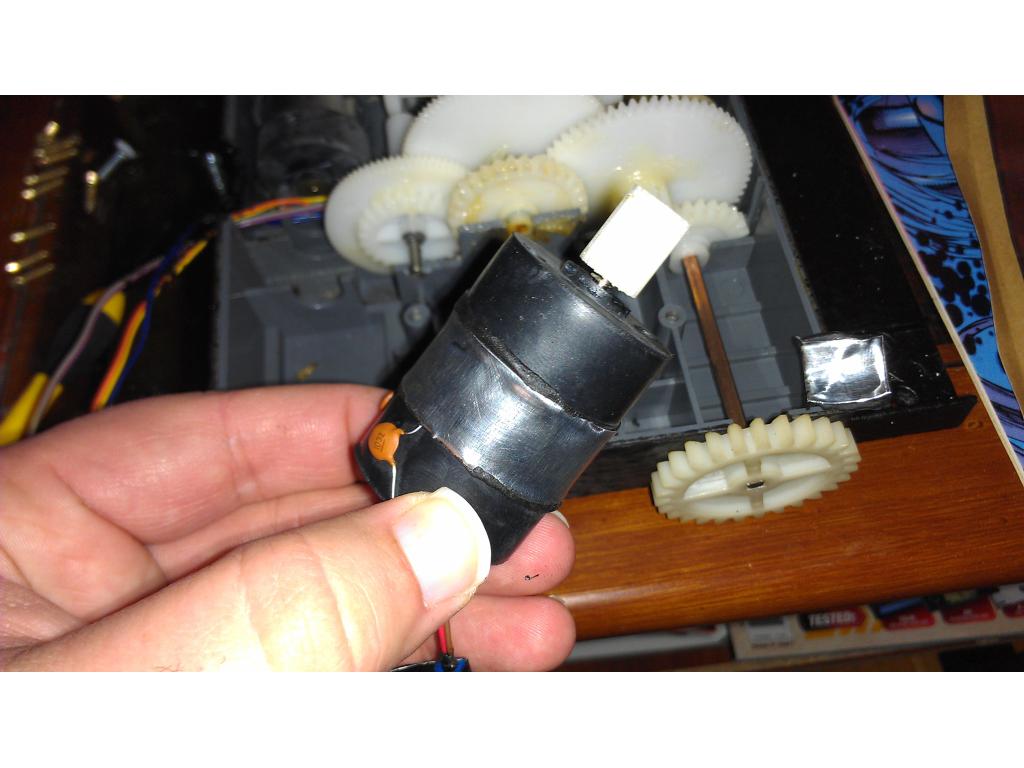
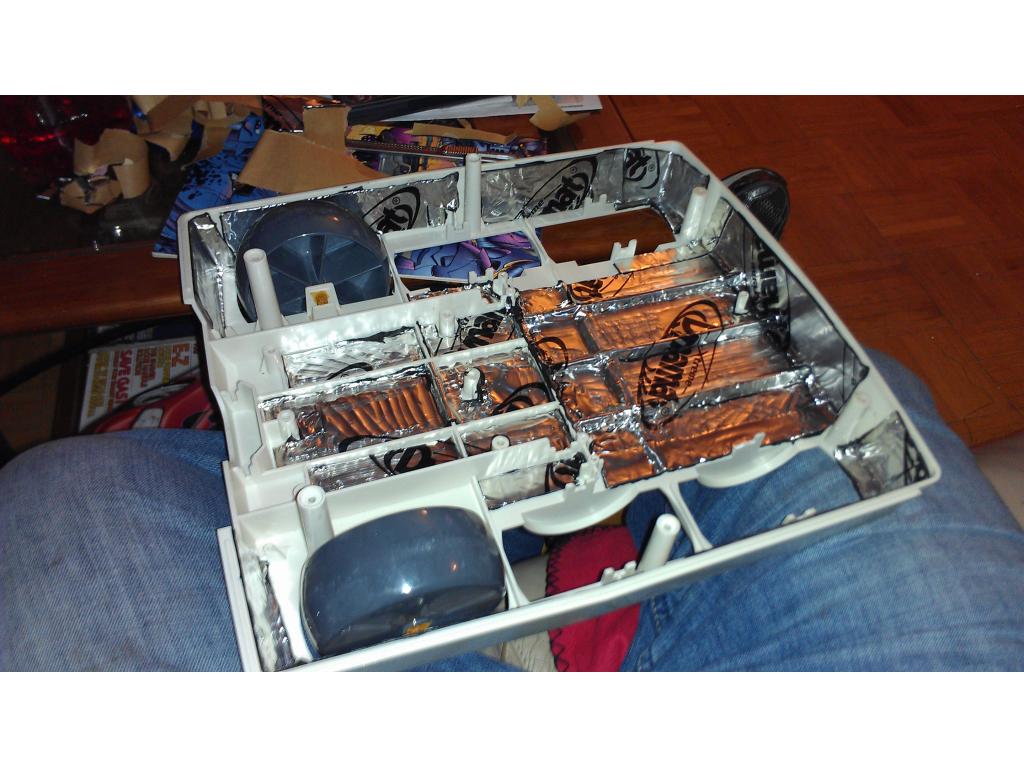
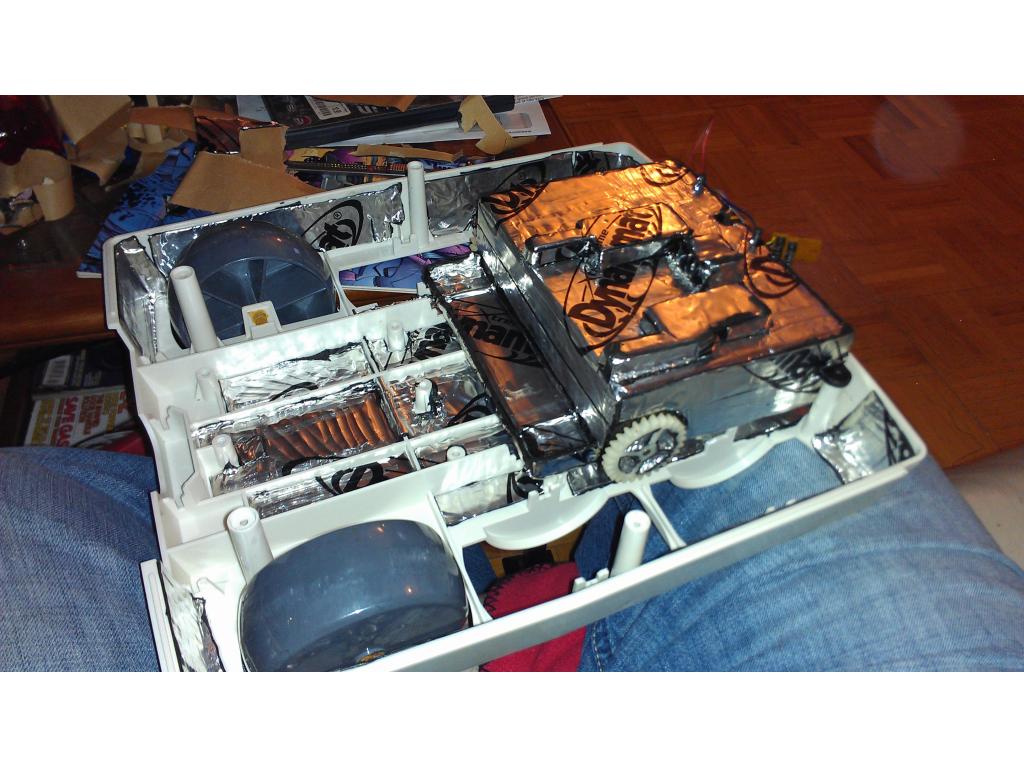
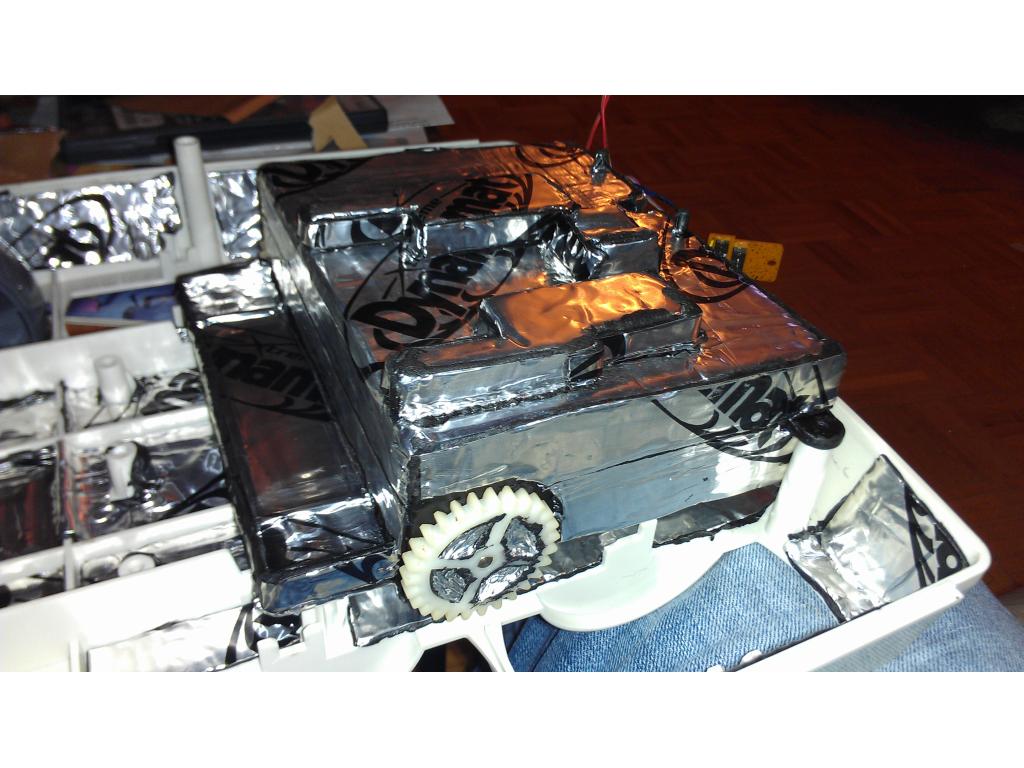


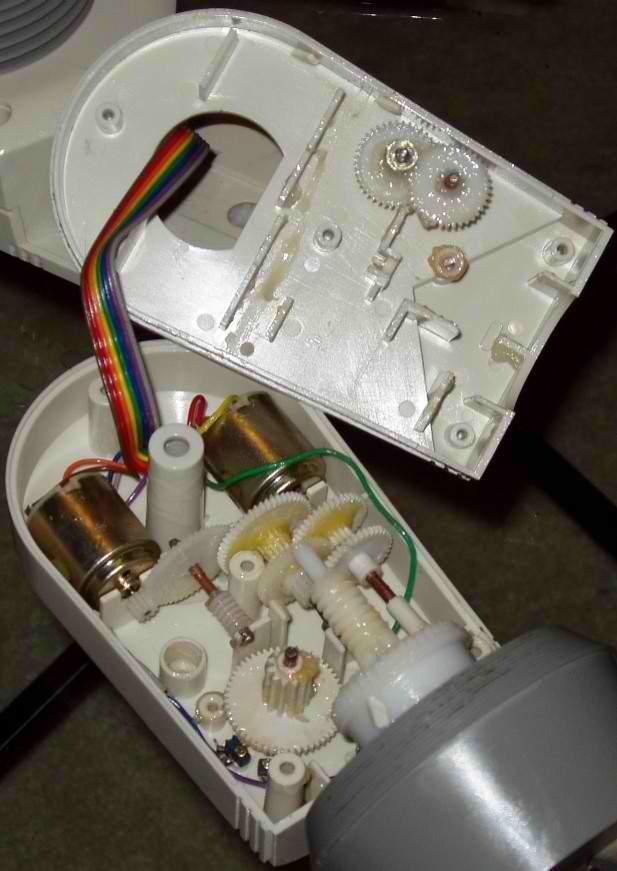

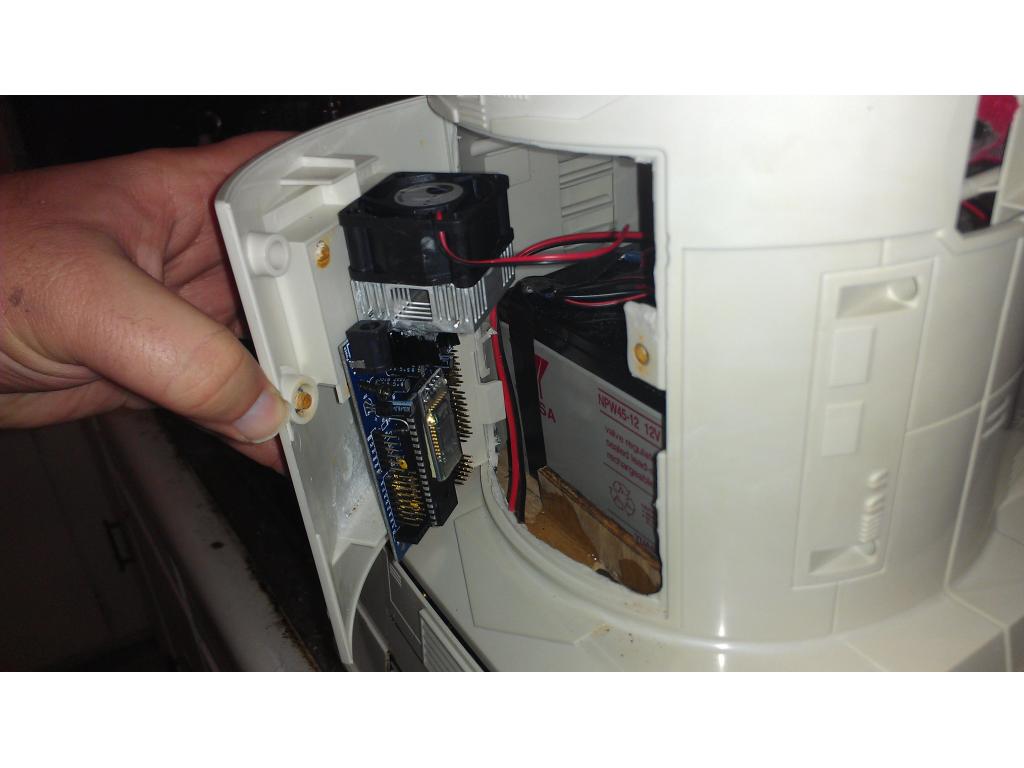
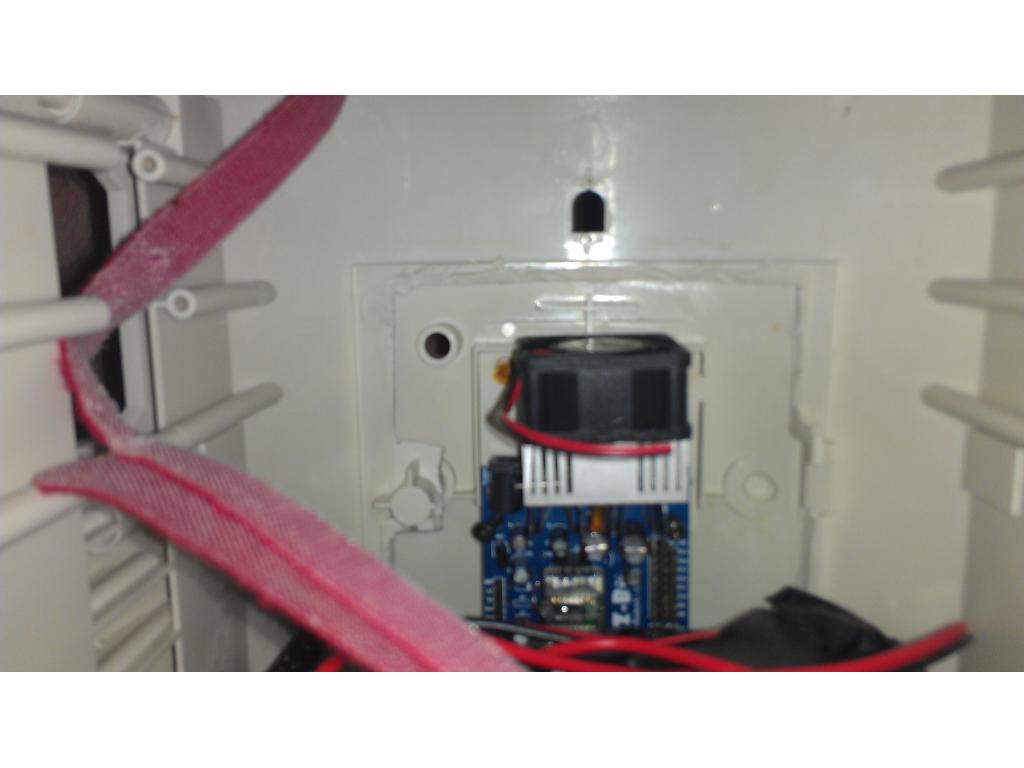


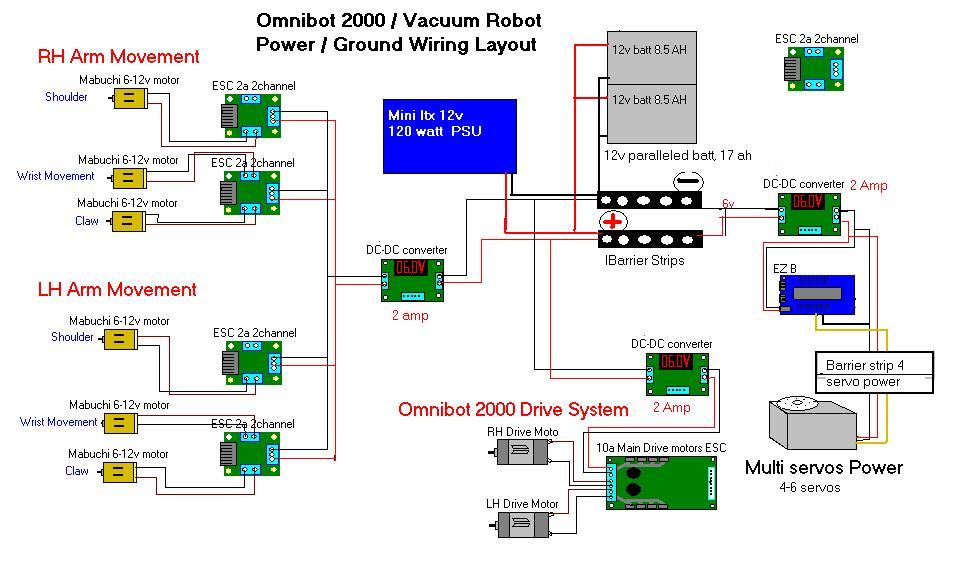

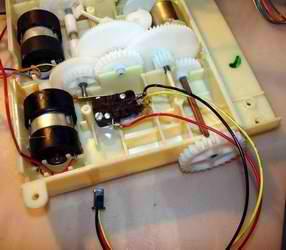
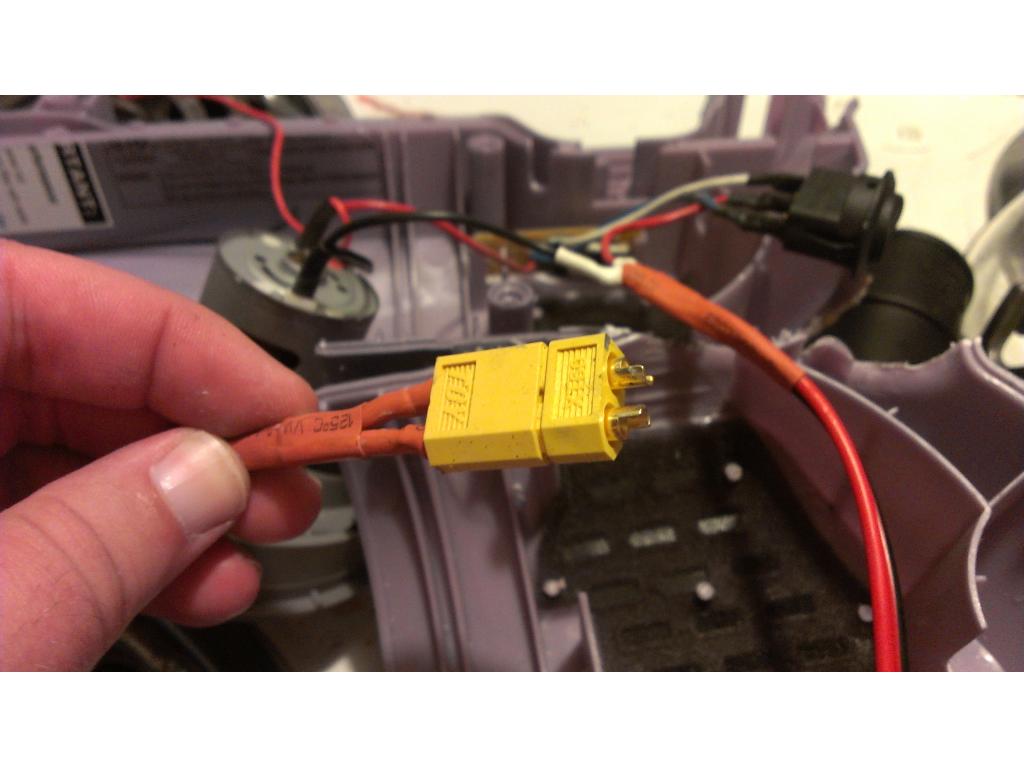
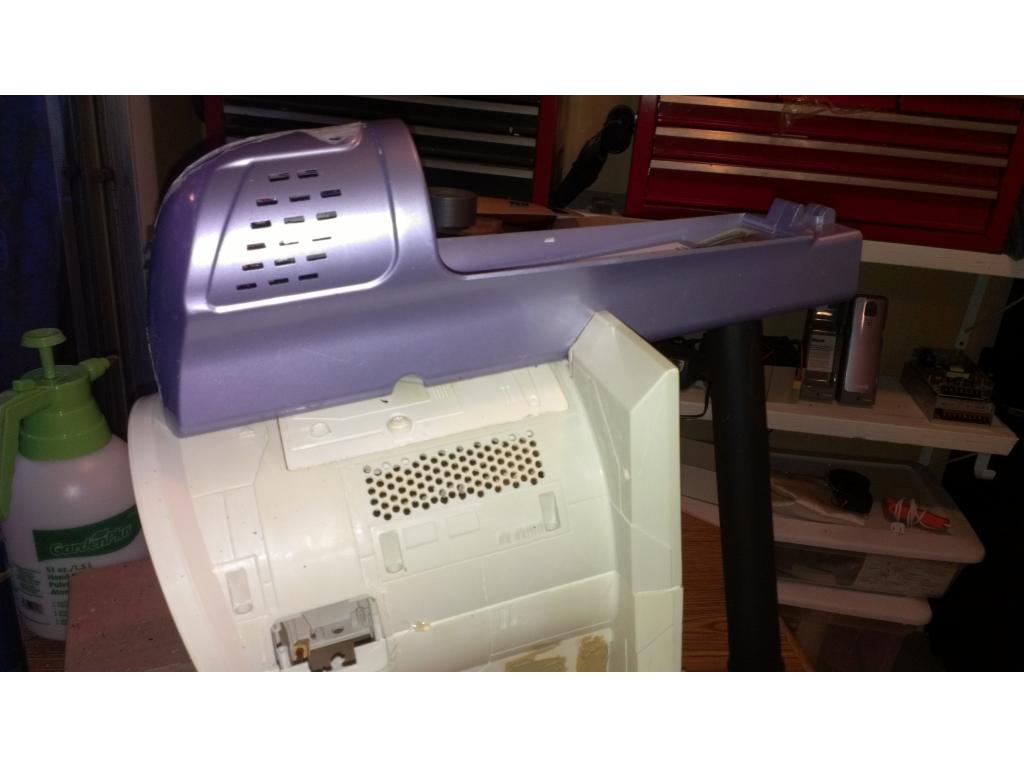

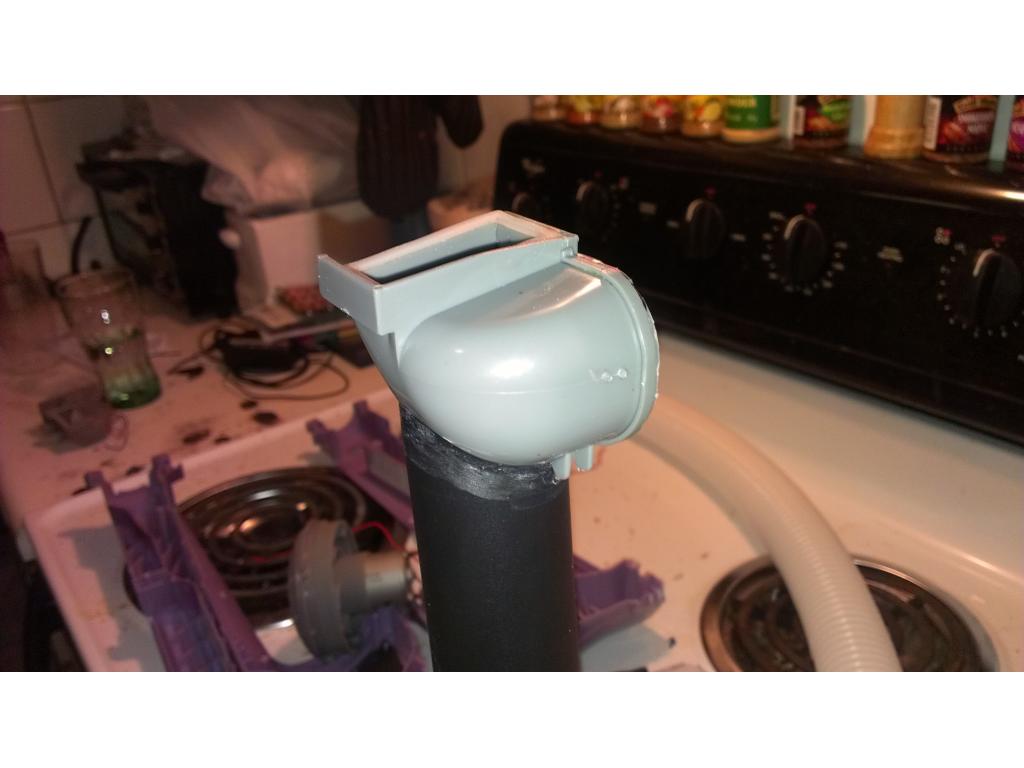
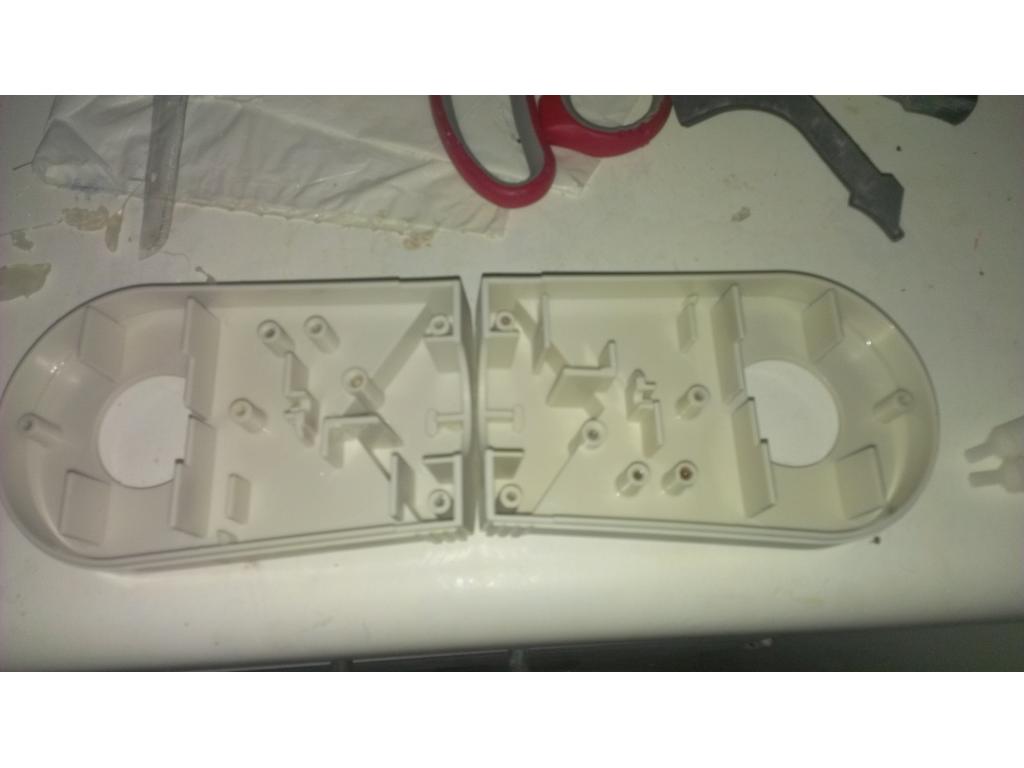
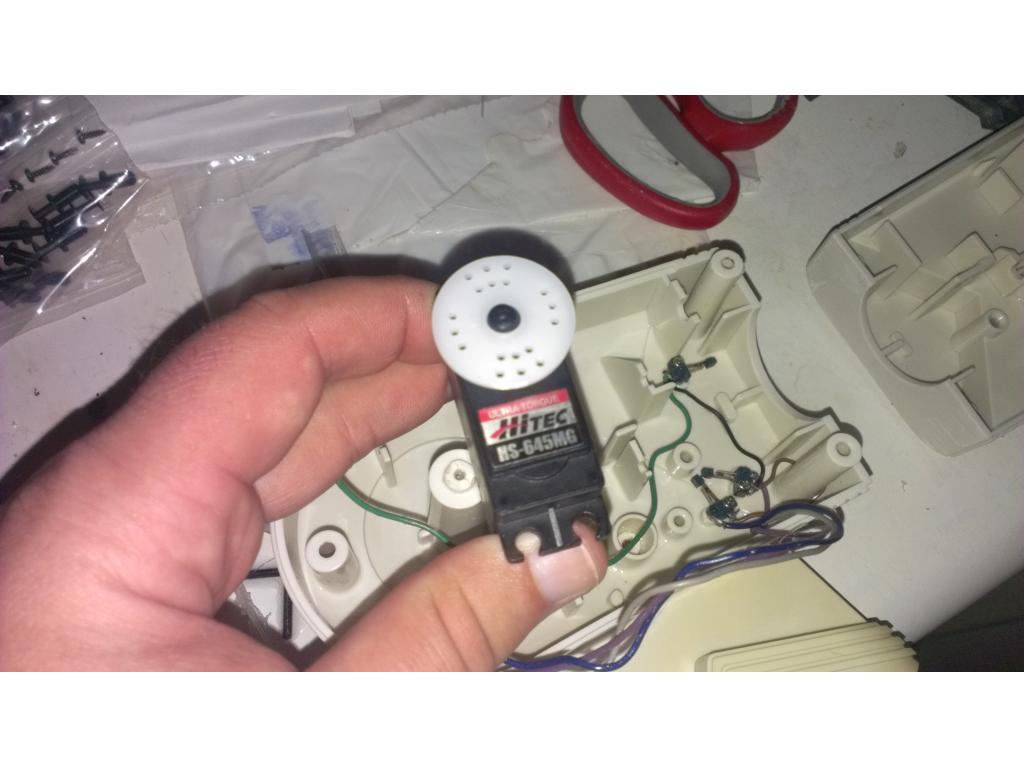


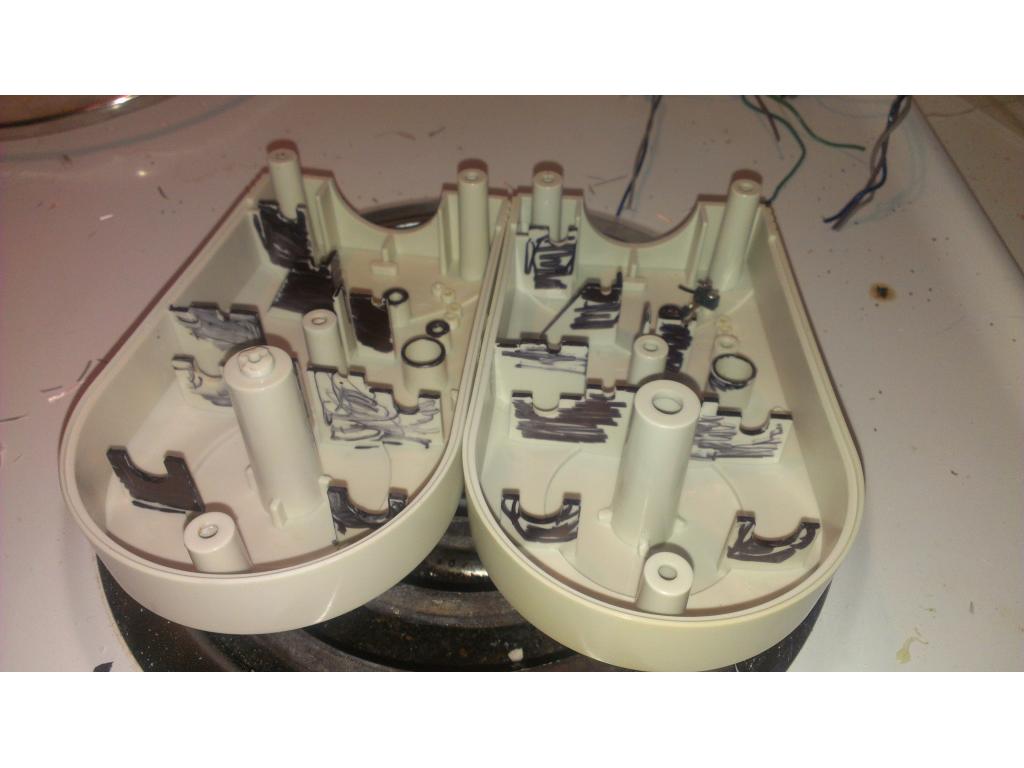

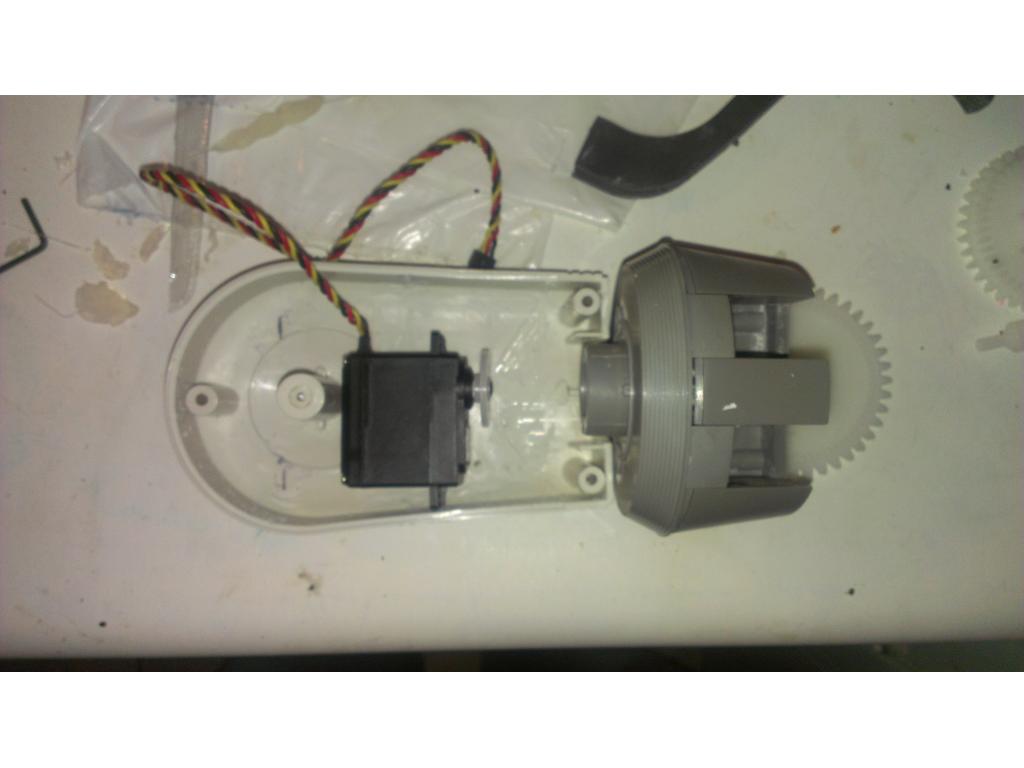


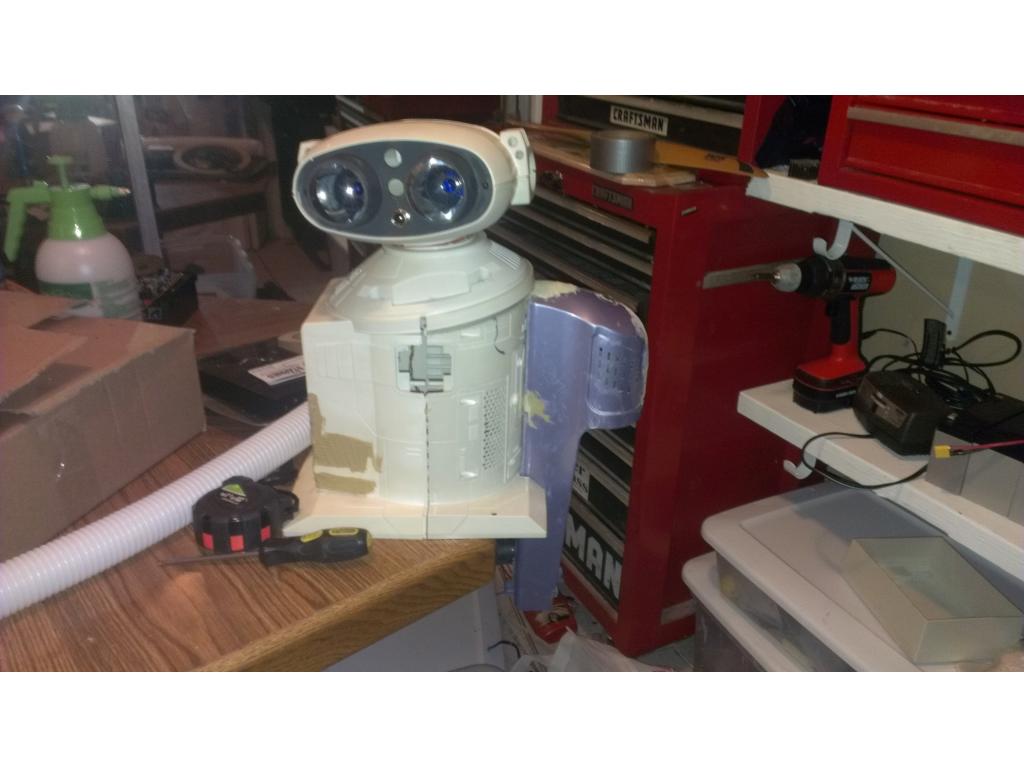


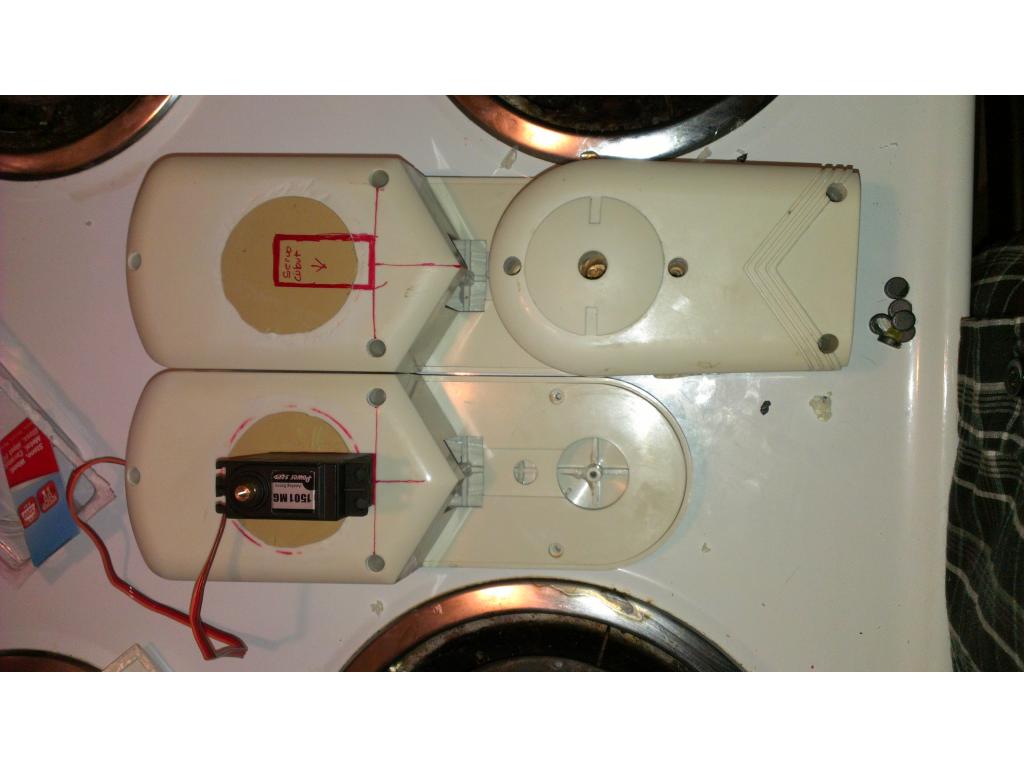
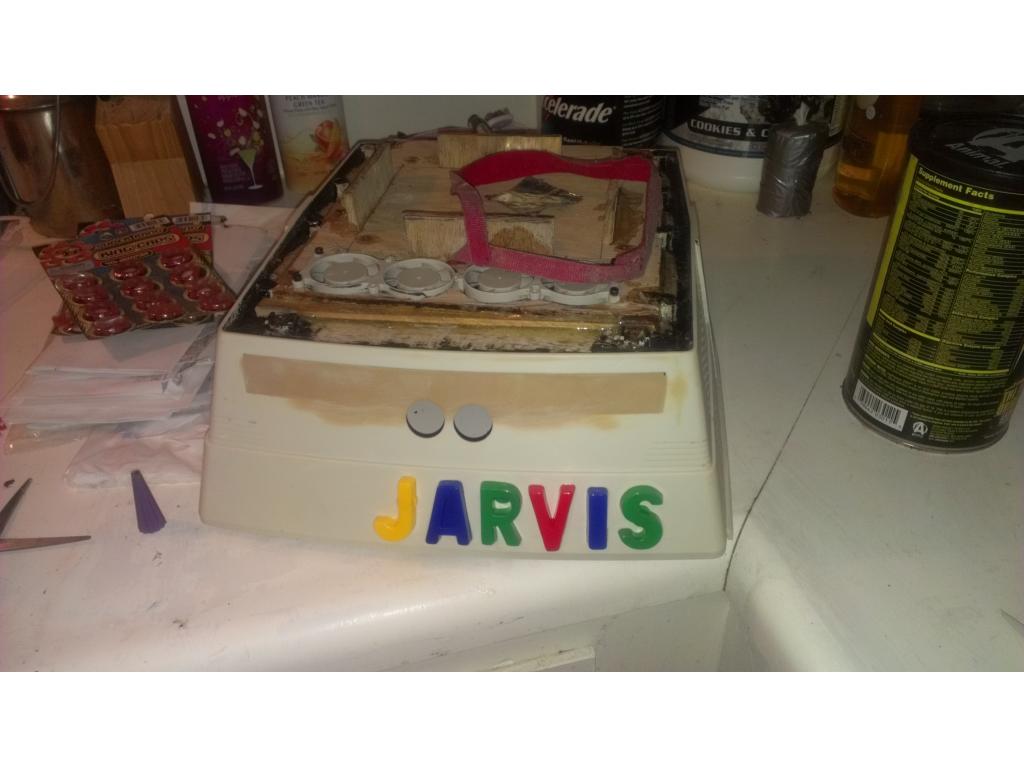
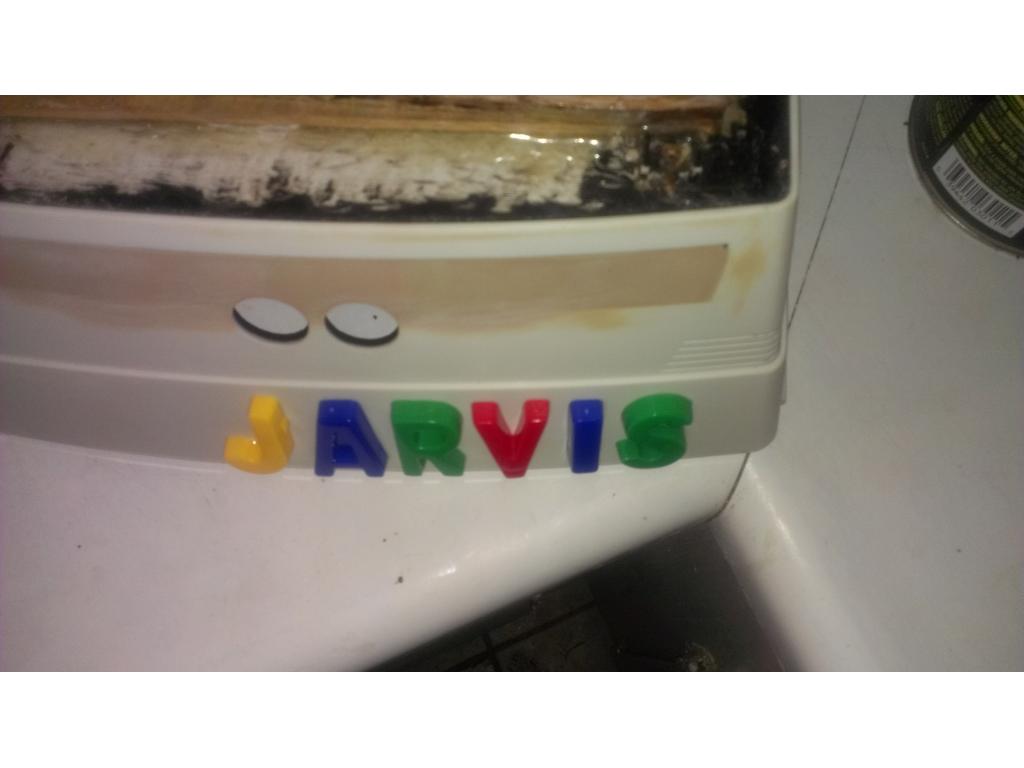
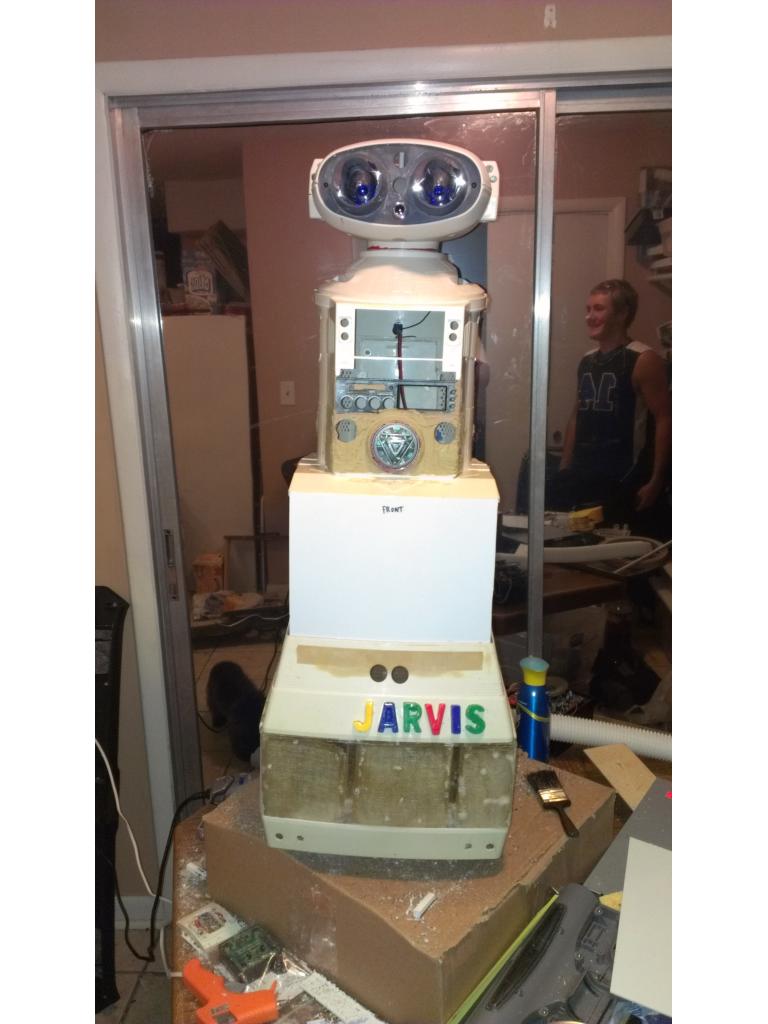

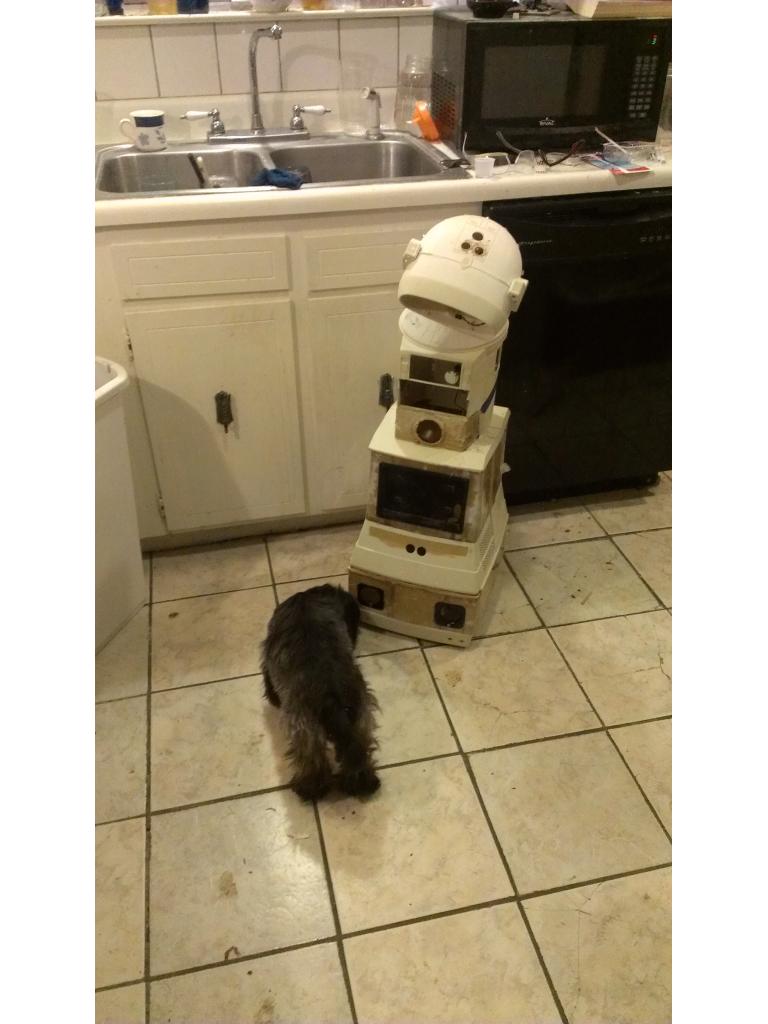
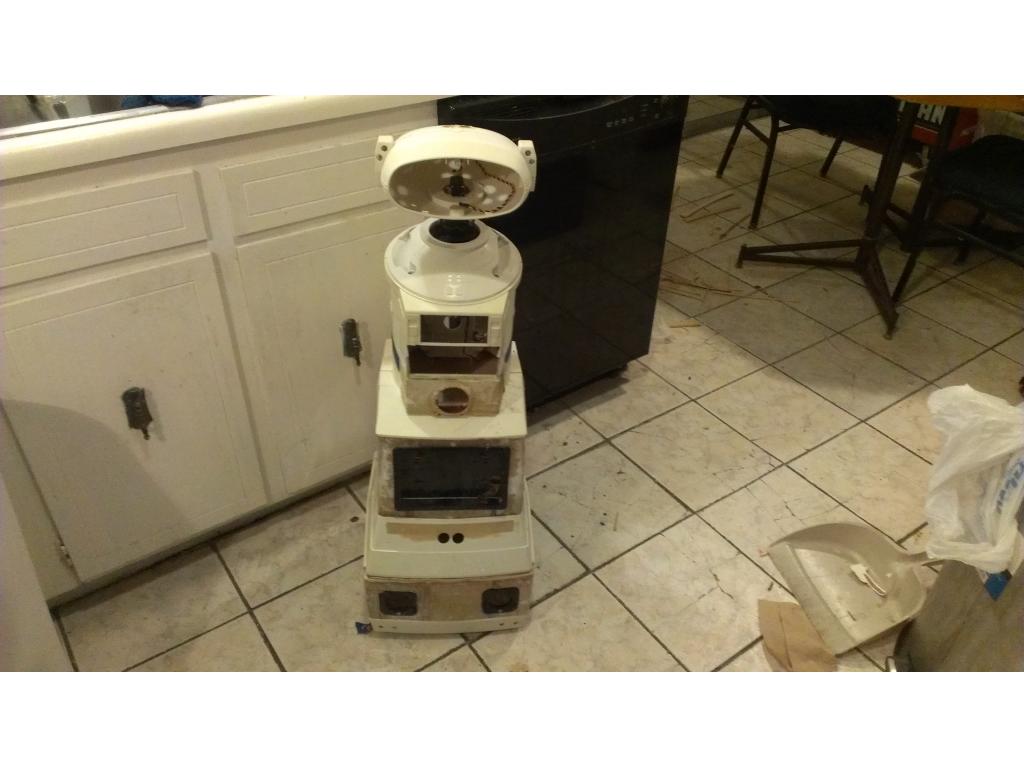
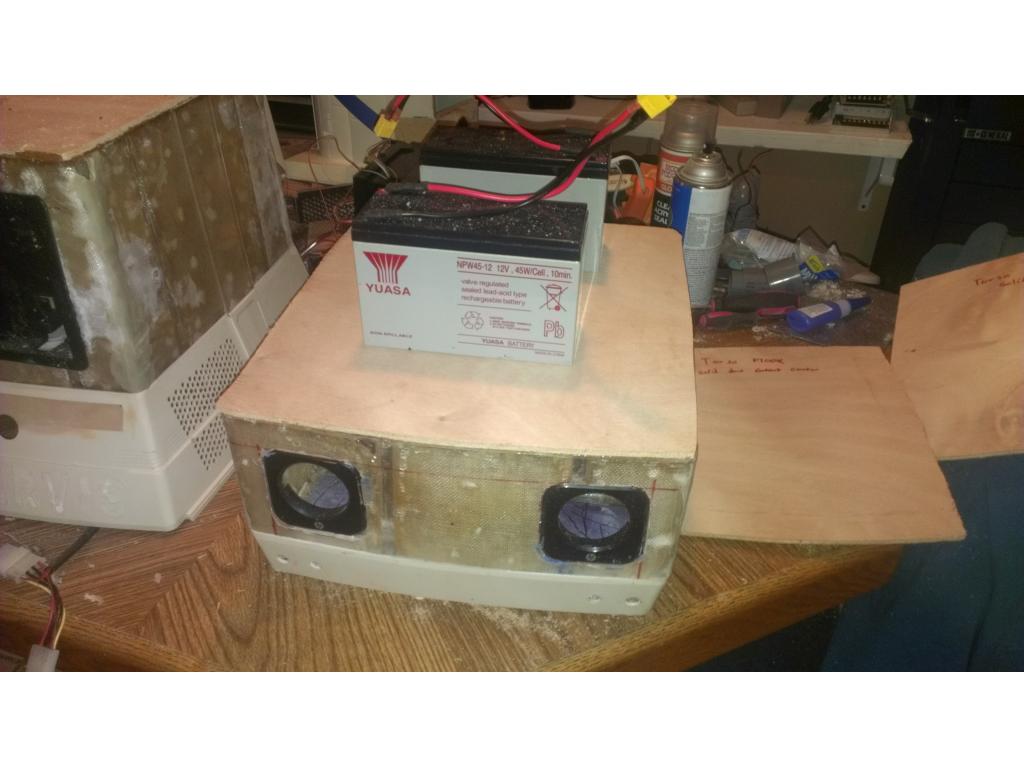


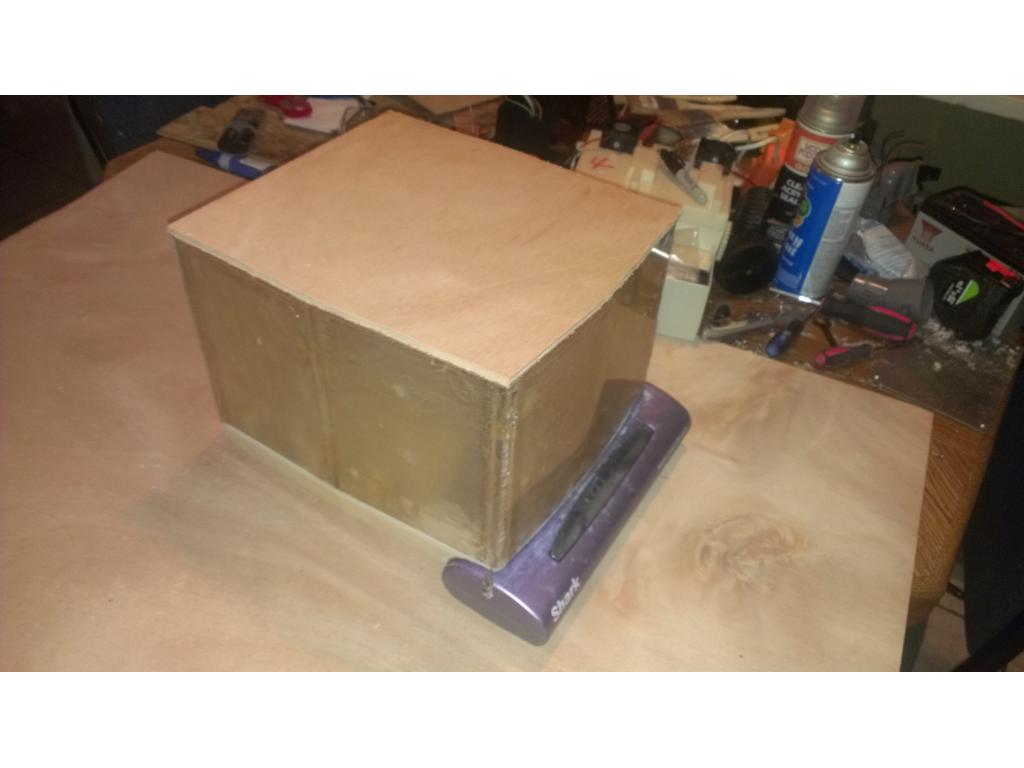

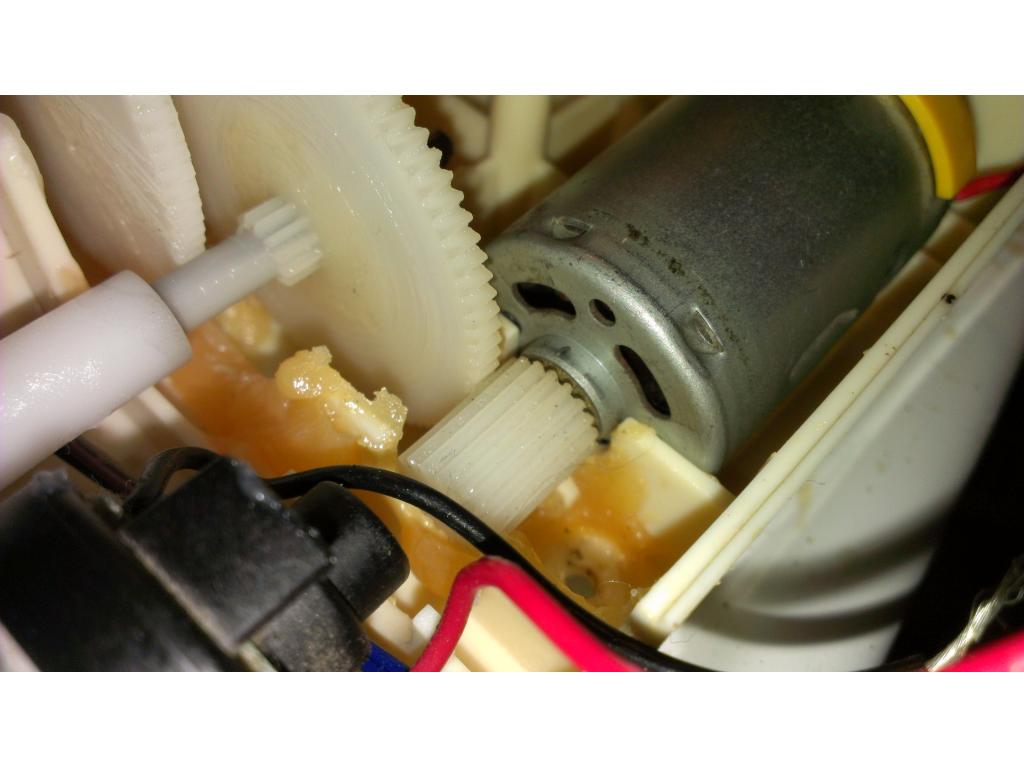
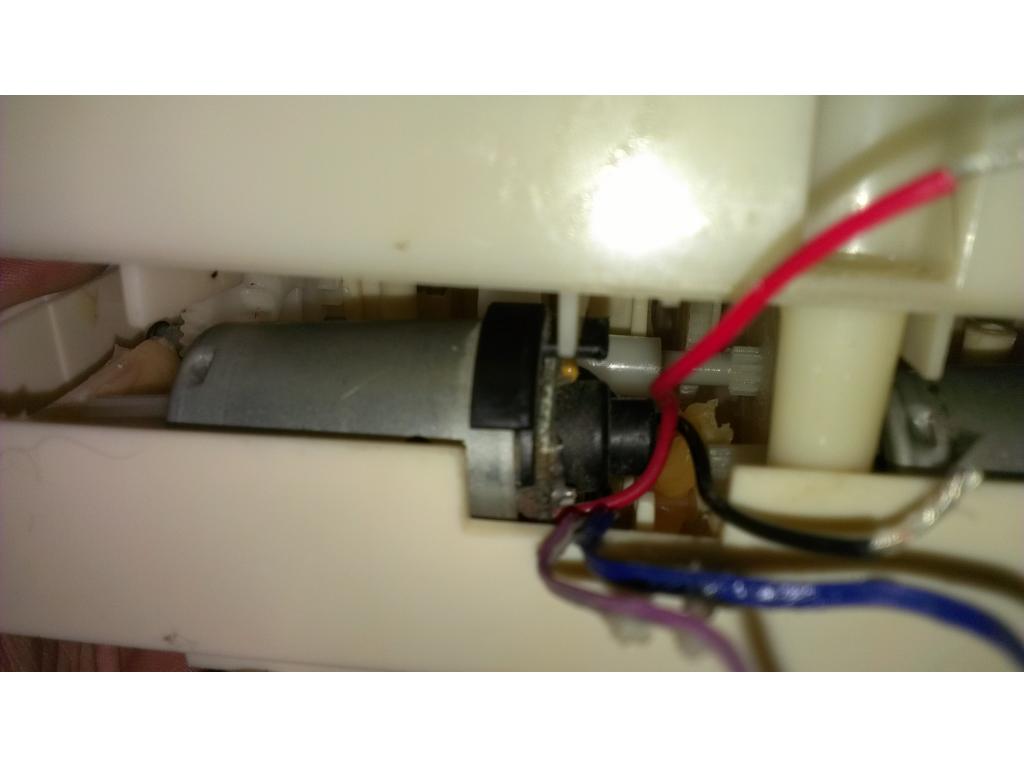
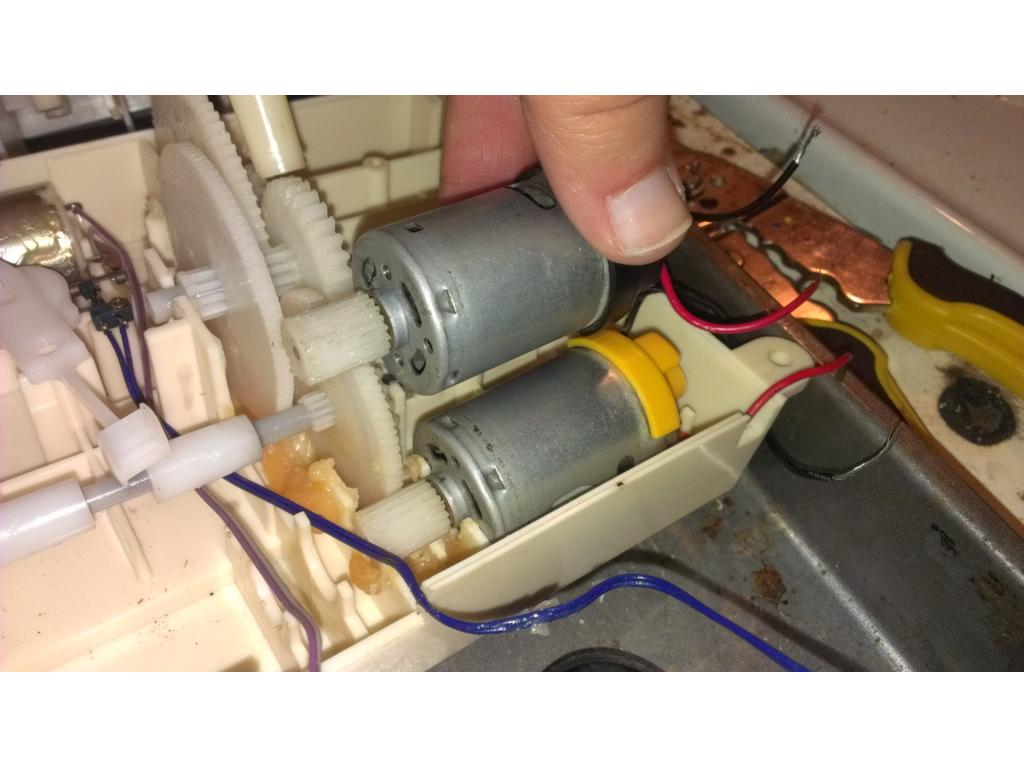
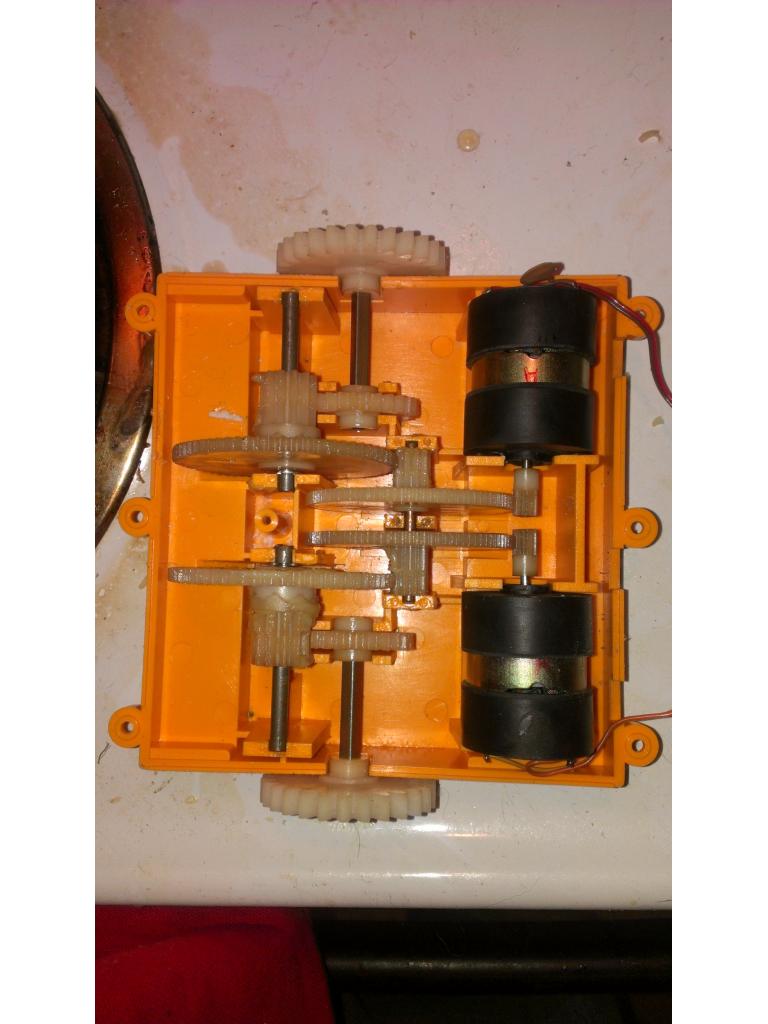
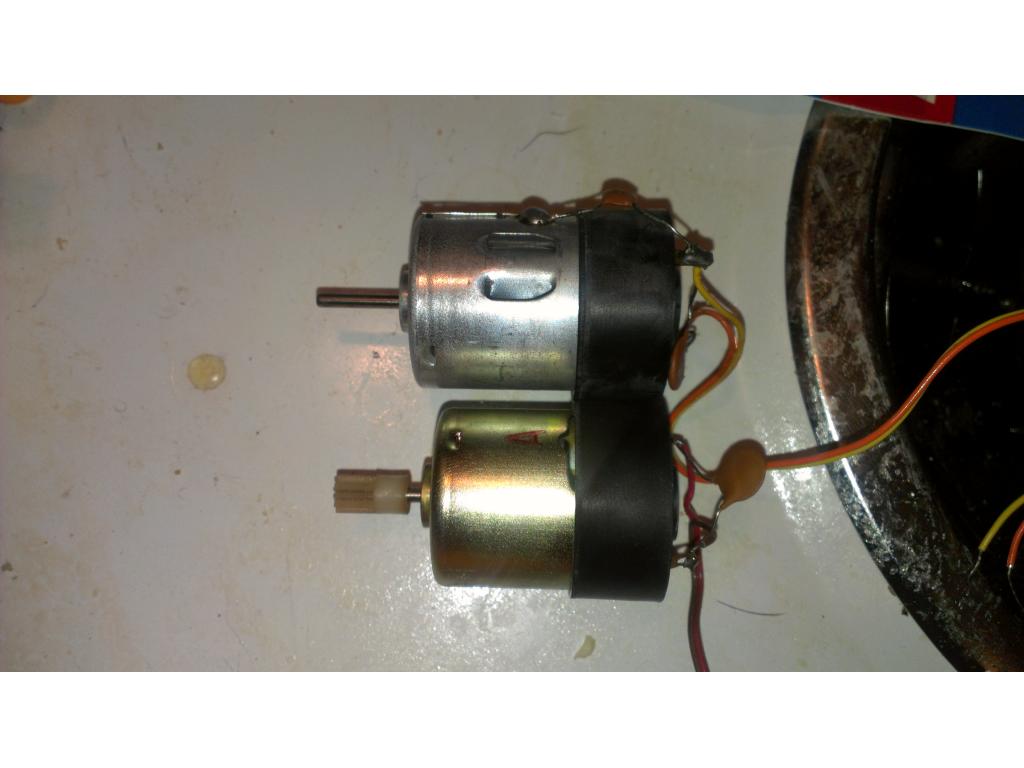


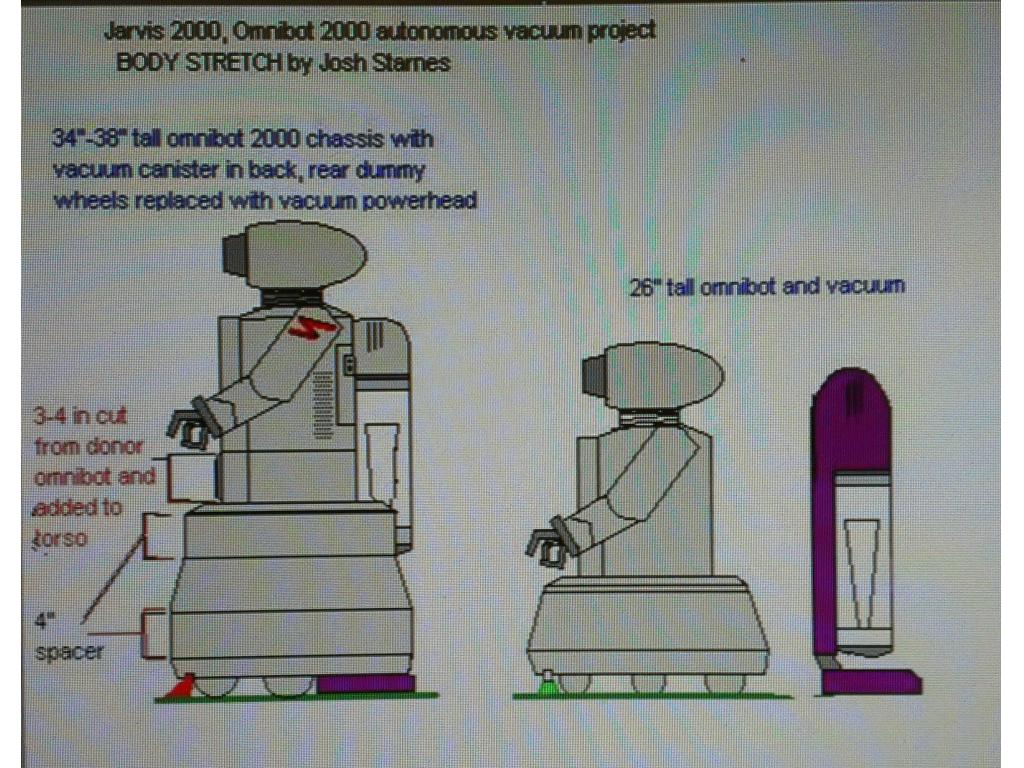


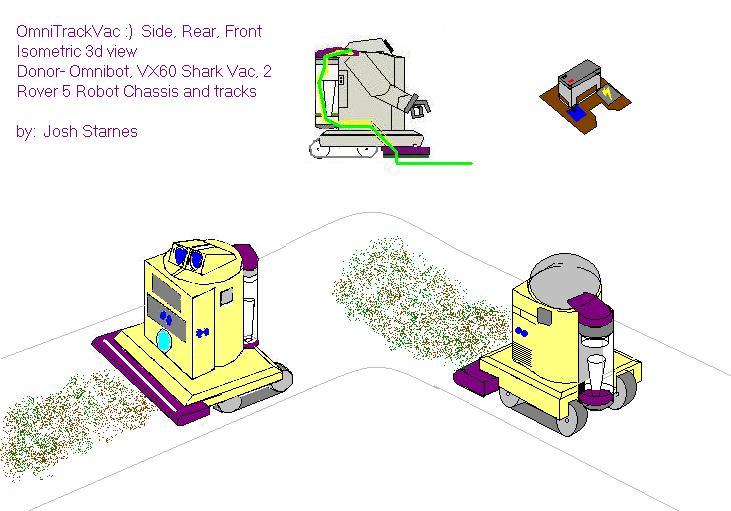
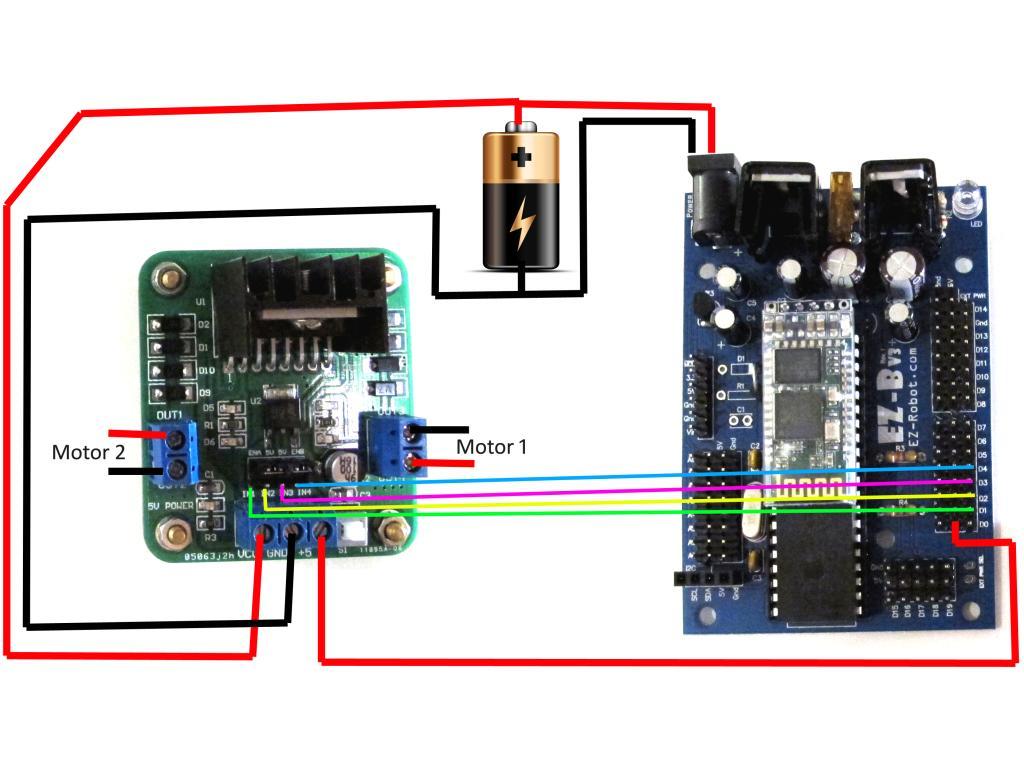

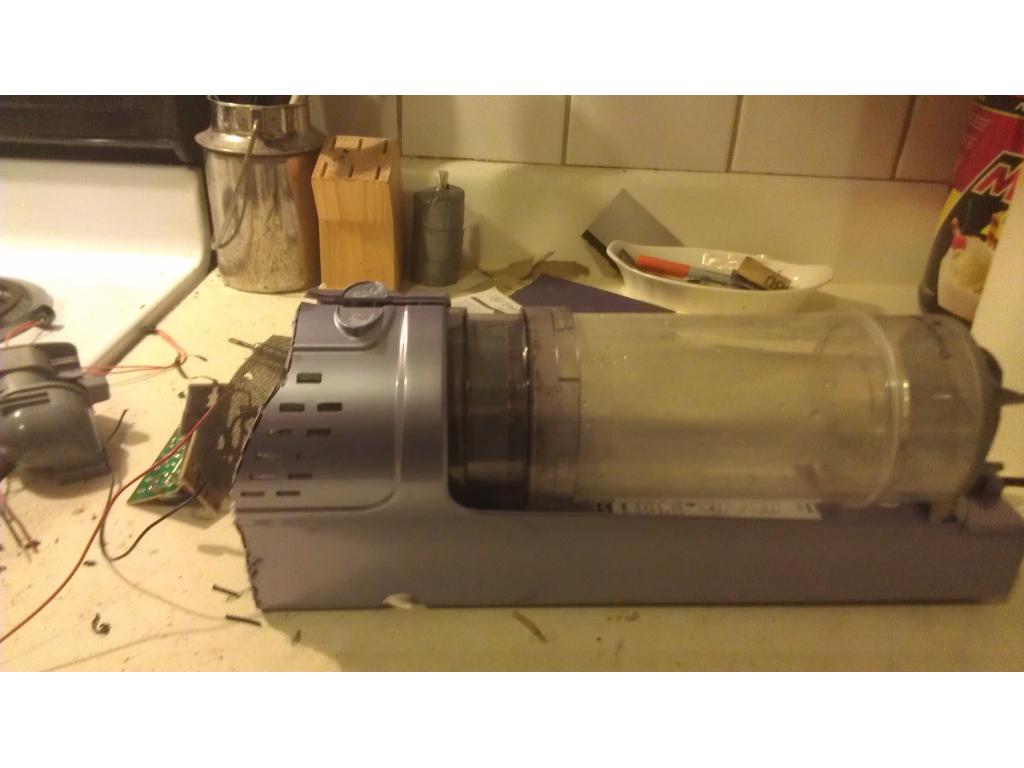
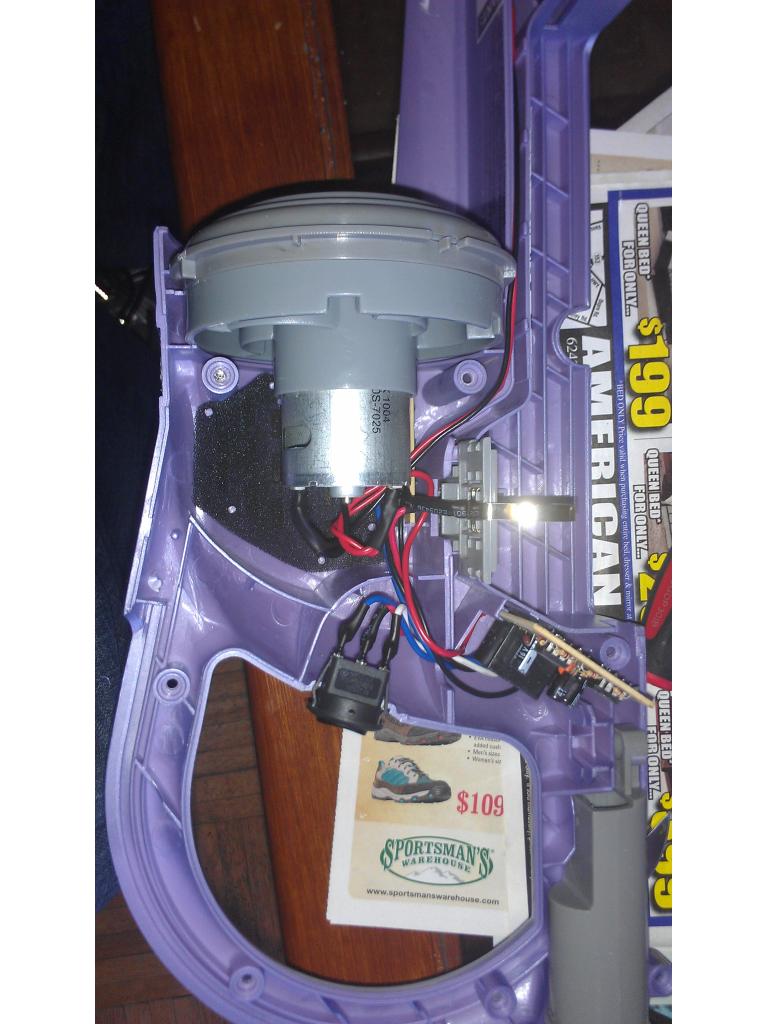
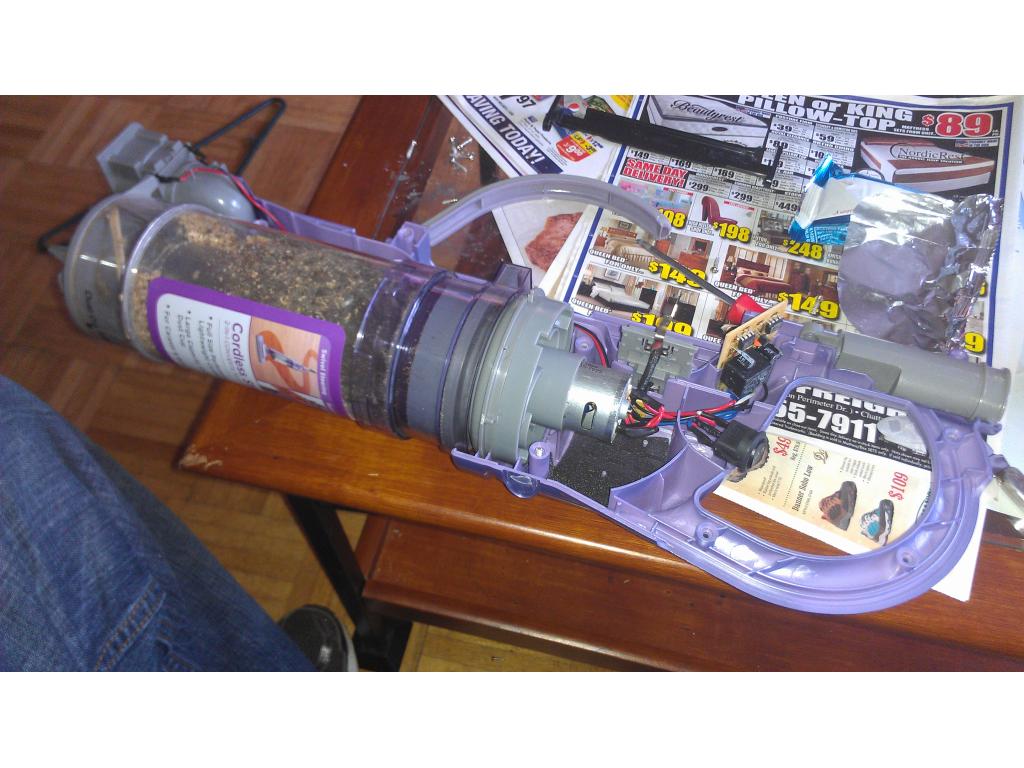
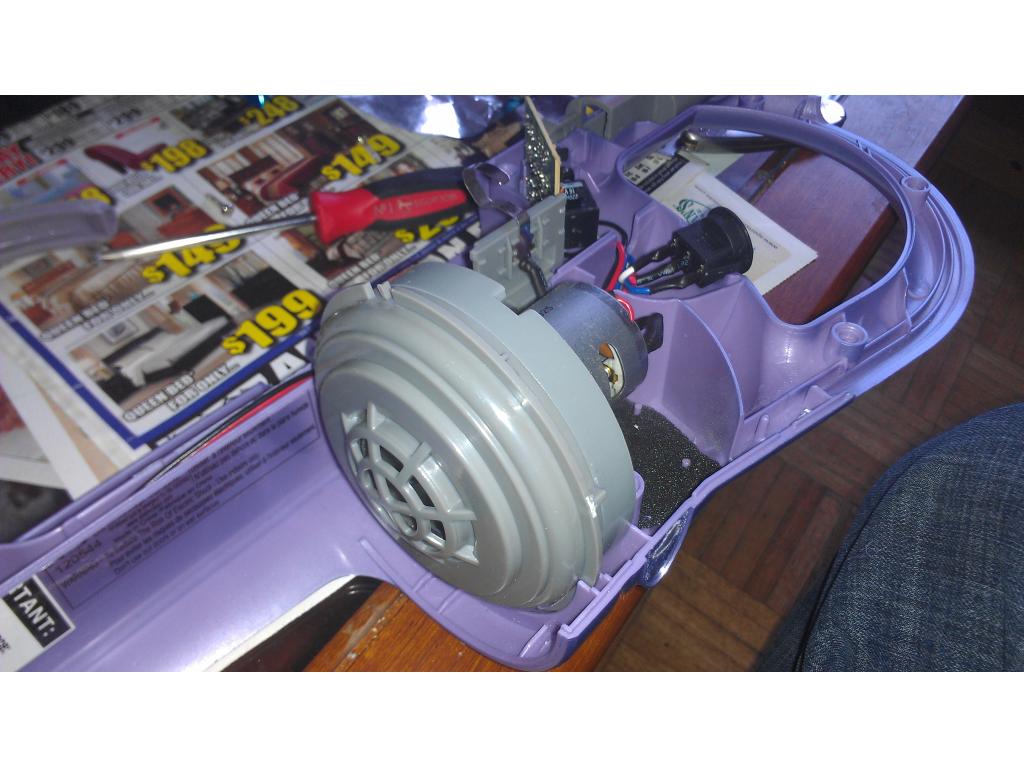

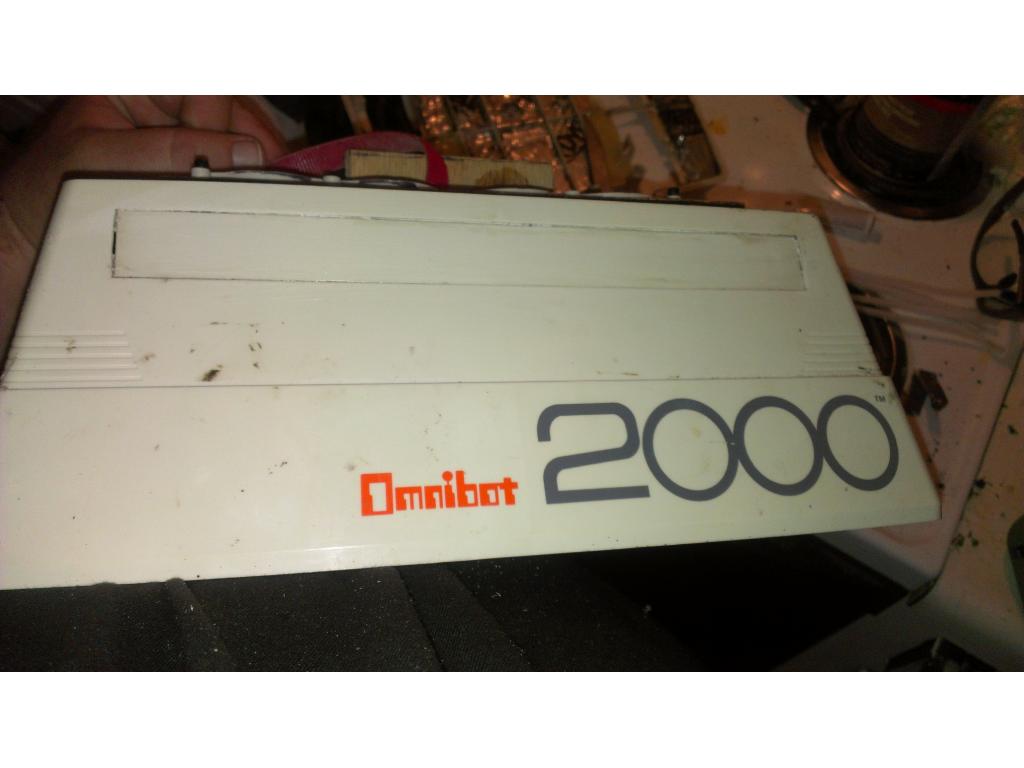
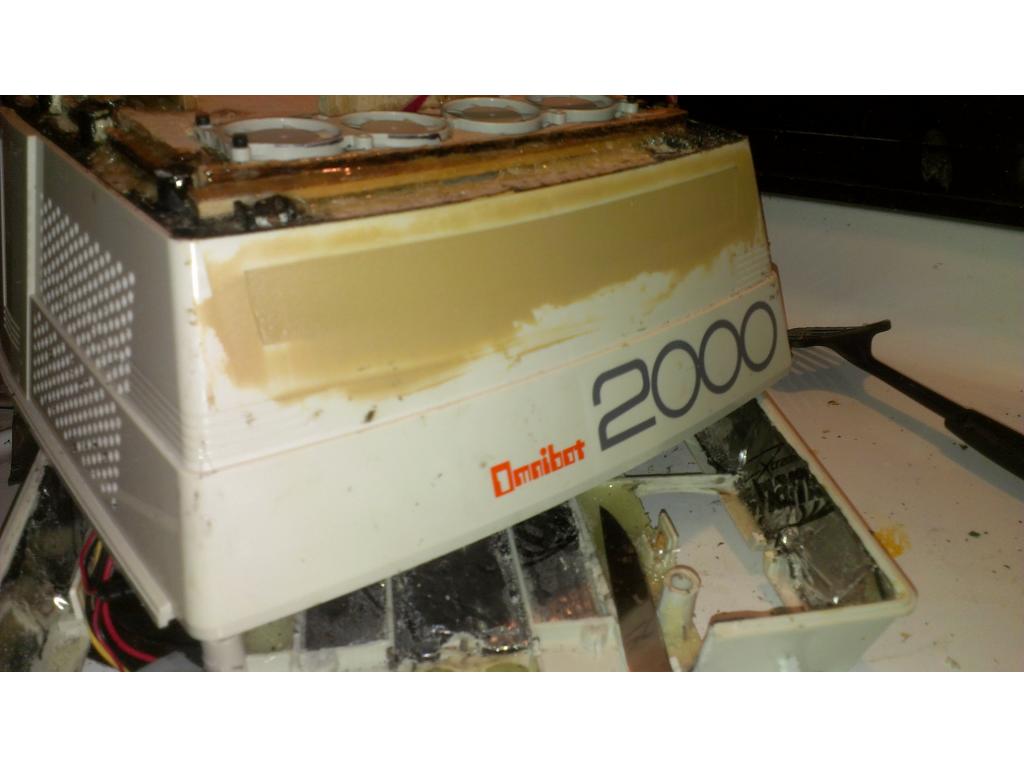
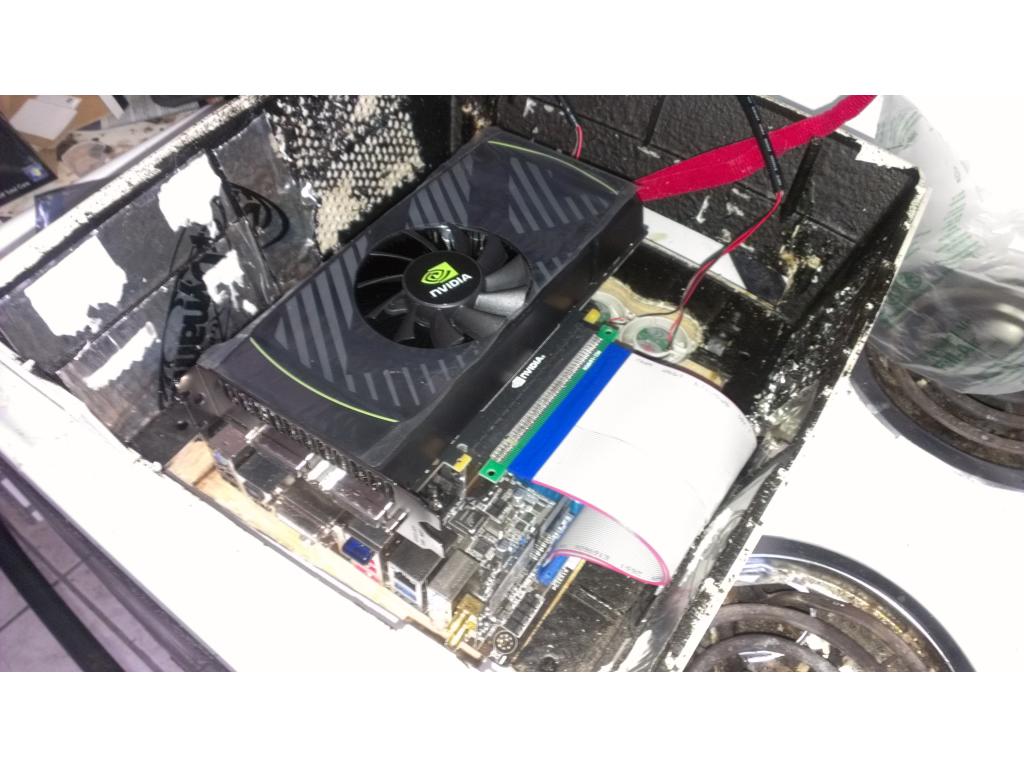
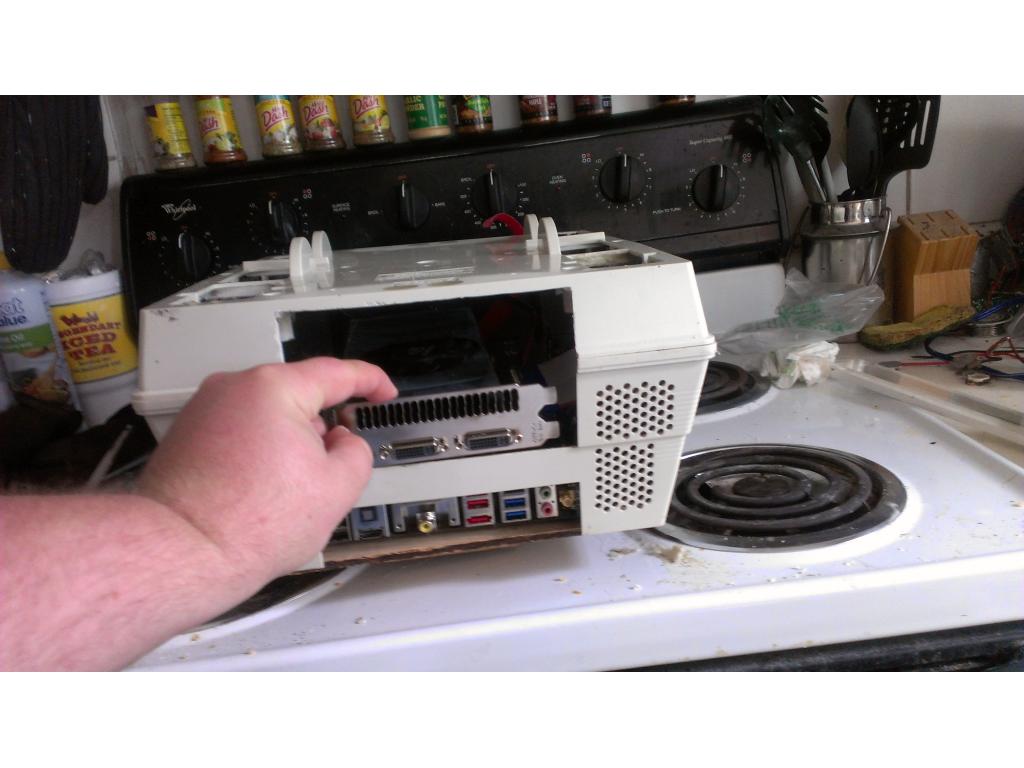


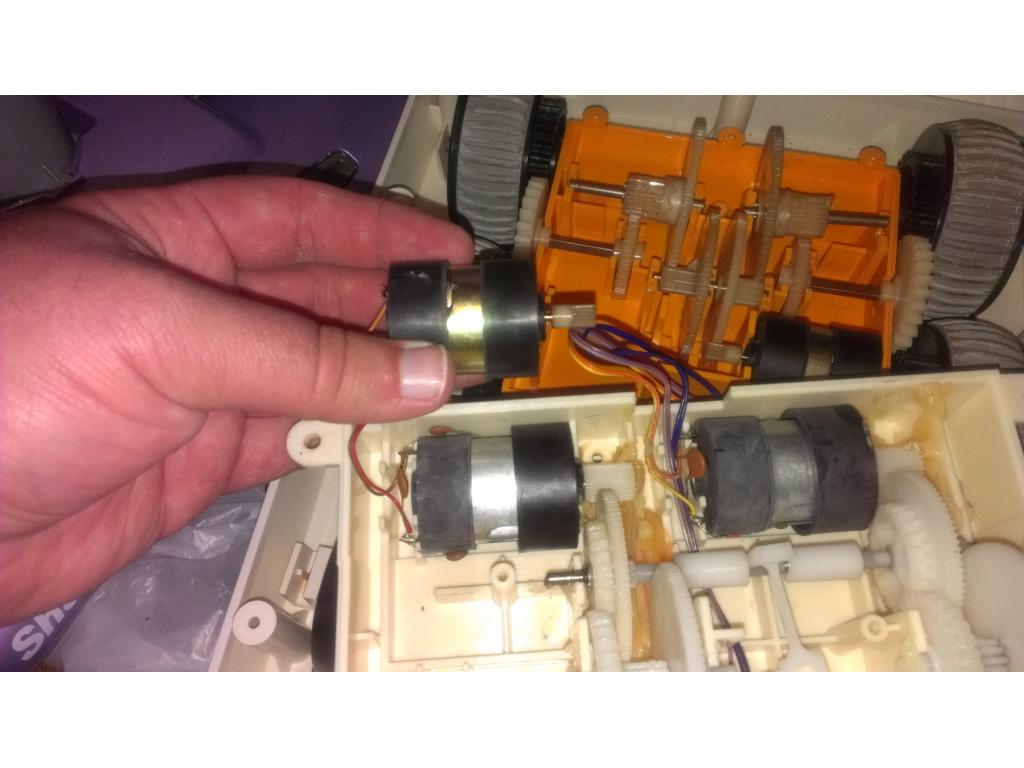


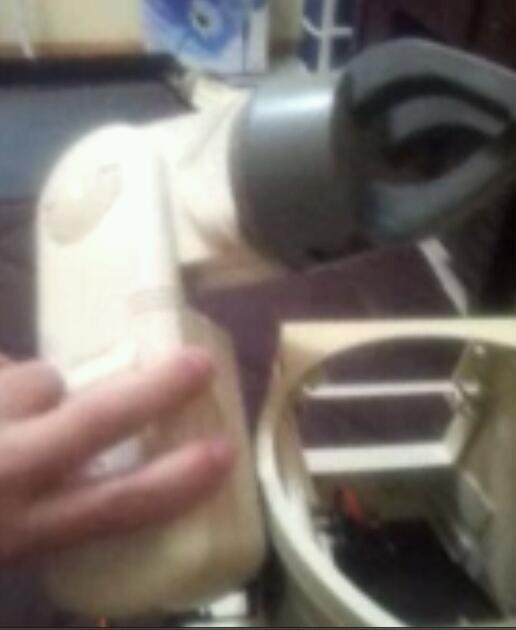

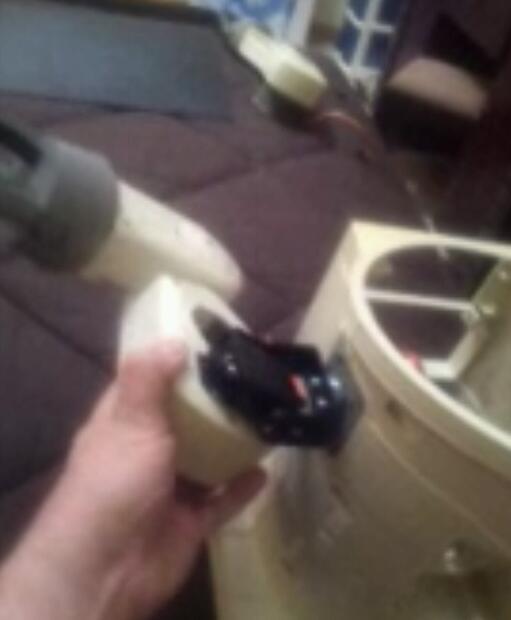


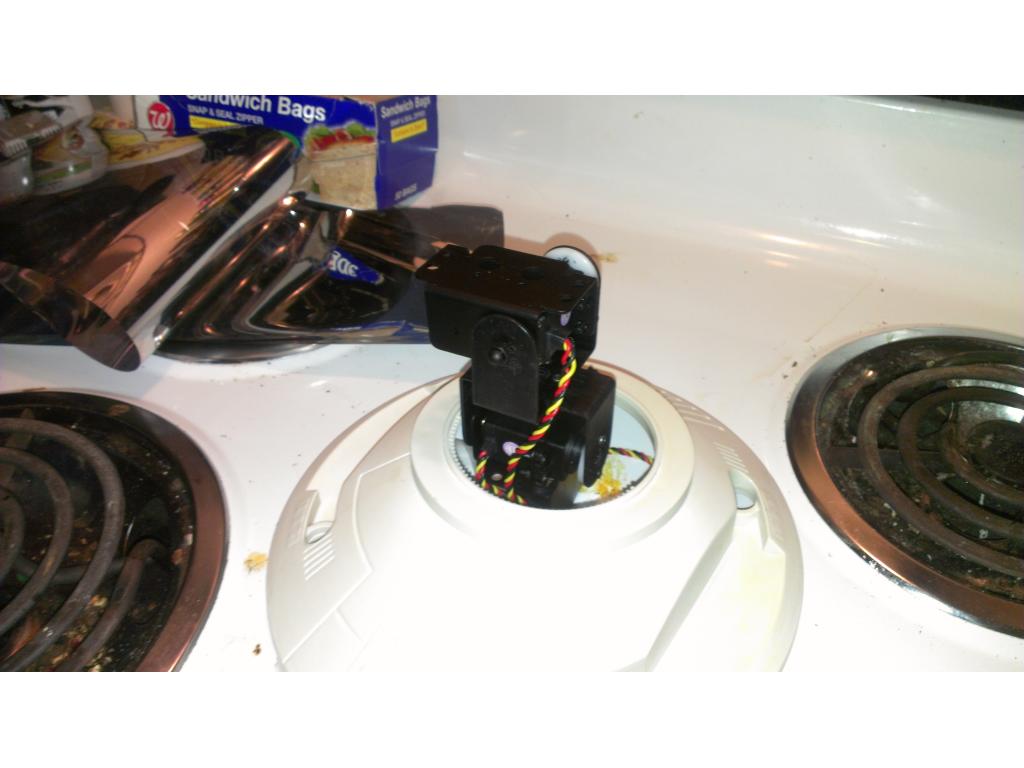
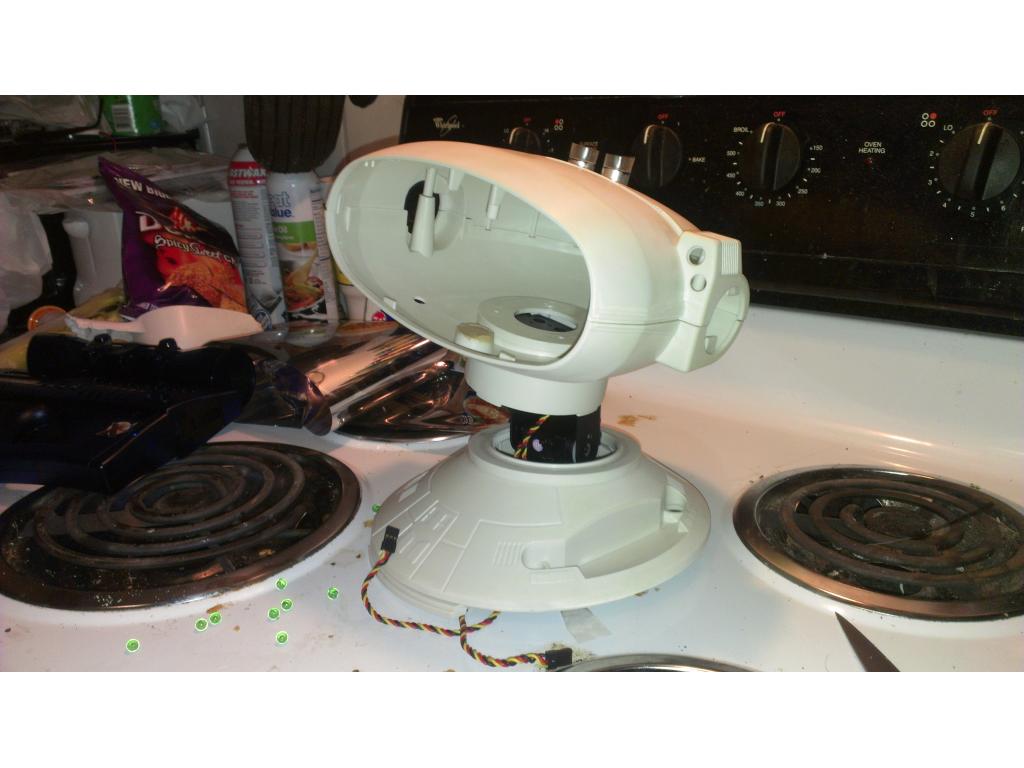

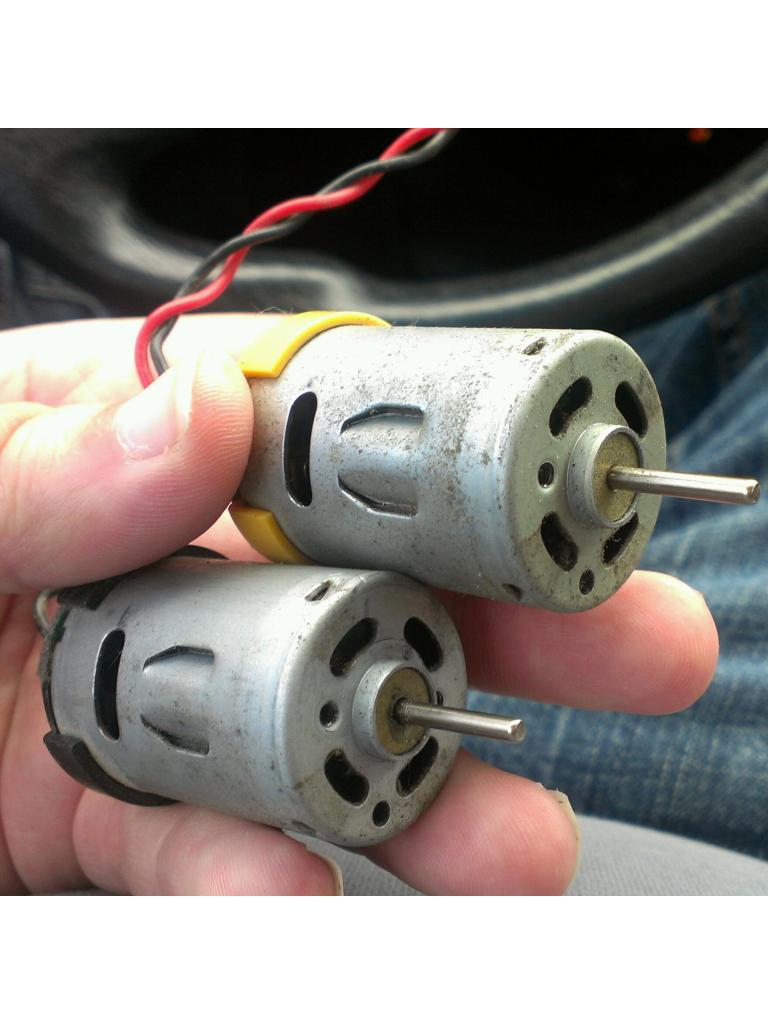
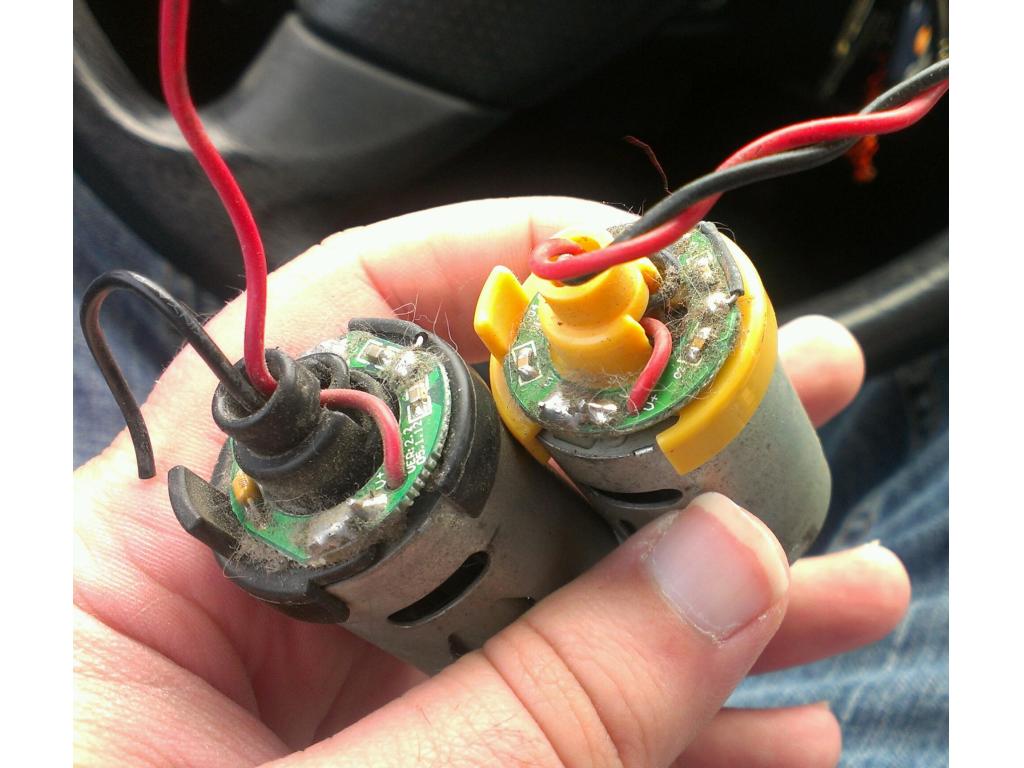
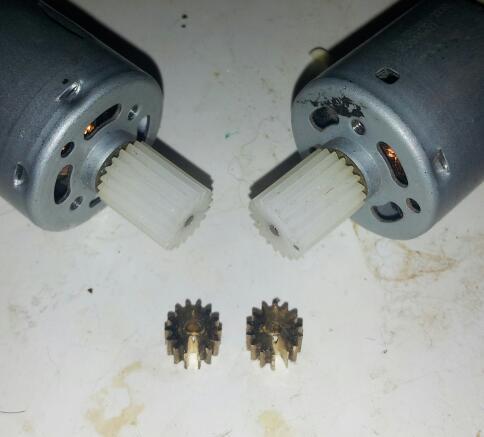
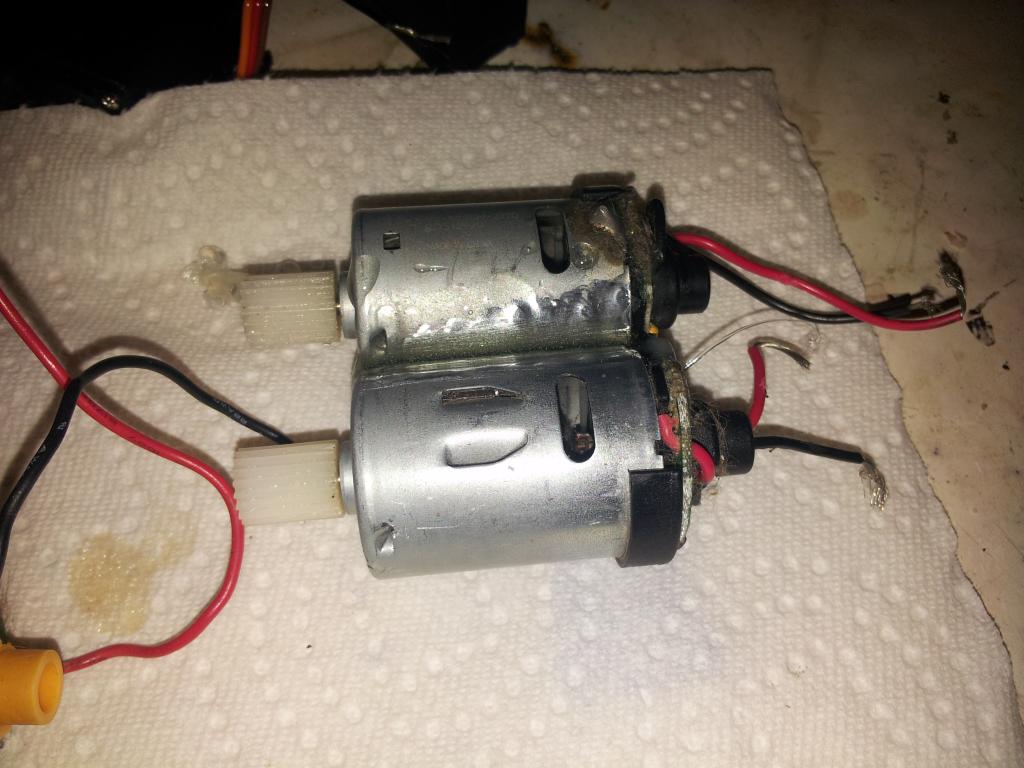
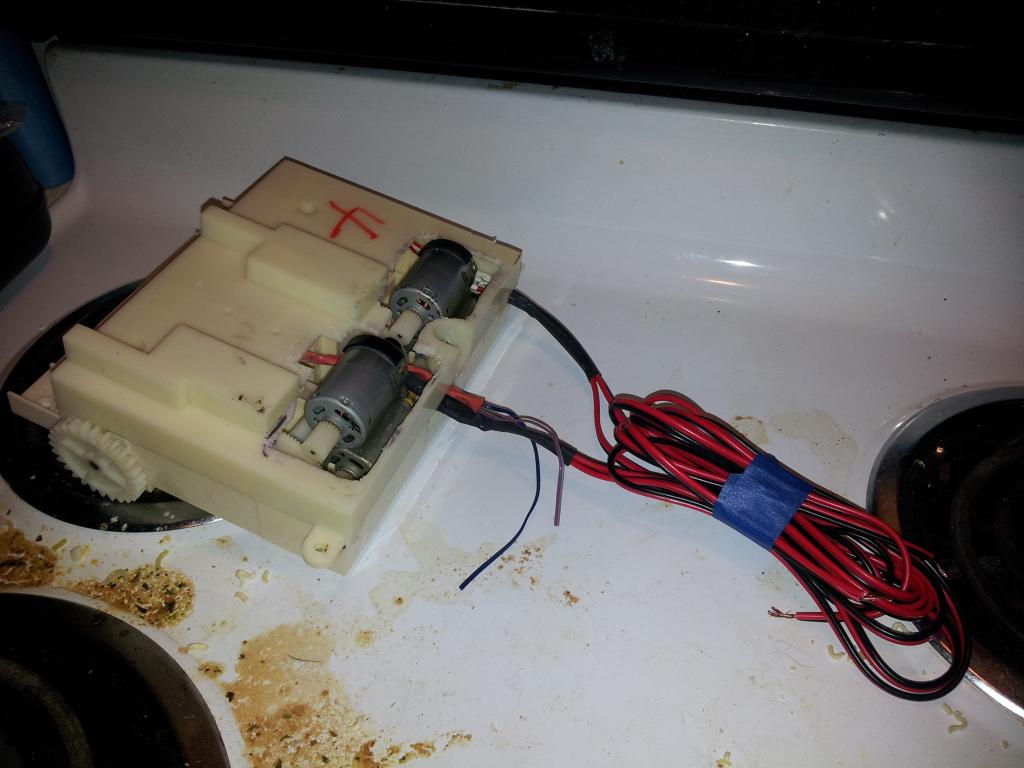
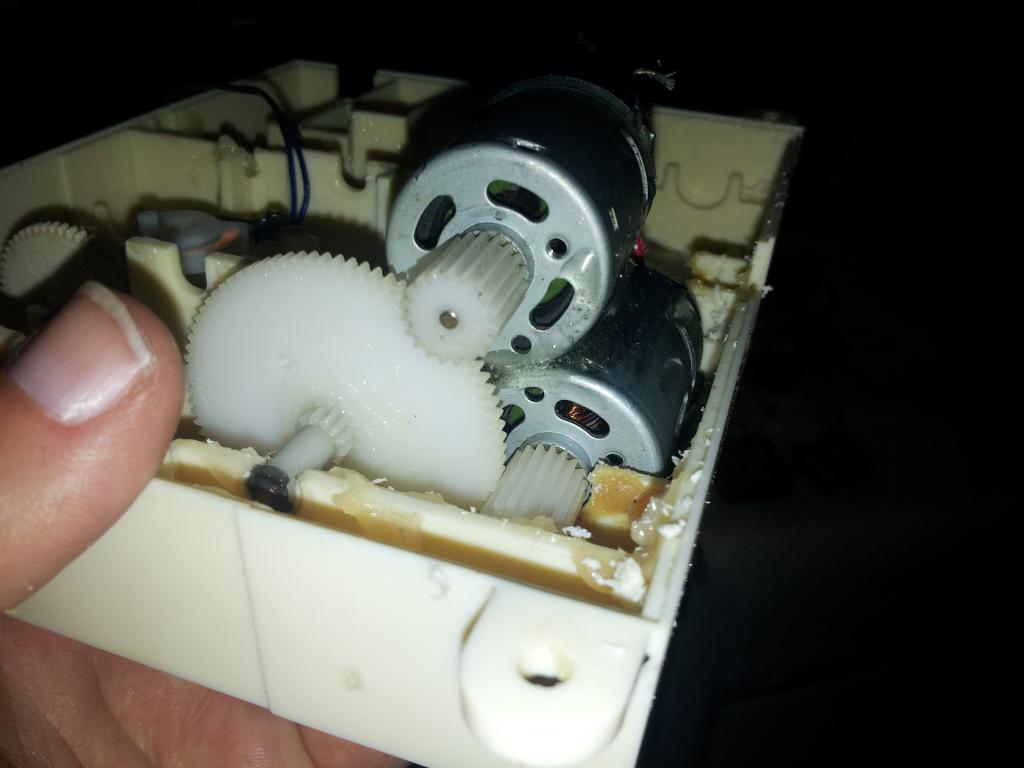
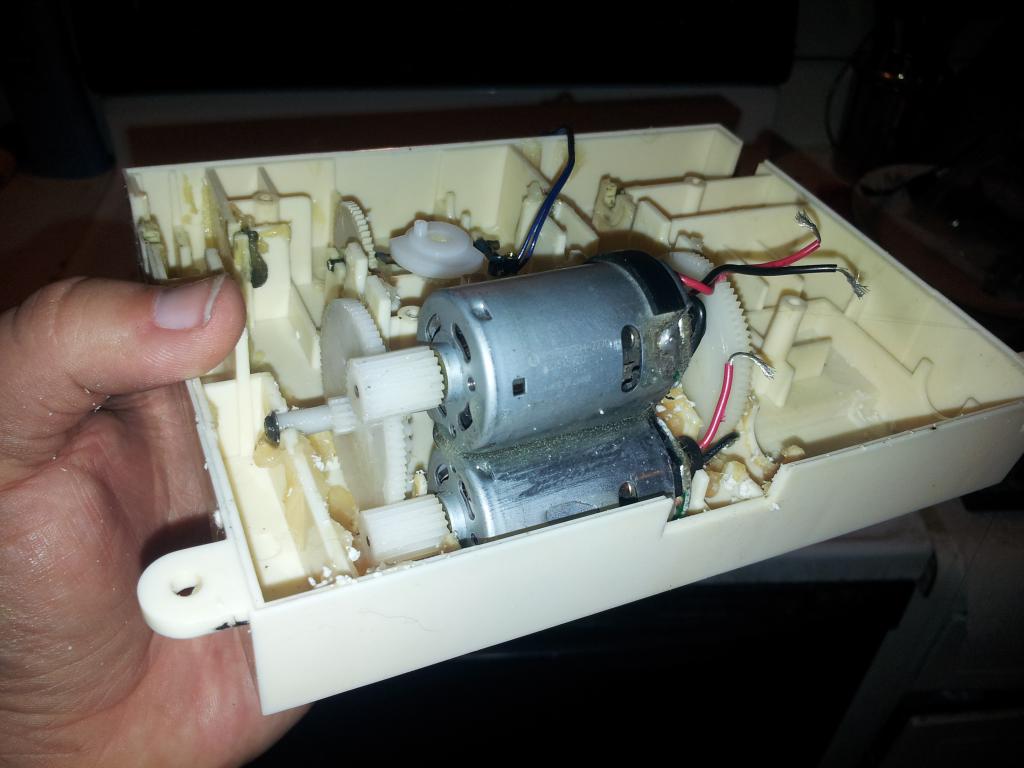
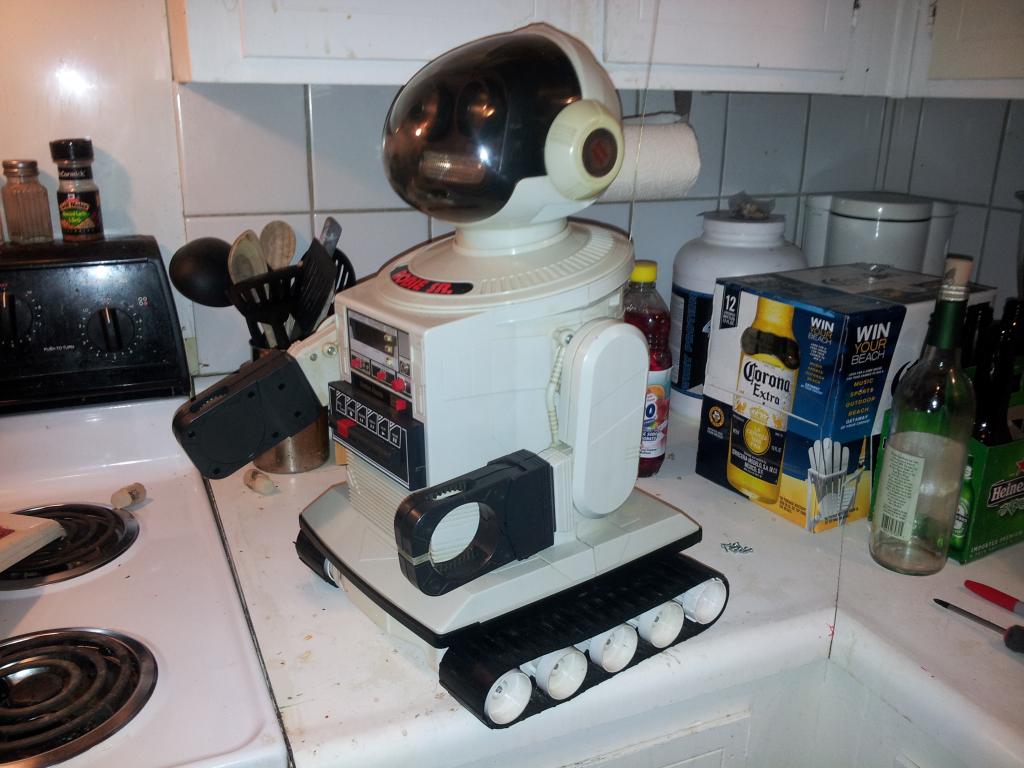
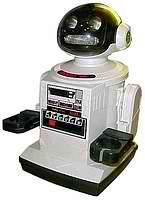
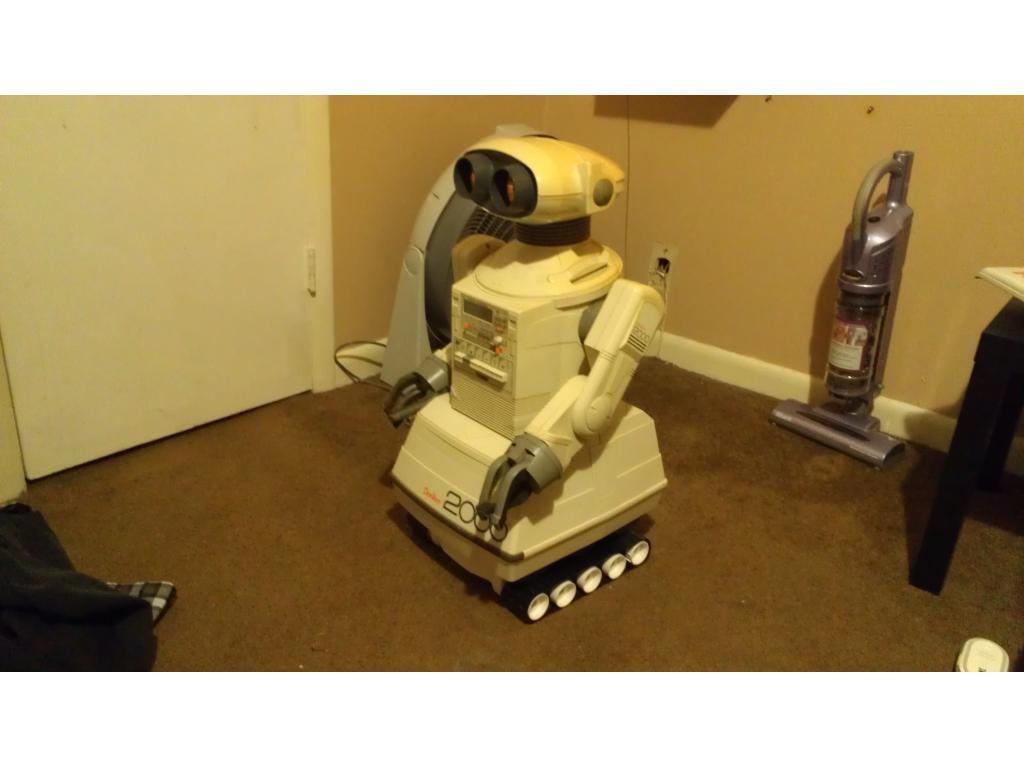
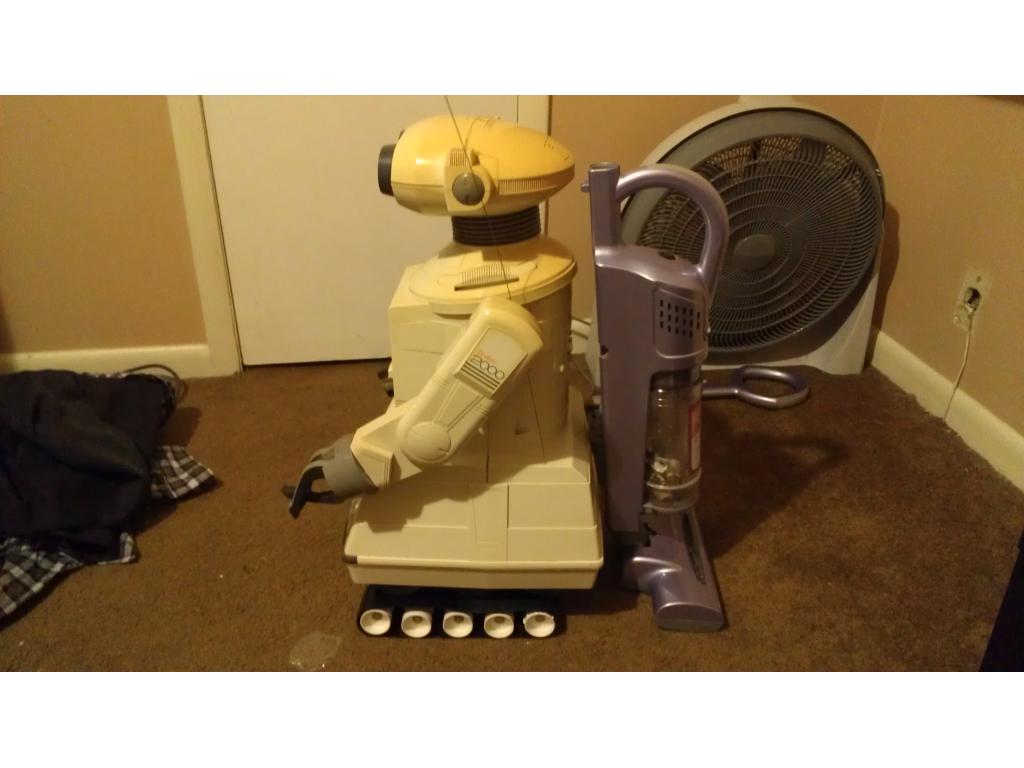
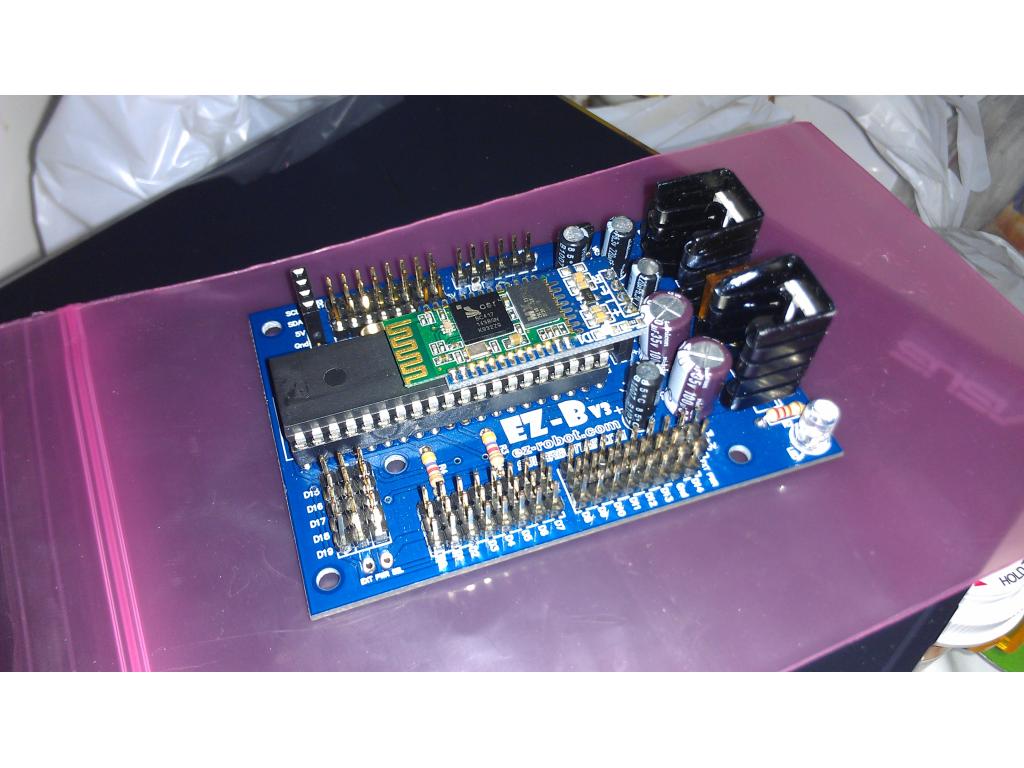
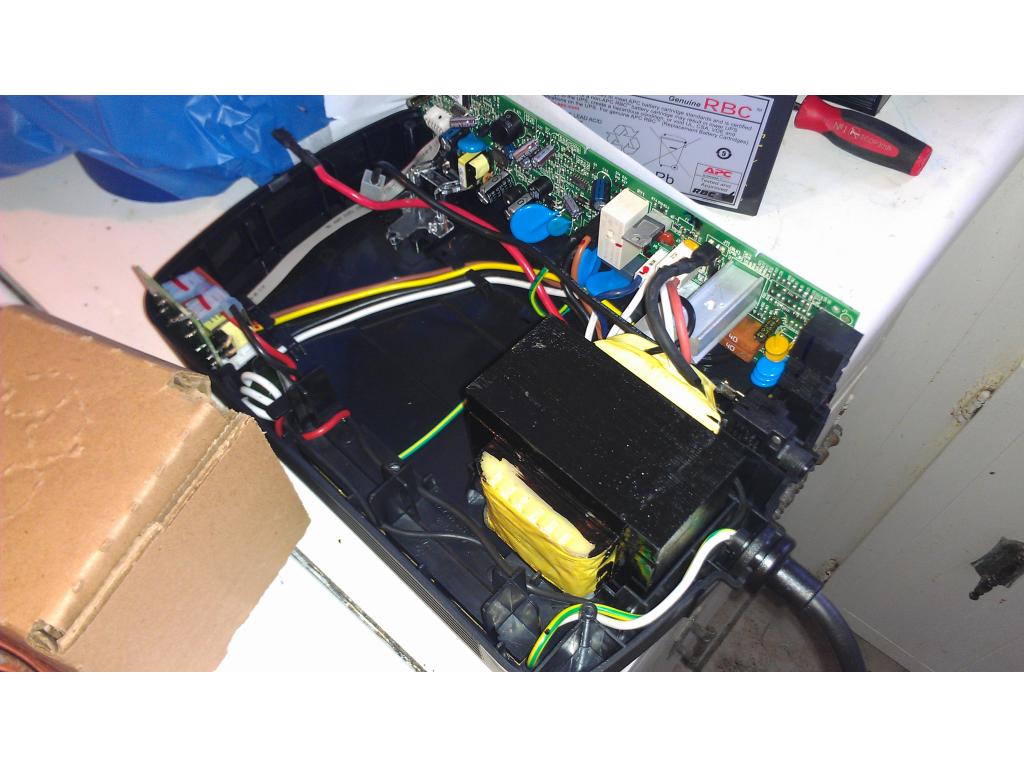
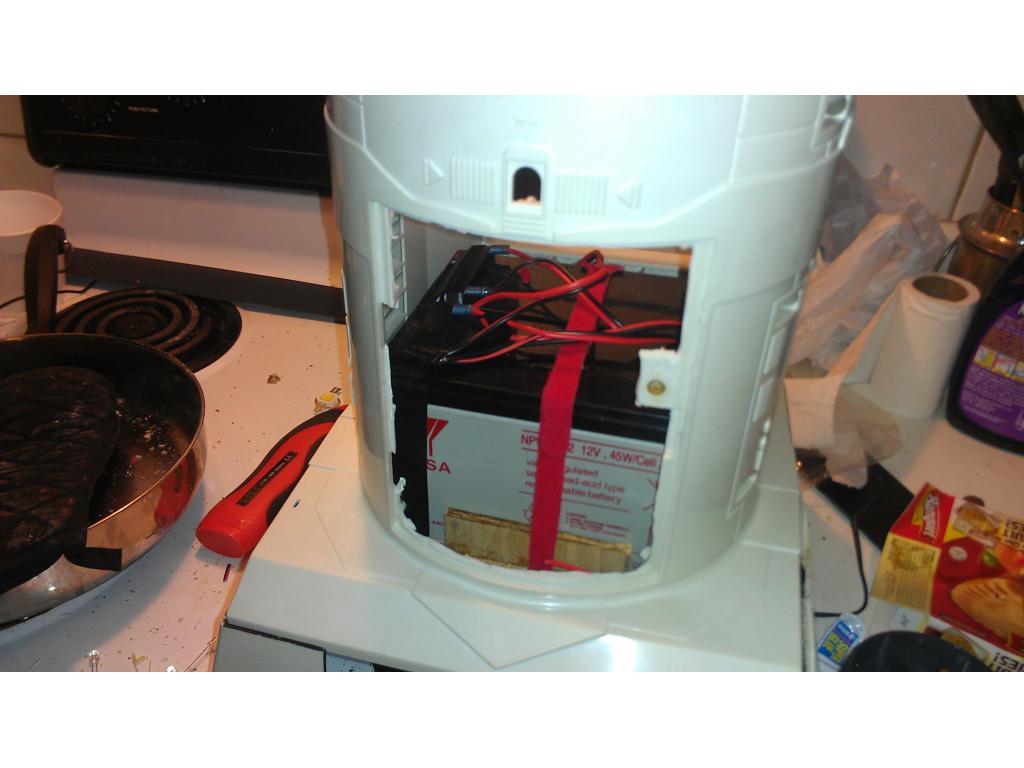
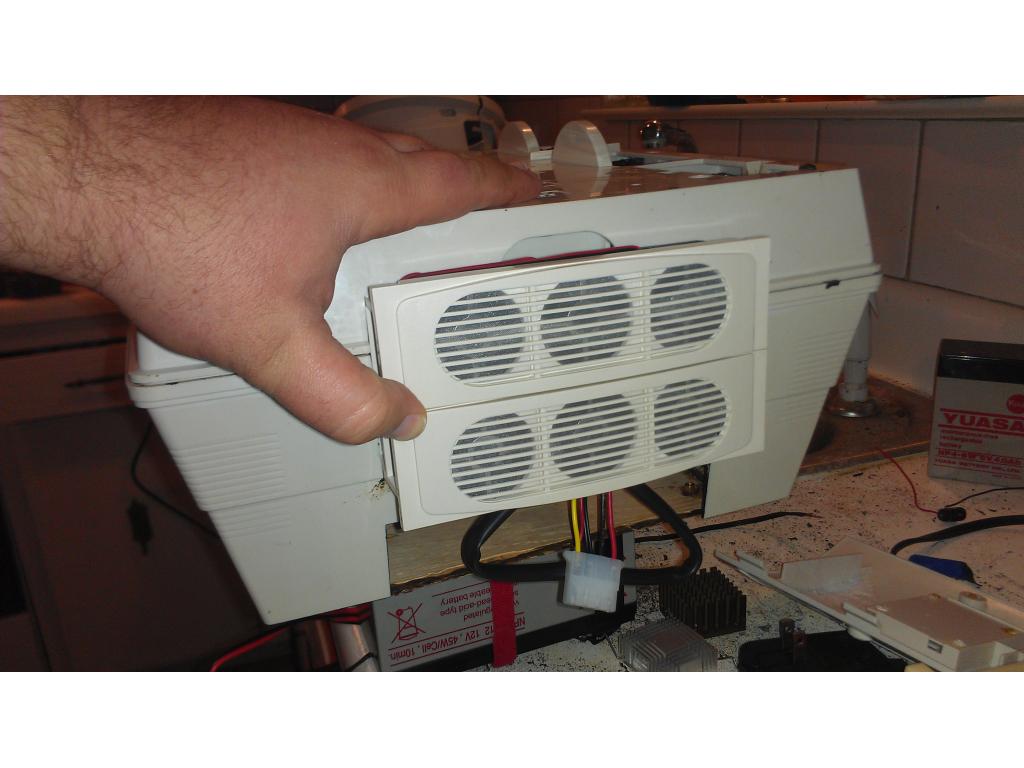
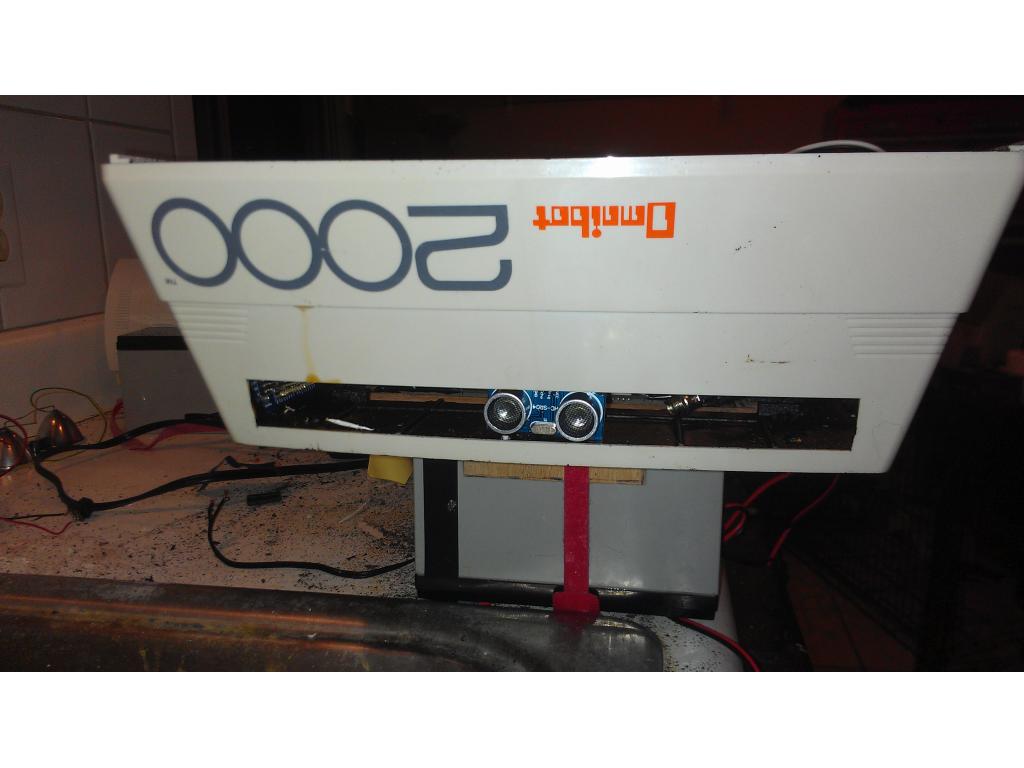
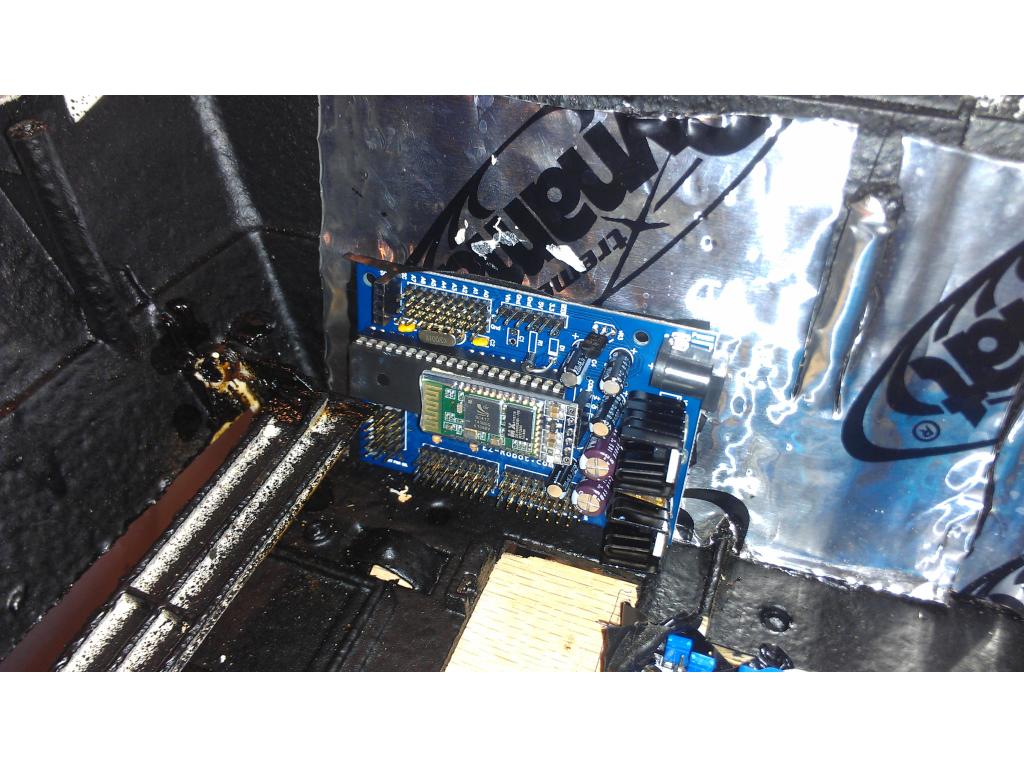
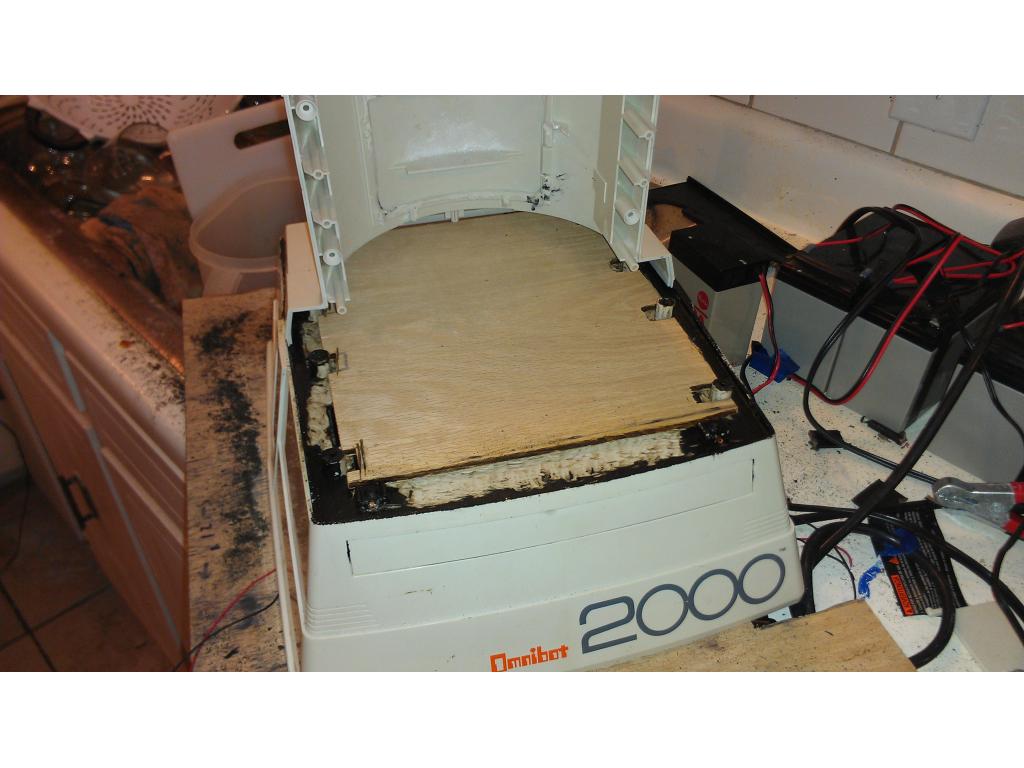
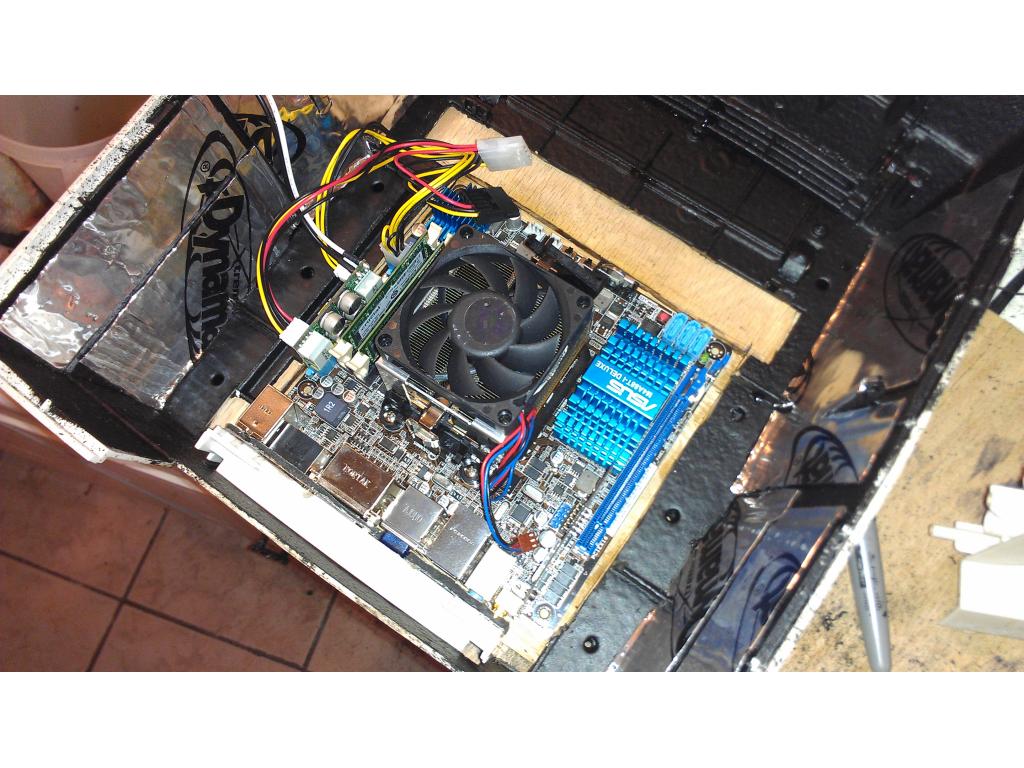
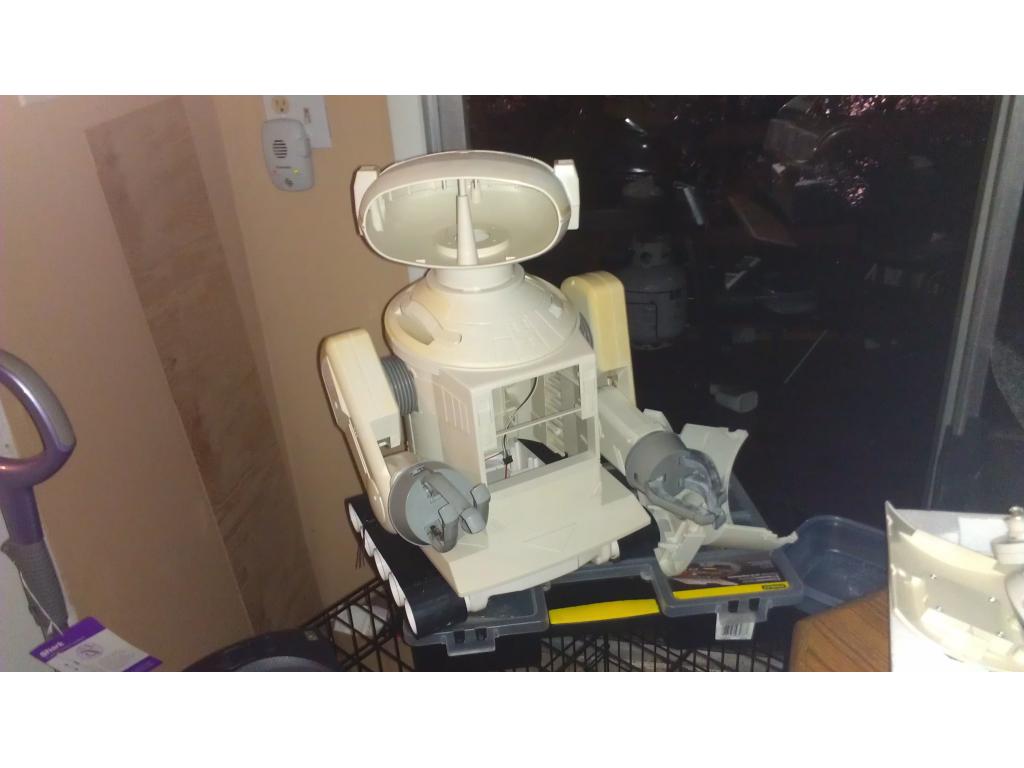
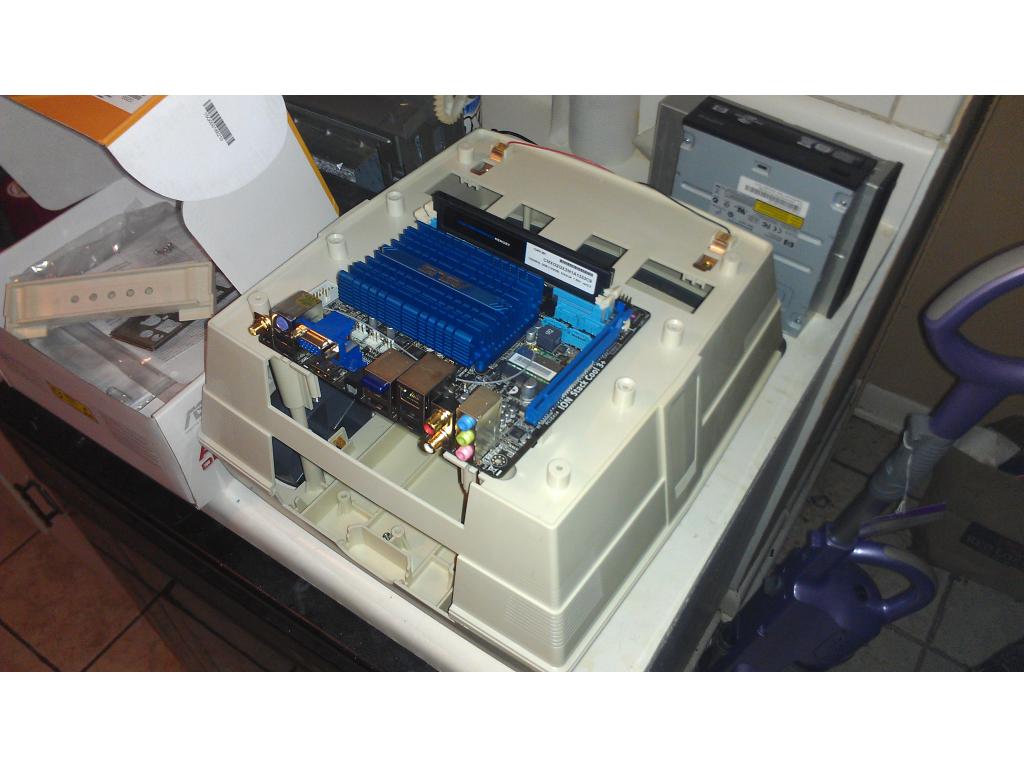
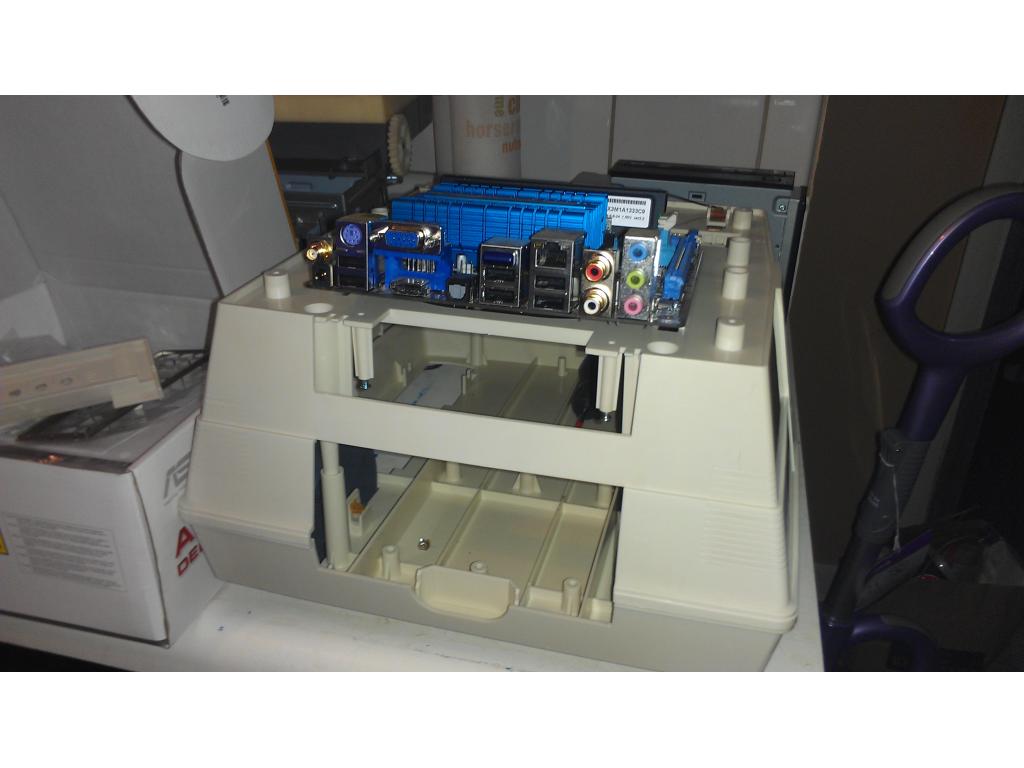
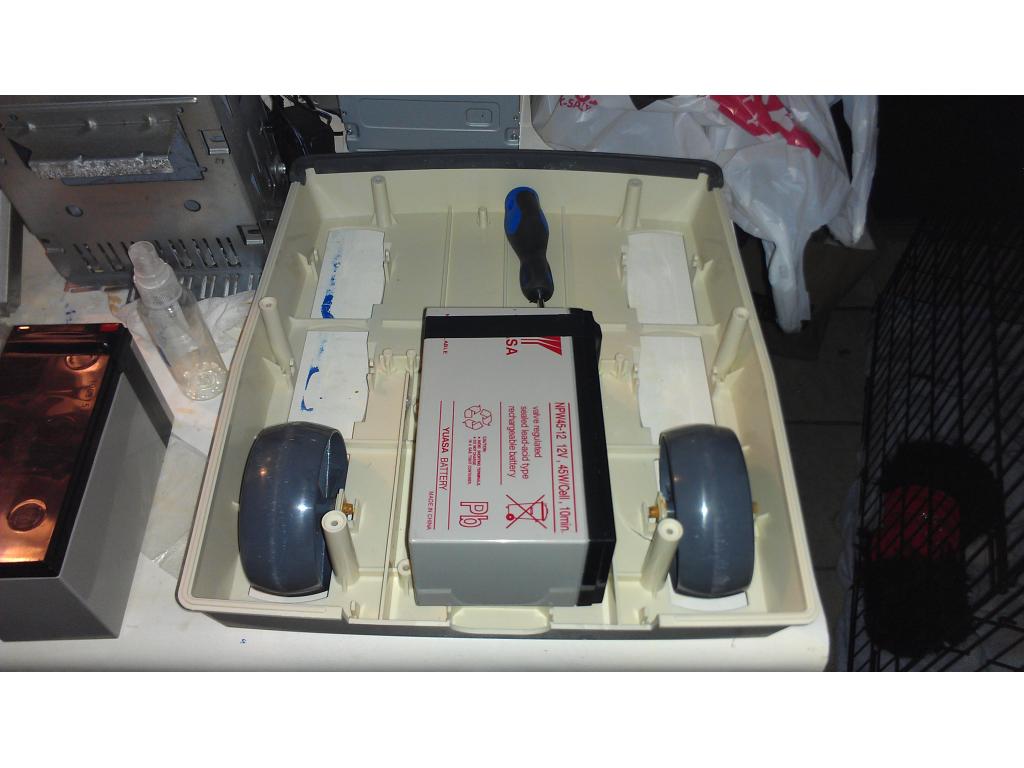
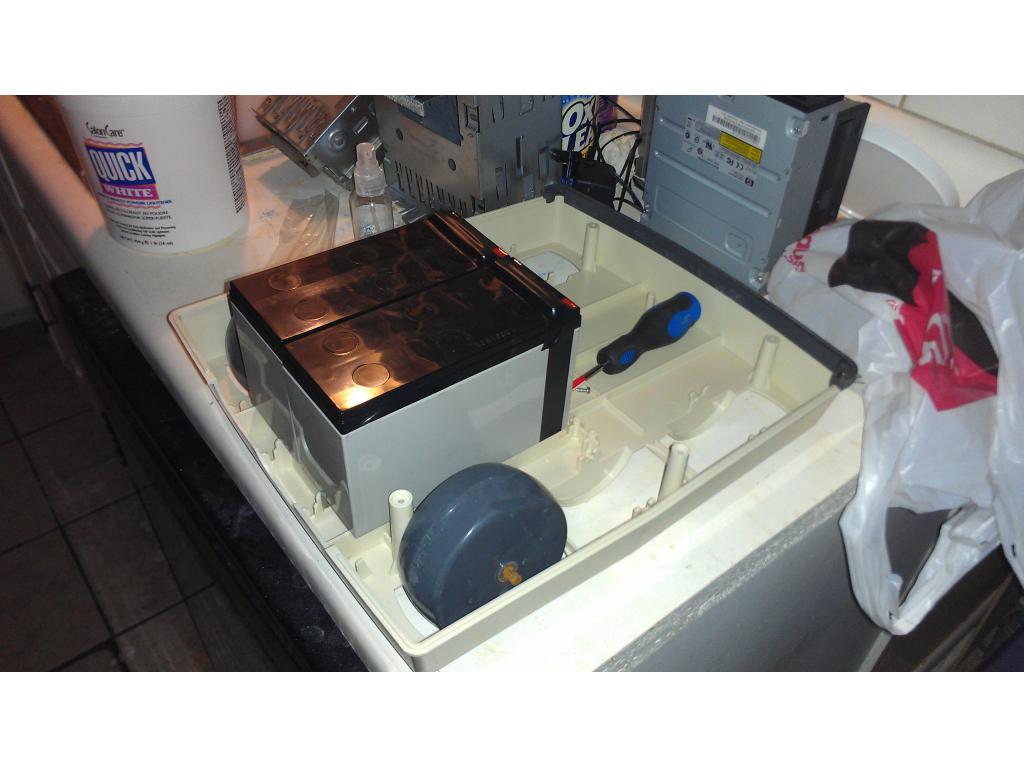
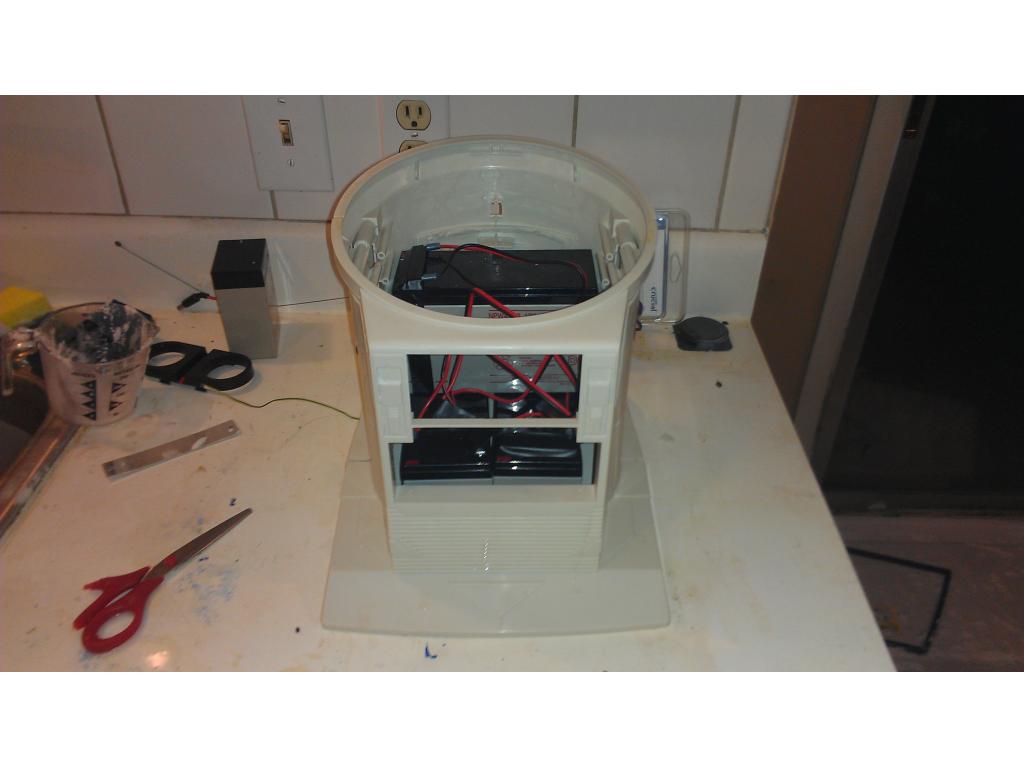
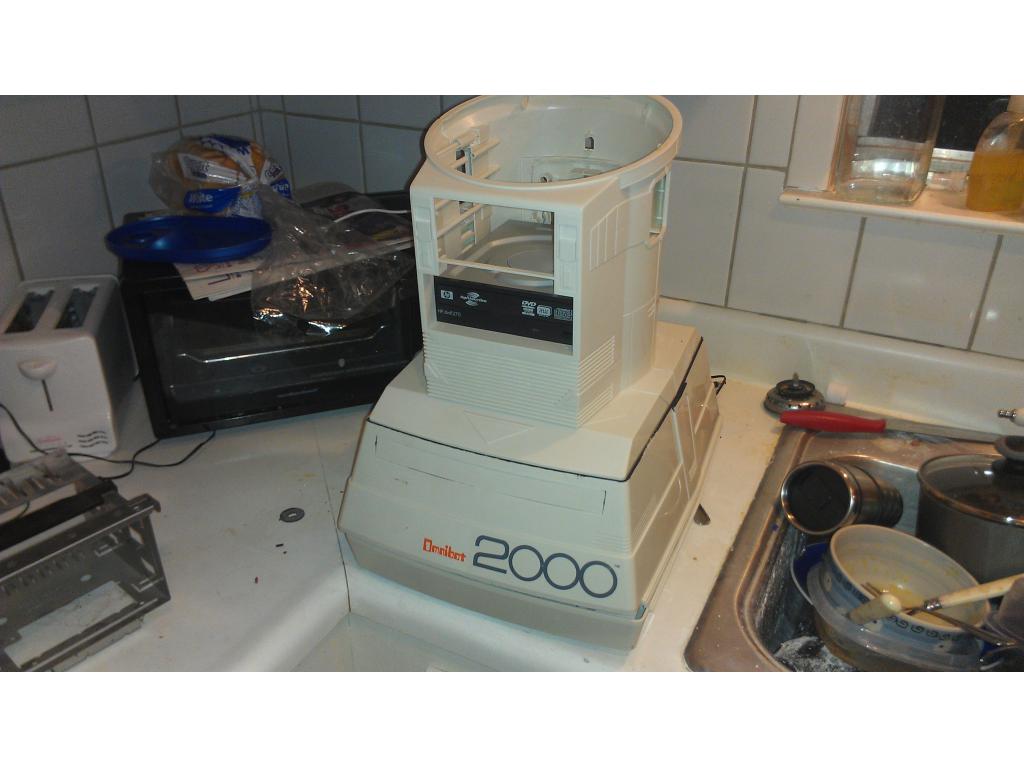
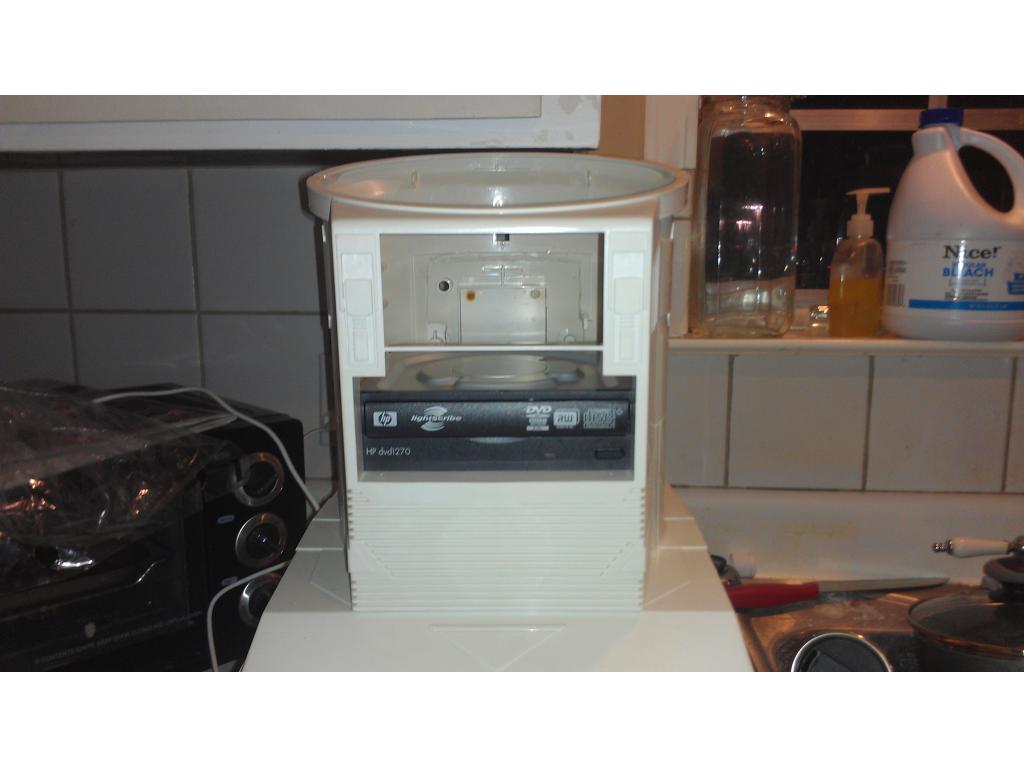
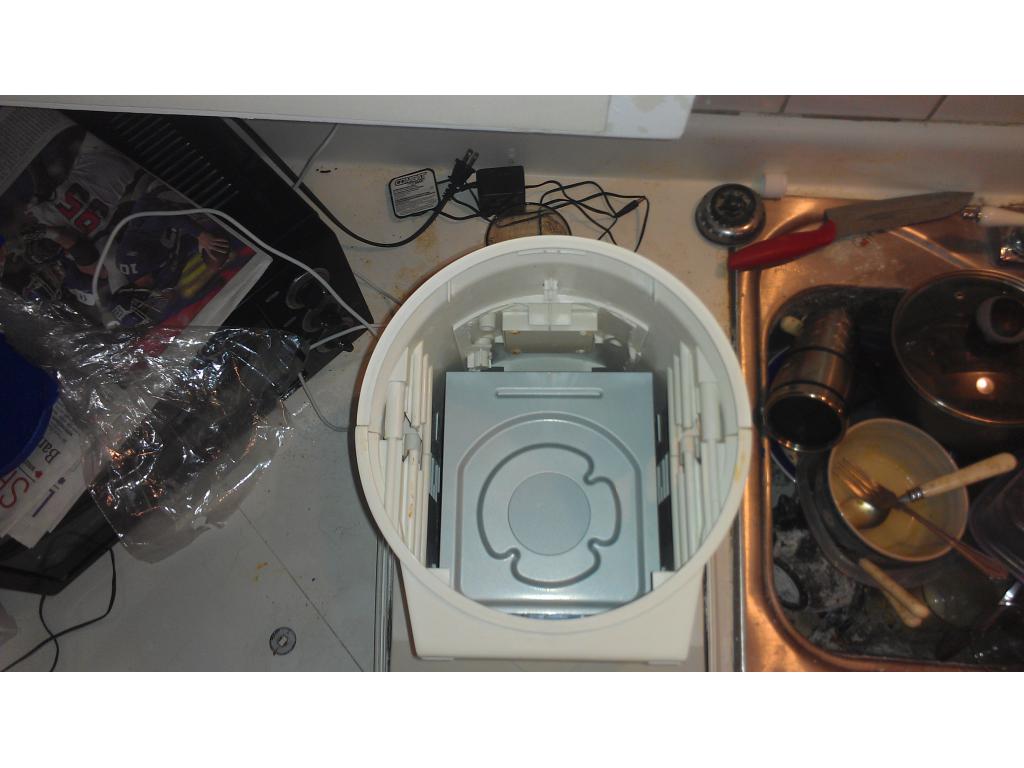
This project has evolved some , the basic rundown is I'm modding two Omnibots , one a regular the other a larger 2000 model. I will have two ezb kits , rad base idea was thrown out because of so much noise but could go back on the table if the omnibot drivetrain is too weak to pull it.


By jstarne1
— Last update
Discover more robots
Leversofpower's Omnibot 200 Mod Progress
Control Omnibot EZ-B lighting via Arduino Mega over serial with NeoPixel LED effects, programming progress and...
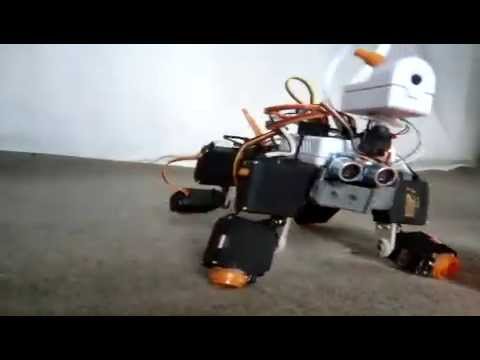
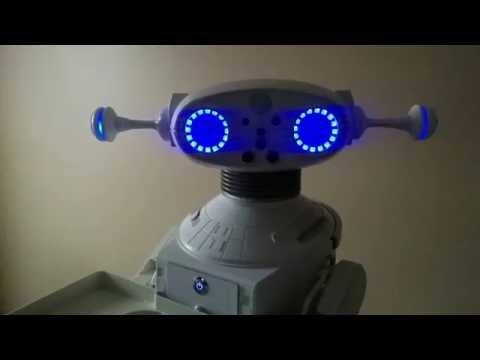
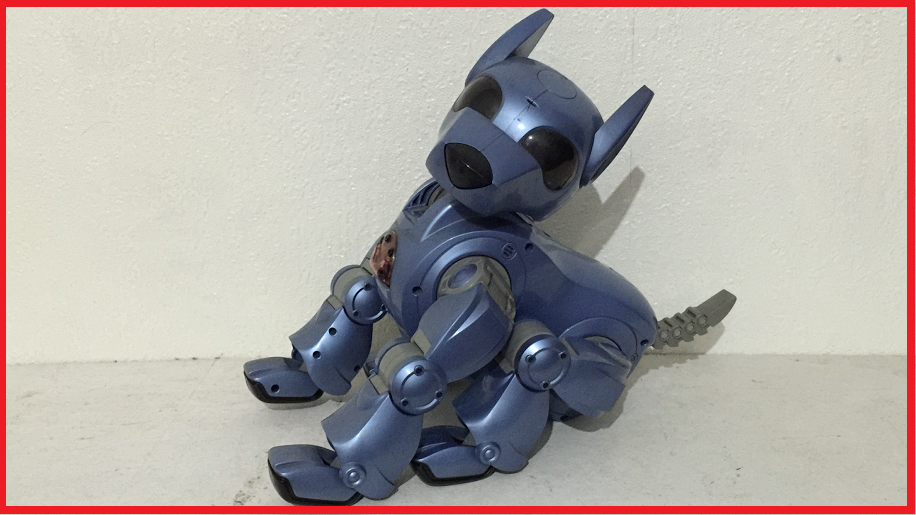
Ericez's Dog The Little Robodog Ez-B V.4
Move a DIY 'Dog' robot using servos and a modified Six example program-simple tweaks made it work.
Steve's Eddie. The I-Cybie & Synthiam Mongrel Robot Dog
Convert an I-Cybie dog to EZ-Robot/EZ-B v4 with servos, camera and sensors, documented build and Synthiam ARC...

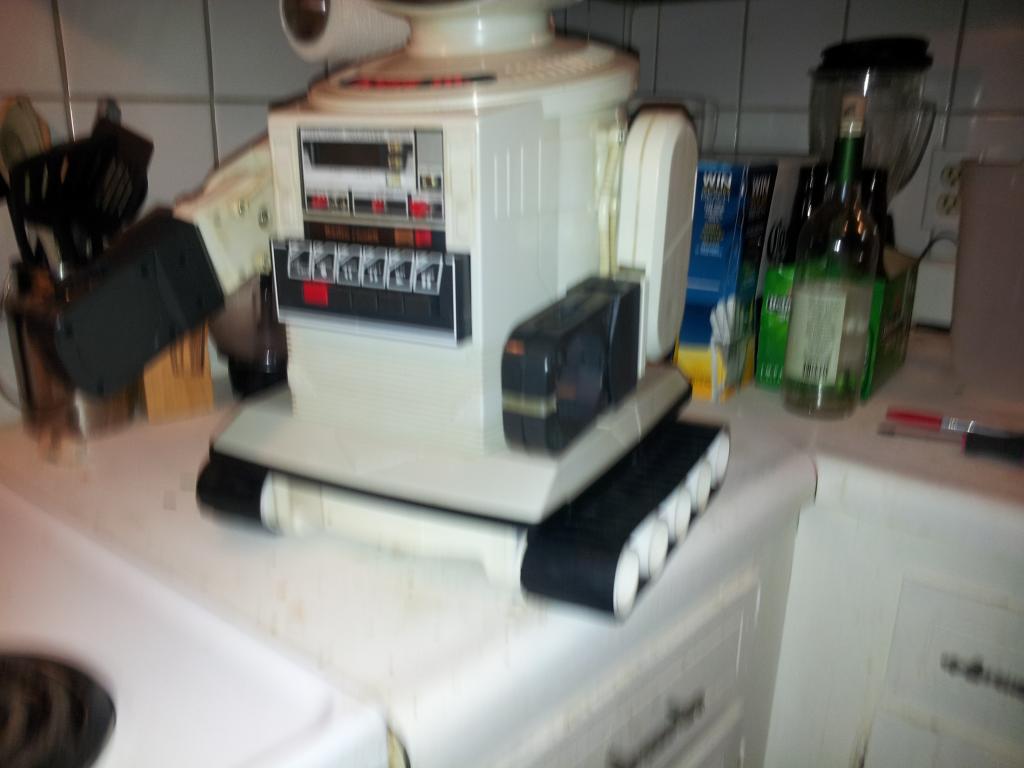
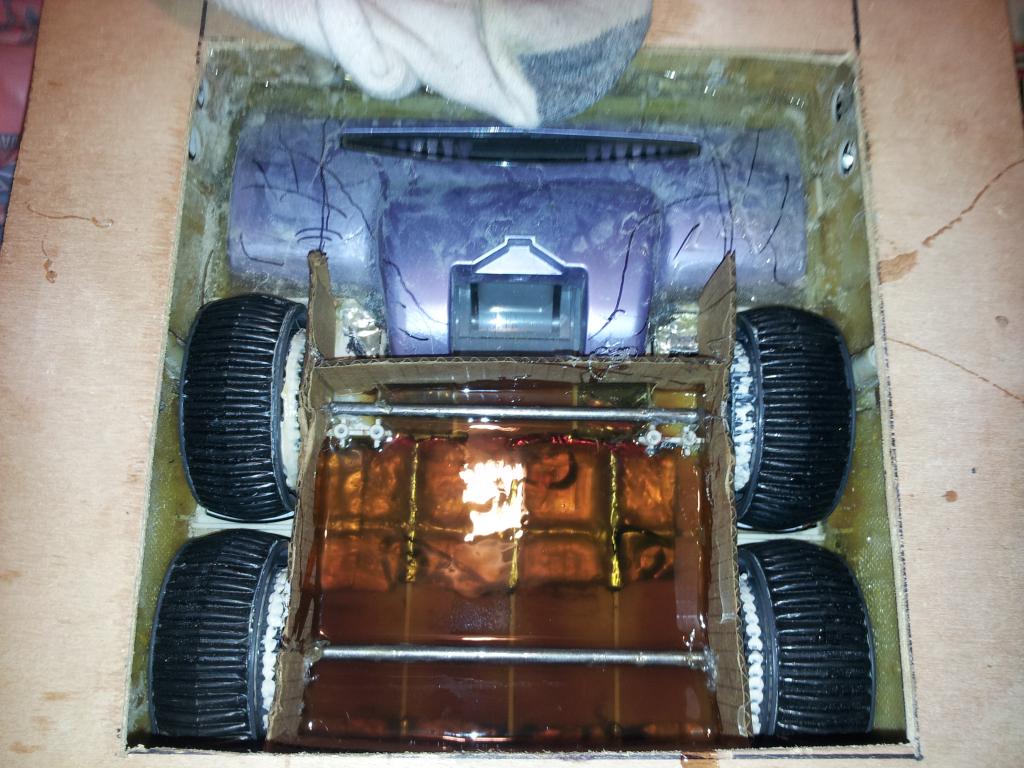
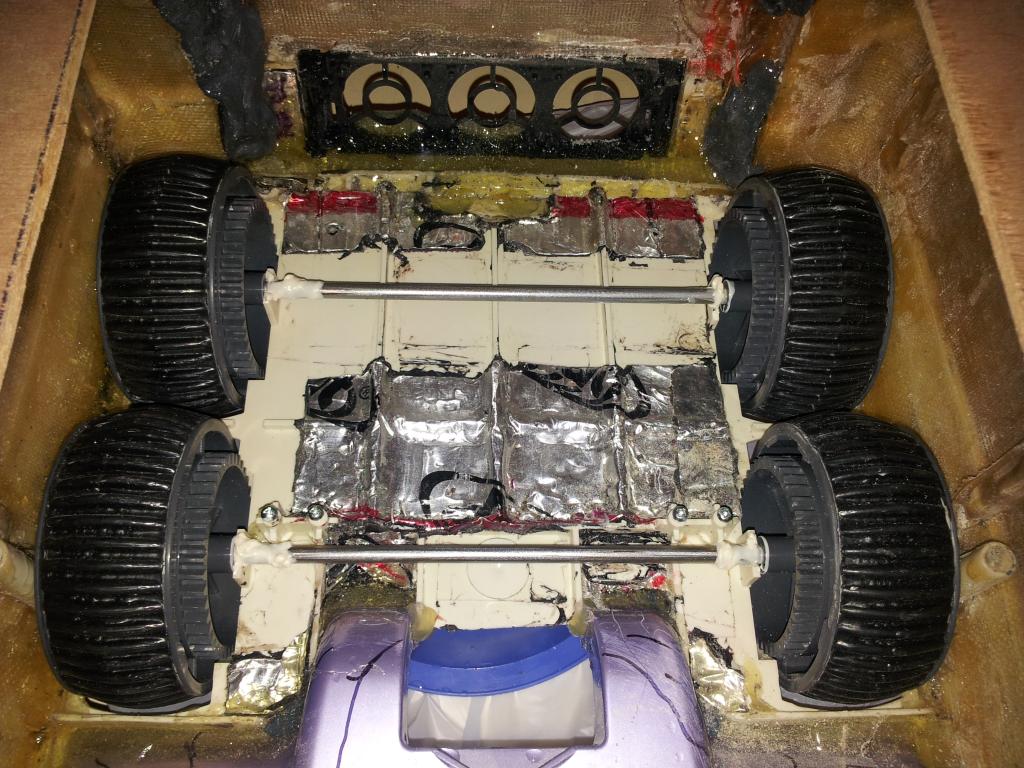
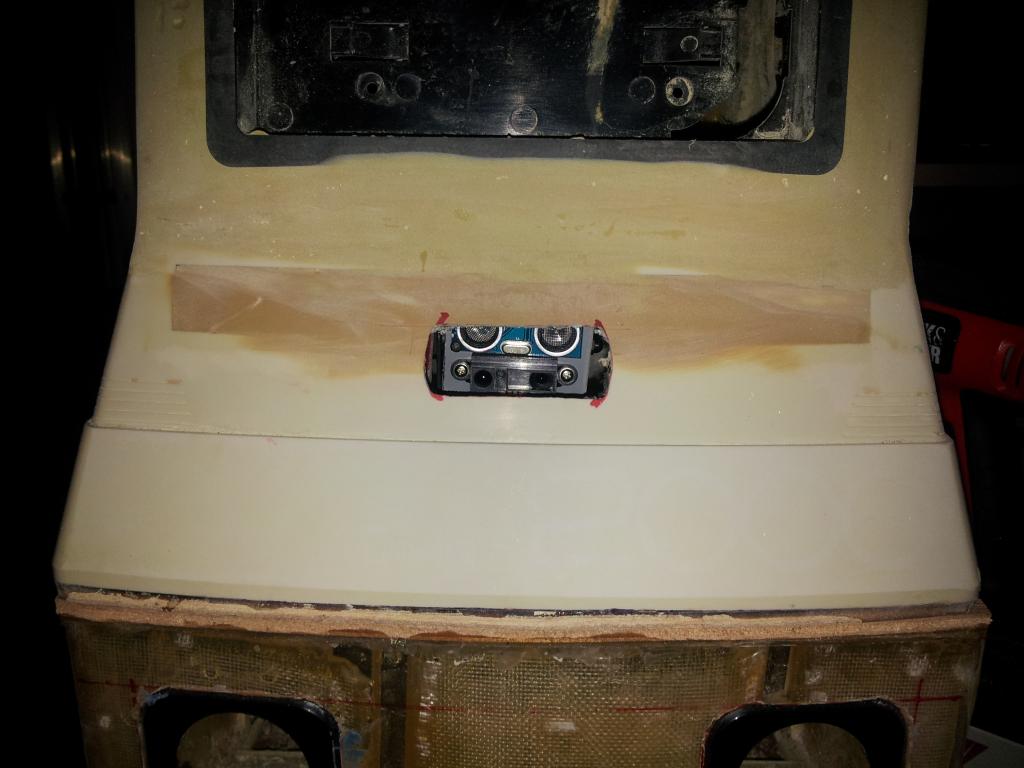
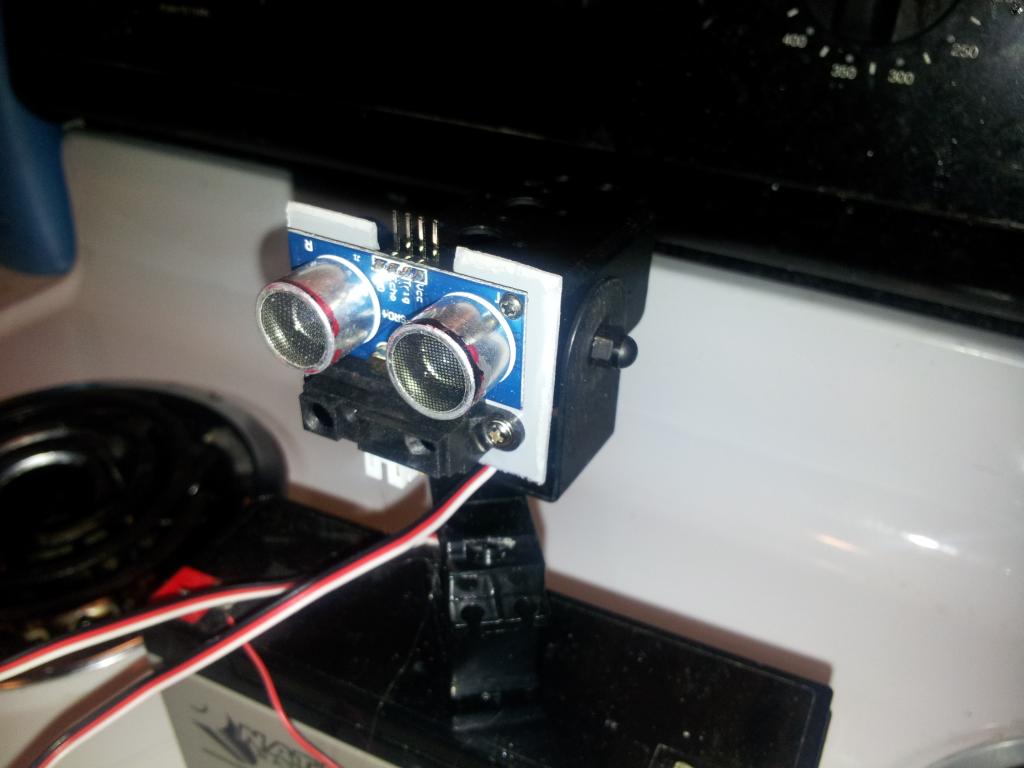
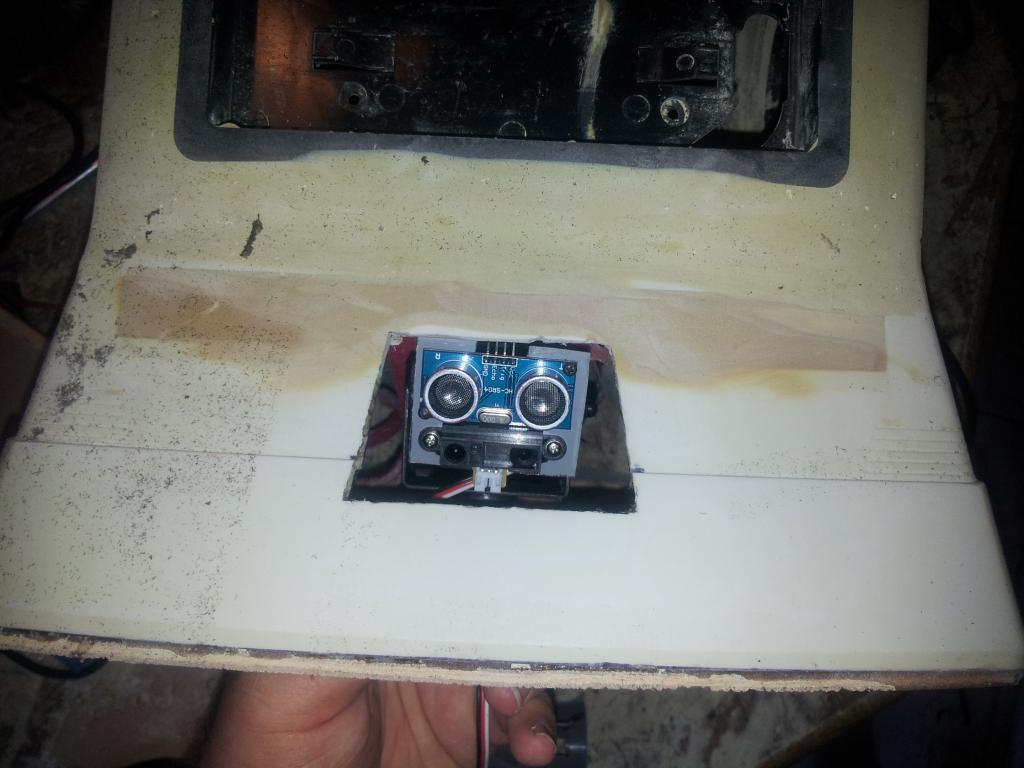
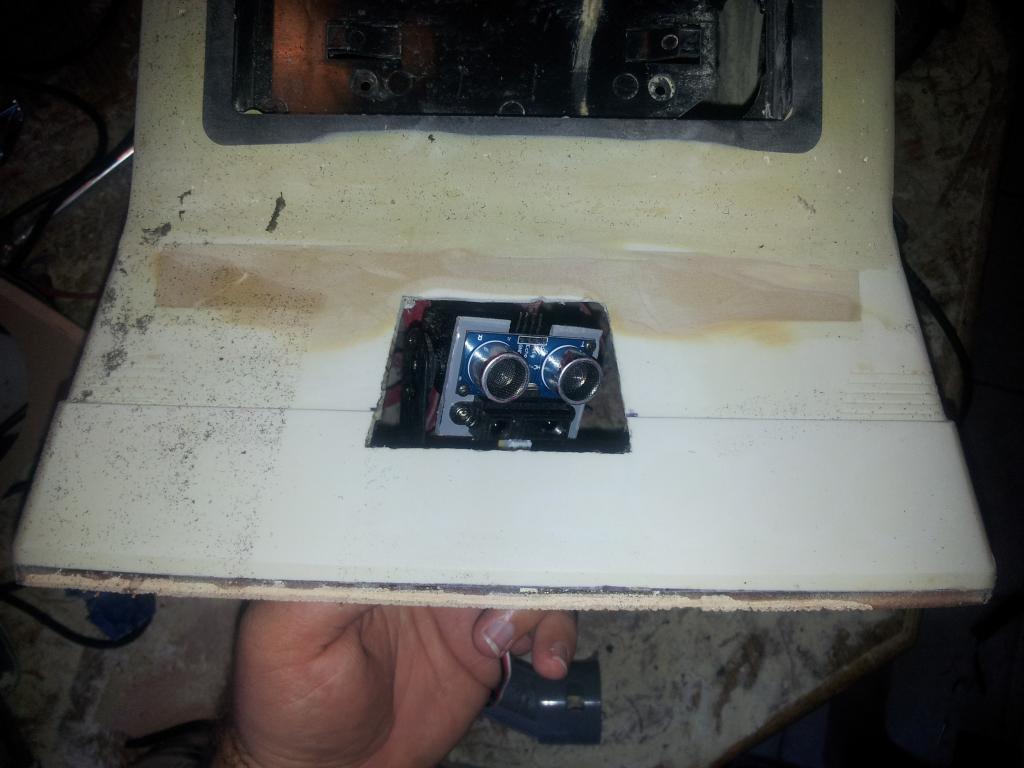
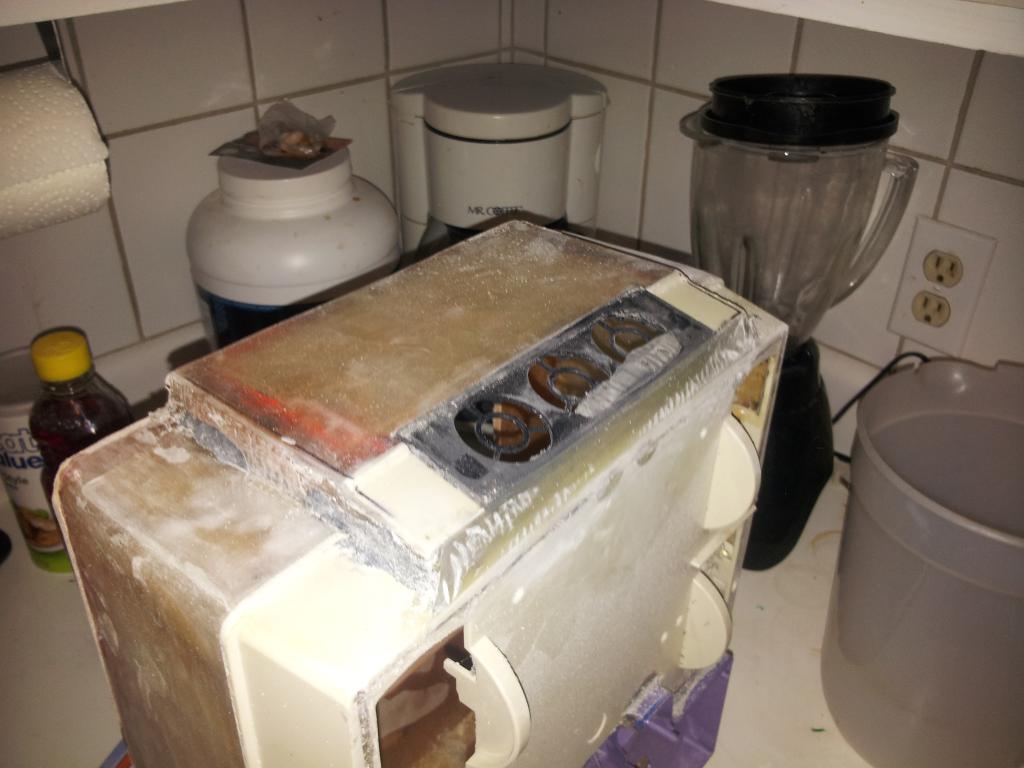
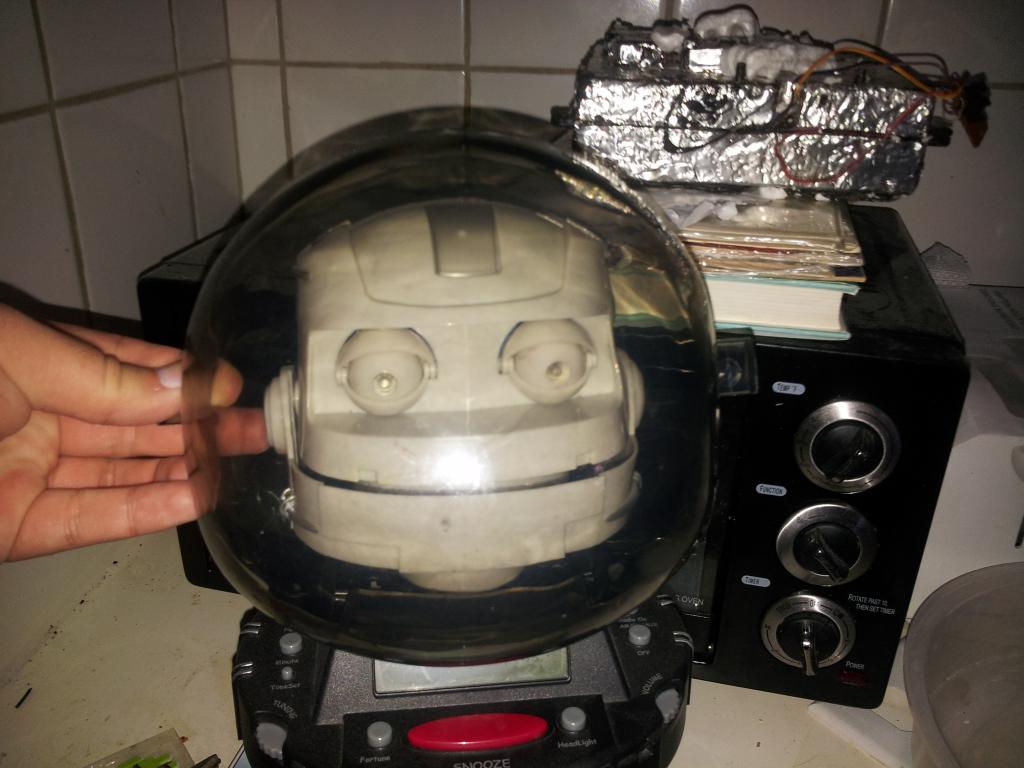
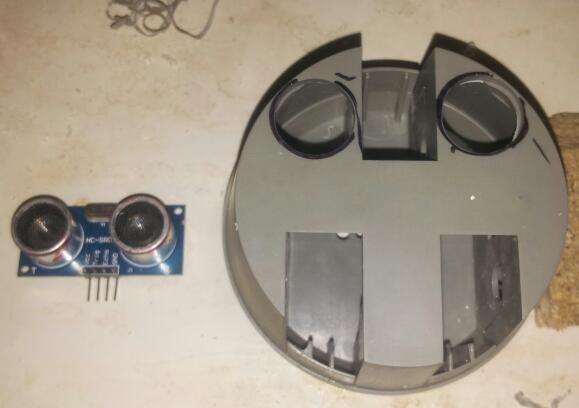
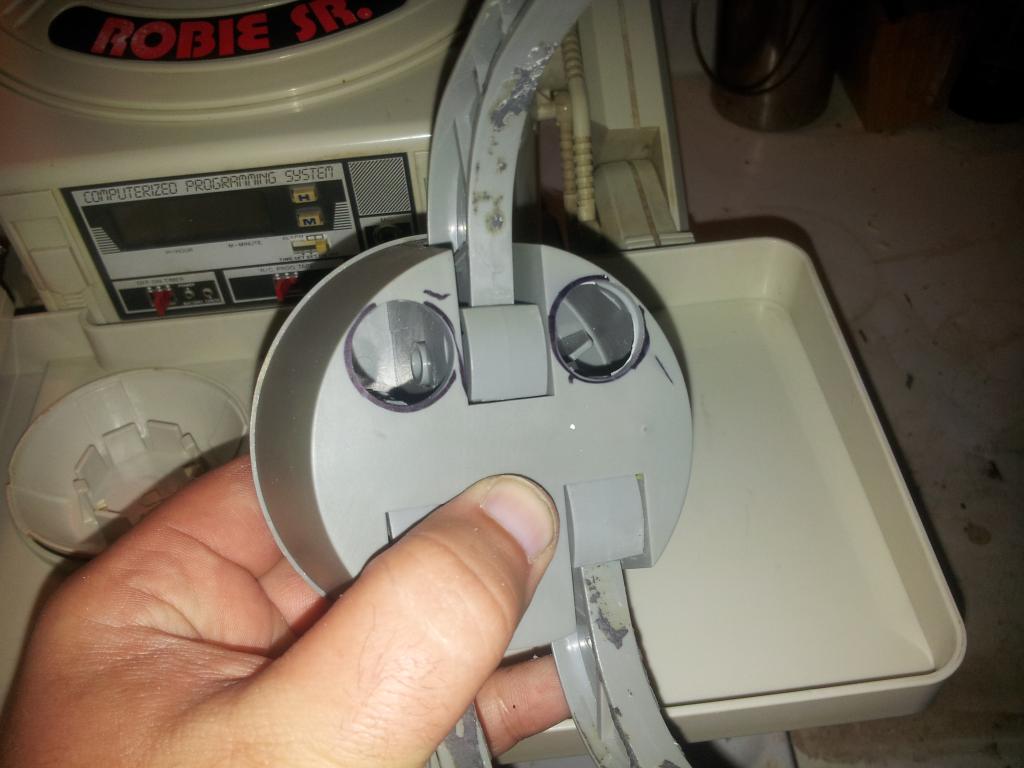
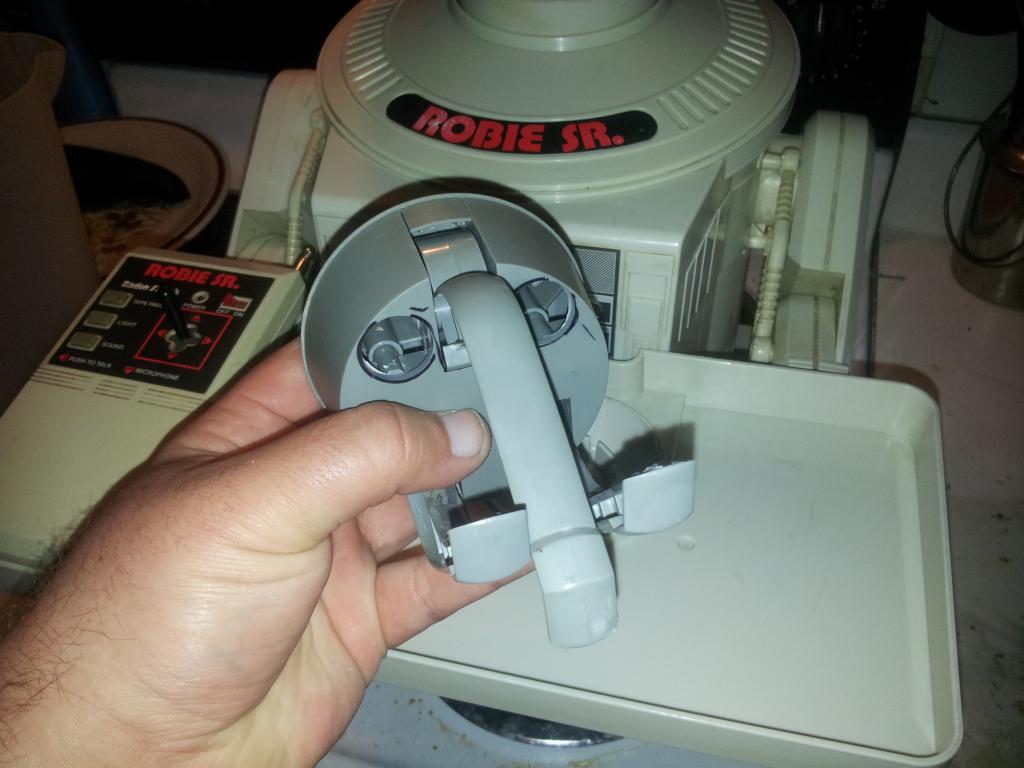
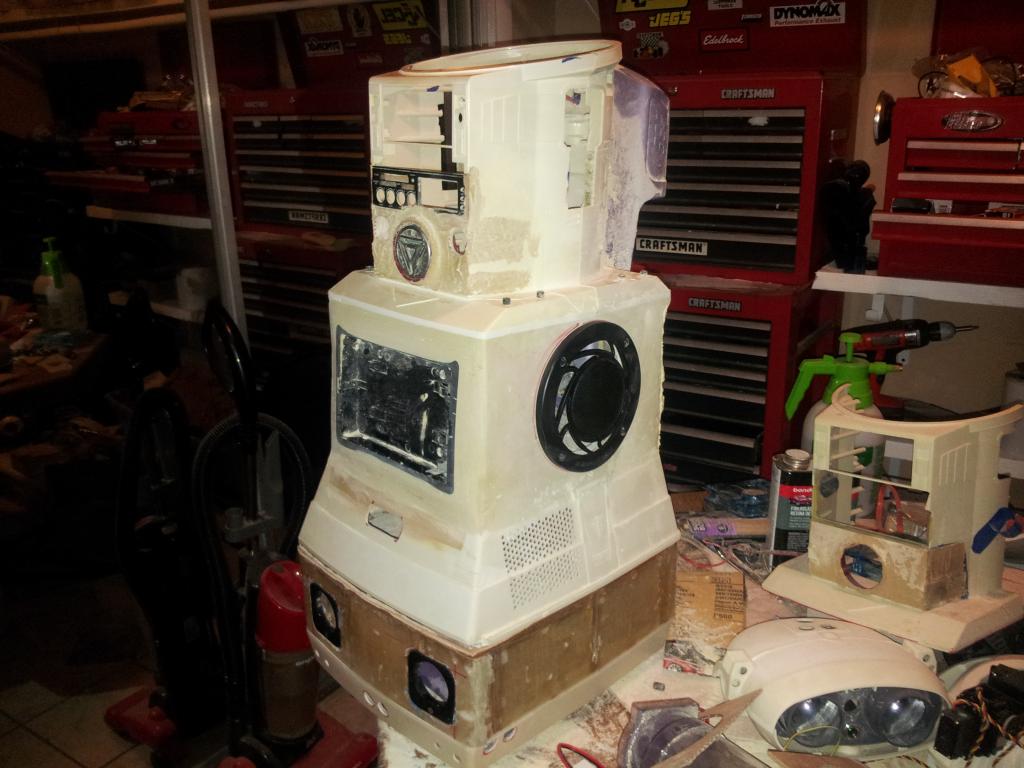
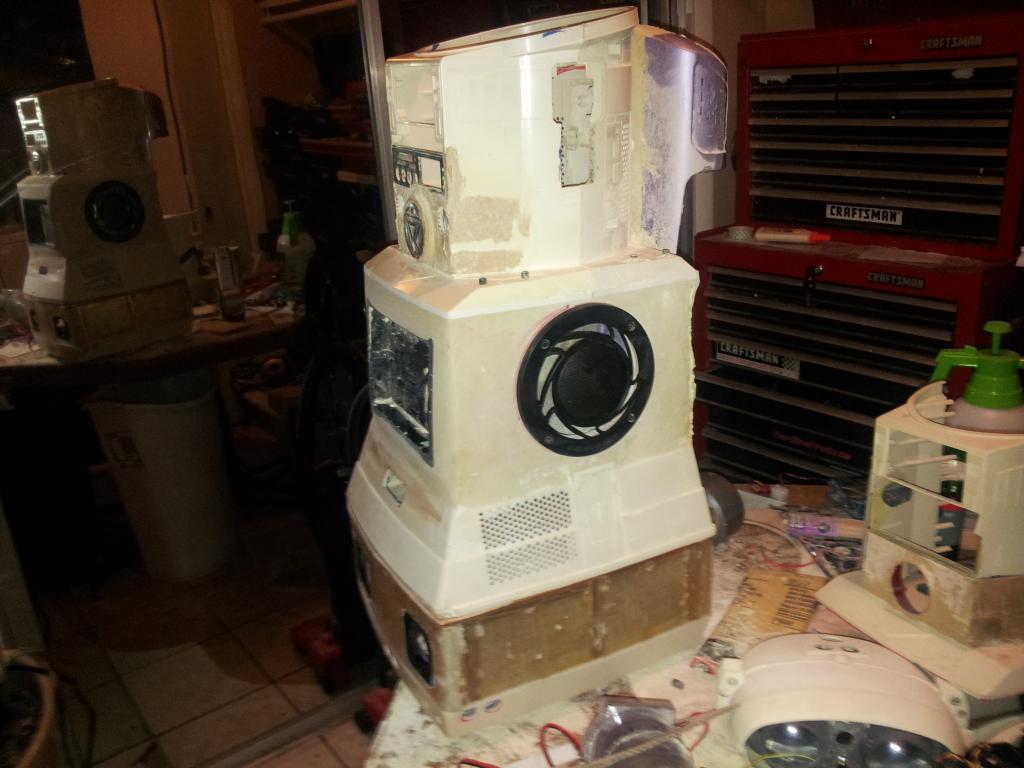
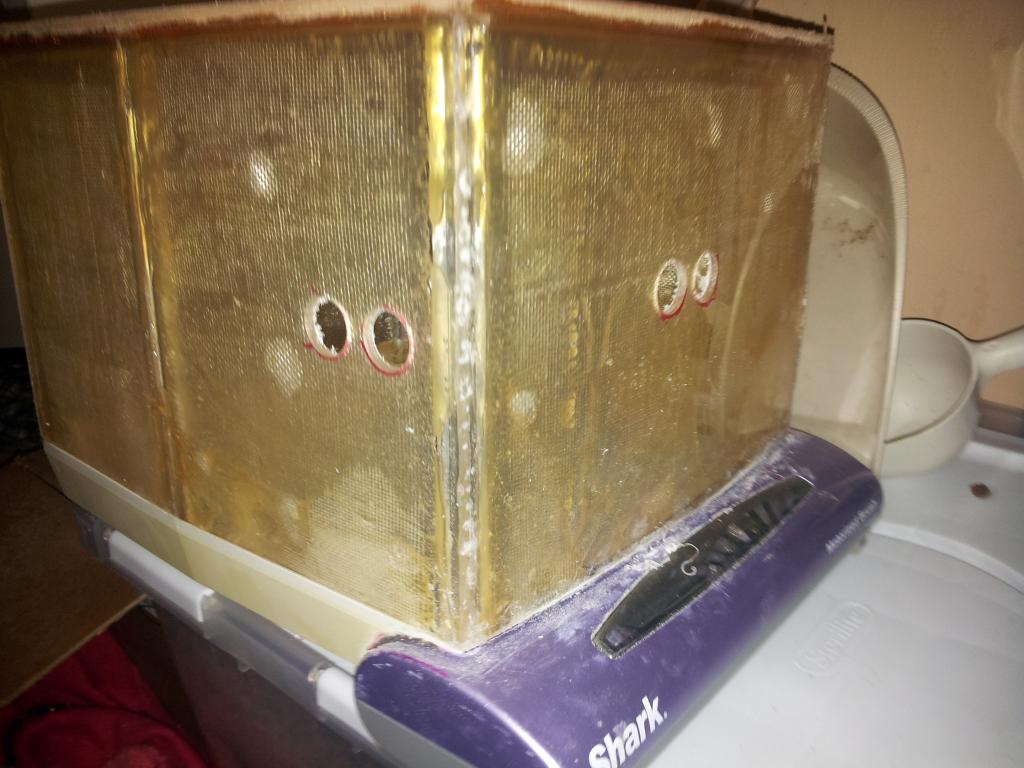
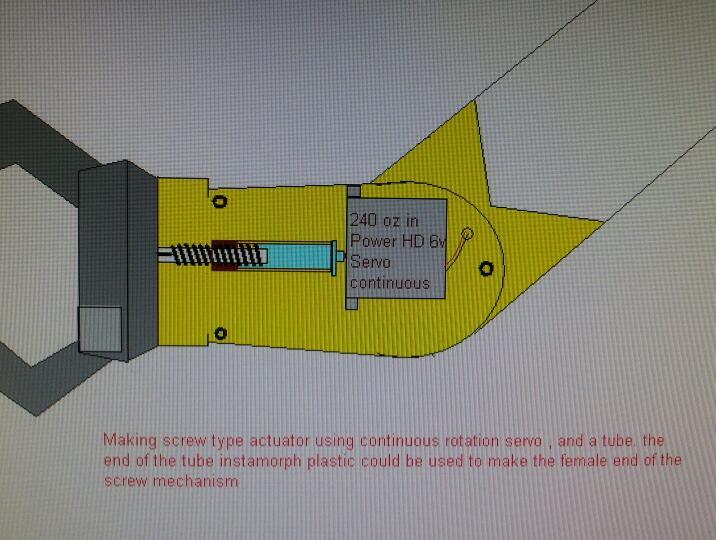
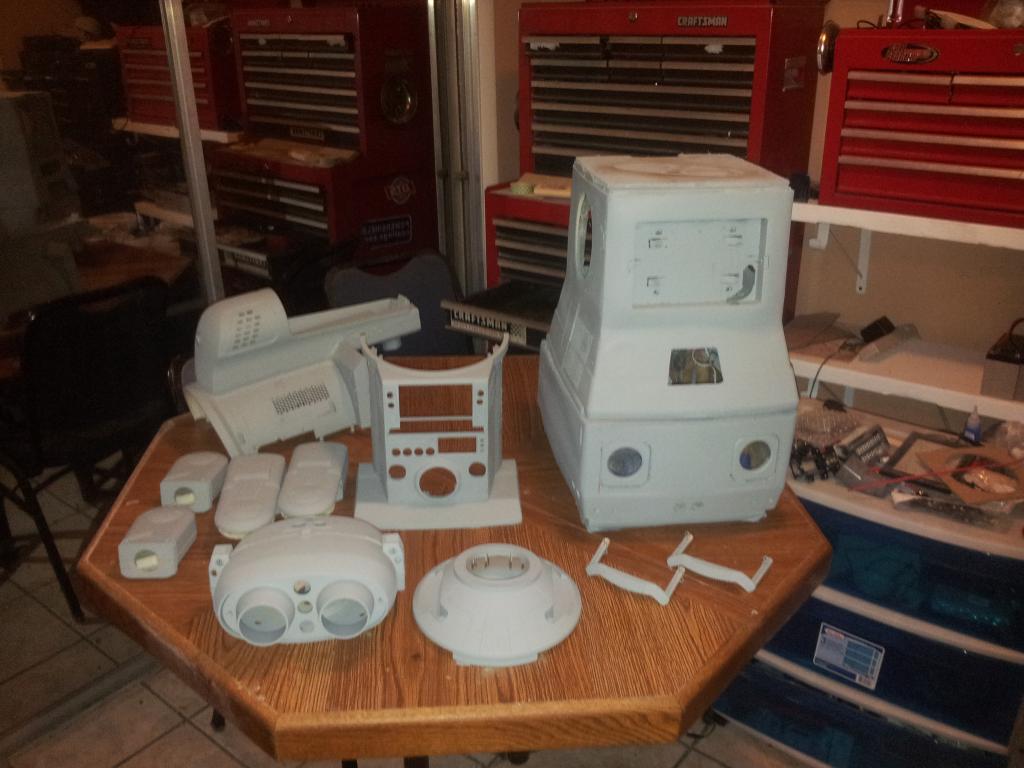
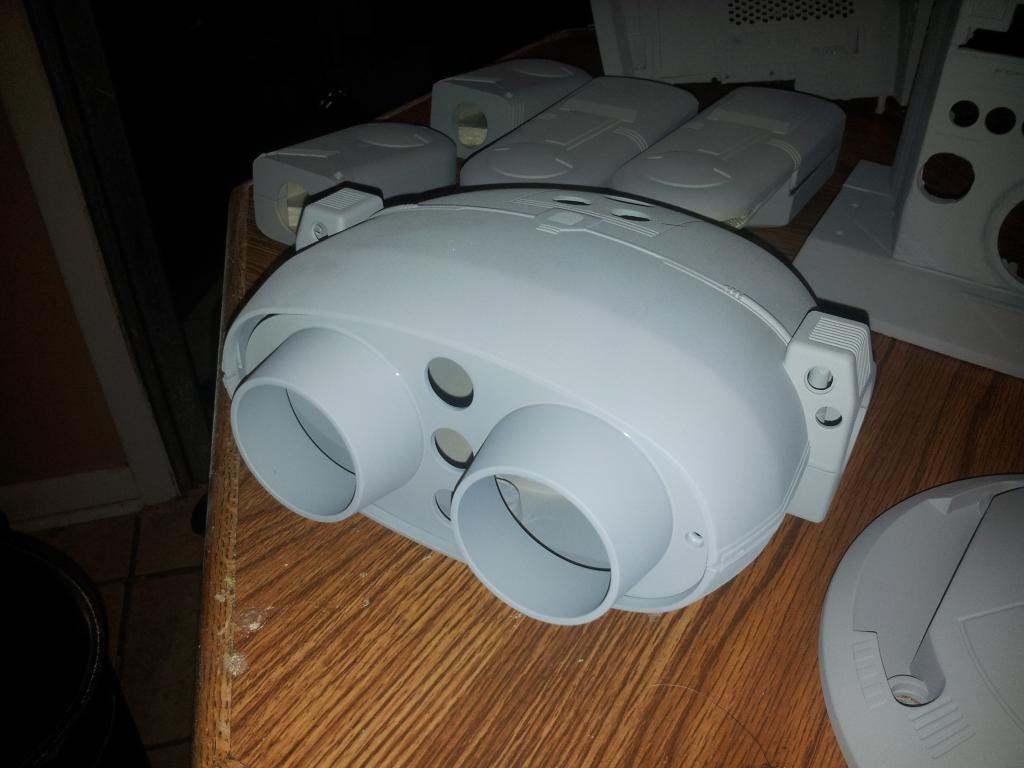
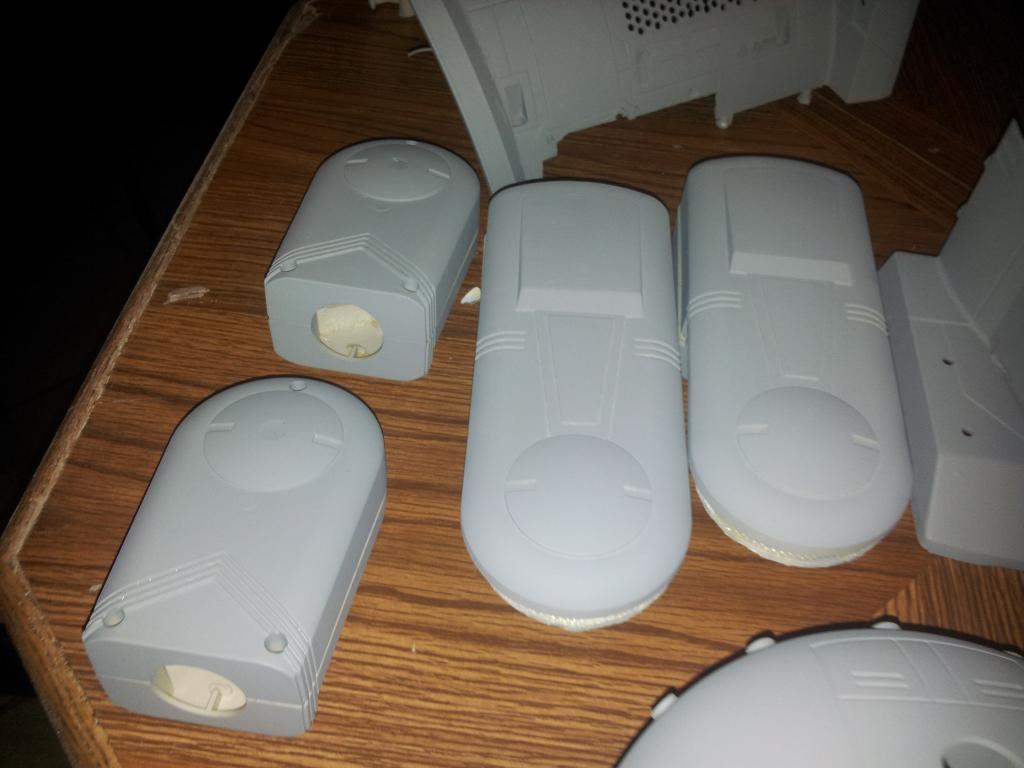
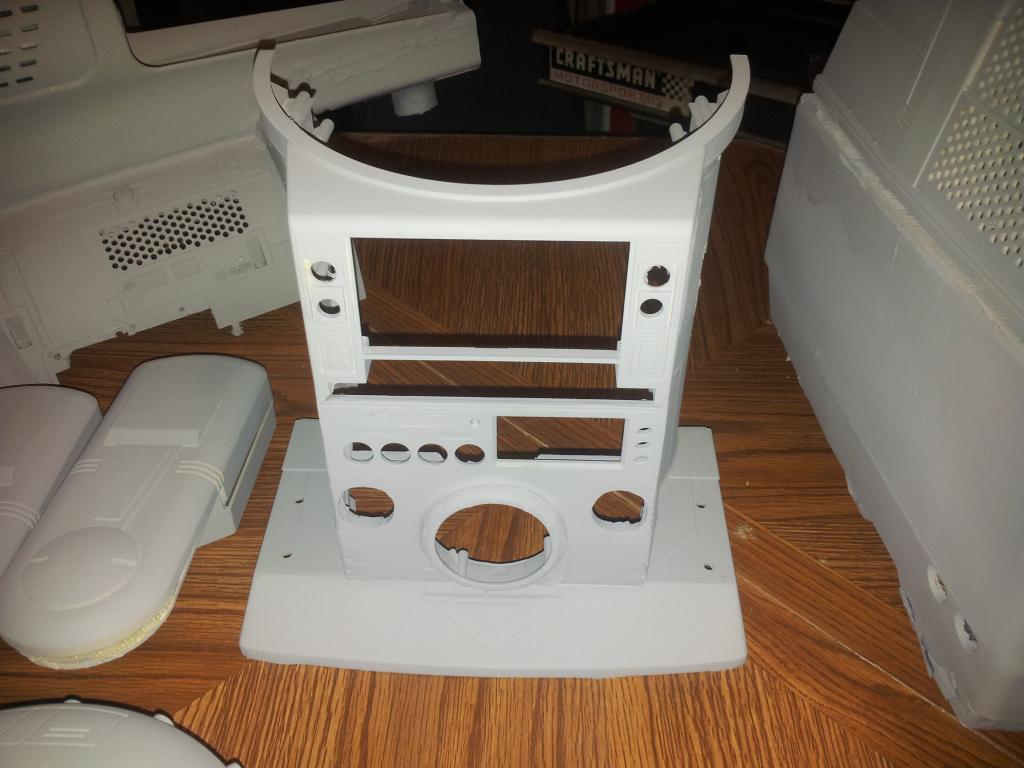
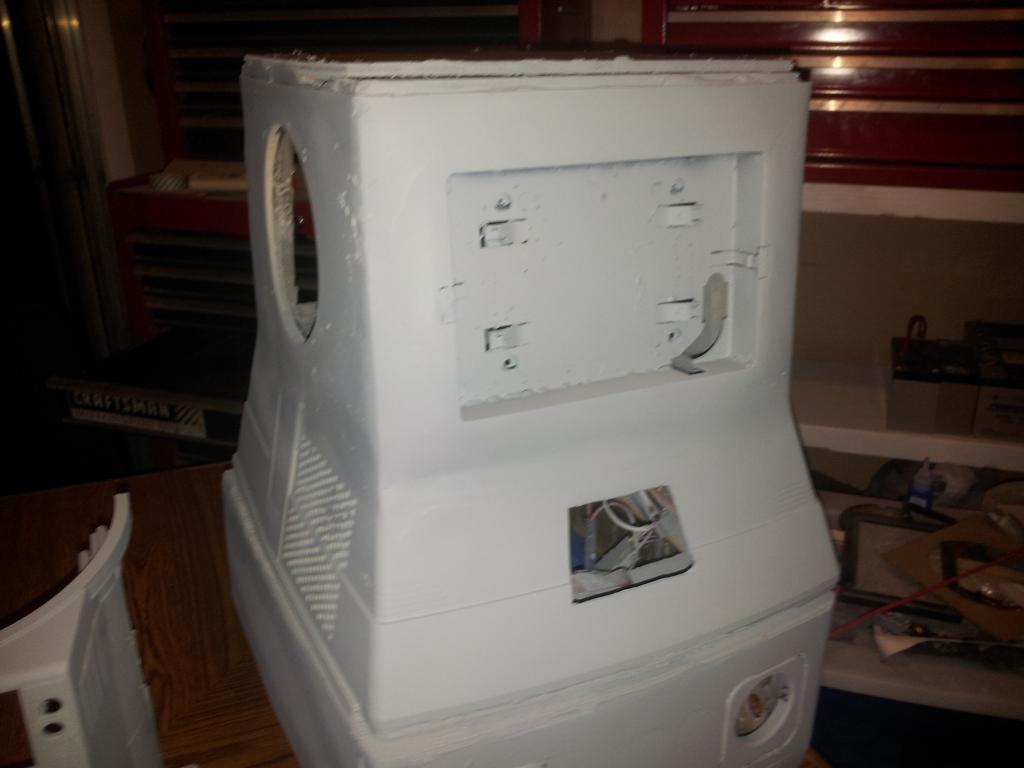
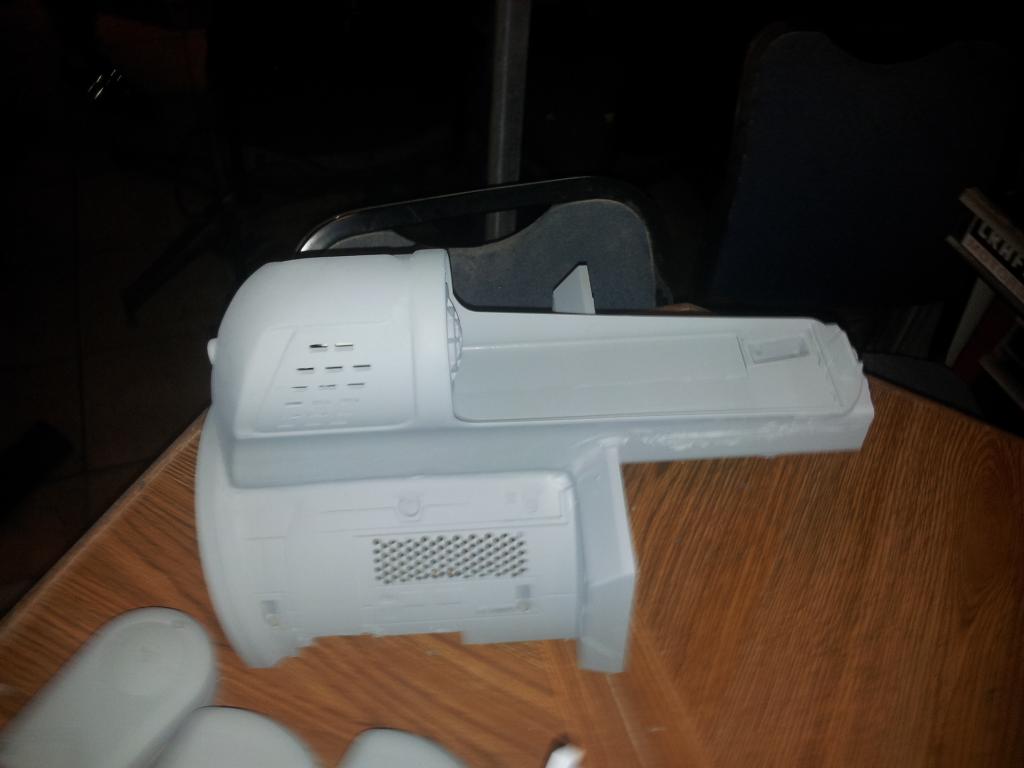
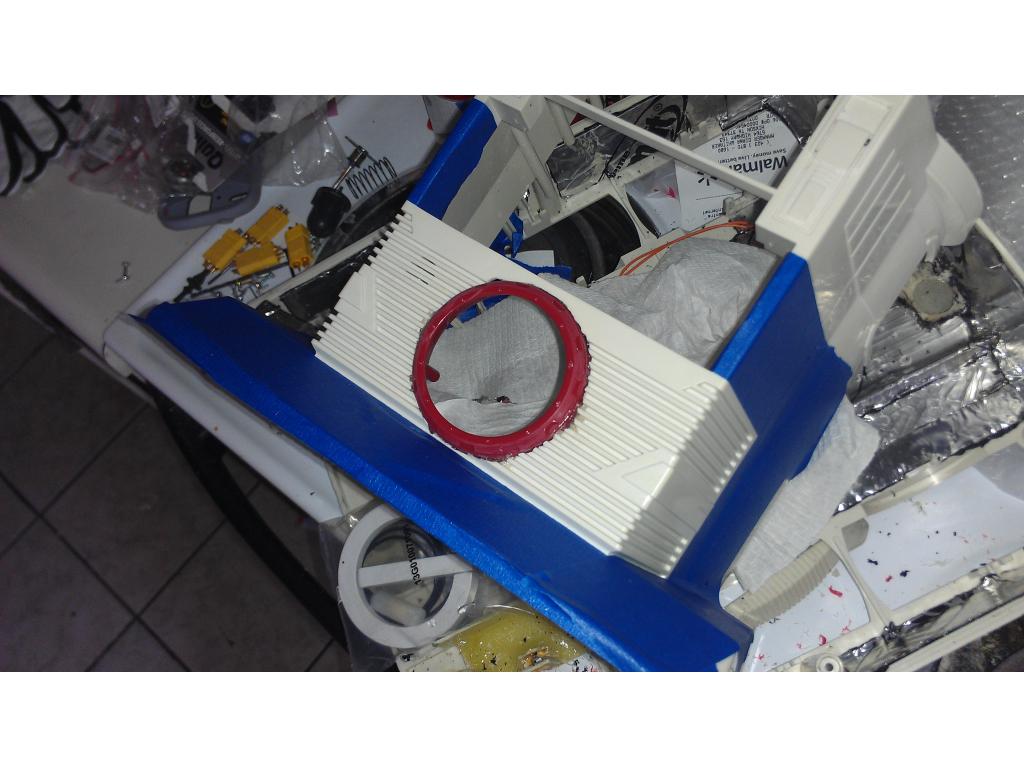
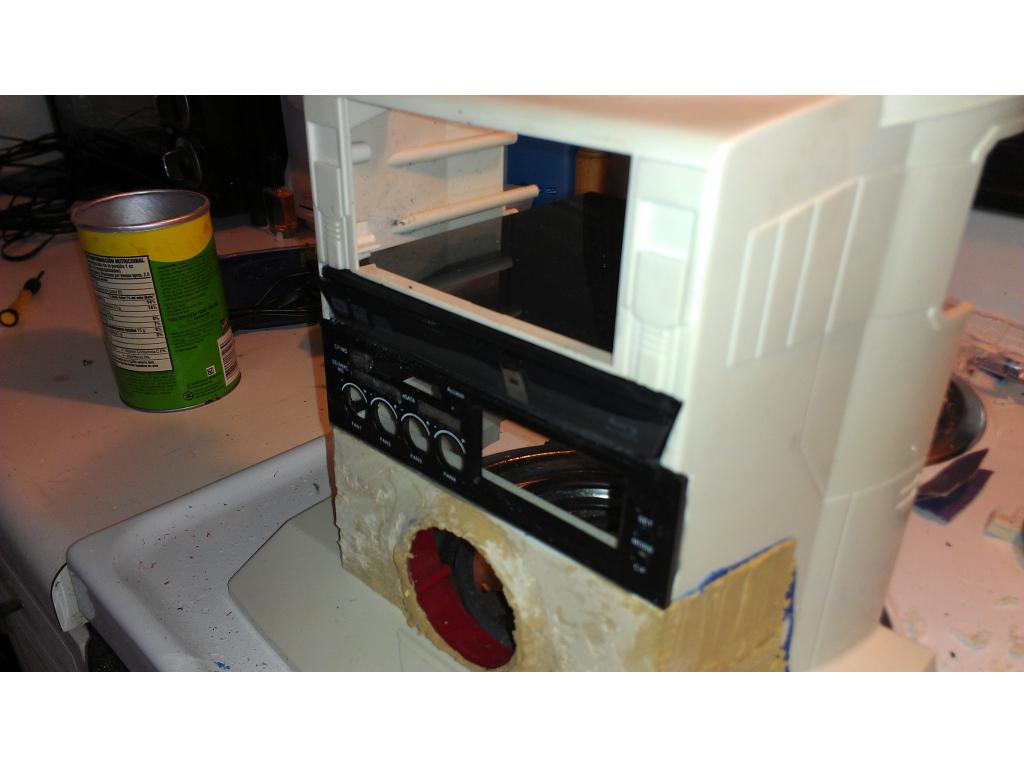
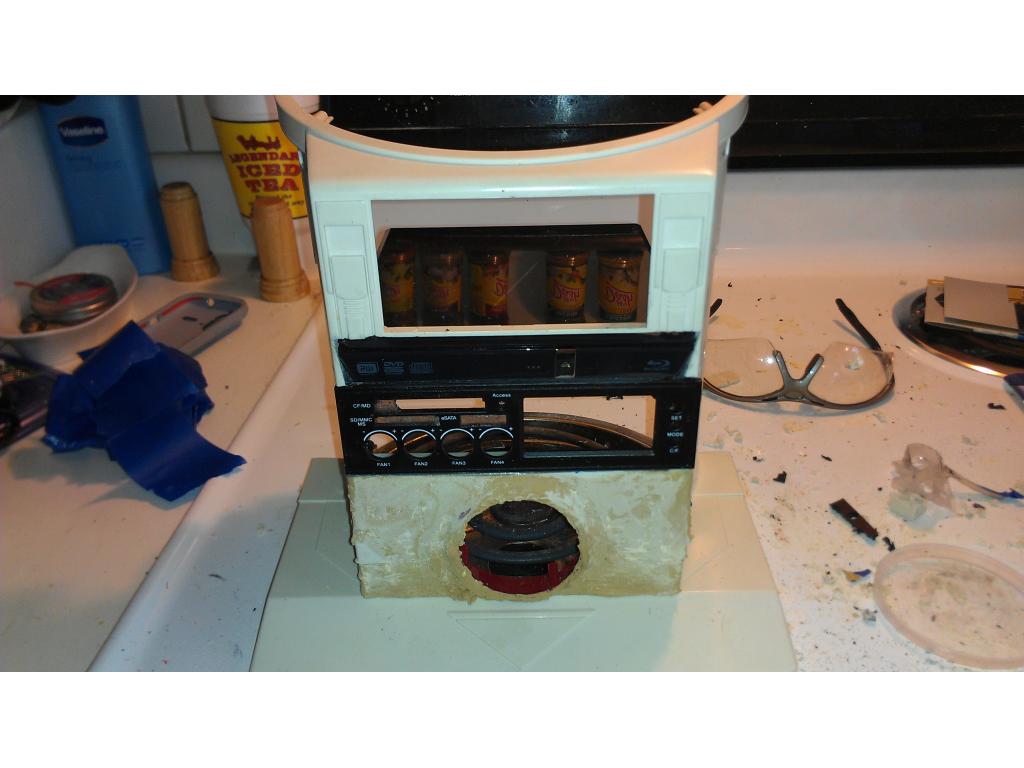
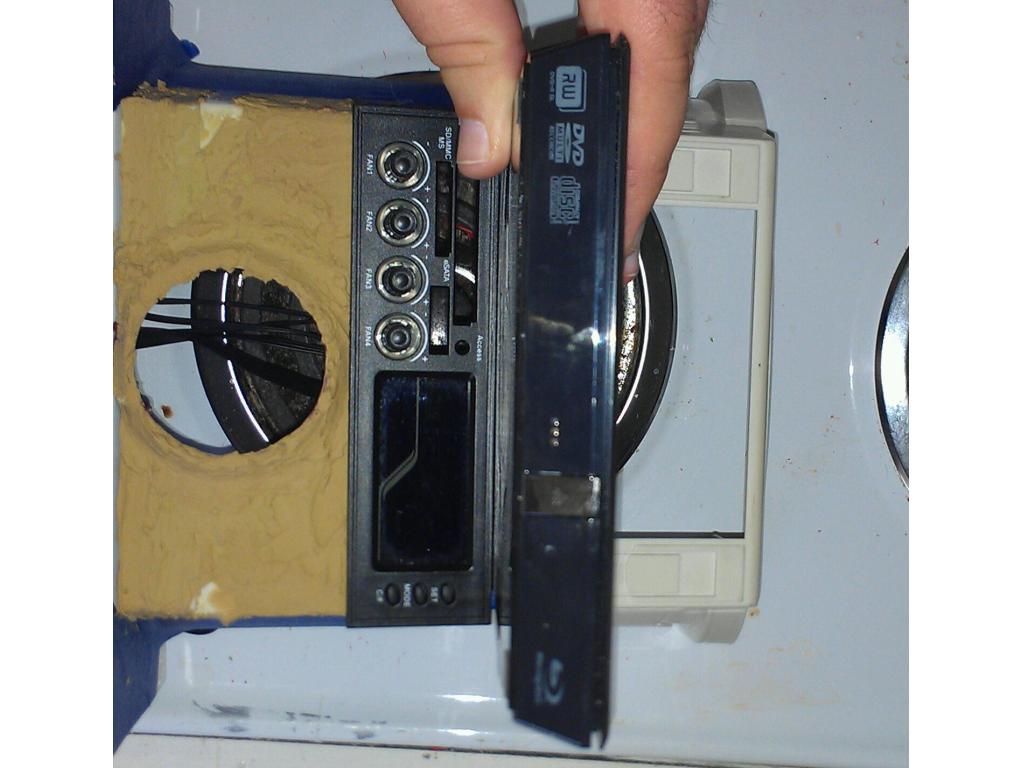
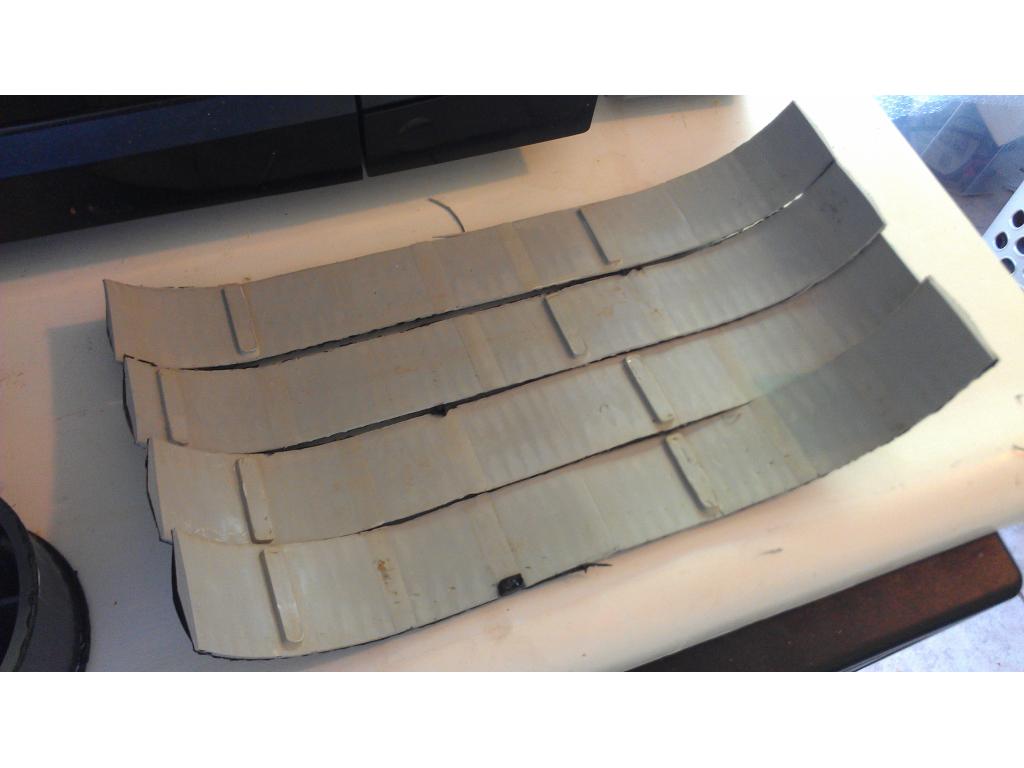
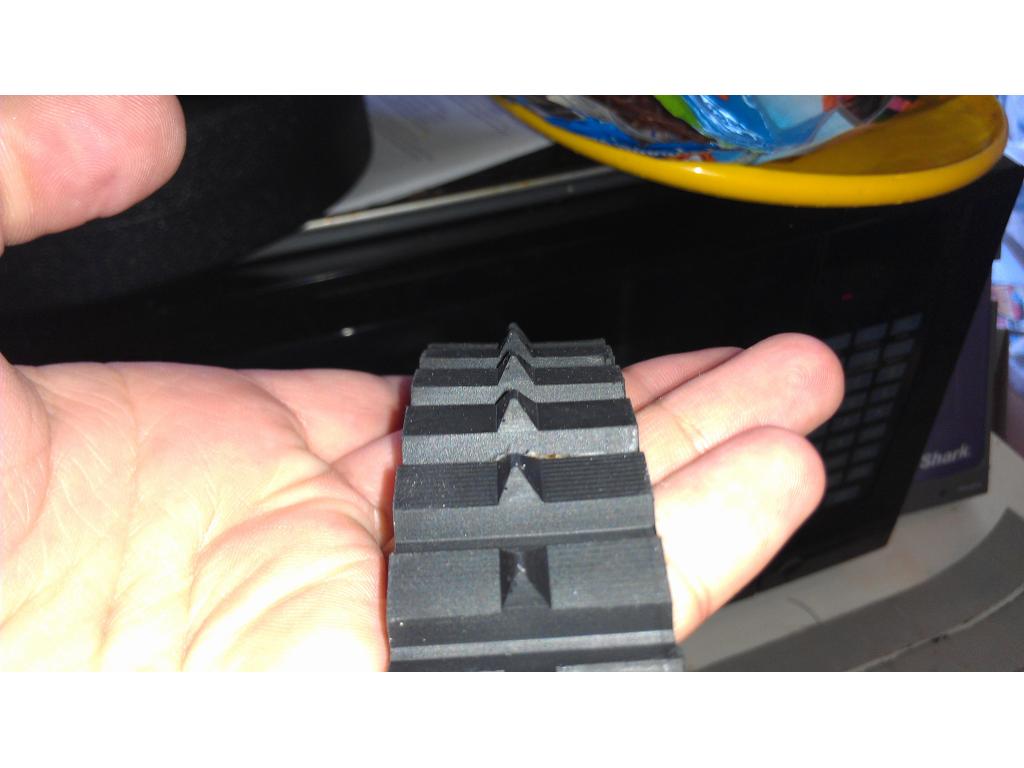
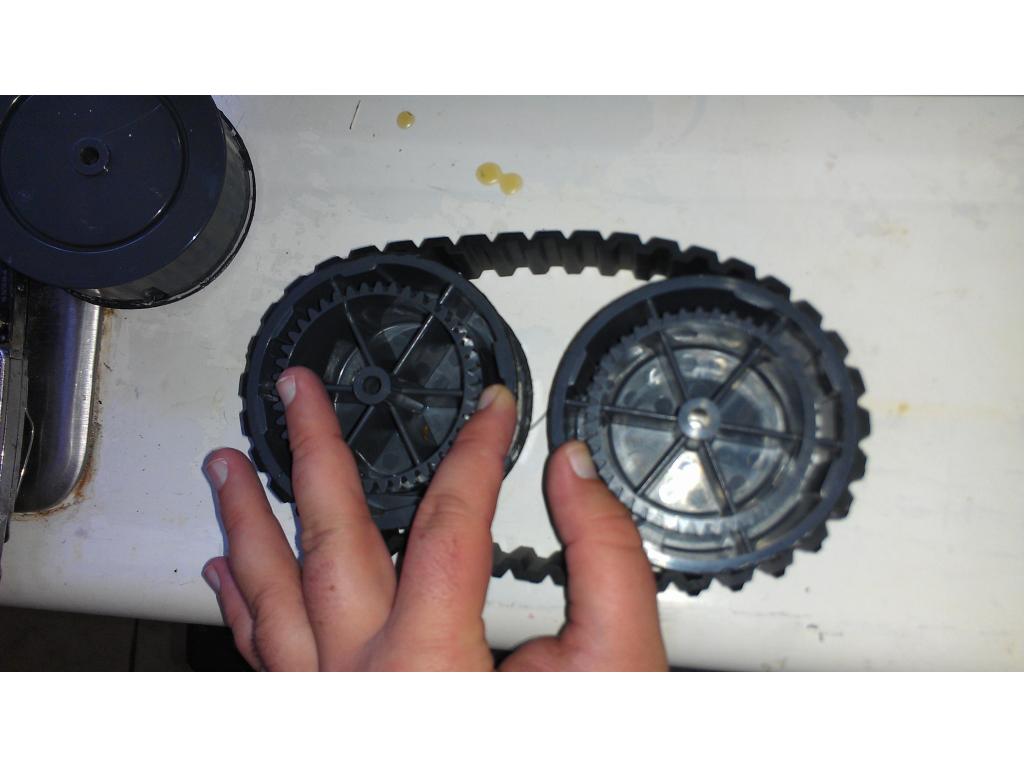
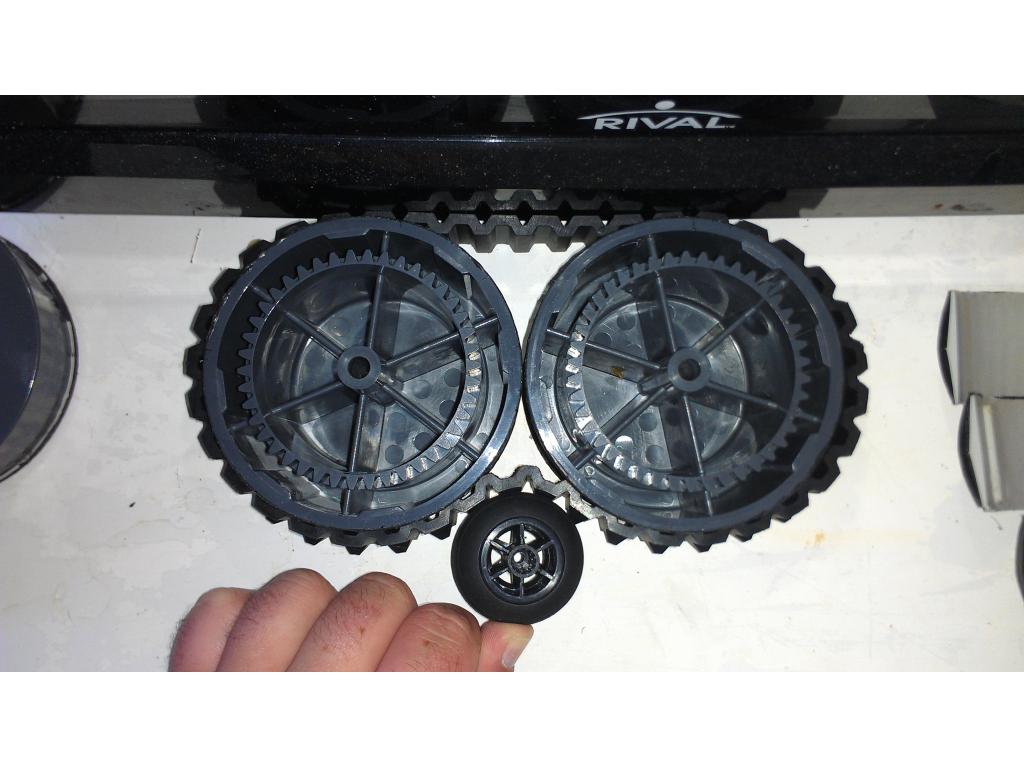
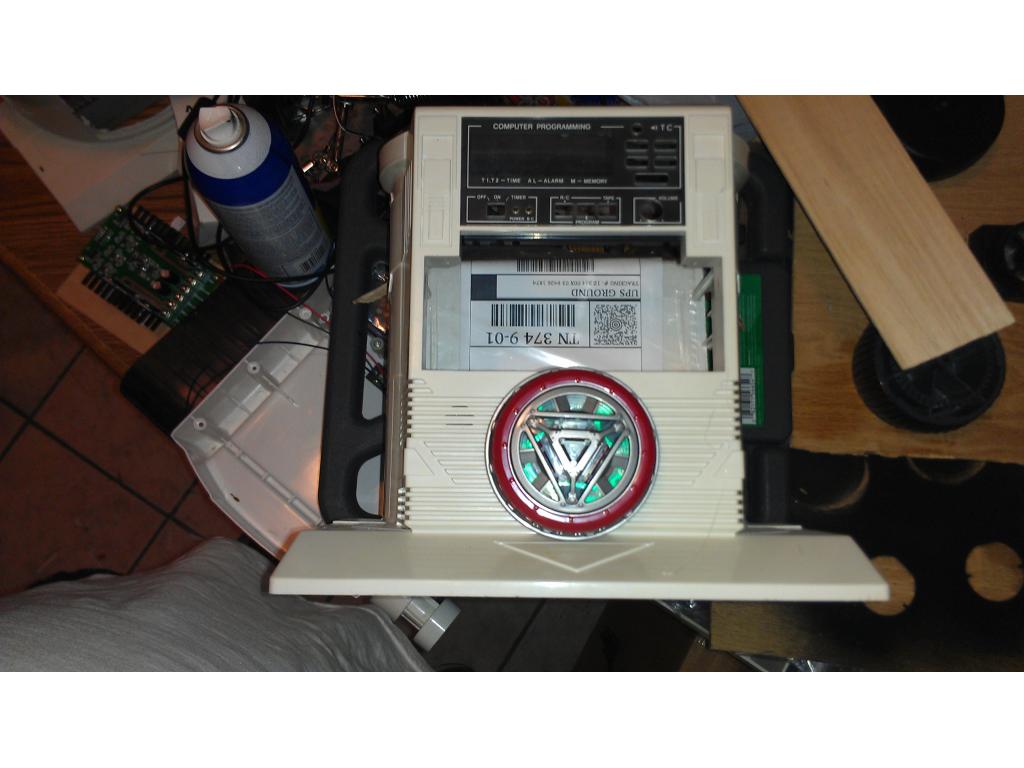
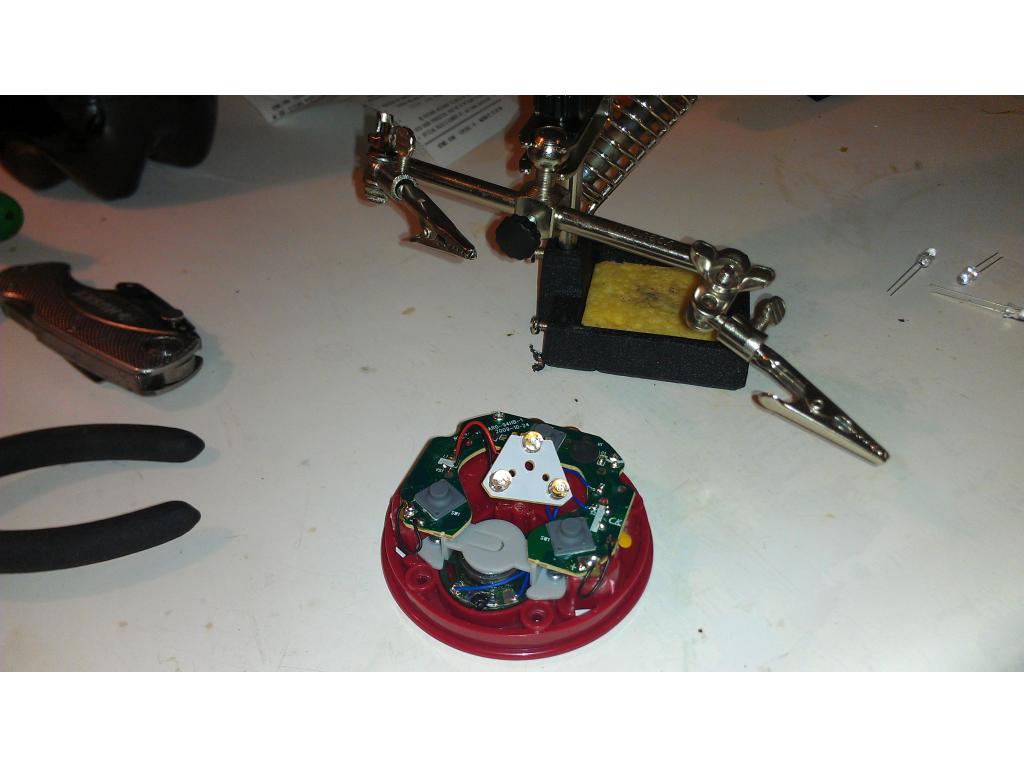
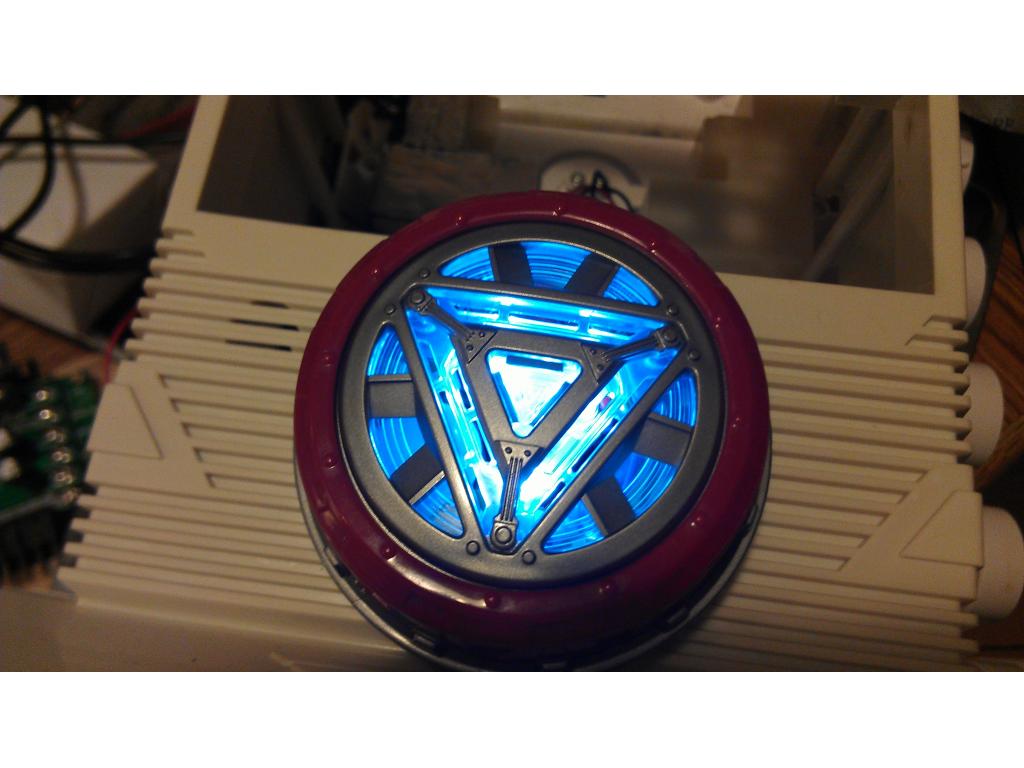
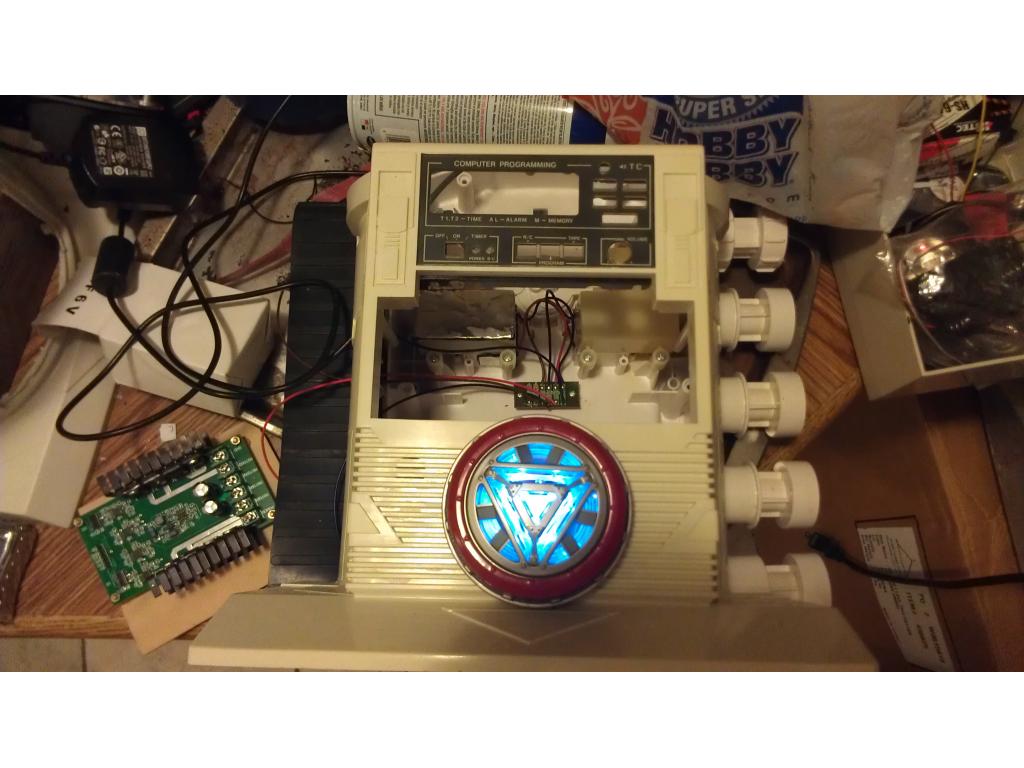
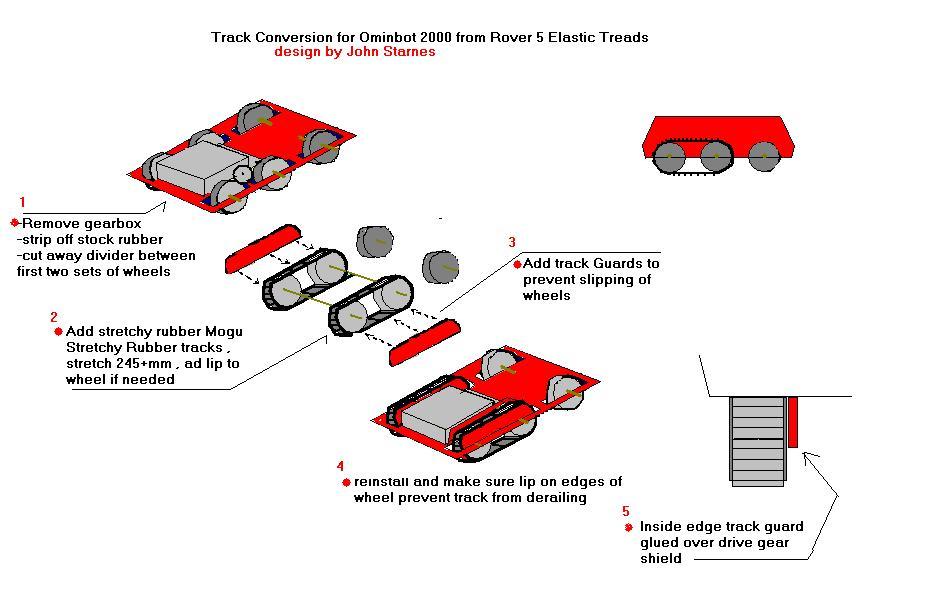
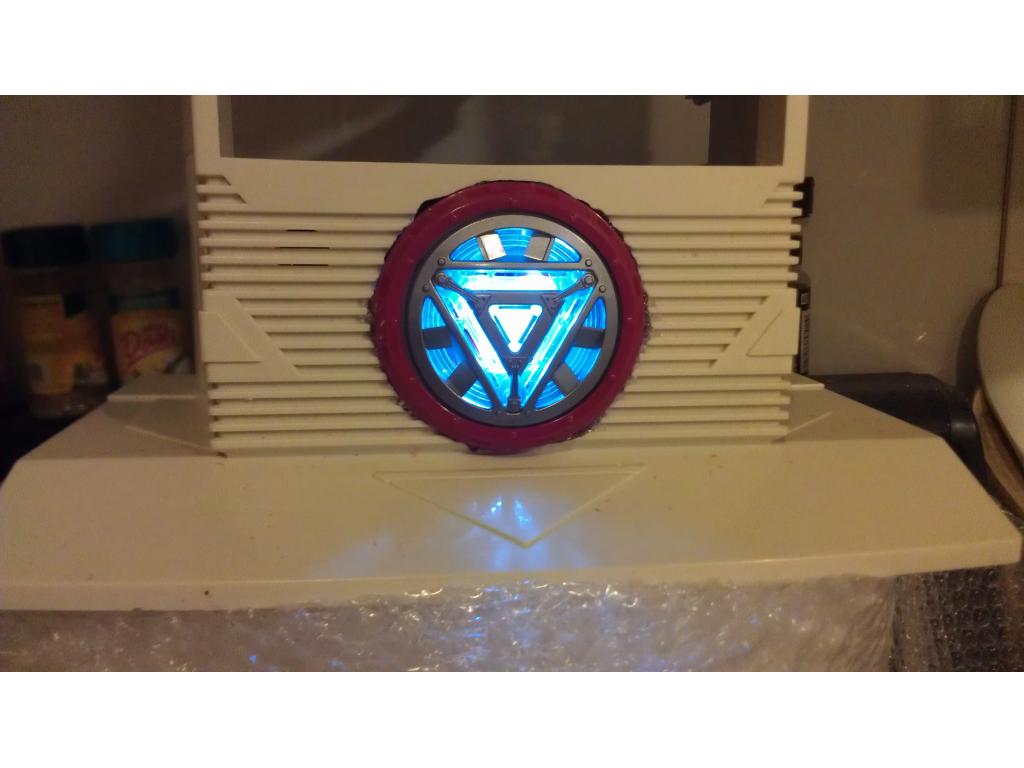
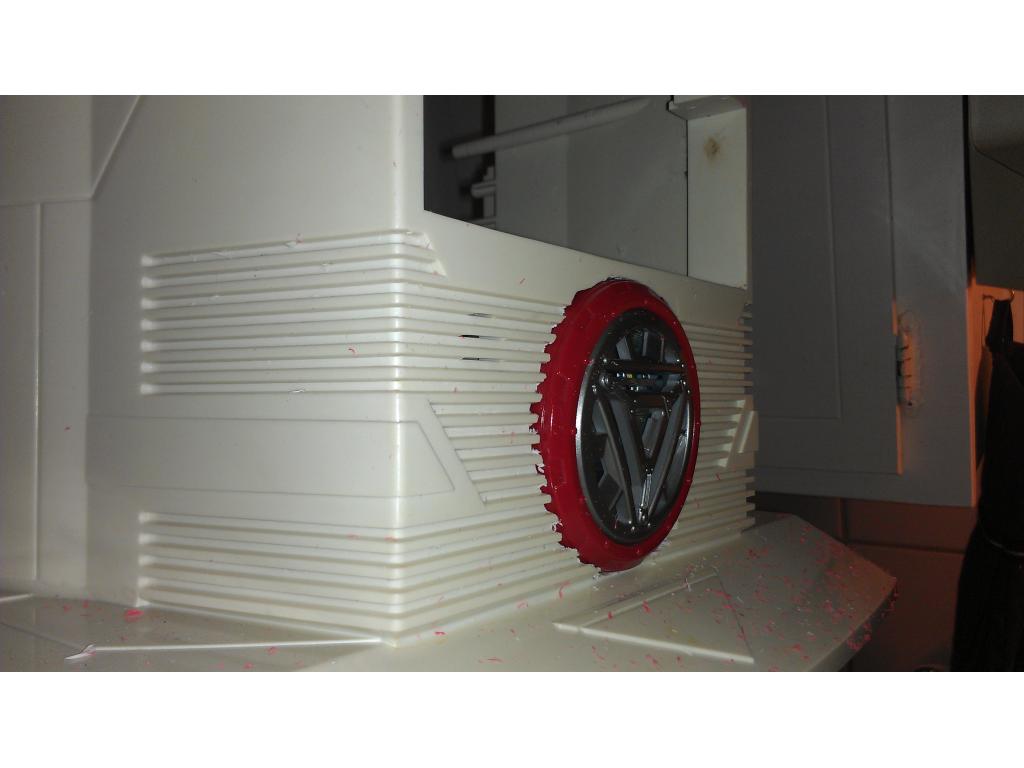
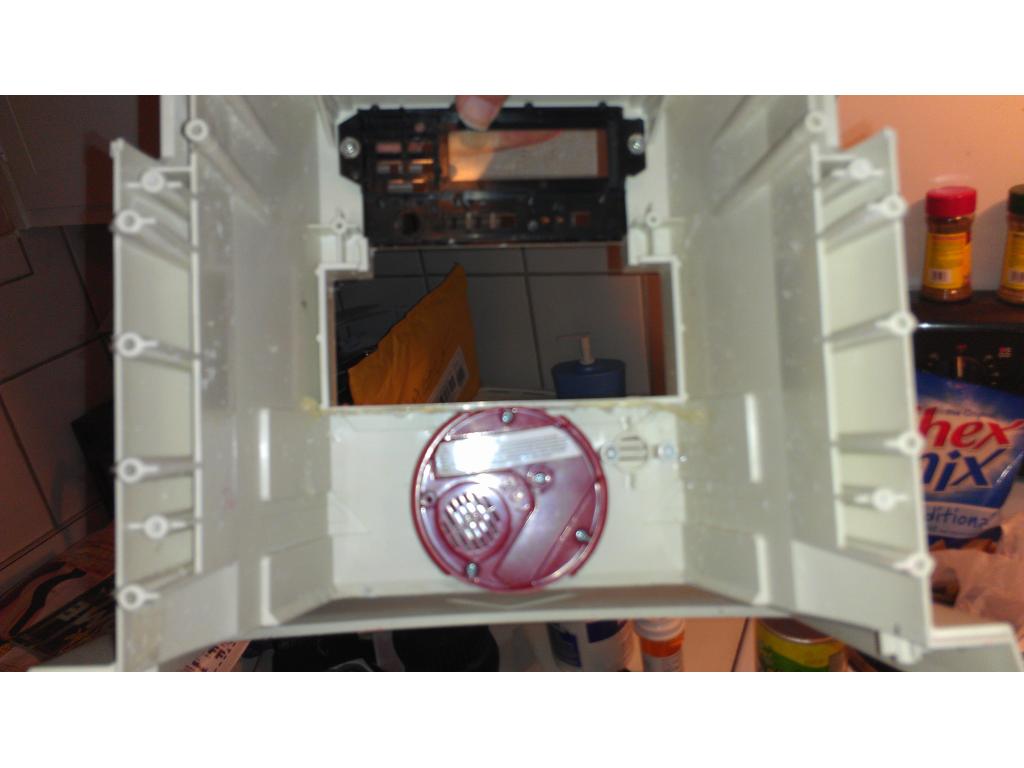
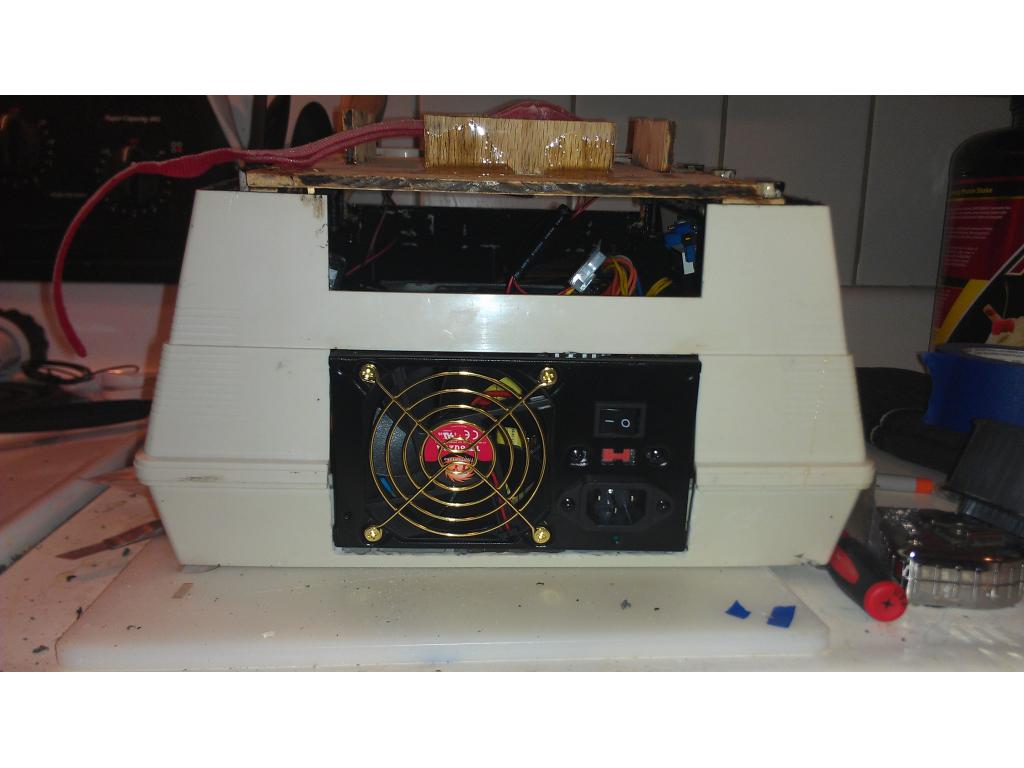
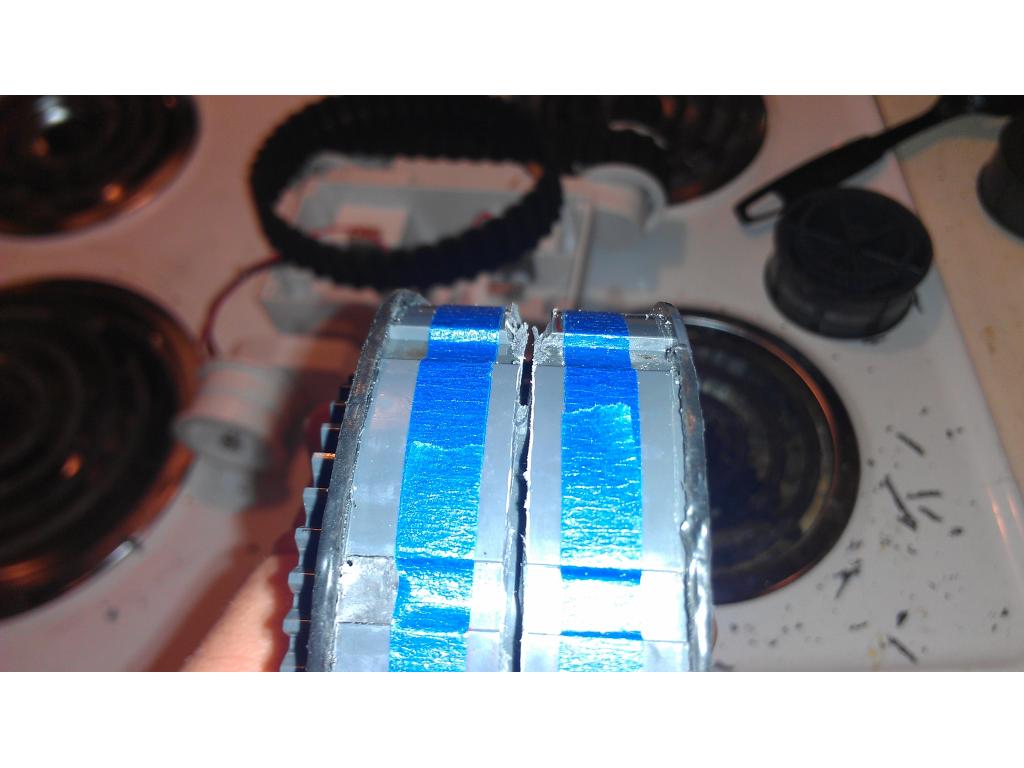
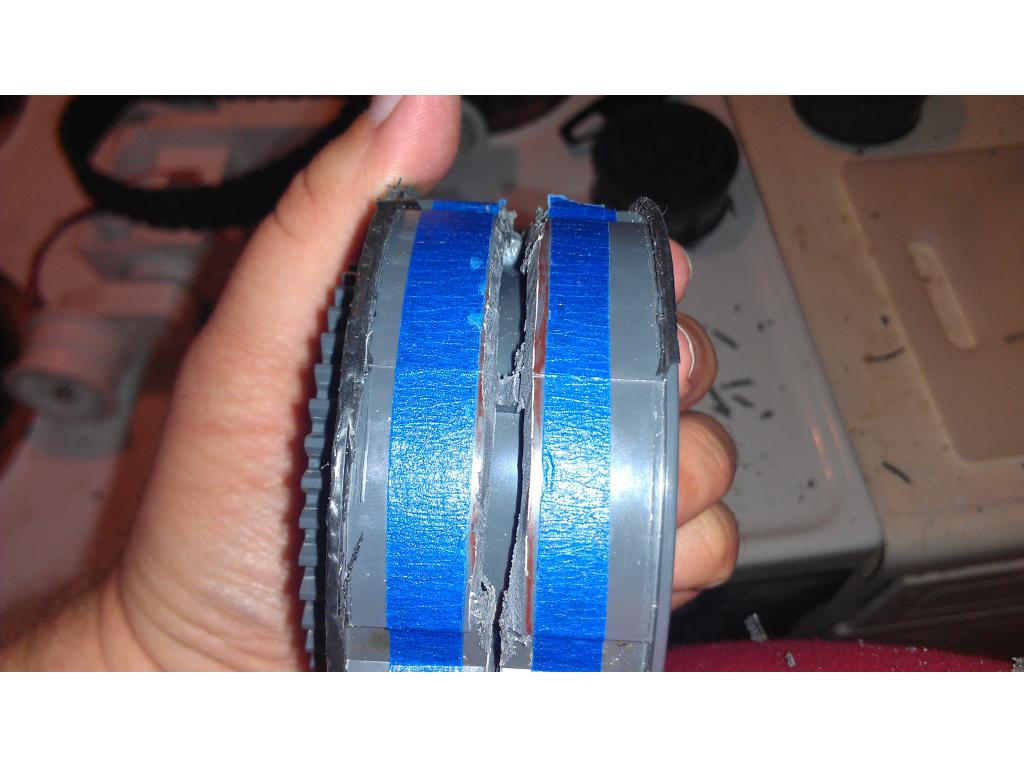
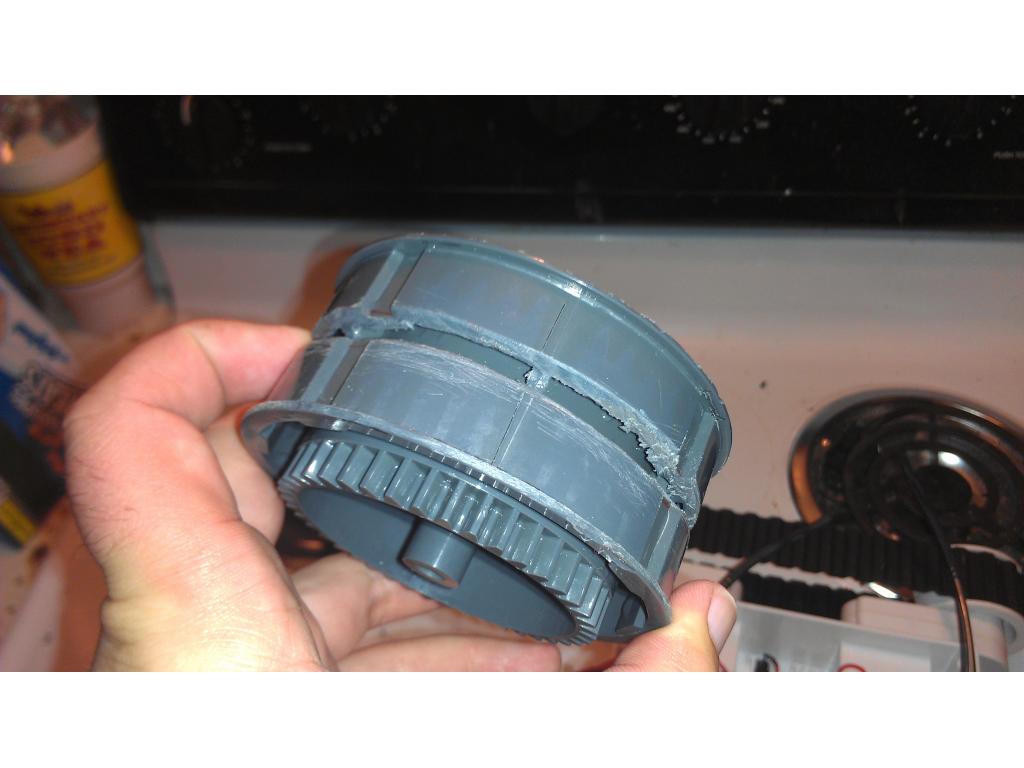
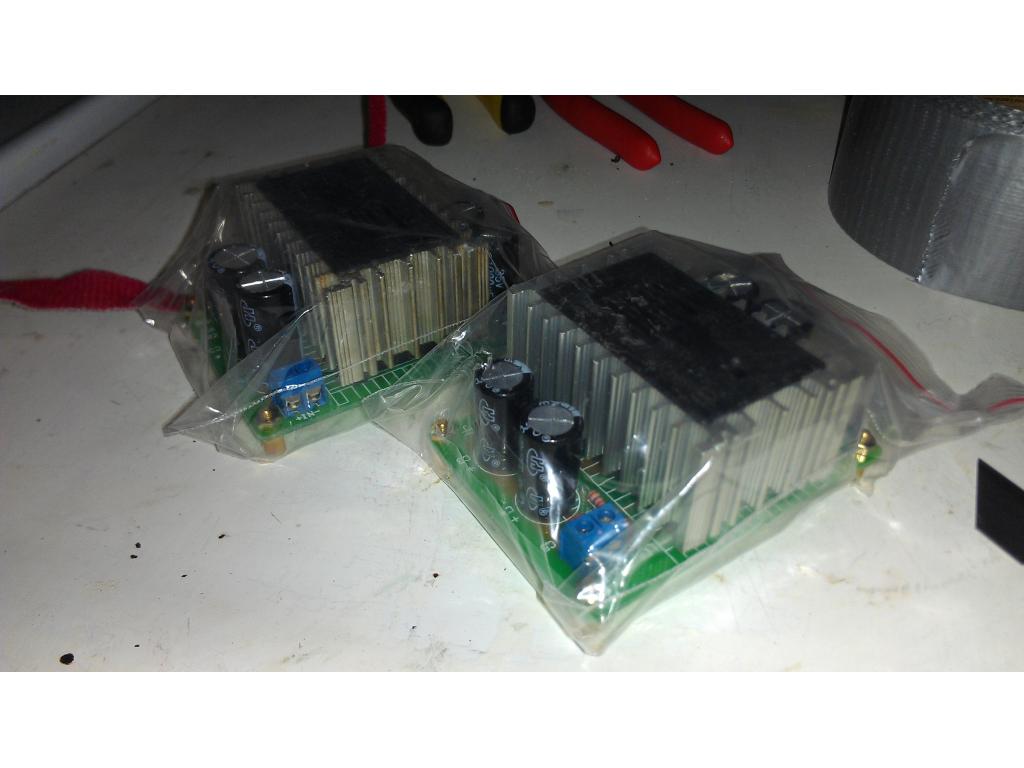
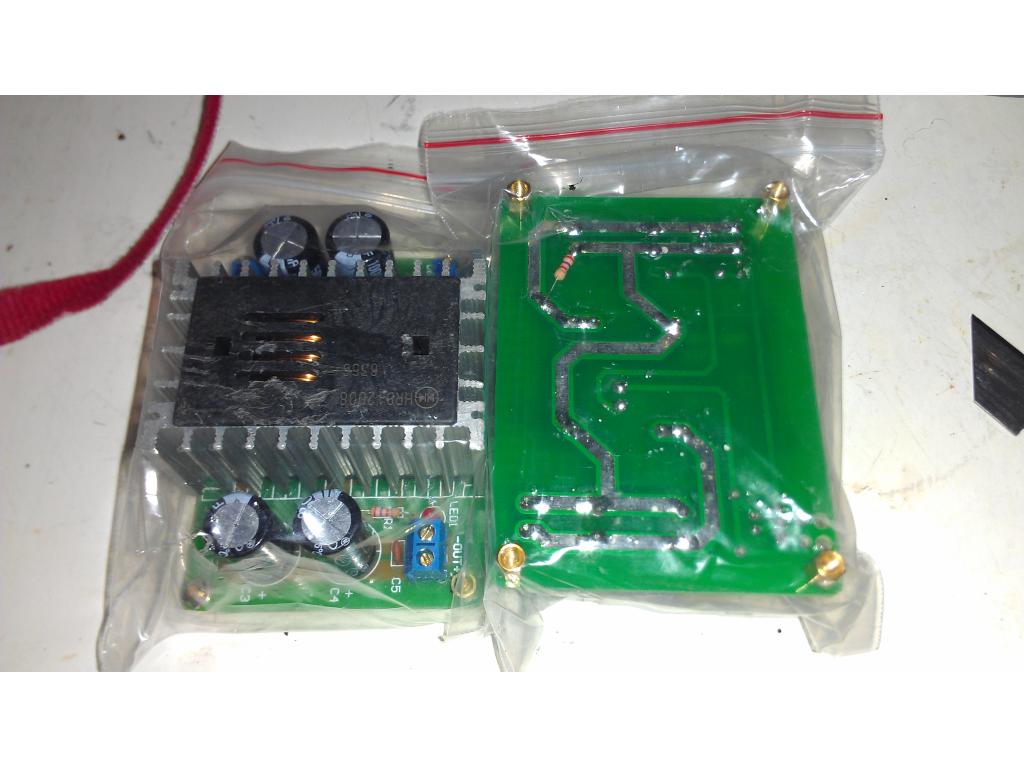
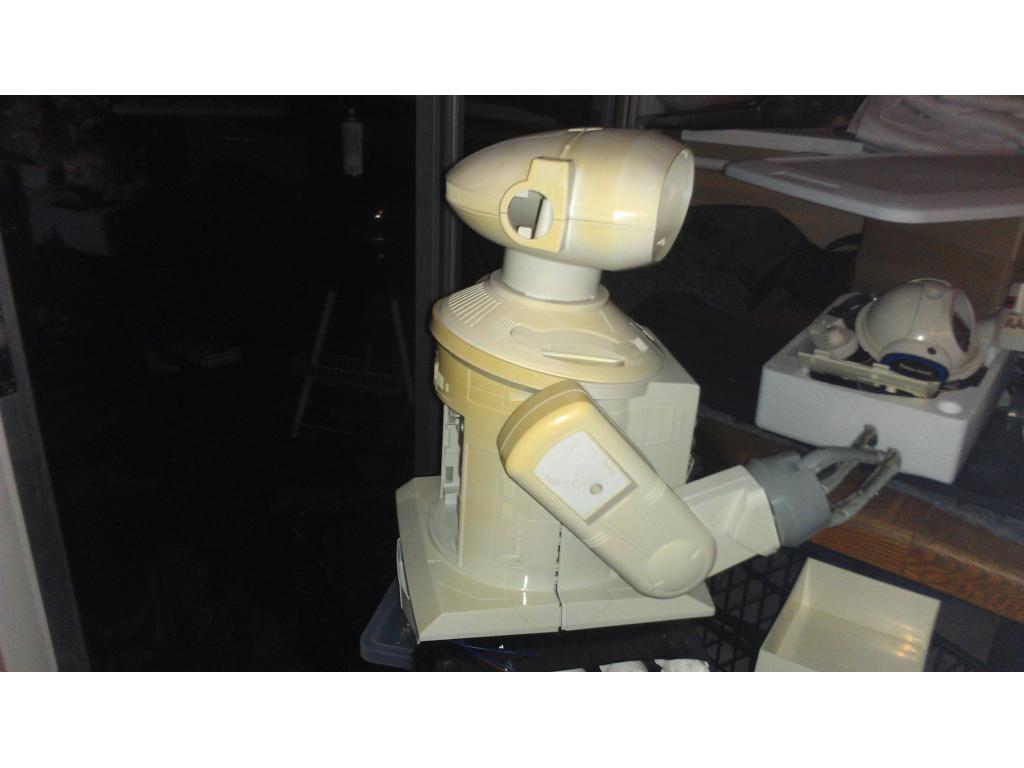
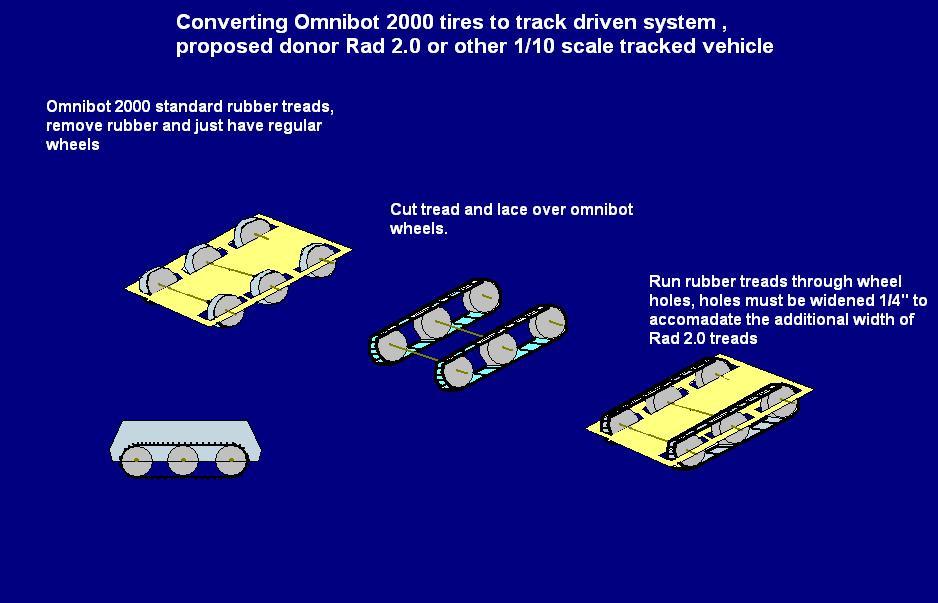
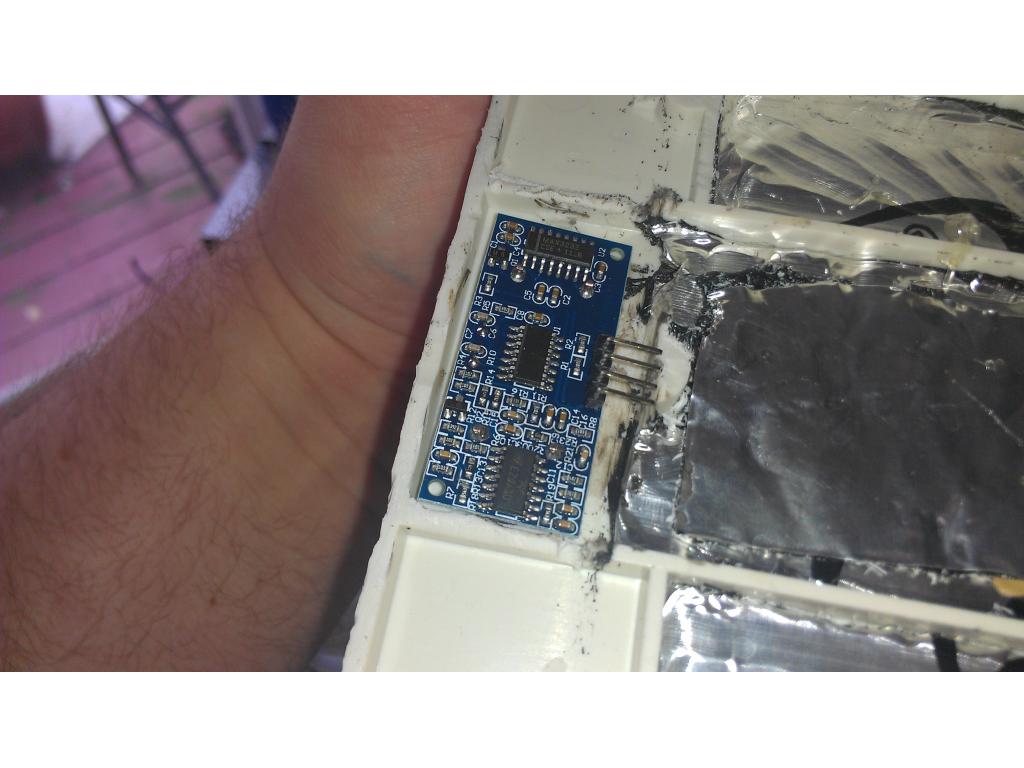
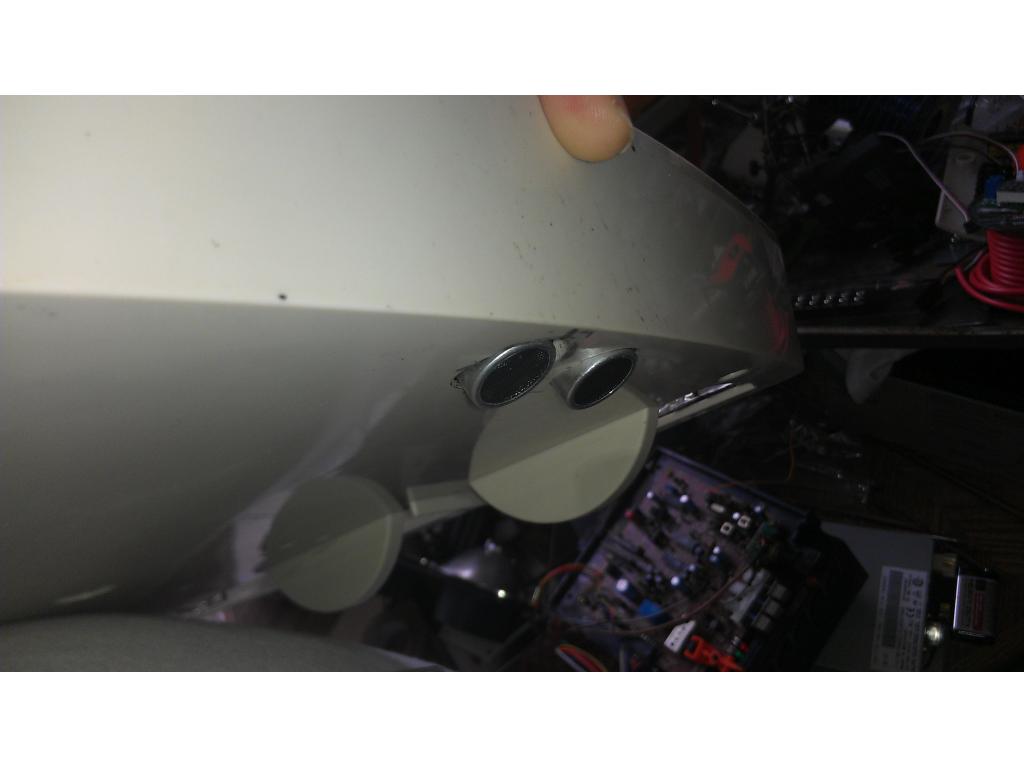
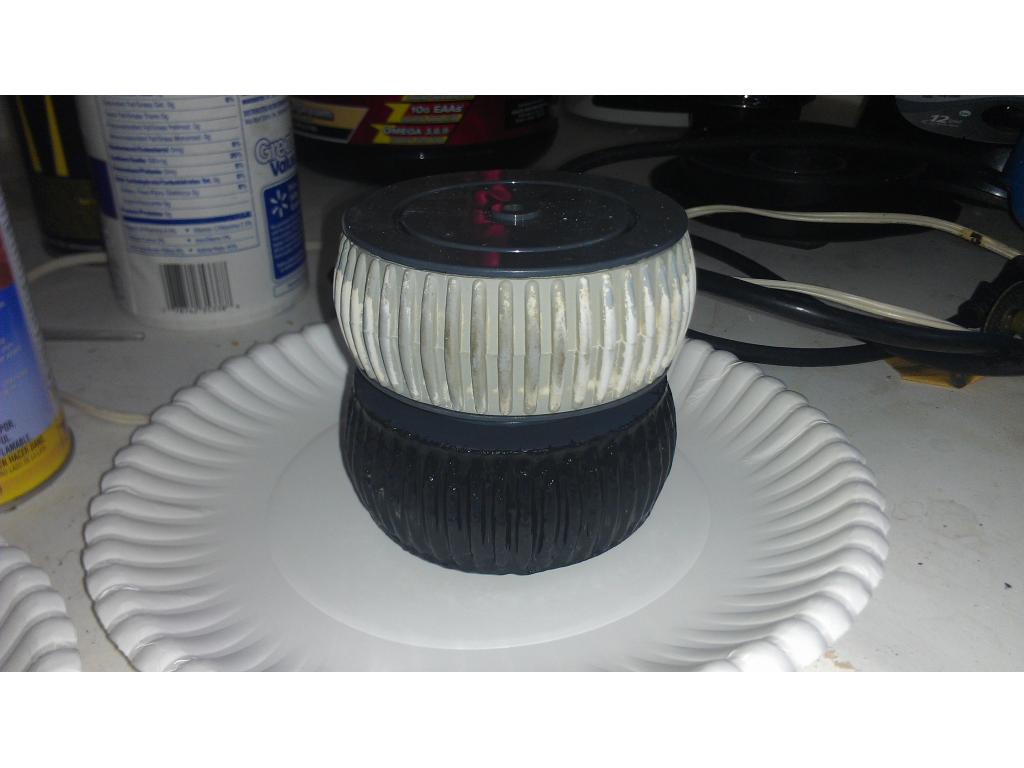
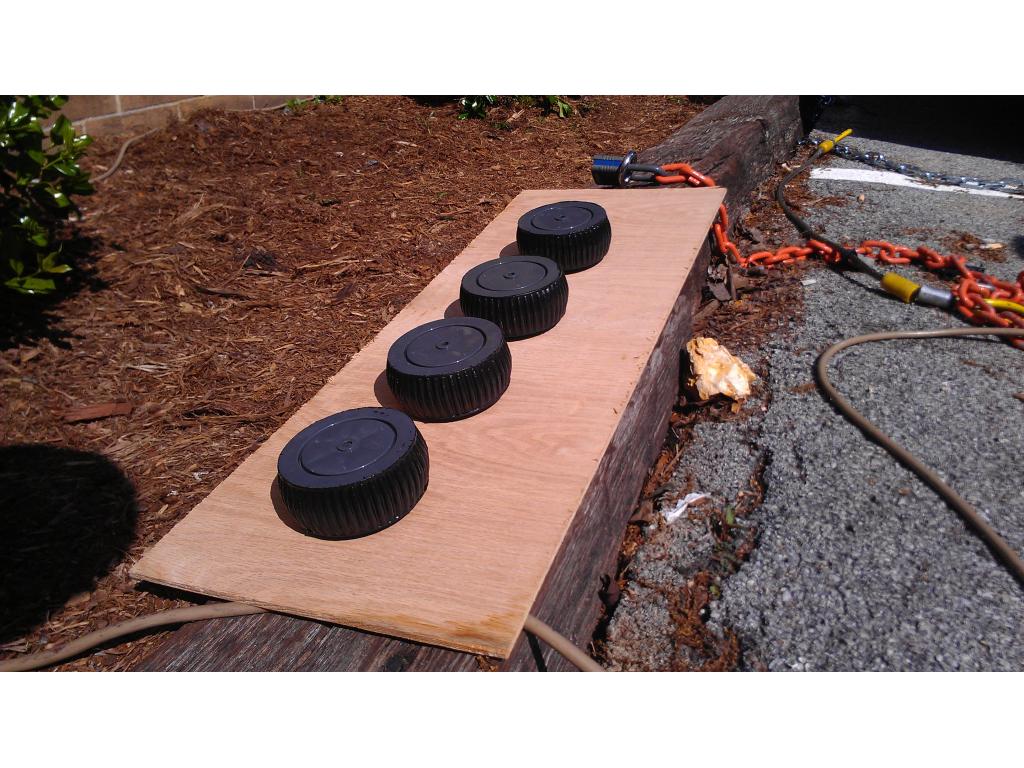
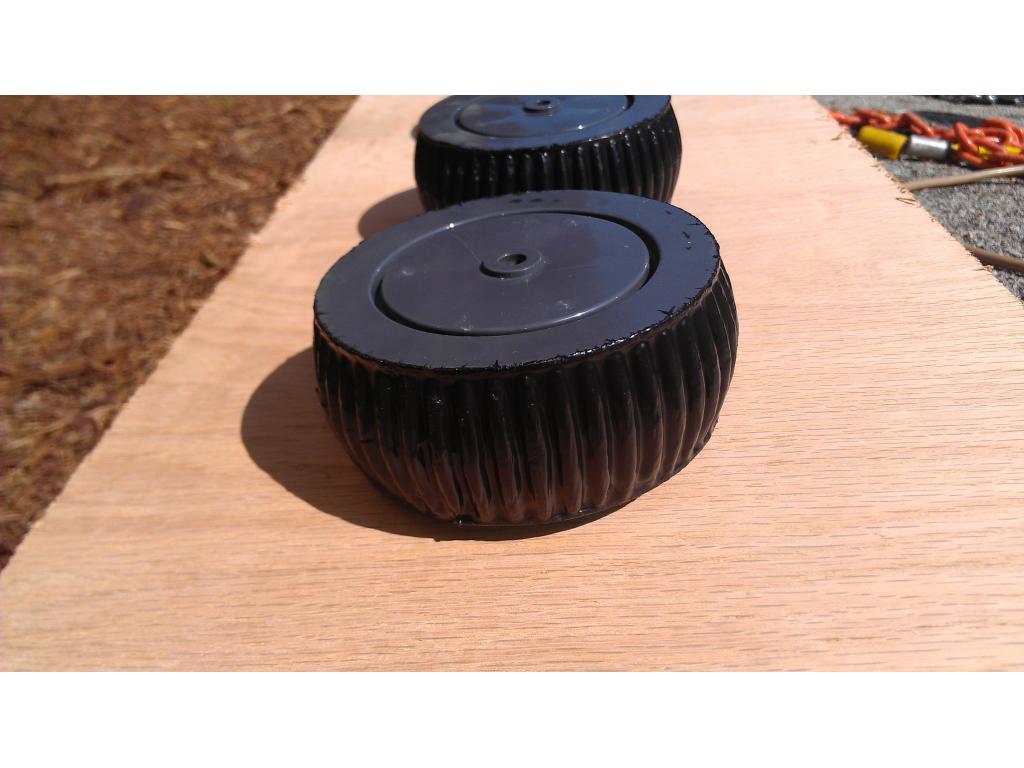
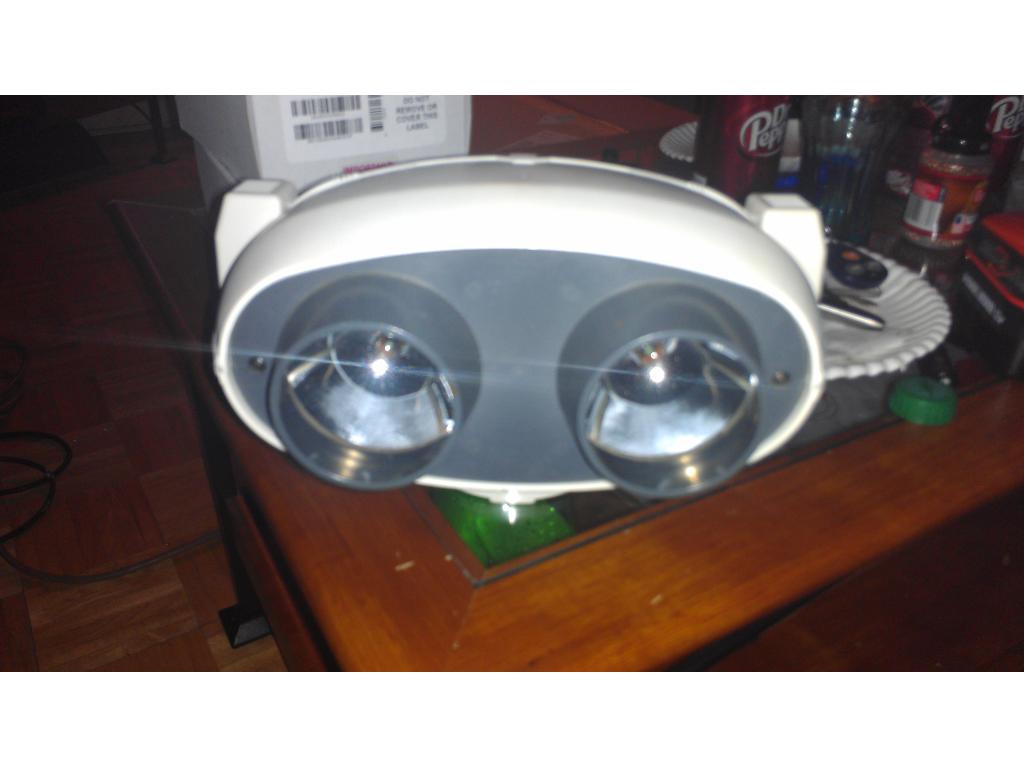
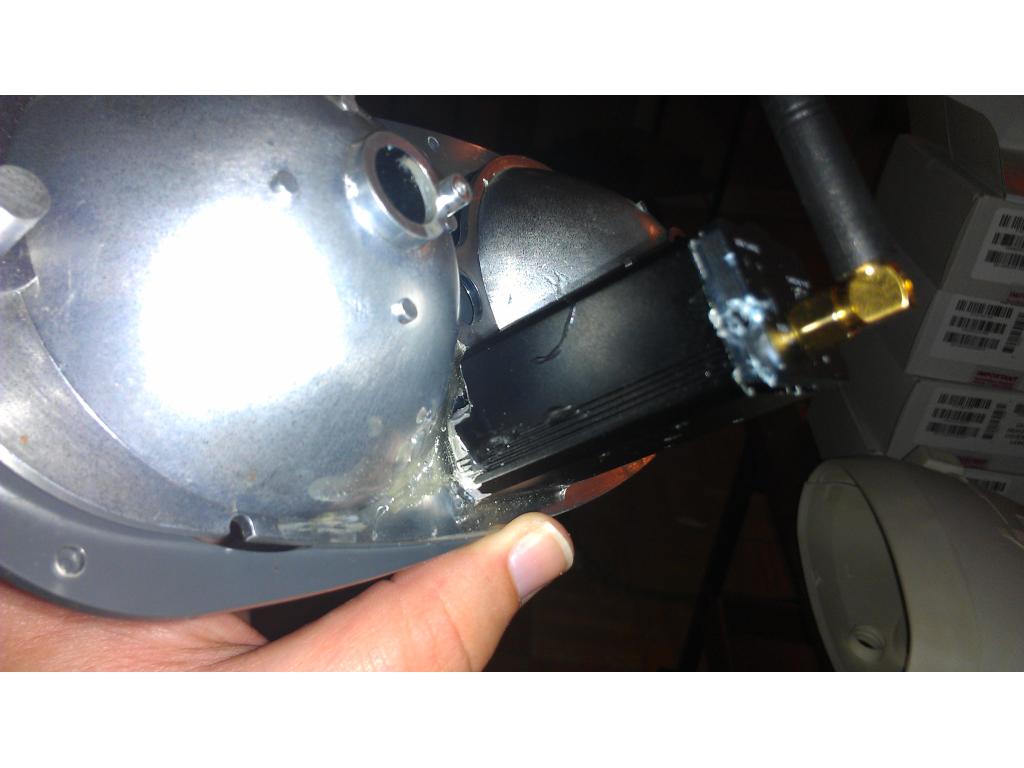
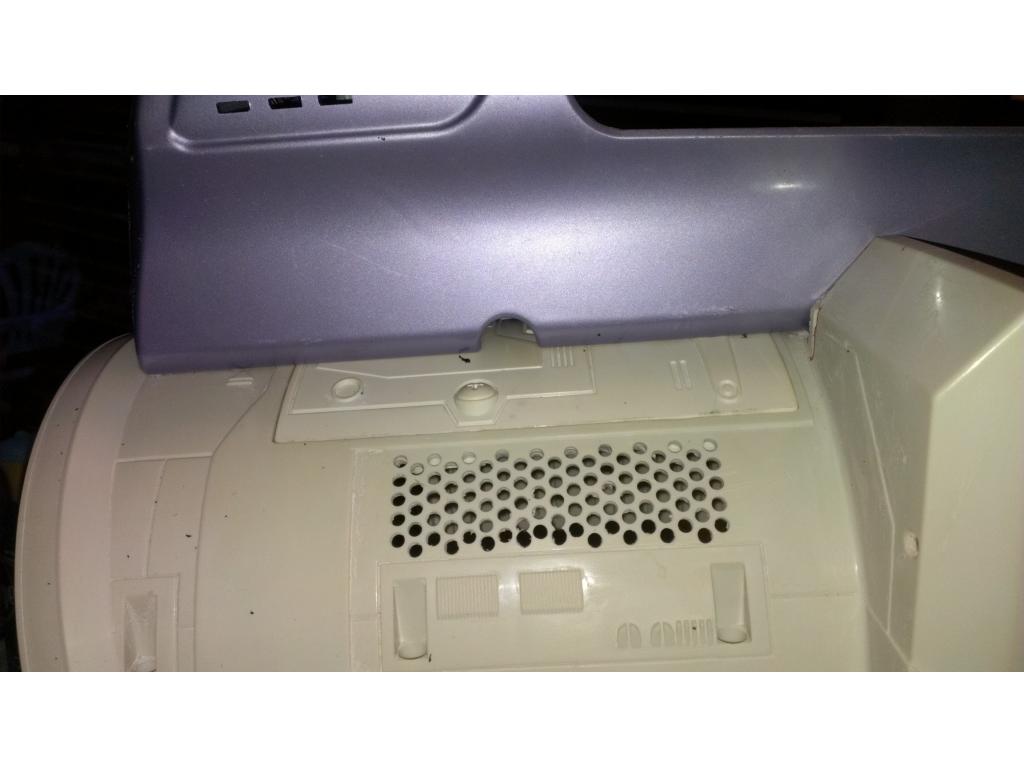
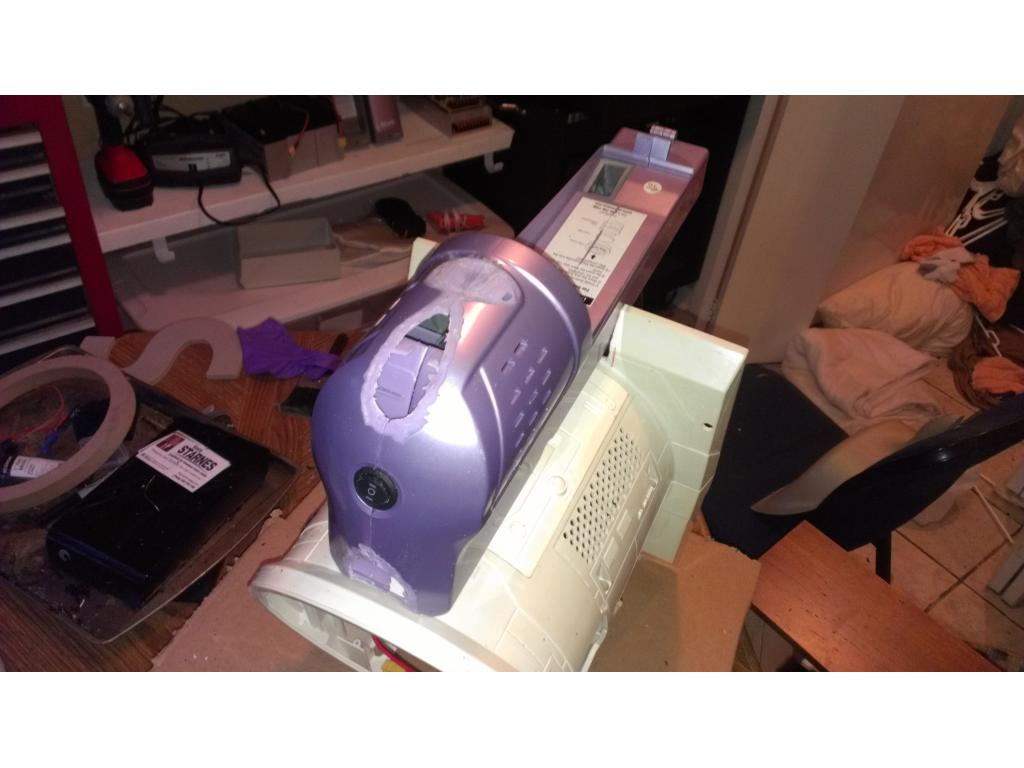
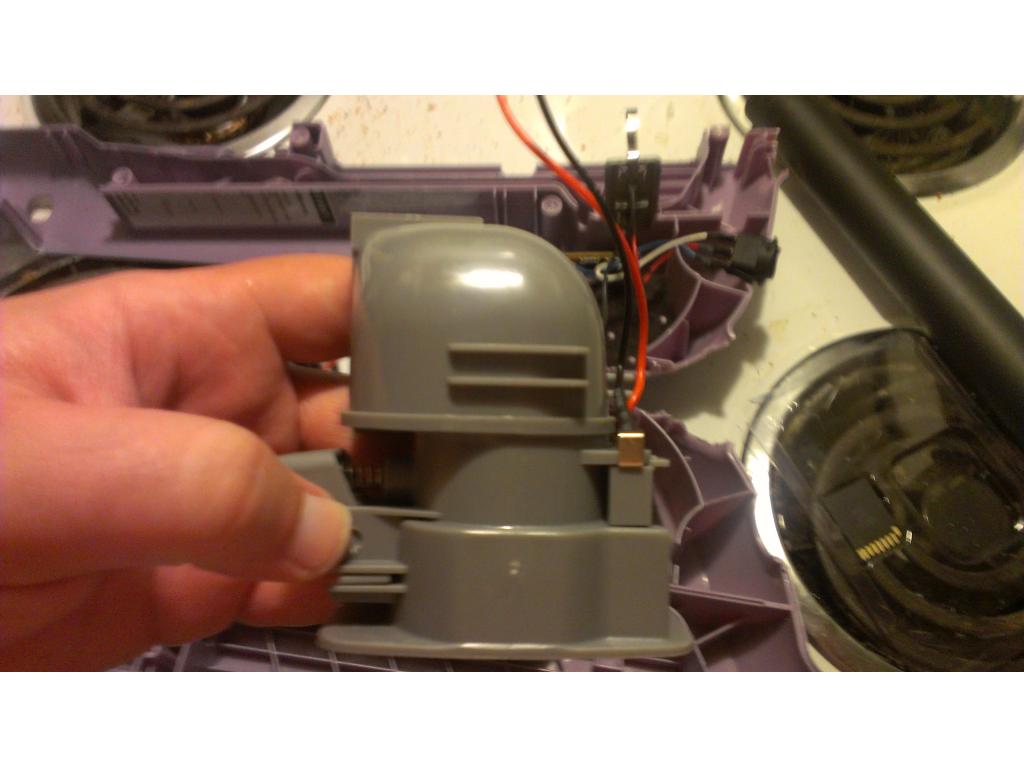
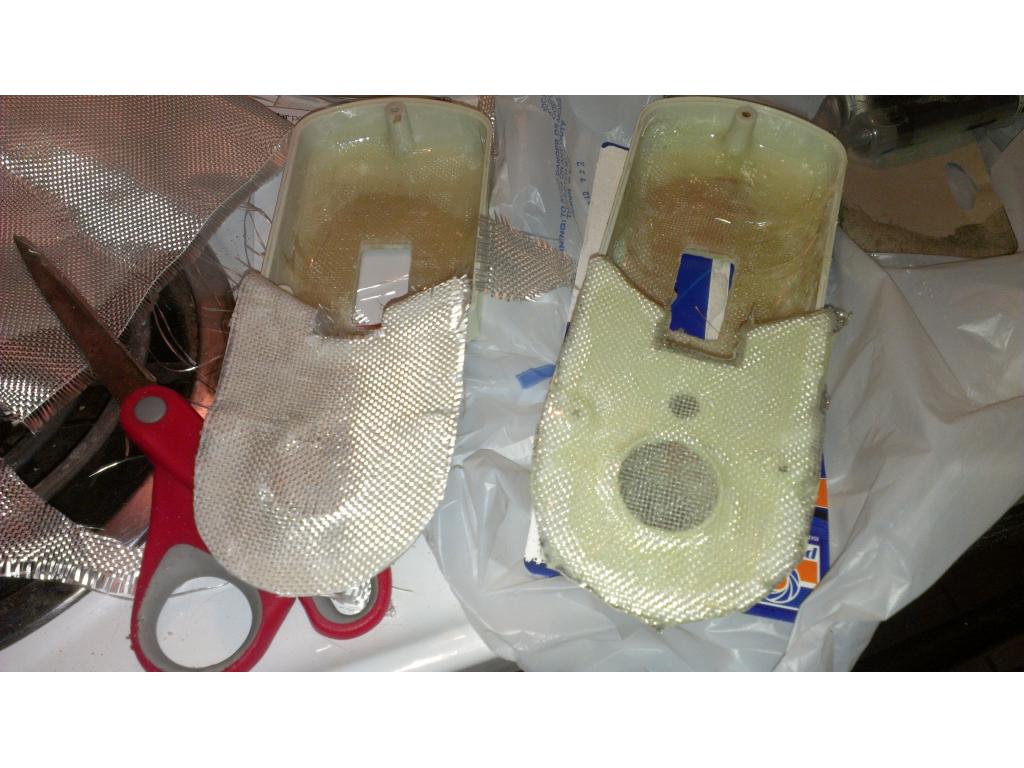
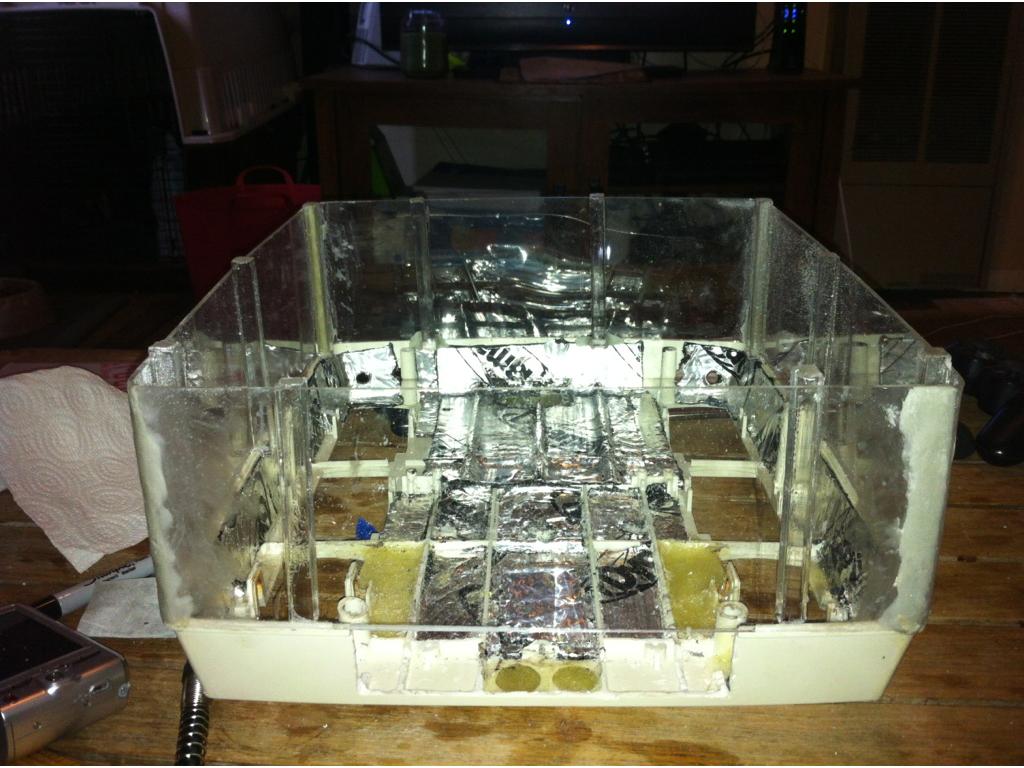
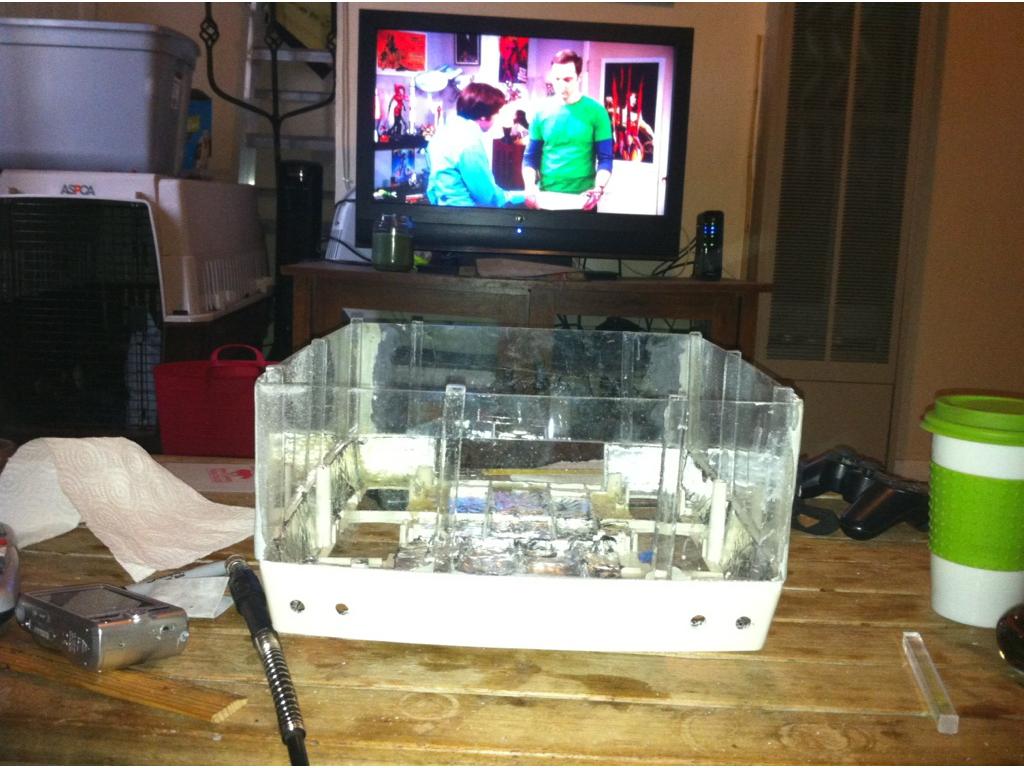
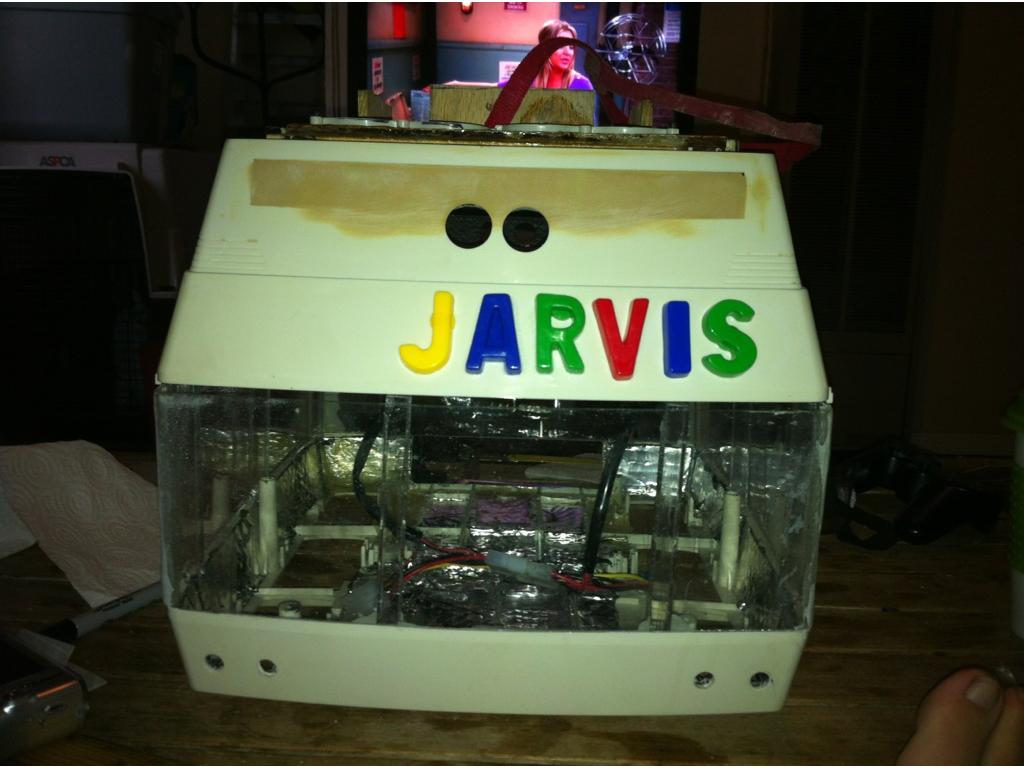
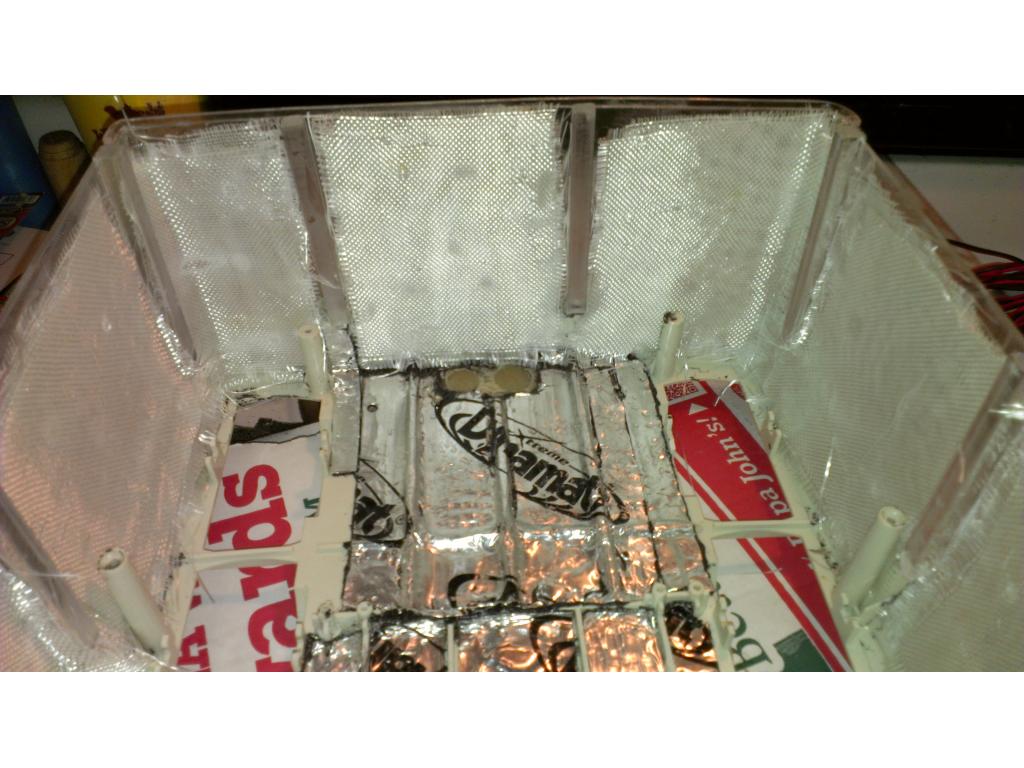
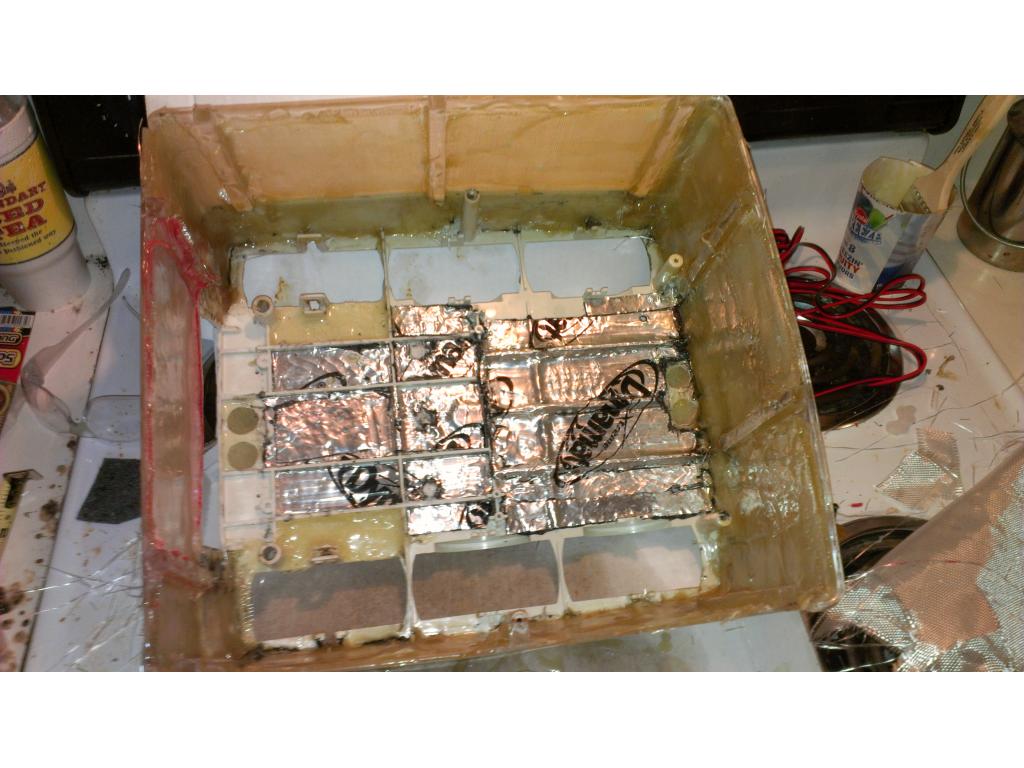
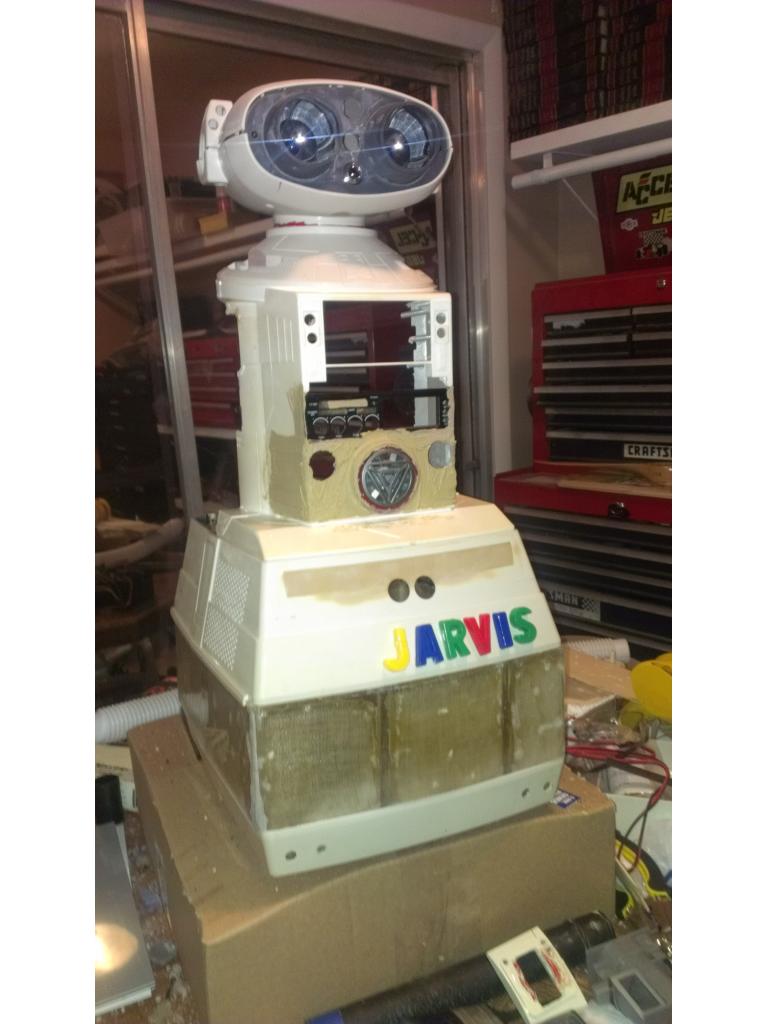
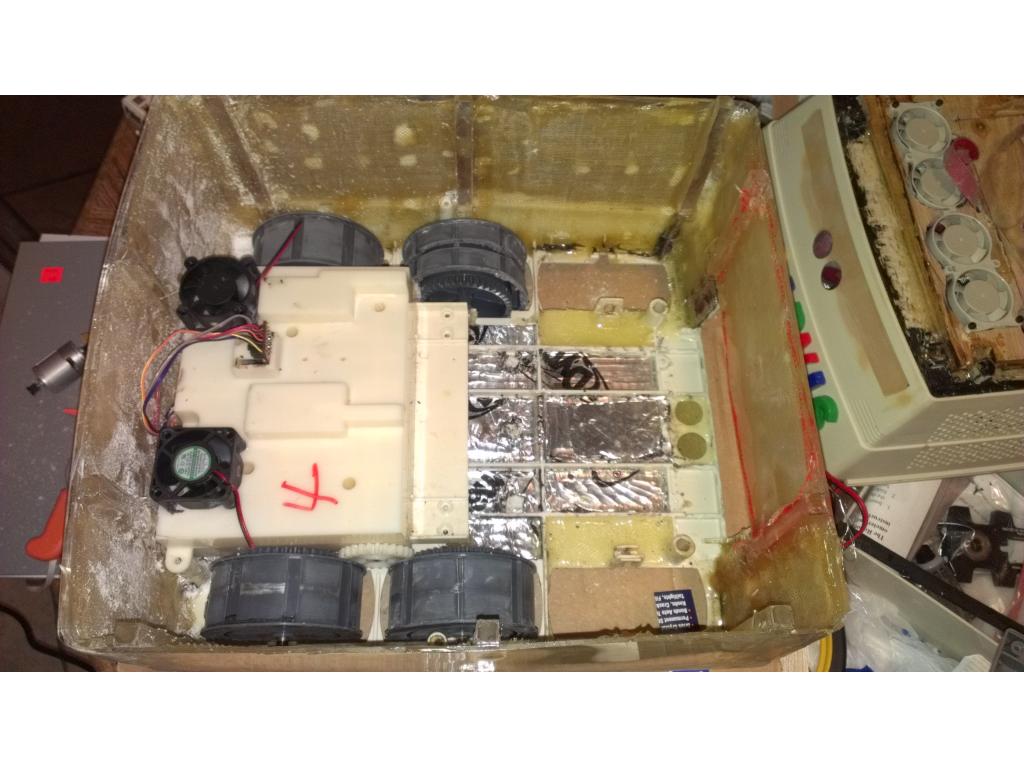
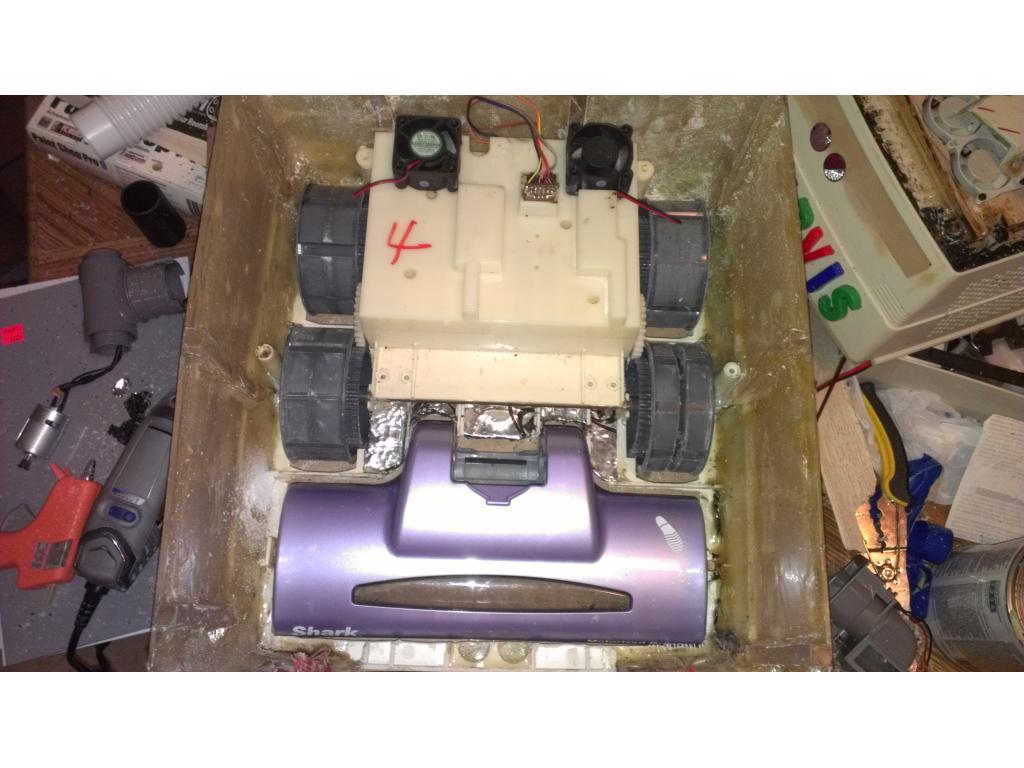
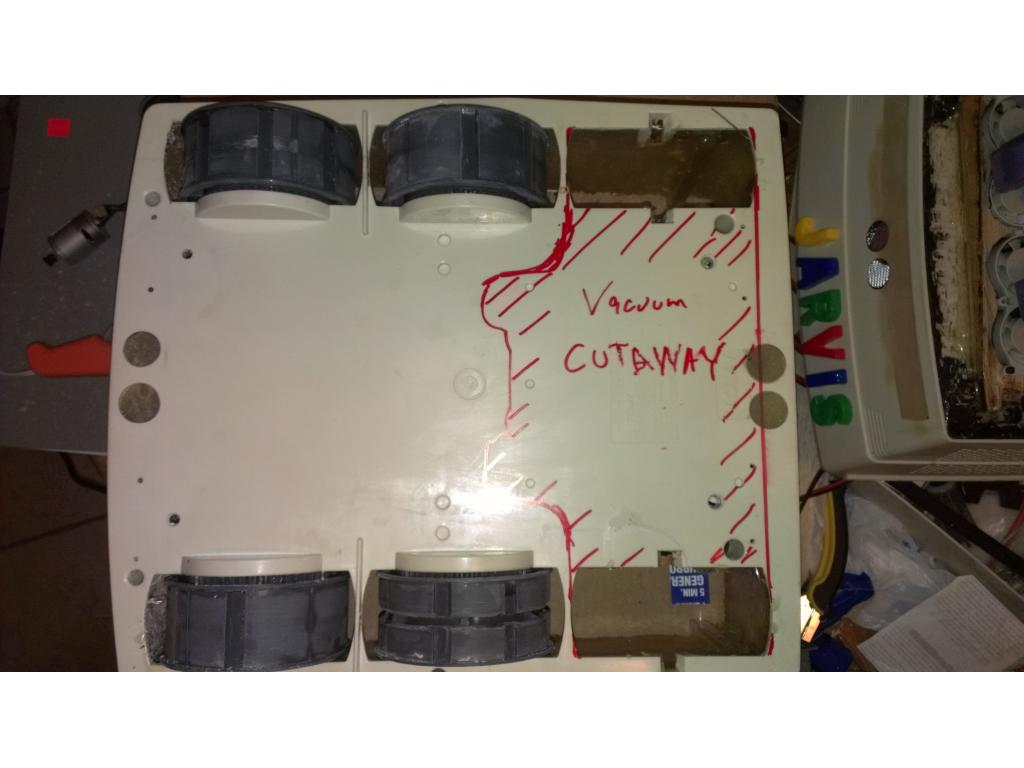
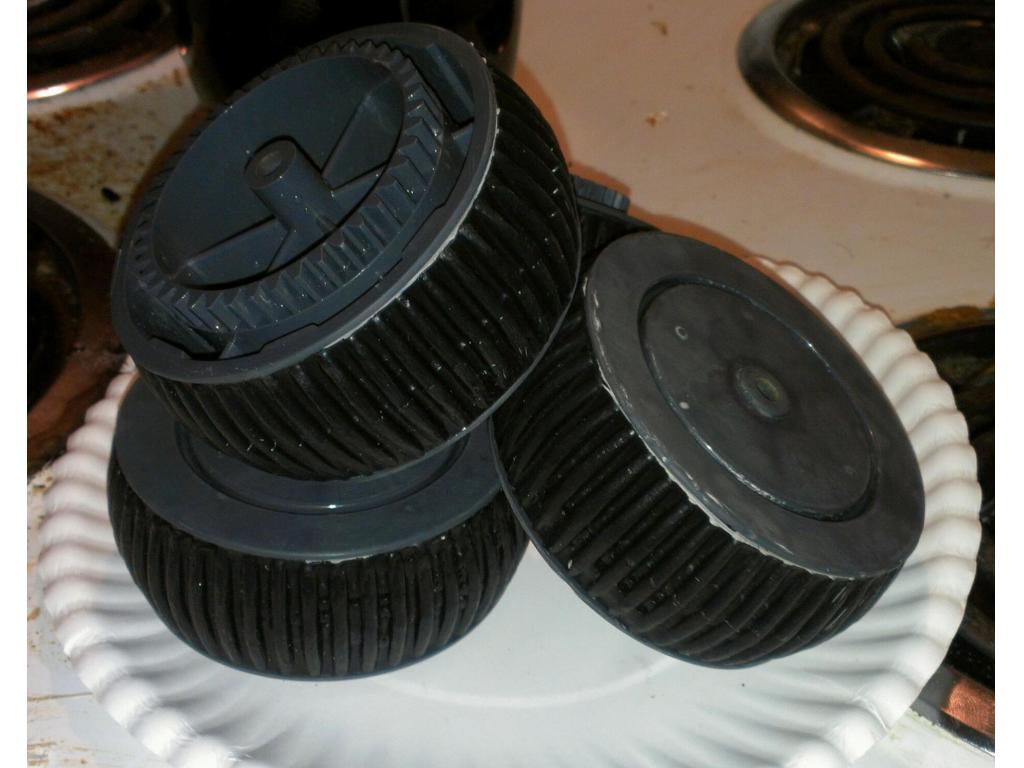
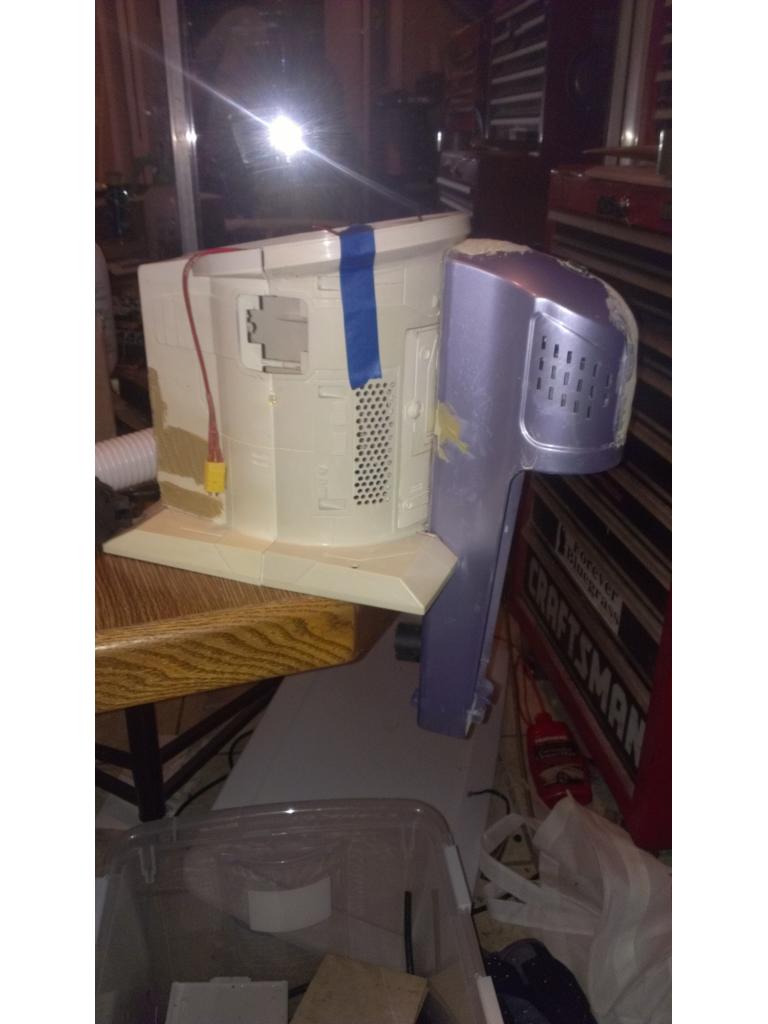
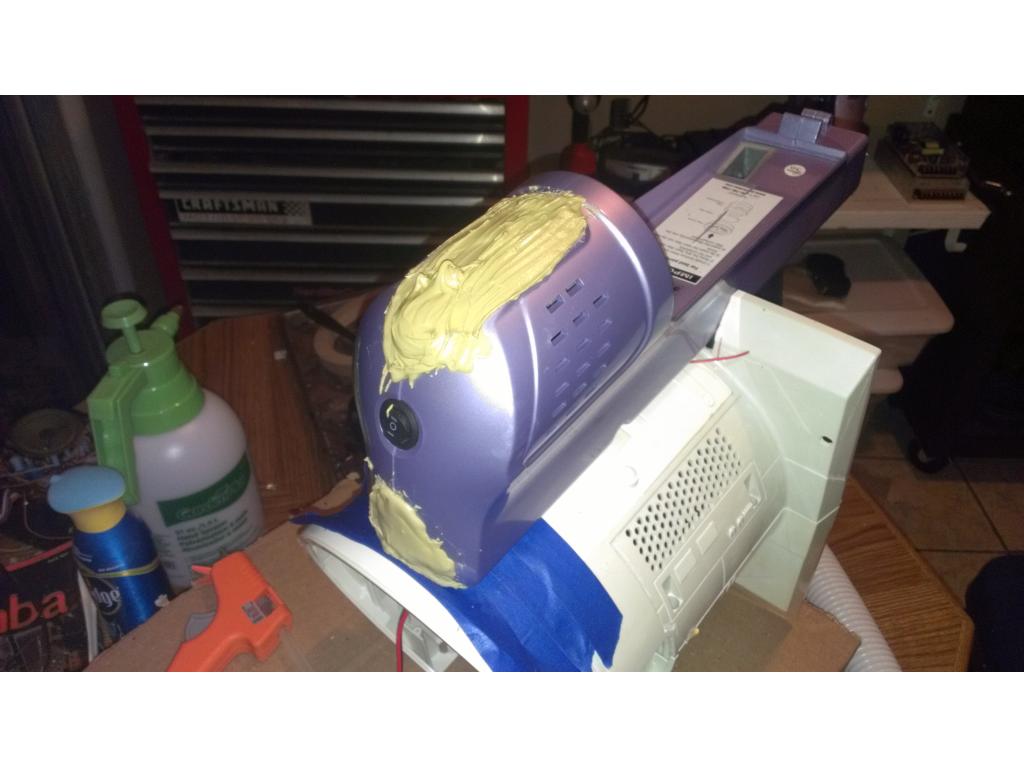
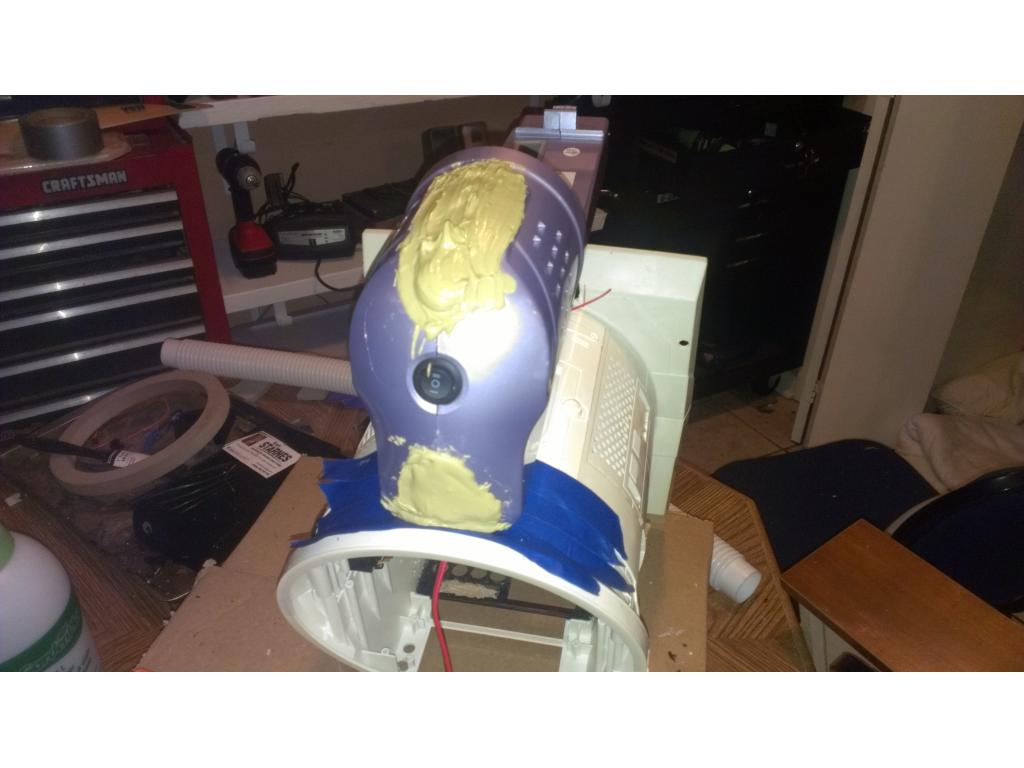
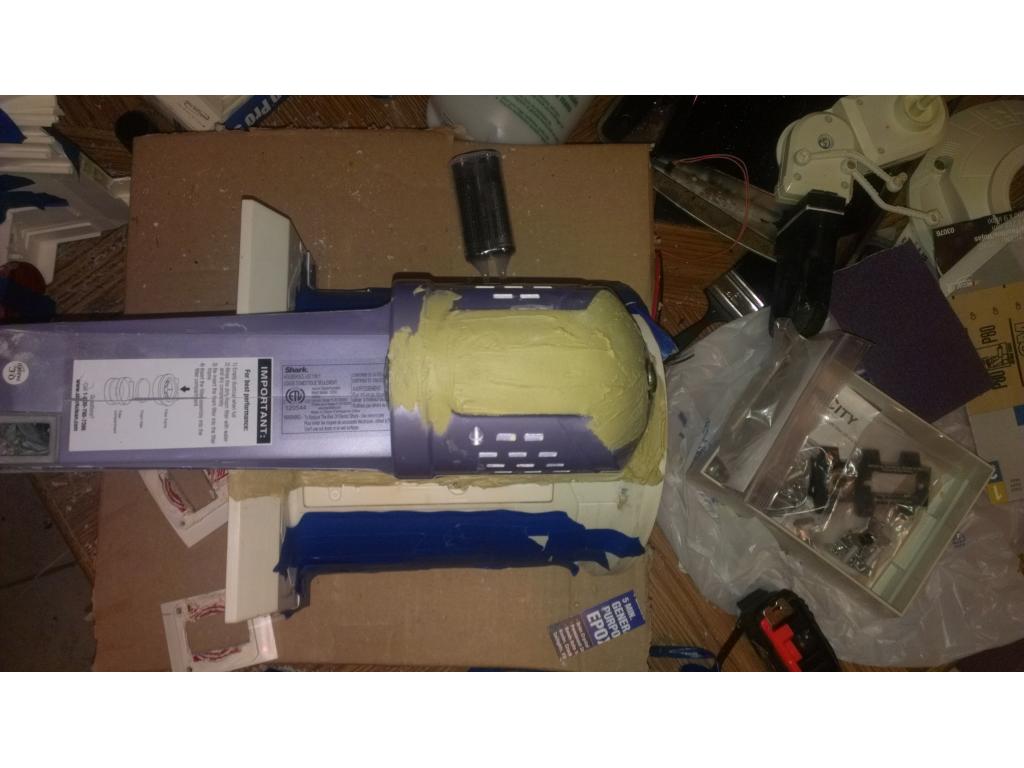
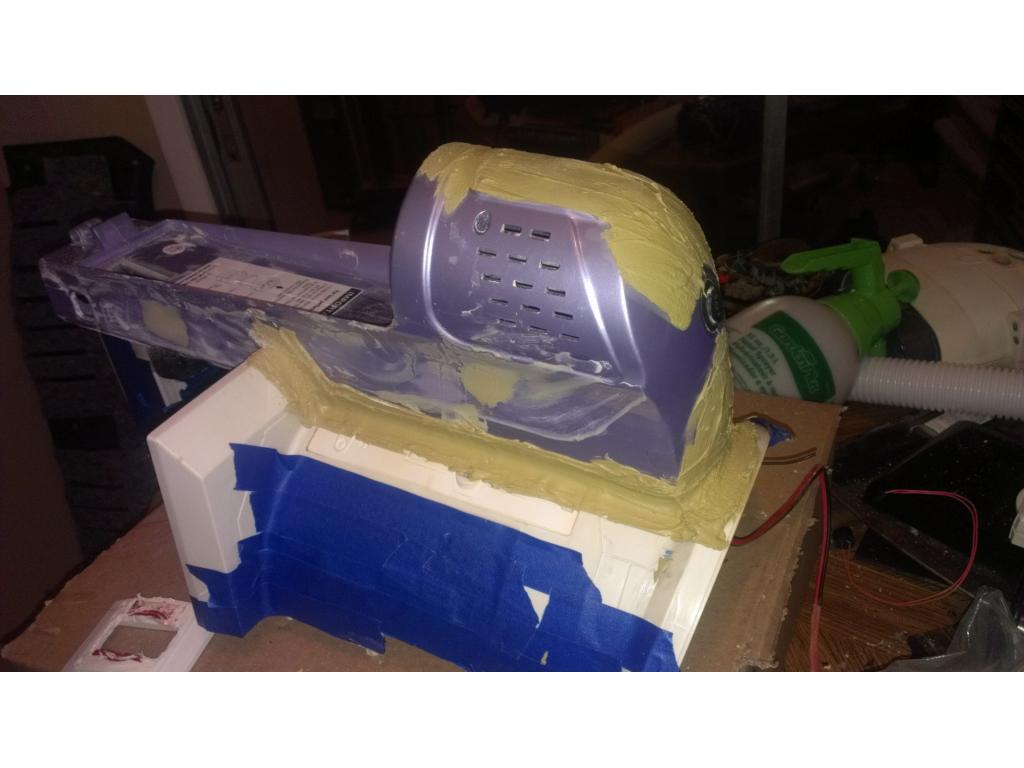
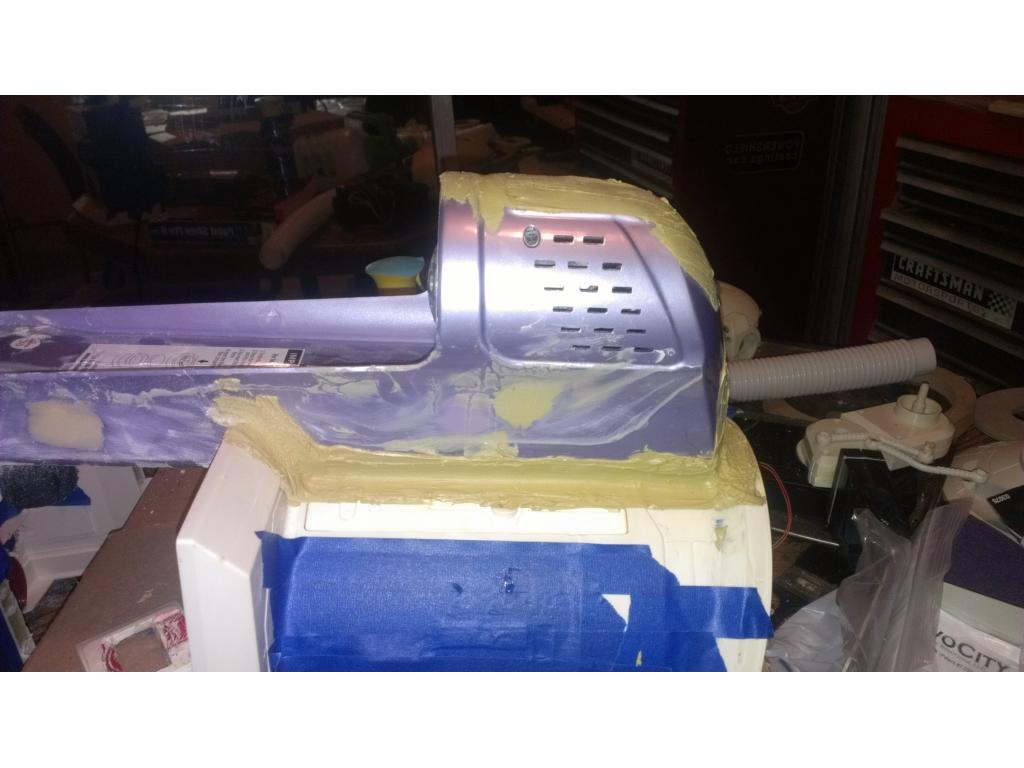
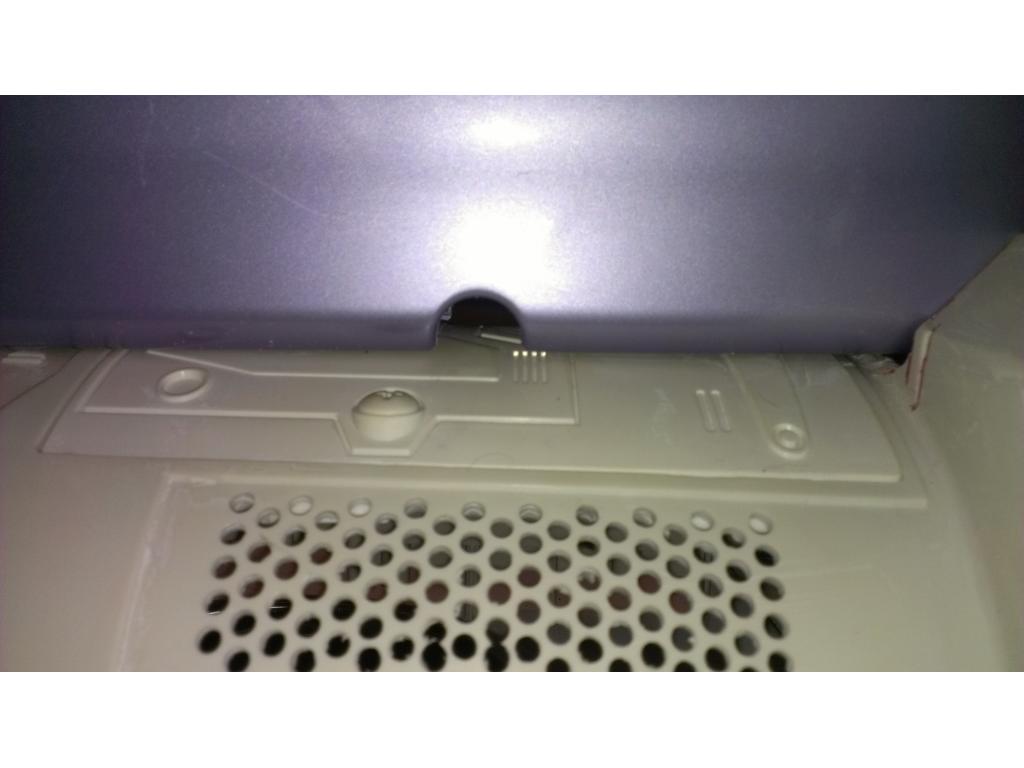
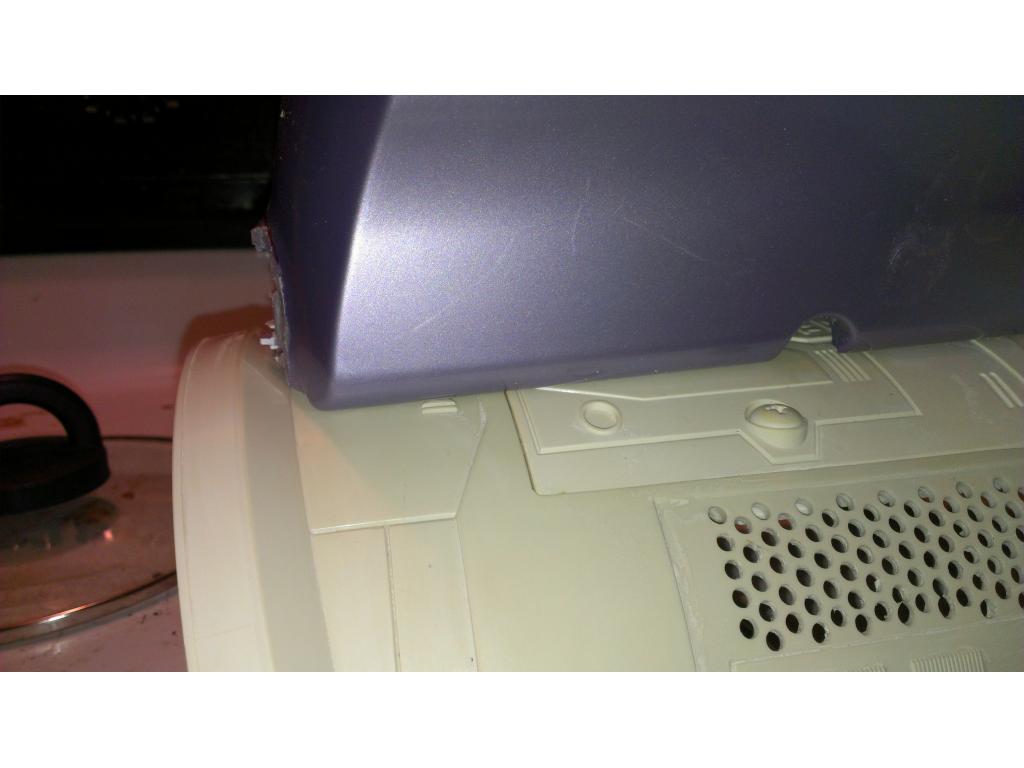
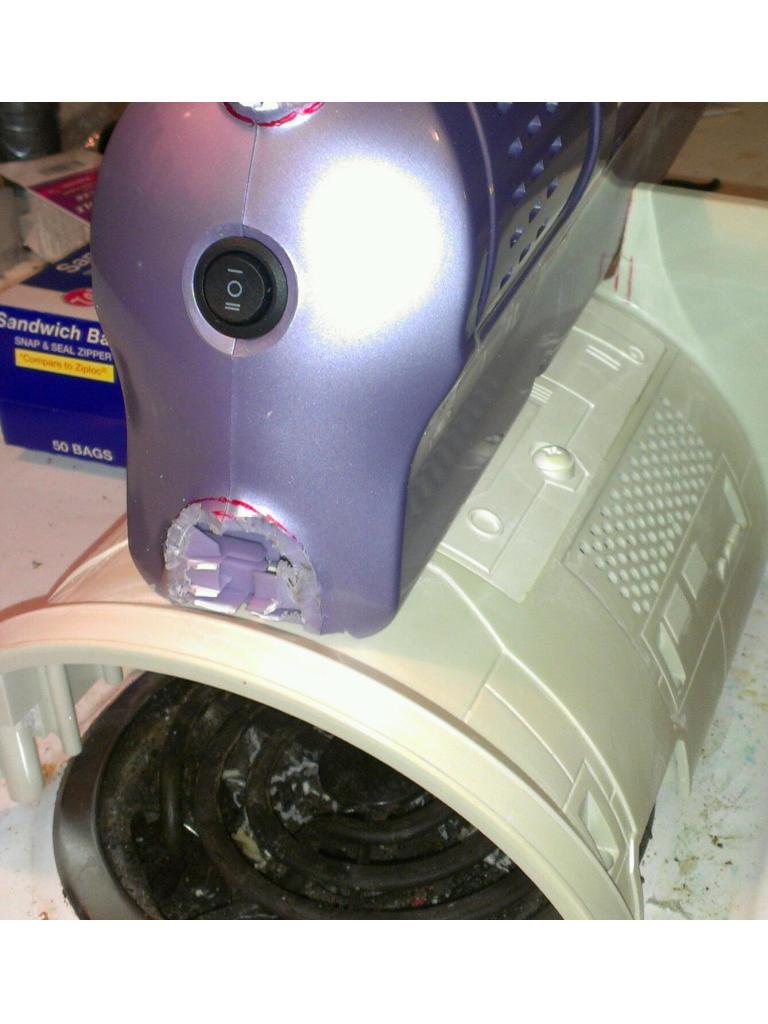
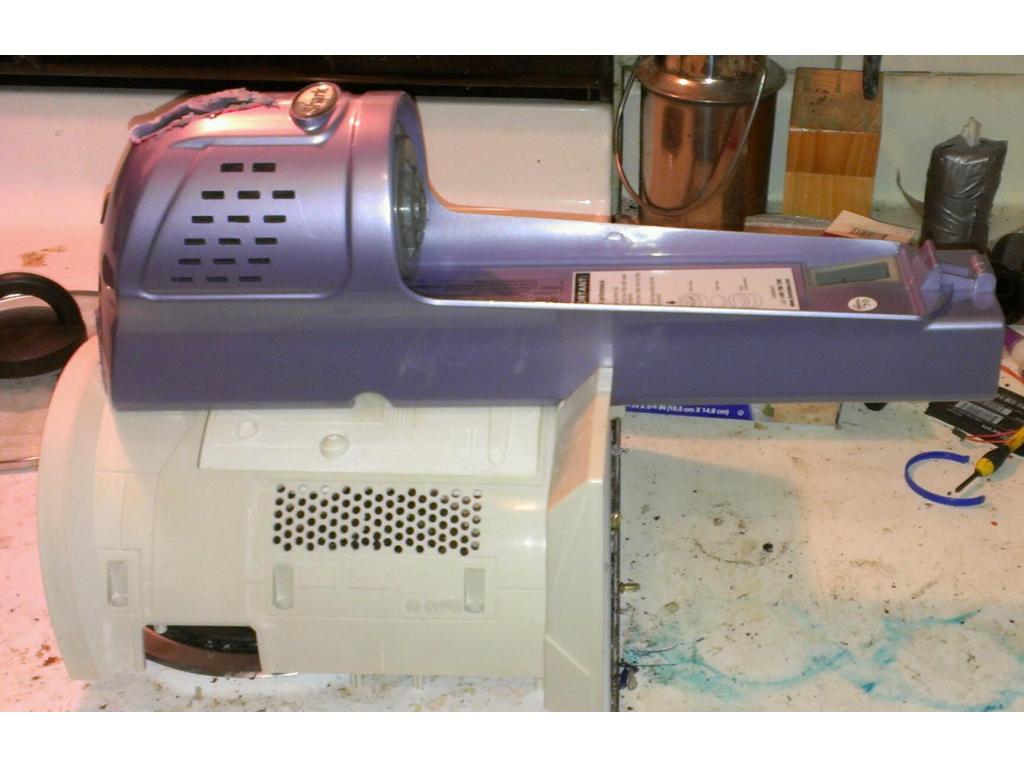
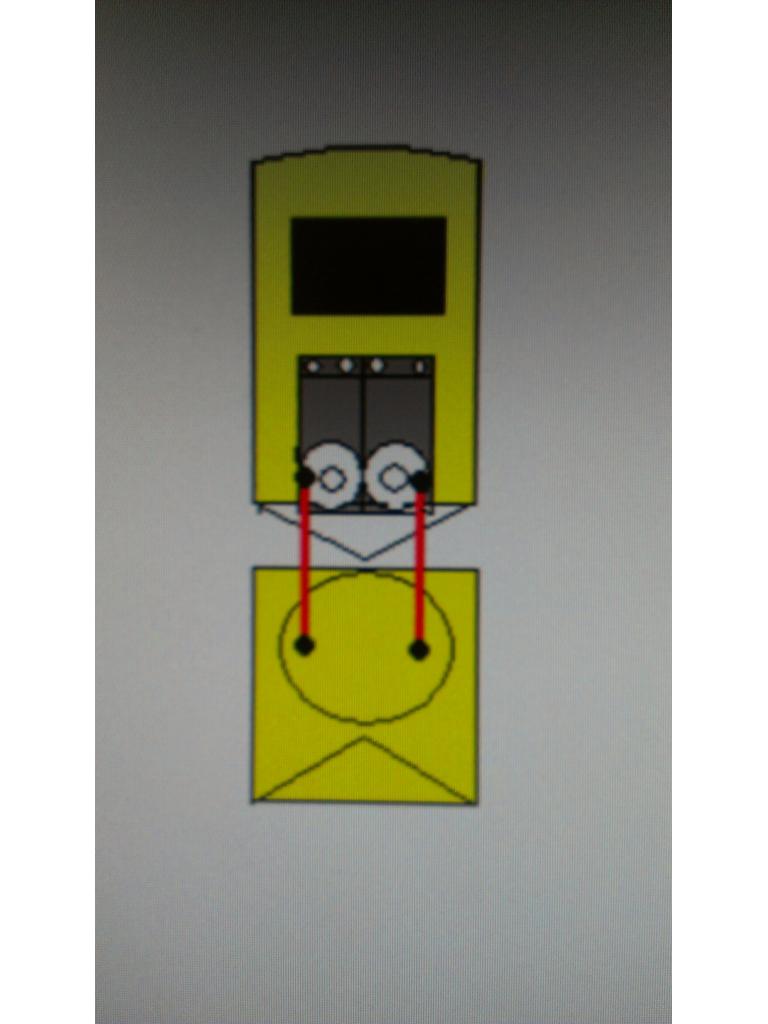
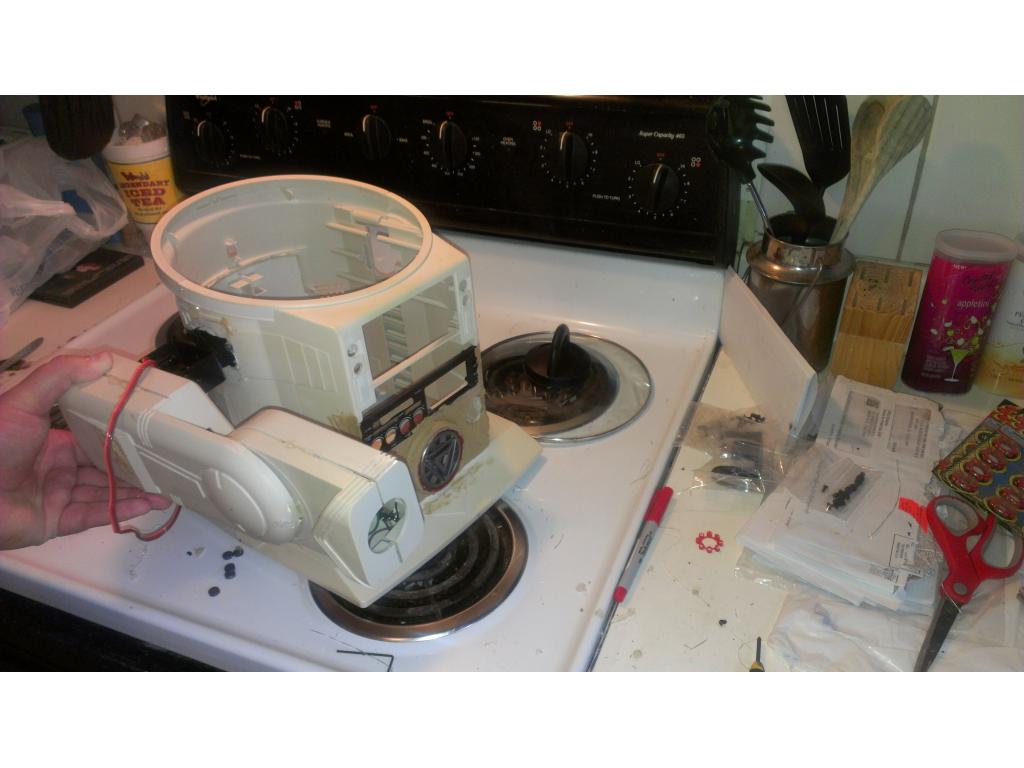
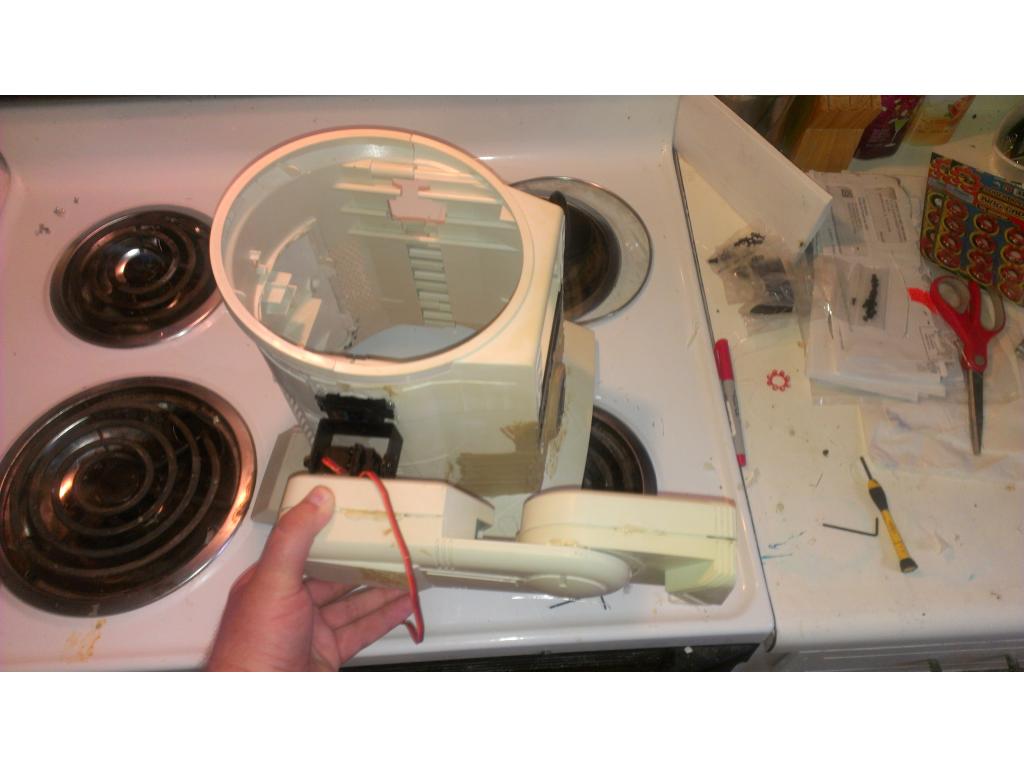
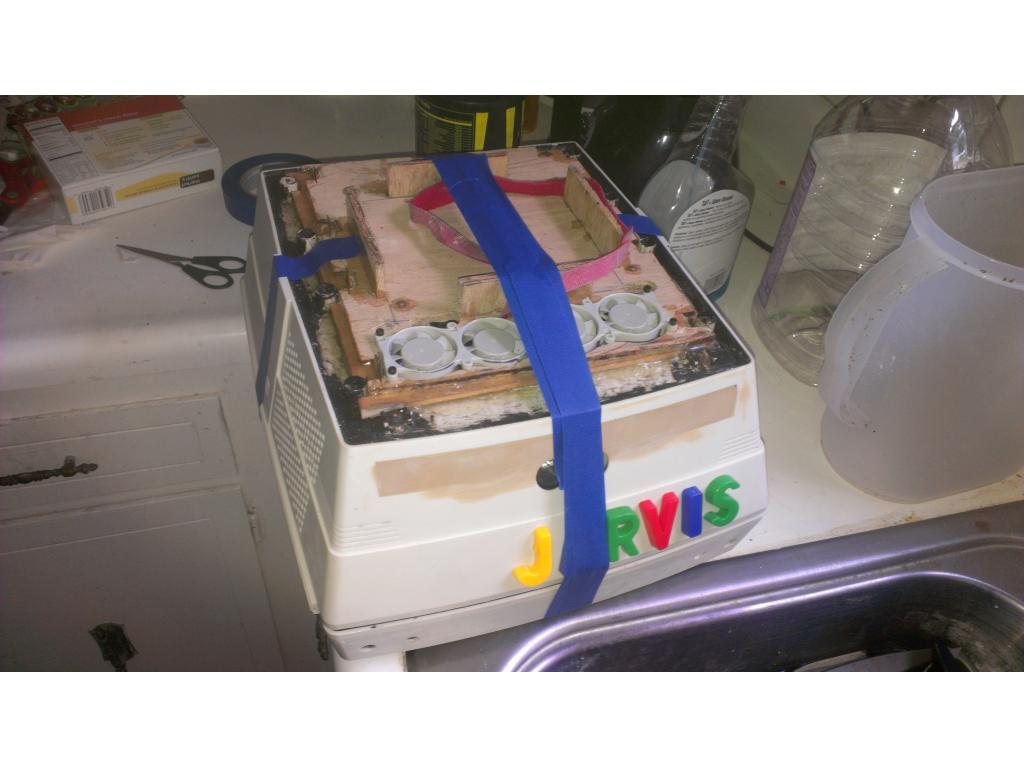
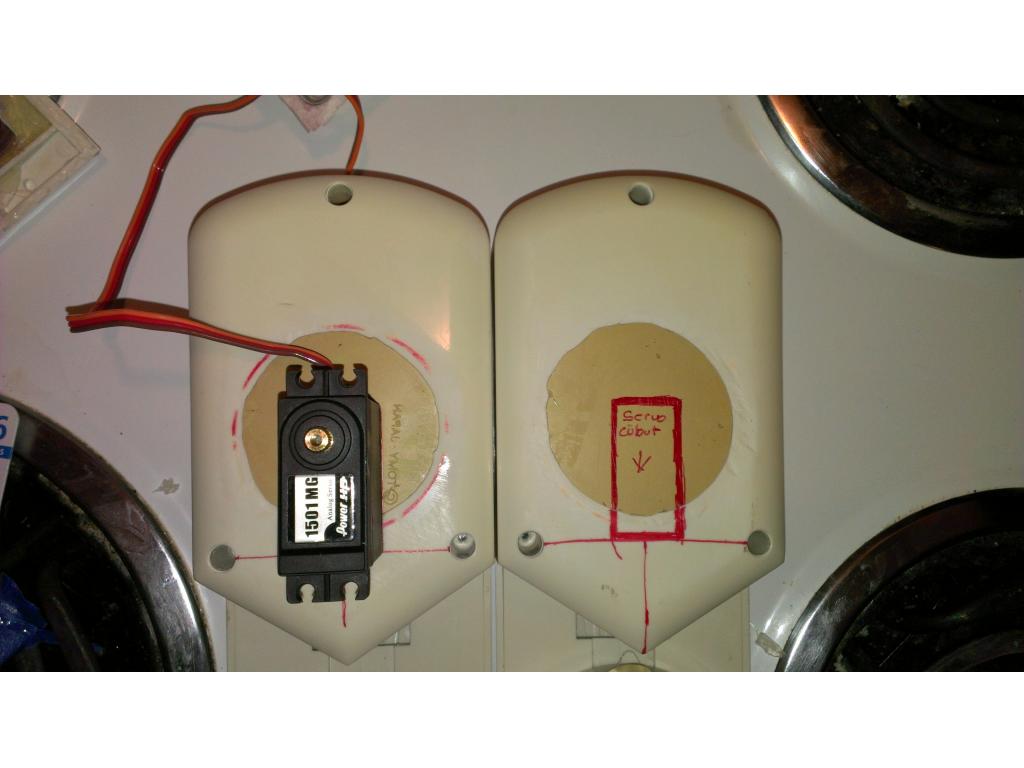
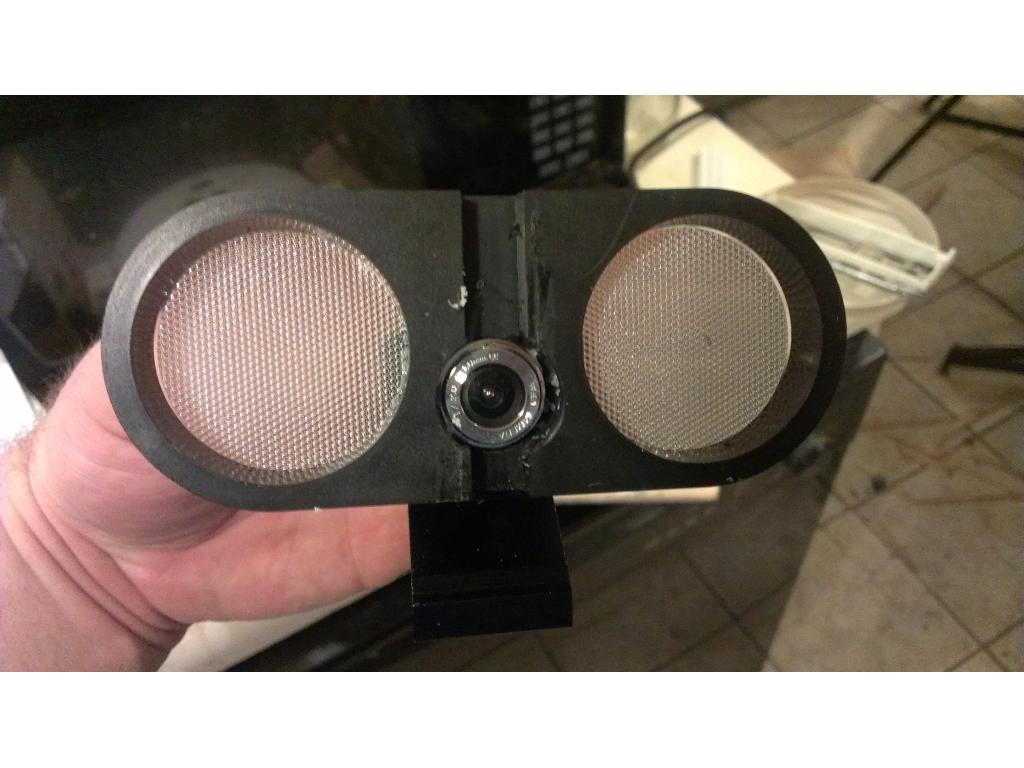
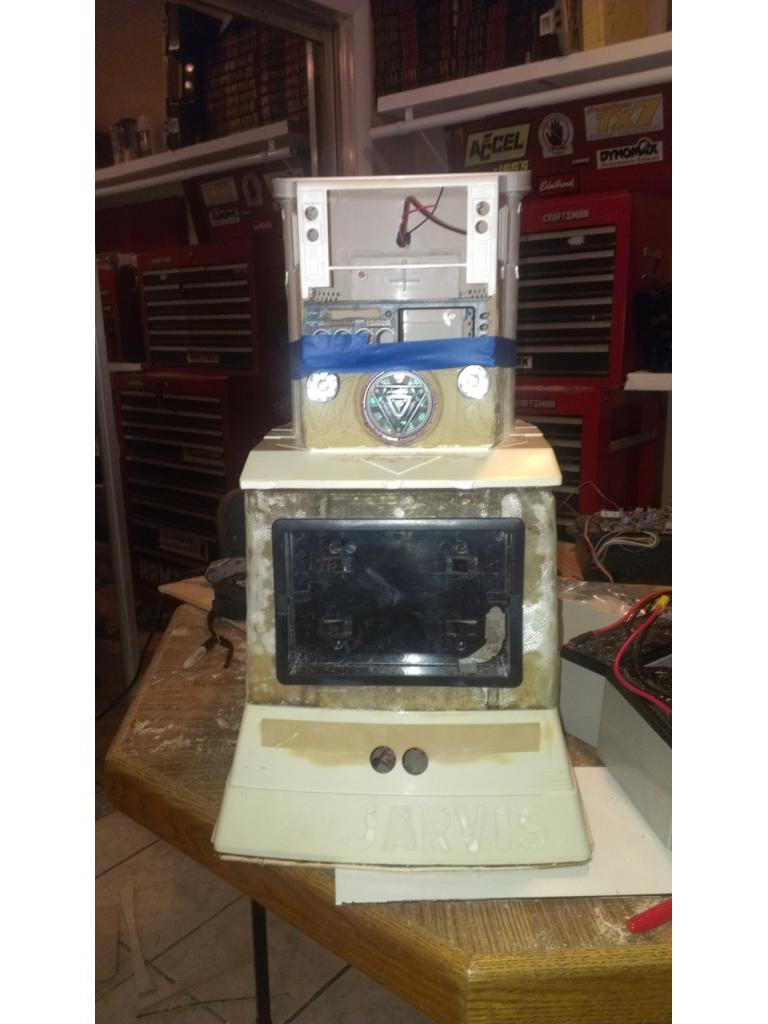
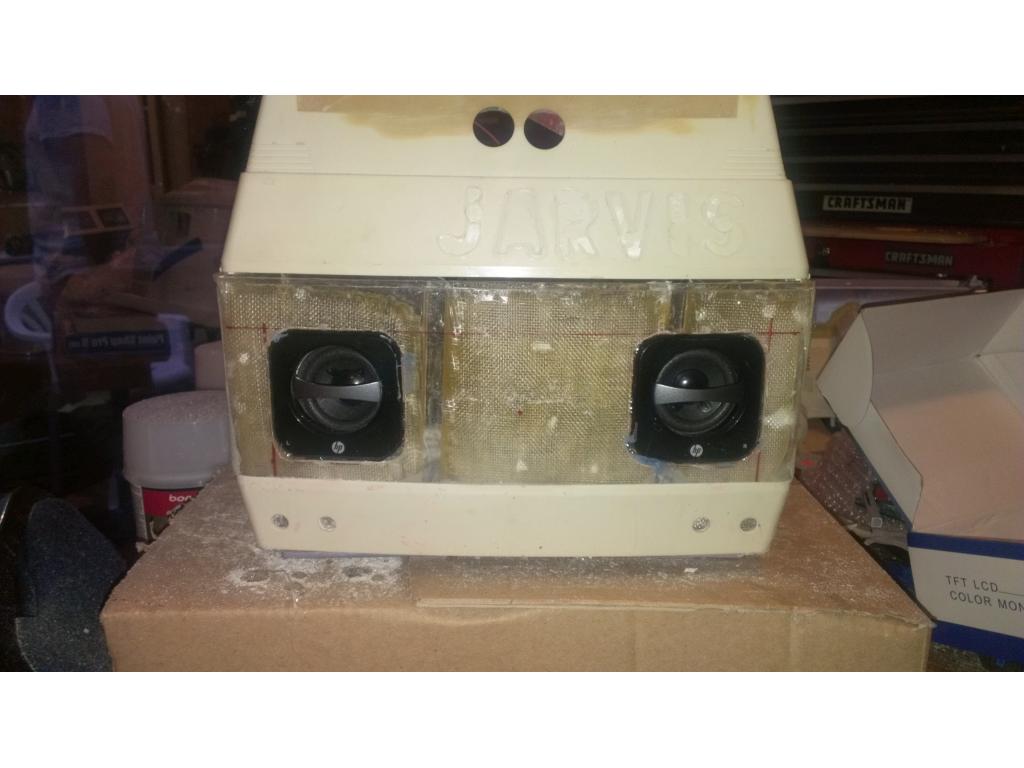
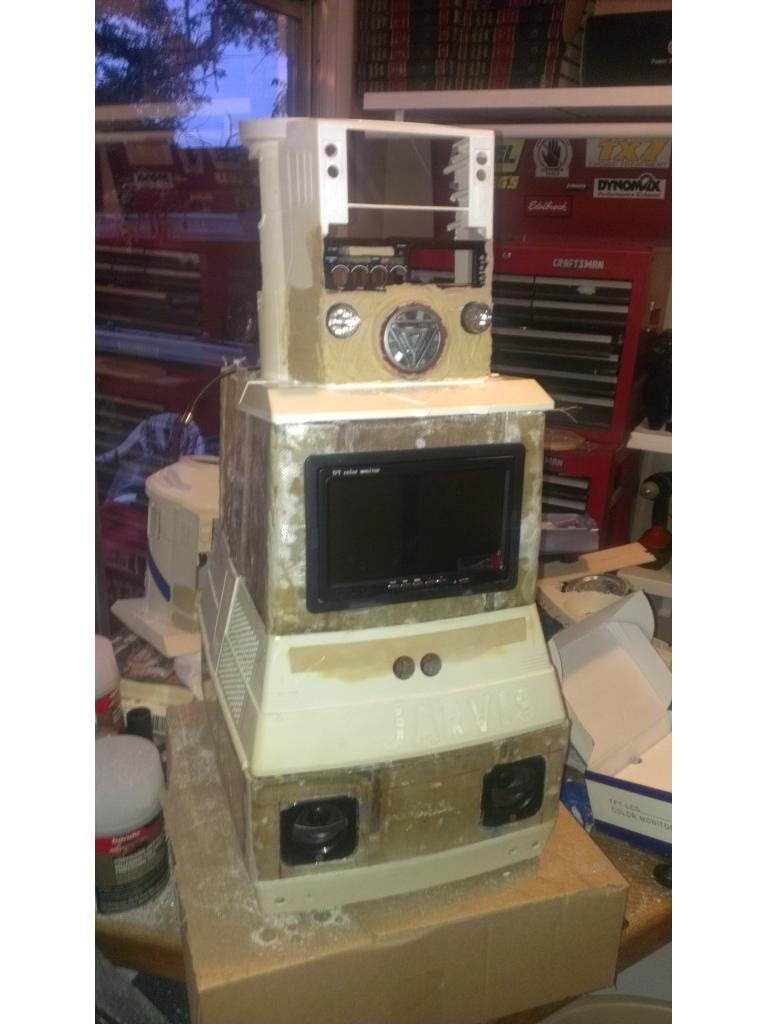
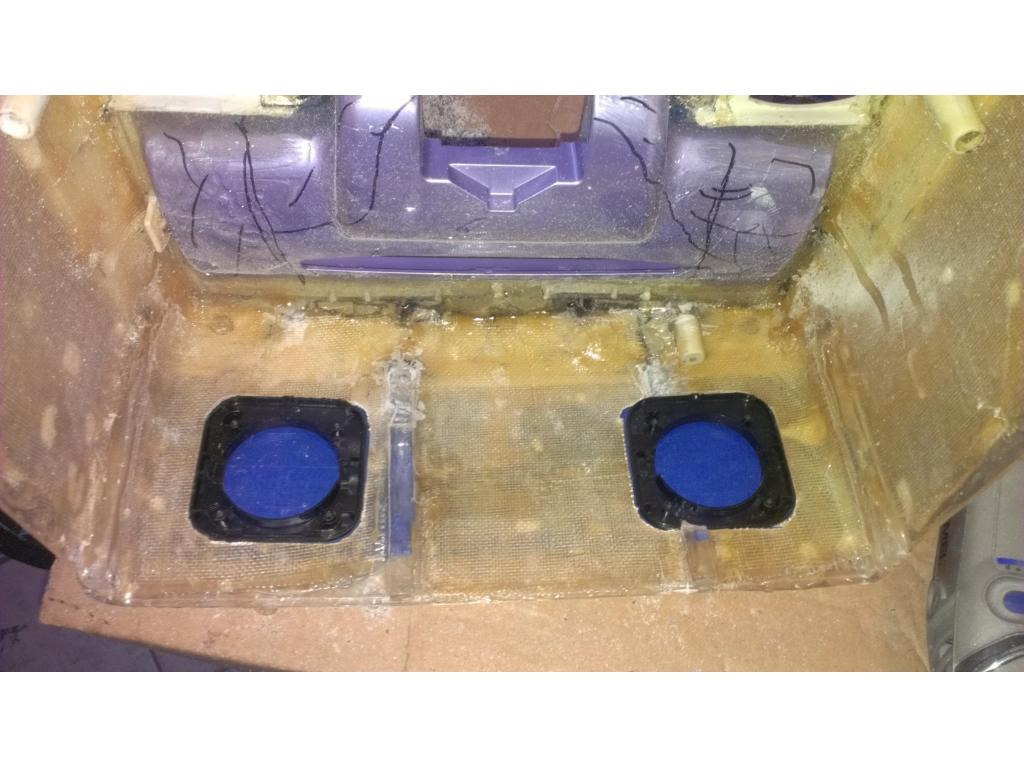
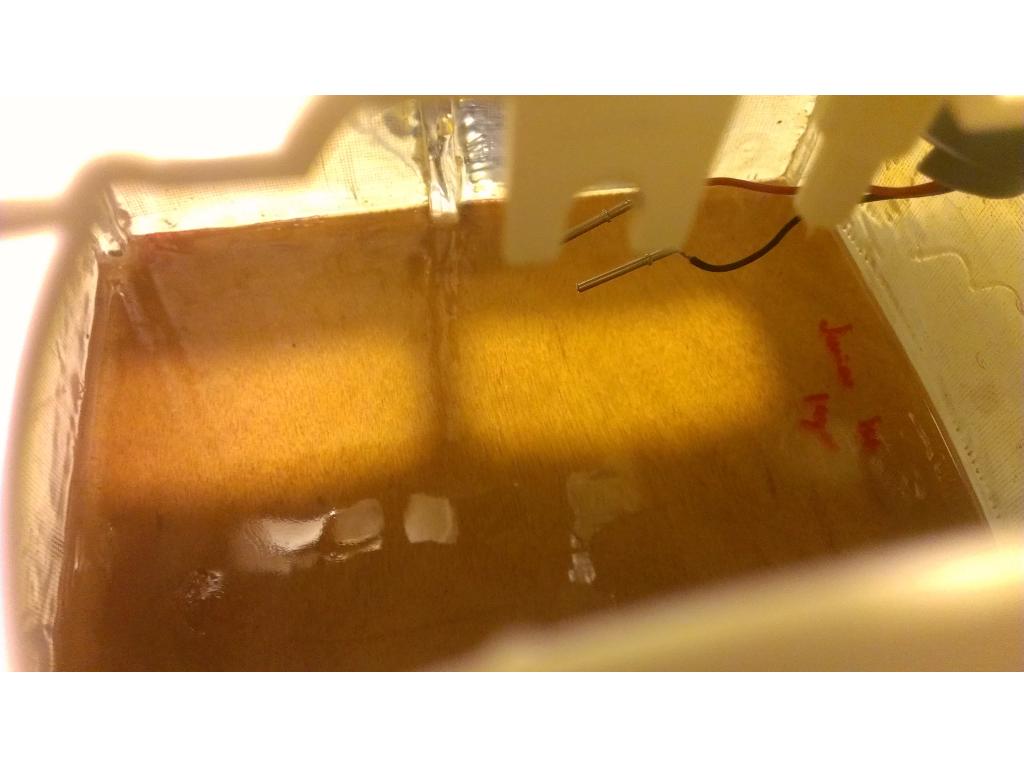
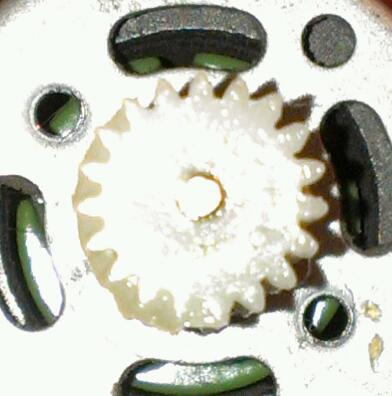
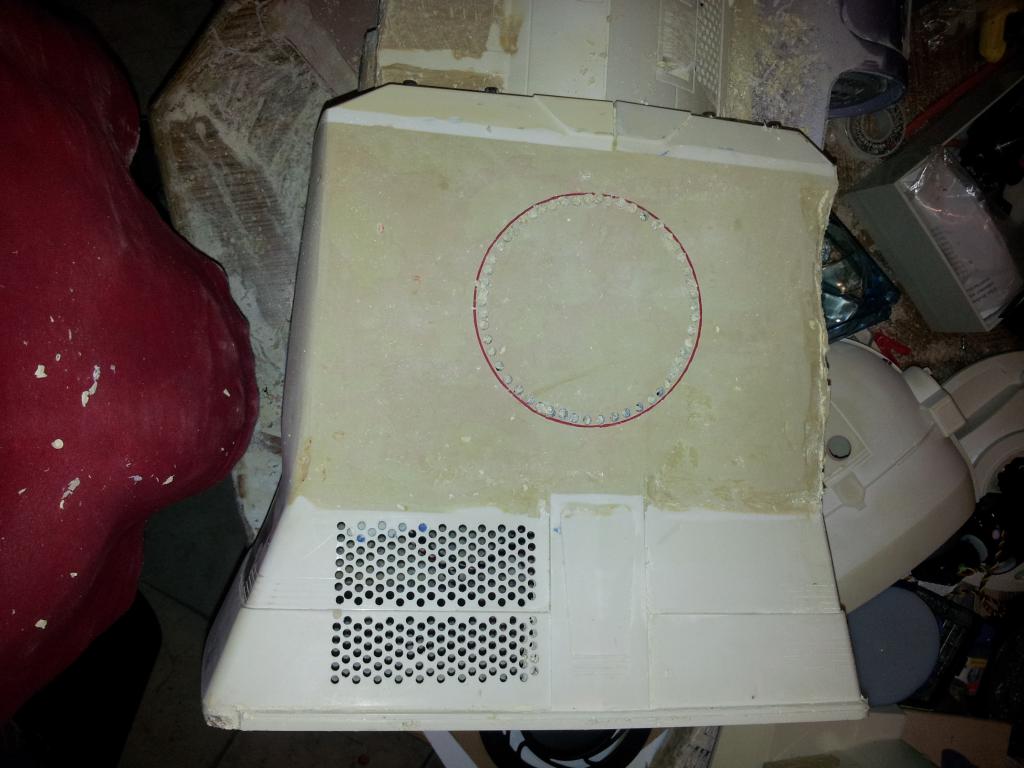
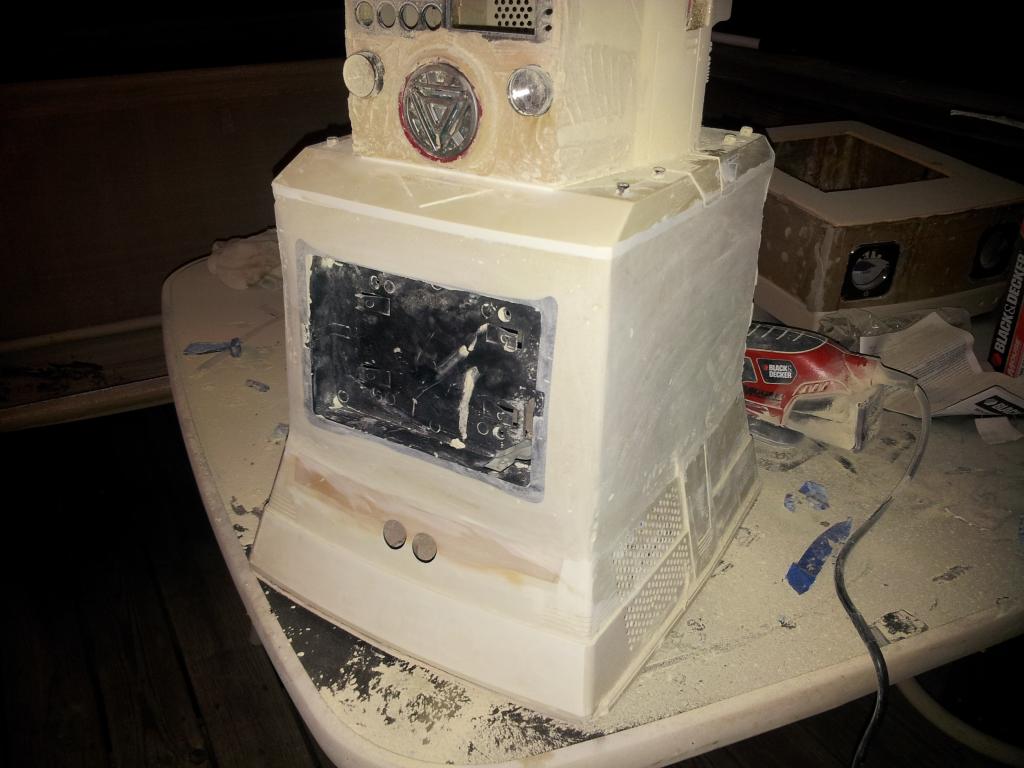
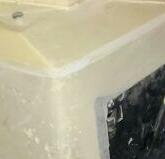
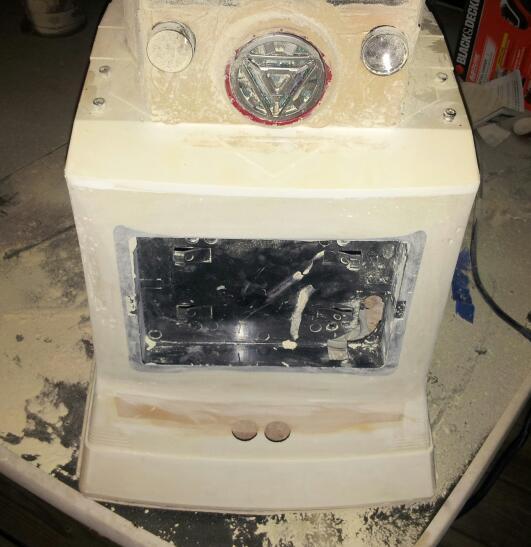
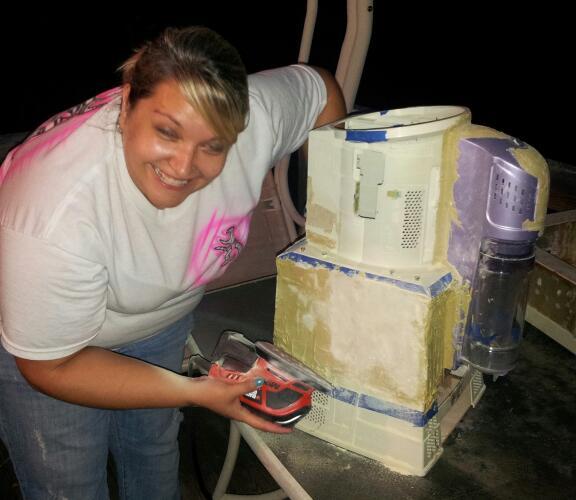
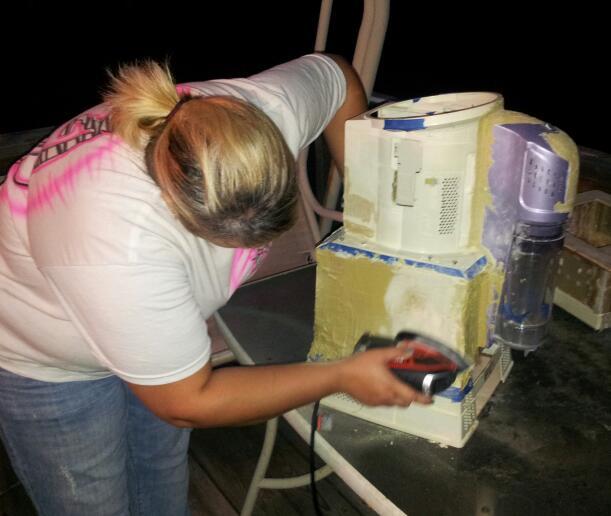
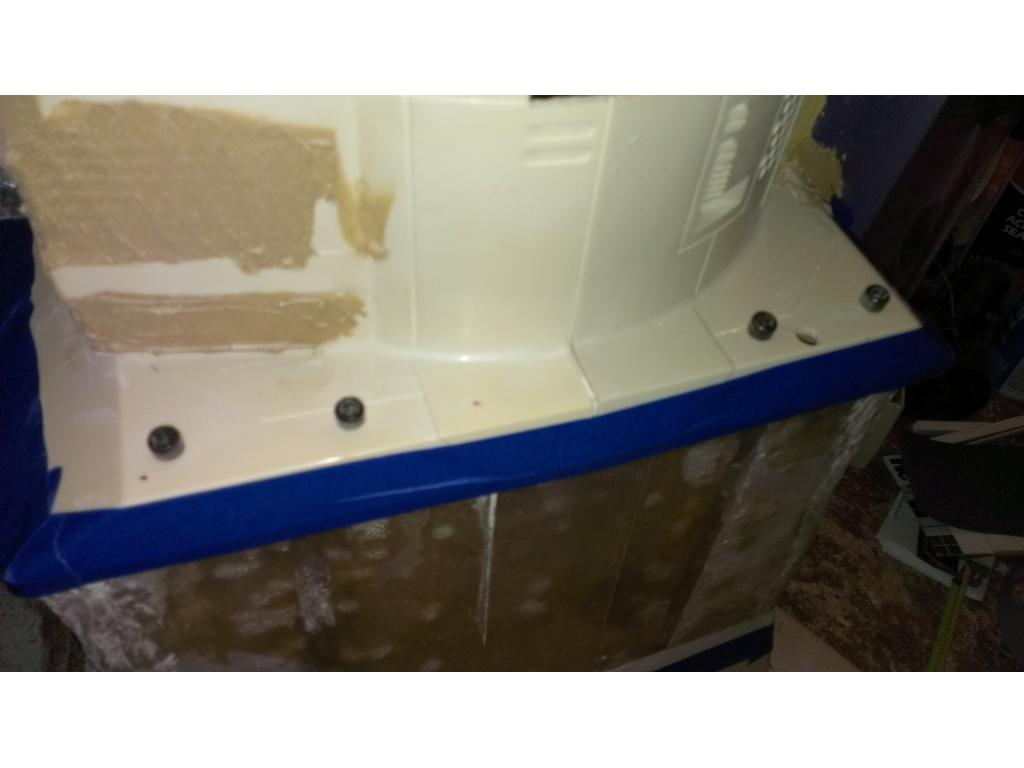
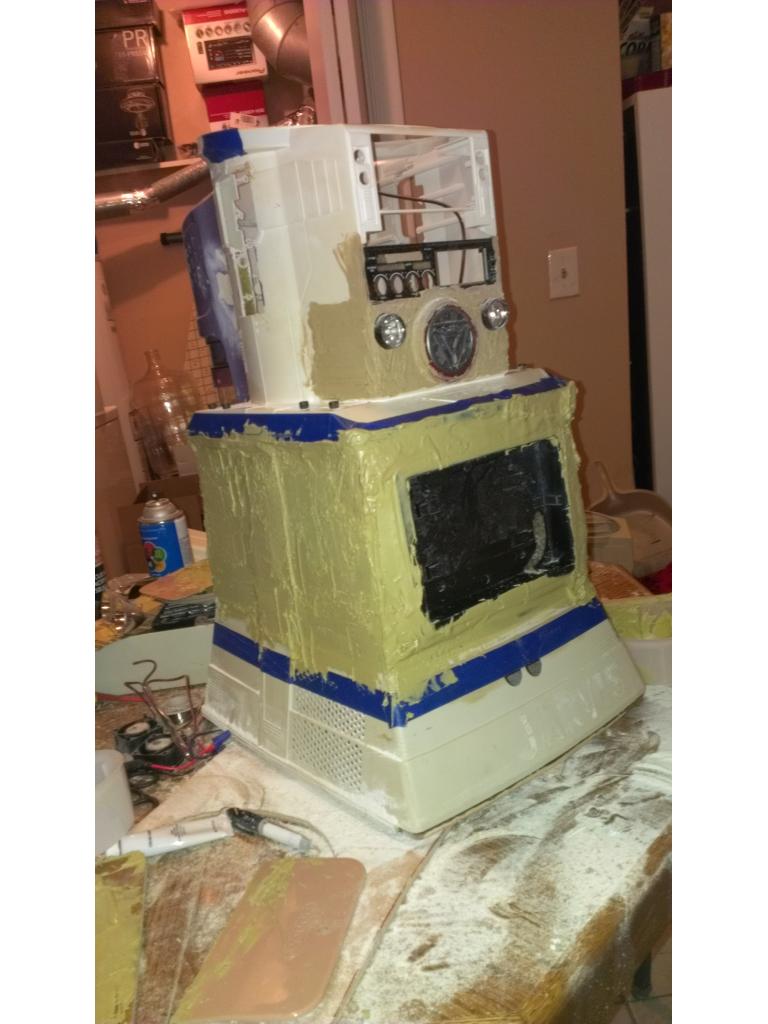
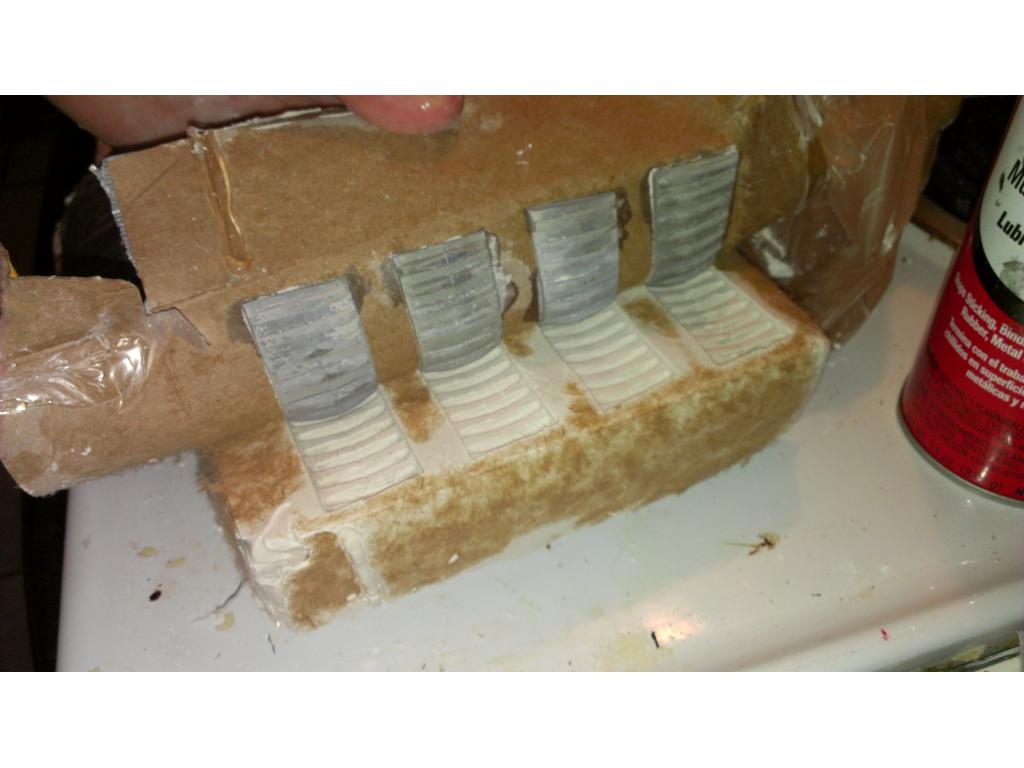
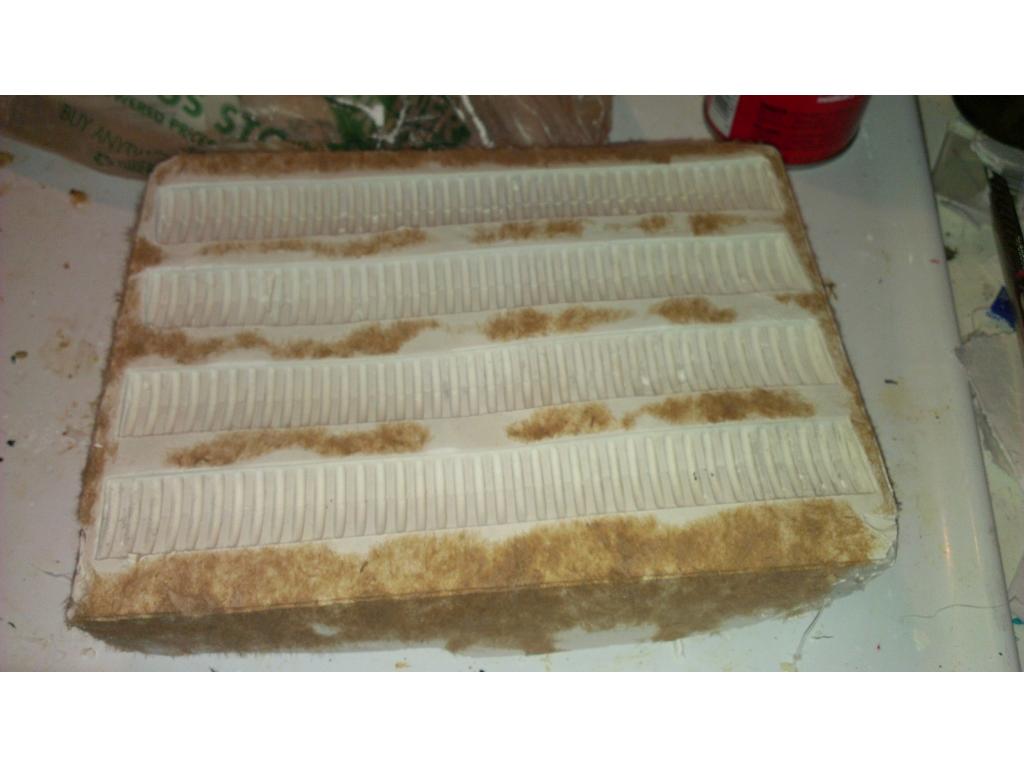
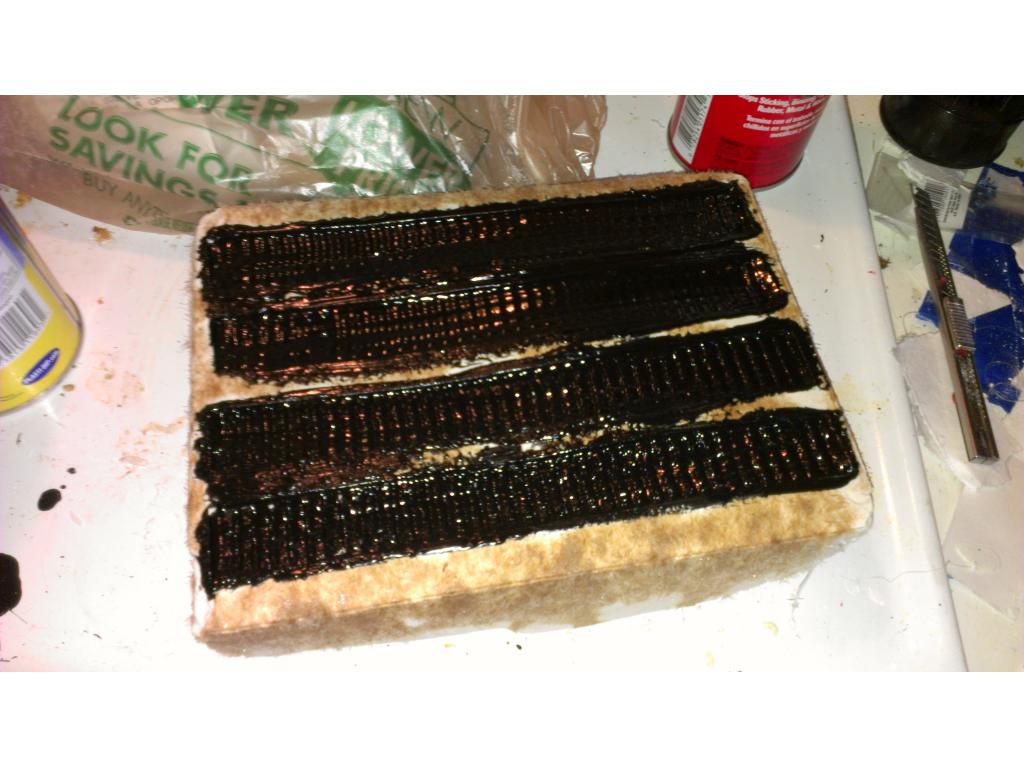
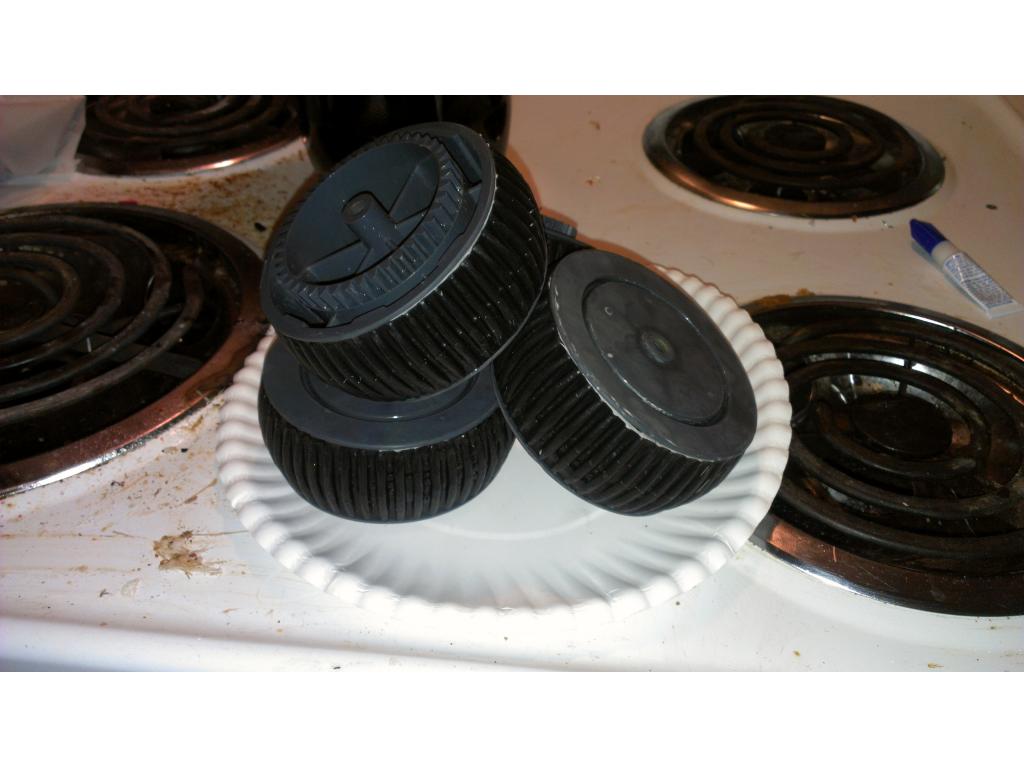
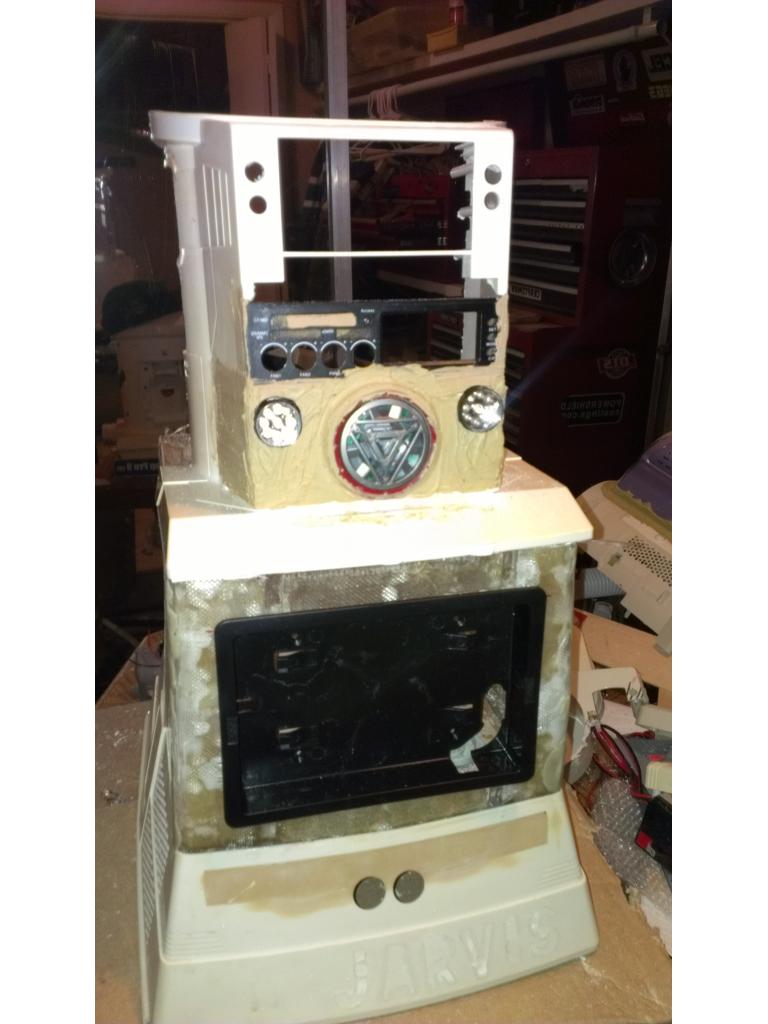
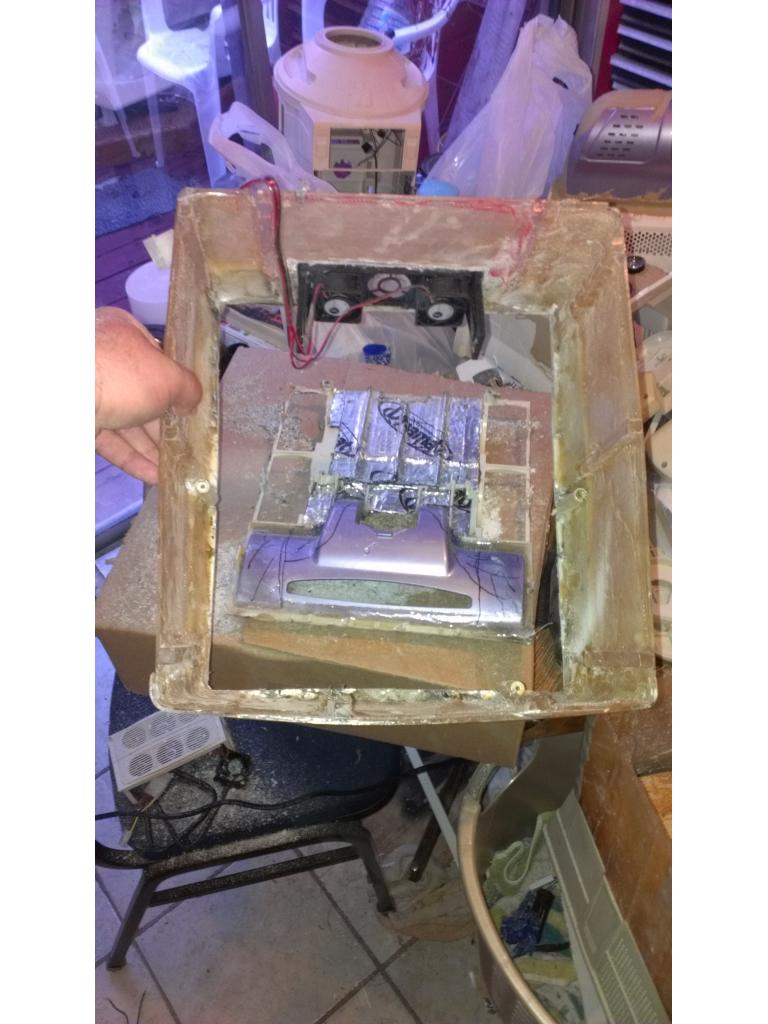
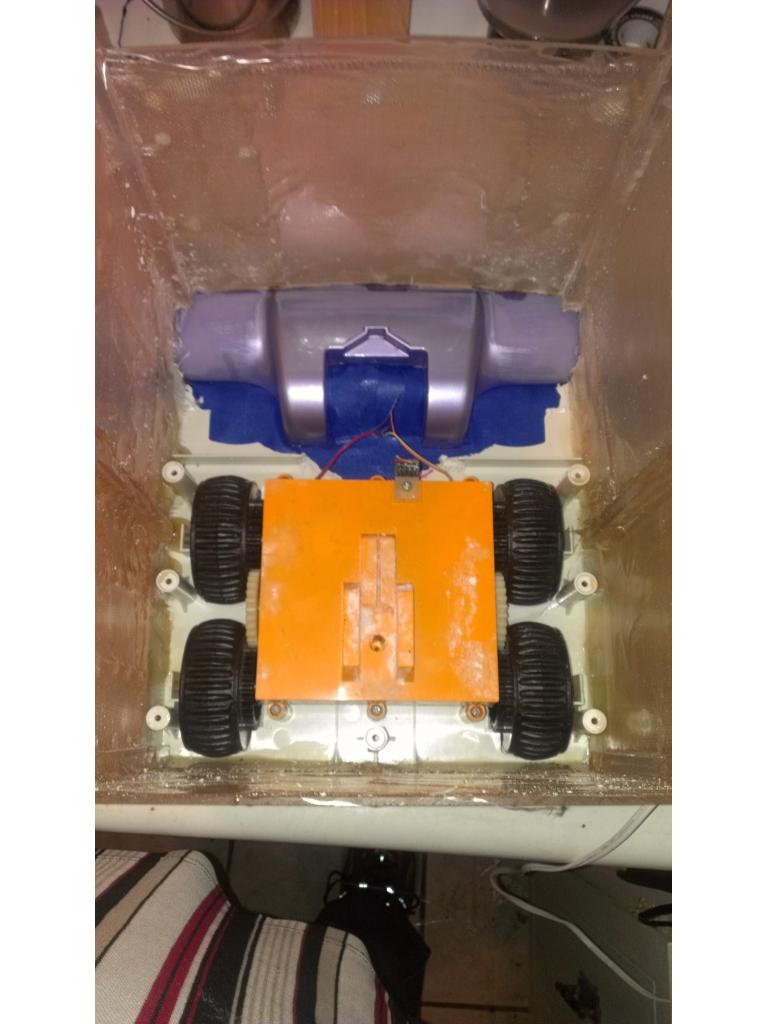
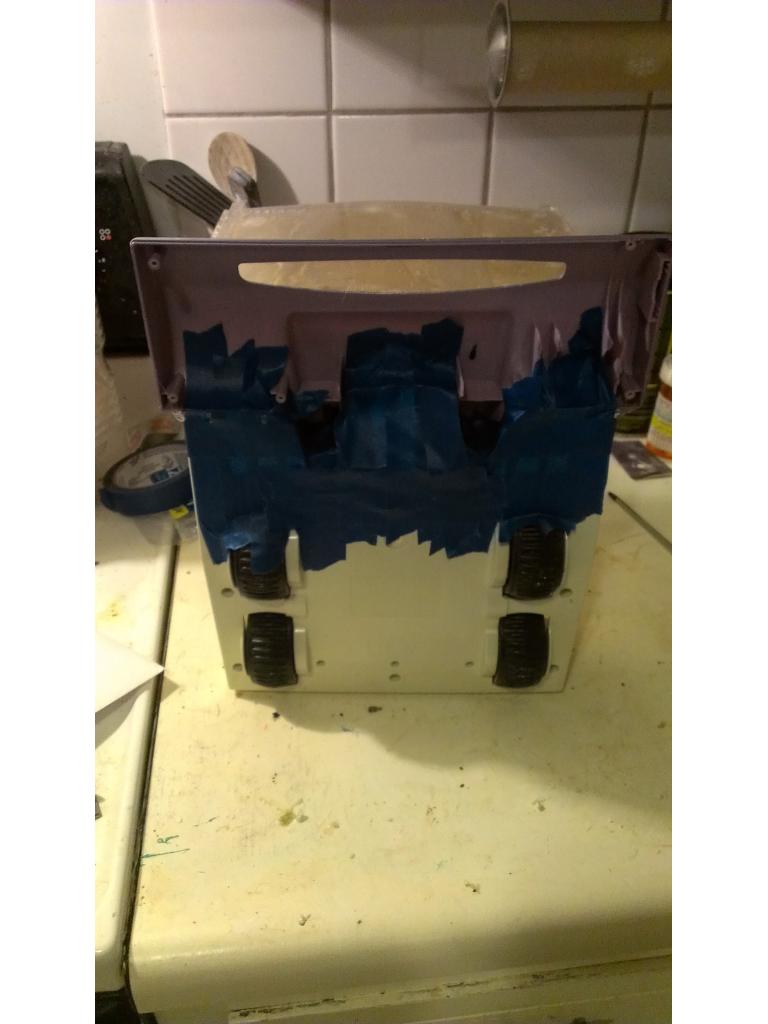
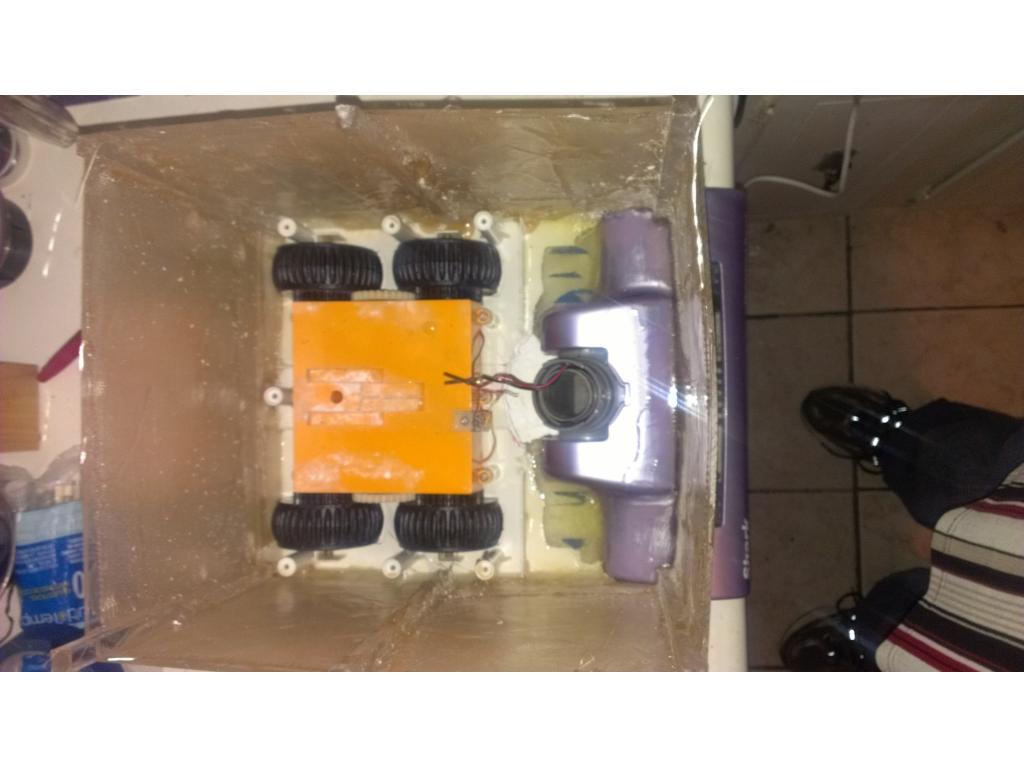
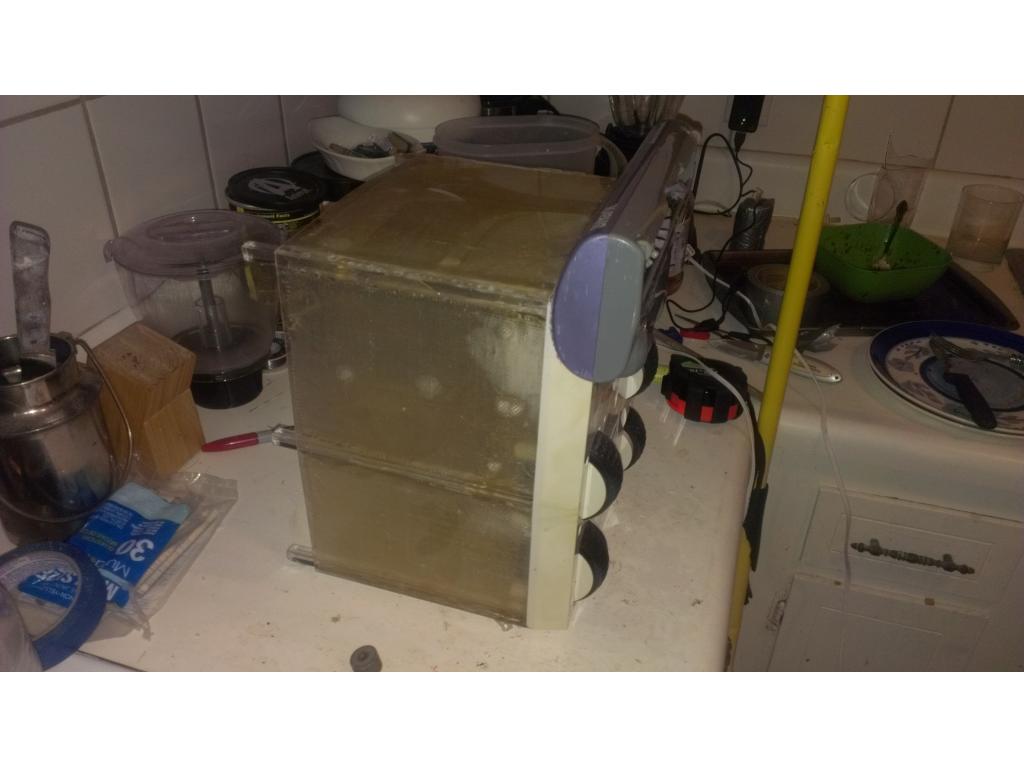
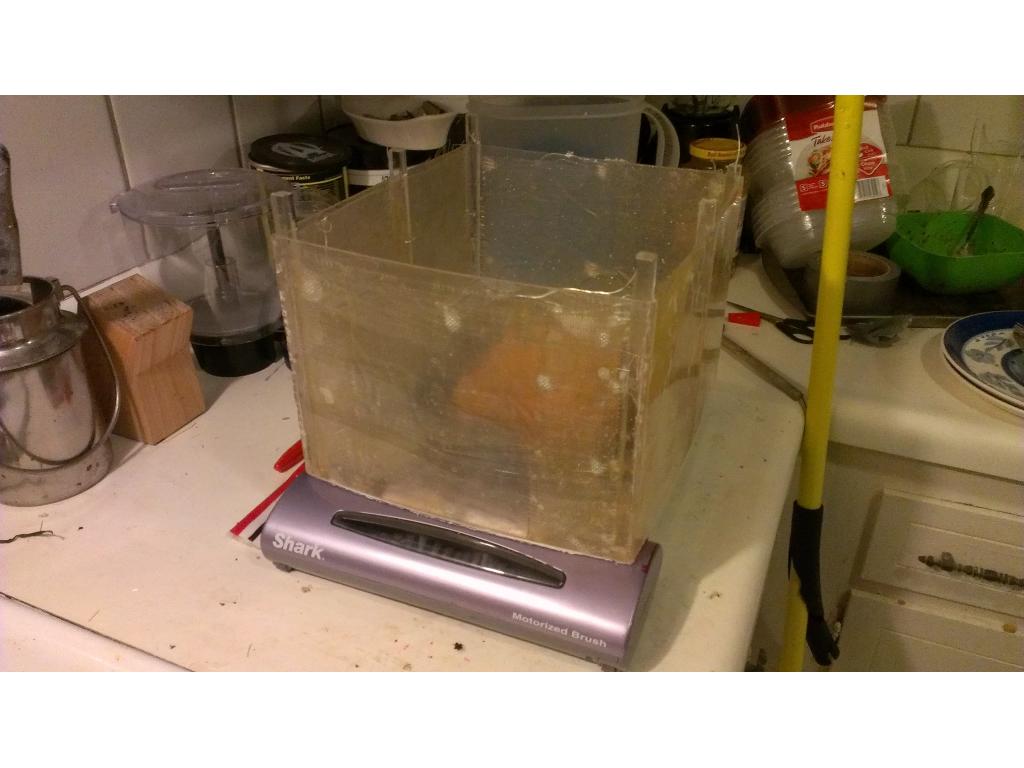
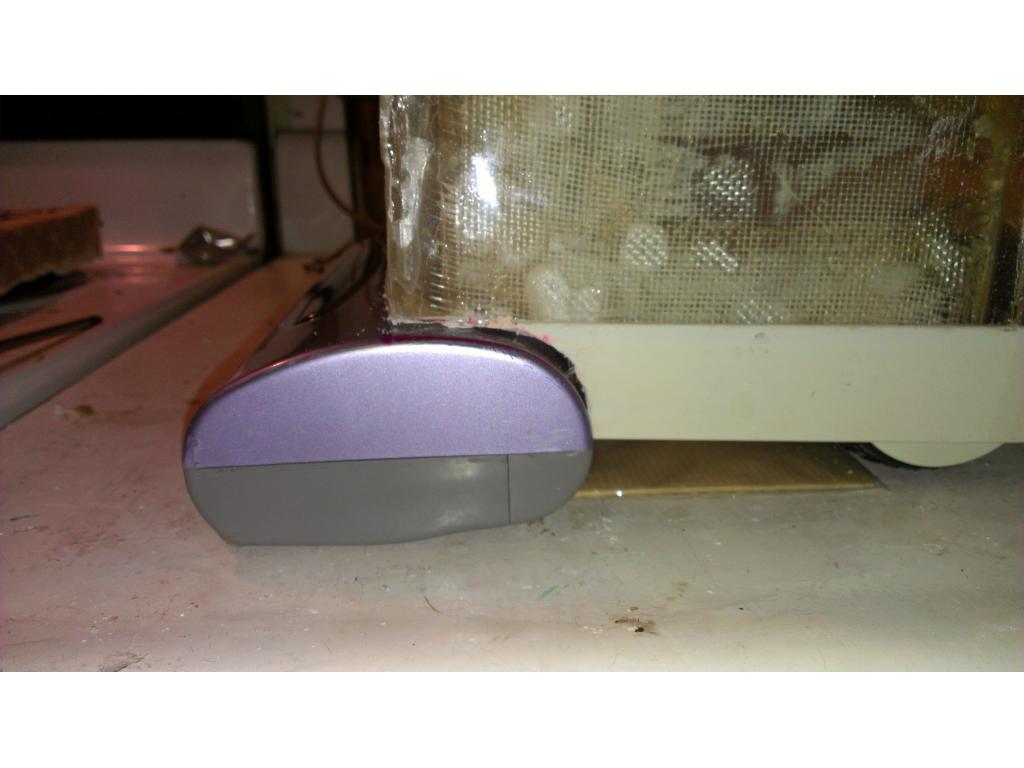
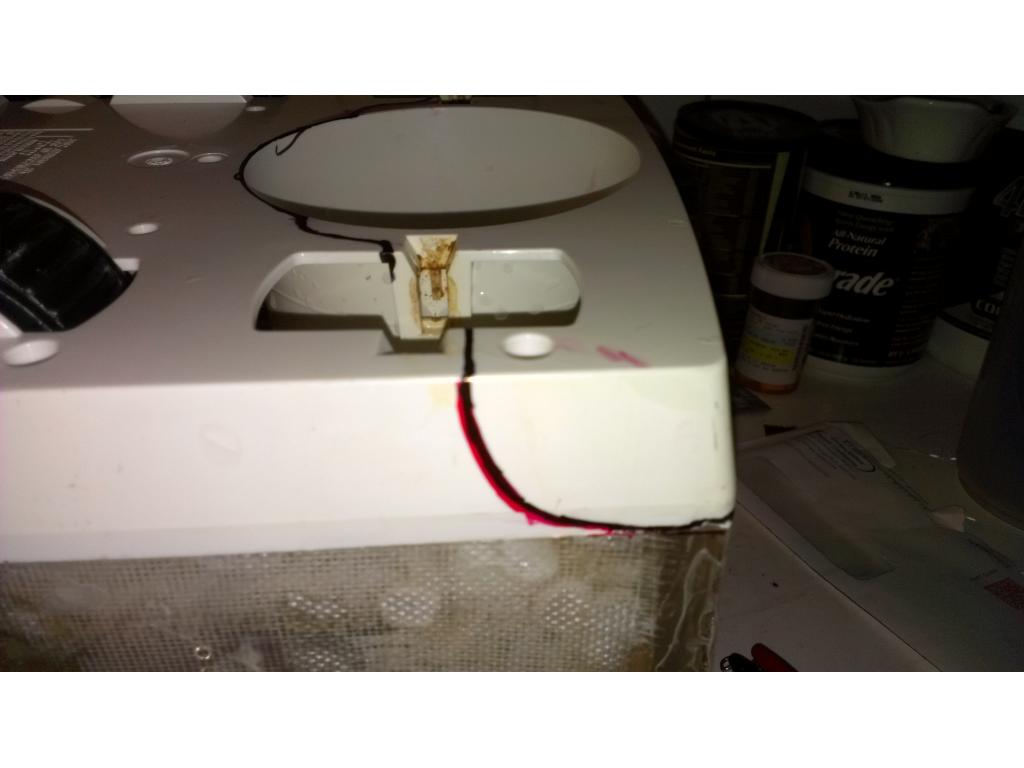
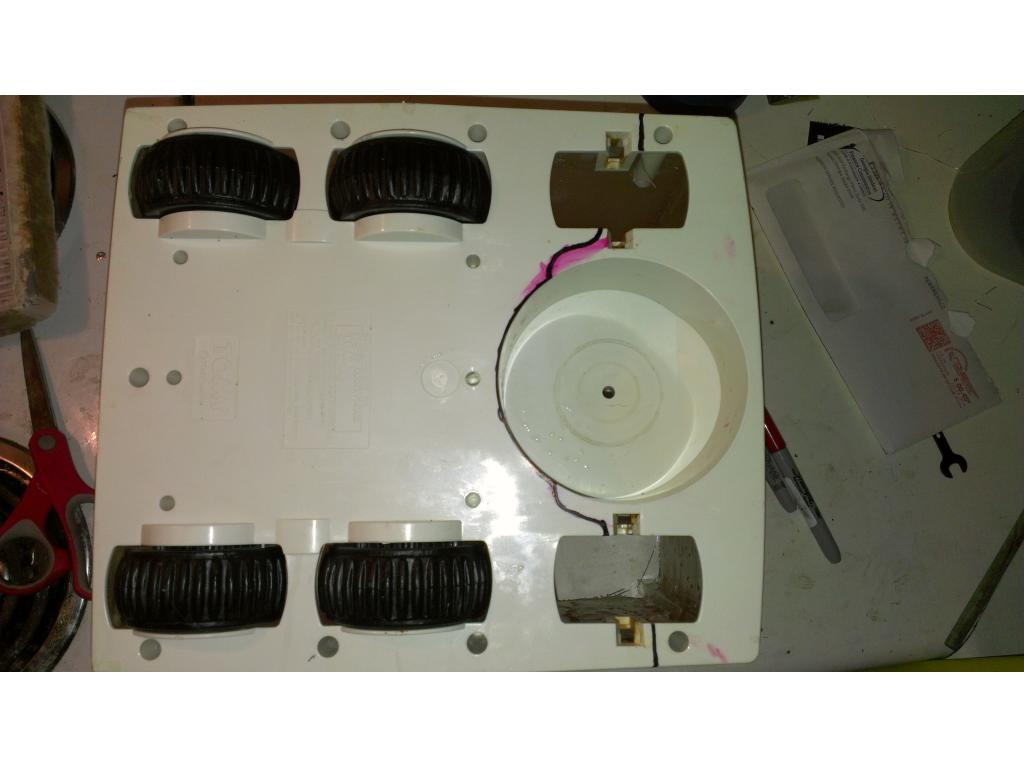
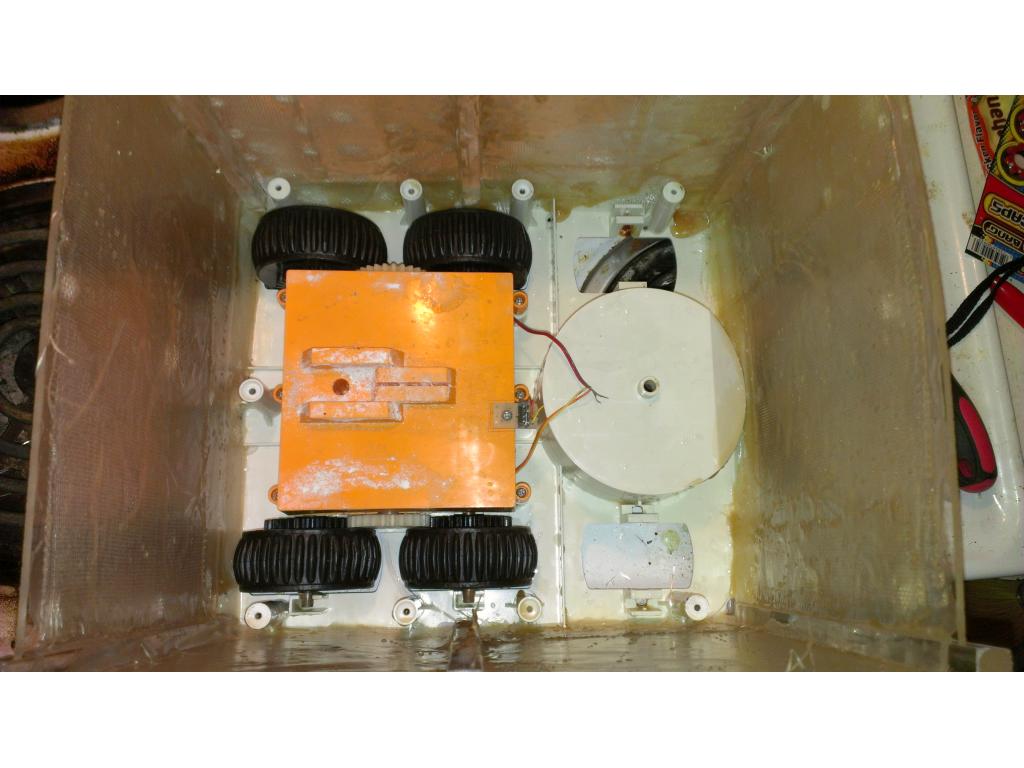
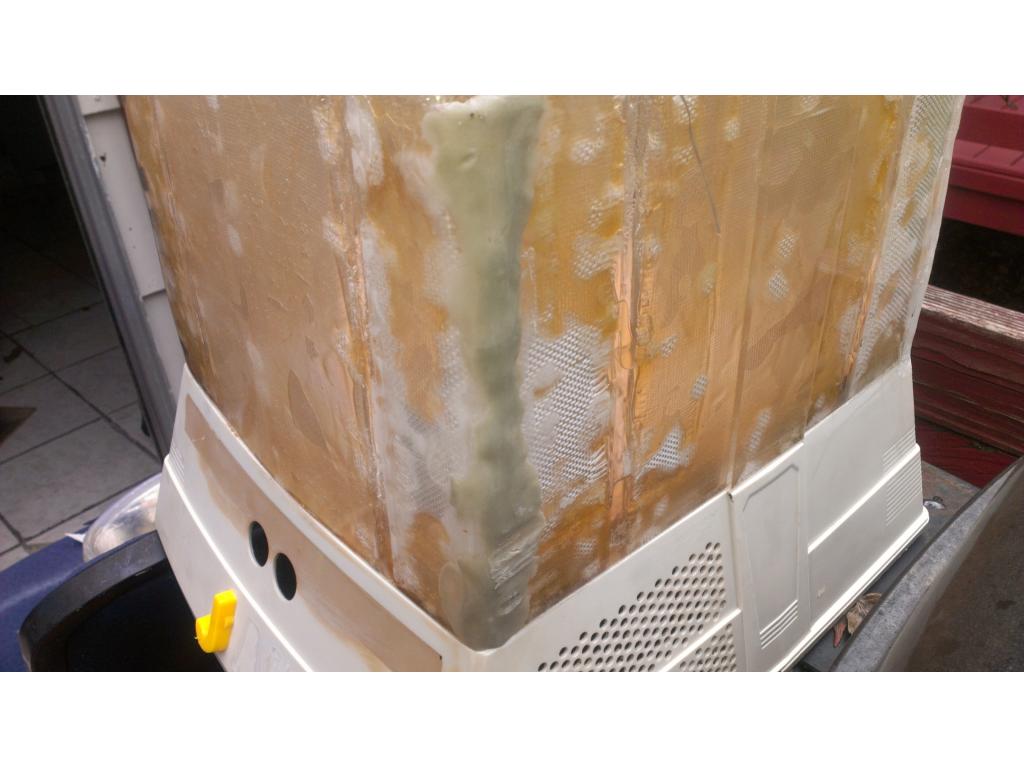
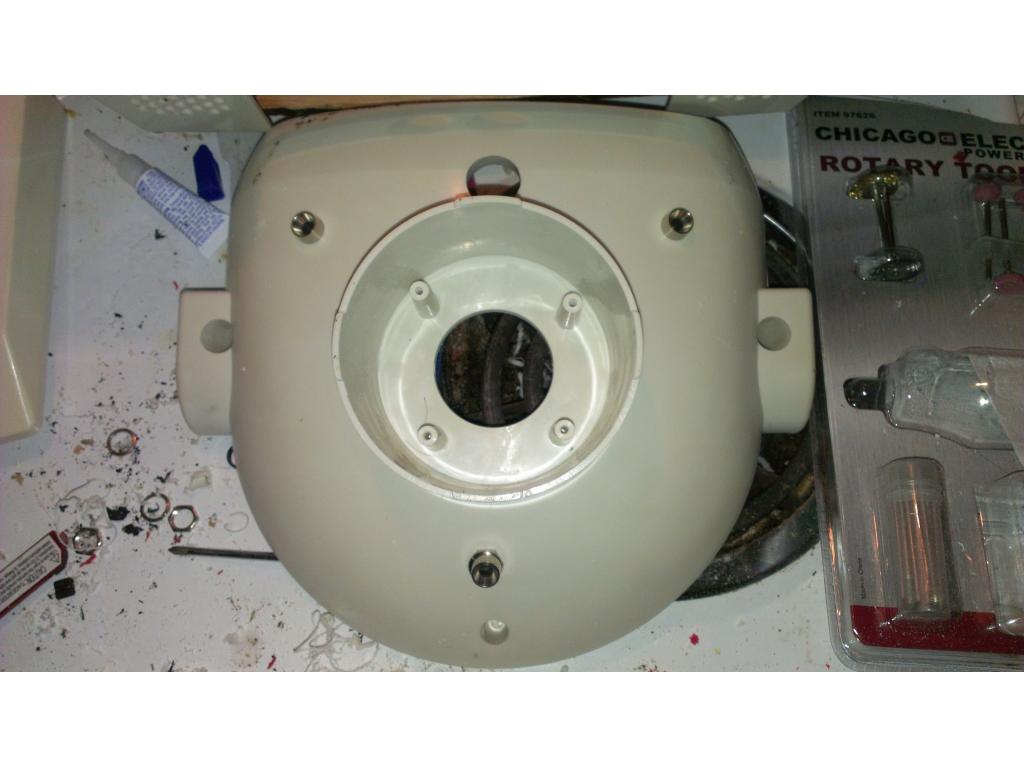
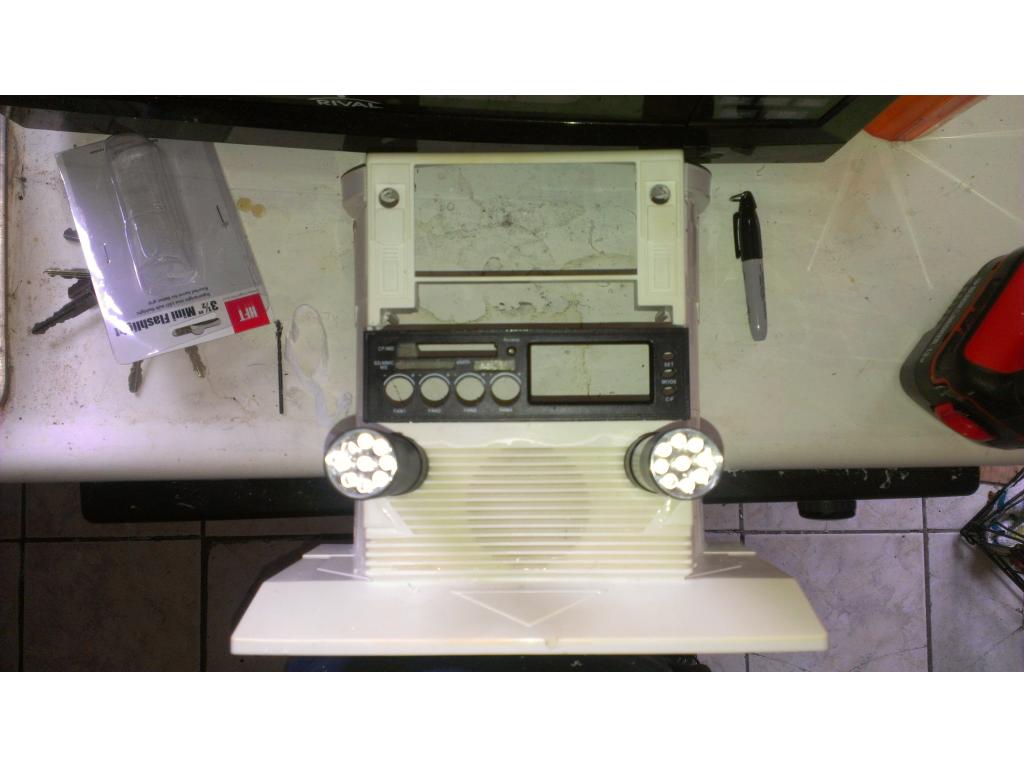
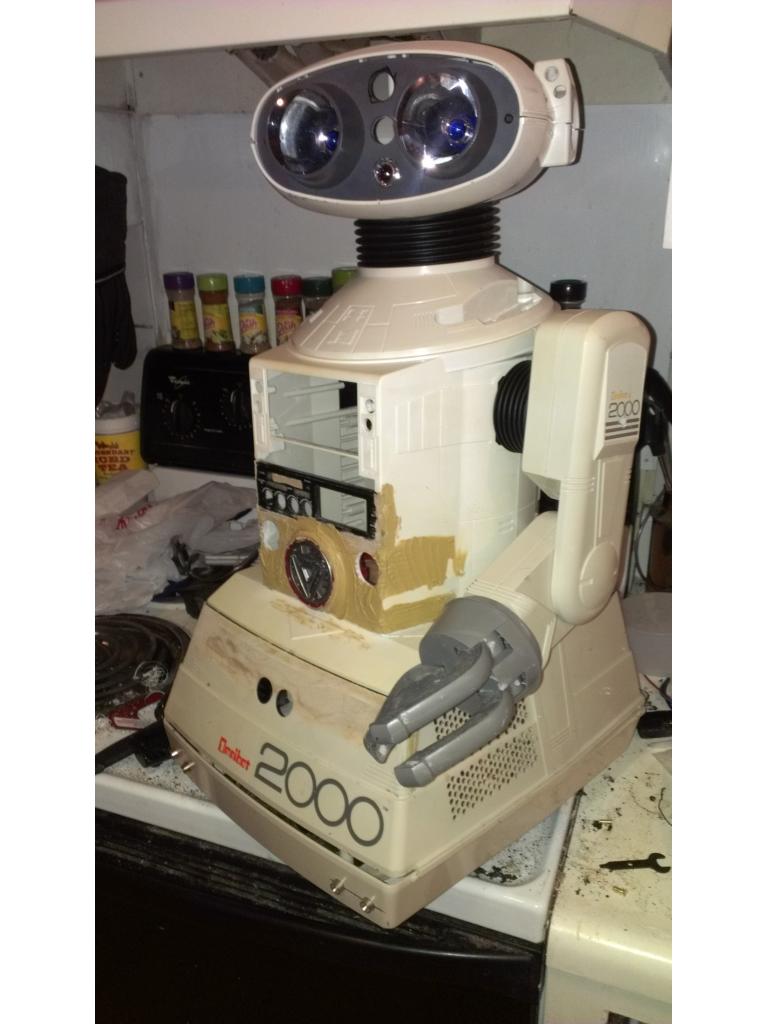
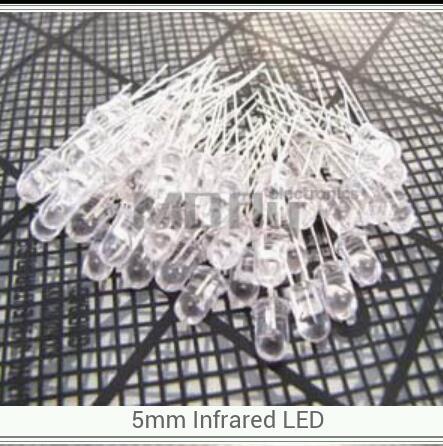
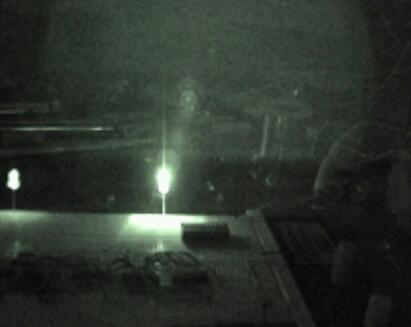
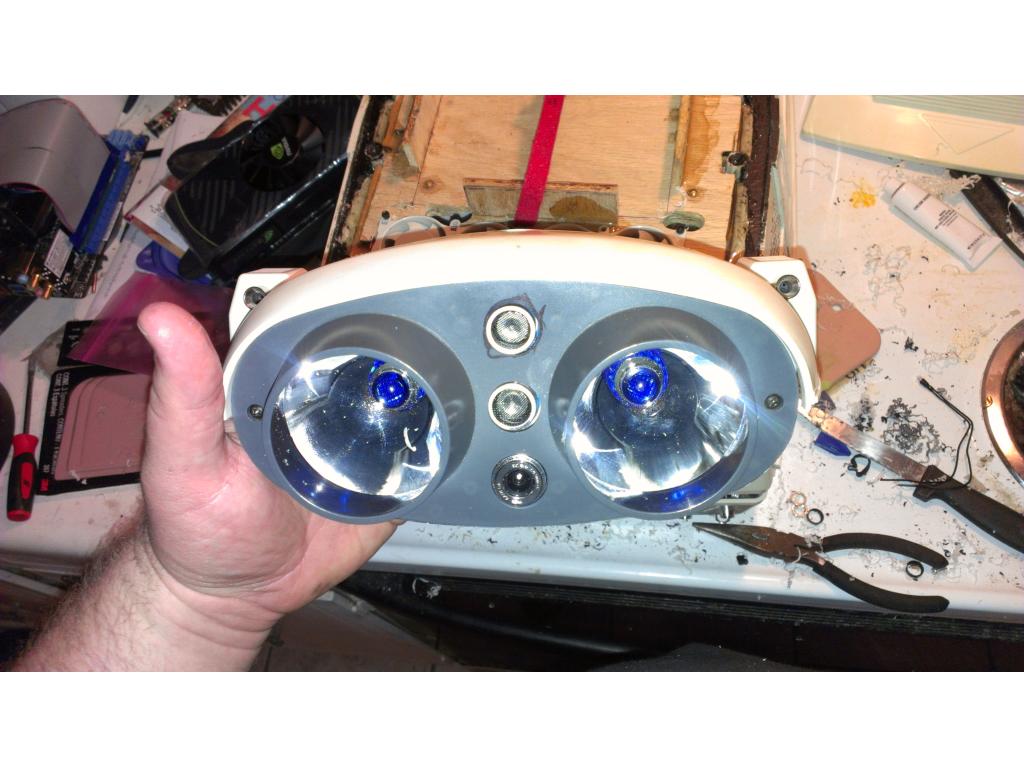
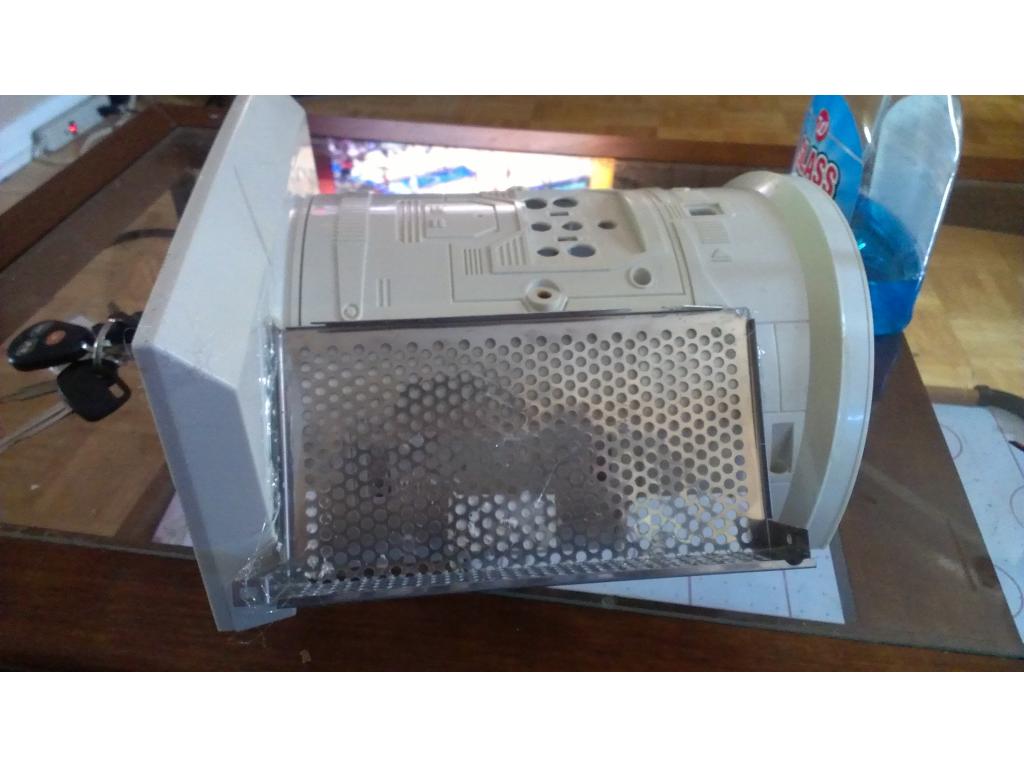
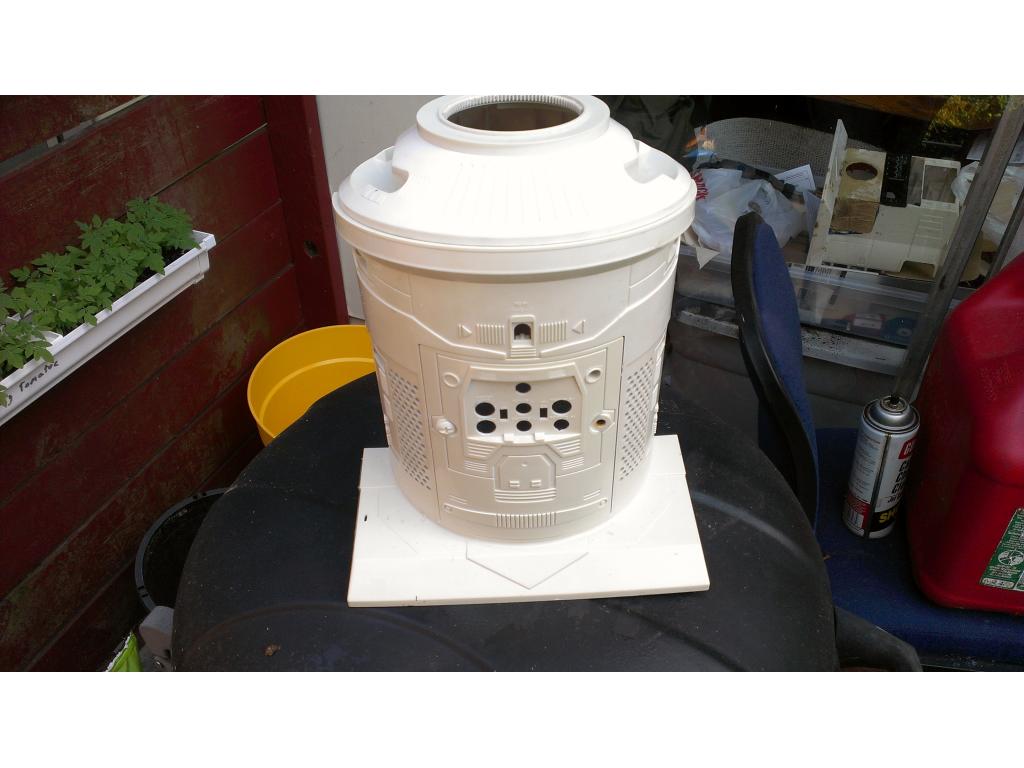
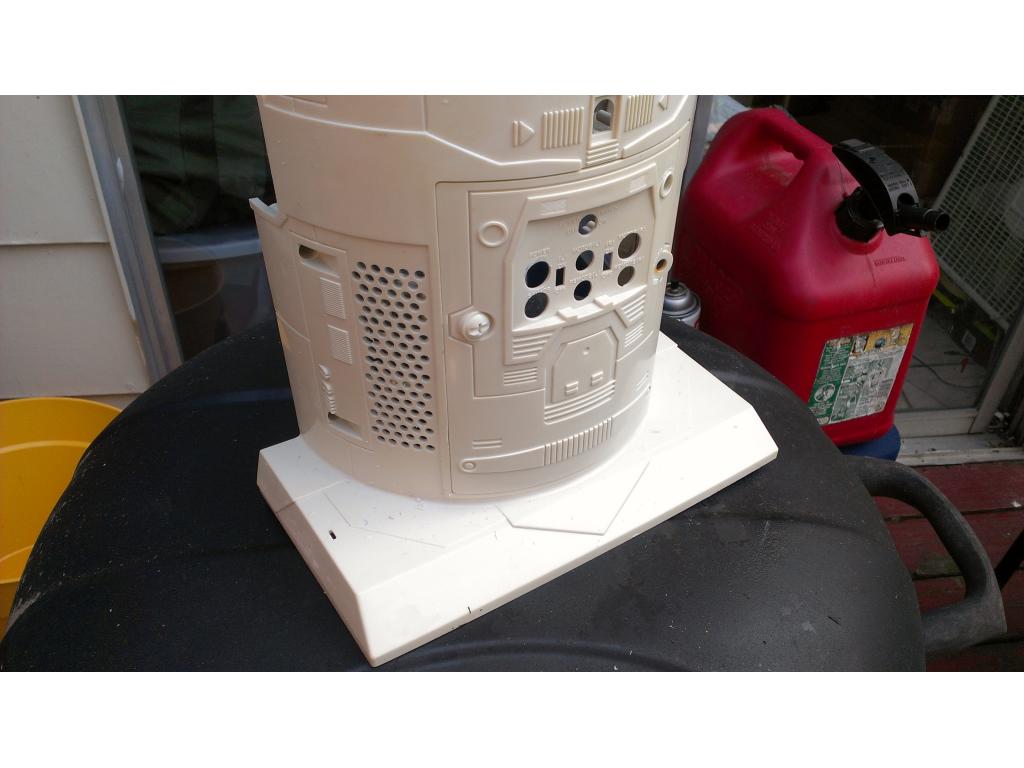
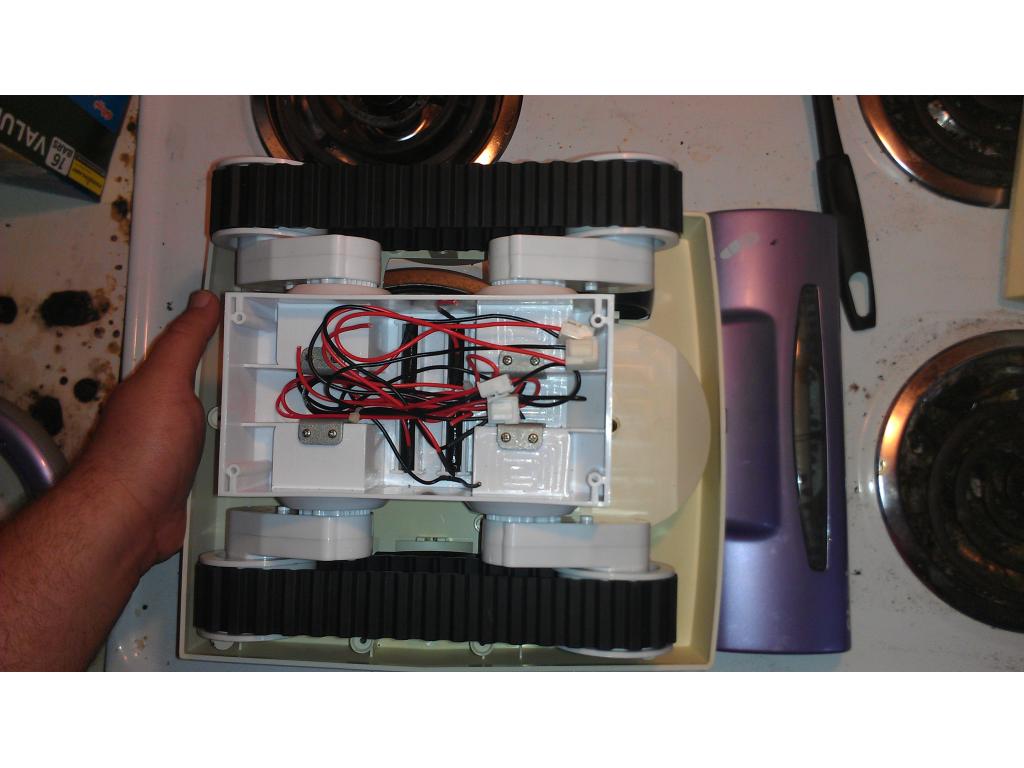
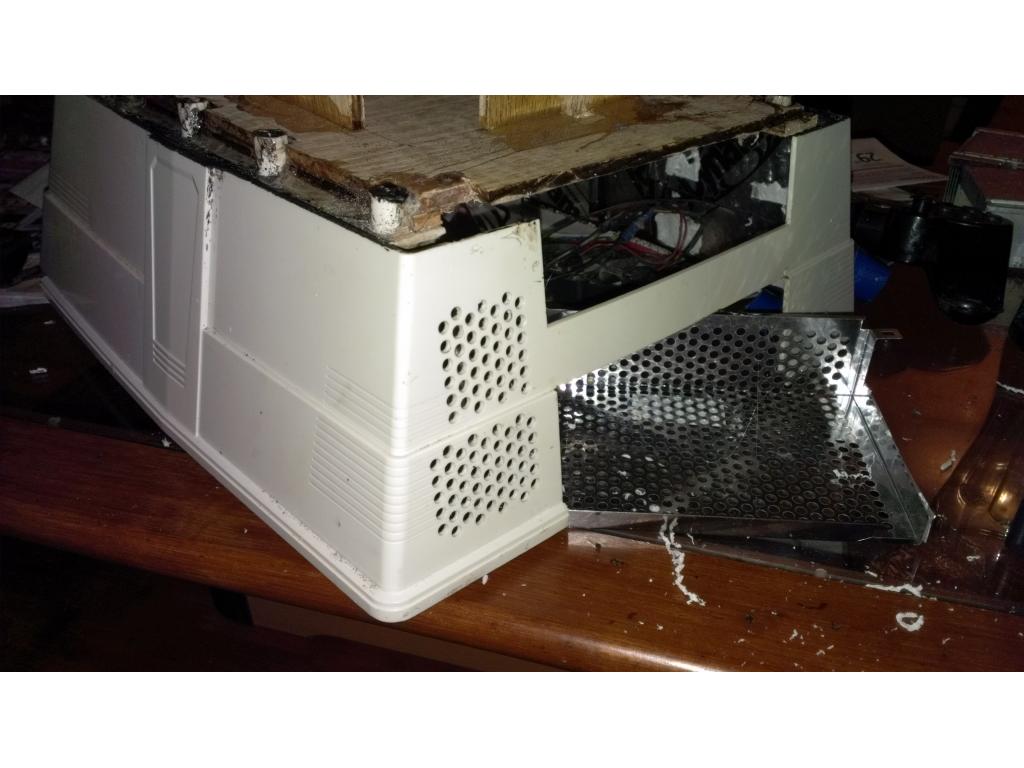
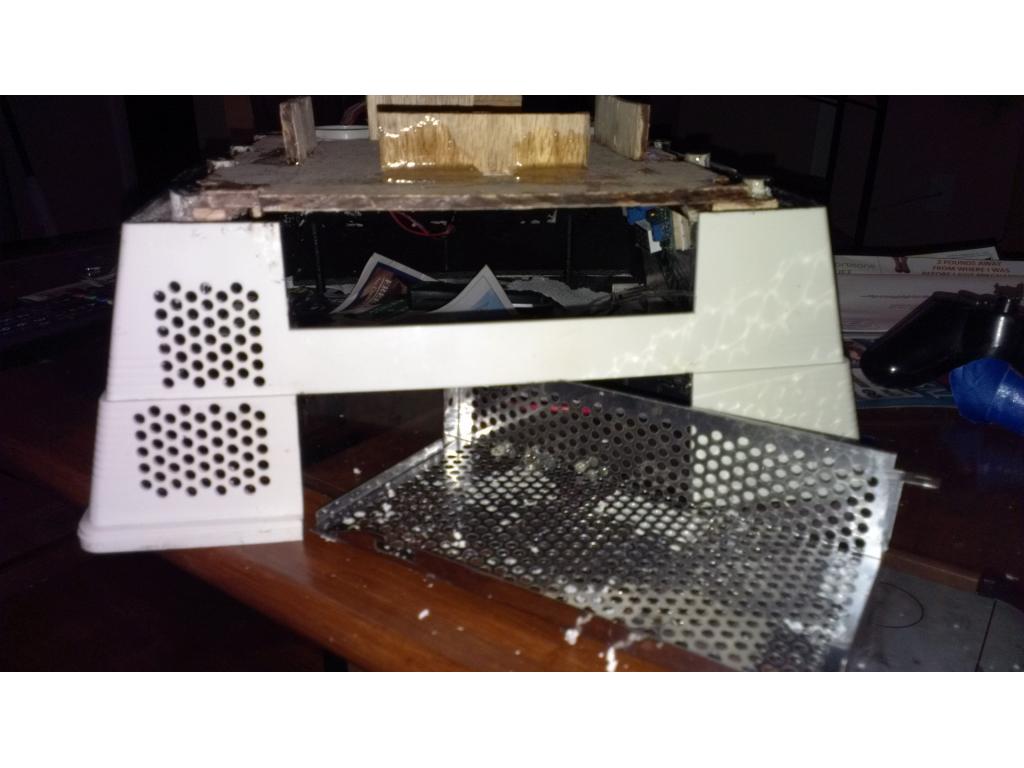
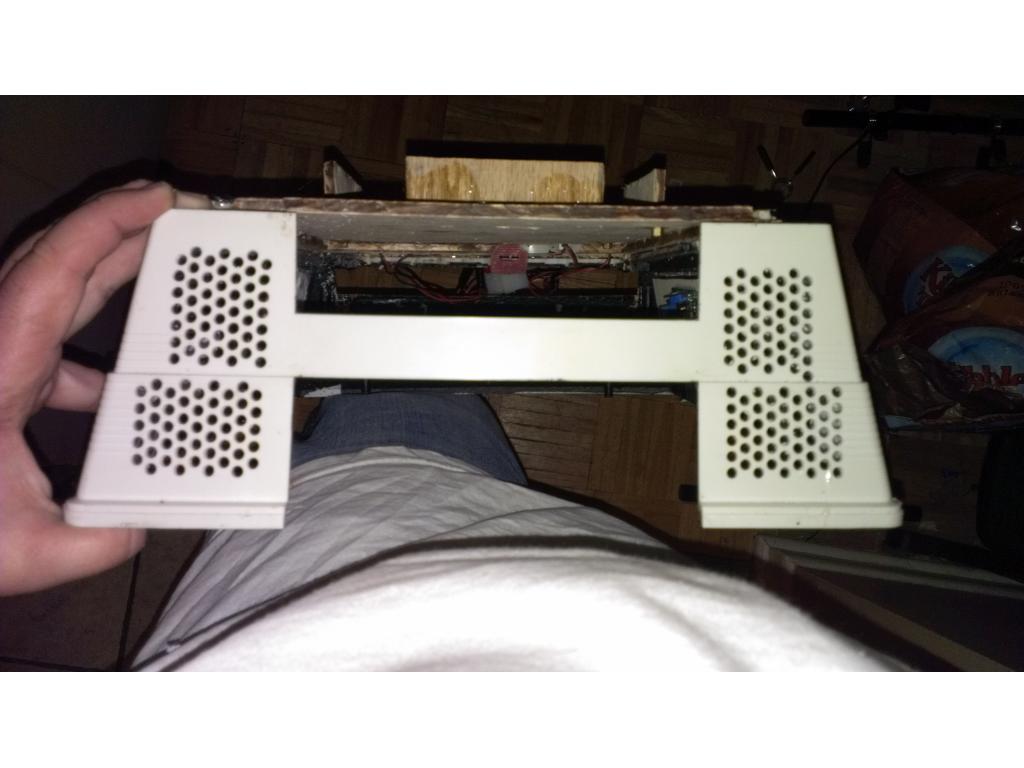
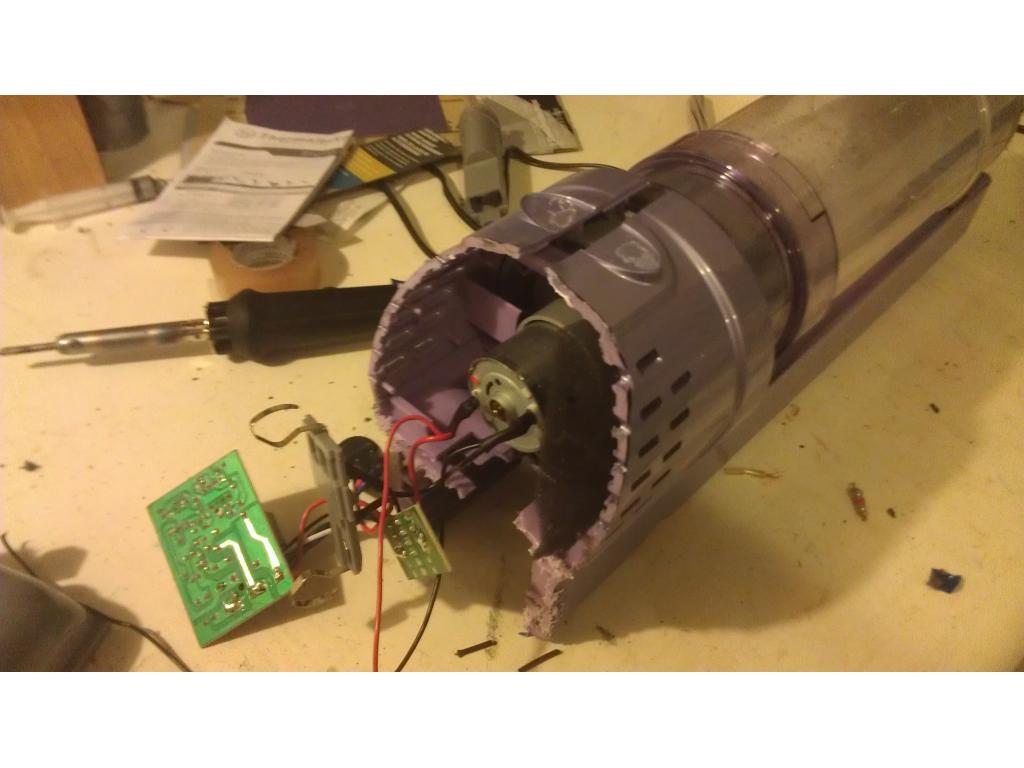
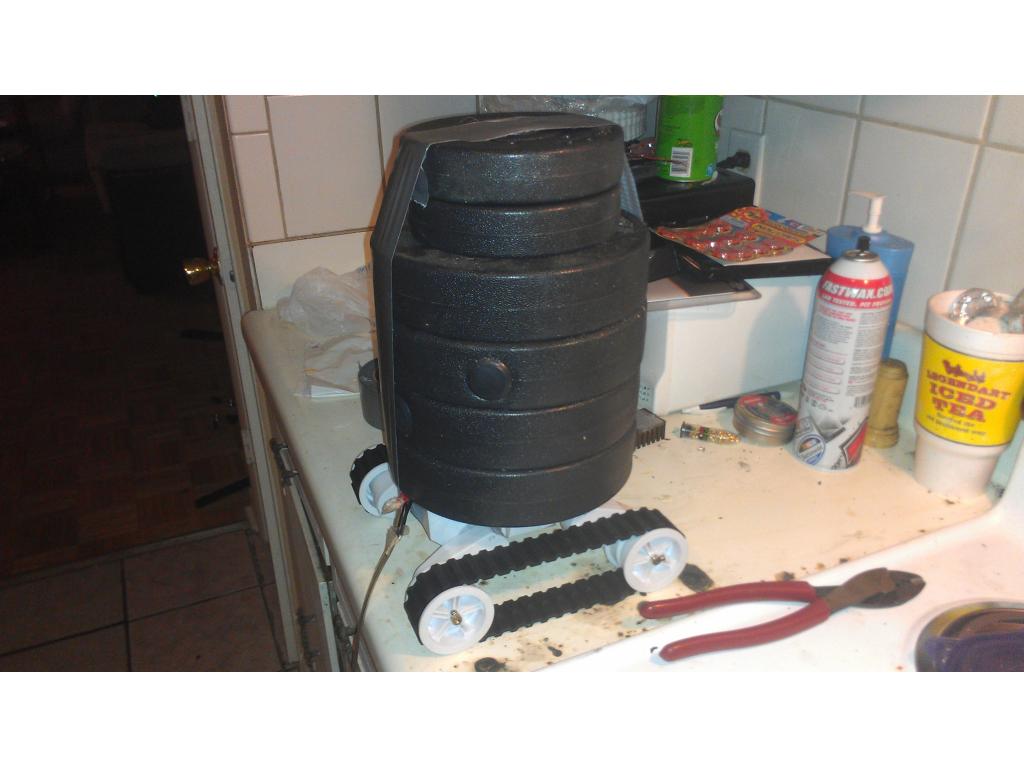
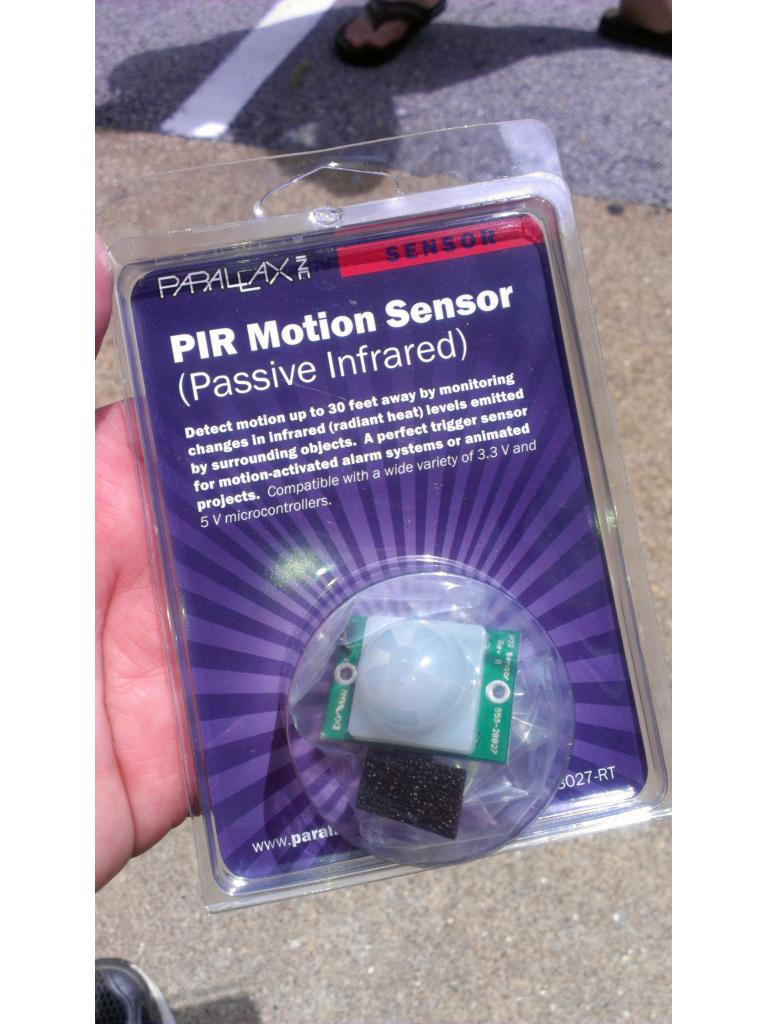
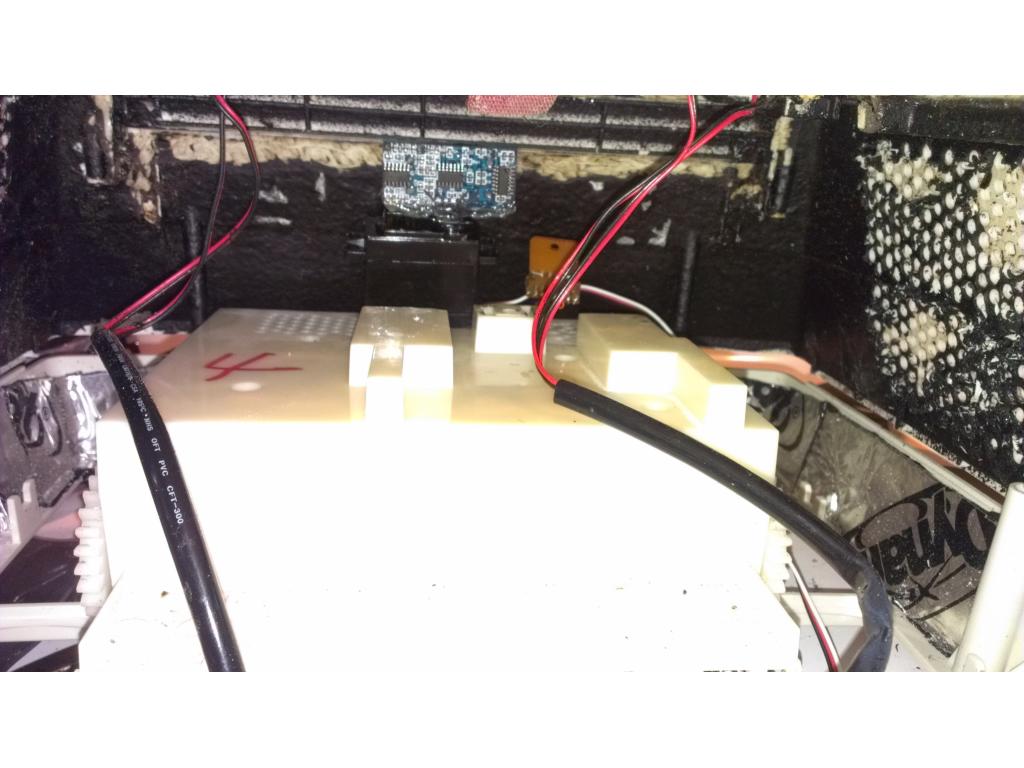
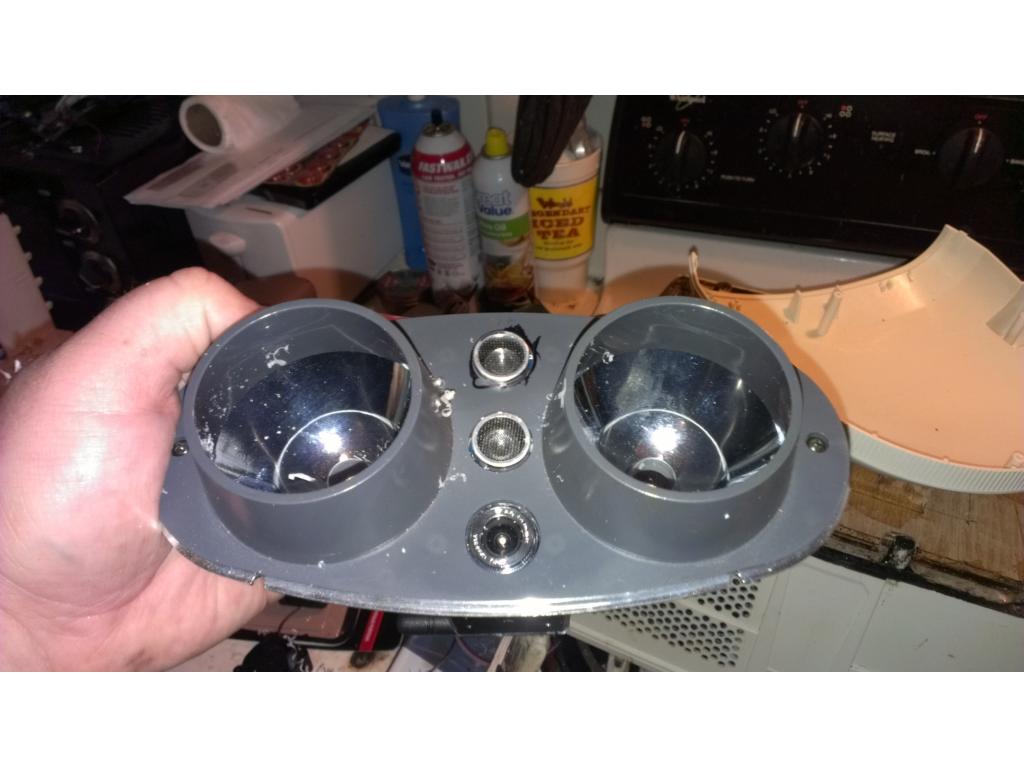
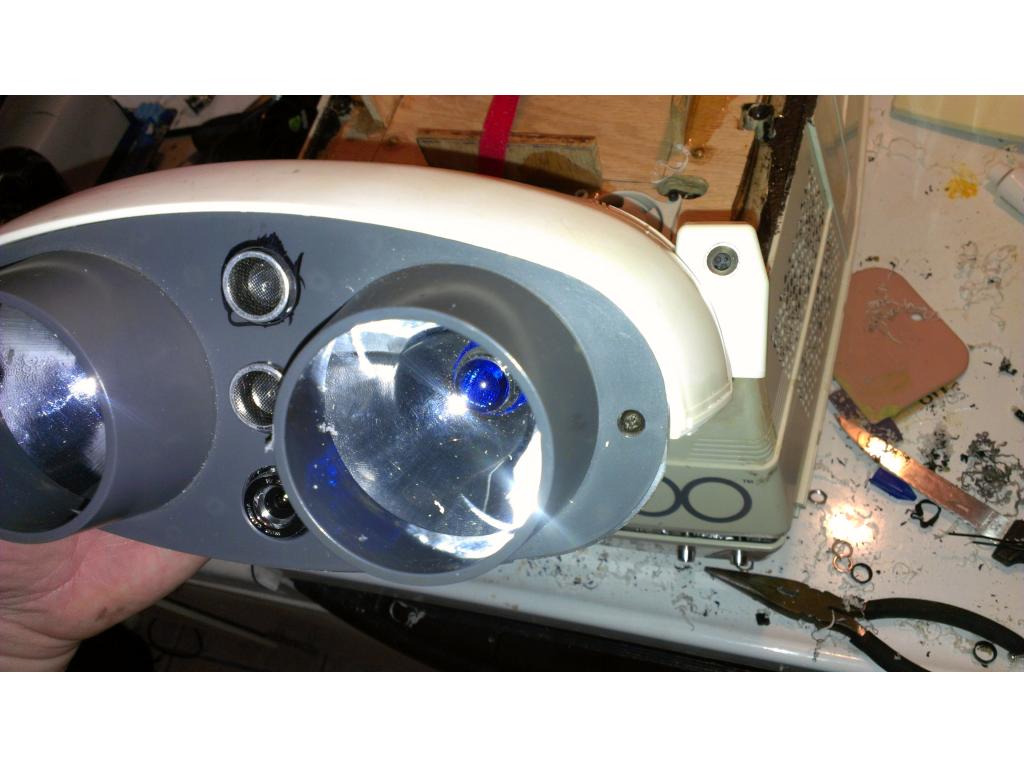
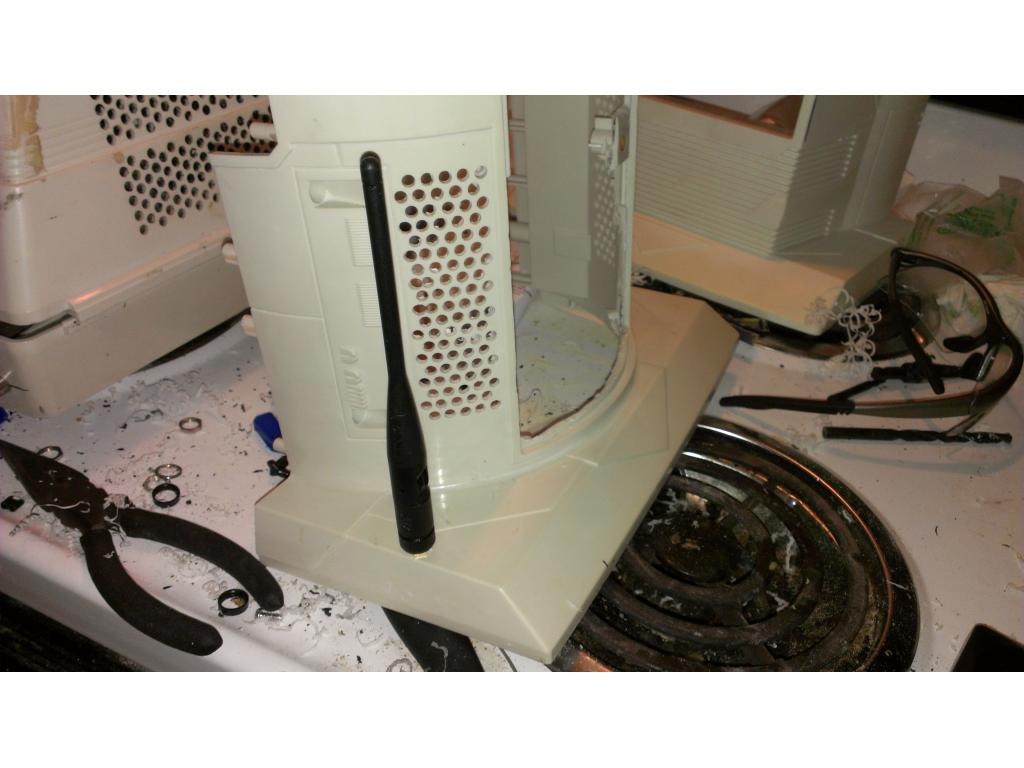
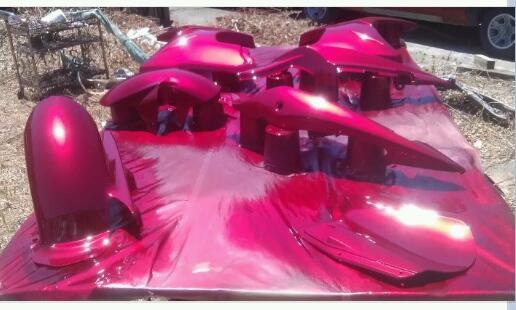
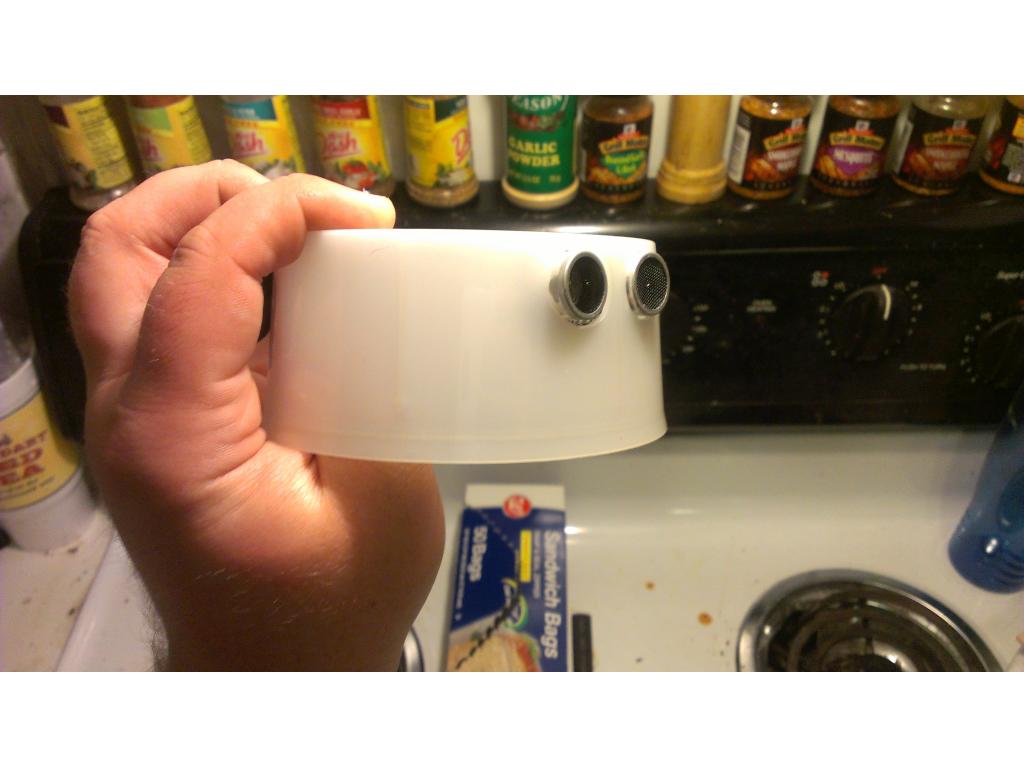
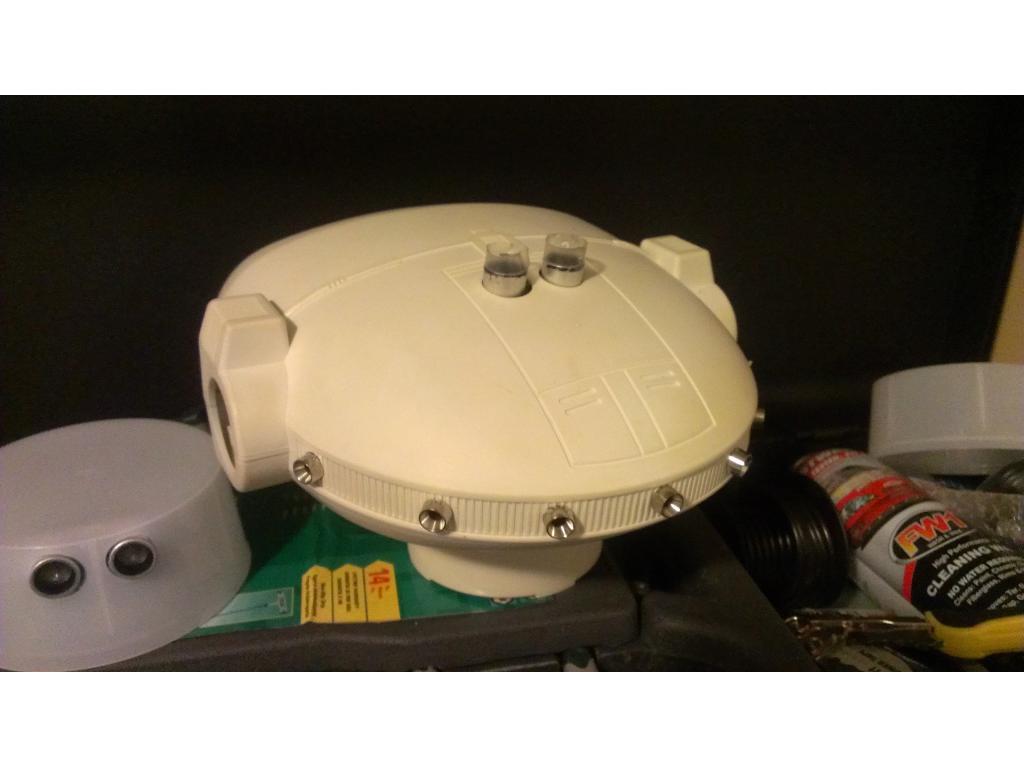
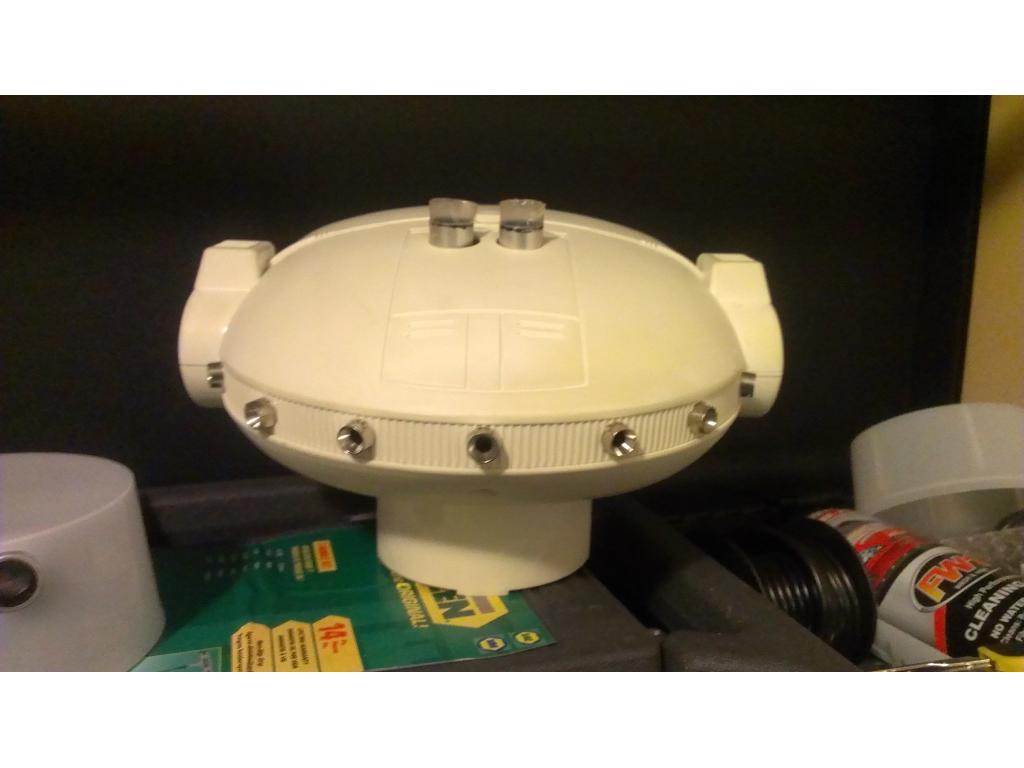
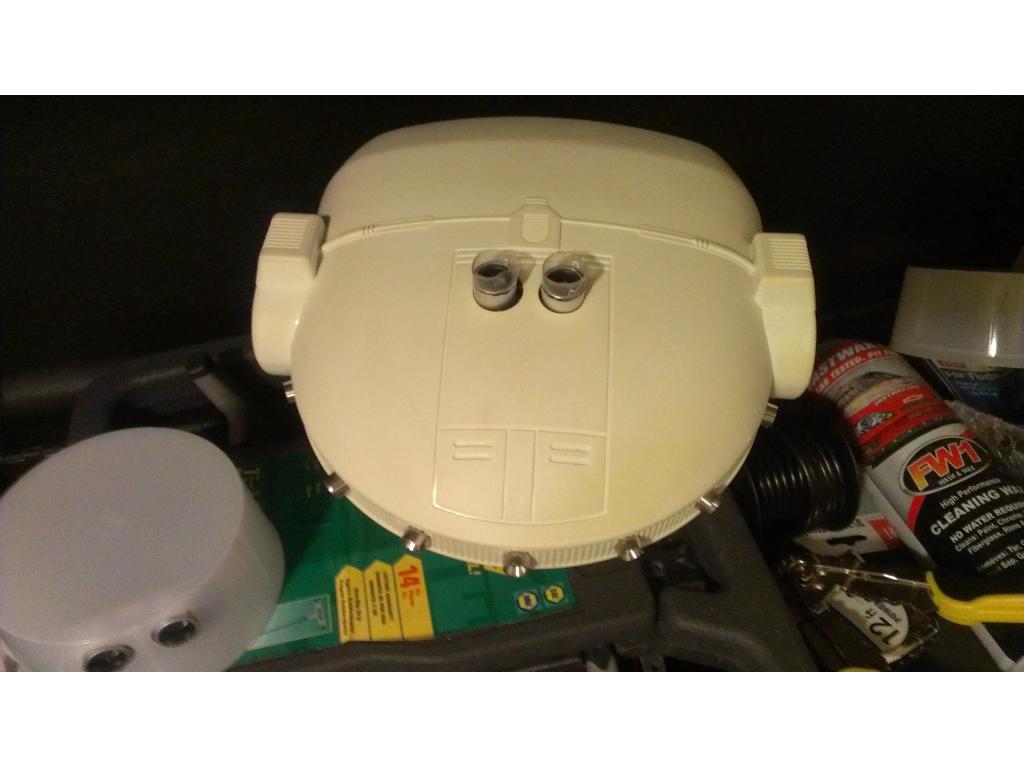
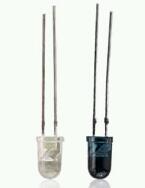
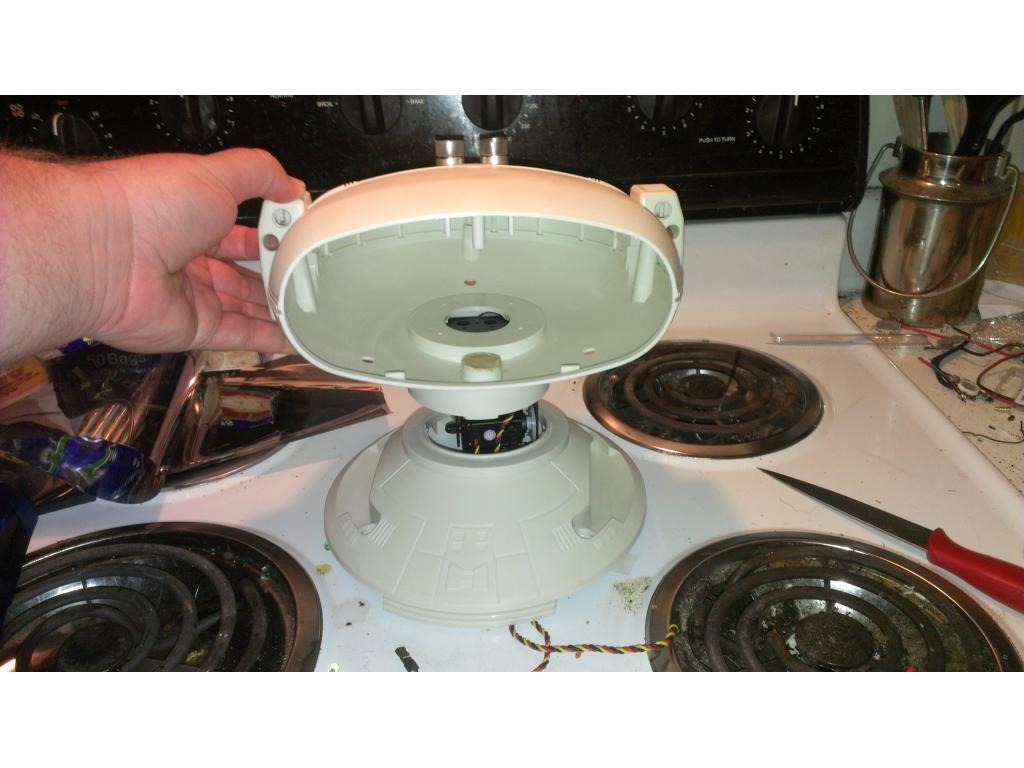
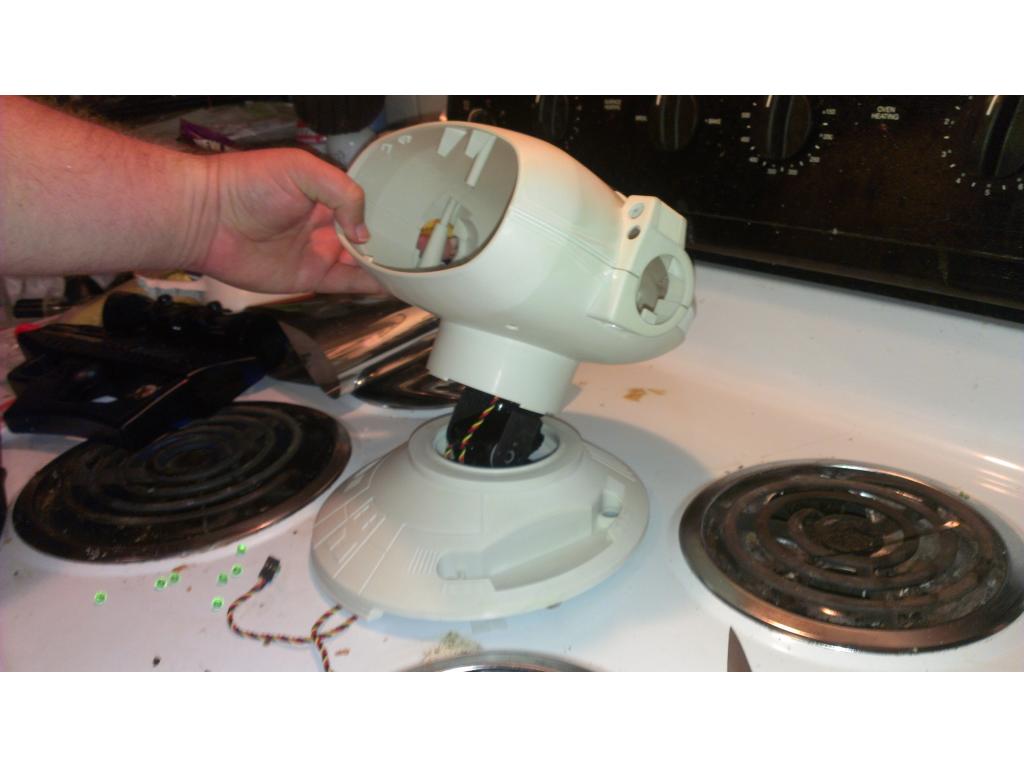
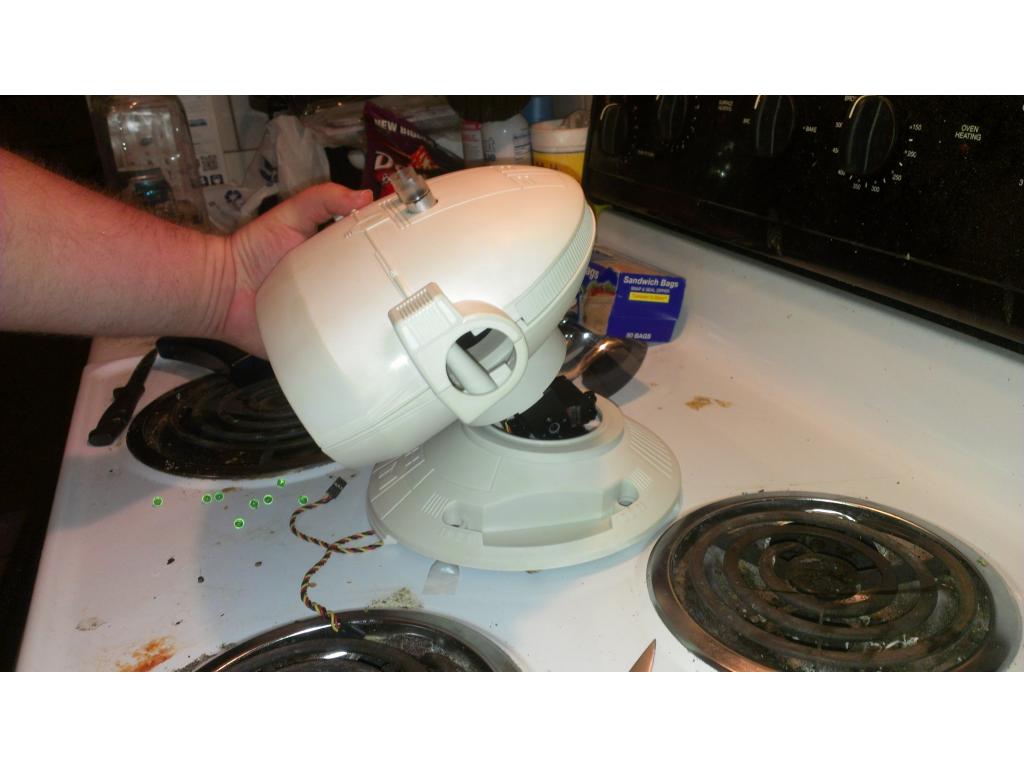
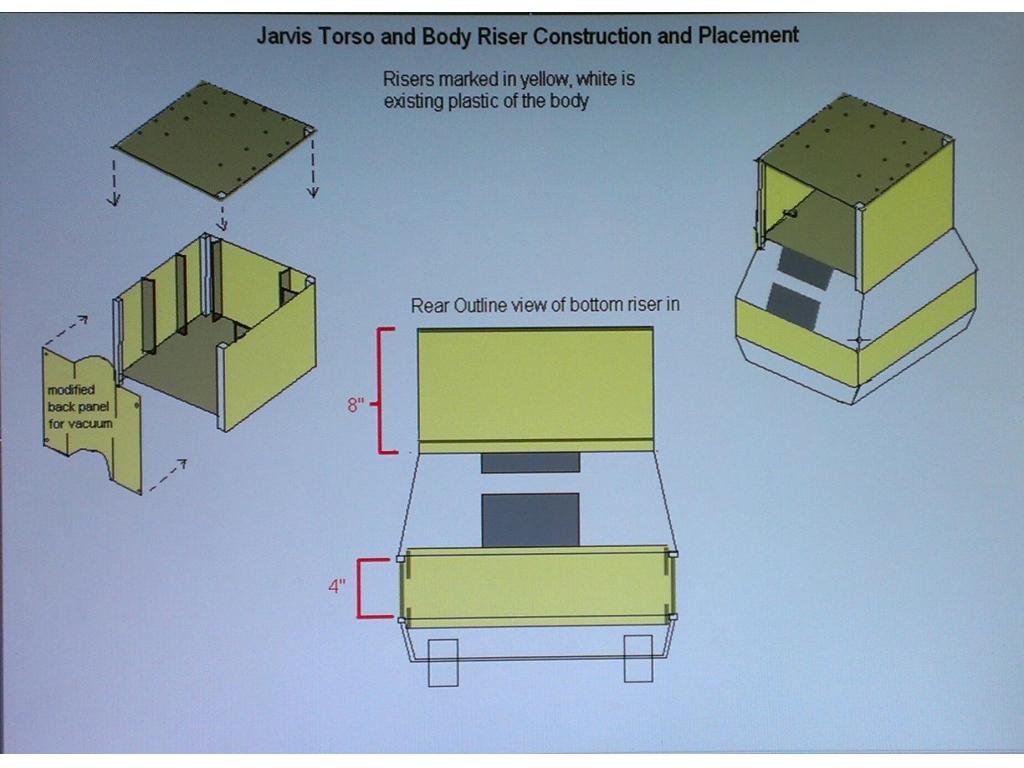
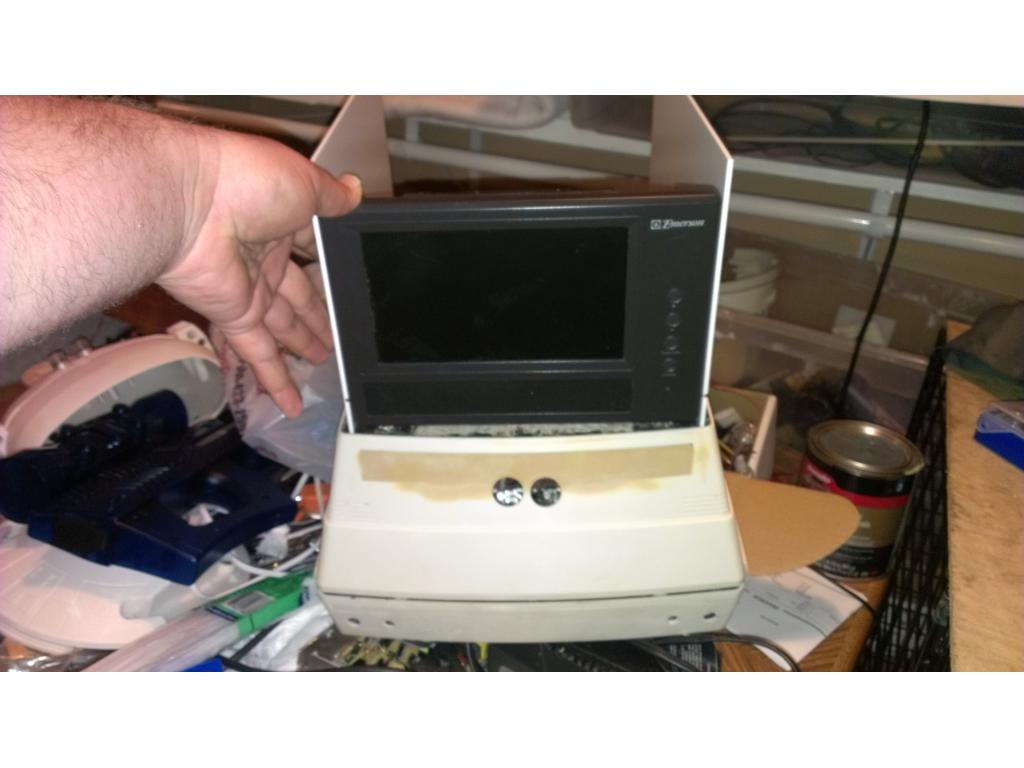
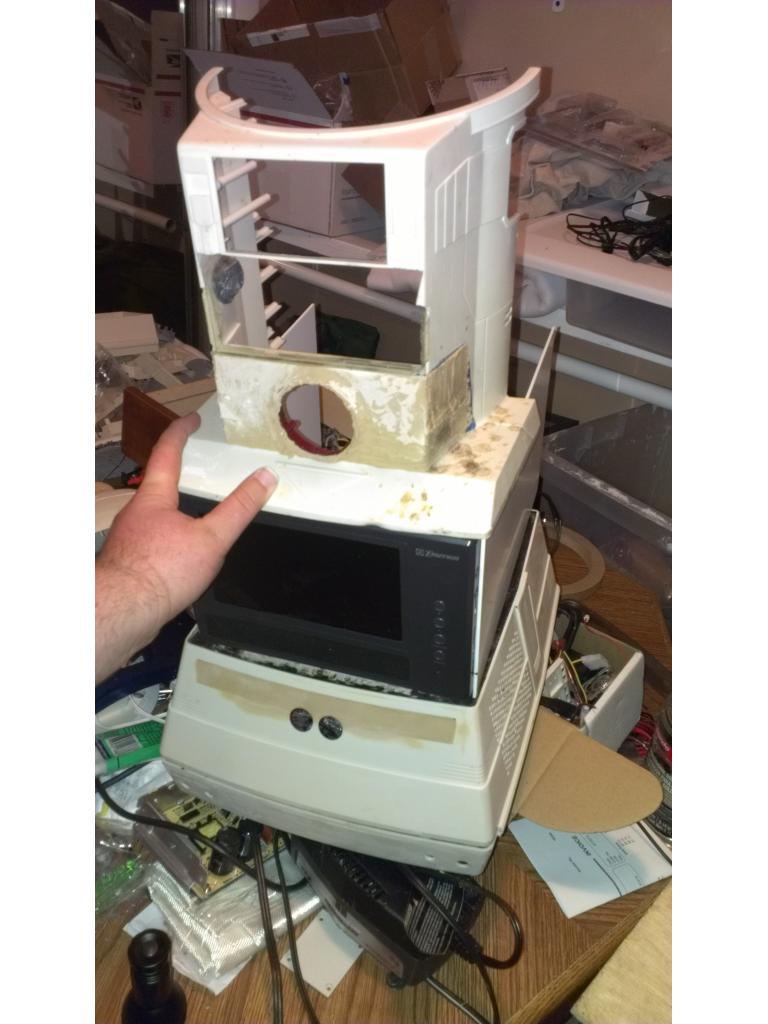
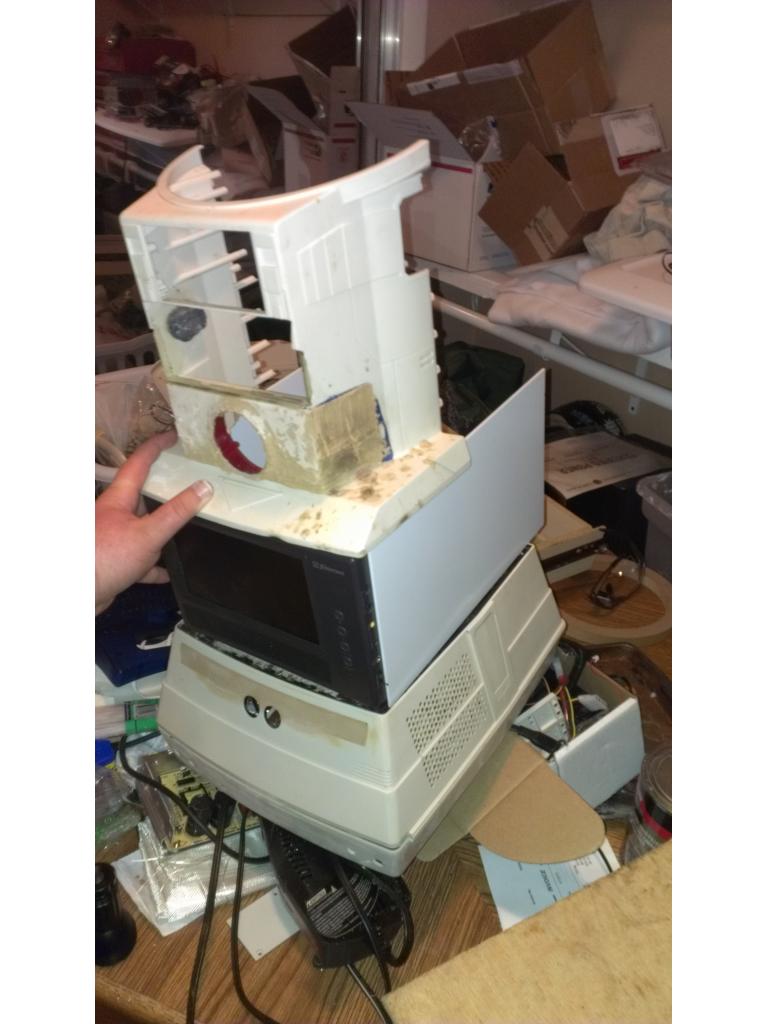
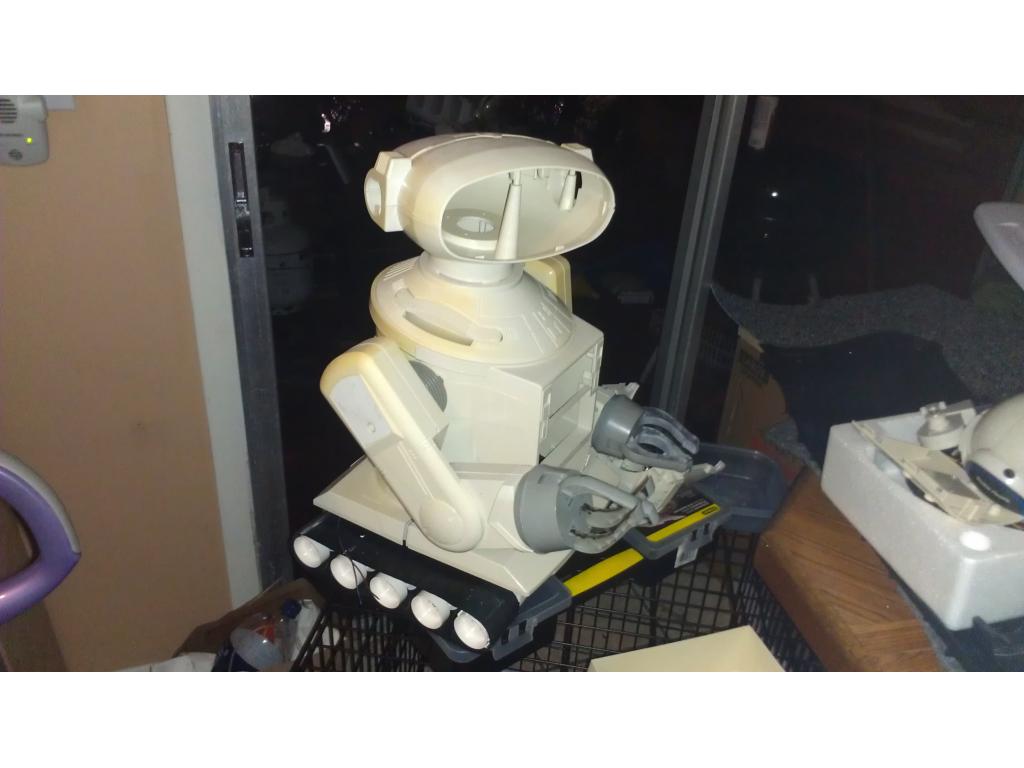
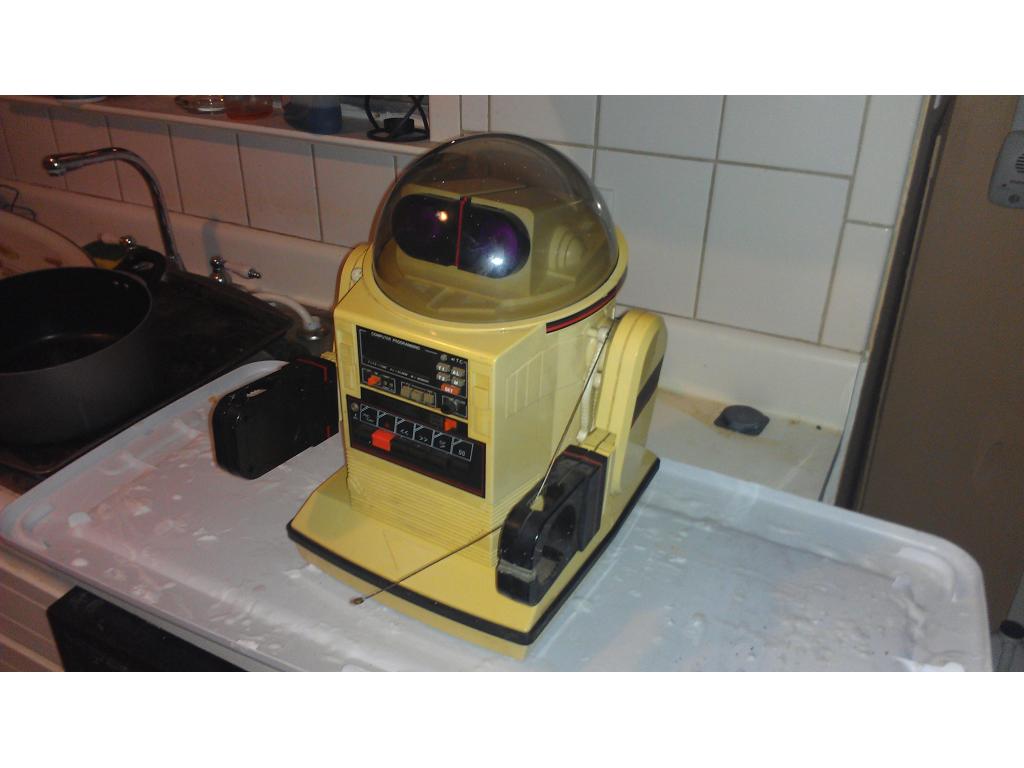
Ok here is my reactor lit up. The lines in the torso I will fill with epoxy and shave smooth tommorow with body filler. I recieved the four IR sensors and will drill out there holes and mounts tommorow. I picked up my.light sensors today and I already have the ir LEDs I'm using.for low light illumination because some areas of my house are dimly lit. Any ideas of a good placement of.motion detector /pyro electric sensor? rover 5 will be.here.monday and as I have illustrated I would like to convert my regular wheel drive to track drive.
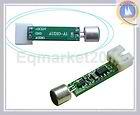
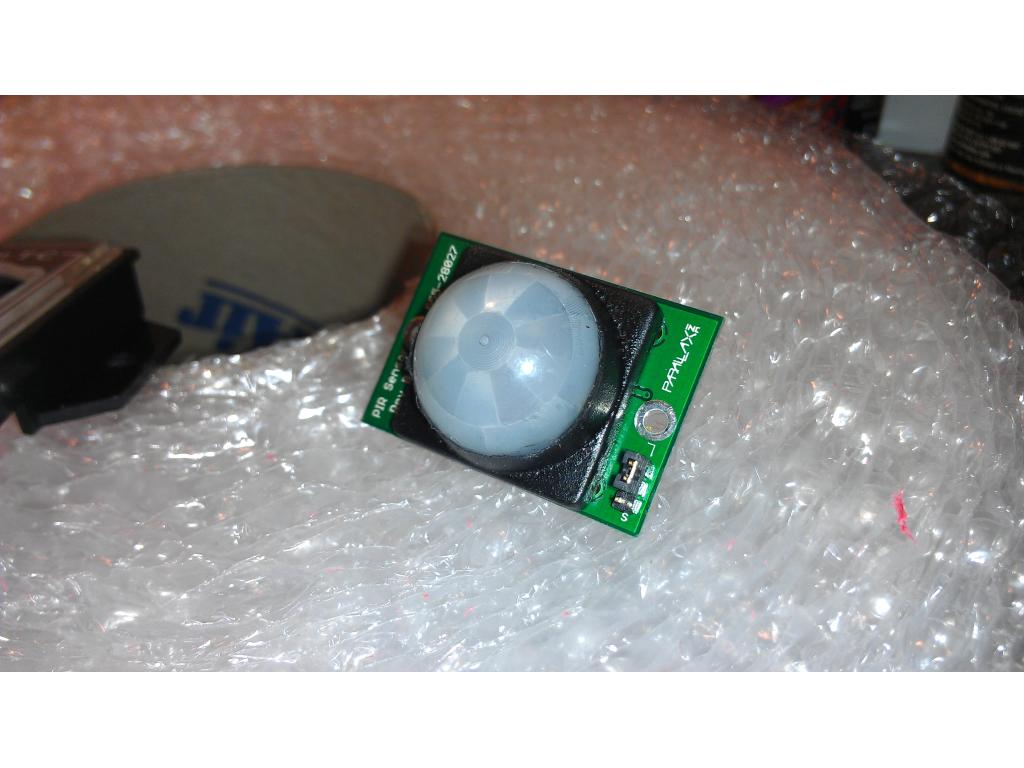
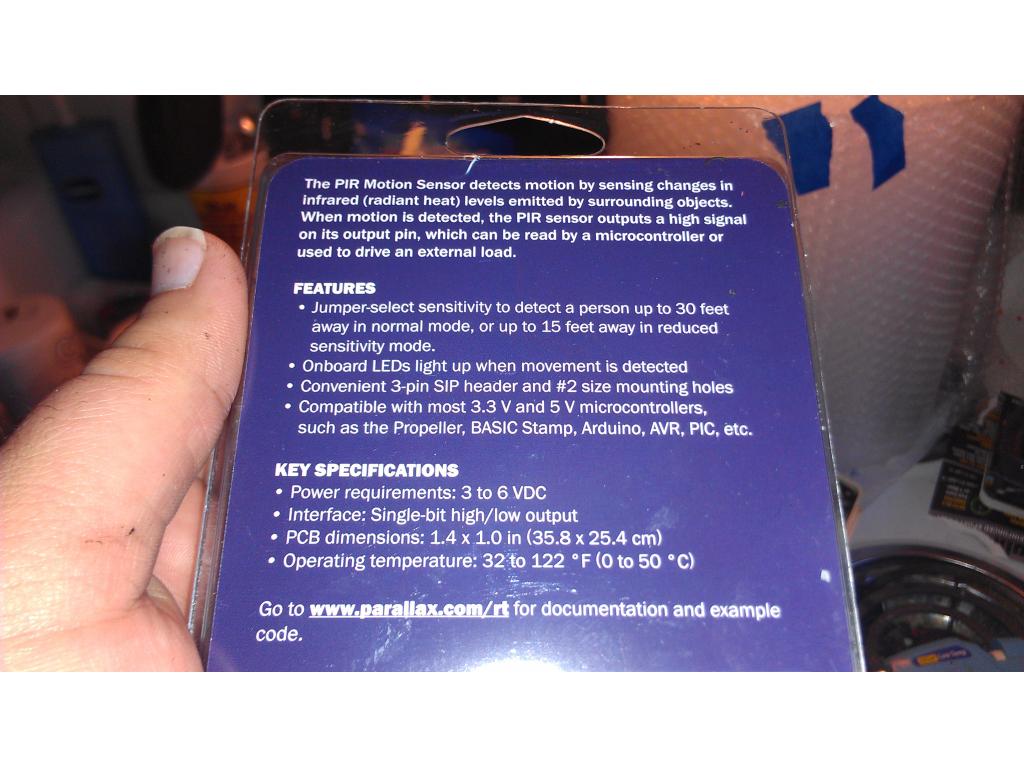
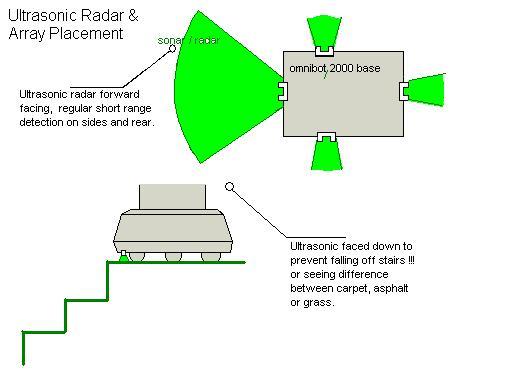
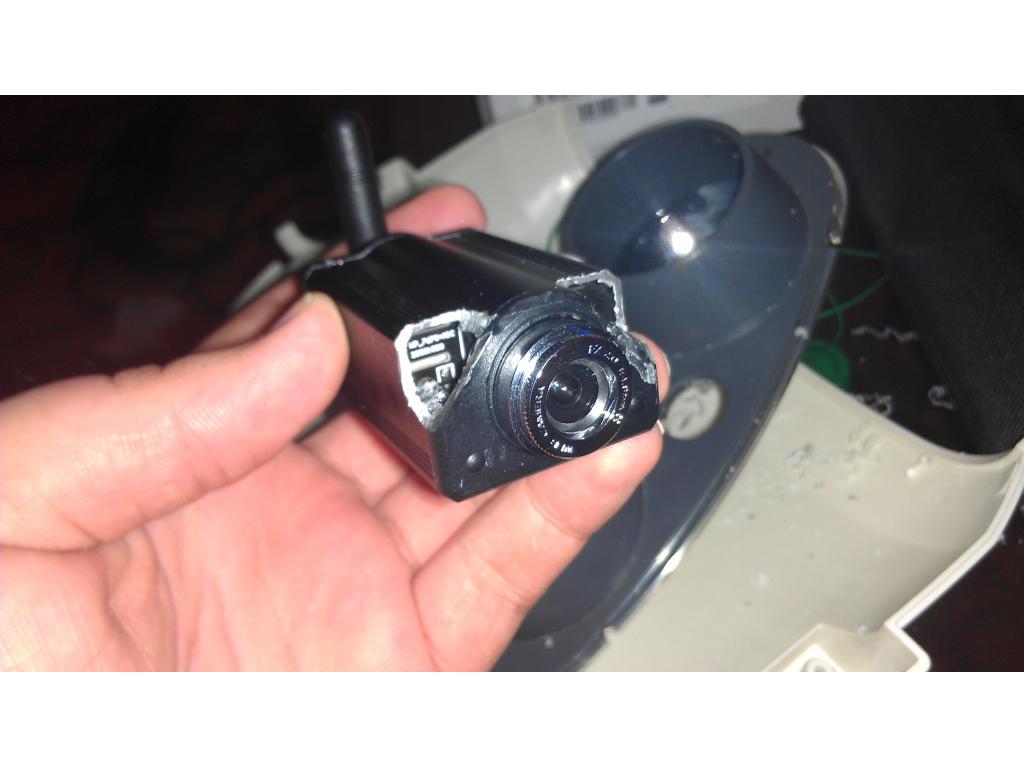
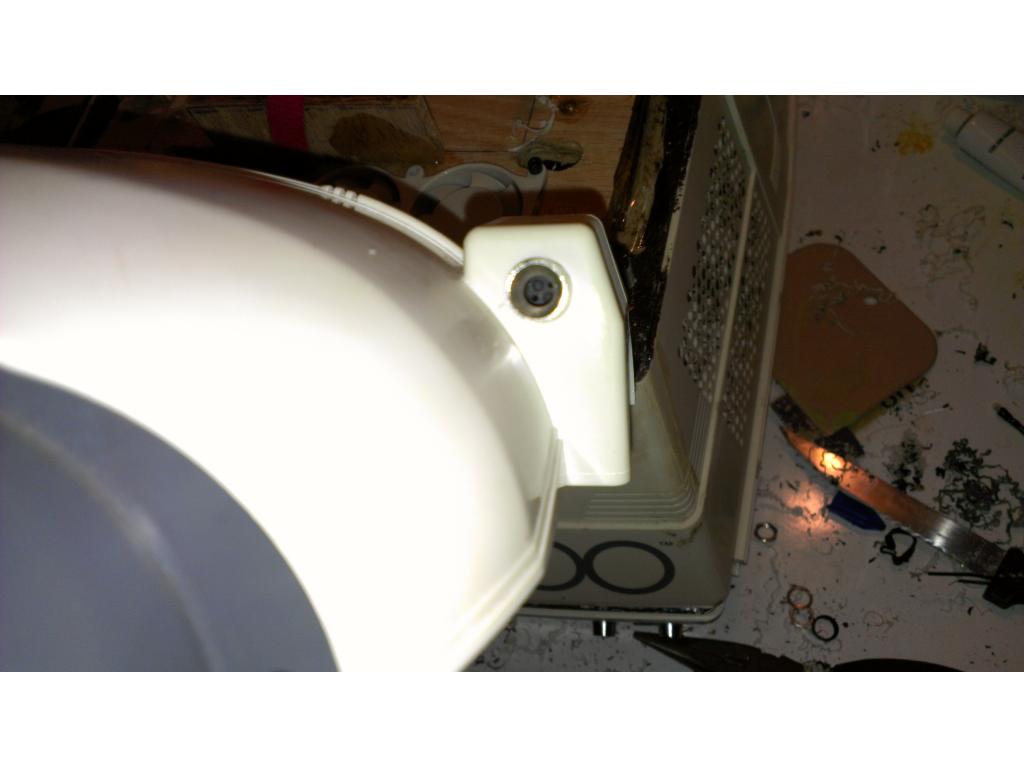
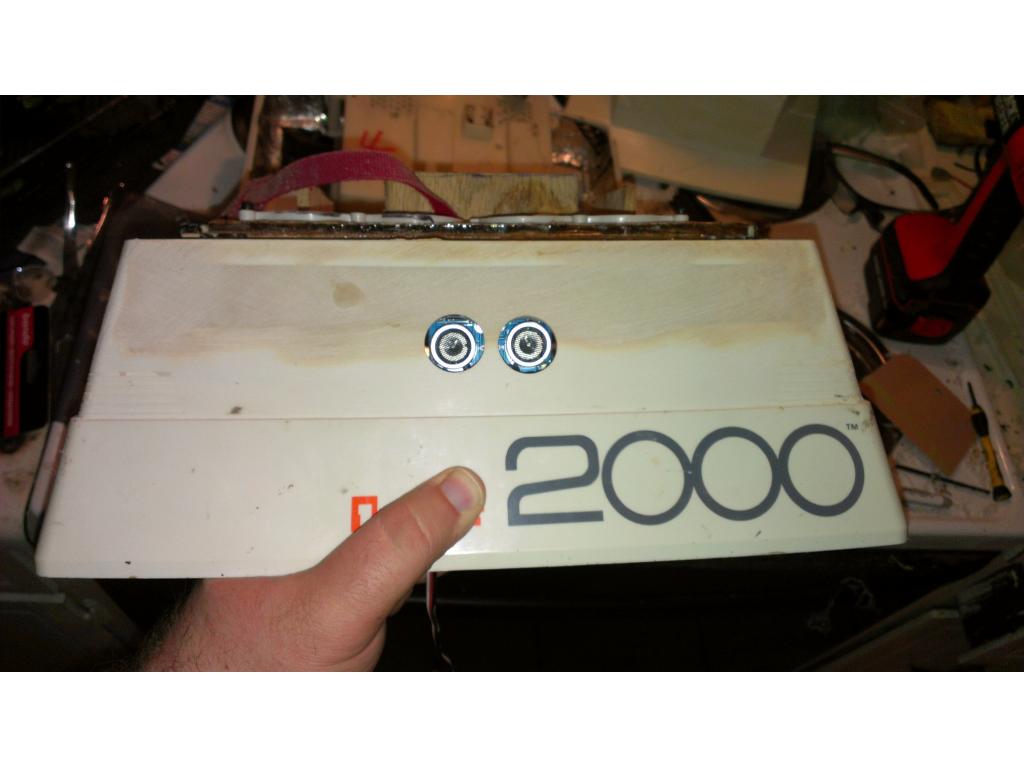
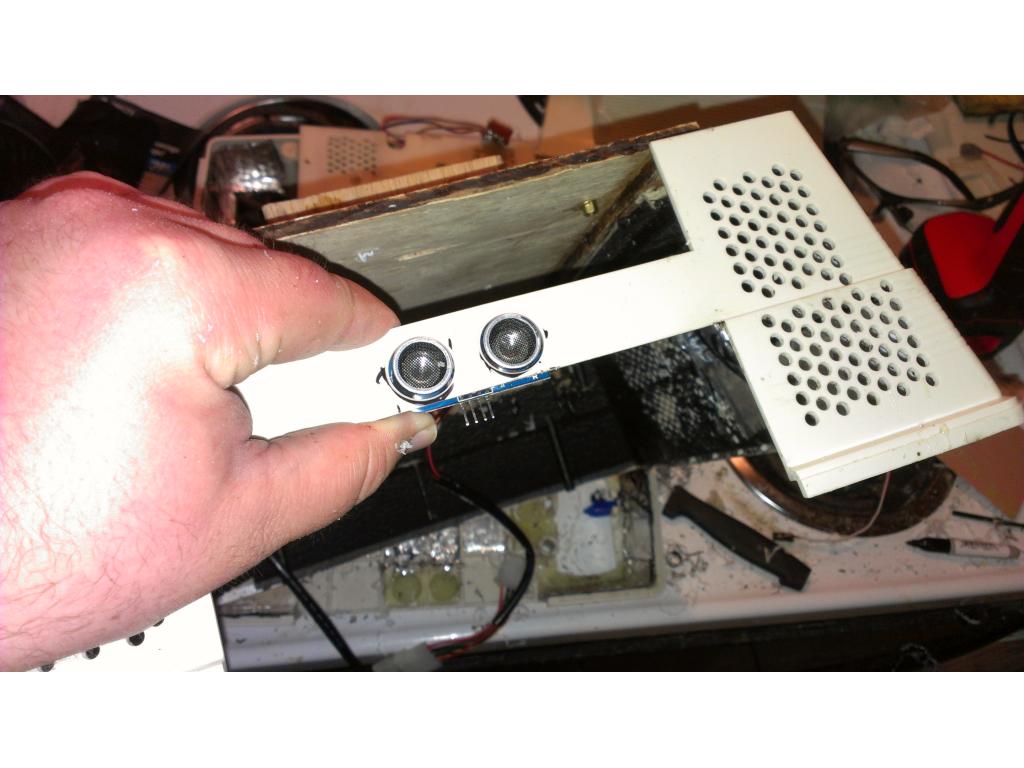
in the front i front and sides,looking to use the big PIR'S ones kkeast is using or like the one on my ROVER robot design about 3/8 hole,they cost a little more ,but they have digital and analog output i like because of the tiny size,i like my sensors to almost be hidden
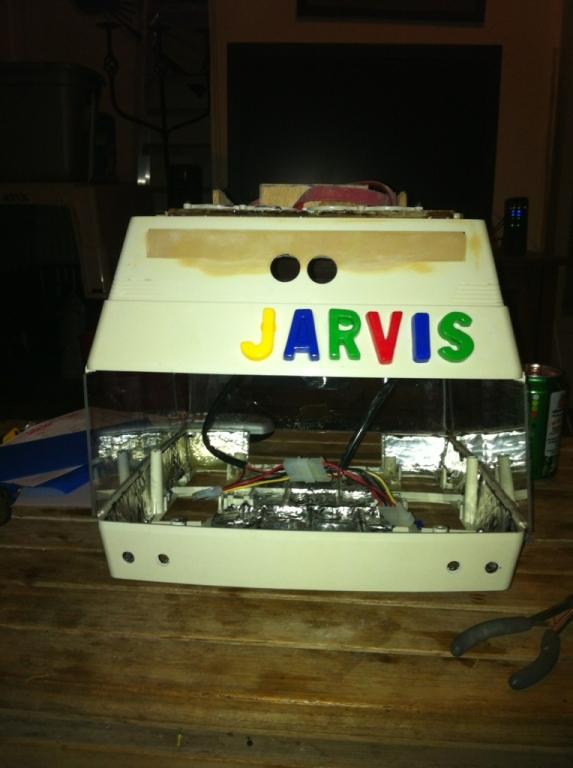
Josh that is looking SOOOO cool!
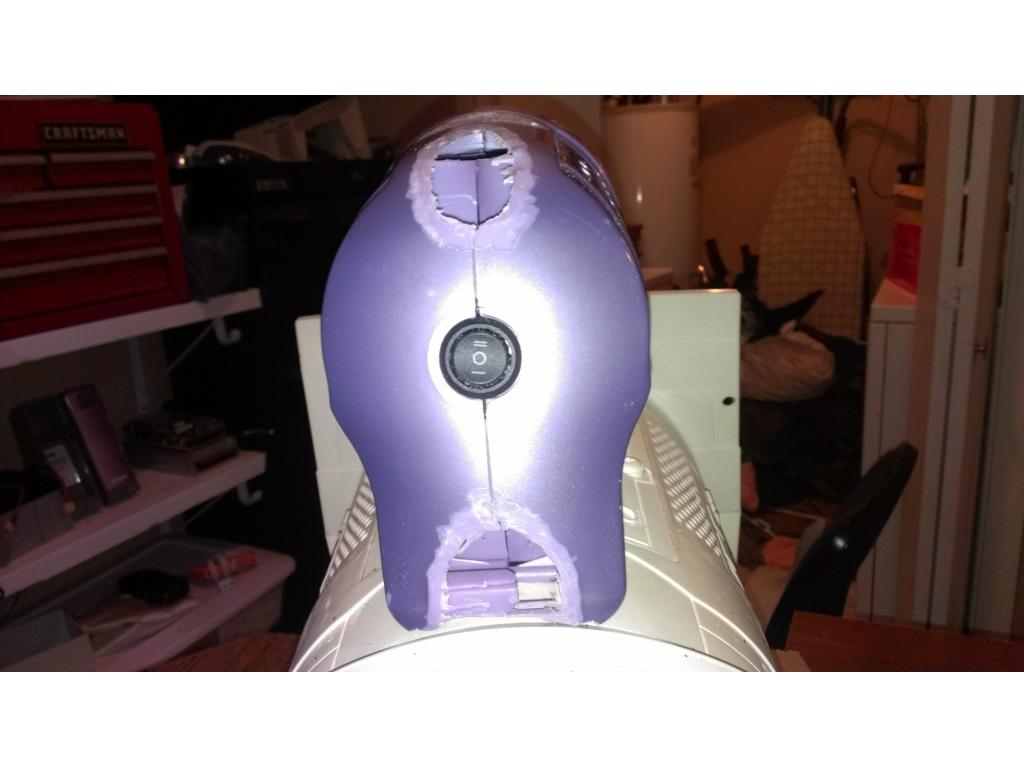
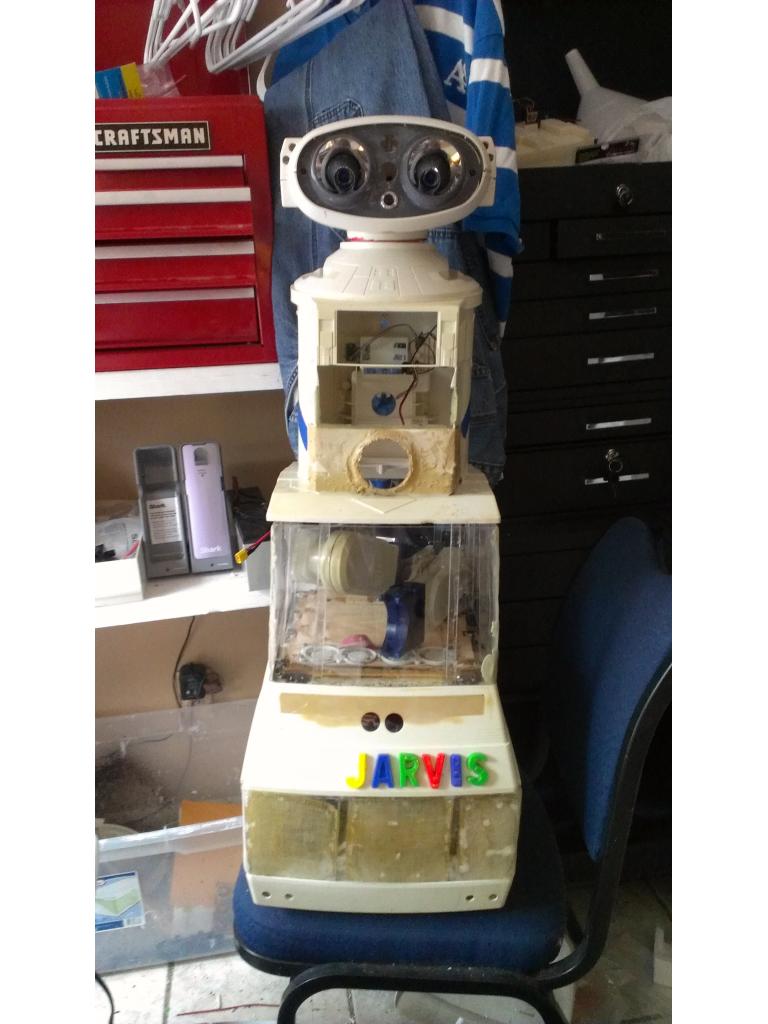
Thankyou Brett! I want to make sure this is one of a kind and looks good. If you have any suggestions let me know. Today I'm drilling mounts for the IR cliff sensors.
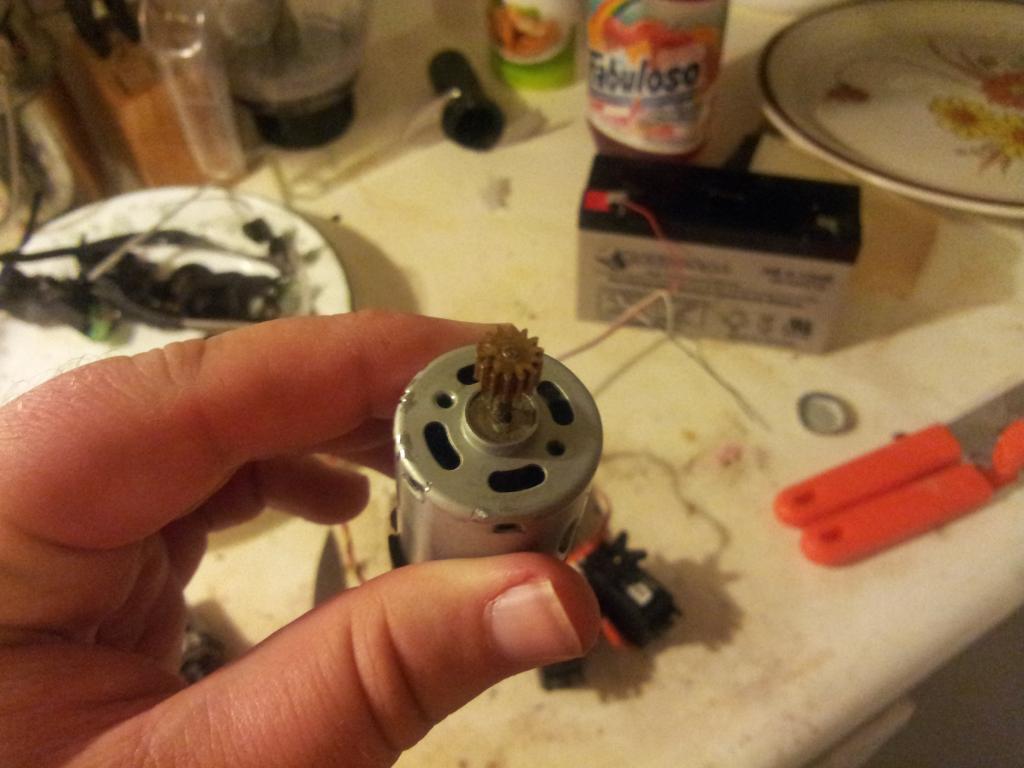
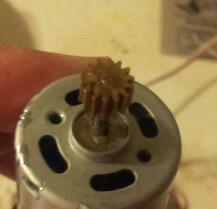
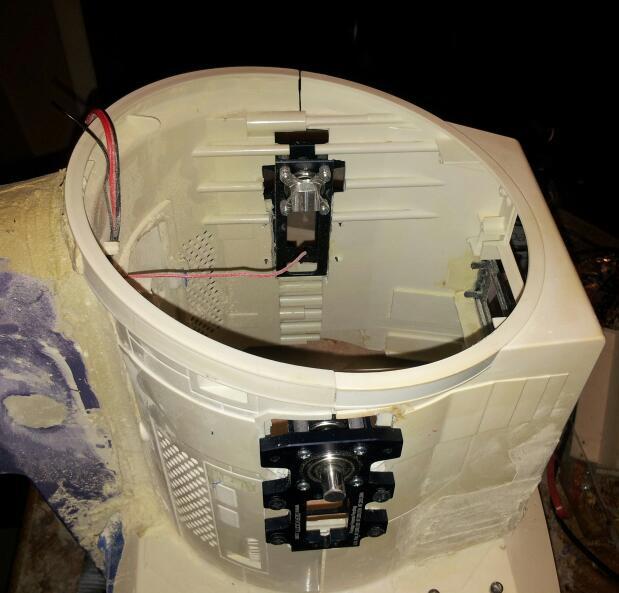
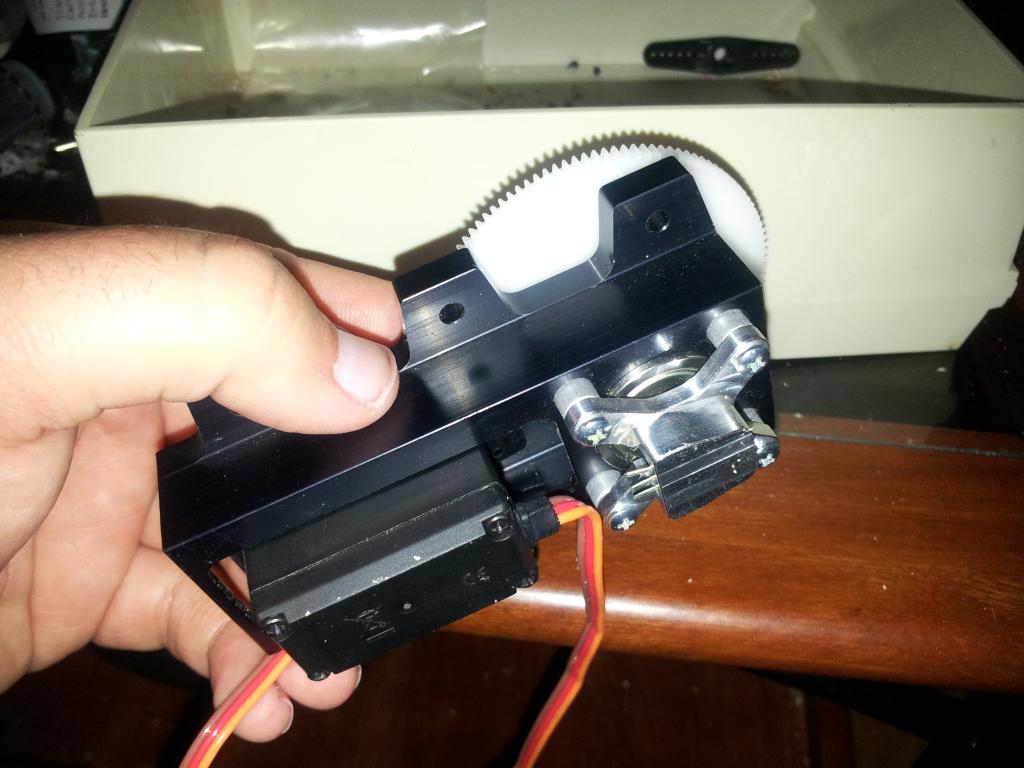
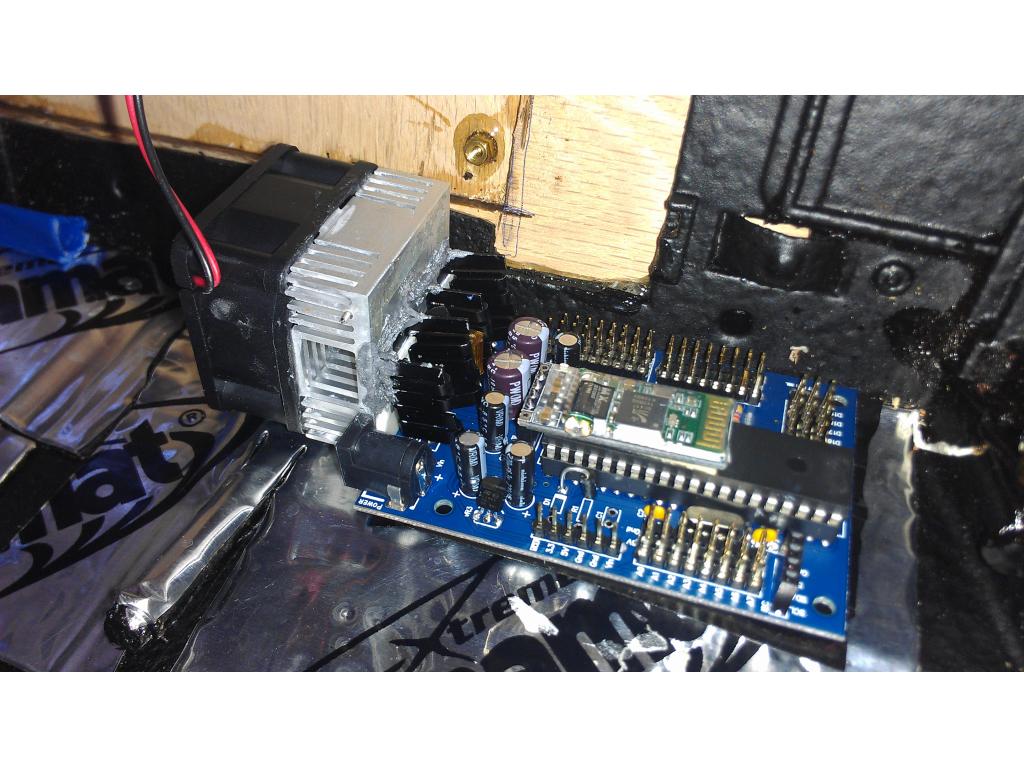
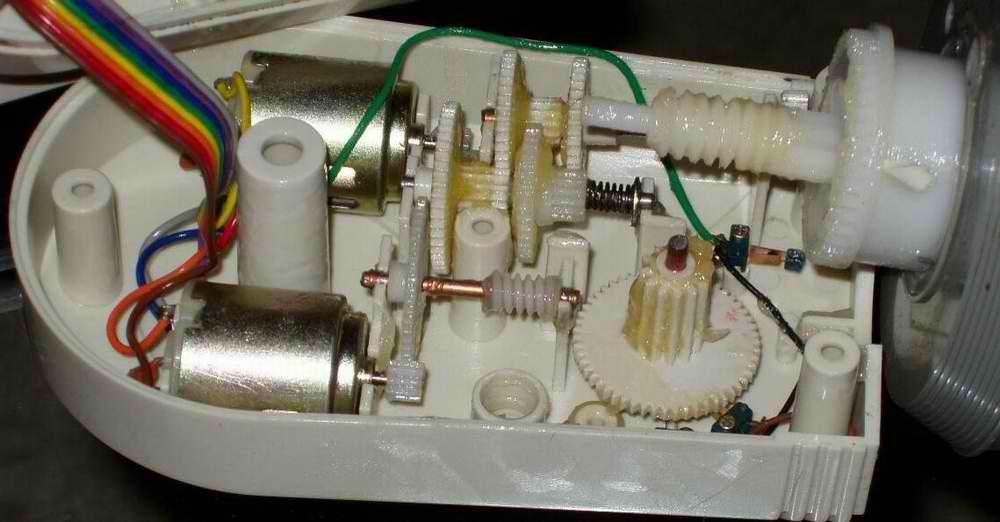
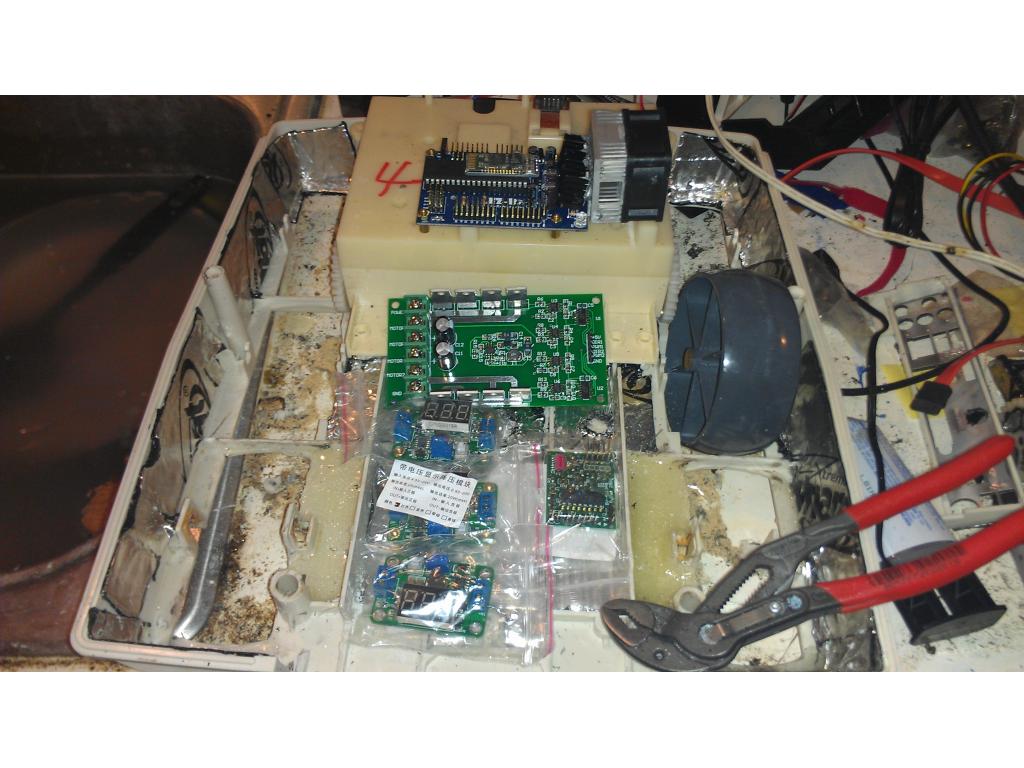
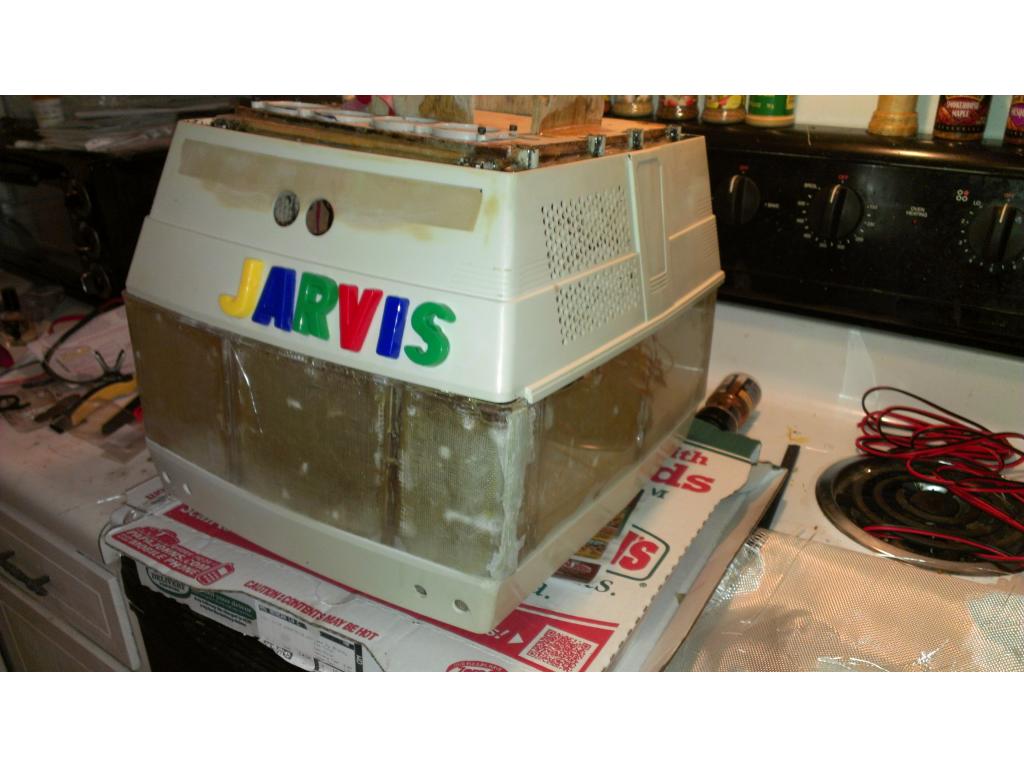
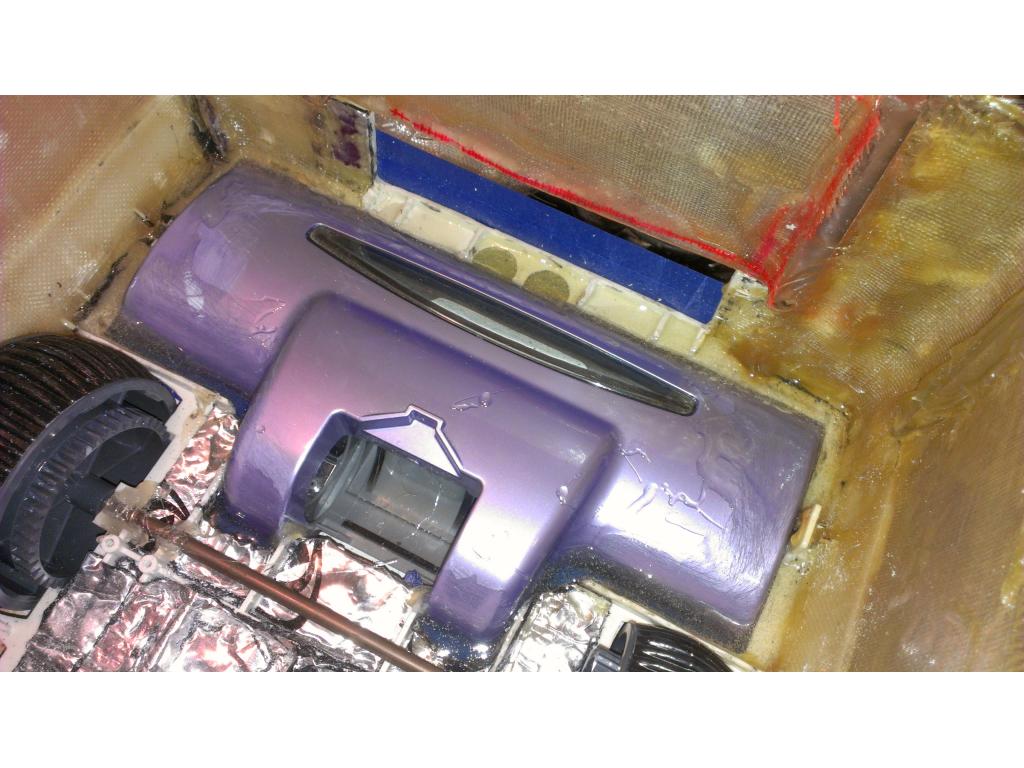
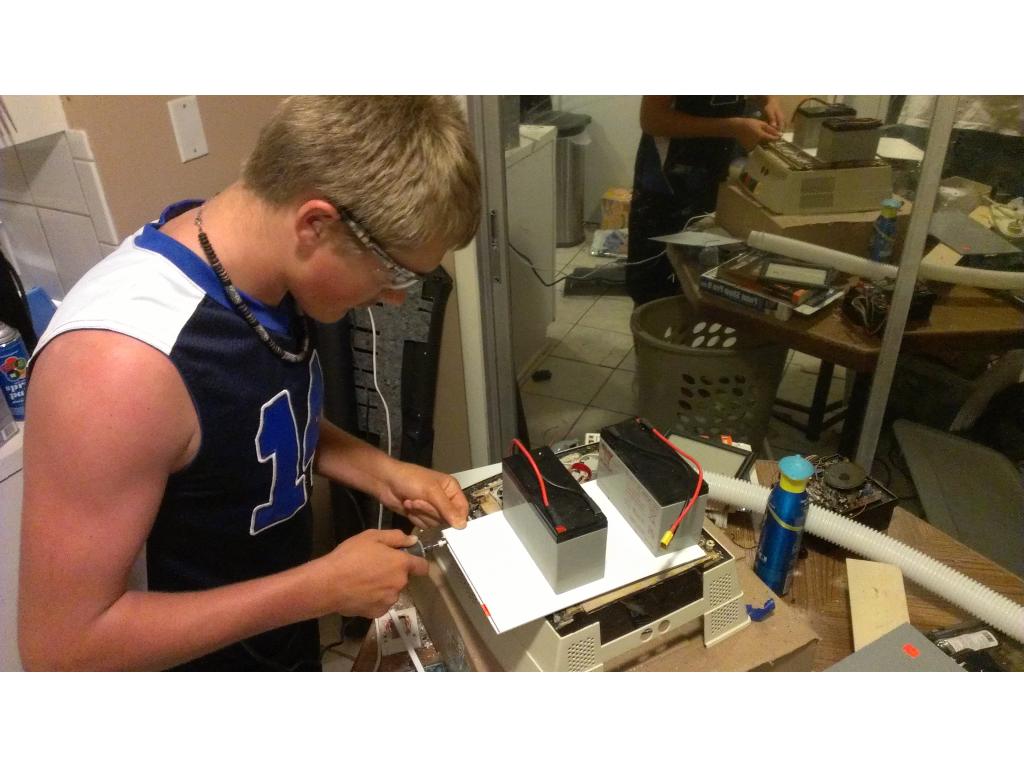
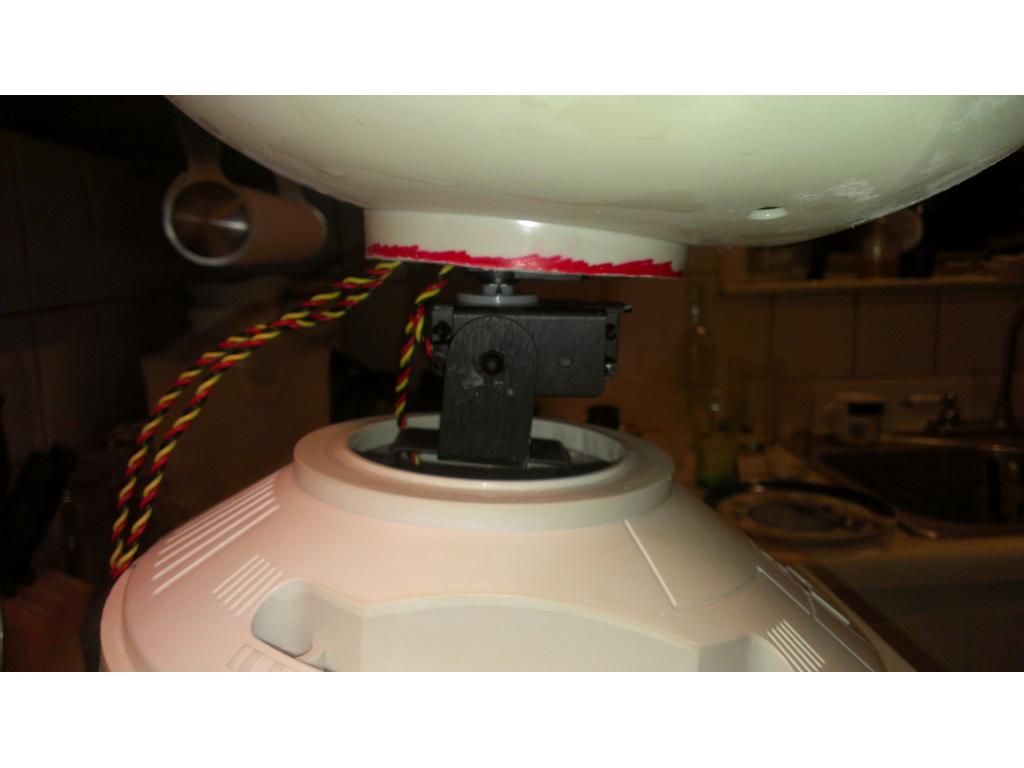
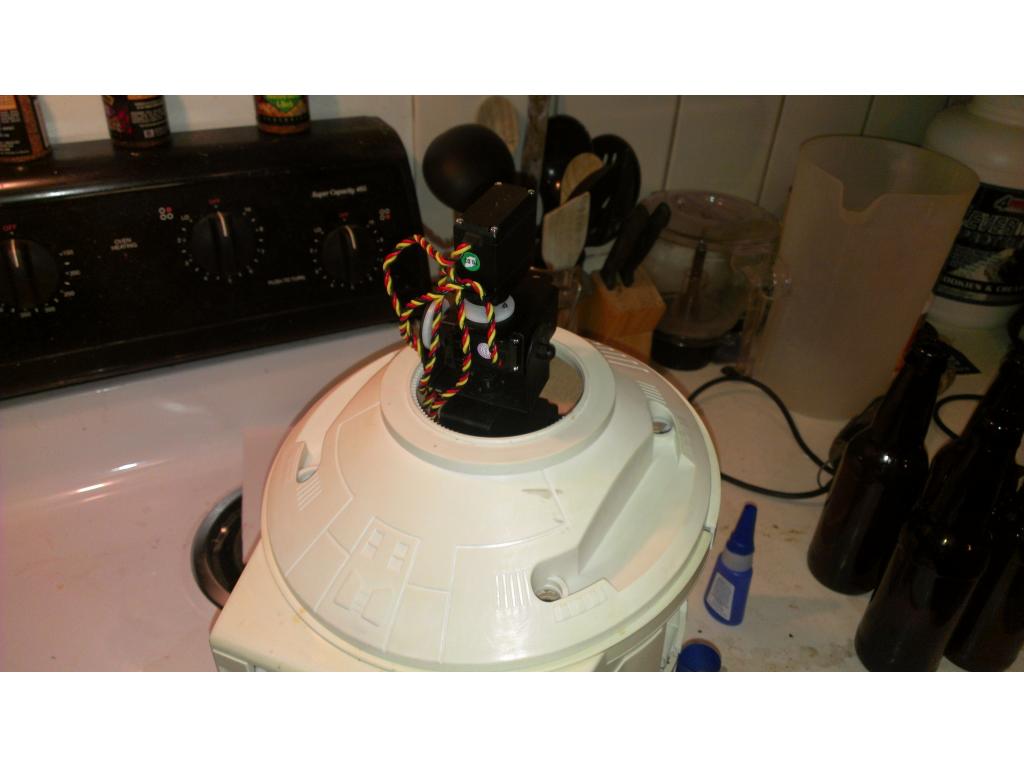
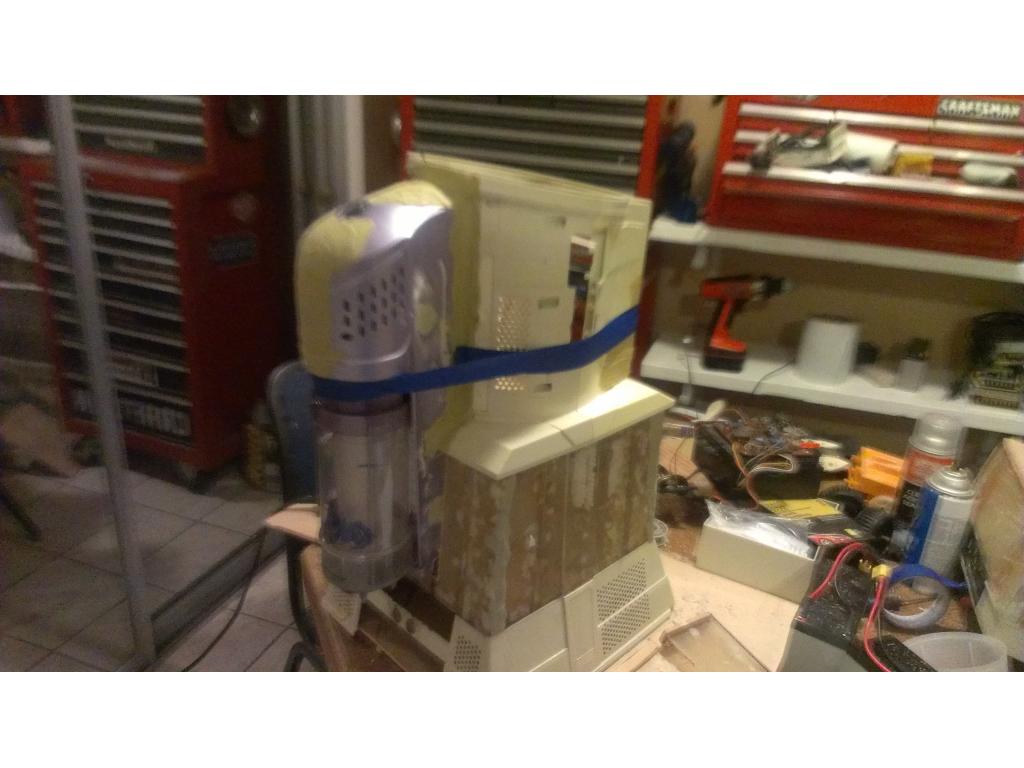
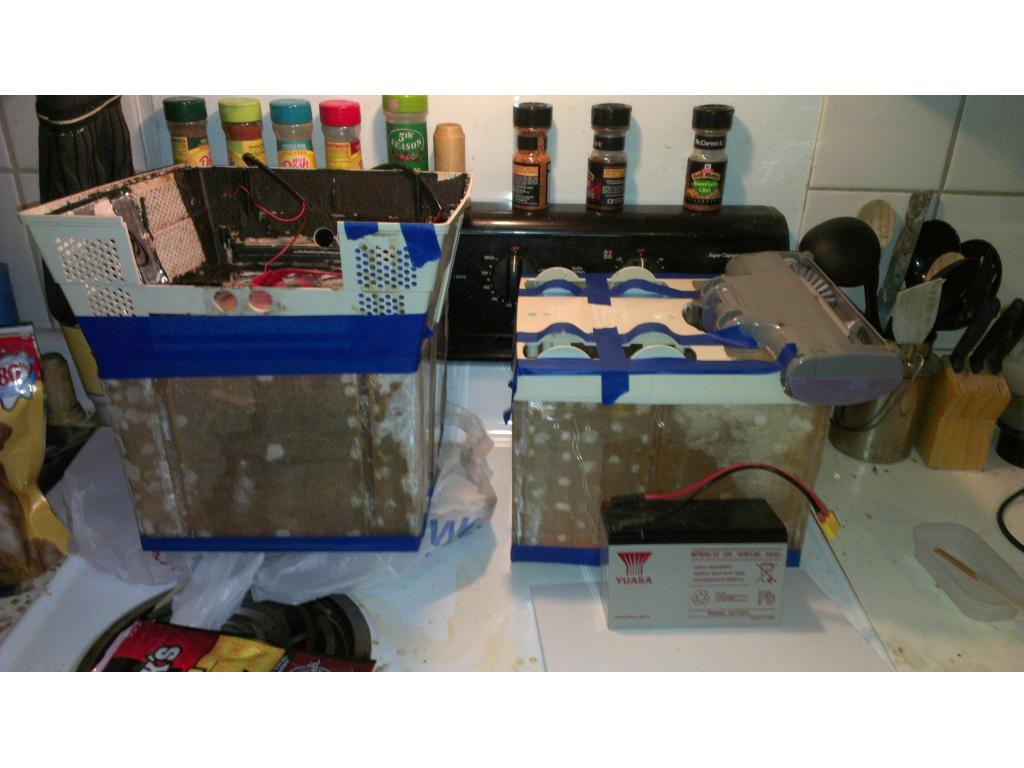
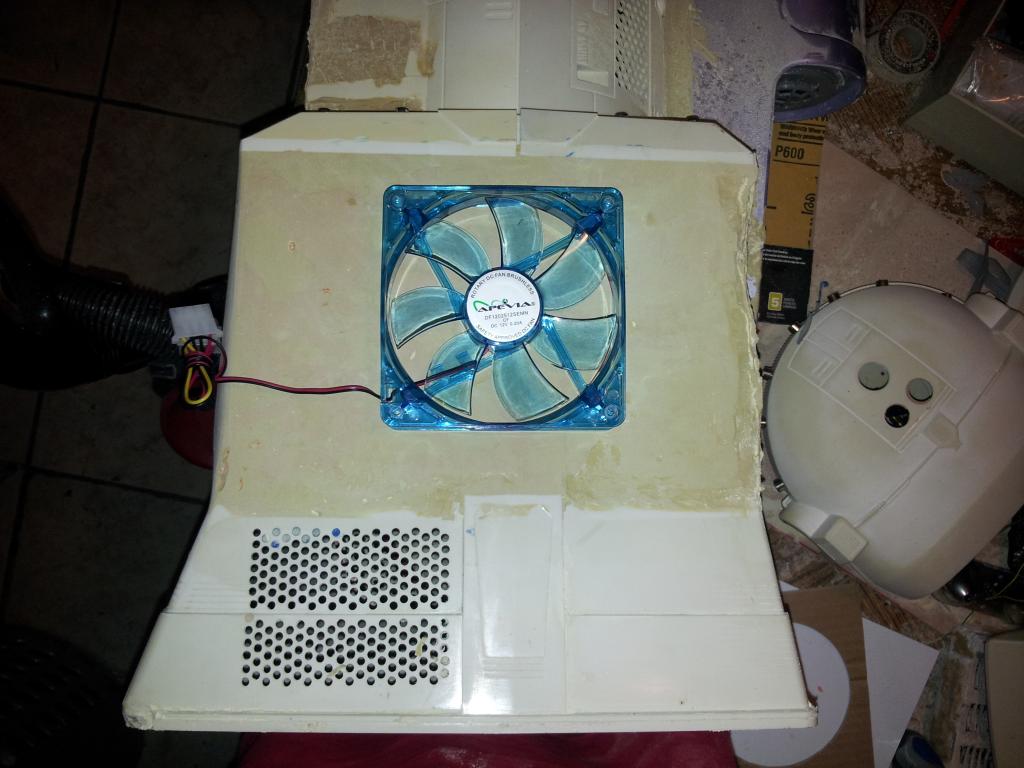
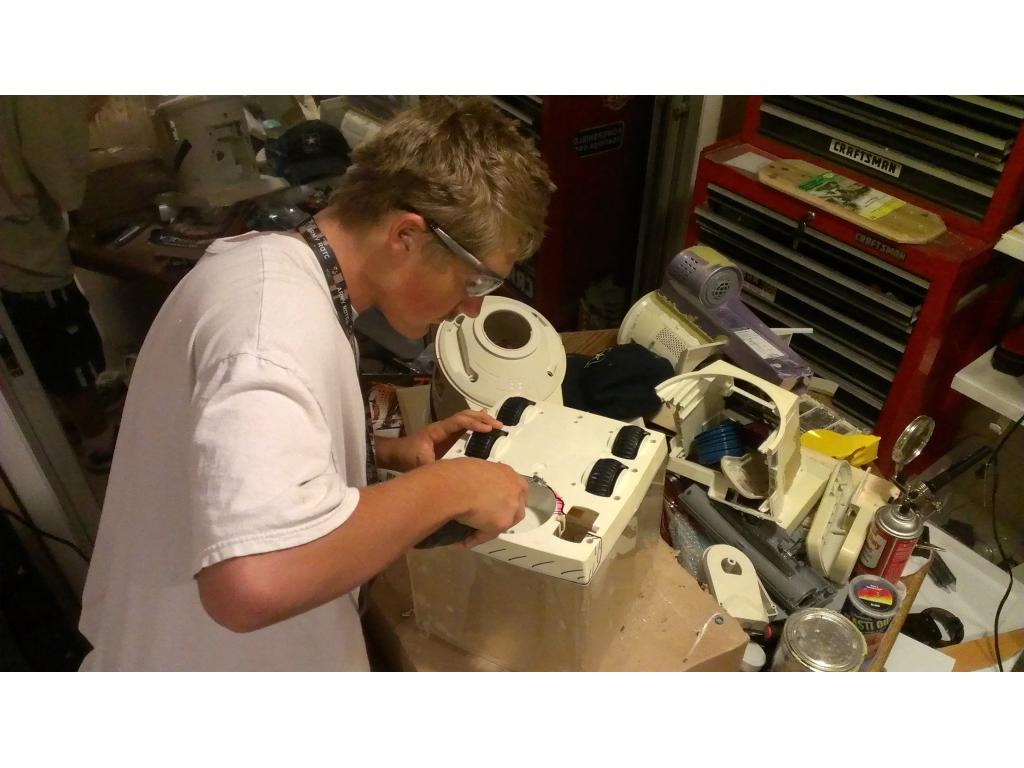
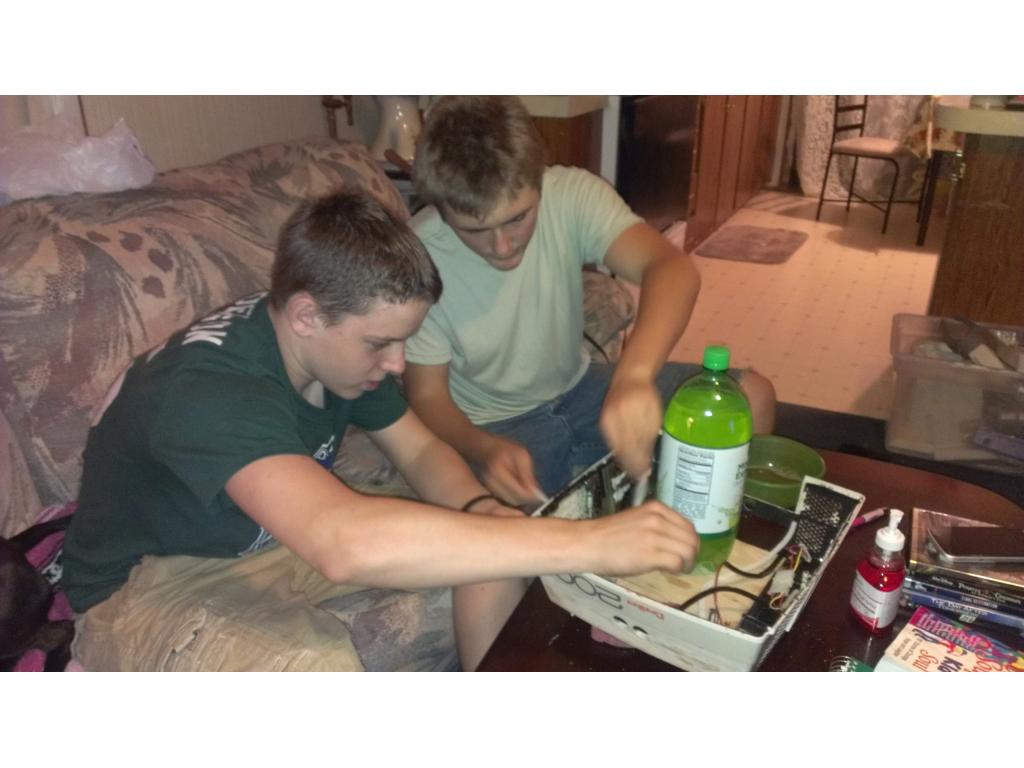
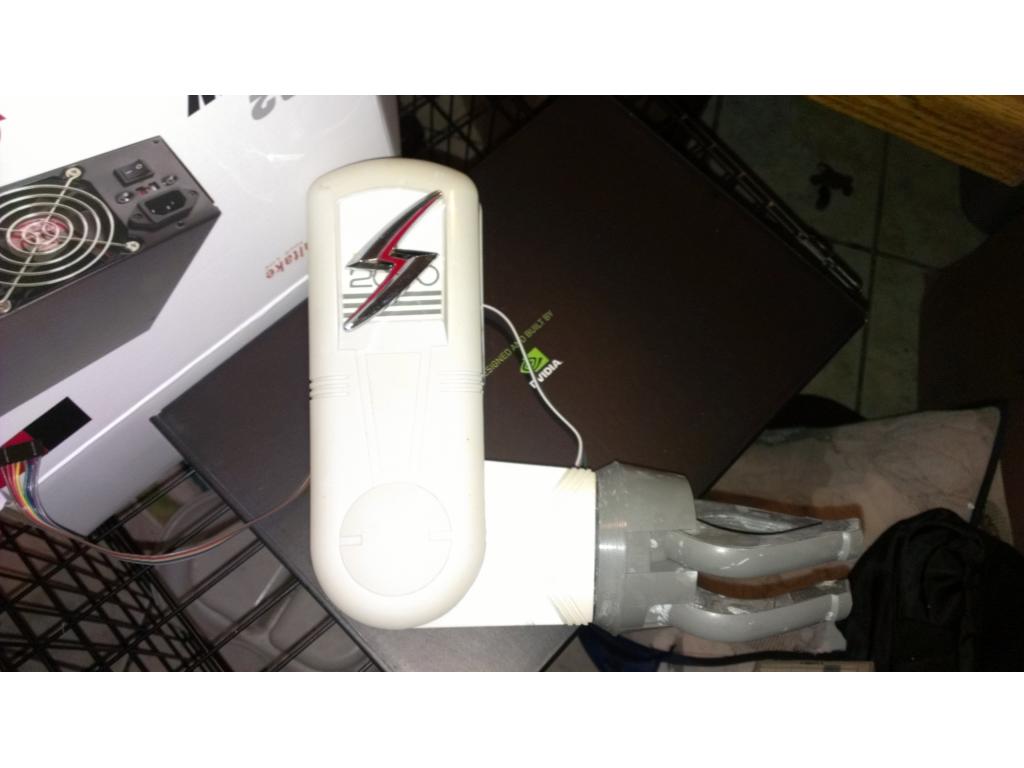
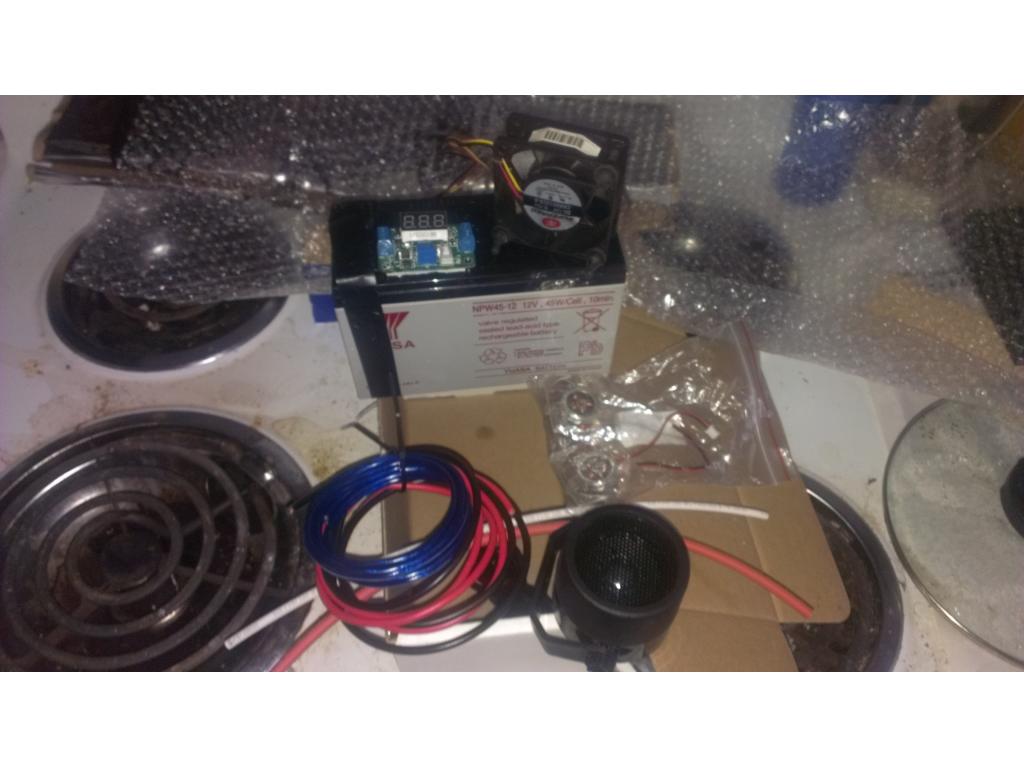
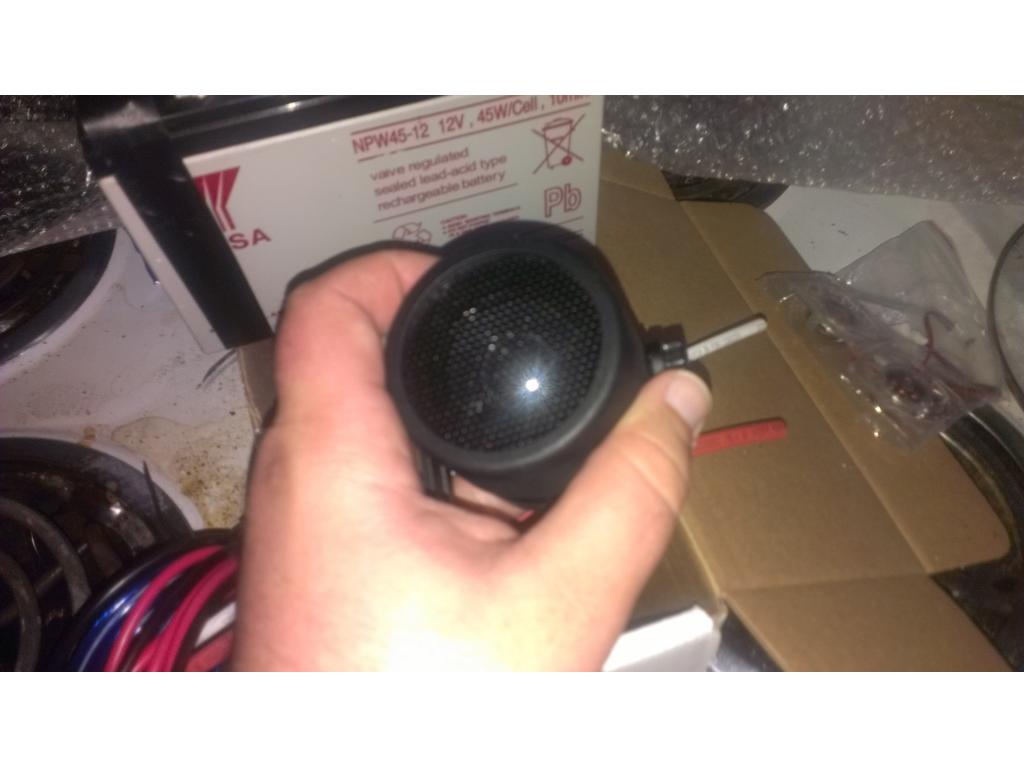
I'm wiring my drive section for B9. It is so nice to have some time to work on bots.
I know what you mean , I'm on LOA from work a few days trying to get this kidney problem diagnosed and treated and when I get bored I work on my bot
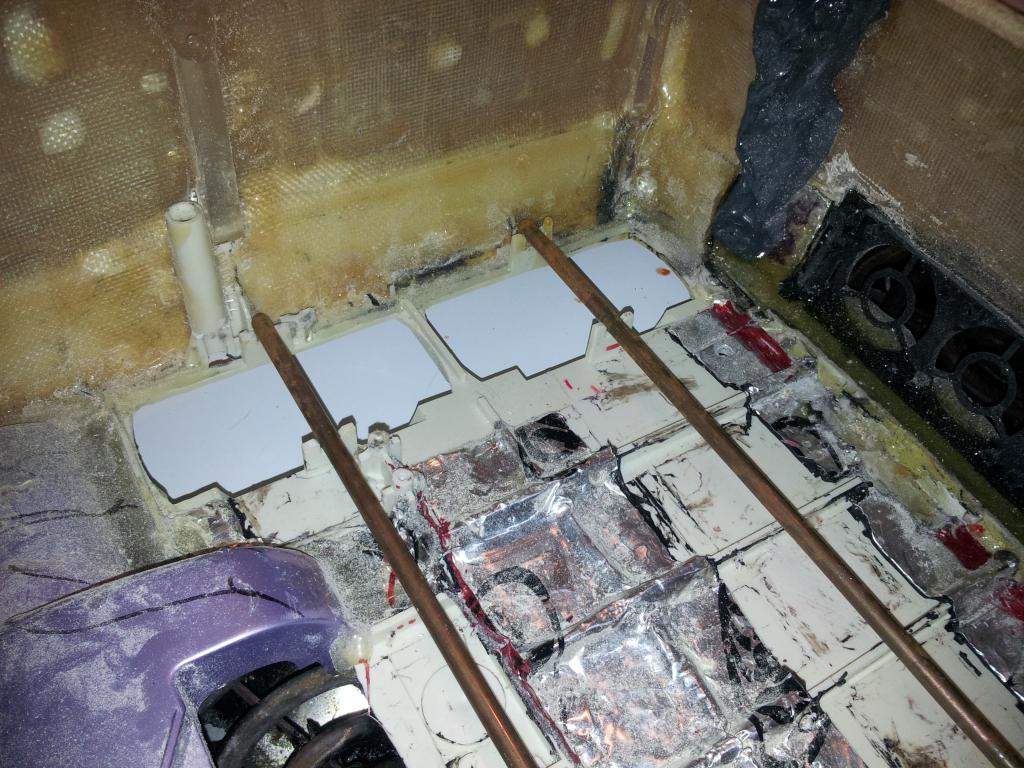
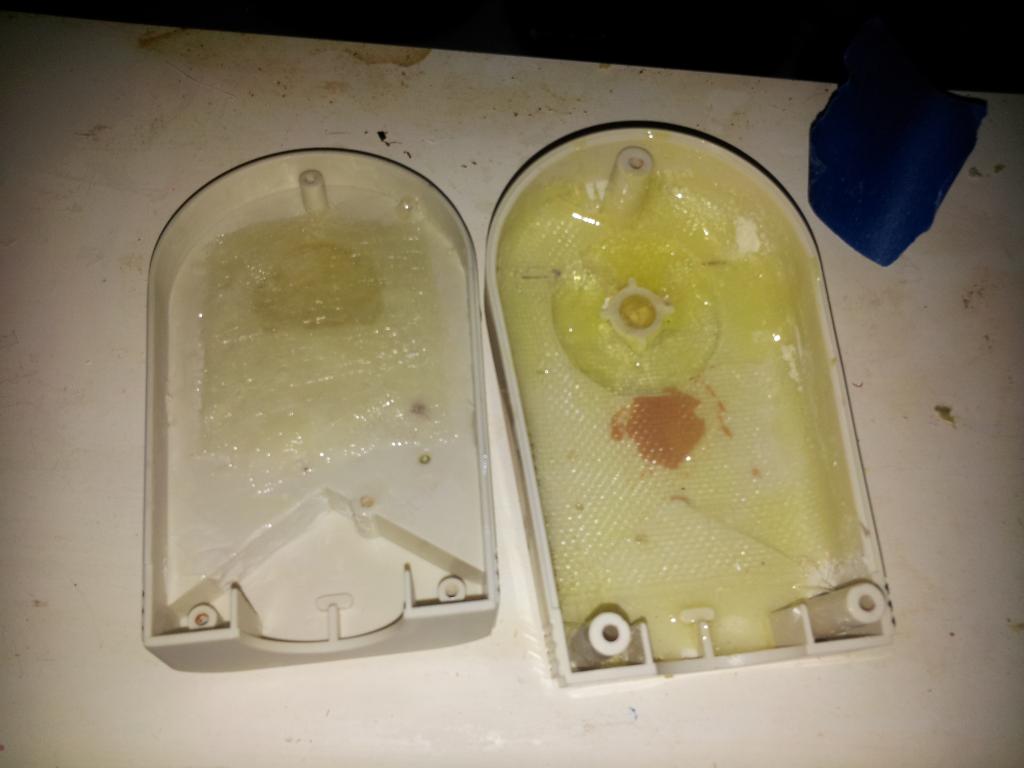
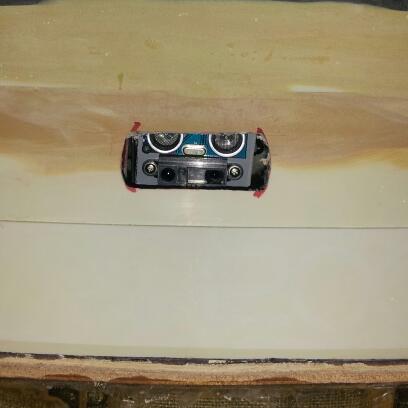
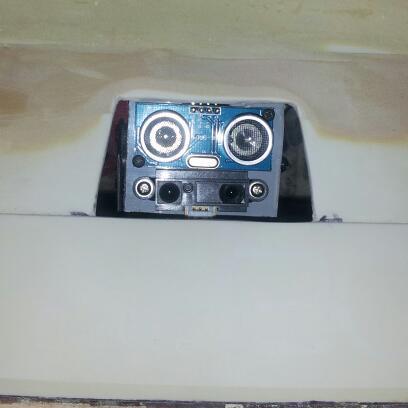
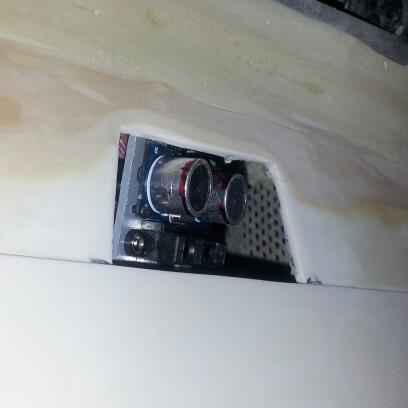
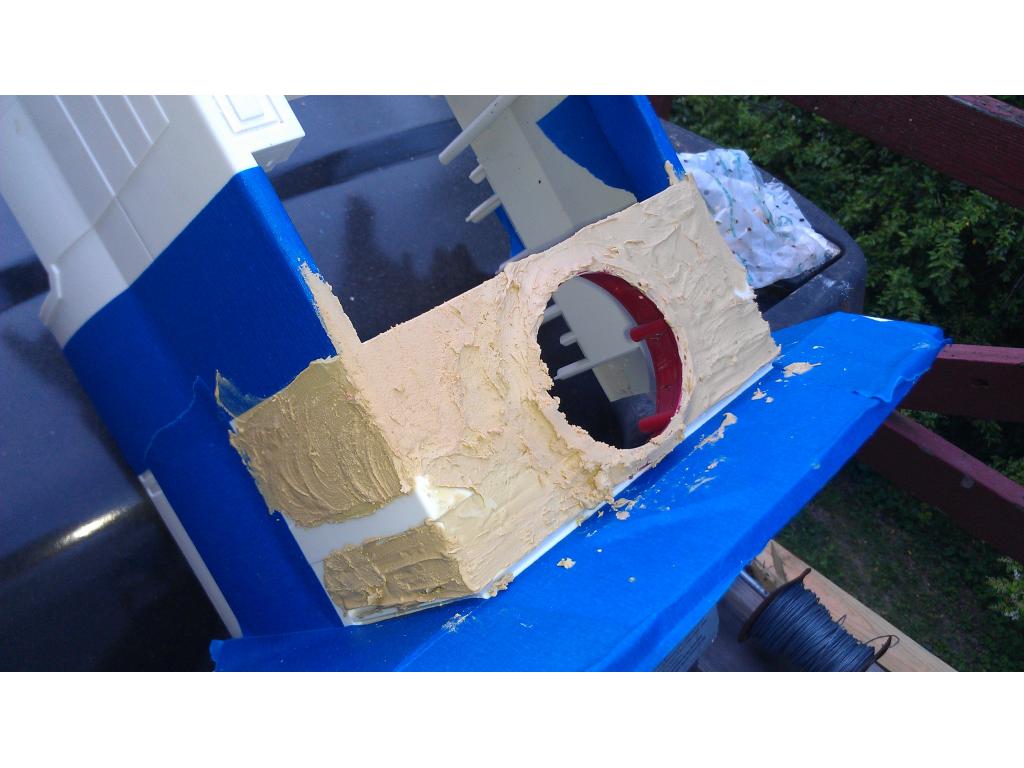
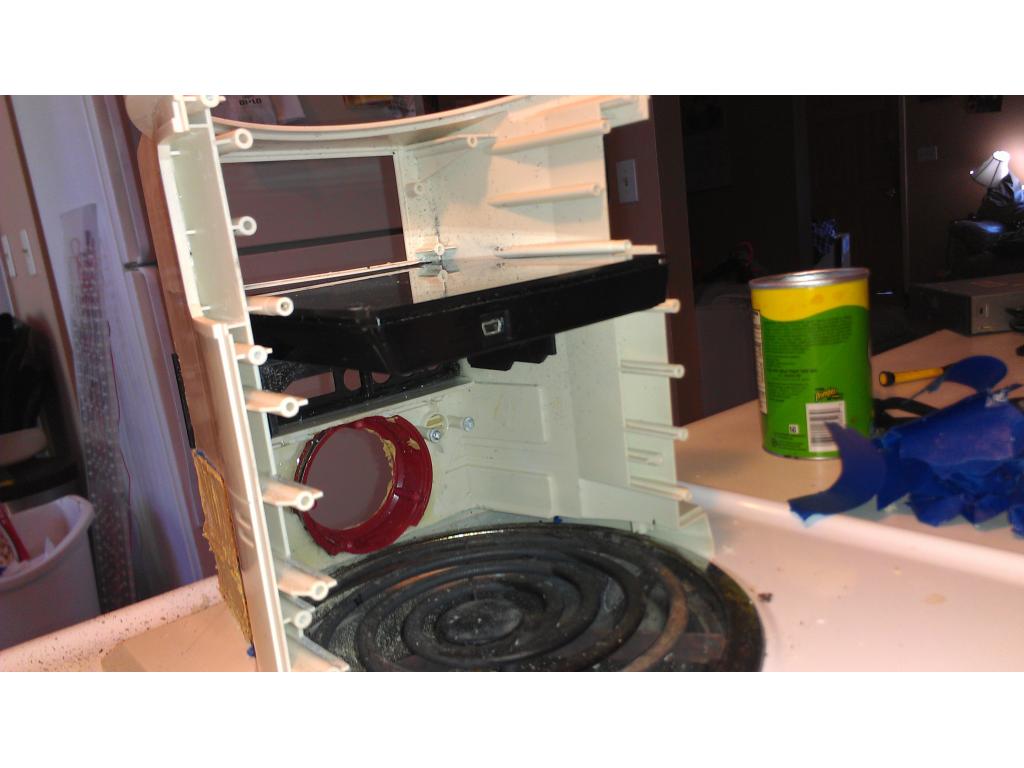
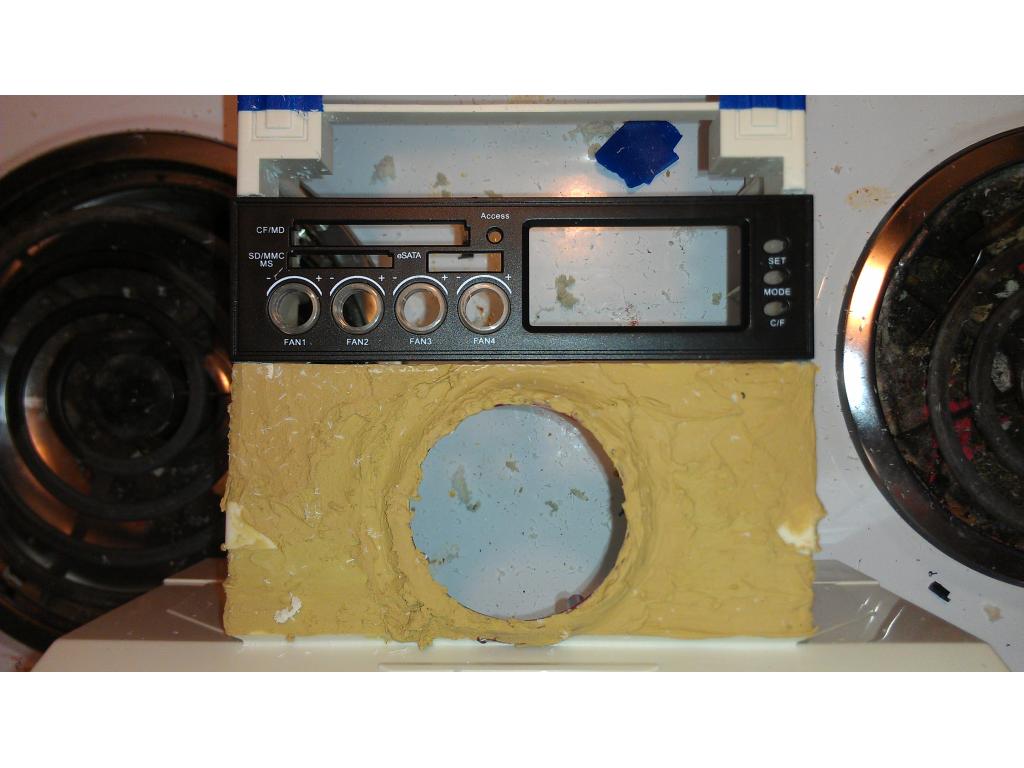
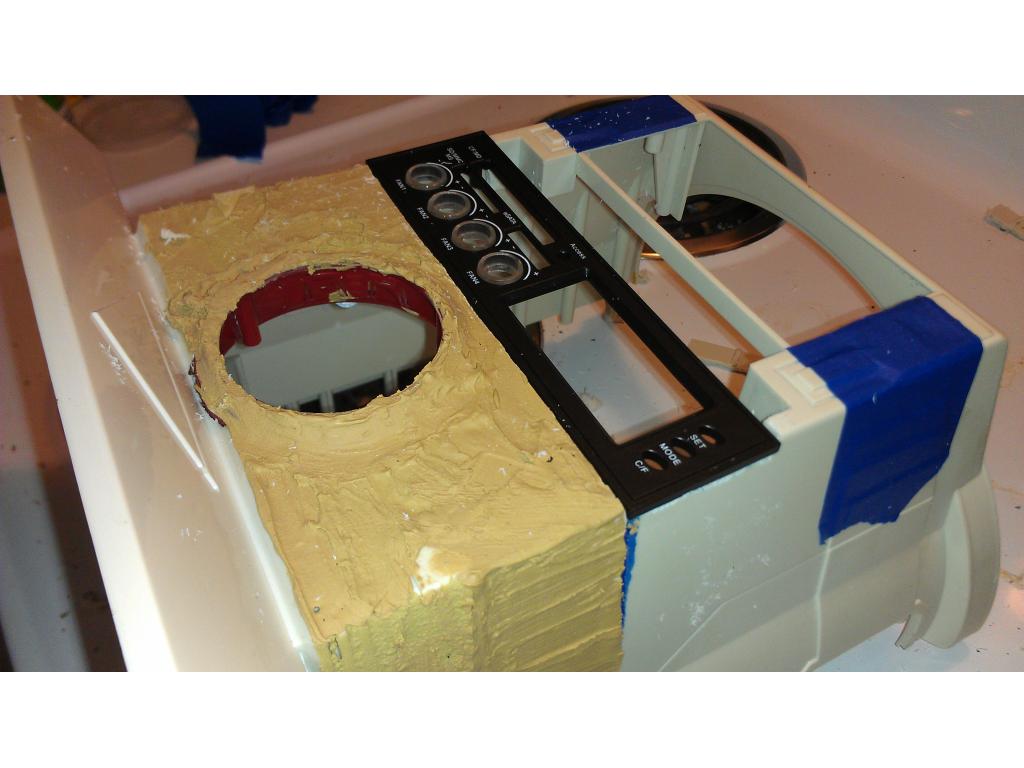
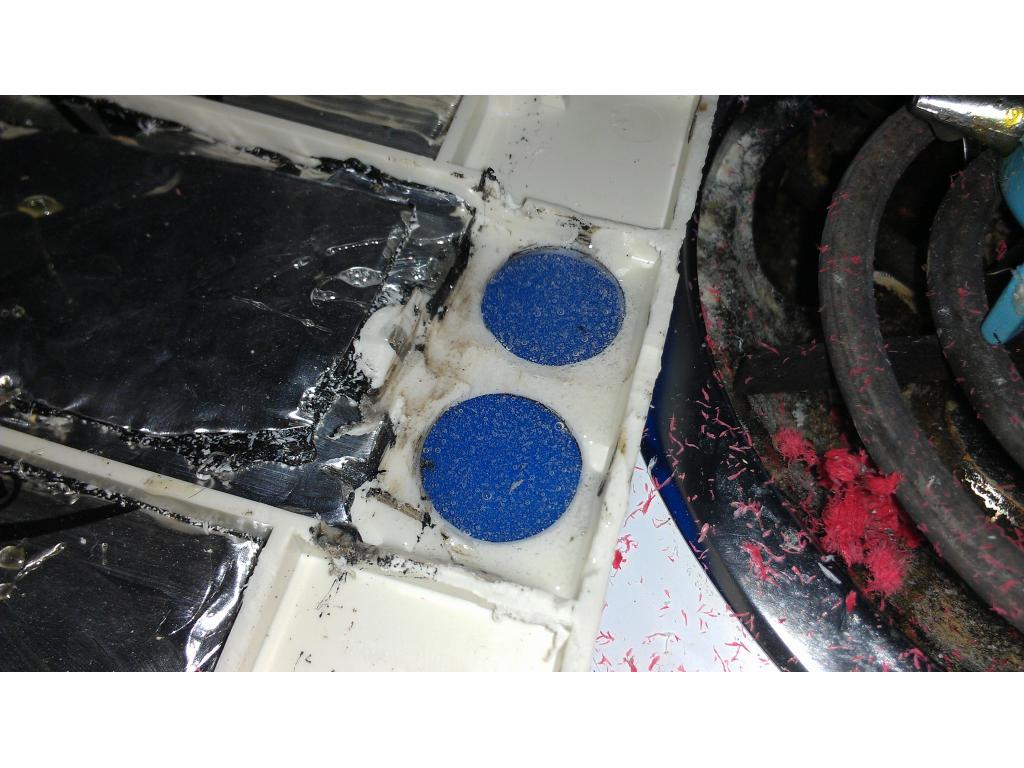
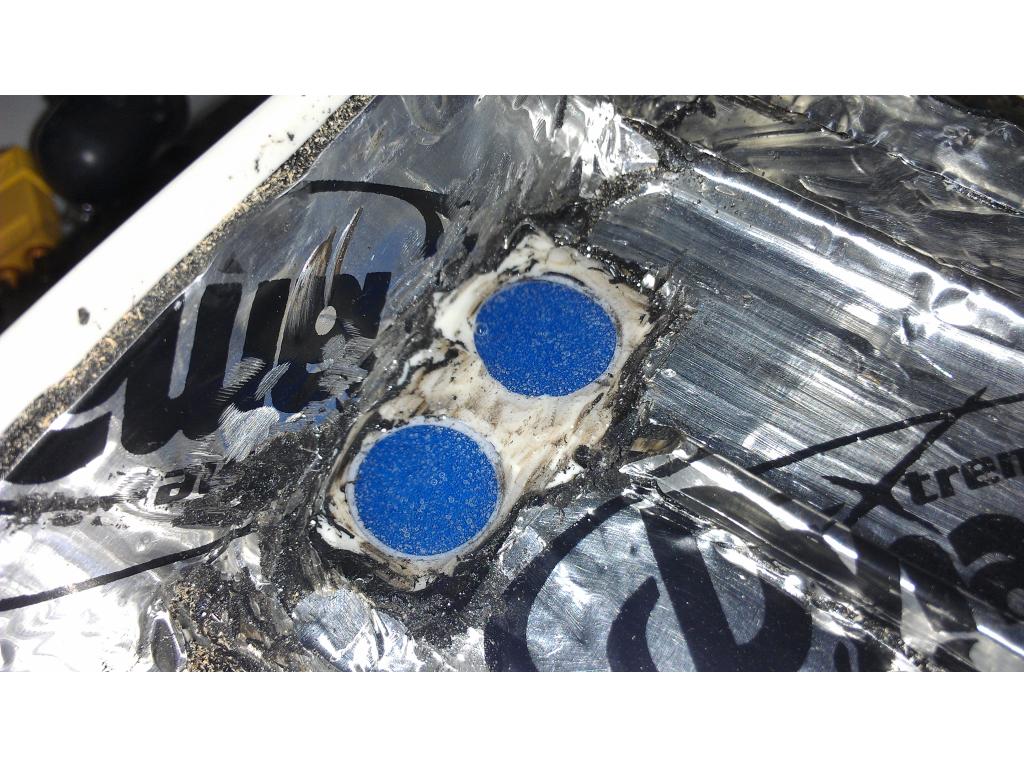
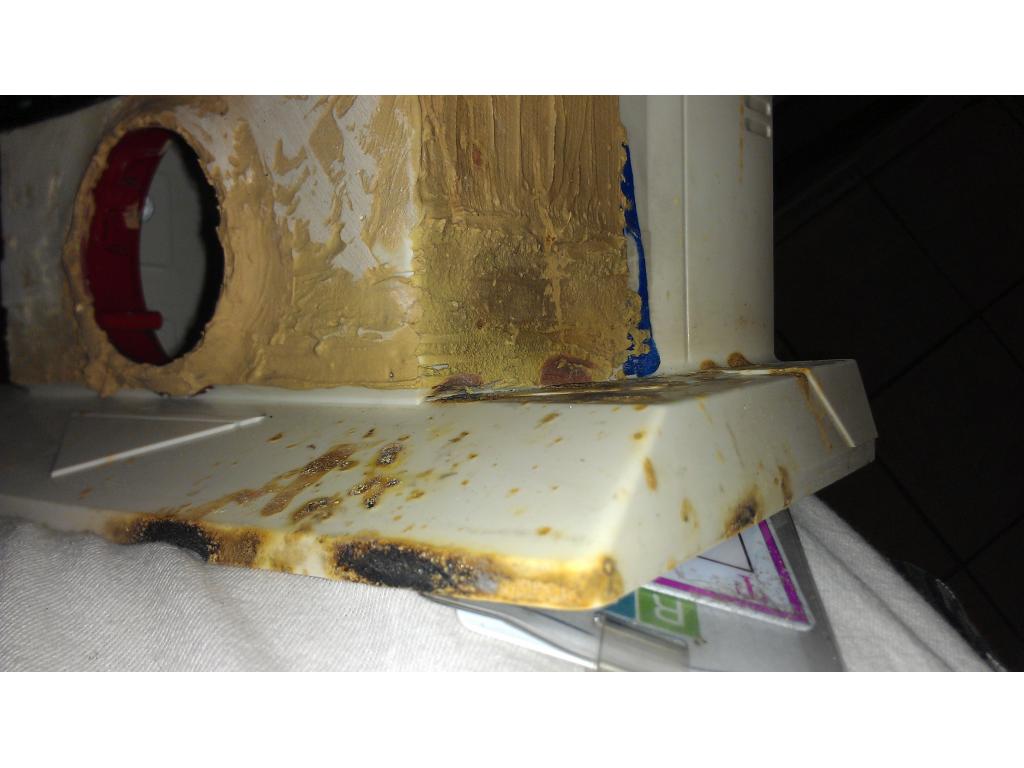
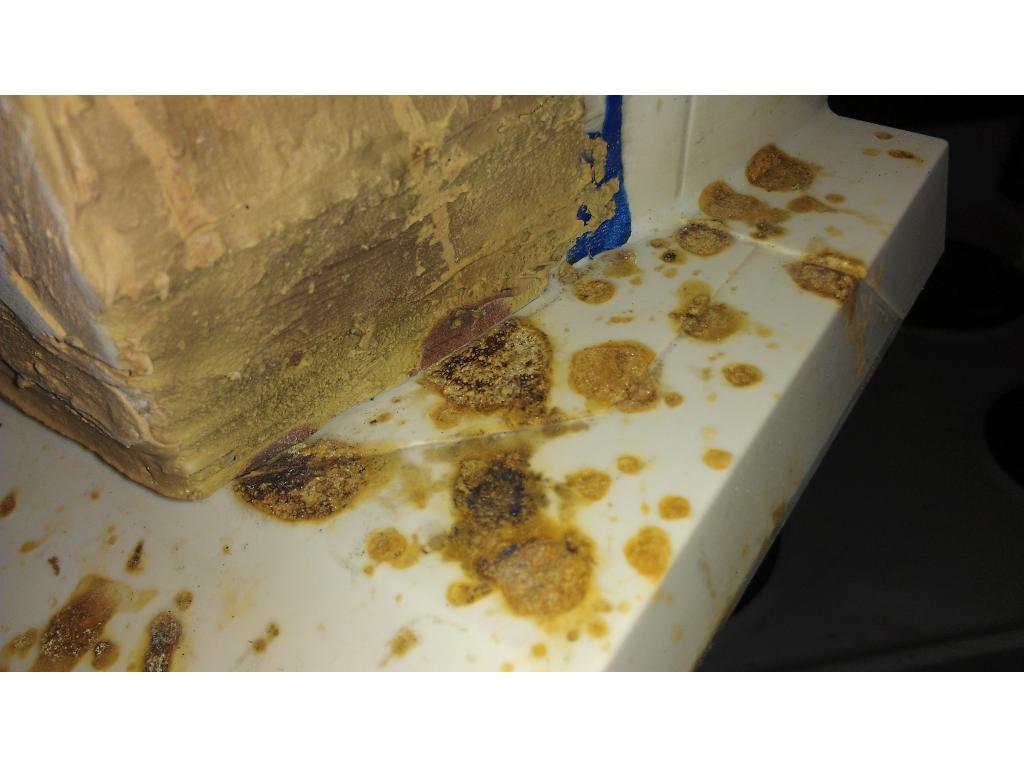
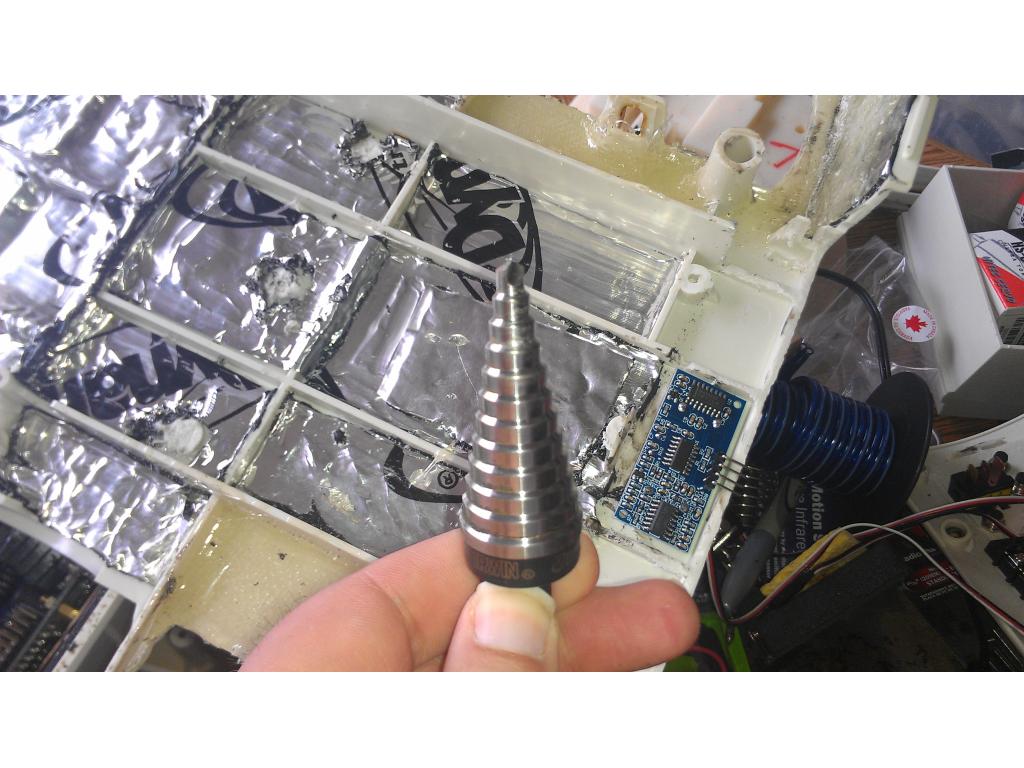
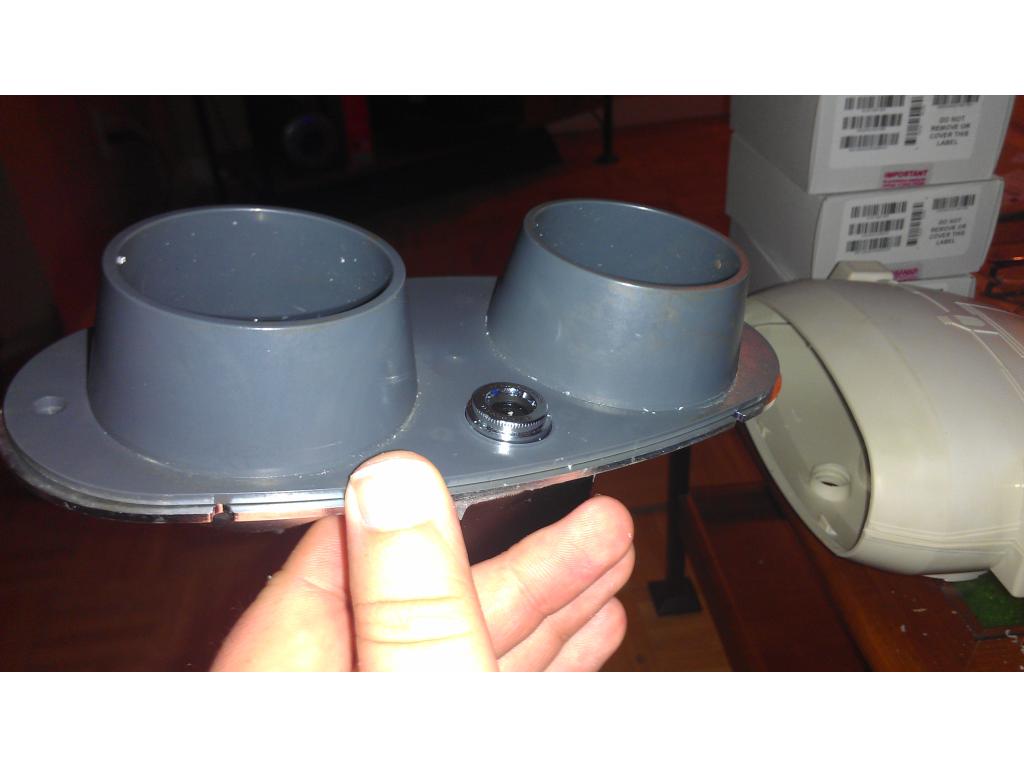
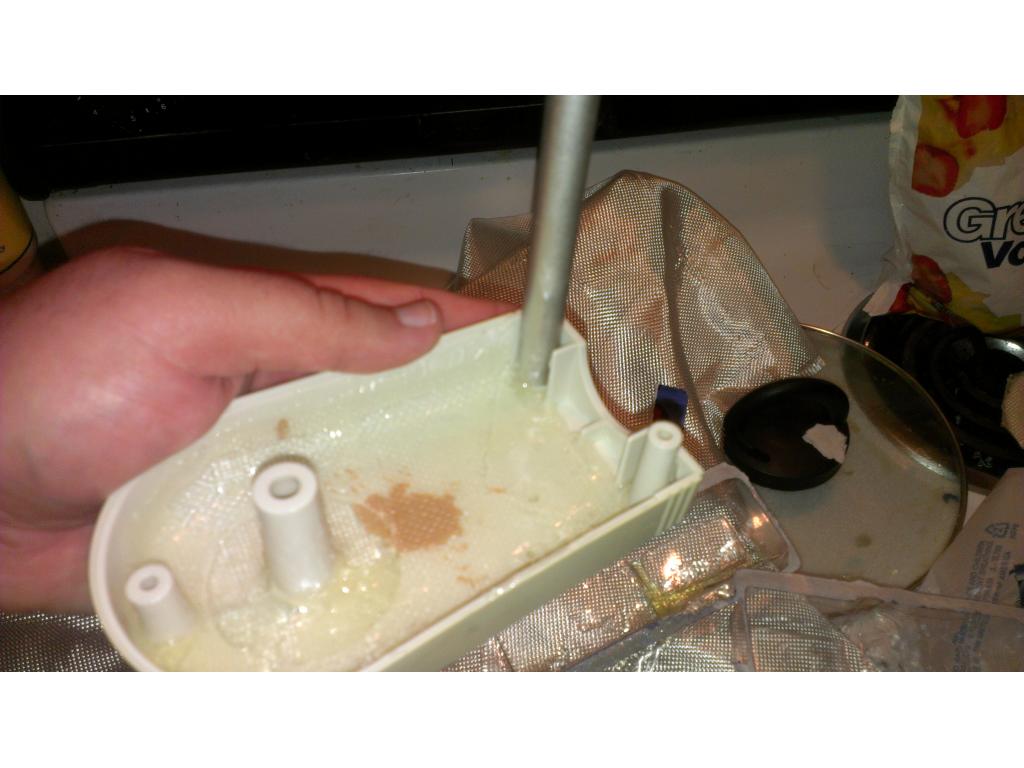
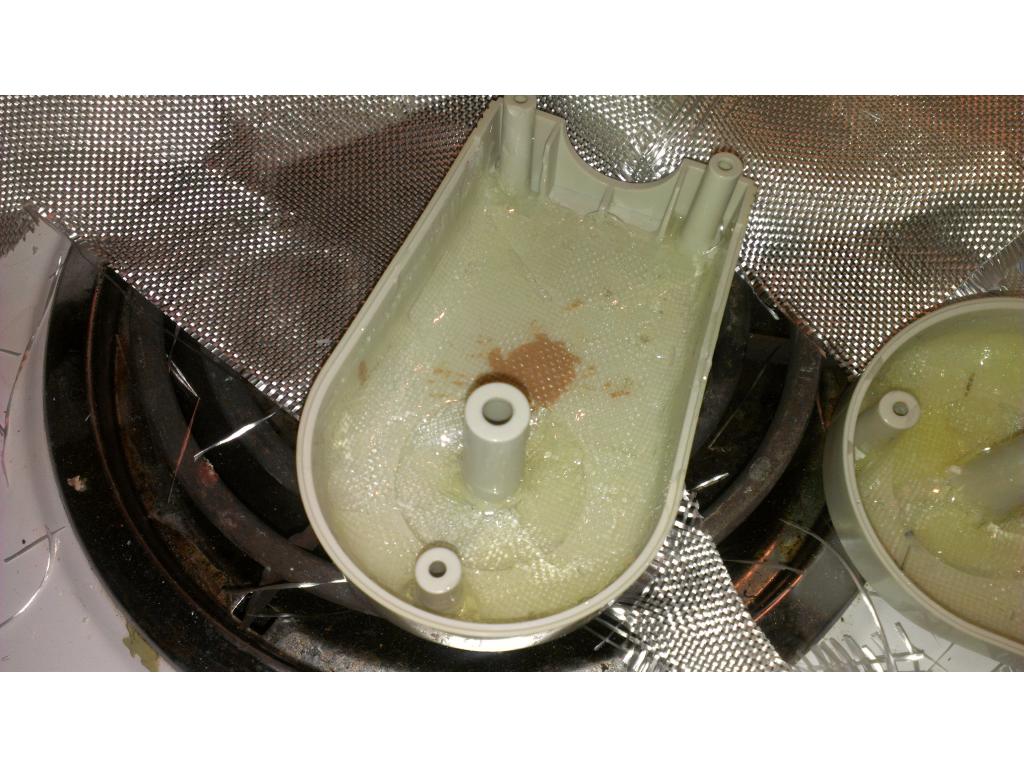
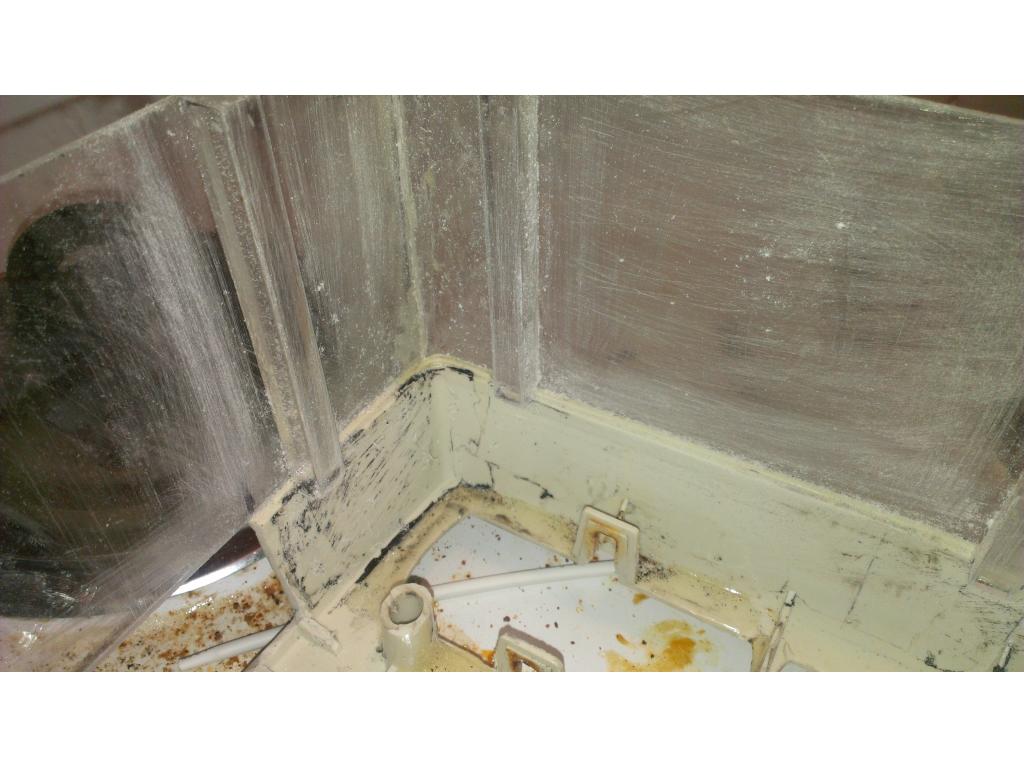
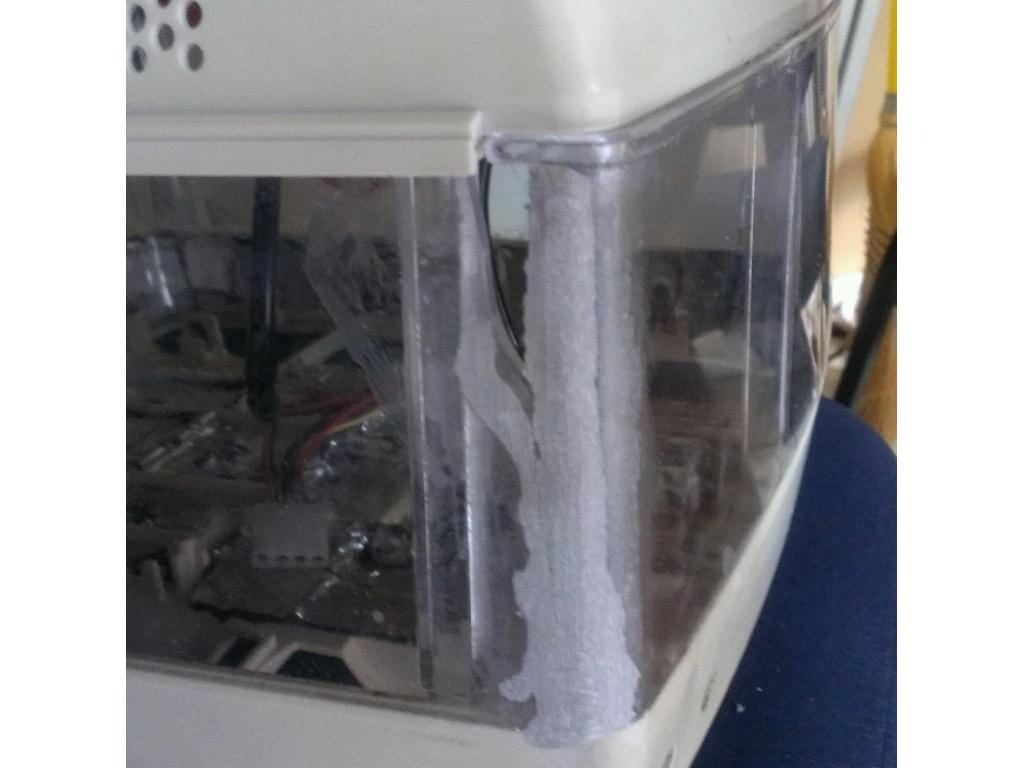
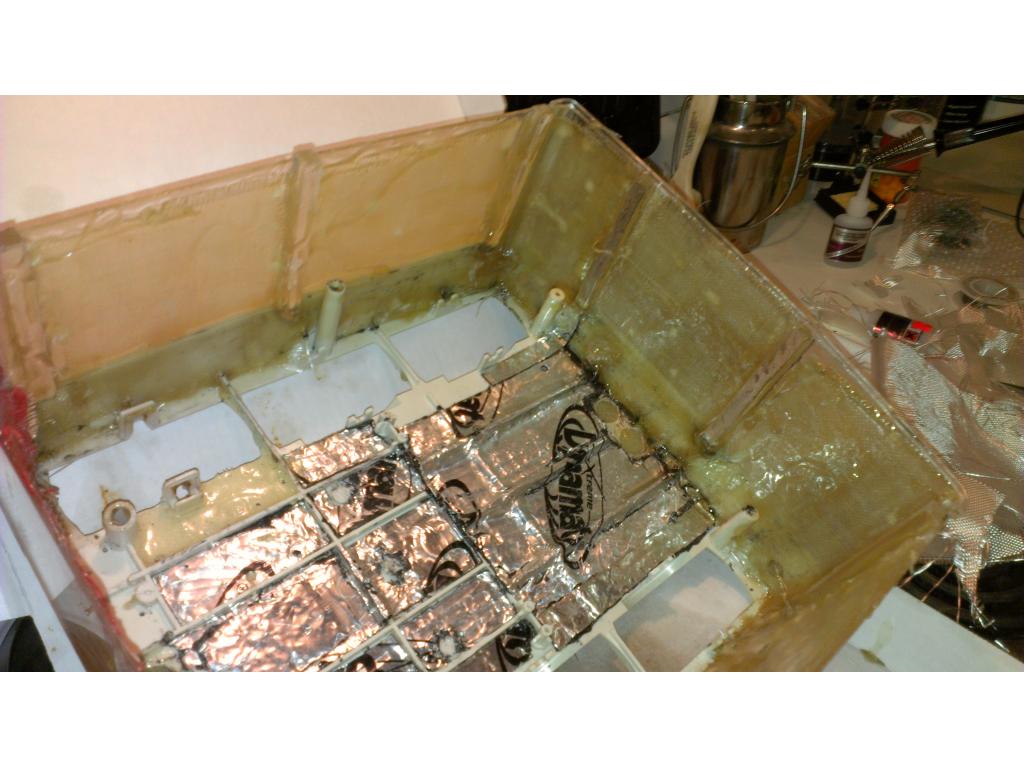
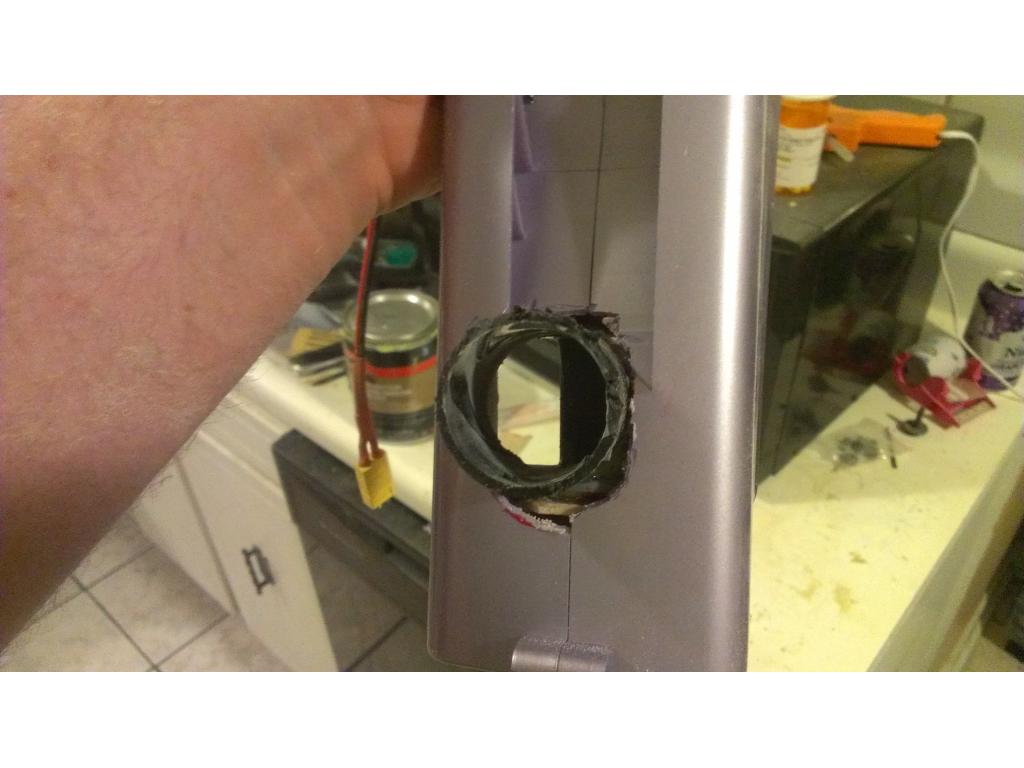
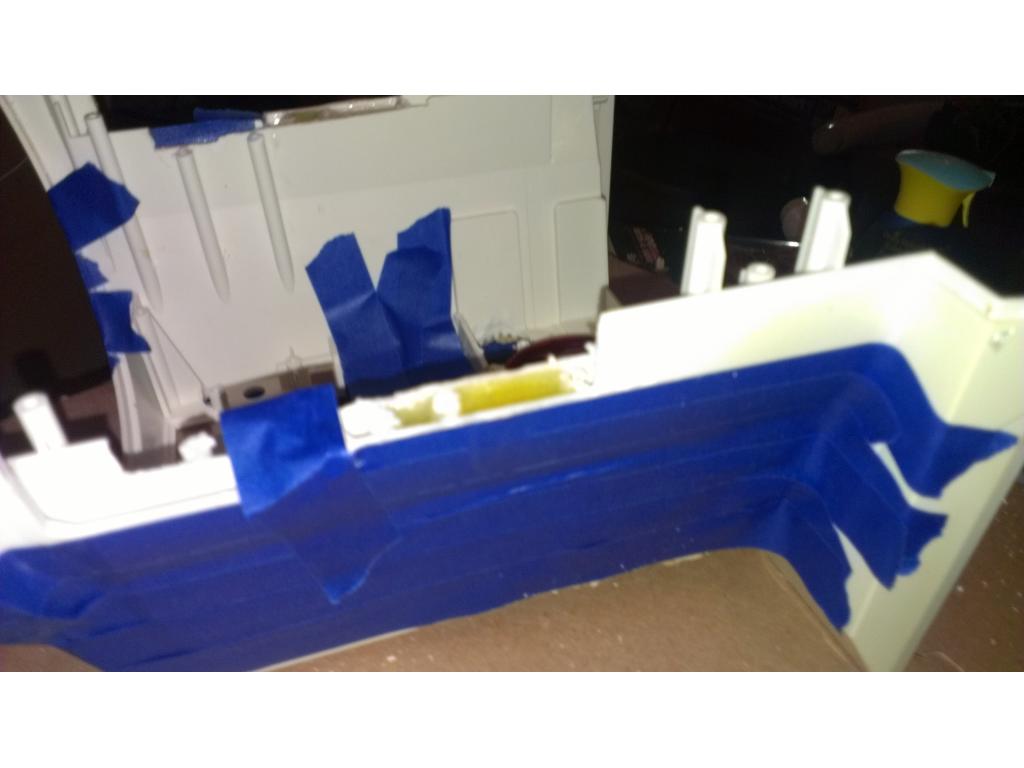
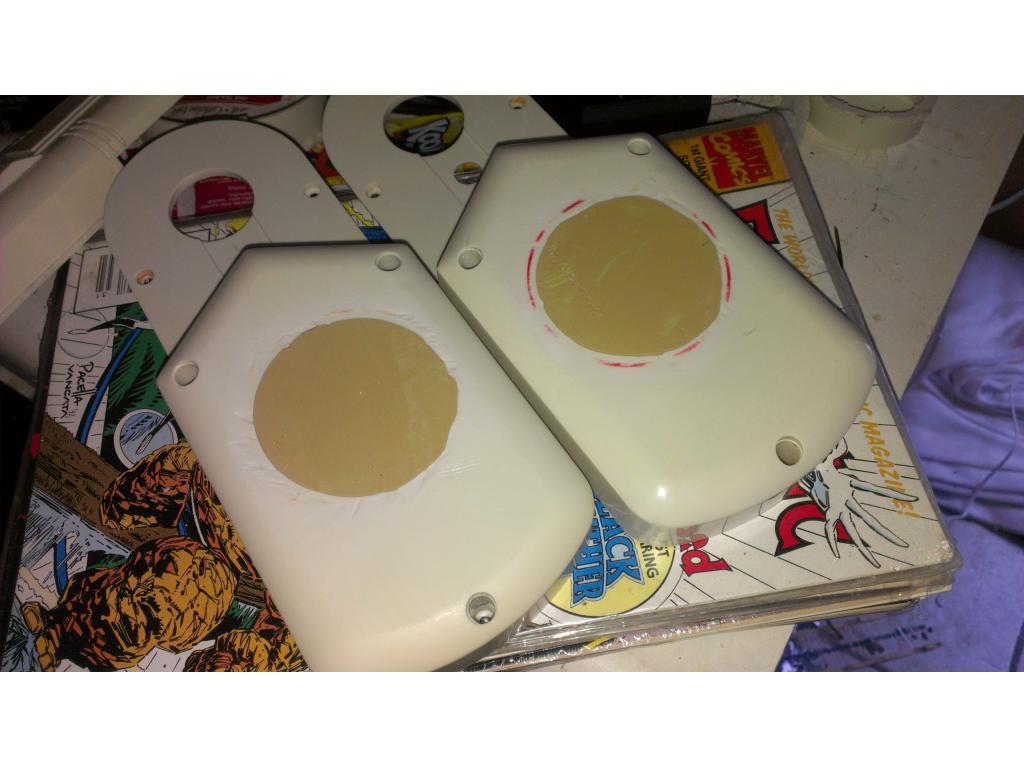
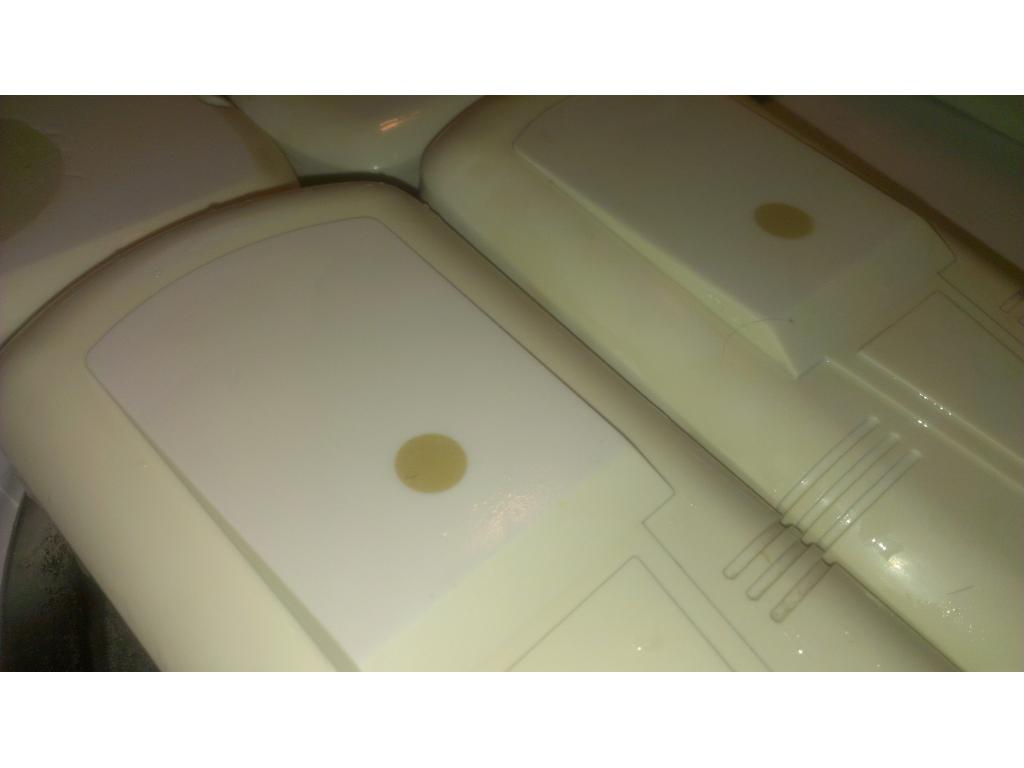
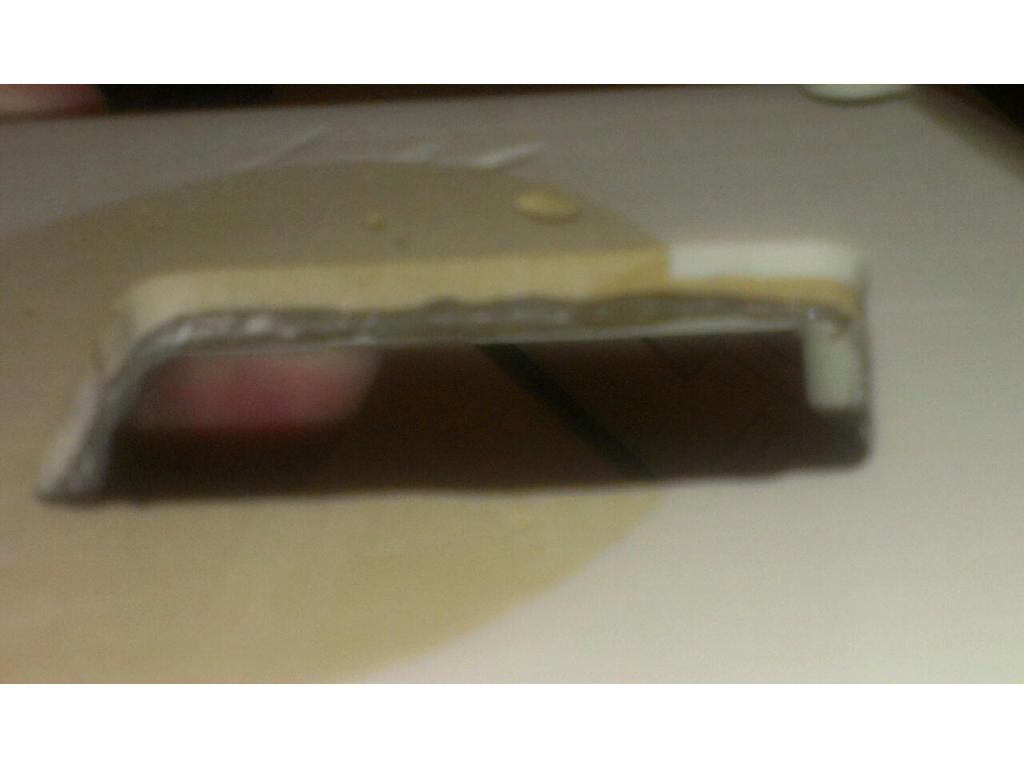
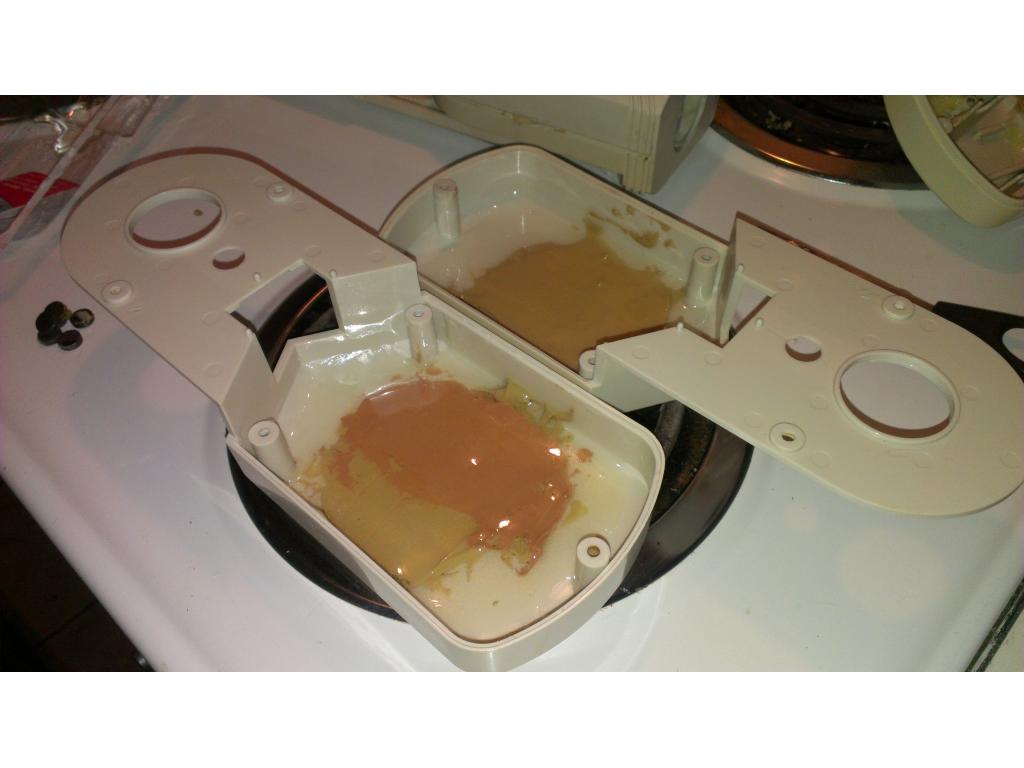
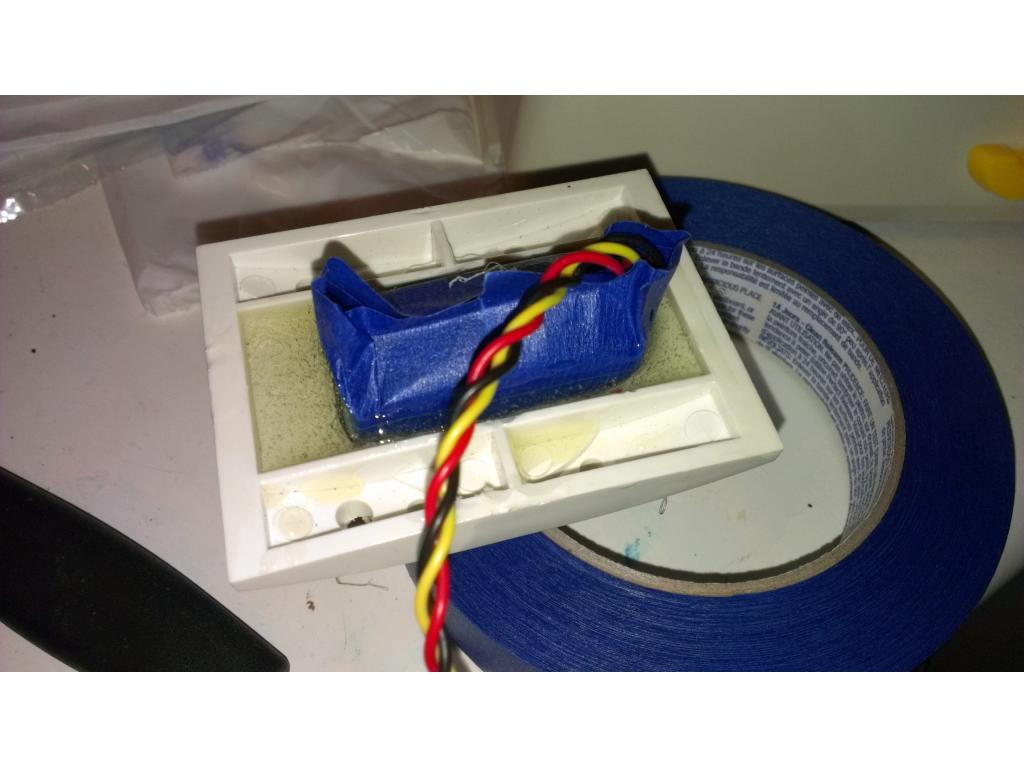
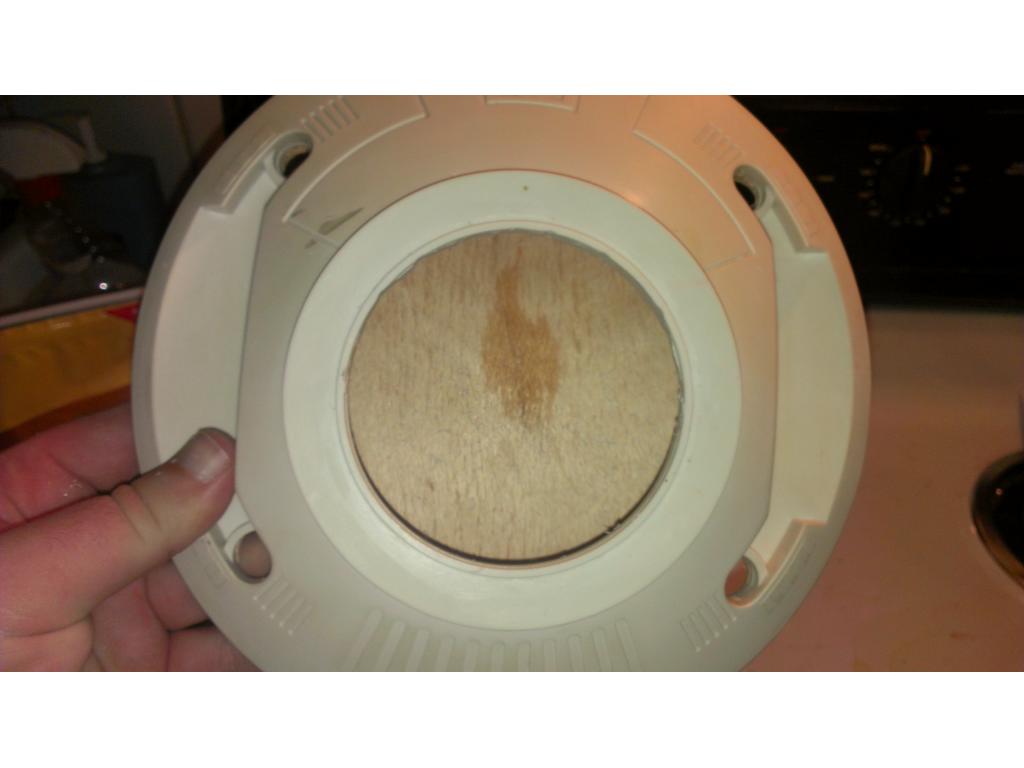
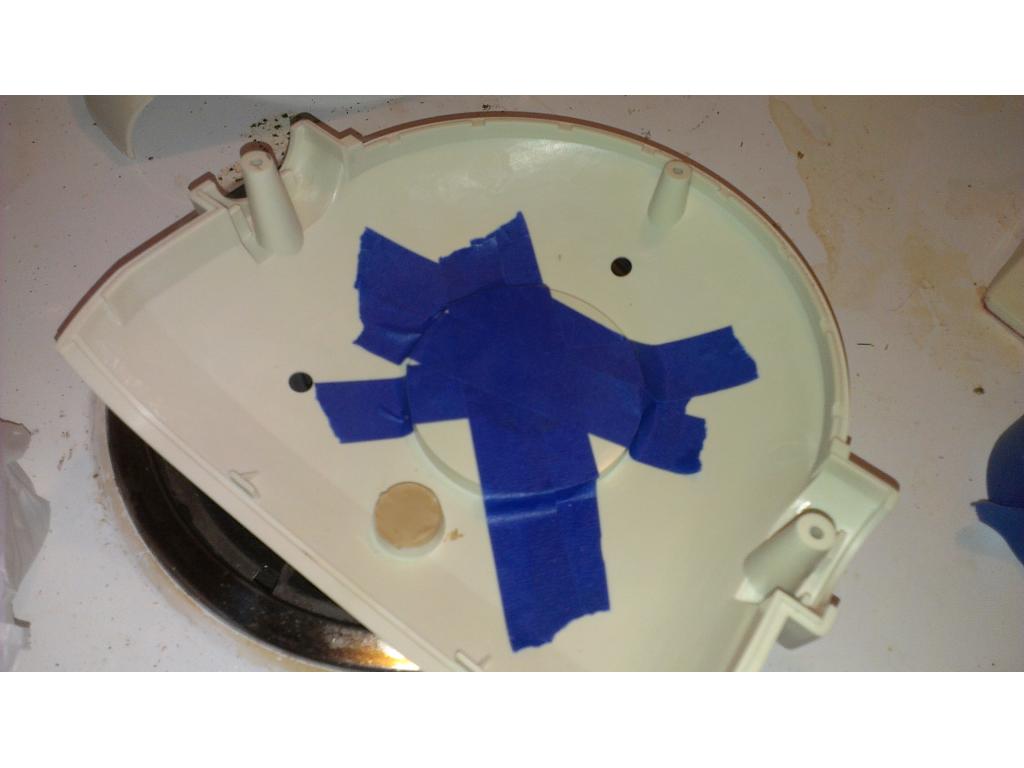
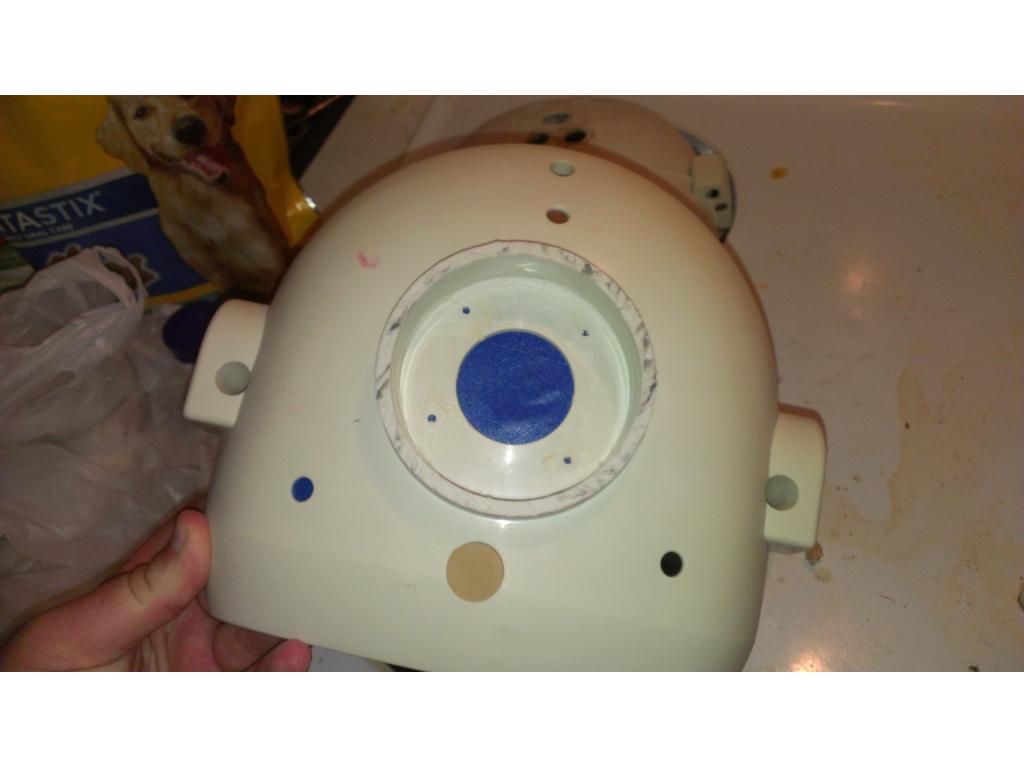
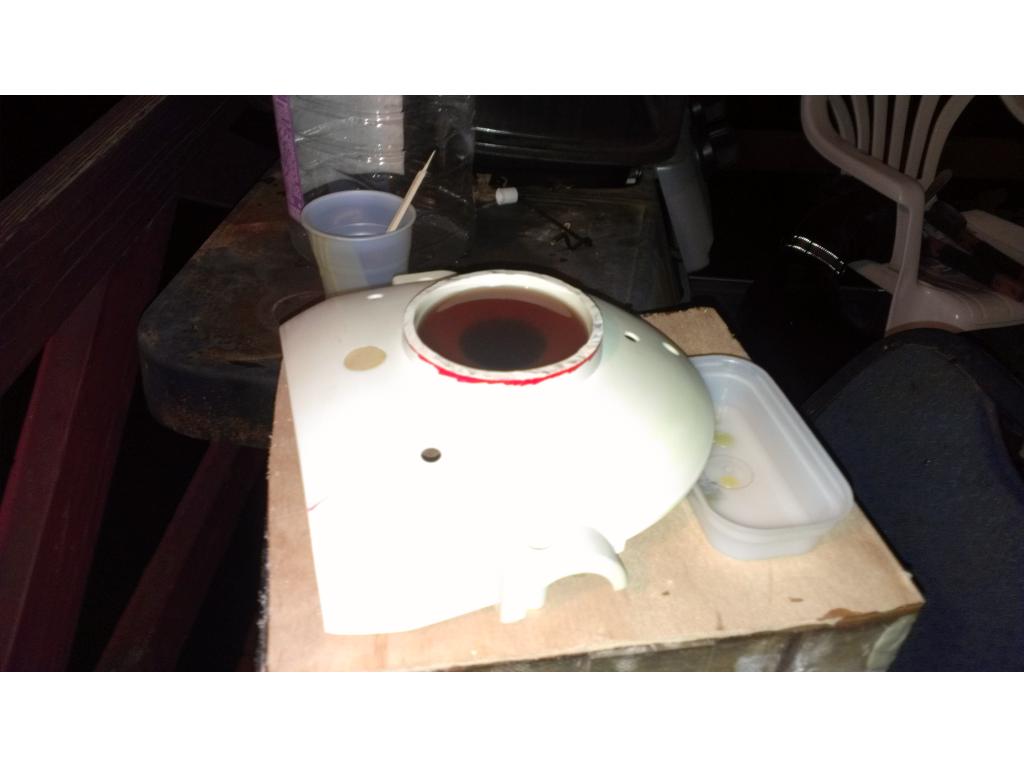
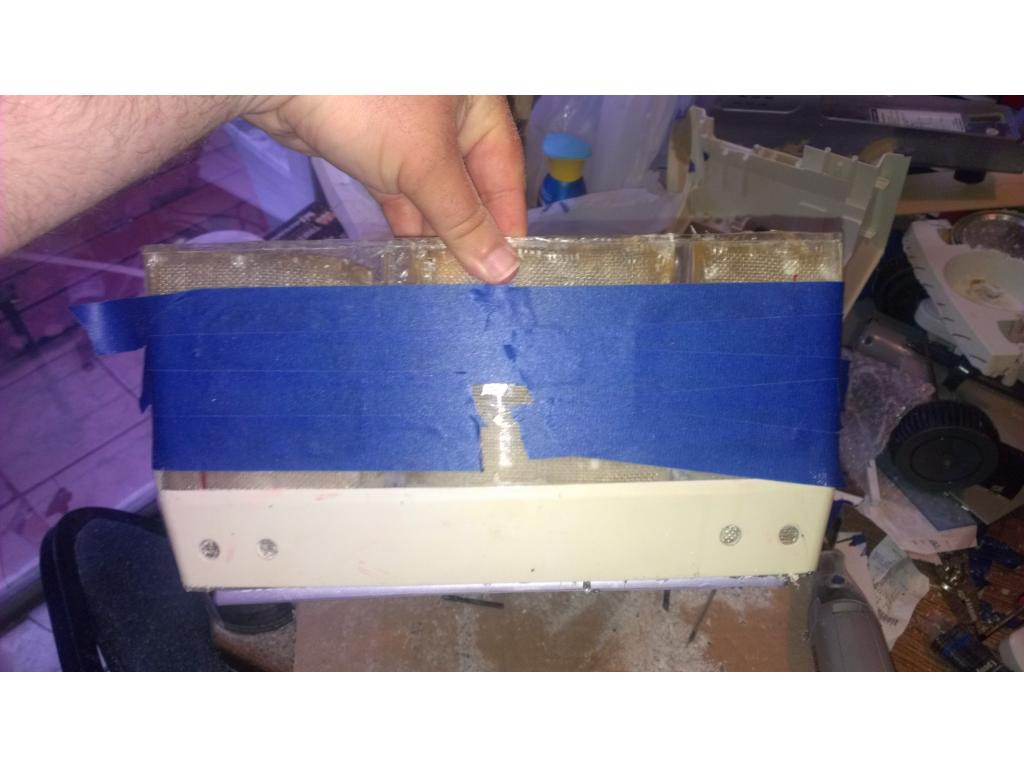
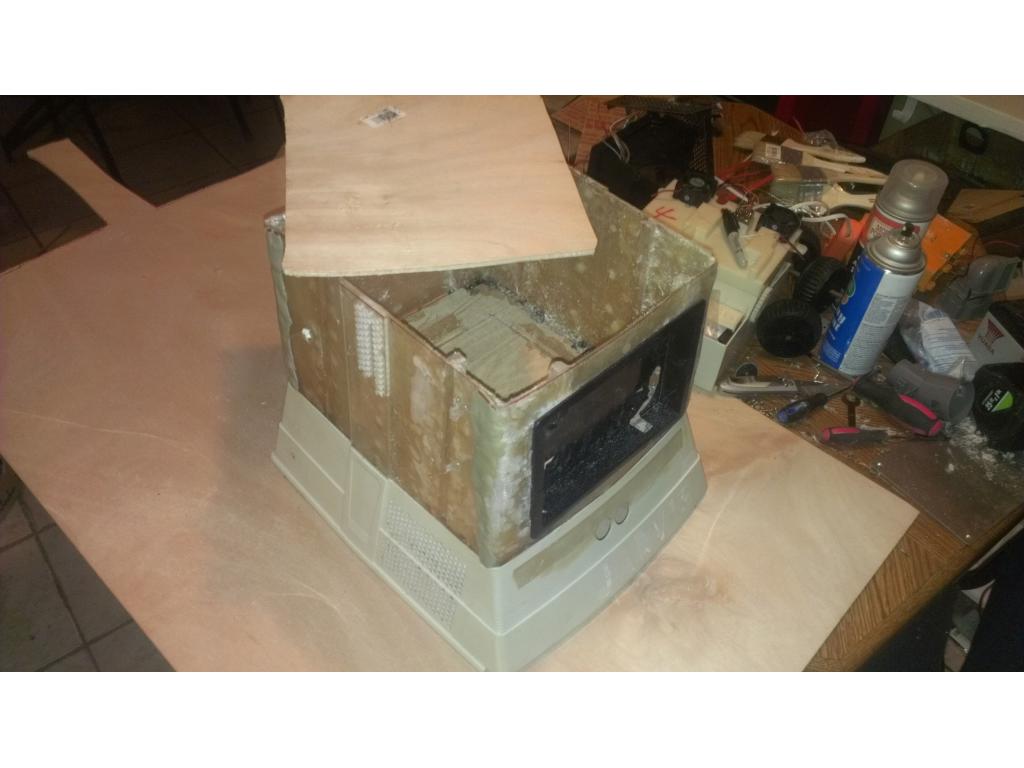
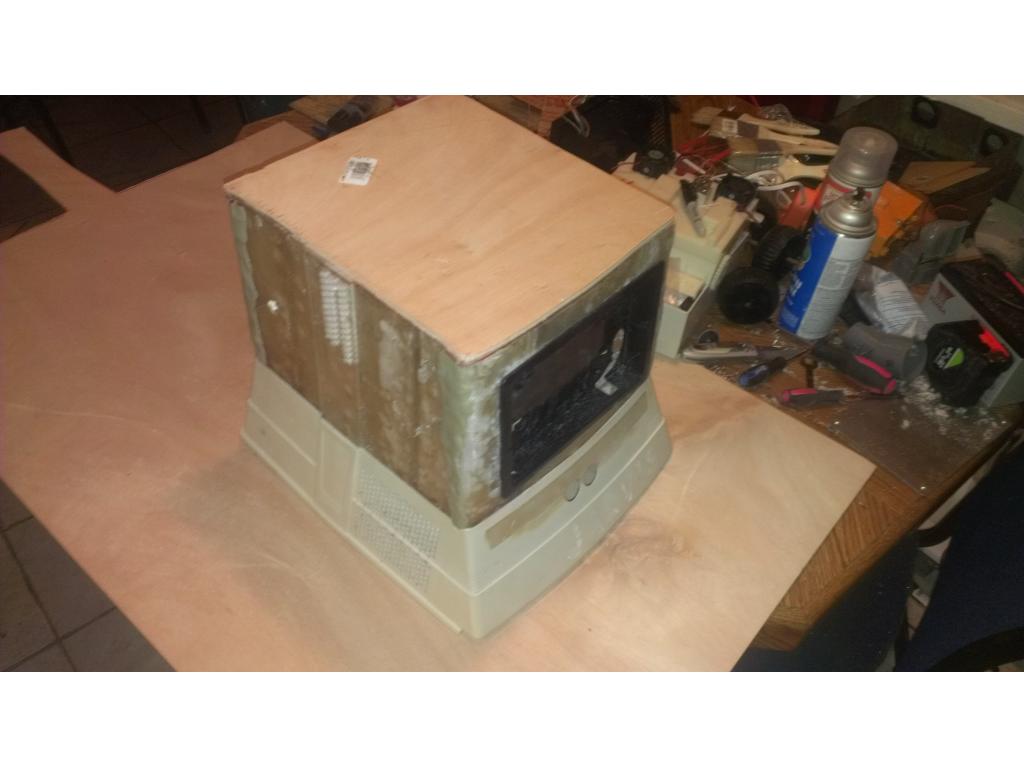
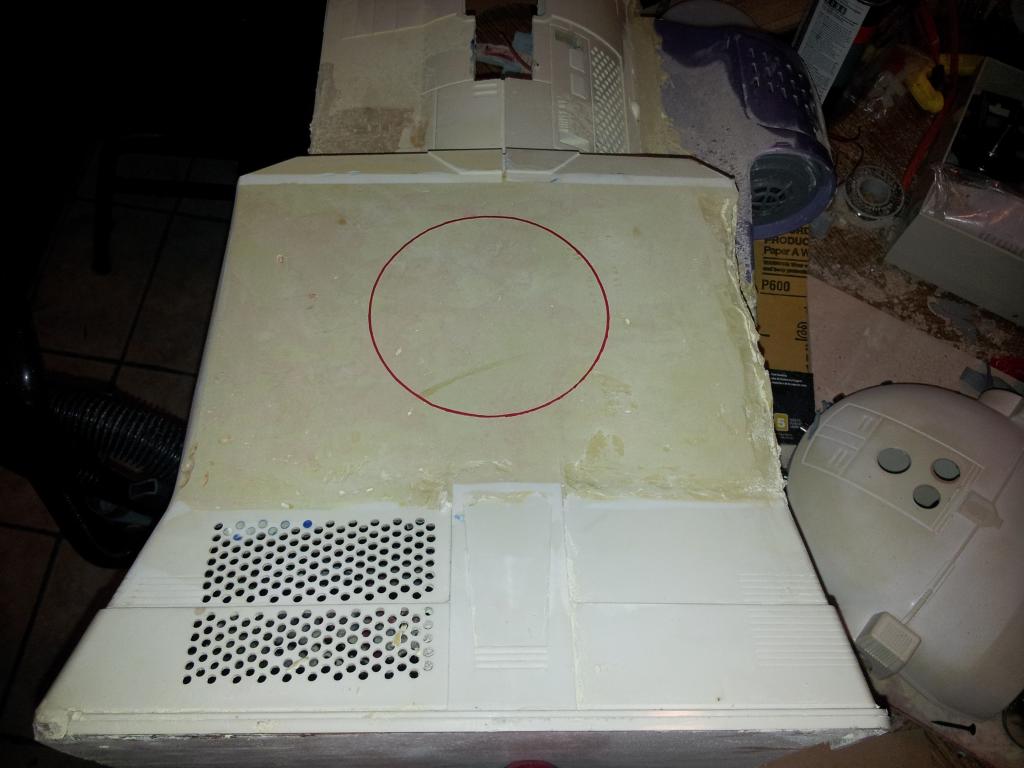
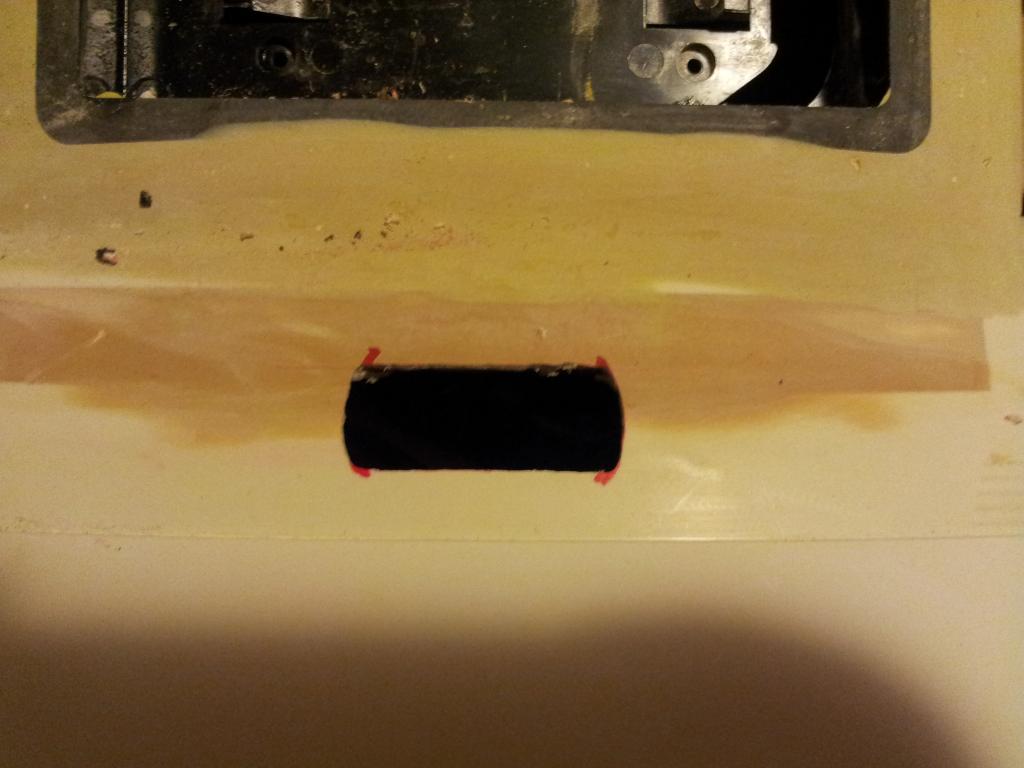
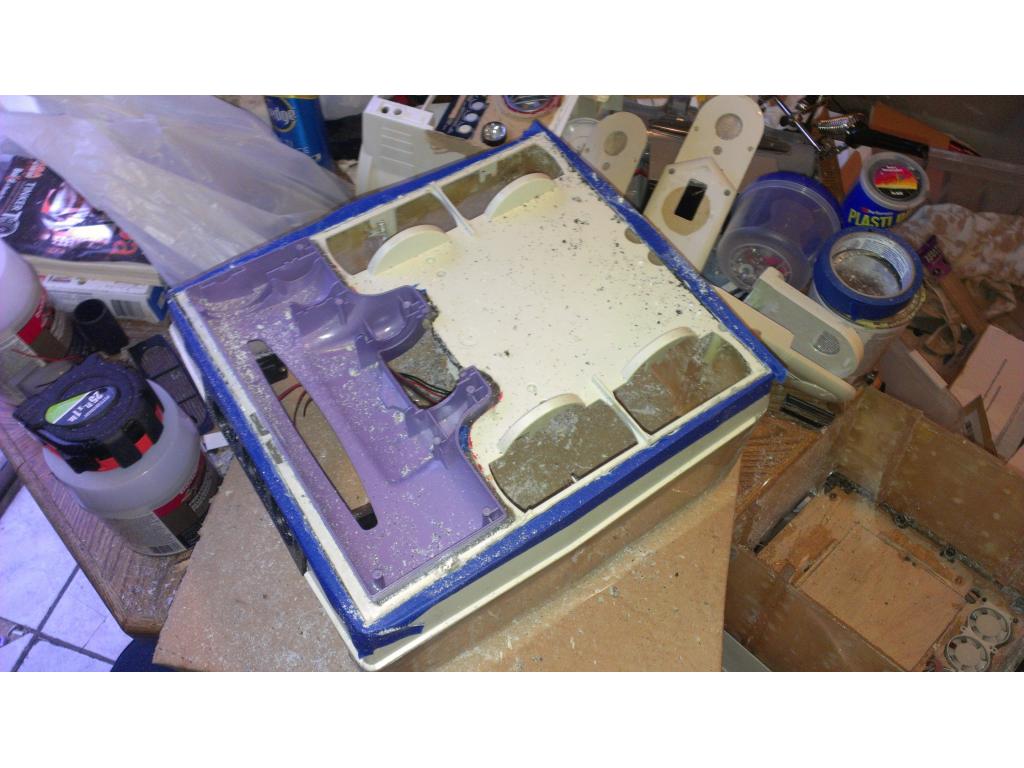
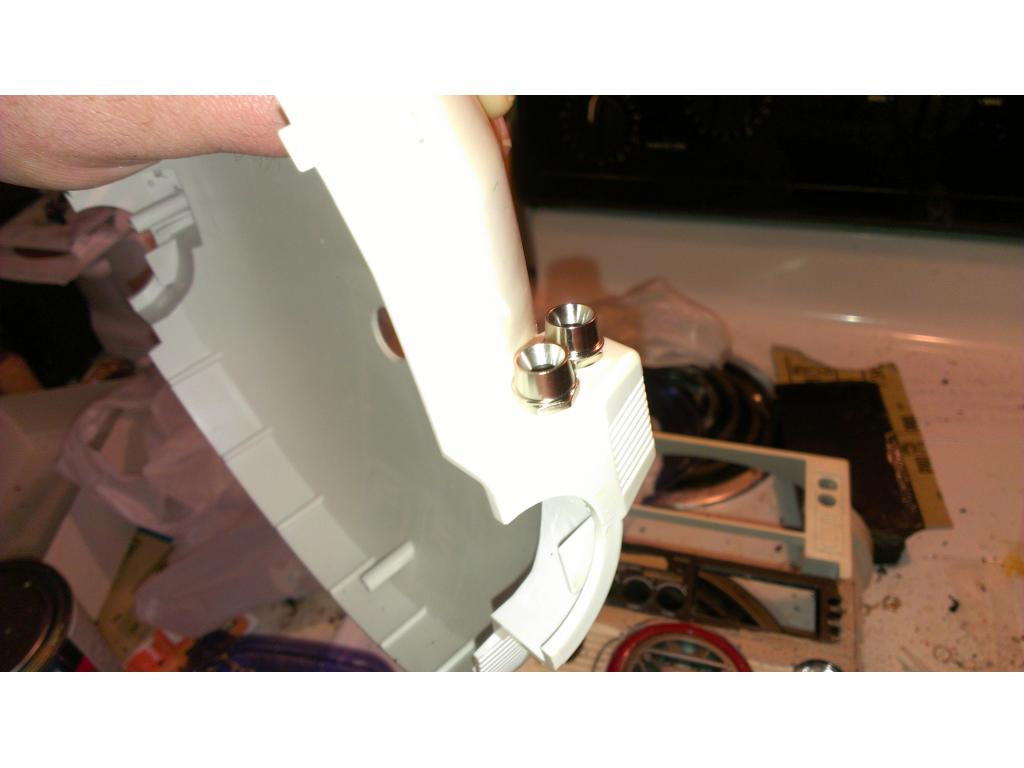
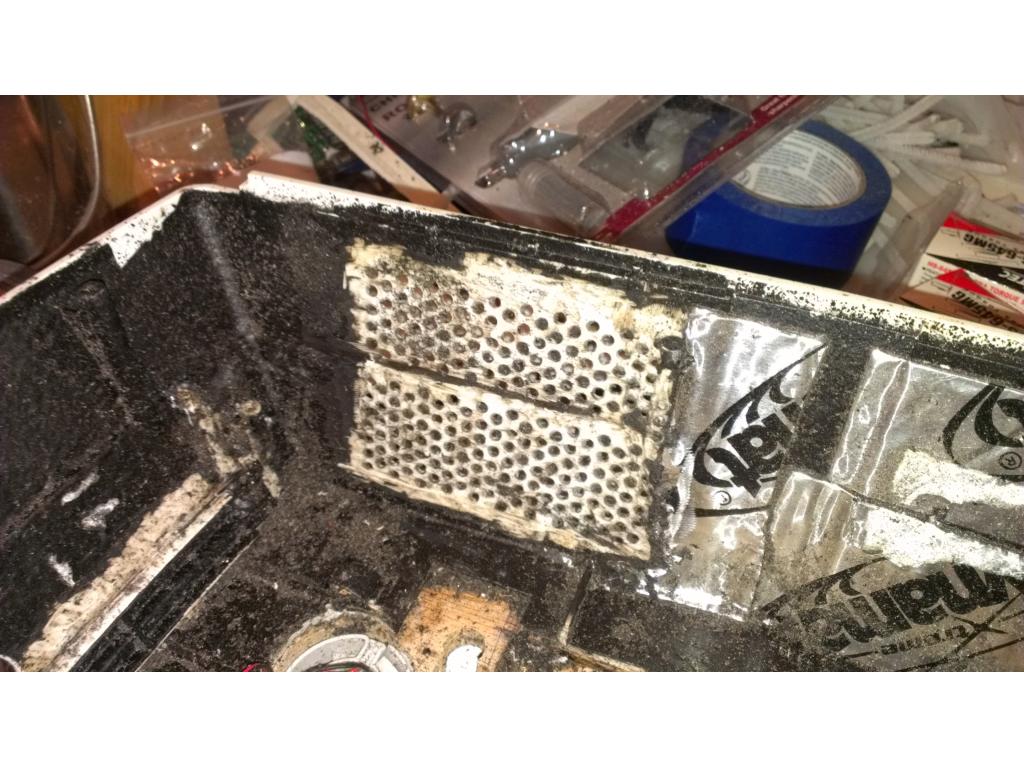
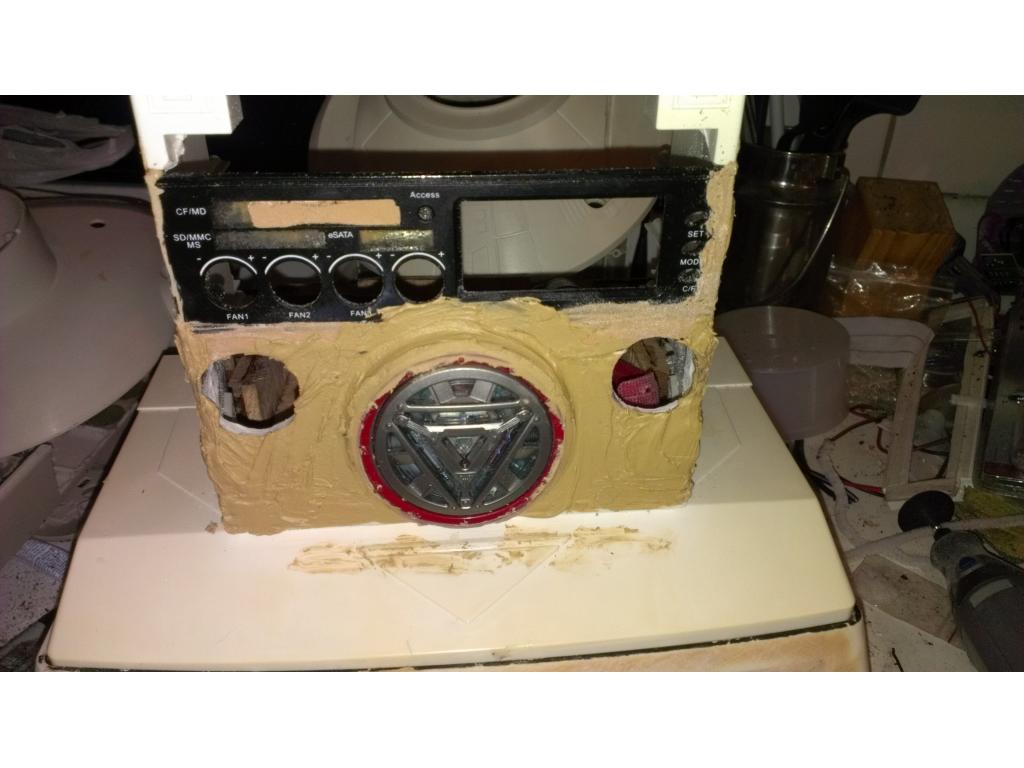
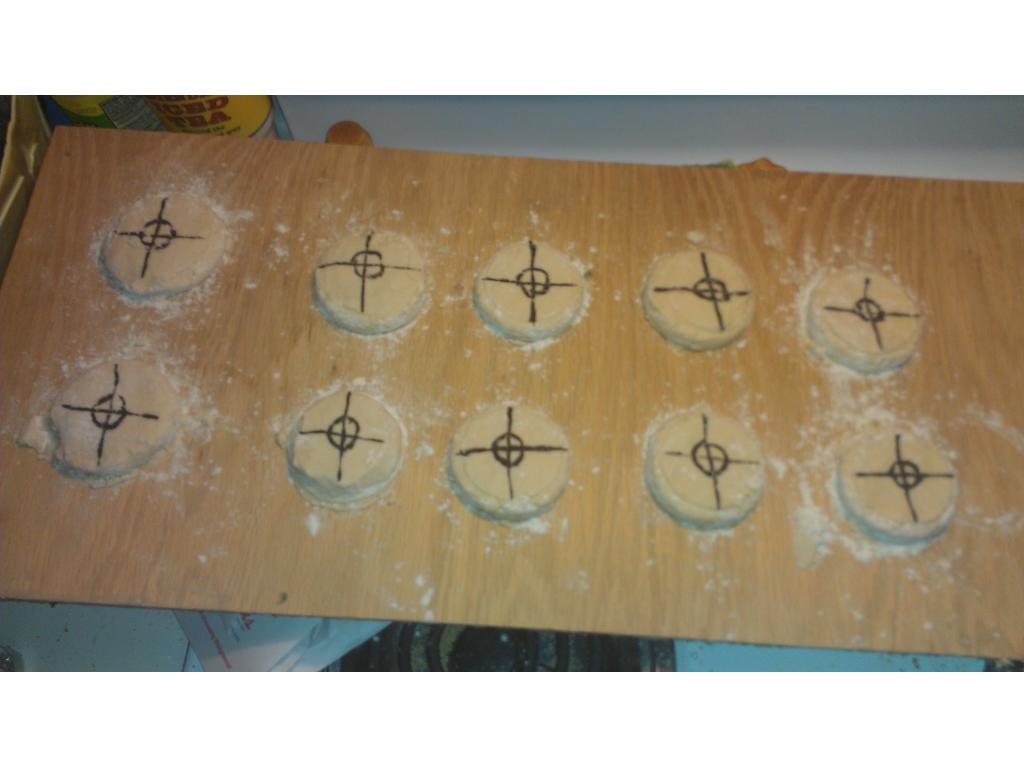
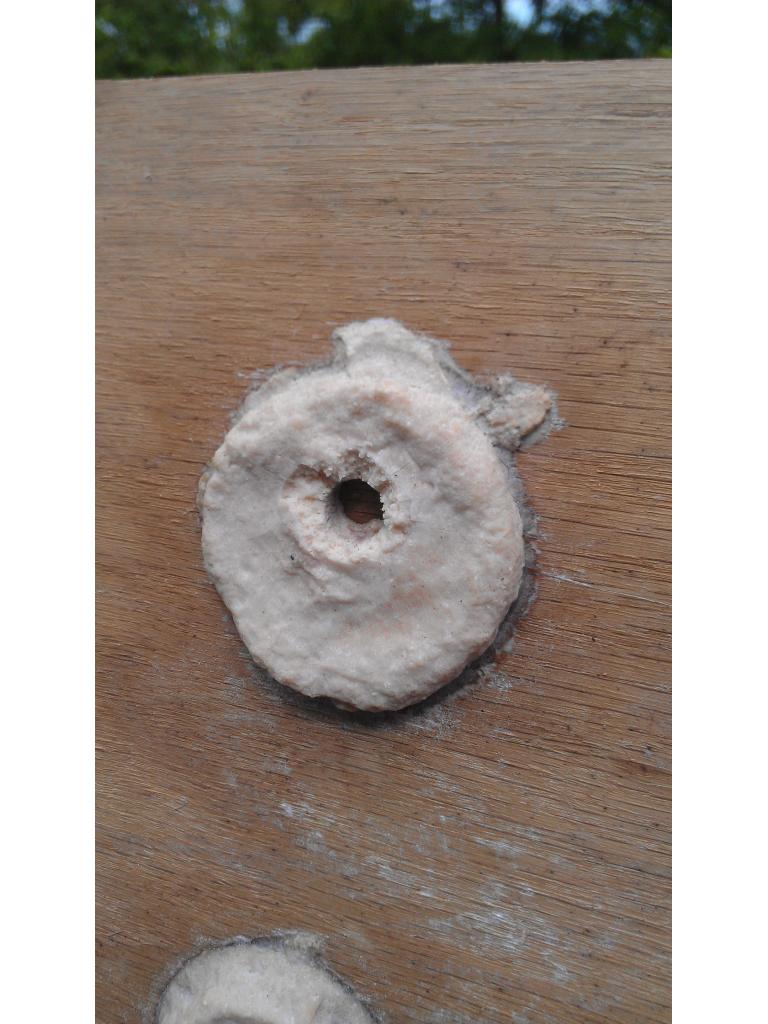
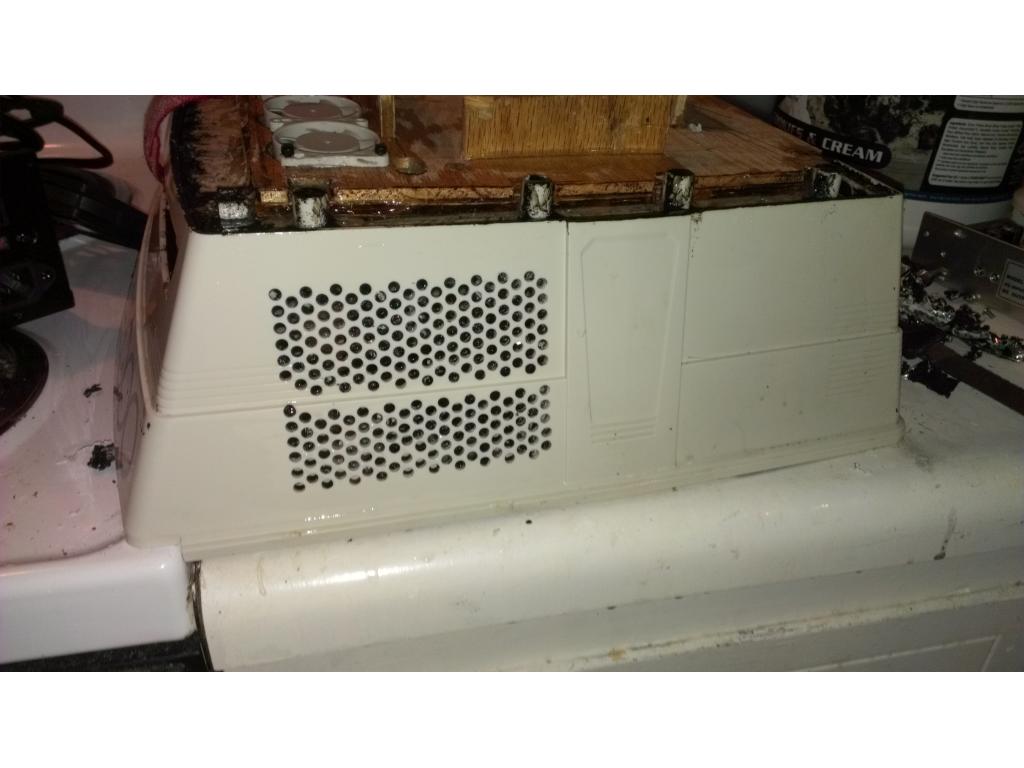
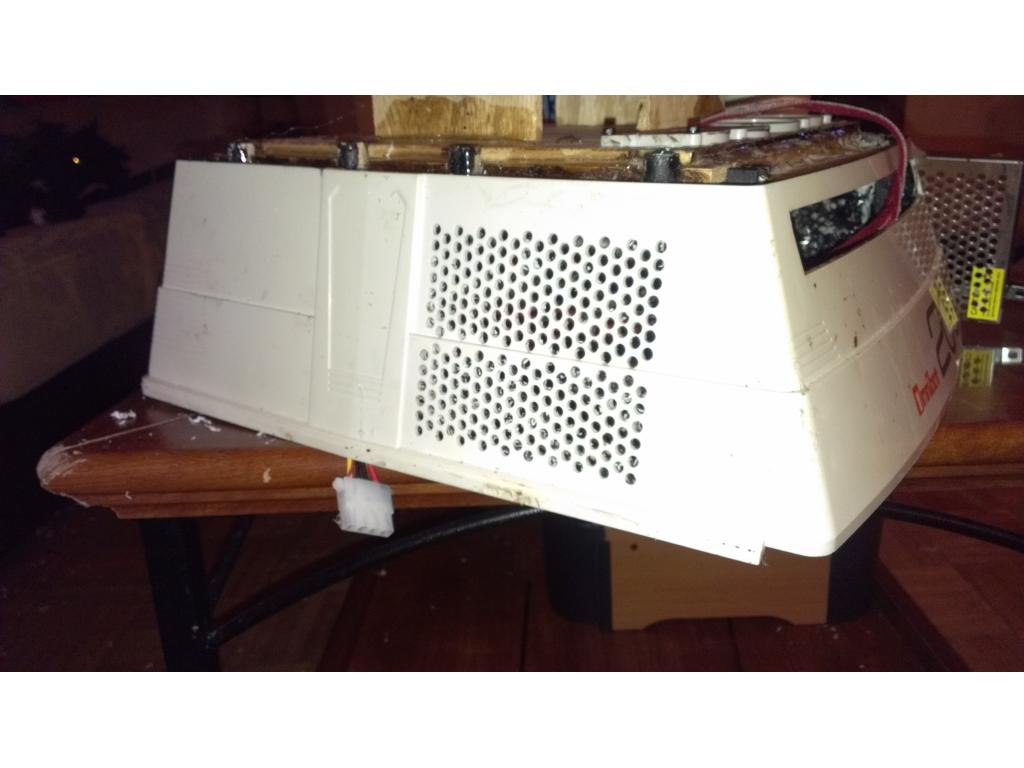
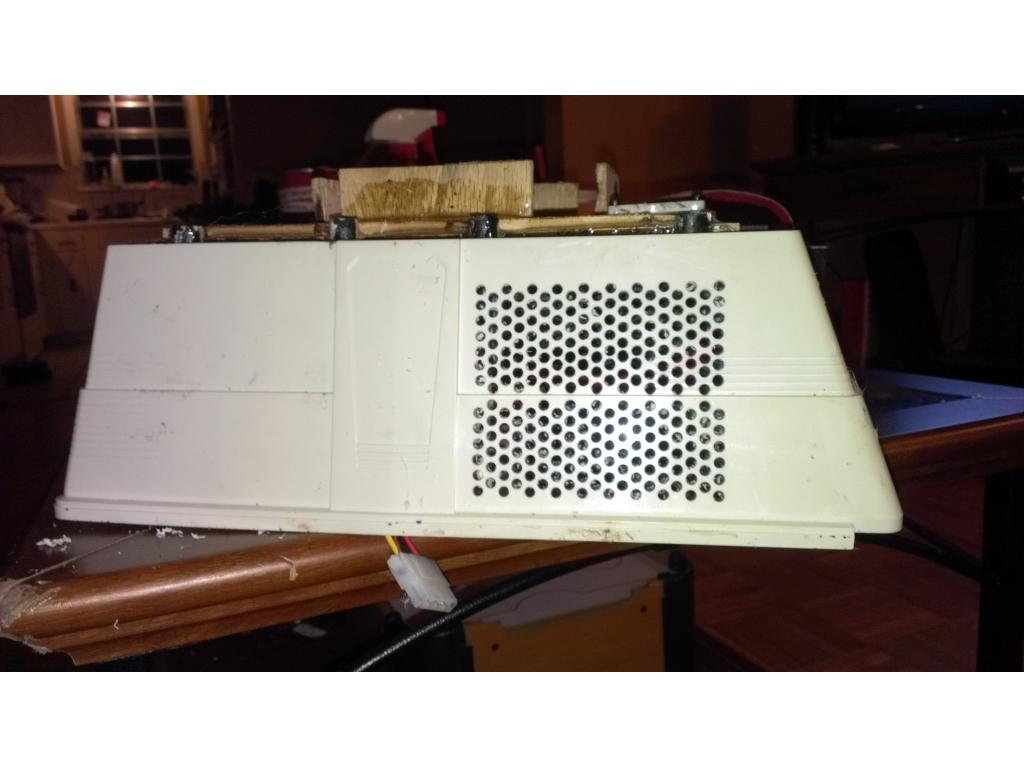
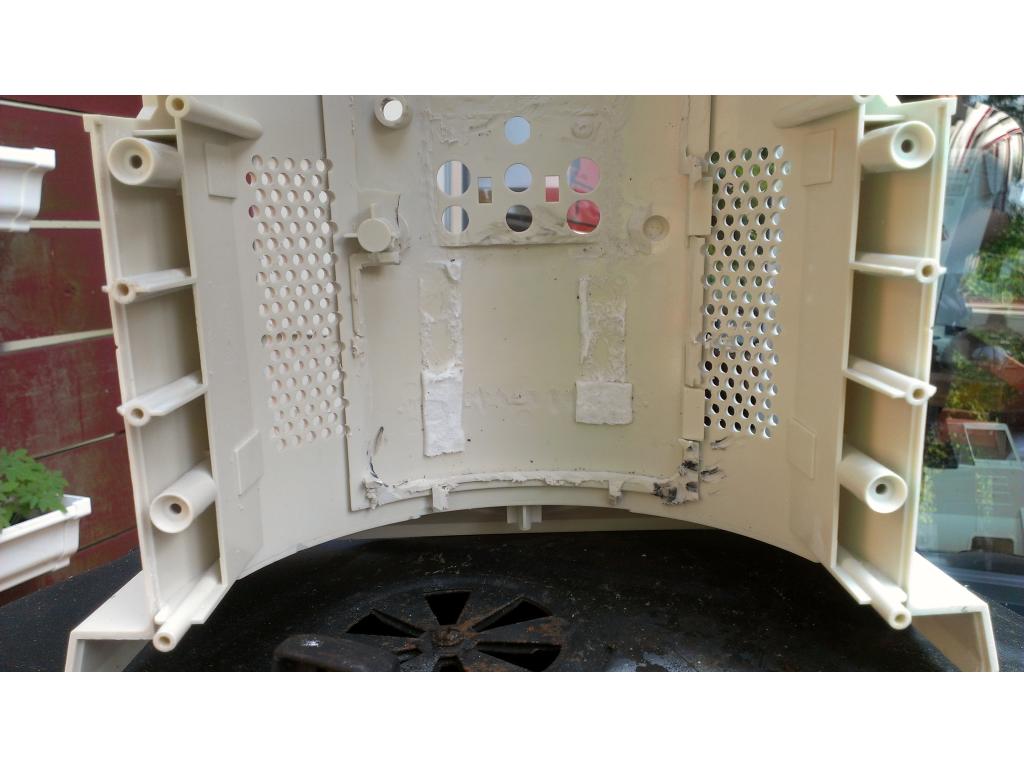
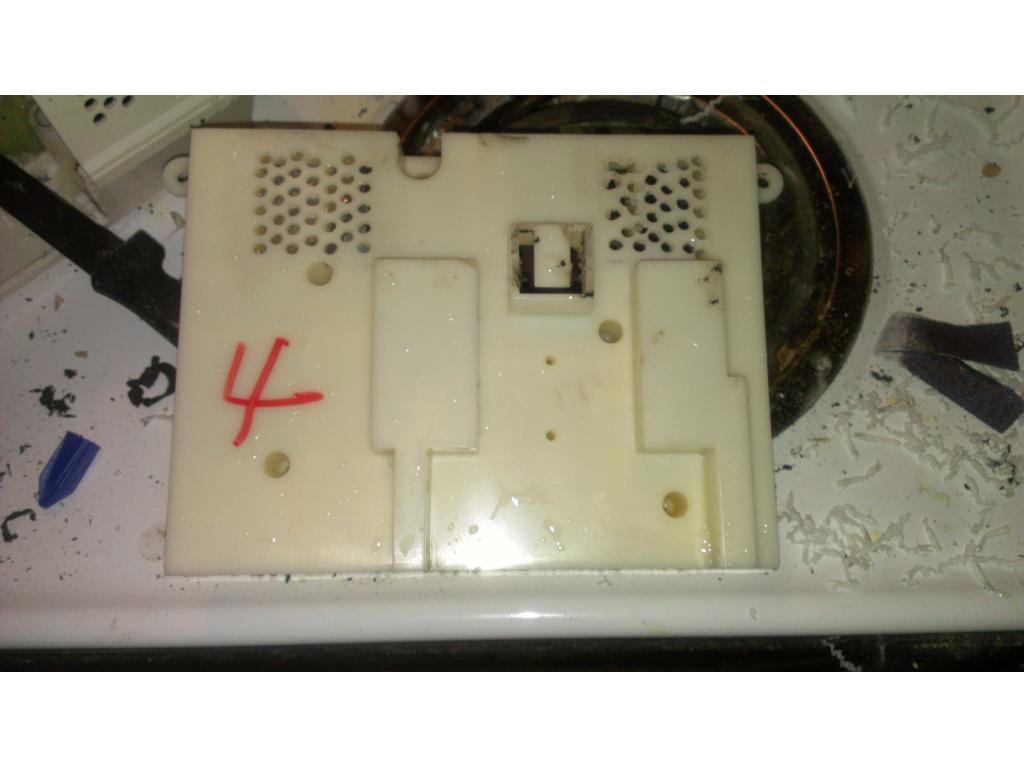
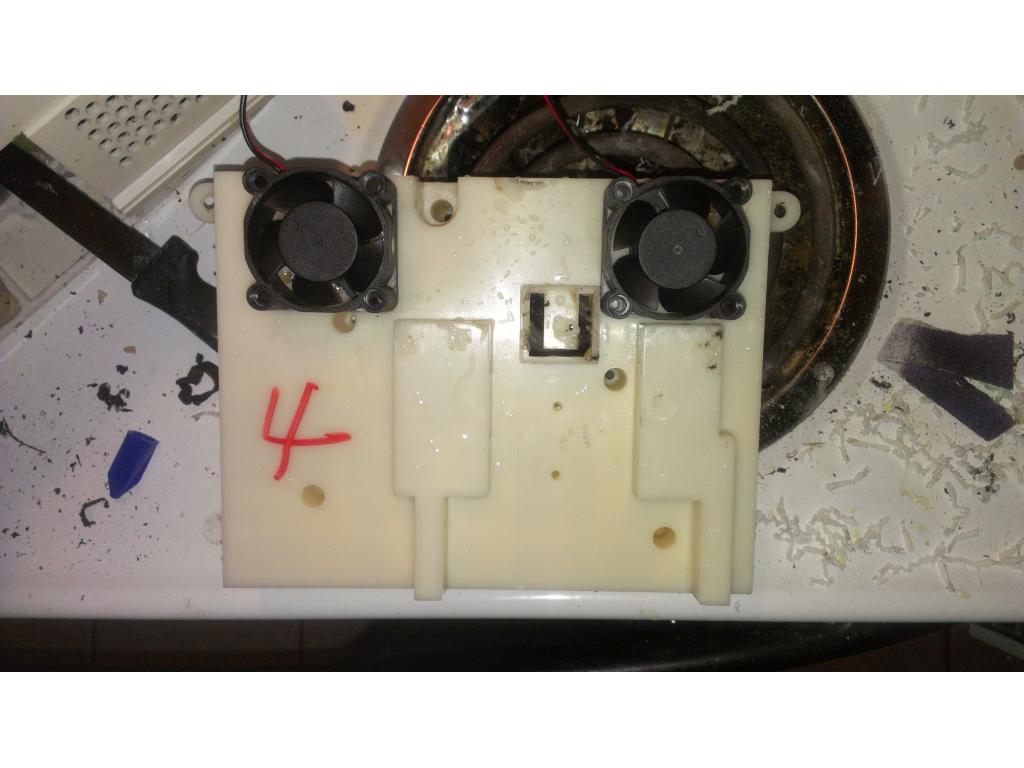
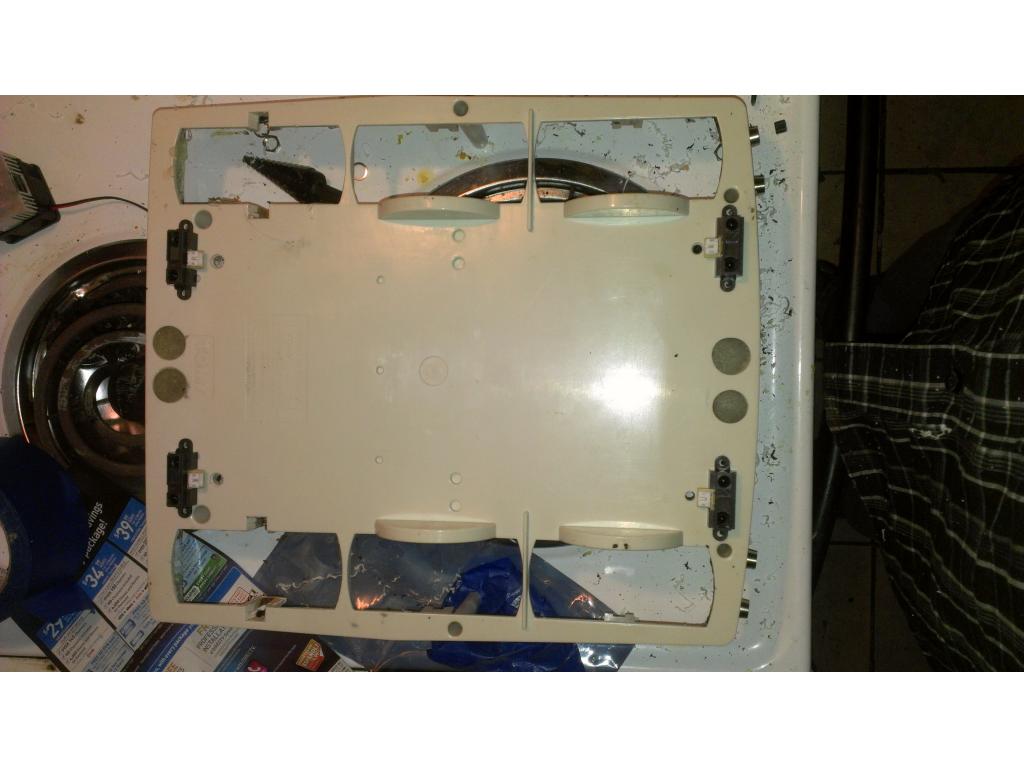
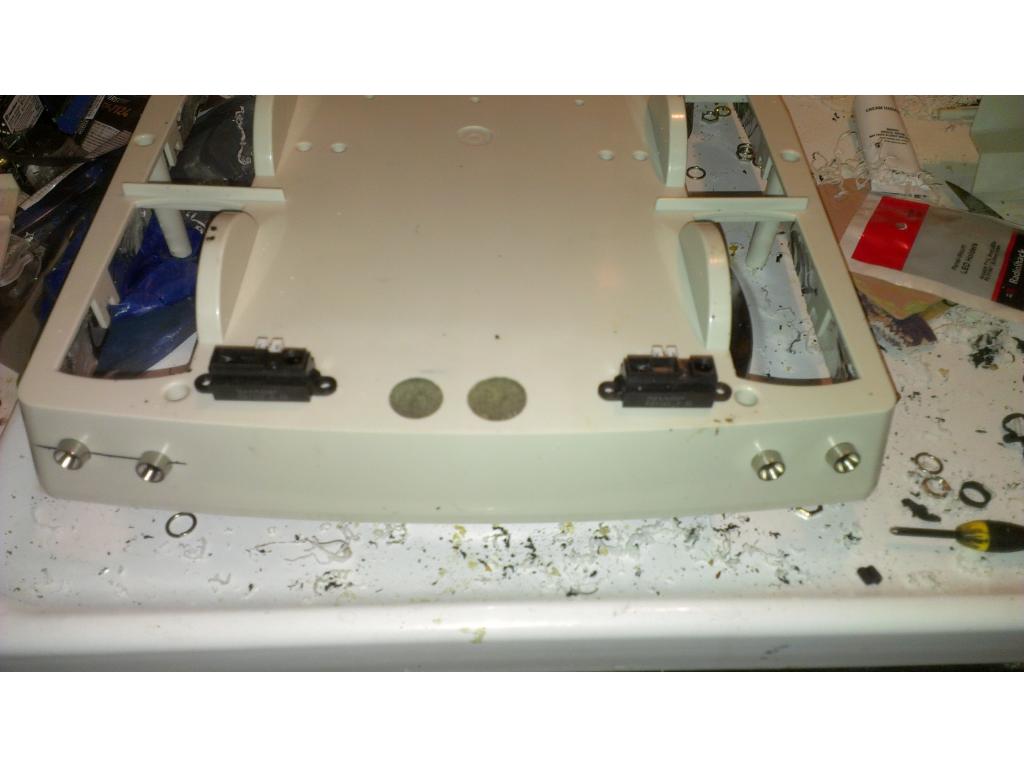
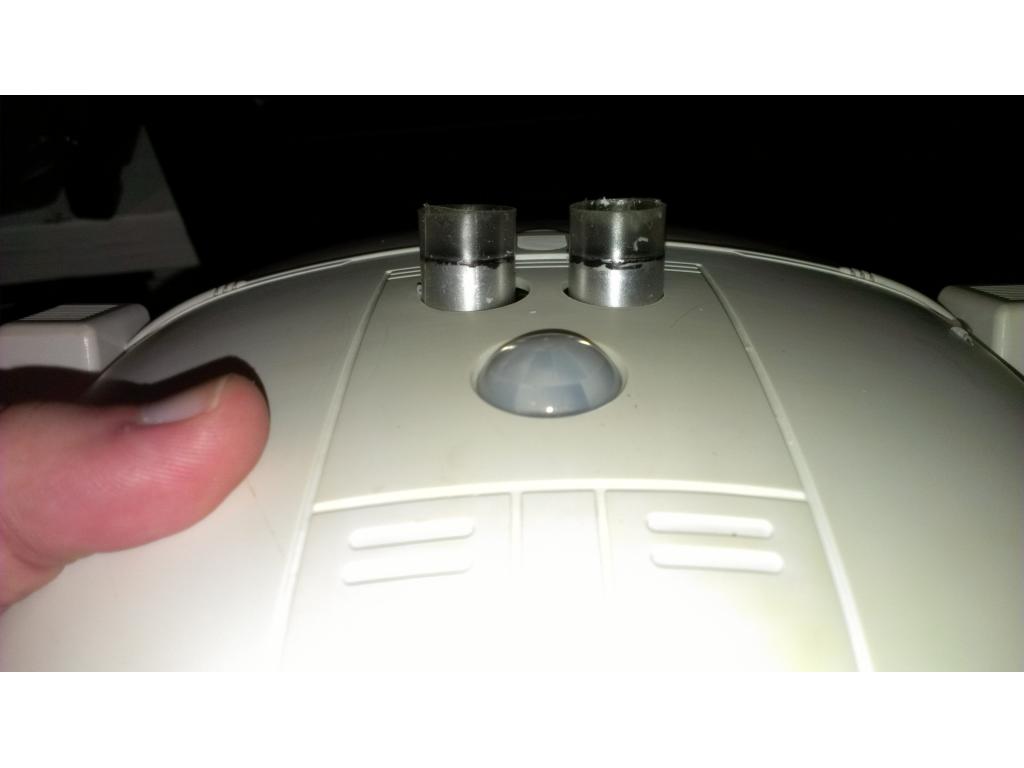
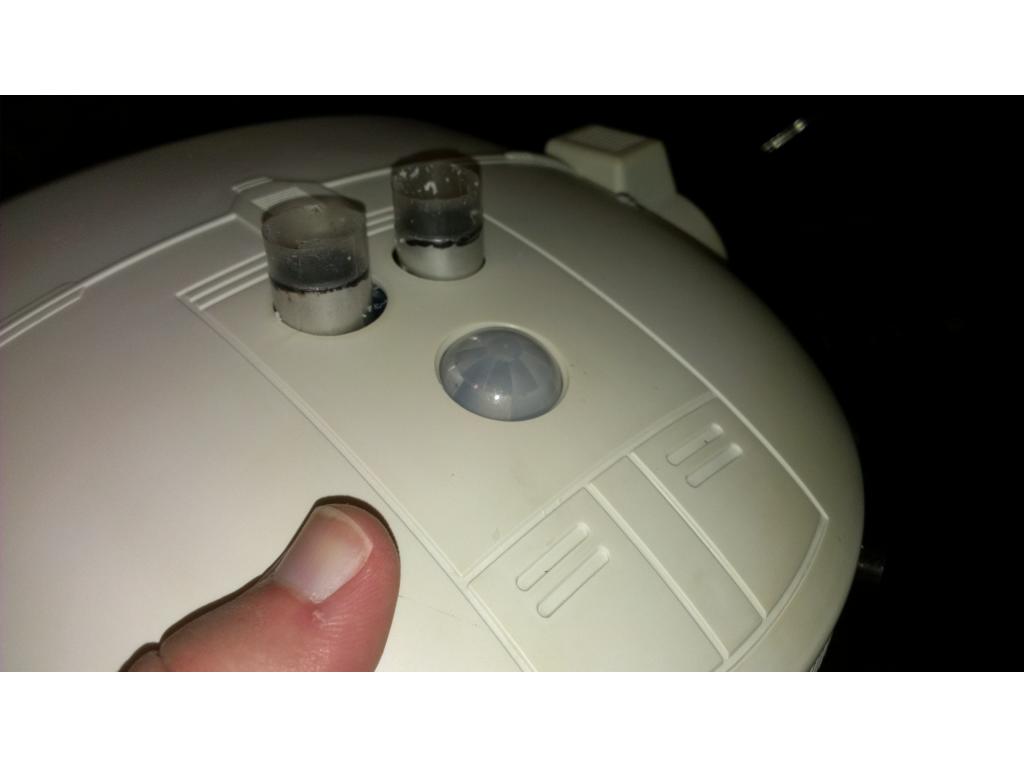
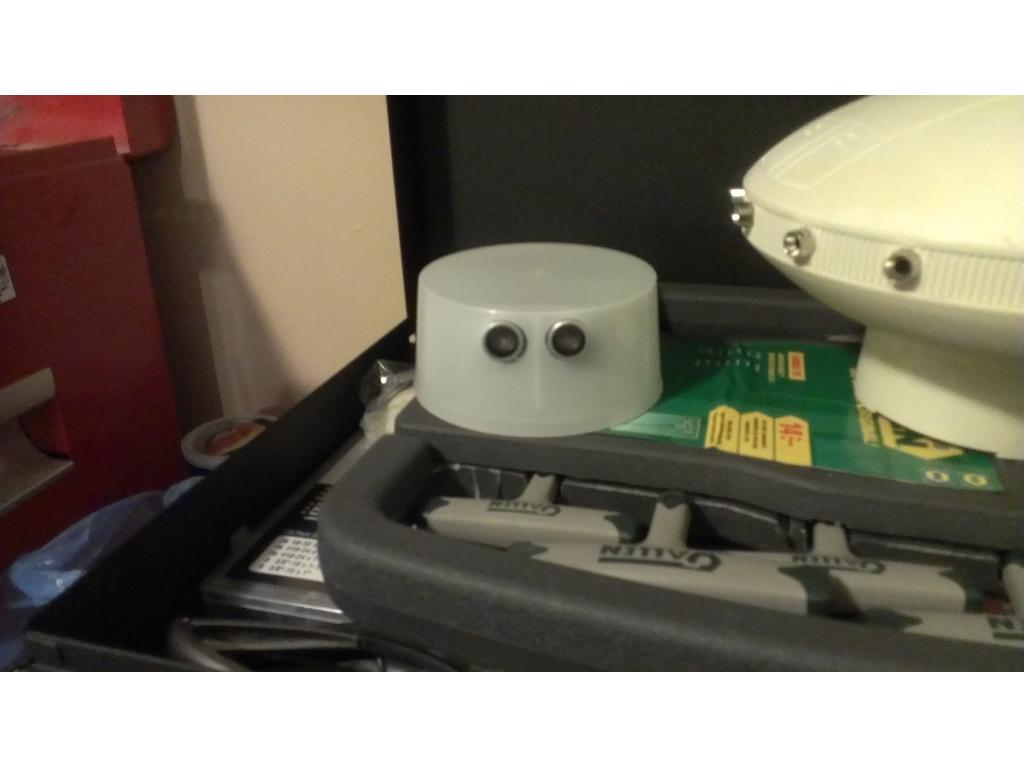
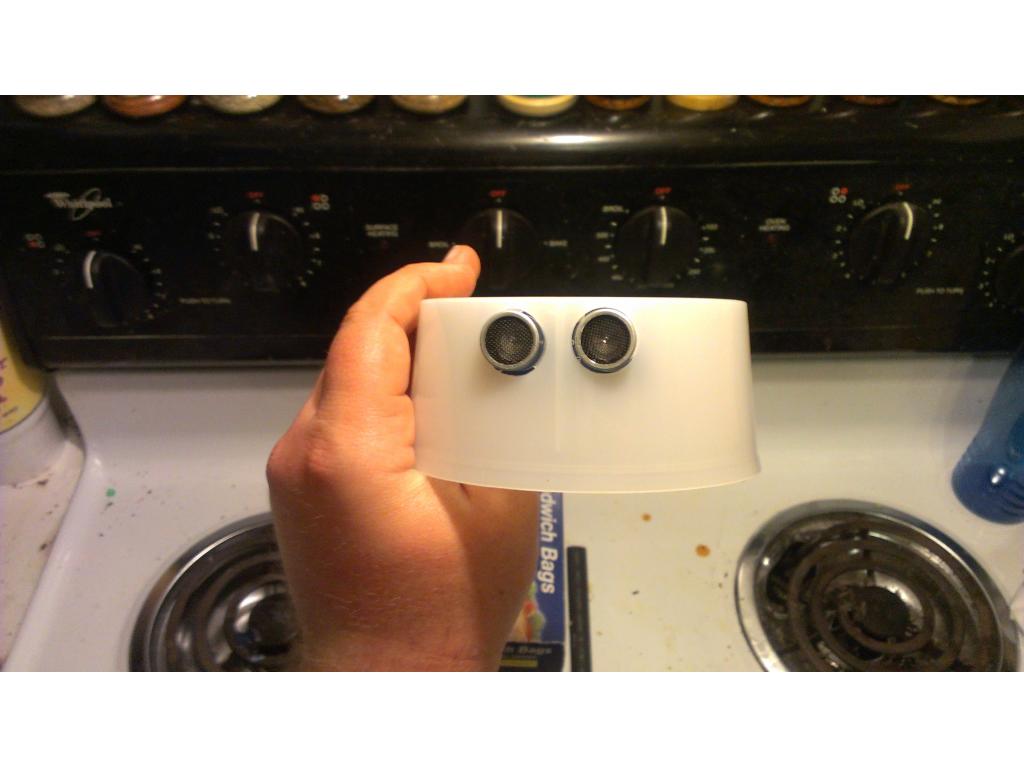
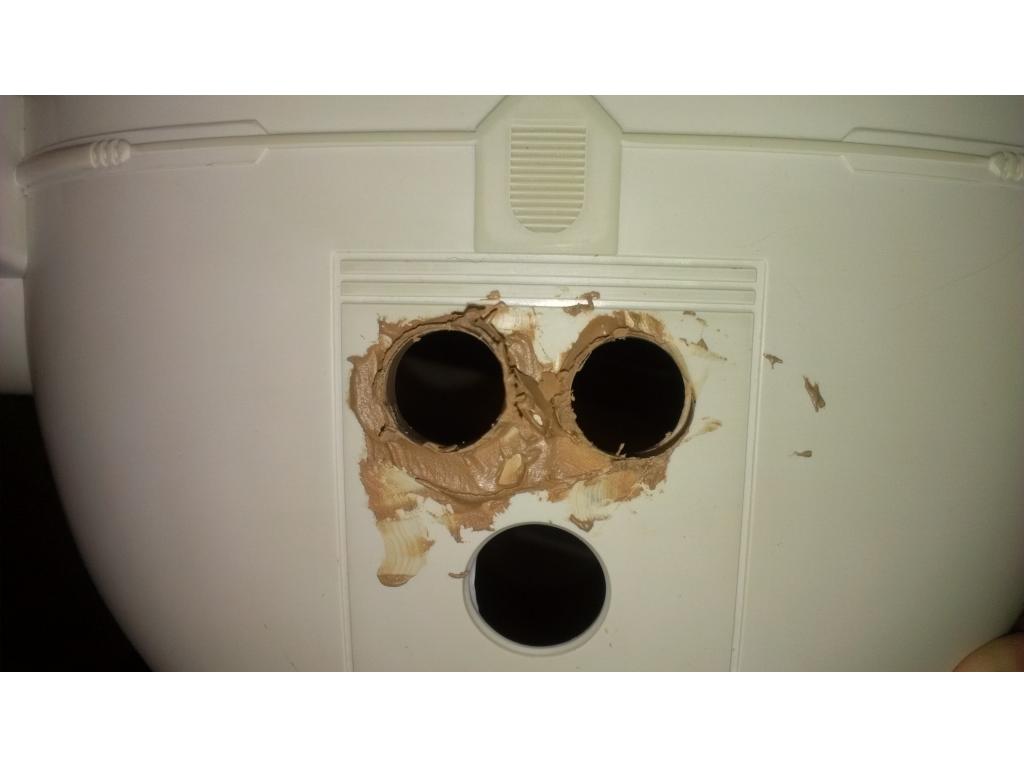
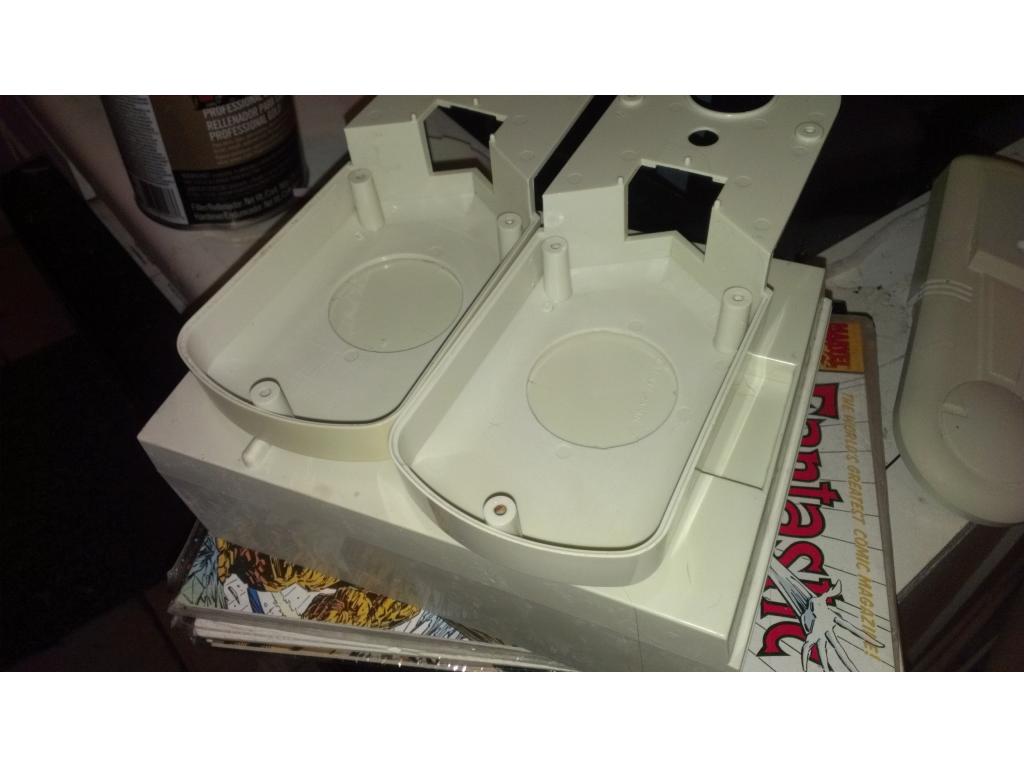
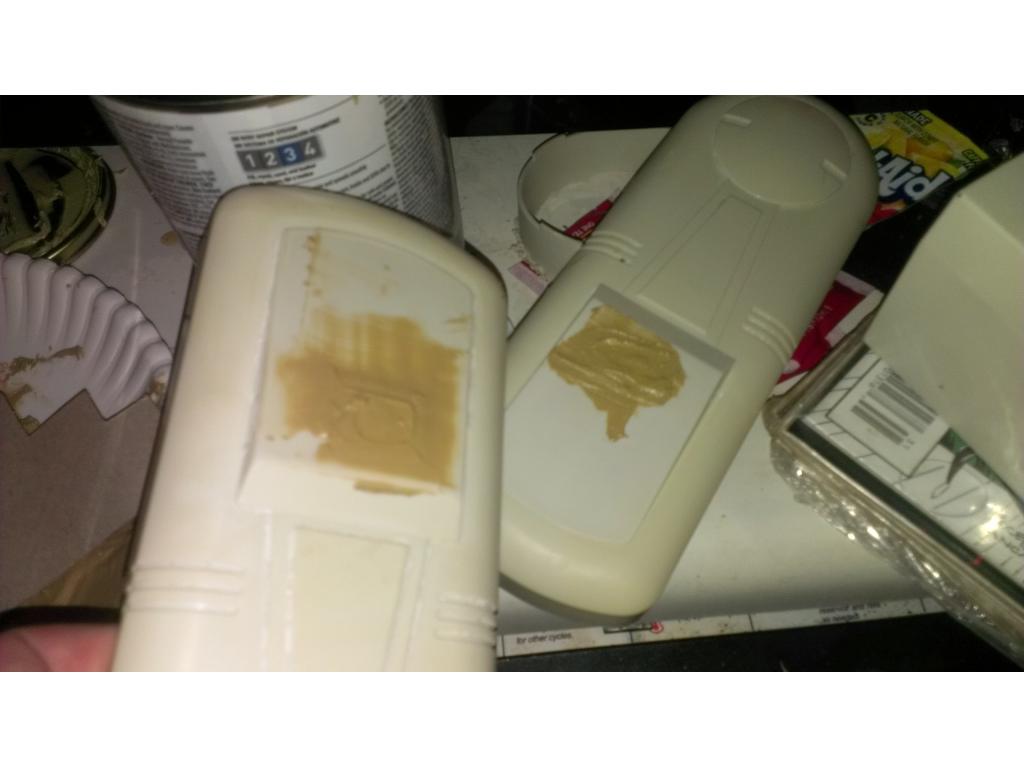
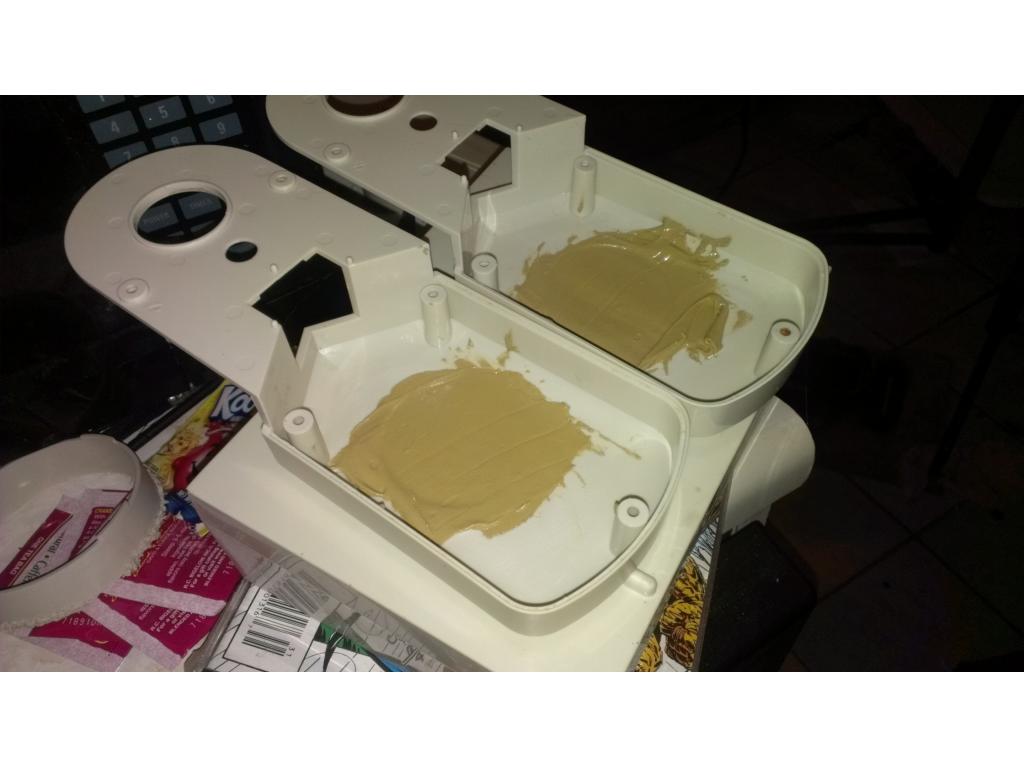
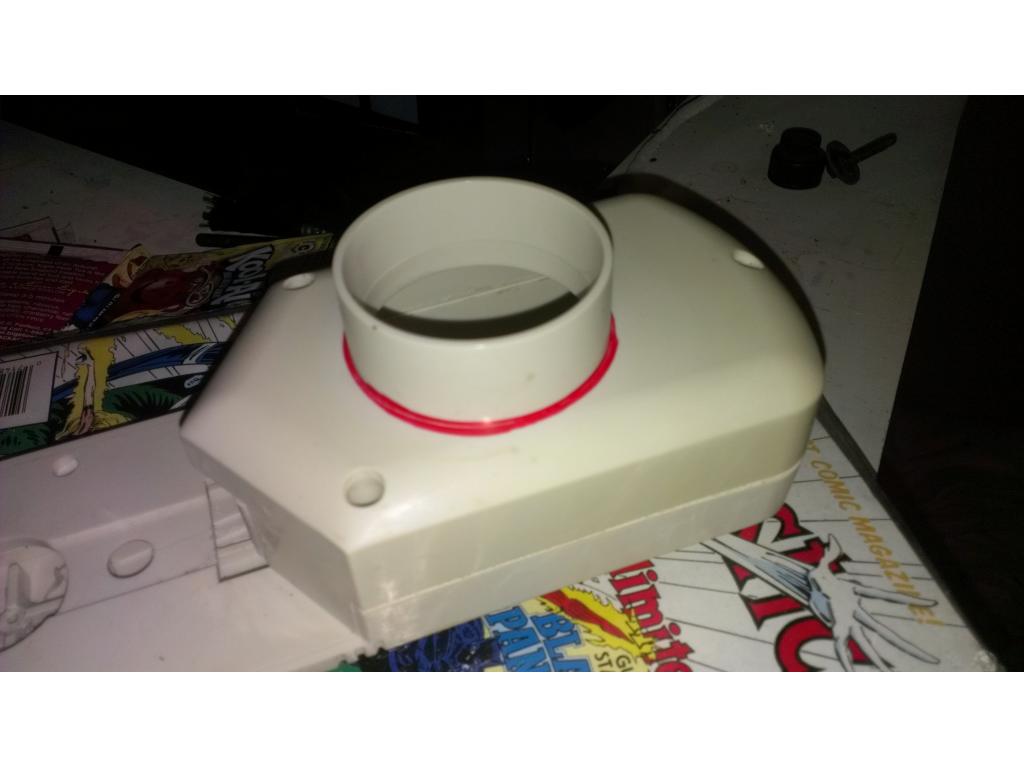
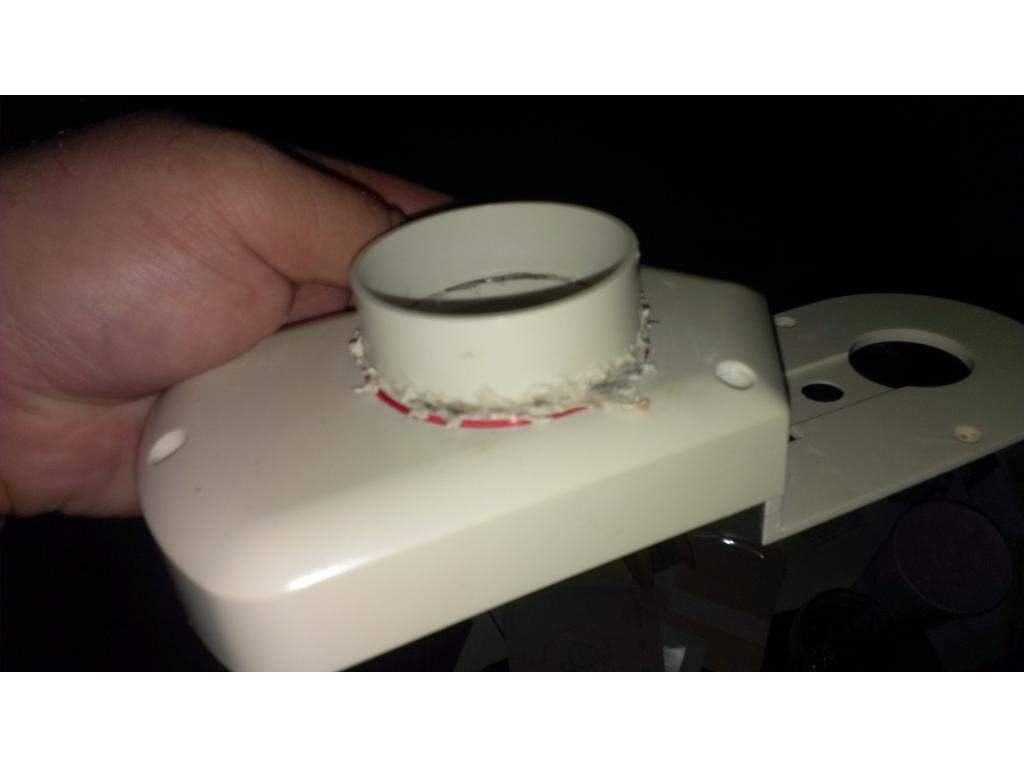
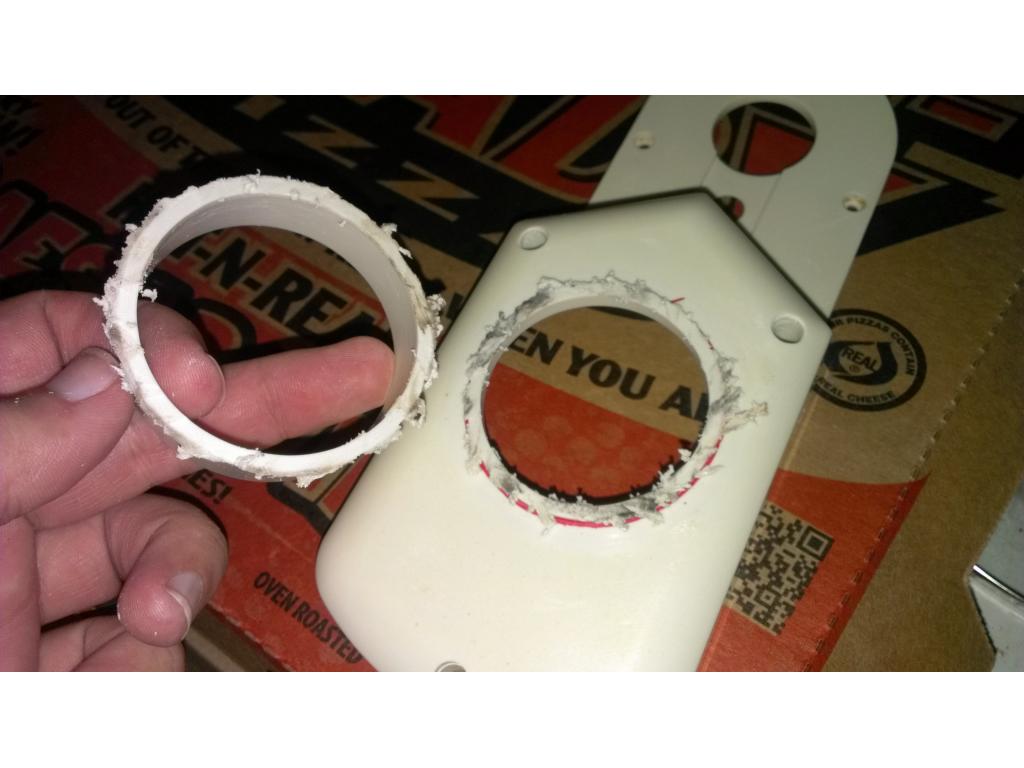
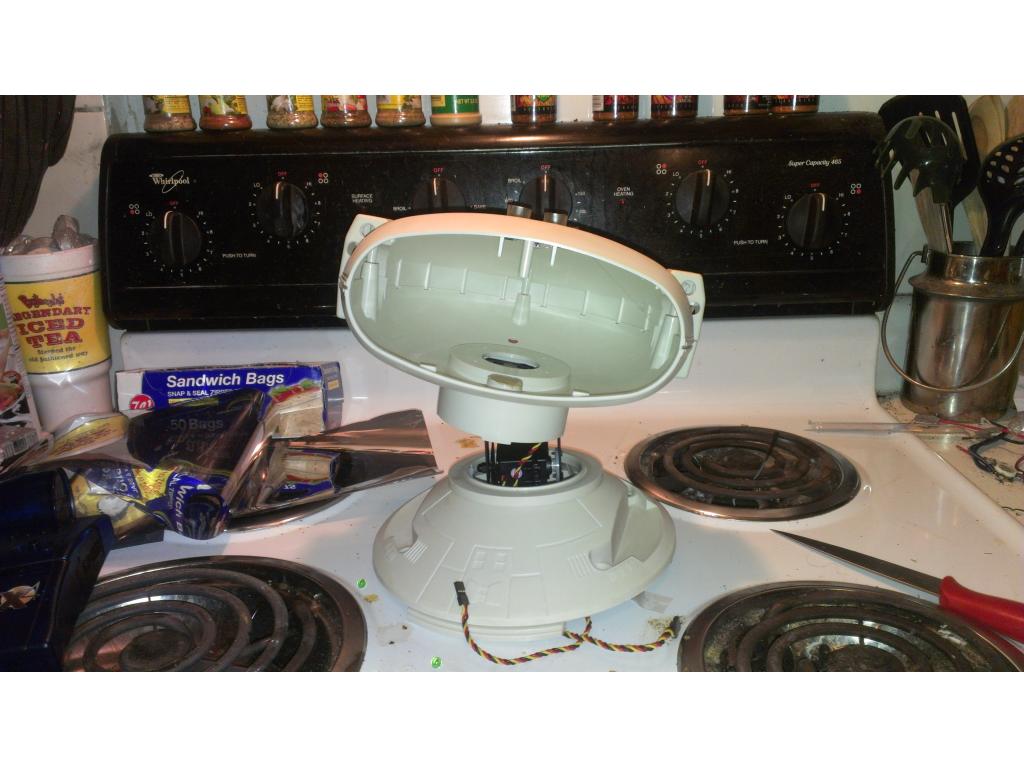
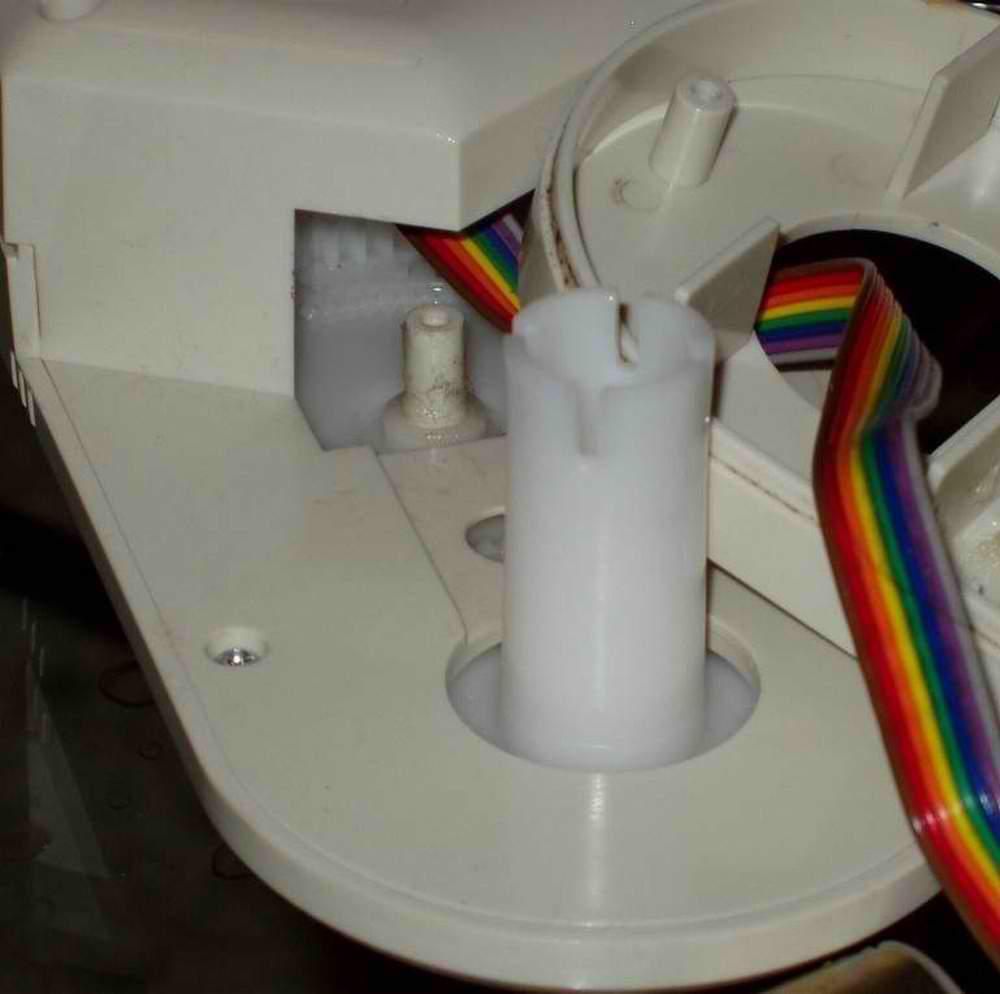
Ok before creating mounts for the IR sensors I needed to.clean.up the holes I originally drilled for cliff avoidance , I'm still undescided about also having a ultrasound sensor too in case there is too much bright light. I taped off the holes and filled with epoxy. They will be setup by the time I'm out of the shower.
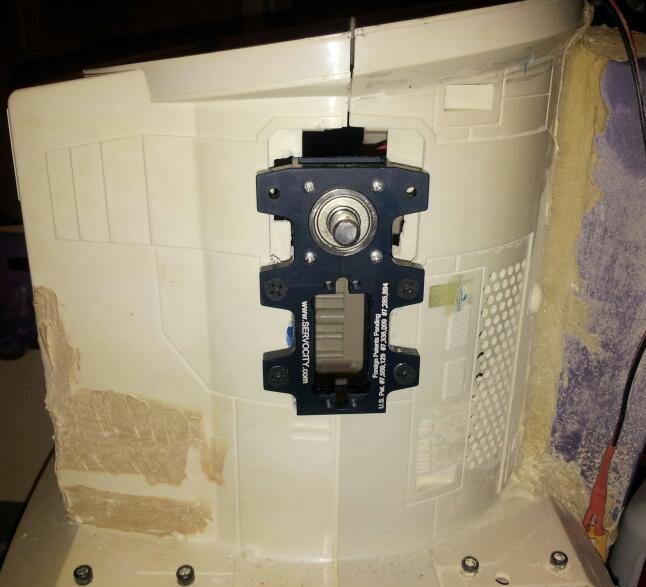
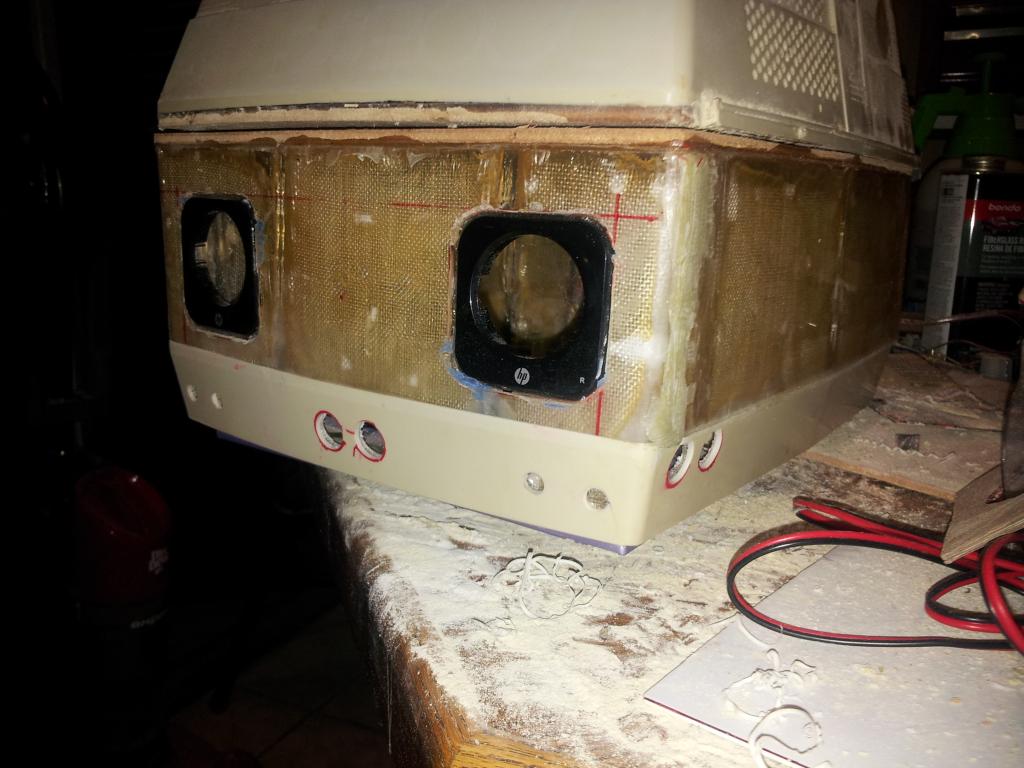
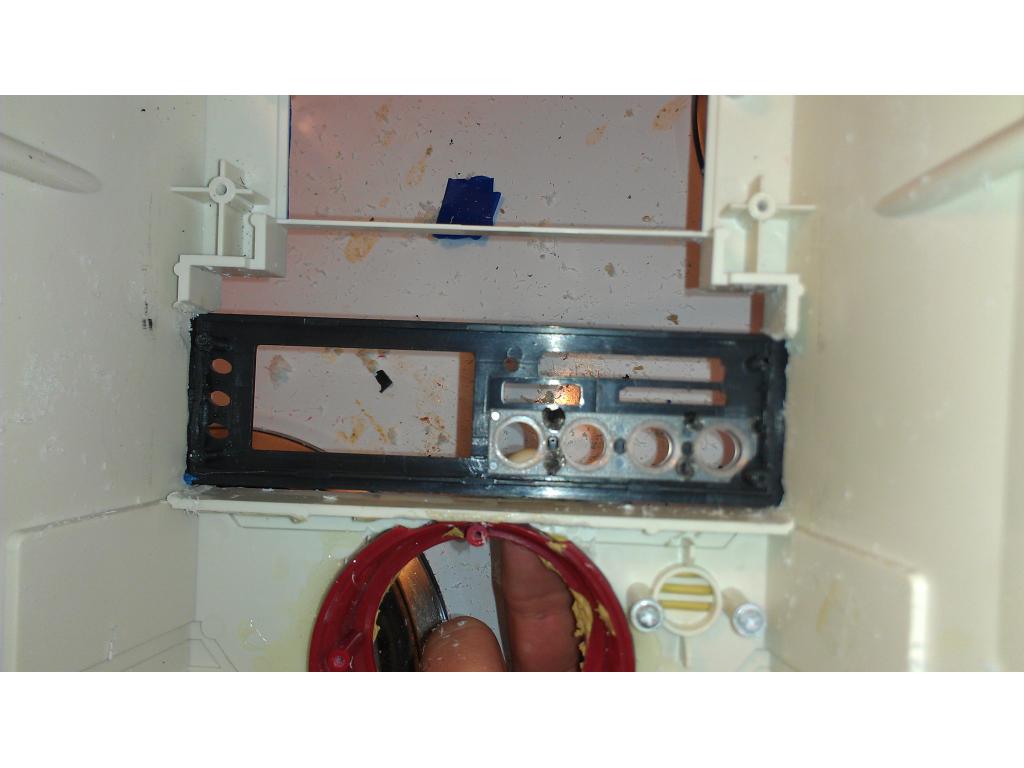
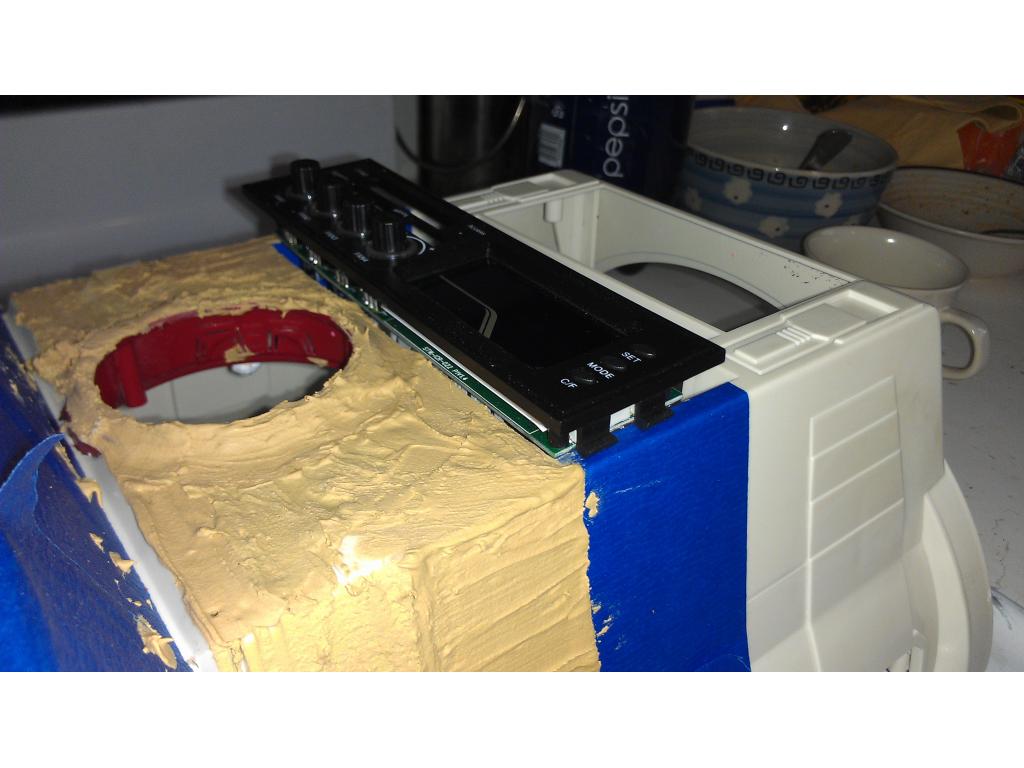
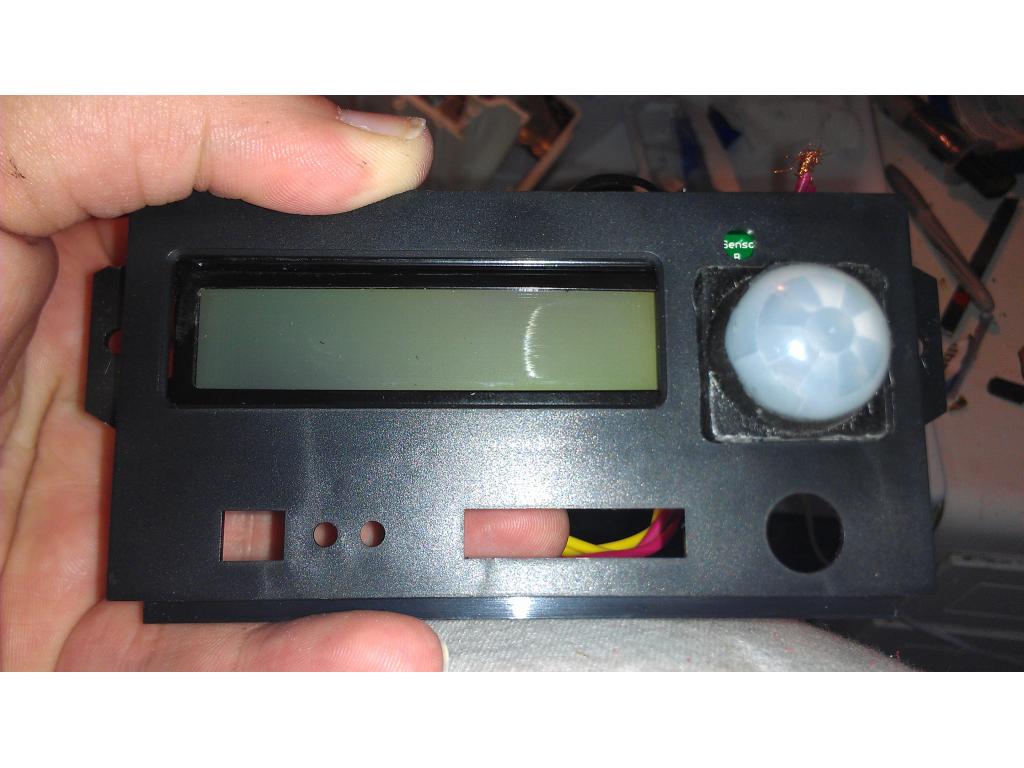
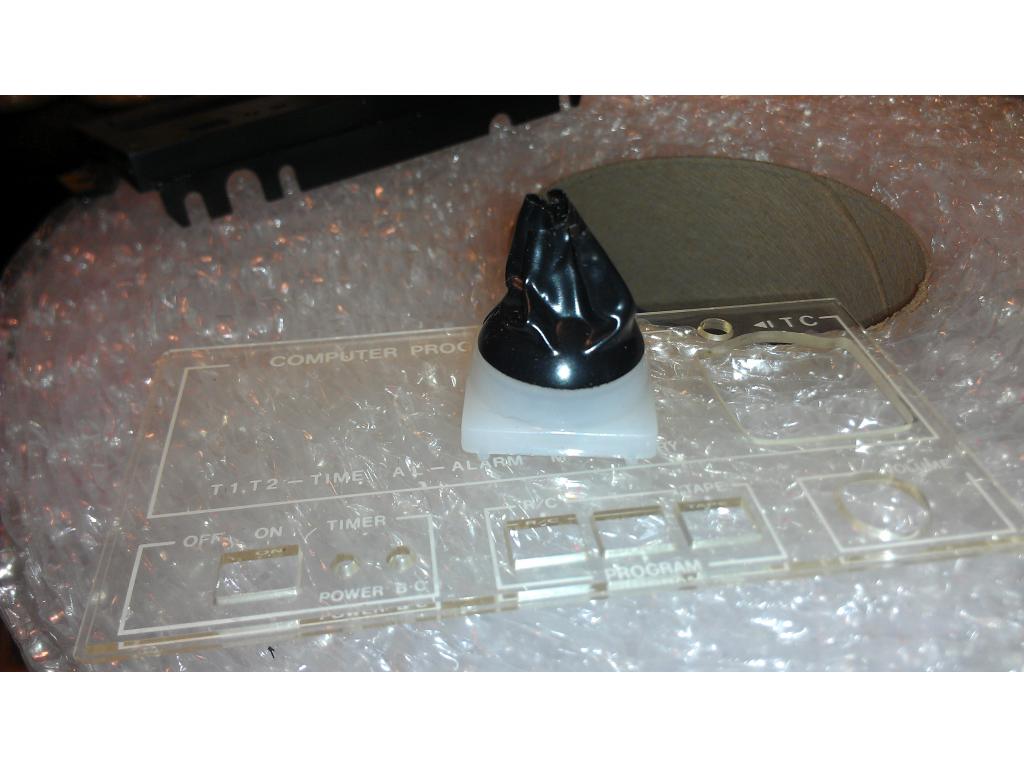
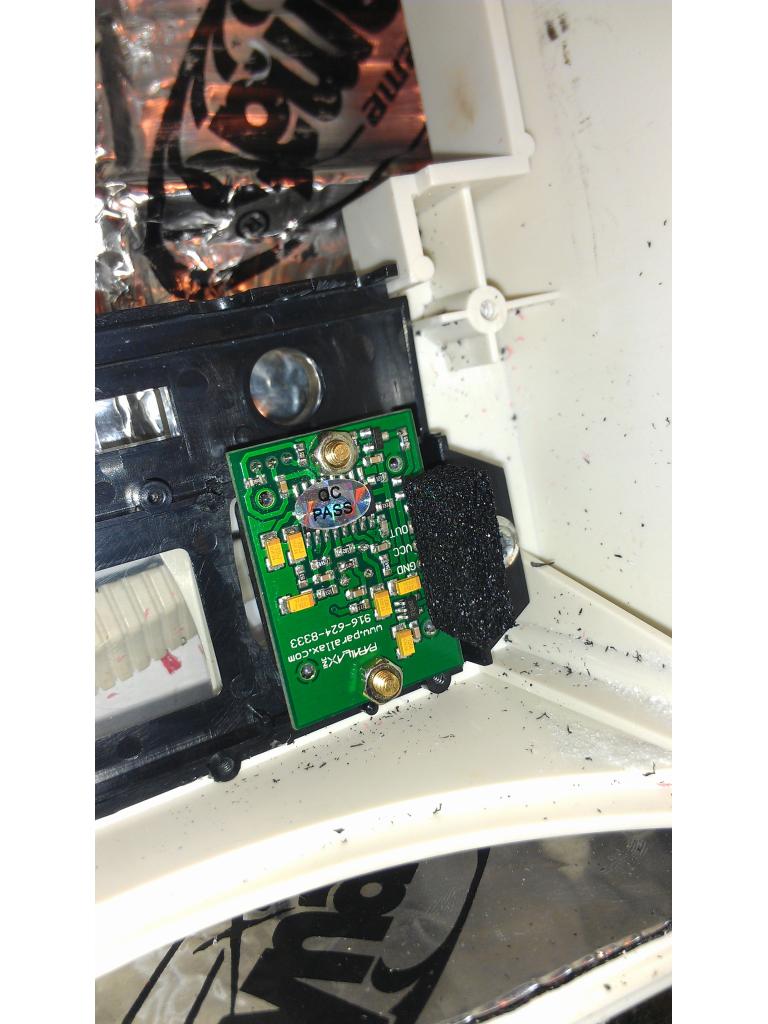
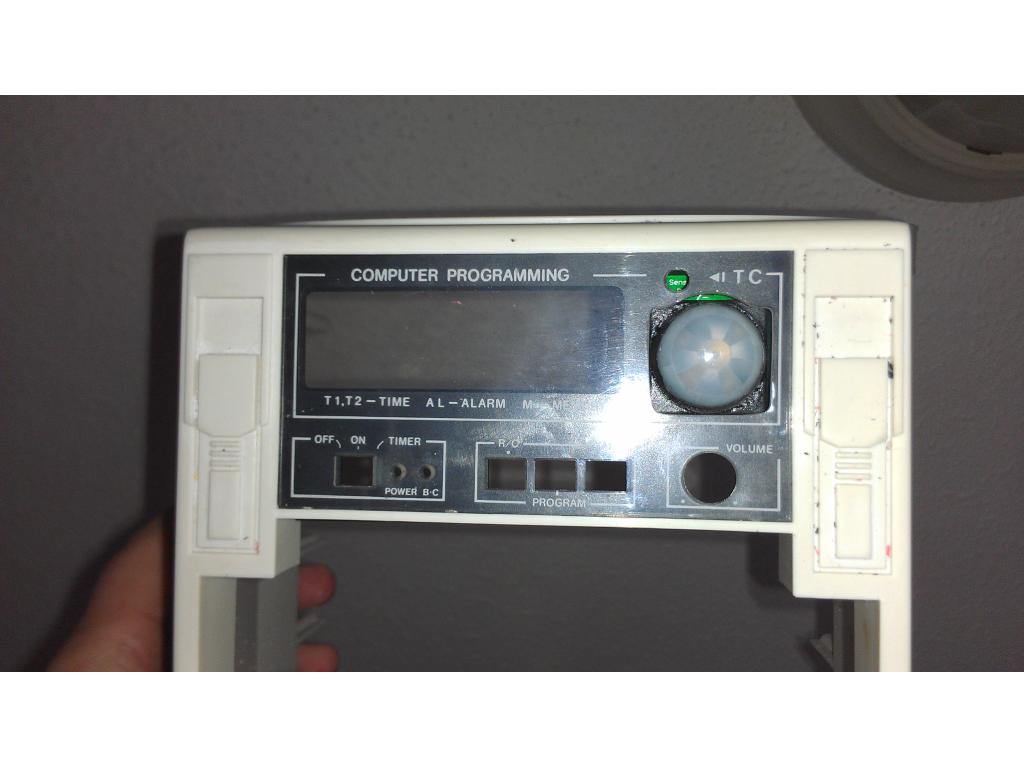
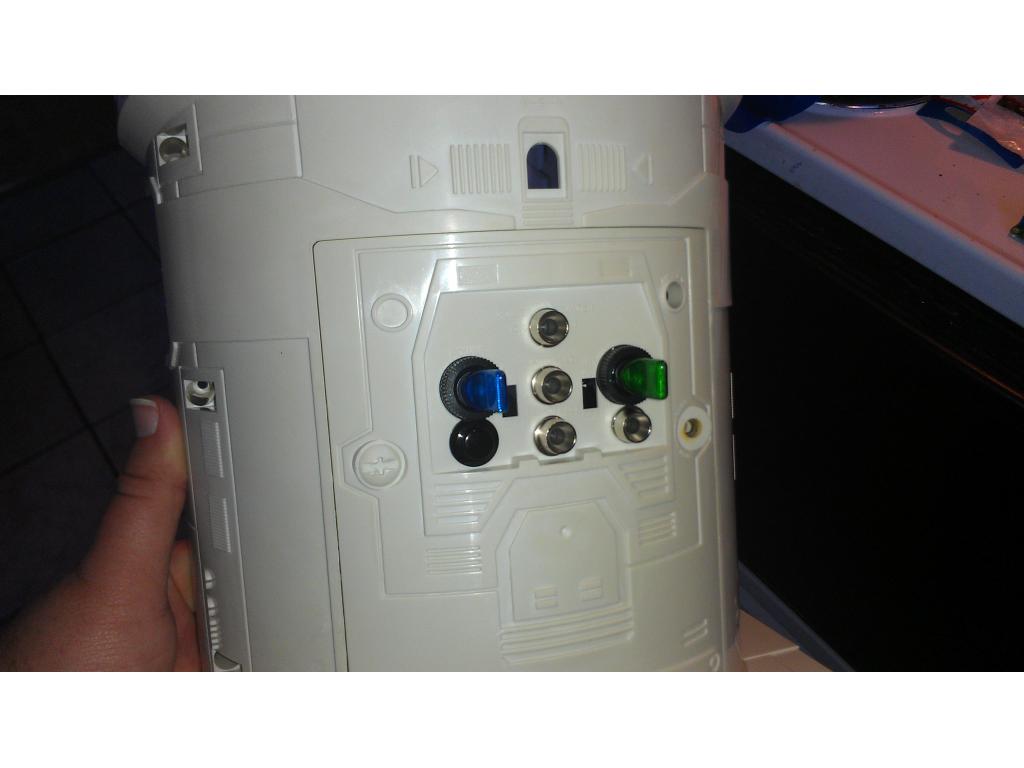
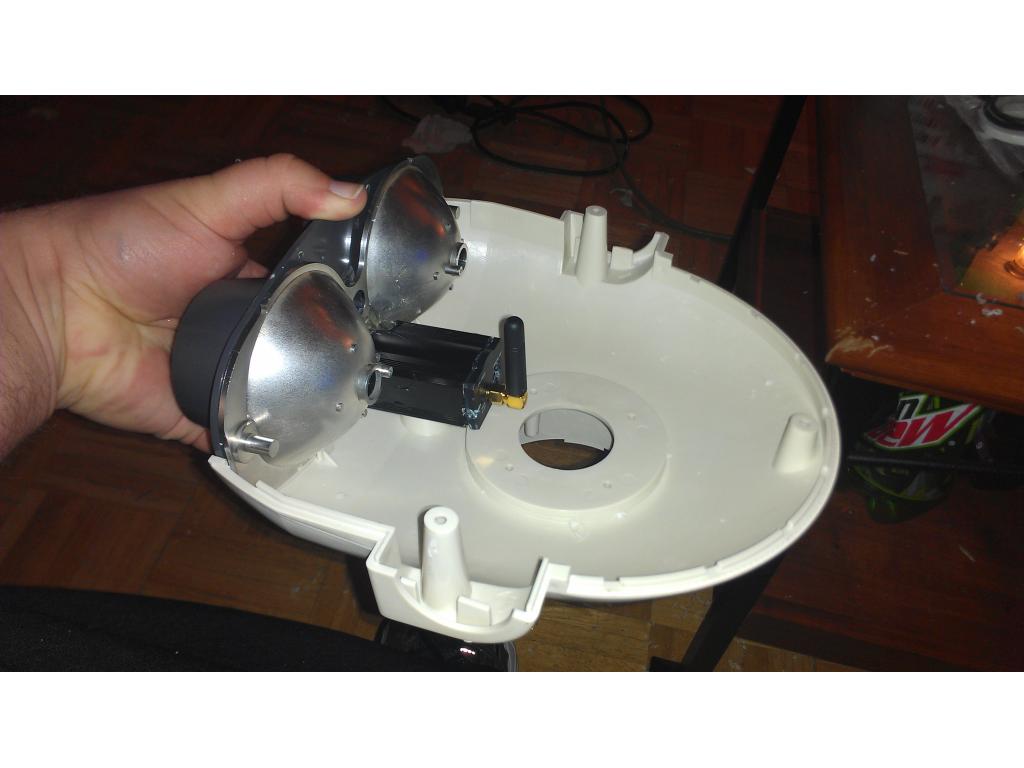
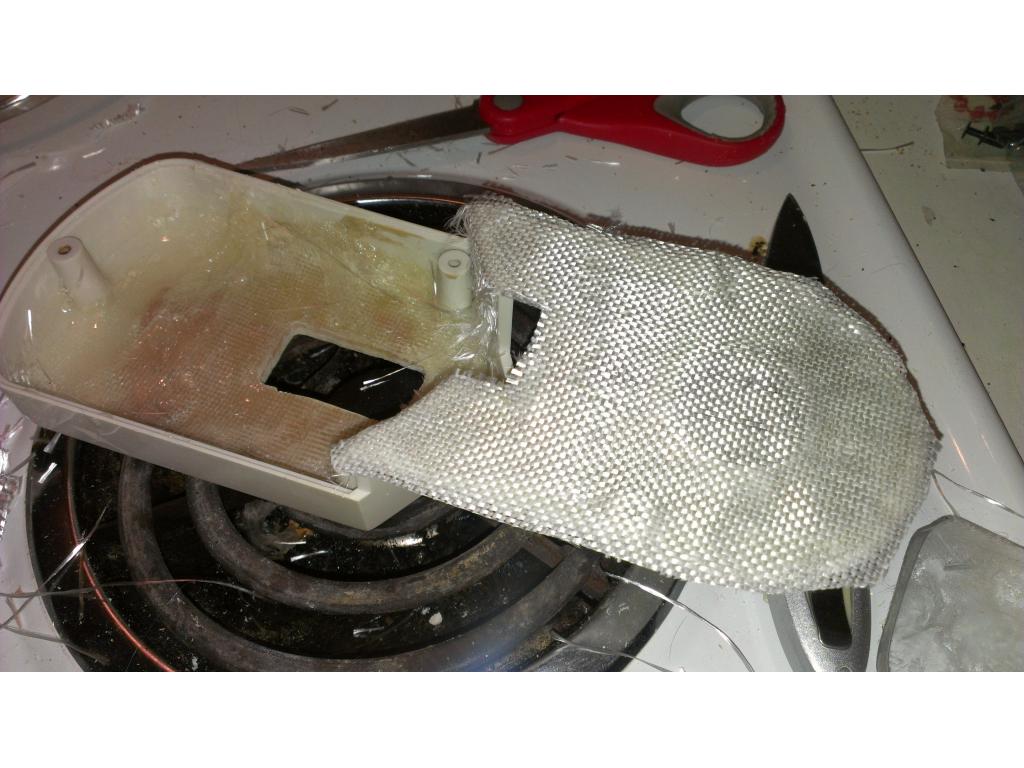
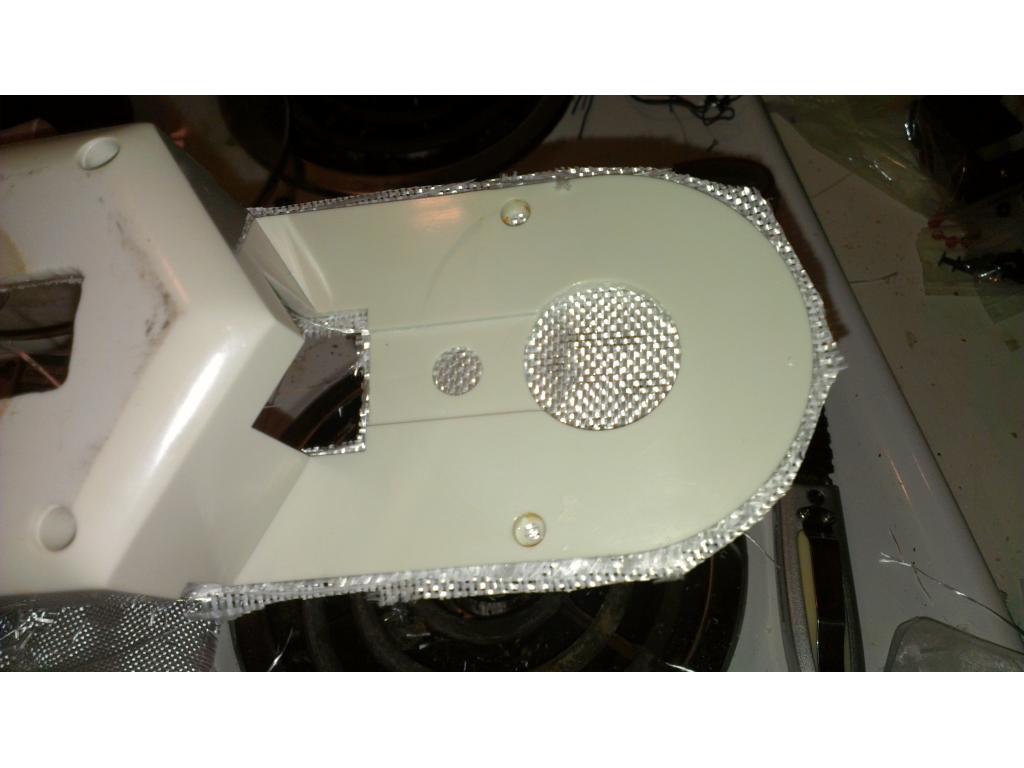
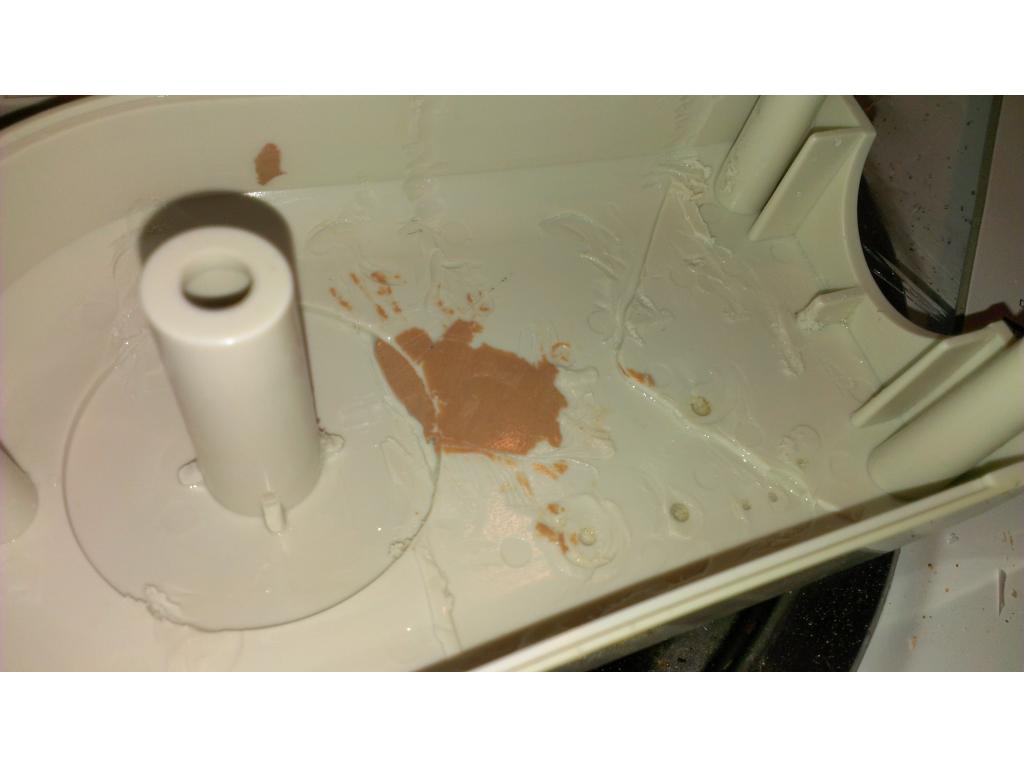
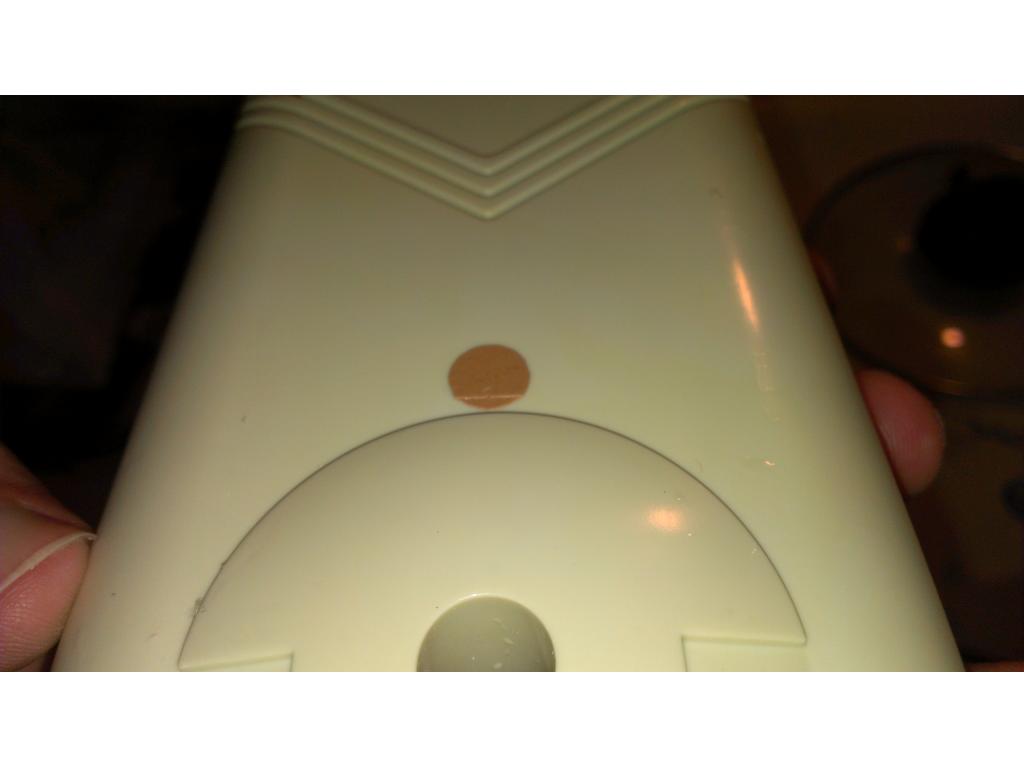
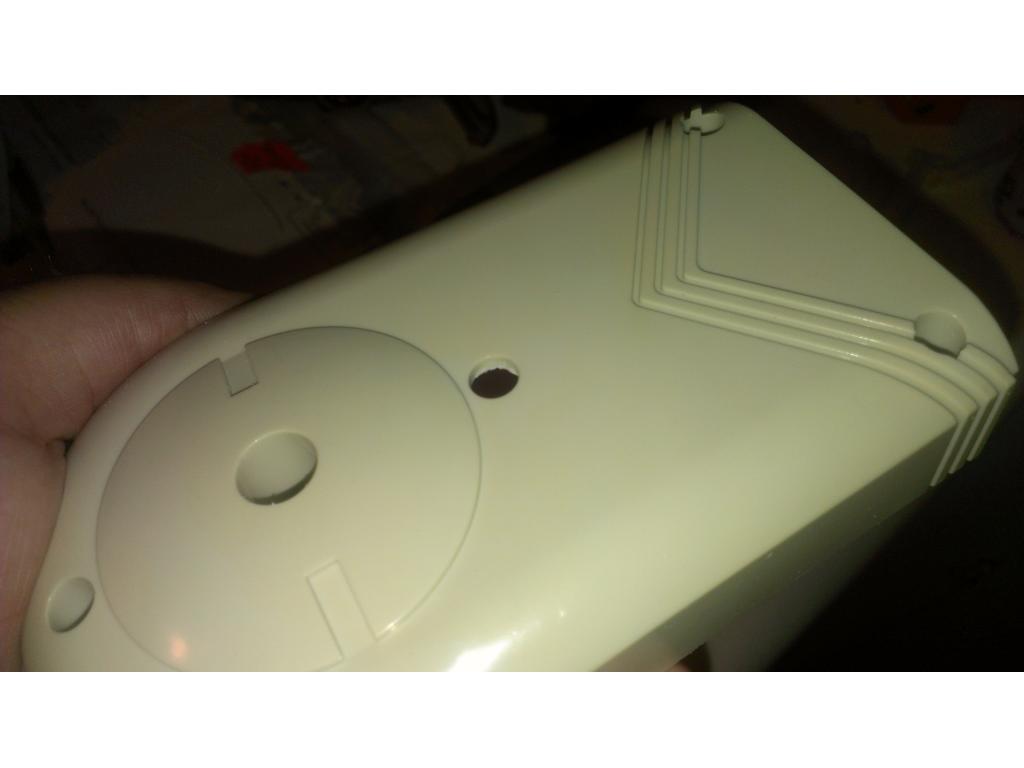
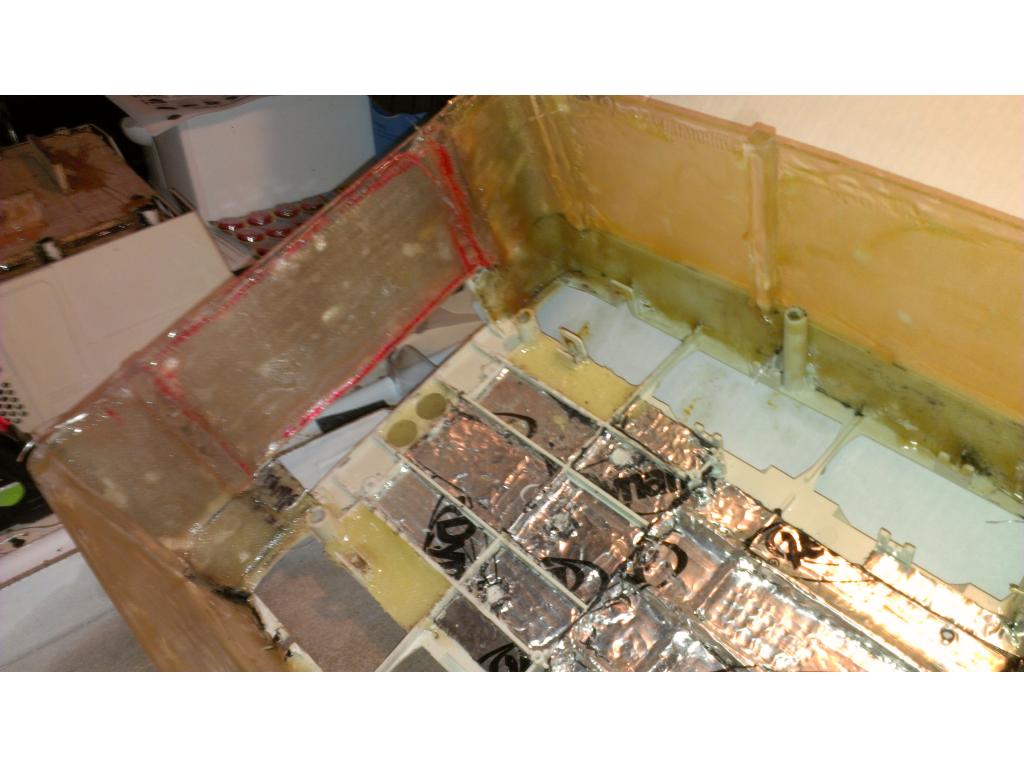
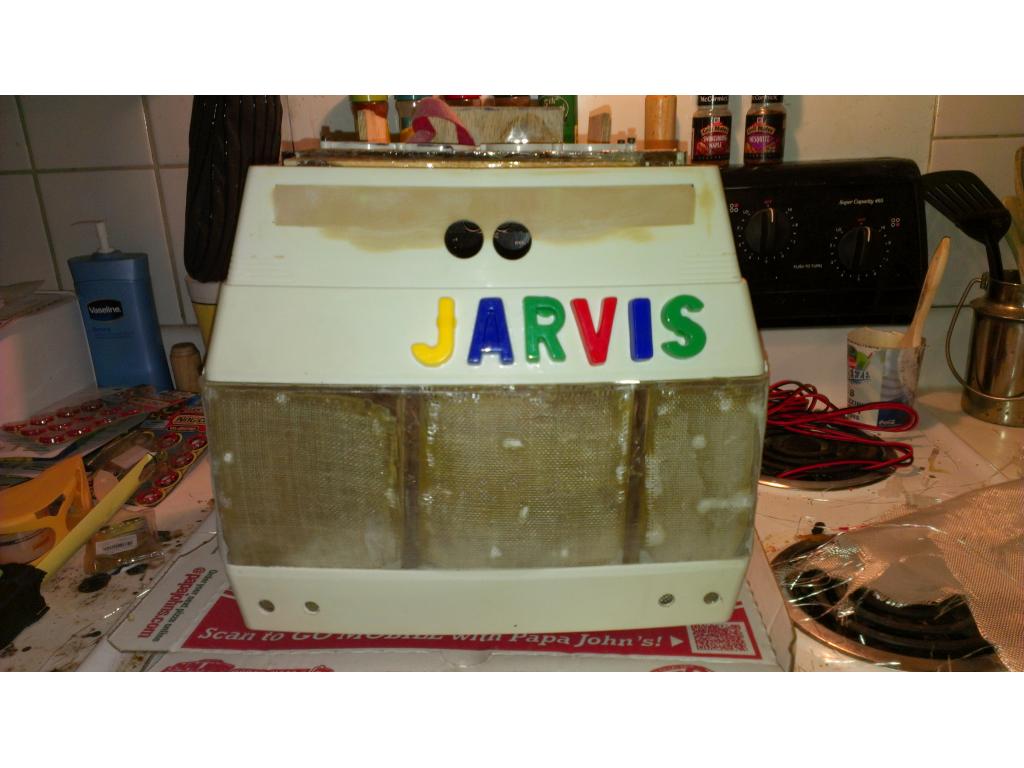
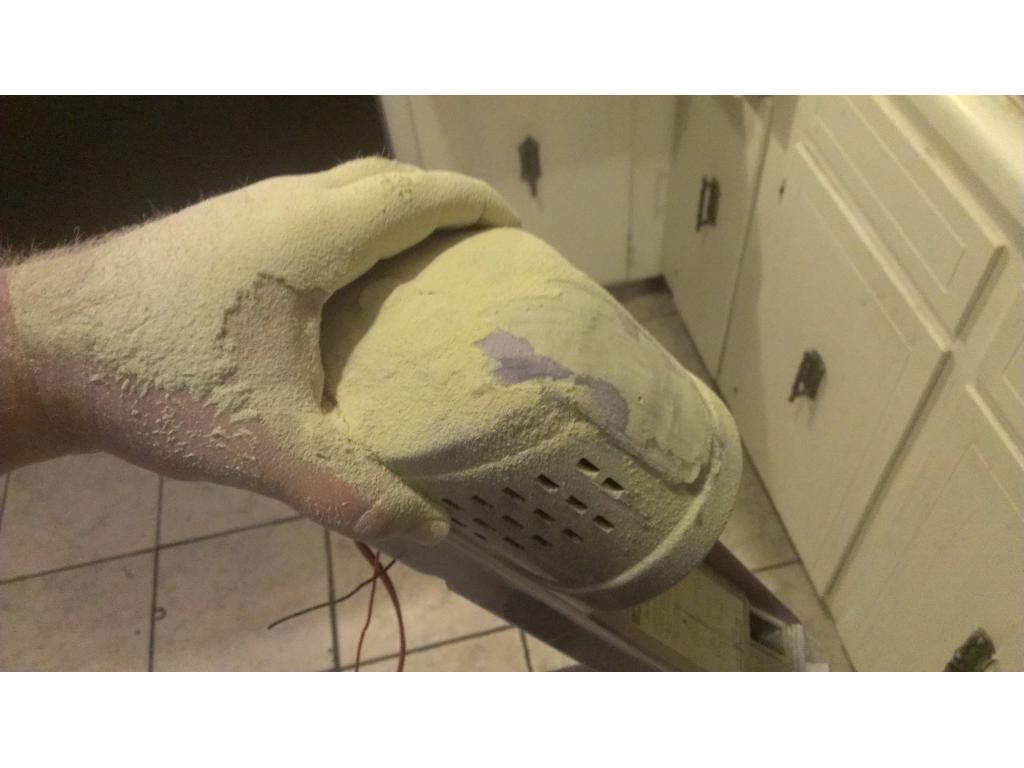
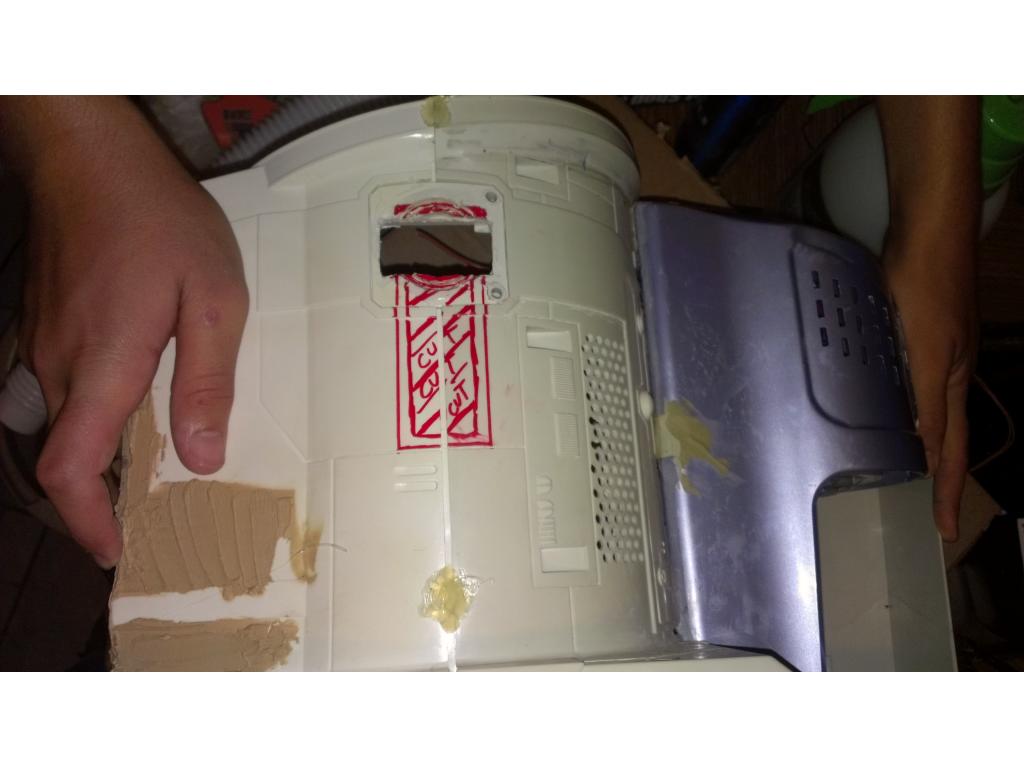
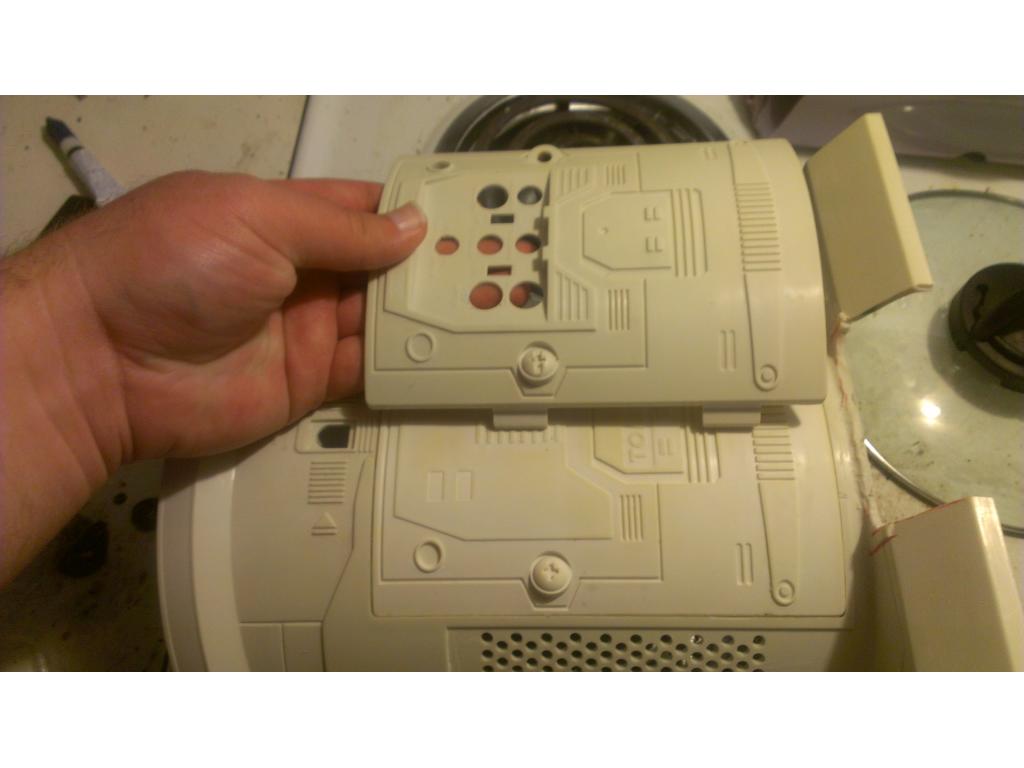
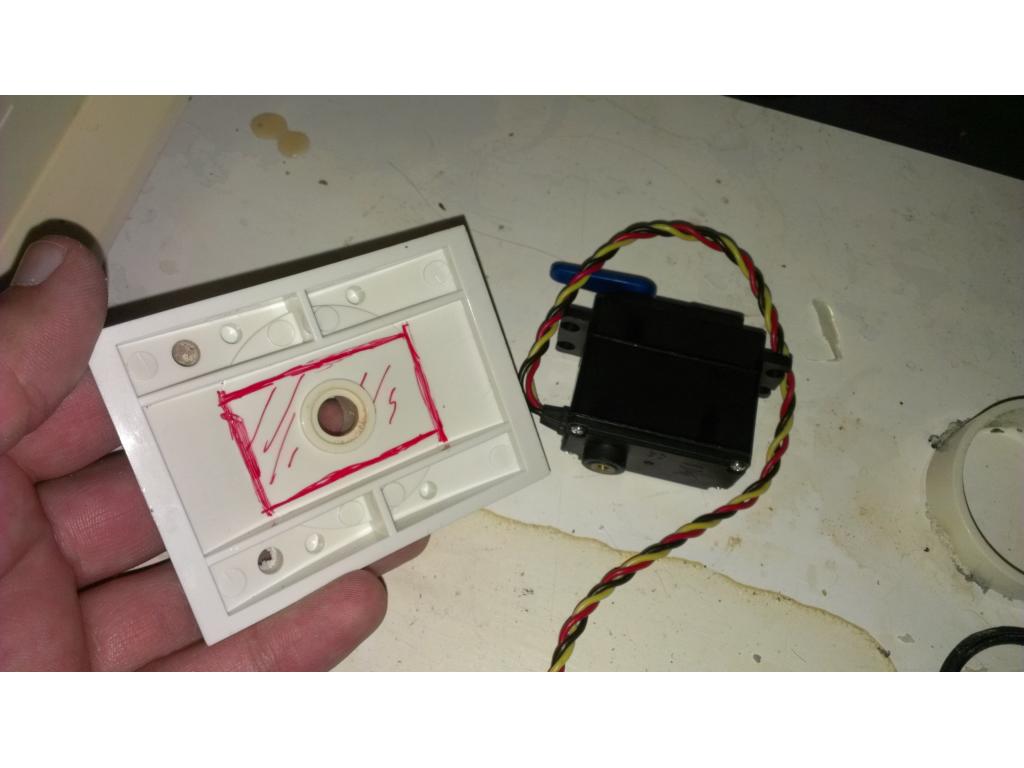
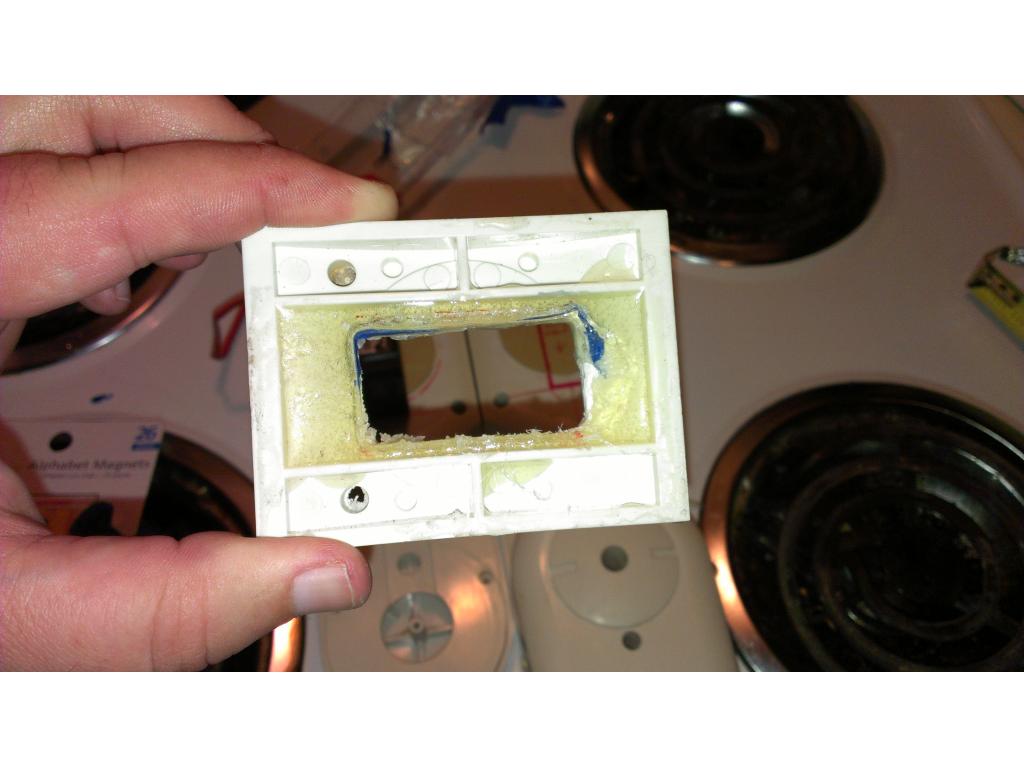
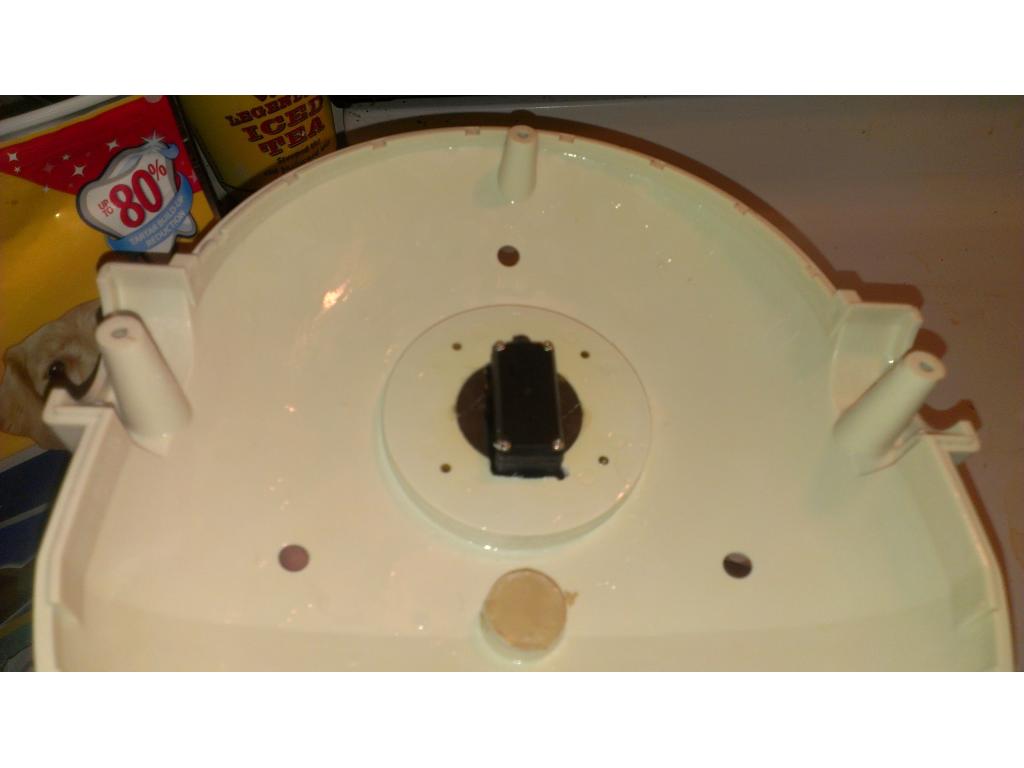
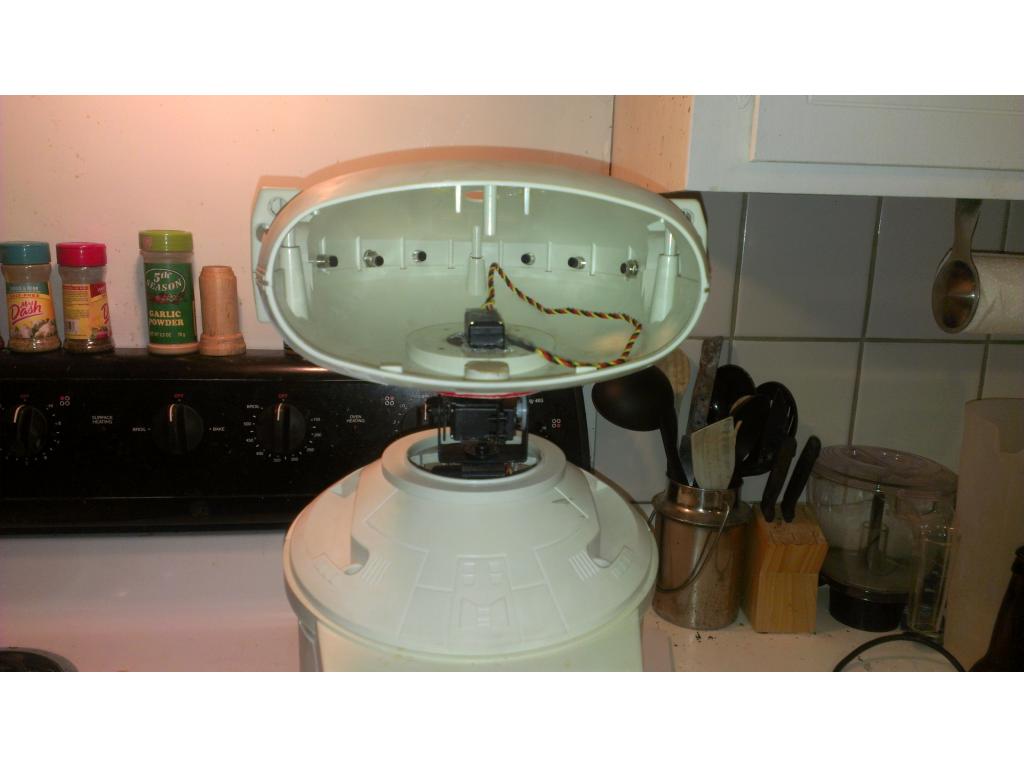
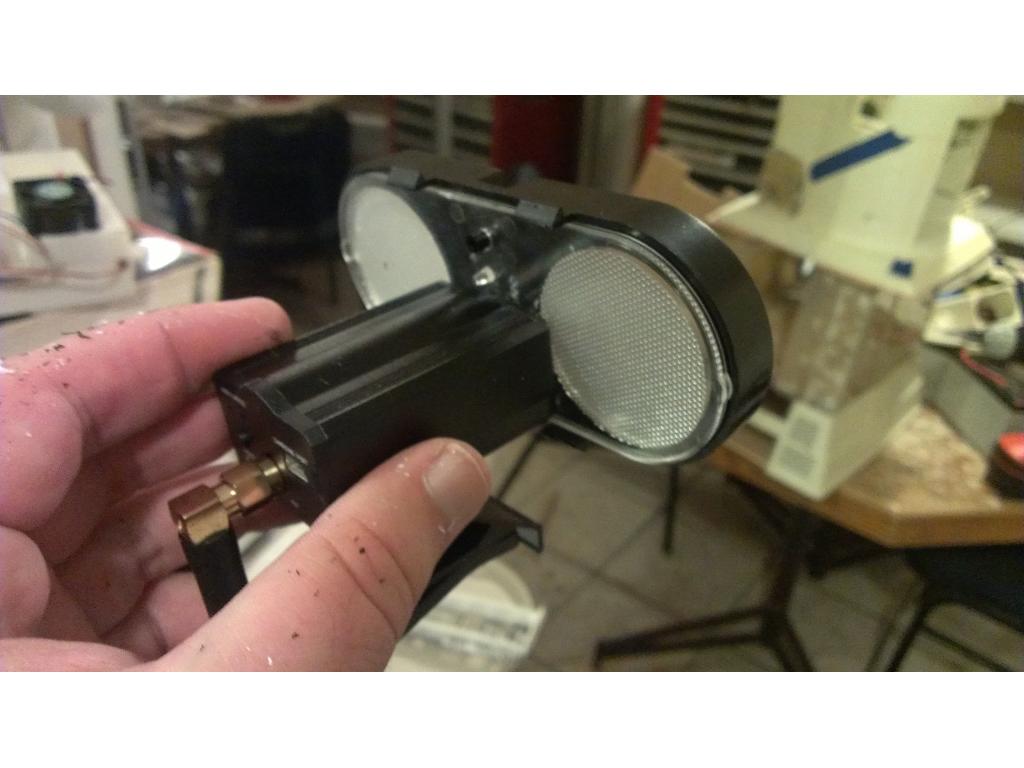
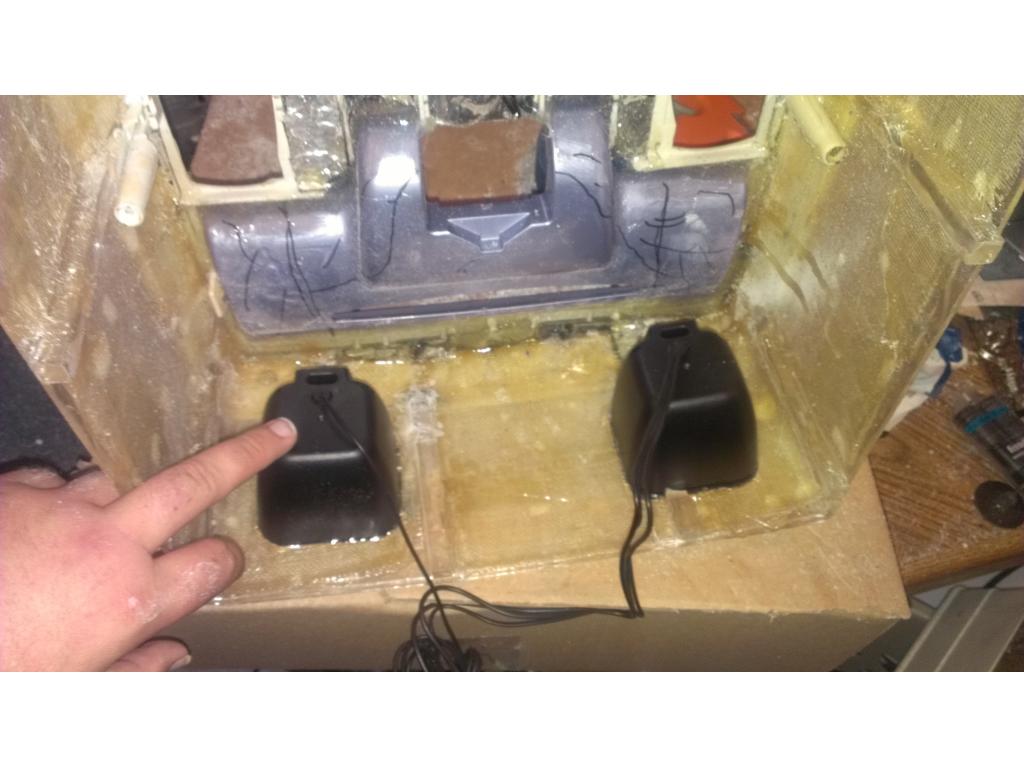
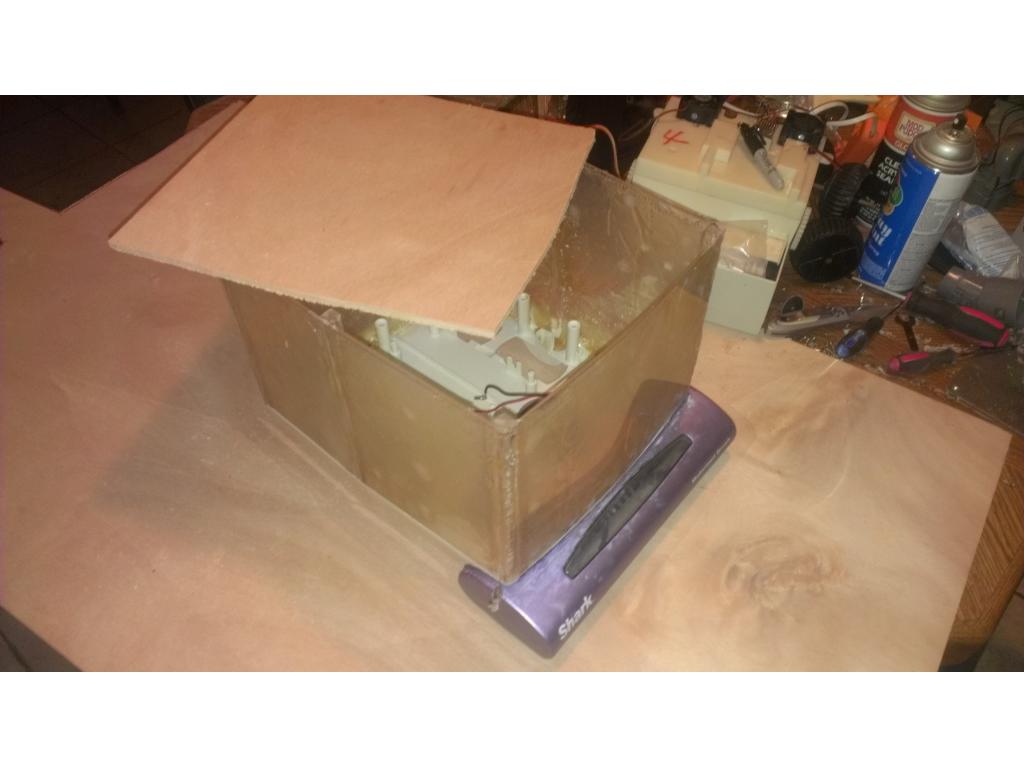
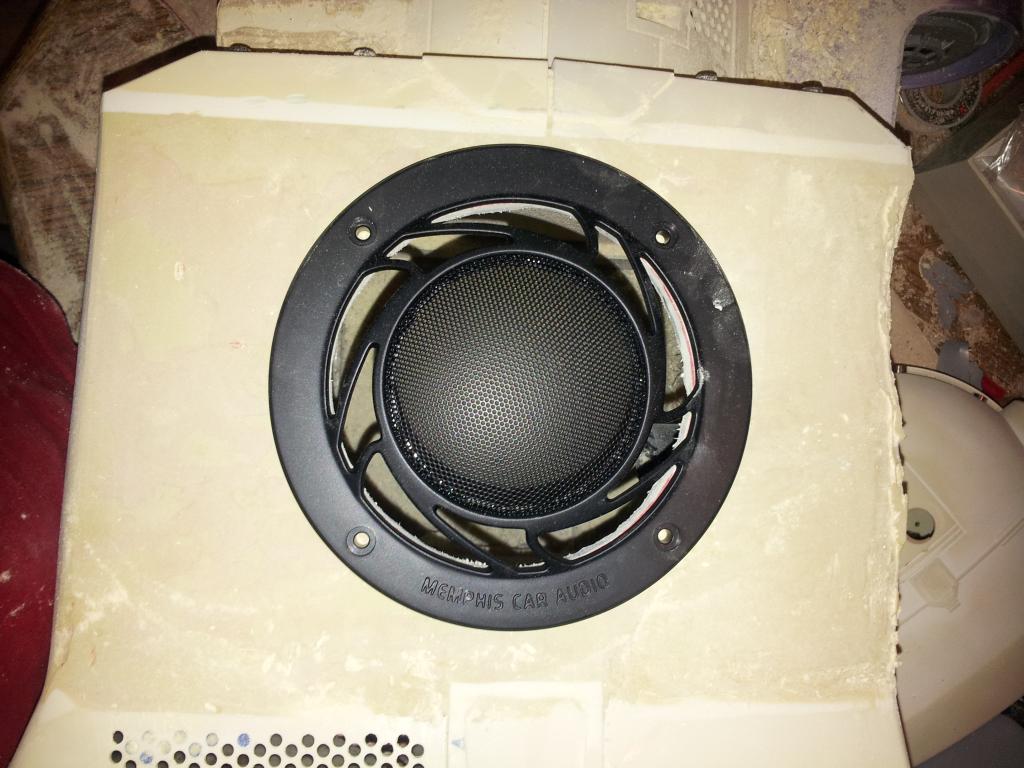
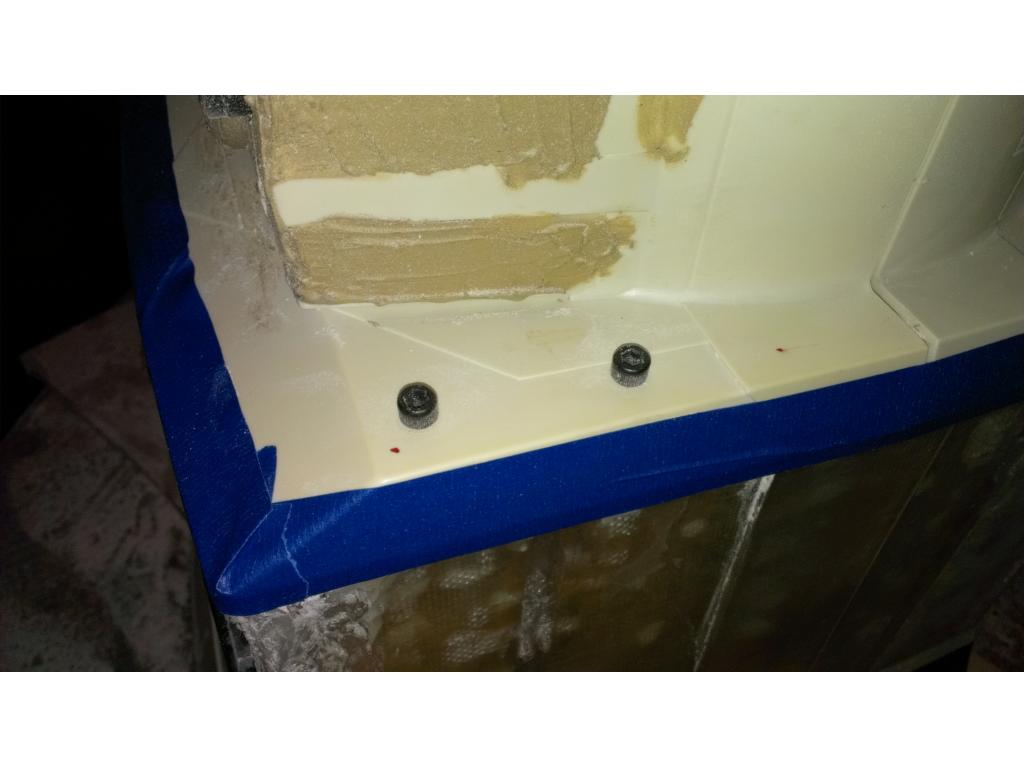
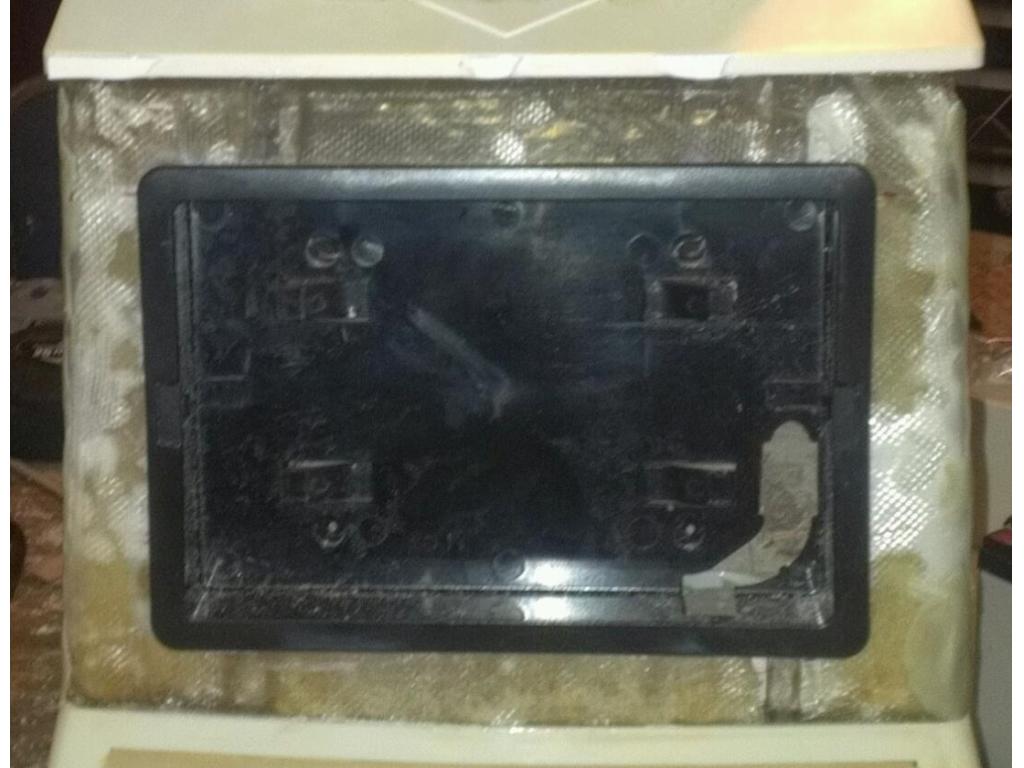
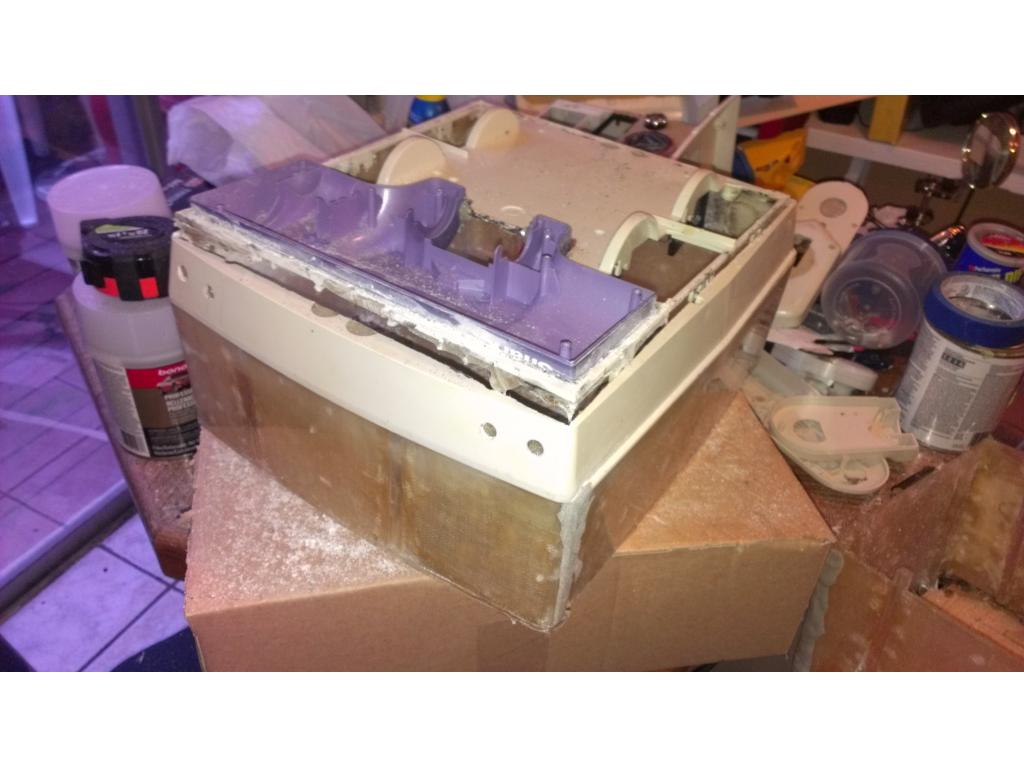
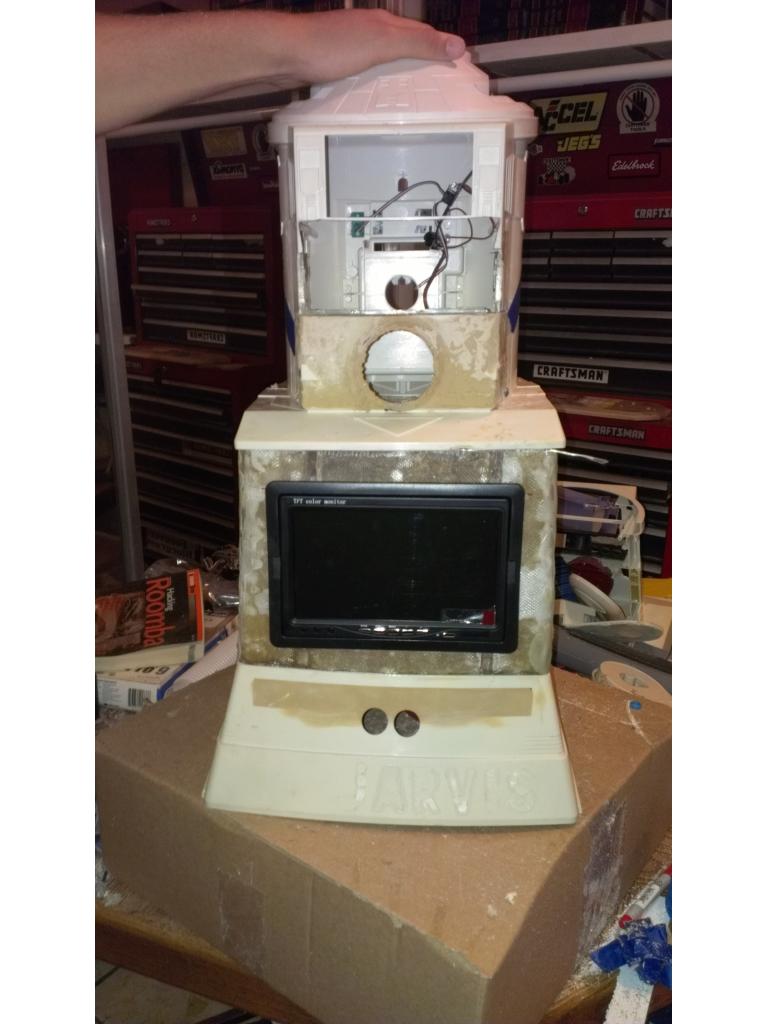
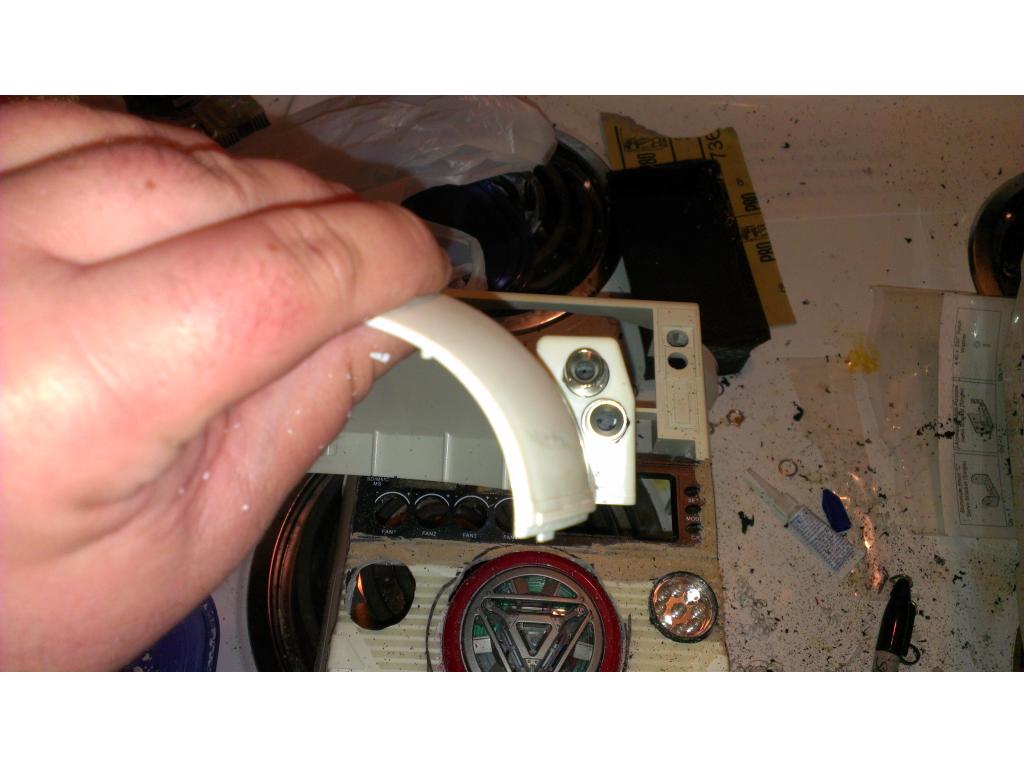
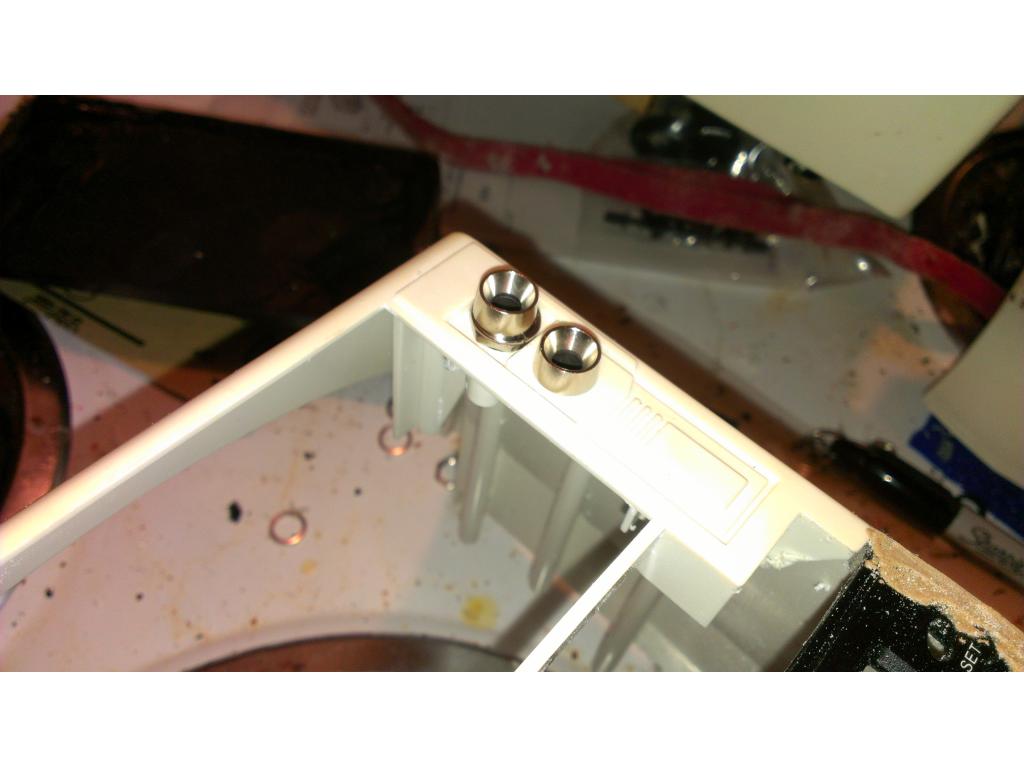
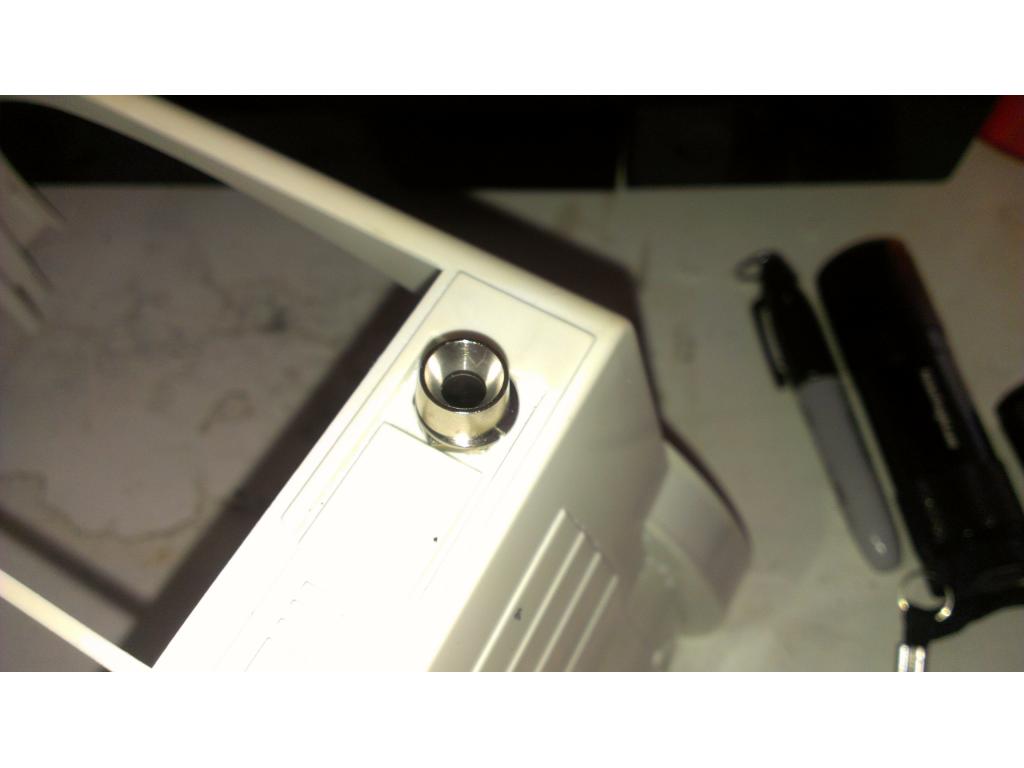
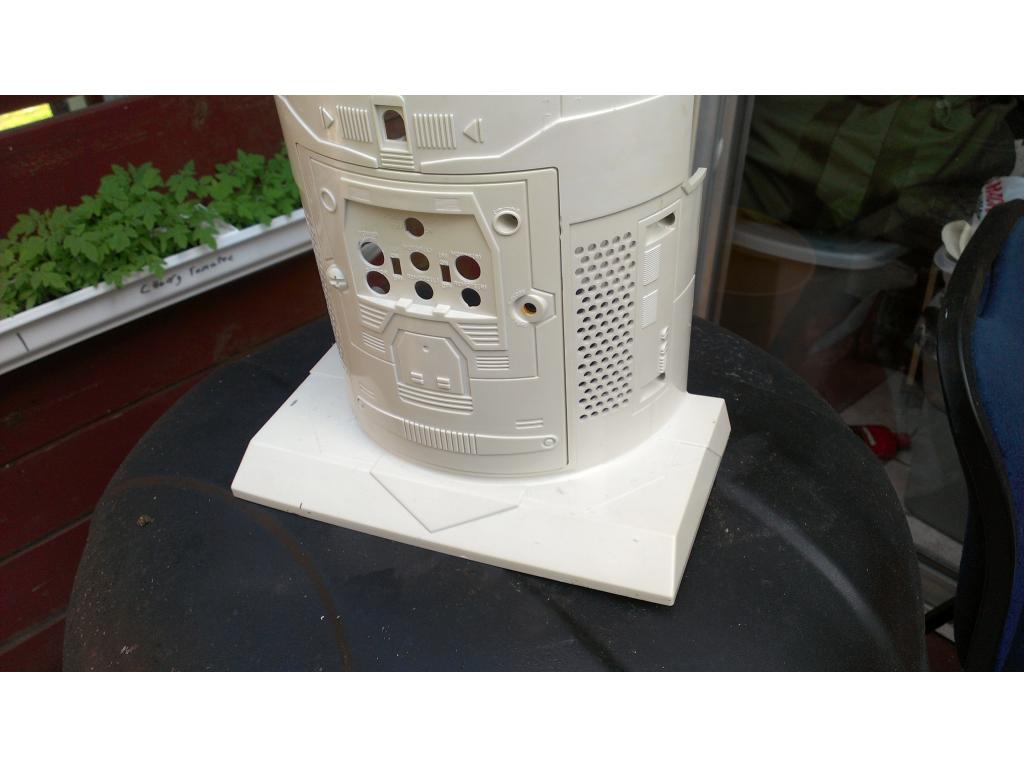
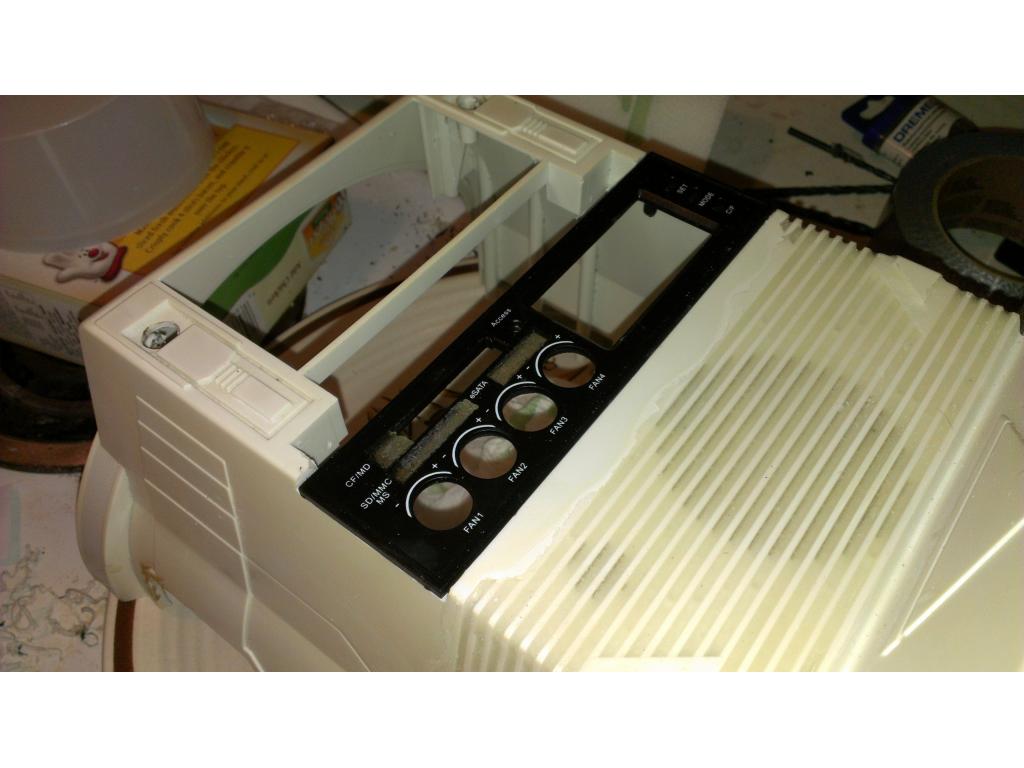
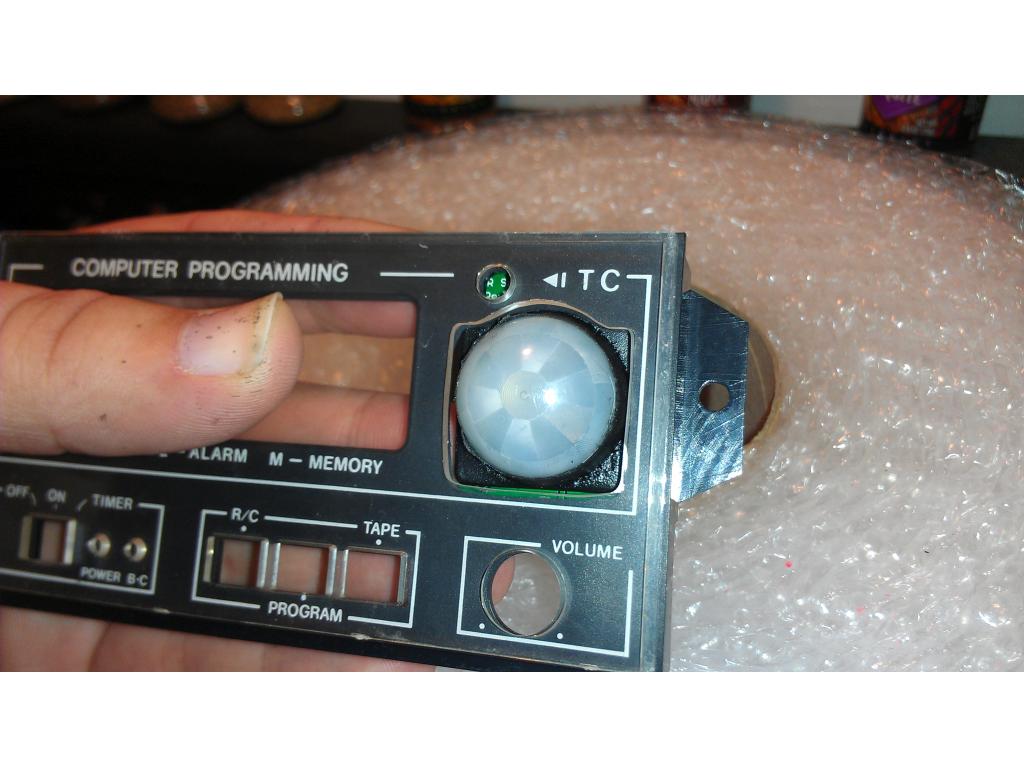
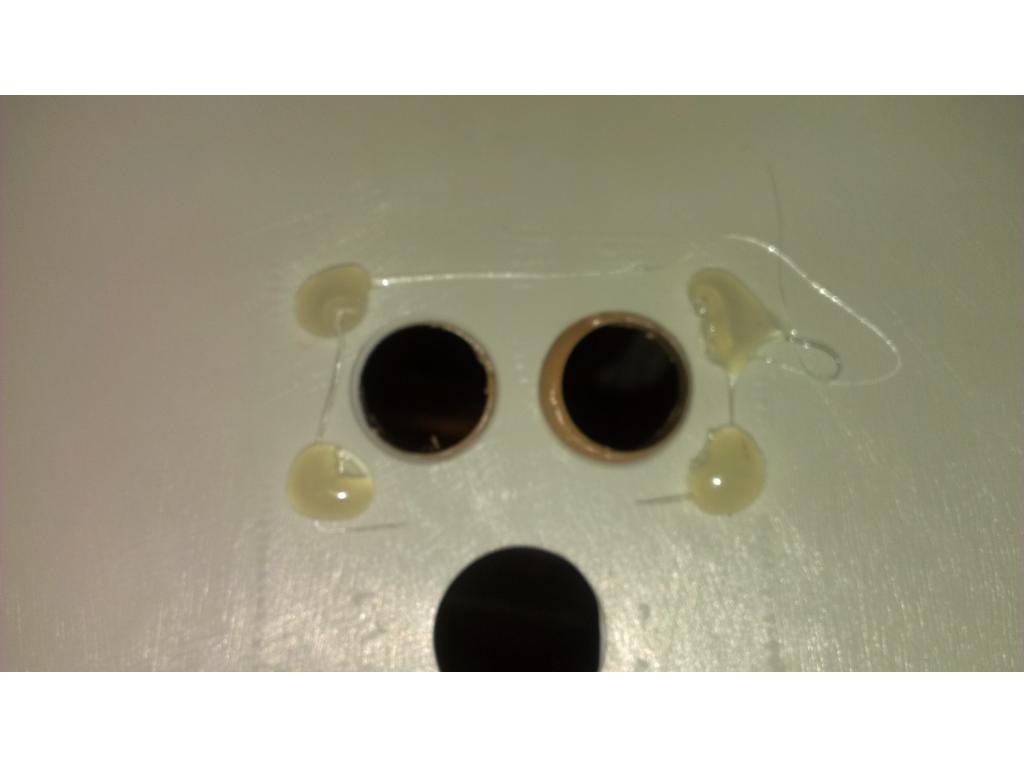
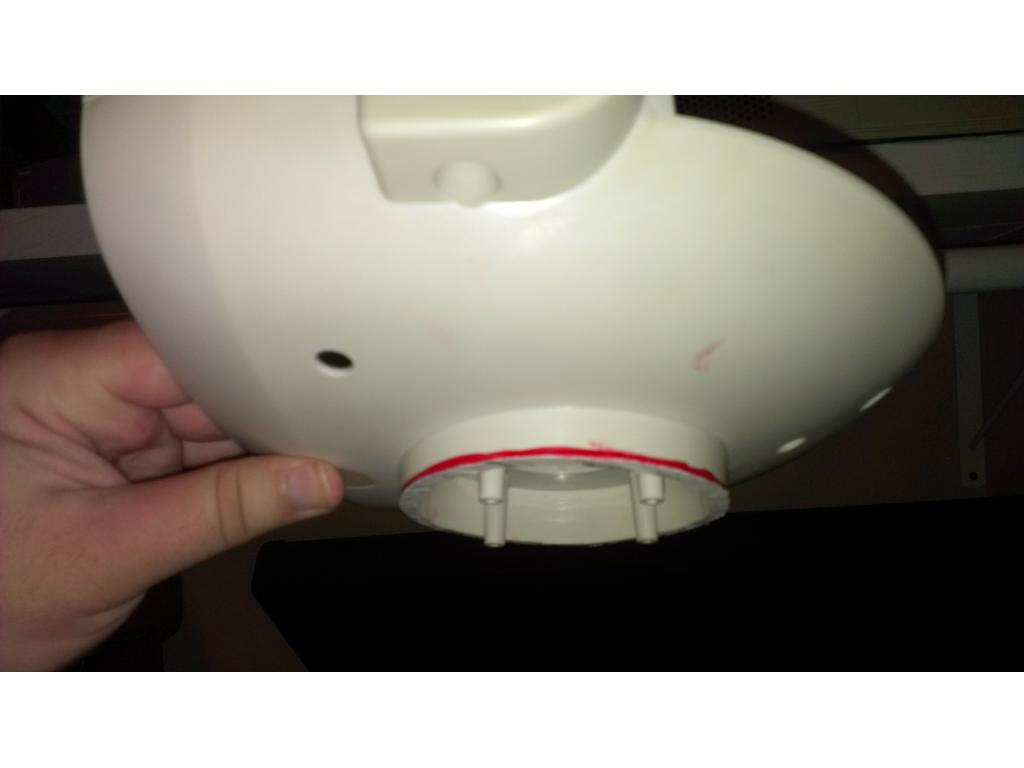
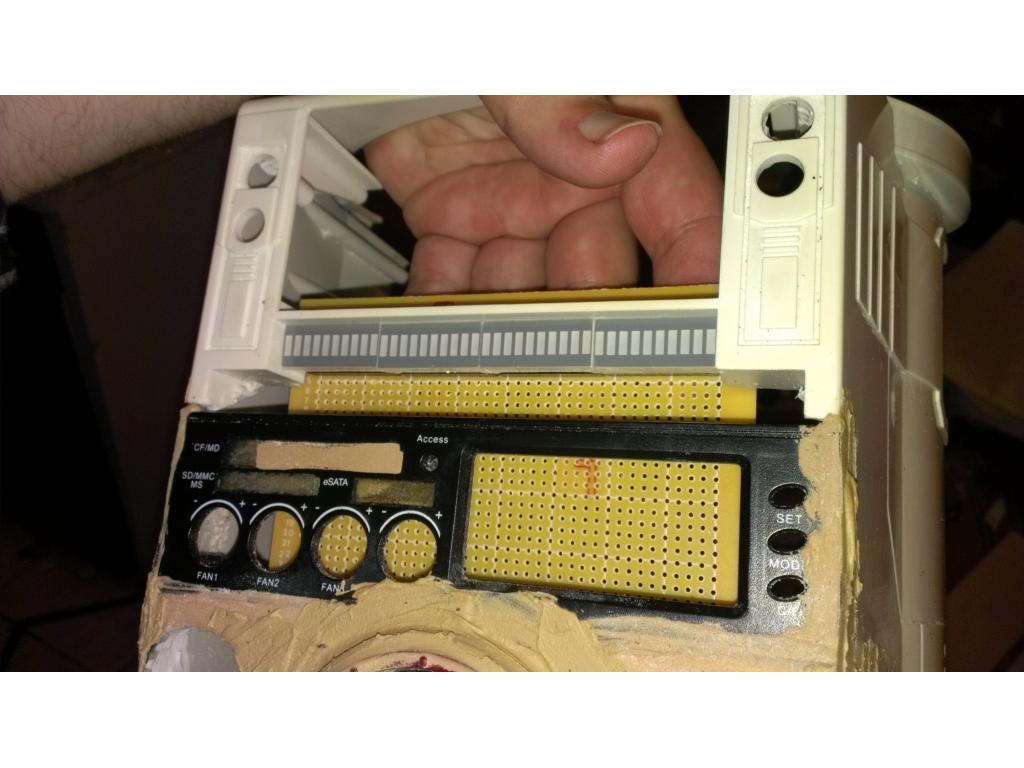
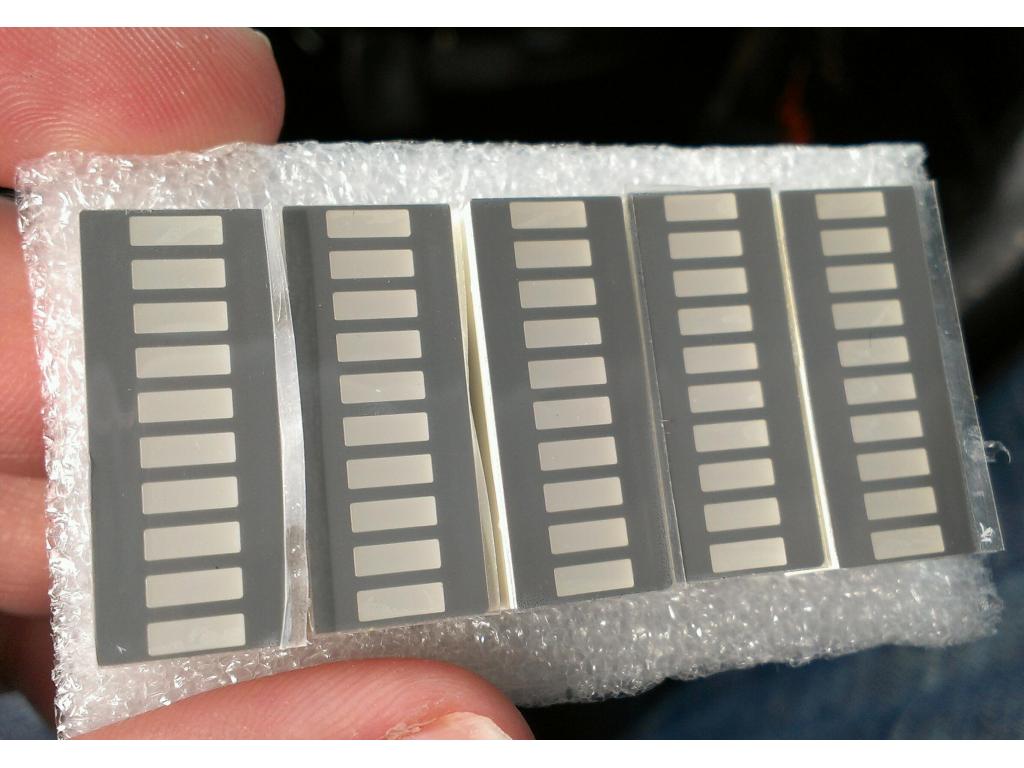
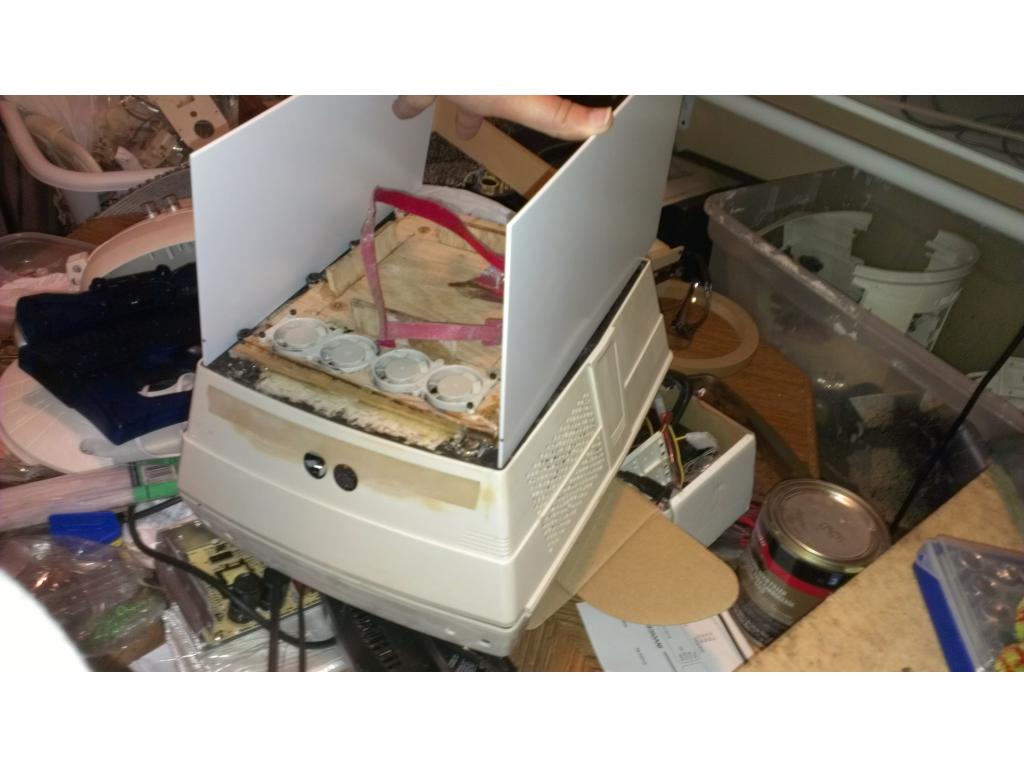
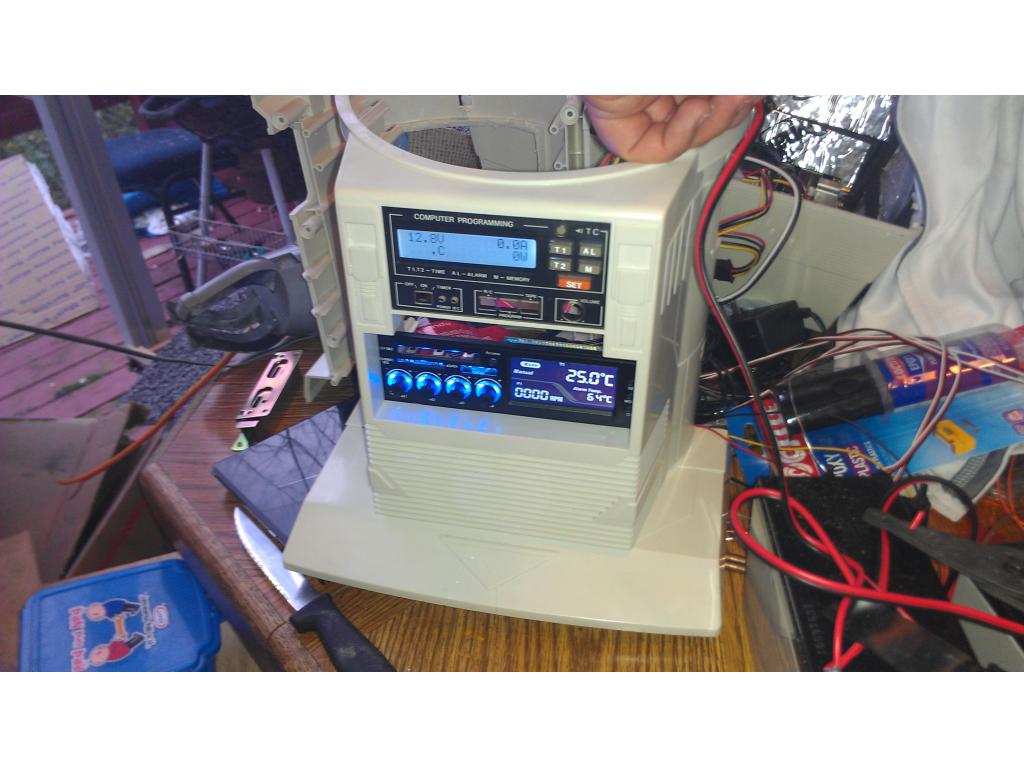
I picked a creative place for the PIR sensor. The four buttons that were removed with the original LCD left empty holes. In a effort to use them I drilled out the holes and used standoffs epoxied in place for mounts.
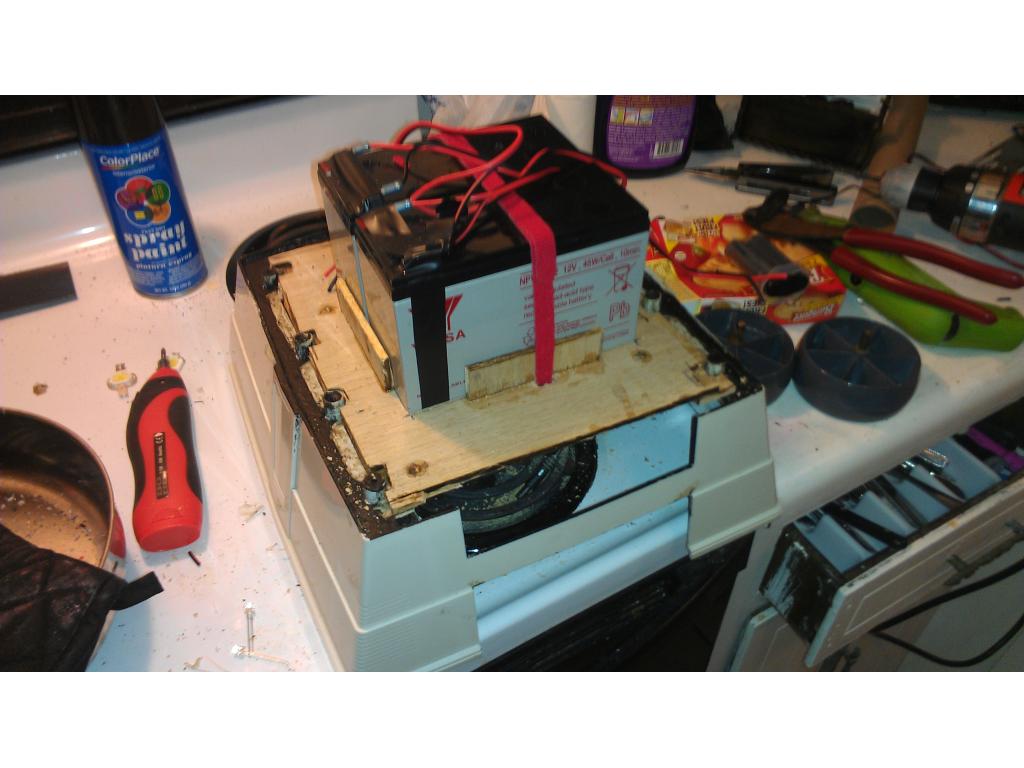
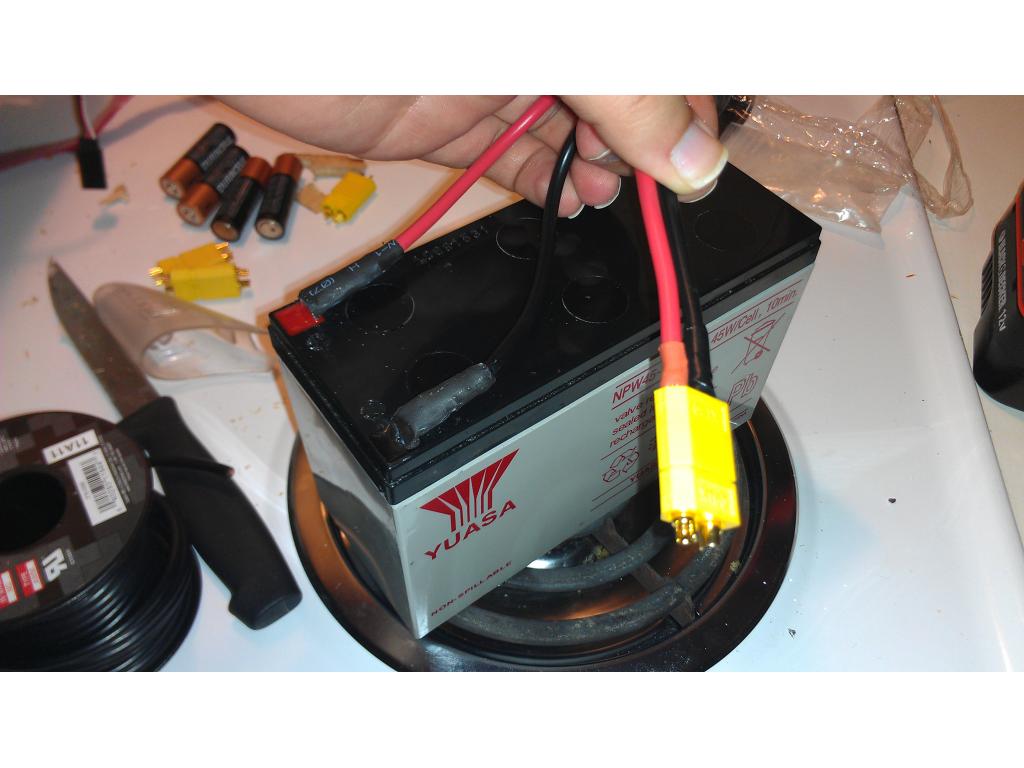
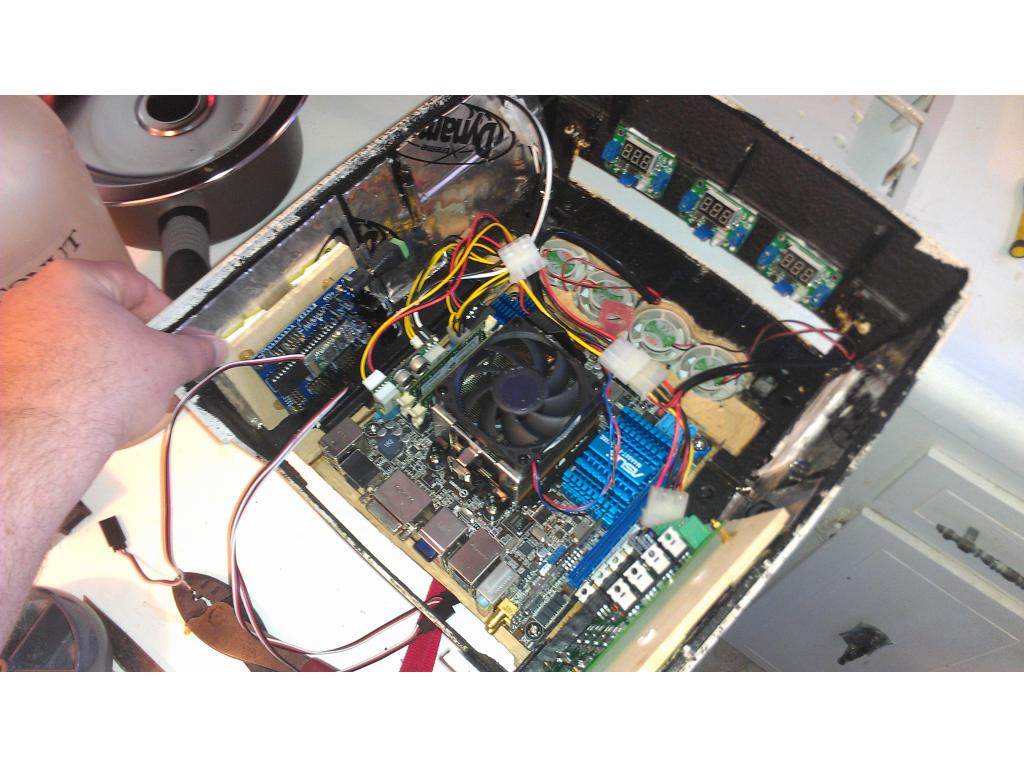
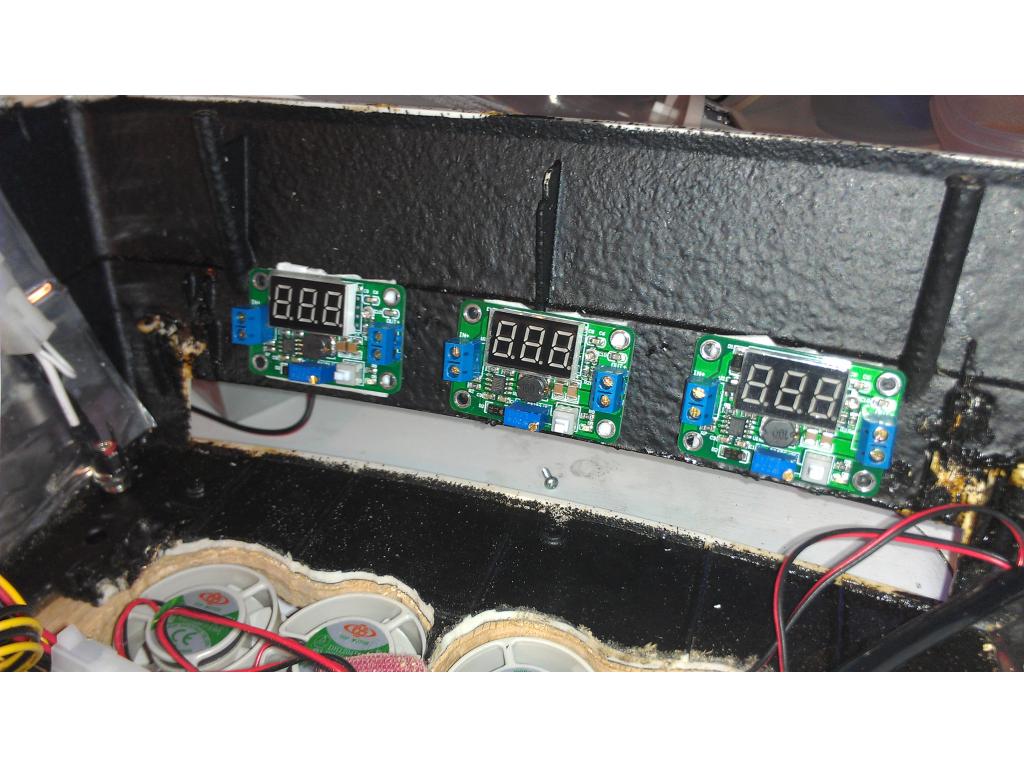
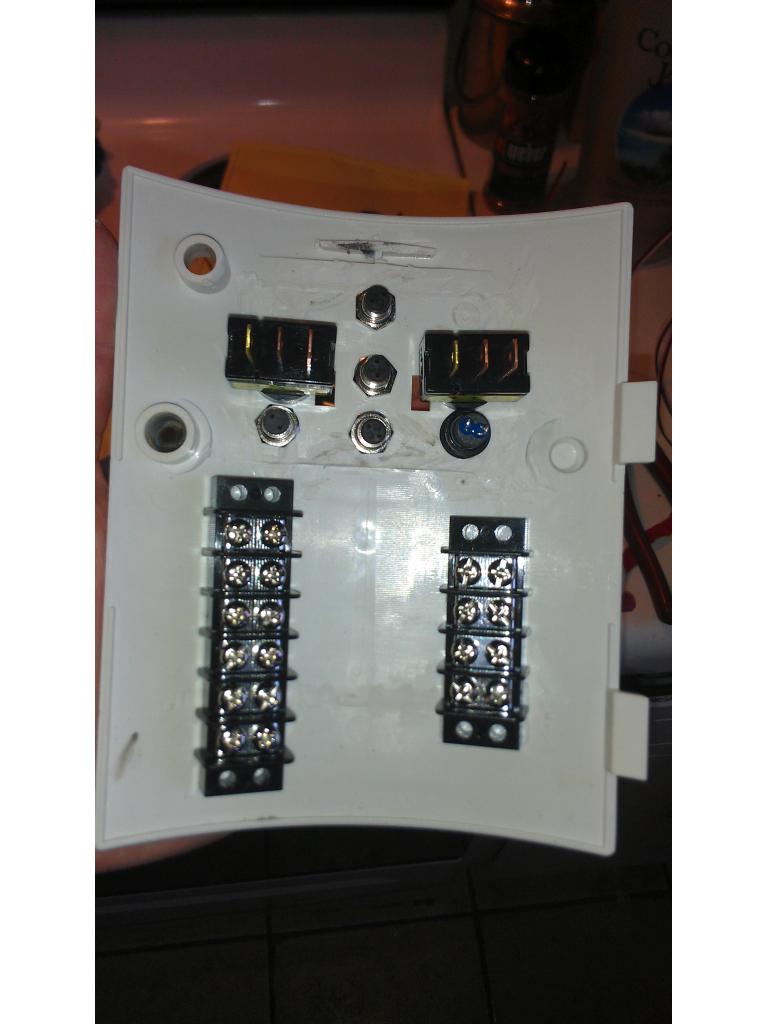
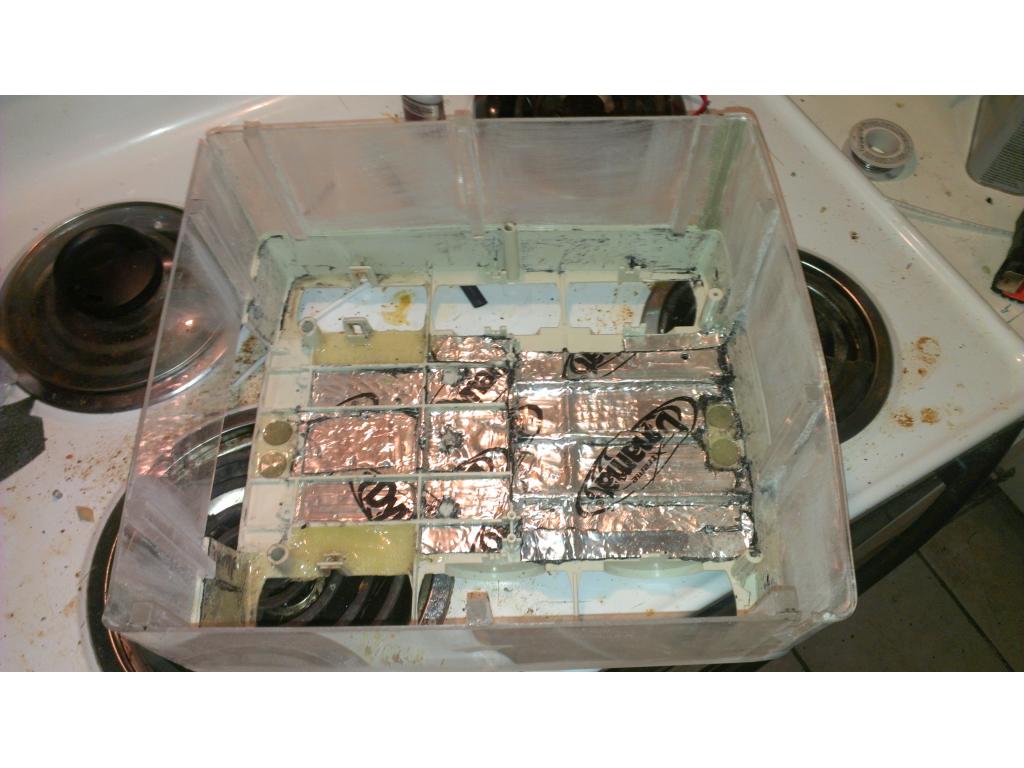
The sensor is now part of the power management panel.