


cE9s4PsOgeBQIORwjd5!~~60_1-634818020230156250.jpg)


BO)Lupuc4g~~60_35-634706297915000000.jpg)
LupbT6!~~60_35-634706298769375000.jpg)


C5j!~~60_35-634655044863125000.jpg)


C5j!~~60_35-634659603510781250.jpg)


C5j!~~60_35-634651704046230469.jpg)
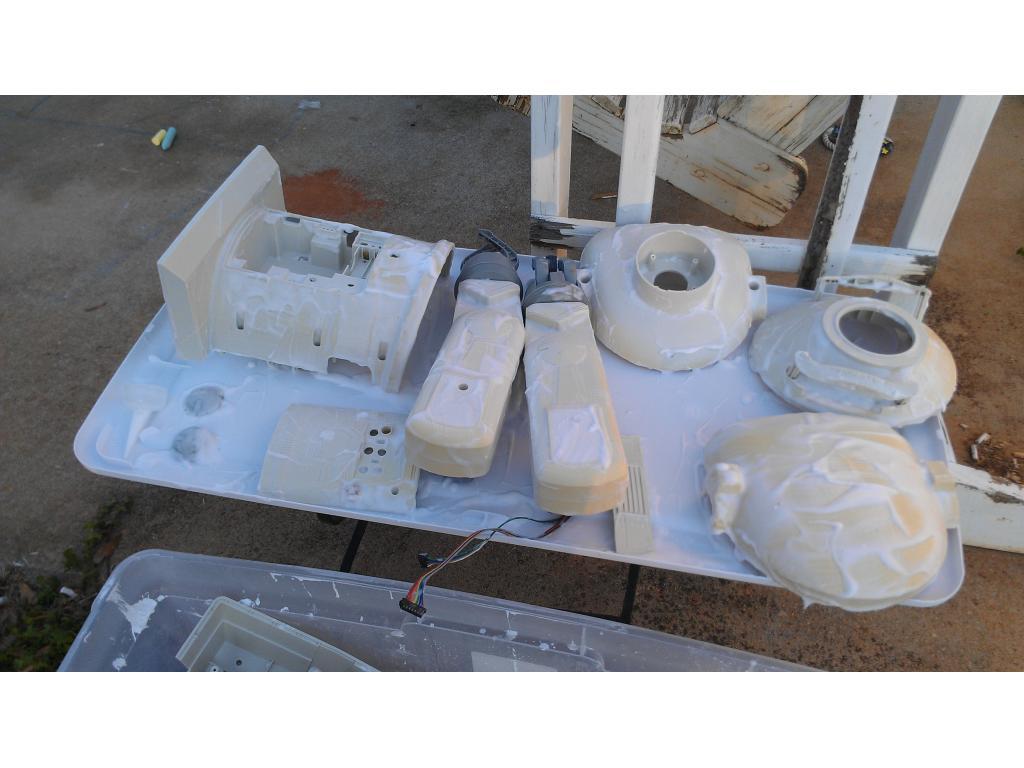


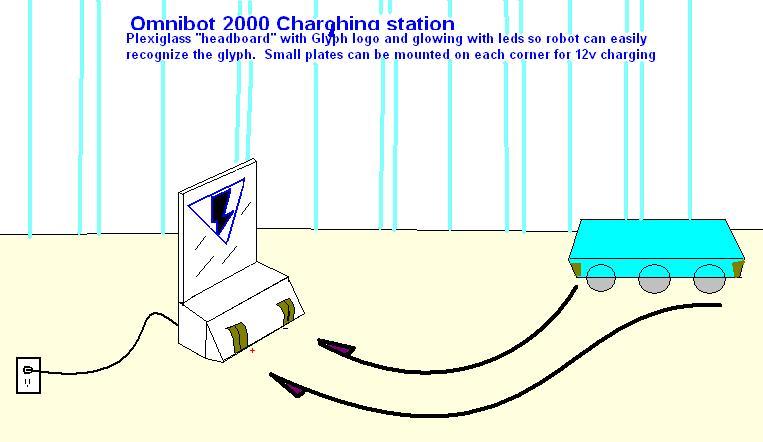


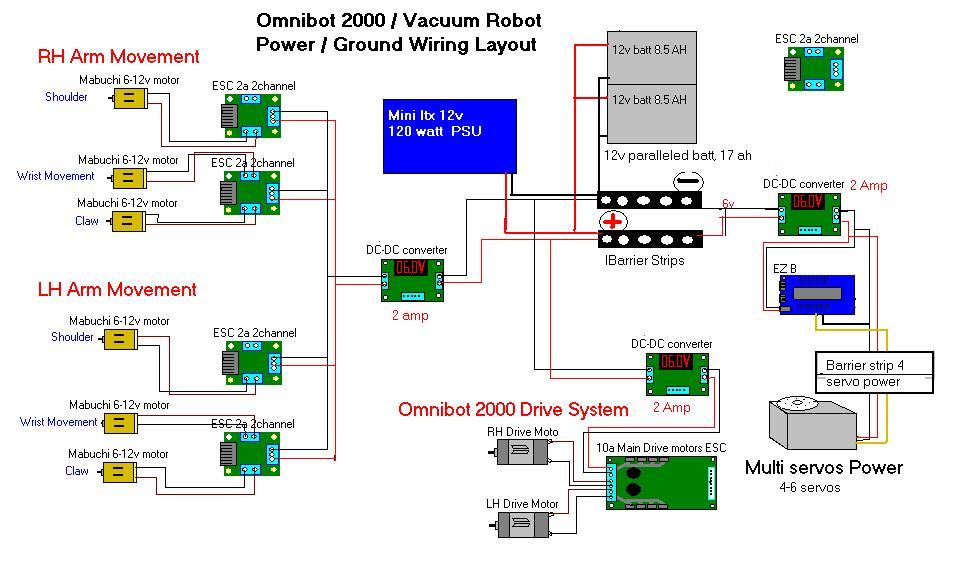


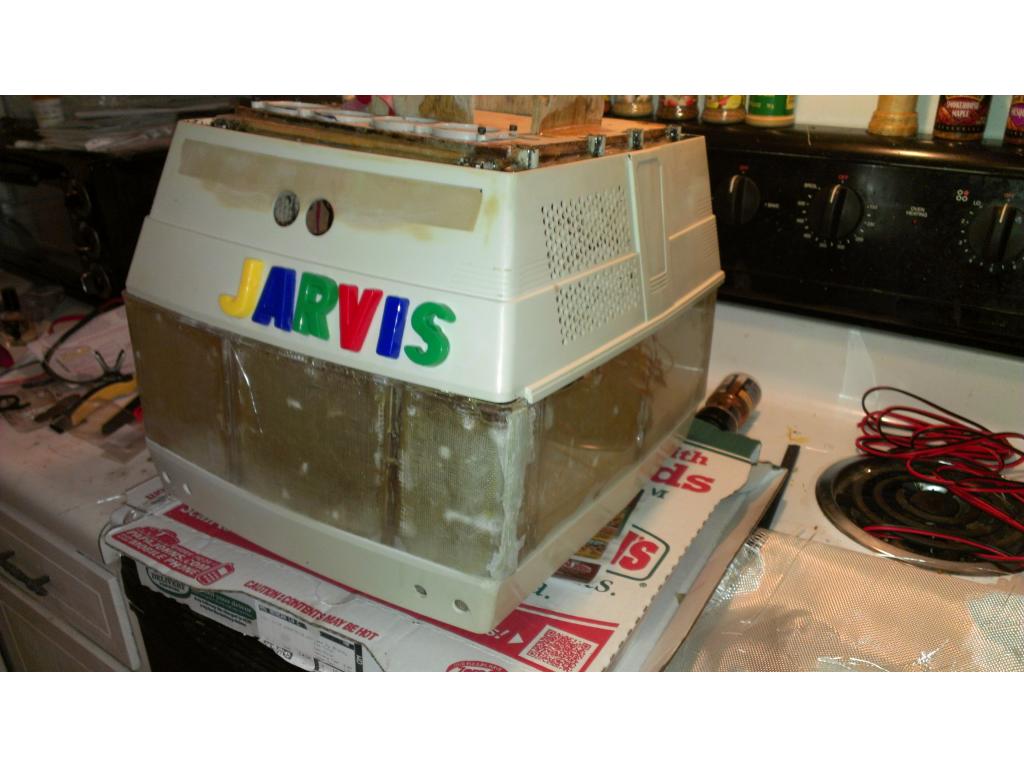


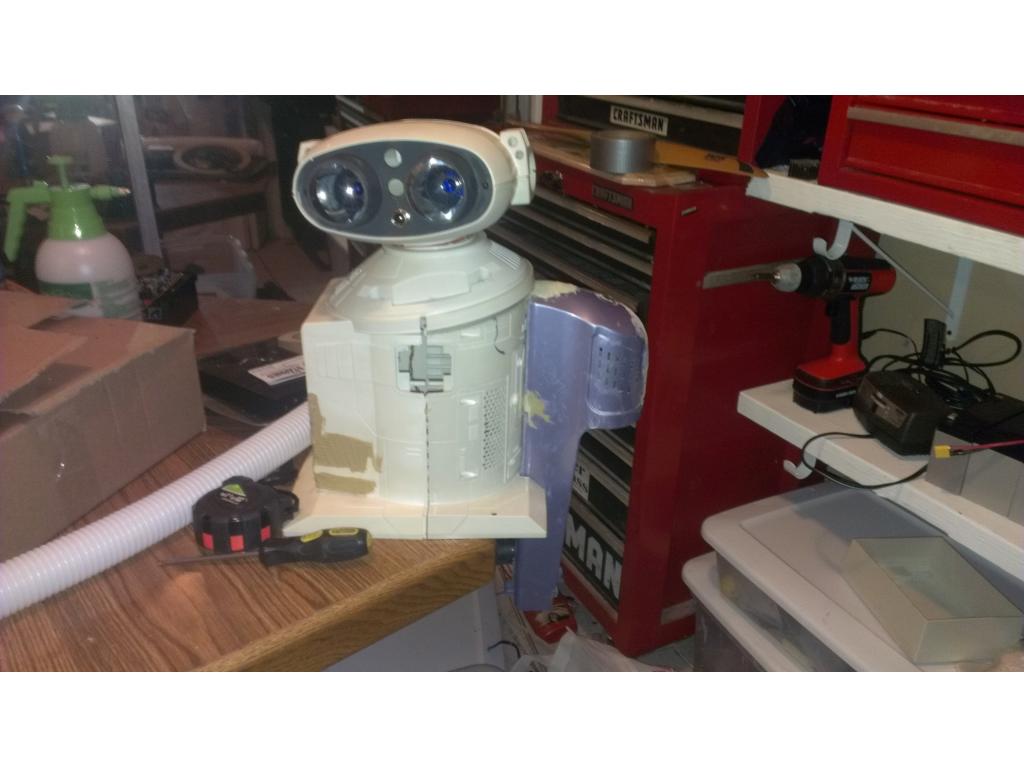


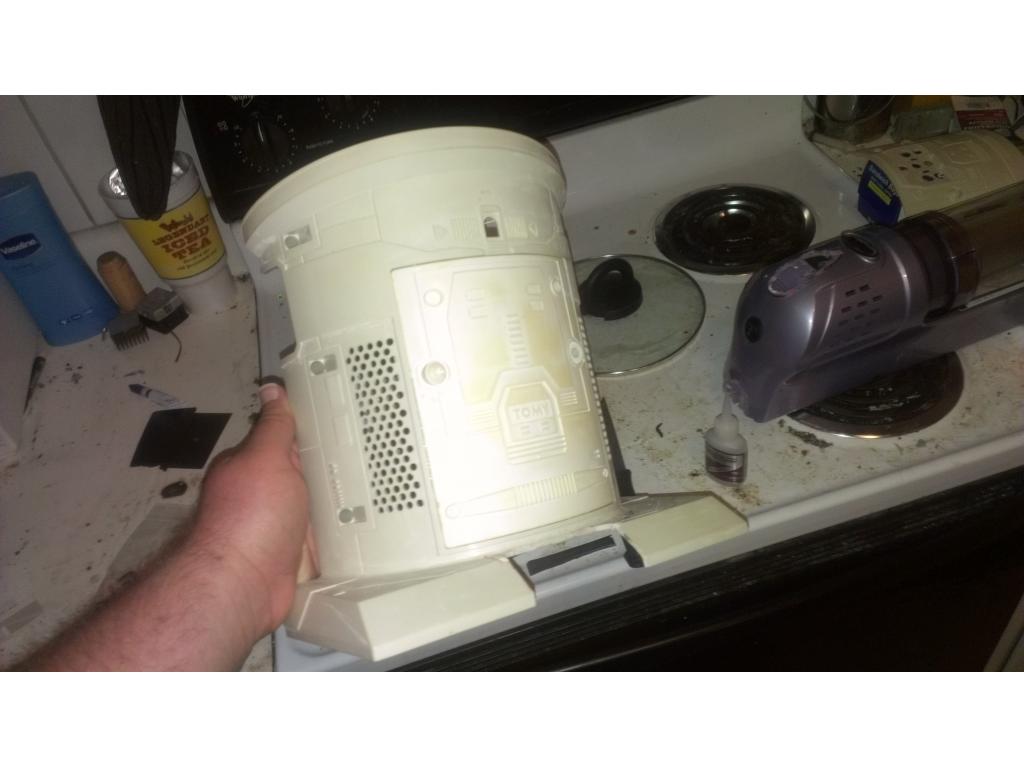


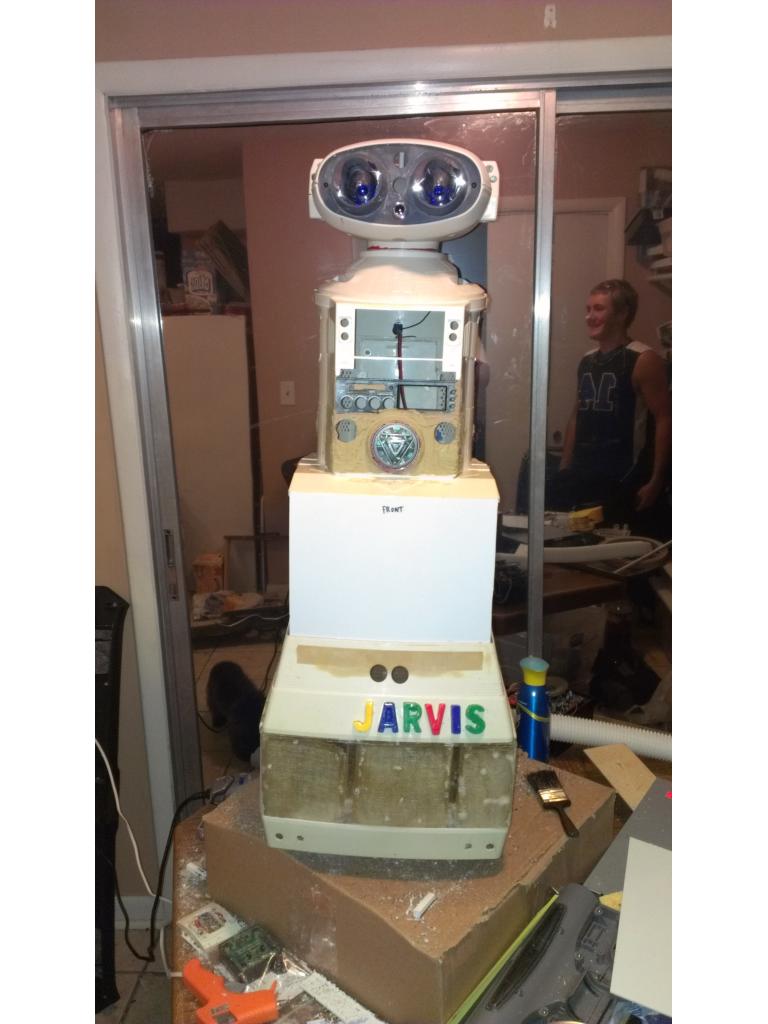


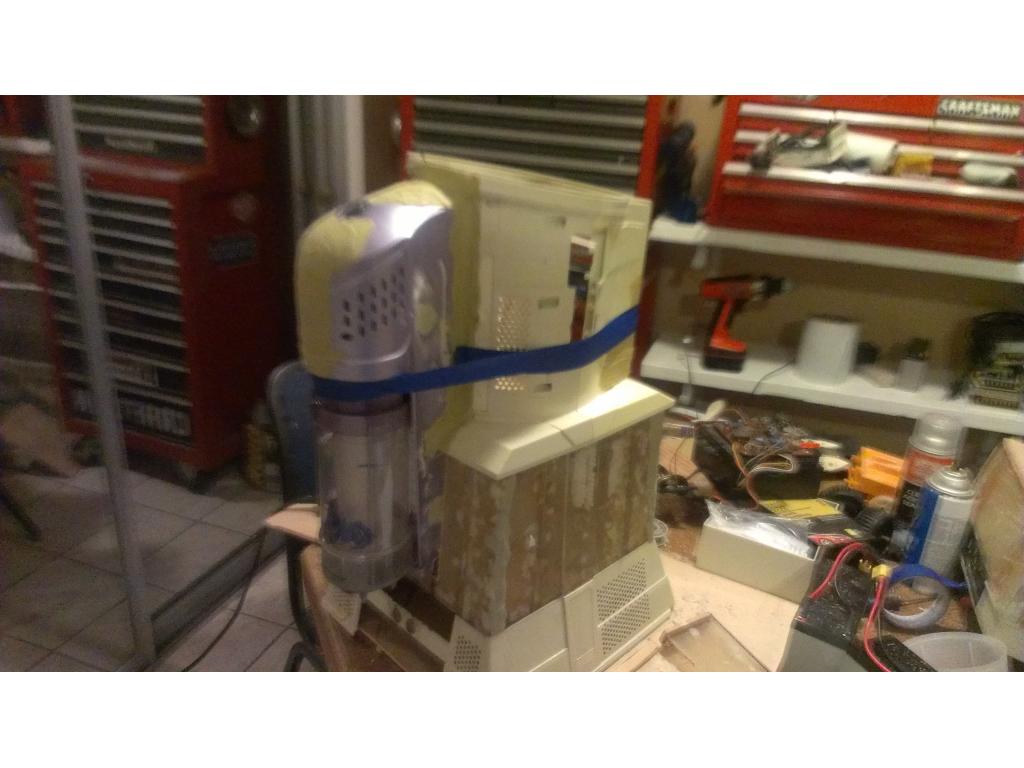


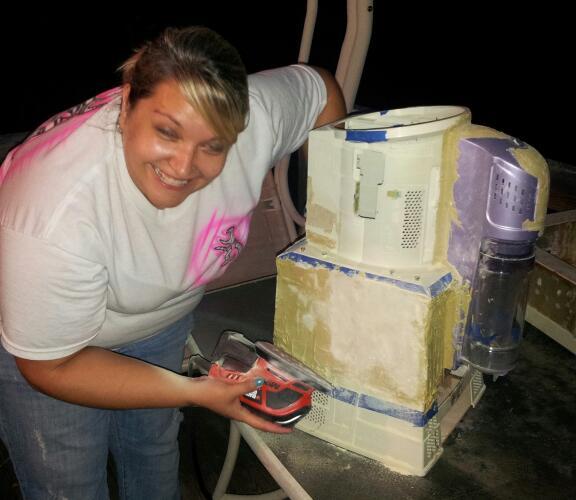


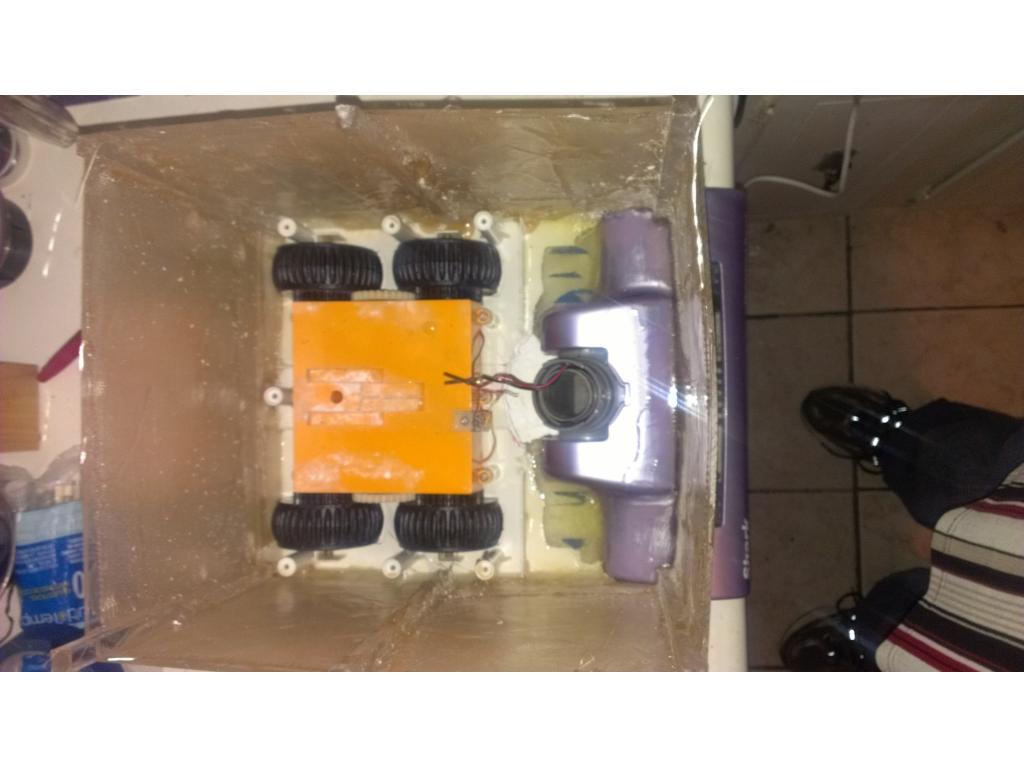

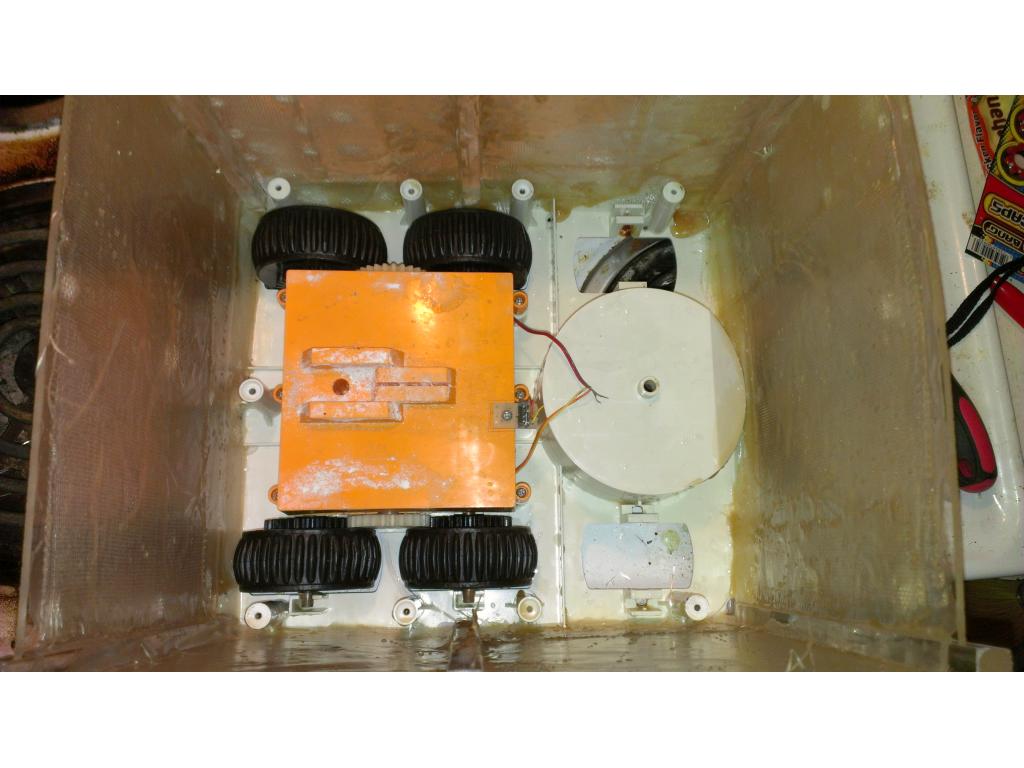


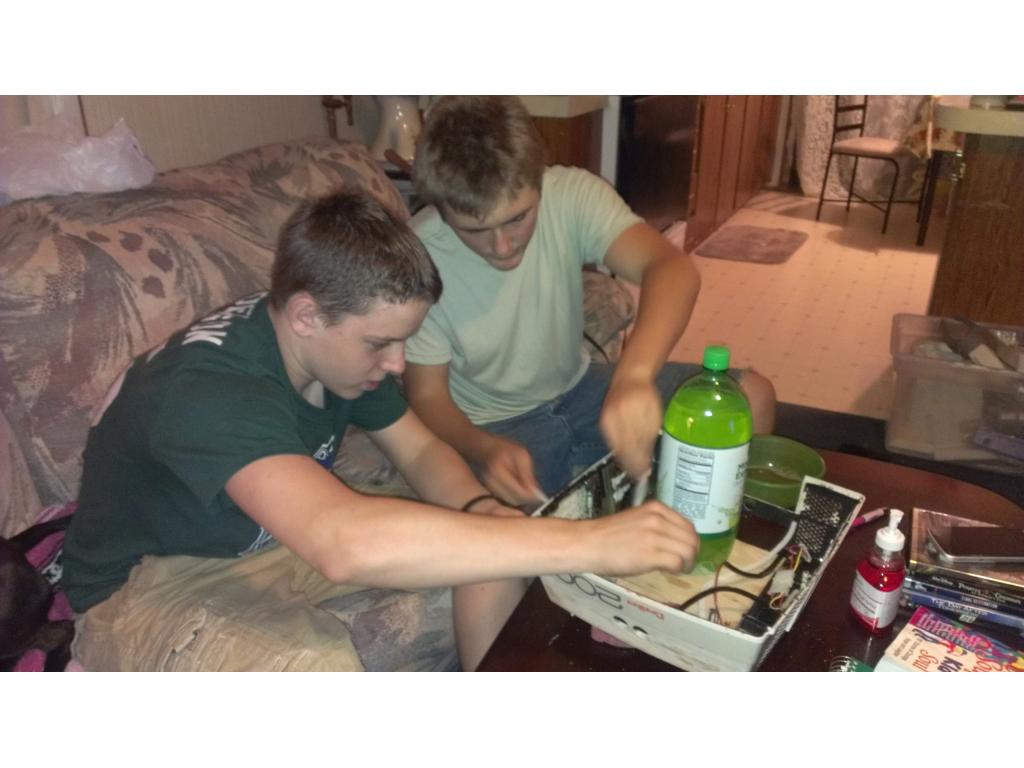


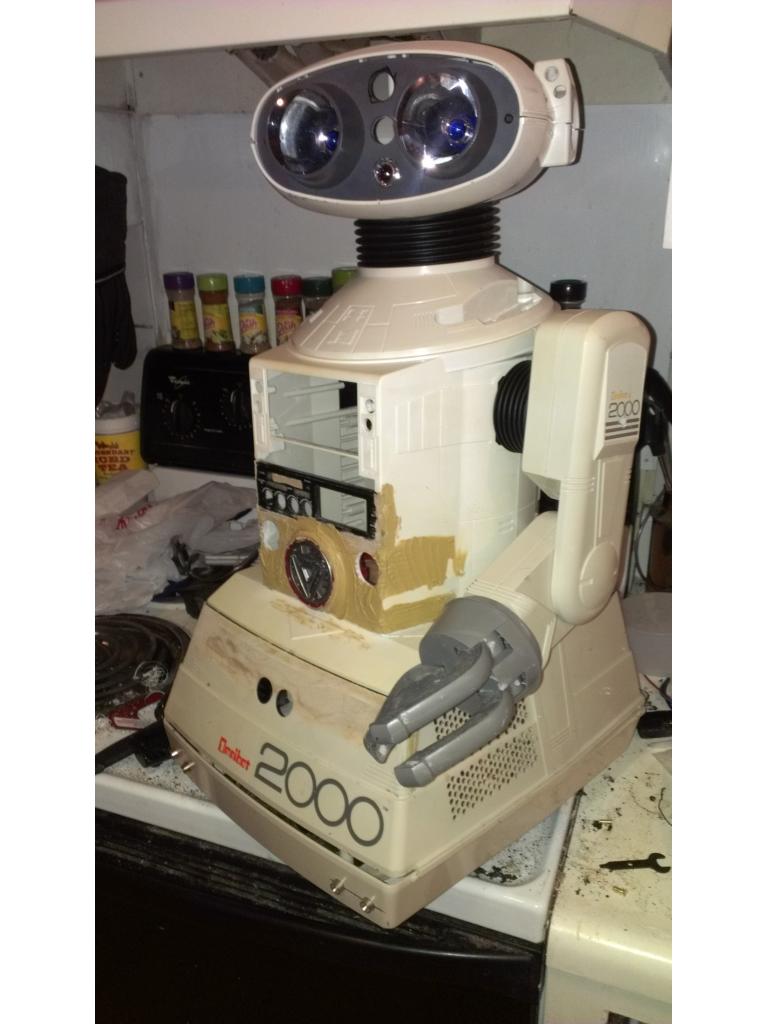


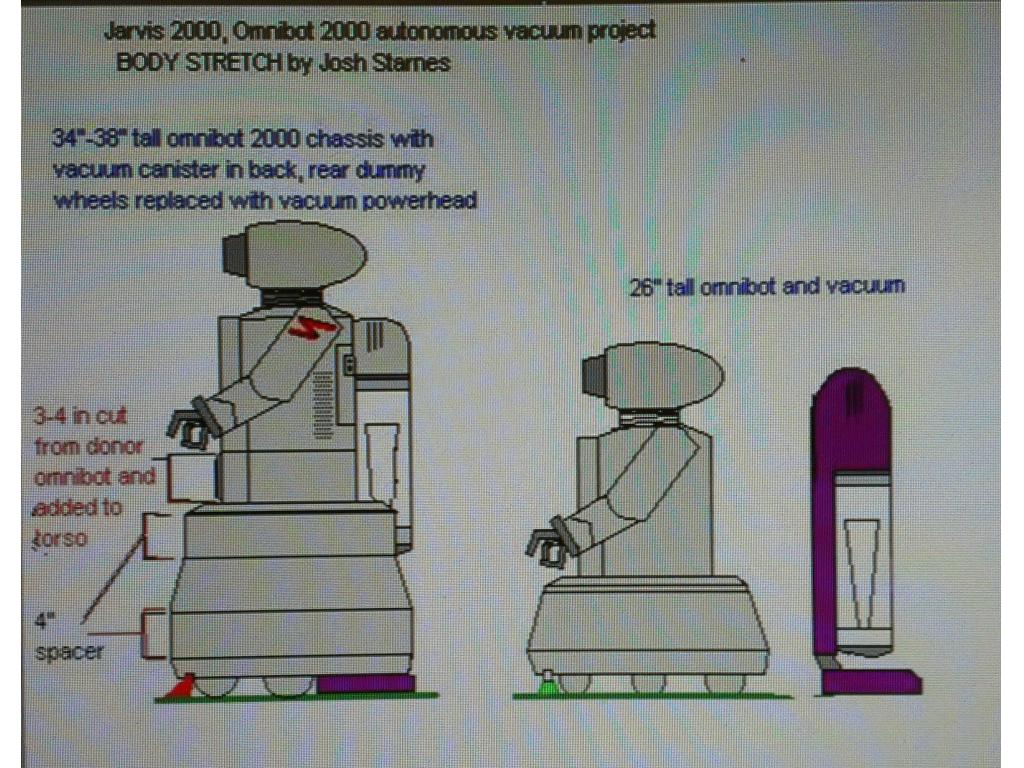


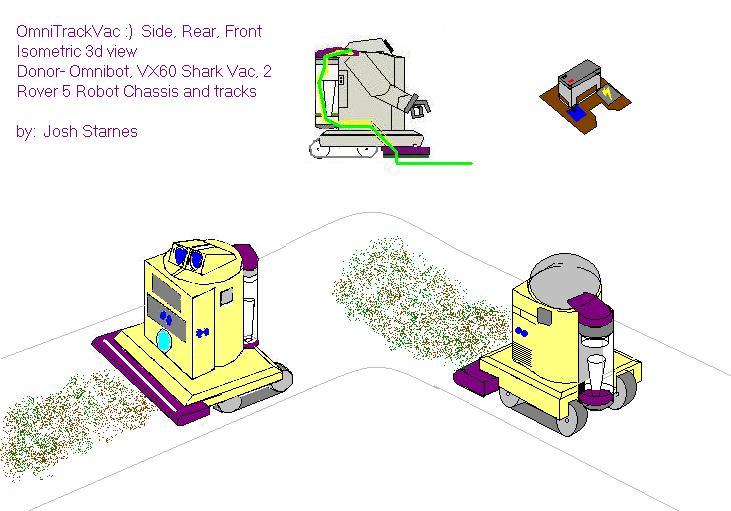
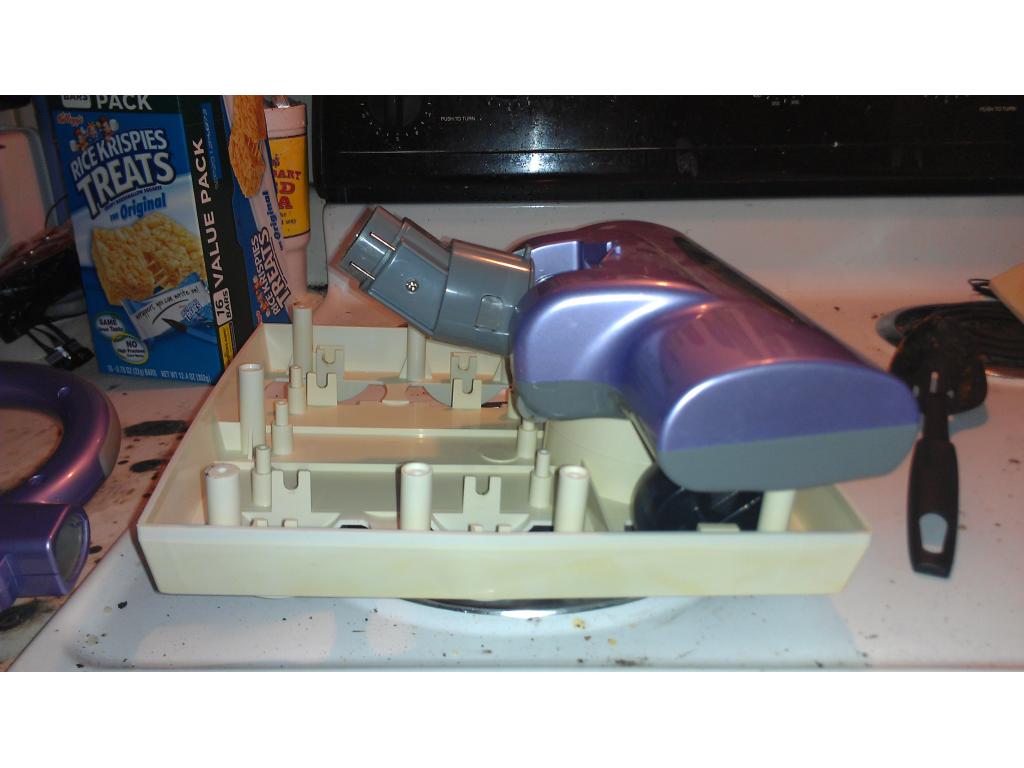

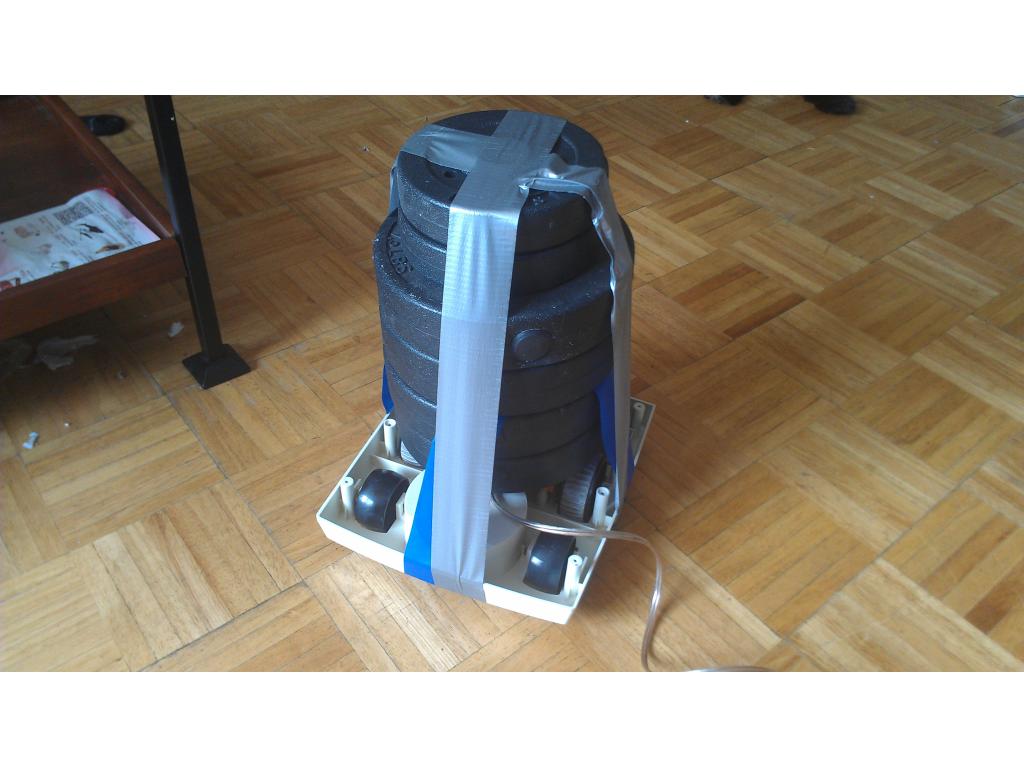

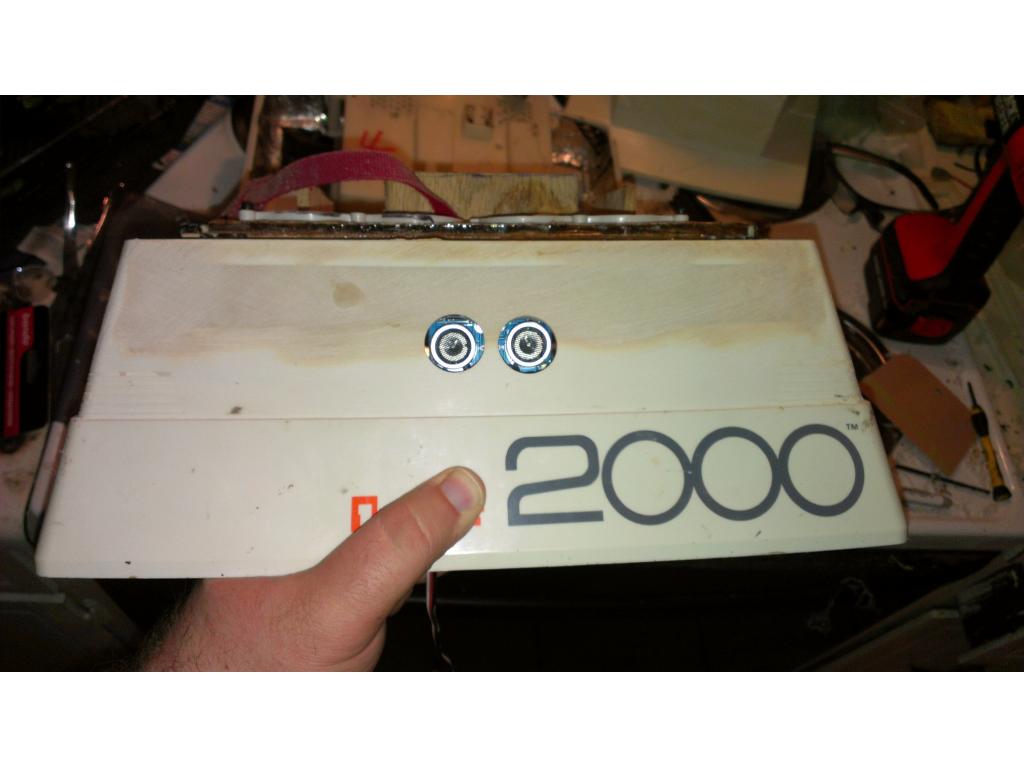
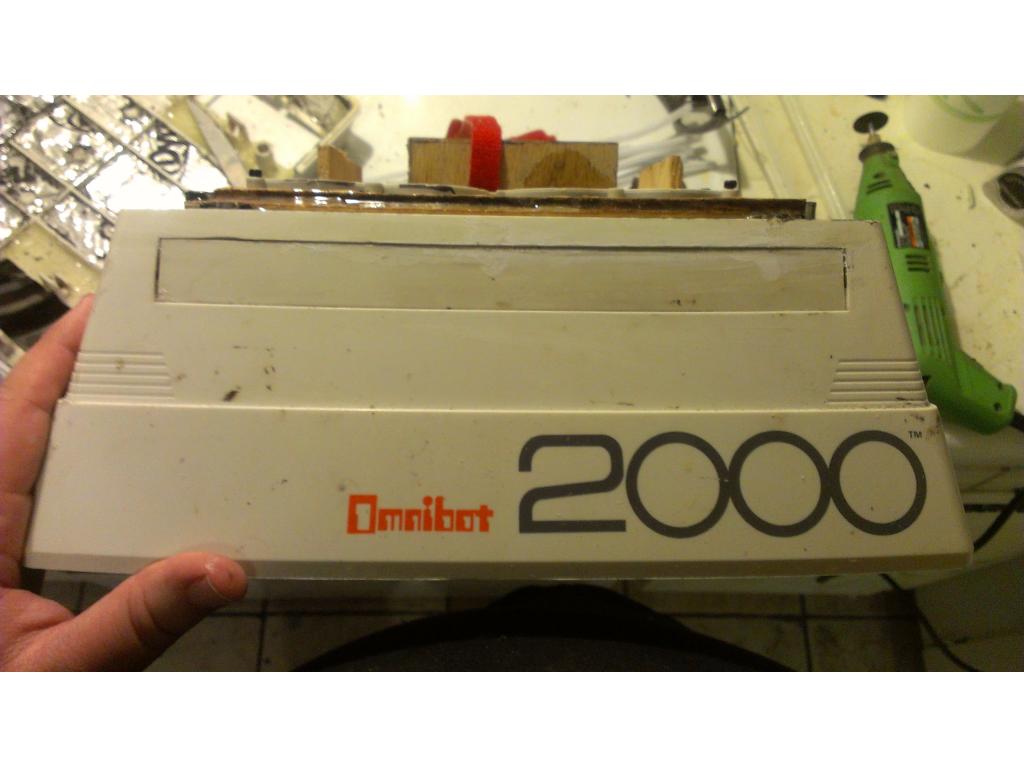
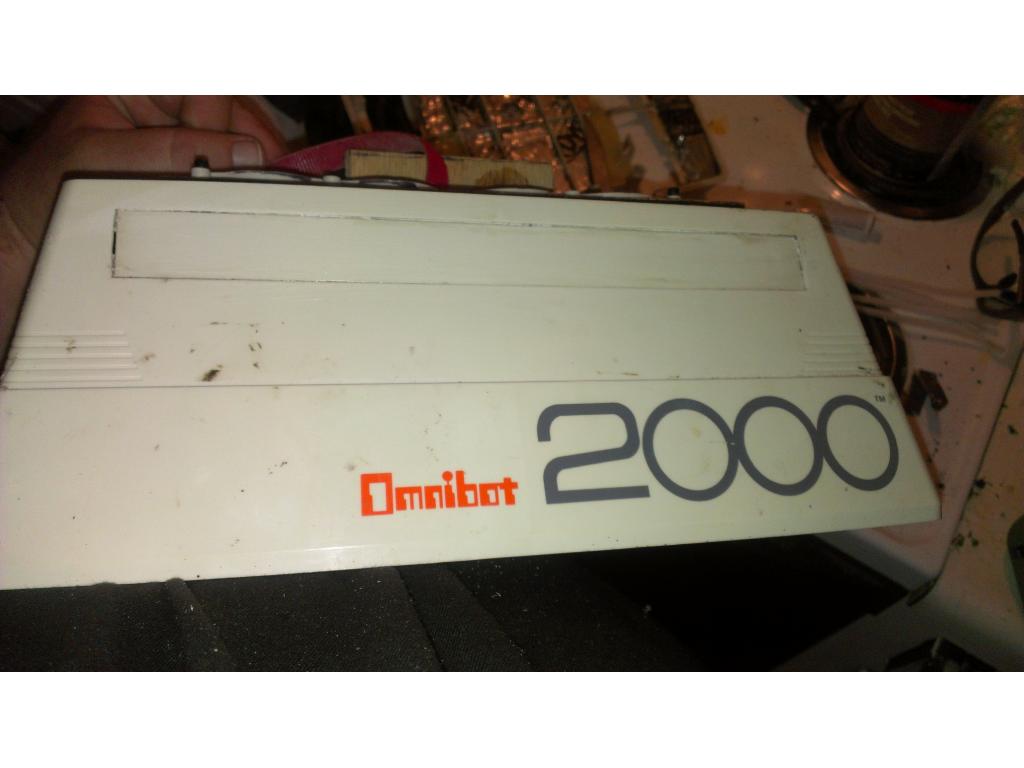

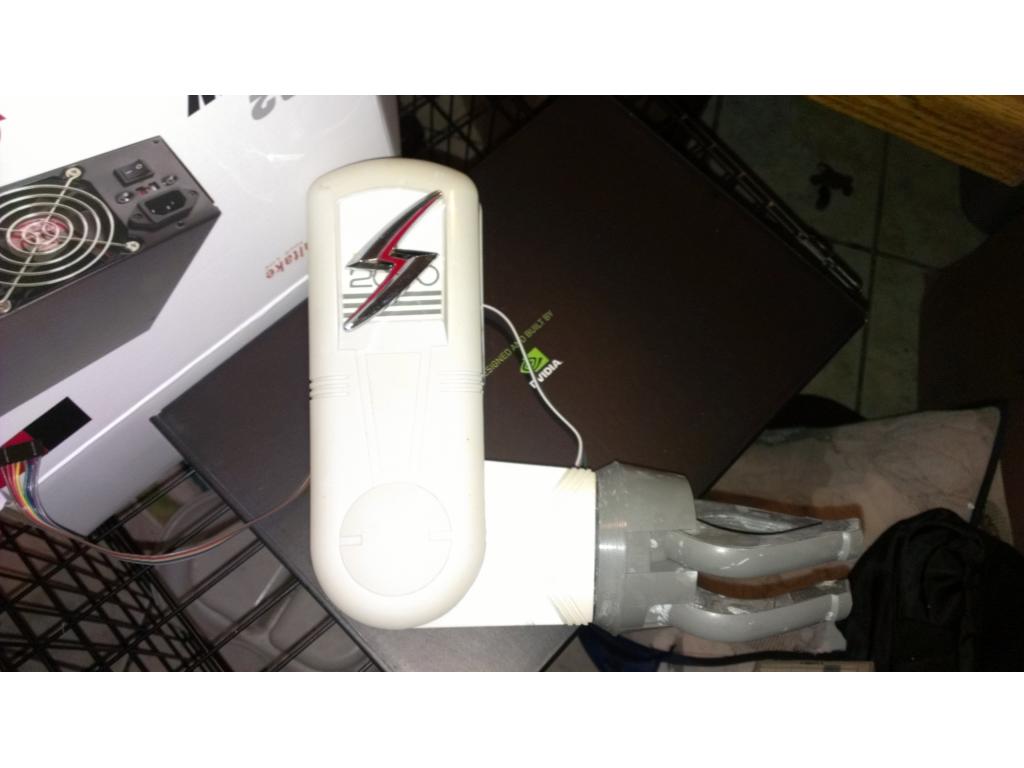

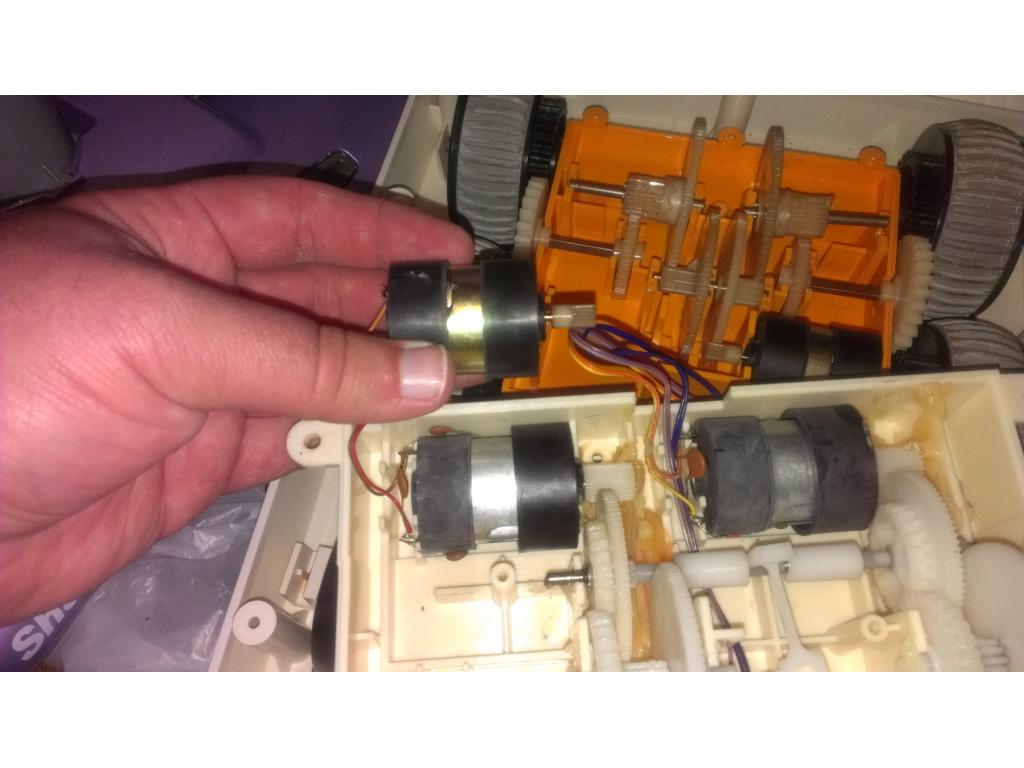


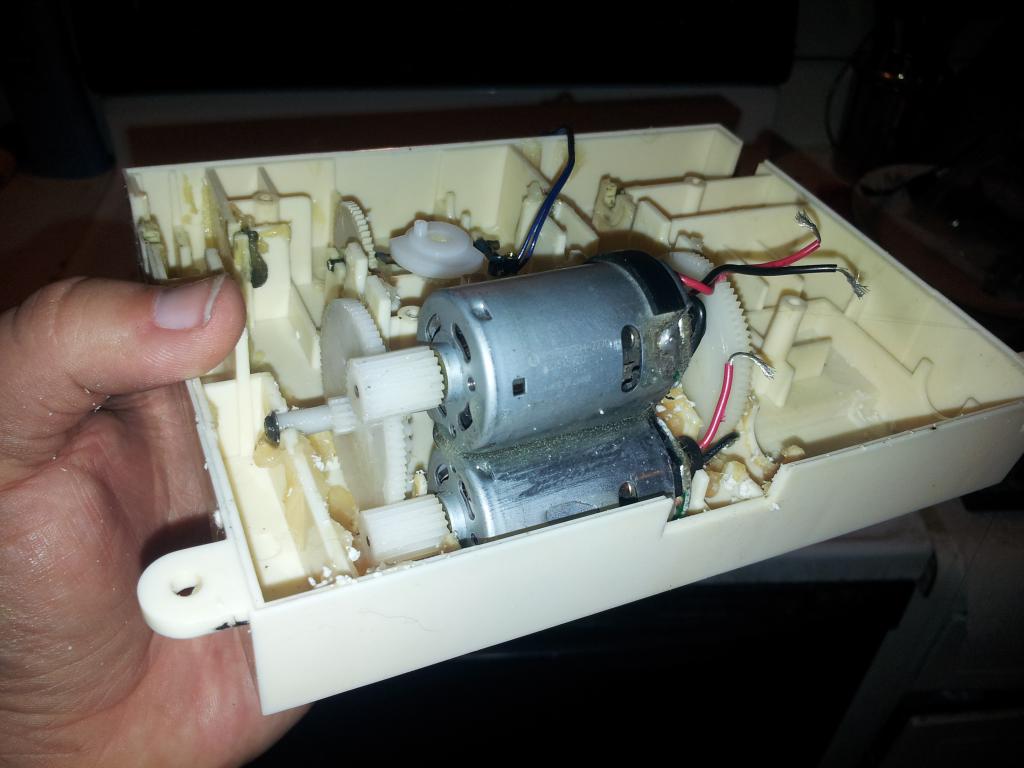
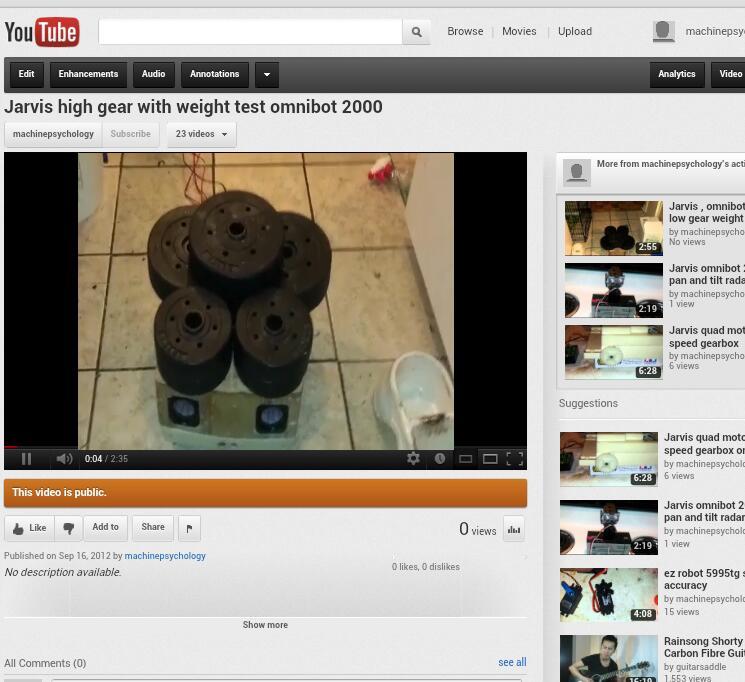
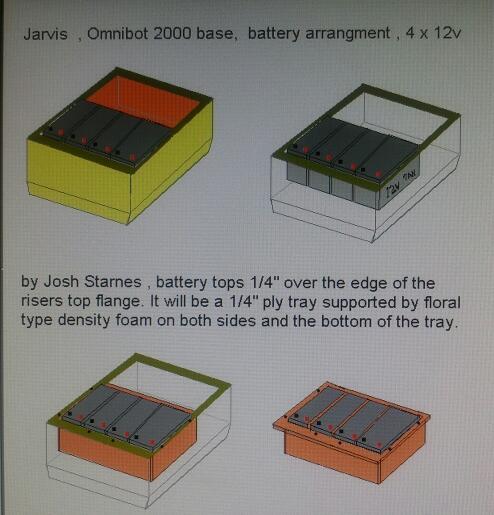
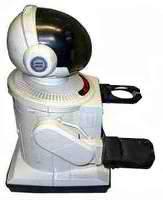
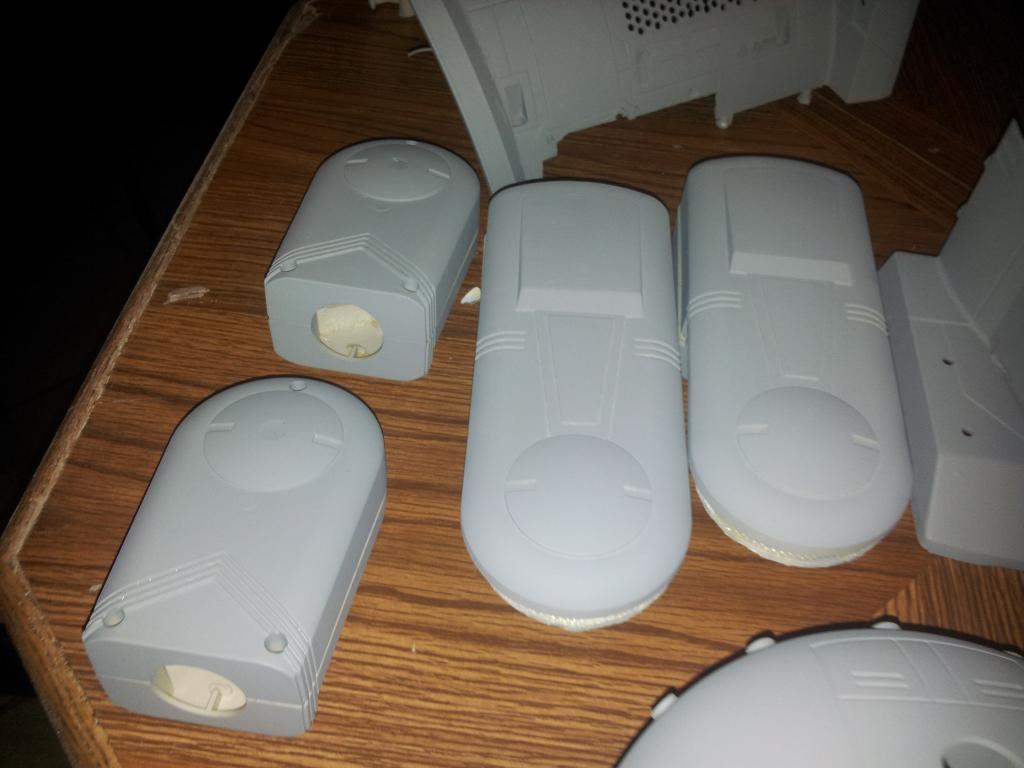
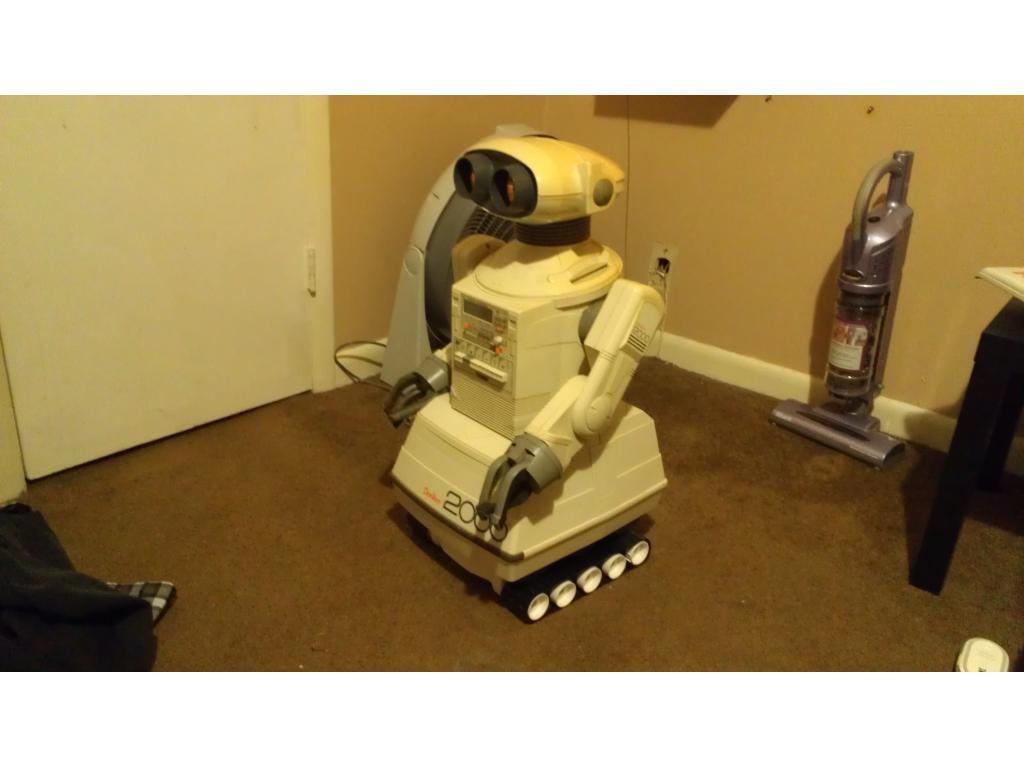
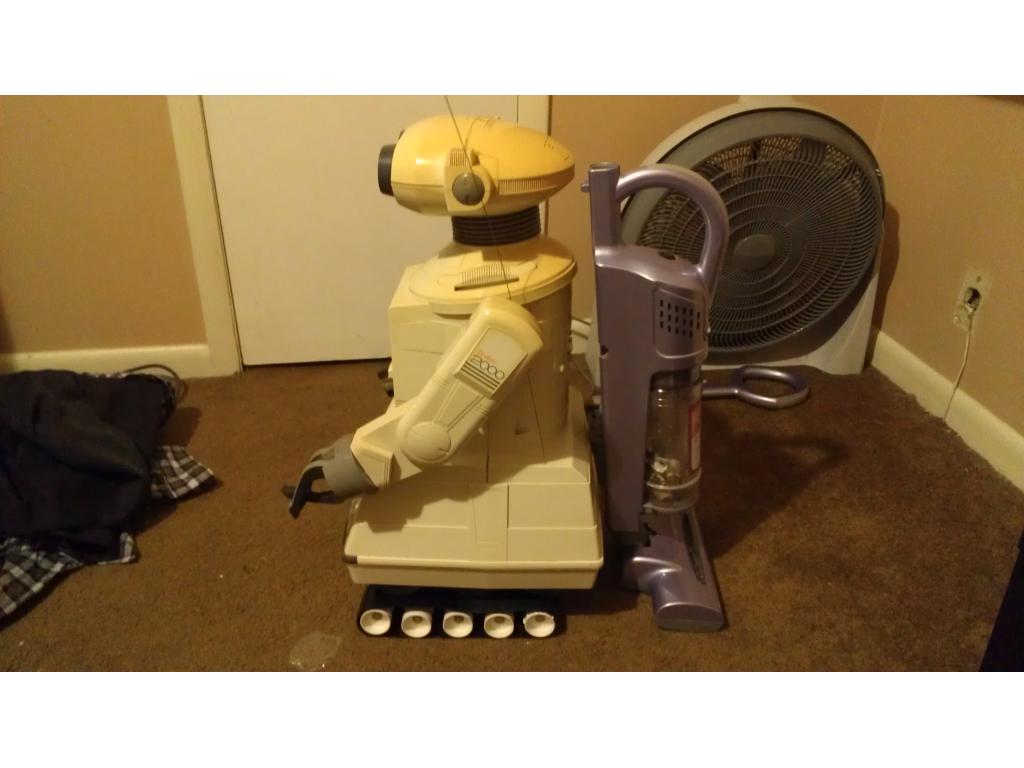
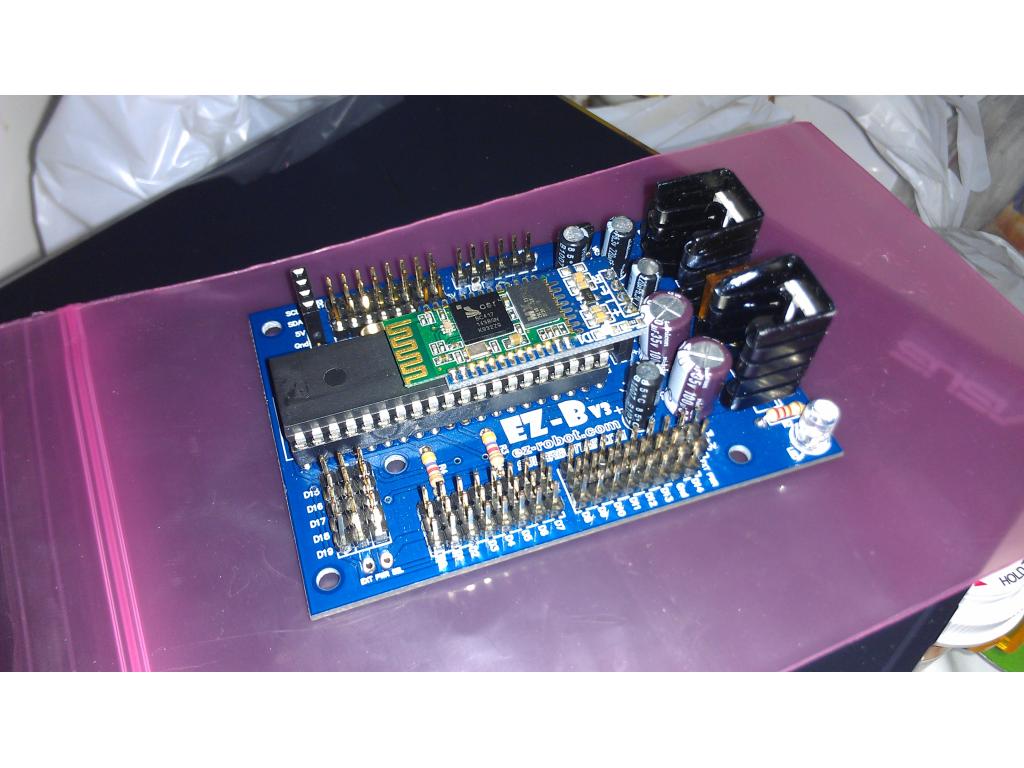
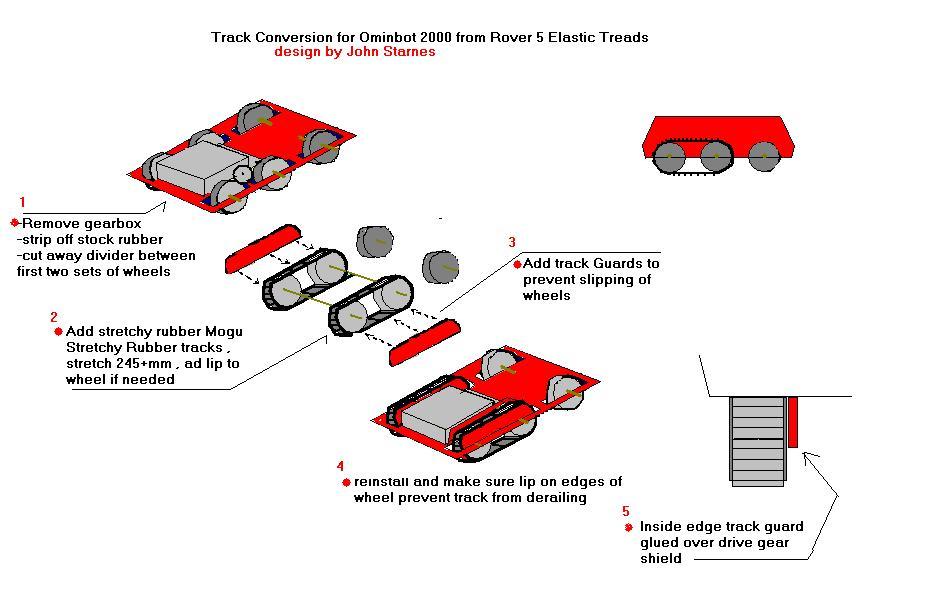
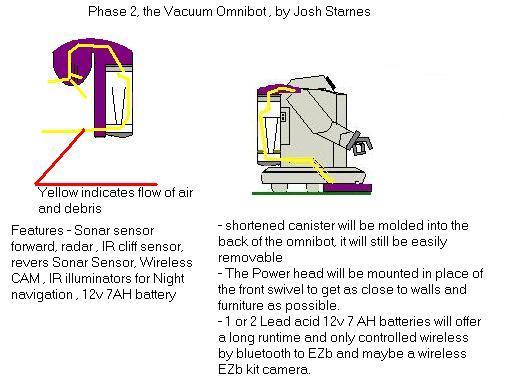
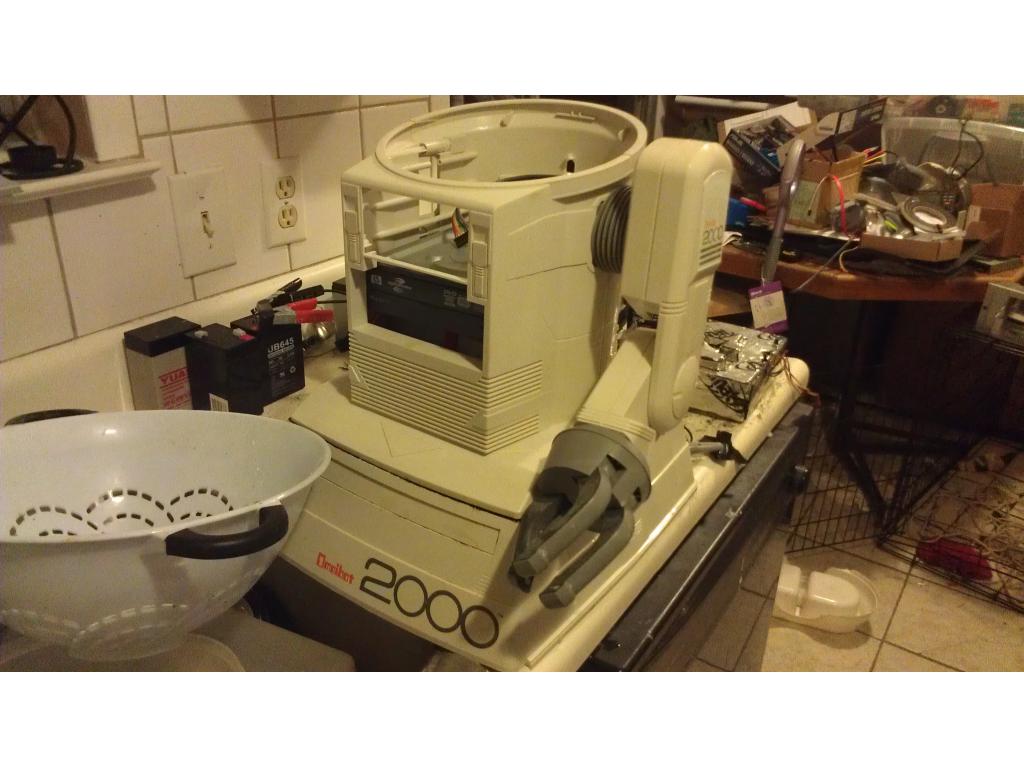
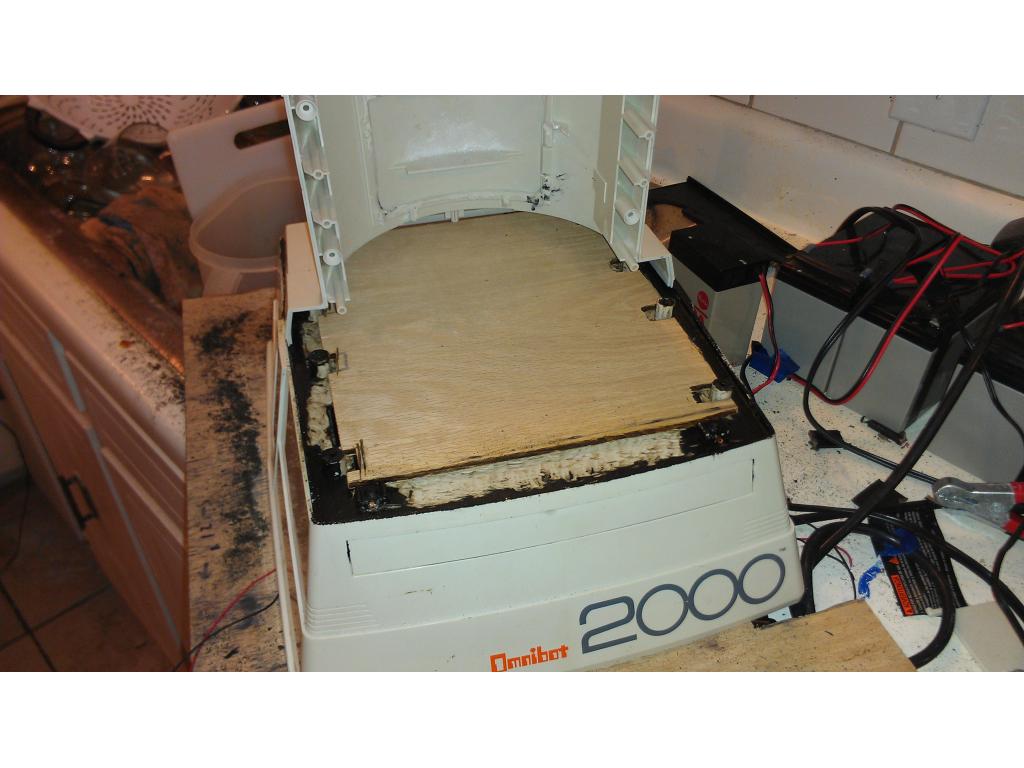
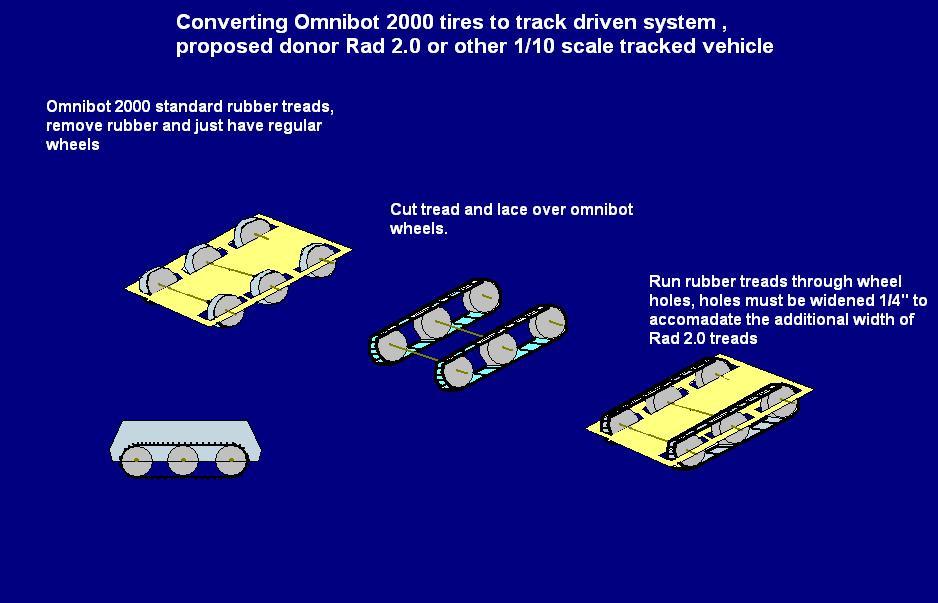
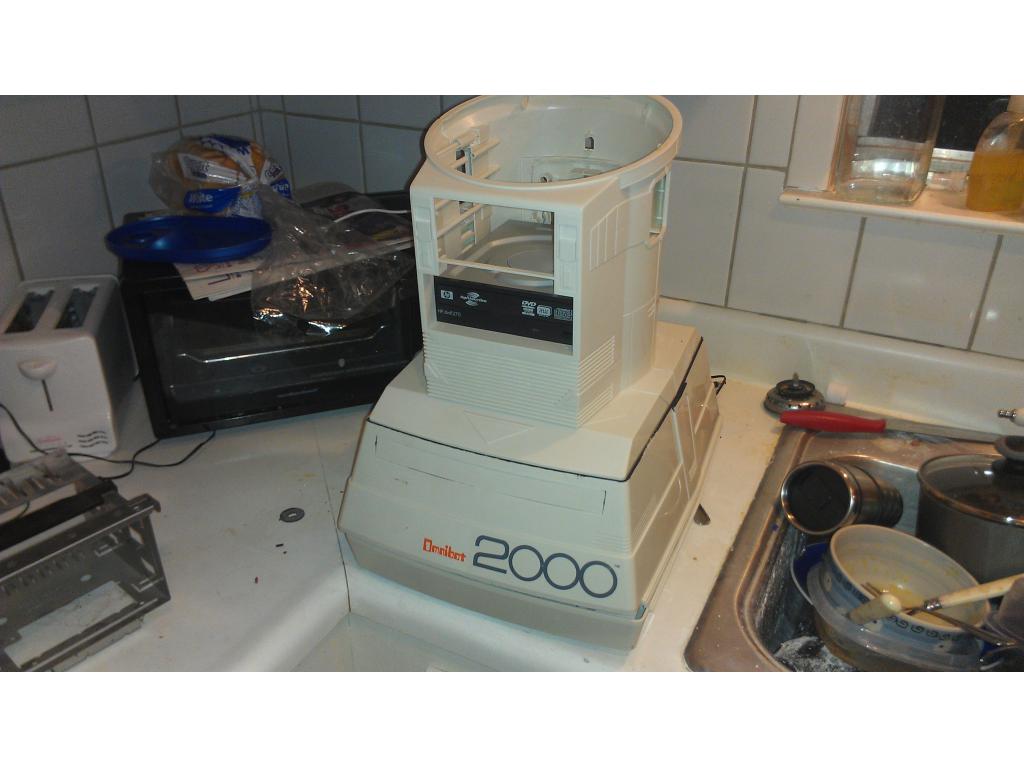
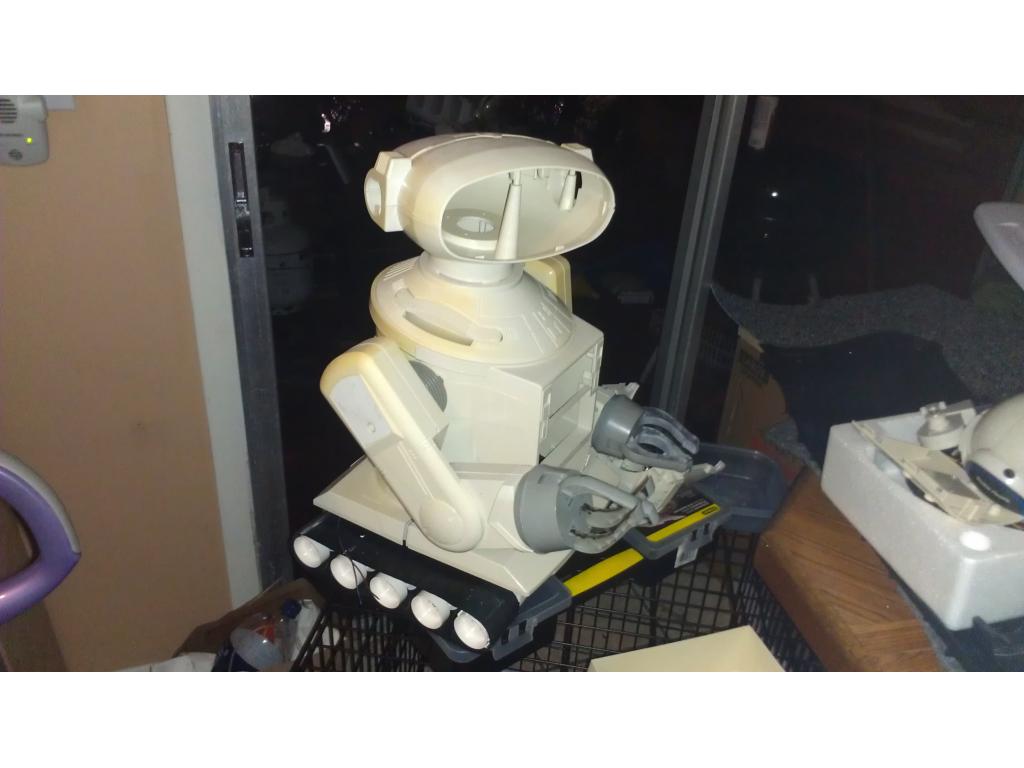
This project has evolved some , the basic rundown is I'm modding two Omnibots , one a regular the other a larger 2000 model. I will have two ezb kits , rad base idea was thrown out because of so much noise but could go back on the table if the omnibot drivetrain is too weak to pull it.


By jstarne1
— Last update
Discover more robots
Ezang's Mr. Conehead Video For You To Watch In 2019
Mr. ConeHead 2019 video to watch, hope it's not too long
Jeremie's Richard R And Bhouston In Make Magazine
Celebrate Richard R and Bhouston's inMoov robots being published, showcasing recognition and inspiring more creators to...
Derrick's First Bot
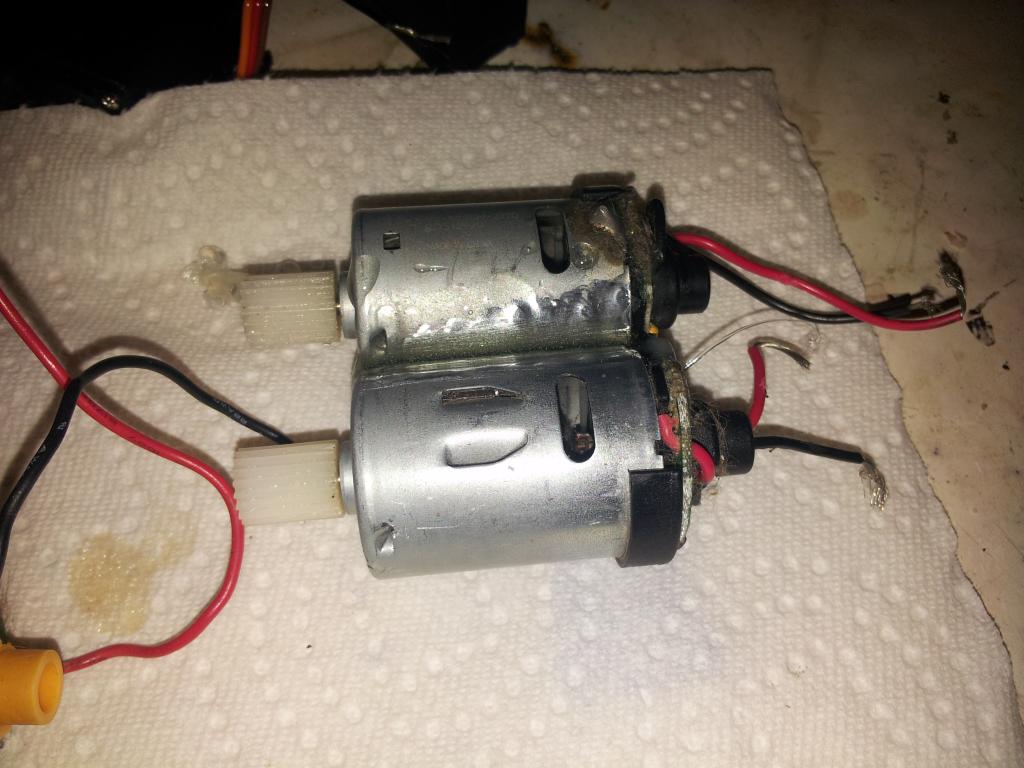
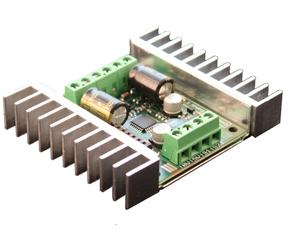
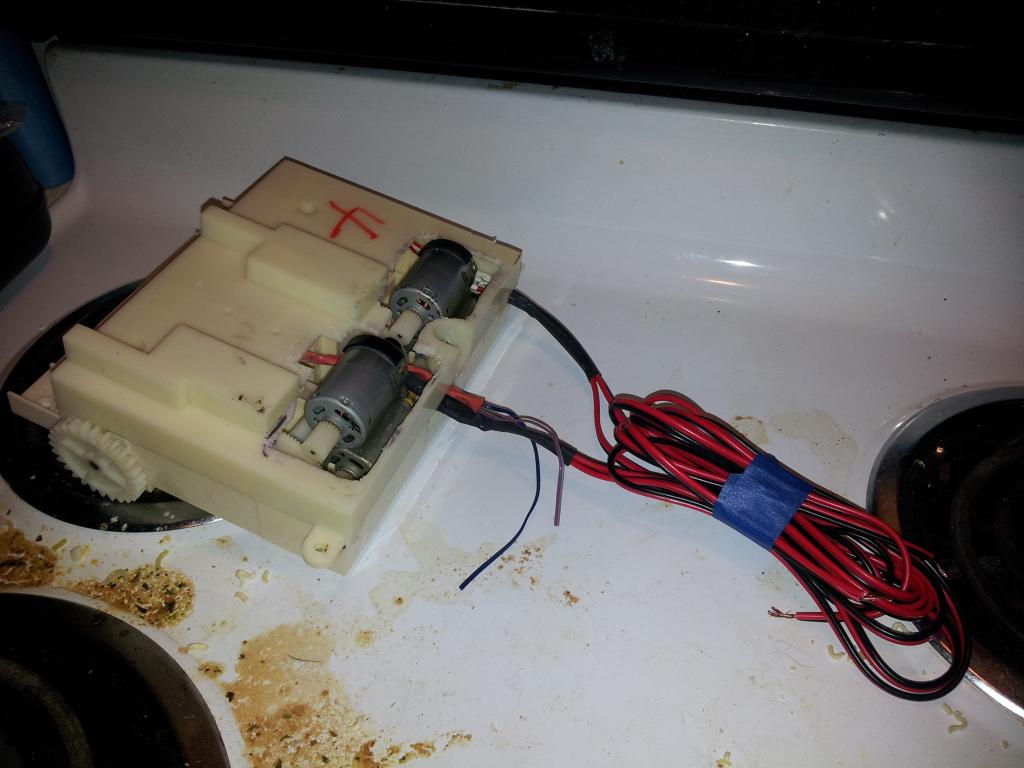
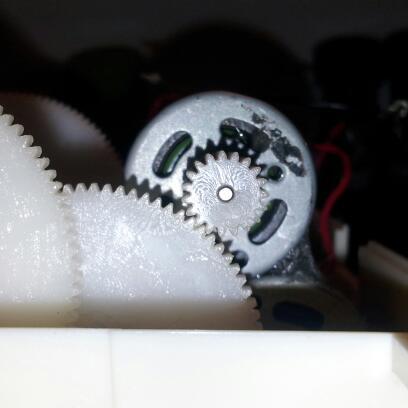
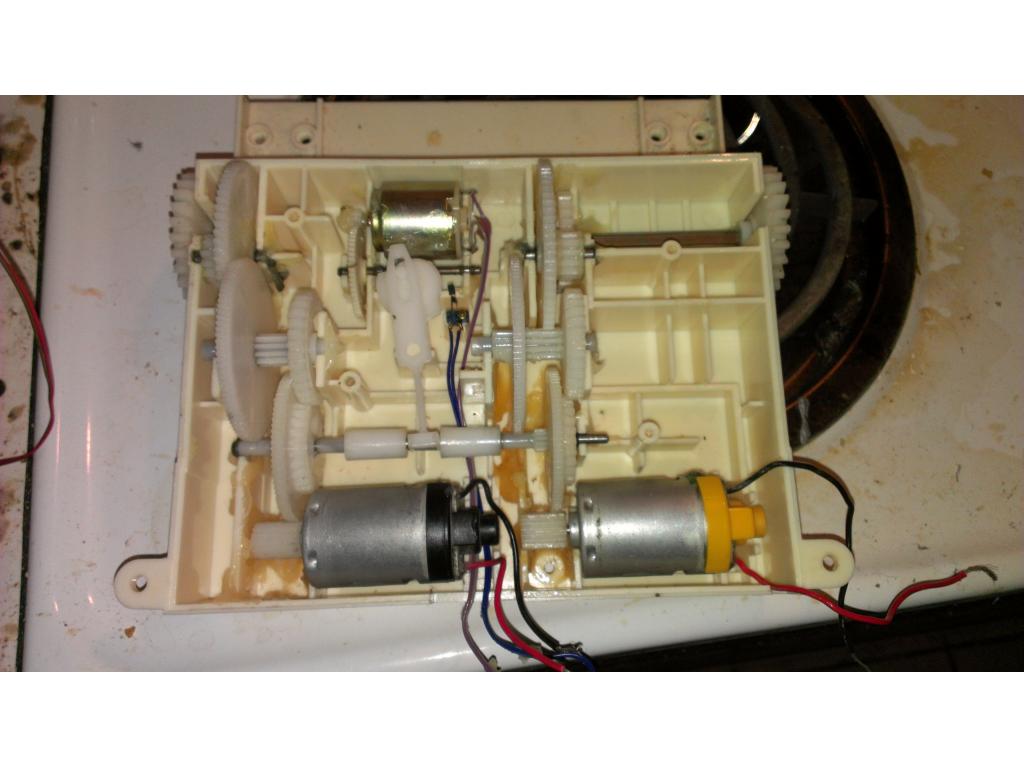
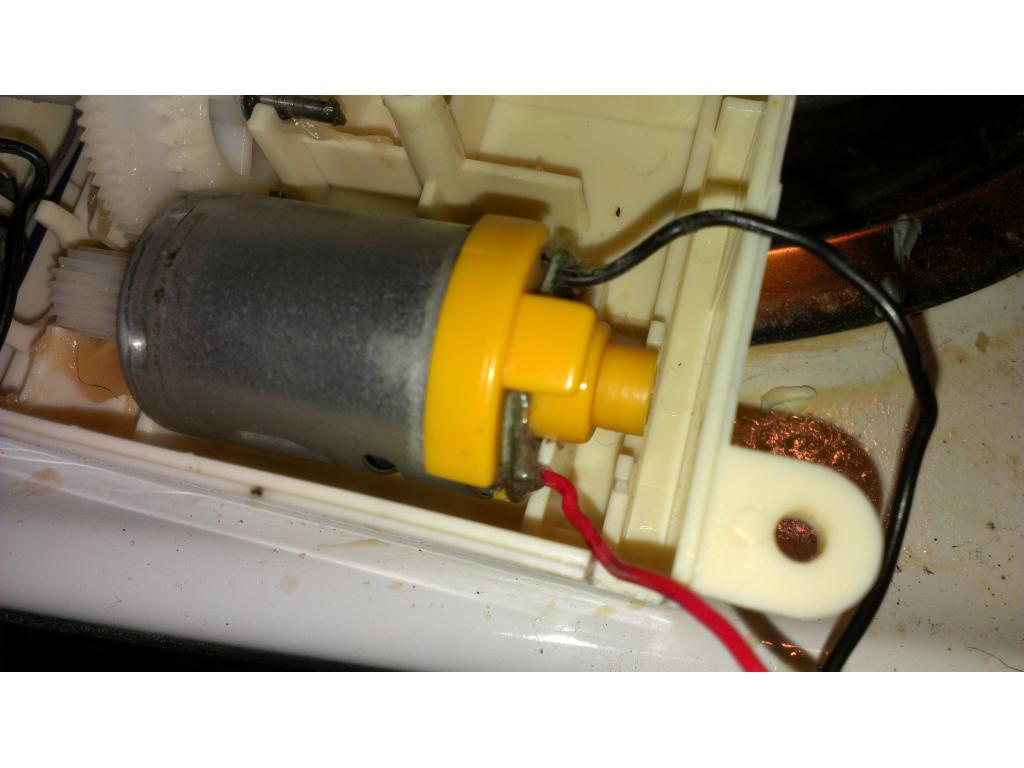
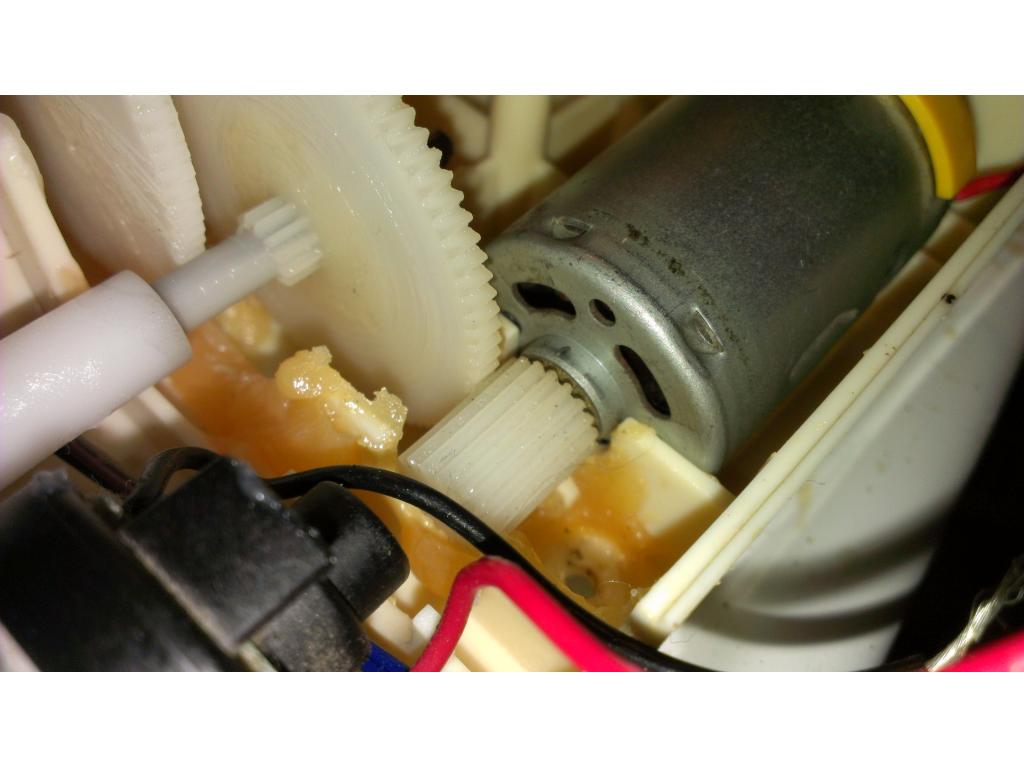
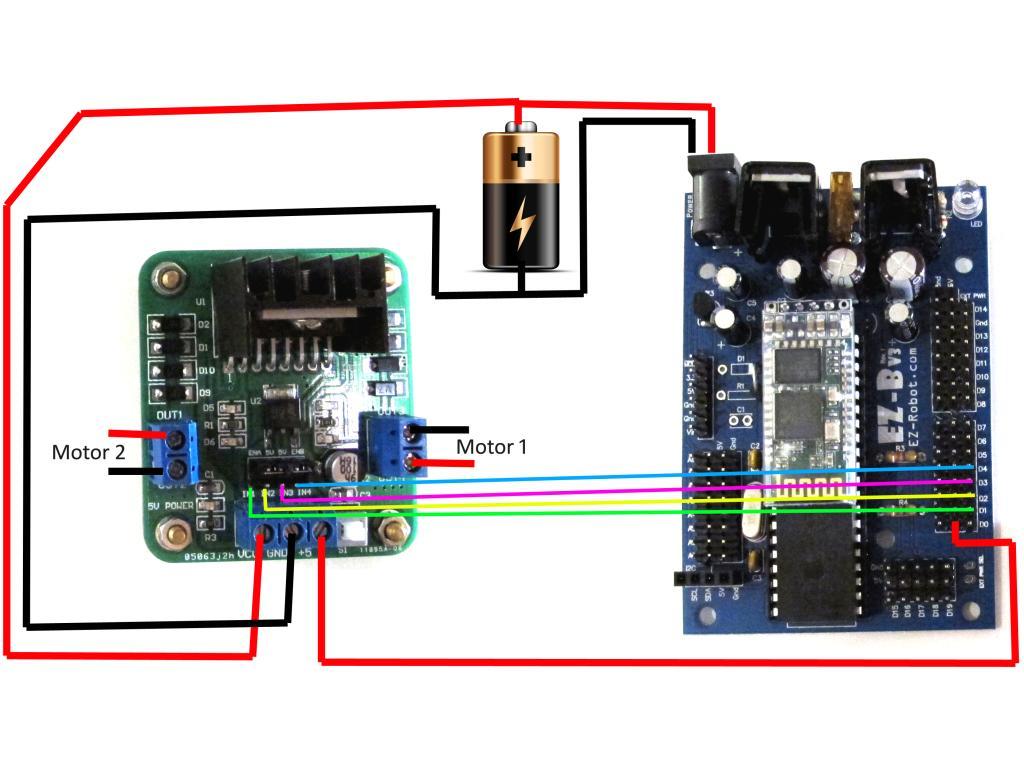
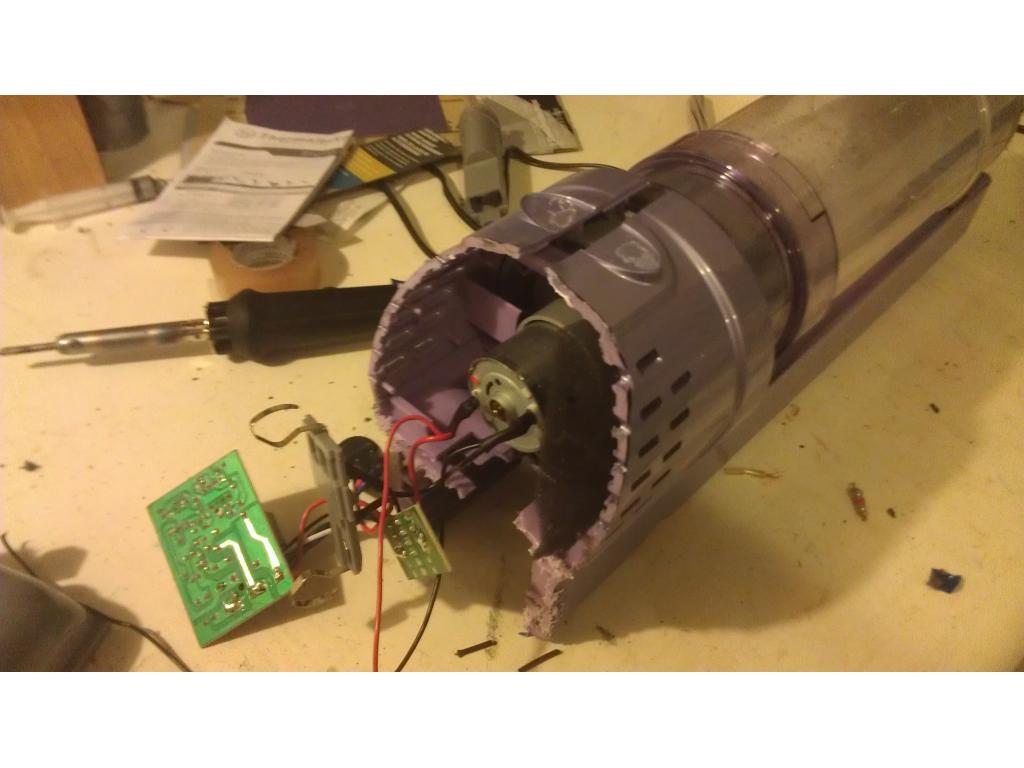
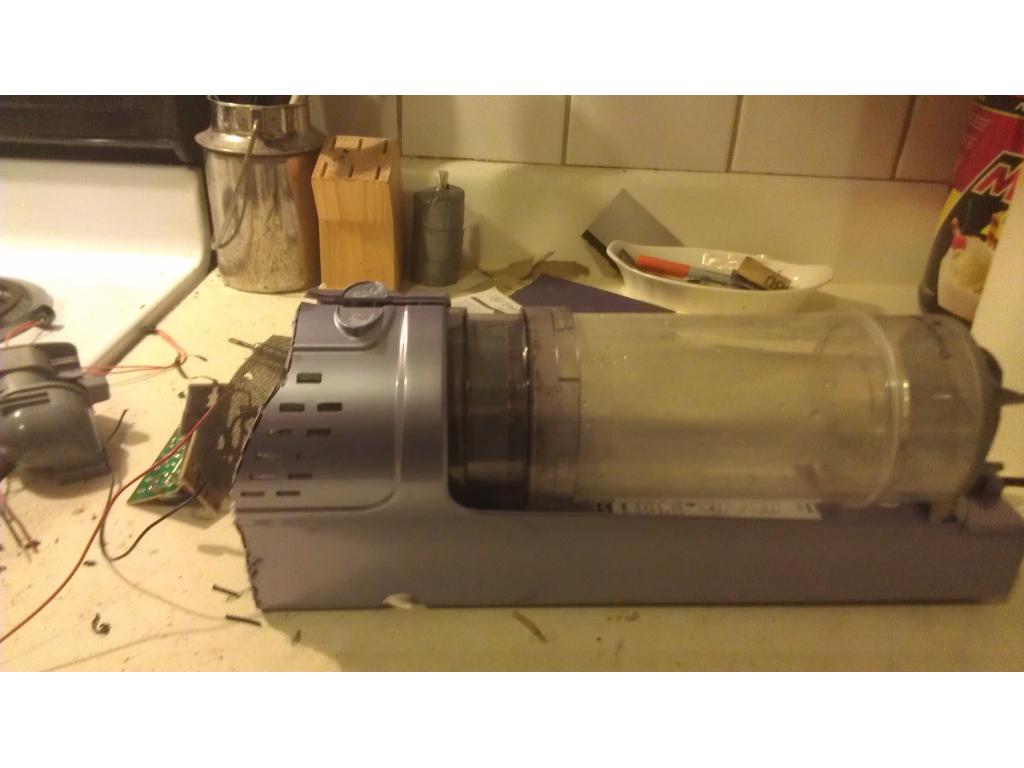
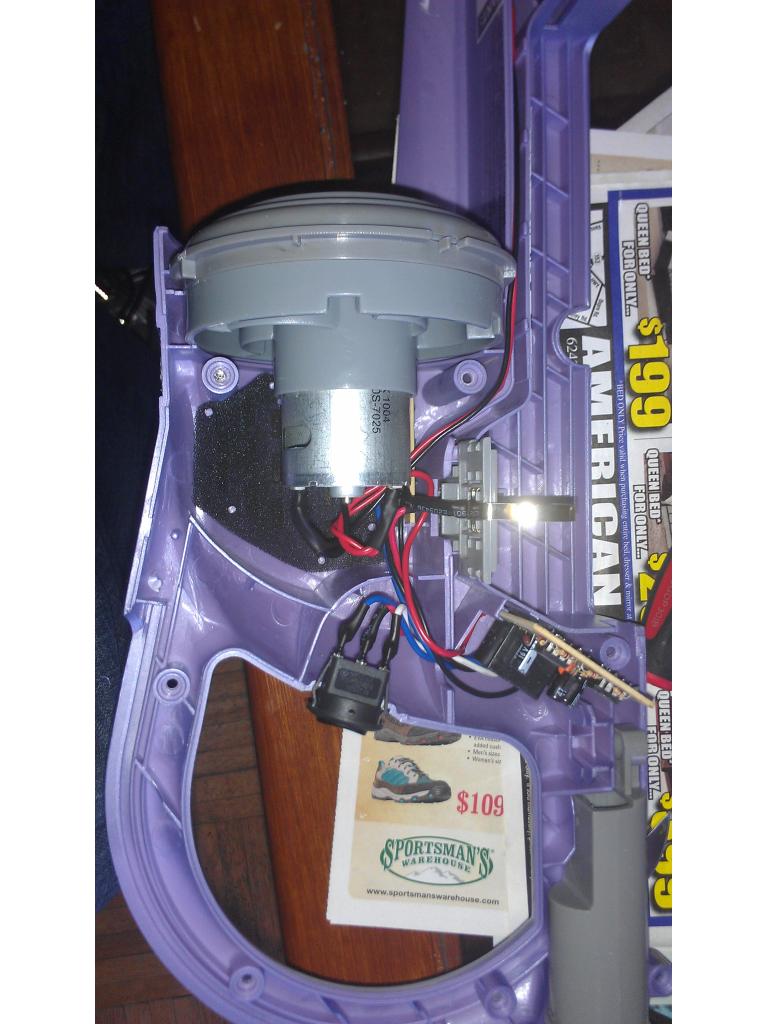
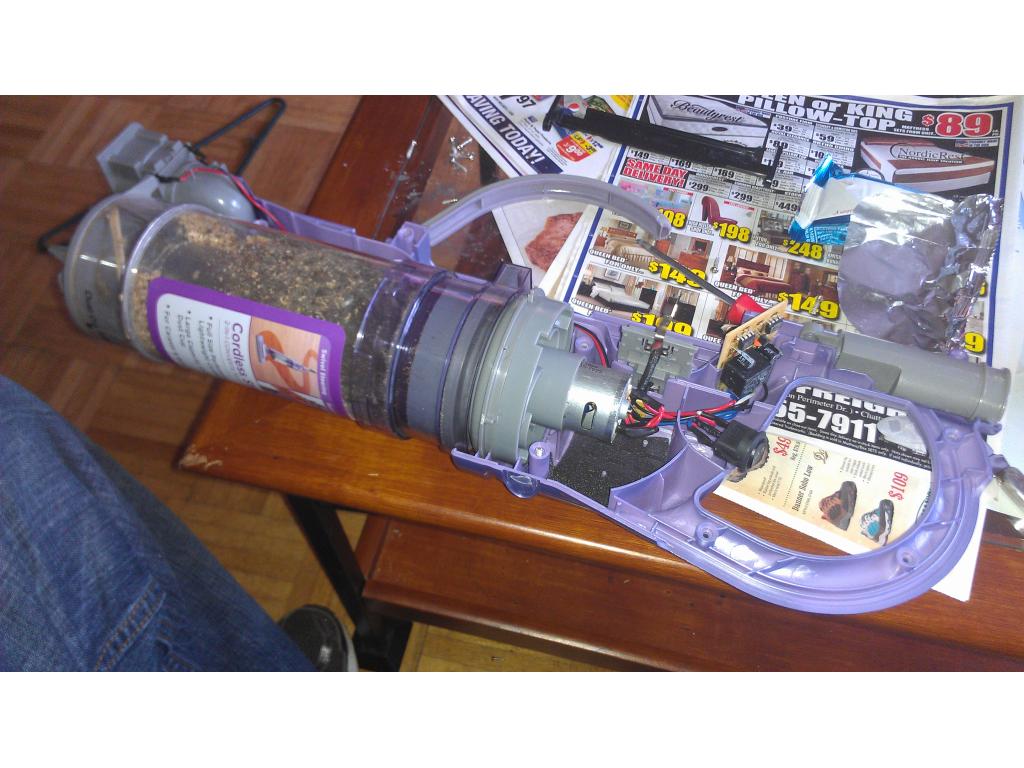
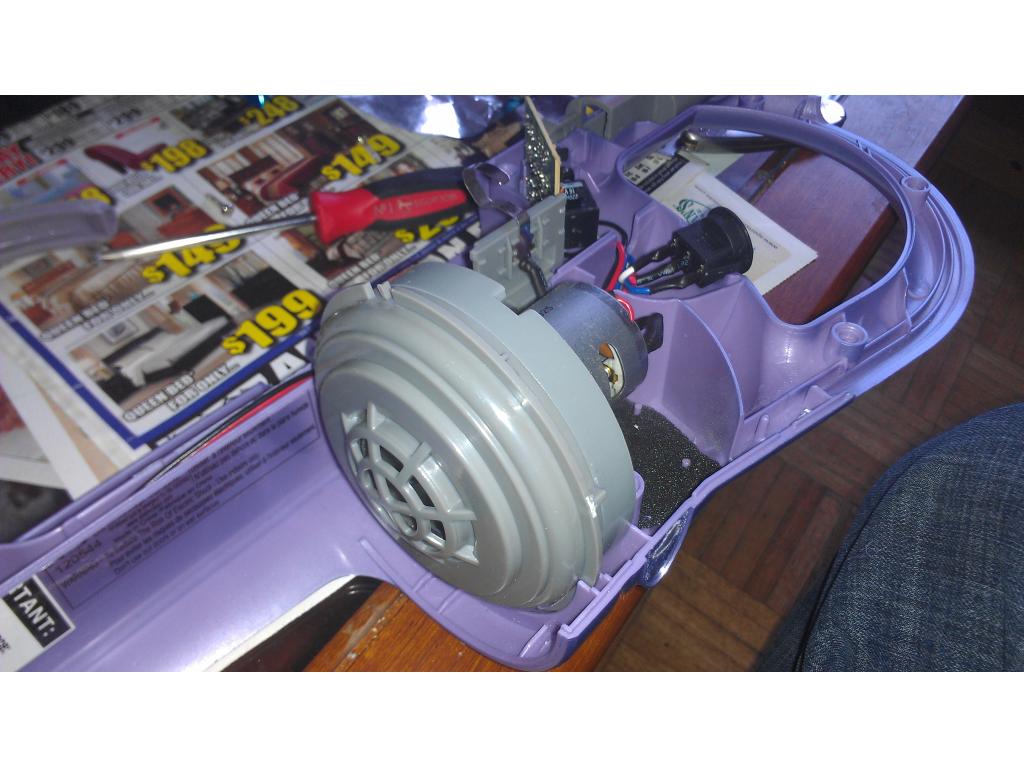
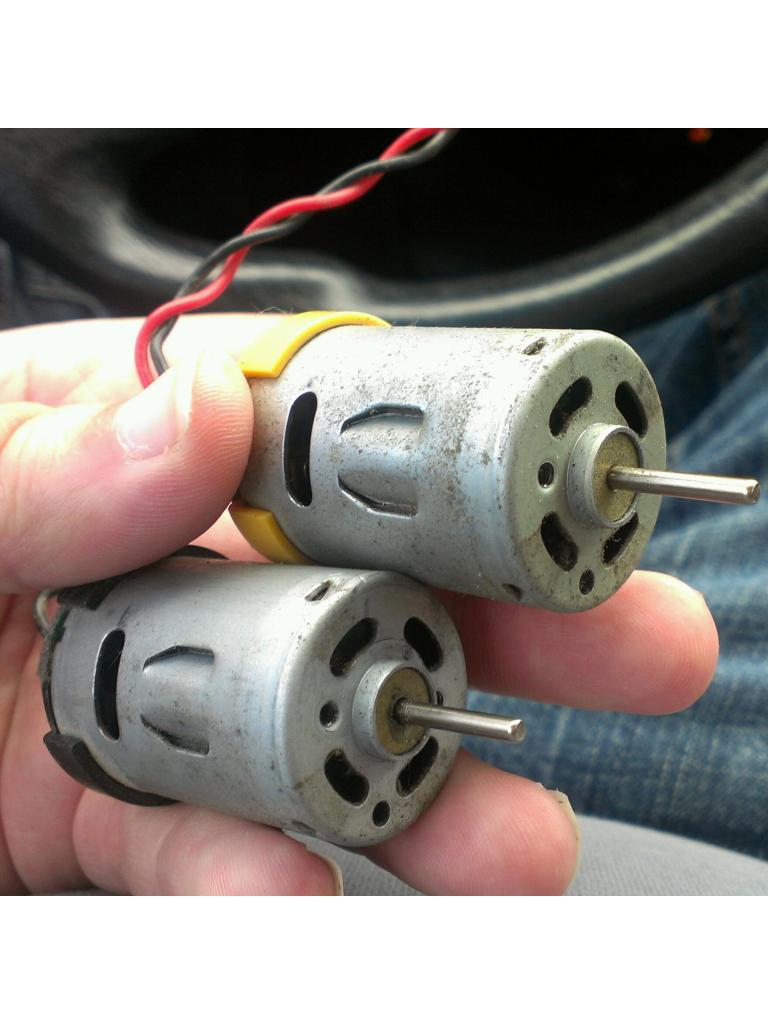
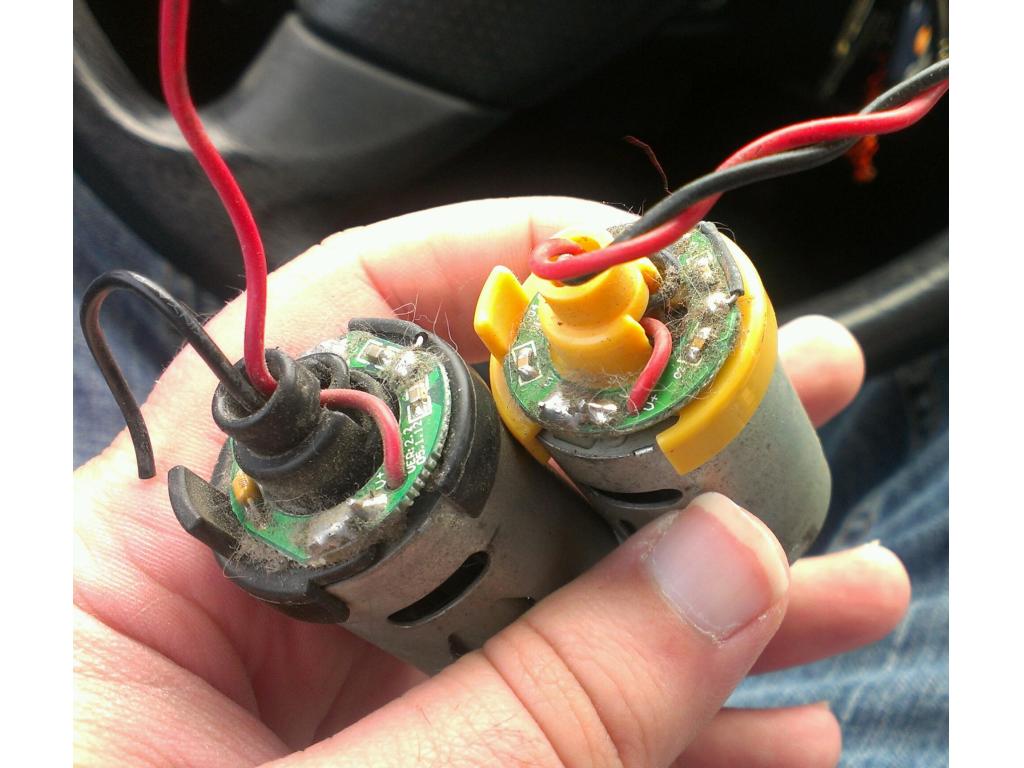
Build an autonomous vacuum with EZ-B: control DC motors, H-bridge, servos and sensors; camera tested with Synthiam ARC...

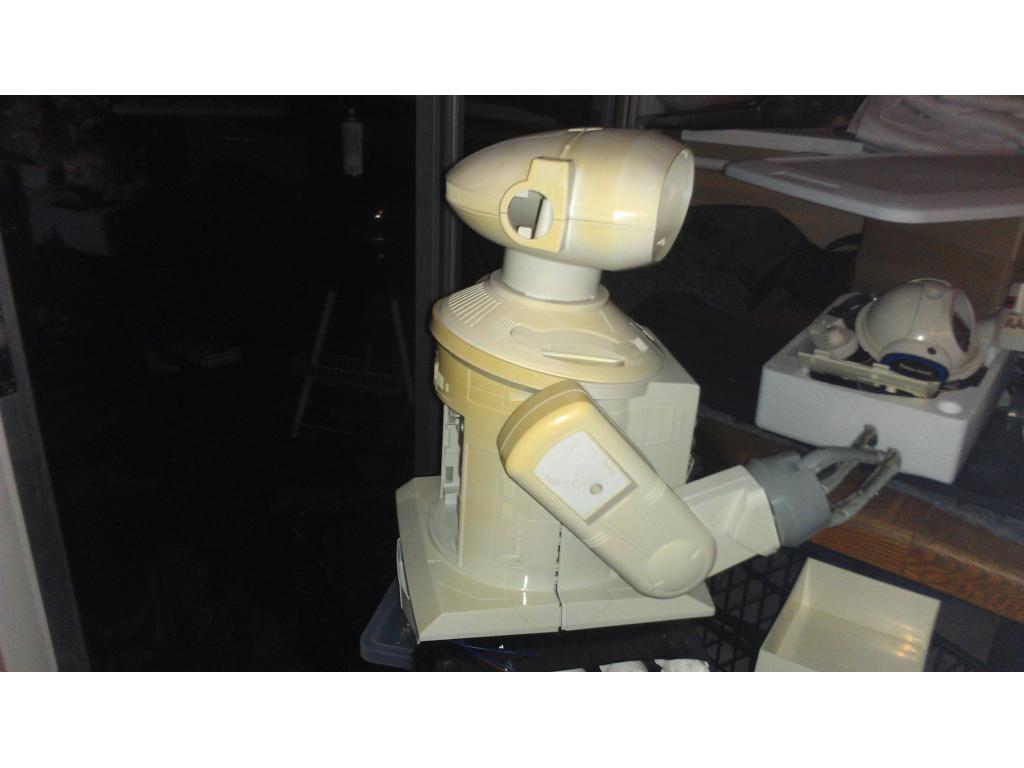
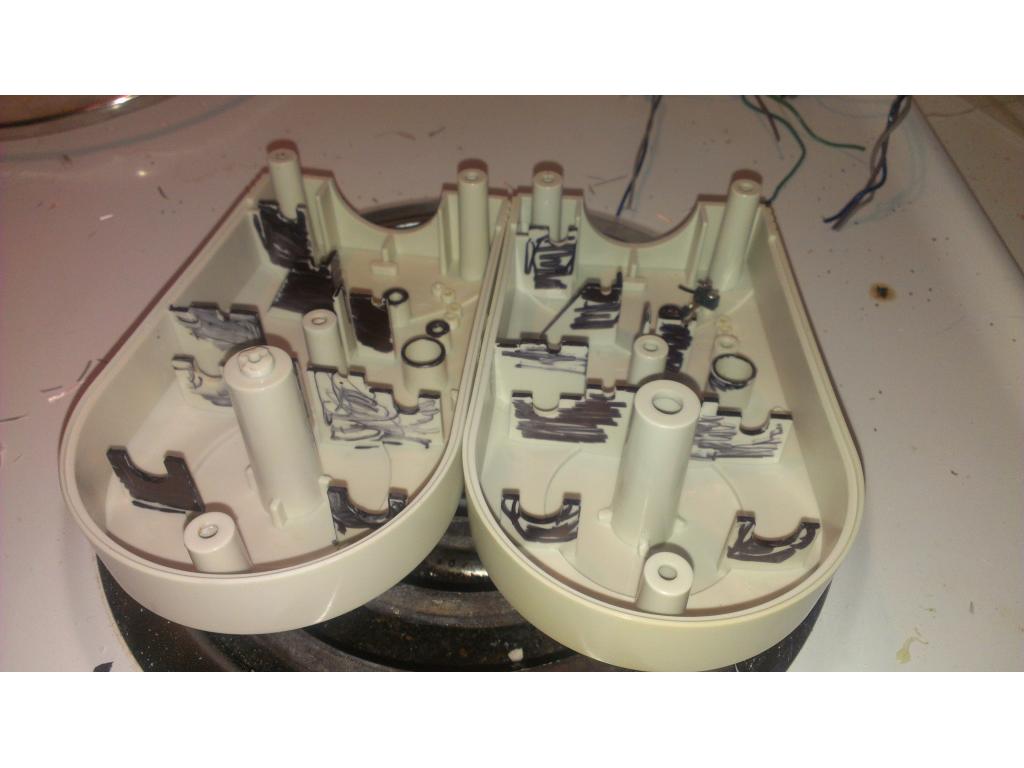
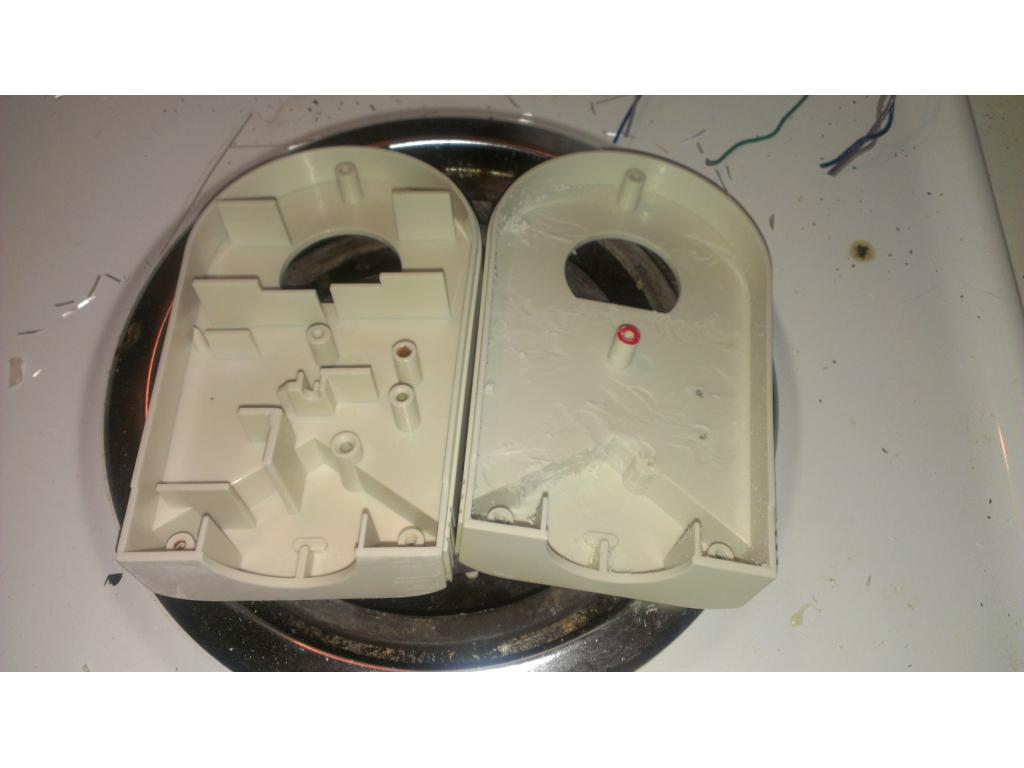
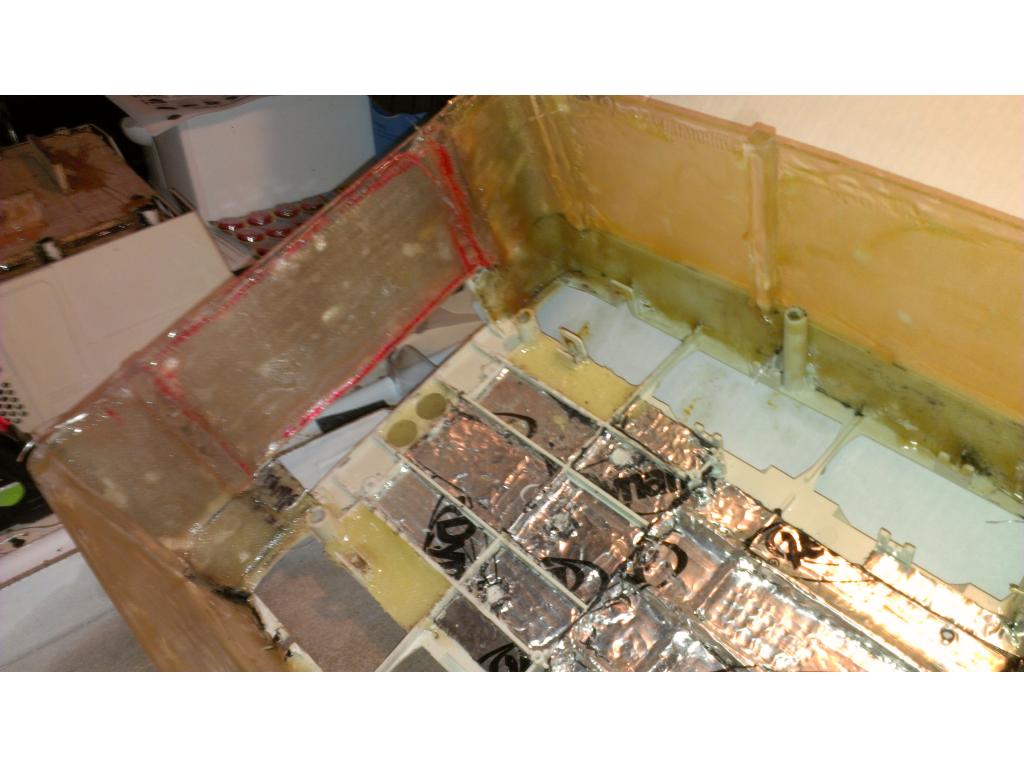
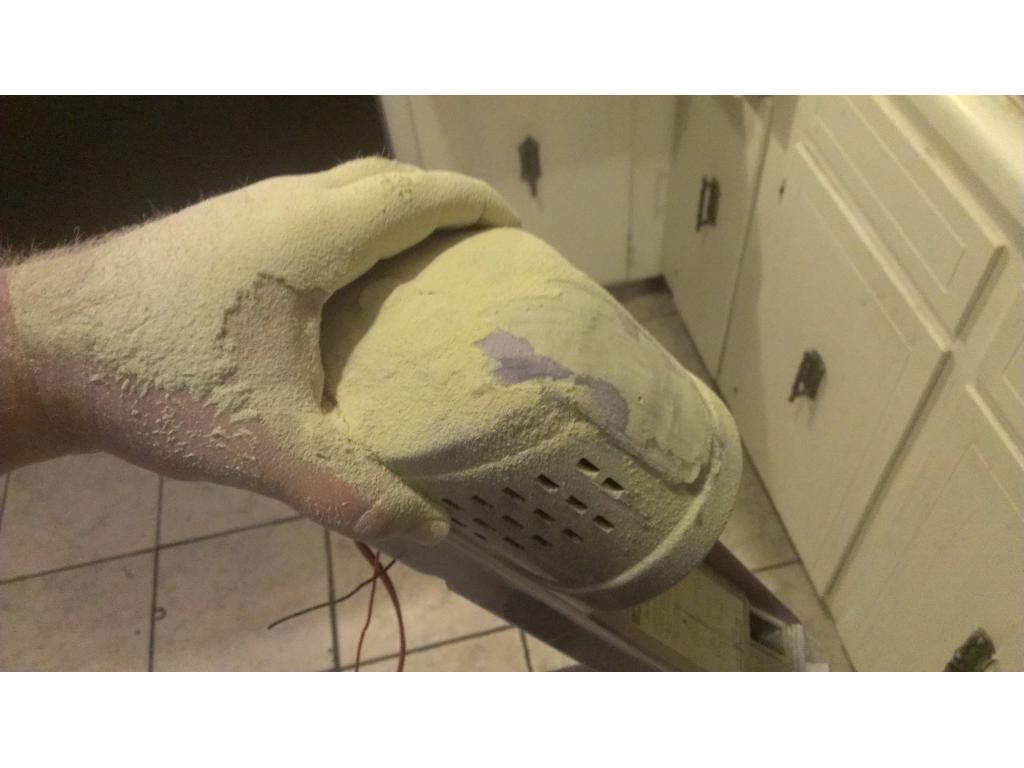
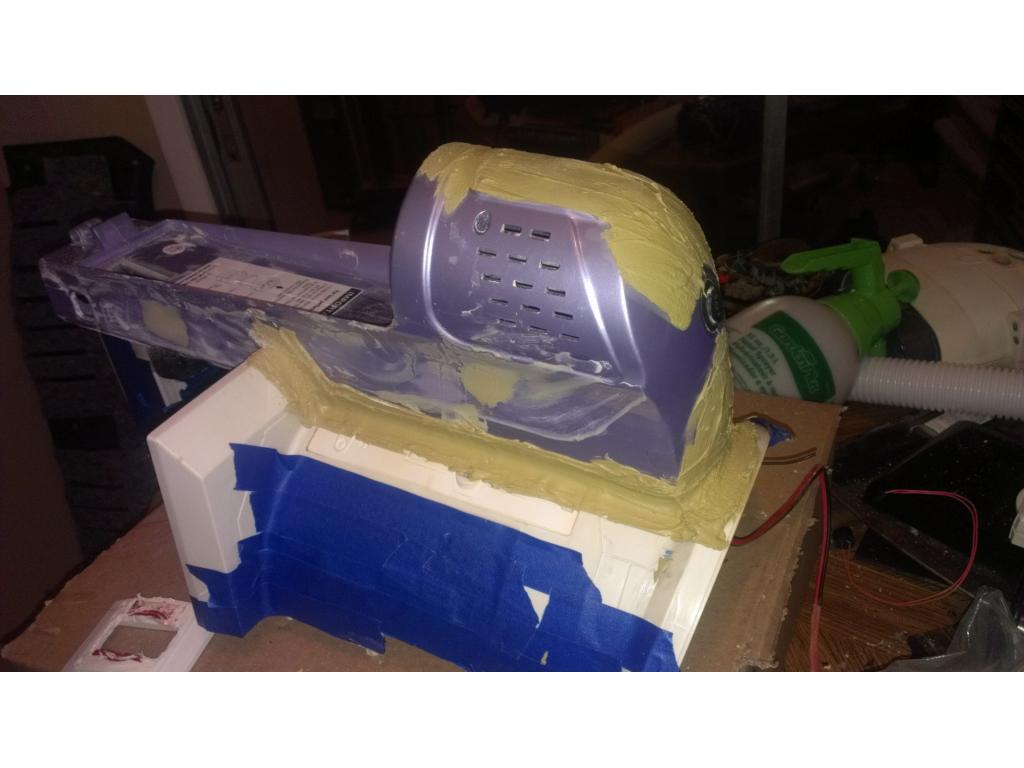
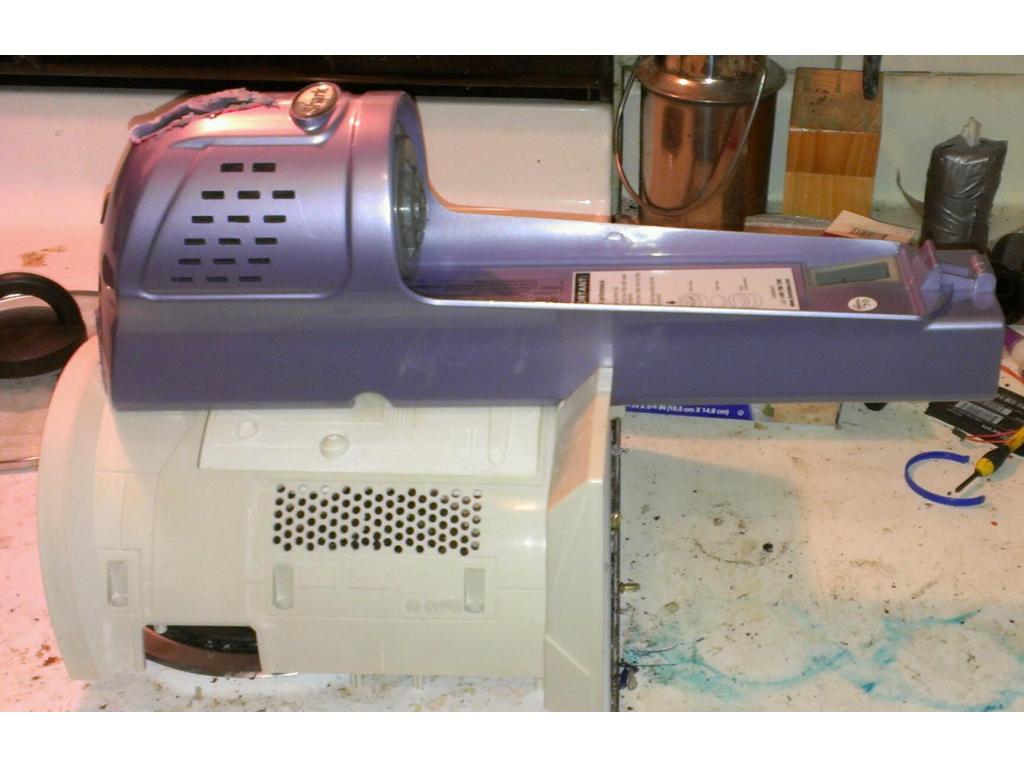
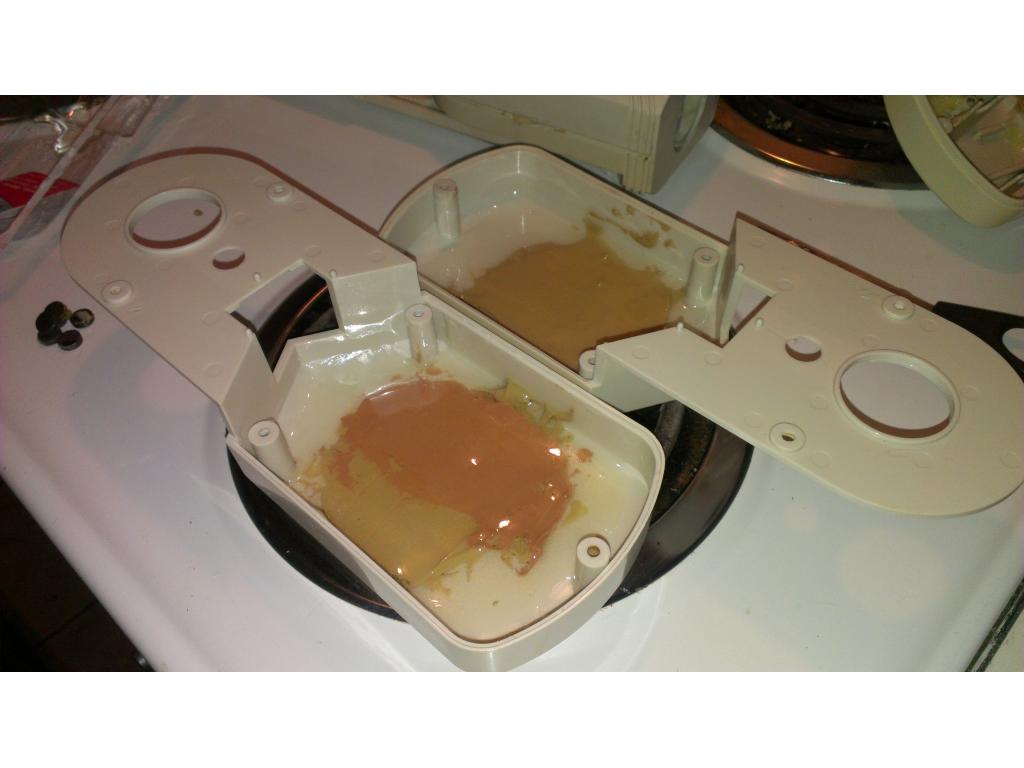
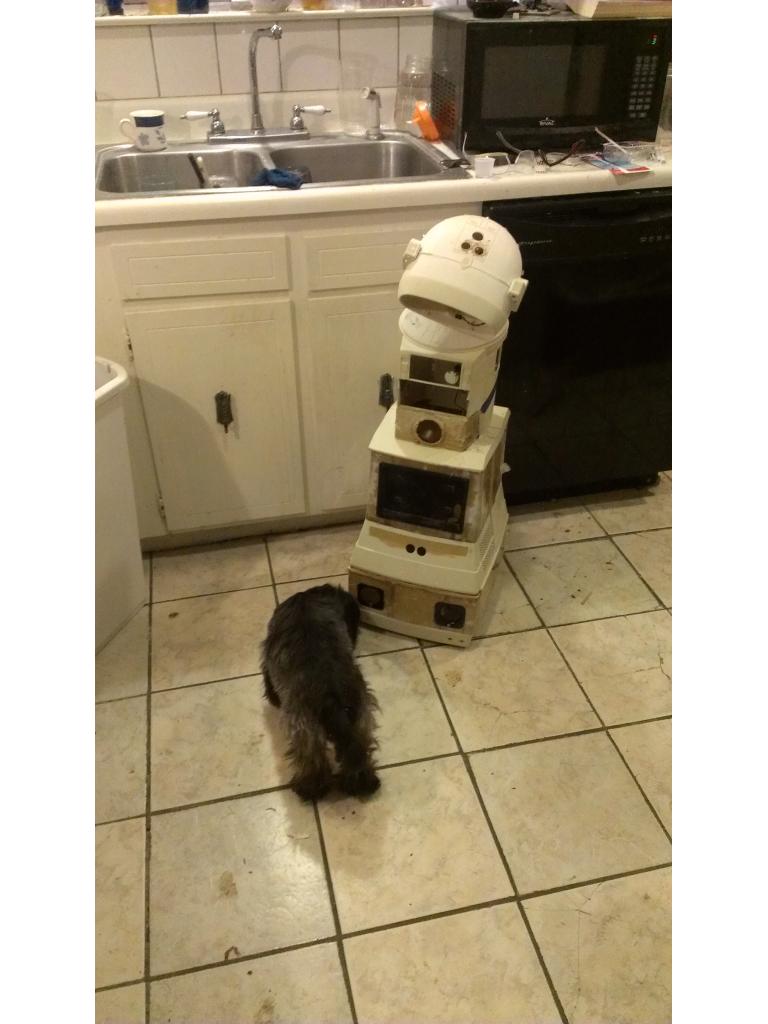
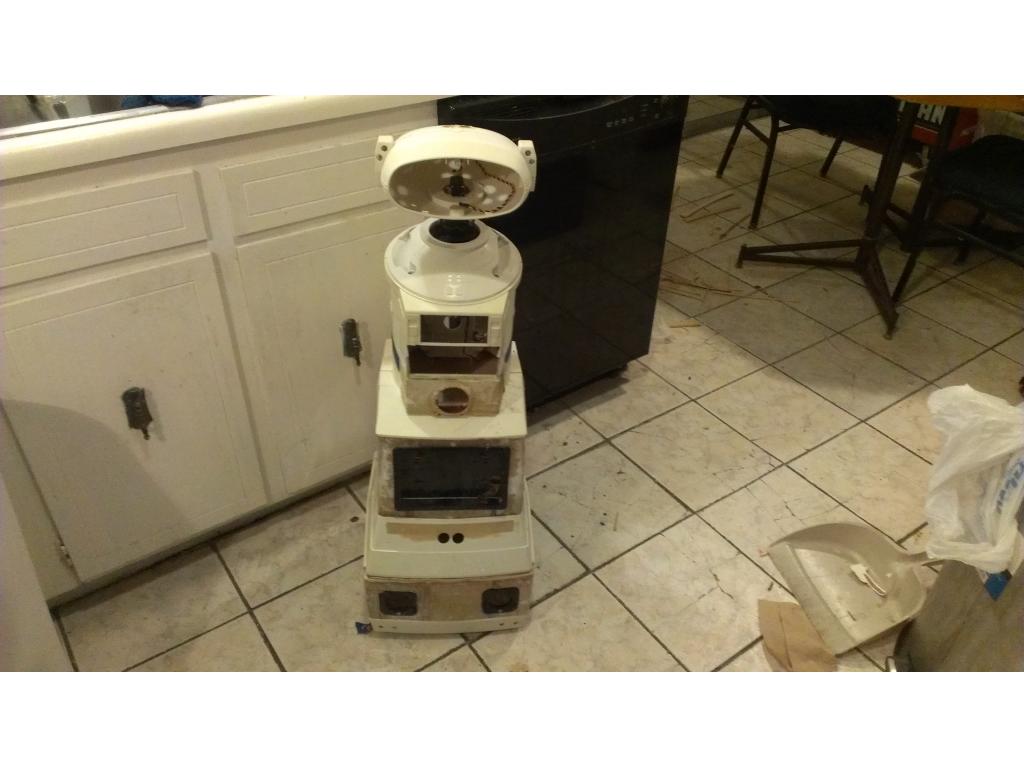
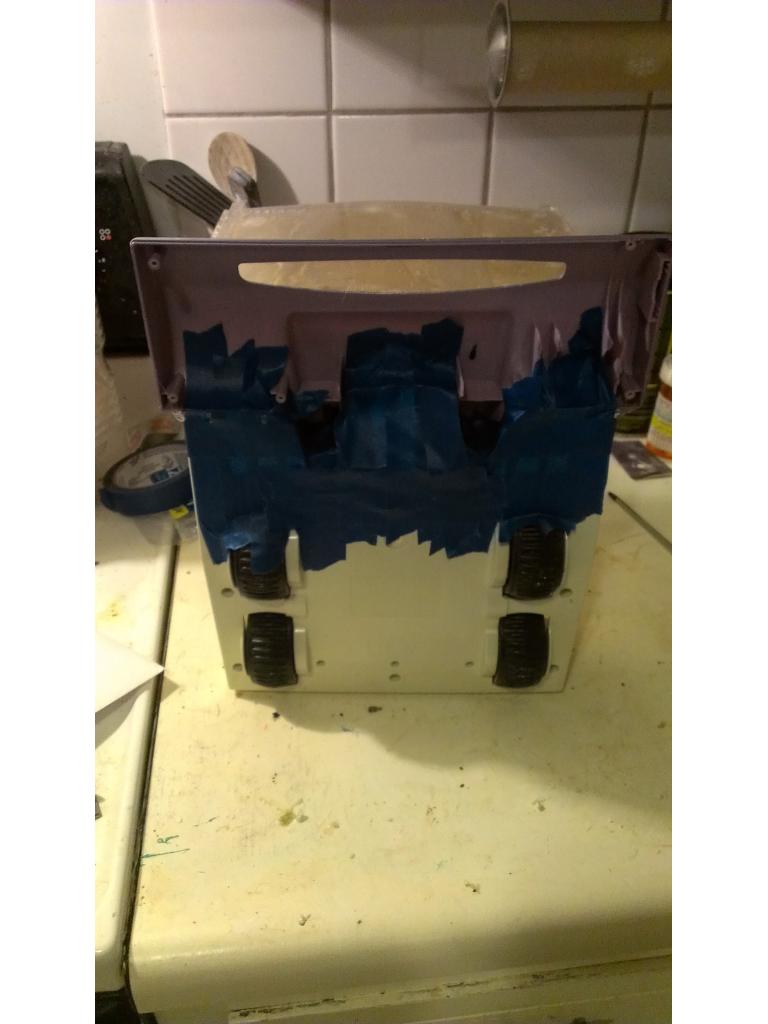
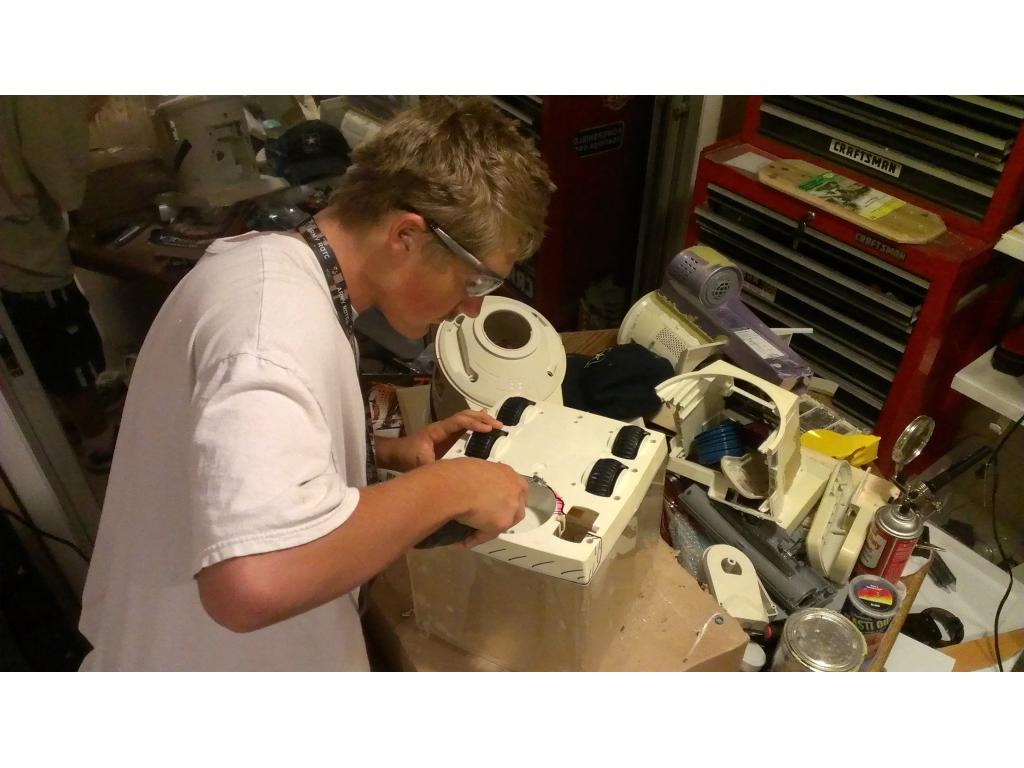
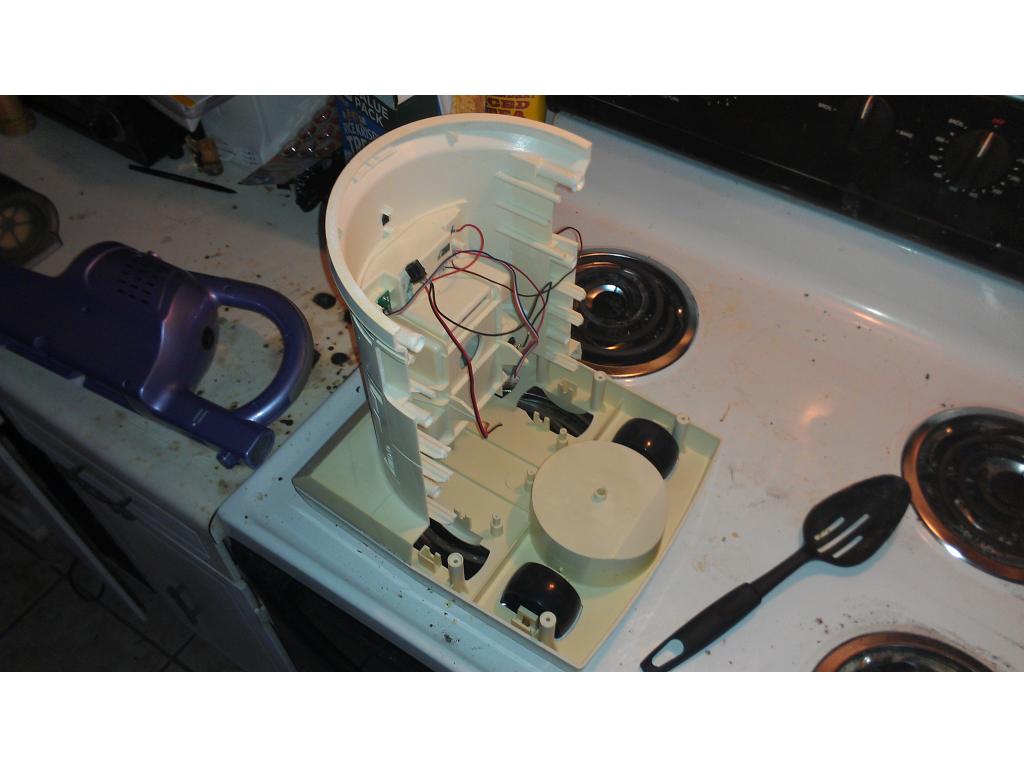
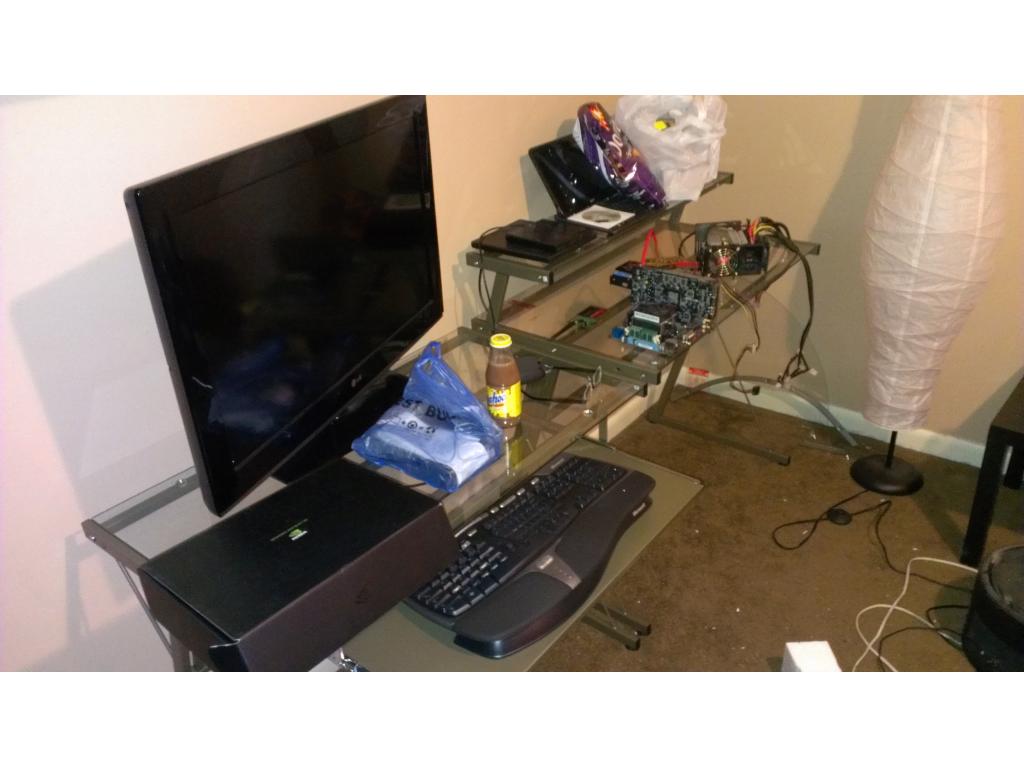
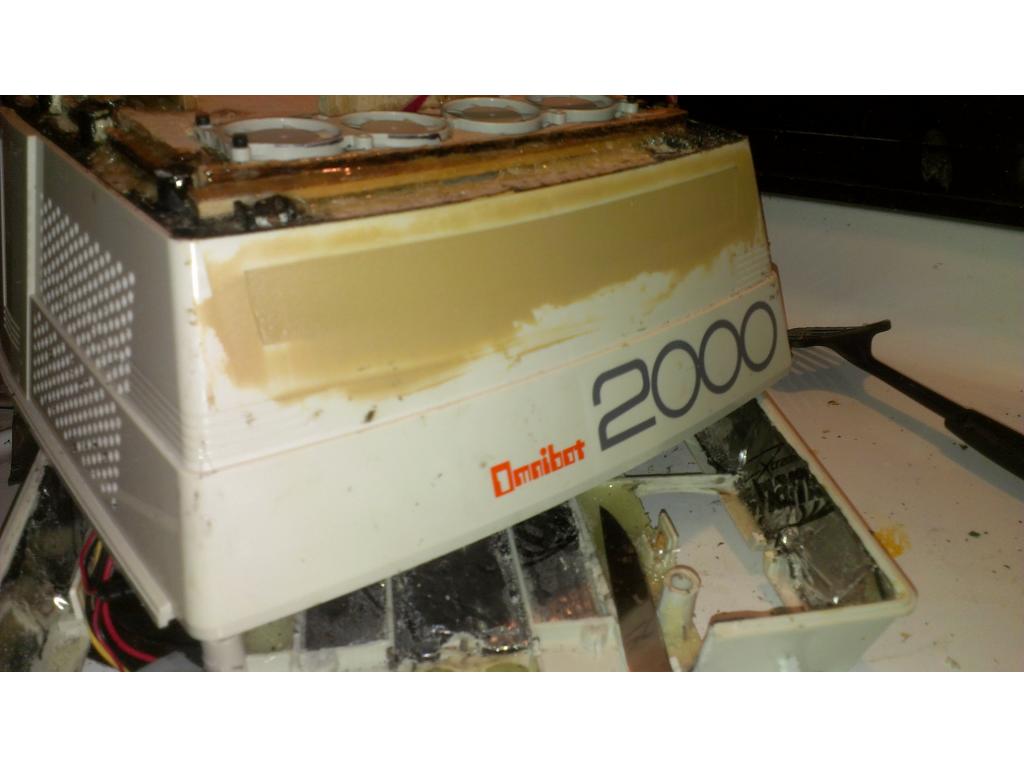
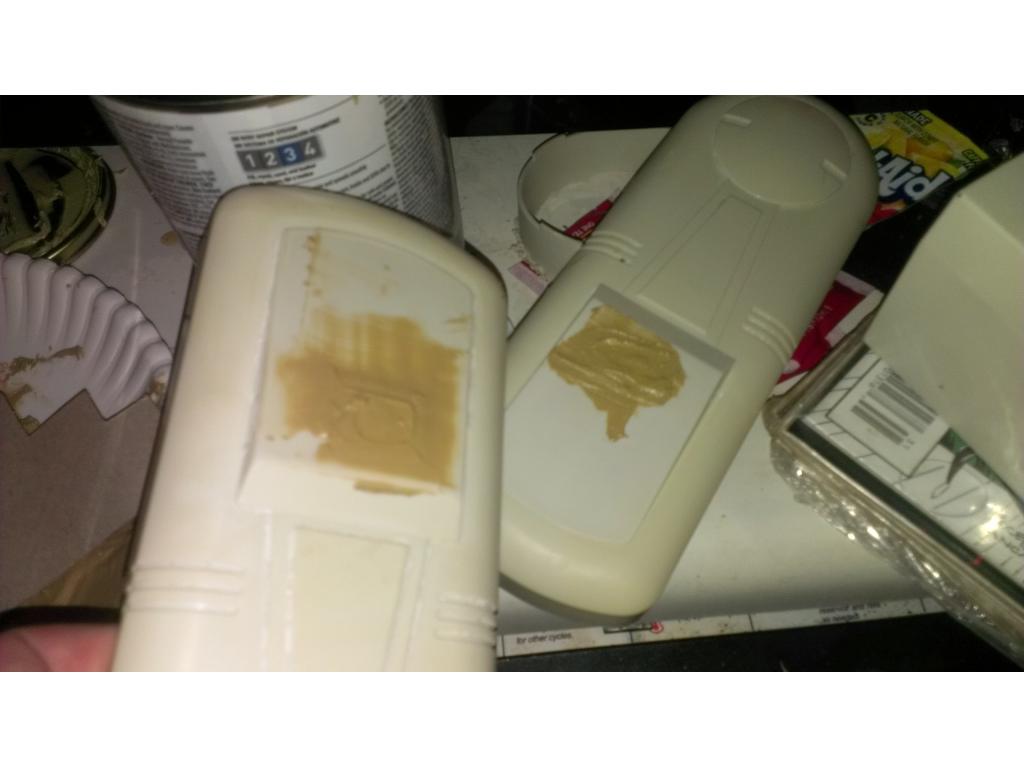
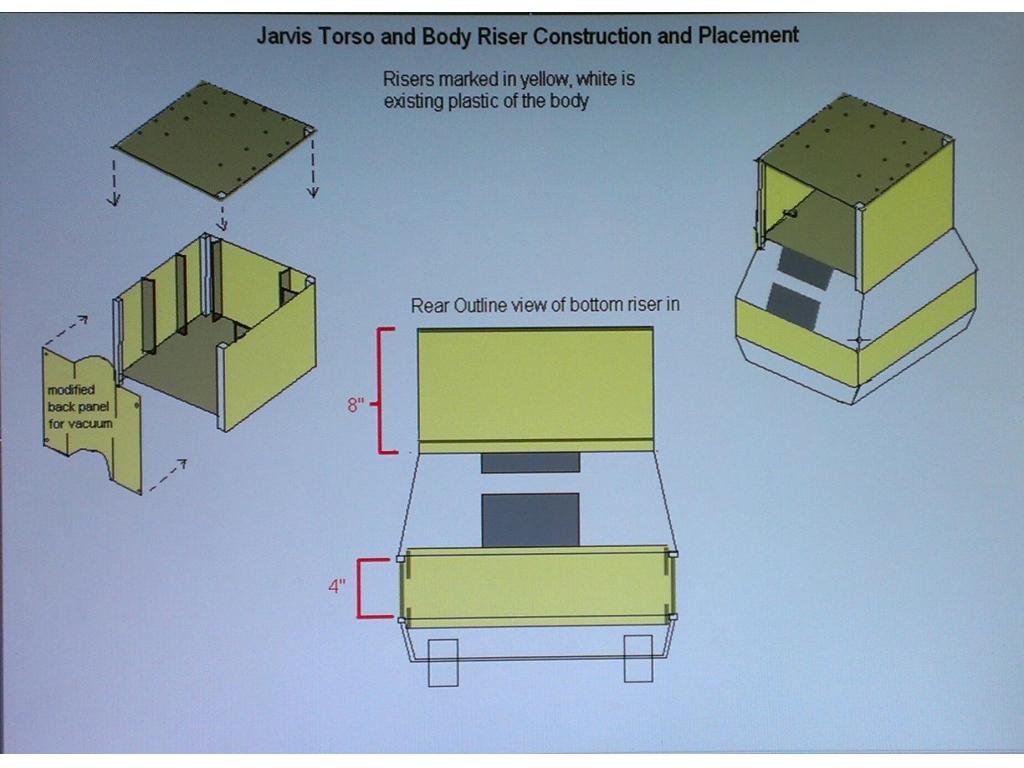
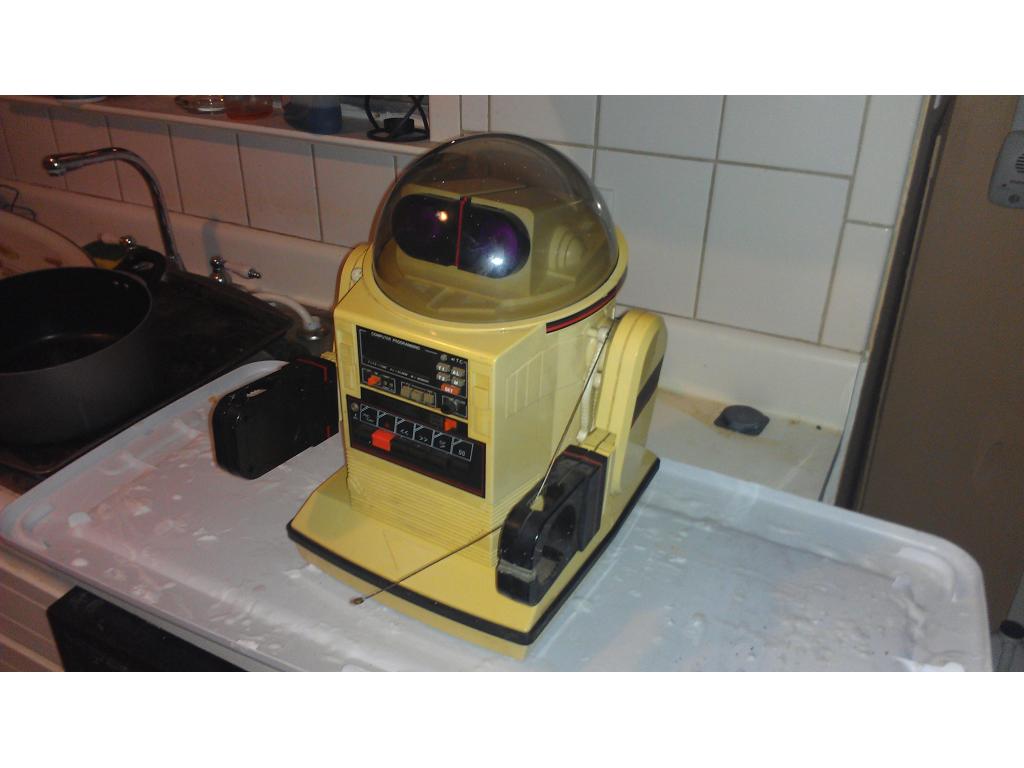
i see much much masking also needs to be done or paint will hit the stuff you dont want paint on mostlikelyyou will need to remove some stuff too ,before painting do you think you are done adding anything,since i love to add stuff also looks very hard to take apart to fix anythink.mine i have in a few peices ,just like how the omnibot is made,so can take apart if needed,and still have the riser also at the same time i have it to remove any part,notthing will be glued
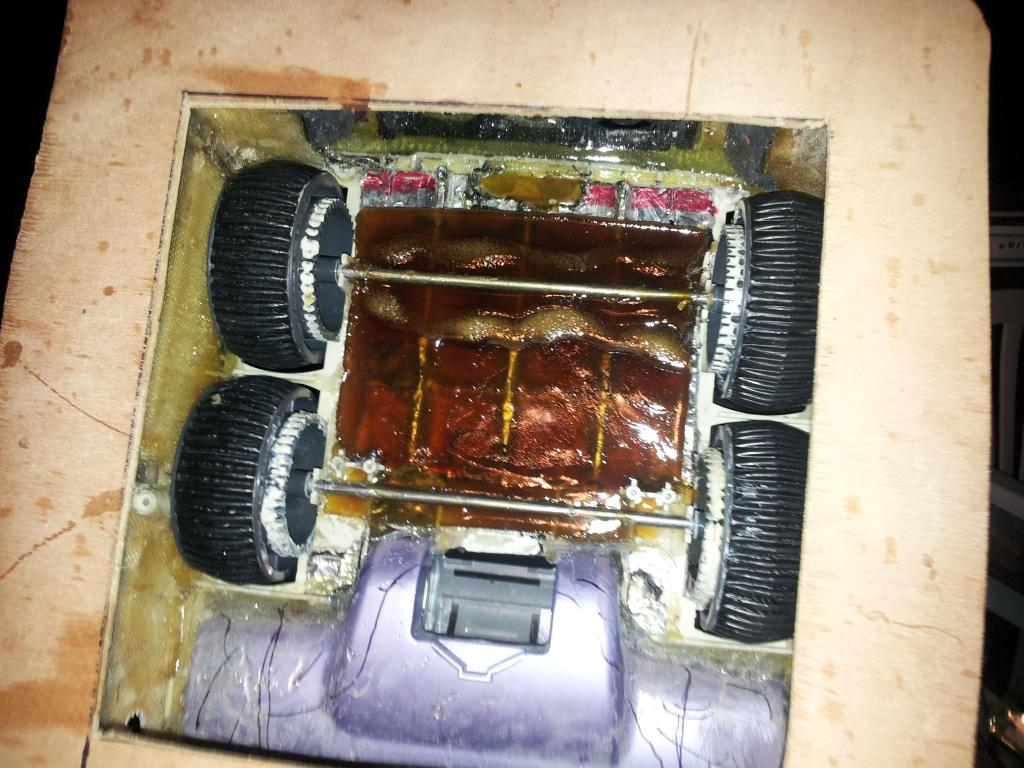
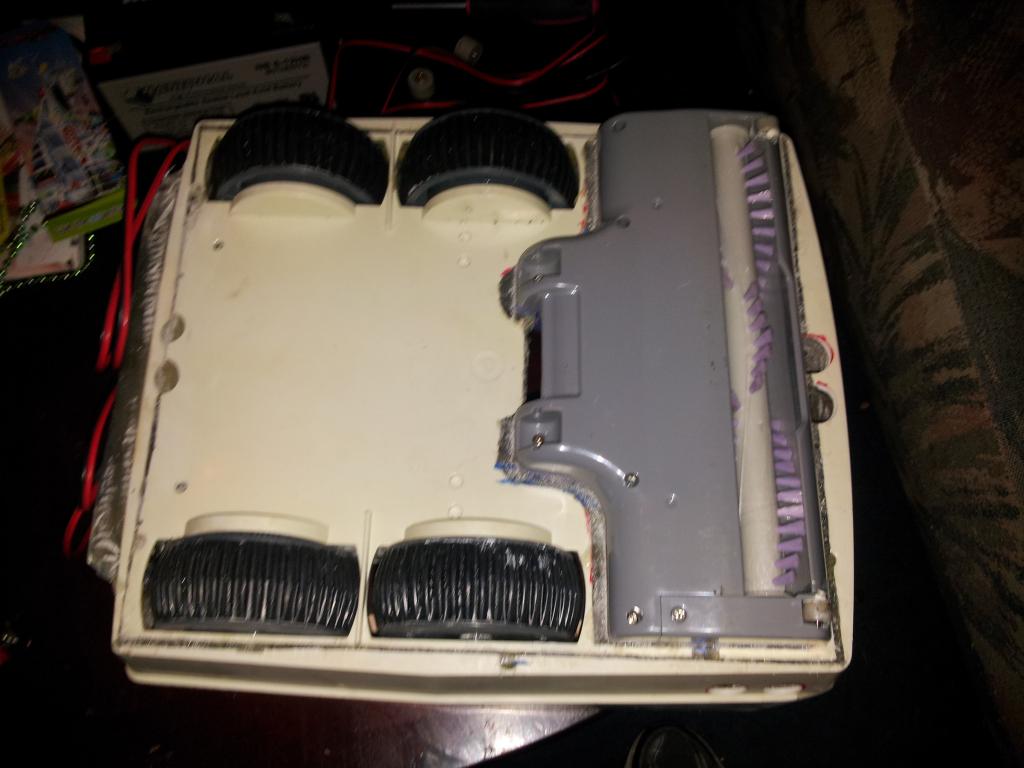
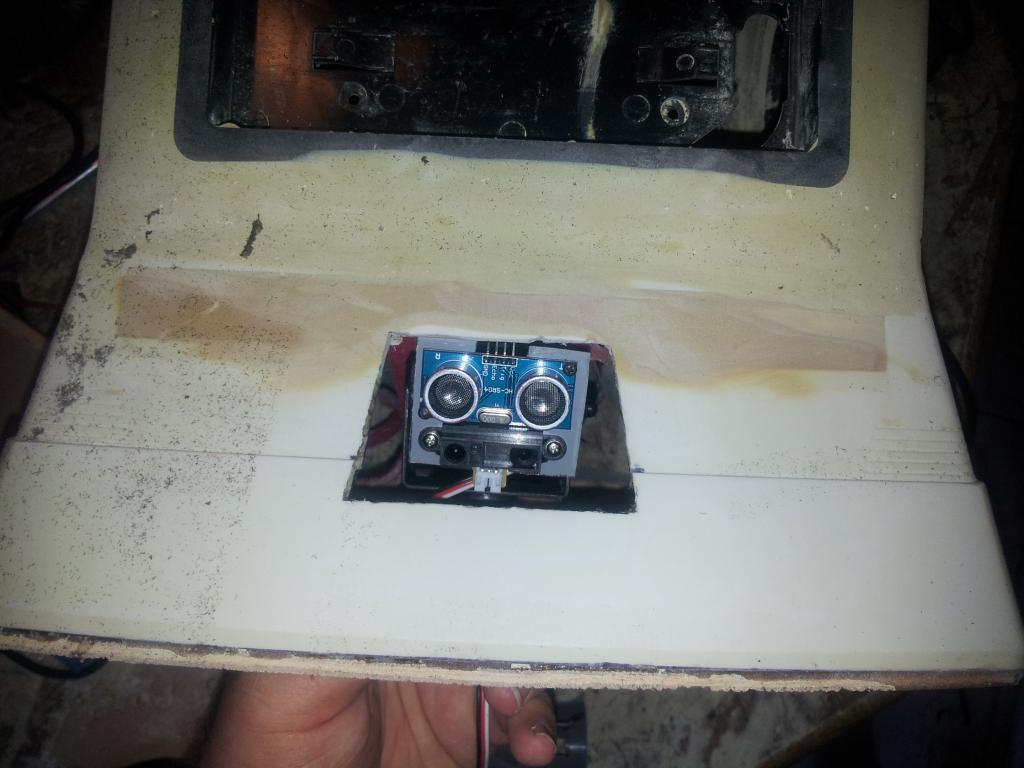
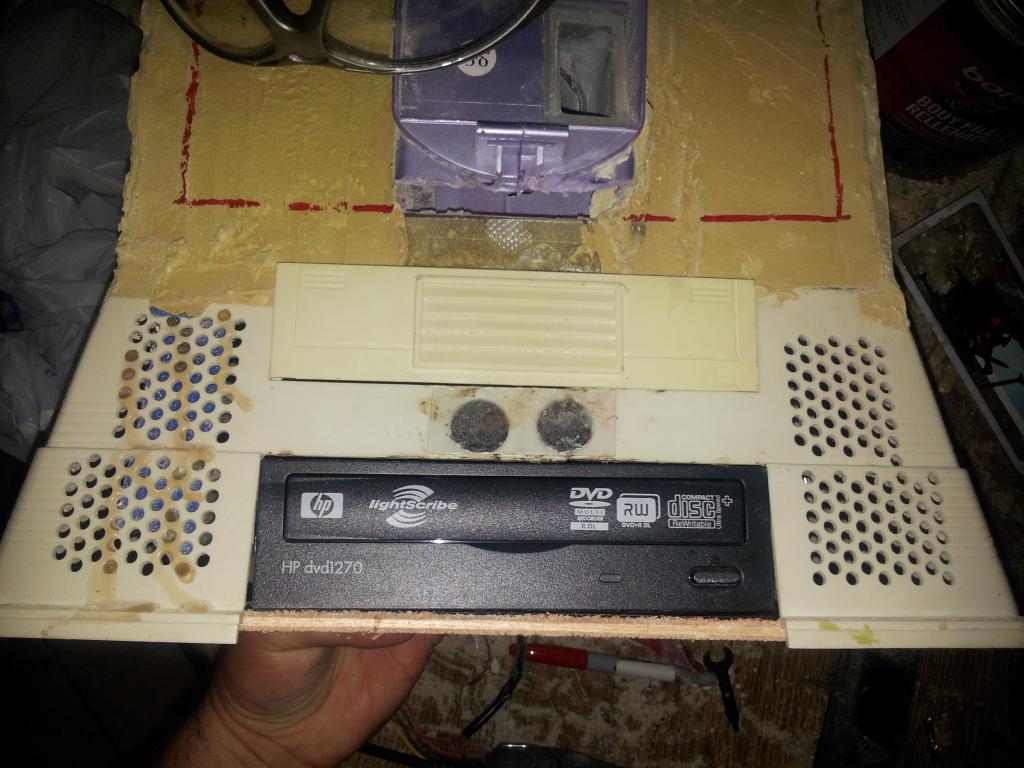
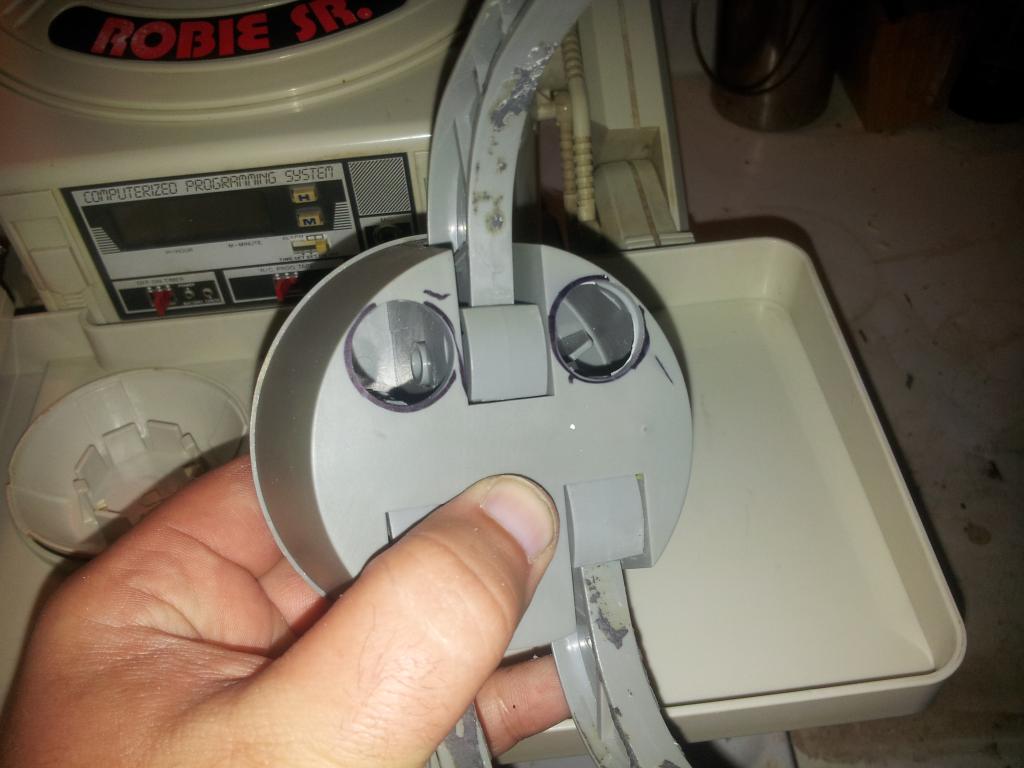
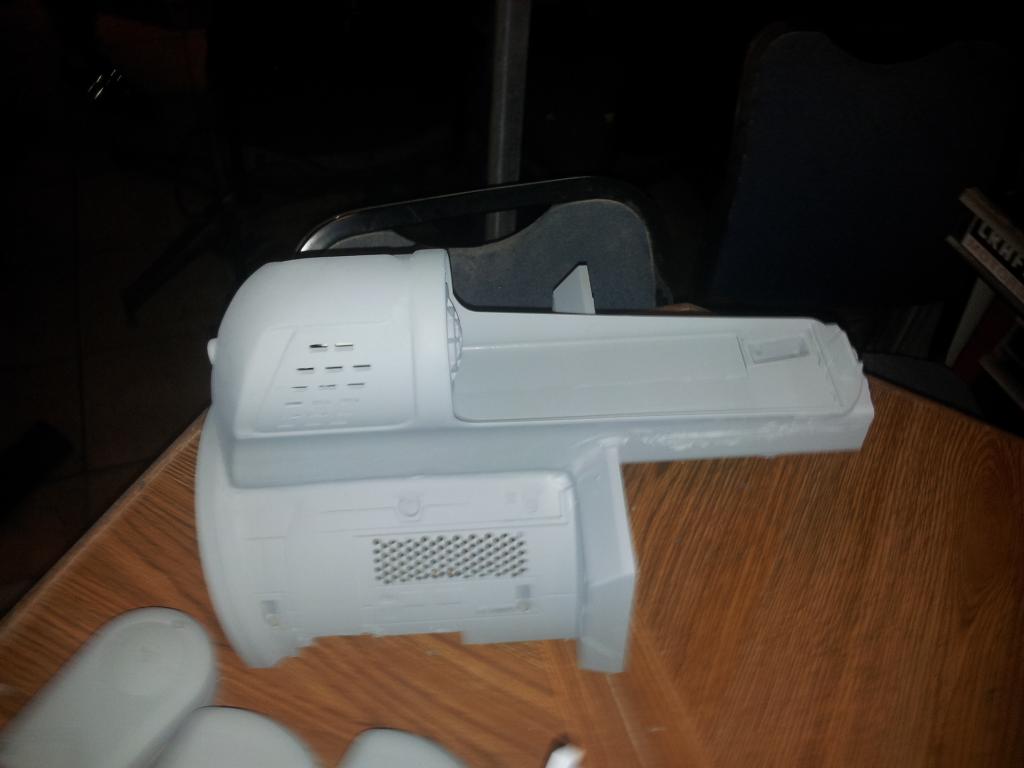
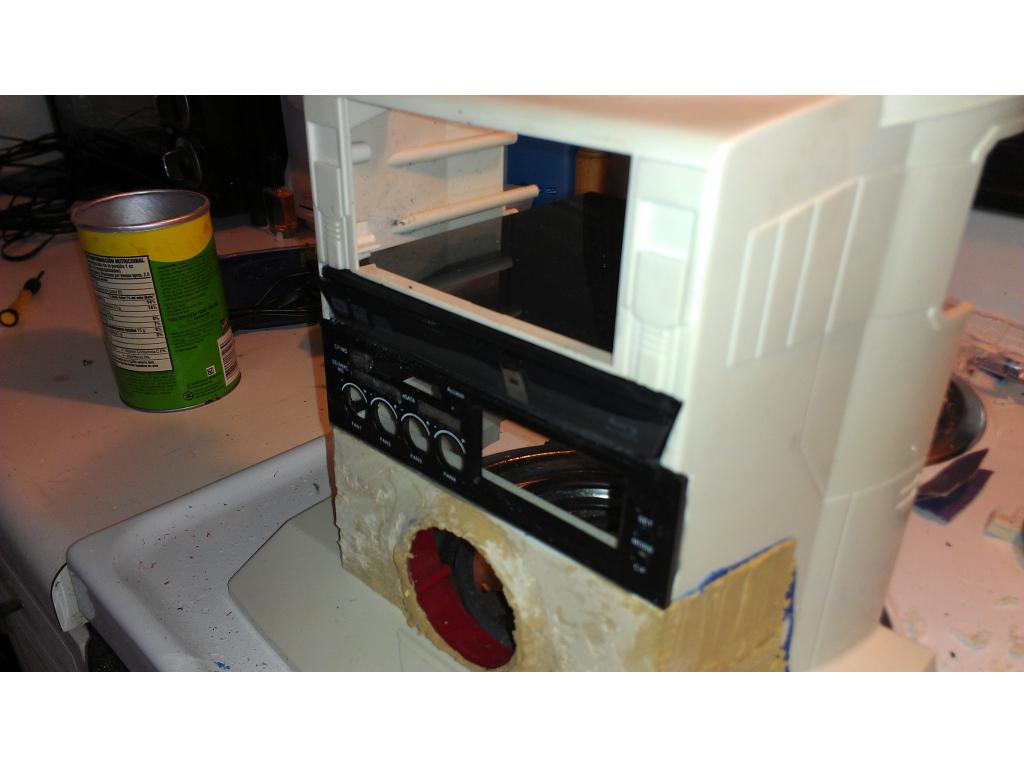
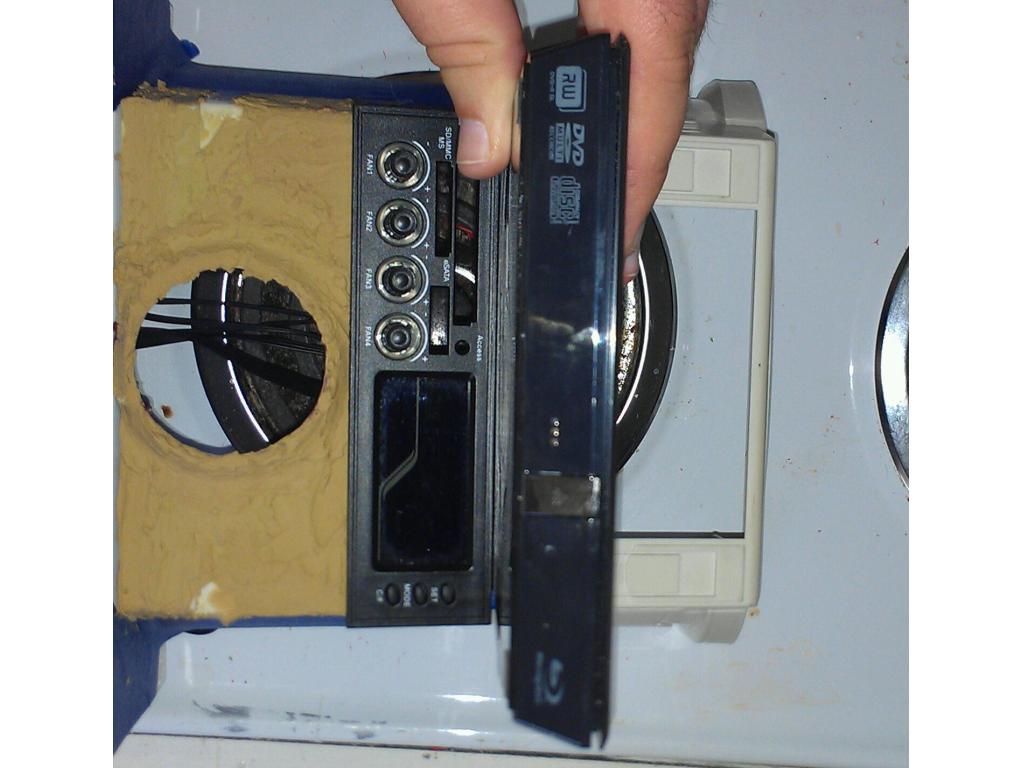
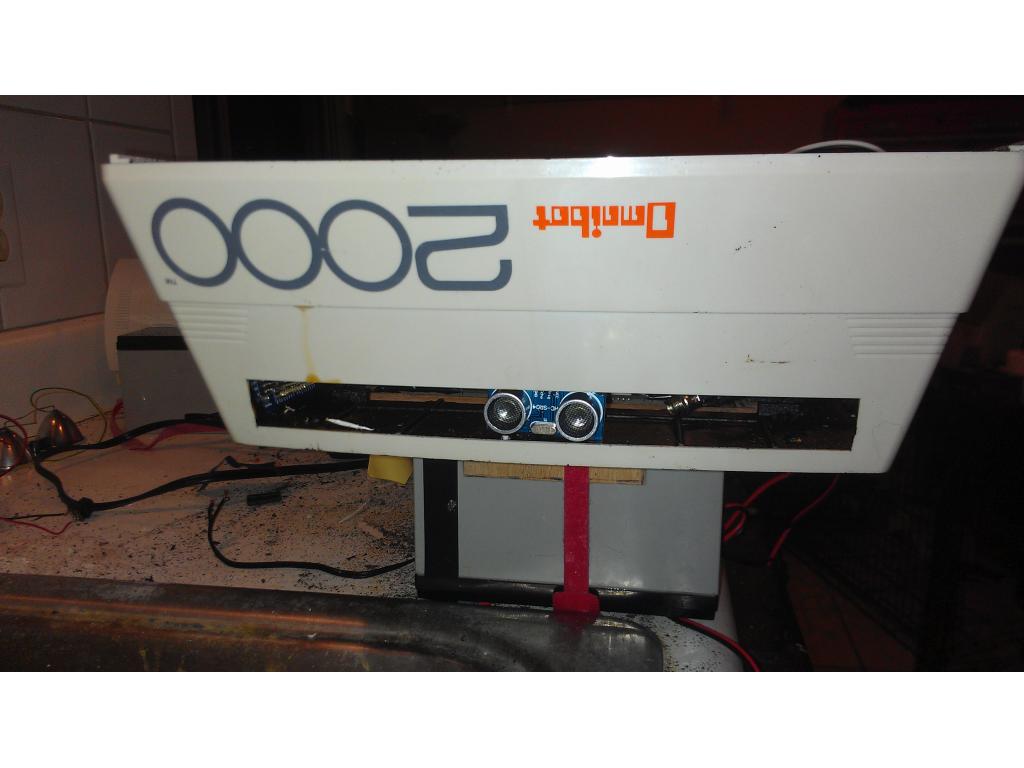
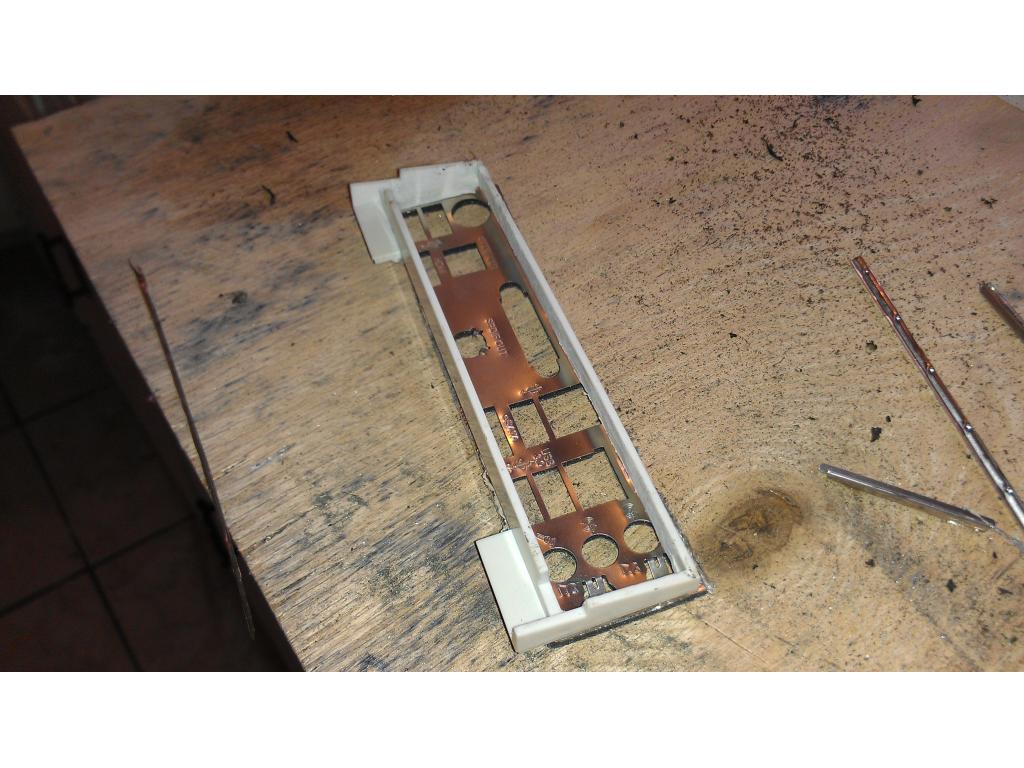
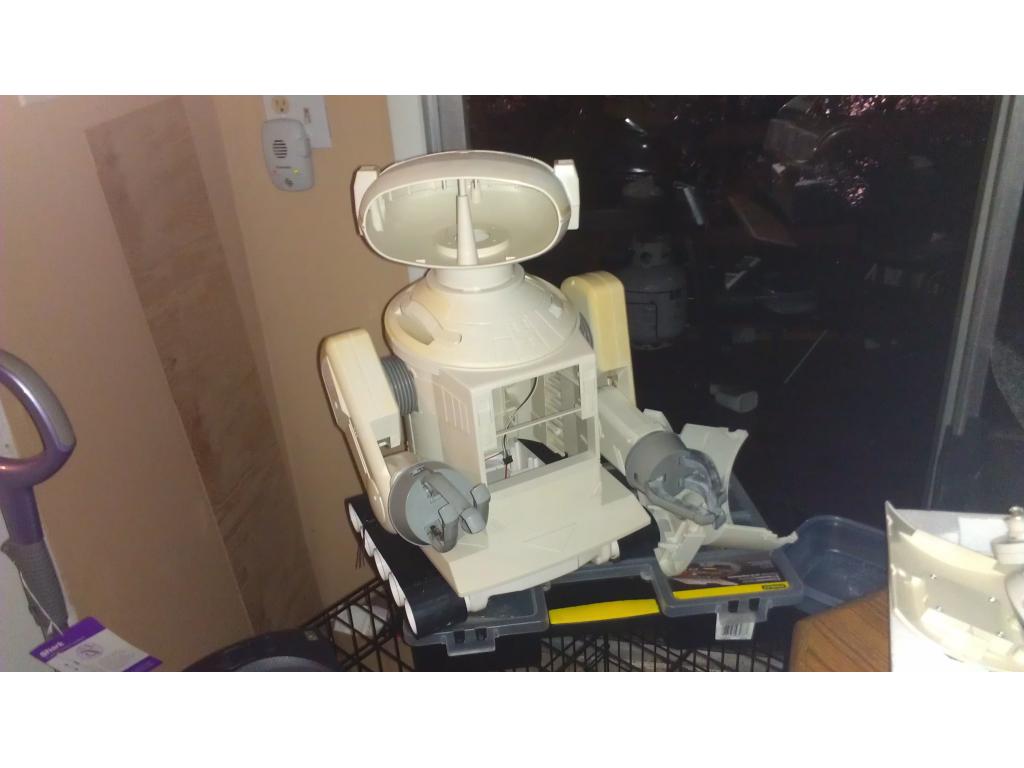
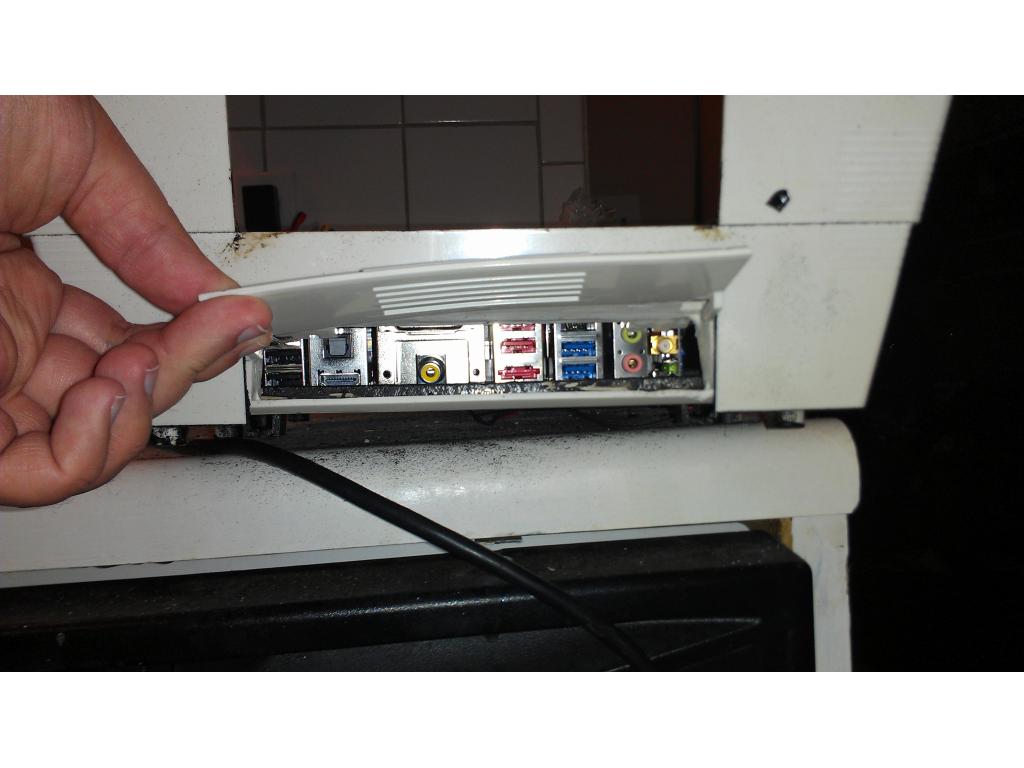
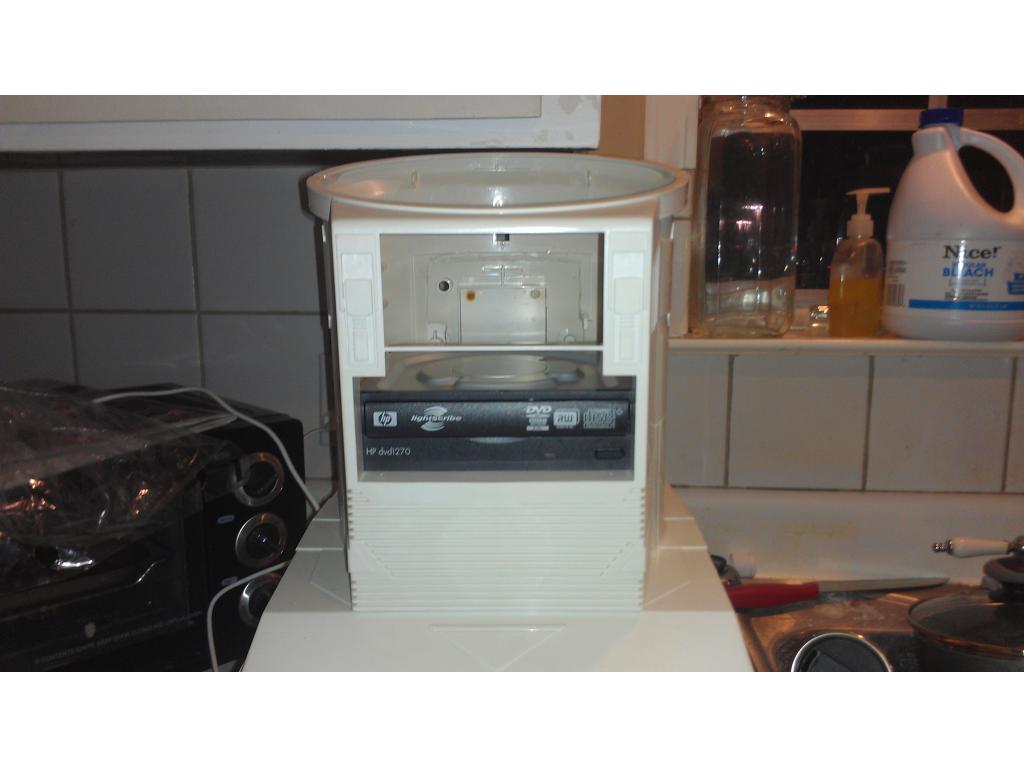
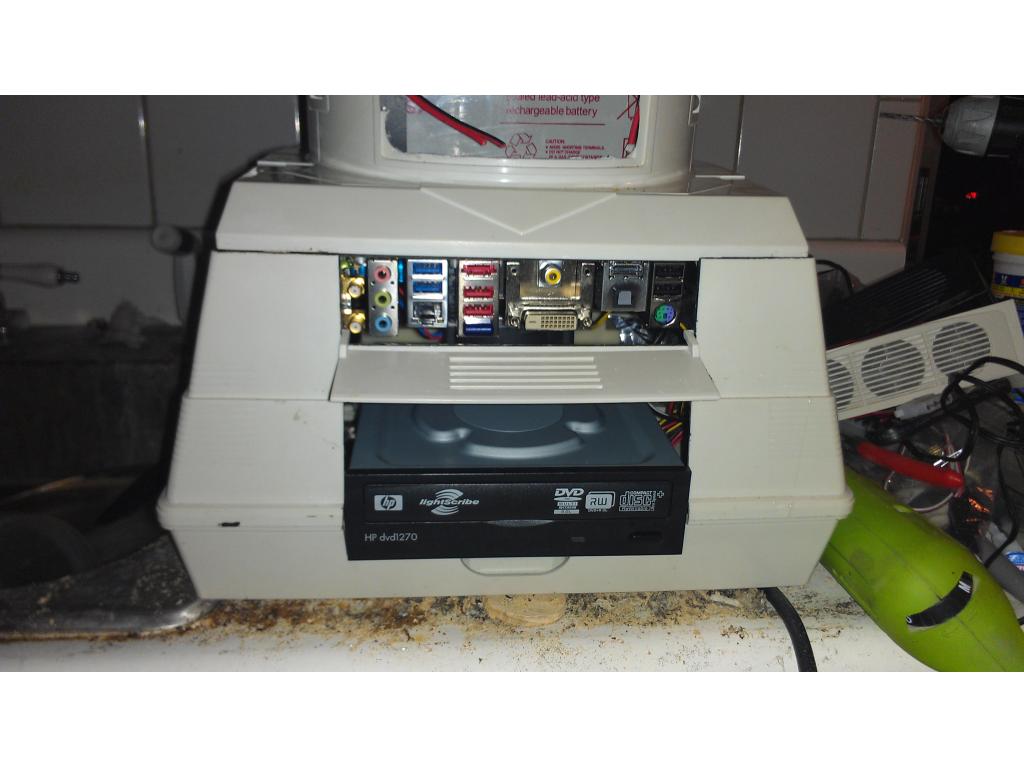
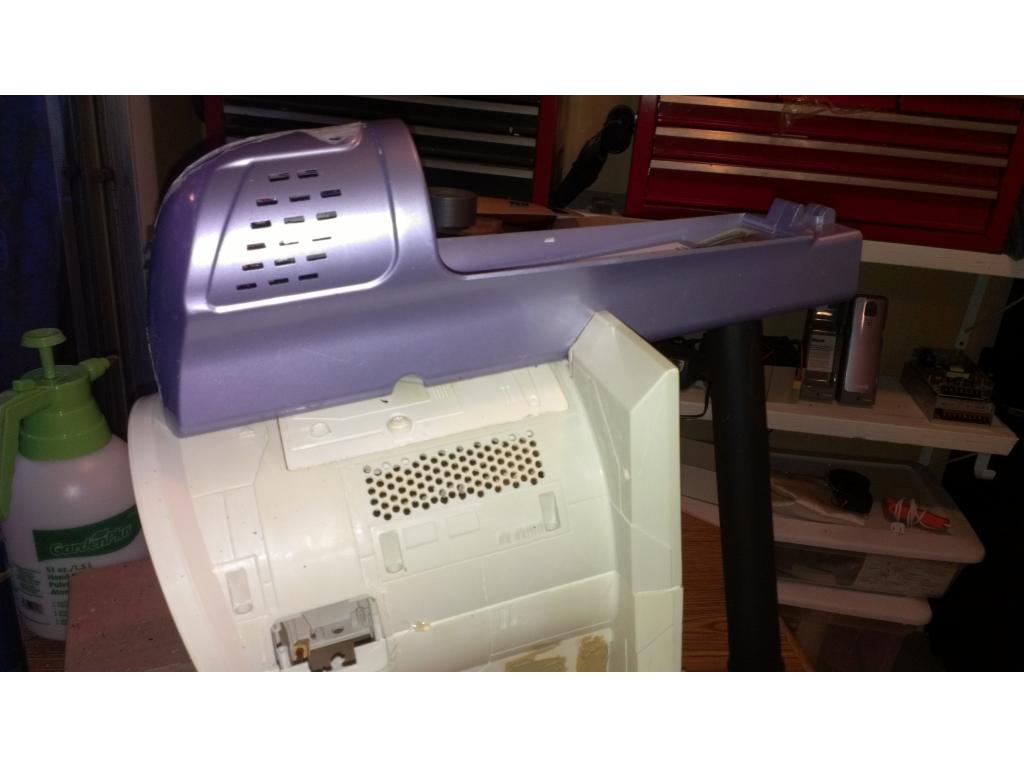
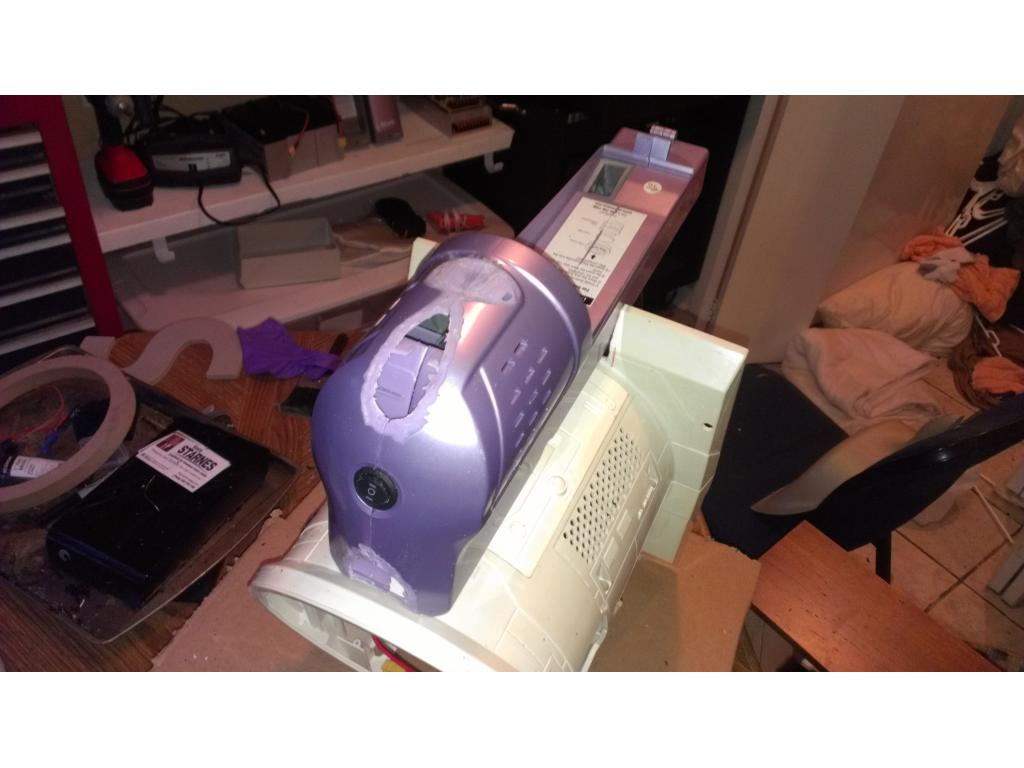
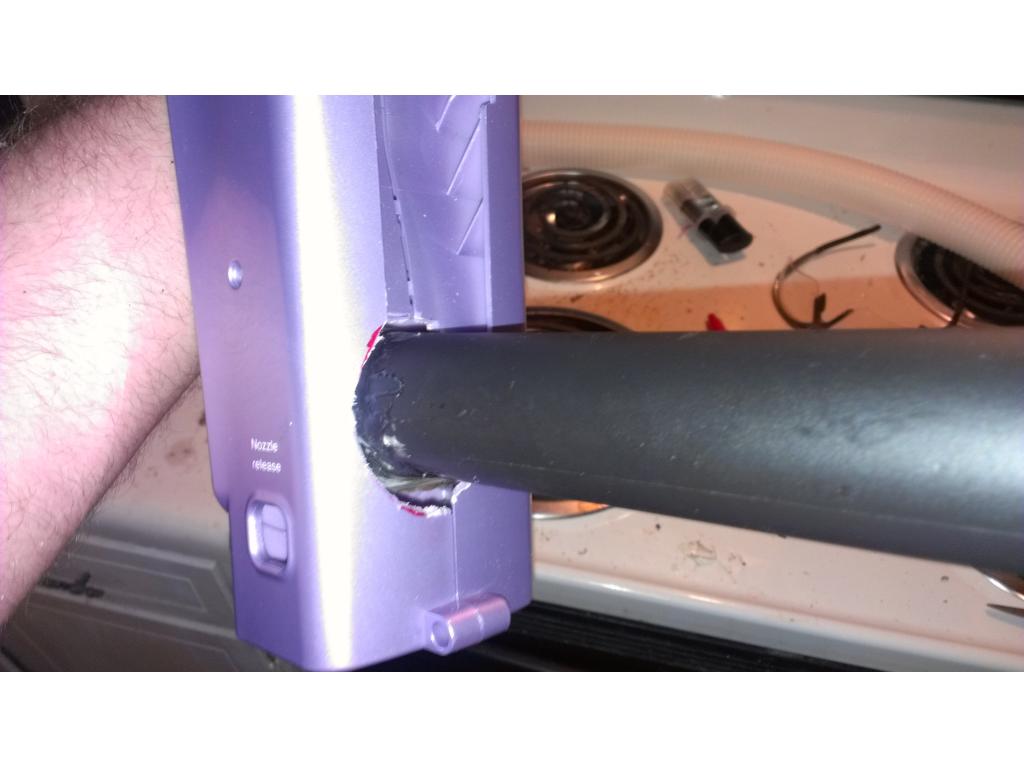
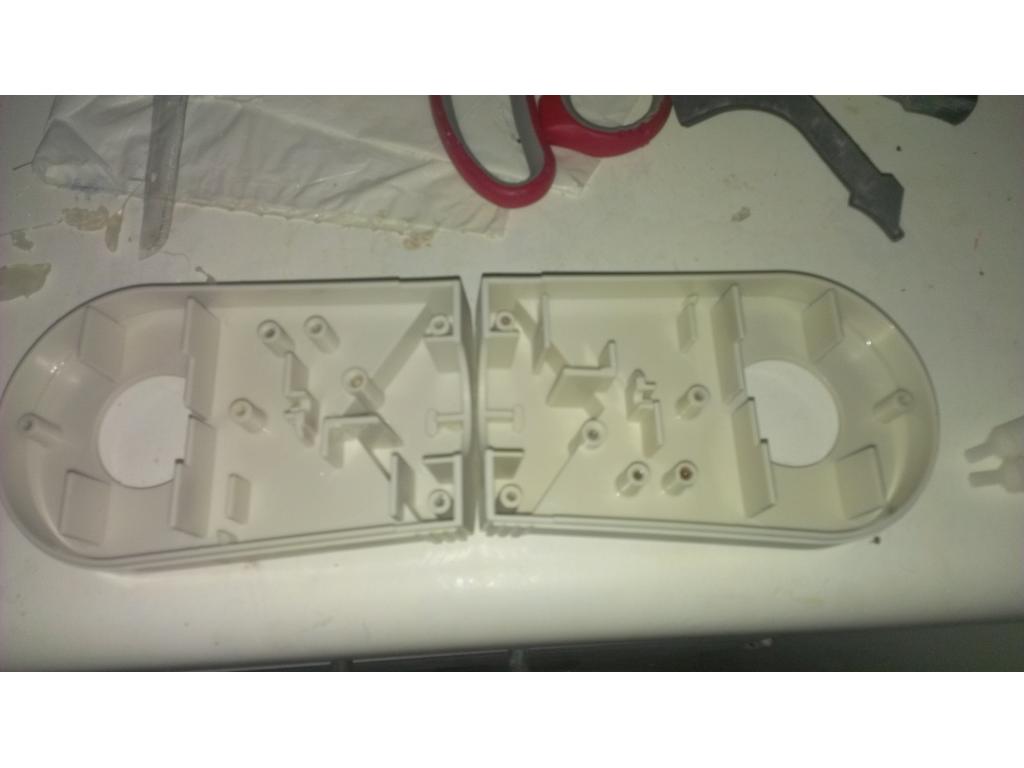
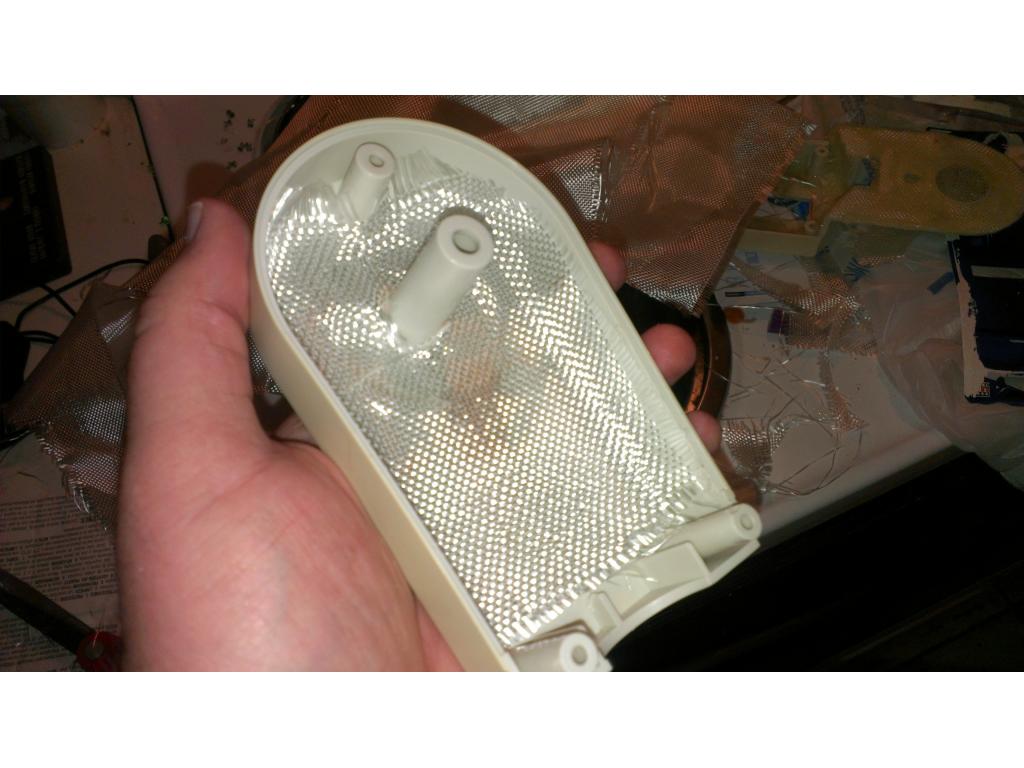
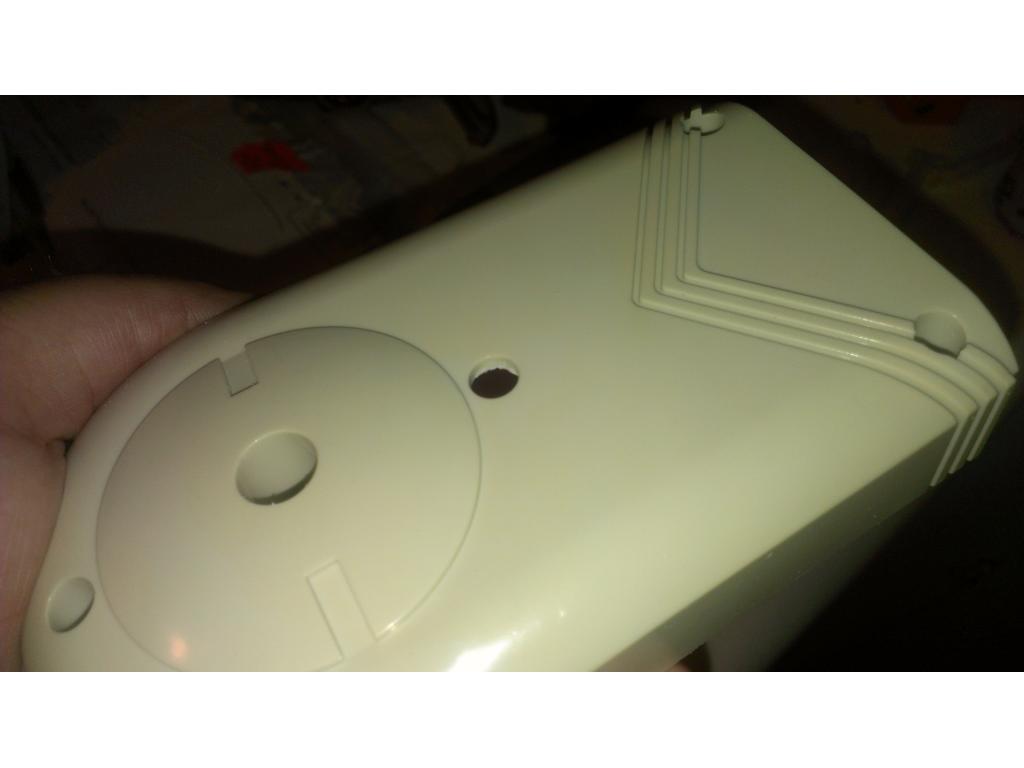
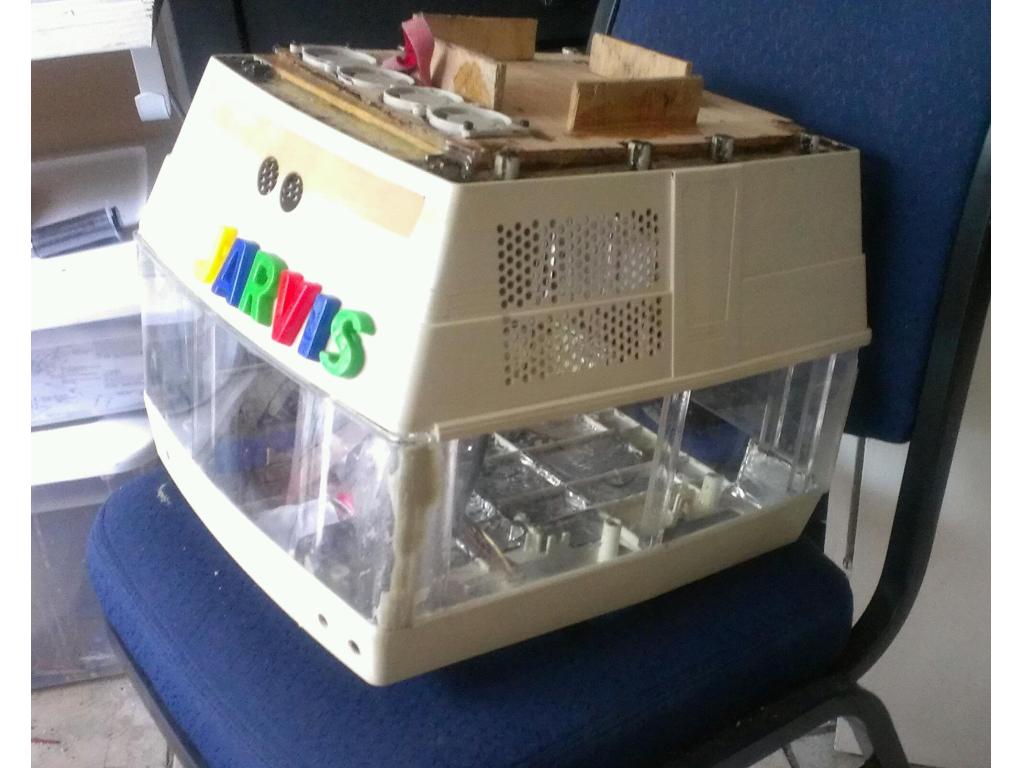
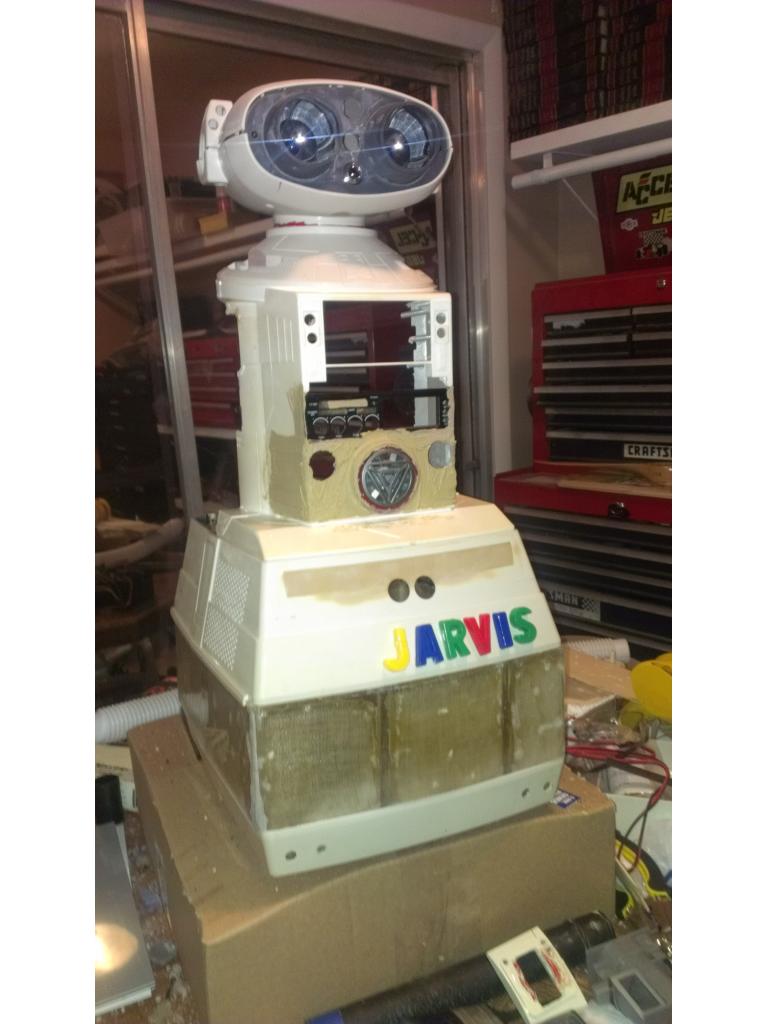
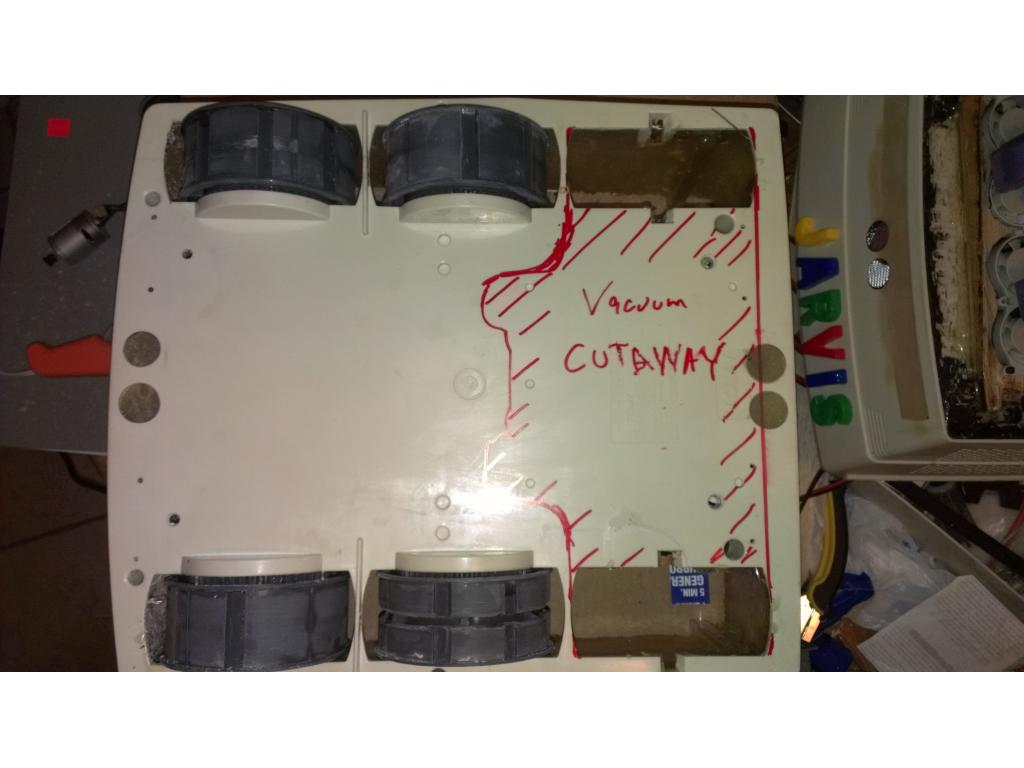
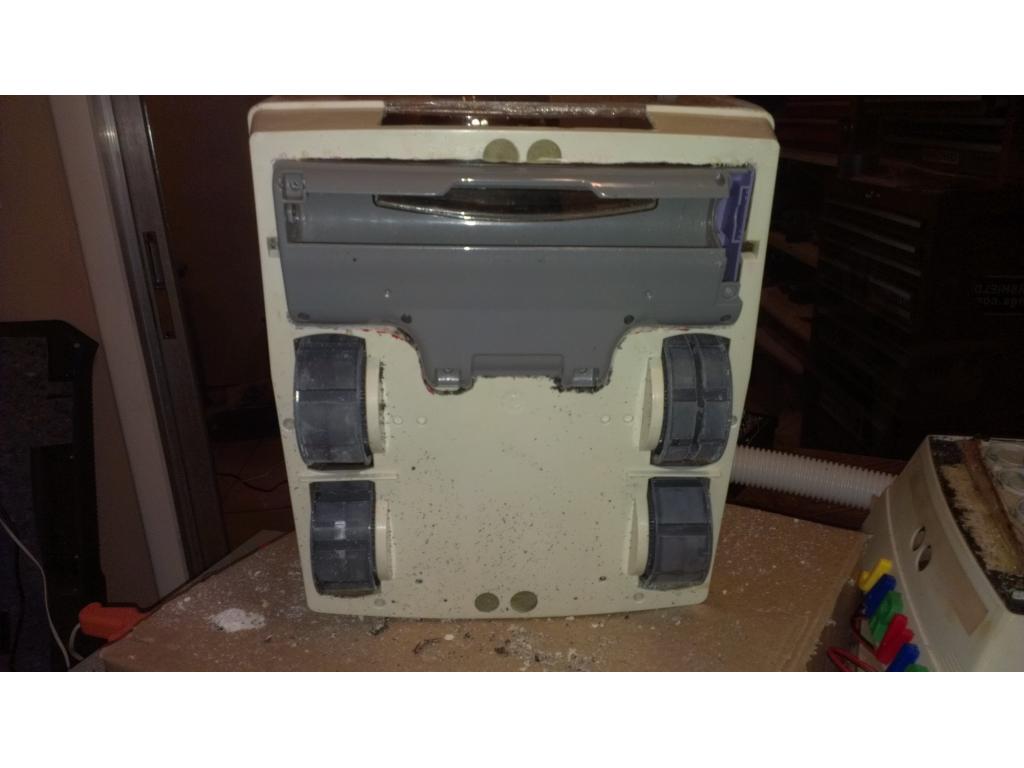
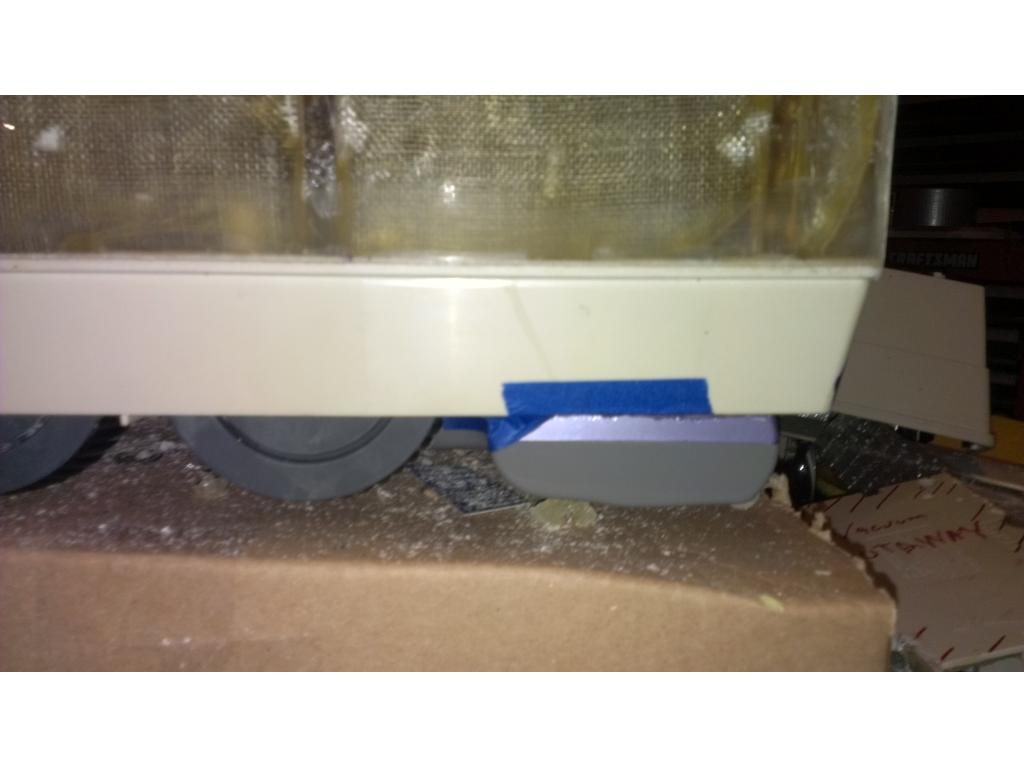
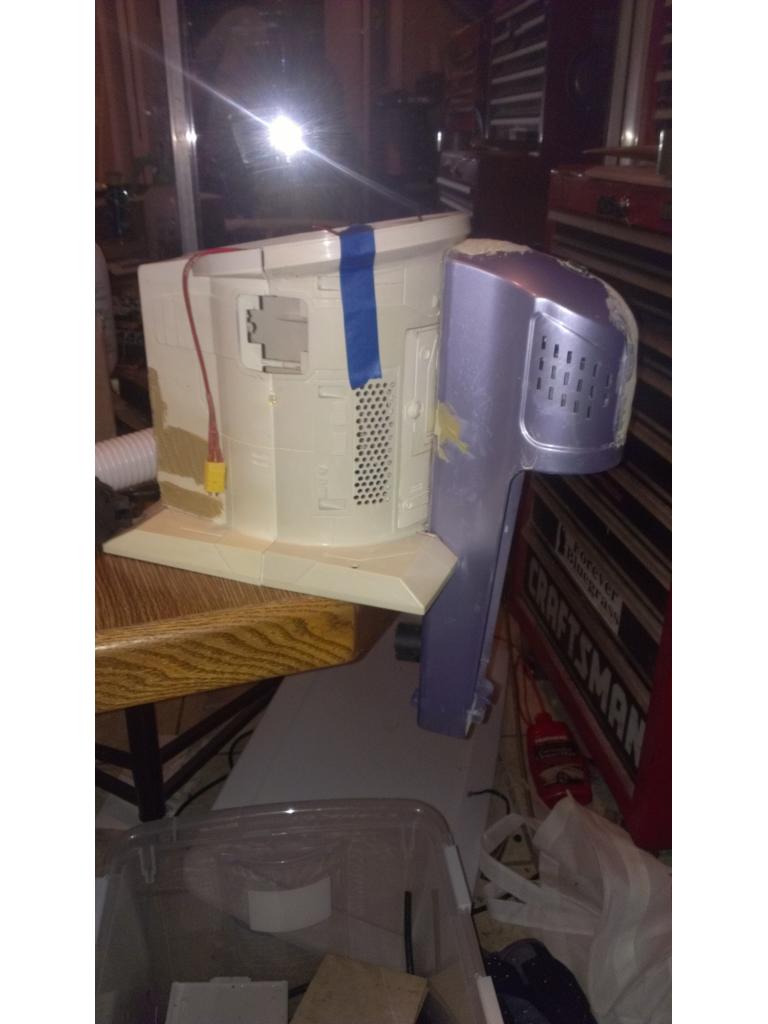
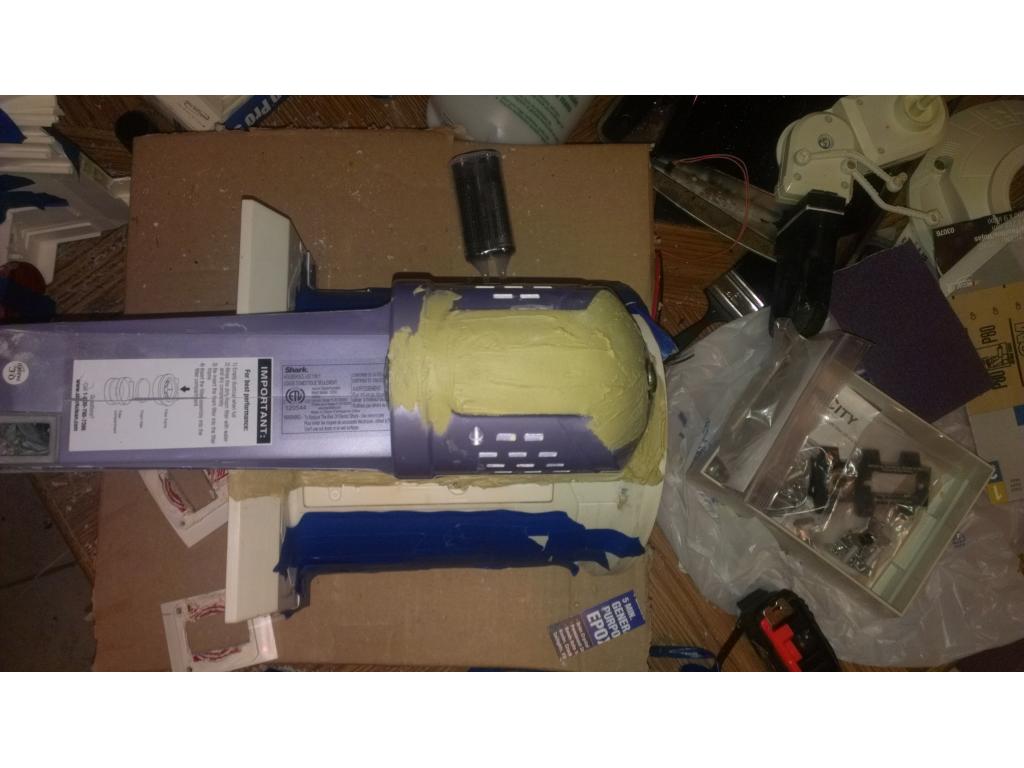
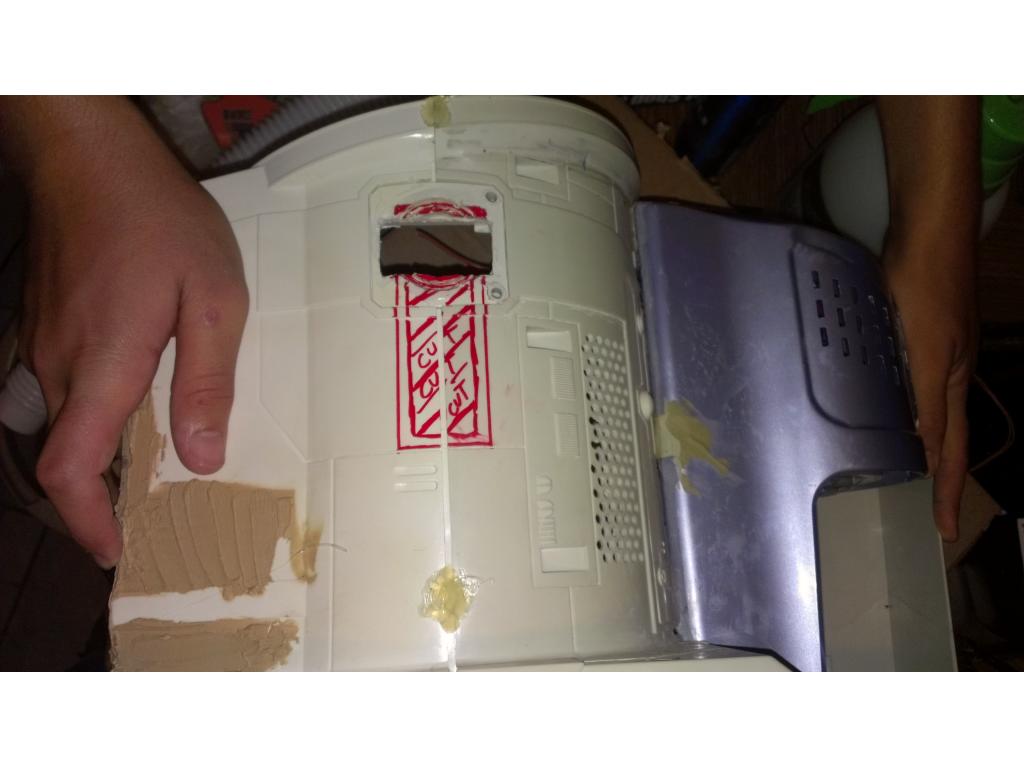
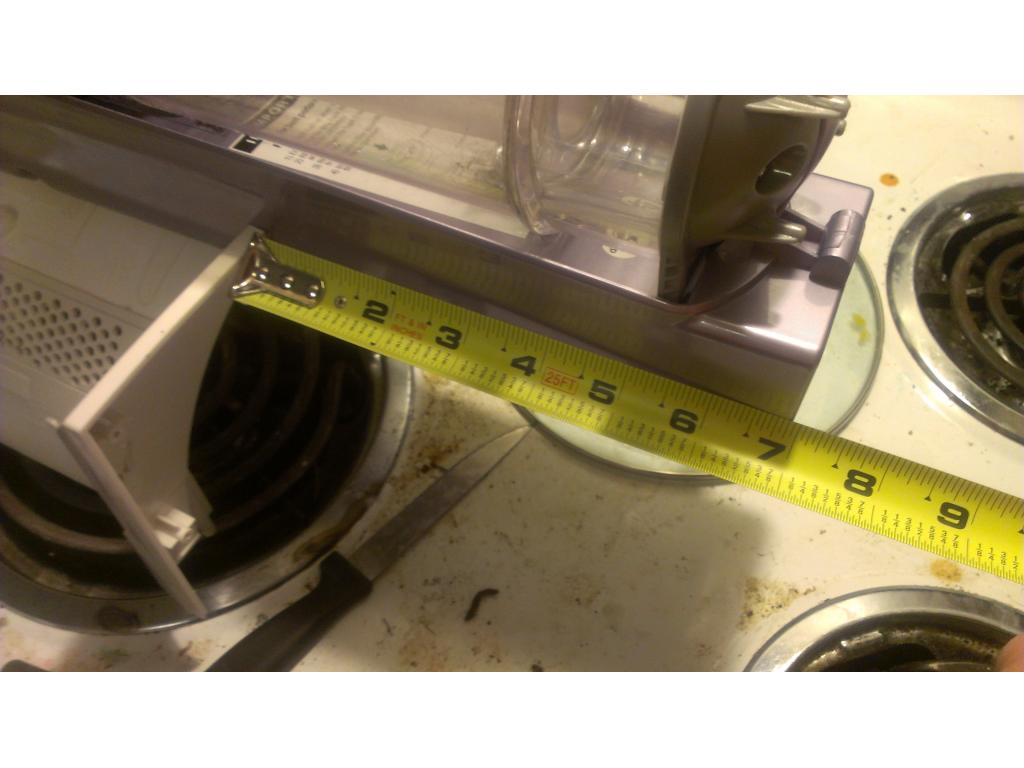
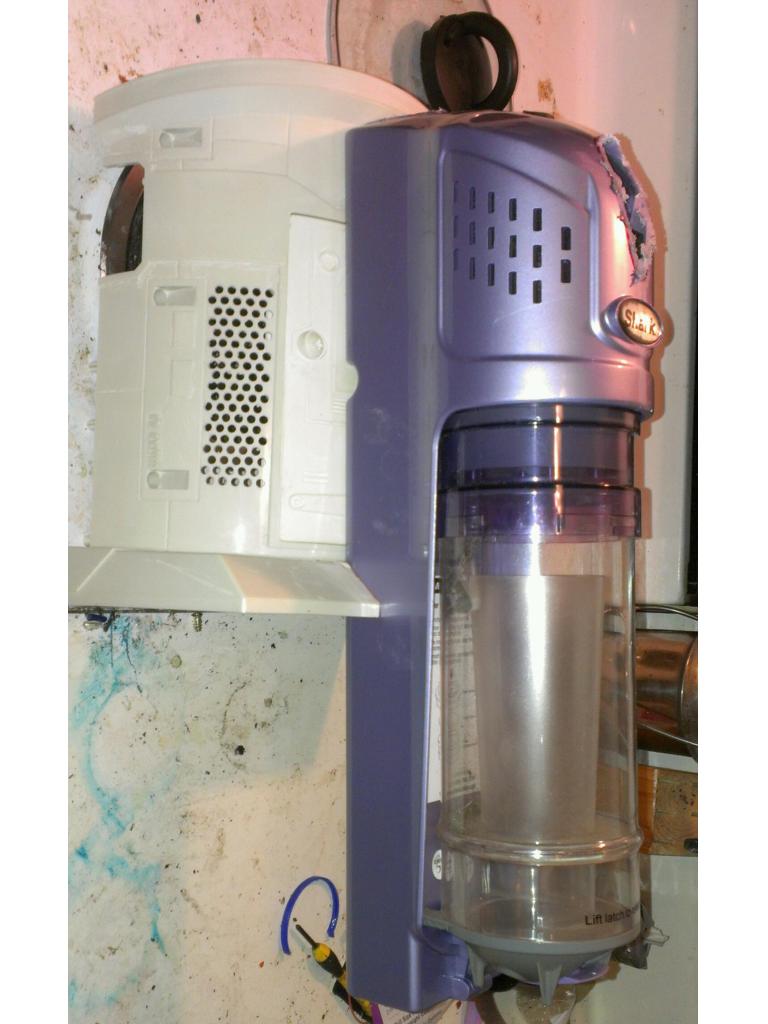
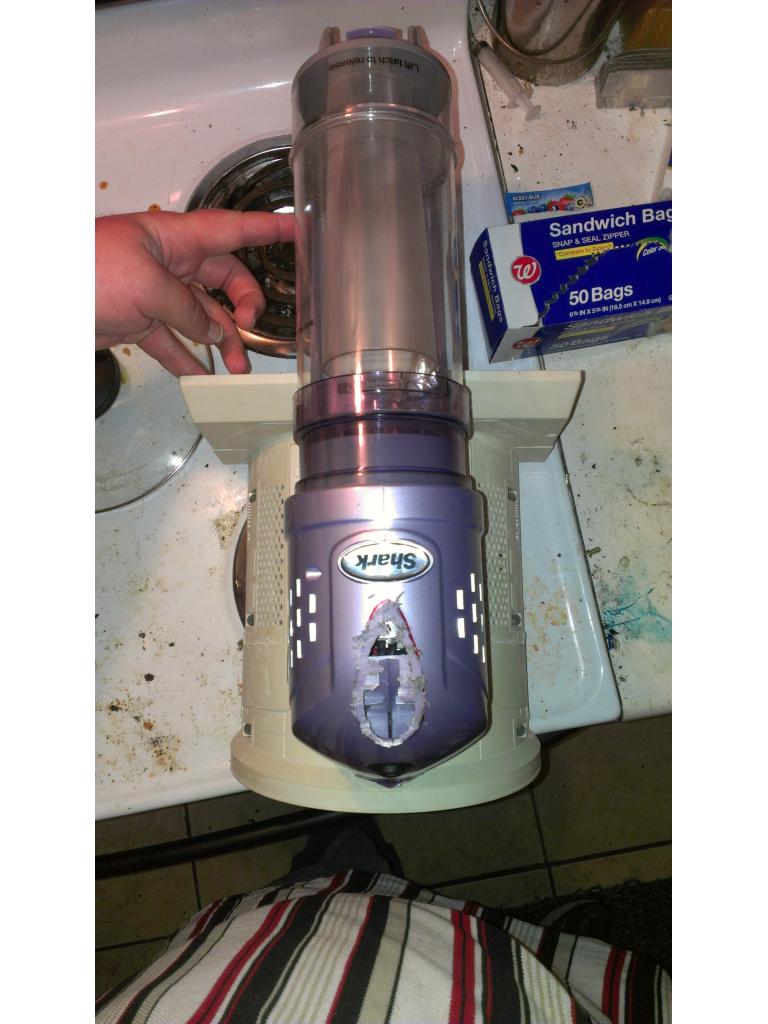
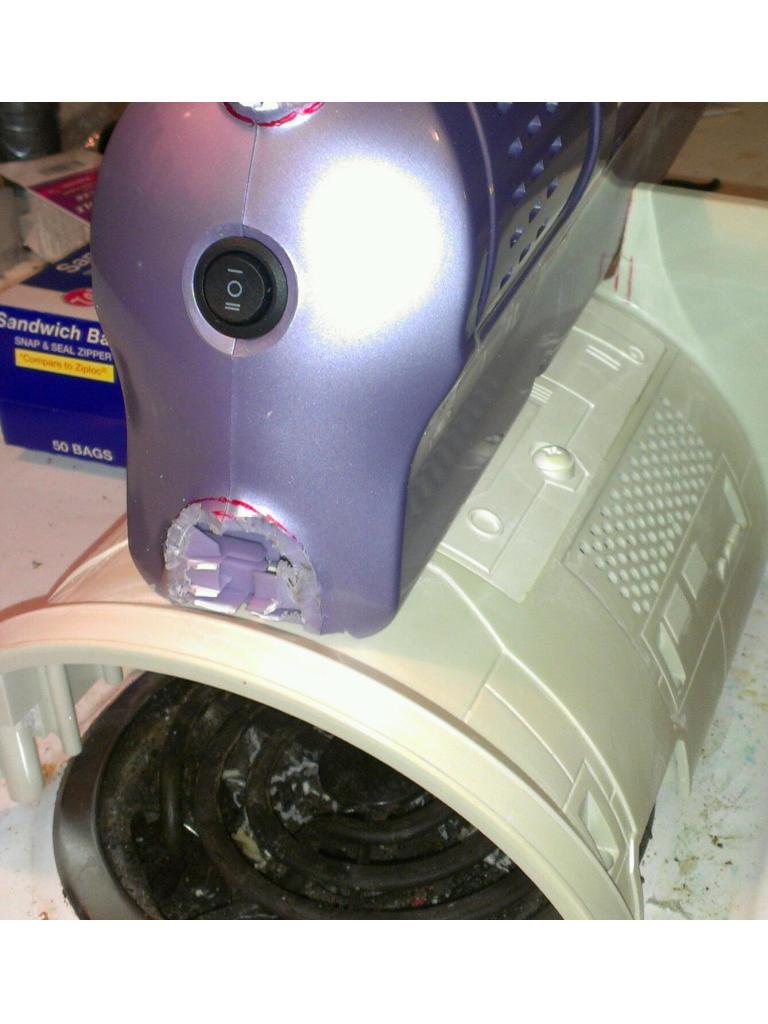
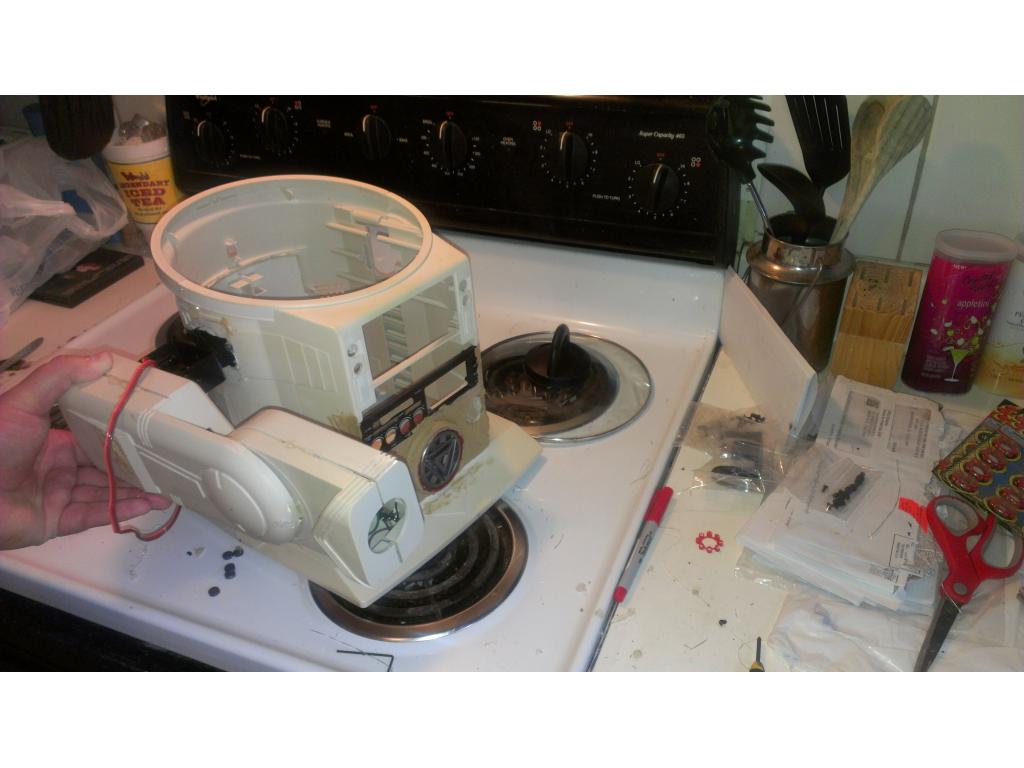
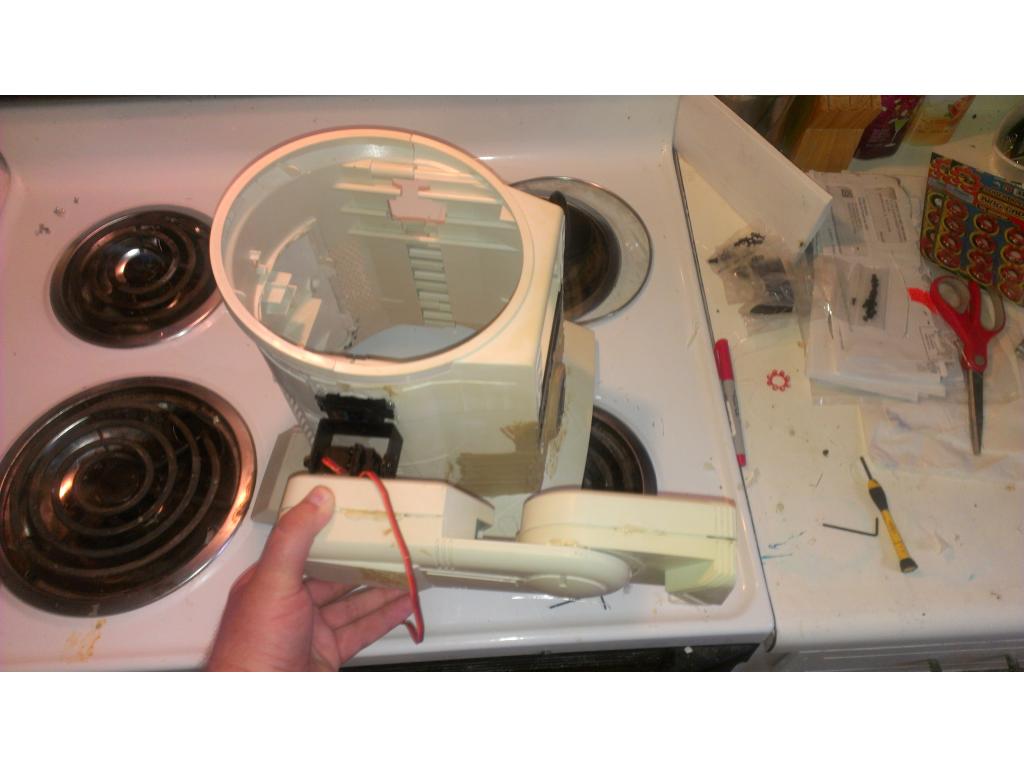
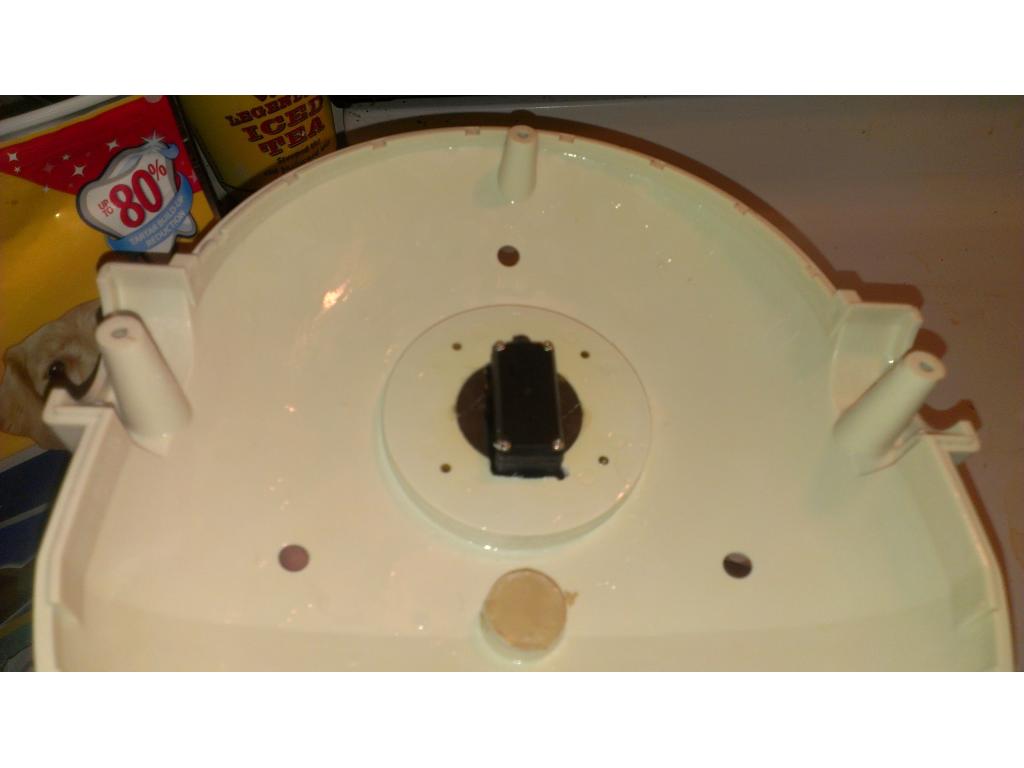
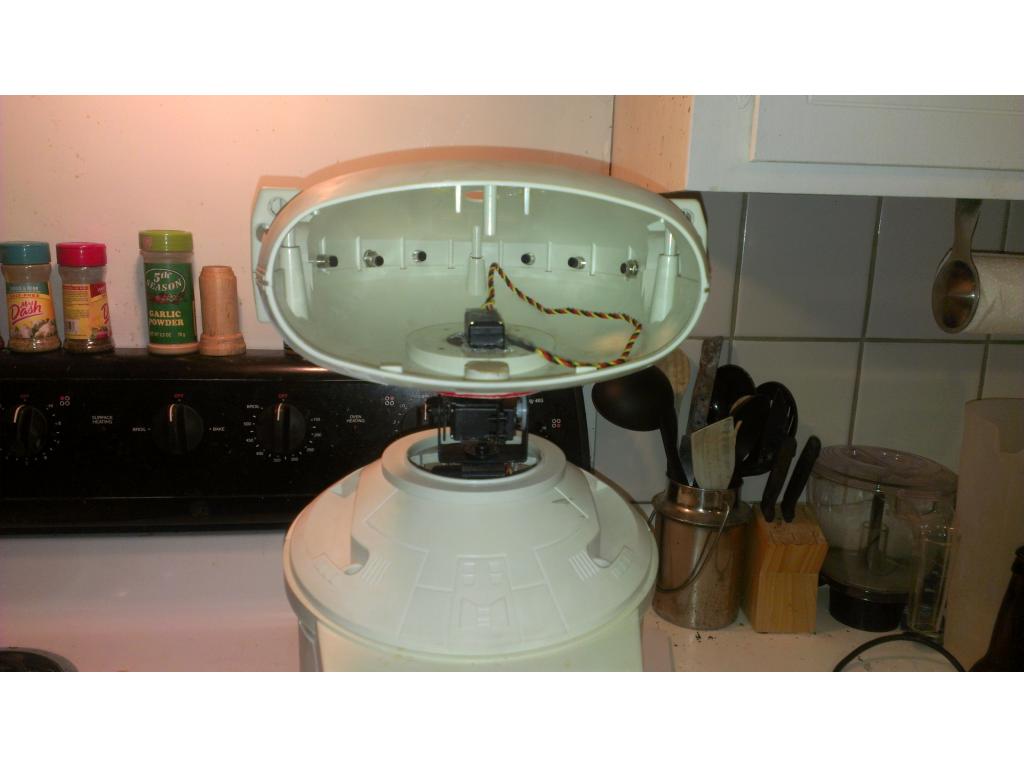
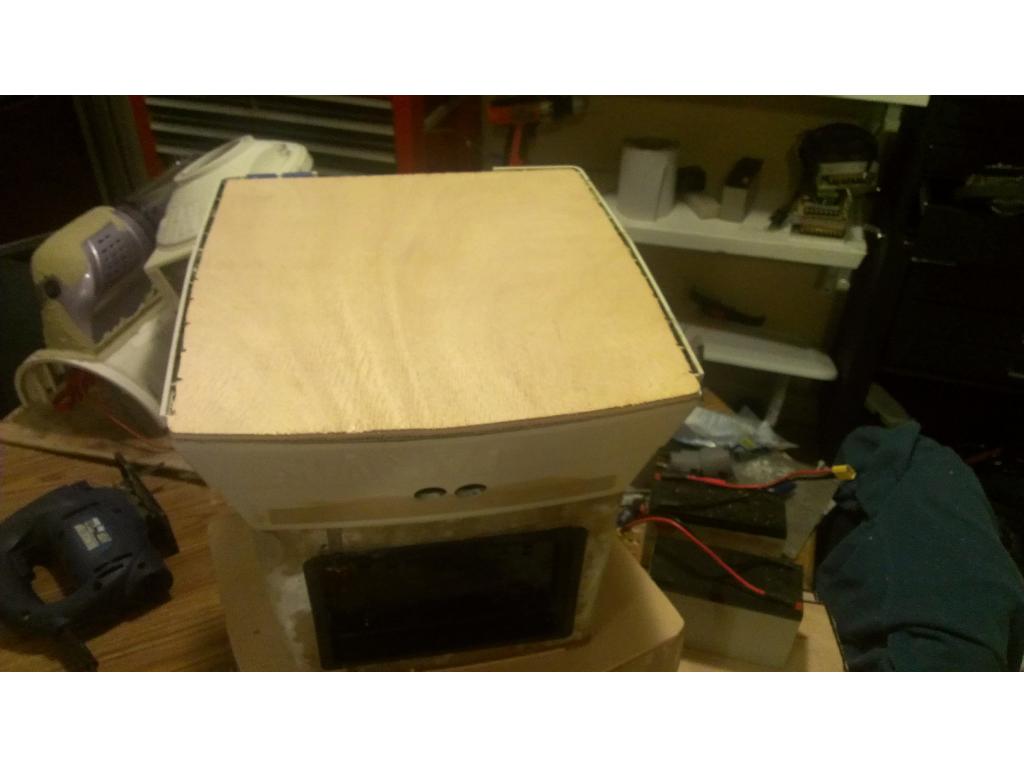
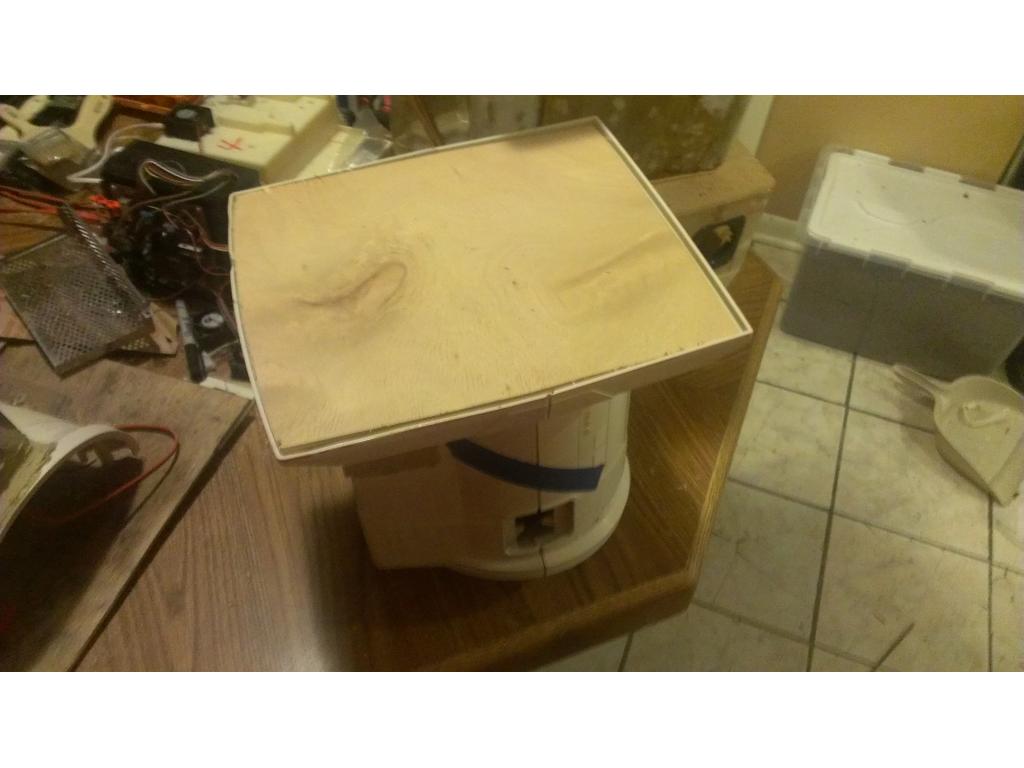
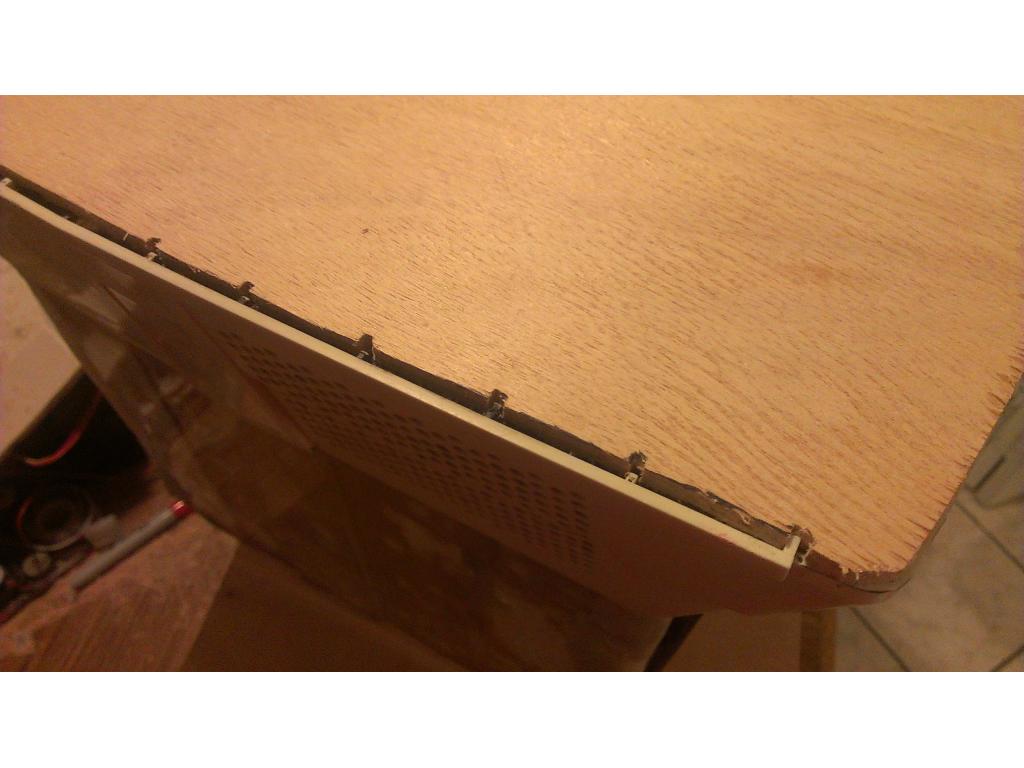
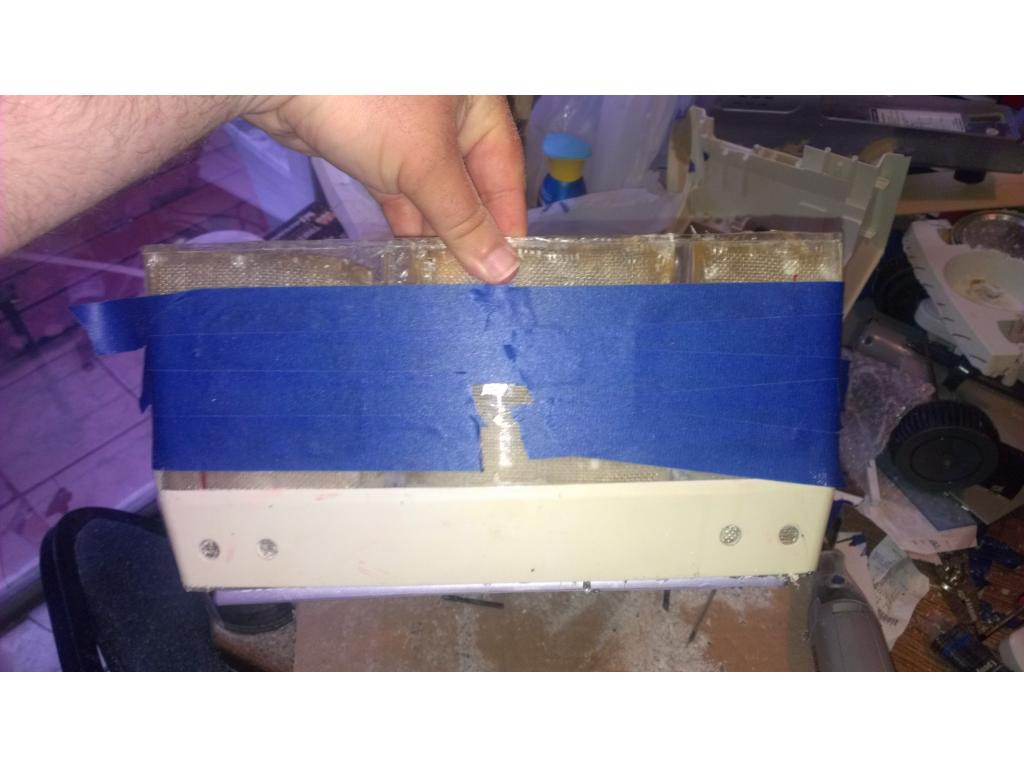
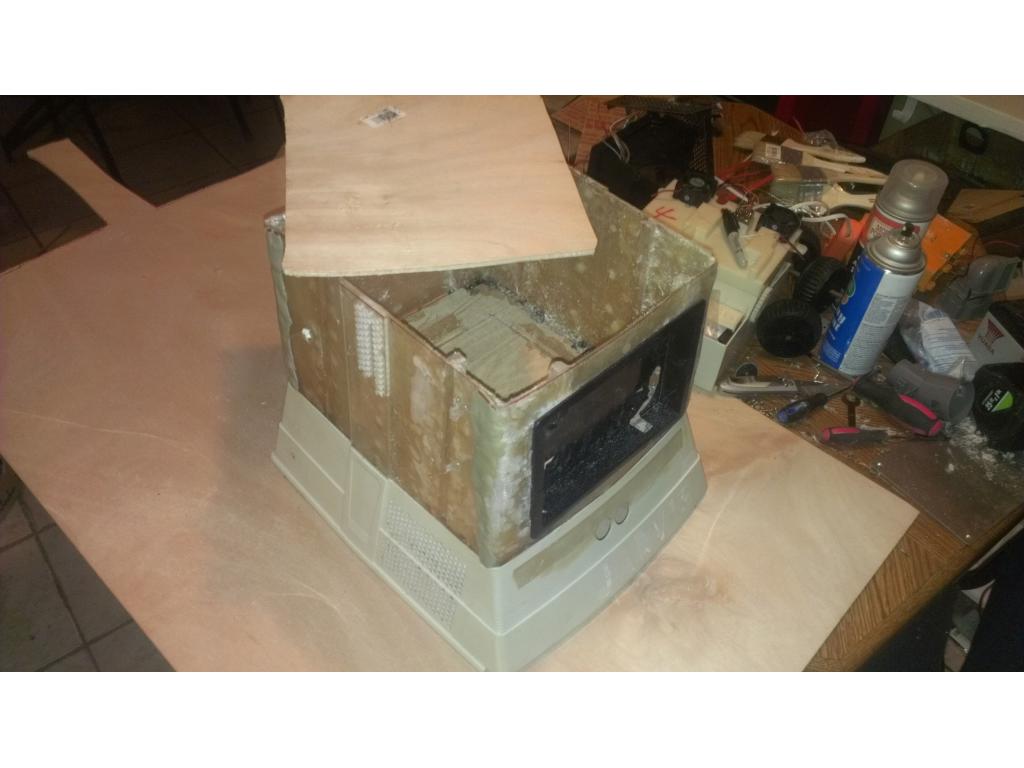
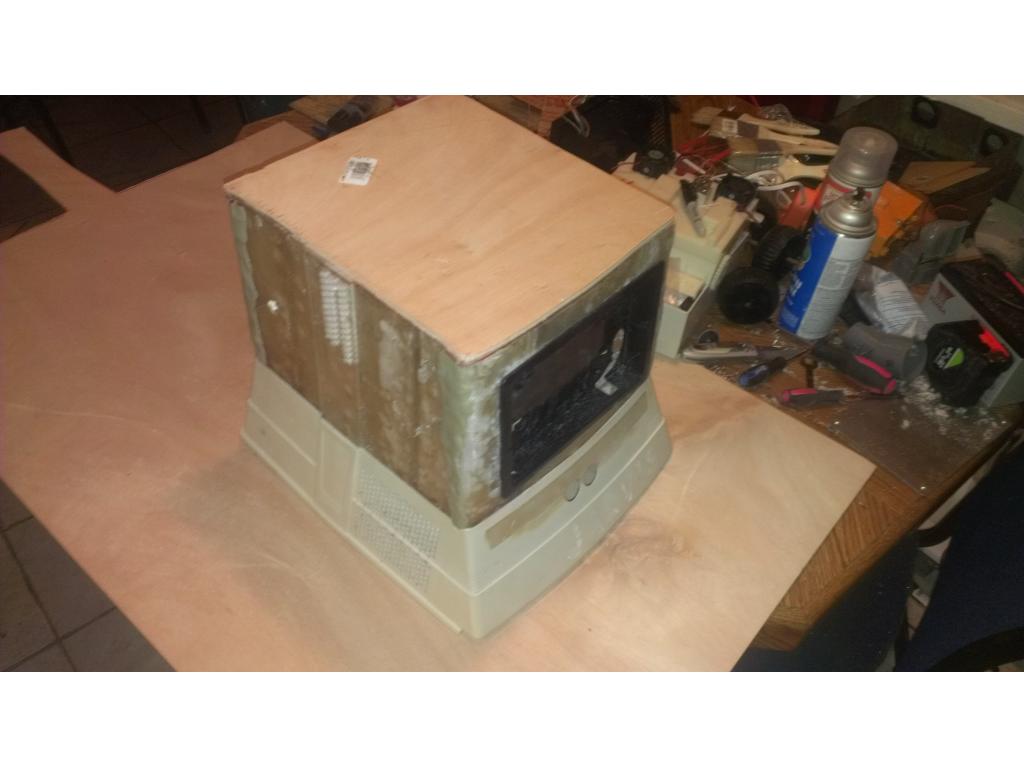
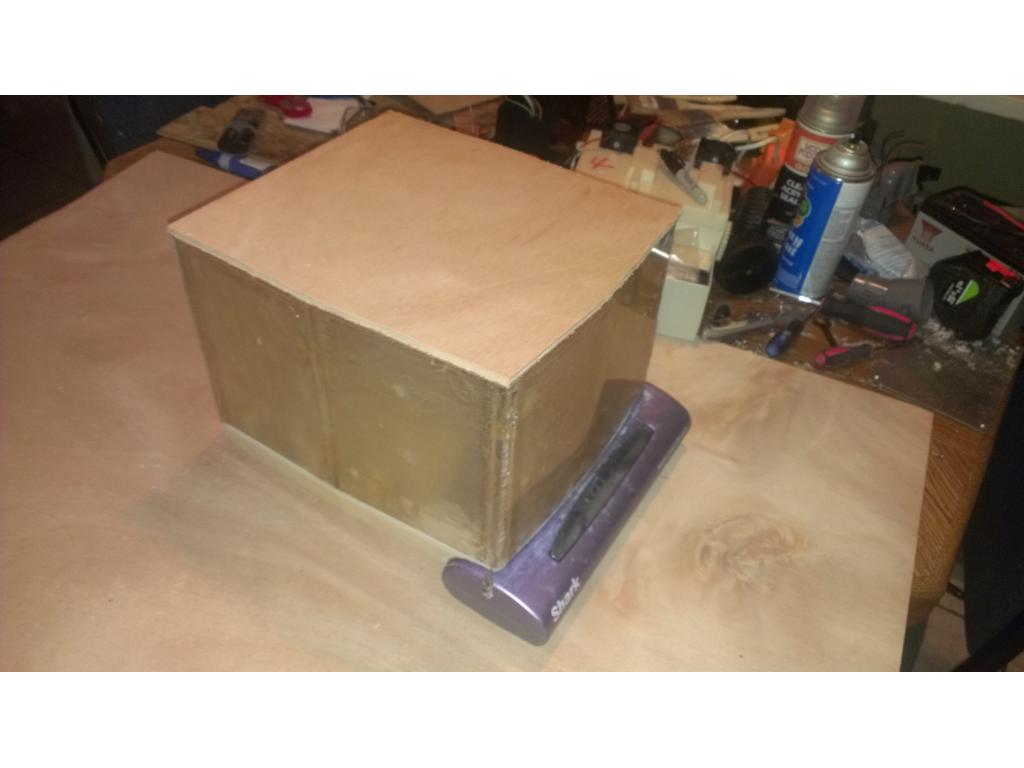
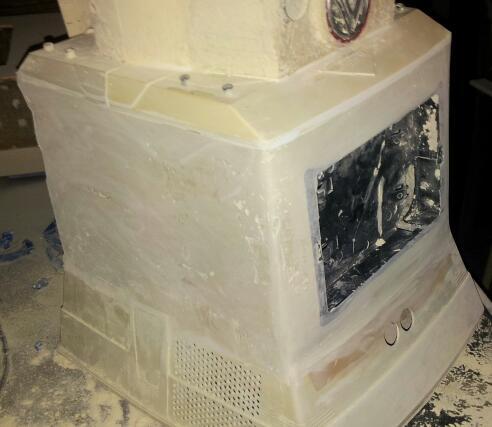
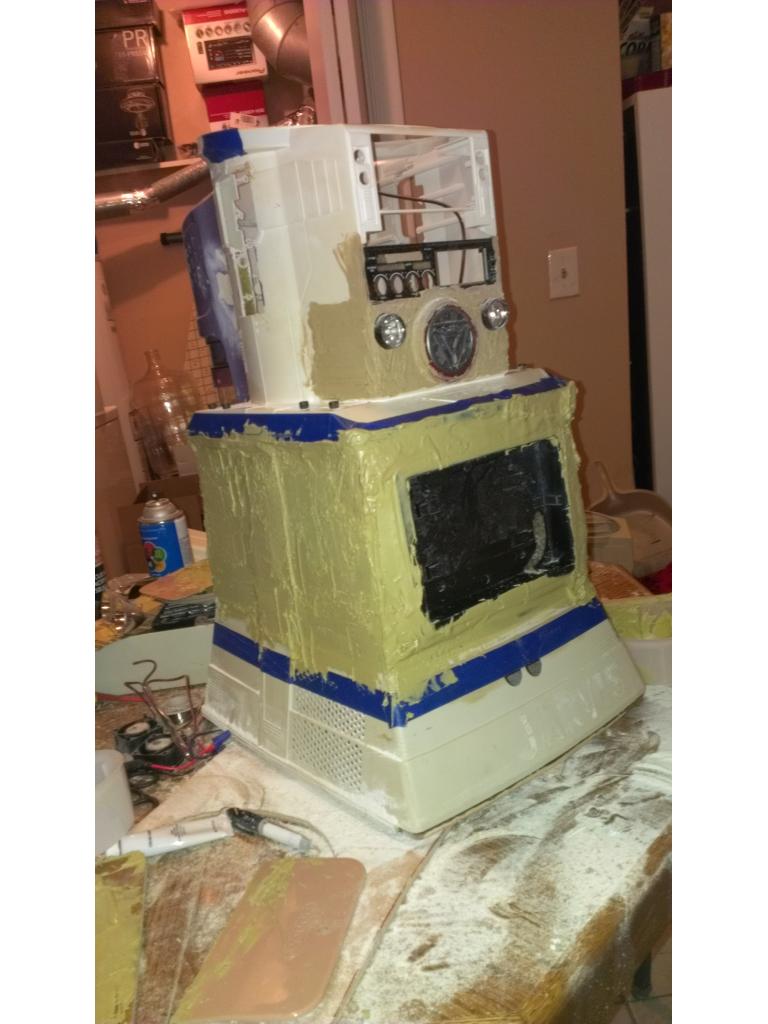
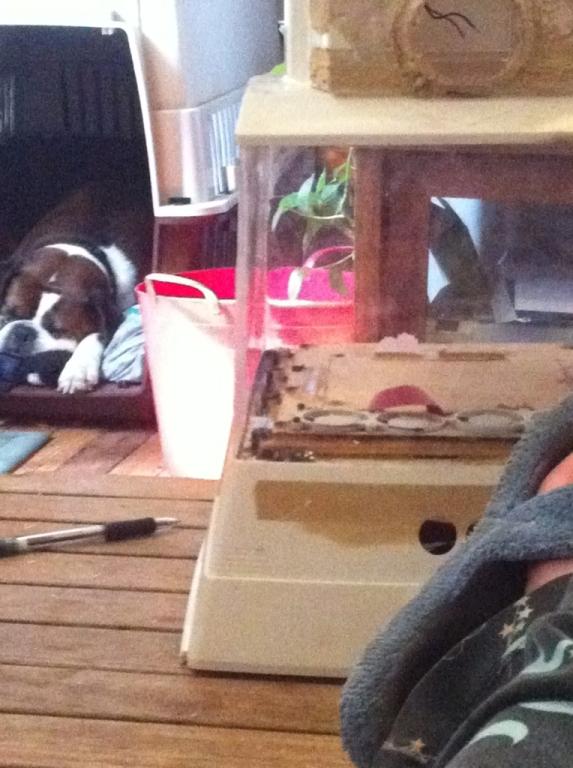
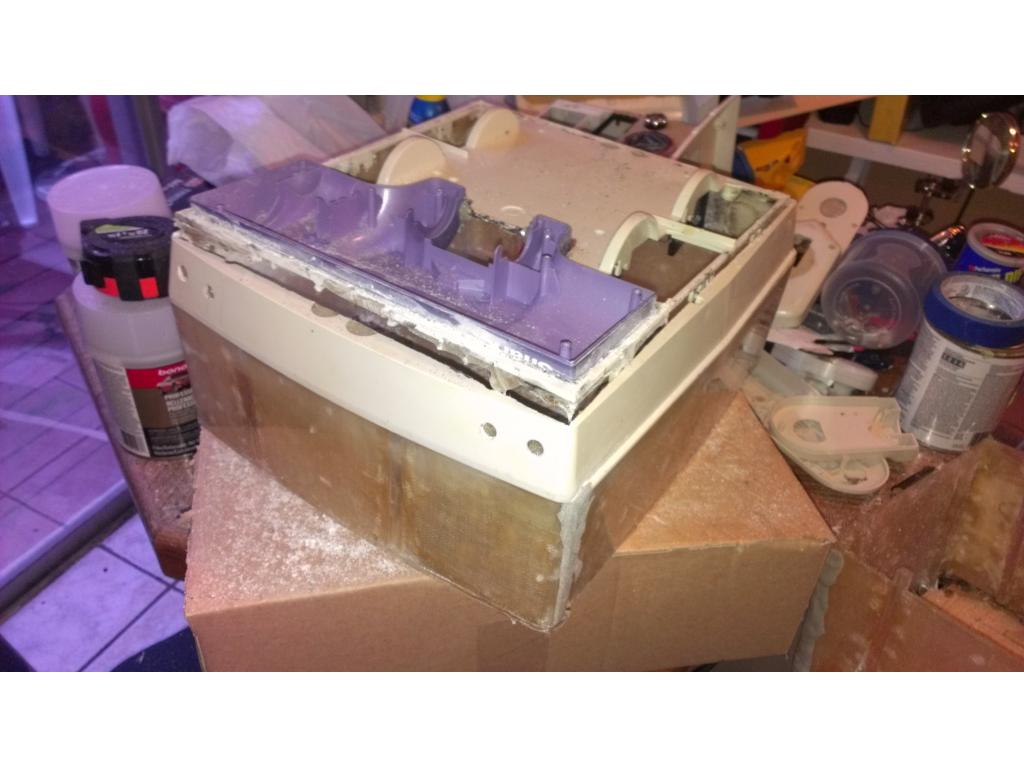
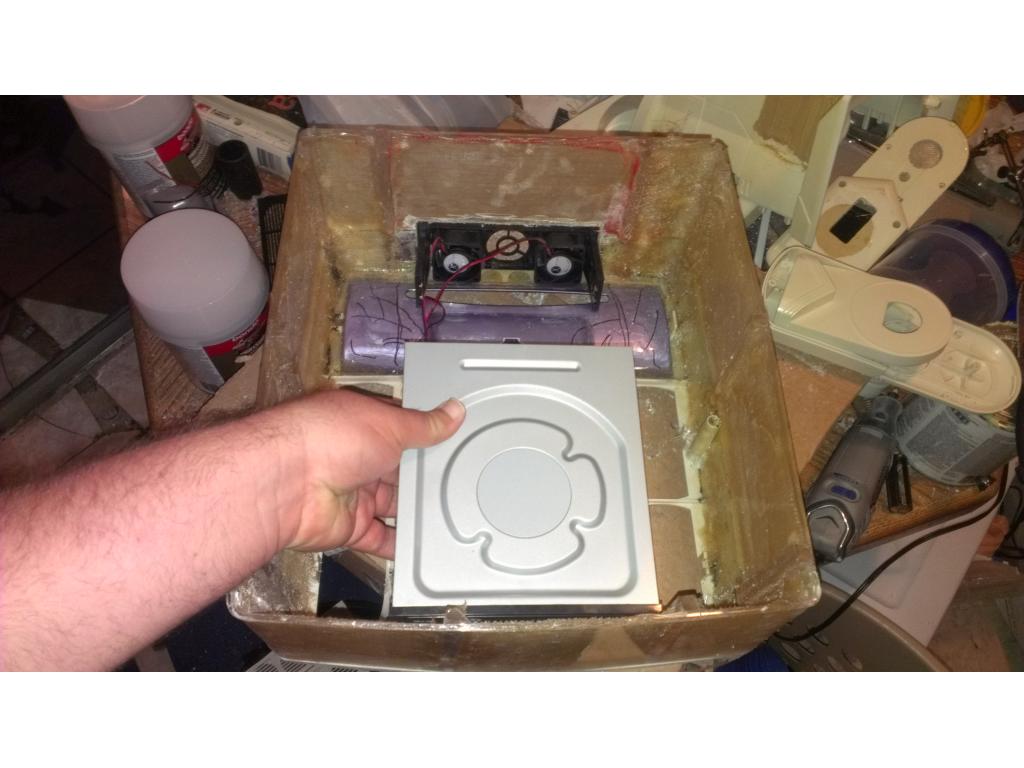
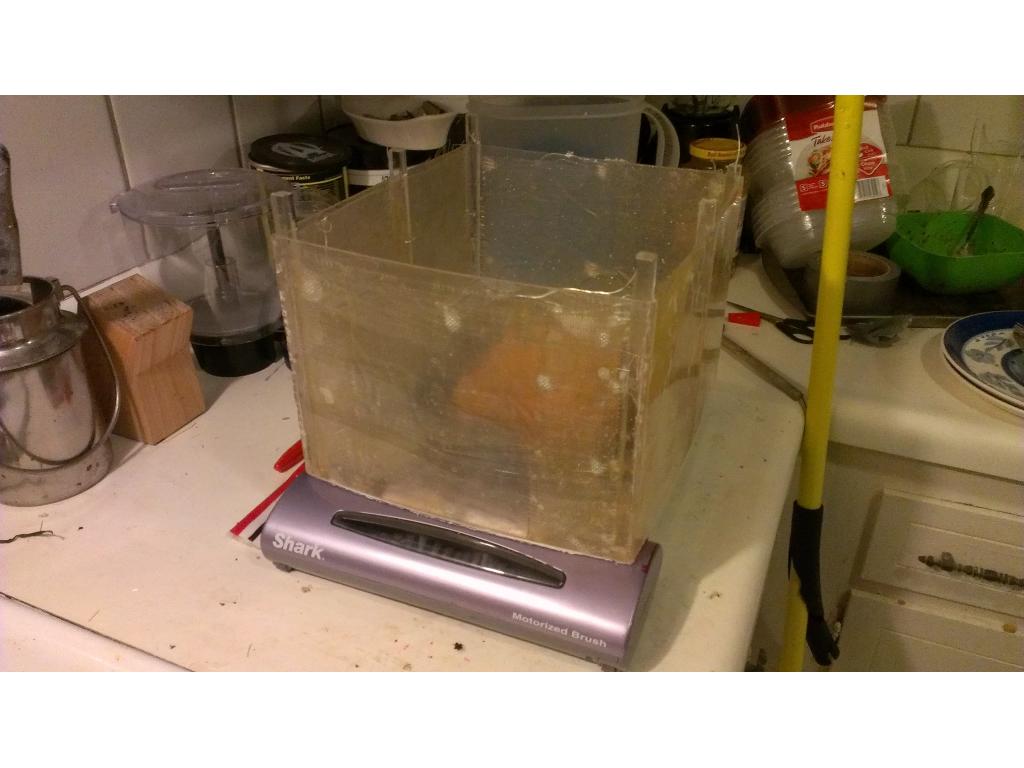
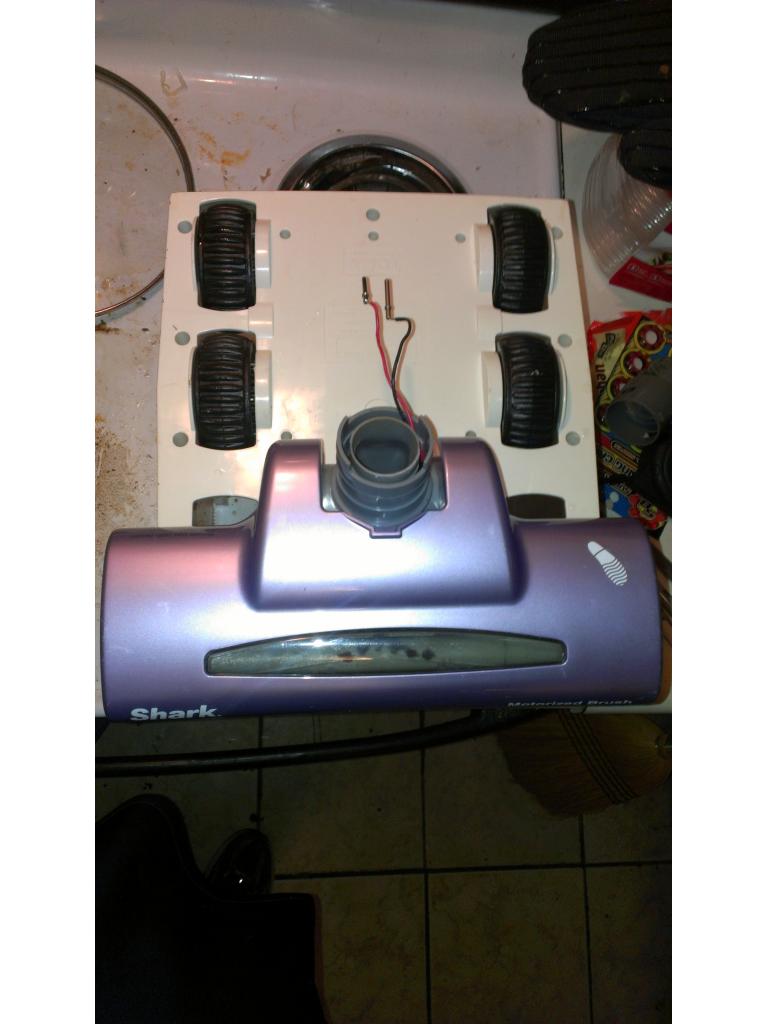
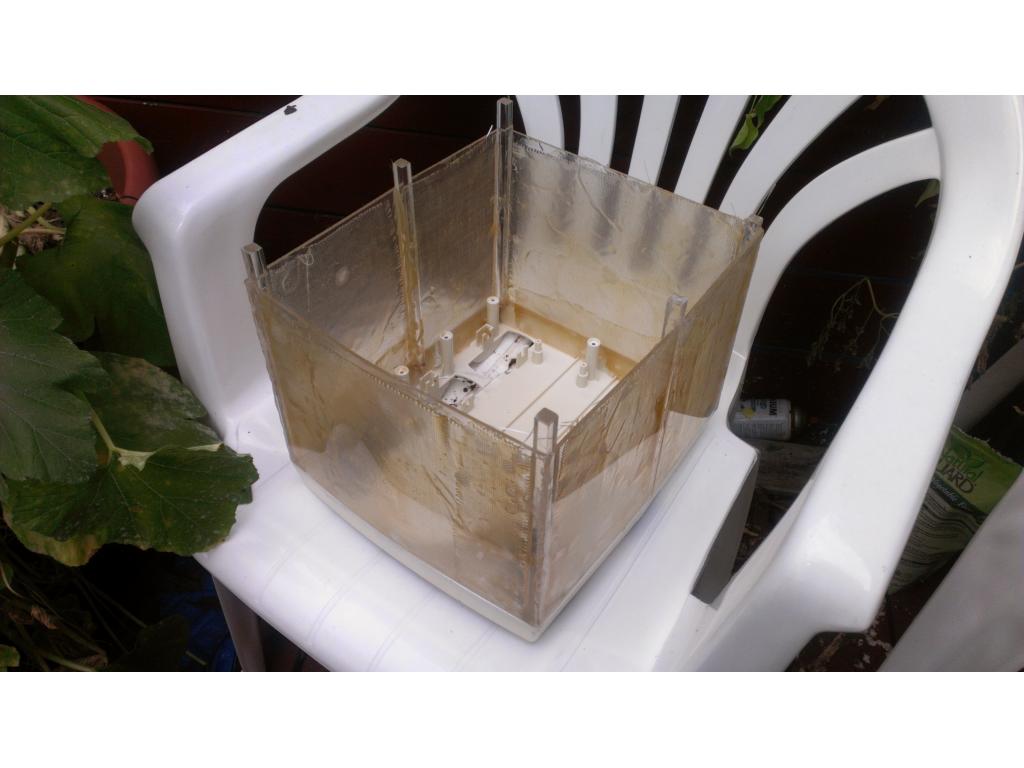
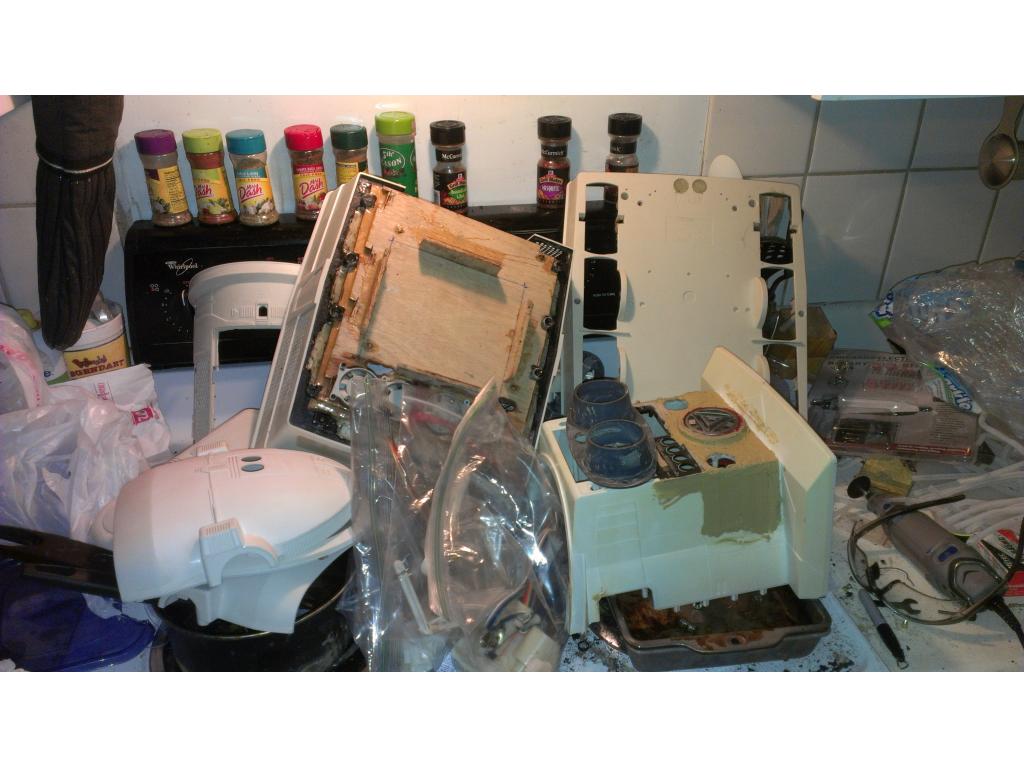
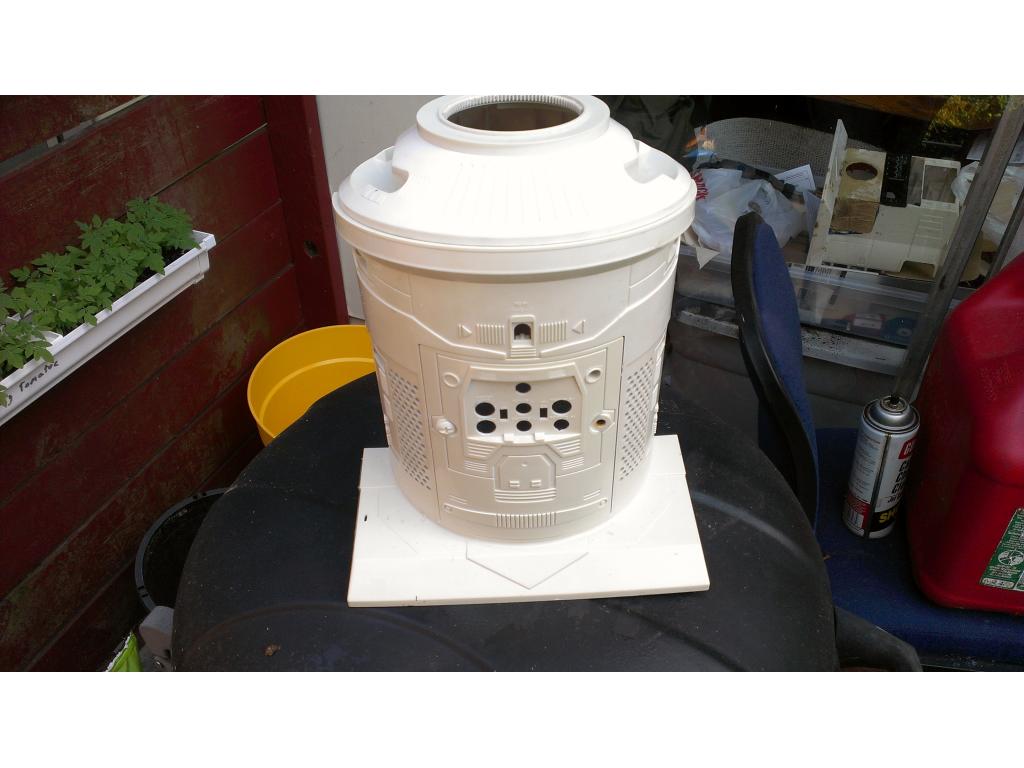
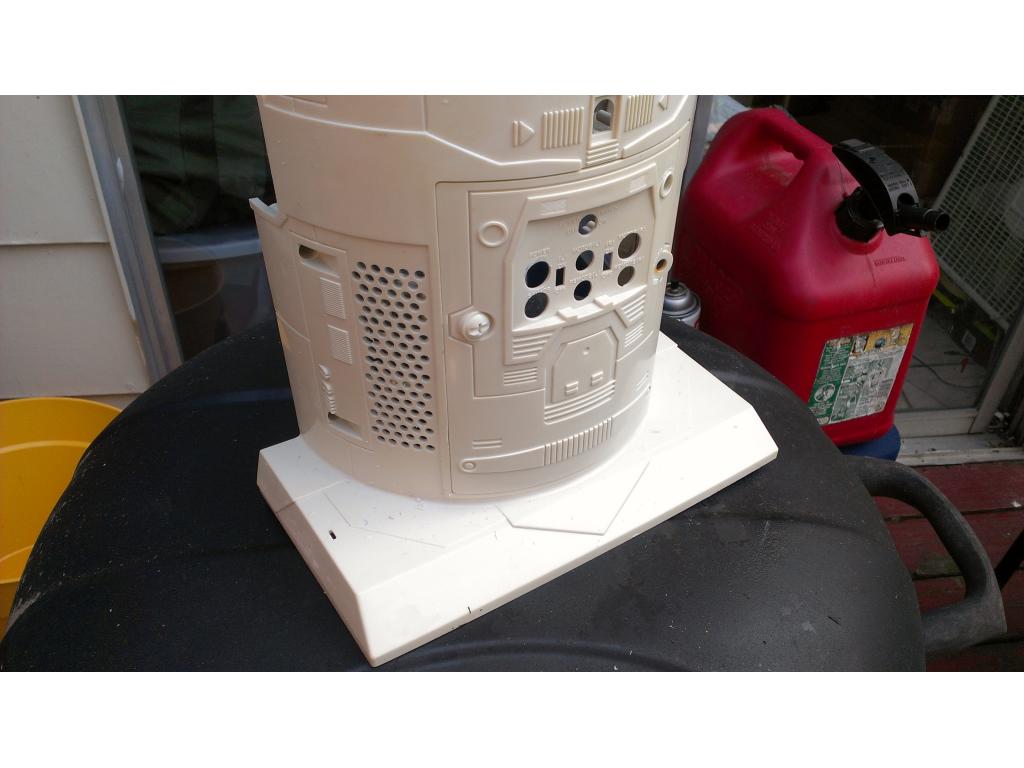
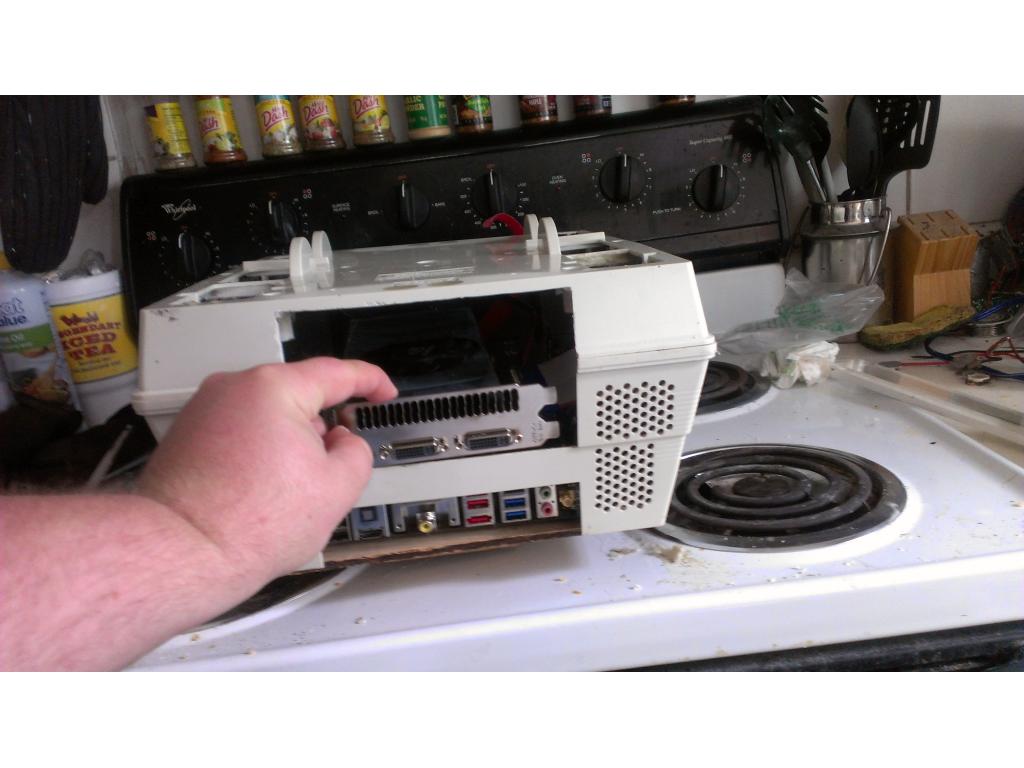
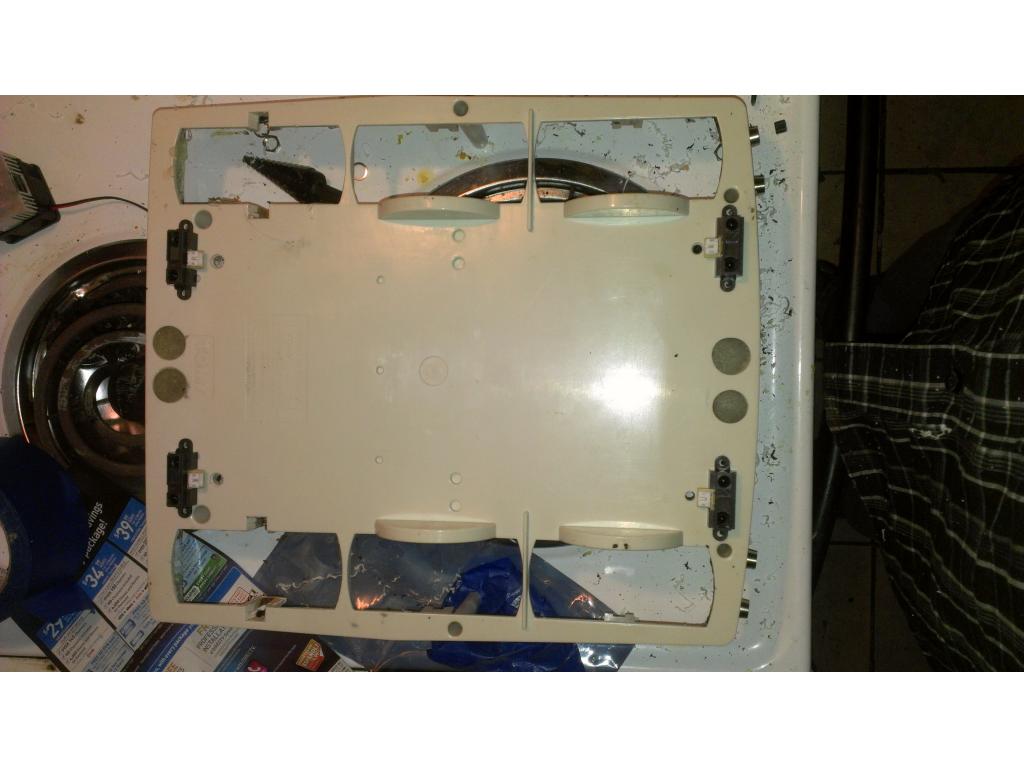
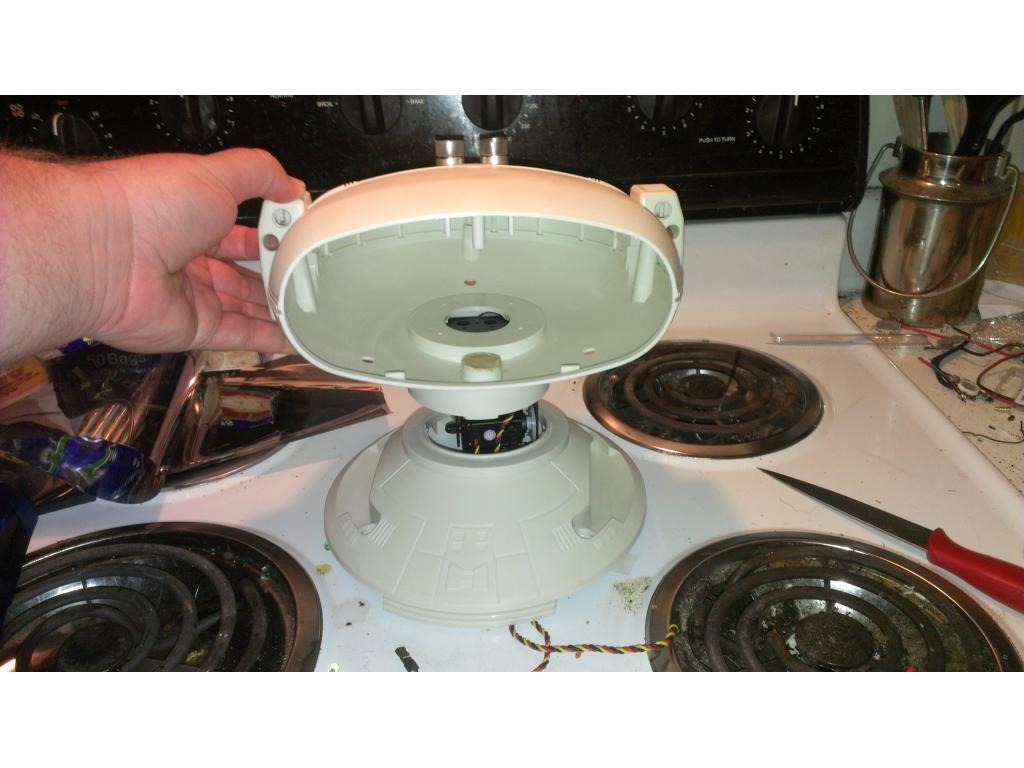
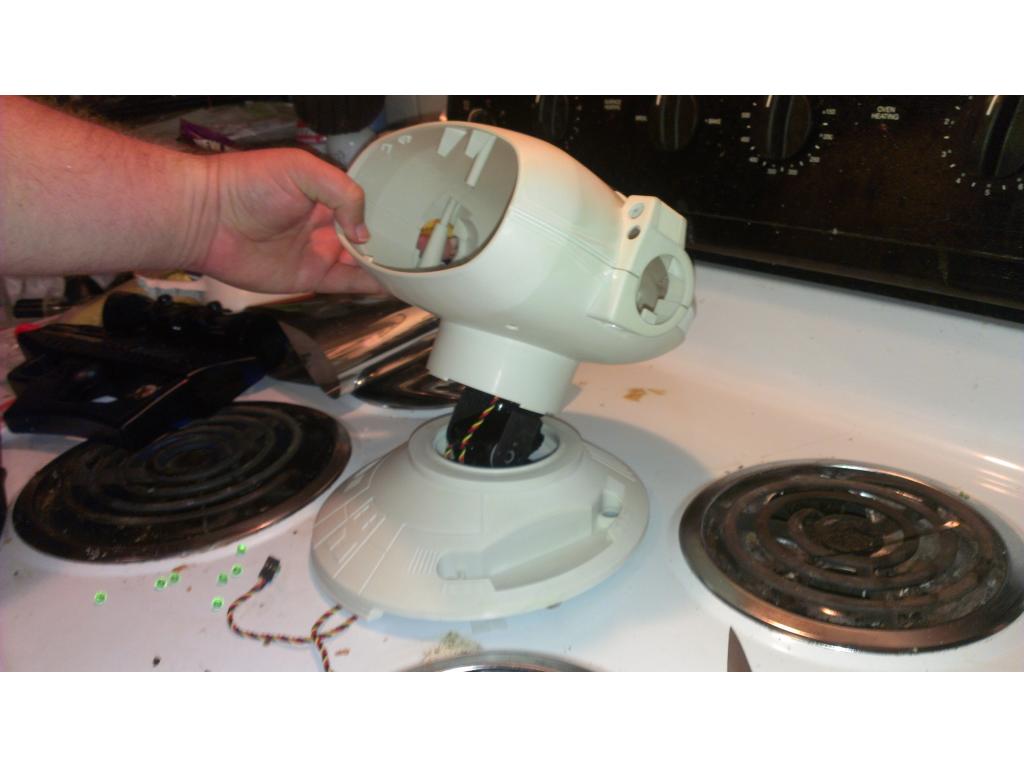
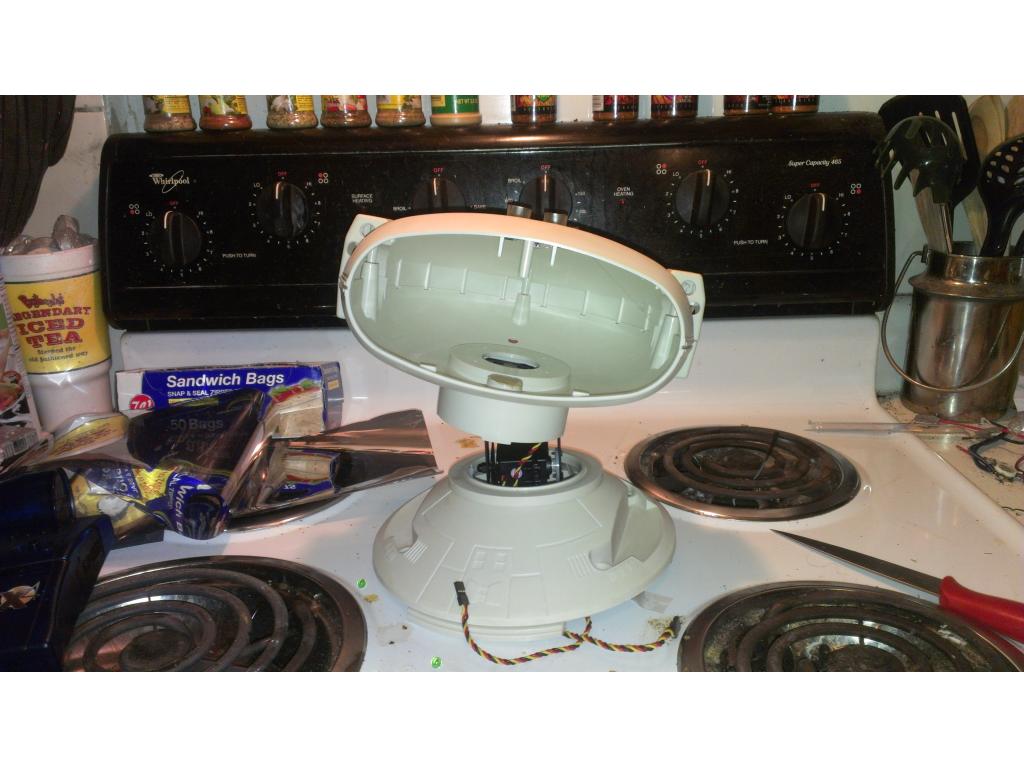
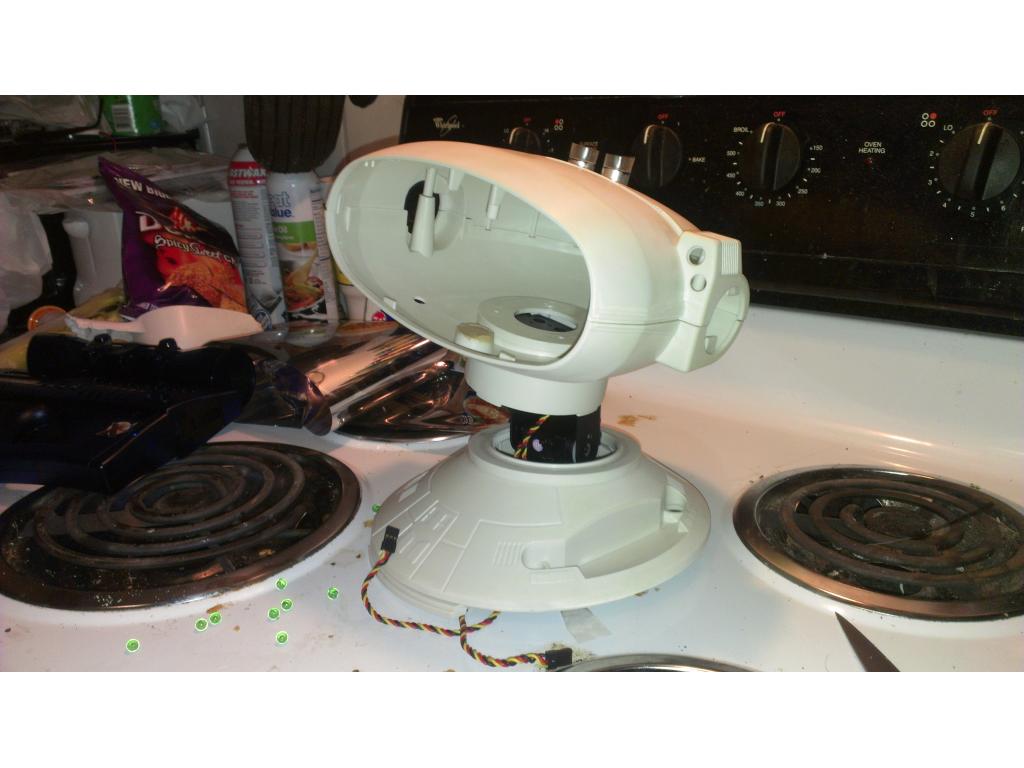
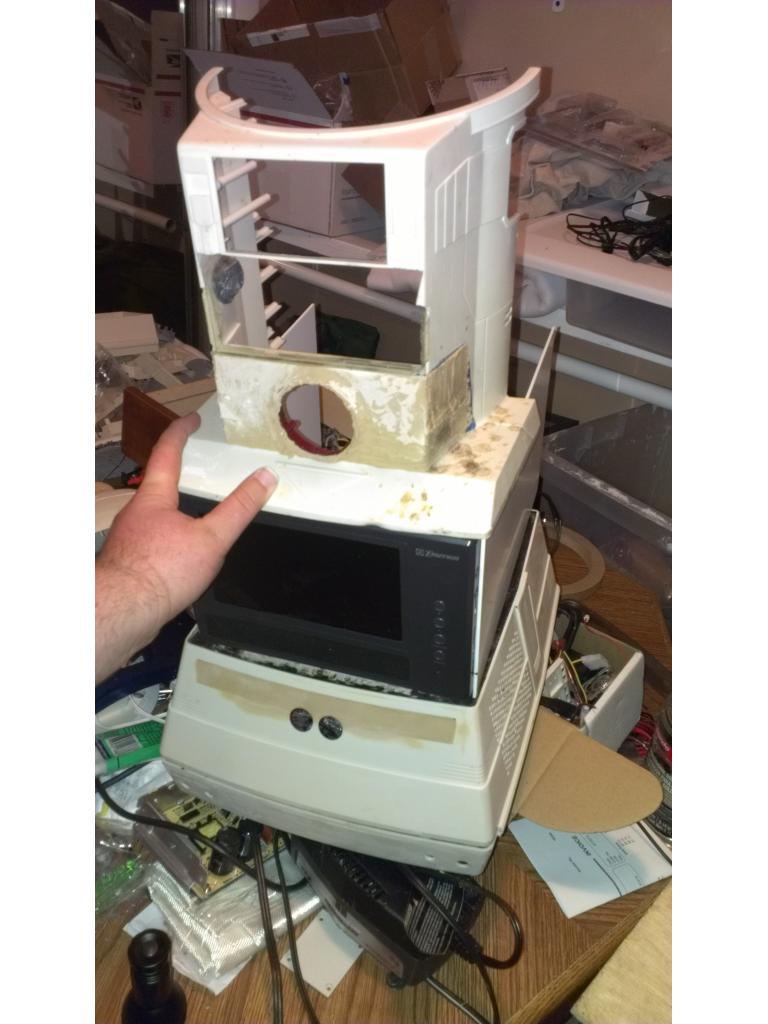
6 screws and the torso and vacuum comes off. It's easy. I am adding a DVD drive slot I believe on one side. I must widen the radar slot in the front some as well. No big deal lol.
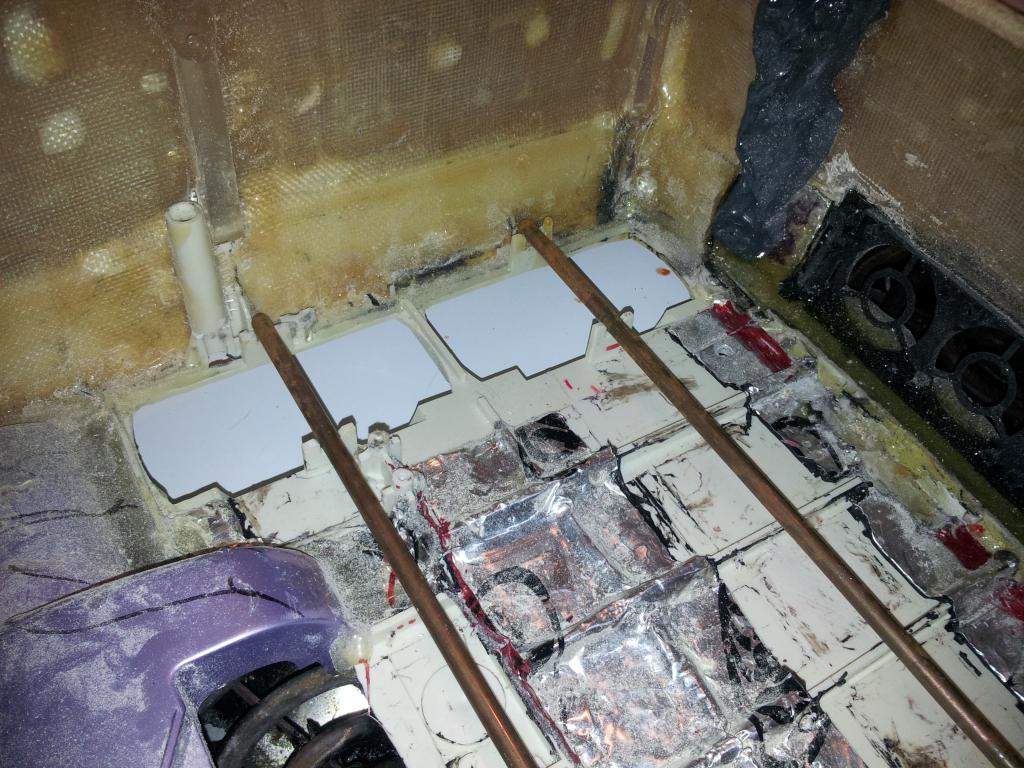
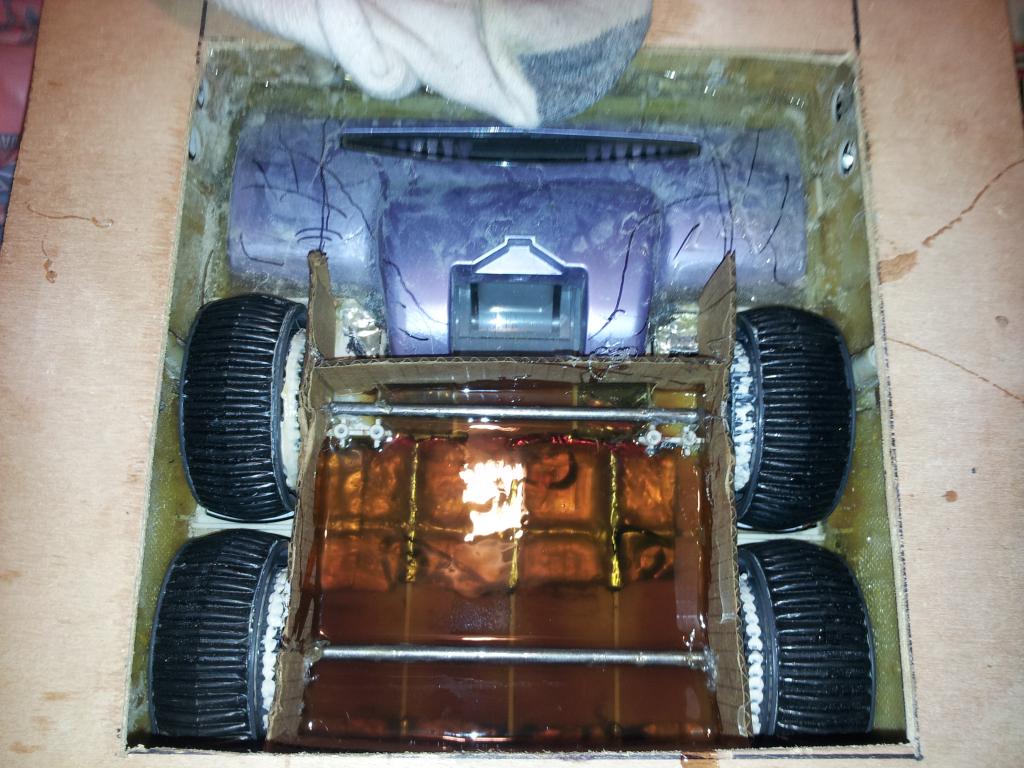
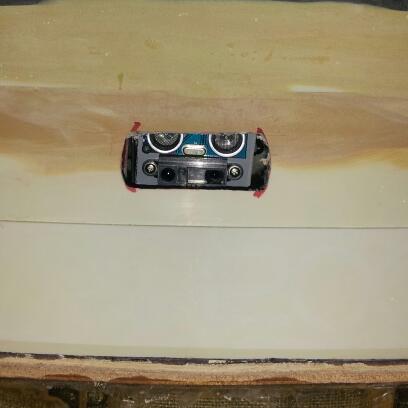
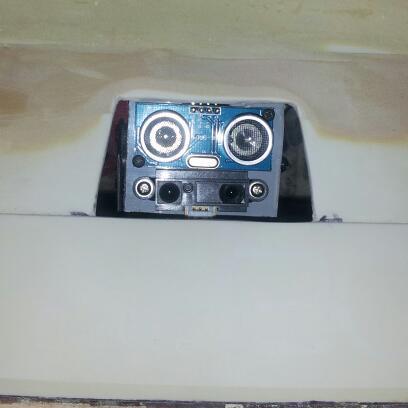
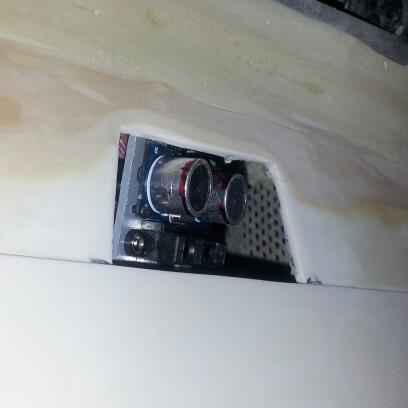
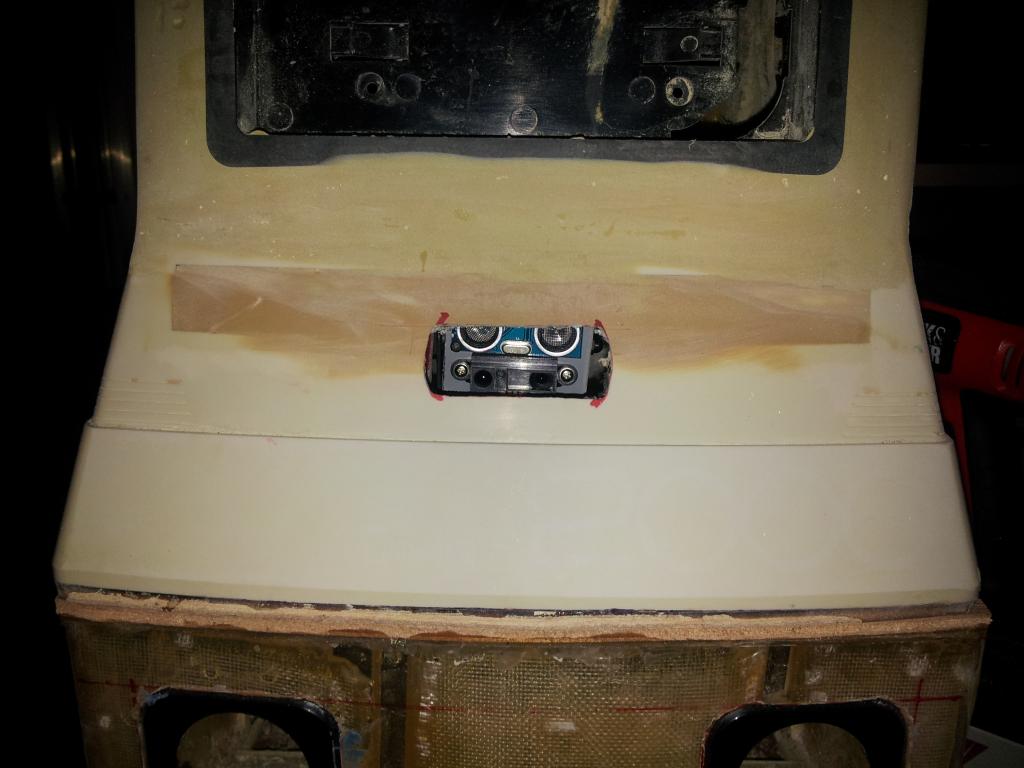
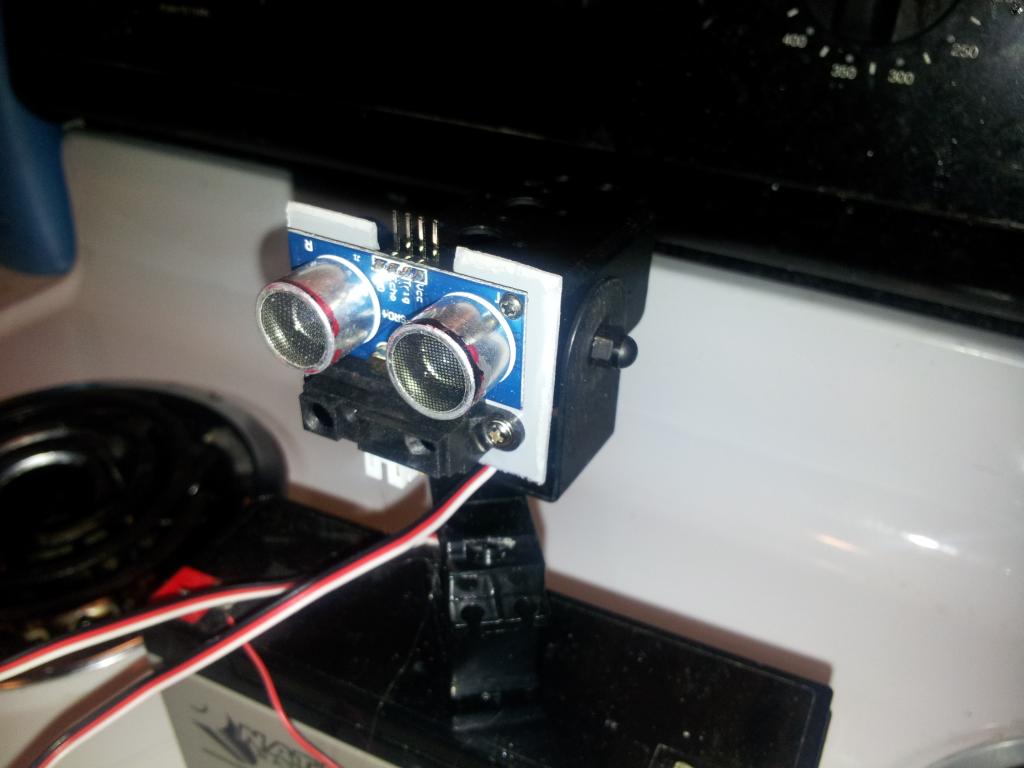
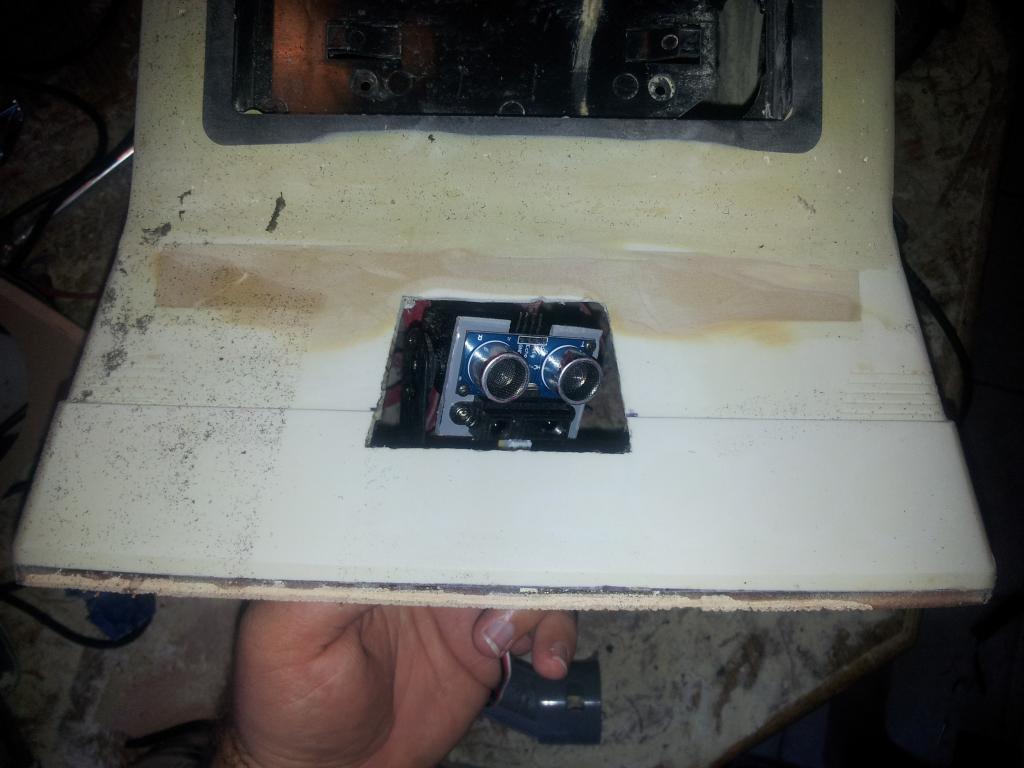
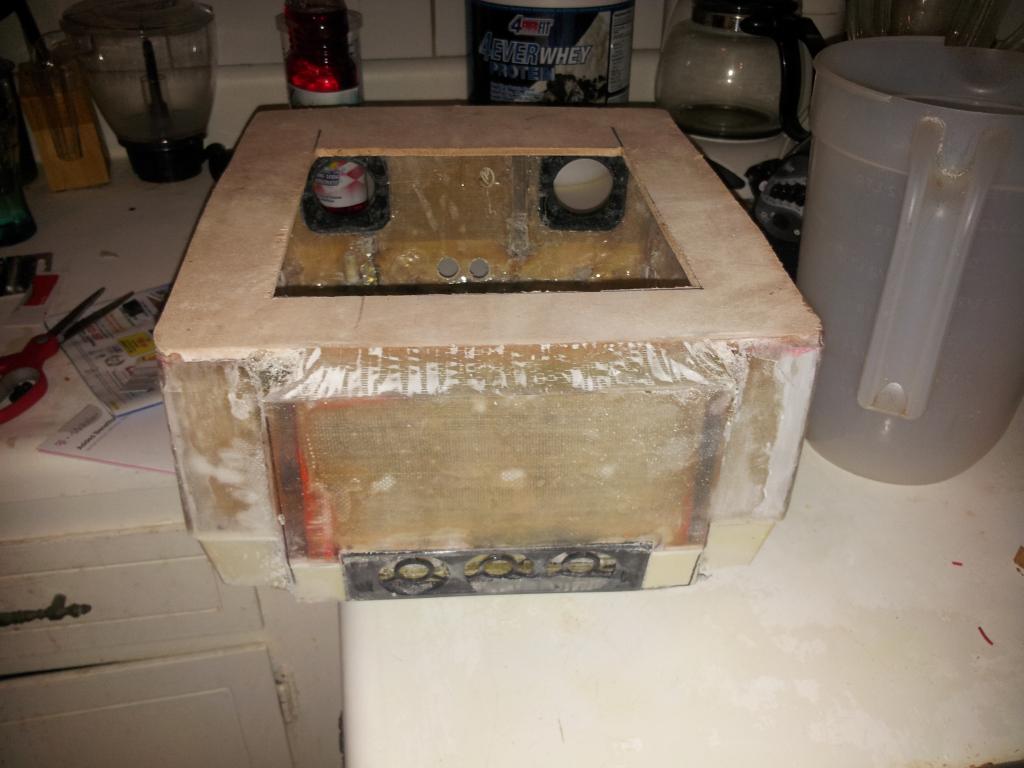
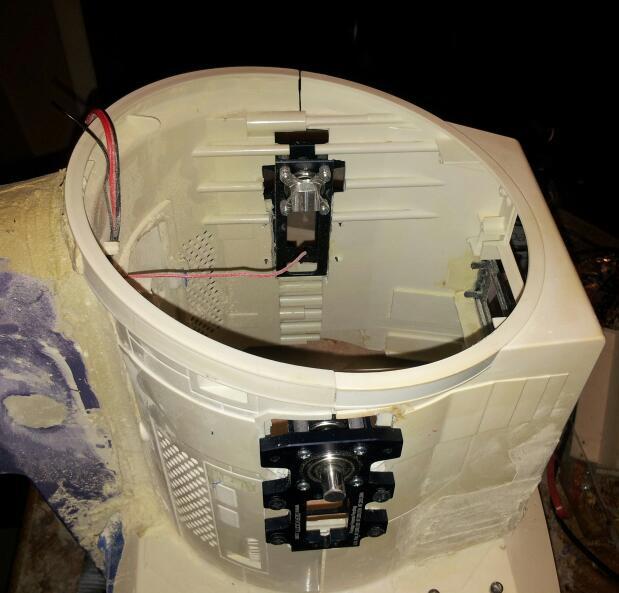
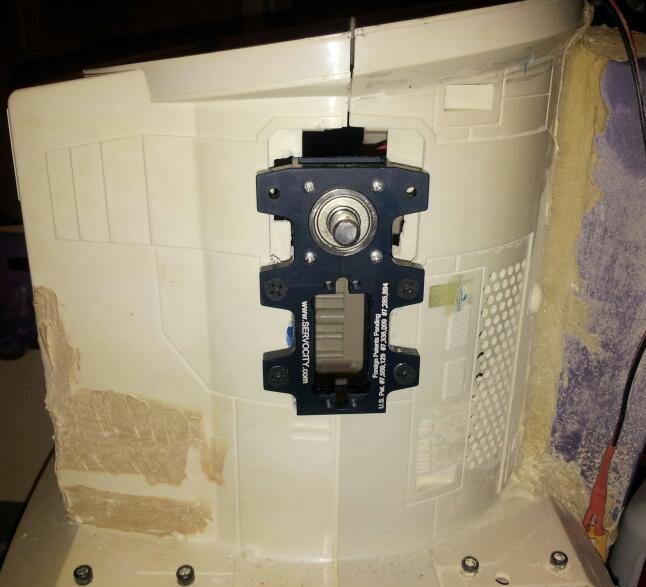
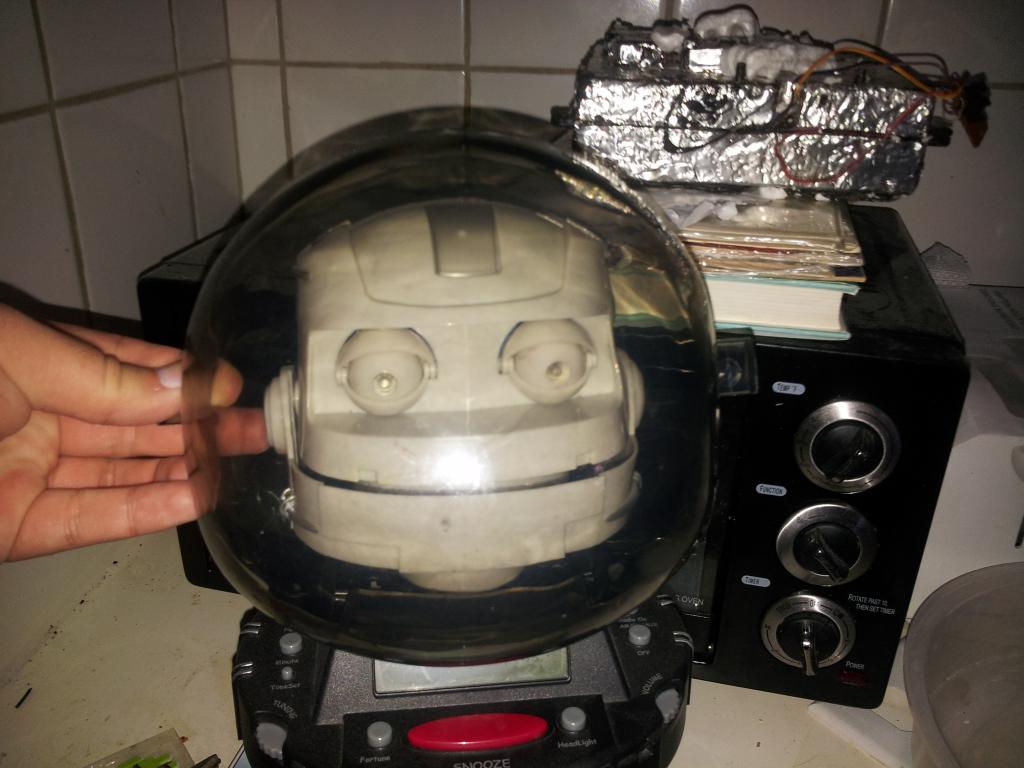
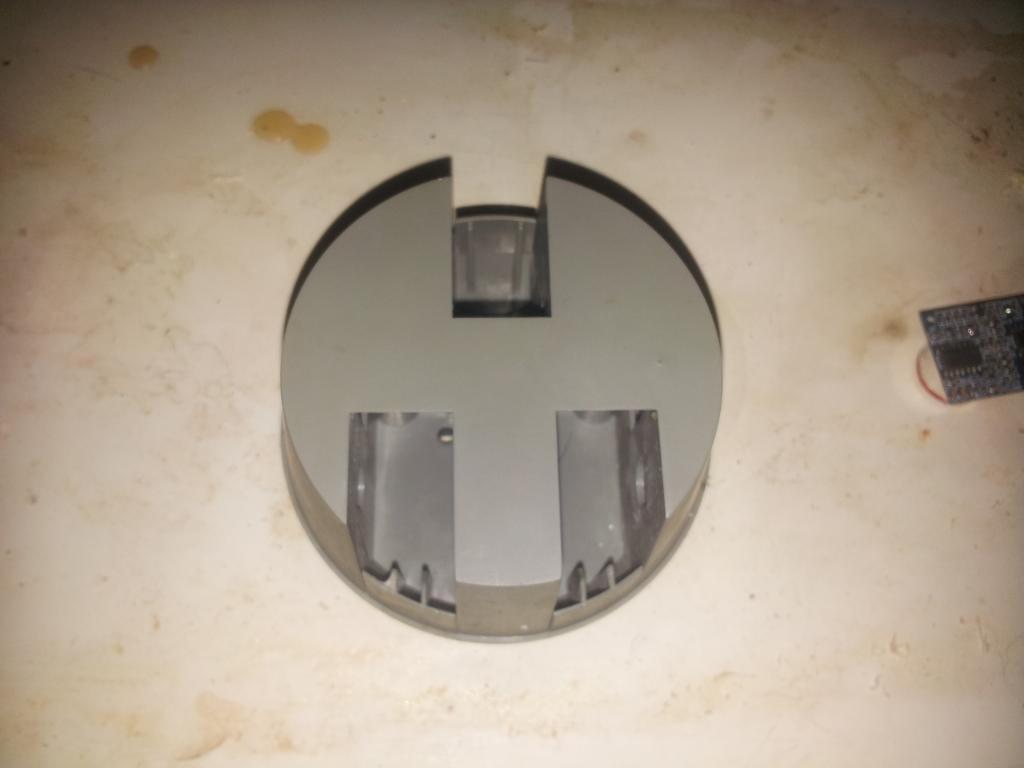
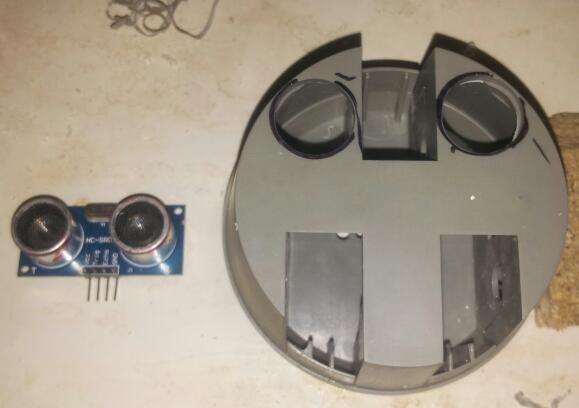
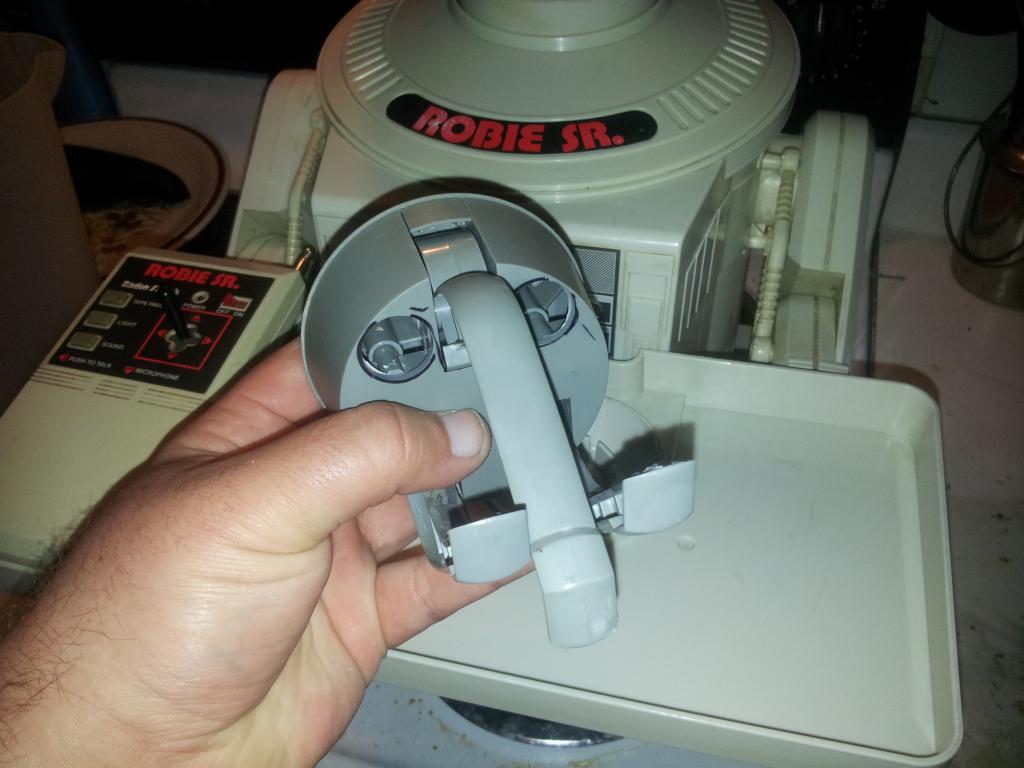
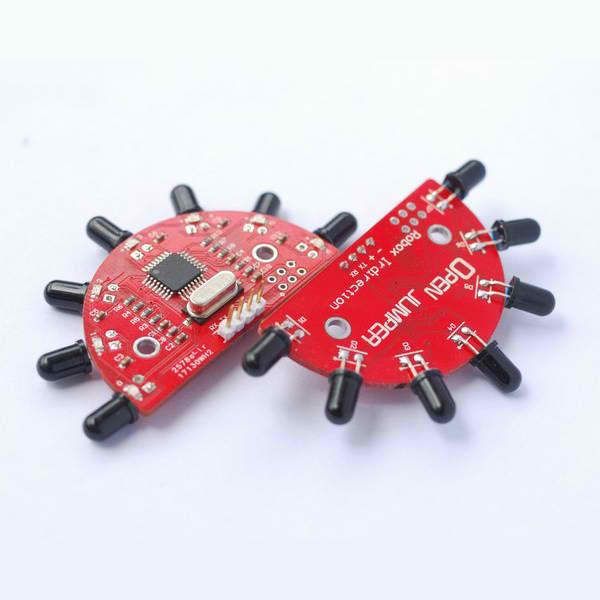
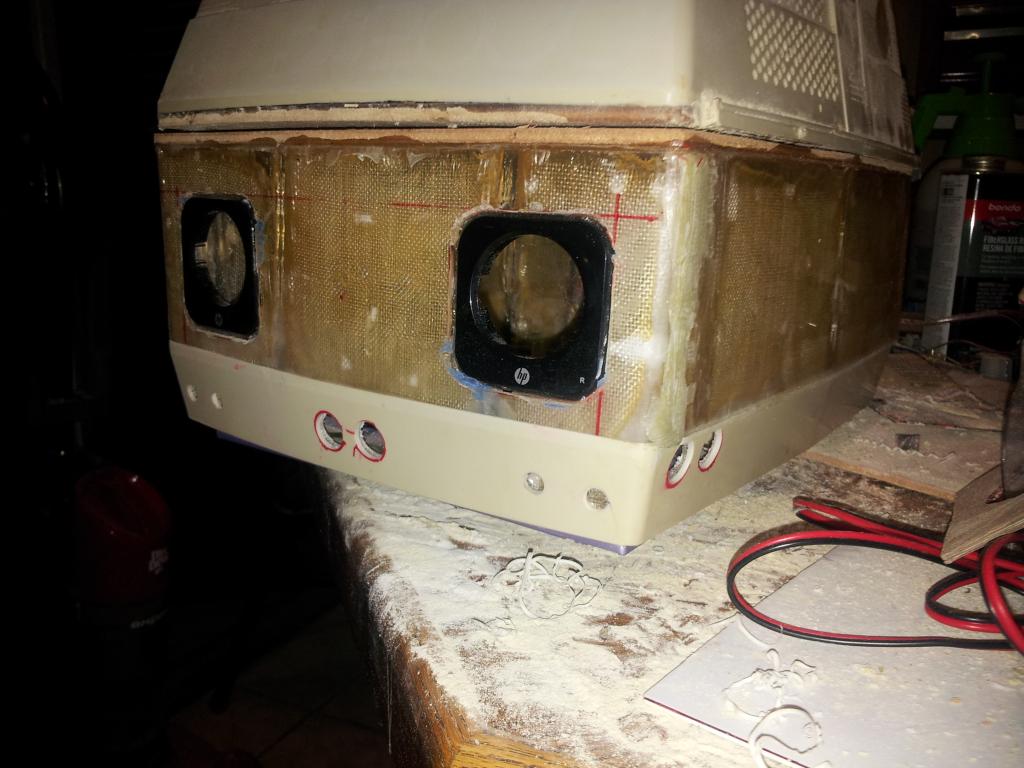
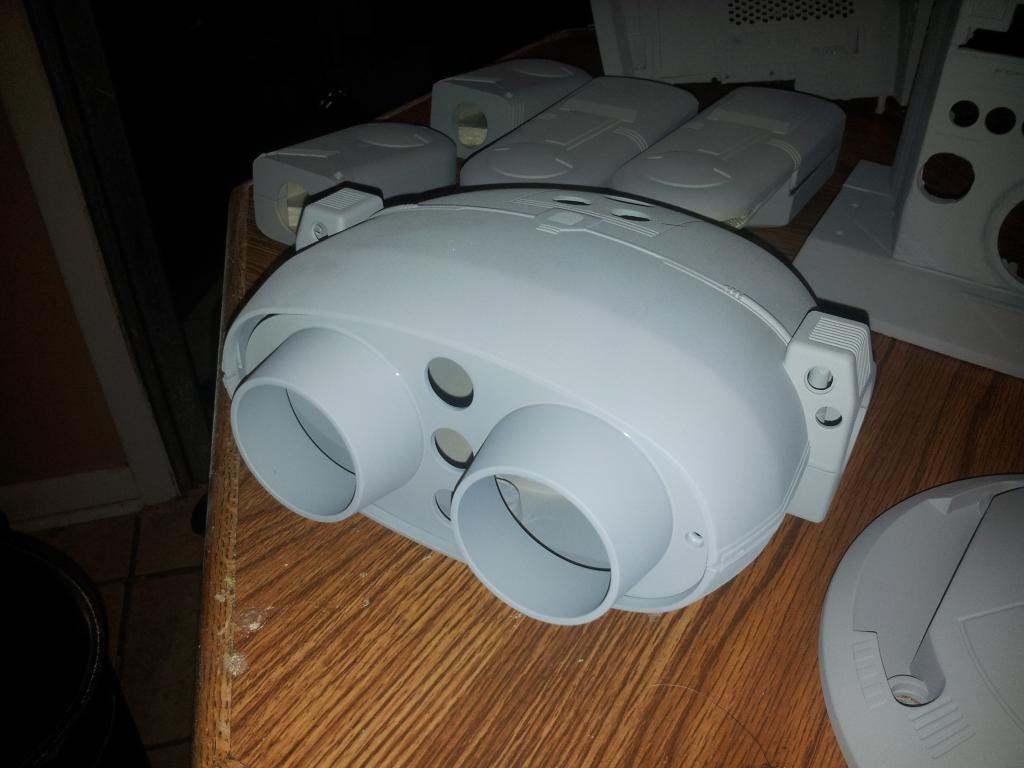
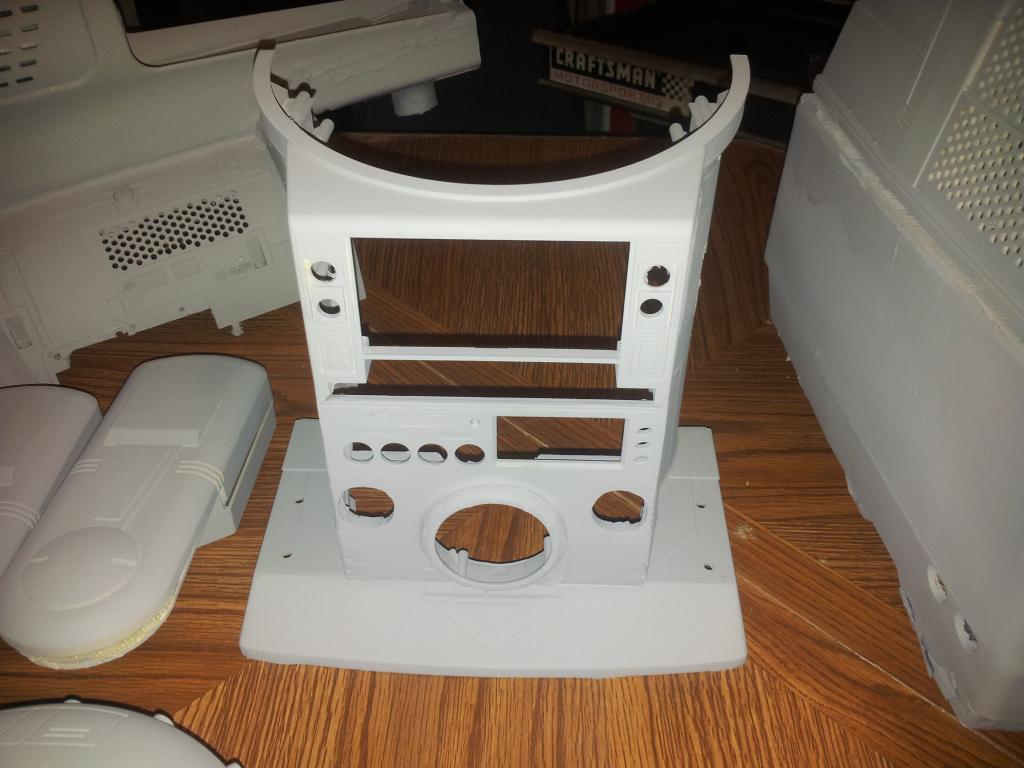
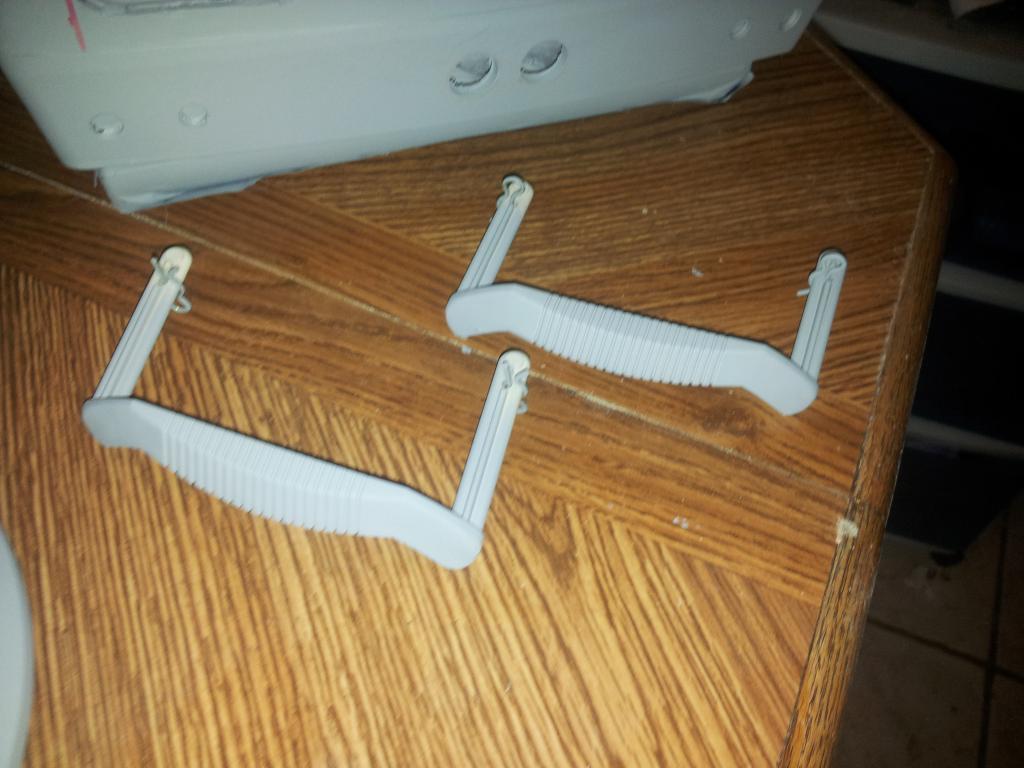
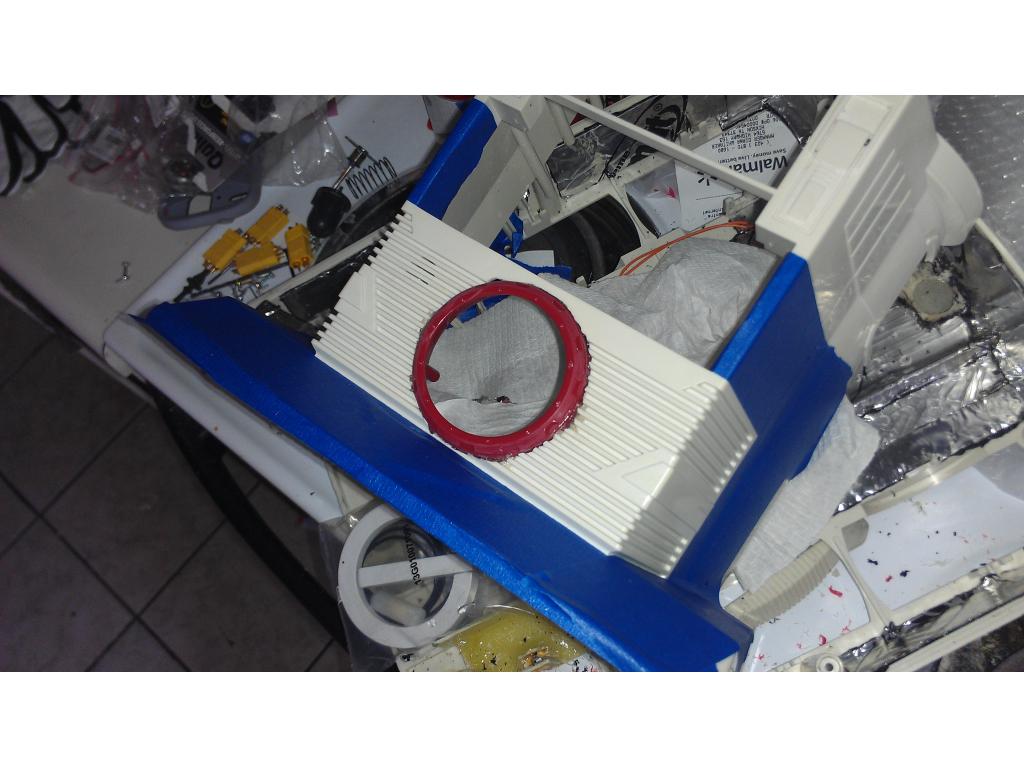
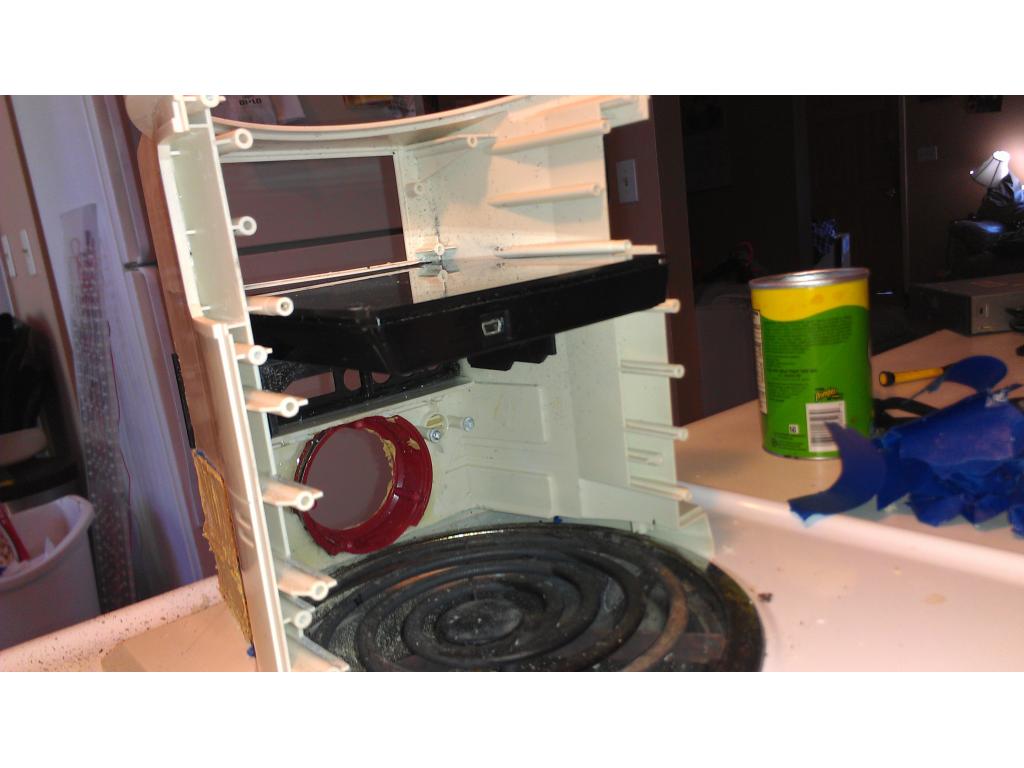
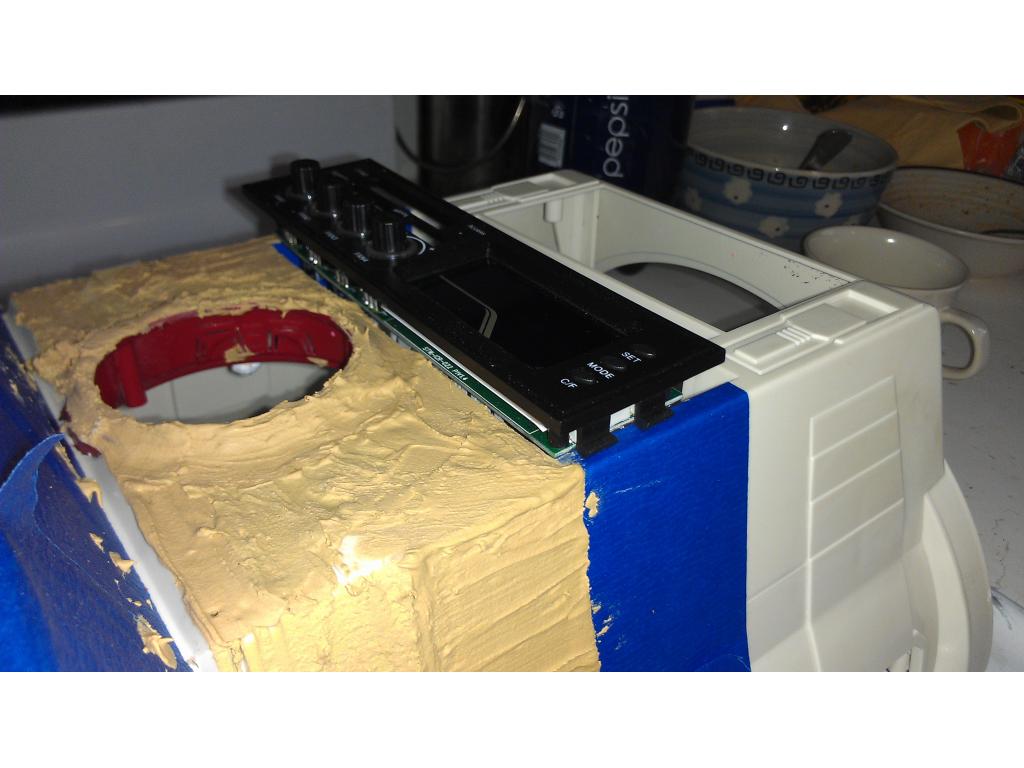
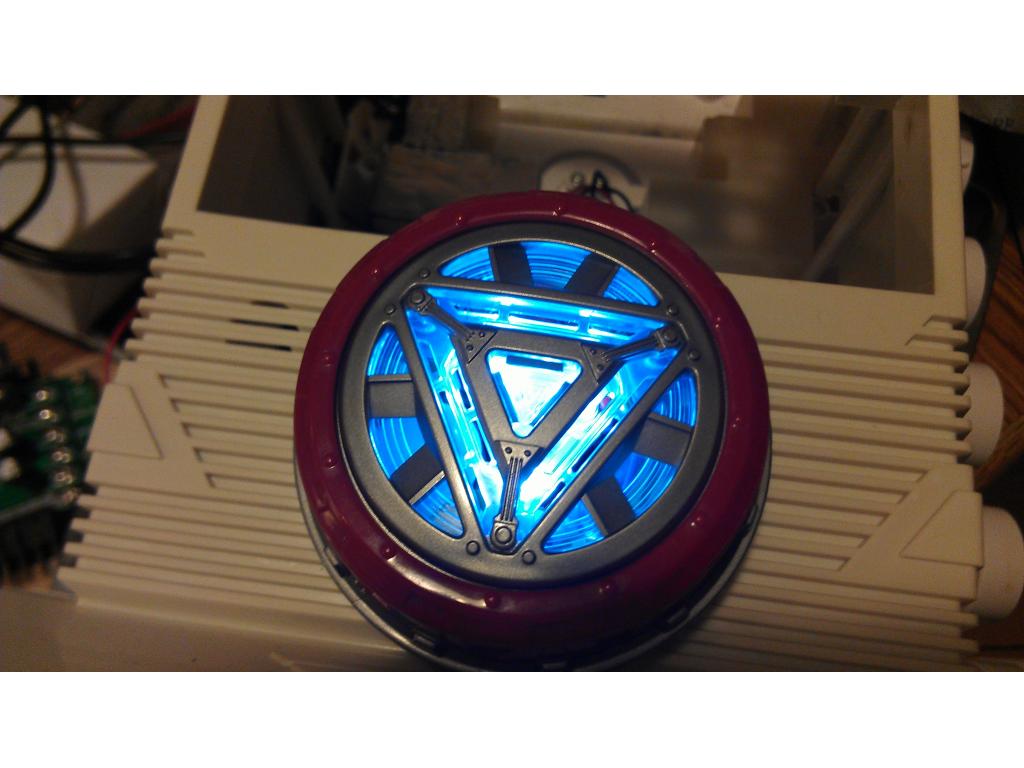
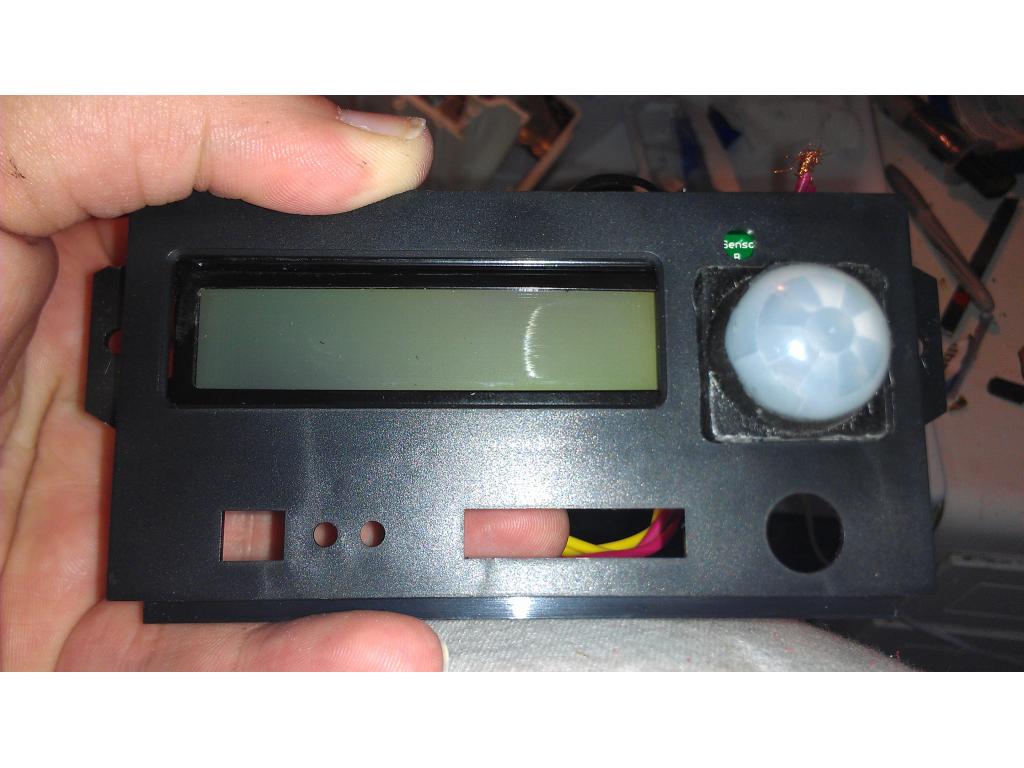
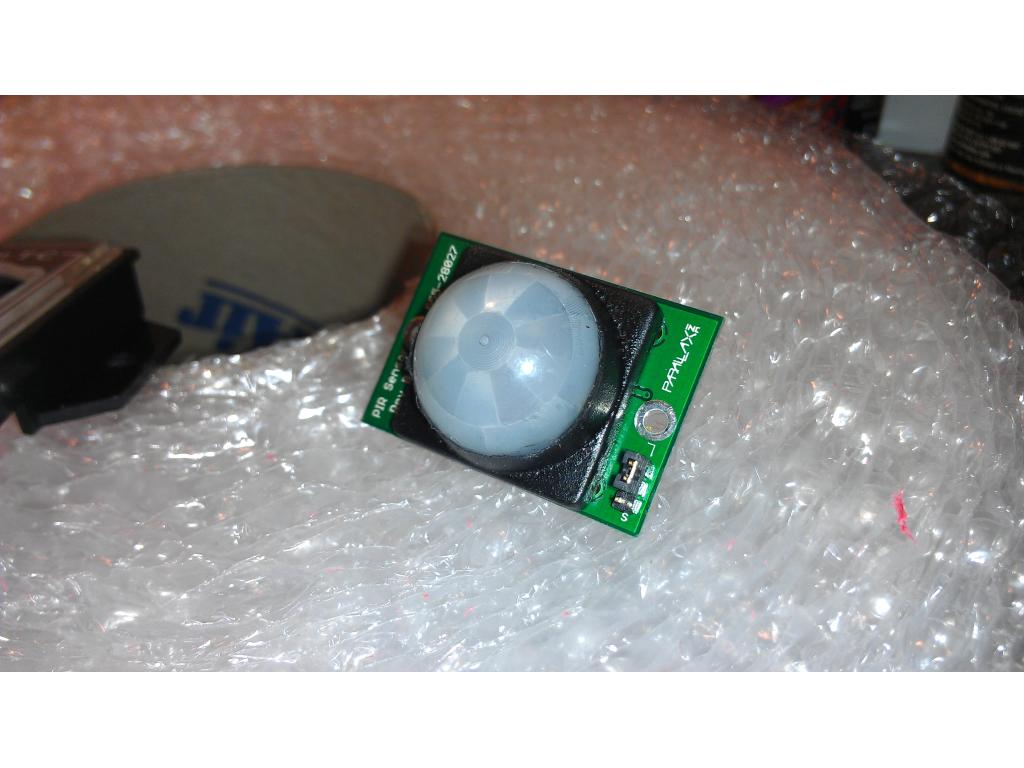
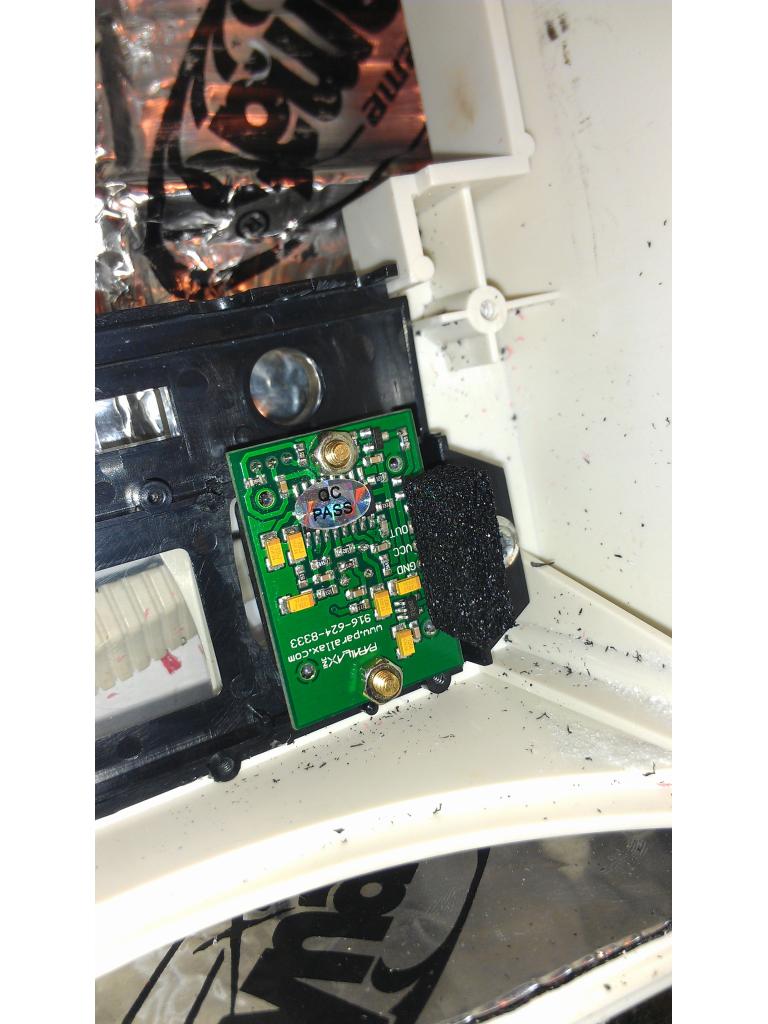
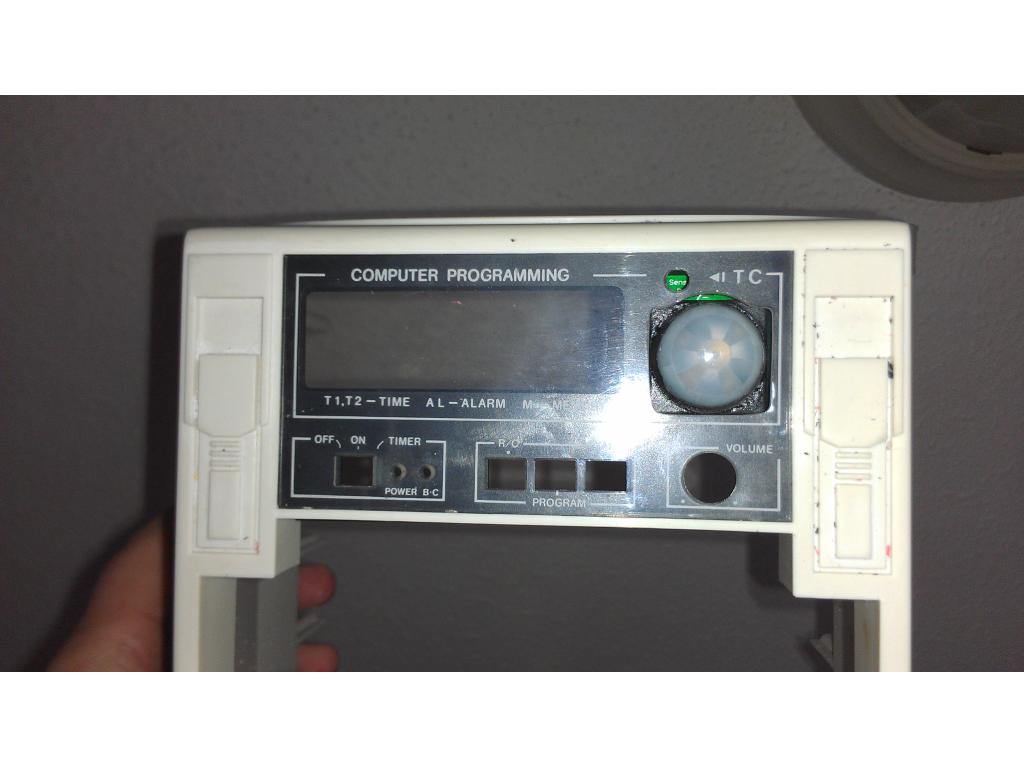
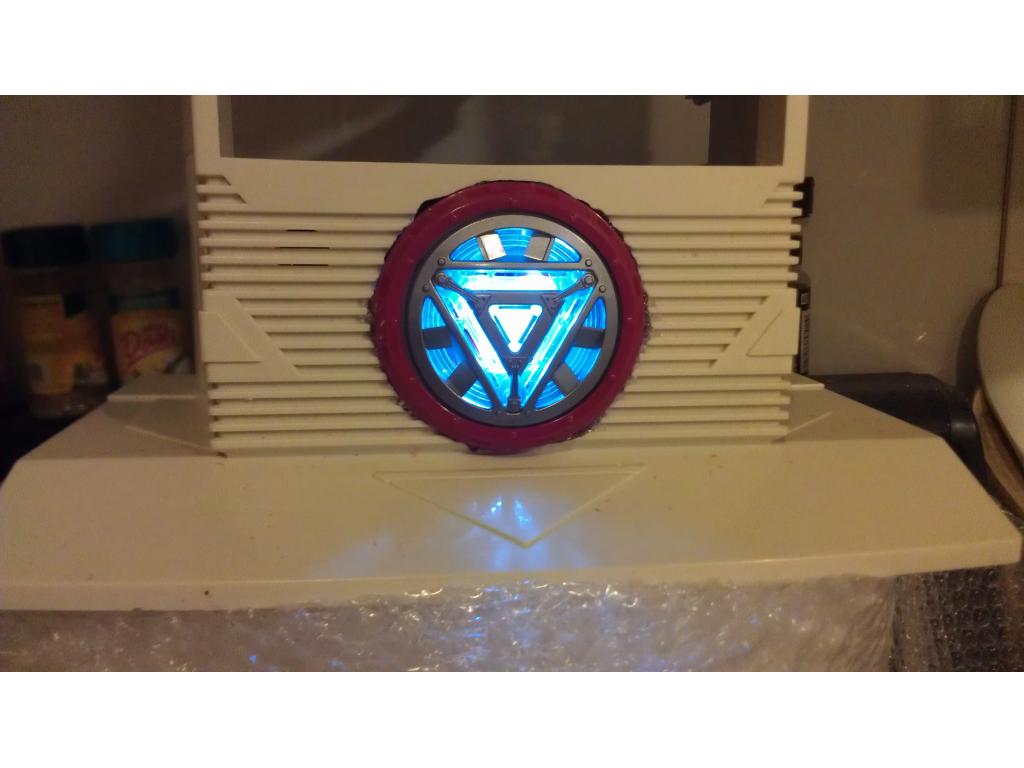
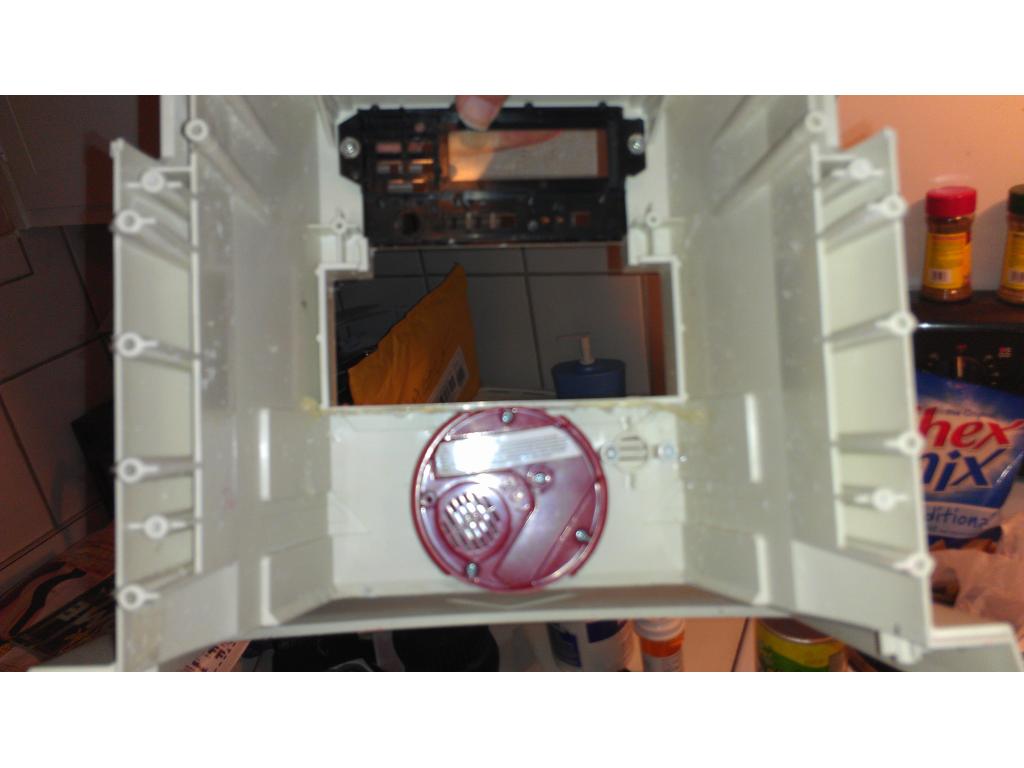
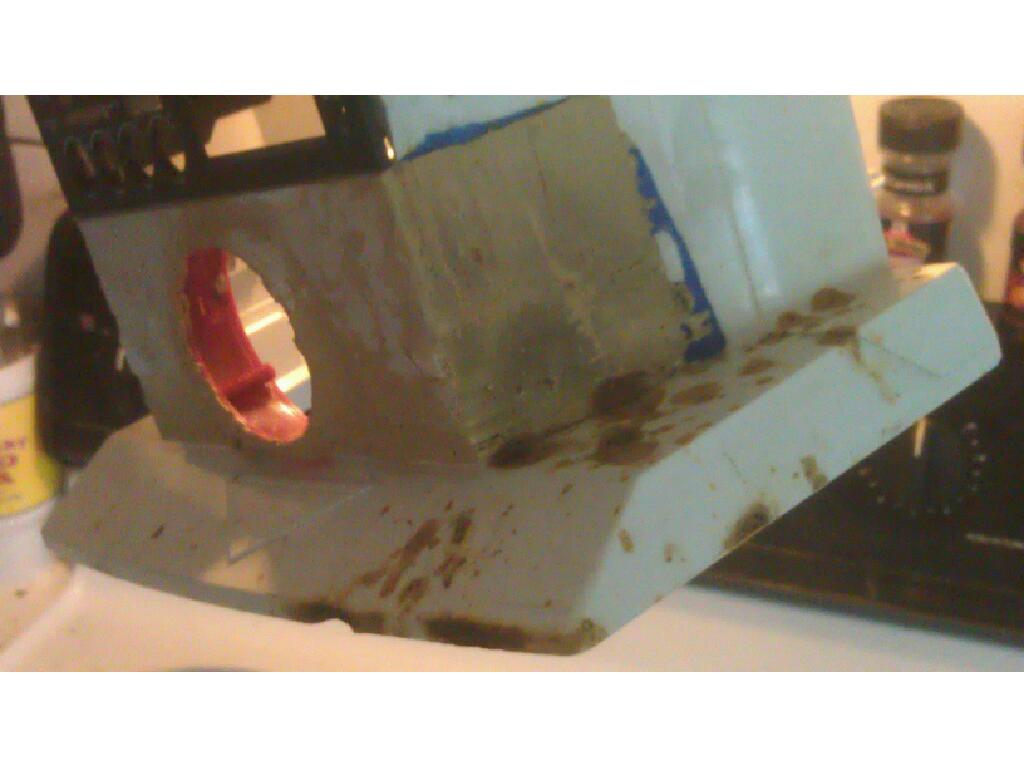
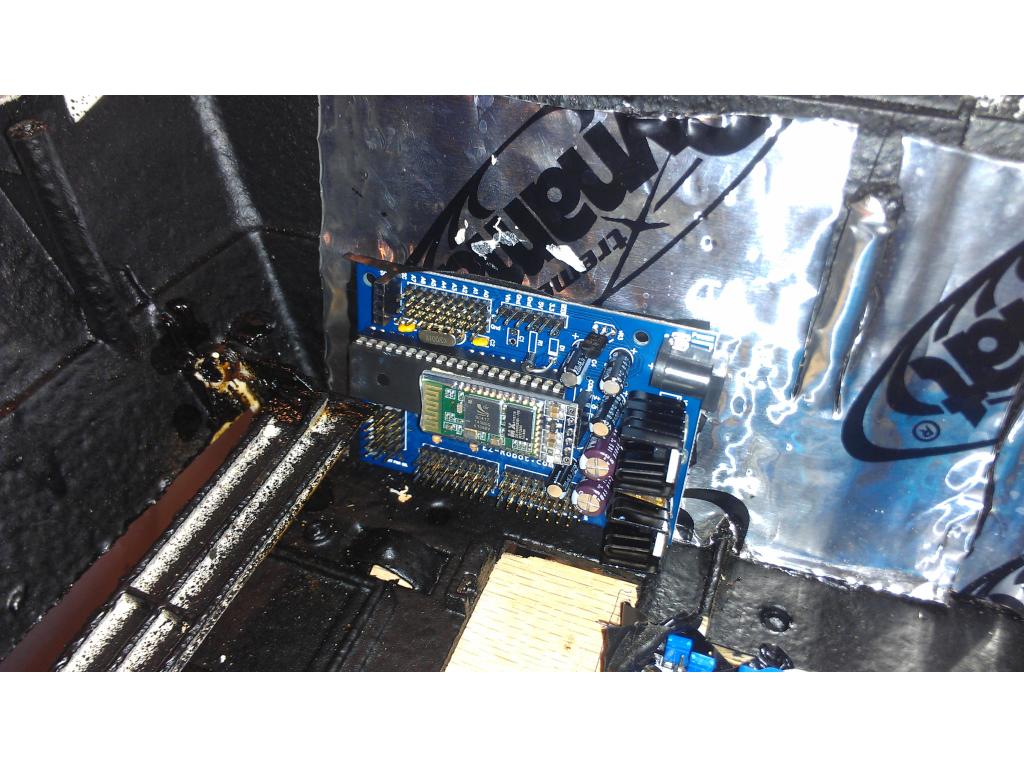
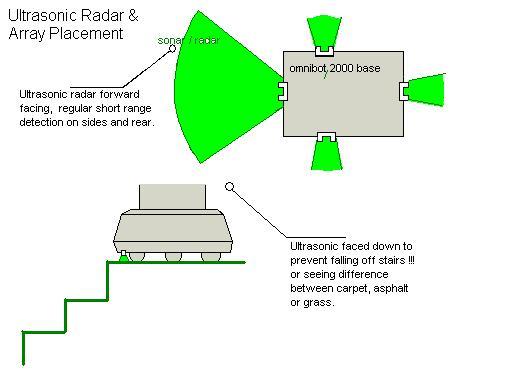
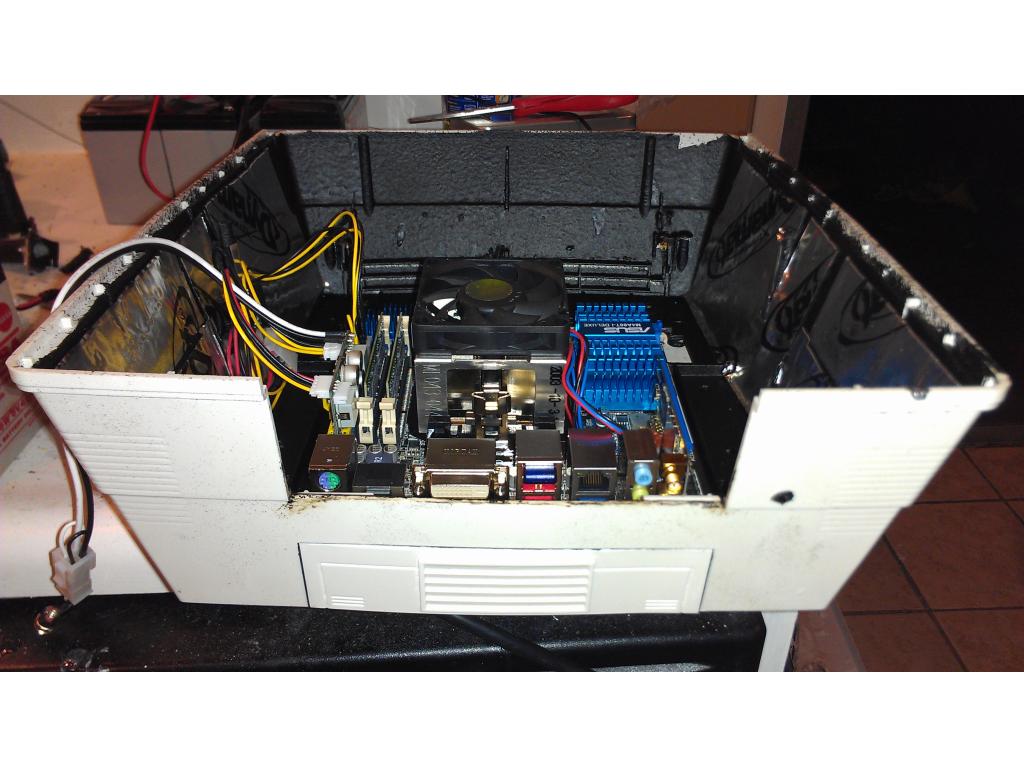
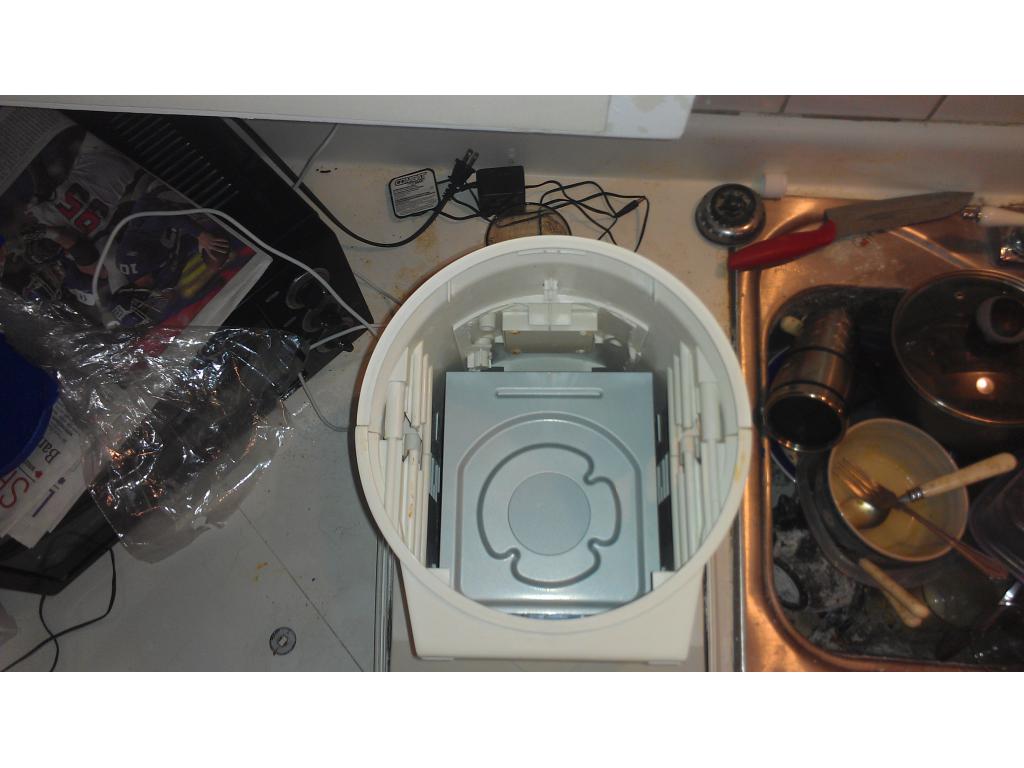
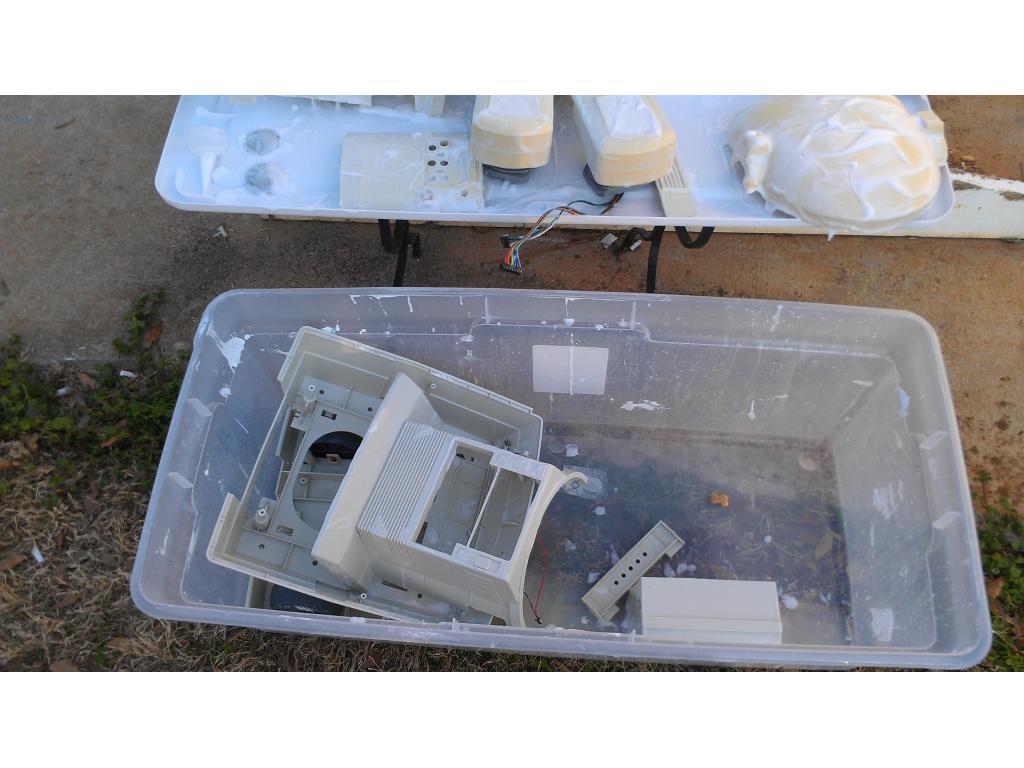
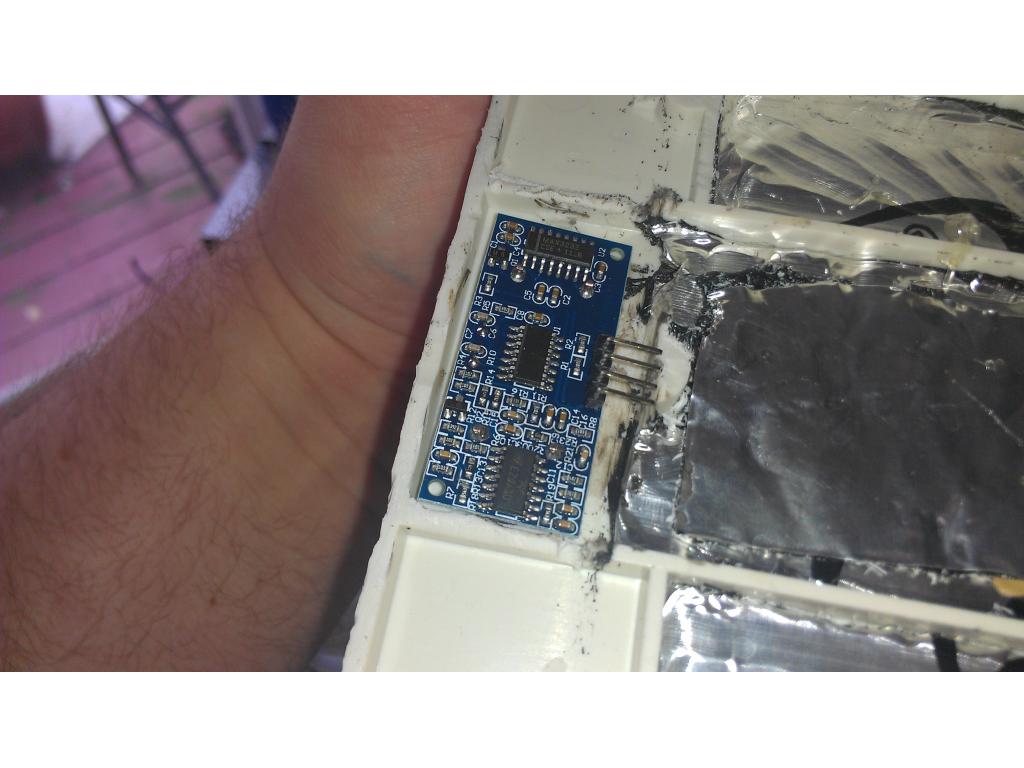
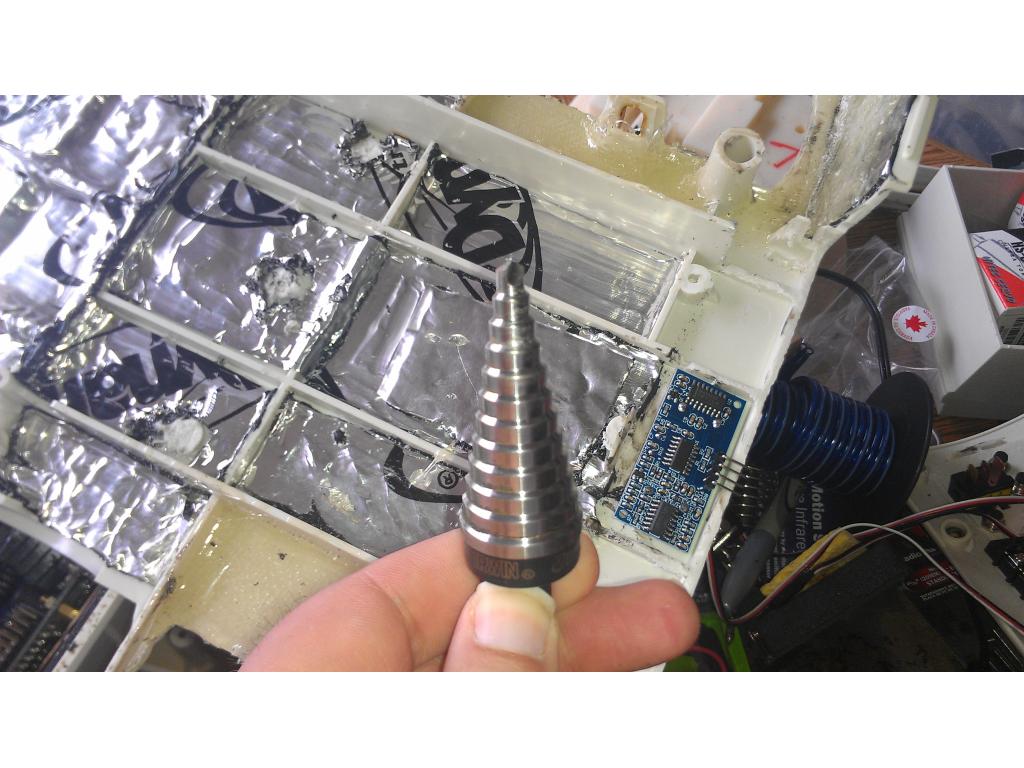
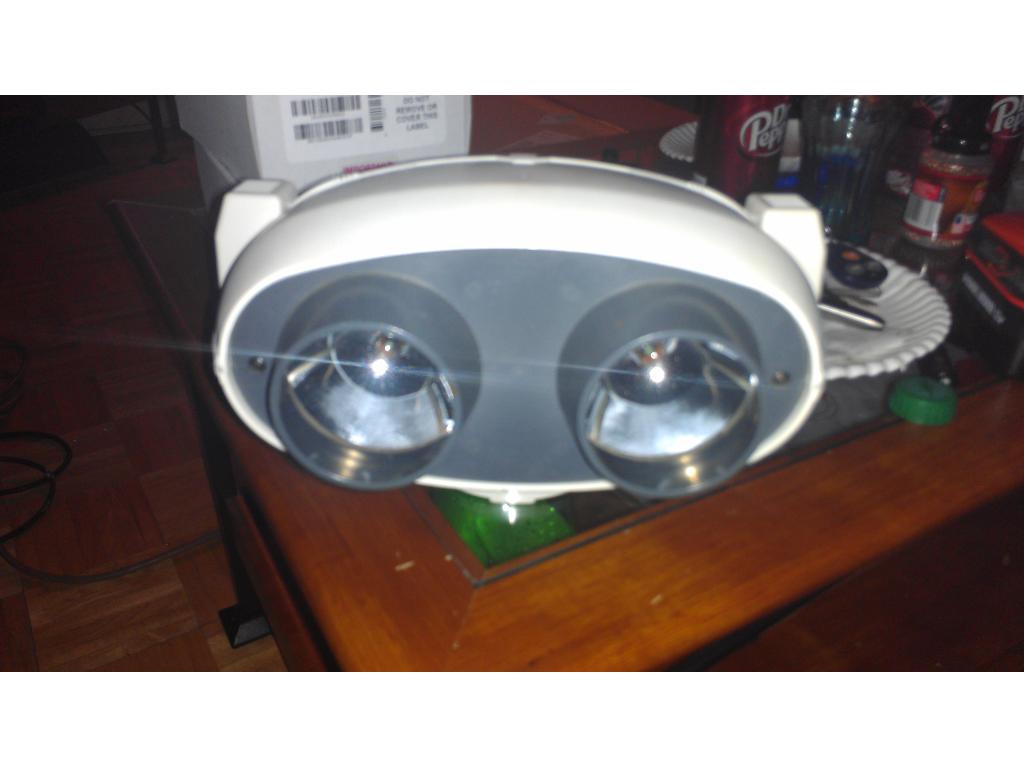
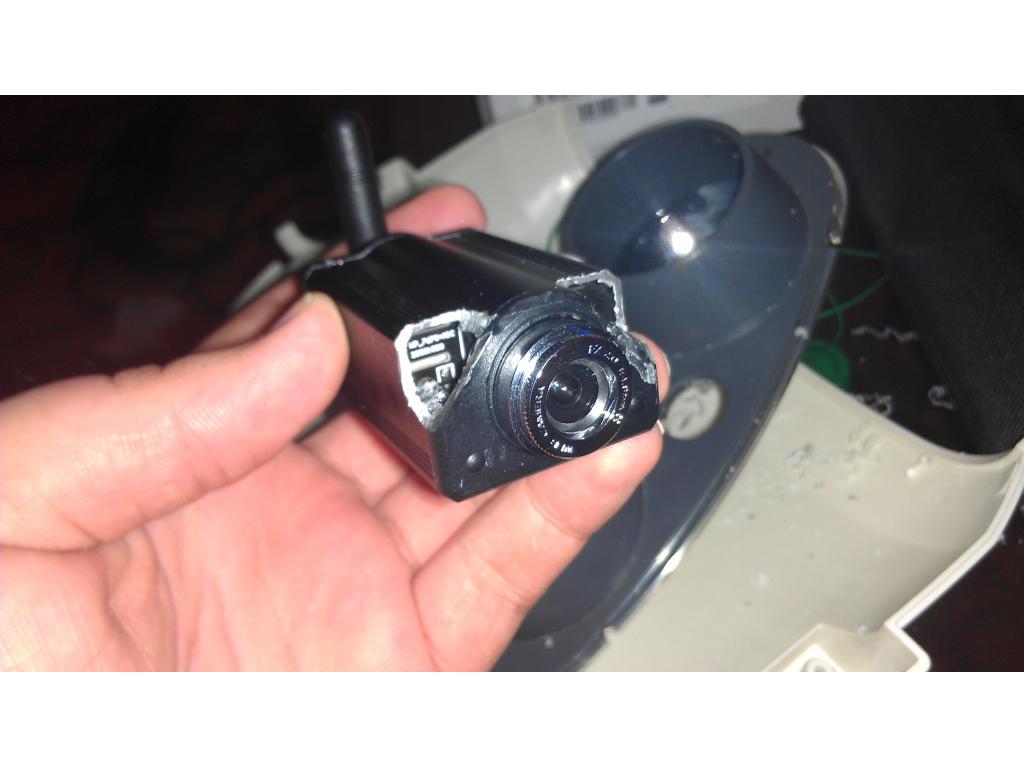
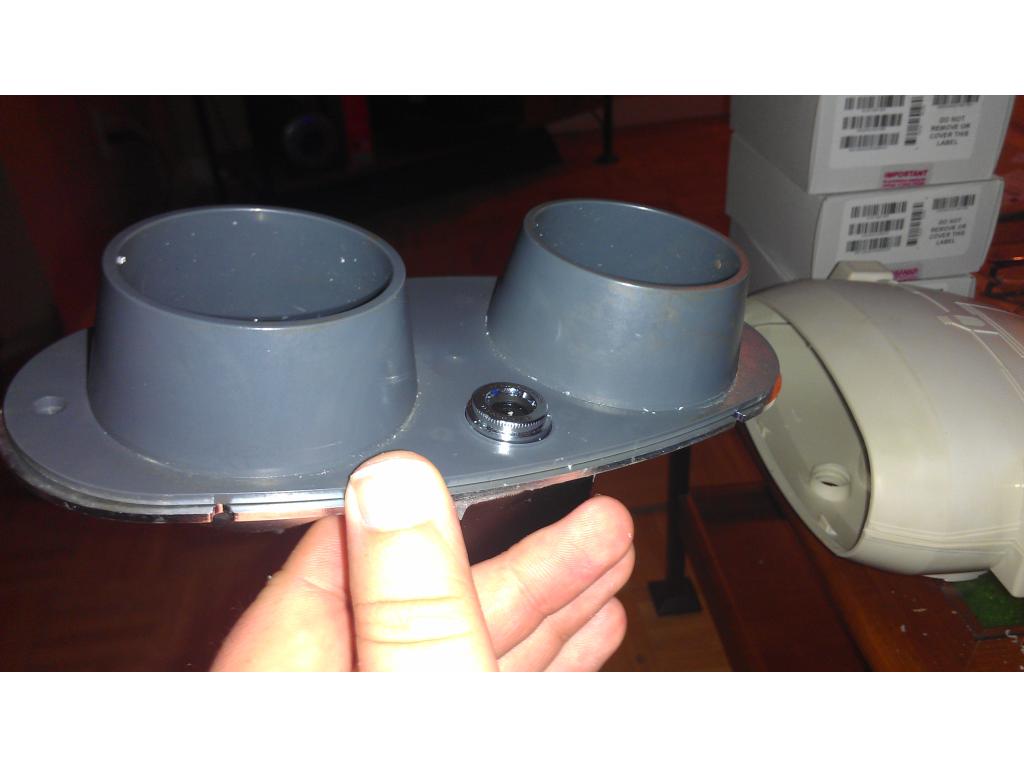
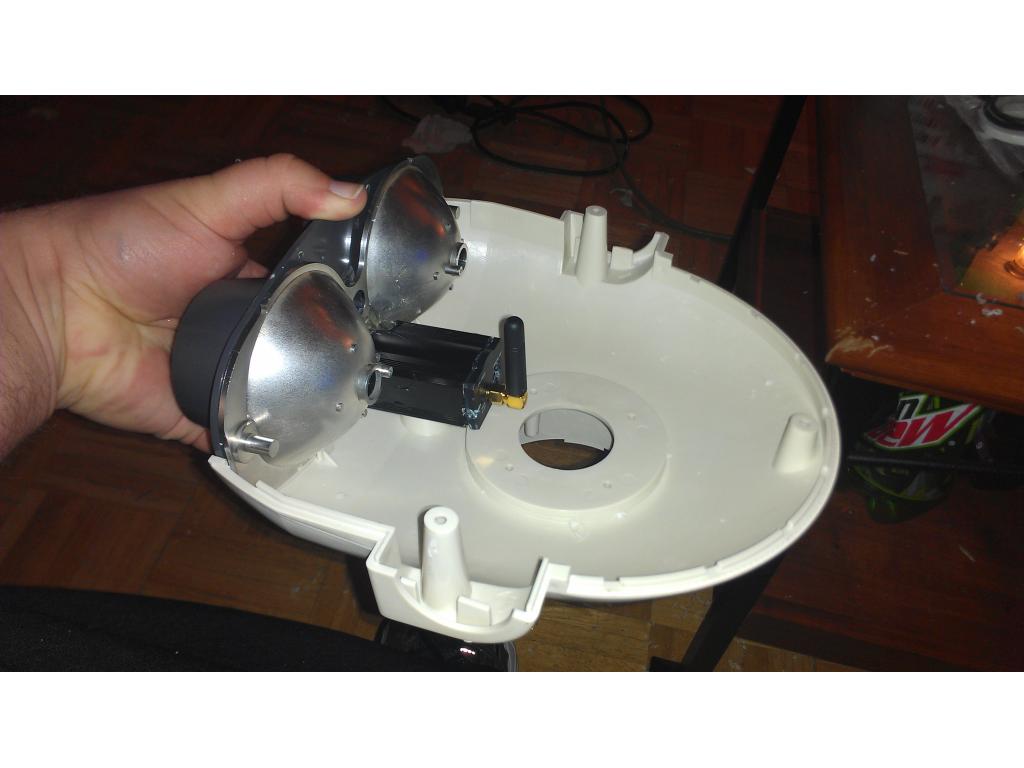
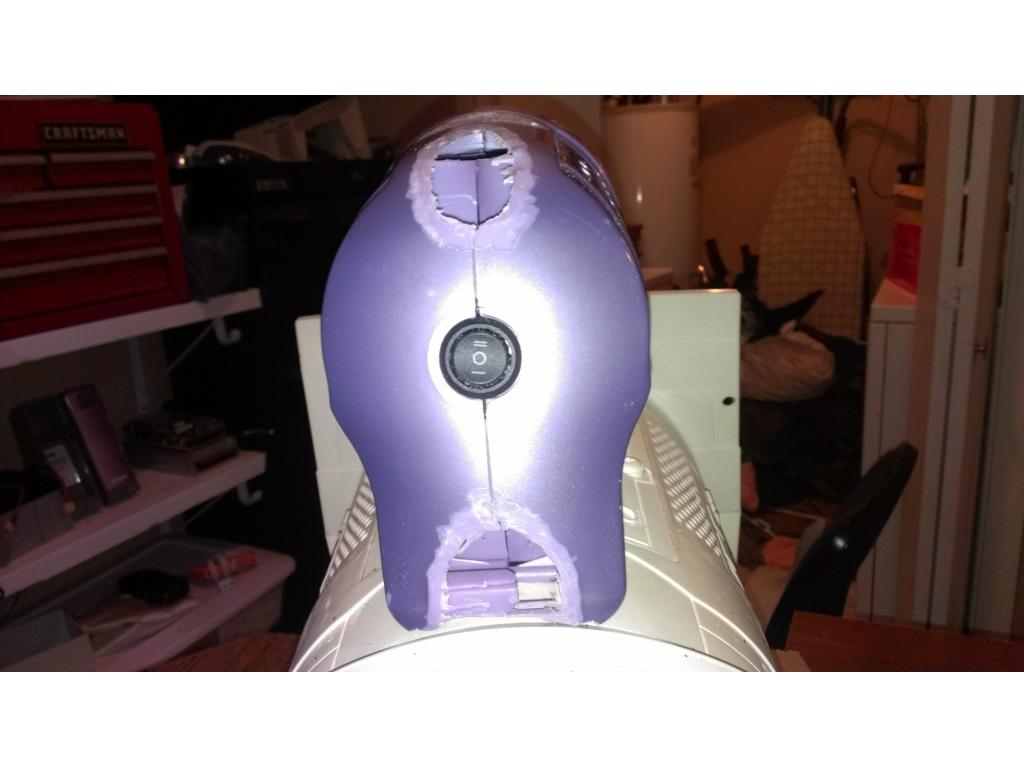
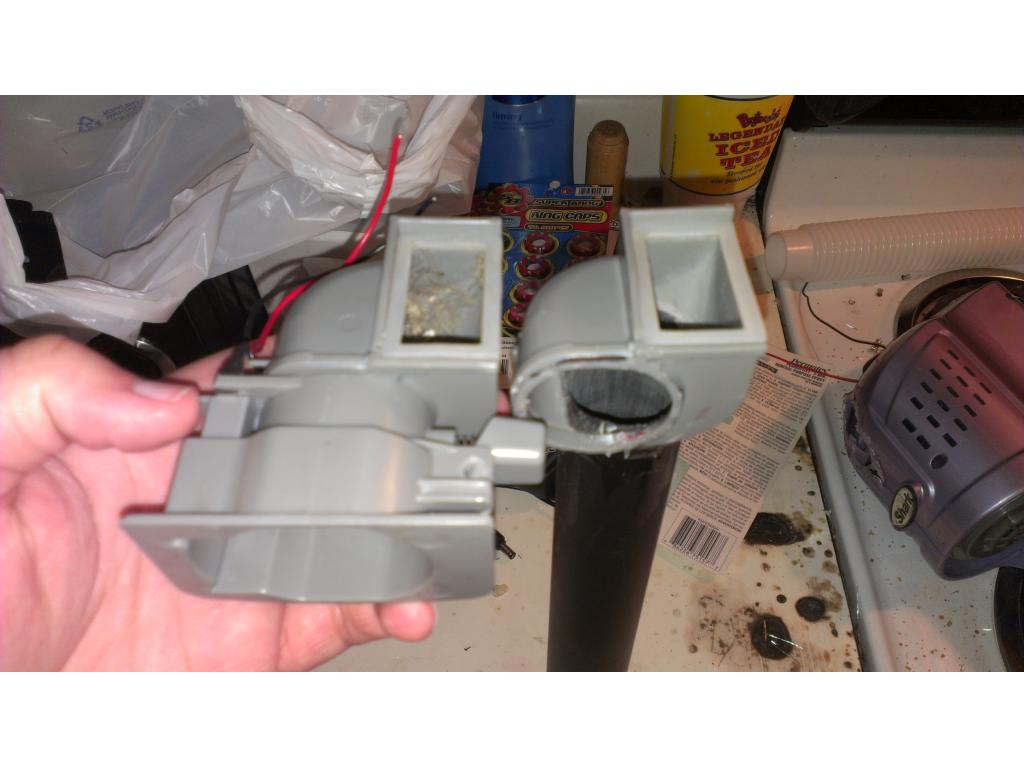
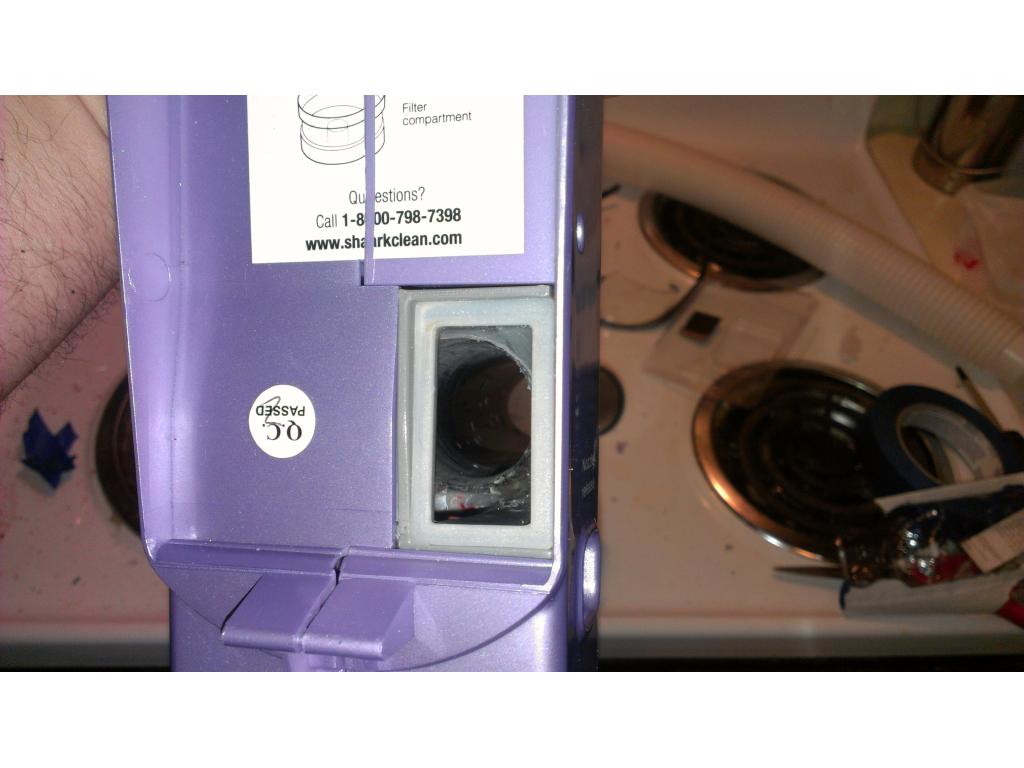
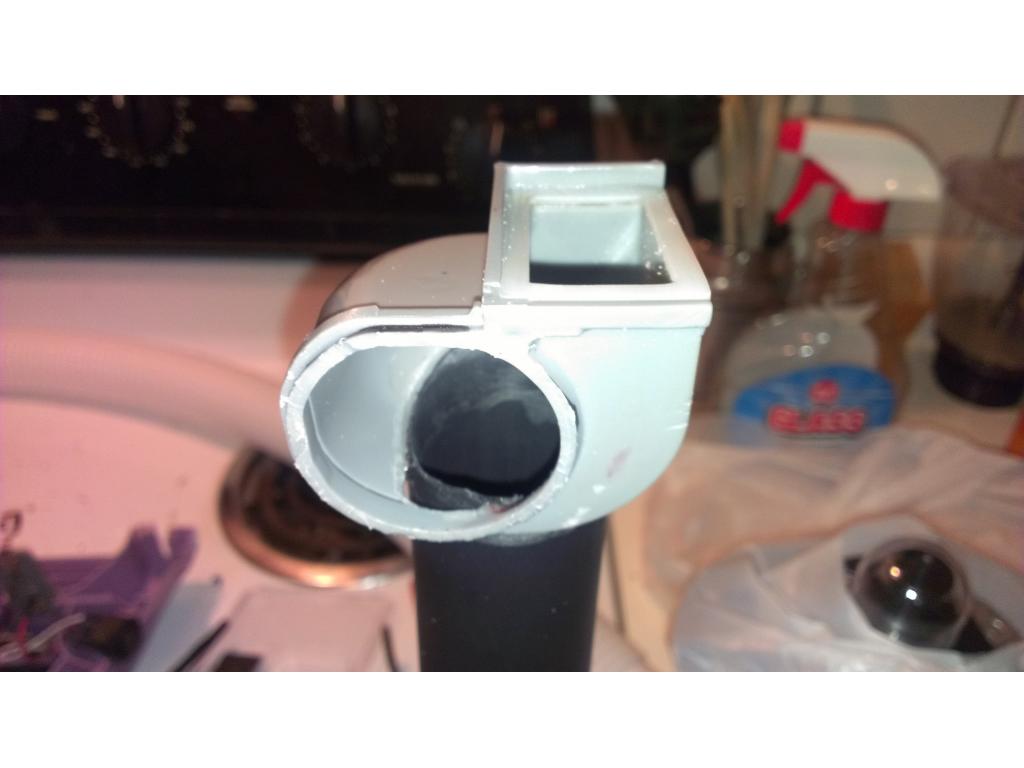
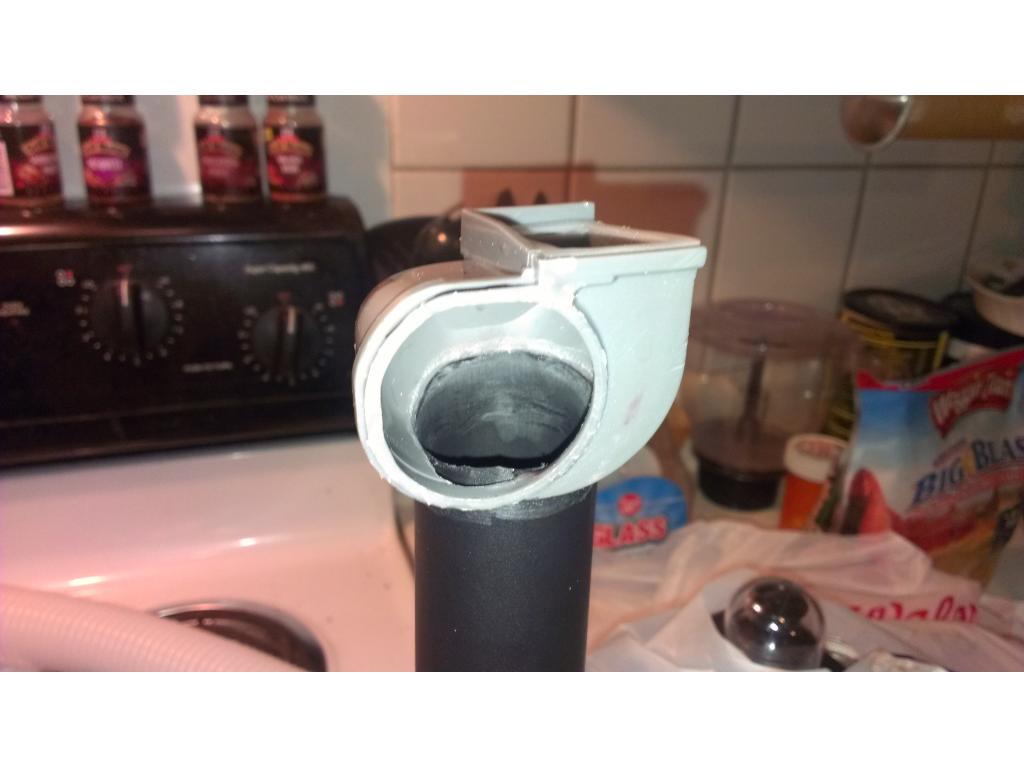
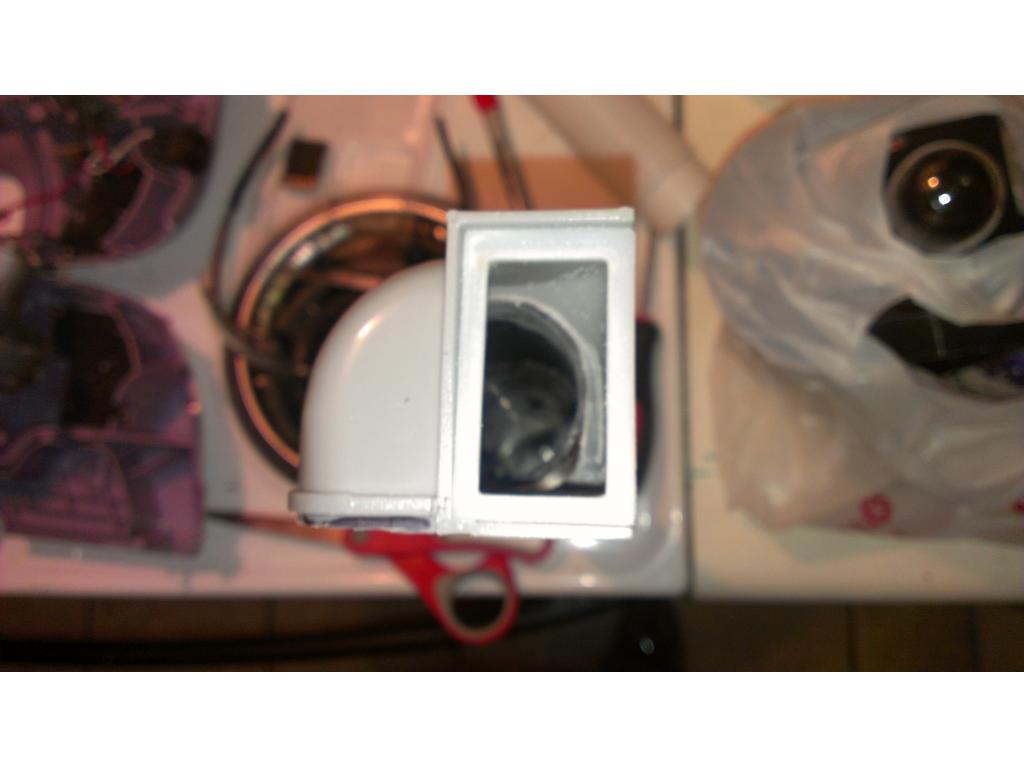
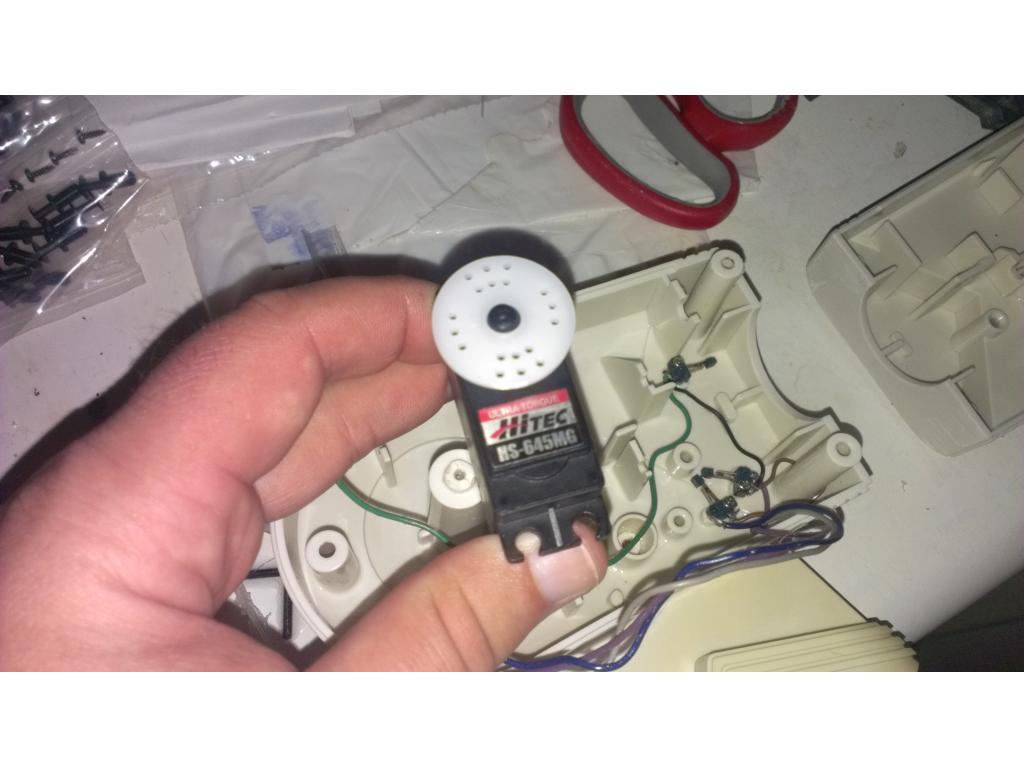
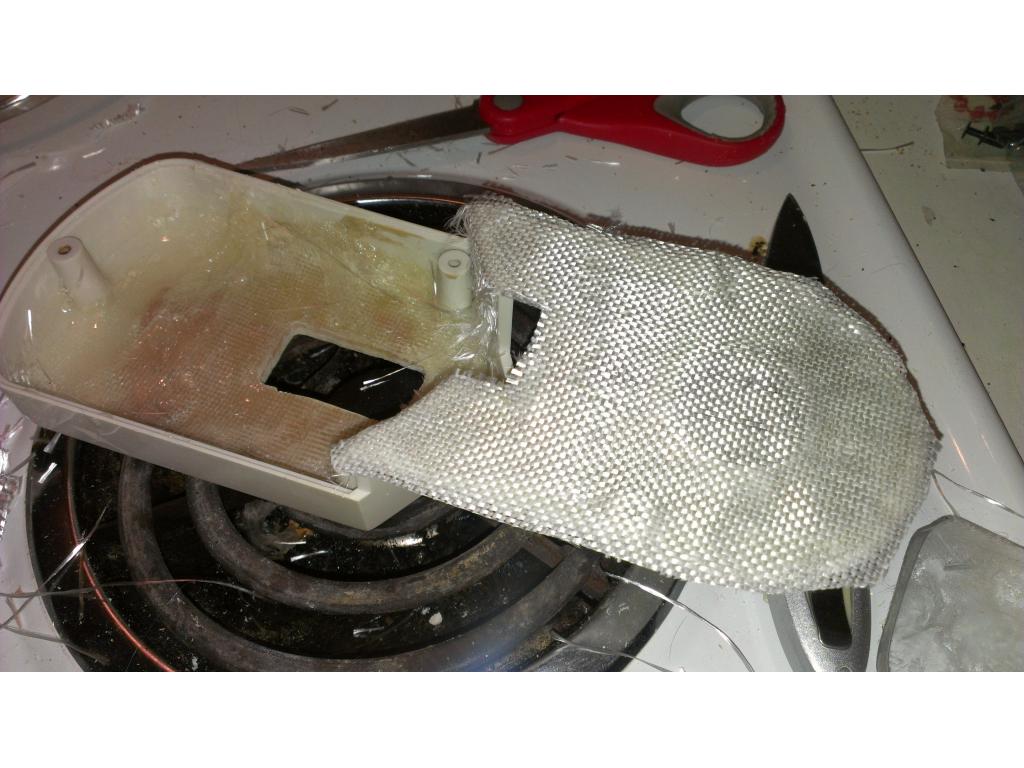
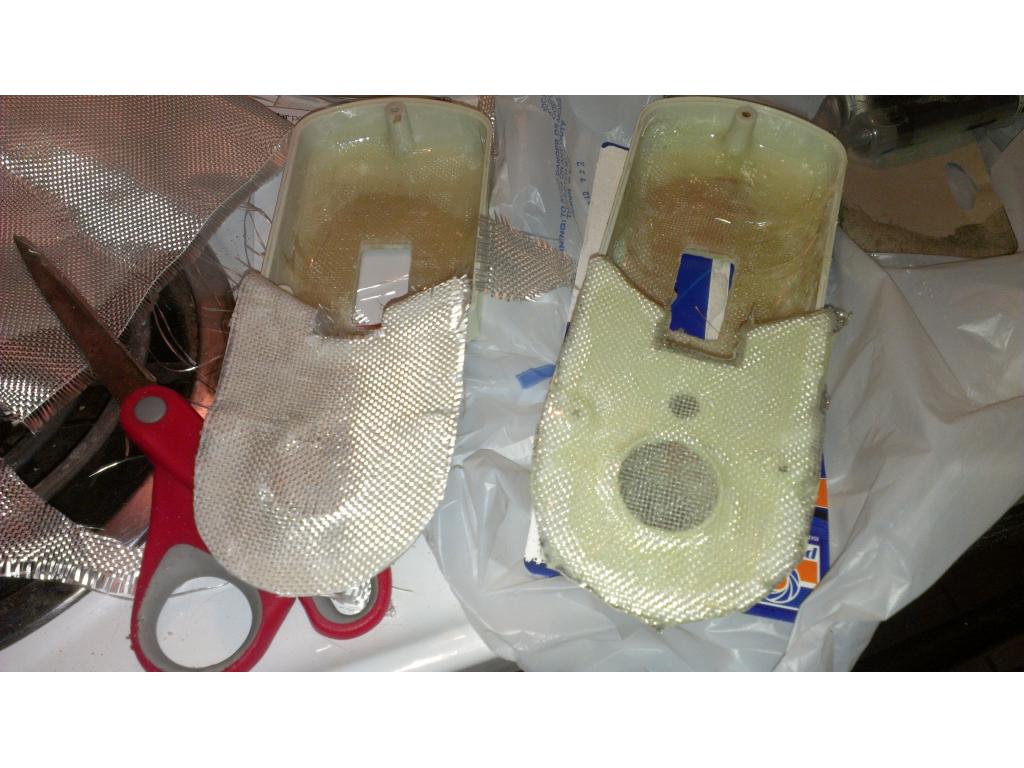
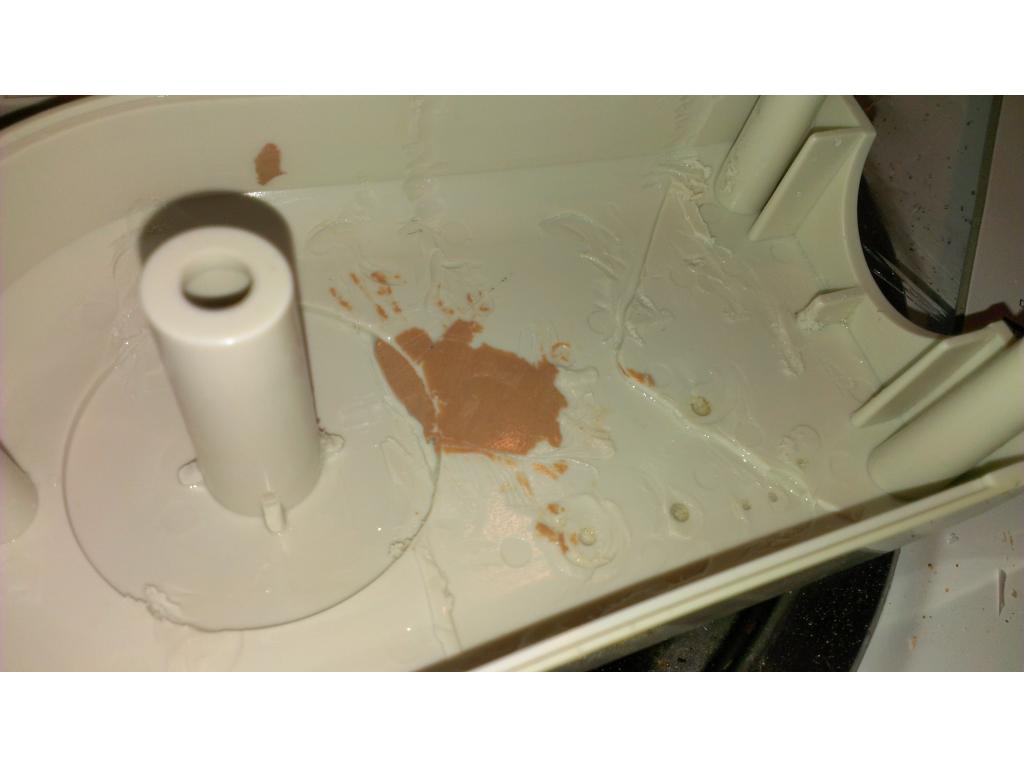
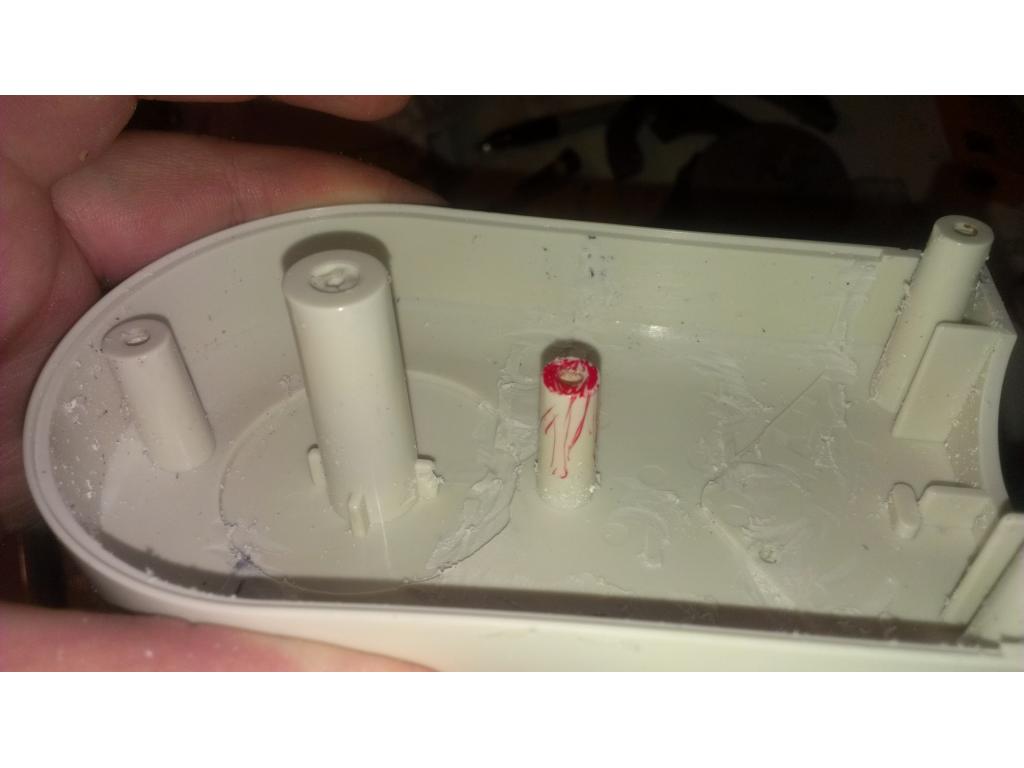
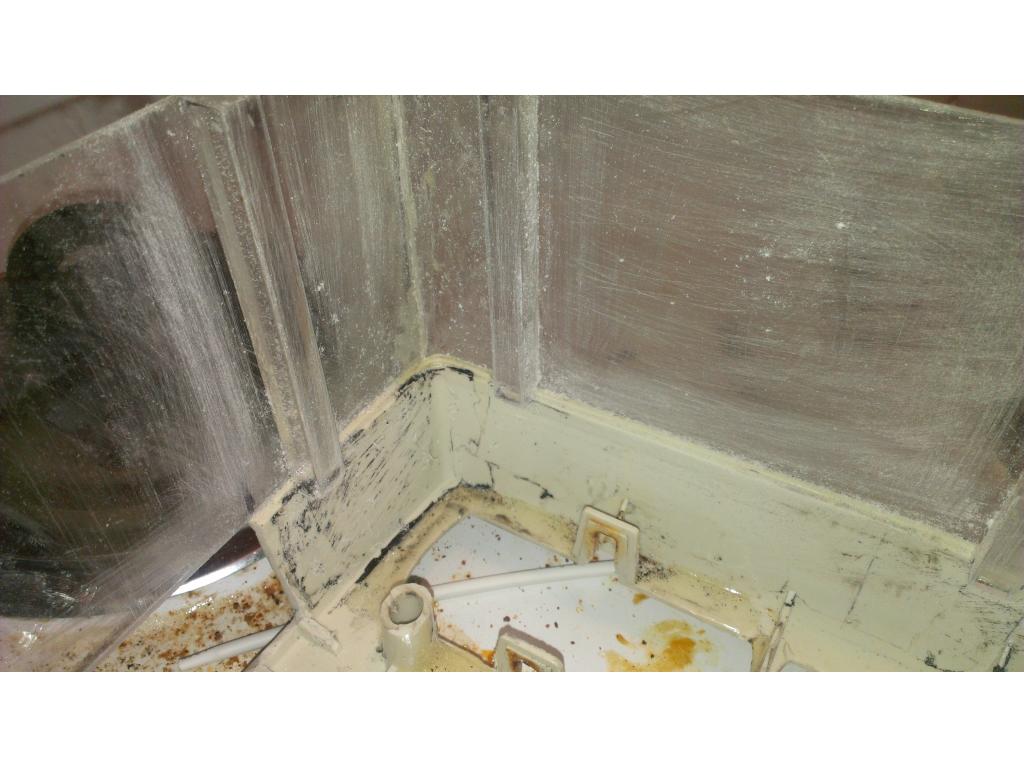
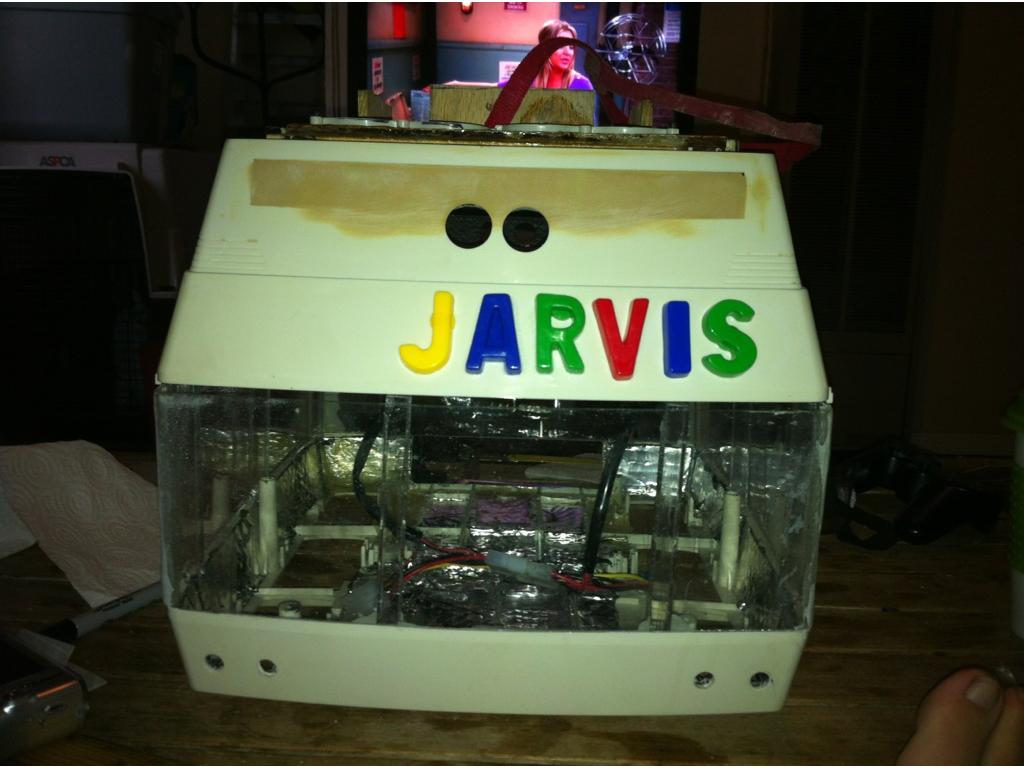
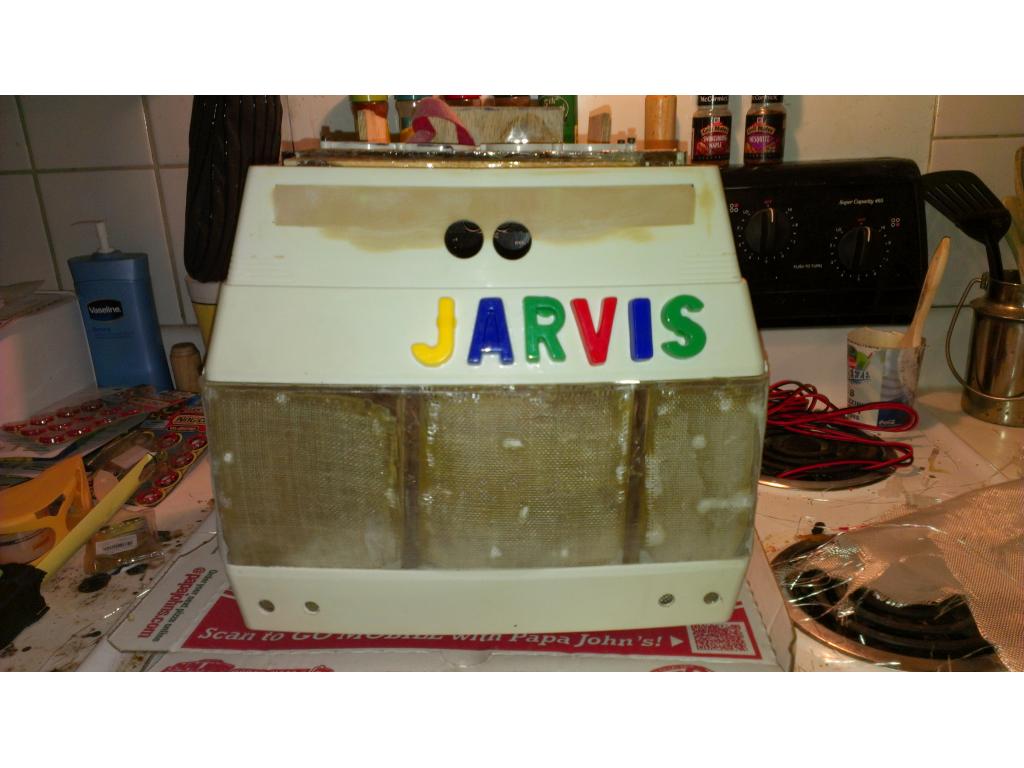
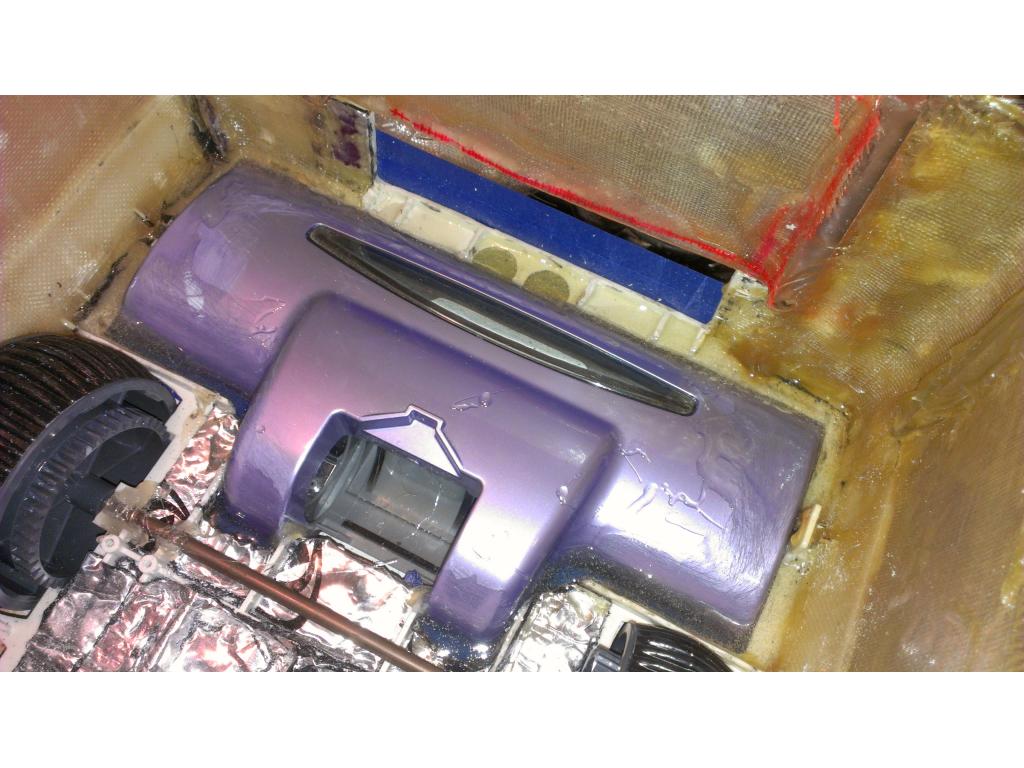
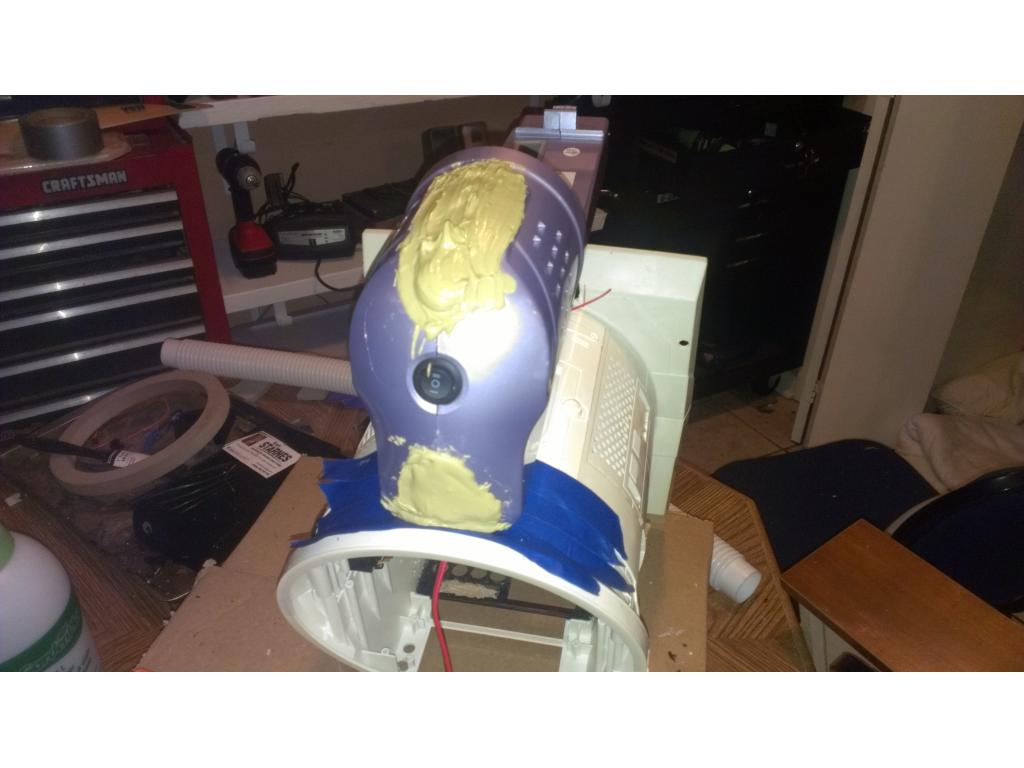
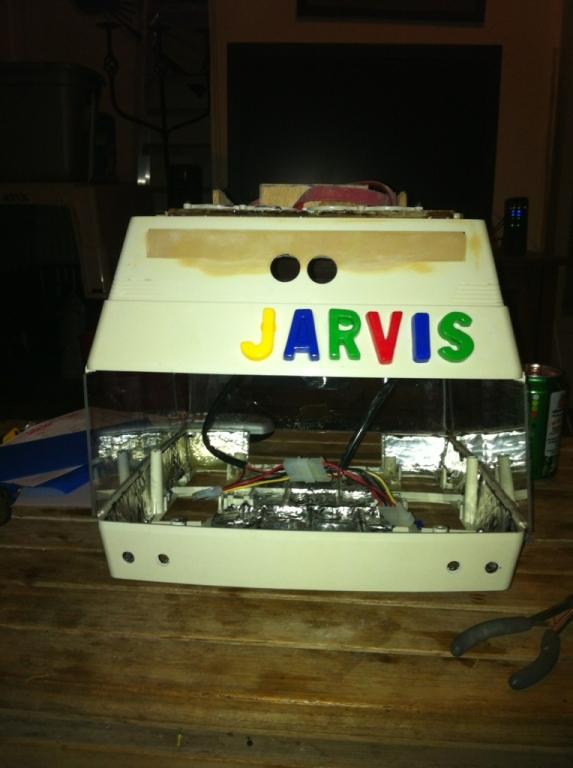
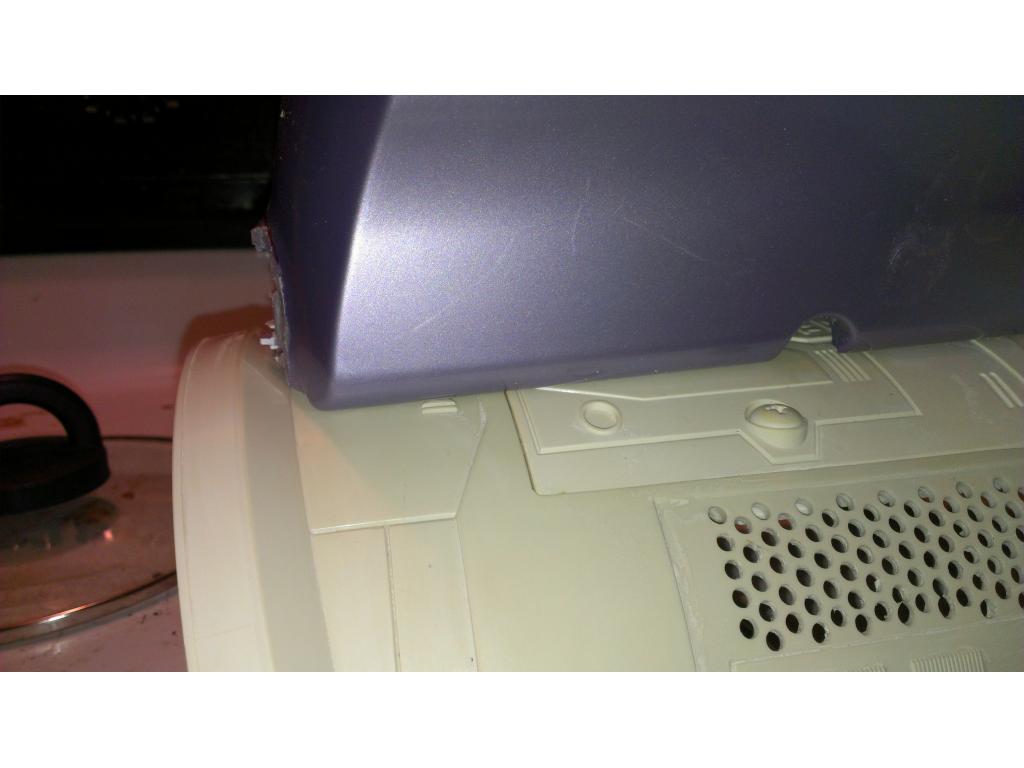
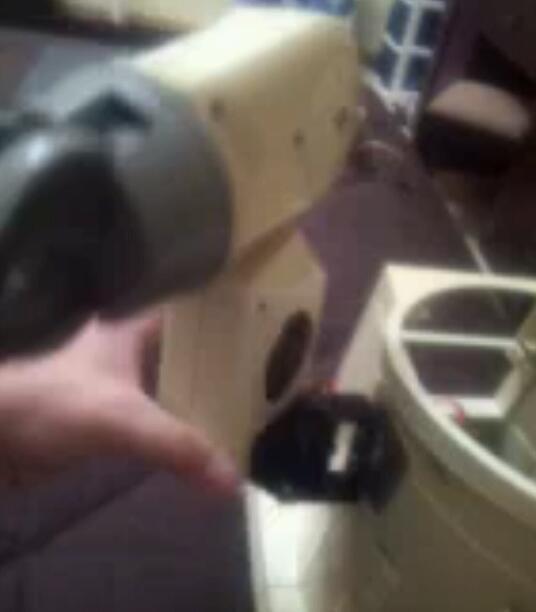
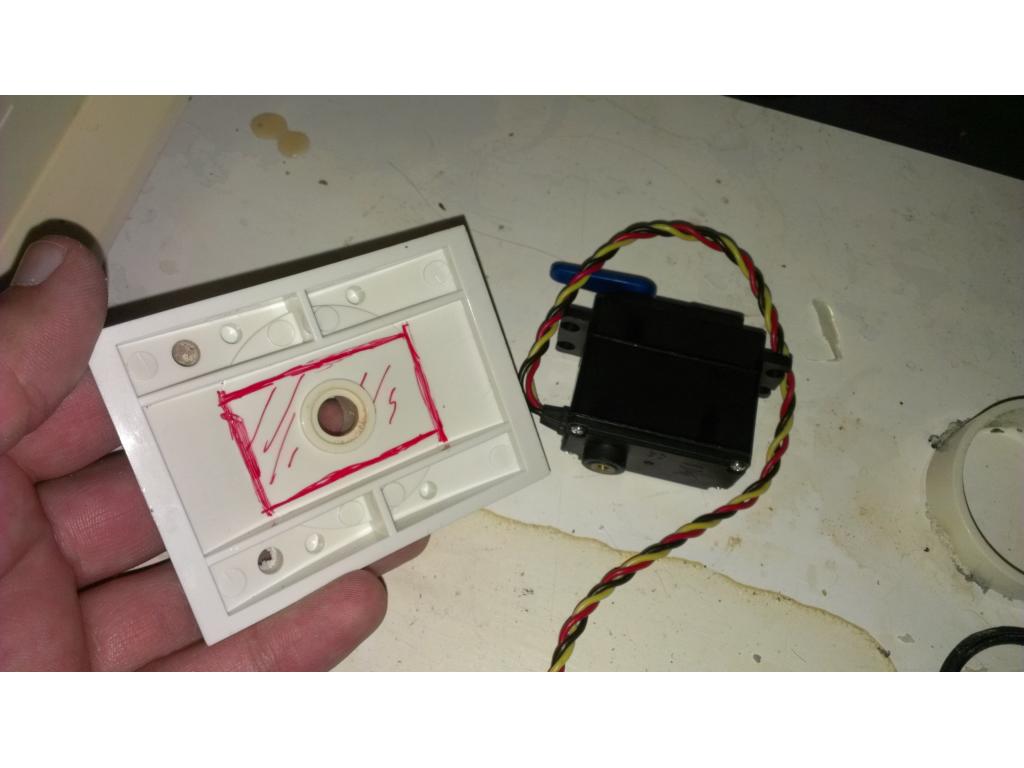
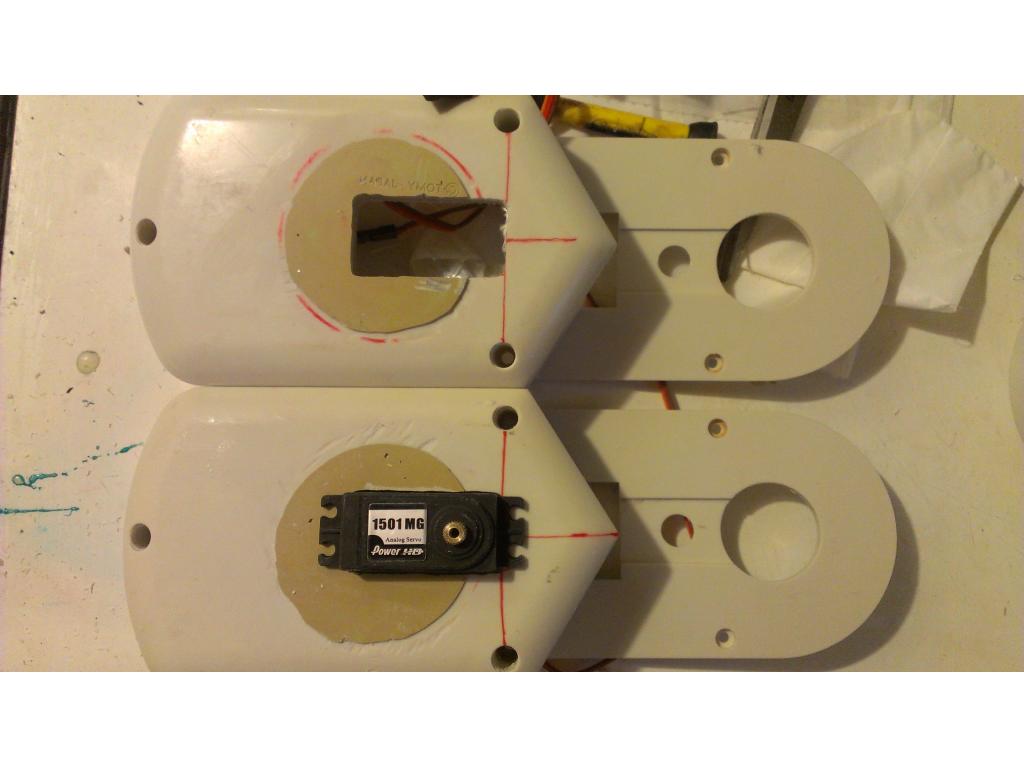
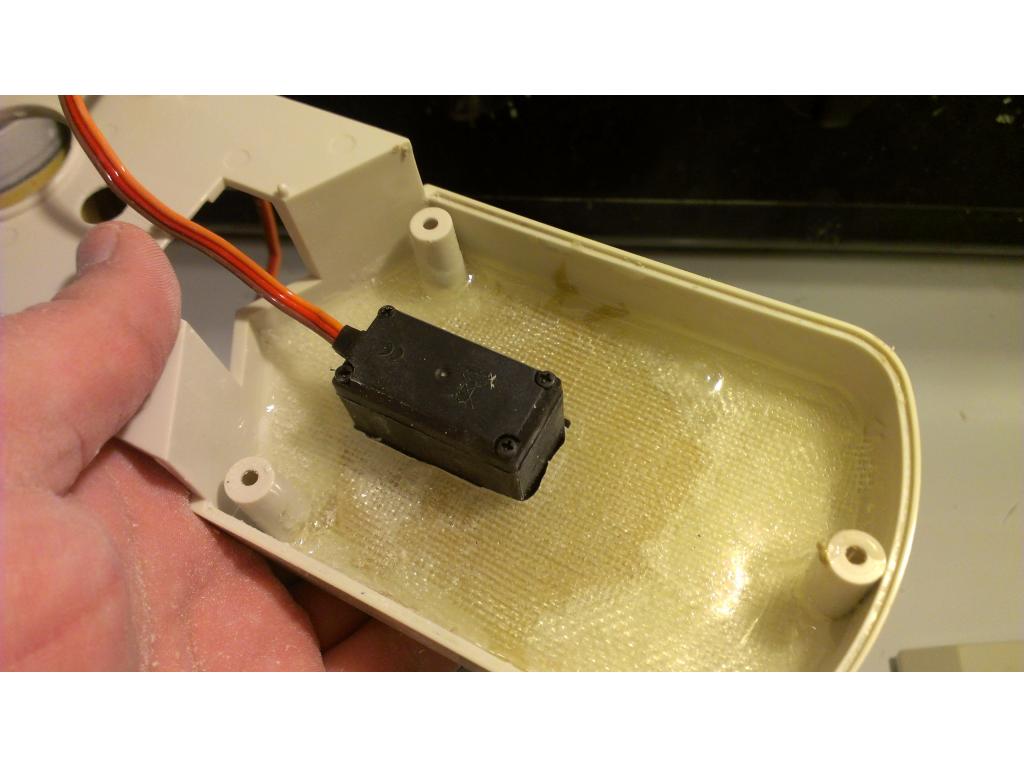
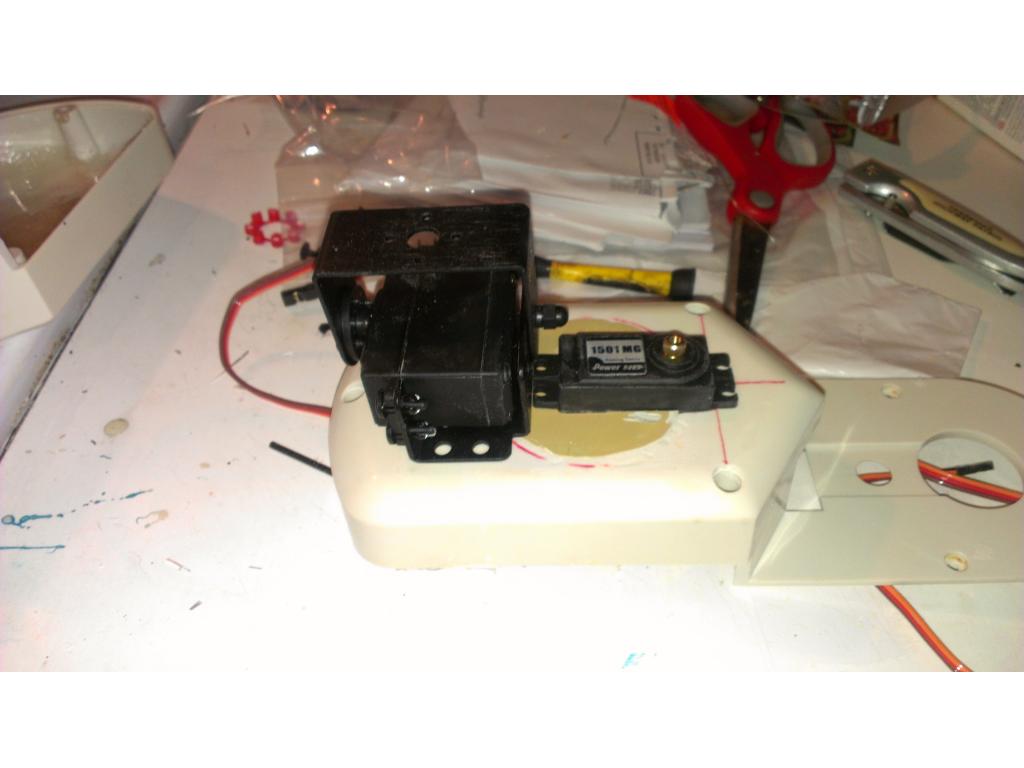
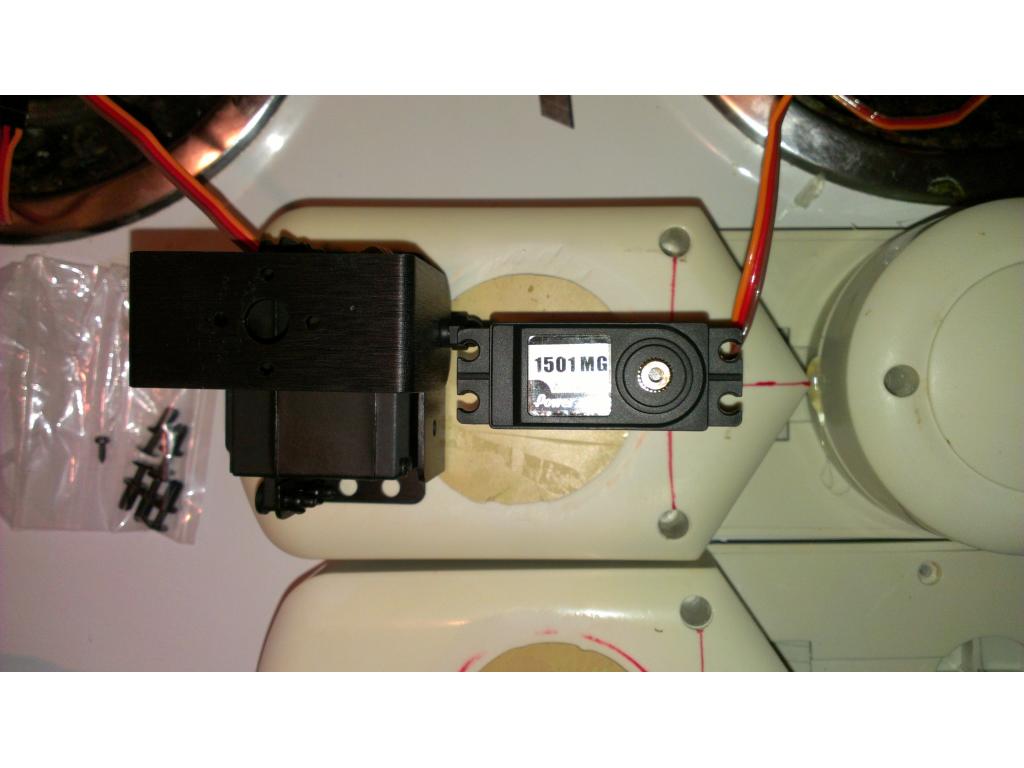
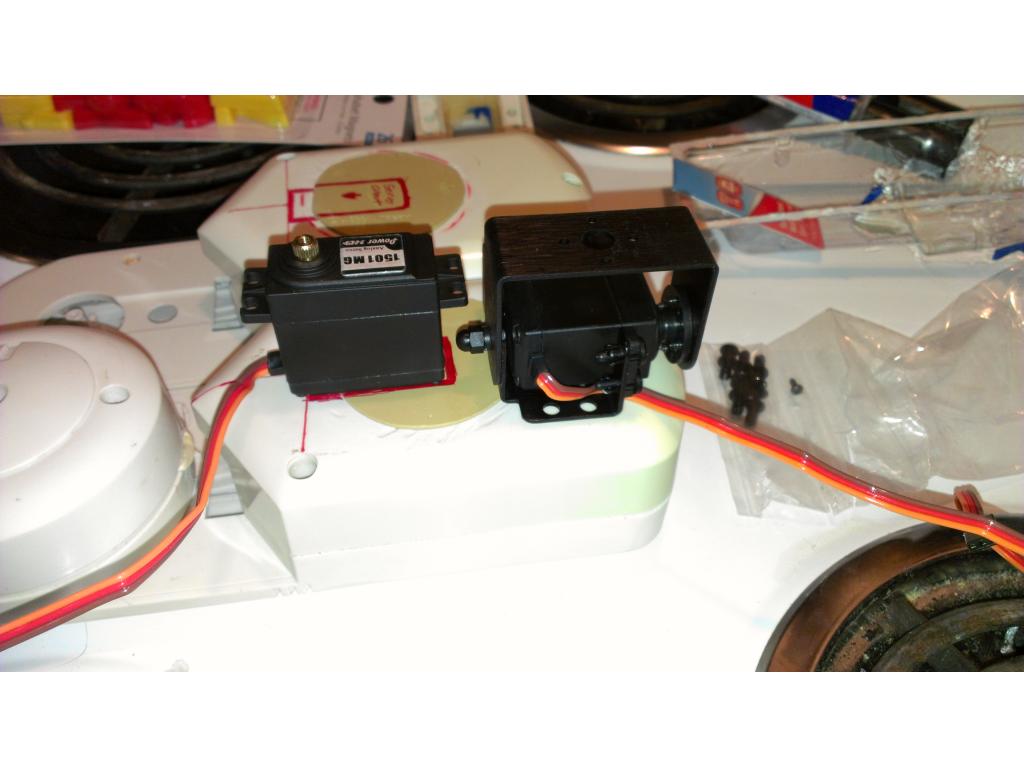
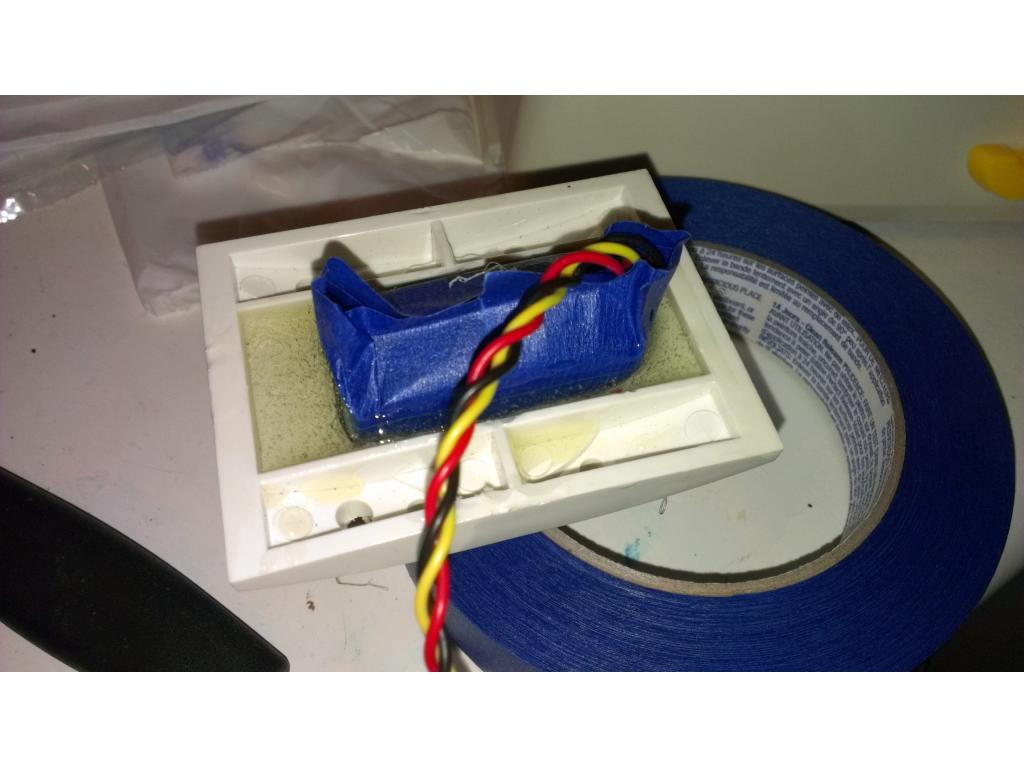
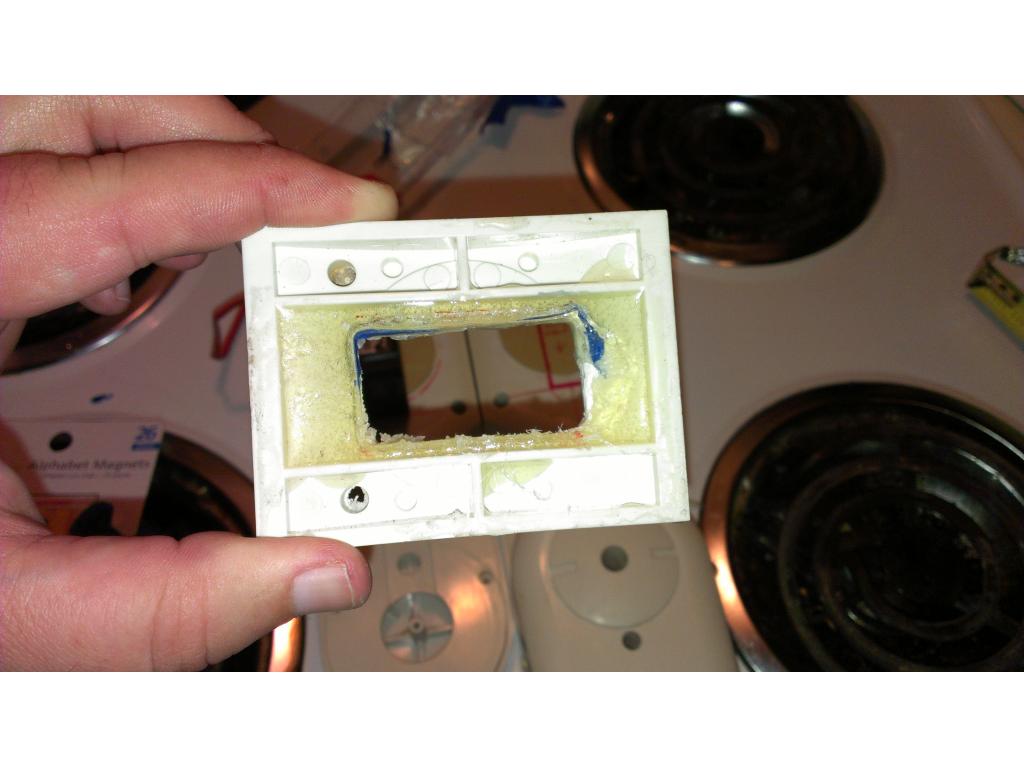
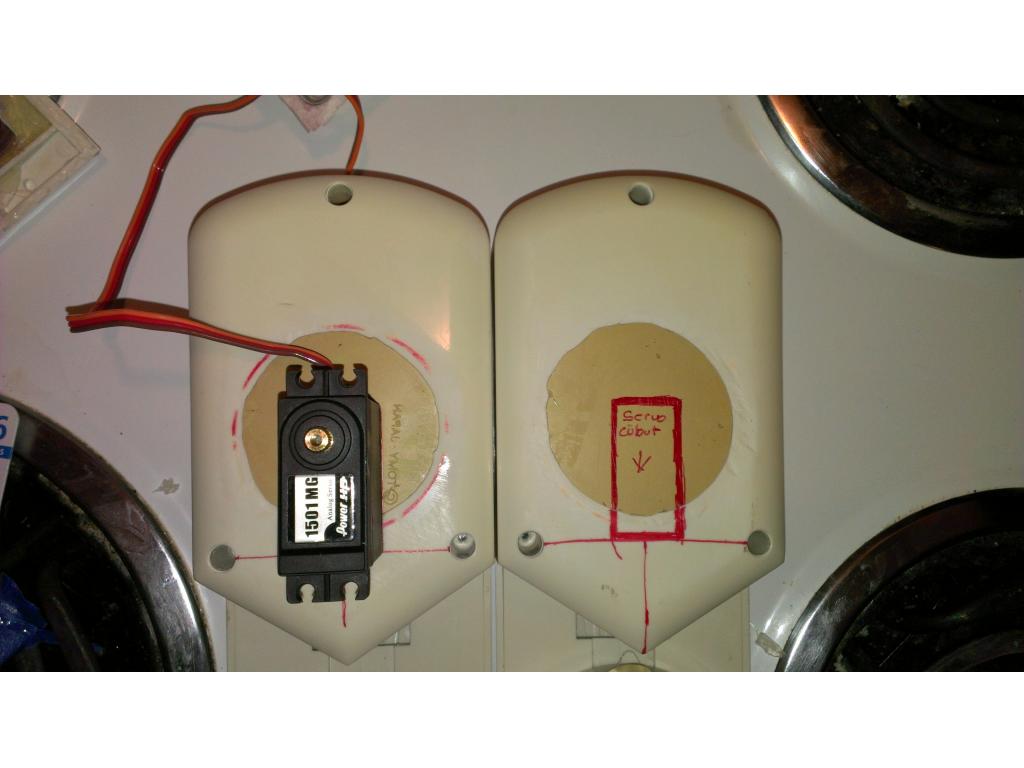
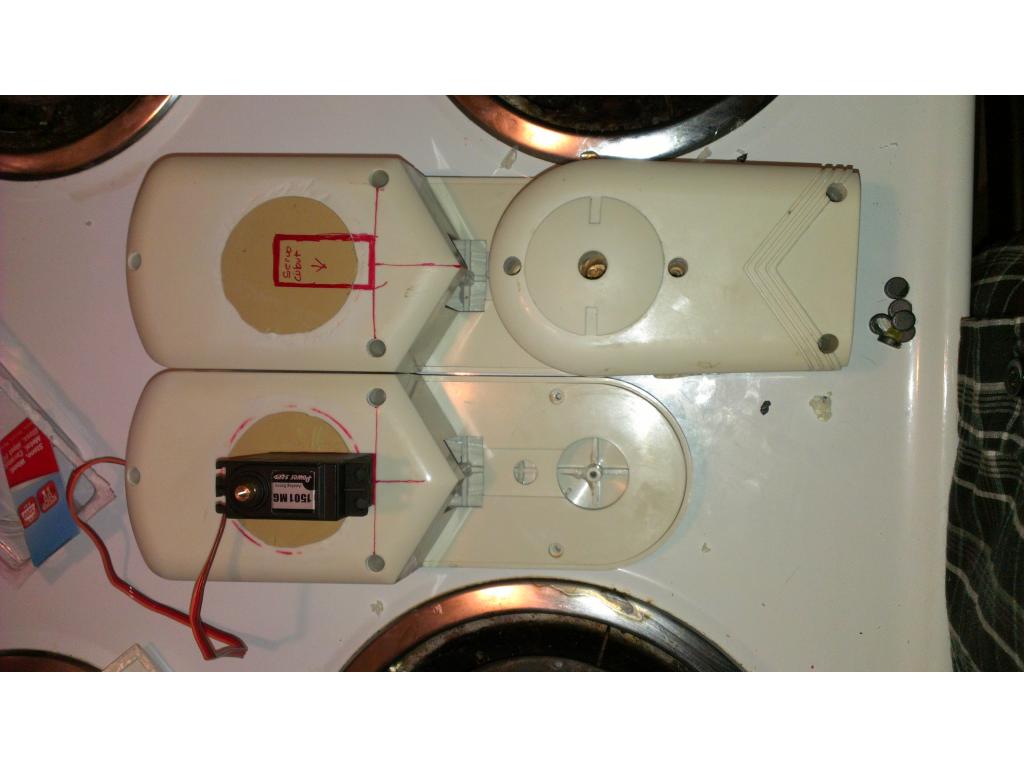
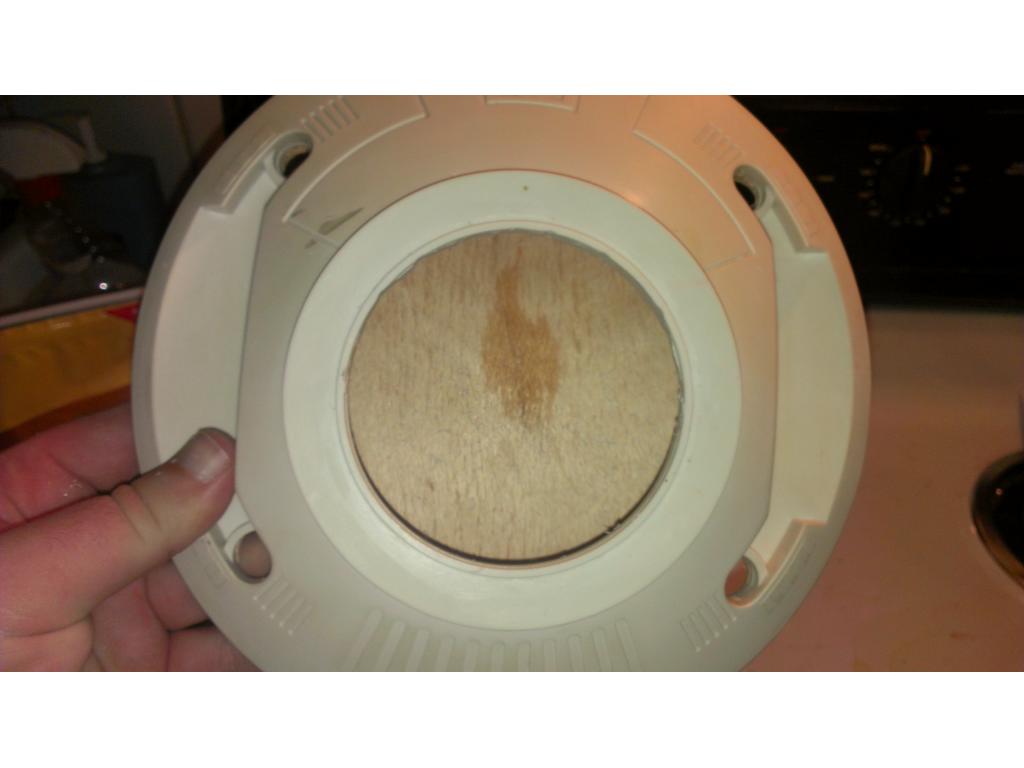
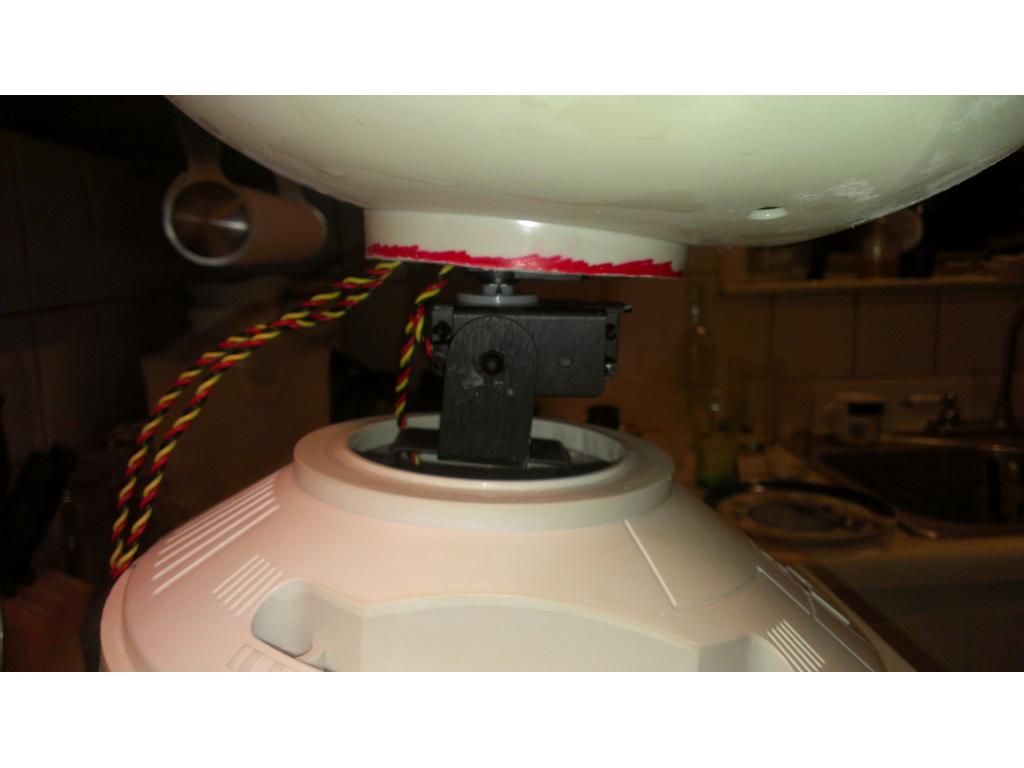
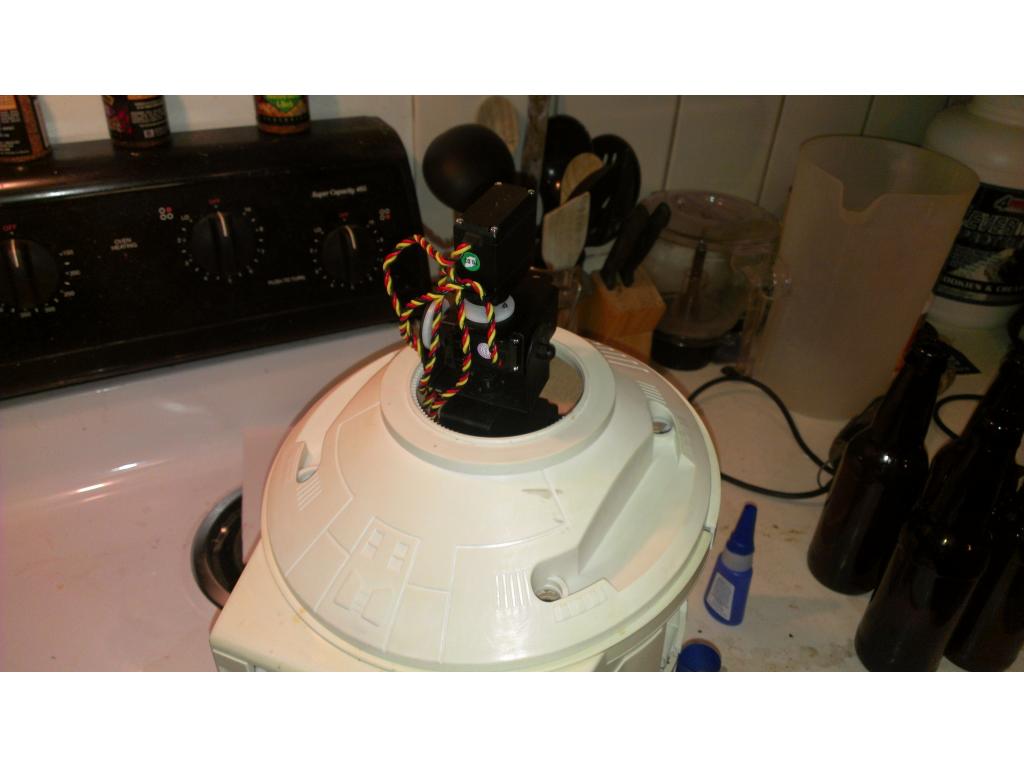
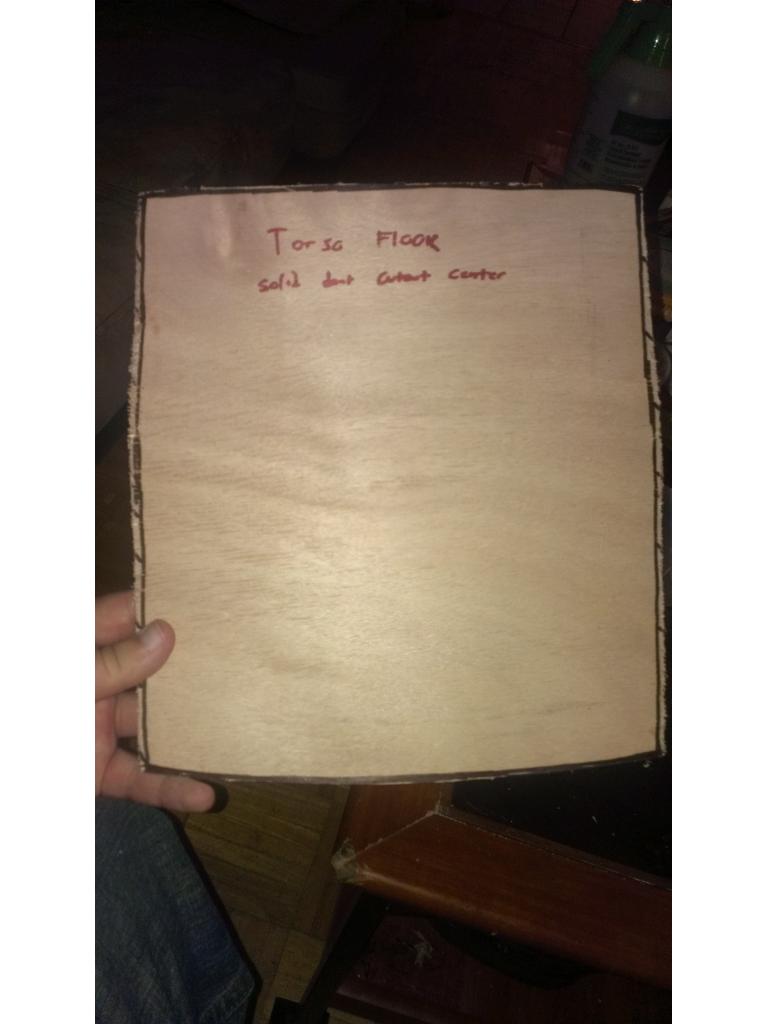
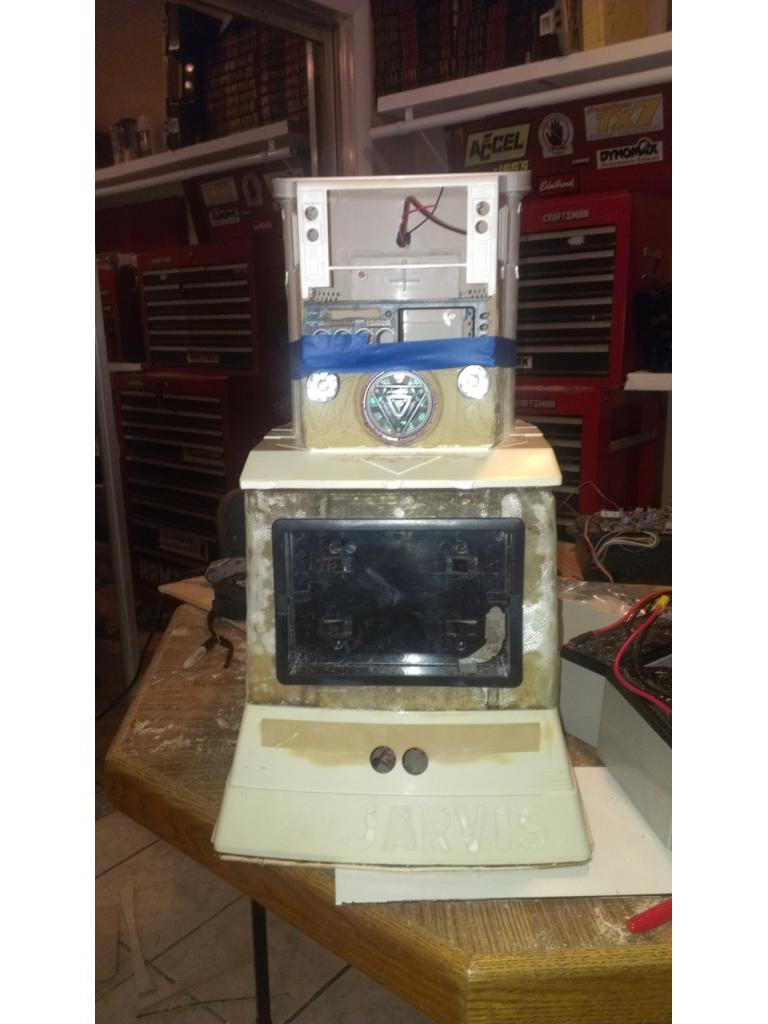
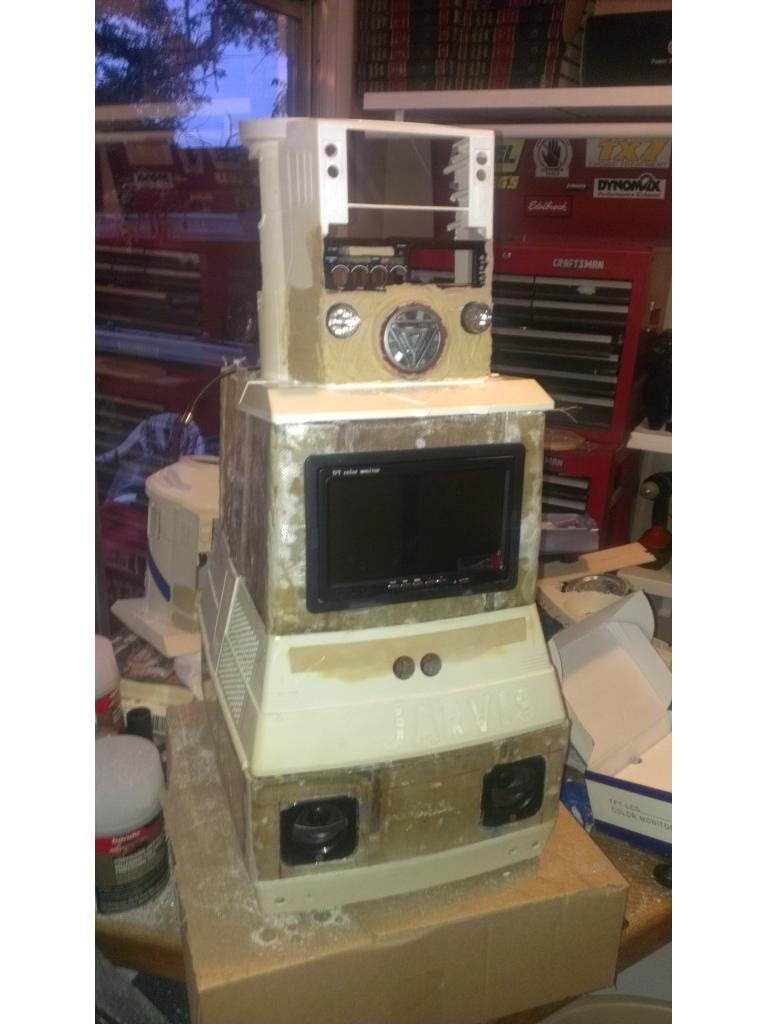
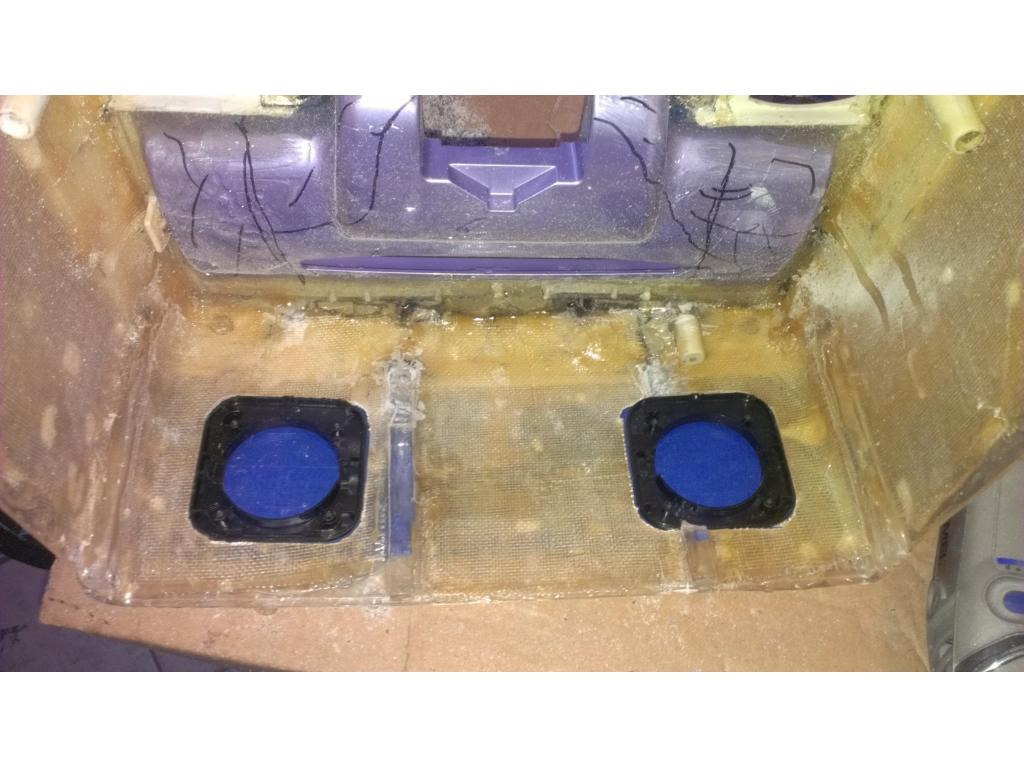
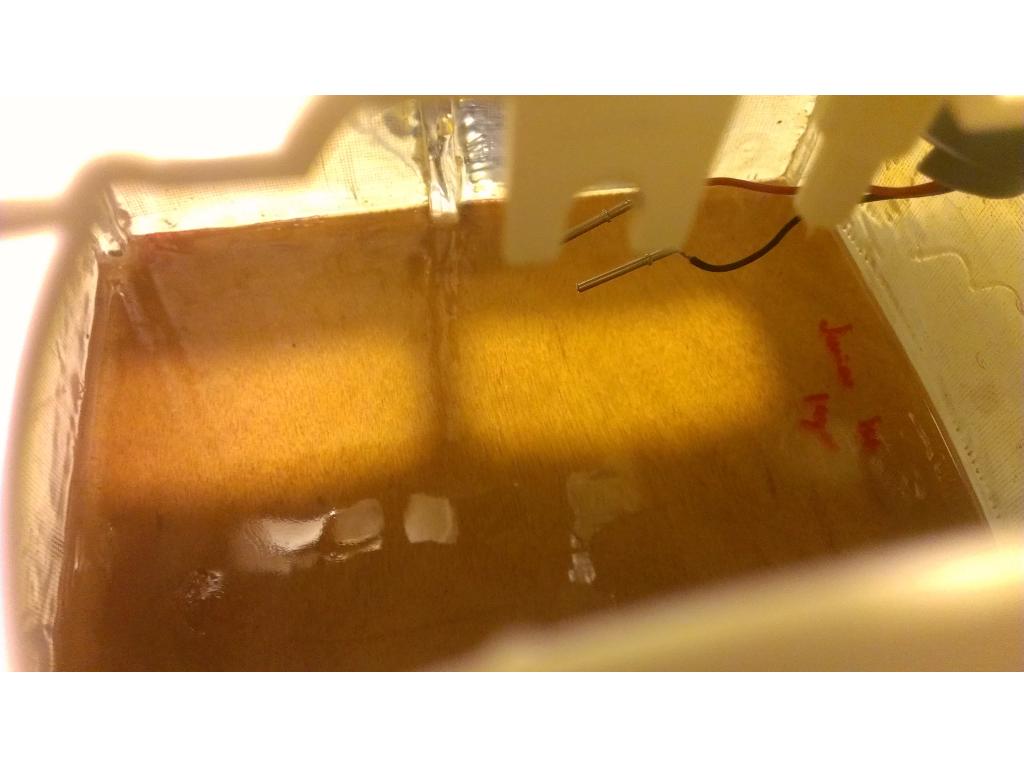
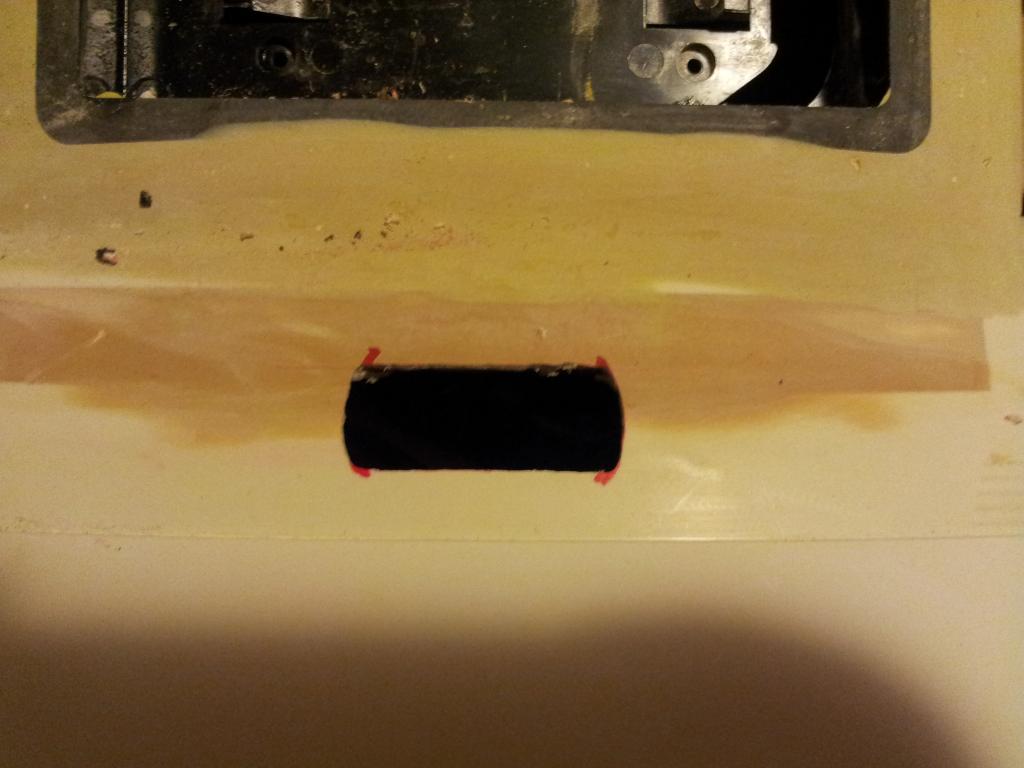
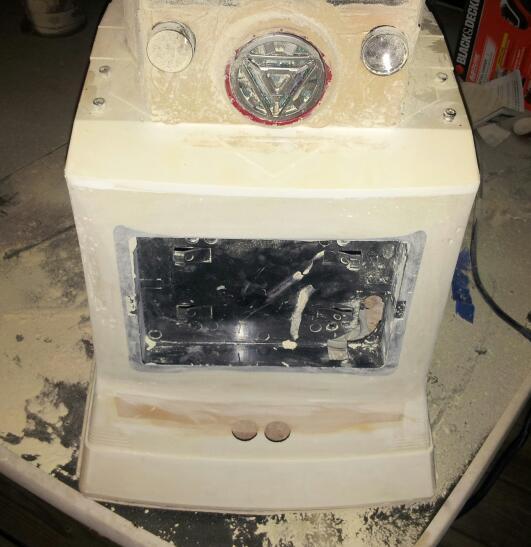
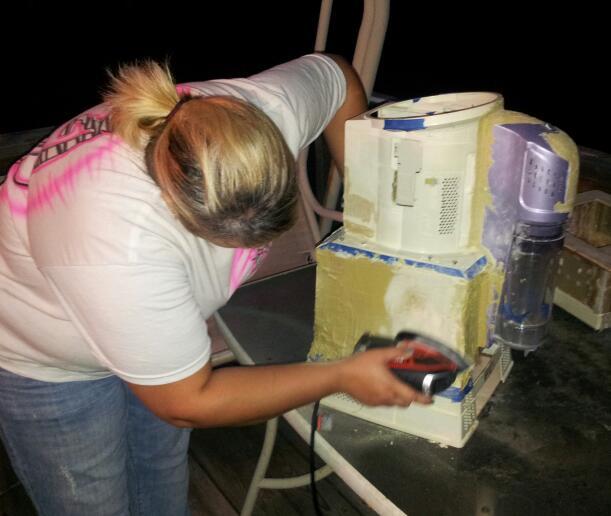
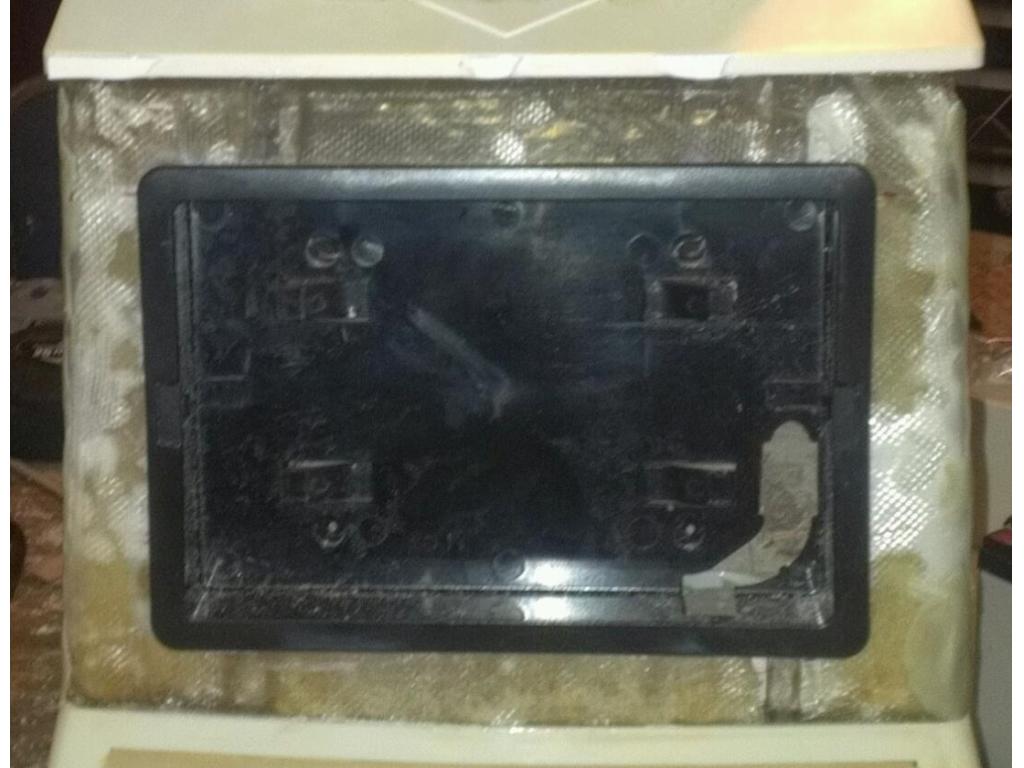
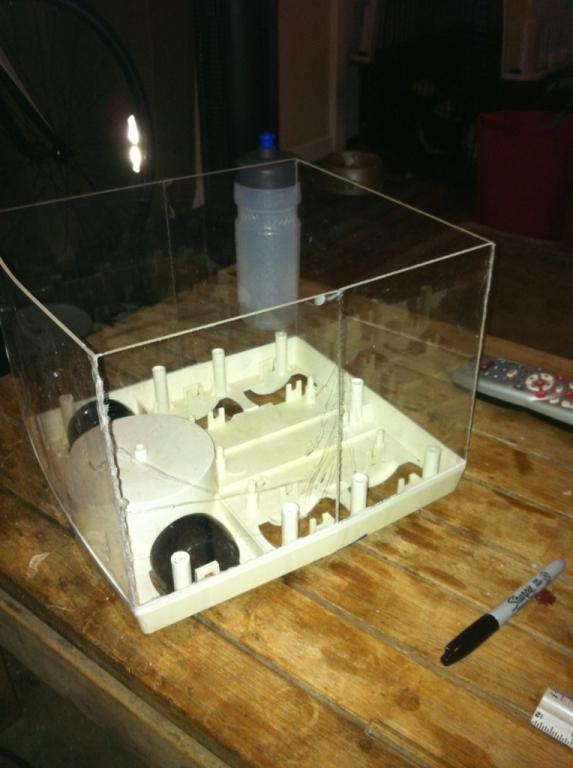
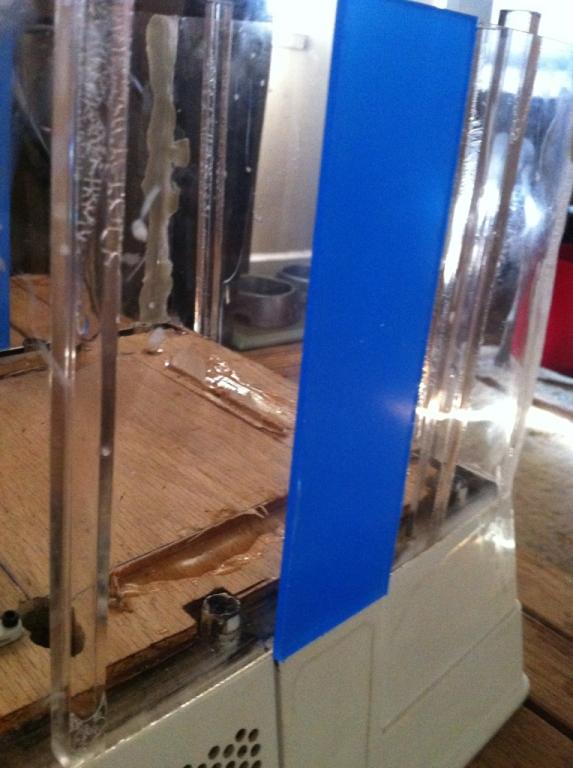
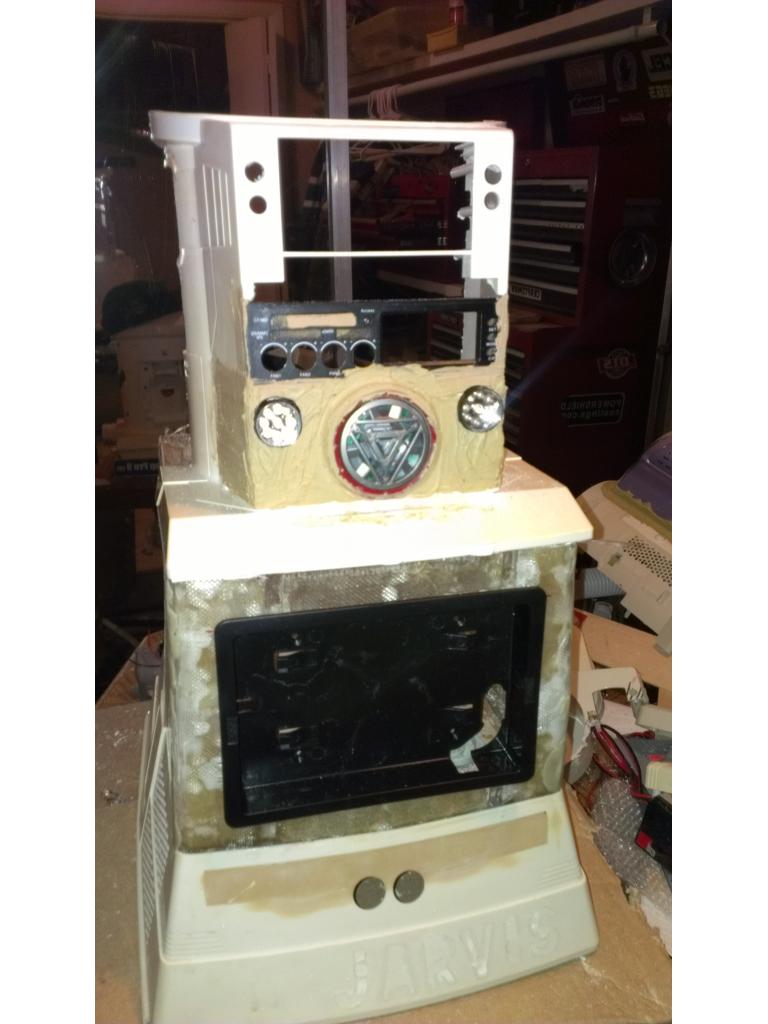
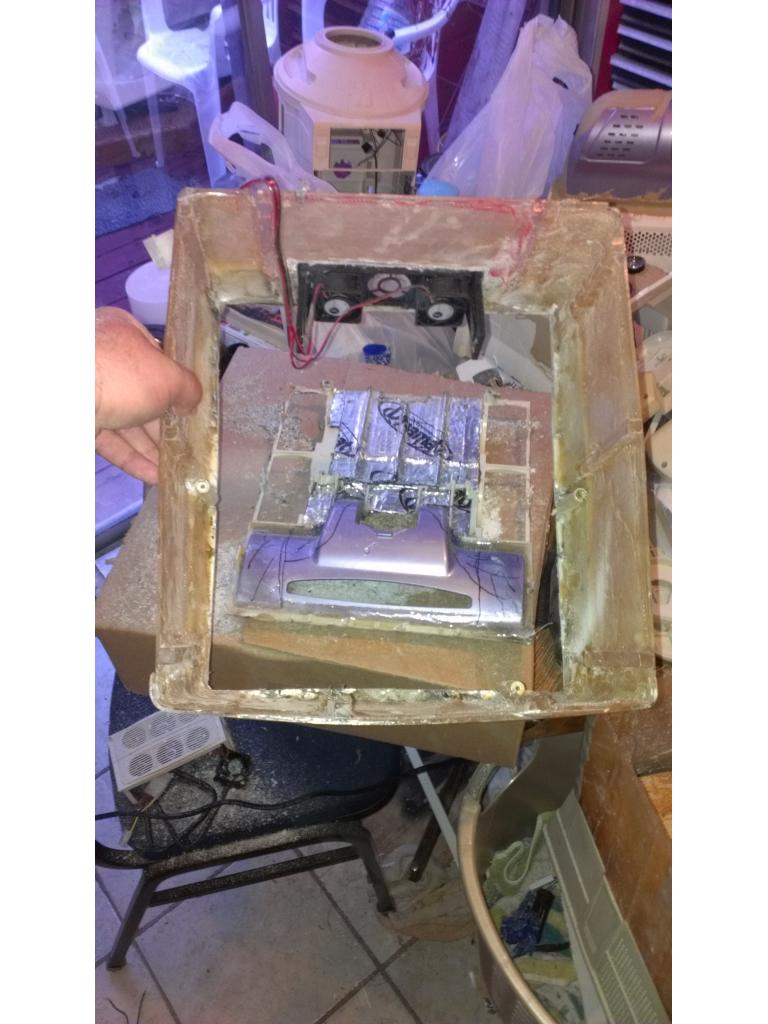
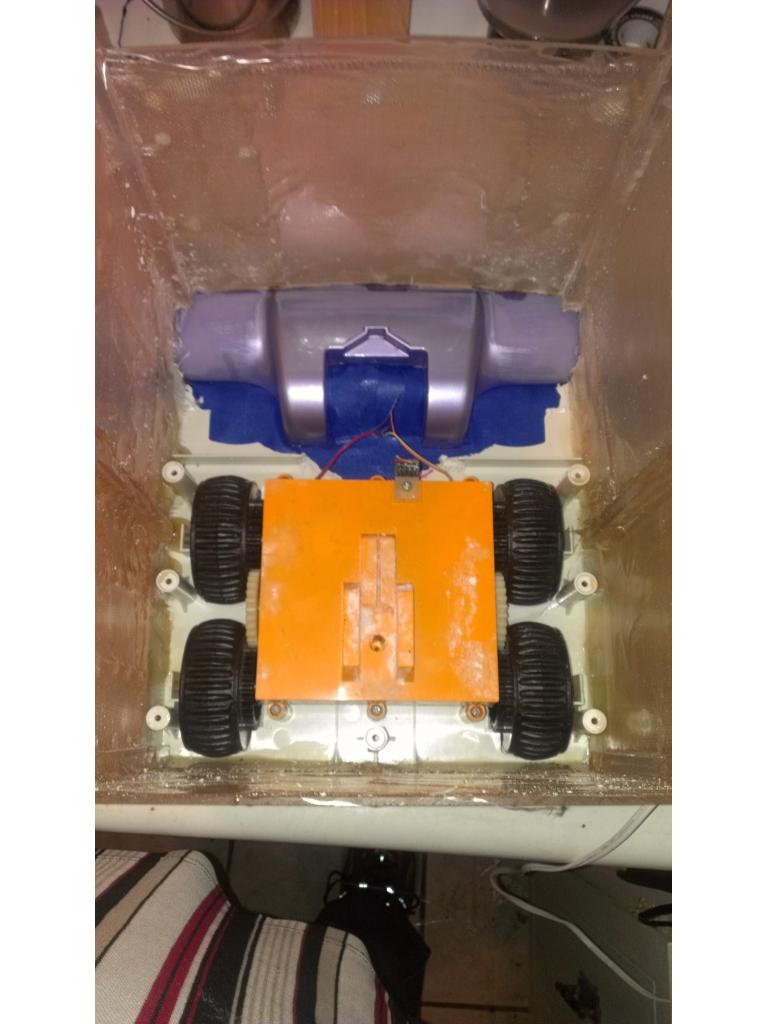
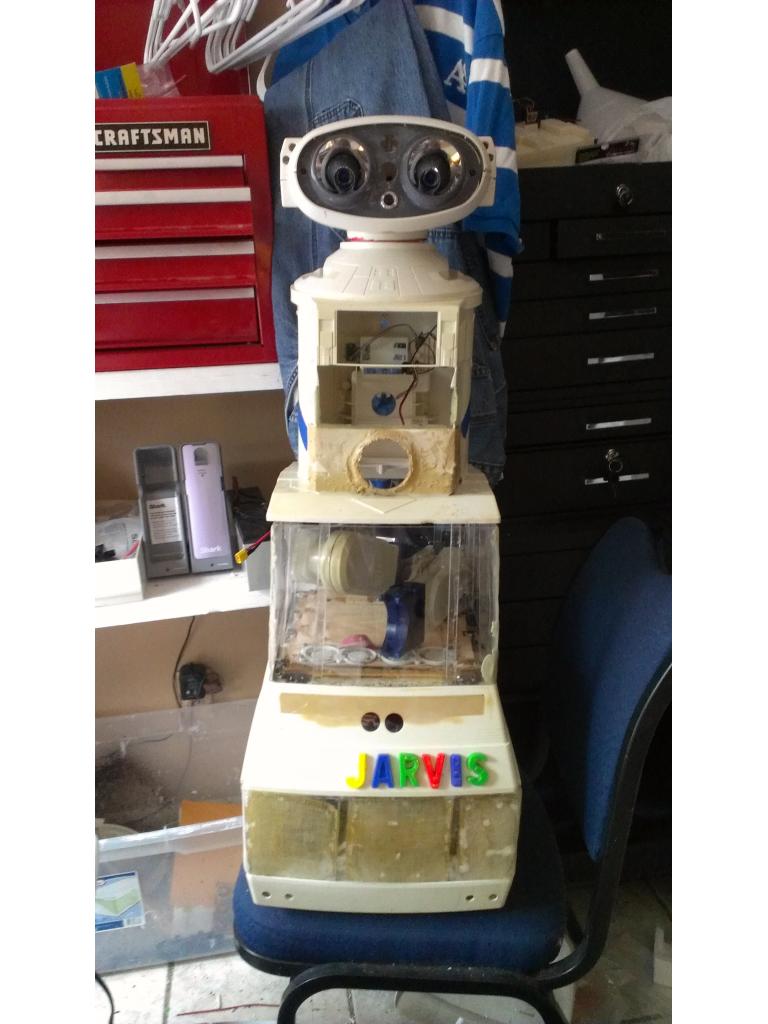
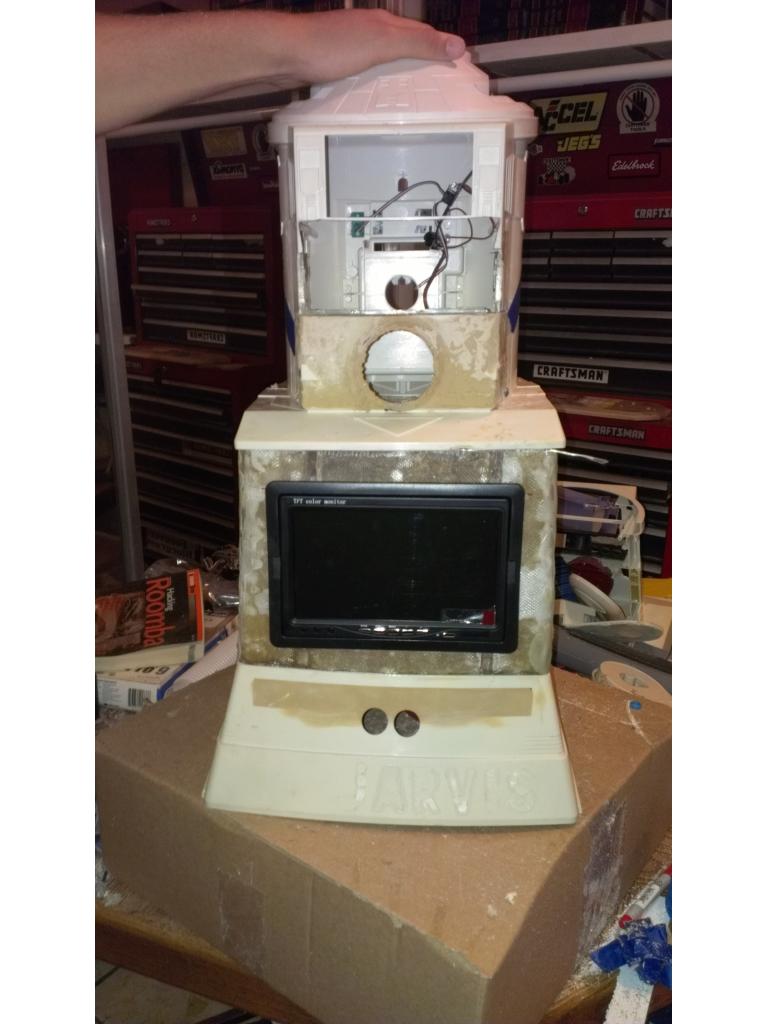
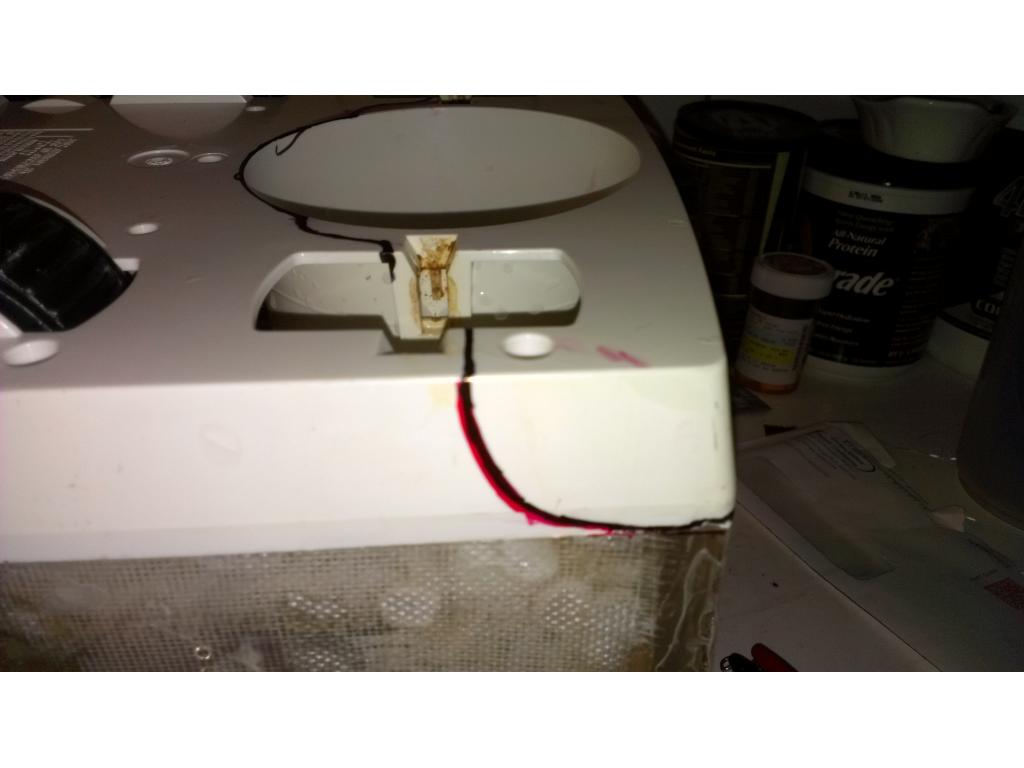
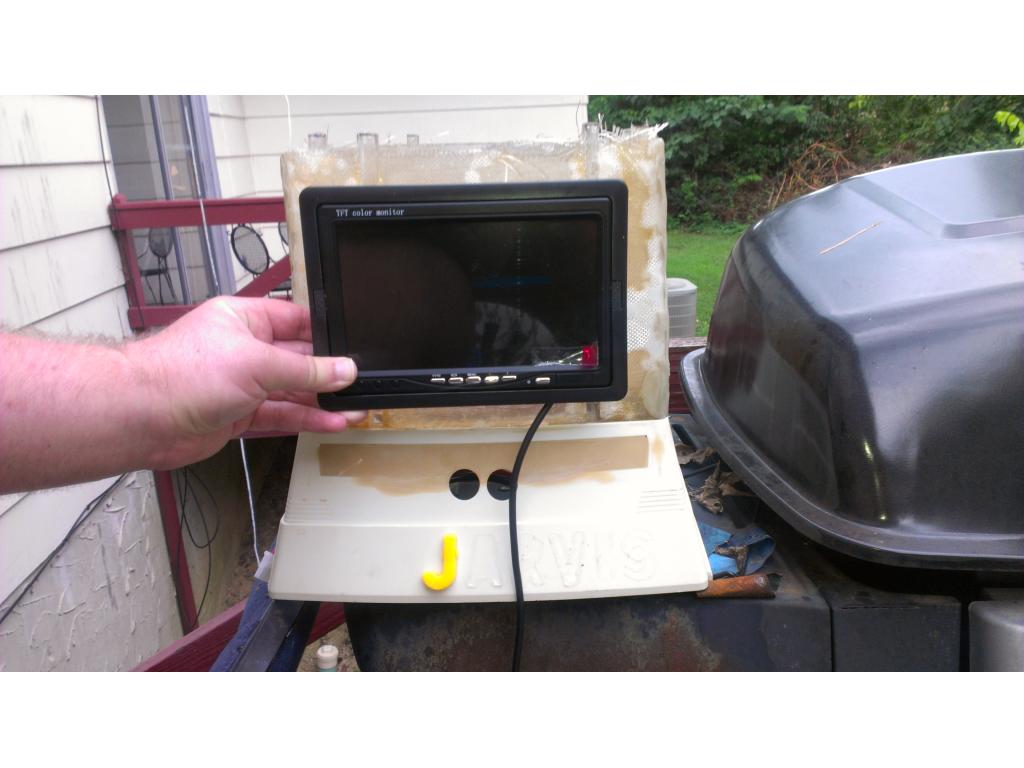
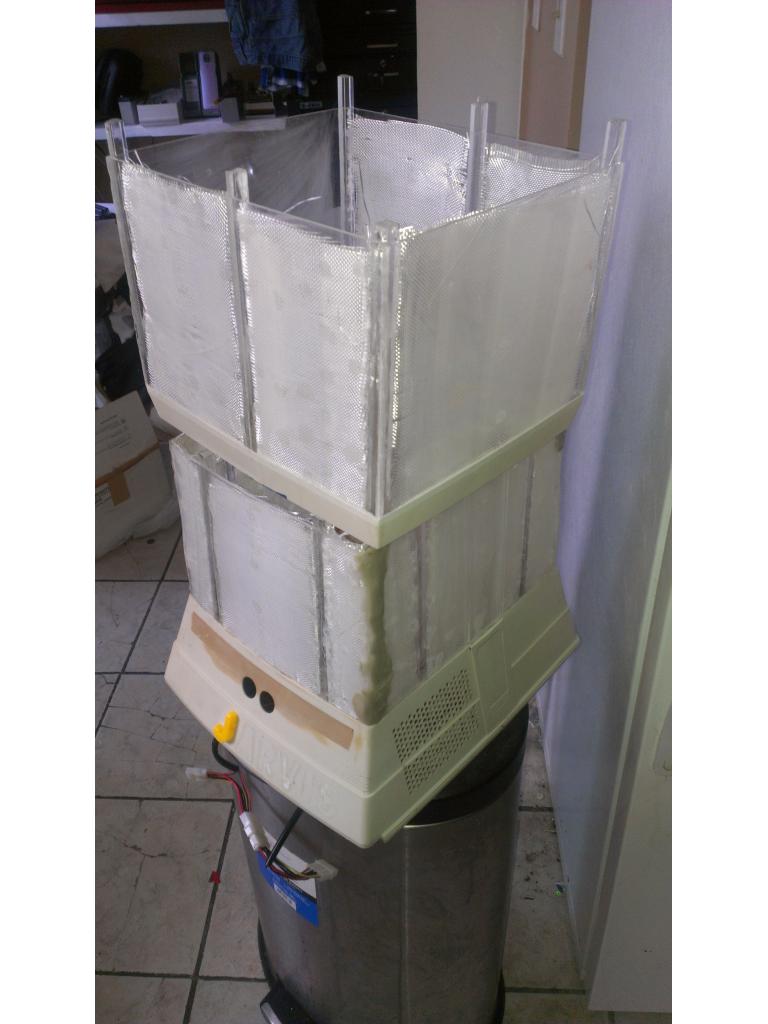
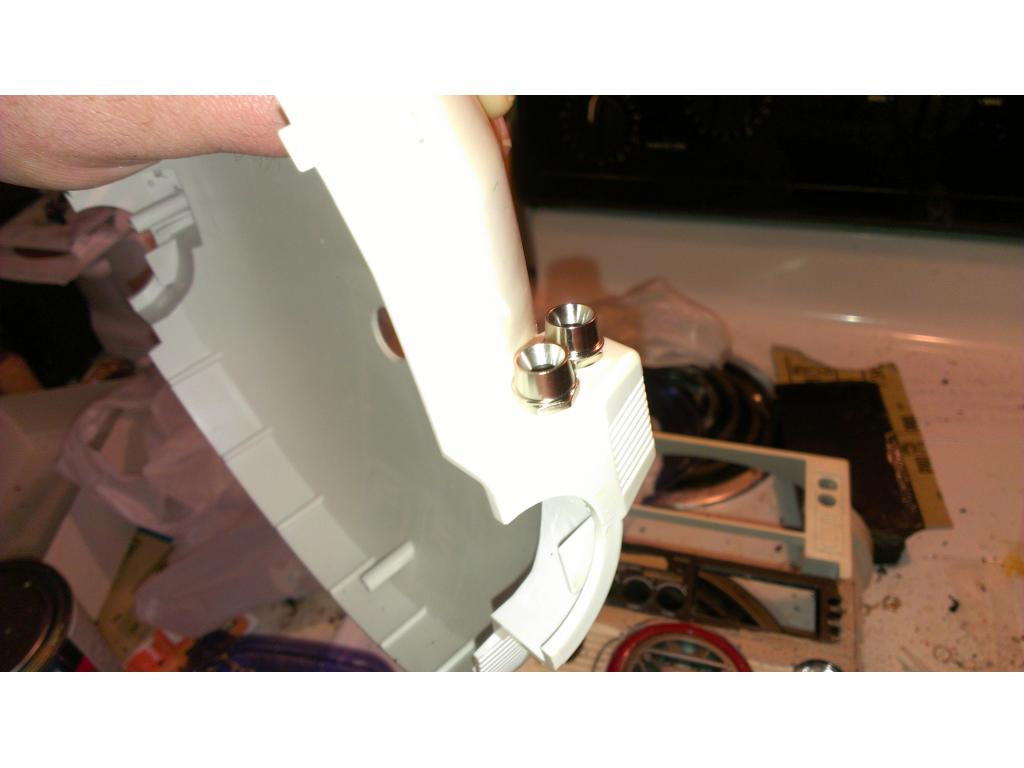
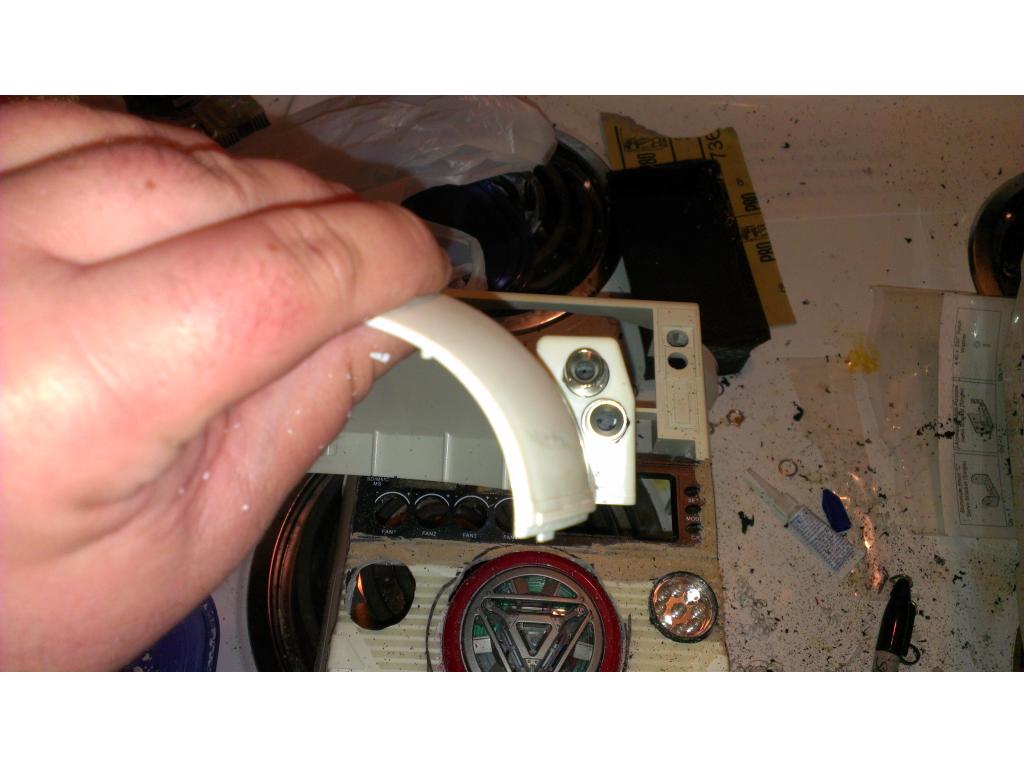
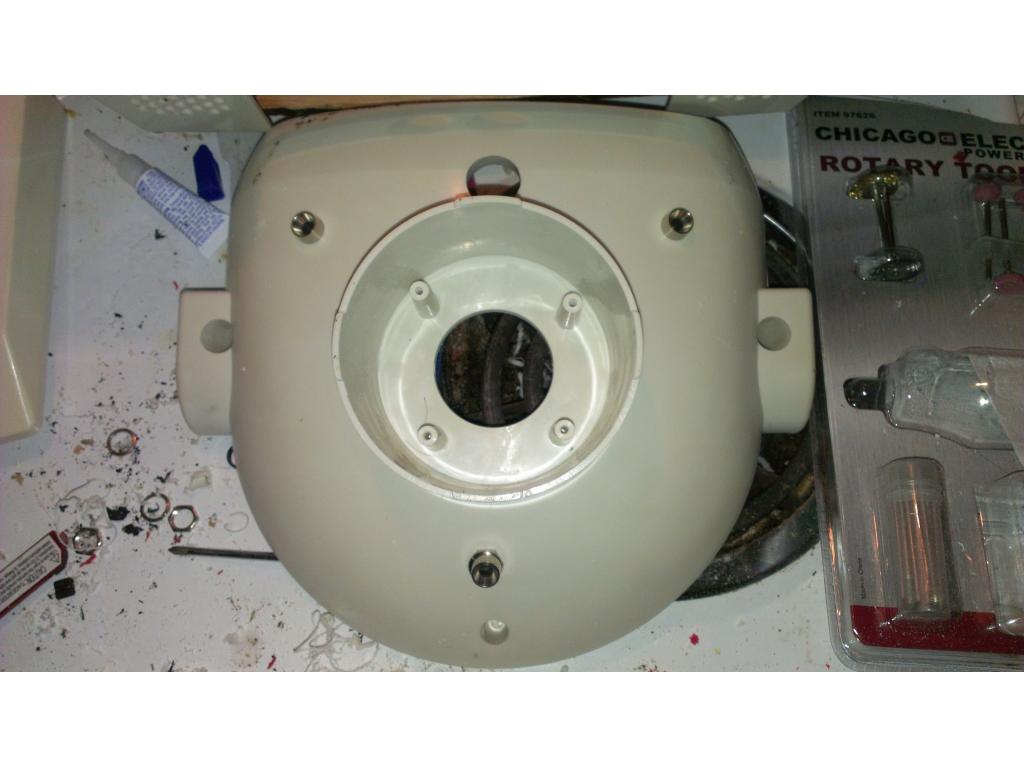
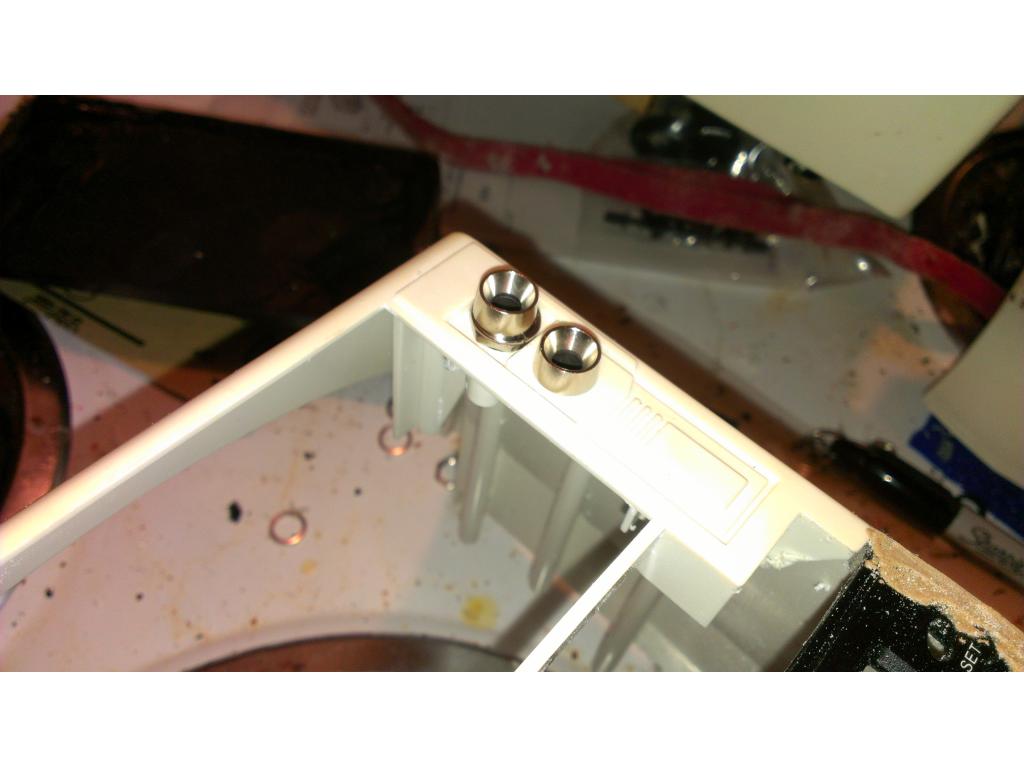
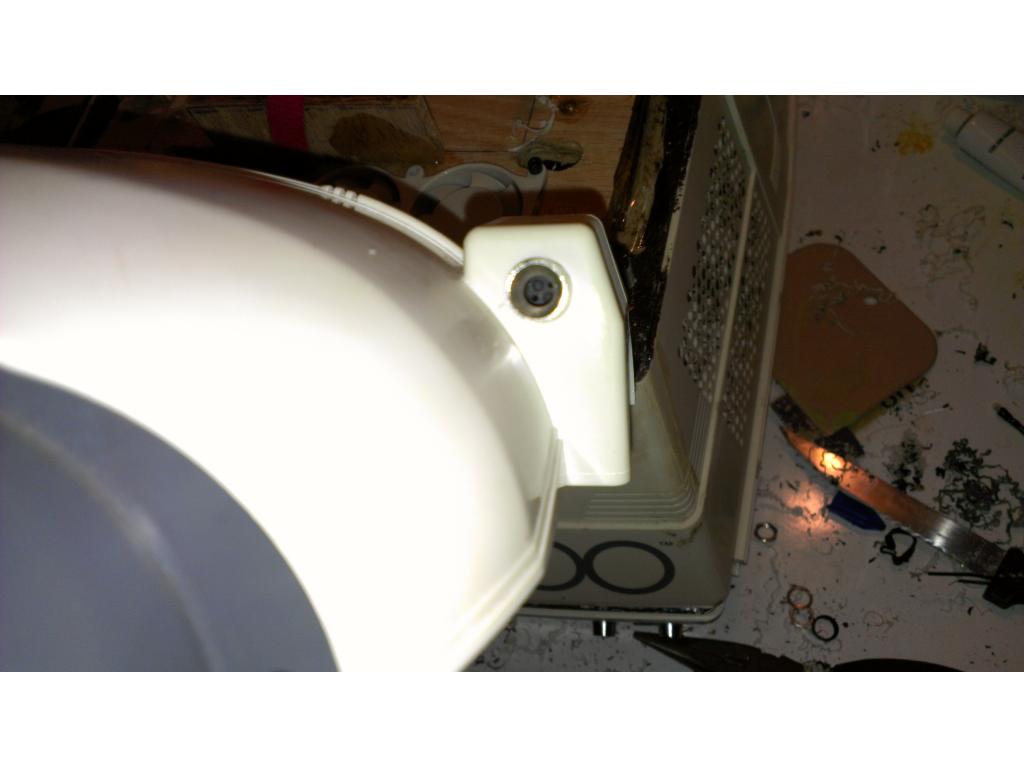
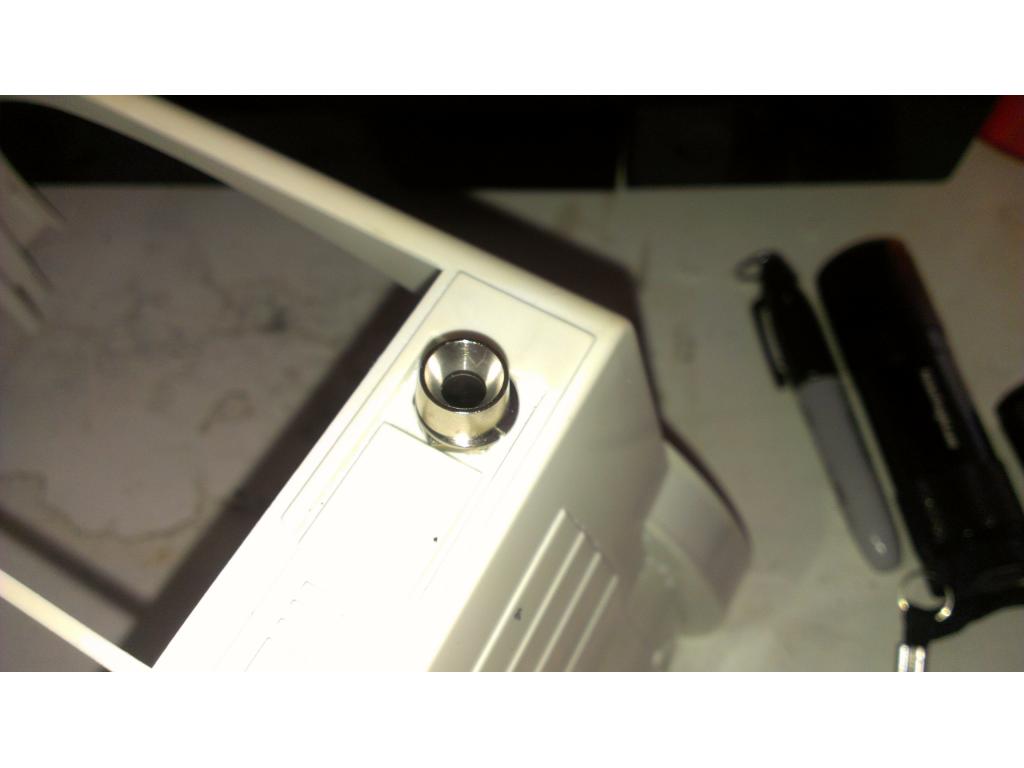
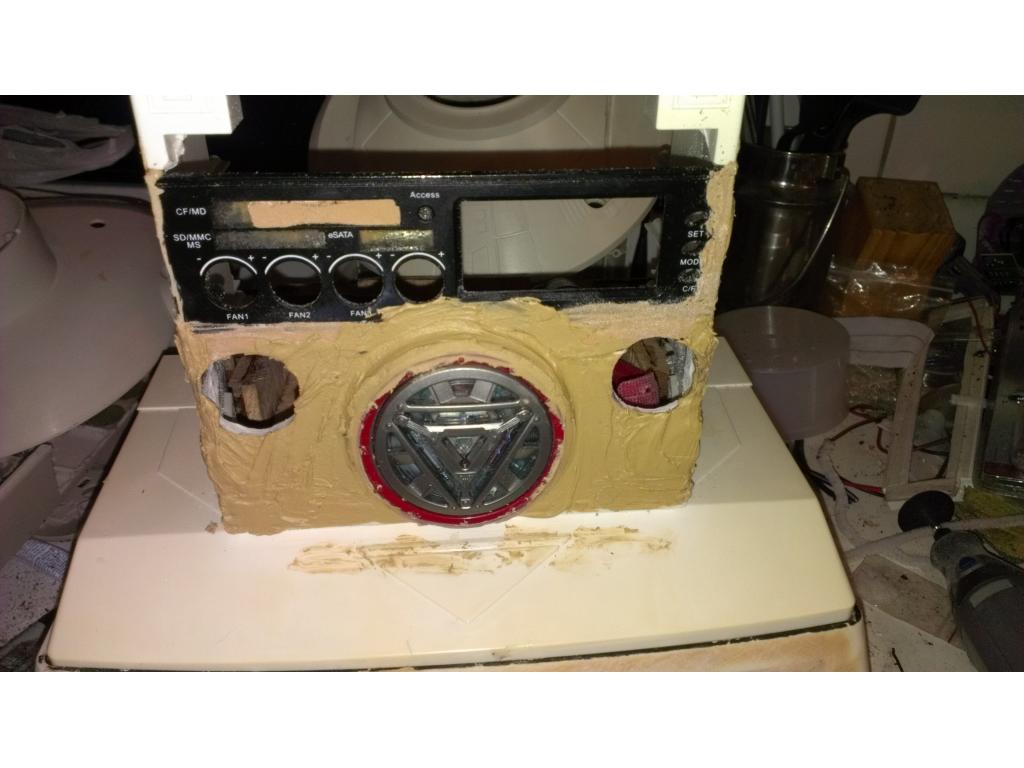
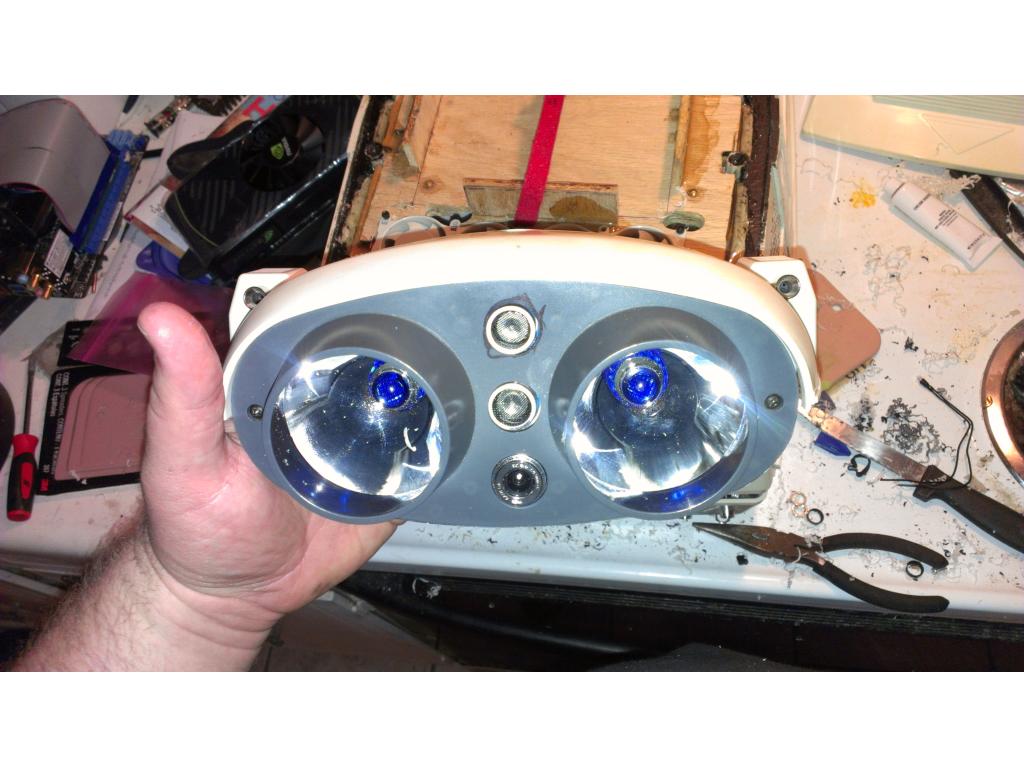
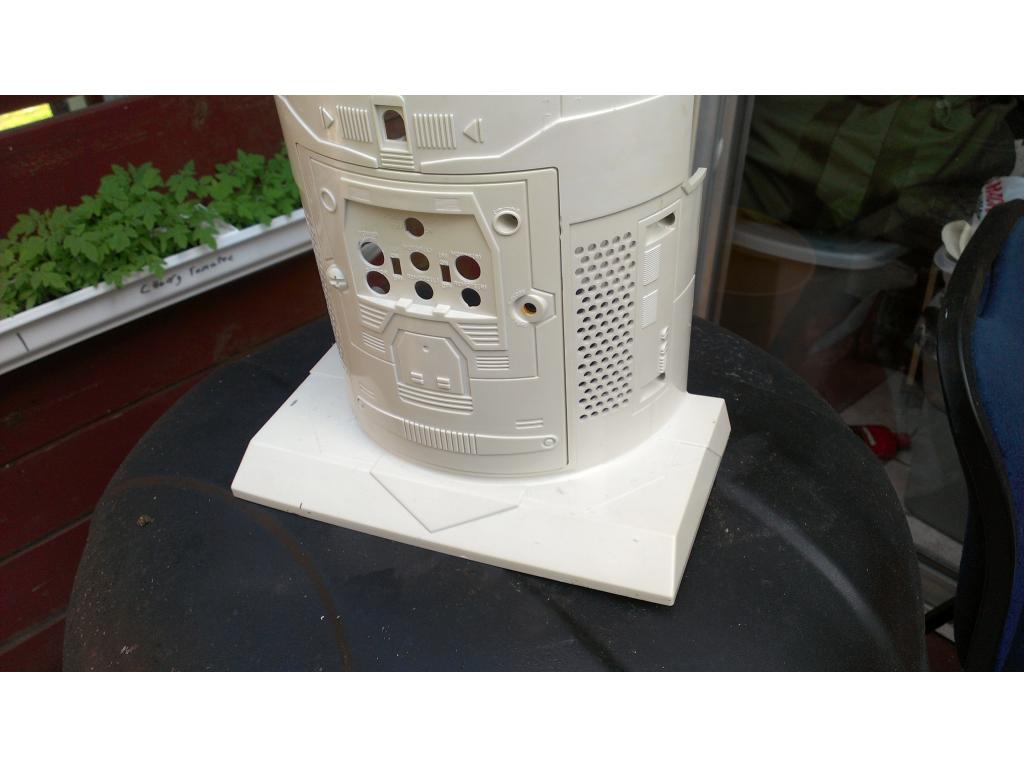
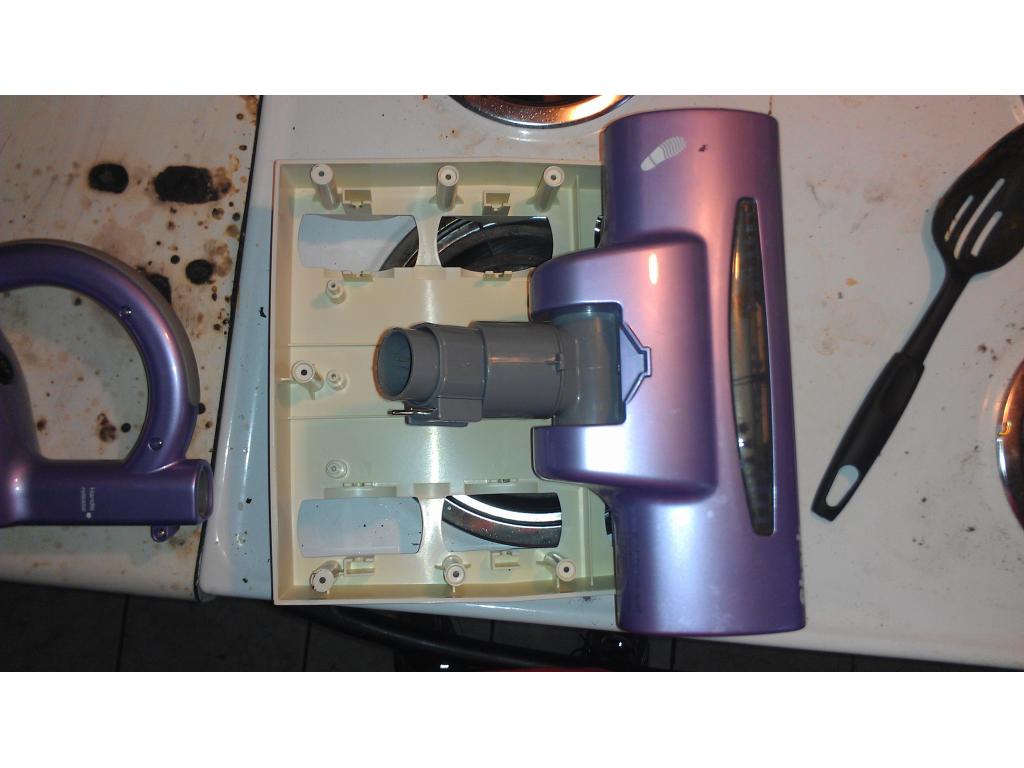
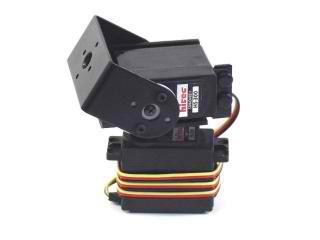
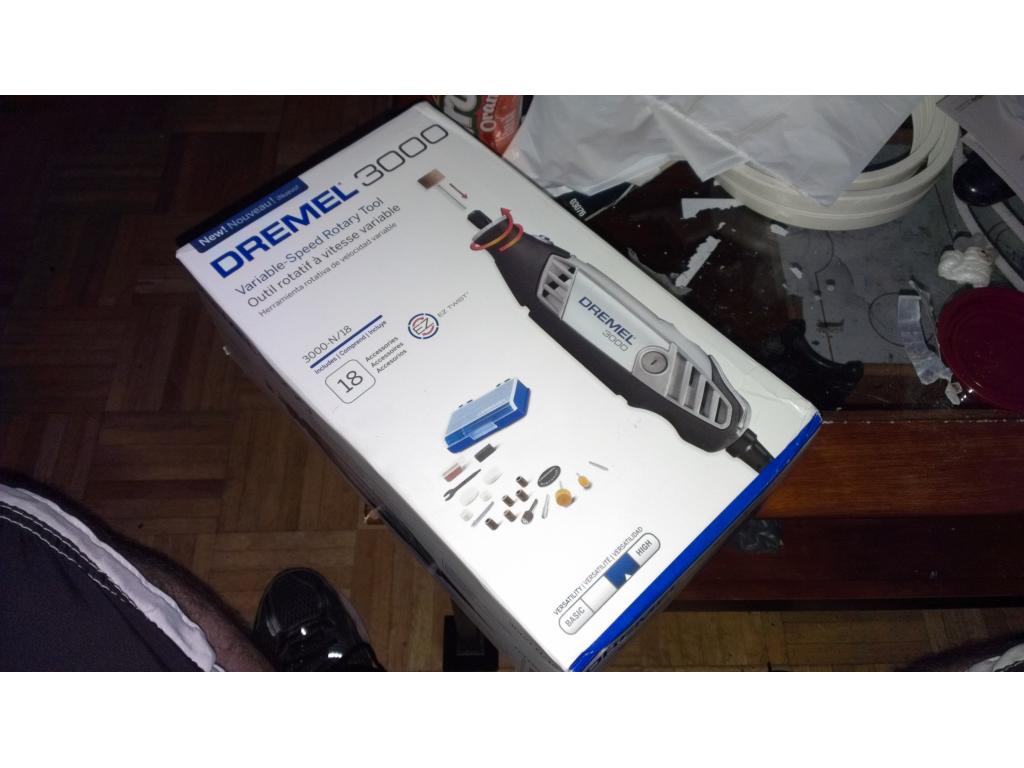
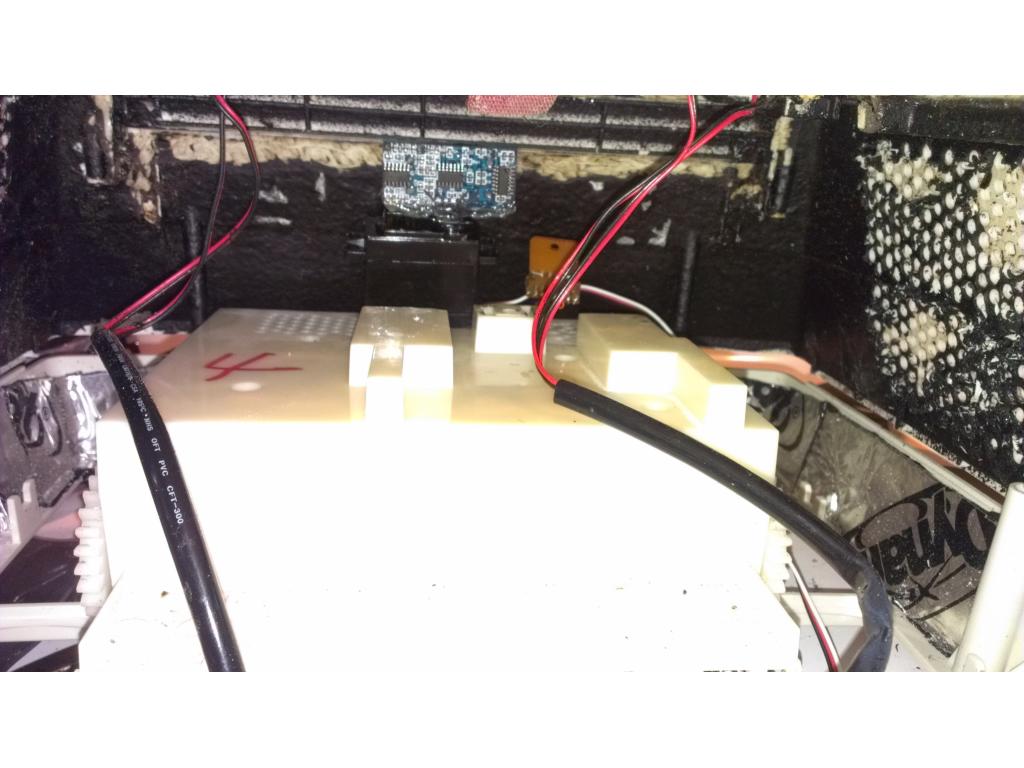
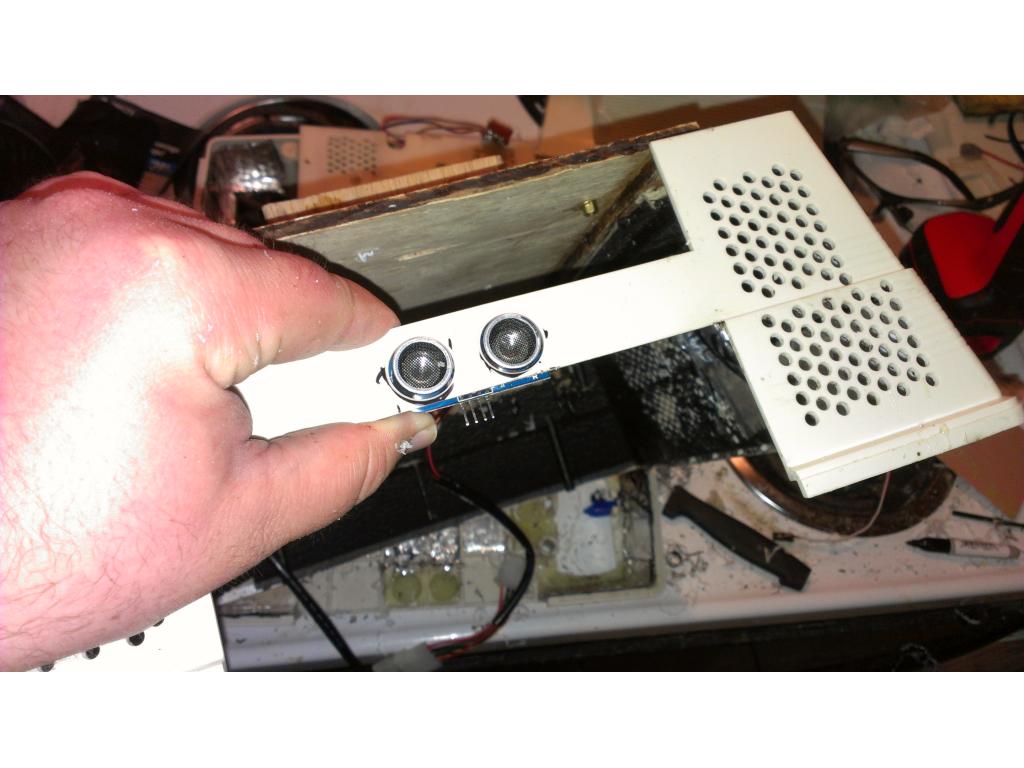
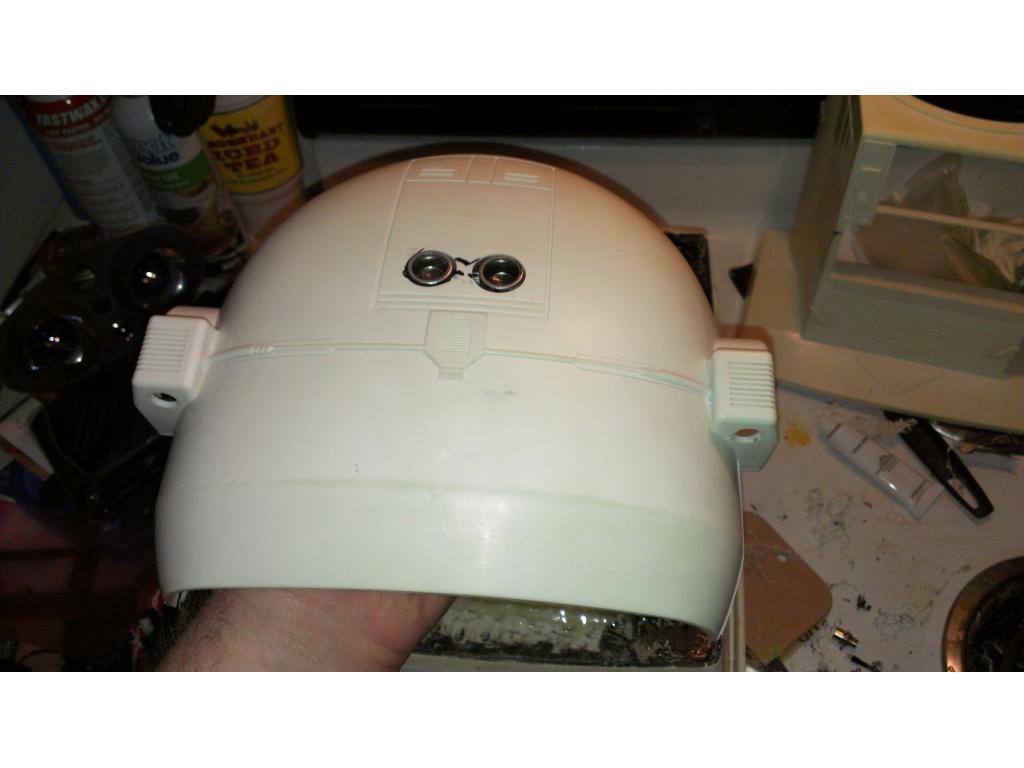
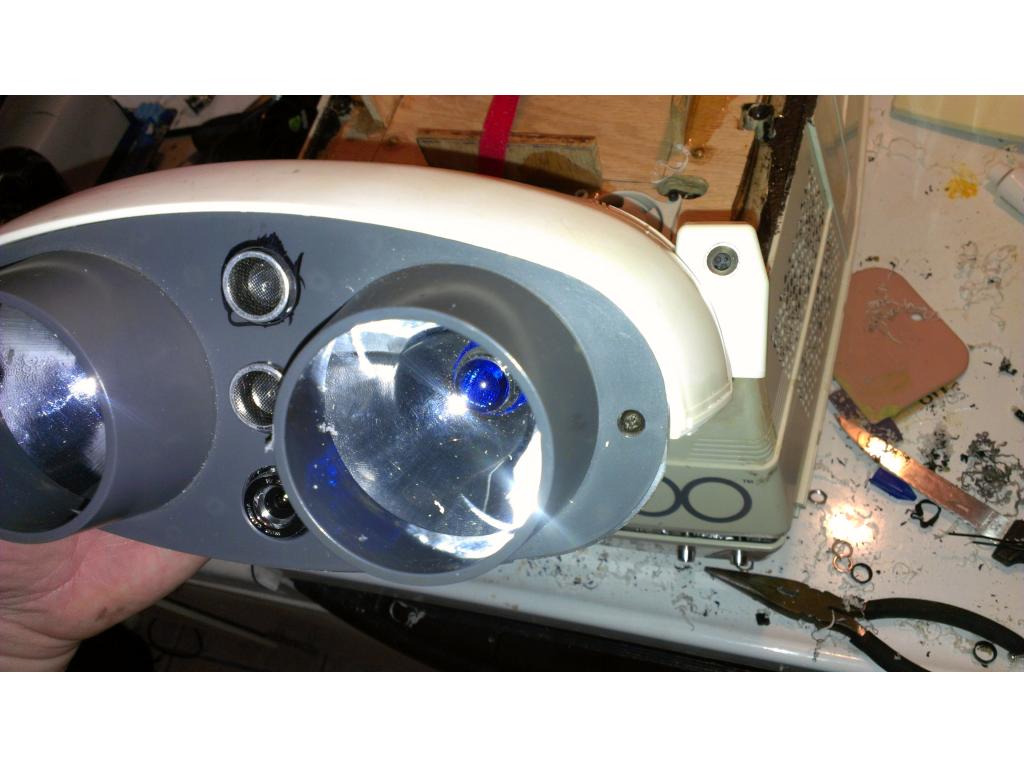
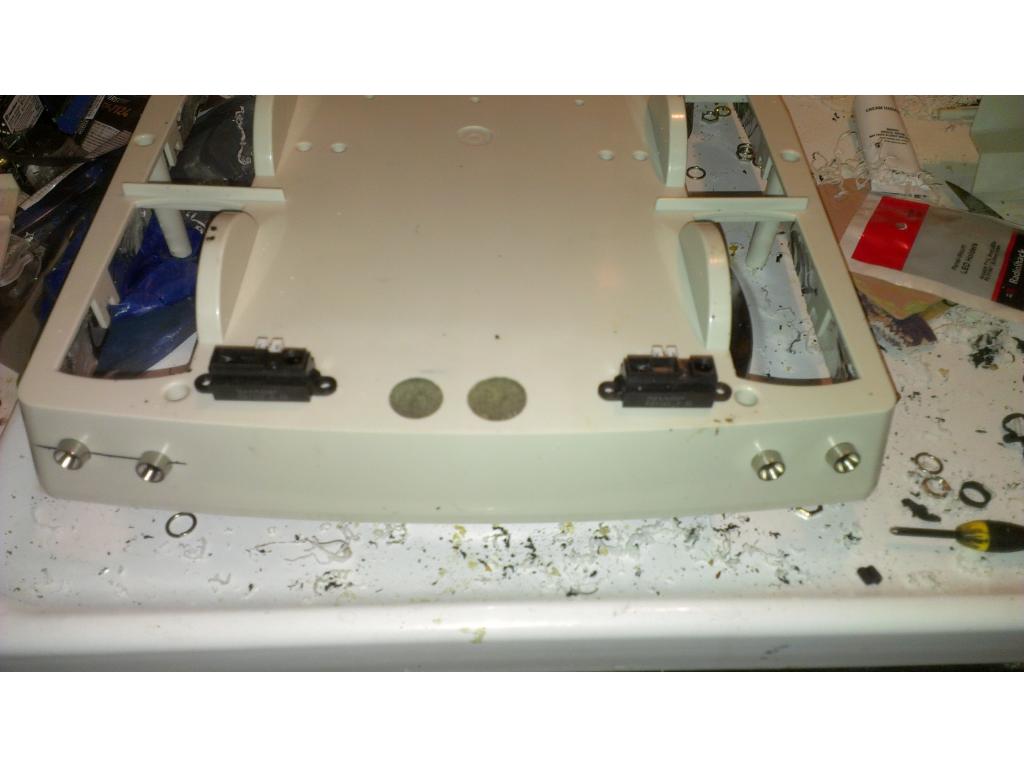
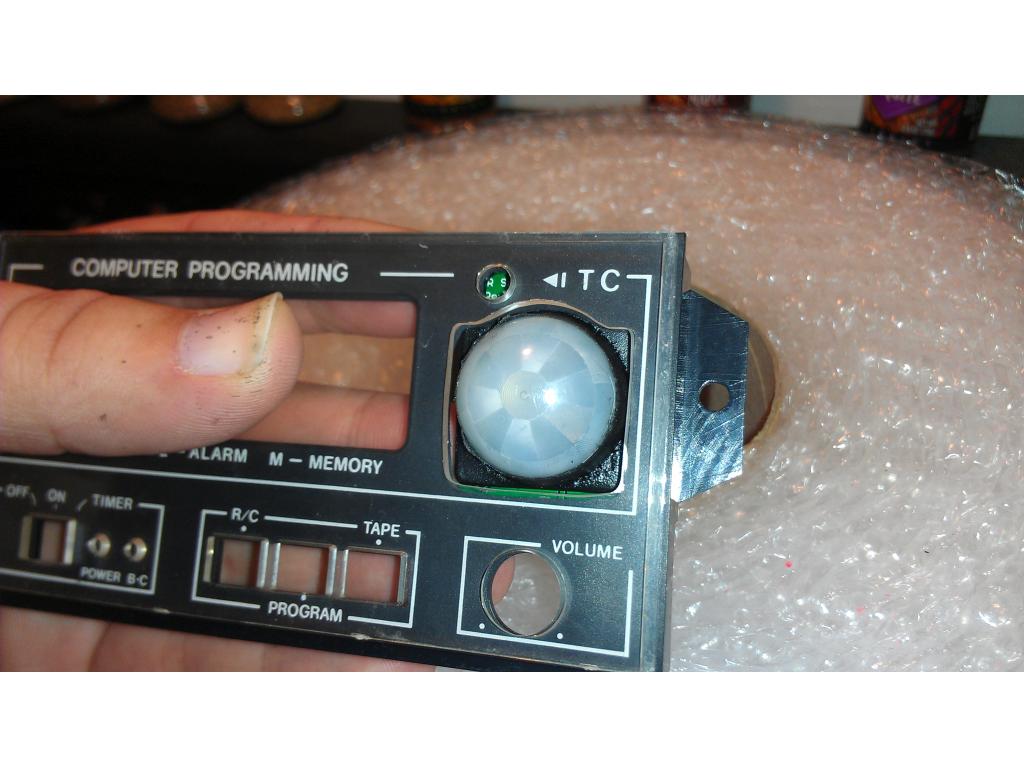
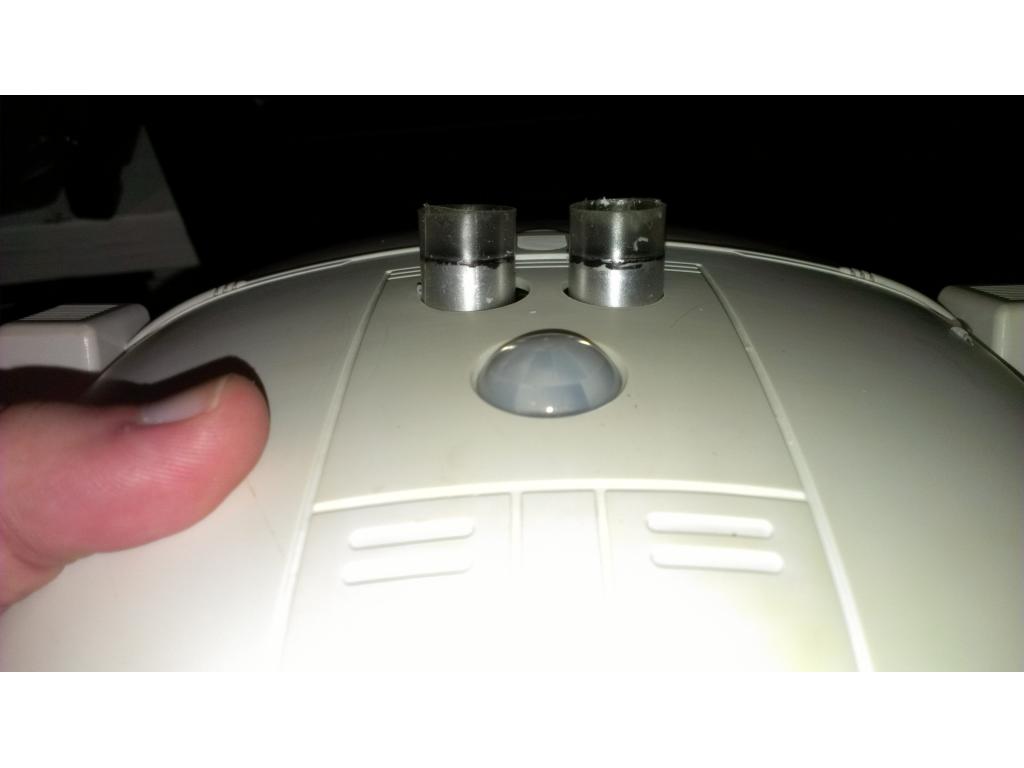
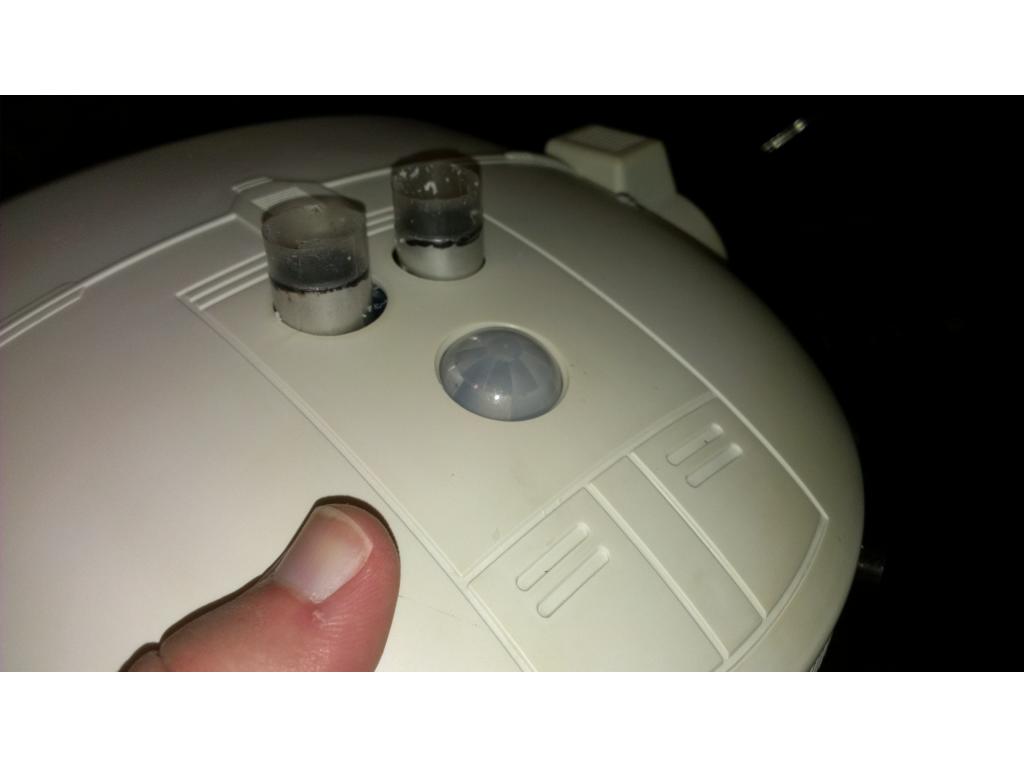
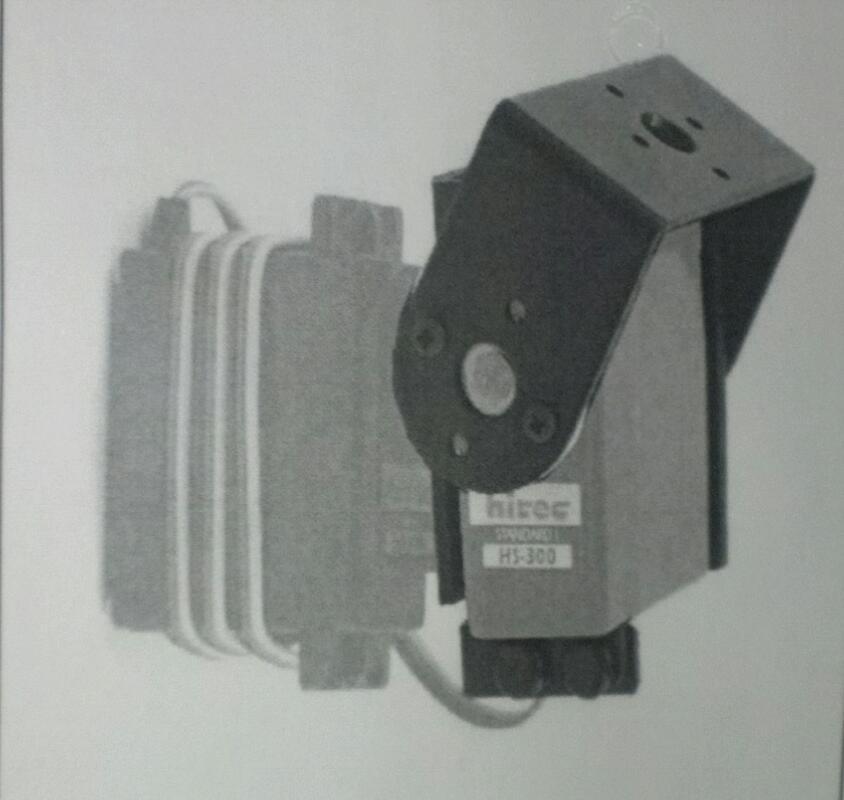
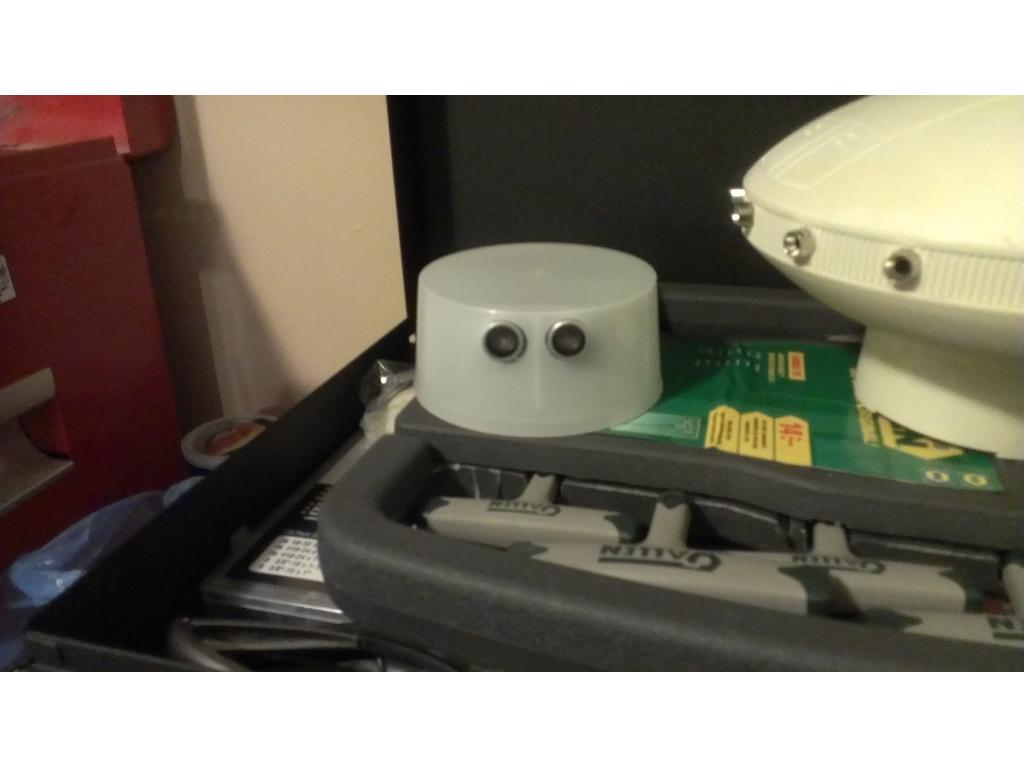
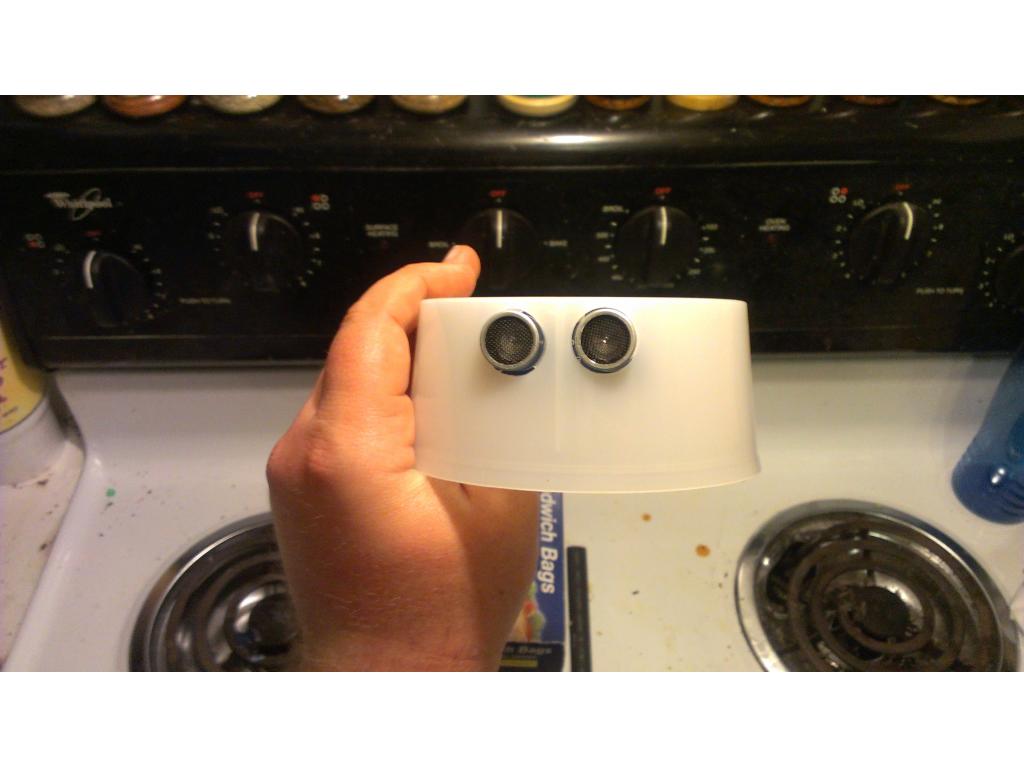
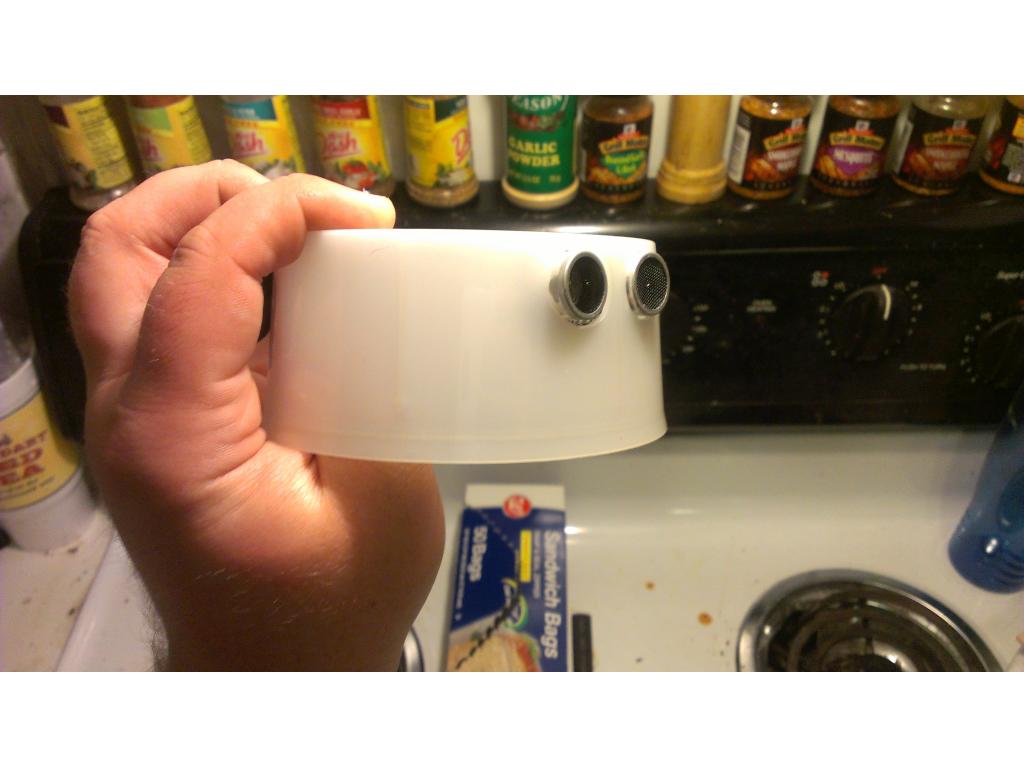
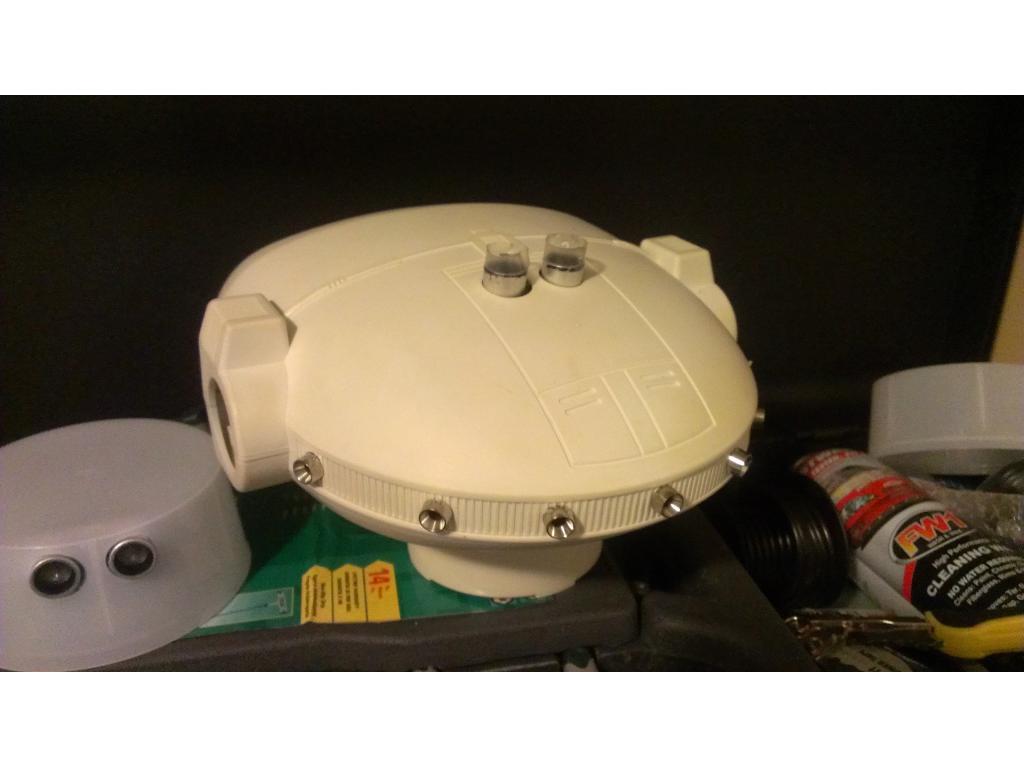
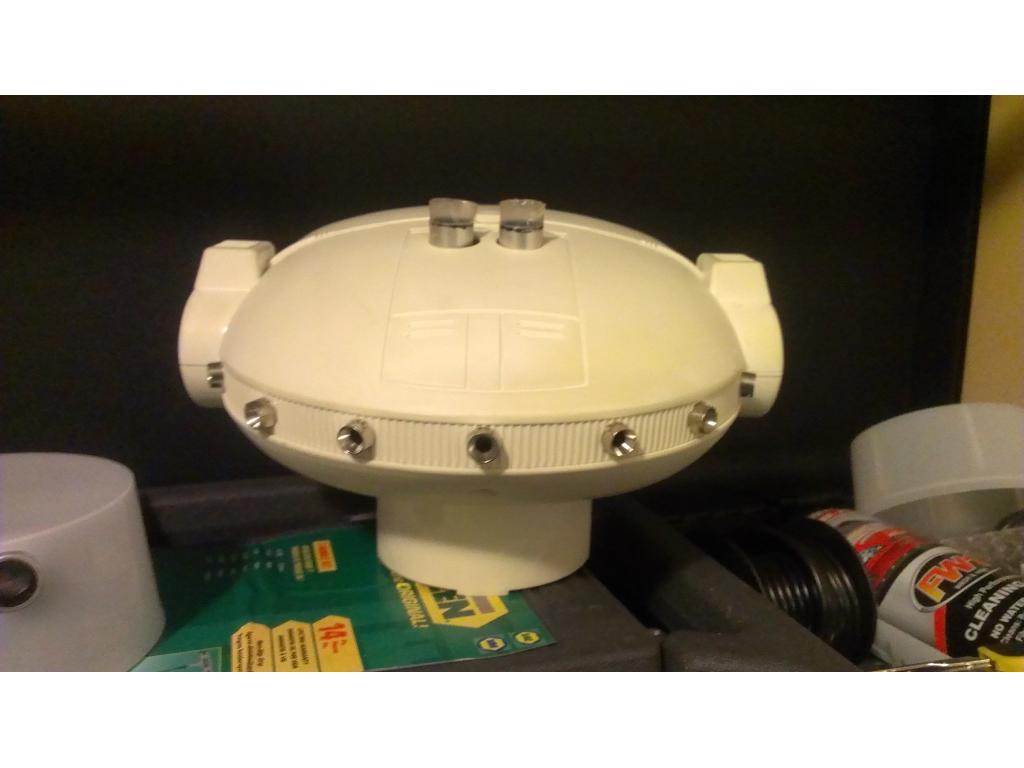
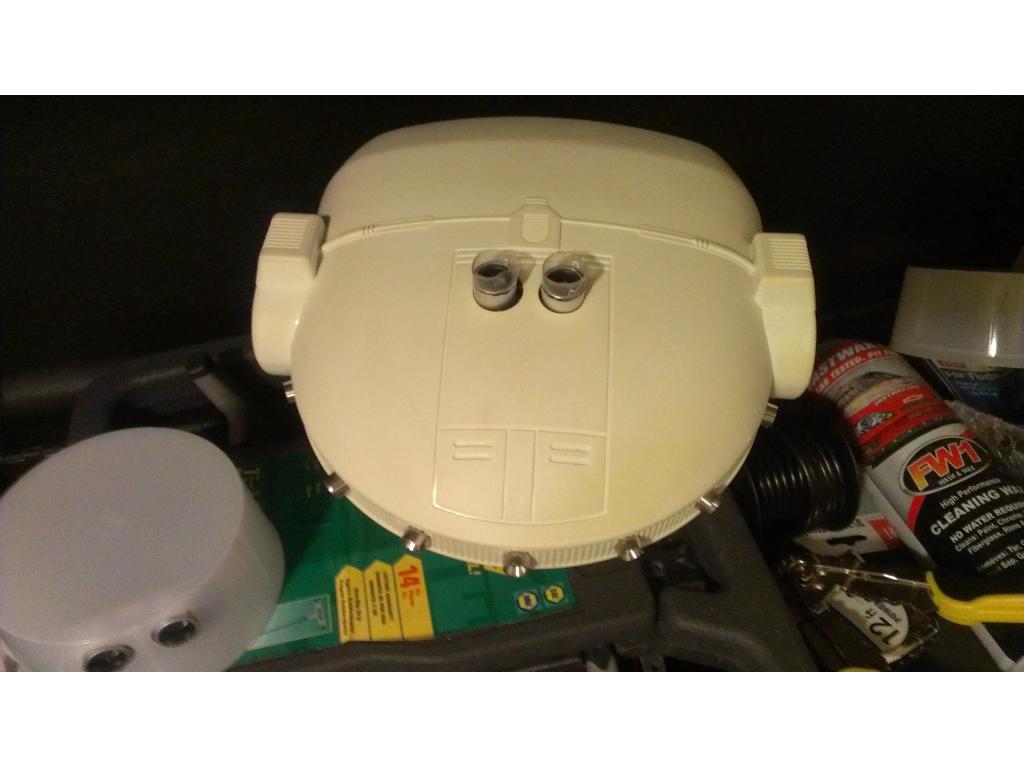
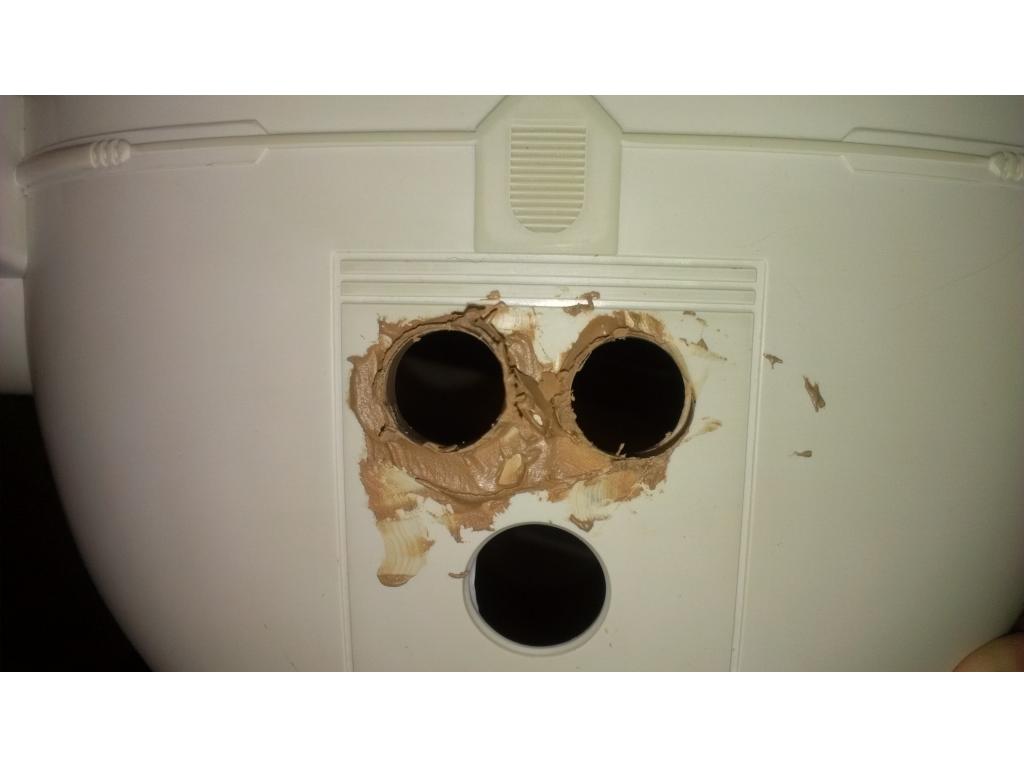
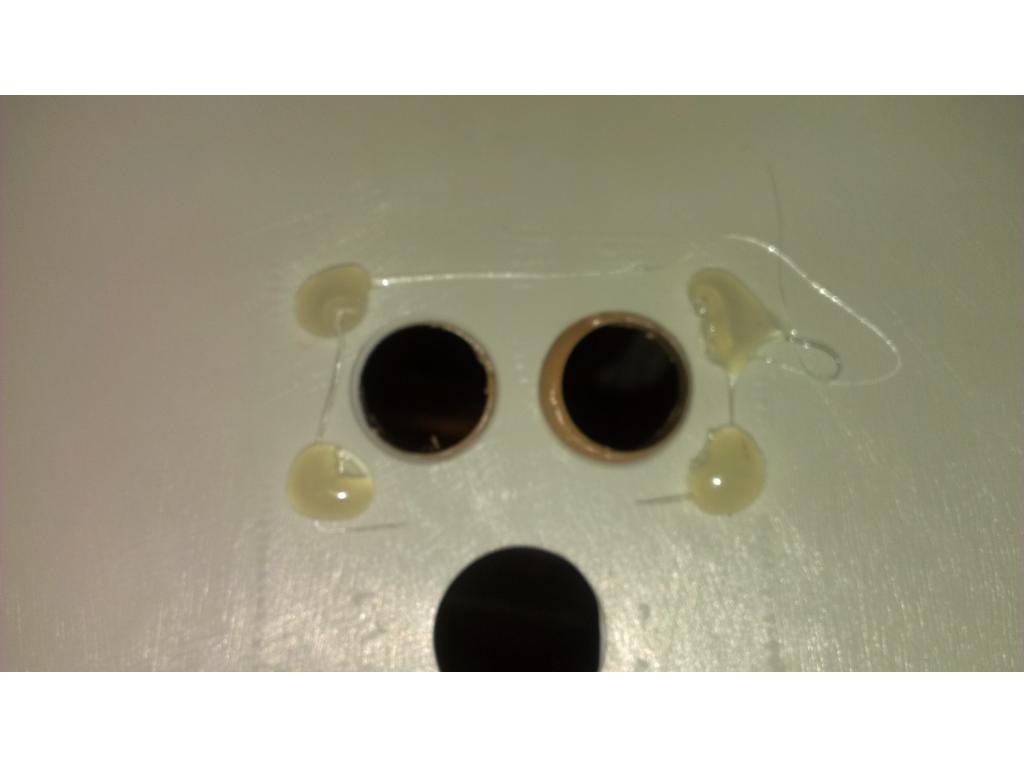
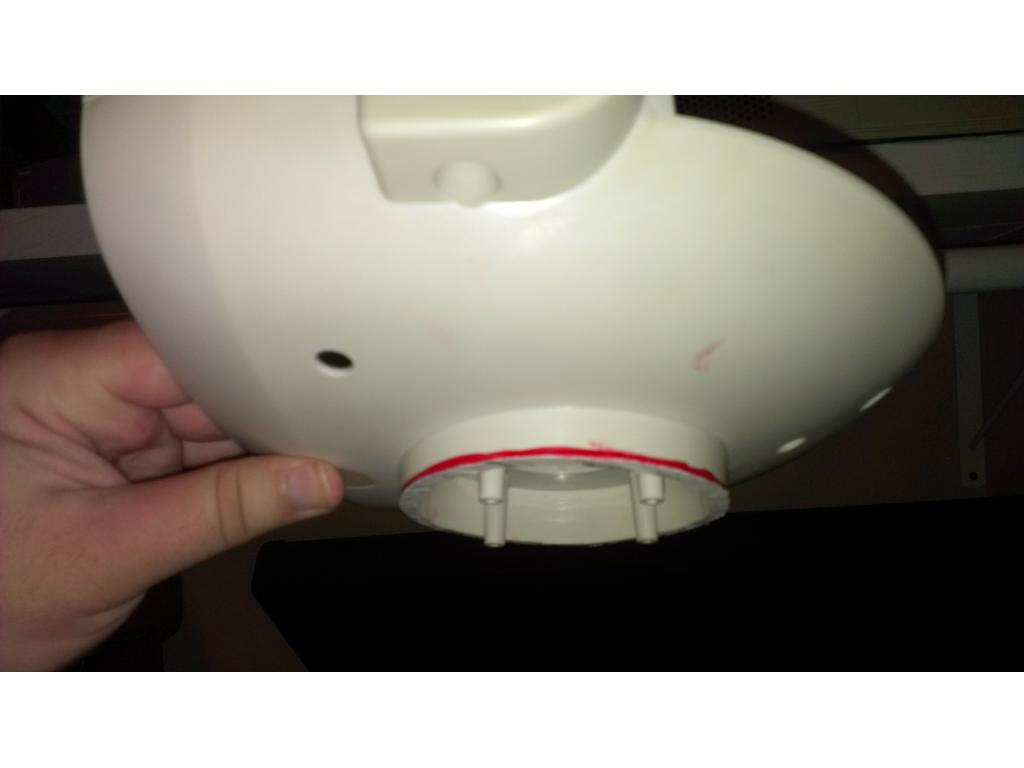
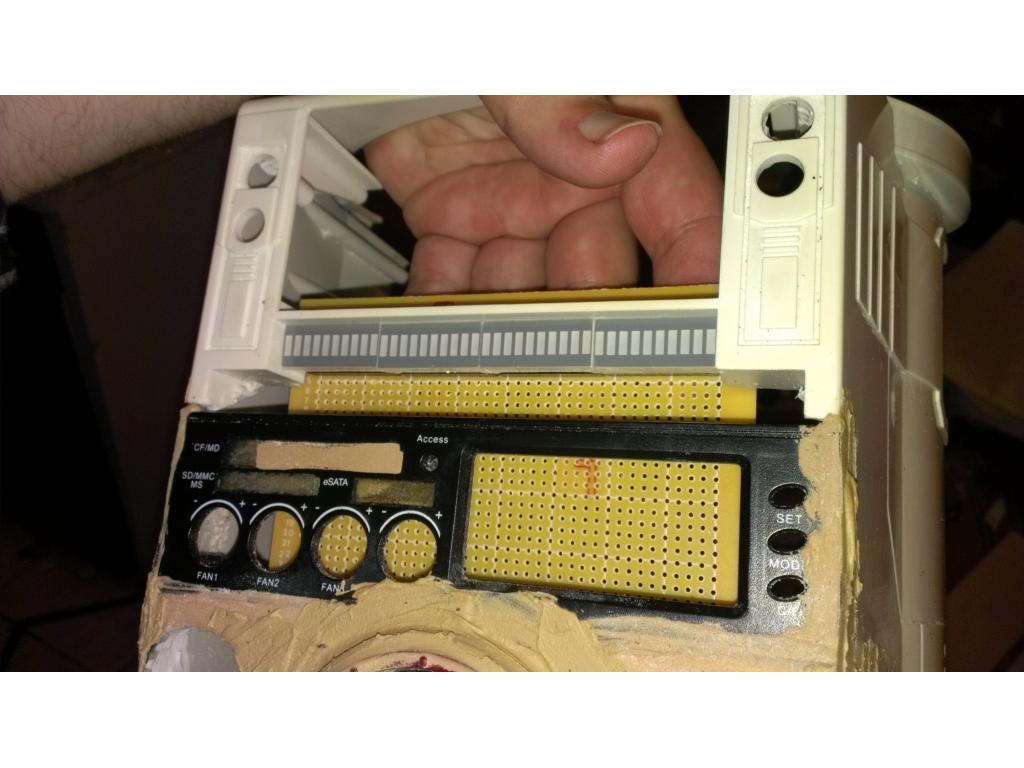
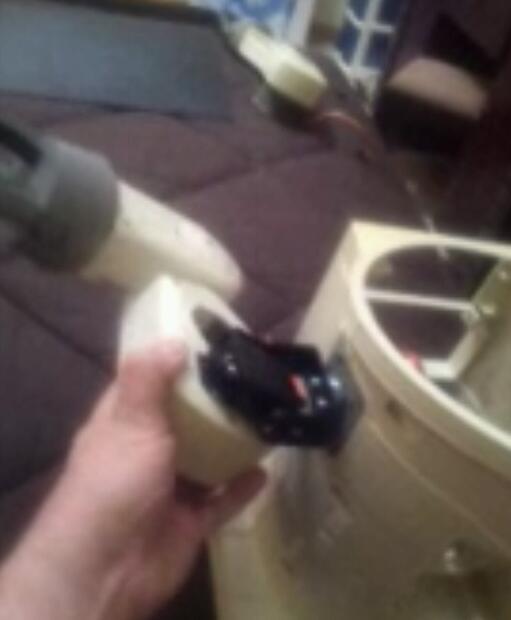
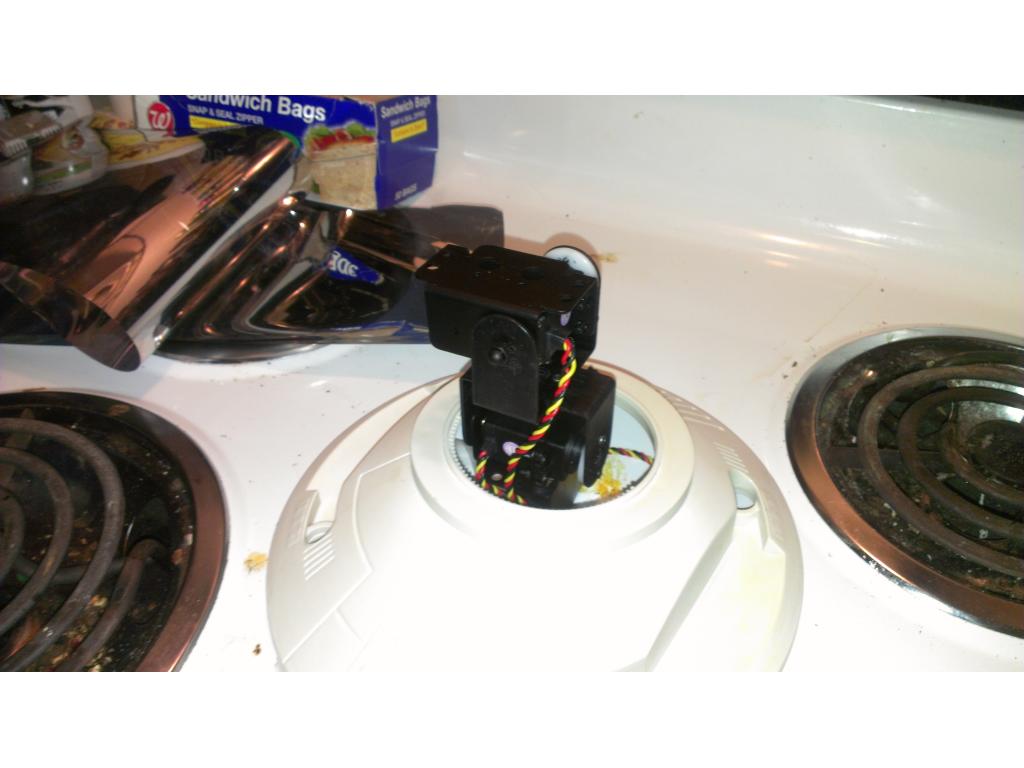
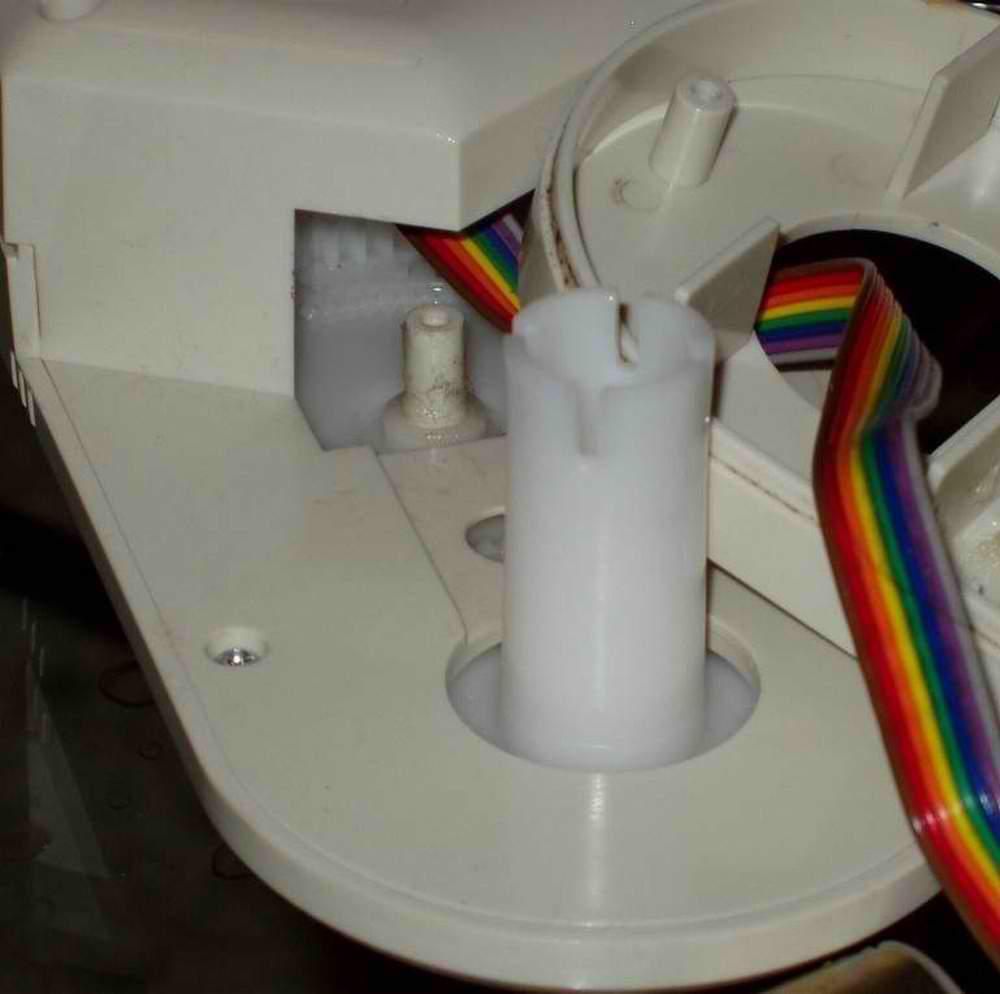
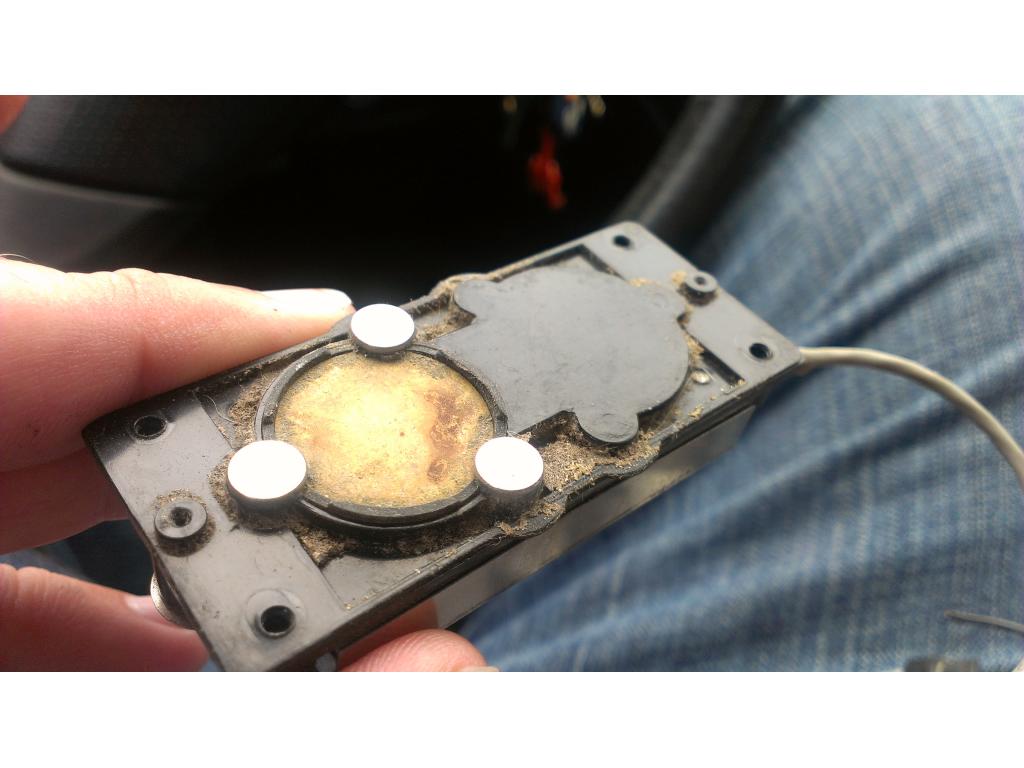
Ok so the center torso sensor is.the main forward facing sensor for Jarvis , I had two holes drilled but I had dremel out the center so the sensor can pan left and right. I also widened the slot by.2mm on each side.

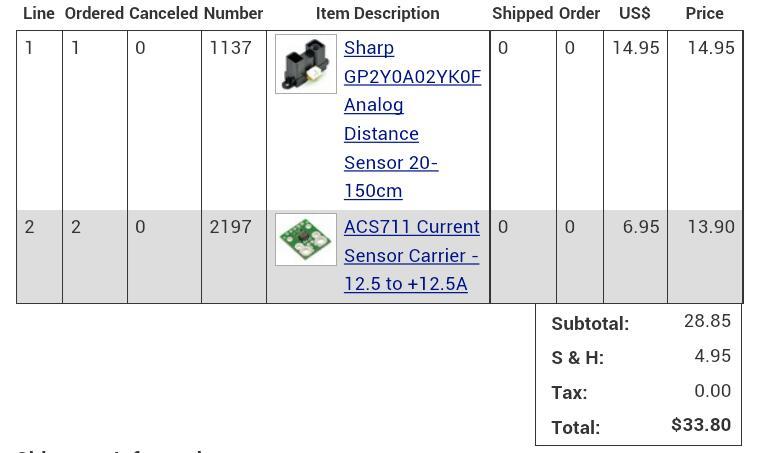
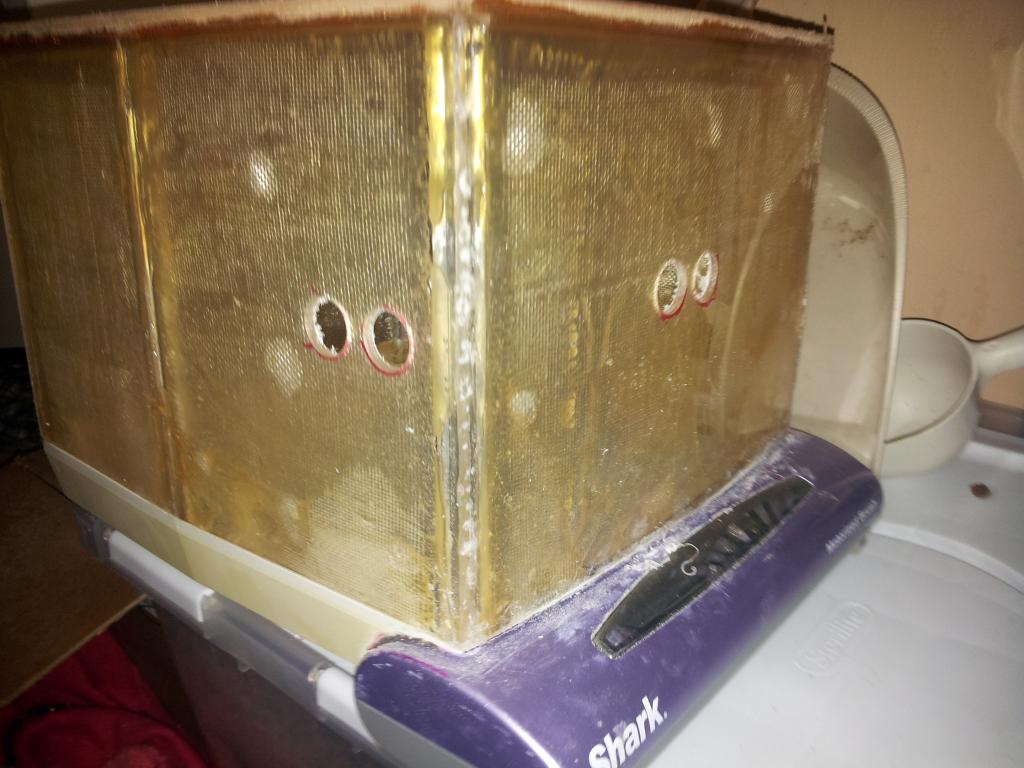
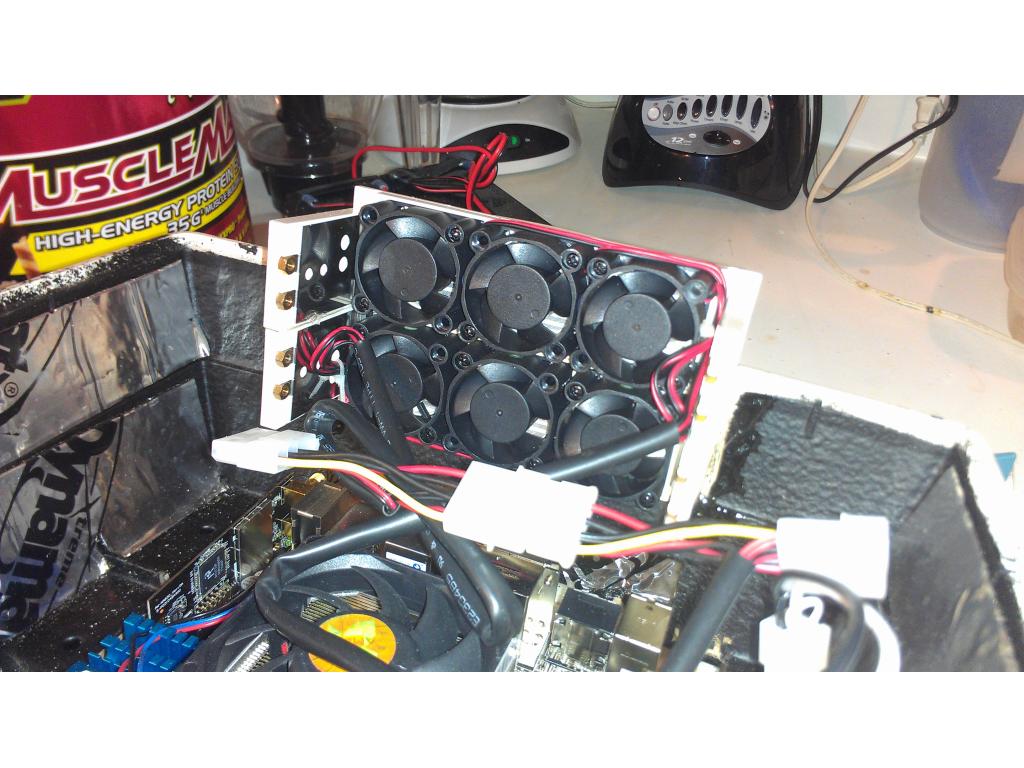
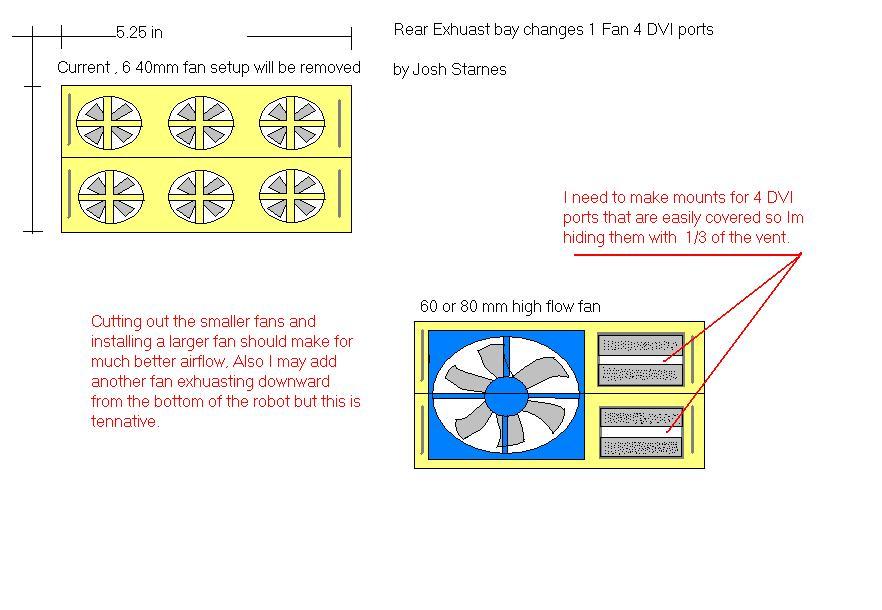
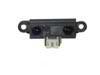
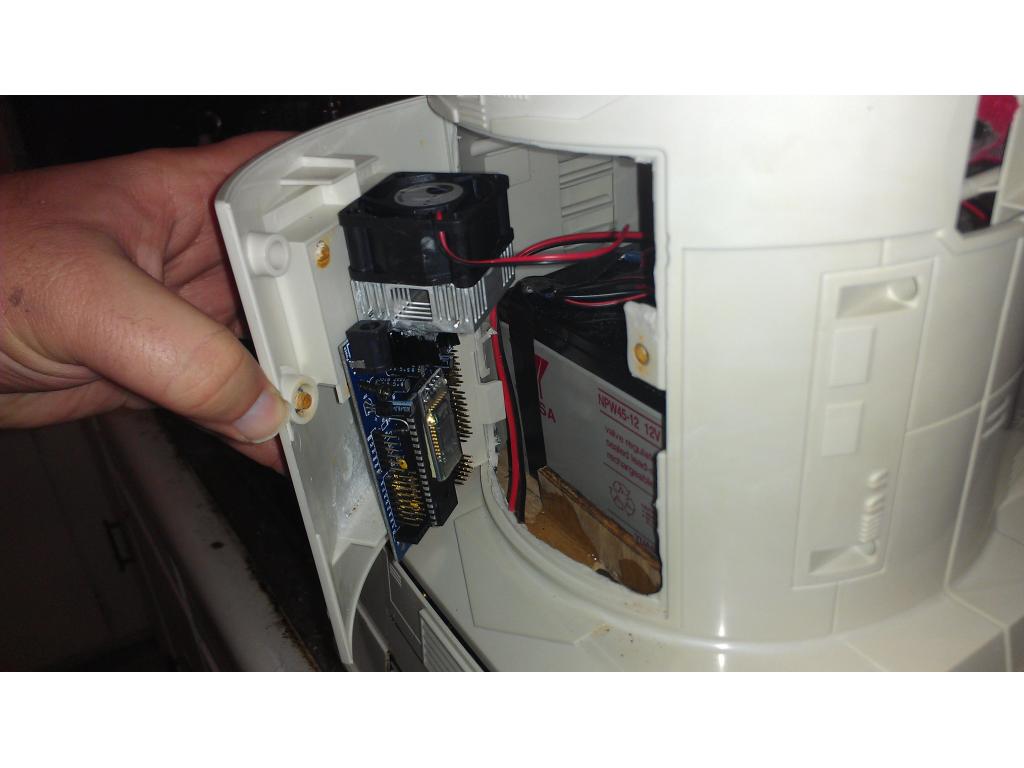
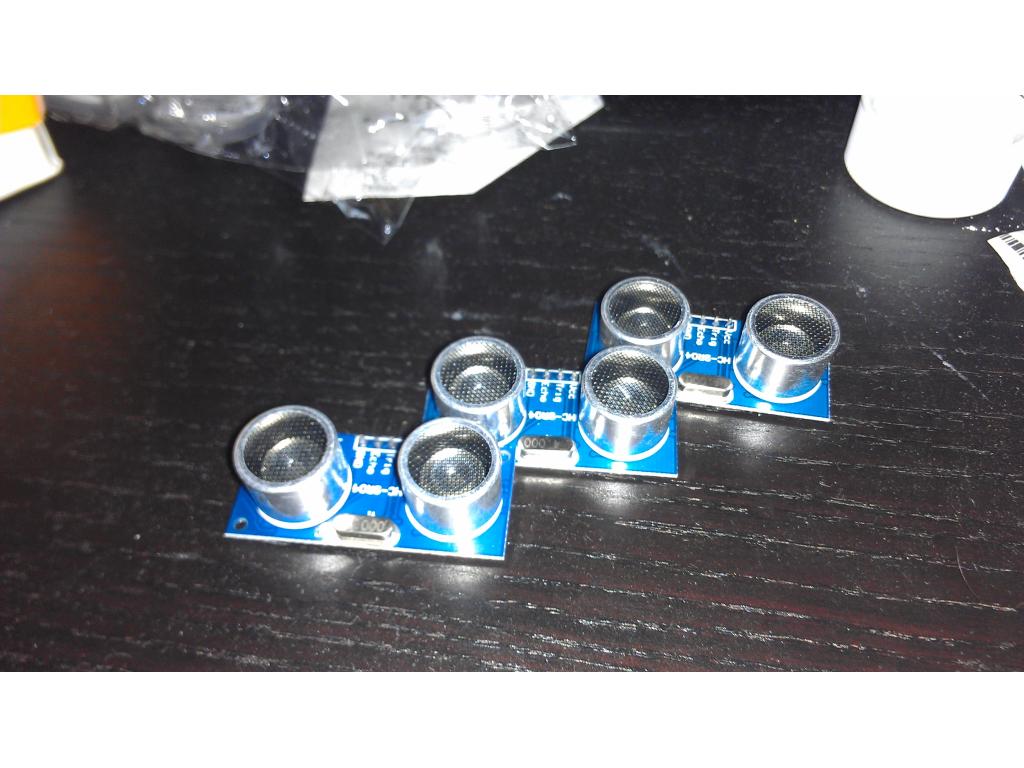
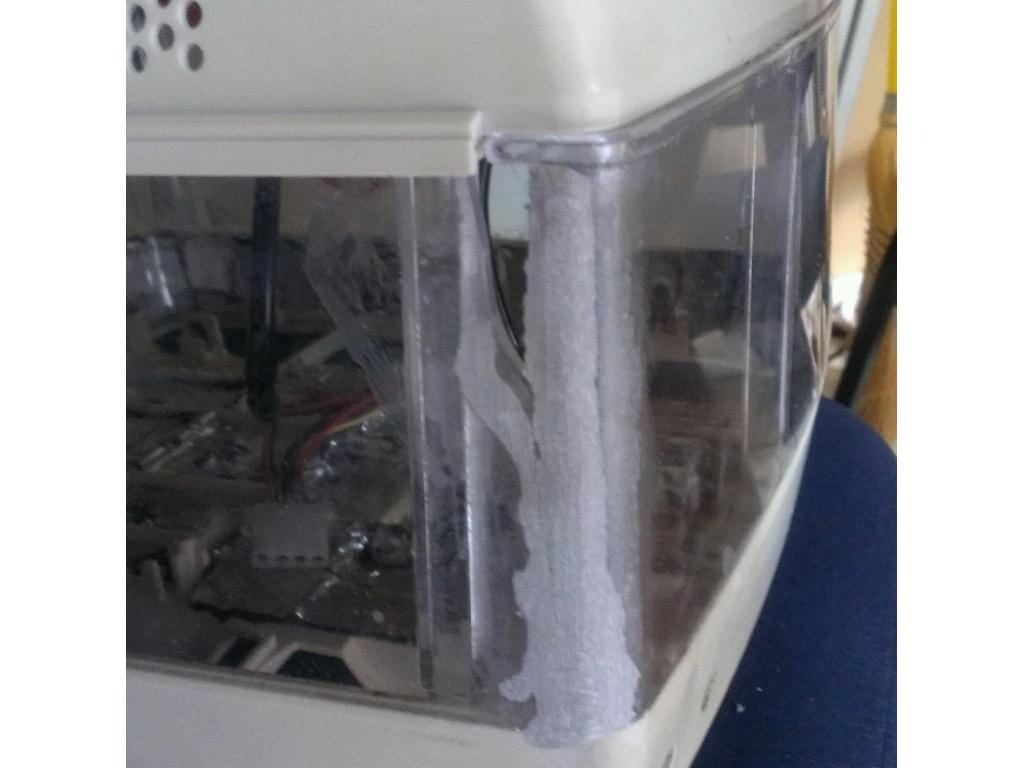
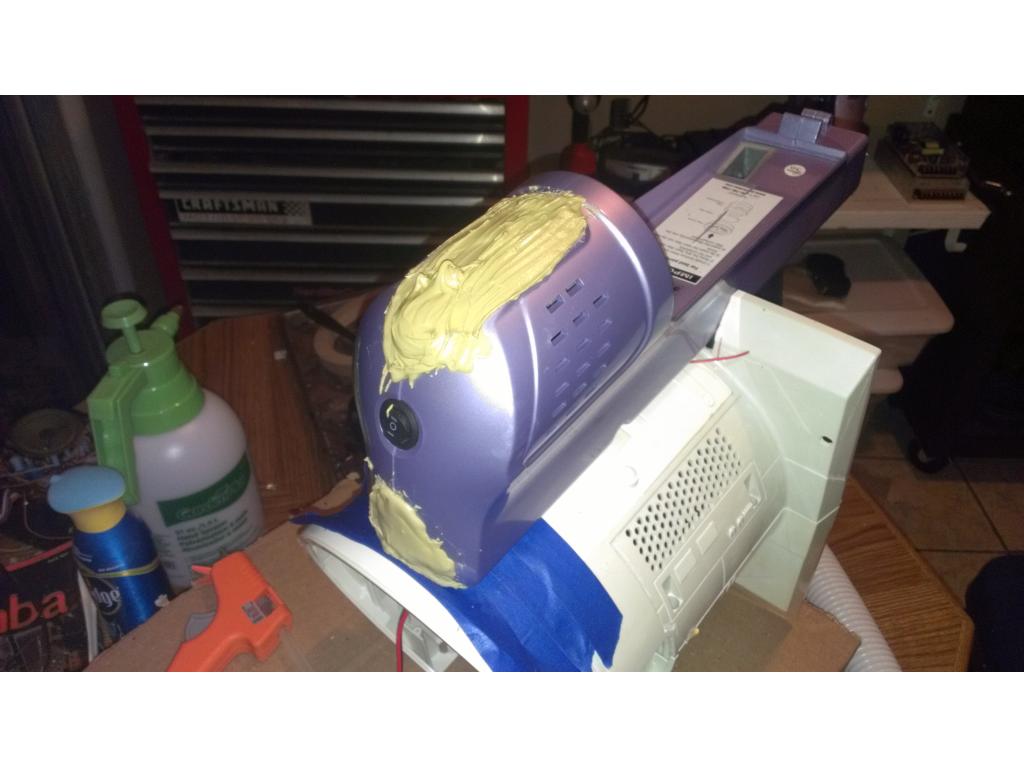
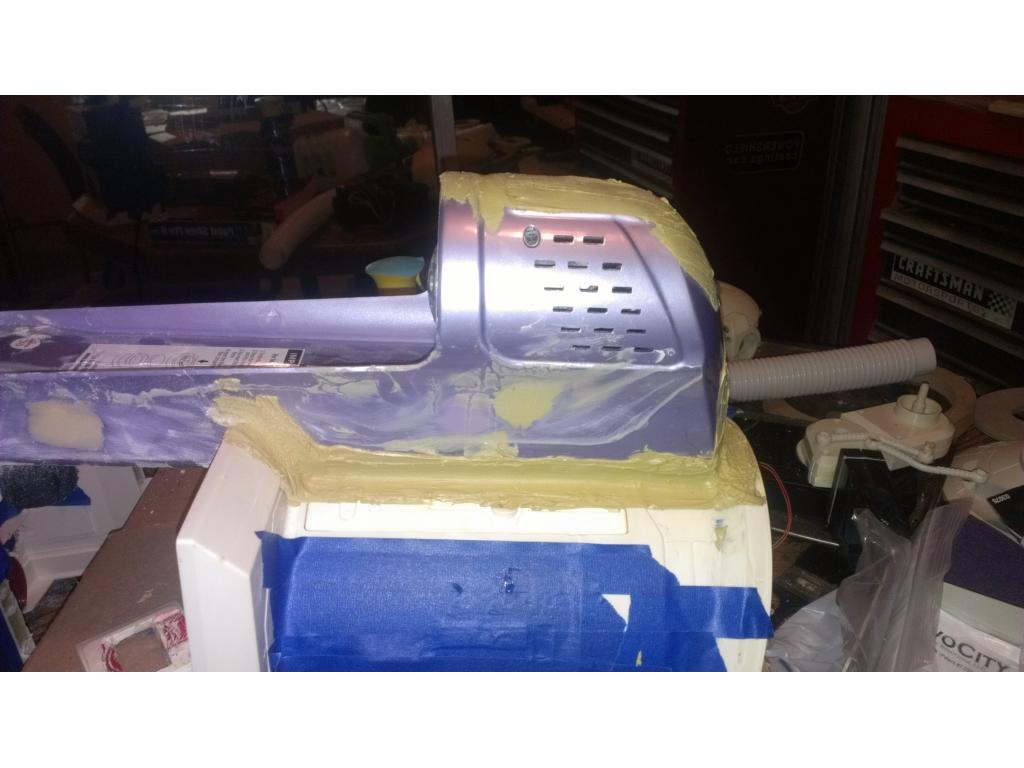
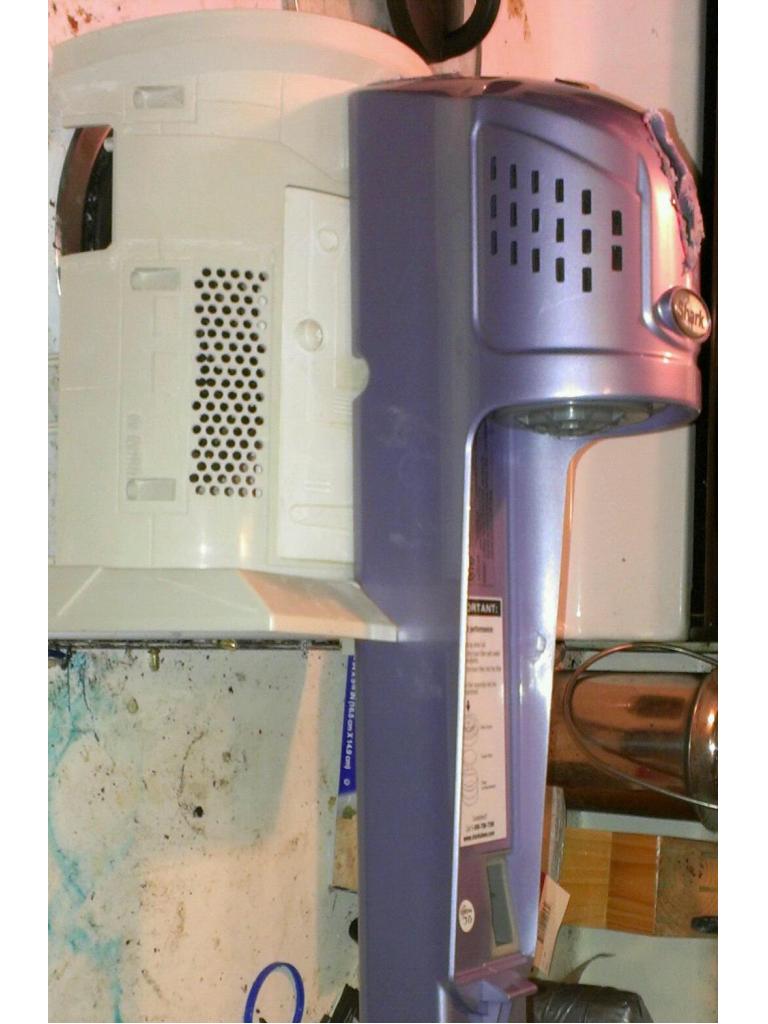
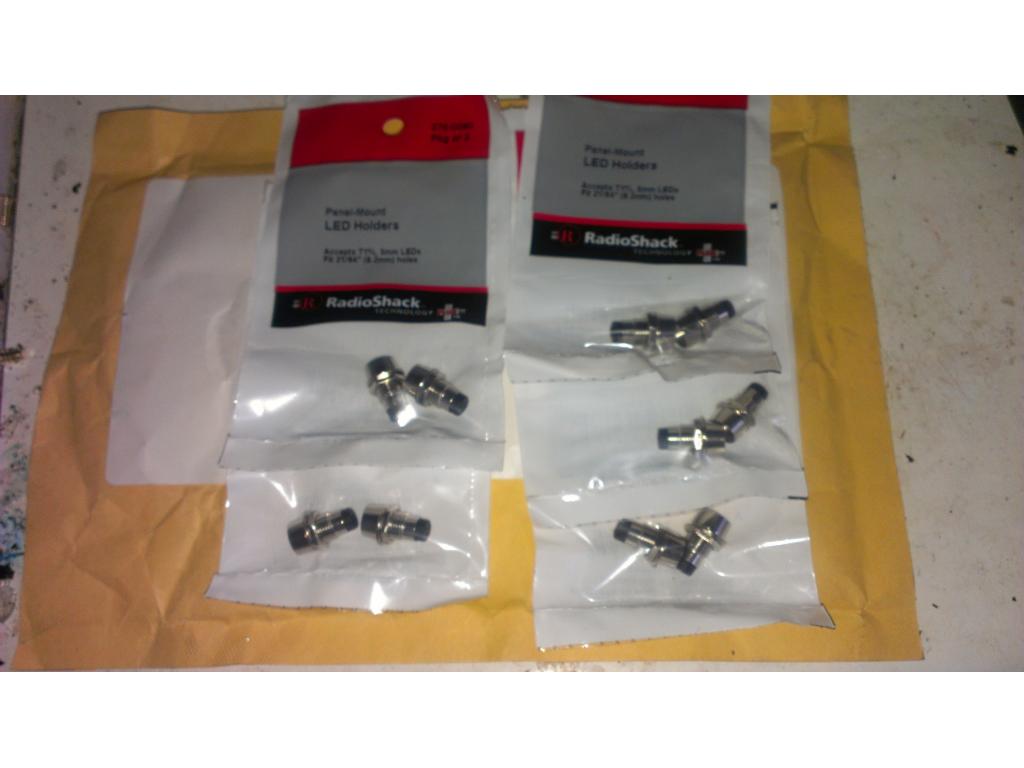
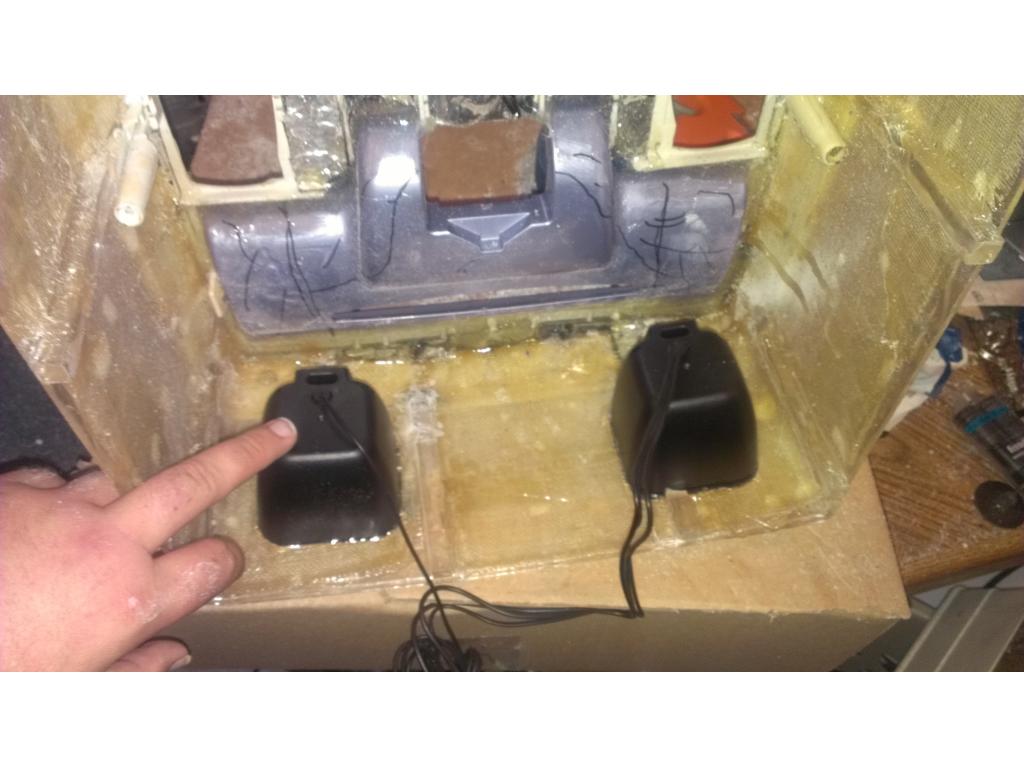
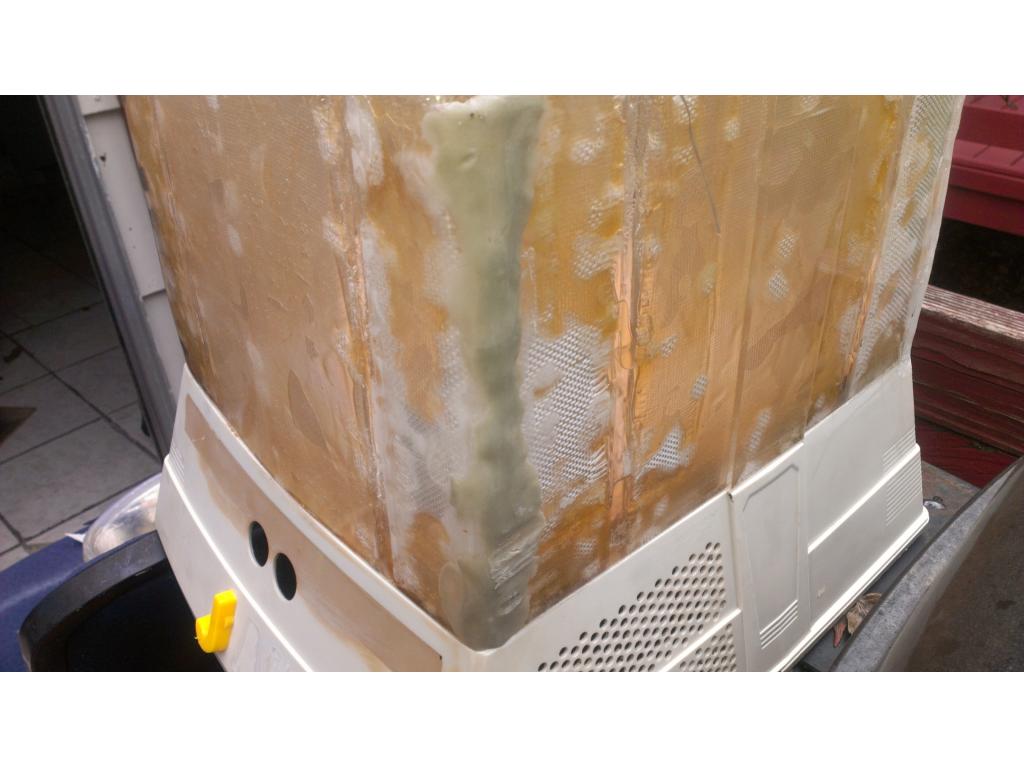
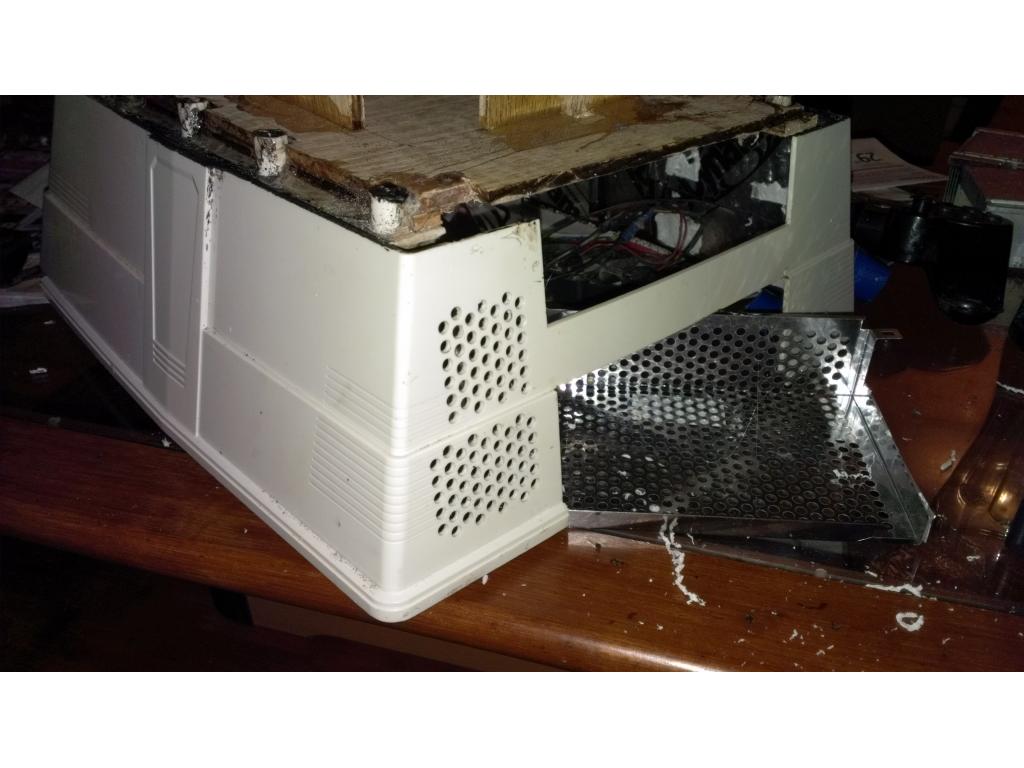
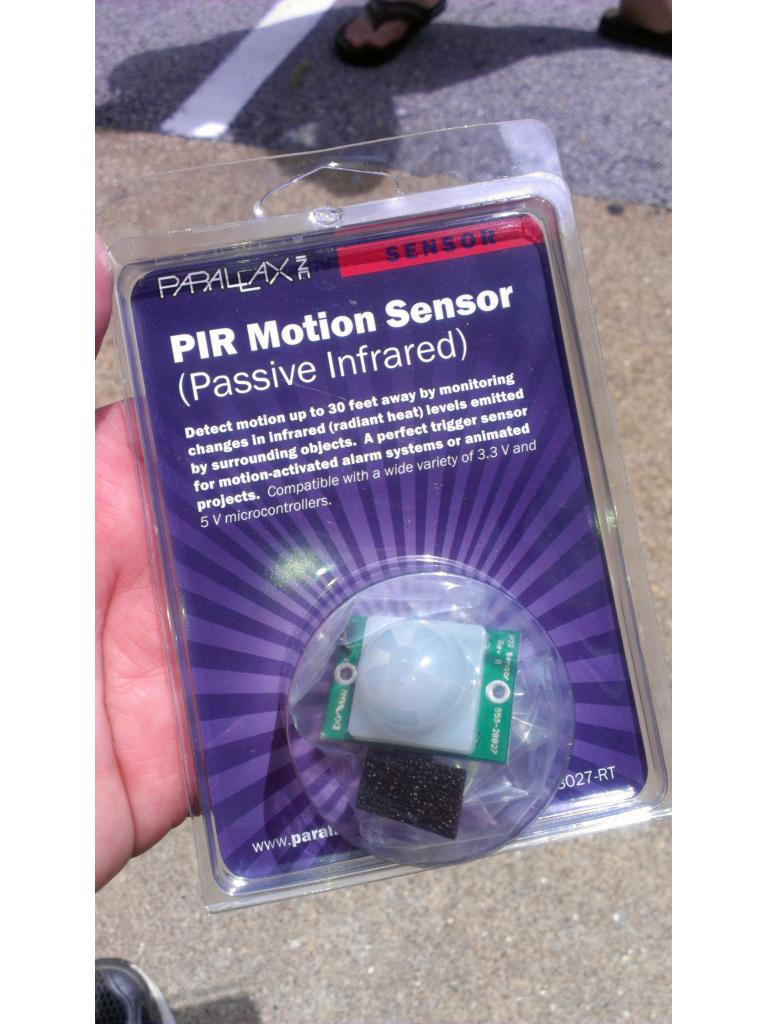
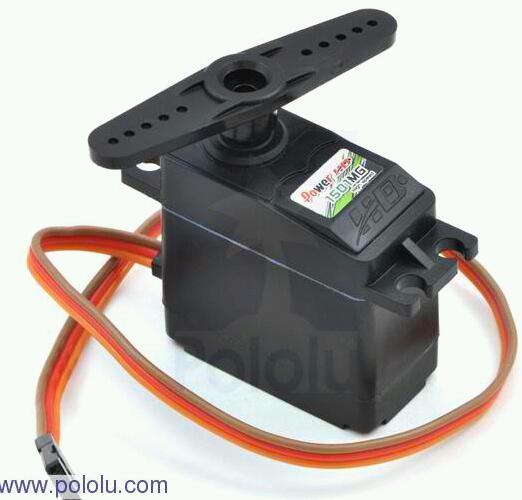
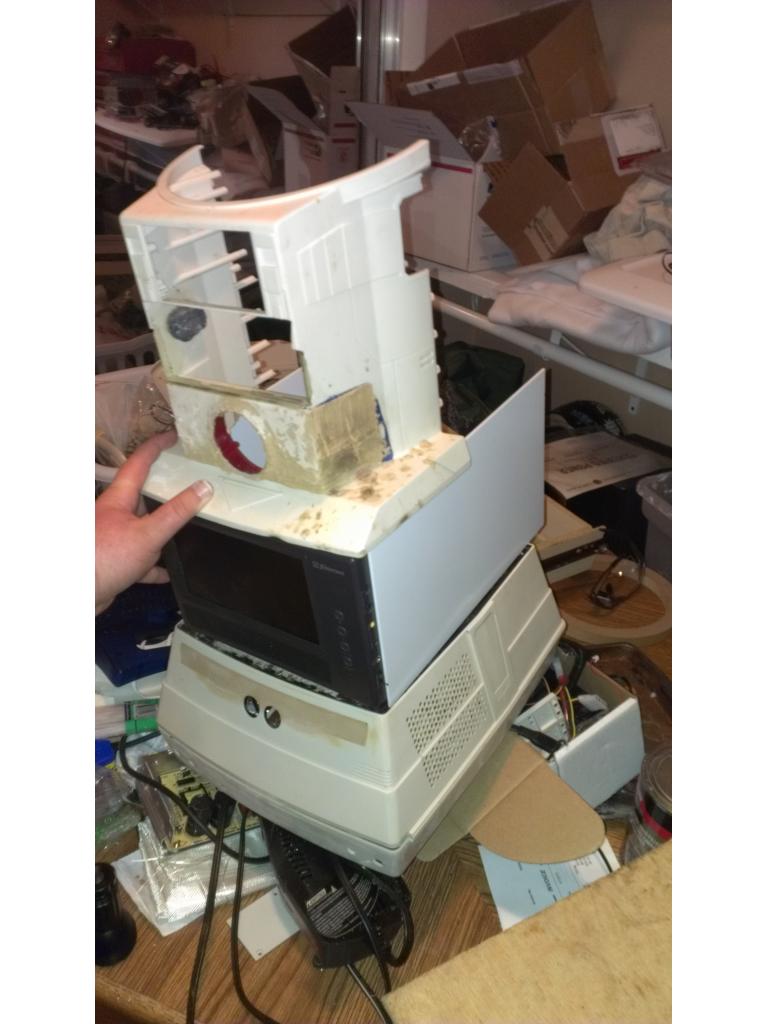
Though this is his main sensor it is high from the floor. When my roommates cordless drill charges up I will drill holes for two sensors in front of the main brush that are Sharp IR sensors. Also I will have two side sonic sensors that will only be used when he is vacuuming to hug walls and furniture as closely as practical.Each side of the torso will be vented with a 5.25 in fan on each side , one left one right, it will be a pain but I will attempt to remove wavyness in filler on the sides. In my my experience no matter what it will still look like curved fiberglass however.
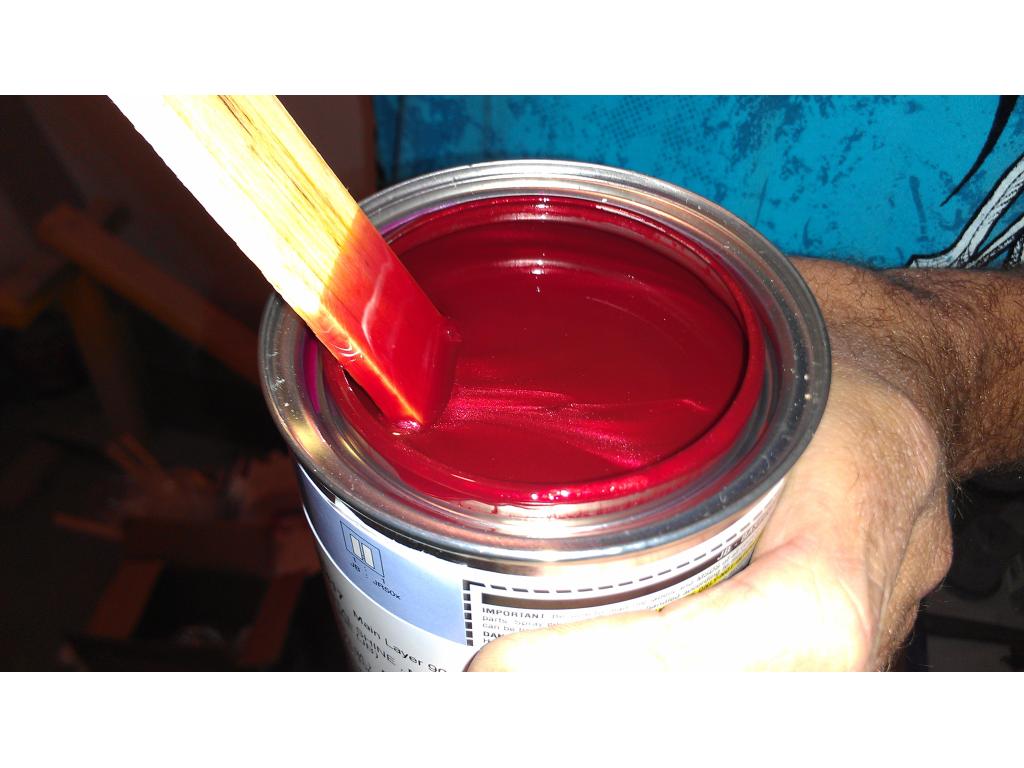
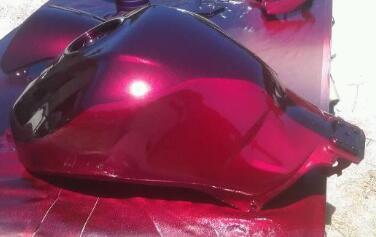
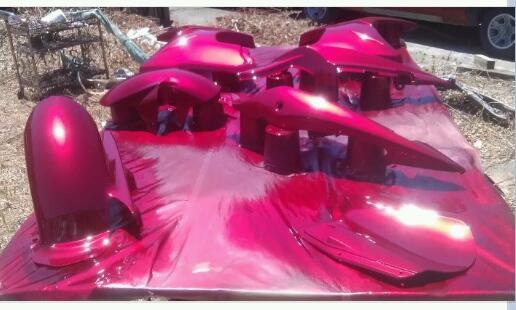
It is getting really close to paint now Josh! Looking so good!
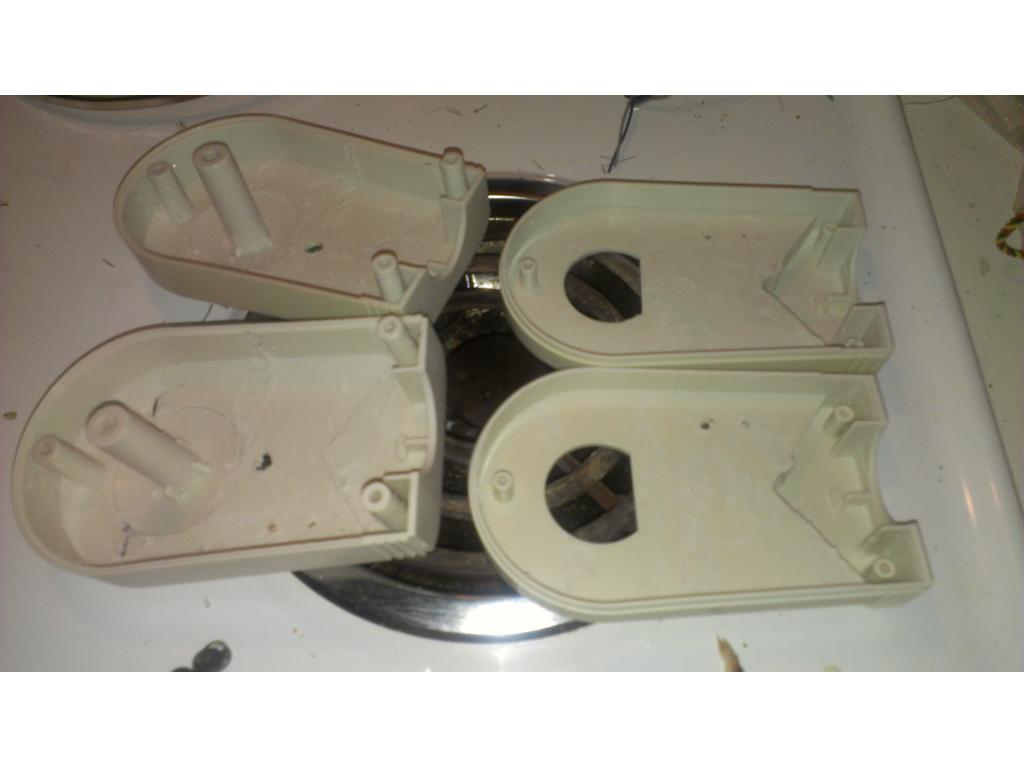
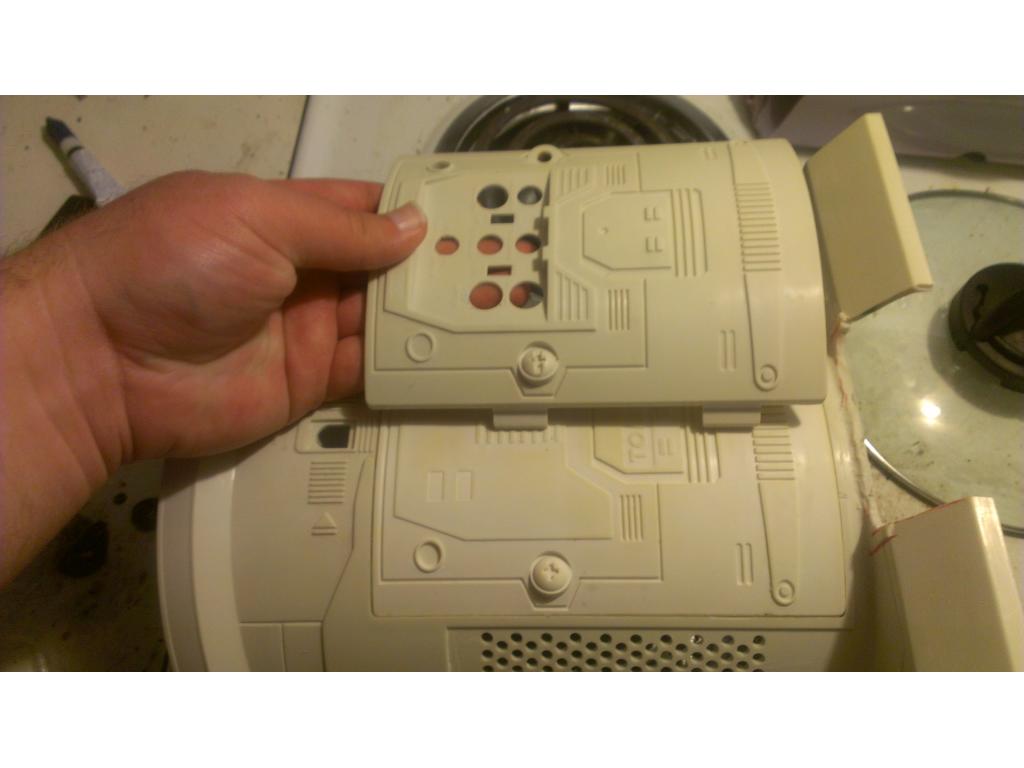
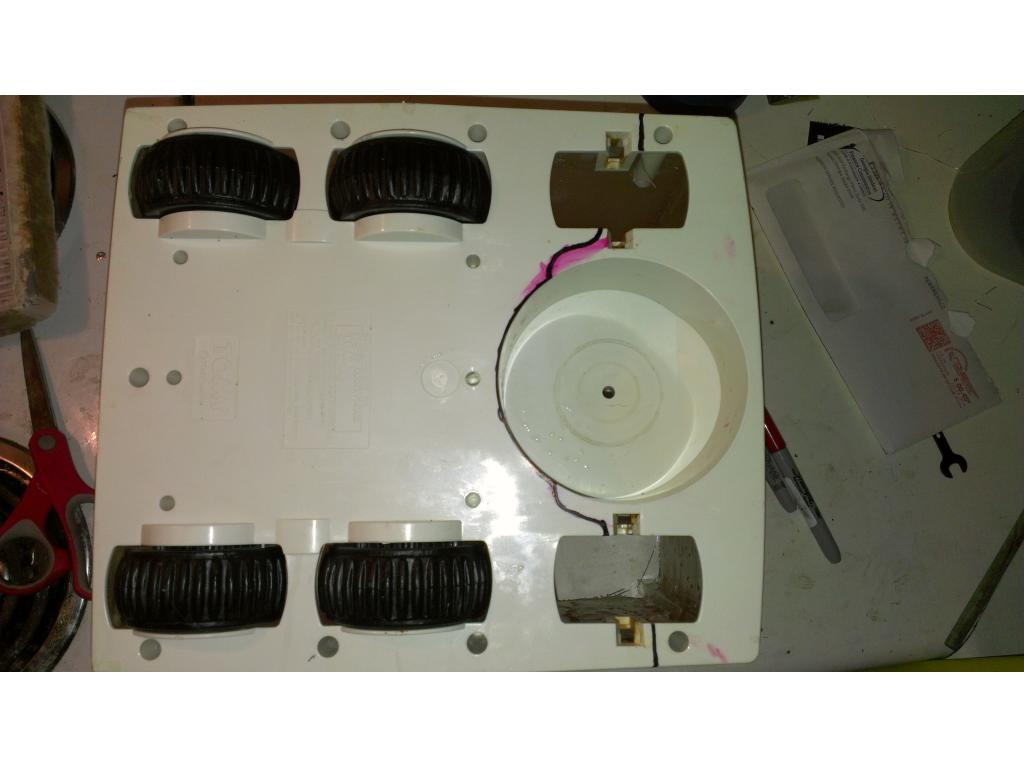
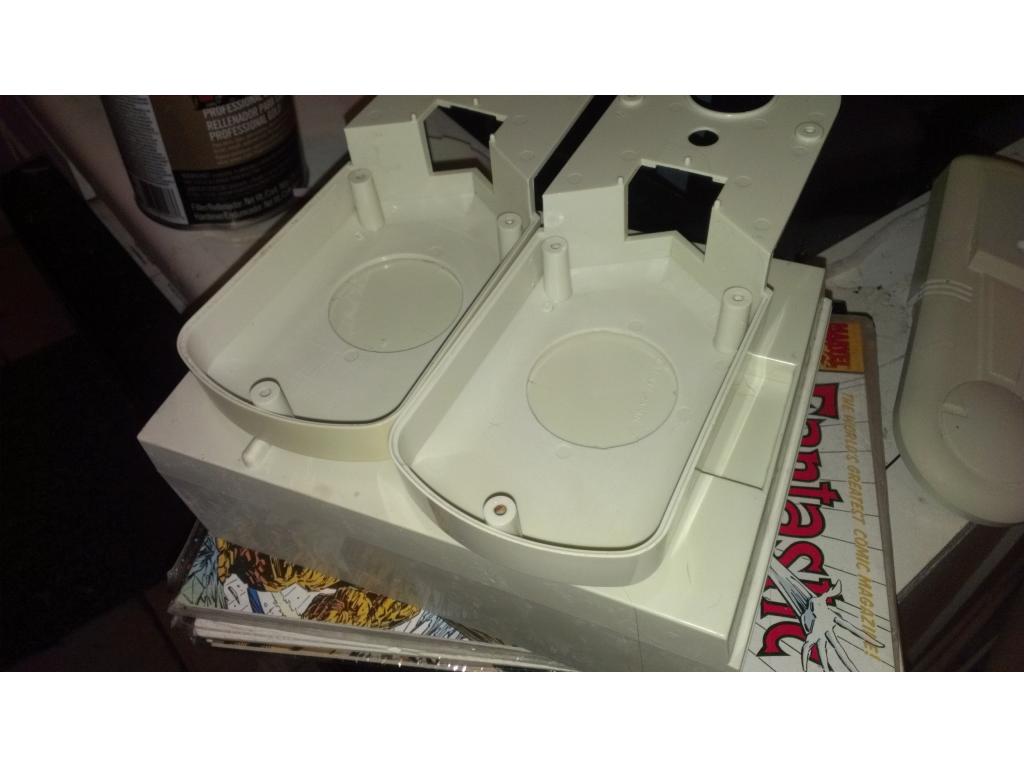
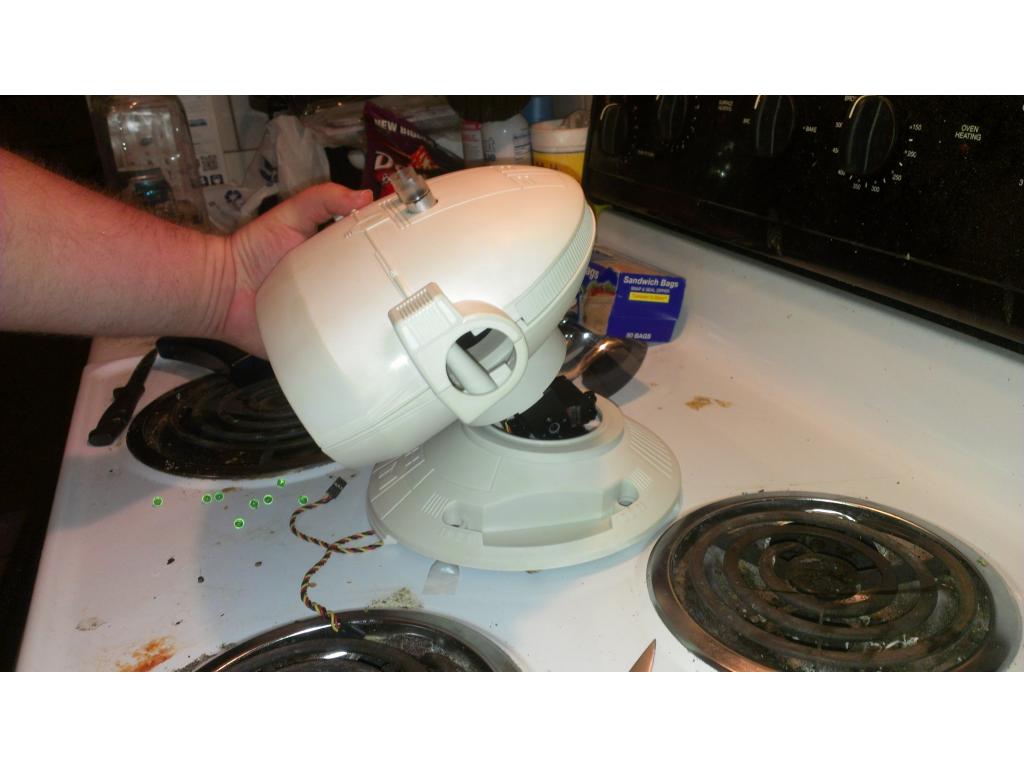
way my design is that both halfs can come apart easy and the bottom comes off,to have easy access to everything,like the way the omnibot is made
but still looks good and i see you are getting to paint sometime soon i guess JOSH you will be happy when off to the painter
Josh its looking great! Its good that you figured a way to do so much to it and still get at the insides the way you want. This is a major transformation! The fact you can still easily get in it is a PLUS!
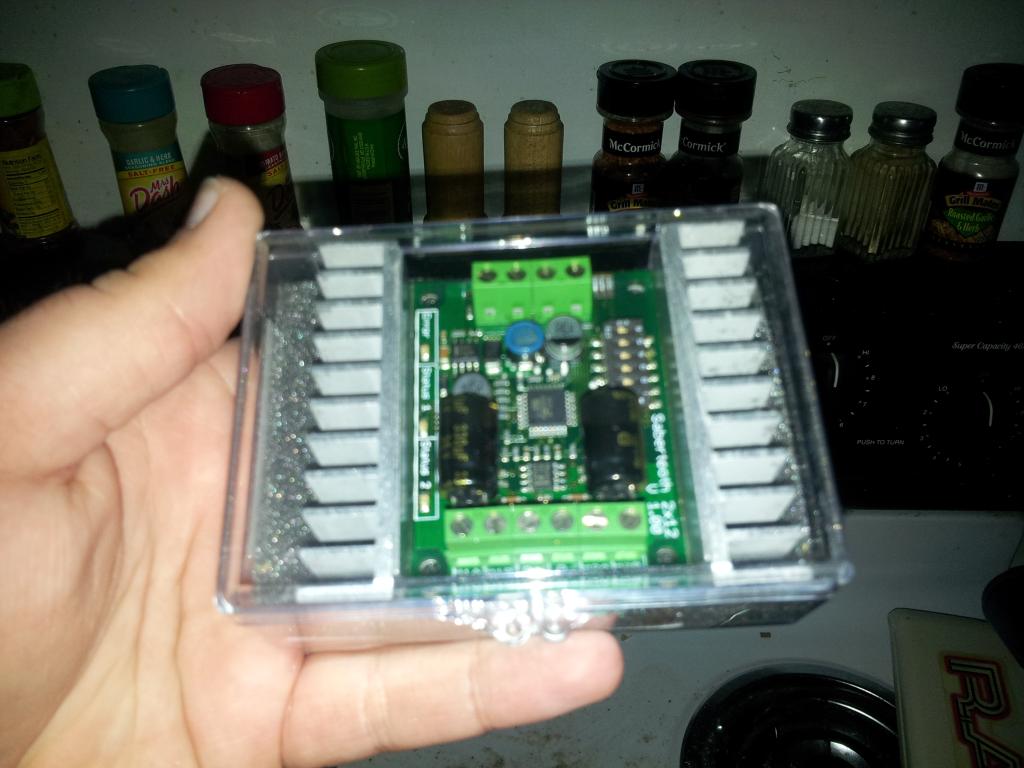
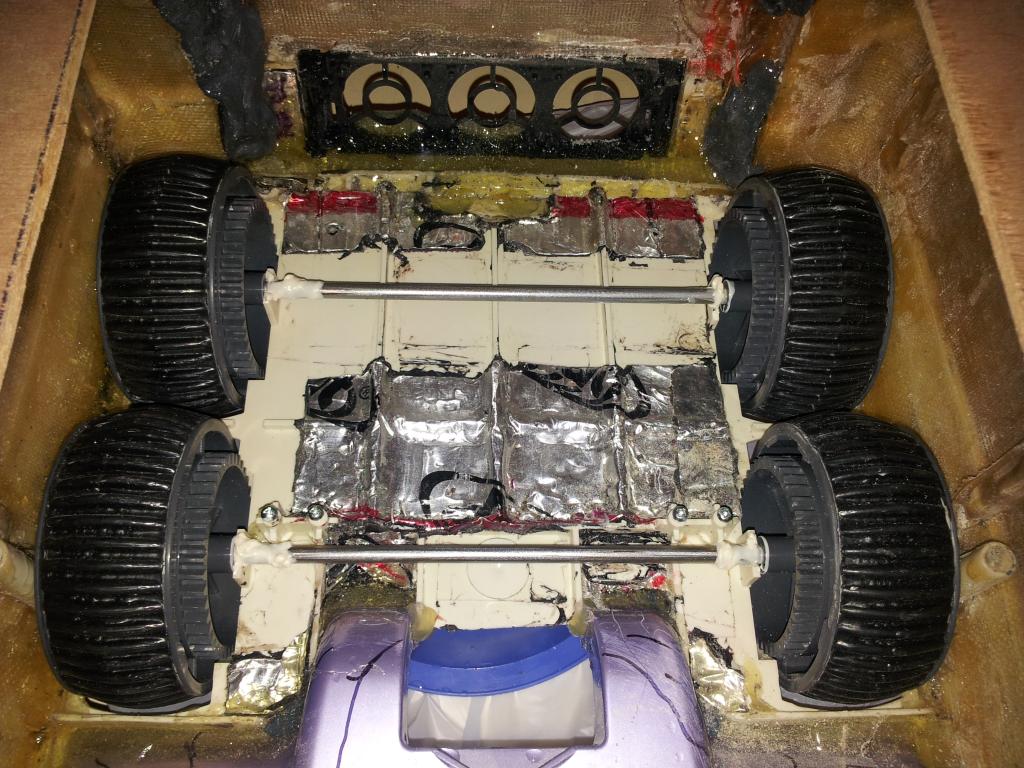
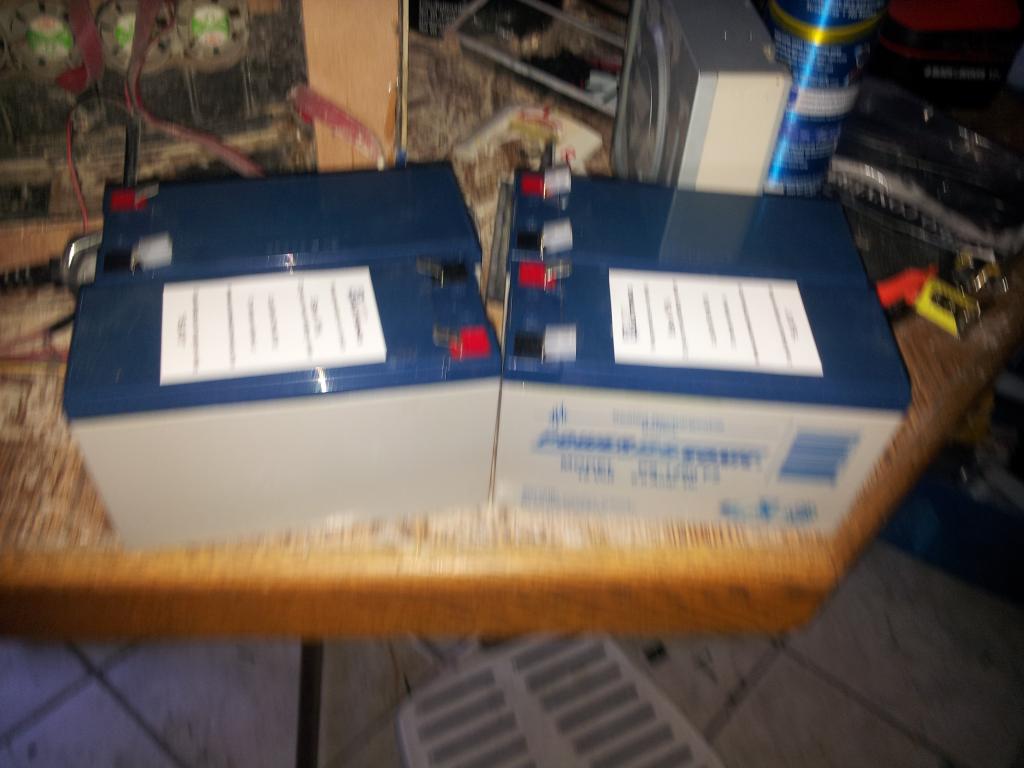
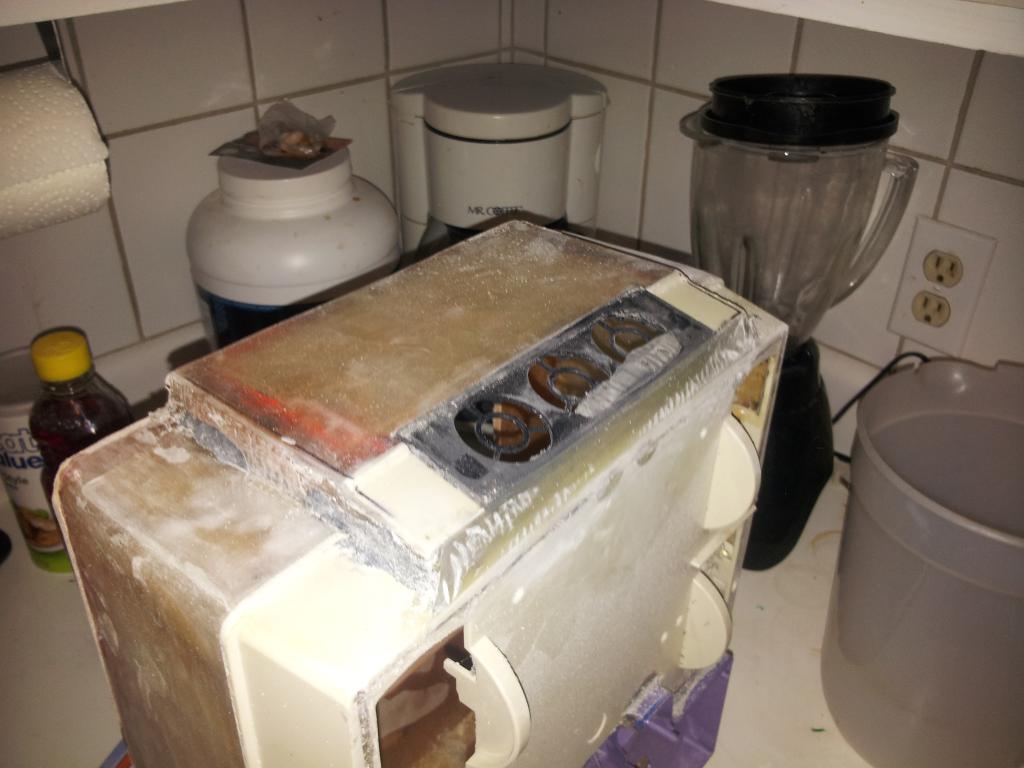
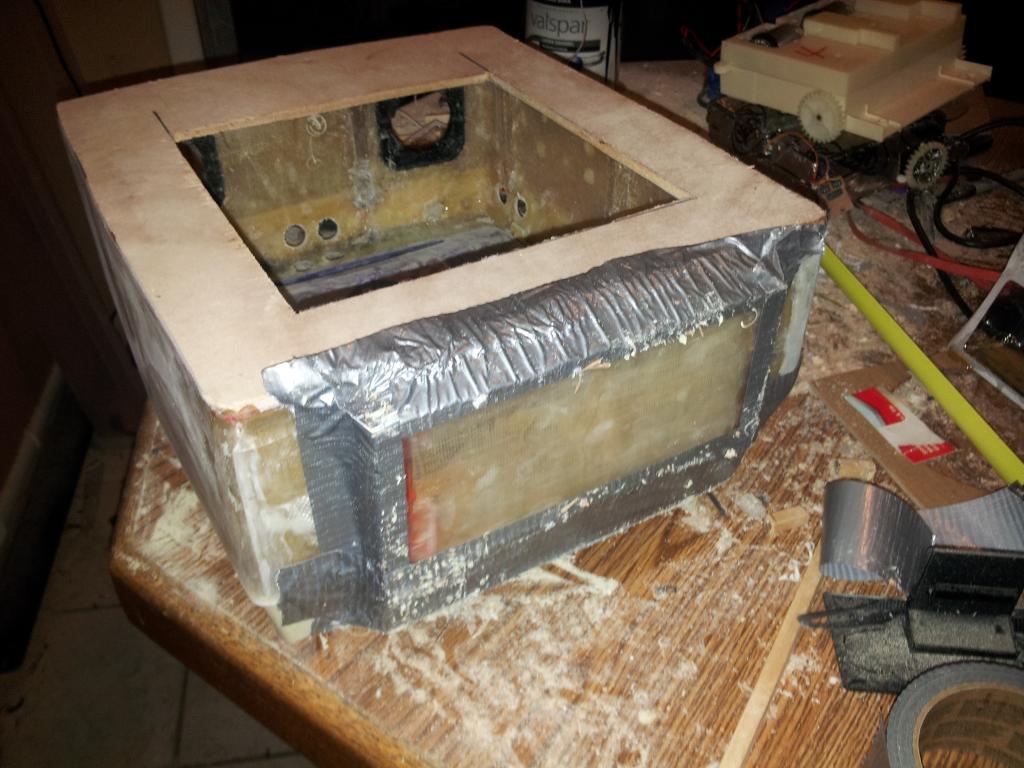
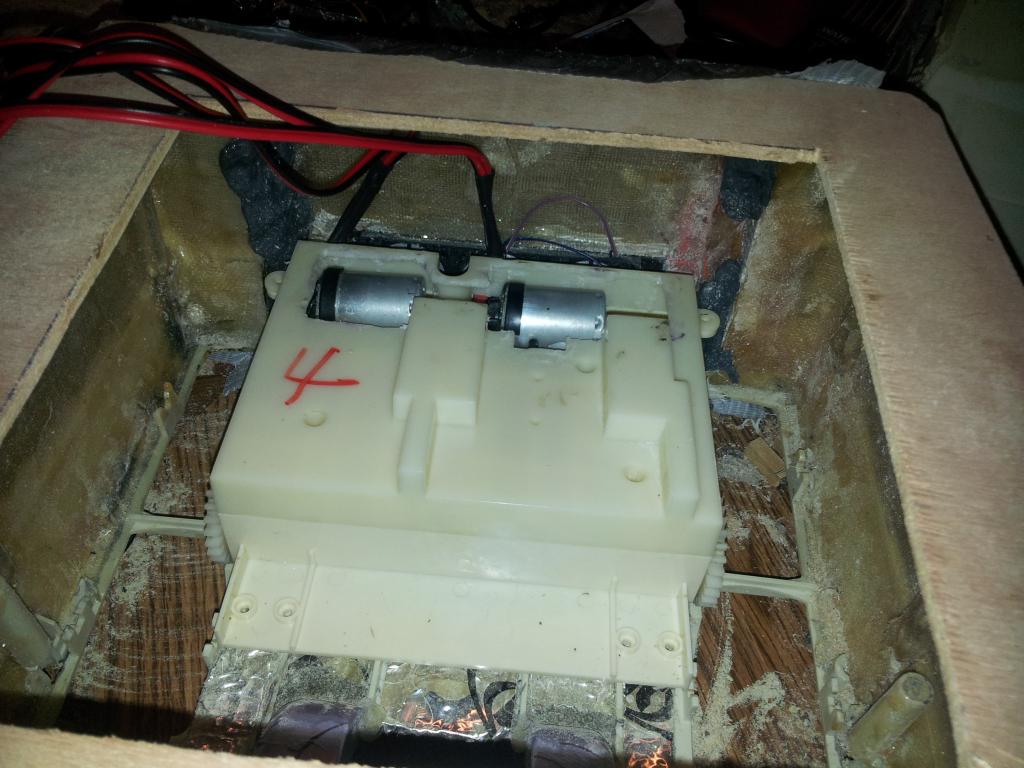
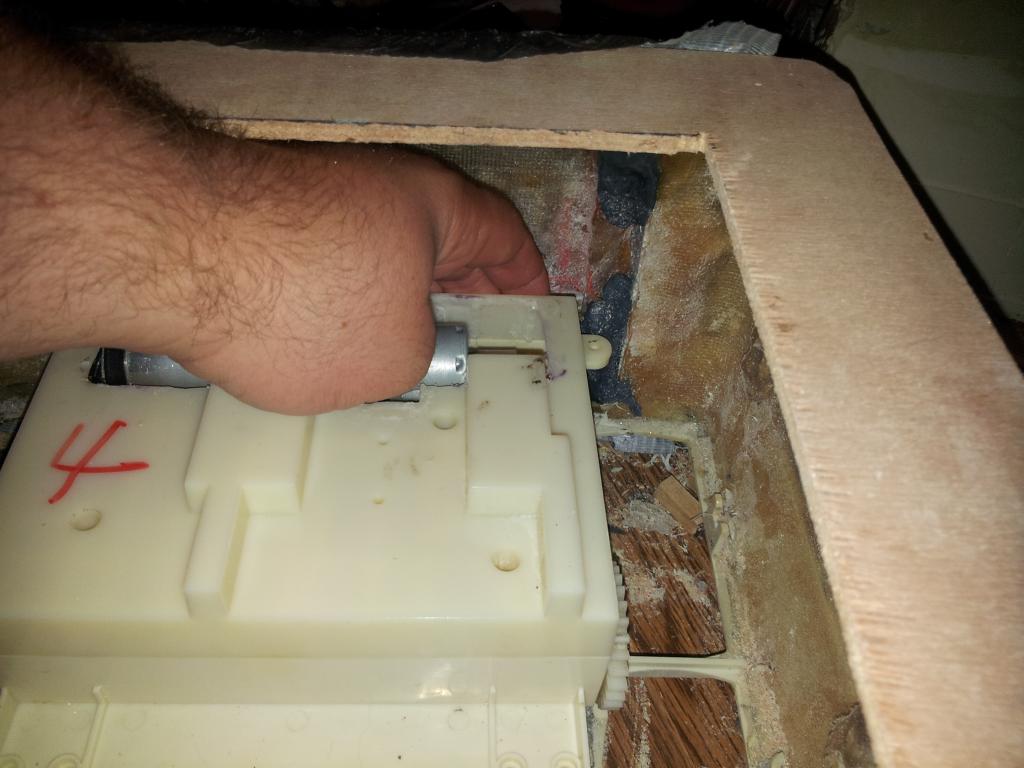
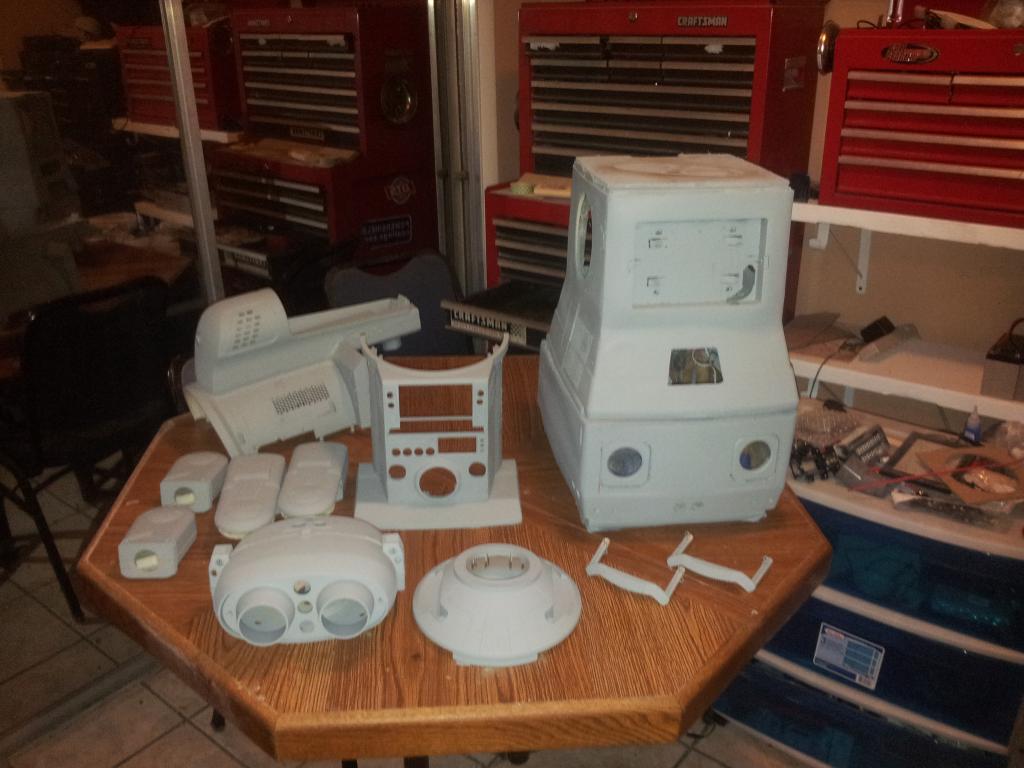
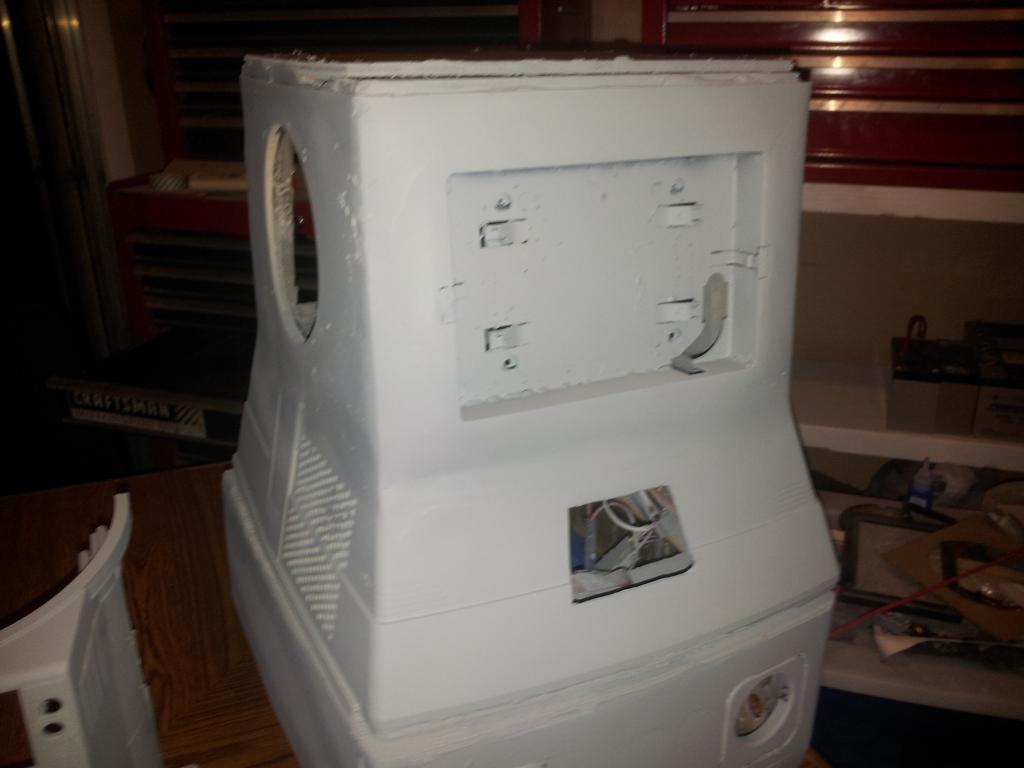
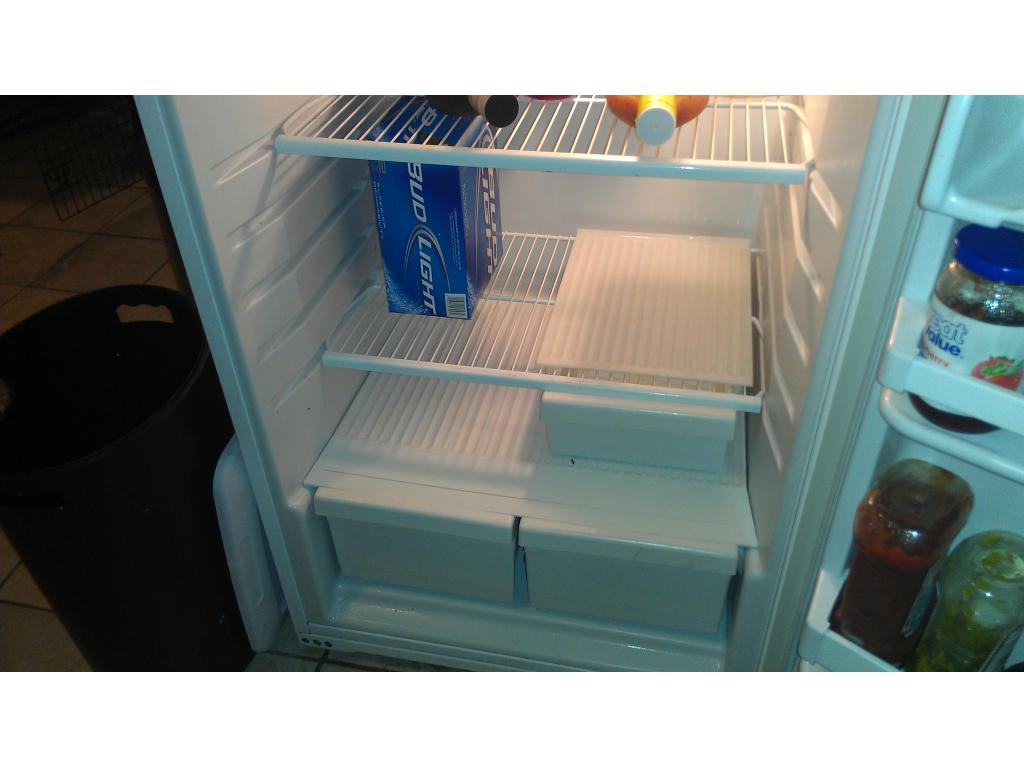
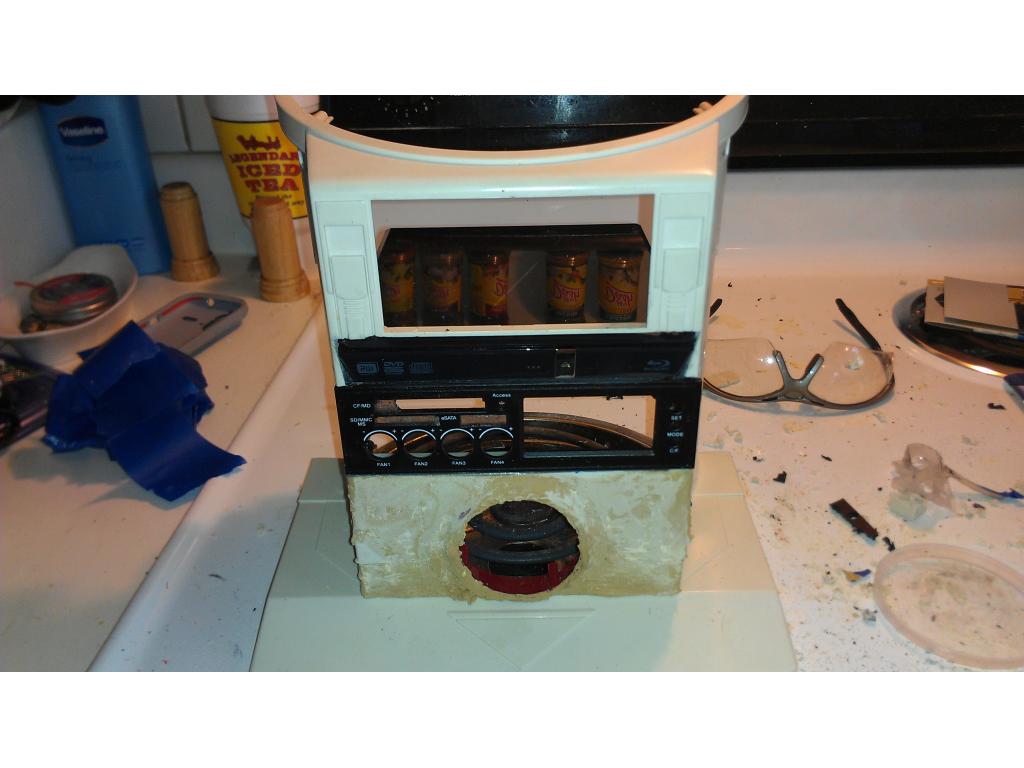
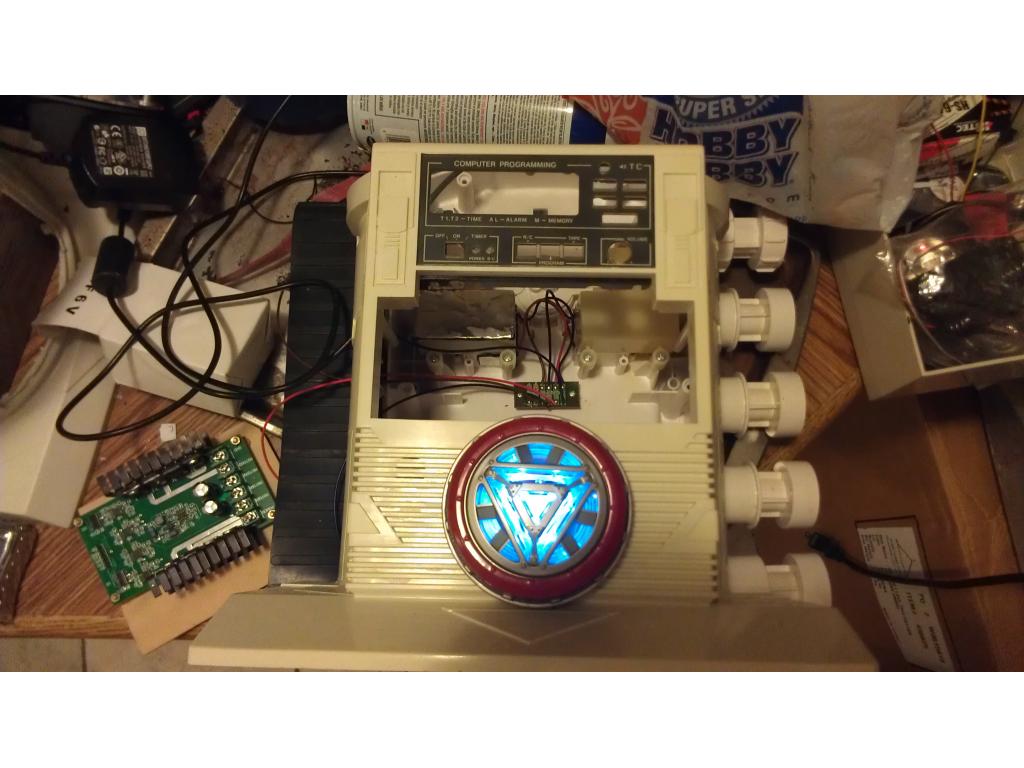
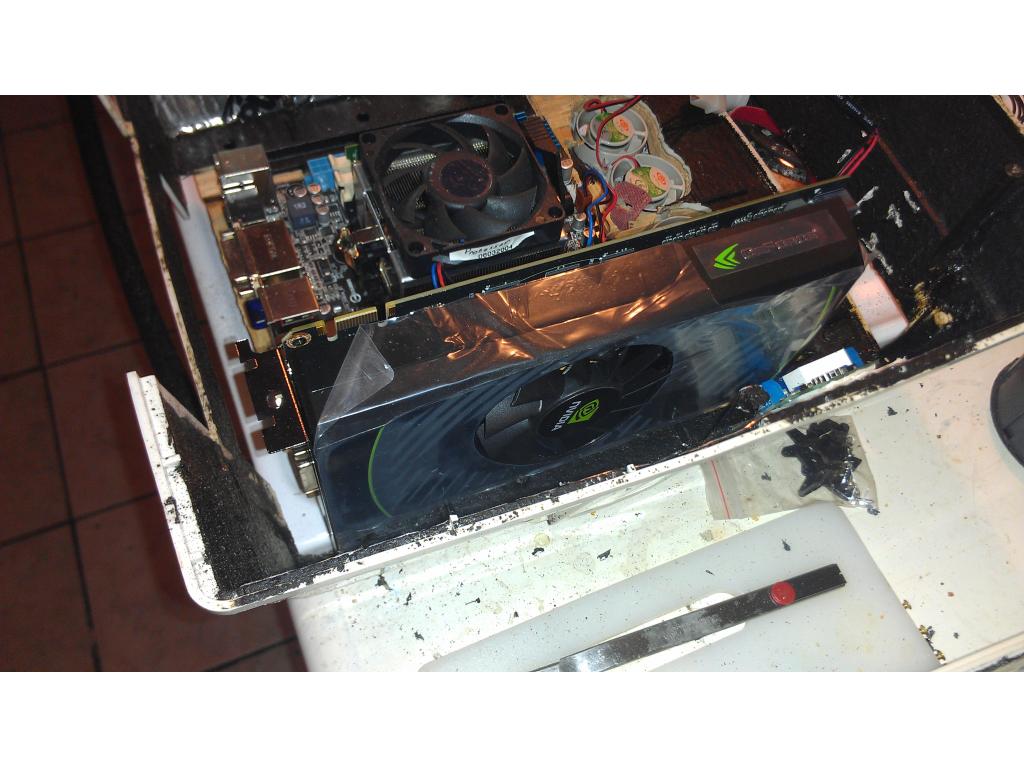
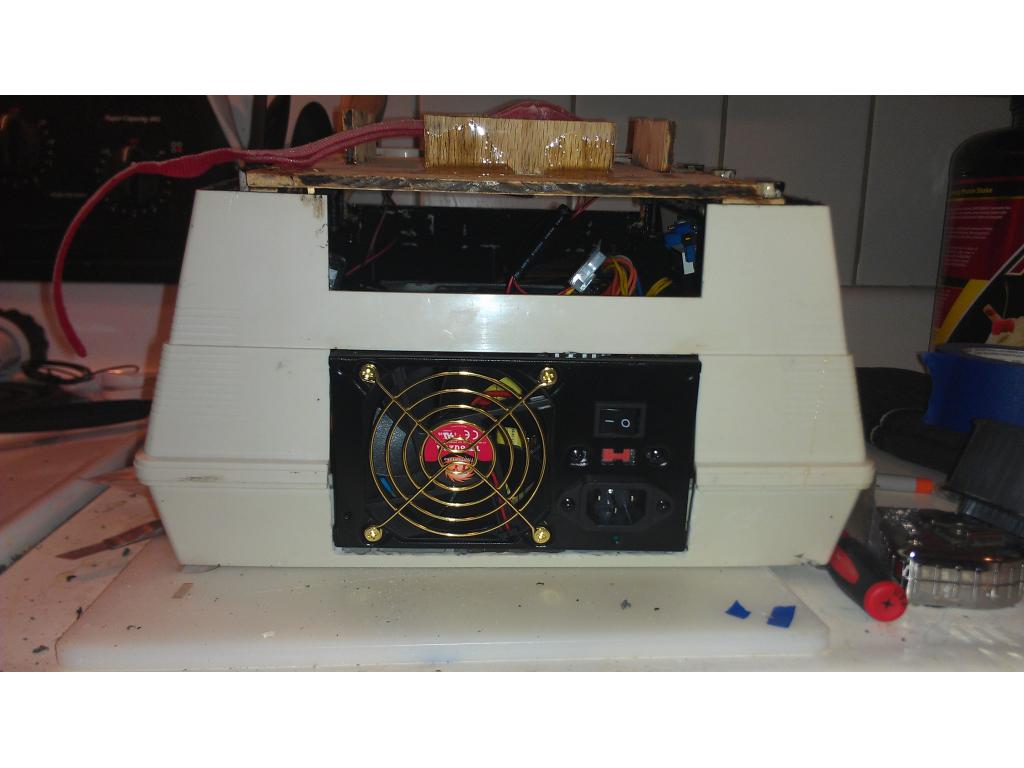
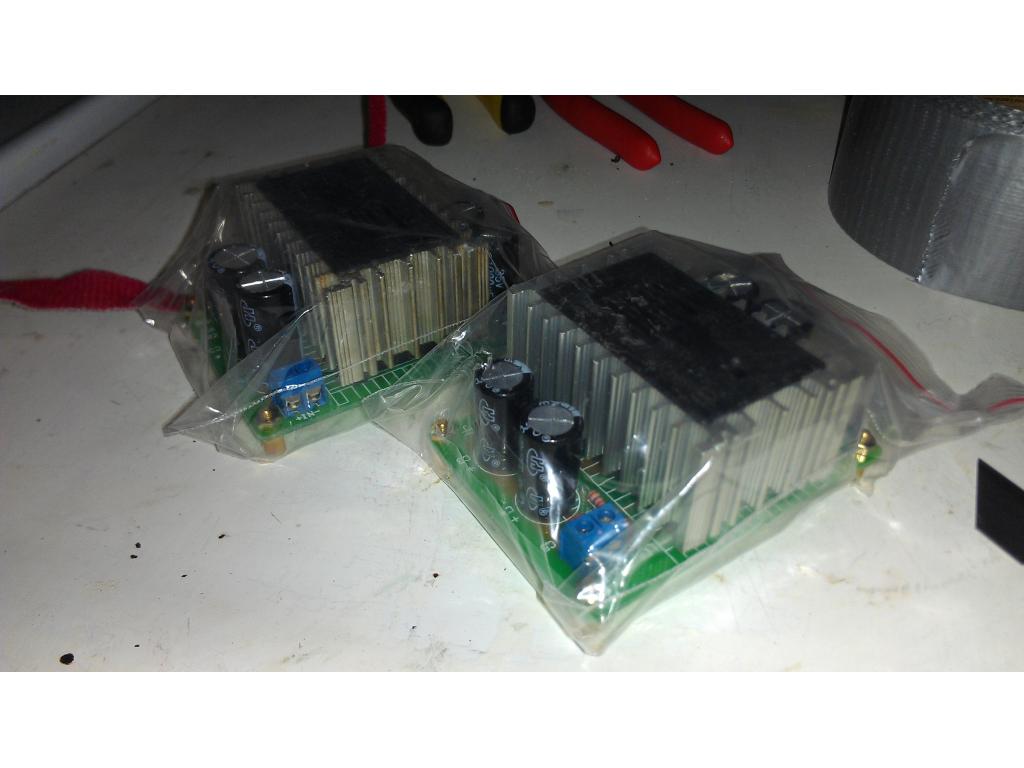
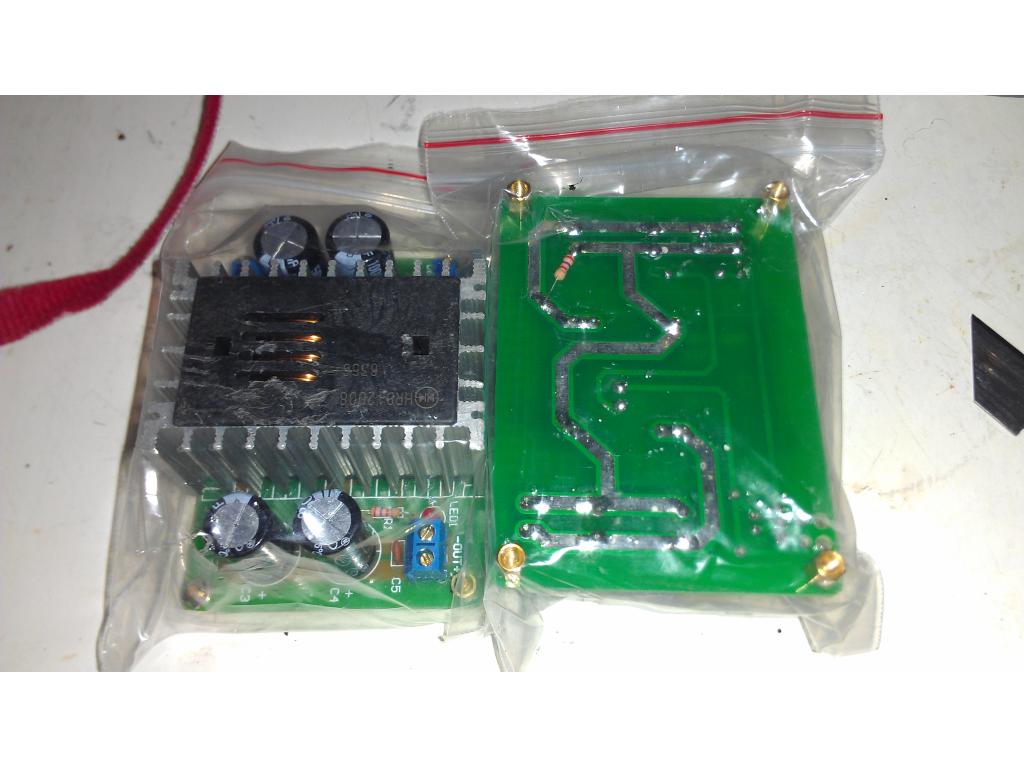
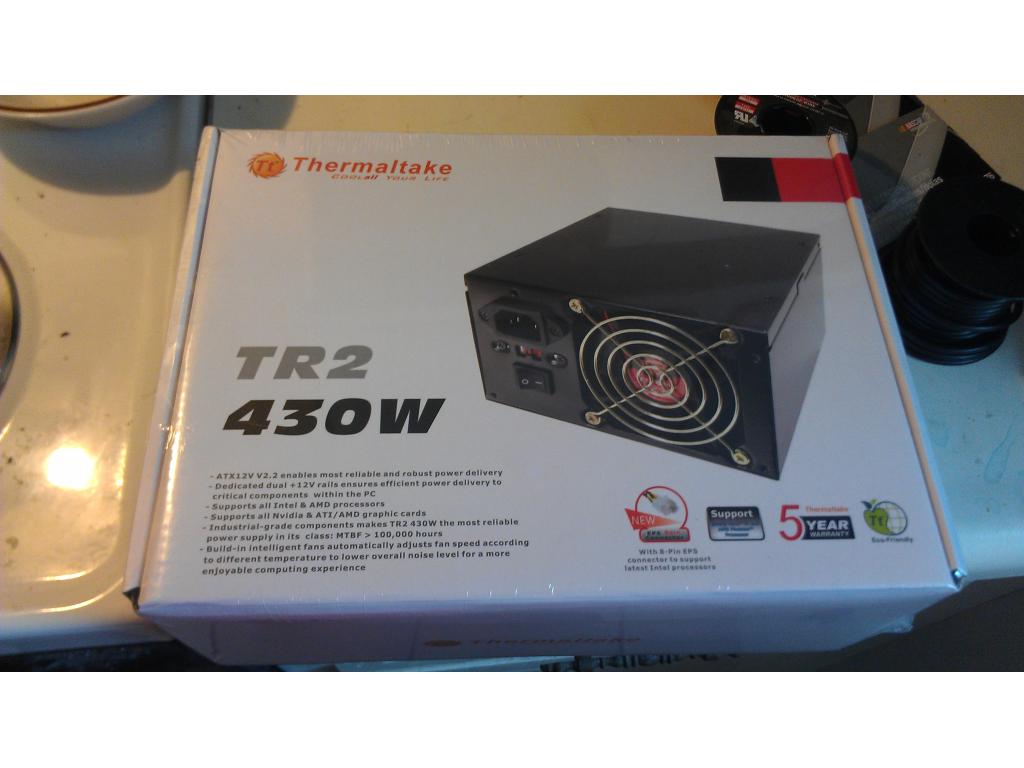
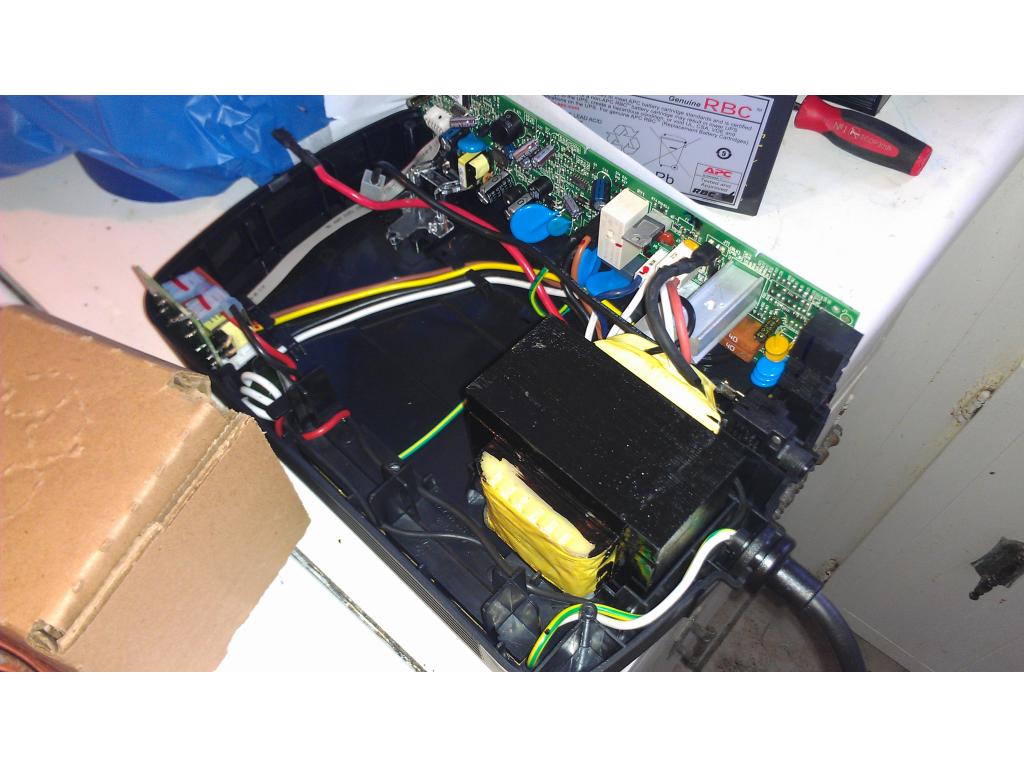
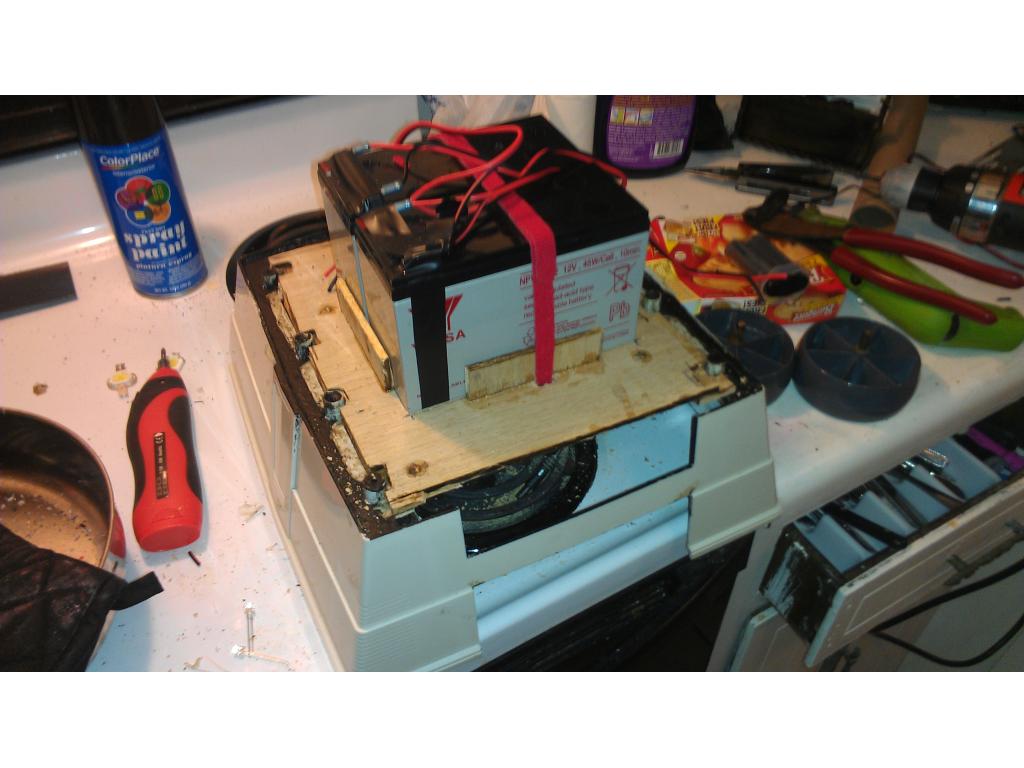
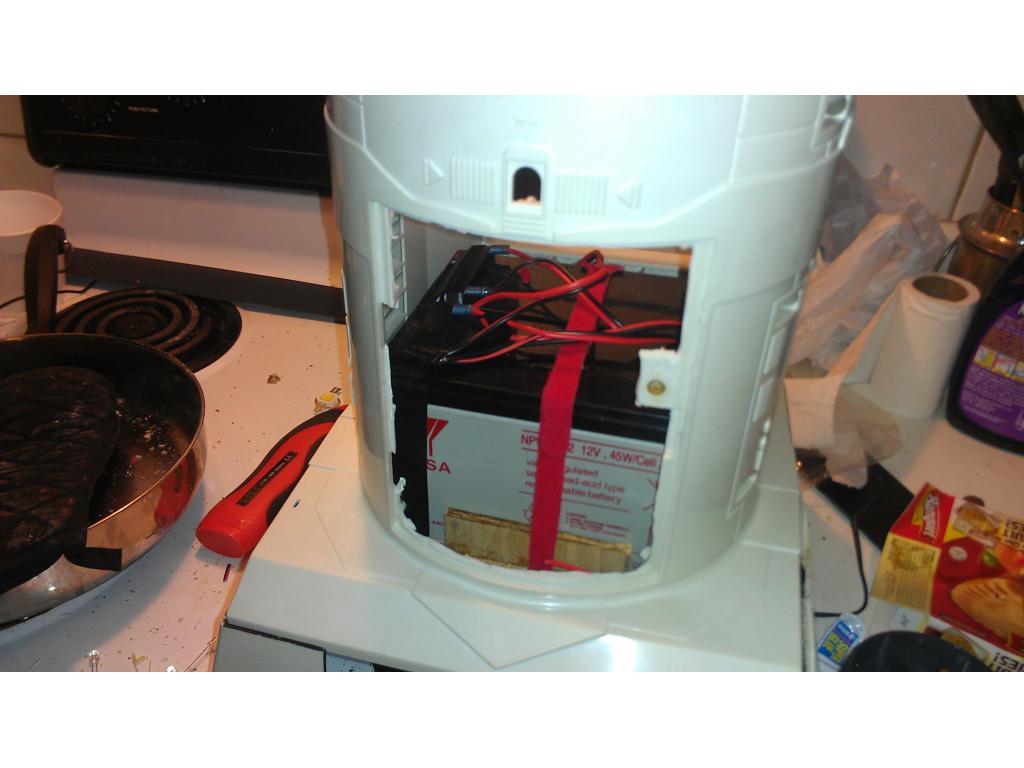
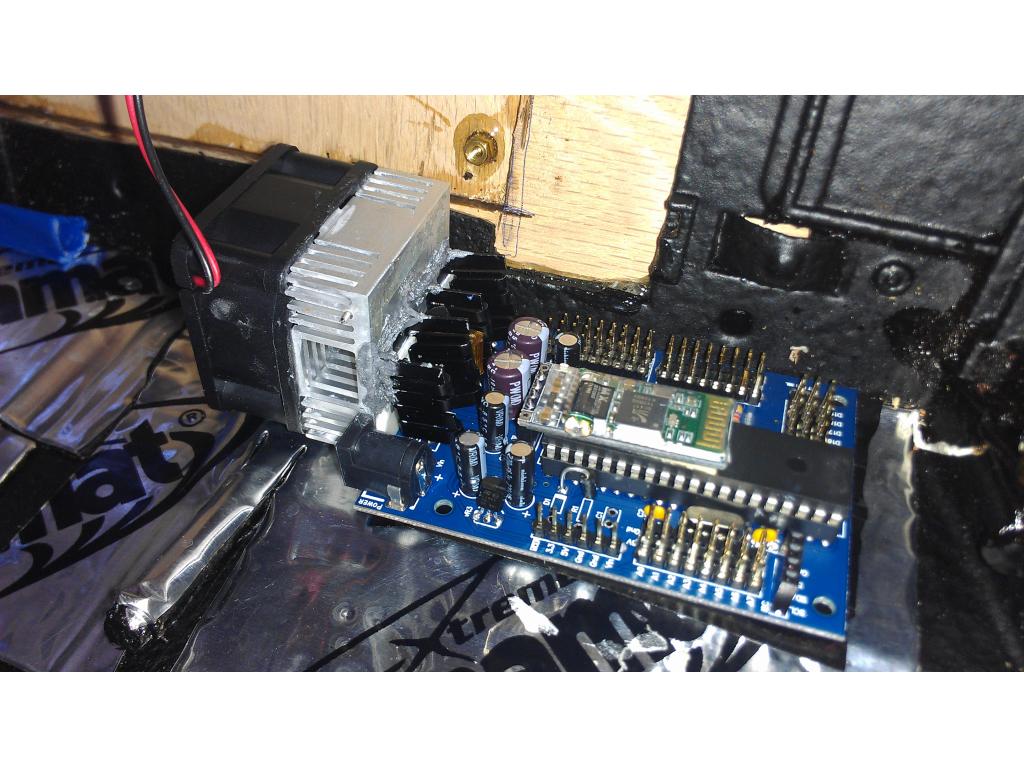
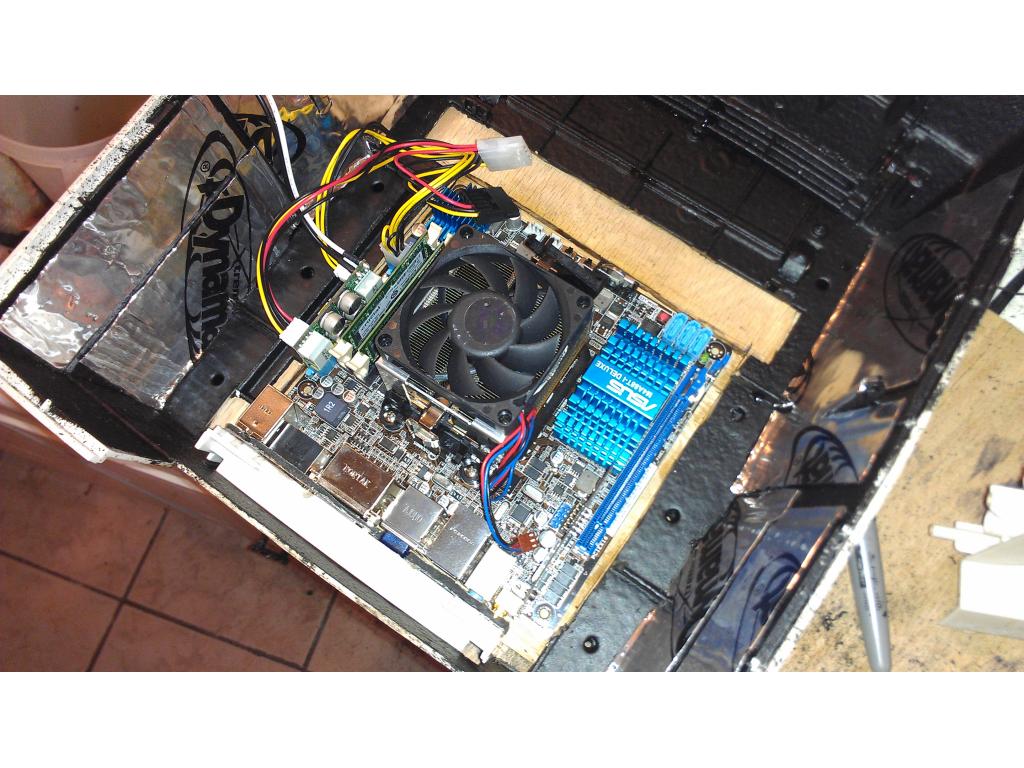
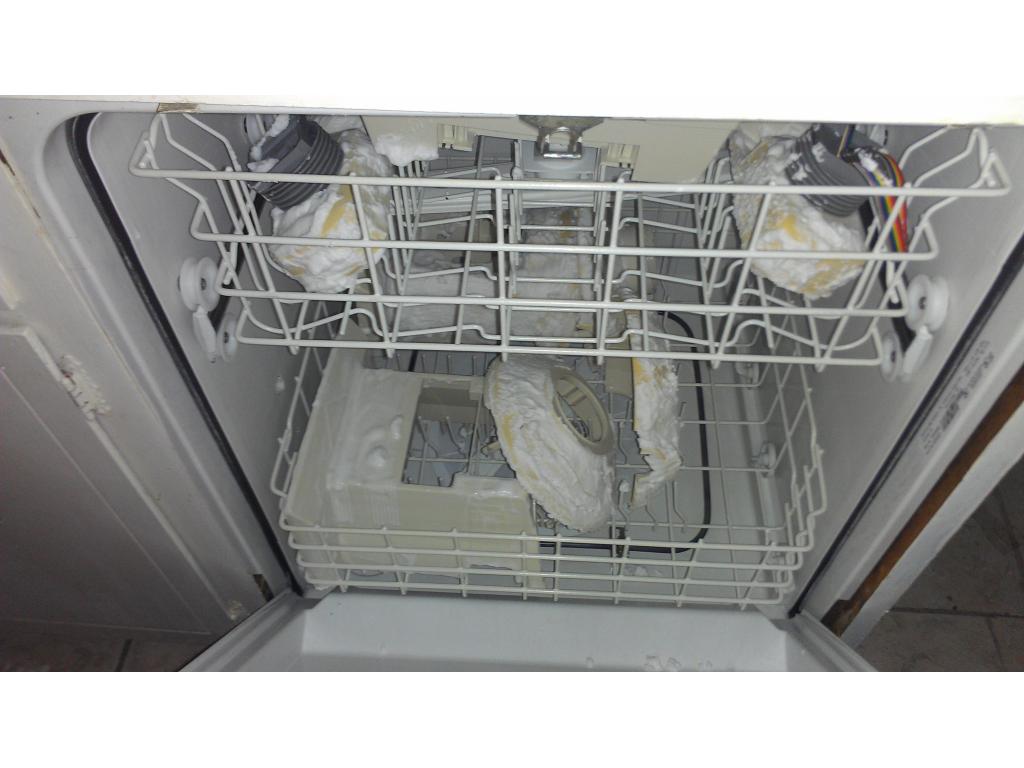
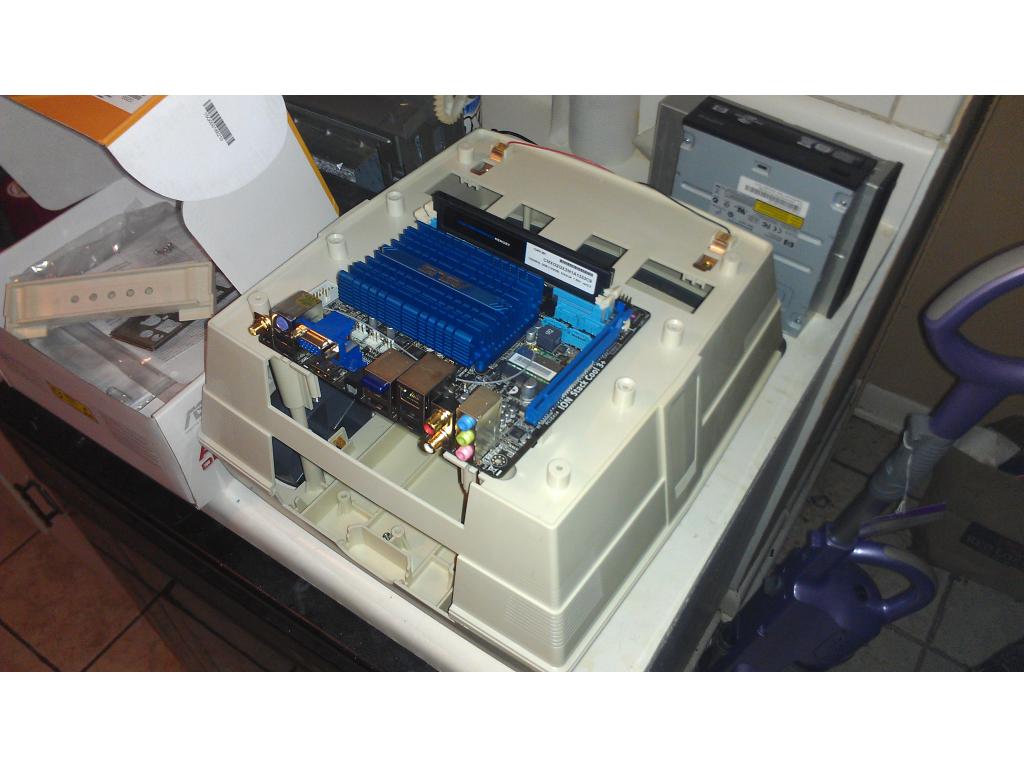
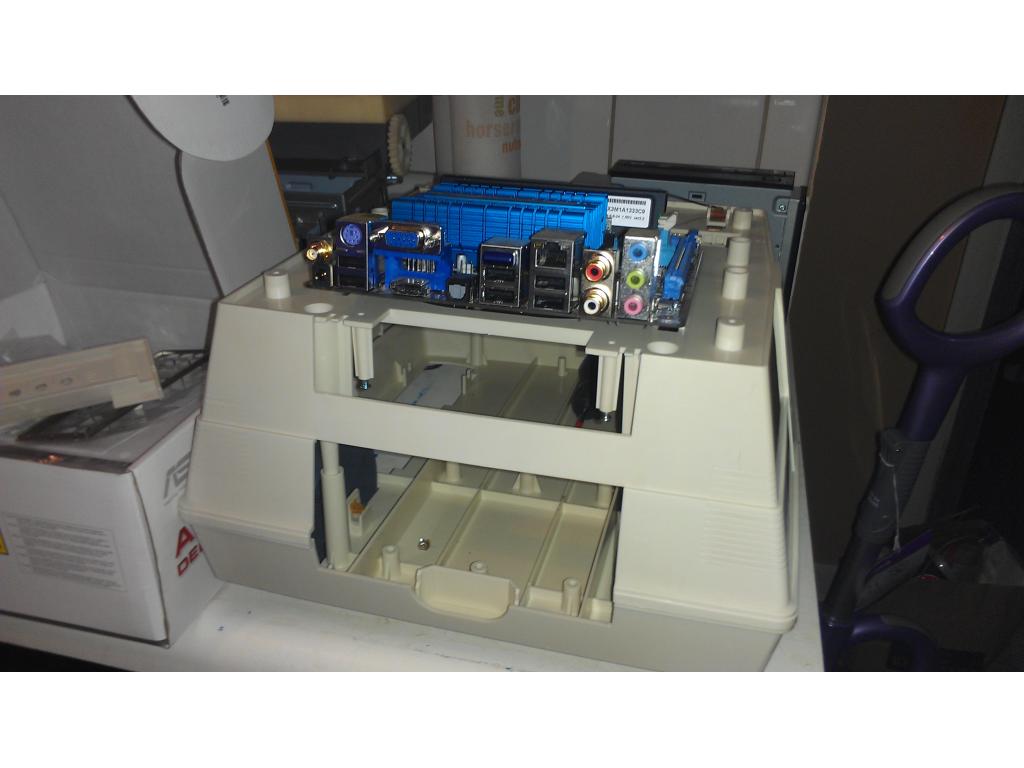
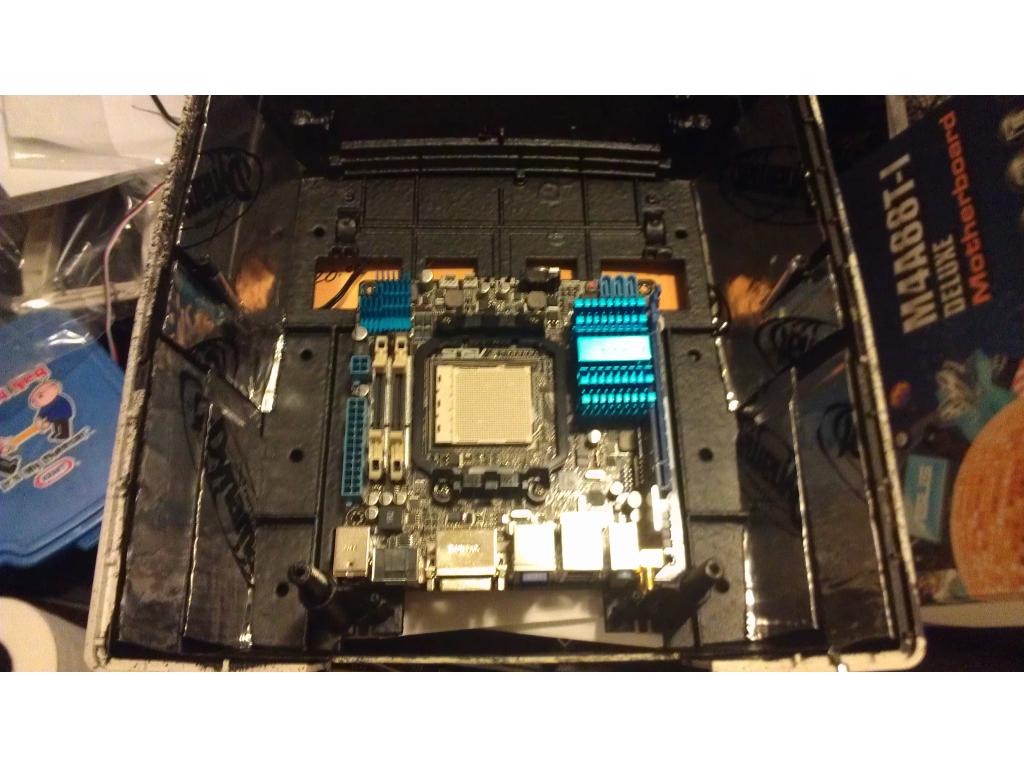
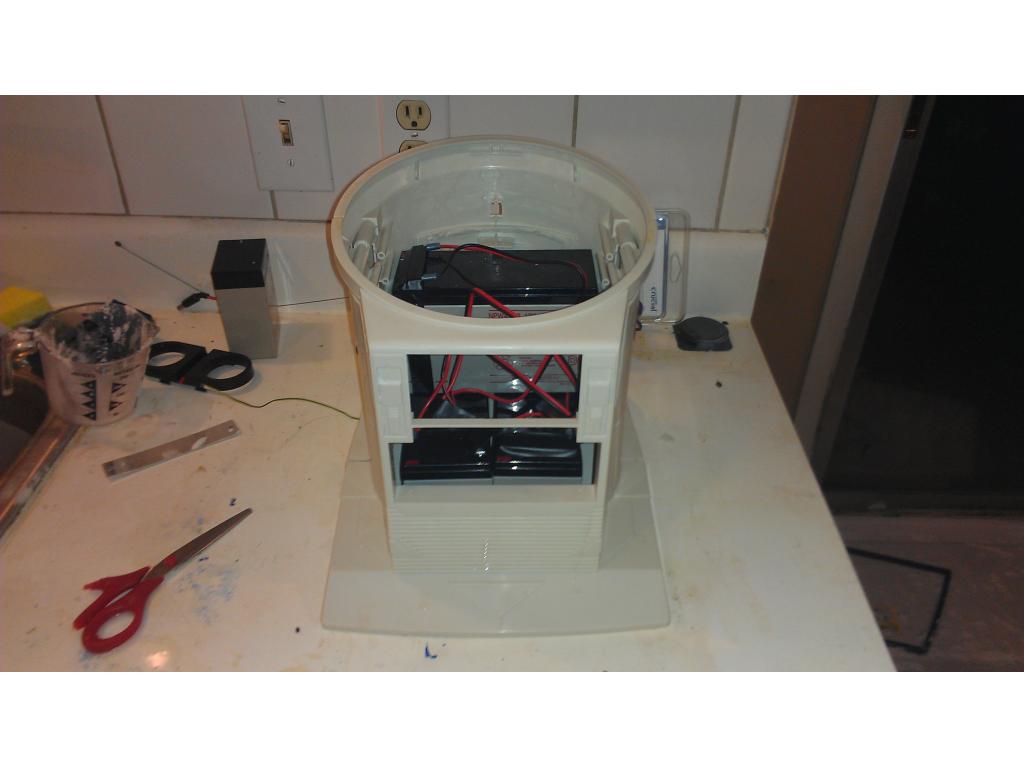
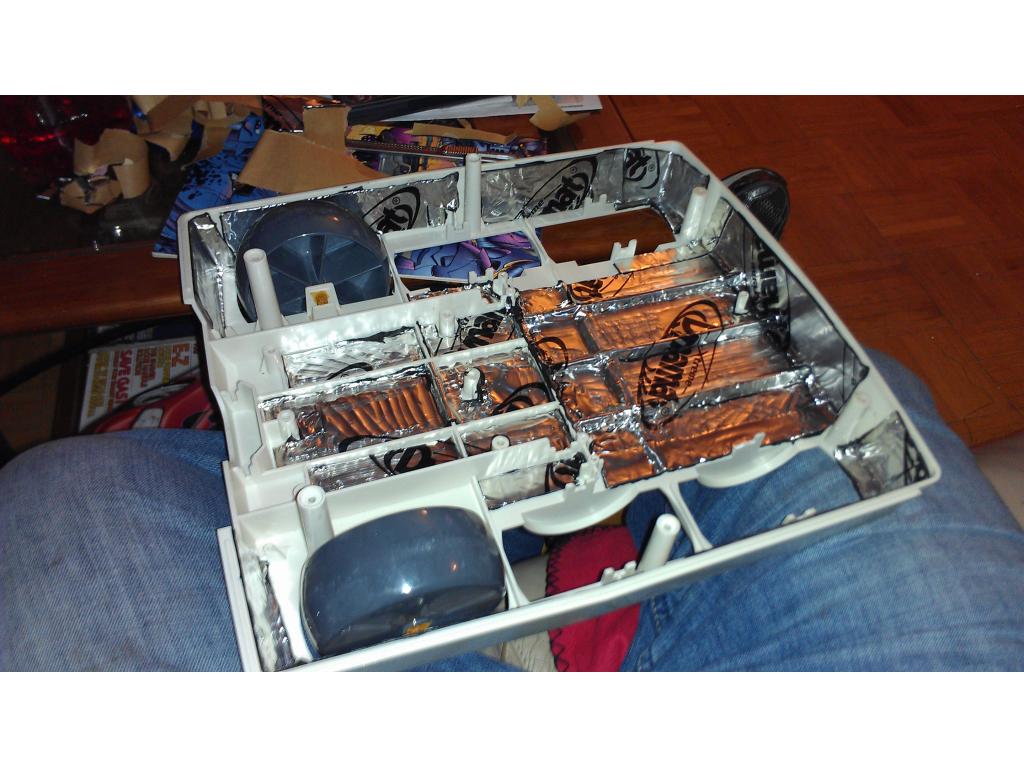
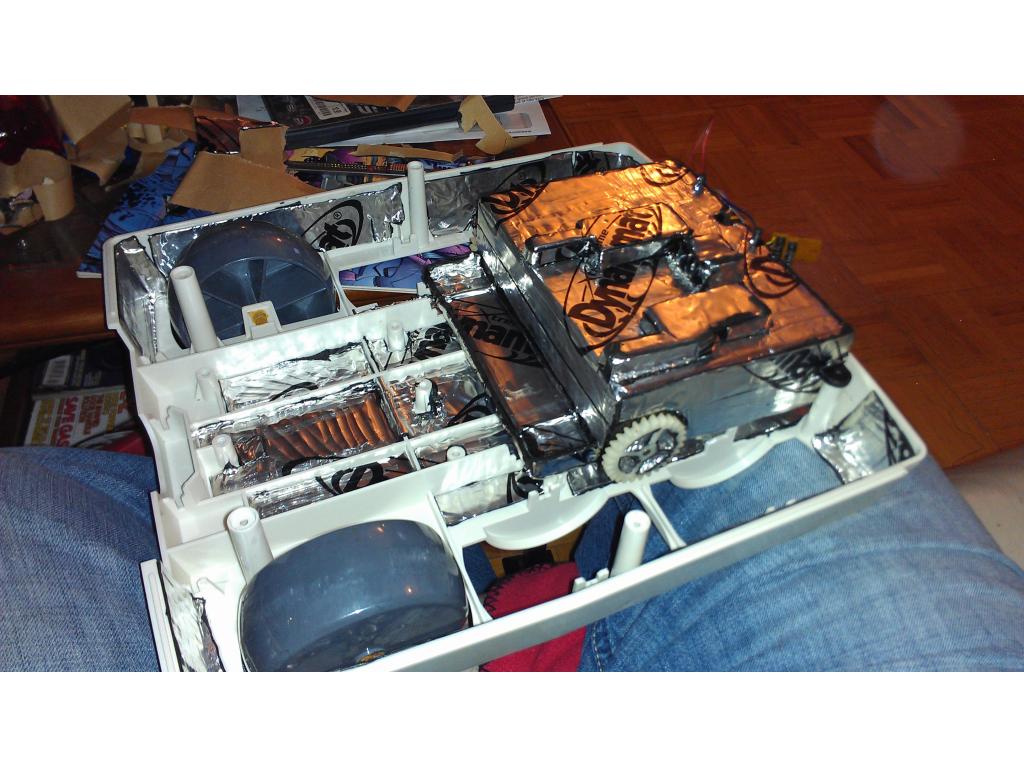
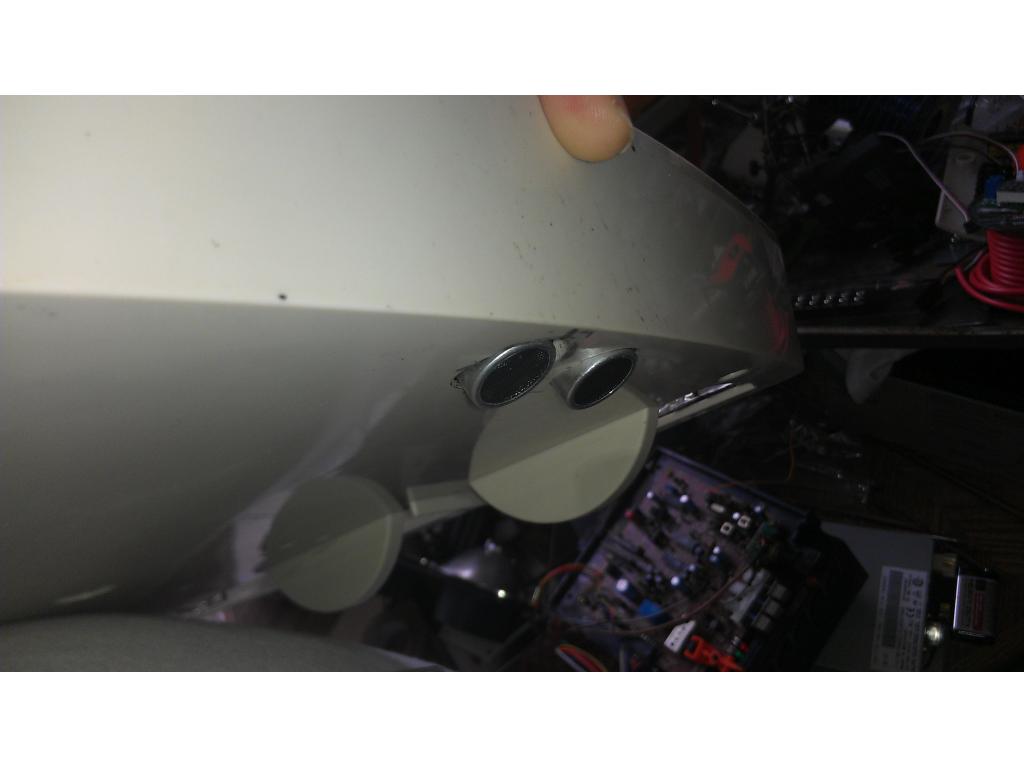
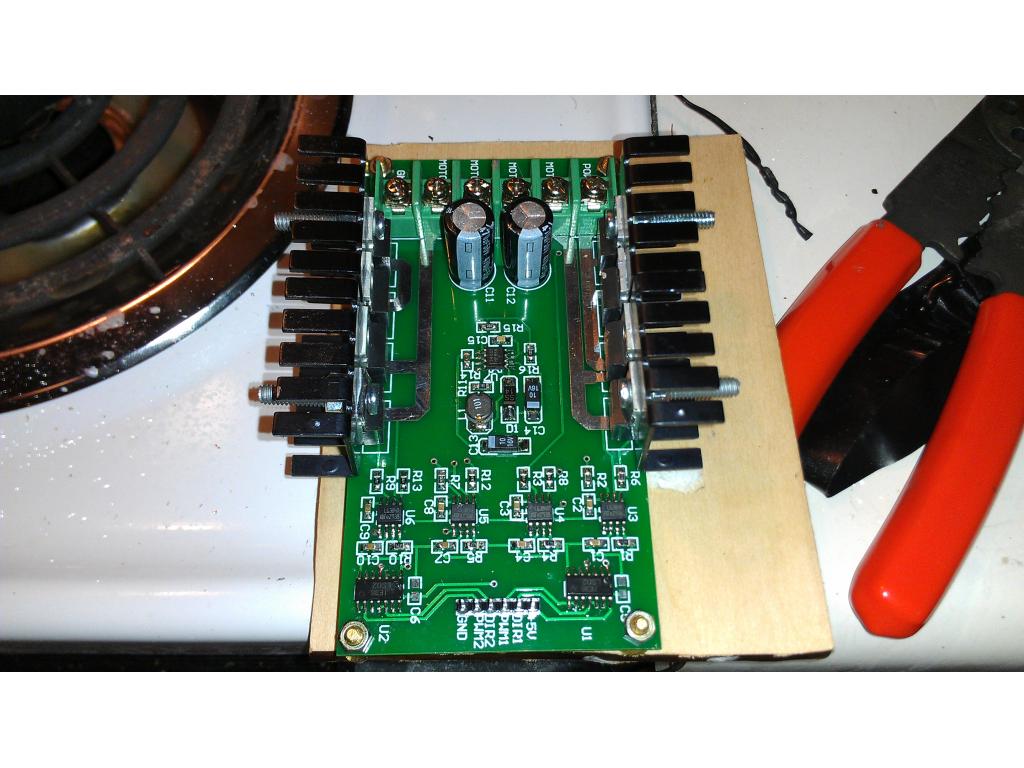
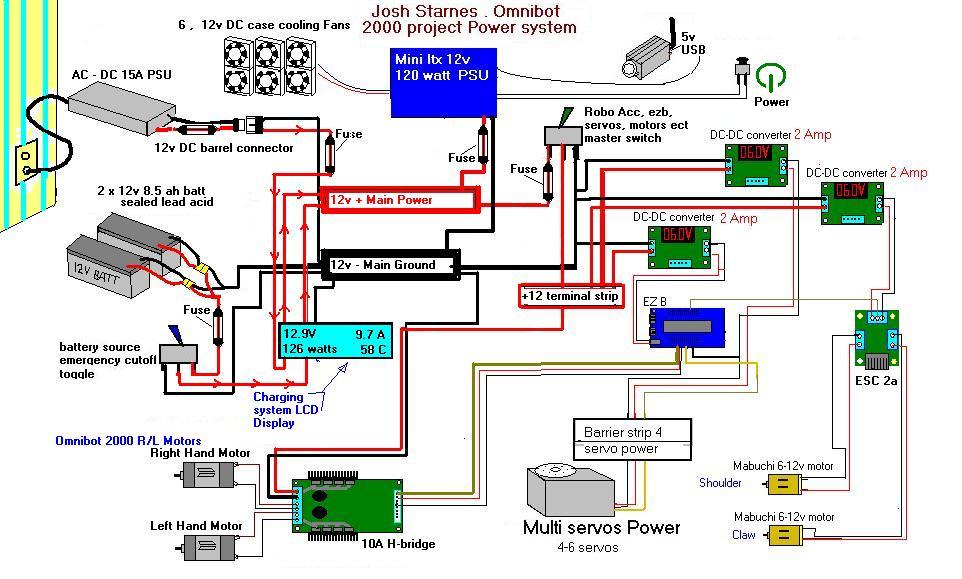
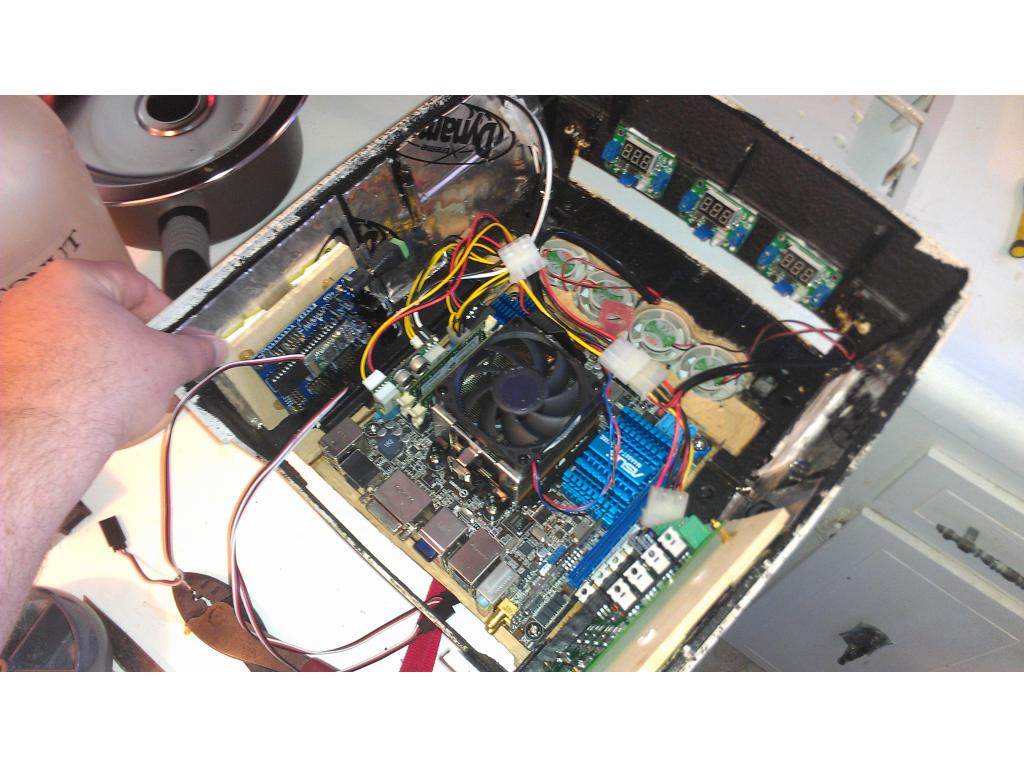
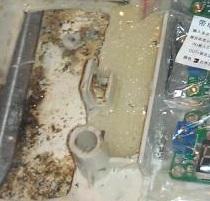
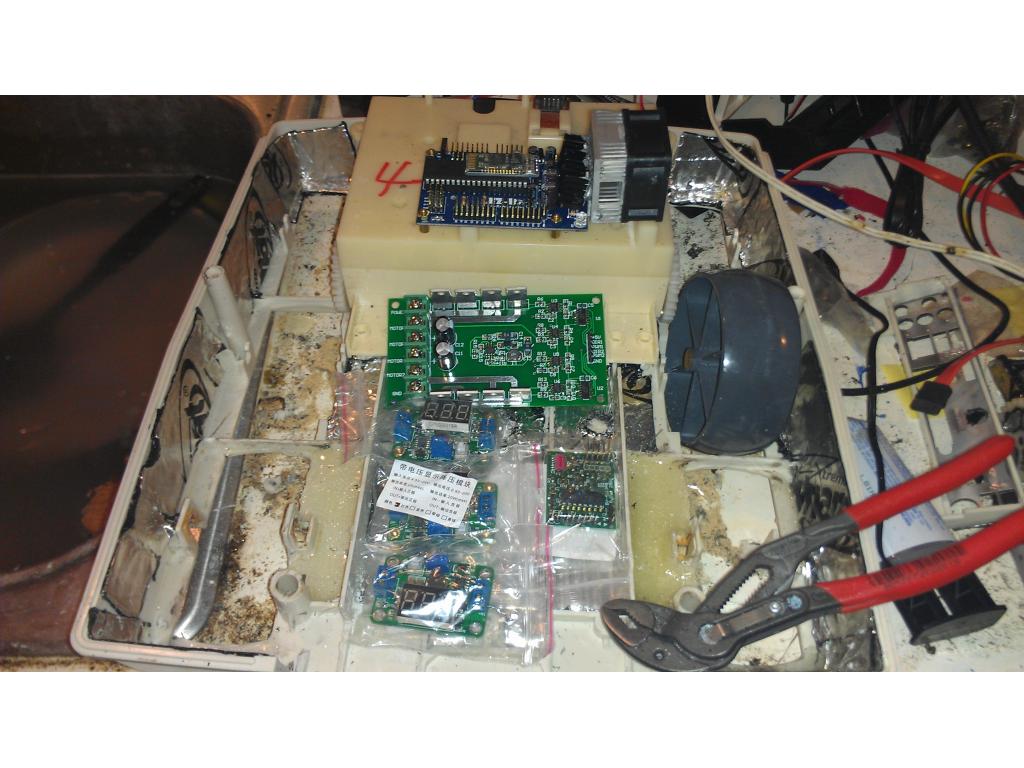
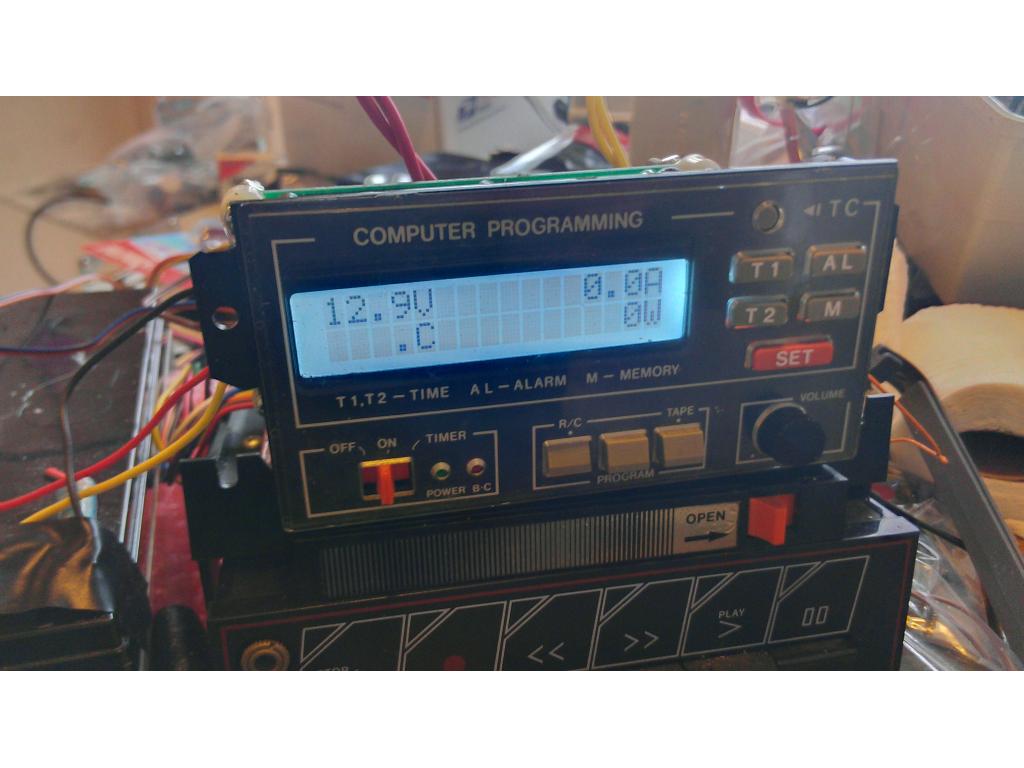
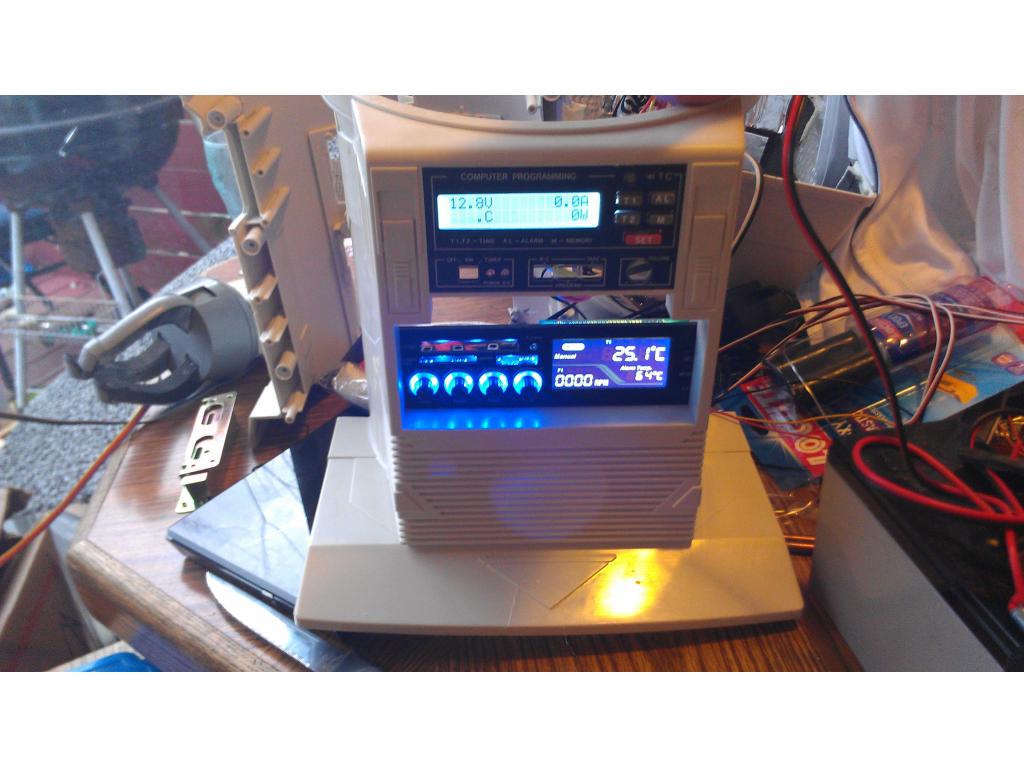
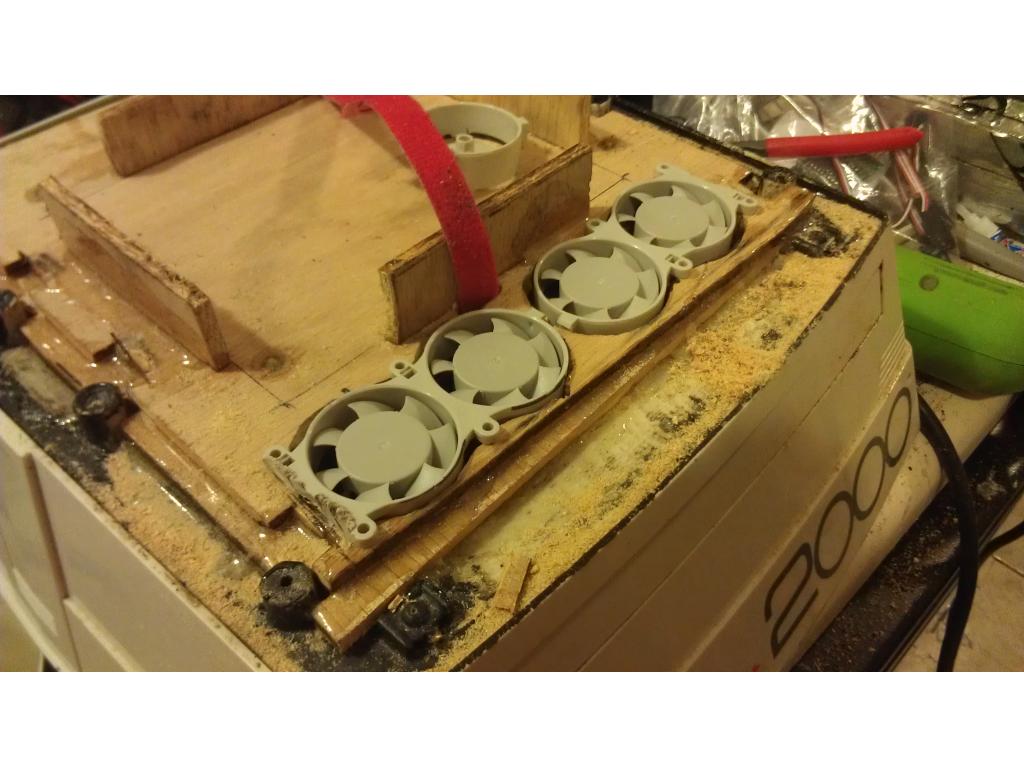
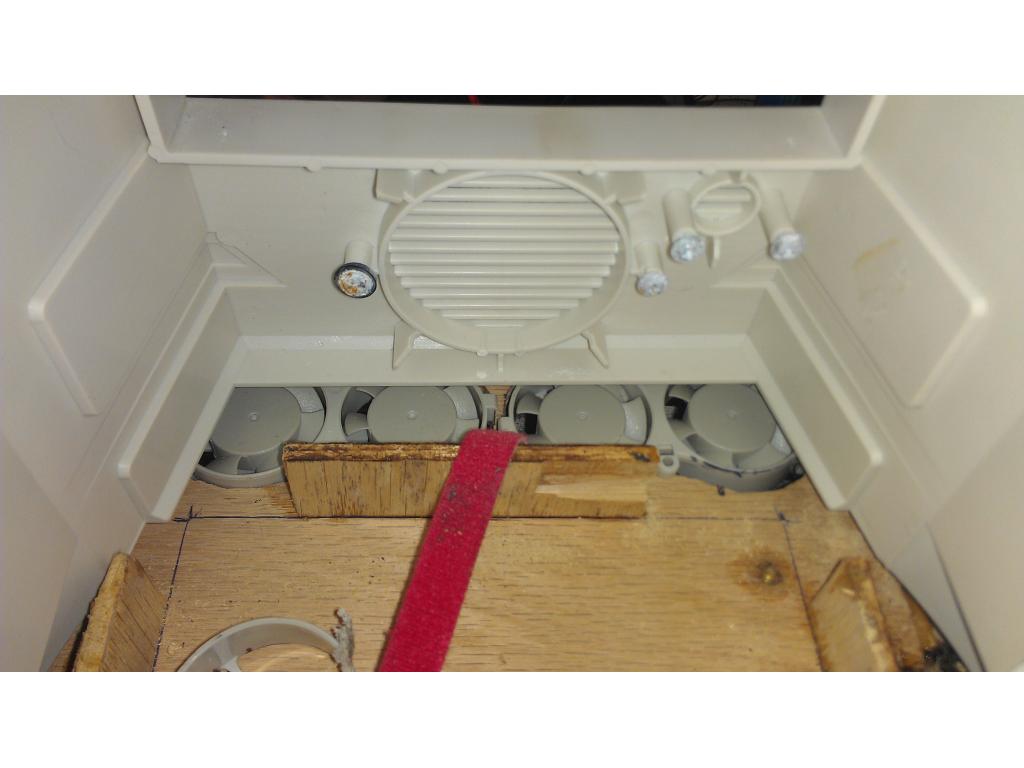
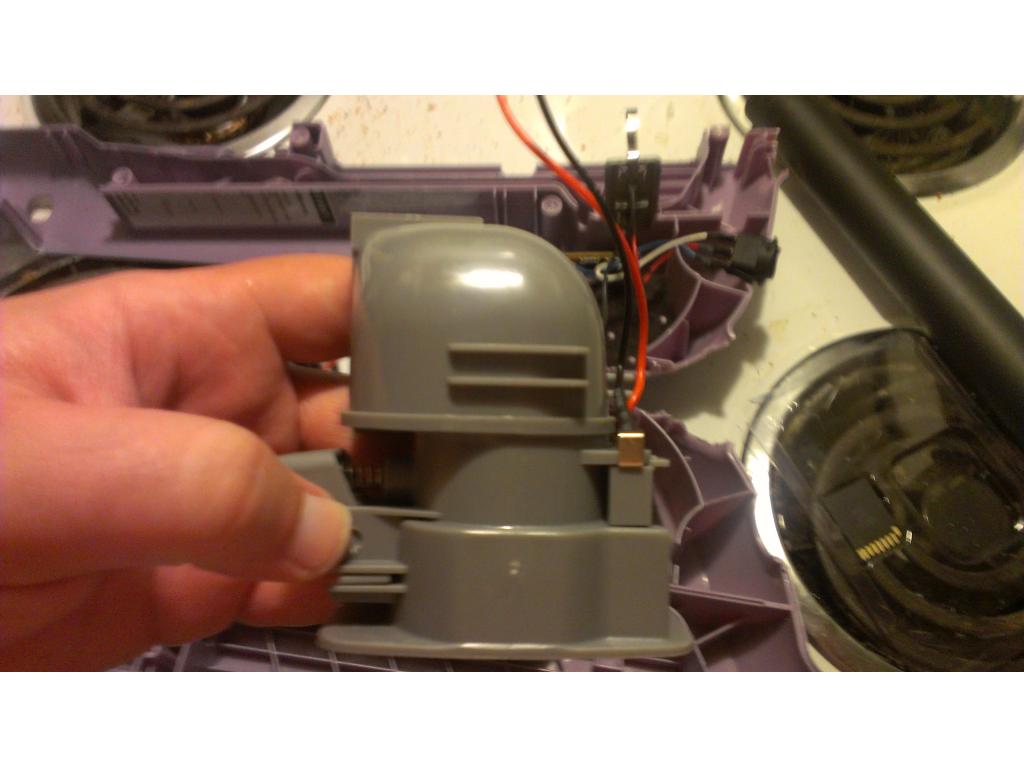
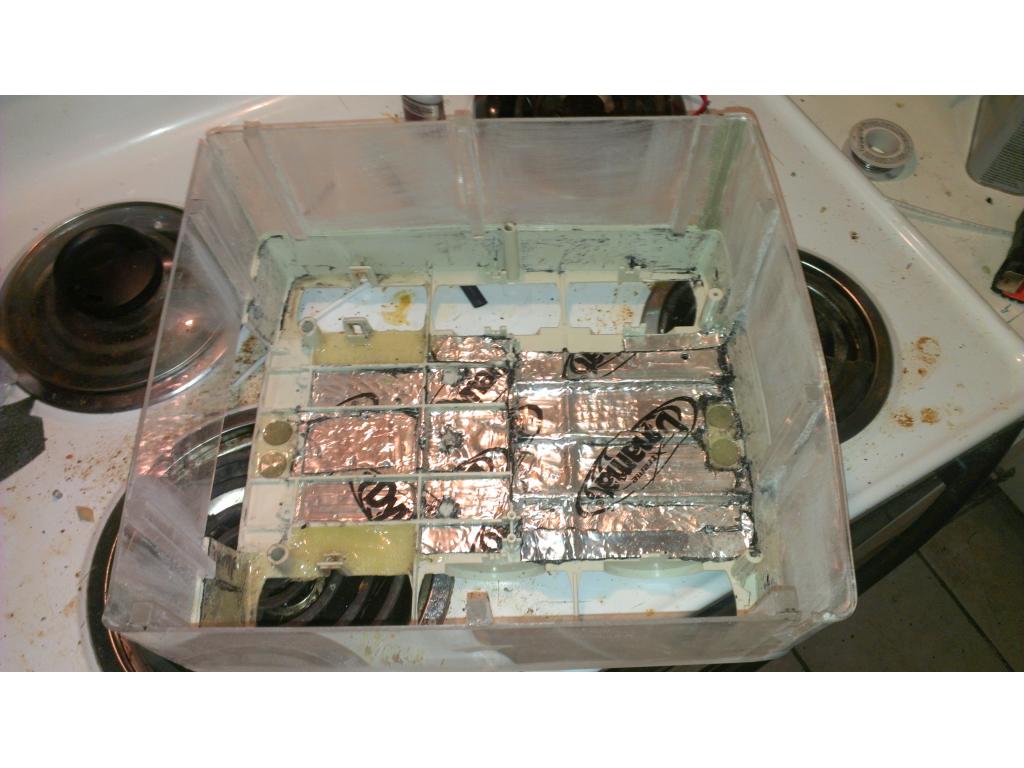
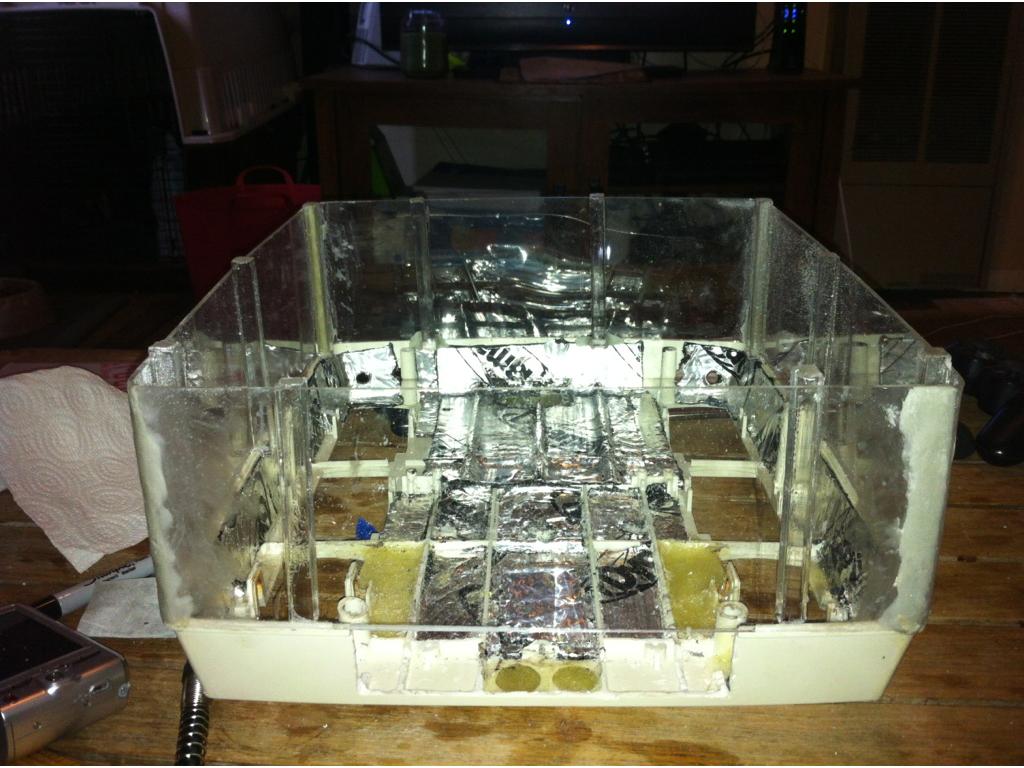
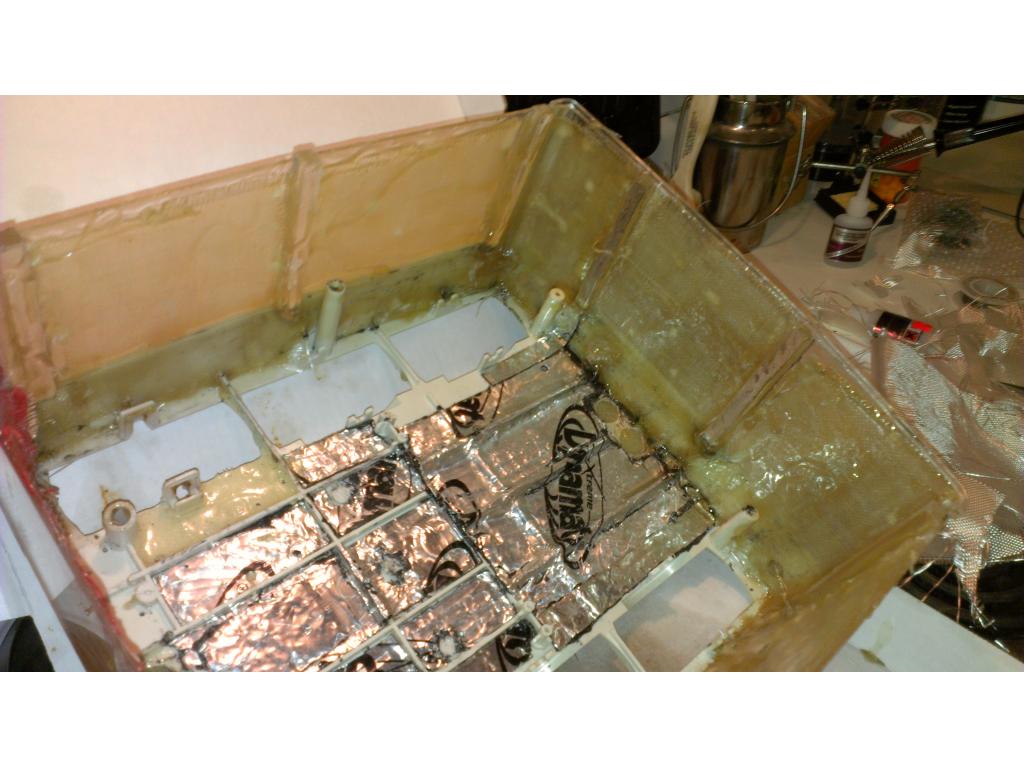
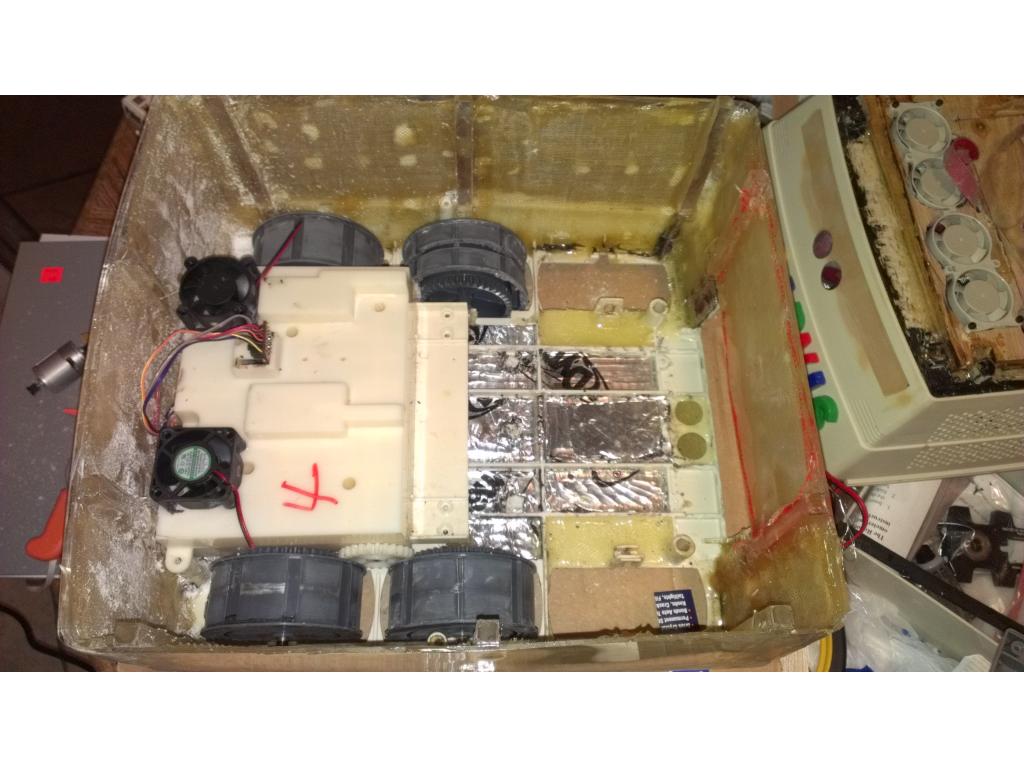
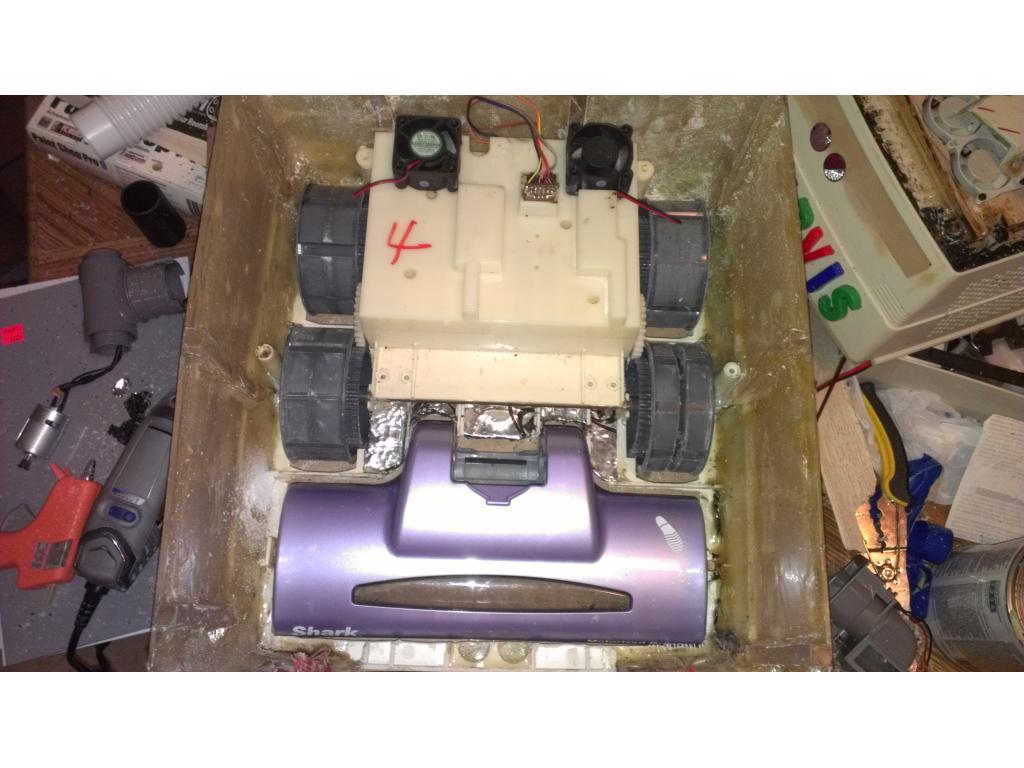
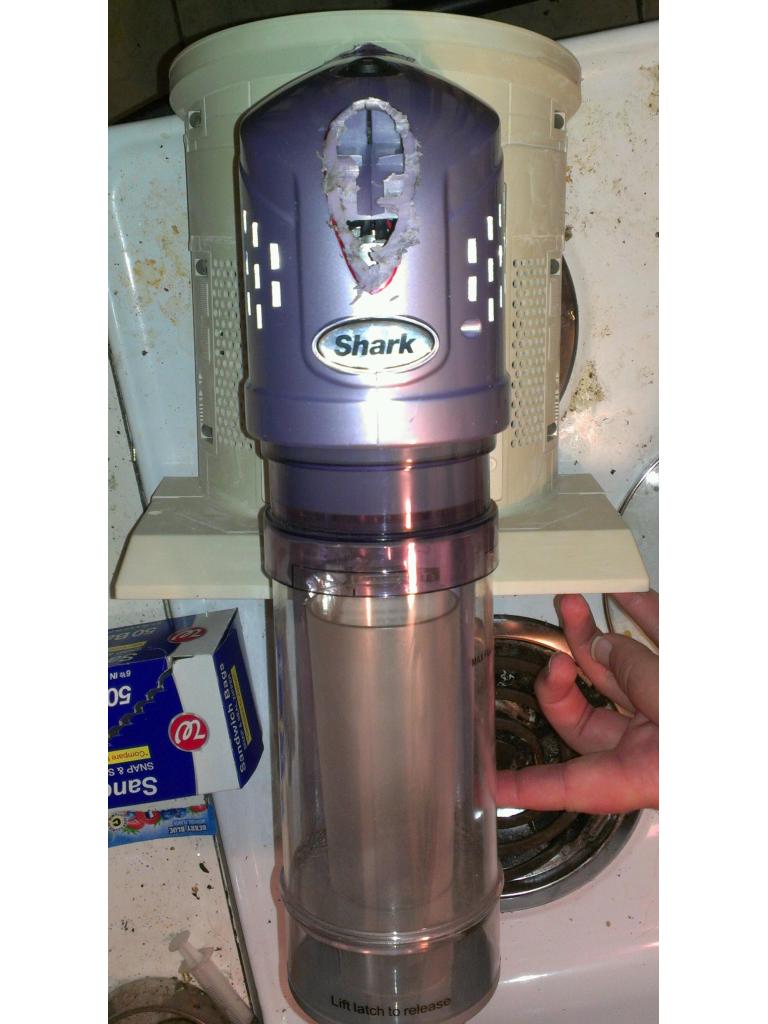
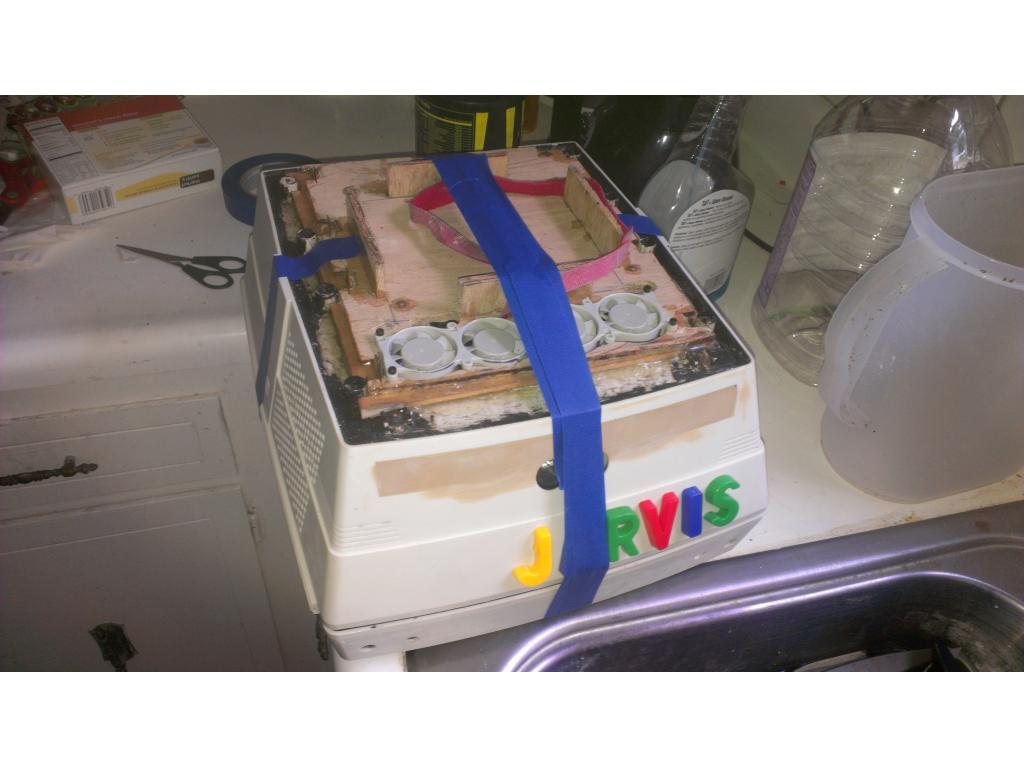
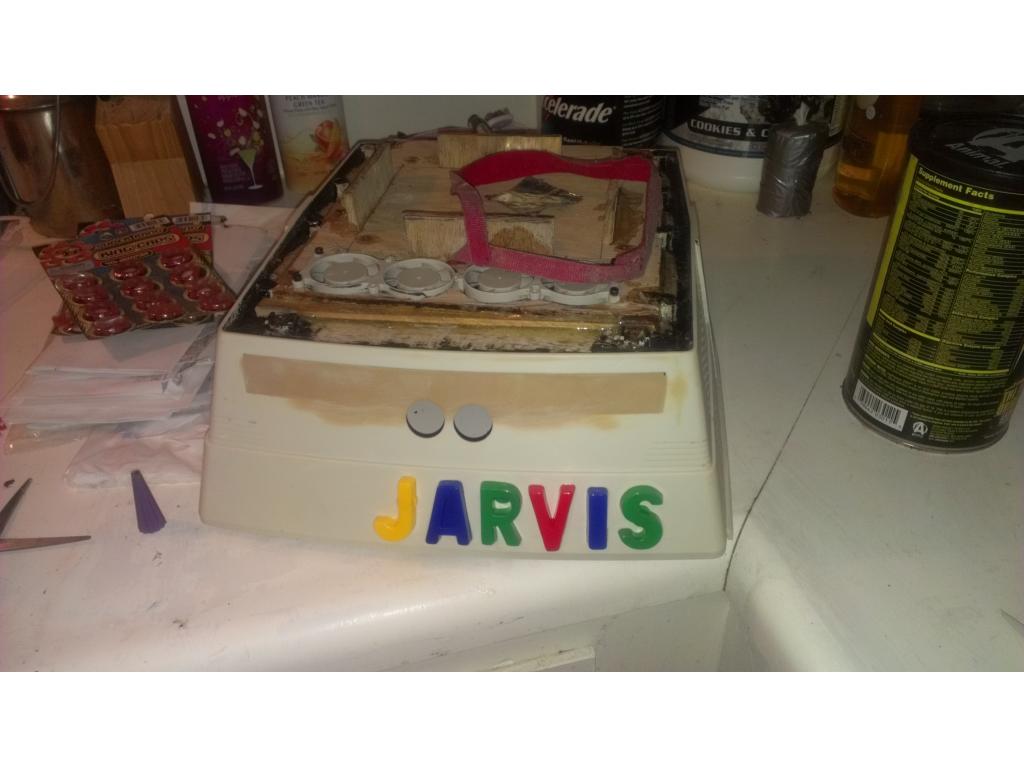
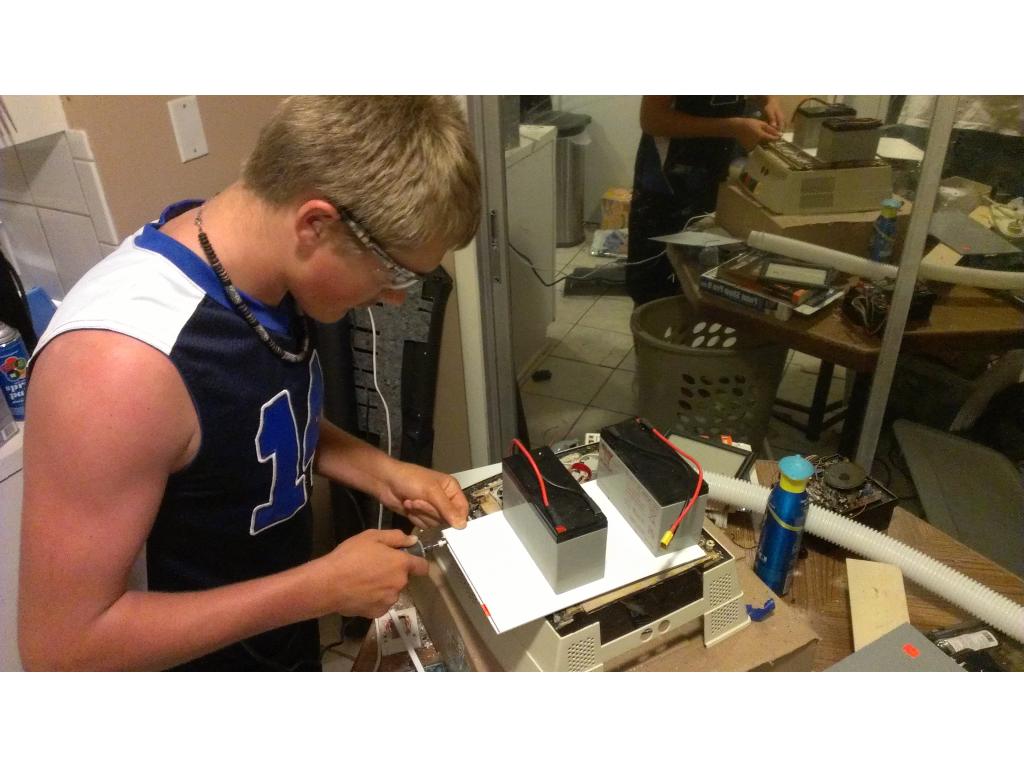
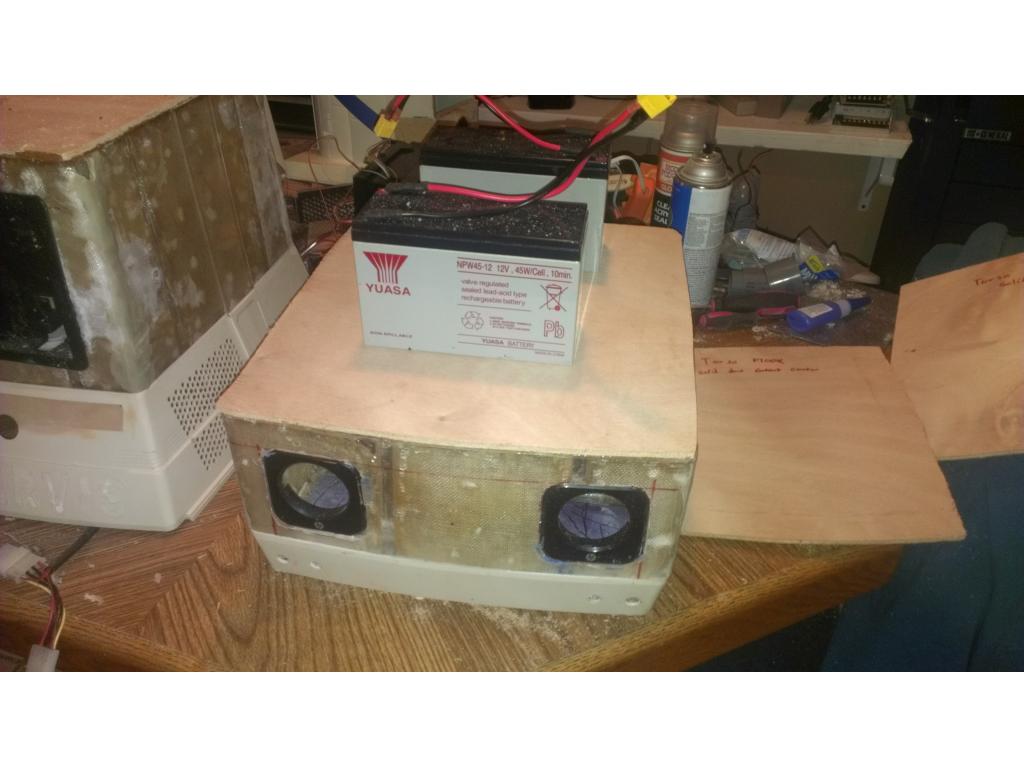
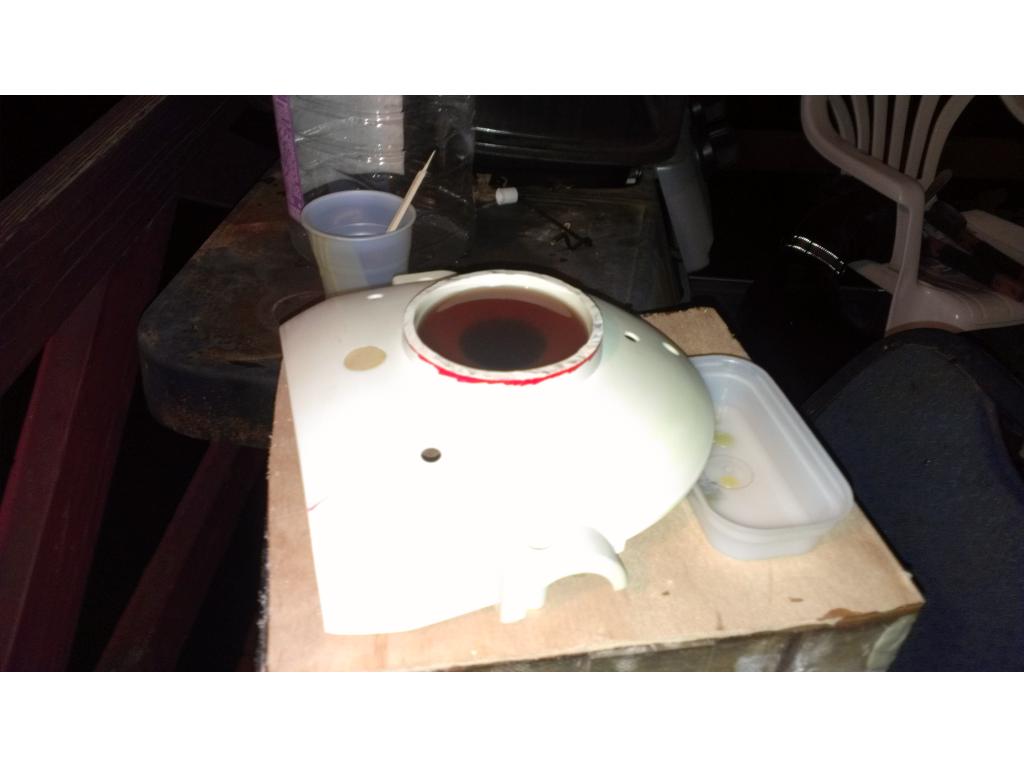
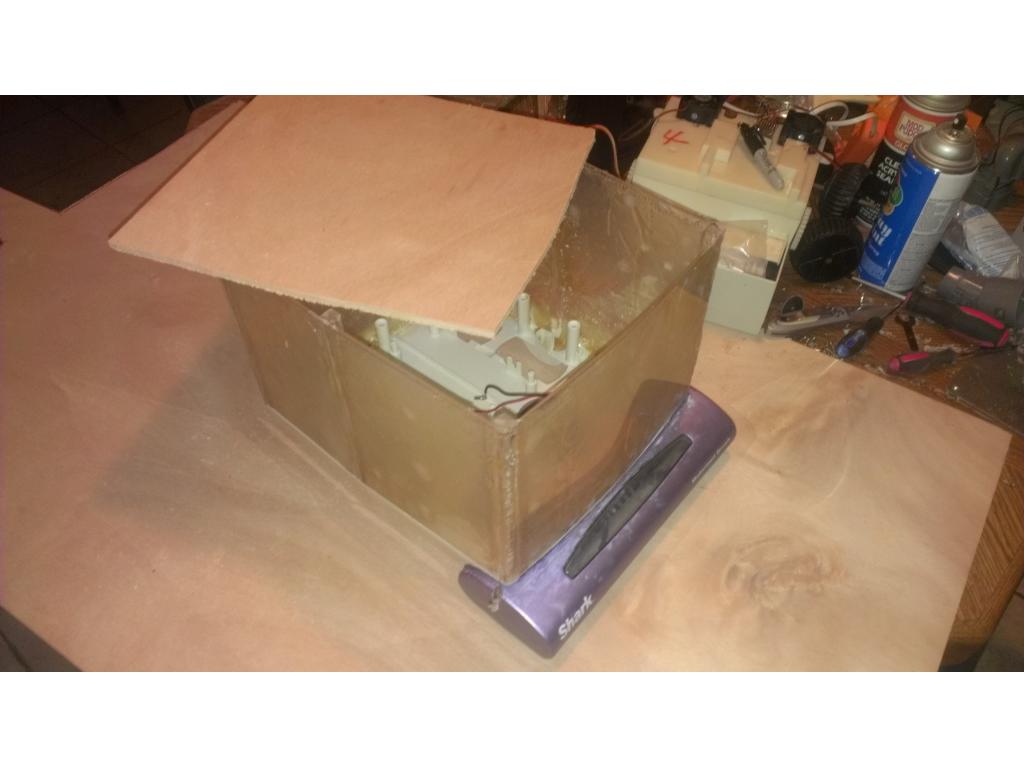
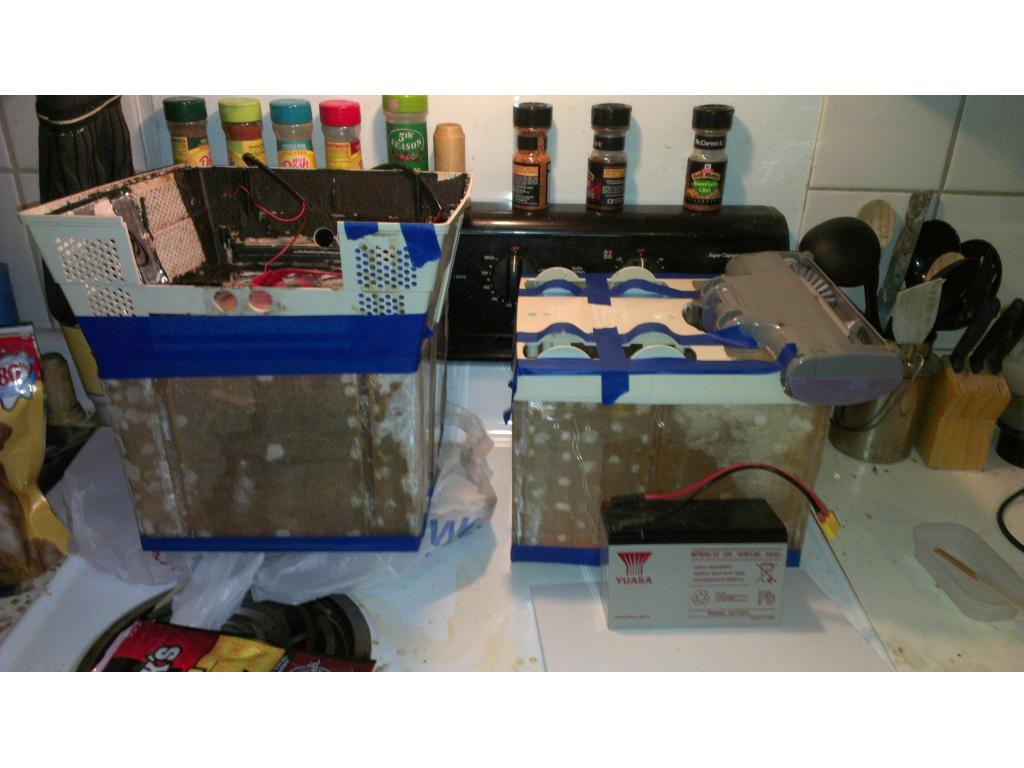
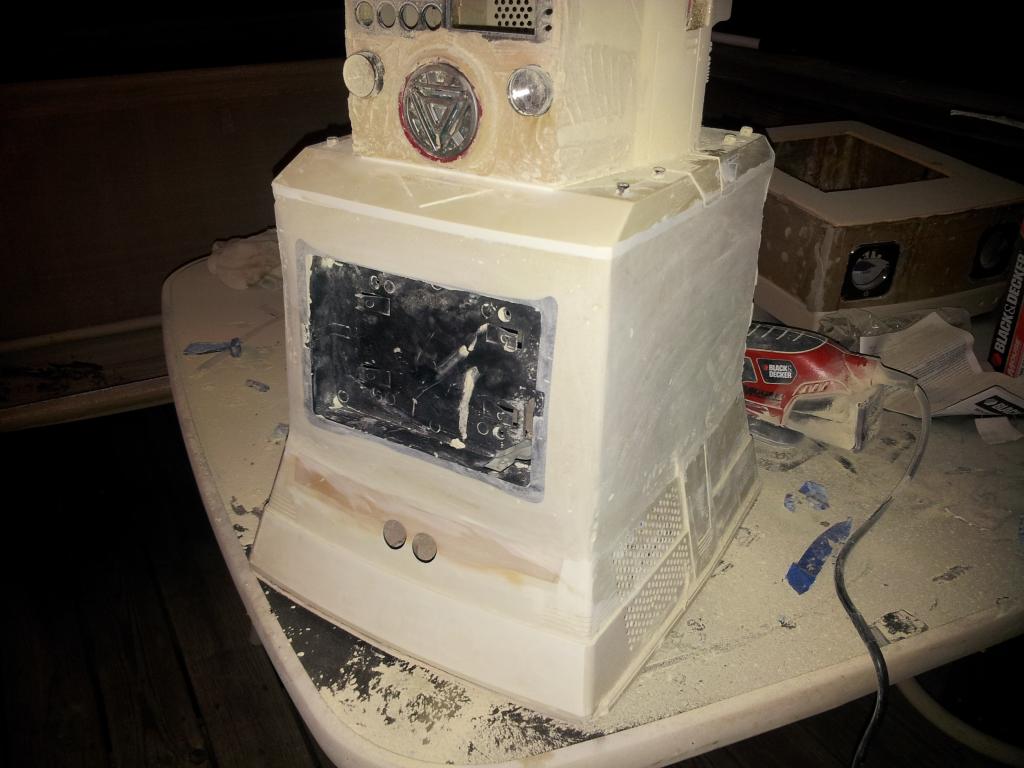
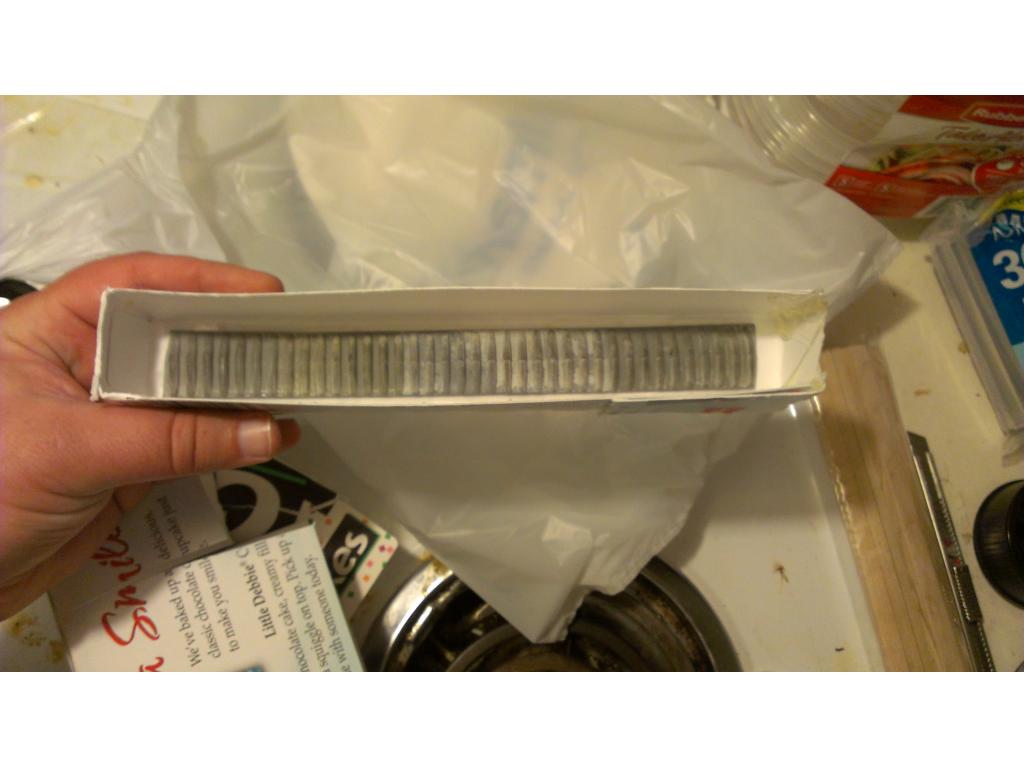
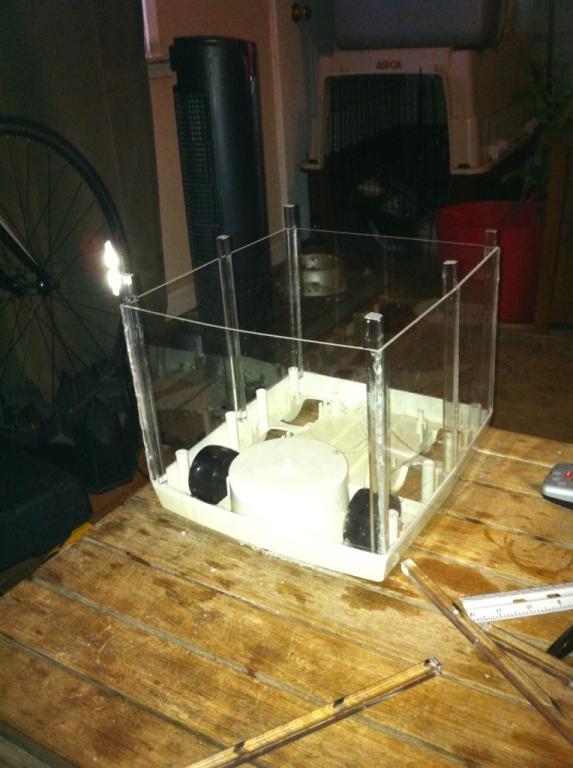
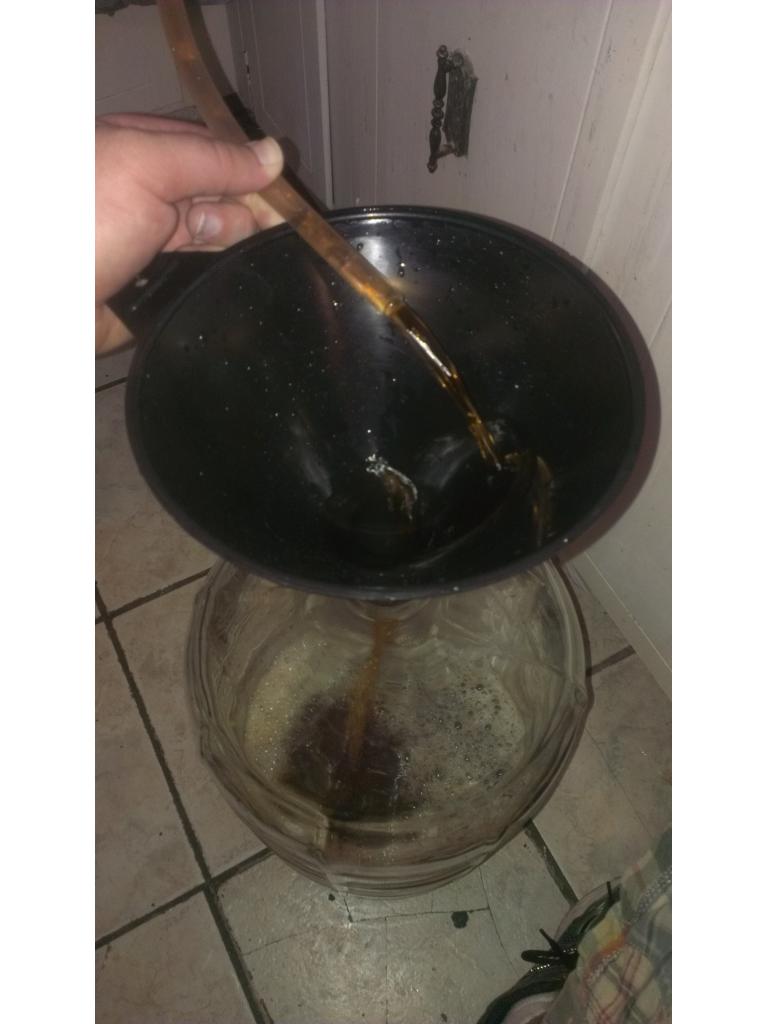
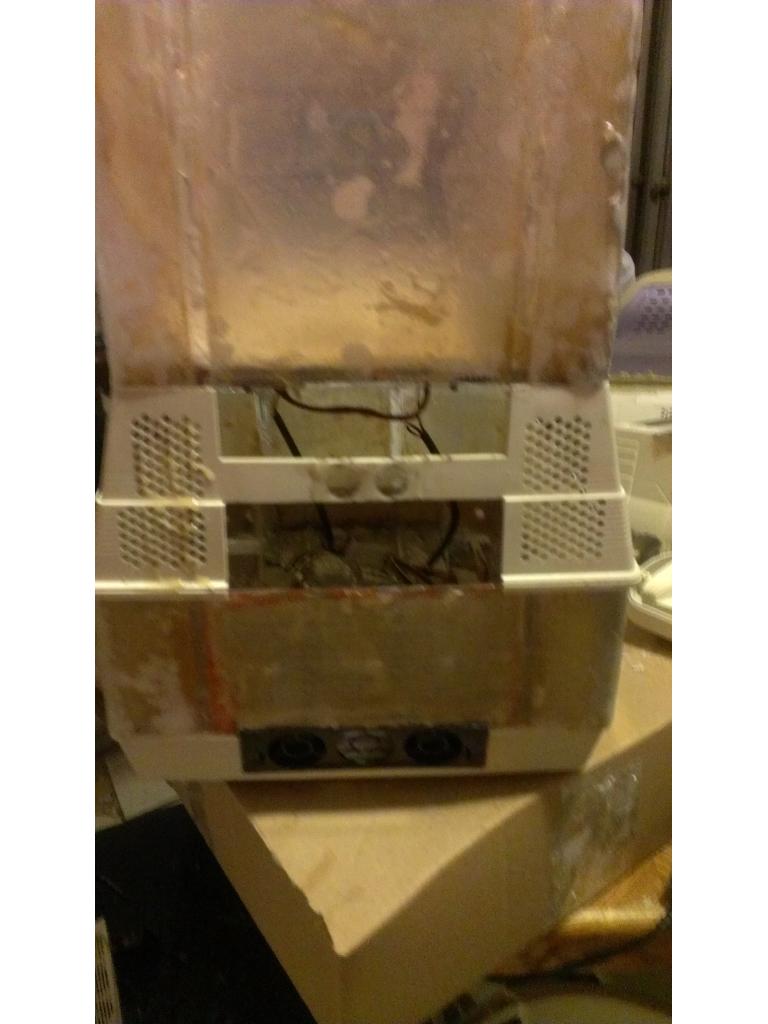
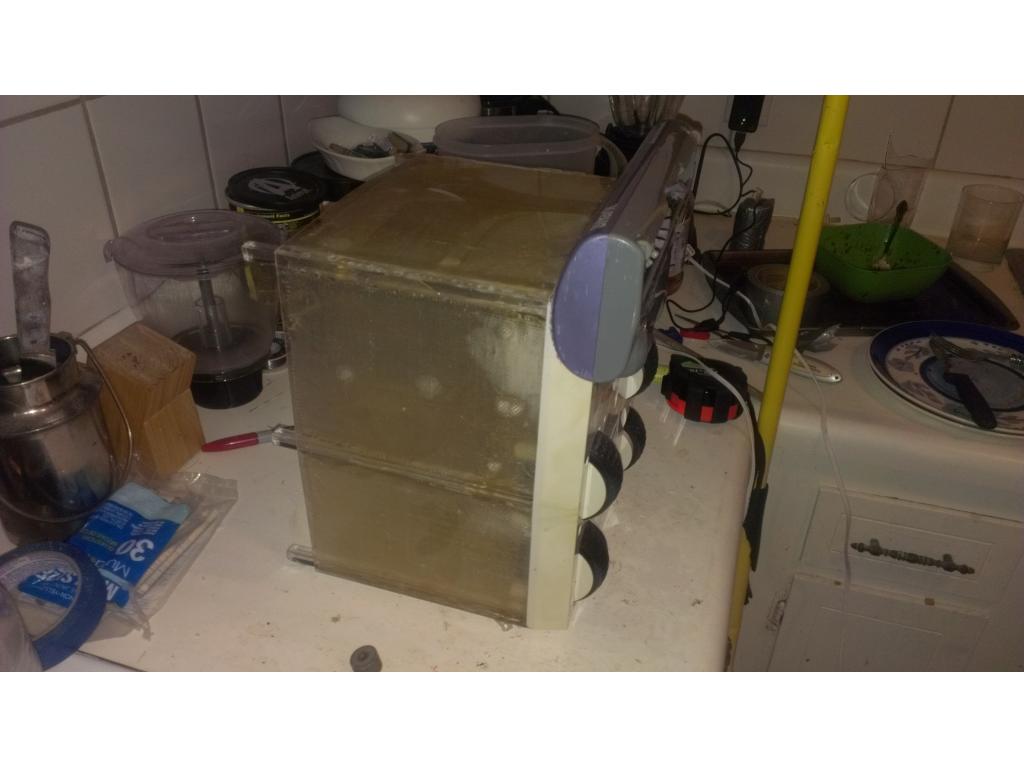
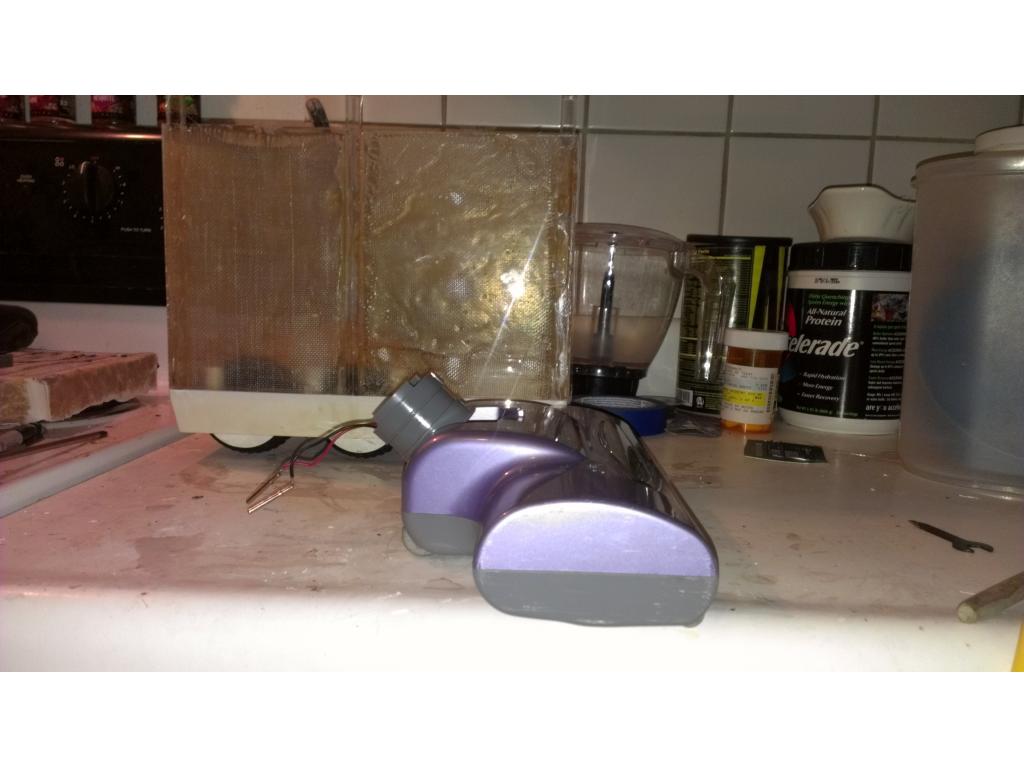
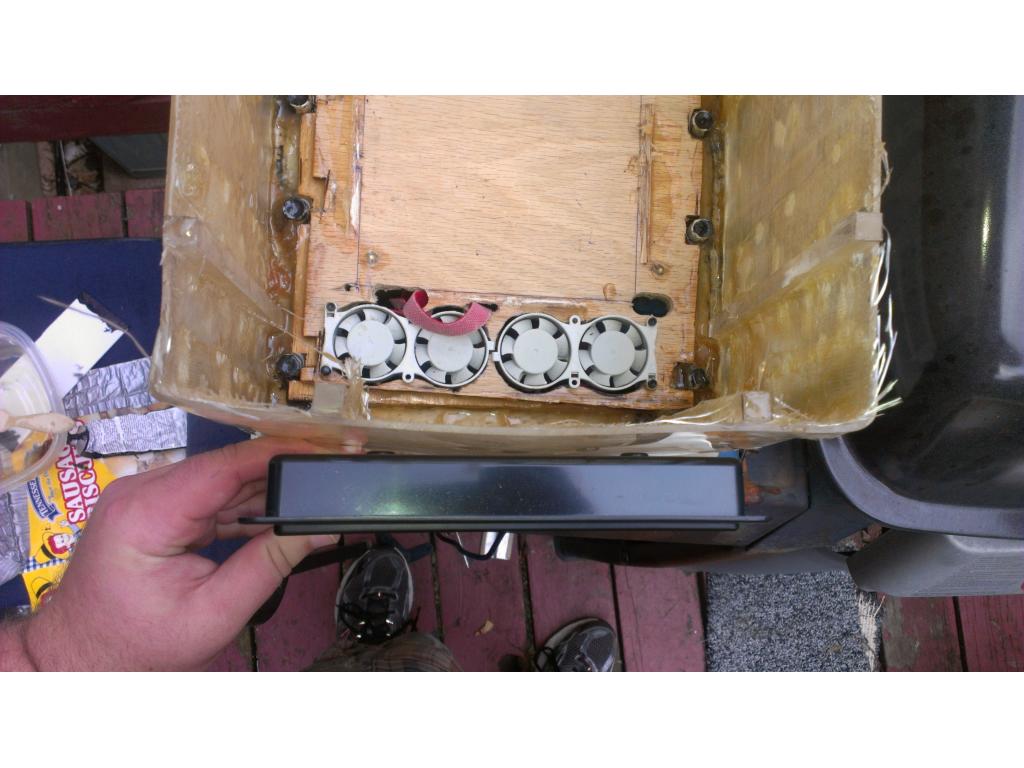
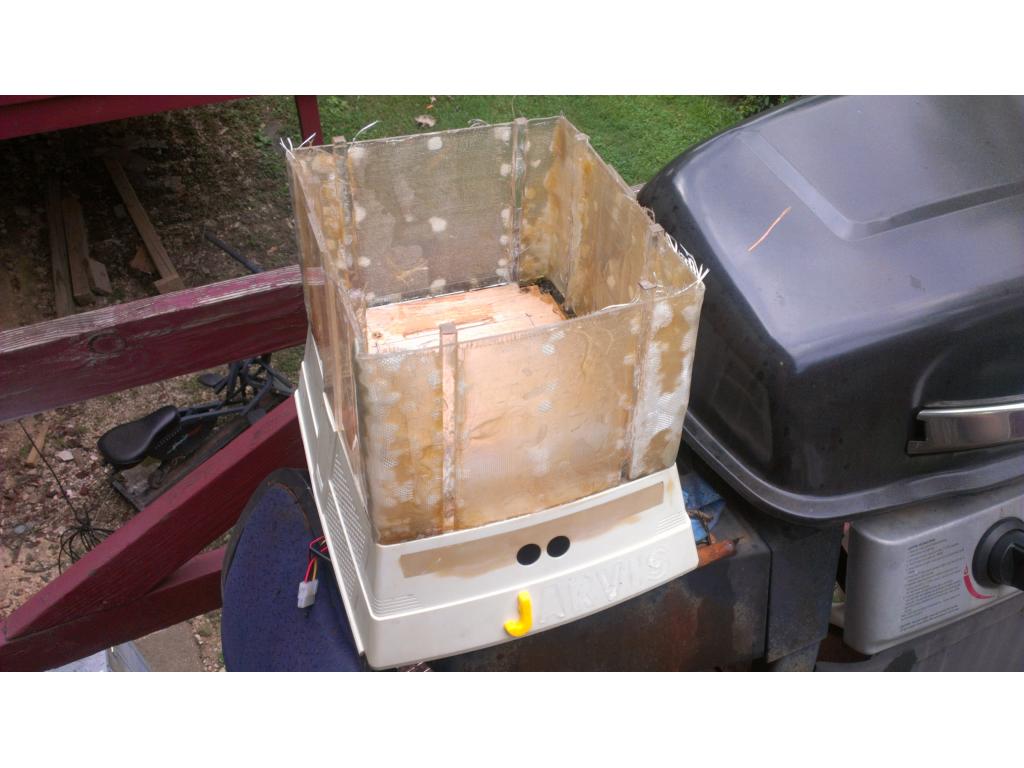
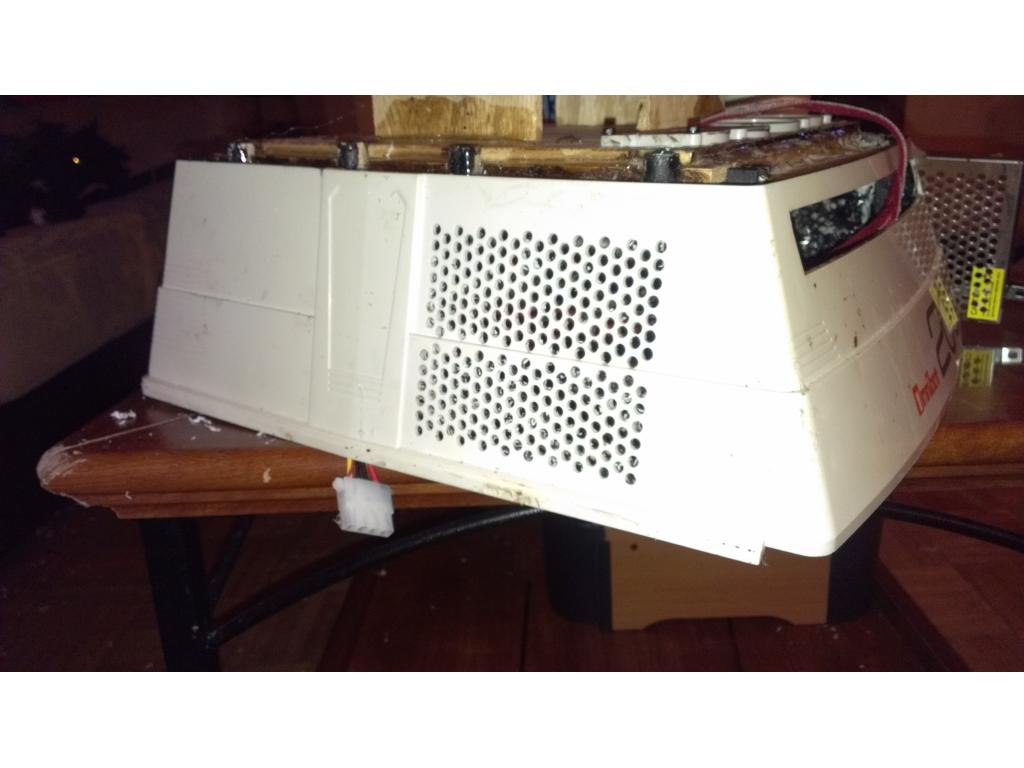
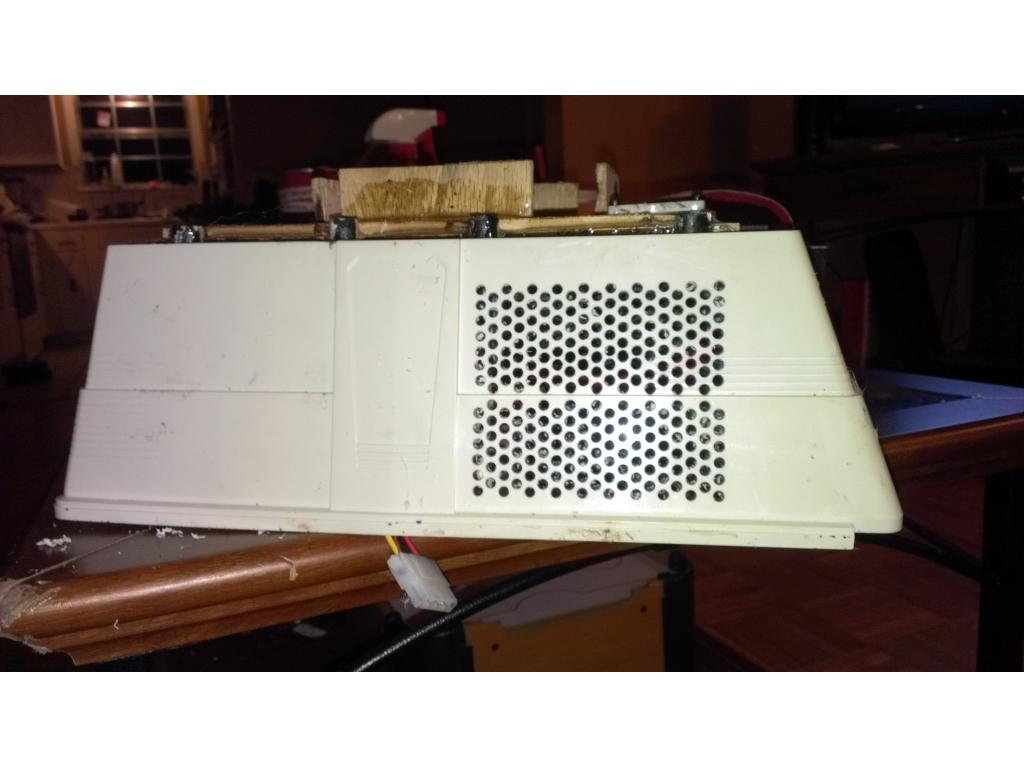
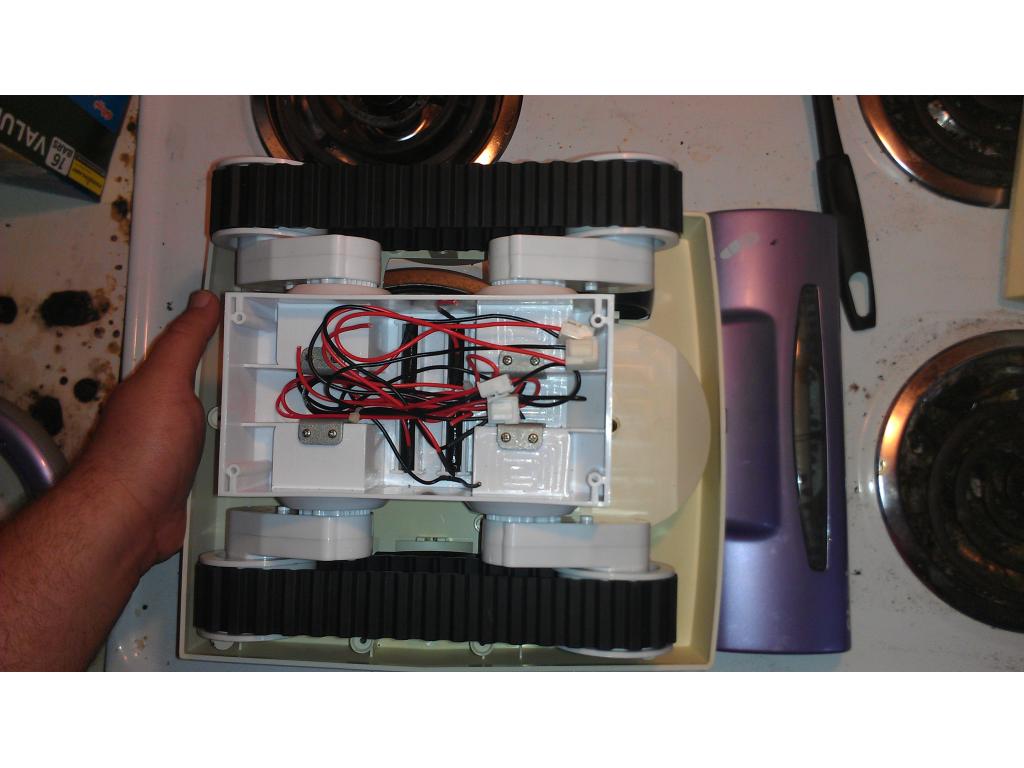
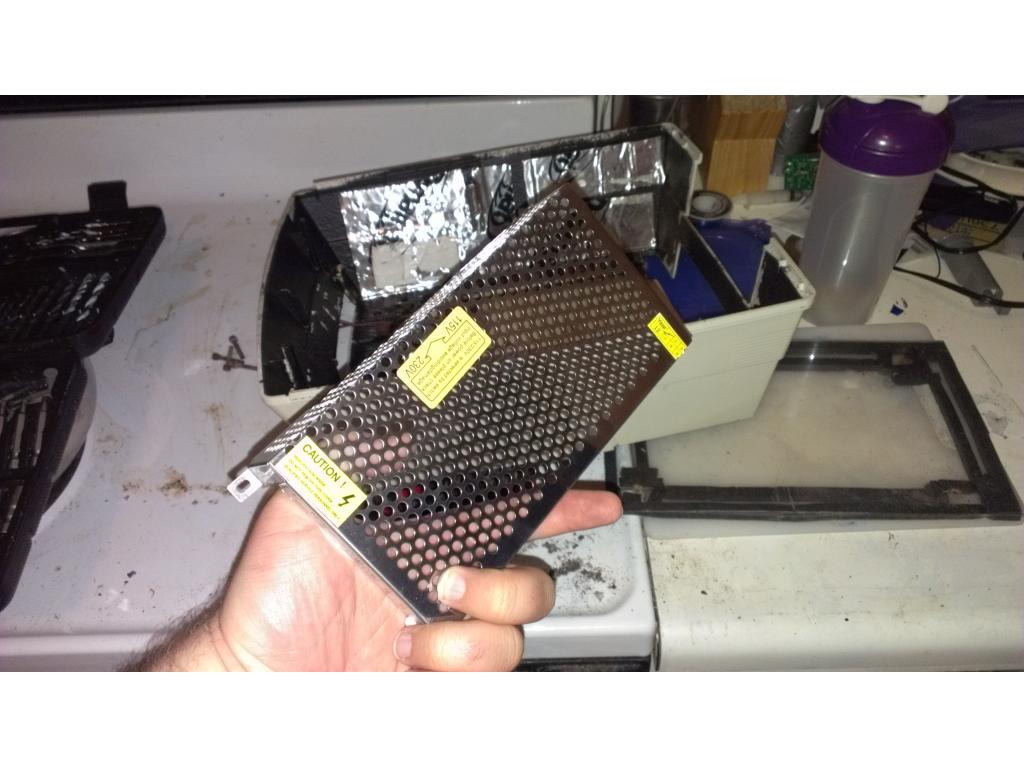
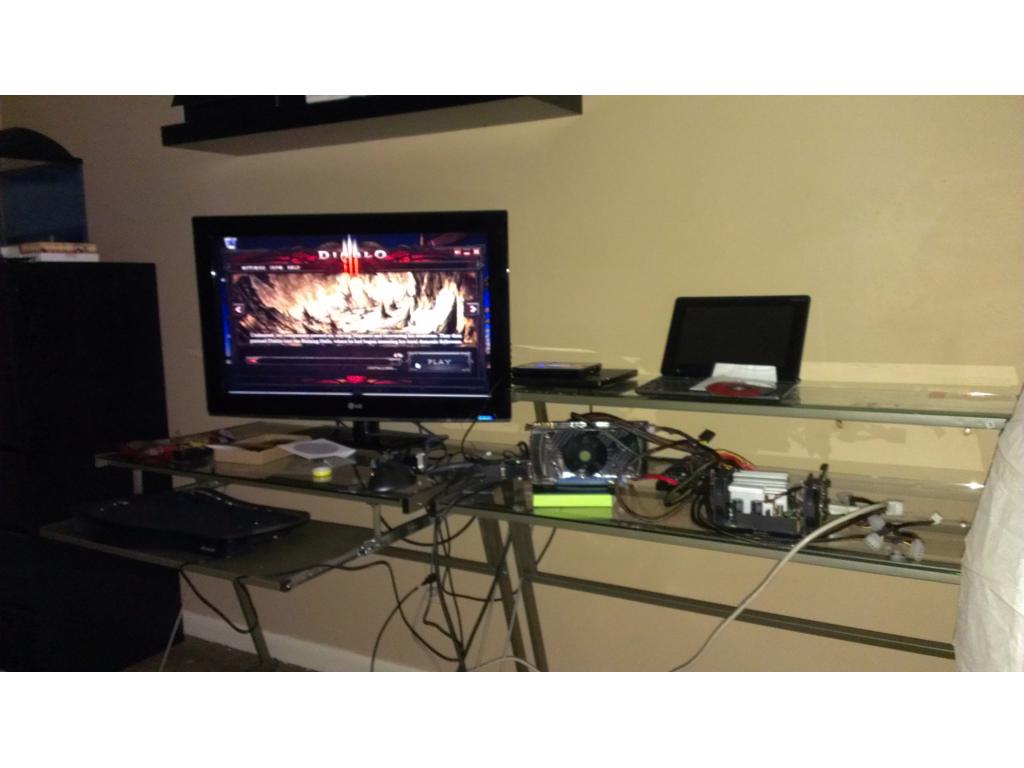
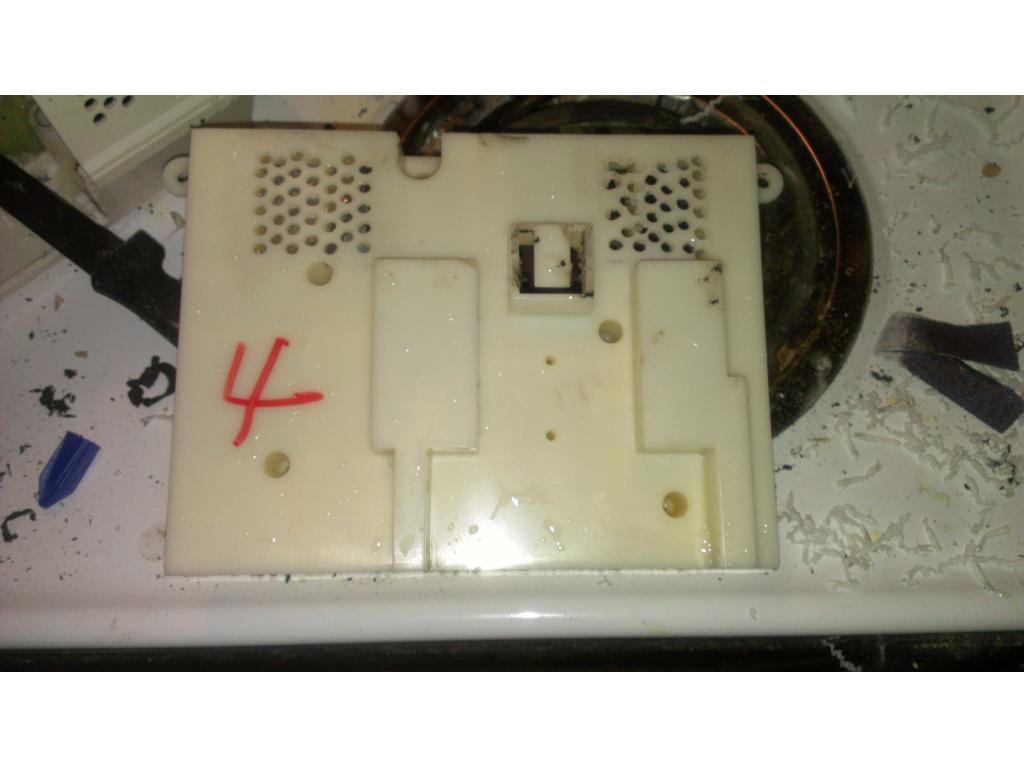
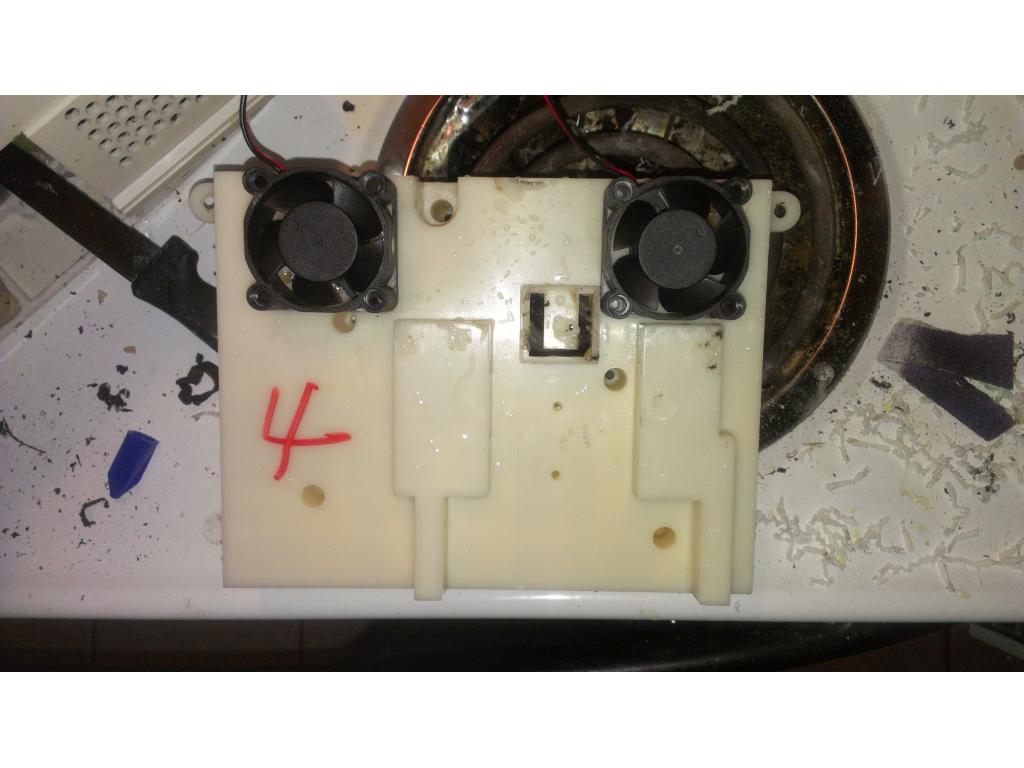
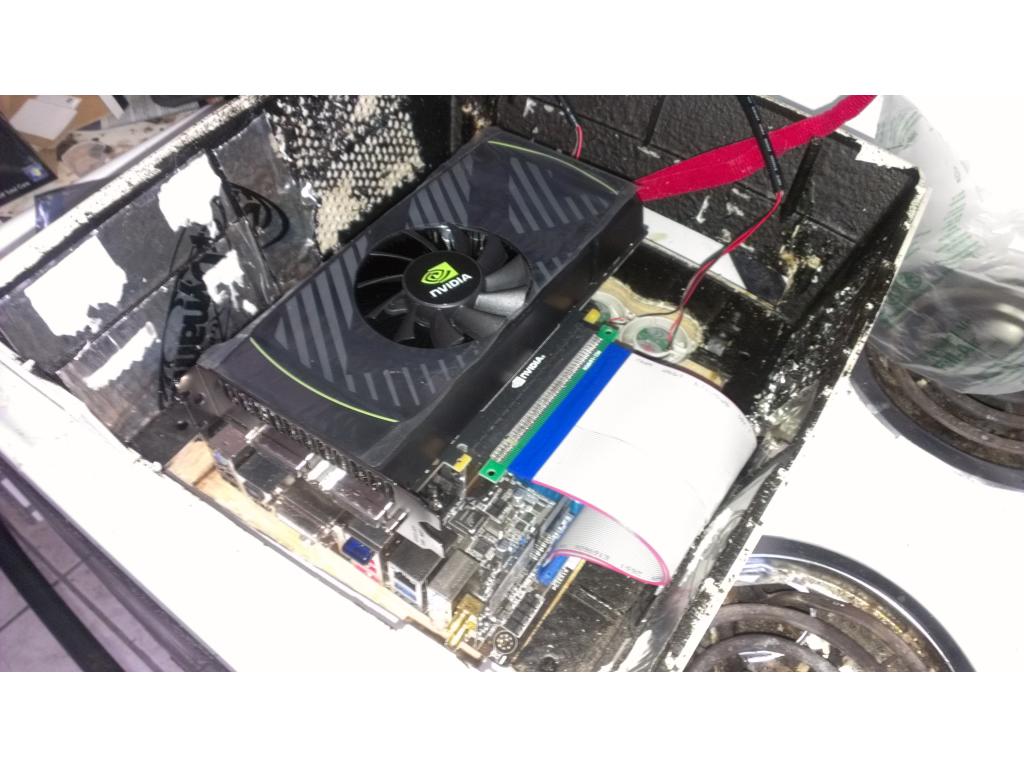
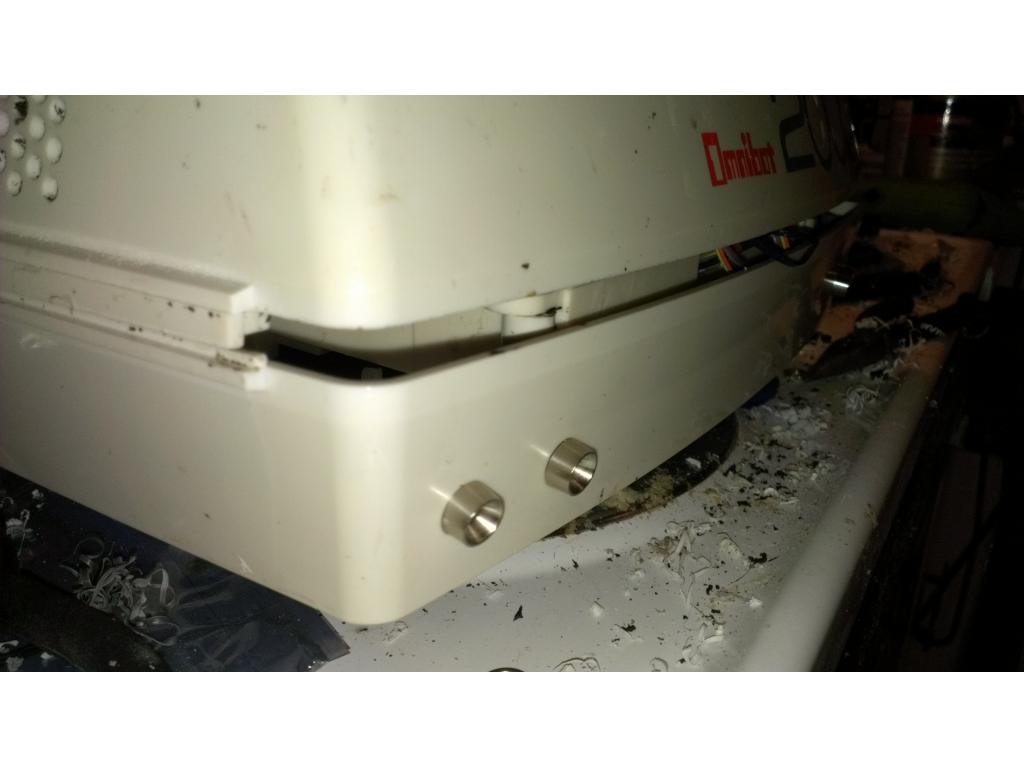
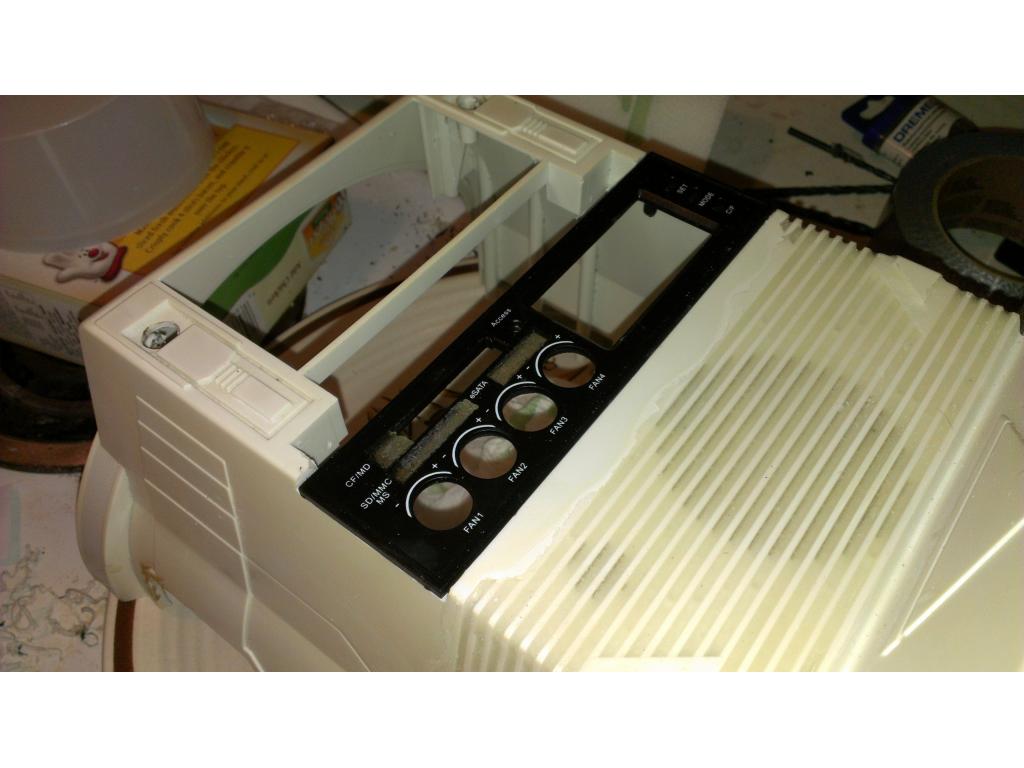
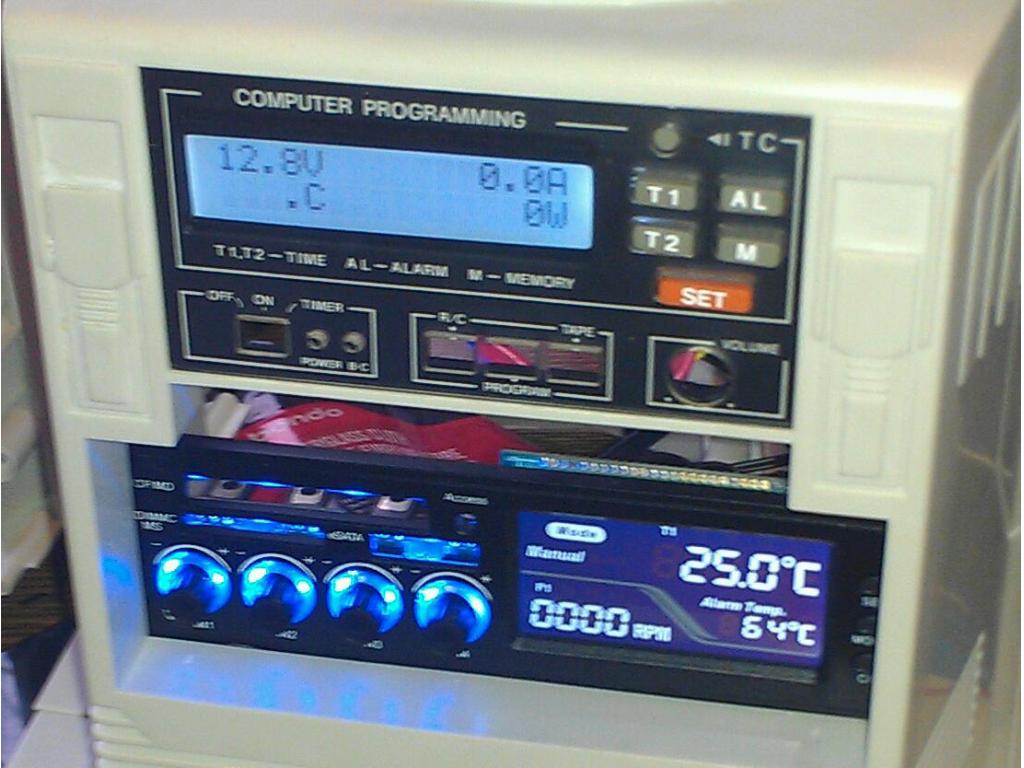
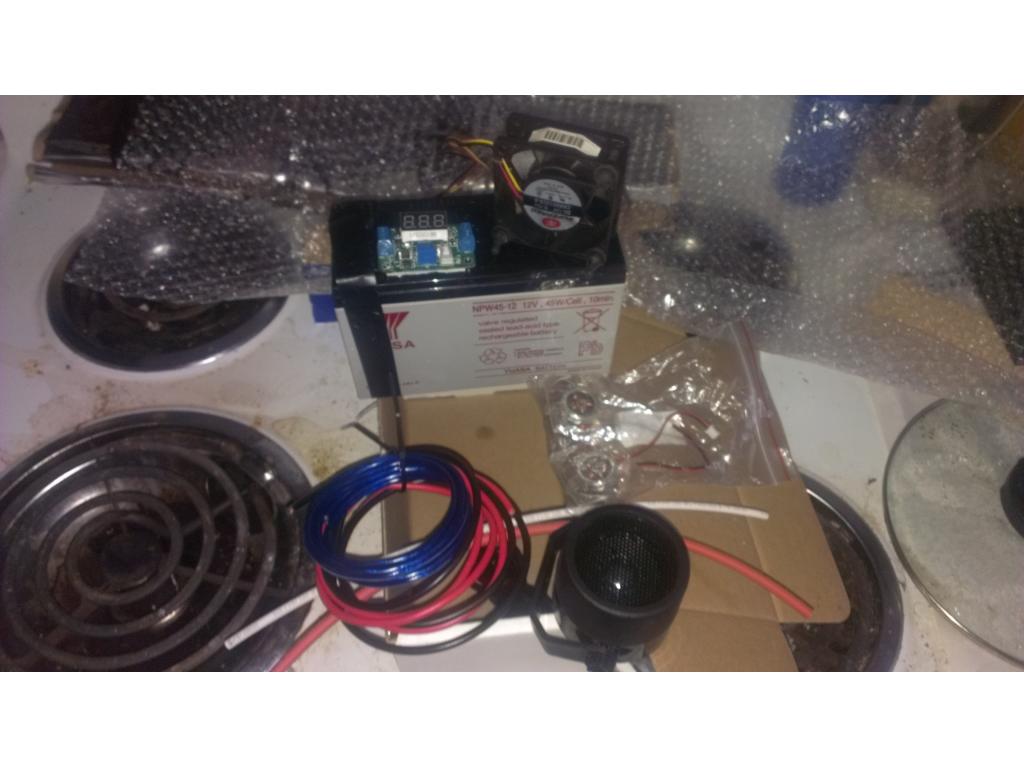
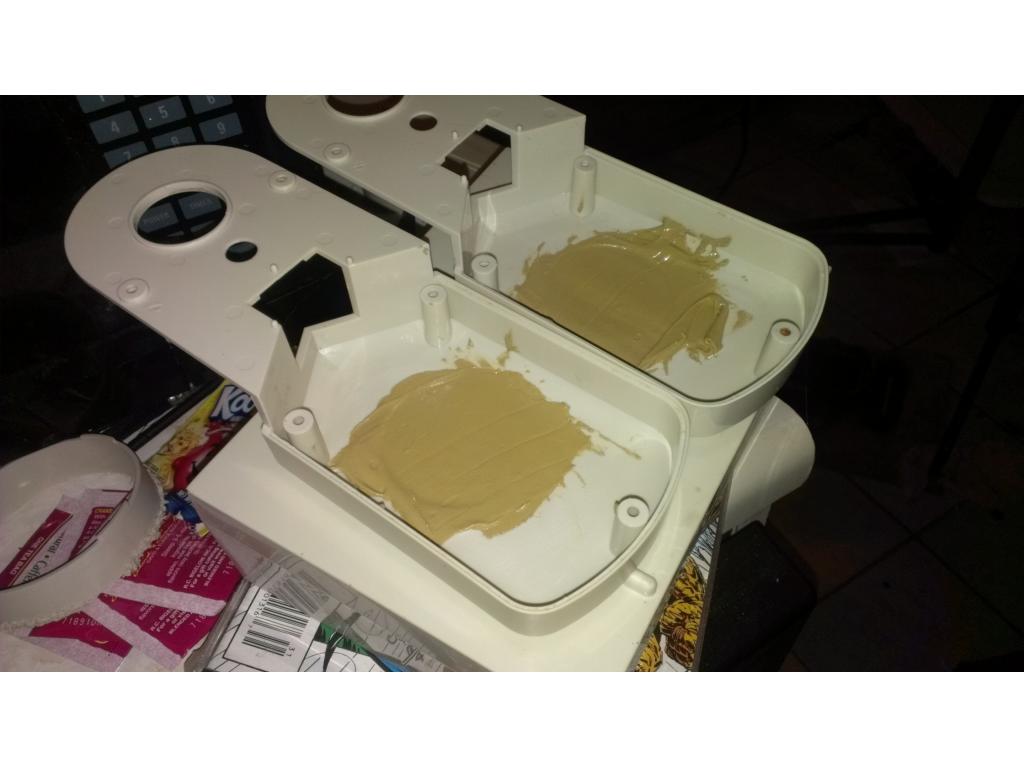
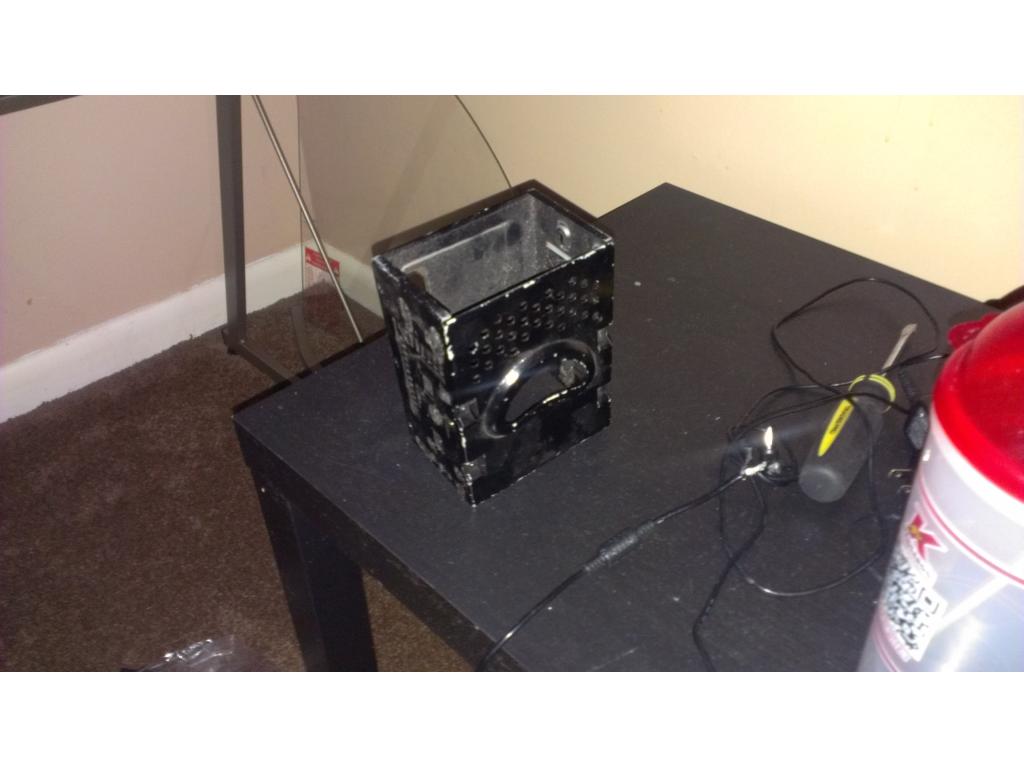
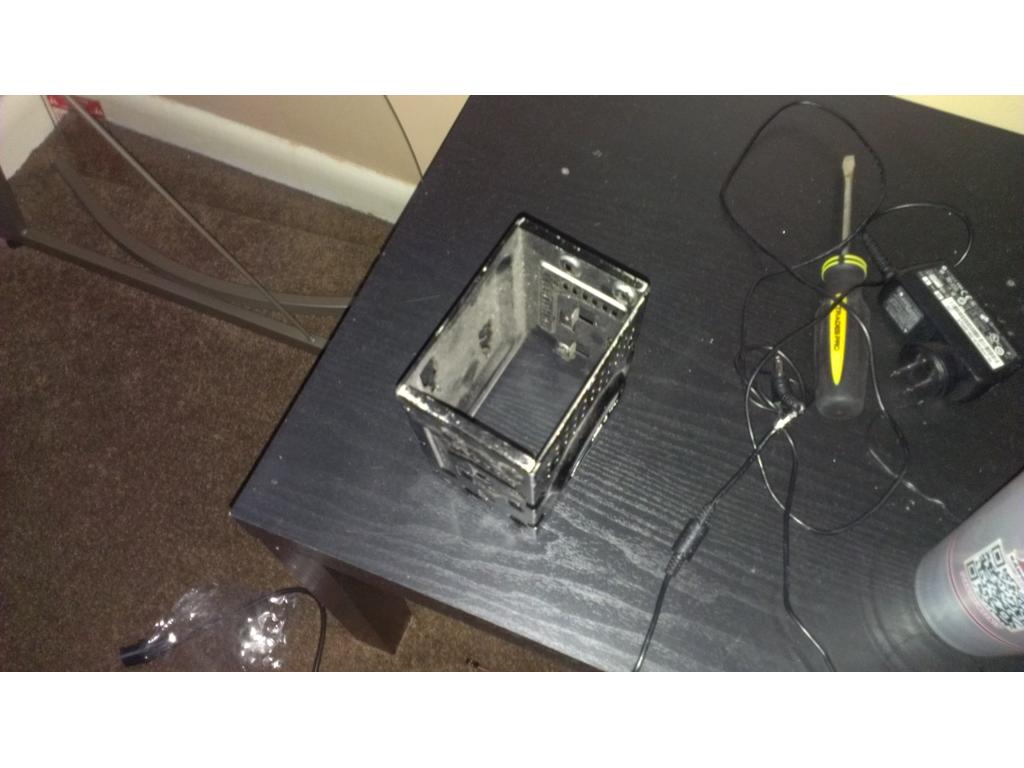
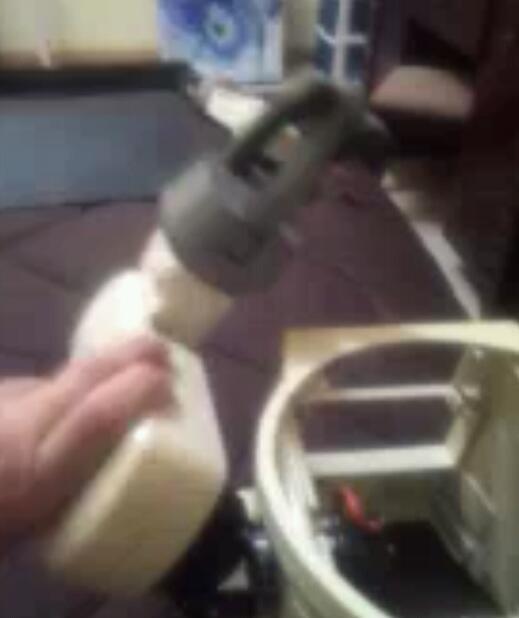
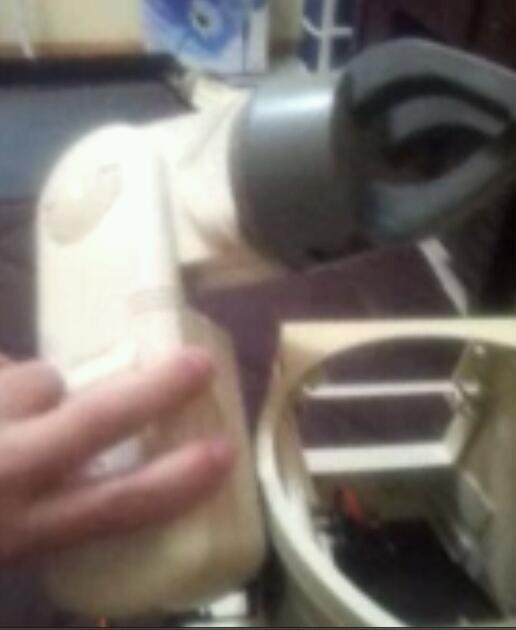
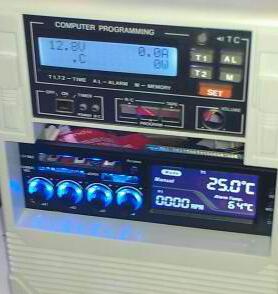
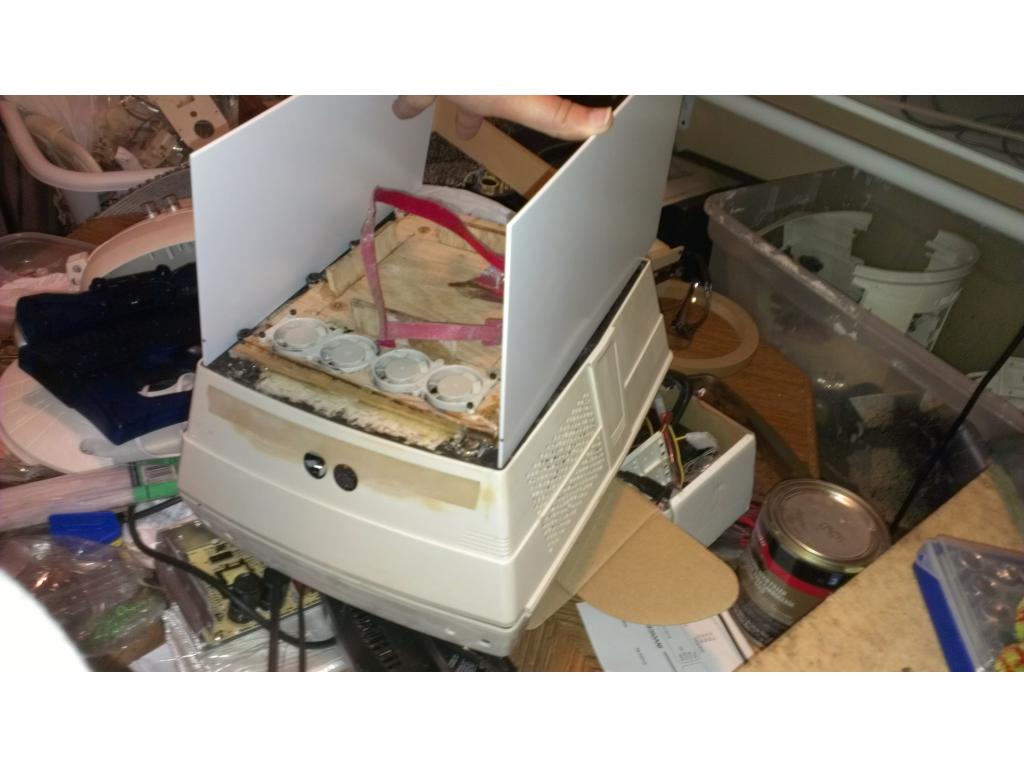
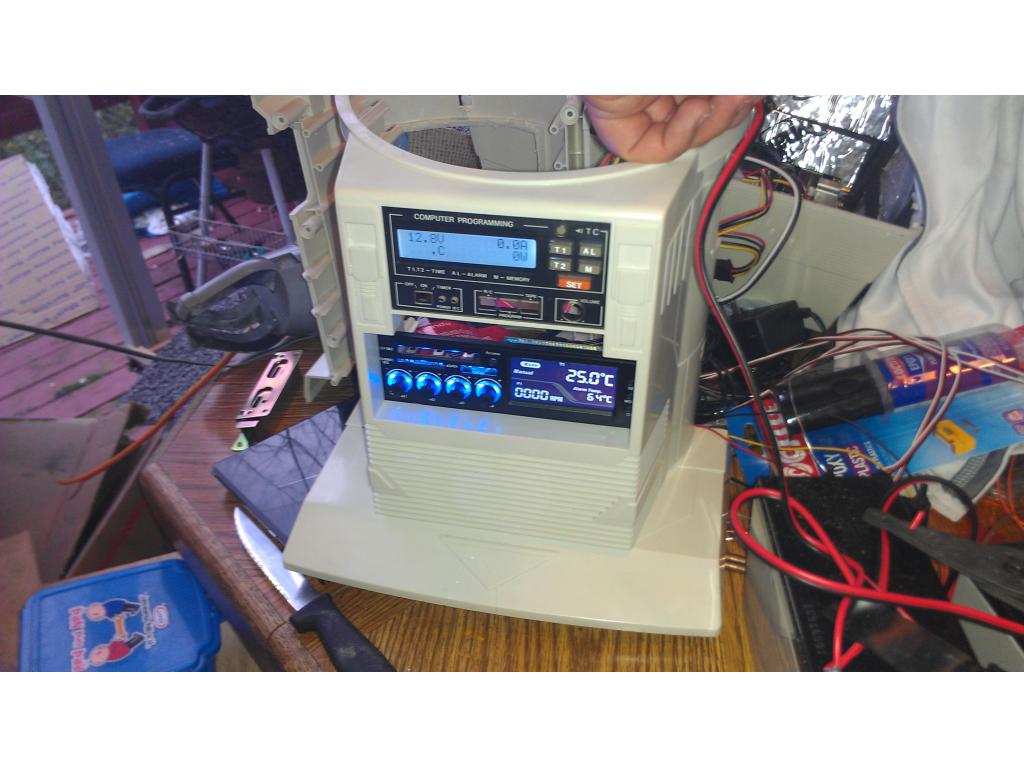
Ok so in the torso there's a but of electronics. There's the thermaltake 430TR power supply and the 110 volt inverter
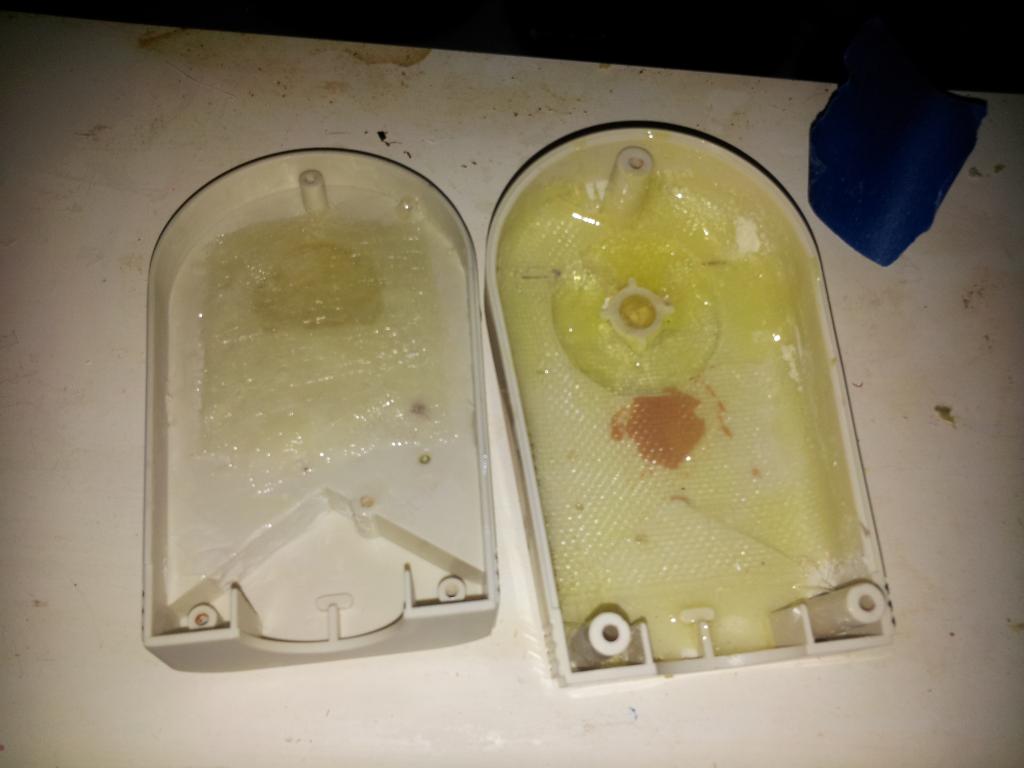
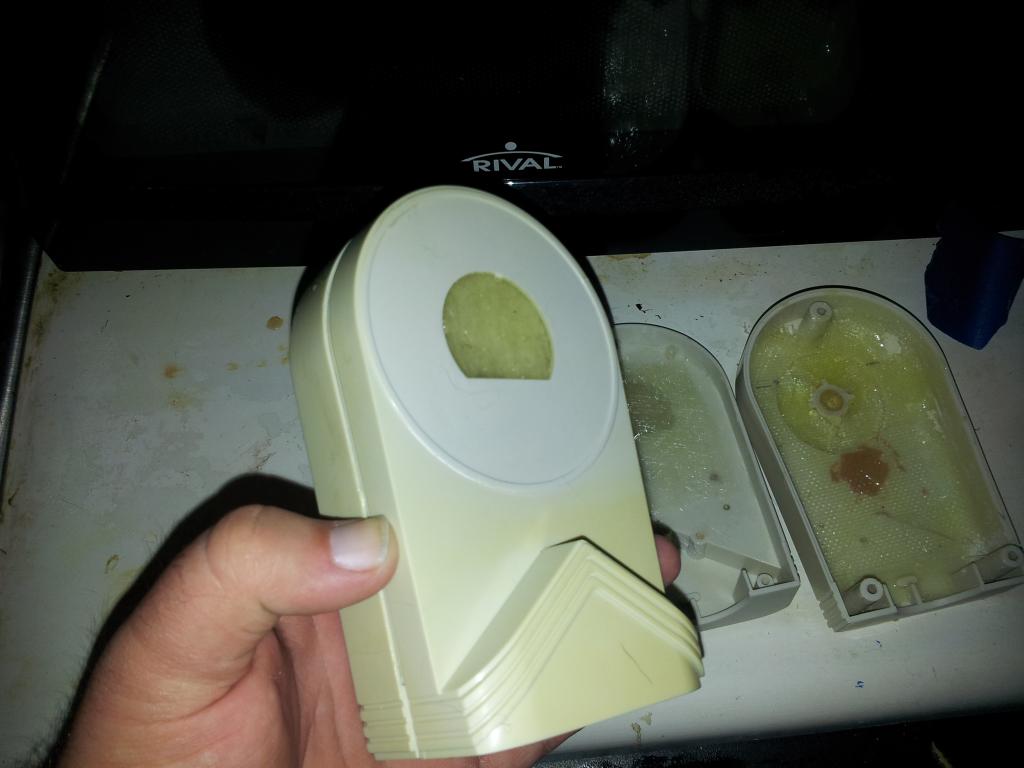
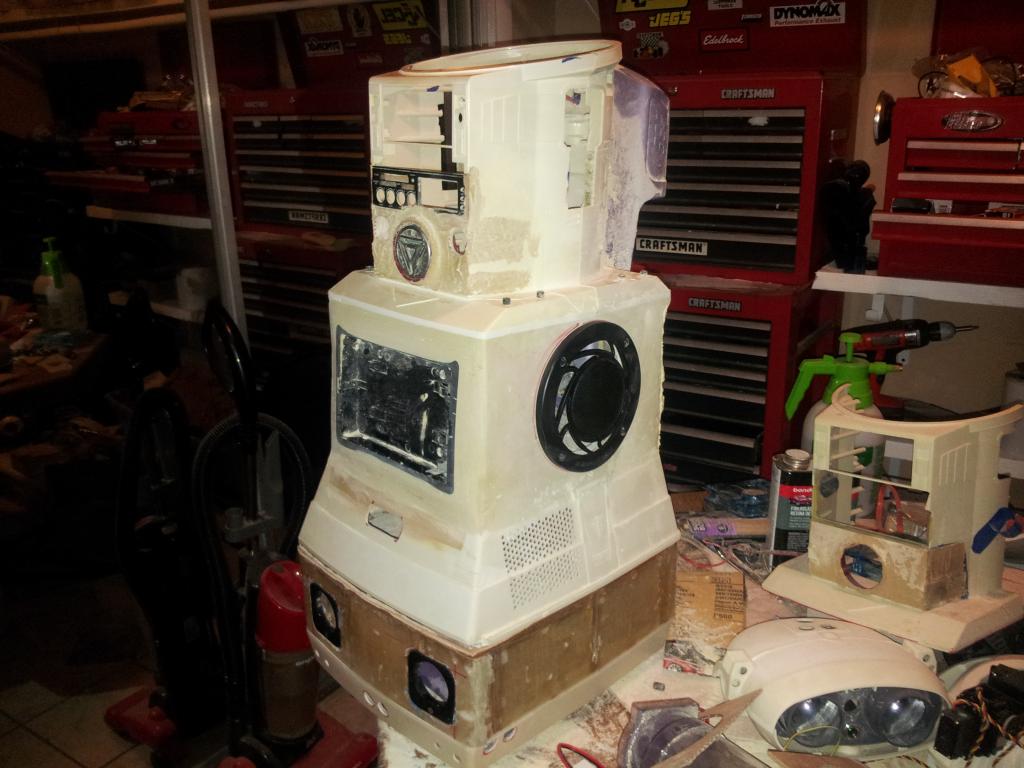
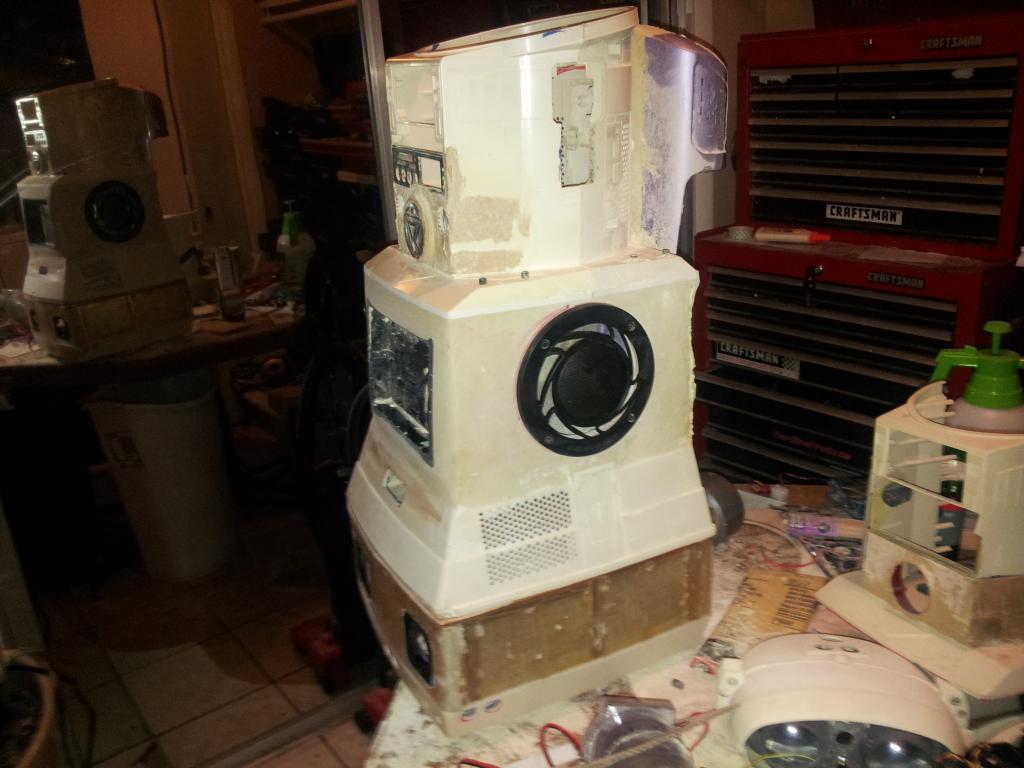
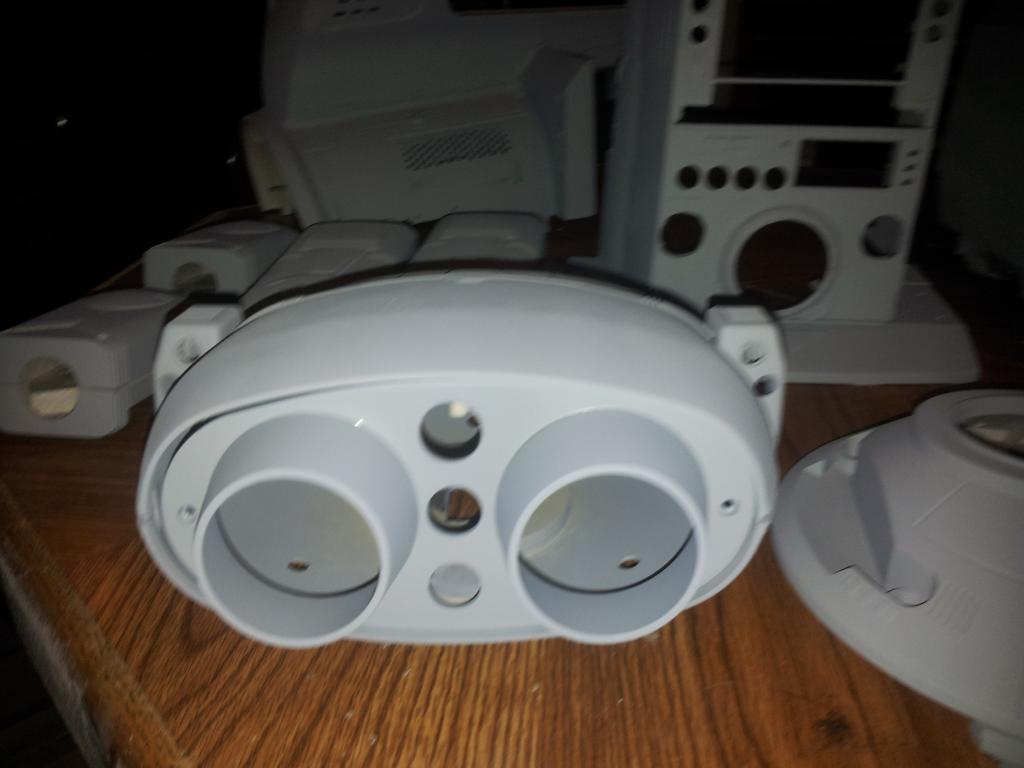
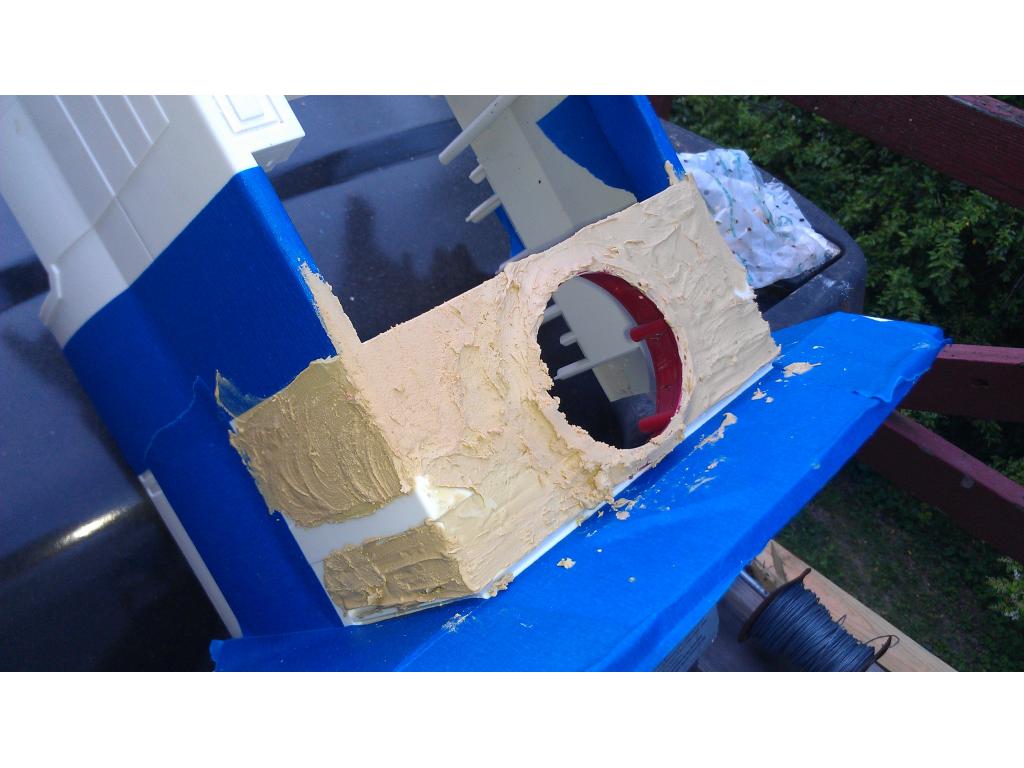
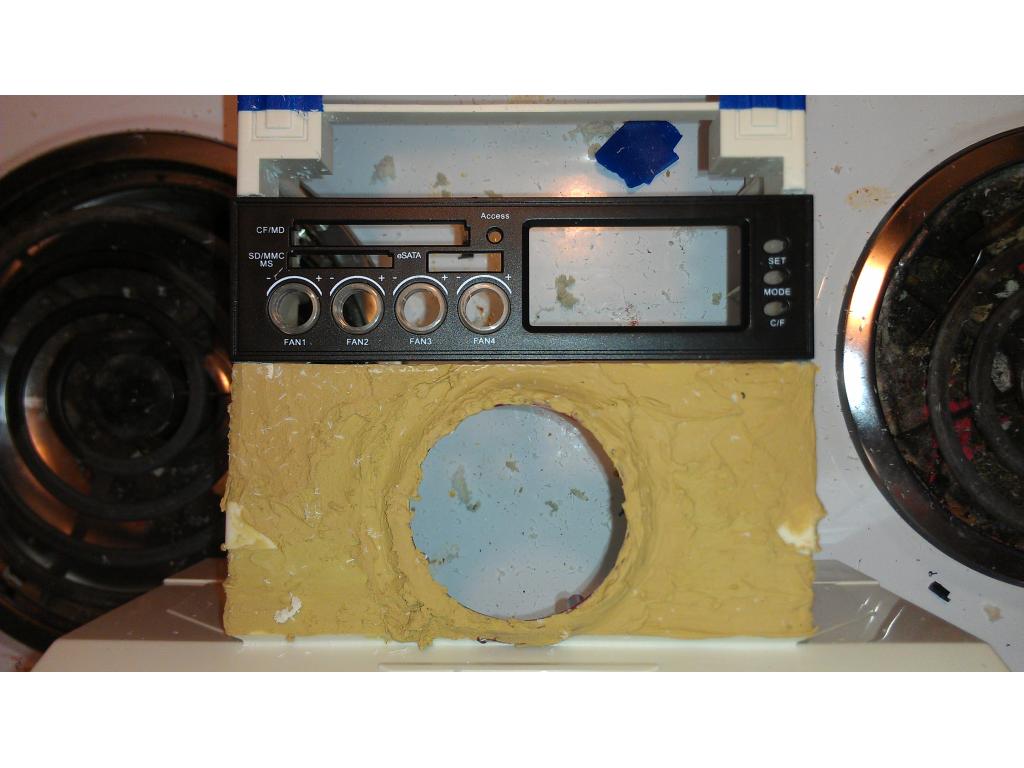
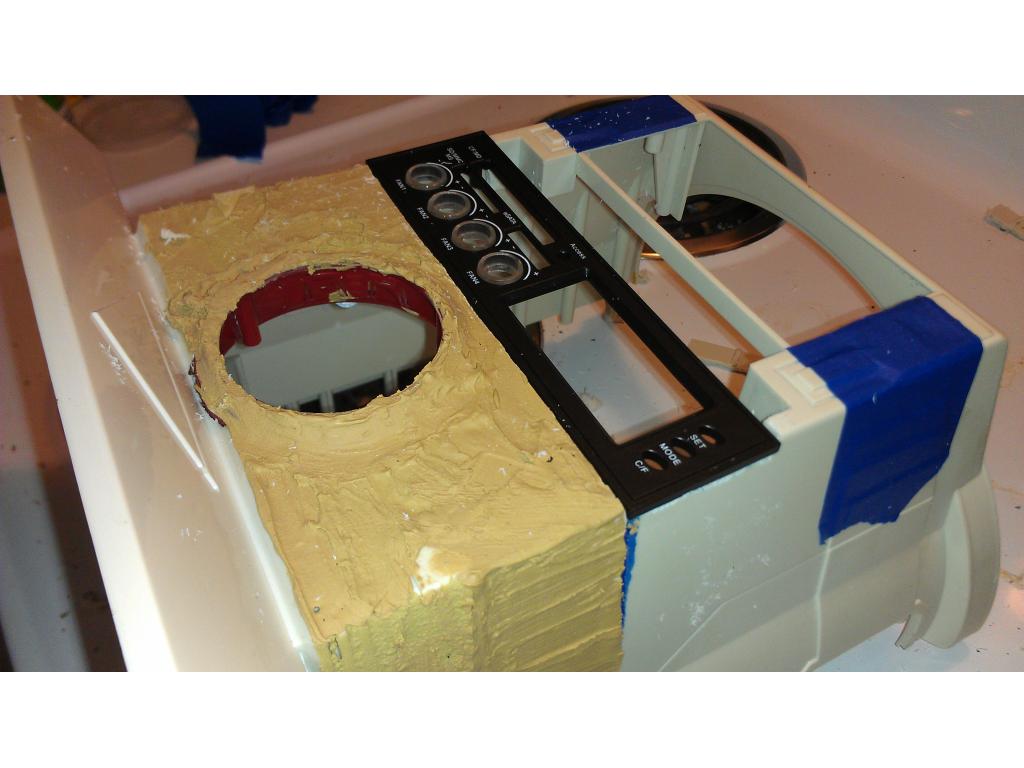
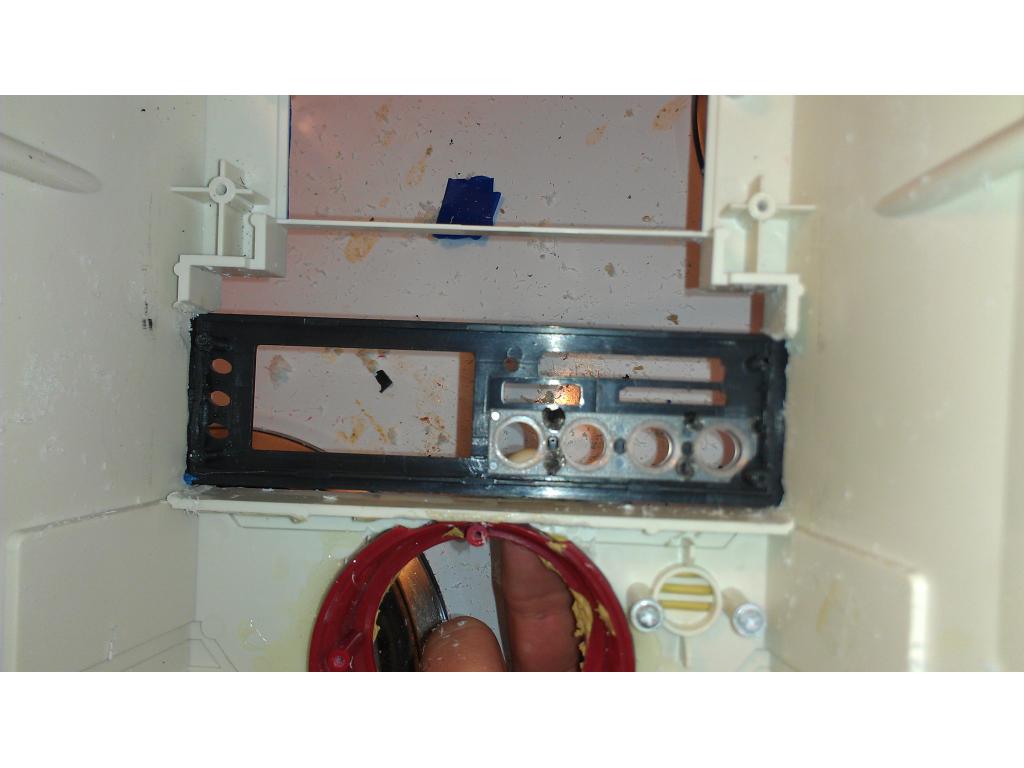
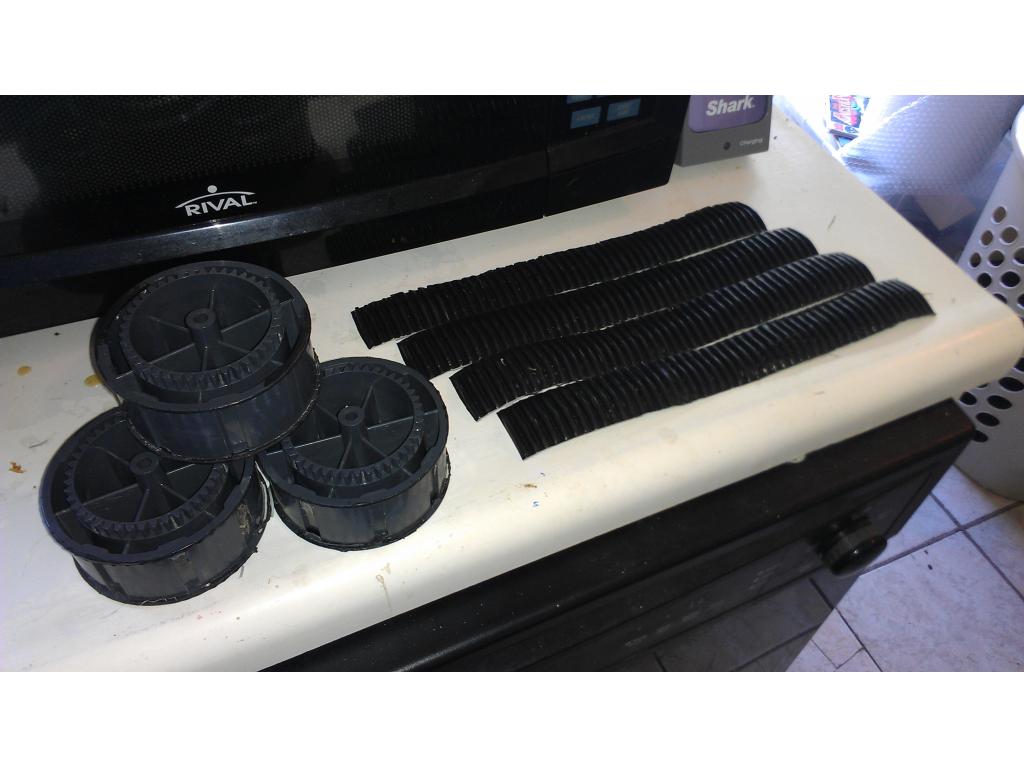
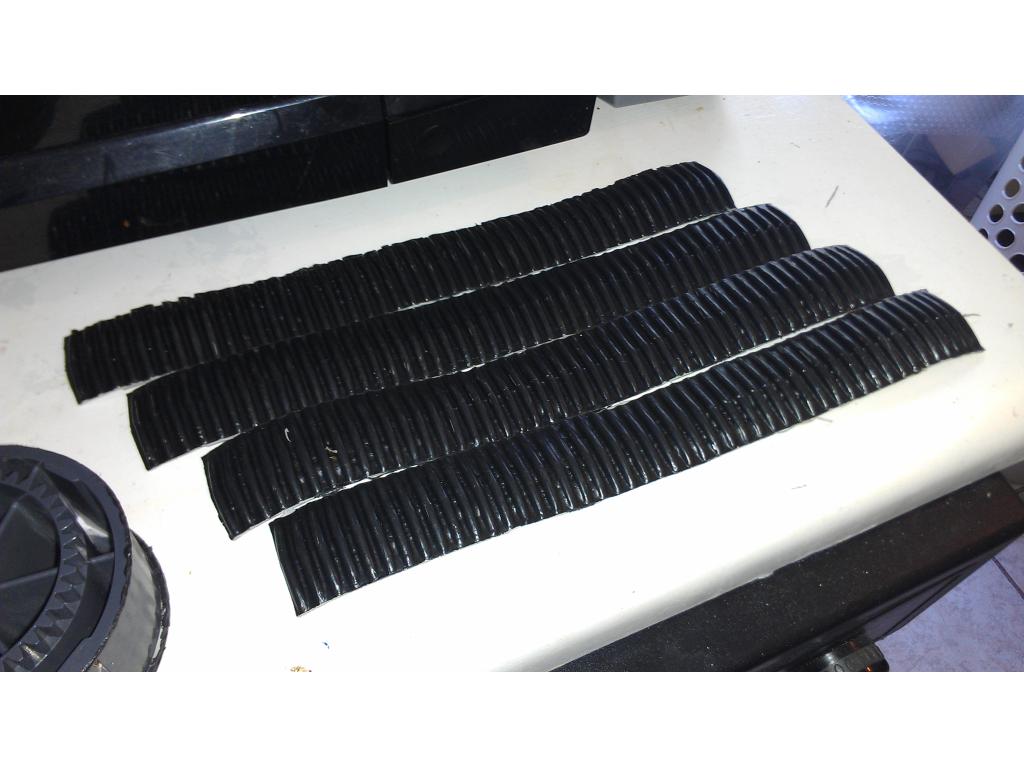
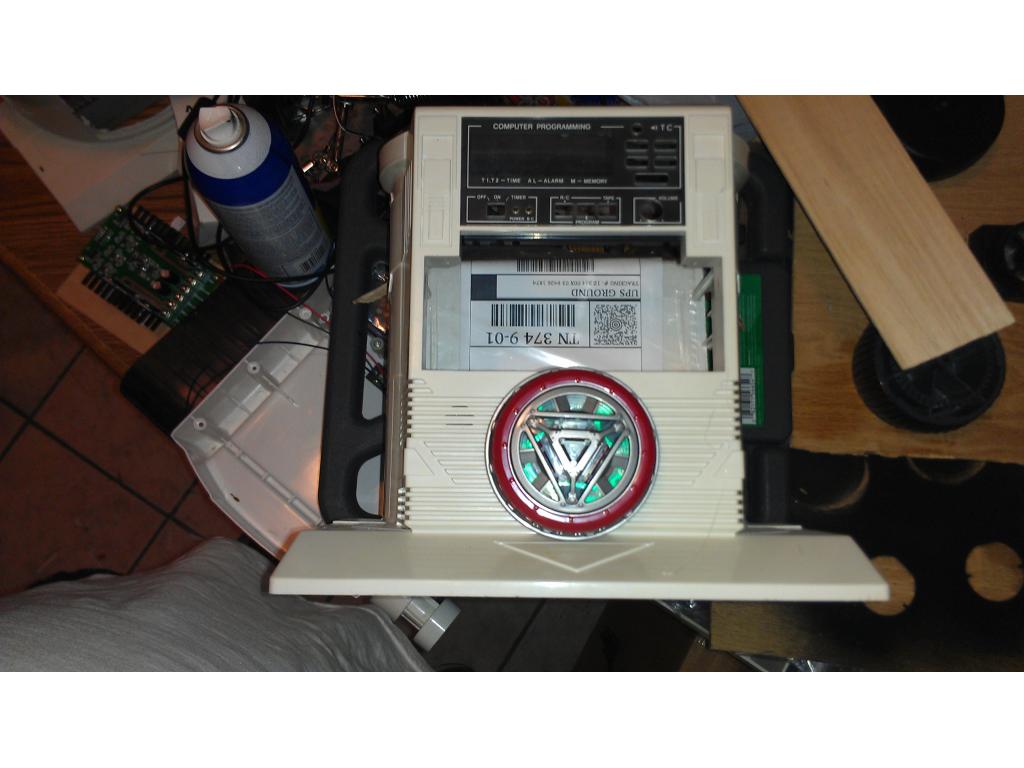
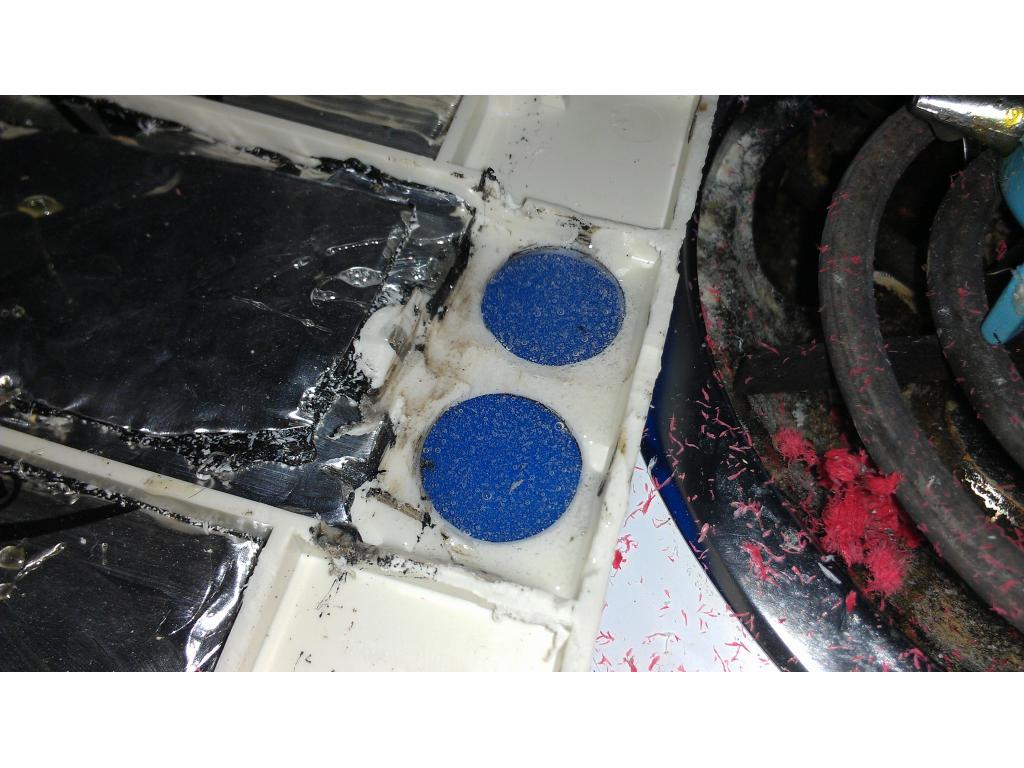
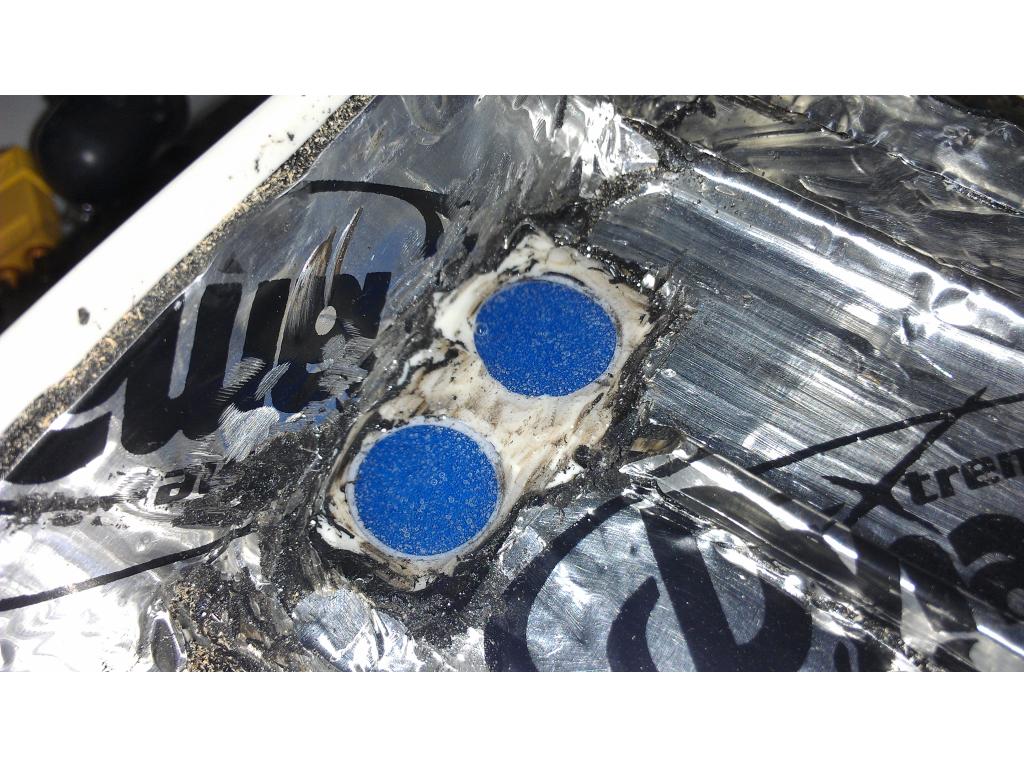
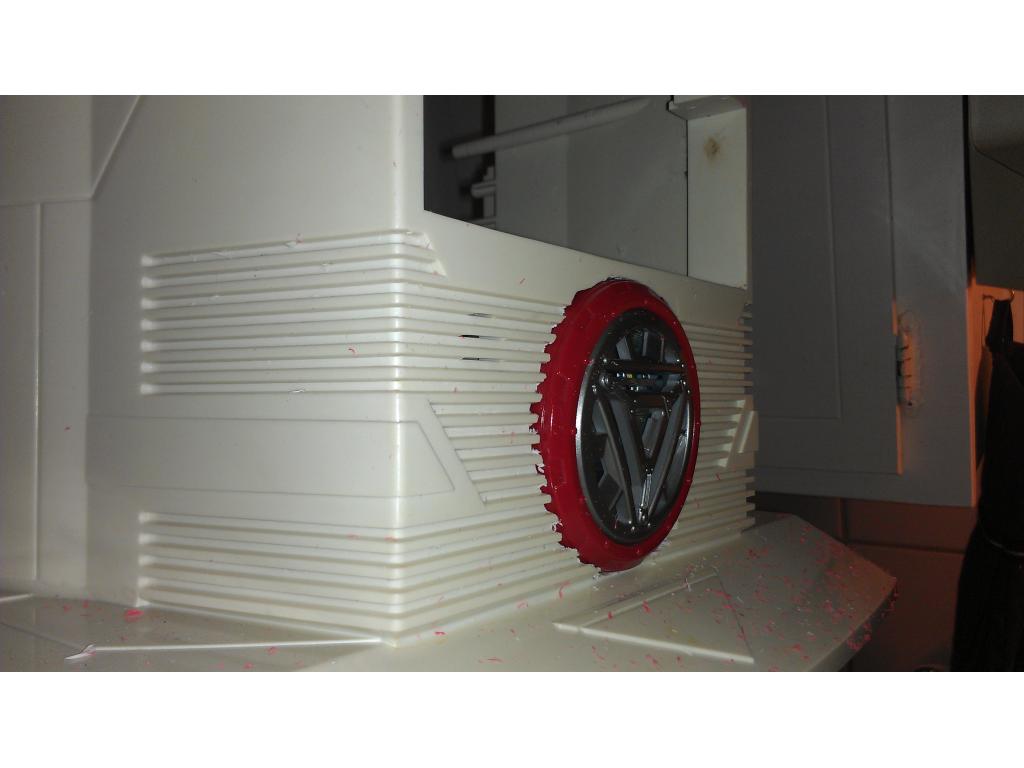
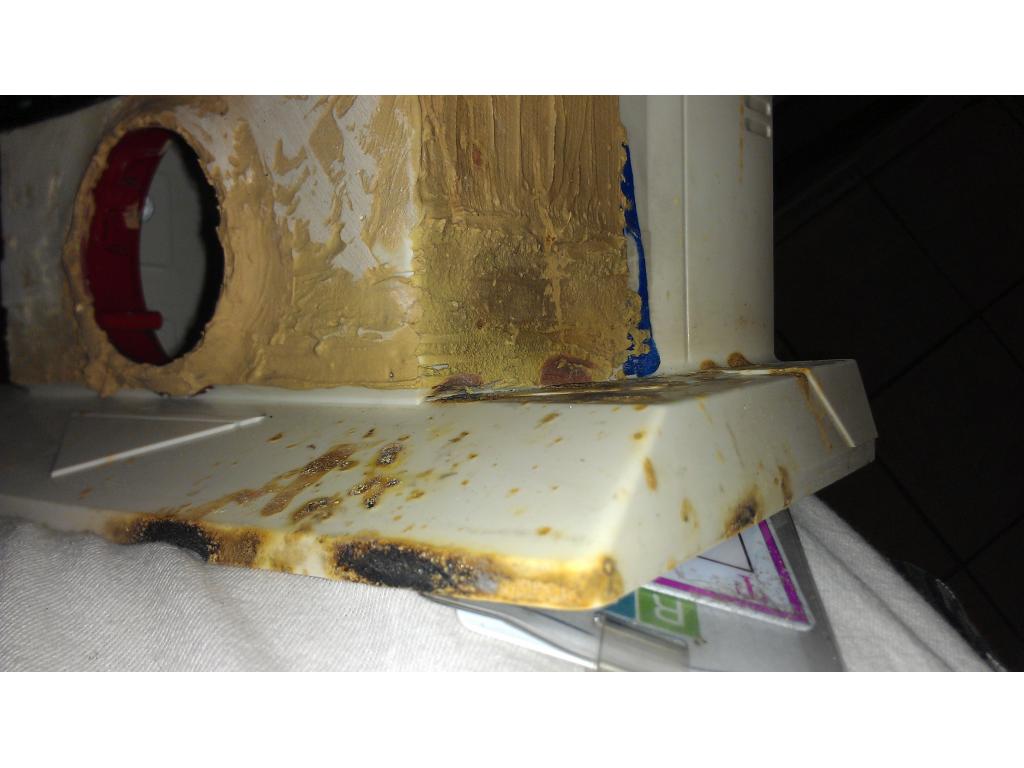
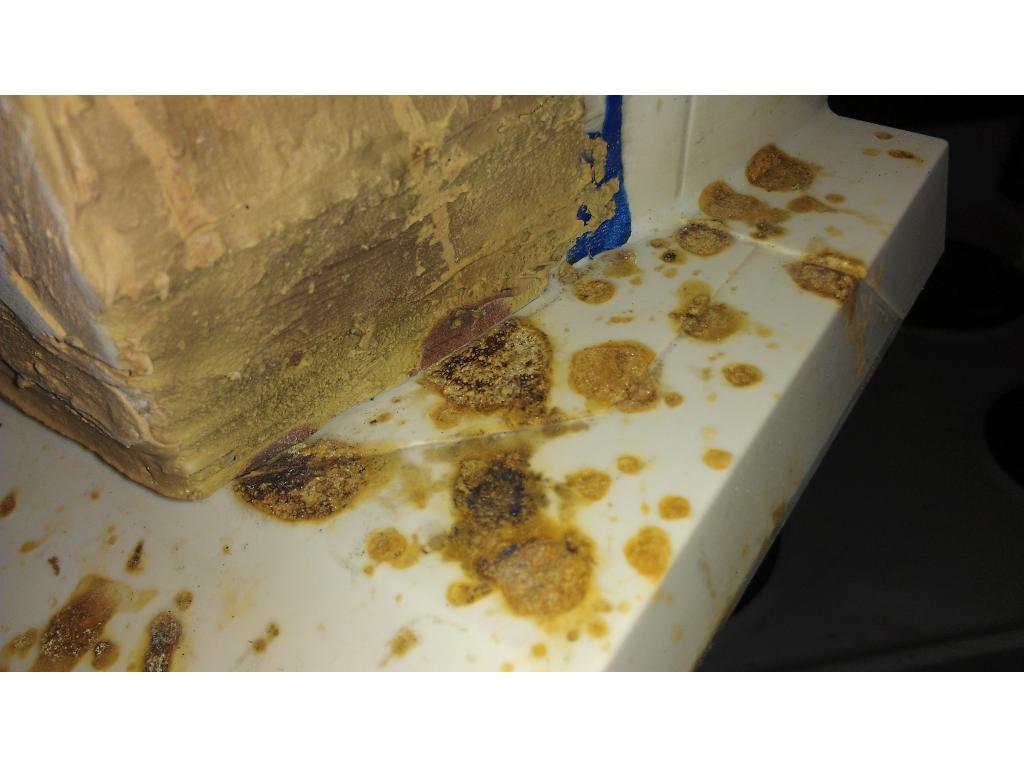
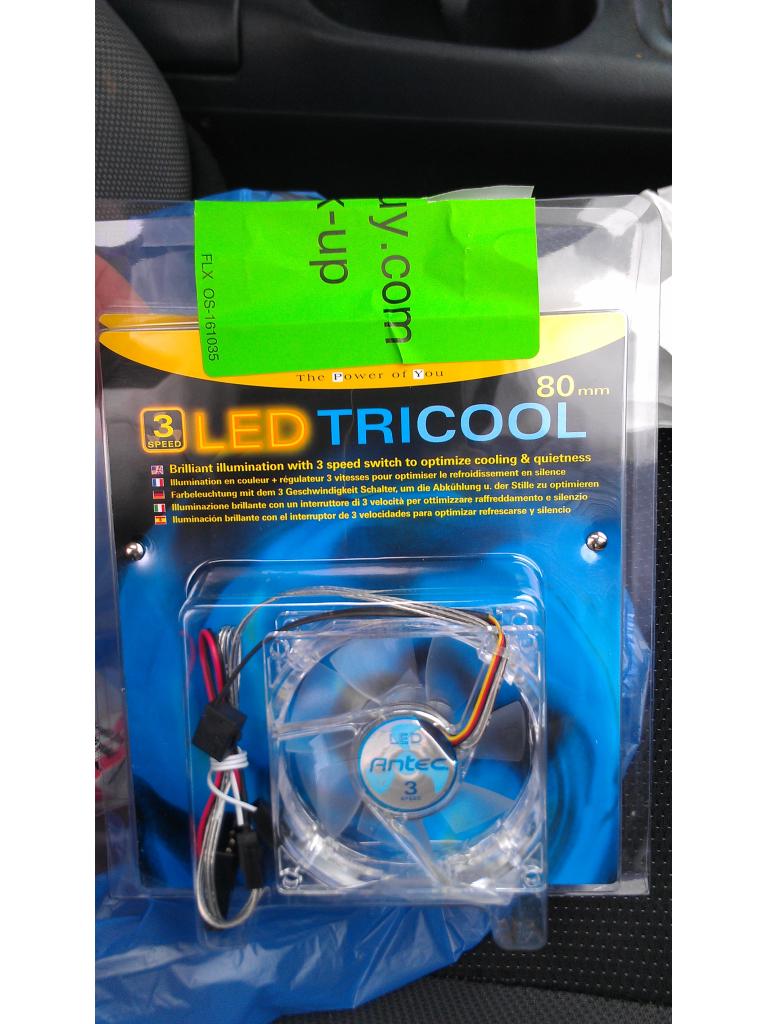
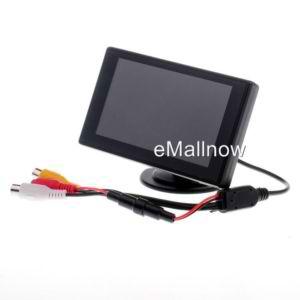
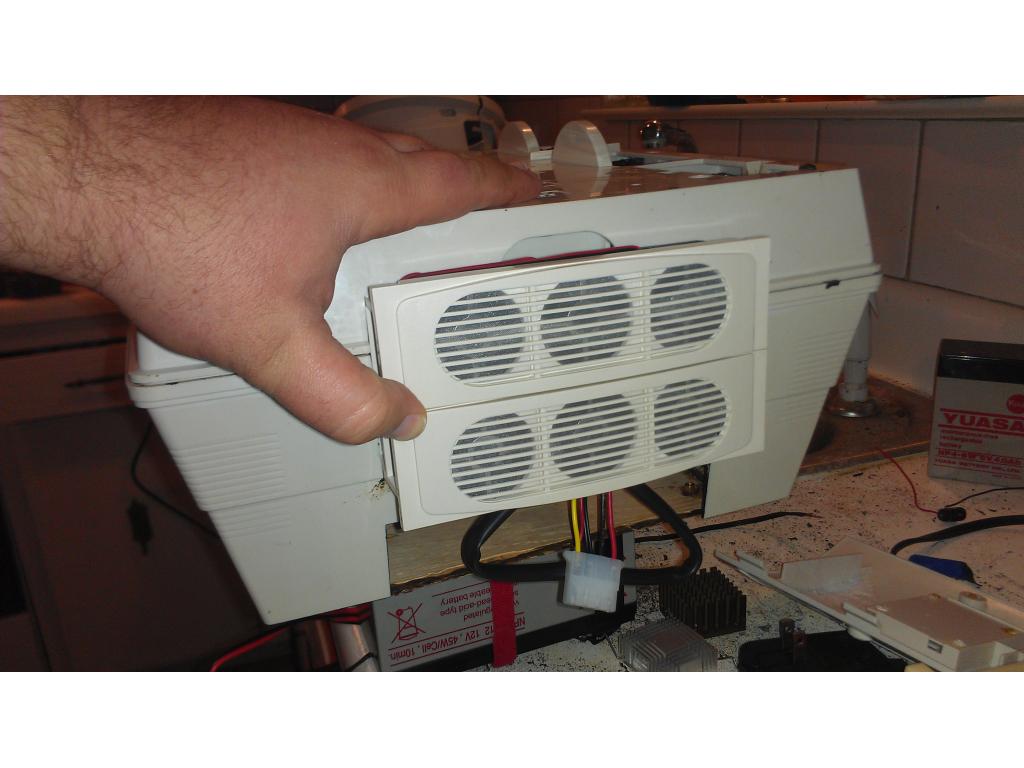
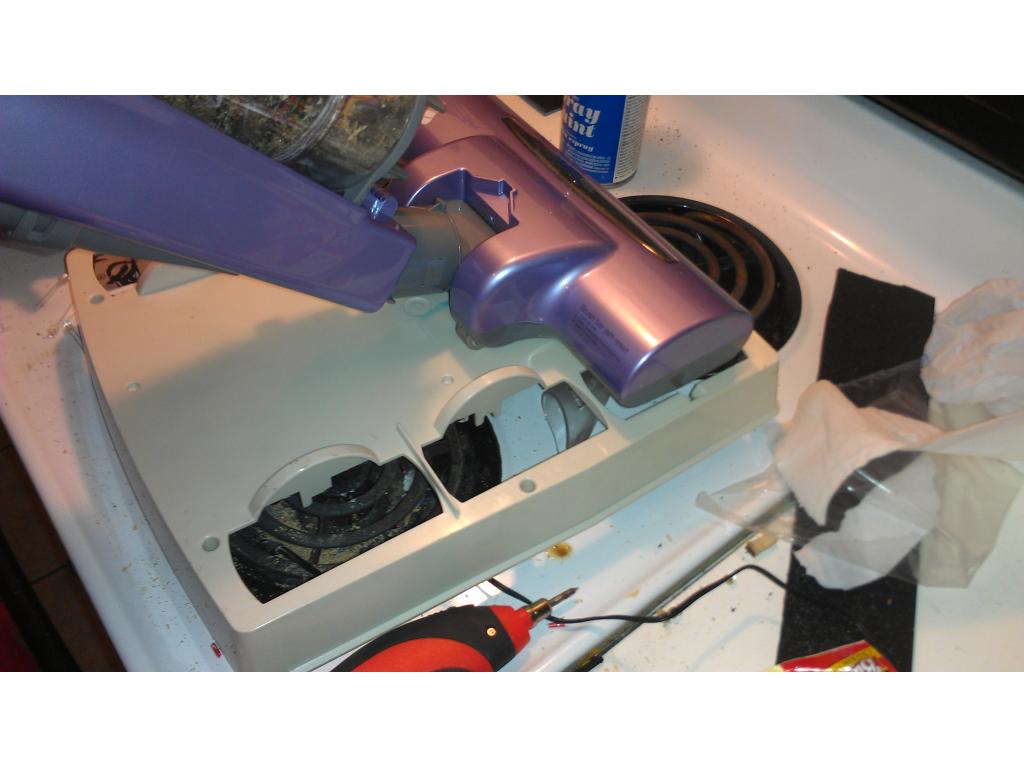
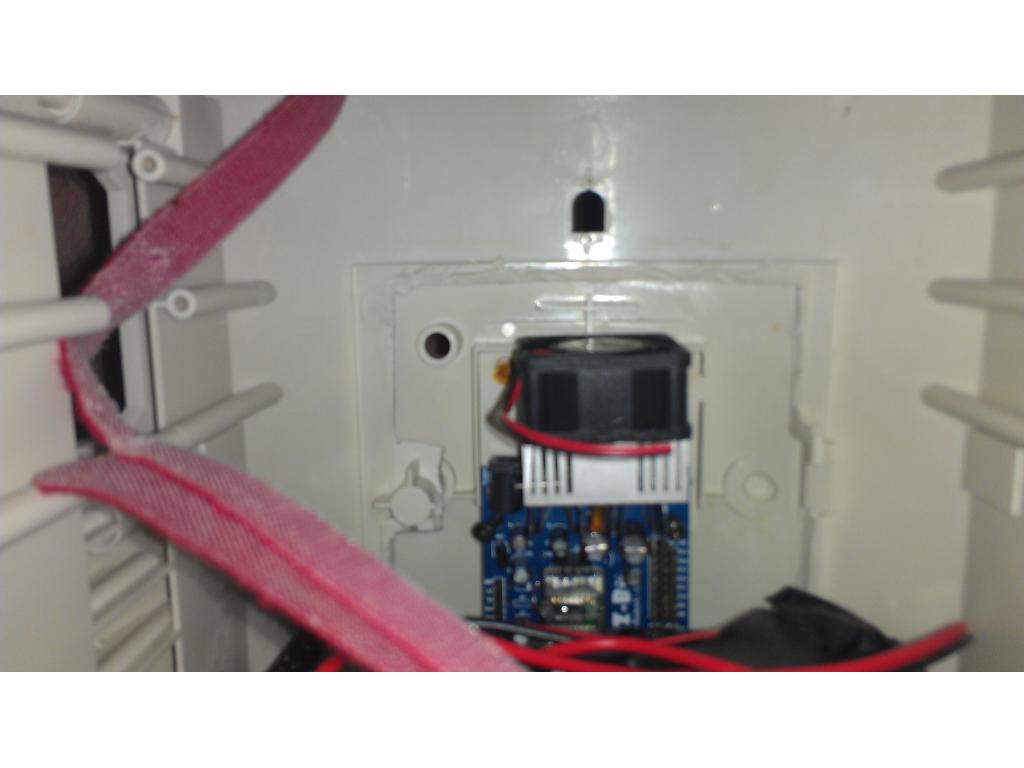
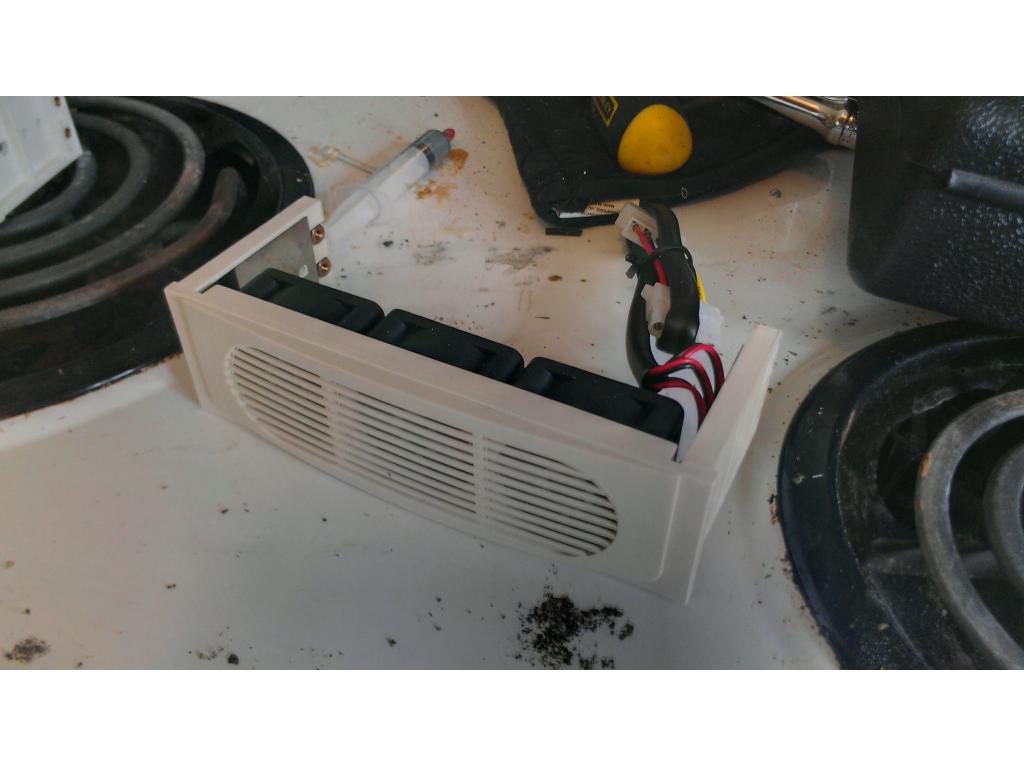
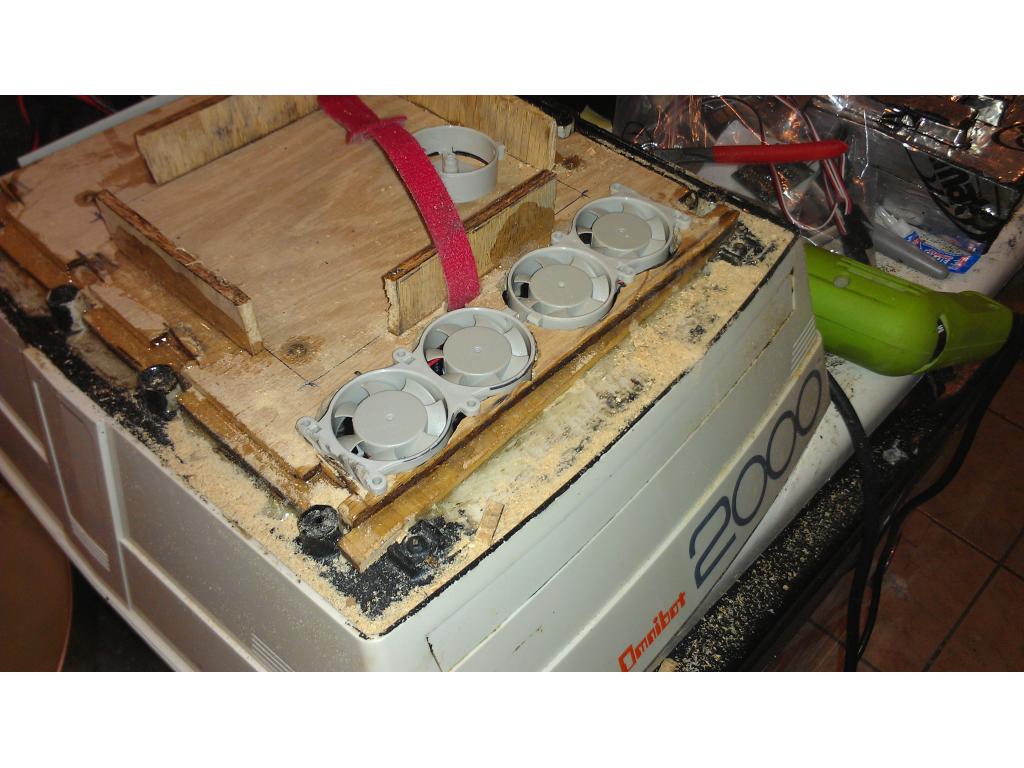
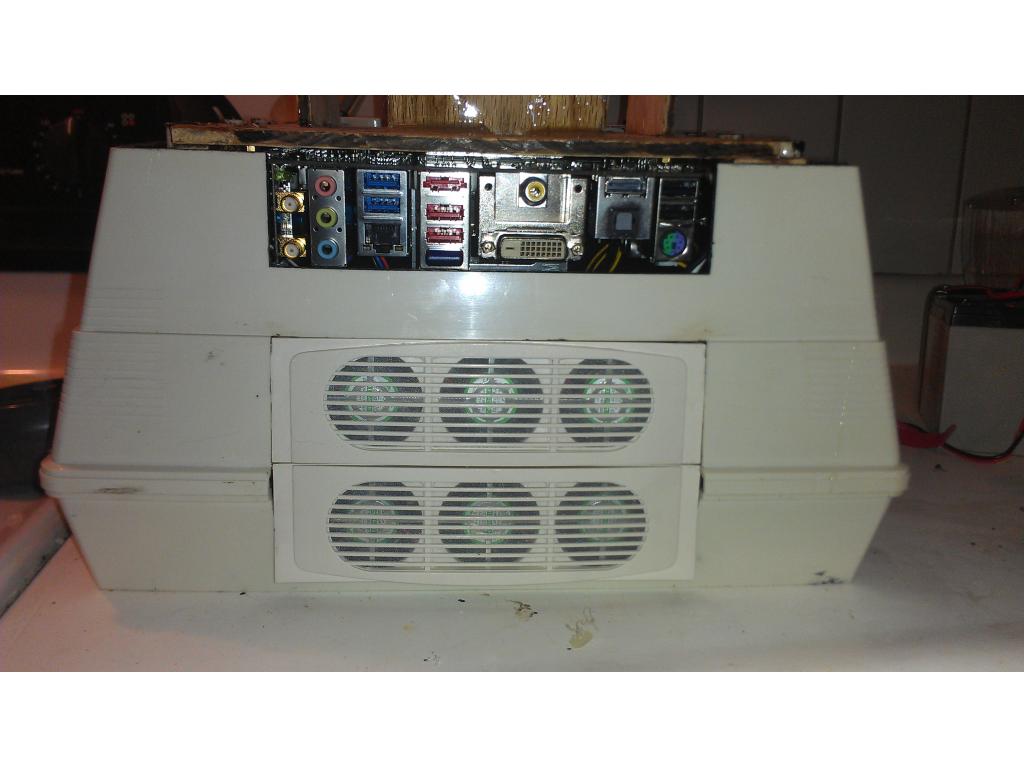
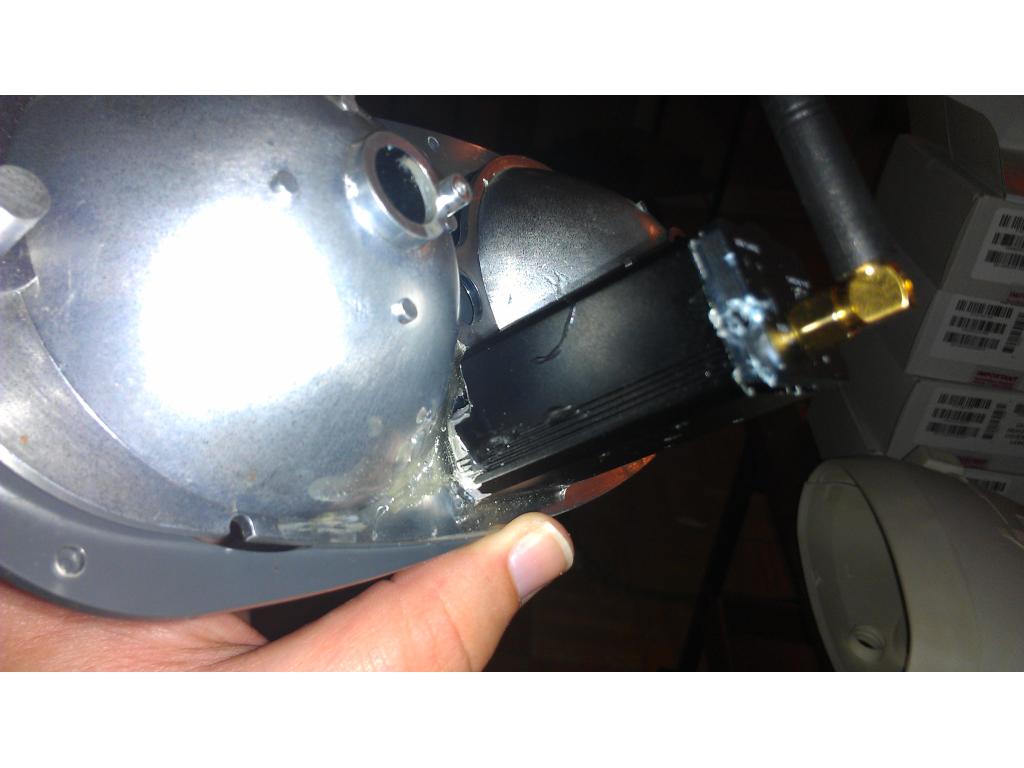
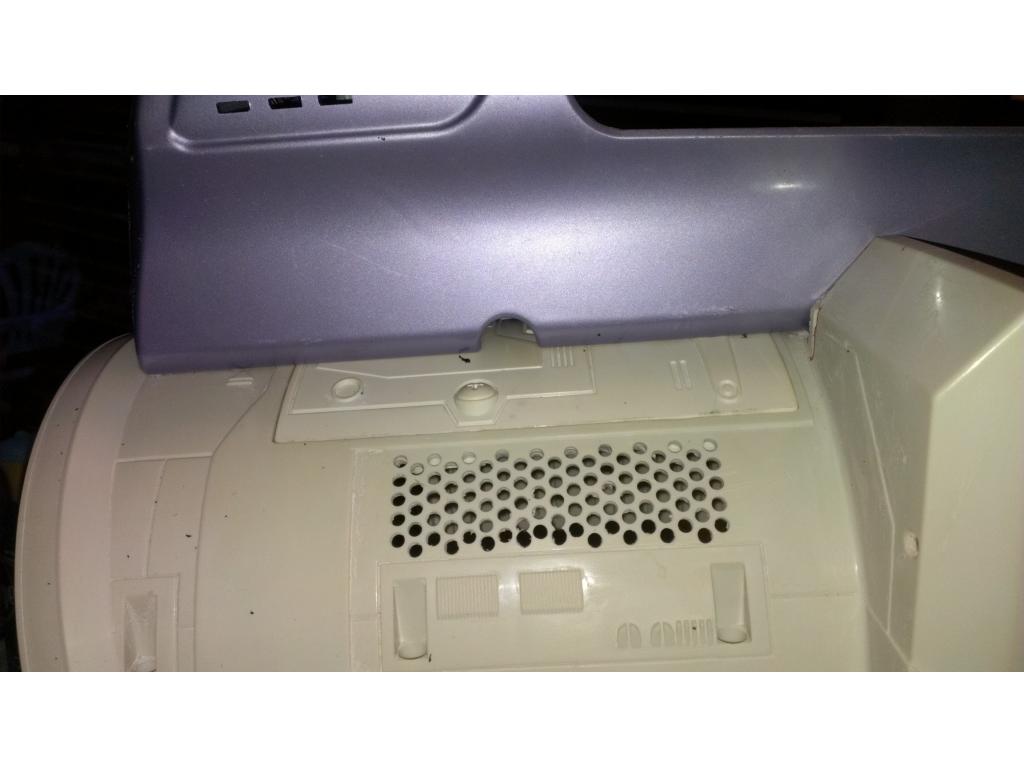
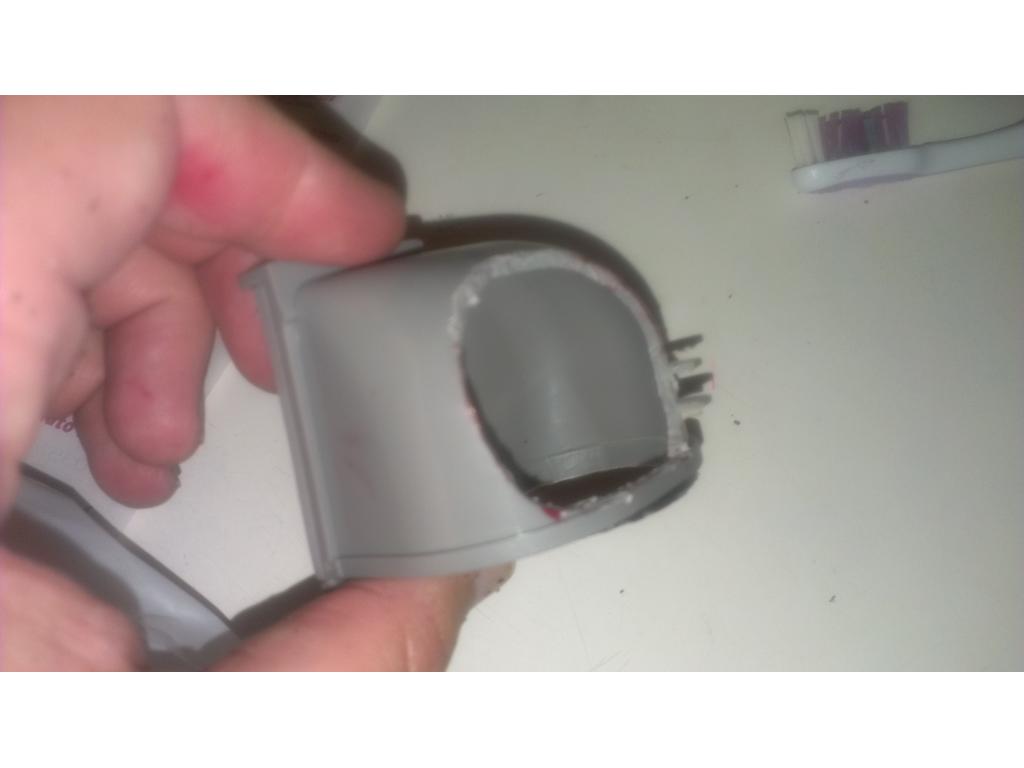
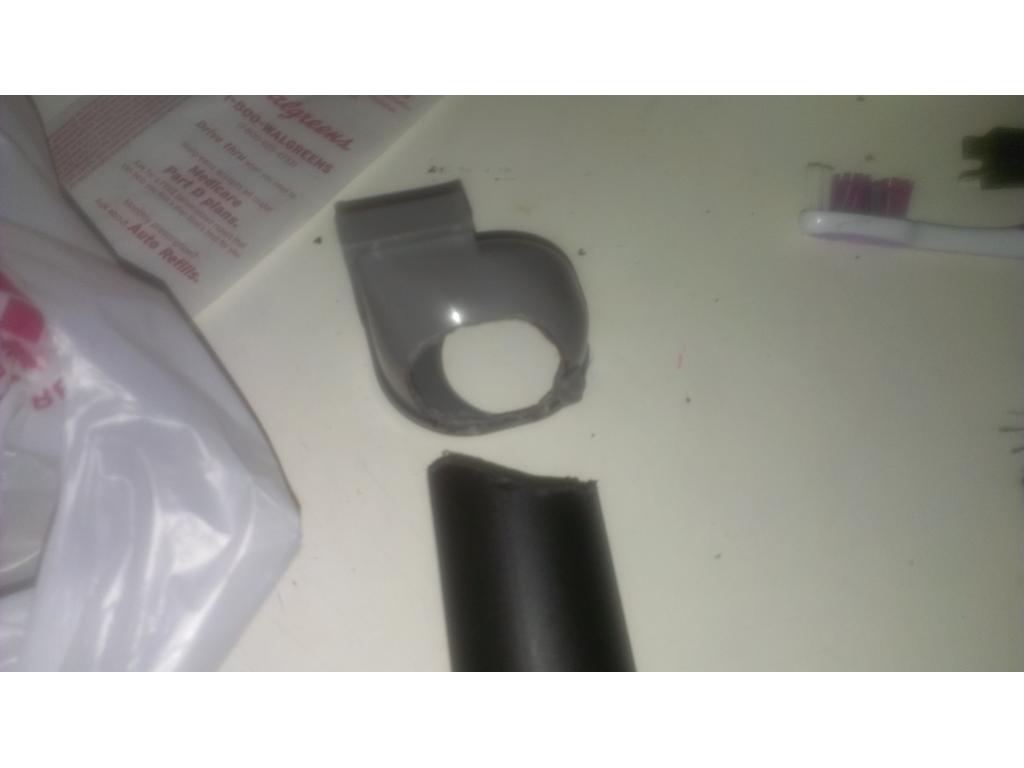
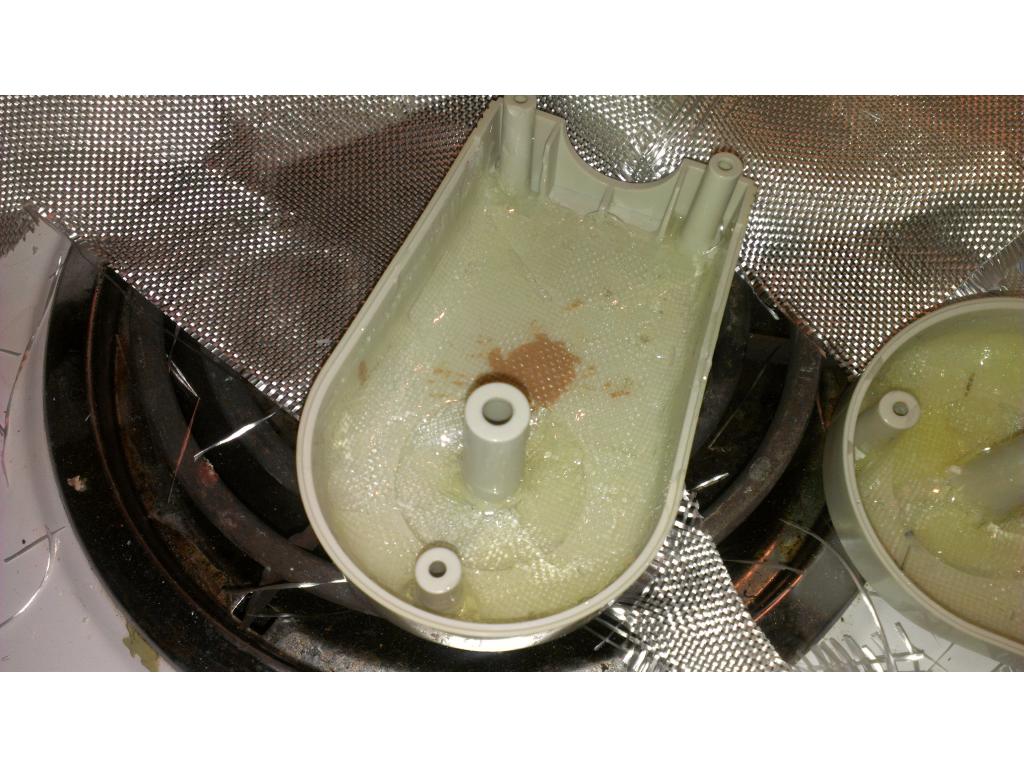
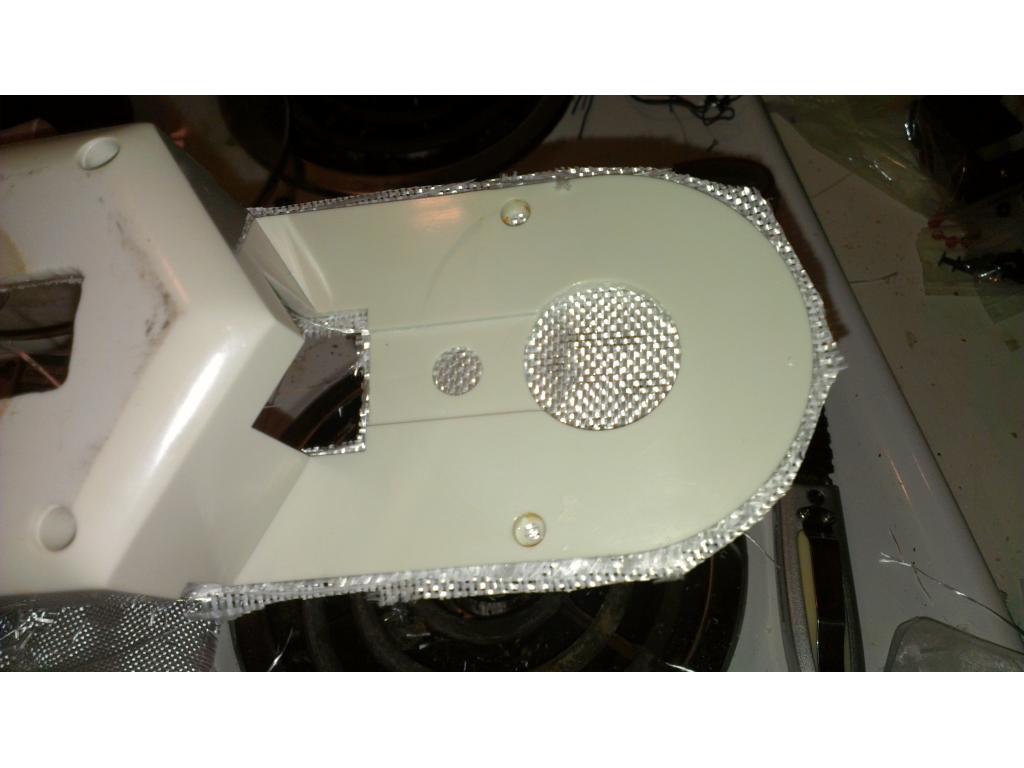
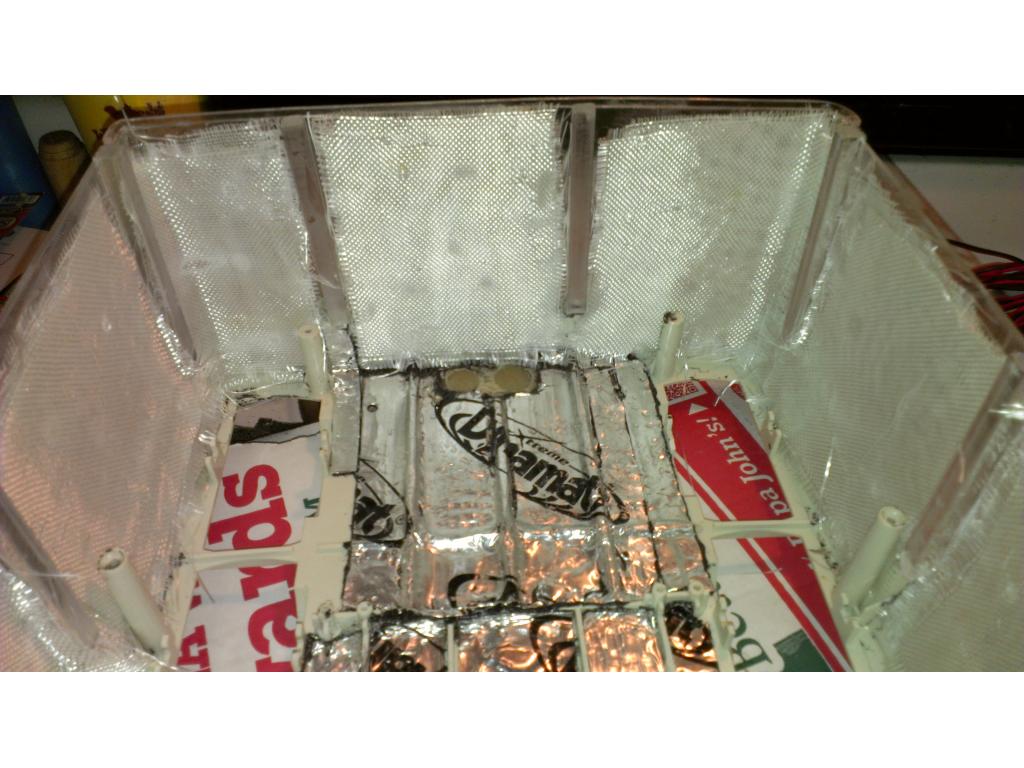
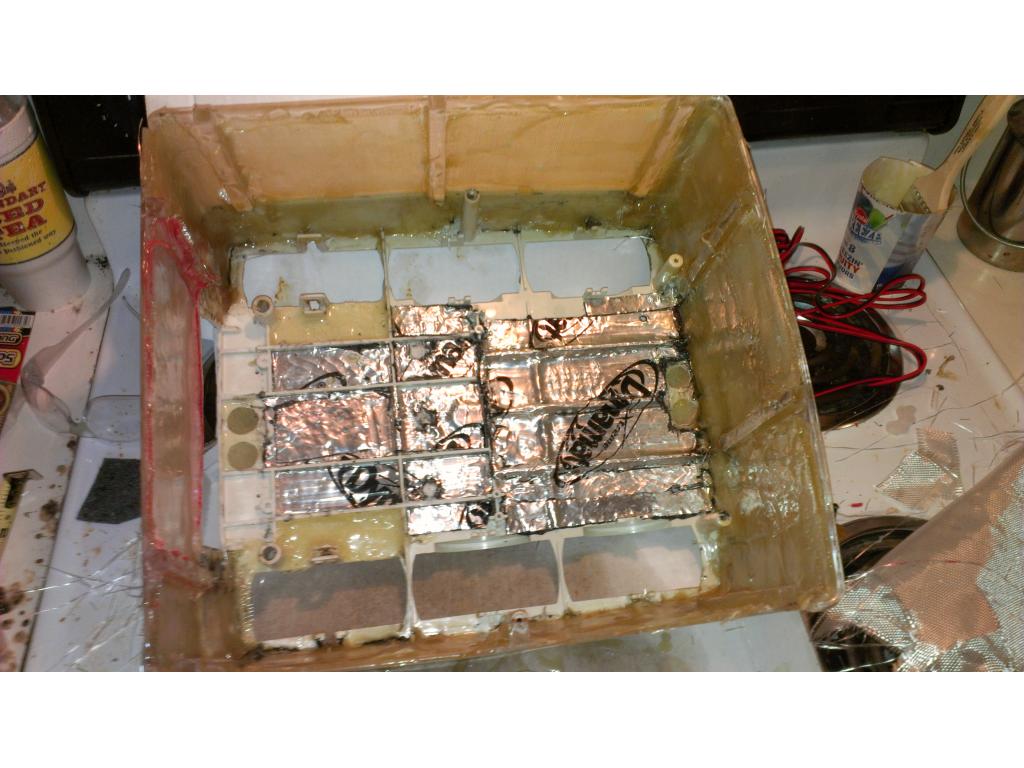
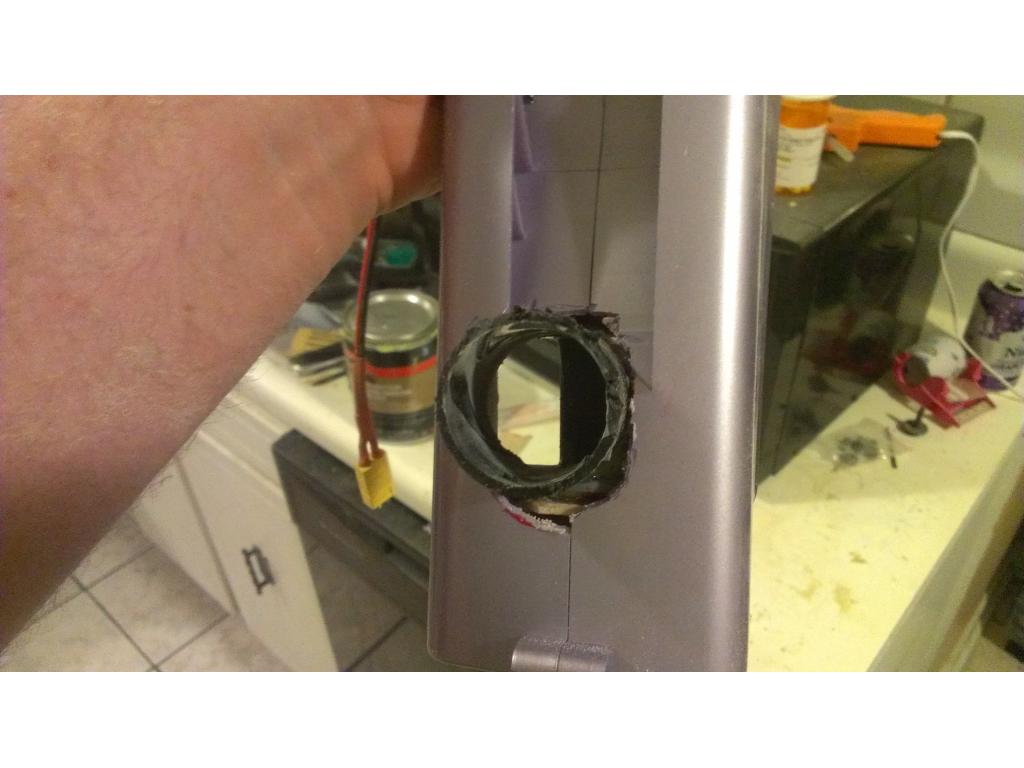
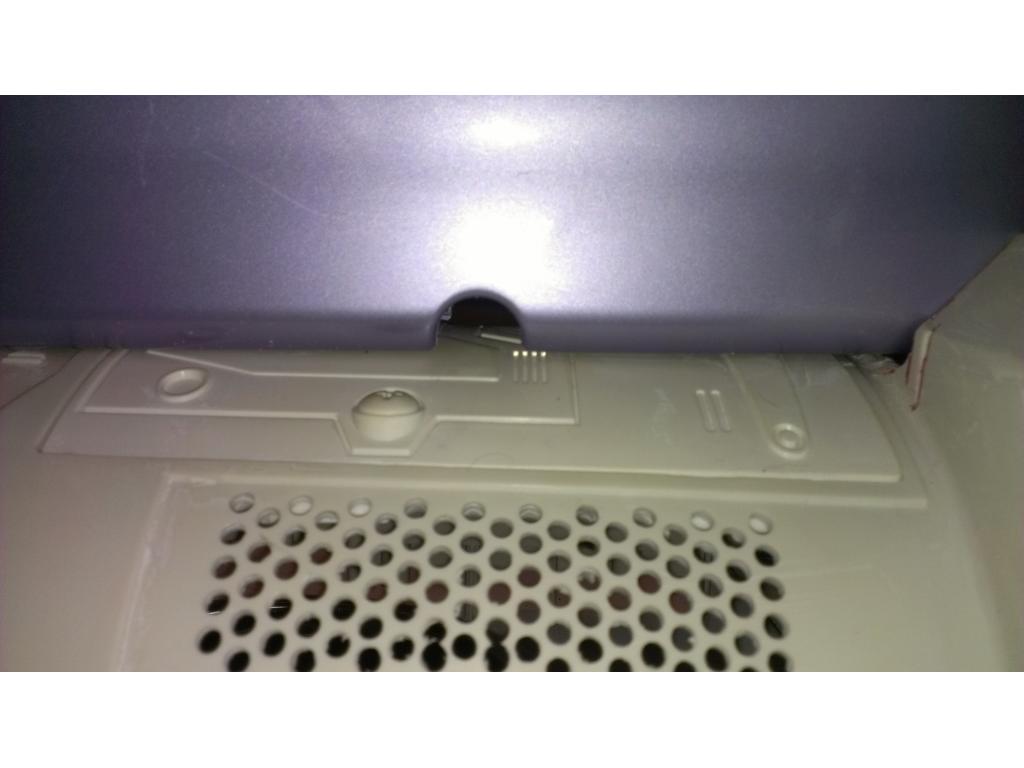
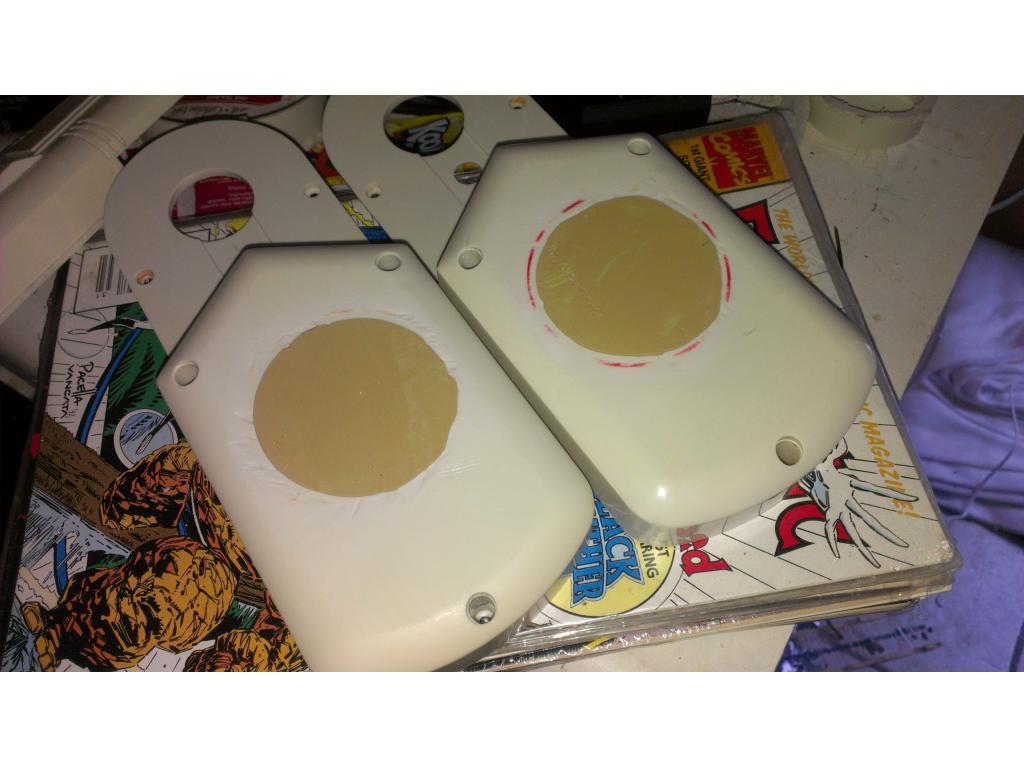
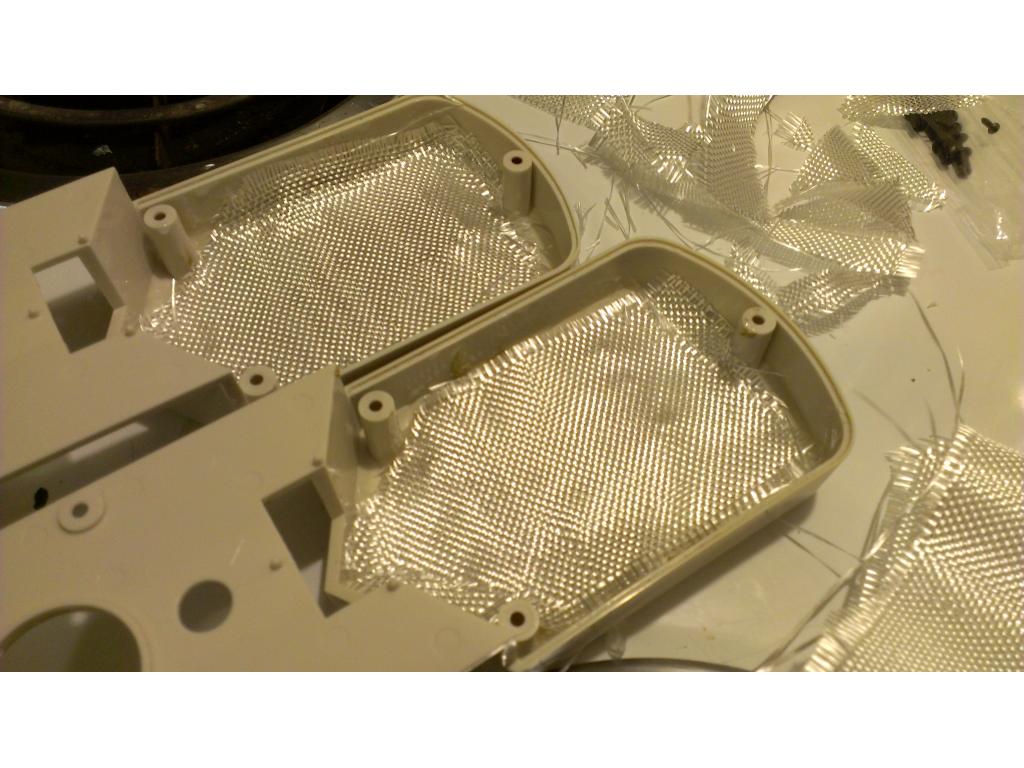
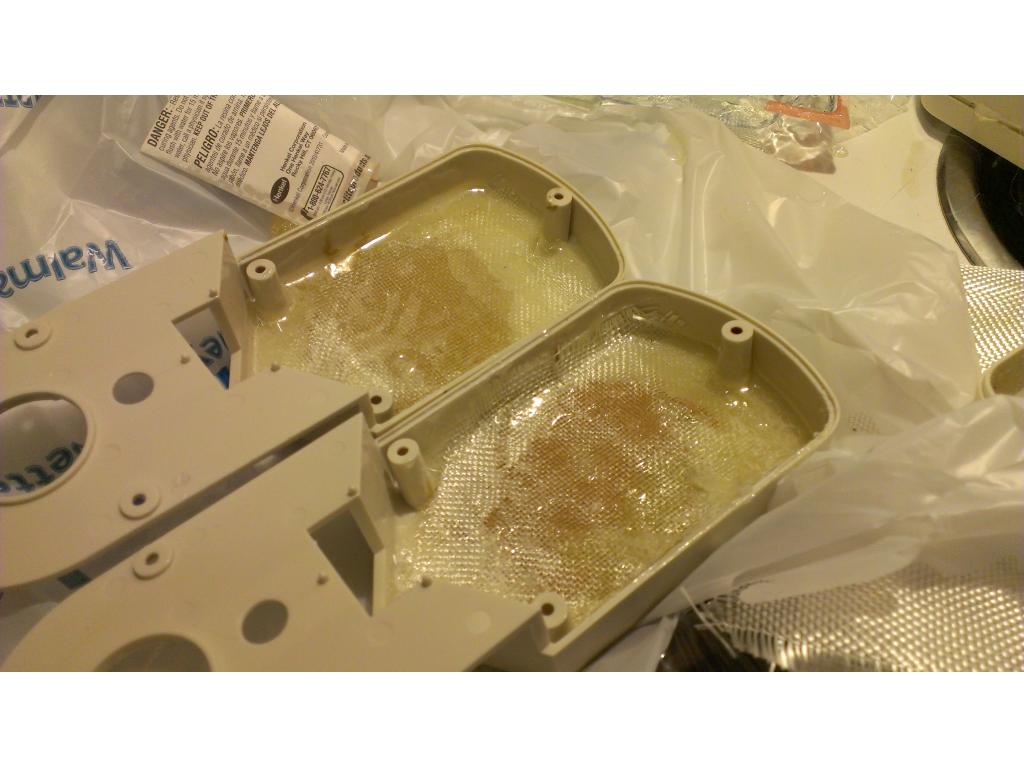
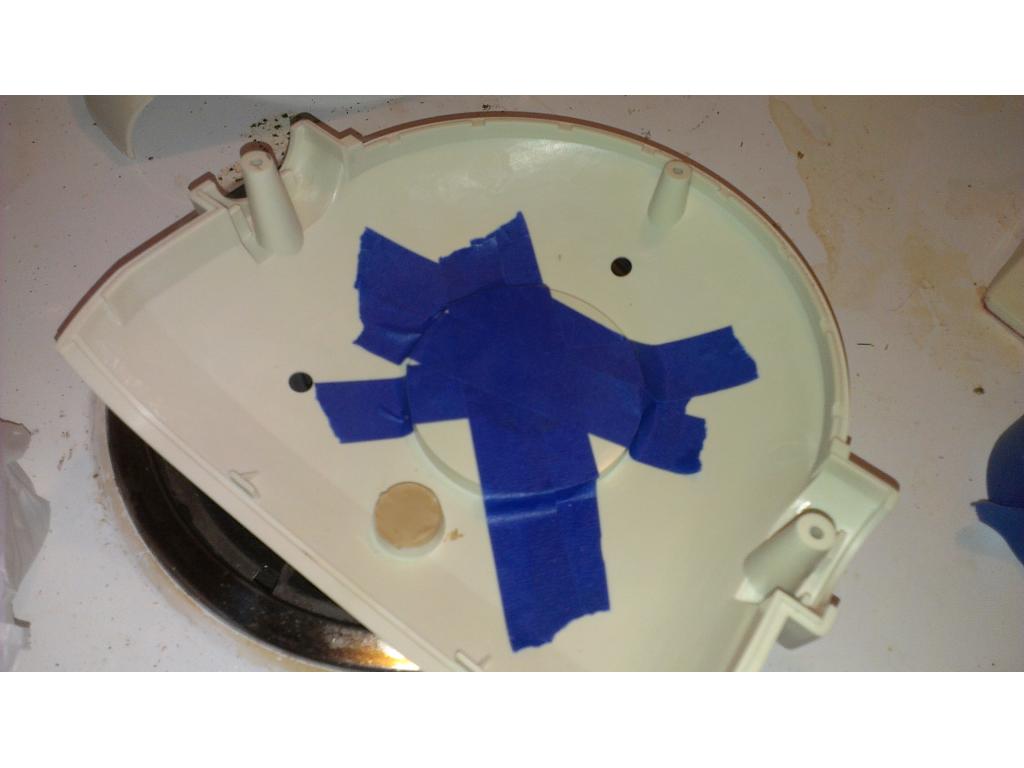
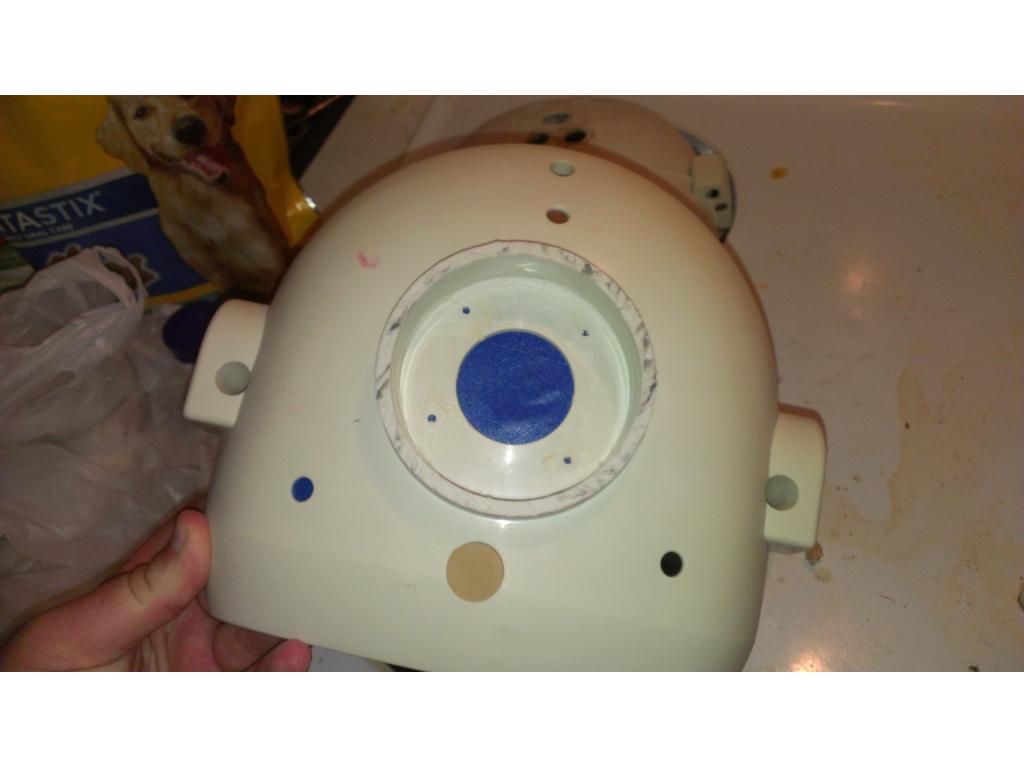
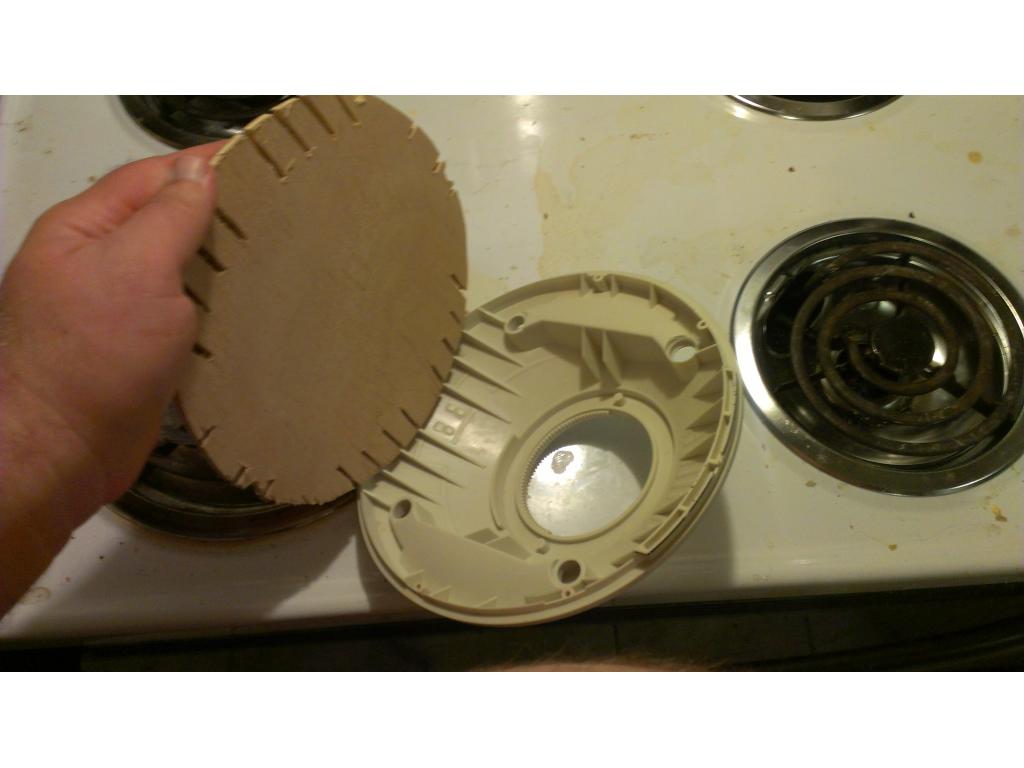
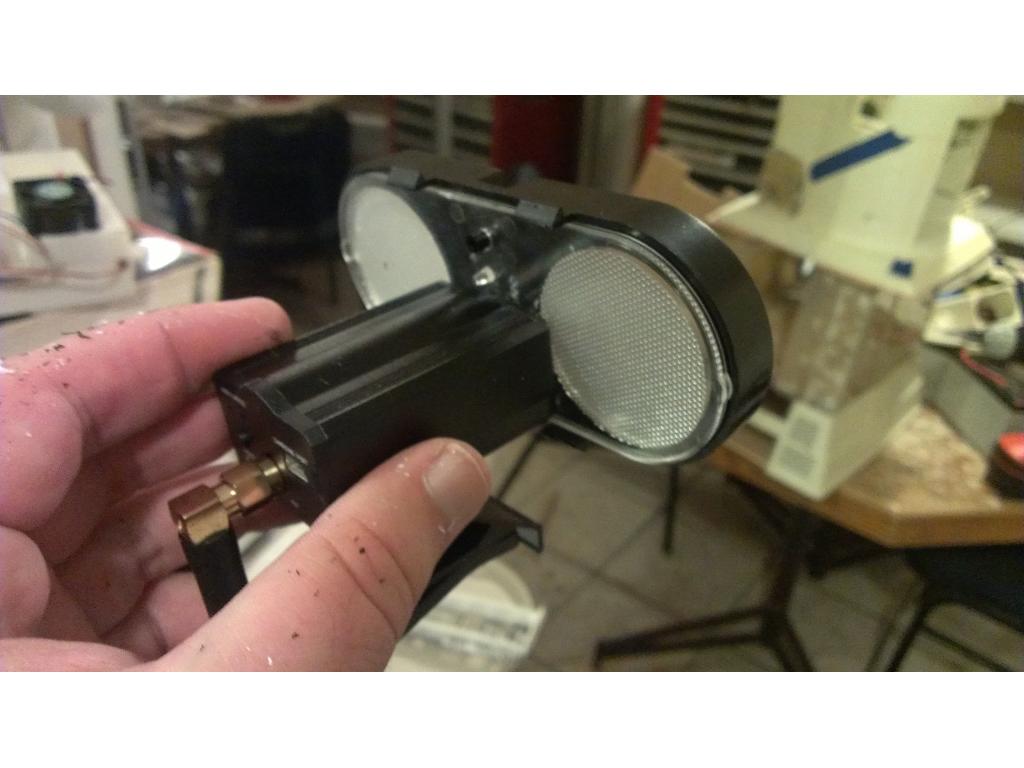
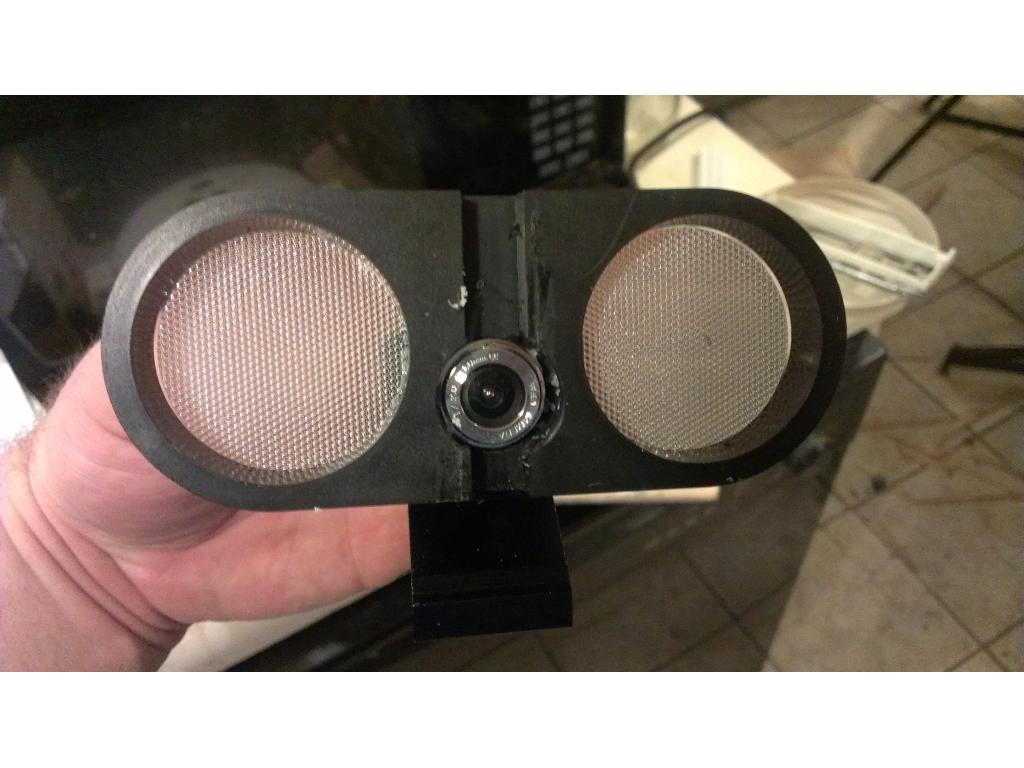
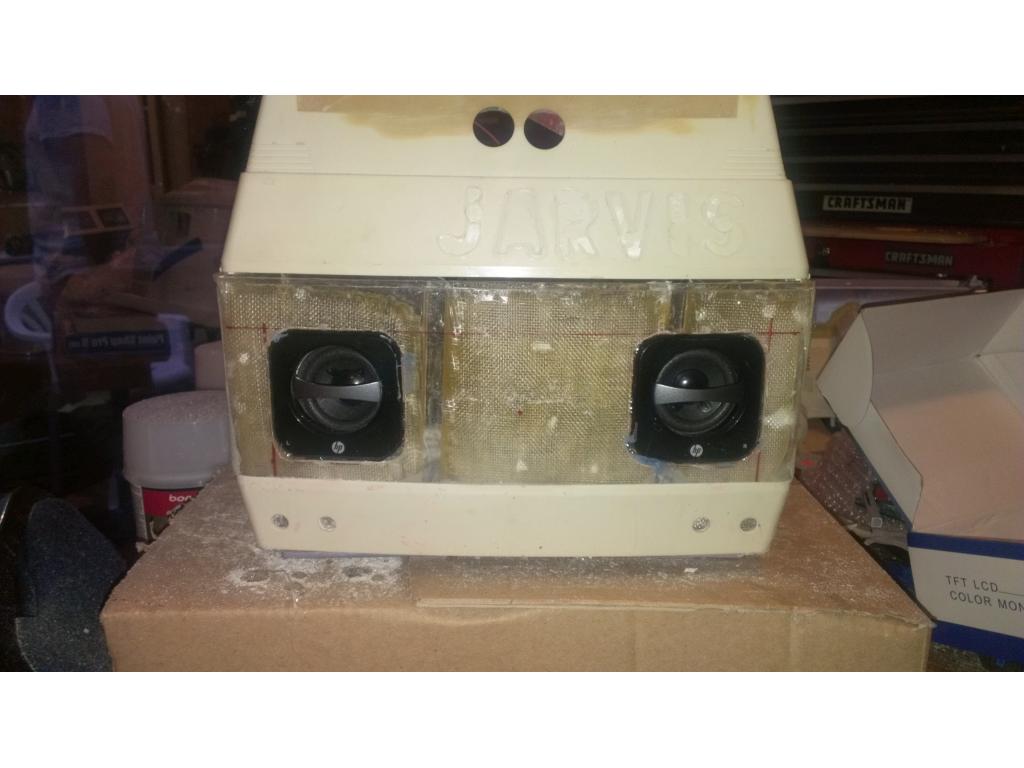
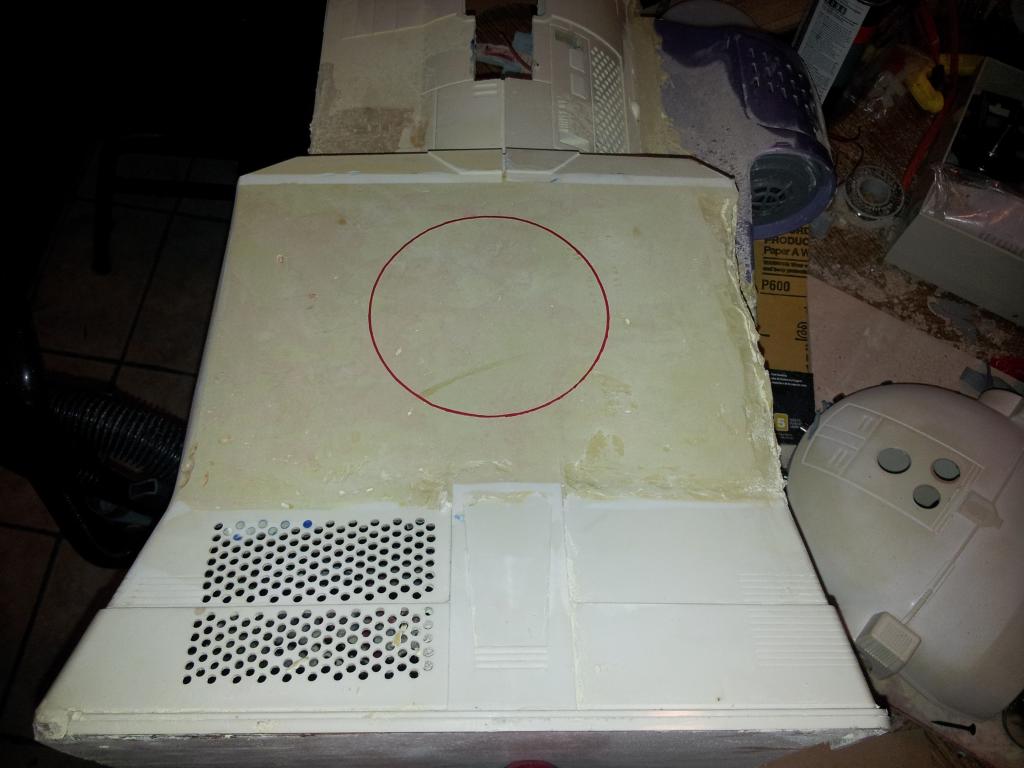
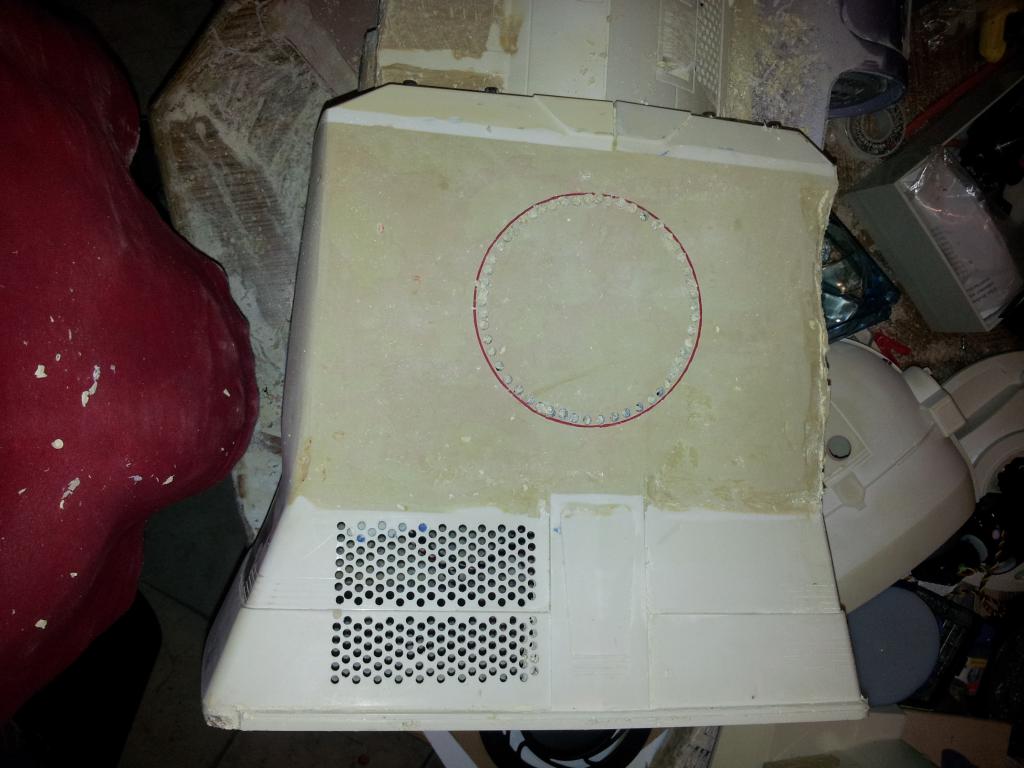
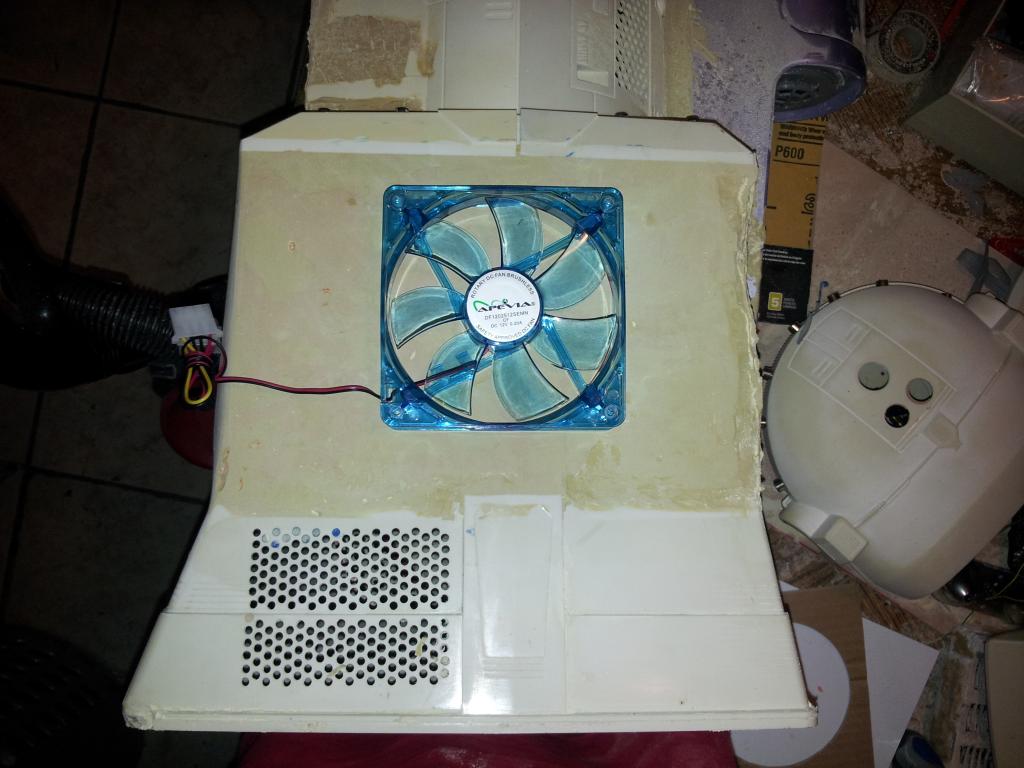
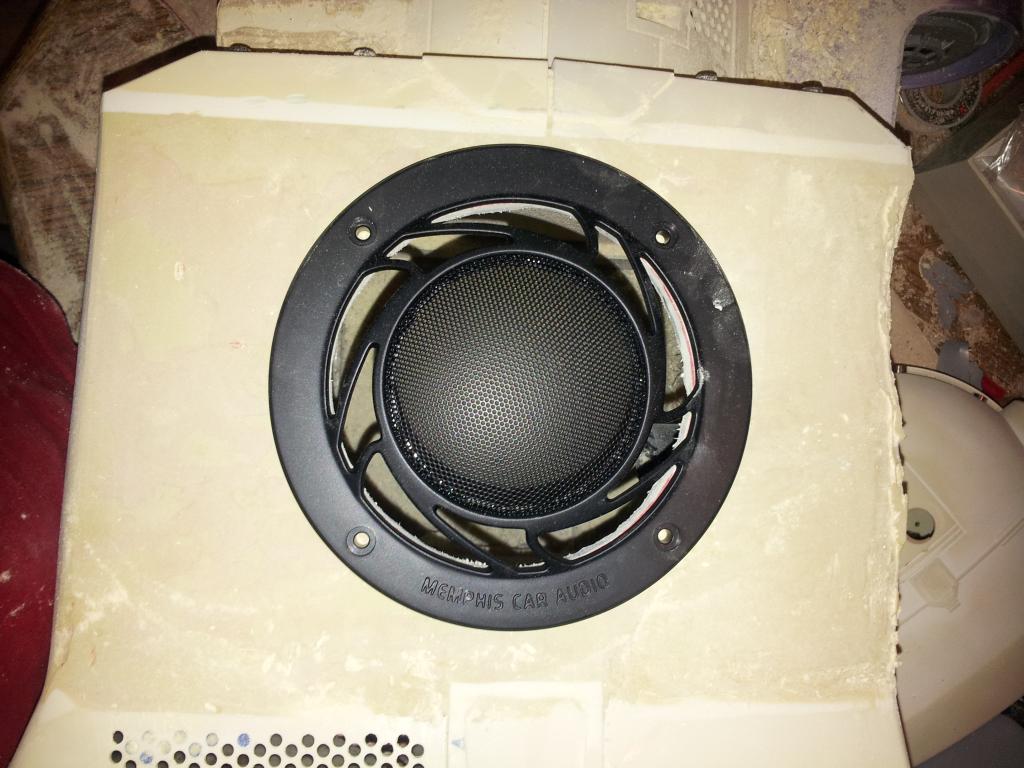
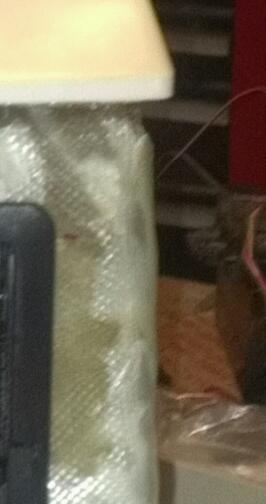
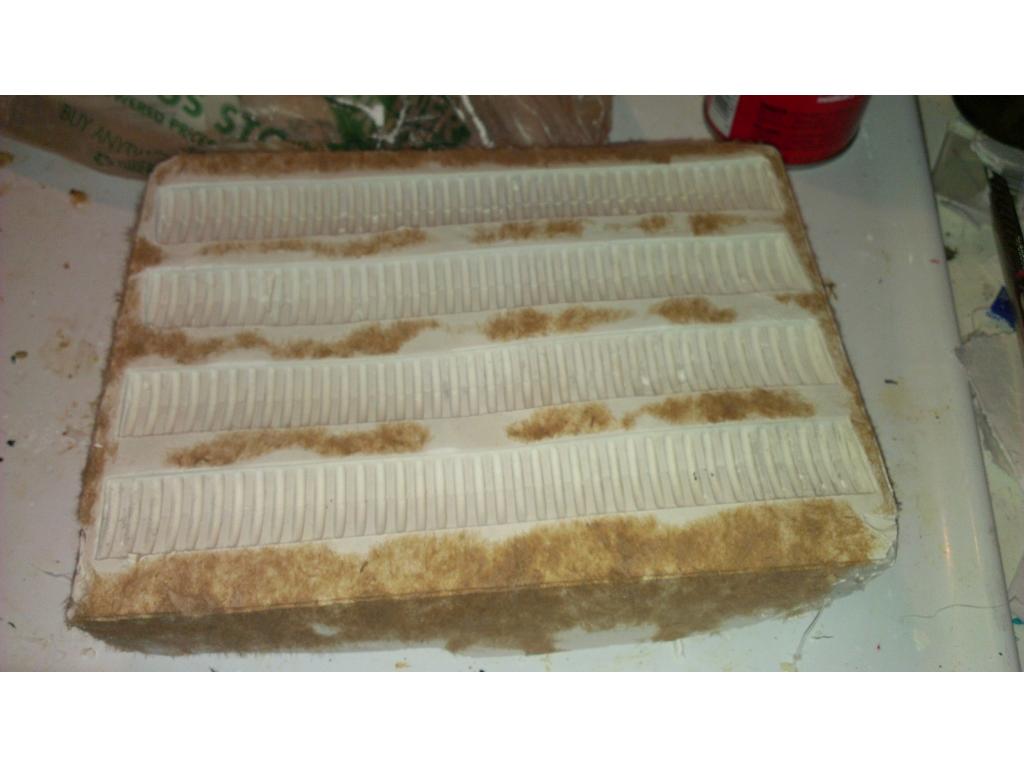
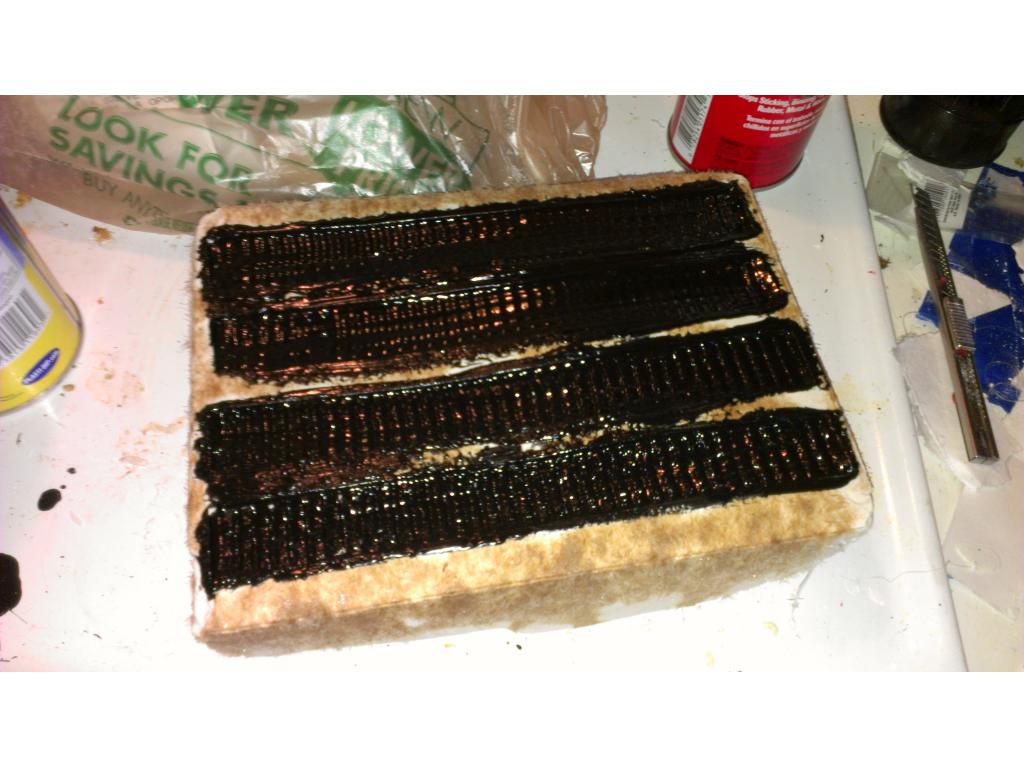
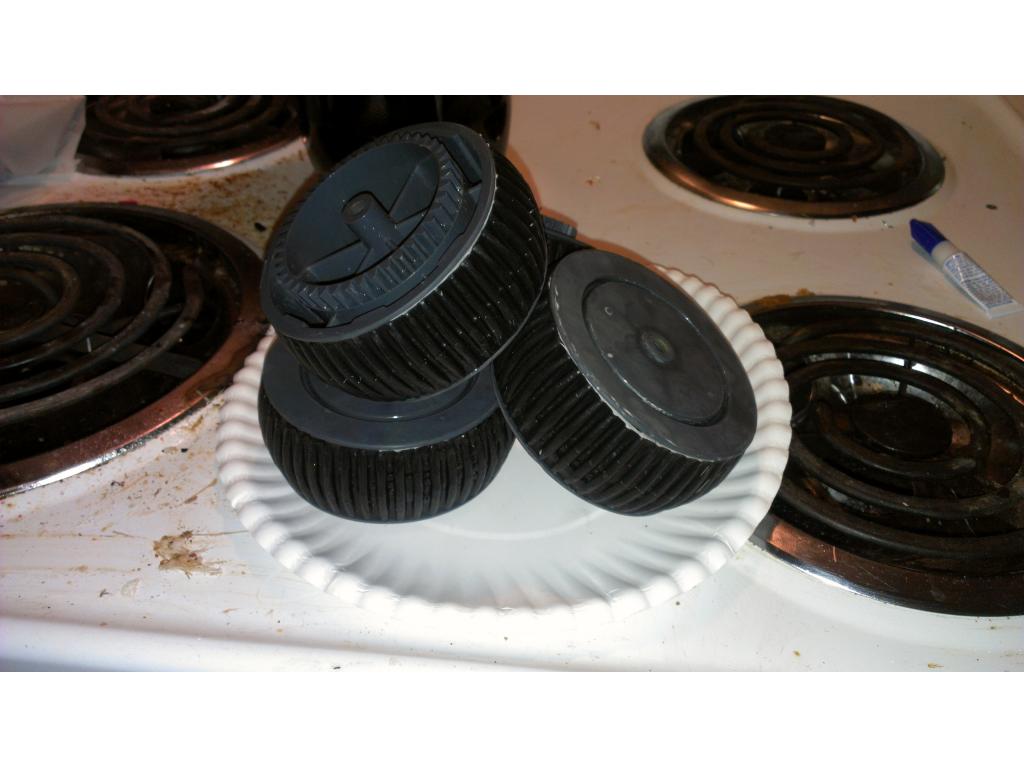
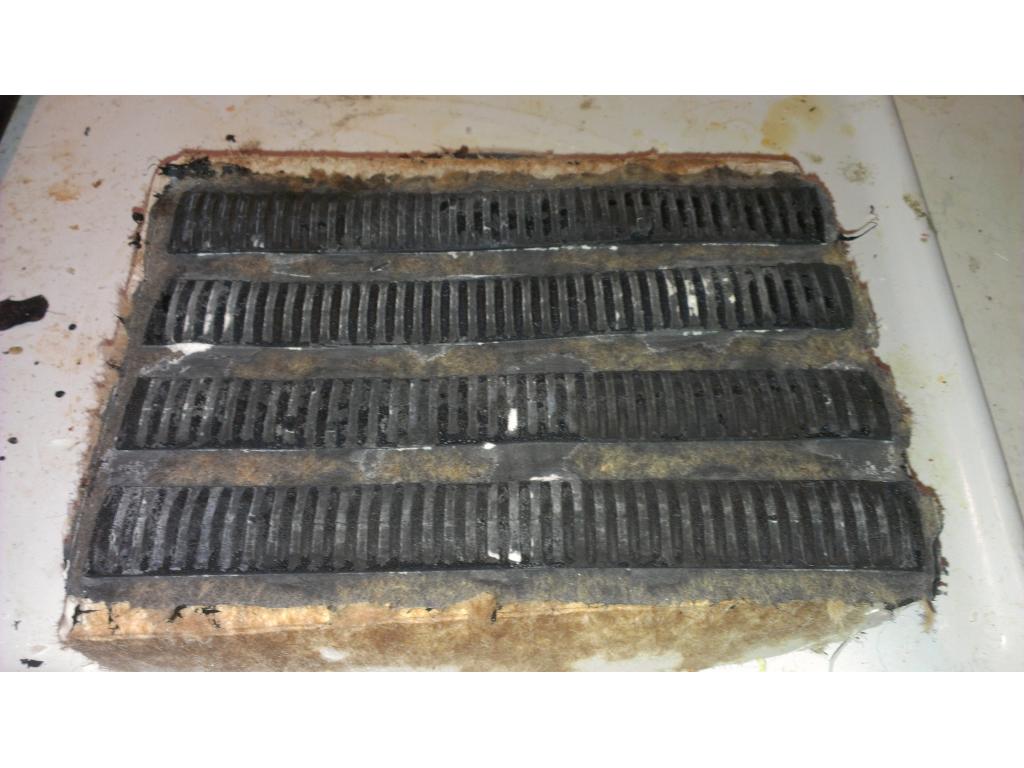
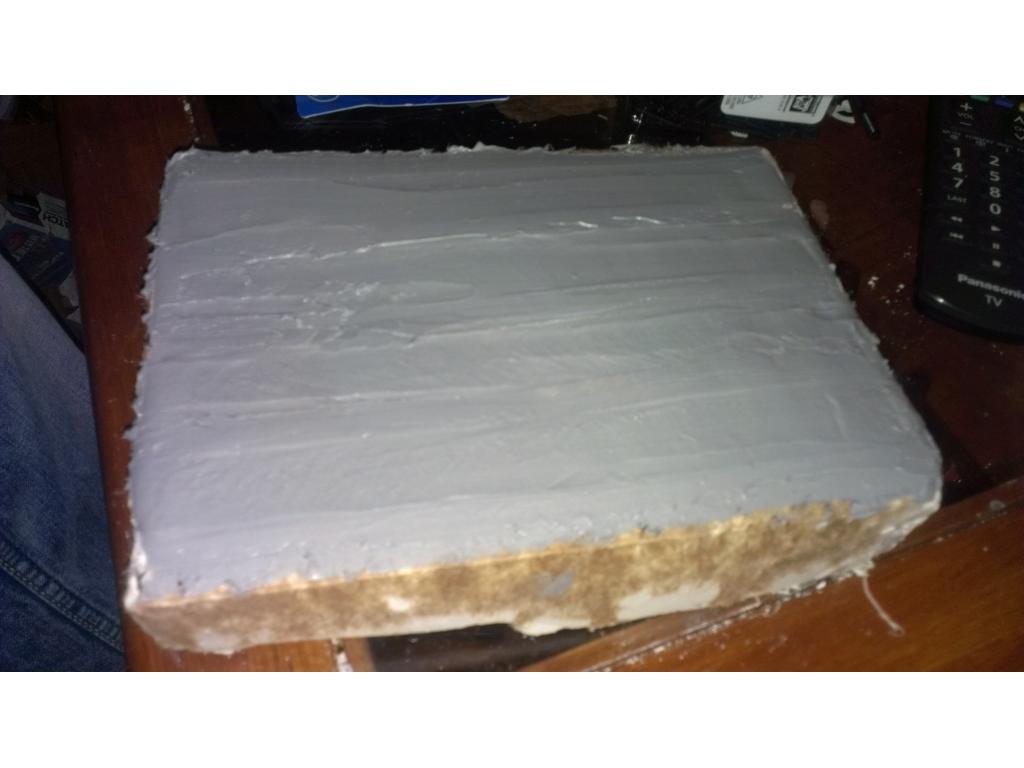
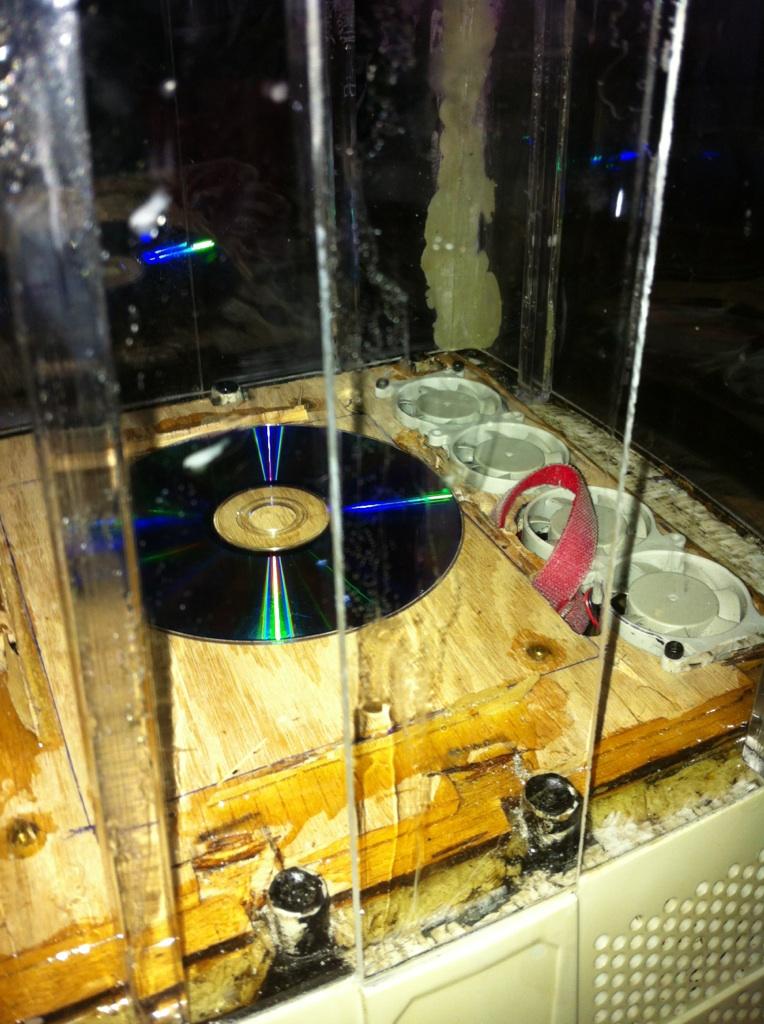
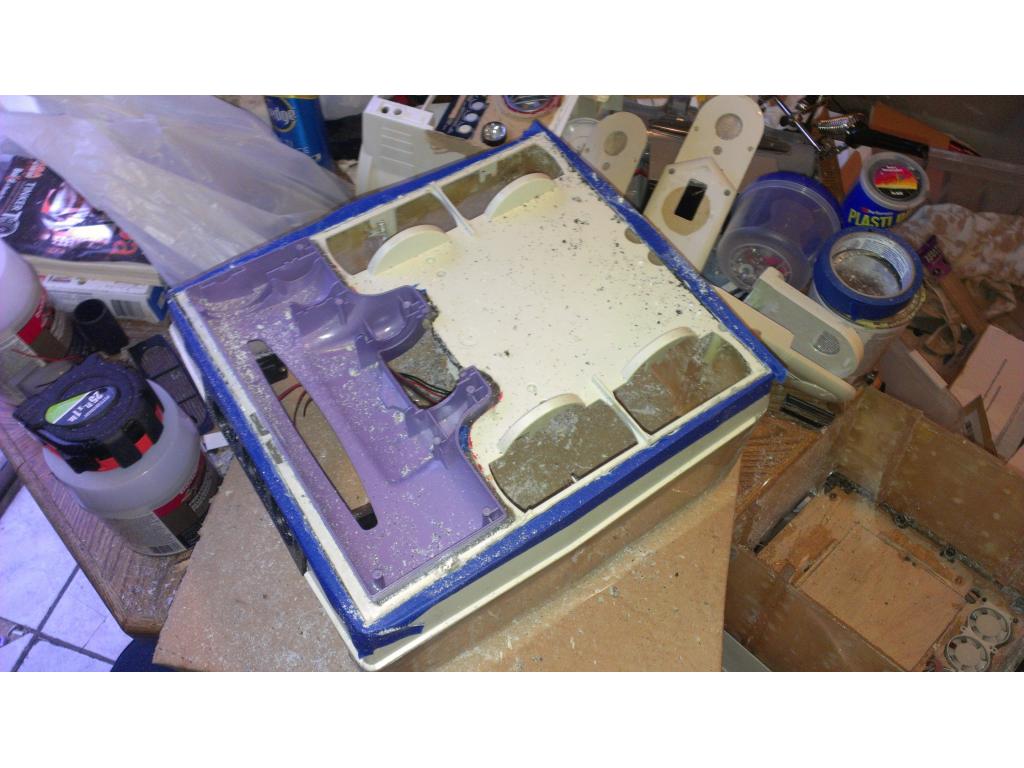
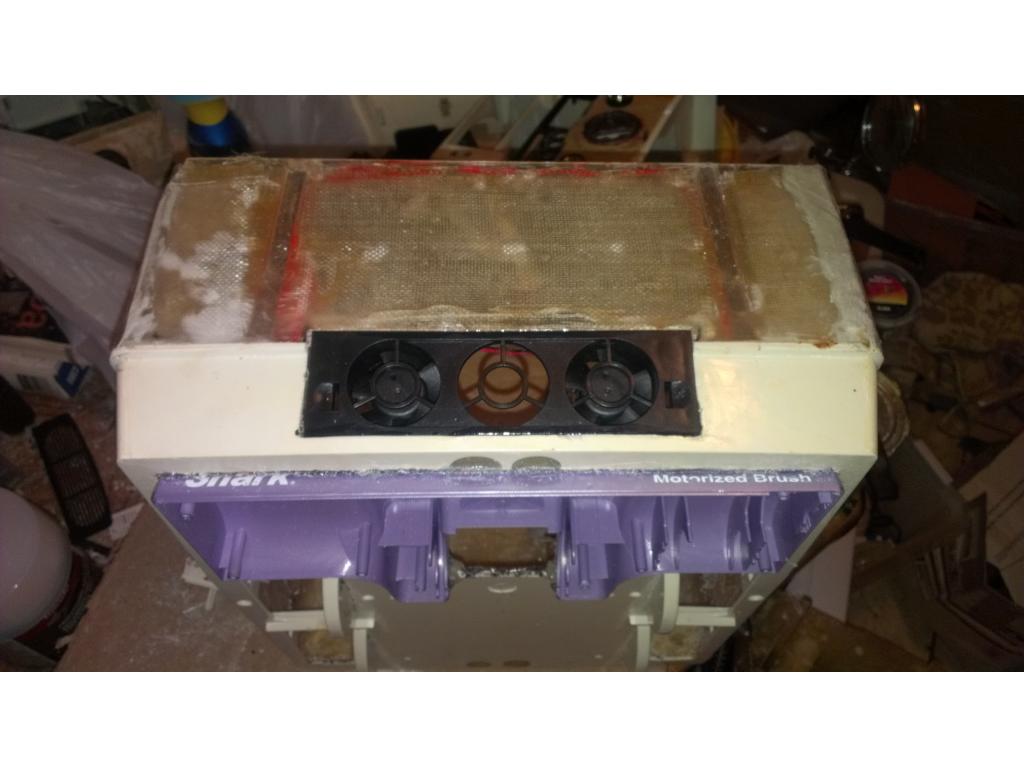
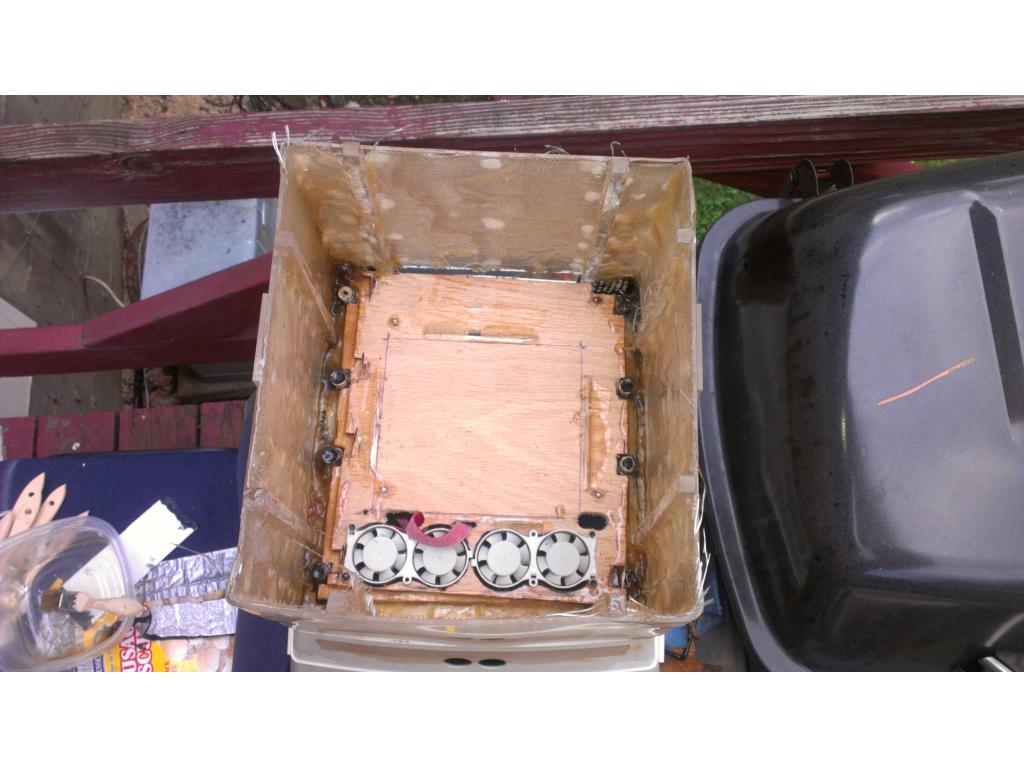
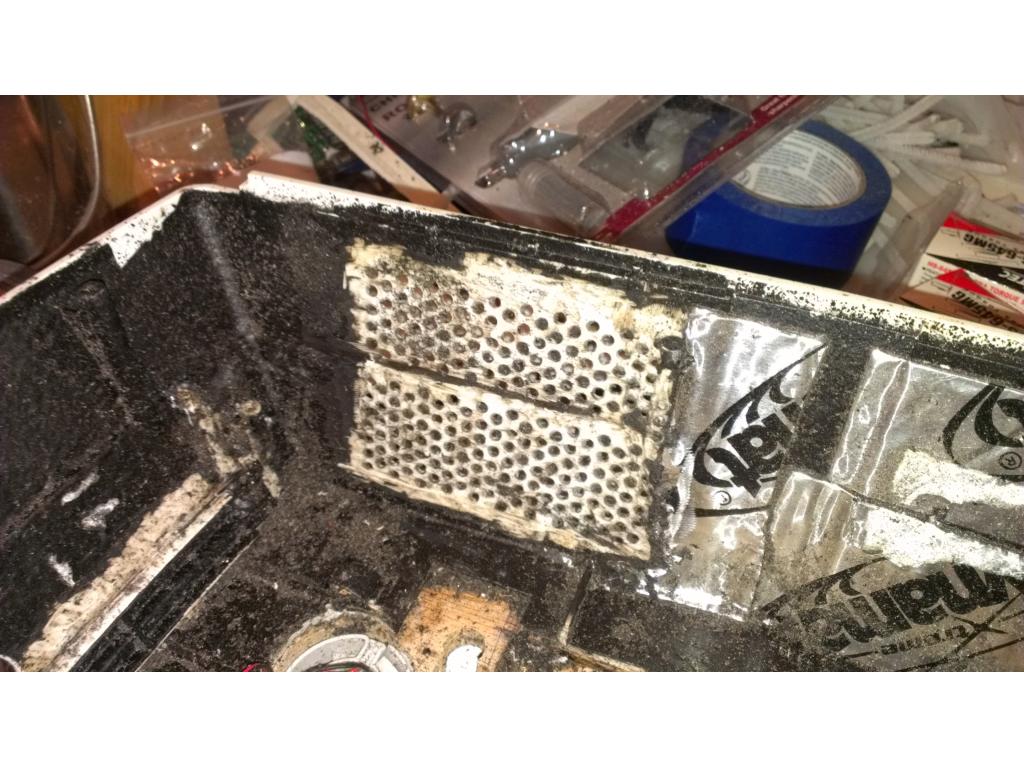
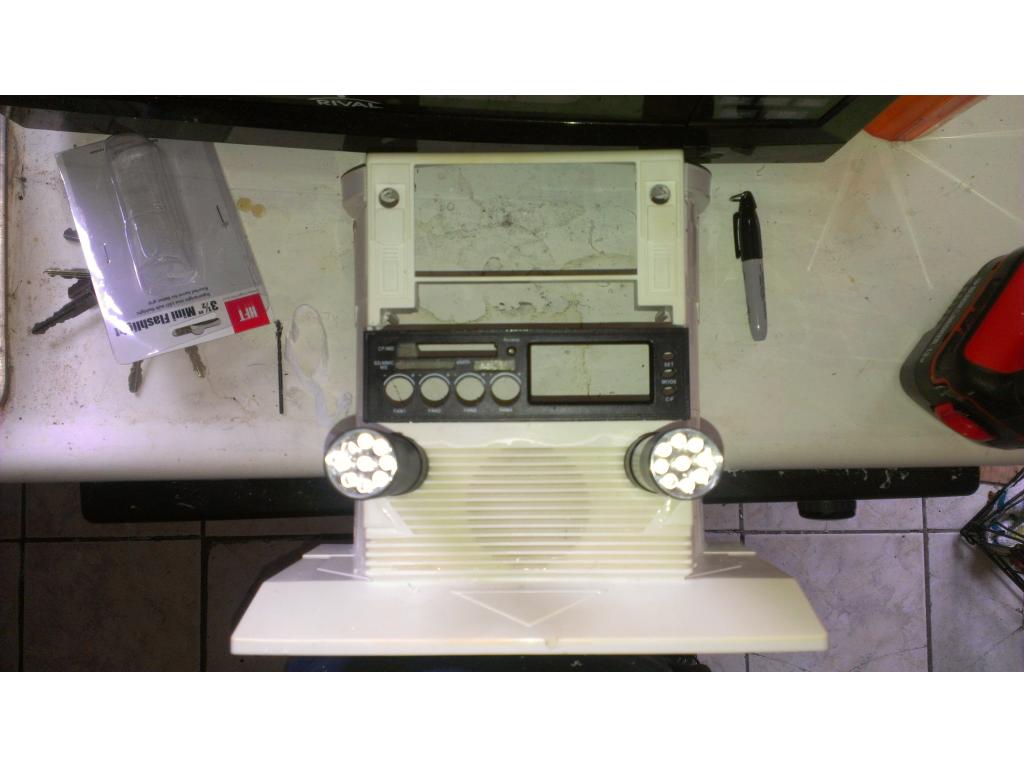
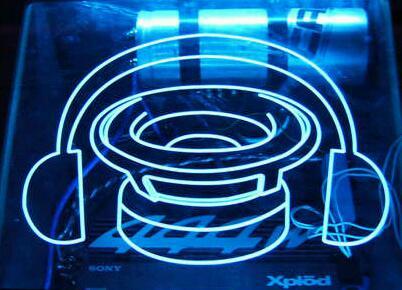
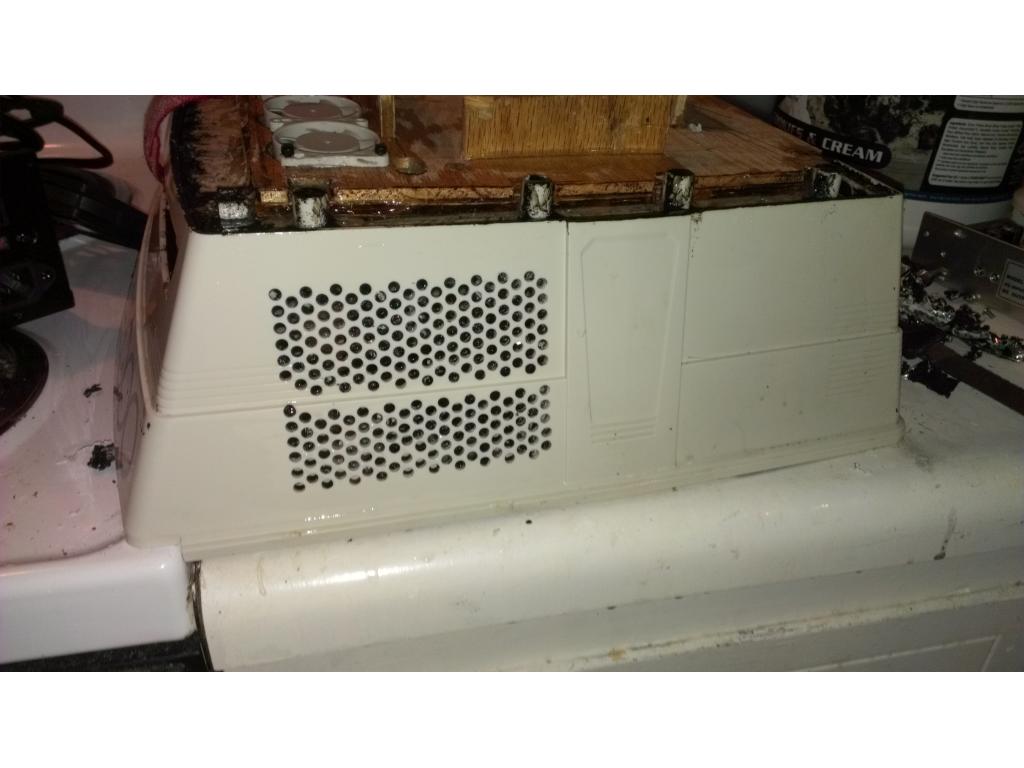
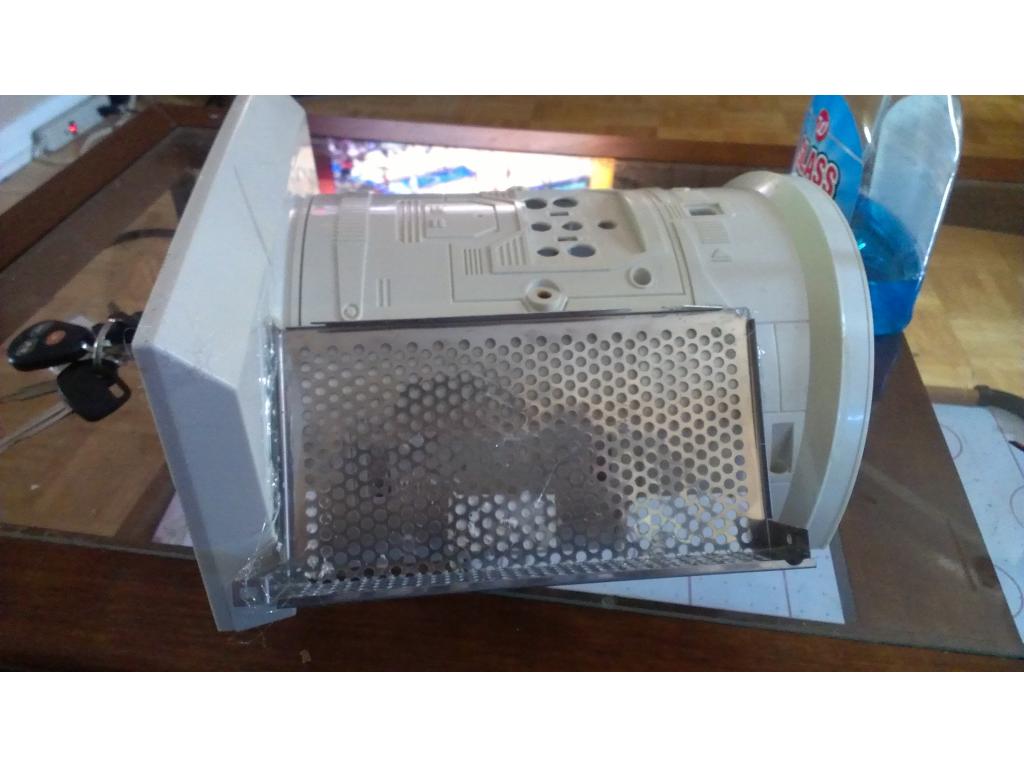
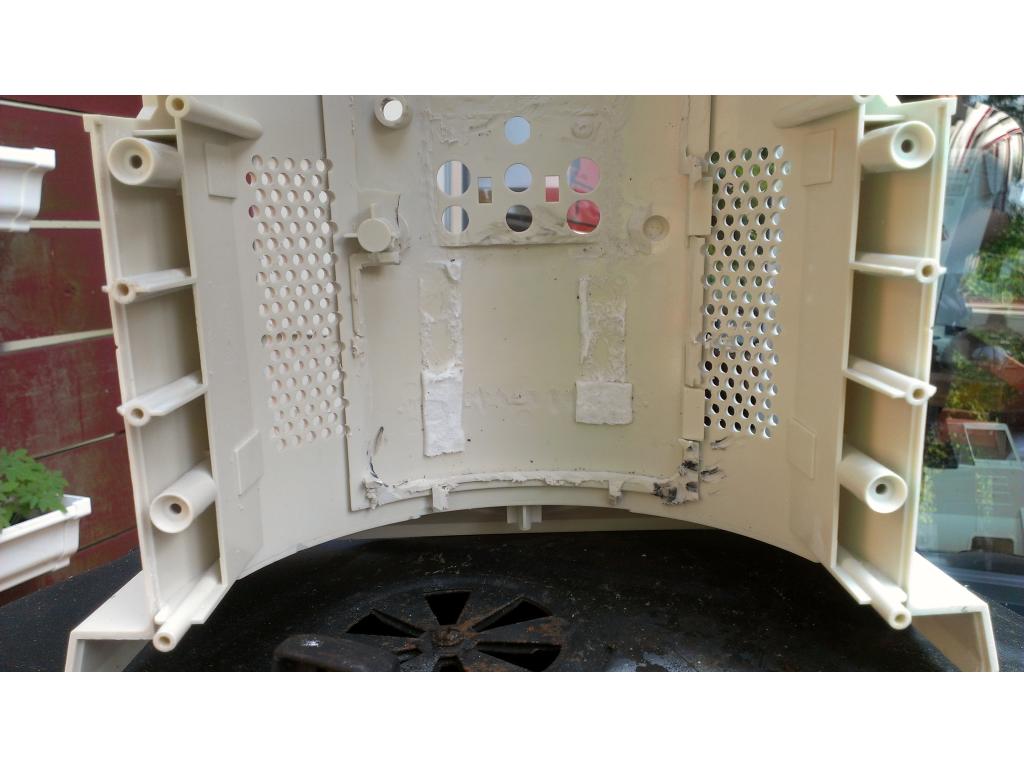
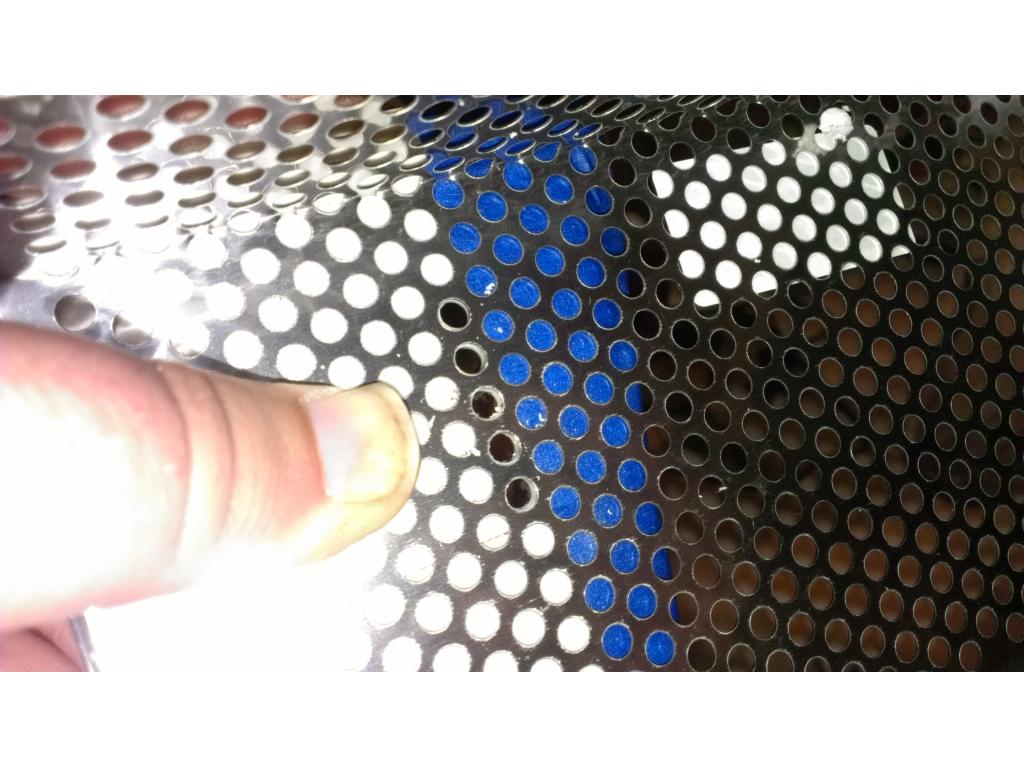
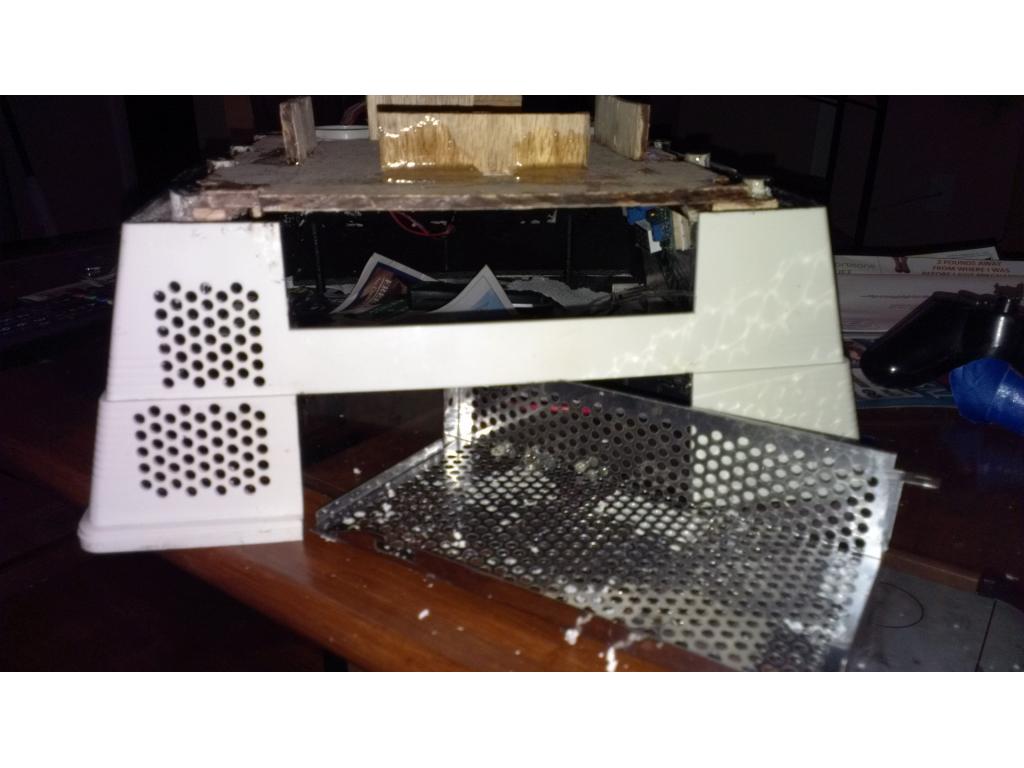
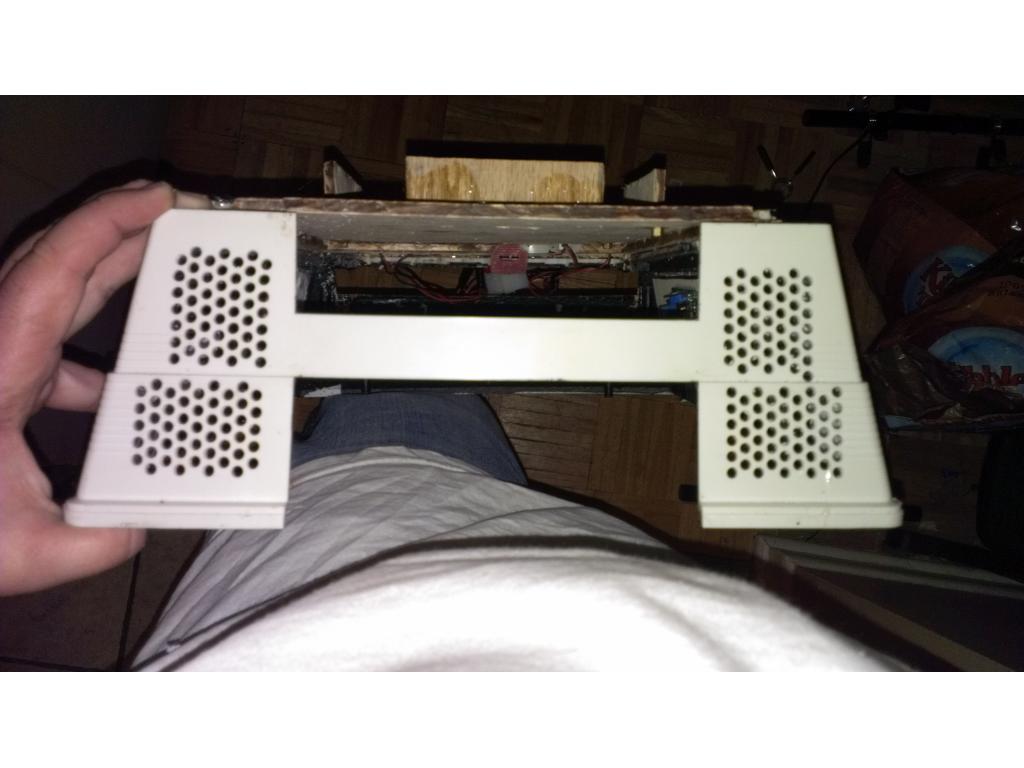
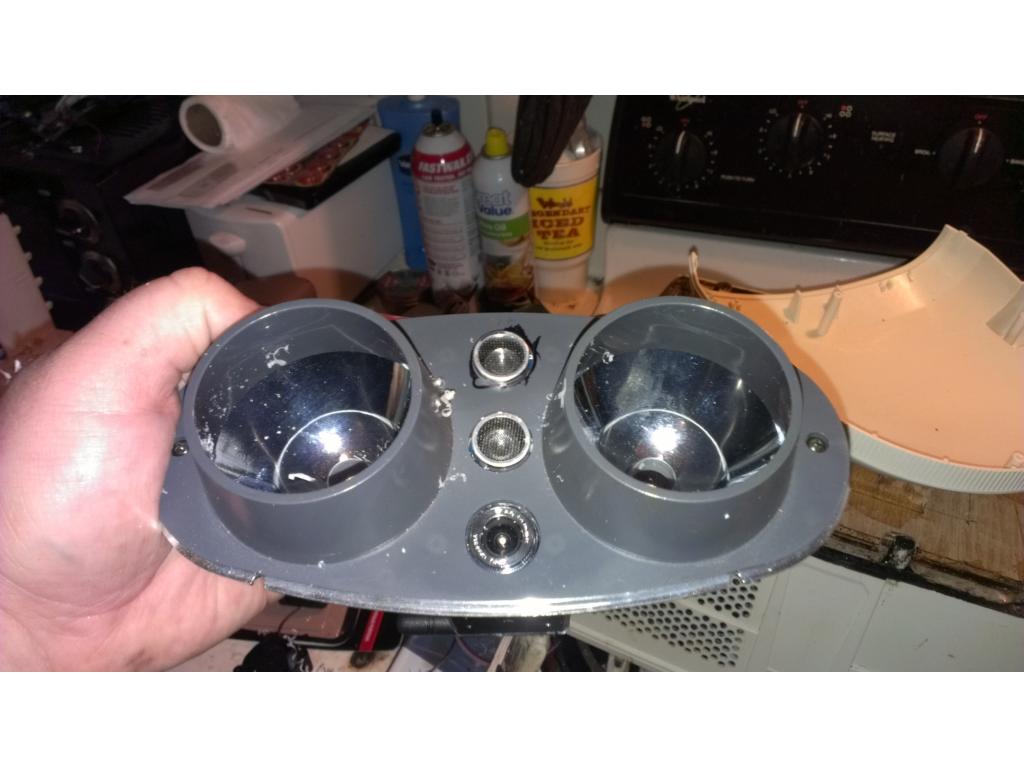
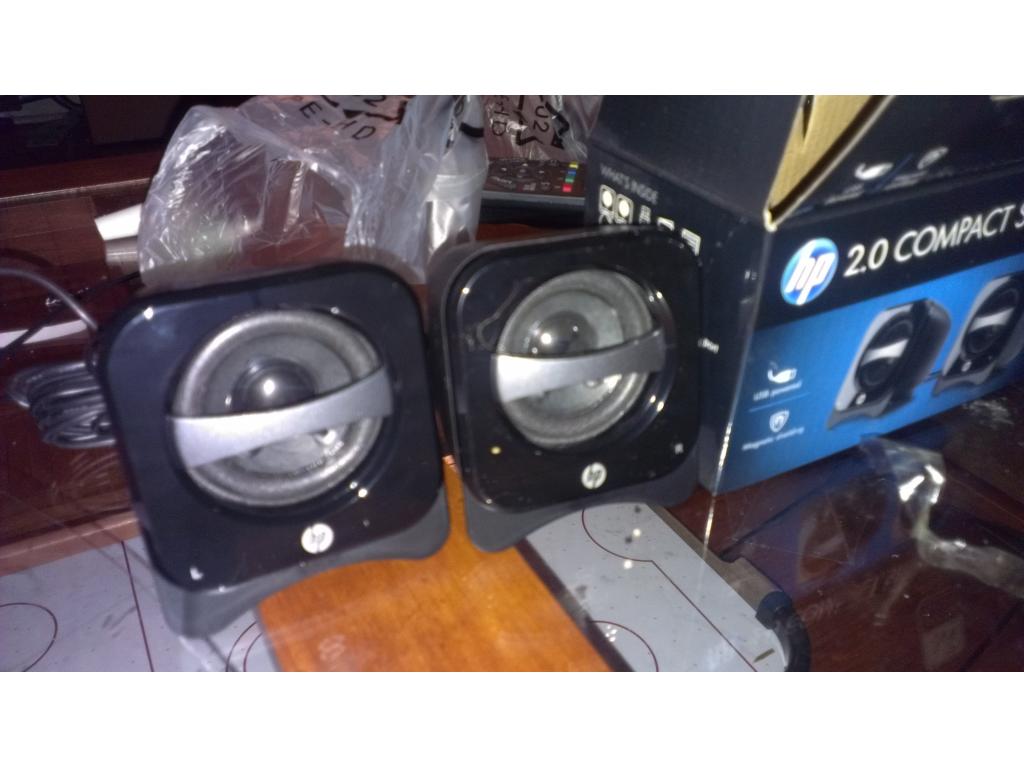
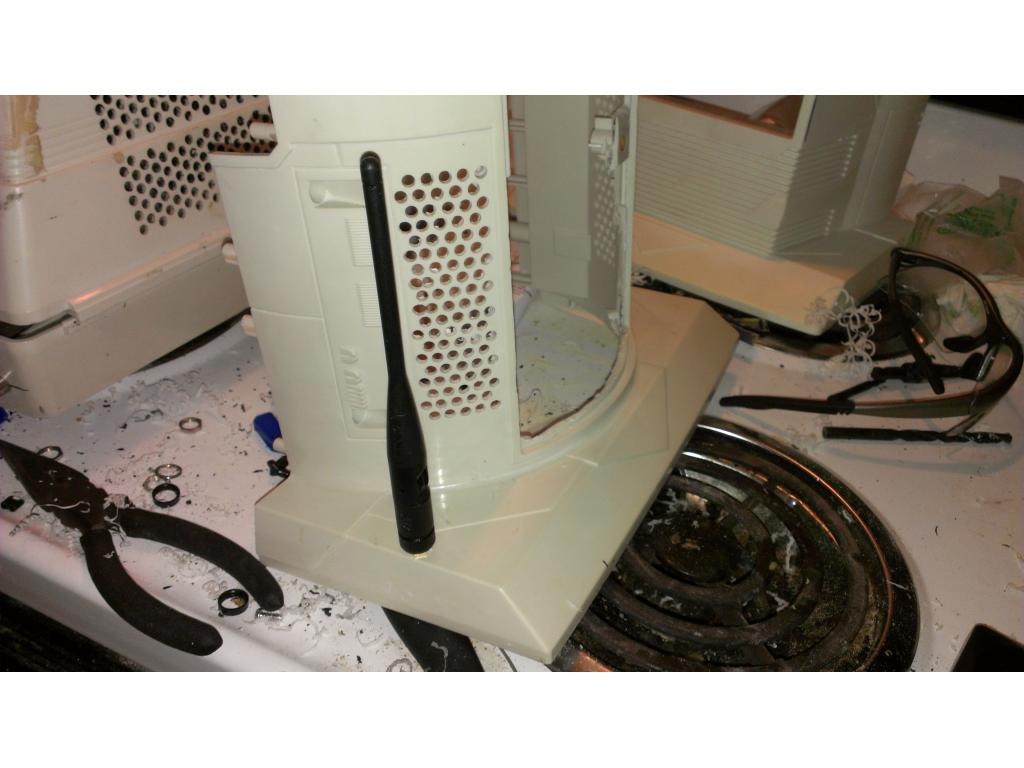
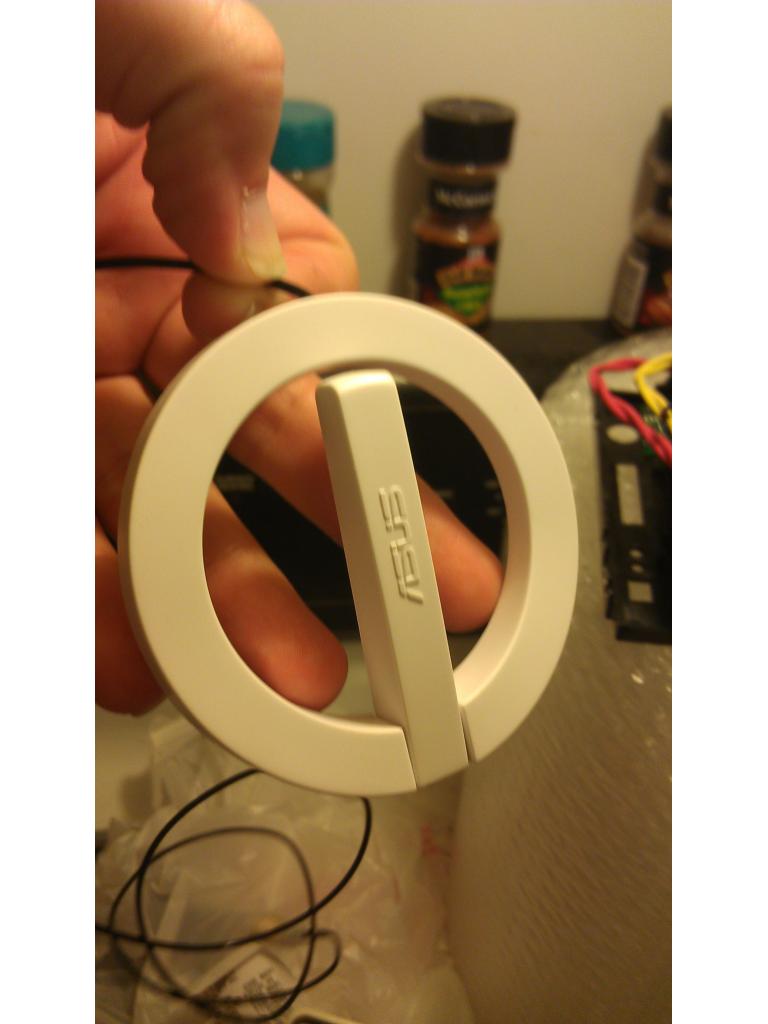
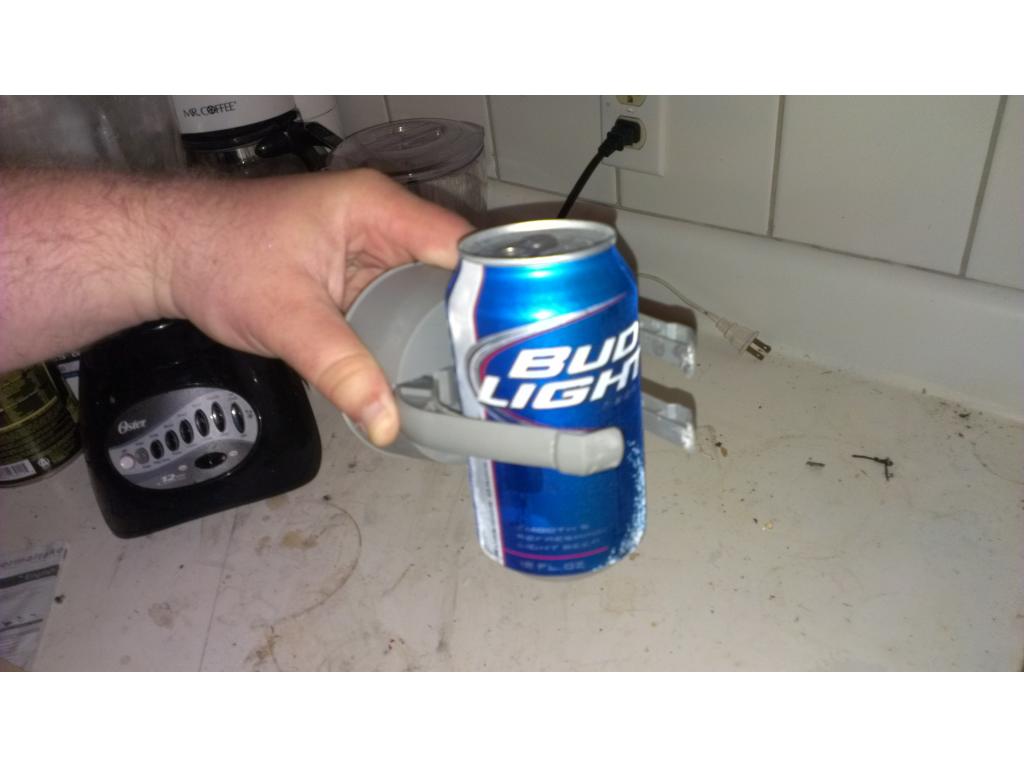
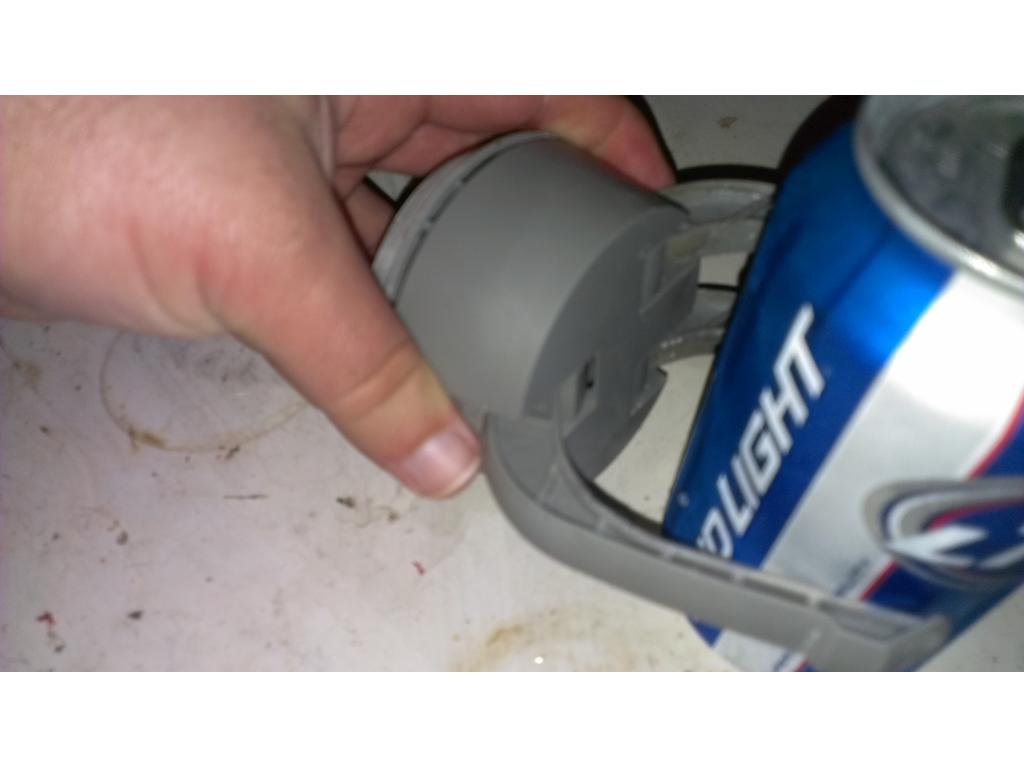
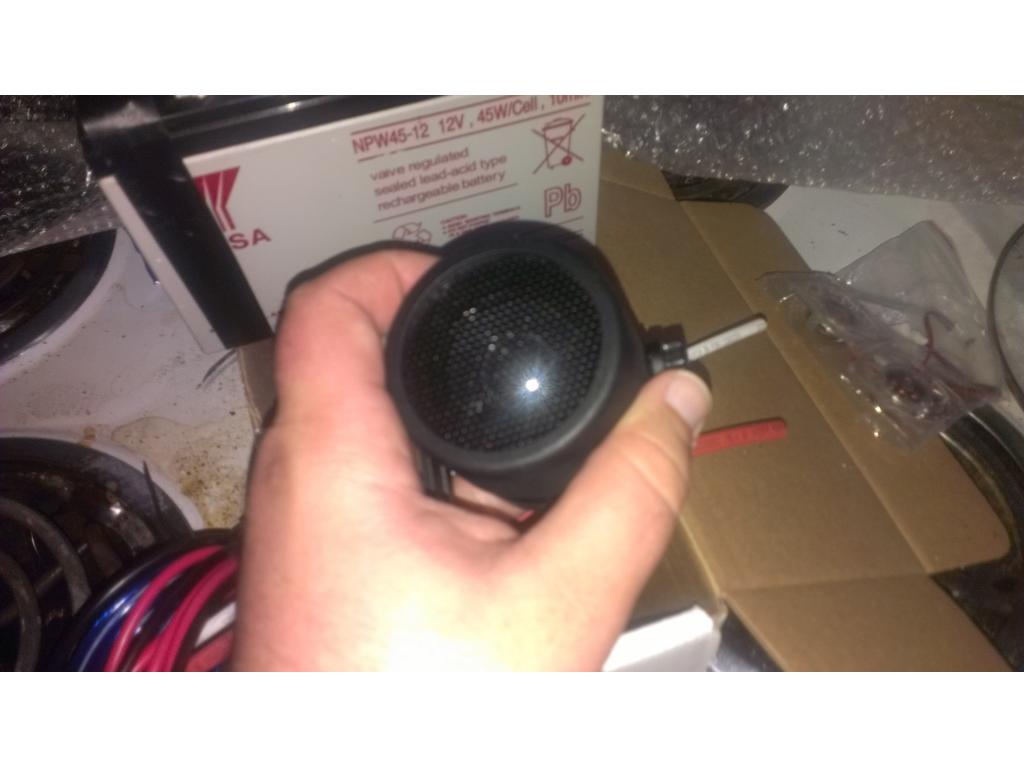
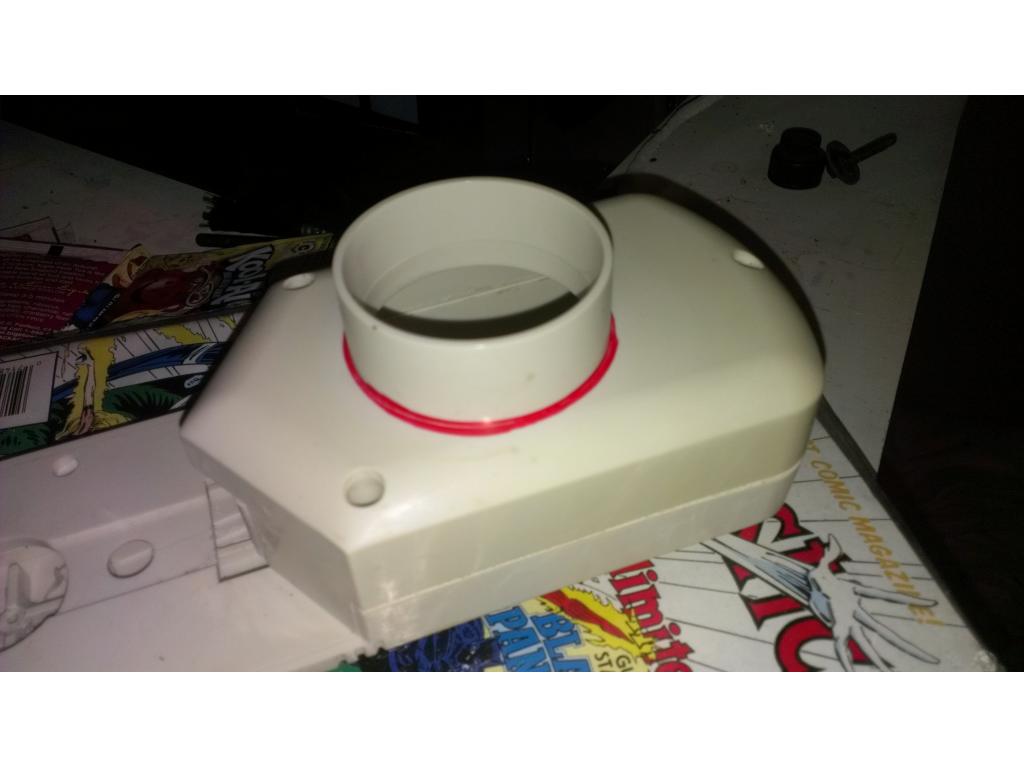
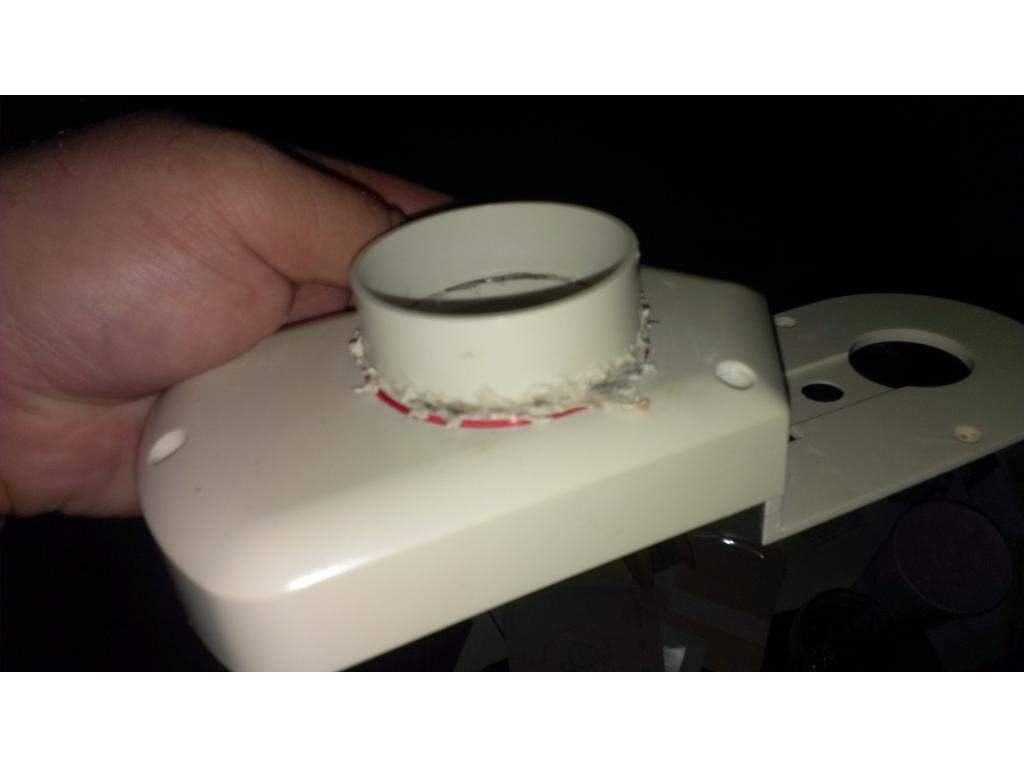
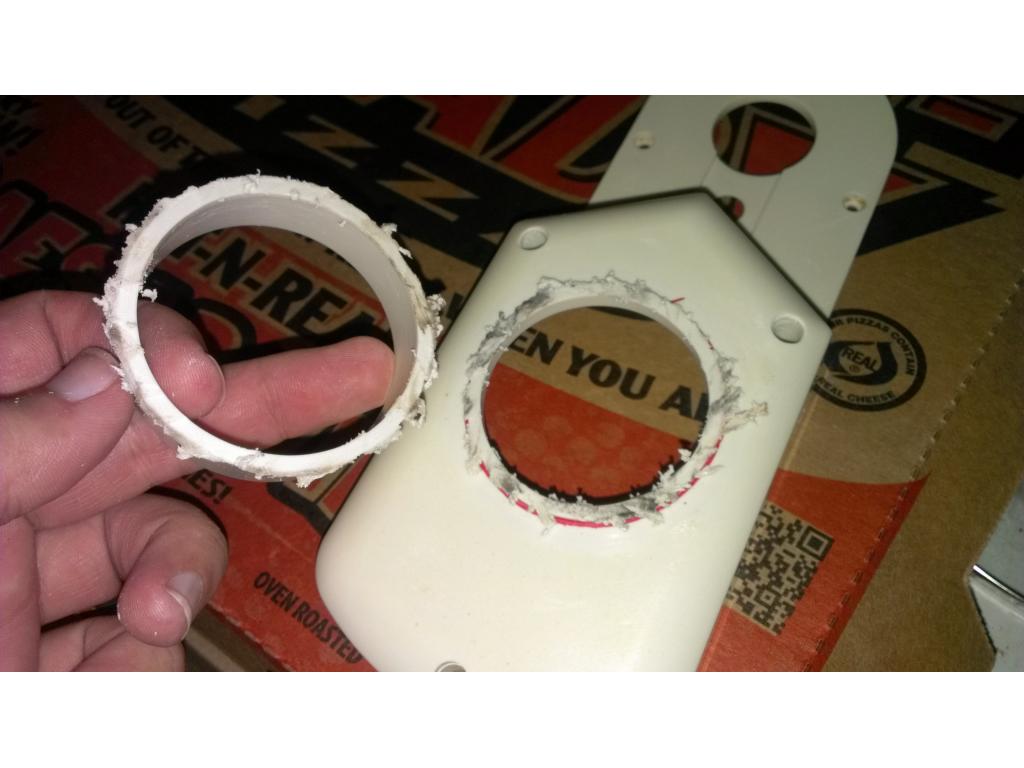
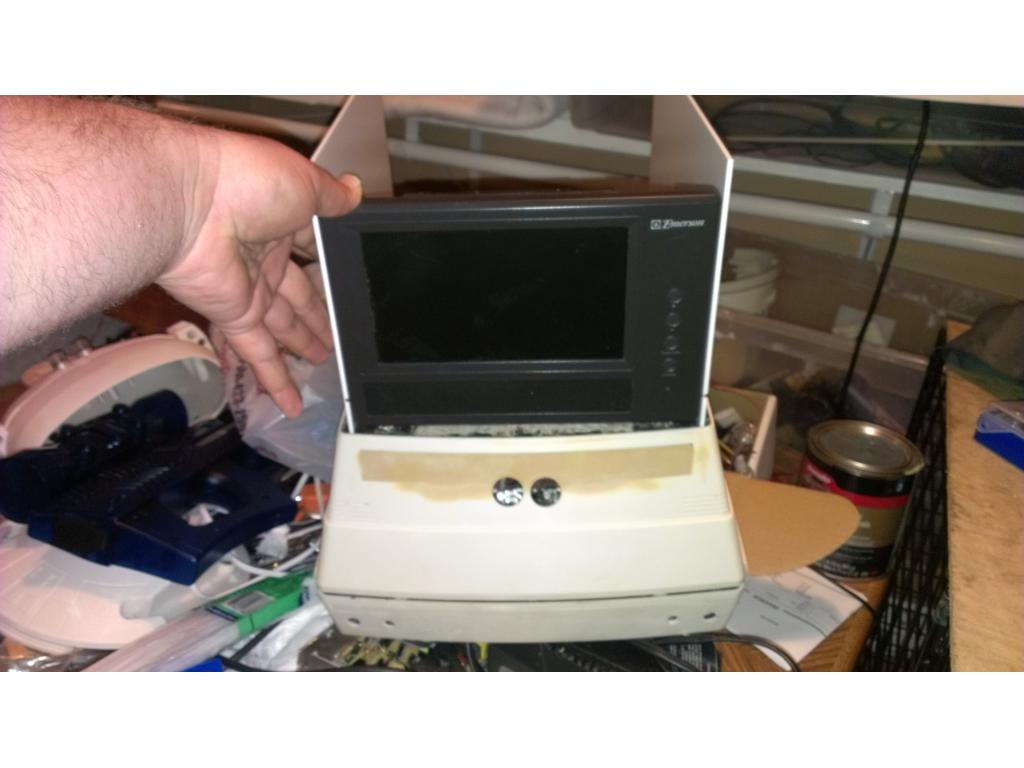
Continued from that post. I have the LCD screen, hard drives, power supply, 110 watt power inverter eCt I have thought about installing a liquid cooled system if there is ample room. I drew a circle then predrilled all the way around to make a smoother cutouT. I then used the dremel to cut out the circle. A sanding drum made it a little easier to clean up the edges. I had 5.25 Memphis speakers I bought from my roommates work and 5.25 inches happens to be the size of my cooling fans , also given to me by my roommate.... Thanks Dan ! So I test fitted the grills and found they would work well as fan covers!
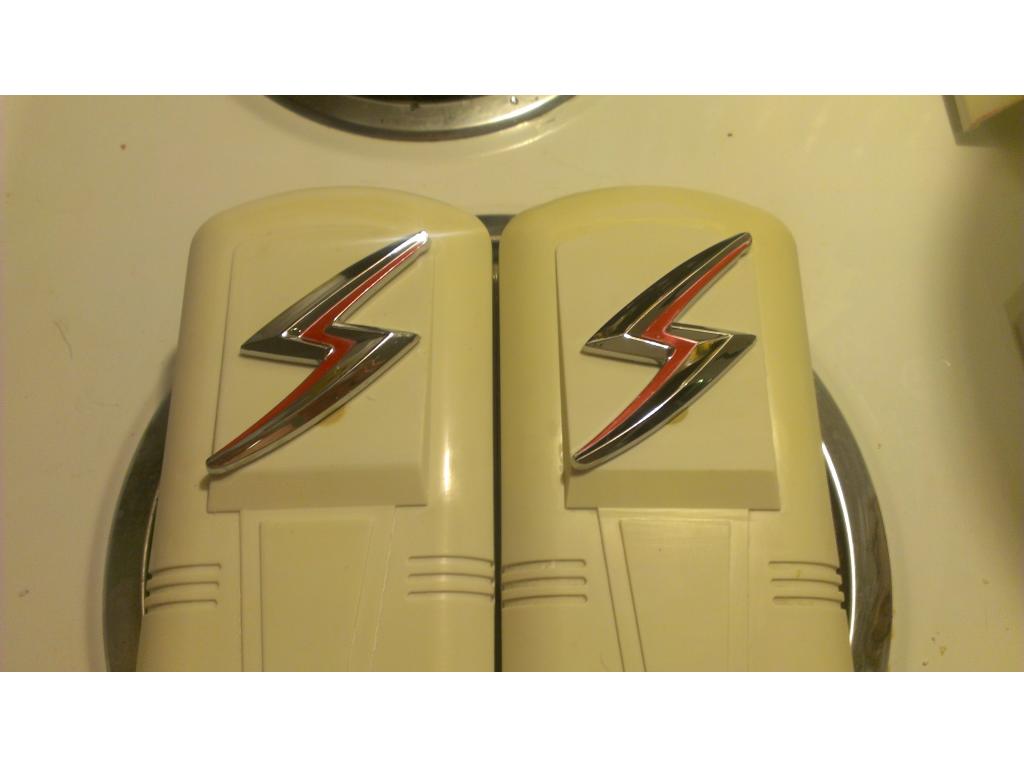
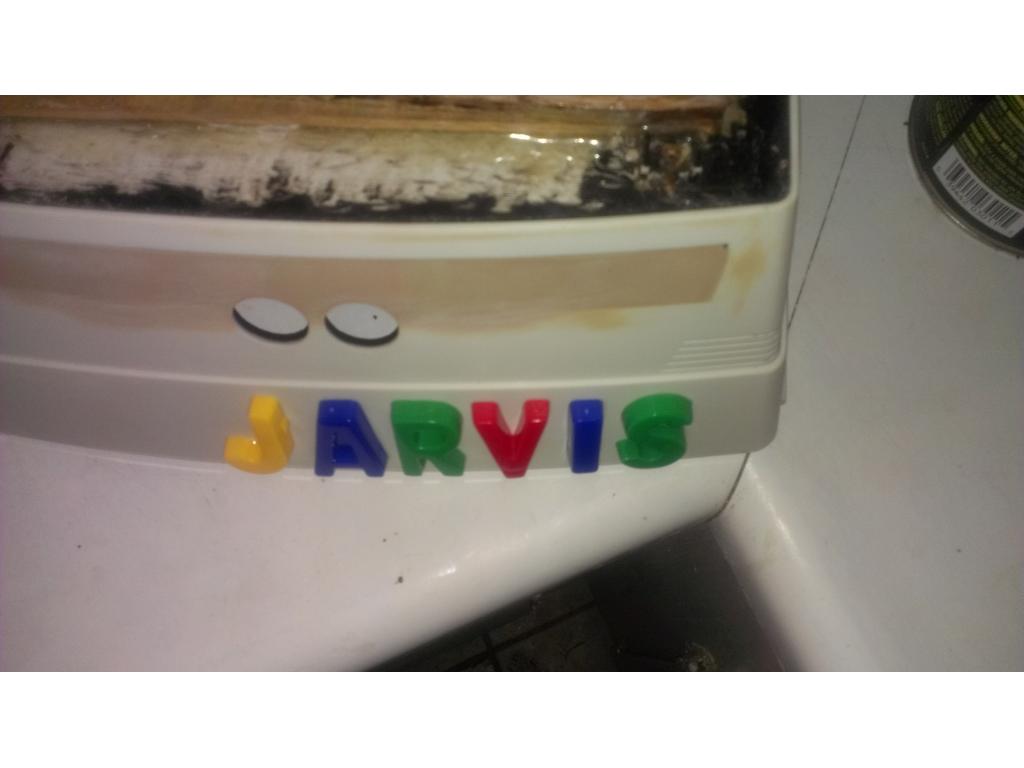
What does everyone think of the improvised fan grill?