

-636348381130562972.jpg)

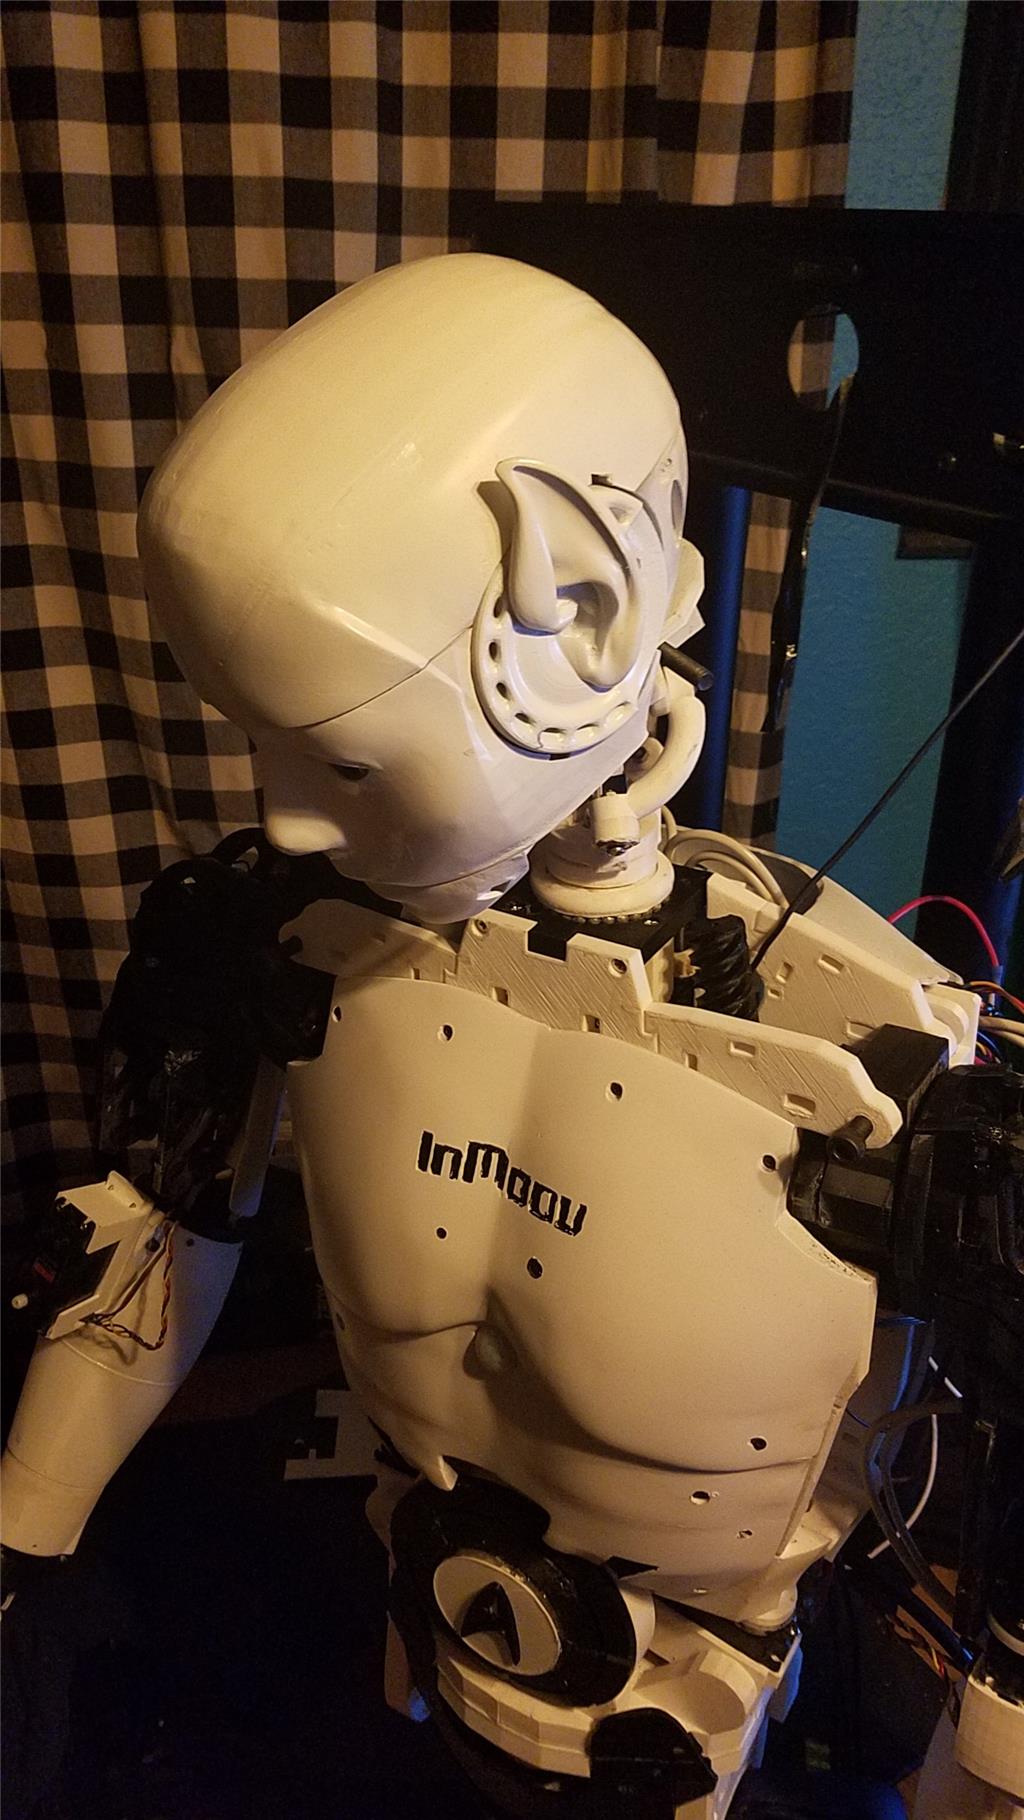
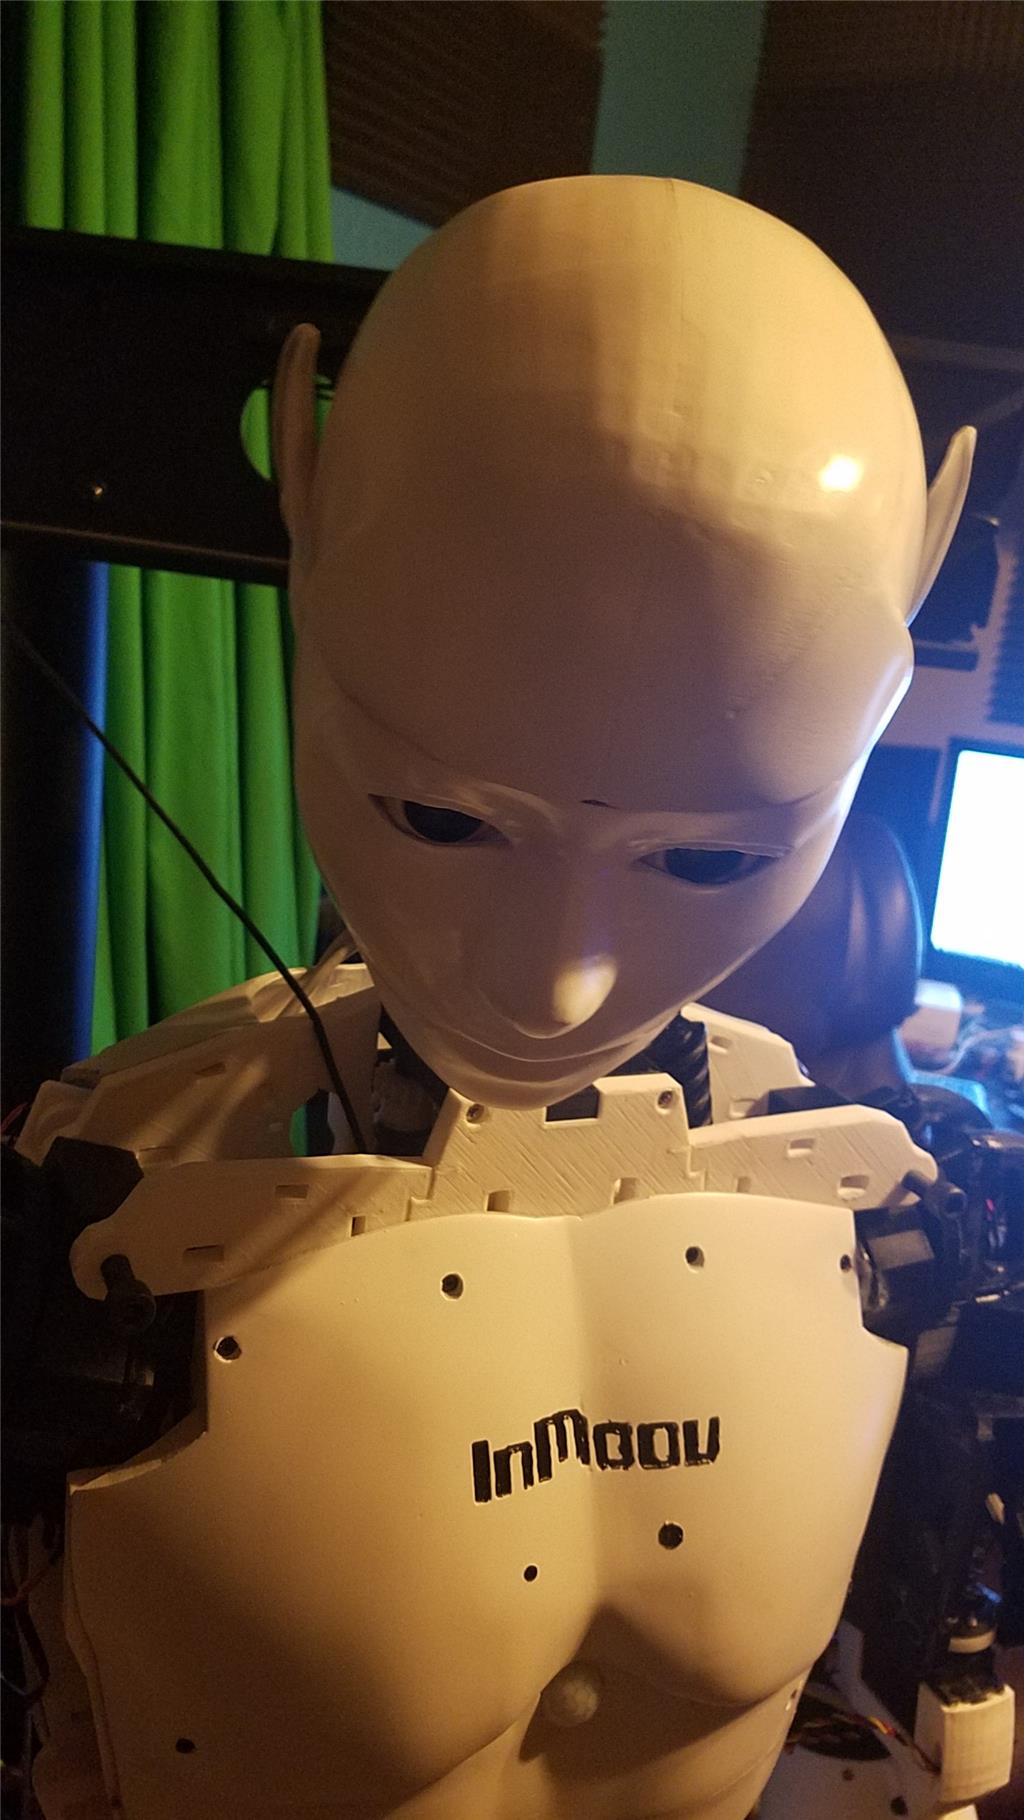


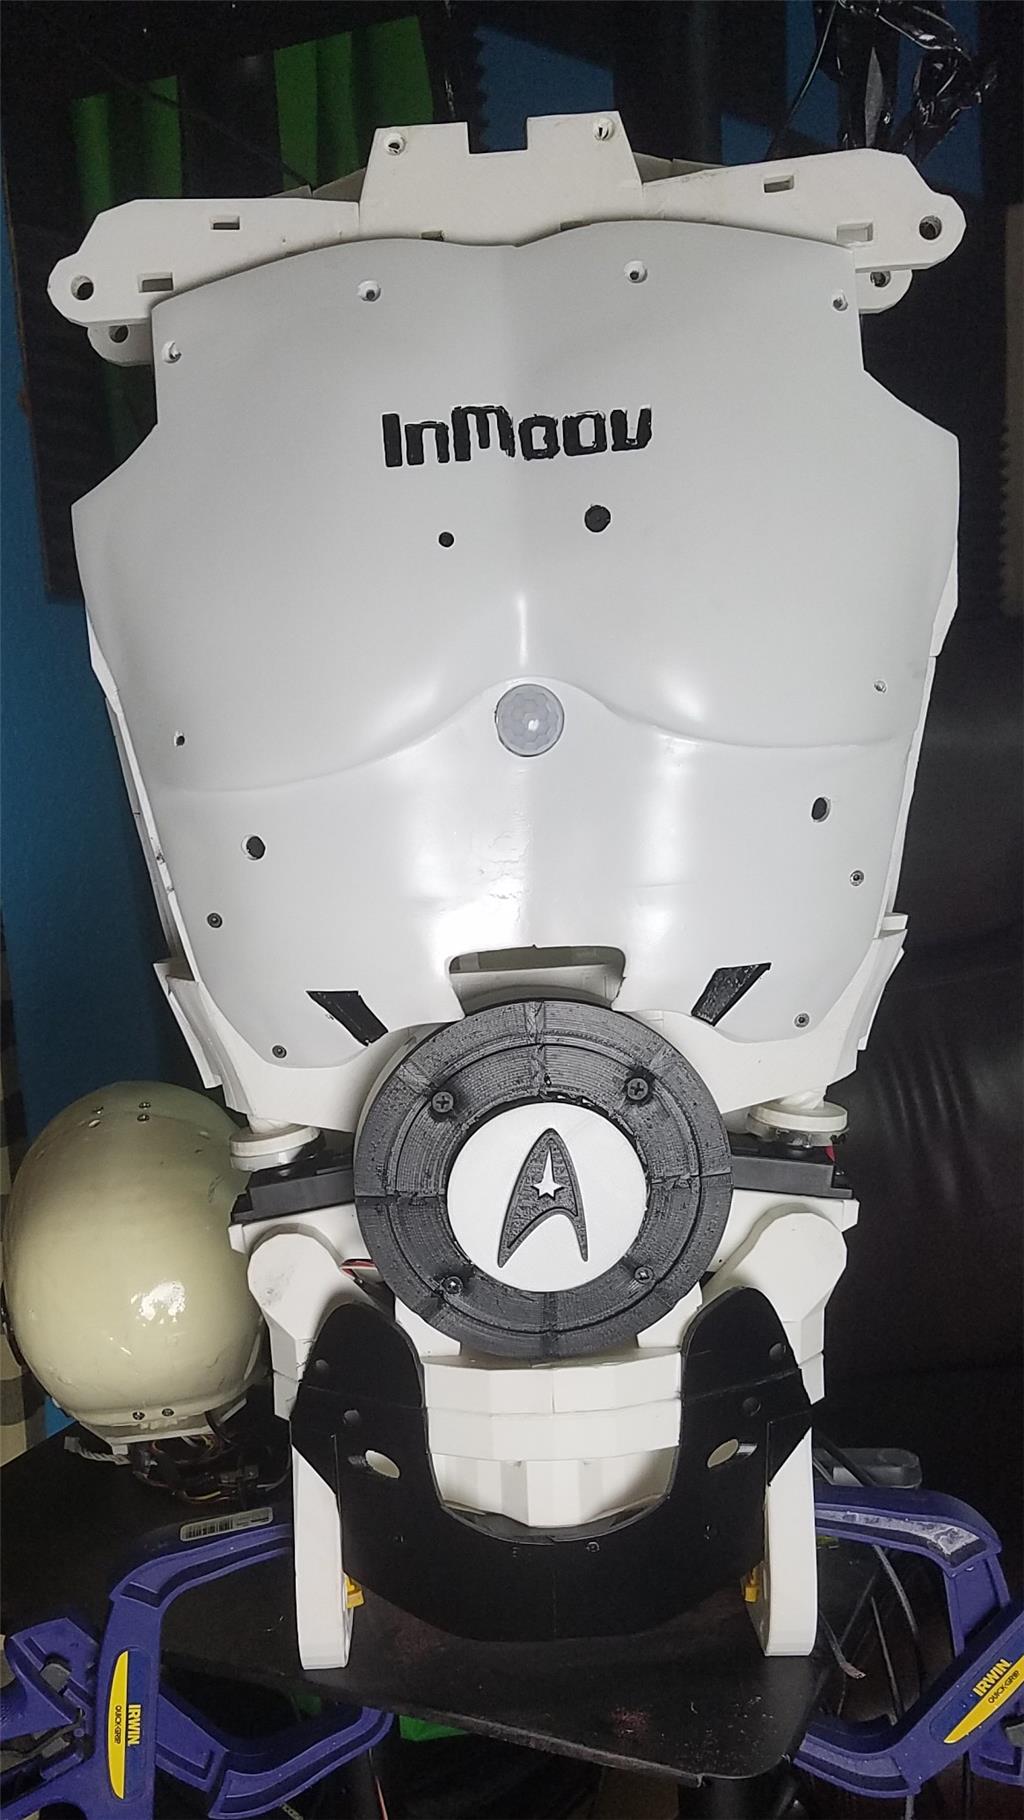


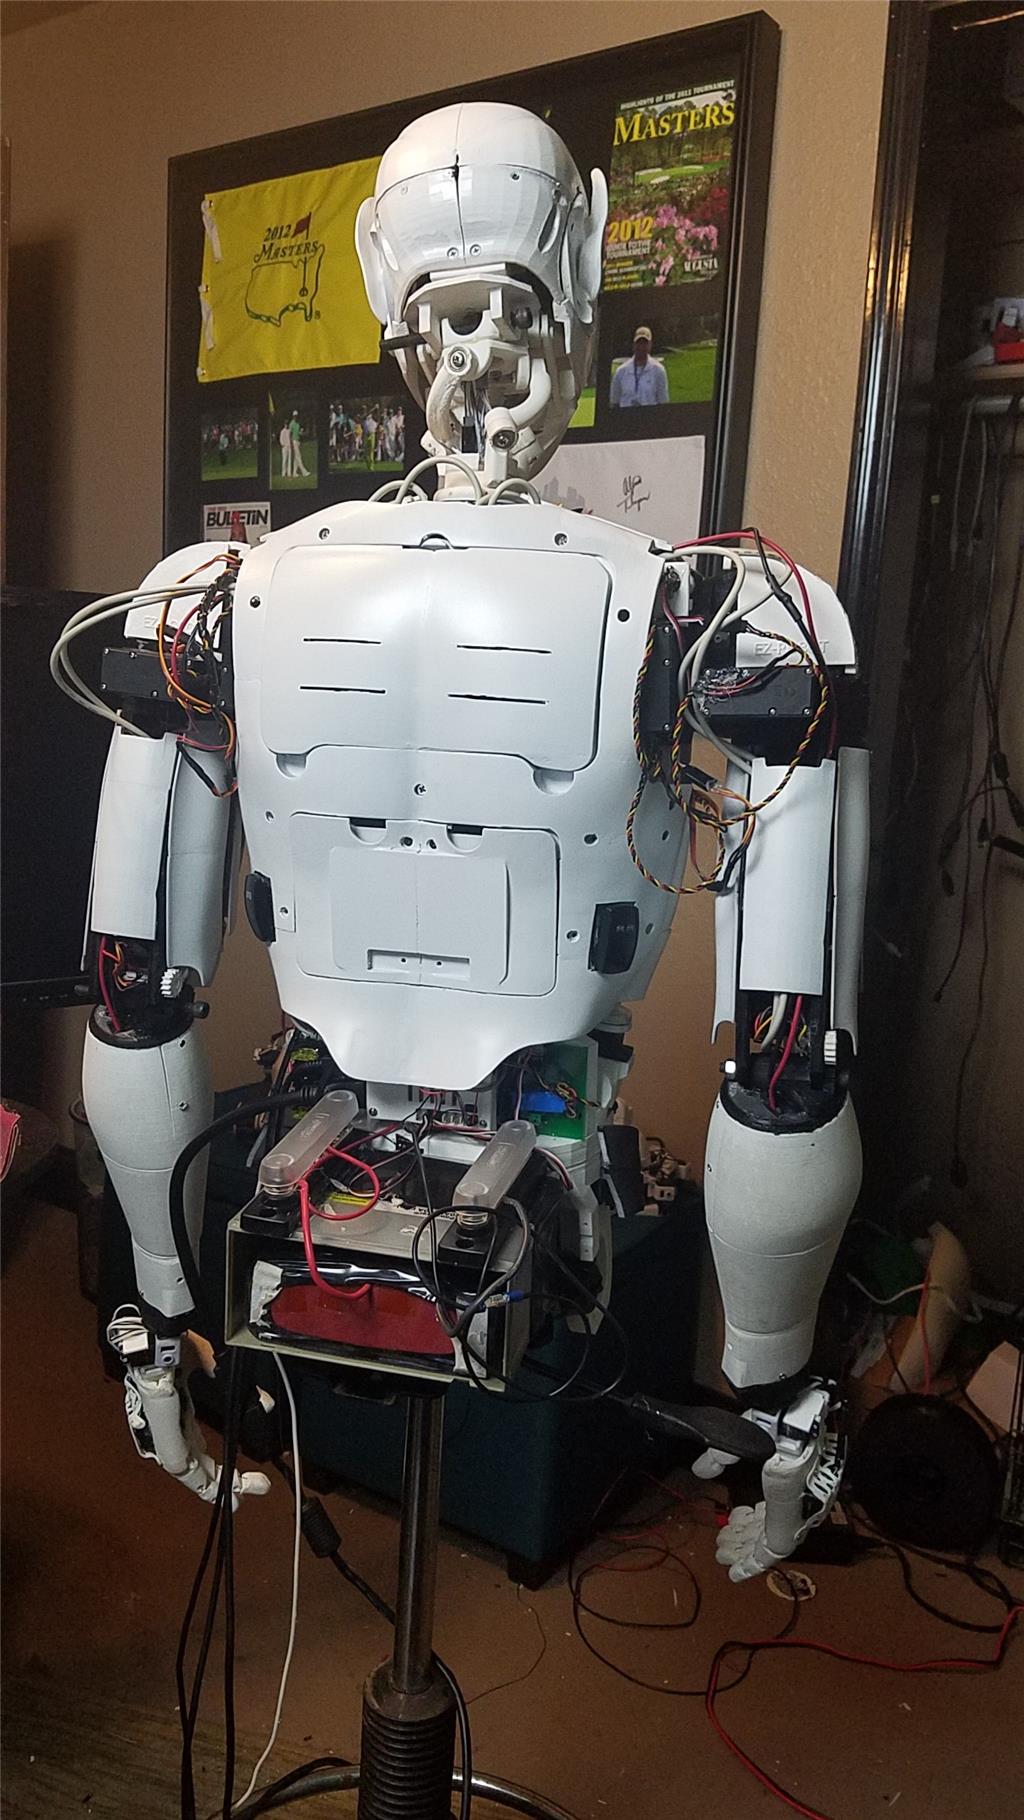
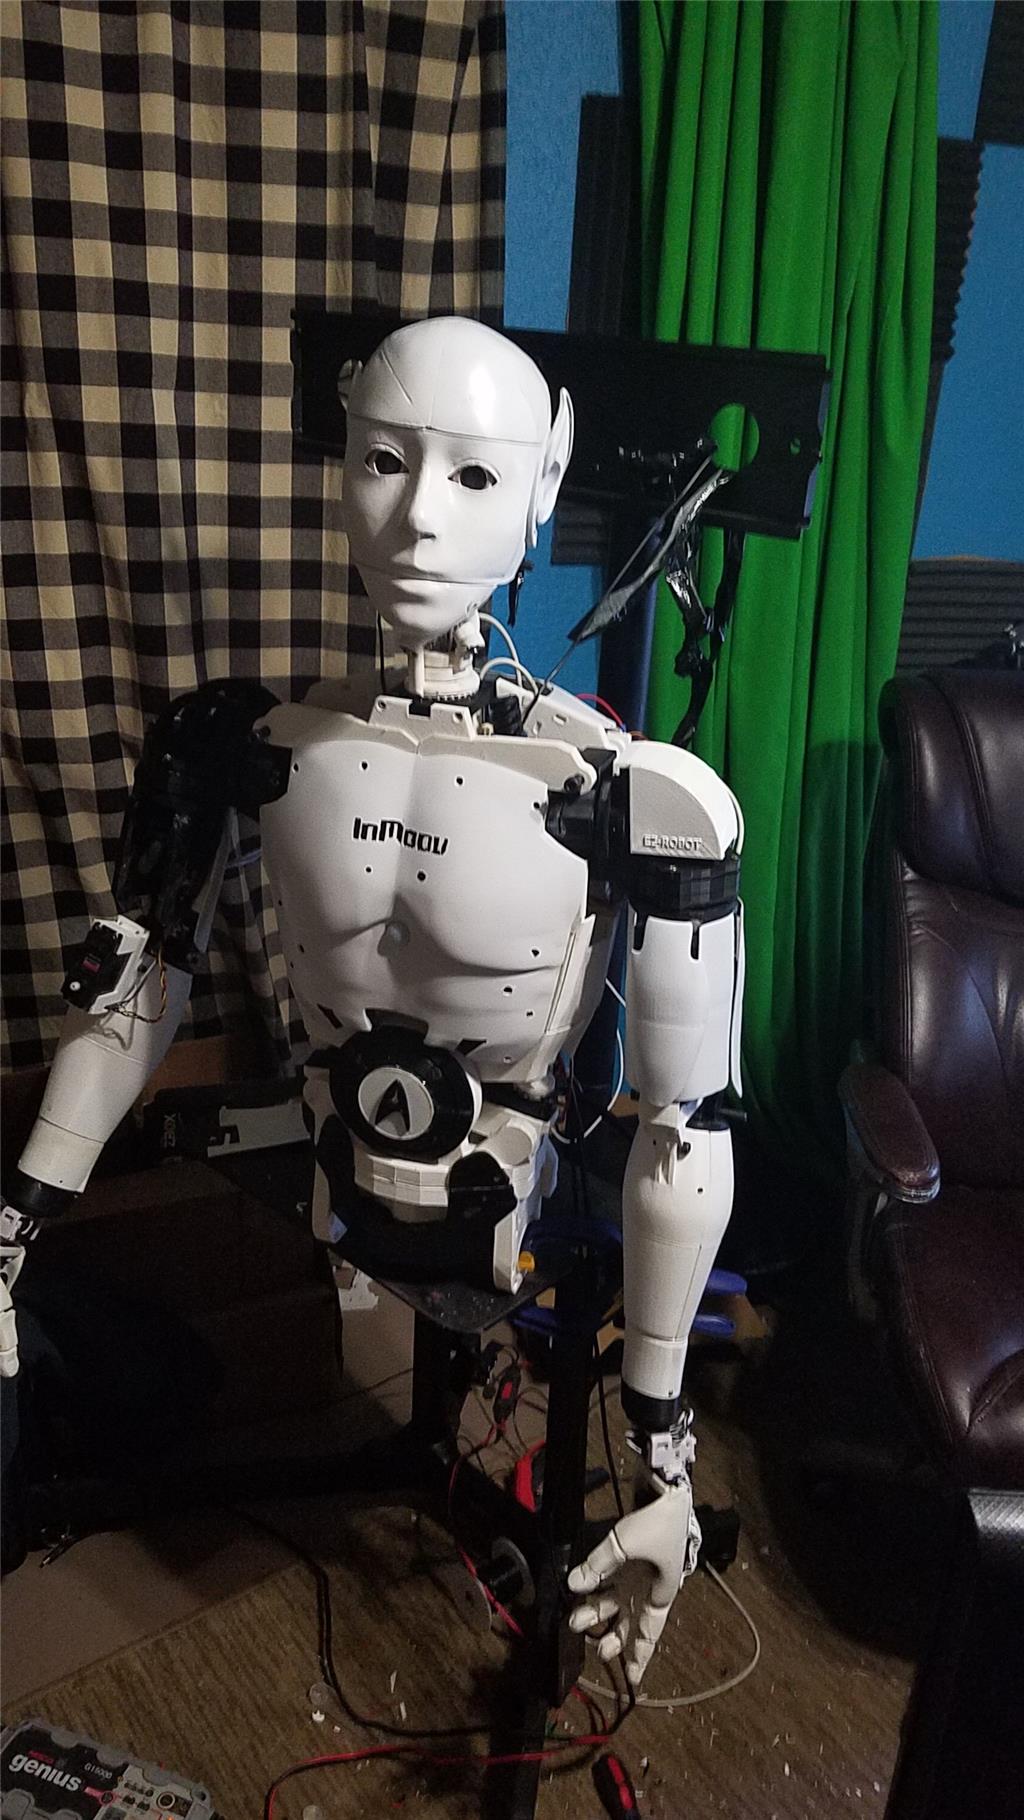
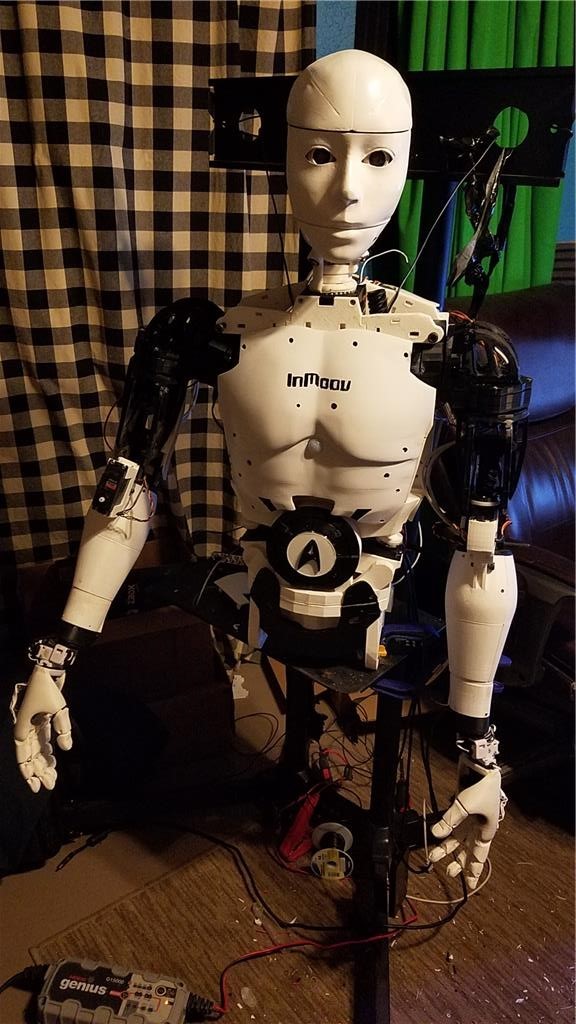
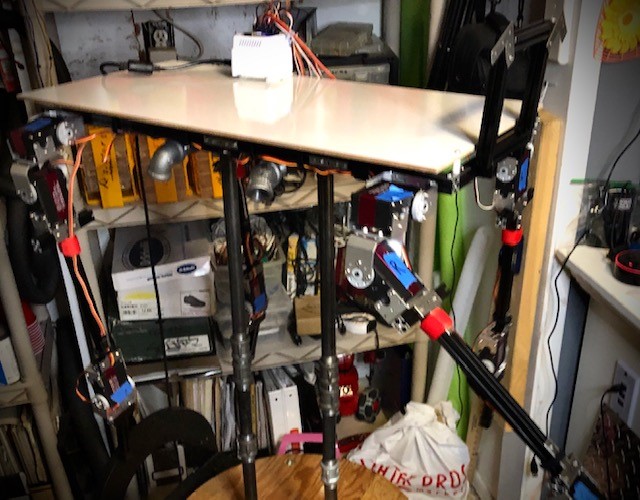
I have decided to start my InMoov project. I think I will call him Spock out of respect to Leonard Nimoy who passed away on the day that I started this project.
I am editing this post so as not to confuse people with the current configuration. I continue to update this post with the latest photos. If you are reading this for the first time, don't be confused. There have been a lot of changes to the InMoov over the past couple of years including starting over.
https://synthiam.com/Community/Questions/7398&page=21 Post 203 starts the rebuild of the InMoov.
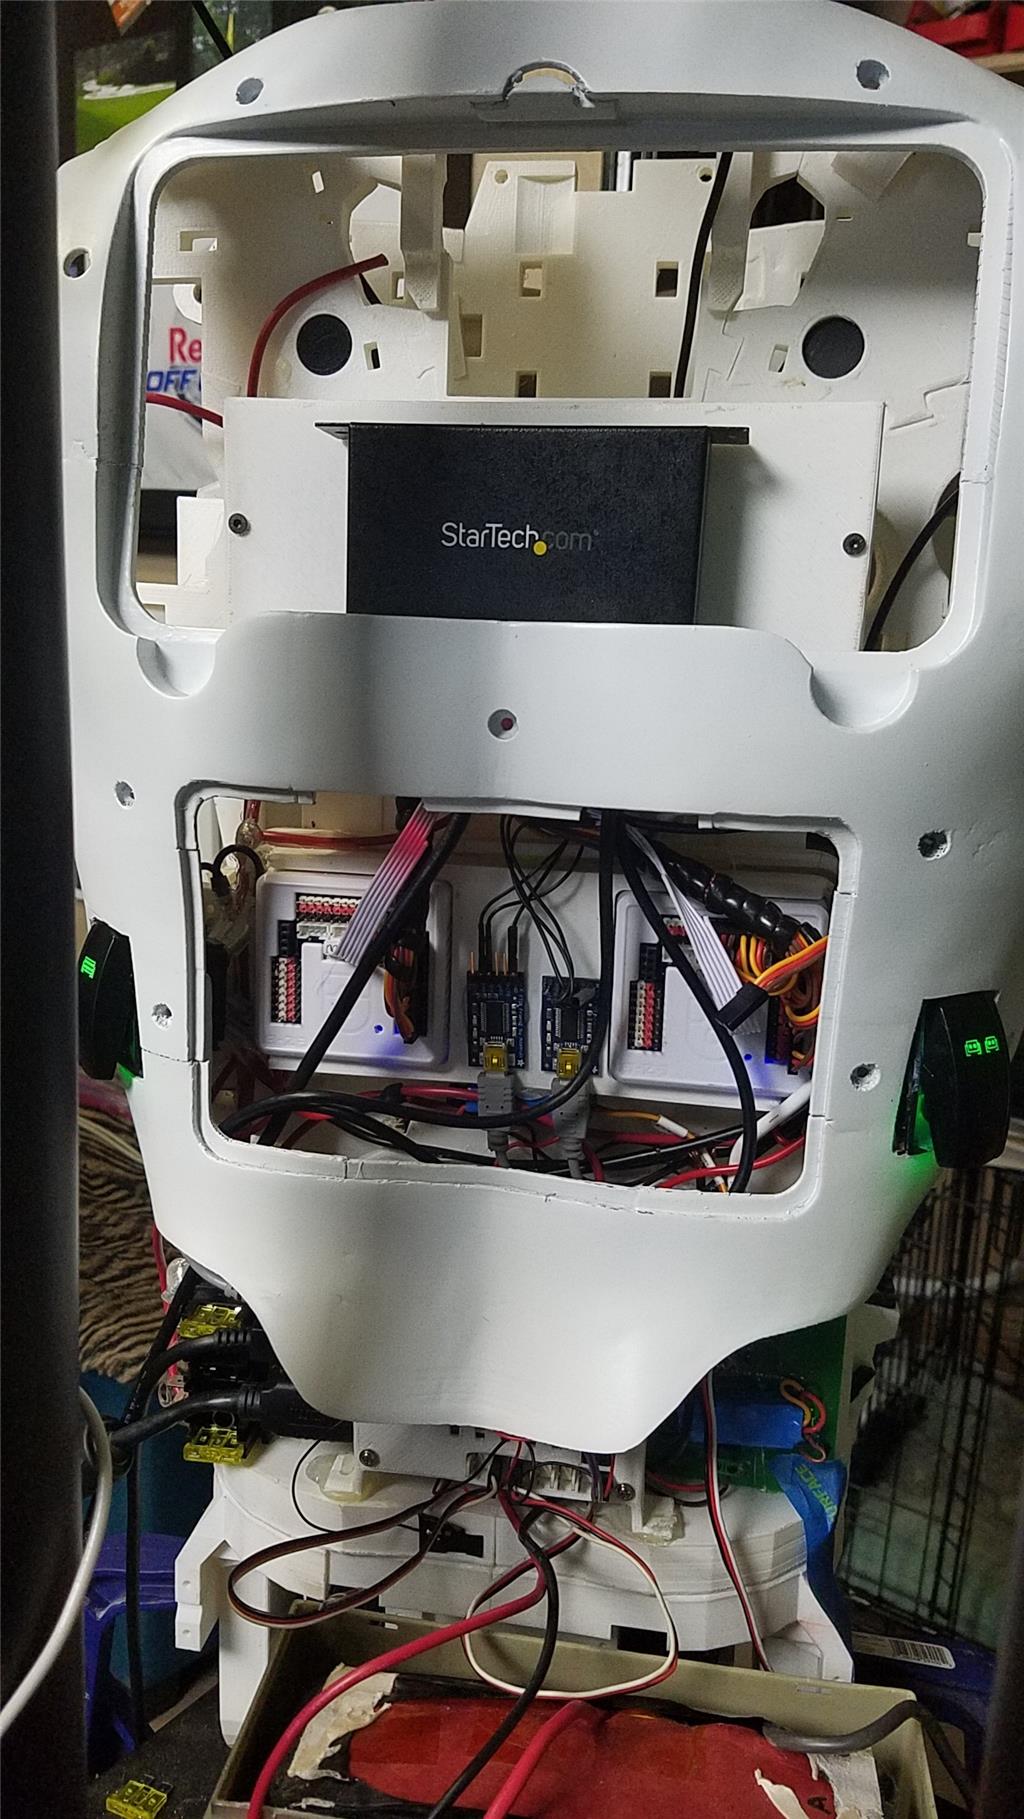
I have decided to use an onboard computer. I chose the Latte Panda due to it having an onboard arduino Leonardo and also because it uses little power.
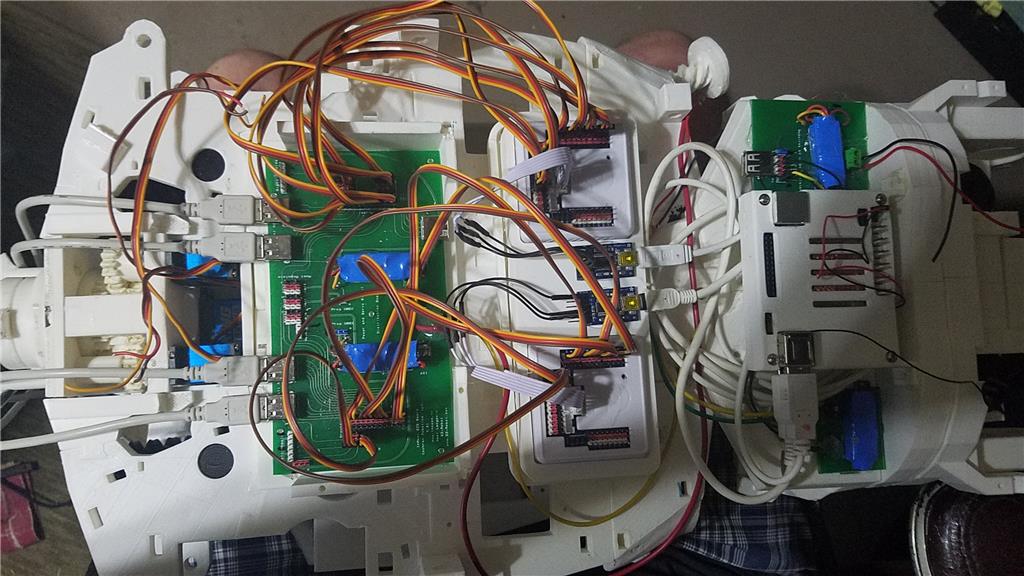
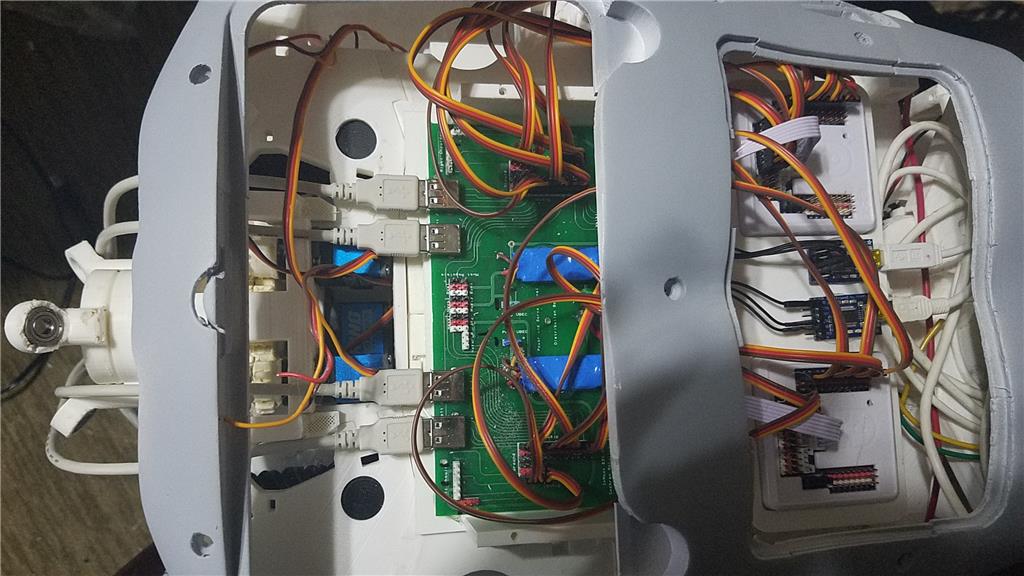
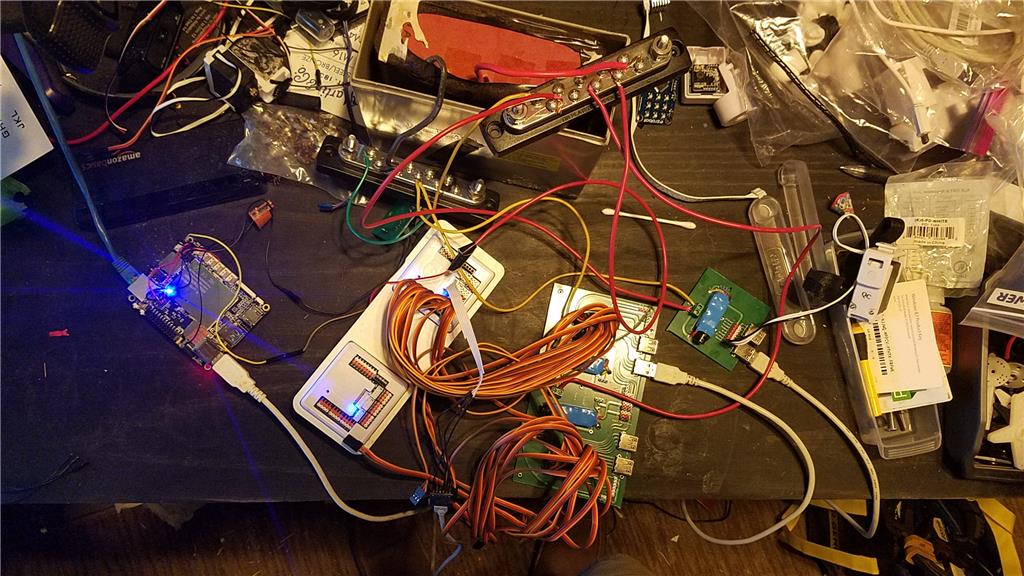
I used 2 EZ-B controllers connected via the camera port to Adafruit FTDI friend boards. This allows the Latte Panda to have a non-wifi dependent connection to the EZ-B's. I use a powered USB hub connected to the USB3 port on the Latte Panda to attach other items.
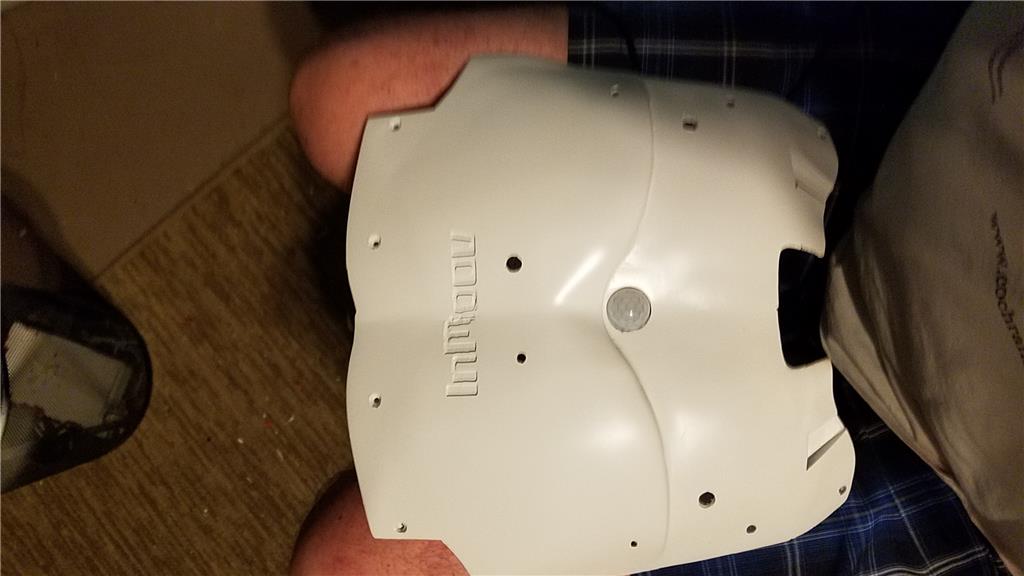
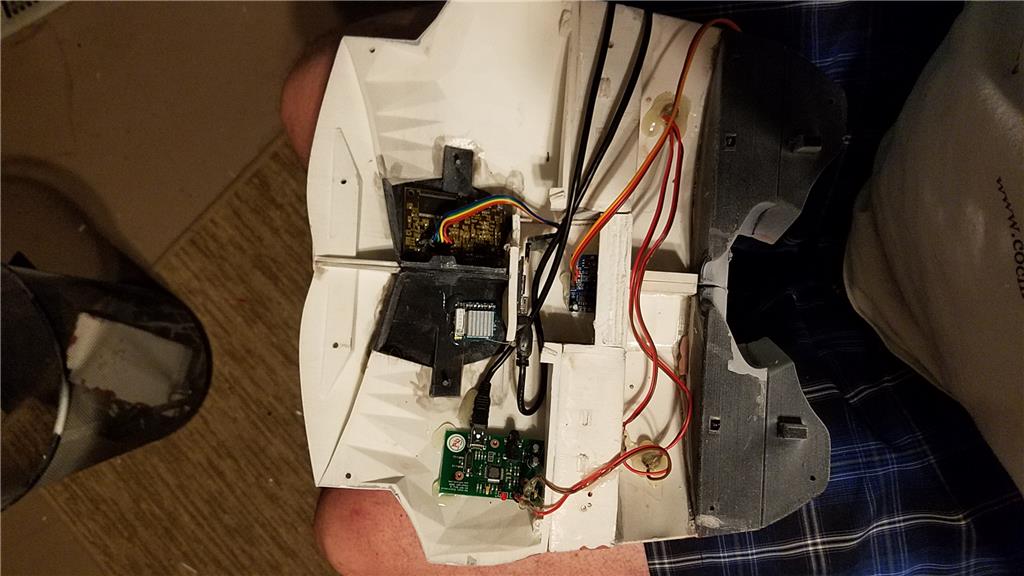
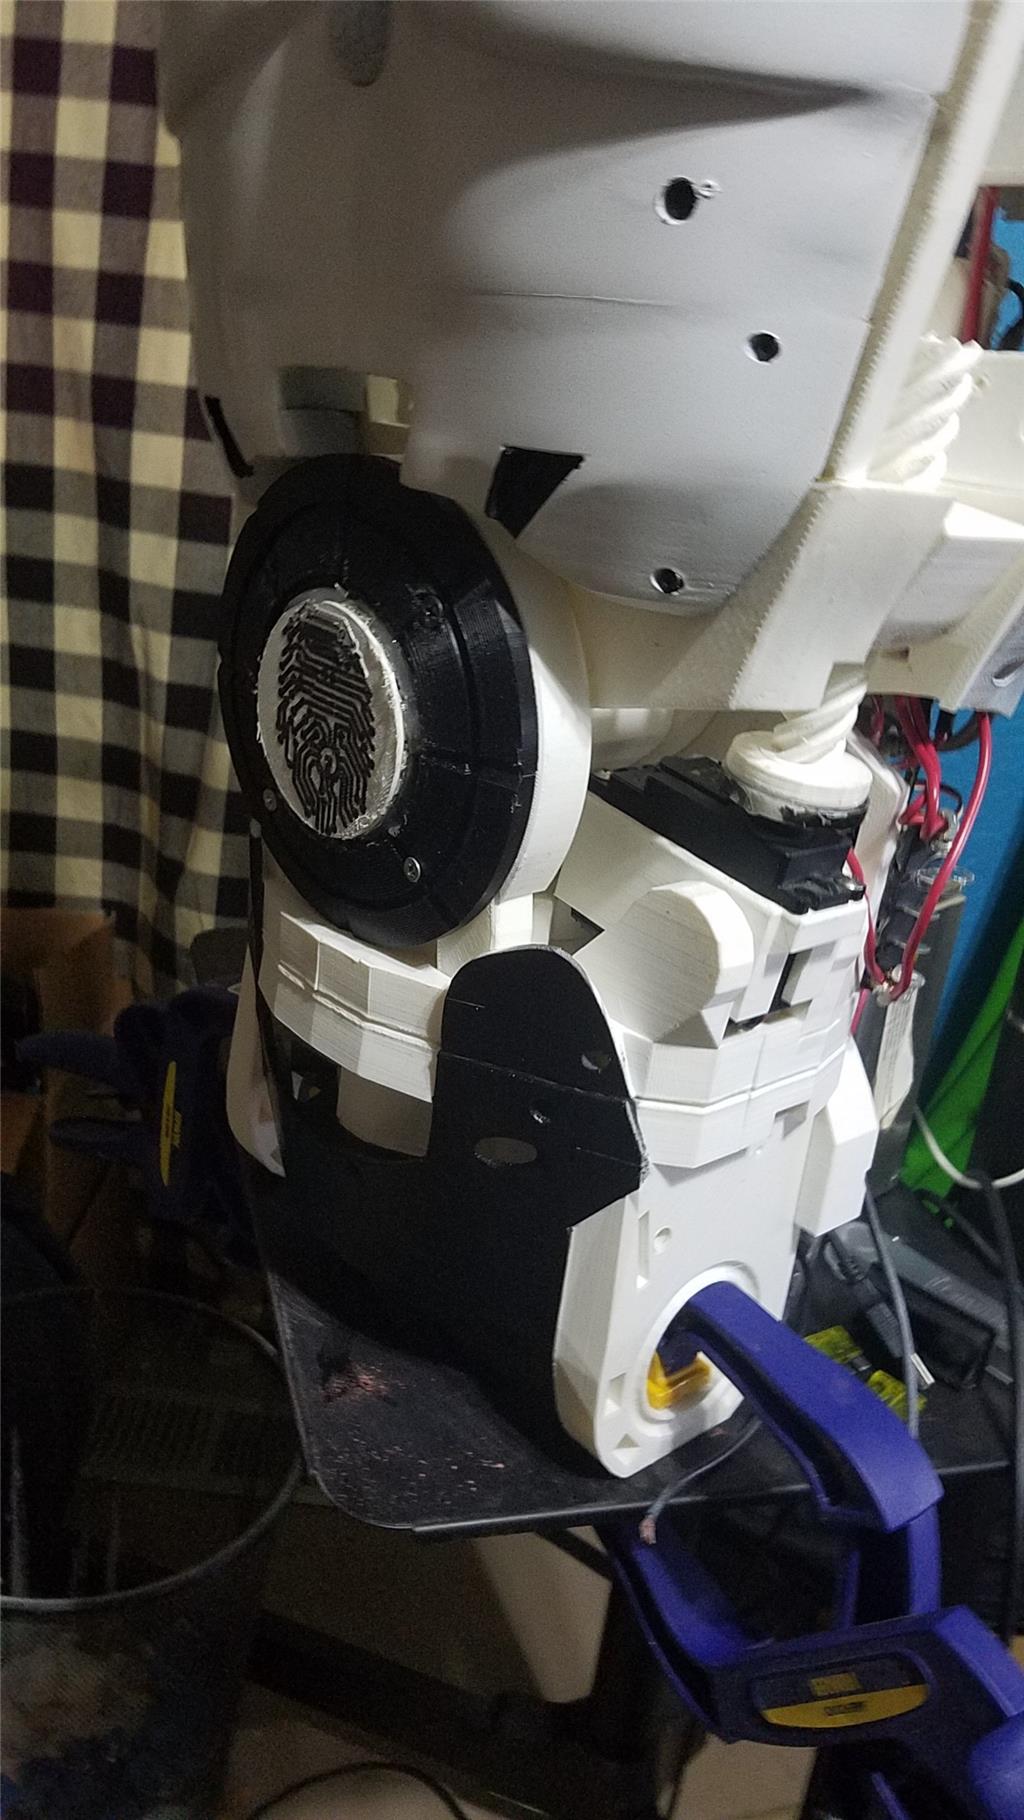
The Omron HVC-P is used to identify people, emotions, human bodies, hands, age and gender. It is attached to the Latte Panda via an FTDI friend which is then connected to the powered USB hub. It is mounted in the chest of the InMoov. I also use a 3 element microphone which is a MXL AC-404 microphone. It is disassembled and the board and microphone elements are mounted in the chest of the InMoov. This mic board is connected to the Latte Panda via a usb cable which is attached to the powered USB hub. There is a USB camera in the eye of the InMoov which is connected to the Latte Panda via the powered USB hub.
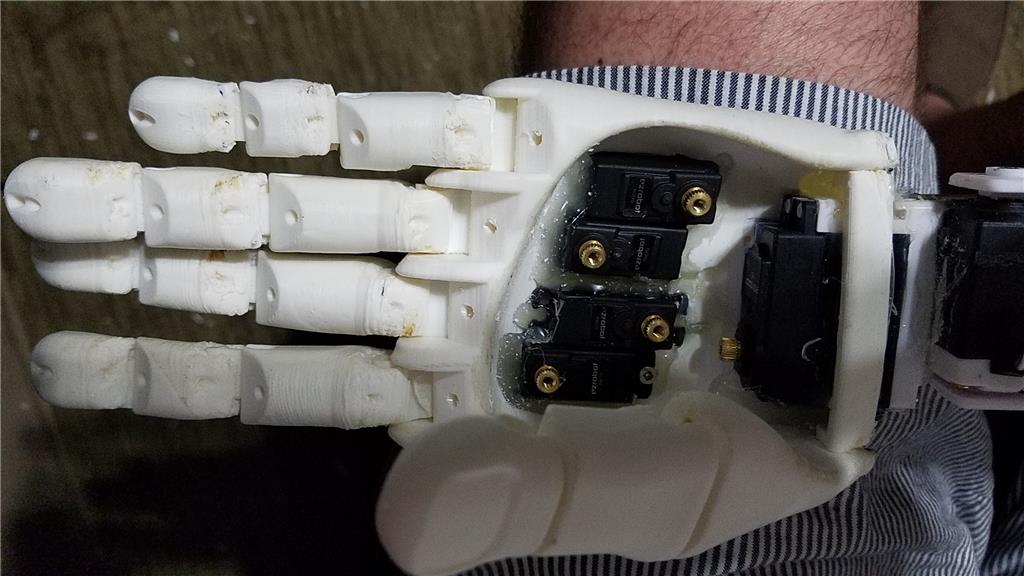
I chose to use the Flexy hand with the InMoov. The design is far more rugged than the original hand and works very well. There are 4 EZ-Robot Micro Servos in the palm of each hand which controls the main fingers. The thumb is controlled by an EZ-Robot HD servo. The wrist waves and uses an EZ-Robot HD servo to do this motion. I use the standard Rotational wrist.
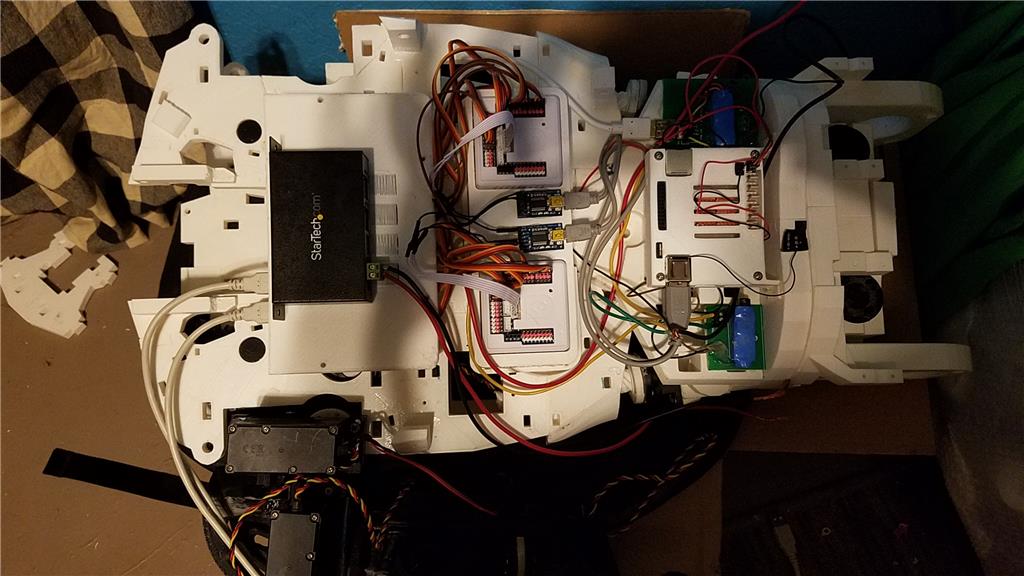
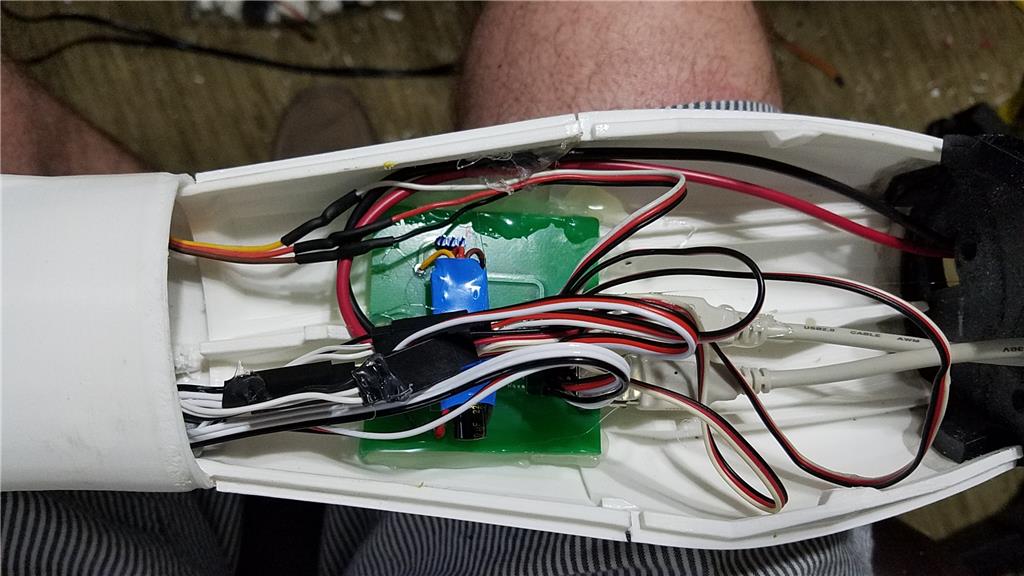
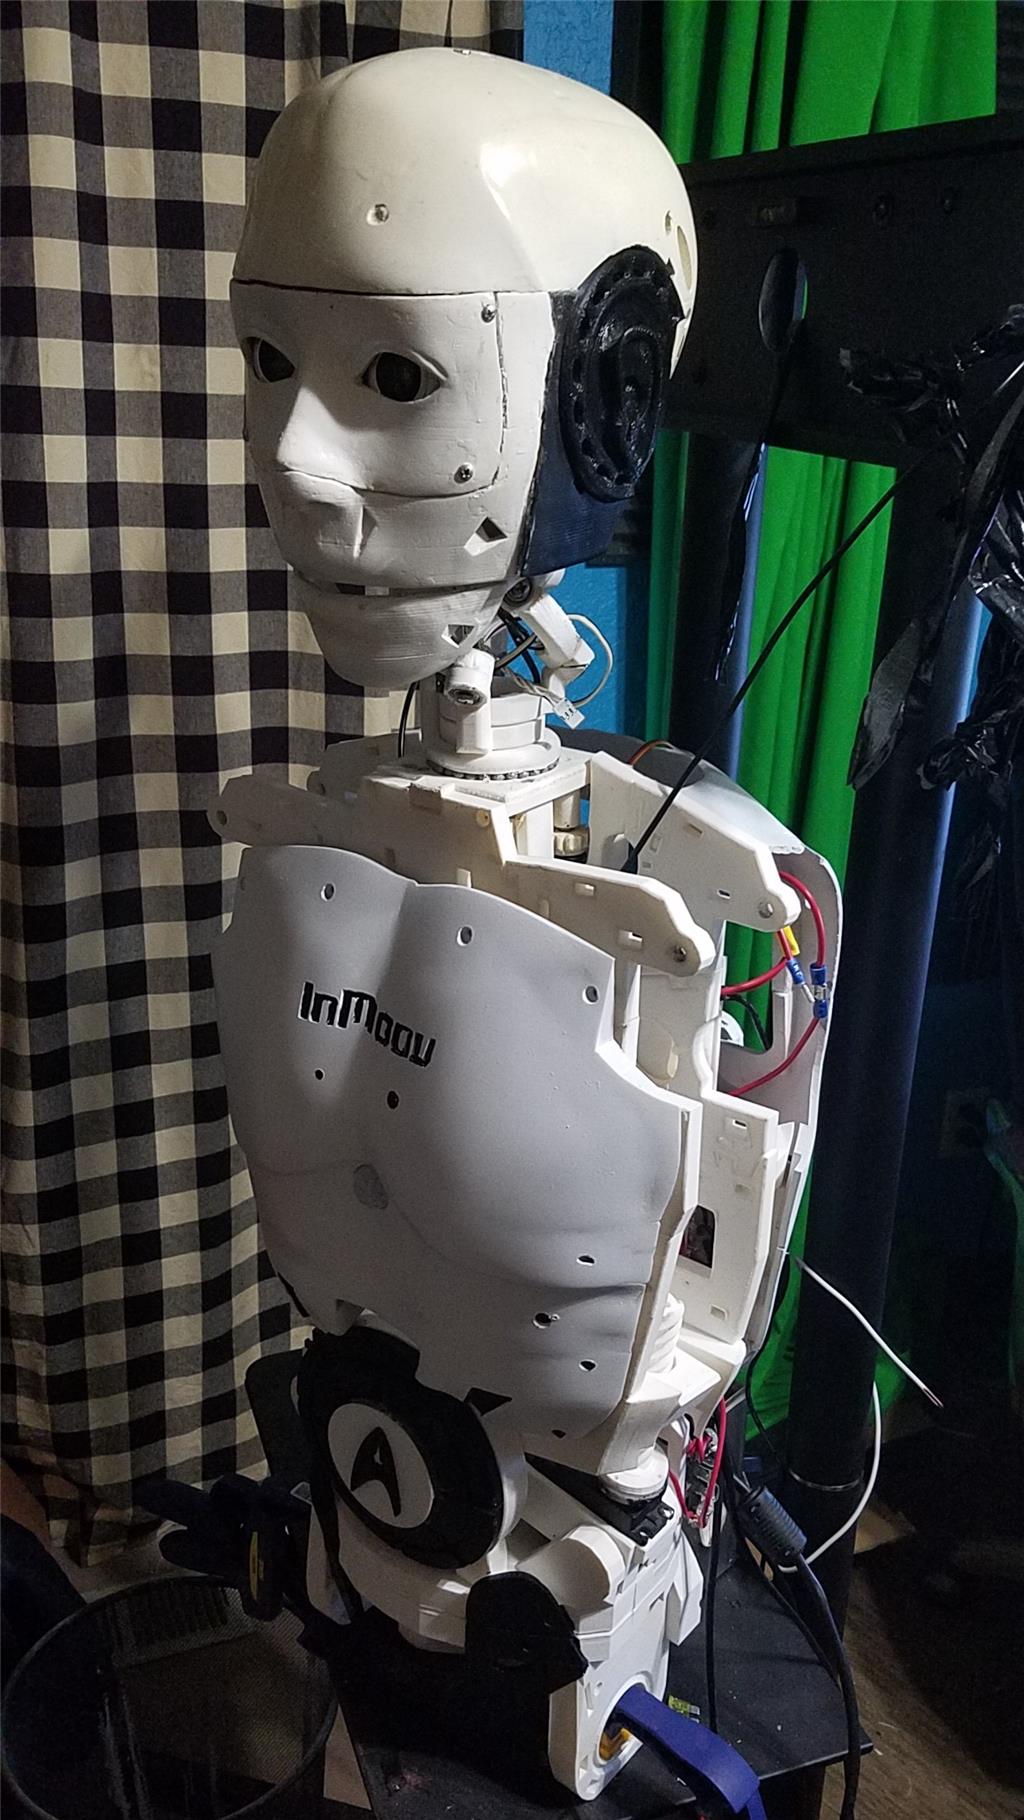
I have castle BEC's for power in the following locations set to the following voltages. Forearm's - 6.2 V - Controls fingers, wrist and elbows Custom power distribution board (2) set to 6.2 V controlling head, neck and Shoulder servos. EZ-B's - set to 6.1 V - it is mounted in the controller mounting plate and connects to the EZ-B fused power boards from a power base. Latte Panda - Set to 5.1 V and is mounted to the EZ-B controller mounting plate. Waist - set to 6.2 V and is mounted in the lower right side of the back. This provides power to the lean and pivot waist motors..
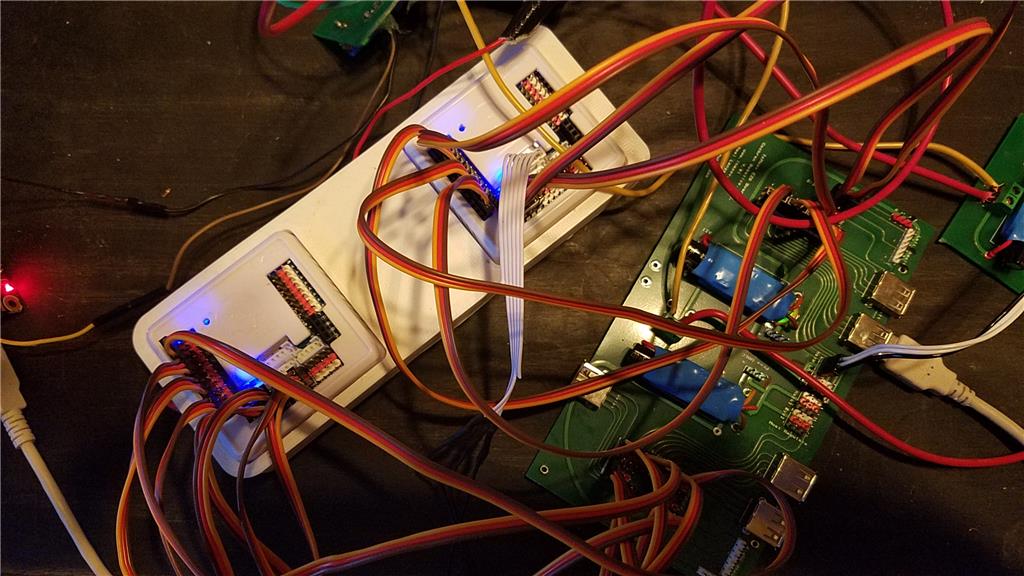
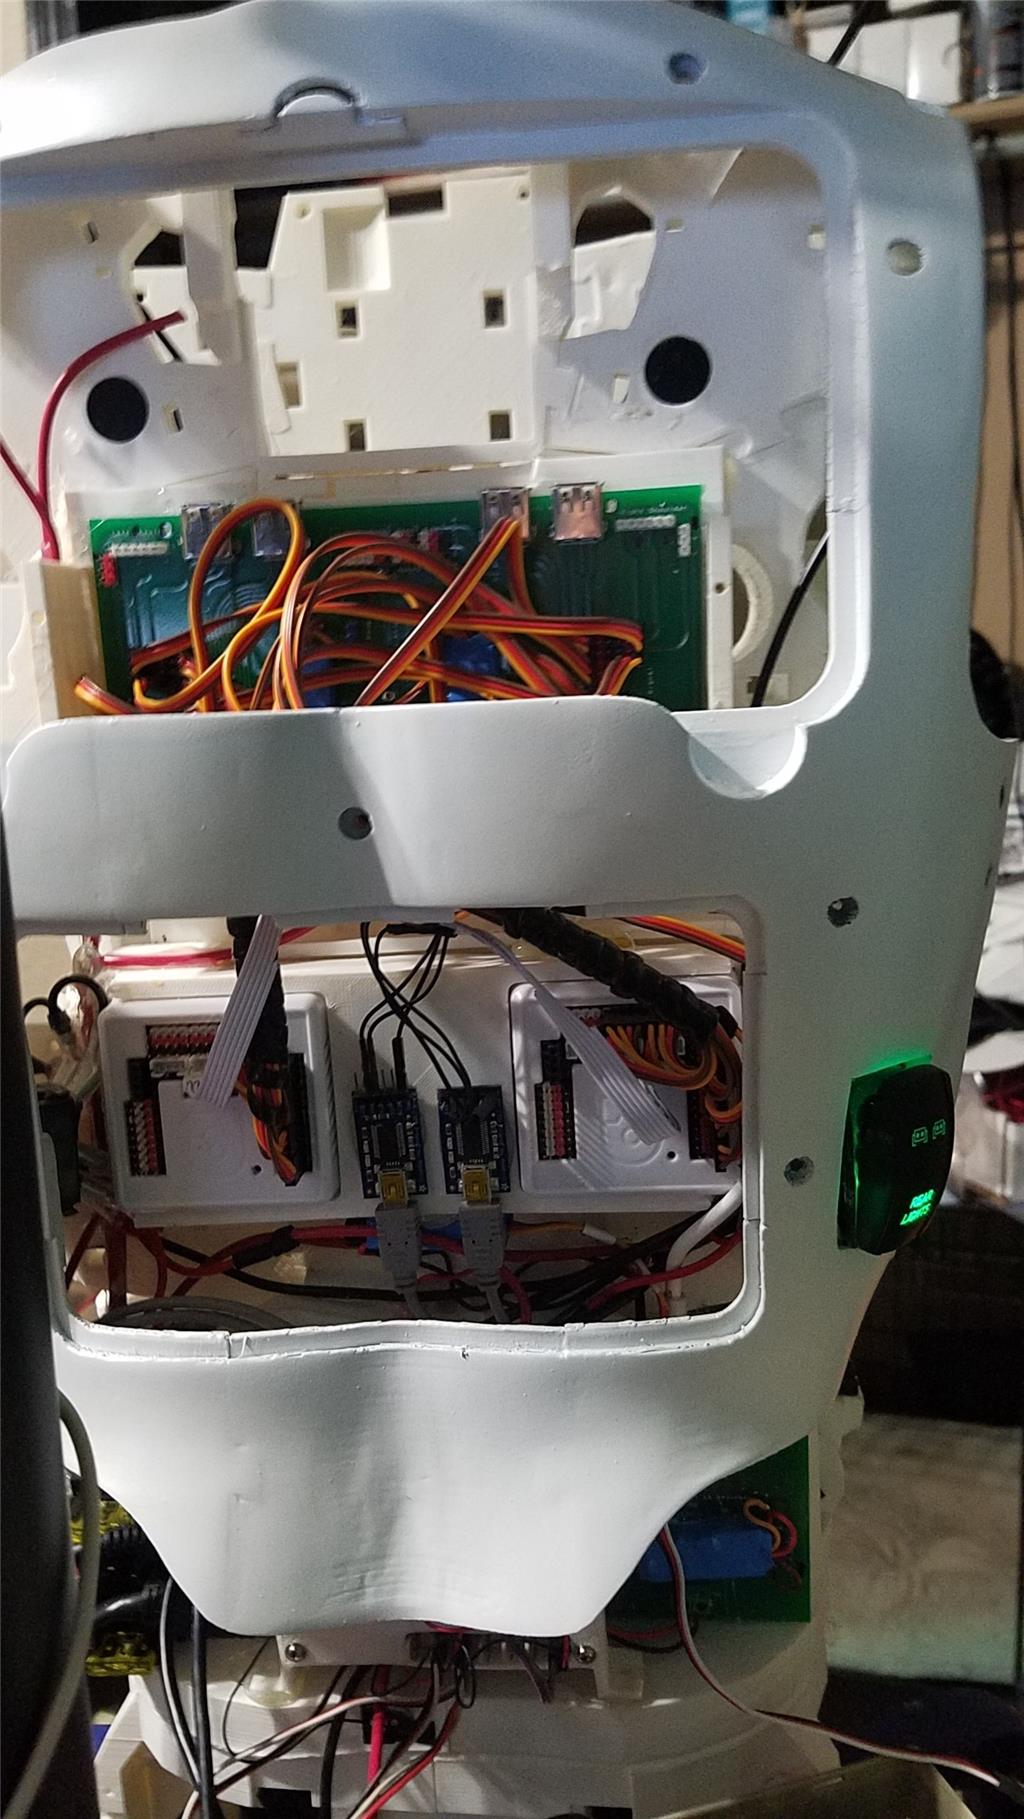
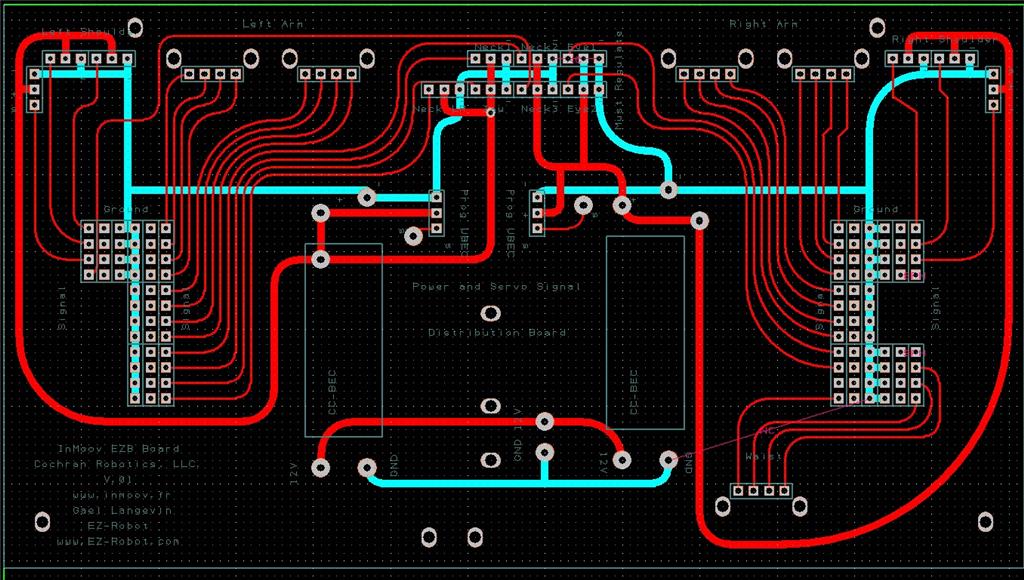
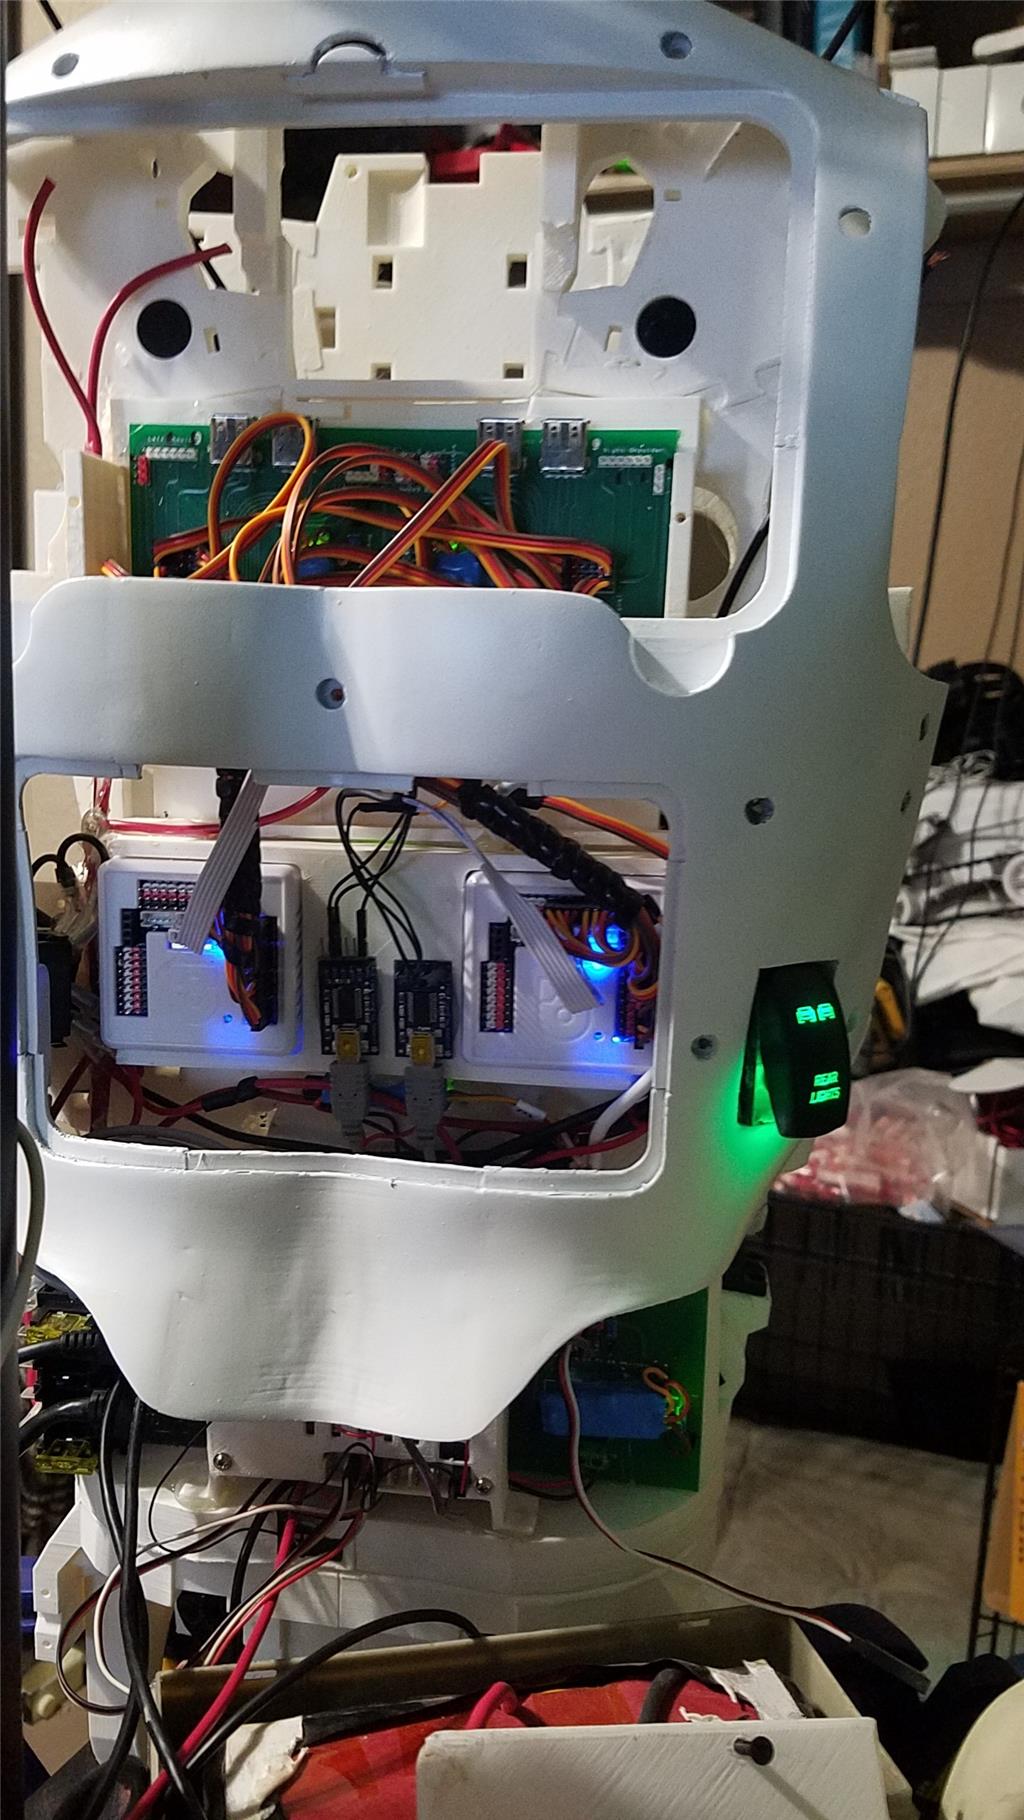
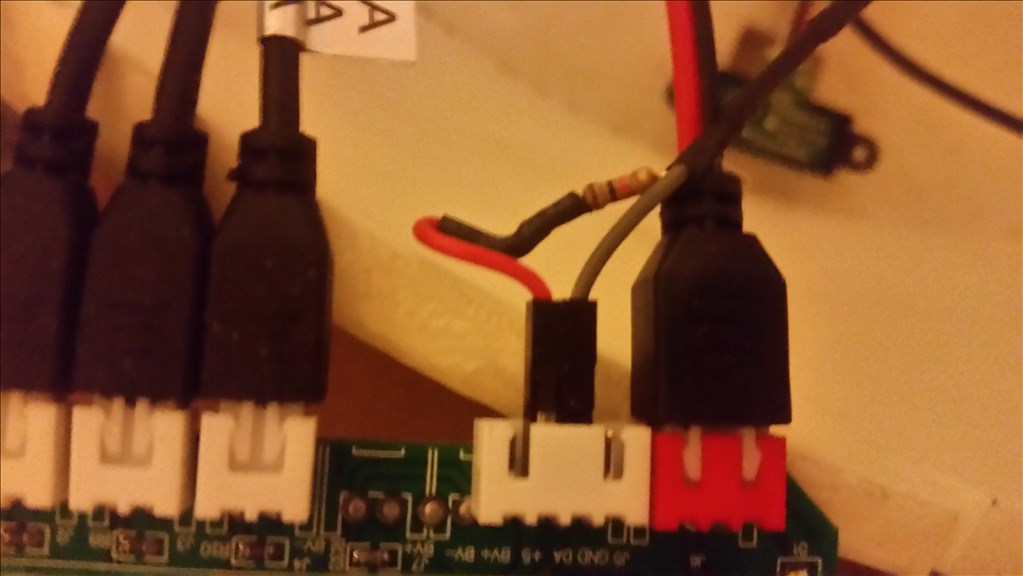
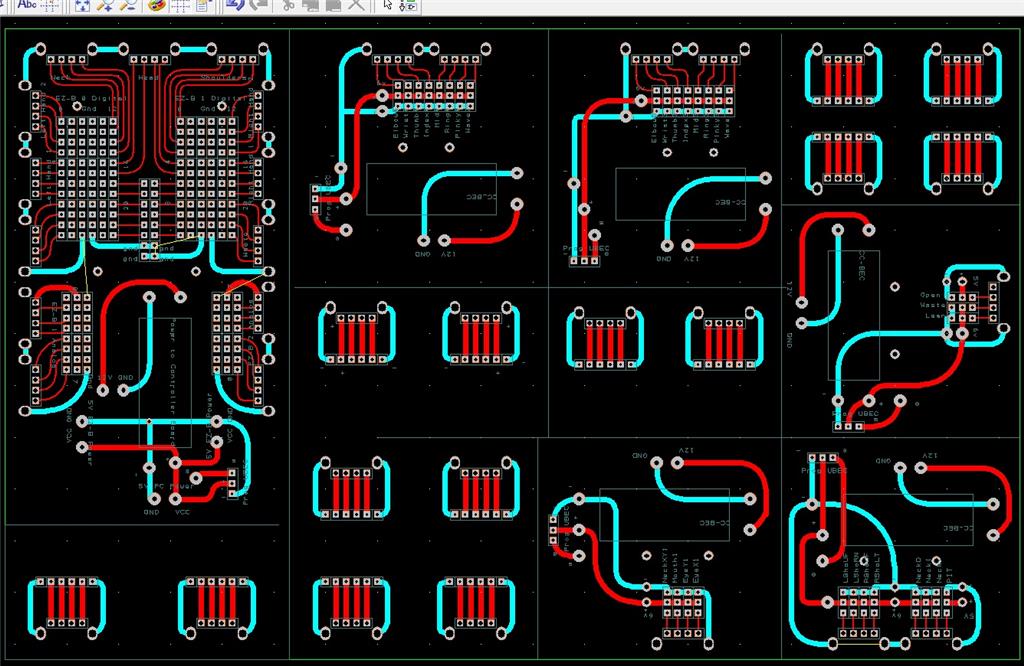
There are some custom power and signal distribution boards. These are in the forearms, lower back and in the upper back. The upper back or main board connects to these distribution points via USB cables to provide signal to the other boards for servos. The main board also has servo connector pins that are for the neck, head and shoulders. This allows the power to be distributed between multiple BEC's and also allows the servo signal cables to be shorter and more protected via the USB cables.
For power I use a LiFePo4 battery that is rated at 30 amps. It has the balanced charging circuit built into the battery and also has a low voltage shutoff built into the battery. This protects the battery and allows the battery to be charged with standard car chargers.
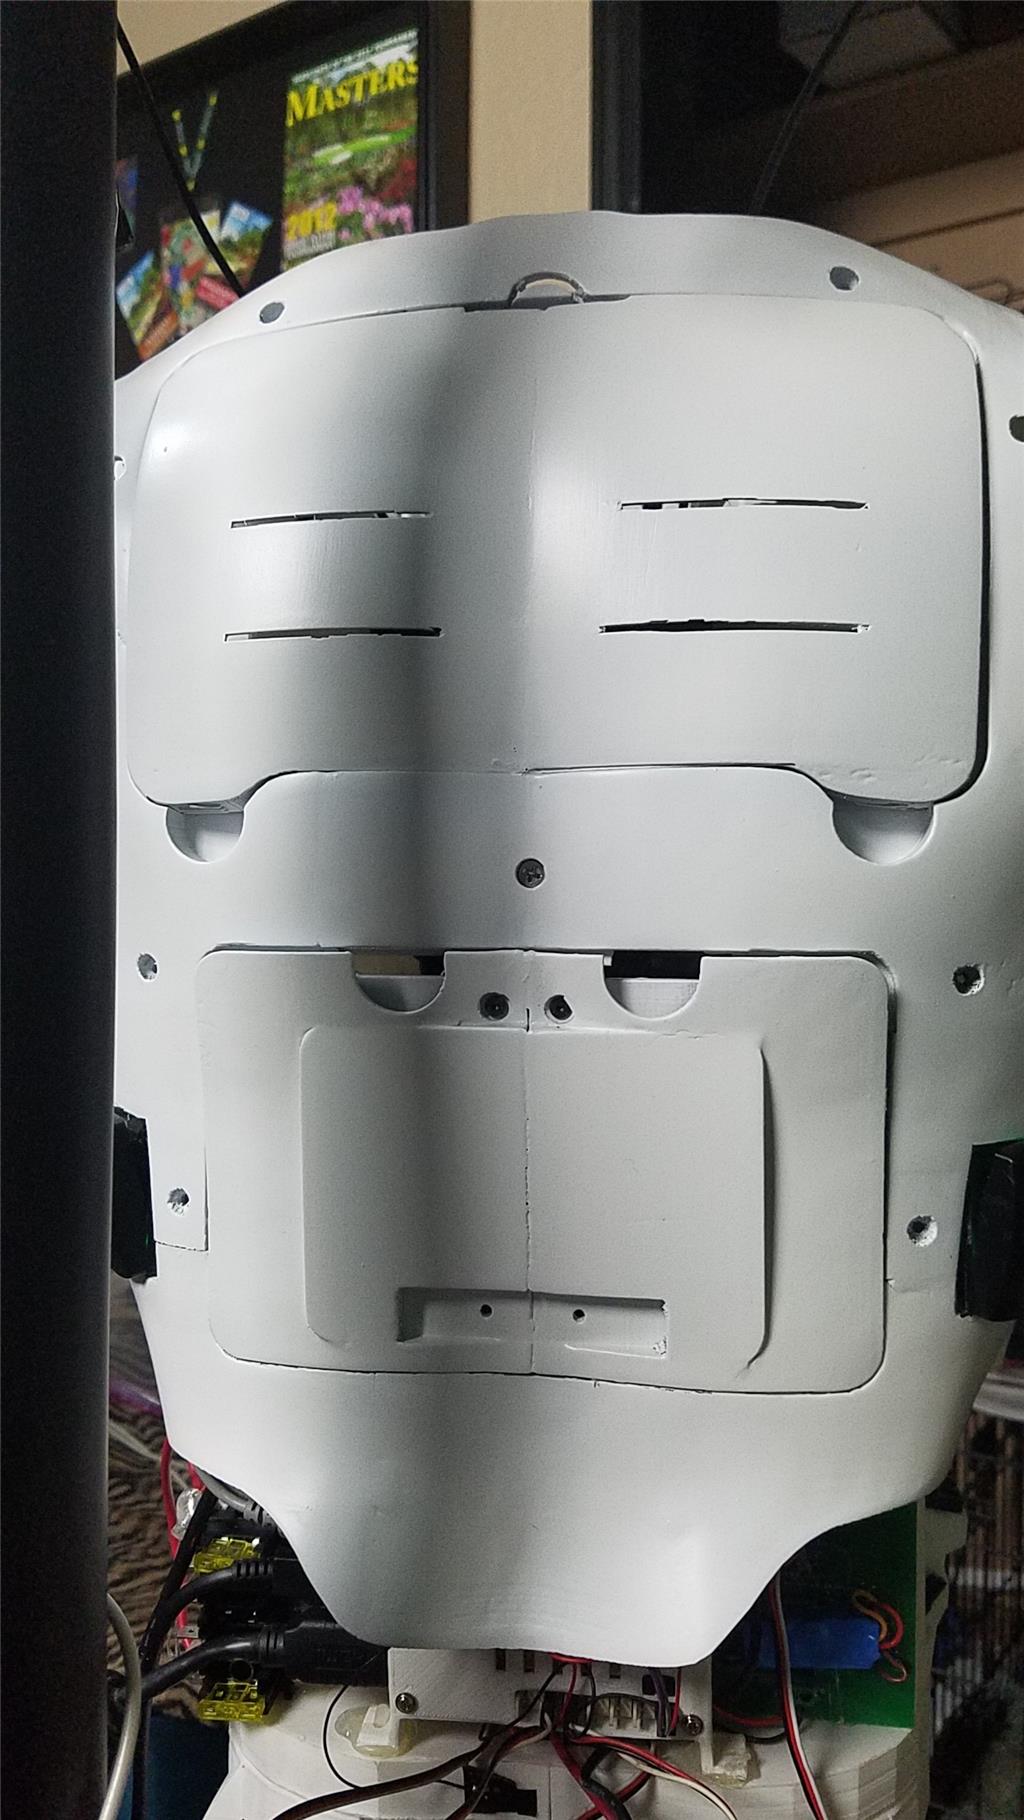
I put switches on the back on the InMoov which are rated at 20 amps at 12 volts. These are rocker switches that allow the user to pretty much slap the switch to turn it off. There are two of these switches. The servos for the elbows and fingers are on one switch. The latte panda, neck, shoulders, EZ-B's, waist motors and some lighting is on the other switch.
I also added a fuse block. This allows 20 amp fuses to be put in line to help protect things. The switches above drive the fuses for each of of the motors listed in that section.

-636348716348649435.jpg)

Discover more robots
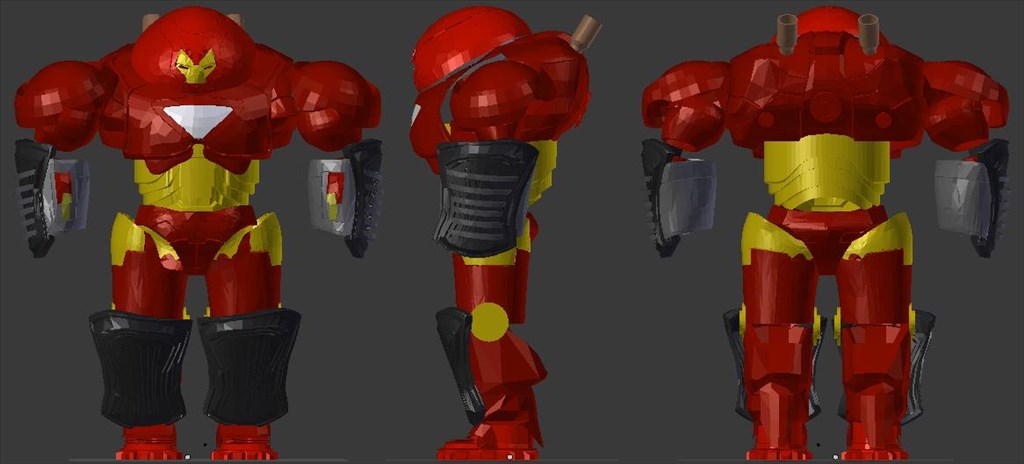
Jstarne1's Hulkbuster Ironman Suite , Lighting, Sound...
Ezang's Following, Tracking The Blue Line With ARC

okay I'm going to have to send Gael a email asking him if the first toroso without the connect holes are the same pieces / compatible for the new inmoov.
Richard might have an answer. Richard did you use the Kinect torso or the original torso without to connect hole?
bummer about the Bluetooth.
nice I'm glad you got it going.
Okay, well tomorrow I will work on wrapping up 1.0.0.5 if EZ-AI. I can test out the install and make sure everything works as expected on this PC. After recording a video of the install, I will publish the new setup procedures for a Windows 8.1 machine. Merne and I did find one thing that is different on a Windows 7 build and I will mention that on the video. I will also record another video showing the GPS module running. I will also record a video for this build showing the components that were chosen so far and how the computer reacts to things in ARC and the other things installed.
I can say that working off of a 7 inch screen and a six inch keyboard/touchpad combo keyboard is going to take some getting used to. I also have to design a small storage compartment in the robot to hold the stylus, keyboard and remote control for the monitor. So far so good on this part of the build though. I'm impressed with the speed of this computer in all aspects. A cold boot up is very quick and a wake up is only about 1 second.. I will show that in the videos I record.
I just timed it. A reboot right now takes about 10 seconds total. It takes 4 seconds from off to asking the user to log in. I will take that. Once other services are added, the time will get a bit longer, but not much. Very workable in a robot.
So far, I have decided to do without a couple of components, mainly because they aren't needed.
The touch screen listed was giving me some issues, but downloading the drivers from the vendors site made a huge difference. The monitor came with a 90 degree HDMI adapter so that wasn't needed. Because this is working so well, I am stopping my battle with the bluetooth radio on the motherboard. It can win, im good with it. This causes me to not need the mini keyboard, which too works great on everything I try it on except for this computer.
I will be using my robot outside during the summer months. Because of this, I have opted for a very large CPU cooler on this motherboard. If the robot were only going to be used indoors, I would have stuck with the stock cooler. The stock cooler and the huge cooler both came with CPU paste so purchasing the Arctic silver was unnecessary.
The speakers are under powered so I am sure that I will eventually replace them with something with a little more power. I dont know what that is going to be at this time, but my brain is working on it a little and its not that big of a deal to me right now. It will be addressed once I take him outside and the sound from the speakers isn't loud enough.
The 2 EZ-B's have been ordered from EZ-Robot and should be here early next week. Other stuff is on the way from England and the 3D printed parts are underway. I think the base and power are the next things to work on while I await these parts, but I really think I should wait to decide on the base until after I have the upper part of the robot build complete. Power however doesn't need to be attached to the base at this point so I think that is the next on the list to address.
I am thinking about puting 5 EZ-B V4's in my inmoov. I have 5 of them and think it could offer some good benefits. Here is what I am thinking.
1 in each arm. This will reduce the number of wires that will be running to each arm and through the shoulder. The shoulder, elbow, wrist and hands would be driven off of these. Also, I am considering placing the v4 camera in the hand to help with picking up objects or moving the arm and hand to the object to grasp.
1 in the head used to drive the Eyes mainly. I would probably add other sensors and also drive some sort of lighting to try to change the color of the eyes.
1 in the chest used to drive the waist and neck servos, some sort of lighting in the middle of it and possibly interface via serial to an arduino for whatever I can figure out to do with it.
1 in the base. This one would be mainly used to drive the proxy sensors and the sabertooth/kangaroo combo that will handle the mobility. I would probably add more sensors here like gyros and the like.
I want to add a total of 4 or 5 v4 cameras. 2 in the hands, one high in the back of either the head and/or chest, and one in the base. There will also be 2 cameras connected via usb to the eyes and 2 usb cameras in the front of the chest above the screen.
The computer will be onboard and will have a usb GPS, 4 usb cameras and speakers.
Am I just setting up far too much complexity with this layout to save on cables through the joints, or is this something that I should steam forward with? I know the scripting in ARC would be a bit more complicated, but not that much. Separating things out to various controllers (1 for each major body part) is logical but am I going to run into issues using the controls such as the Auto Position control? I might just have to script all of the movements I guess. I dont know. What are your thoughts?
d.cochran, I use this method in my B9. At one time I had 3 EZB's but down scaled to 2 for now. I'll probably end up with one or two more. It really cuts down on the wires running between moving parts. They all work so nicely together.
EDIT: It's really not complex at all. You just have to remember what EZB is where, It's number and what it is hooked up to.
Go for the complexity. Since you've got the EZB(4)controllers in hand layout what you can and build some scripts, make some tests and see how far you can go with your hardware. Remember benchmarking can be your friend in this endeavor.