


-635353562186322812.png)


Hi all,
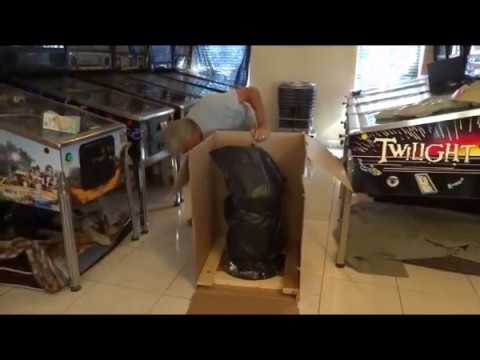
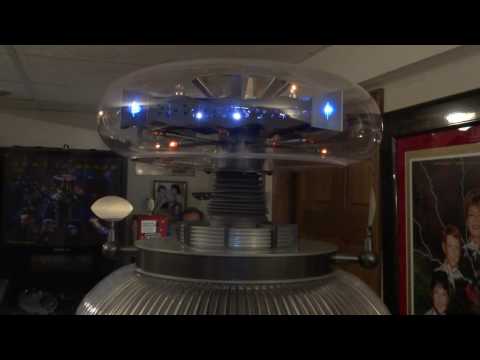
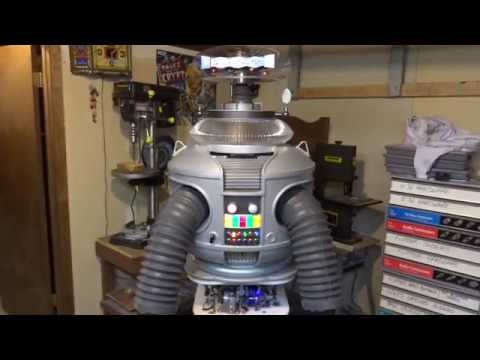
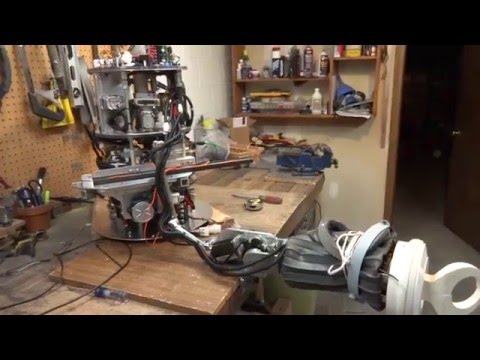
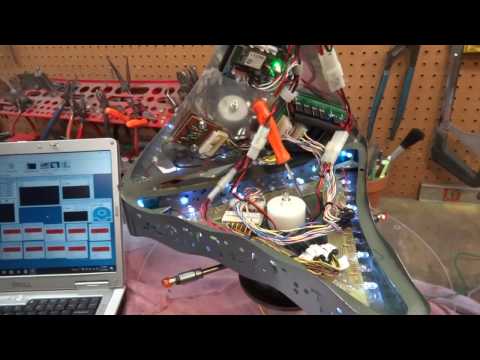
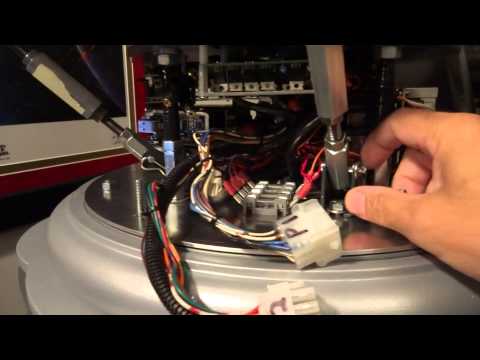
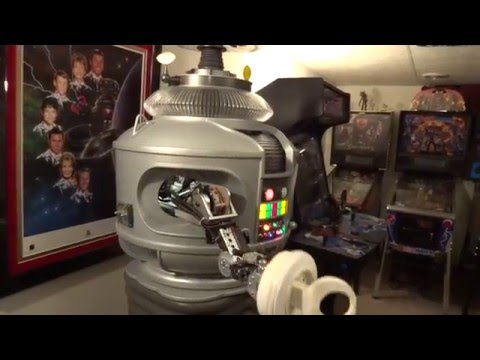
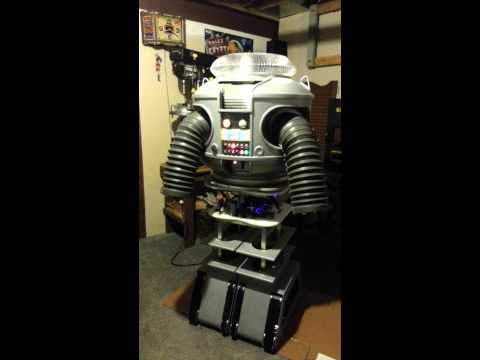
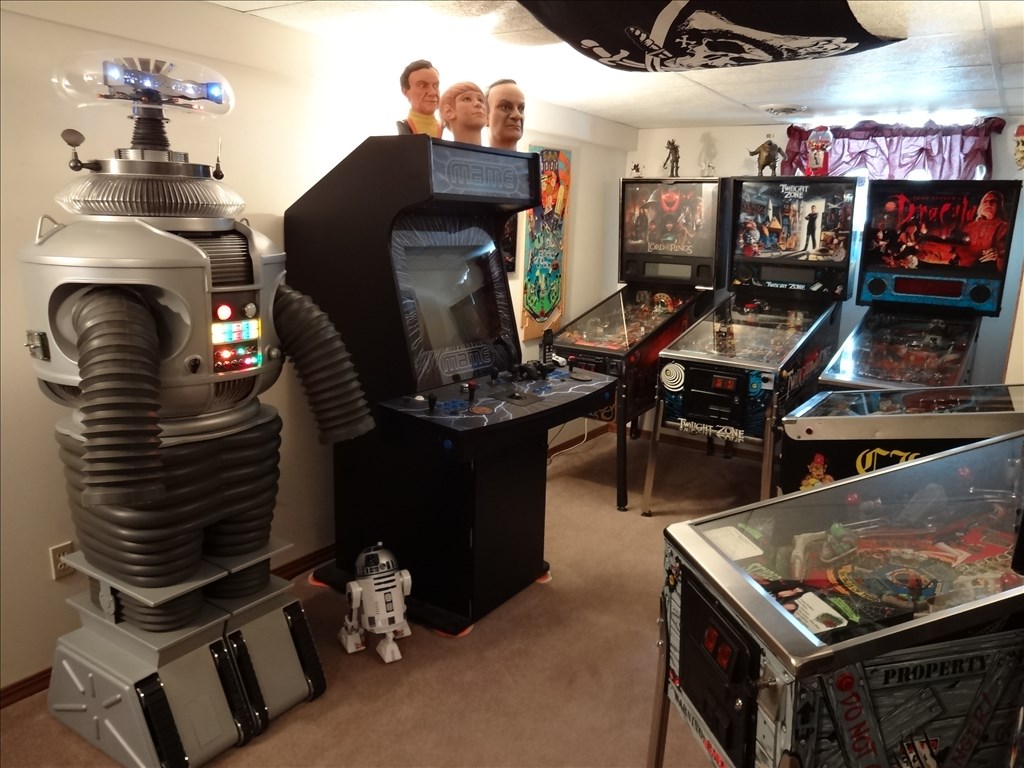
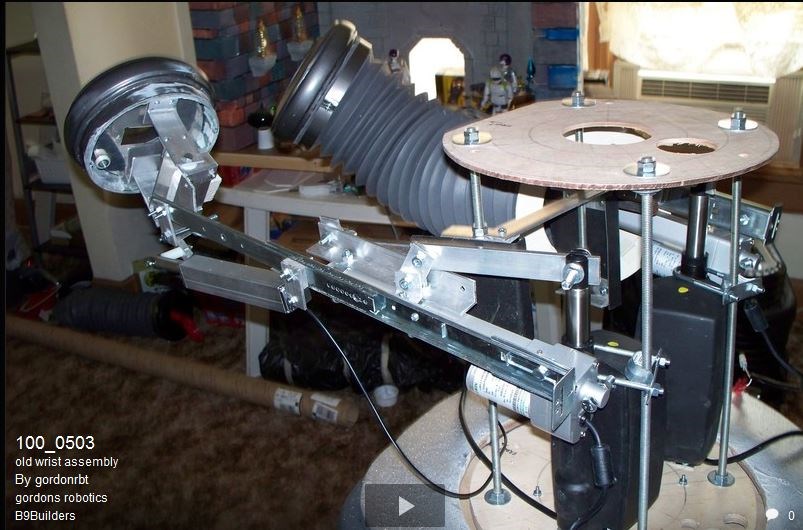
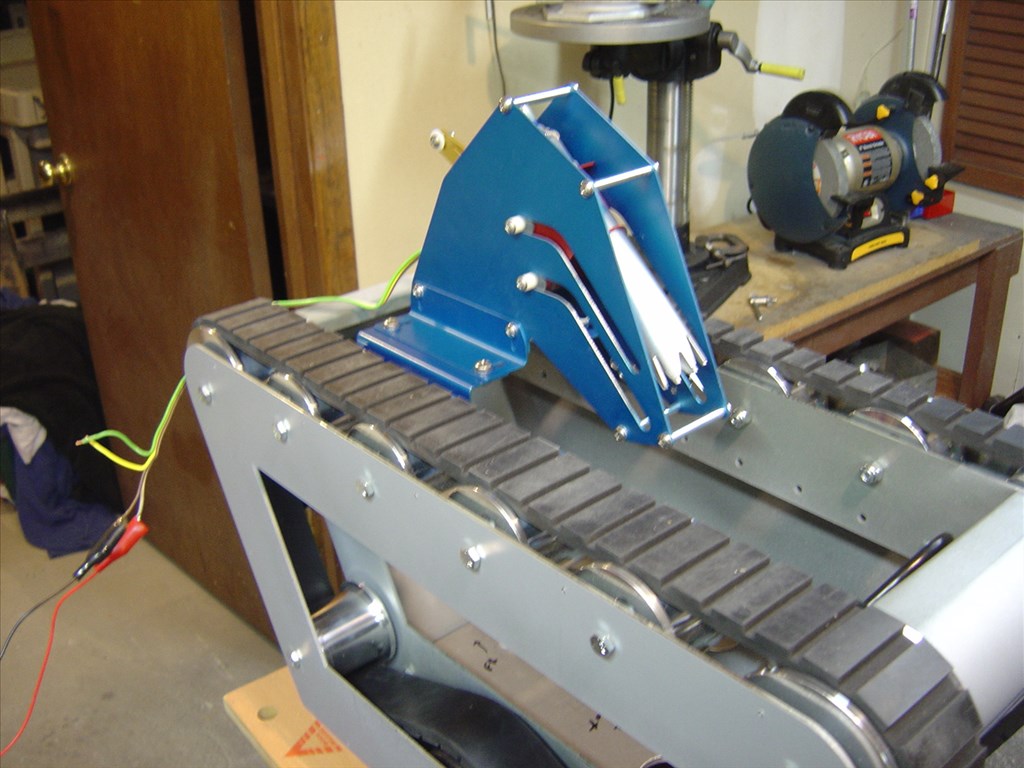
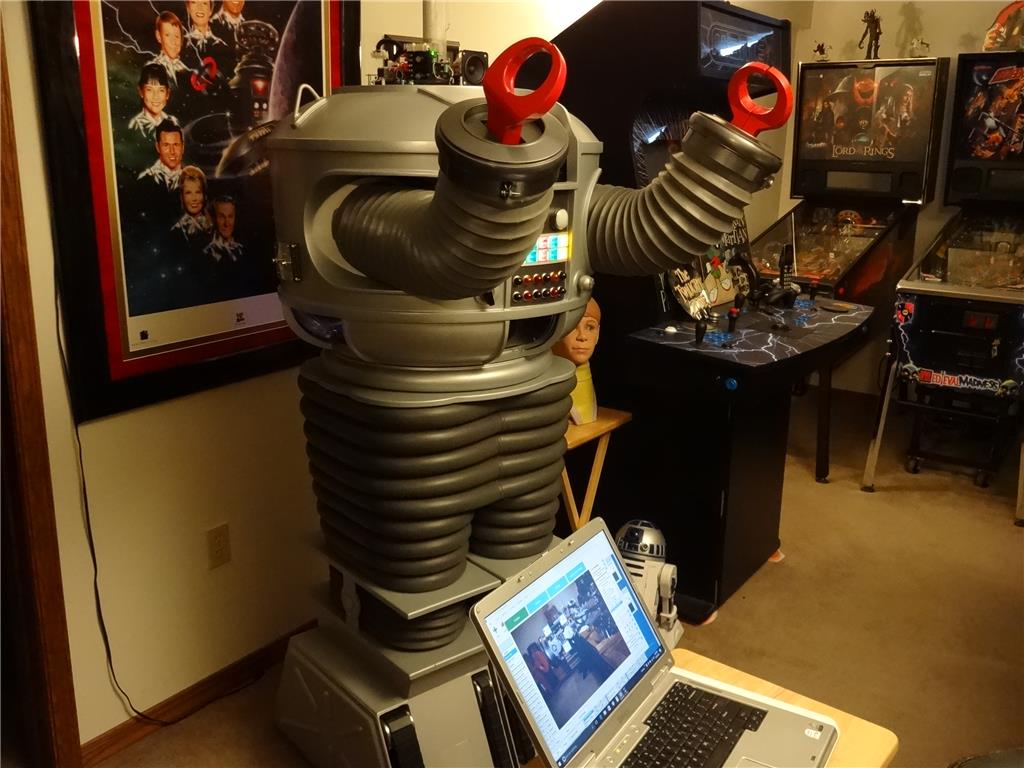
I'd like to share a video I just took of my full size Lost in Space B9 robot that's controlled by two EZ-B controller boards. Right now they are controlling limited movement and voice response of a few motors, lights and sound files played from a Sparkfun MP3 Trigger board. Although I'm just starting with the animation and have more building on the actual robot the result (mostly thanks to the EZ Robot controller board) is shocking. Please have a look at this (4 minute) You Tube vid and enjoy.
Please excuse some Technical camera lighting and sound issues. This is the first time I'd made and posted a vid online.
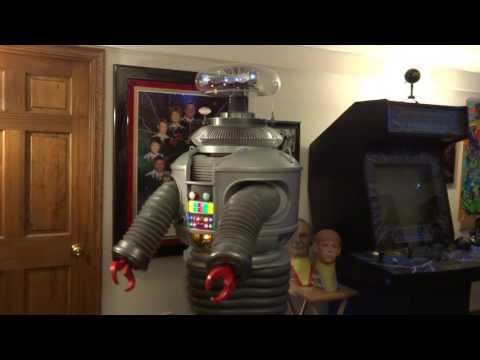
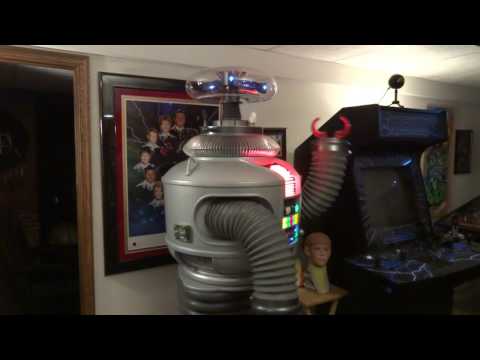
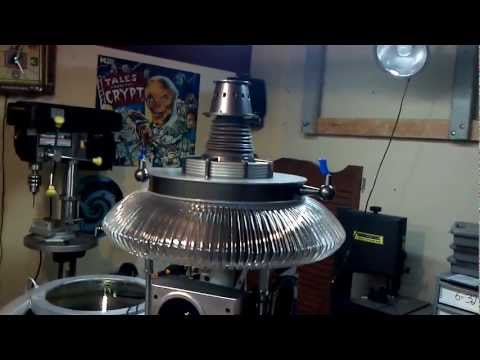
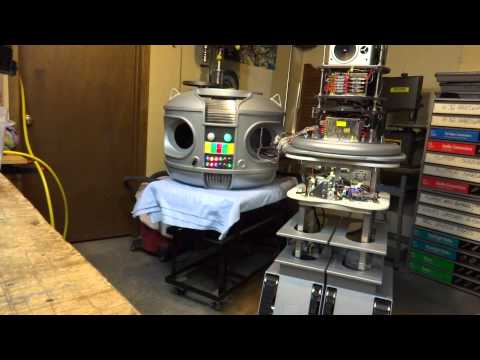
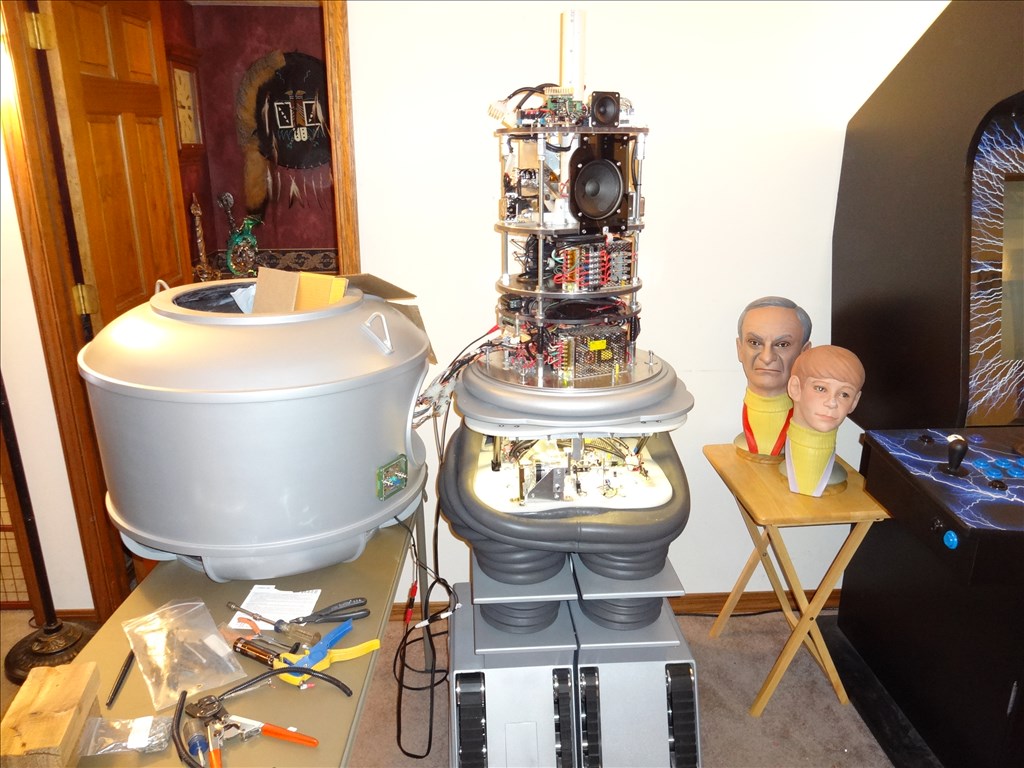
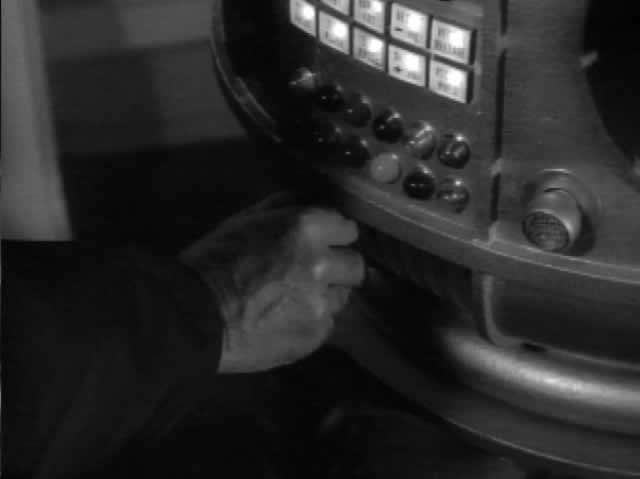
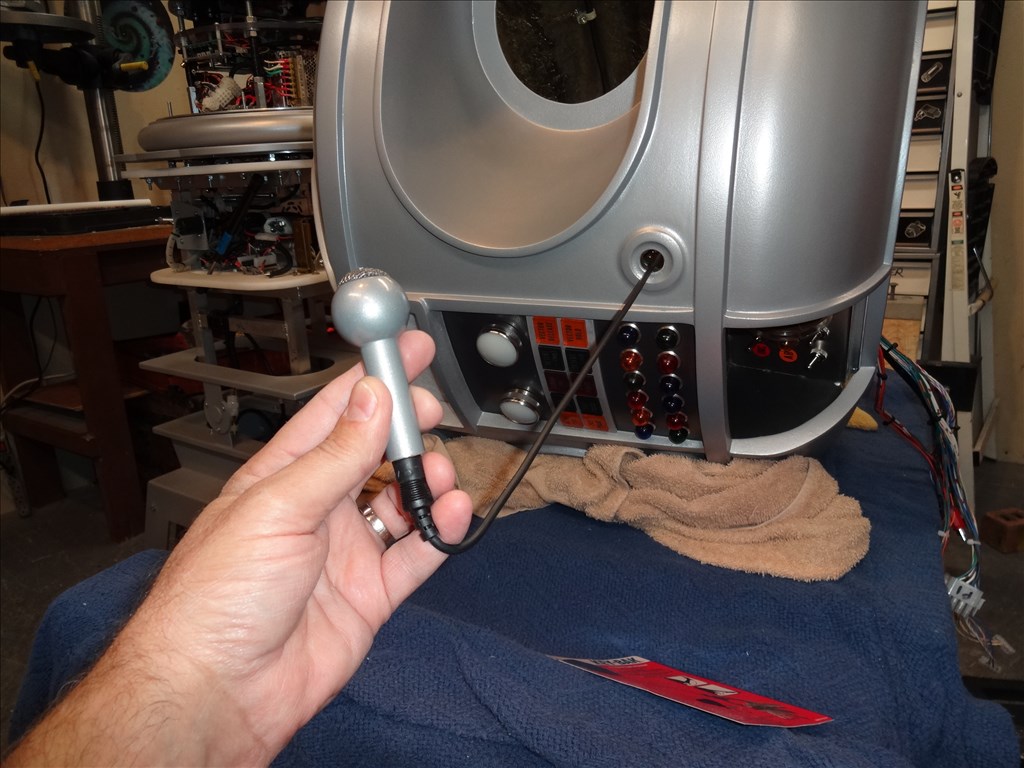
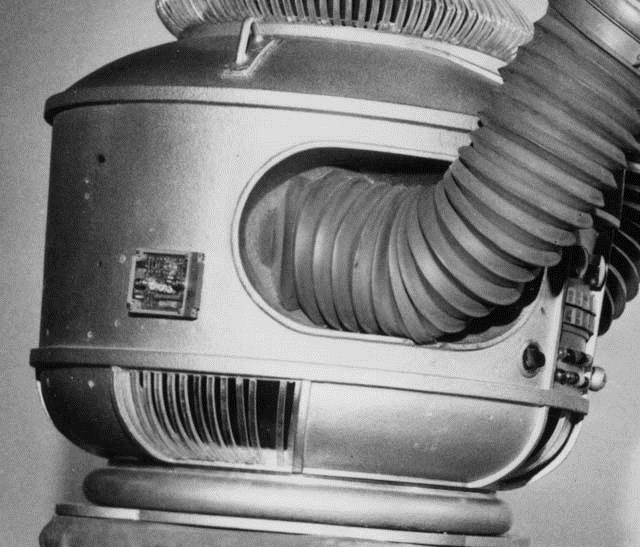
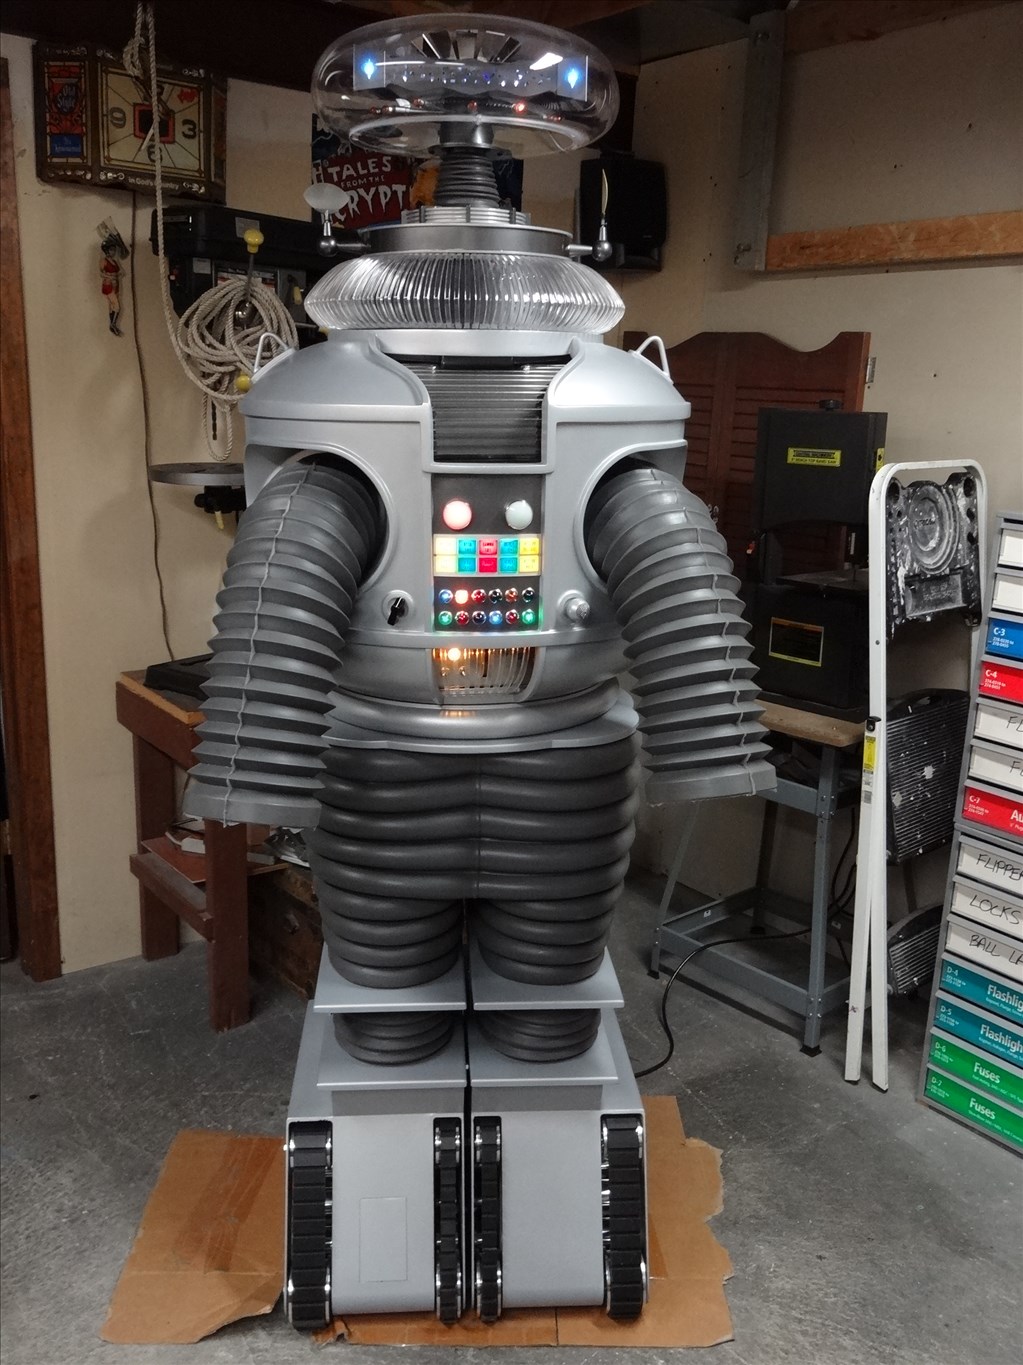
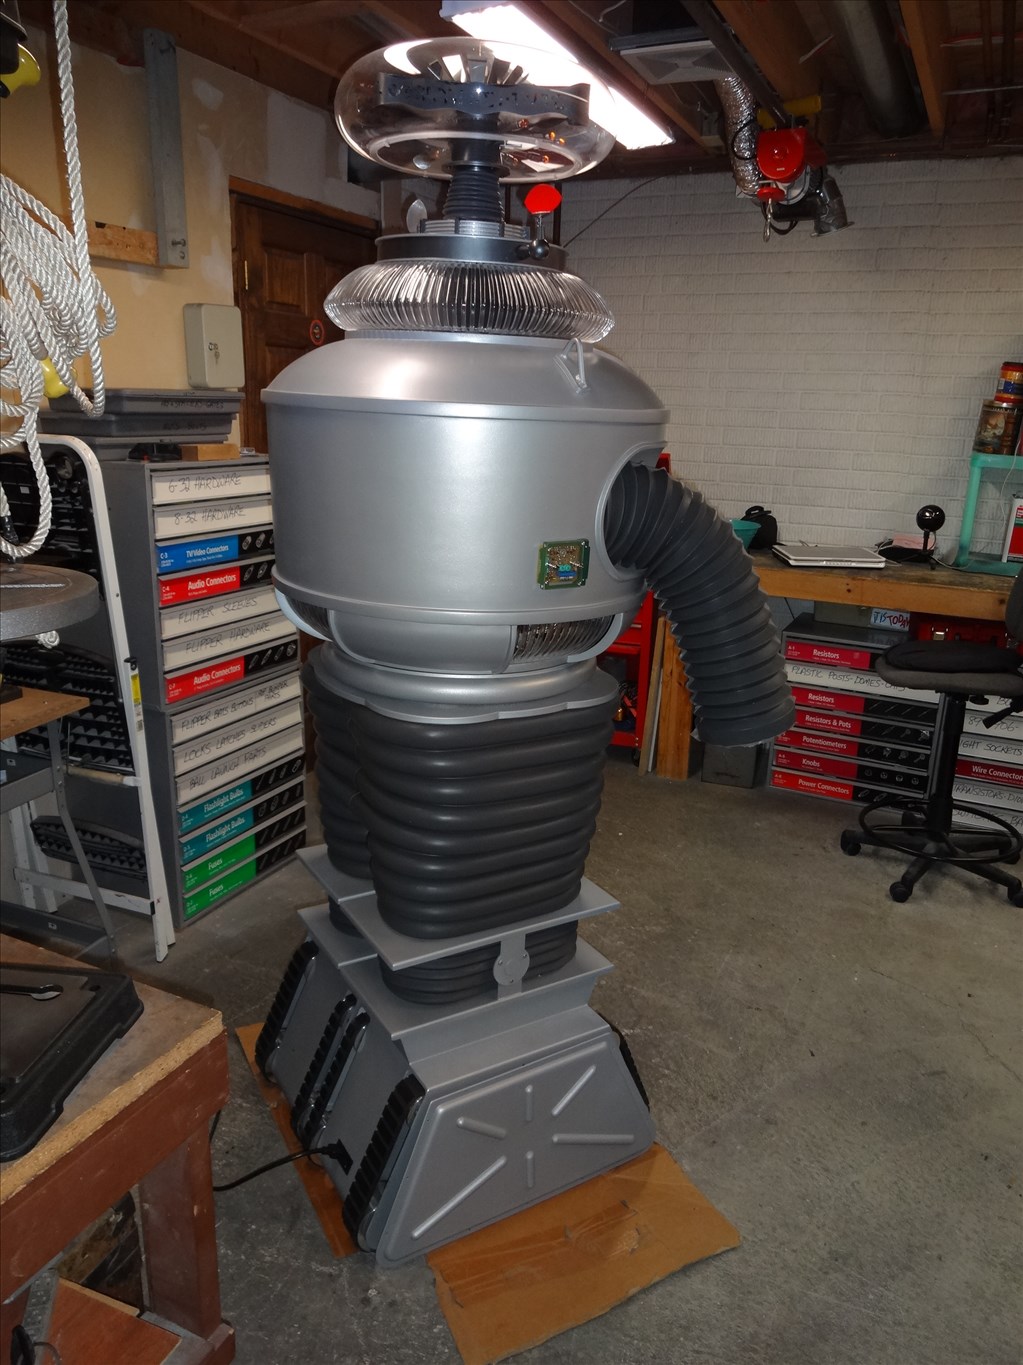
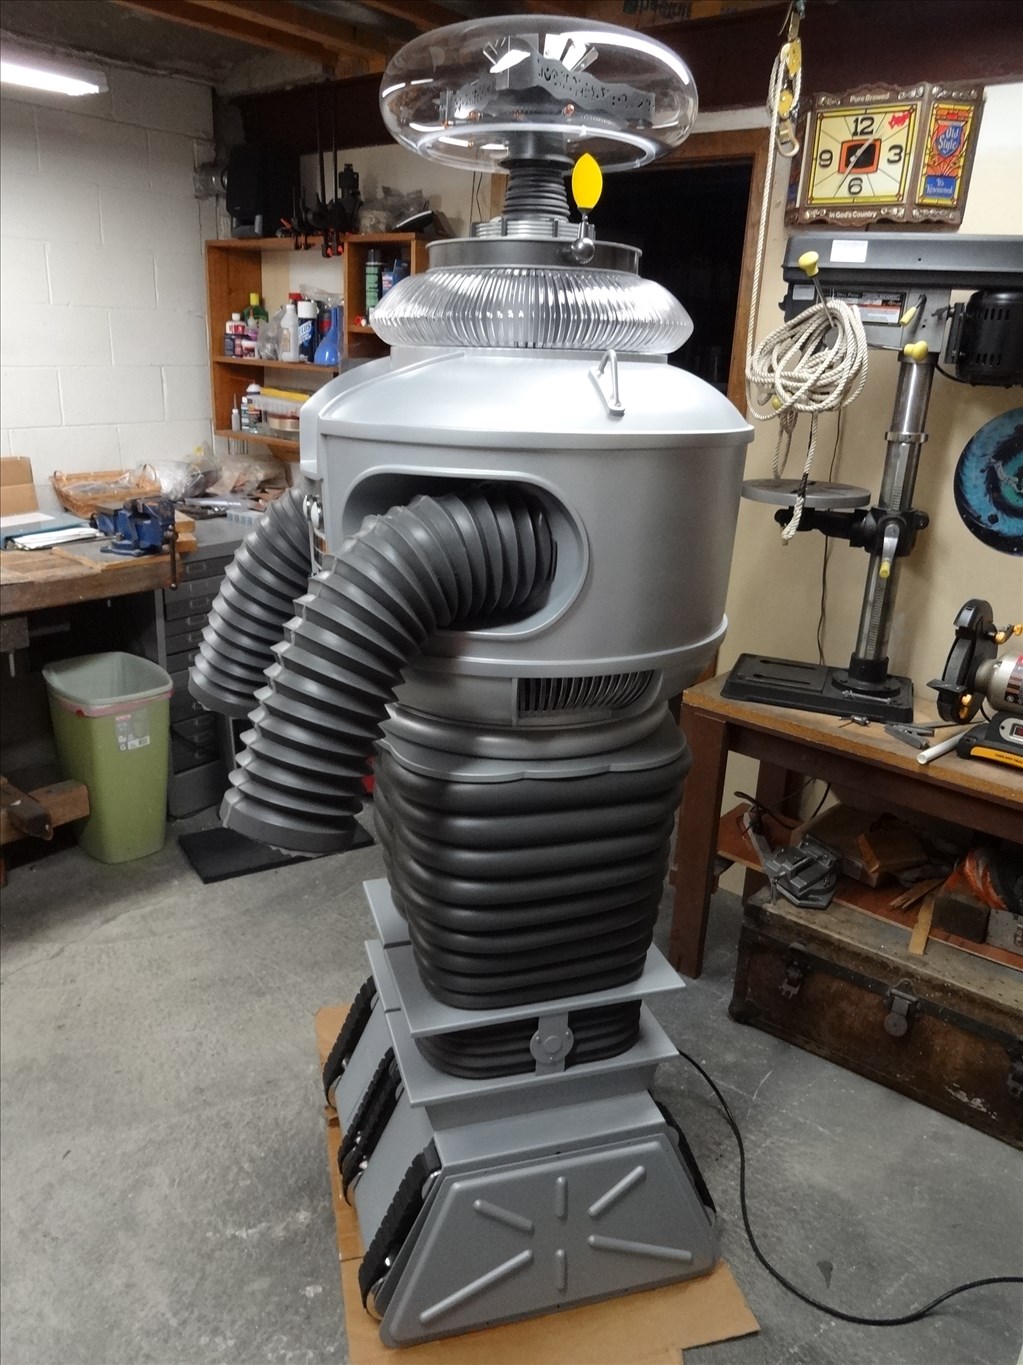
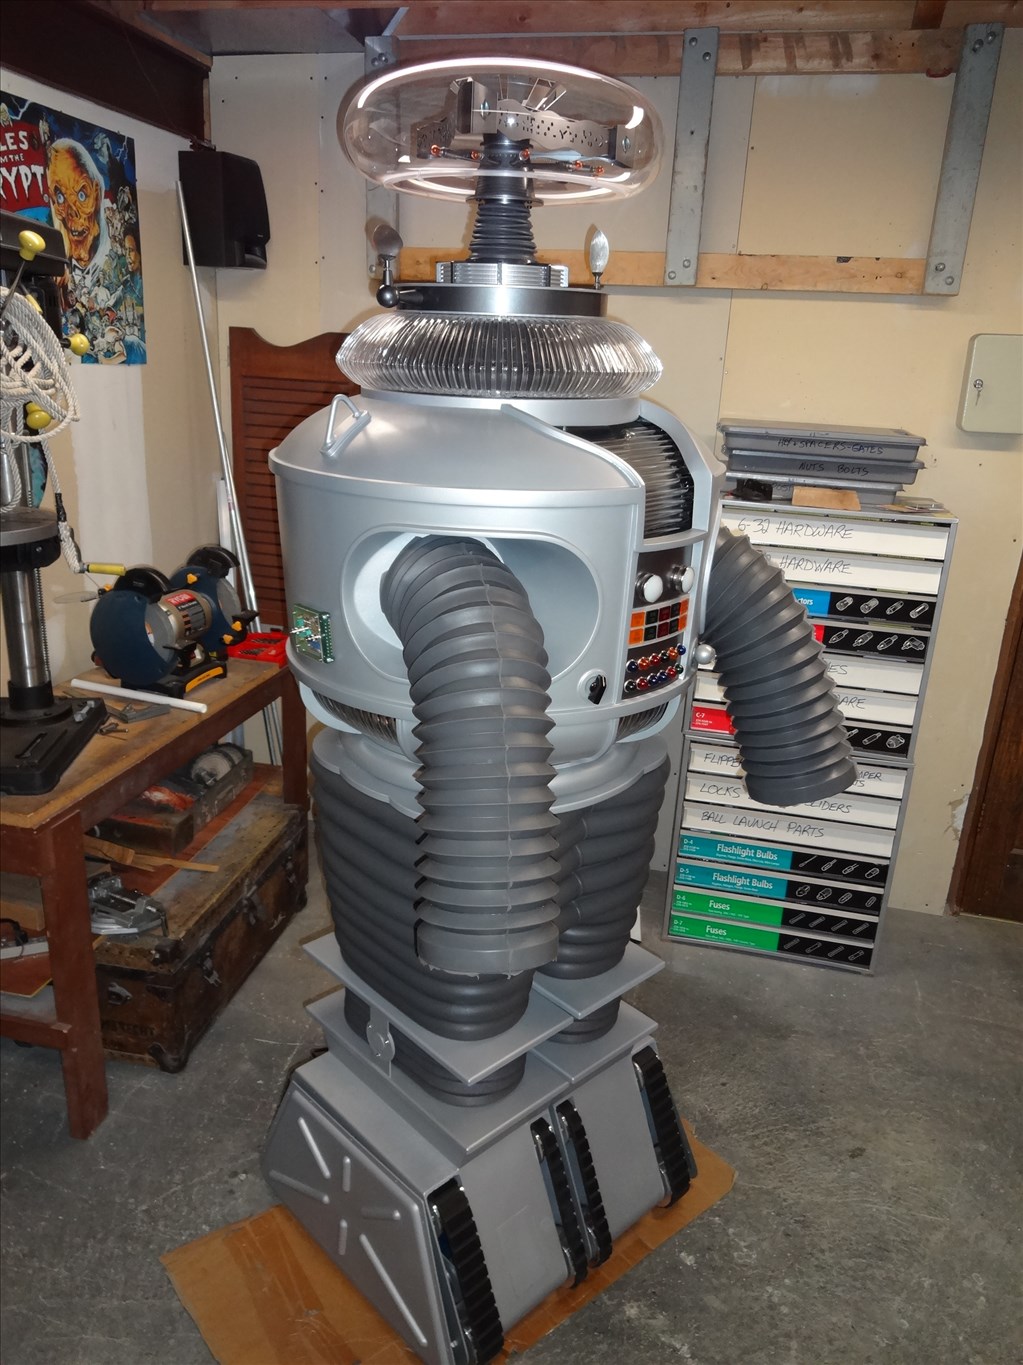
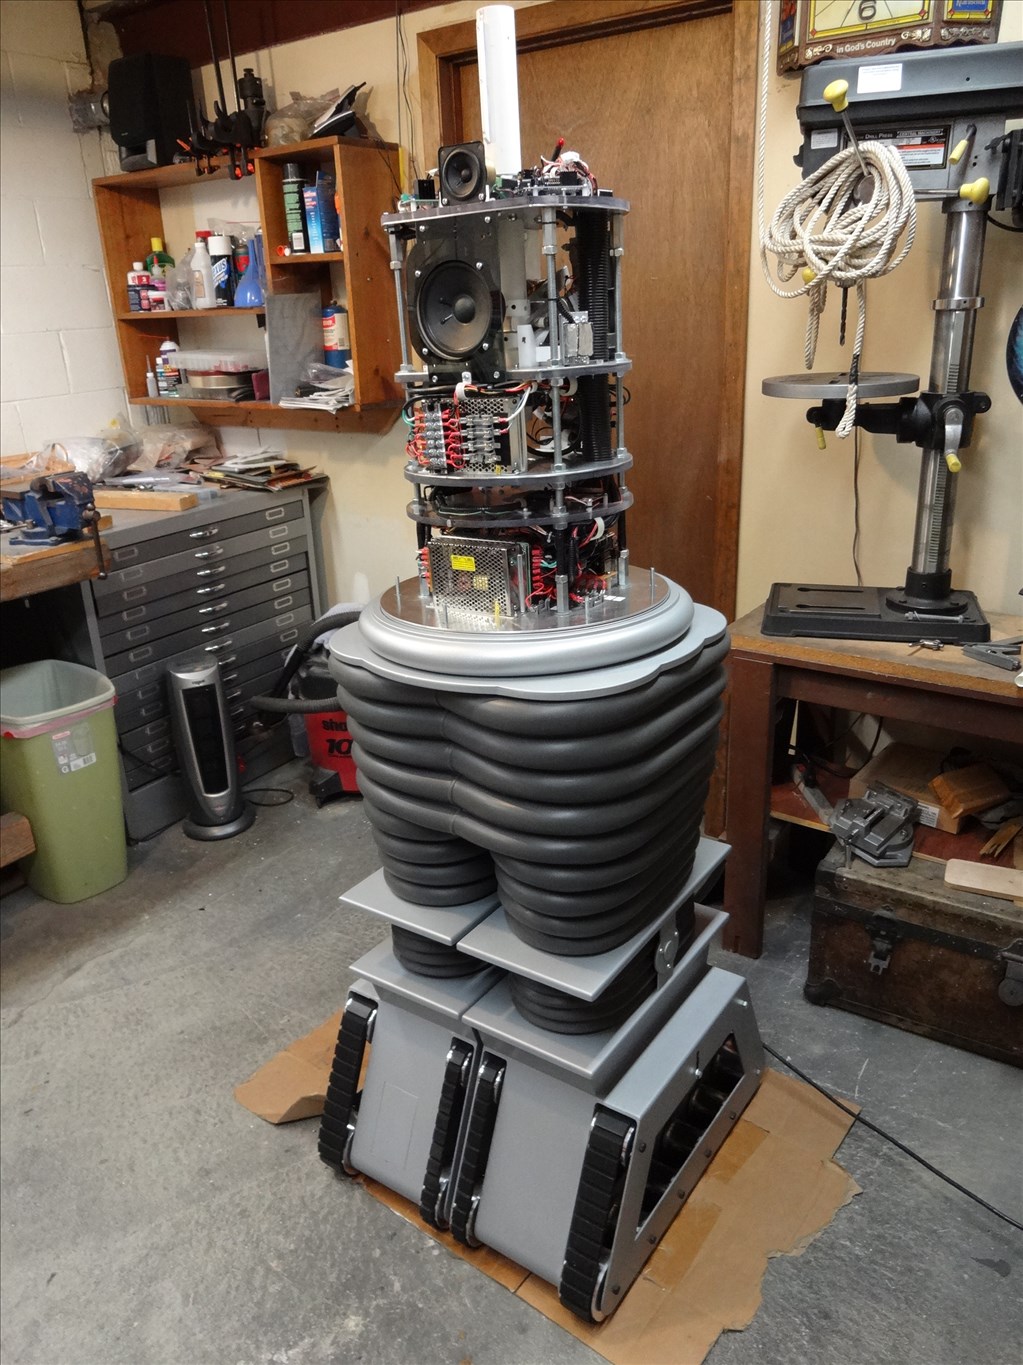
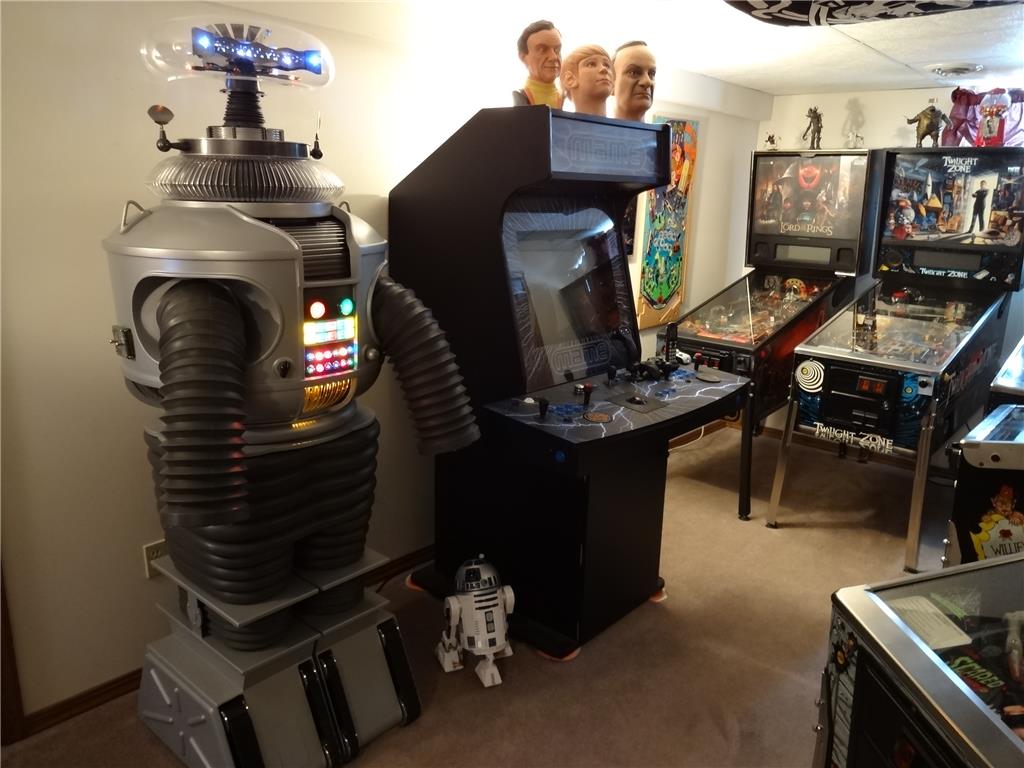
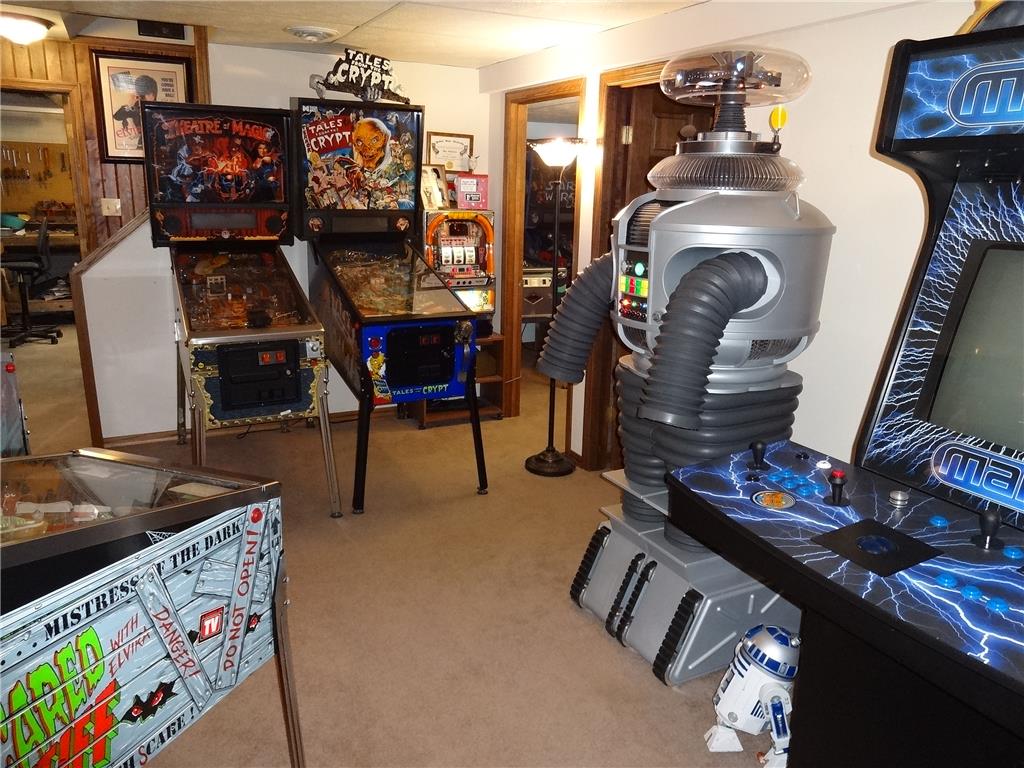
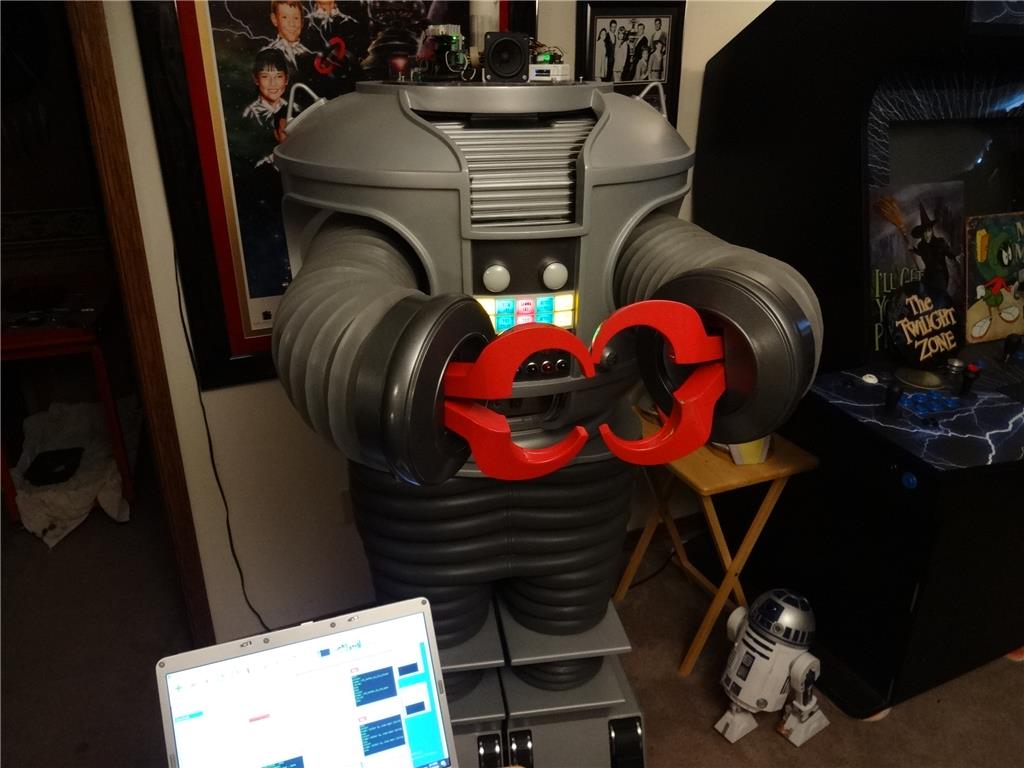
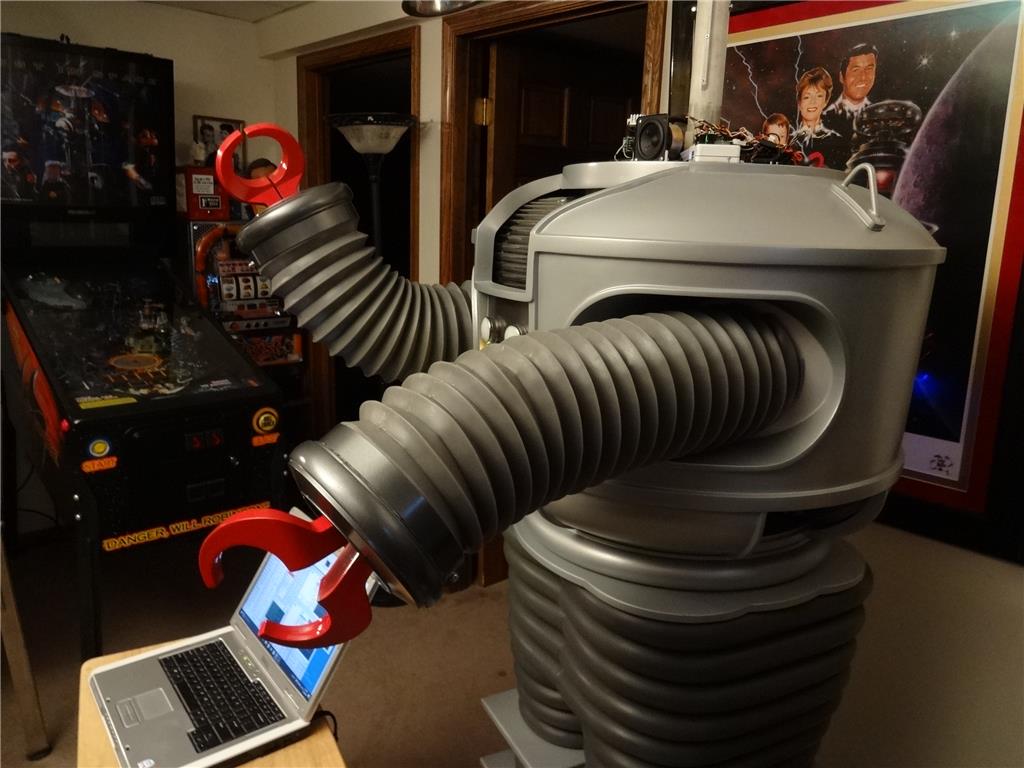
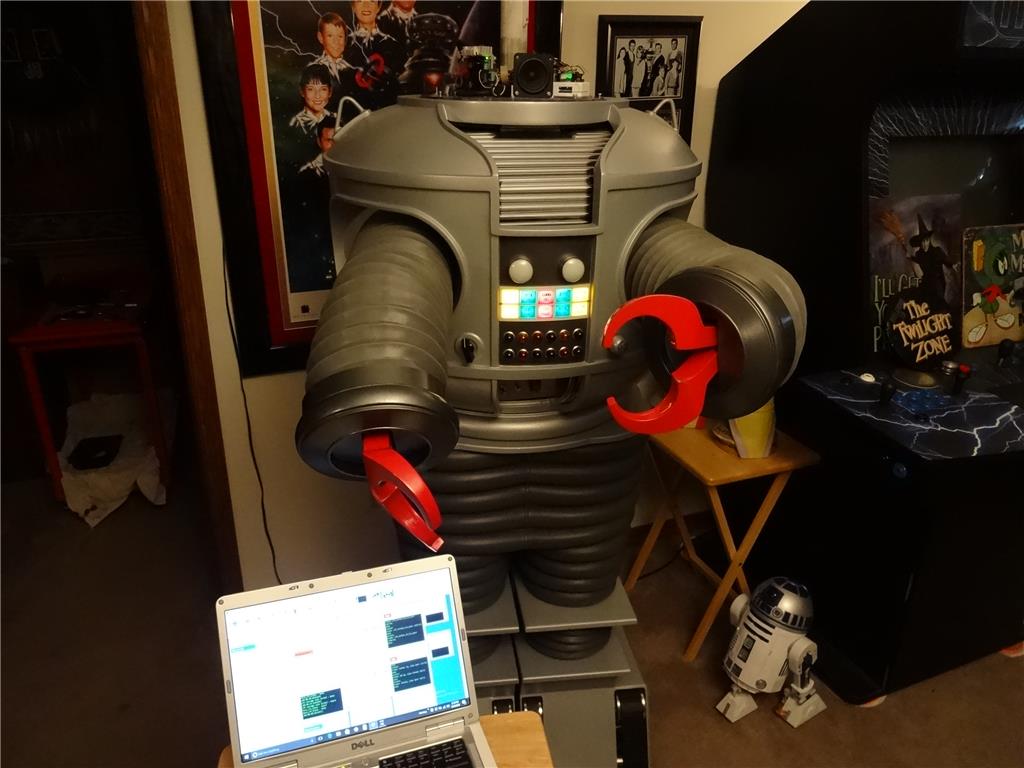
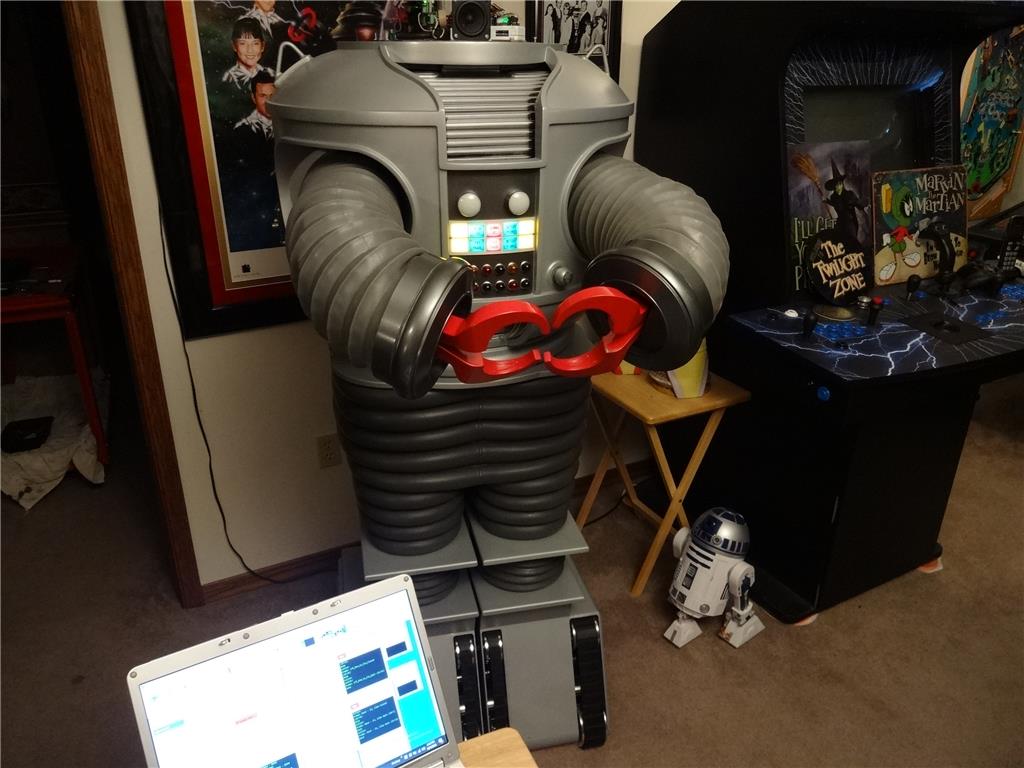
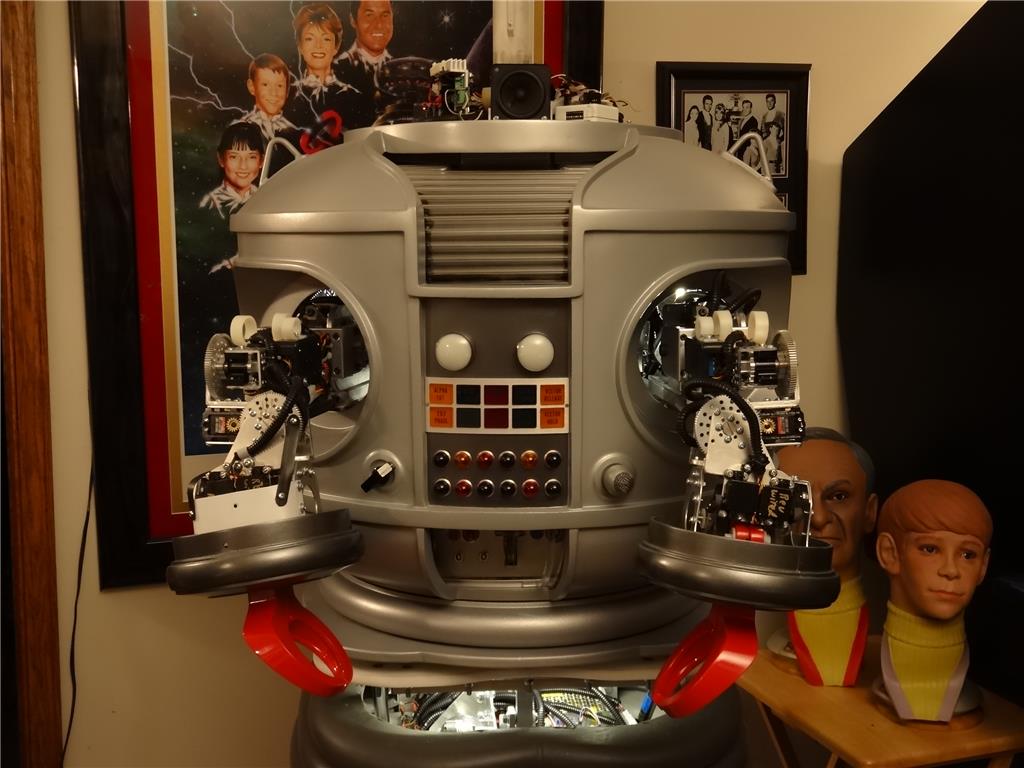
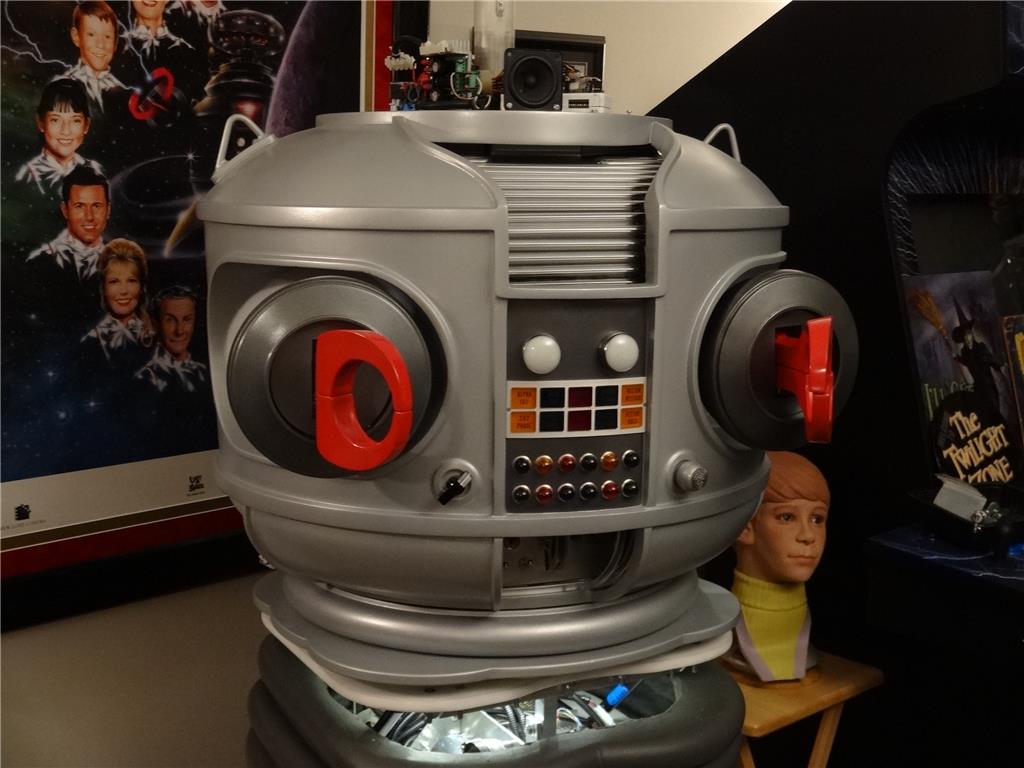
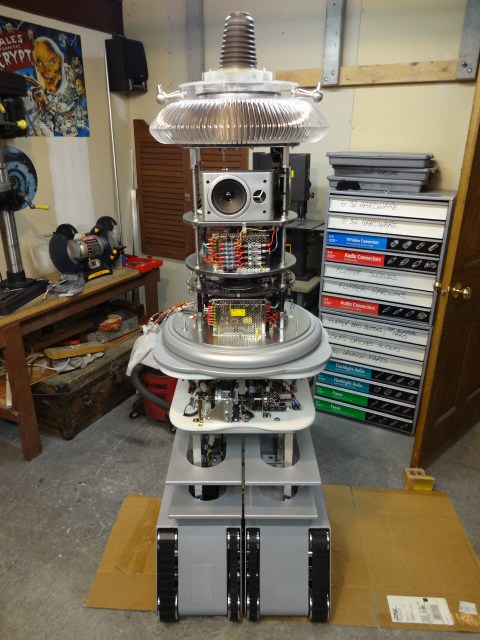
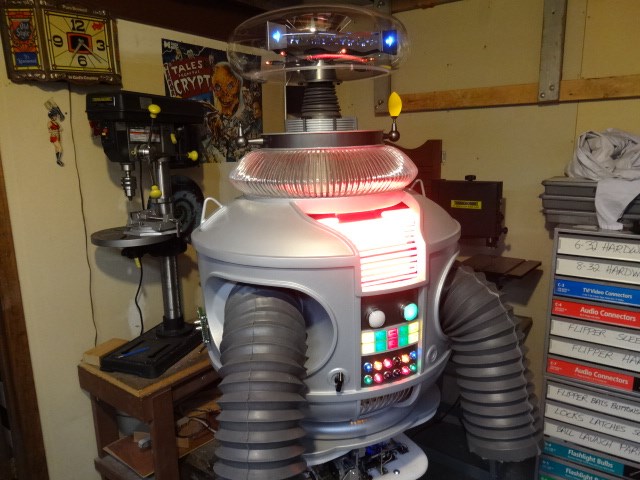
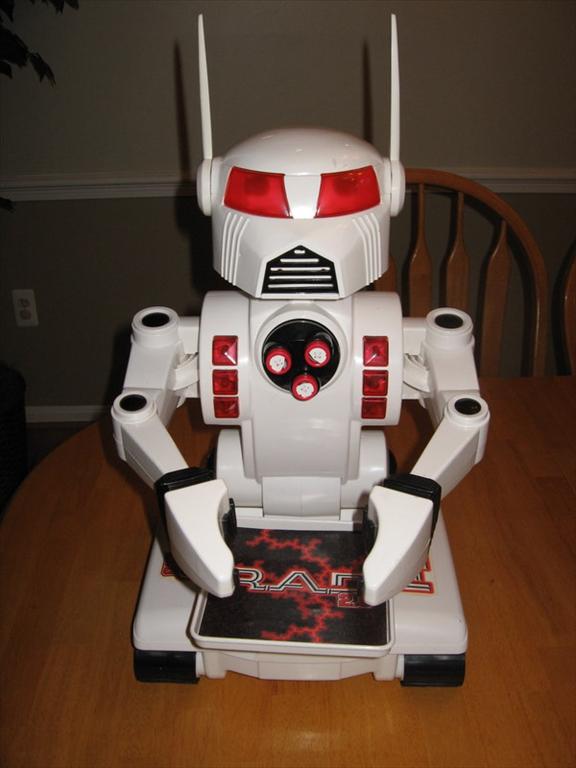
EDIT 8/2/13: Just realized I have no good pictures of how my B9 will look when complete. Here's one of the actual TV robots from the 60's TZ show Lost in Space and one recent shot of where I'm at with my build over 1 1/2 year after I started. Enjoy:


Thanks, Dave Schulpius
Discover more robots
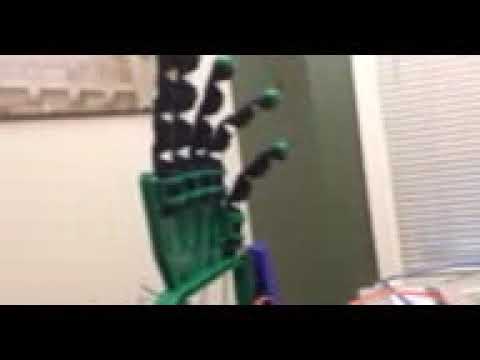
Ezang's My New Robot Hand To Practice With - Video
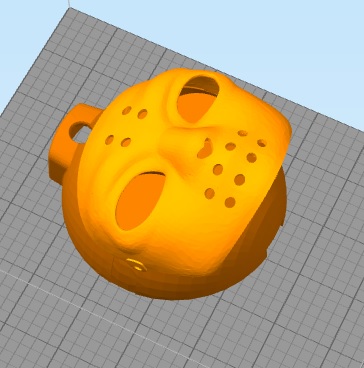
Justinratliff's Justin's Custom .Stl

Hi all,
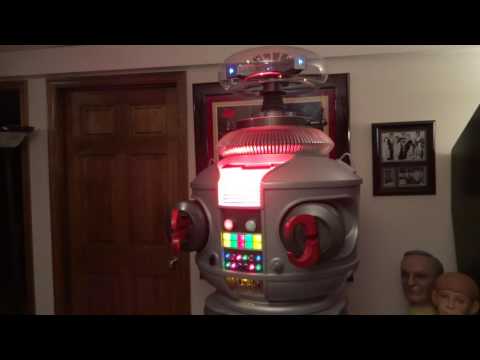
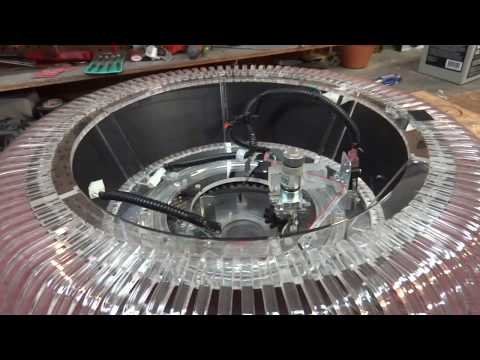
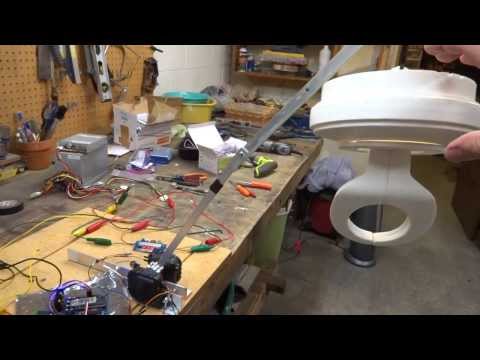
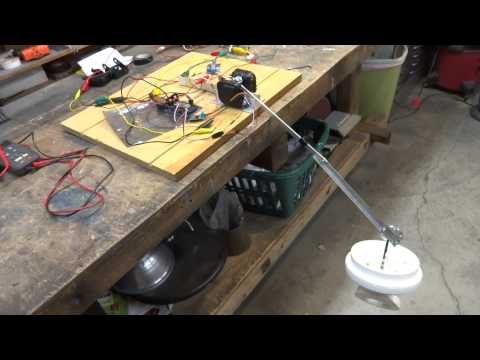
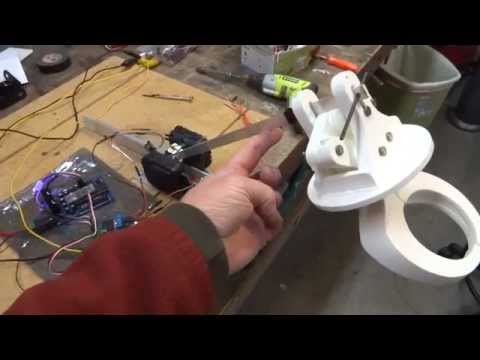
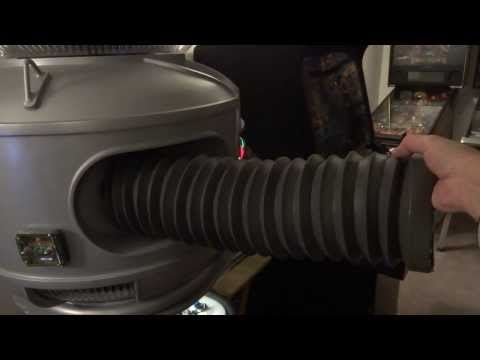
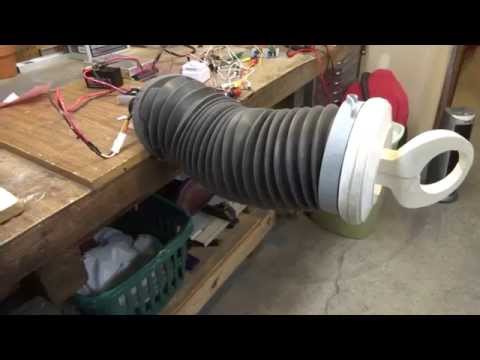
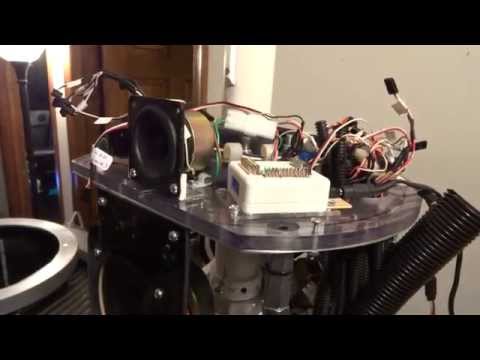
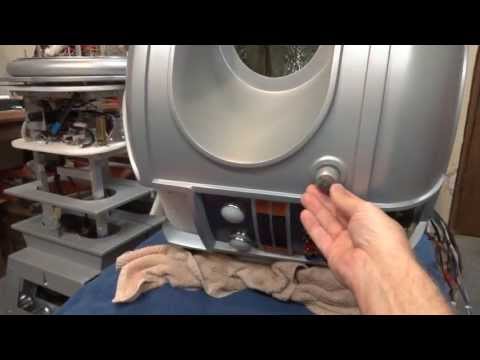
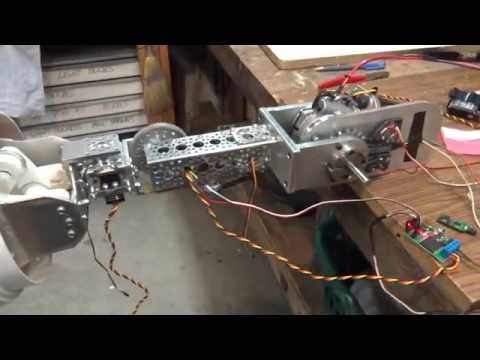
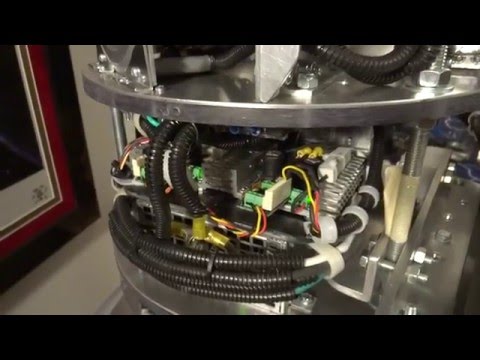
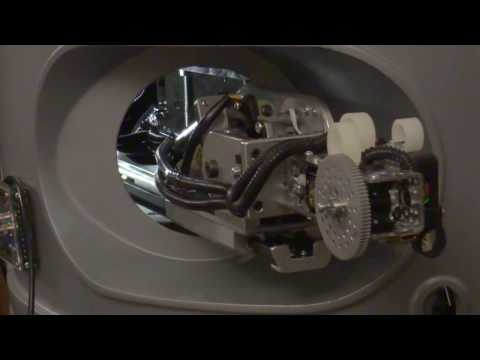
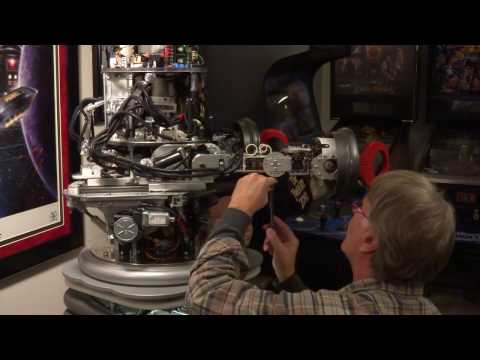
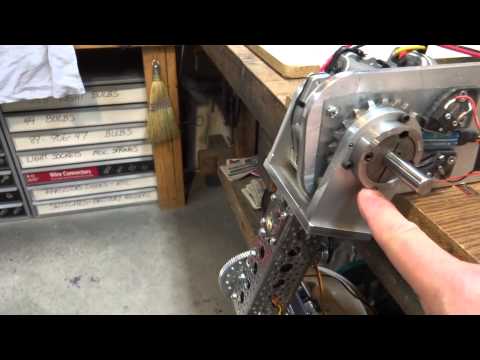
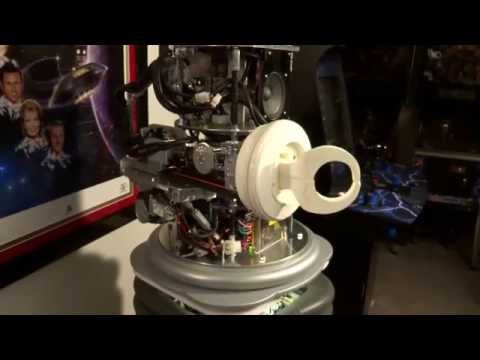
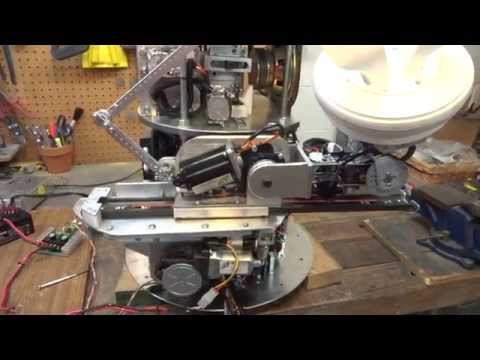
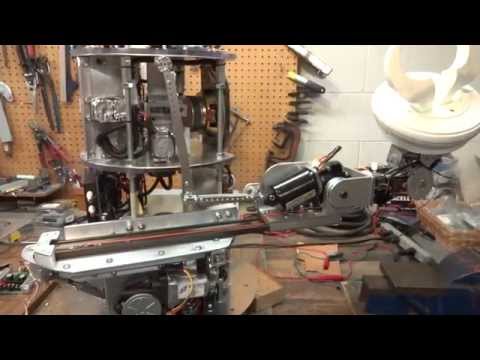
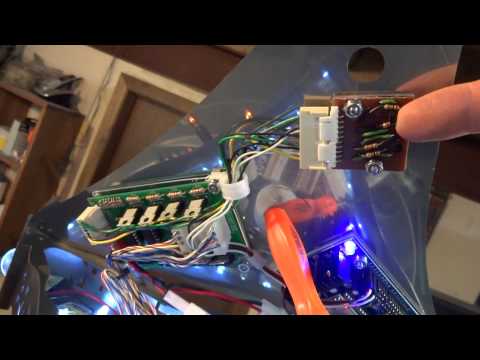
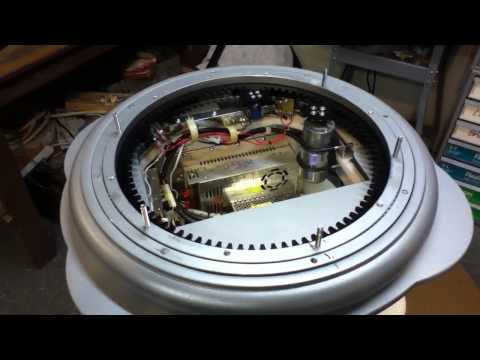
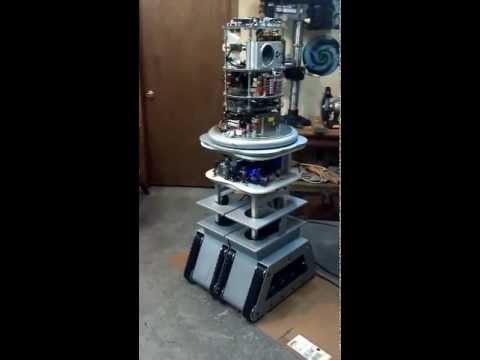
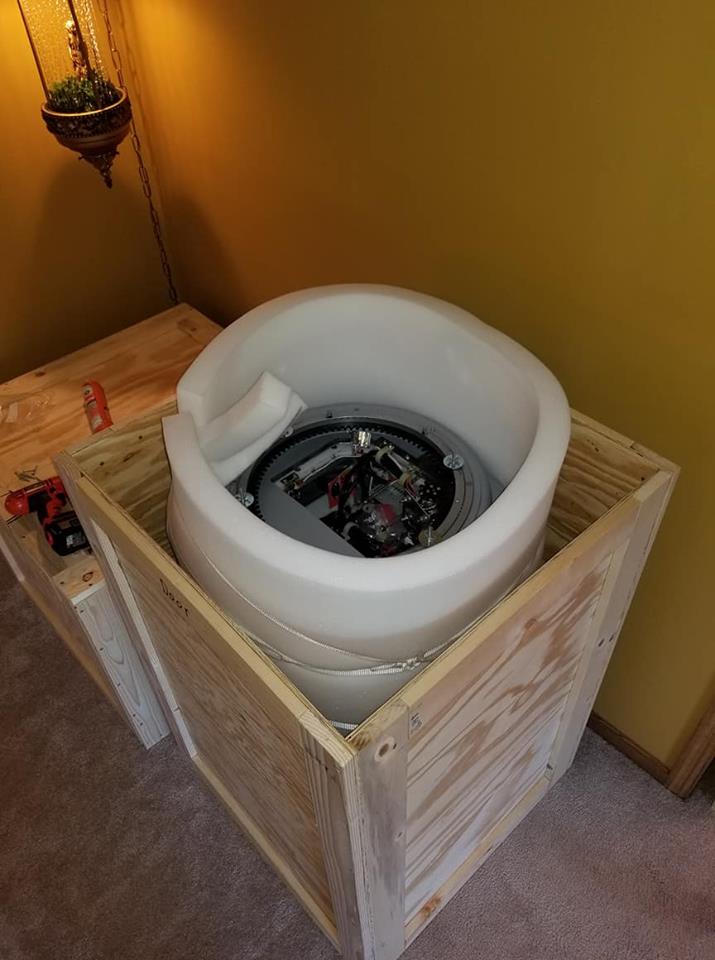
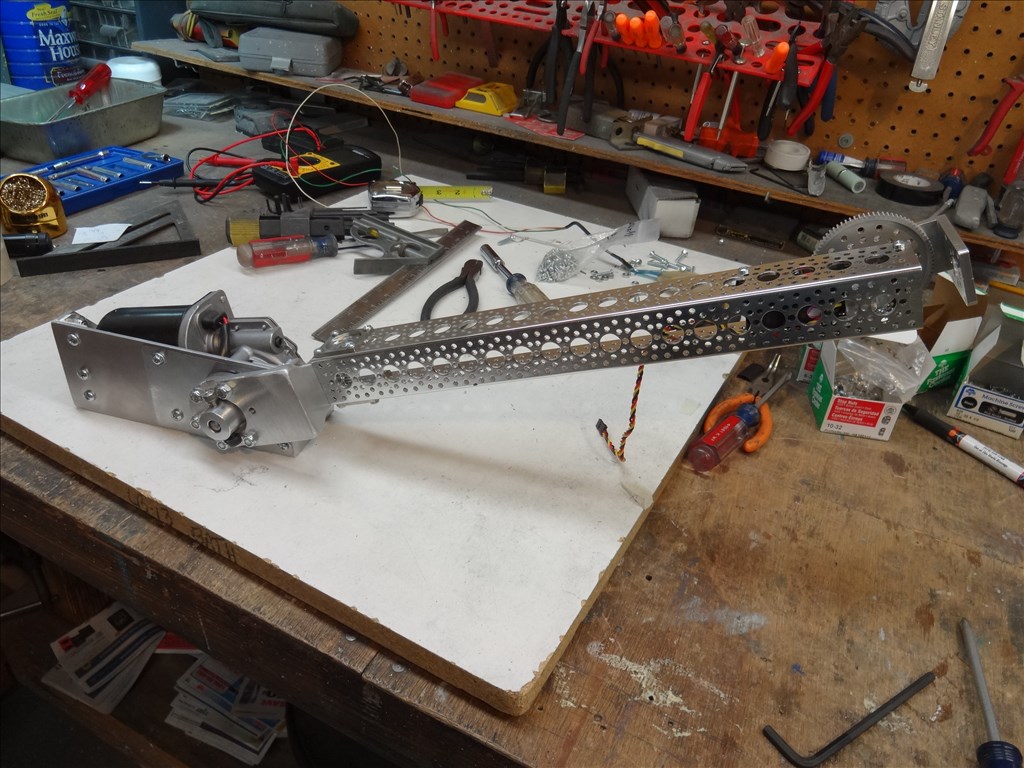
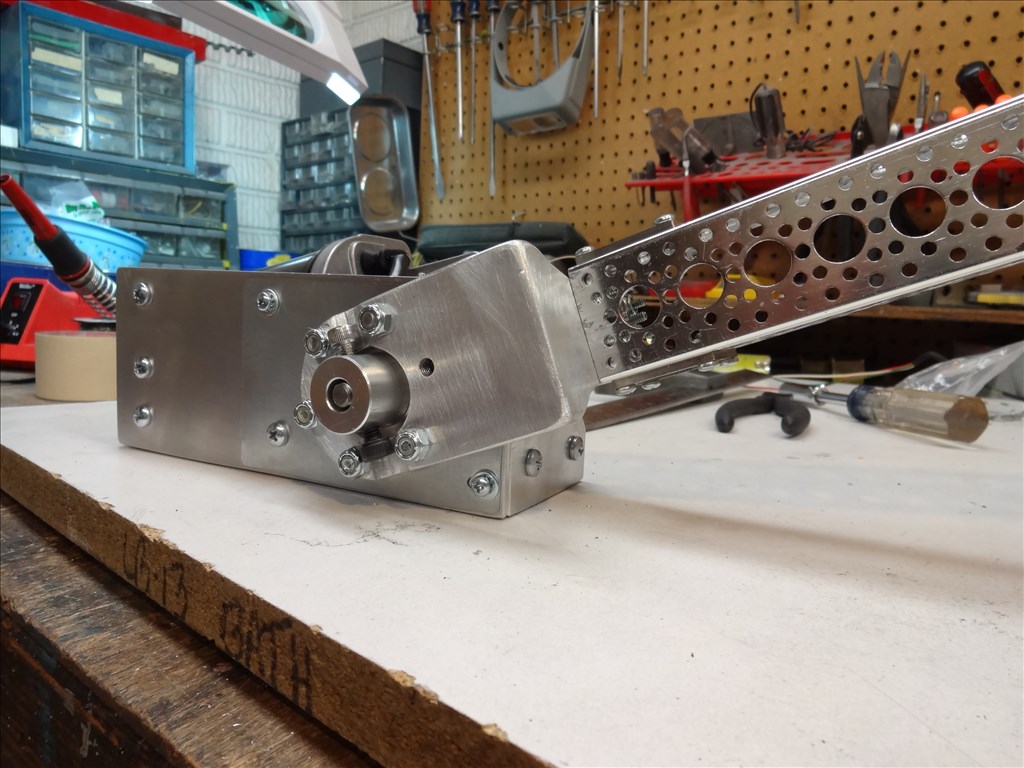
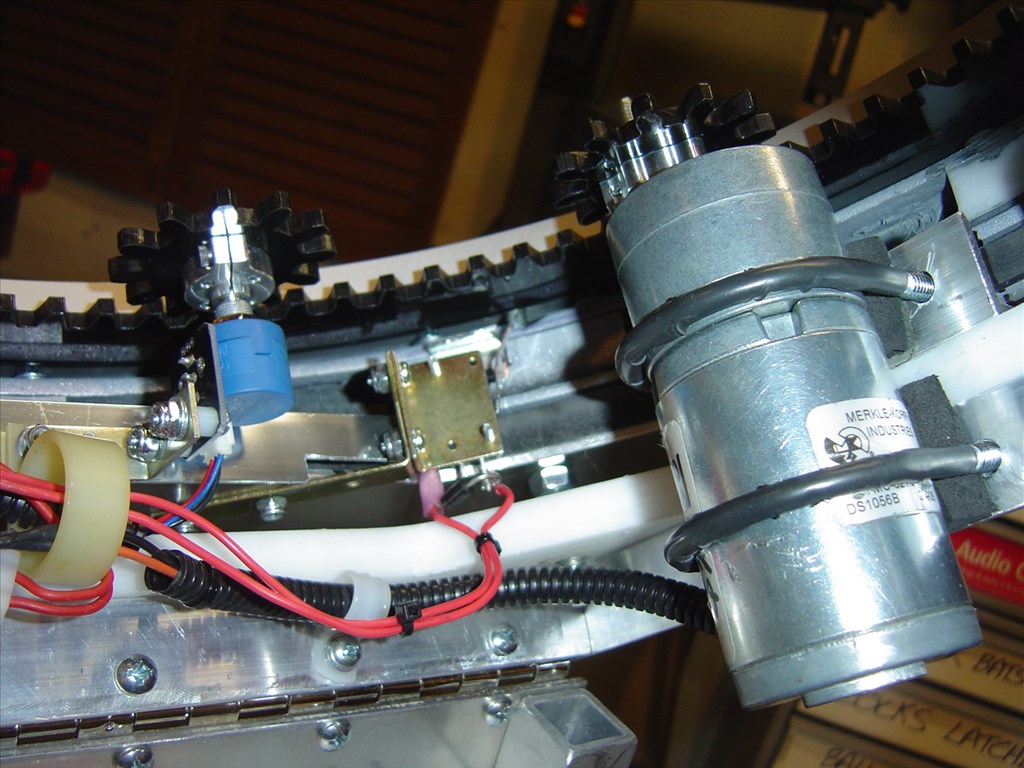
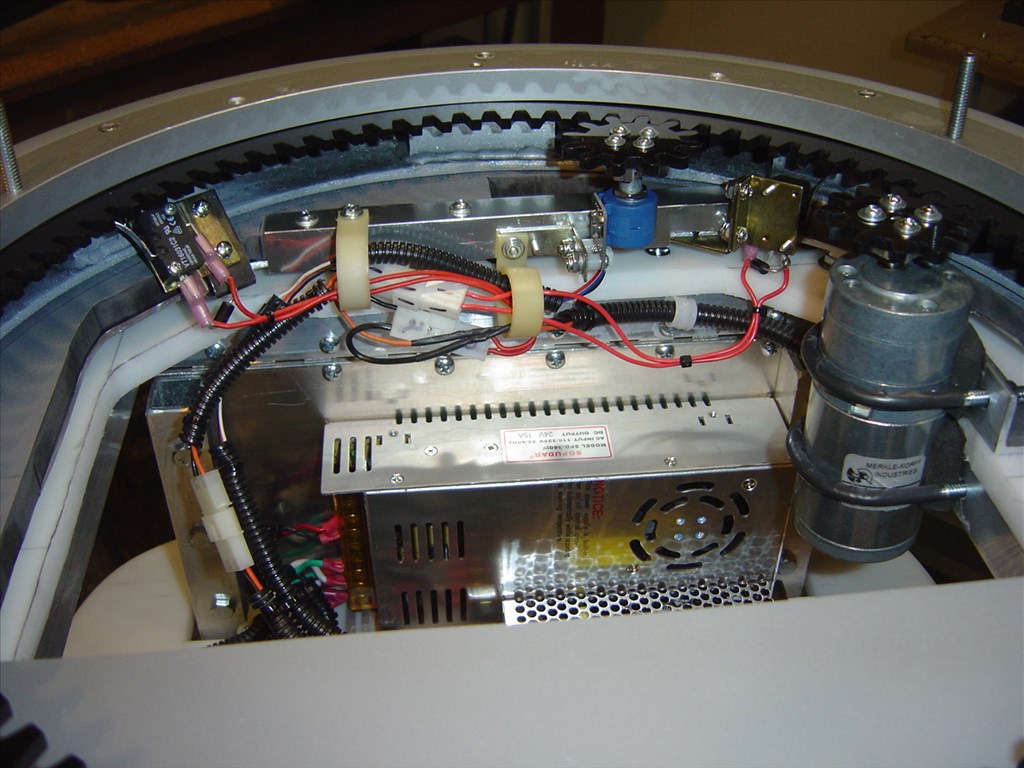
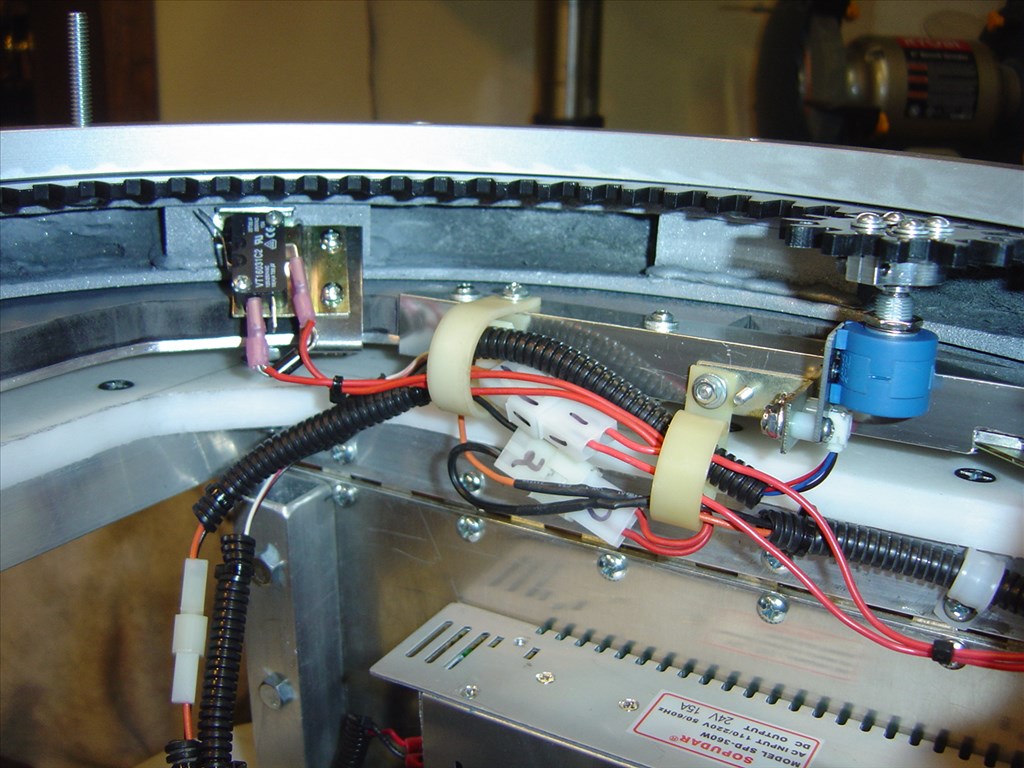
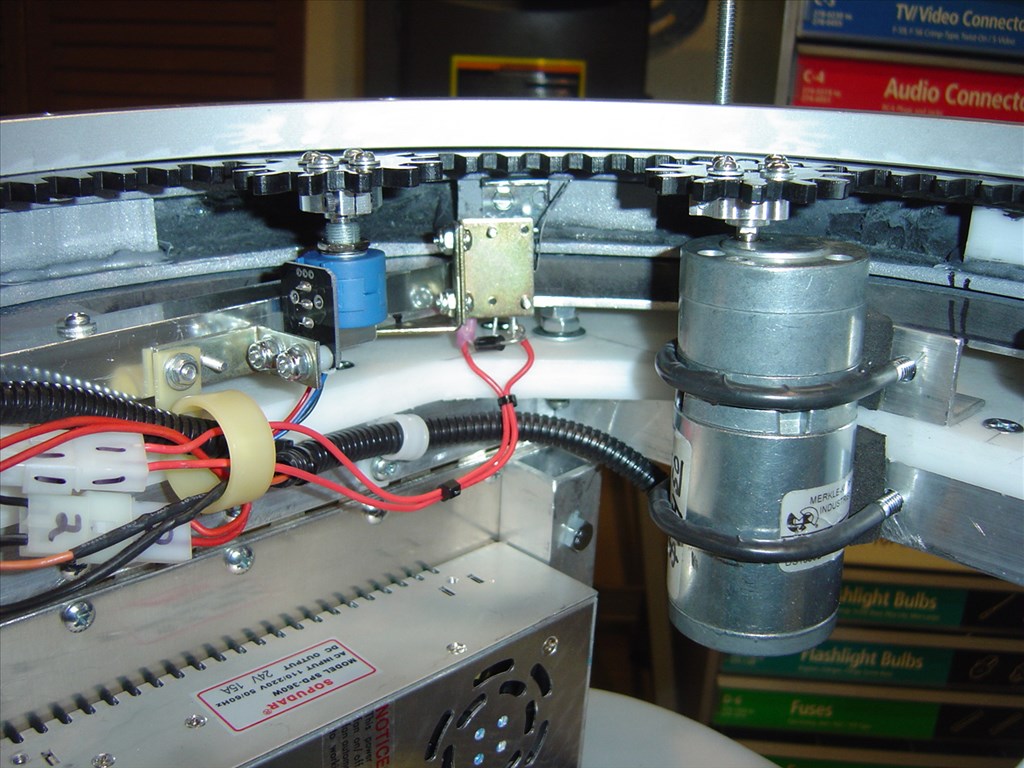
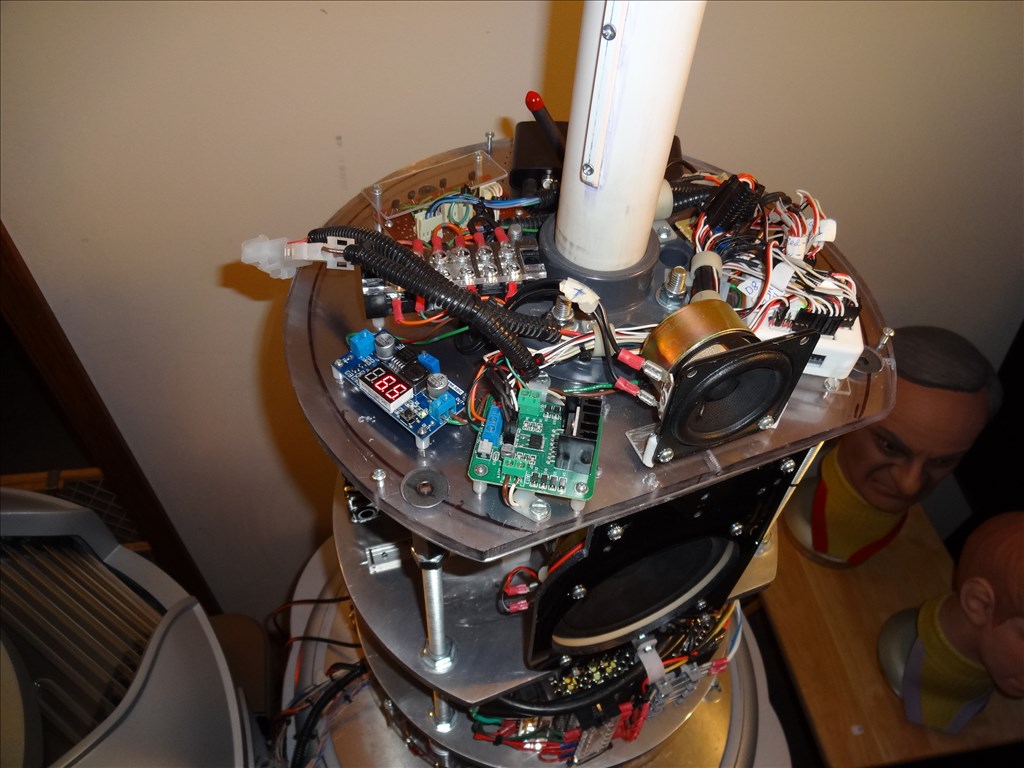
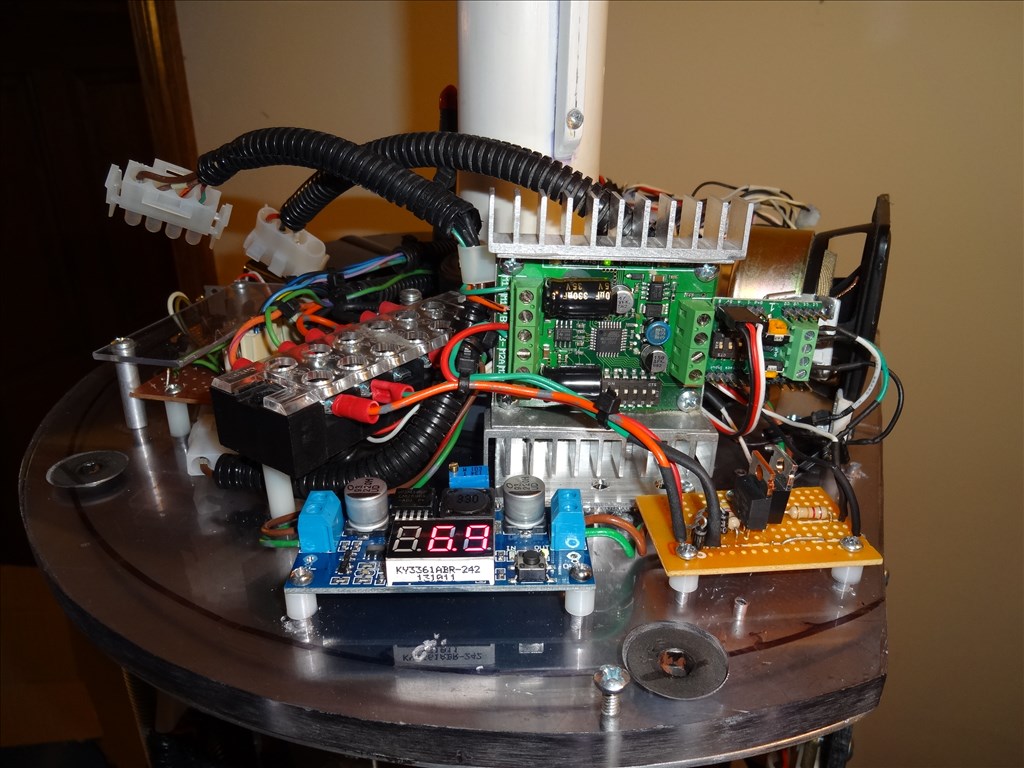
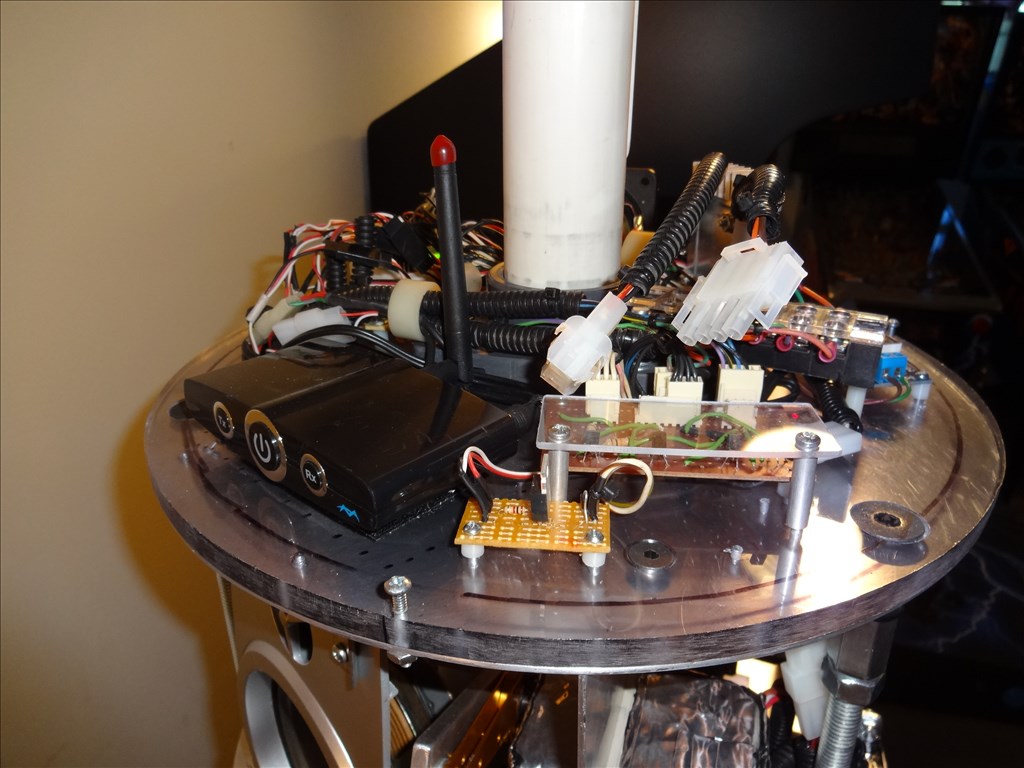
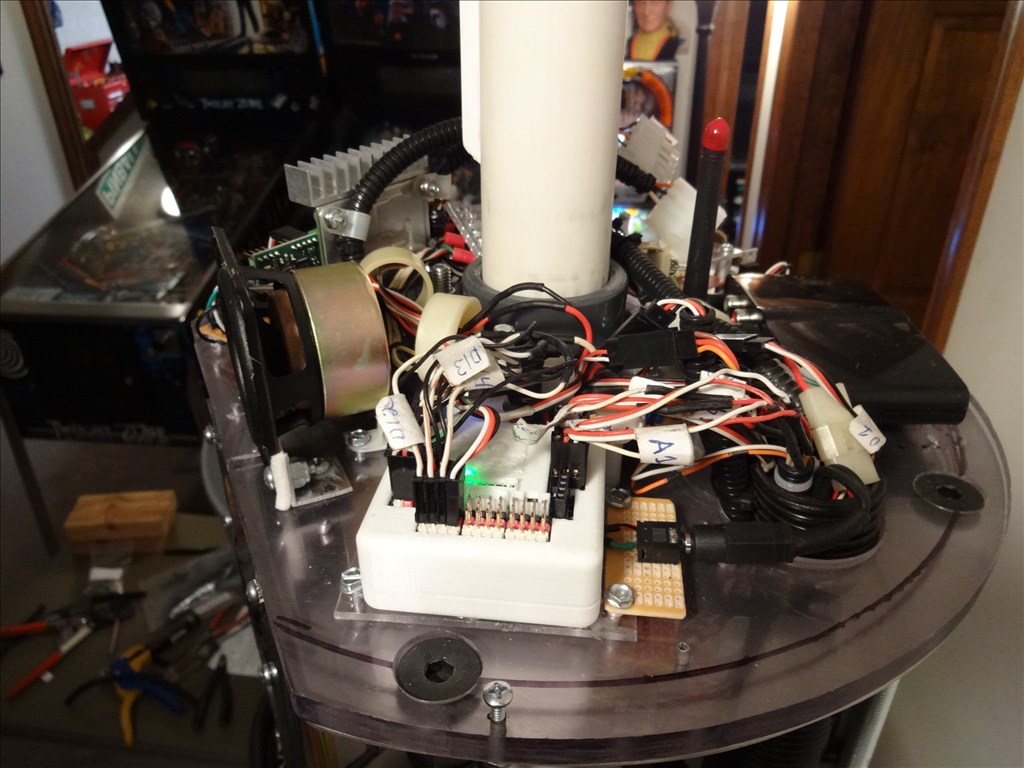
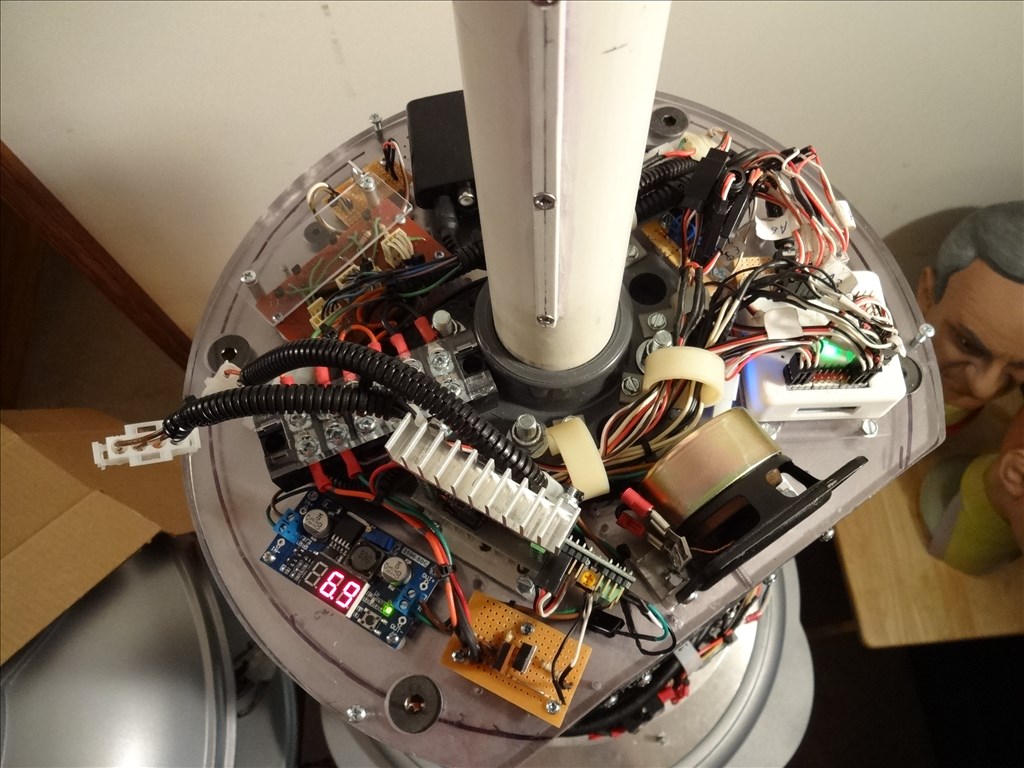
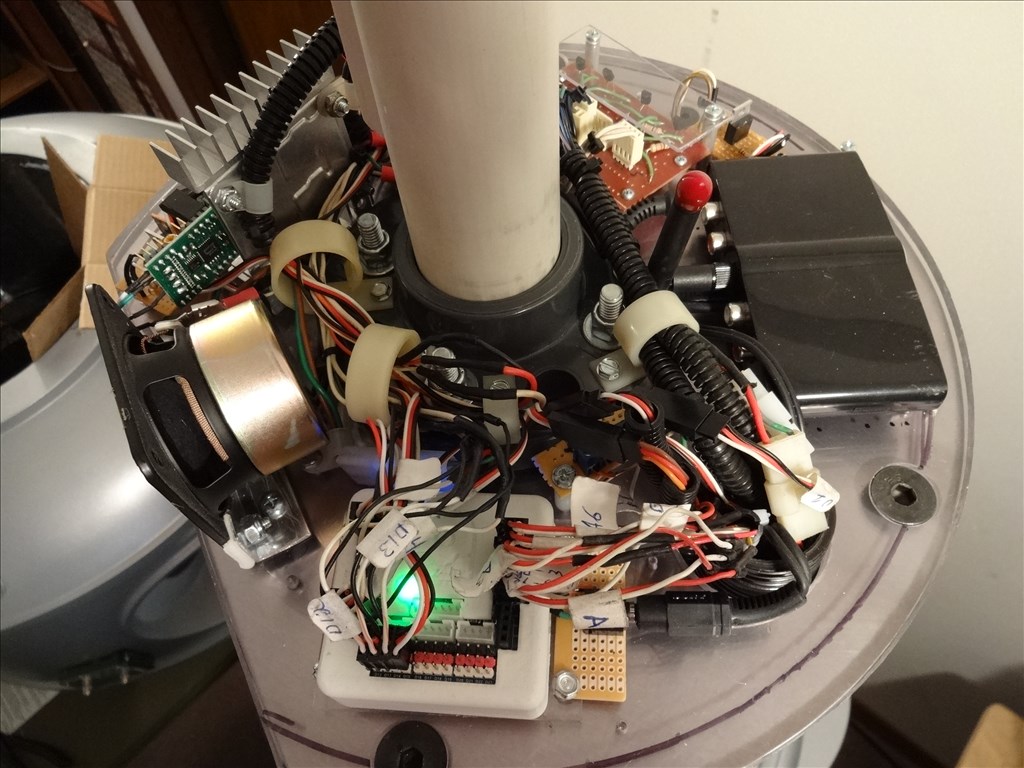
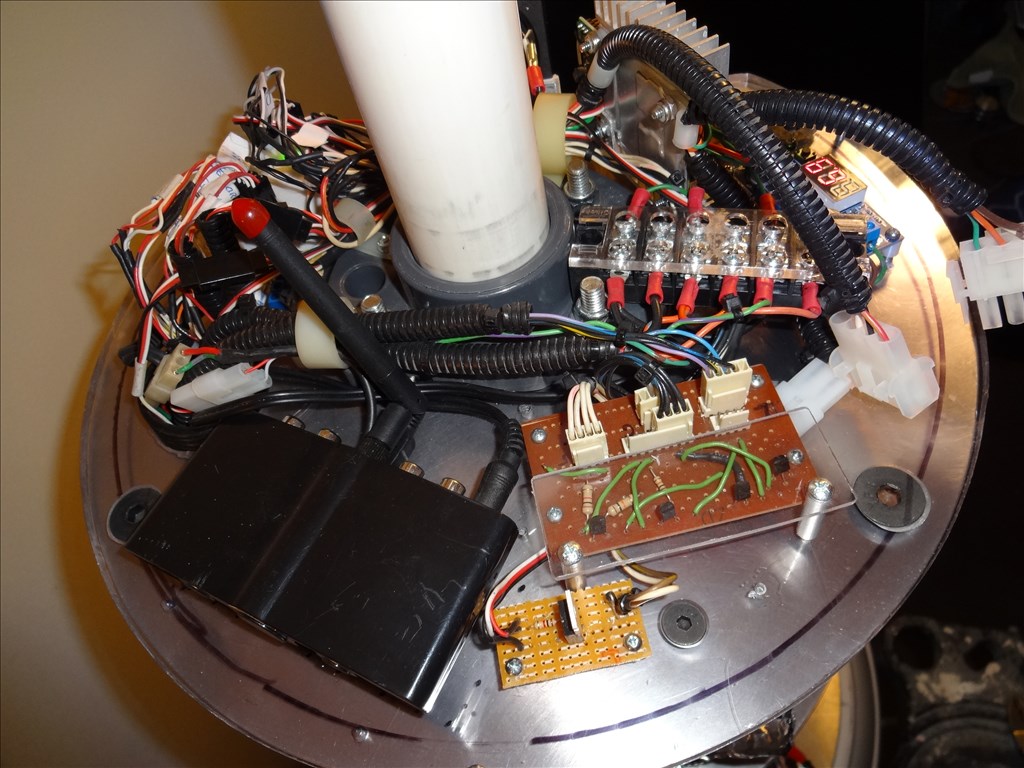
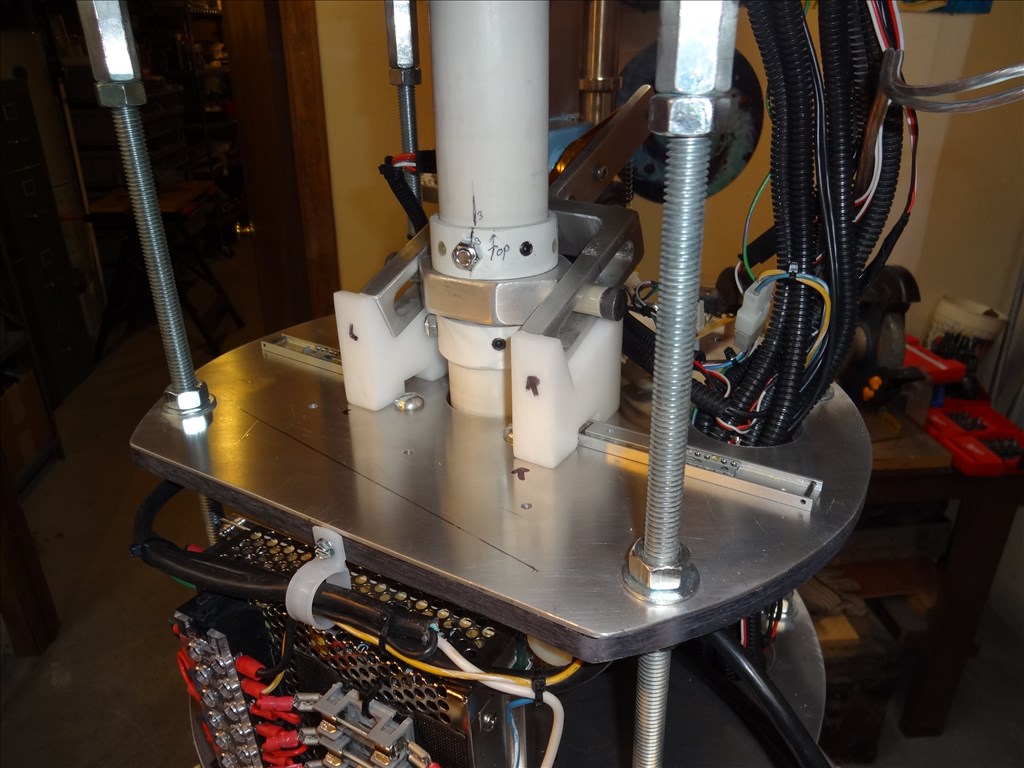
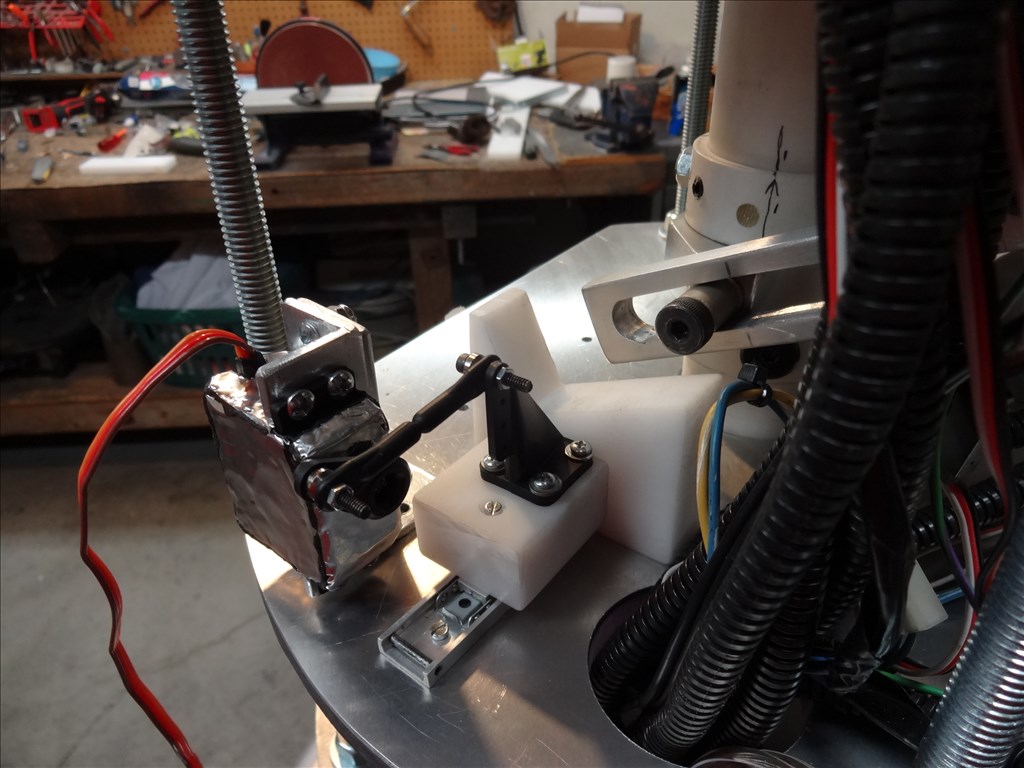
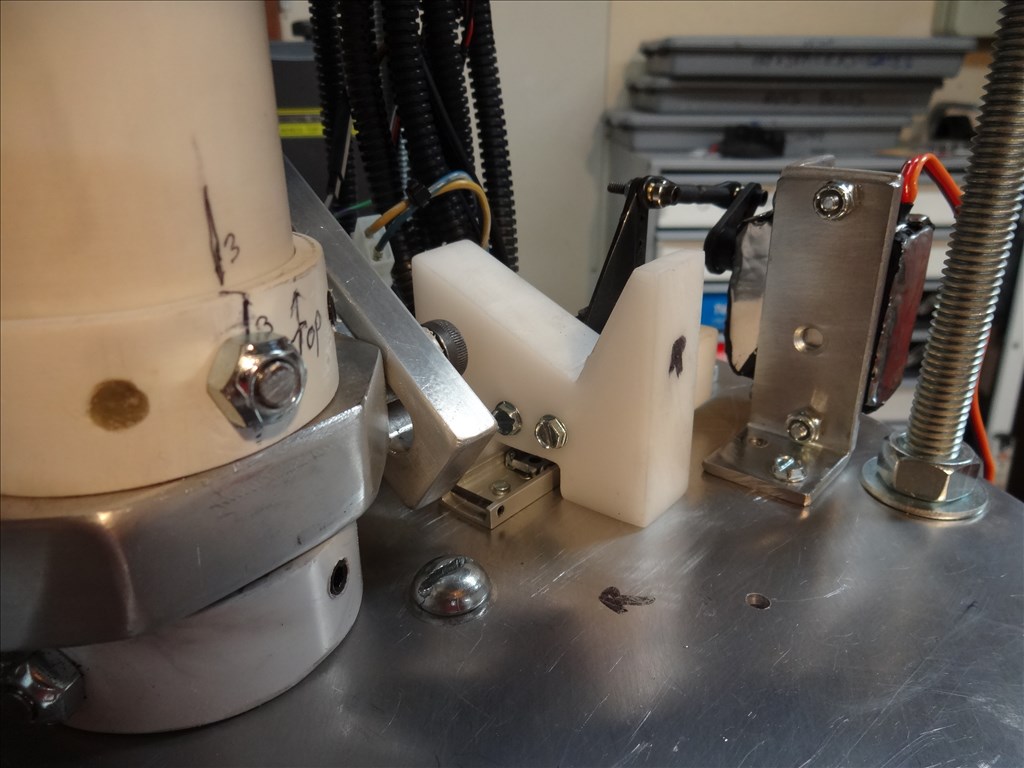
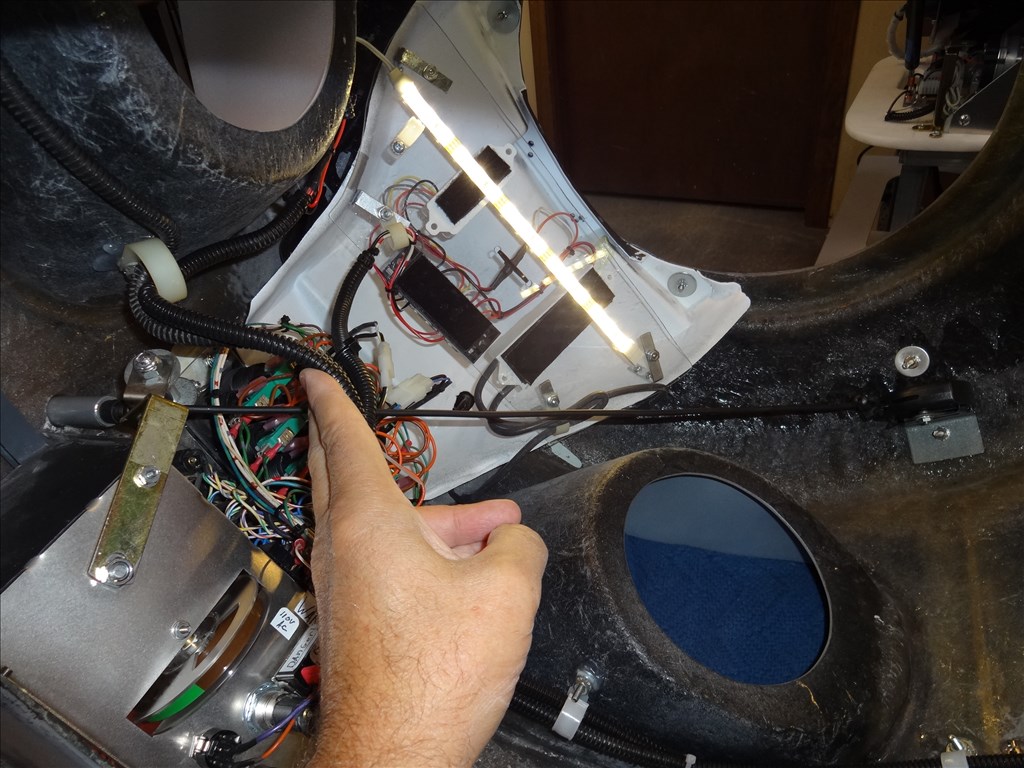
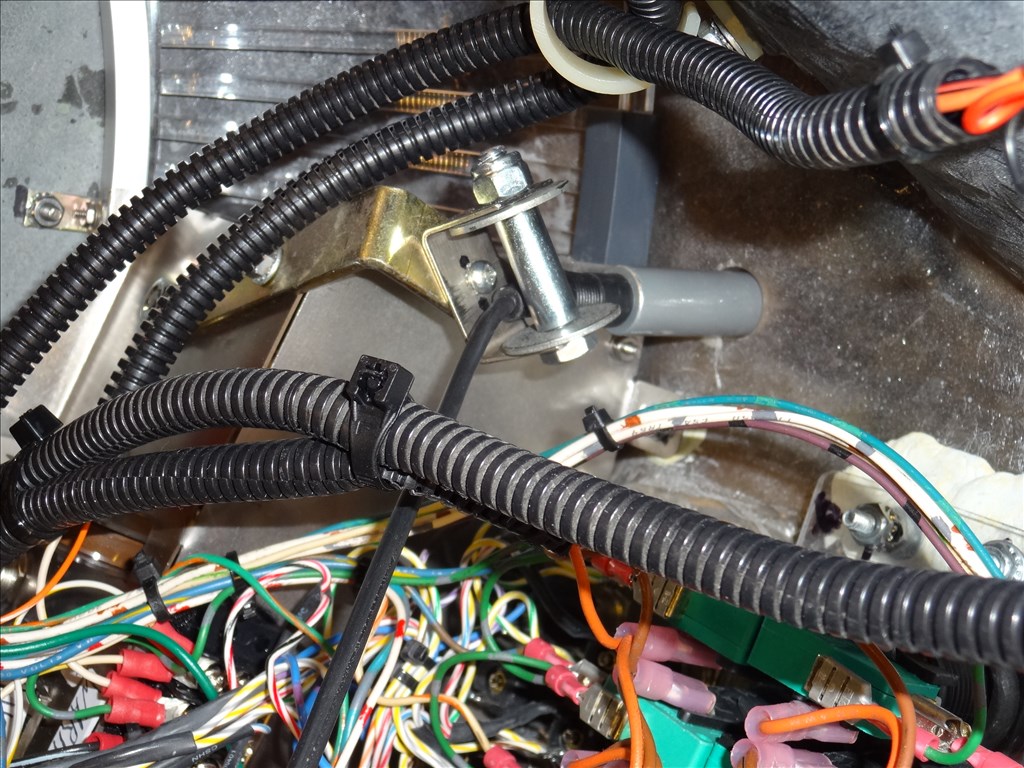
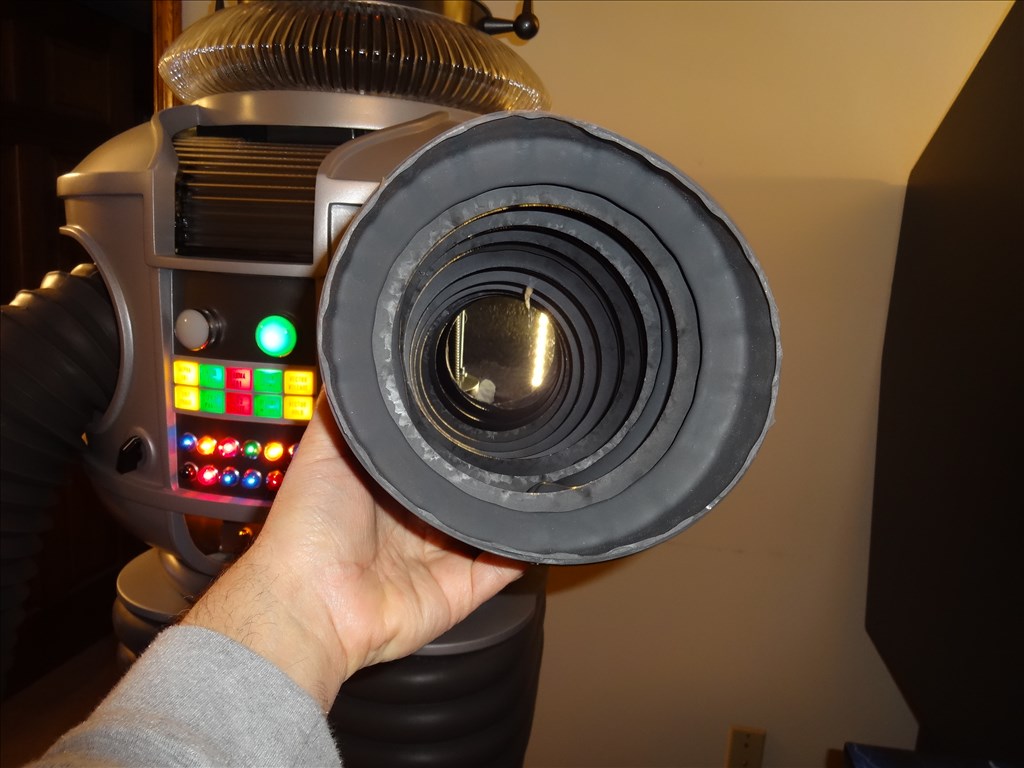
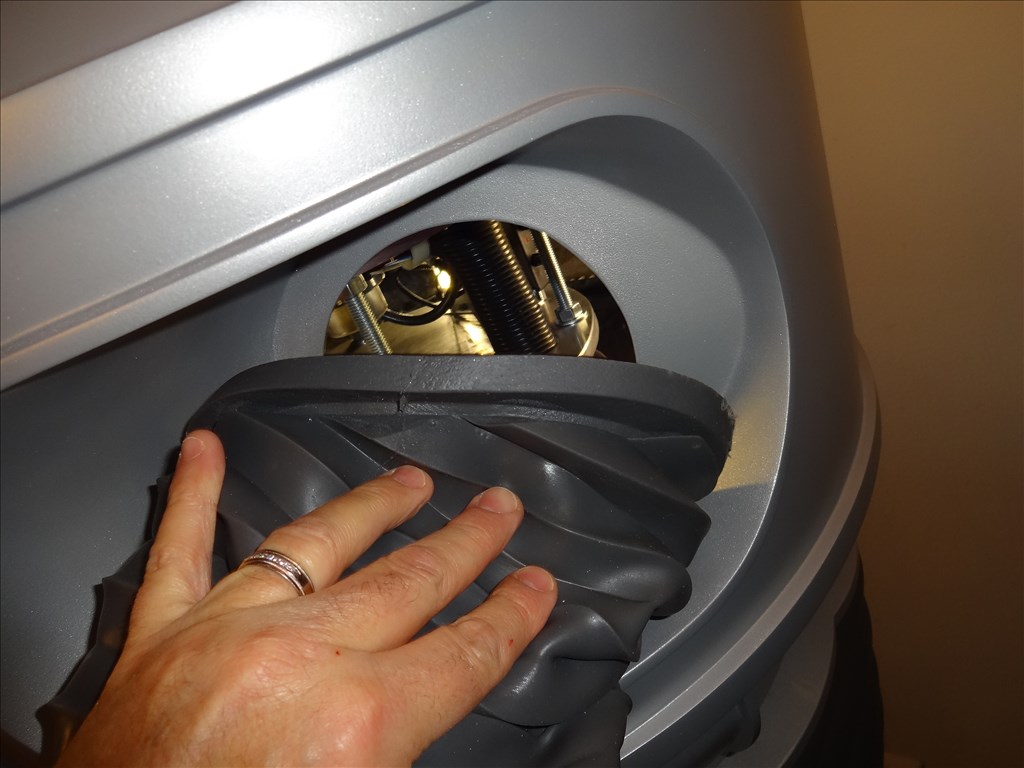
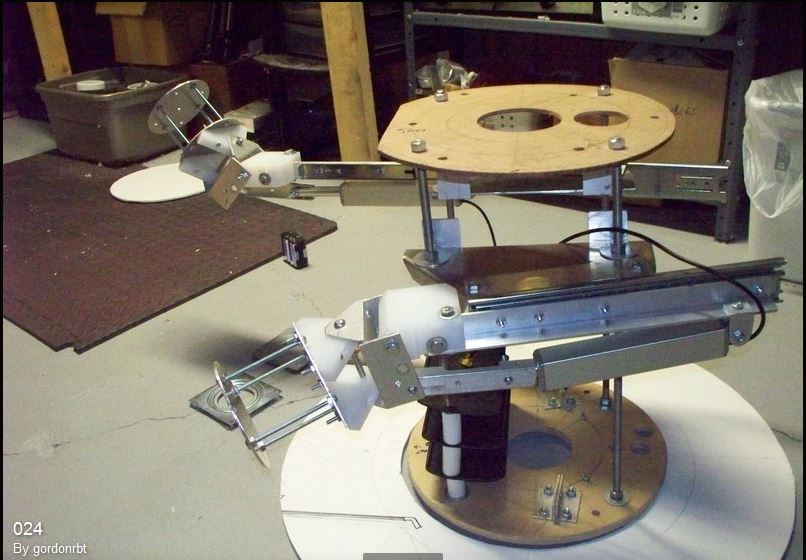
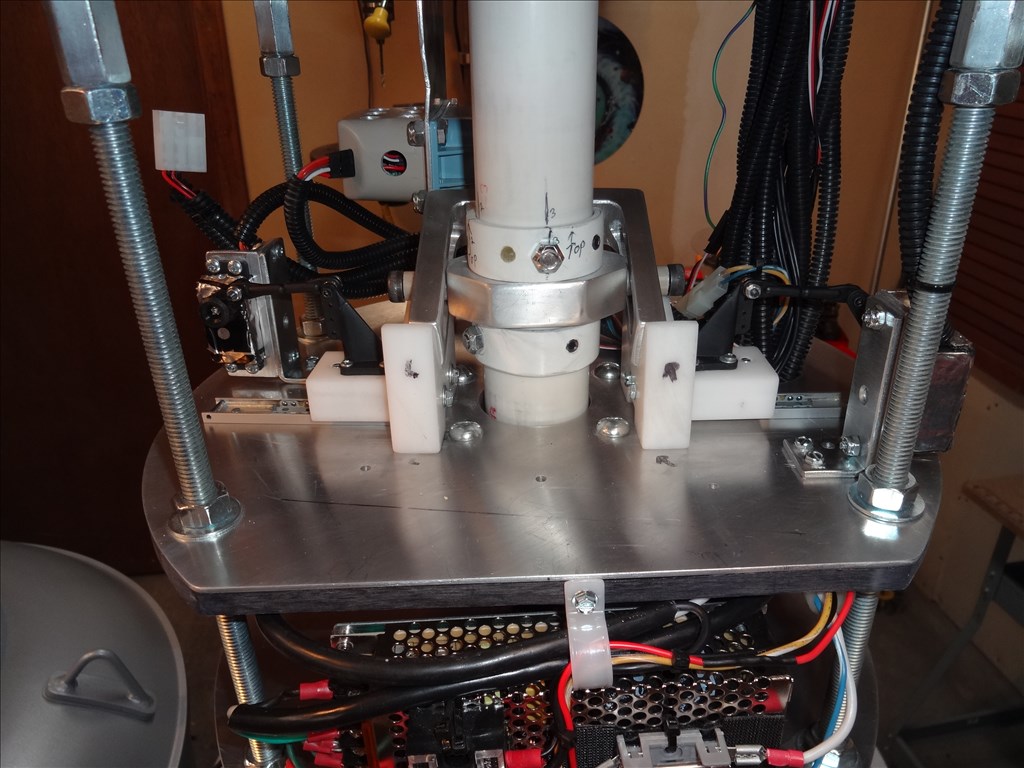
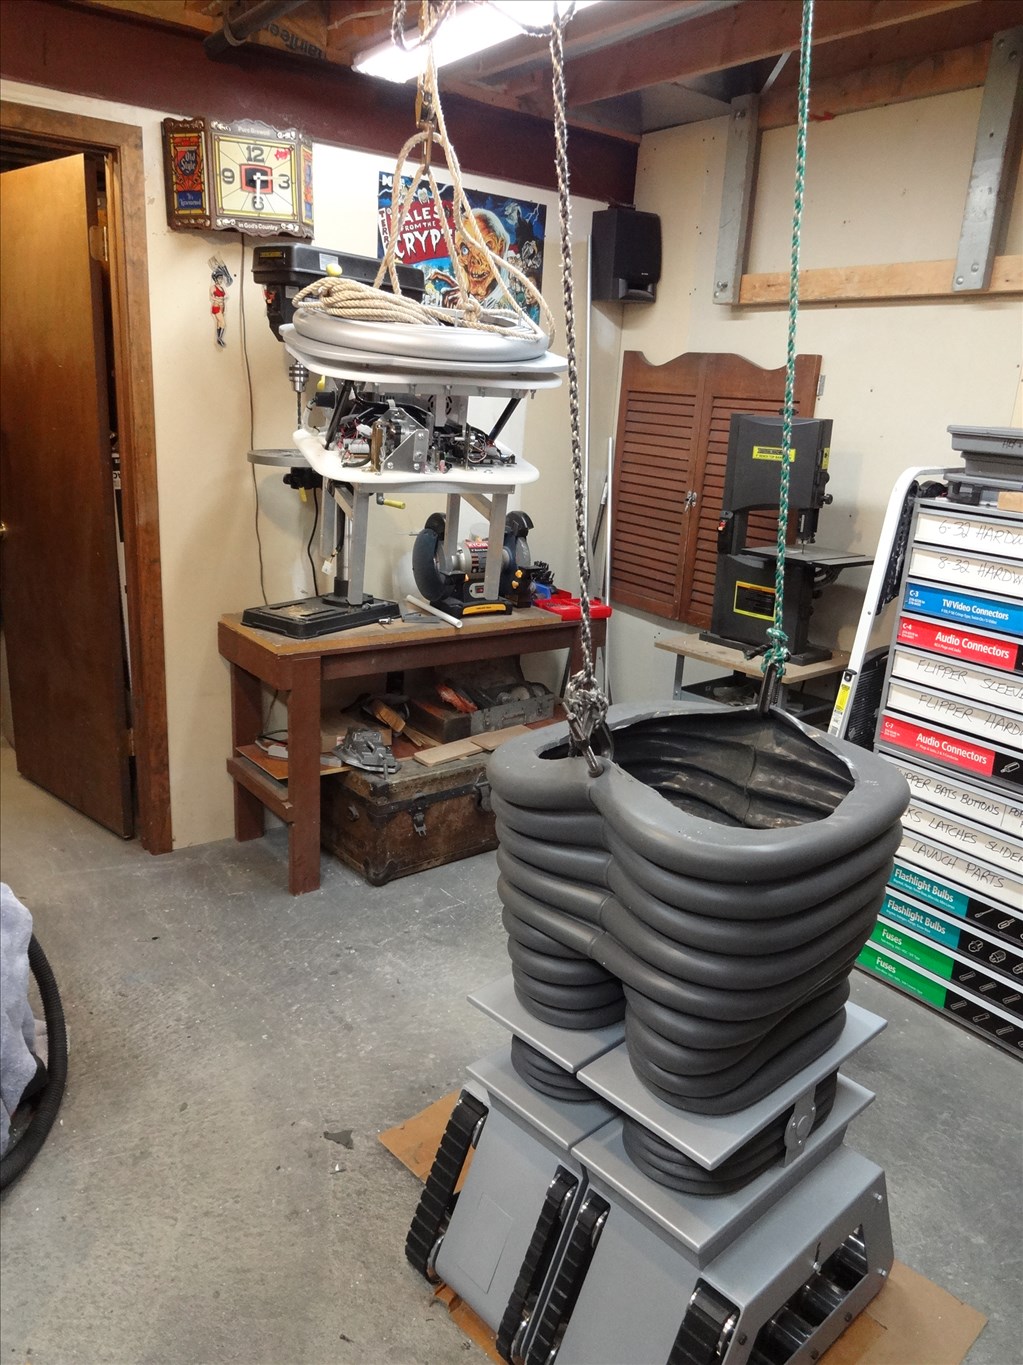
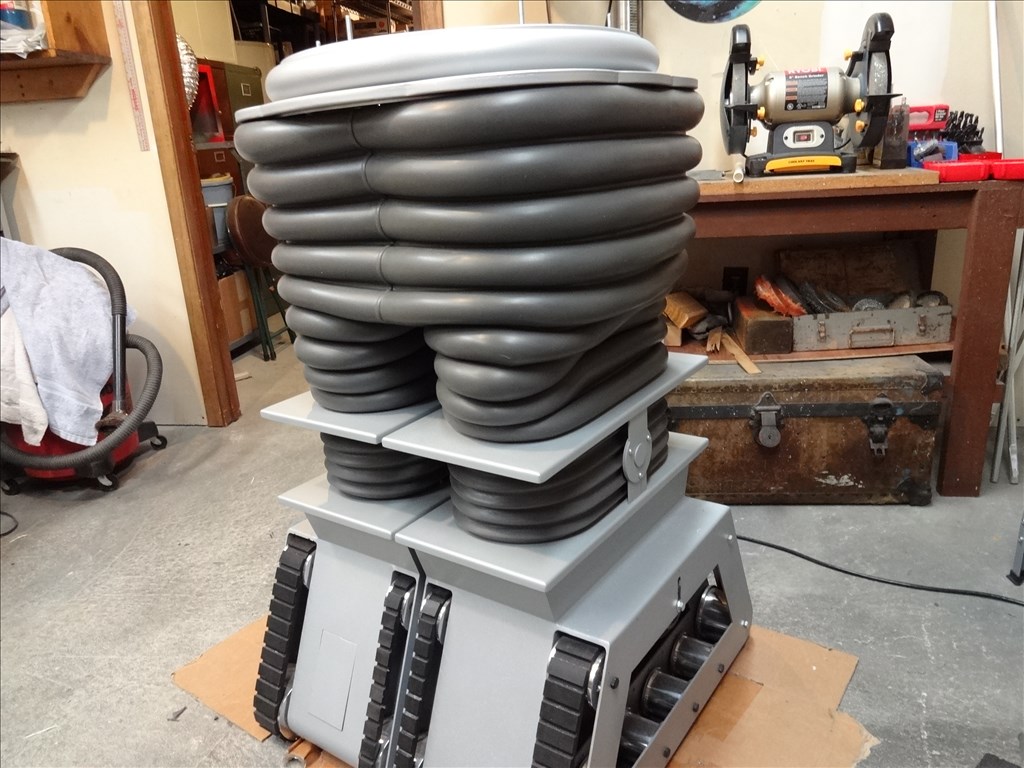
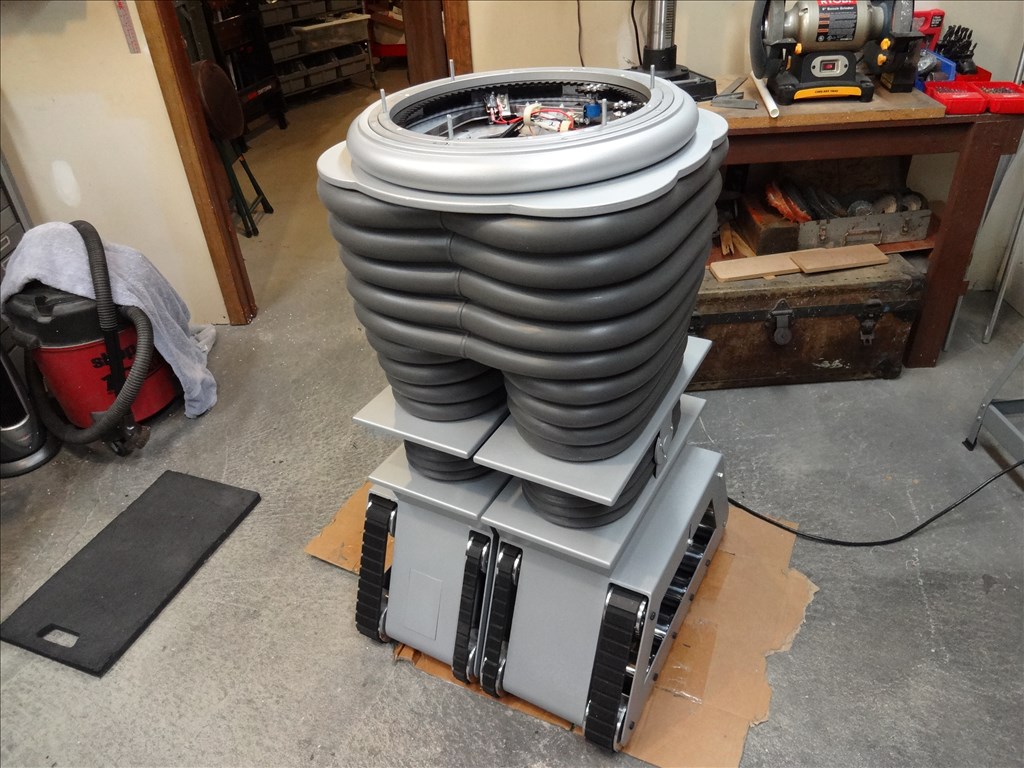
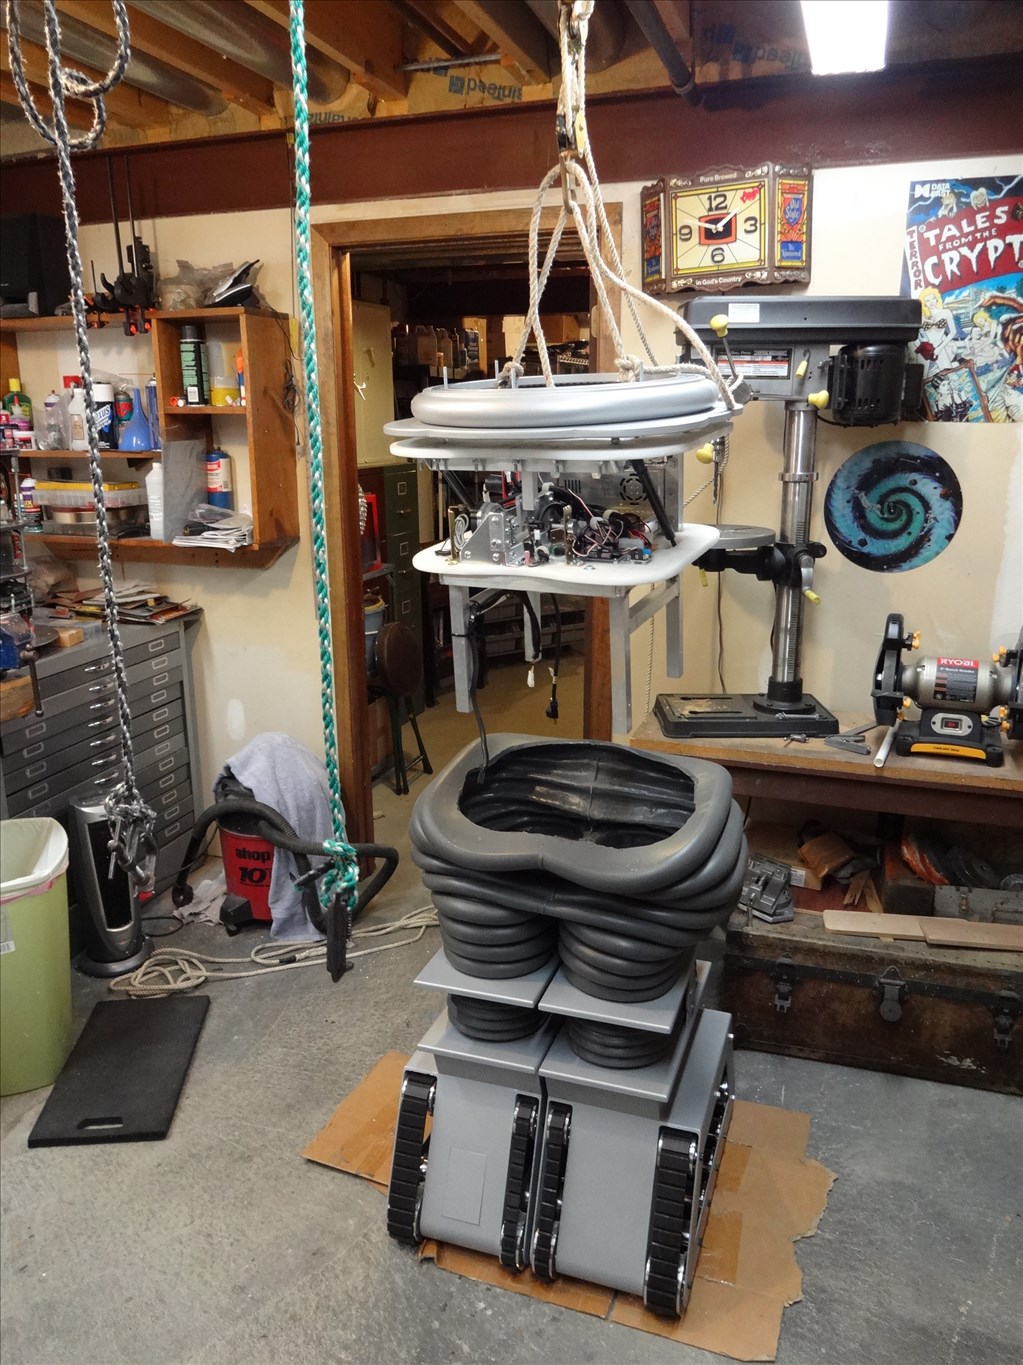
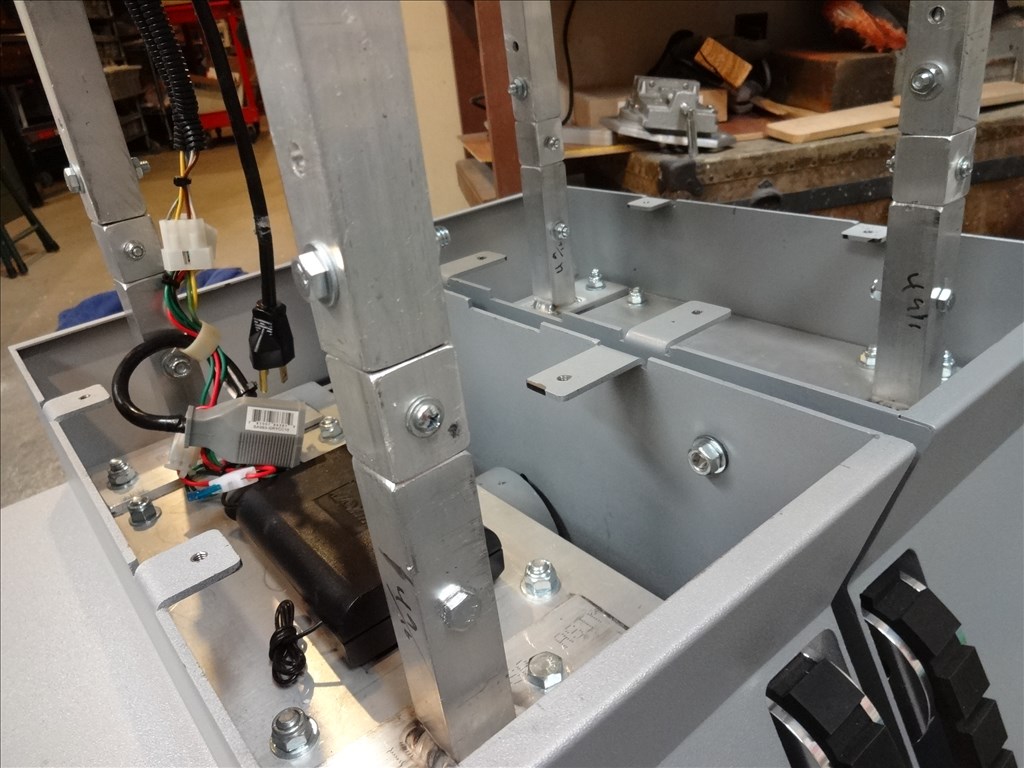
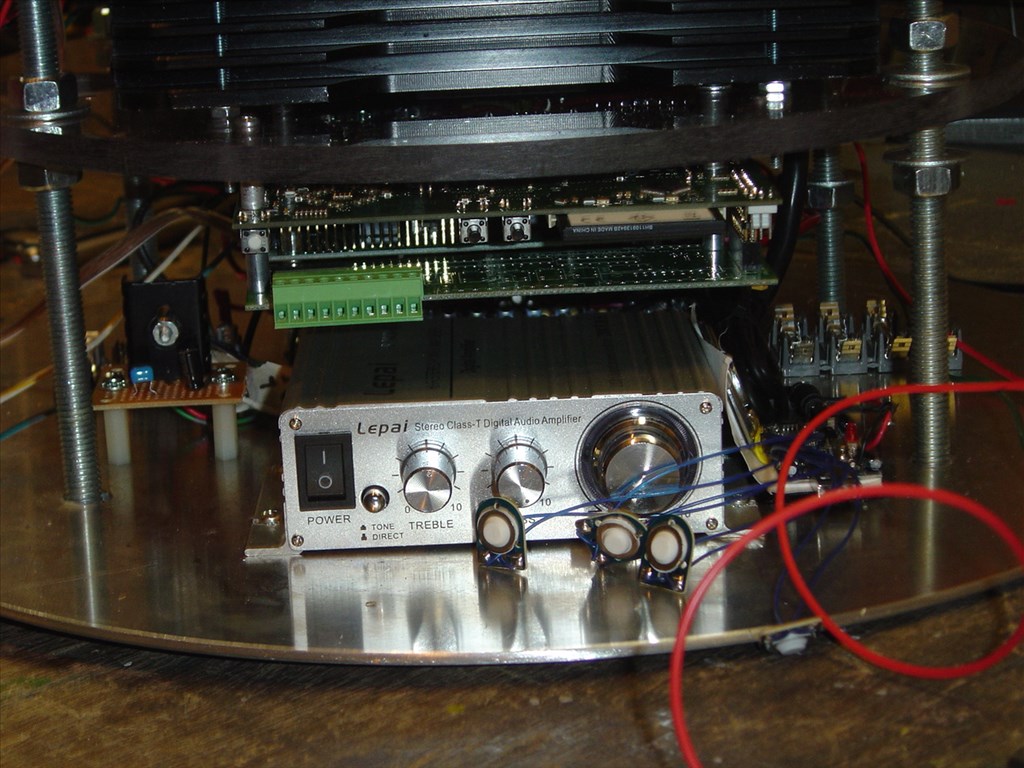
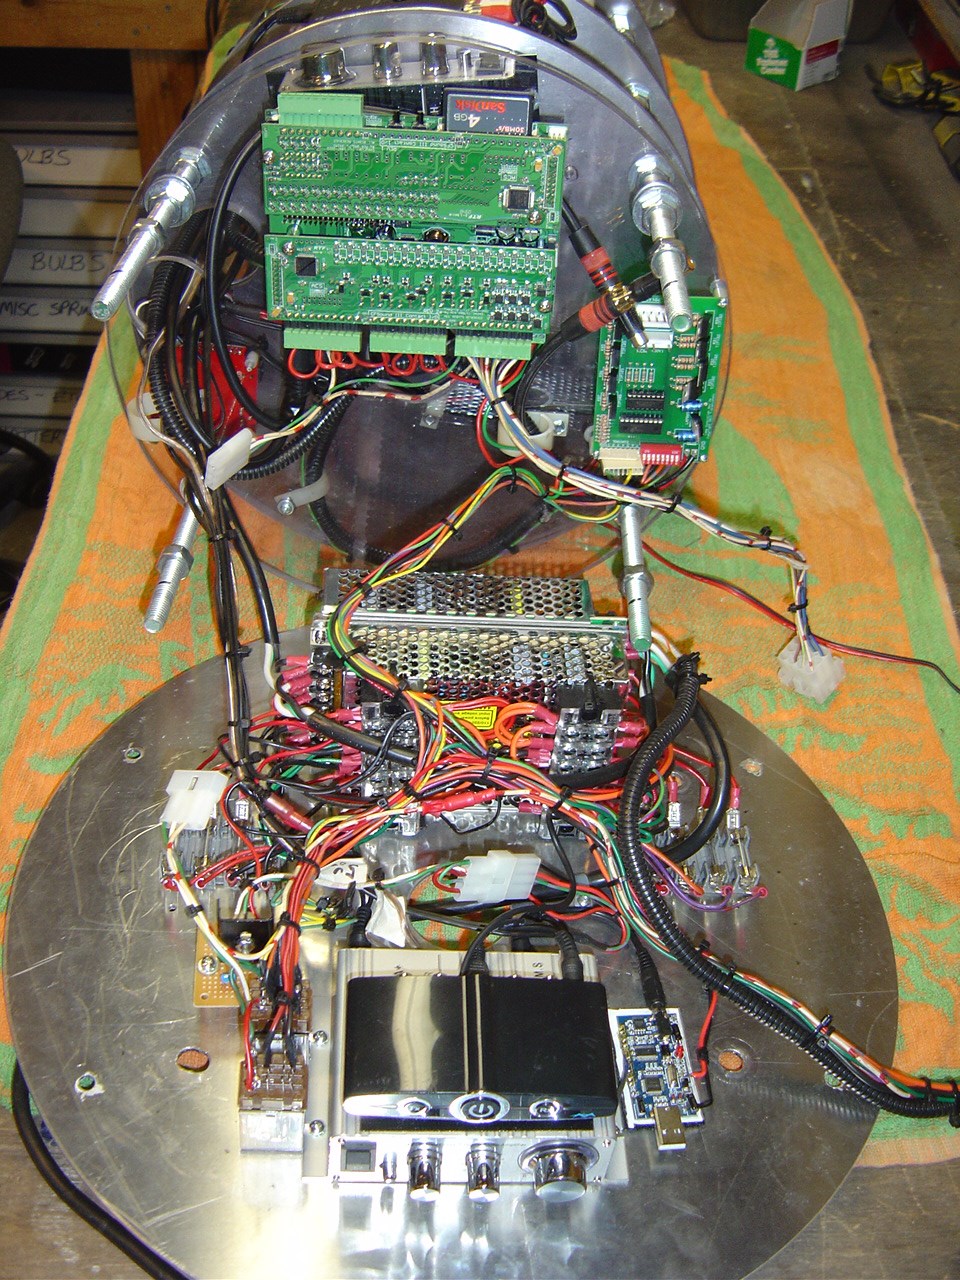
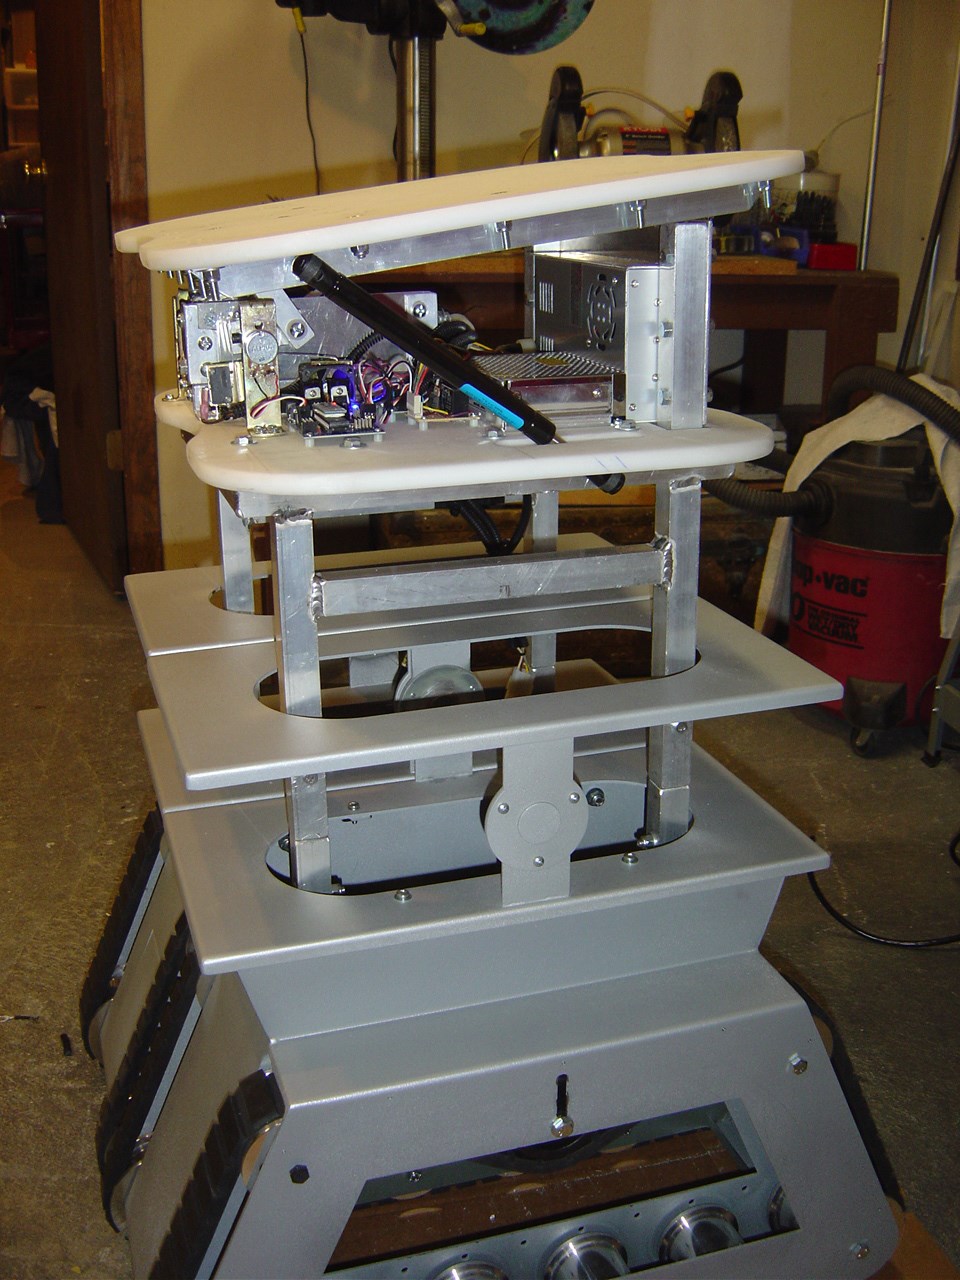
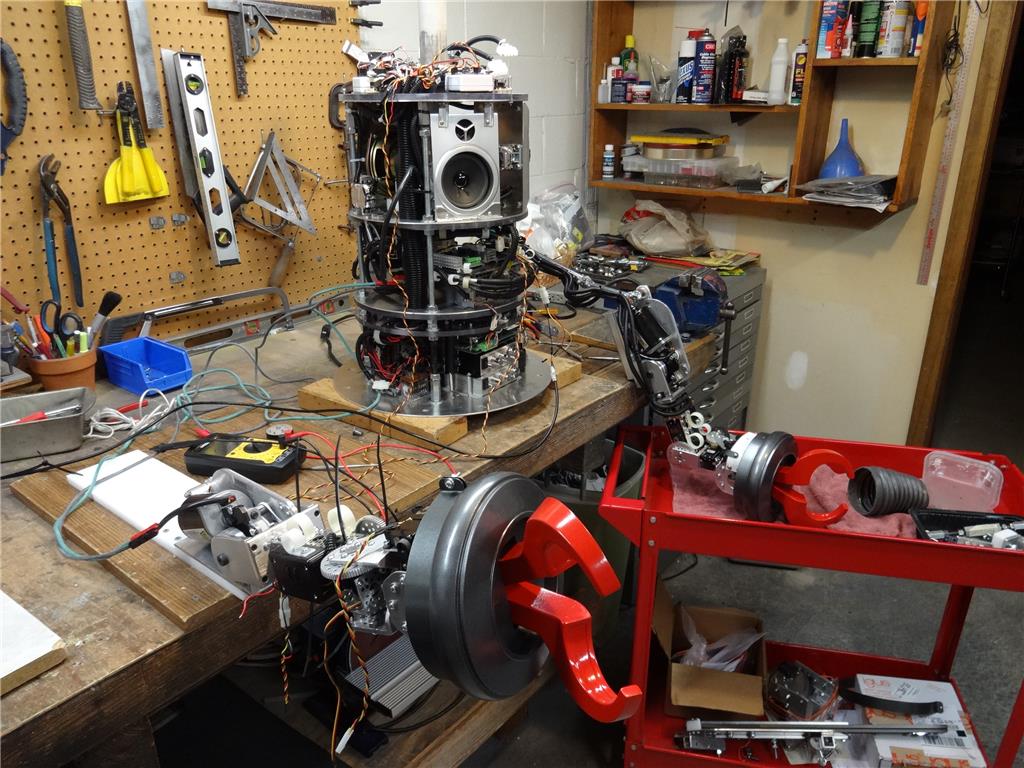
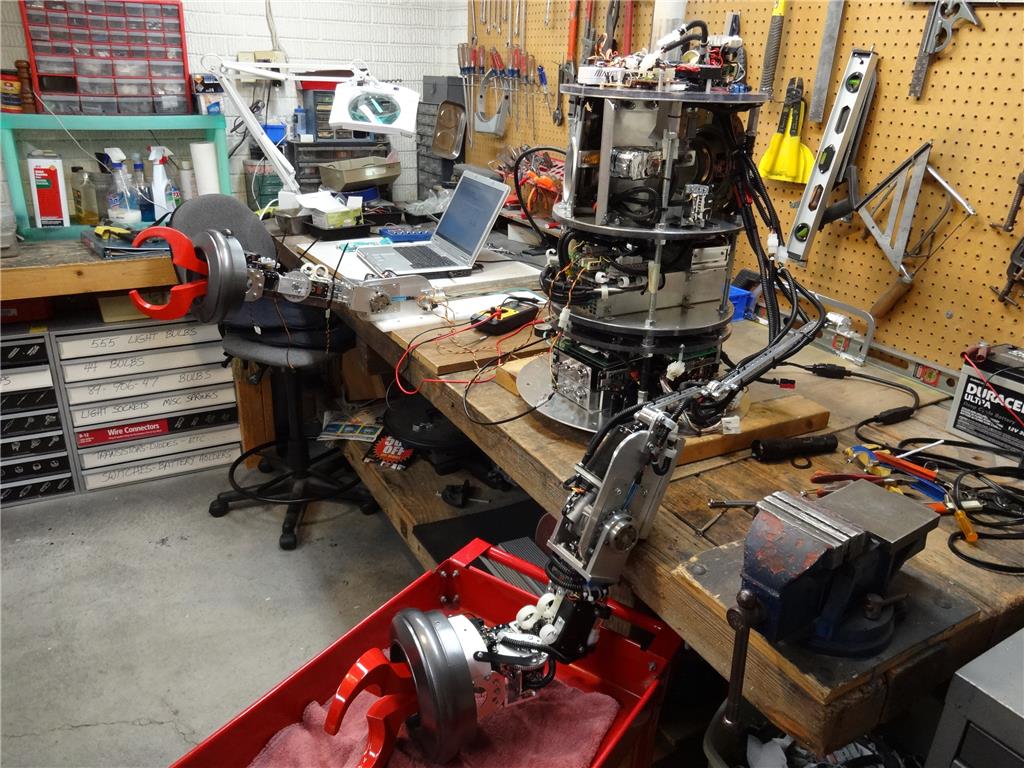
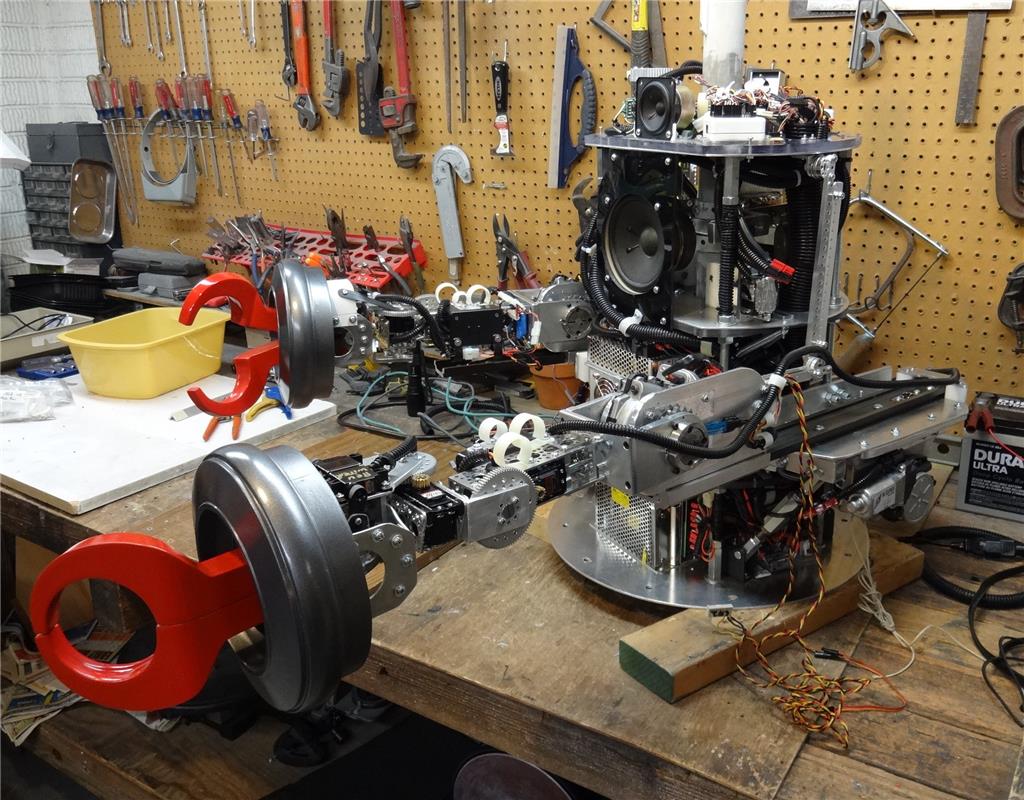
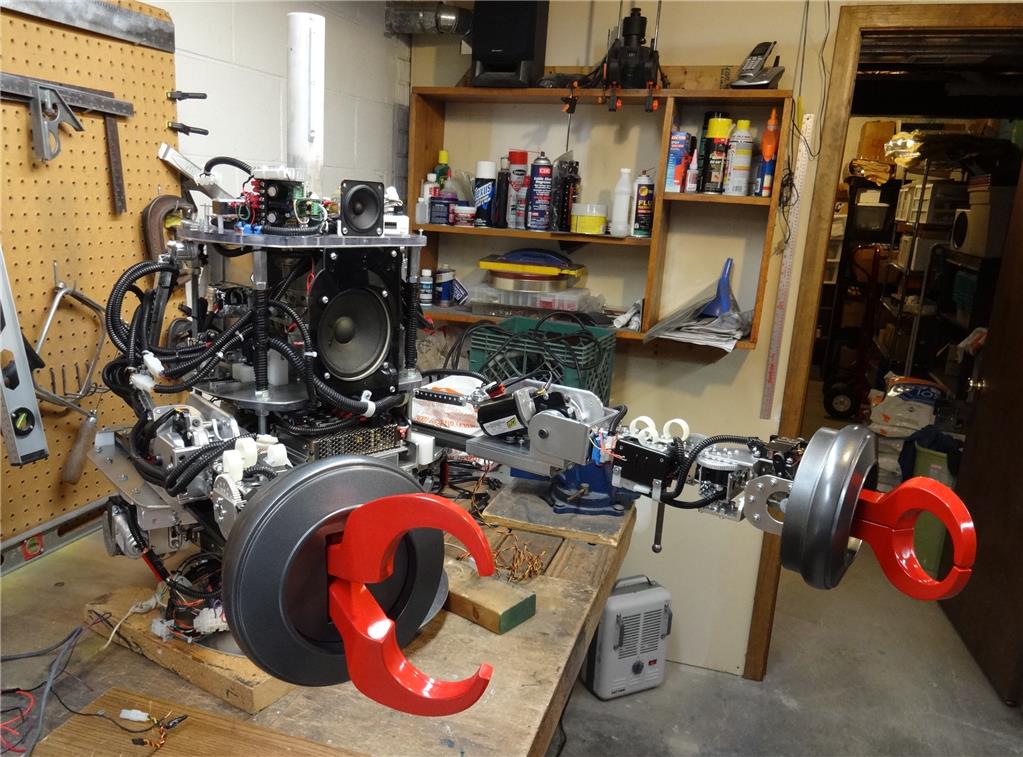
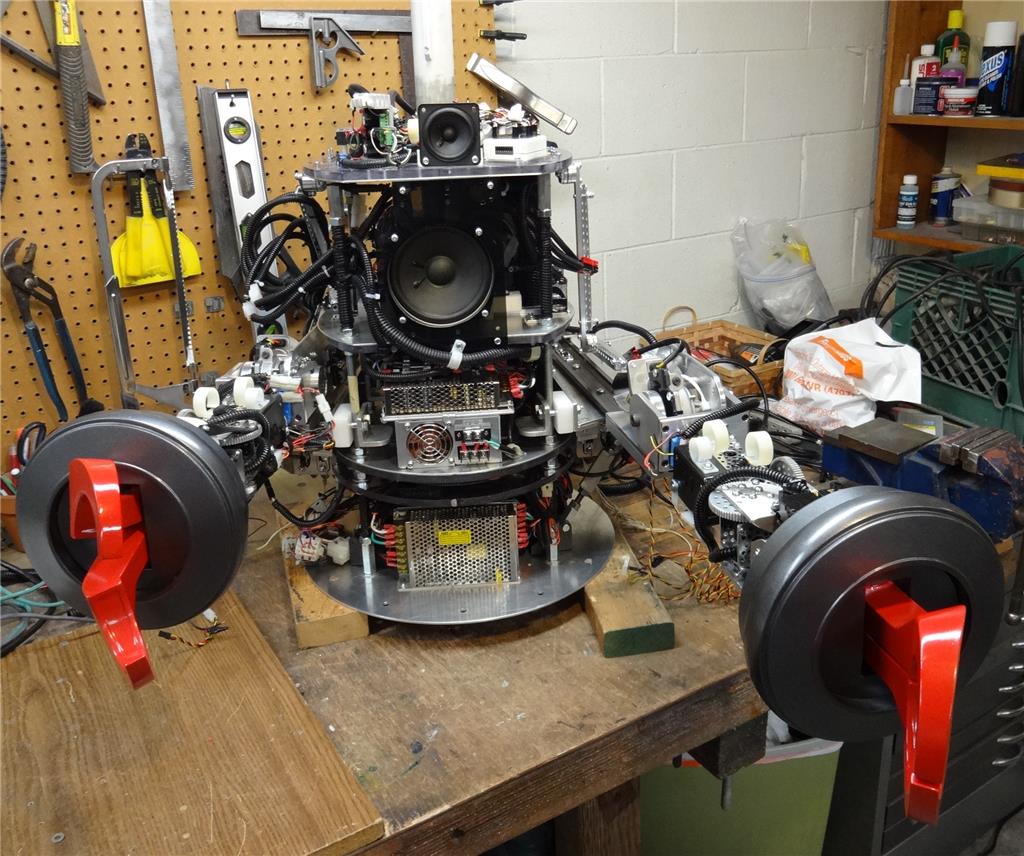
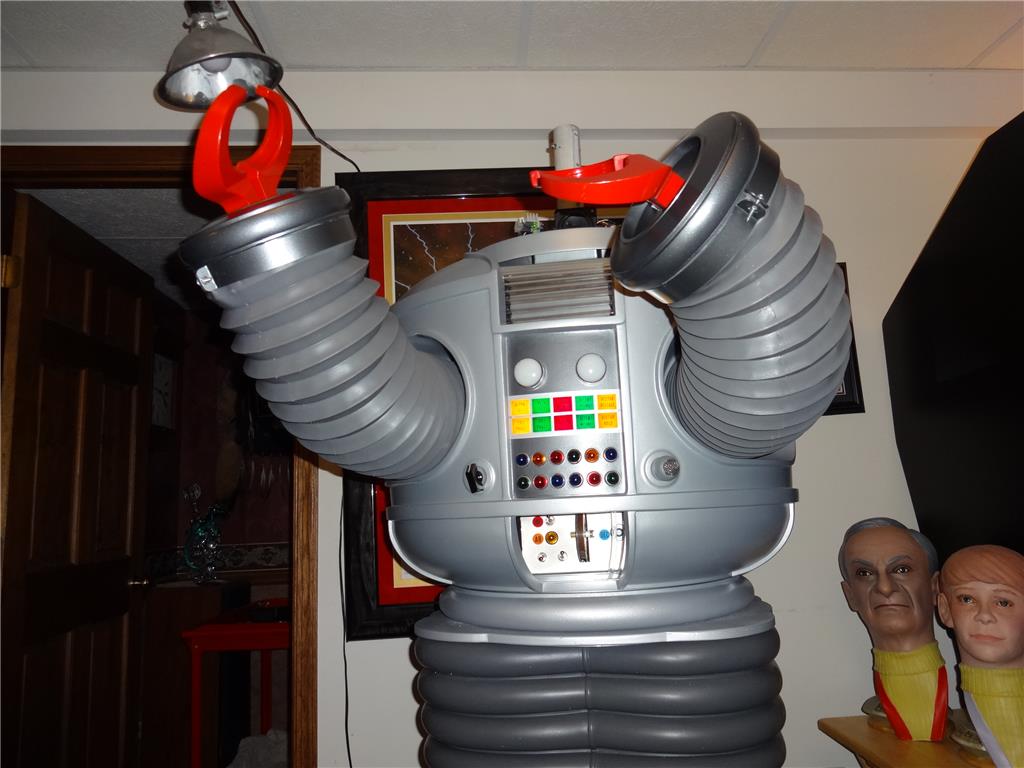
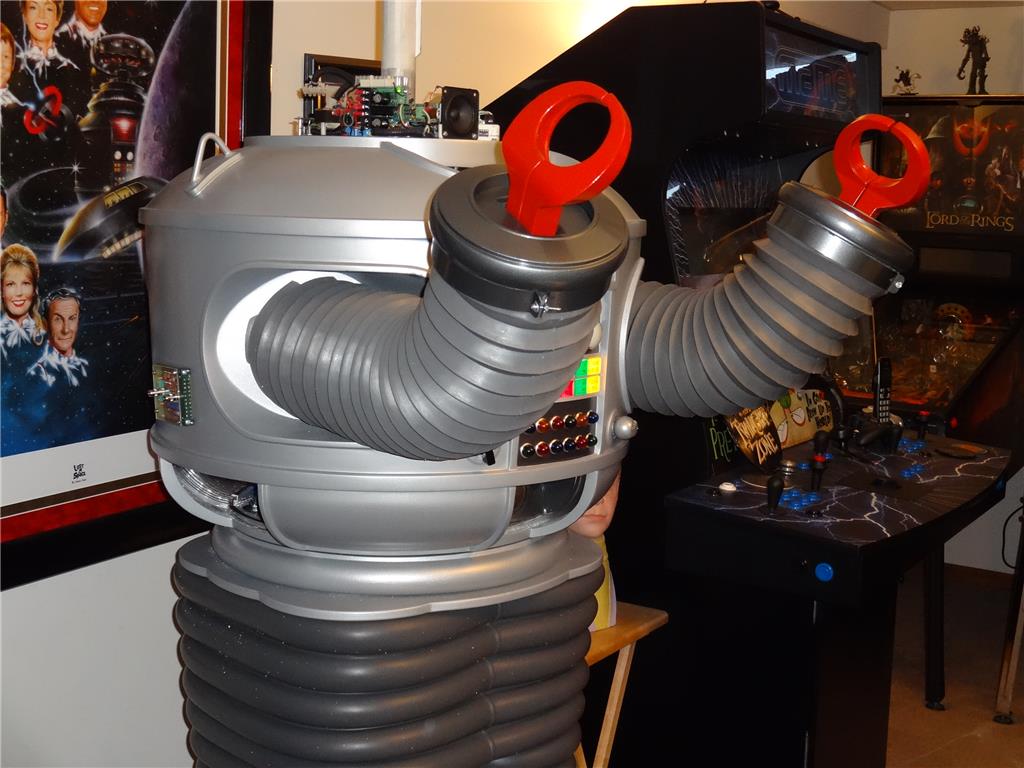
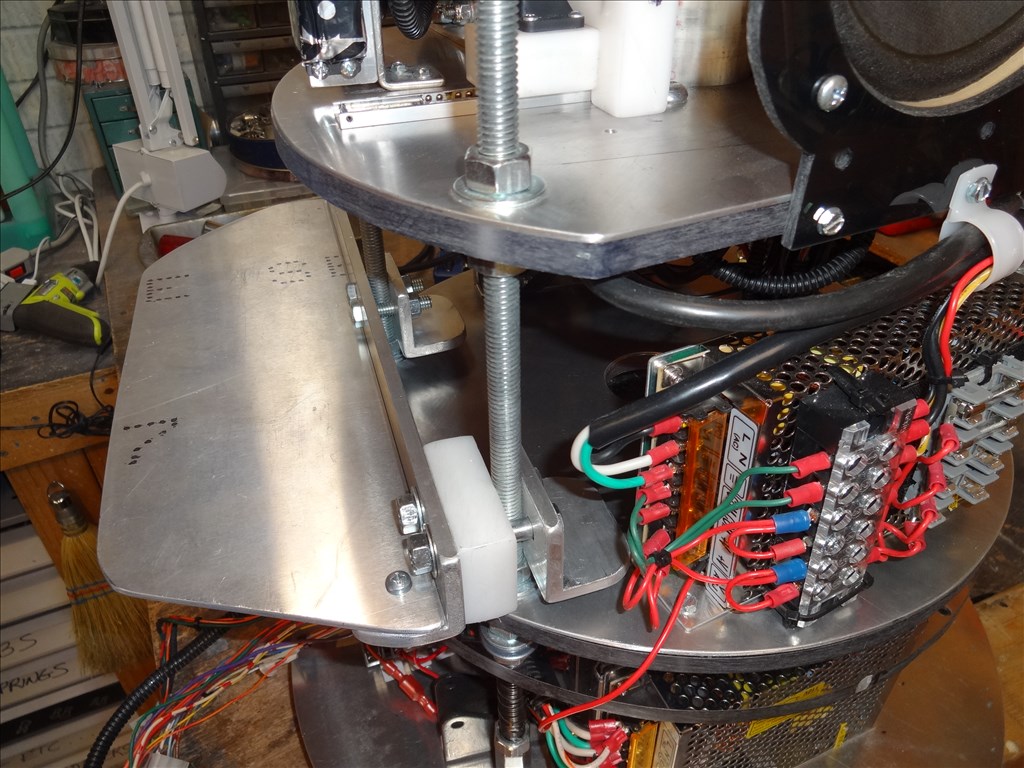
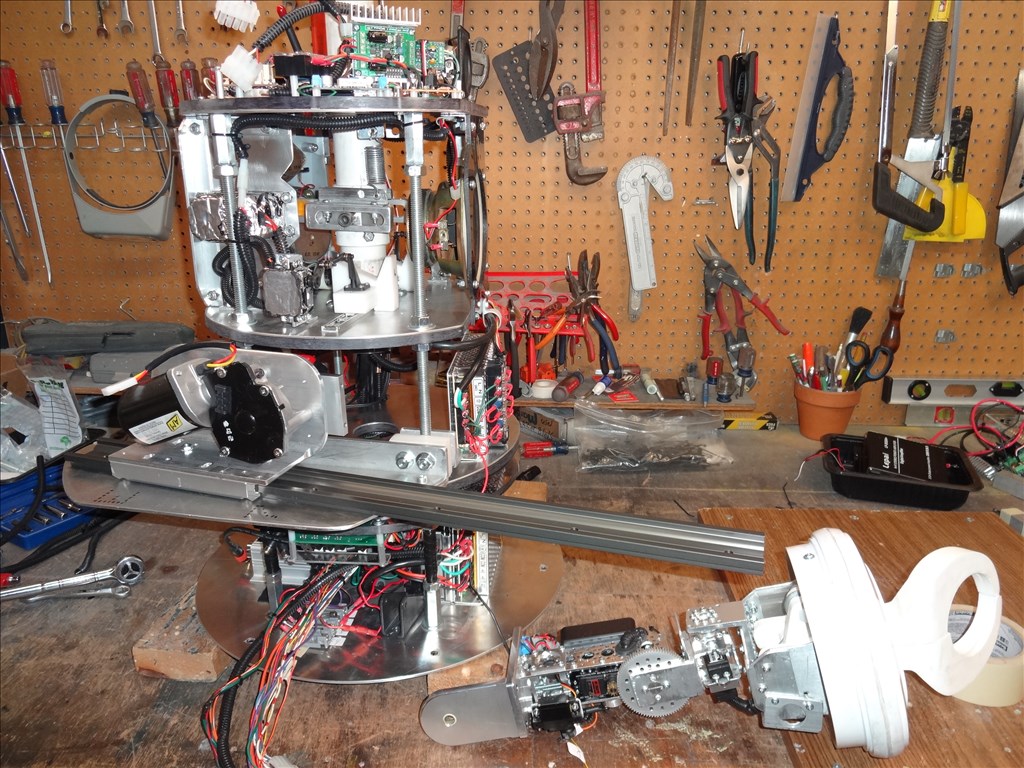
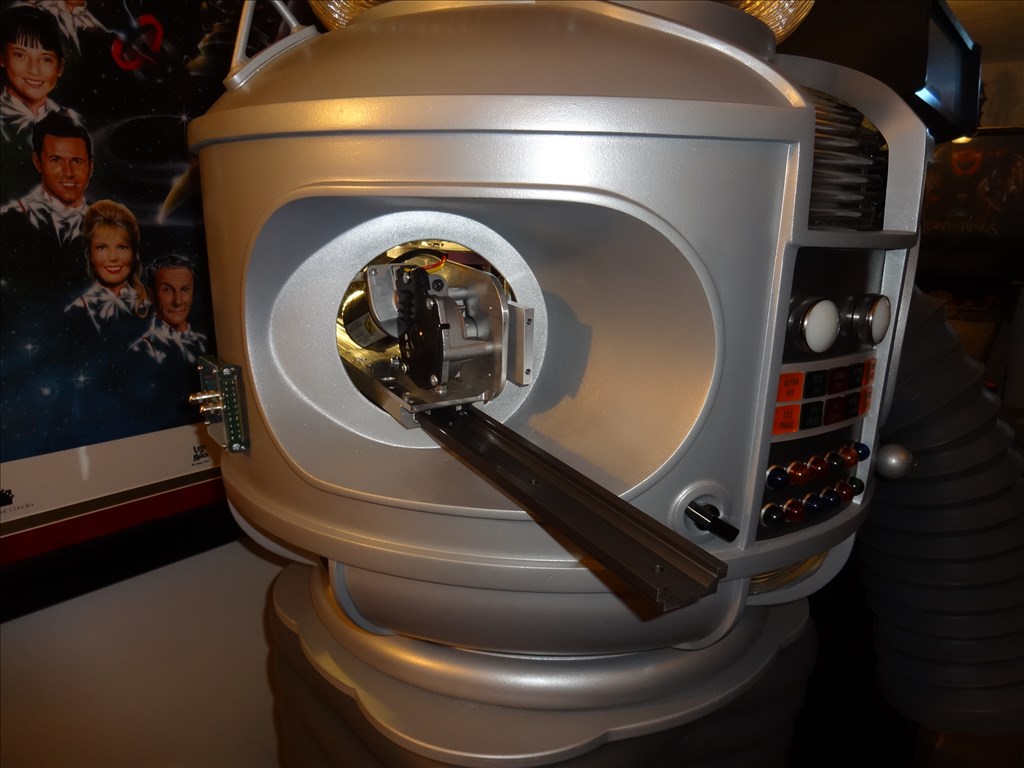
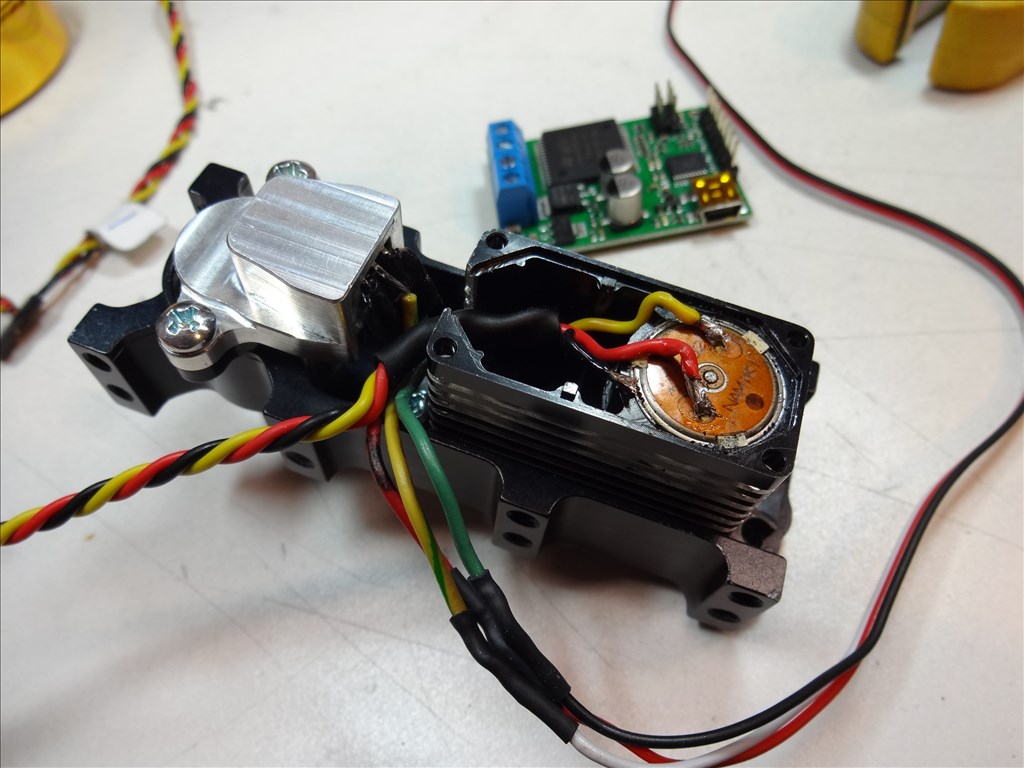
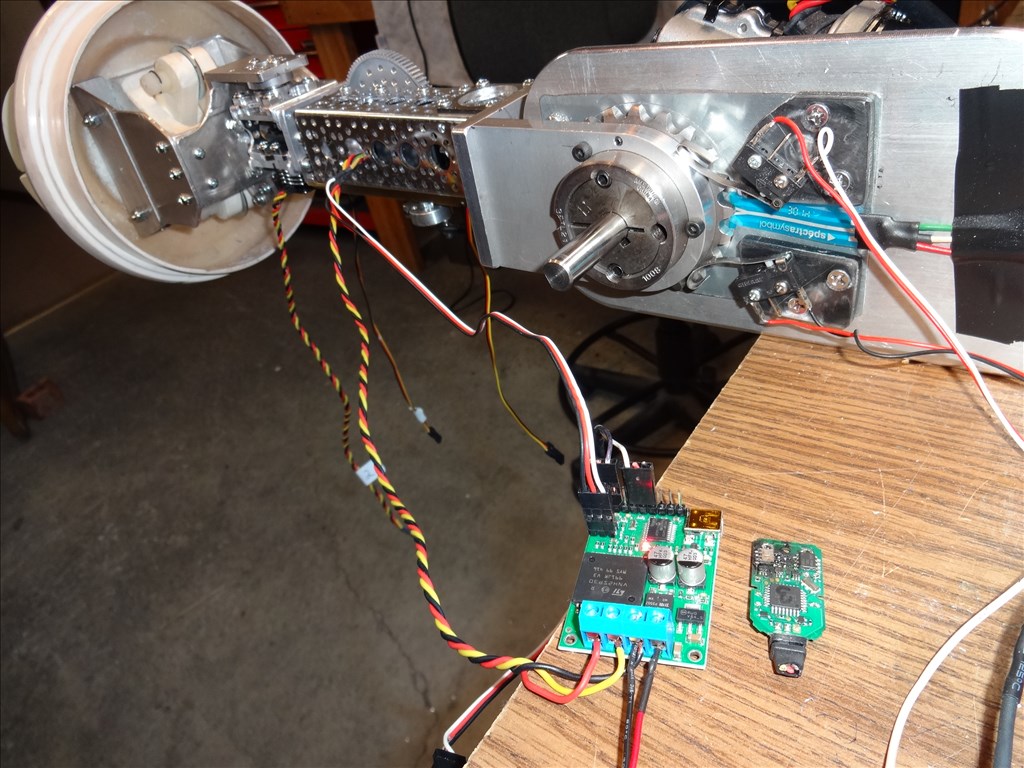
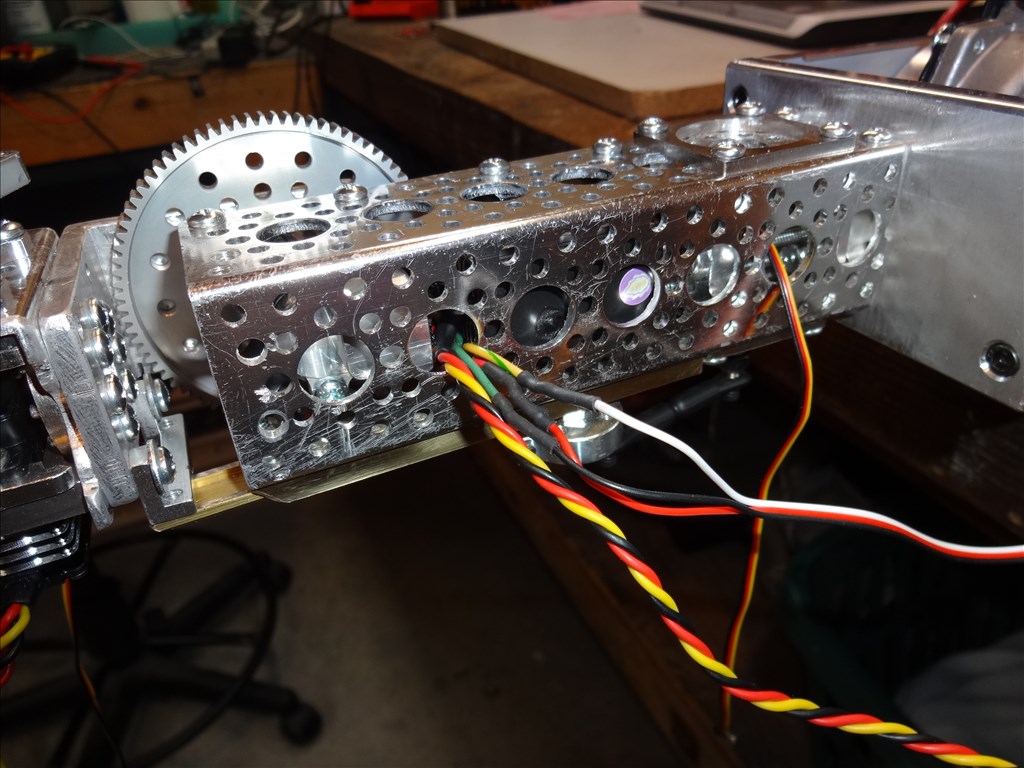
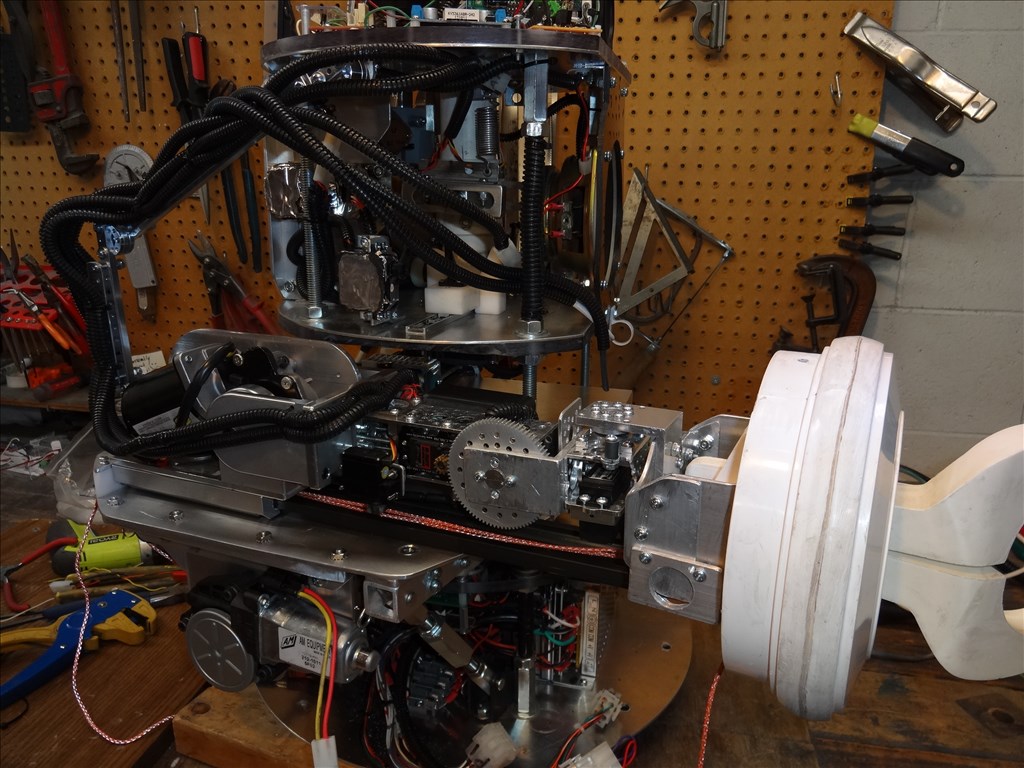
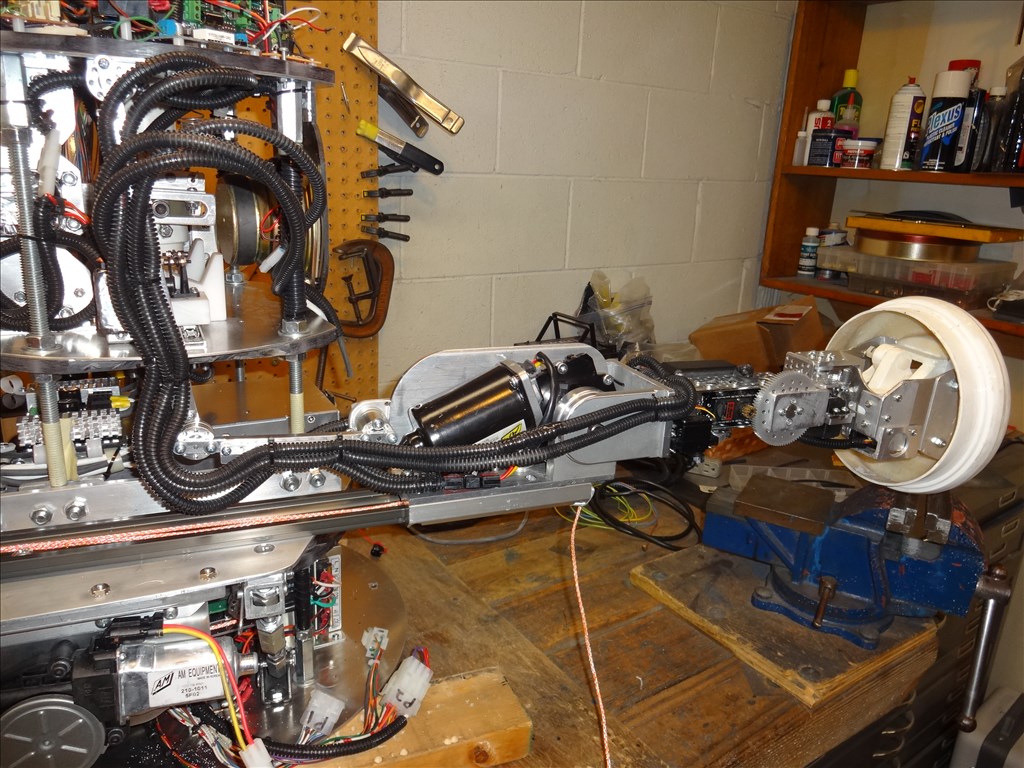
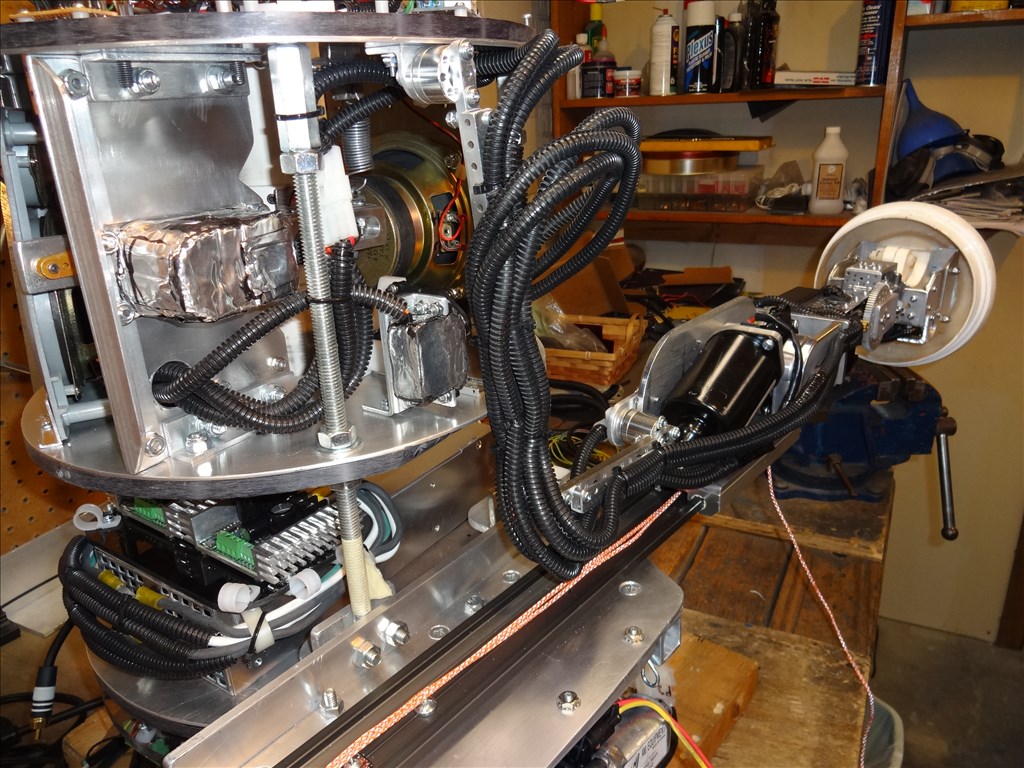
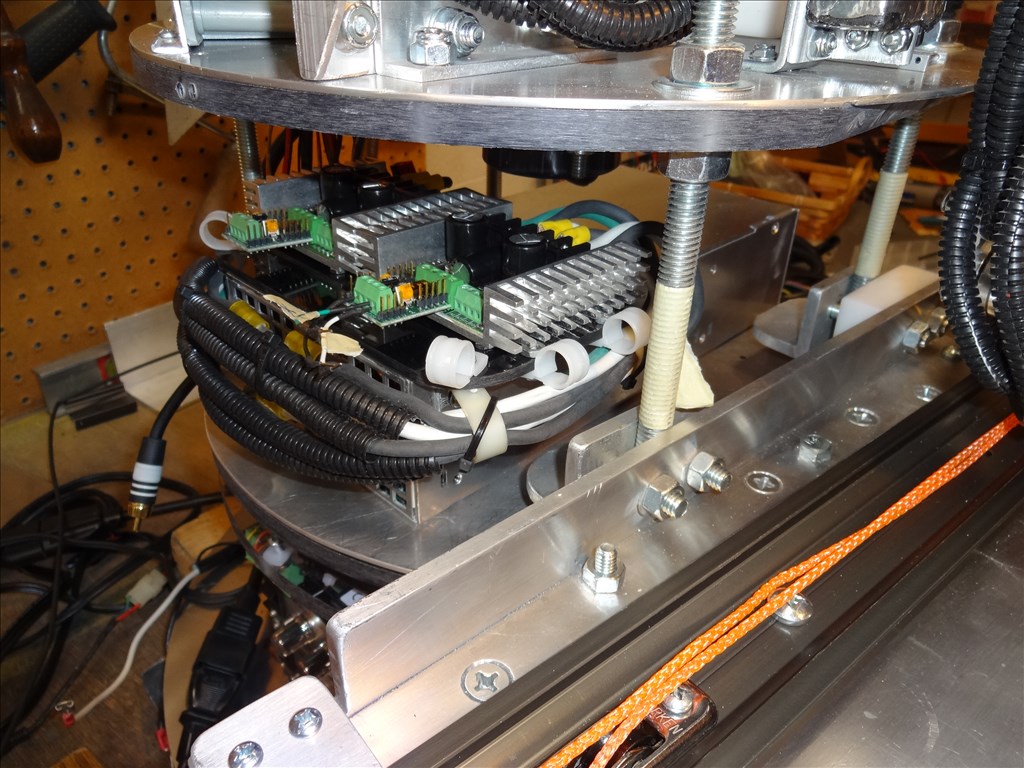
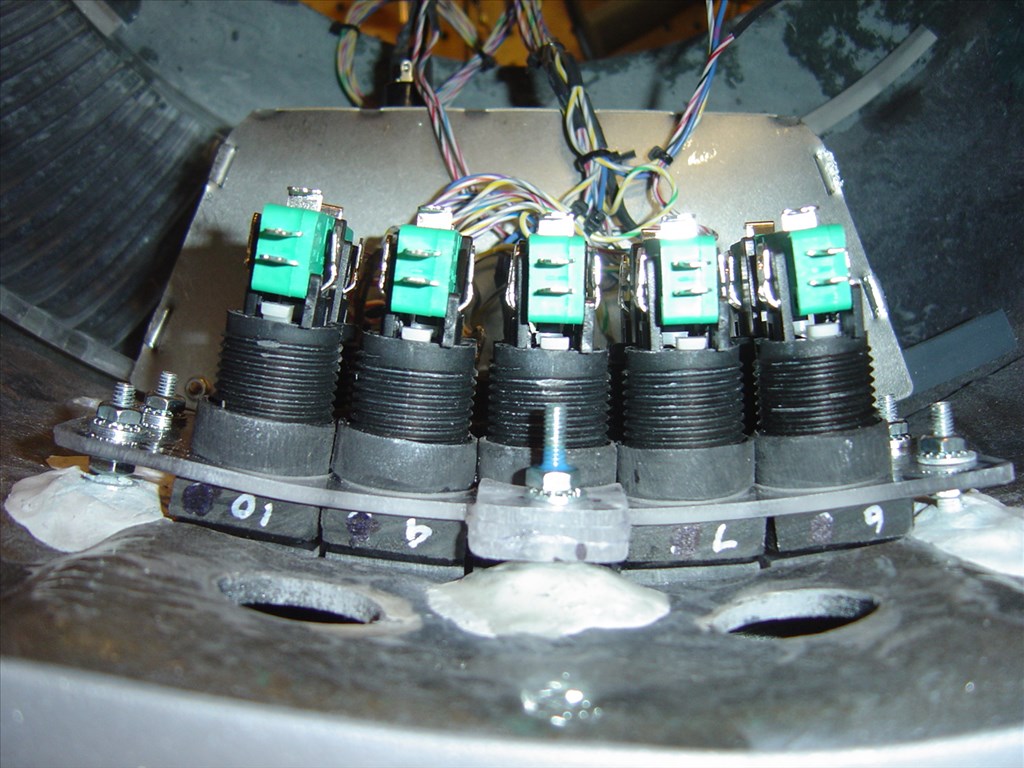
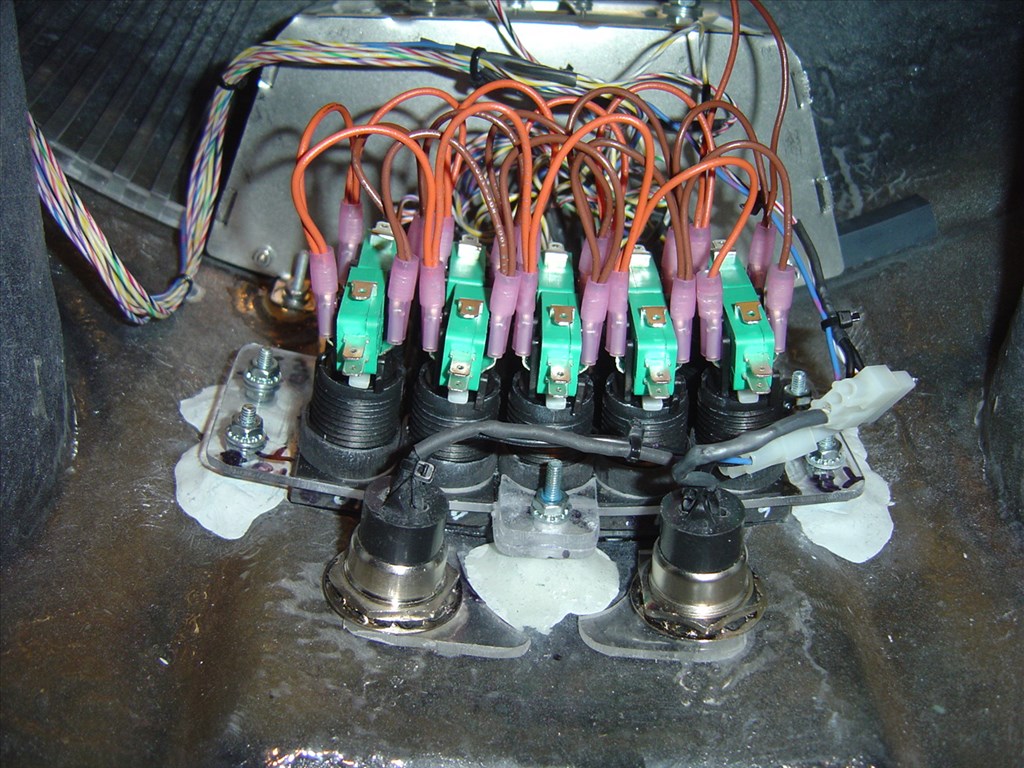
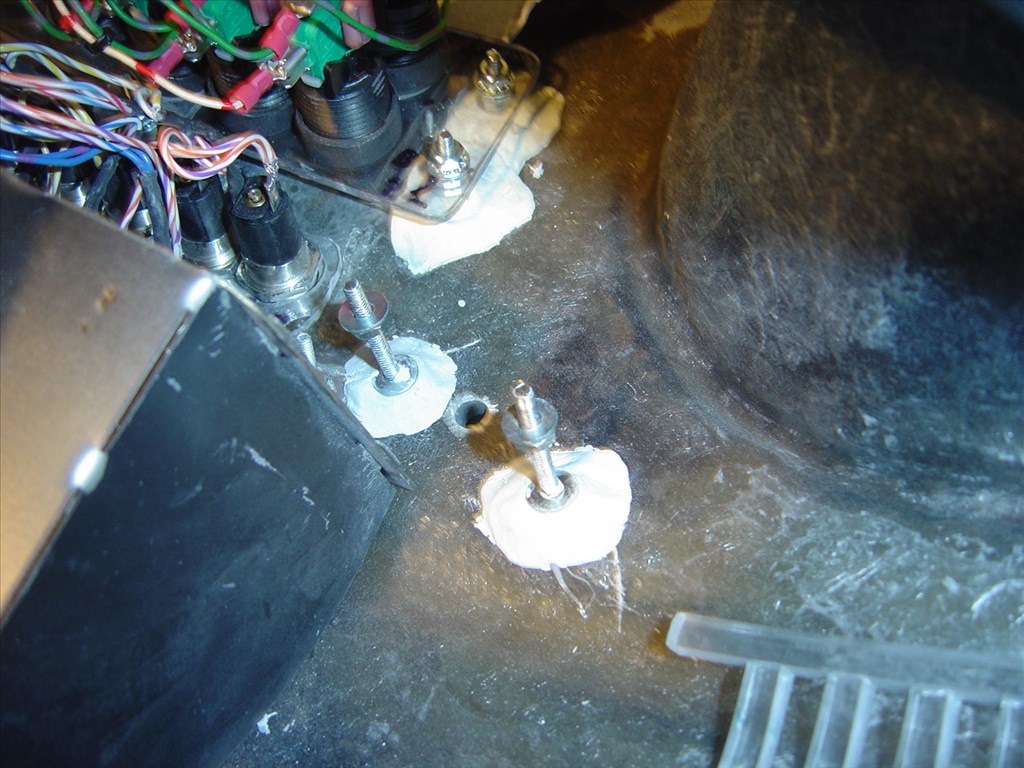
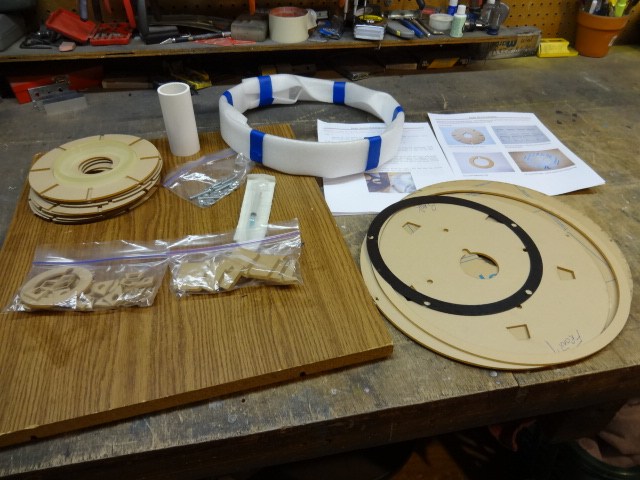
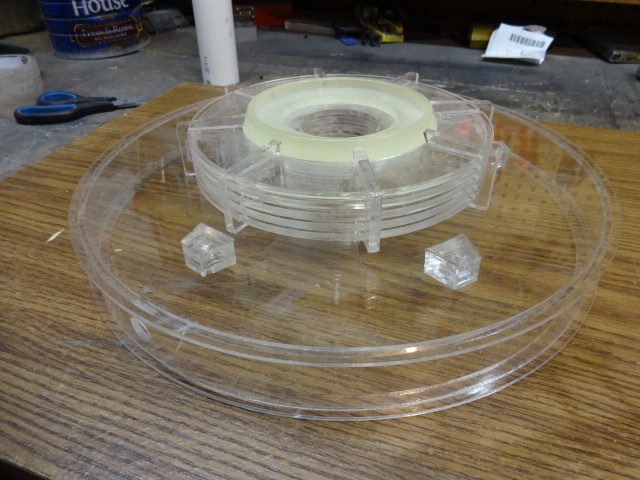
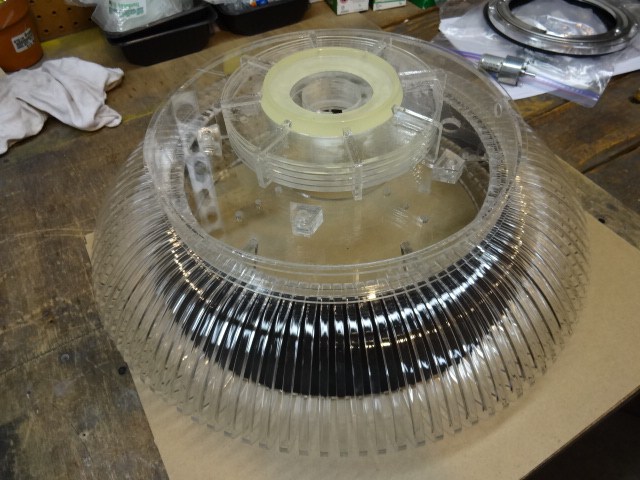
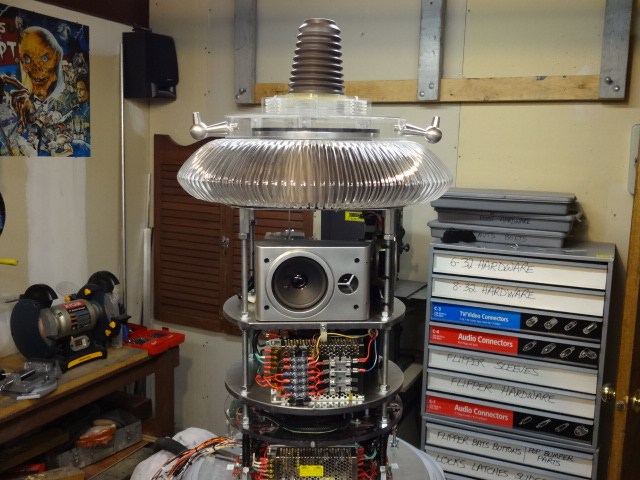
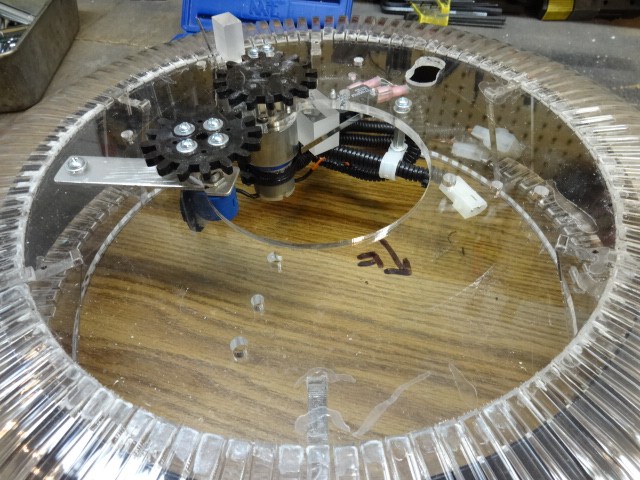
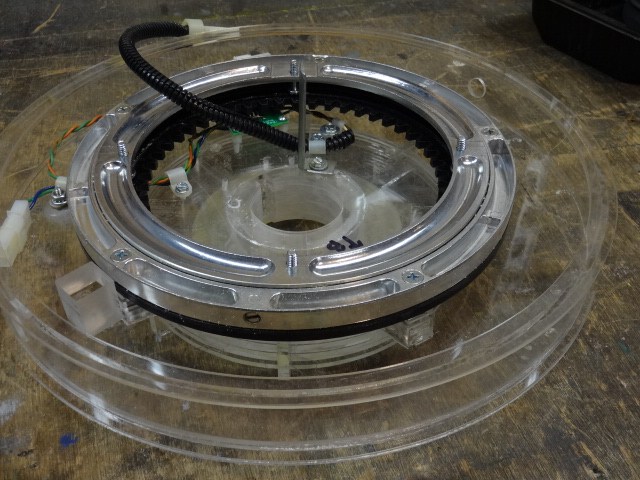
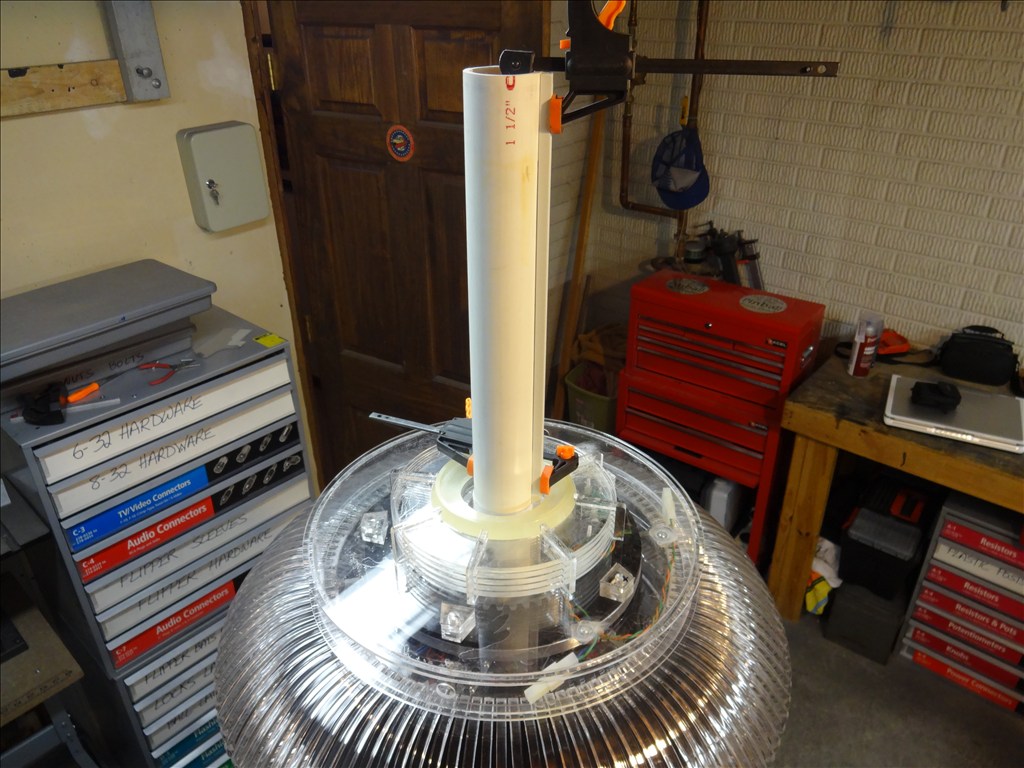
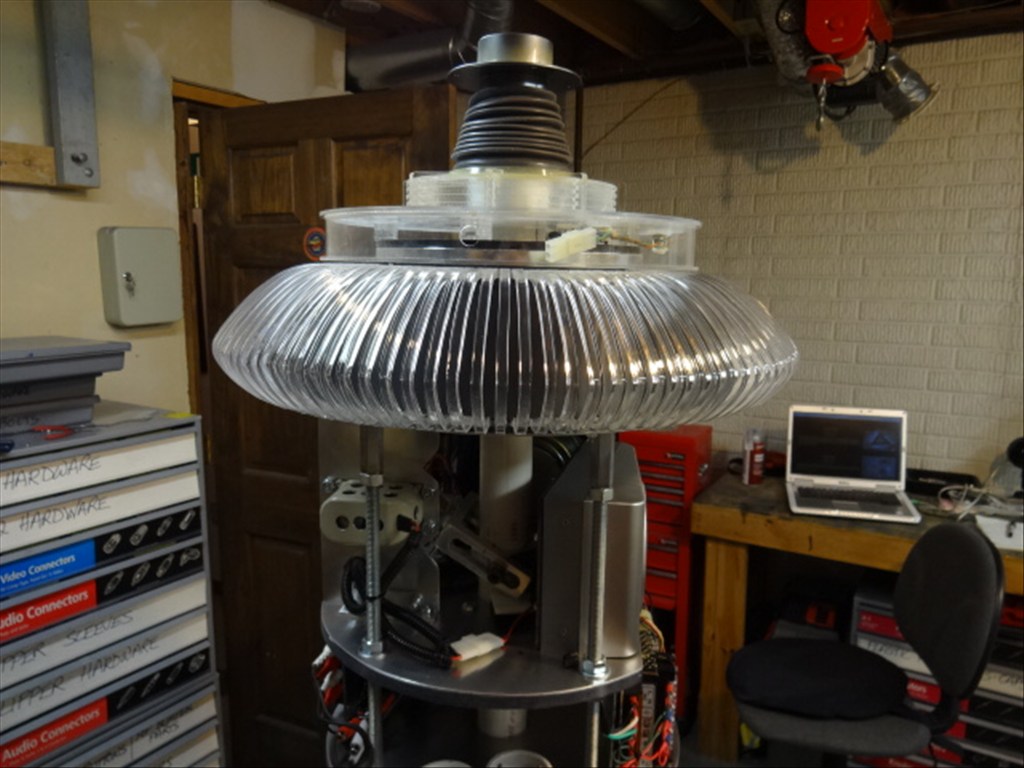
I'm close to finishing the upper part of my B9. I'm close enough to the end to share a video tour through my brain, err, B9's brain and how EZB controls it before I screw it shut. Here are a couple vids:
The grand tour. Thankfully for everyone I ran out of battery power before I was through. It's 13 minutes. Grab your pop corn :
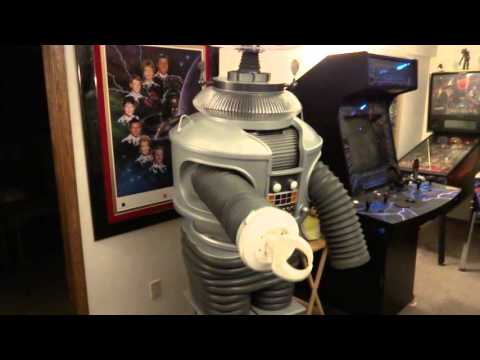
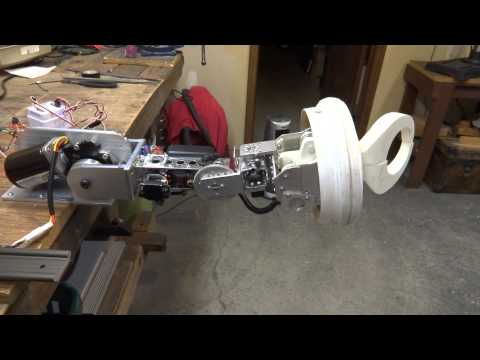
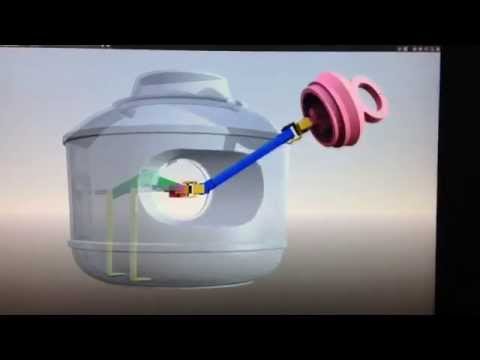
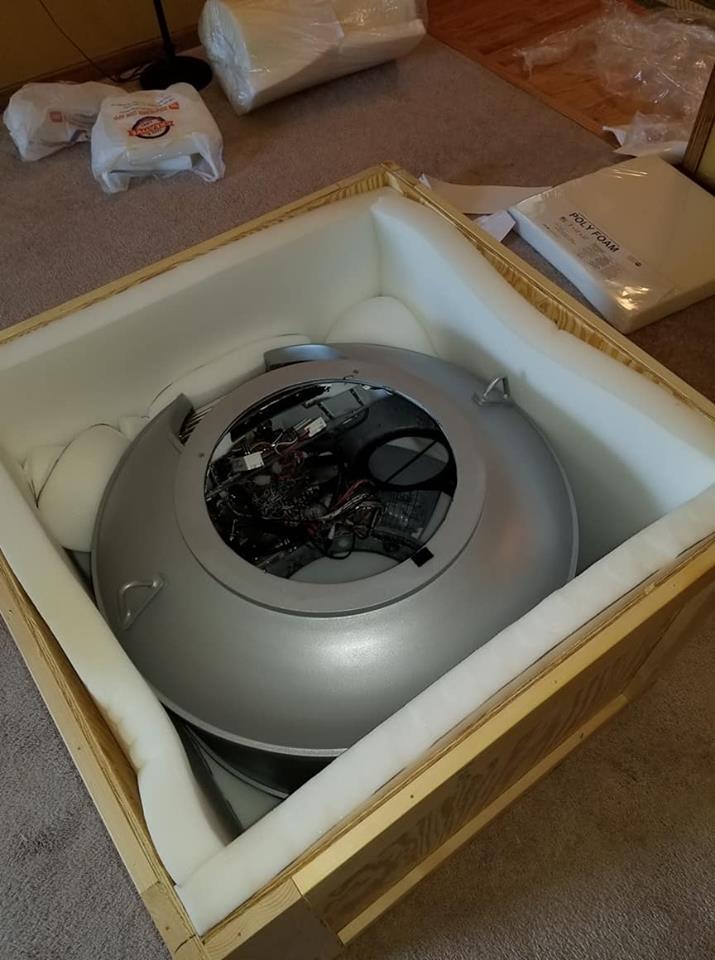
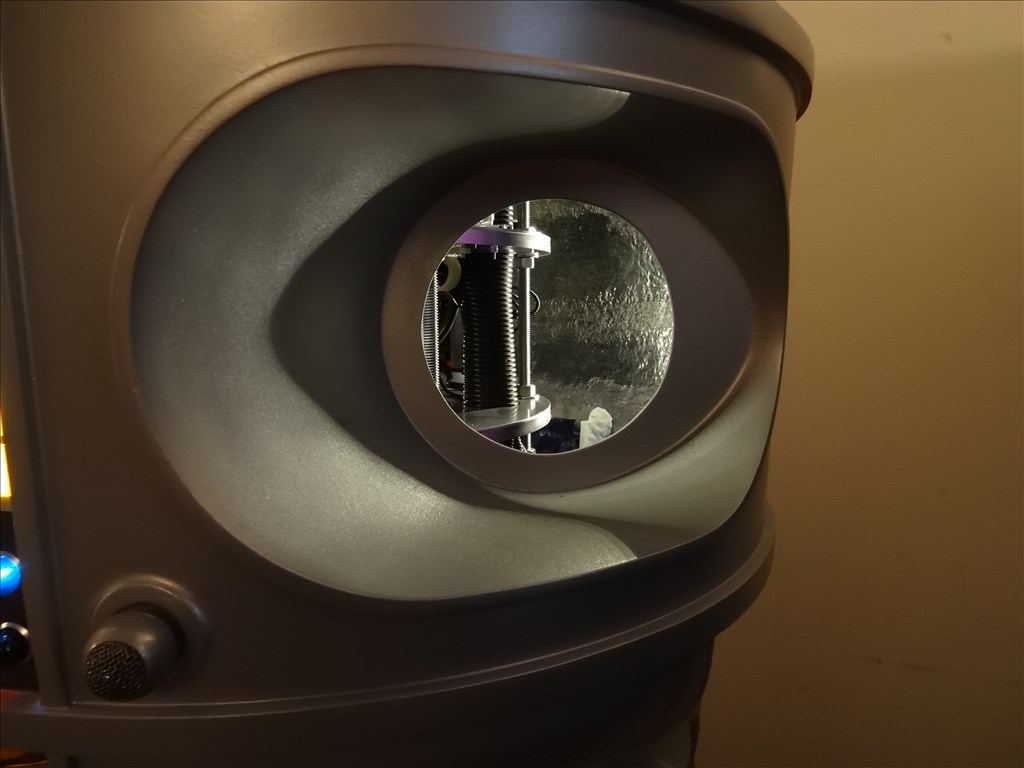
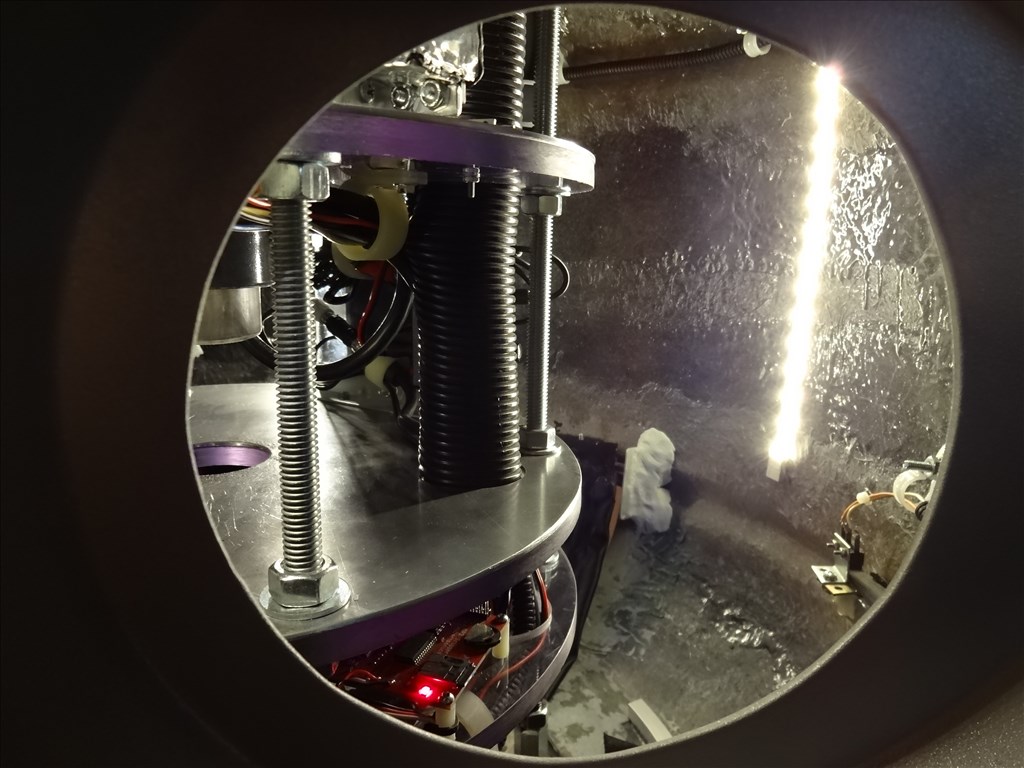
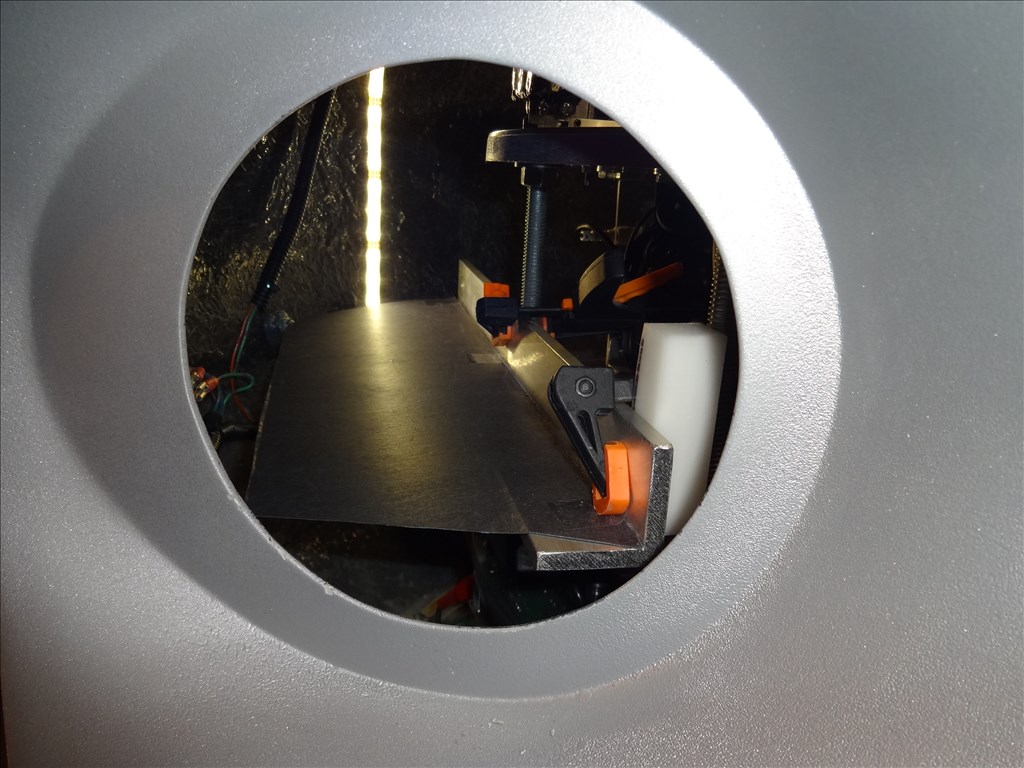
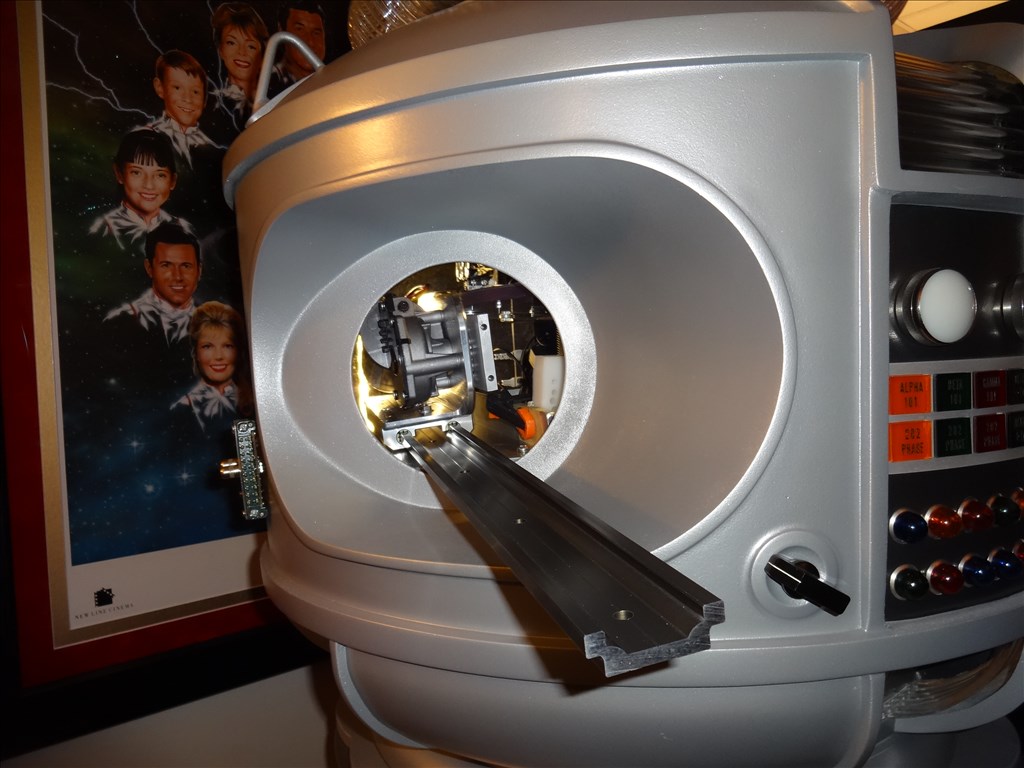
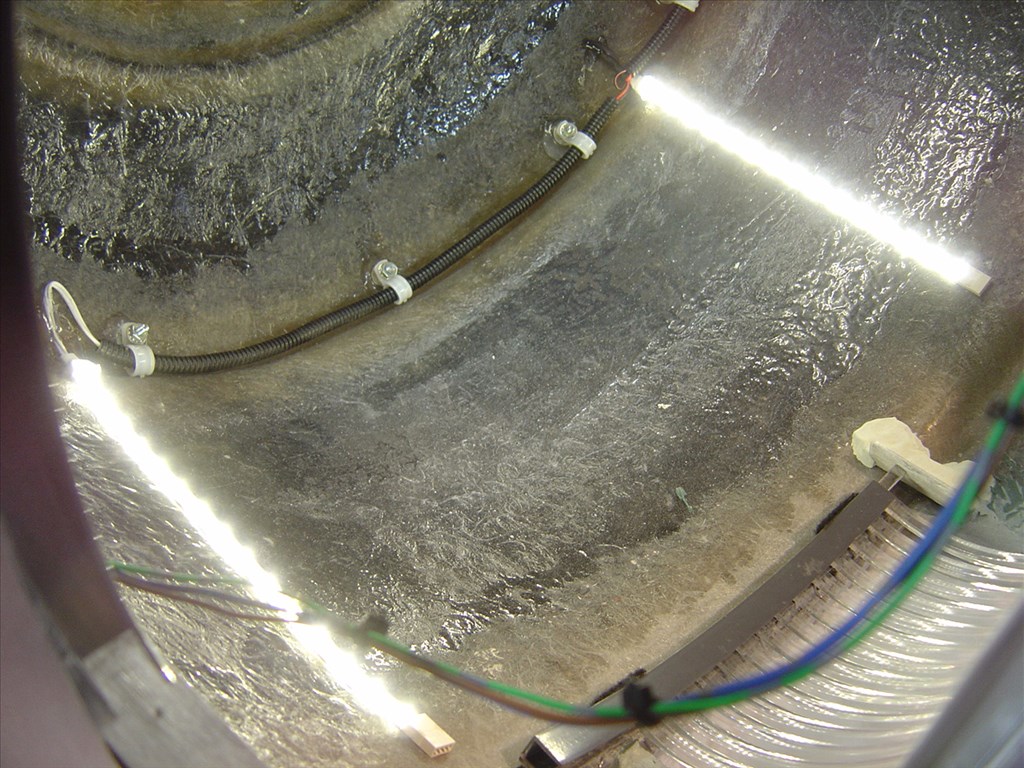
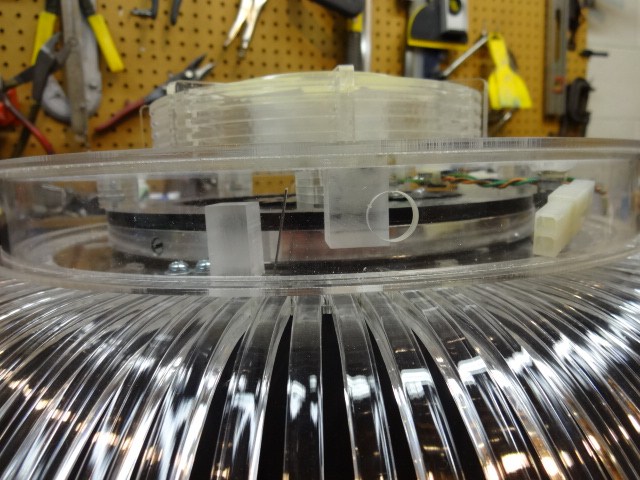
Here's a video of a camera view from inside the bubble. I was working out some motion issues I was having with the camera seeing reflections on the surface inside the bubble. Kinda cool. I was told it looks like an old "B" horror movie with the monster walking up on the mad scientist with his back turned:
Enjoy! Dave Schulpius
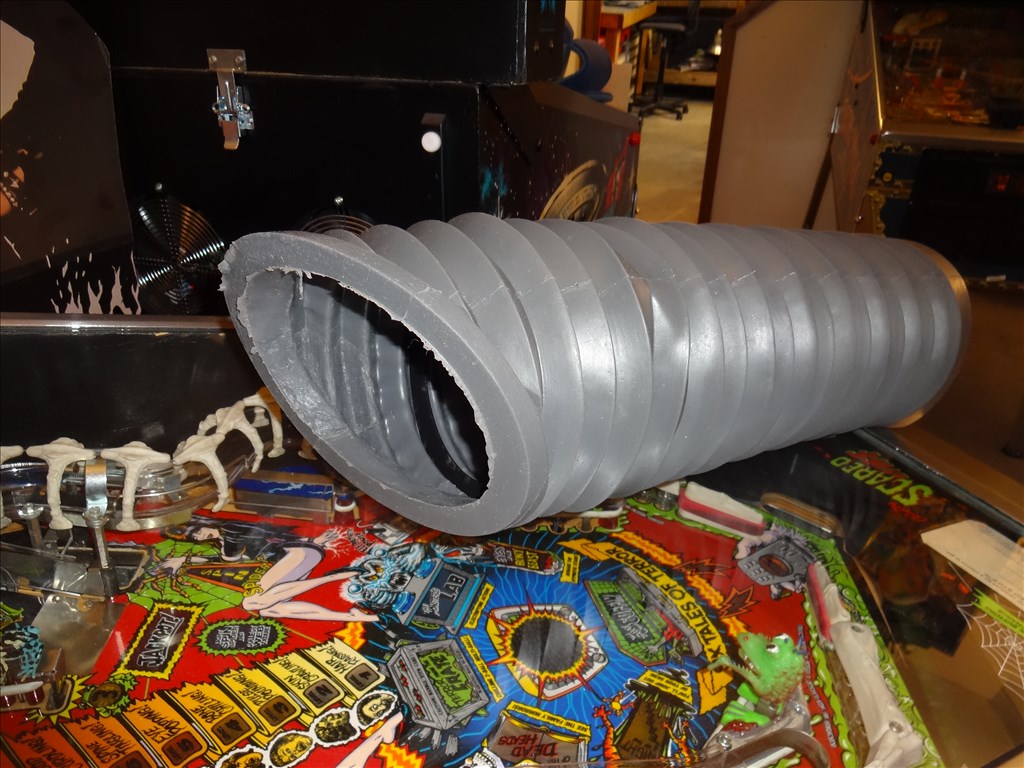
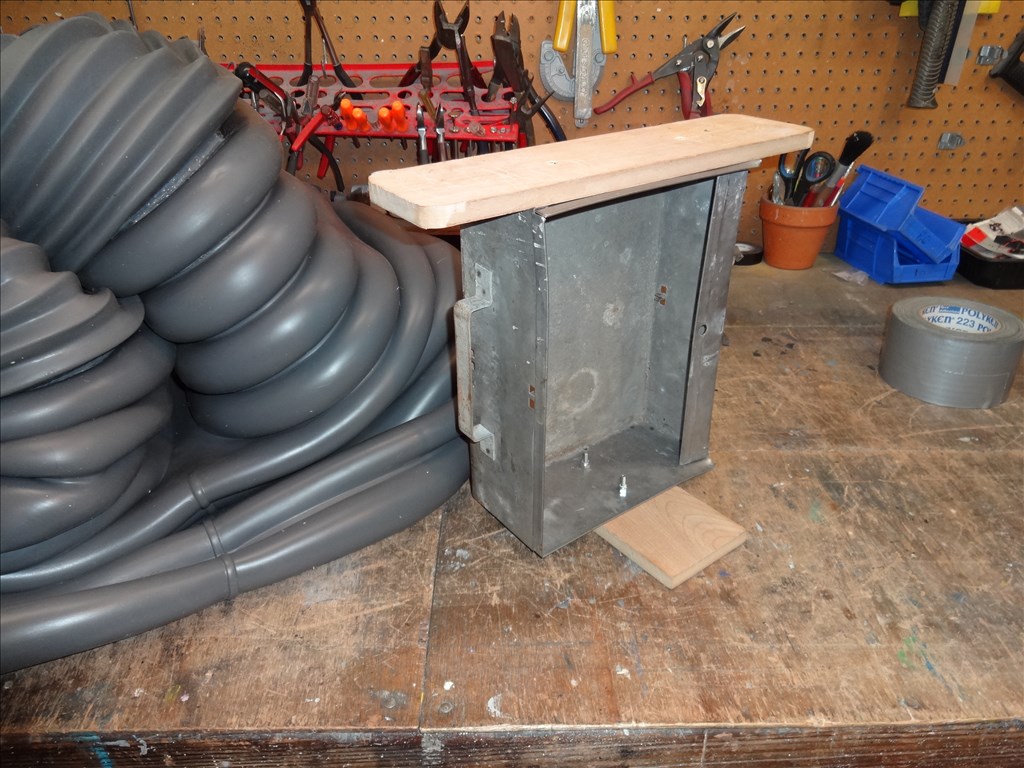
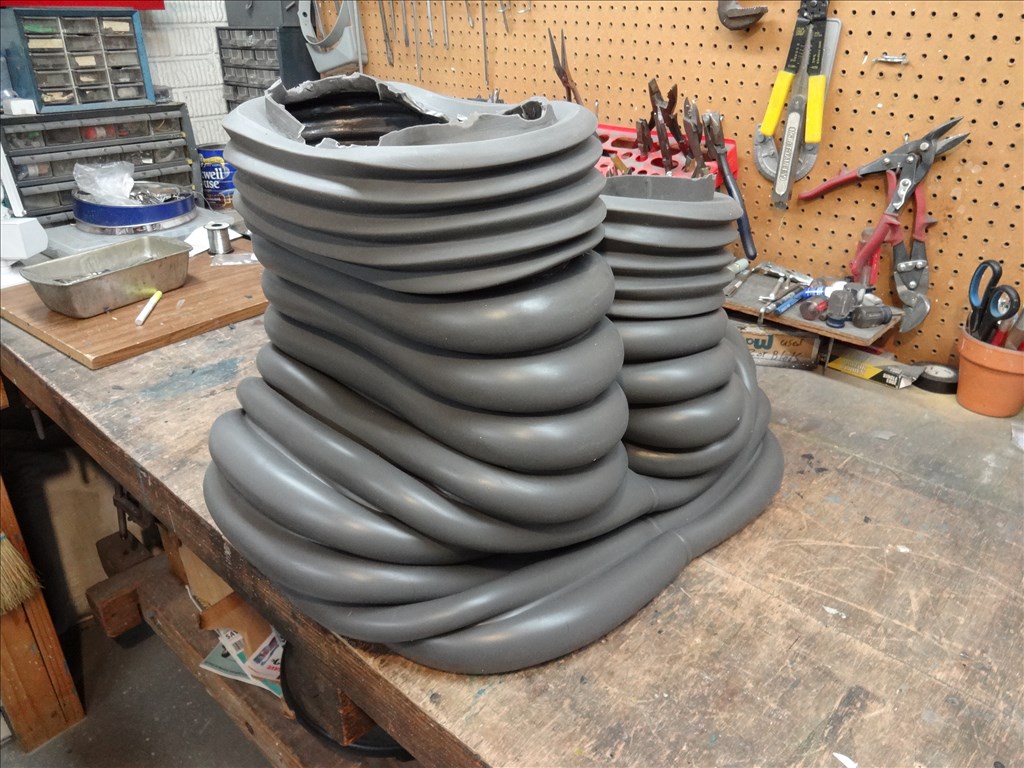
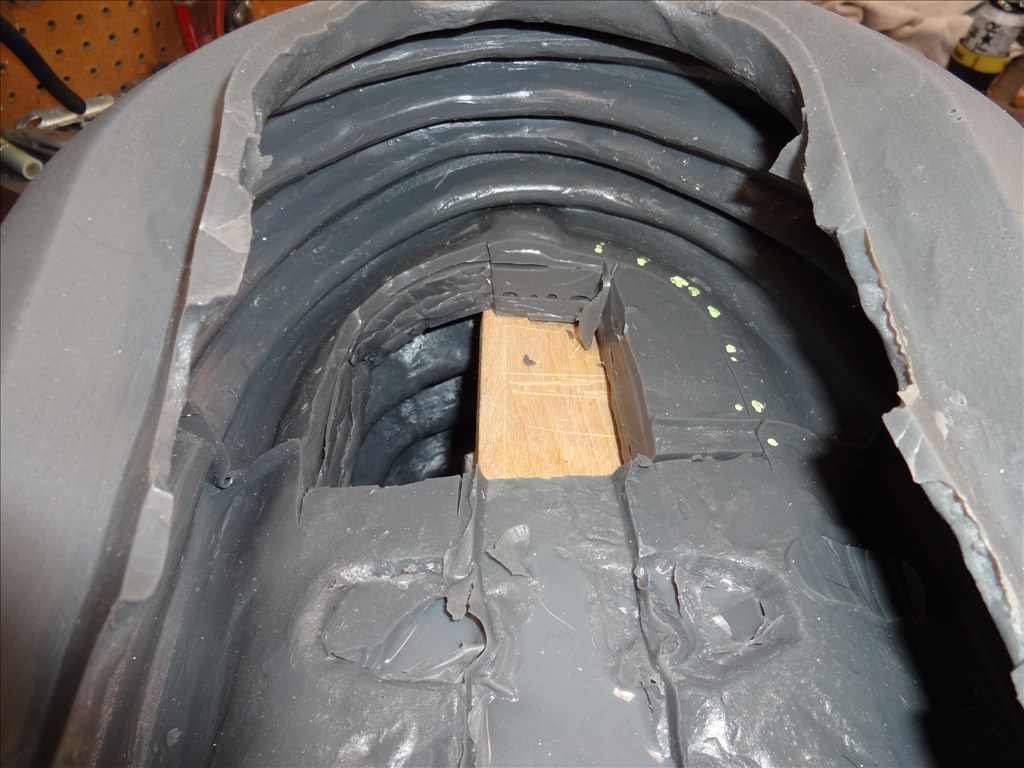
This is my first from inside the bubble view ever! You are building such an amazing B9. When I was a kid I was collecting everything I could find to build my own B9. I had part of the inside of a washing machine for the upper body and vent hose for the arms, but I had nowhere to put such a large robot or anything to use for a bubble head. I did make working claws. Someday I need to take on this project. He can stand next to my full size R2D2.
Thats a great robot you have made there!
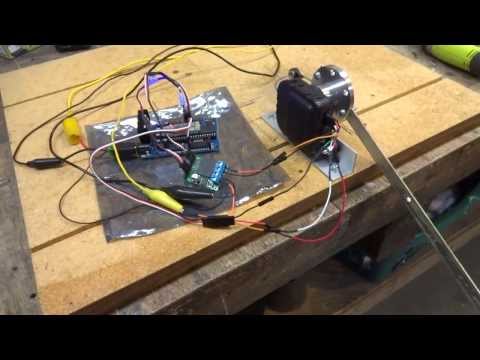
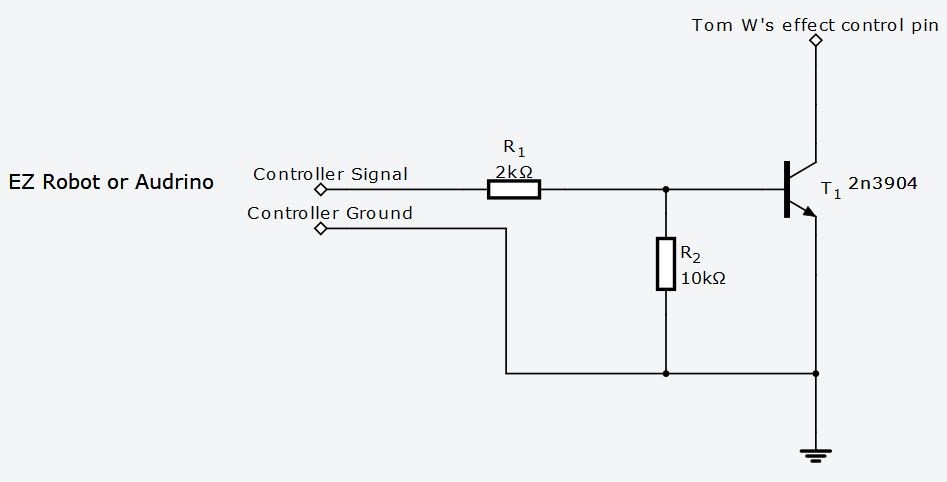
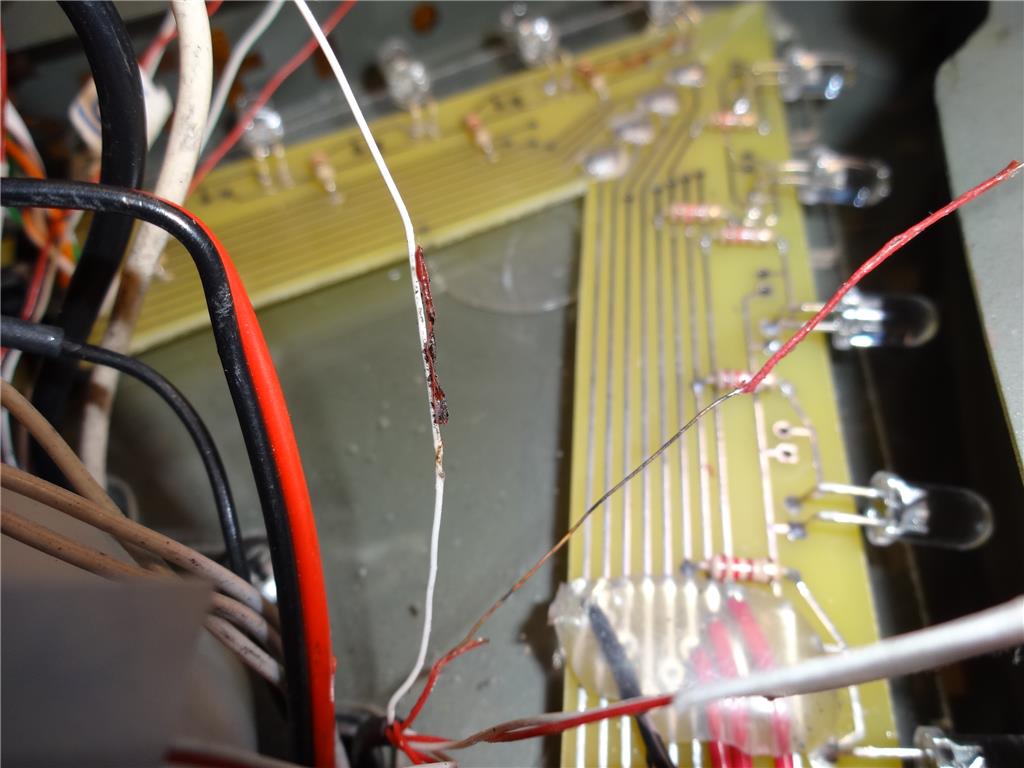
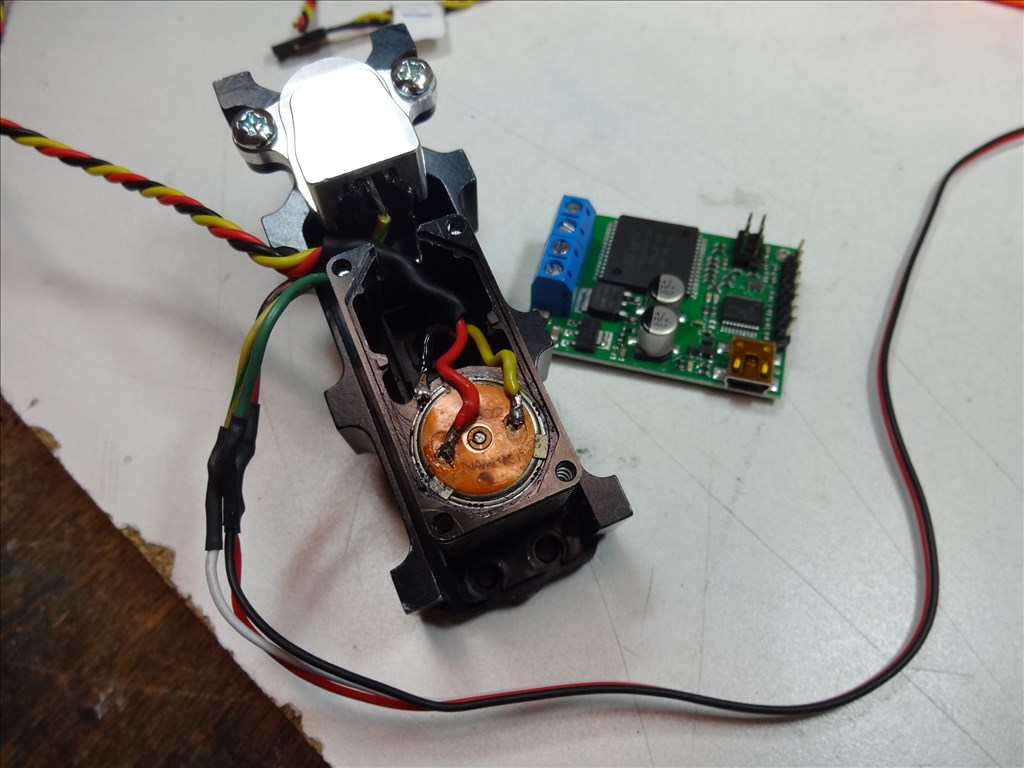
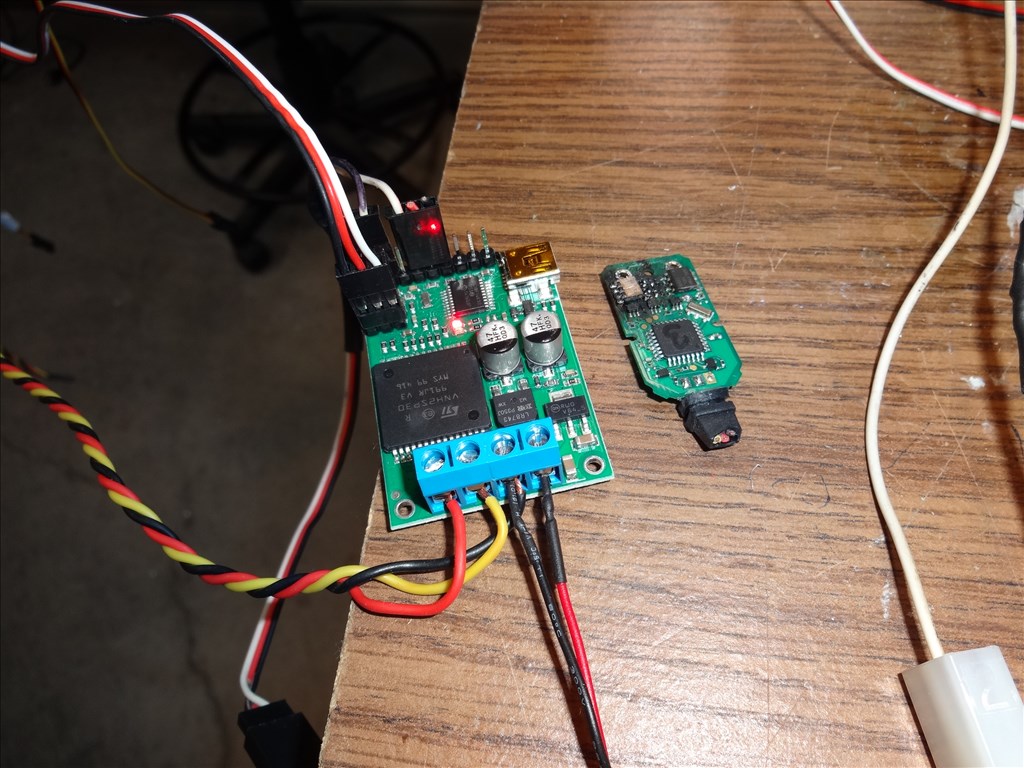
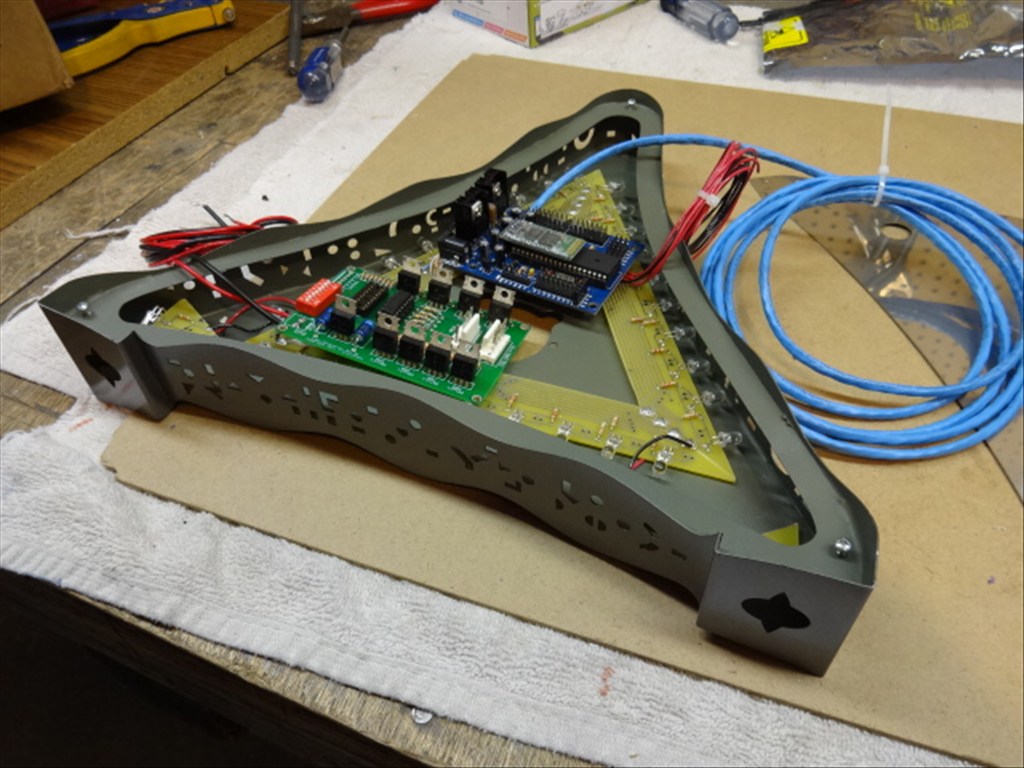
DAVE a few ideas,on changing the TIP120 to mosfets if you go to my tutorial it uses very tiny mosfets i just got mine in,they handle up to 4 amps each and less then half the size of TIP12O
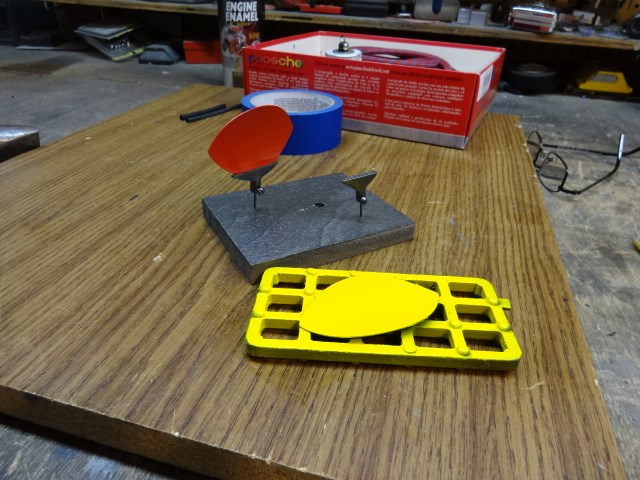
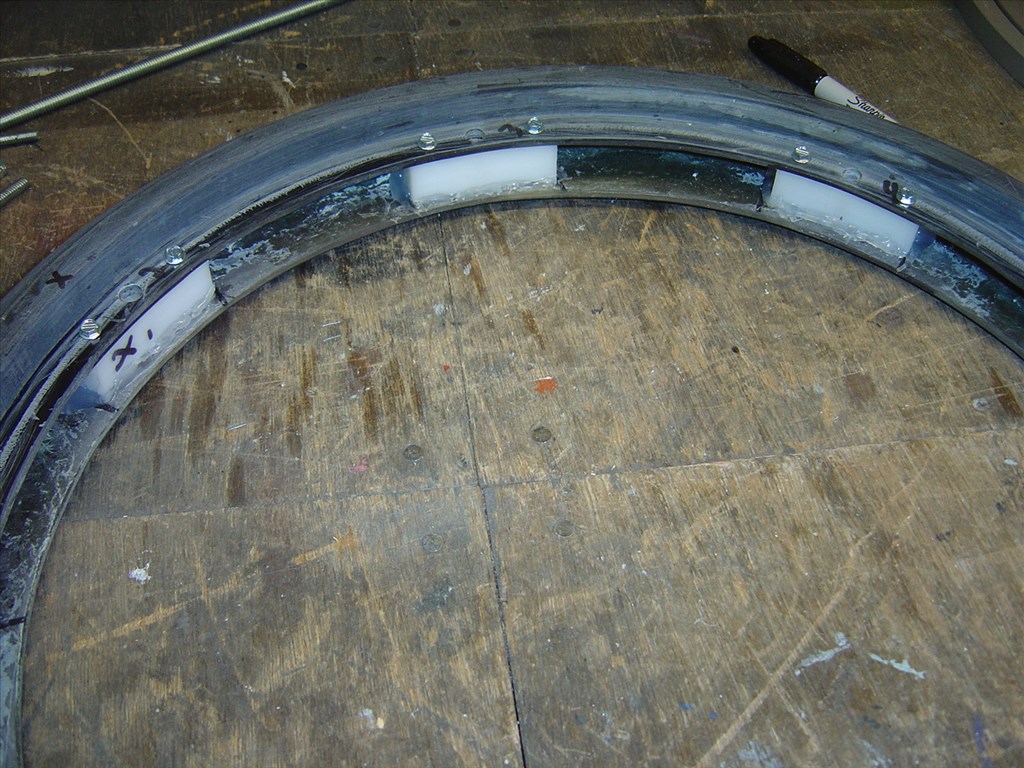
ON the scratches on acrylic i bought a 4 part kit that removes scratches very well,light,med are very big scratches,plus 4000 grit sandpaper.
THE B9 looks great
You can buff out scratches with 400 grit wet & dry sand paper, 1500 grit and 2000 grit and polish. A lot of good examples and tutorials can be found on motorcycle forums. No need for a kit. Tutorial
Light scratches often come out by just buffing with toothpaste (of all things, but gives a minty smell to it)
THE kit is 3 bottle of polish very low cost and last for many projects. I used it for a very badly scratch dome and i first used wet dry 400 and then 2000 wet dry grit sandpaper and the polish and it looks brand new
As soon i get a chance i wanted to make a very good tutorial on plastics how to them and polish,since at work thats we we do a lot for out plastic housing for handhelp test equipment we make and sell.
Also depending how big your scratches are you may only need light or med or hard scratch polish no sandpaper,mostly you use sandpaper is the scrathes are very deep.
scratch remove kit
The company i worked for got info on this from a company who makes plastics and said it was one the best. and the bottles can be used for many many projects.
WE tried toothpaste kinda works ok,but does do a great job as product made for plastics,its one of my favorate tools for robot making ,since toys always get scratched ALOT
WOW Congrats Dave ! Your video was well done and very inspiring. Thank you for the closeups as well I do hope you will have B9 in your living room or kitchen , controlling lights etc and just to hang out! From here on its pure fun creating more personalities and maybe more analyzers!
Very very cool!
I do hope you will have B9 in your living room or kitchen , controlling lights etc and just to hang out! From here on its pure fun creating more personalities and maybe more analyzers!
Very very cool!