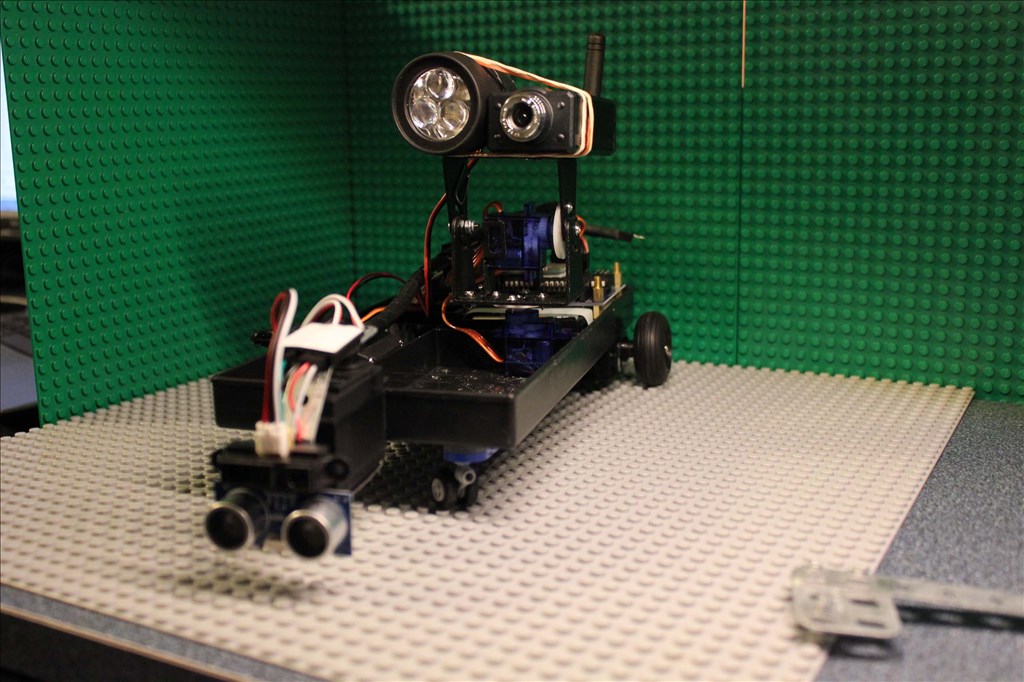
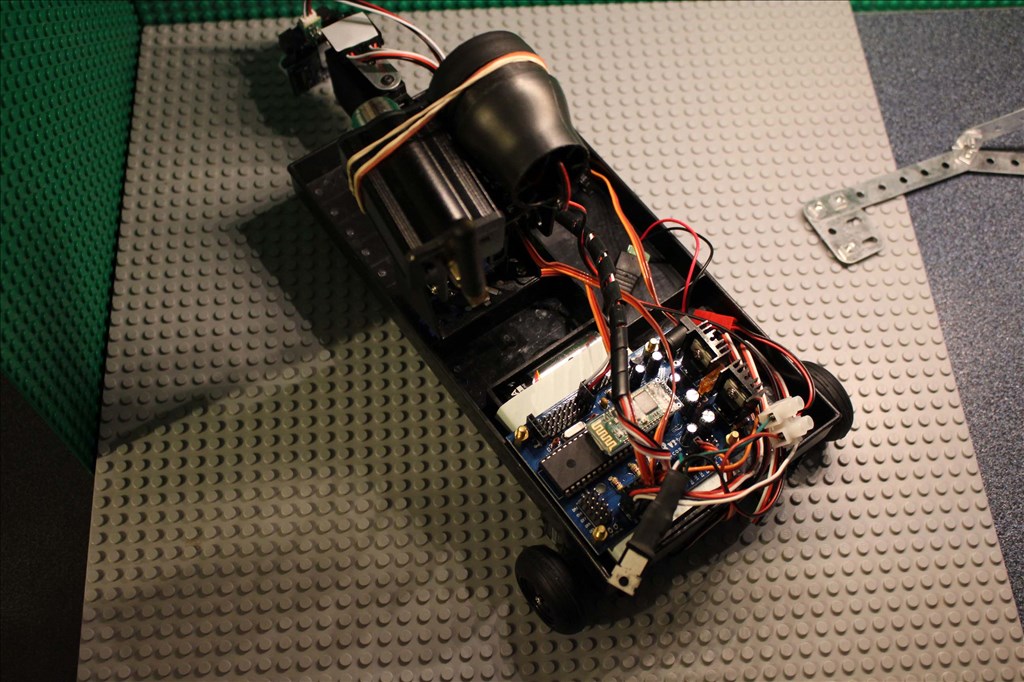
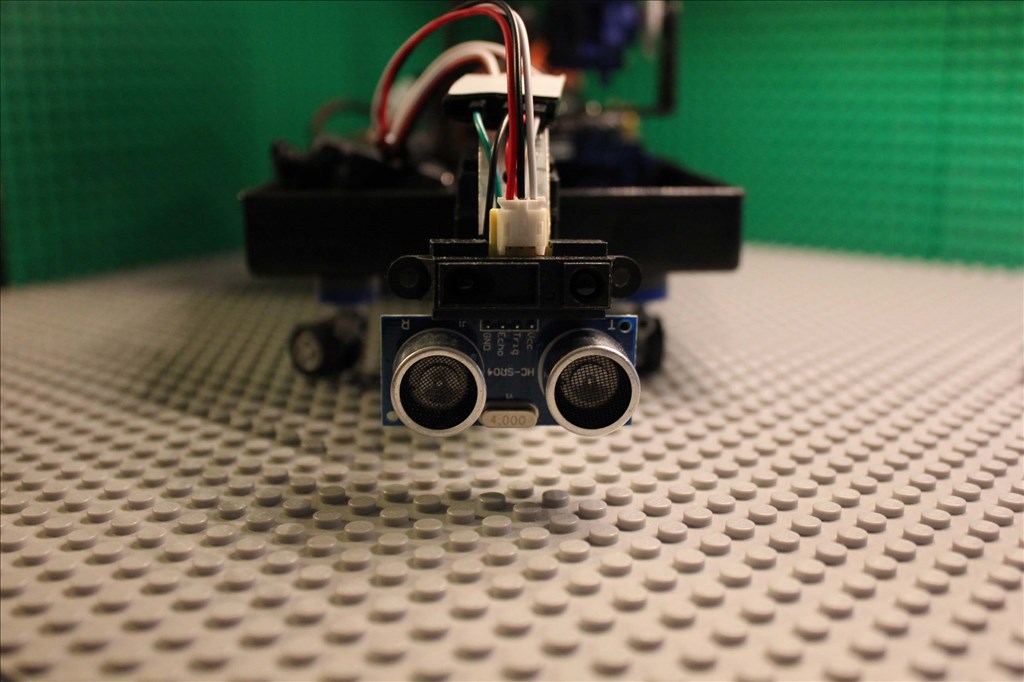
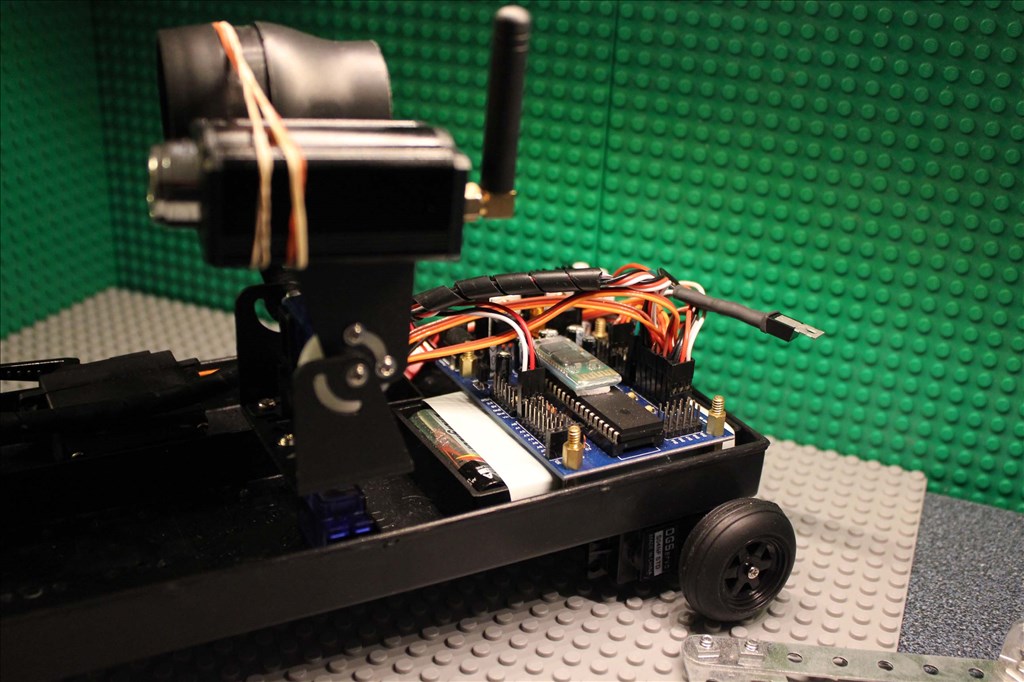
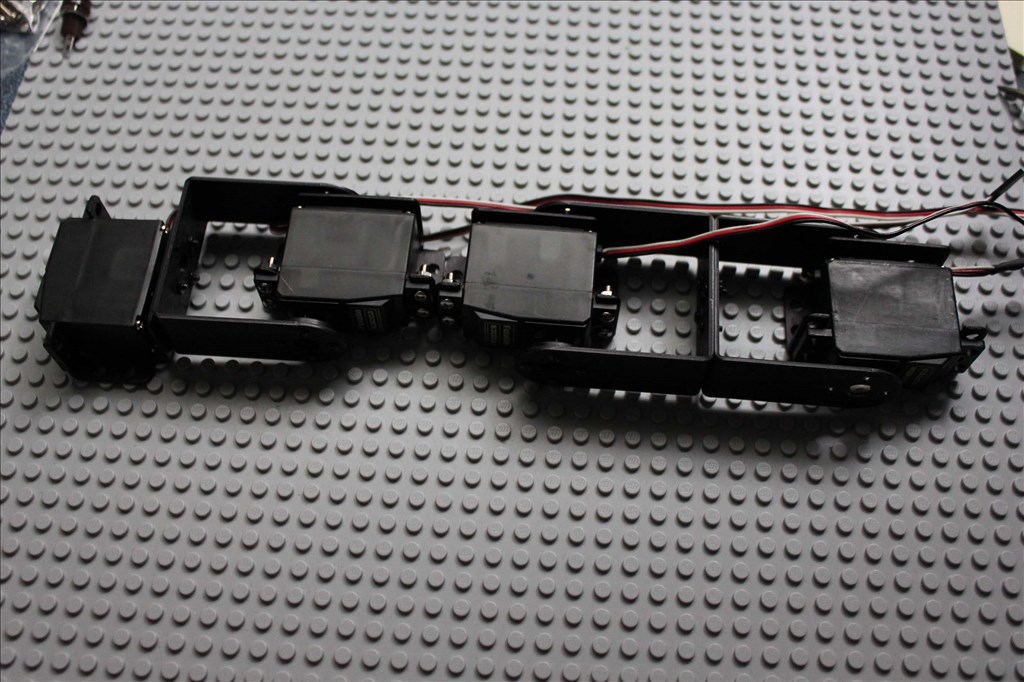
Here is my little test/practice bot, he has no name but he does what he needs to do. As you notice I have put a gender to the bot, but that's about it. This is my second base for the bot, the first was a baby wipes case bottom, this is a Steel Tec (like Mechano) tray. This worked much better for the base due to the harder plastic and the dividing walls inside which also provided for stable mounting surfaces. This guy is just servo taped together just to use as a test platform to try things out. There is a swinging boom servo mounted on the front for the ping and IR sensors using Steel Tec. I have the EZ-Robot pan and tilt for the camera along with a tip122 switched LED flashlight. The battery pack is located under the EZ-B on the back. You might also notice another servo with a half servo arm on it; that was installed under the base to lift the front Lego casters up to clear obstacles on my desk i.e.-book covers, binders. So far I've just used it by joystick controller, but have been trying to have it use the ping and IR sensor in different project variations. I am working on an arm to put on this bot somewhere. I have to wait for a few more parts to come in and I'll be able to get going on fitting it.
Other robots from Synthiam community
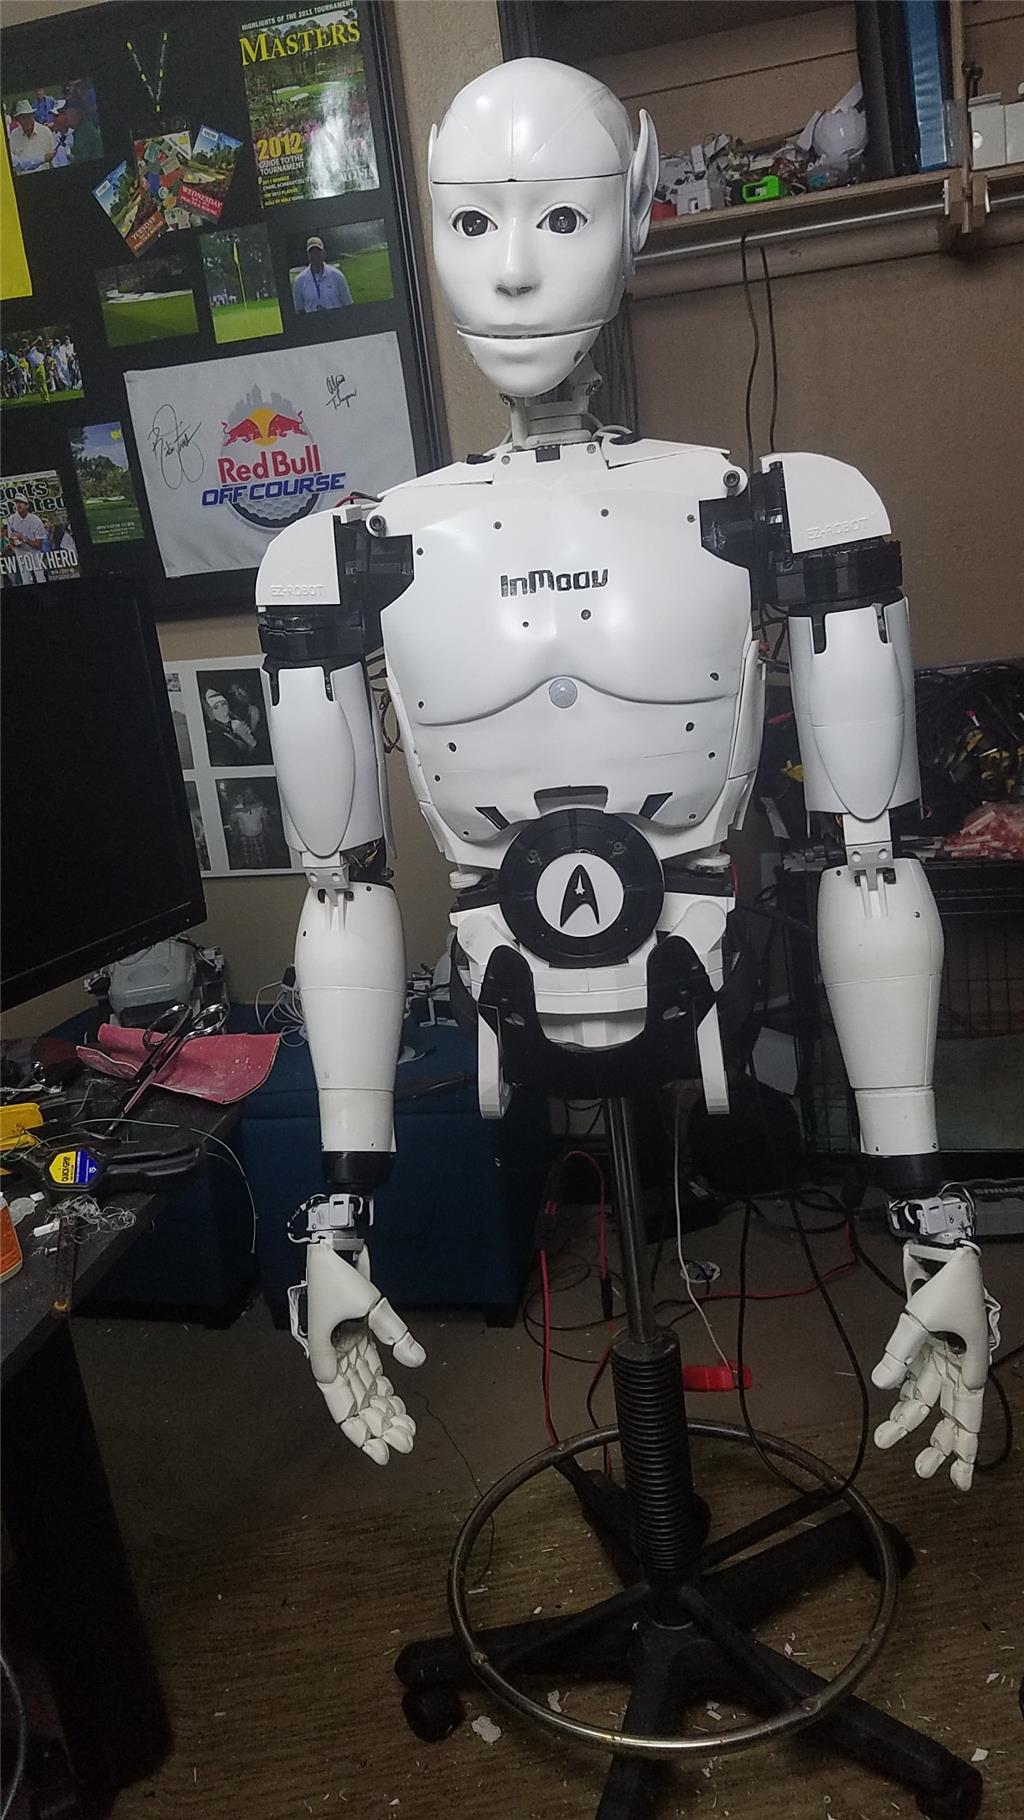
Cochranrobotics's Inmoov - D.Cochran Style
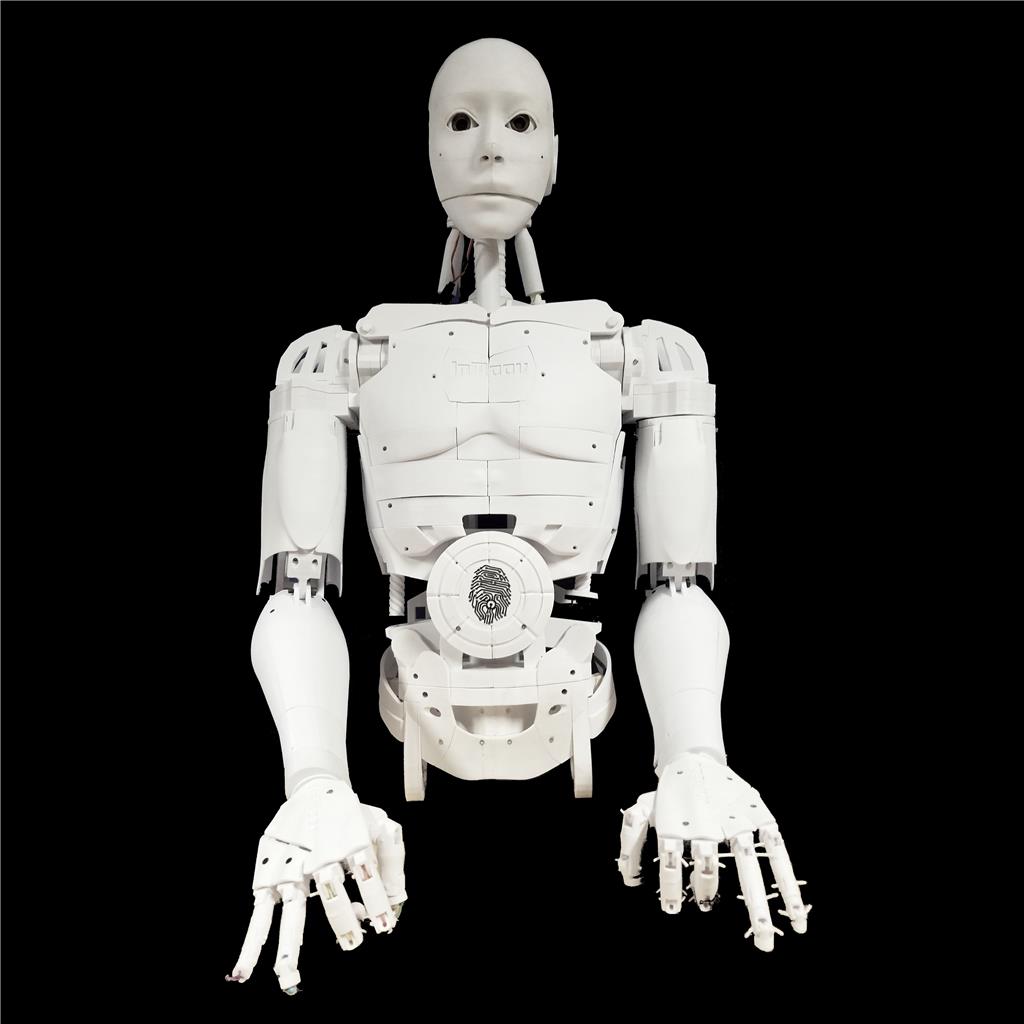
Tonzatonka's Inmoov 3D Printed Robot

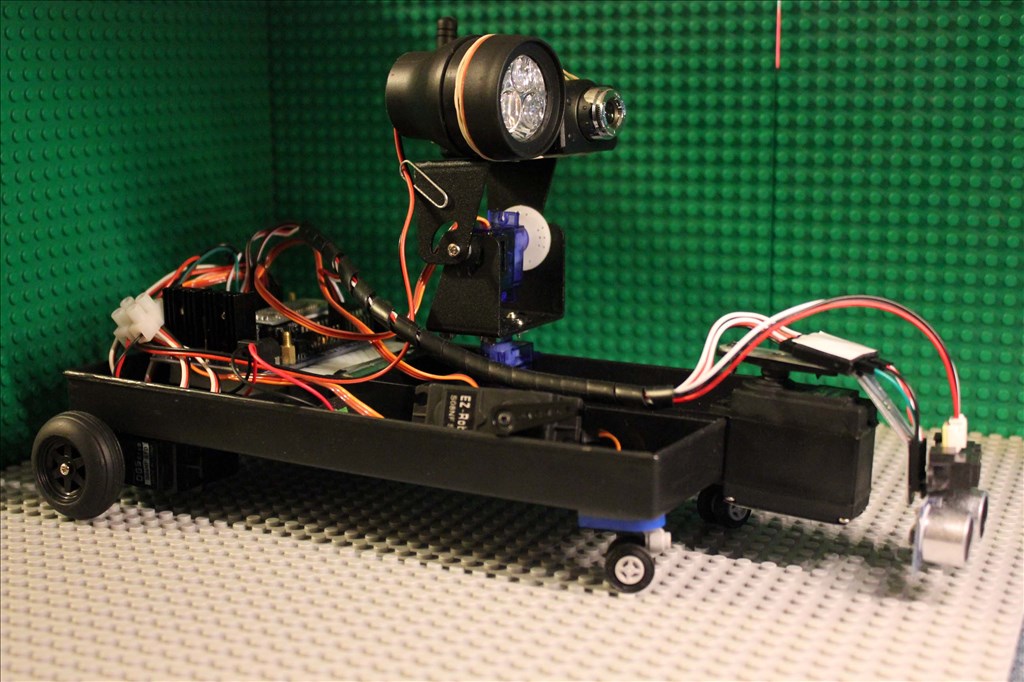
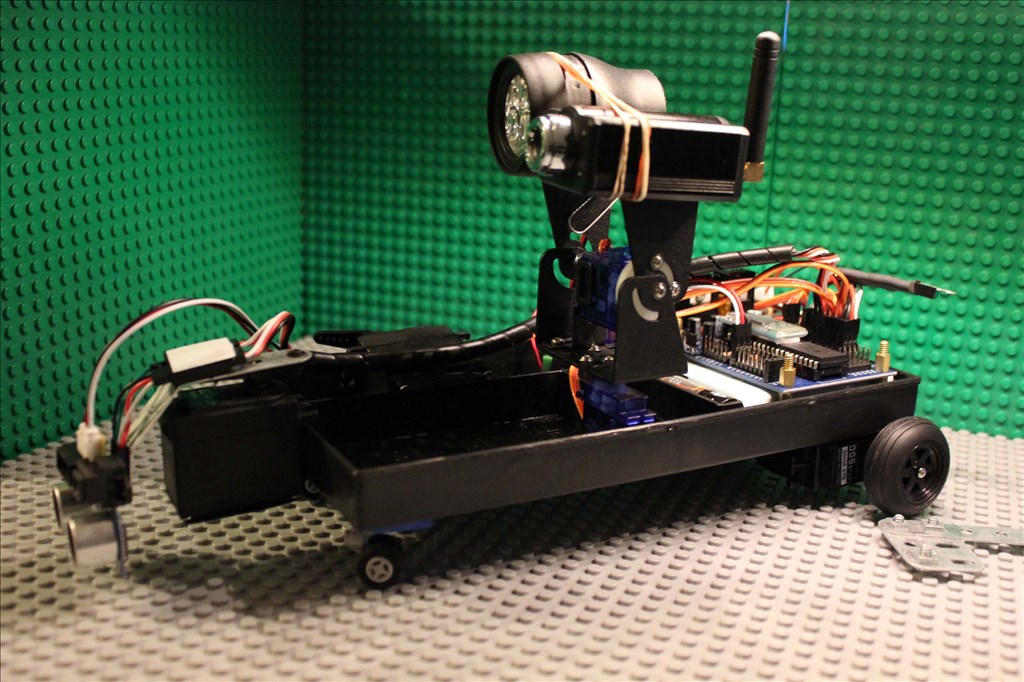
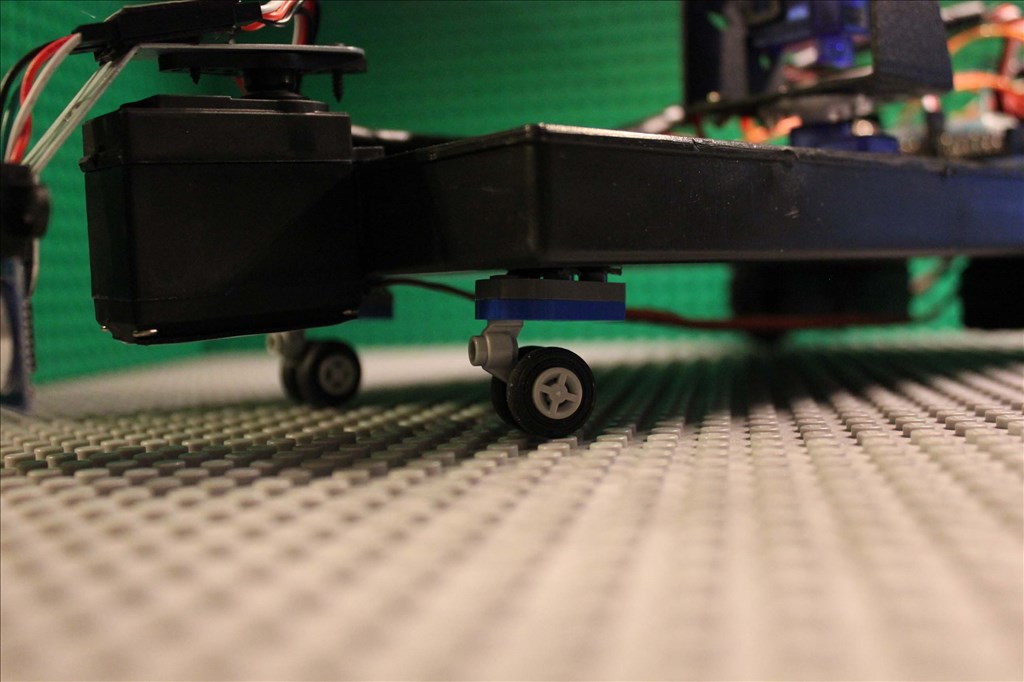

I like the swivel front wheels, what did they come off of ?
The casters were off a Lego set my wife and kids got me.
I love Legos , take a video or two . We love videos - Josh
Sweet, what fun!
Me Likey
It's awesome